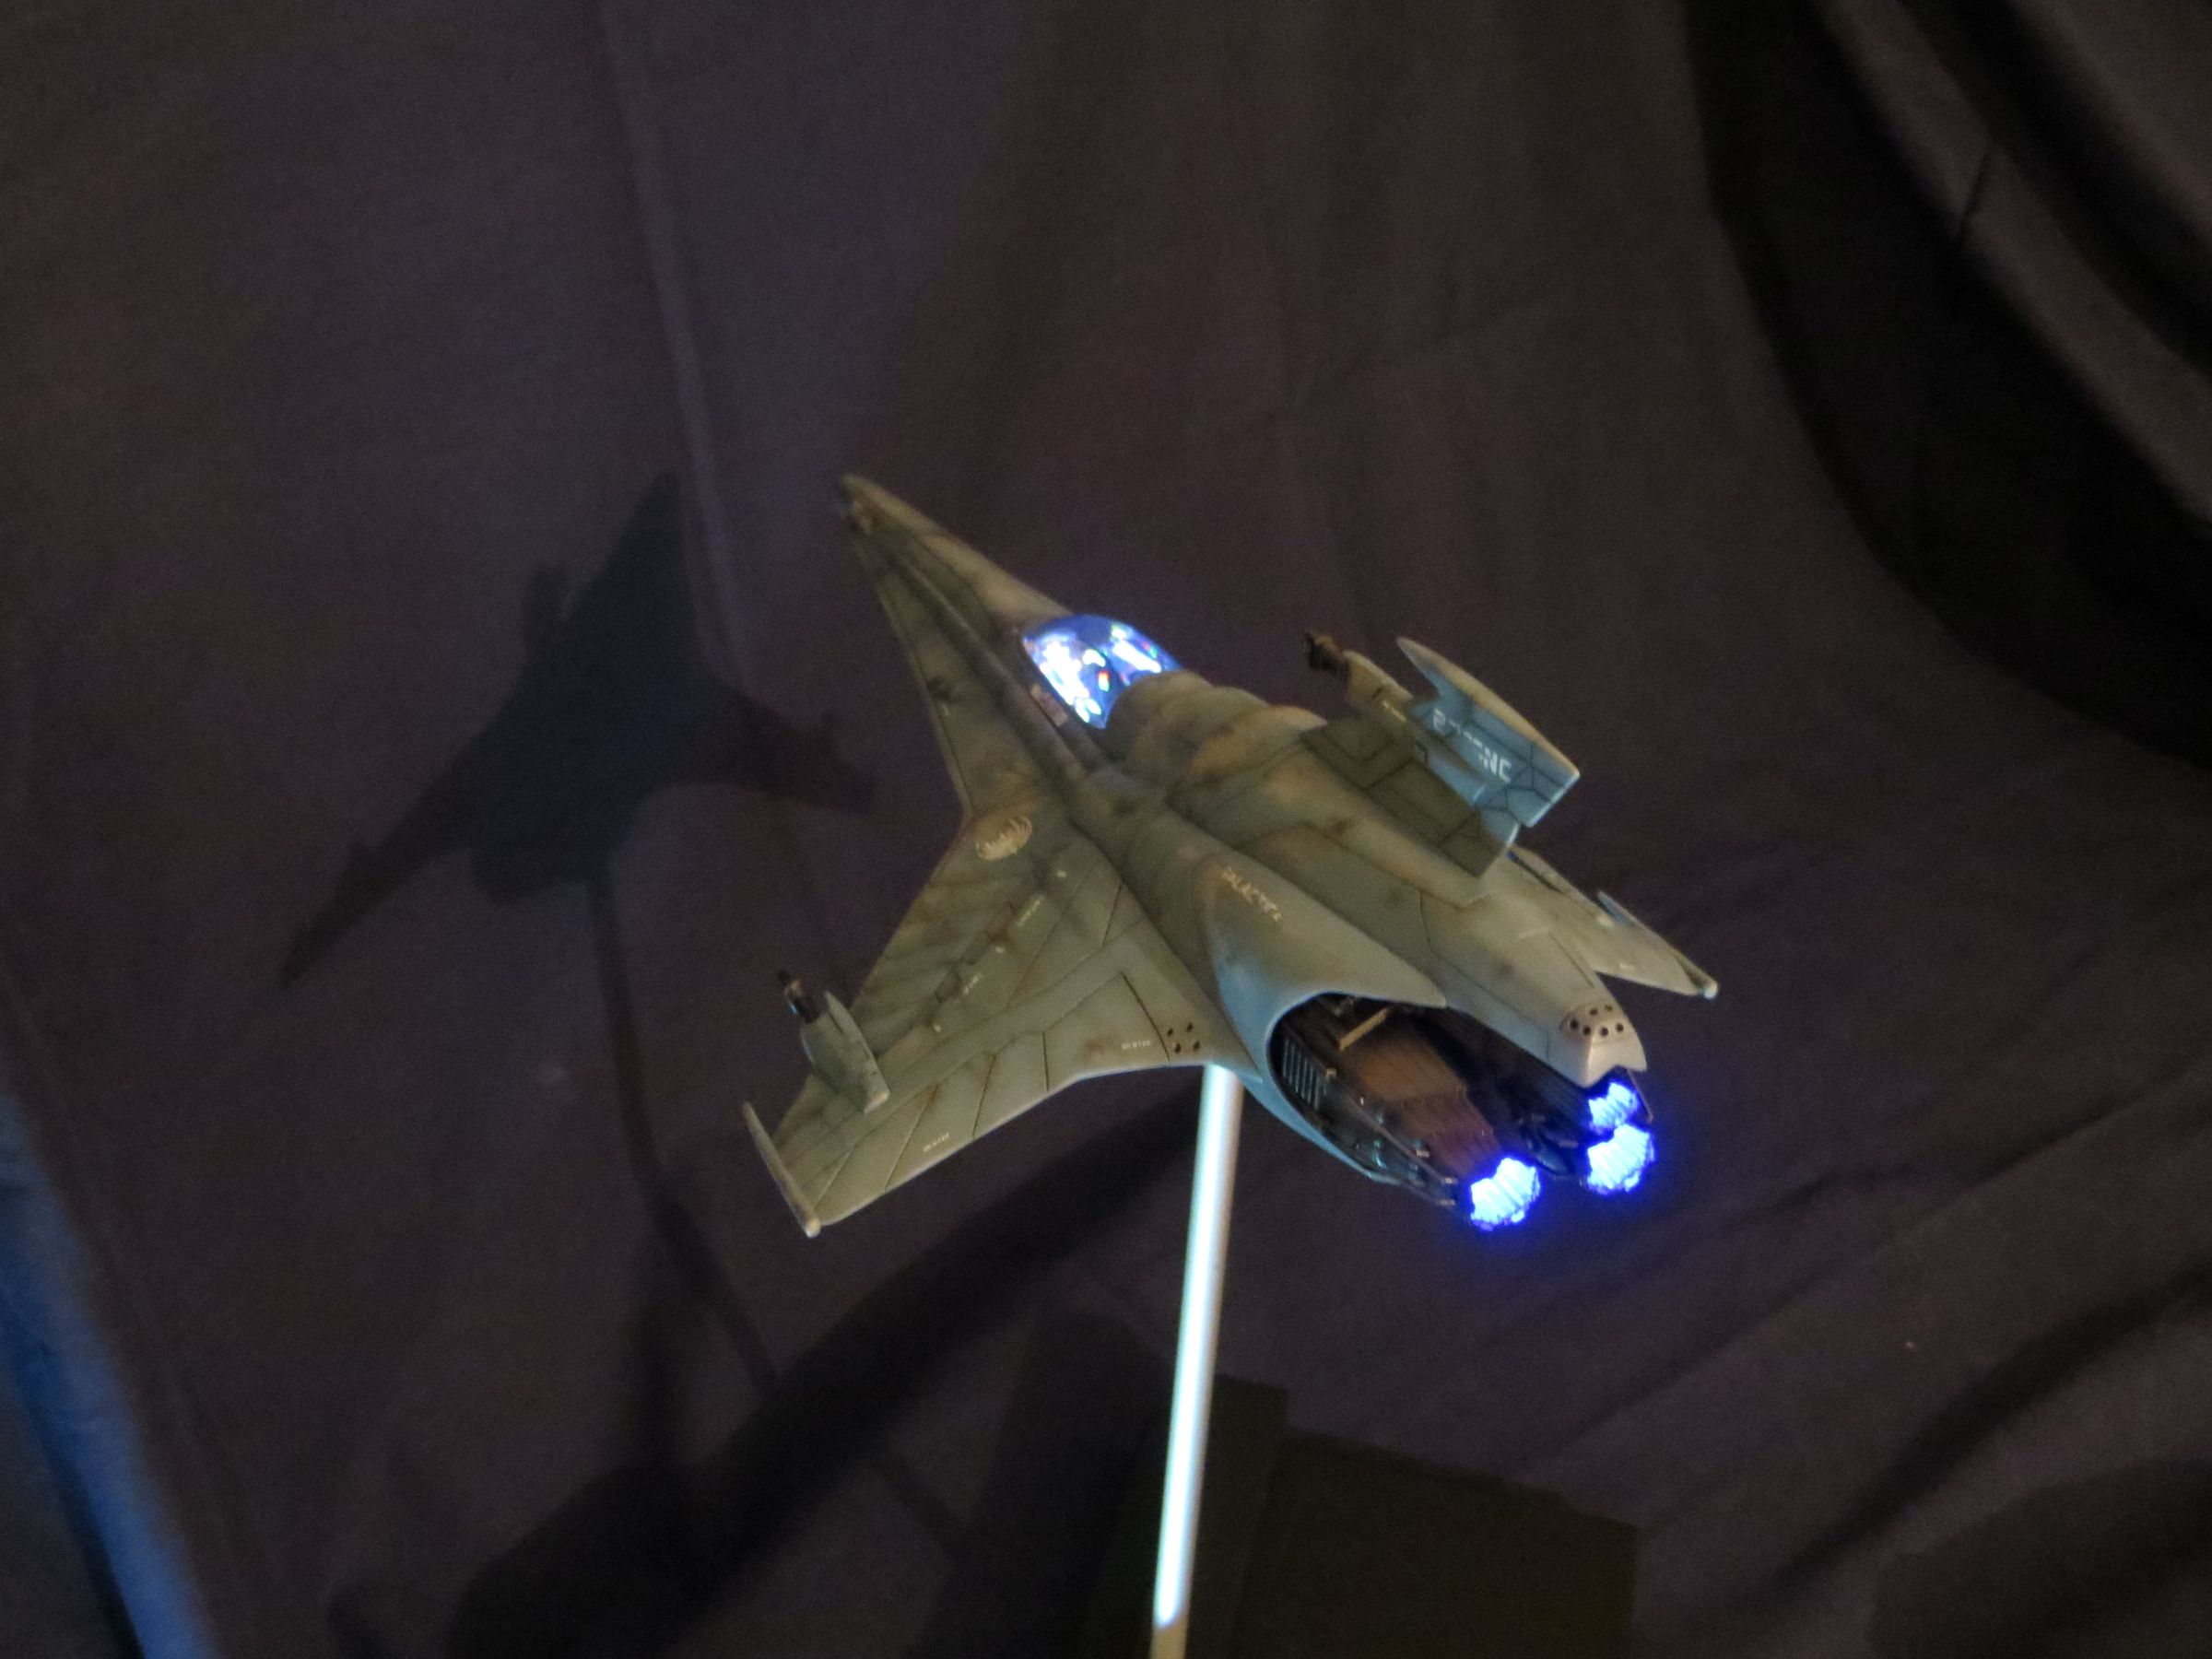
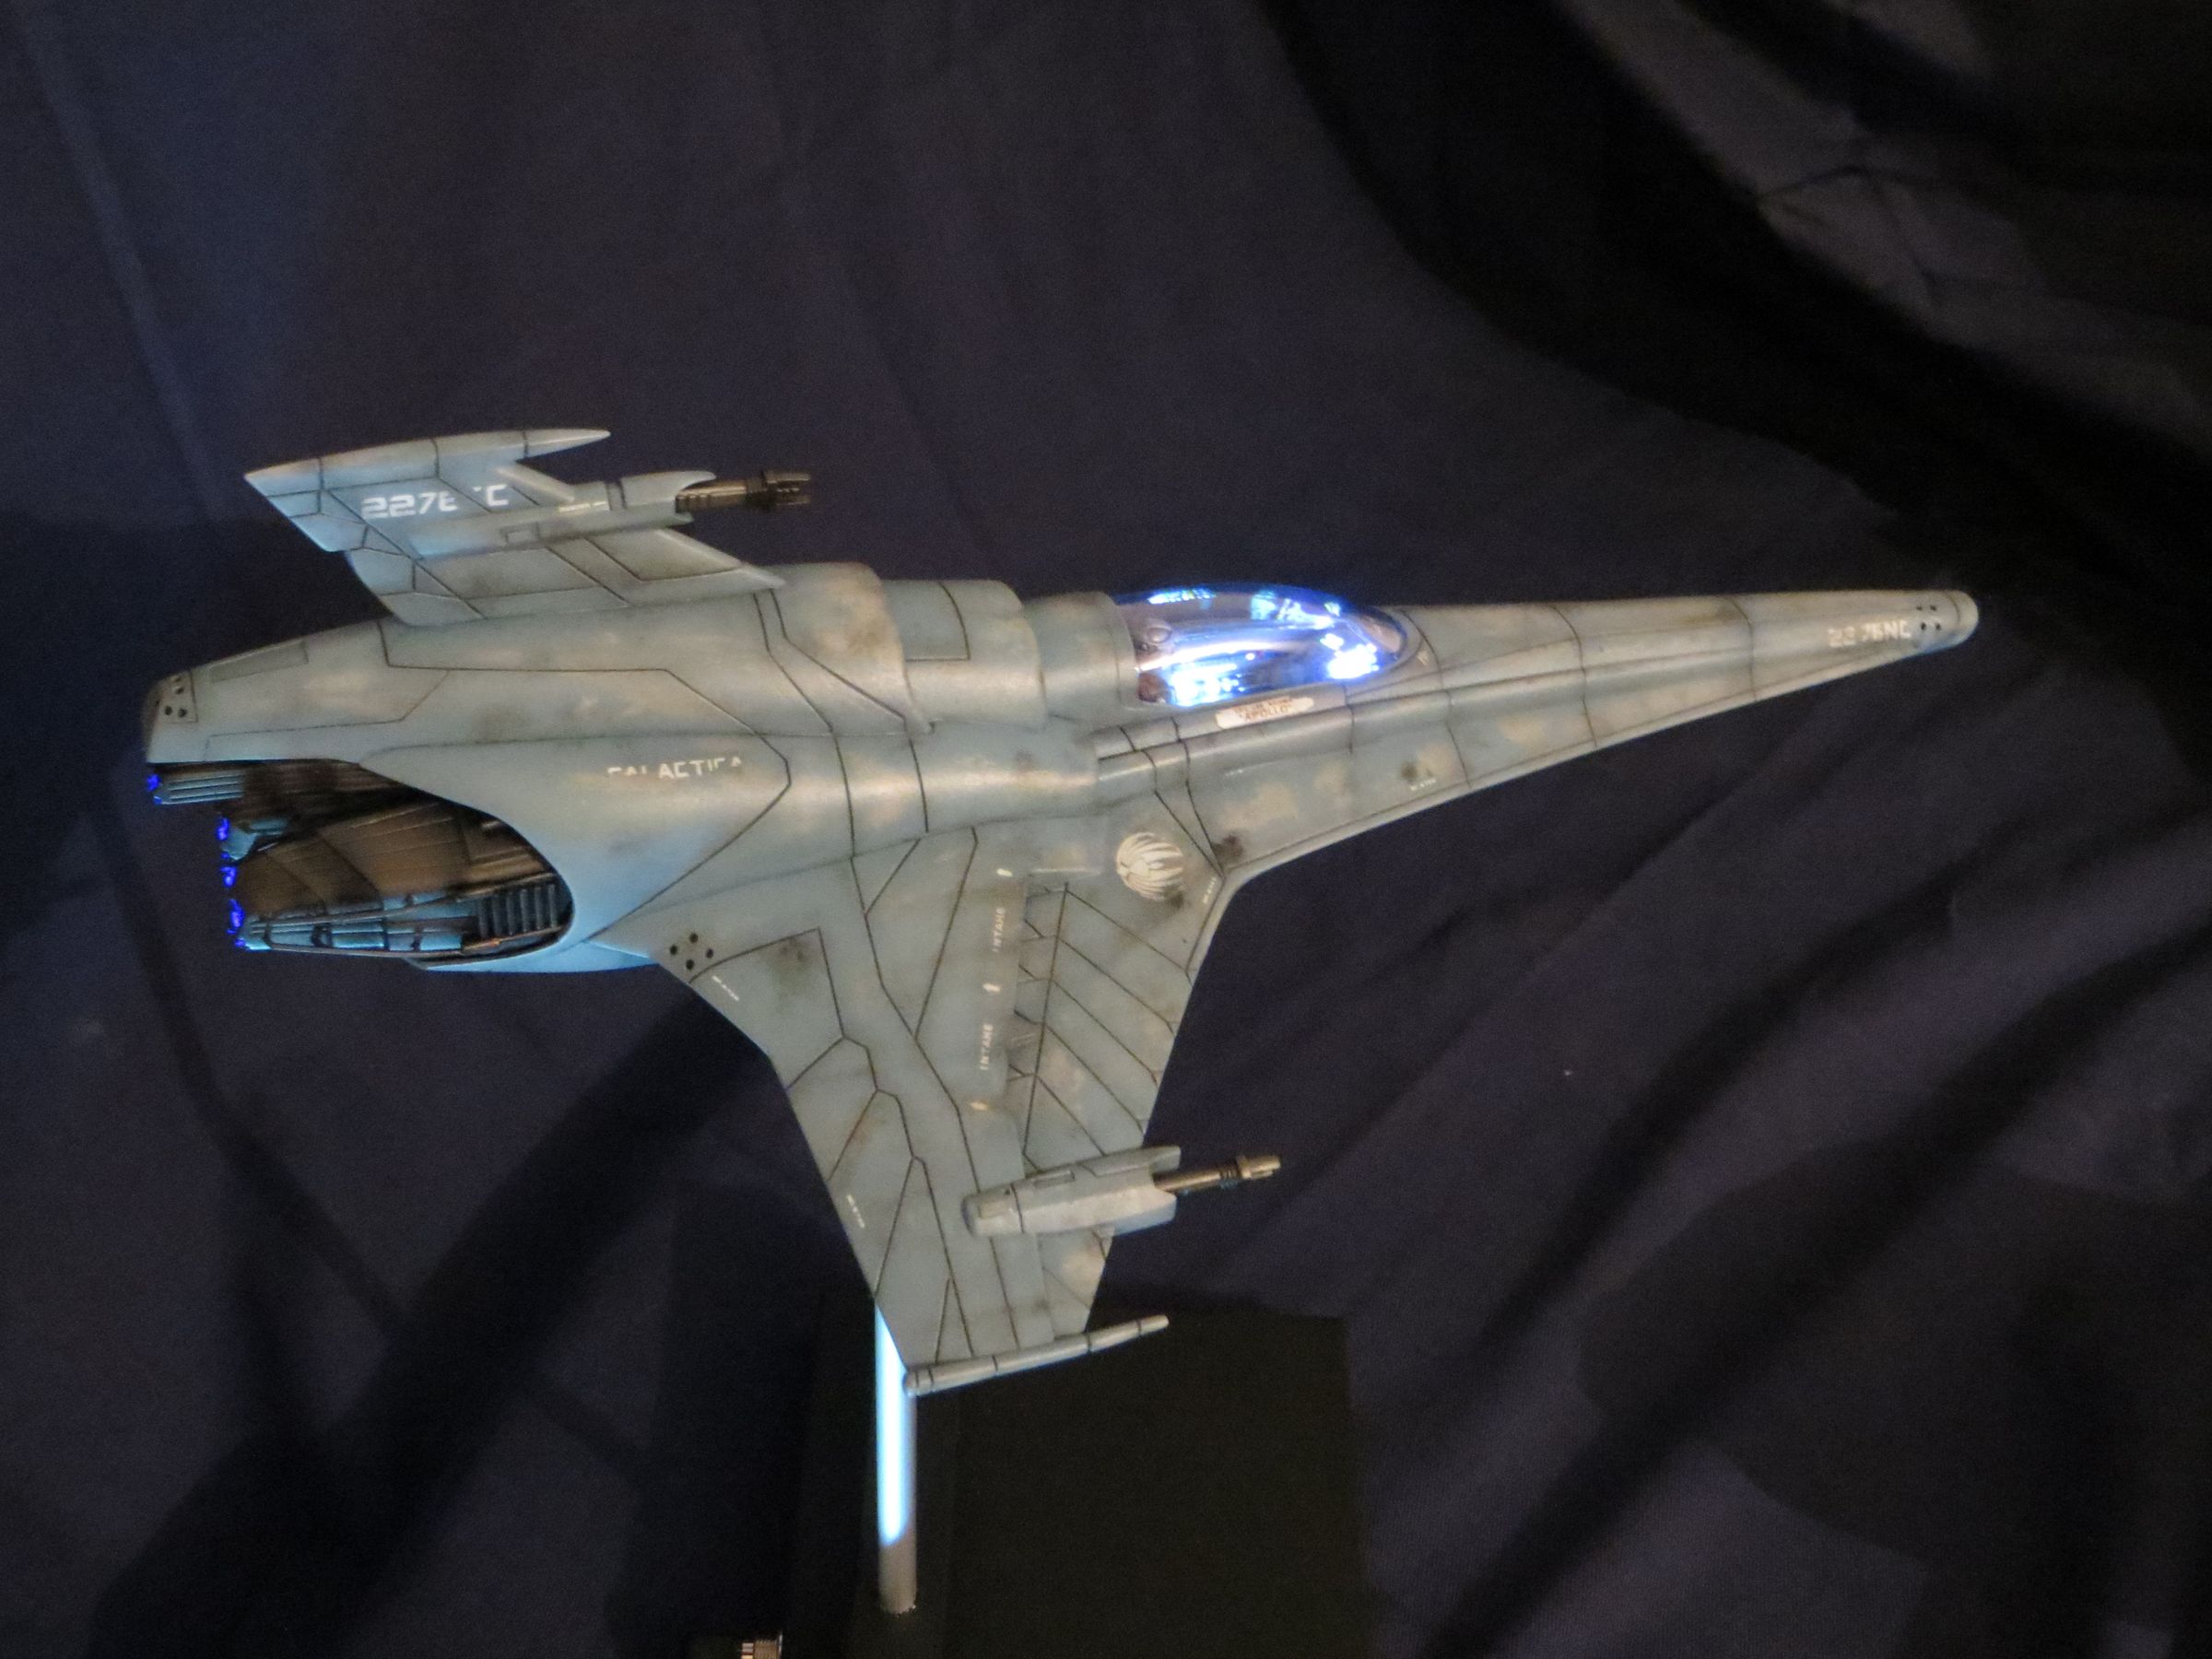
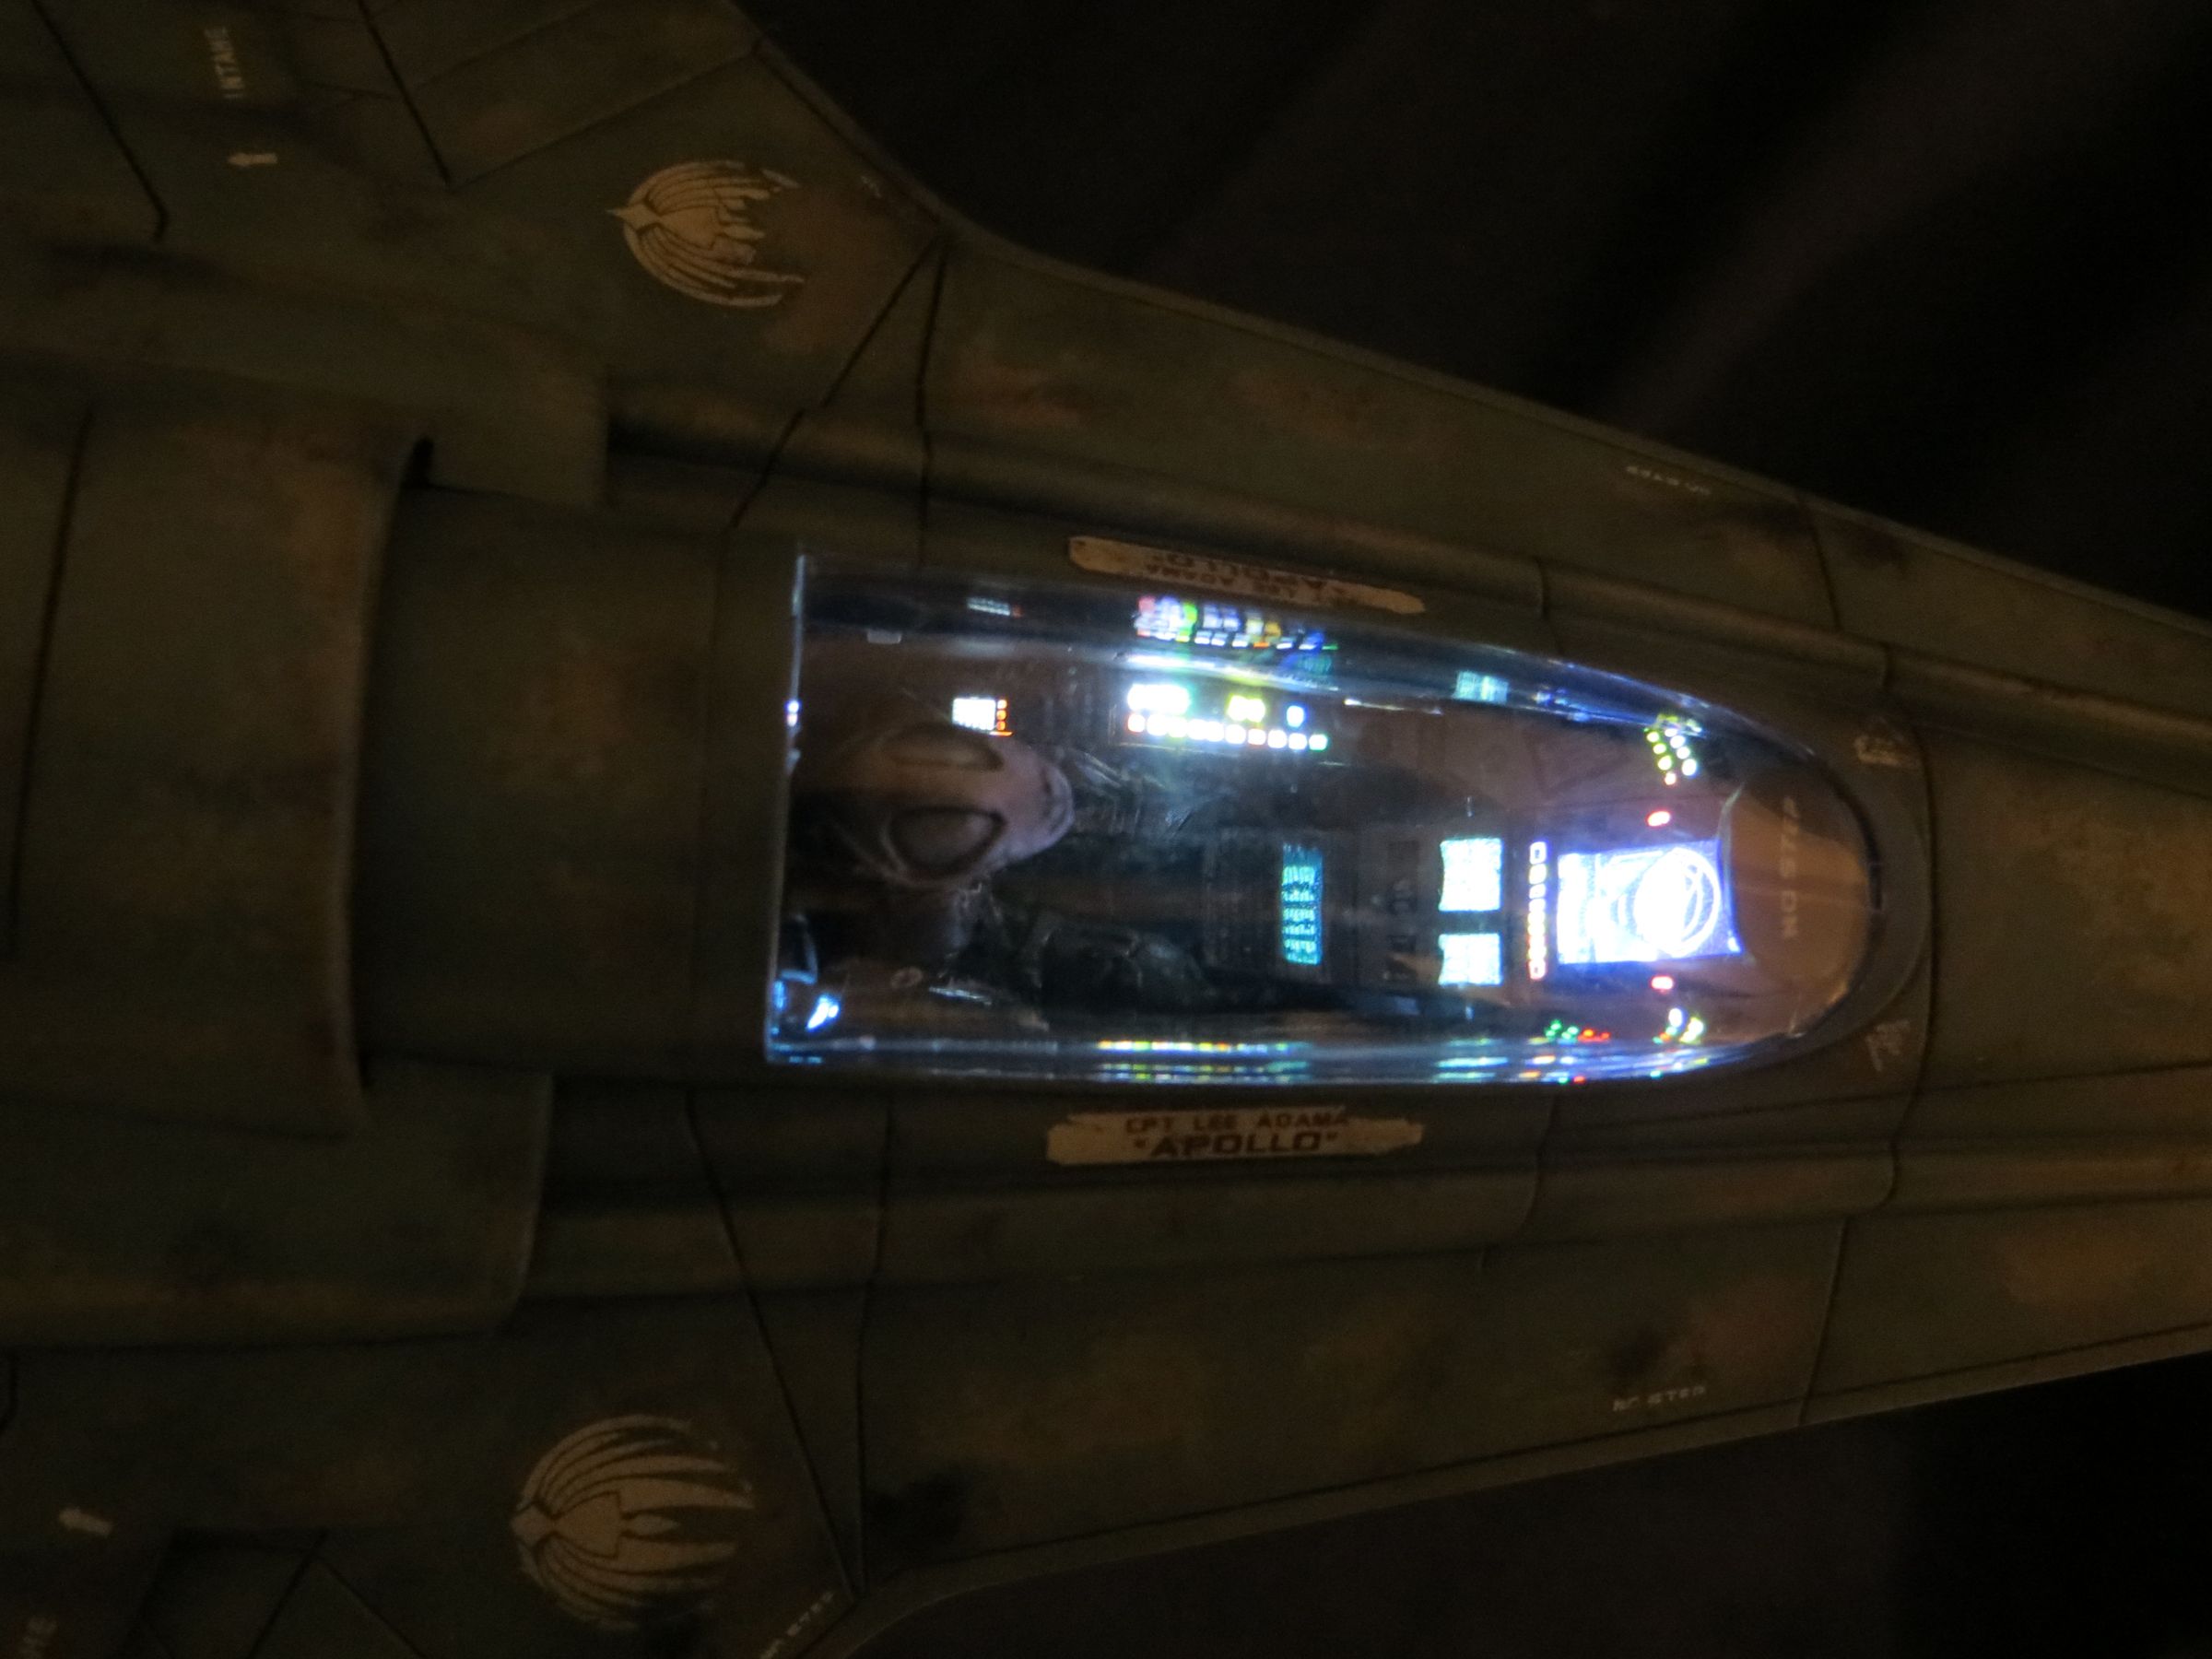
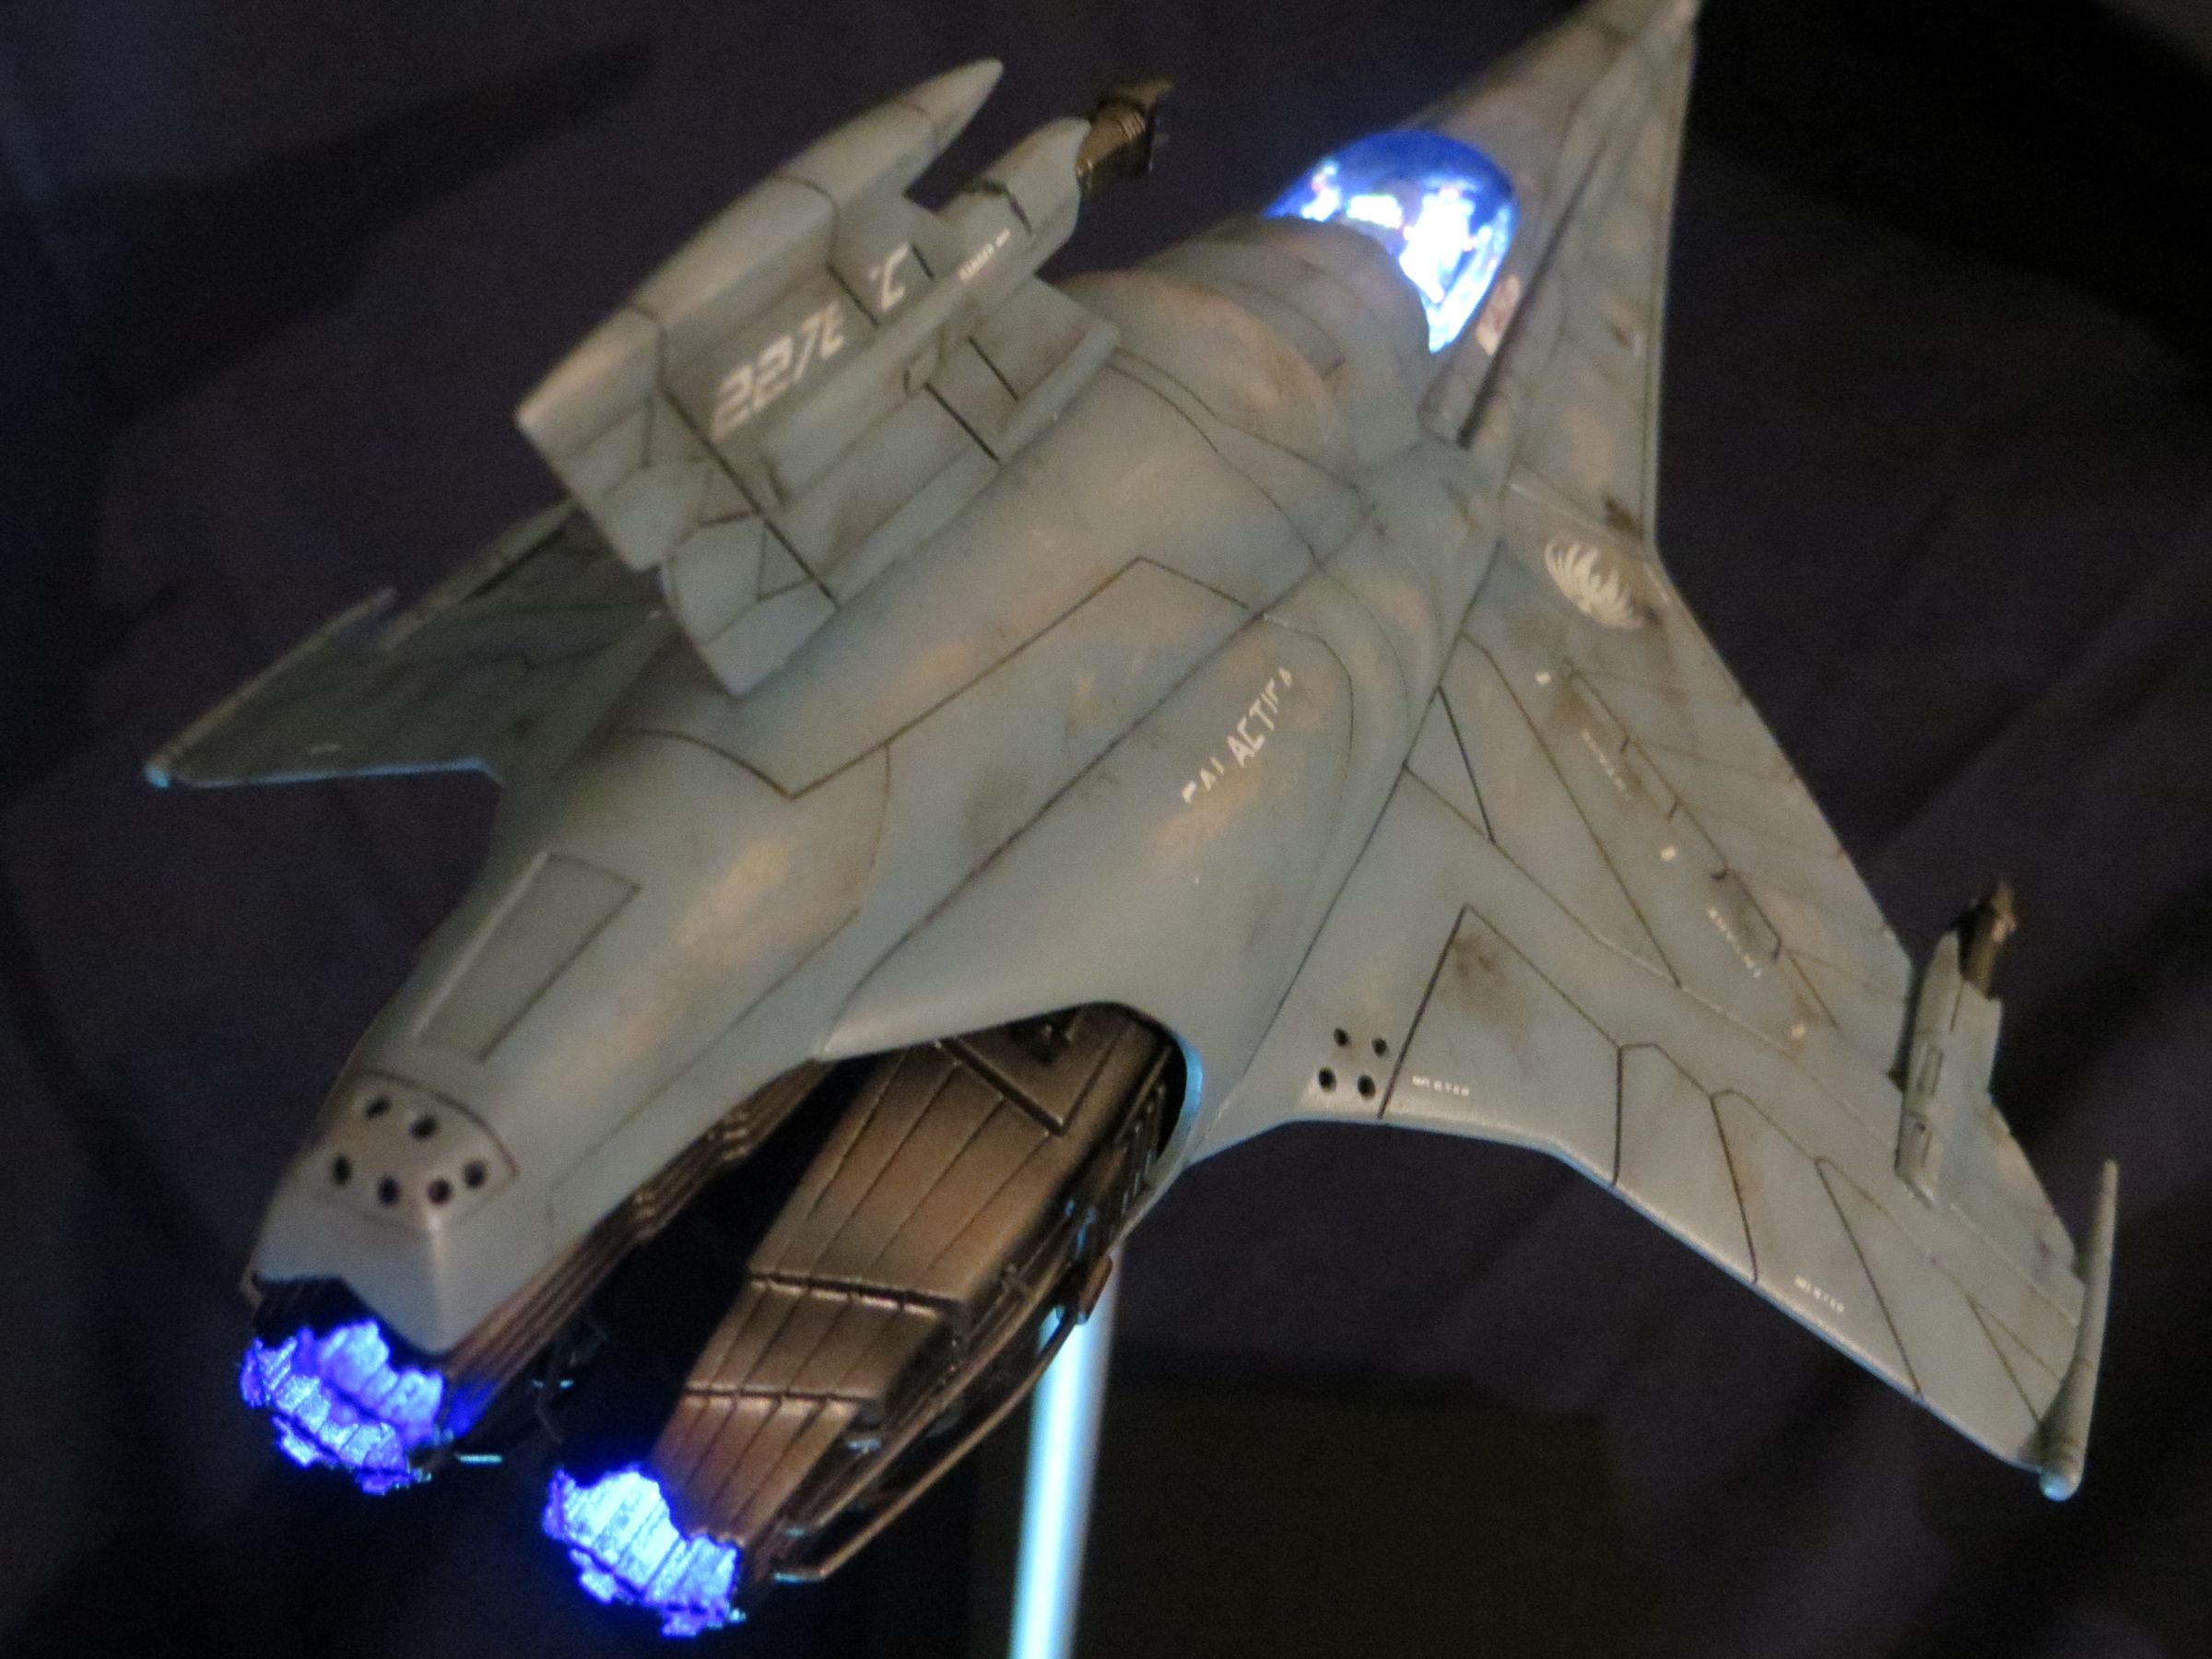
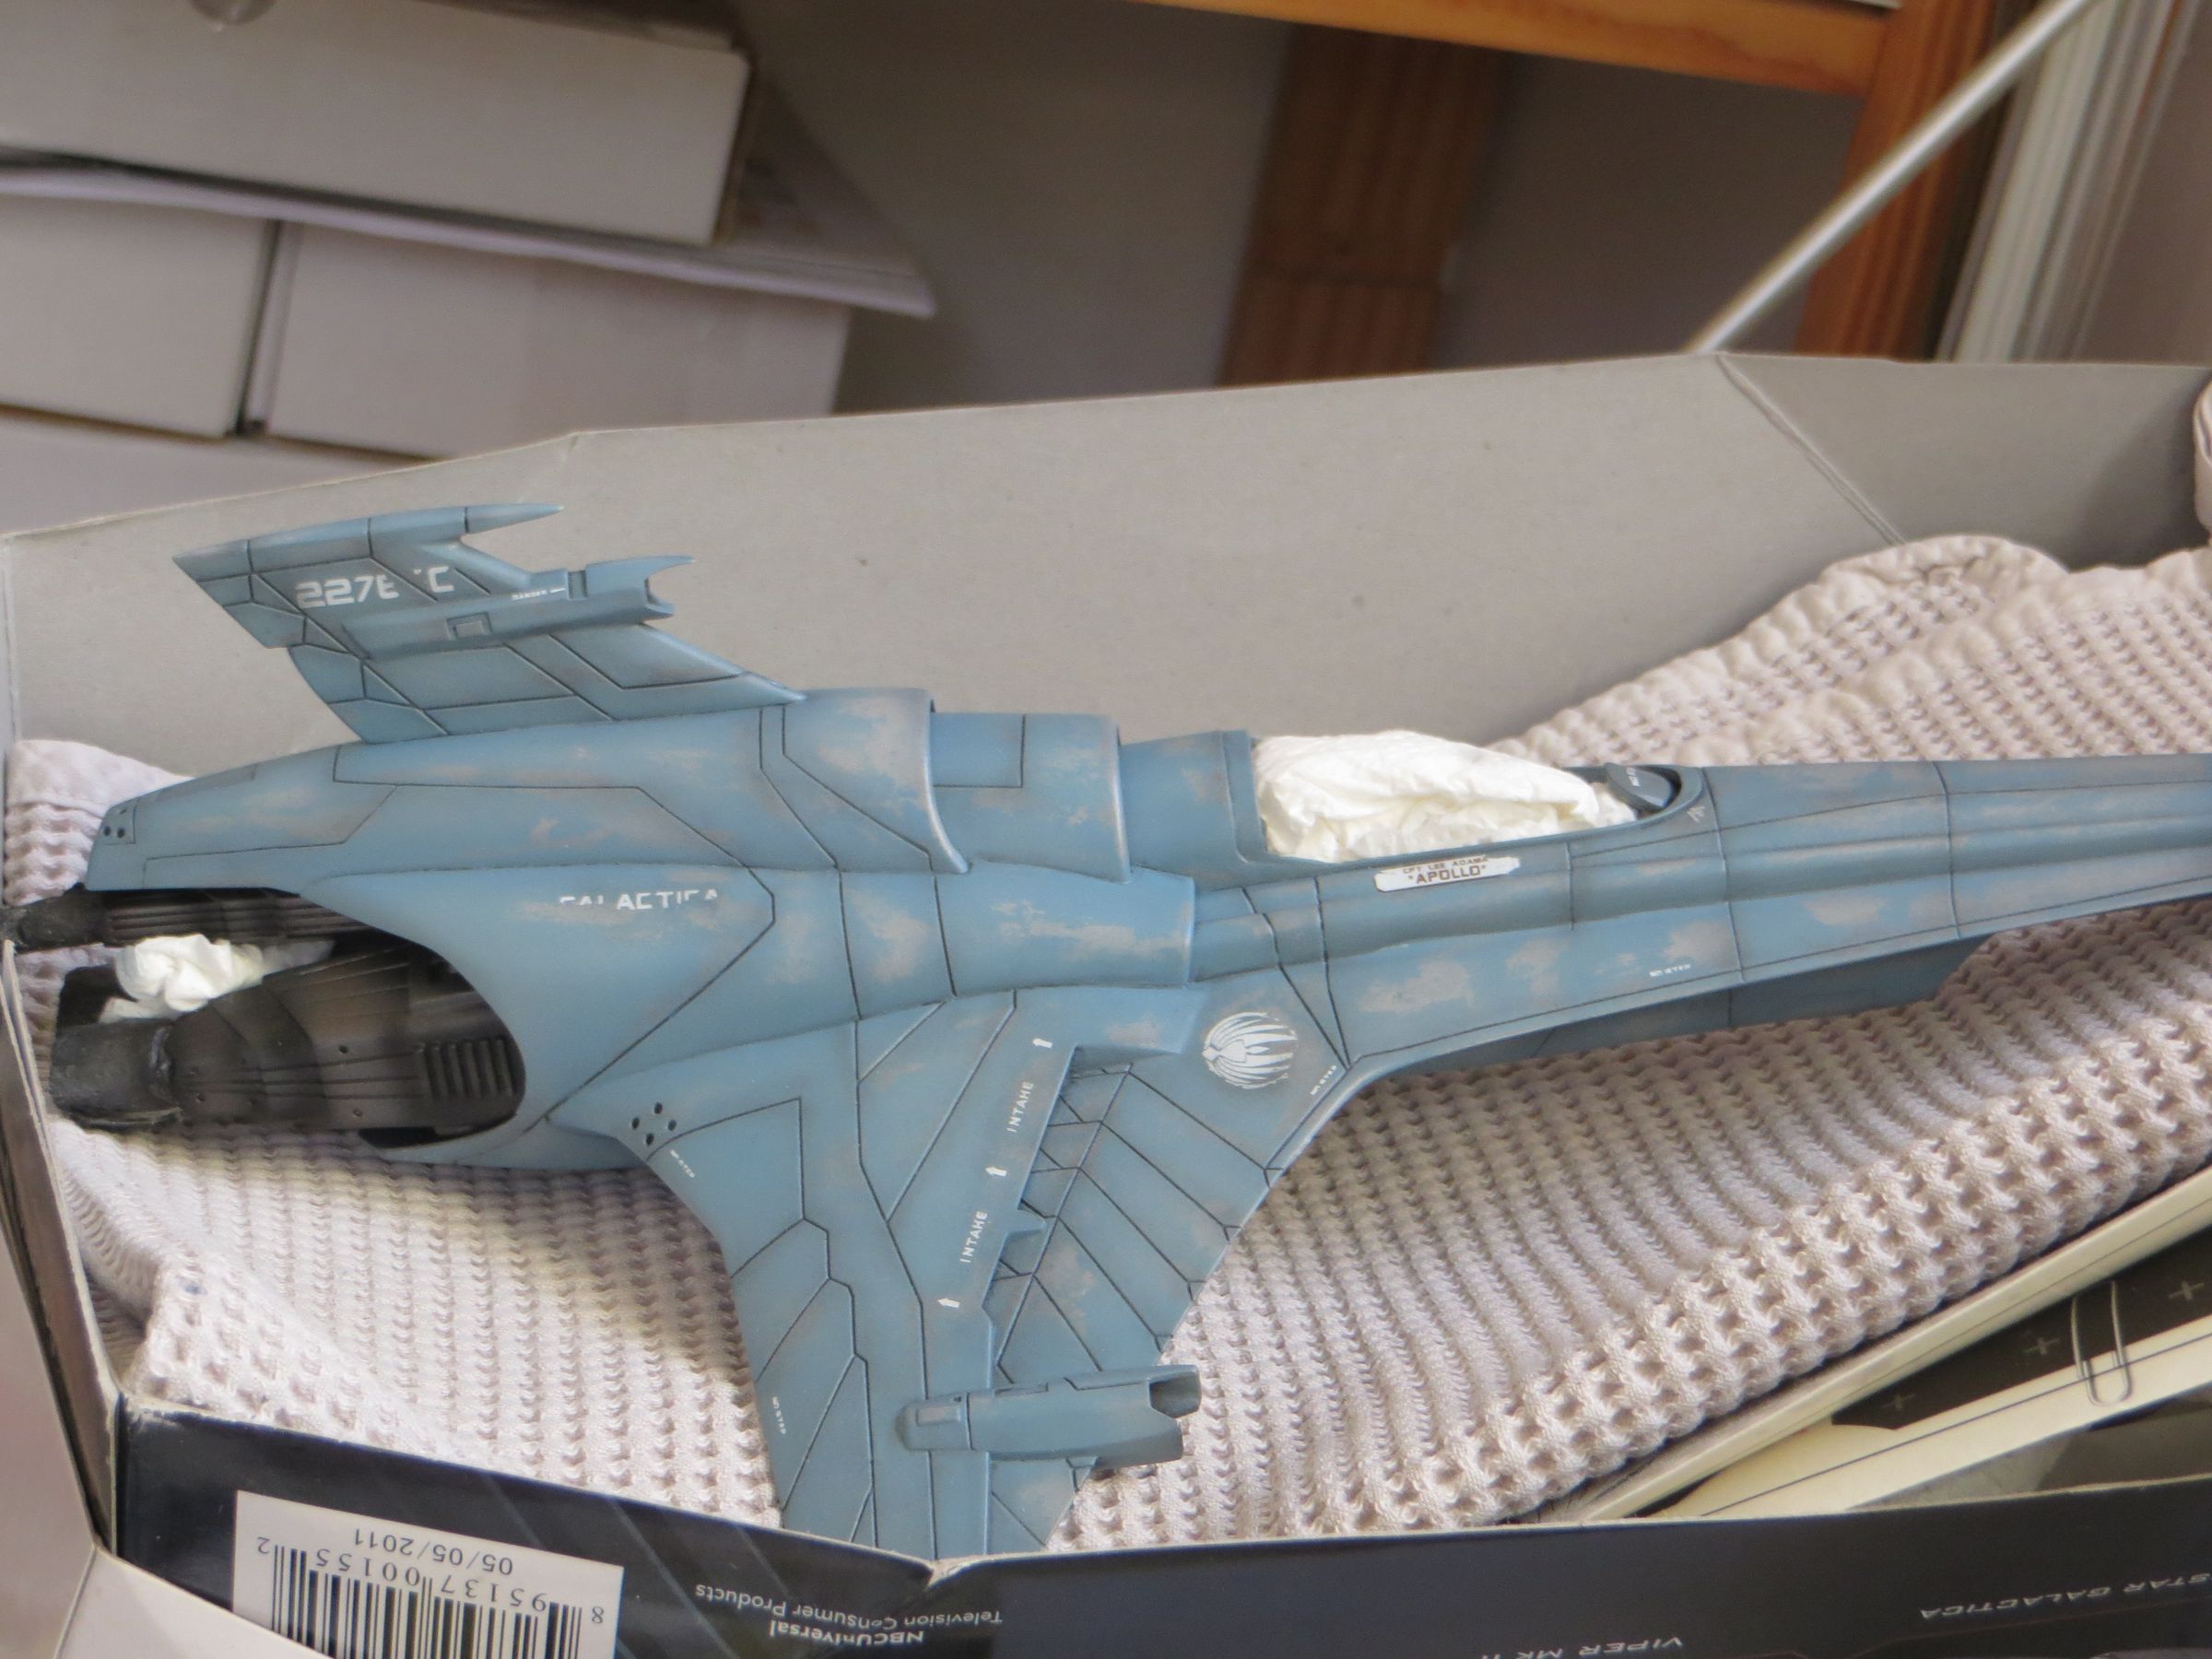
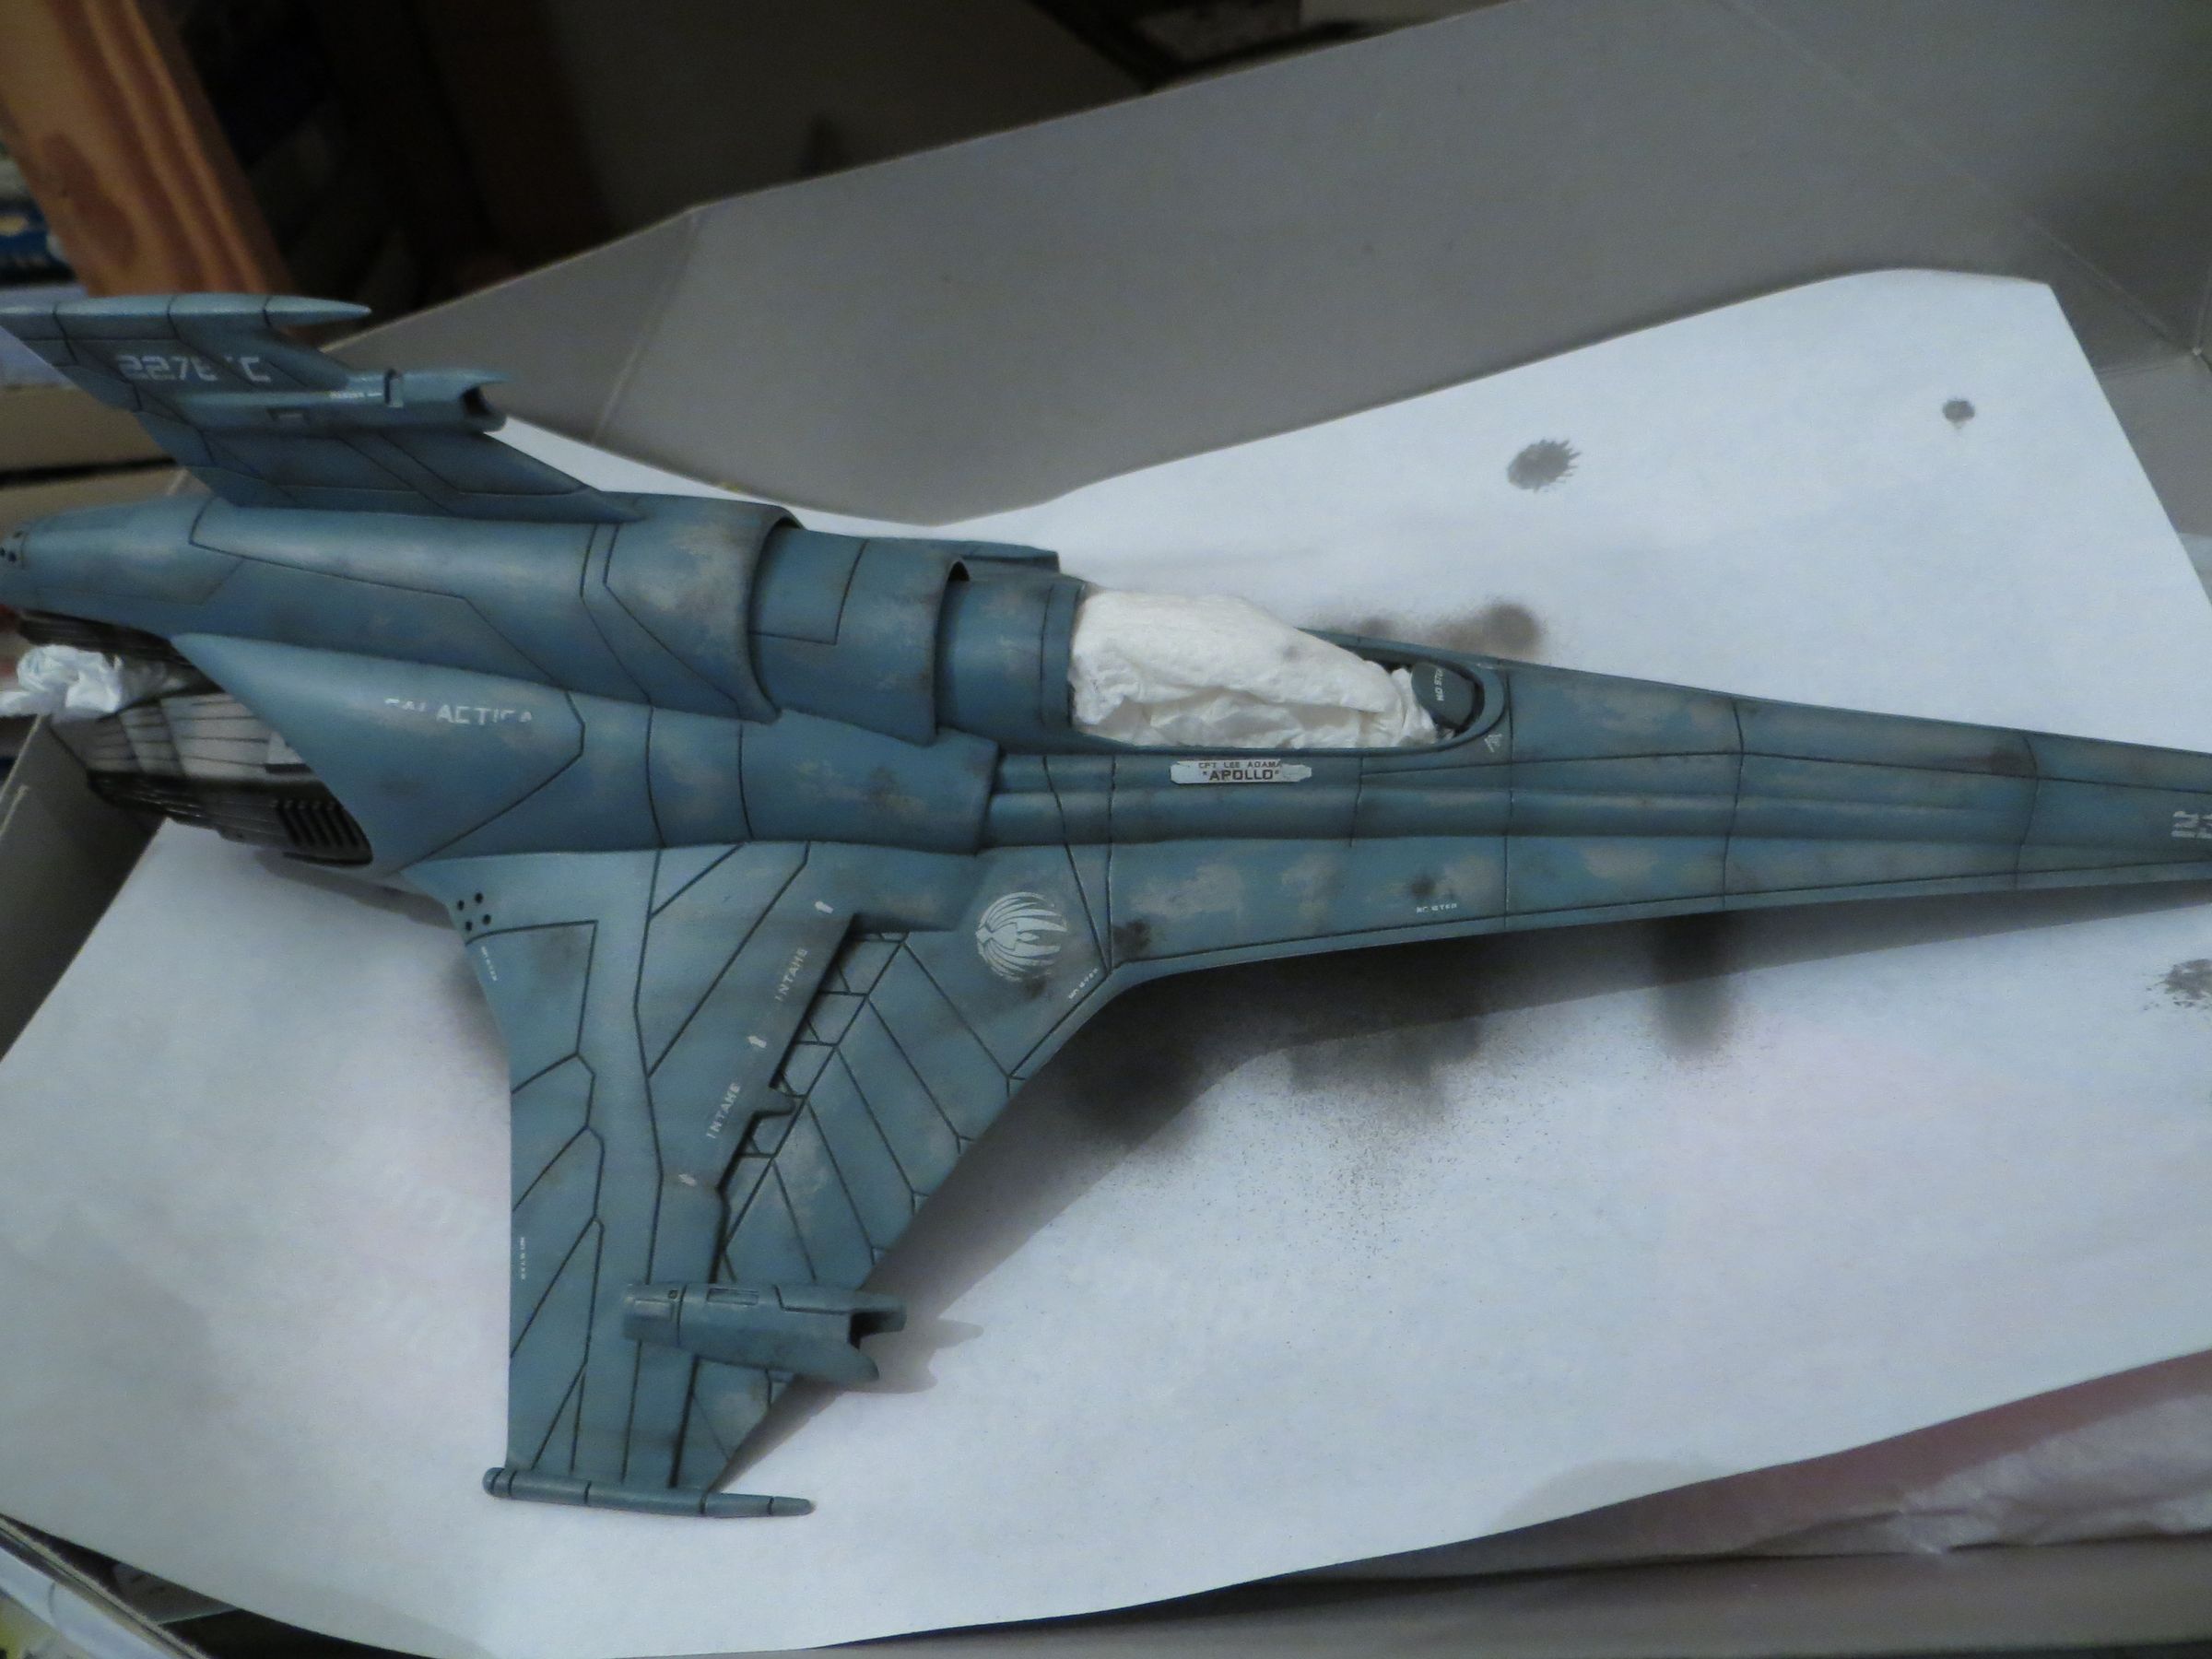
And a new Cylon killer ready for the battle.
In the daylight :


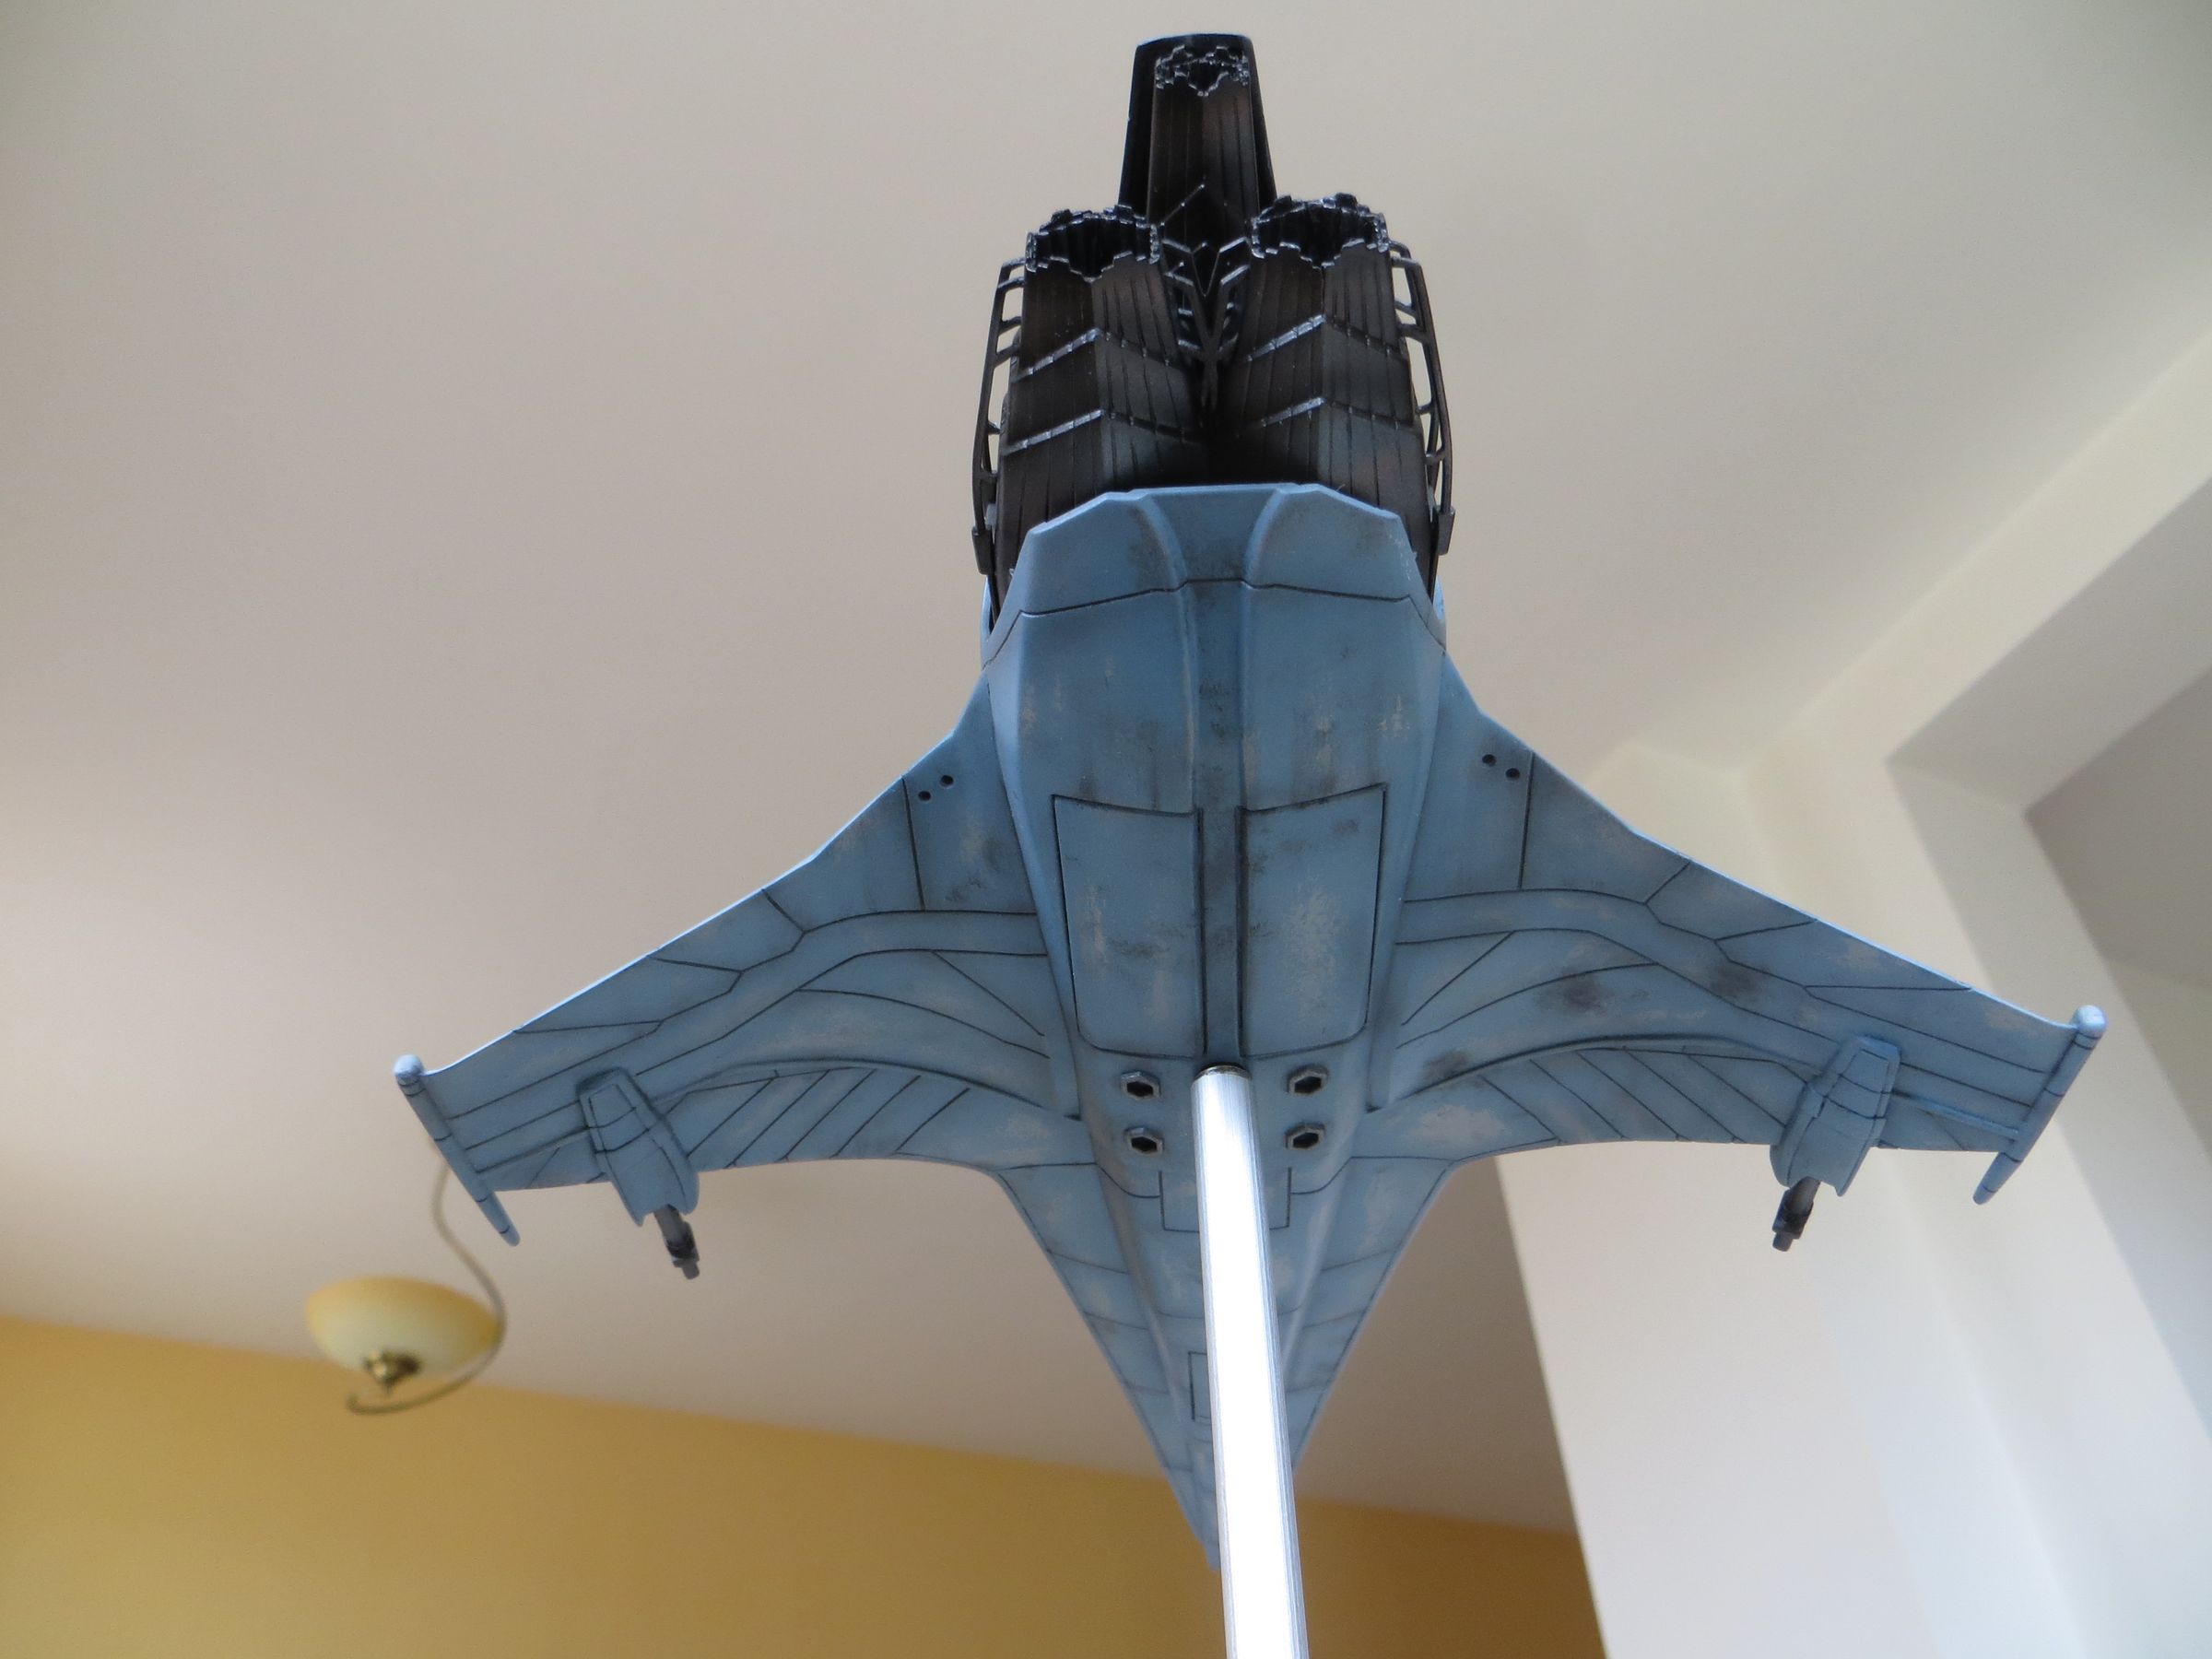
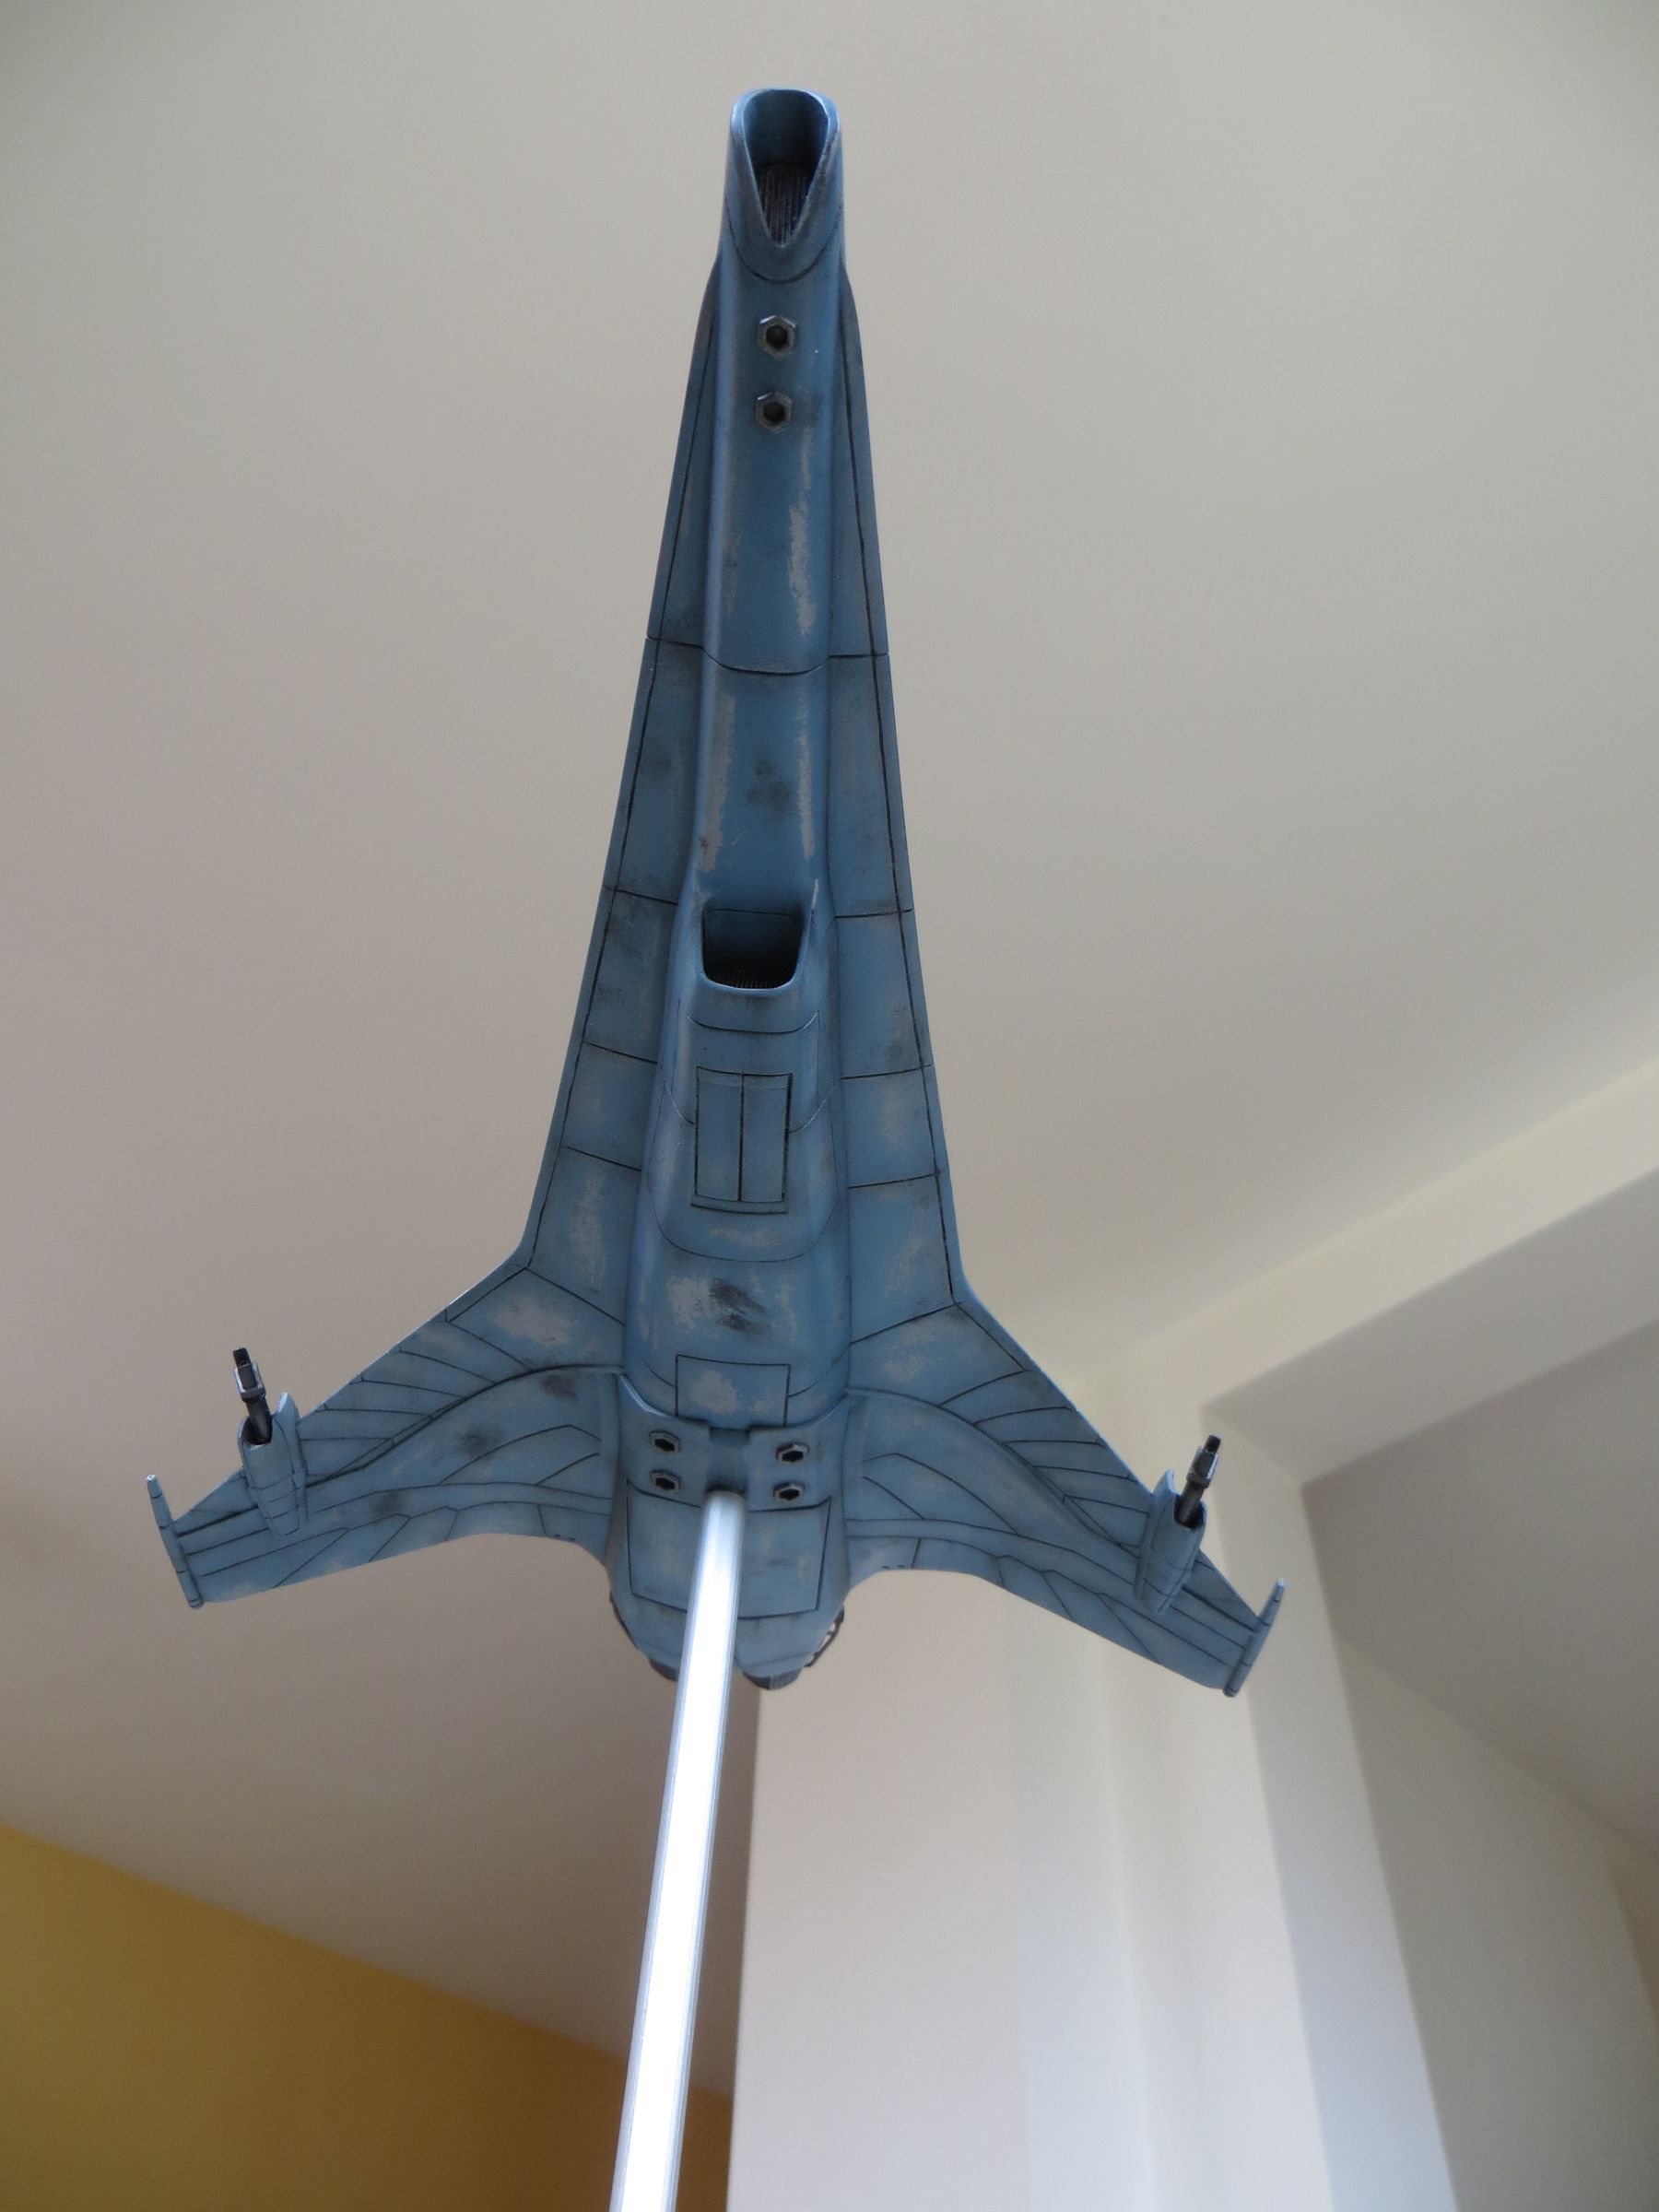


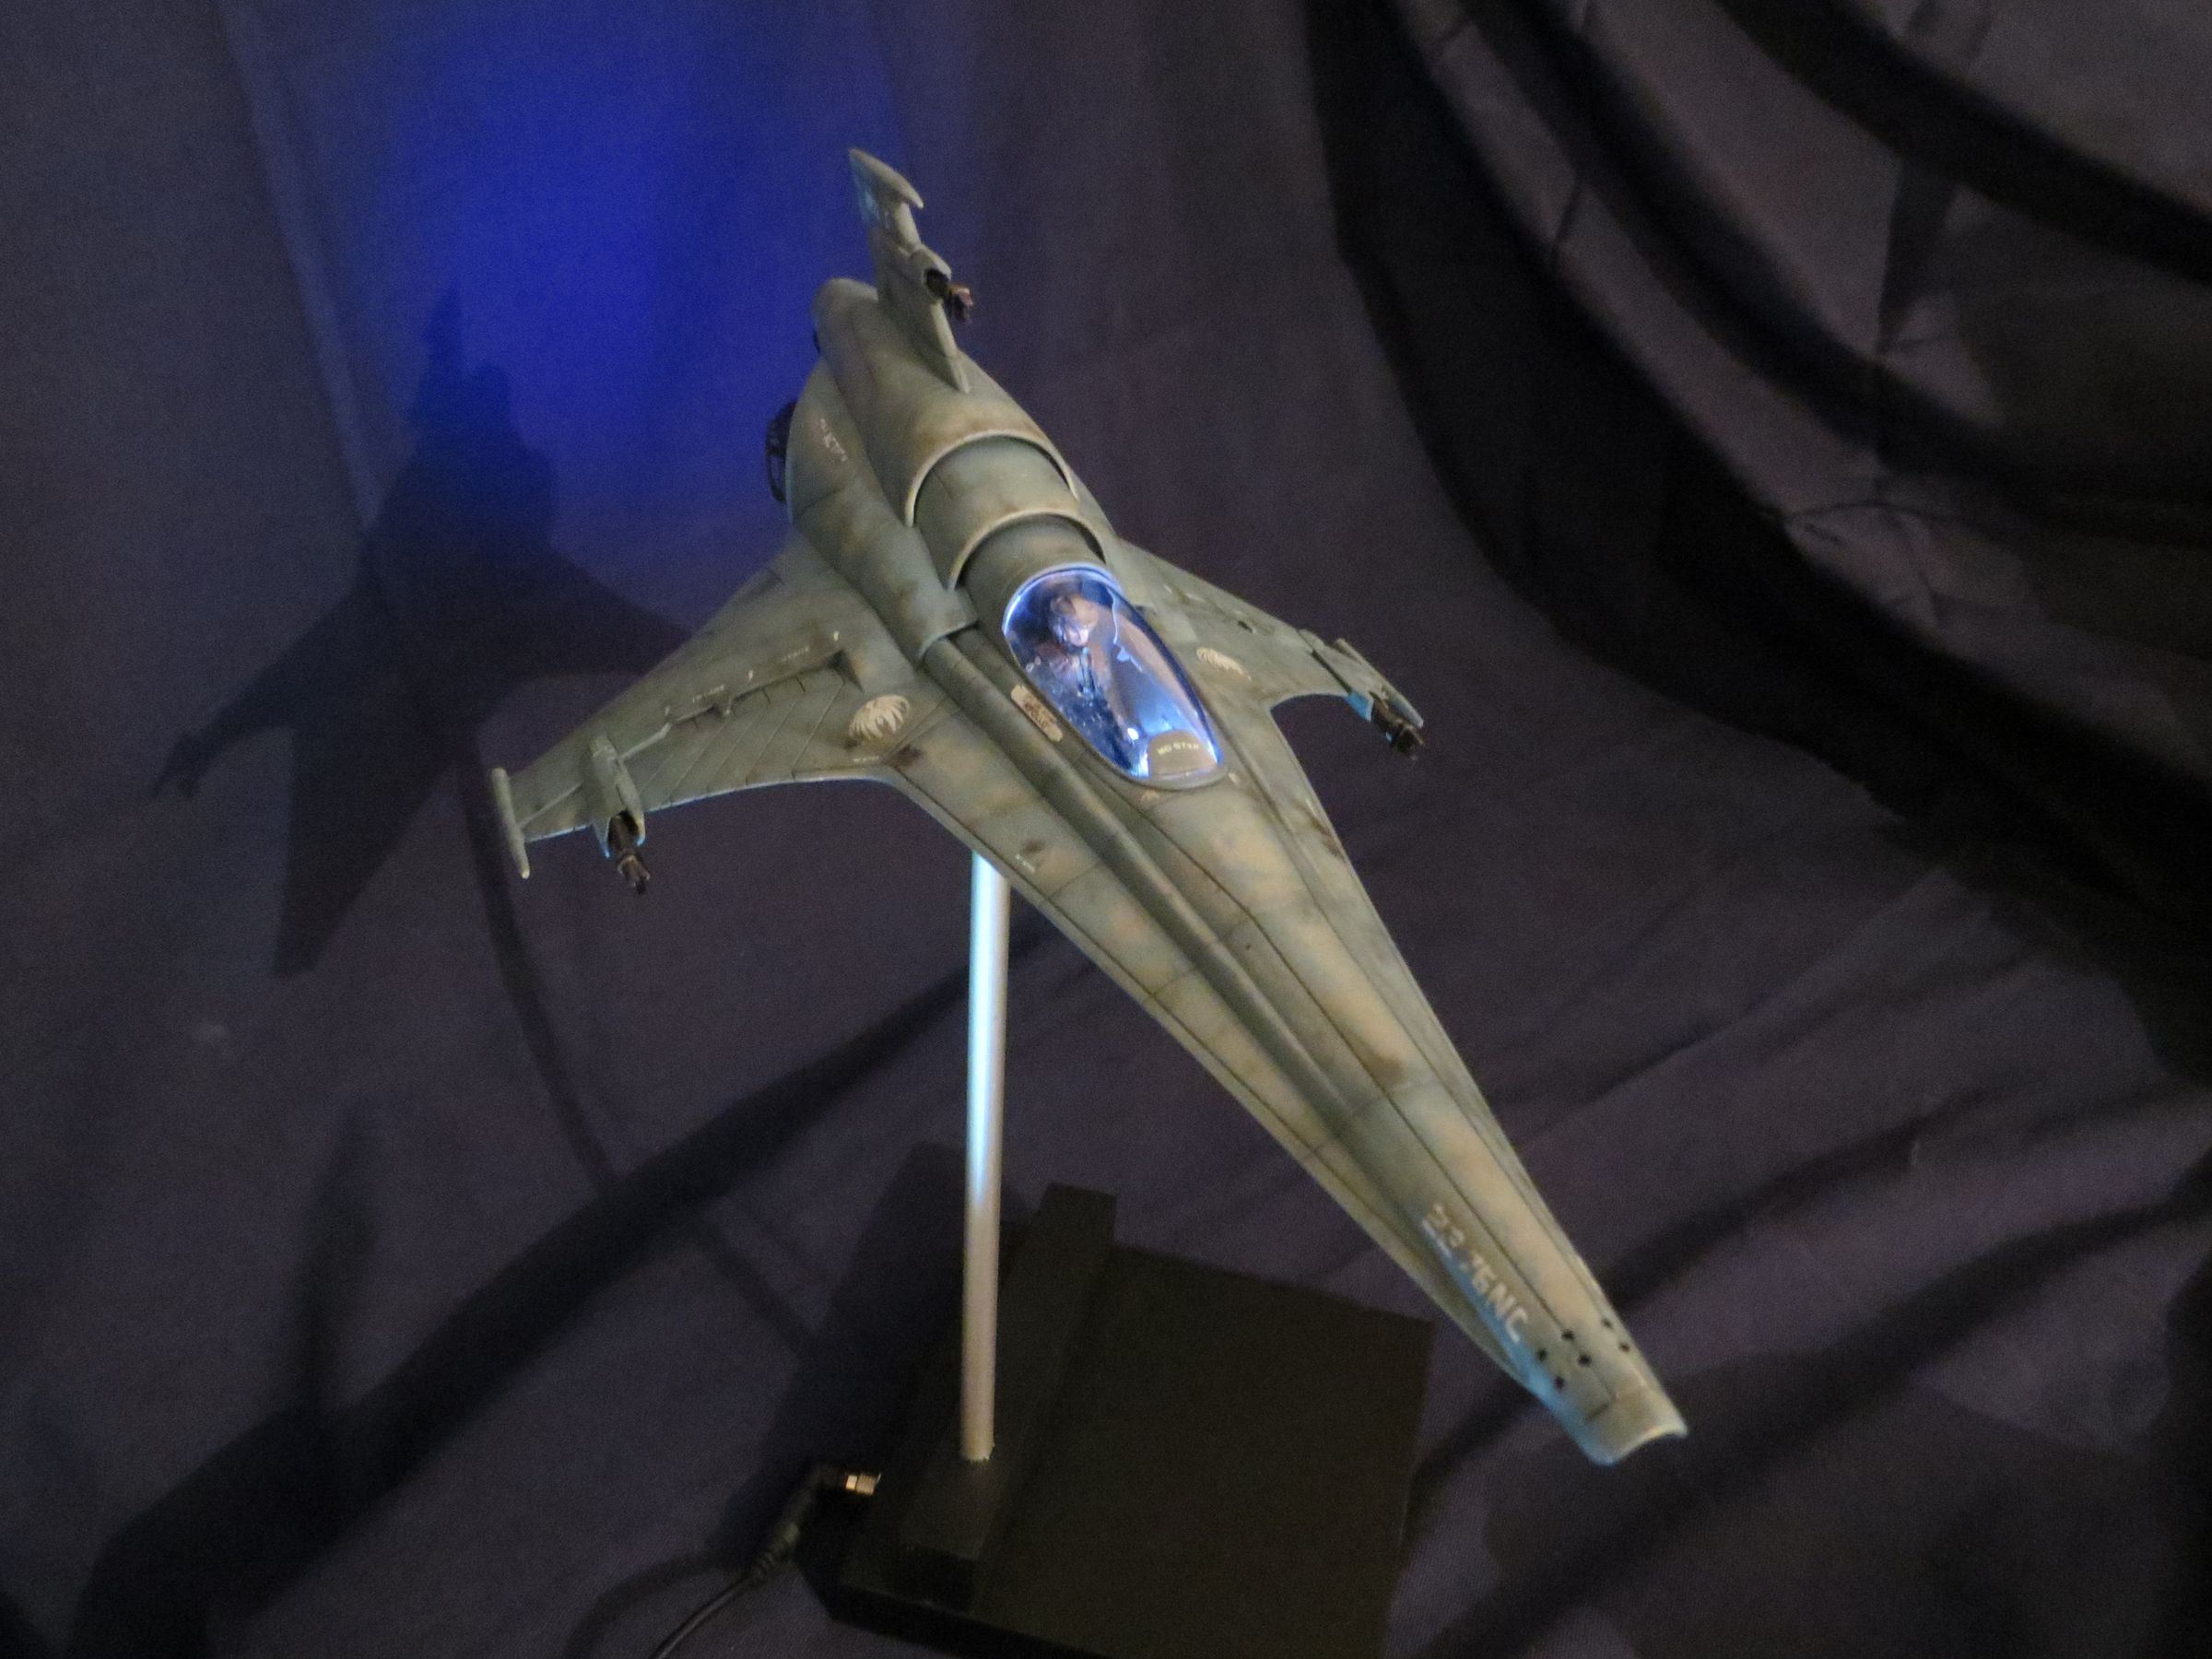
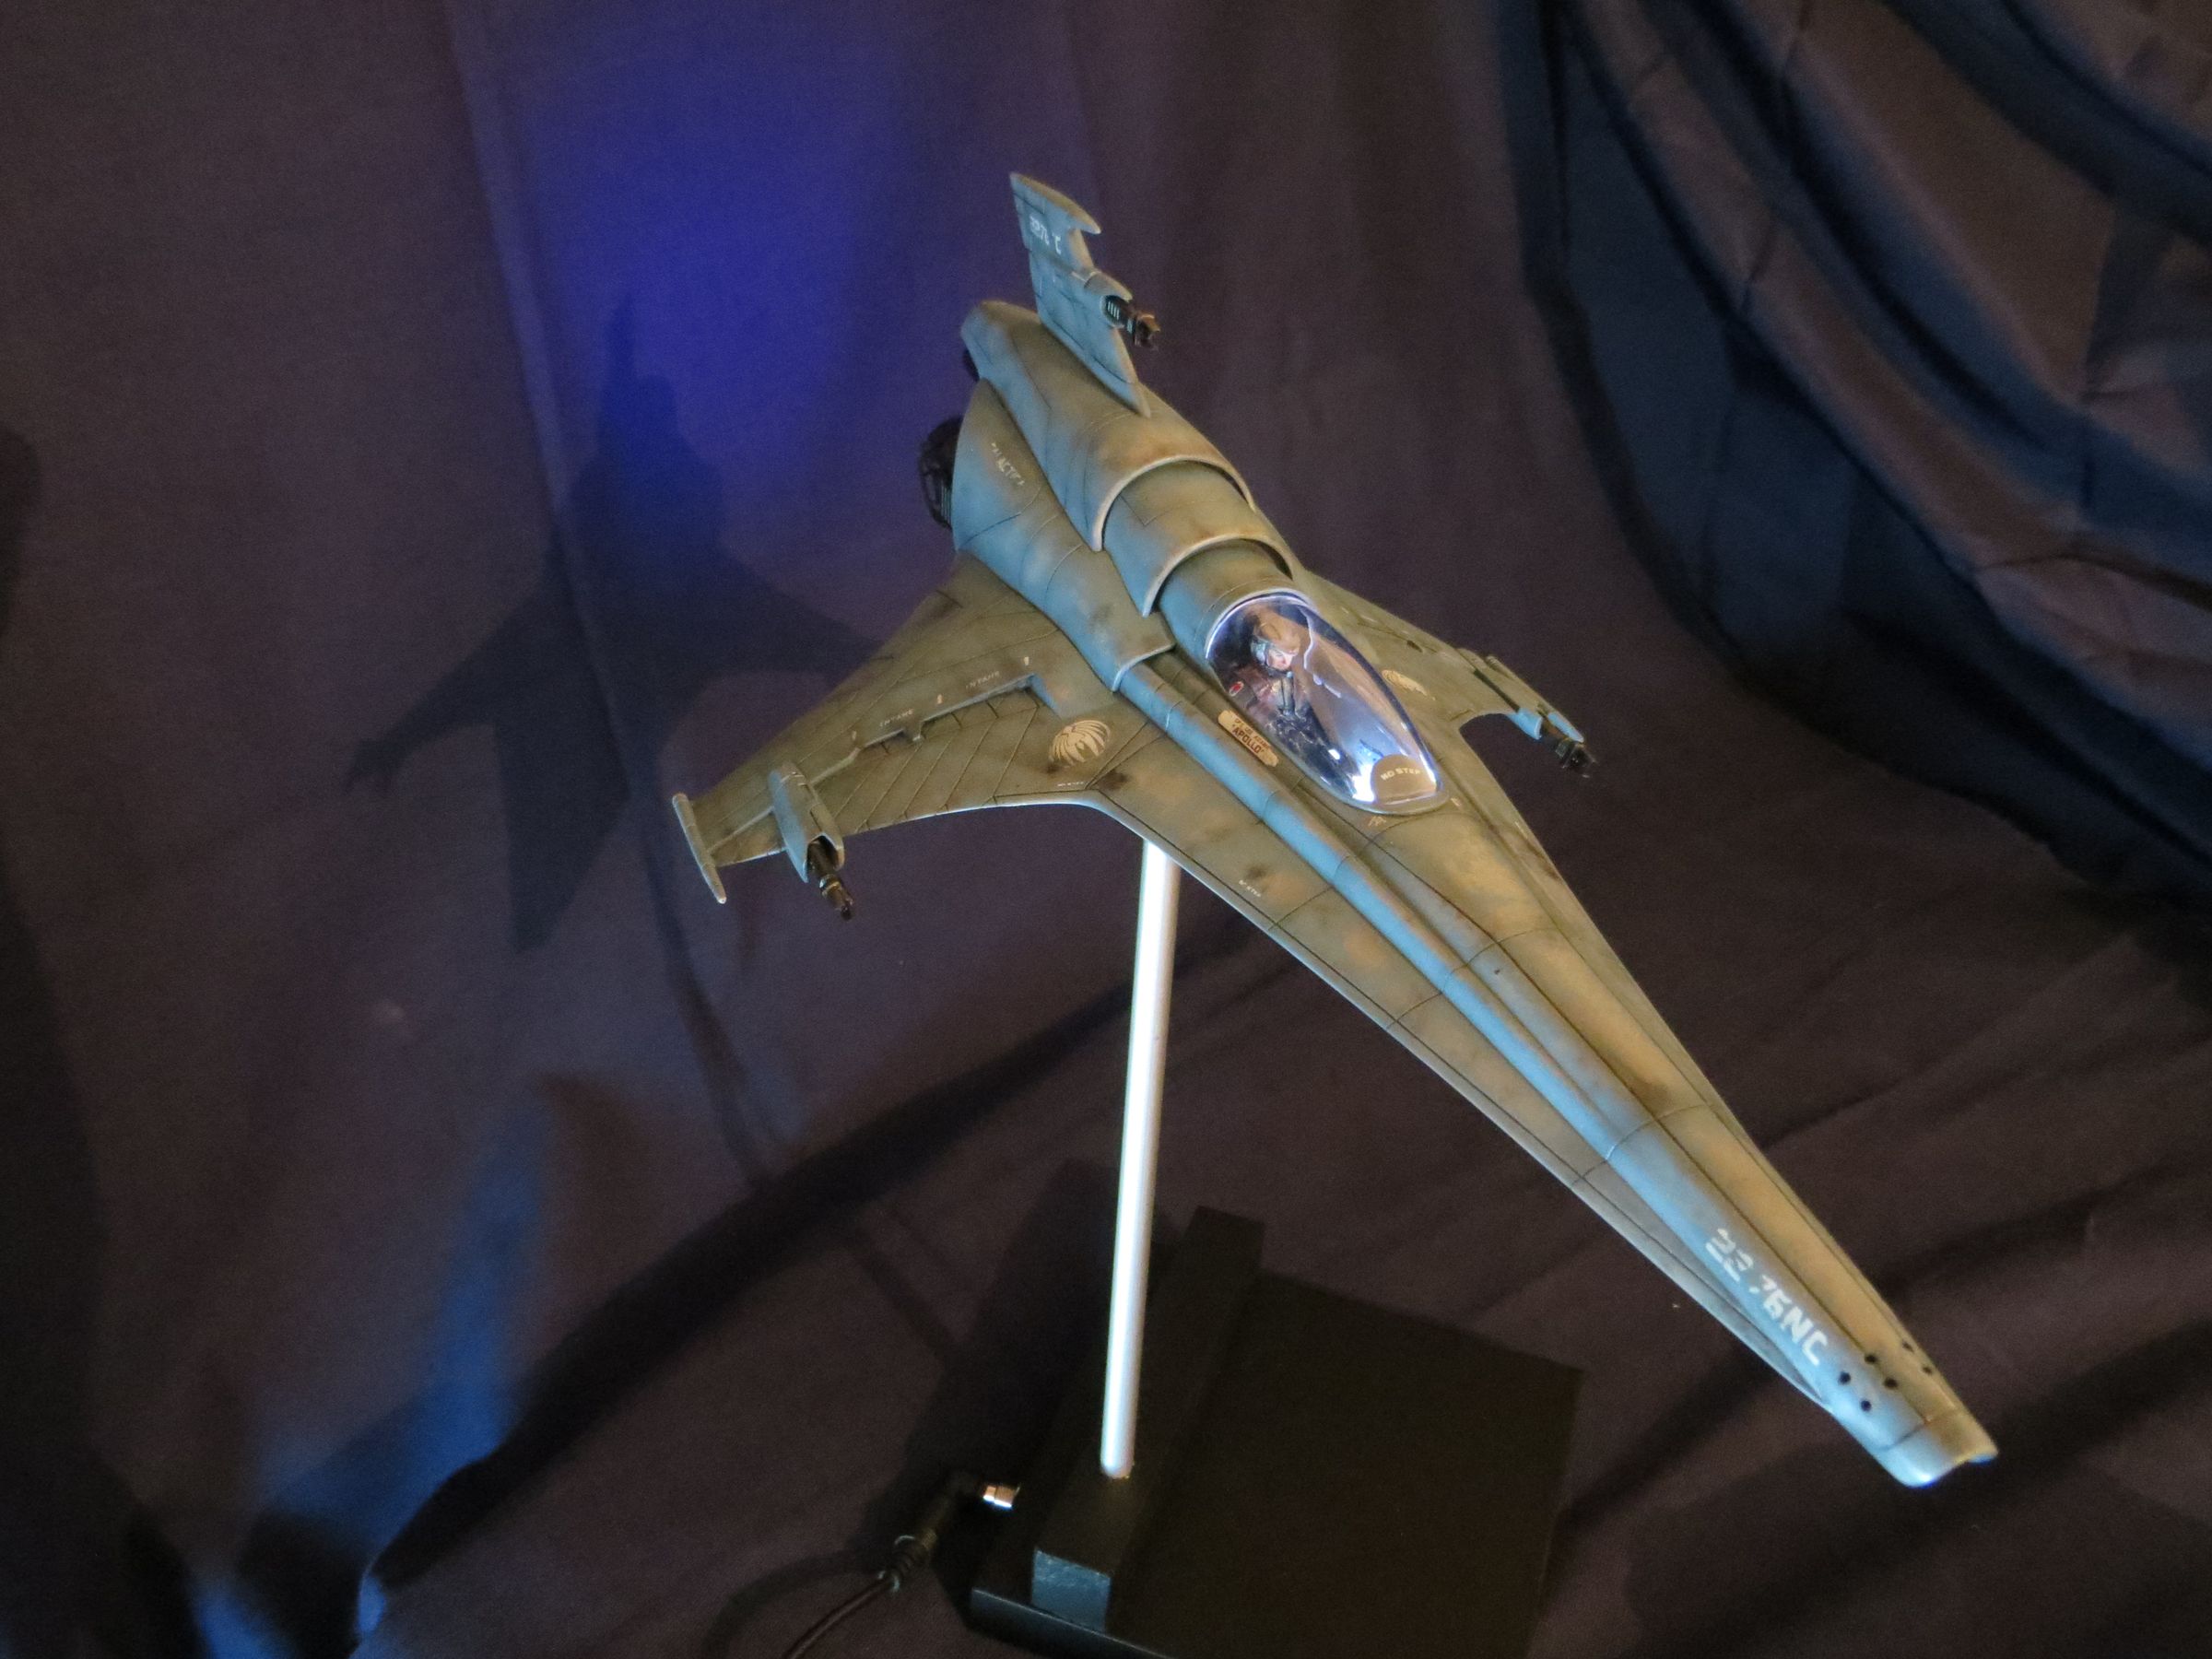
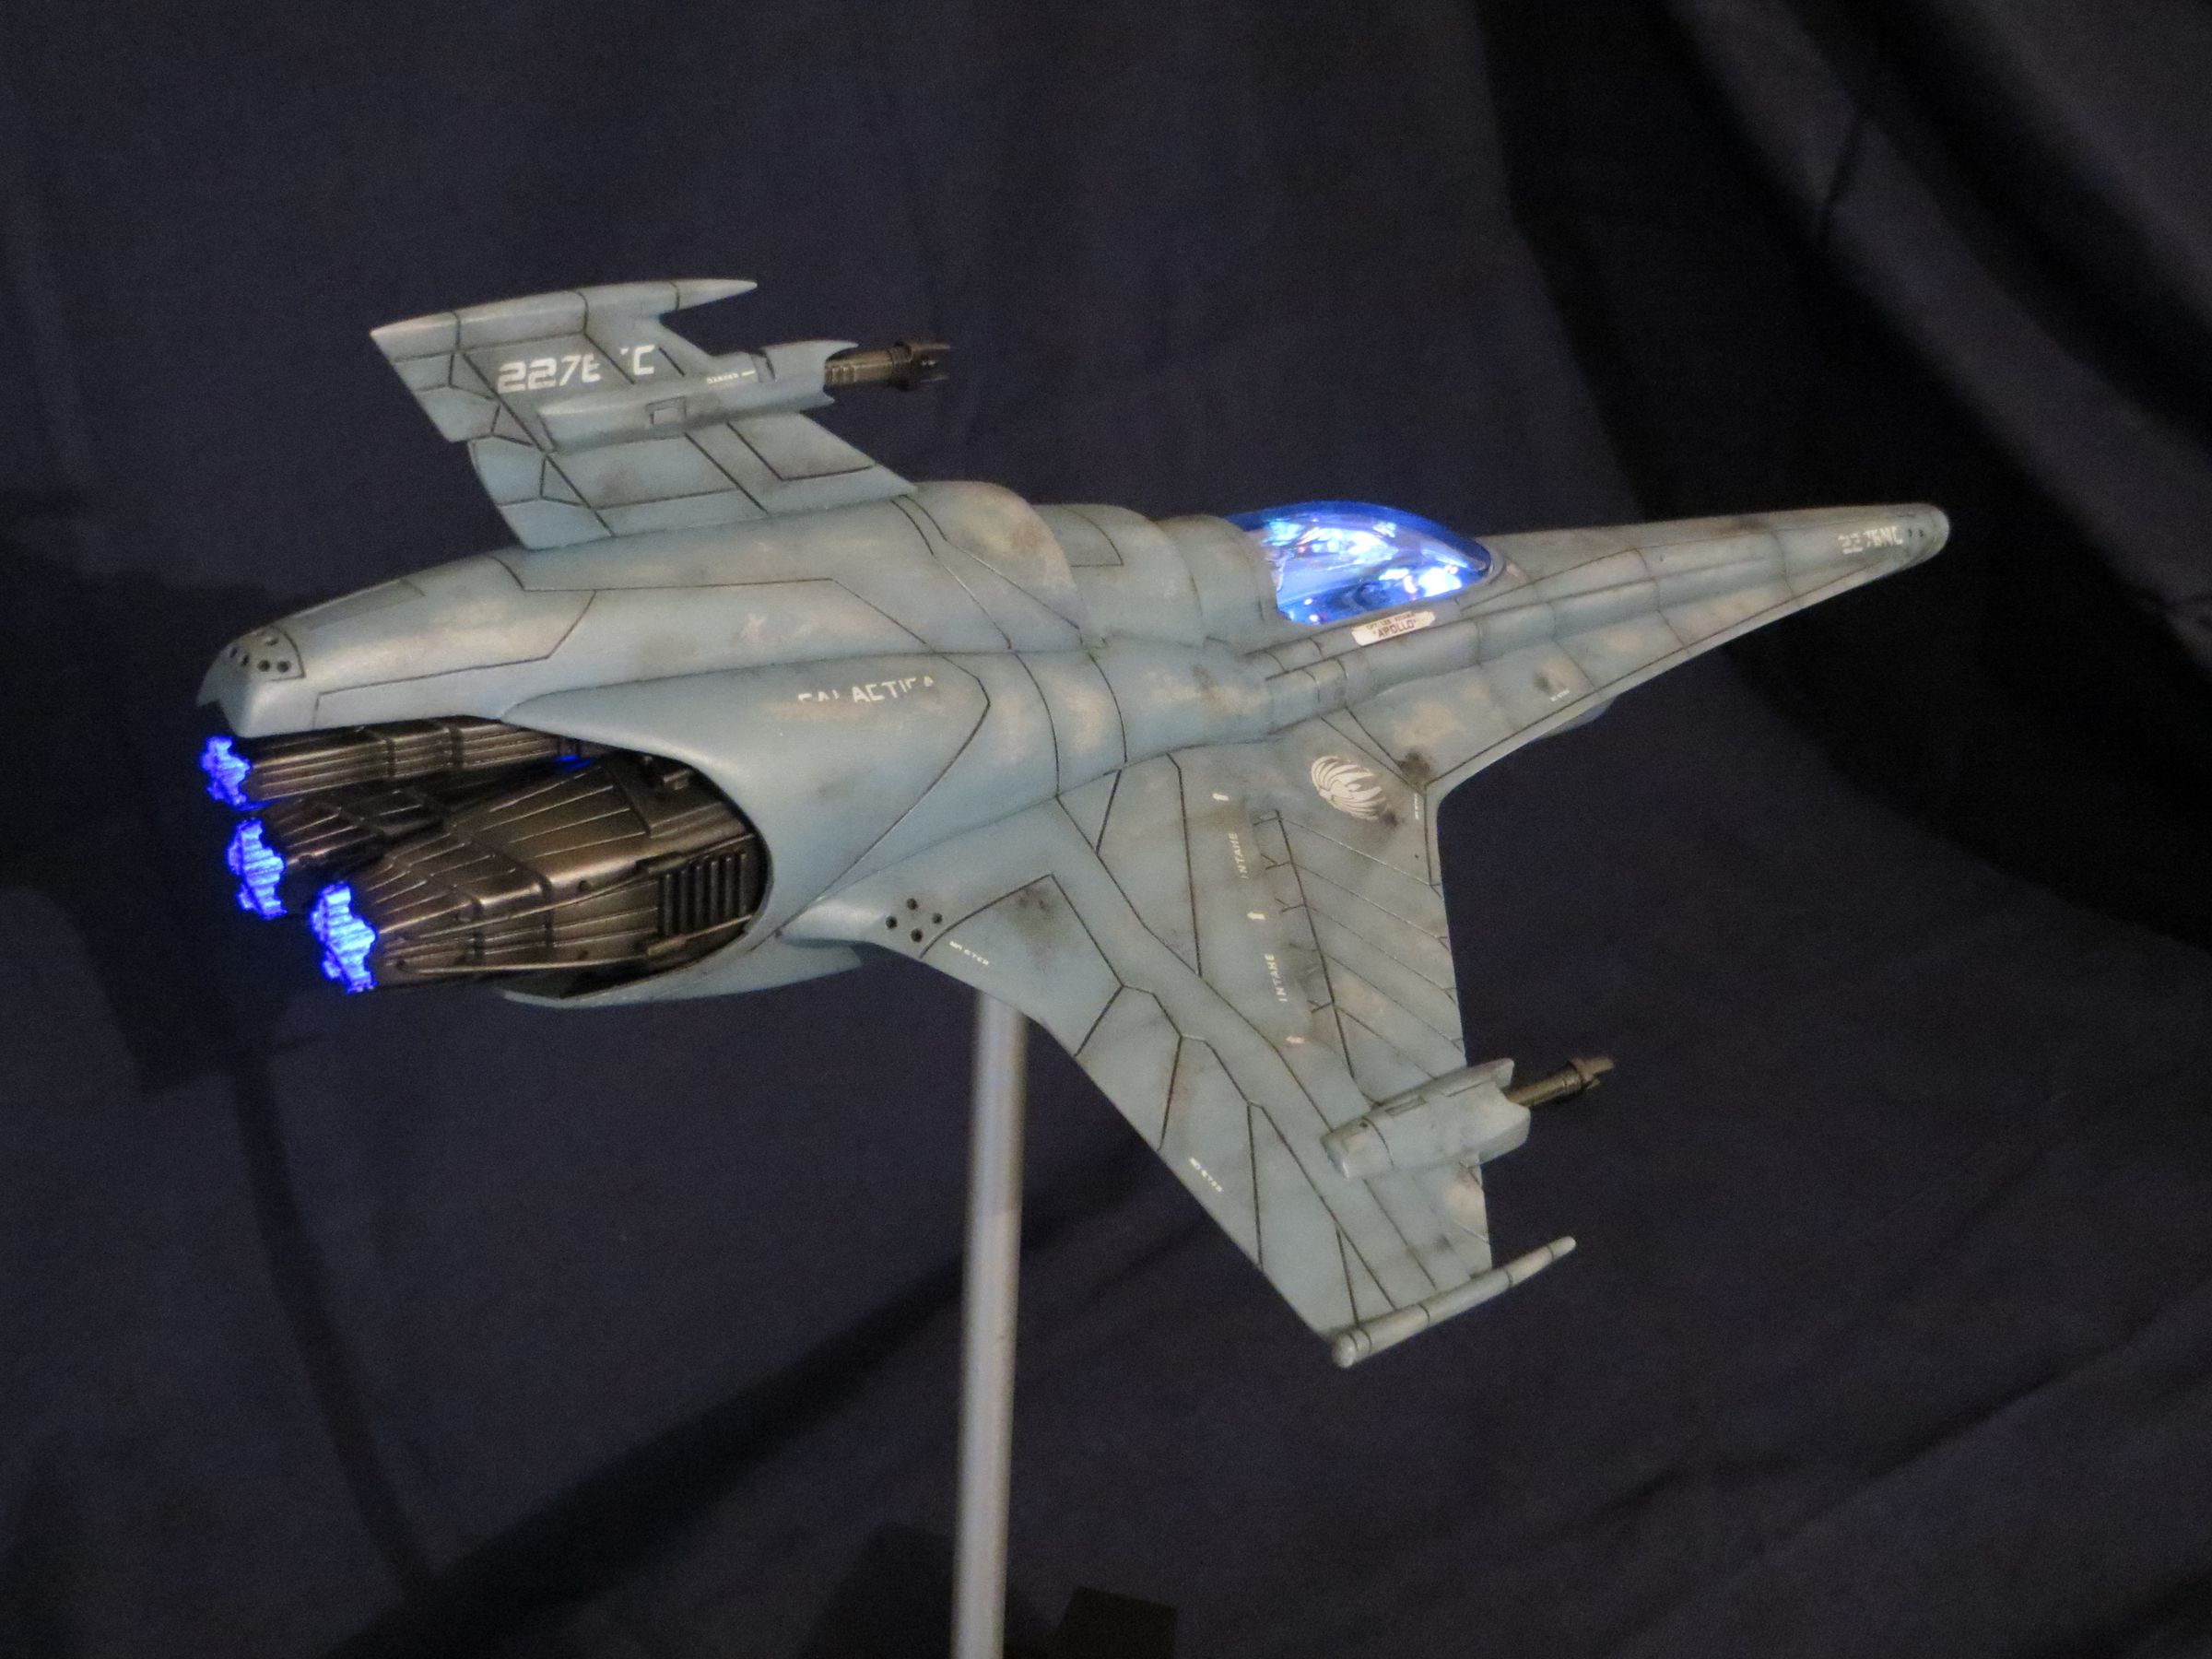
In front of a dark background, with artificial lights :


Aller au contenu | Aller au menu | Aller à la recherche
mercredi, 2 avril 2014
Par olcabour le mercredi, 2 avril 2014, 23:19
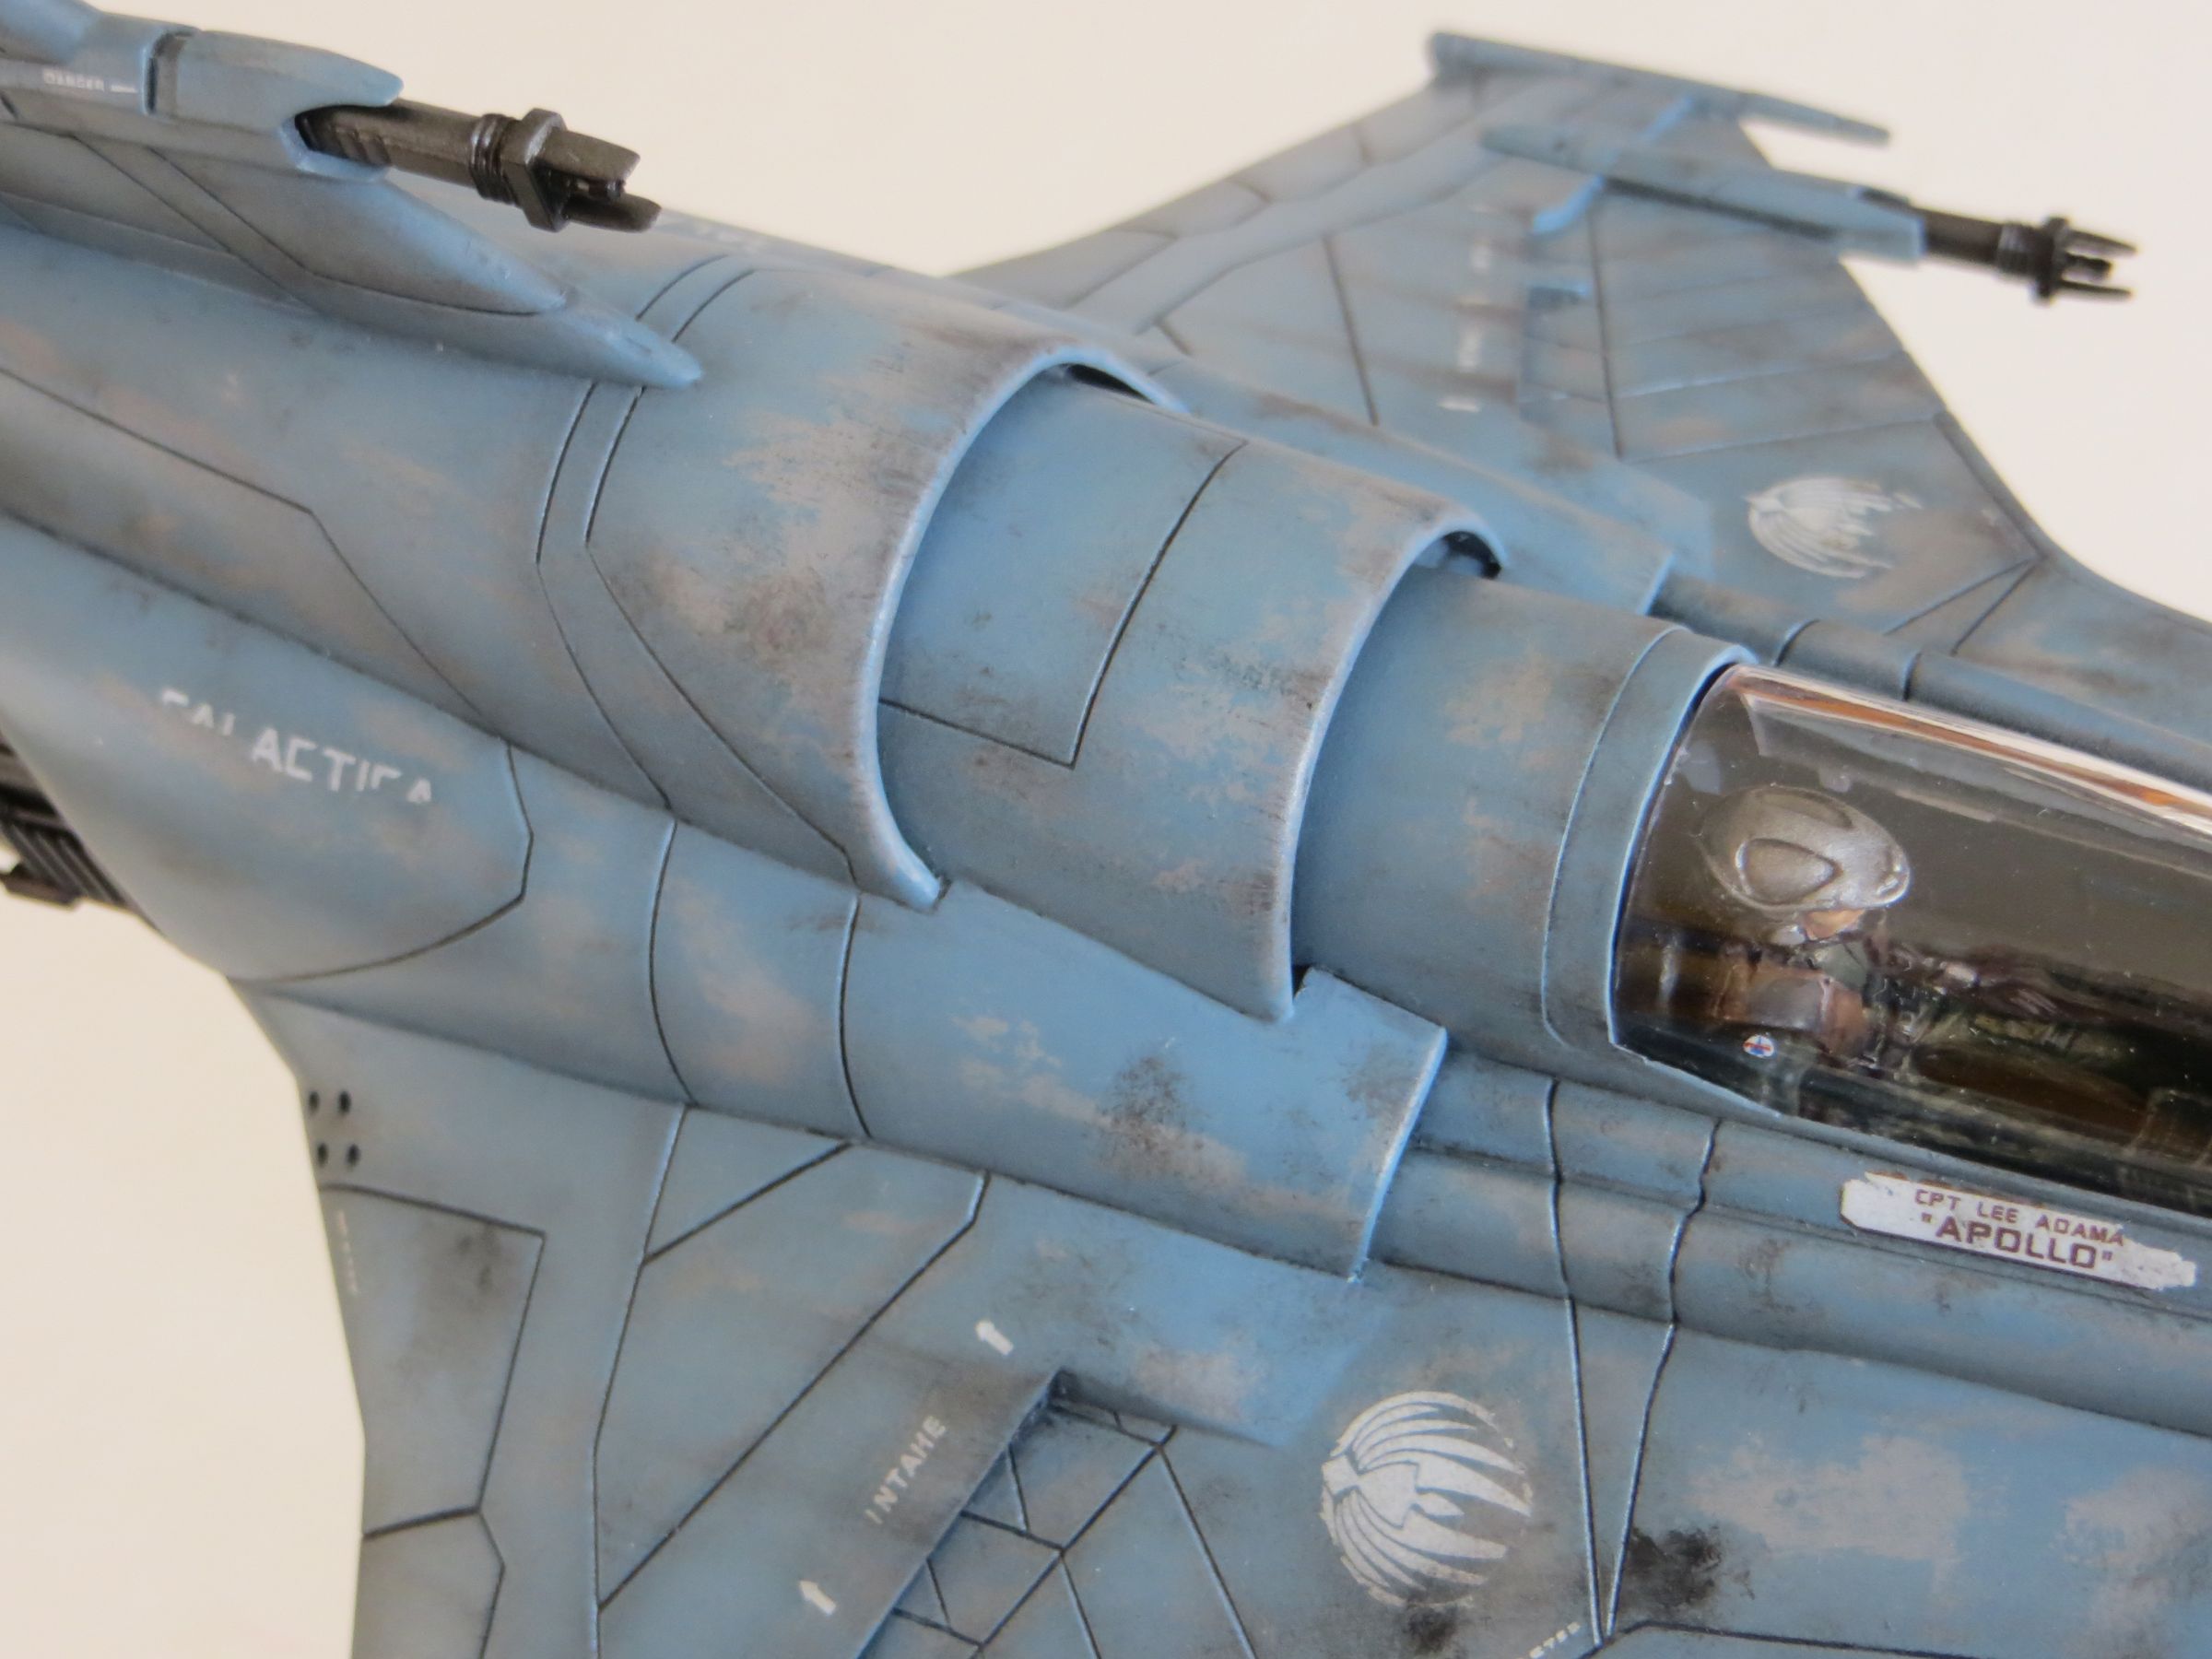
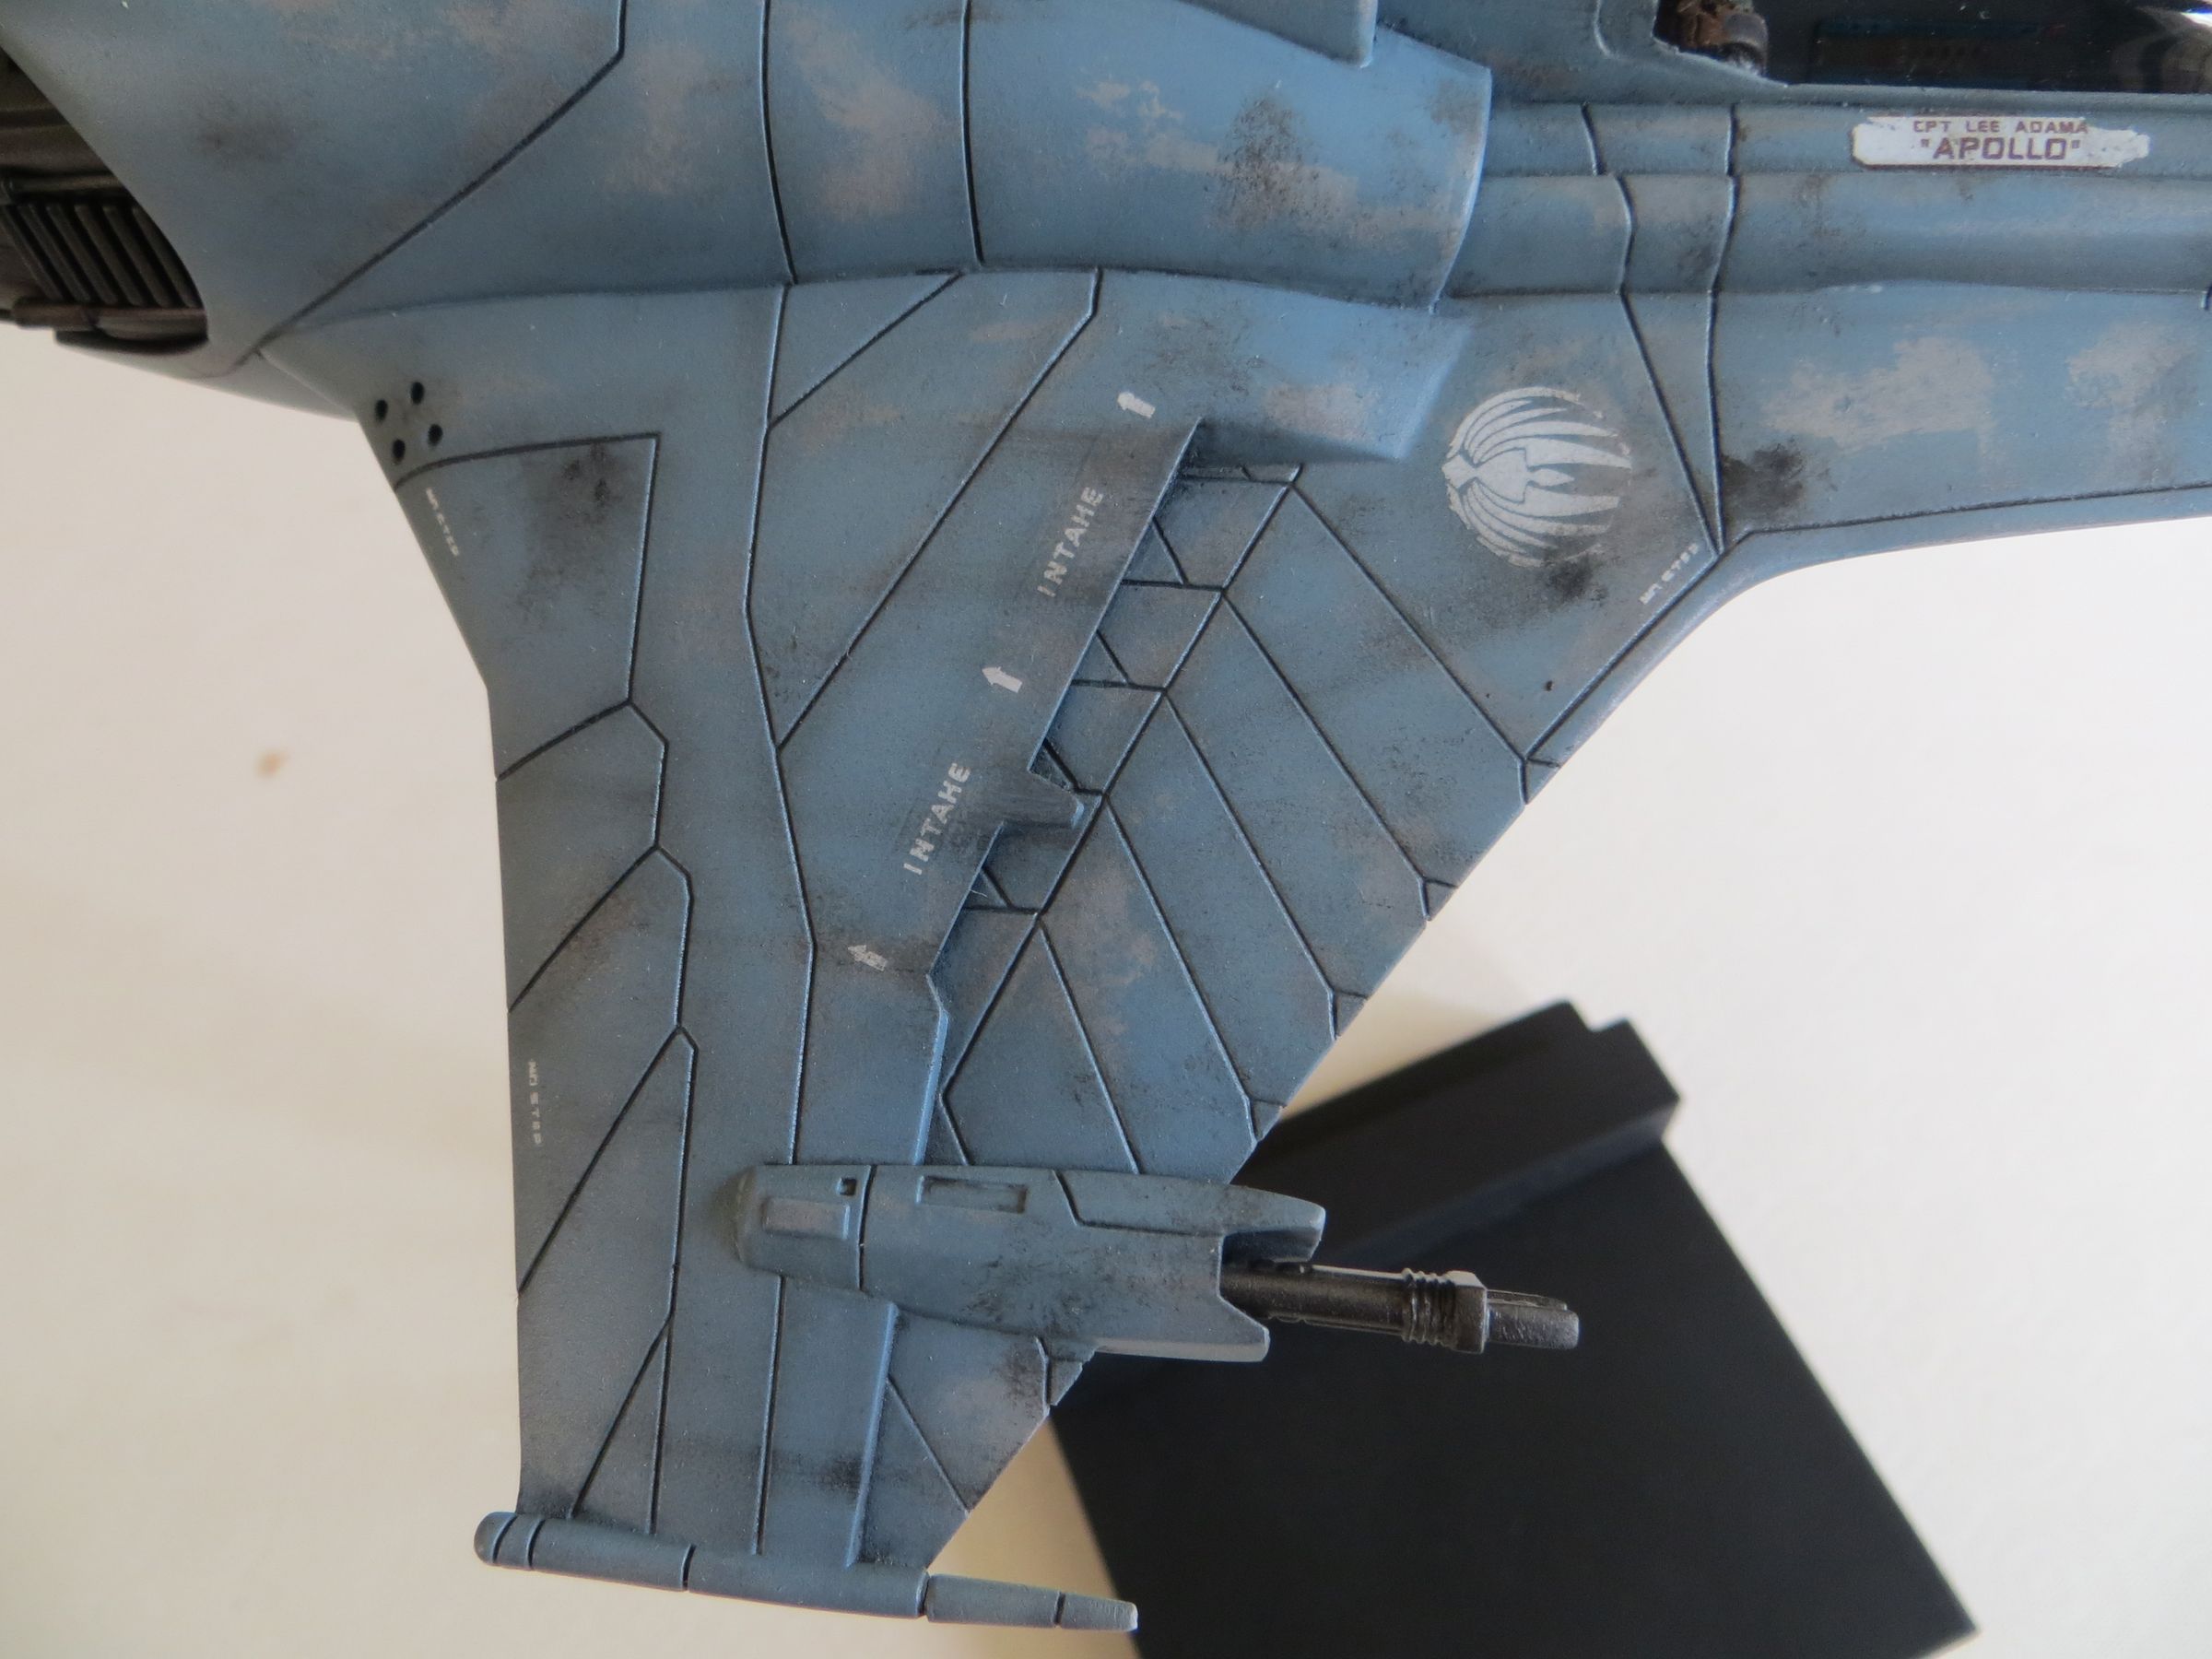
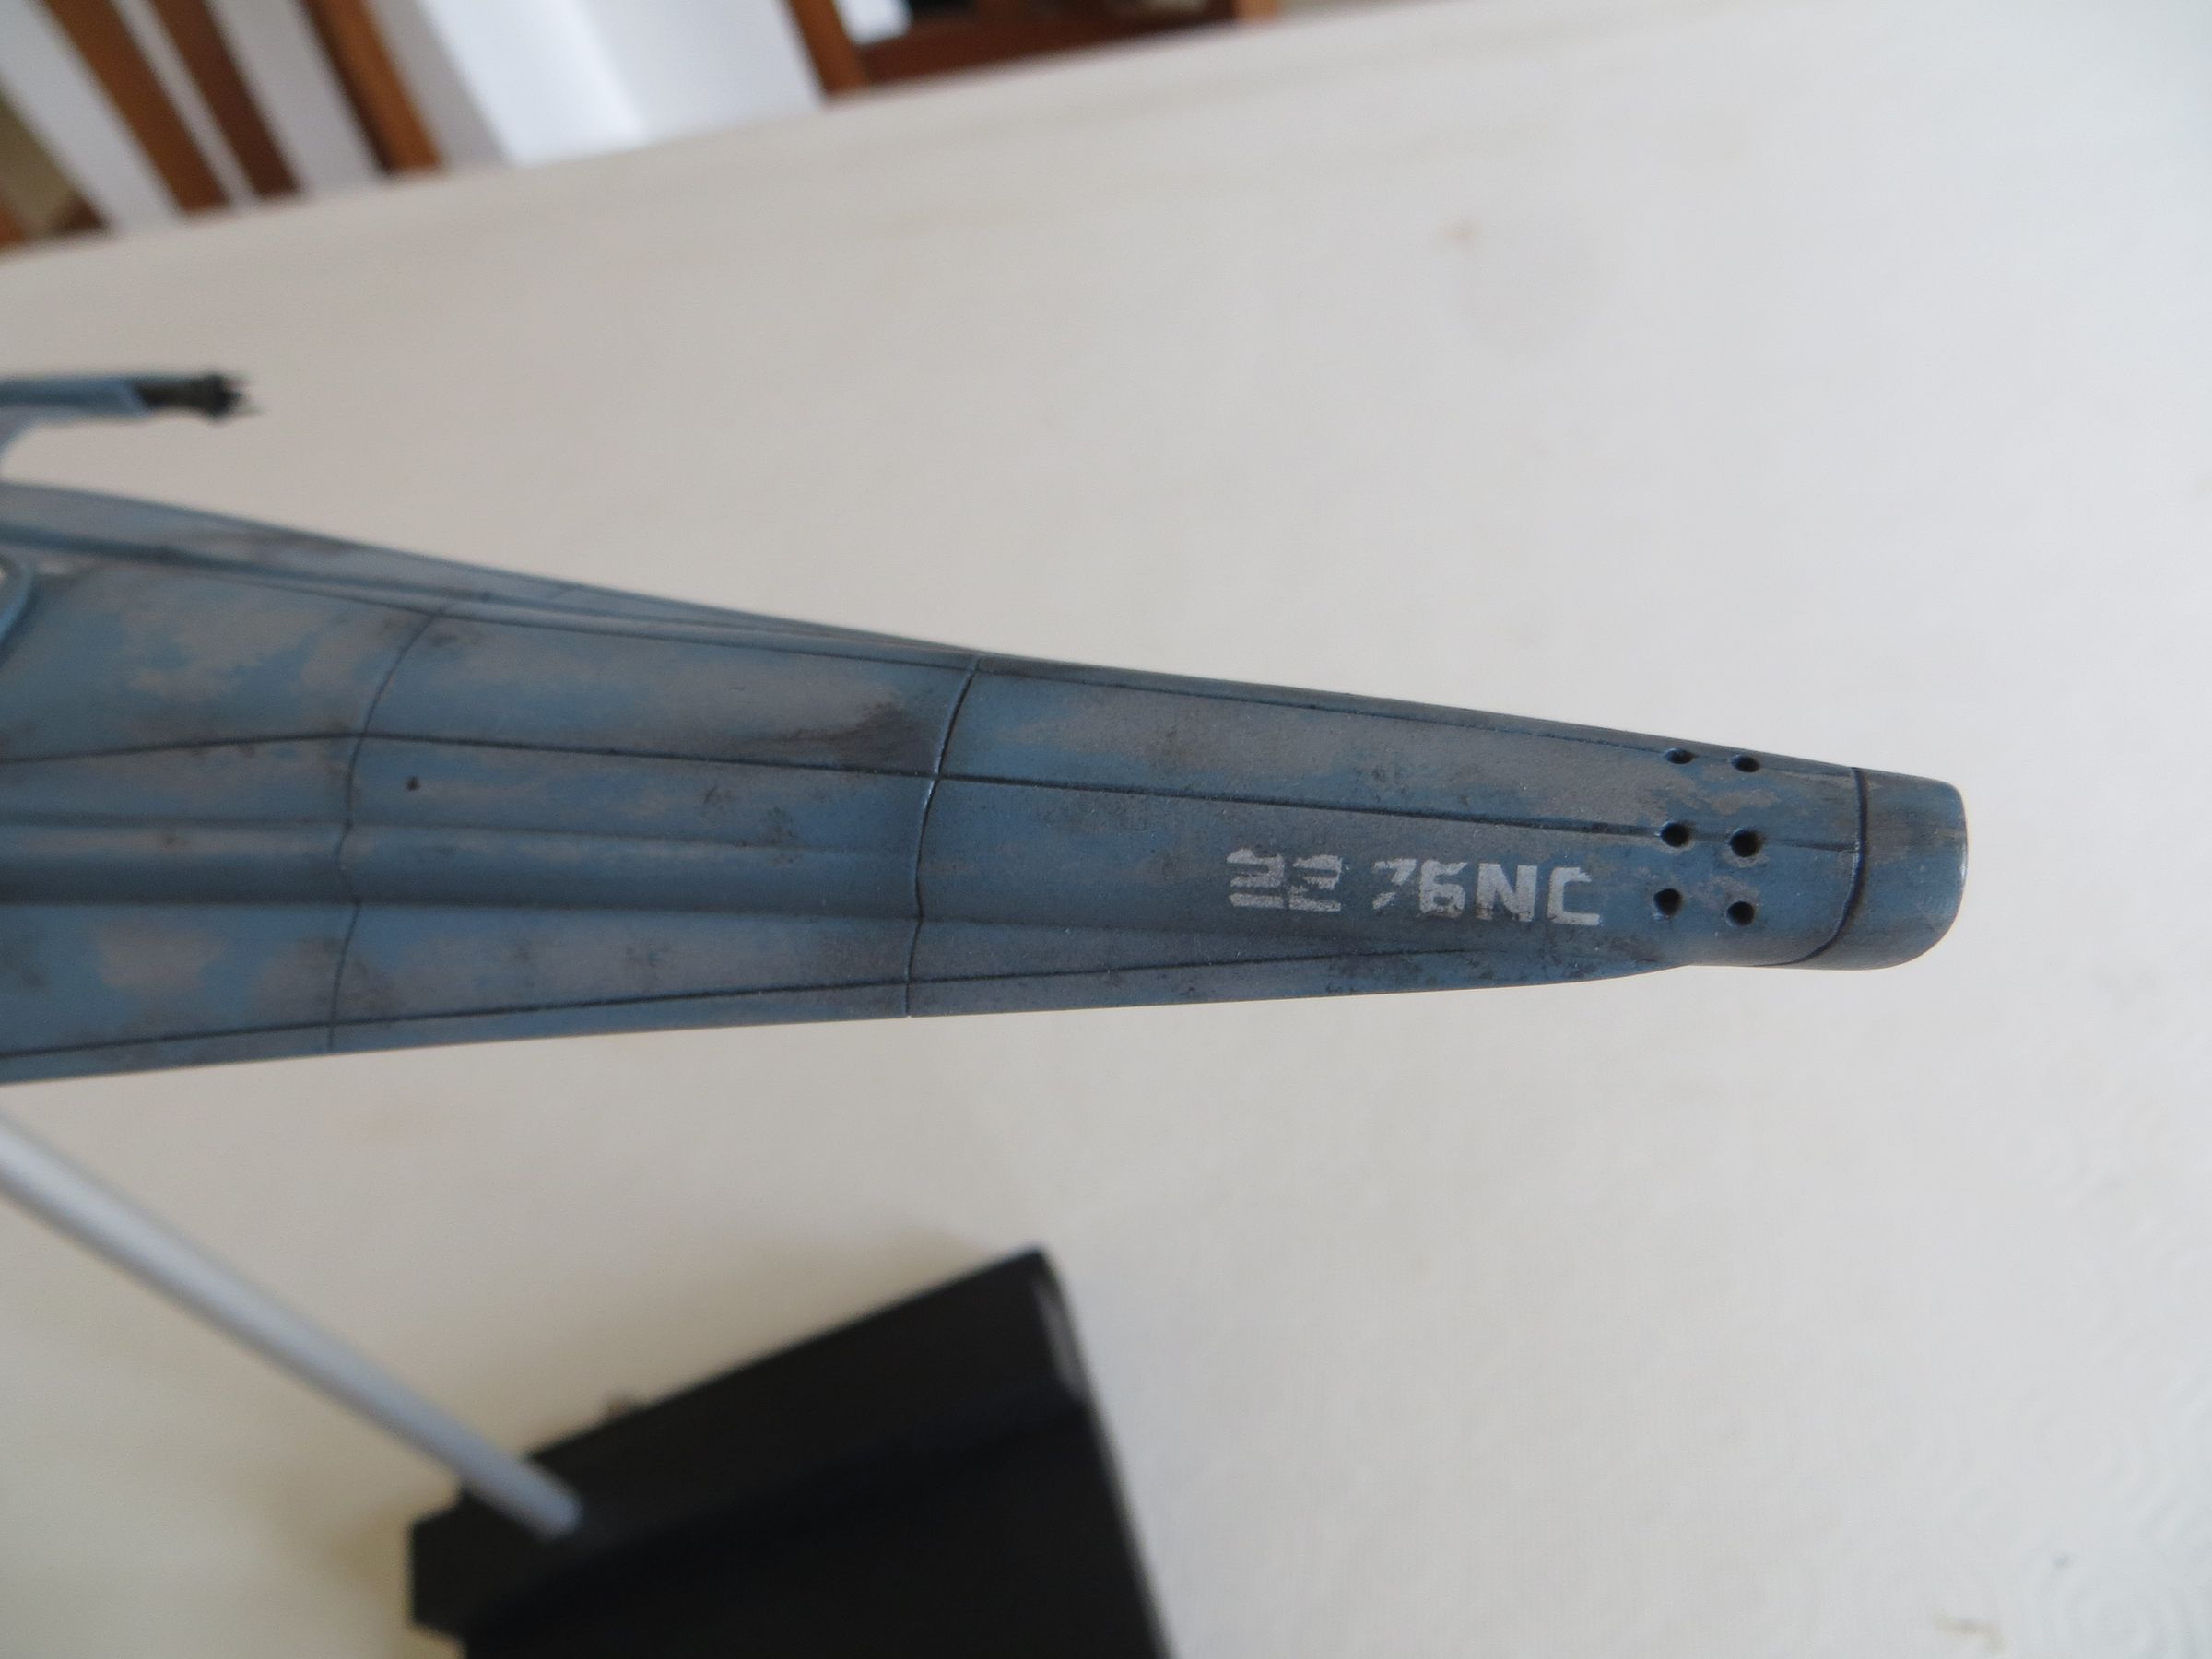
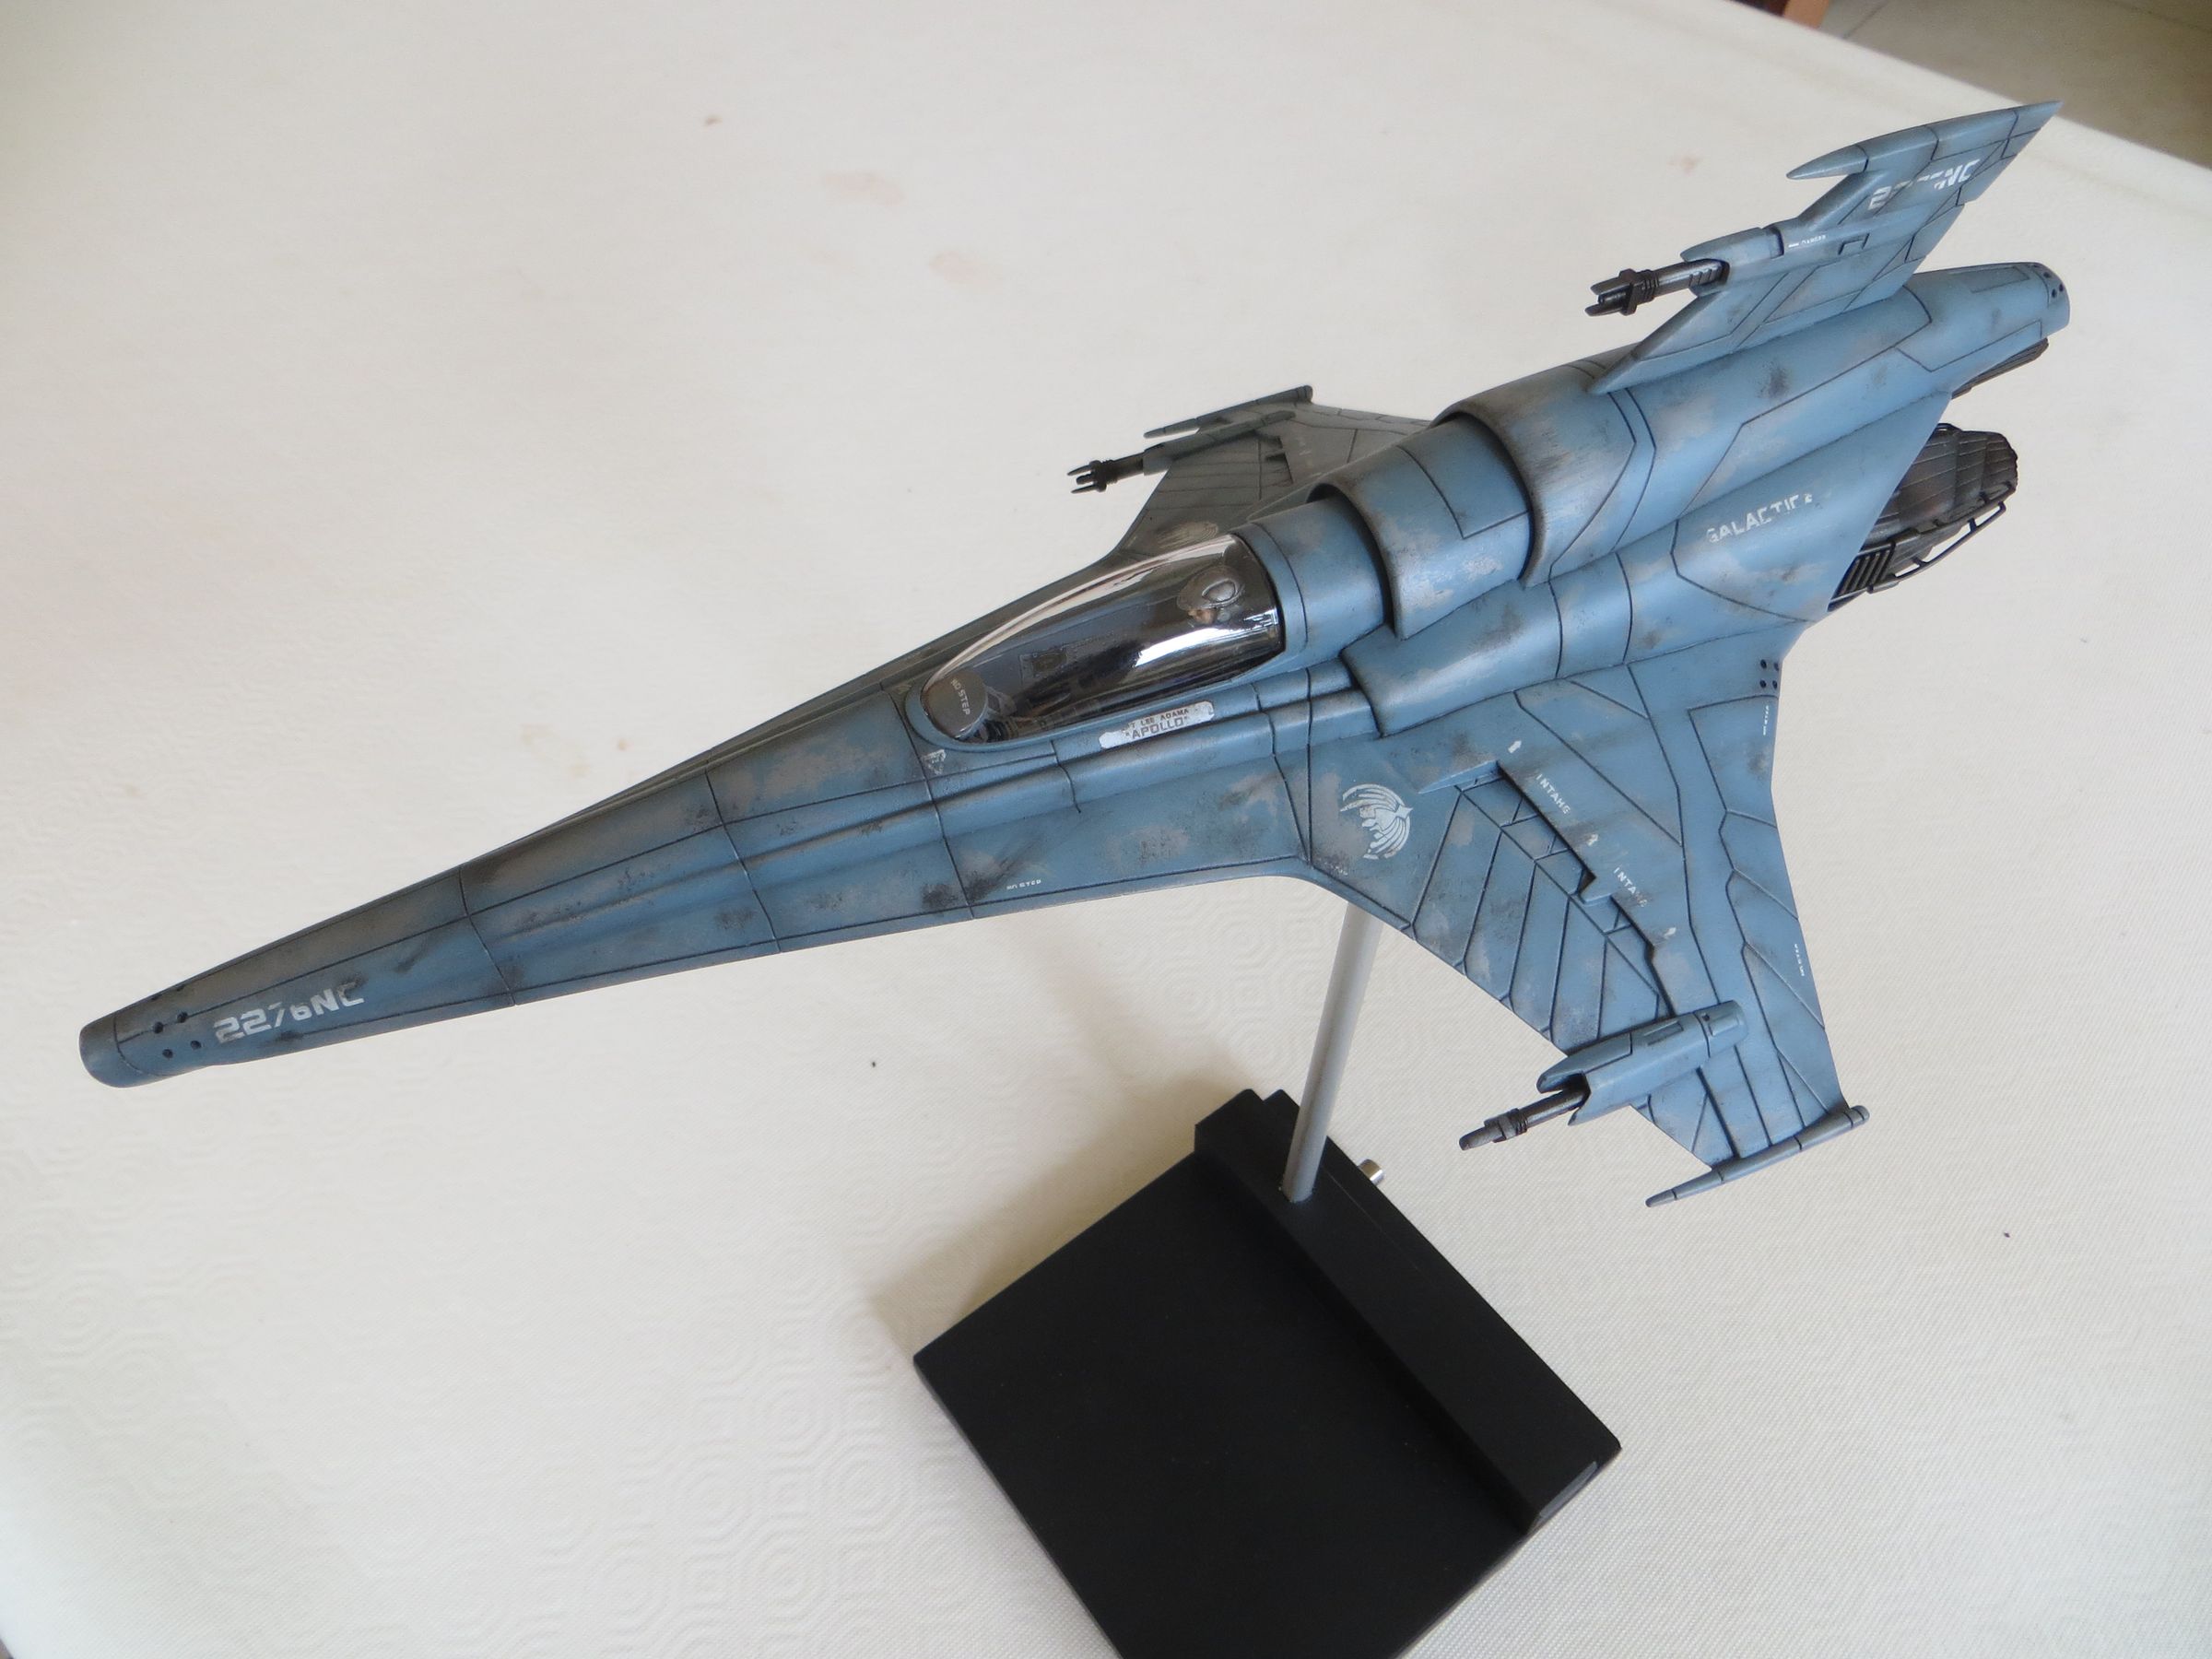
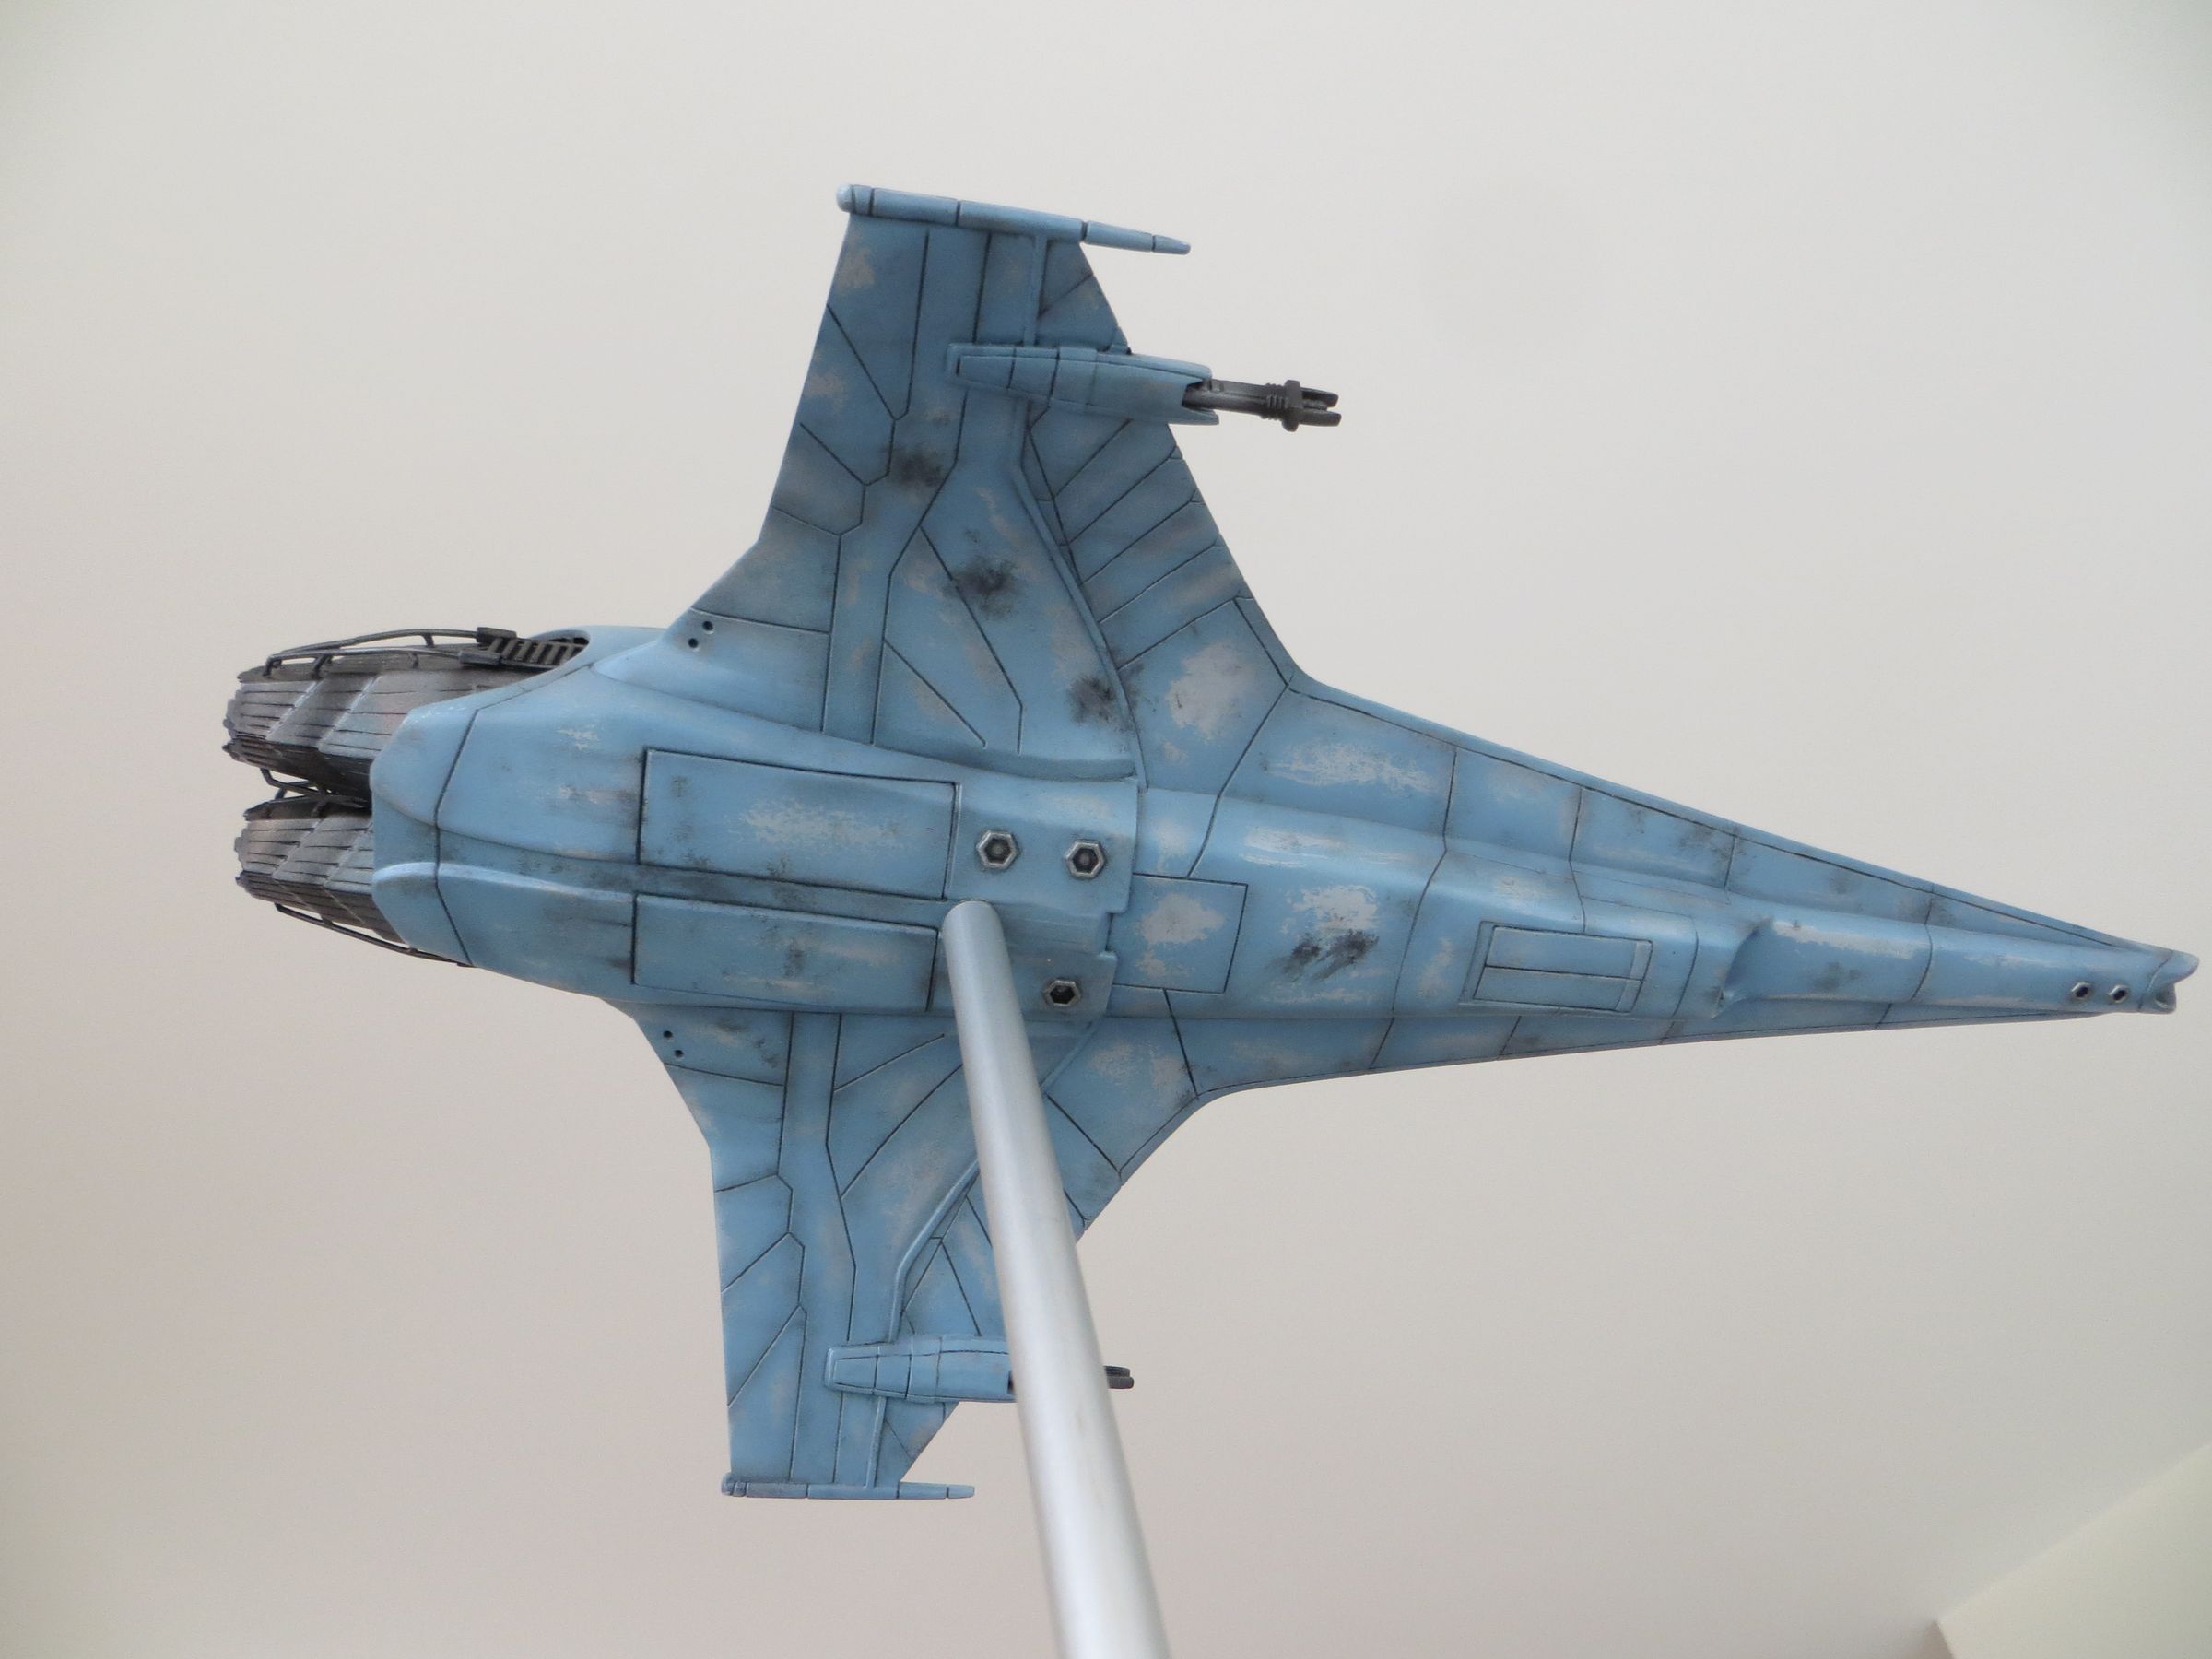
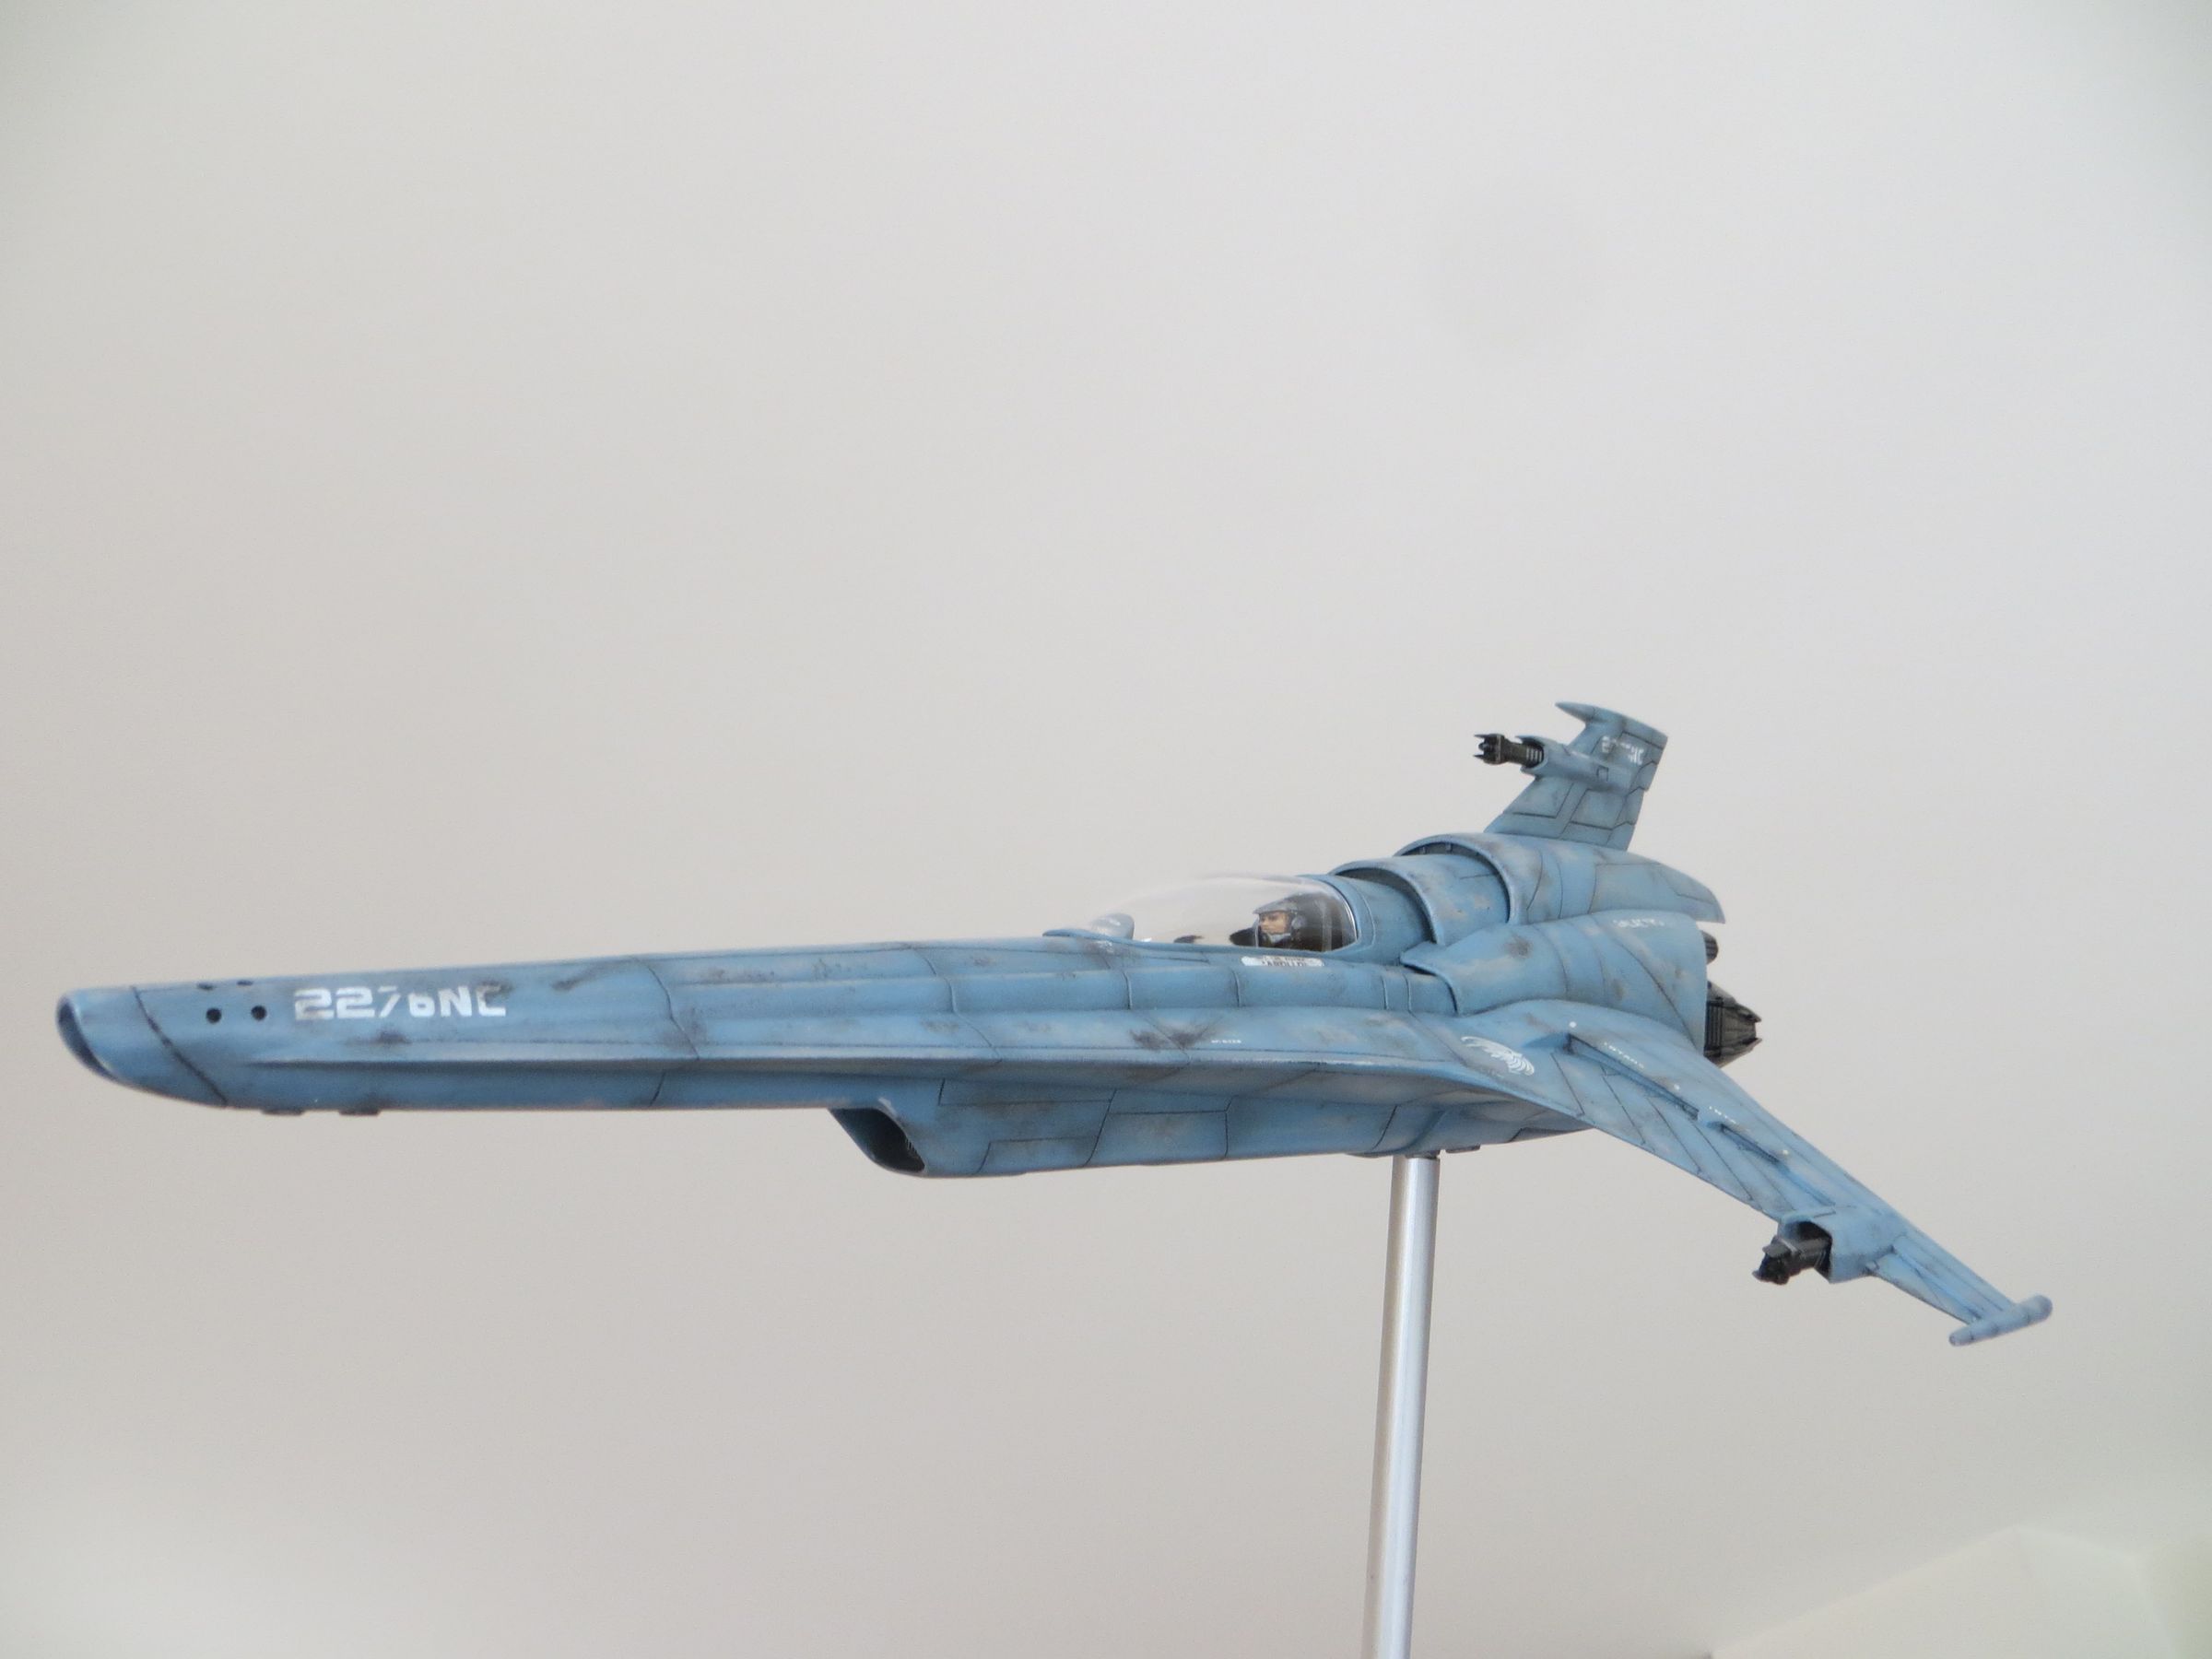
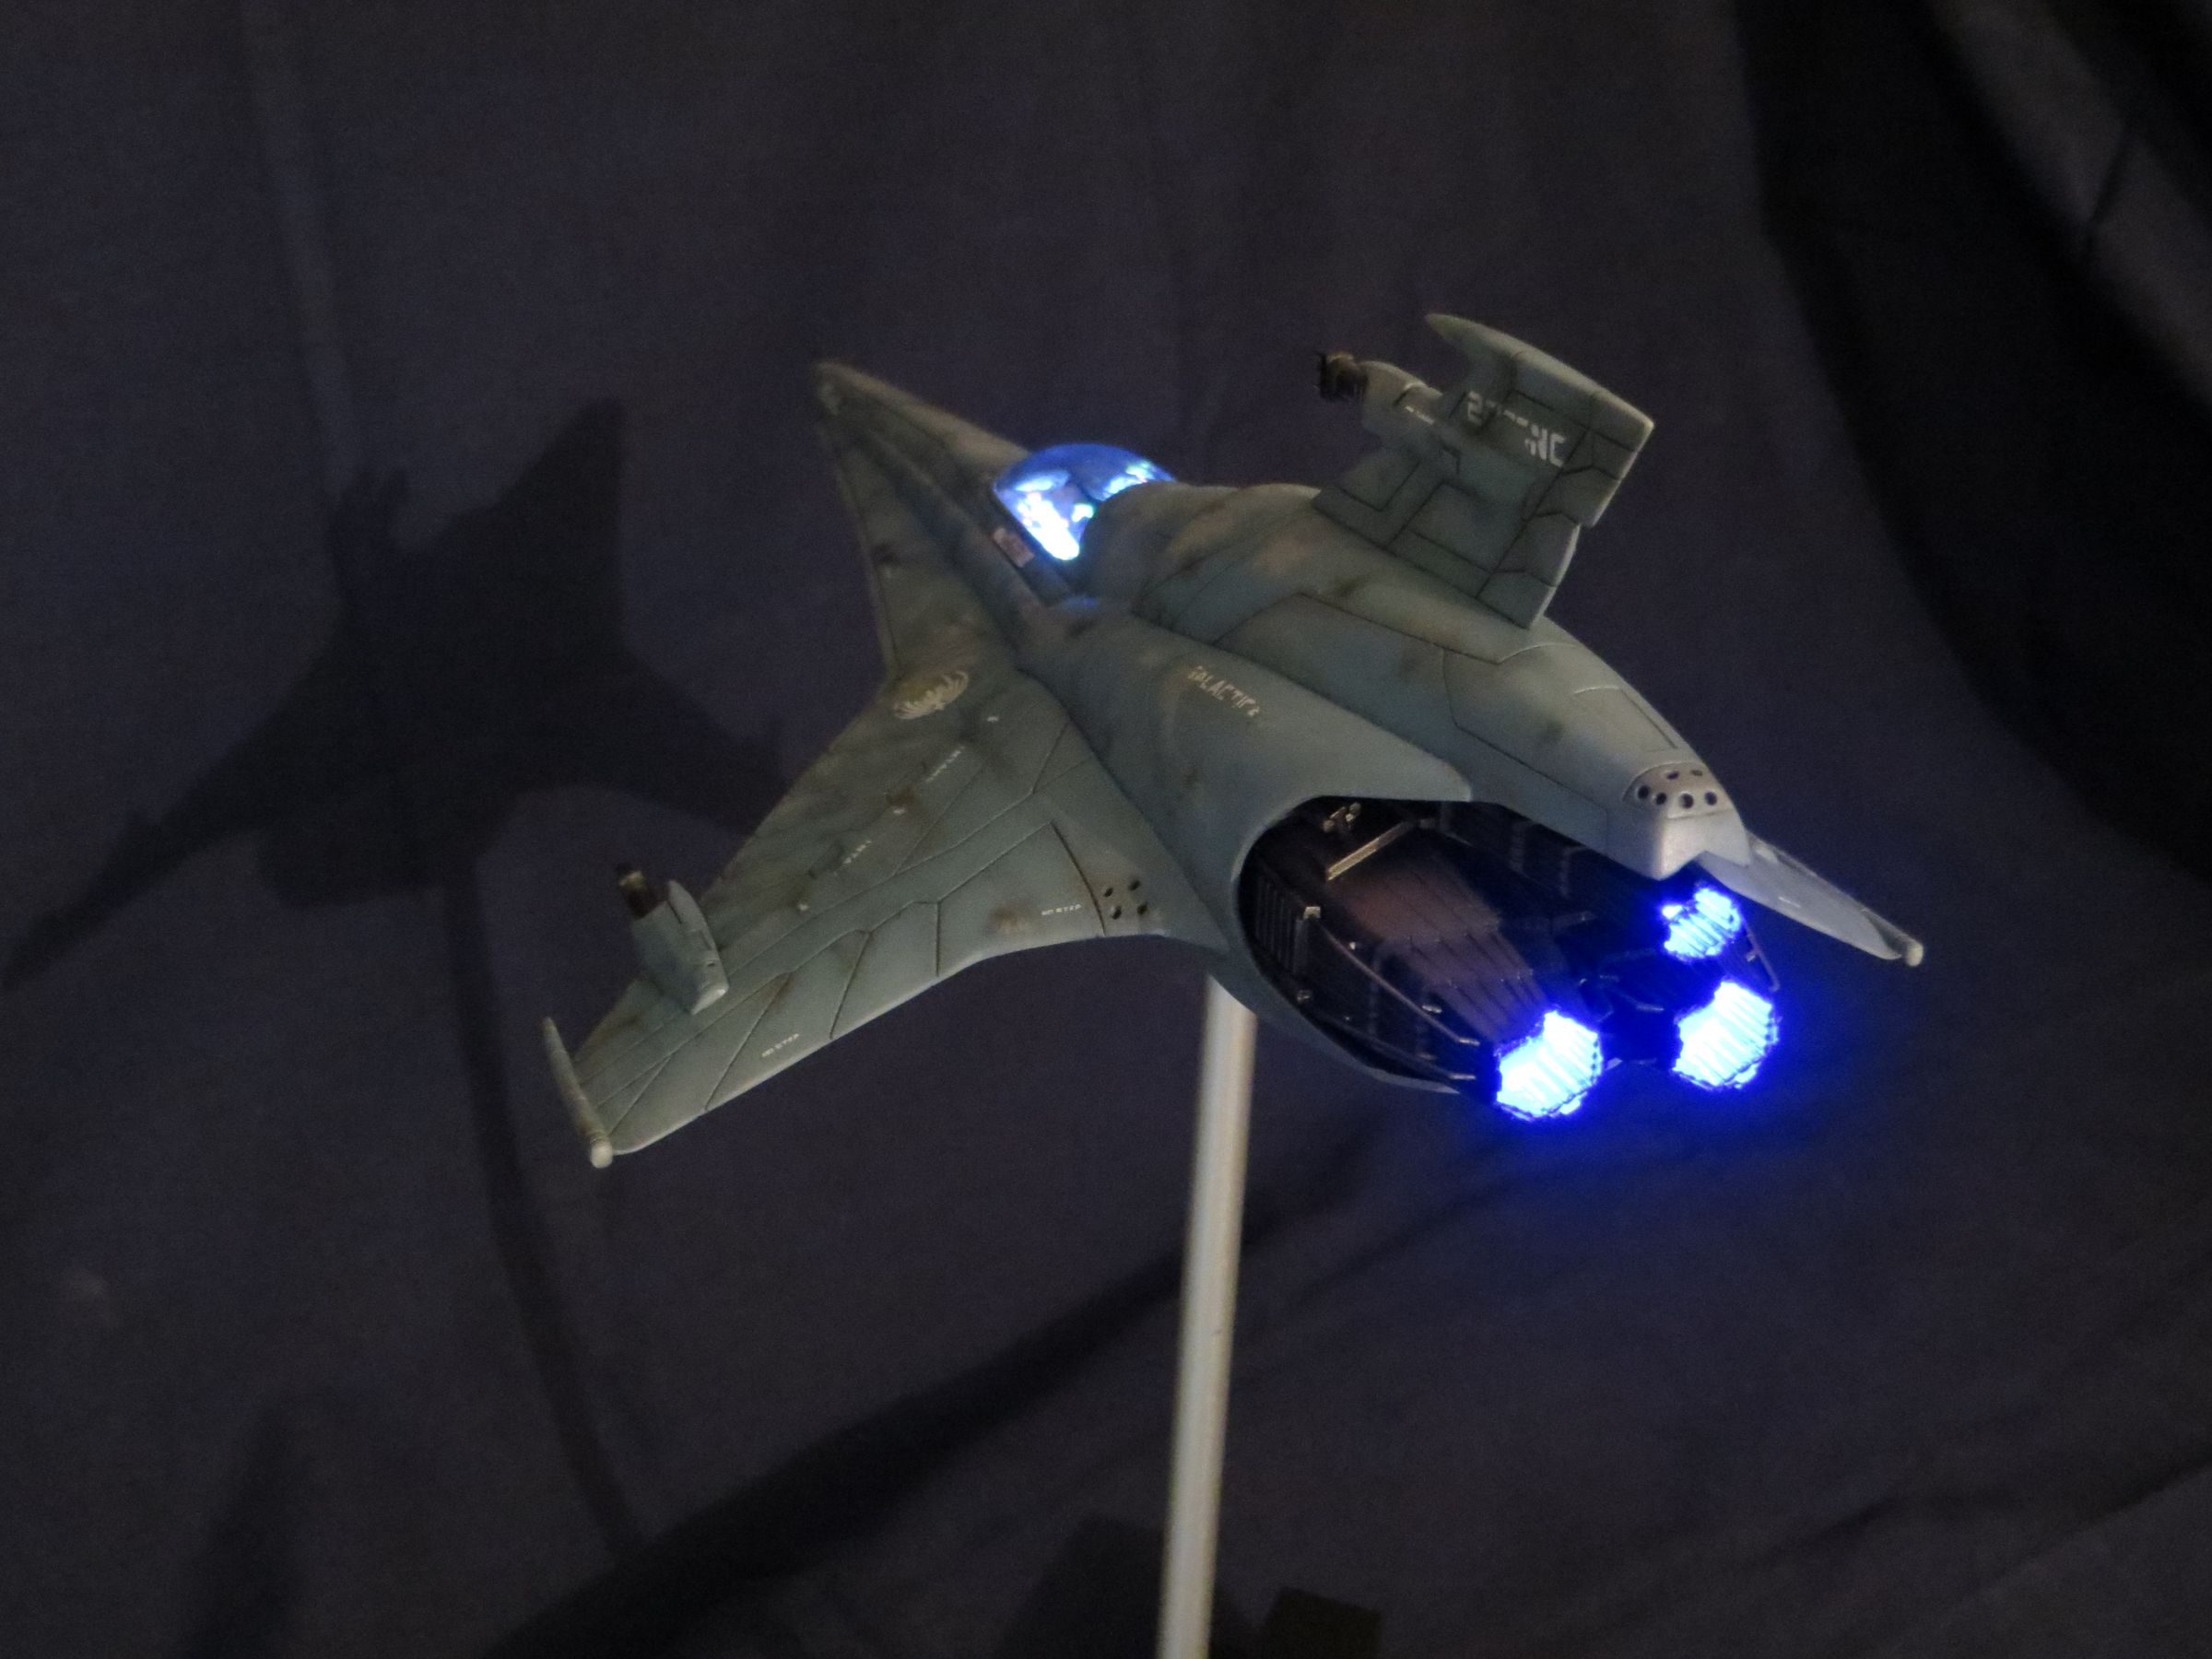
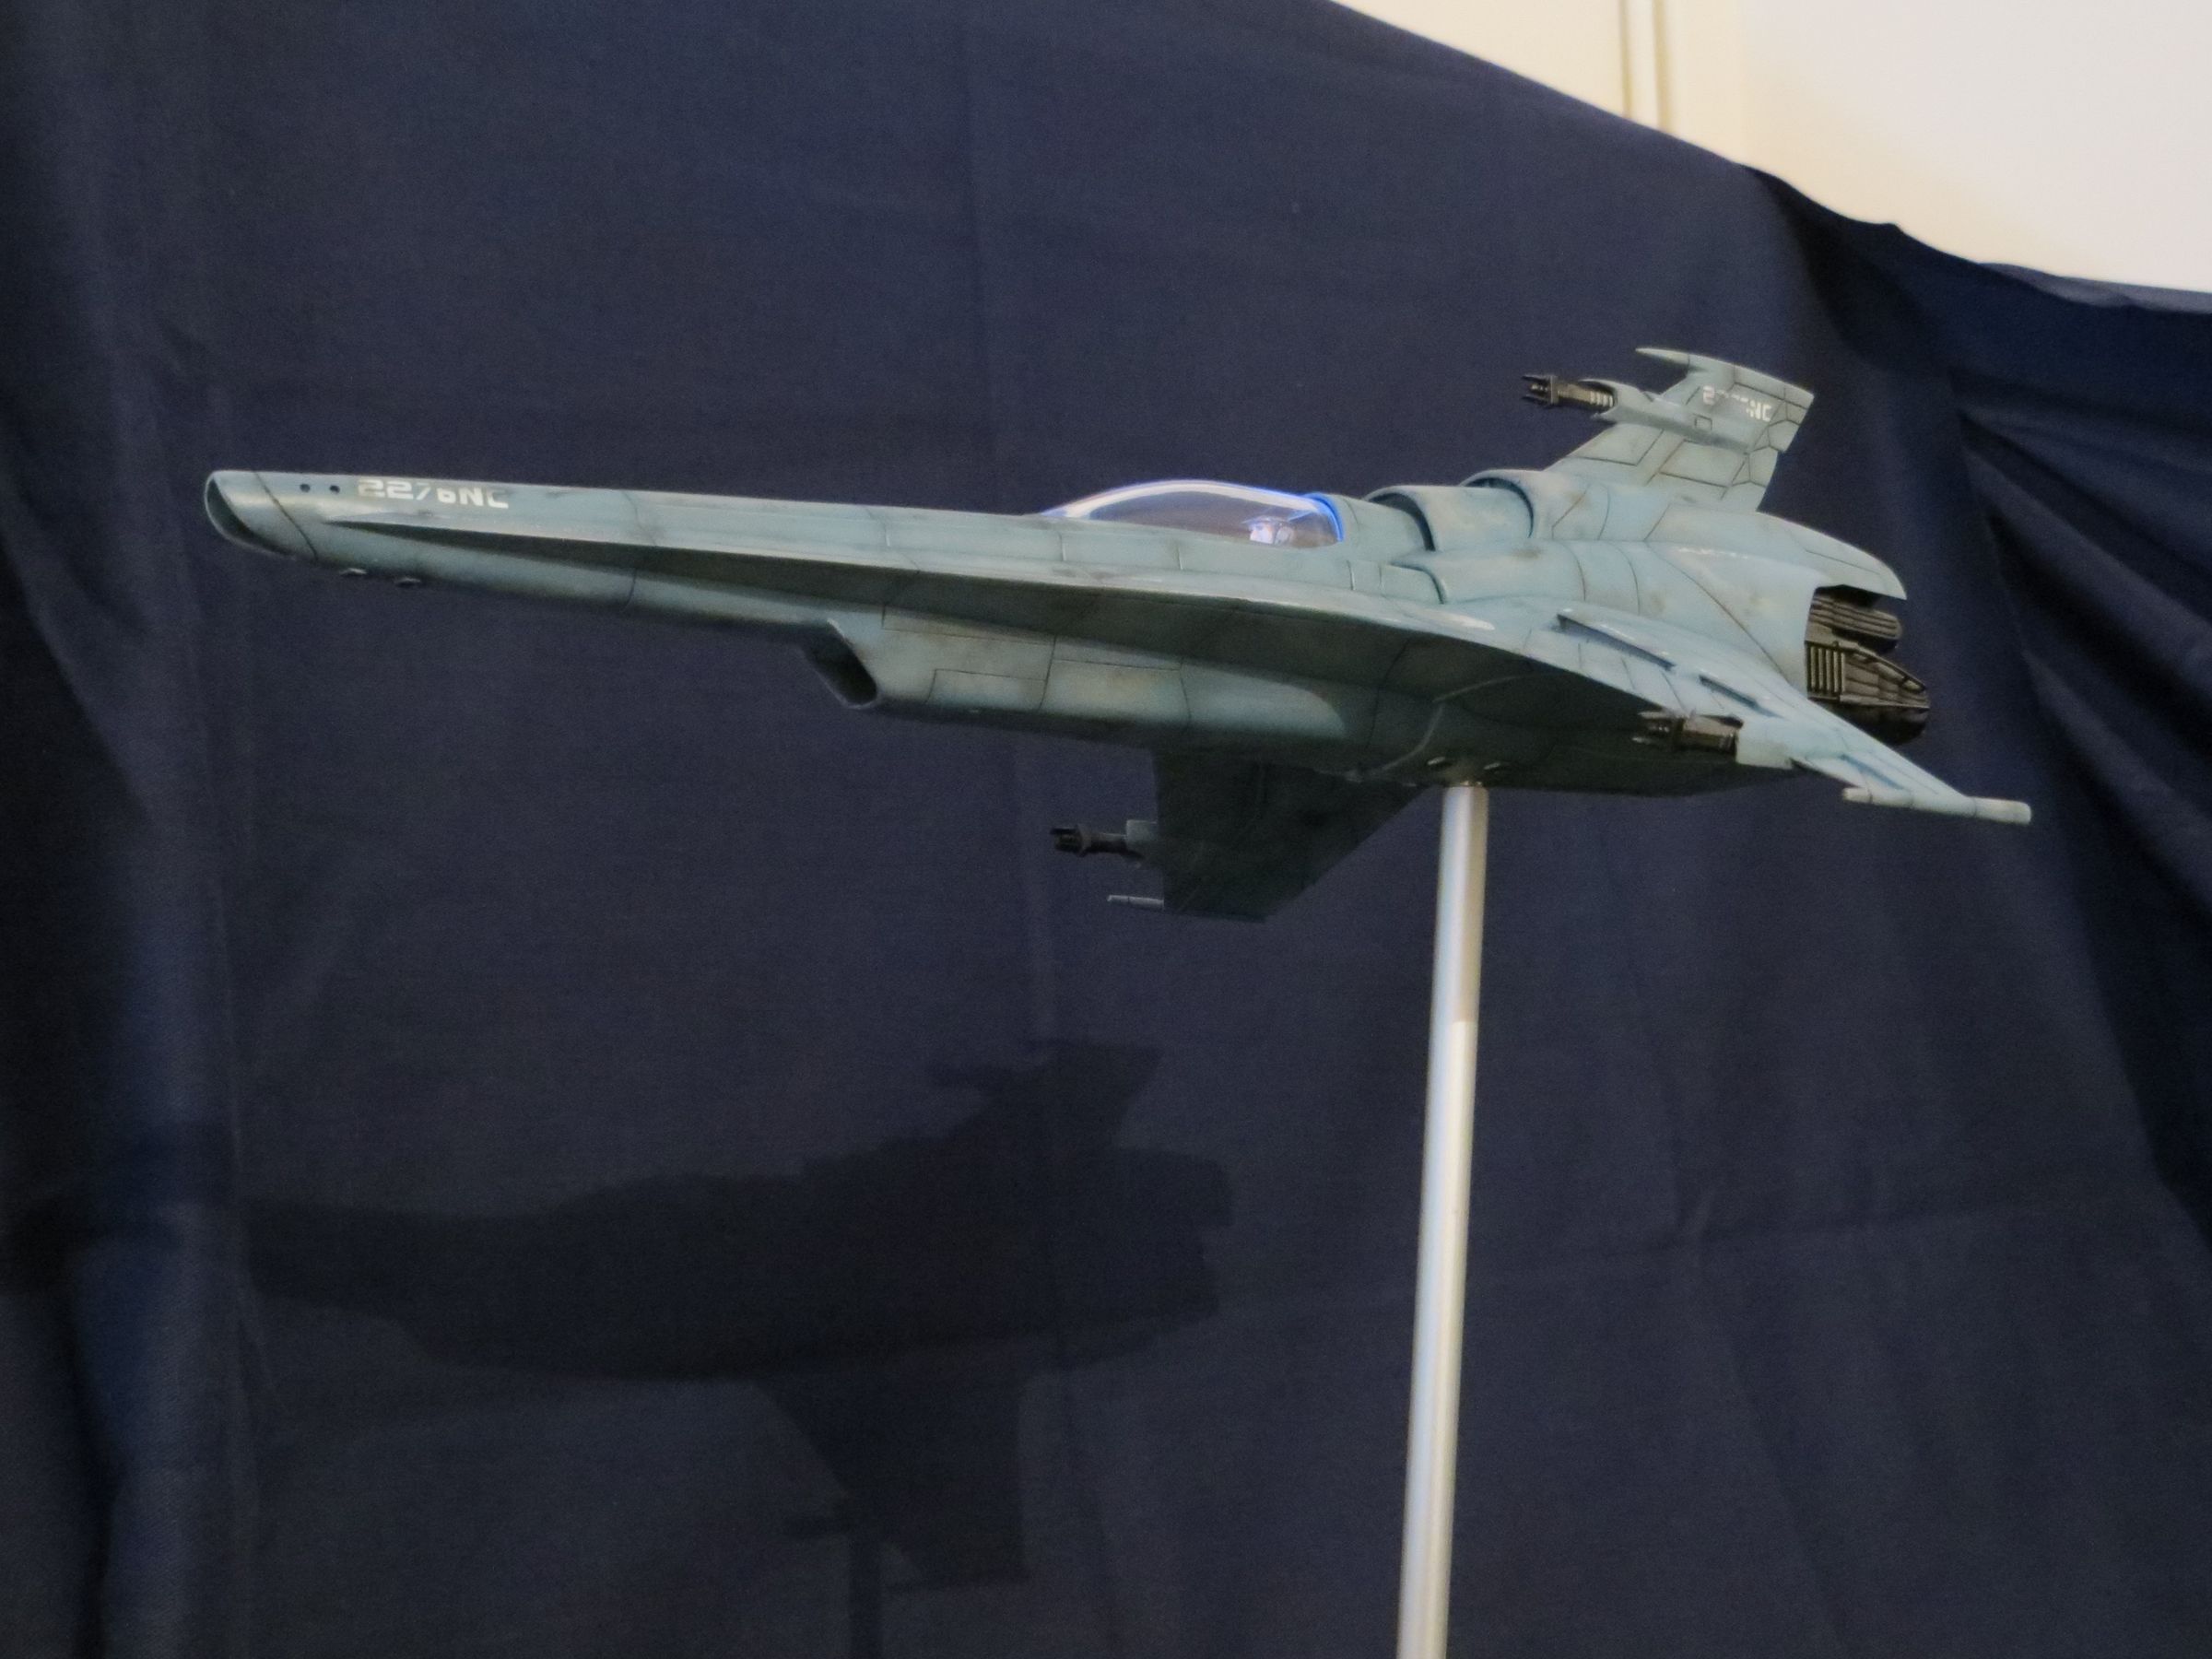
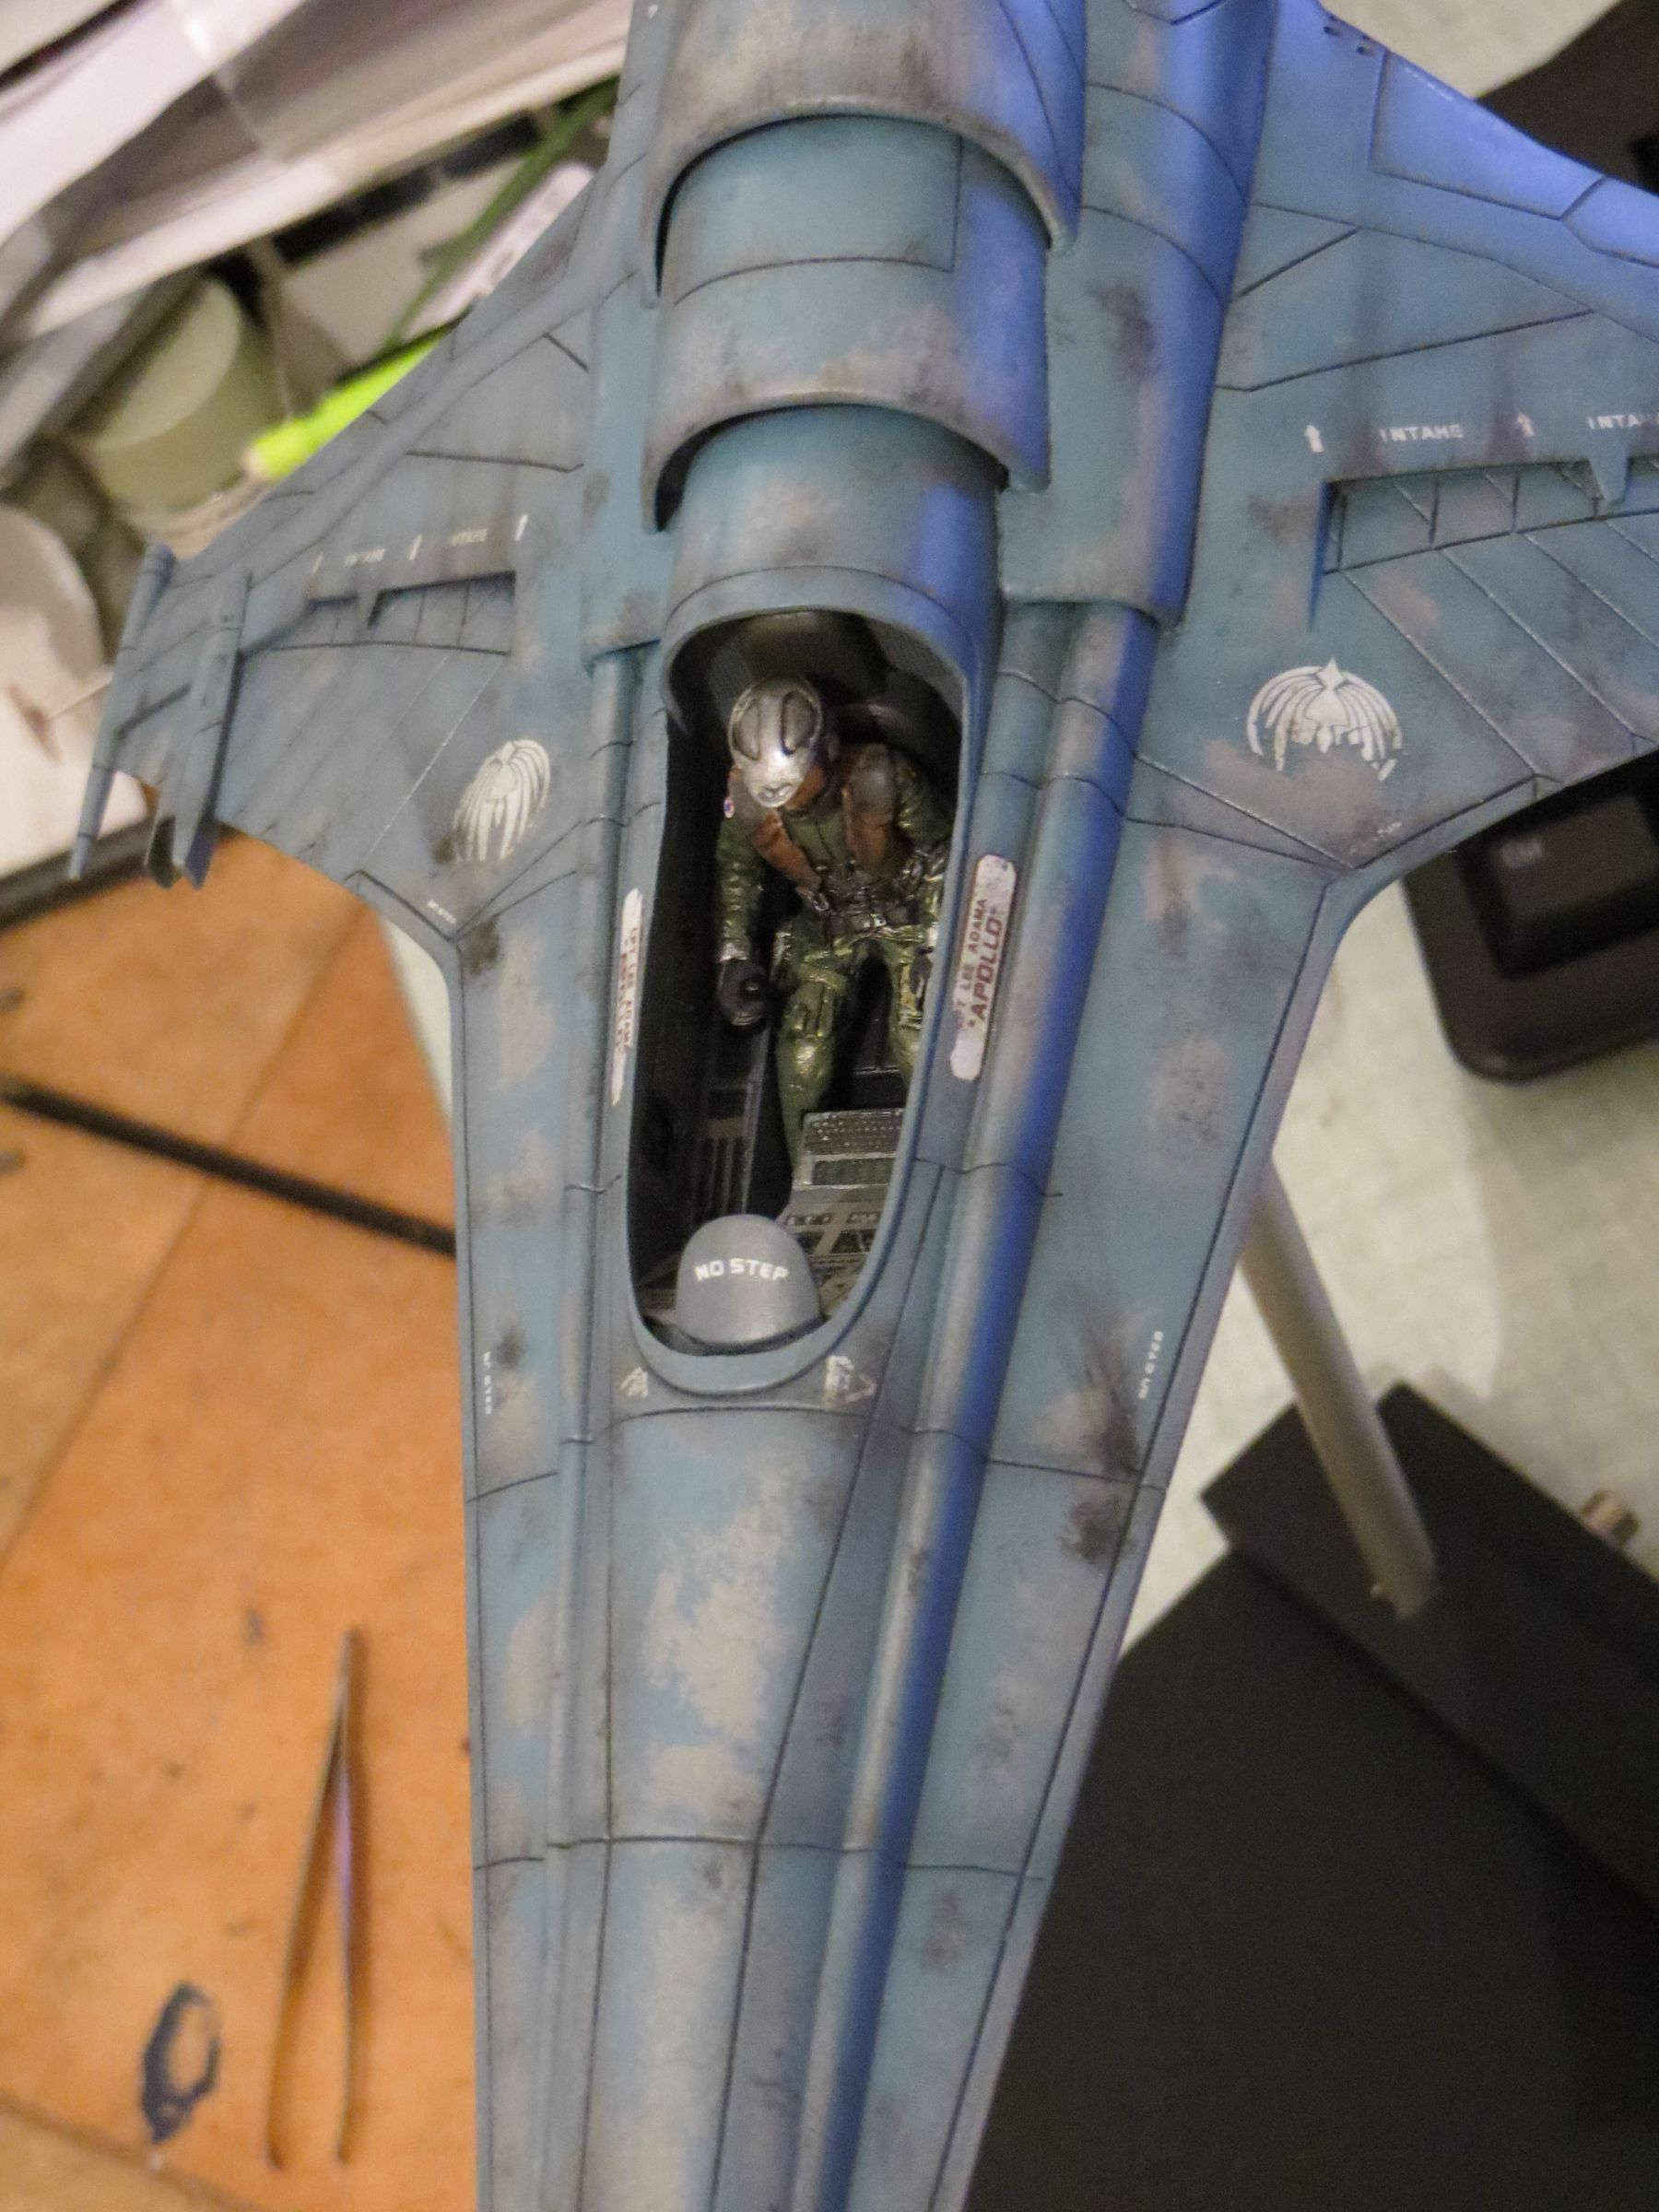
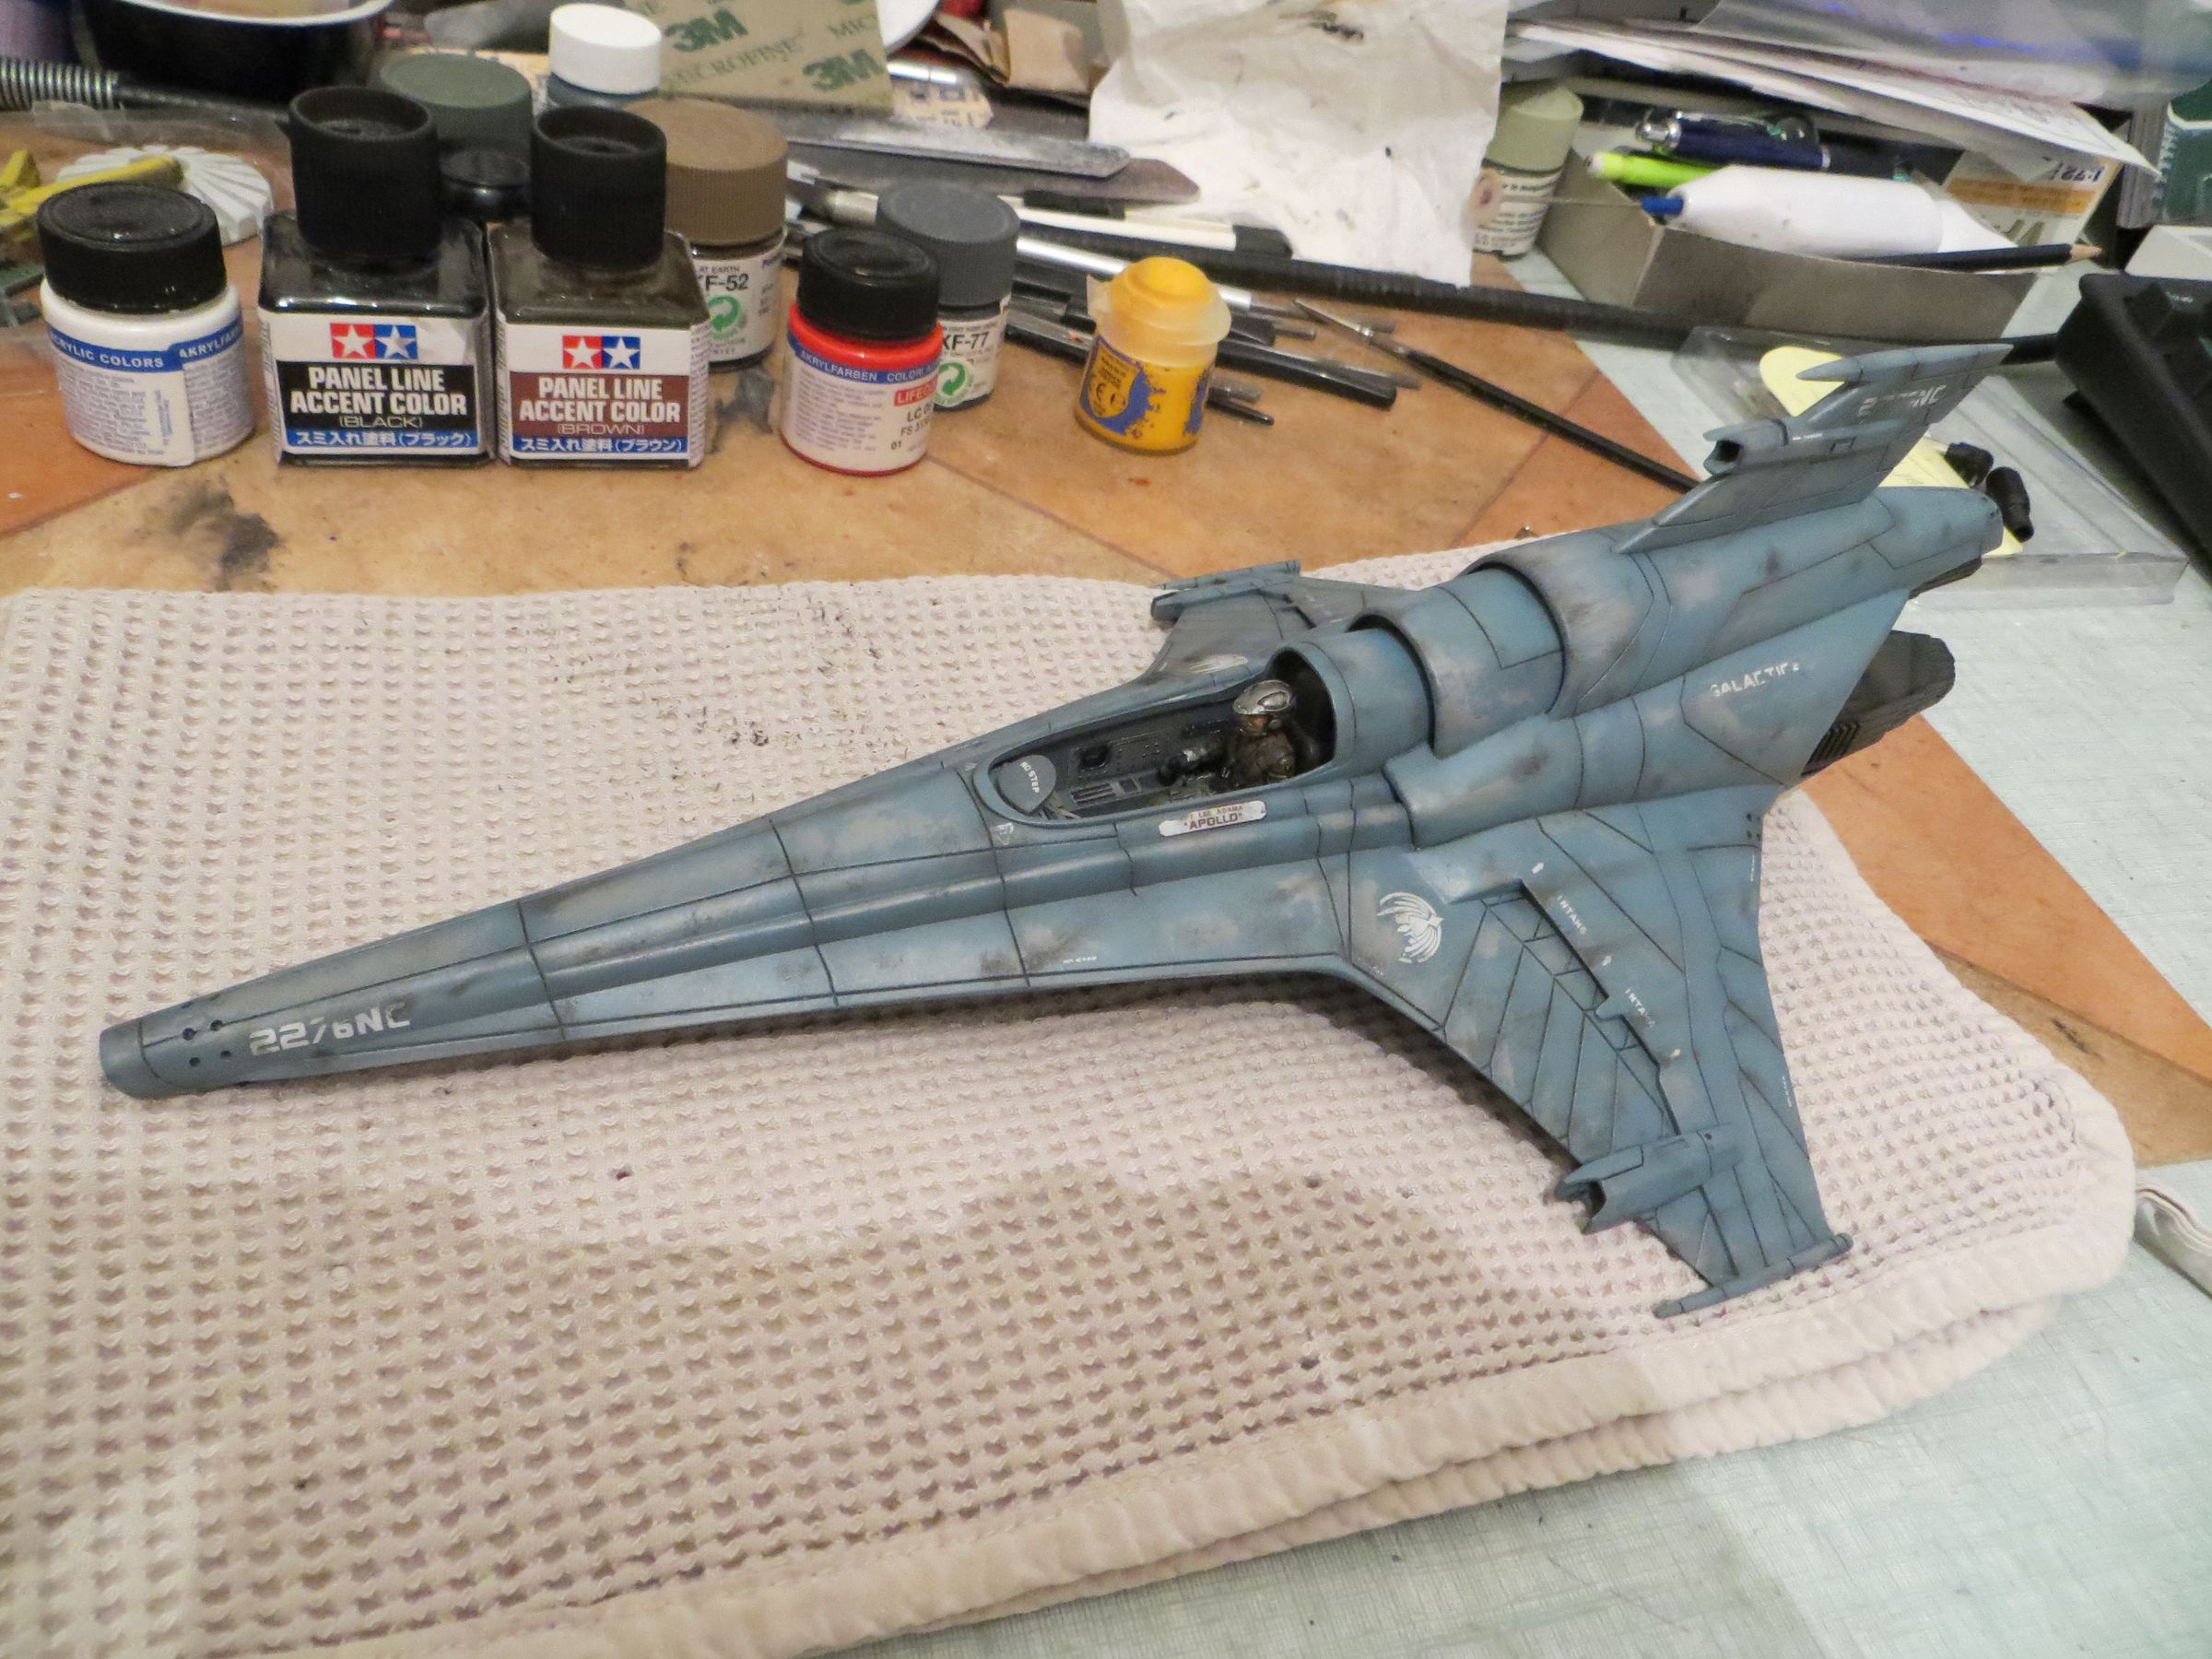
And a new Cylon killer ready for the battle.
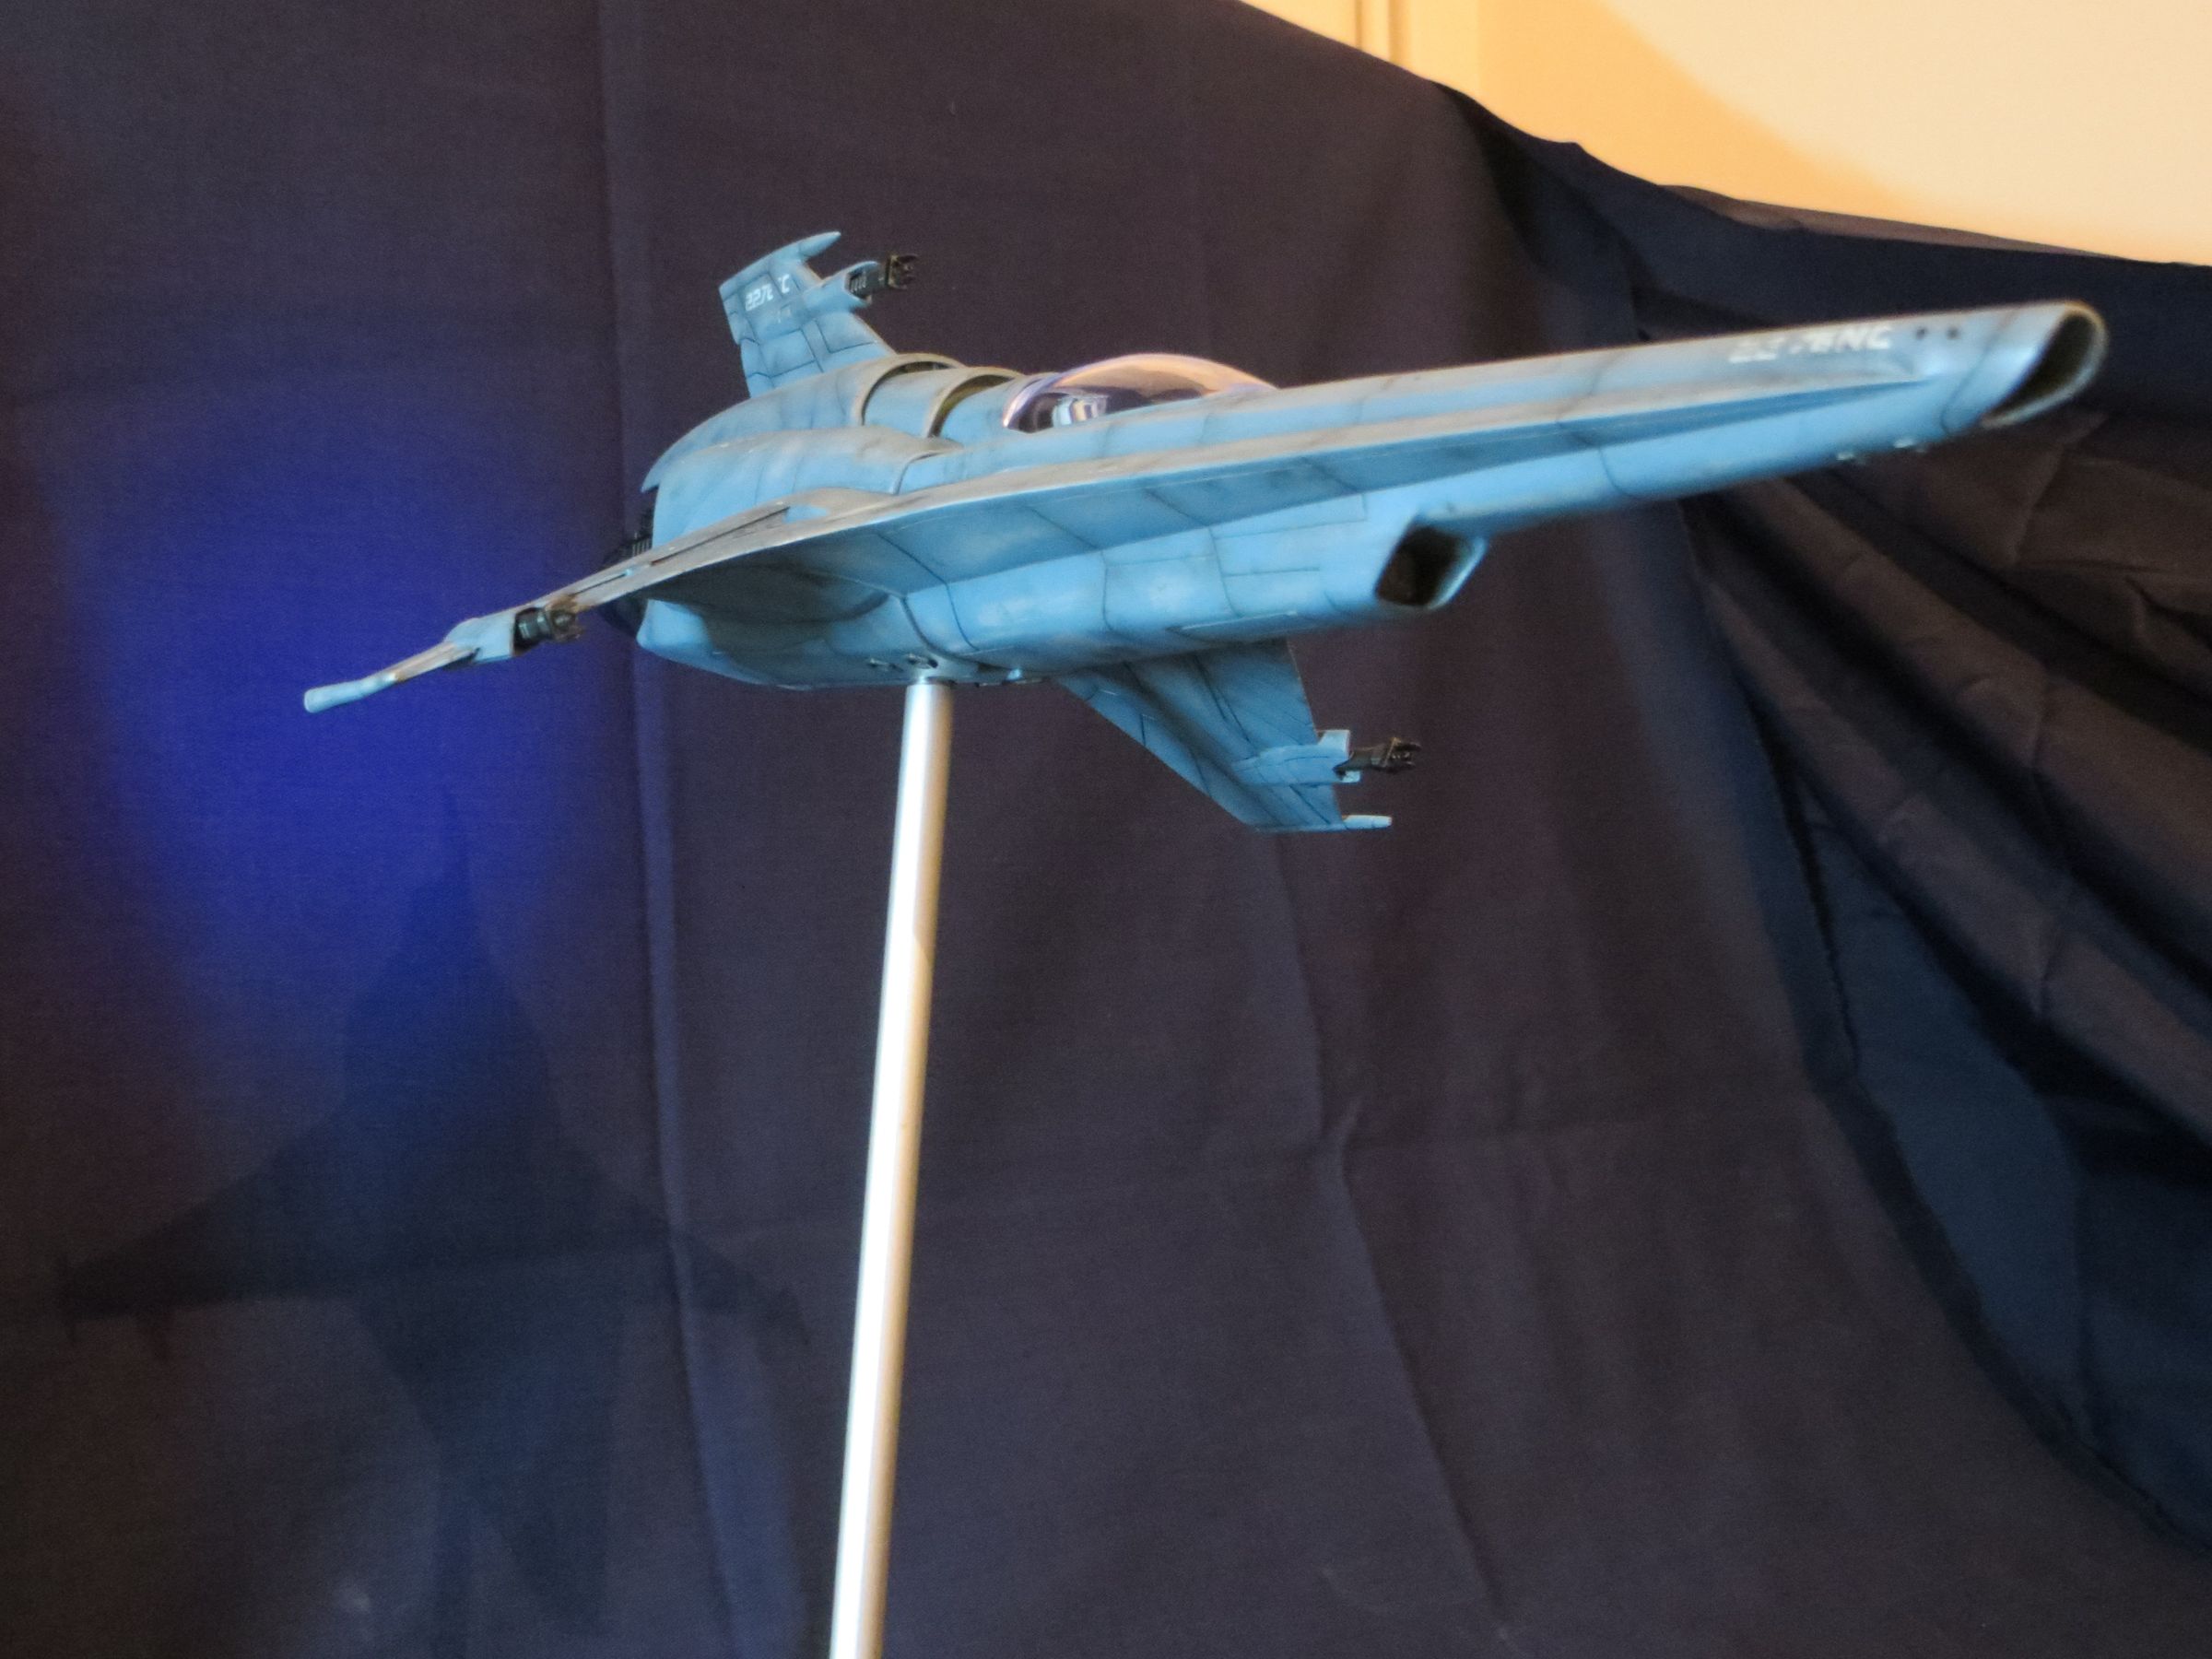
In the daylight :
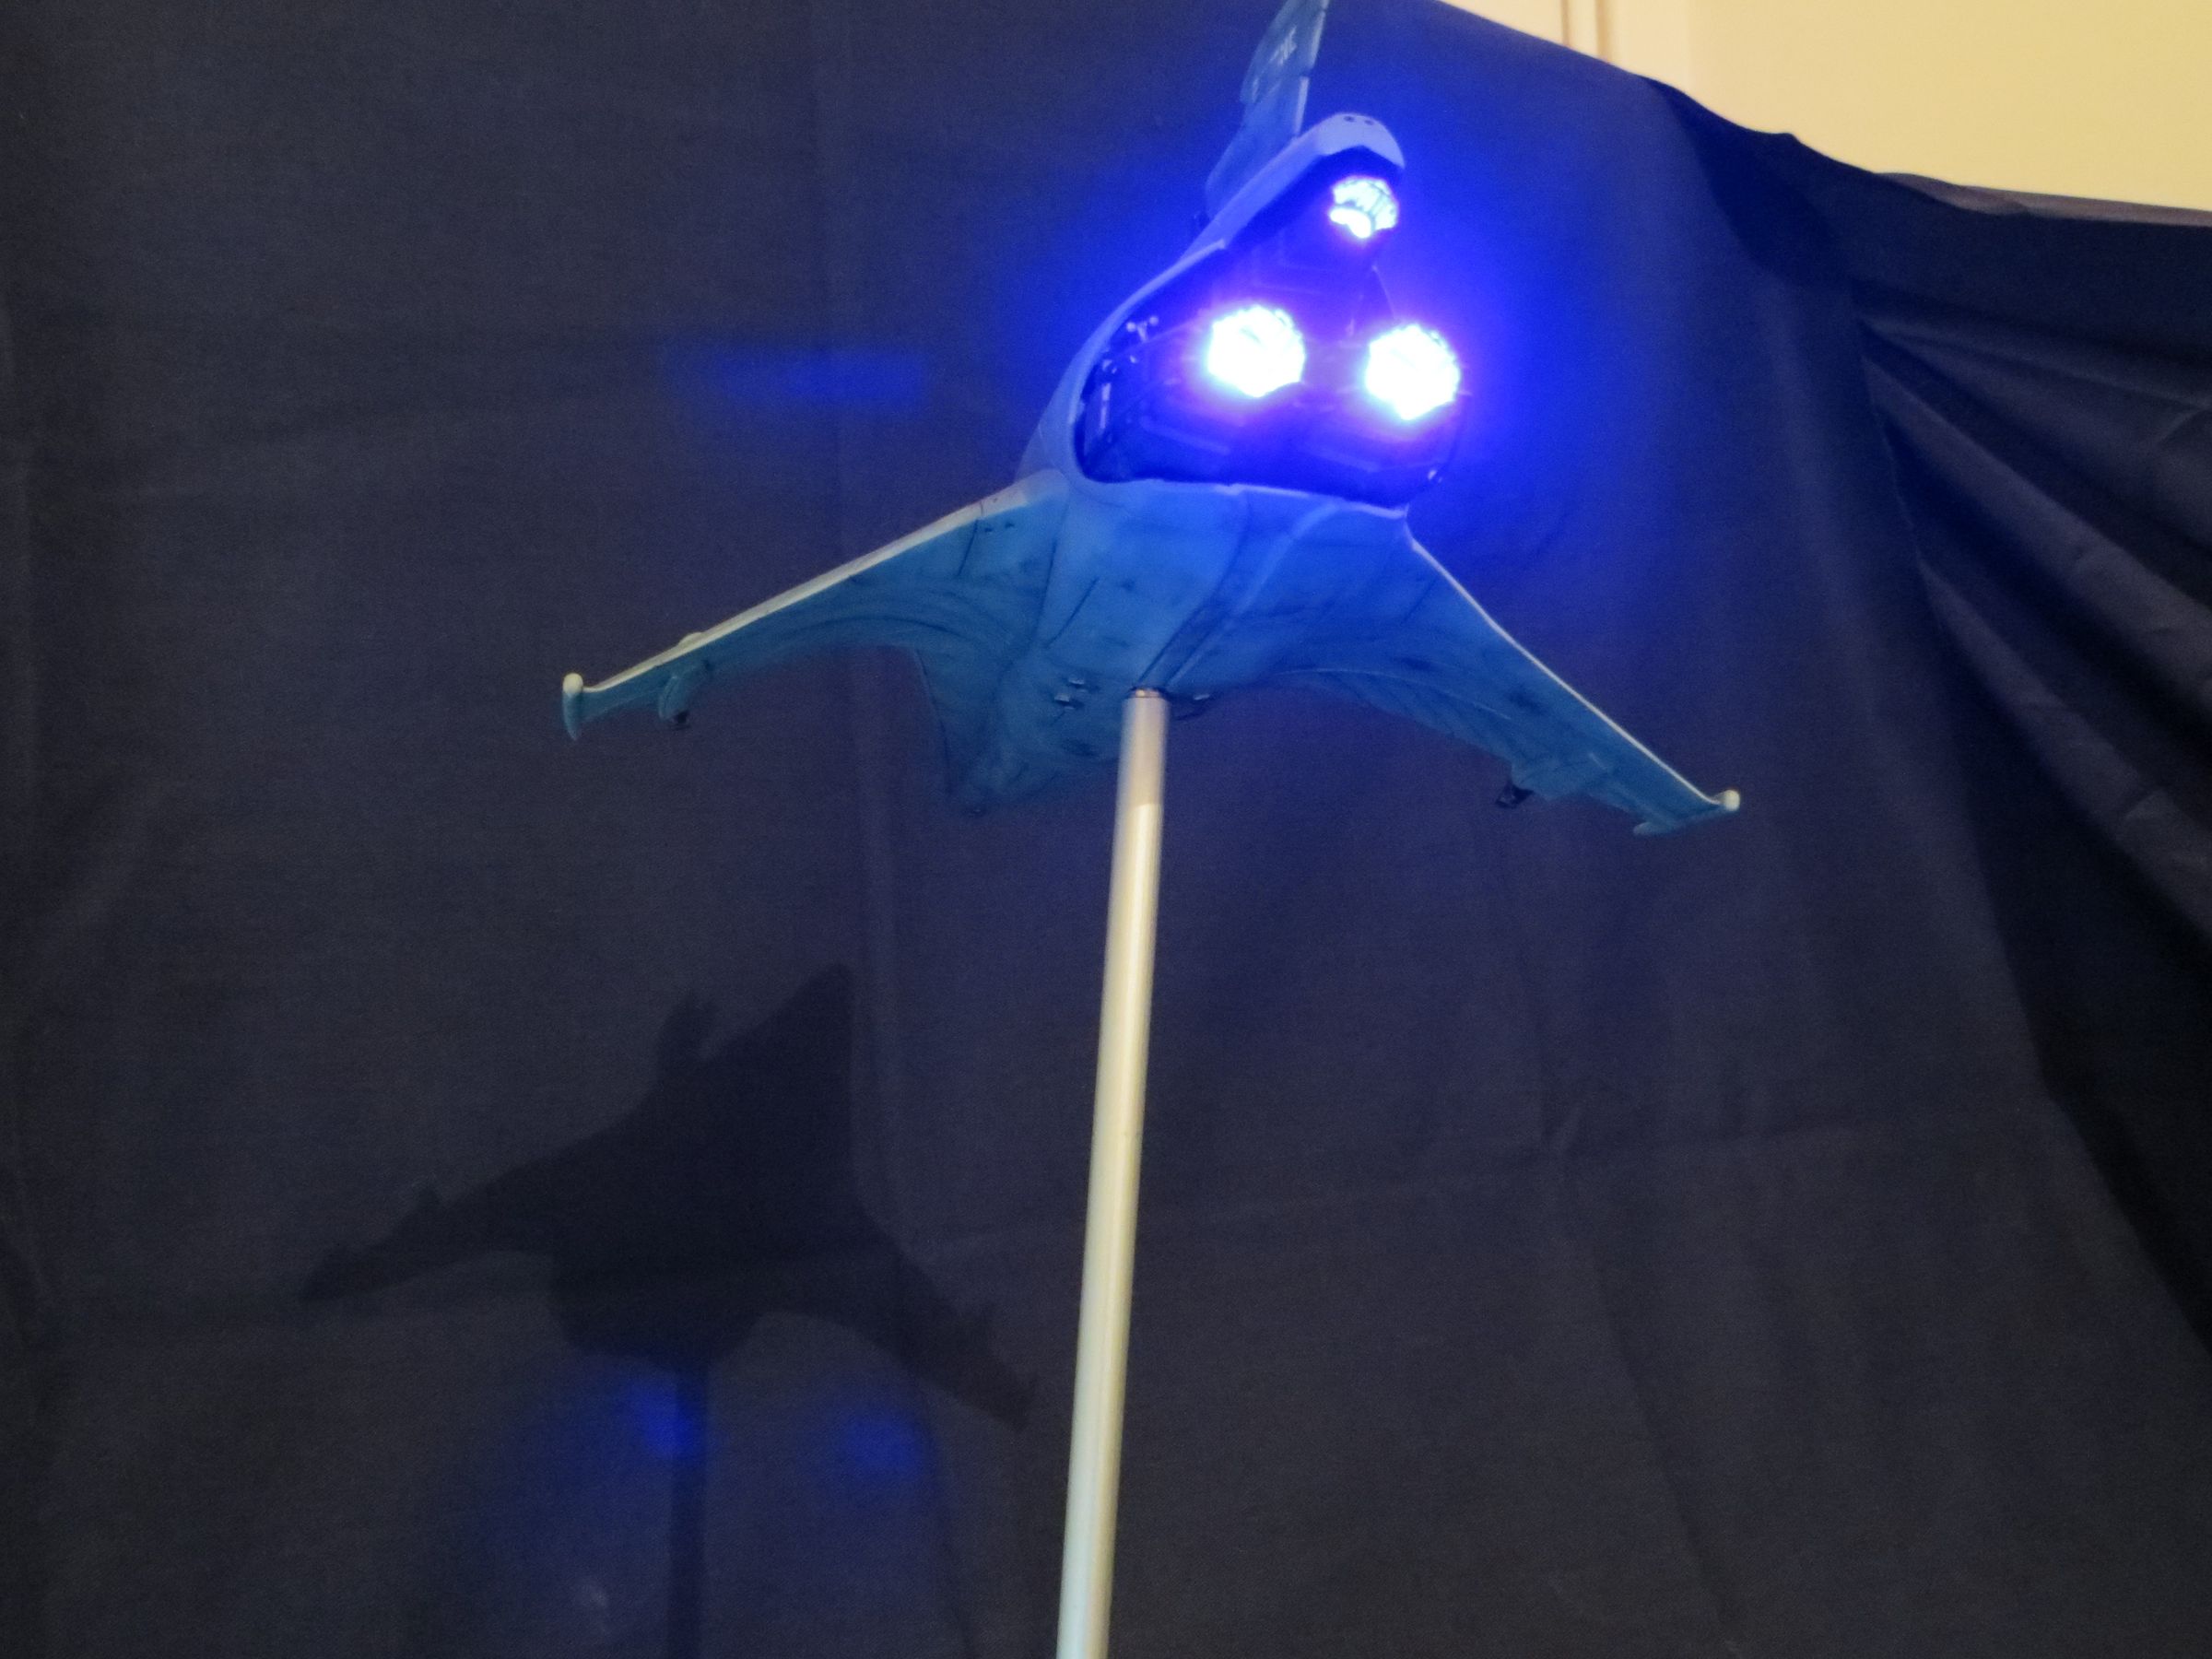
In front of a dark background, with artificial lights :
samedi, 29 mars 2014
Par olcabour le samedi, 29 mars 2014, 16:40
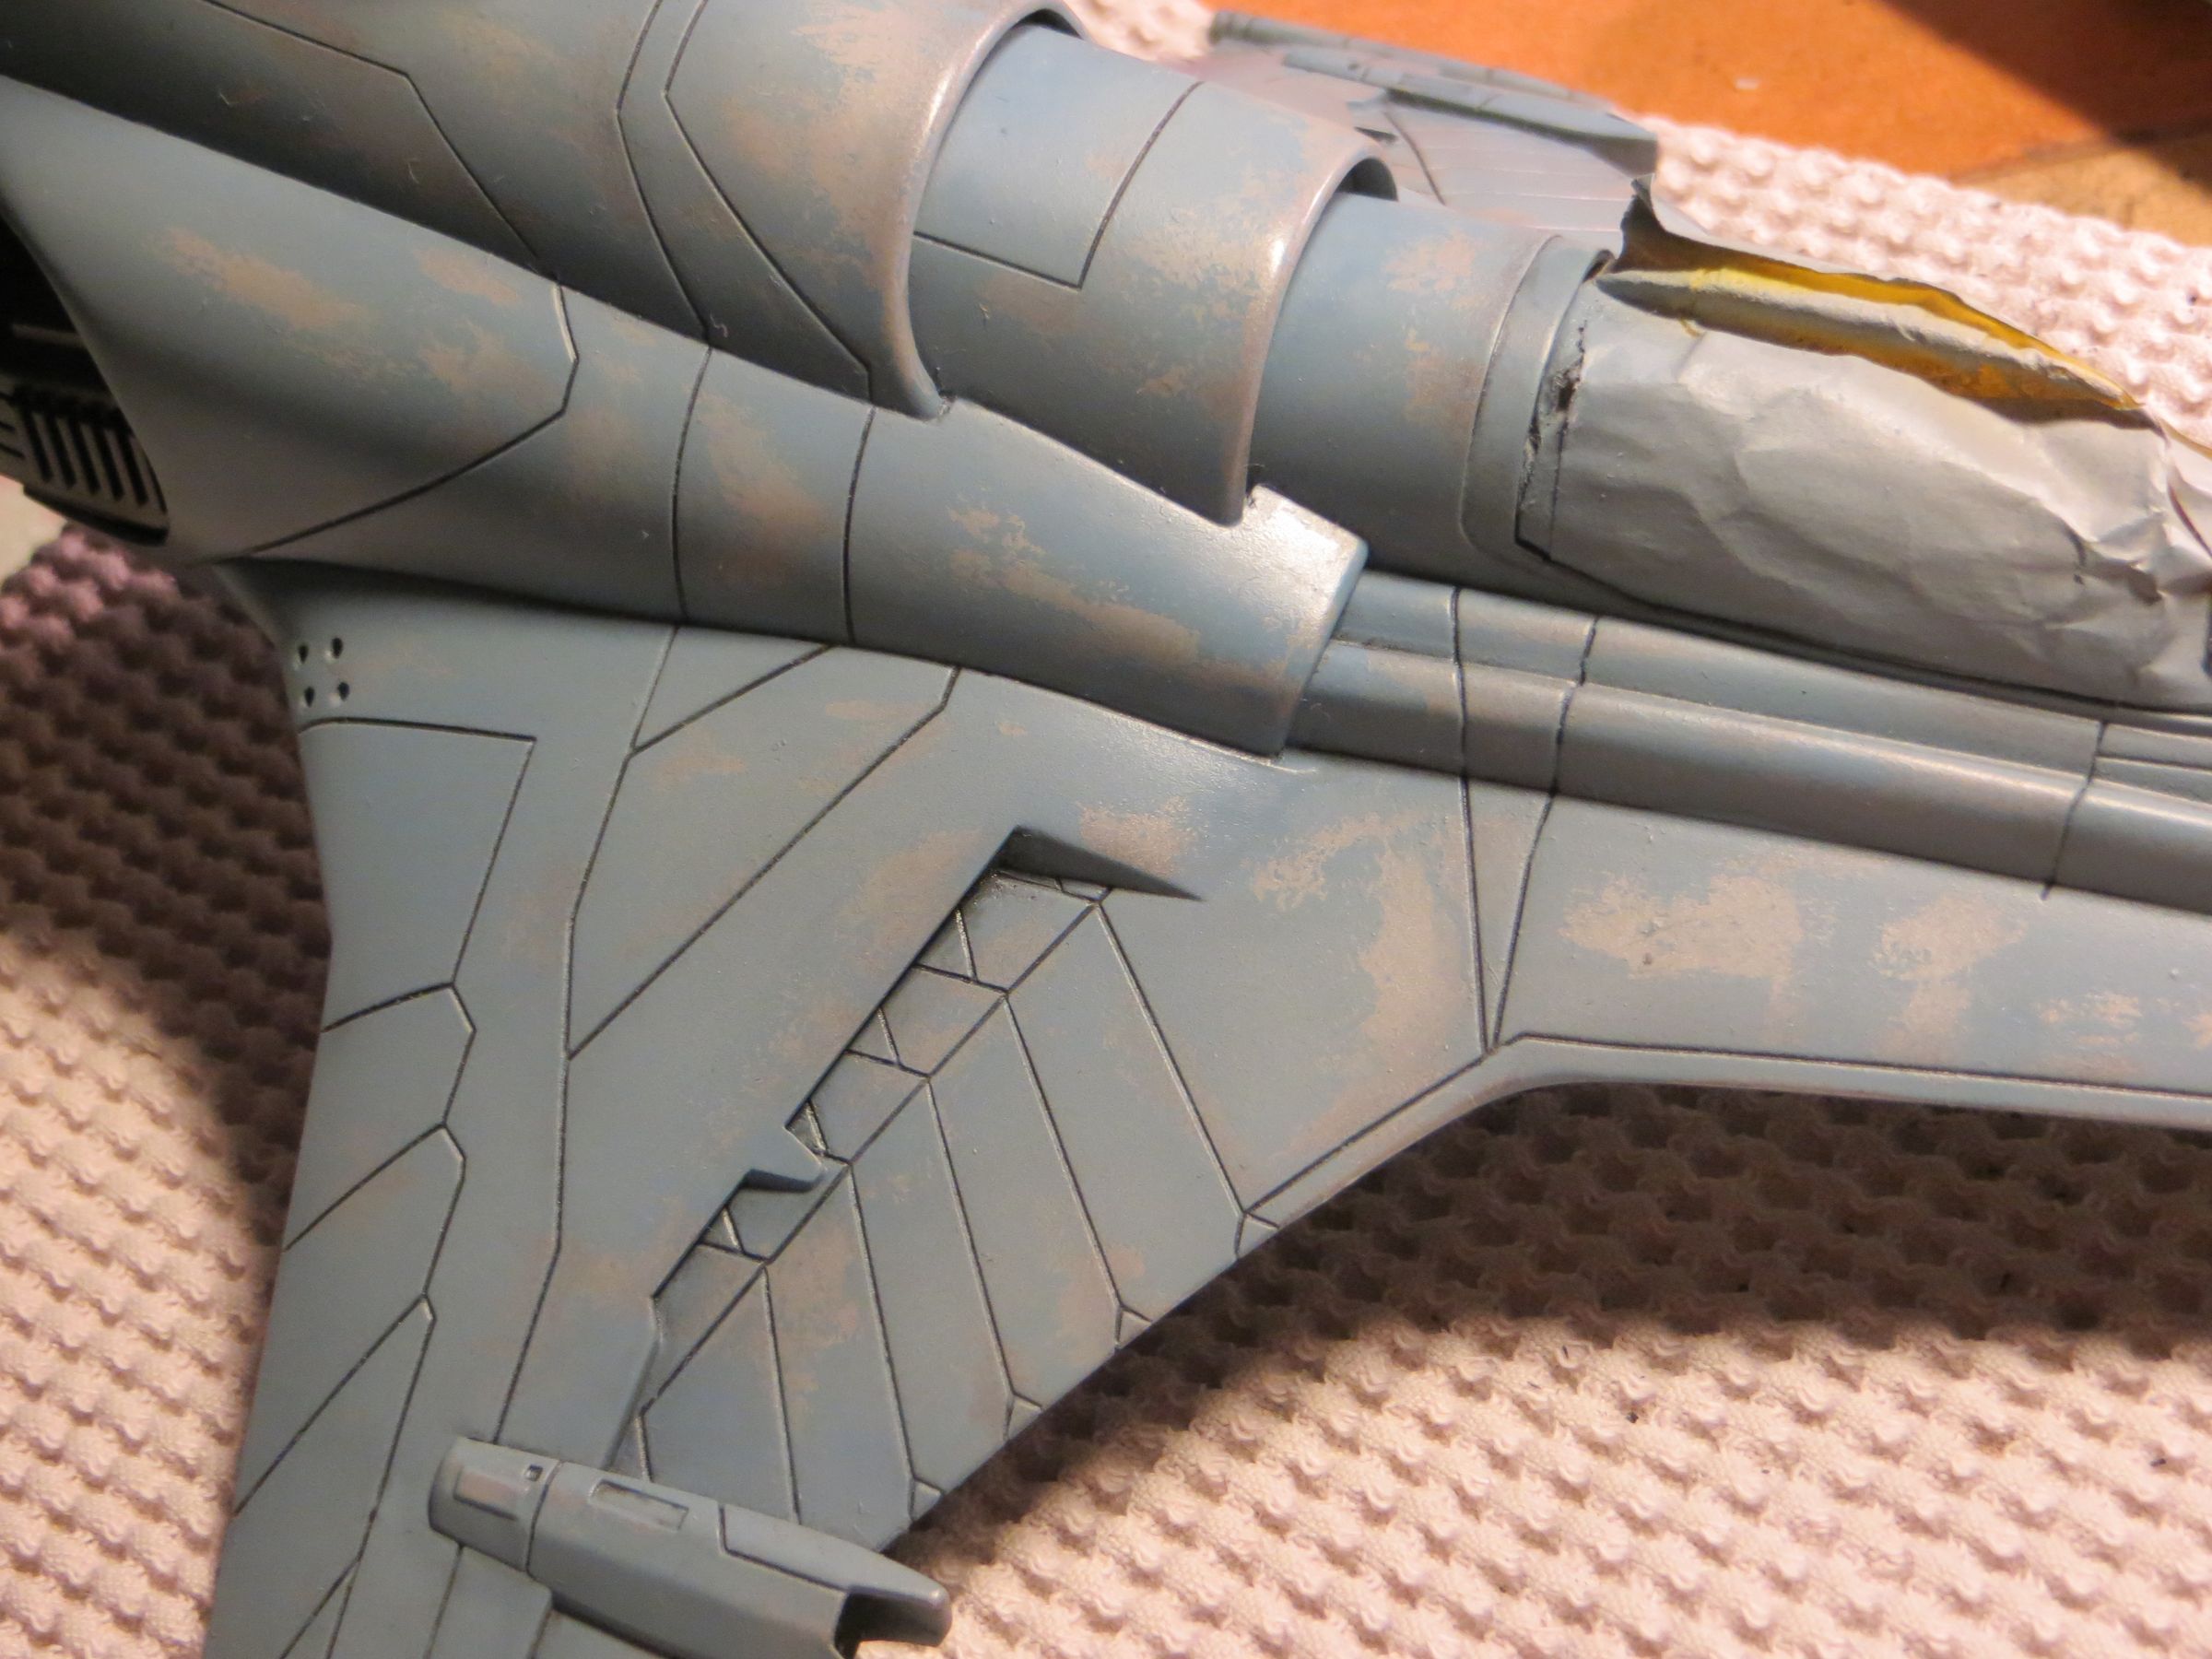
I redone here or there the shading along some lines (which had disappeared during the hair lacquer operation) . It is made with highly diluted gray panzer XF63.
I also shaded a little the white decals that brought out too much.
Dirt streaks are made with dark gray oil paint, enhanced with black in the center of the impacts.
I think it cannot be well see in the pictures, but as soon as there is almost no paint on the brush, I tapped the surface randomly, to add some more texture to this beast.
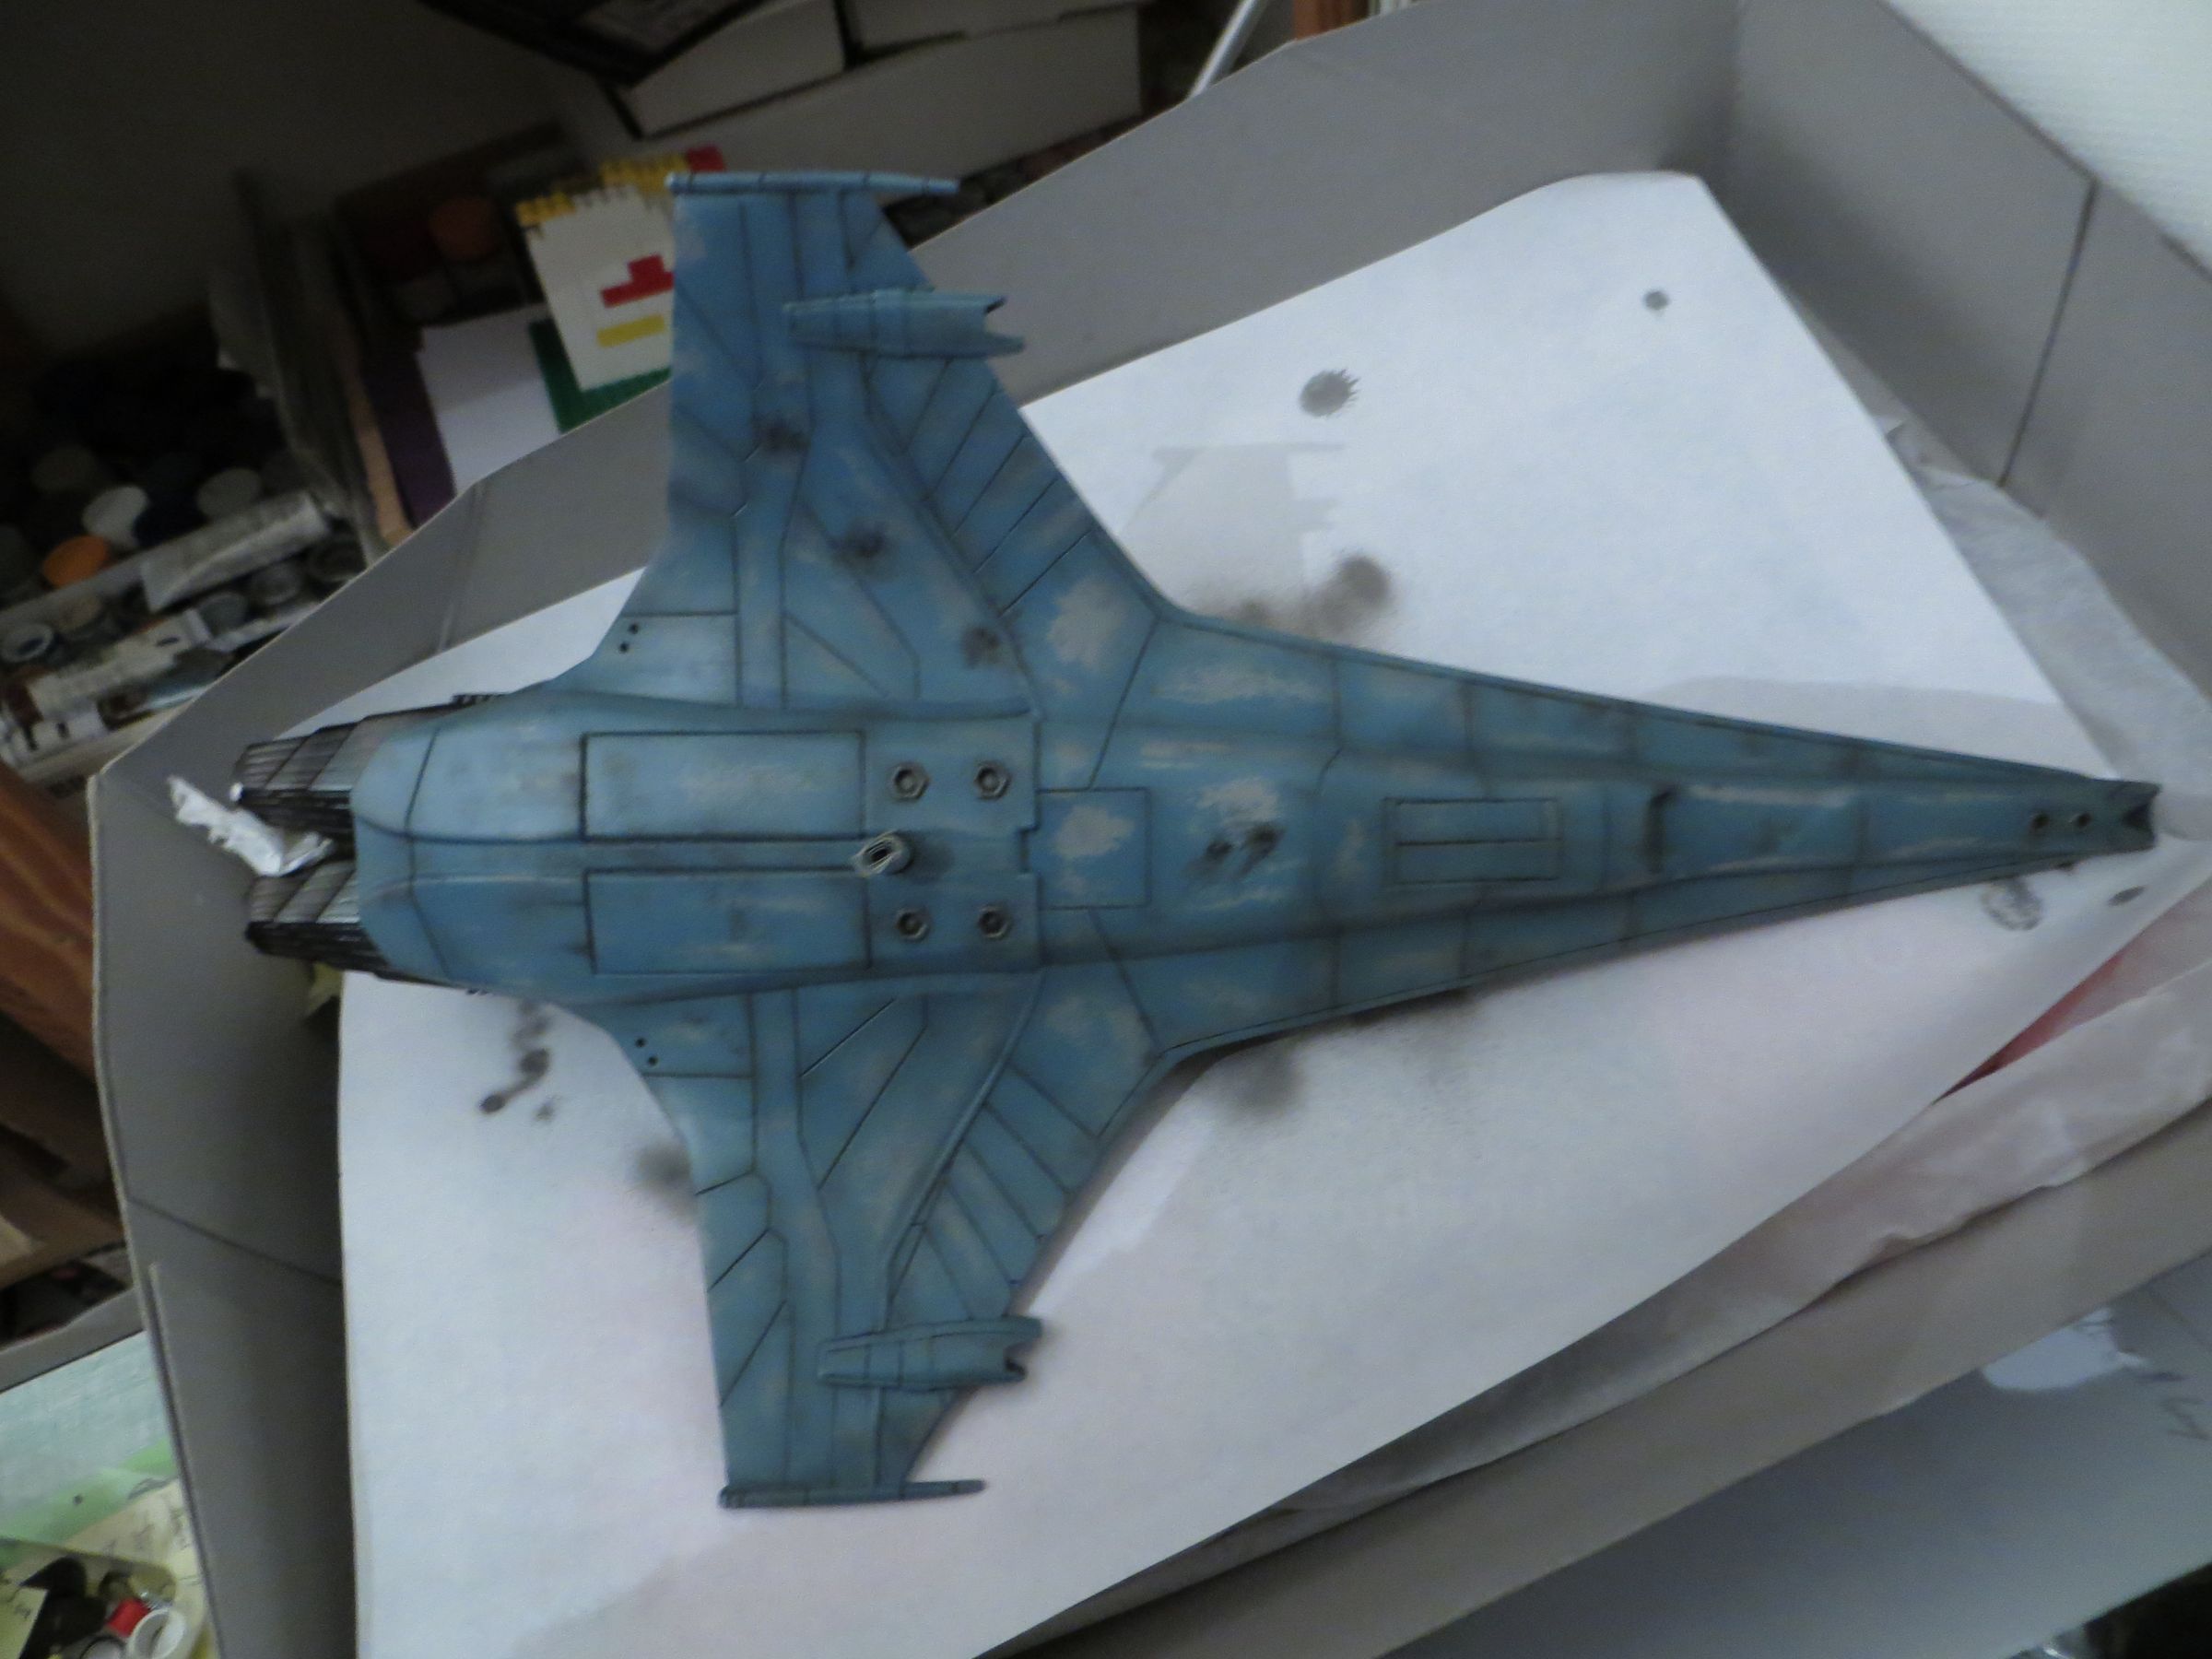
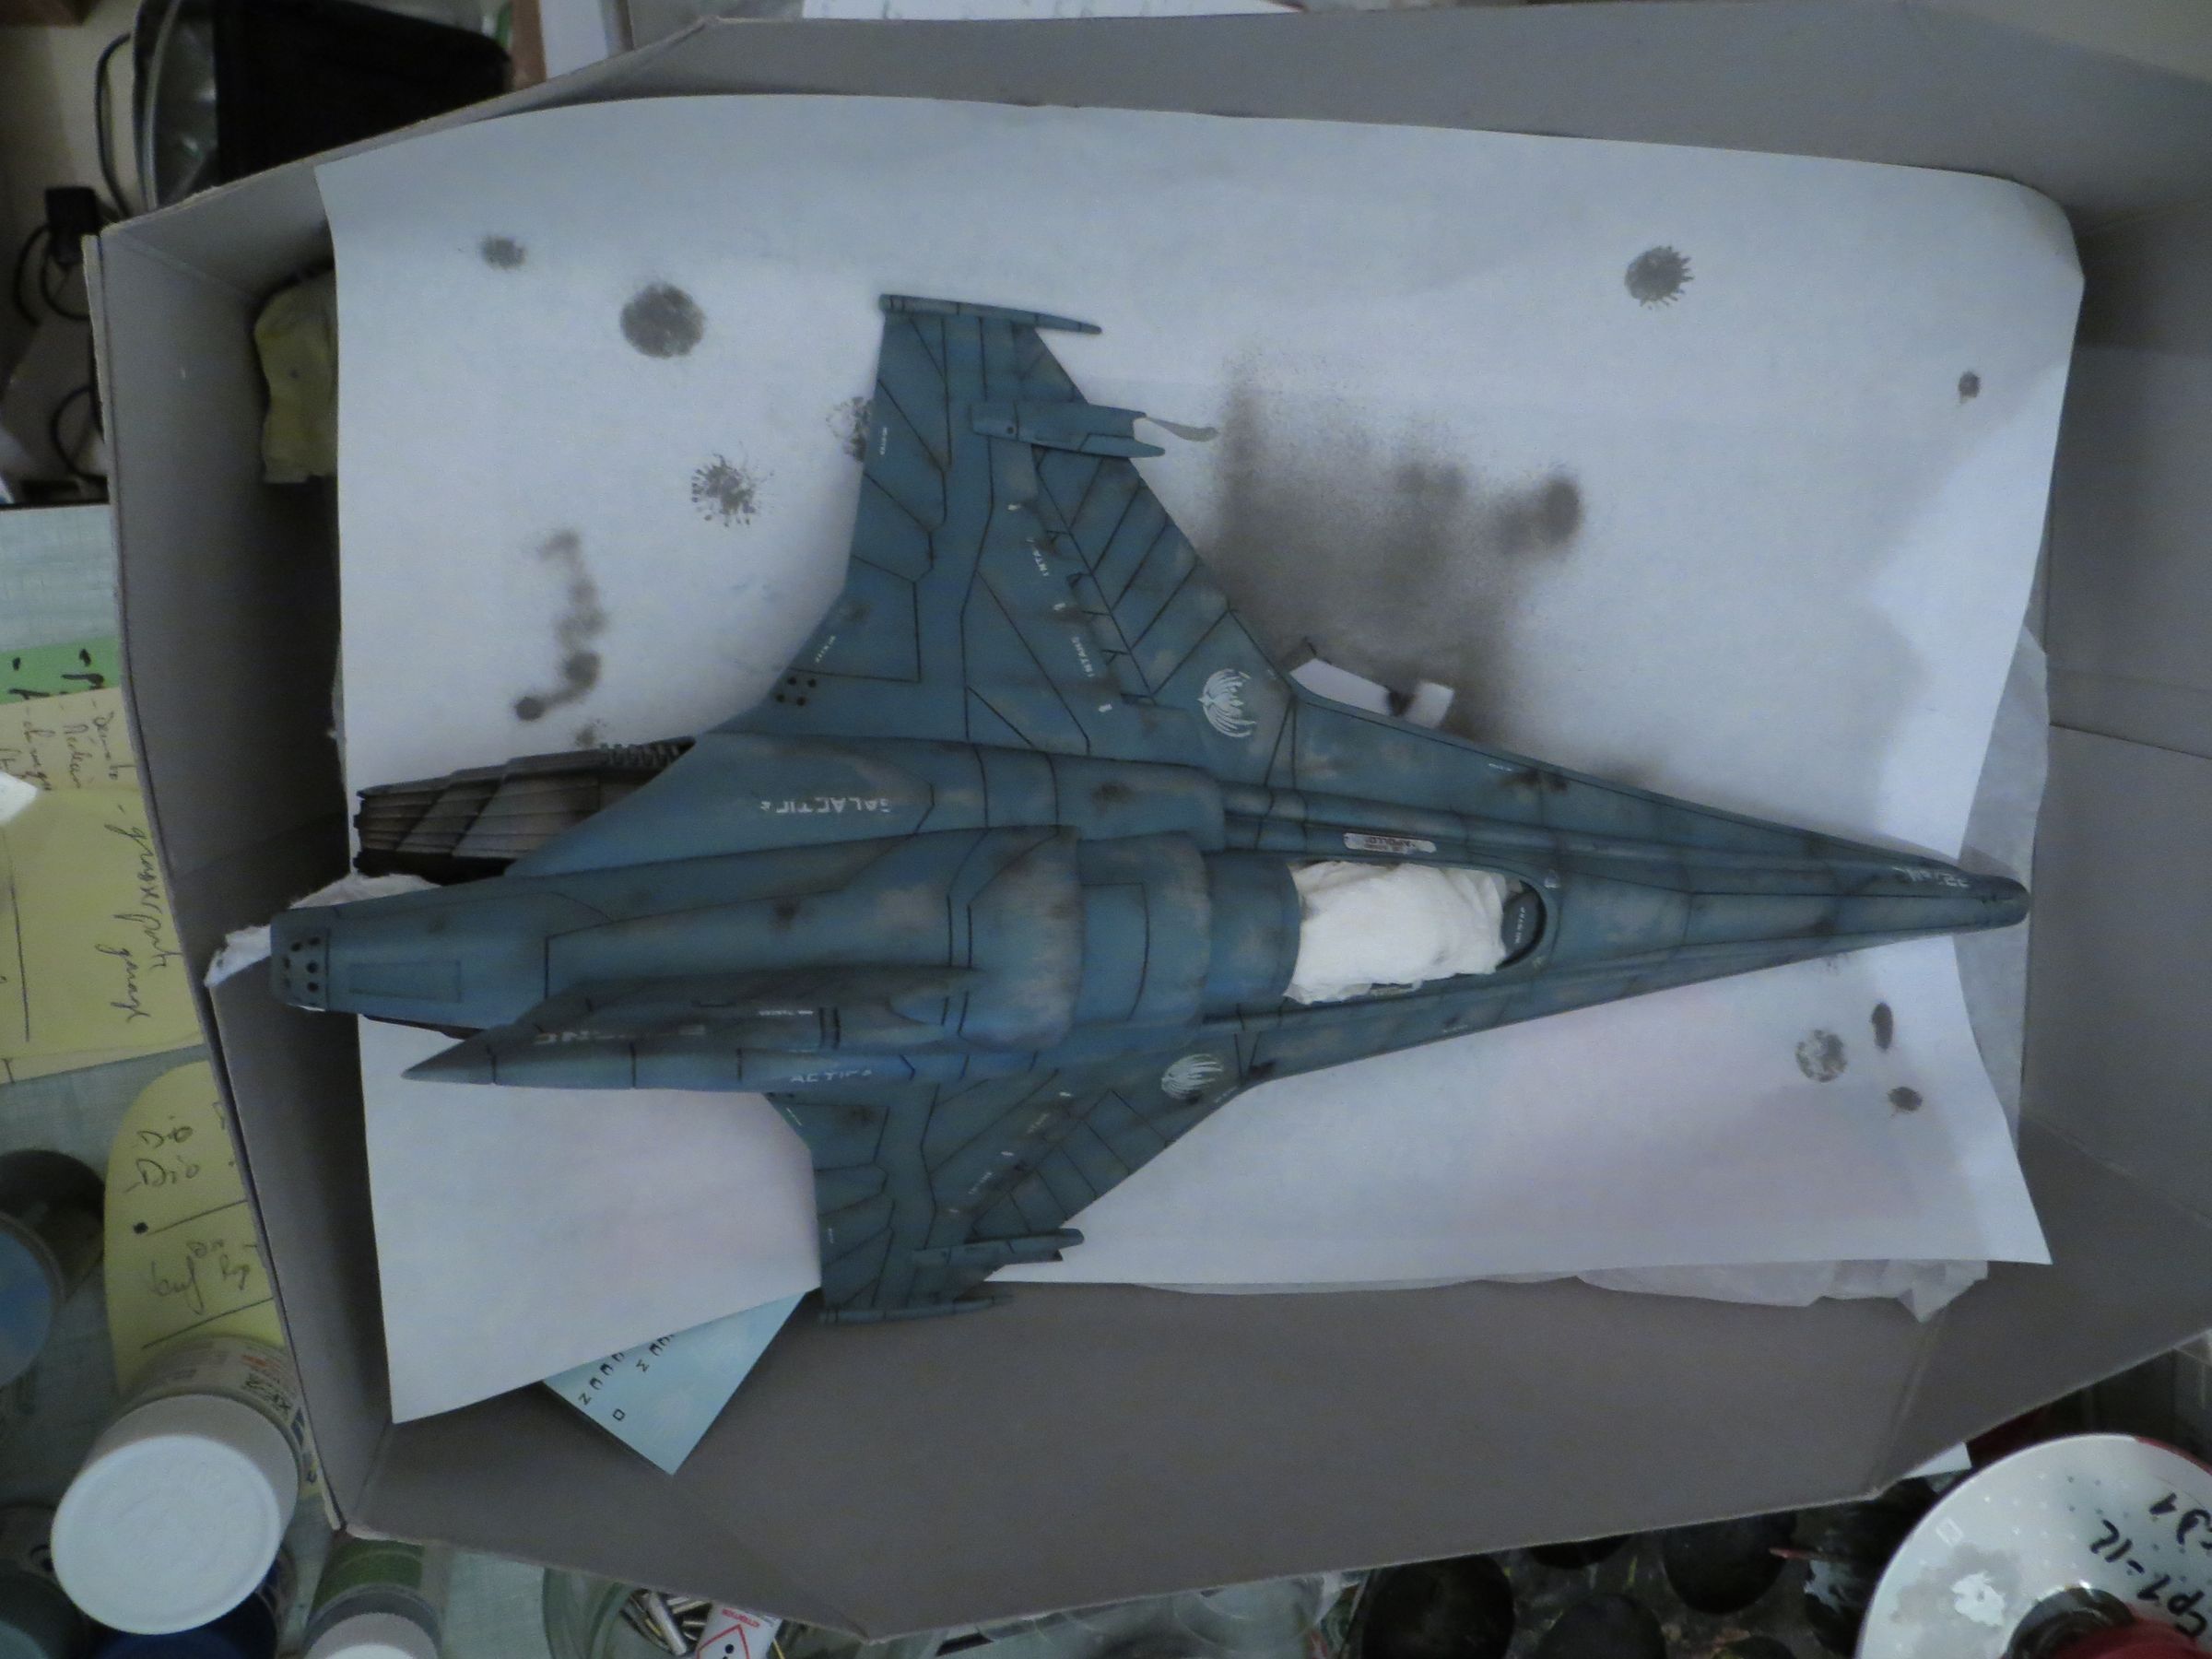
All this is sealed under a layer of matt varnish.
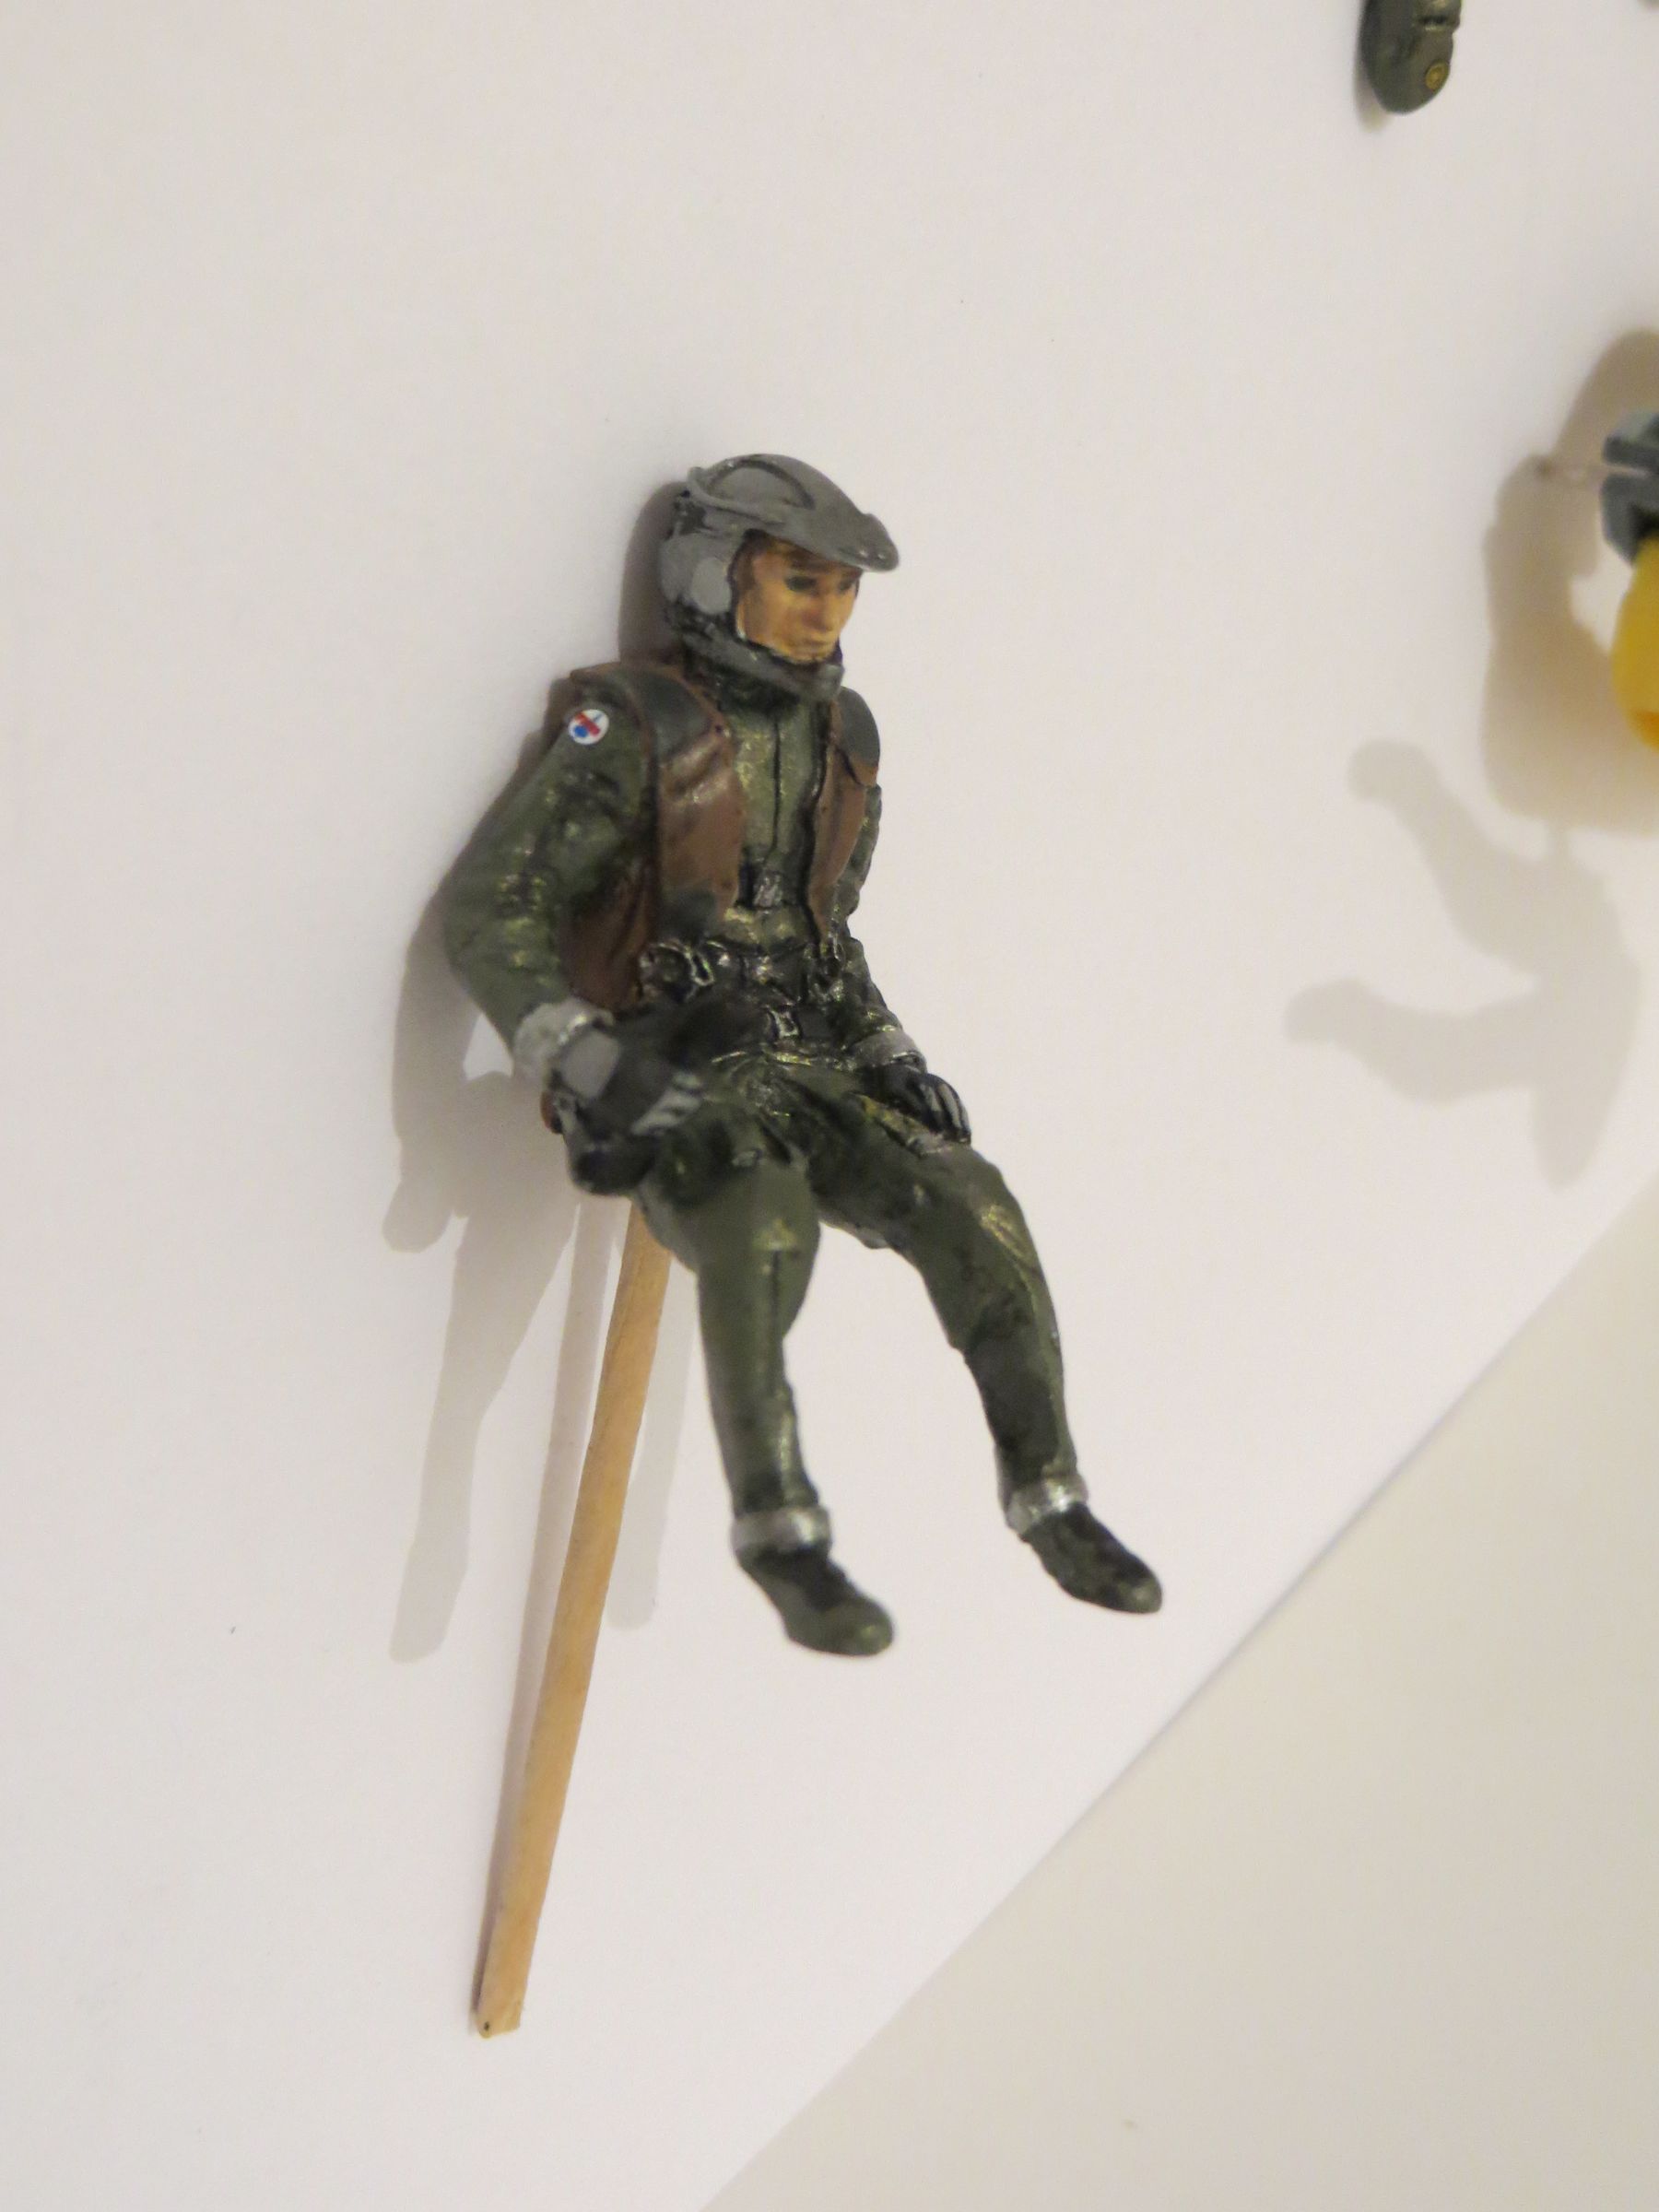
The pilot is painted like the mk 2 one (they have been made at the same time).
So the combination is green Xf73 Tamiya dark green,

the folds with a darker green,


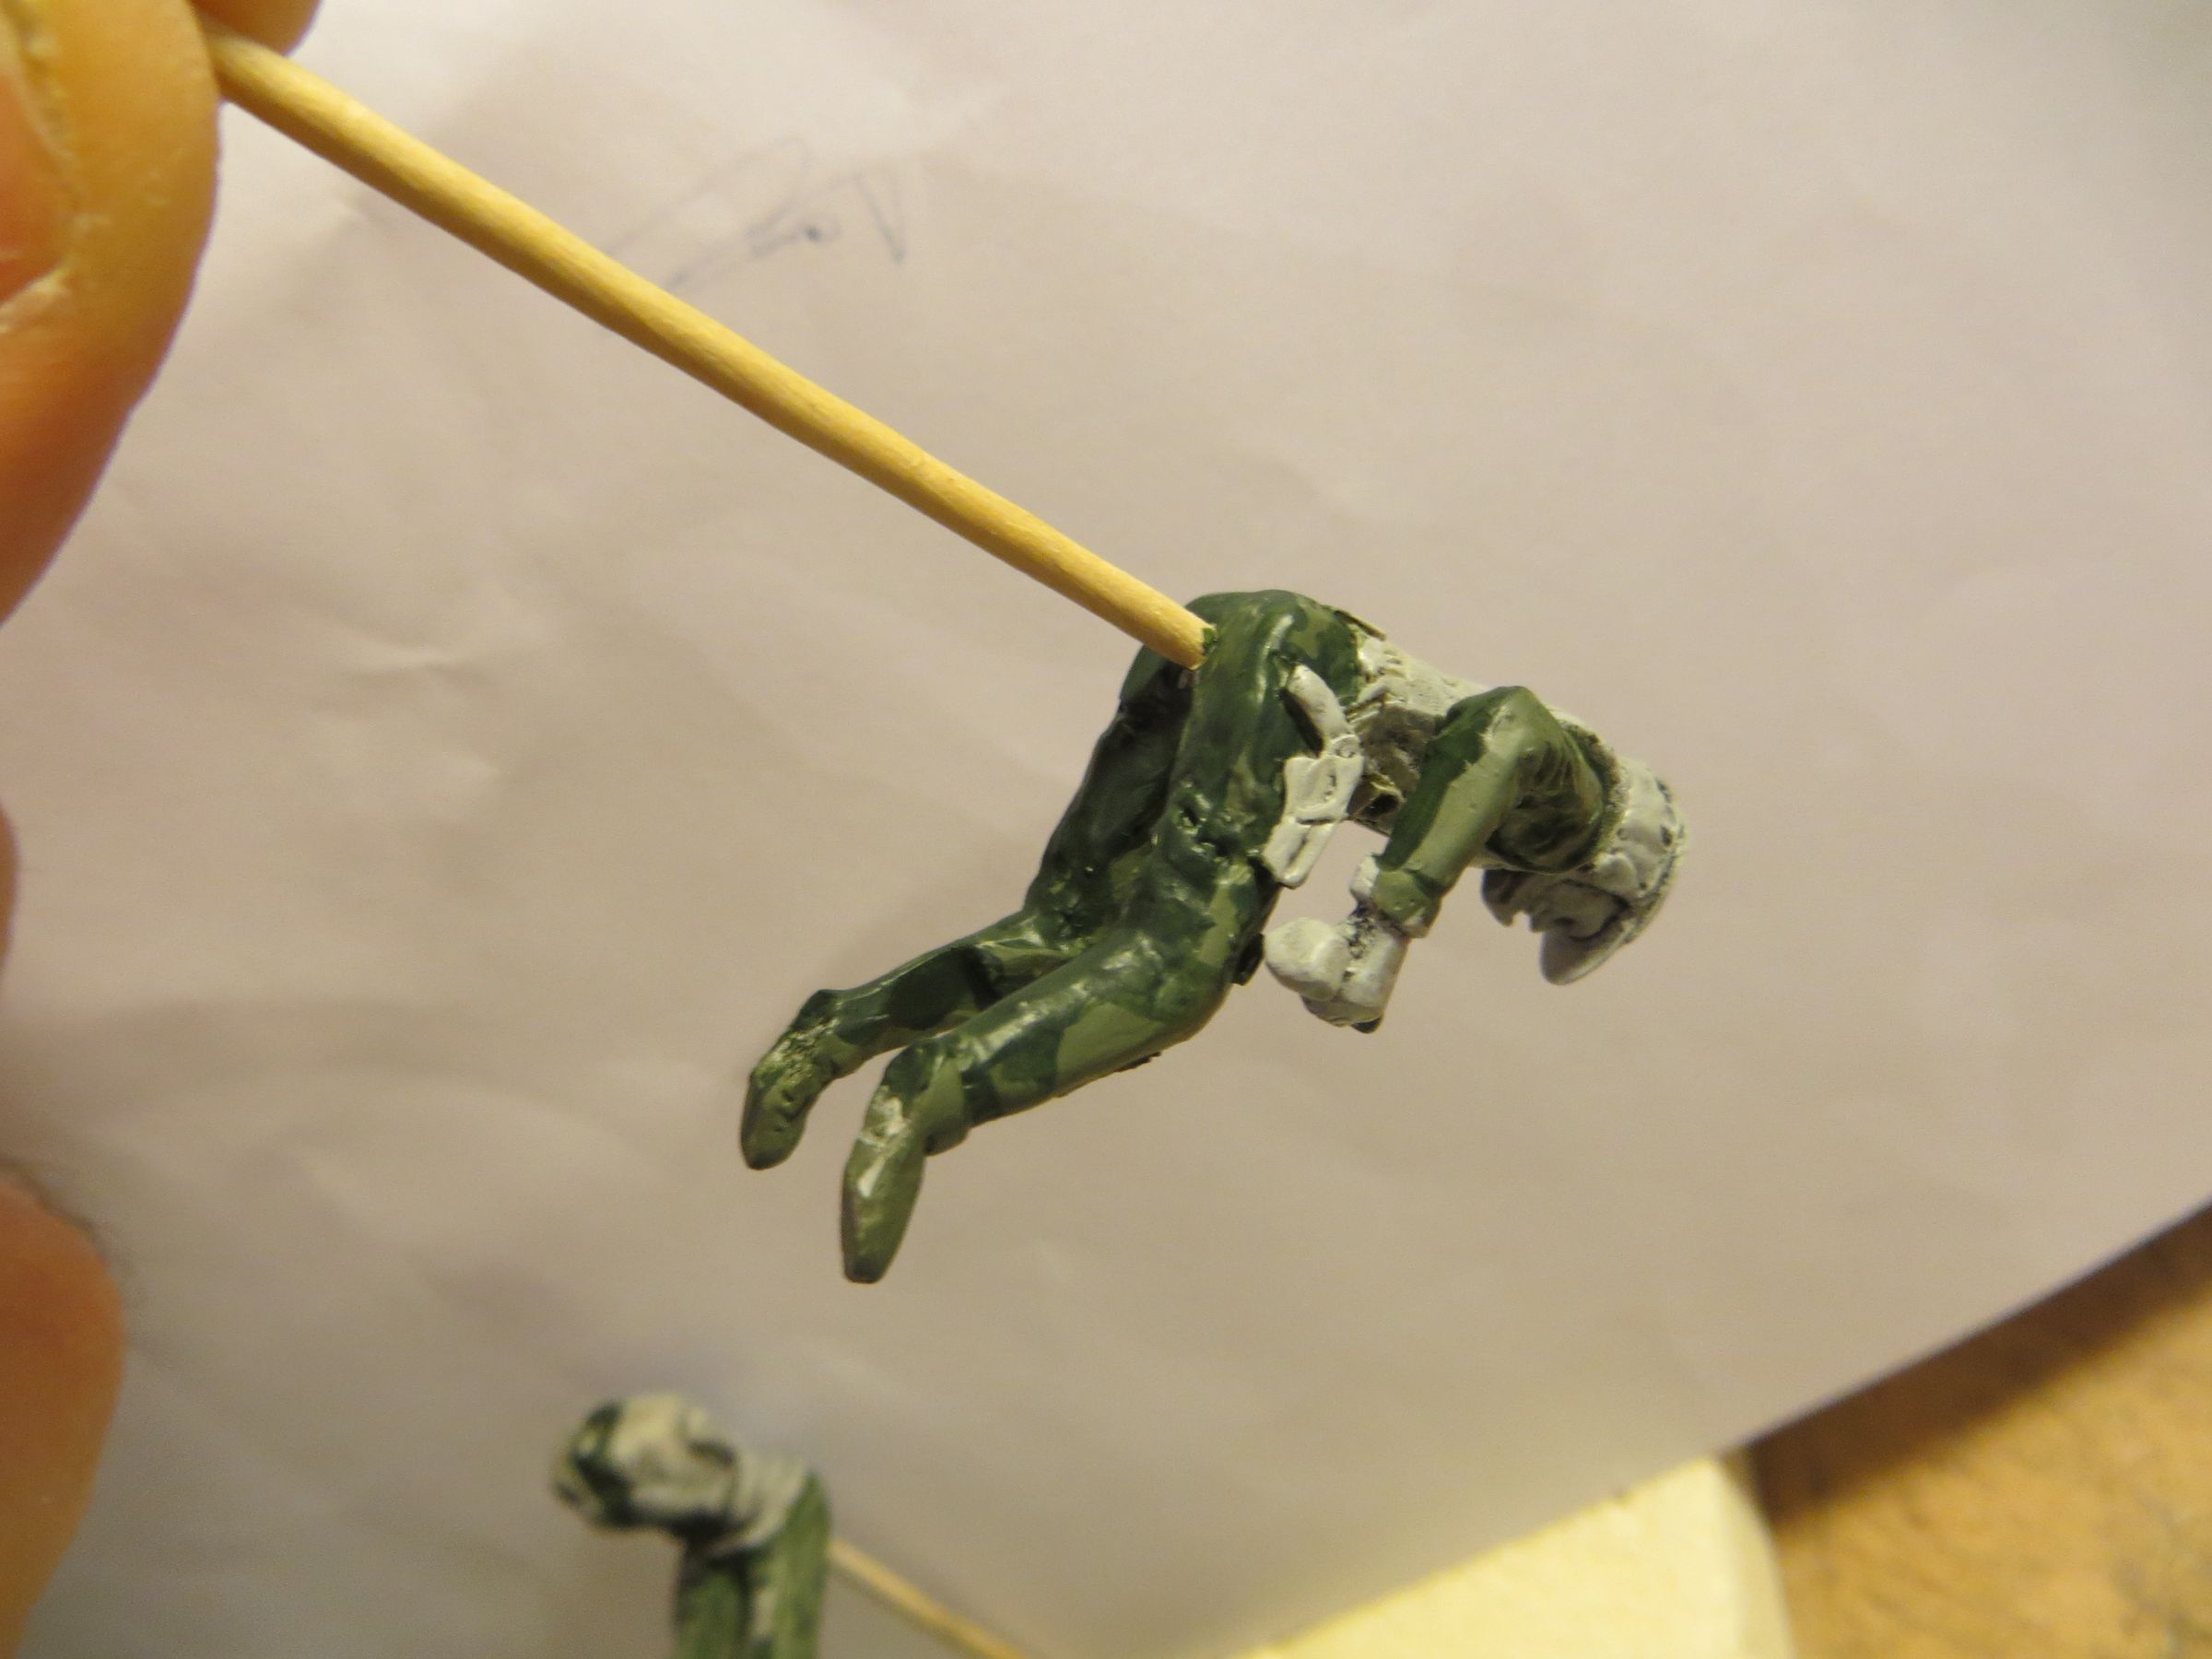
and a veil of Alclad pale gold.
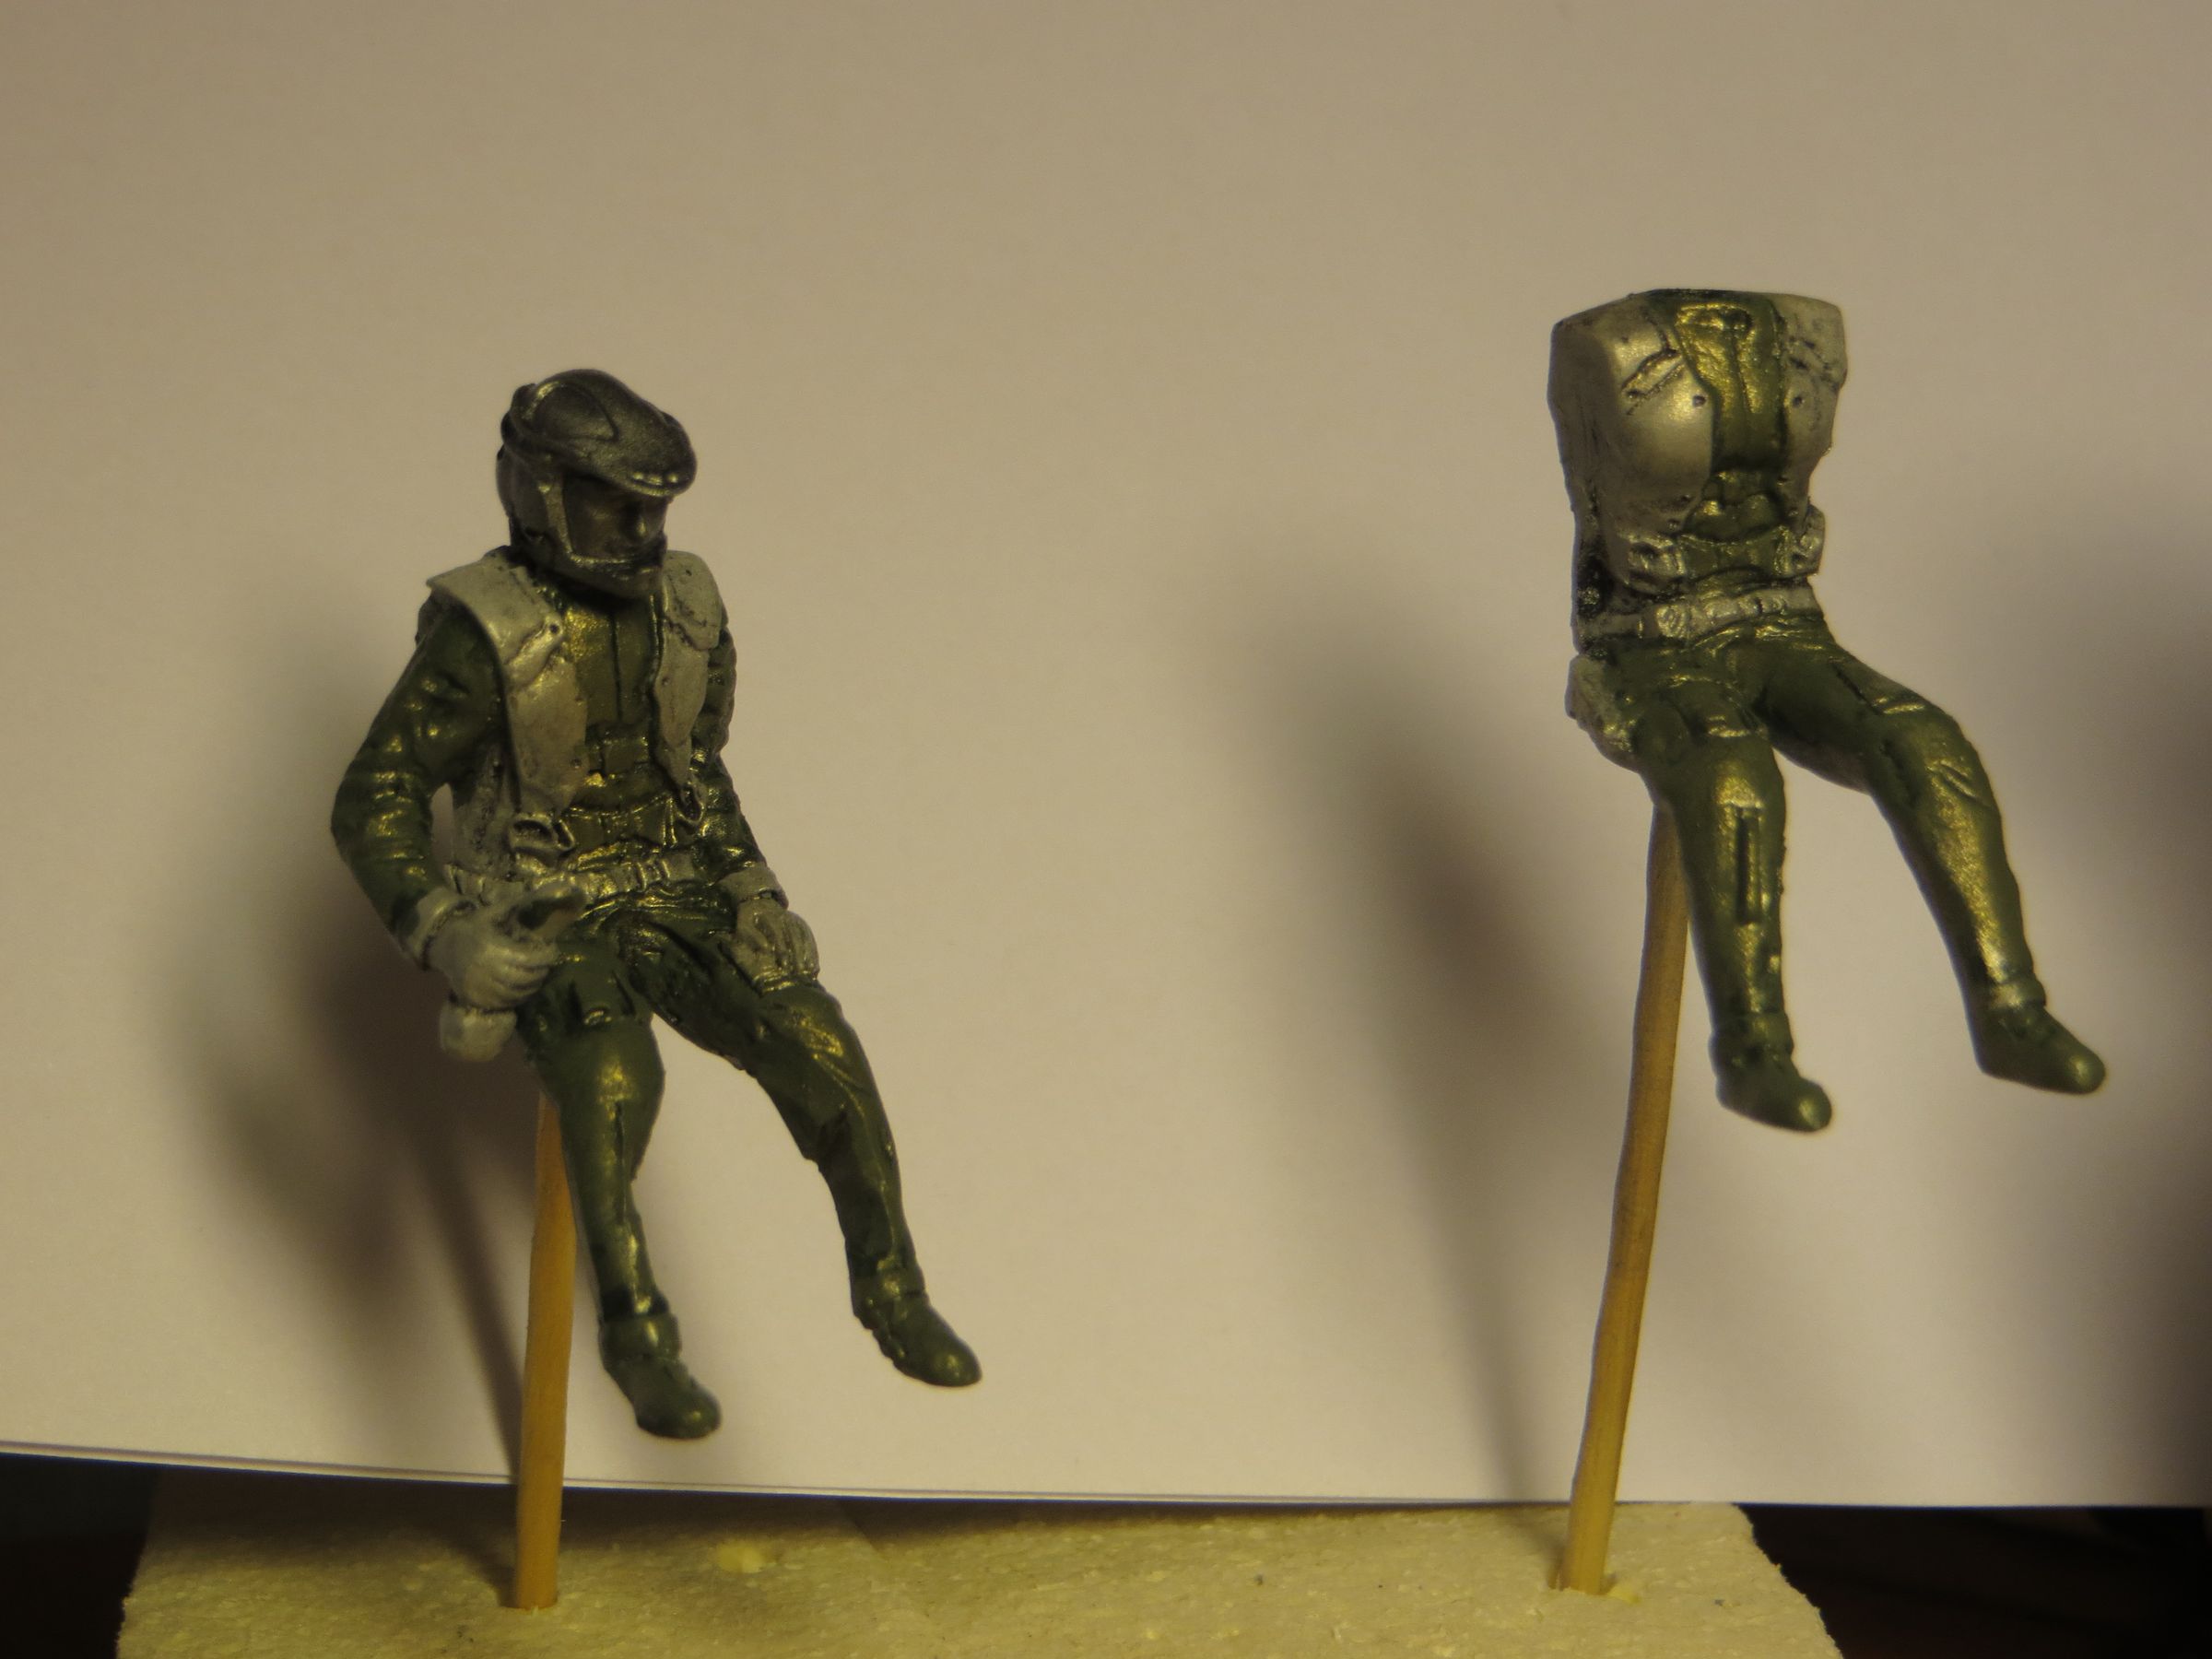
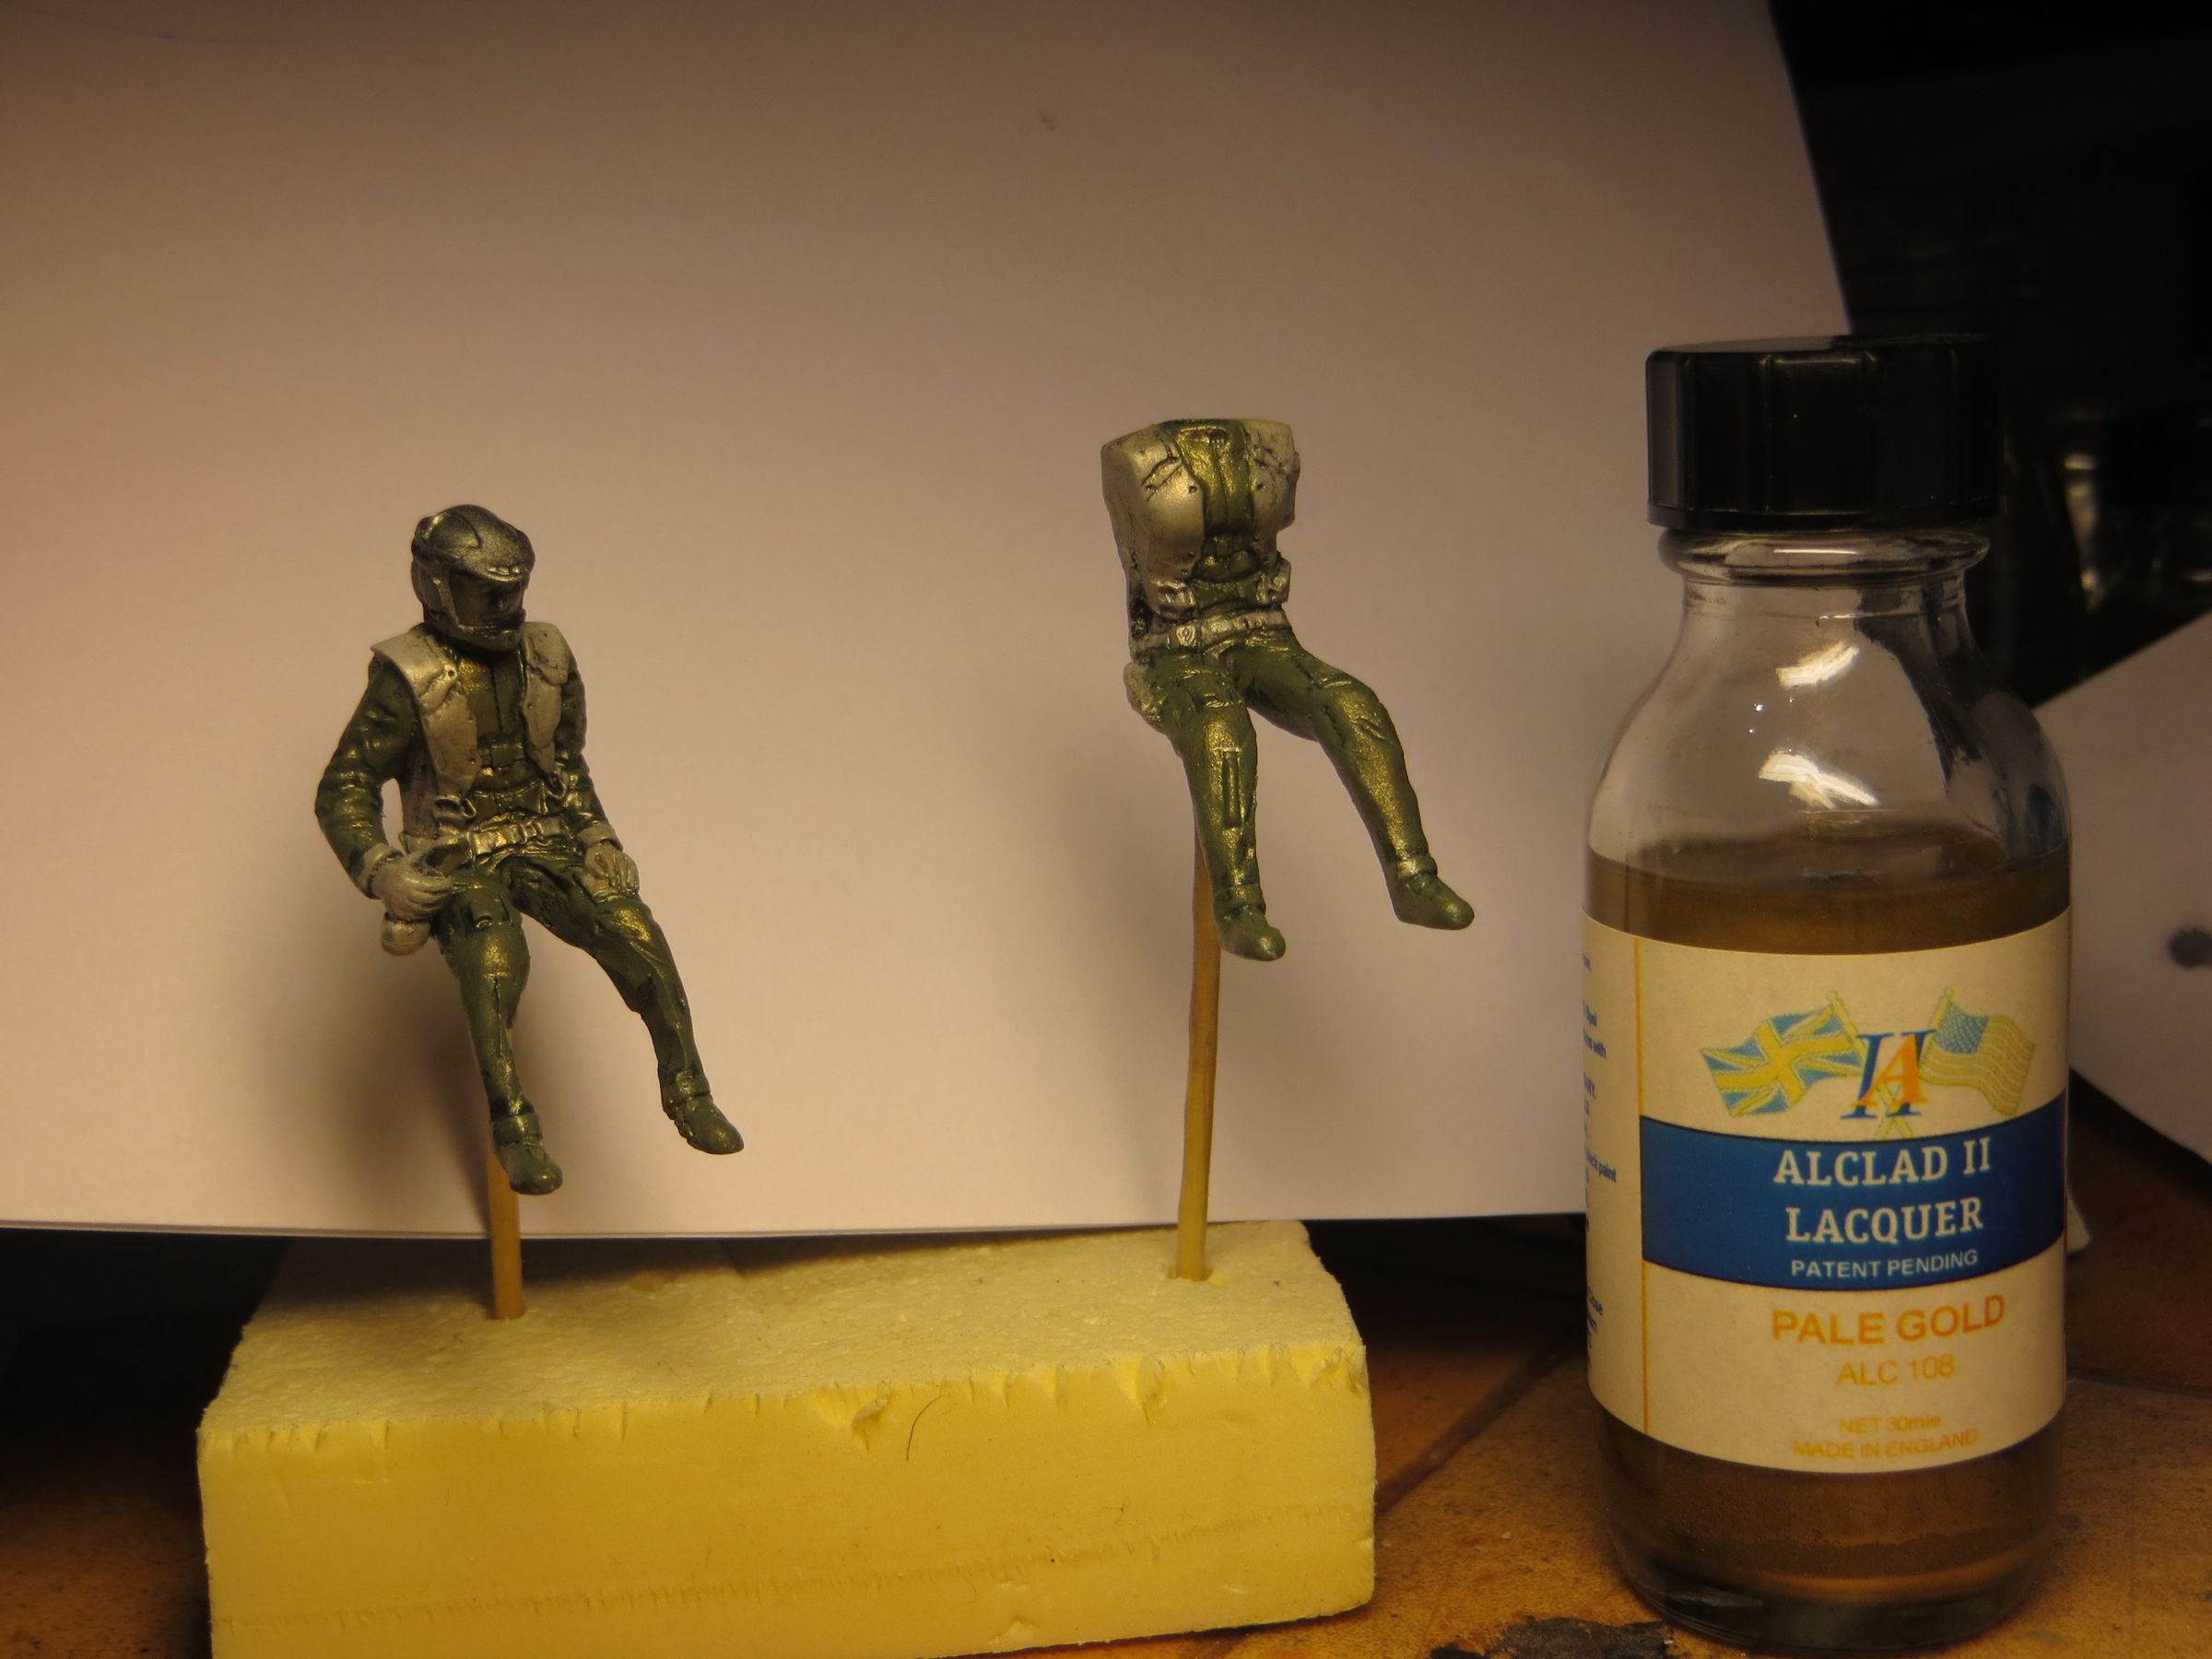
It is conventionally finished with brush paints.


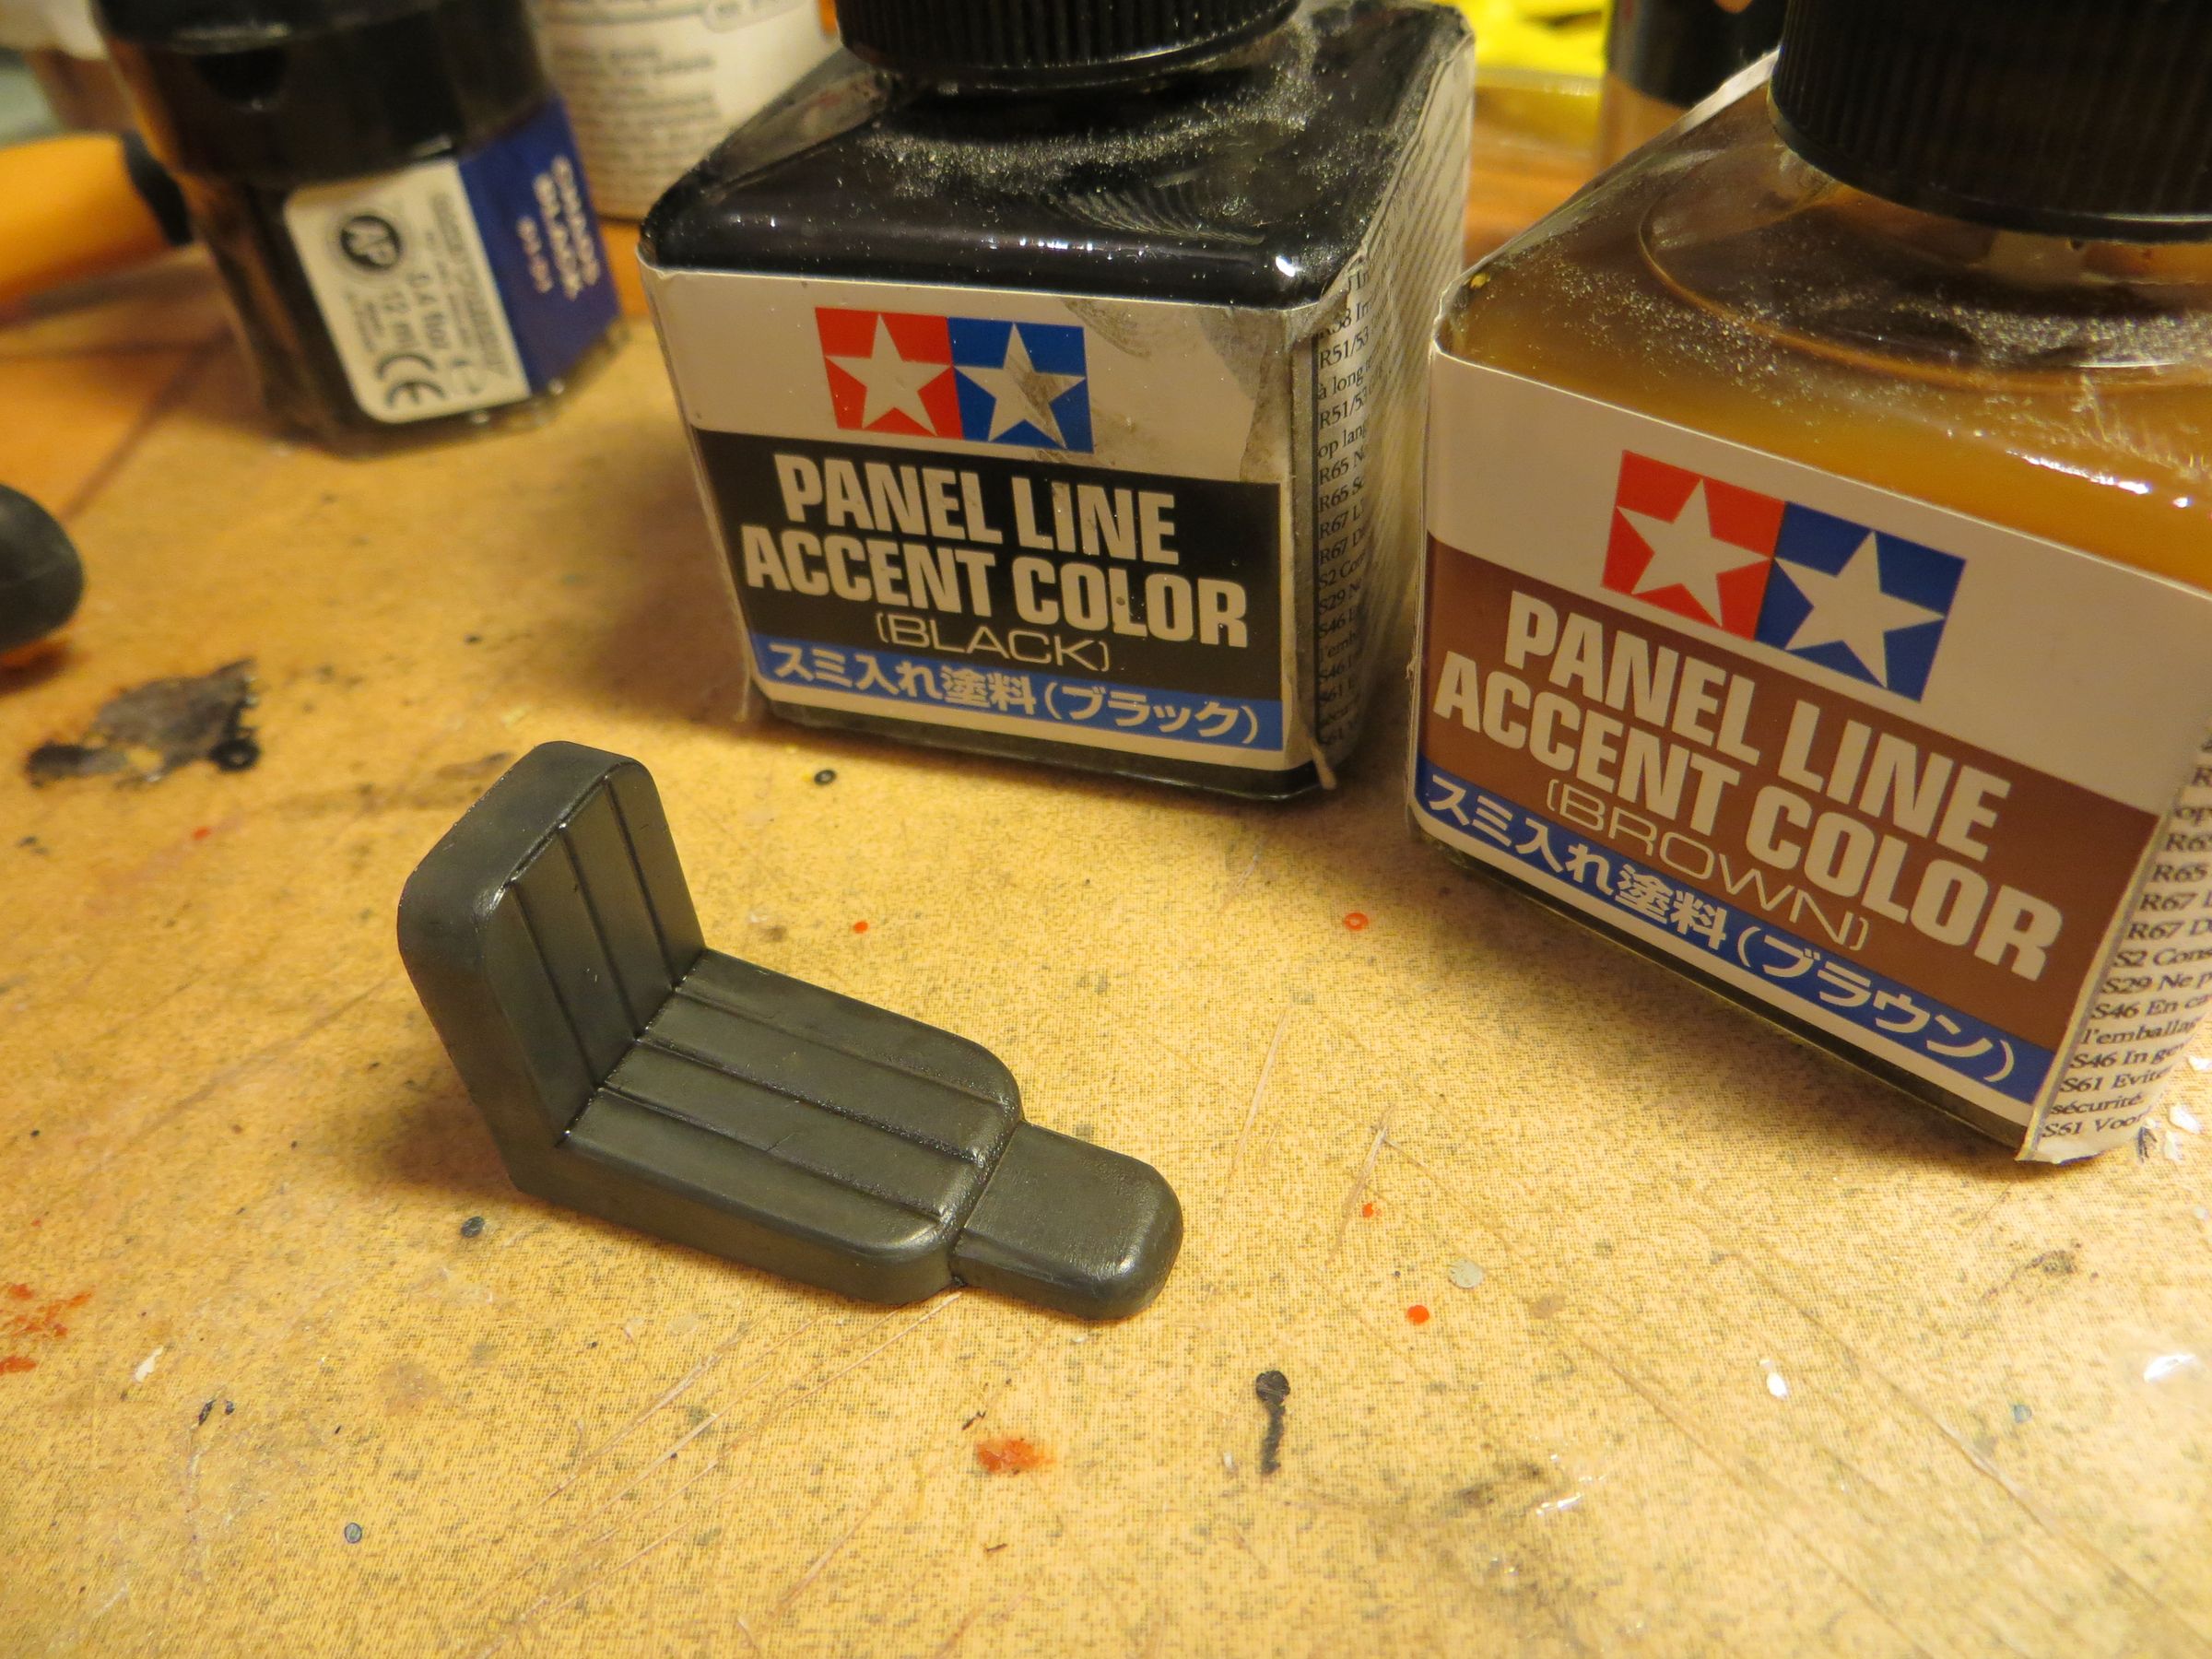
The chair is in a dark gray (near black). He then received a black tamiya and brown wahes to give it a leather look.
The base is built in the same way as the mk2.

The character and the canopy held in place without any glue.
mardi, 25 mars 2014
Par olcabour le mardi, 25 mars 2014, 23:52
After few drying days, I applied a coat of Klir/Future.
Then, a dark gray wash in the panel lines.
before wiping

after
I then applied the decals.
To give them a worn look, well I.... damaged them ! with a sand pencil and sand papers.


After this torture session, I was not sure that decals will stick well, so I've brushed them with Klir. Then with the airbrush.
Next comes a coat of satin varnish to give me the work surface for the weathering to come.
jeudi, 20 mars 2014
Par olcabour le jeudi, 20 mars 2014, 23:05
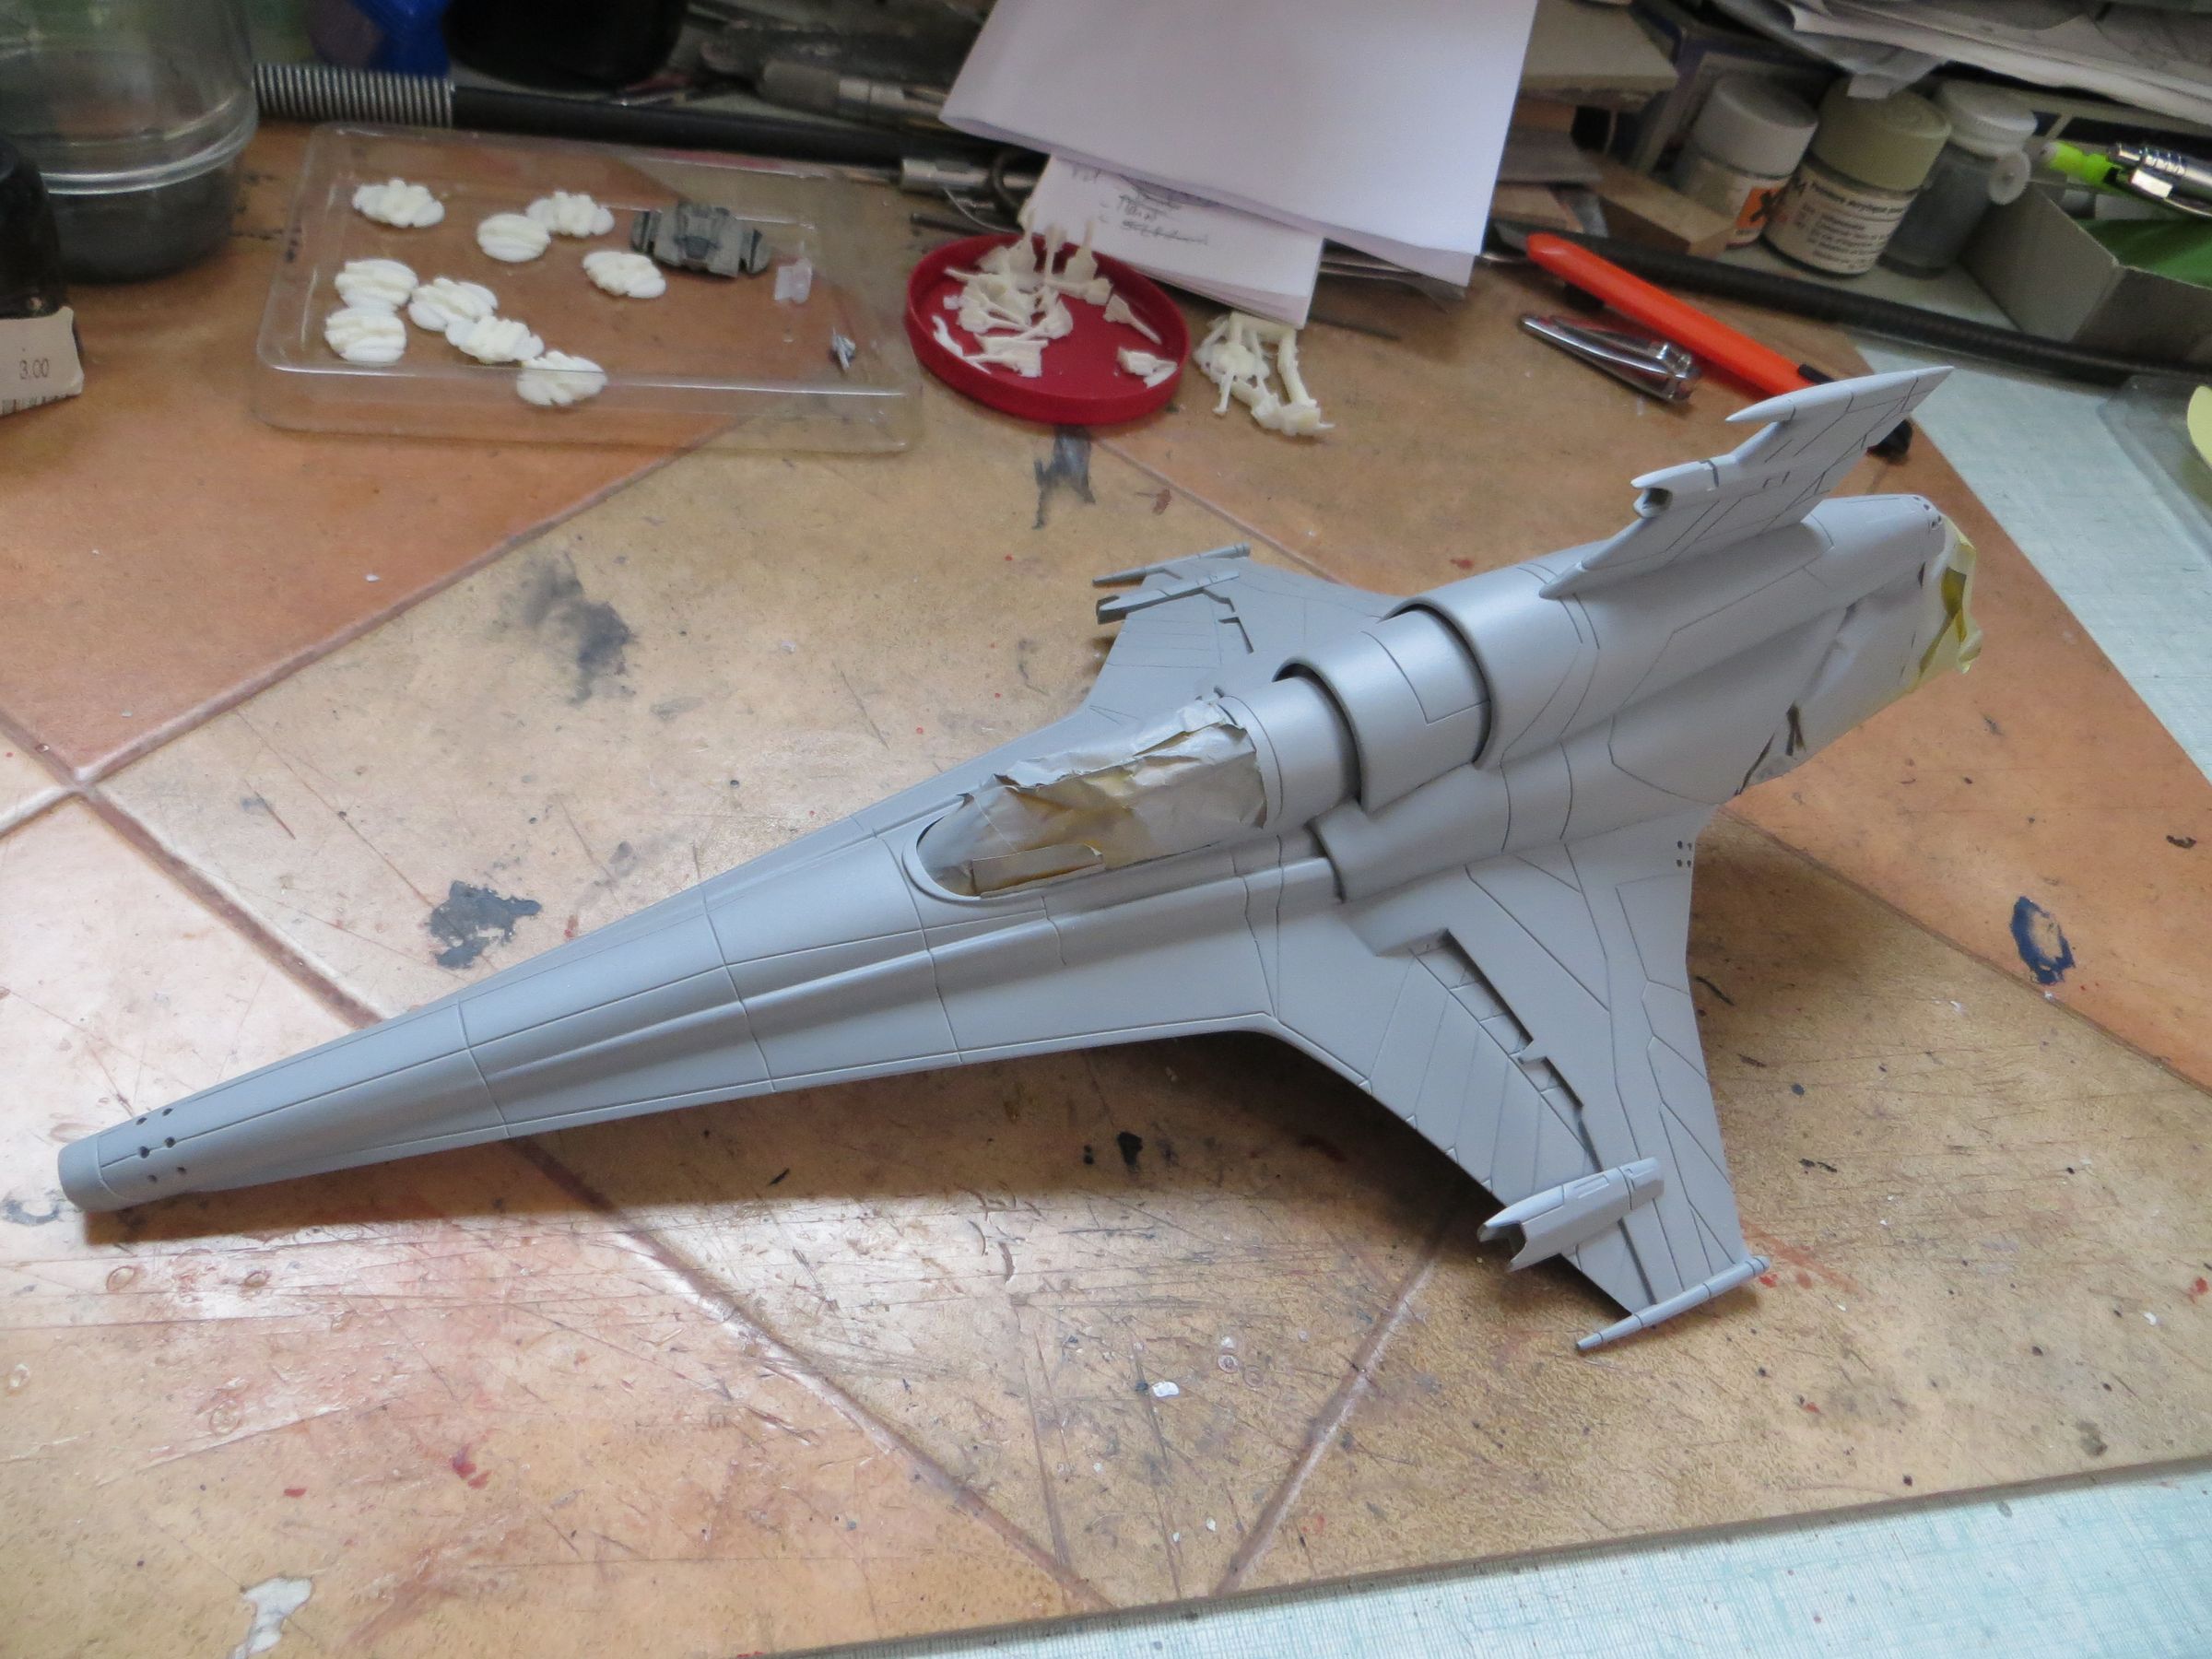
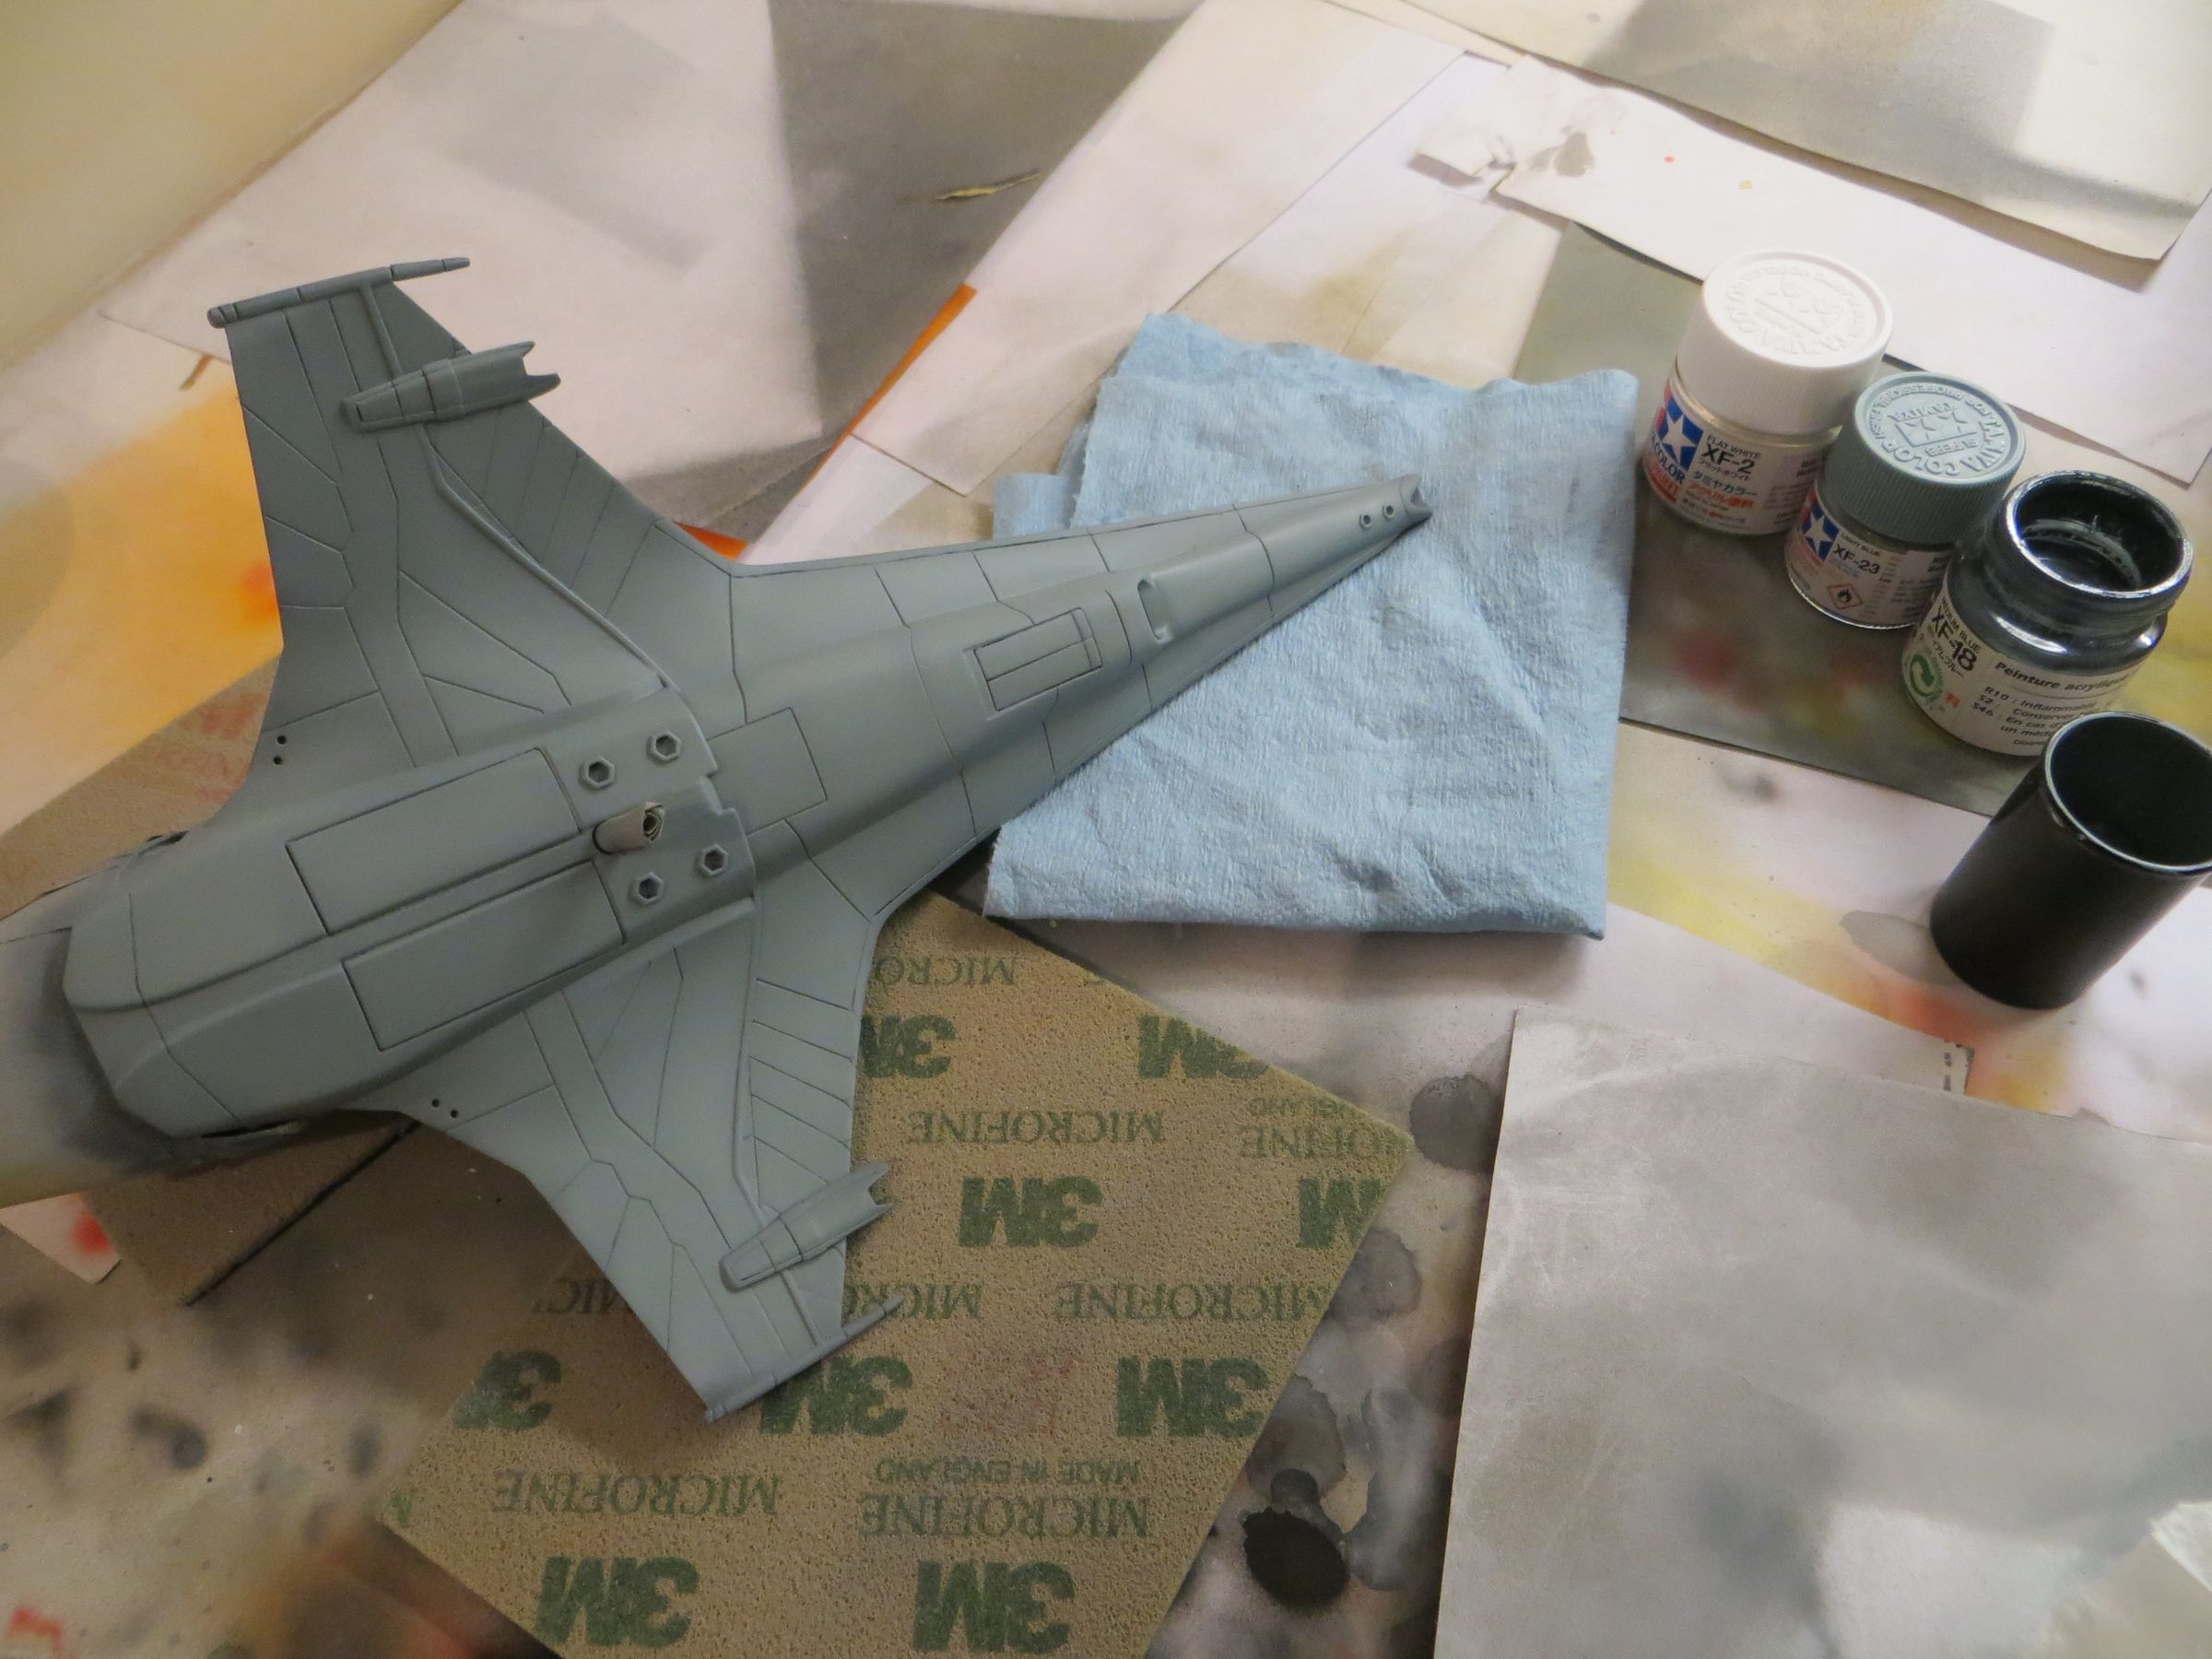
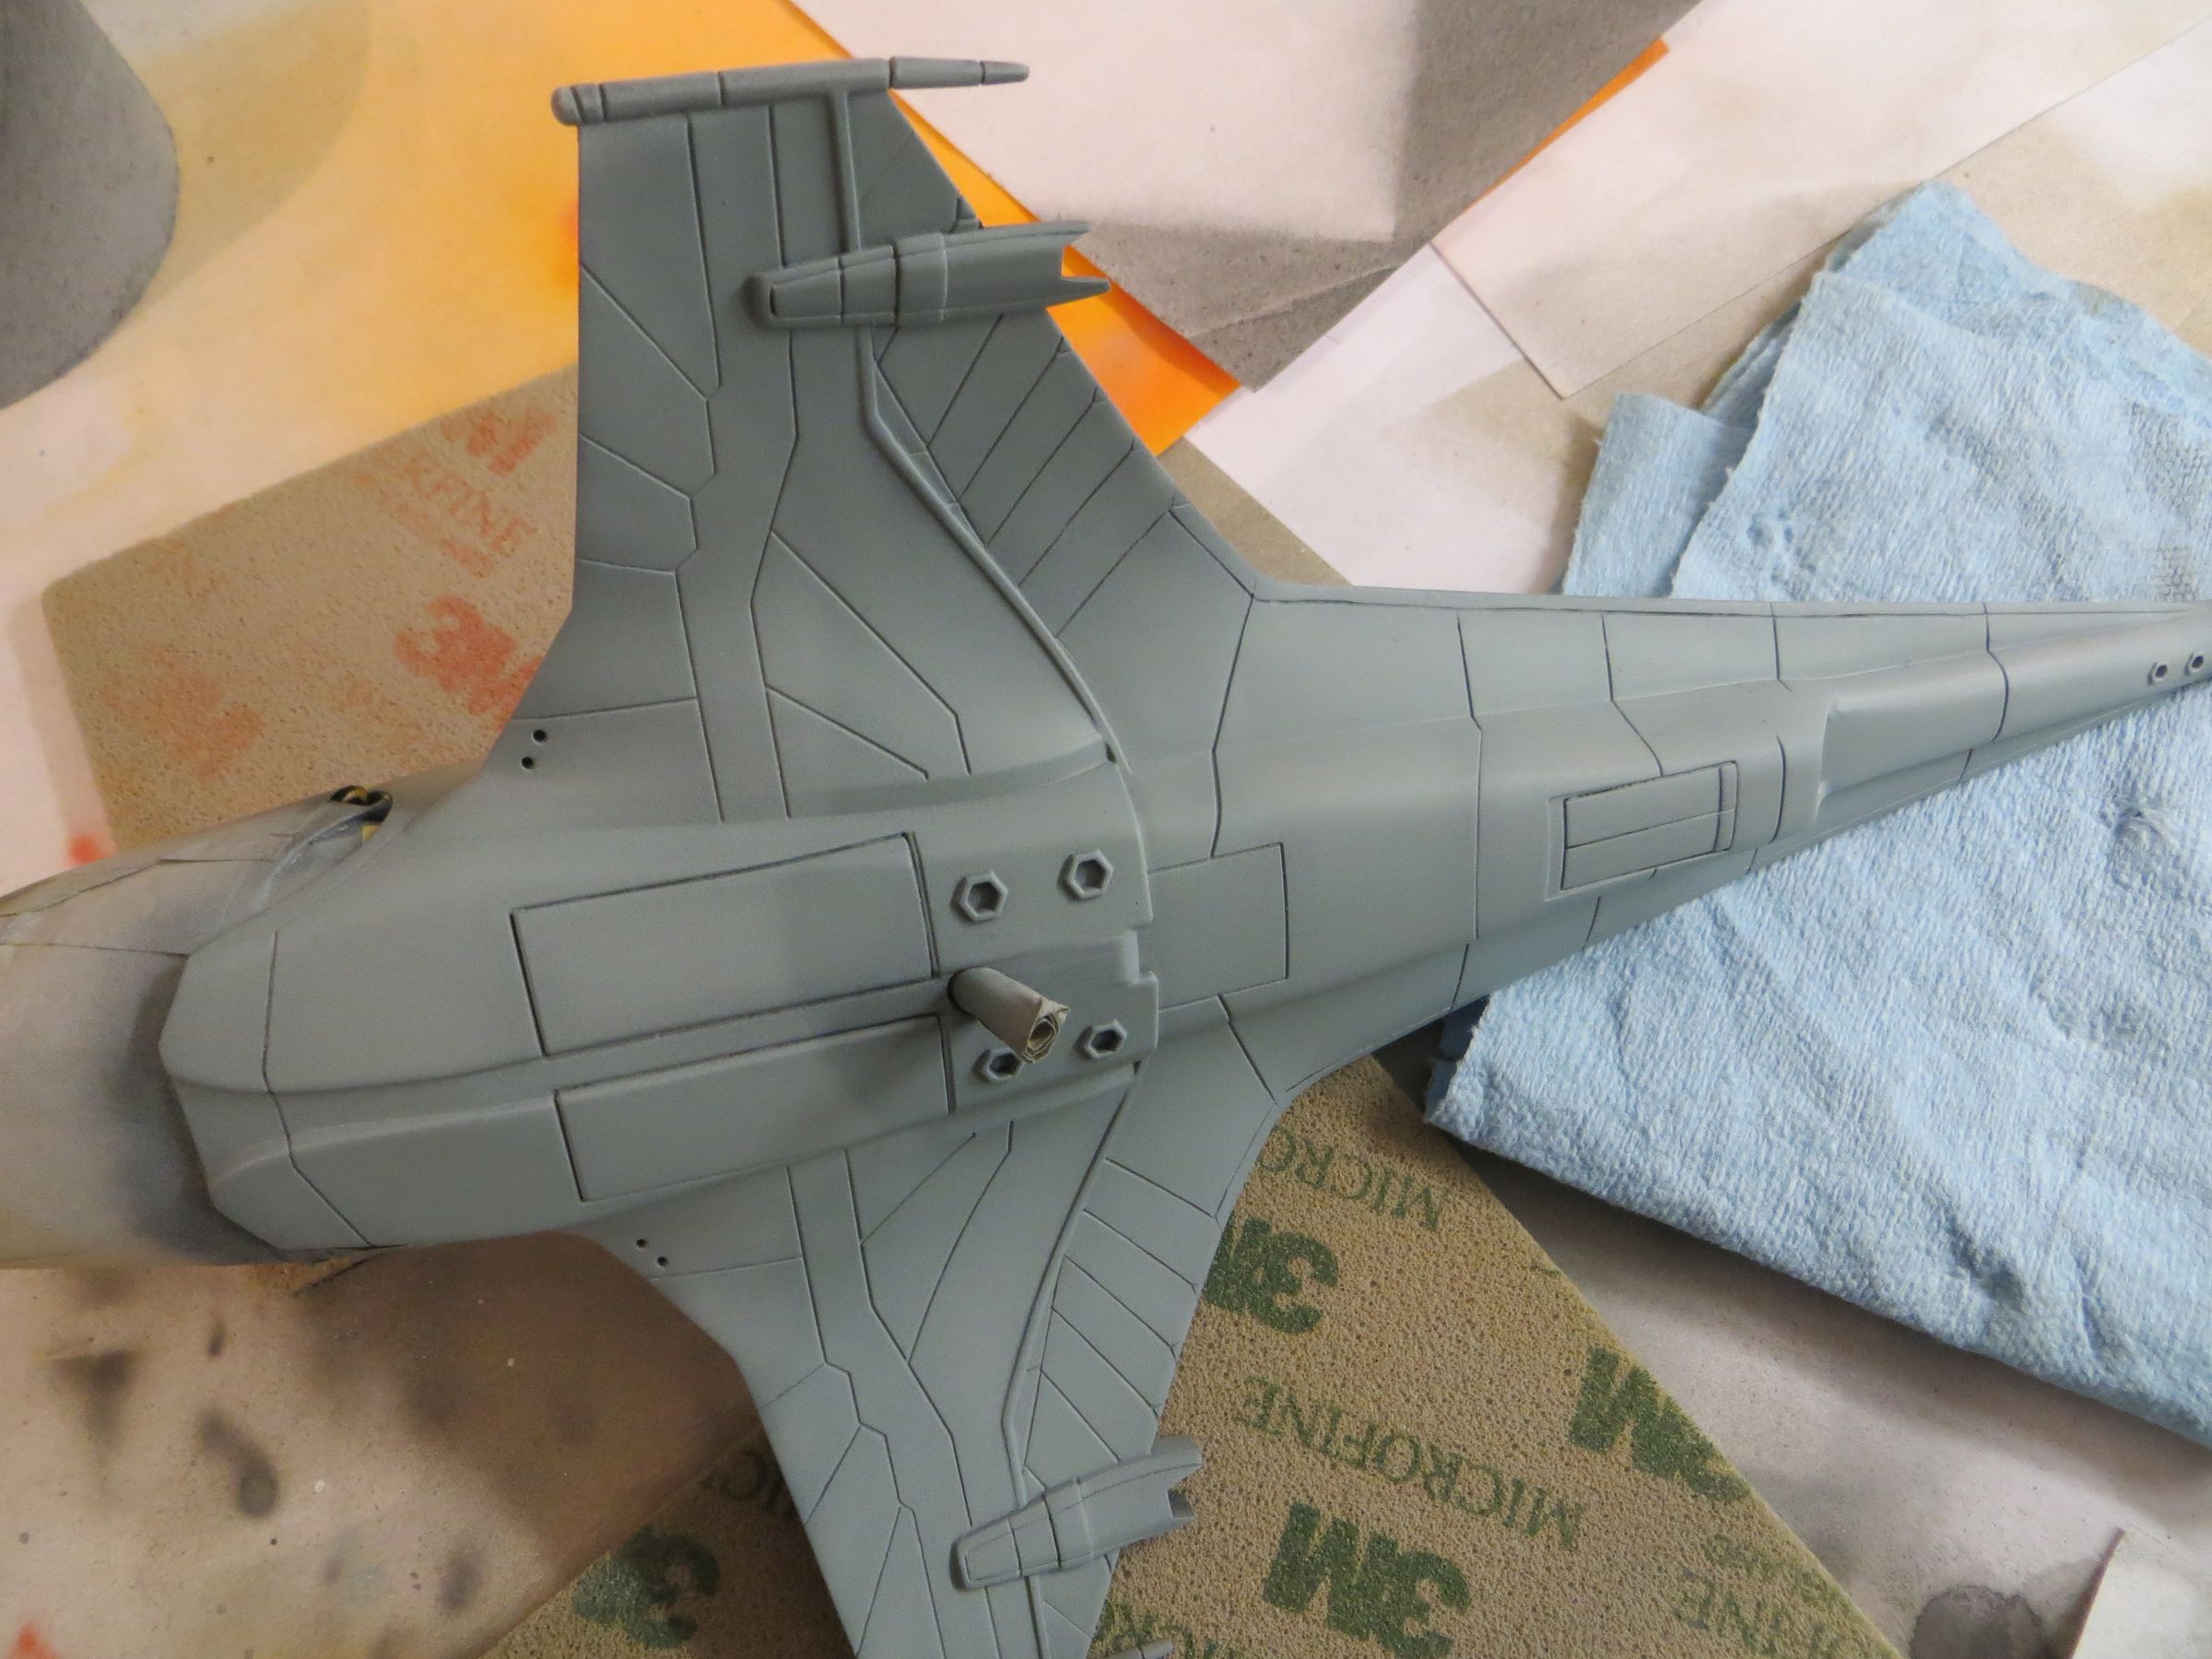
Painting typically starts with a coat of tamiya spray primer.
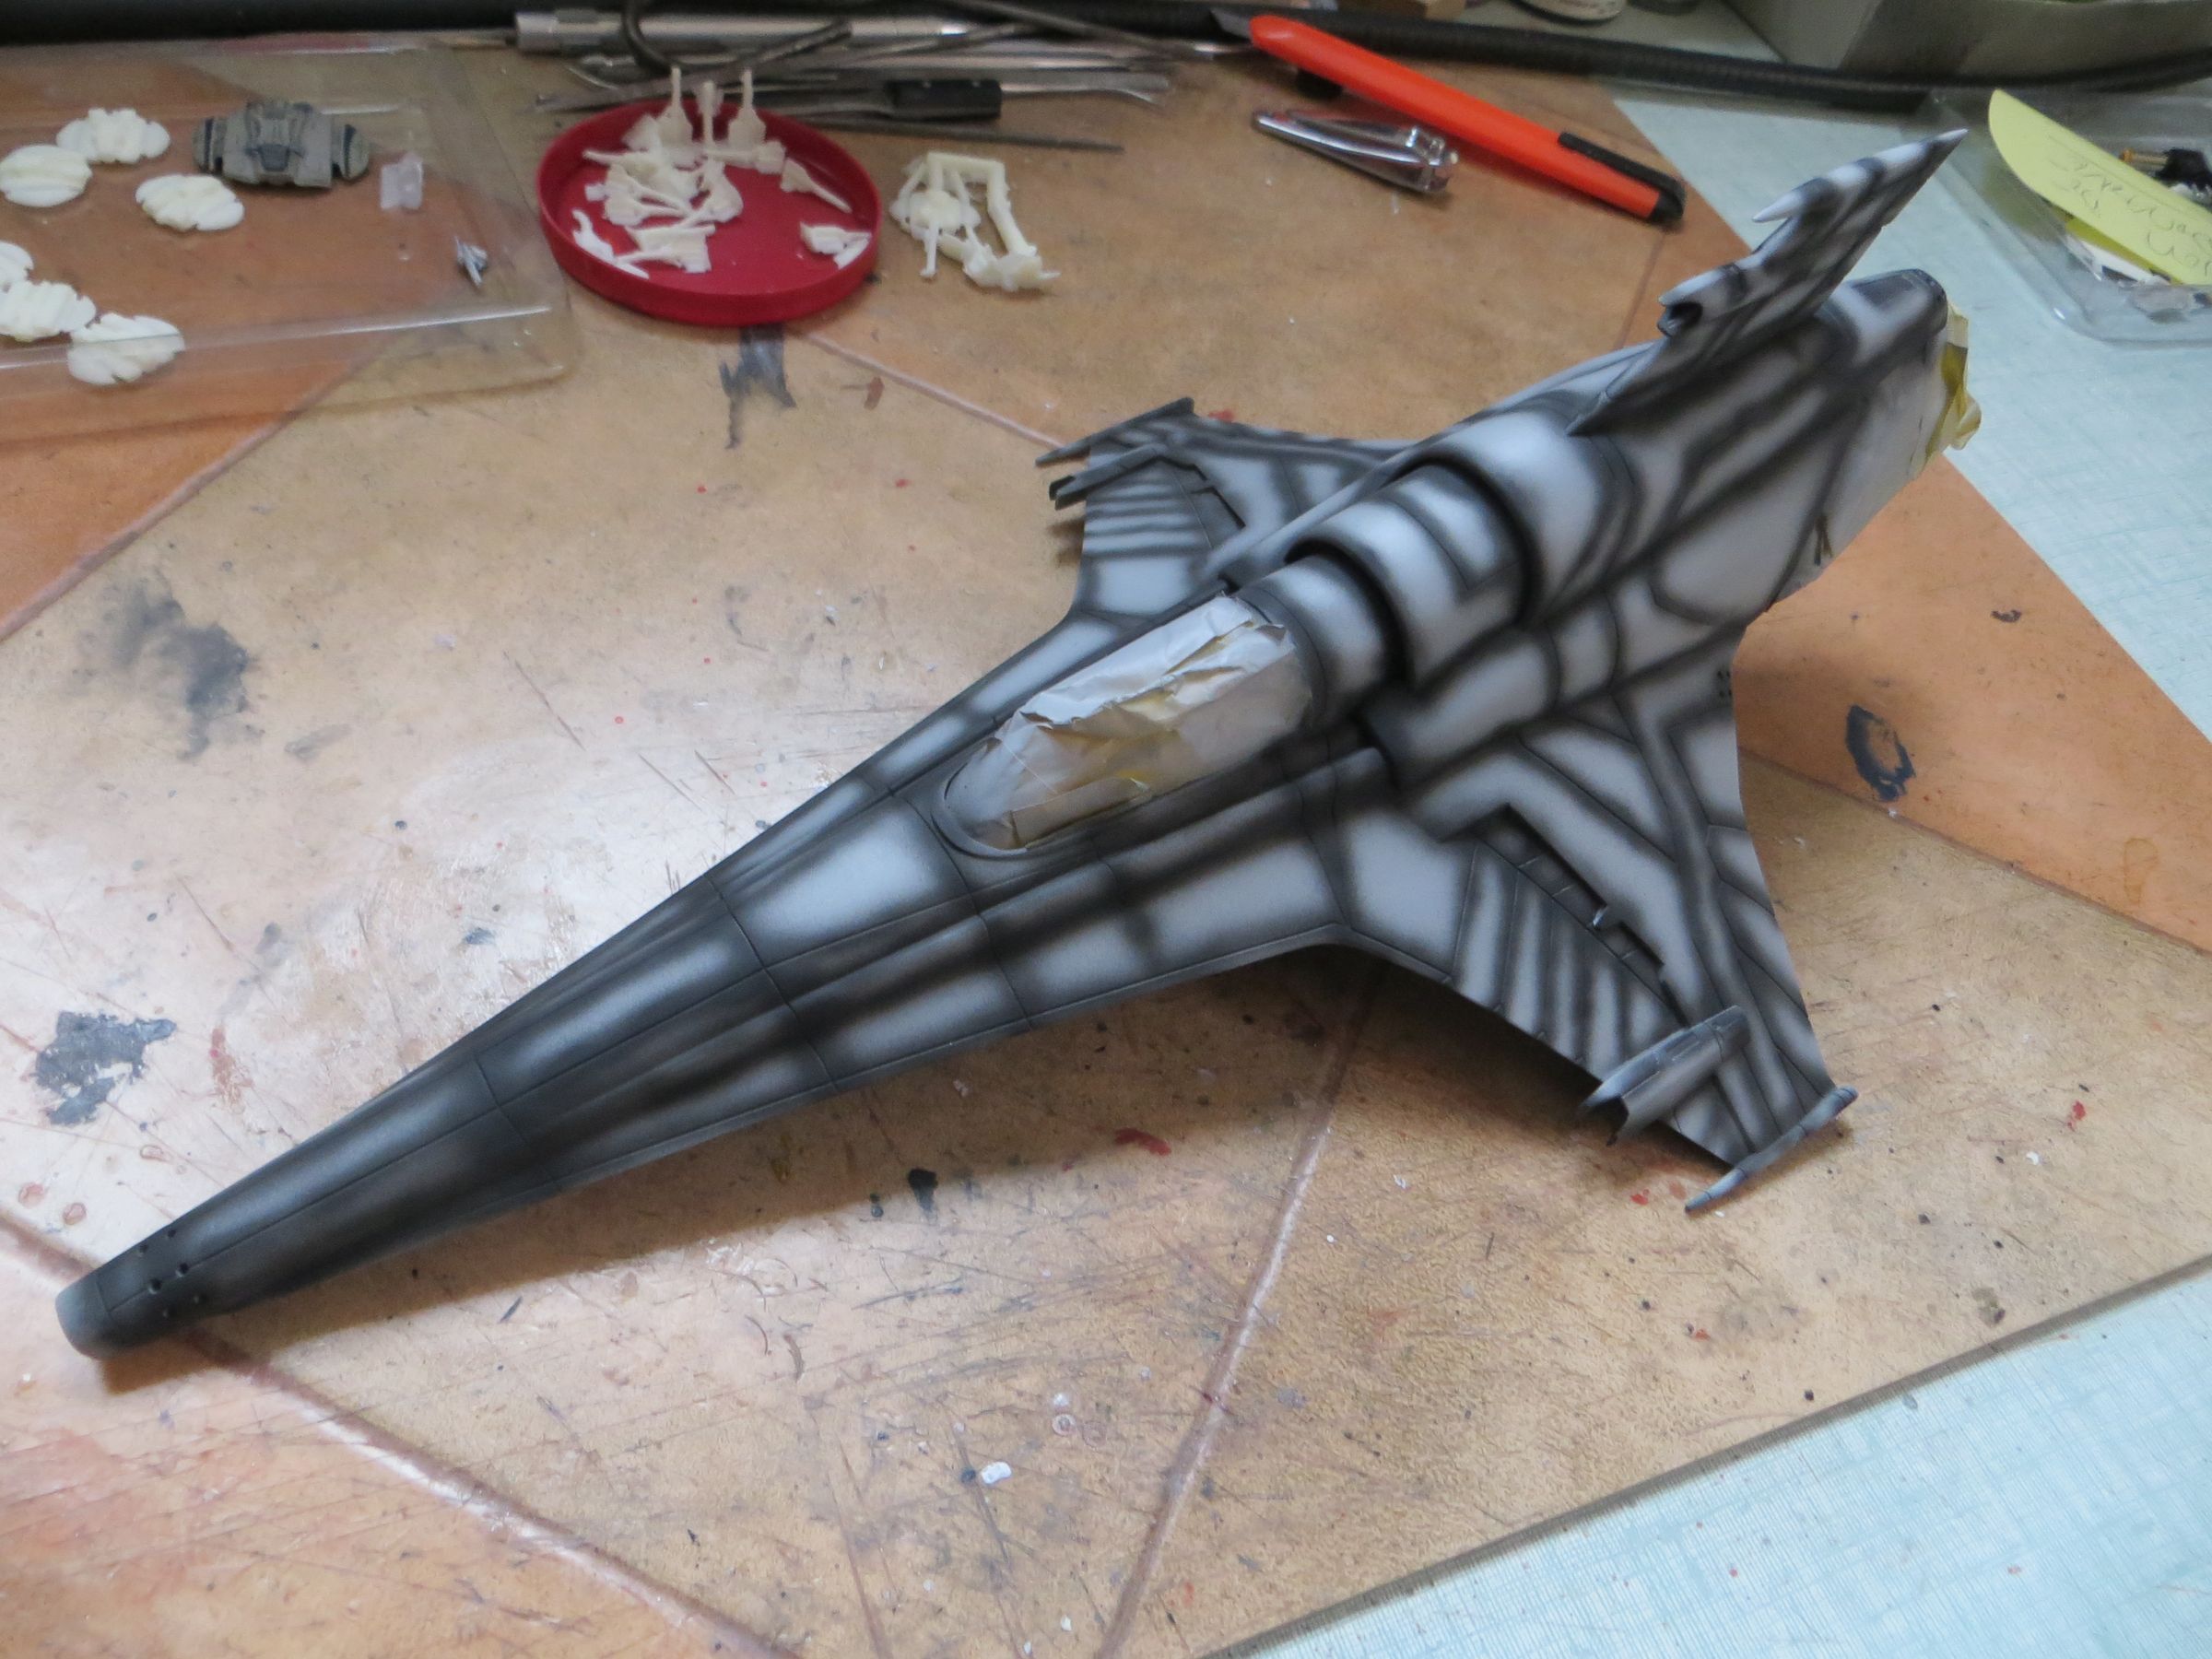
Followed by a black pre-shading of the panel lines.
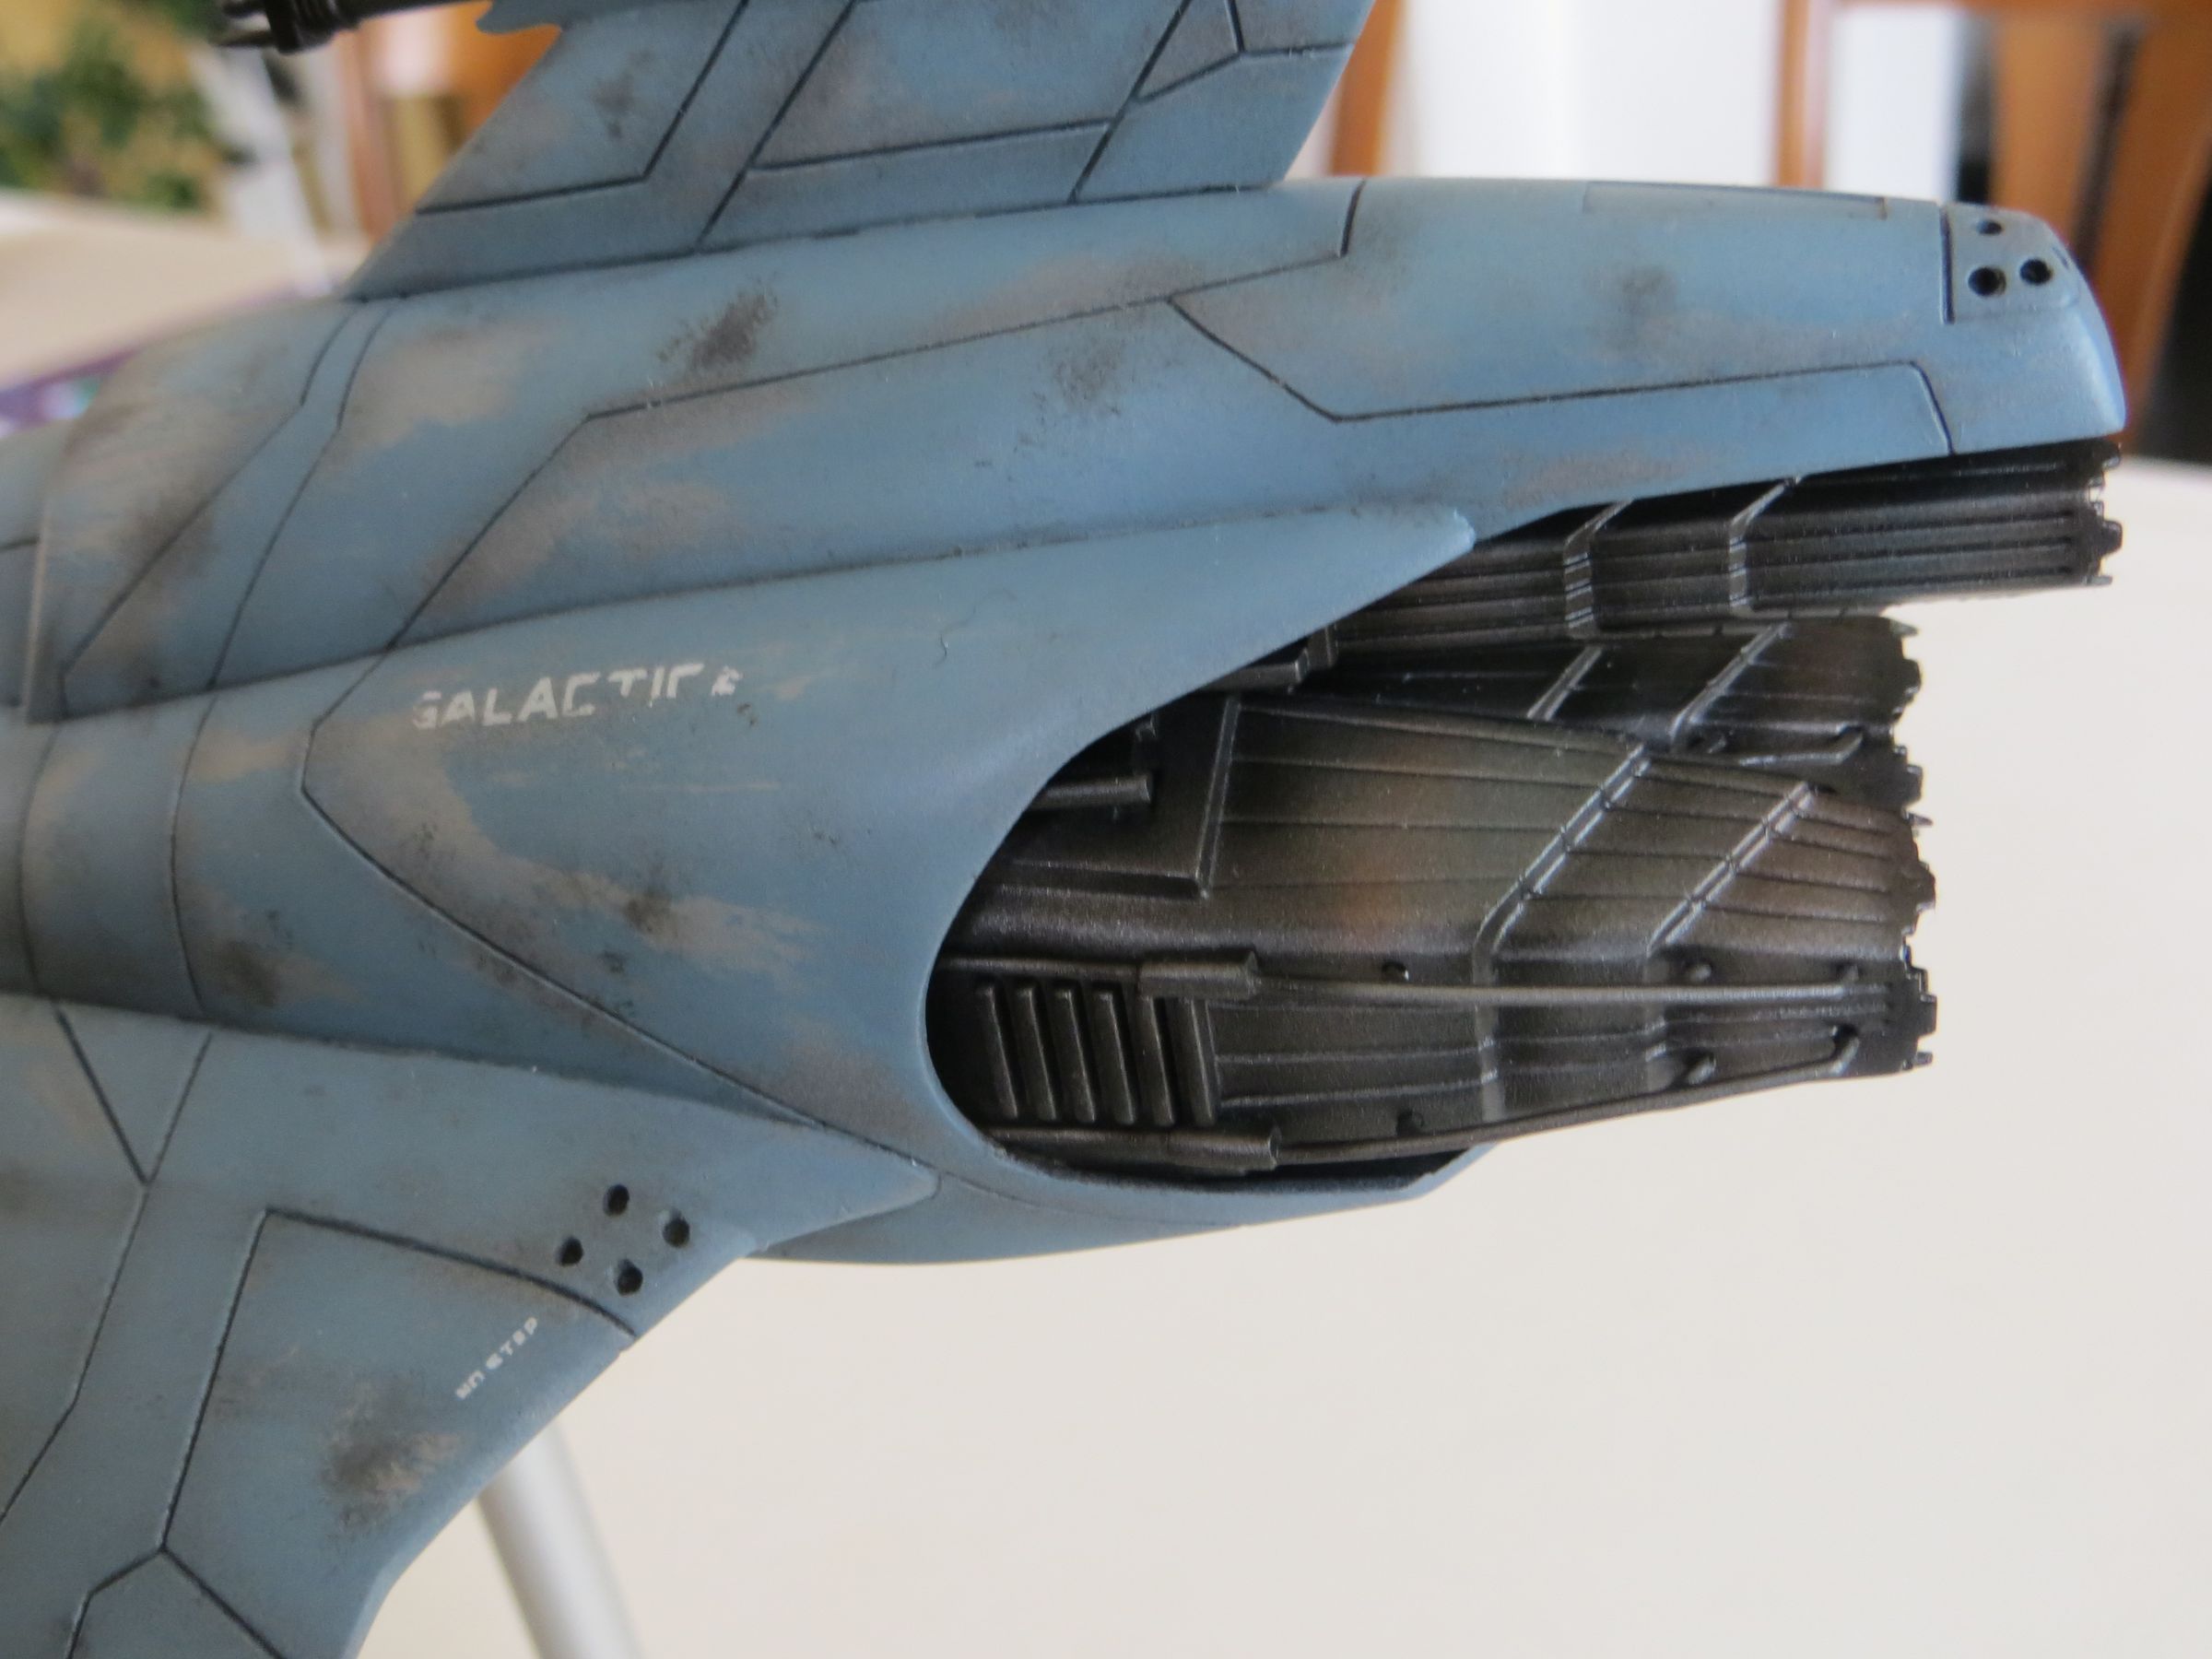
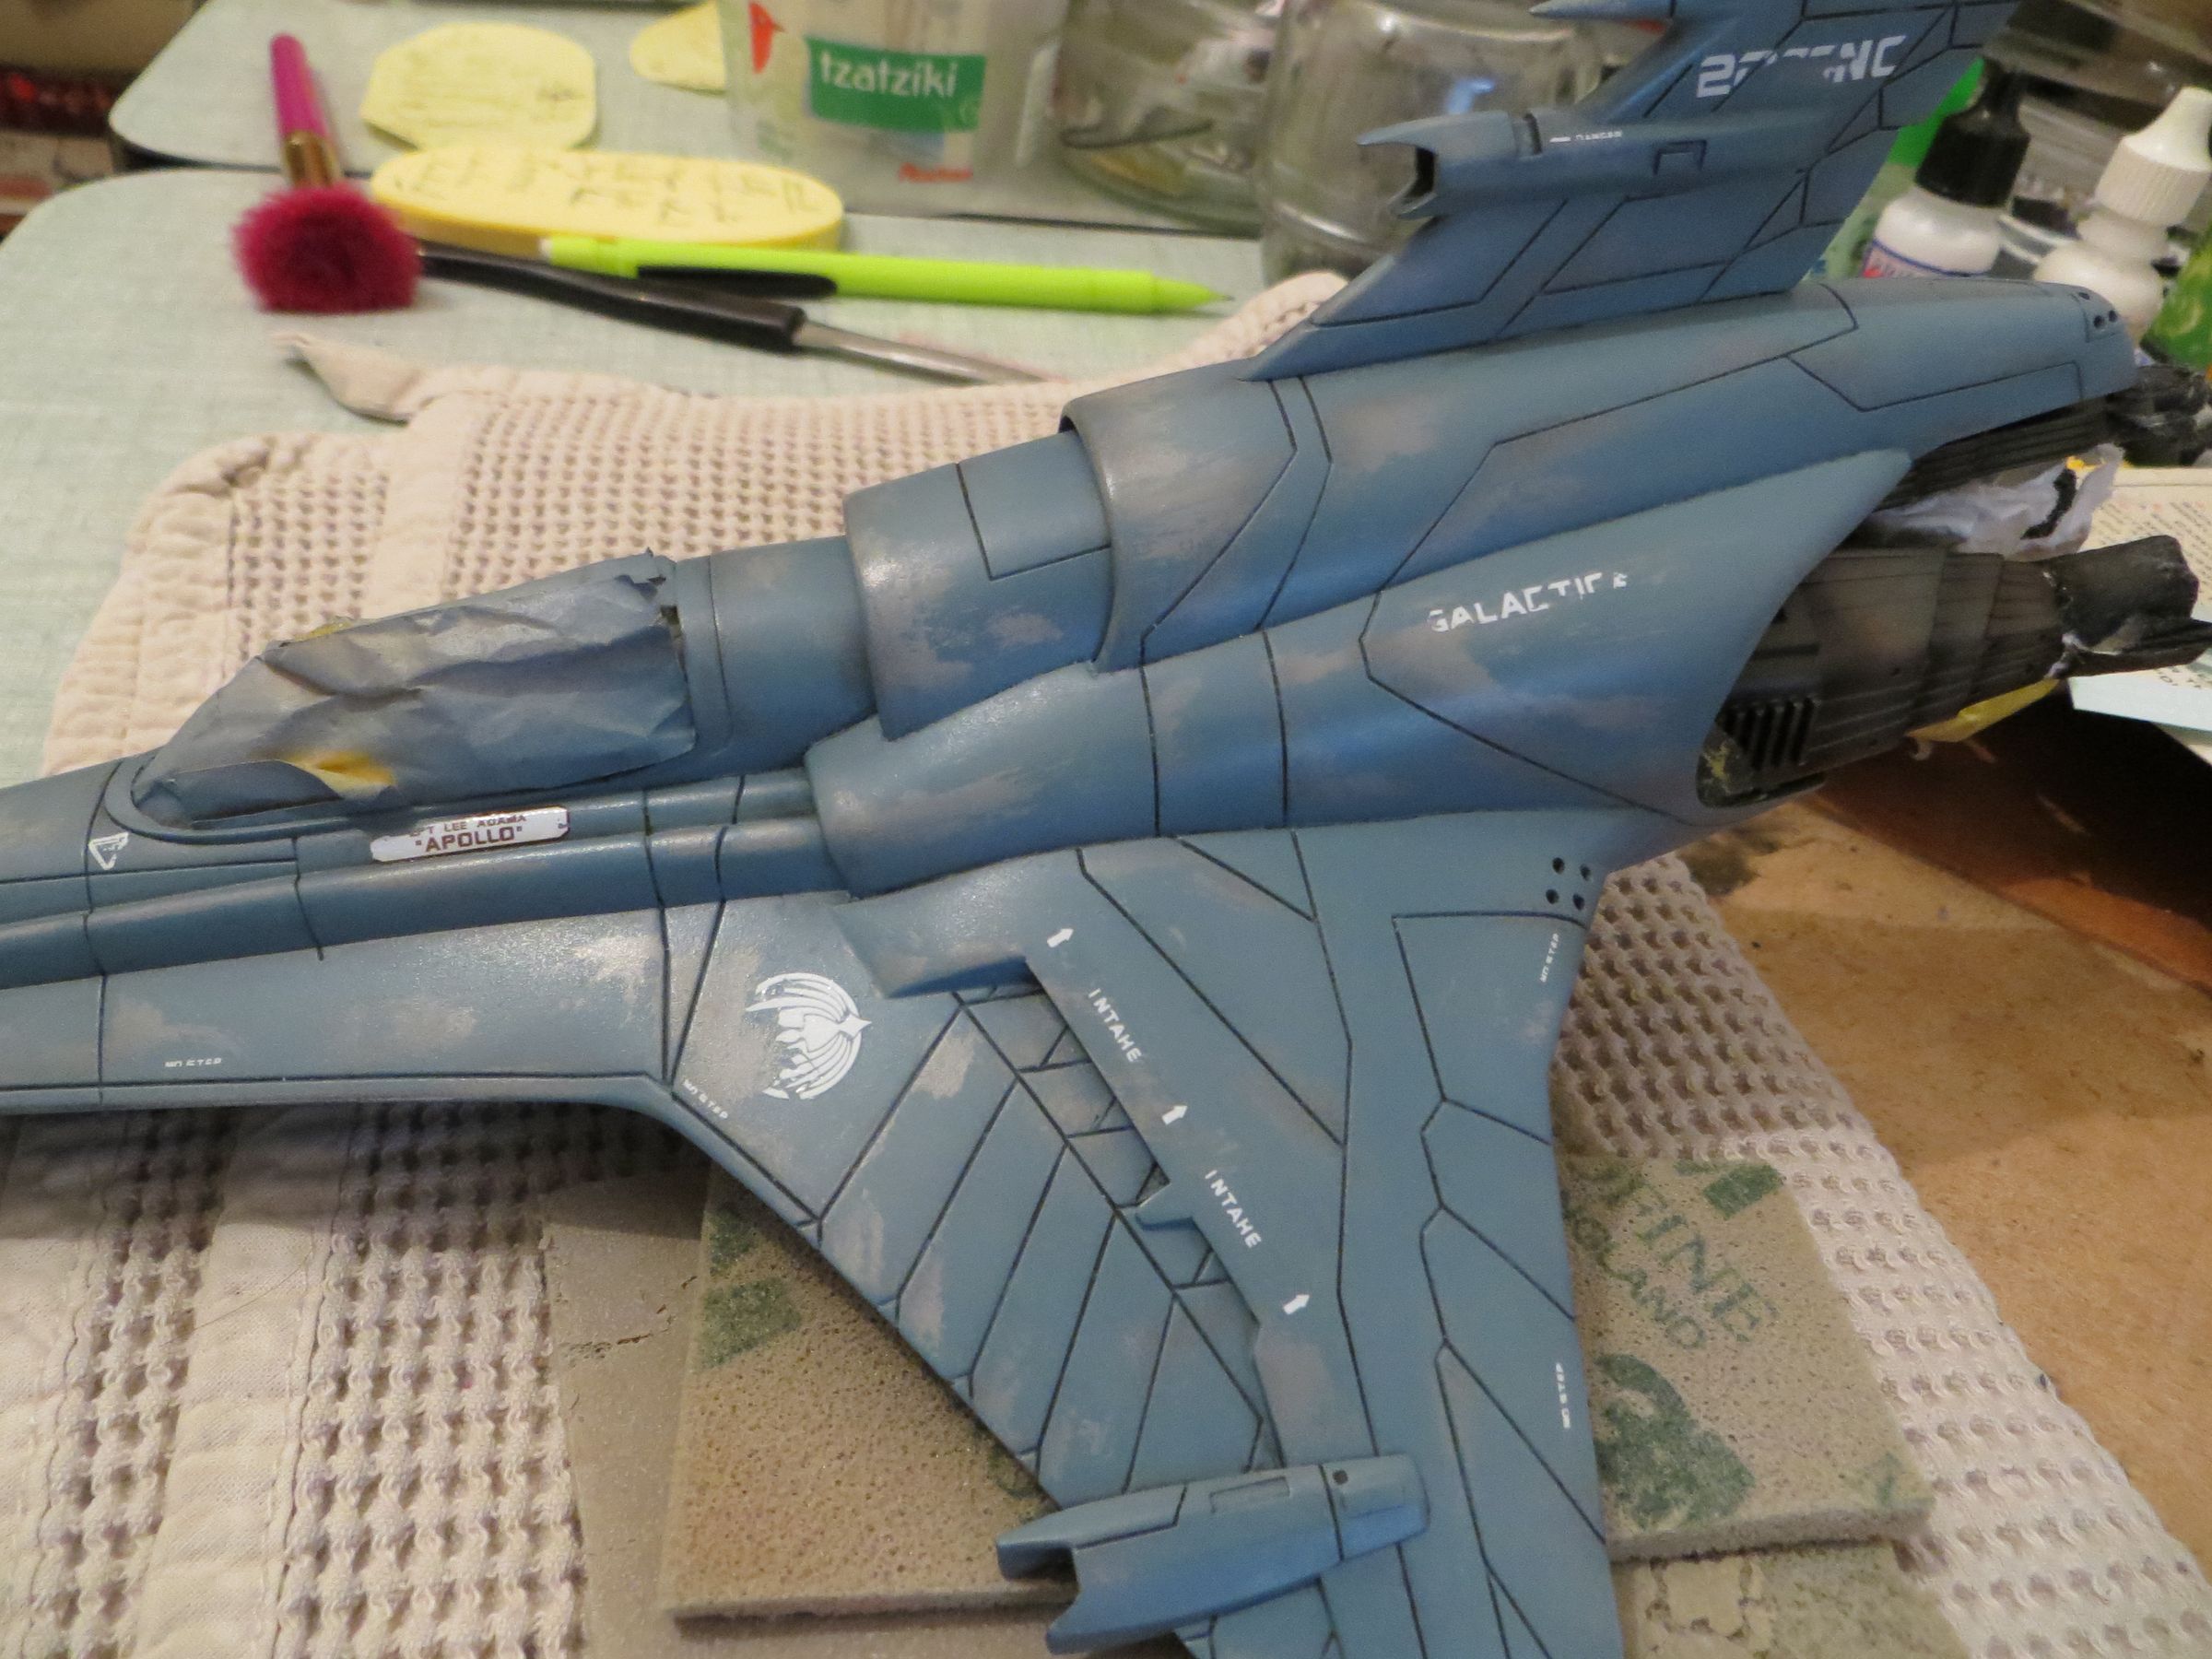
On this build, I will tried for the first time the hair lacquer trick. Indeed, the blue paint is heavily peeling on the Apollo Viper.
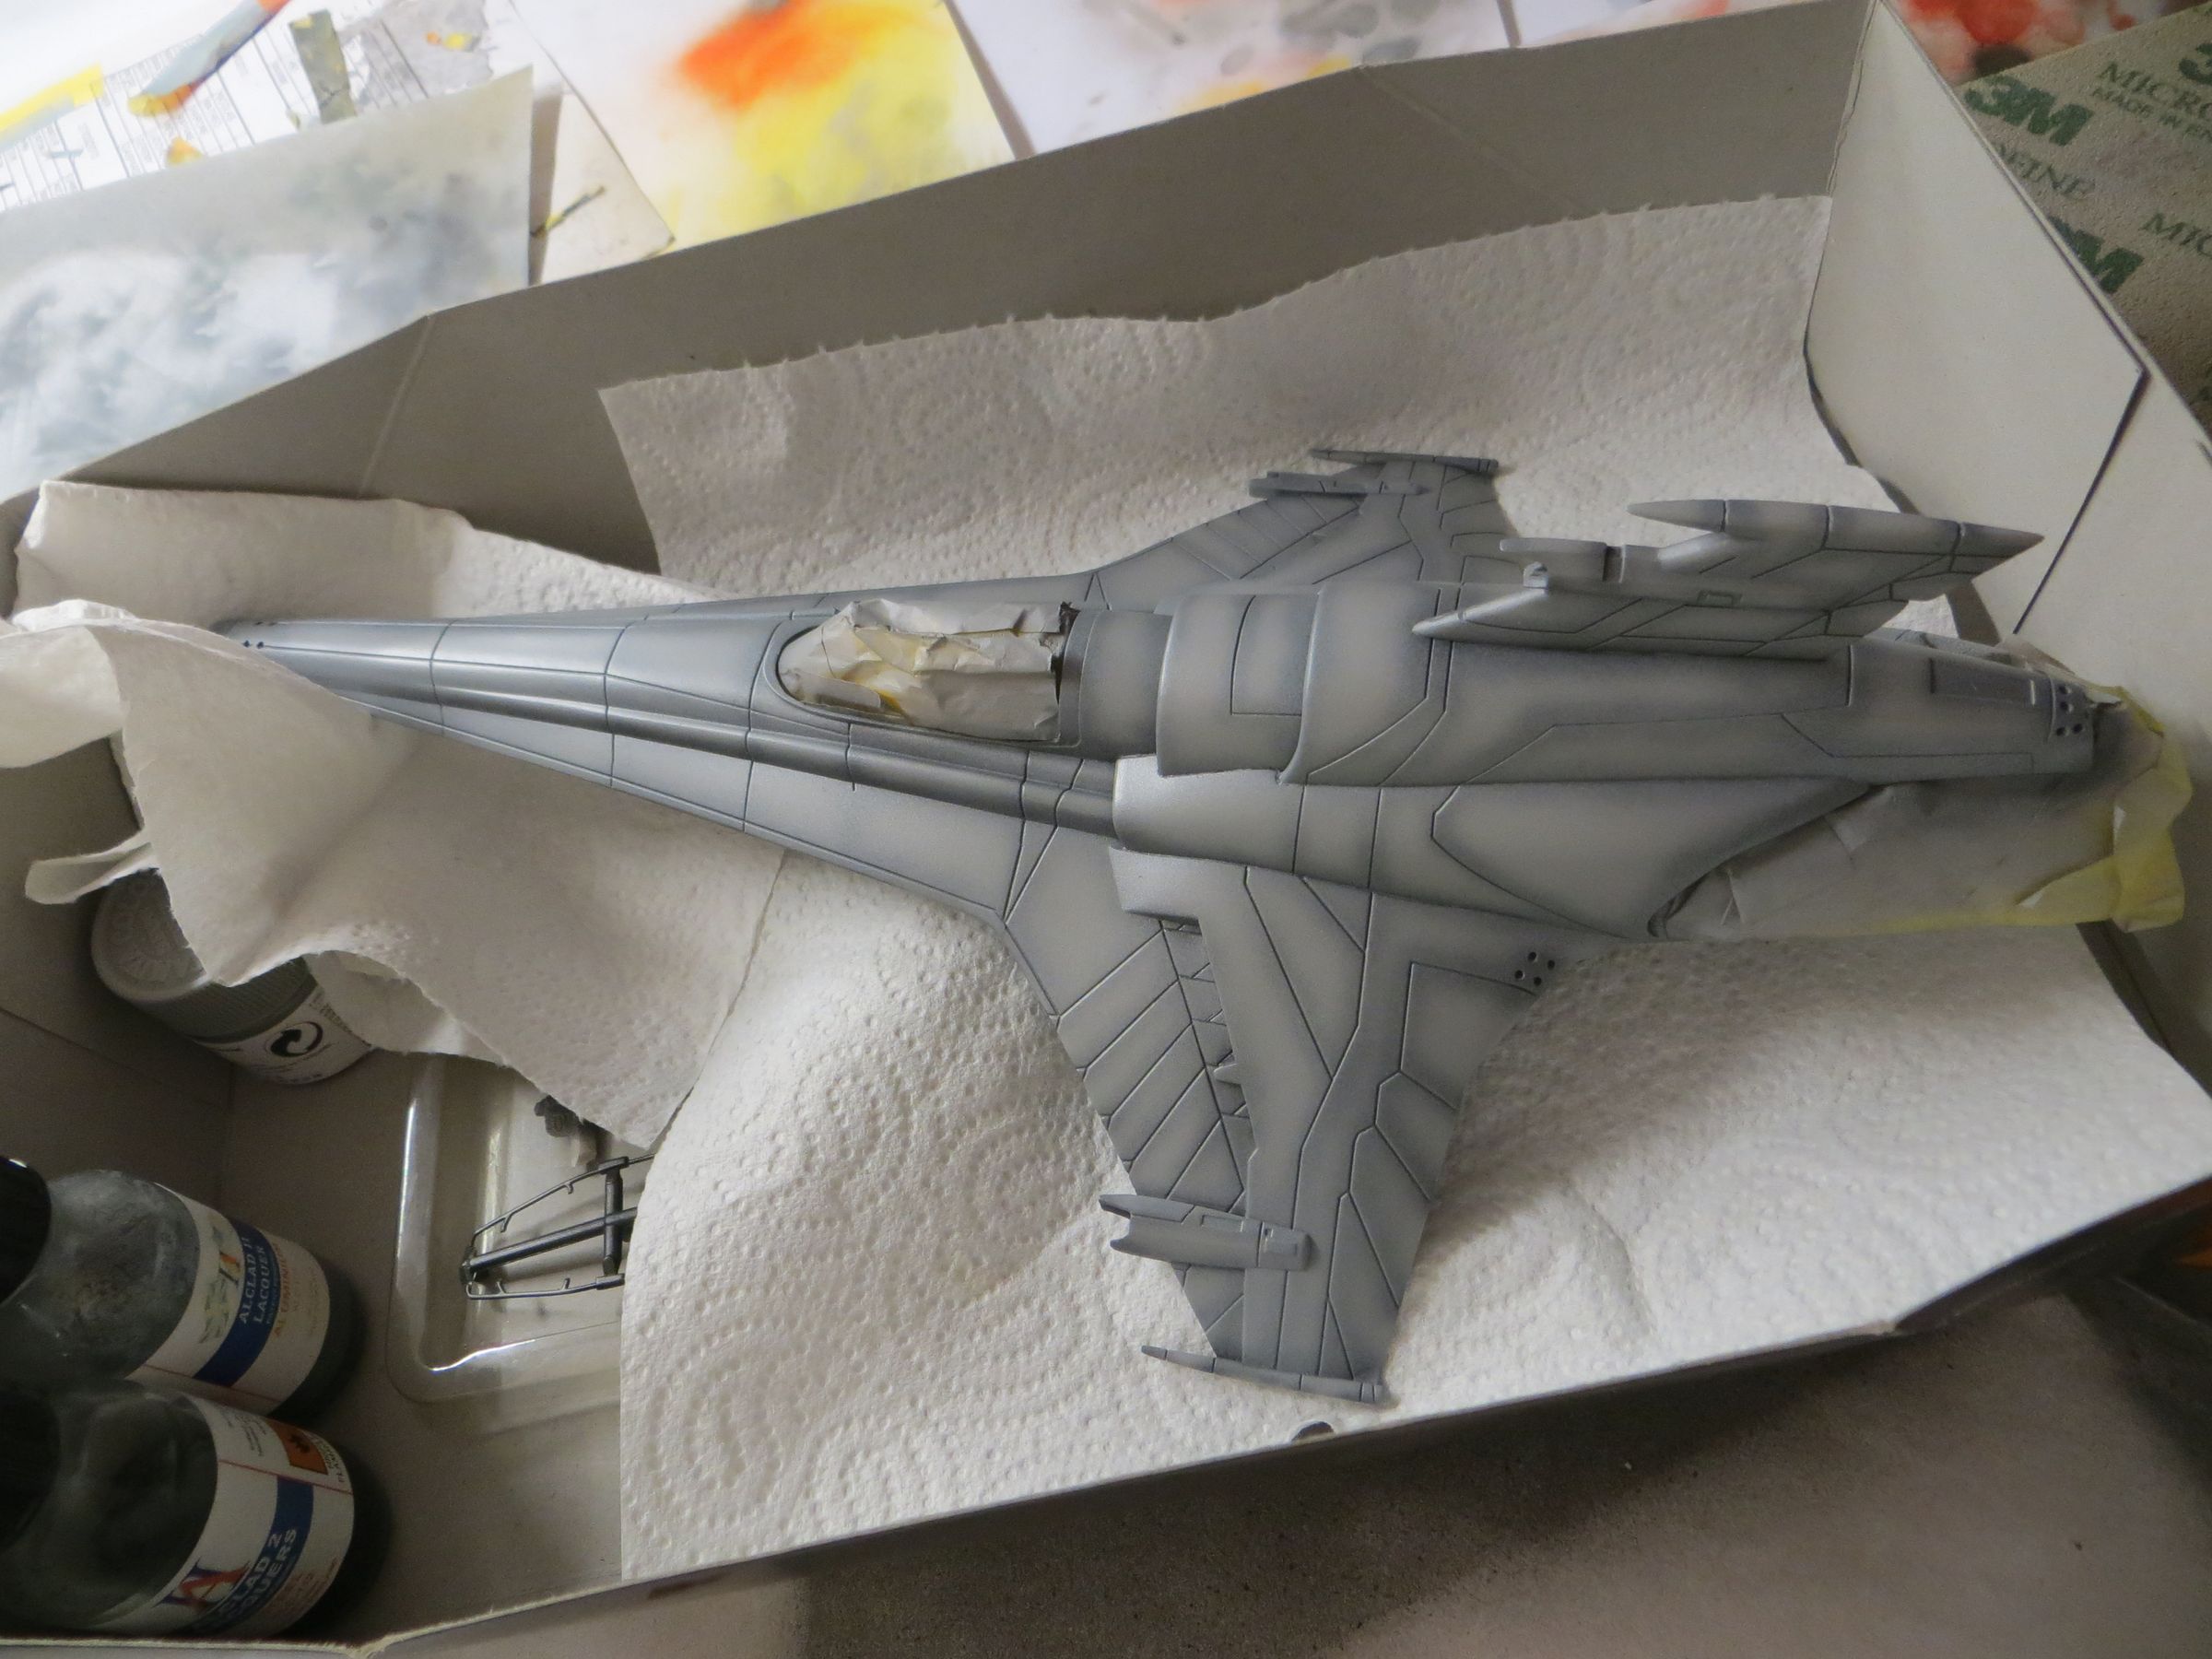
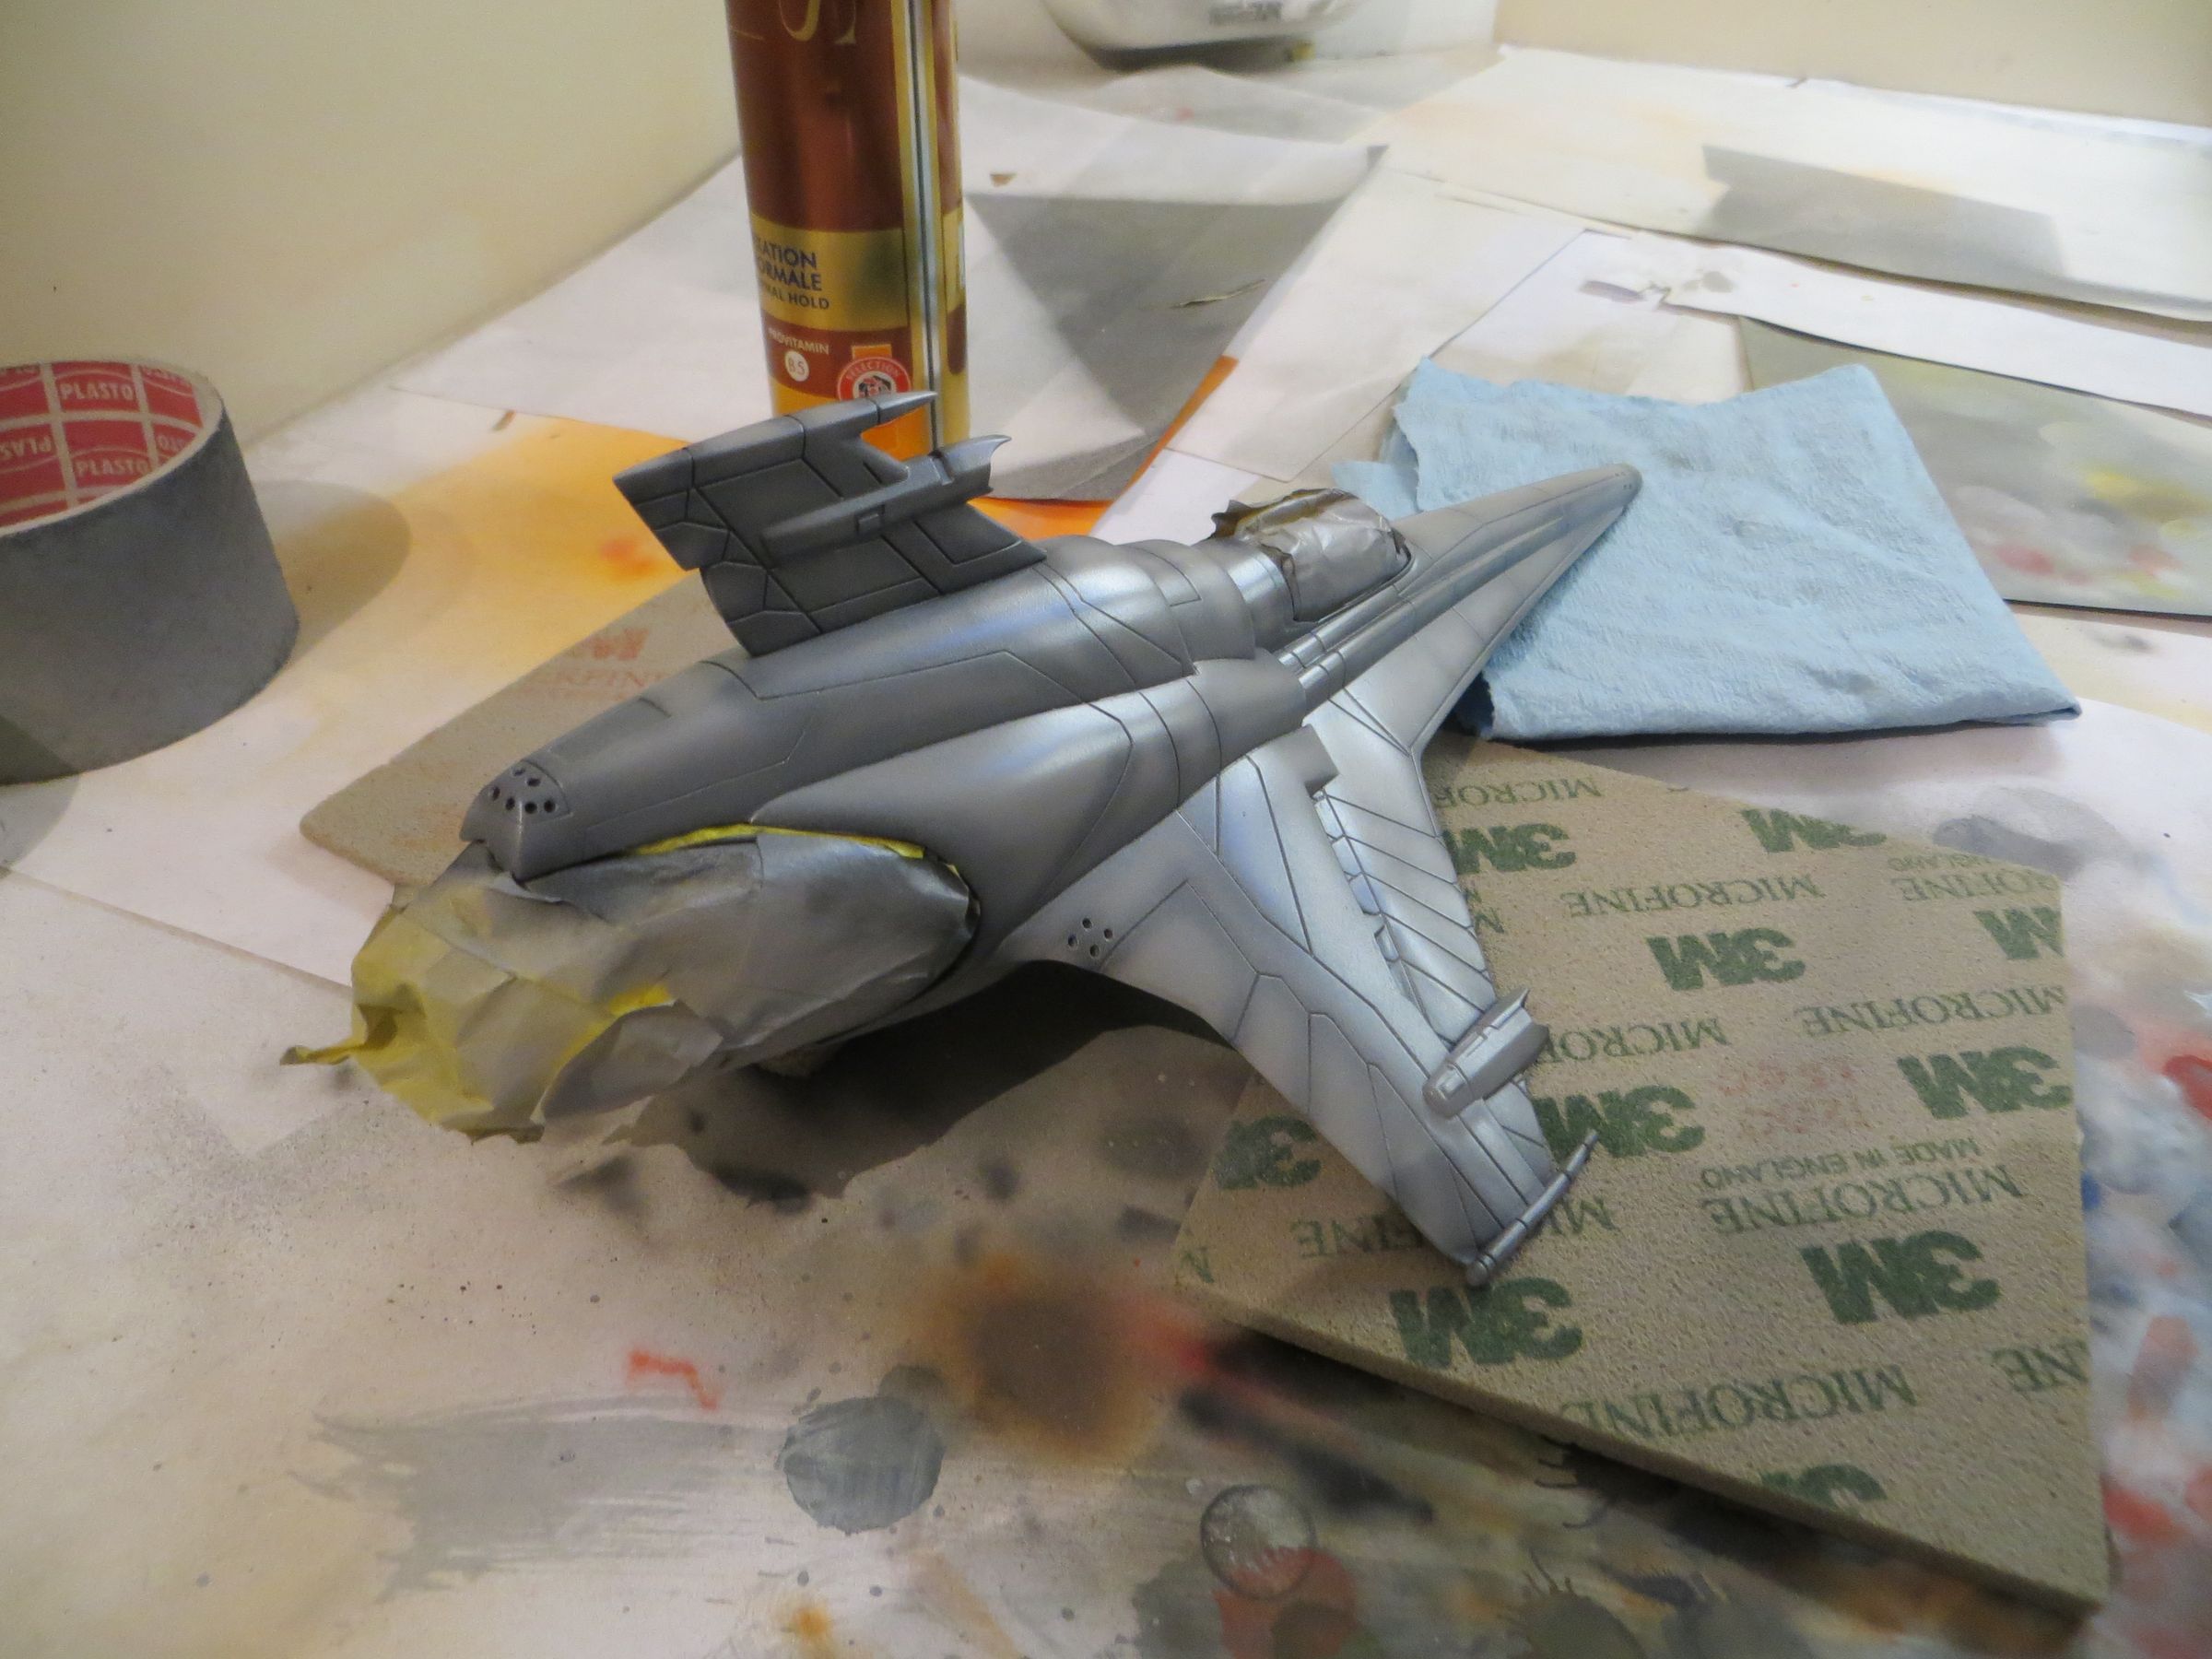
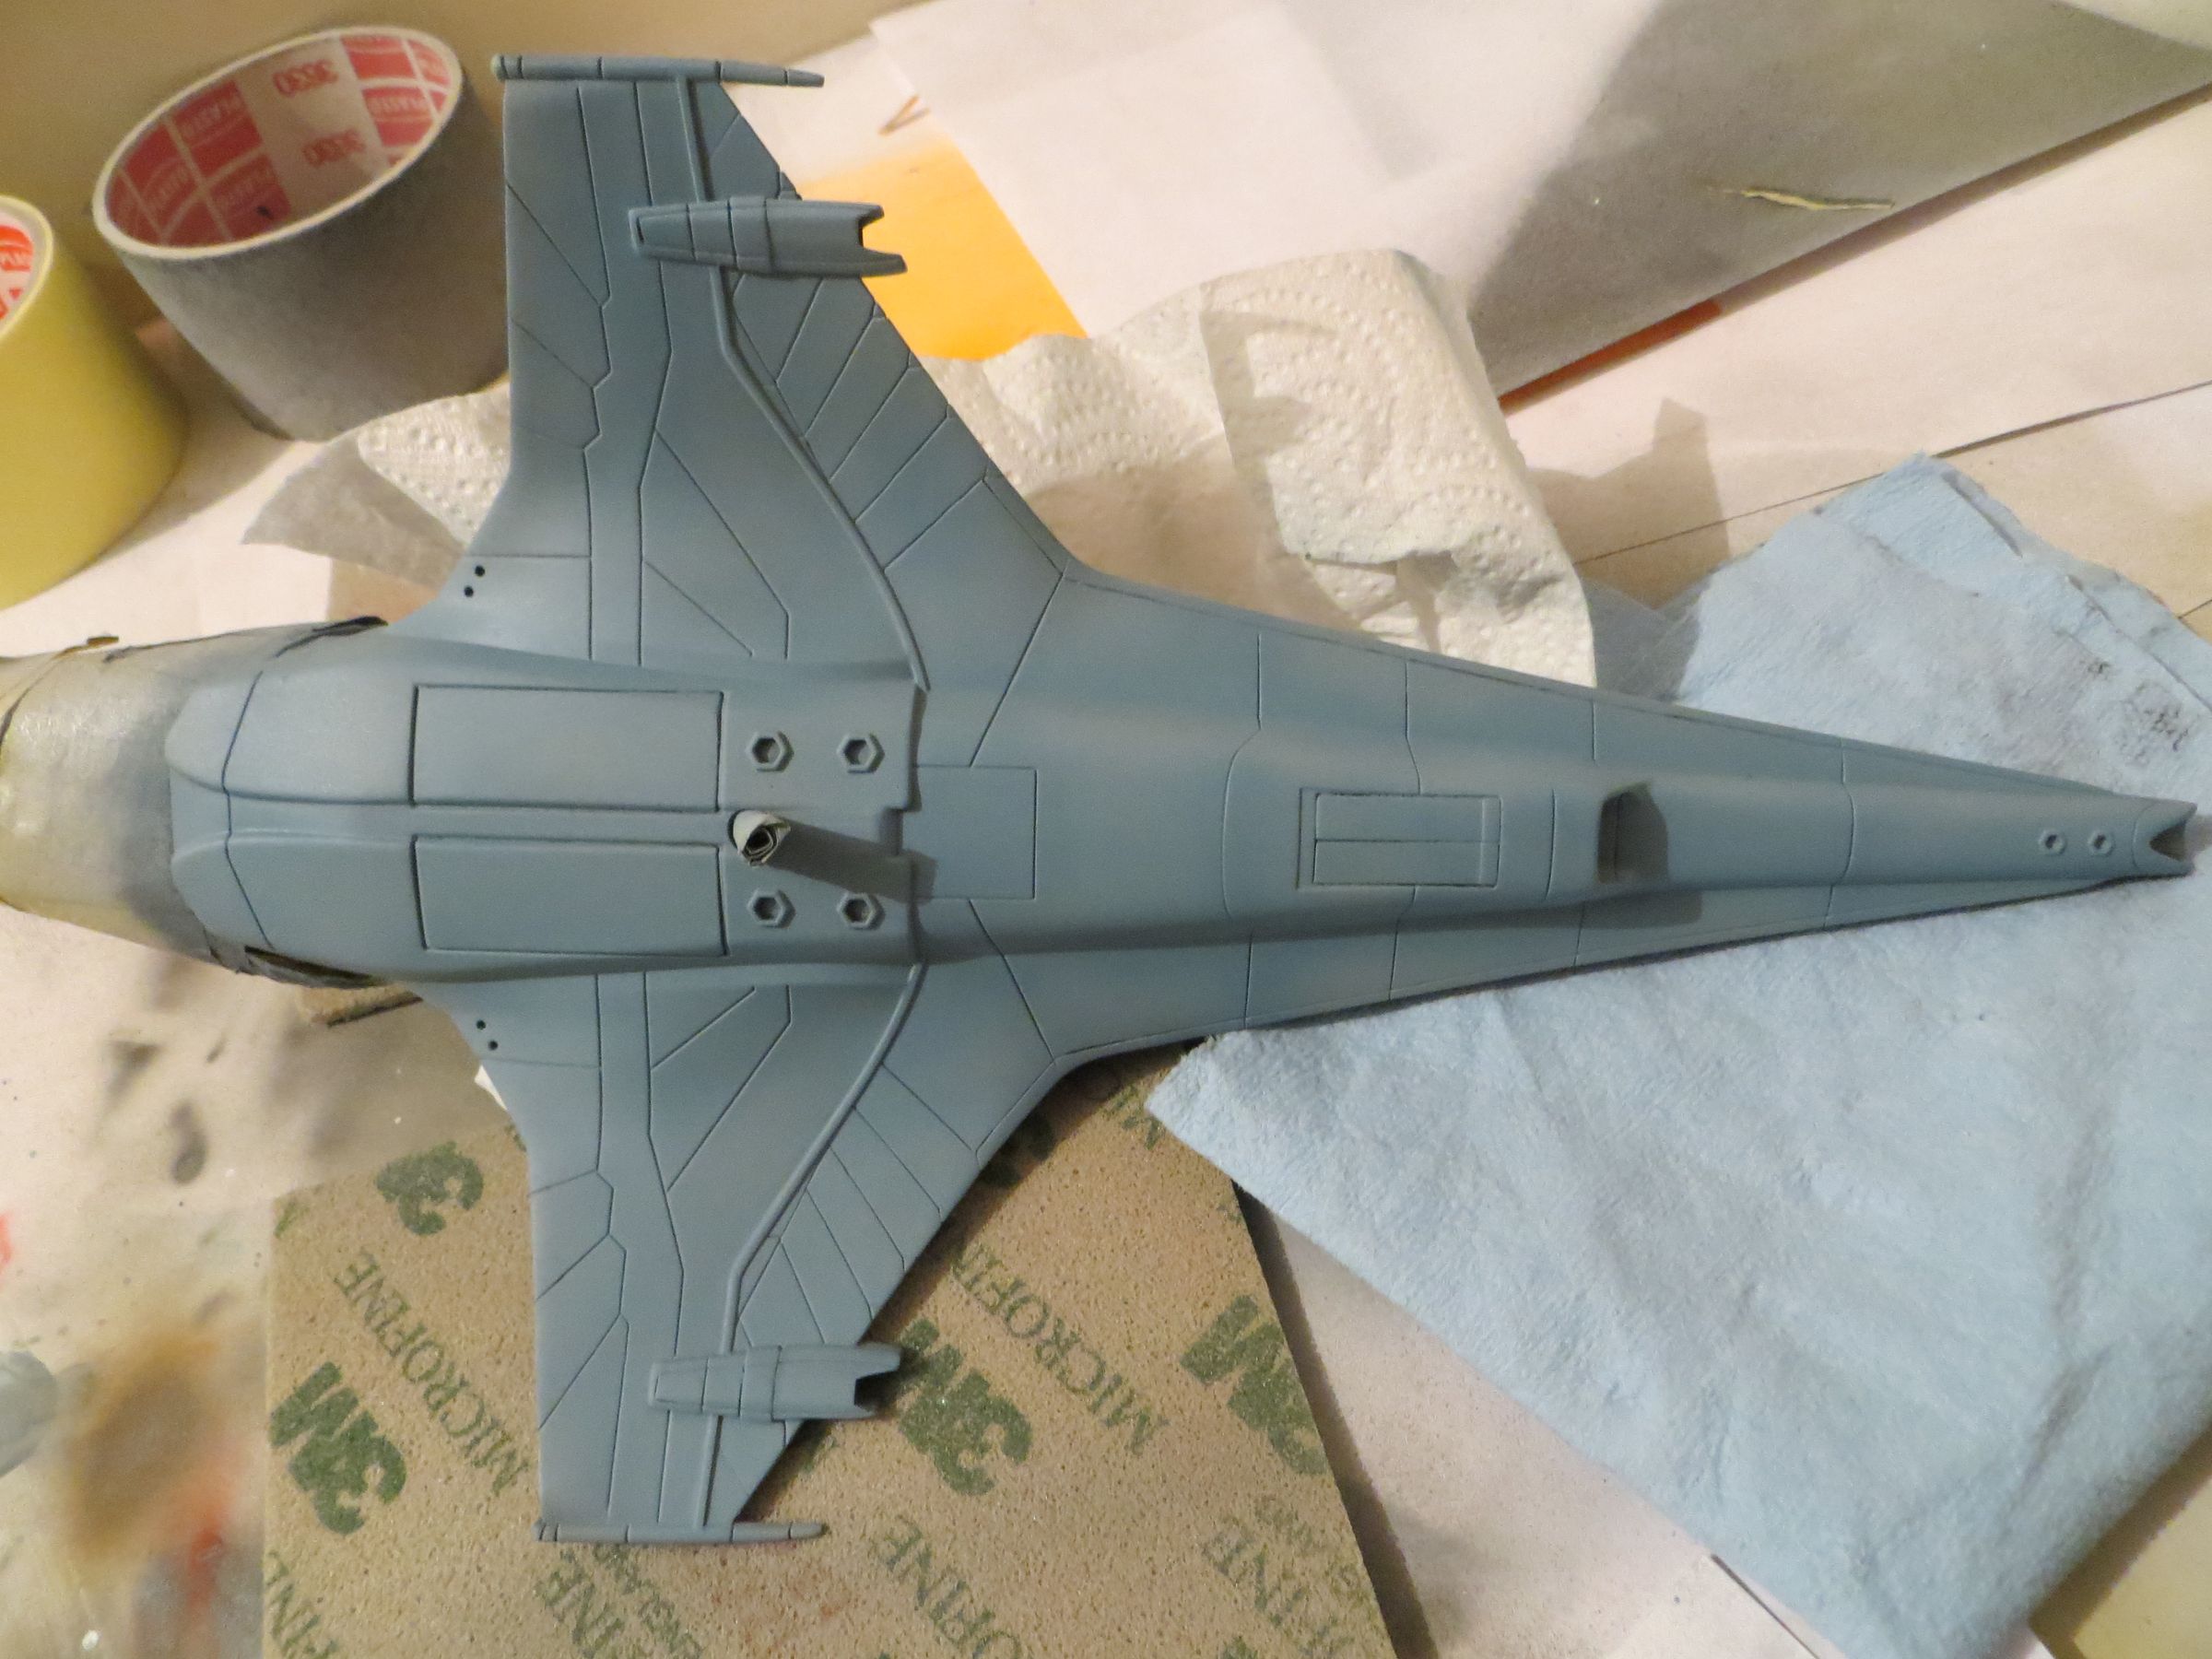
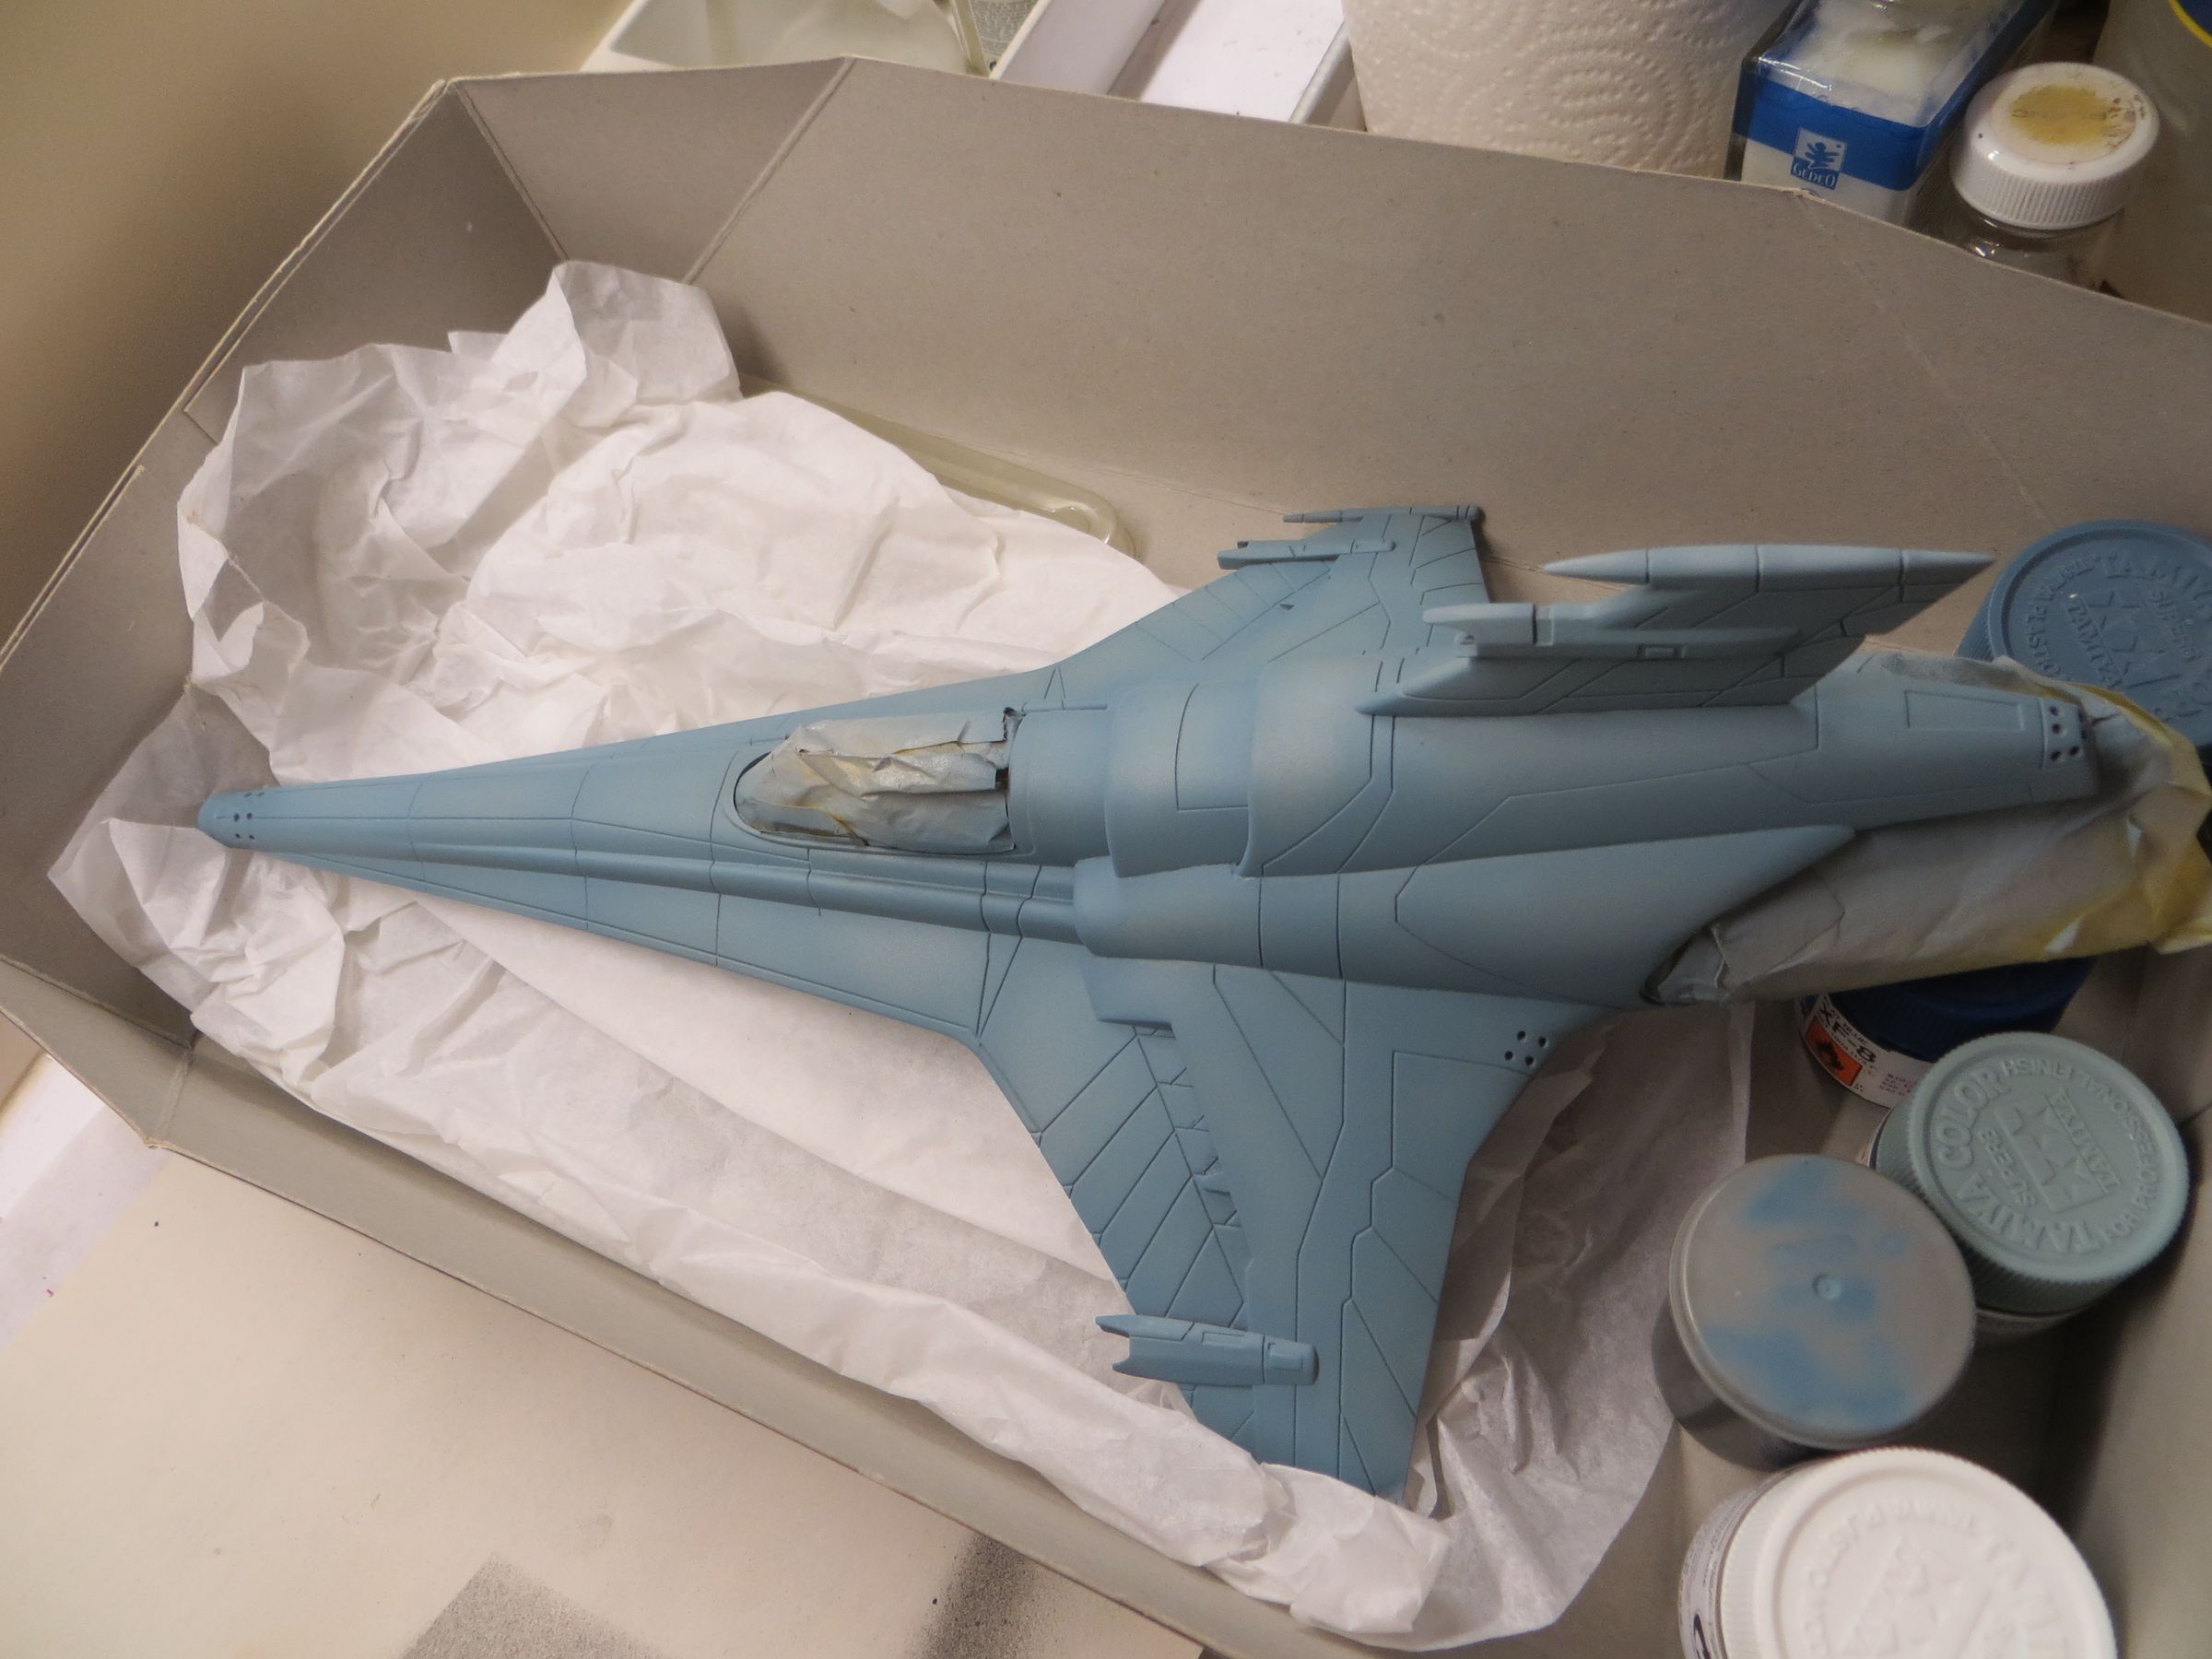
The gray base coat is Sky Gray xf19
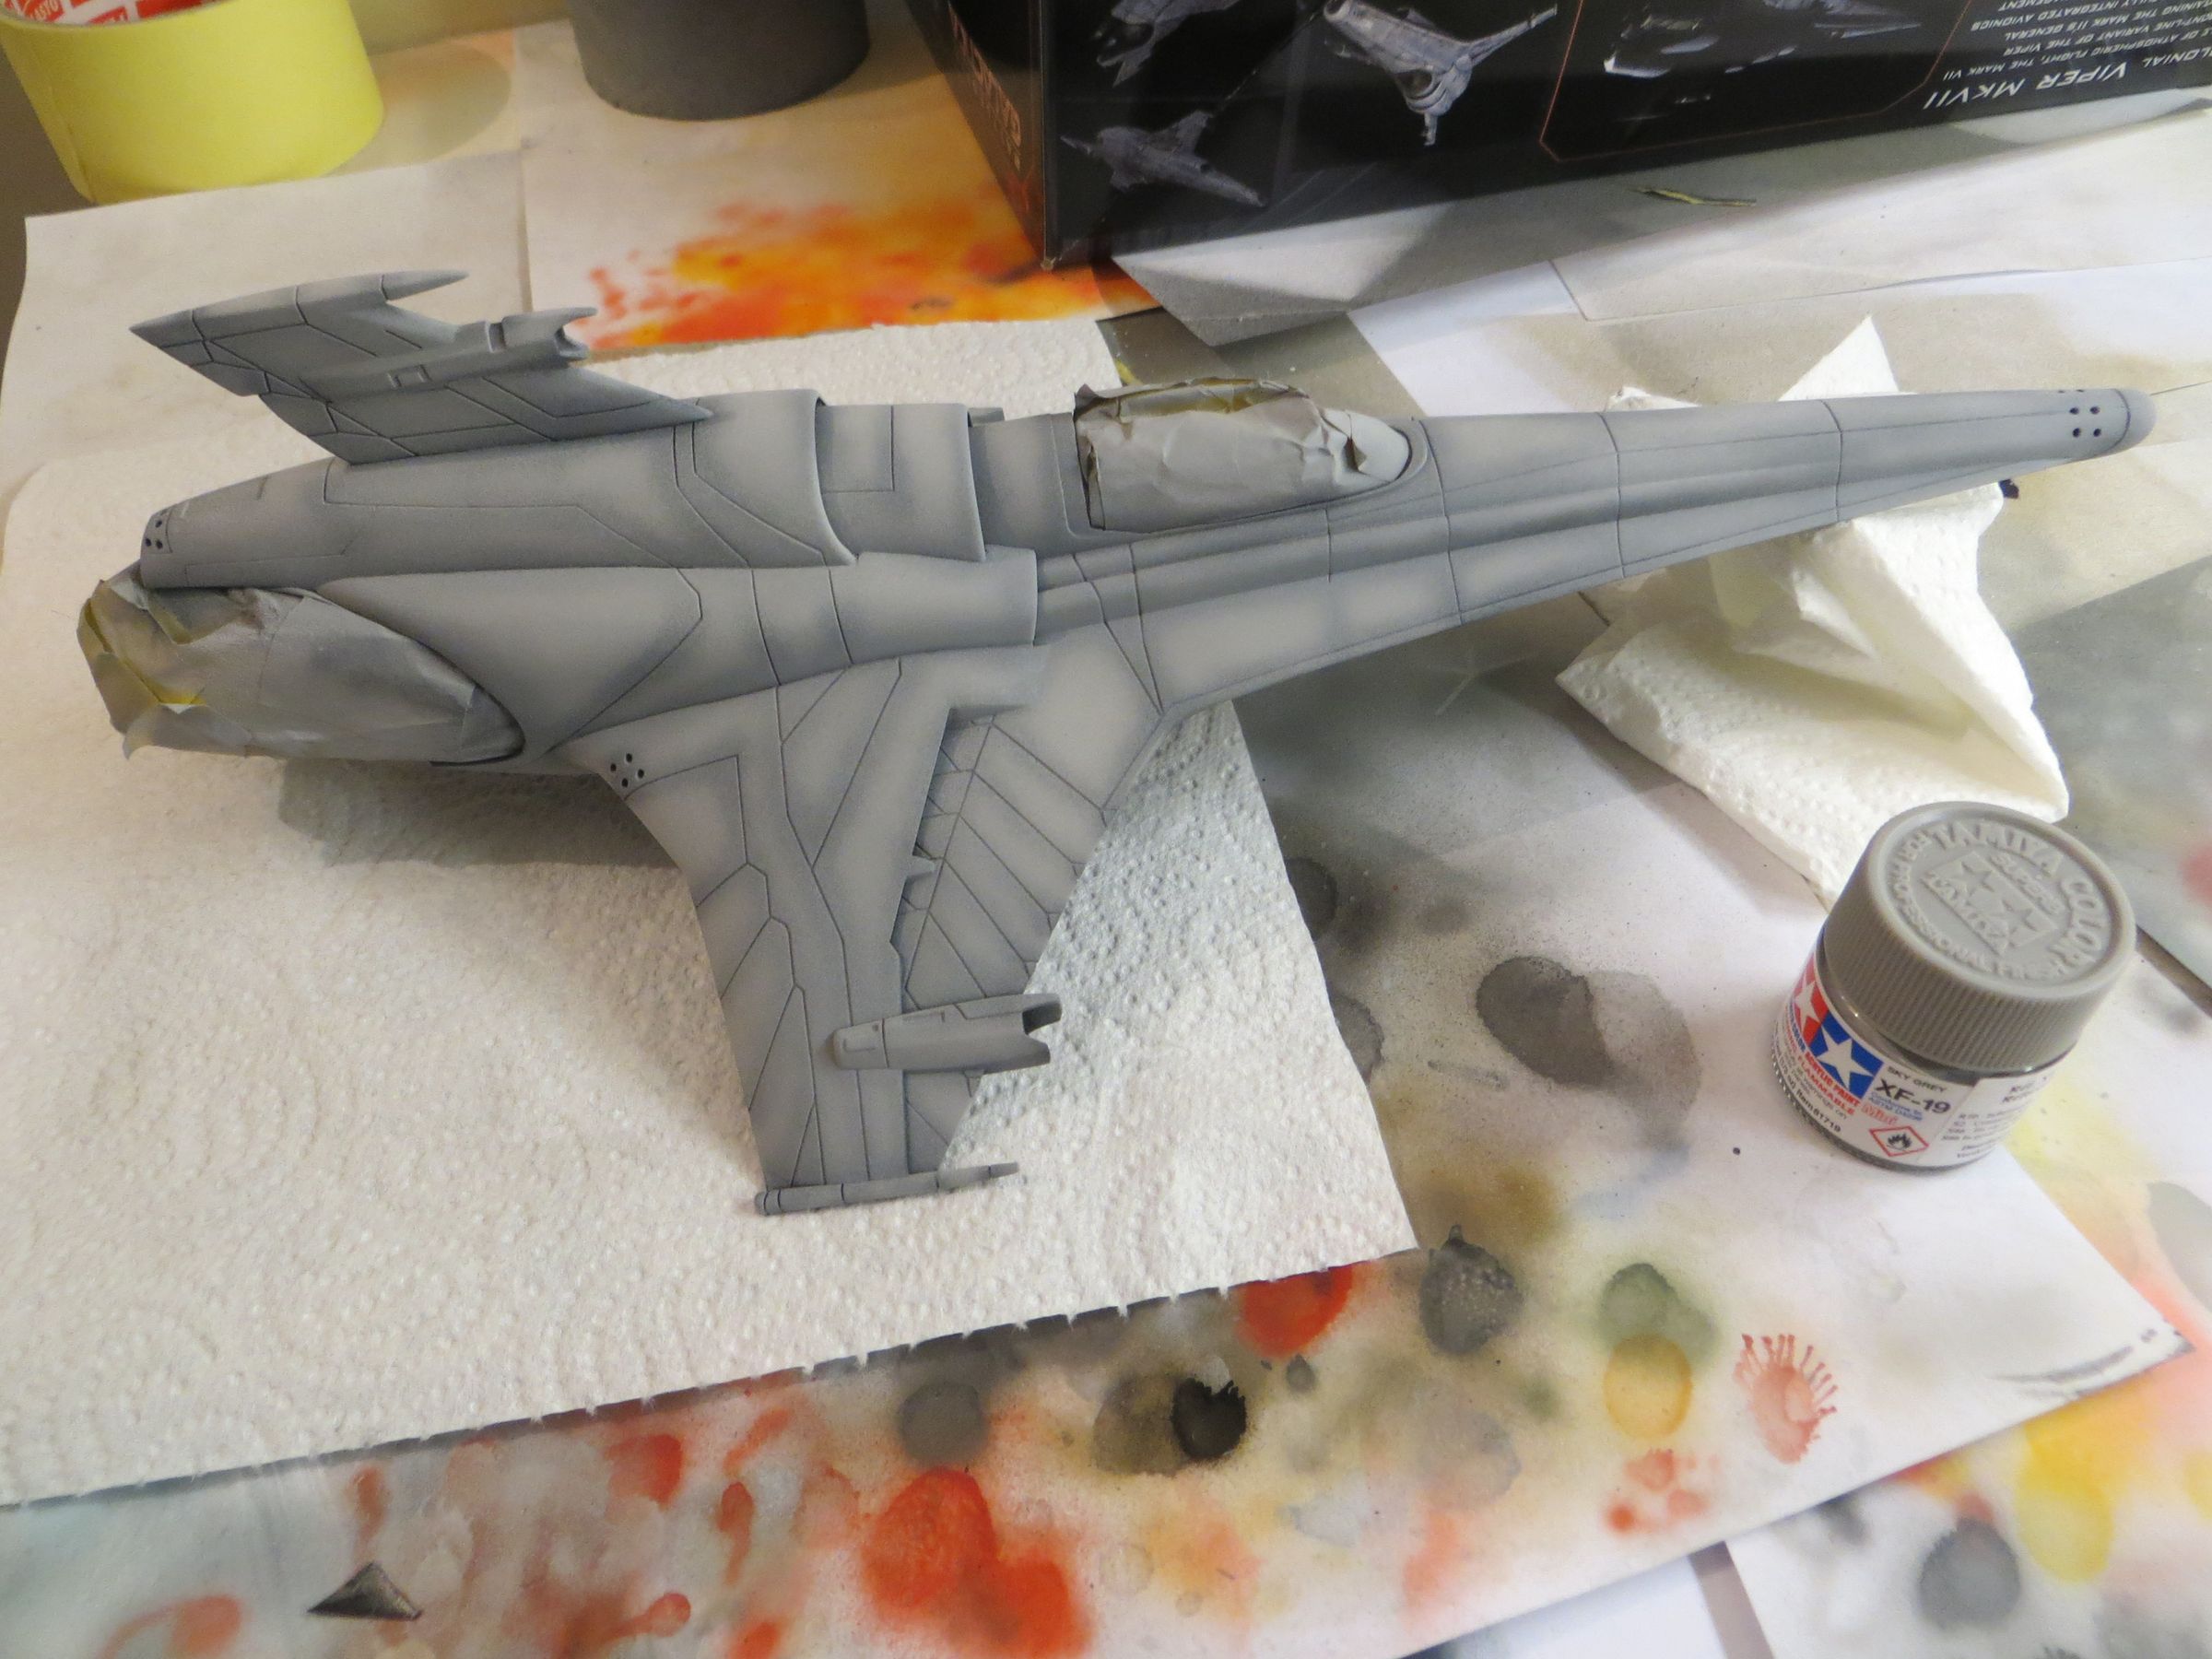
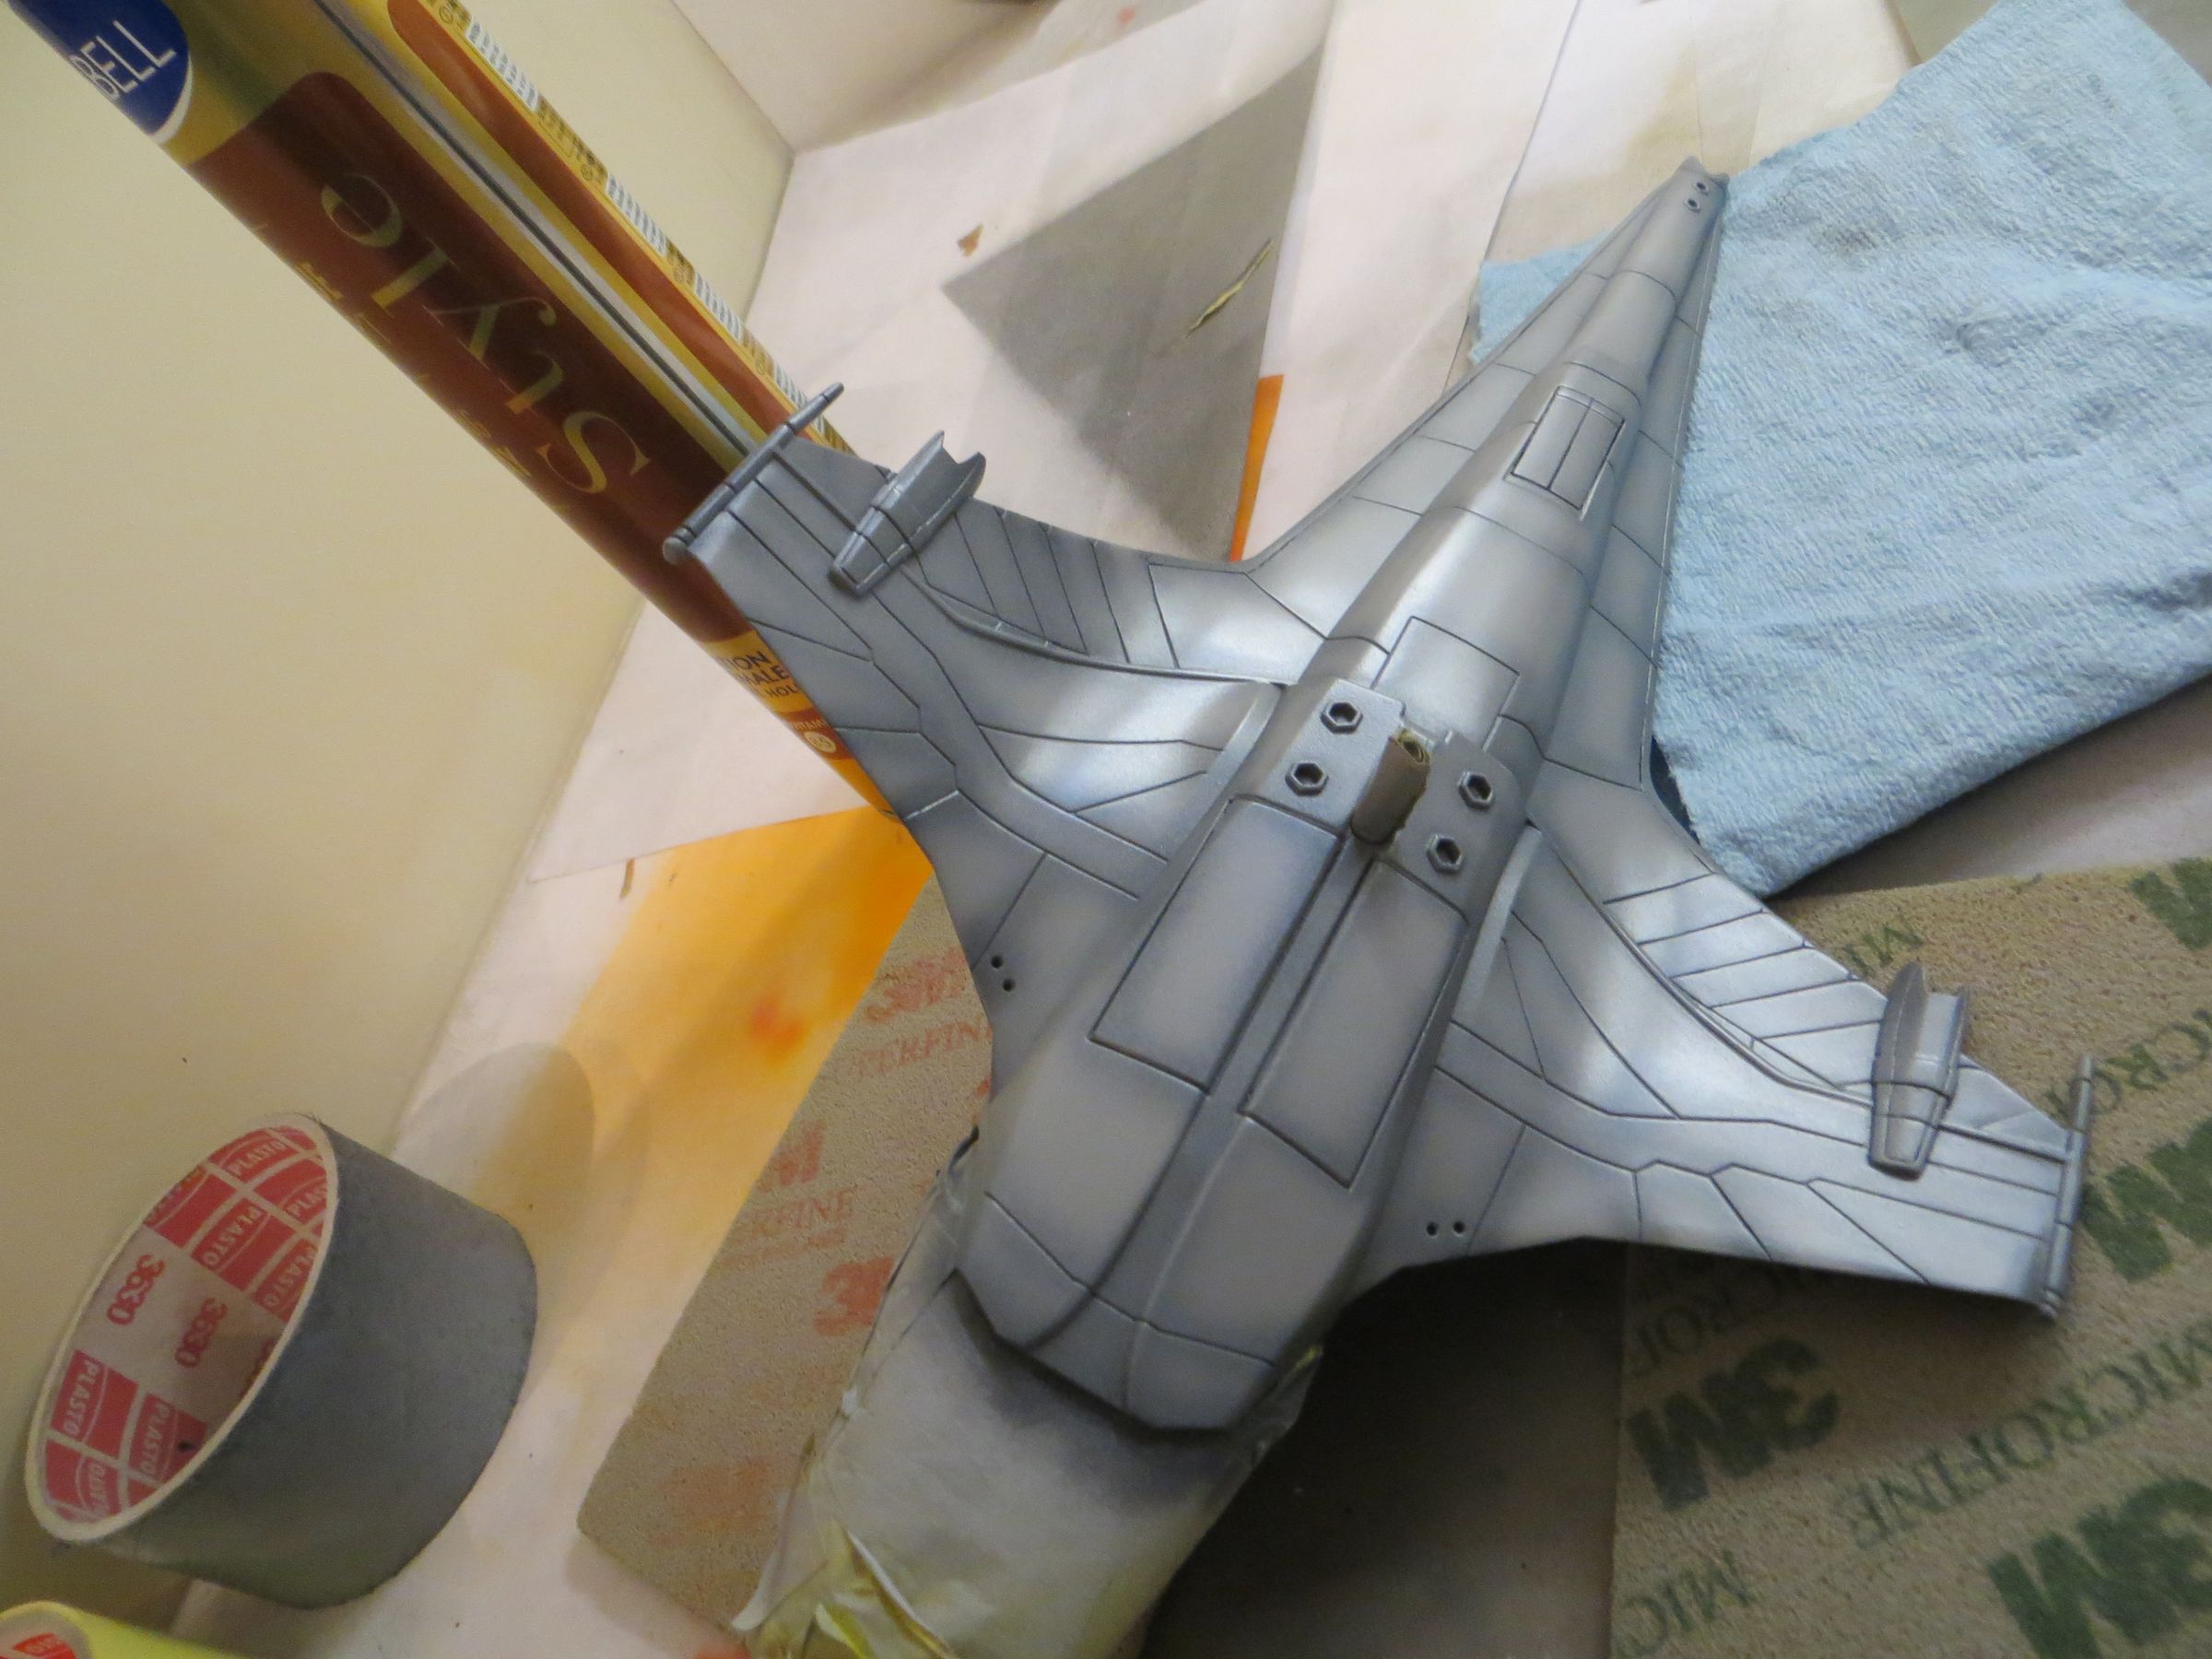
Followed by a very very thin coat of Alclad aluminum, just to give it a very slight metallic look.
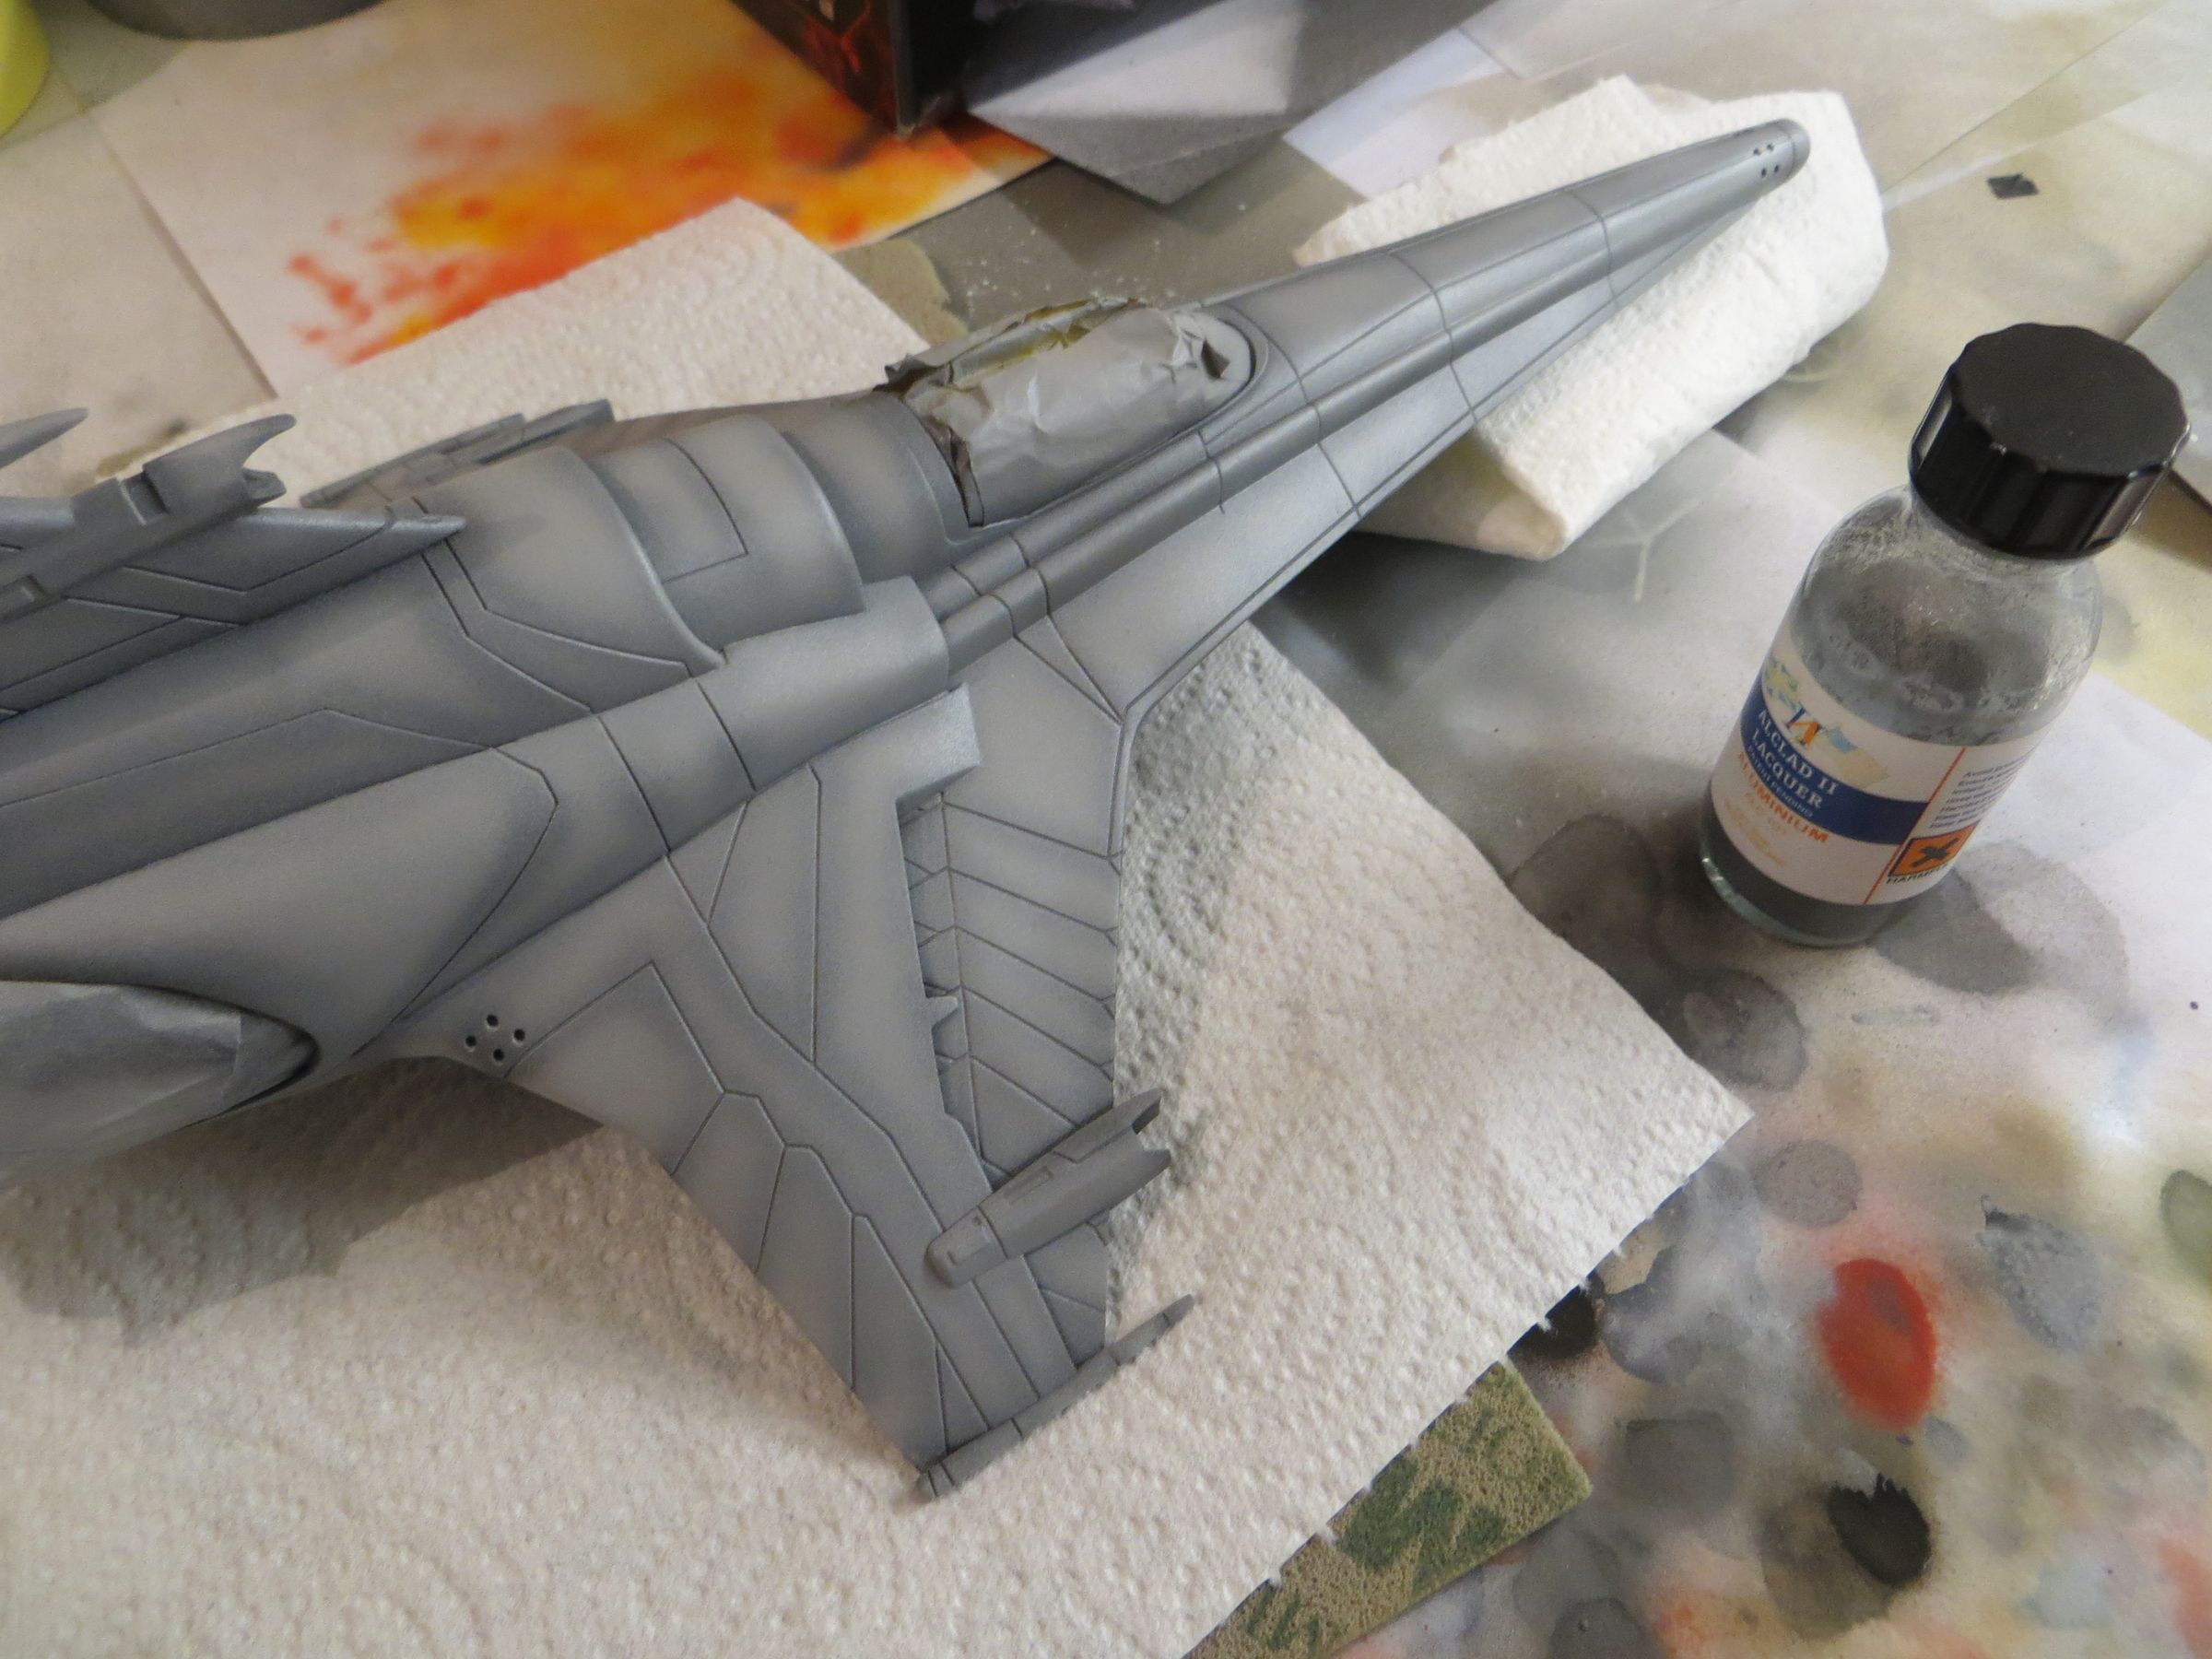
Everything is sealed with Klir/Future

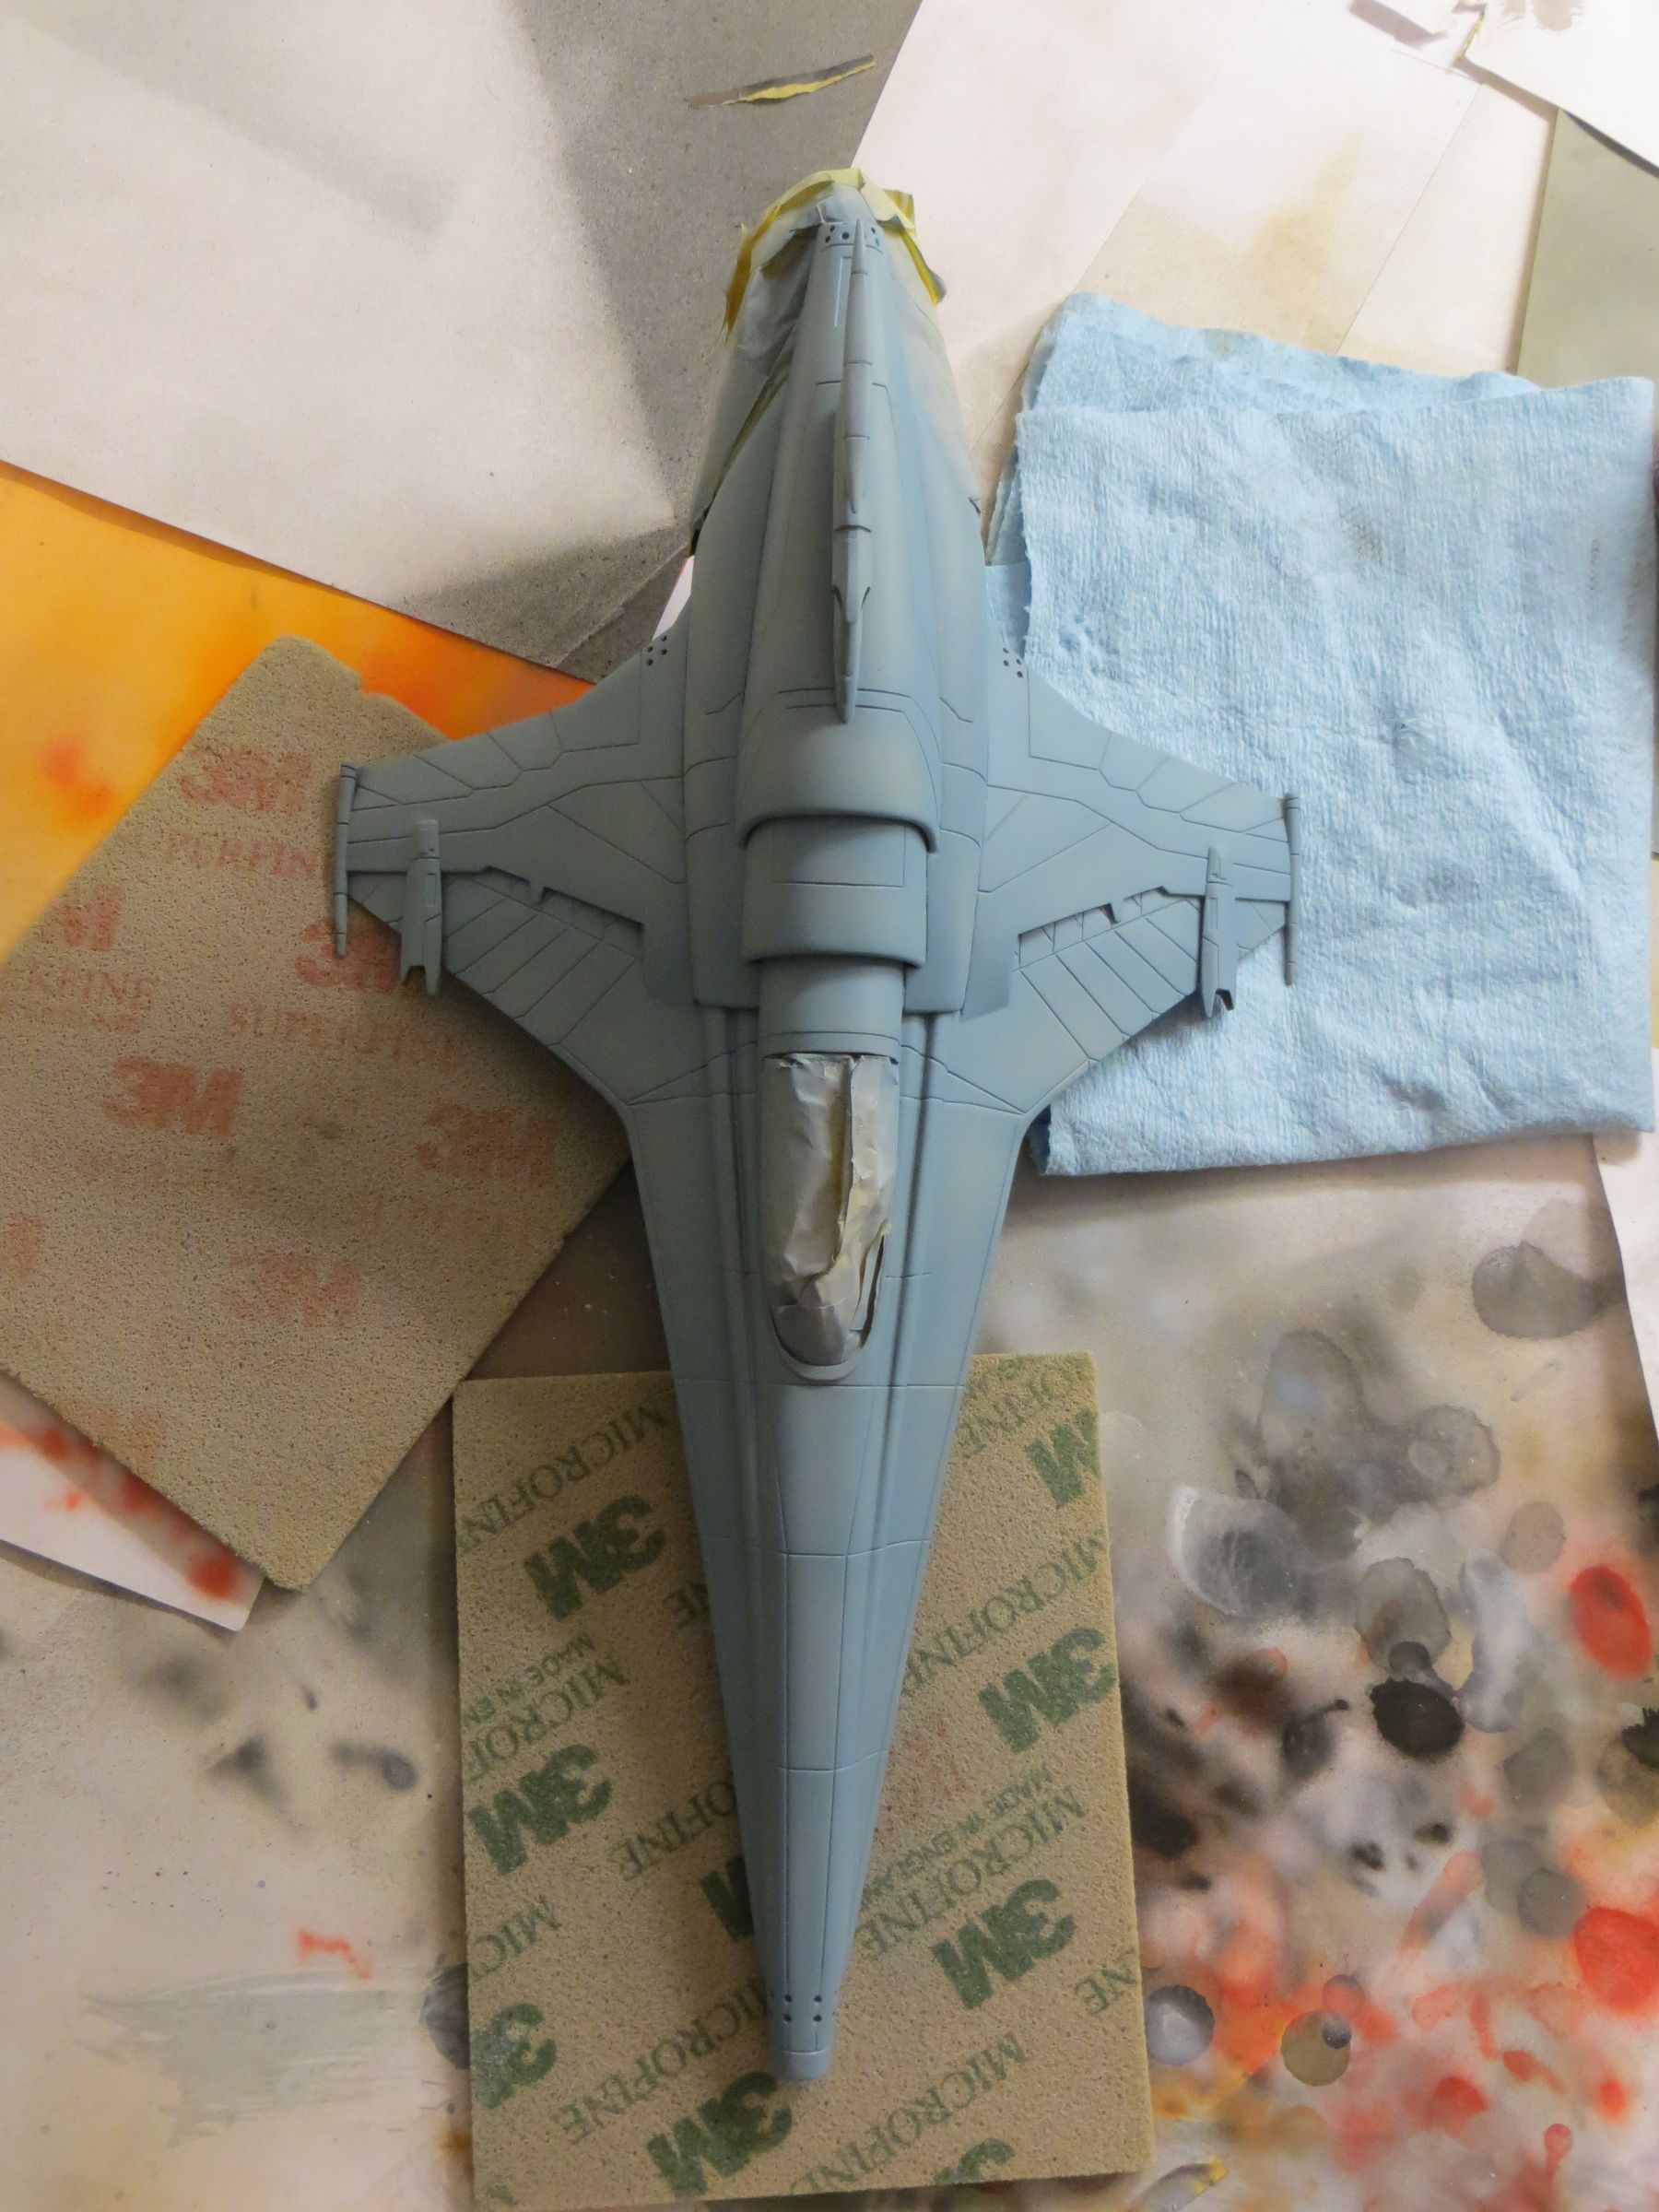
Then a matte coat. Followed few hours later by 3 coats of a first price hair lacquer spray
The blue, a mixture of light blue, flat white and intermediate bleu (all from tamiya) did not satified me once applied.
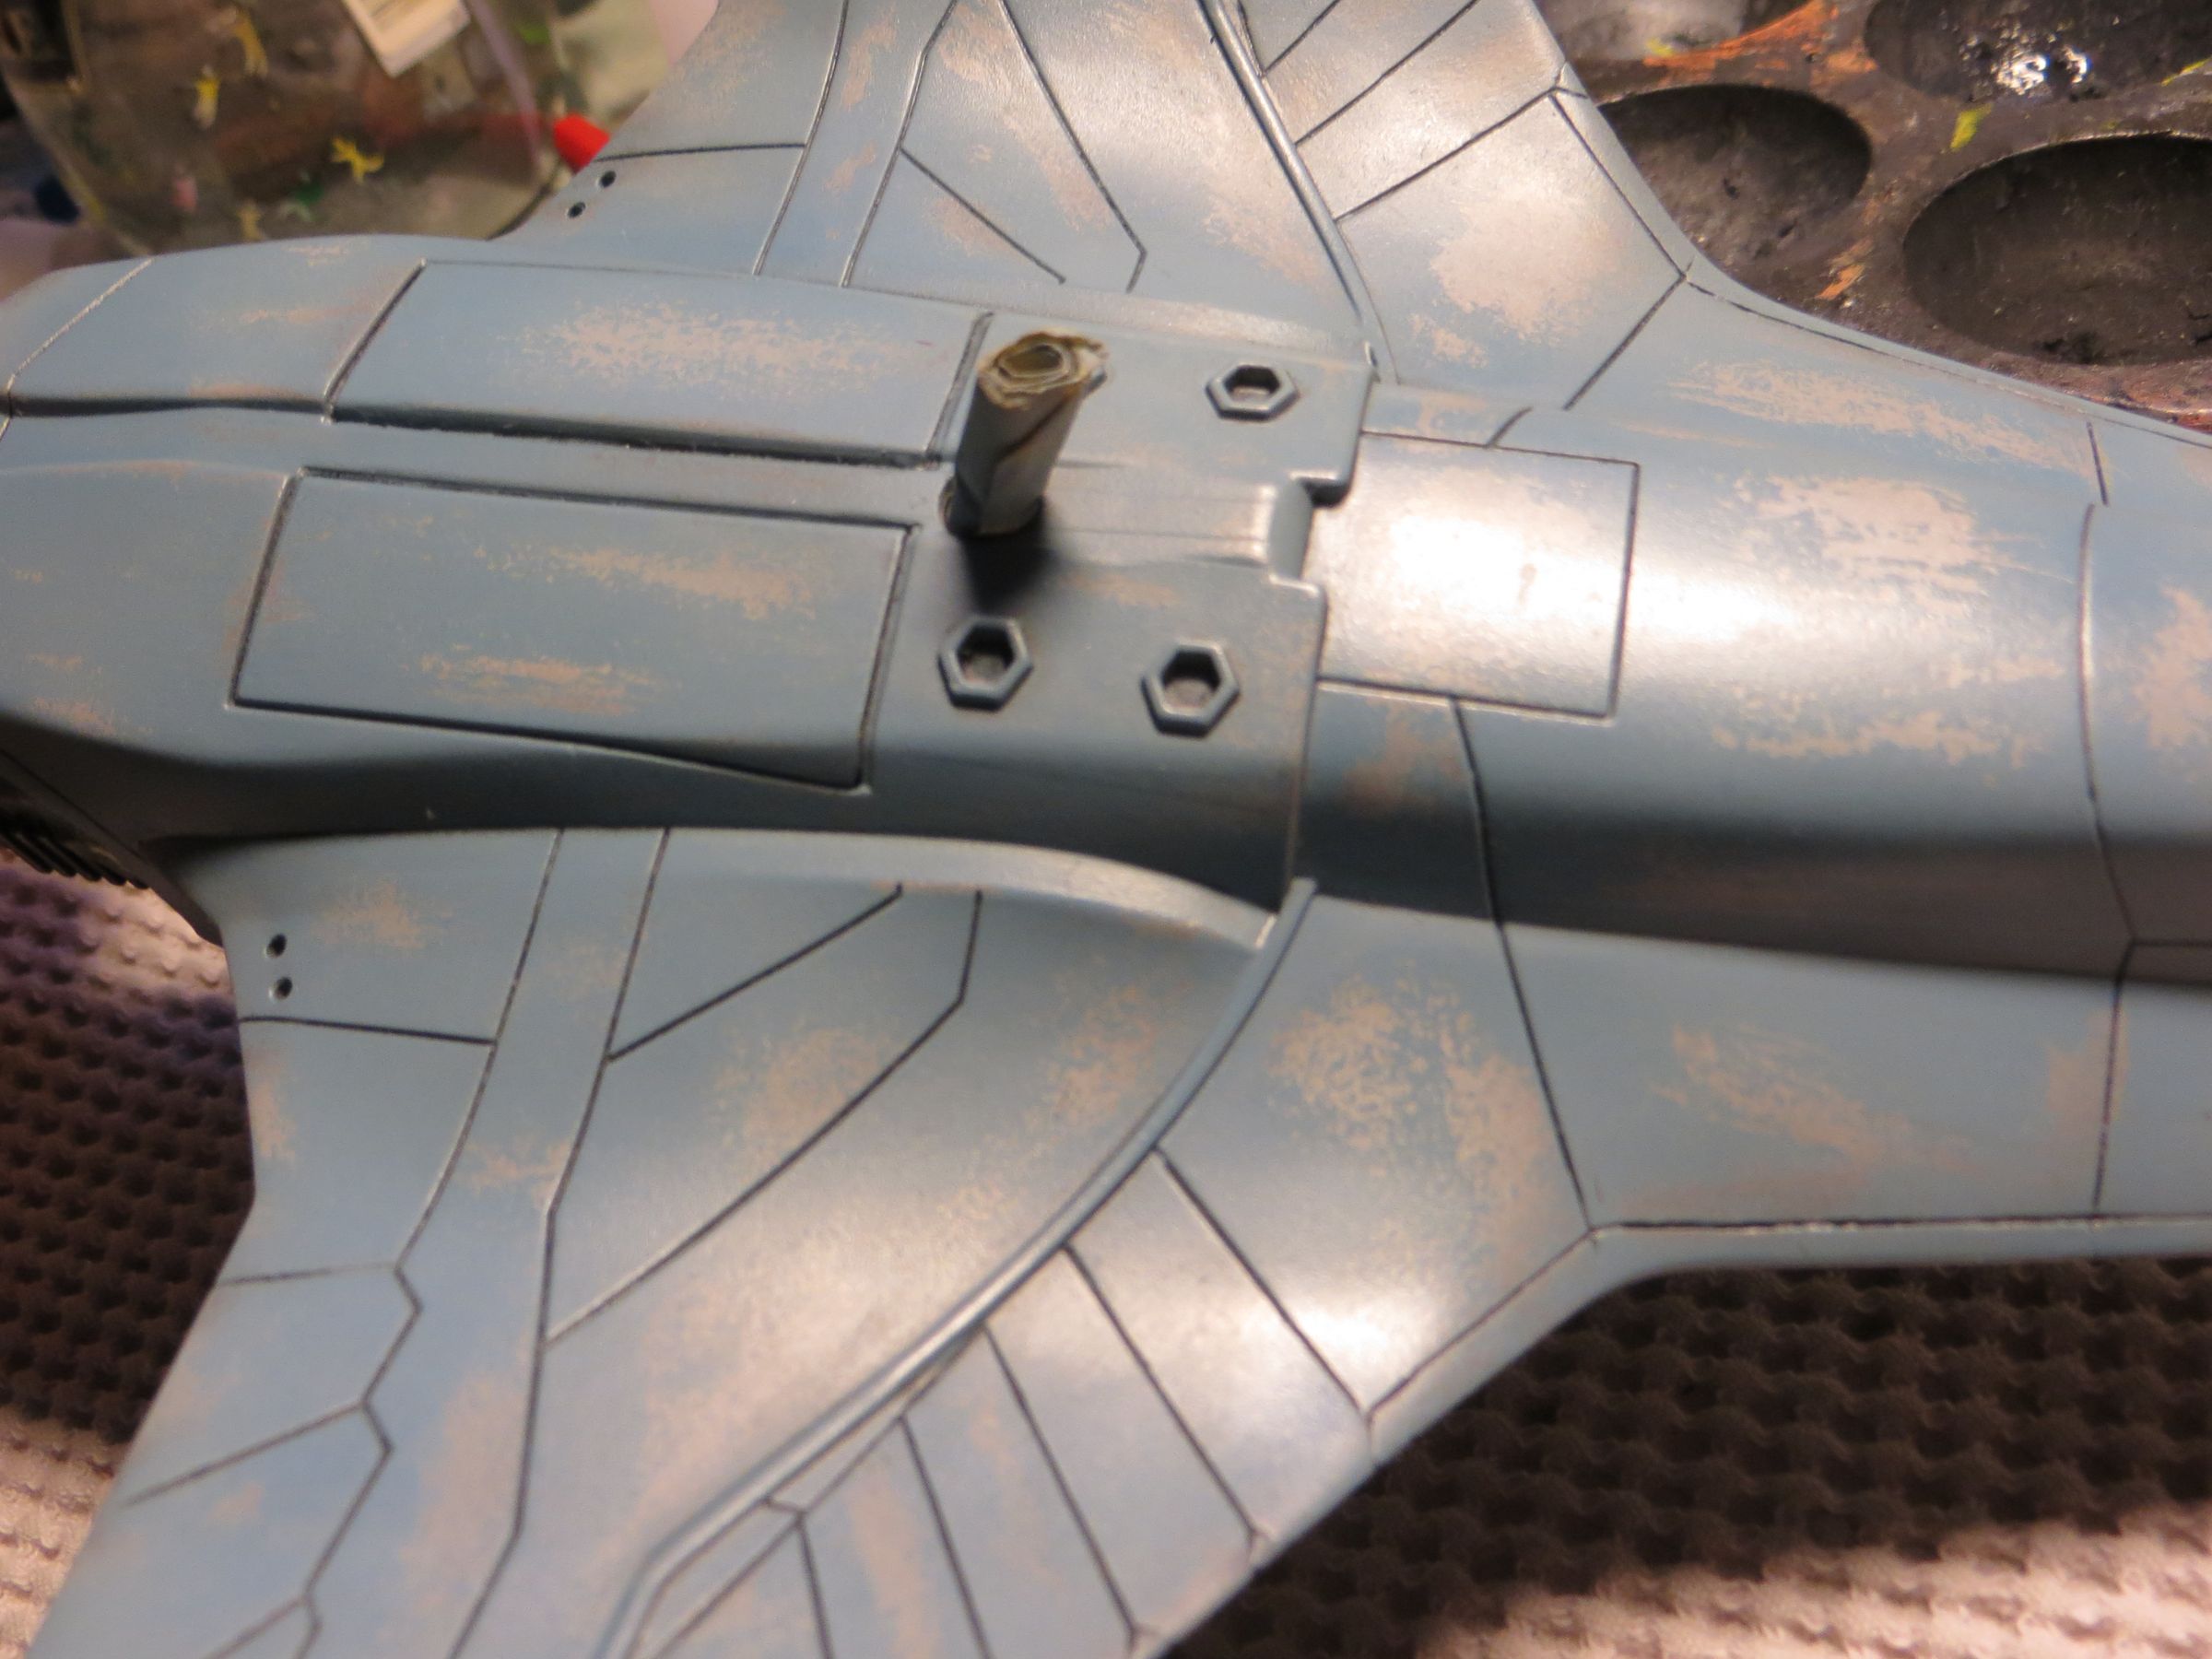
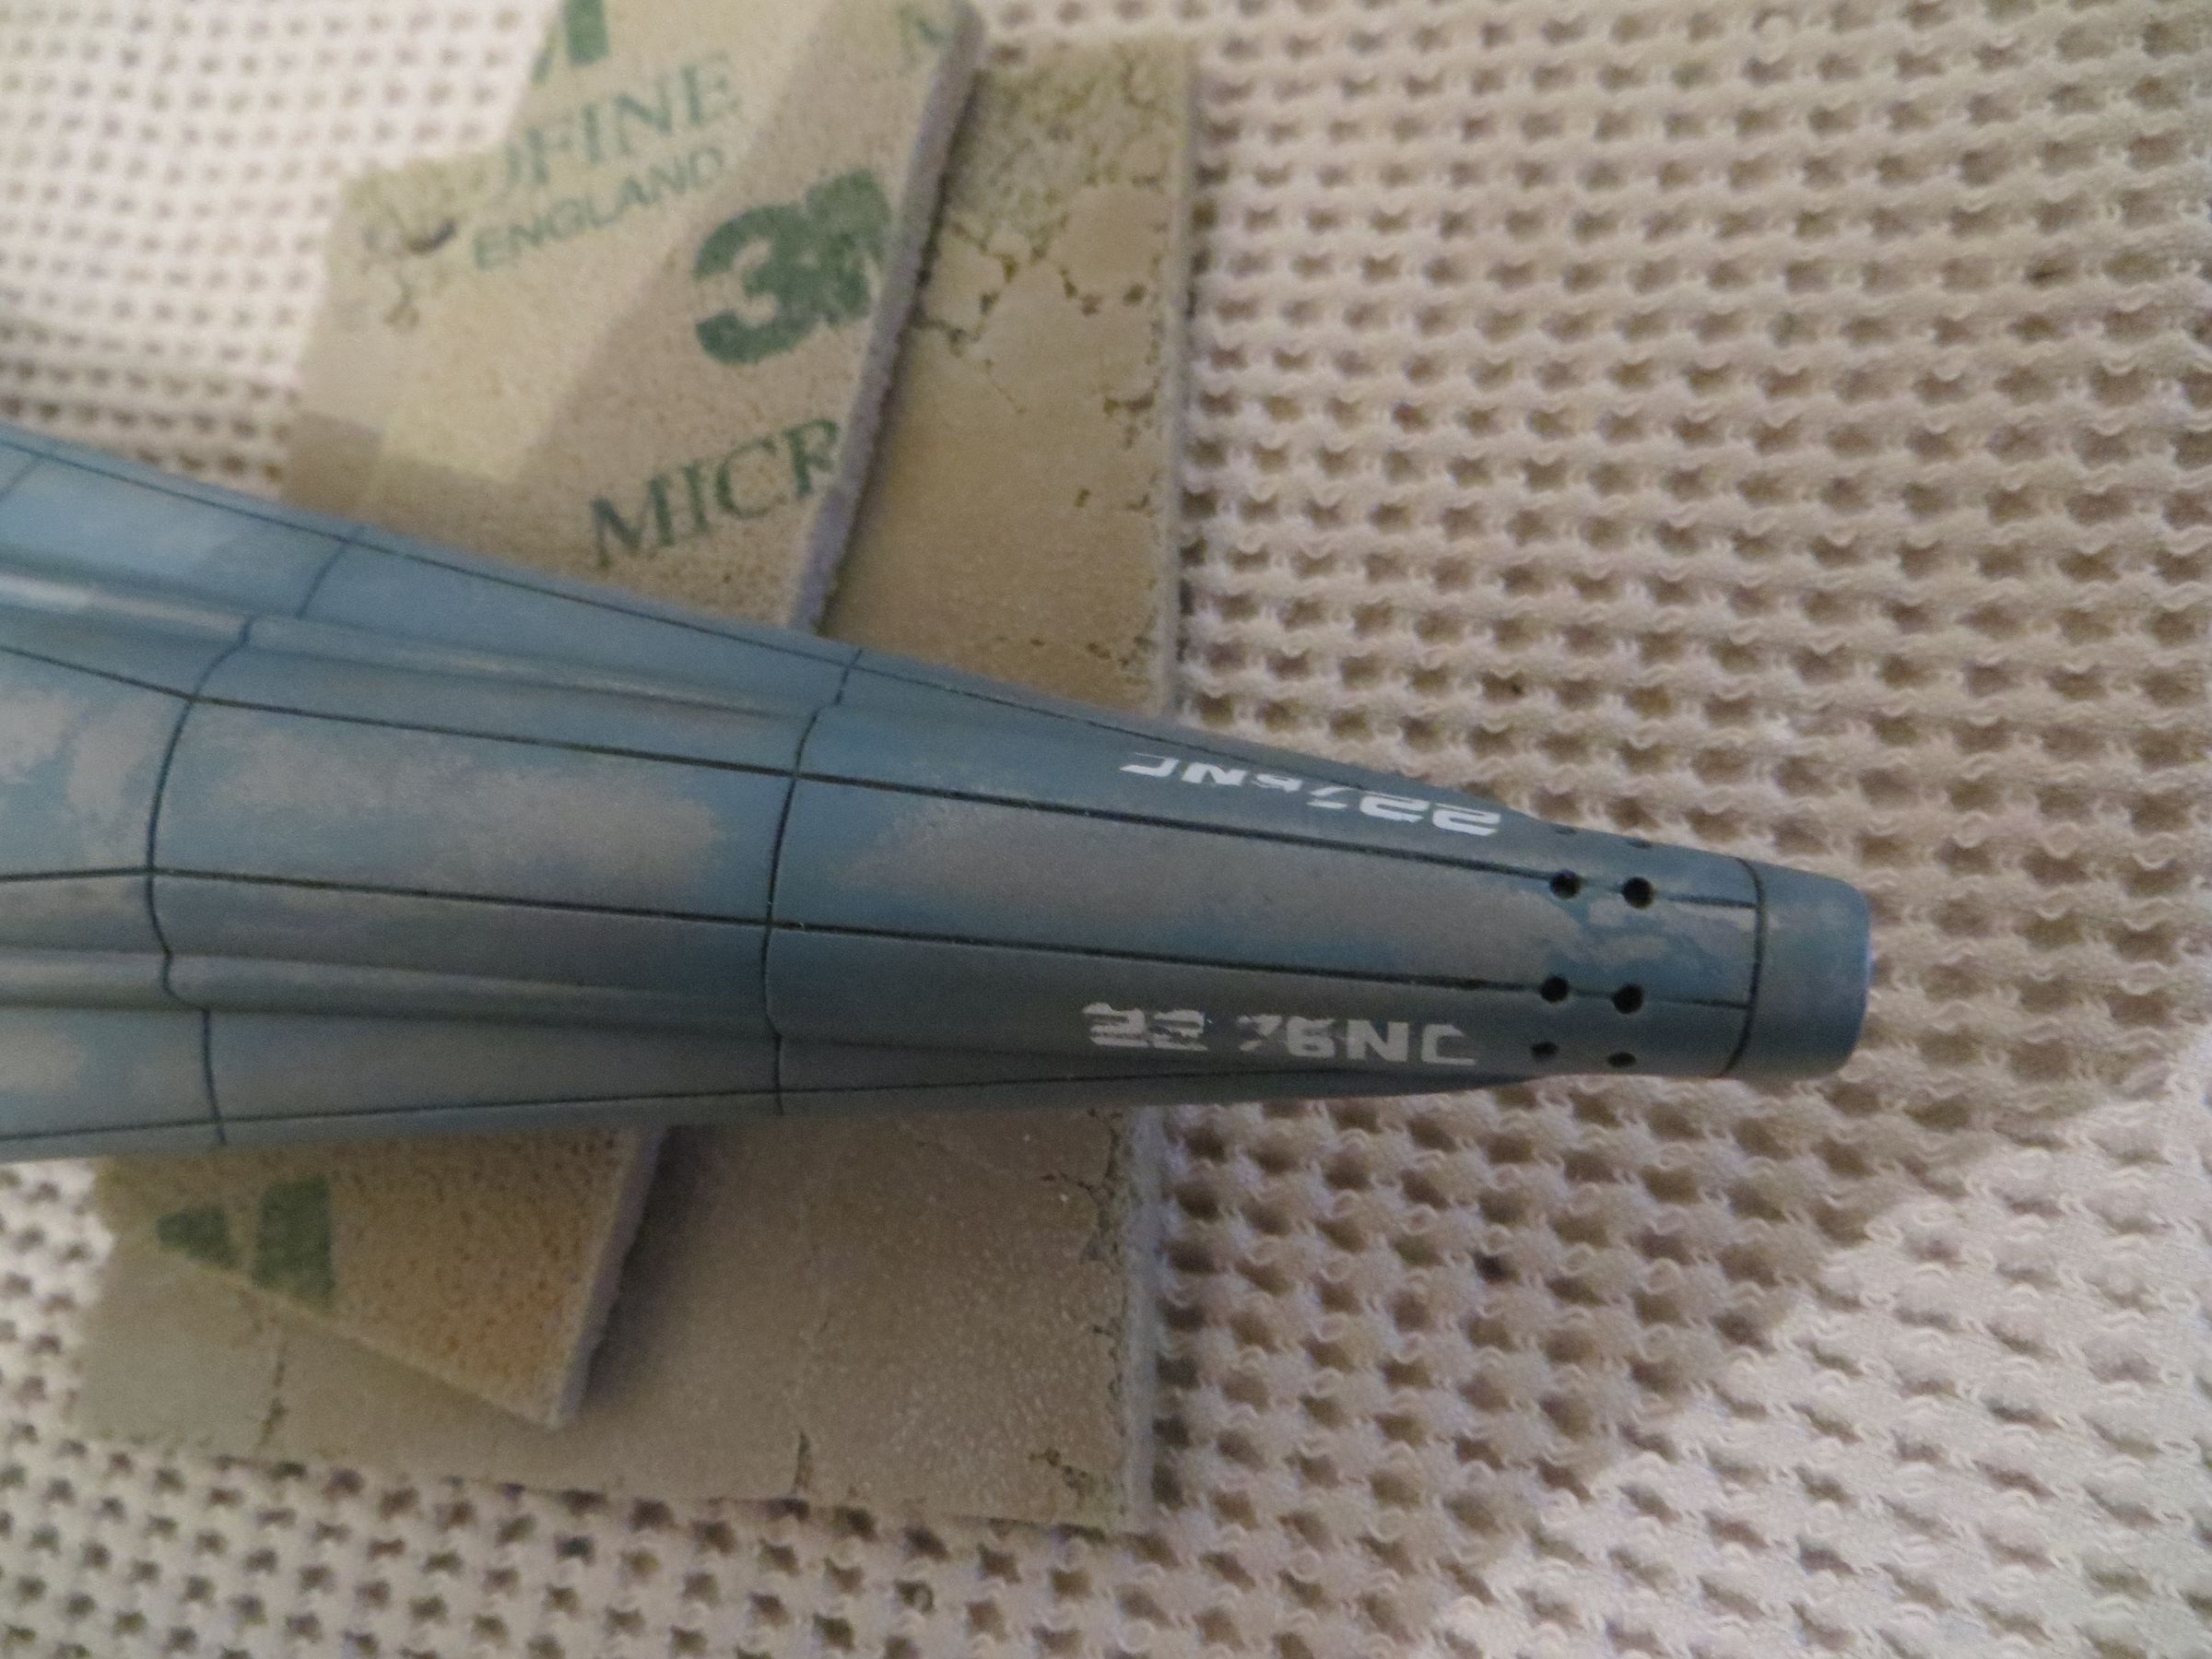
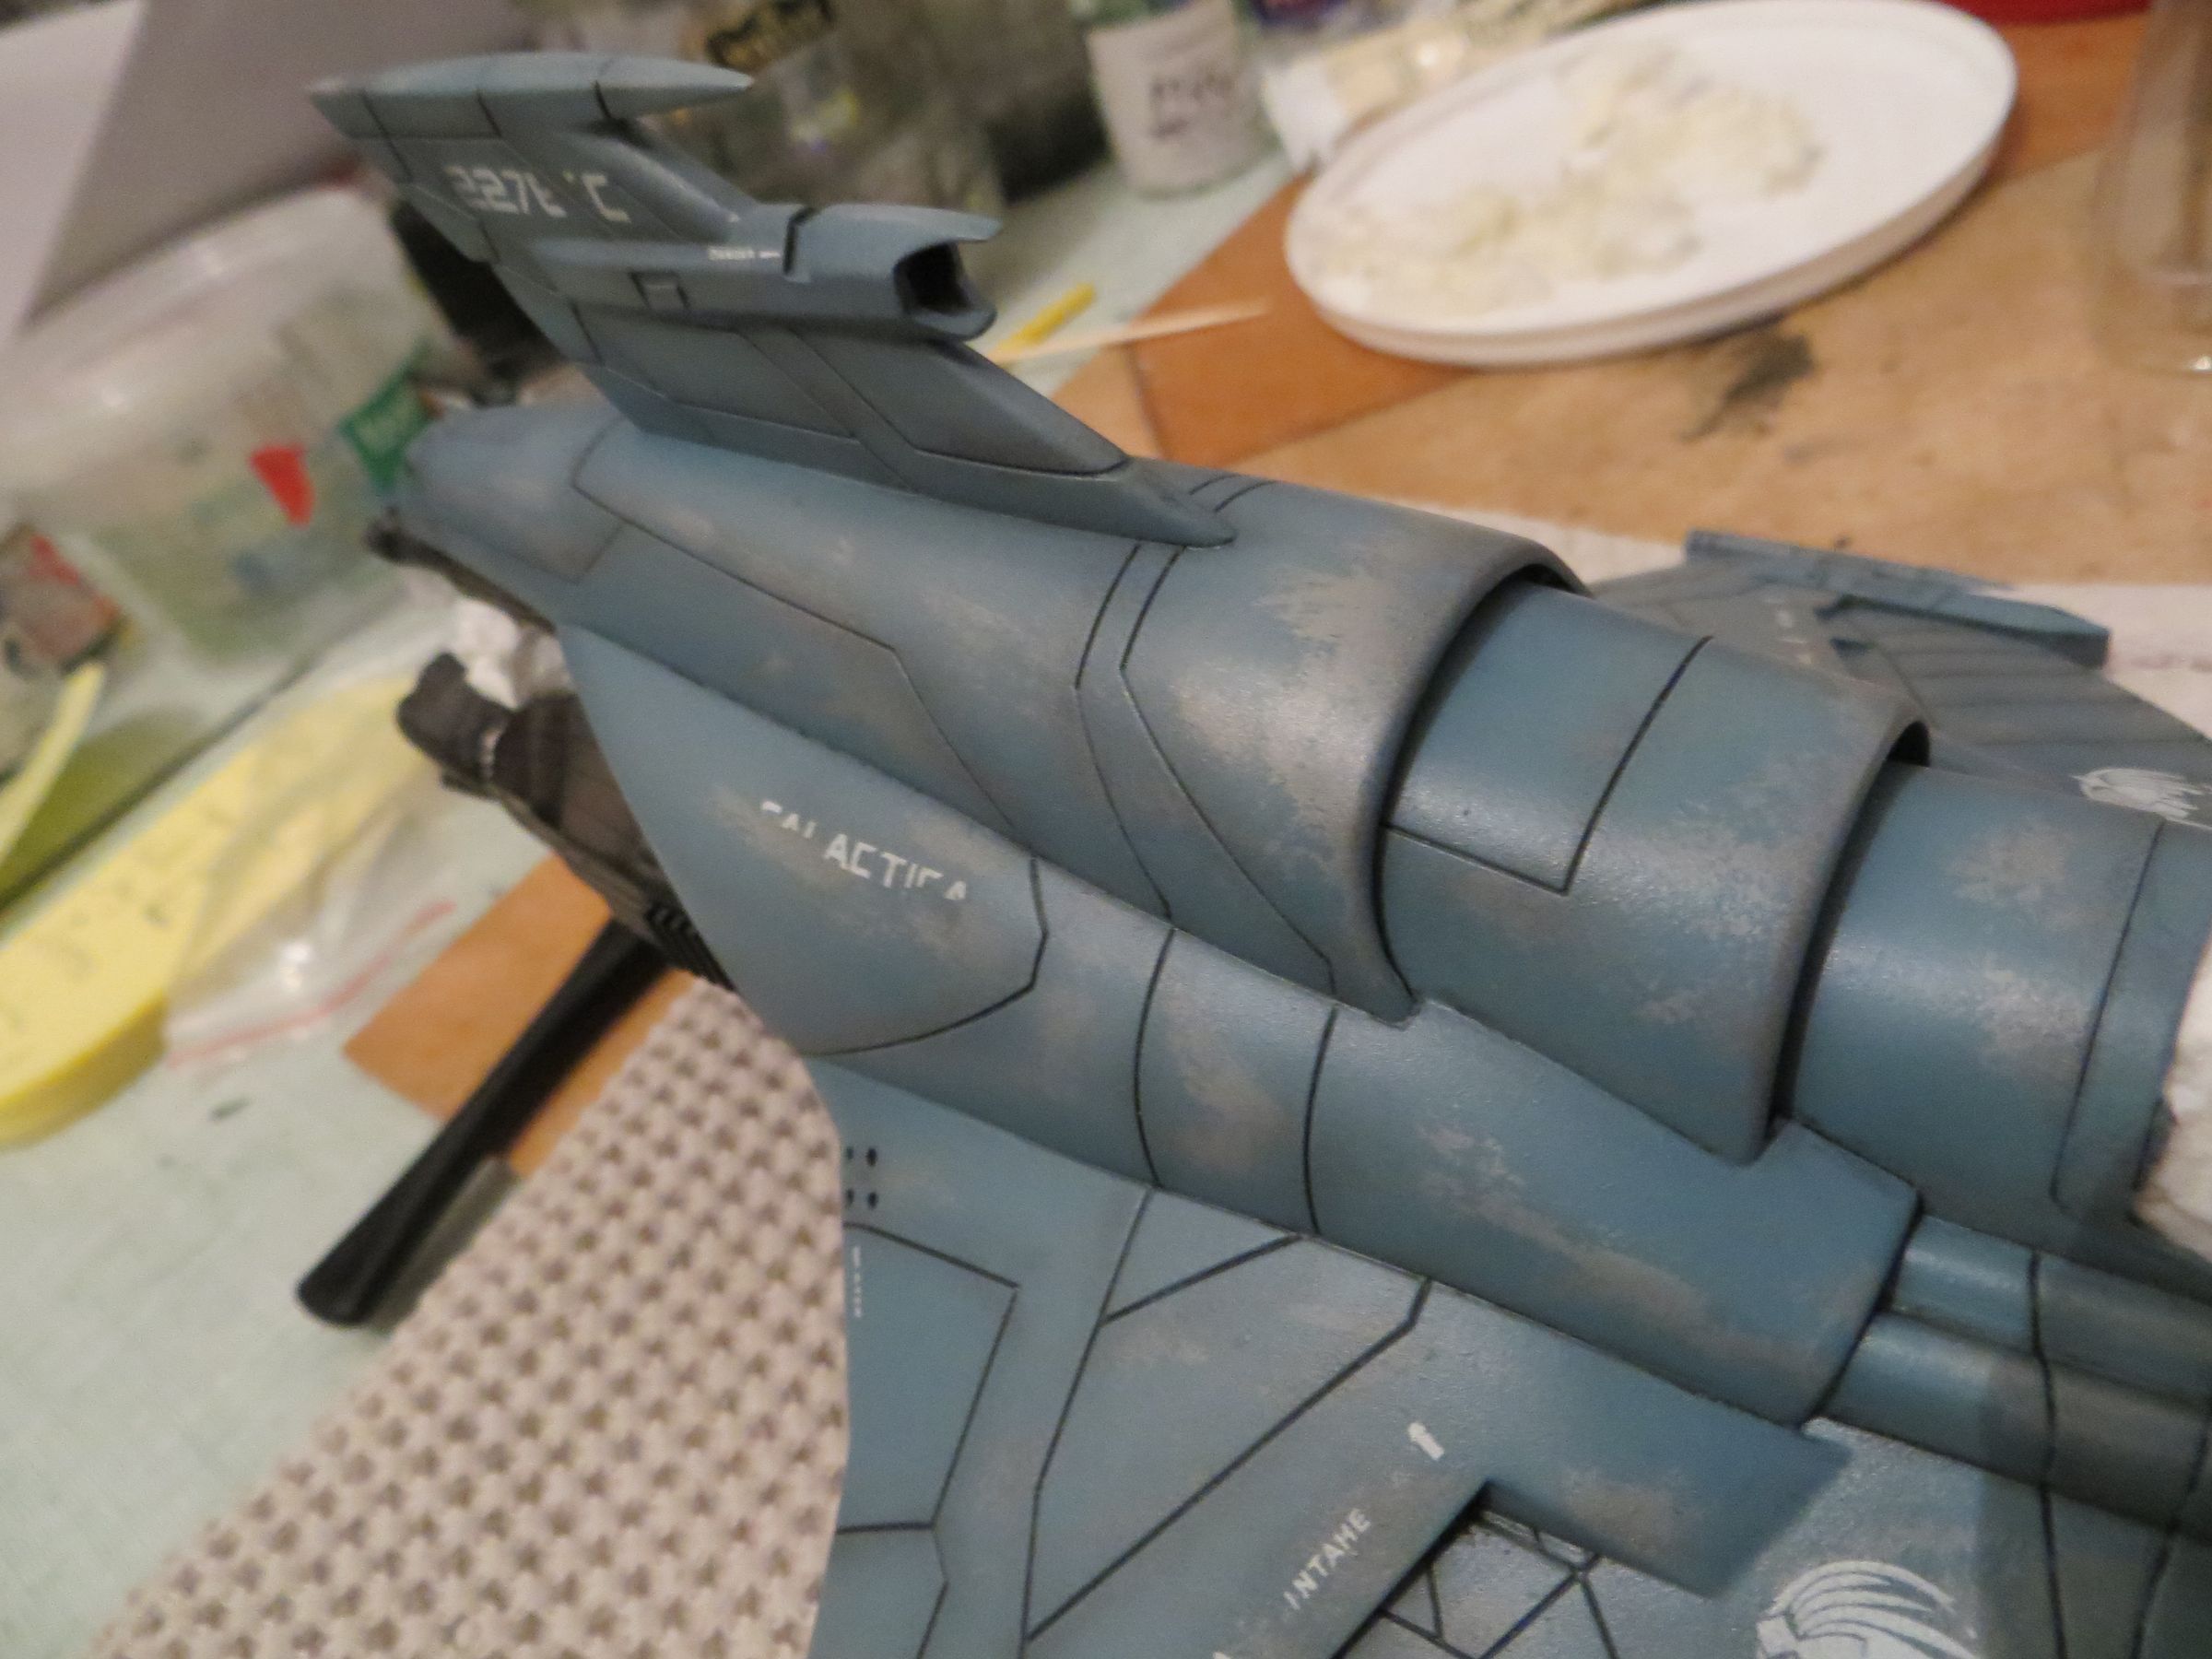
So I replaced the intermediate blue with a tamiya flat blue, with a better result. I took benefit of this error to not applied uniformly the new blue mixture : Since it is darker, I applied it along the strucutres and panel lines, like a postshading.

I let it dry just the time to clean the airbrush.
I apply a some warm water, wait a few seconds and I rub with an strong hair paintbrush.
It does not come off as easily as I thought. In places, it is necessary to rub hard ( maybe it's because I did several coats of paint ? or not enough hair lacquer ?) .

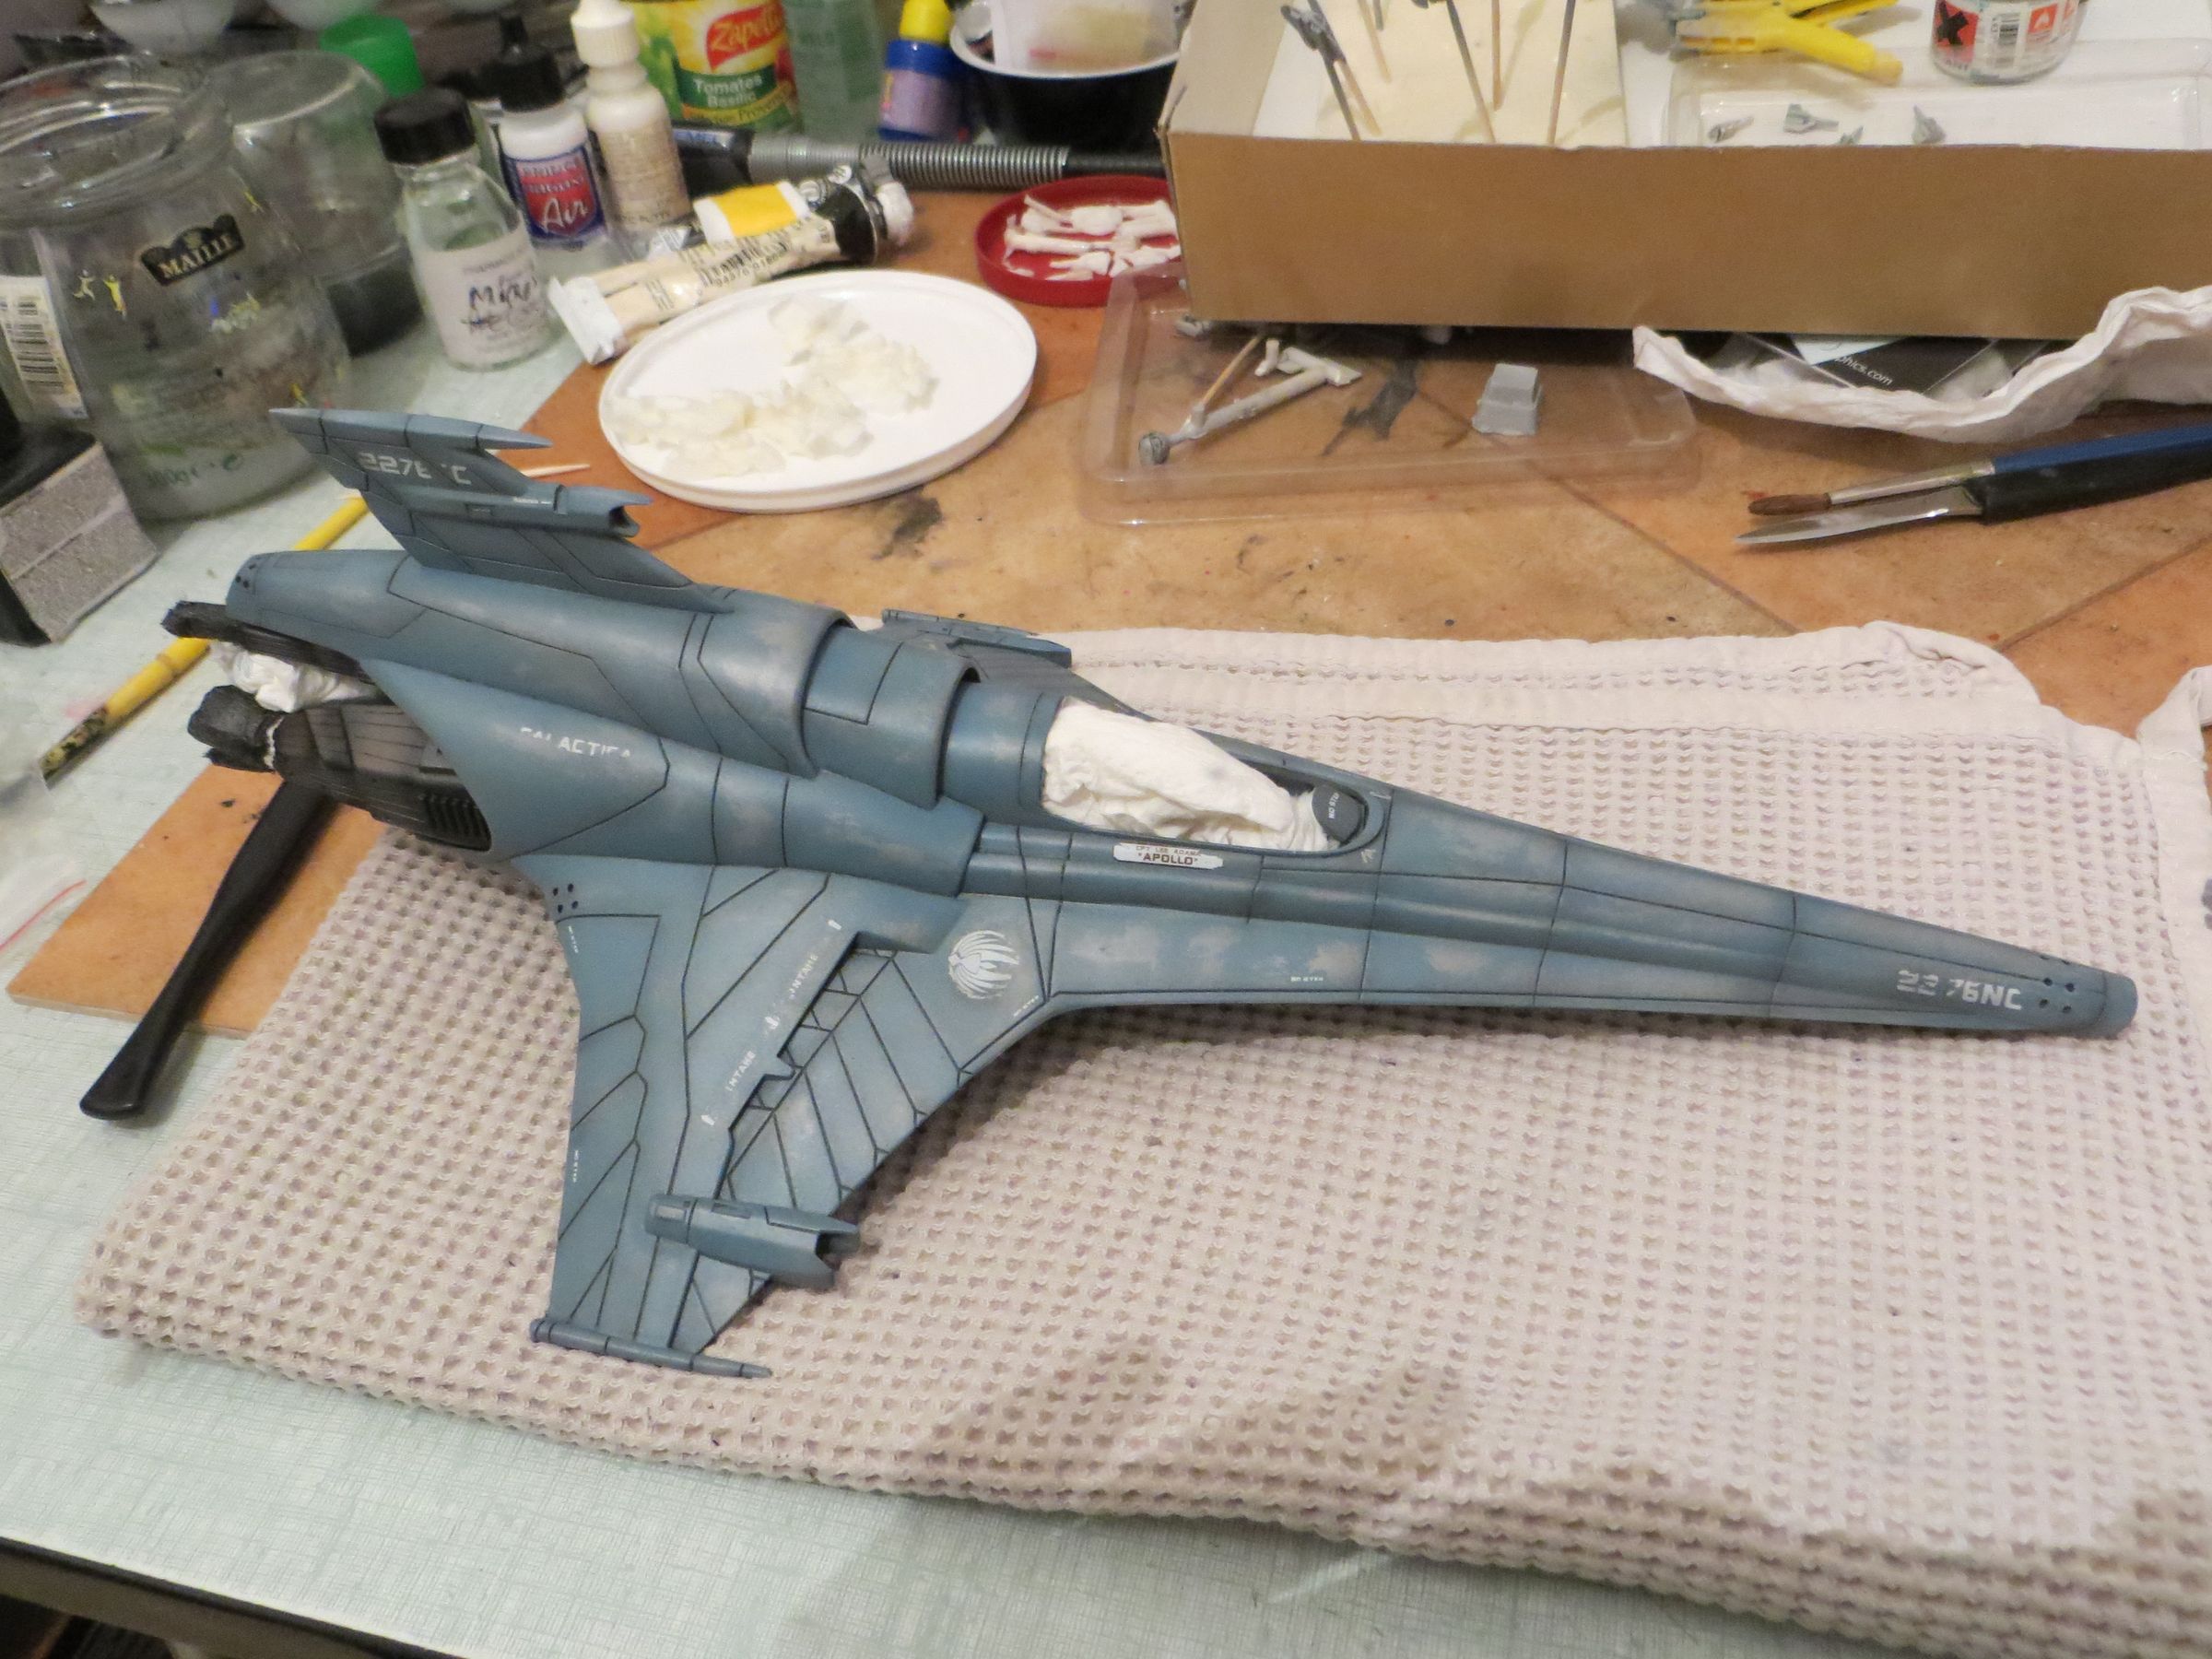
I tried to follow the best I could the 3D model, here's the result.
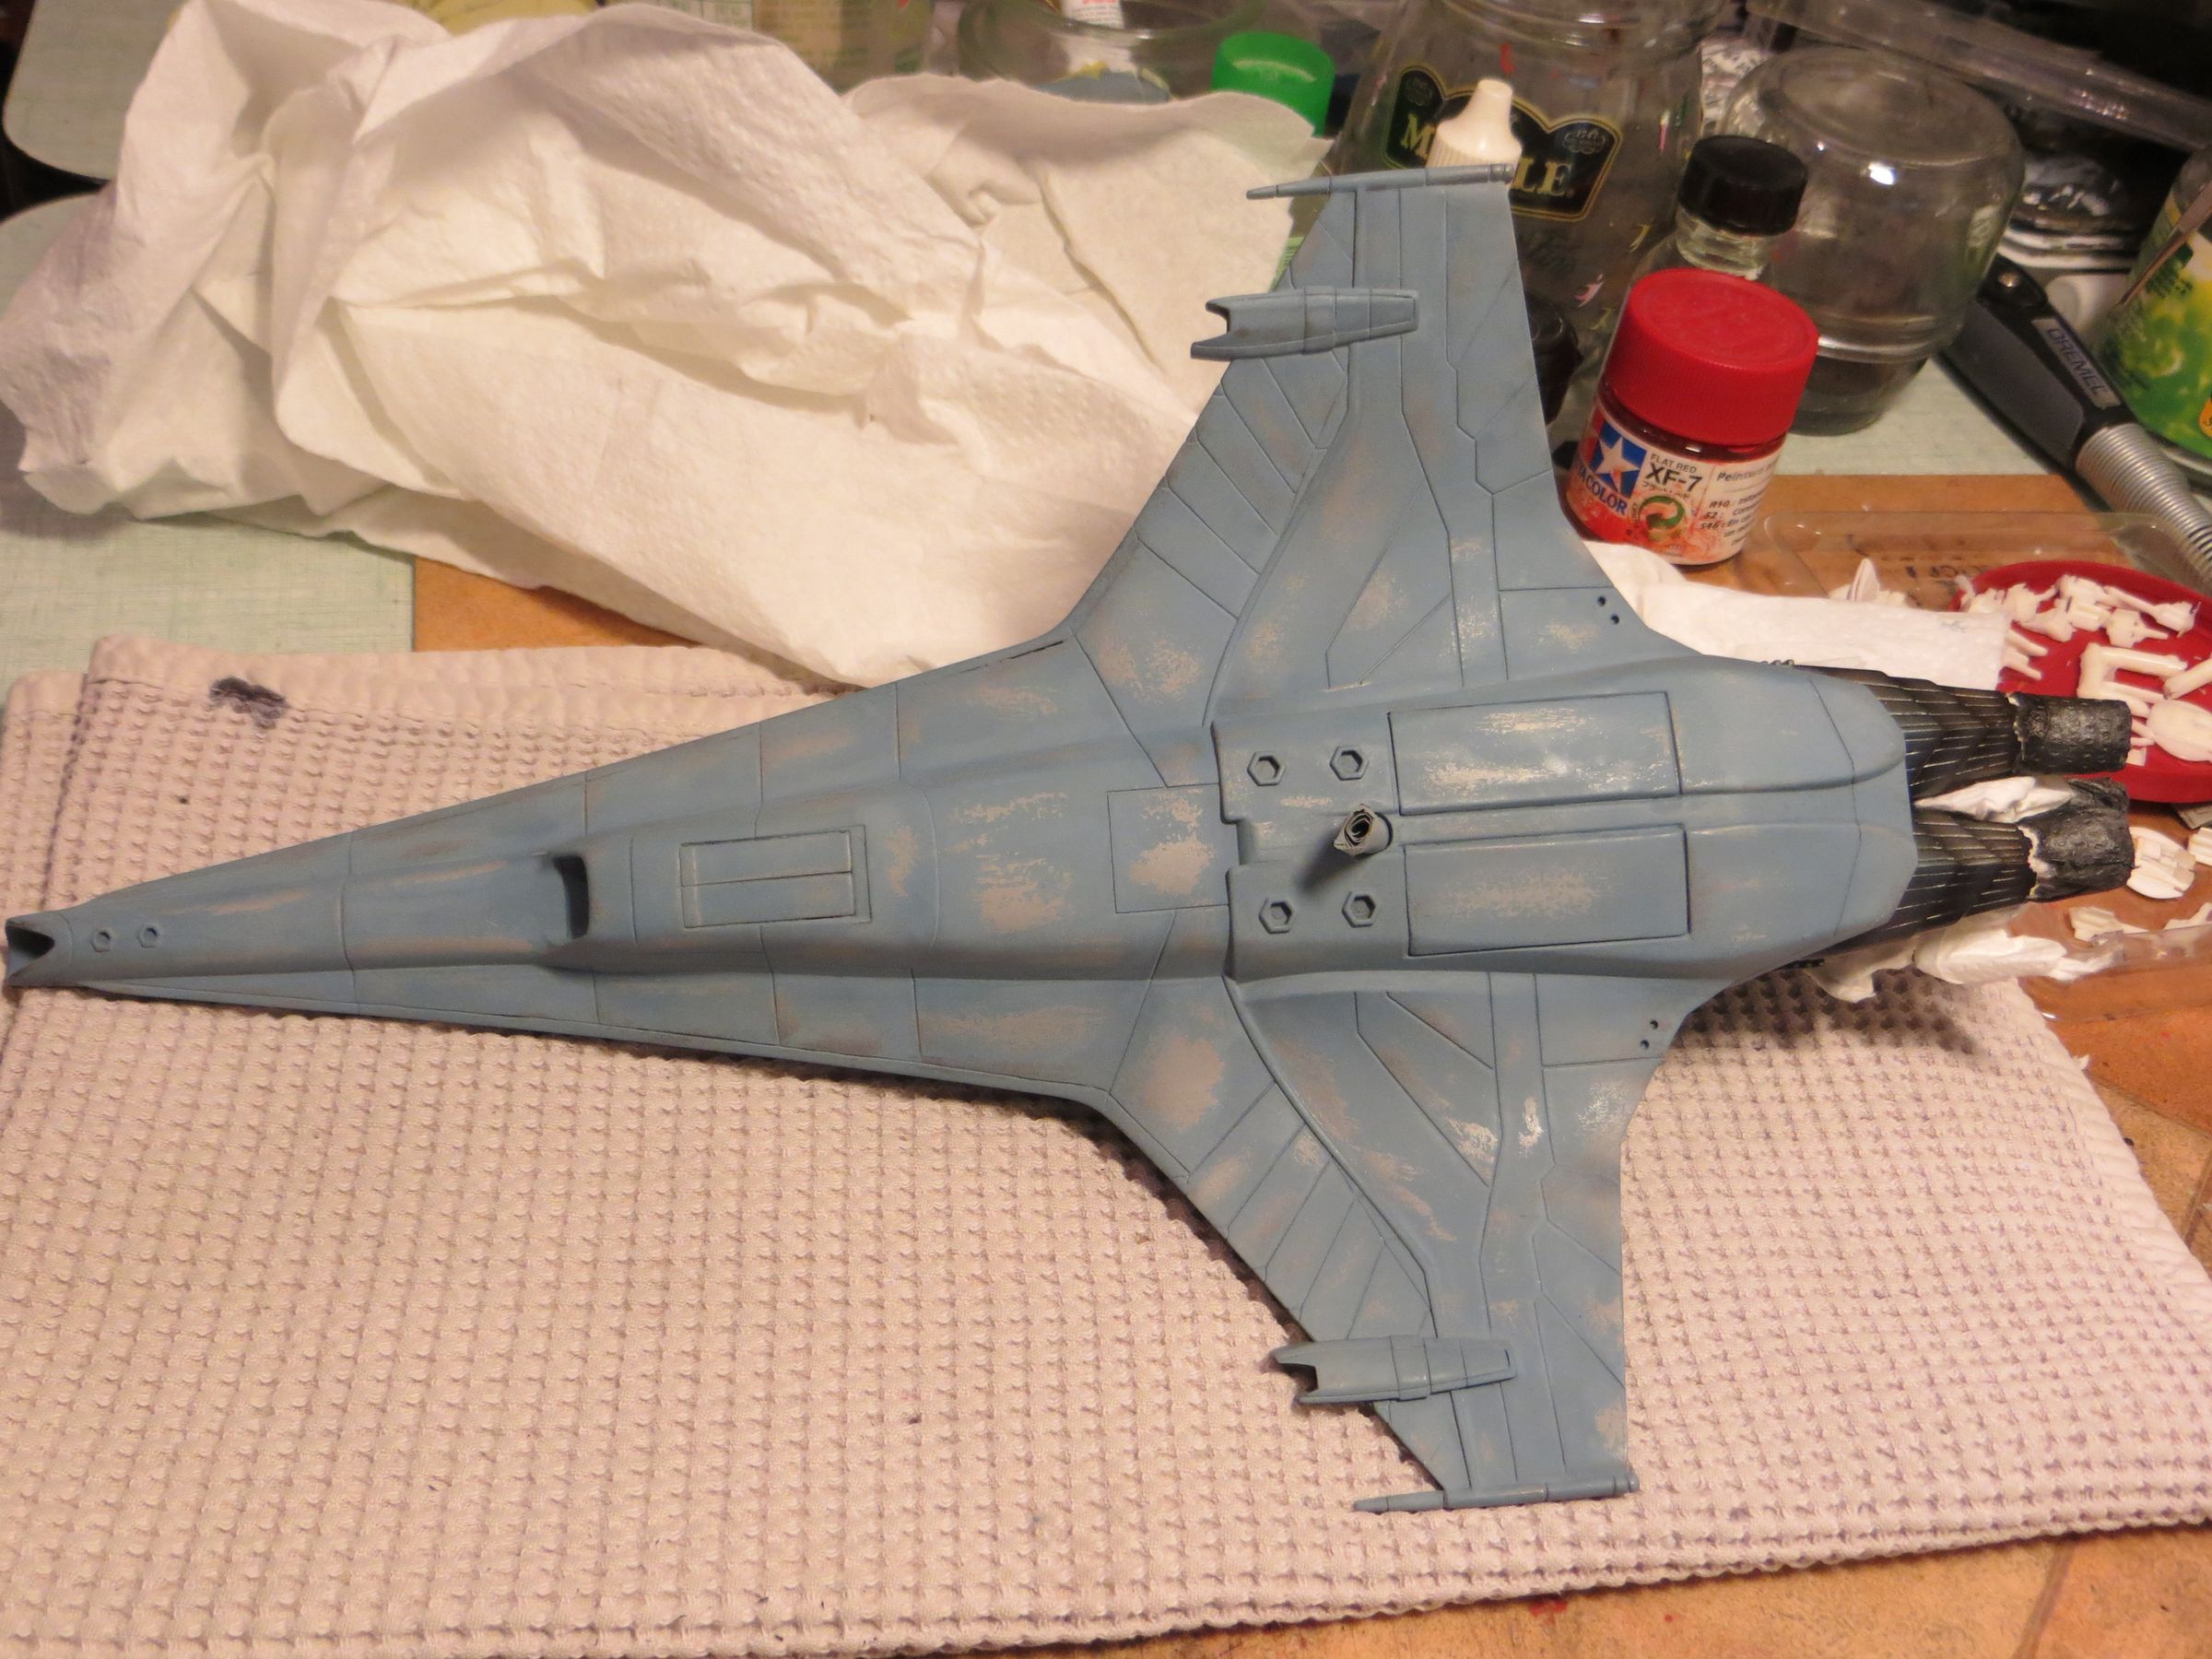
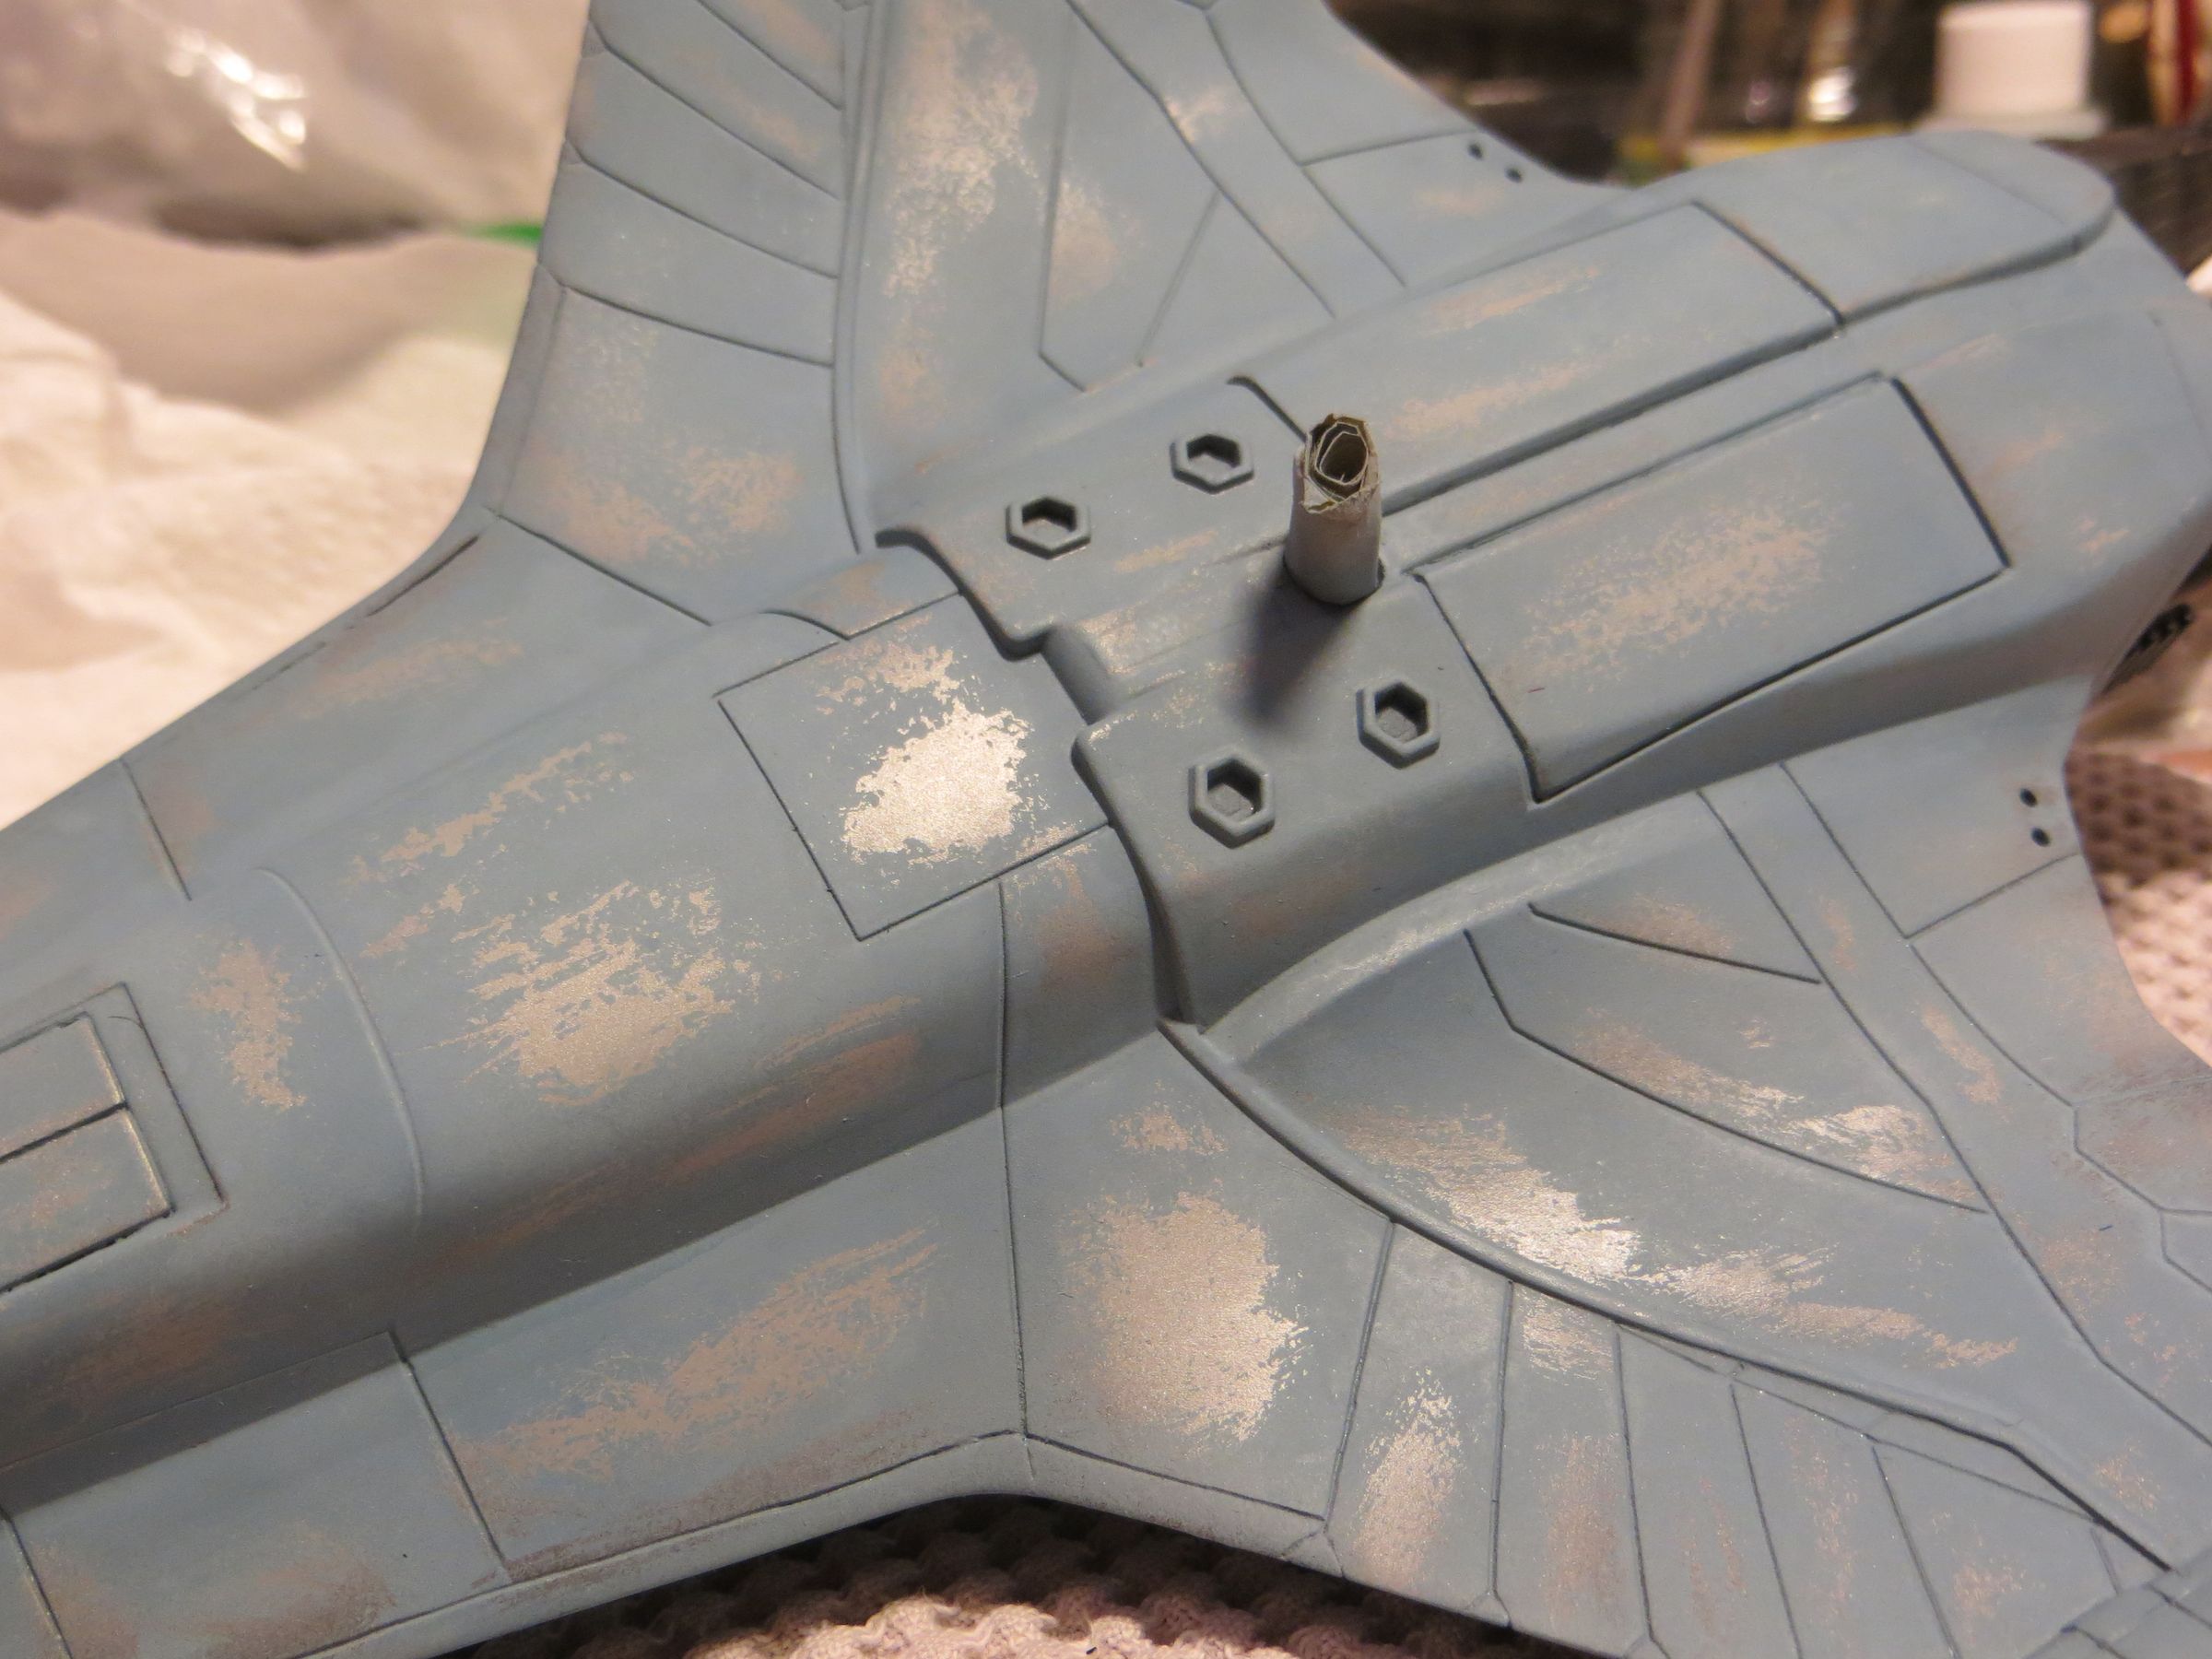
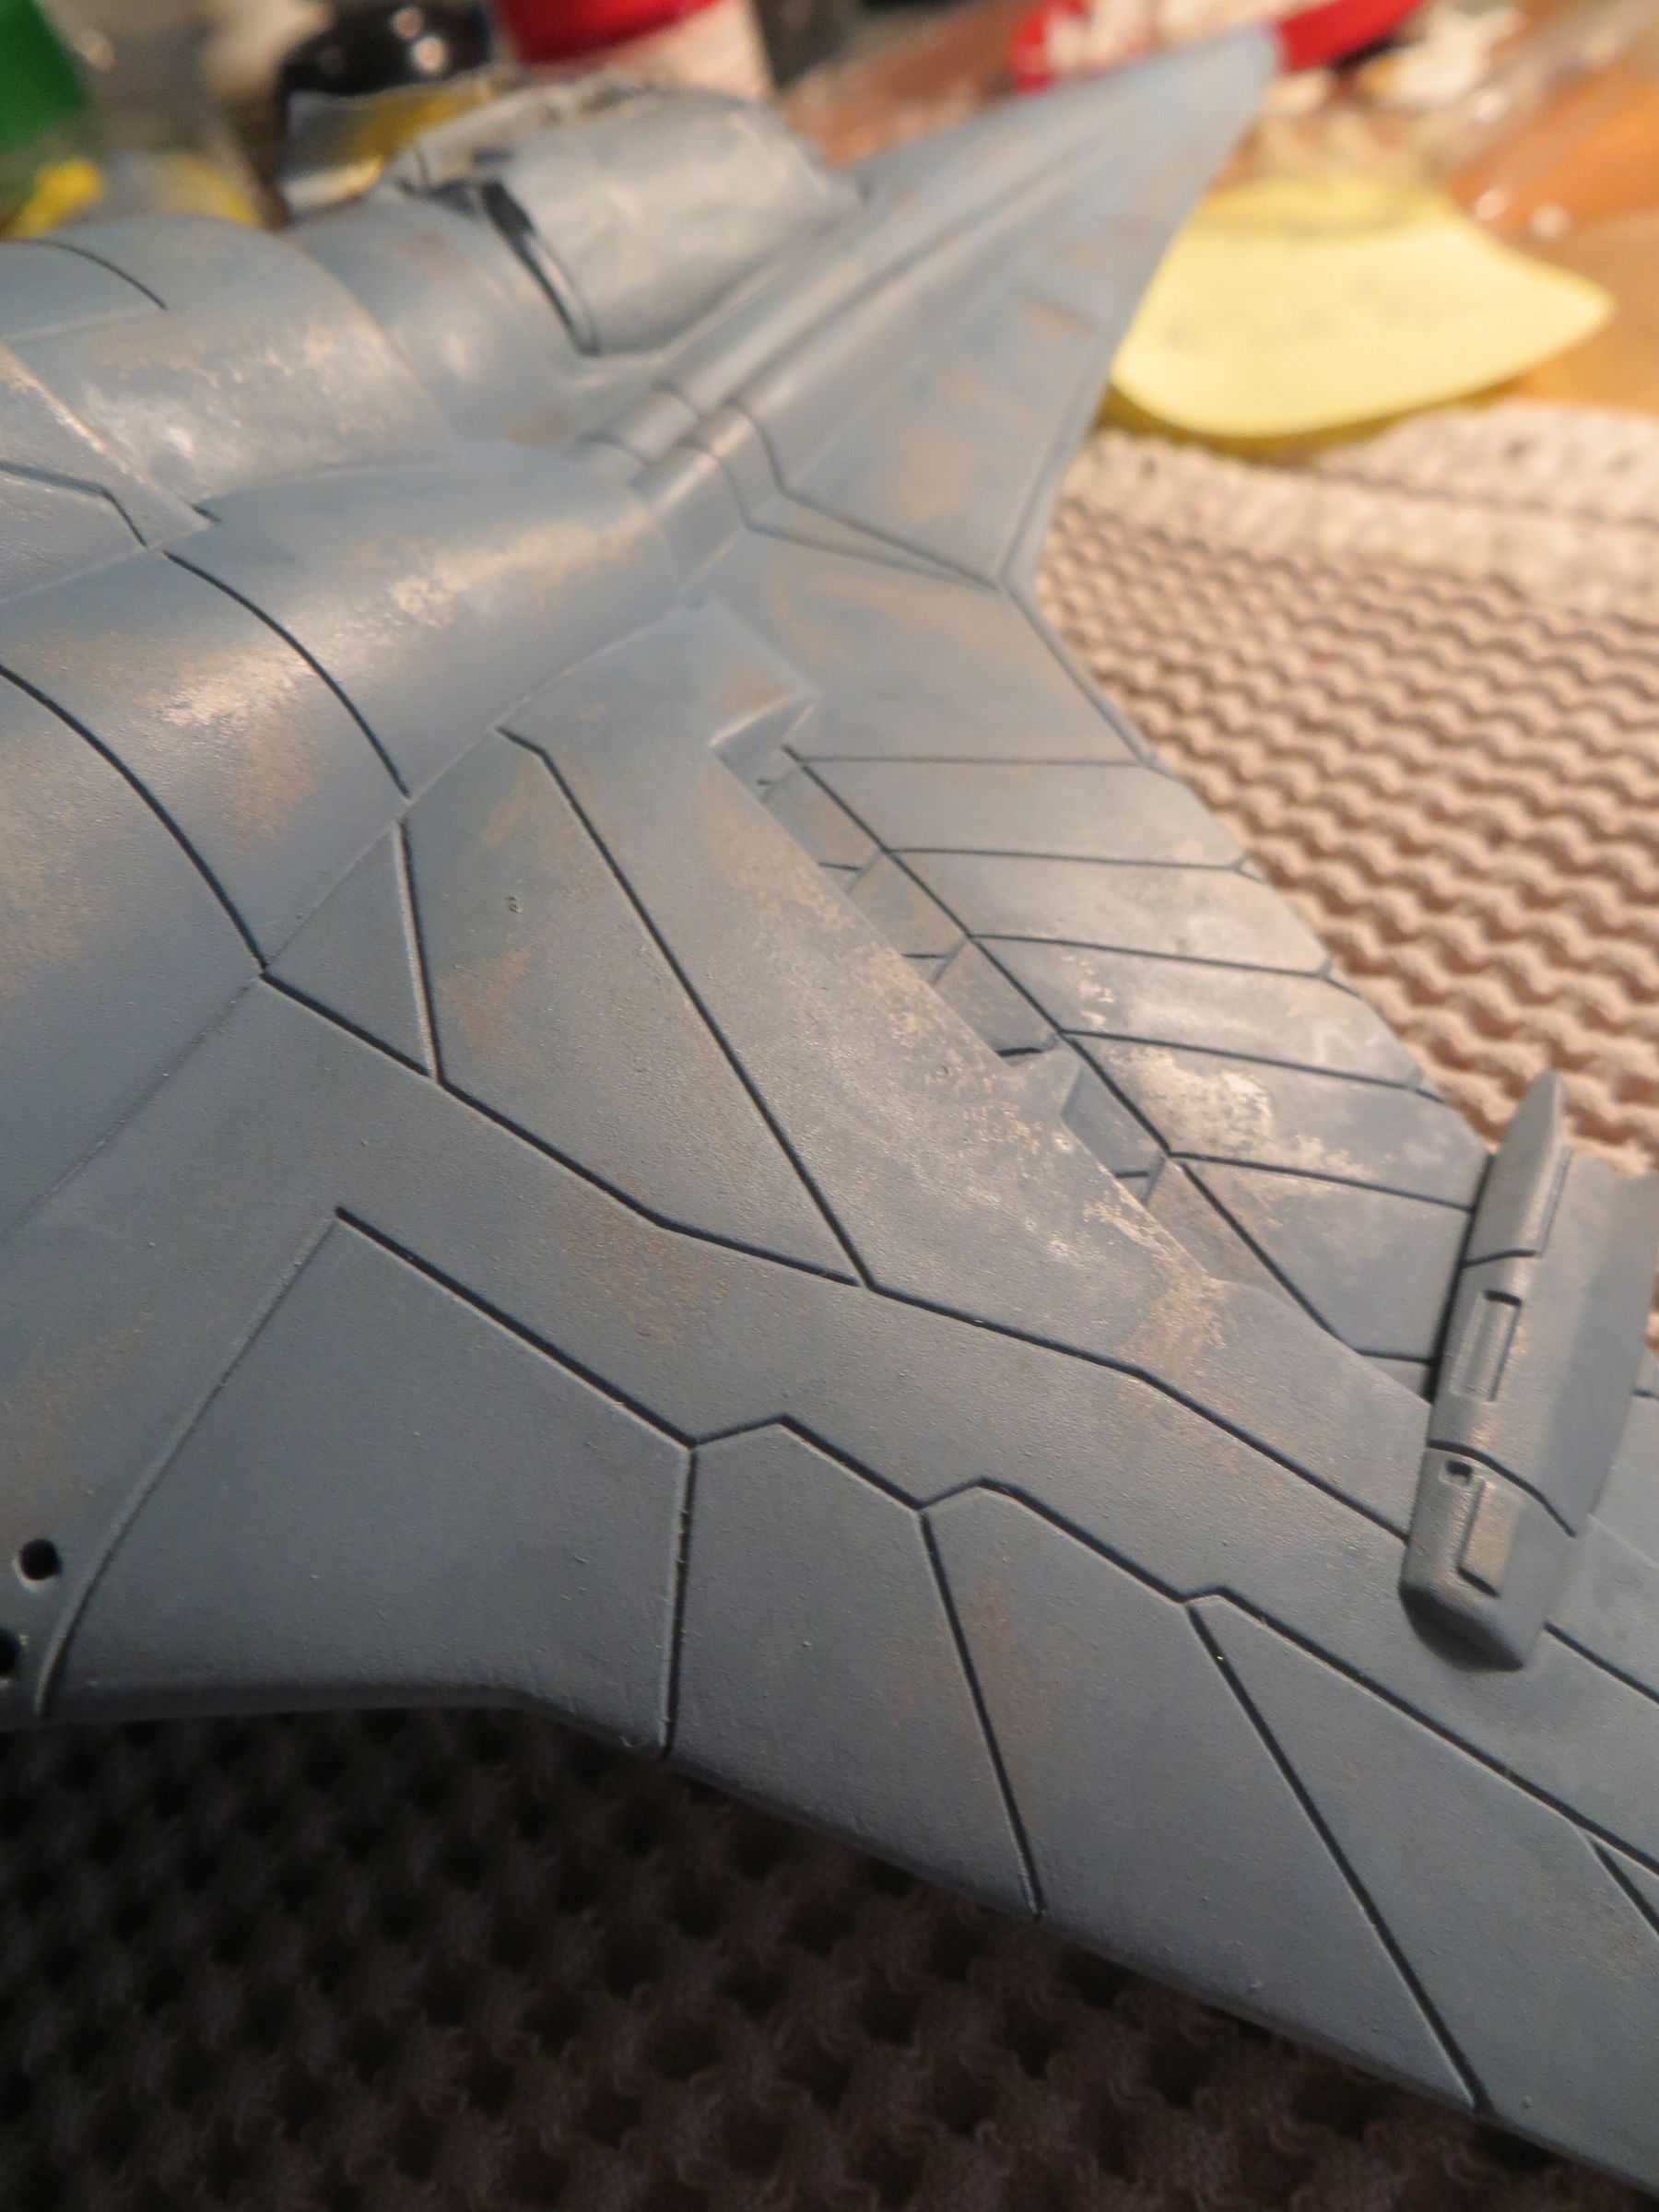
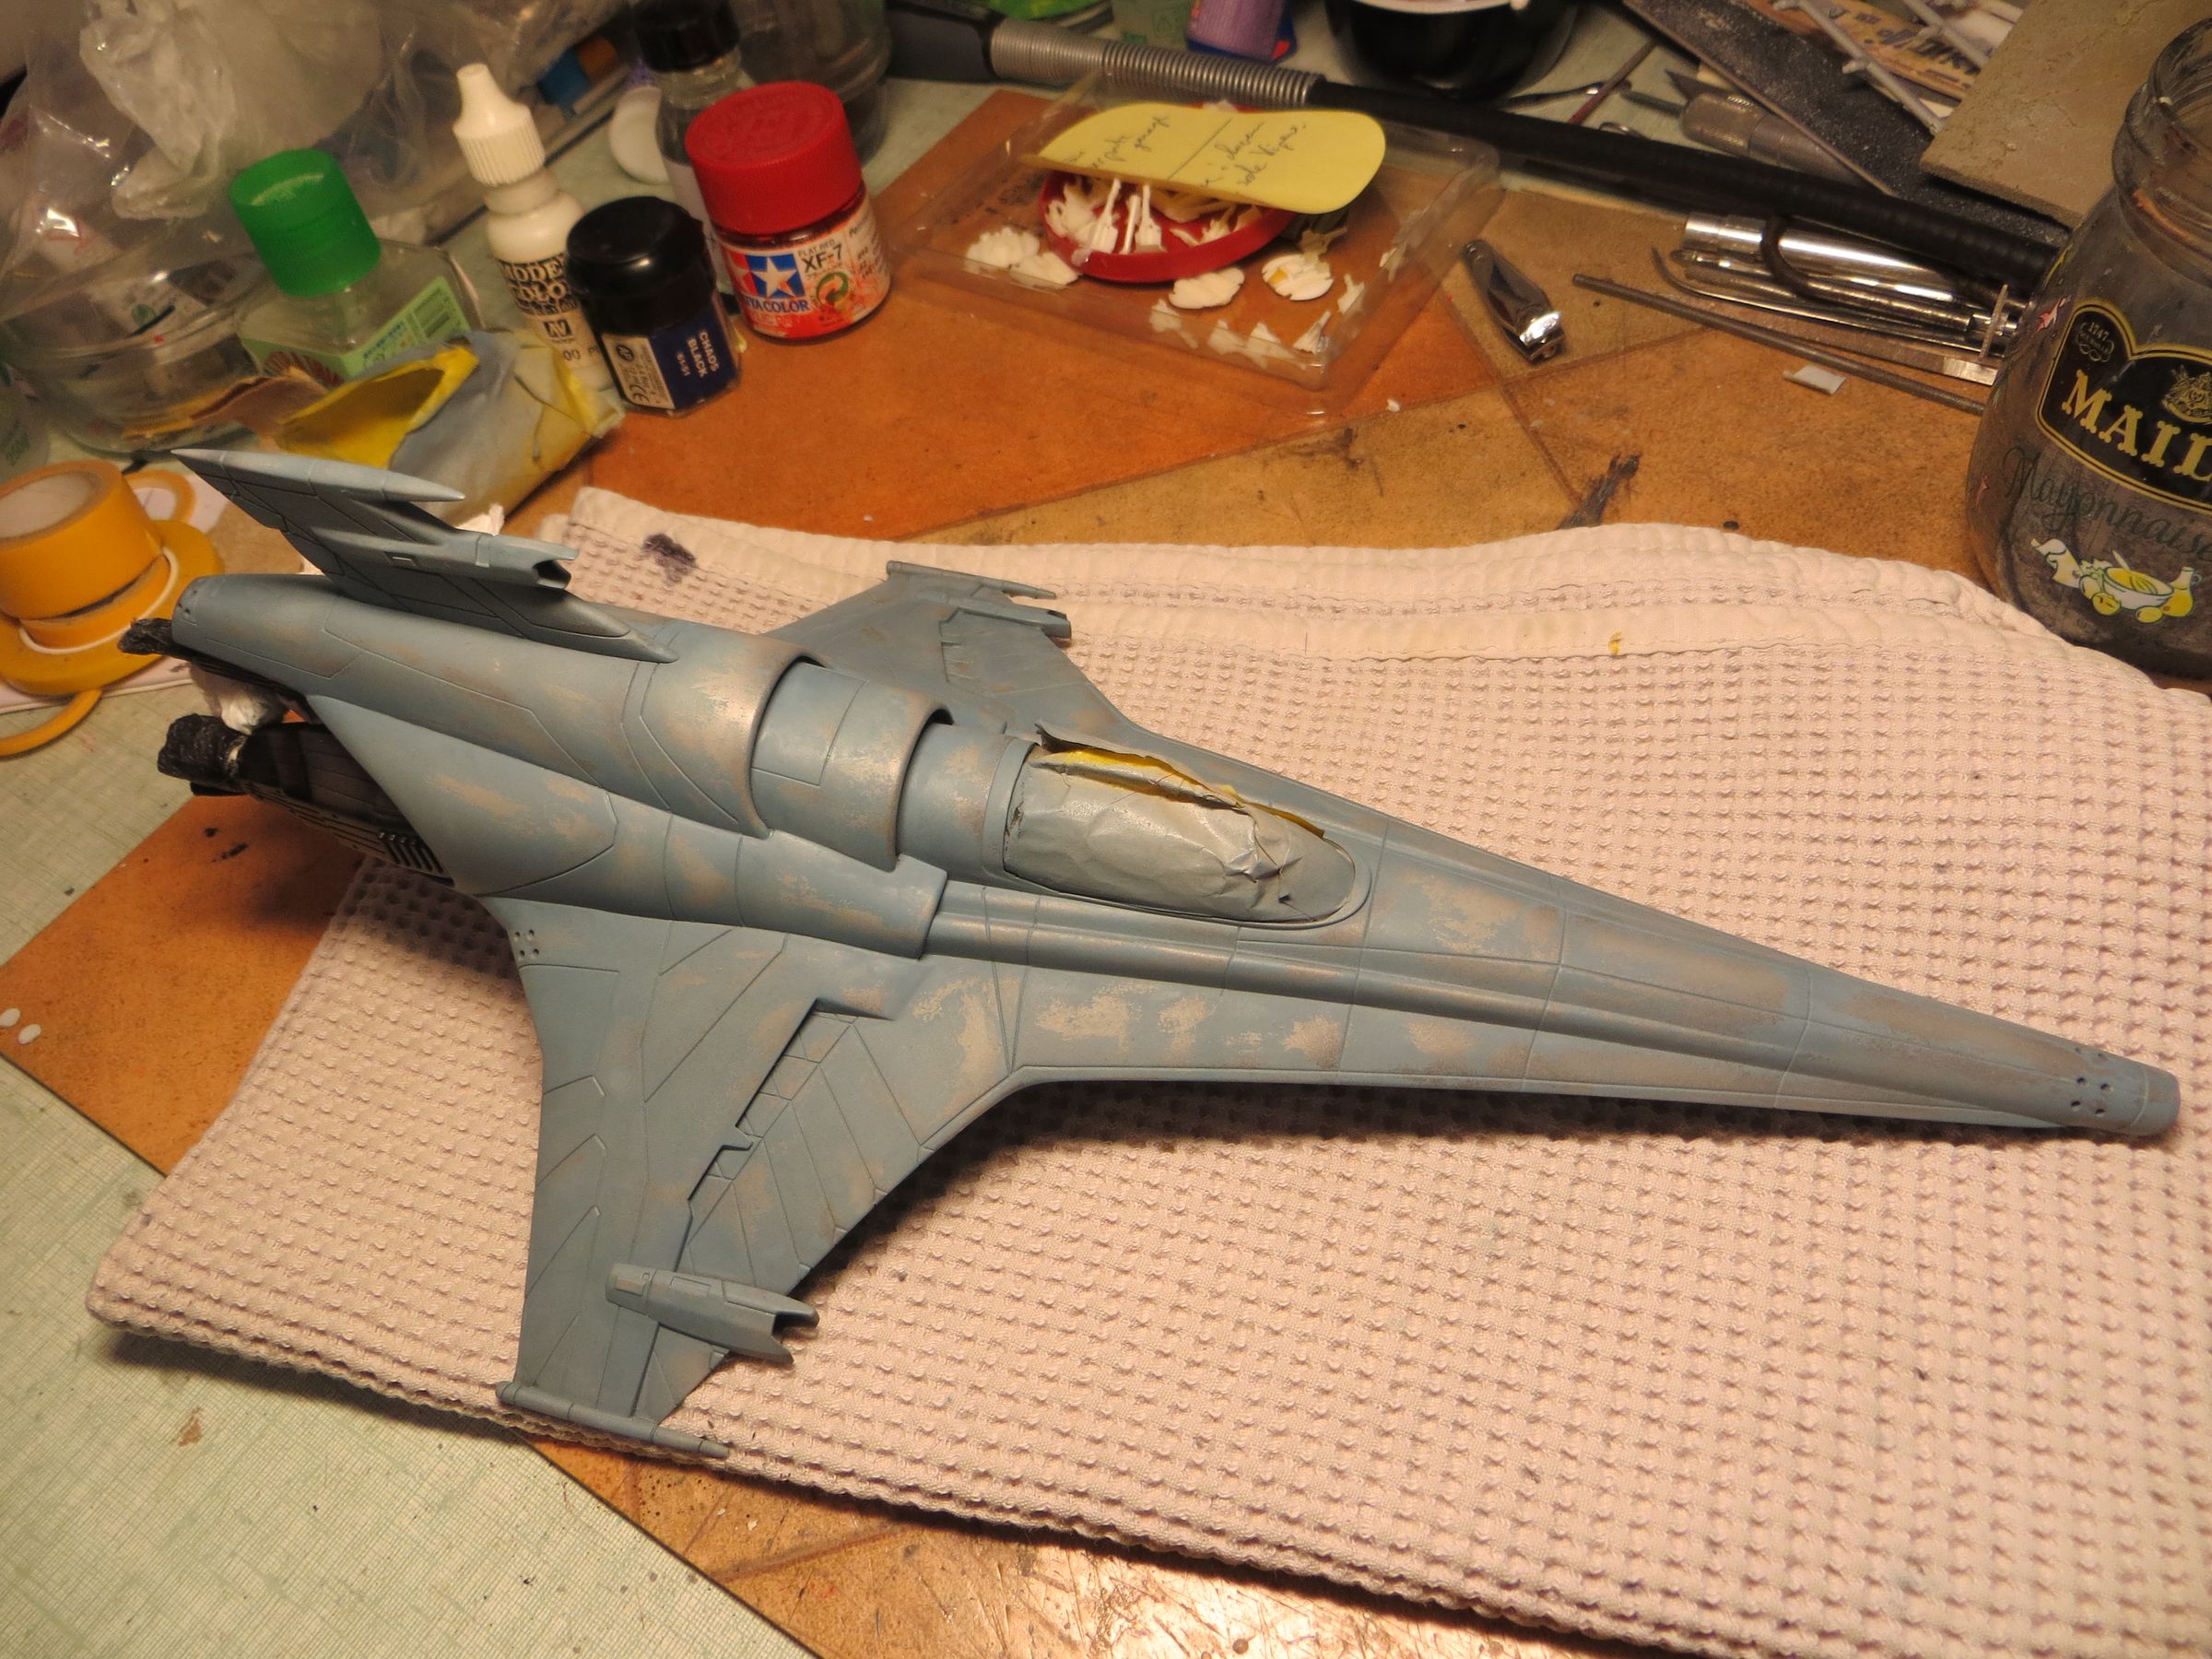
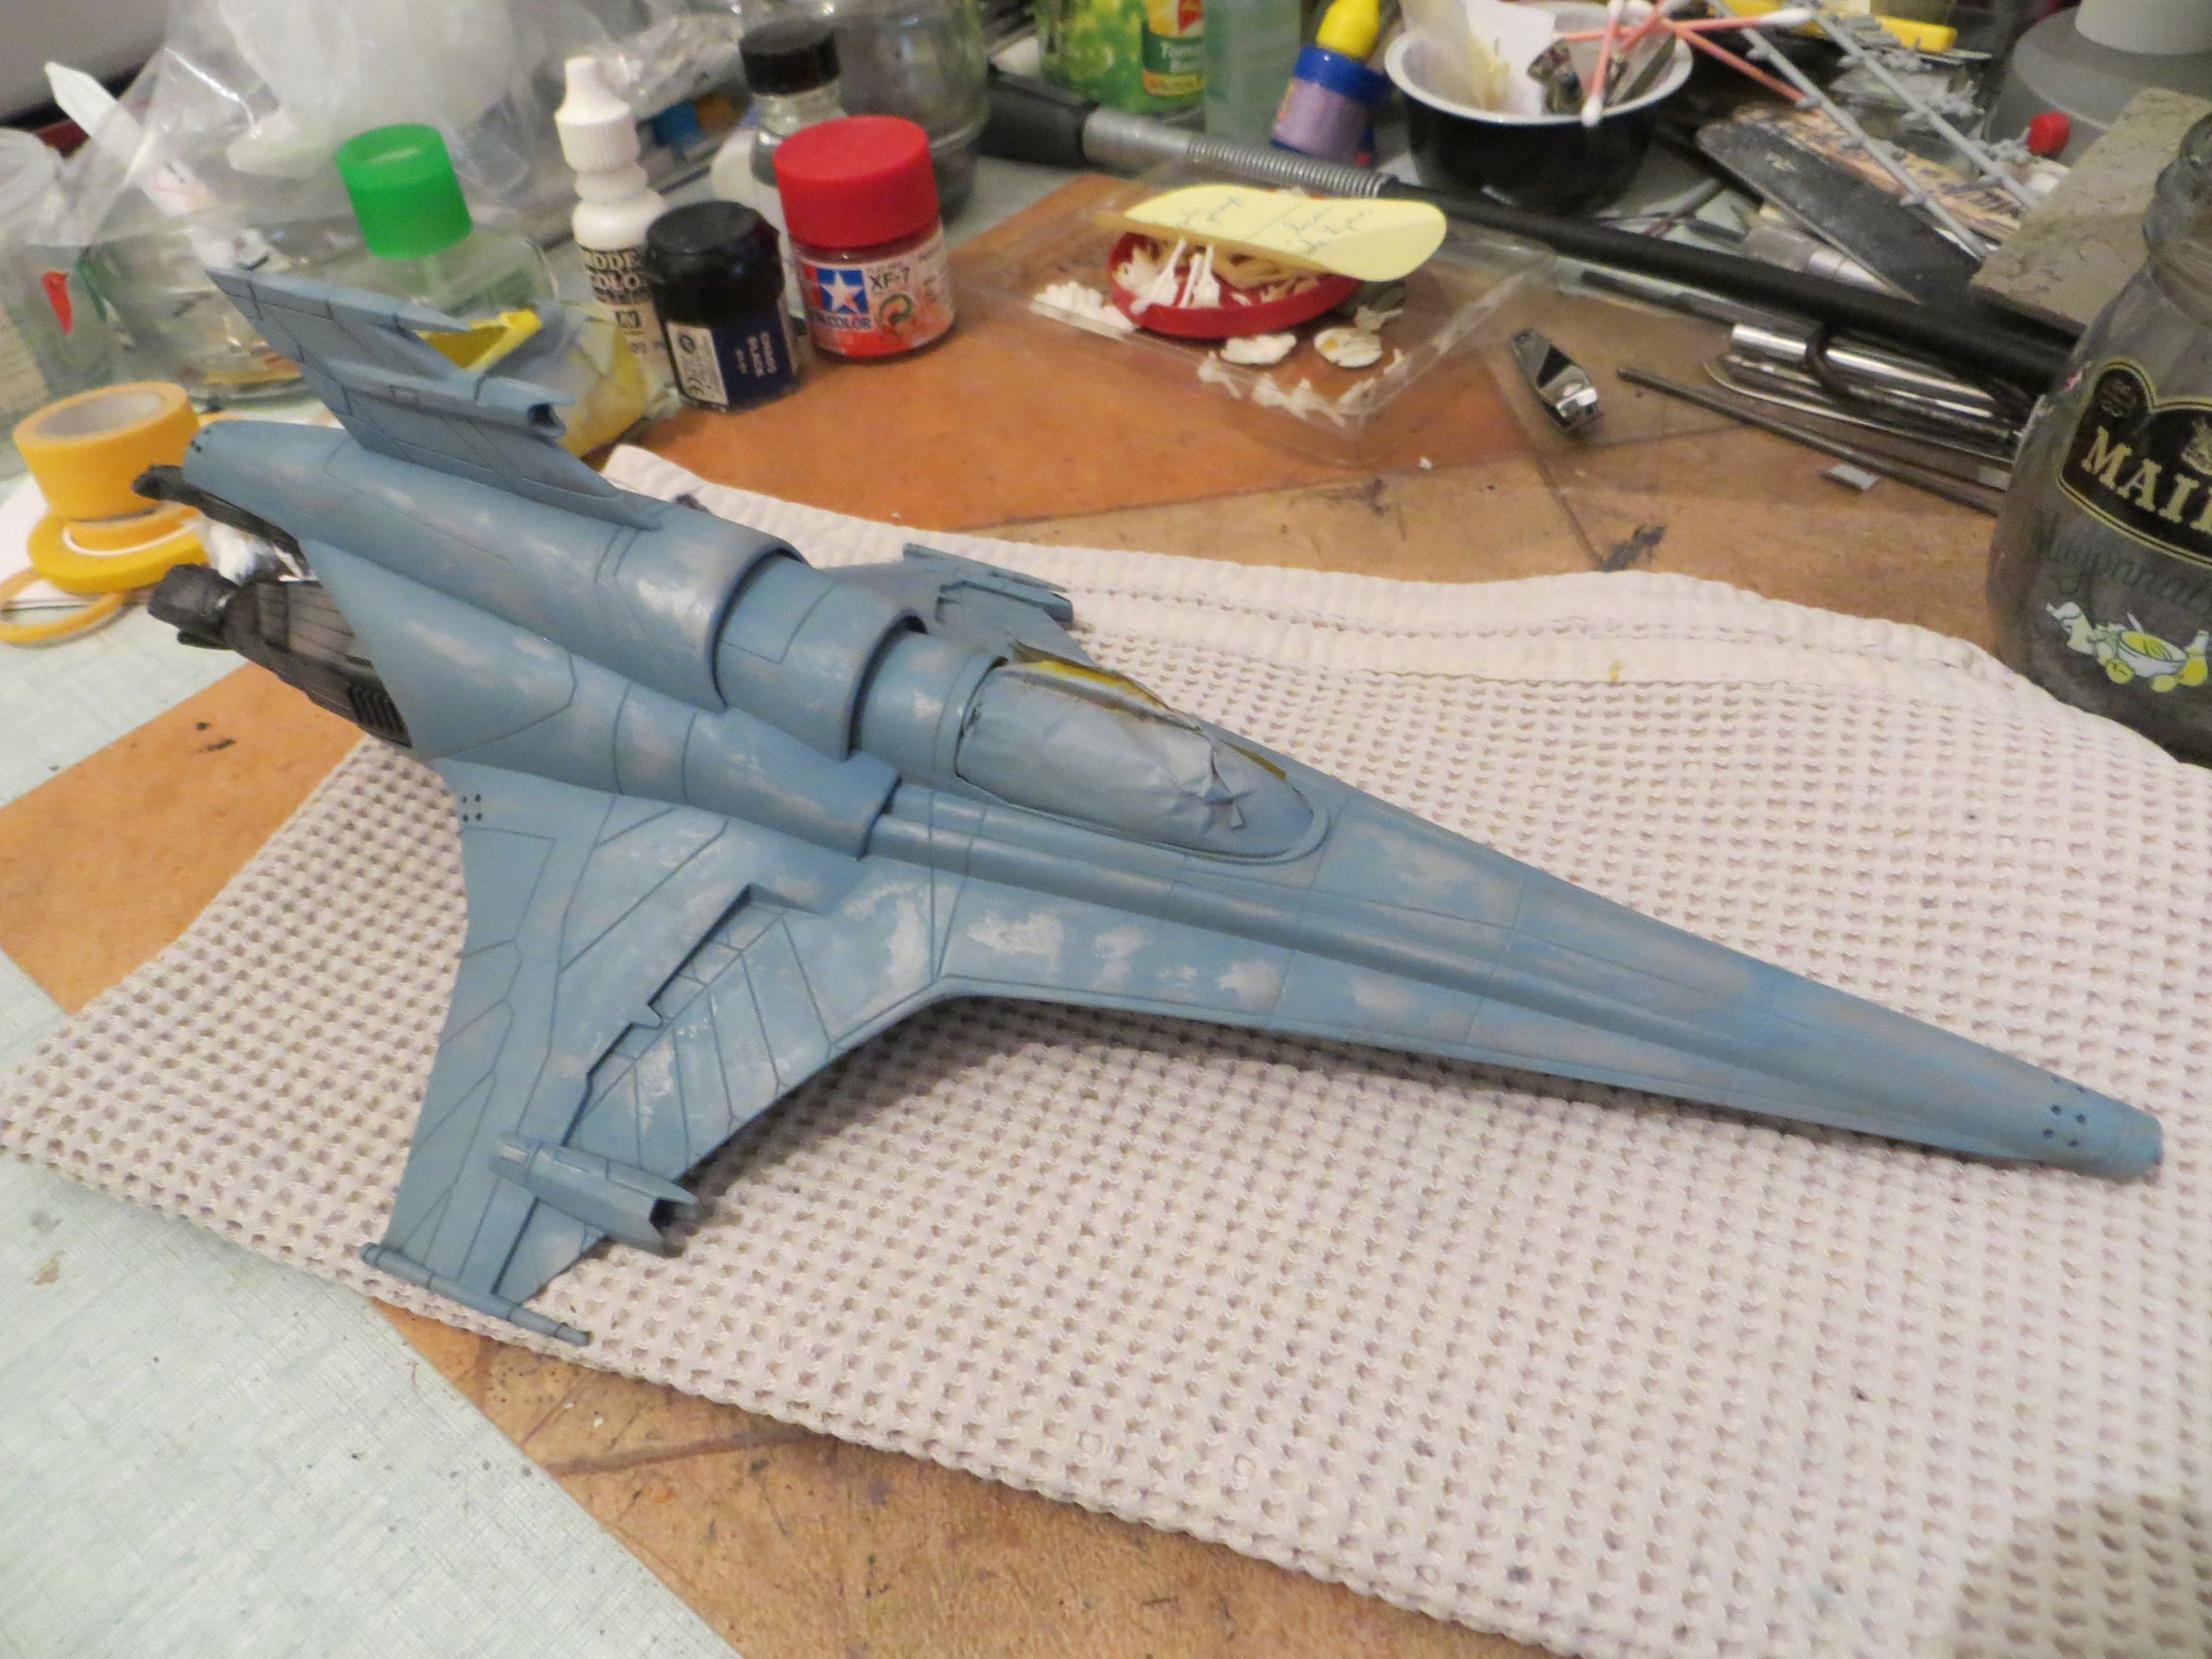
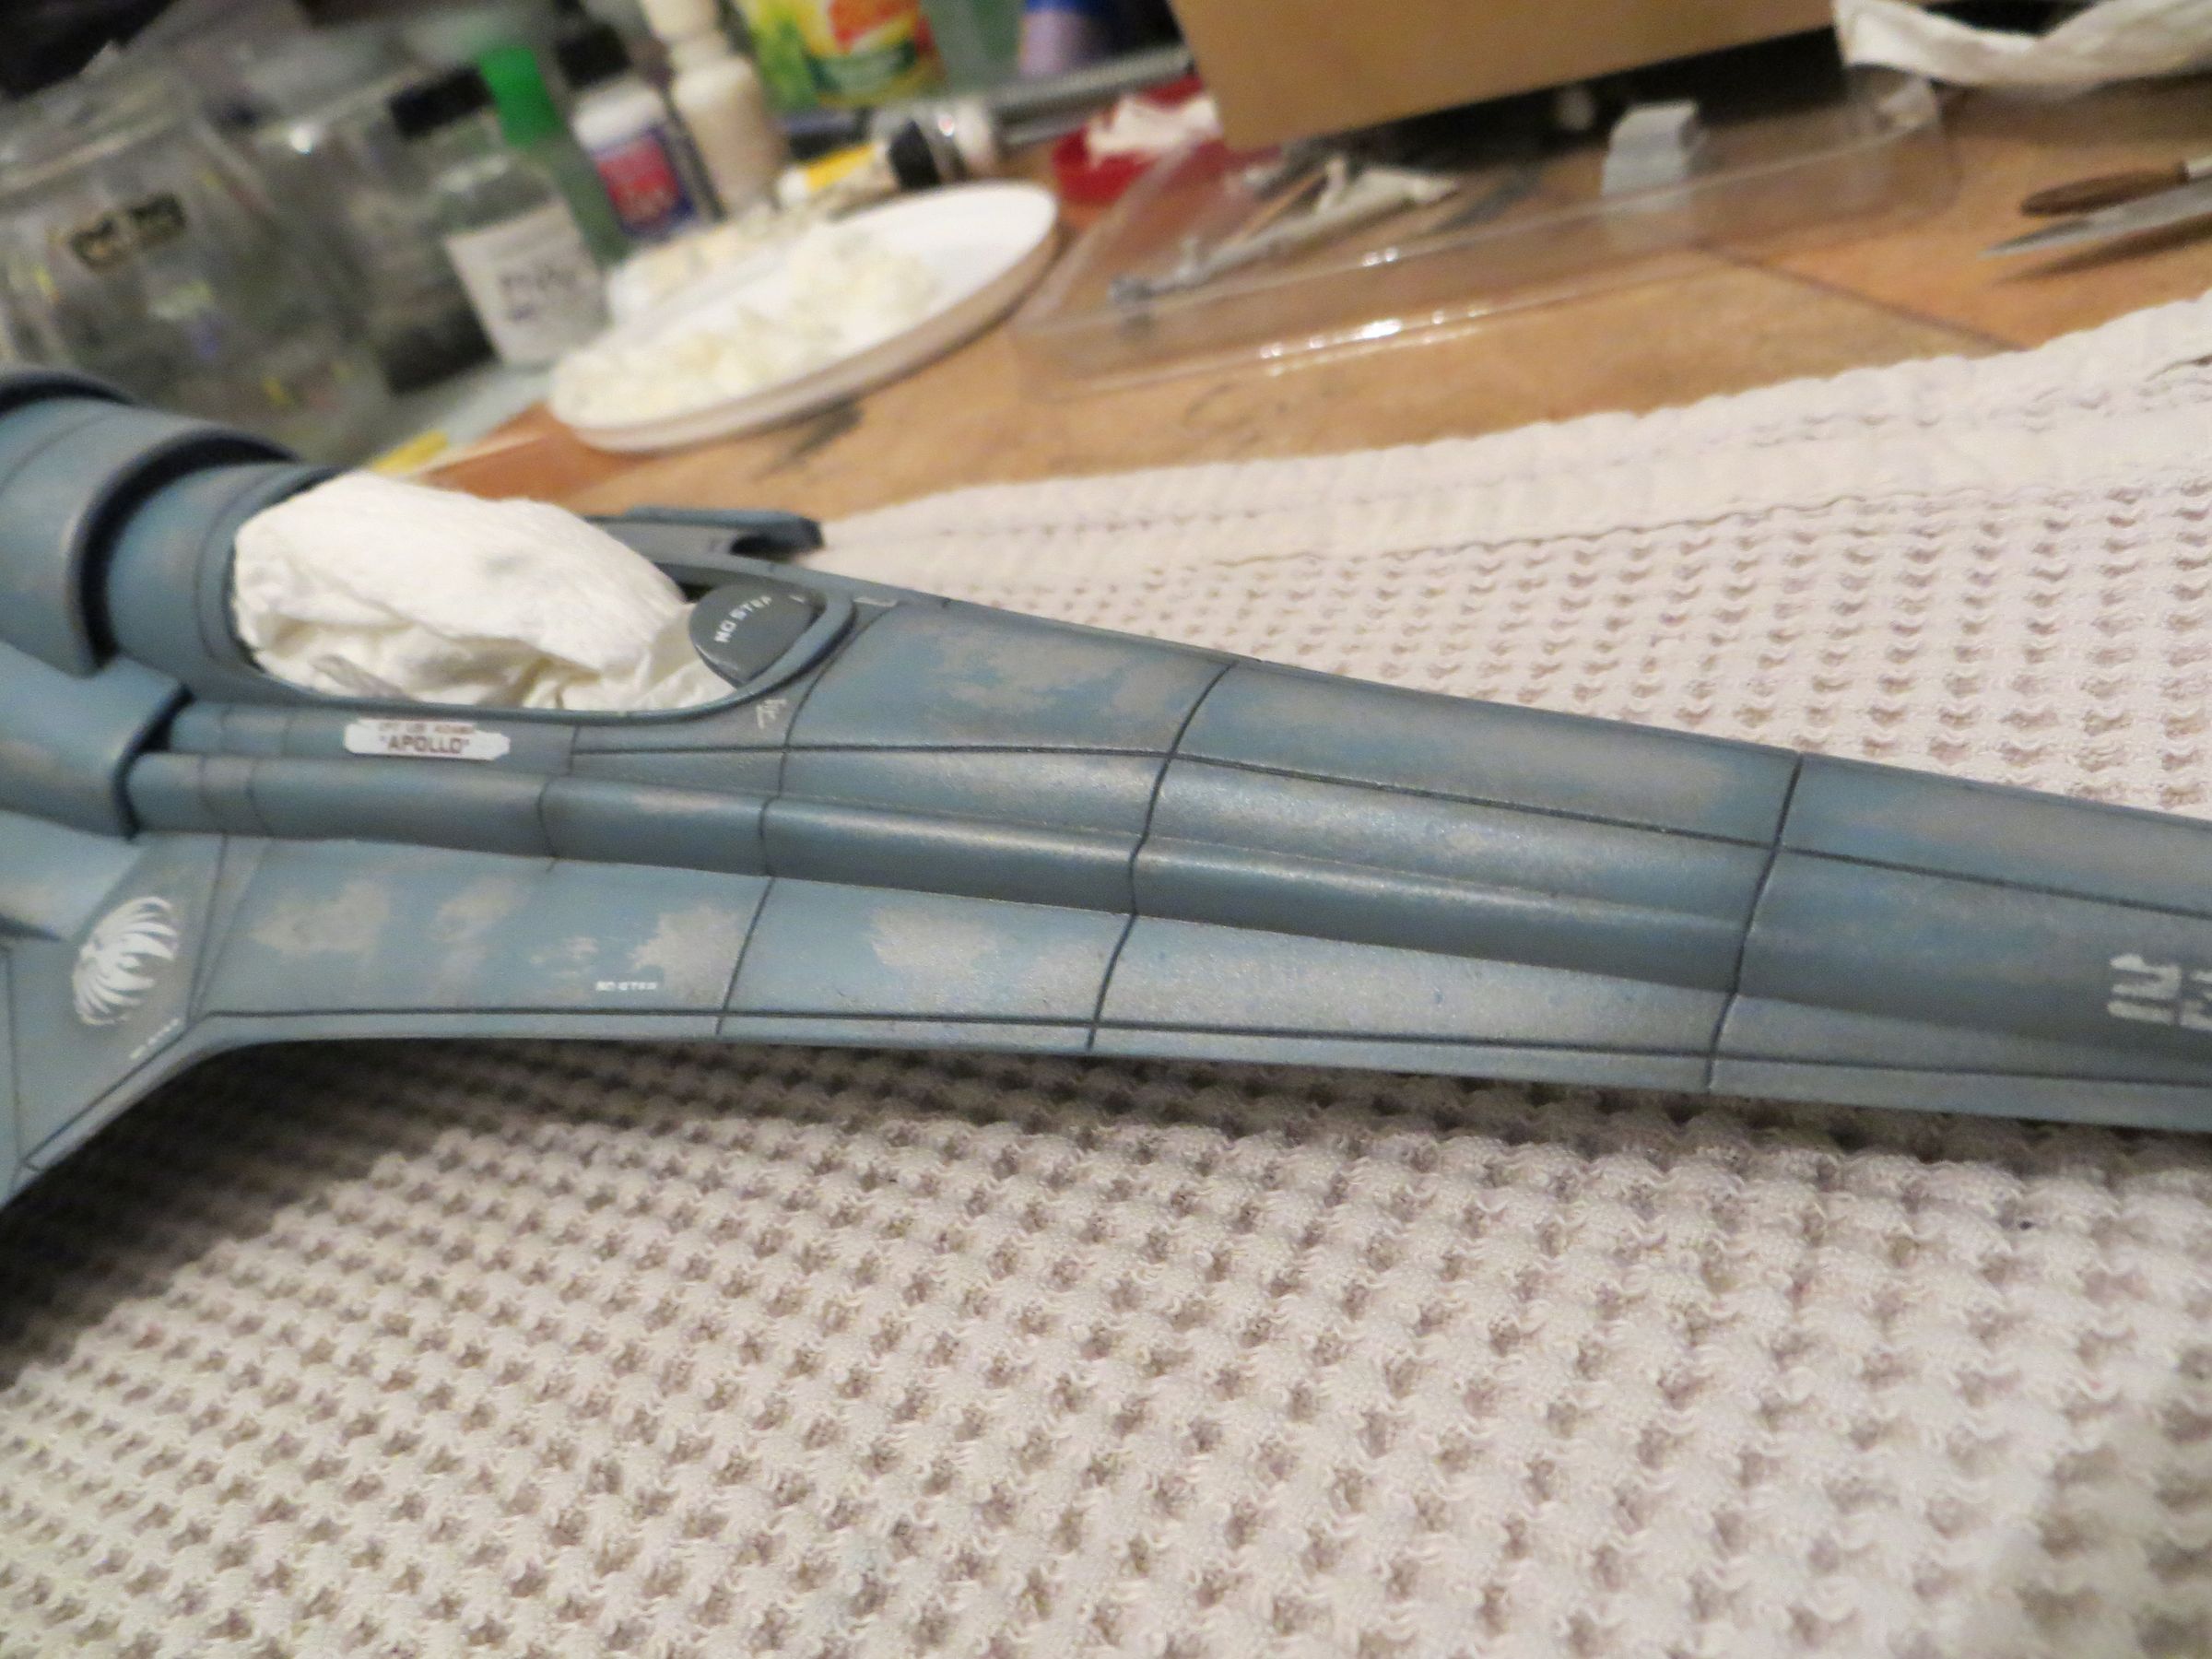
In places, the lacquer has created some halos, they fade a little wiping a brush with water (it certainly has spread it in fact... !).
I did not try to rub them away completely as they will had another weathered effect to this worn Viper.
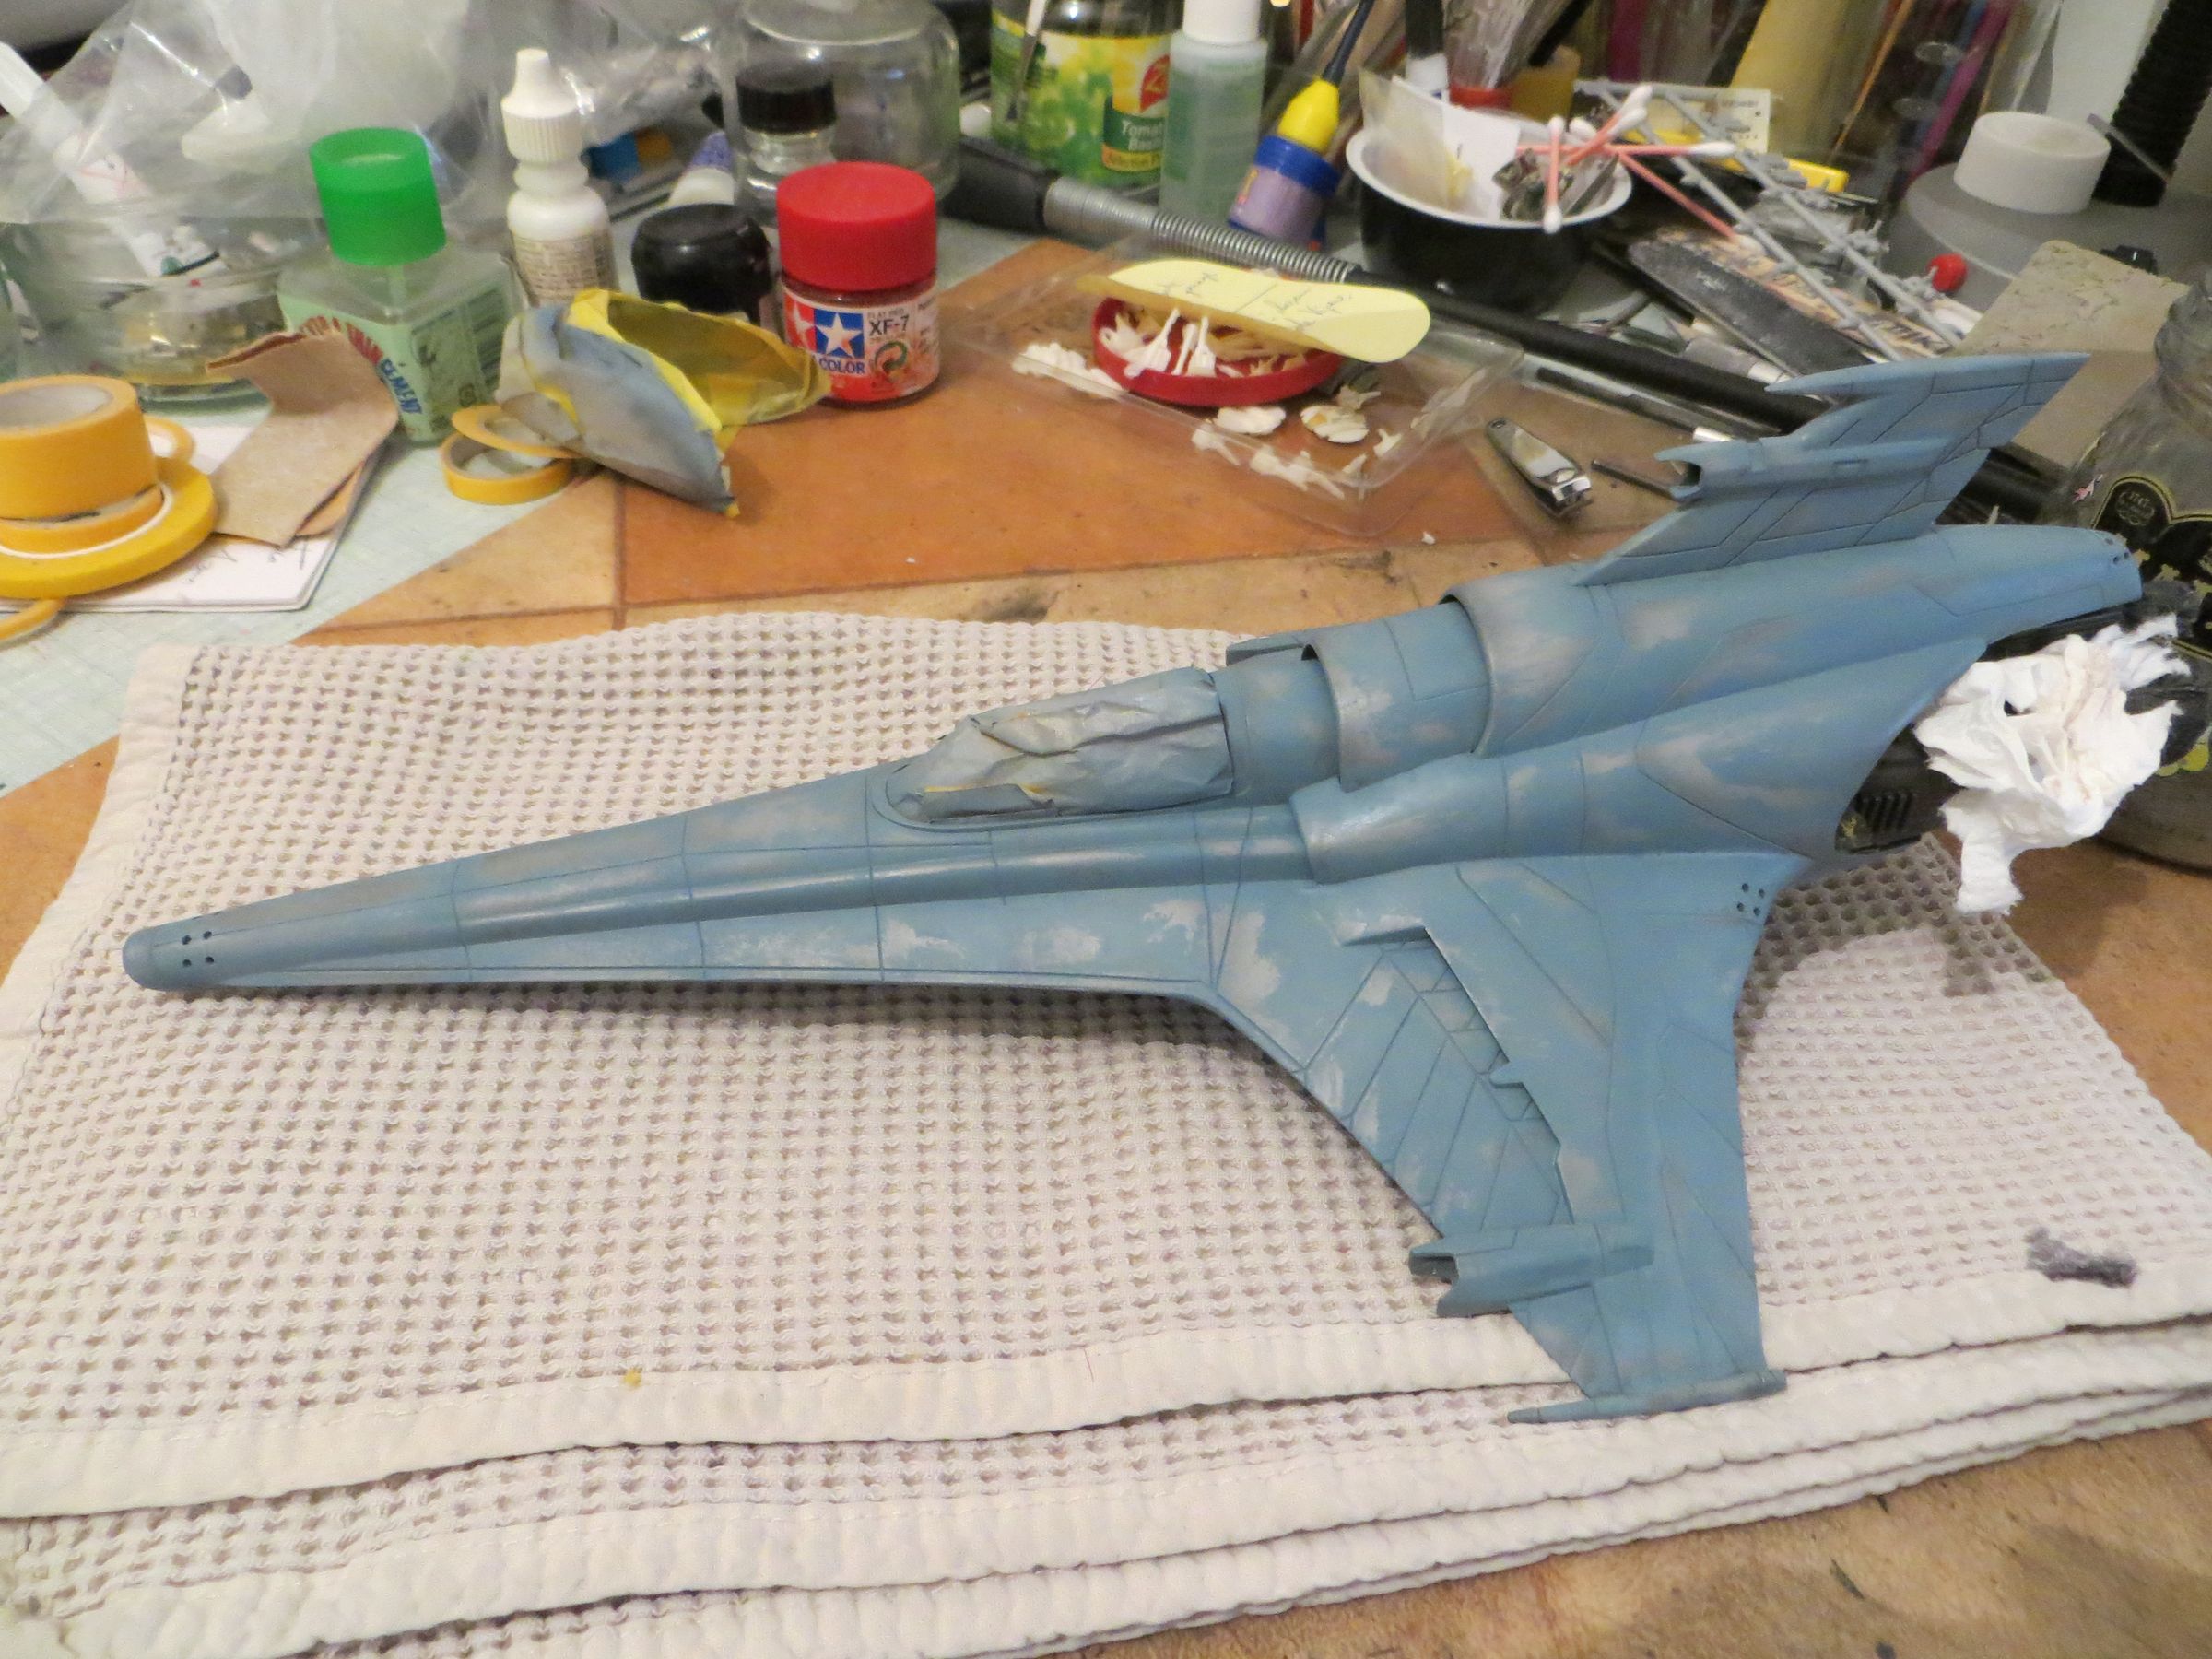
I'll let it all dry for several days before applying a matt coat.
dimanche, 16 mars 2014
Par olcabour le dimanche, 16 mars 2014, 00:33
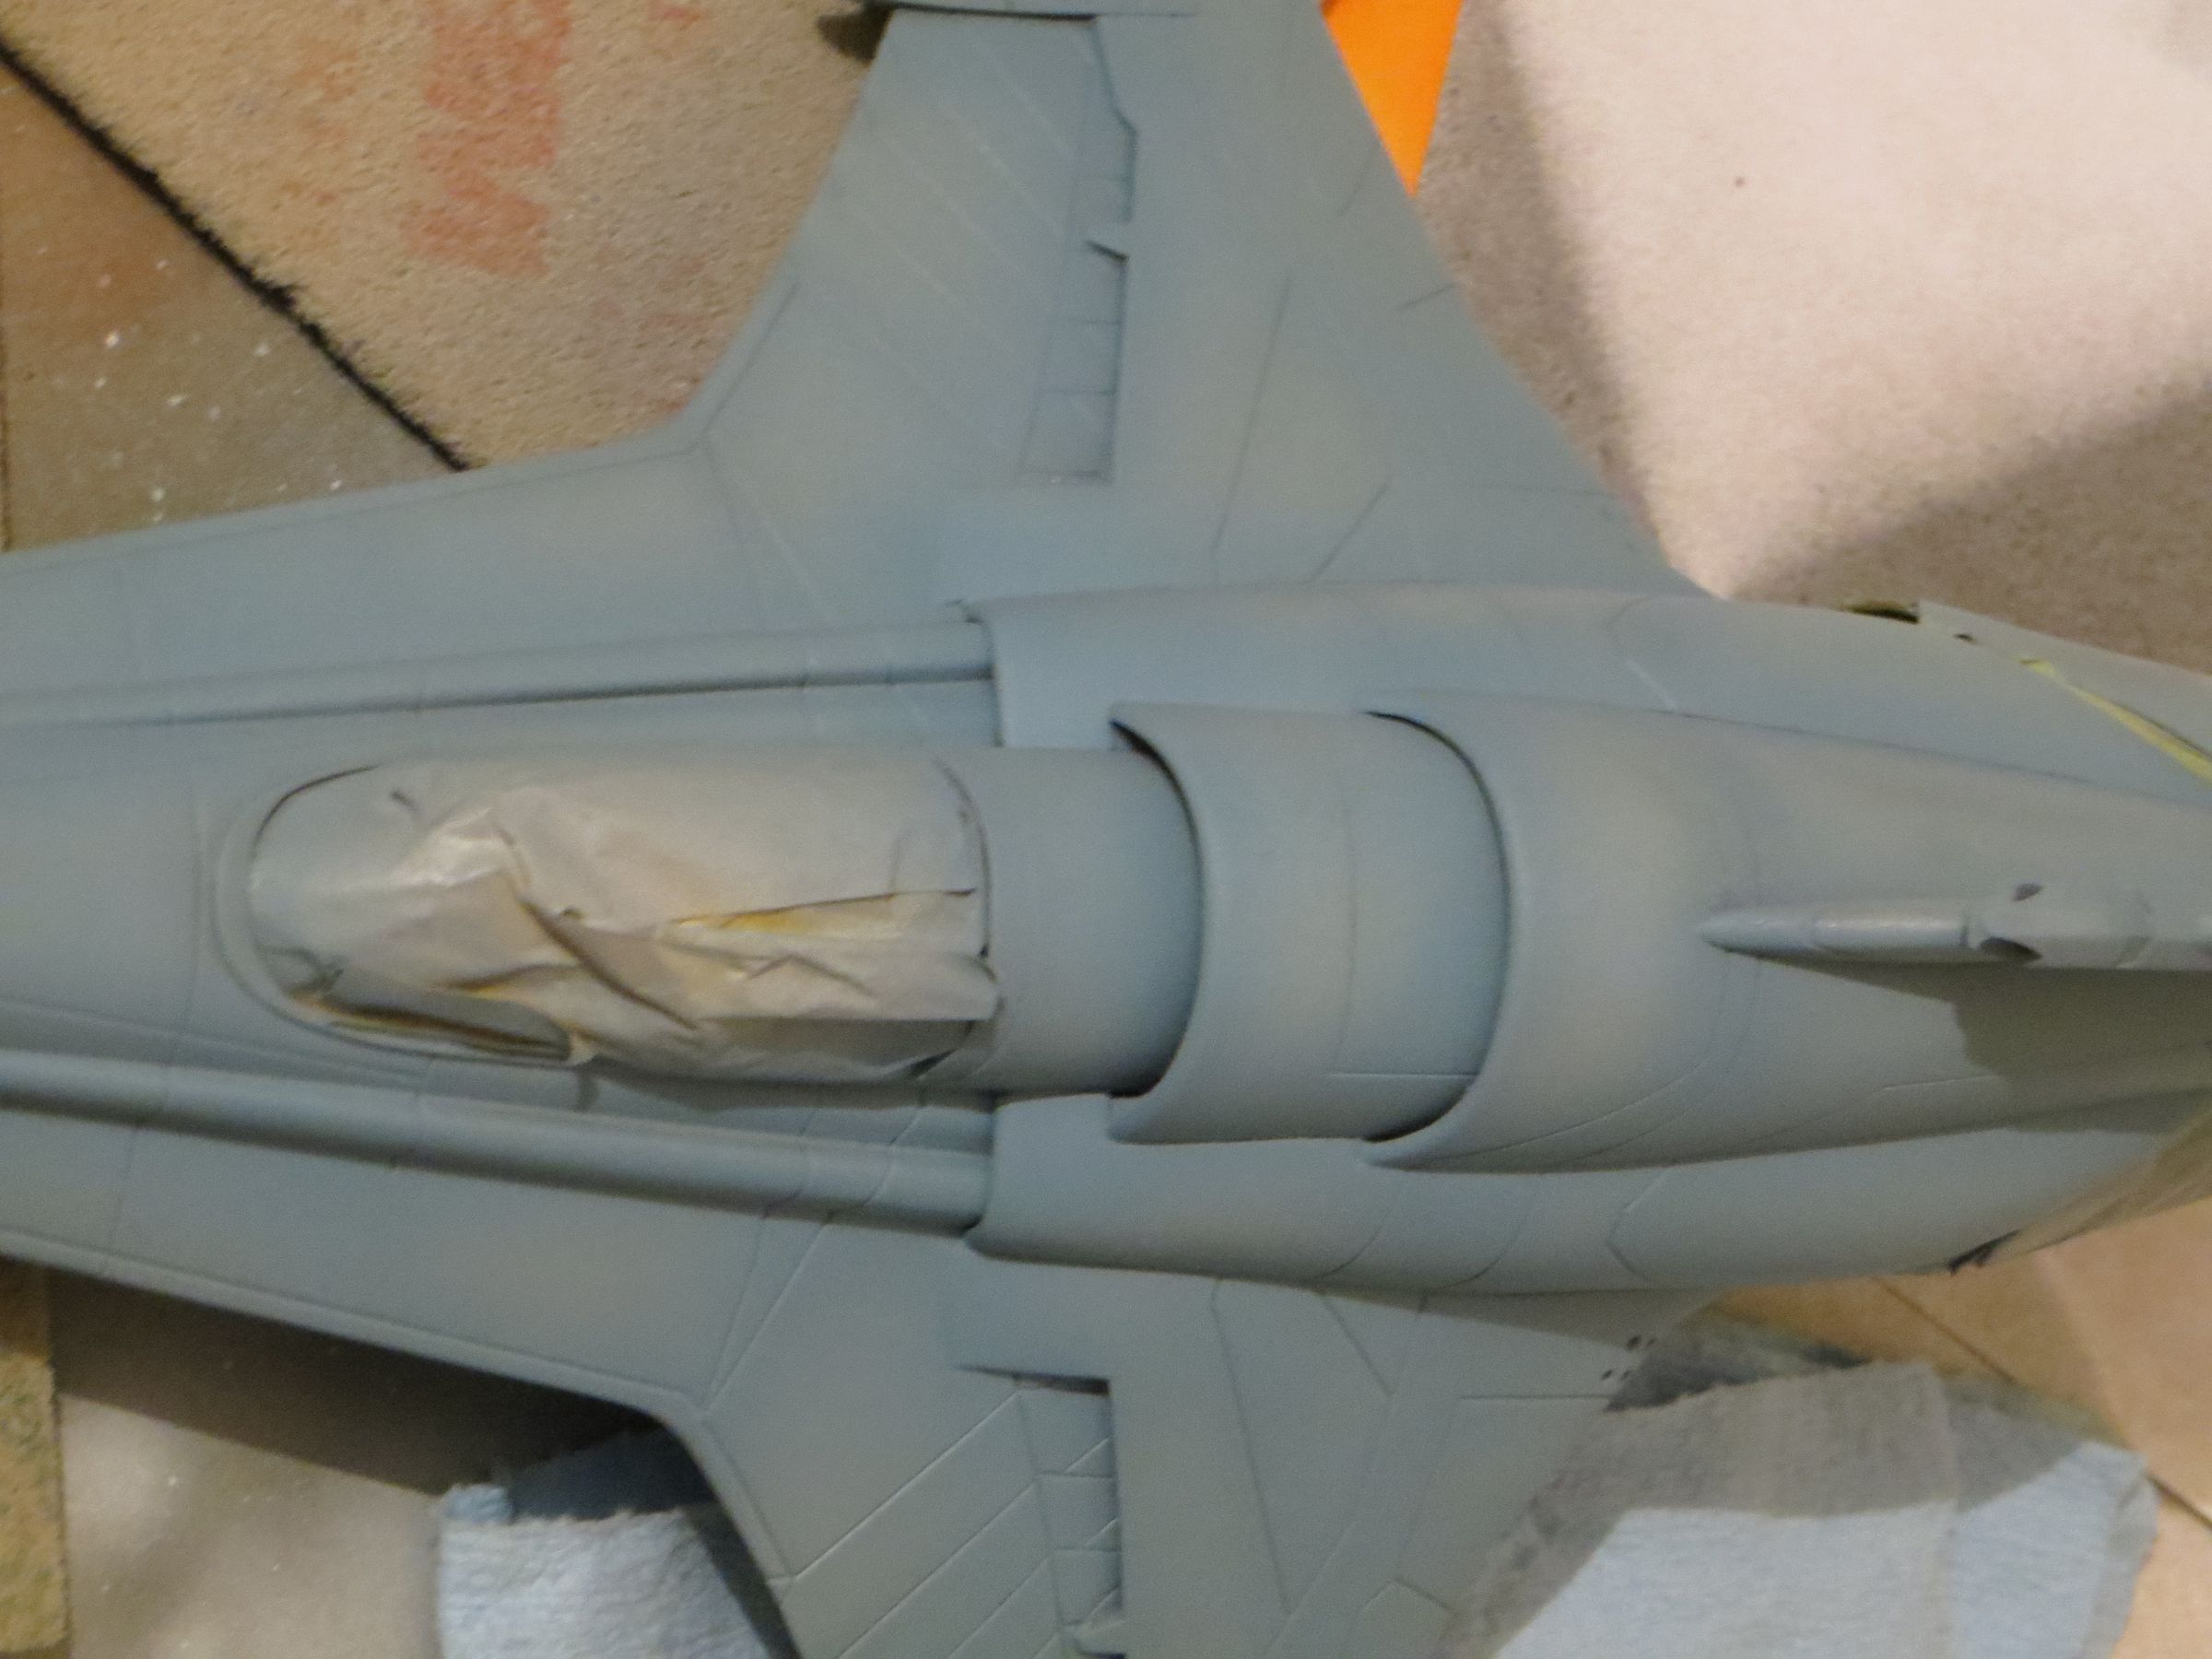
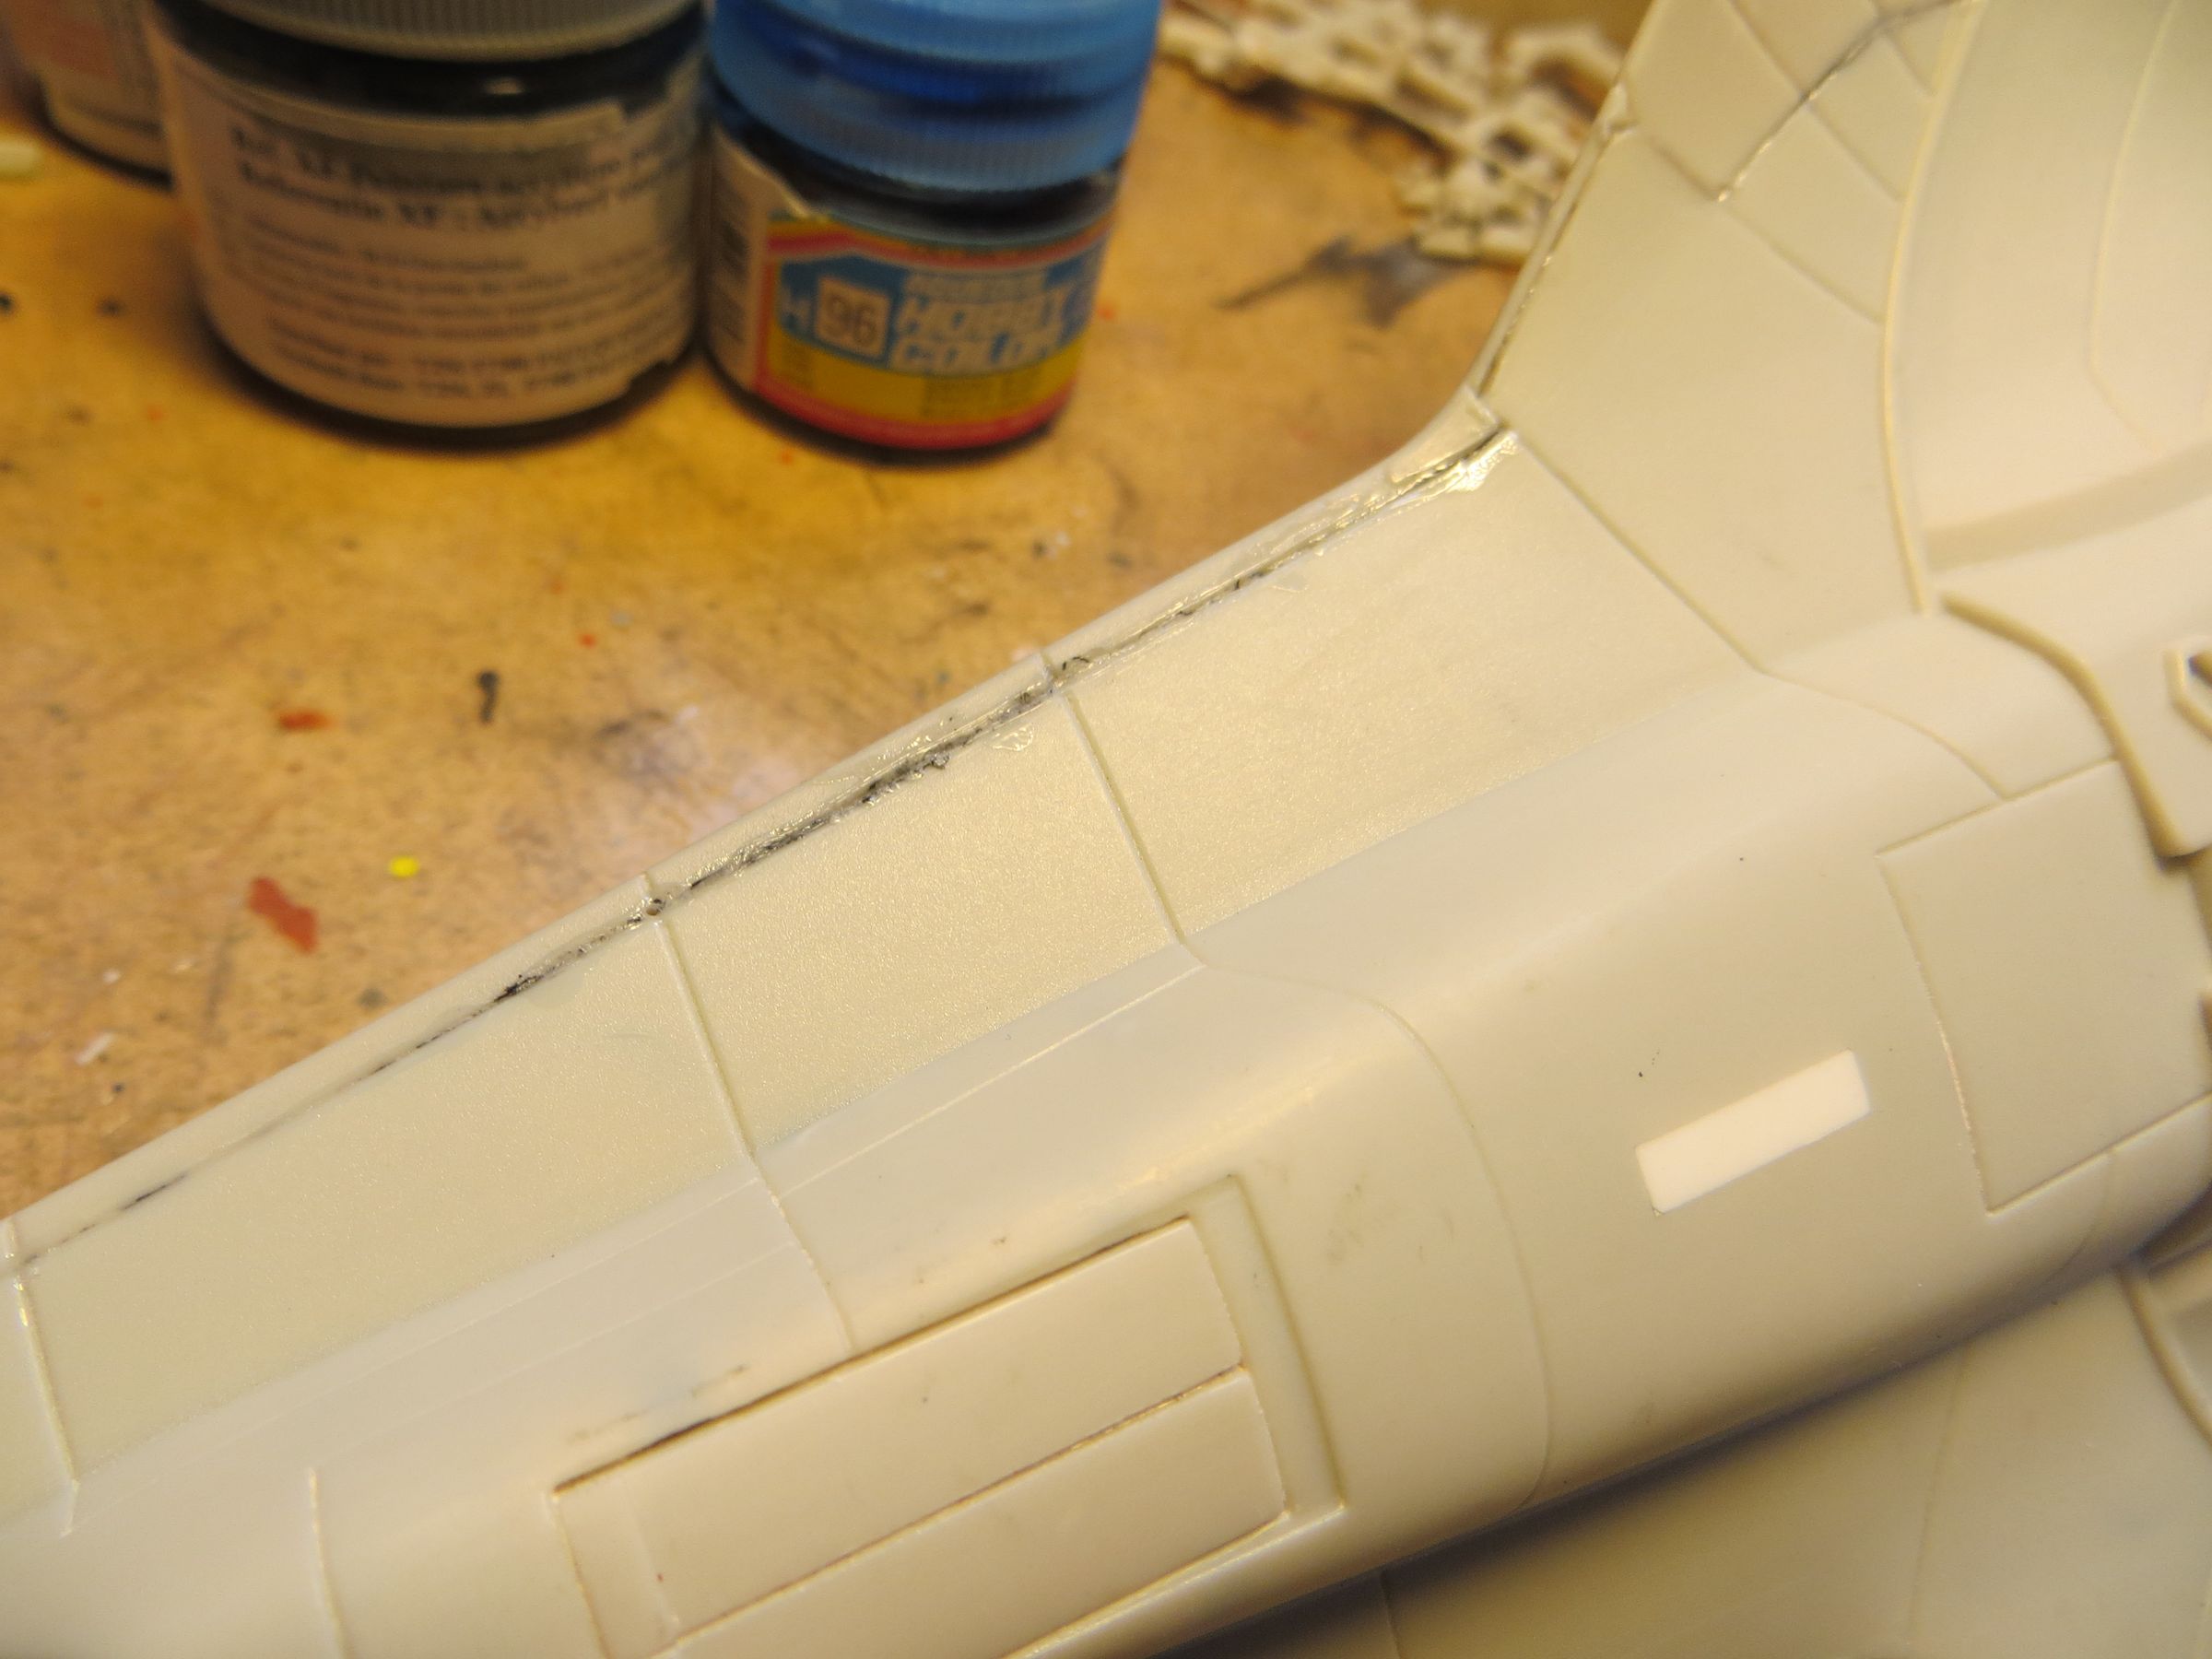
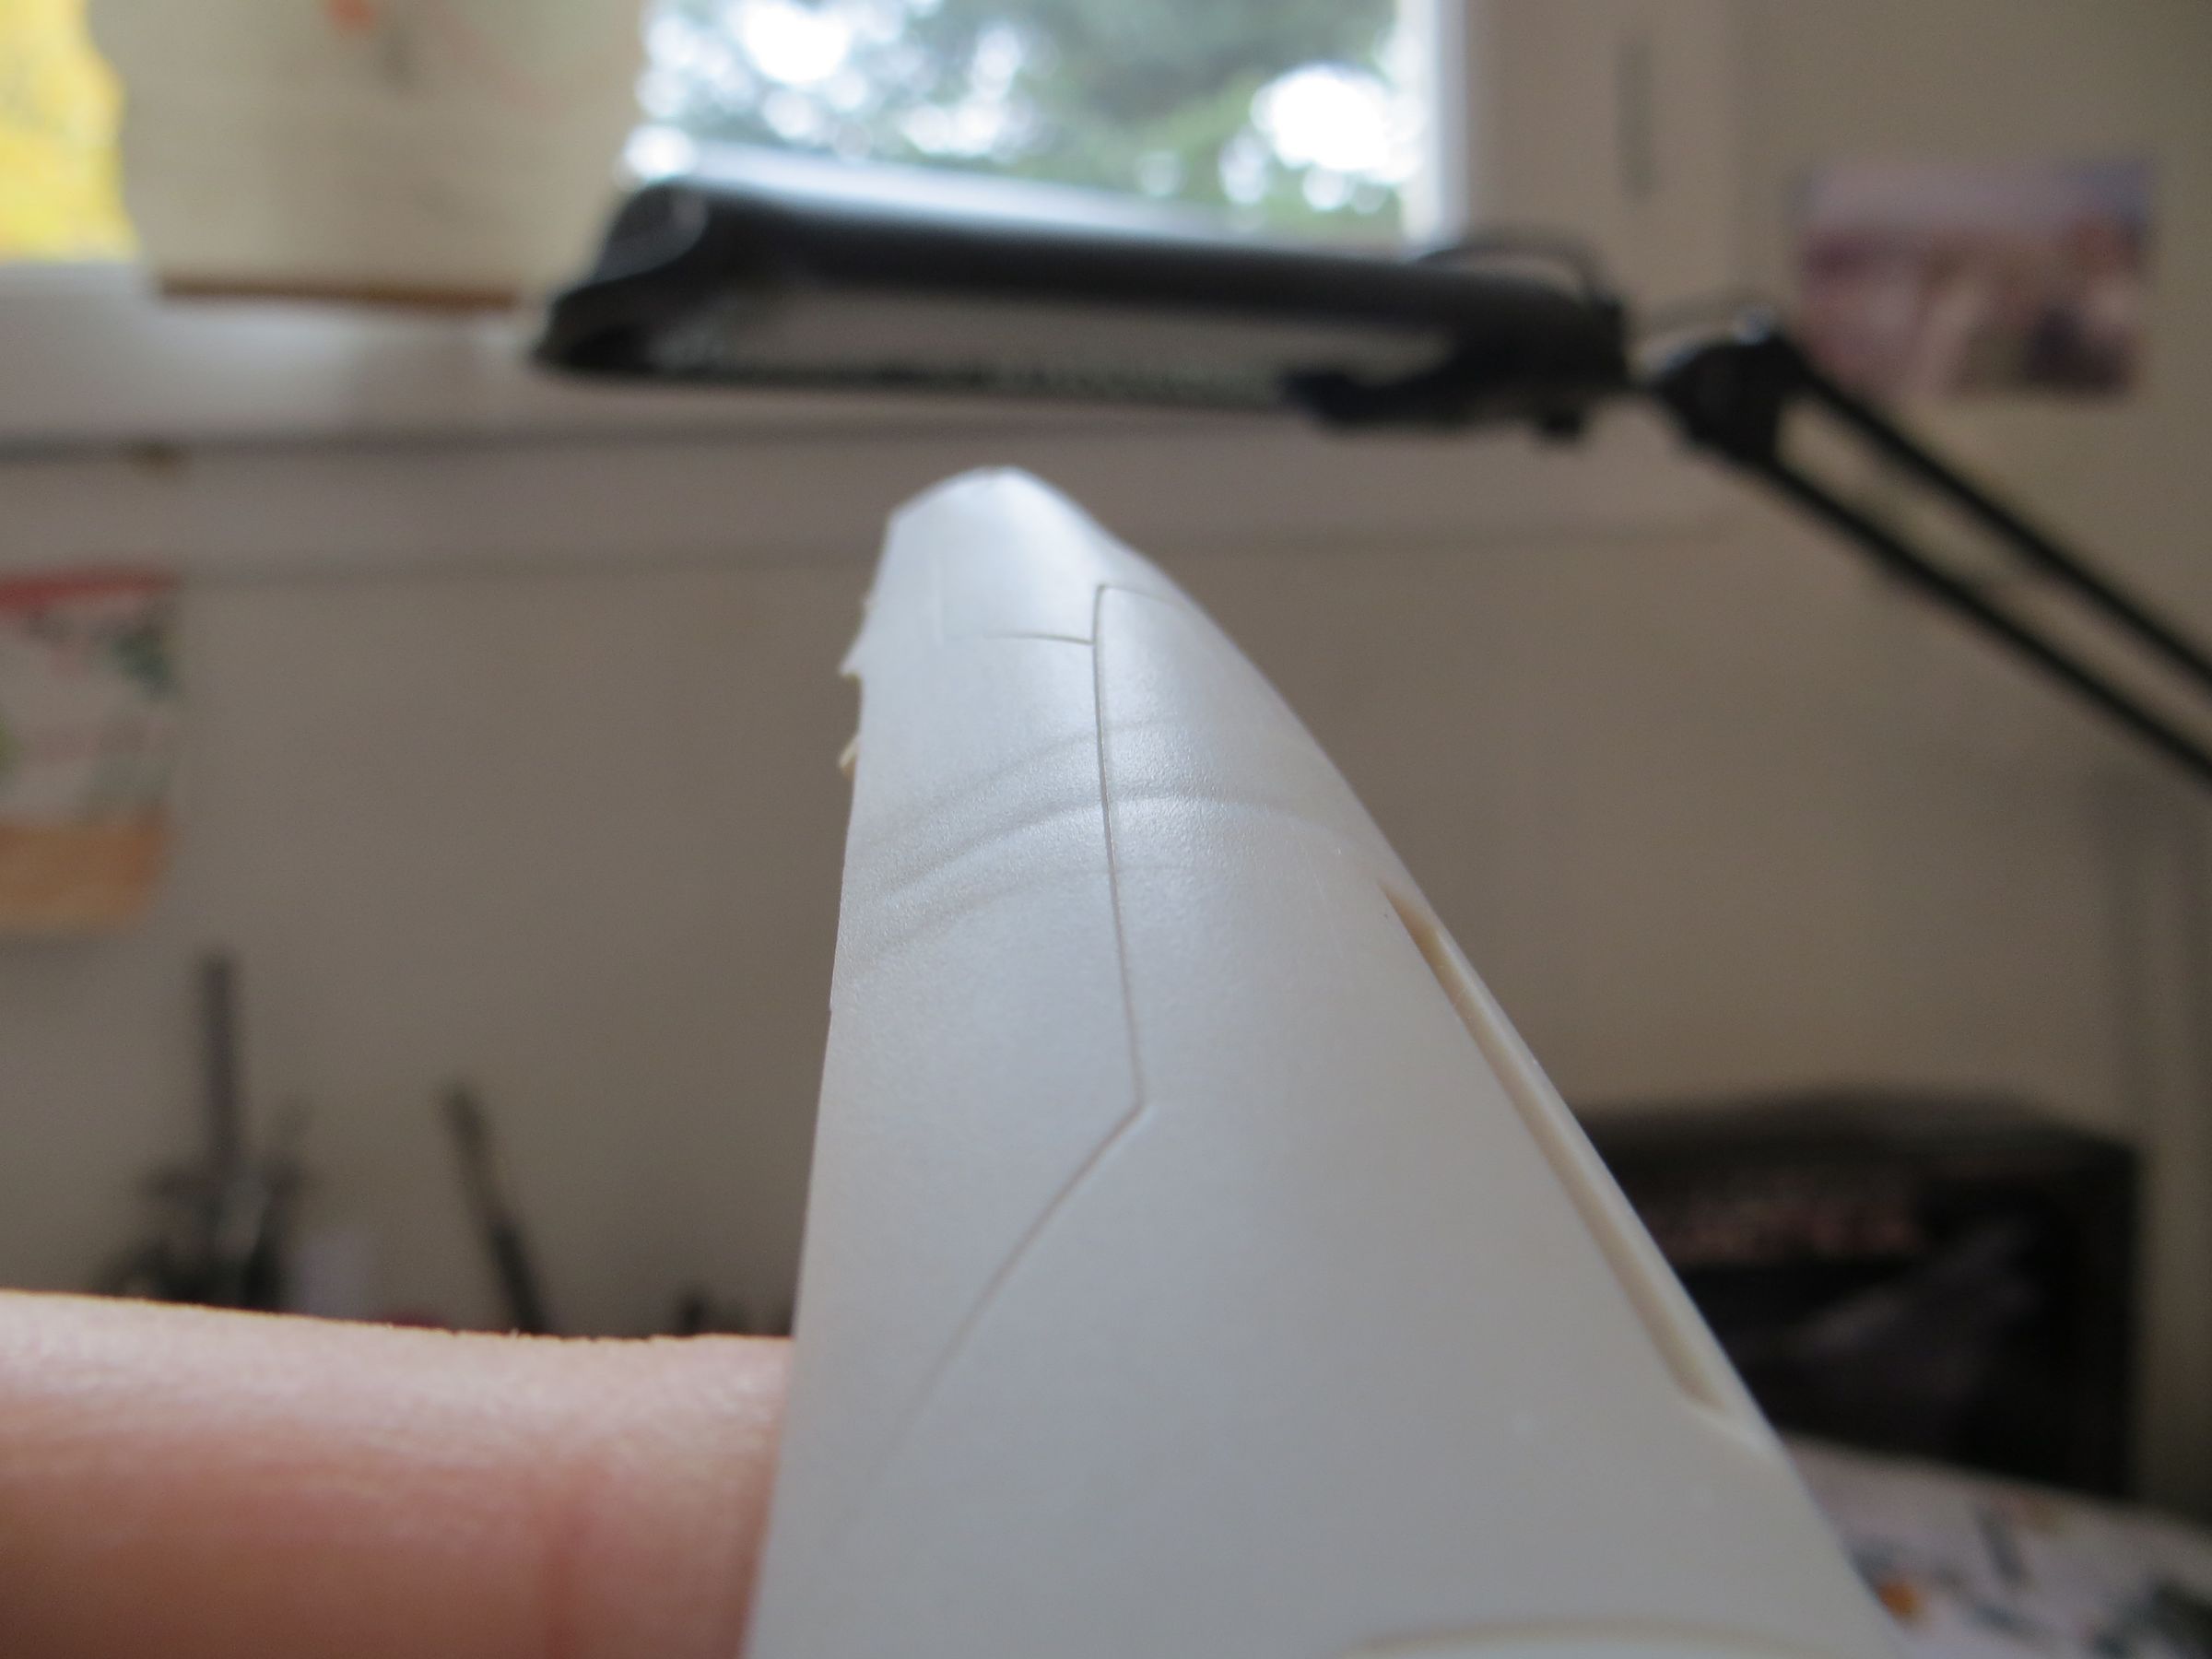
After let dry a whole week to be sure that all solvents were evaporated, the seam of the cabin is sanded.
It is filled with 2-part modeling glue.
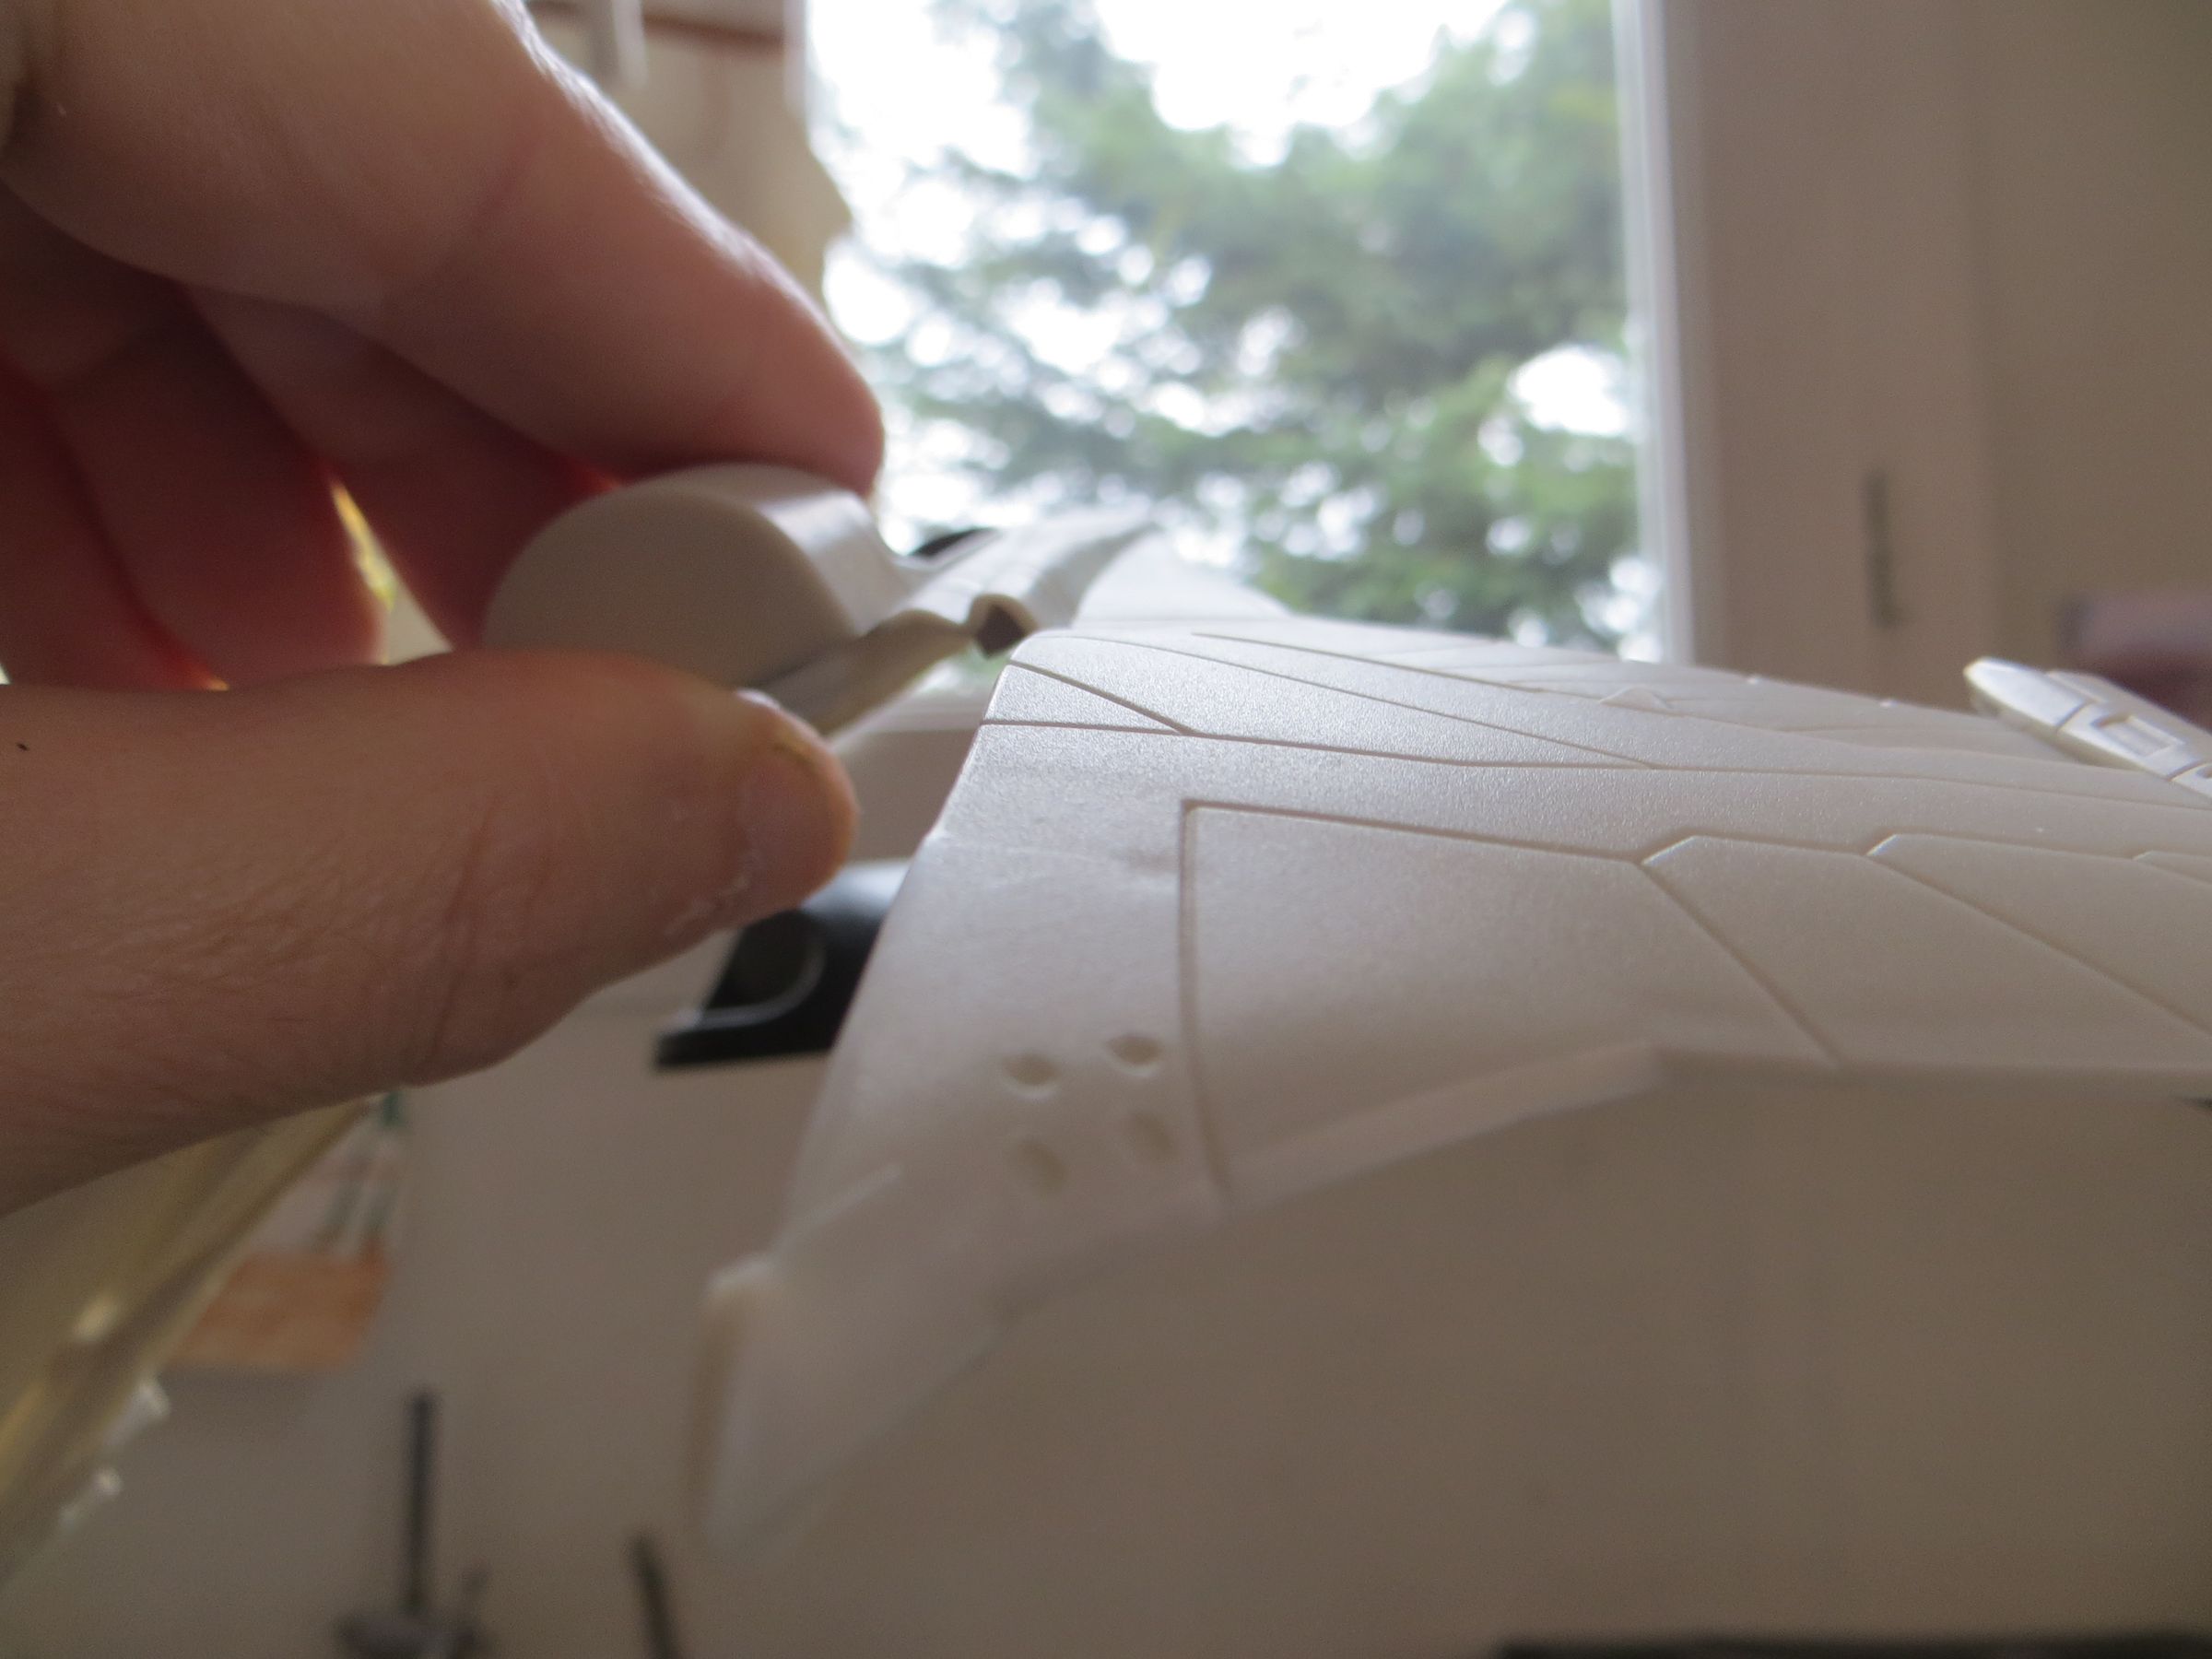
Then the panel lines are engraved and a thinner putty is used.
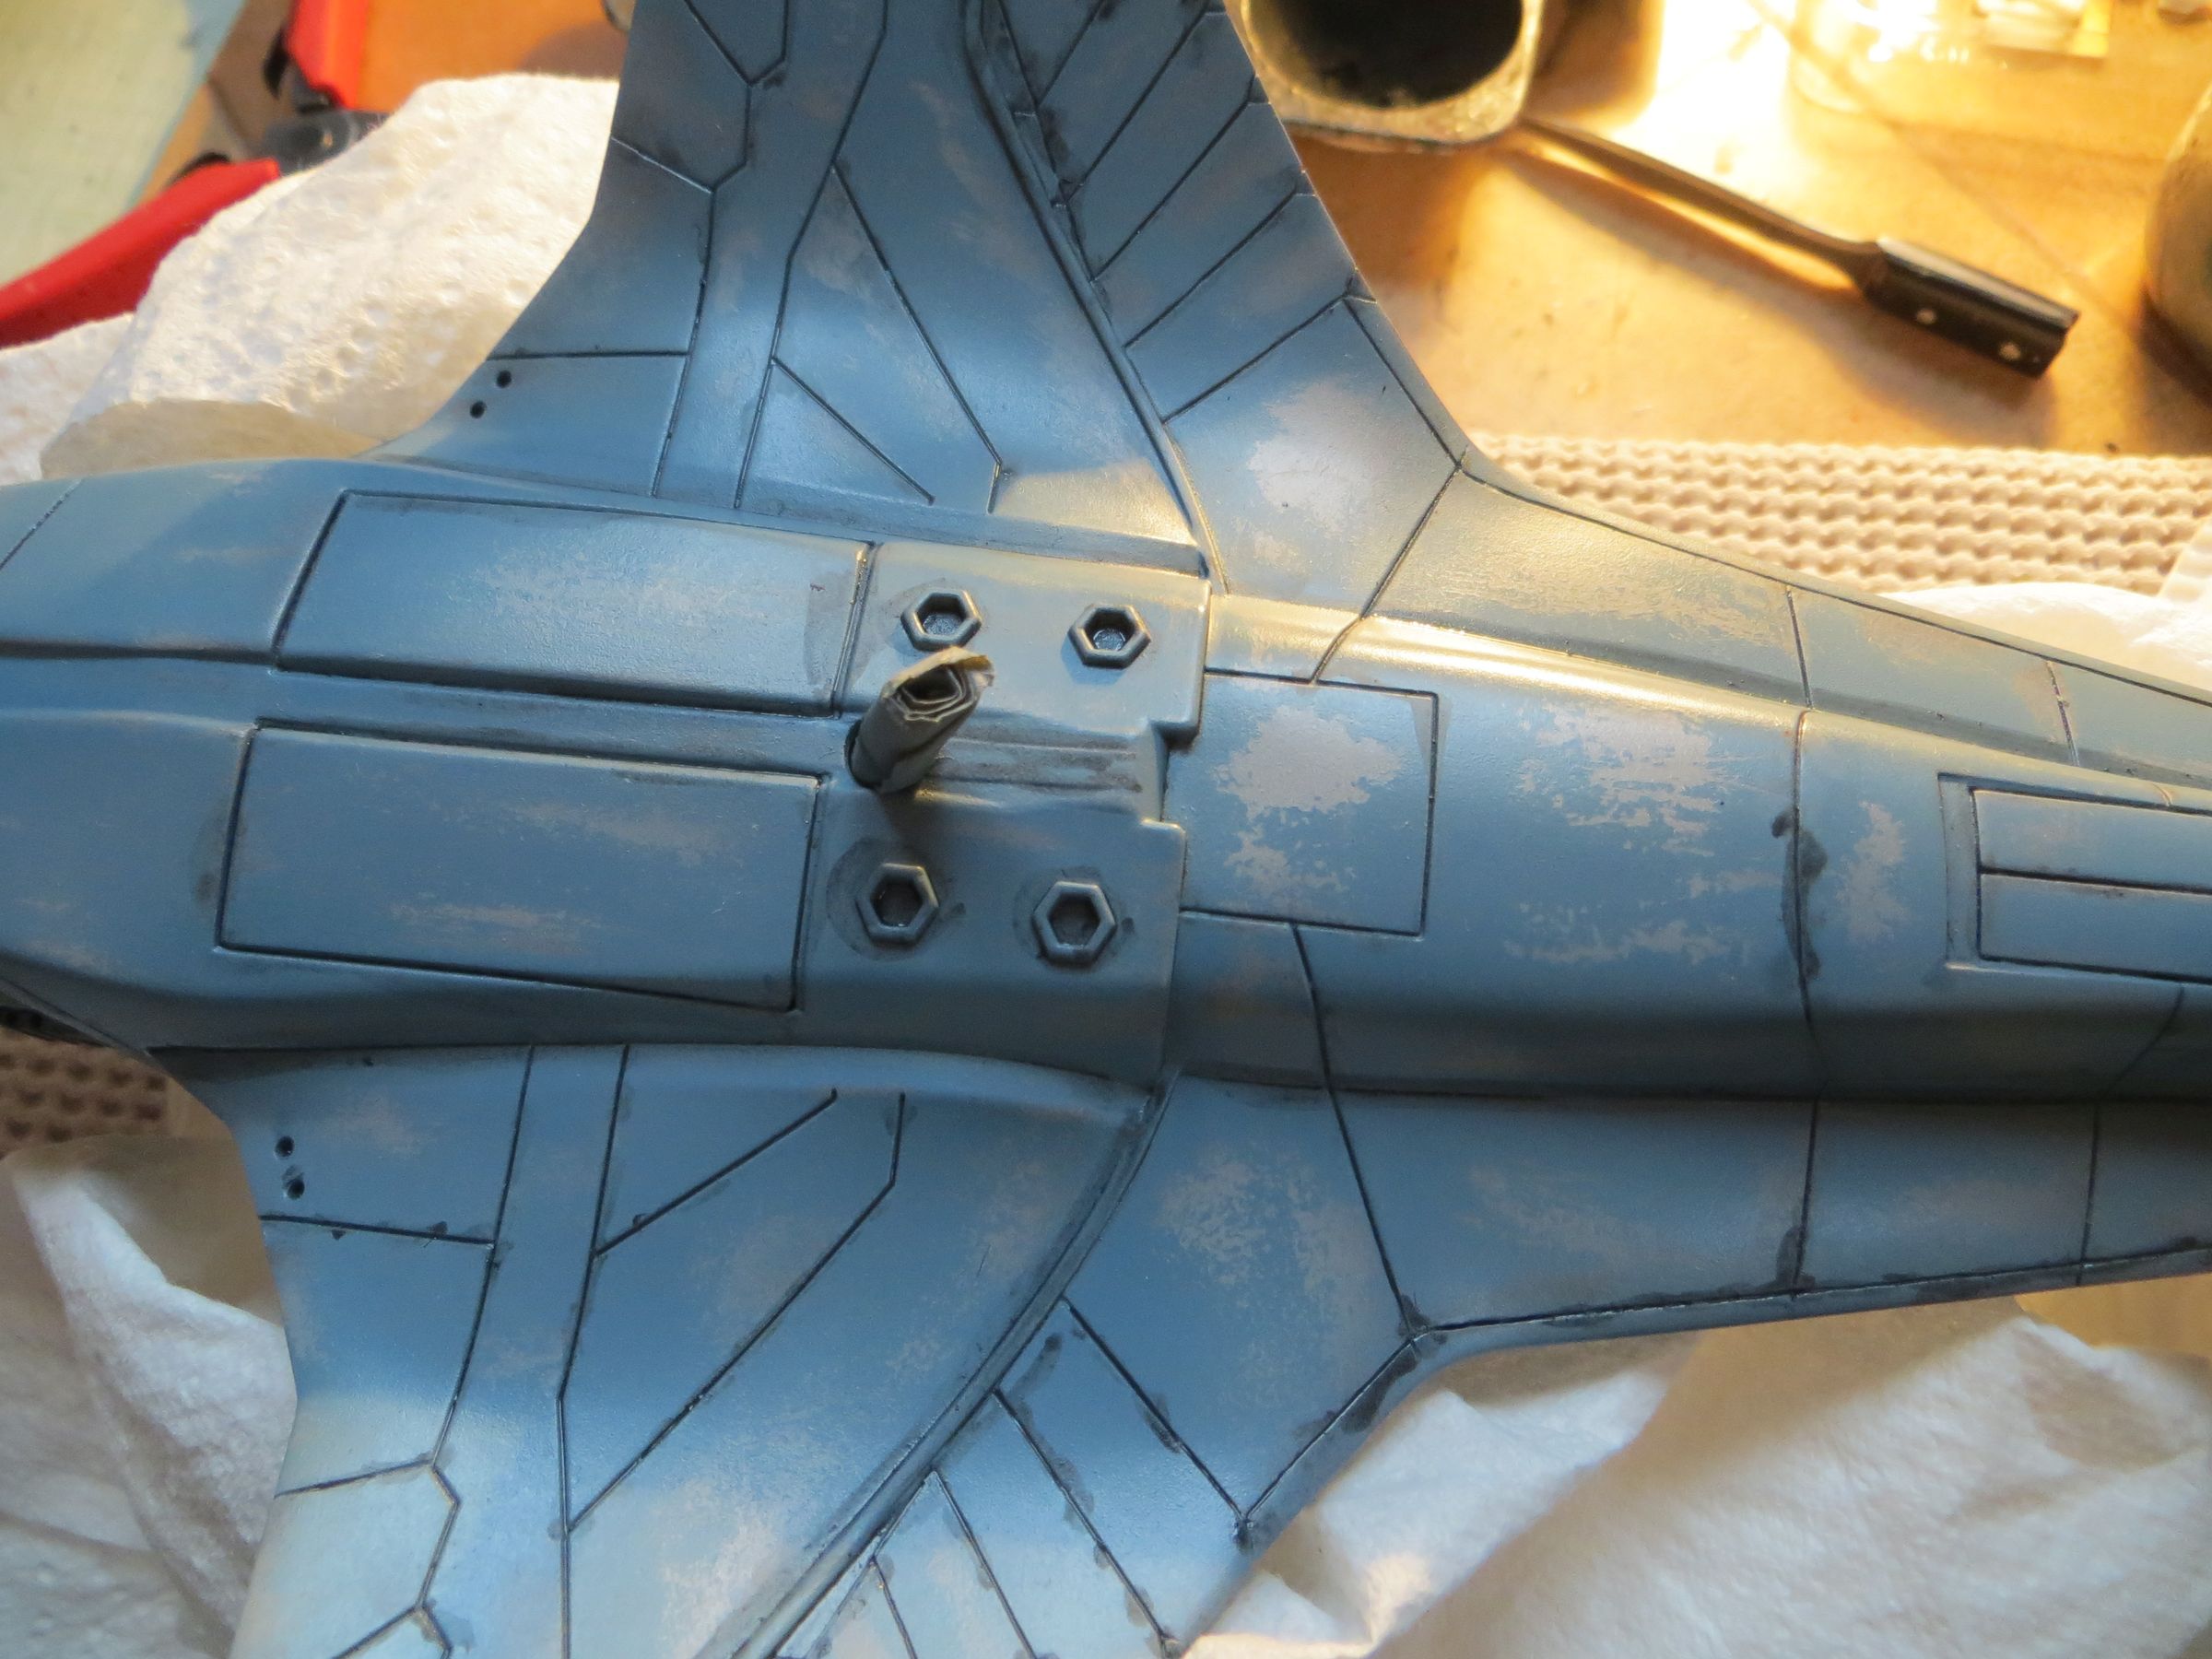
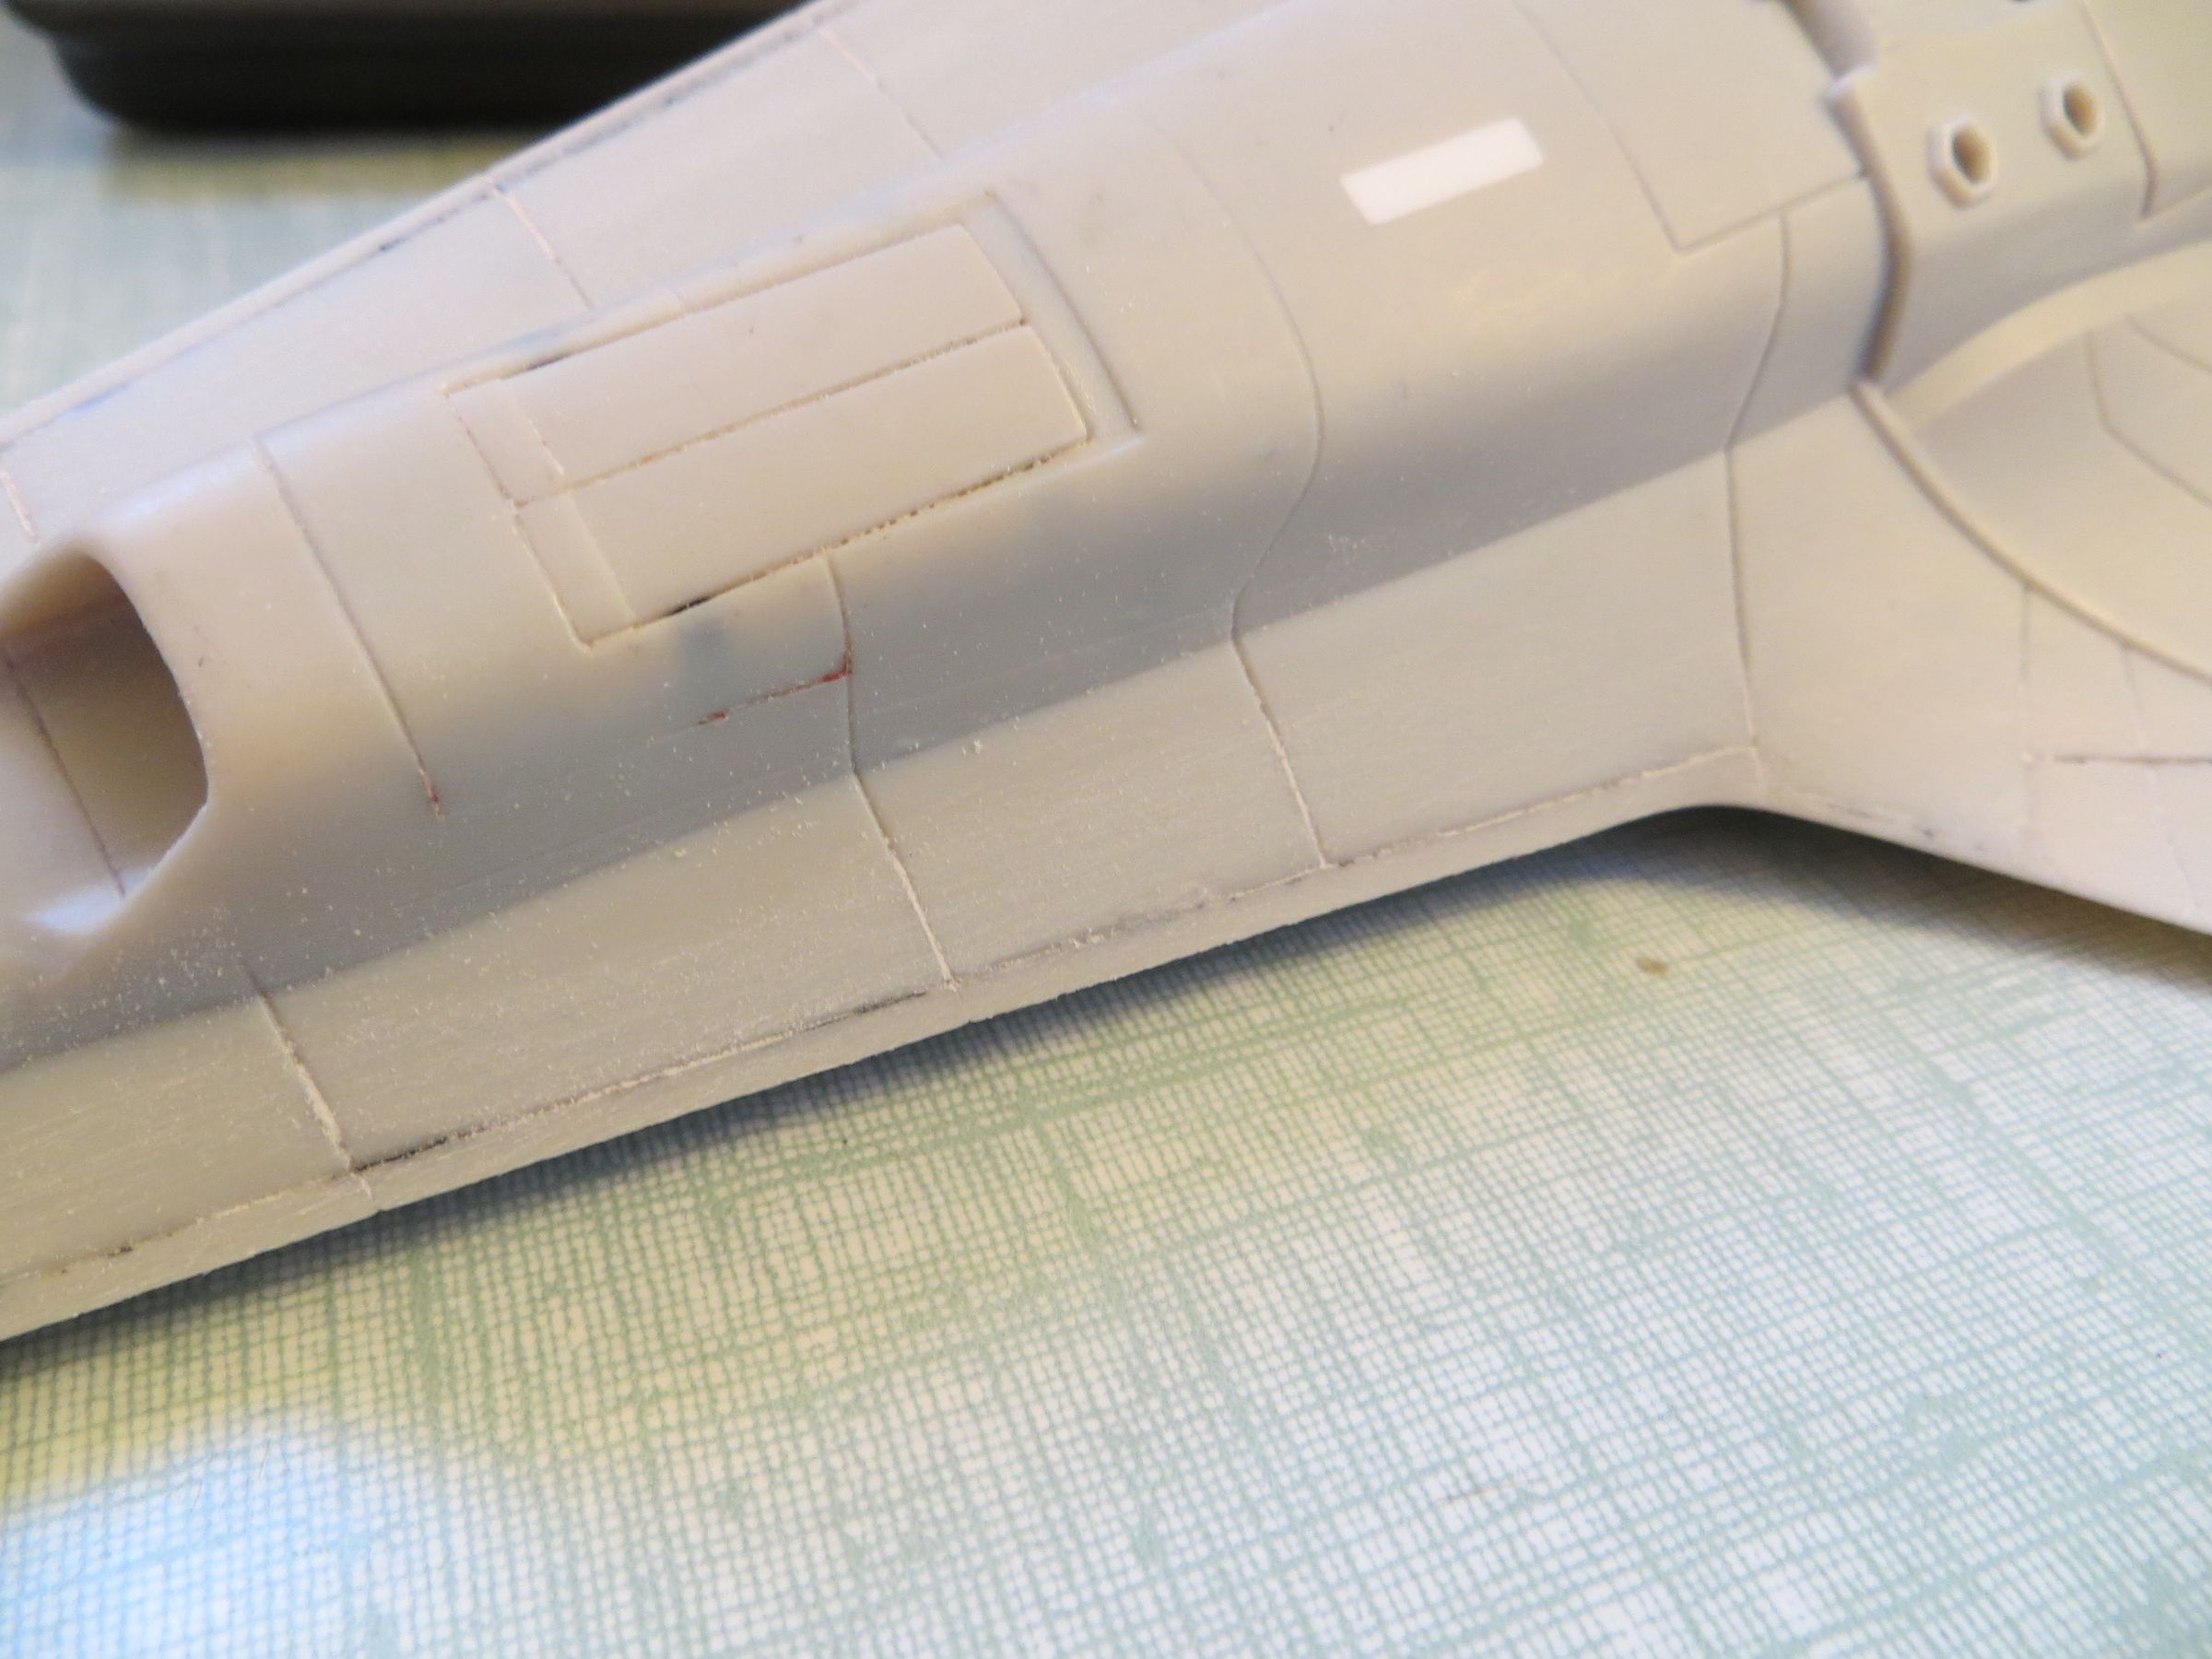
For the gun houses, I was tired with putty, so to simplify this, rather than fill the seams, I keep them in simulating panel lines. I was just needing a quick sanding of the edges to have each side panel at the same level.
I did not realize this at first, ut these gun houses are not in the right direction too bad (a big error by Moebius !). I did not want to make surgery, so to fix this a little, I will straightening the barrel, to bring back the section vertically.
For this it is necessary to reduce the wall thickness of the housing.
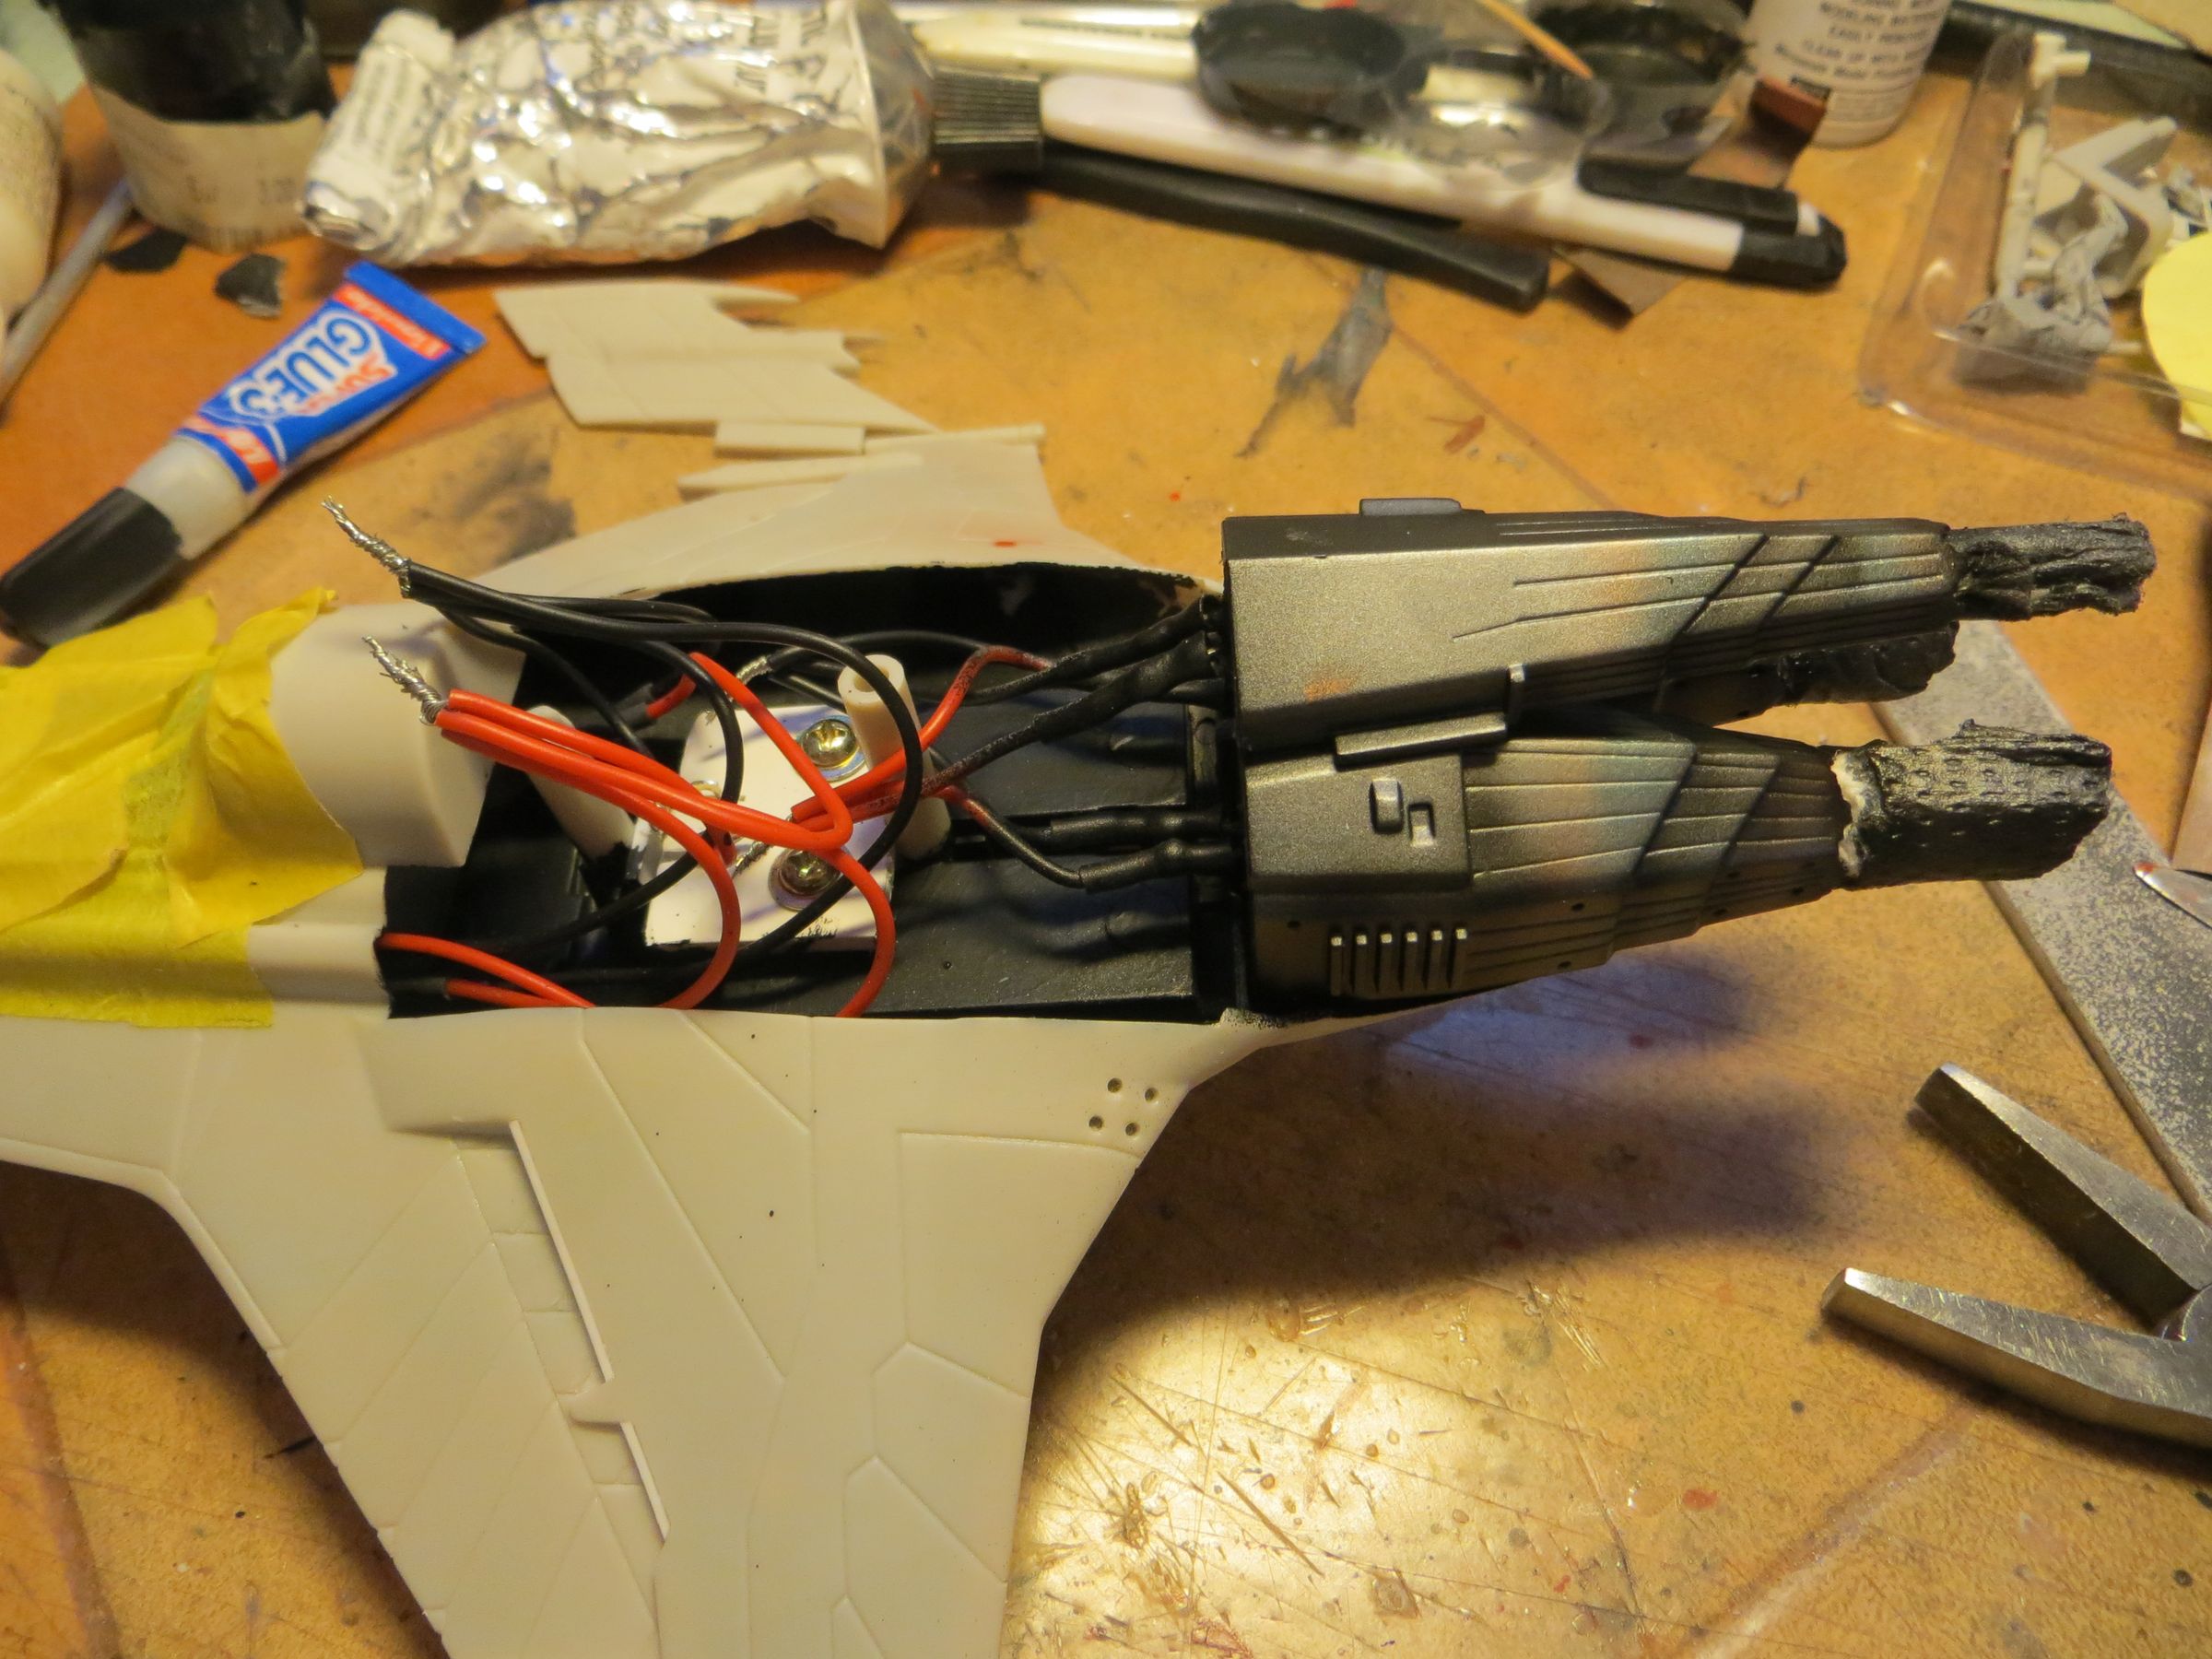
The reactors are glued together
And the electrical circuit is completed.

Dorsal air intake covers are installed. Here, the joint is filledwhite plastic putty. (no photo, sorry)


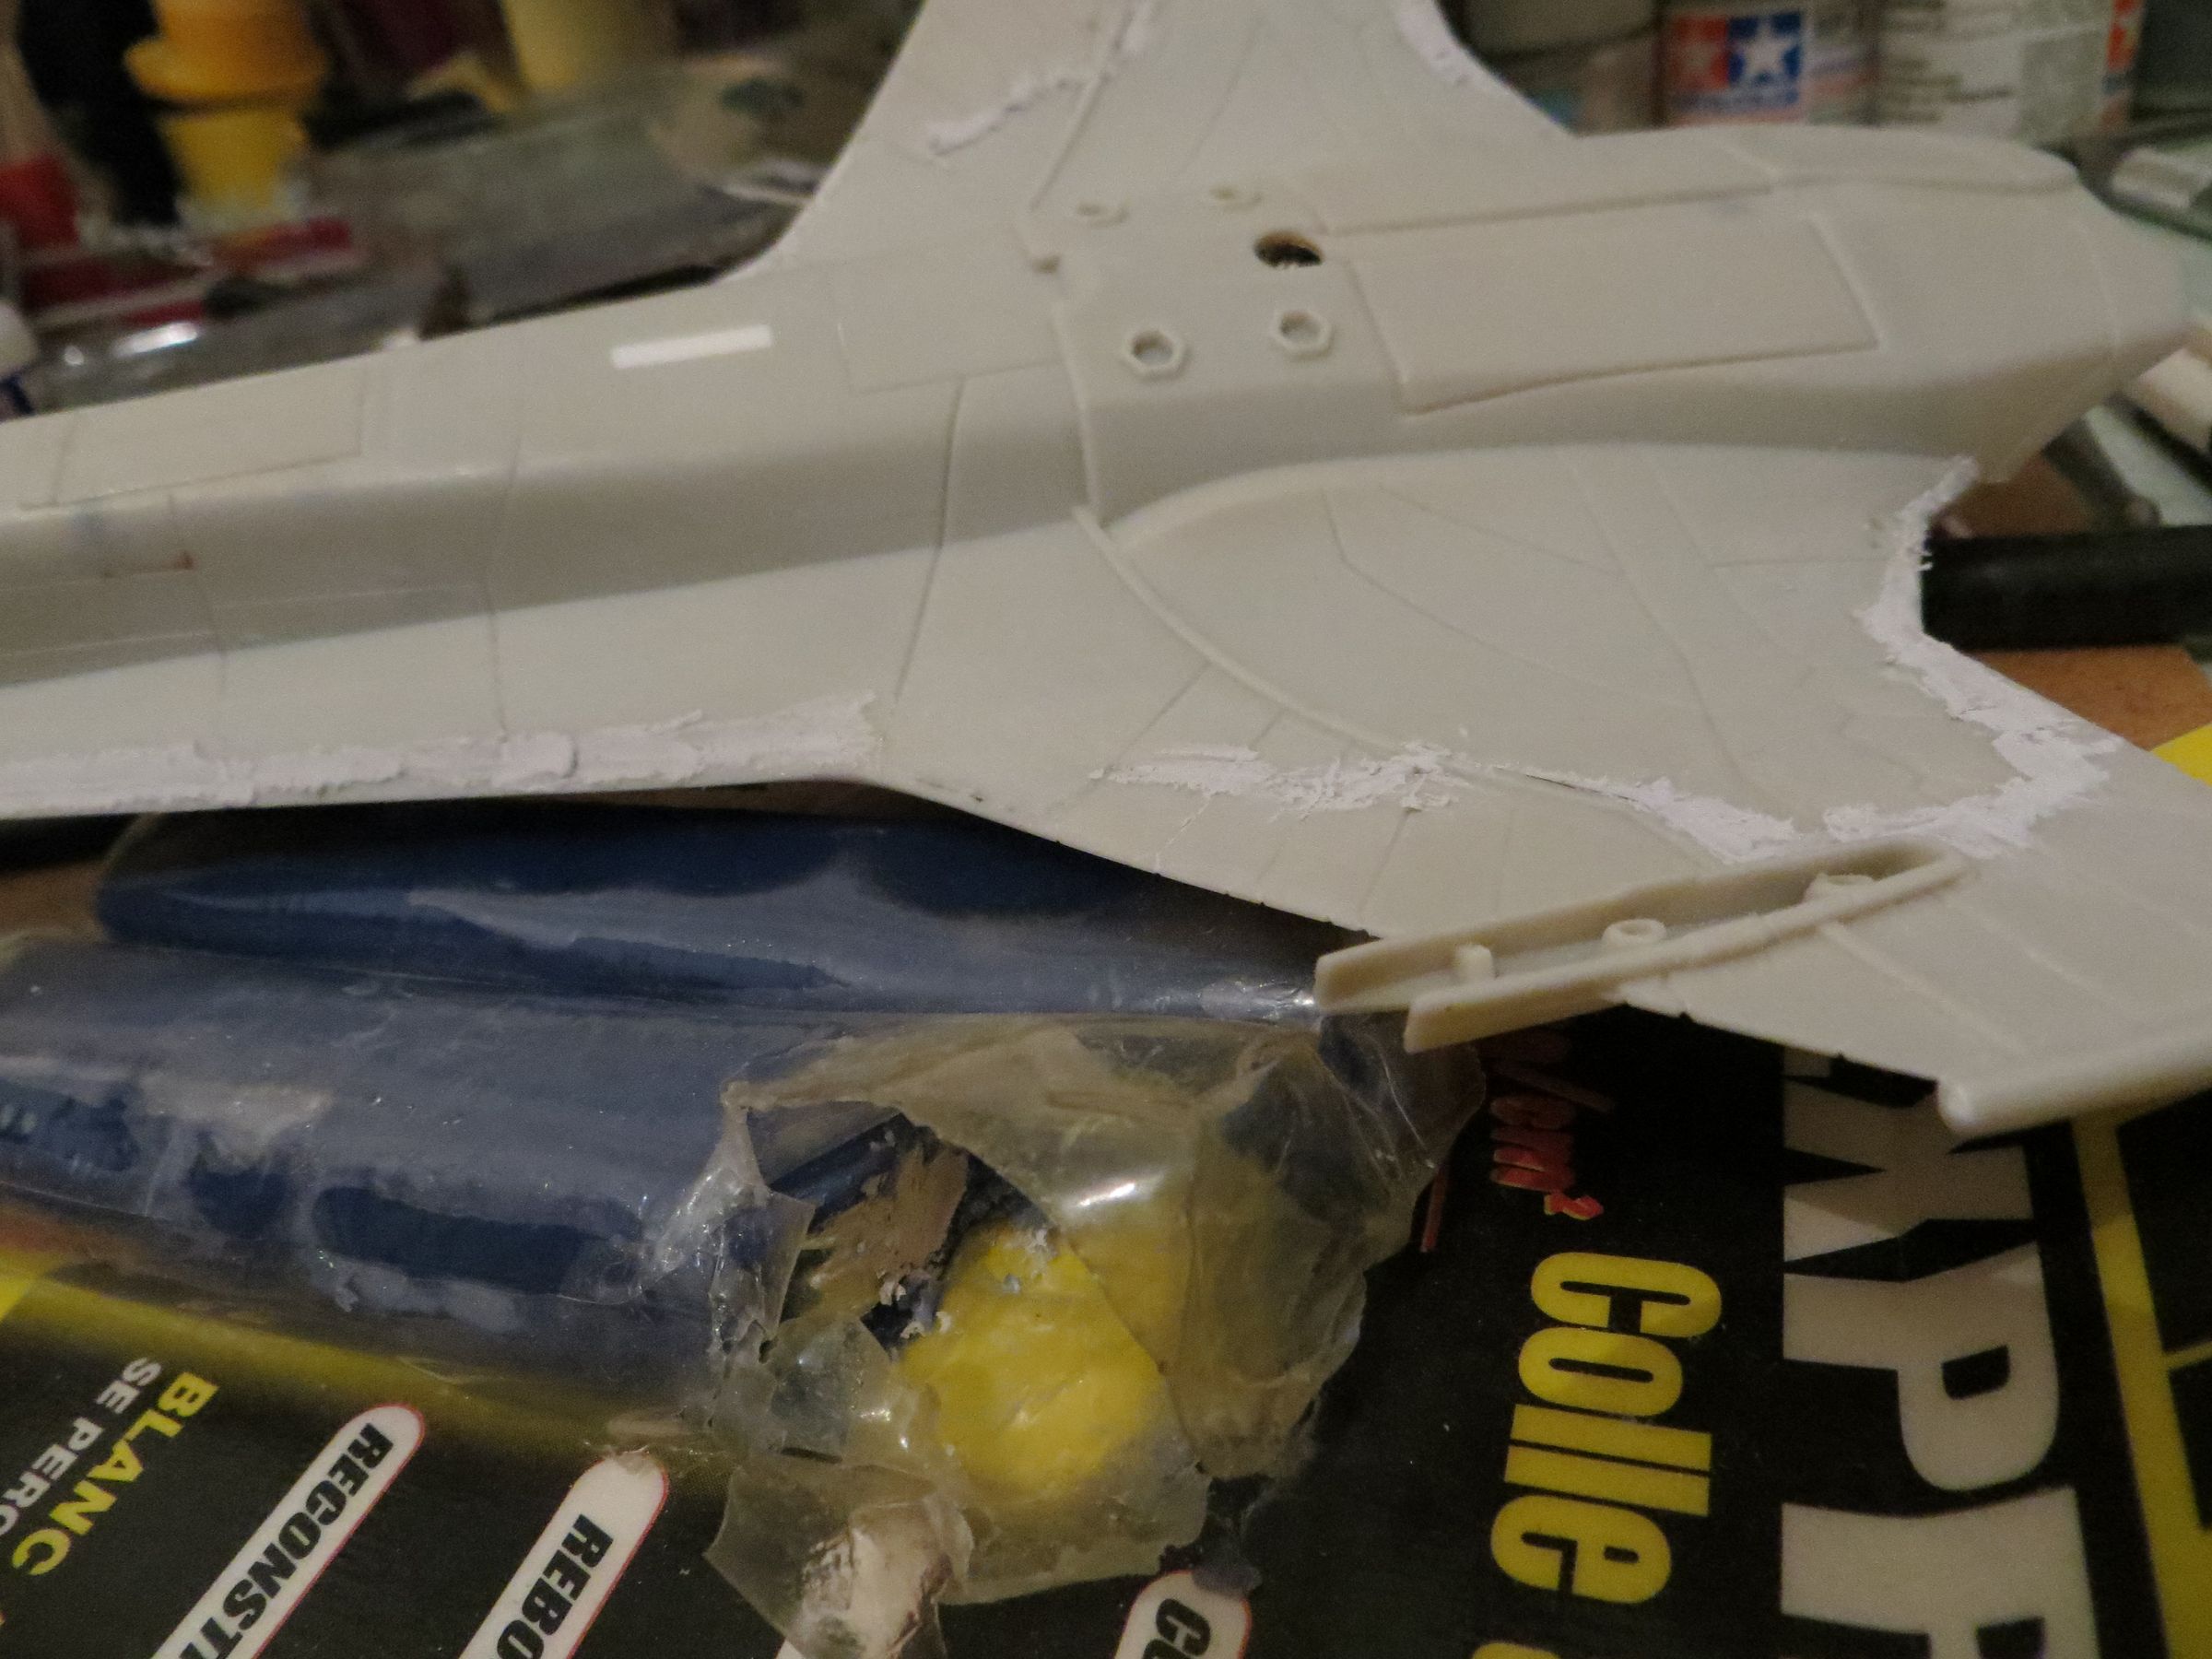
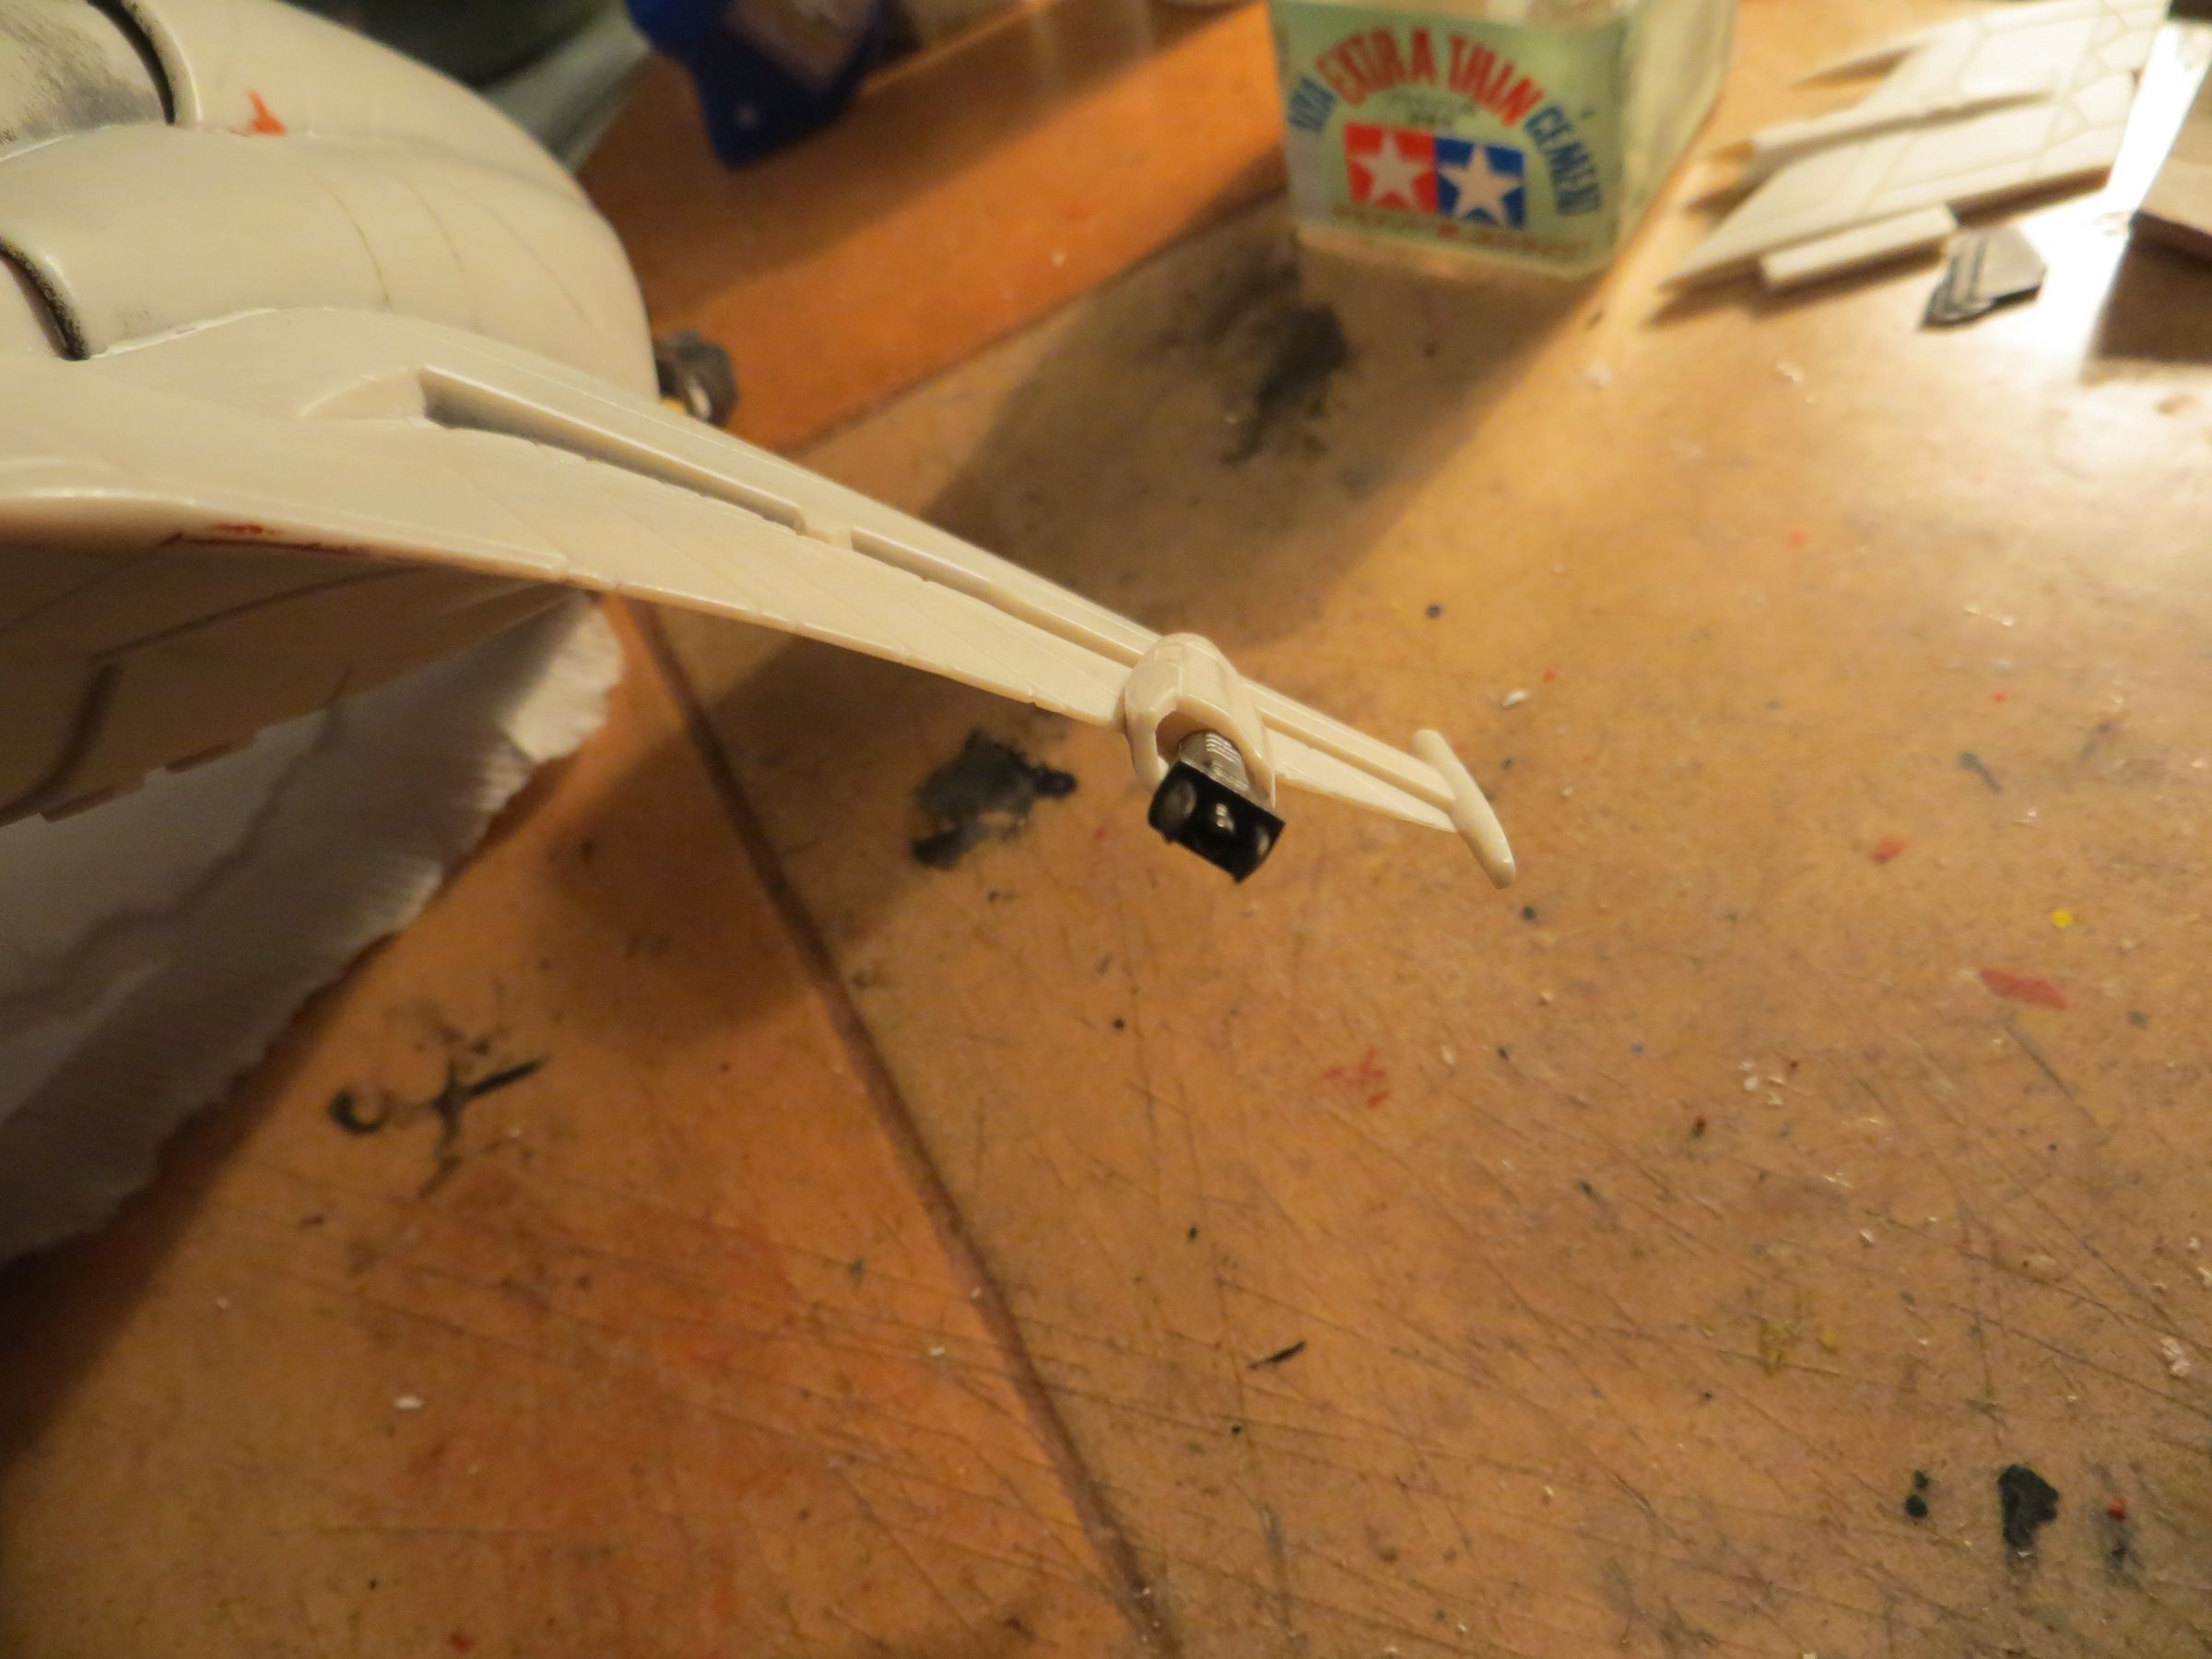
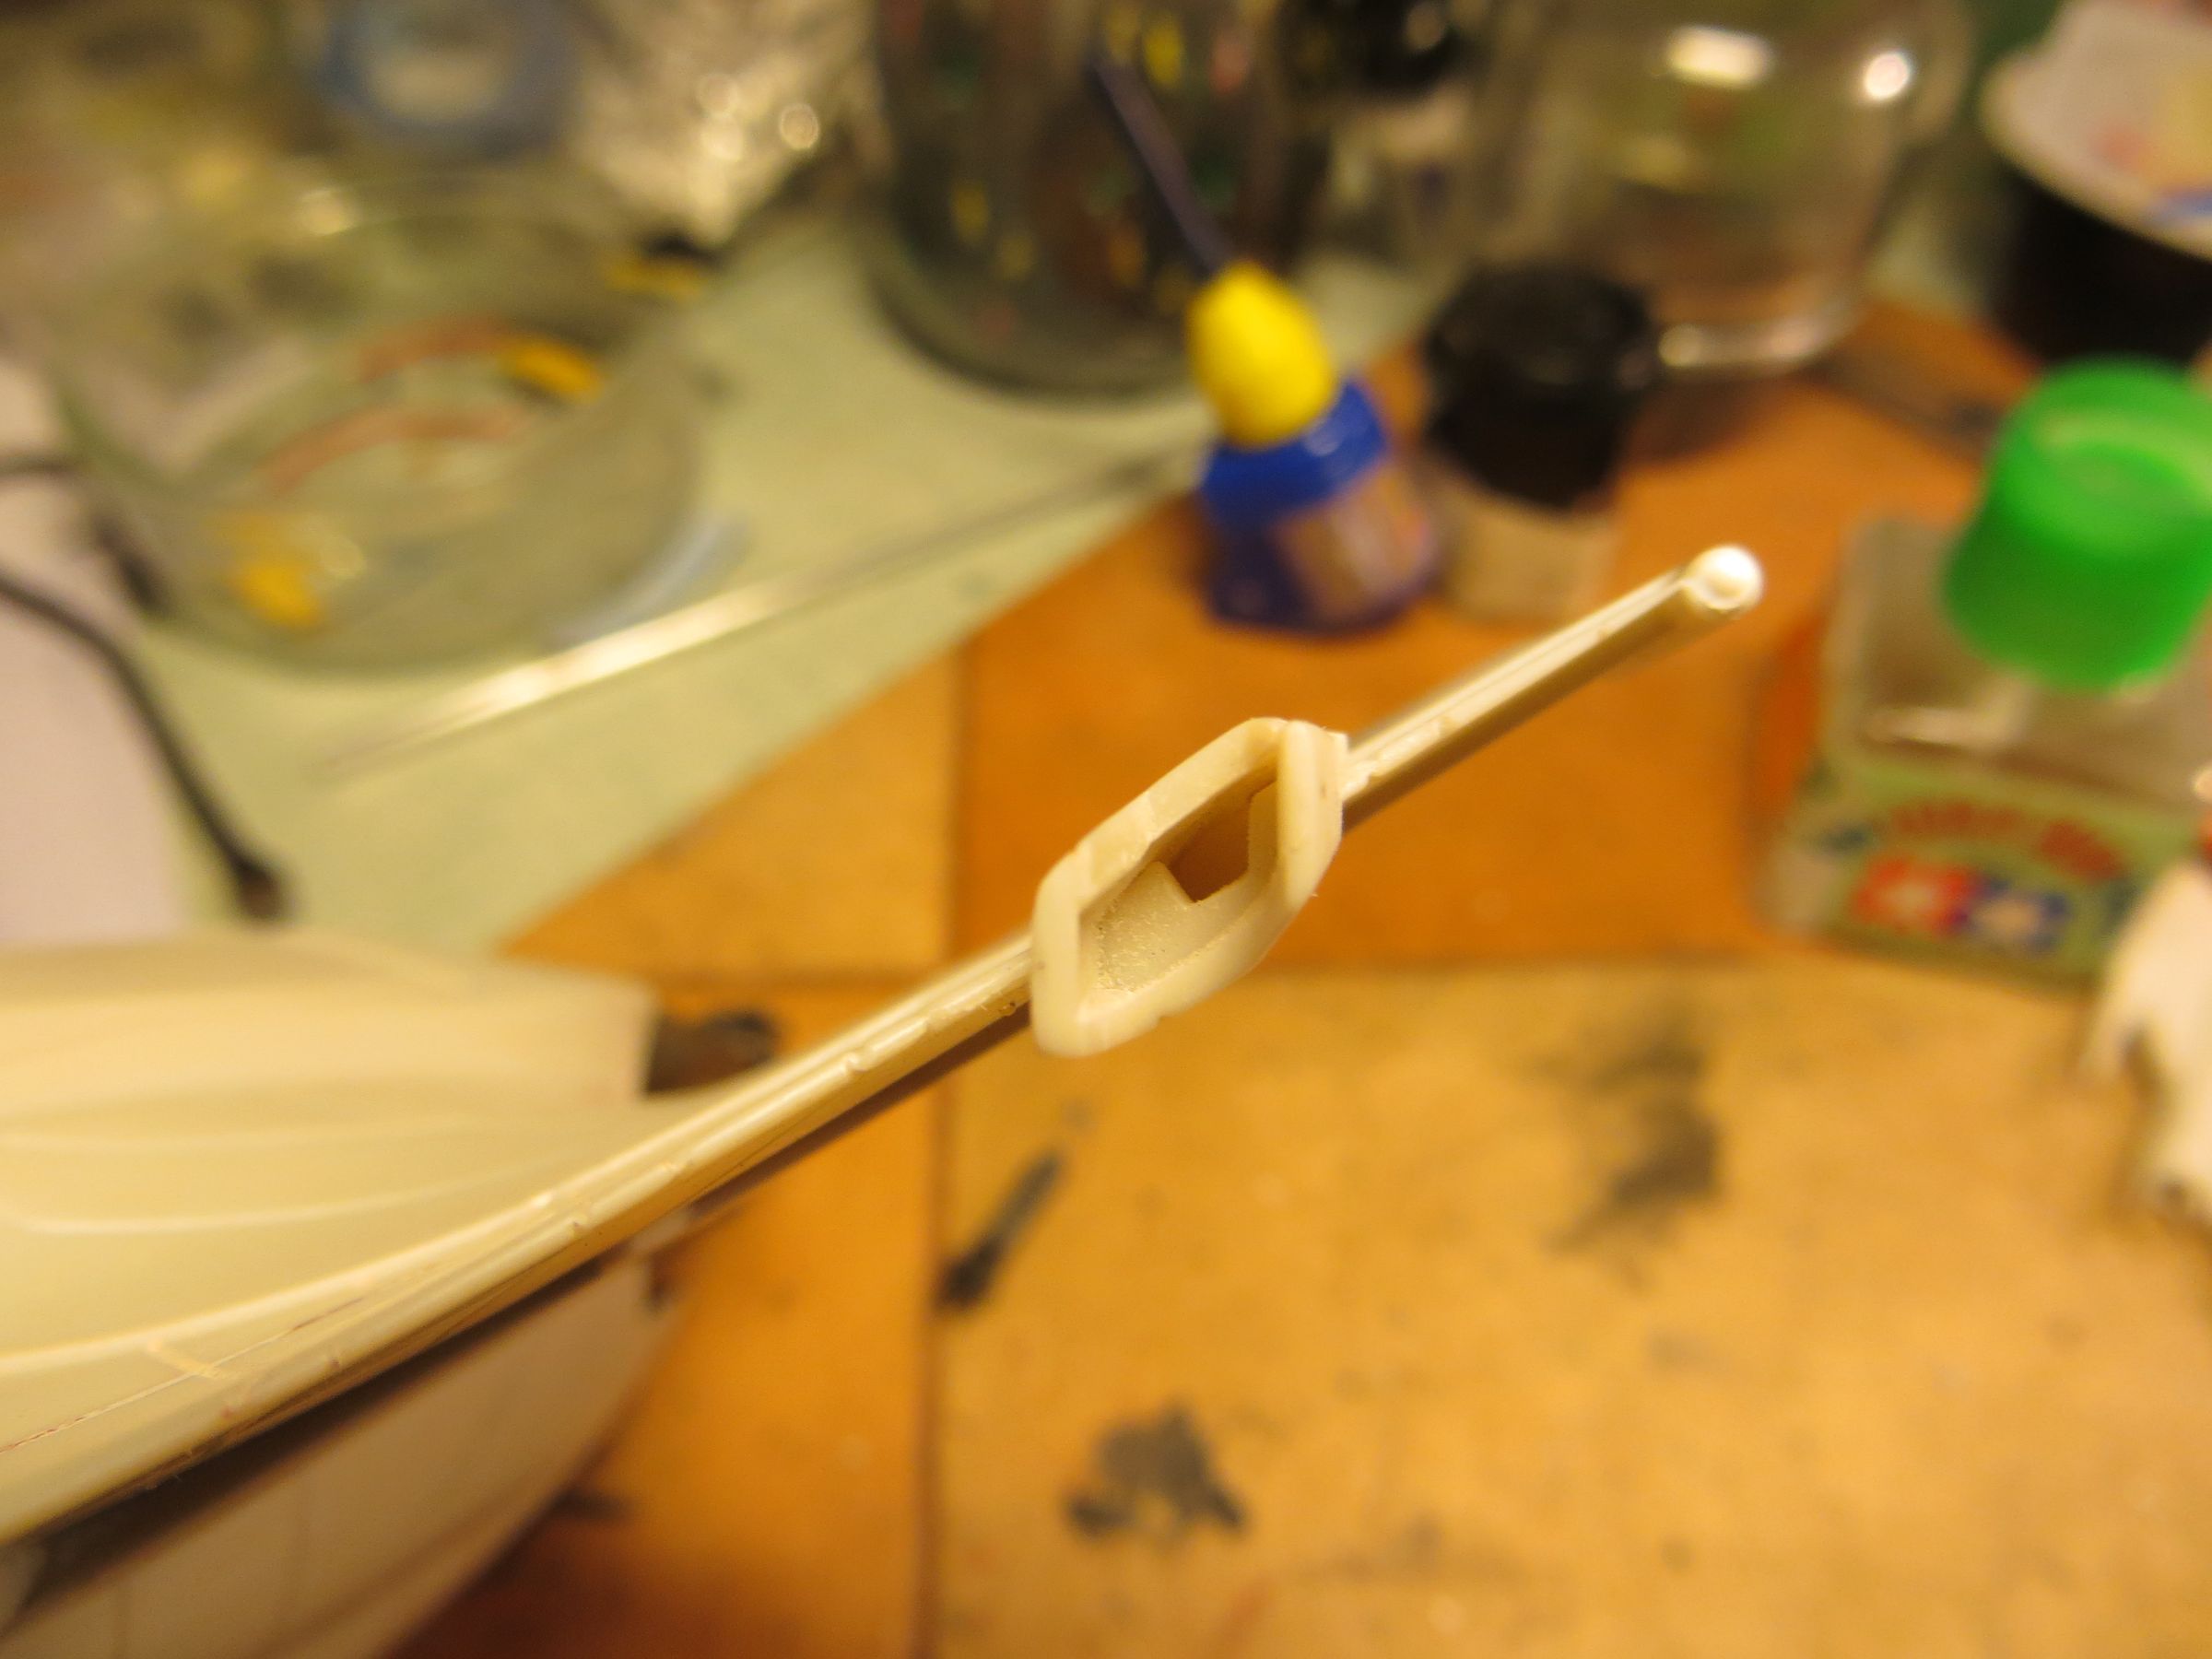
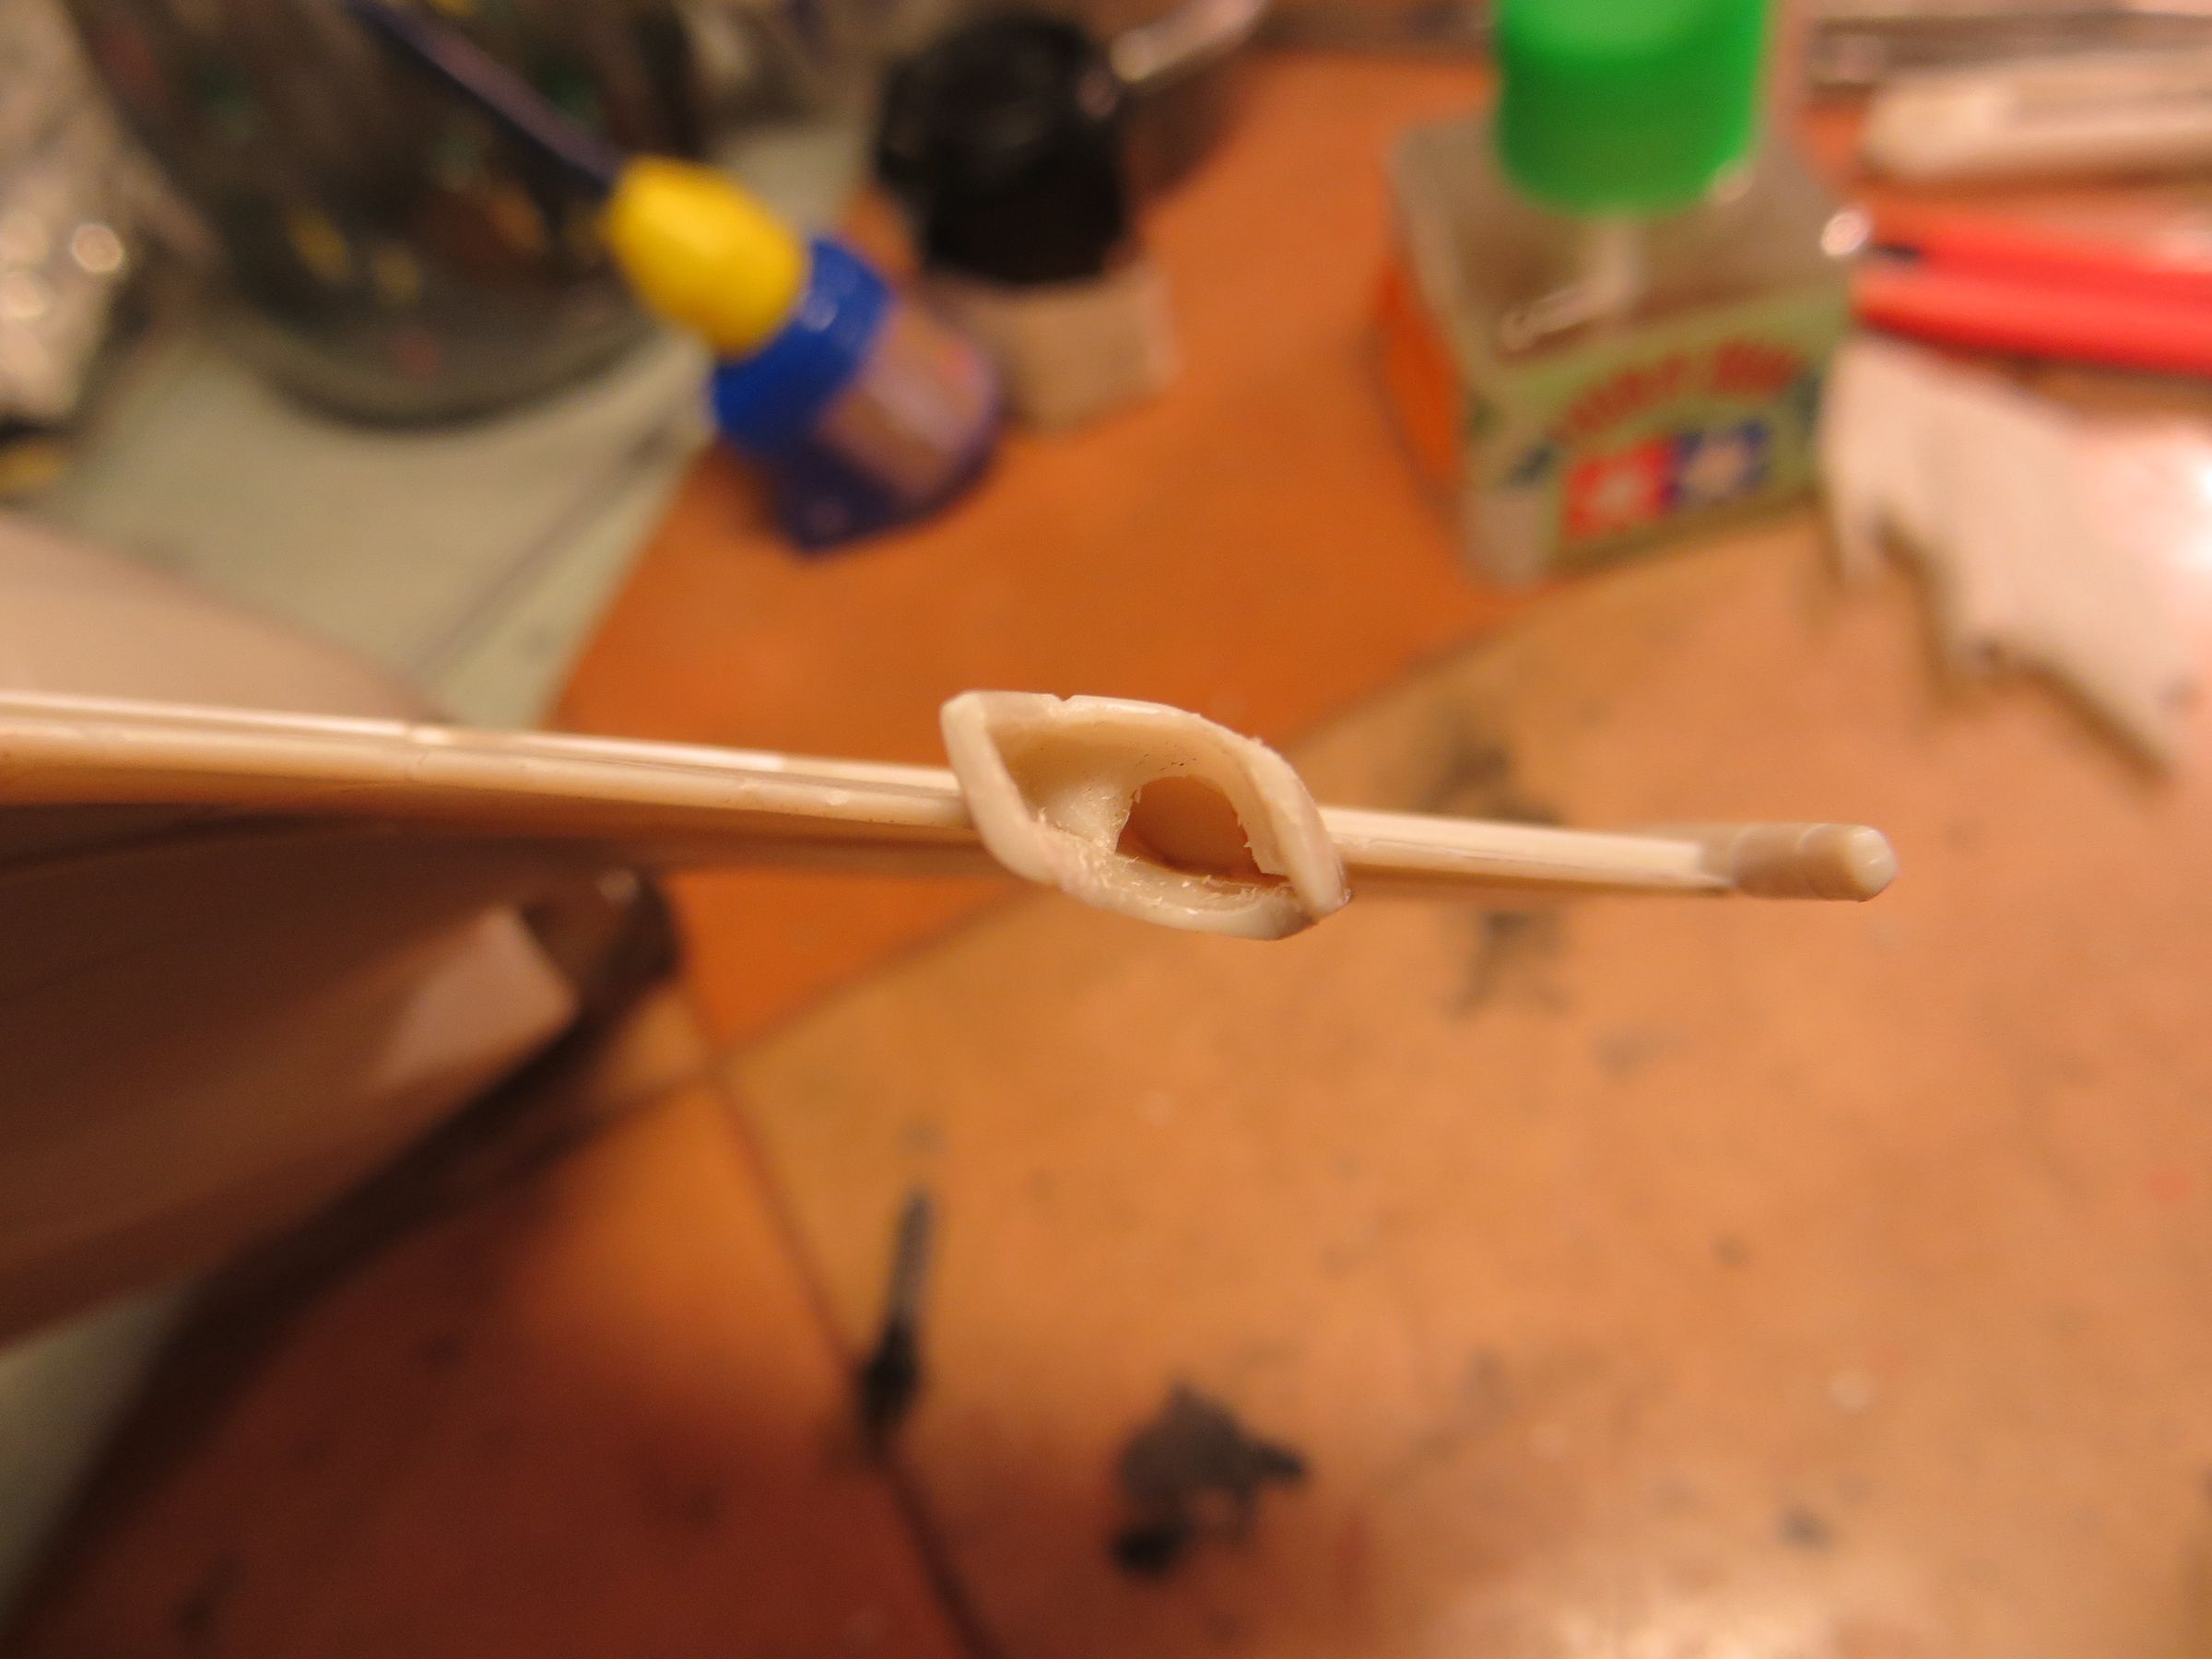
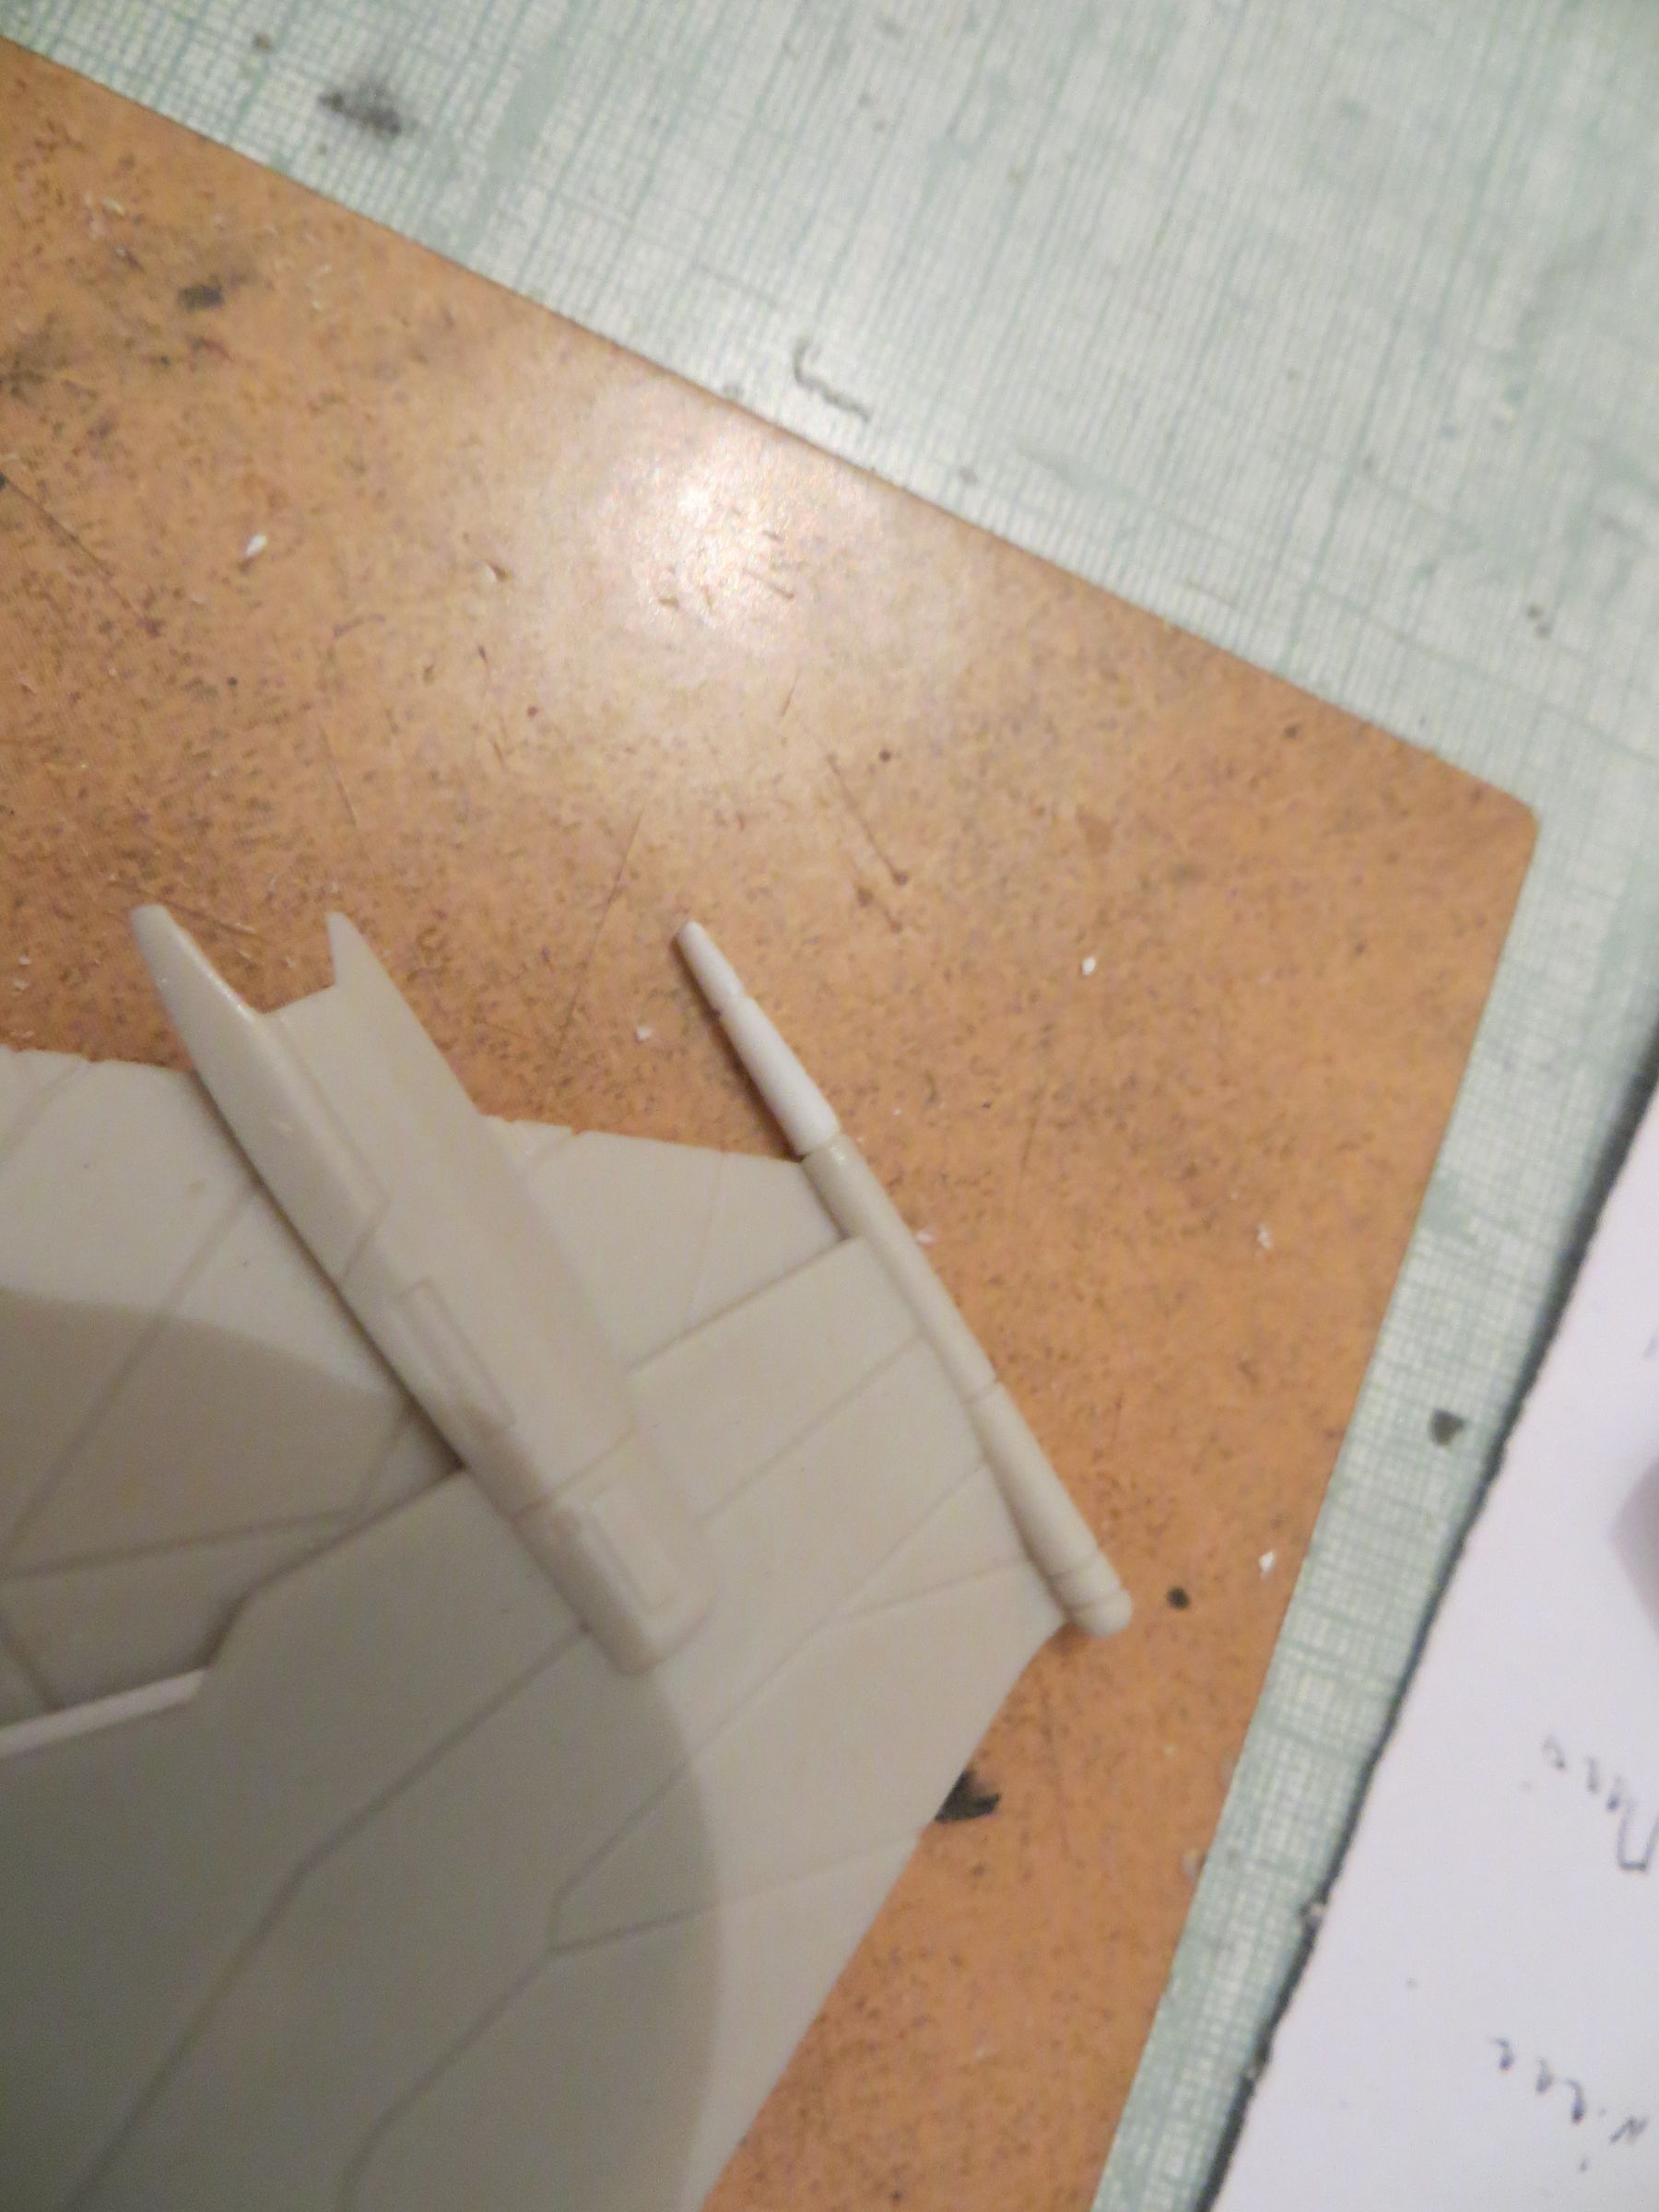
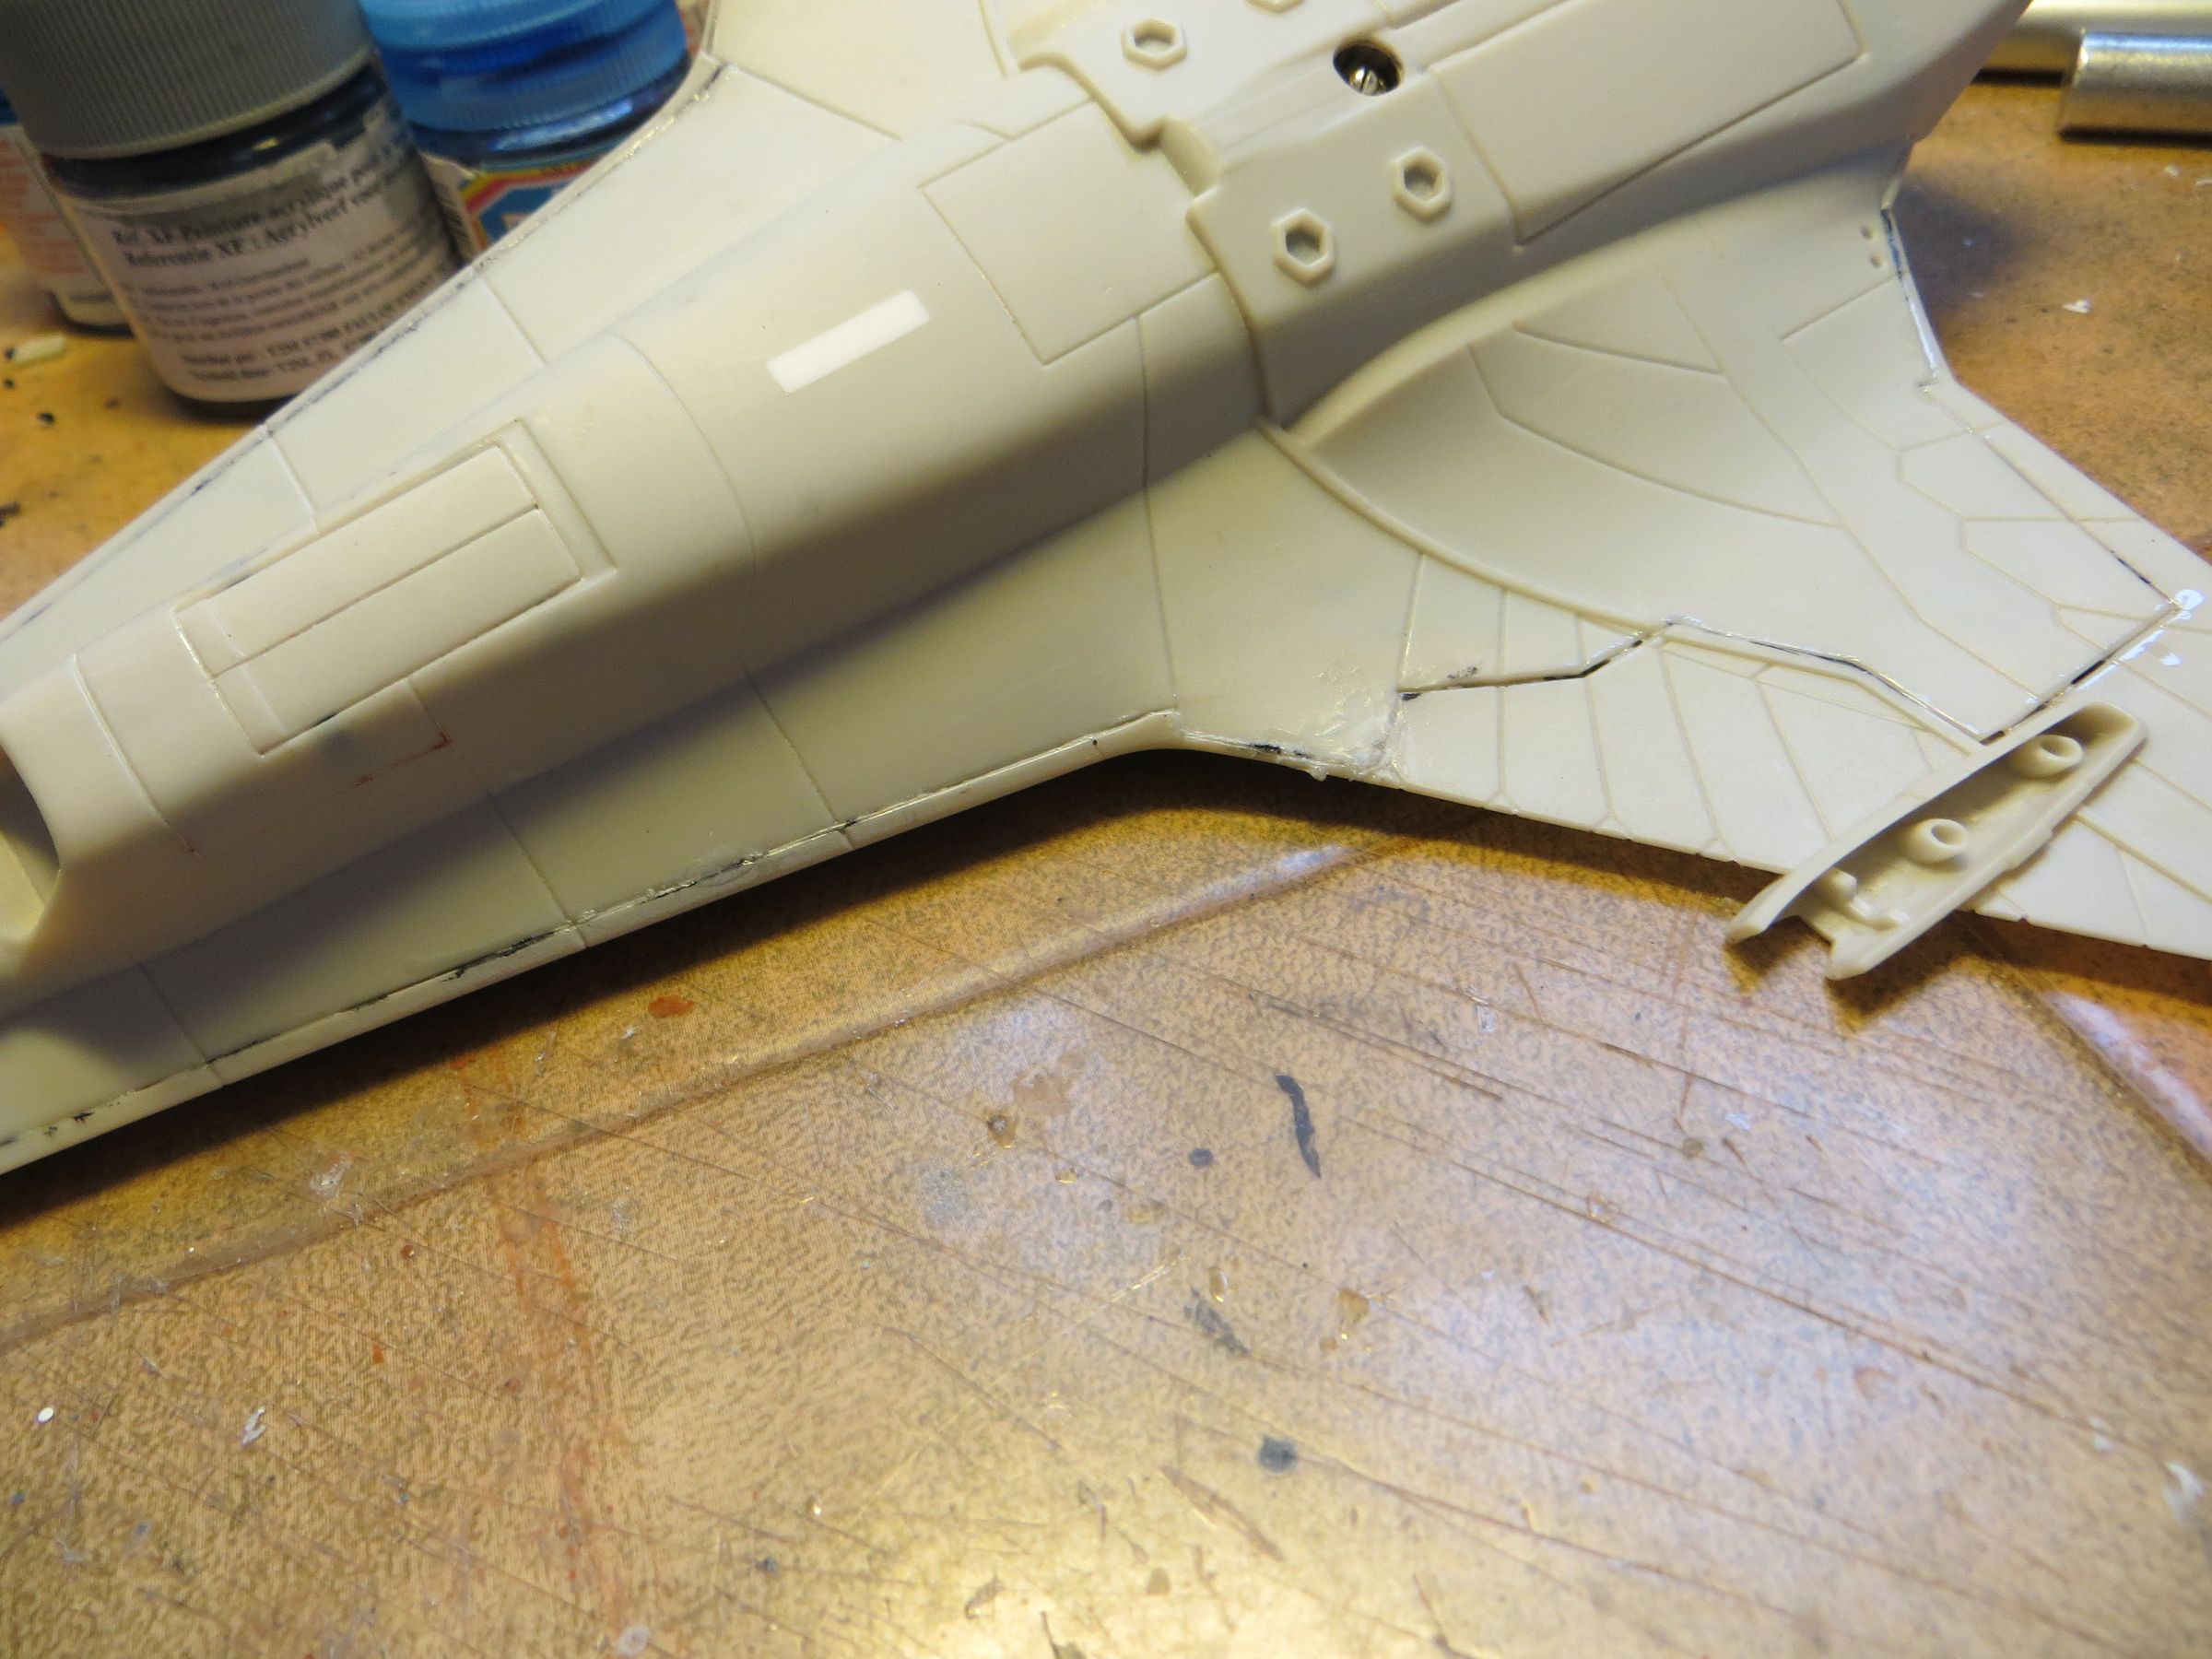
I repaired a wingtip (a sanding collateral damage !) with a parts tree bit. it is straingtened with a metal rod in the center.
mardi, 11 mars 2014
Par olcabour le mardi, 11 mars 2014, 23:45
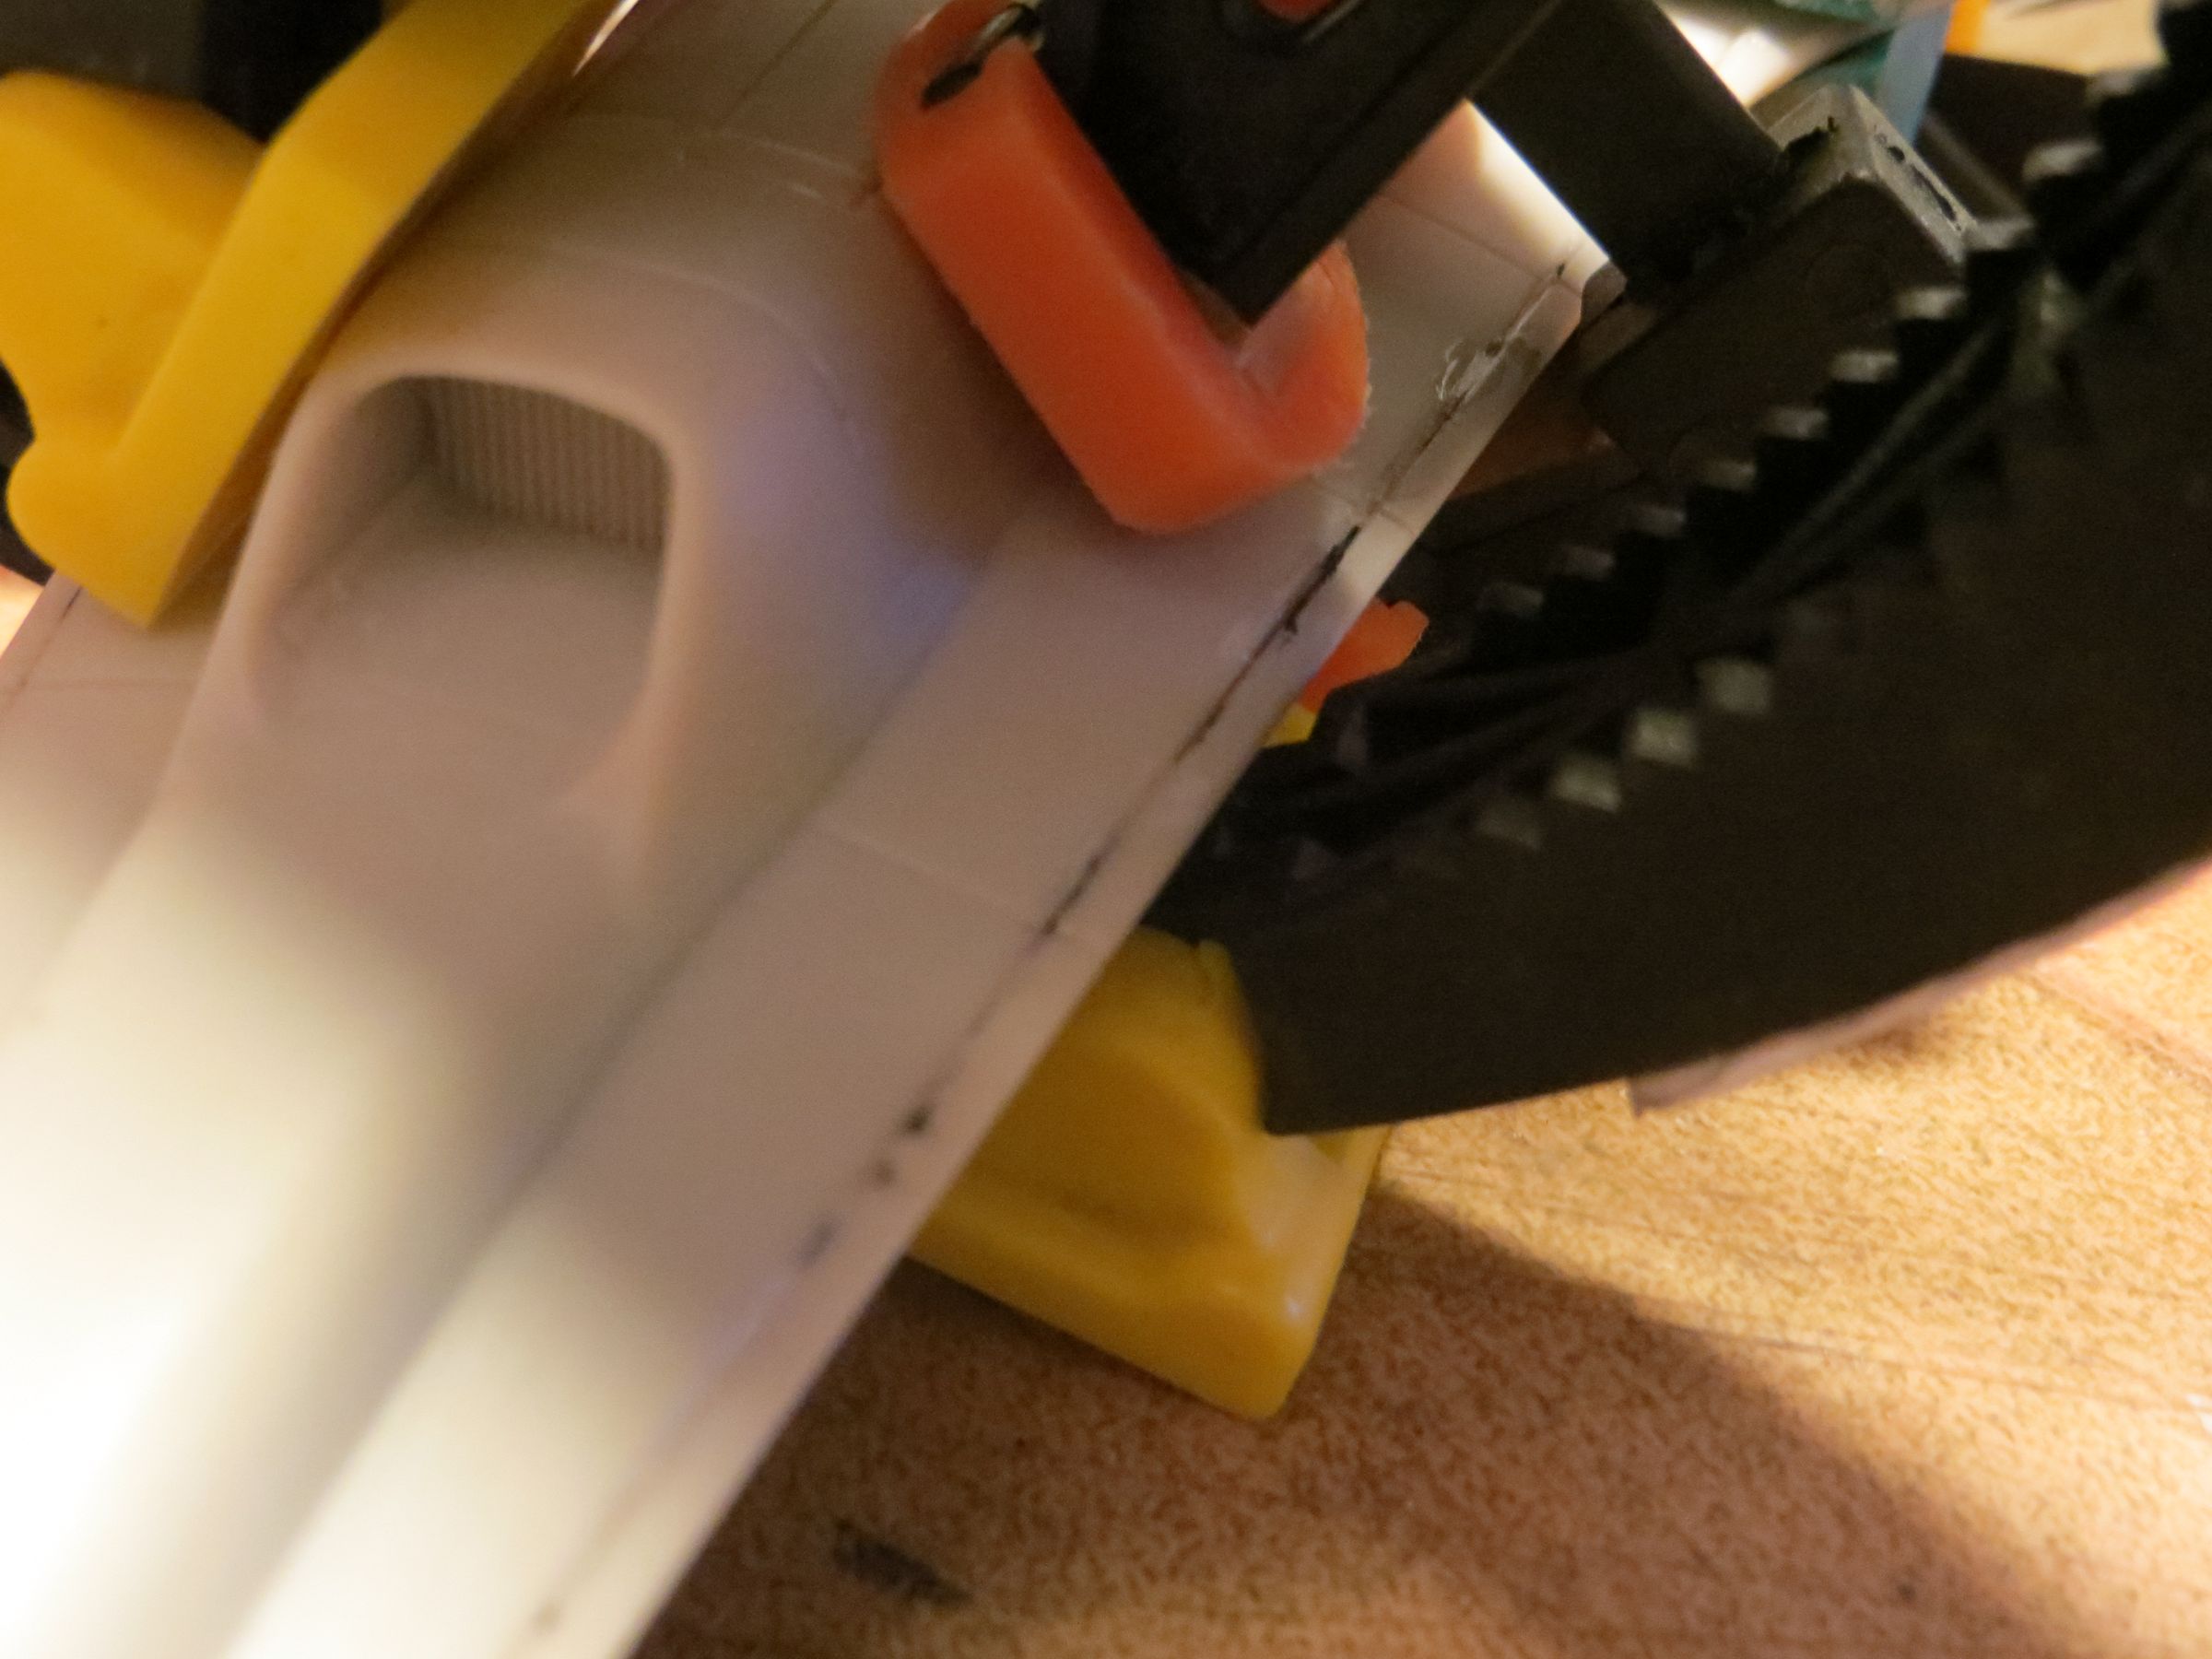
The two half of the cabins are finally glued. The seam is rather loose and leaves a gap of more than 1 mm. The gluing will be made in strength, which requires a very large dose of glue, some clamps. I let this dry as is for several days without trying to start sanding the seam.
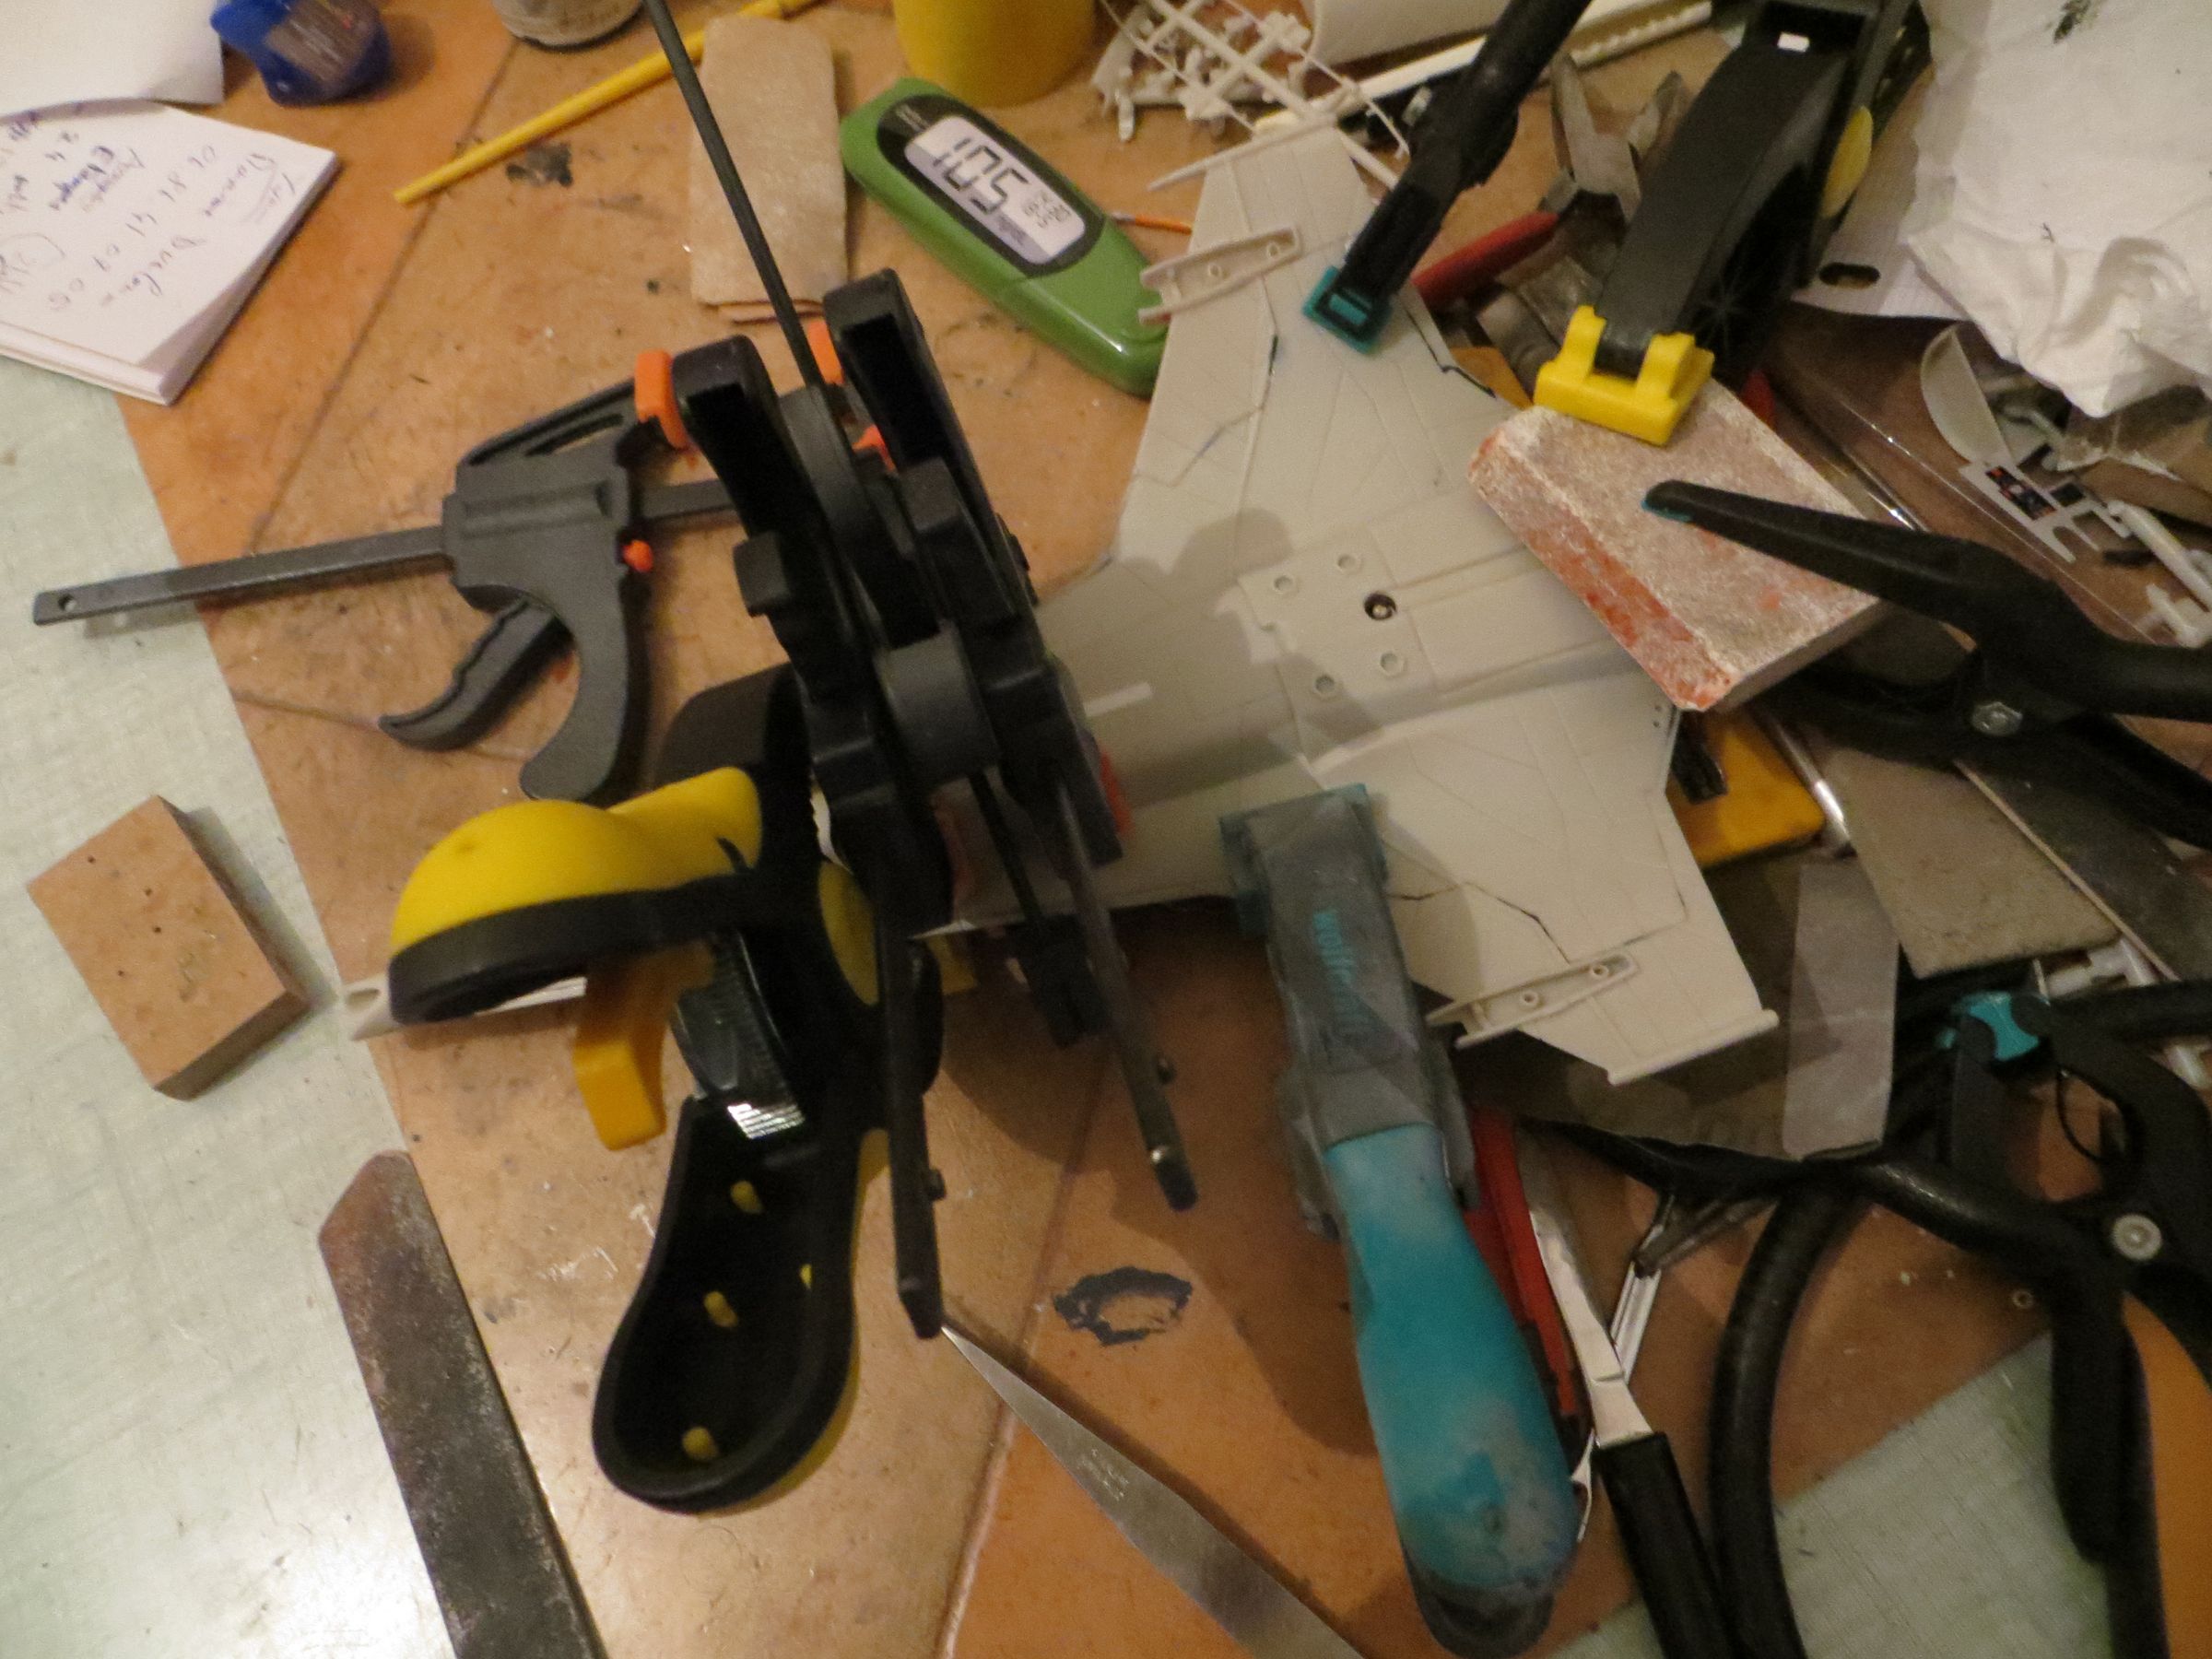

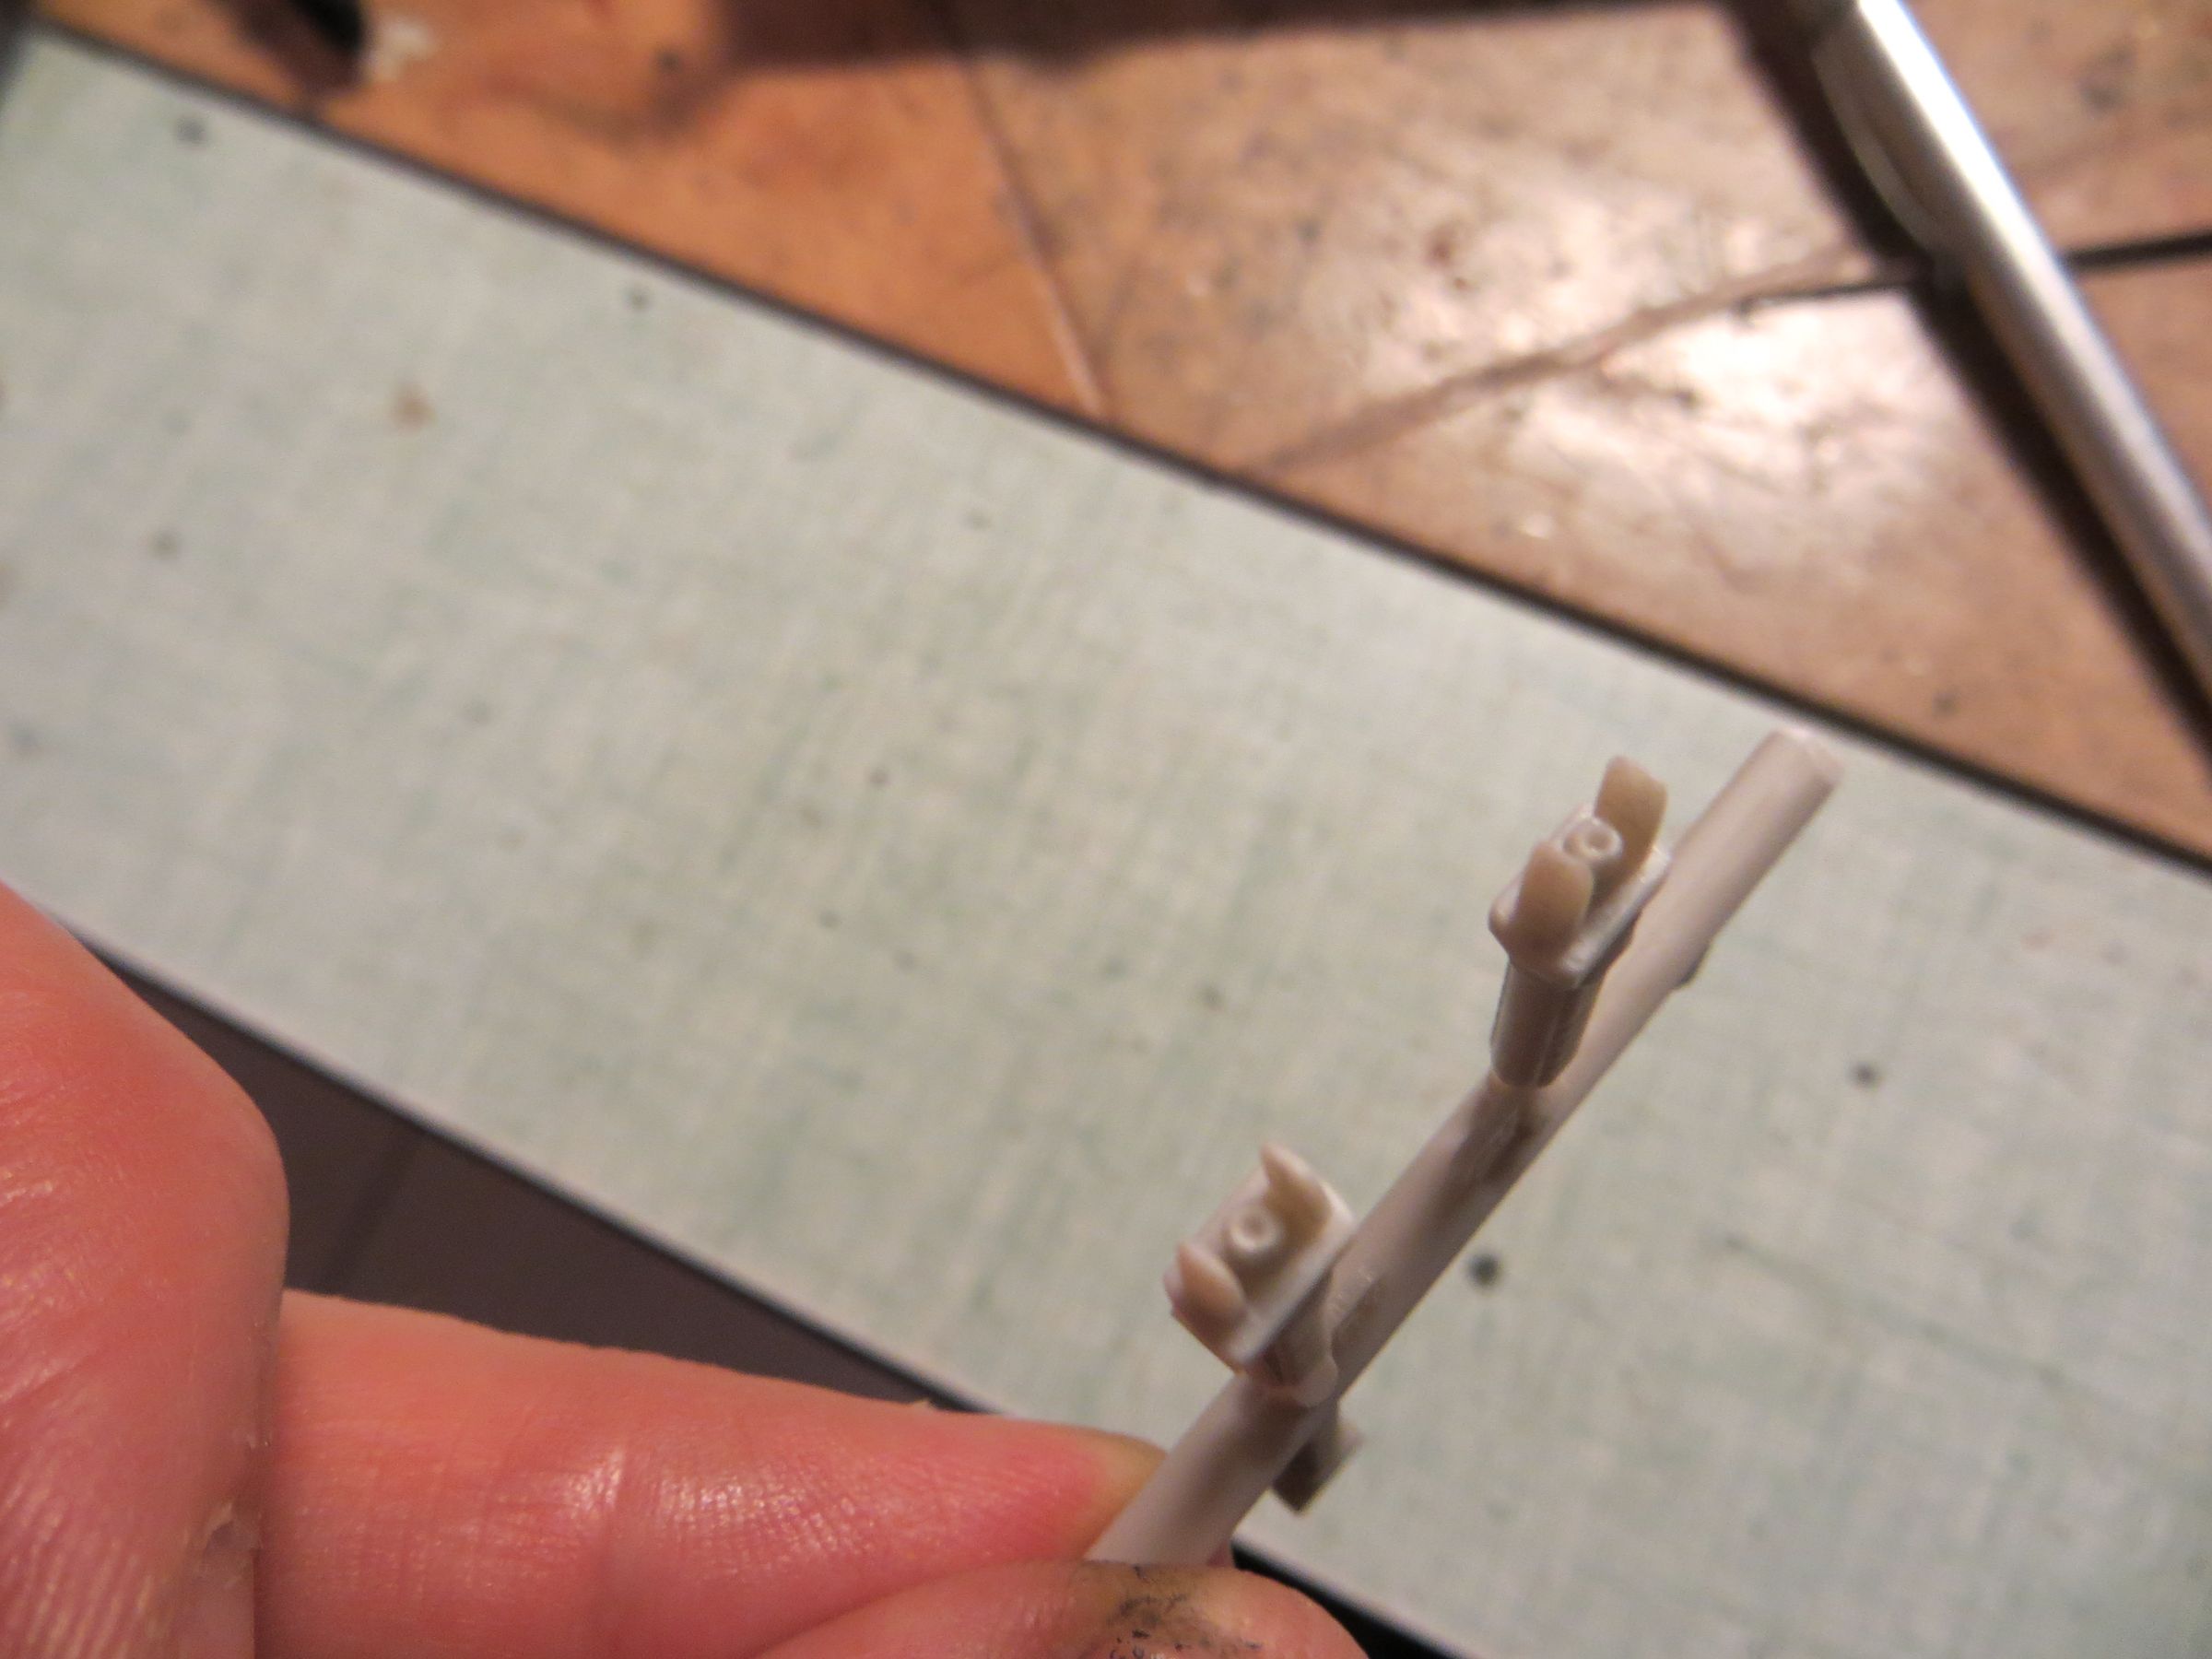
Meanwhile, the guns are prepared and drilled.
On the engines, the seams are sanded. Again, there are molding marks and shrinkages.

The design of the kit does not allow the engine module to be glue only at end of the assembly (after painting). So at this stage, they must be painted, glued in the cabin and protected for further assembling works.
They therefore received a coat of primer and black satin (spray cans).
As the surface still did not satisfying me (sanding marks this time), they are sanded again.
Then again primer + black satin paint.
It is covered with Alclad Steel.

The petals are highlighted with Aclad Jet Exhaust.
Then burning marks of the metal are made with transversal lines of Alclad Copper.
Followed by lighter ones in Tamiya clear blue.

The guns were painted at the same time.
lundi, 10 mars 2014
Par olcabour le lundi, 10 mars 2014, 21:59
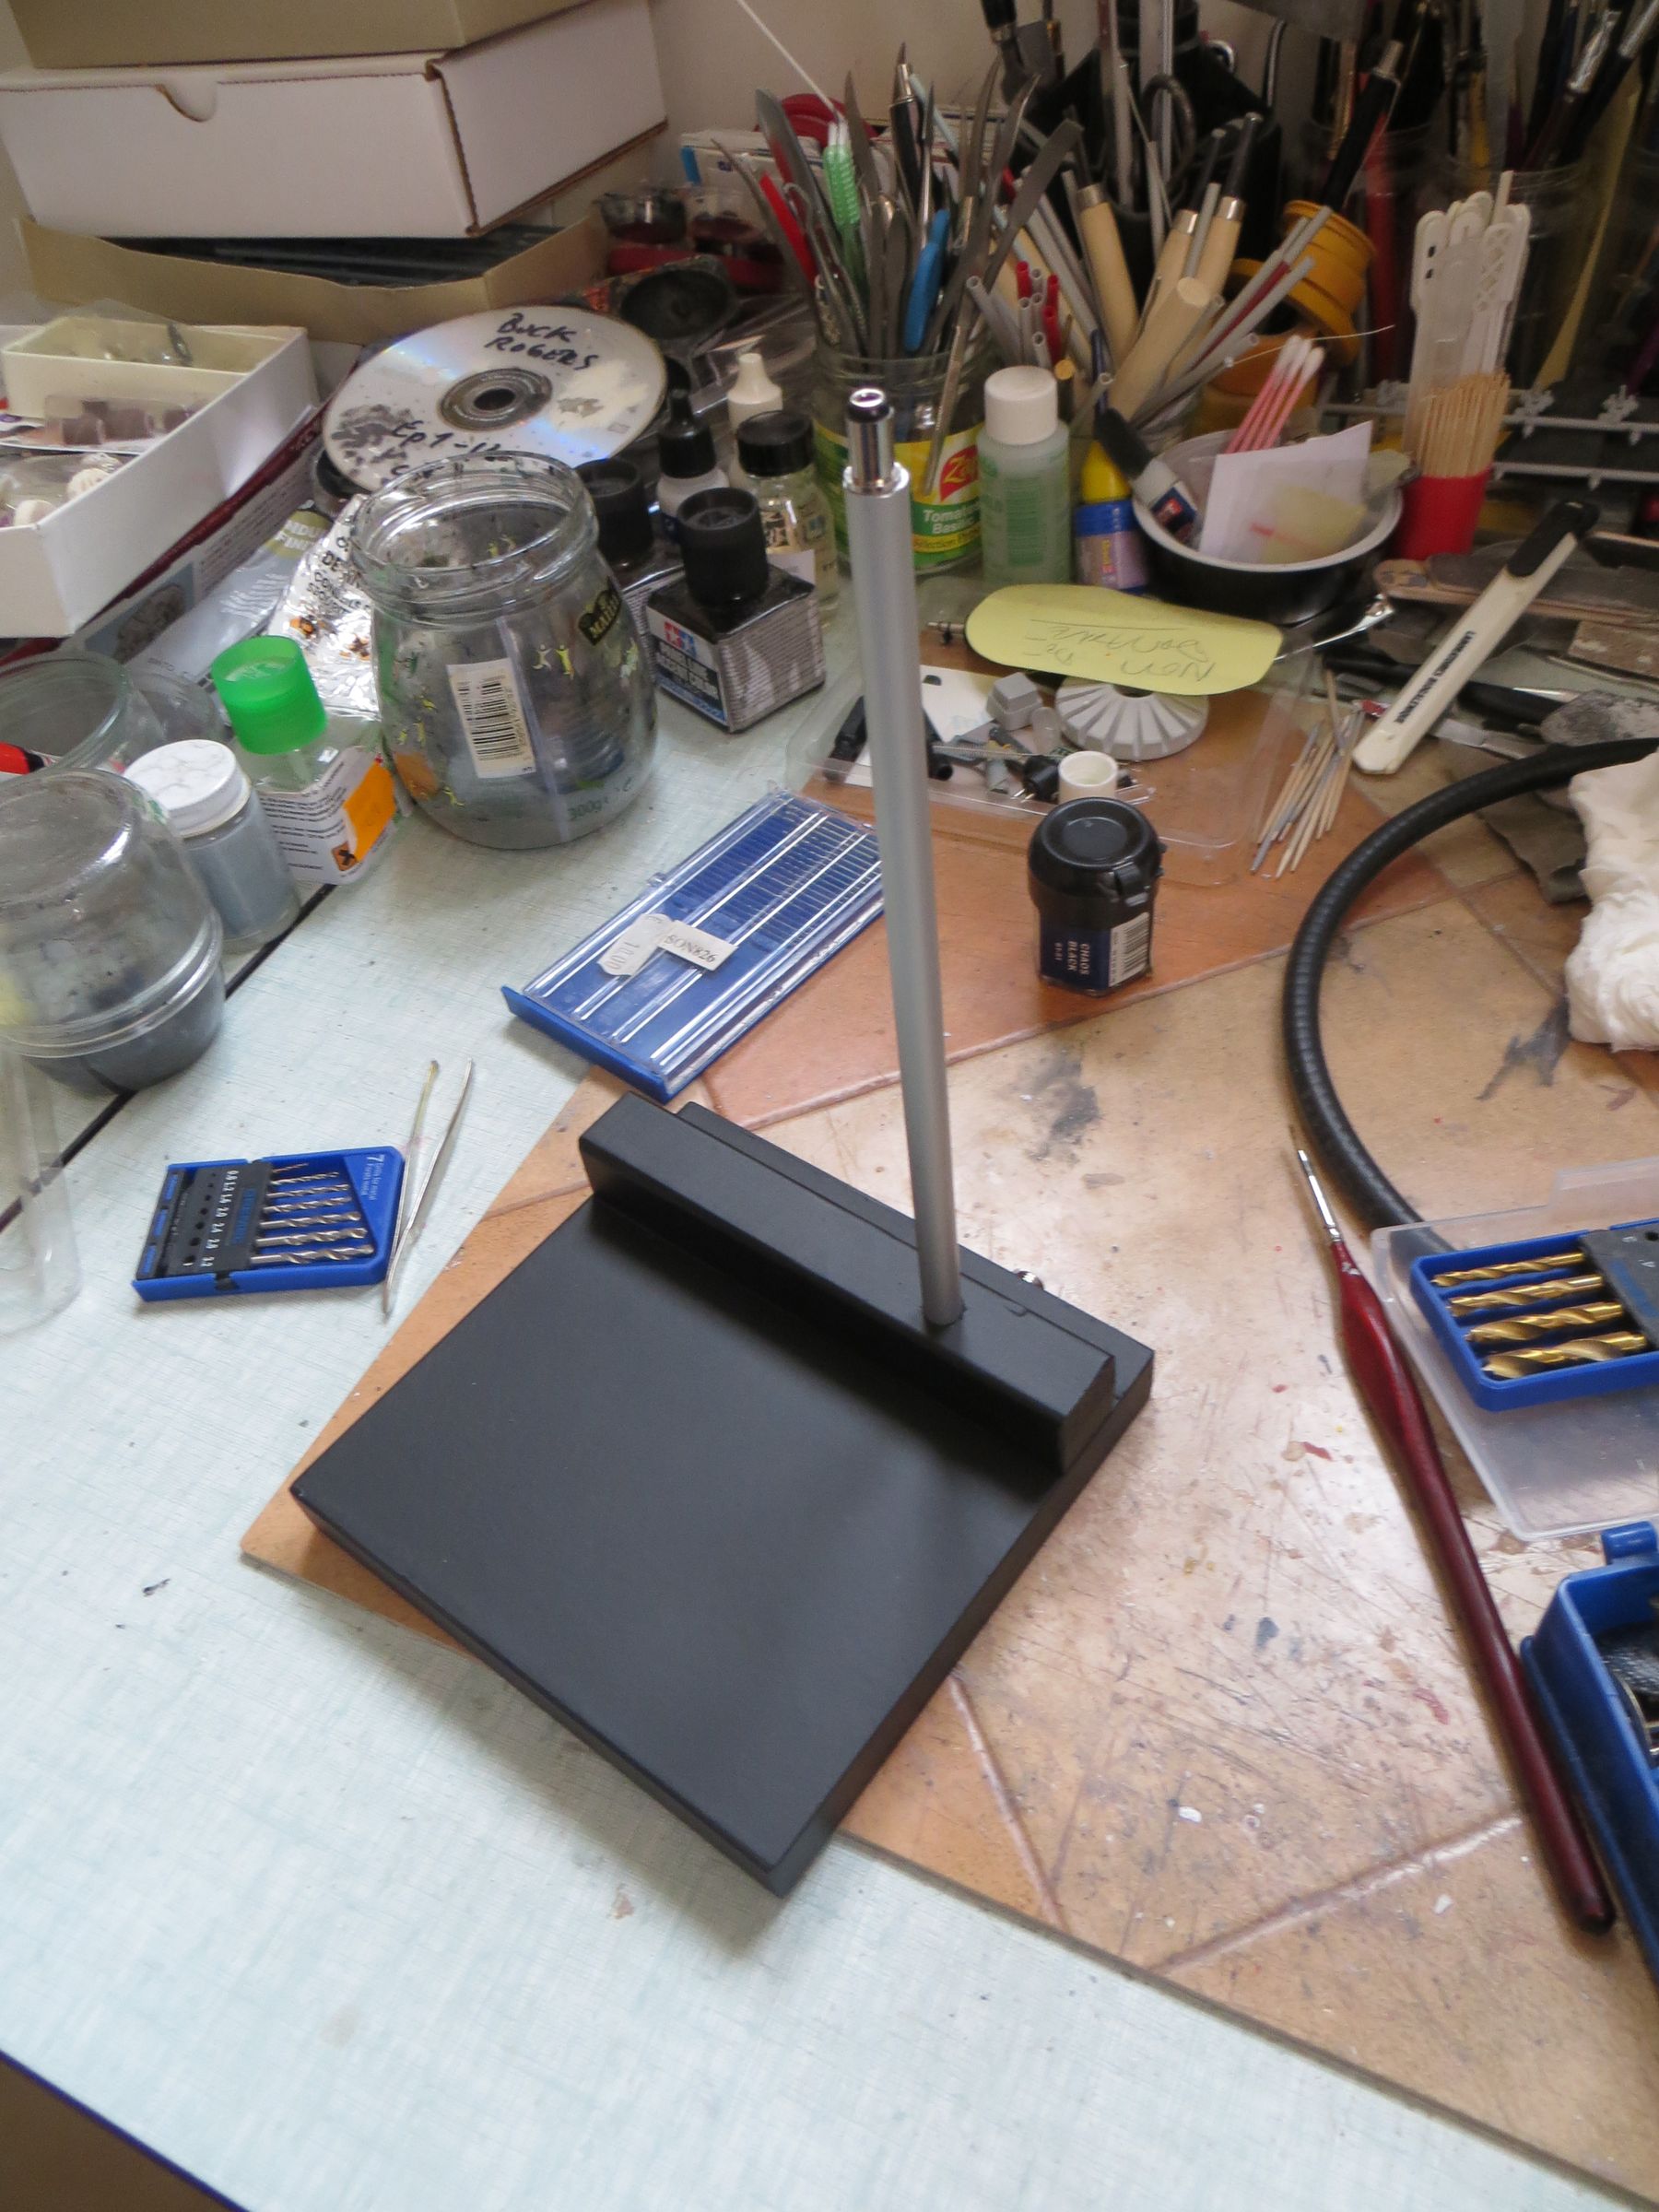
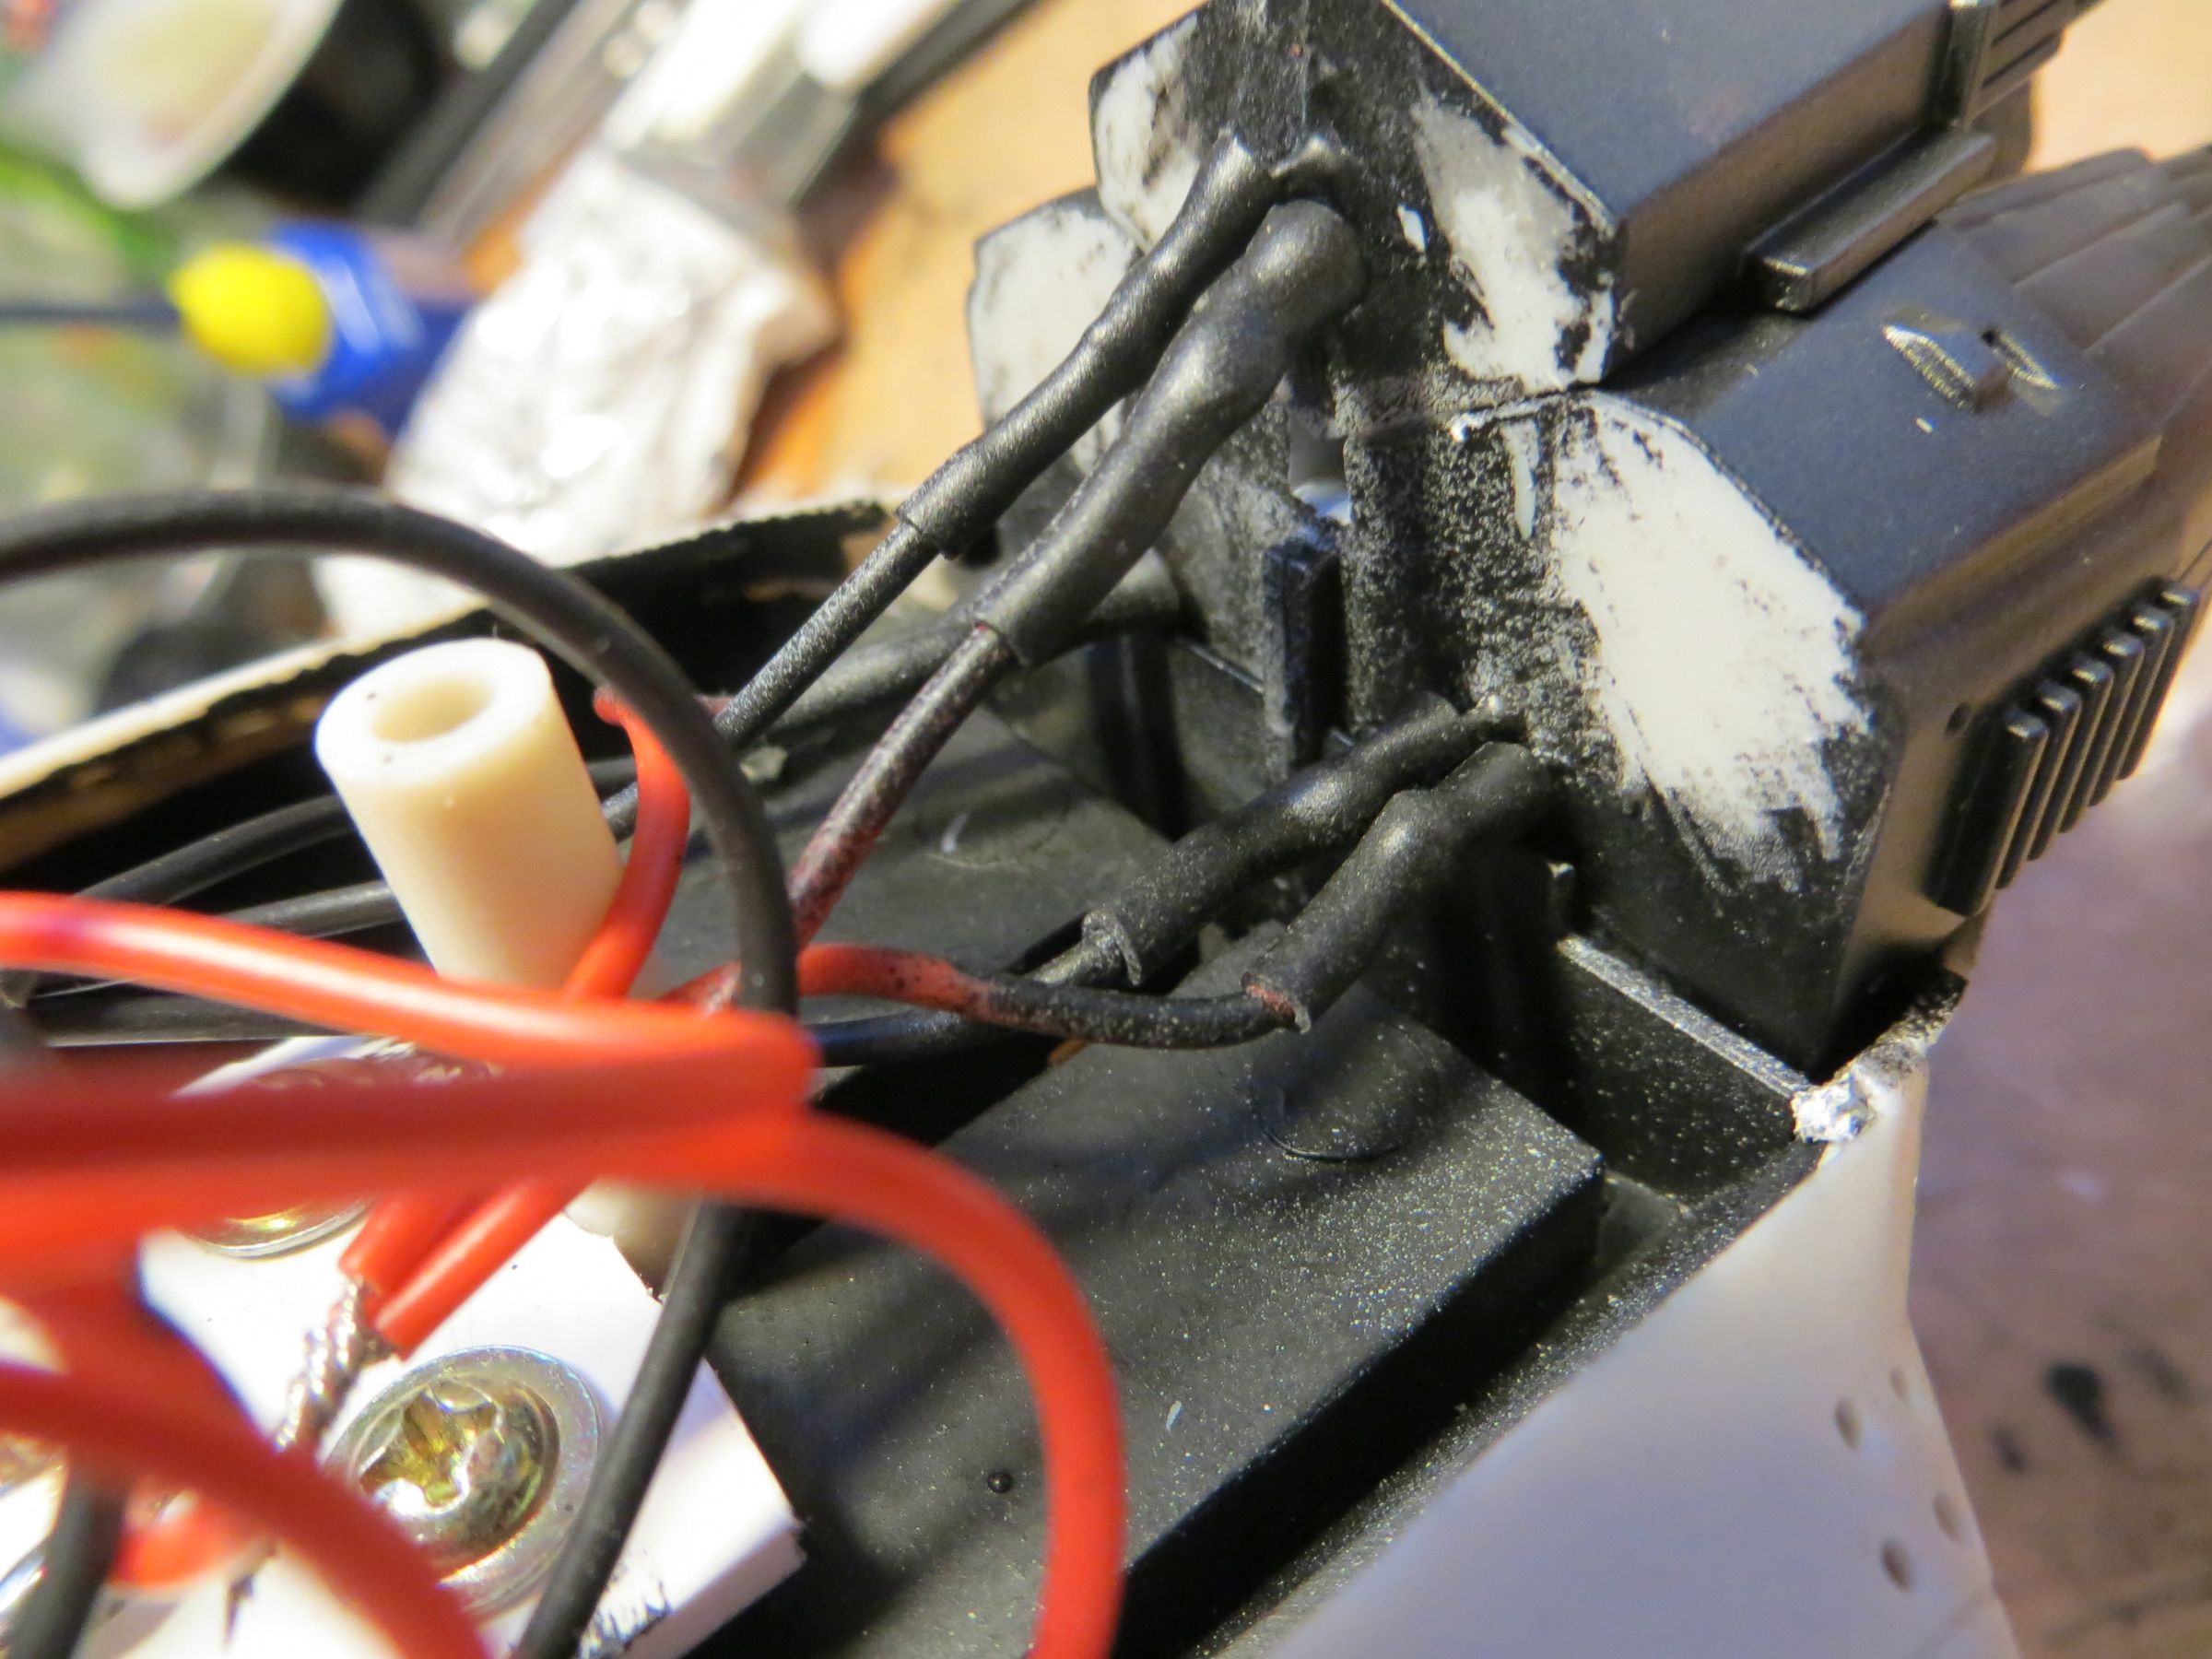
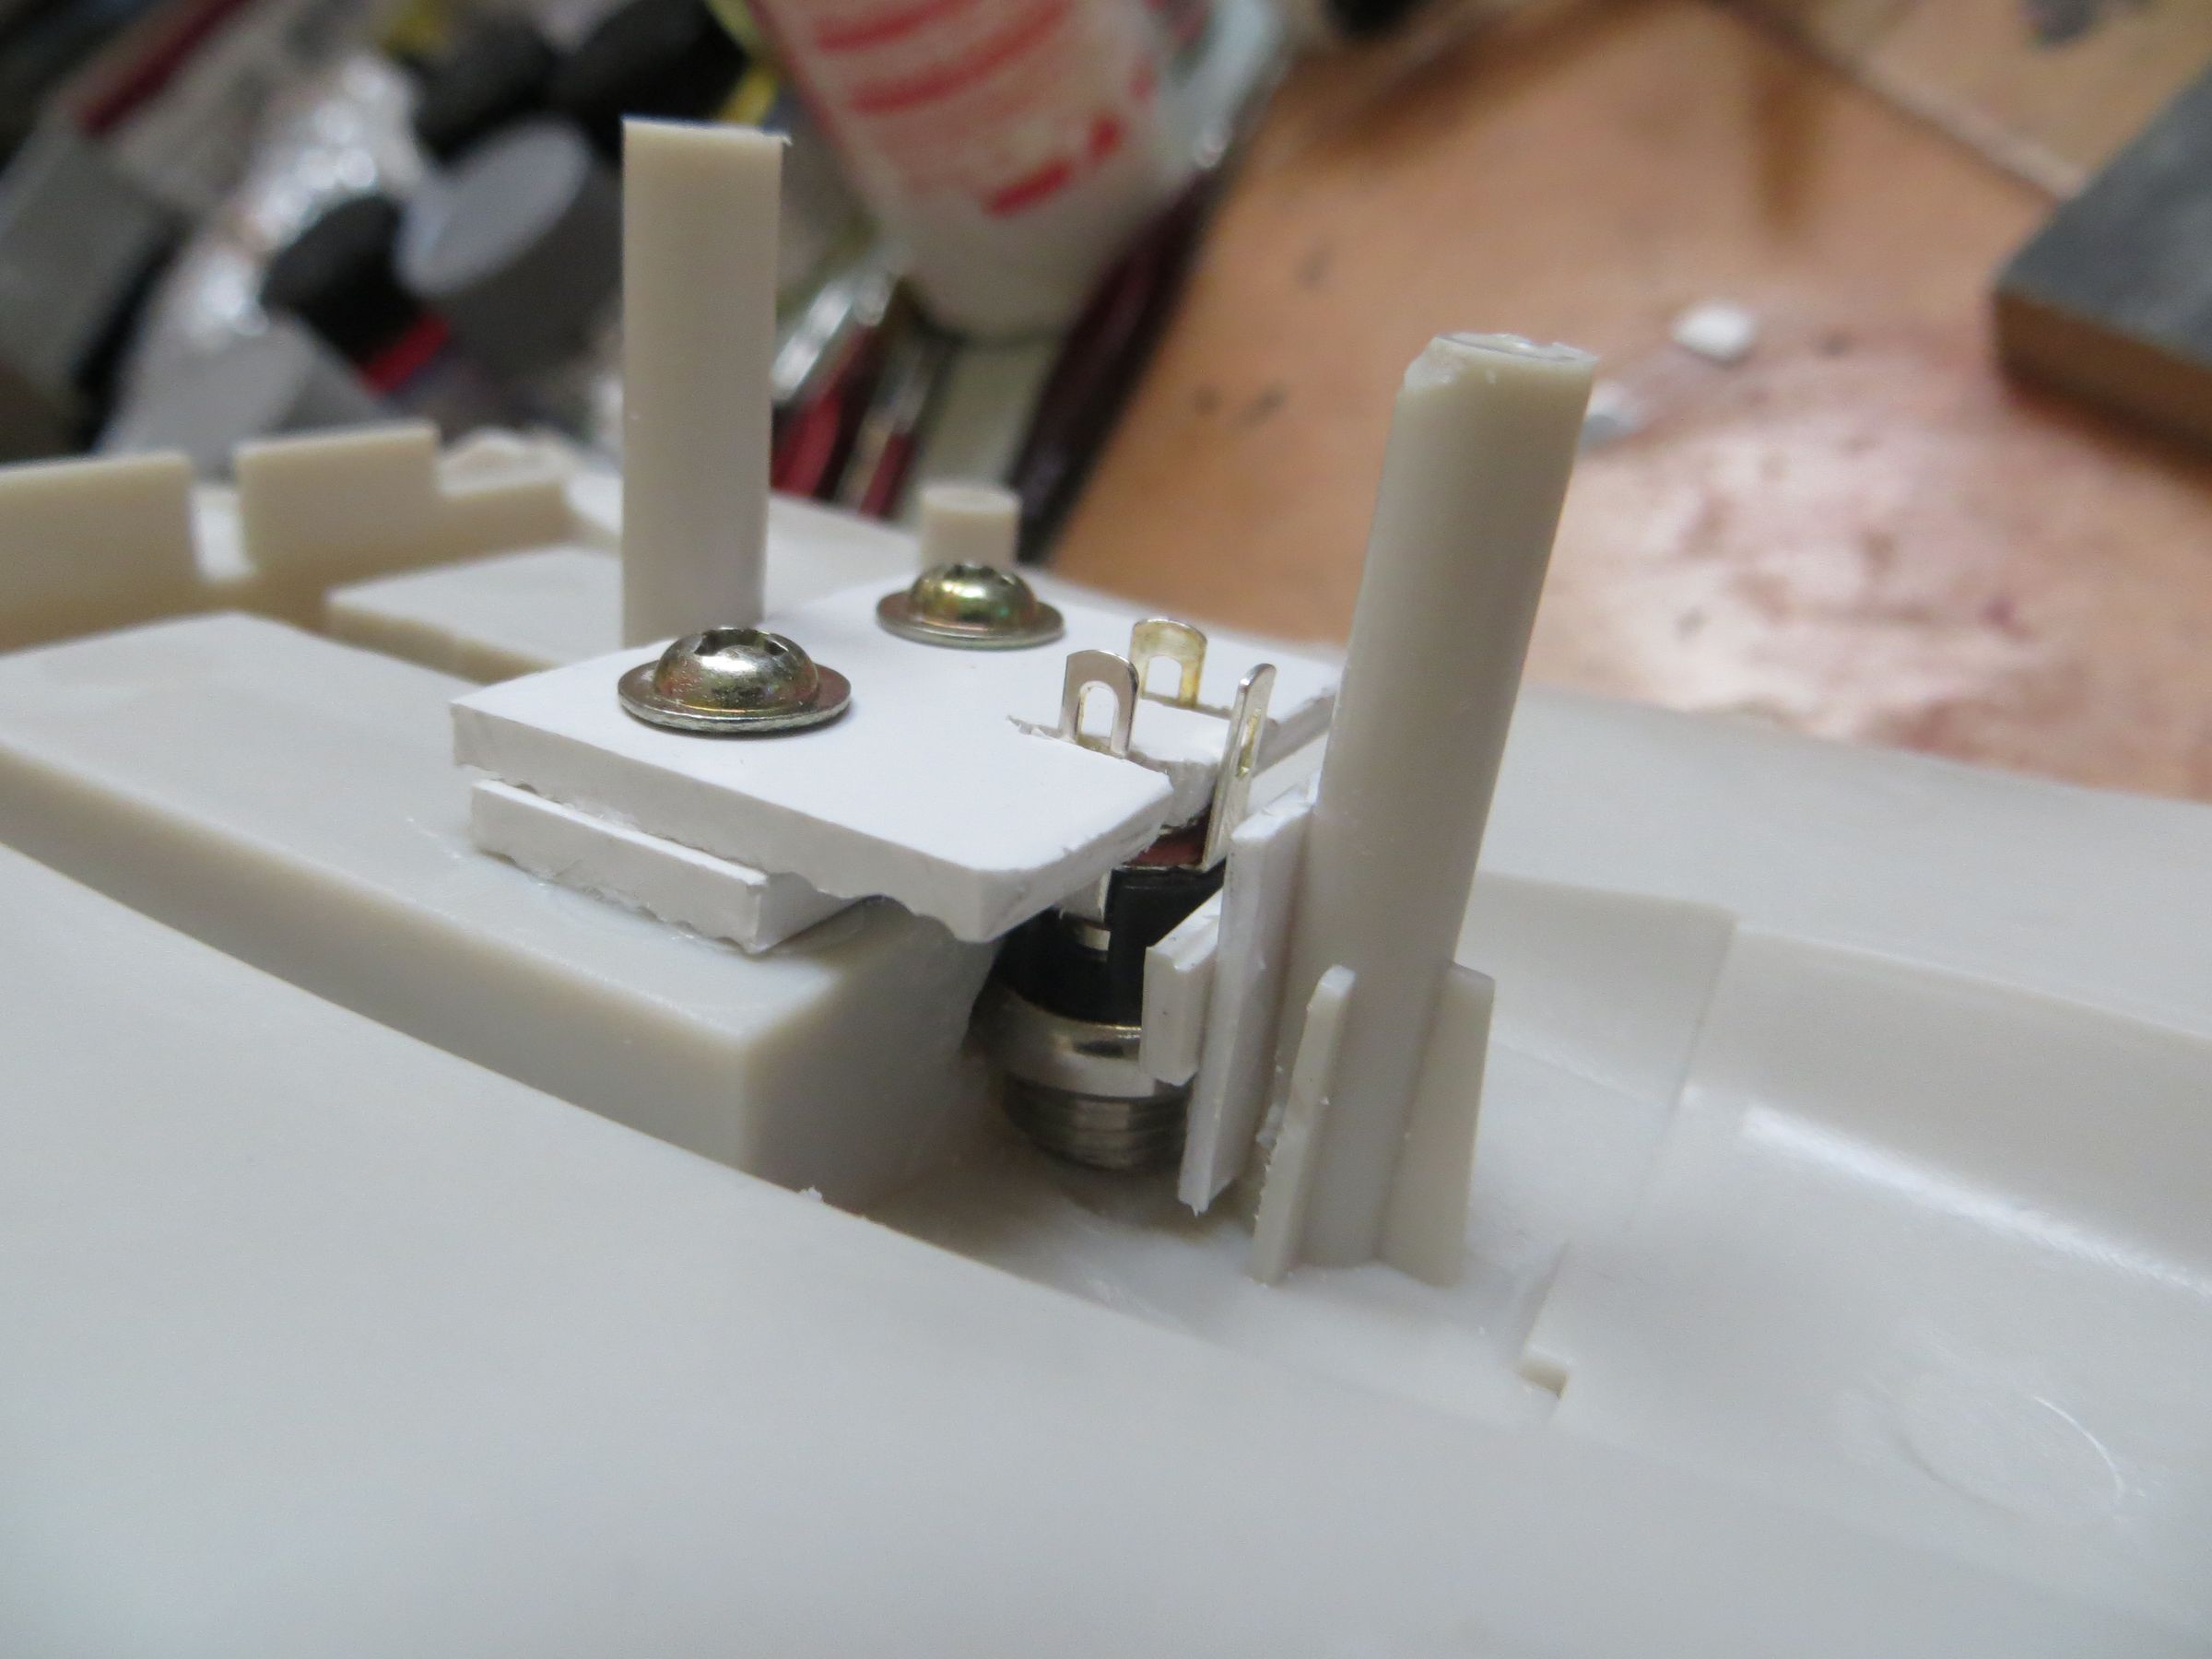
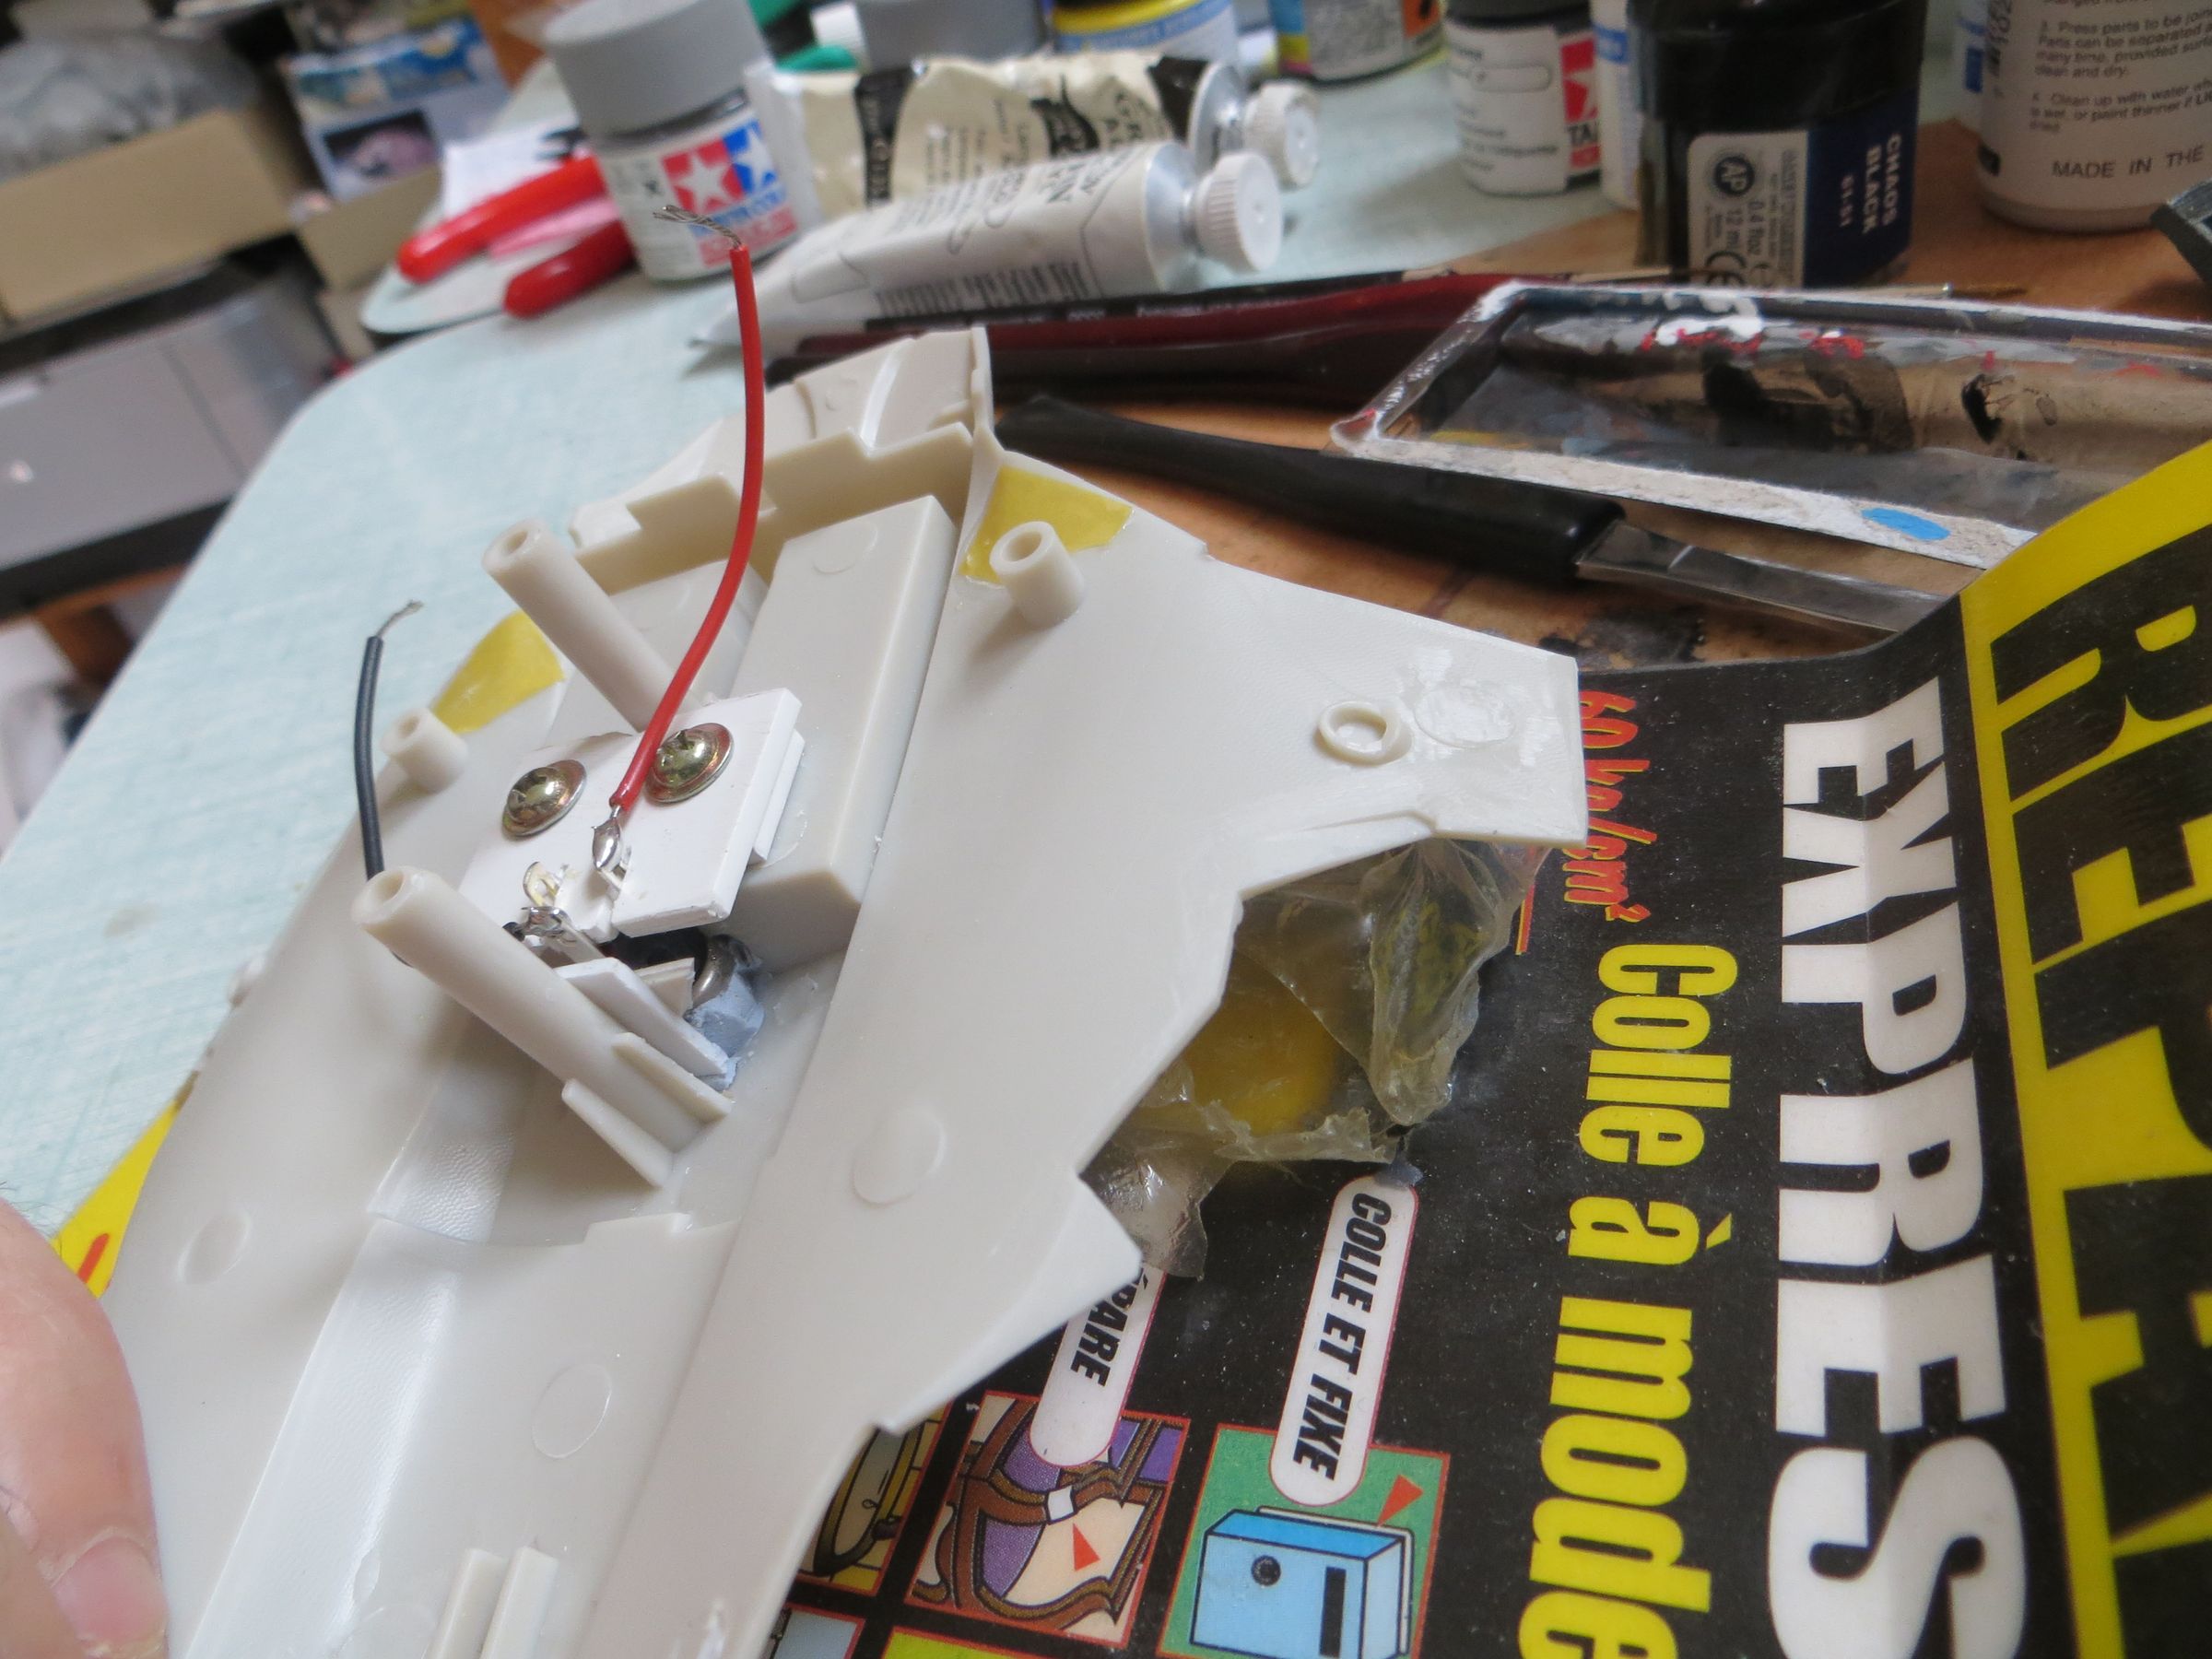
To hold the socket, I help myself with the studs and rear landing gear wells. The middle pin was removed to get some space, then I started to sand in the well walls.

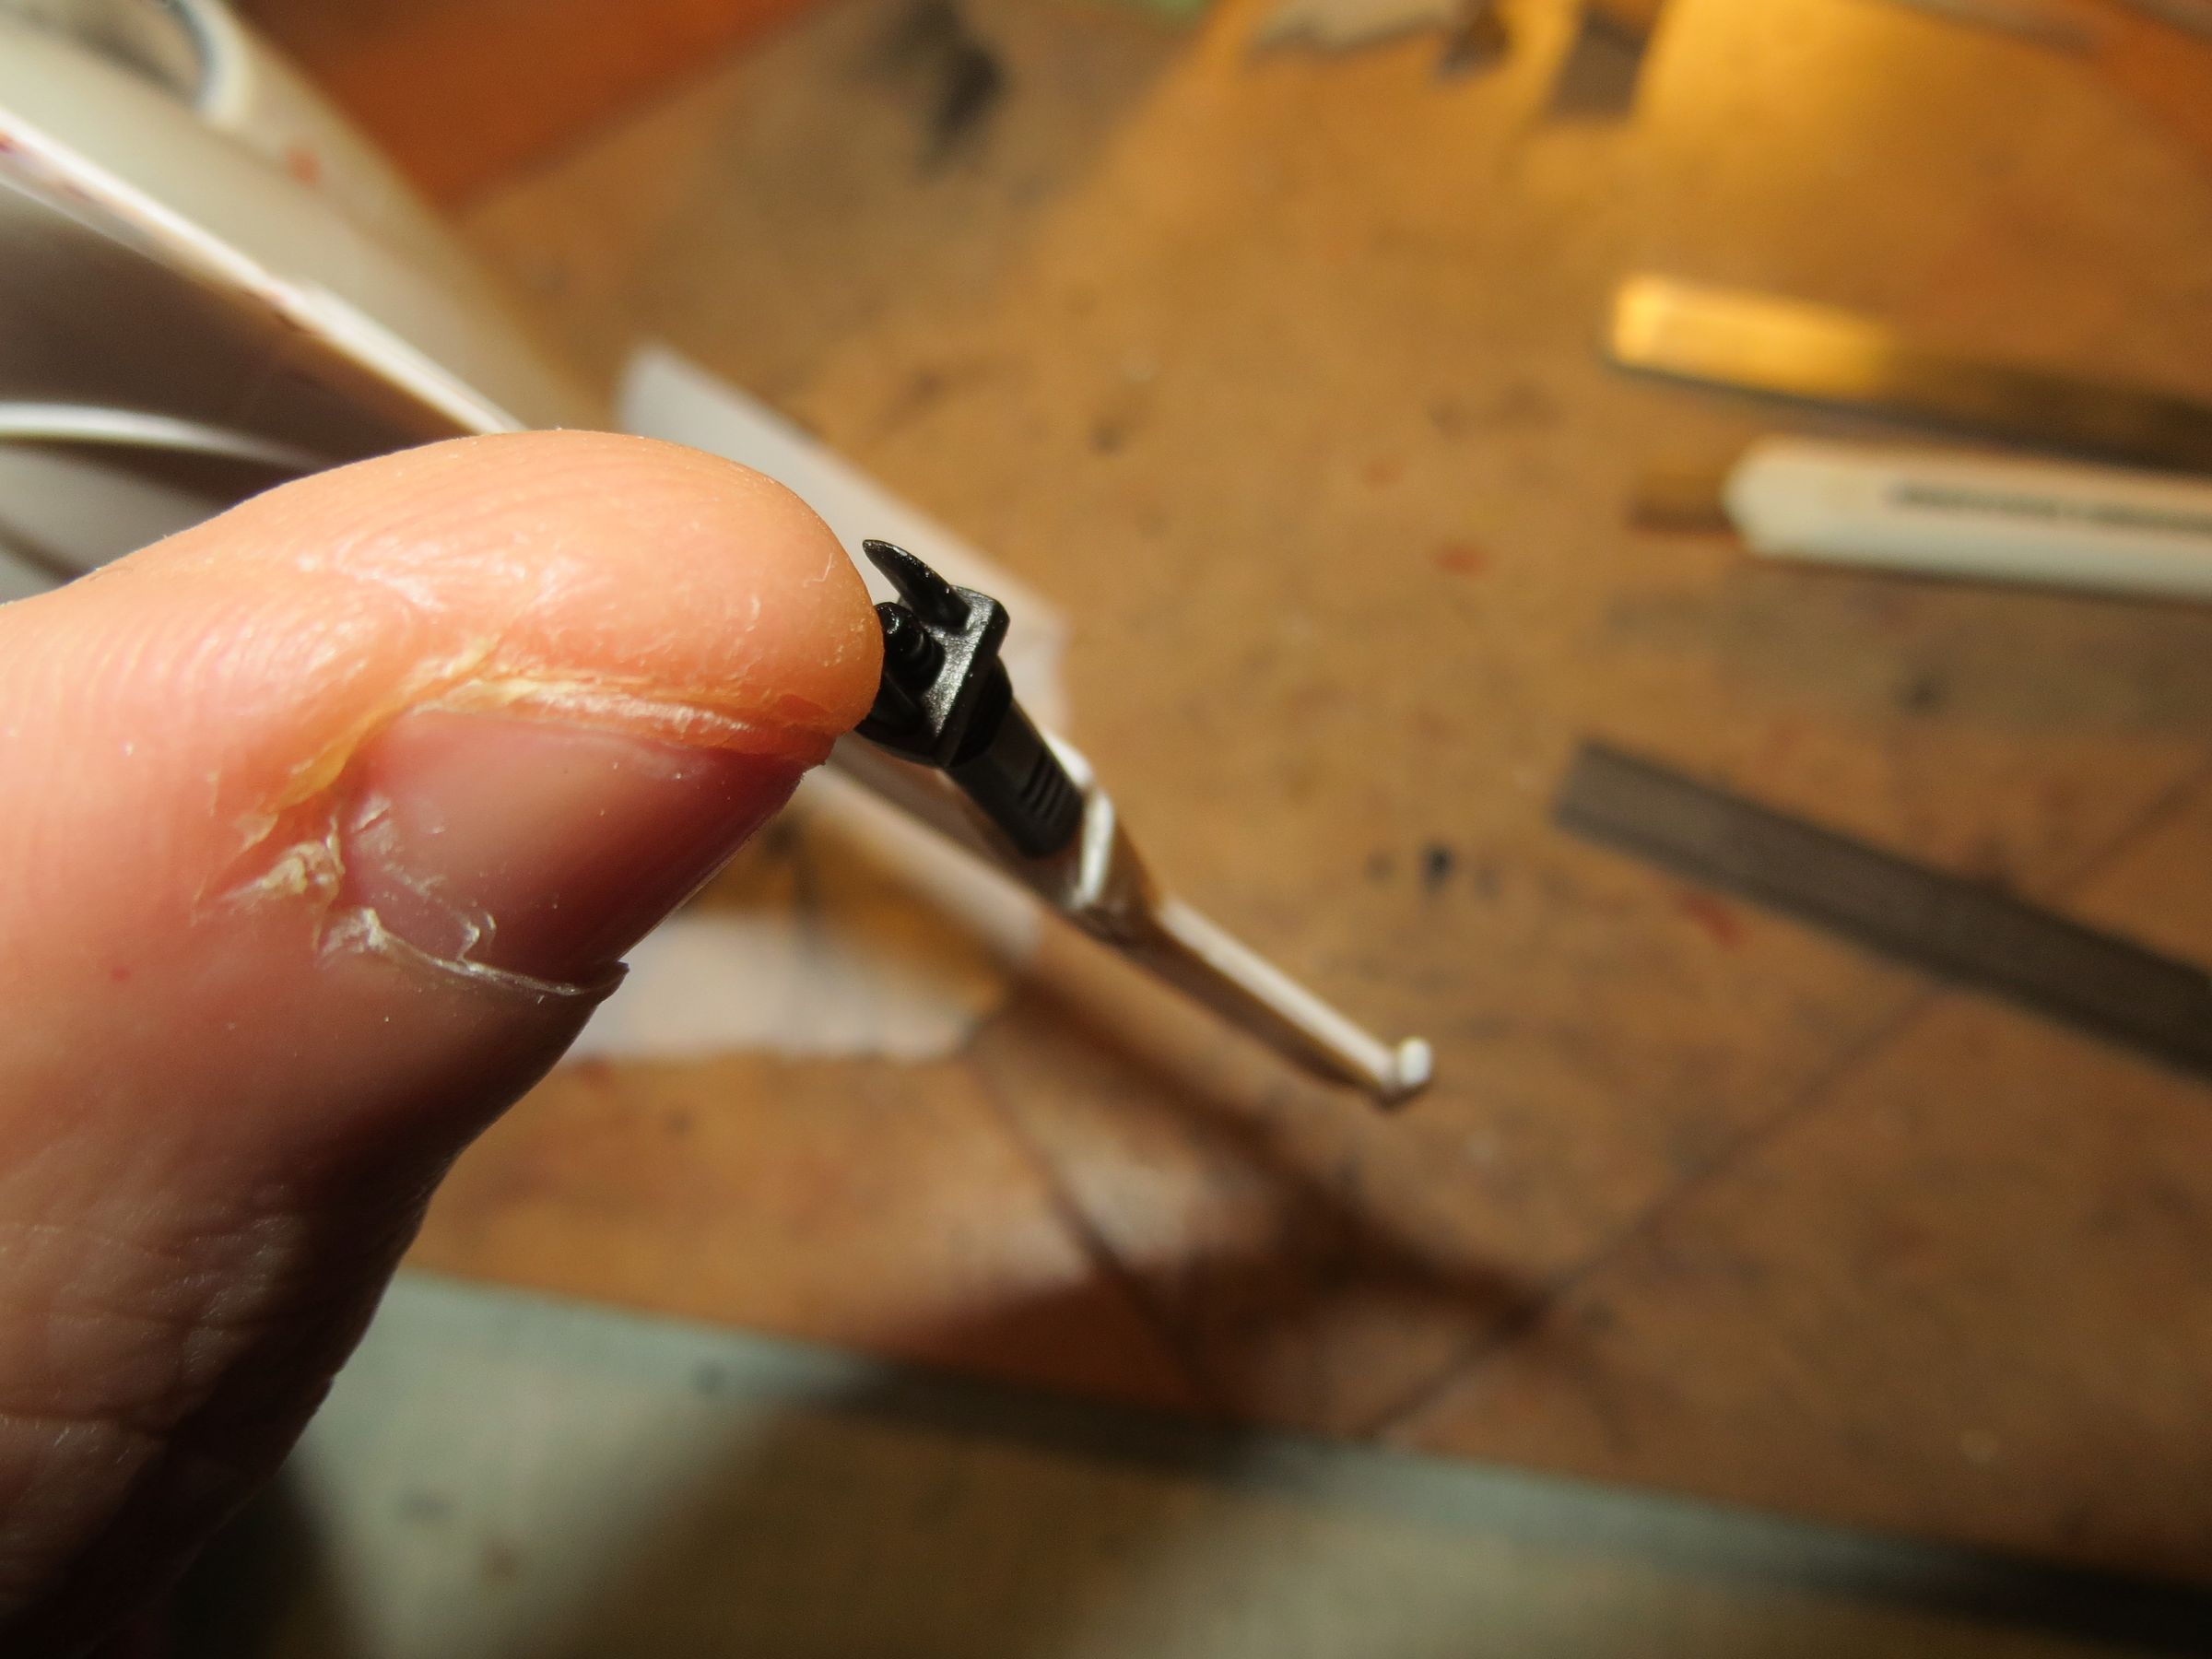
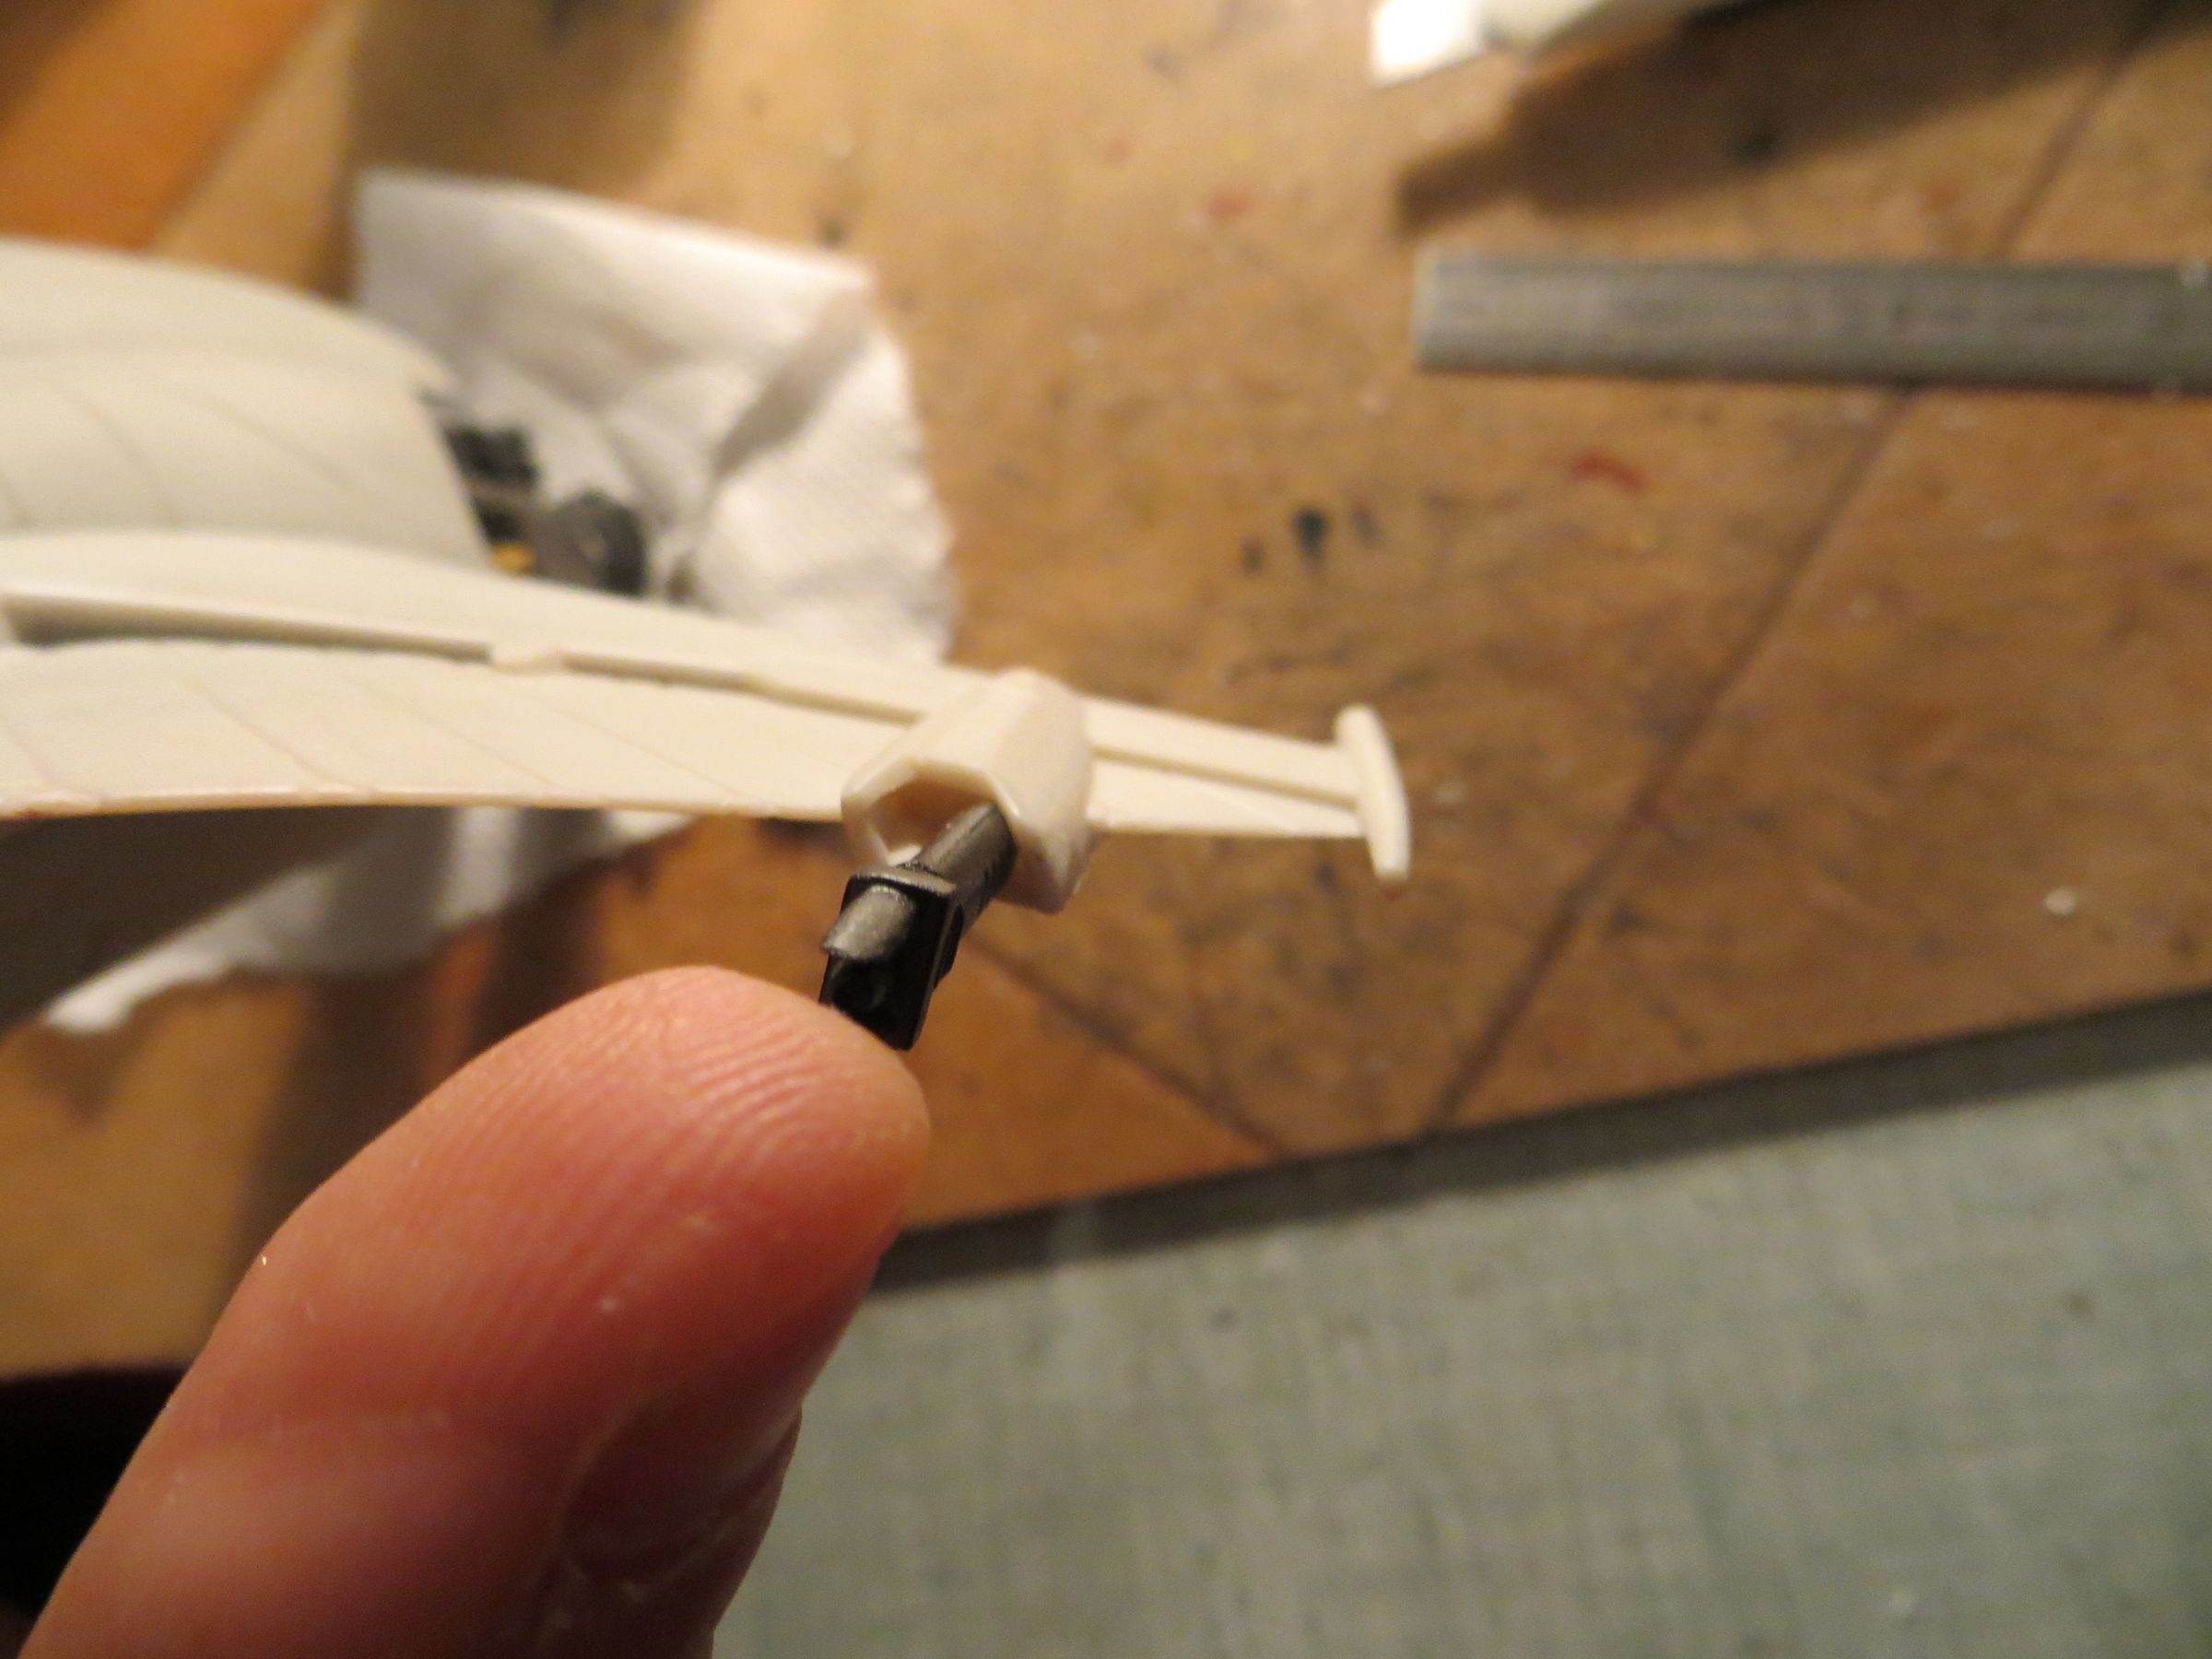
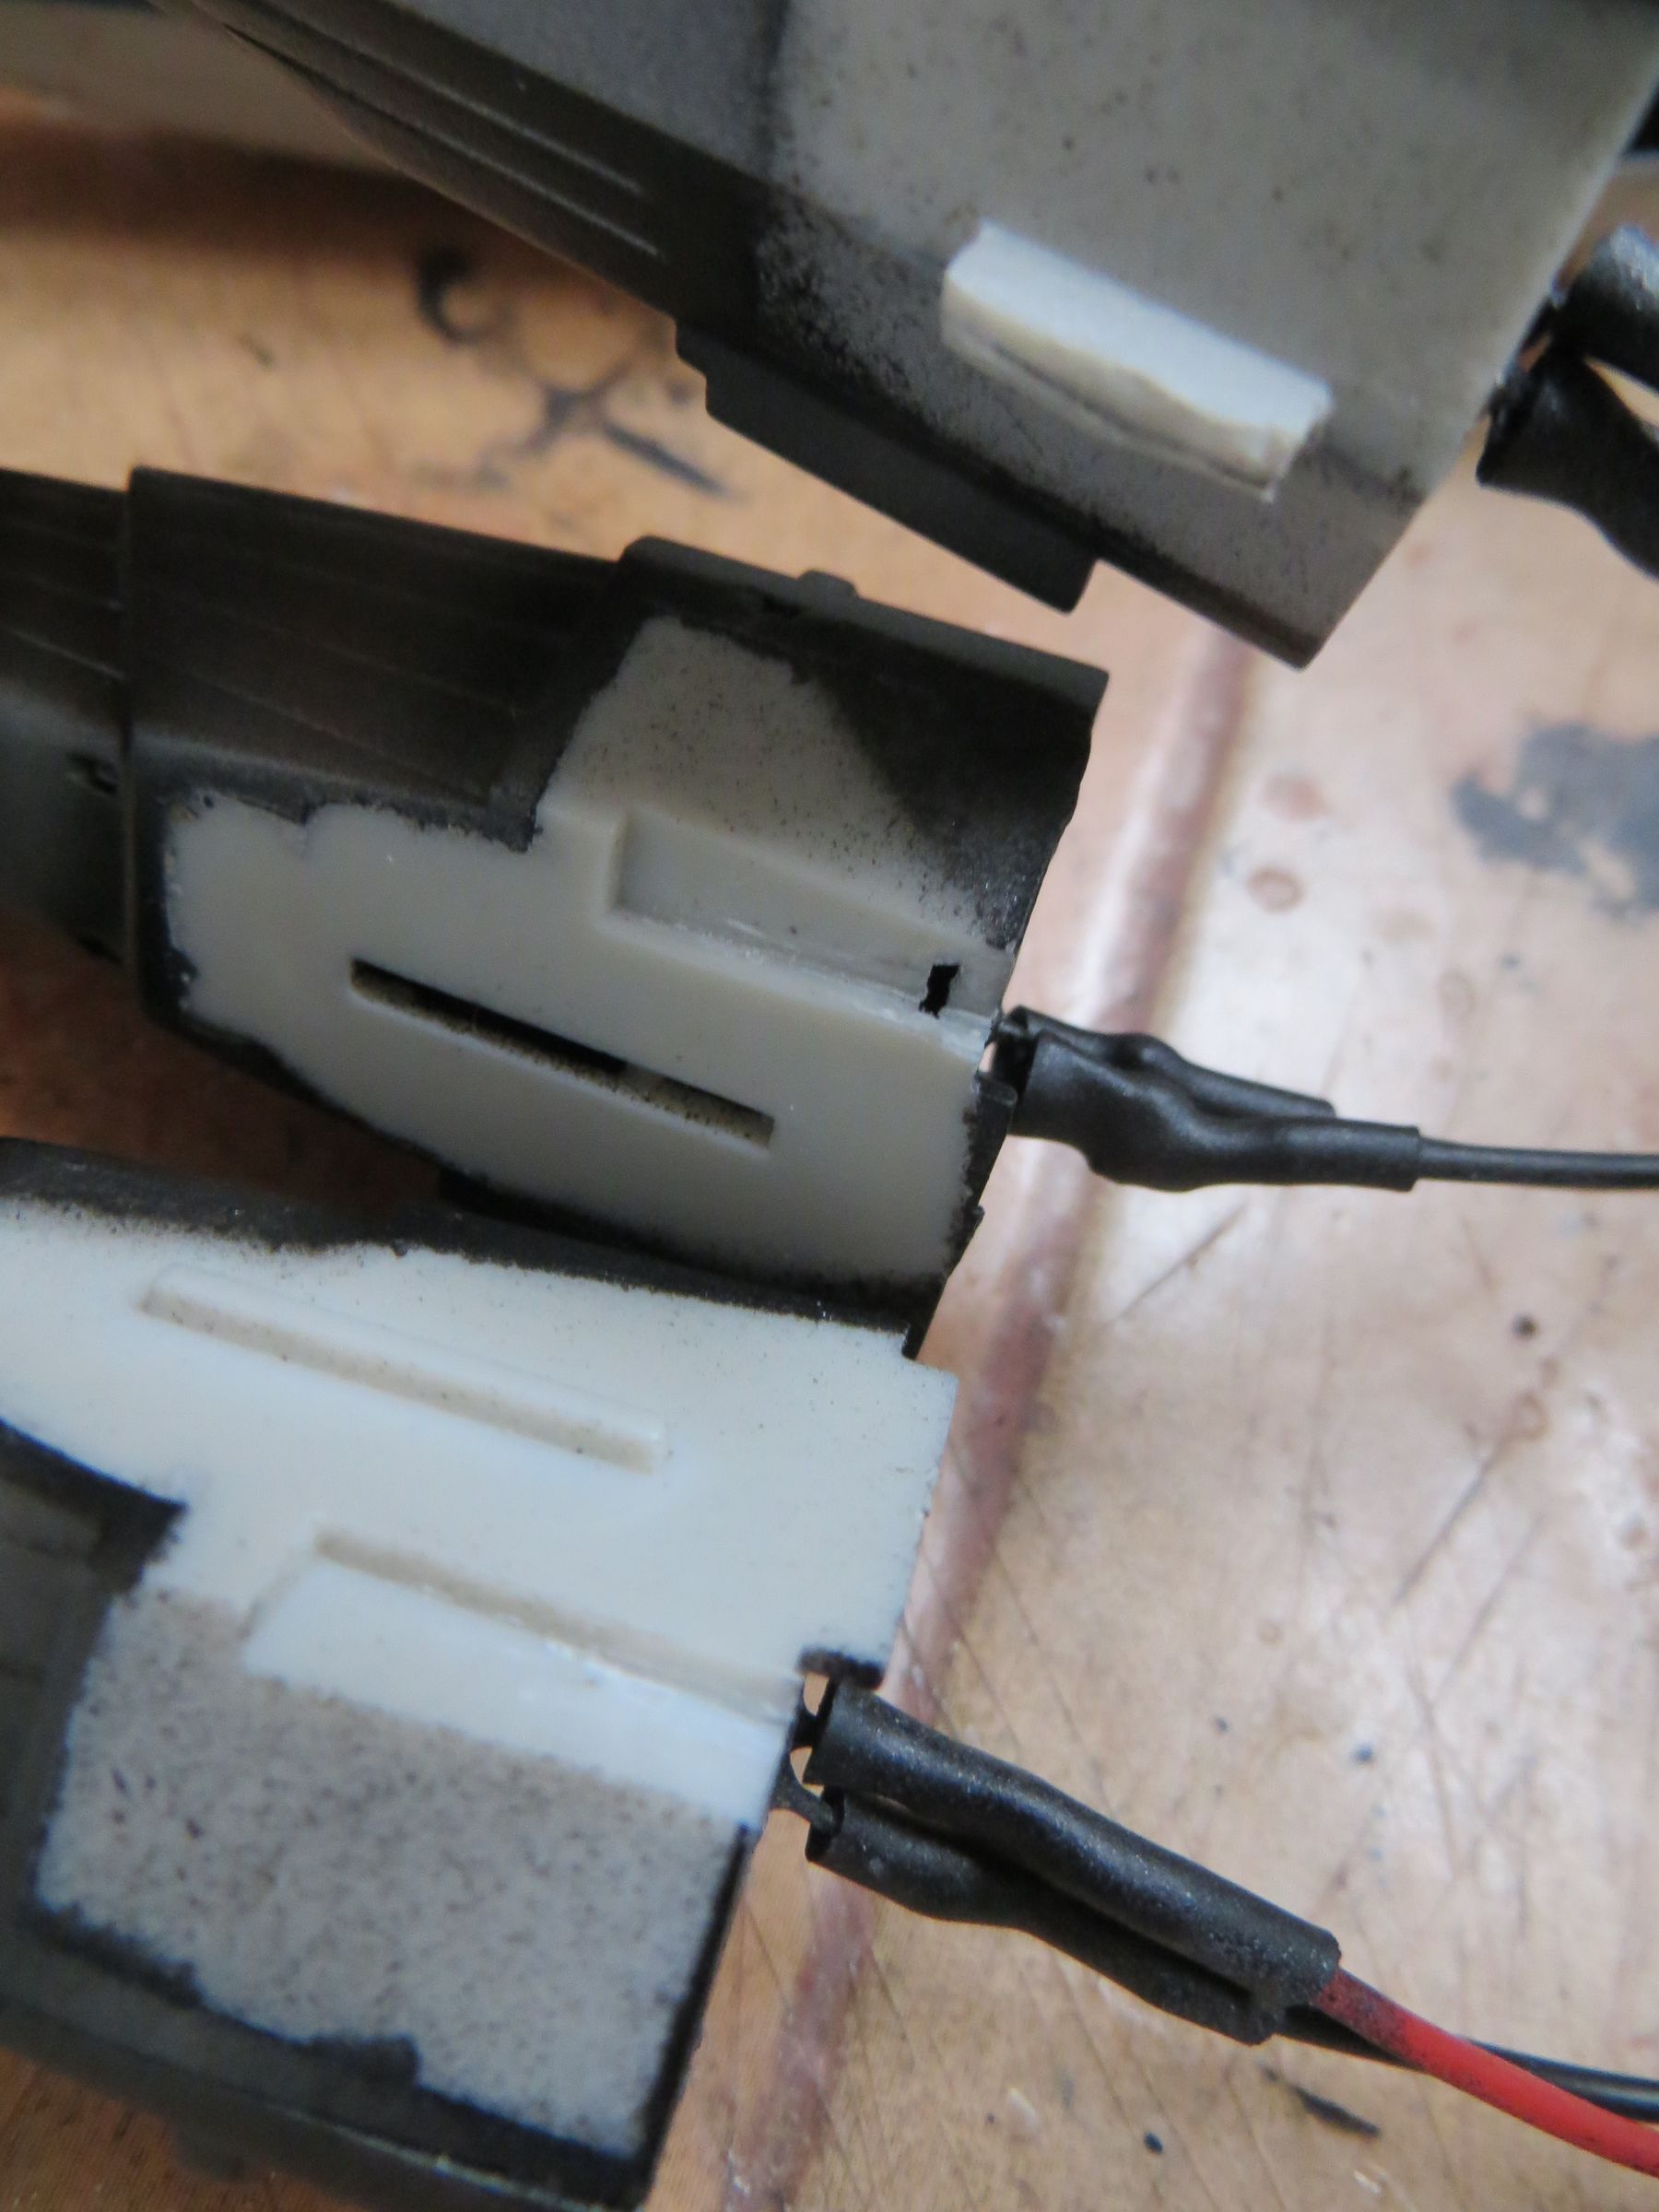
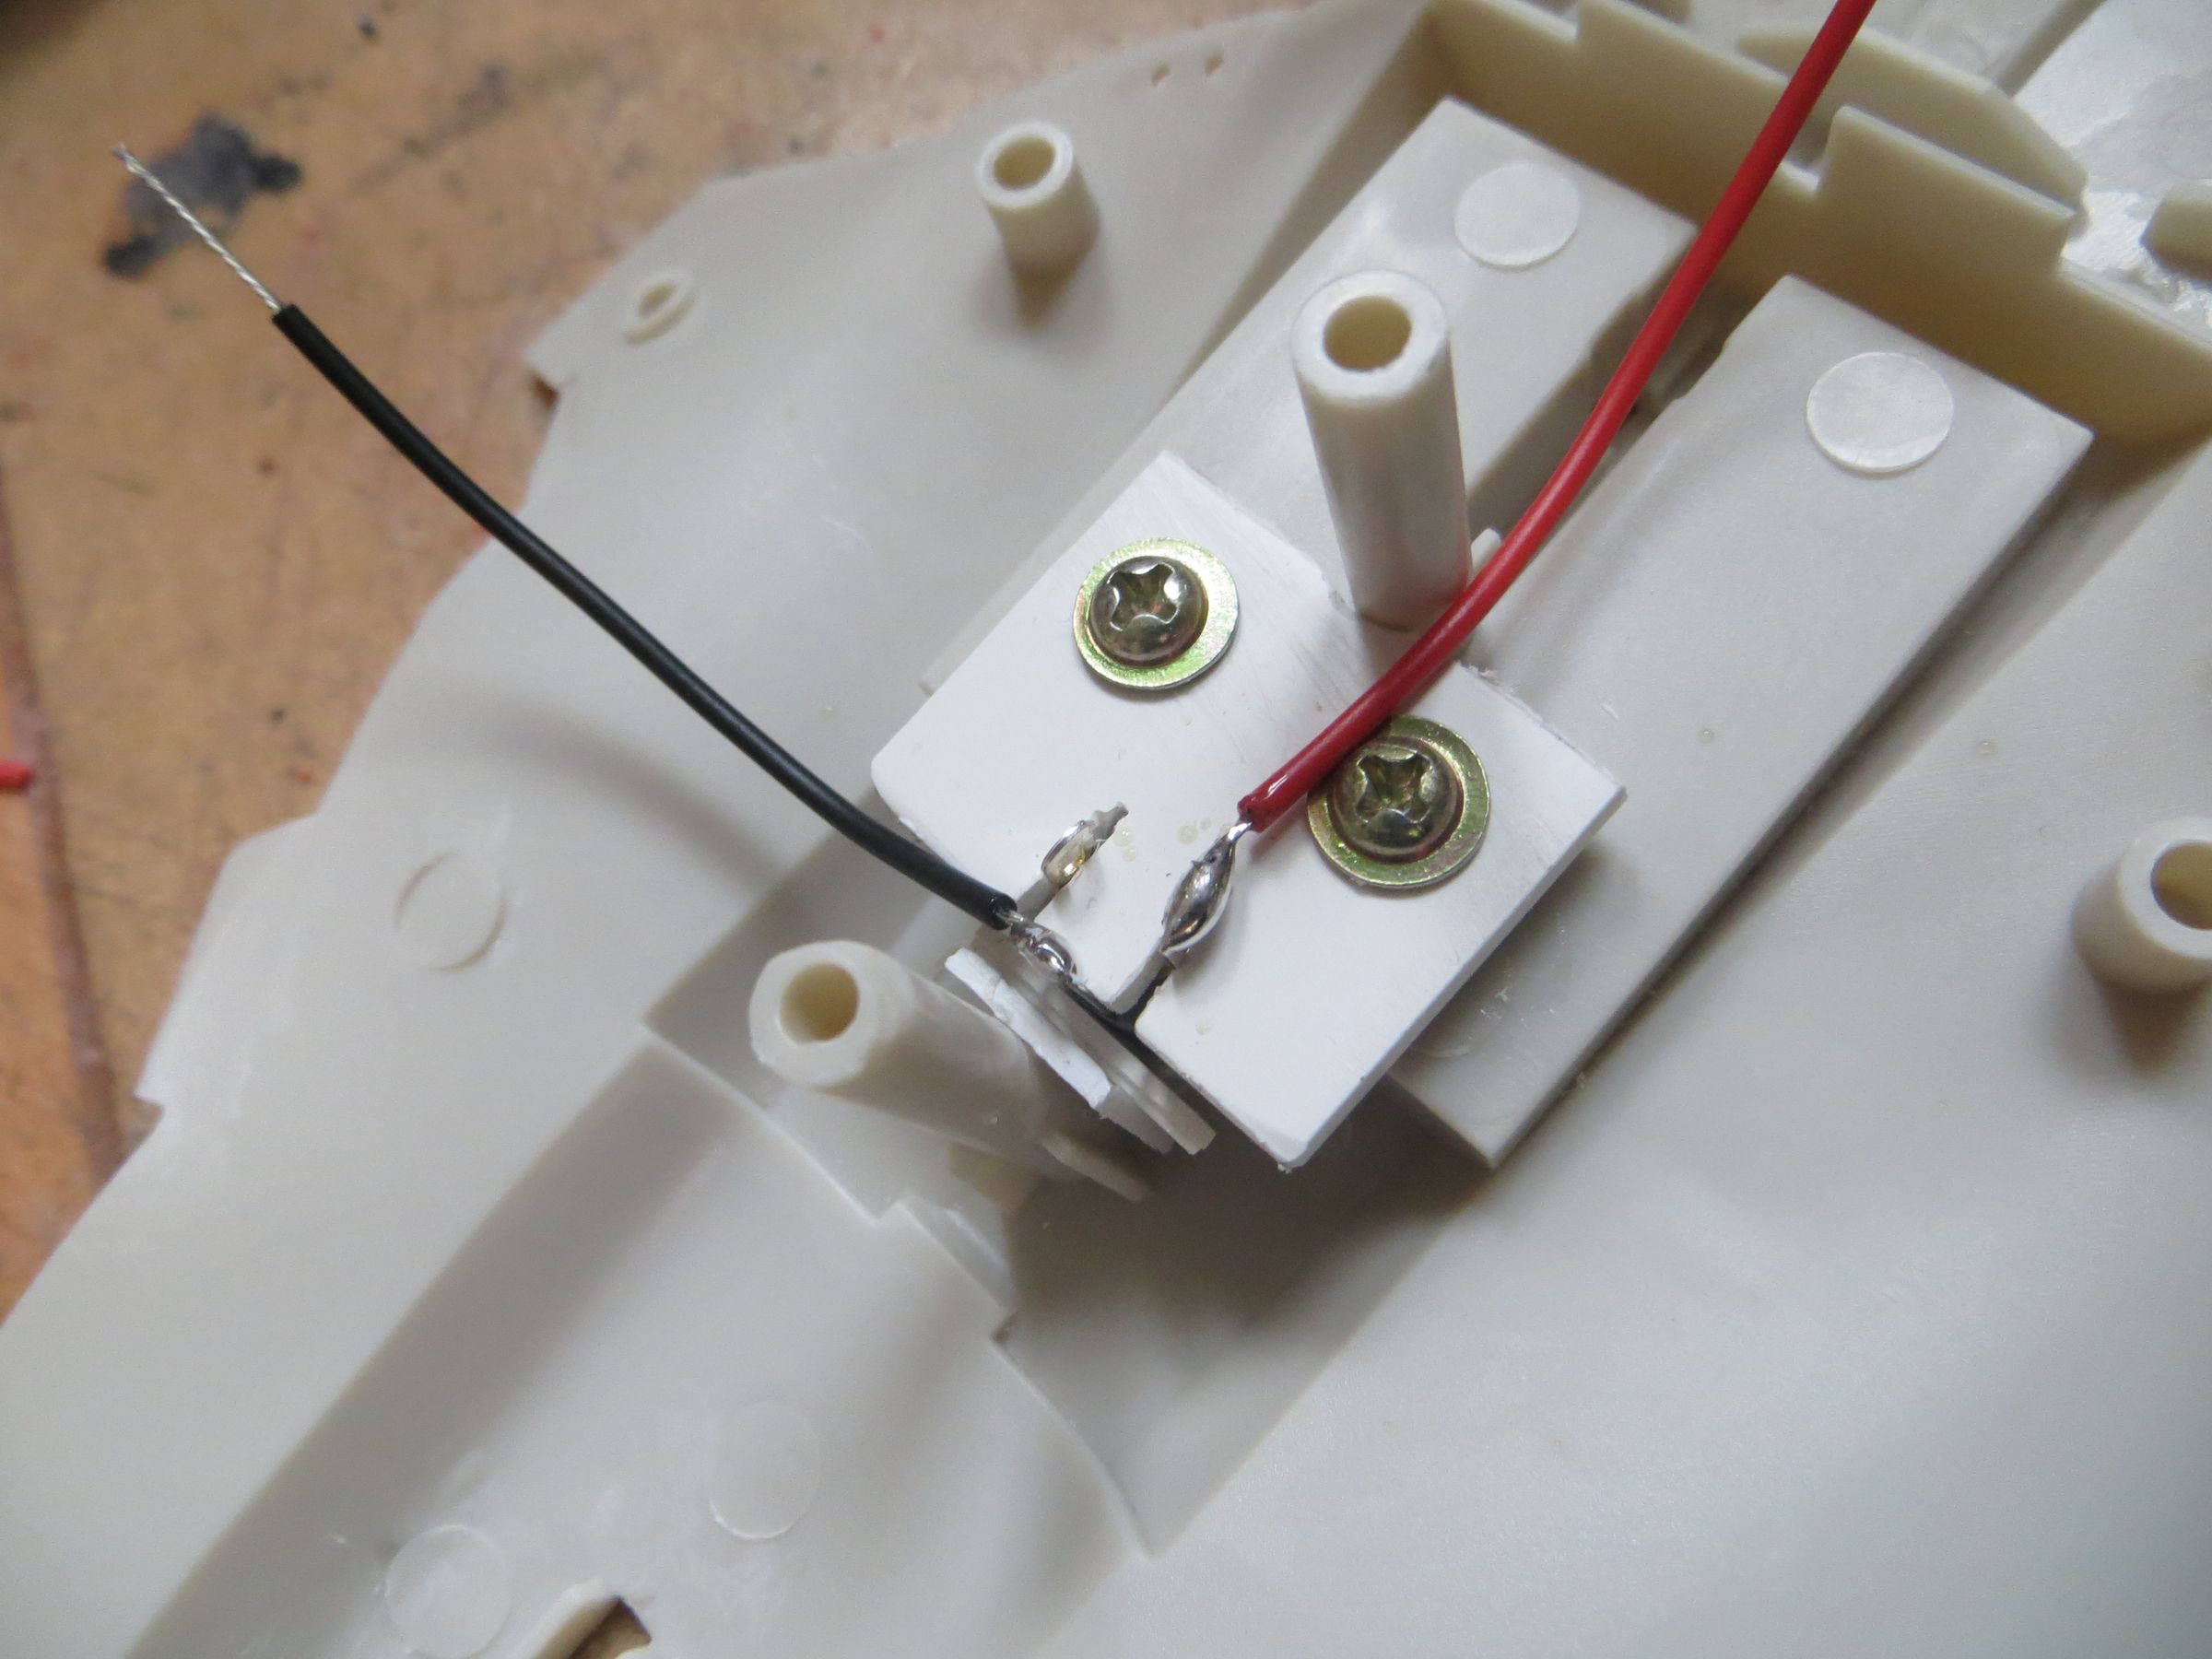
To hold the connector, I blocked it with a plastic square, in which 2 slots are made to free the socket metal tabs.
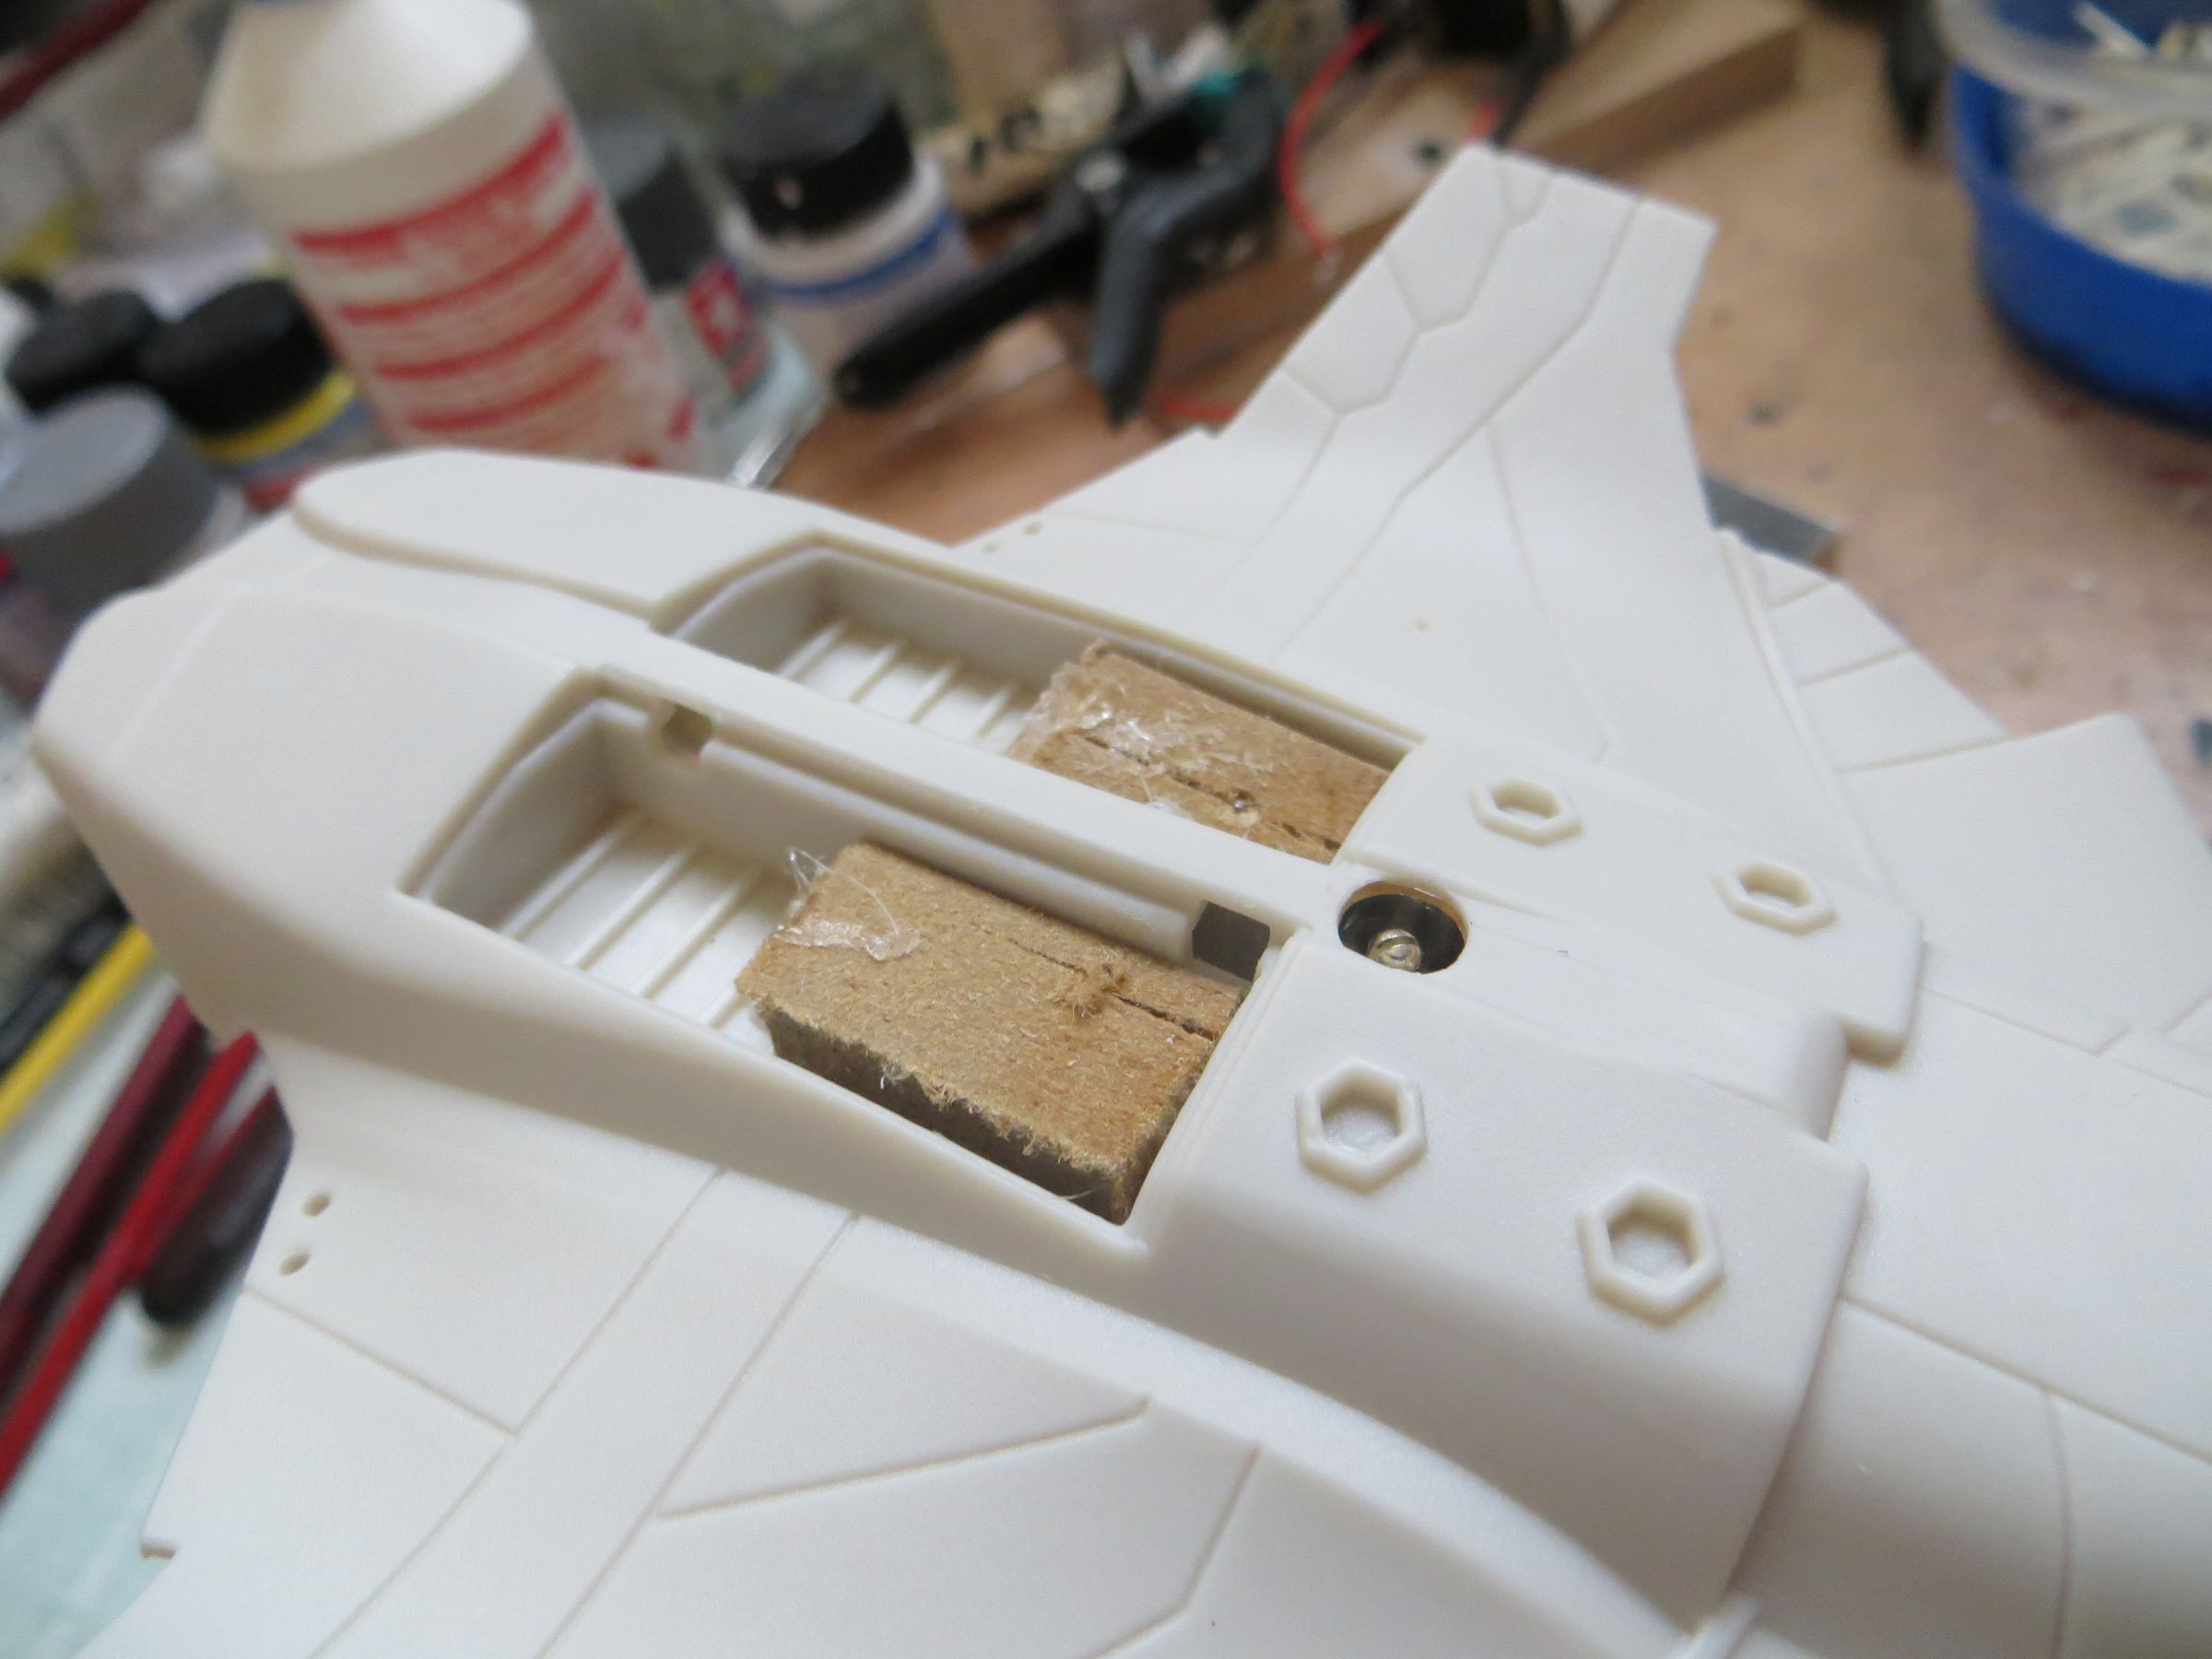
This plate is glued and reinforced with 2 screws. To have more material for the screws, 2 small wooden blocks are installed with hot glue in the landing gear wells.
2 part modeling glue closes the openings around the socket.
Hatches and intakes are glued. The hole of the original support is clogged with plastic card, reinforced from behind again by a mixture of cyano and resin dust.
Par olcabour le lundi, 10 mars 2014, 21:56
The cockpit is finally installed, the bonding is done with cyano glue, reinforced by a mixture of resin dust/particles and cyano.
Sorry, no photos of this. However, here it is installed and lighted
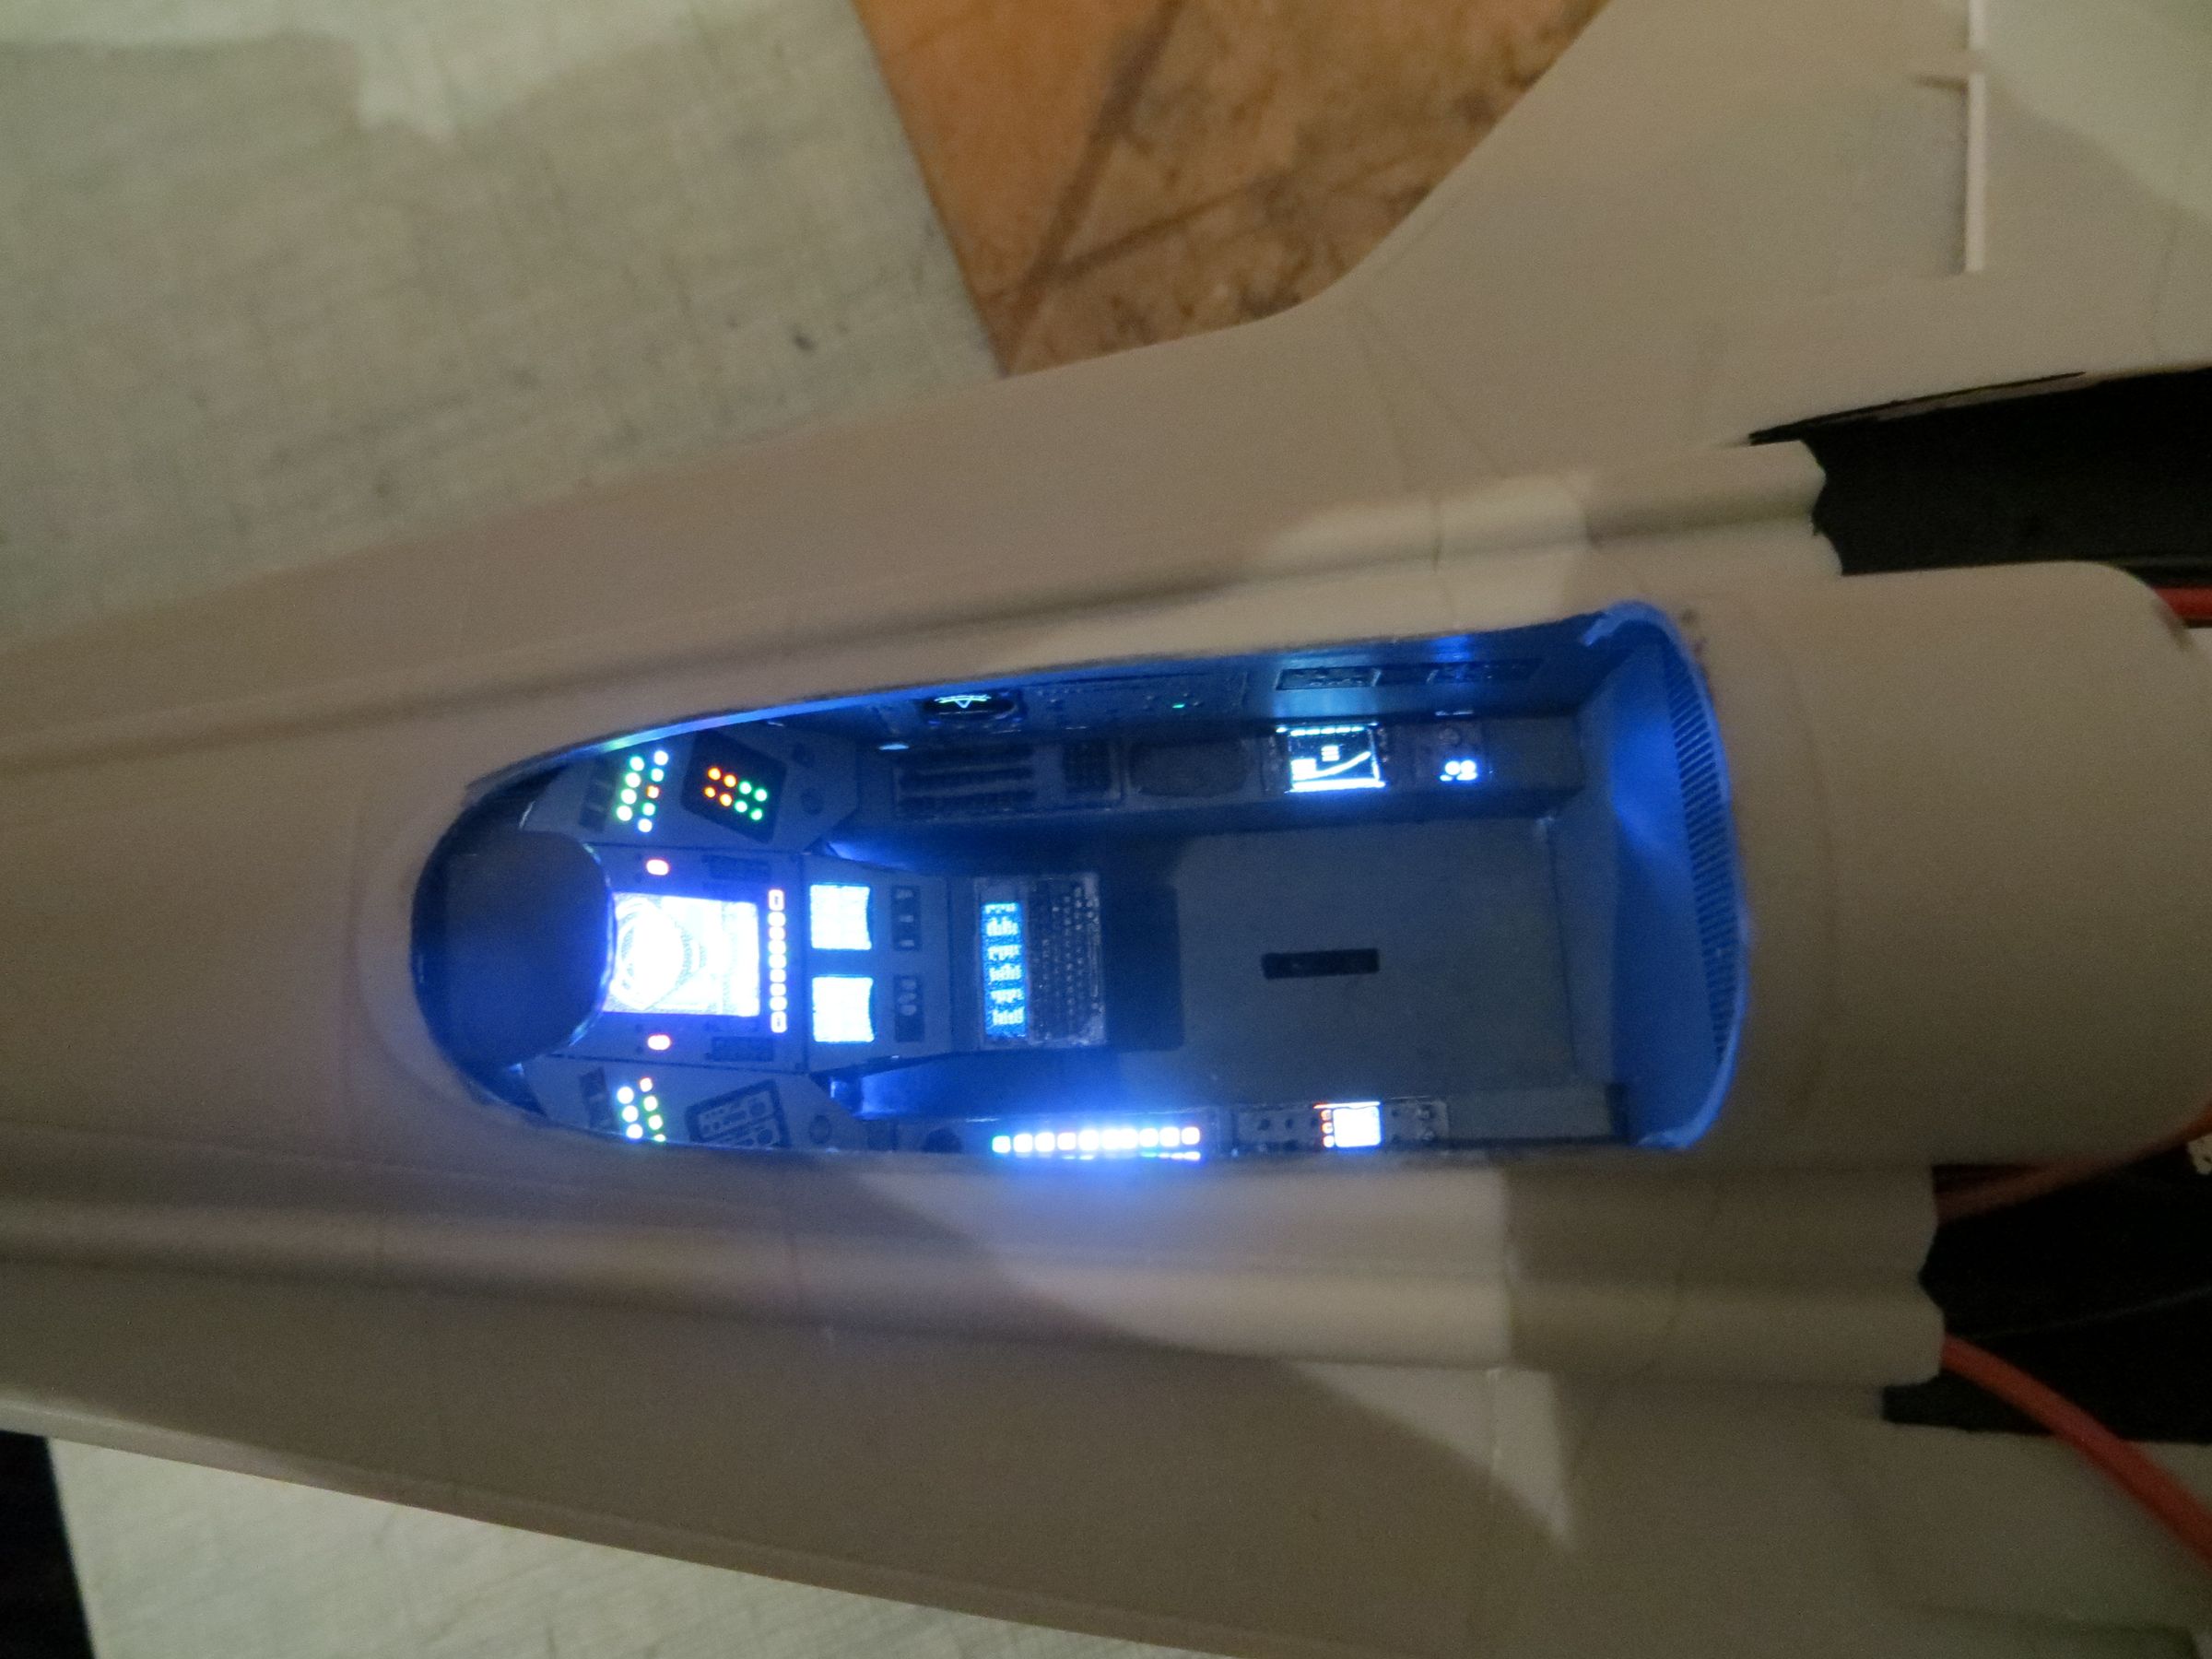
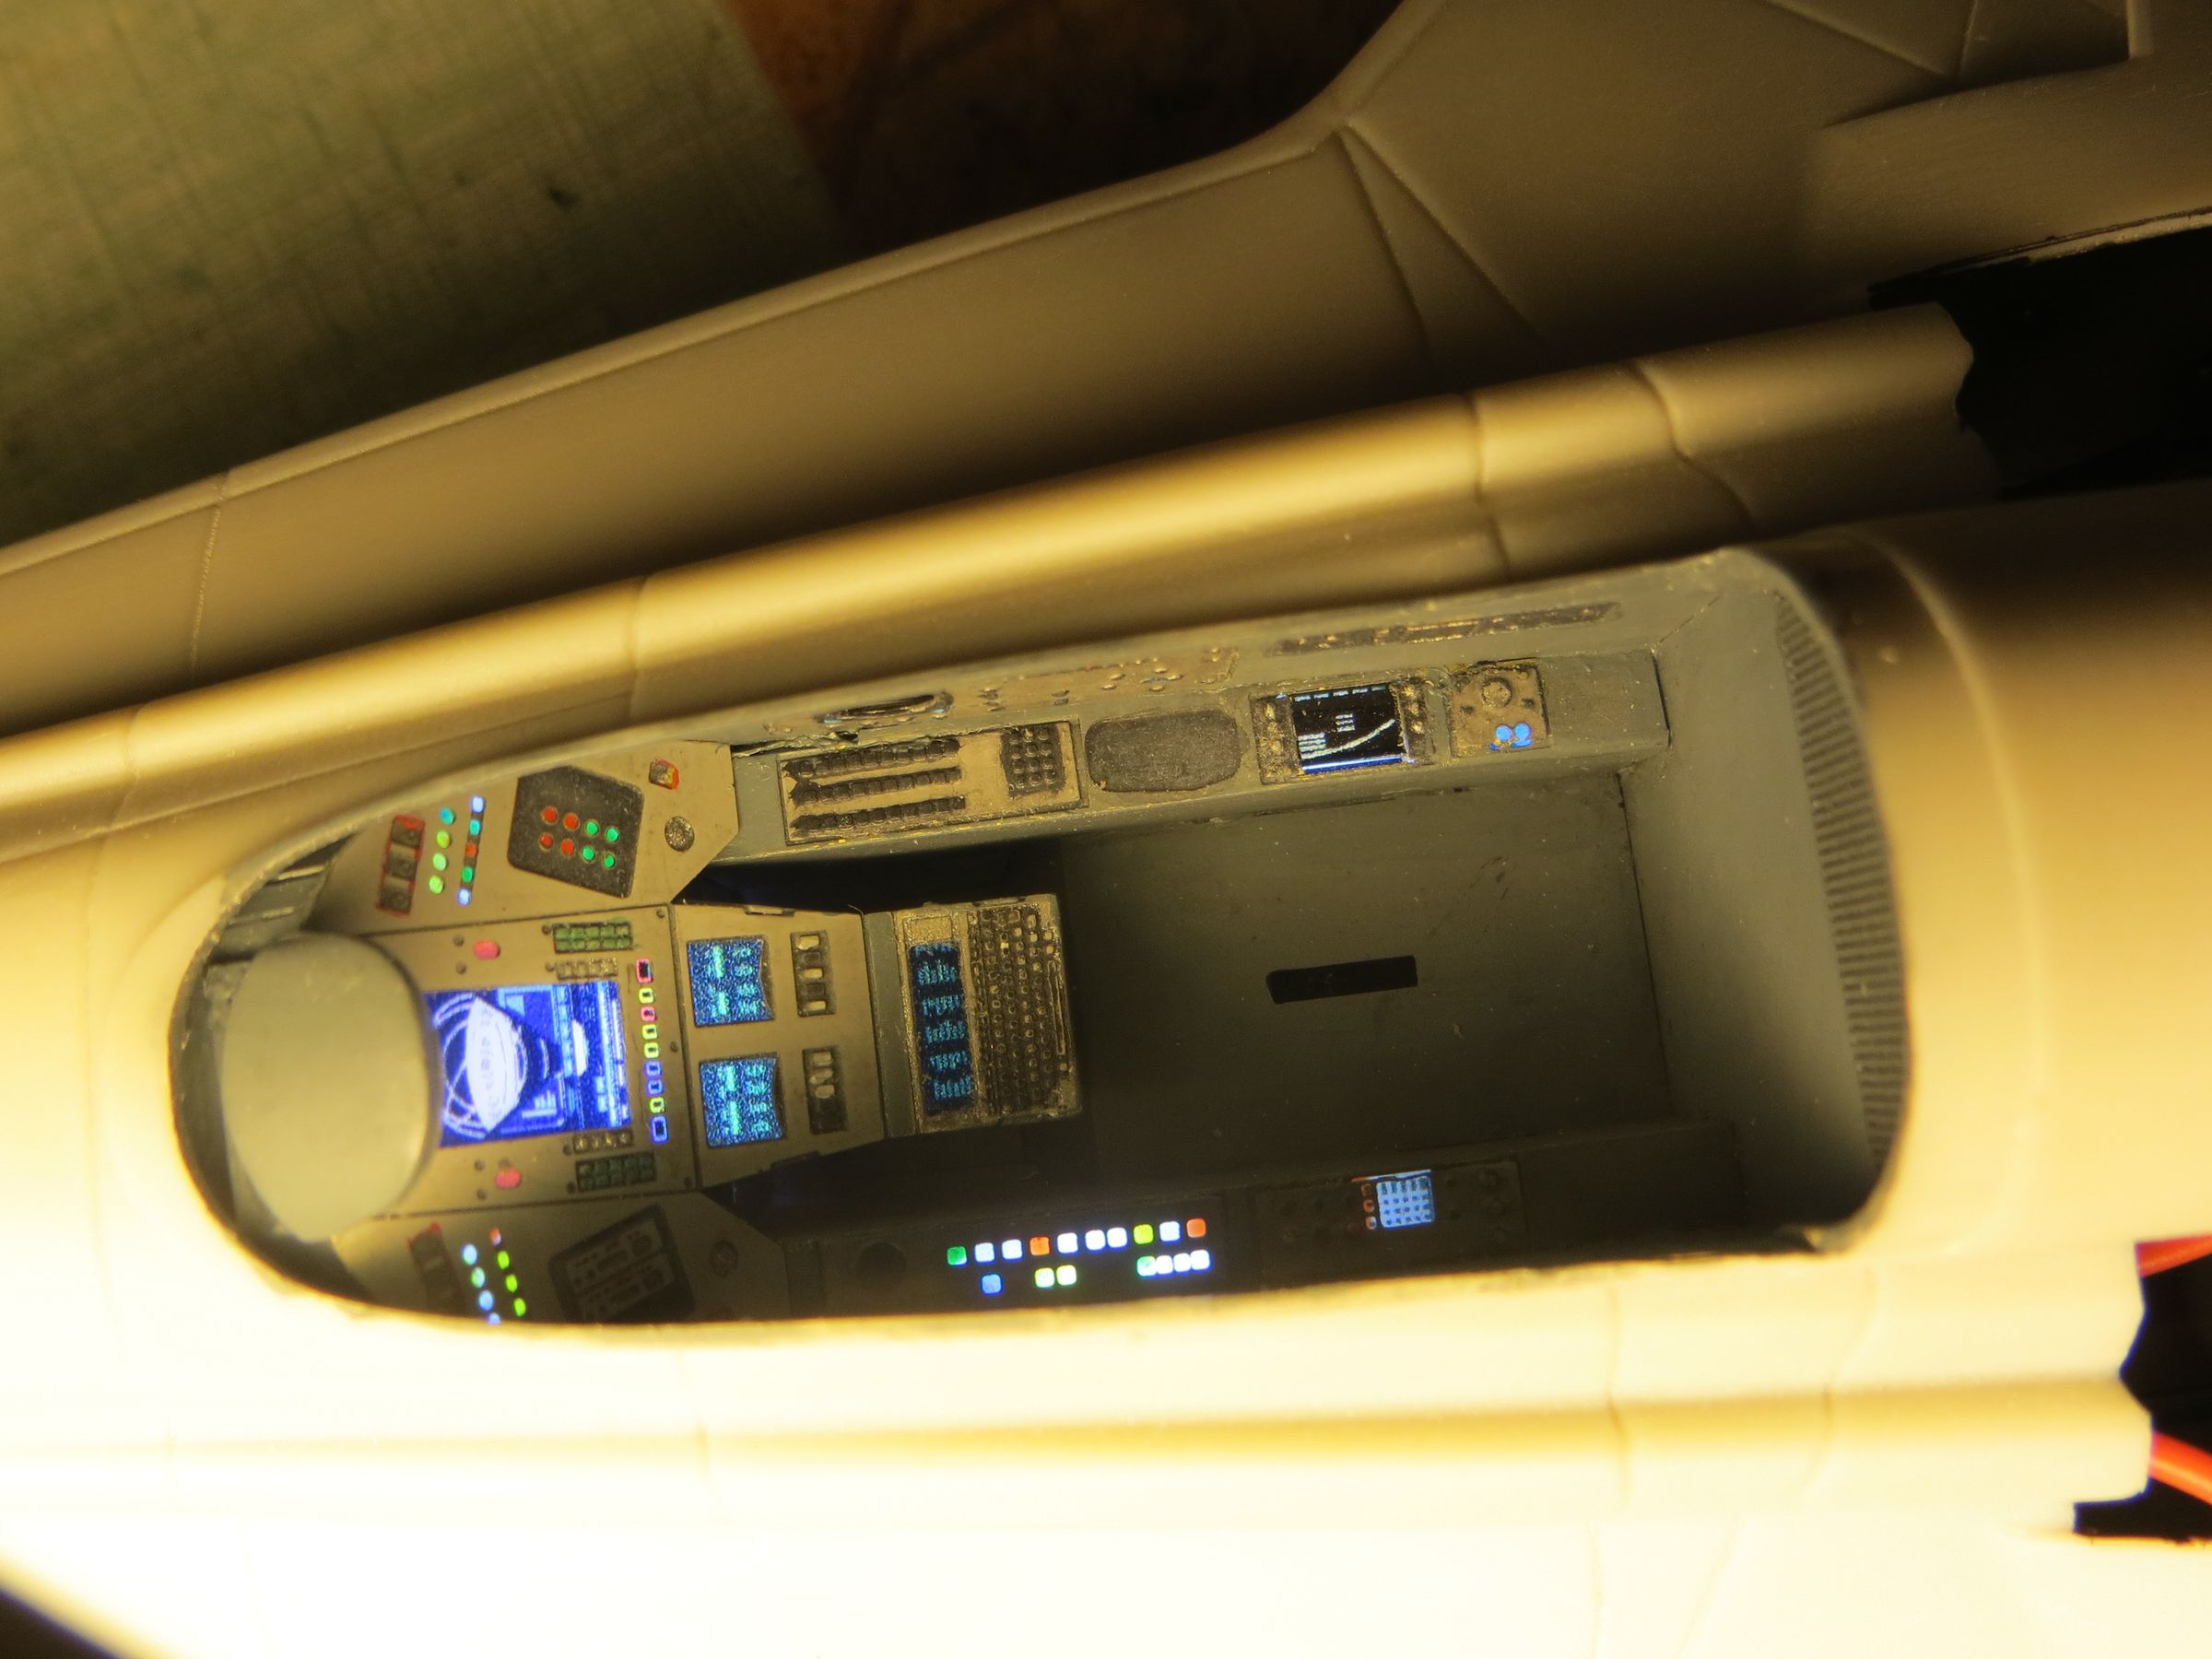

The inside of the cabin and the cockpit walls are painted with black to prevent light leakages.

samedi, 8 mars 2014
Par olcabour le samedi, 8 mars 2014, 22:46
The cabin has some shrinkages. Some disappeared after sanding, while other needed putty.
before
After sanding. where the putty is still drying, there was a remaining shrinkage.
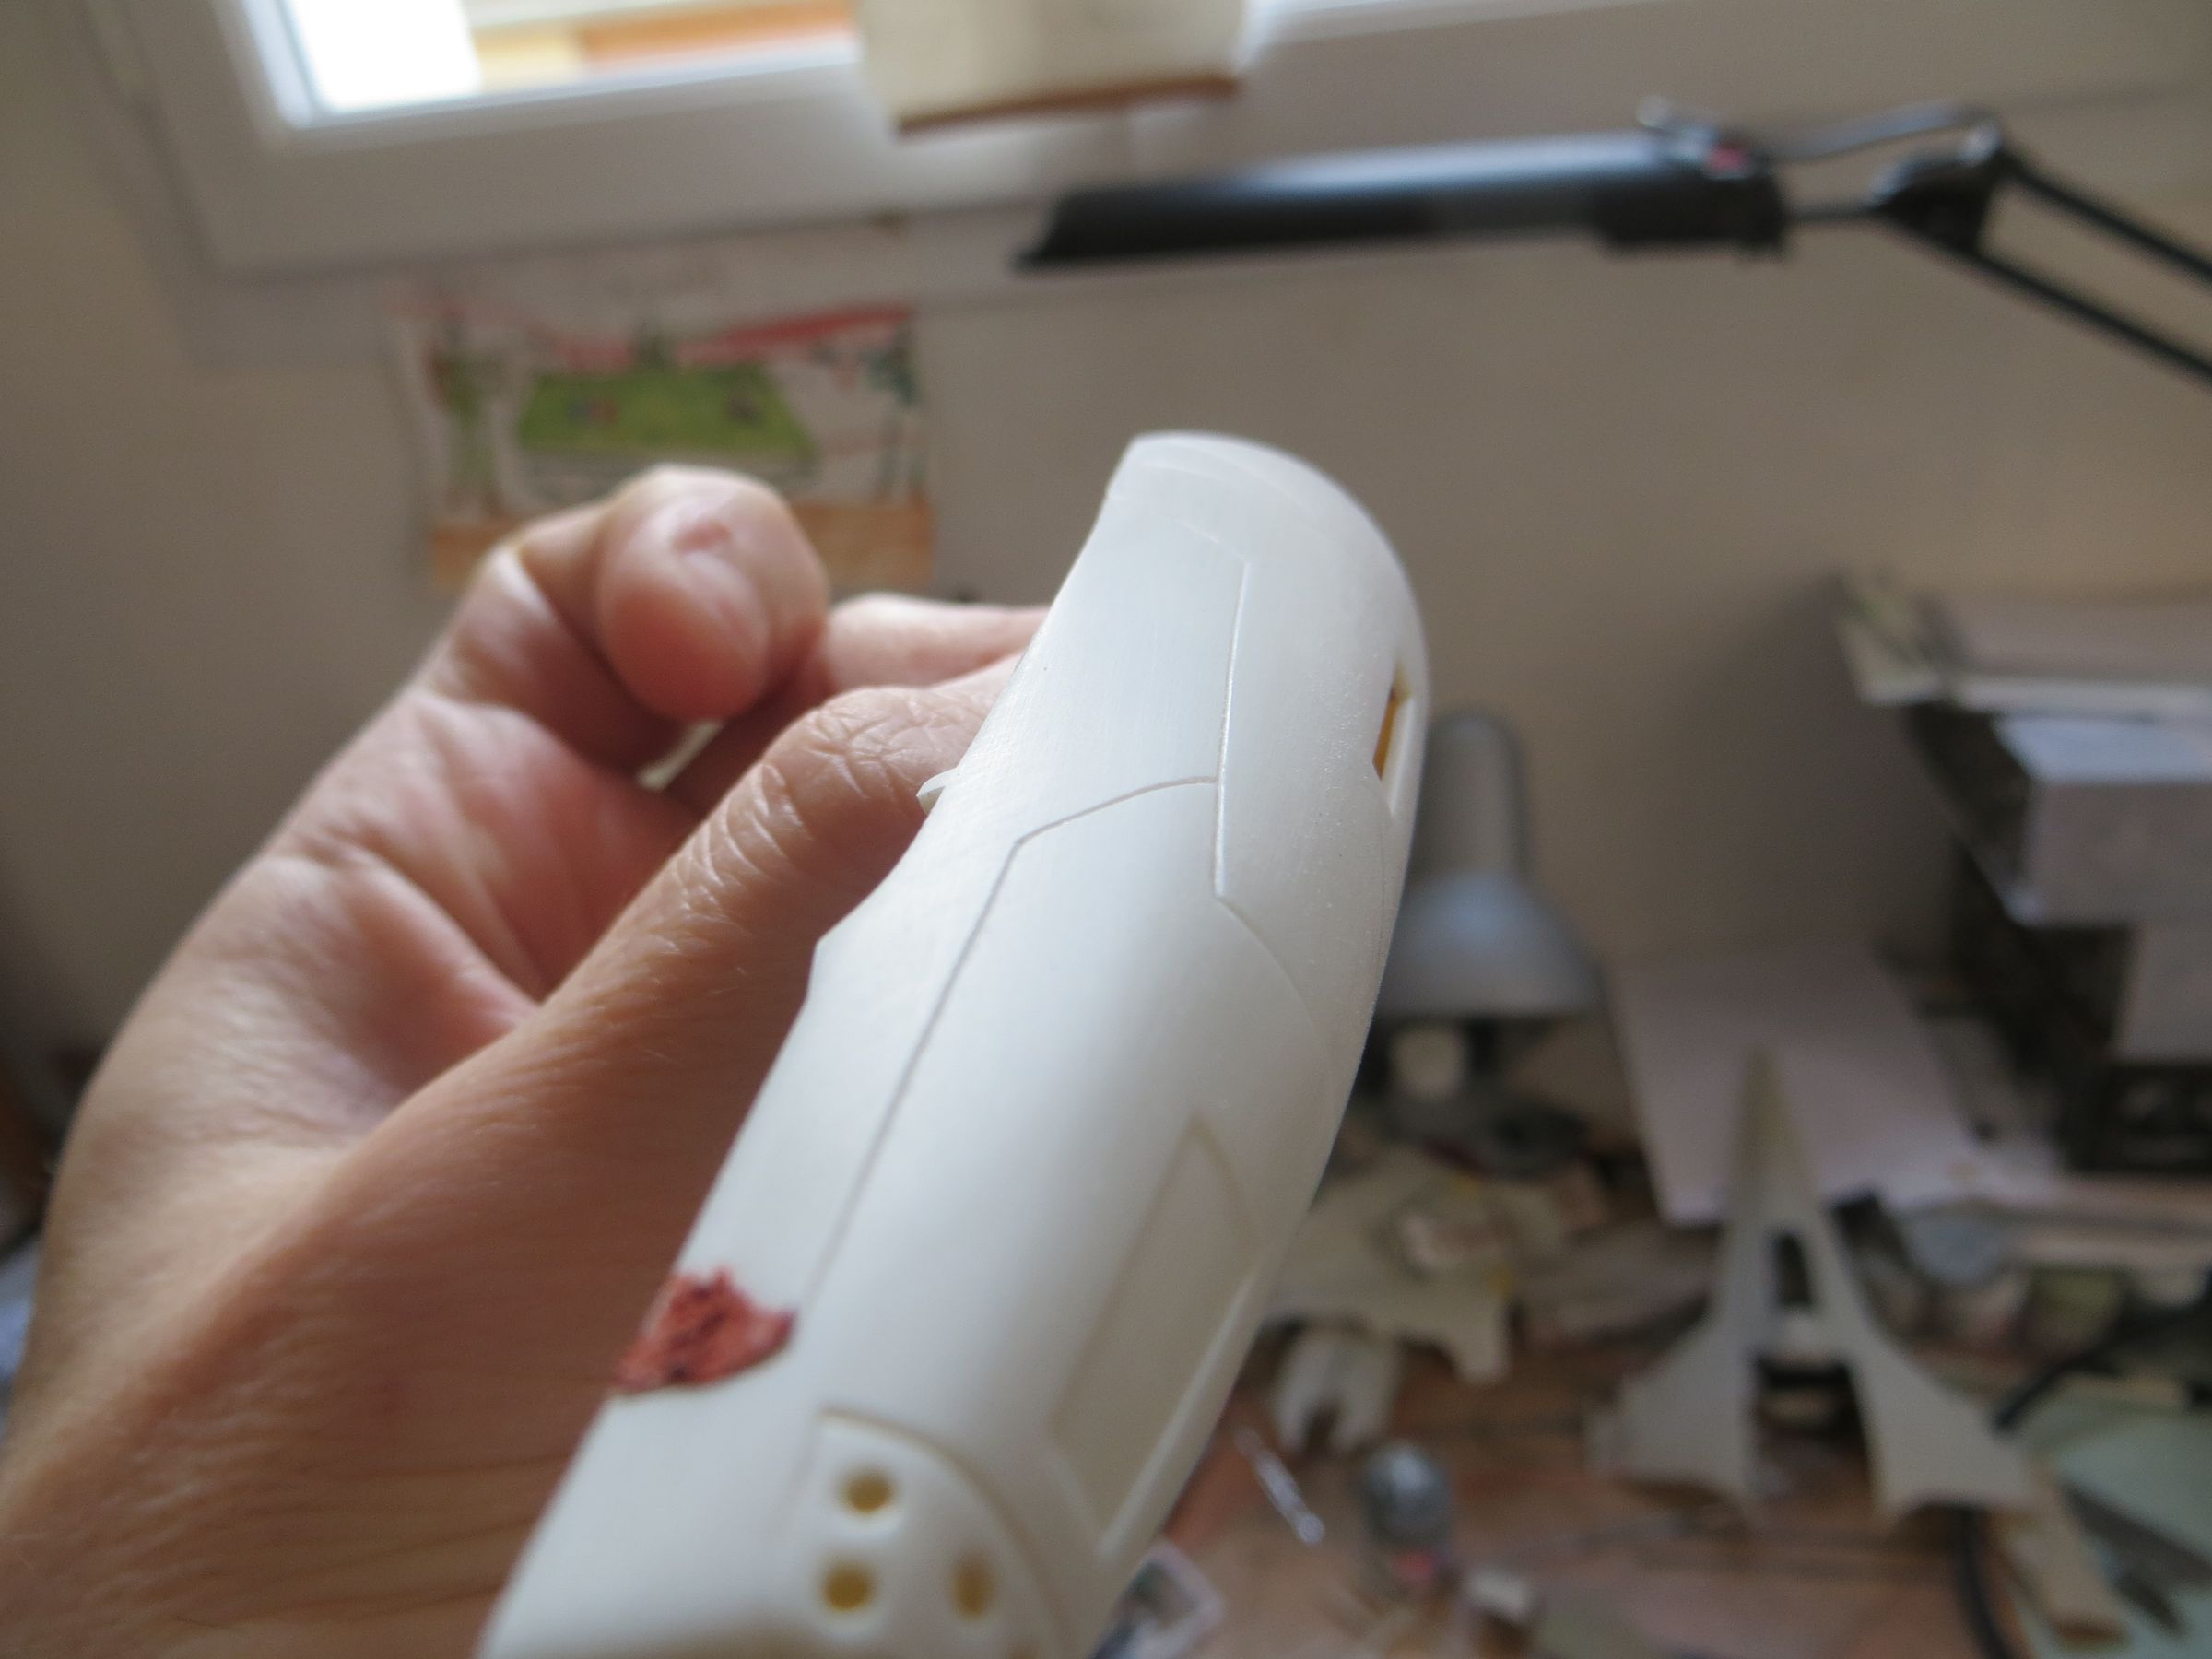
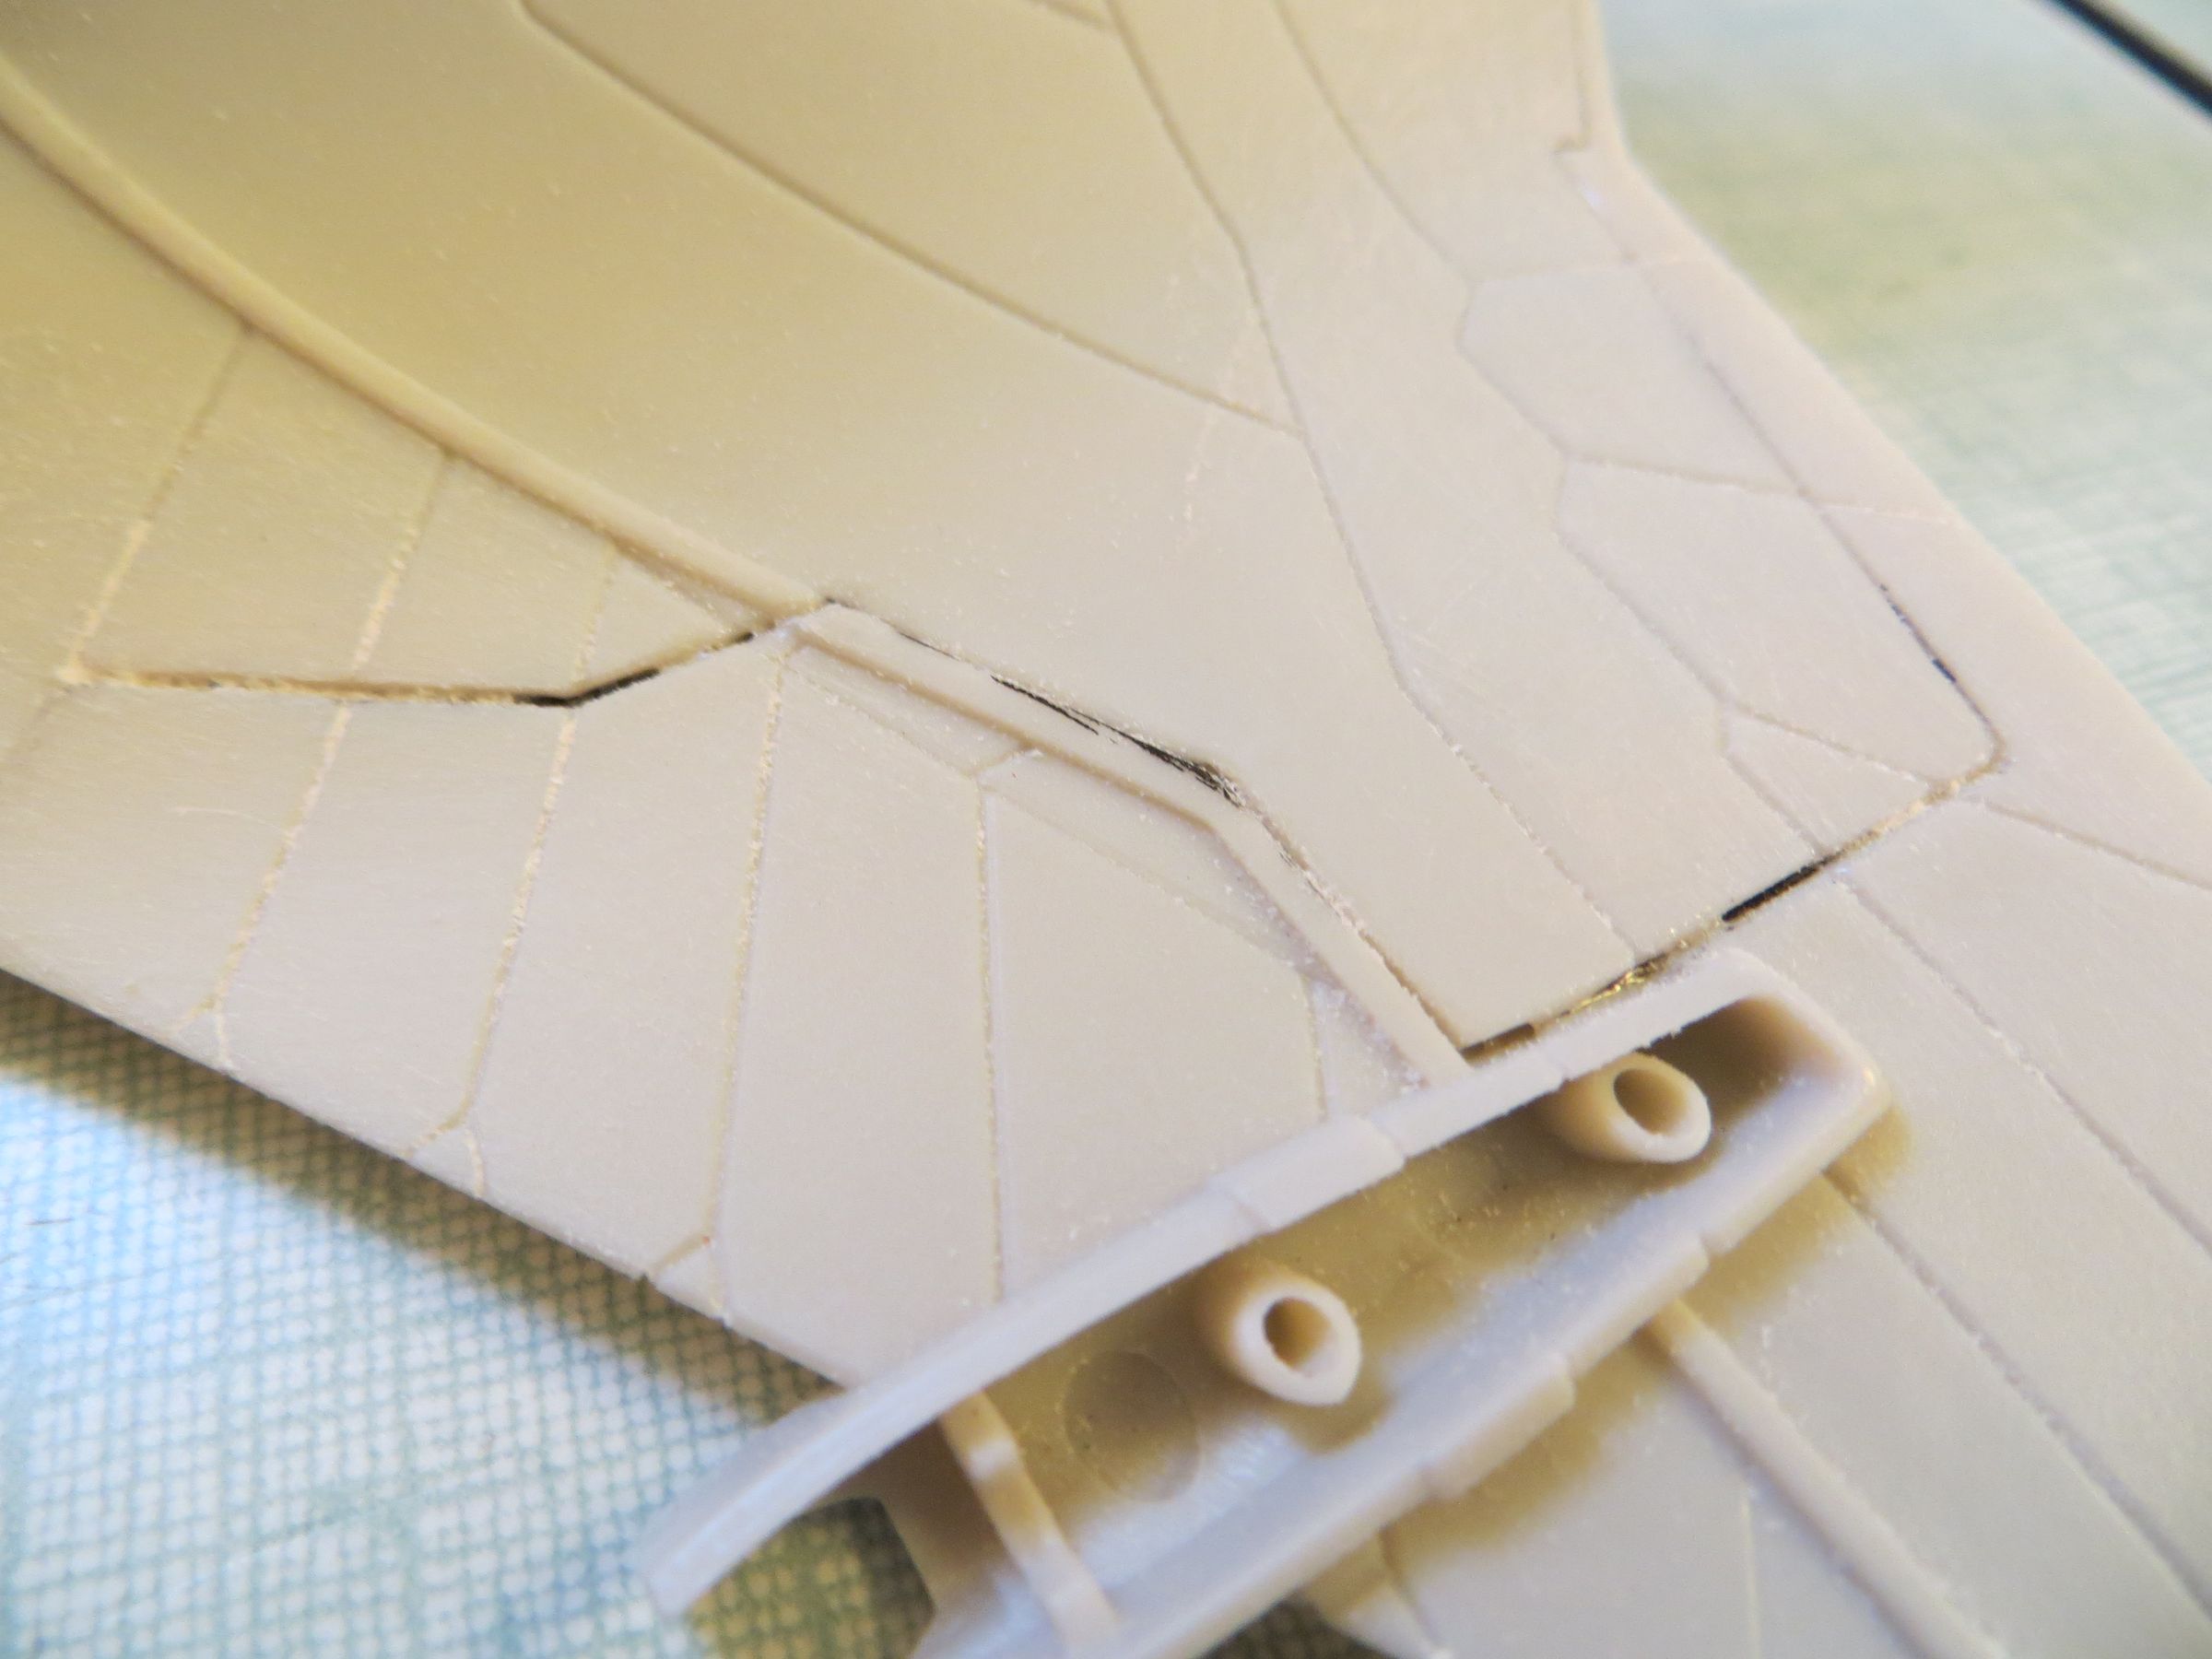
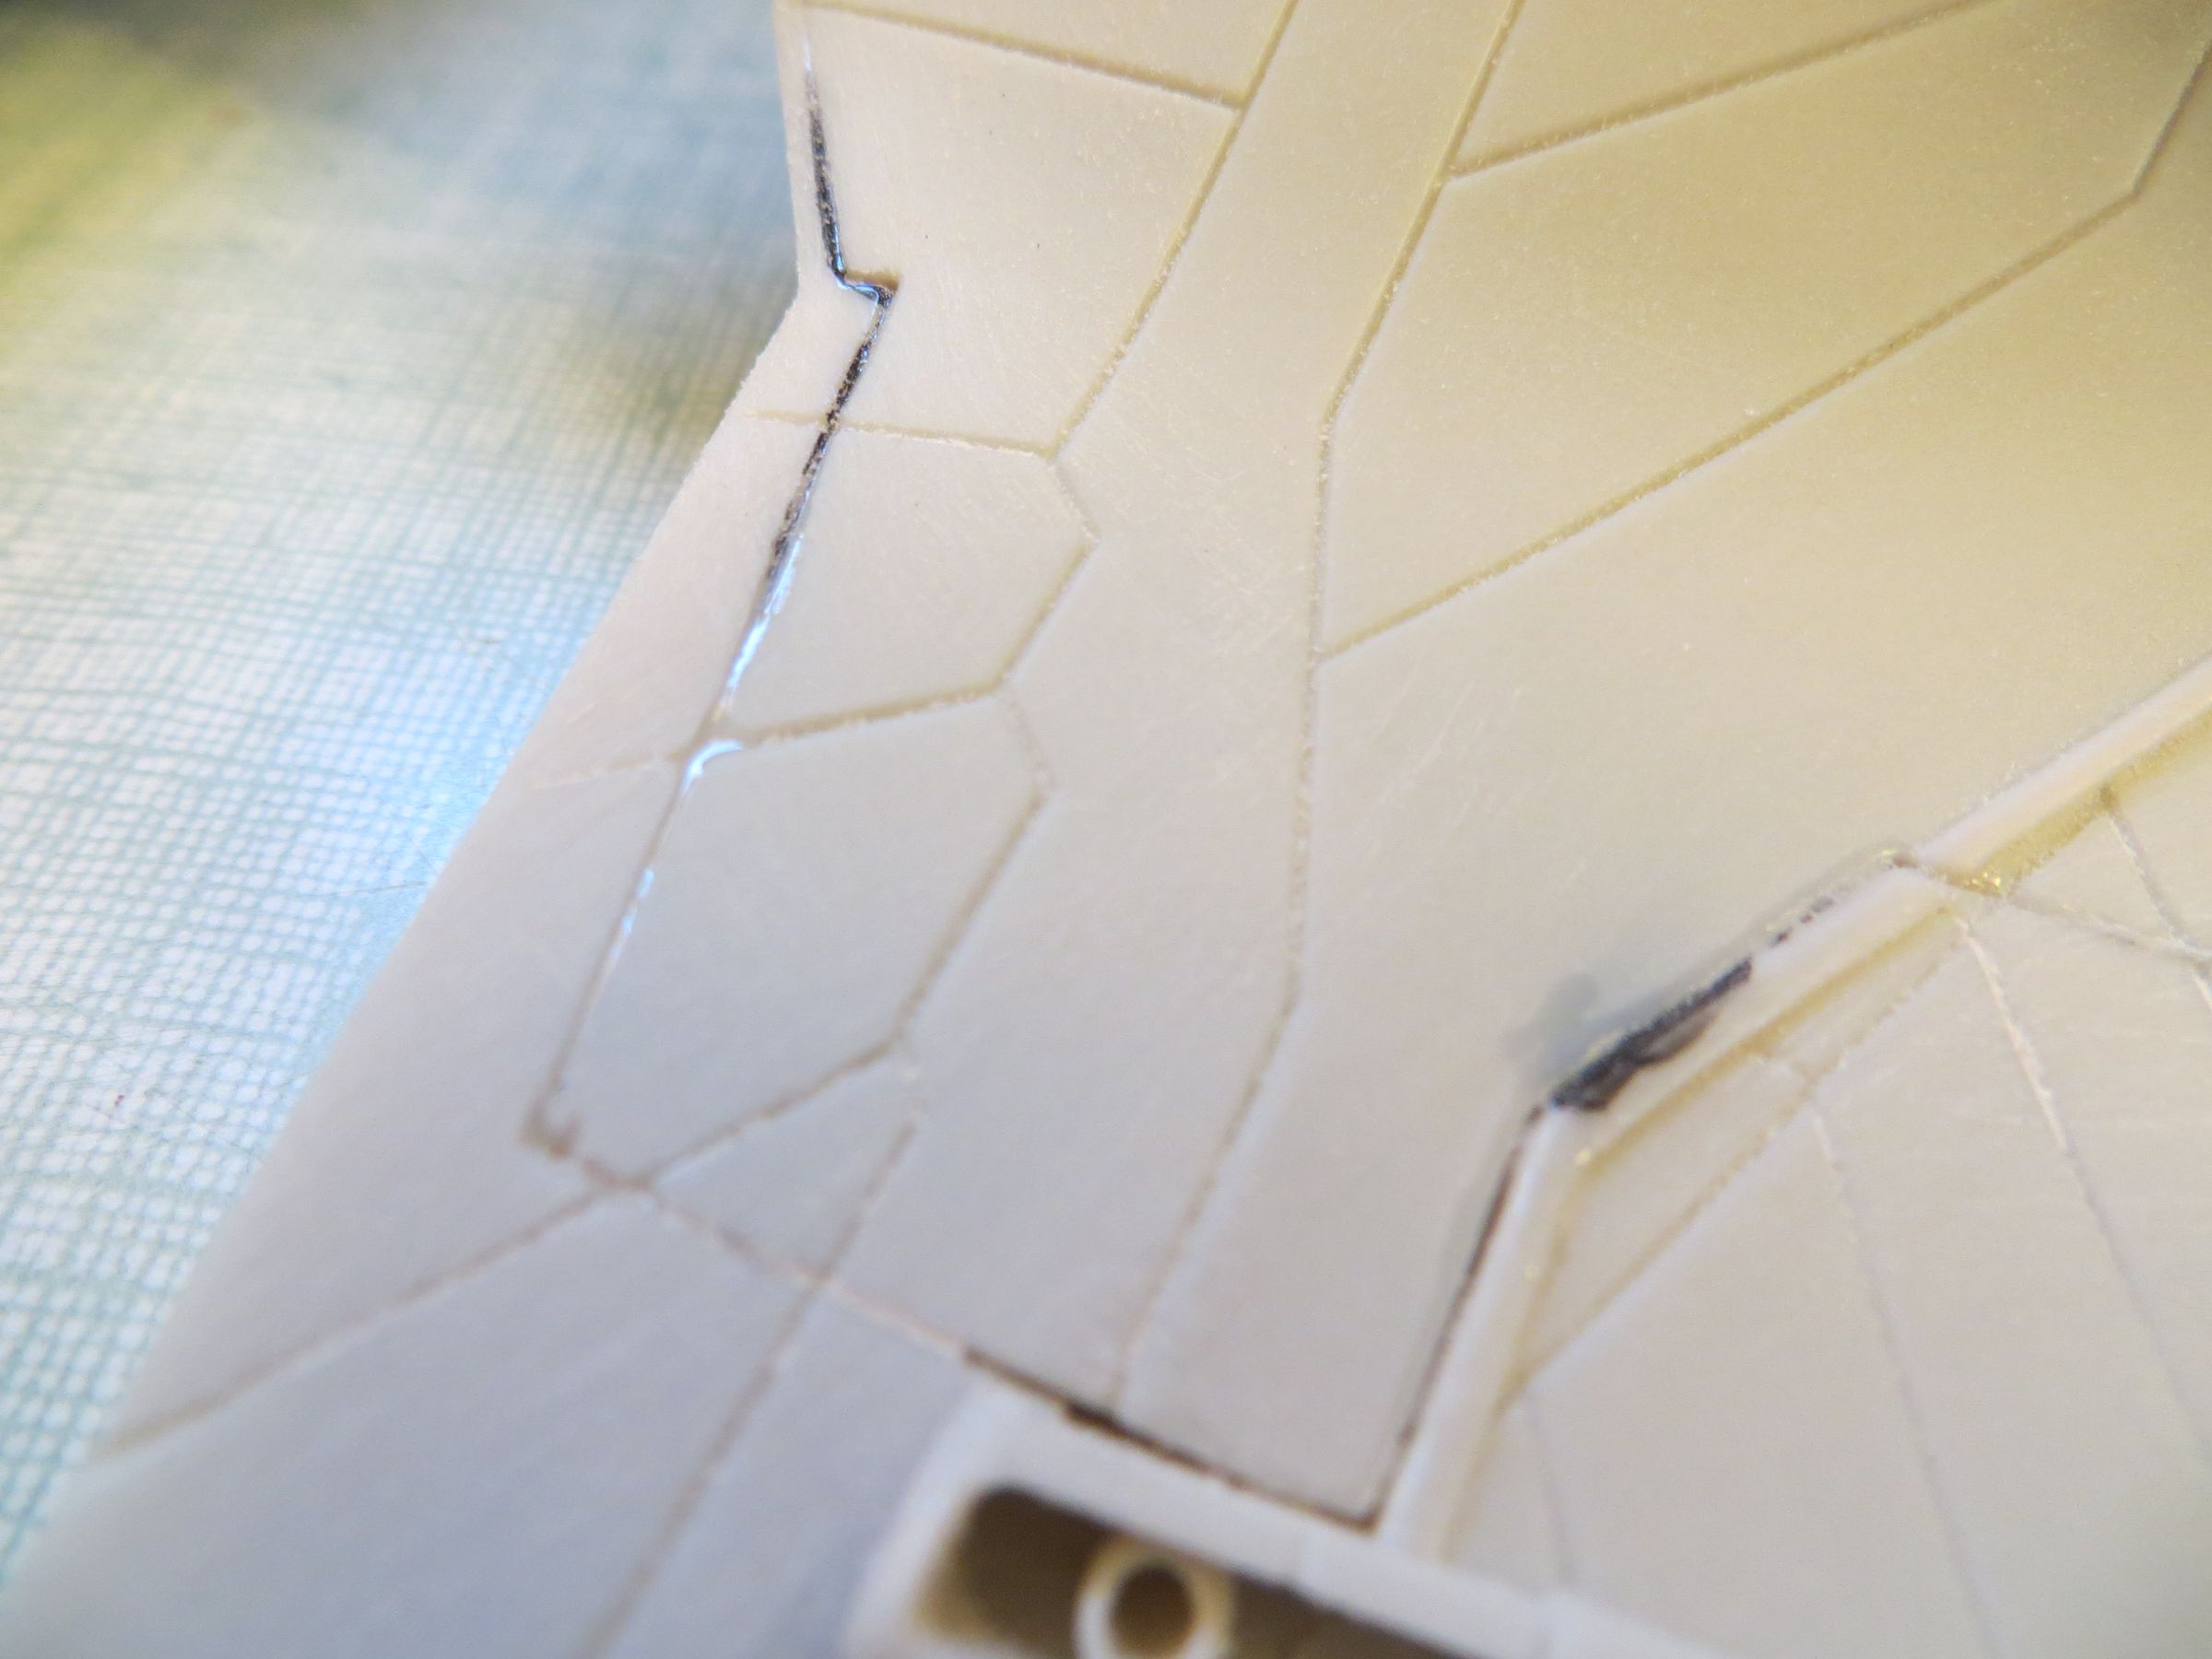
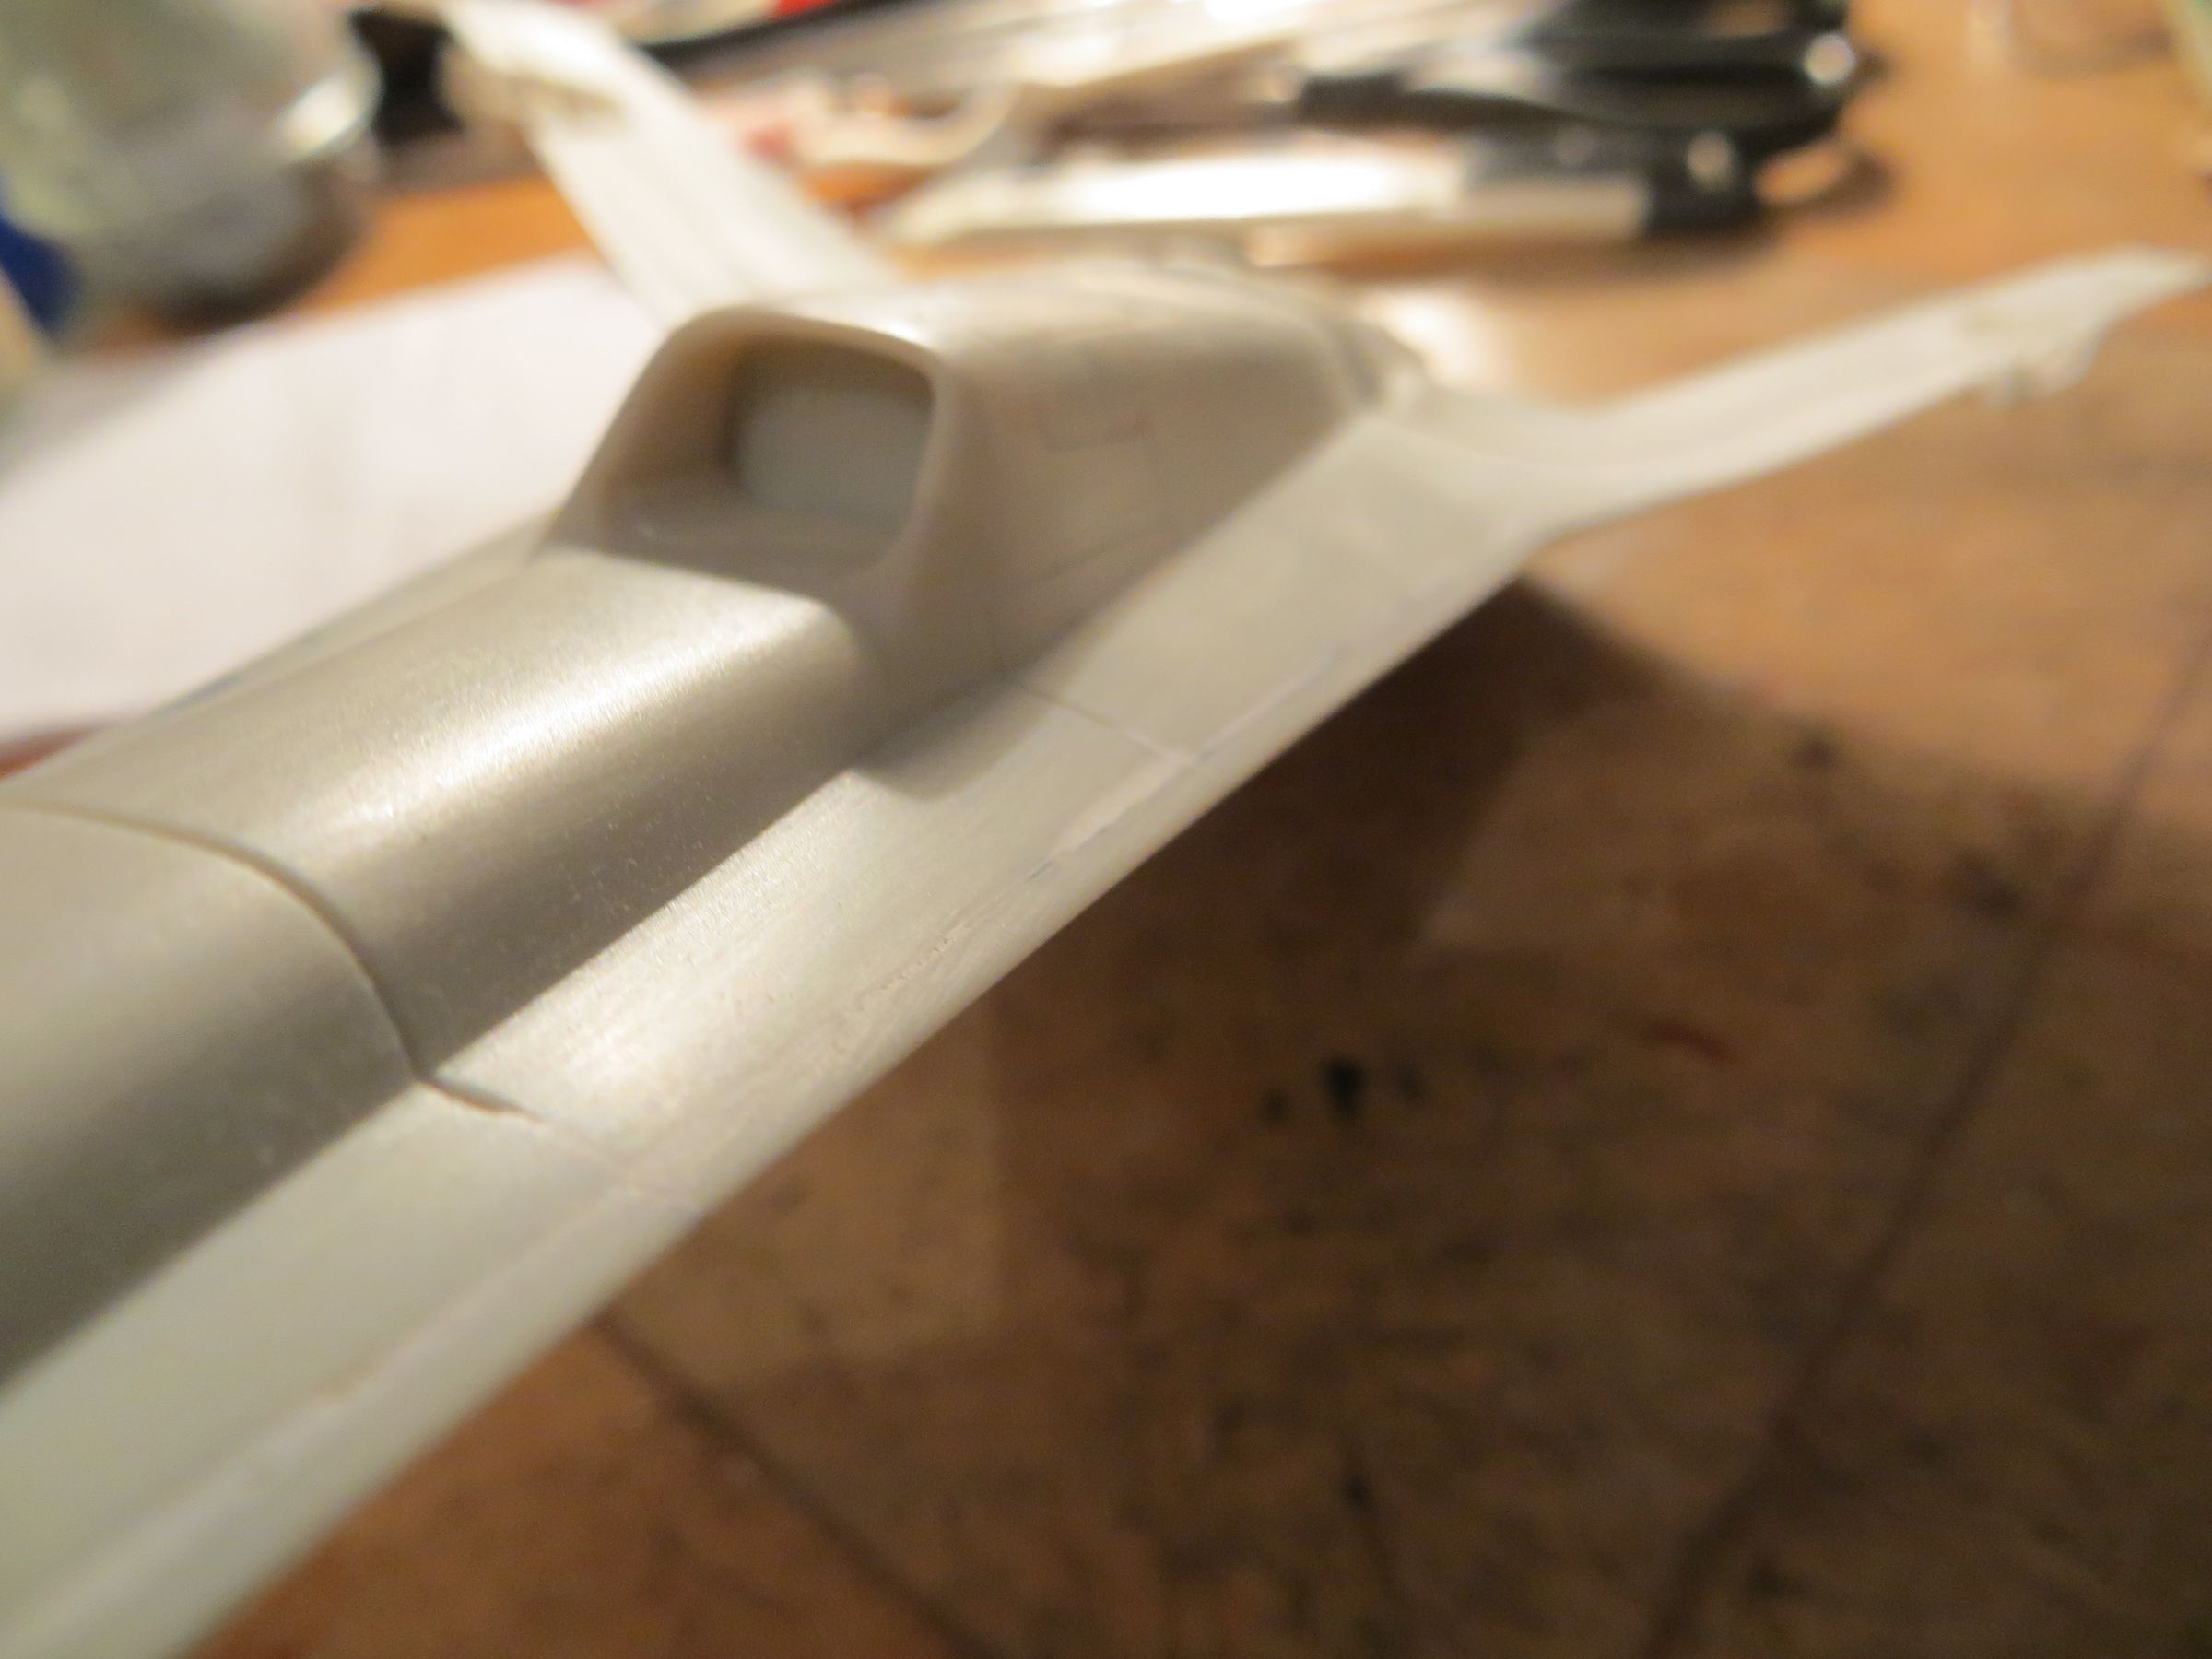
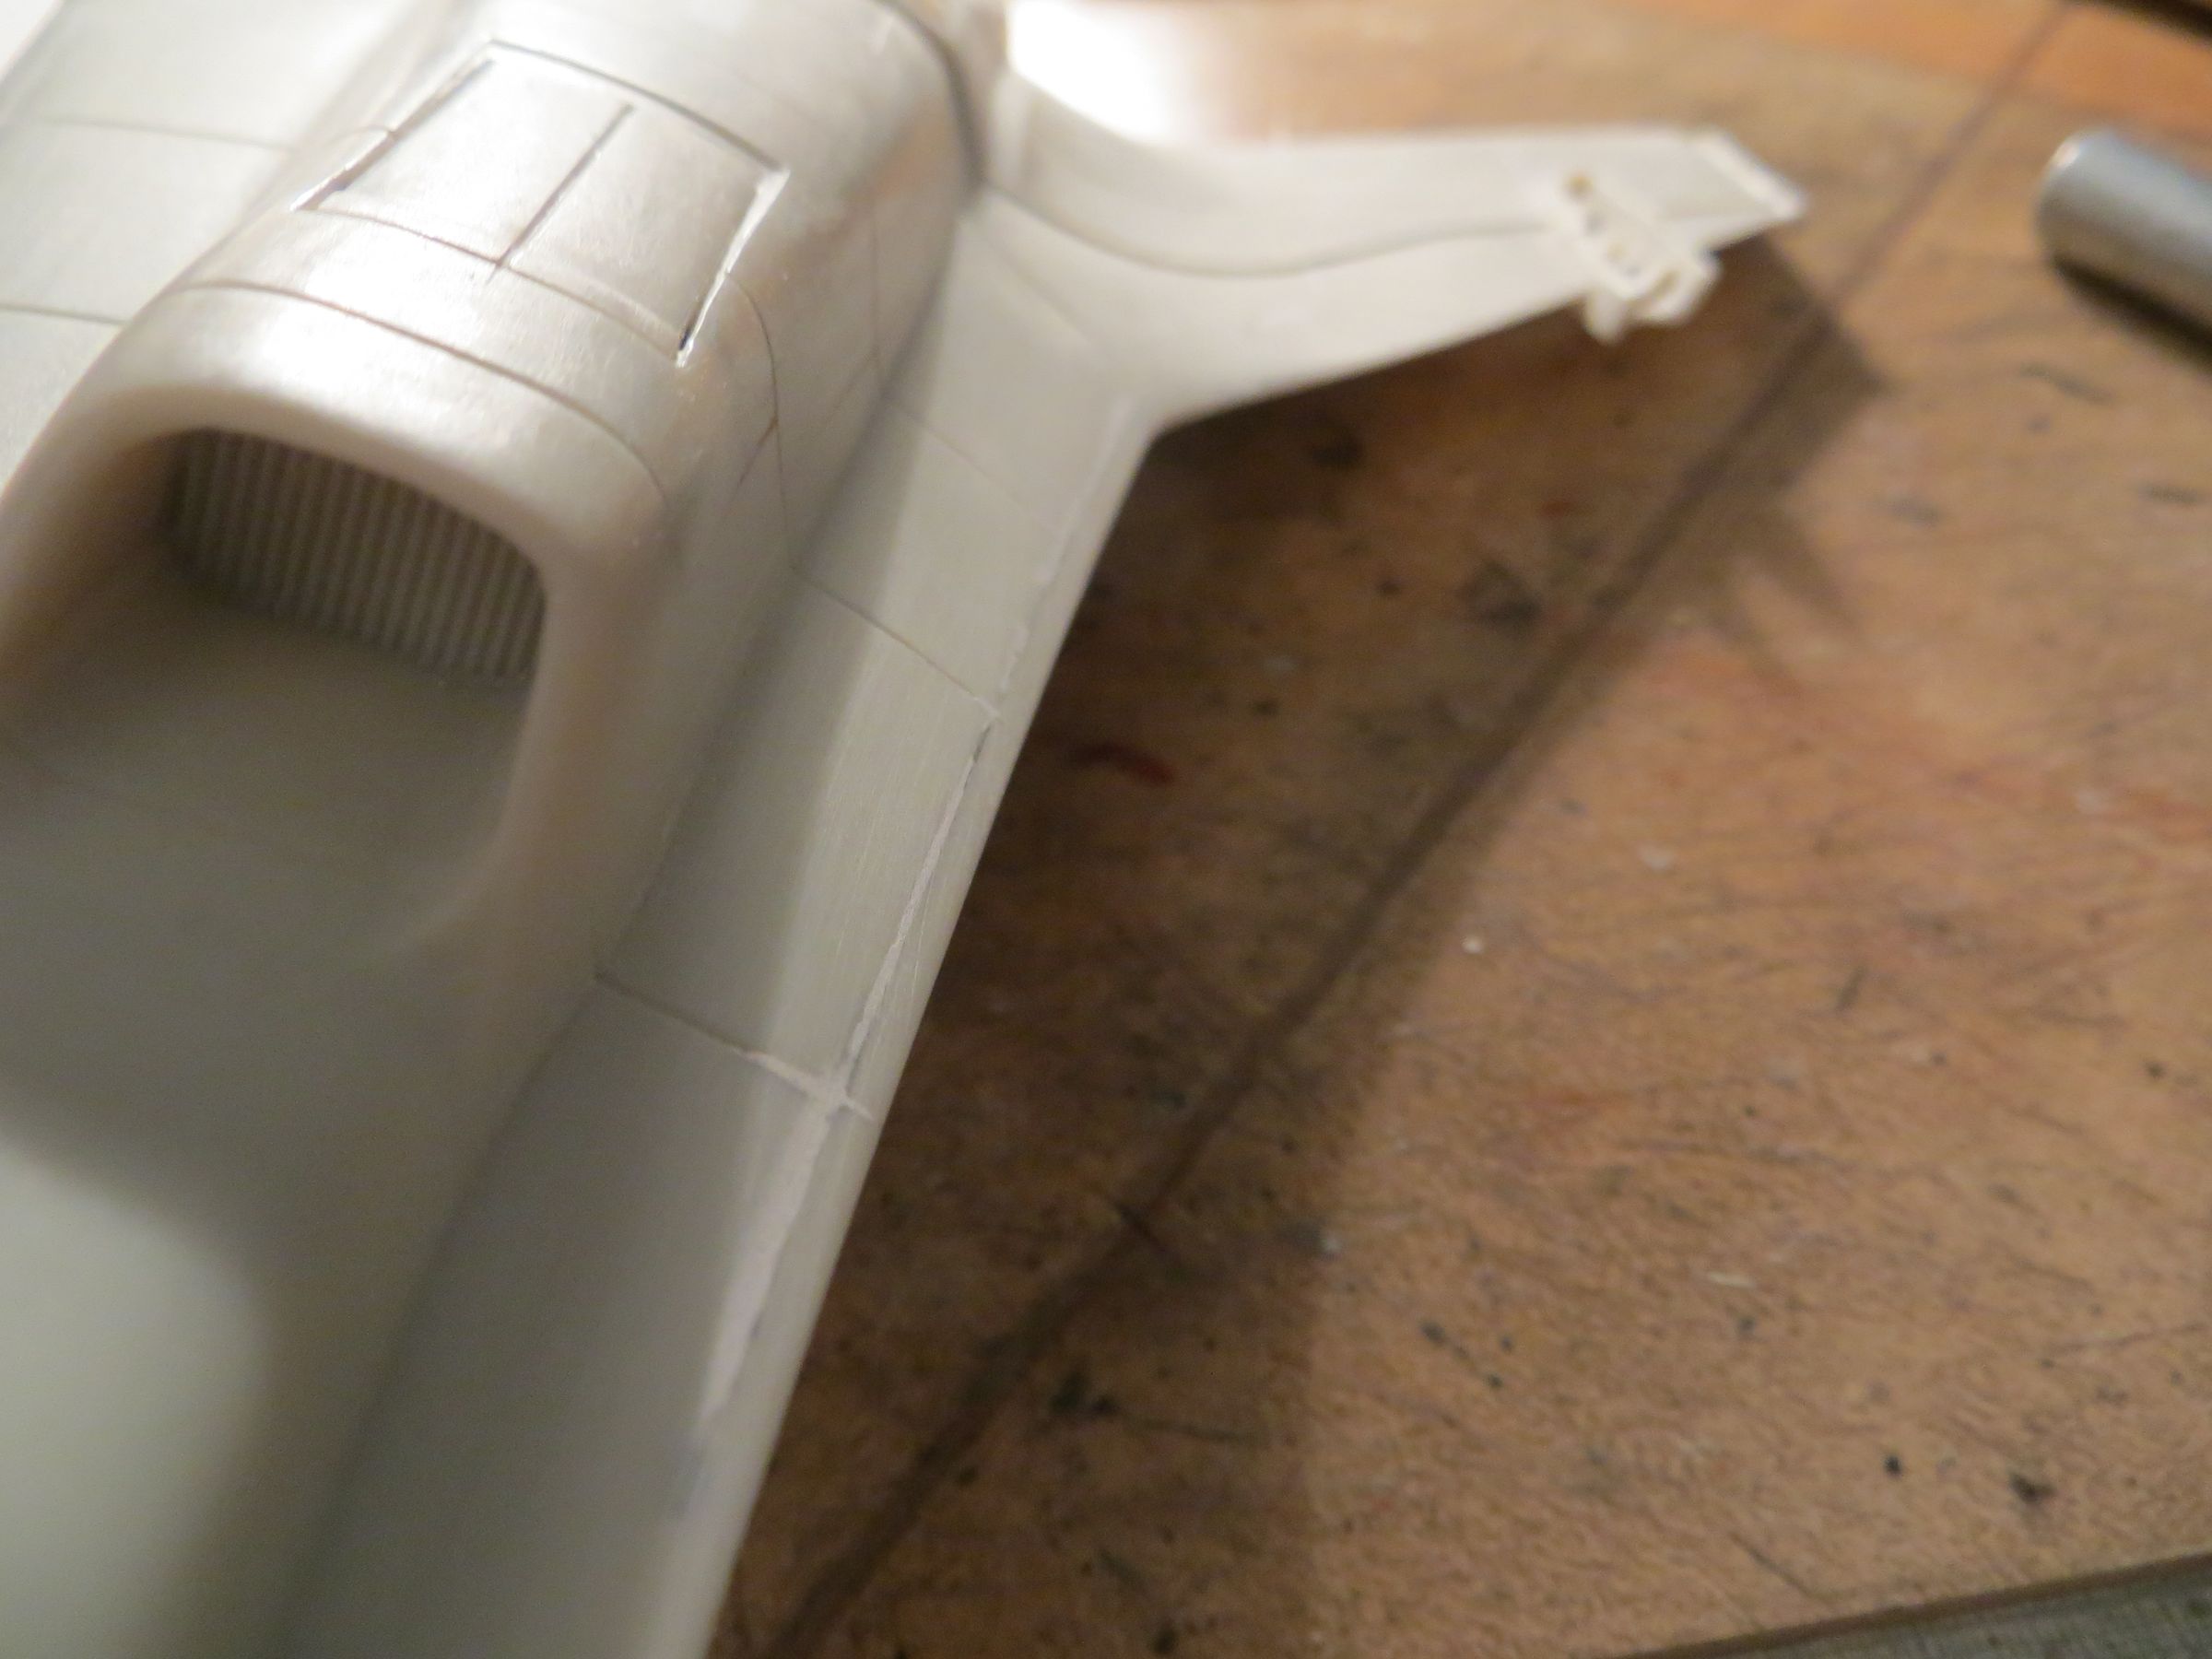
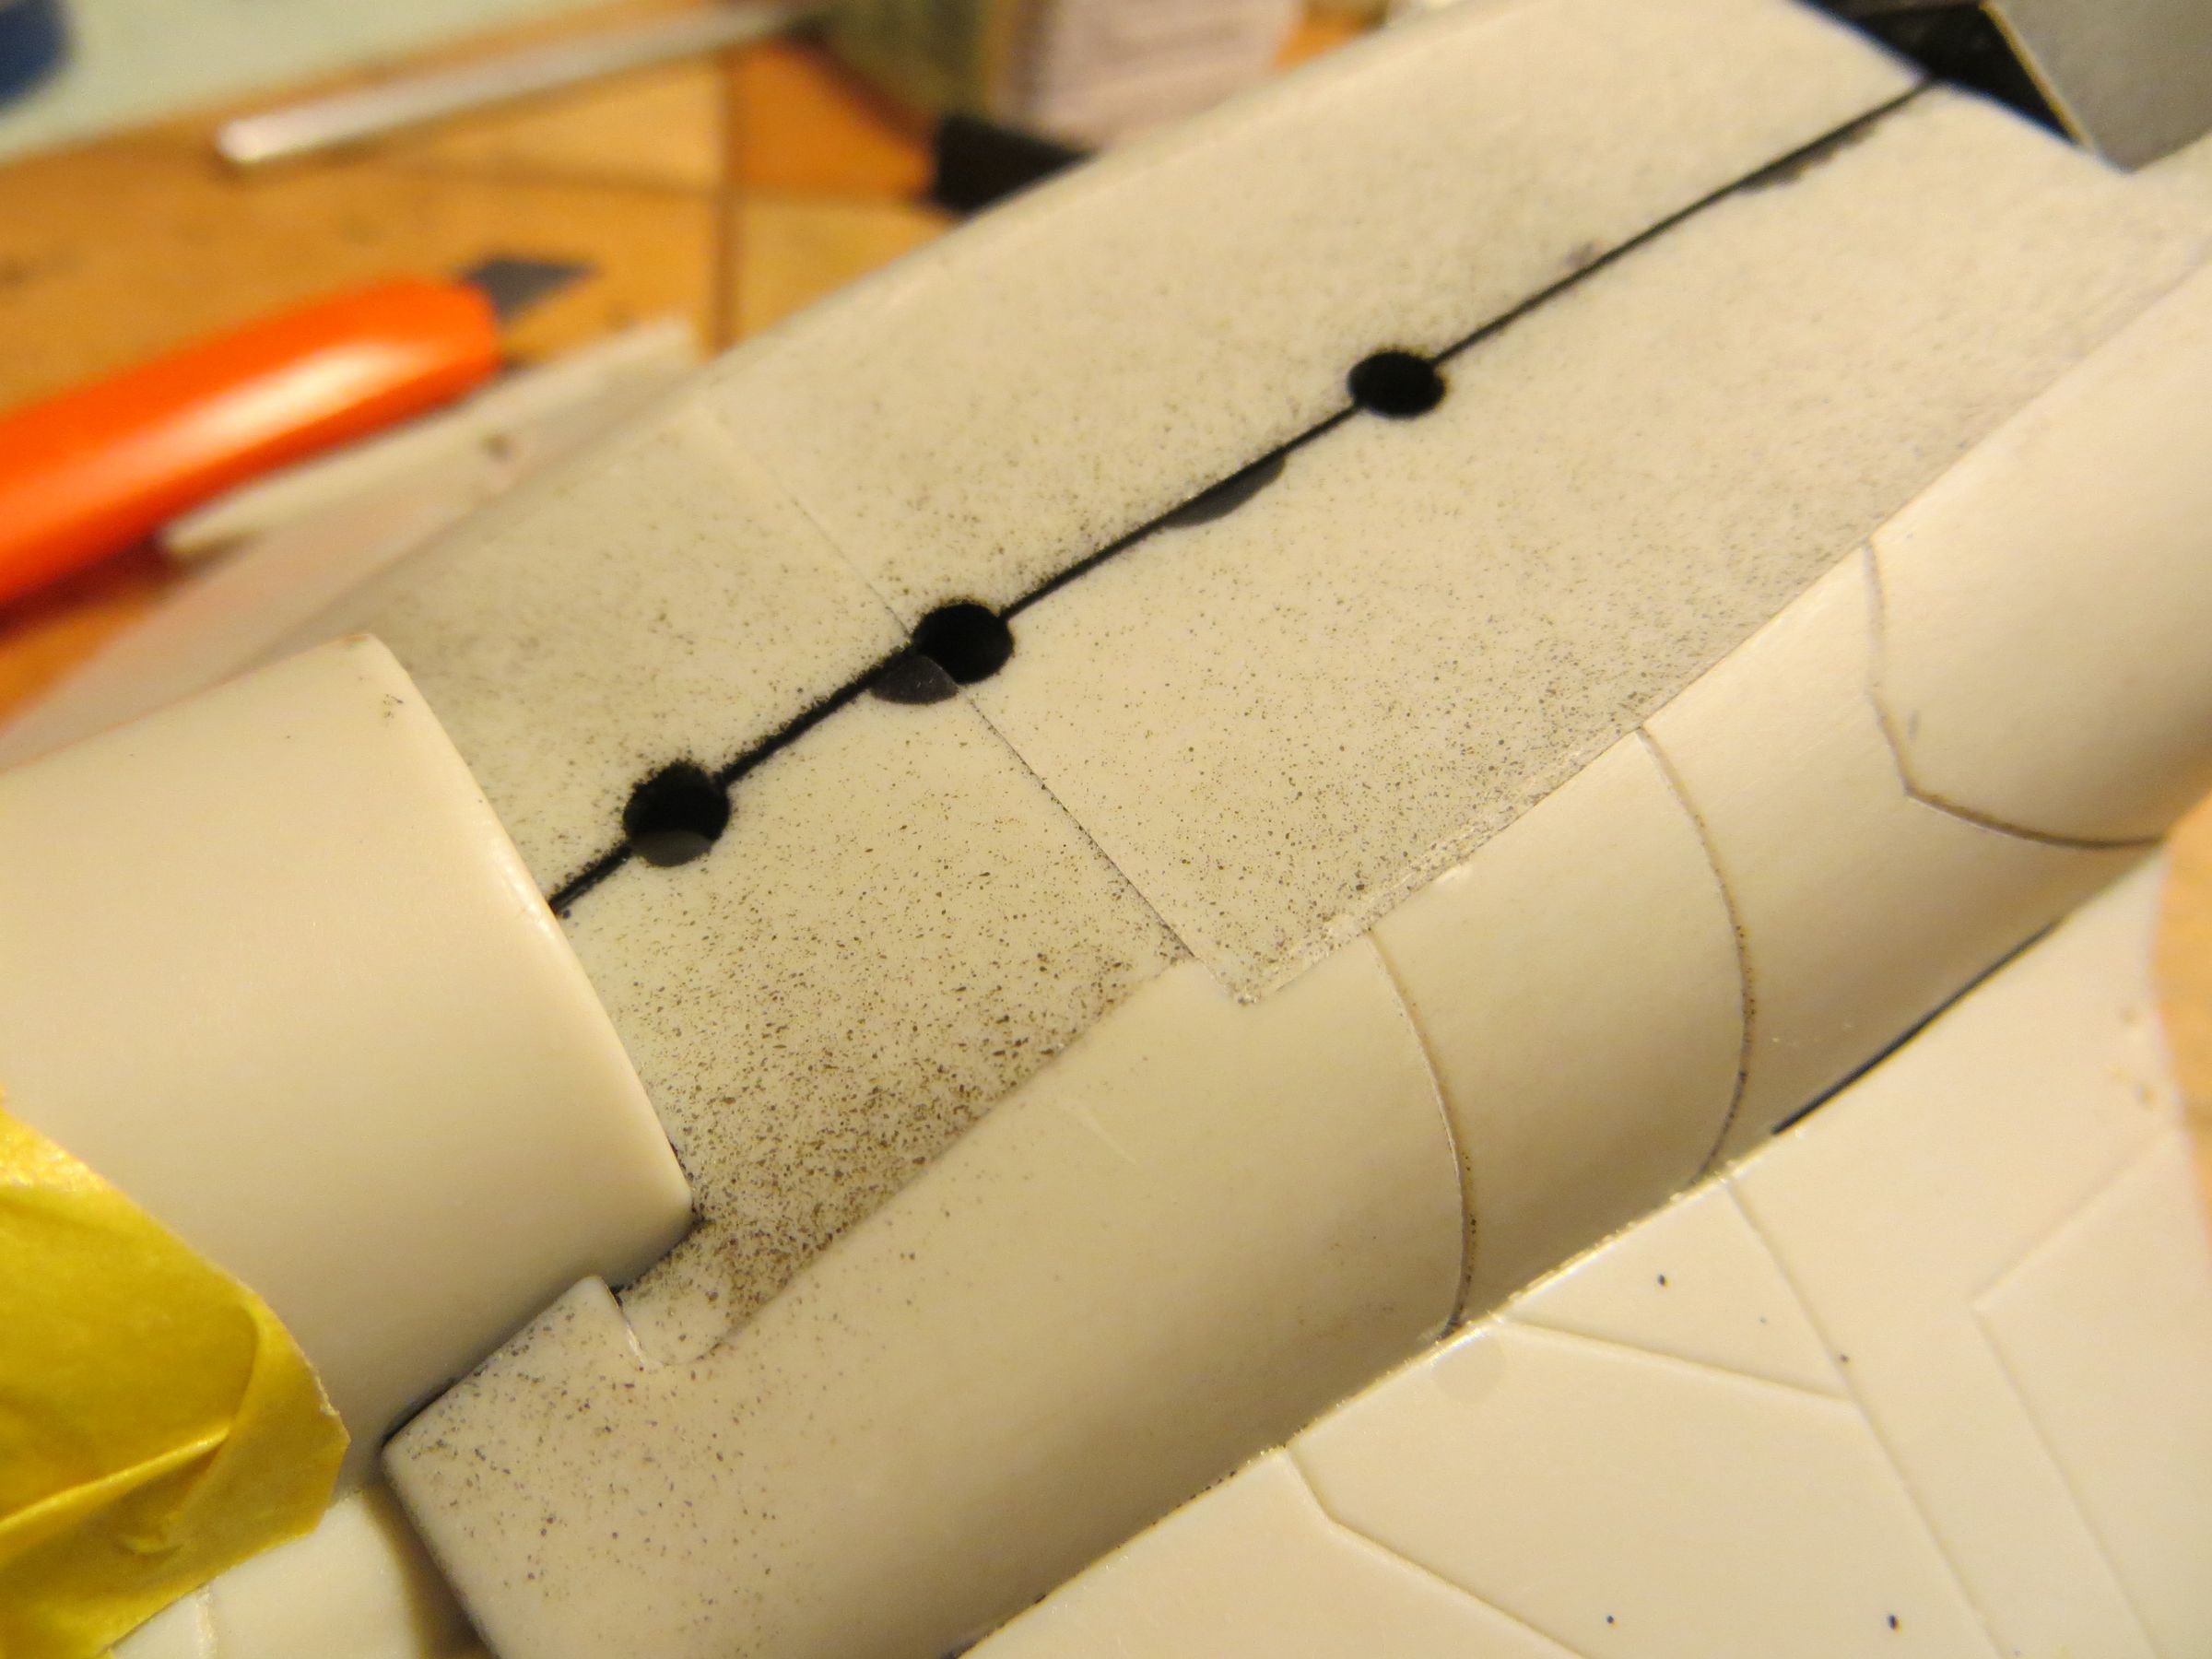
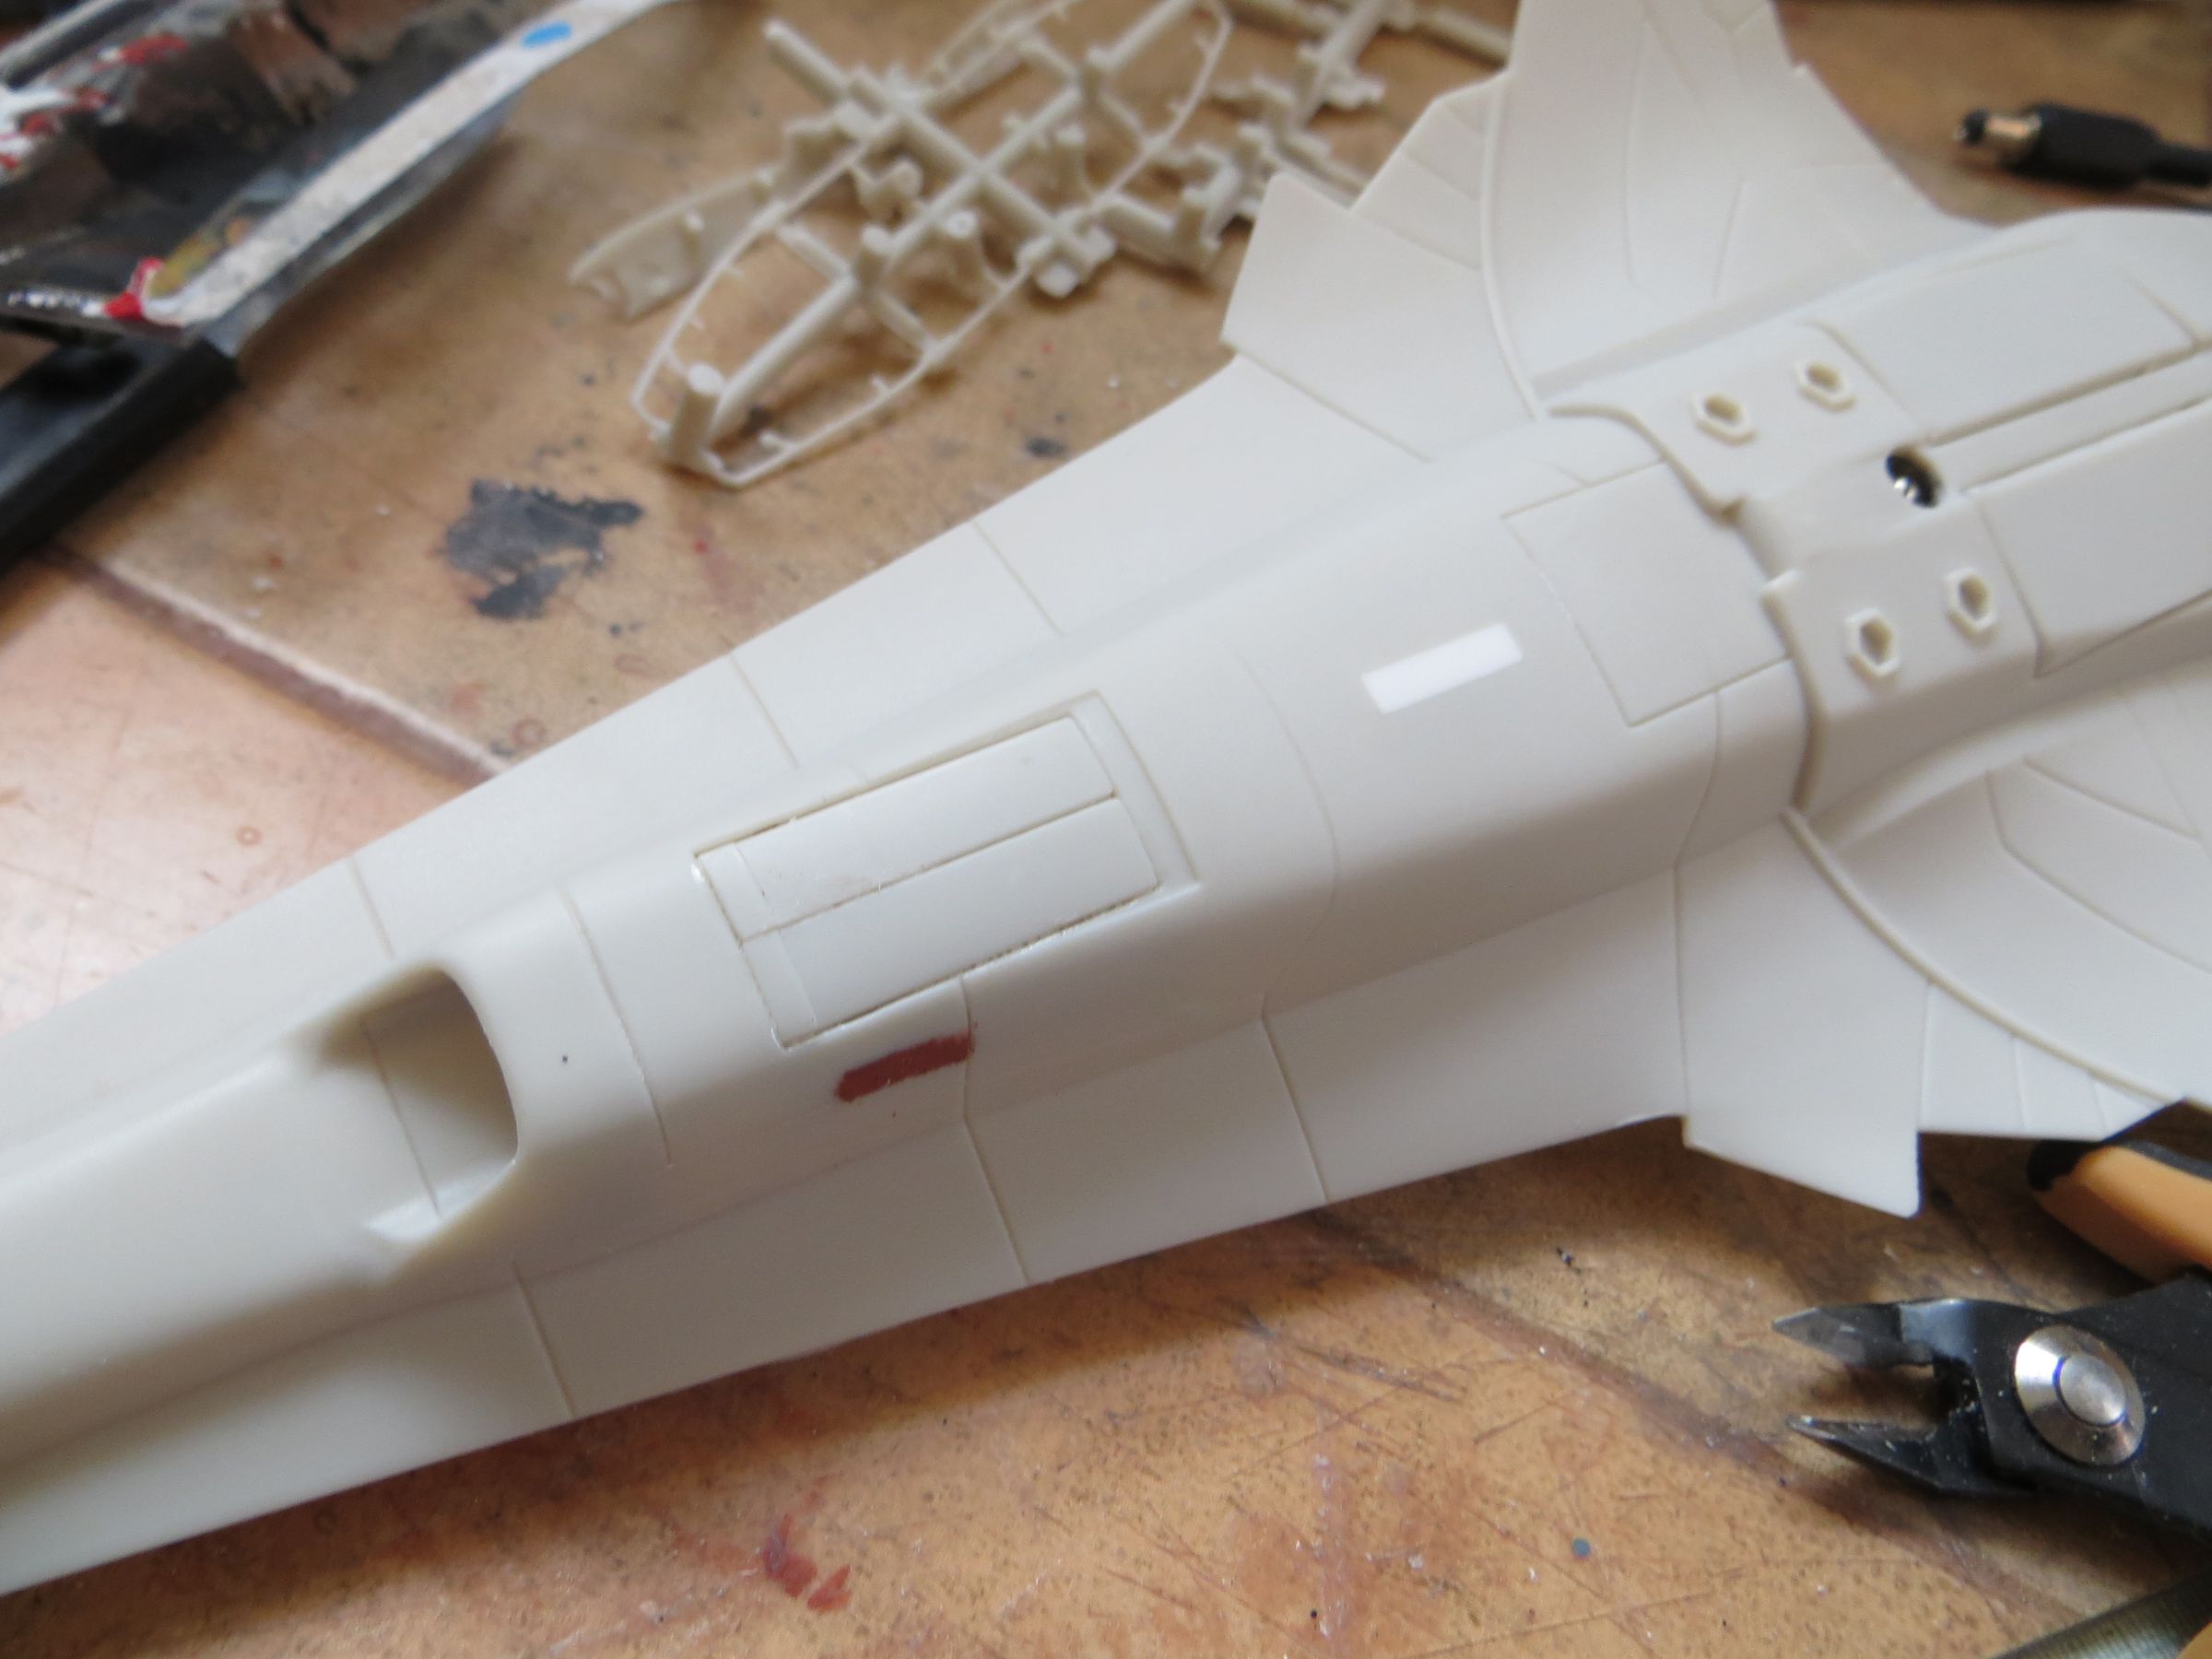
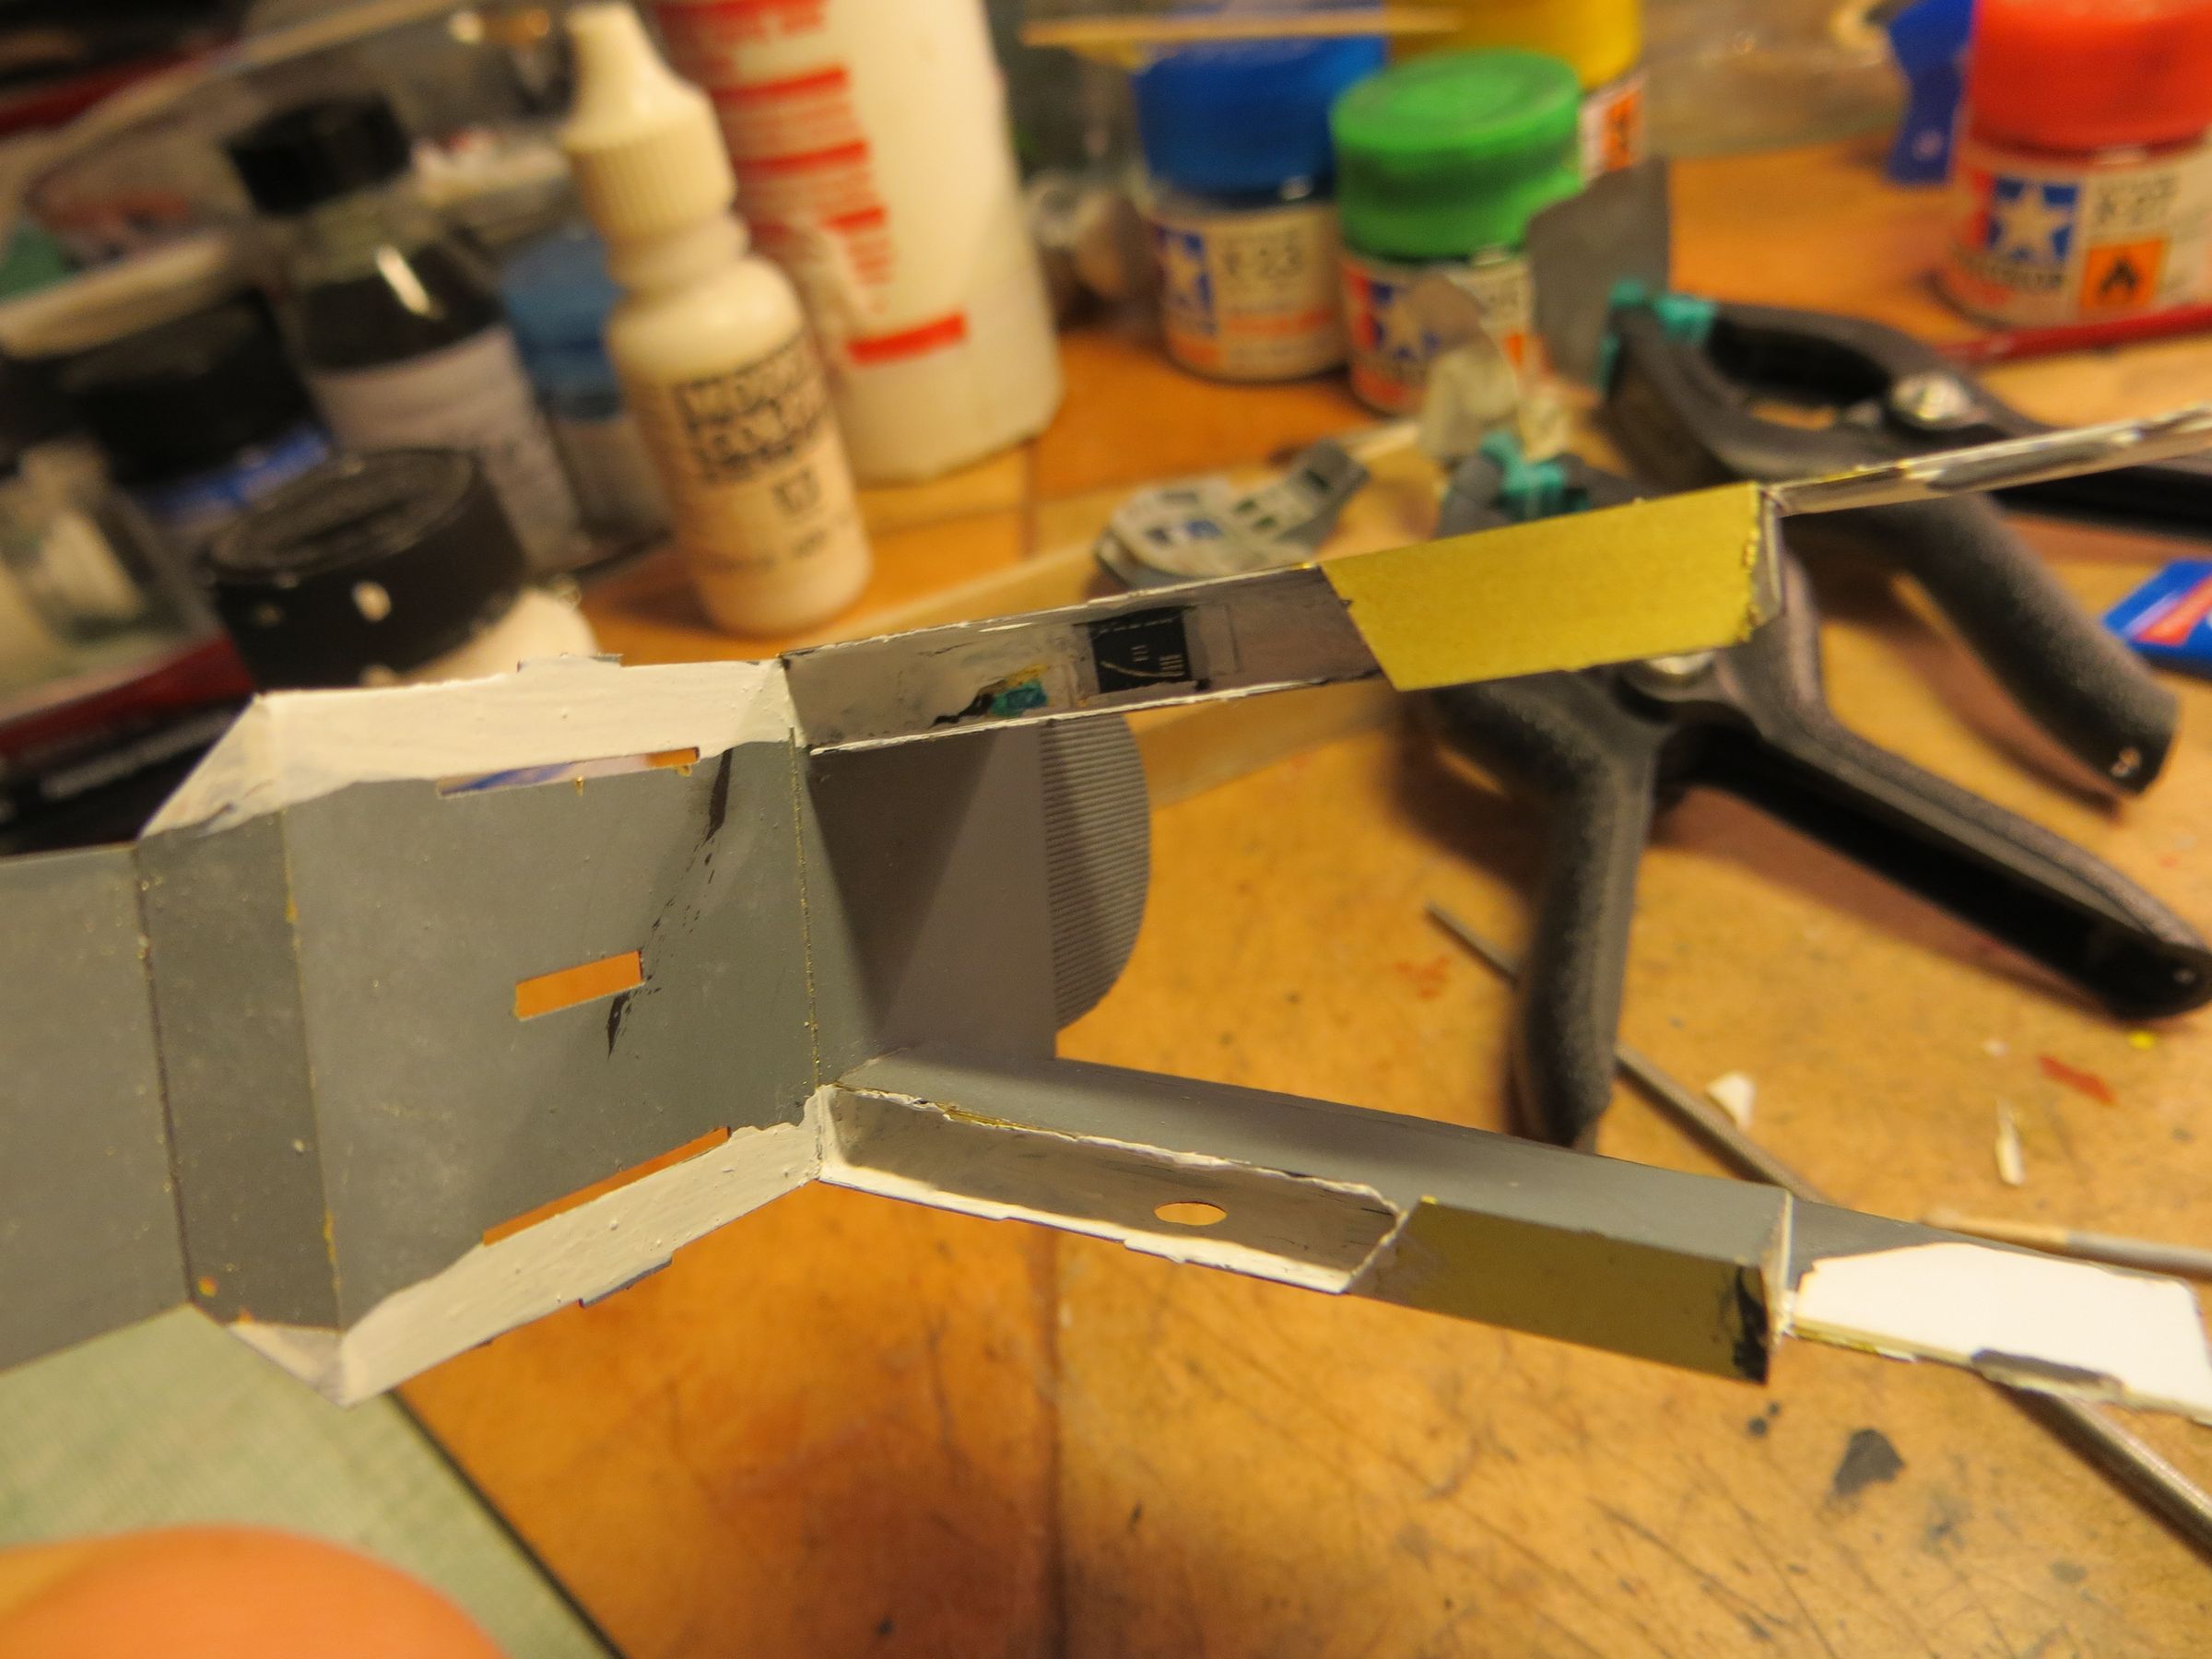
Verniers are hollowed, not forgetting to add the 4 missing ones ( 2 on each side of the nose)

To close the verniers back ends, as the area was never flat, rather than using plastic card, I just stuck some masking tape, reinforced with cyano glue.
To prevent particles or dust from sticking (the sticky side of the tape is facing outside), I put a tiny drop of Klir/Future to coat and make it inoperative.

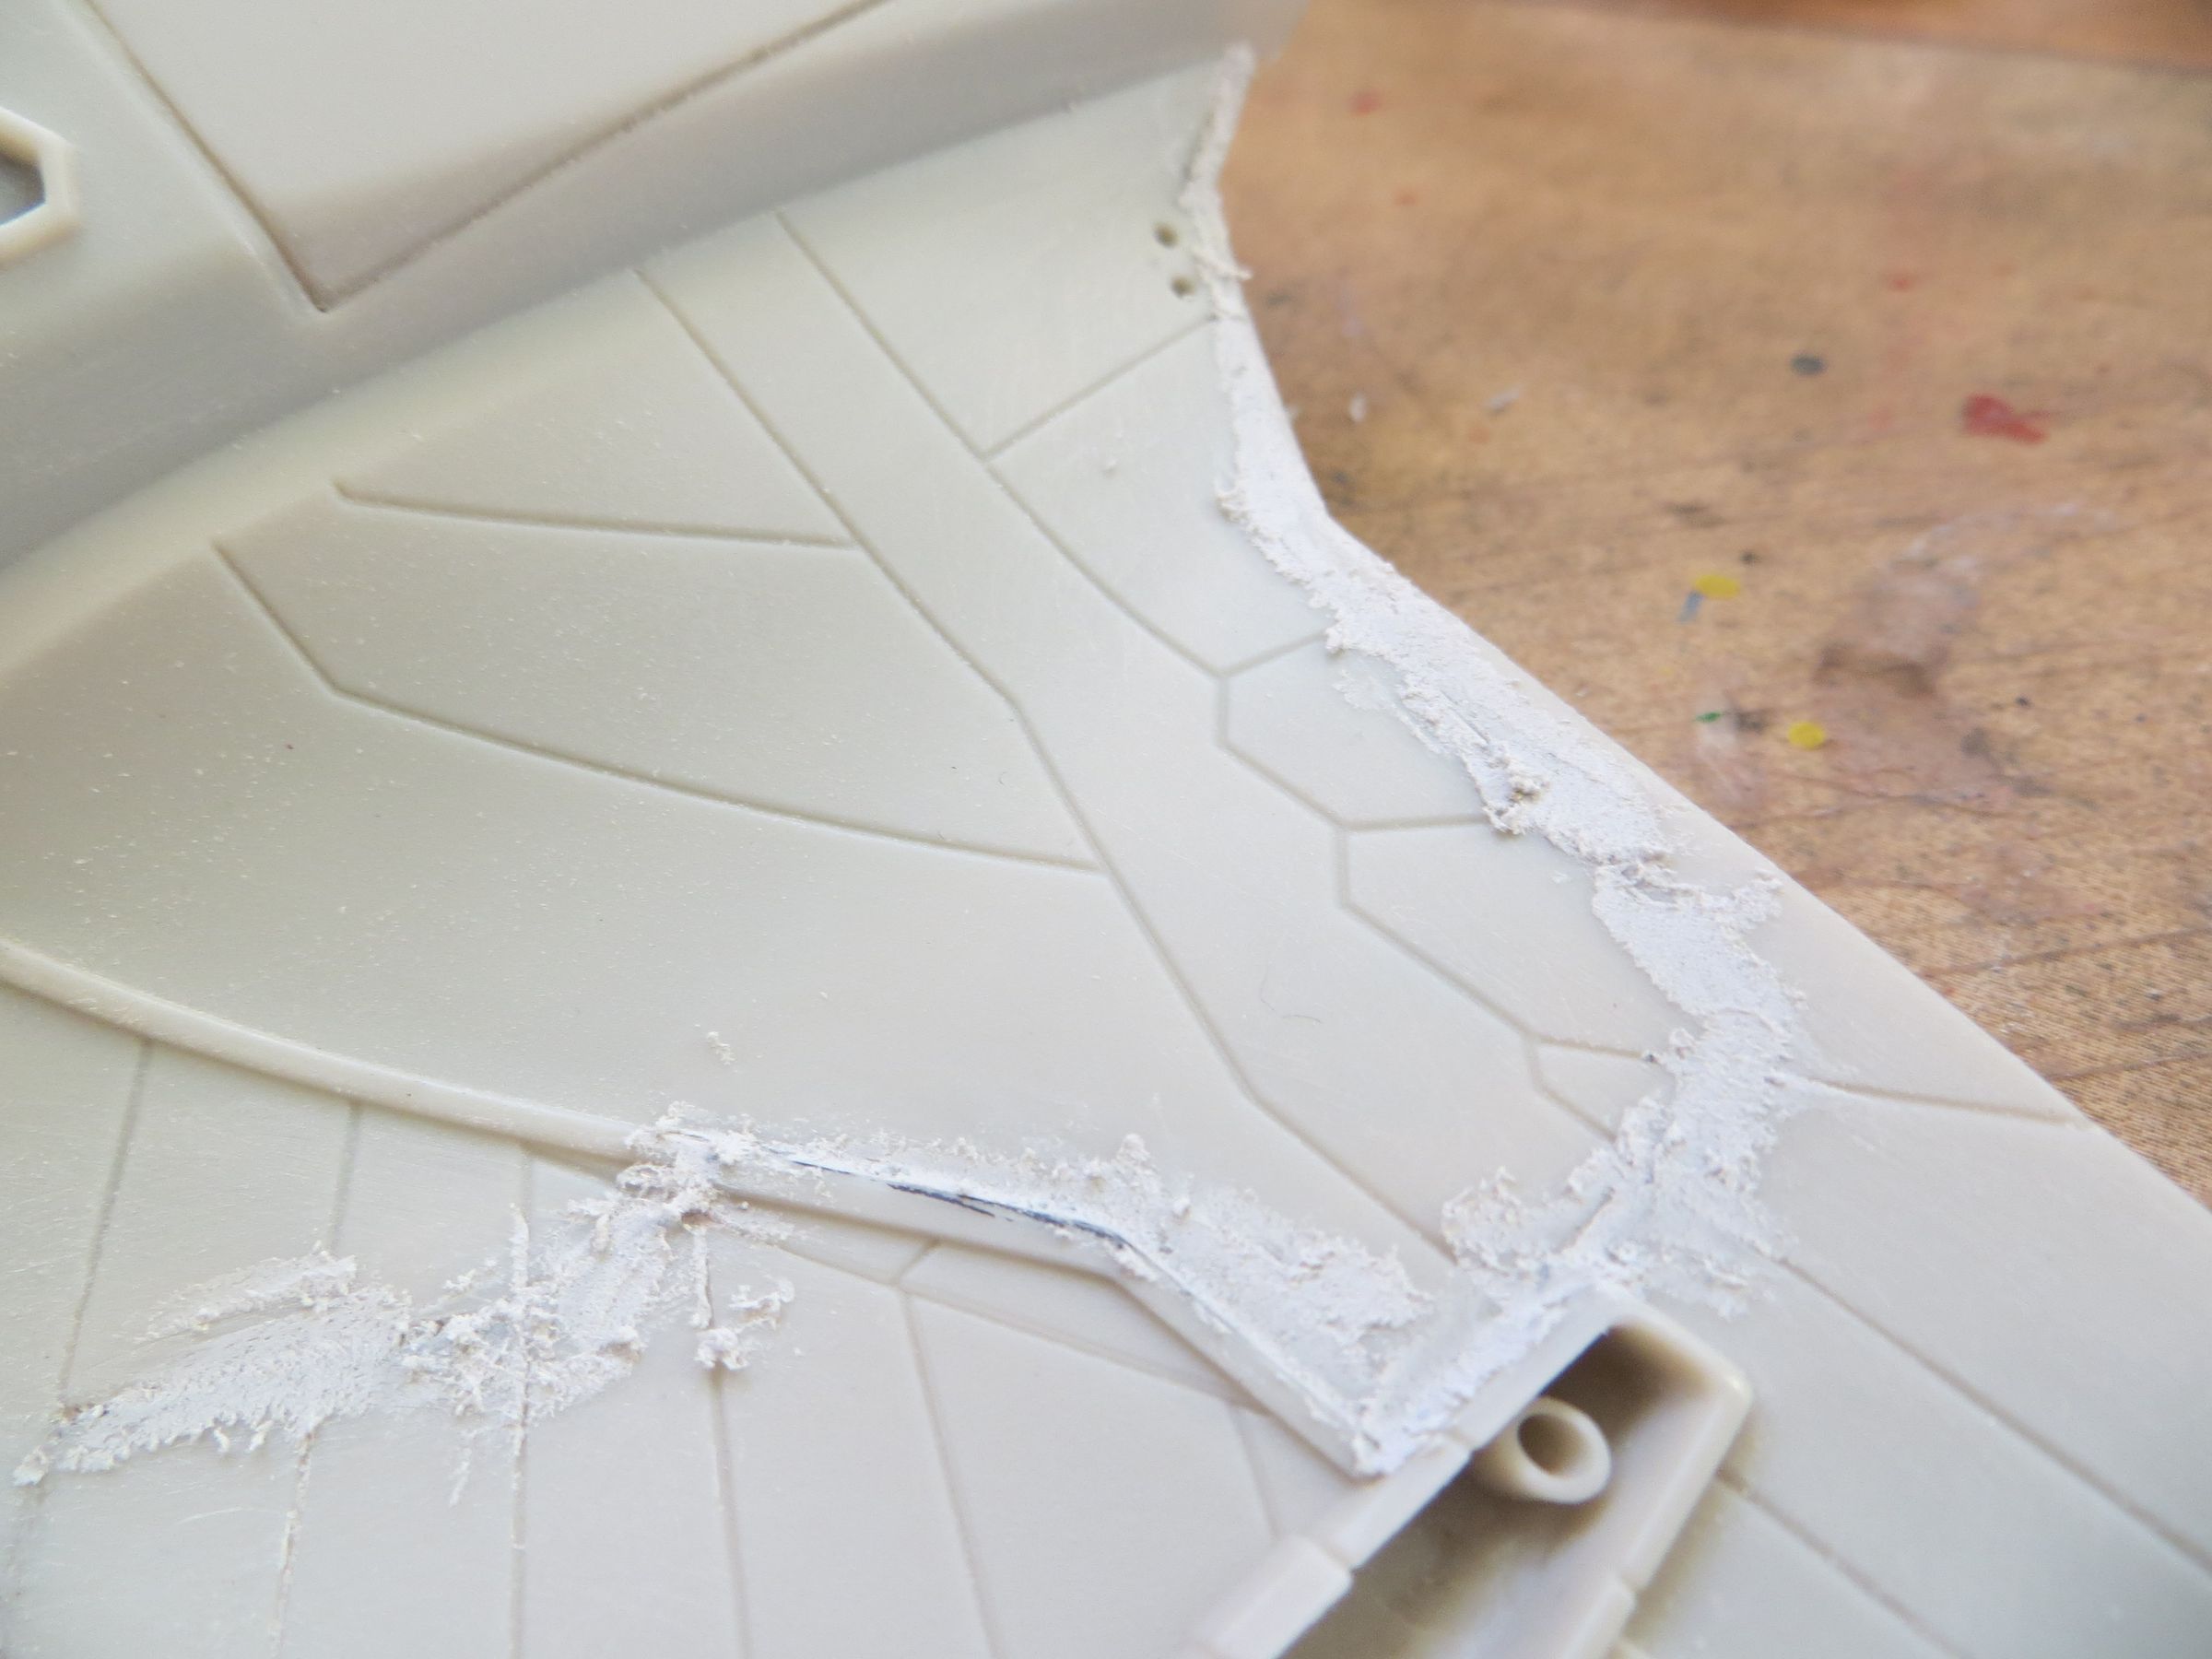
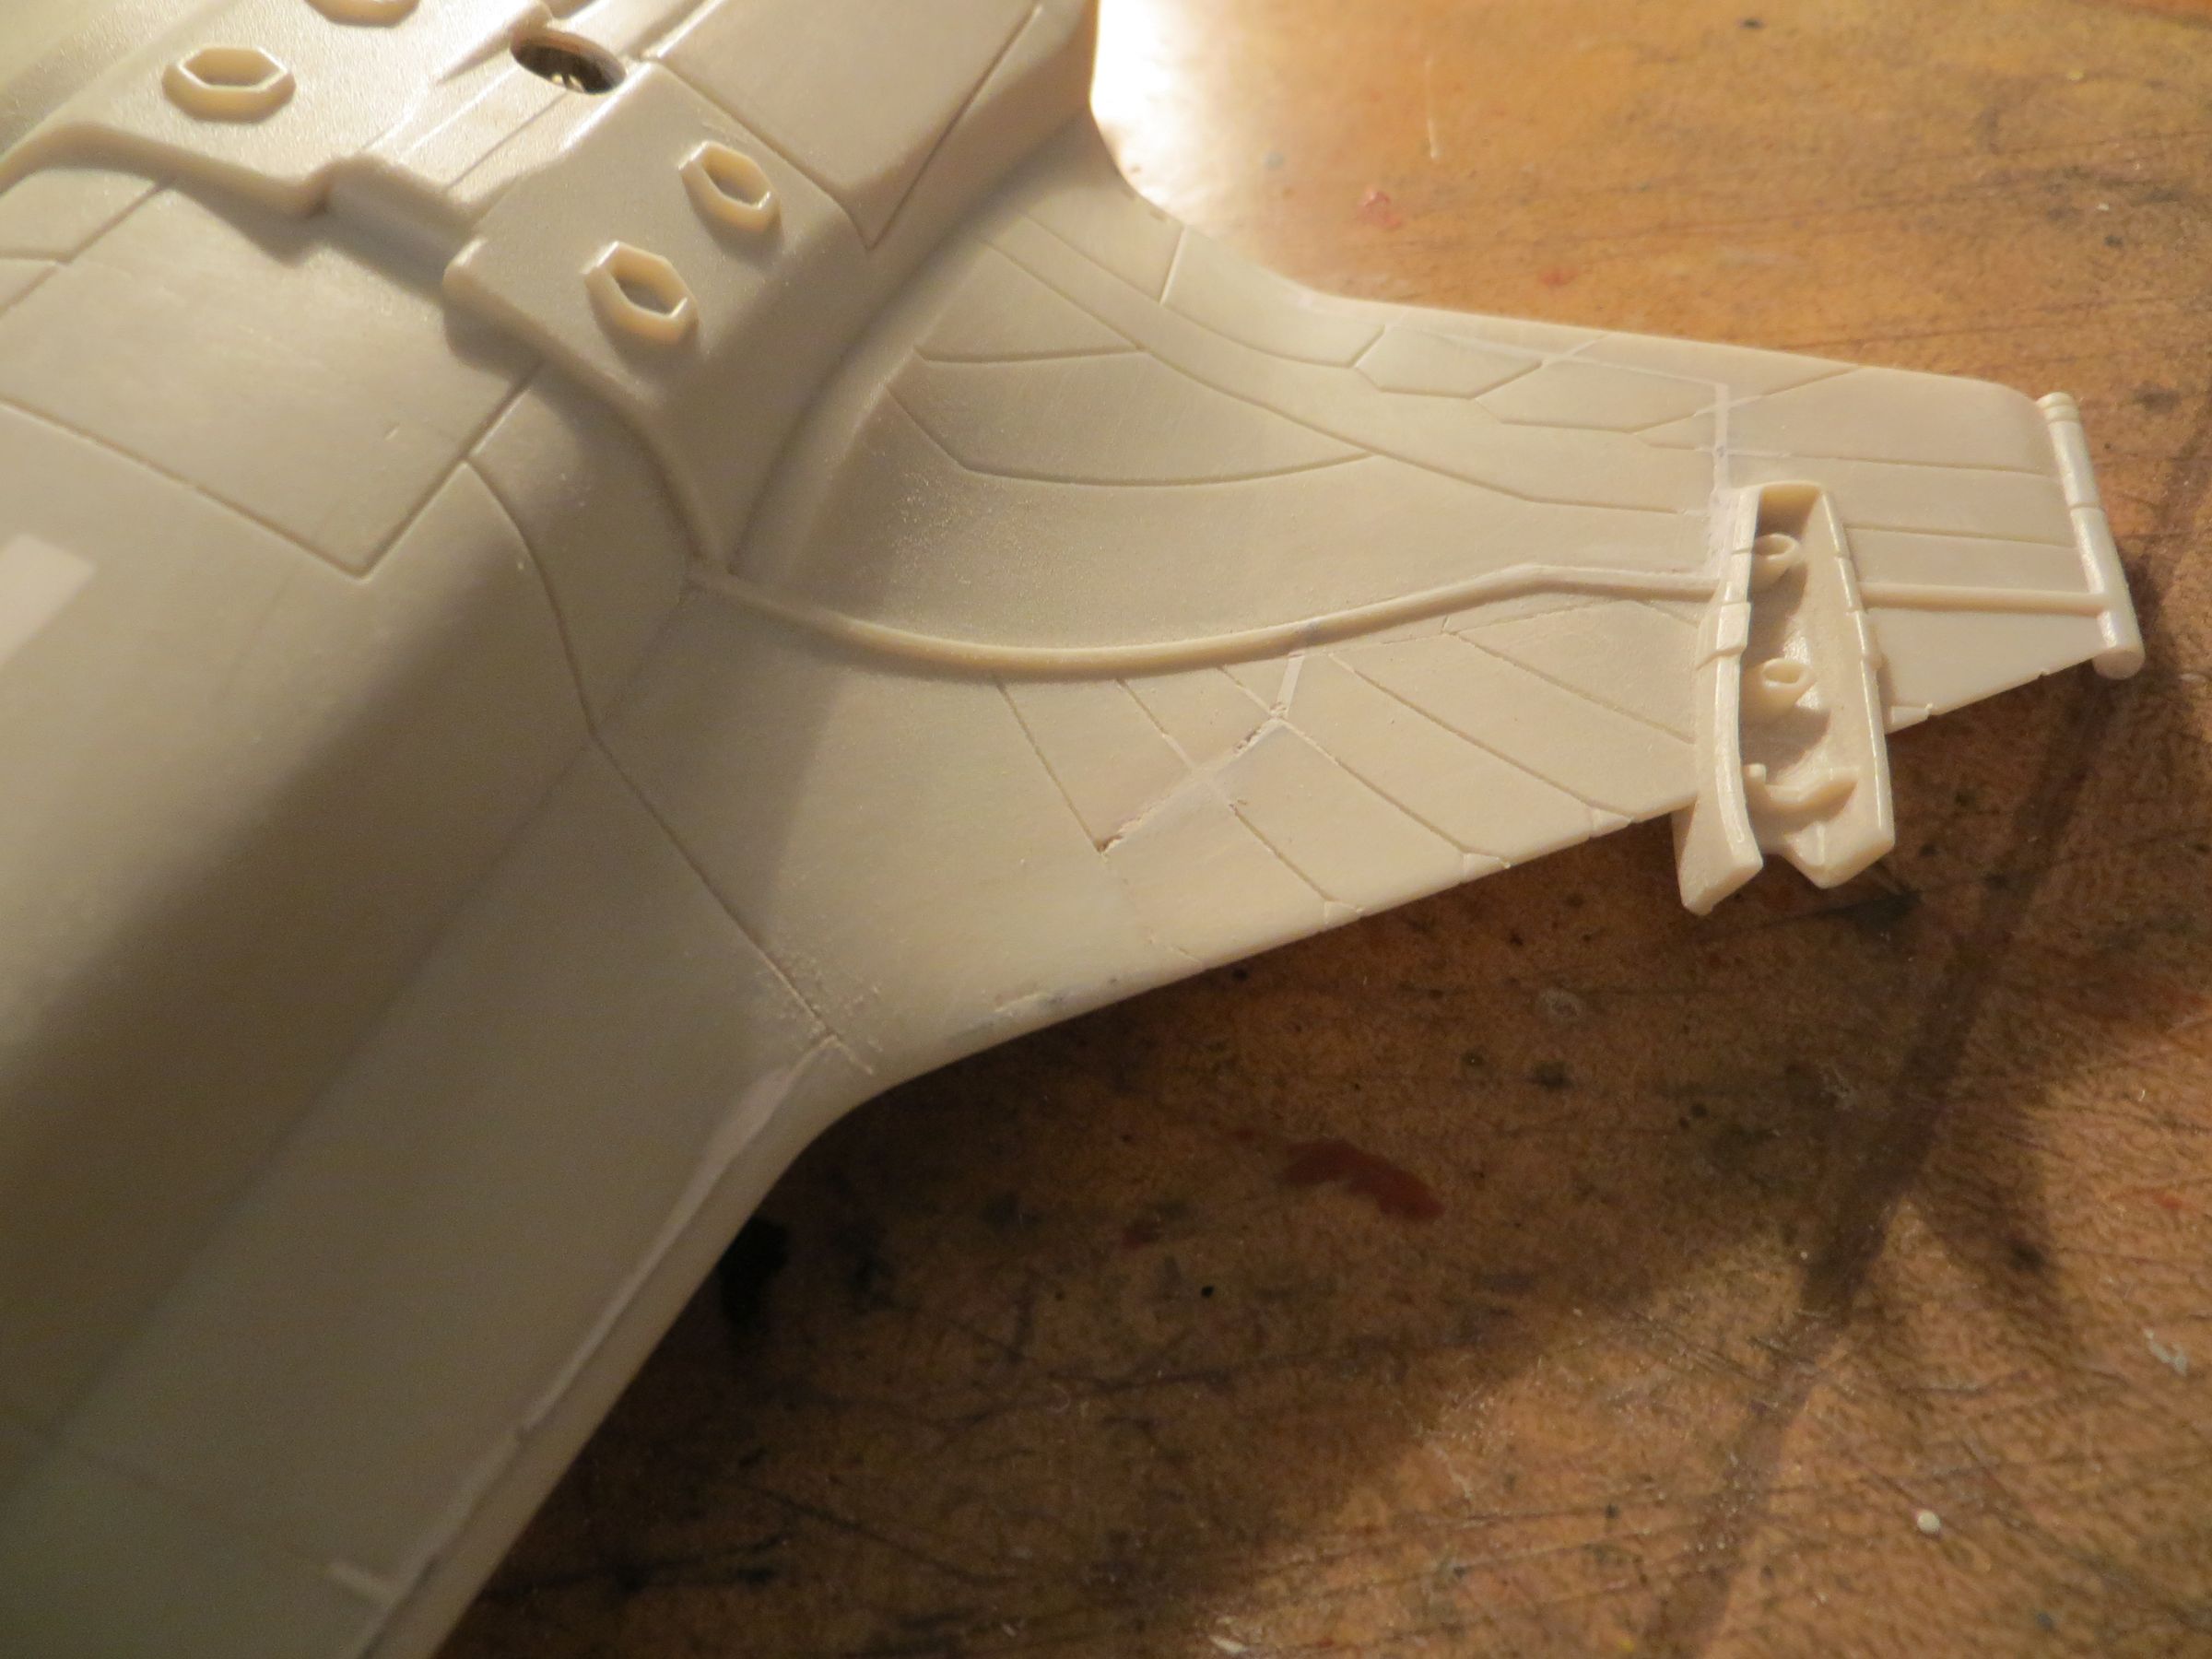
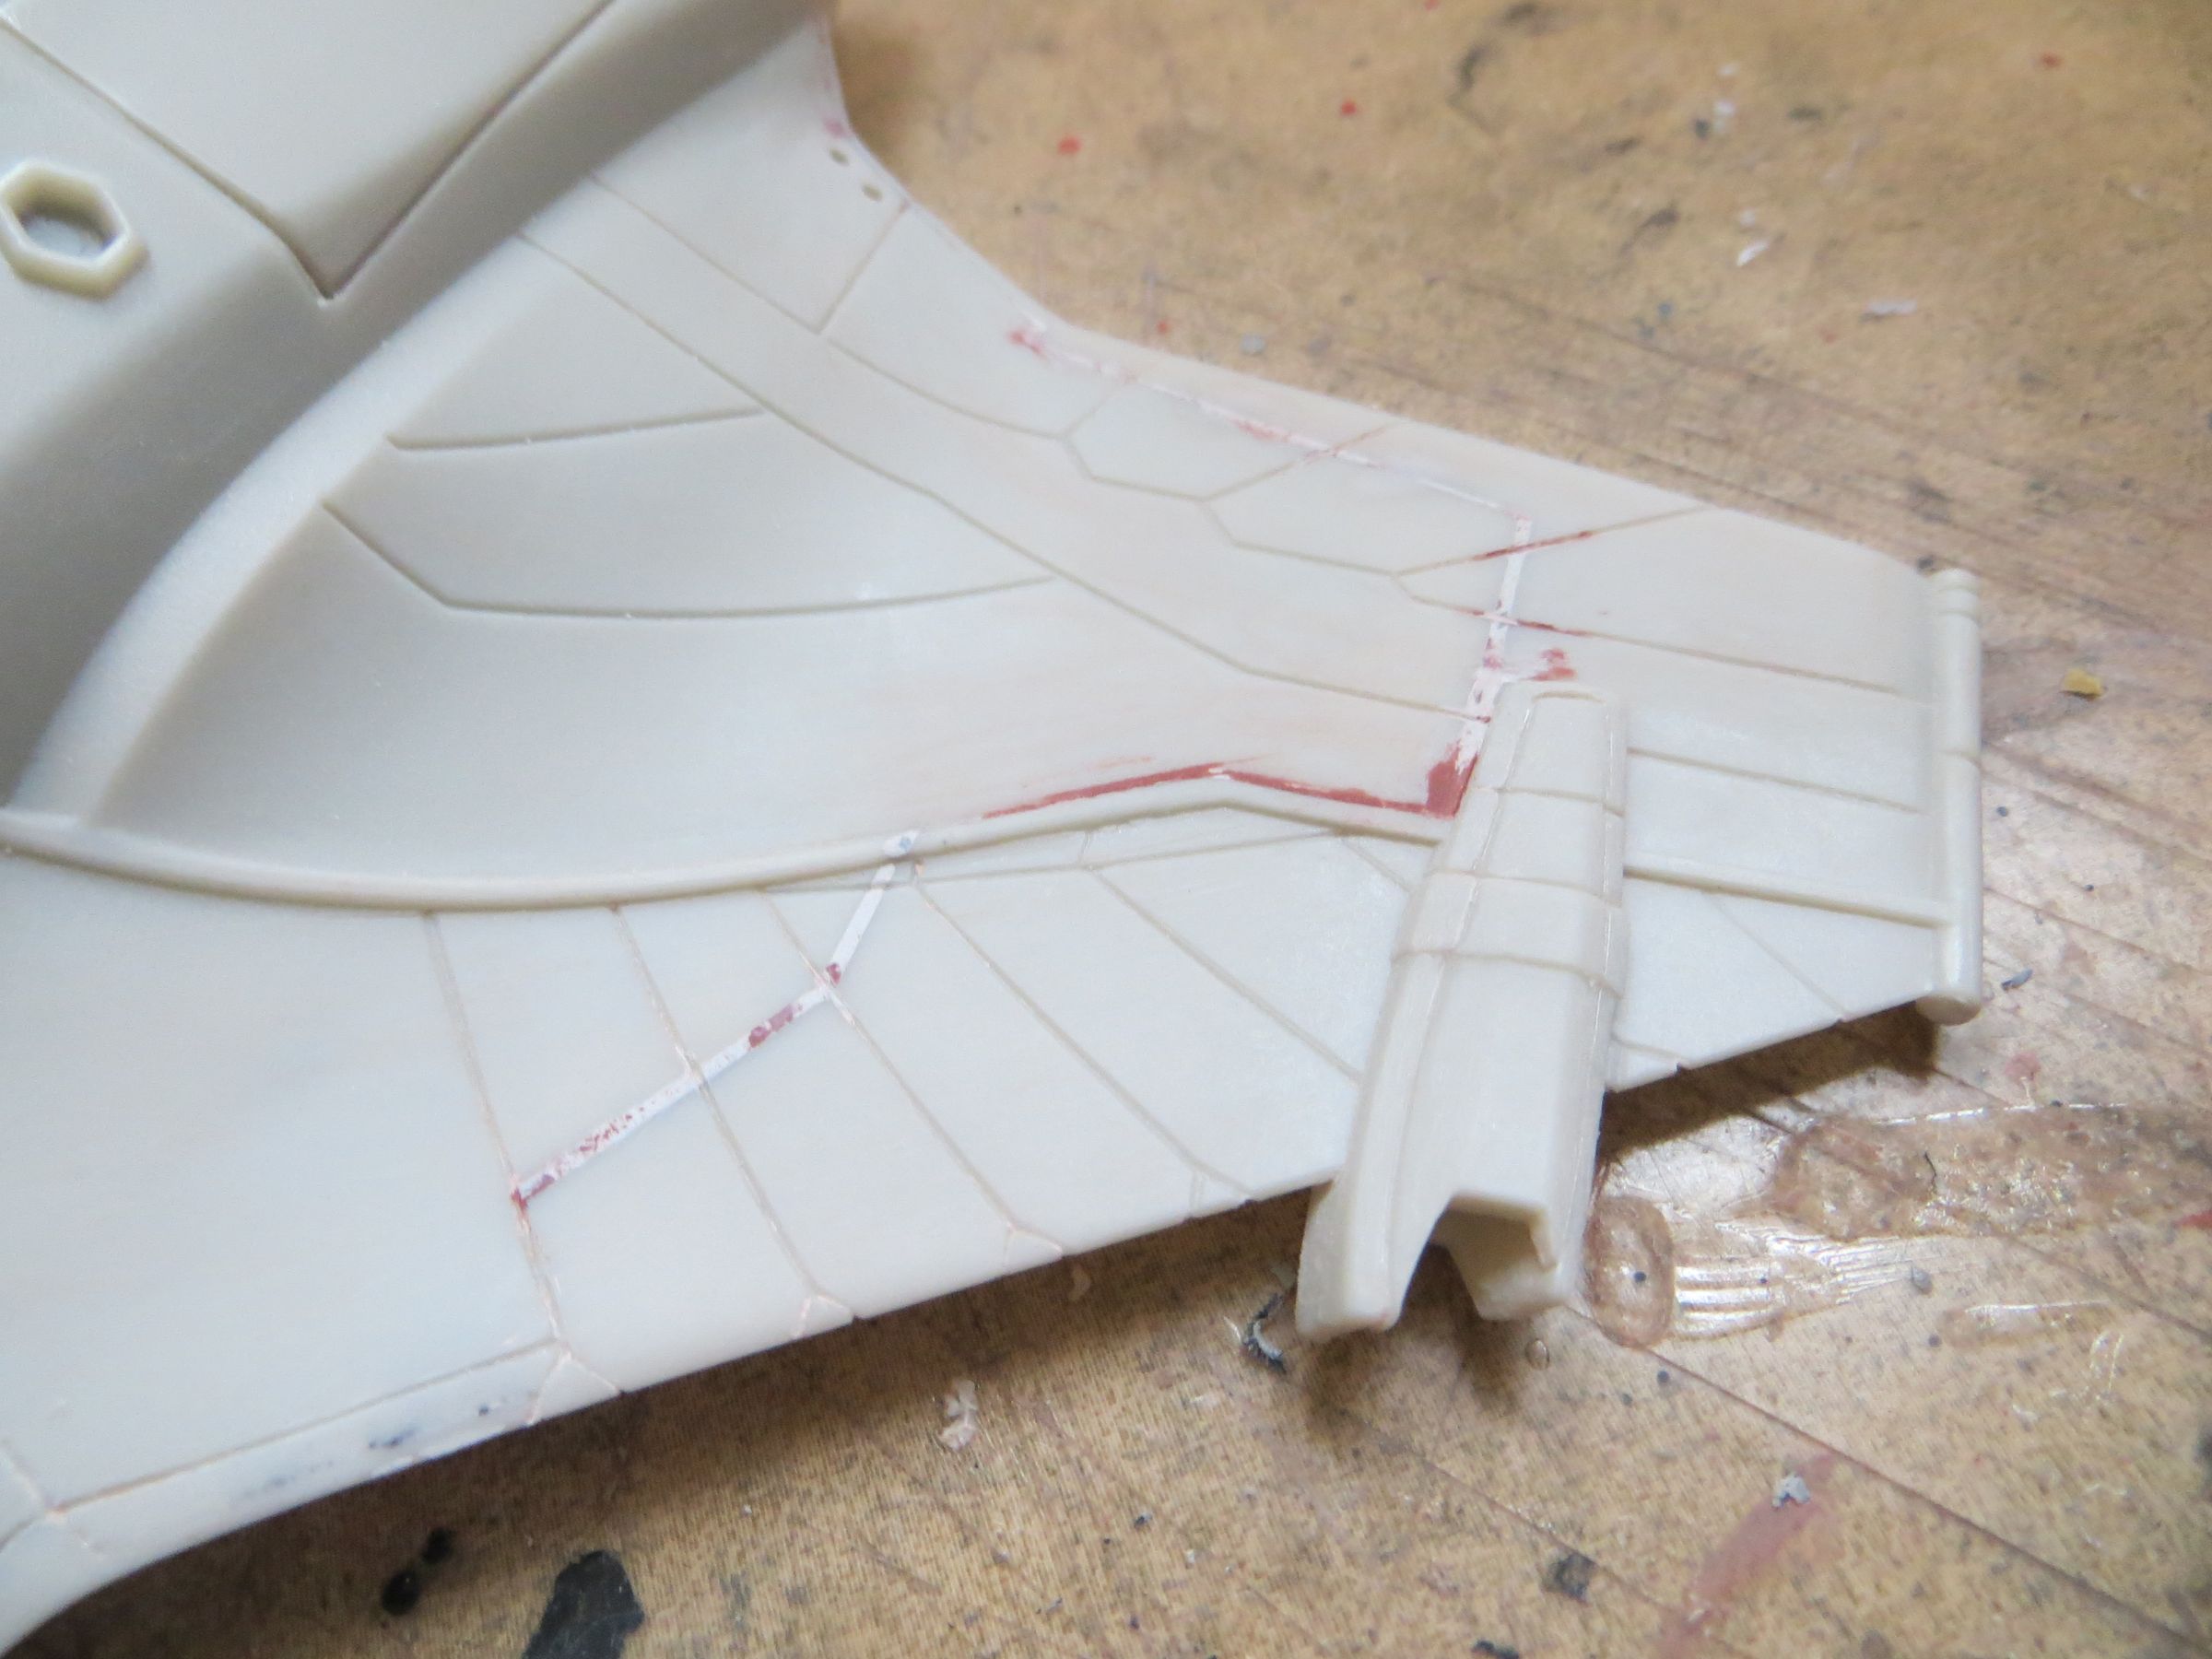
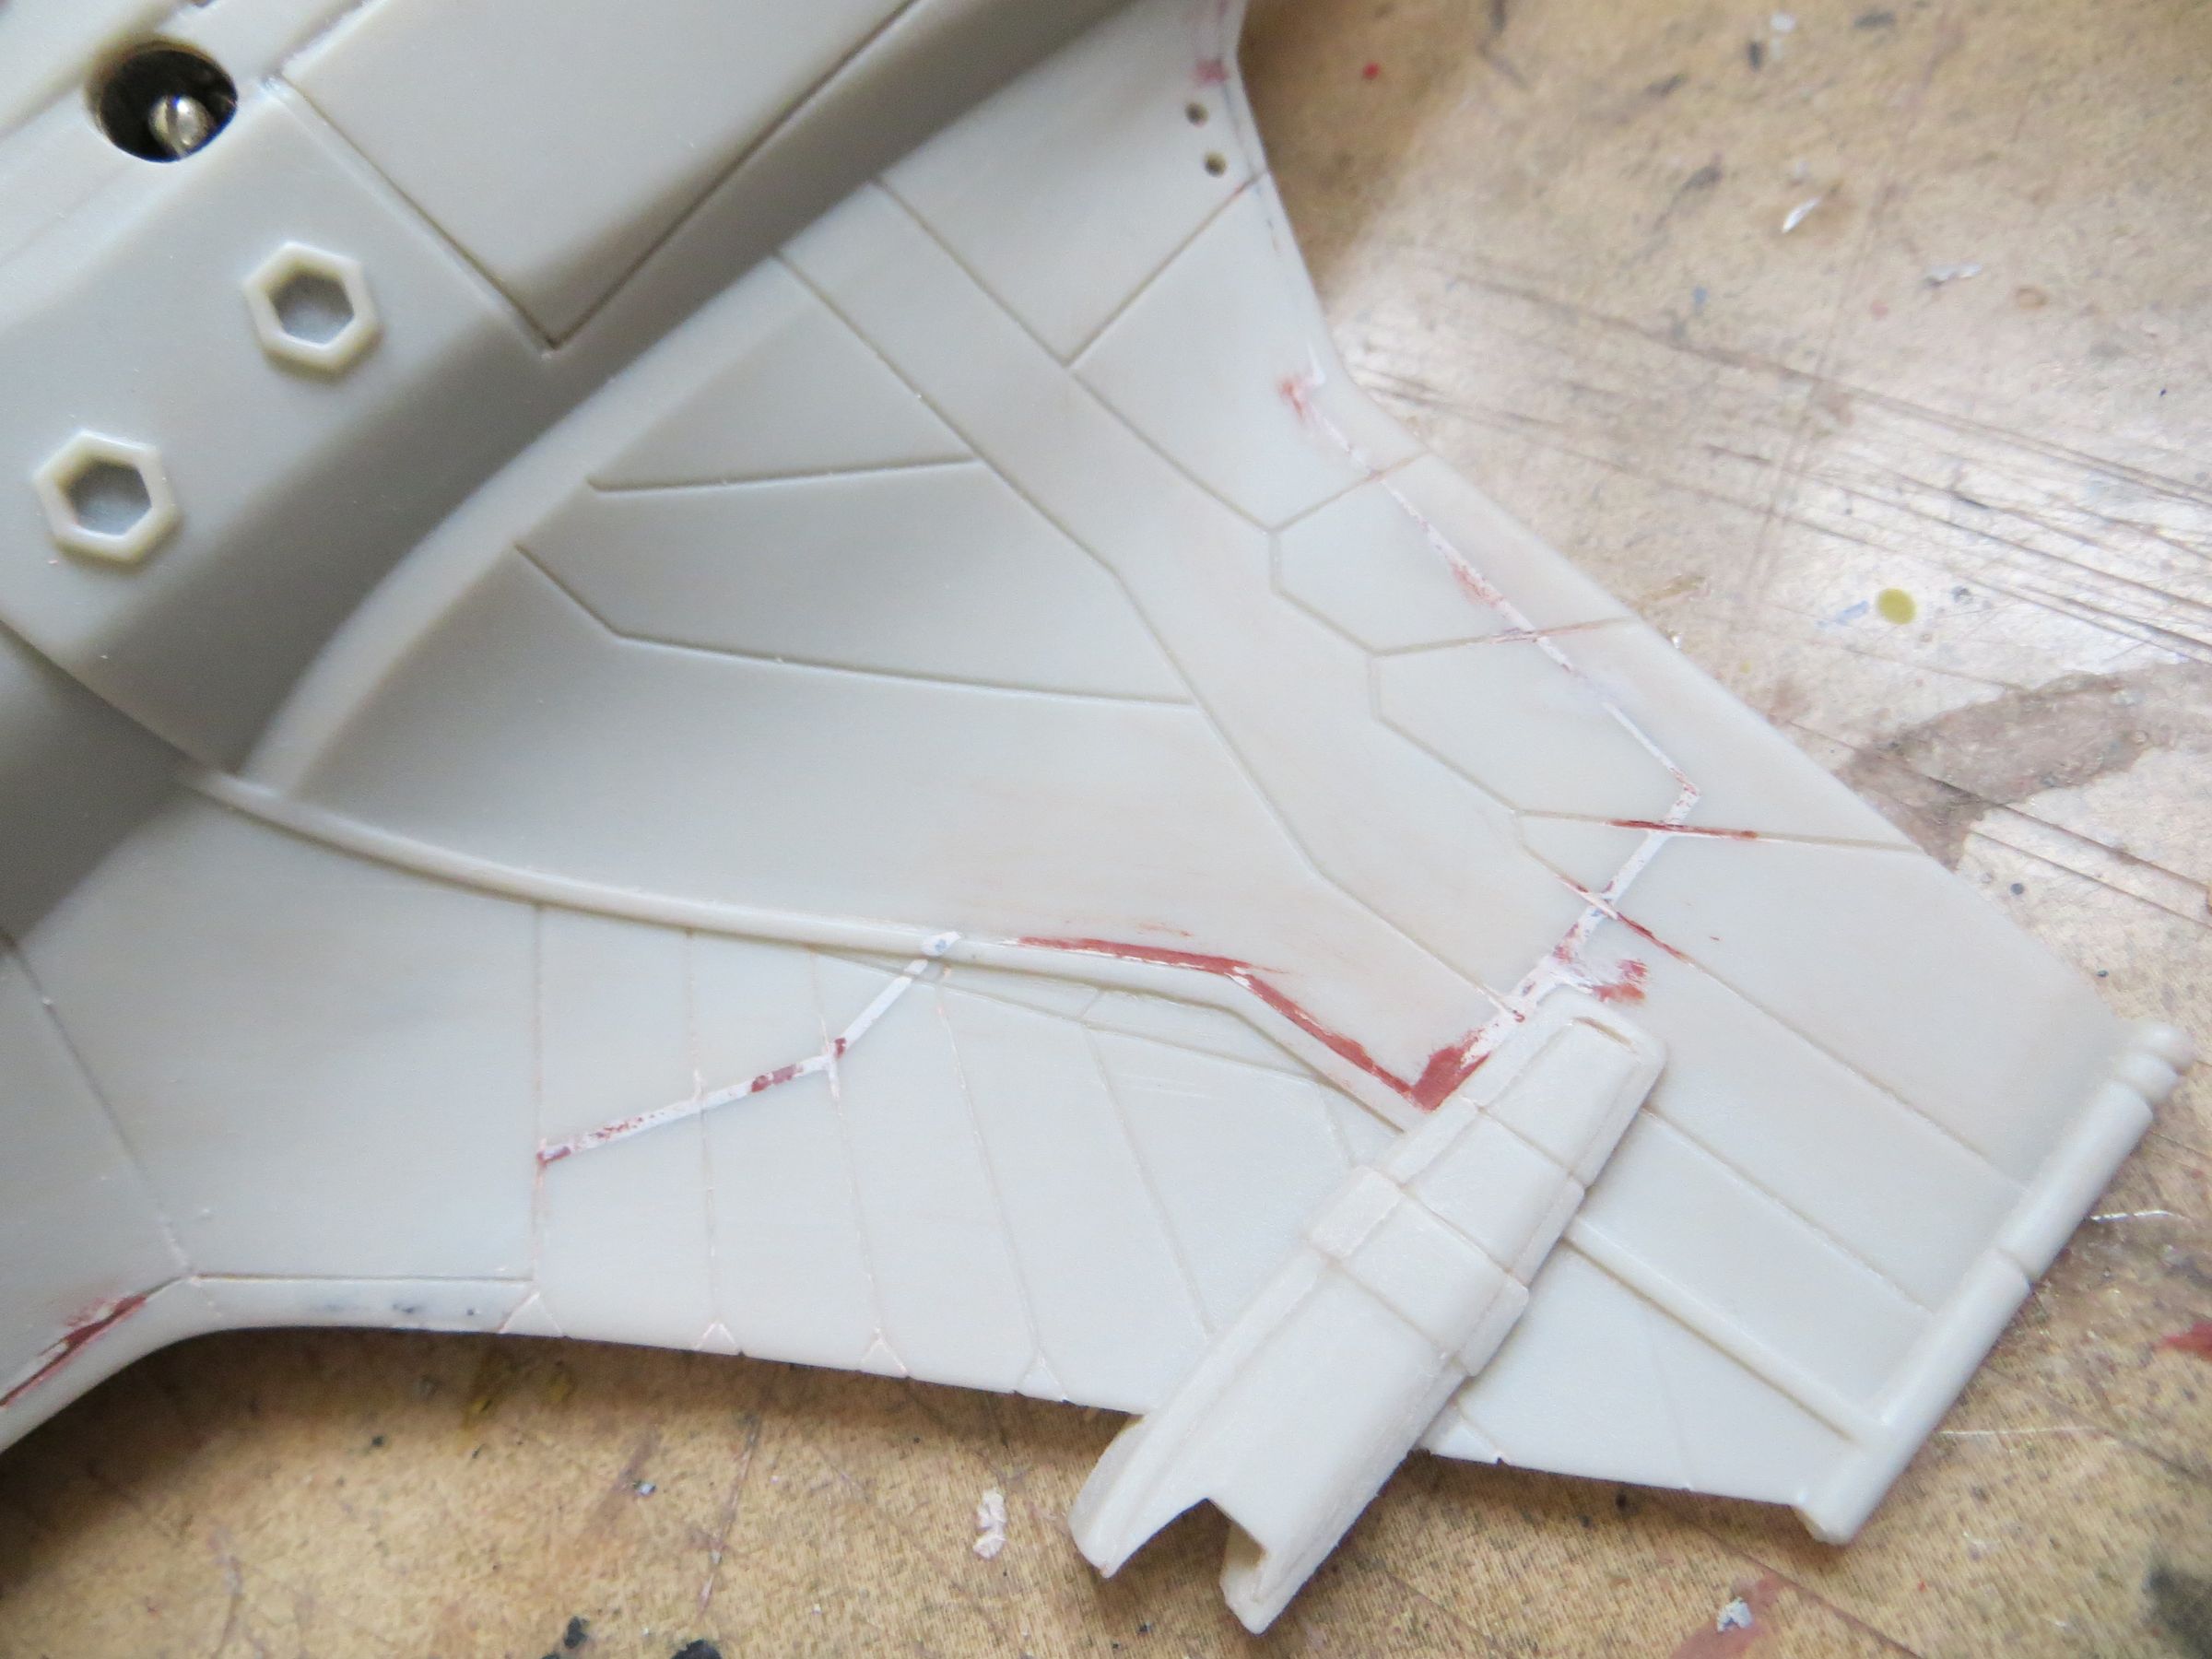
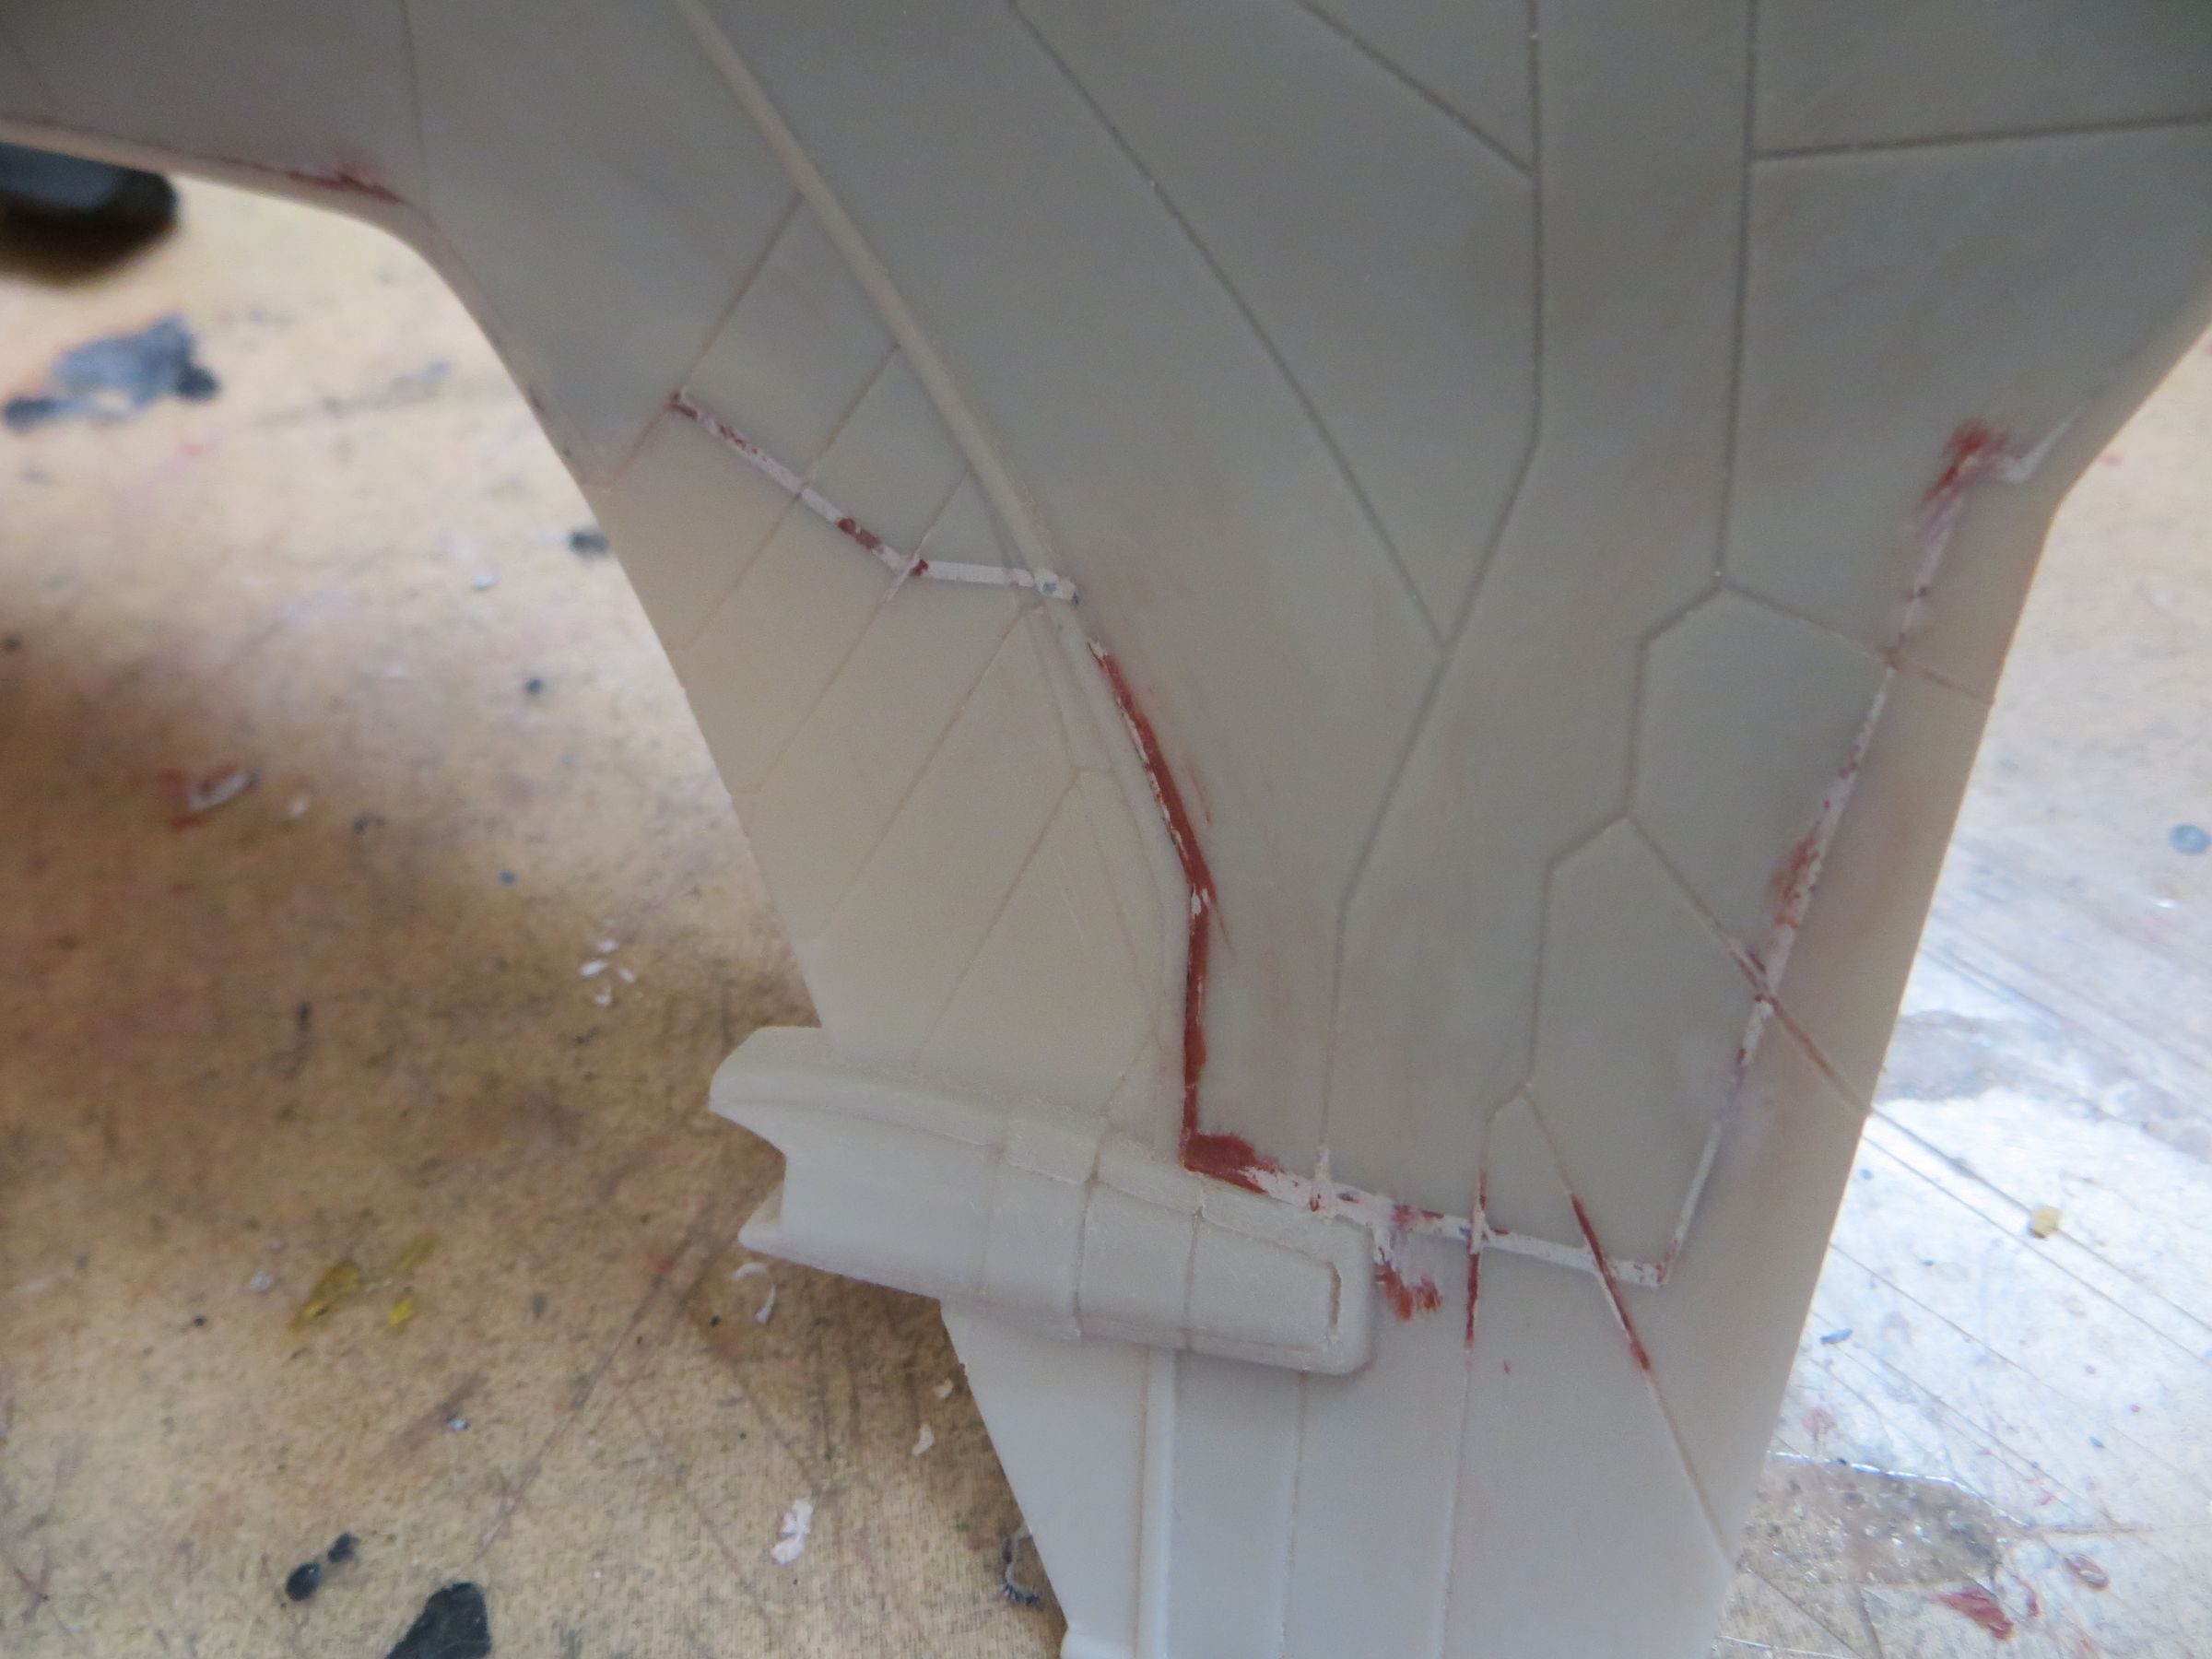
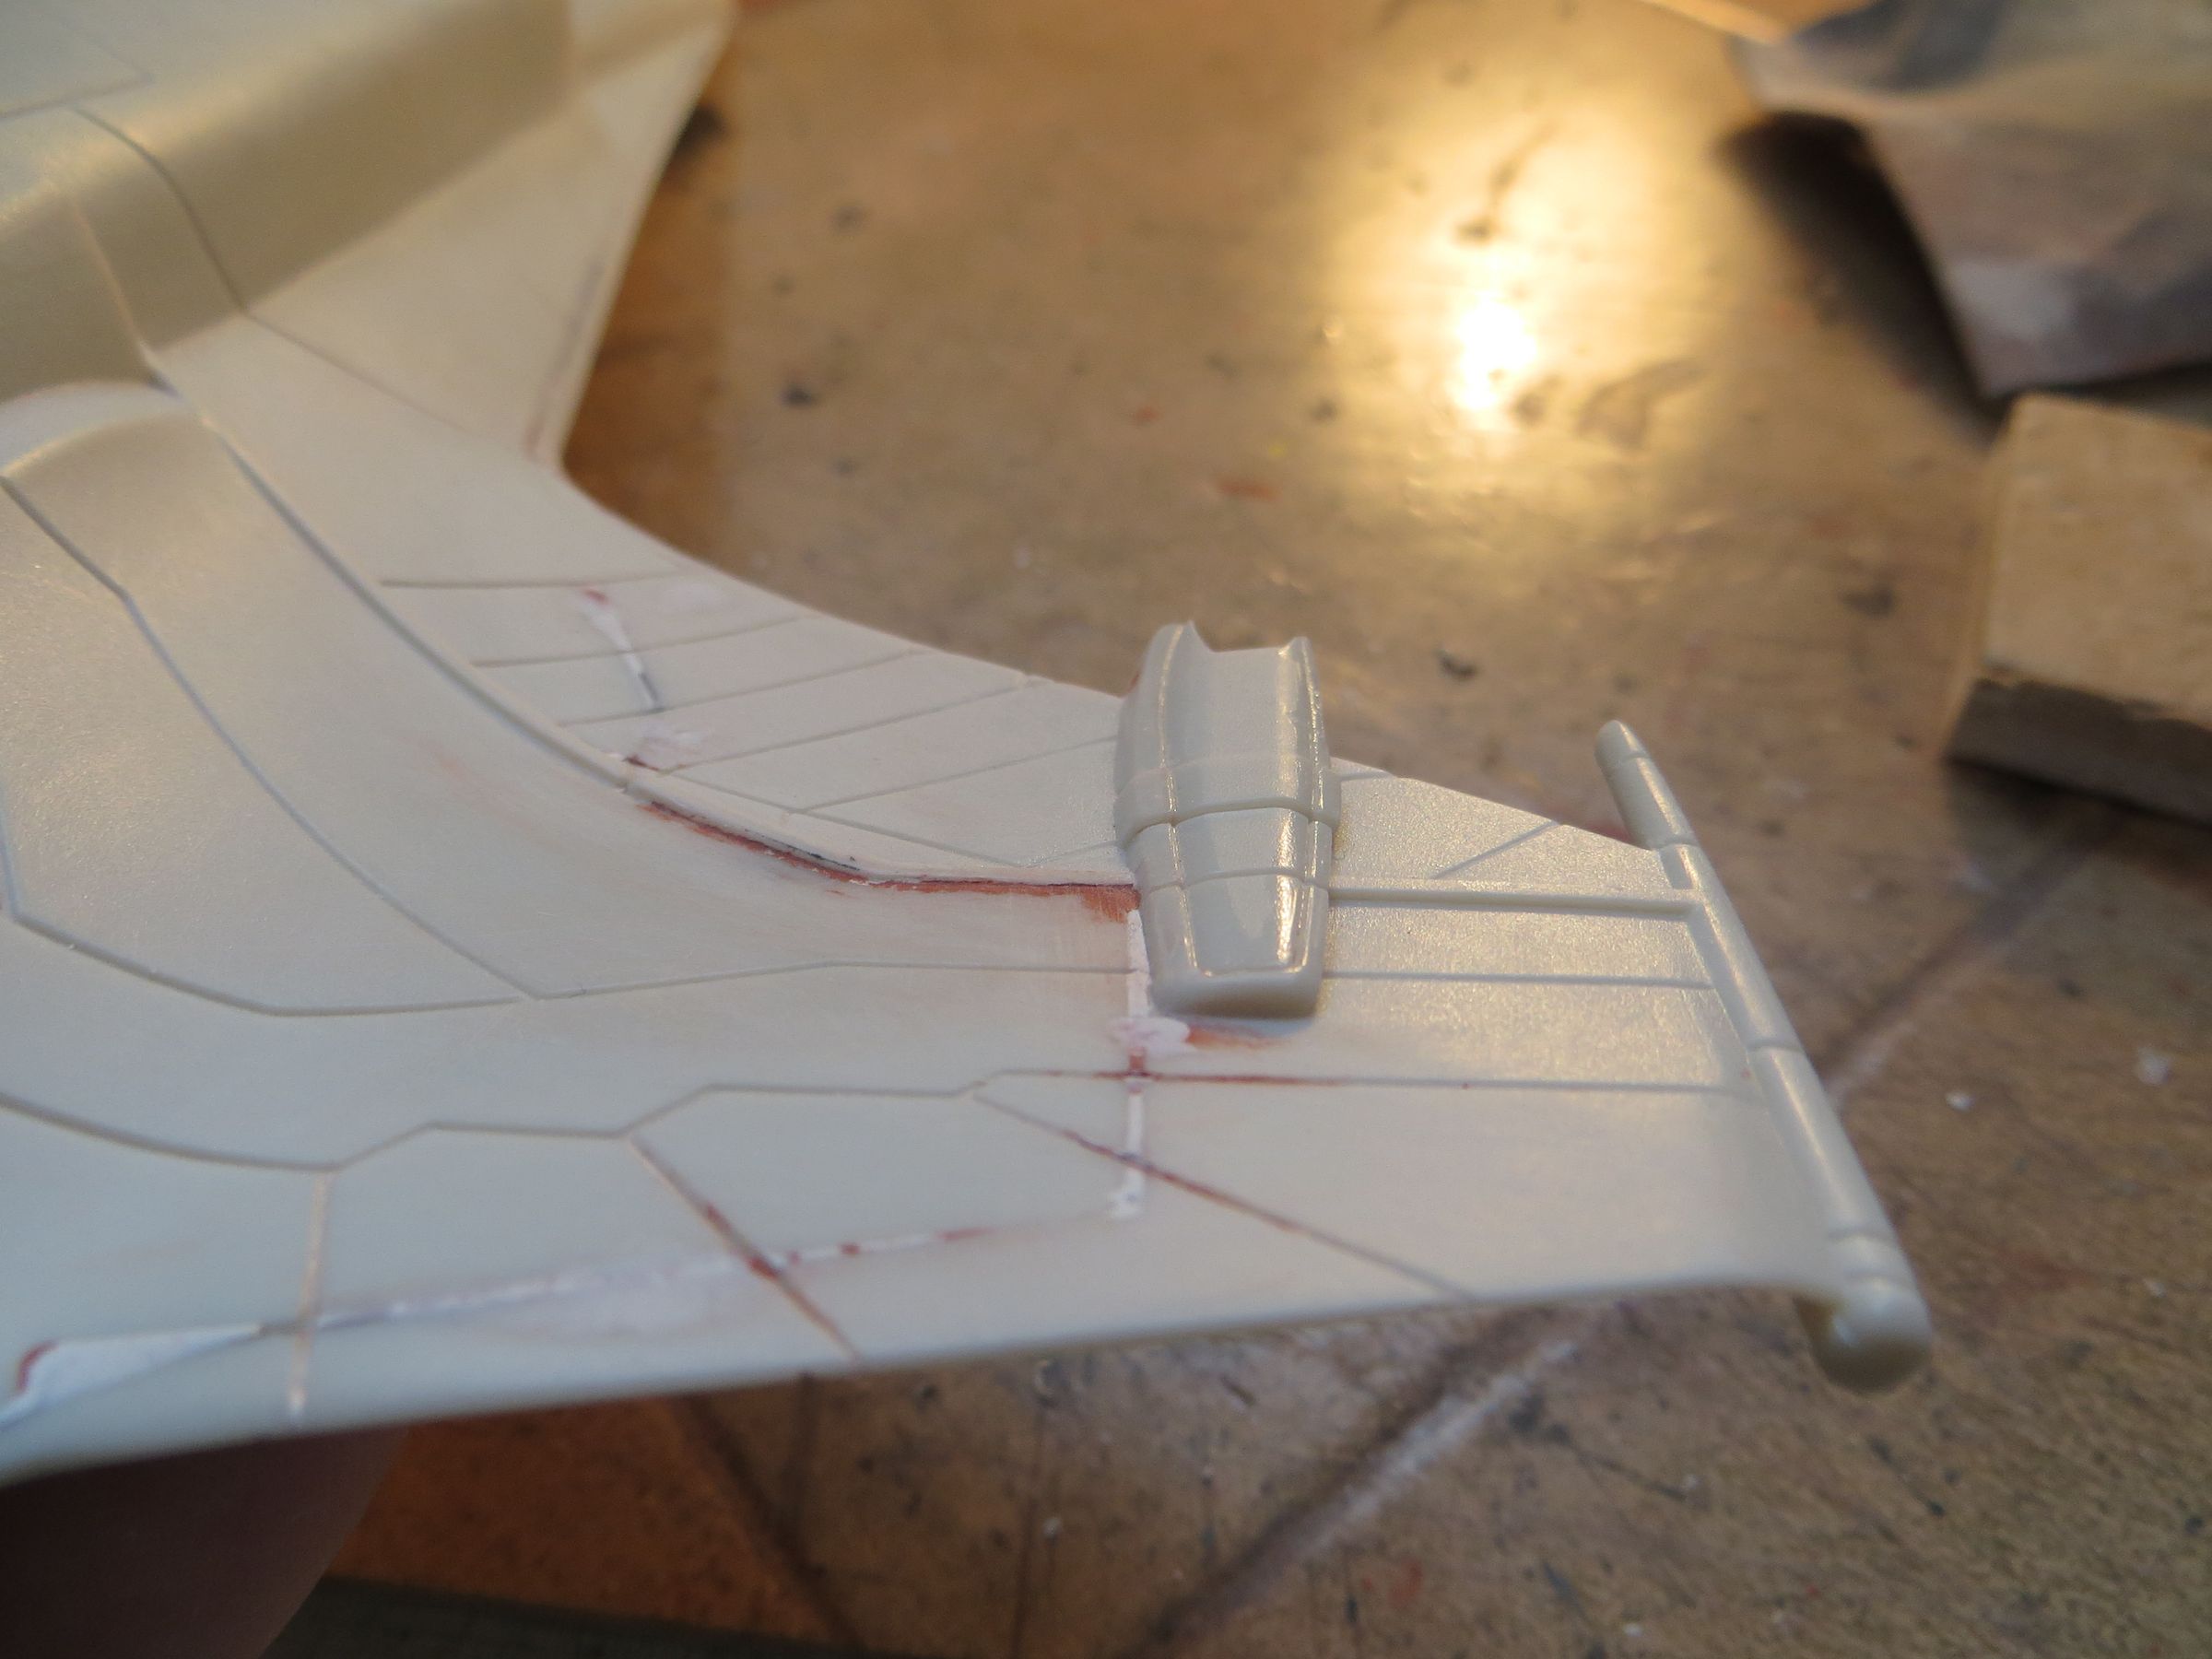
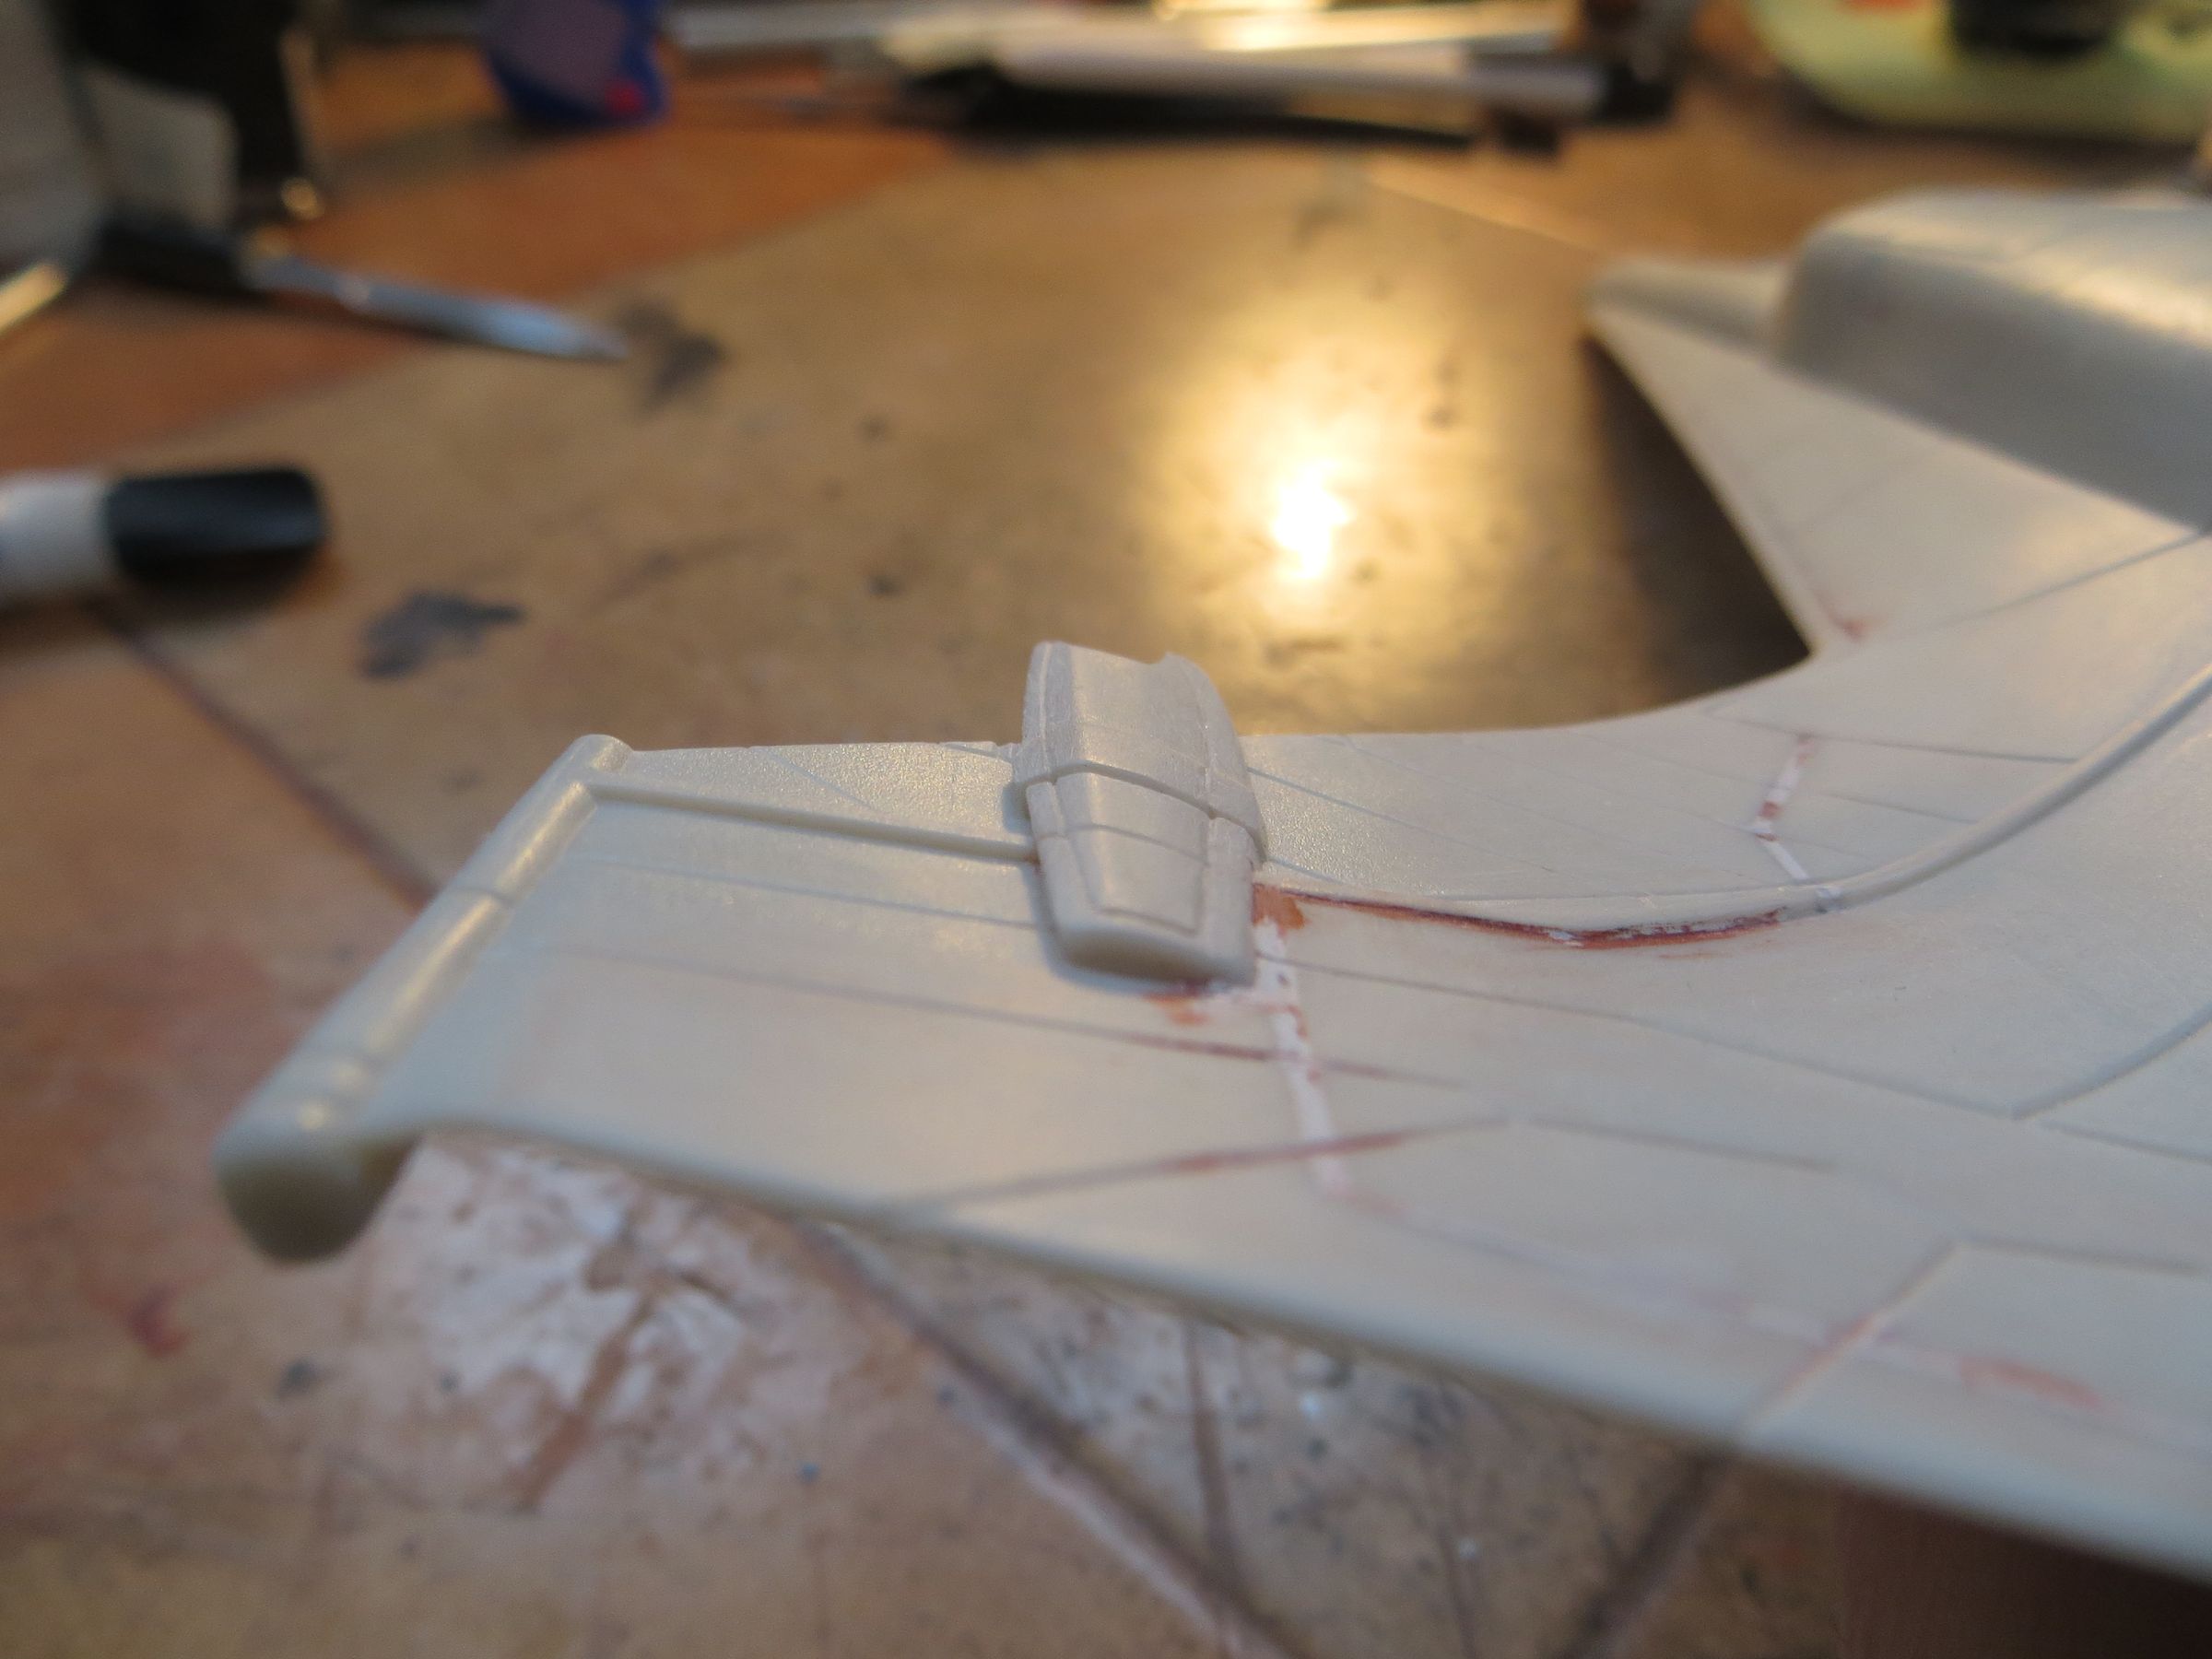
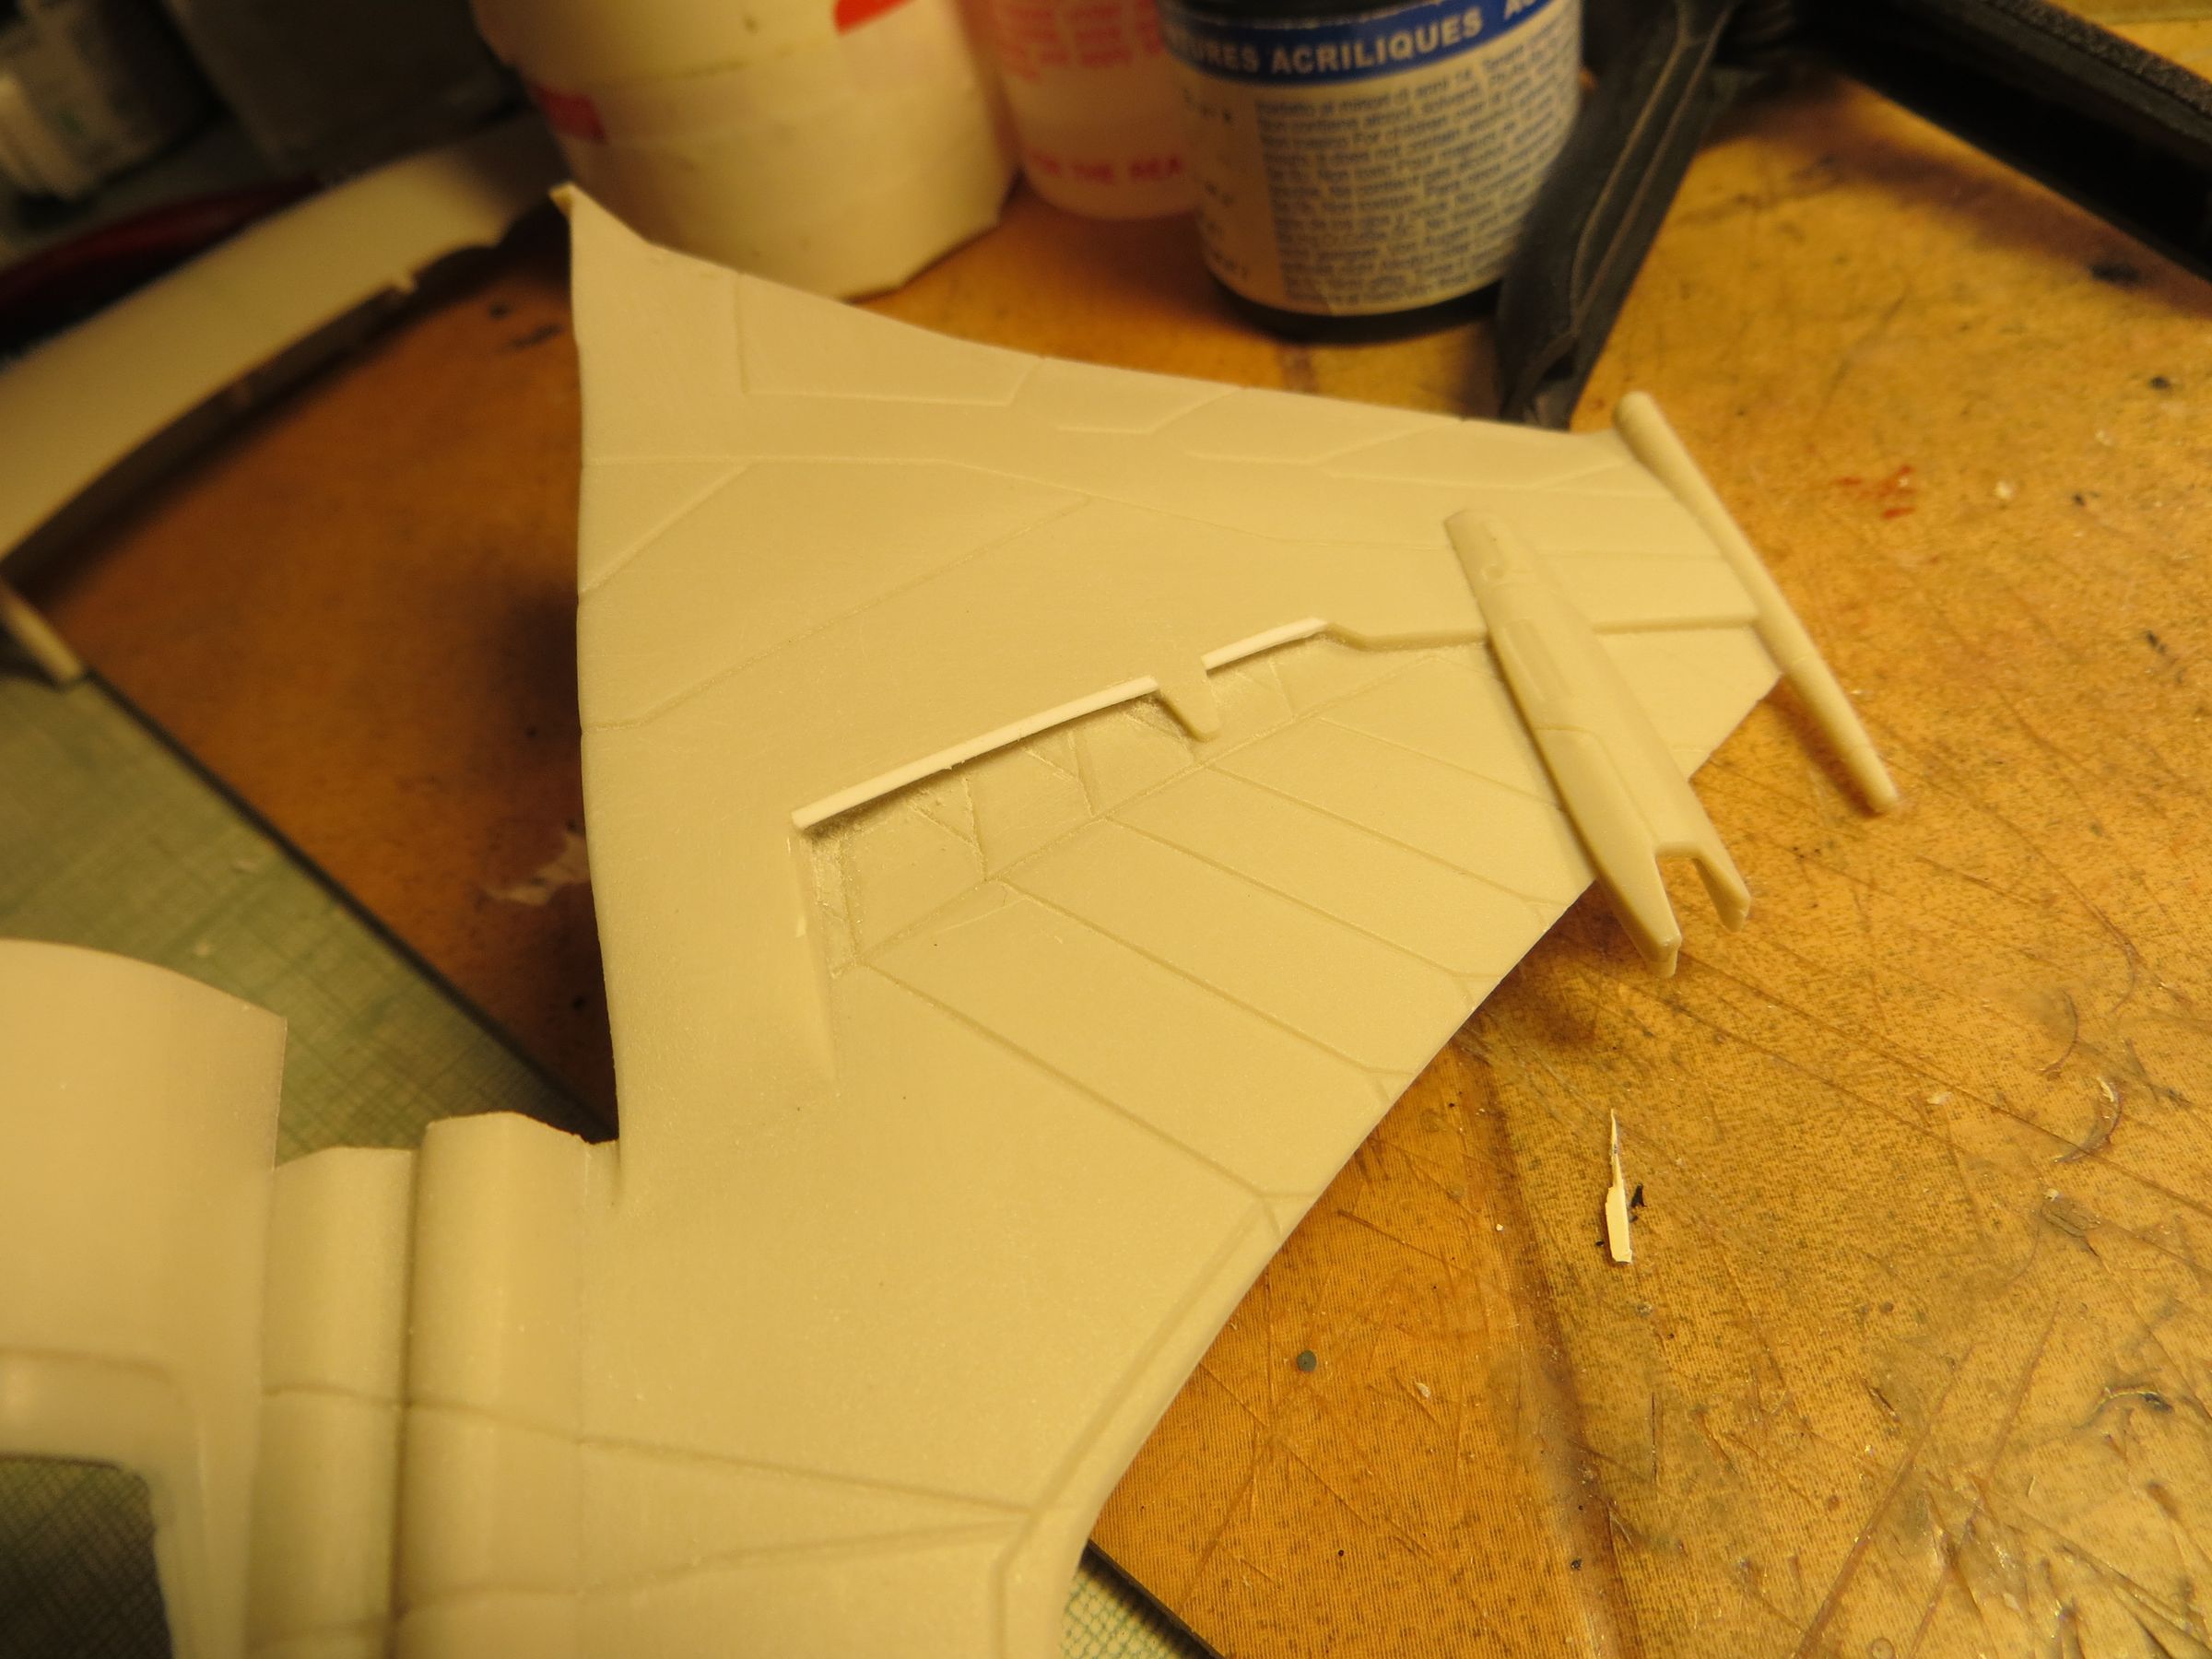
On each wing, there is a curious trapezoidal panel that has nothing to do there. It is scraped and sanded, and the panels lines are engraved.
I completed the edge by a thin plastic strip to give a little depth to the air inlet .

vendredi, 7 mars 2014
Par olcabour le vendredi, 7 mars 2014, 23:11
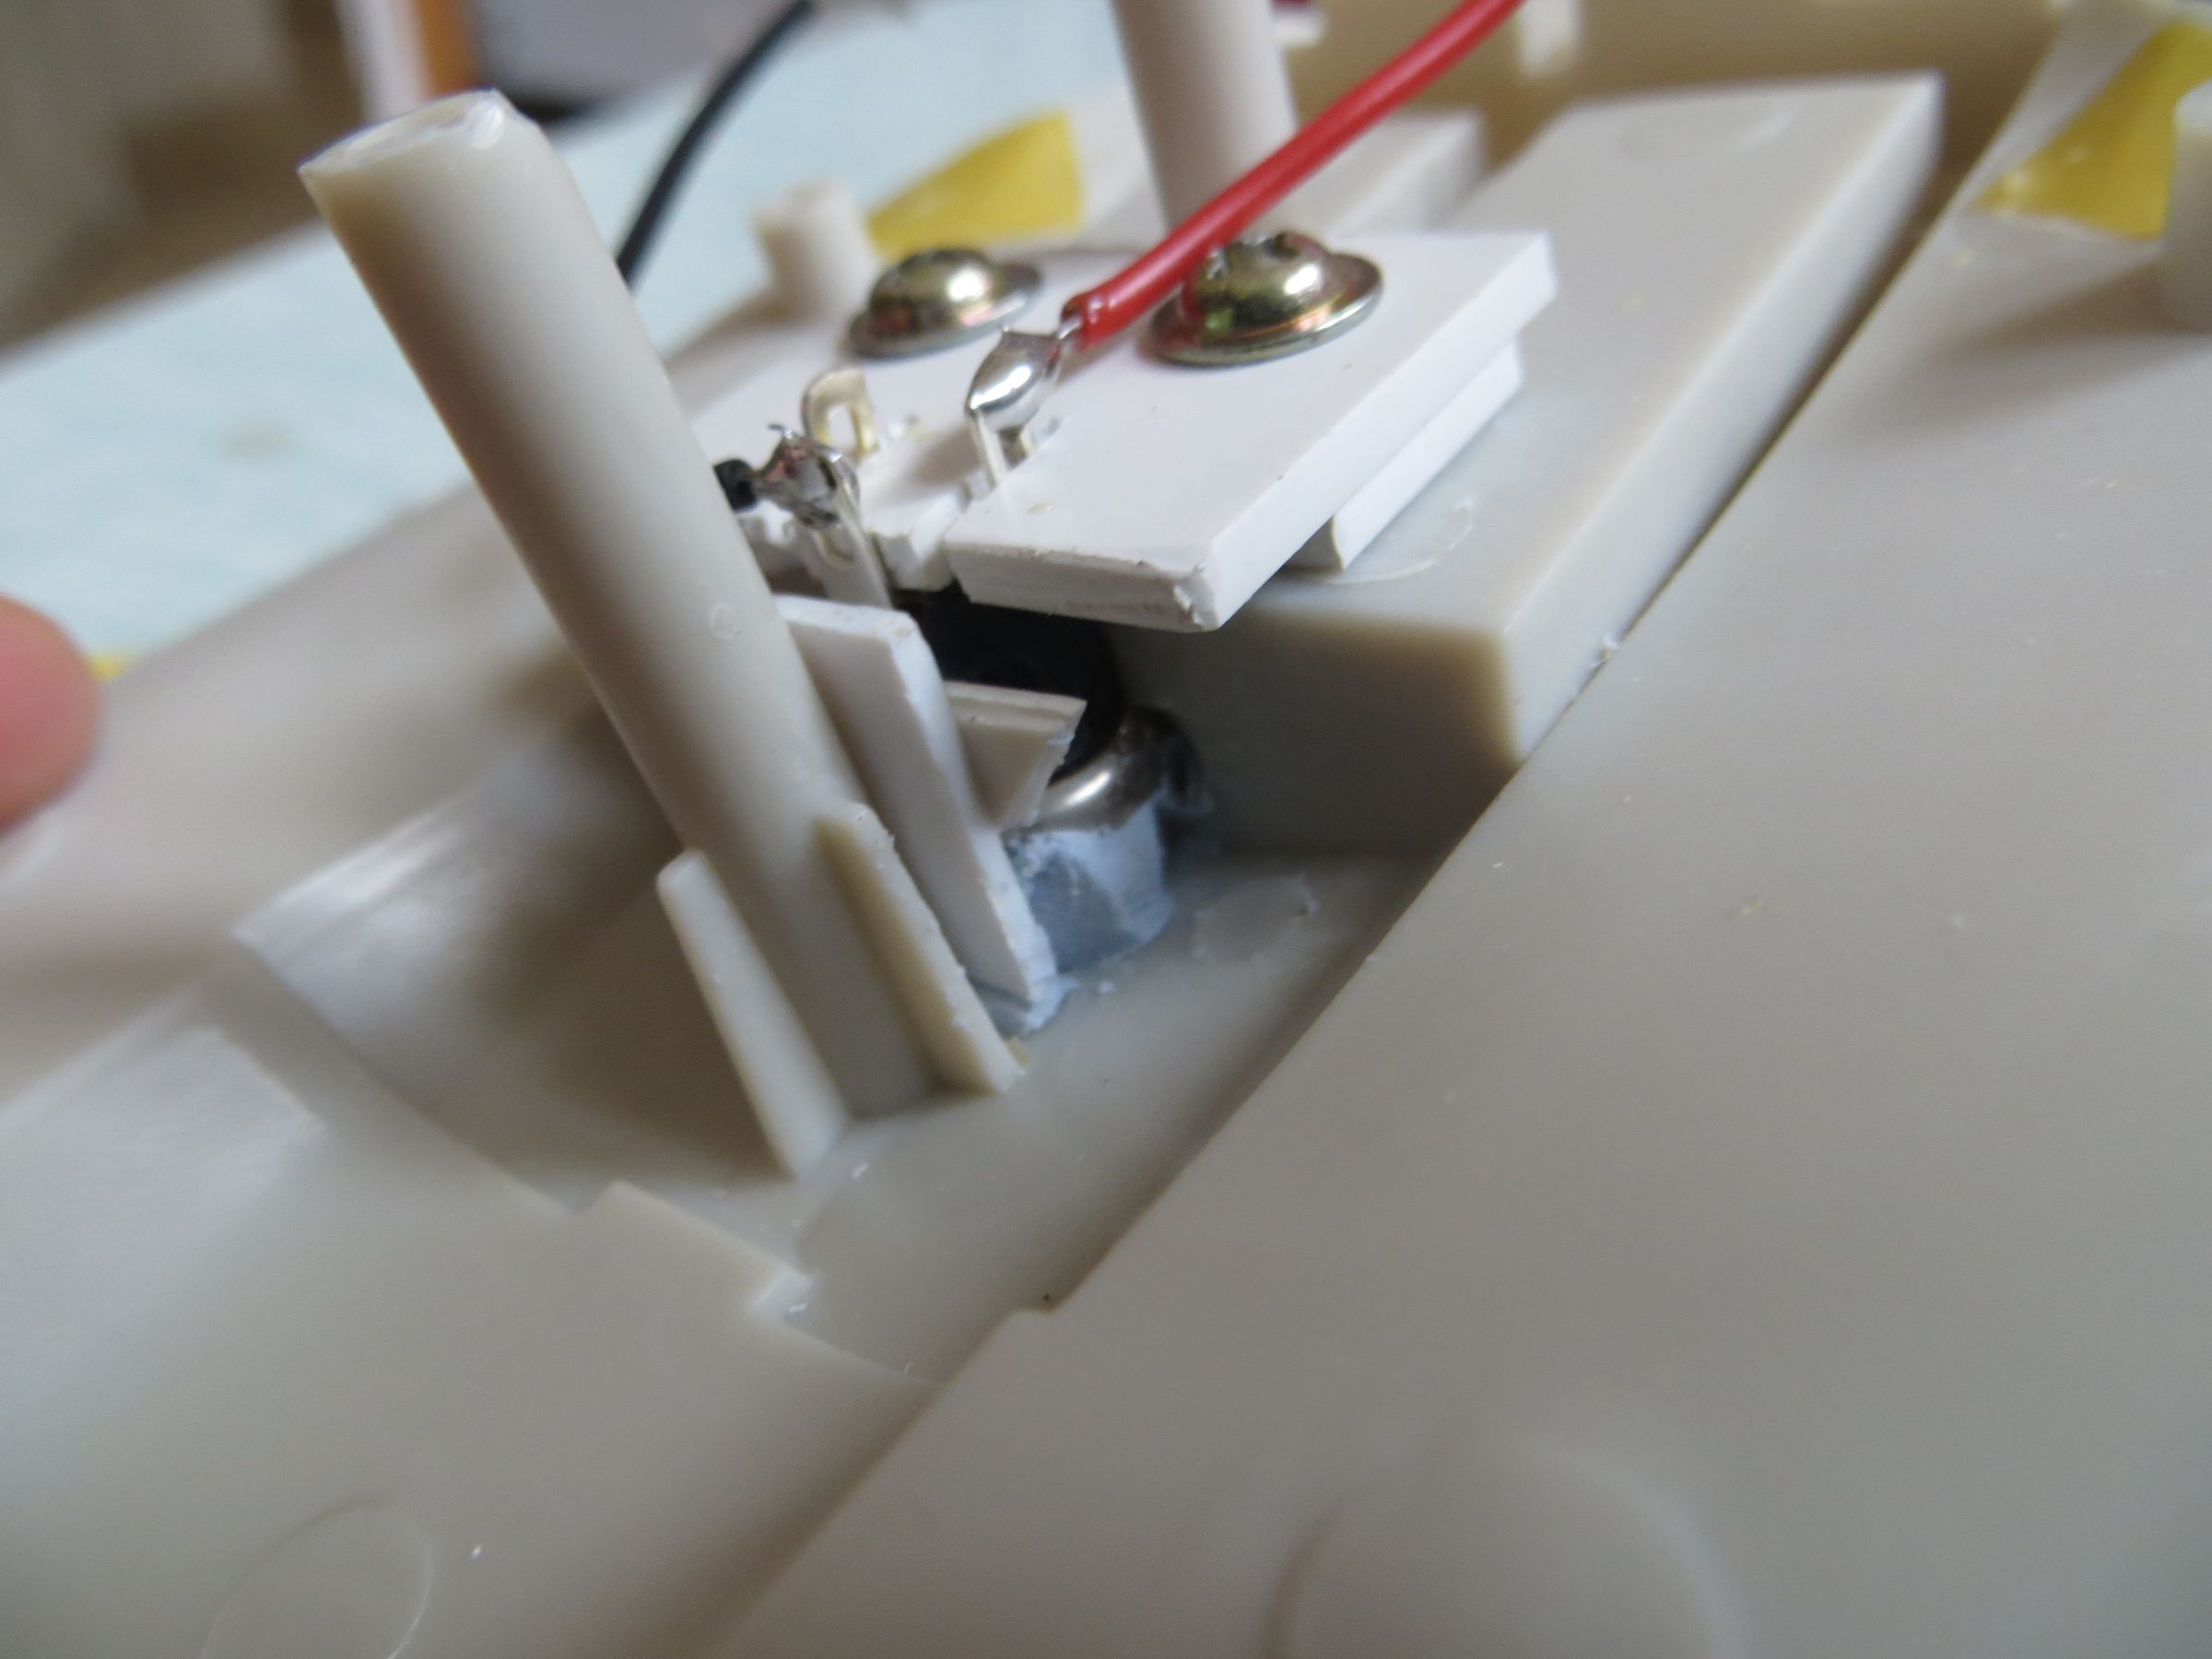
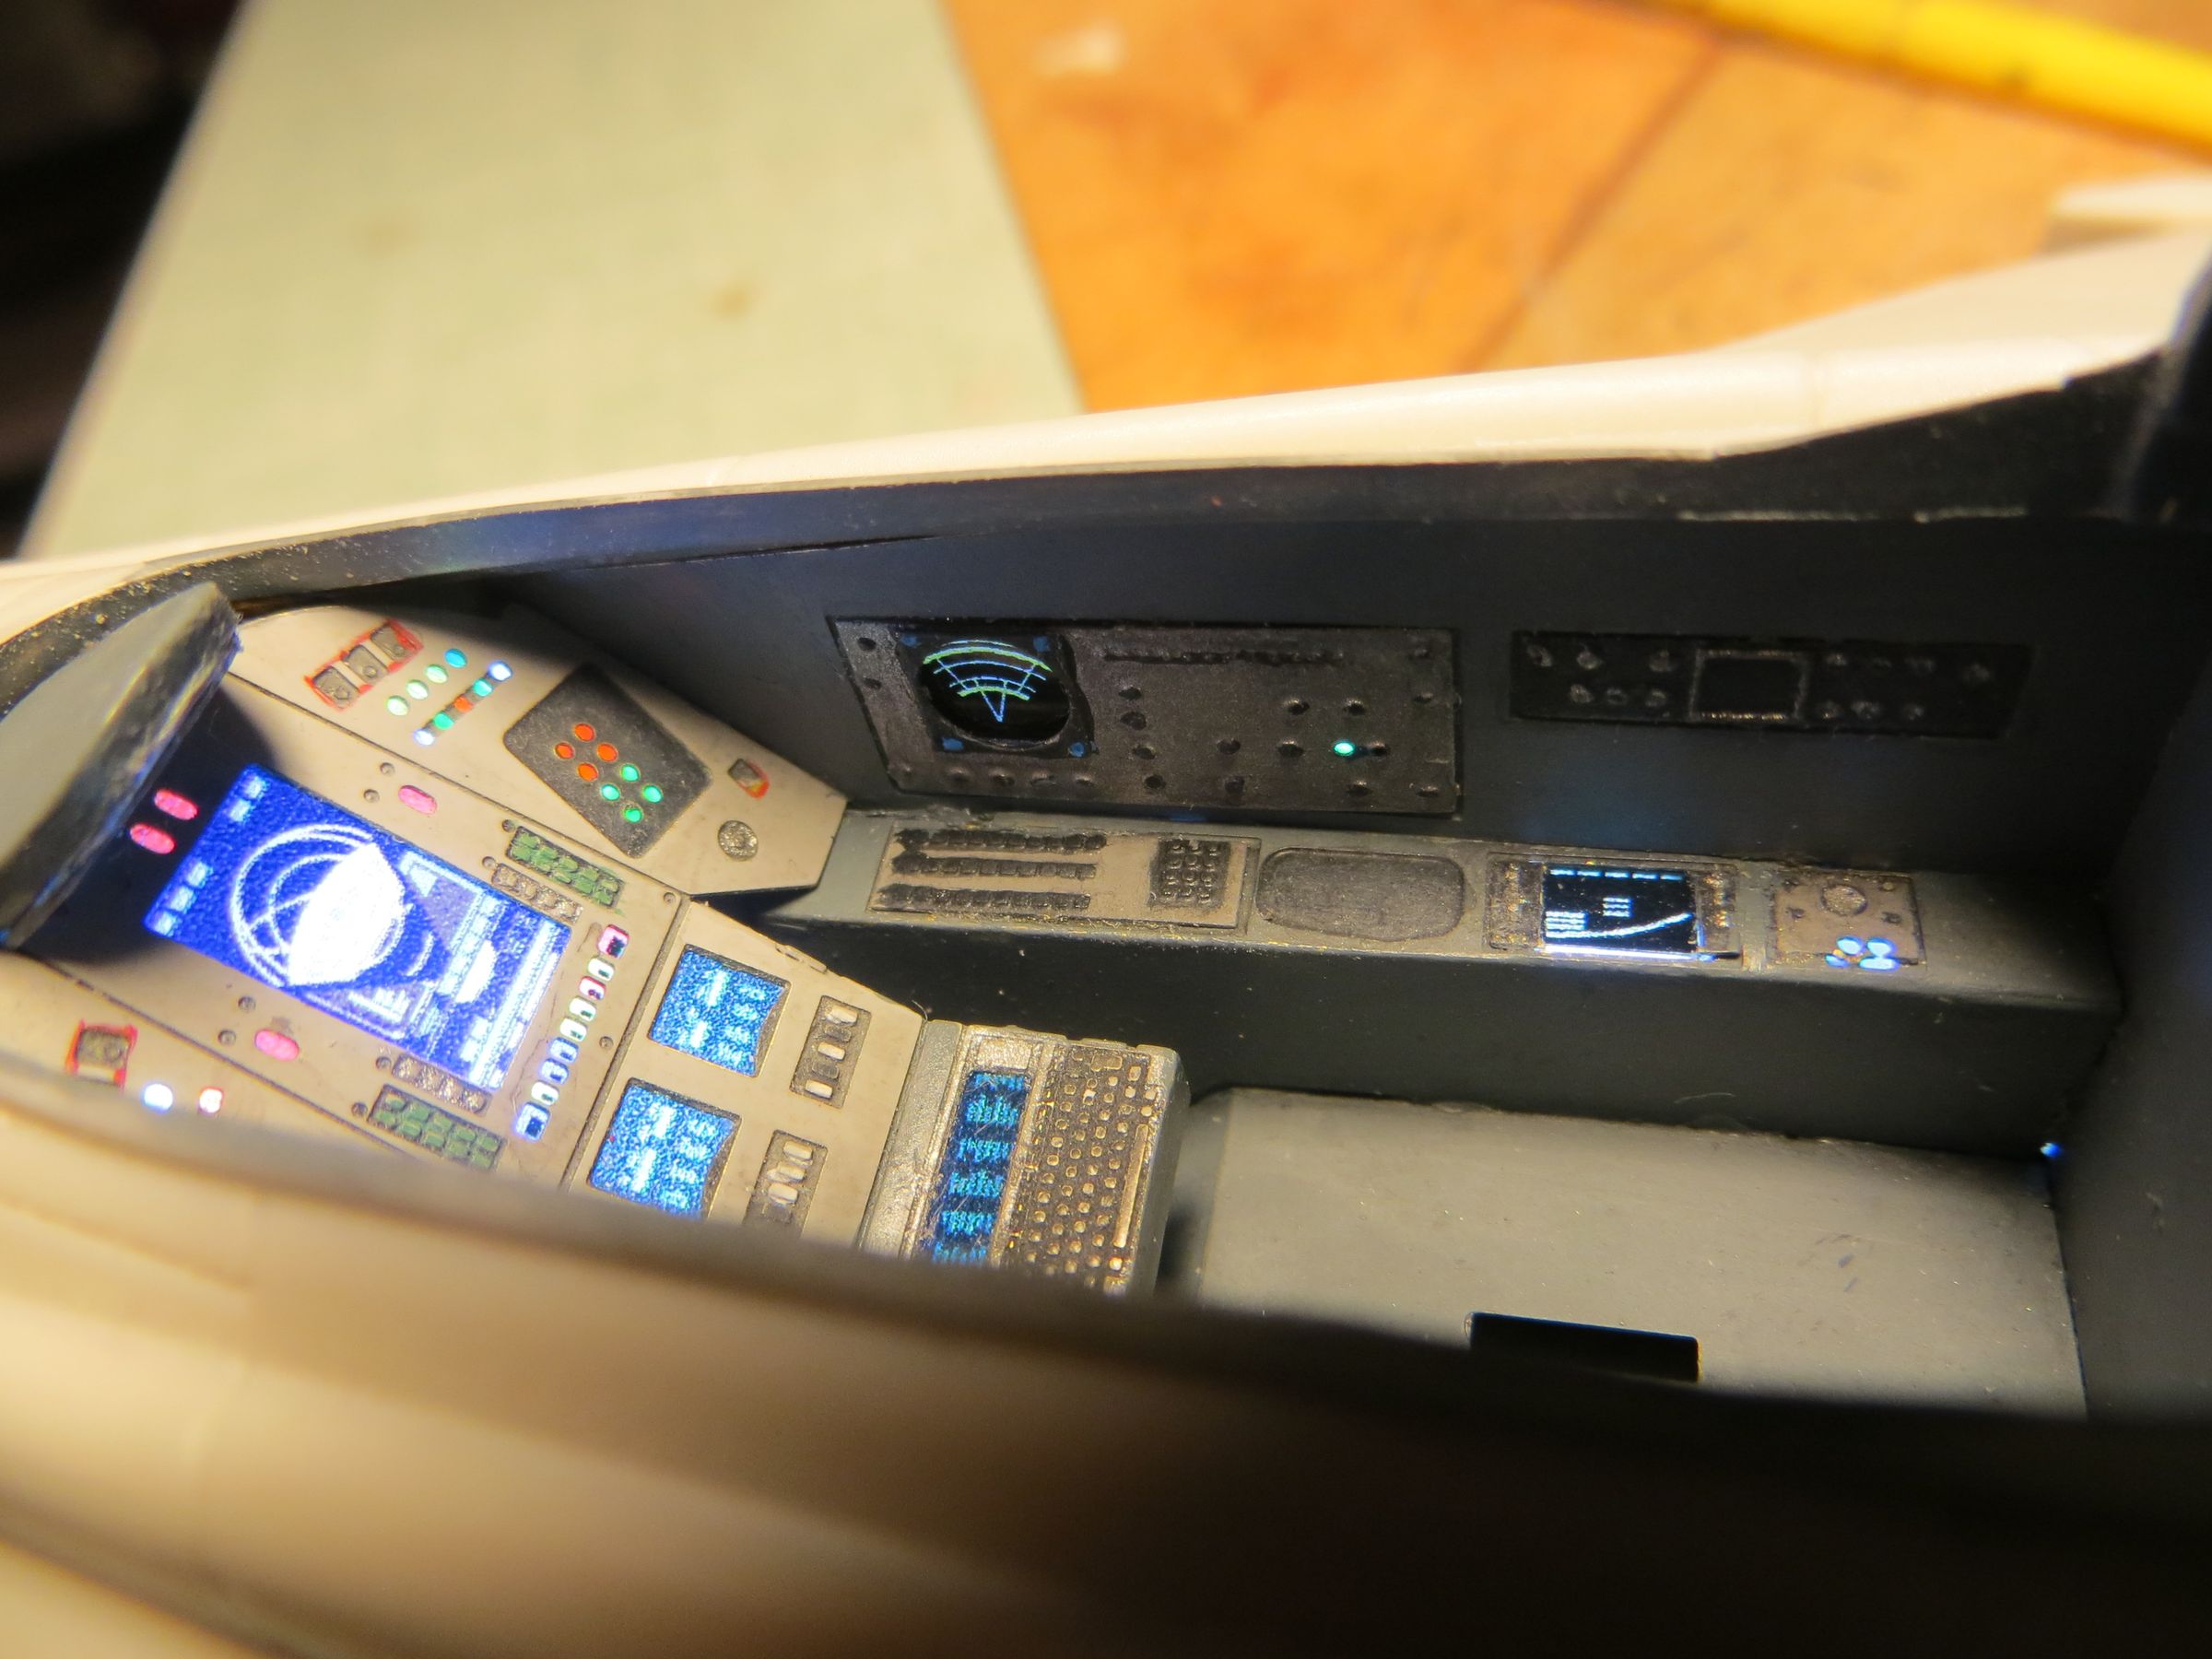
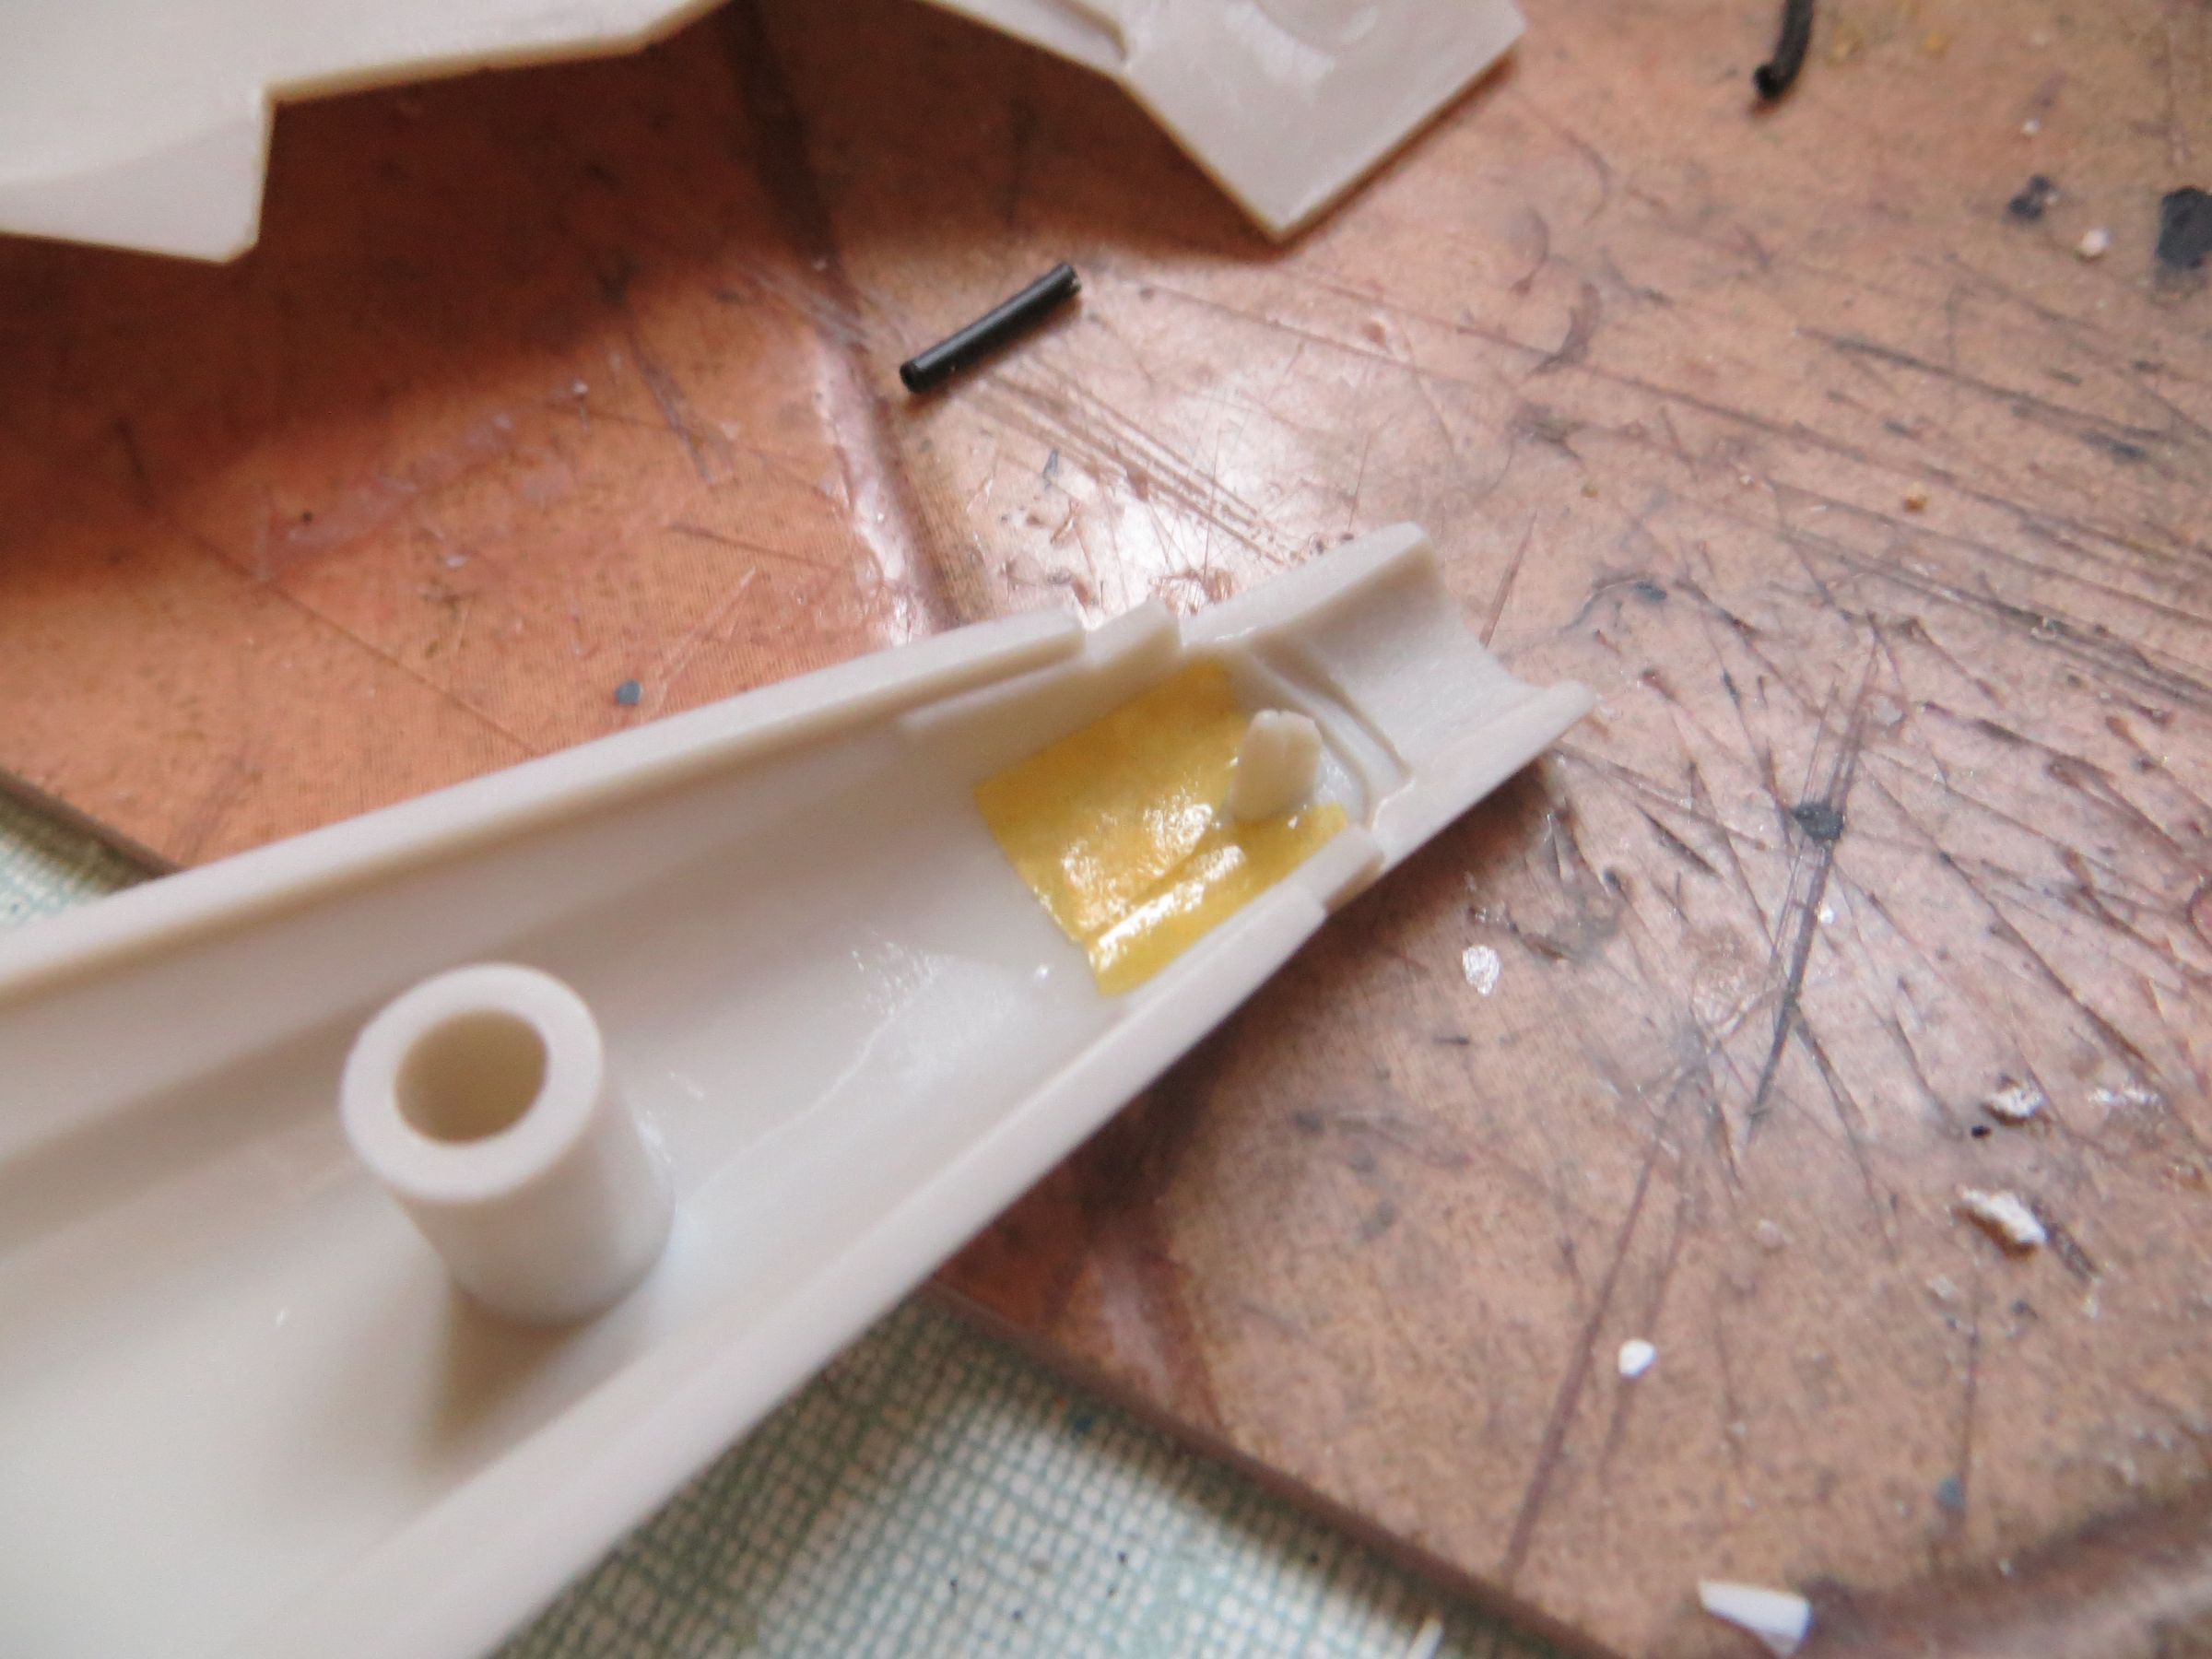
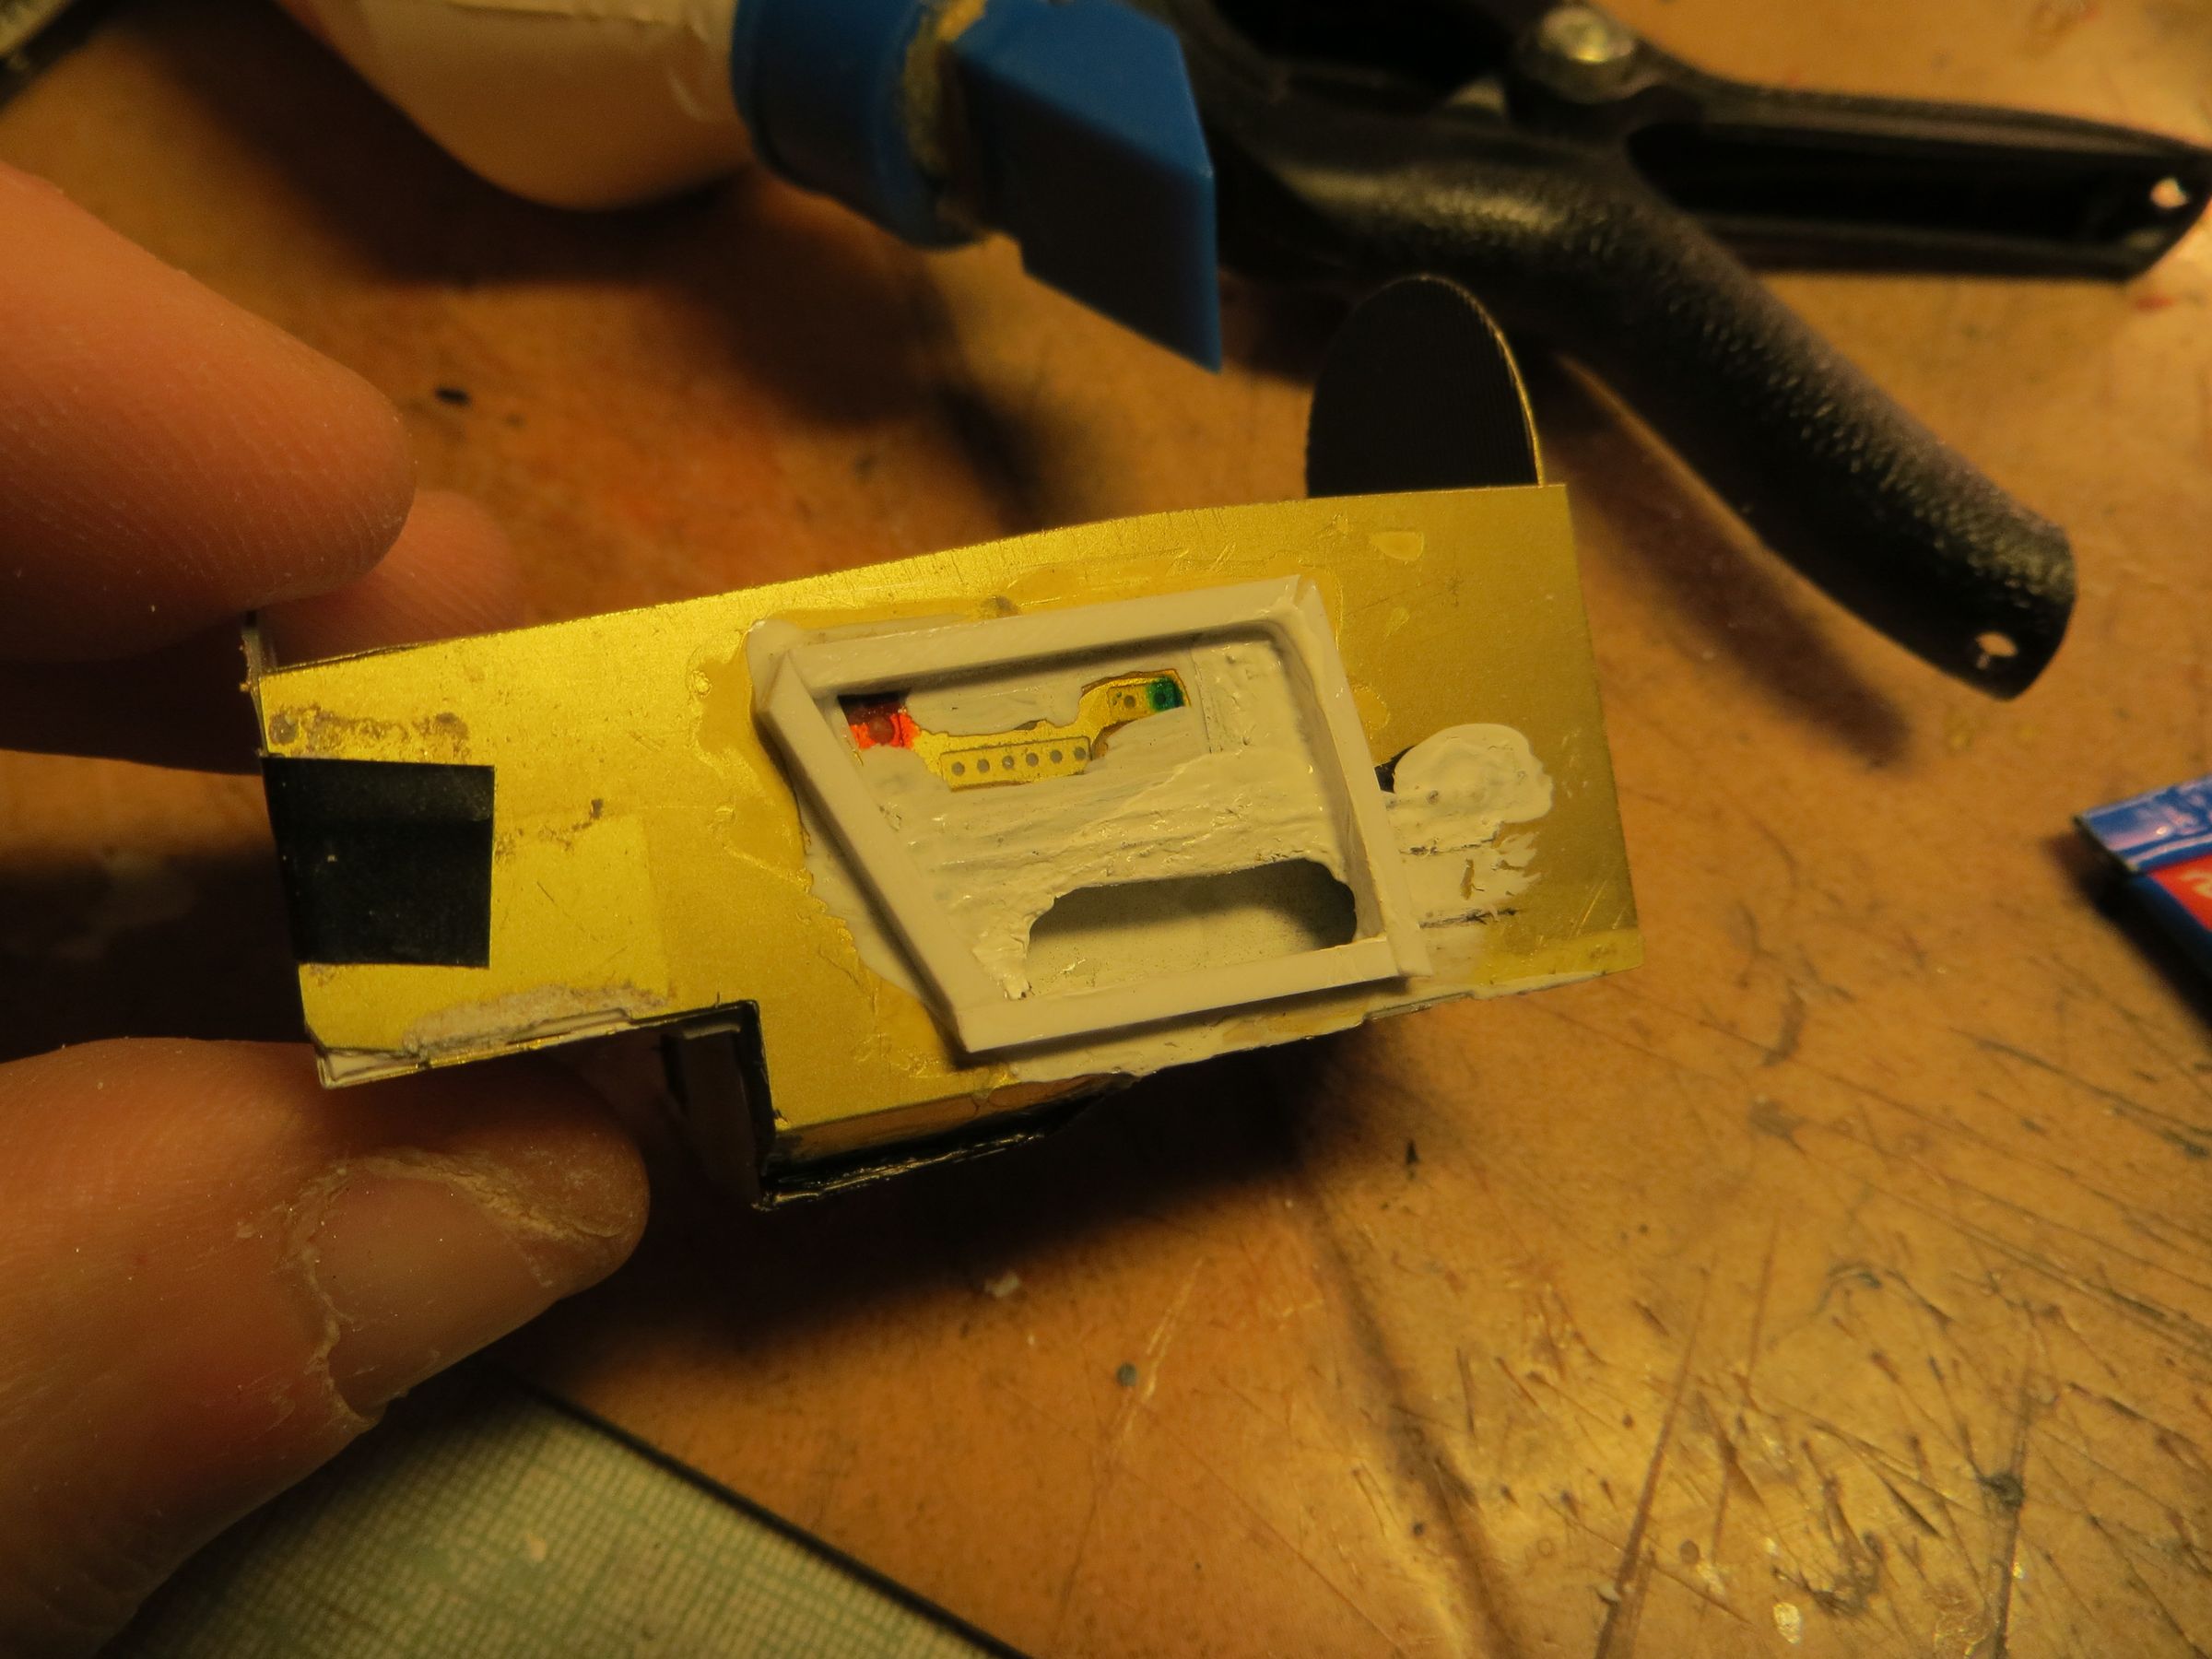
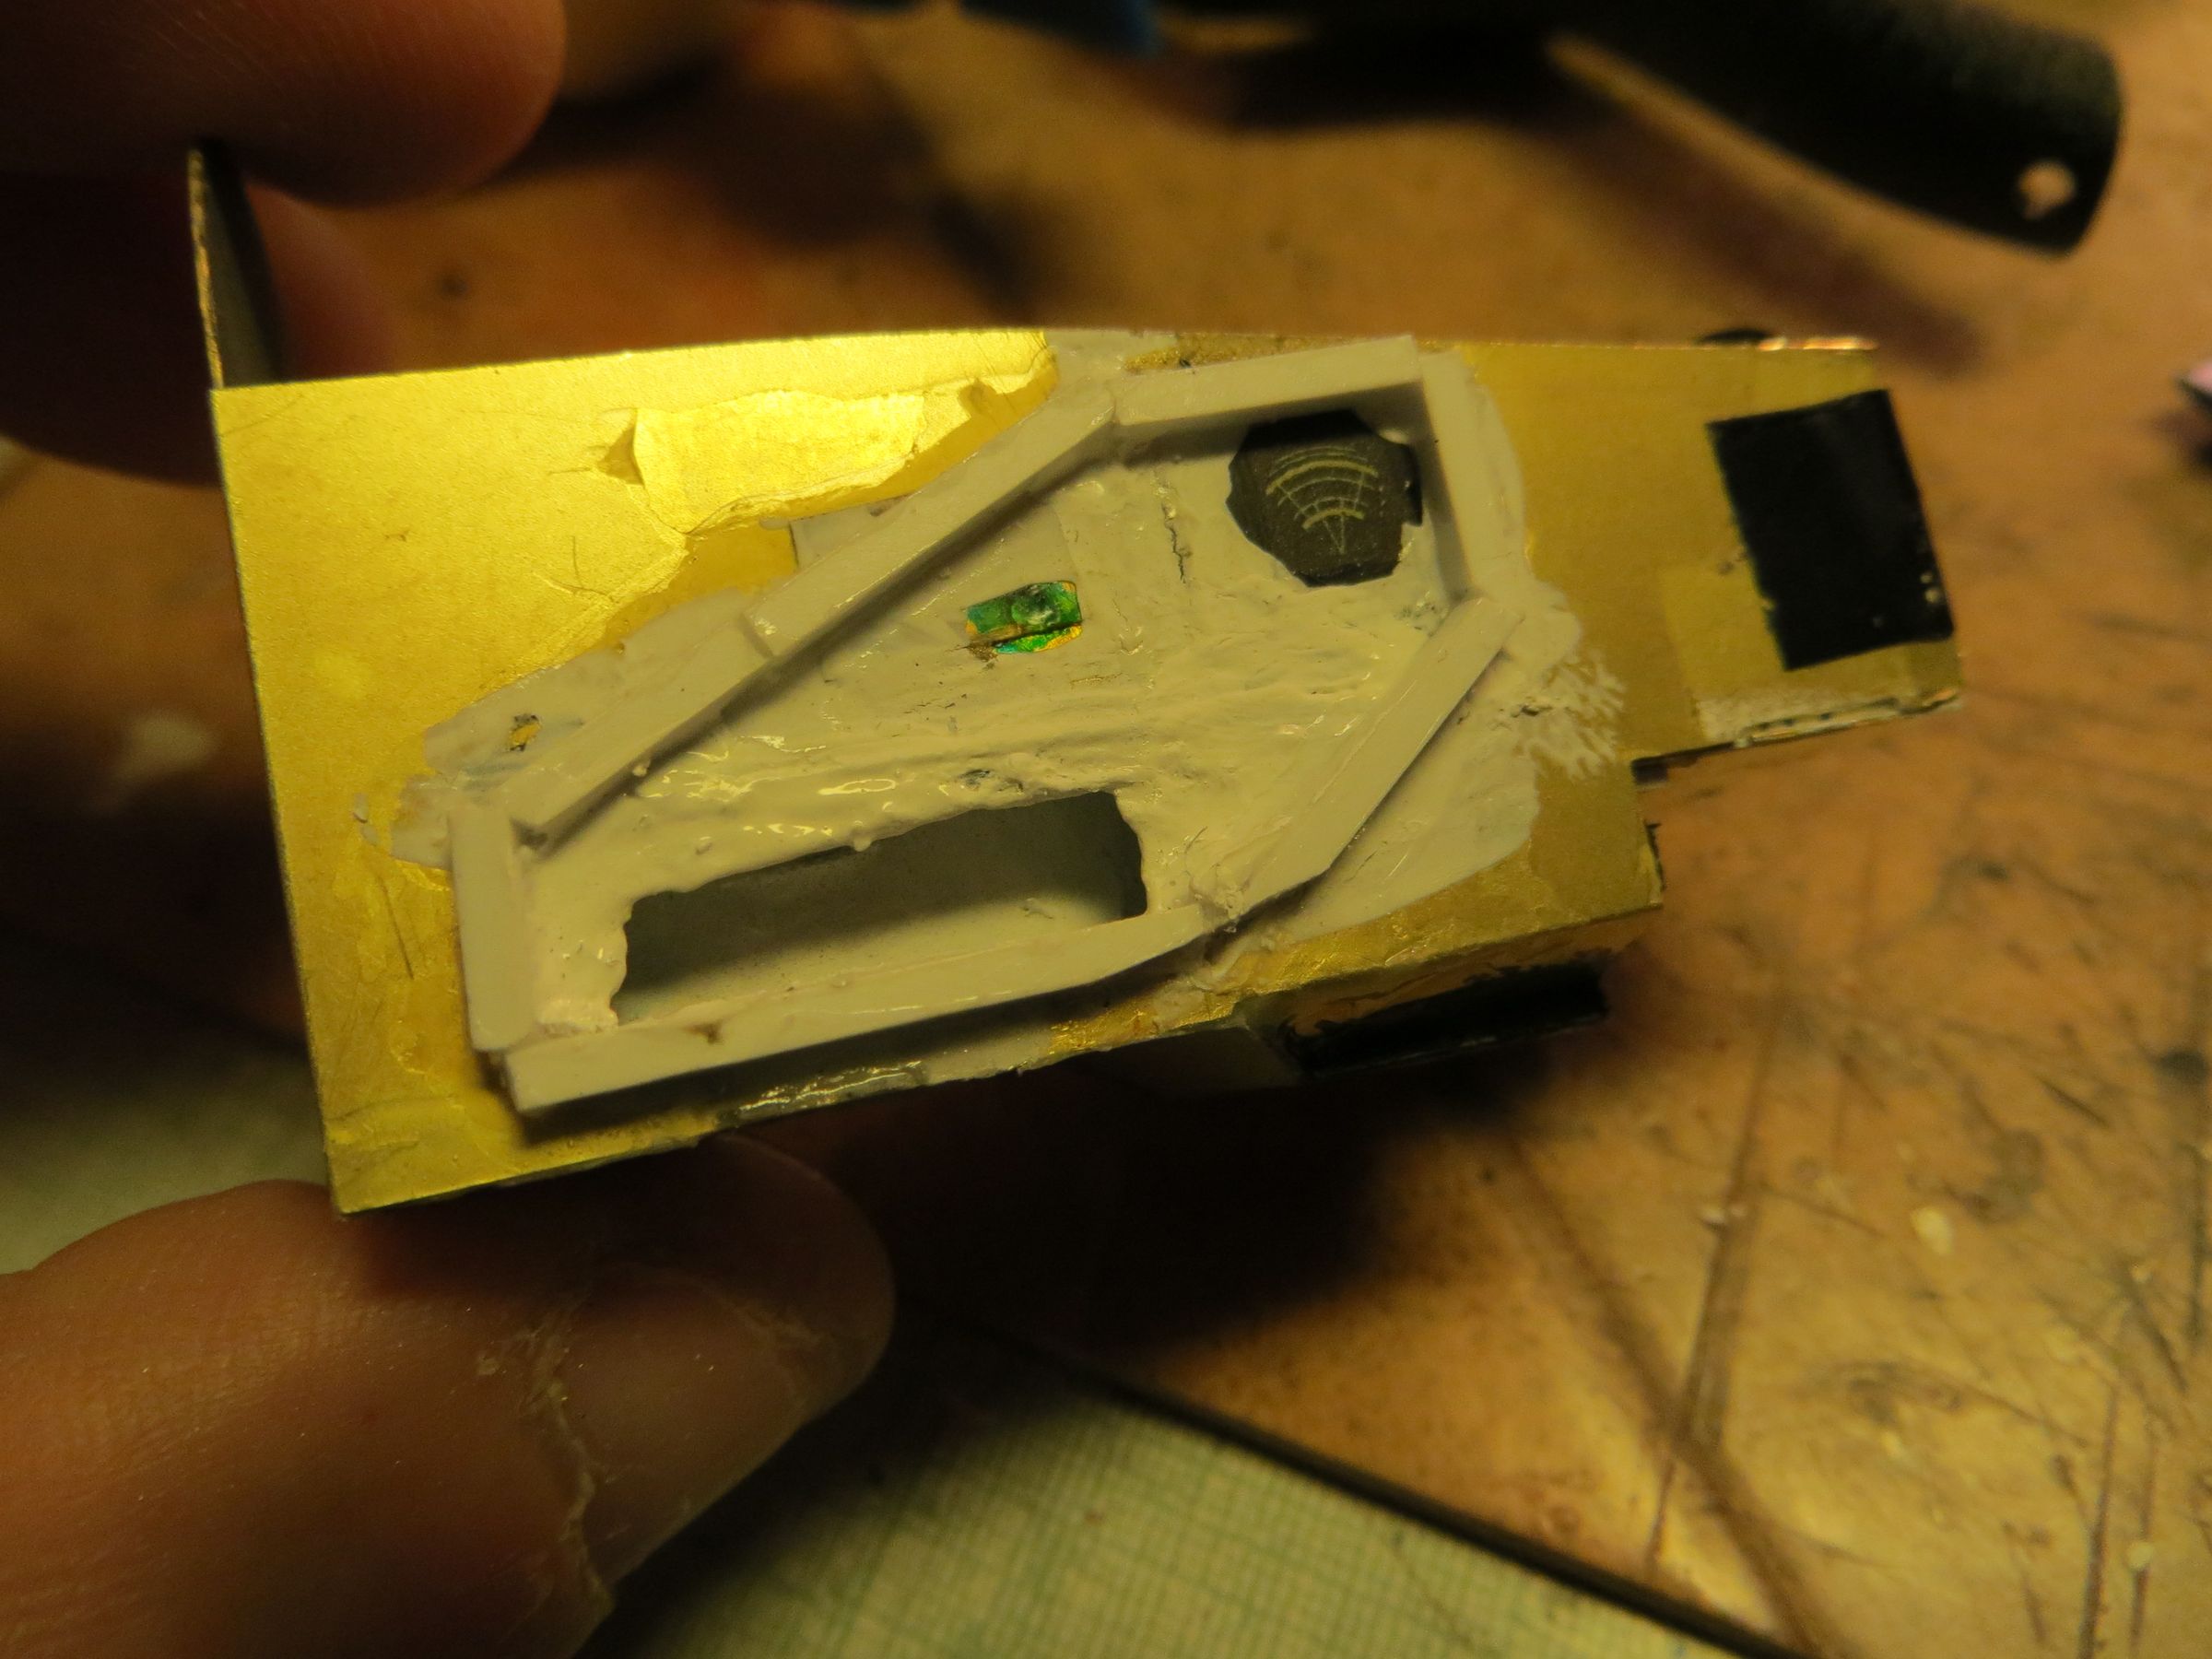
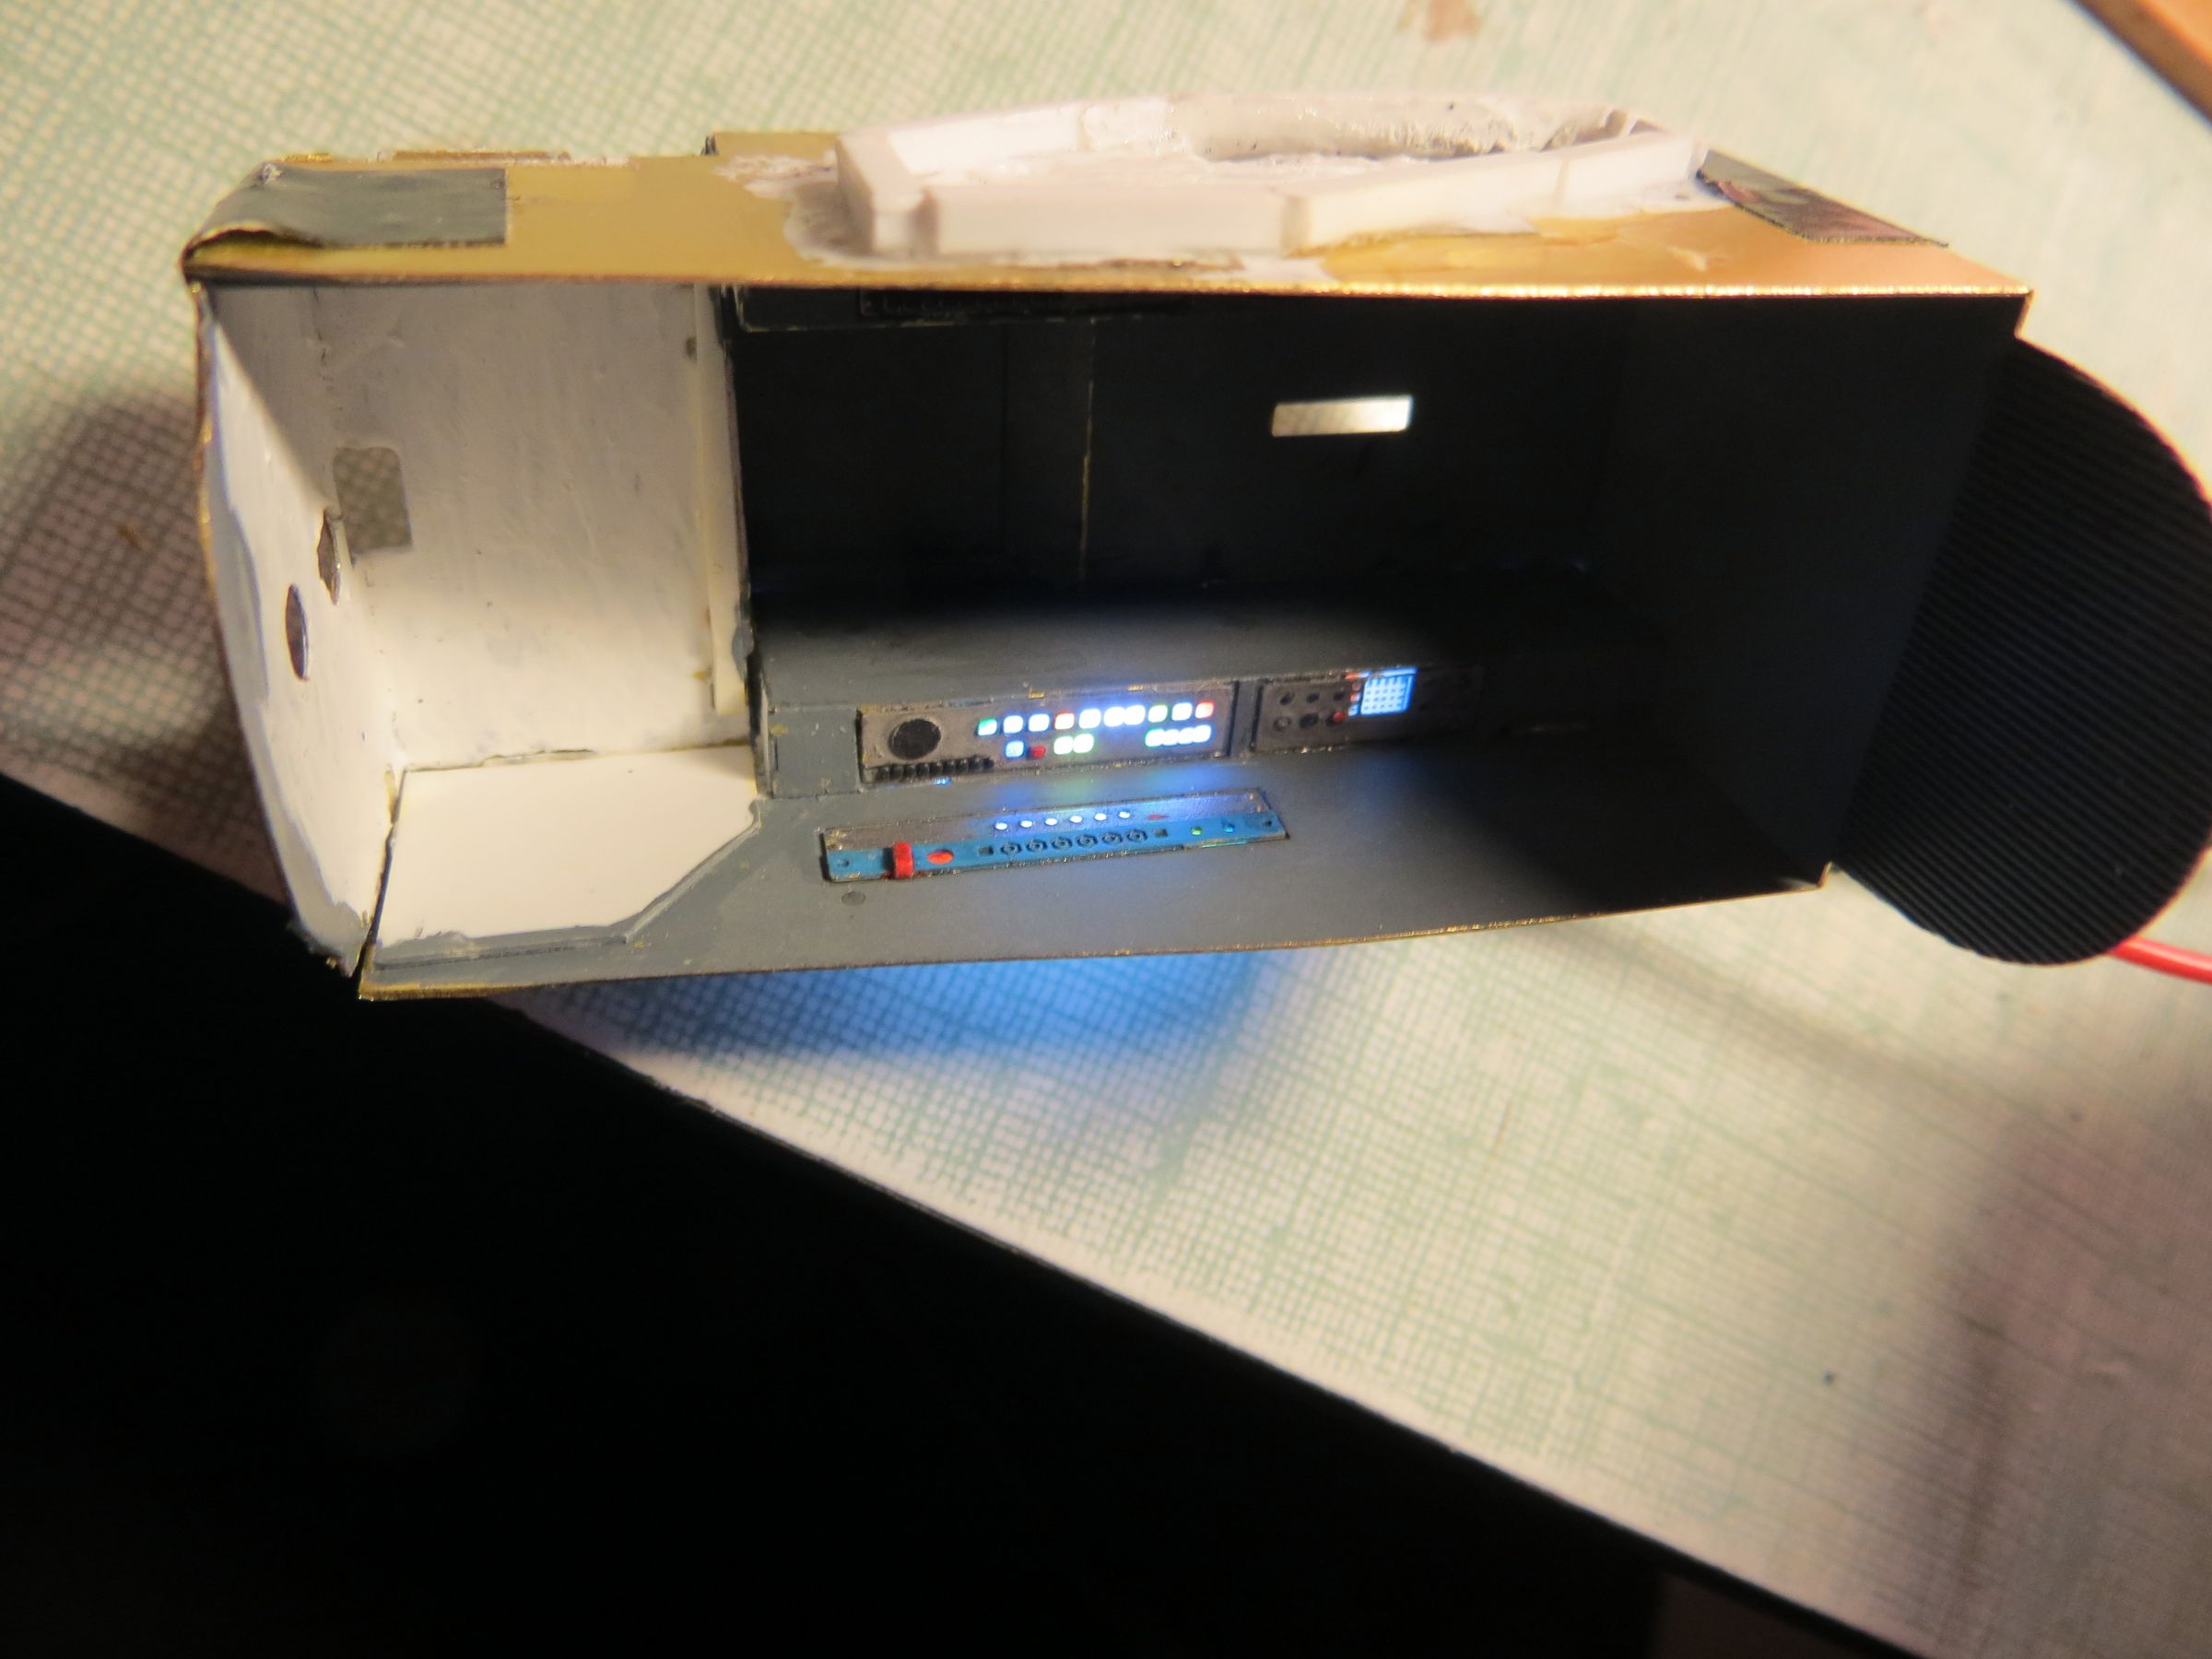
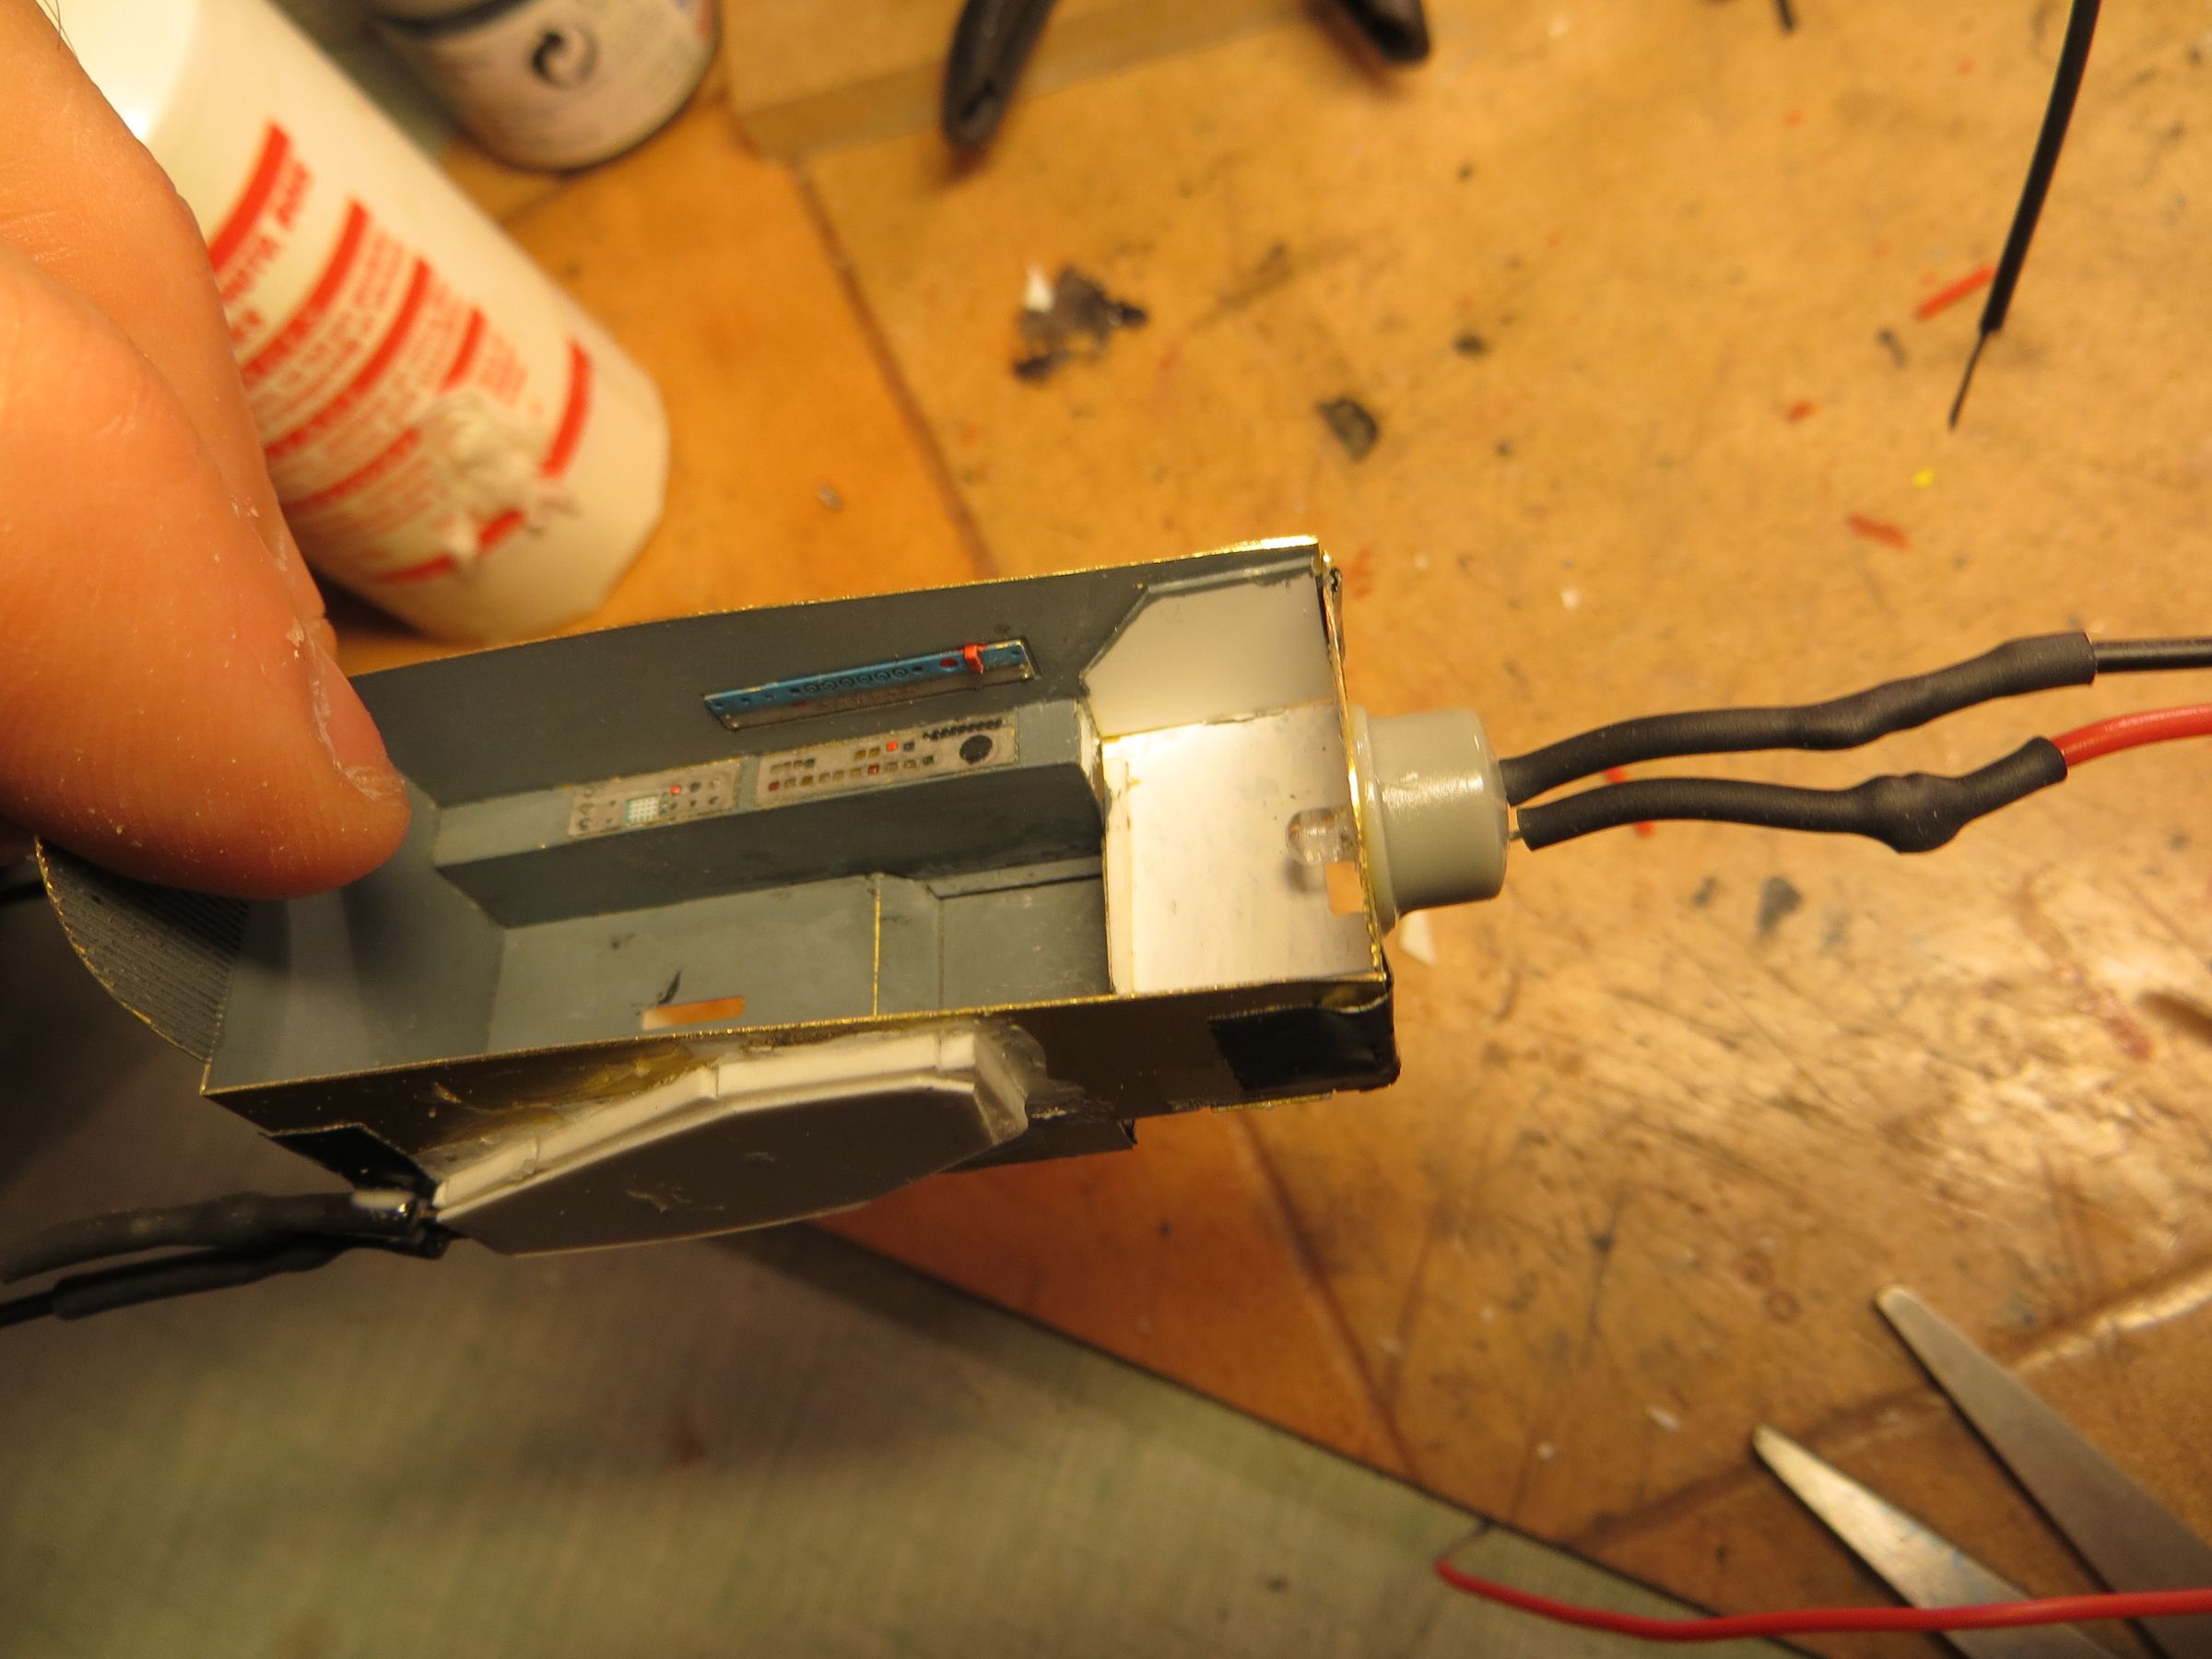
After some dry lighting tests , I found that there is not enough light in the armrests, except just above the LED, where it is too strong. So I enlarged the openings for the LED, and painted flat white inside the armrests.
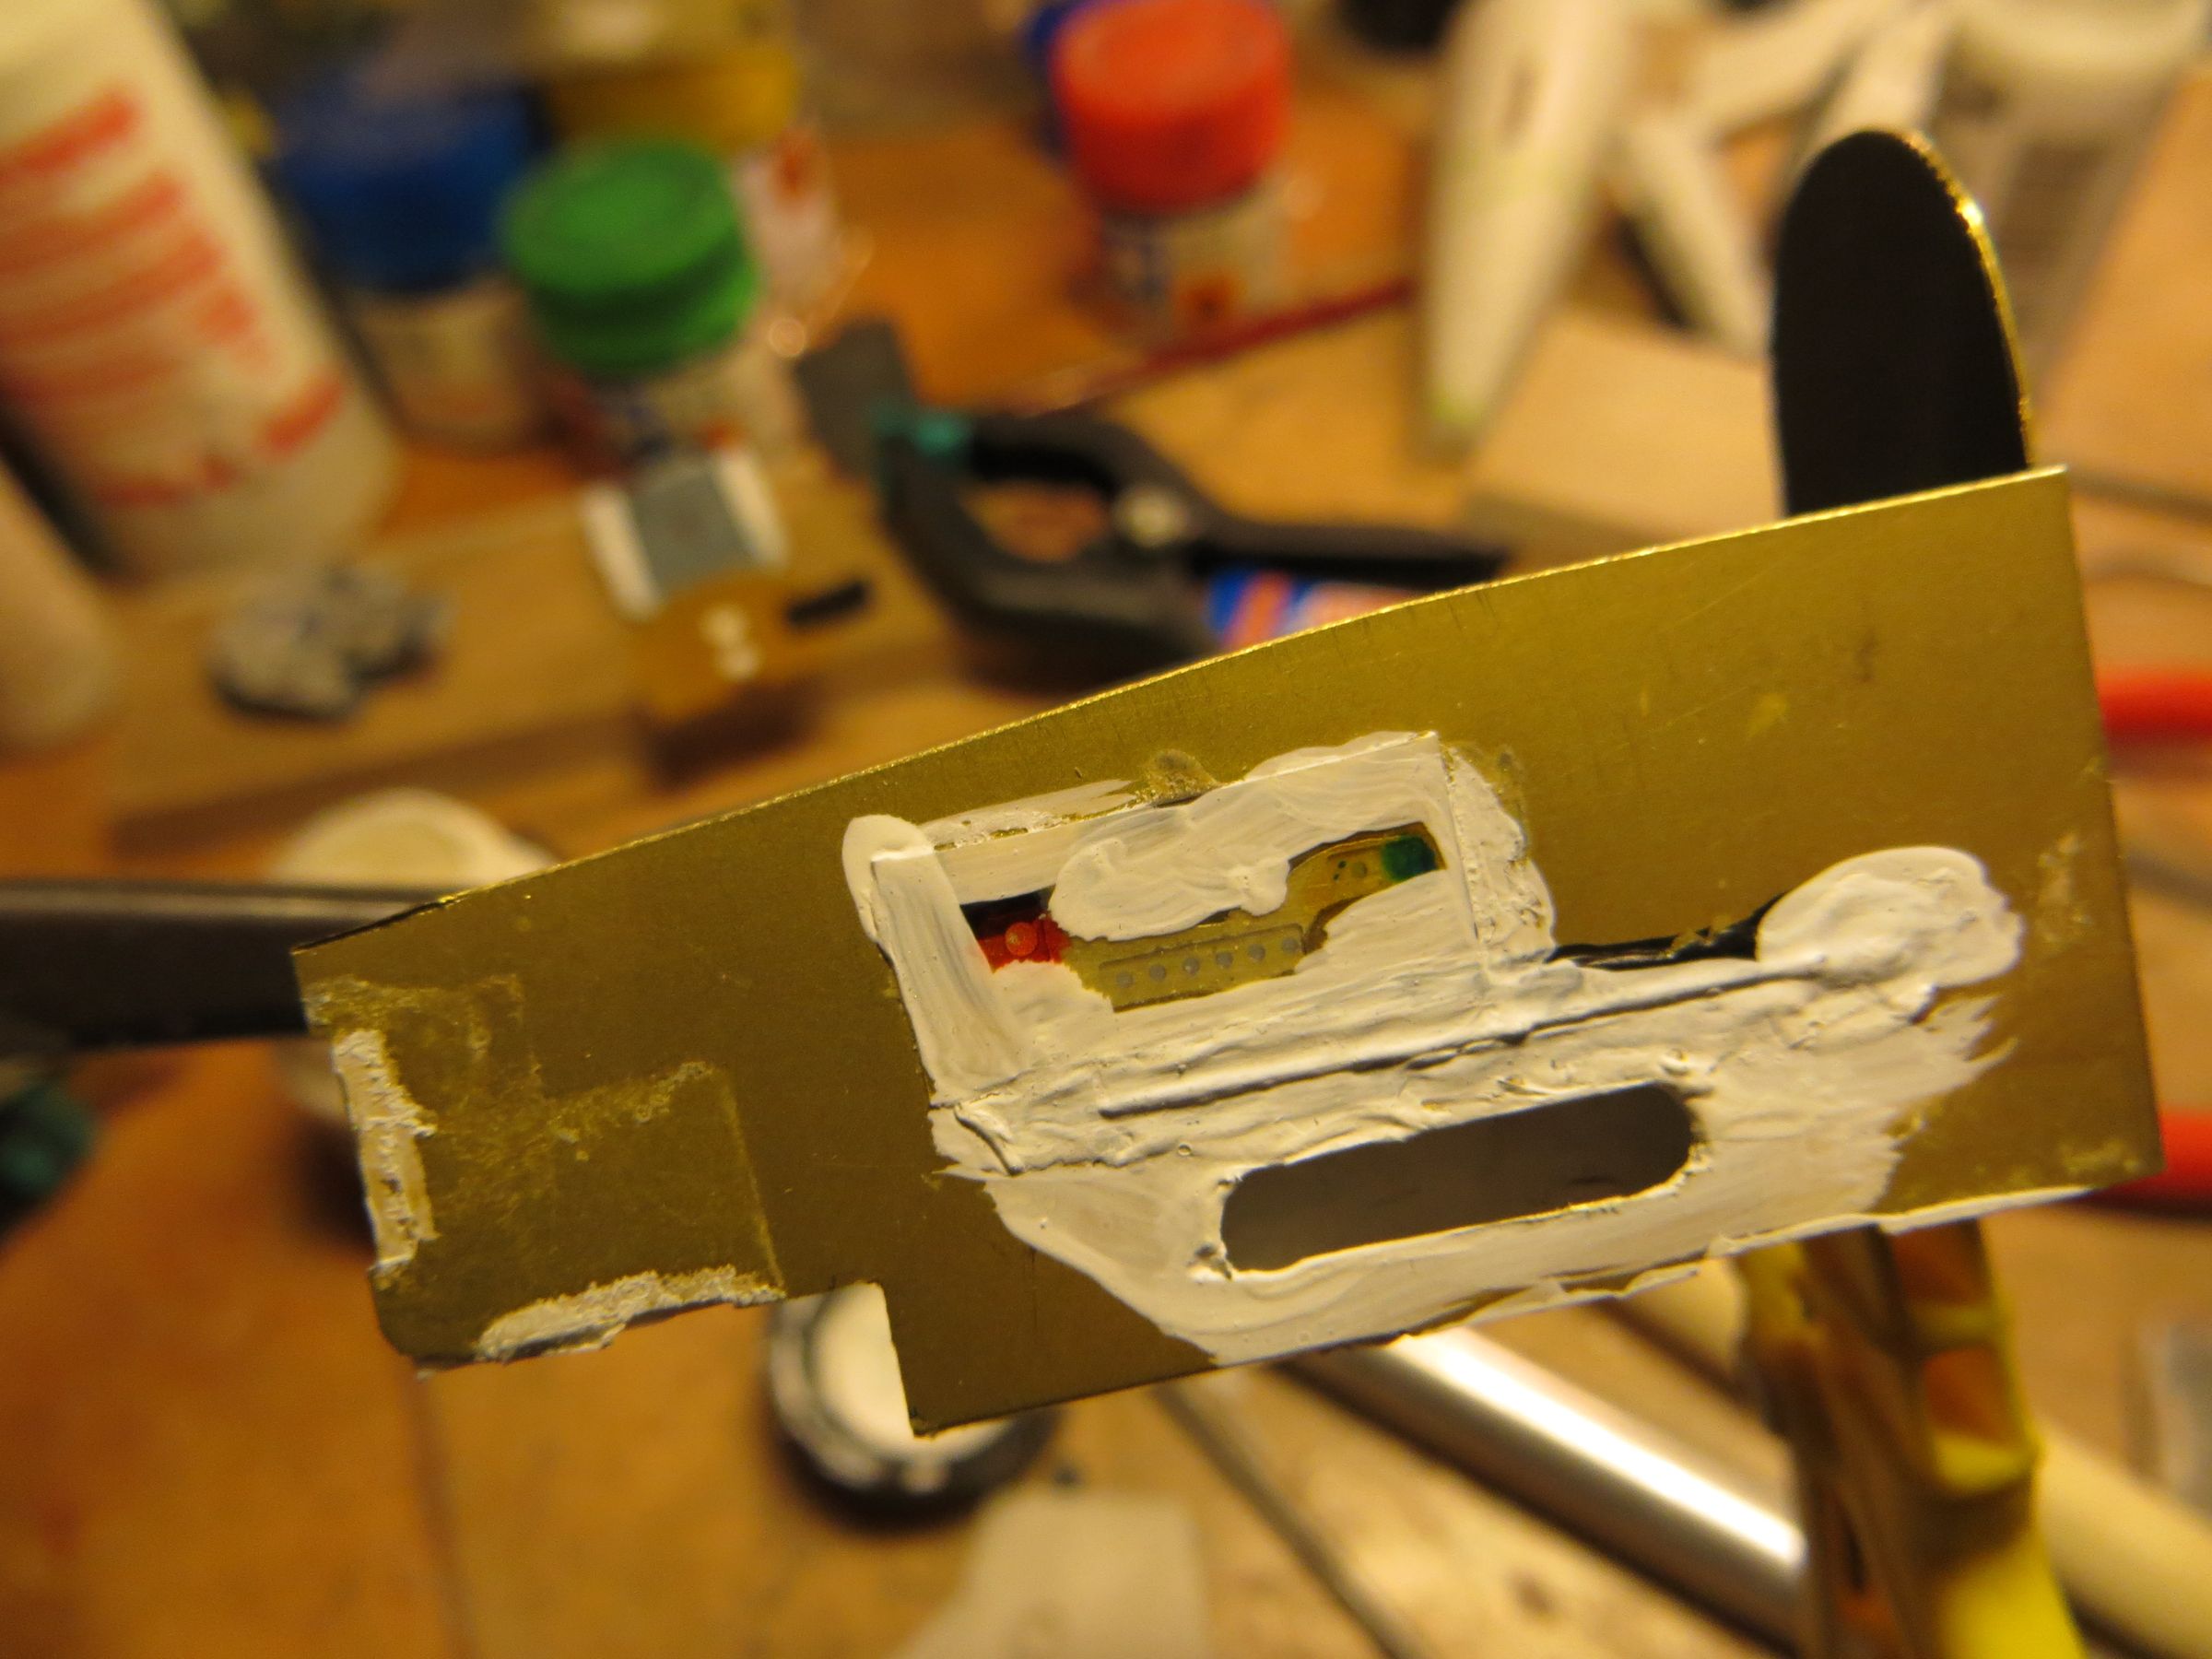
Diffusion is much better, more uniform (even if it is not as apparent in the photo, due to the camera sensibility). To save space, the LEDs are arranged laterally instead of perpendicularly, and a white box is then built around (again for diffusion, but also to prevent light leakages) These LED must have the lip sanded on one side so that it fits properly in the white box.
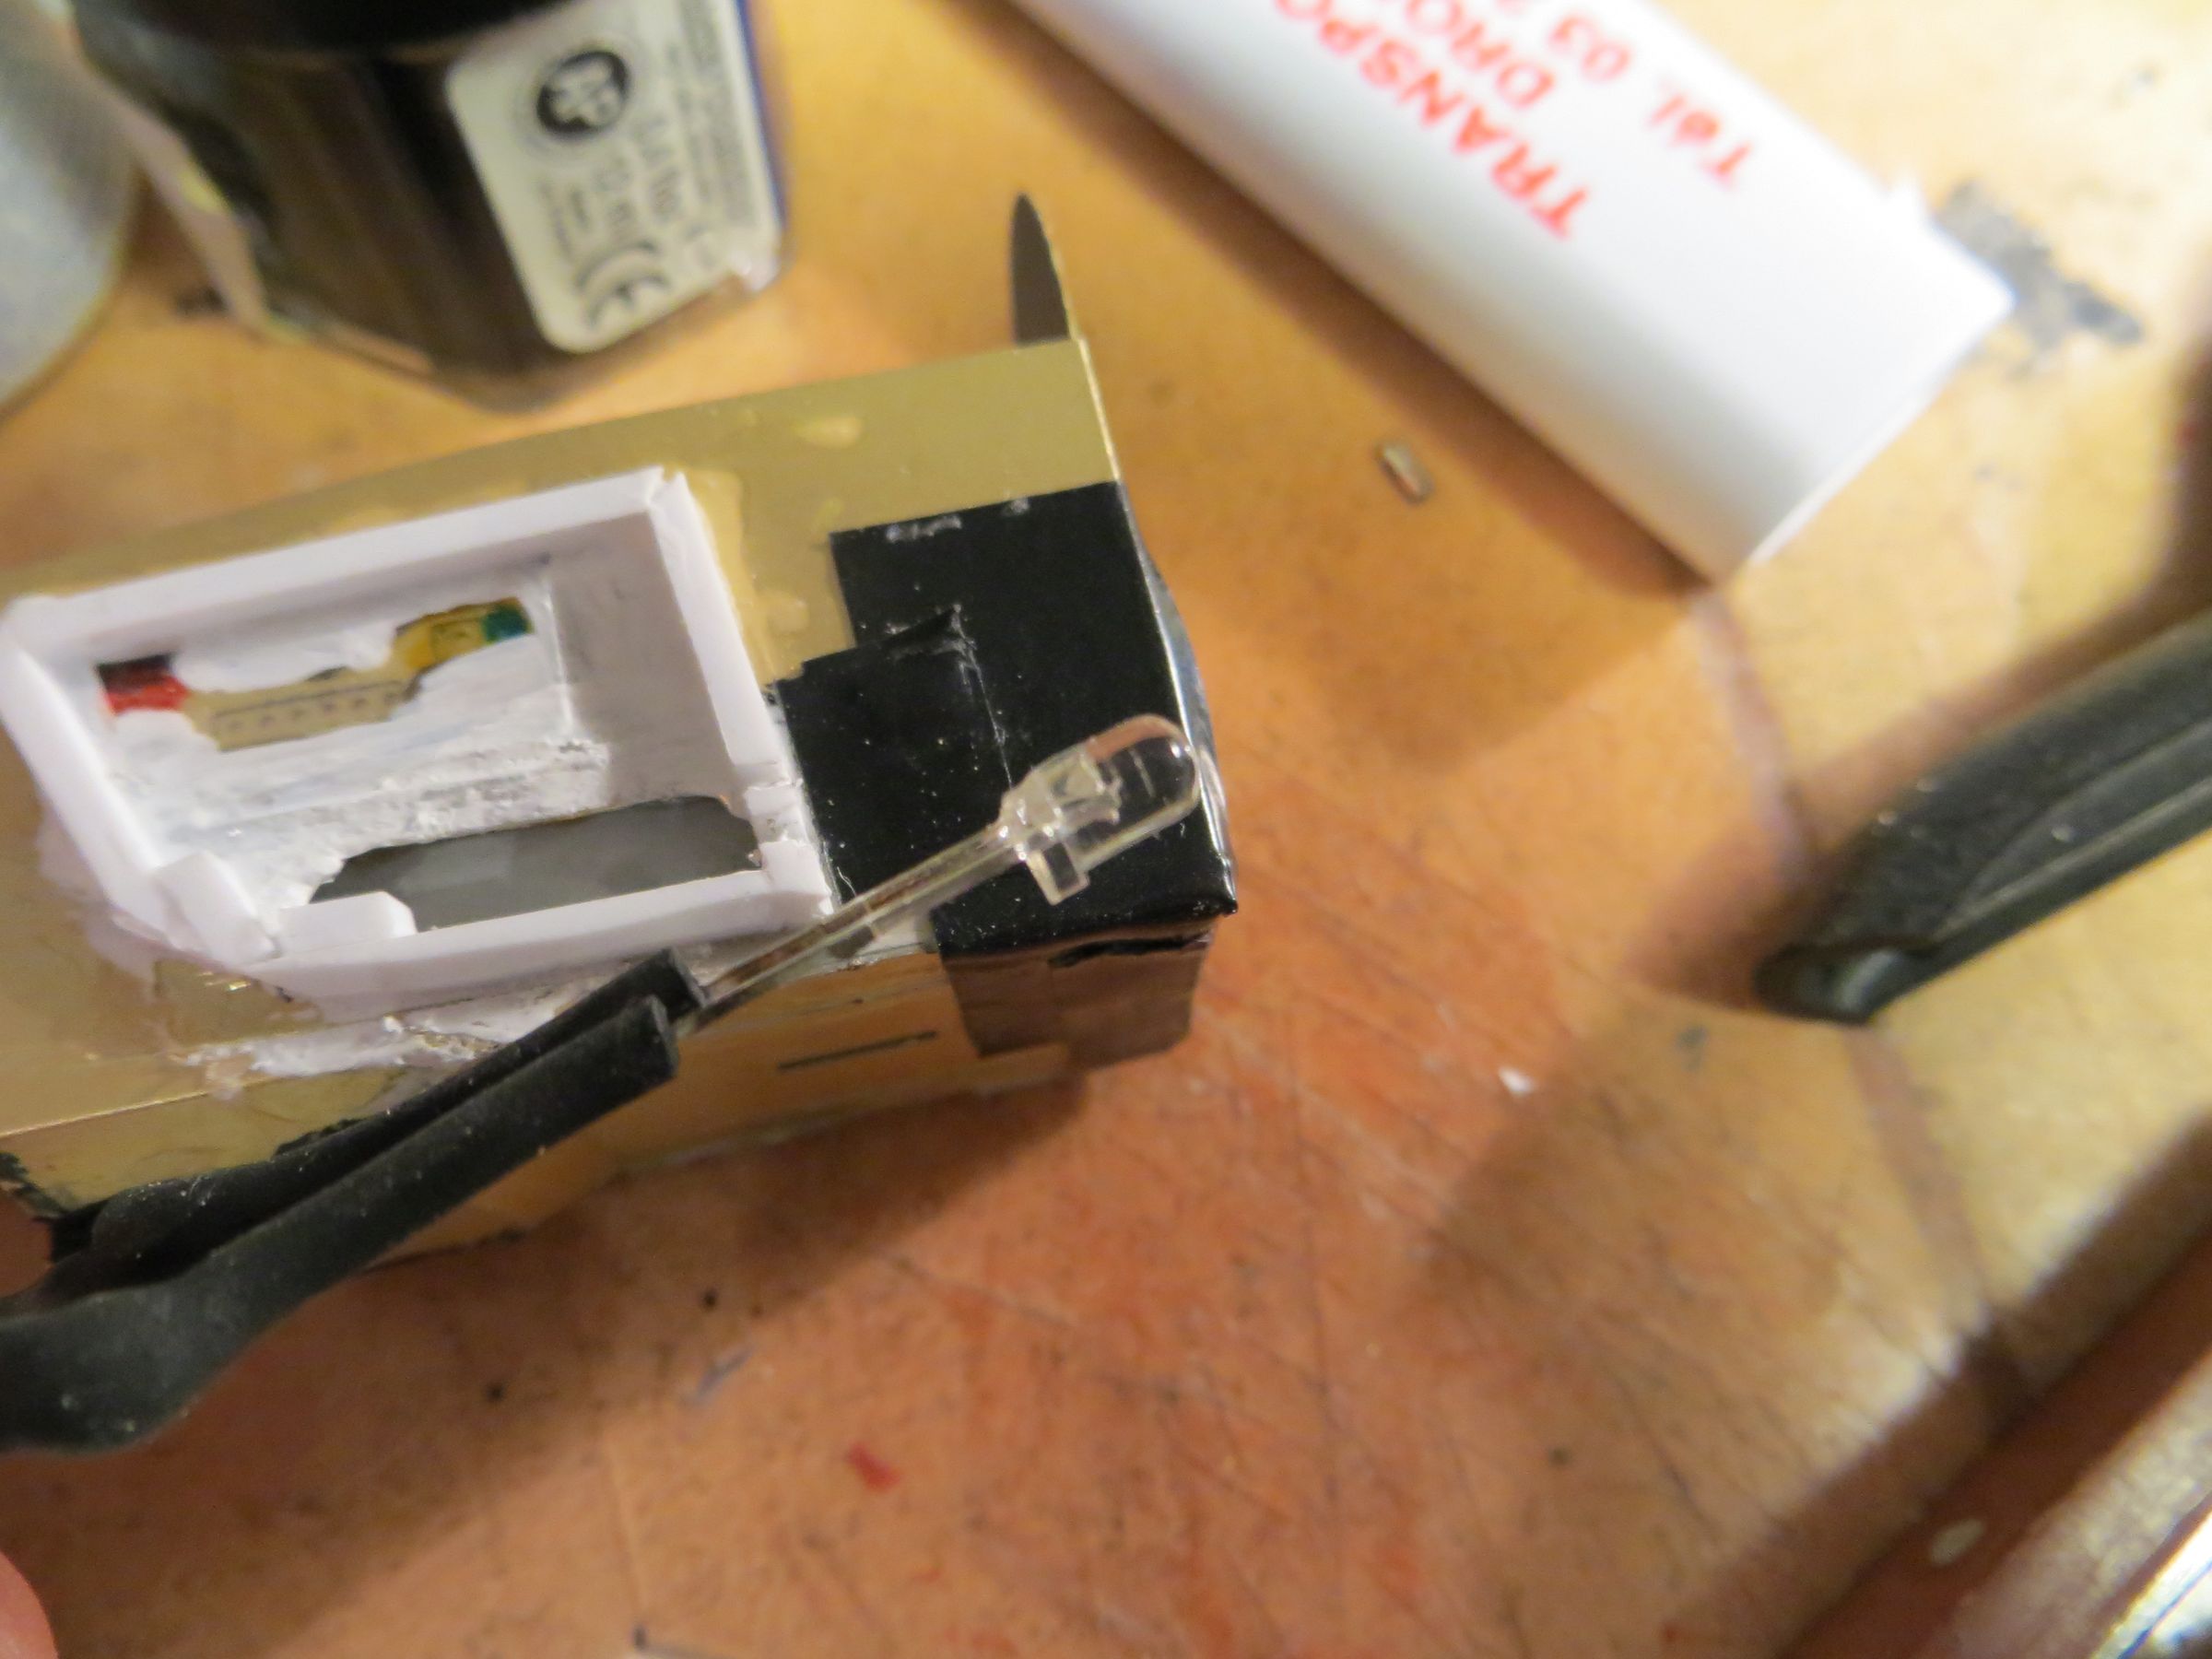
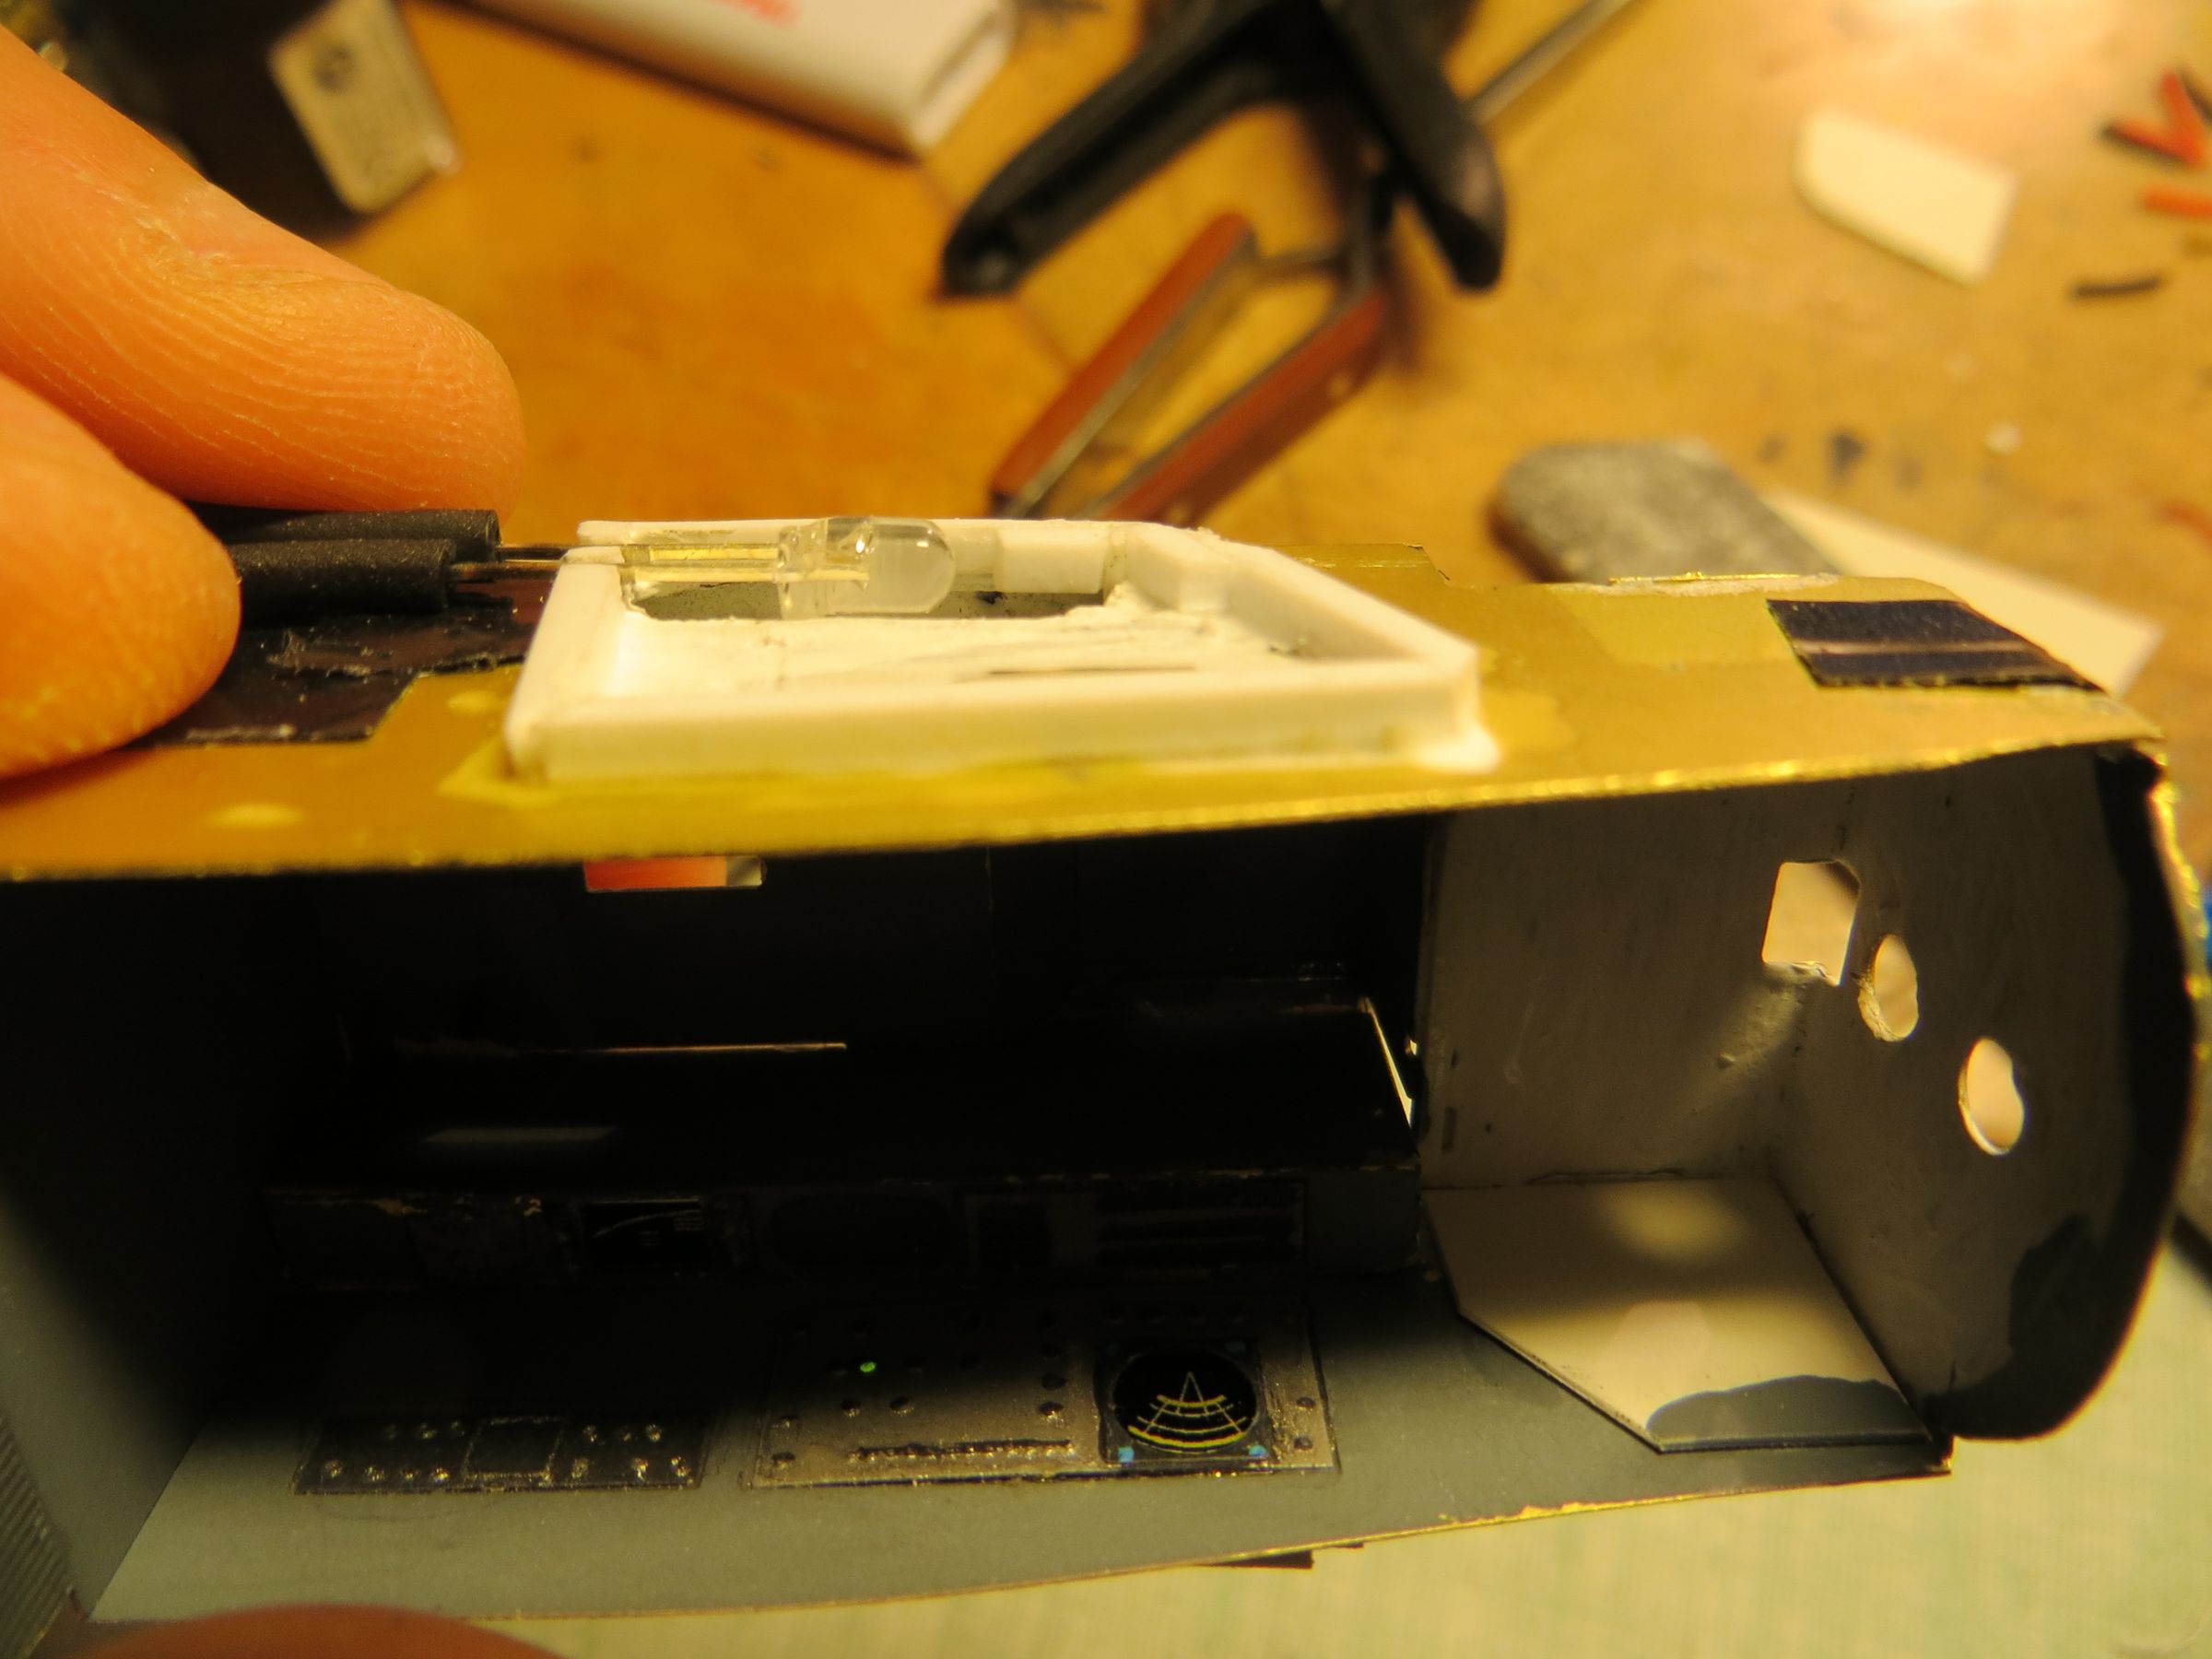

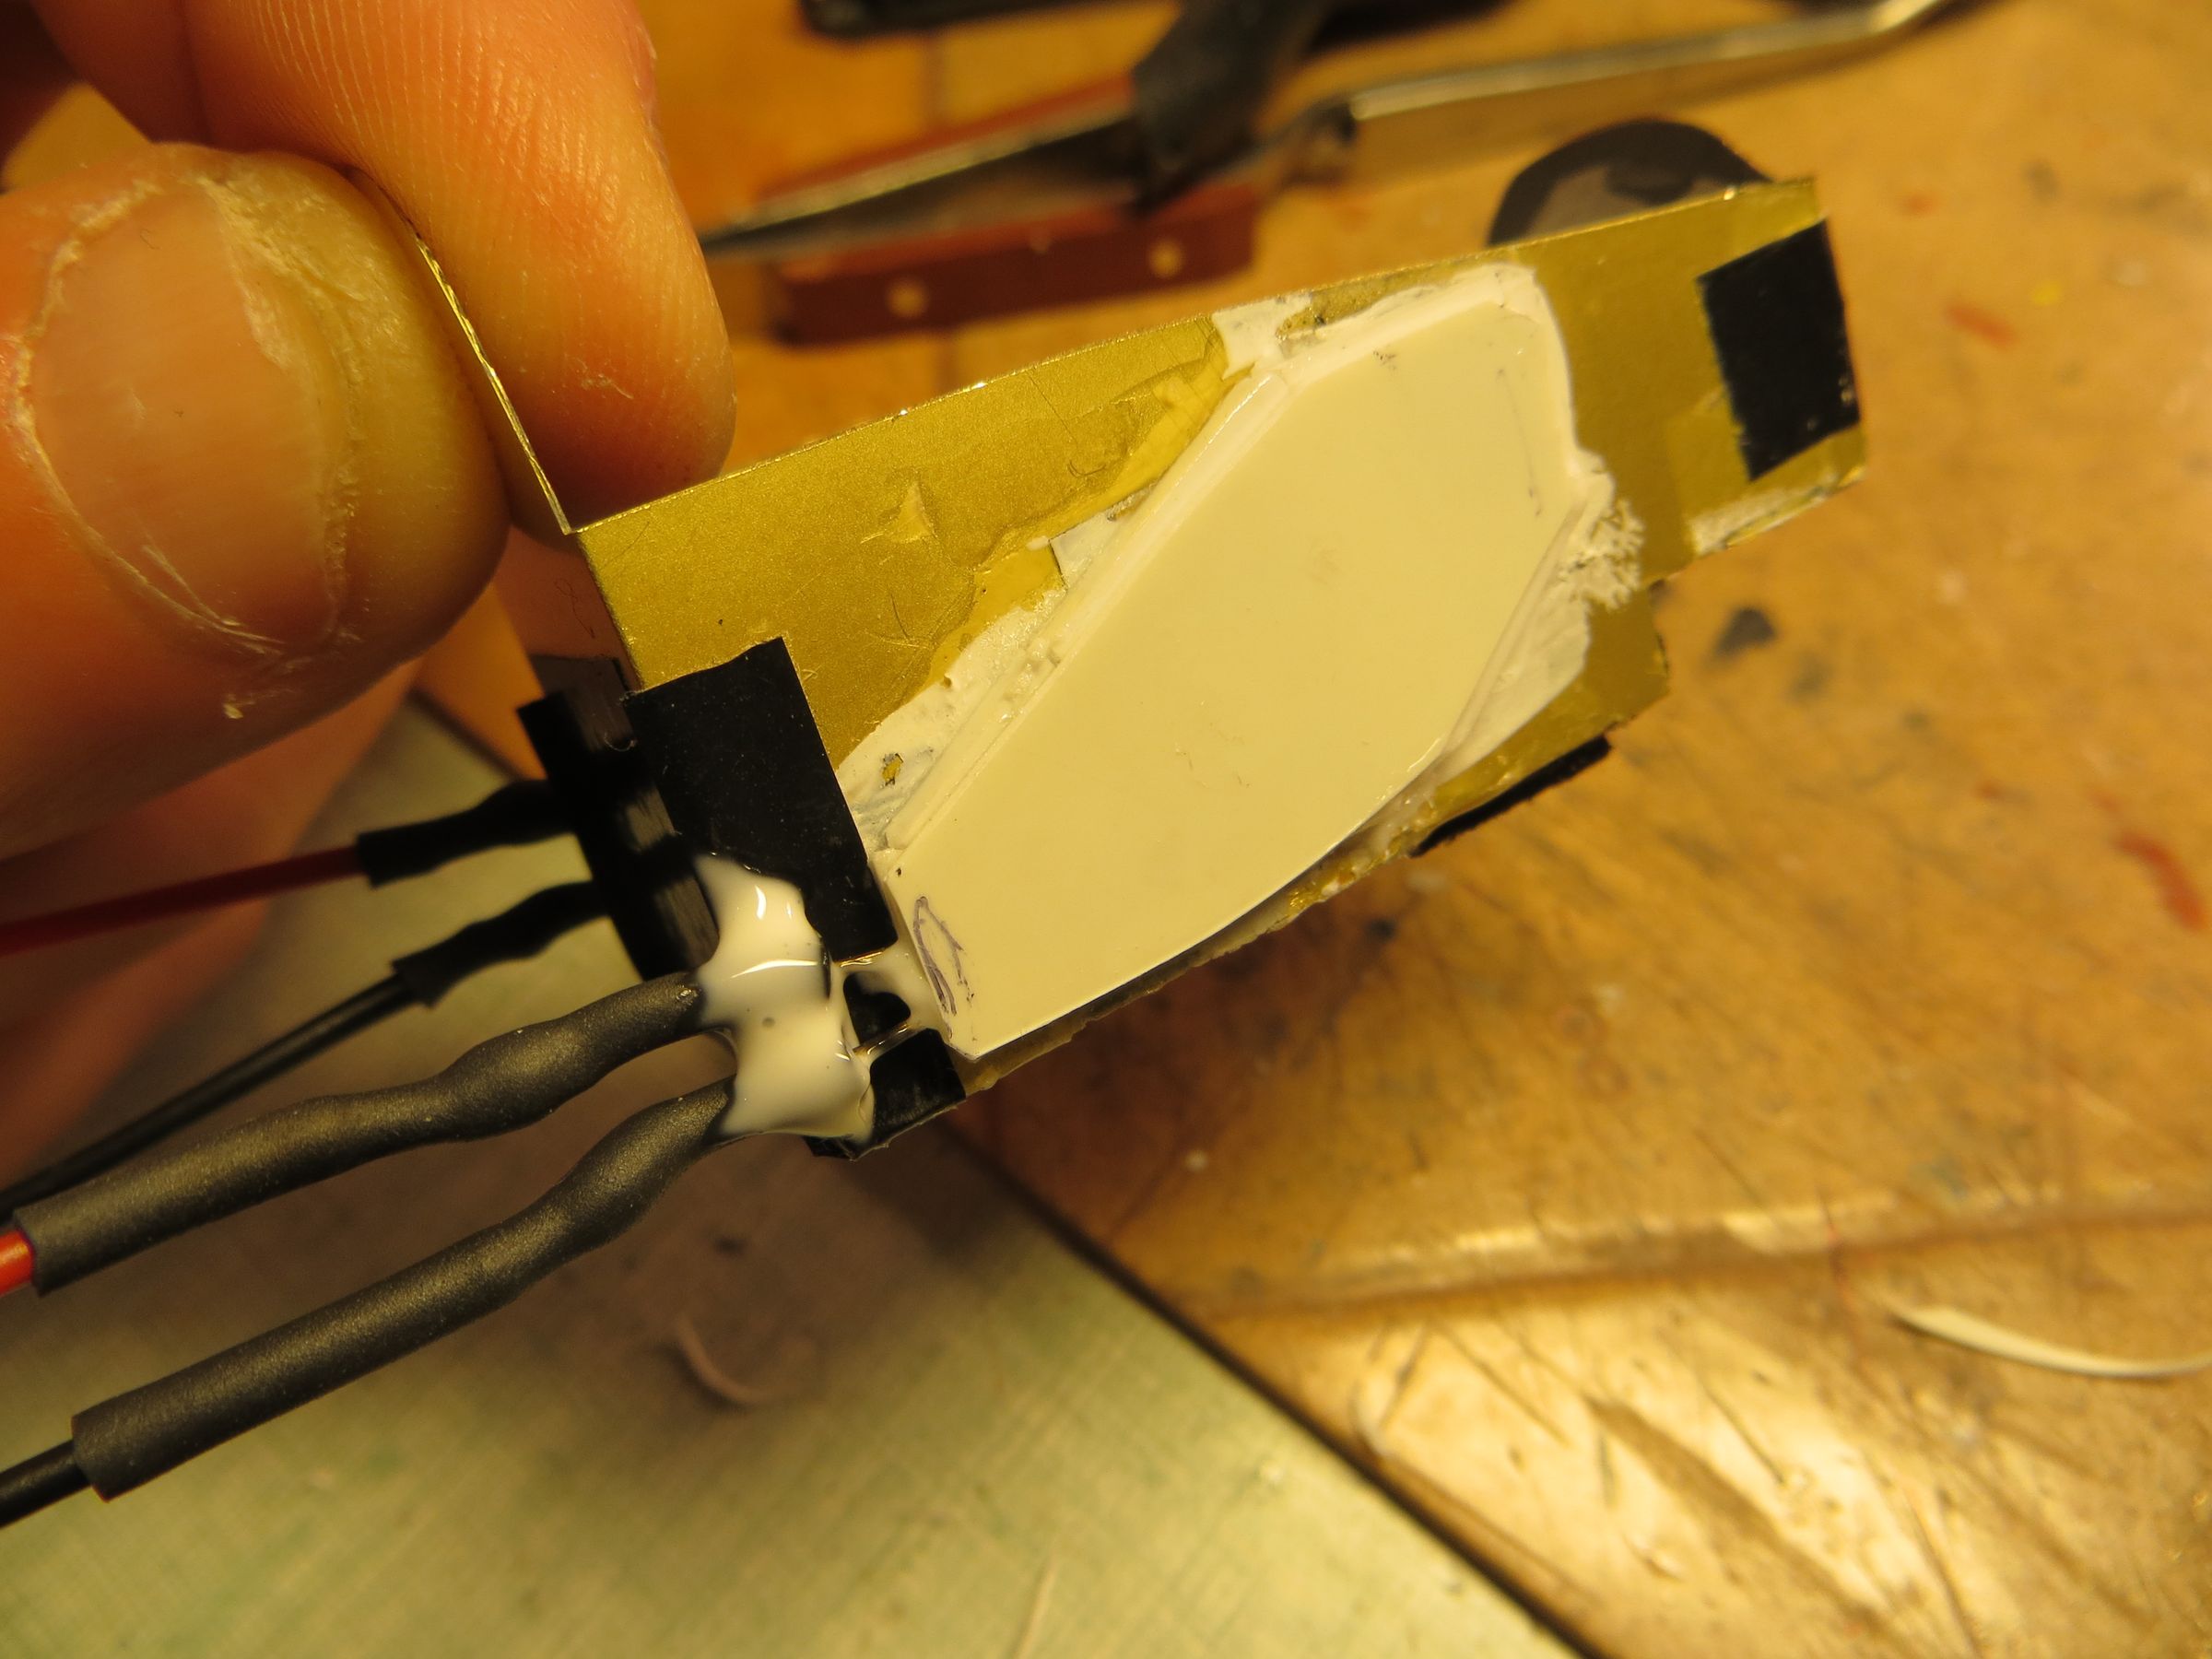
The LED behind the dashboard is permanently installed. It is set in a cap (a button from an old calculator or toy) .
« billets précédents - page 1 de 2