OlCabour's Hangar

Aller au contenu | Aller au menu | Aller à la recherche

Battlestar Galactica › Viper TOS - Revell

Fil des billets

vendredi, 25 mai 2012

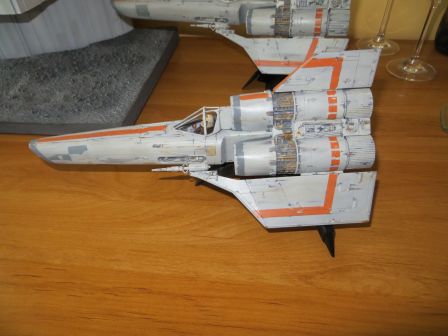
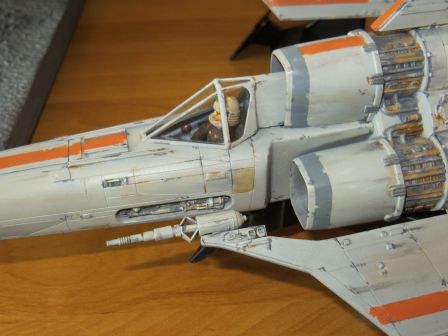
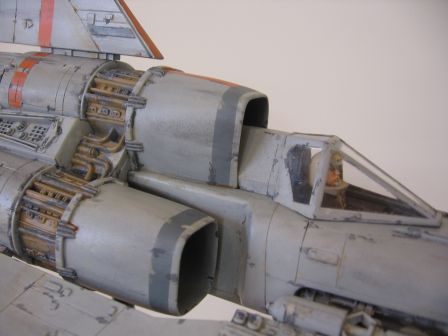
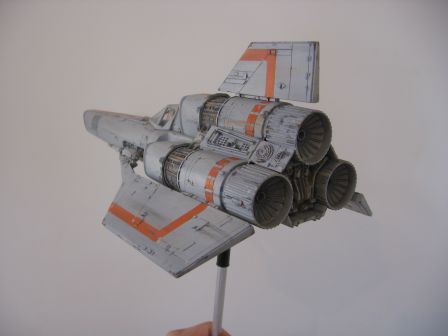
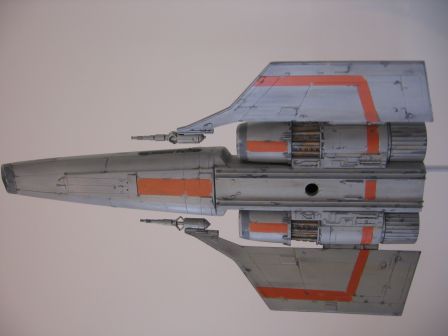
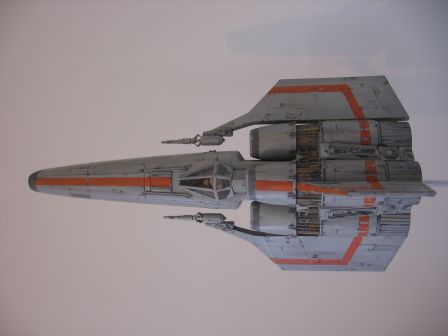
Revell Viper - Painting, weathering and final assembly

I am back on the Galactica Vipers, after few monthes spent on my Space1999 project, to finish them.

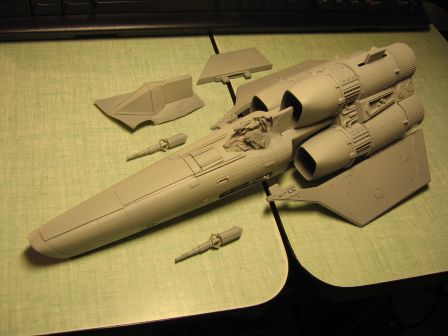
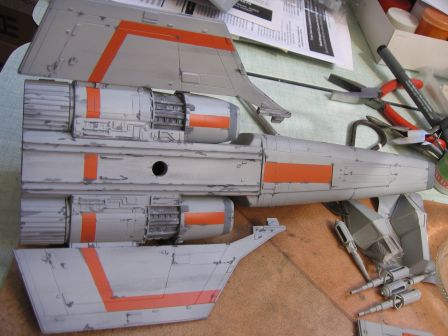
They received a coat of light gull grey, globally uniform. I did not try to be perfectly pristine because they will be made heavily dirty.

IMG_8385

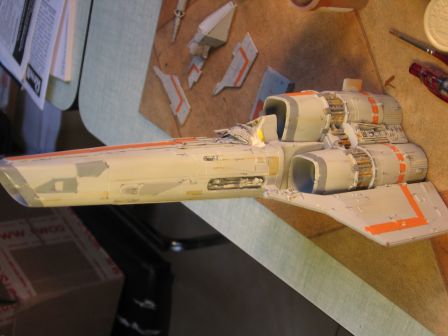
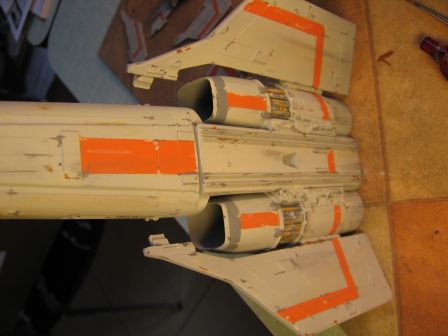
Some panels are then painted in various shades of grey: remaining mixtures of Moebius Galactica and Tamiya XF53 neutral gray for the nose and the 3 air inlets strips.

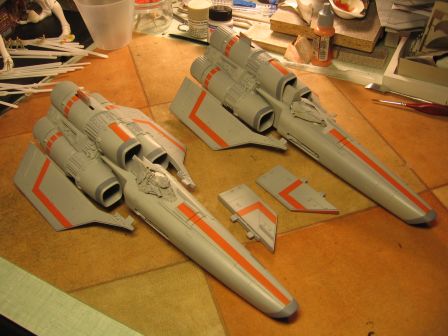
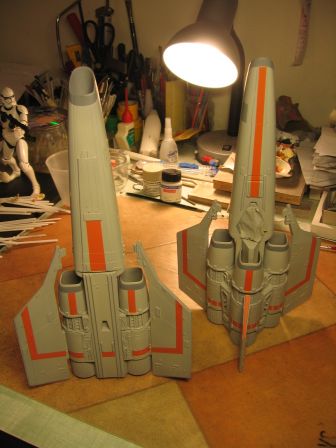
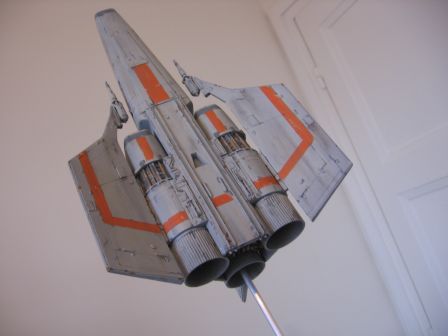
Then comes the orange strips. Orange is a poor covering color (like yellow), it is thus necessary to prepare it, two approaches are possibles : - apply first a coat of mat white, then the orange - Realize a mixture of orange with mat white or light gray. Both approaches can be used separately, or chained as I do on the launchpad, wich also allowed me to realize a pre-paneling (paneling reized like a preshading).

On these Viper, I came with the second approach (orange+light gull grey) because I don't want to have a flashy color.

IMG_9042 IMG_9043


The weathering is something that is finally very simple to perform, and which really gives life to the model. It just seem a little bit tedious at times, but the result is worth it.

The studio Vipers were very dirty, threadbare by decades of war, and are almost flying wrecks!

The weathering of the Viper was done in several stages, in no particular order, following available sources, but with a lot of "free style" anyway:

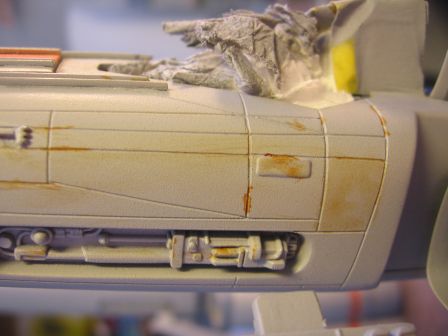
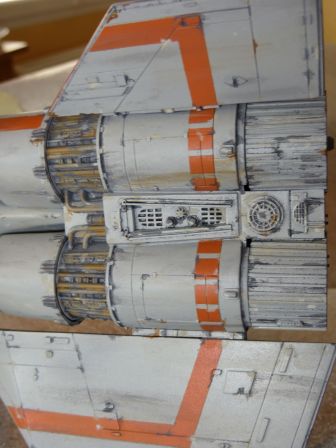
  • Rust marks, with a personal mixture of orange and brown that I had on hand since almost 10 years now. They are applied as much as I can in sticking to the sources, or trying to be logical, namely under raised panels or along panel and cover plate lines. So where water can stagnate and do its destruction work.

IMG_9118

  • Light and dark gray chips, also mainly applied along the panel lines, sometimes one right next to each other, to give the impression that the maintenance and wear blow more or less layers of paint.


IMG_9121

  • Some filters are applied with rust, dark gray and light beige-gray, to break the uniformity of the base color of the Viper, and make it look dirty. (unfortunately, they are almost invisible in the photos)
  • The dark gray is reused to create many streaks.
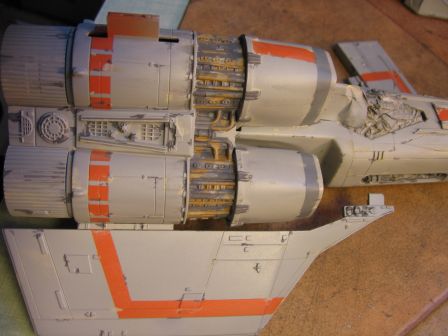
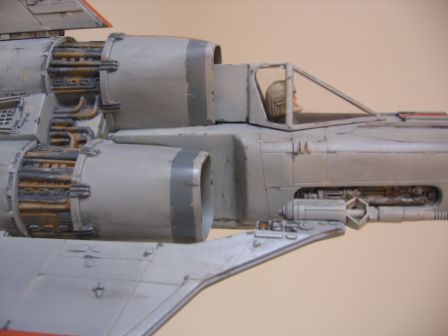
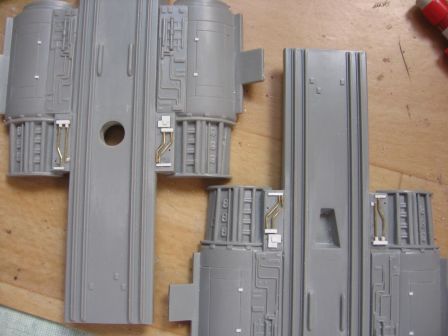
  • In the engine technical parts (pipes, etc..), analysis of the references proved that the job is a little different. A dark gray is first applied unevenly, letting exposed some base gray areas. It is then covered with two new complementary shades of rust (dark and medium), in areas relatively generous (compared to the rest of the model), with touches of lighter shade already used above.
  • These areas are really much more rusty than the rest of the model, so much so that many designers paint the piping in copper over a uniform dark gray.

IMG_9128

IMG_9132 IMG_9133 IMG_9134

  • A good black wash finished the weathering job


It only remains to complete the assembly:

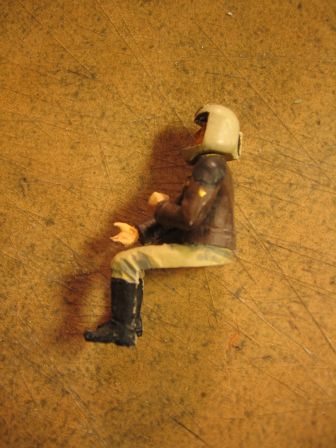
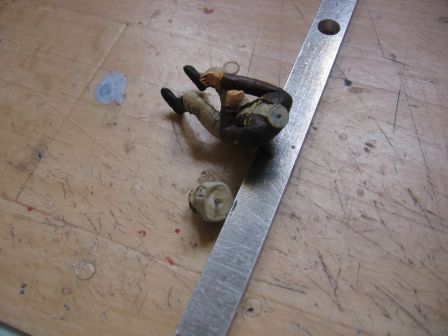
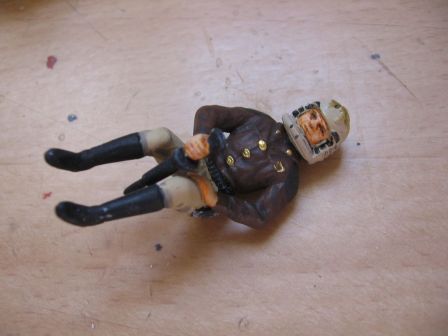
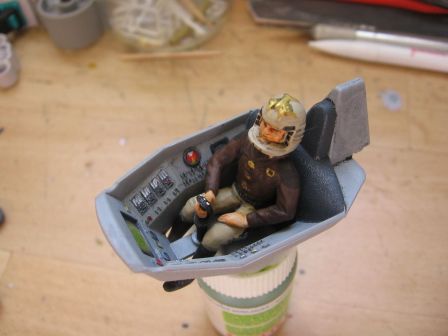
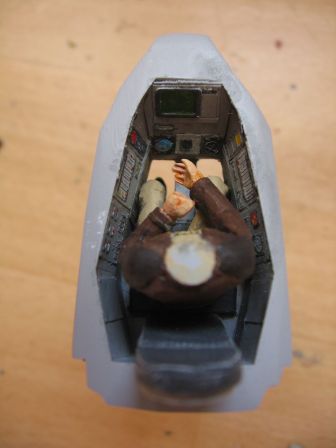
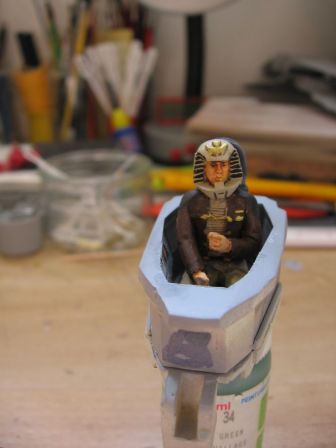
  • The pilots are installed. MMI (resin) one required to sand few millimeters of its back, so that his head does not interfere with the canopy.

IMG_9135

  • Then the canopies, with repositionable adhesive Microscale Micro Liquitape
  • The guns are simply inserted without bonding, as they hold as is since I extended the tongue on the wing parts

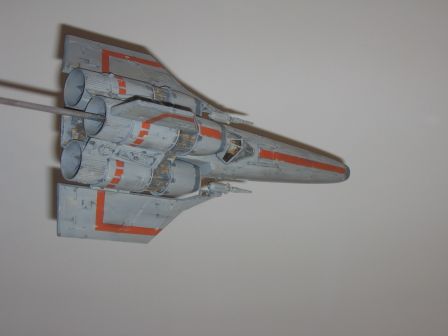
The "hero" Viper:

IMG_9153 IMG_9159 IMG_9162 IMG_0032 IMG_0034

And the "cannon fodder" Viper:
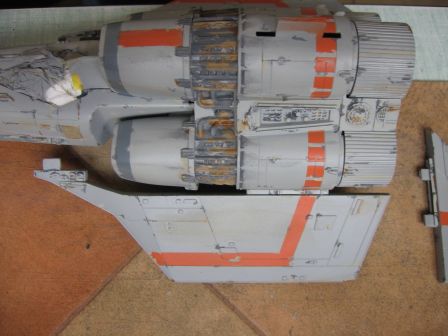
IMG_9140.JPG IMG_9141 IMG_9145 IMG_9146 IMG_0036

vendredi, 9 septembre 2011

Revell Viper - Canopy and main assembly


  • Canopy

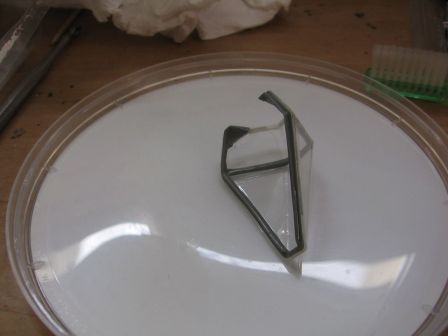
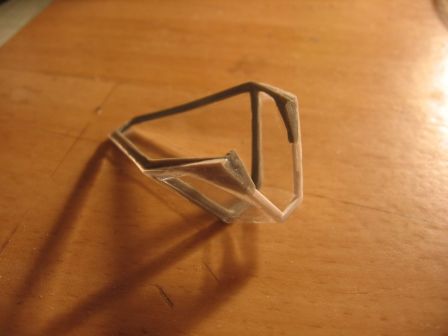
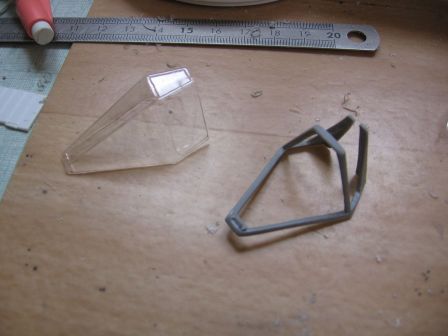
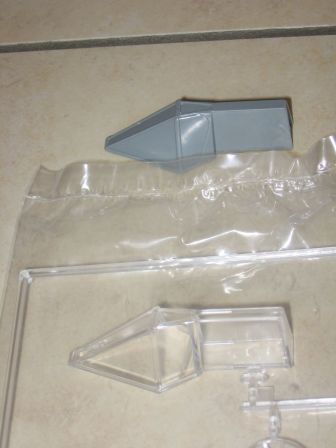
Finally, the installation of the frame has proven to be difficult because the ribs and the dihedral of the thermoformed part does not match the original part. It was therefore necessary to do a lot of adjustments.

This frame is finally superglued step by step, over a period of several days to avoid white marks.

IMG_8337 IMG_8340

In the operation, I accidentally put some superglue on a glass. To rectify this, I wet sand with 1500 or 2000 and then polished with white and blue Tamyia polishing pastes.

The frame is then painted in gray. With models at that scale, paint the interior of the cockpit frame adds greatly to the final result. (Sorry no photos, I forgot!)

  • To ensure a strong bonding of the resin pilot's head (MMI), I reinforce it with a brass rod. The gluing will be done in the final assembly.

IMG_8327

  • Support

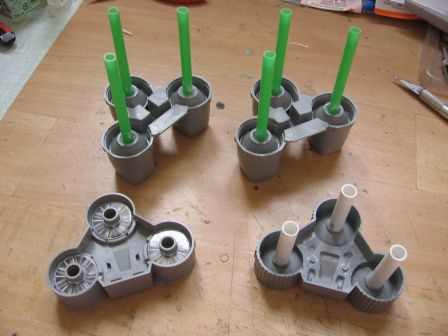
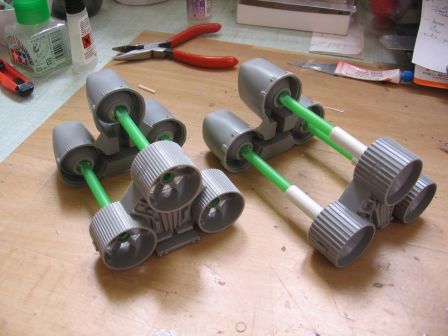
For future display in a diorama, I prepare a support system with rod from the rear.

On the reissue, I just paste tubes on the back of the air inlets, which will slip in the center of the nozzles.

On the original kit, this system must be completed to strenghten it, so I drilled the center of the nozzles and glued others tubes, with an inner diameter larger enough to plugged in the front ones.

IMG_8323 IMG_8324

Even if there are 3 tubes, only 1 or 2 tubes will be used at some time, this leaves me the choice to position them in a dio as I want.

  • Main assembly

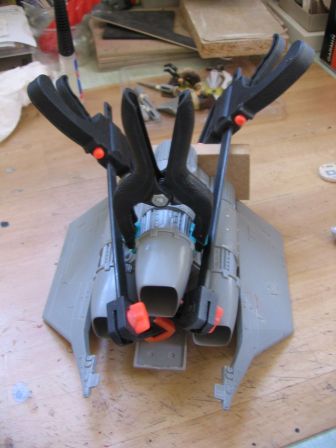
Nozzles and air inlets are glued to the engine module. IMG_8329

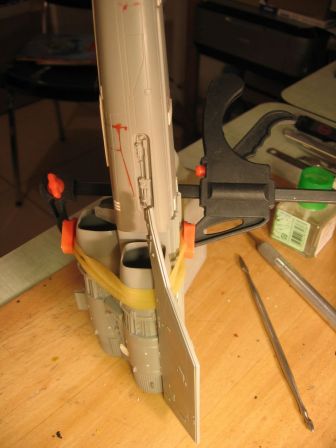
The fuselage is then reported. IMG_8333

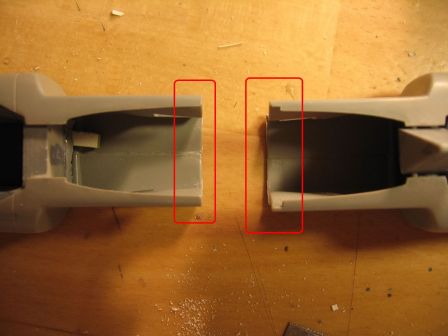
The original kit requires minor modifications to ensure a good fit of the parts (changes that have also been made by Revell with the reissue)

Original | reissue

IMG_8306-2

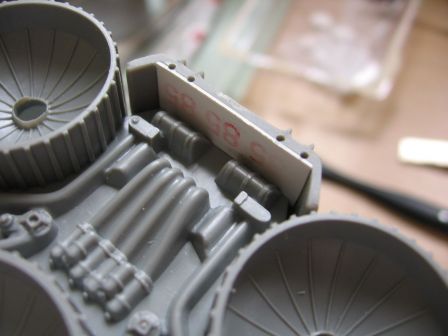
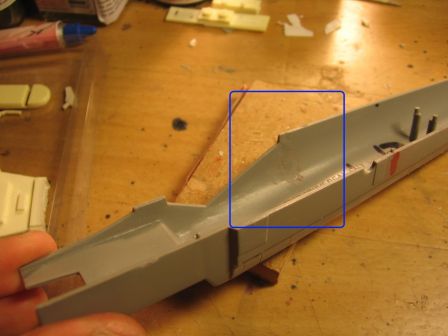
  • Still on the original kit, I filled a gap on the back with a little plastic card.

Four little round detail were missinf. Instead of gluing small pieces of plastic rods that would stick out at any slightest shock, I first drilled holes 2 or 3 mm at the right diameter, then insert the rods. Like this, it is strong enough.

IMG_8325 IMG_8326

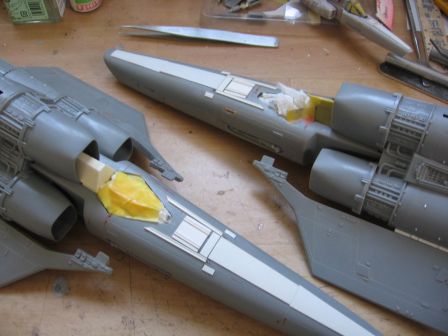
  • Then comes the masking of the cockpits.

IMG_8342

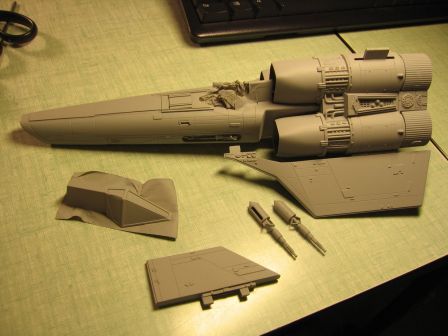
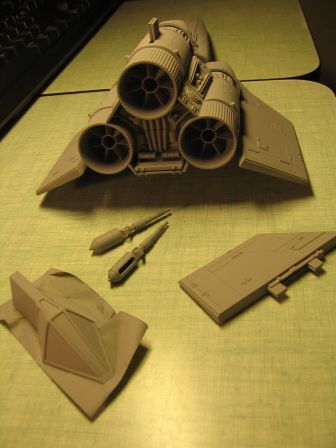
  • The Viper received then a coat of primer Tamiya (in spray can).

Hero :
IMG_8360 IMG_8361

Cannon fodder :

IMG_8362 IMG_8363

jeudi, 18 août 2011

Revell Viper - Pilot painting. Detailing and first assembling

  • The pilots and cockpits are painted. The color of the fold of their clothes are heavily accentuated in order to be viewable once the pilots will be installed in their cockpit, canopy closed. (I'm not happy with my photos here, it makes the impression that it is badly painted, it's much nicer by eye !)

IMG_8238 IMG_8242 IMG_8245 IMG_8248 IMG_8250

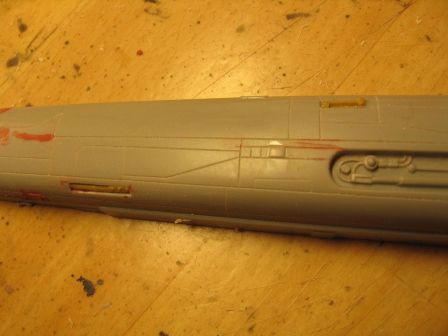
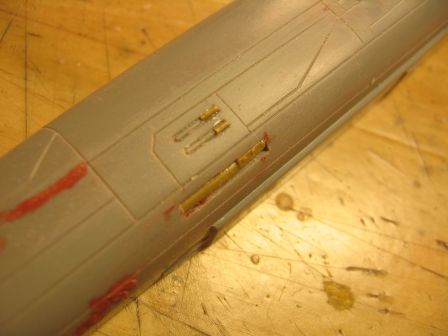
  • On the two ventral rectangles, that look like aircraft landing gear well, the details are undersized, so I sanded them and then re-created bigger ones using brass rods and plastic strip.

IMG_8226

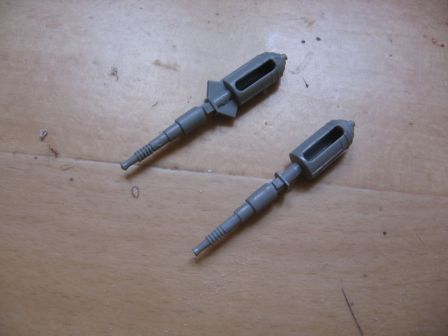
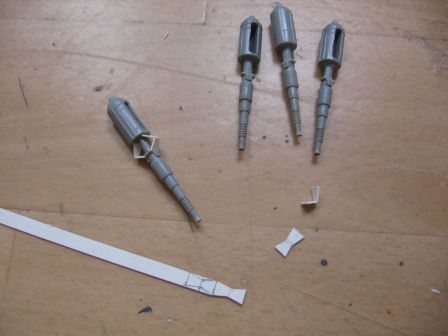
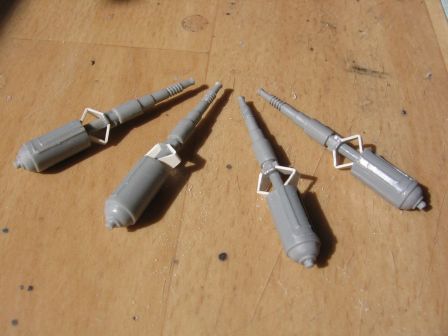
  • On the gun barrels, the triangular parts are removed and replaced with scratch to better look like to the aircraft landing gear shock absorber they certainly came from on the studio model.

IMG_8291 IMG_8292 IMG_8294

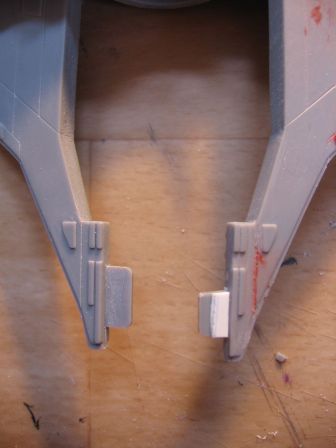
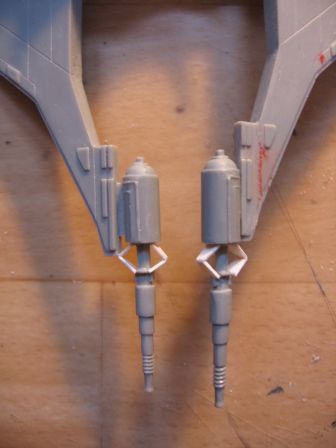
  • The alignment of the guns with the wing is incorrect : the cartridge-shaped portion of the barrel is too far back from the edge of the wing, where it should be aligned. To correct this, simply cut the plug on the wing.

By the way, it is best to give a little more thickness to the sheet, to avoid having the guns to play when gluing.

Before | After

IMG_8303

Before | After

IMG_8304

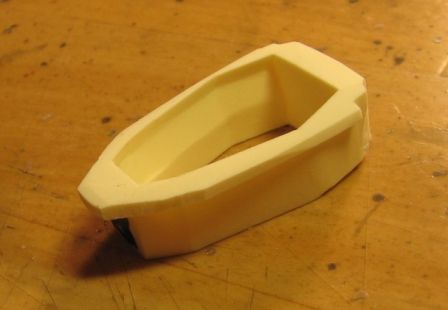
  • Each cockpit is glued into a fuselage half and then a wedge is added to secure it.

IMG_8256

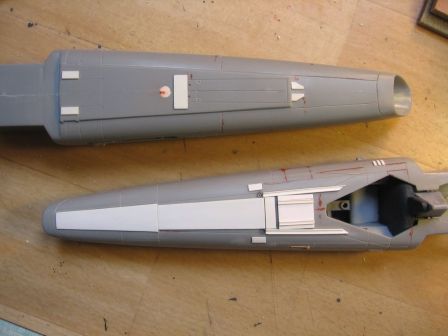
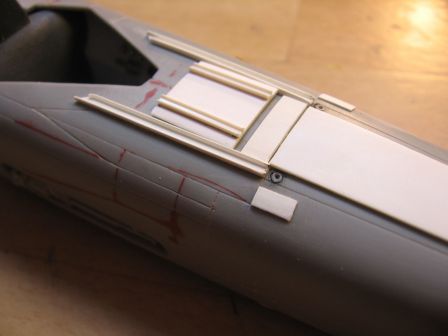
The fuselages are then finally closed and the air intakes added. After generous sanding (it is really a kit from the 80's...), setting up strips (plastic card, U-shaped strips) on the top of the fuselage, and details on the ventral side.

IMG_8299 IMG_8300 IMG_8301

  • the wing roots are detailled with plastic strips, which also hide the horrible joint lines.

IMG_8310

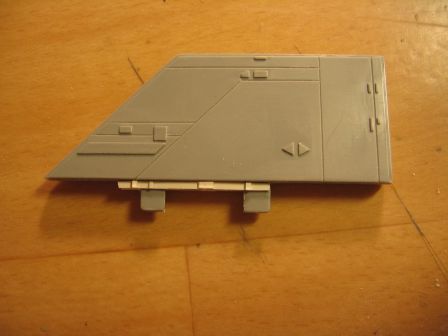
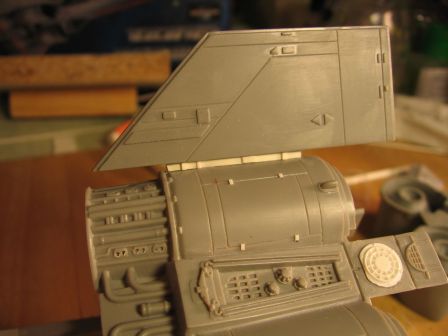
  • Same operation have to be done at the base of the fin, which here prevents it from being in direct contact with engine module (another error of the kit).

IMG_8309 IMG_8311

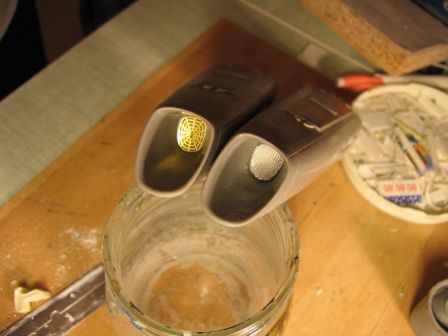
  • The front air intakes receive, for one, the photoetched part from the upgrade kit (it needed some sanding along the edge to fit properly), and the other by a piece of plastic covered by a electric razor screen.

IMG_8307

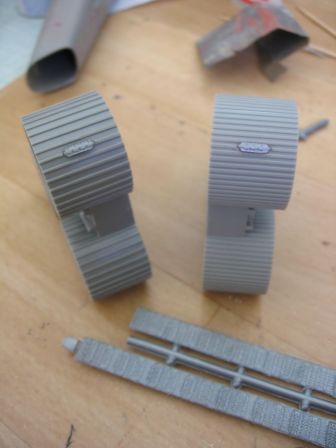
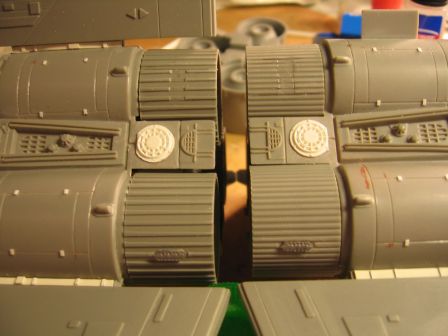
  • Curiously, the modelers of Galactica did not find a tube with a proper milling to use for the nozzles of the Viper, so they did took floors from panzer (or rail gun type like Leopold) models and shaped it around a bare tube !

This explains why the milling of the nozzles presents unusual details, with recessed rectangles in the milling, or added elements to hide holes in the original part. Obviously, Monogram and Revell missed this. Leveling down a rectangle in the milling is not hard to do, just care to avoid a disaster. For the added details, I sliced ​​strips in a 1/72 T34 Russian tank track.

IMG_8258 IMG_8314

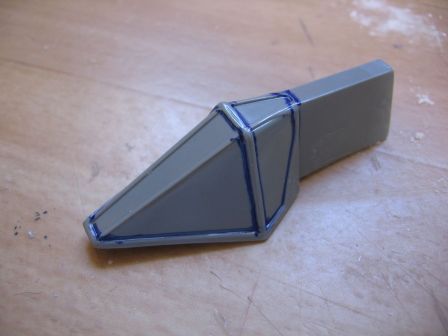
  • As it is always a nightmare to glue thermoformed canopy, this time I will going to help myself using the opaque original part of the kit as a frame. Hopefully, this will ensure a good bonding to the fuselage. I also try to keep the vertical mounts, to strengthen the thermoformed part.

IMG_8318

To remove the unnecessary faces, I just followed smoothly the edges of the mounts with a plastic cutter and a mini saw. This done, I realized that the thermoformed part has a different height and a slightly different angle, so I finally need to adapt this frame in order for it to do the job I want it to do...

IMG_8319

The solution provided by MMI to attach the back of the thermoformed canopy did not convinced me, so I filled it with plastic card.

IMG_8321.JPG

mardi, 16 août 2011

Improving parts of the Revell Vipers

Before moving to an assembly by module, I am staying on improving the parts.

  • wings and engines cover plates

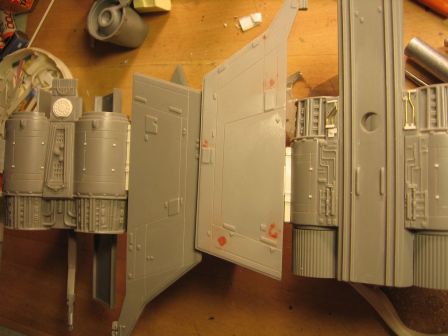
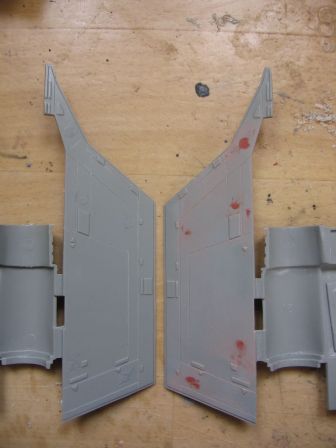
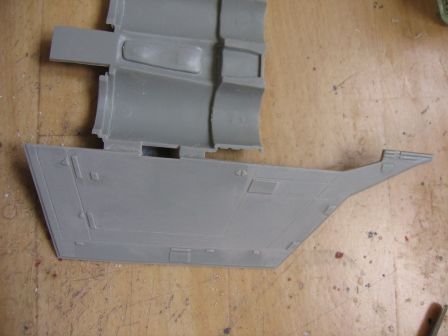
On the wings, the punches and incorrects details are removed and the recessed ones filled (this varies from half-wings).

IMG_8044

On this example, no recessed punches : IMG_8045

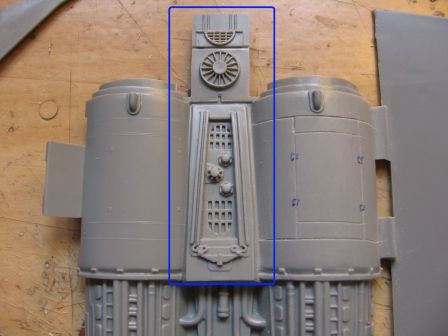
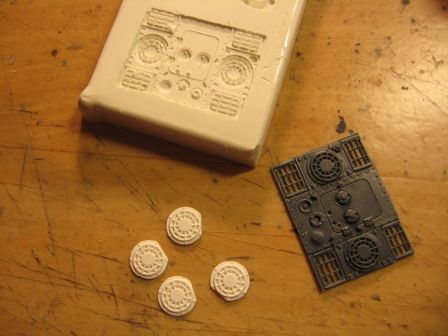
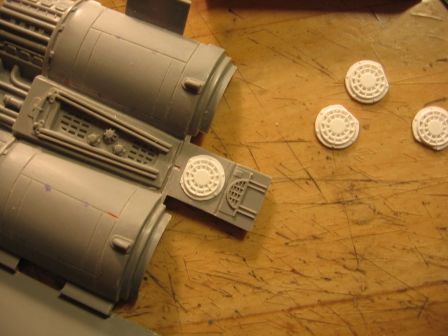
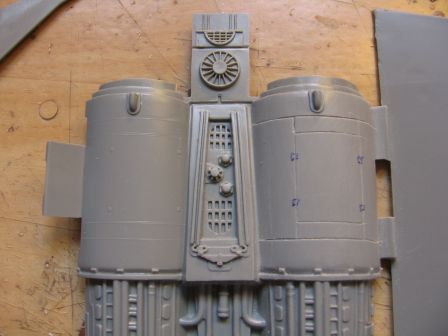
On the studio model, the tabs between the thrusters were detailed with parts from Panther model kit (circular rear vents). On the kit Revellogram, the circular grid is poorly faithful. While comparing it with a part from a 1/72 Panther from my spare-box, it was matching perfectly in size. So, I remolded the part and I removed the original details of the kit. IMG_8041-2 IMG_8057

Having recently get some Staturoc I tested on these tiny panthers grids. The result is somewhat fragile, however, I use them anyway to go faster and because there is little chance of shock at this place of the model. IMG_8058

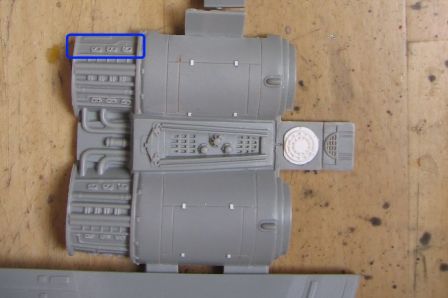
The engines cover plates receive their locks (2 or 4 by cover as appropriate). And in areas where the pipes are exposed, each small rectangular details, by rows of three, receives two small holes with a mini-drill. IMG_8069-D

  • Rear

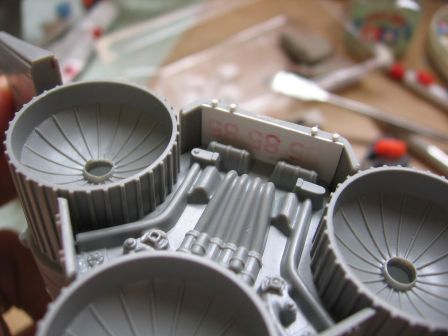
The milling of the nozzles is far better on the reissue. Curiously, this is not the case if the Y-shape rear area that connects the nozzles. The details, although modified, are as poorly done as before. And the main flaw of this part is not treated : the Y is too recessed, and still does not allow the details to come touch the edge of the nozzle. As I do not want to get into a major surgery, I will leave this depth as is. IMG_8219

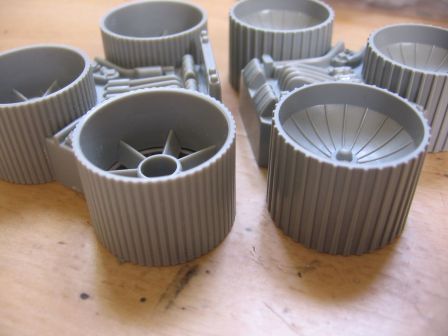
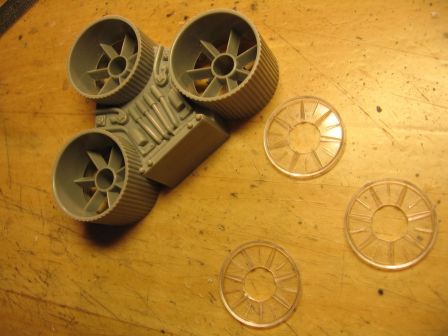
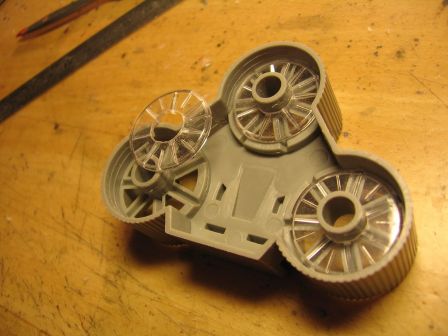
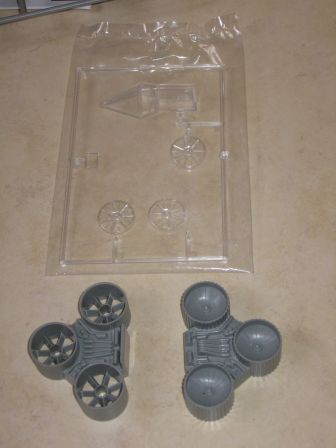
Since I will not put lights, I hollowed the center of the 3 clear disks to plug them from the back of the reactors in order to fill gaps and to benefit from the two layers of details of the reissues. IMG_8066 IMG_8067

It is still lacking few small details on the sides of the nozzle, that I will add later.

  • Fuselage

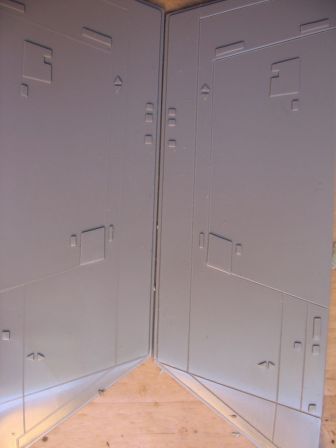
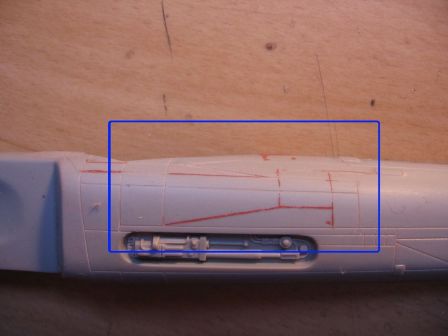
After hunting for reference on the web (paper sources are rare, and presents always the same photos), I could identify two types of pattern on the fuselage panels with different levels of details. The most advanced version that I understand as a "heroes" Viper, for close shots, is seen more often. The standard version (cannon fodder ;-) ) roughly matches the pattern of the Revell kit.
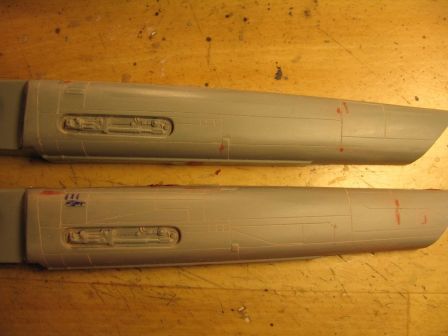
If memory serves, the special effects team had received sets of Monogram Galactica kits, that were used as models in distant shots. There were also several Monogram Cylon raiders in a scene from hangar basestar Cylon.

Top: standard | Bottom: heroes IMG_8061

Having the head in the graving task, I did not notice that, on the heroes version, the pattern differed between the left side (the best known) and the right side. So I was good to fix this (grrrrr!!). It's stupid, because I did have noticed that the little details to add on the left side effectively differed from the right...

IMG_8217-2

The said small details are found in the spare-box, with no desire to be 100% accurate, but close. Only the left side is detailed at the moment: IMG_8064 IMG_8065

After gluing the half fuselage, there will be above and below strips, and details, to add later. And for that, I must first take care of the cockpits and pilots.

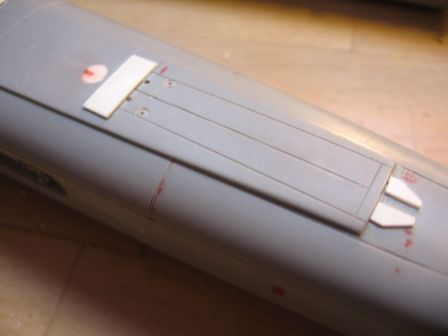
  • Ventral

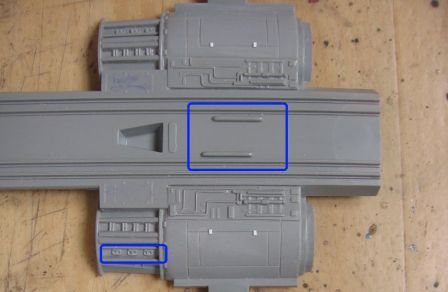
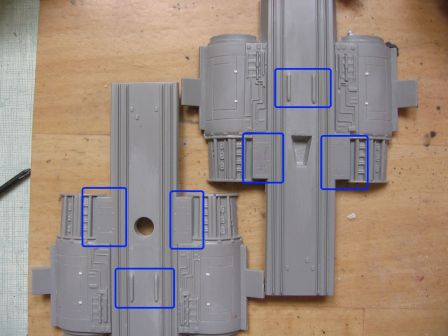
The plate cover also received their locks (here in white), and the rows of 3 small rectangular details received their two small holes.

IMG_8069-G

The 2 raised and long details, and curiously asymmetrical, are aligned. After IMG_8112-2

I still have to add small details with spare parts and brass. I wonder about how I will present these two vipers (alone or in a diorama), so I do not fill the holes for the display stands.

As for the fuselage, there will still be things to add after bonding.

  • Cockpit and pilots

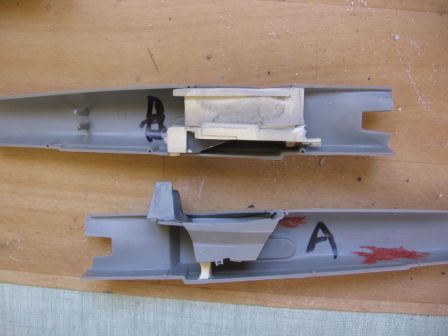
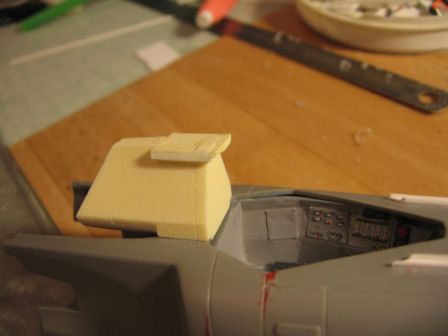
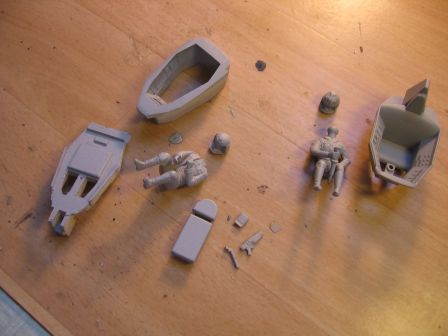
The instruction set of the cockpit MMI recommends to cut the fuselage to insert the cockpit, but I feared it was difficult to align properly and get a good finish. So, I decided to remove the top of the resin part (in just 30 seconds with a belt sander tool machine !), to stick it from underneath. The placement pins must also be removed the half-fuselages. 8063-2 IMG_8107

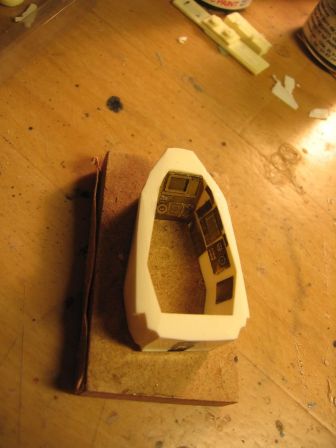
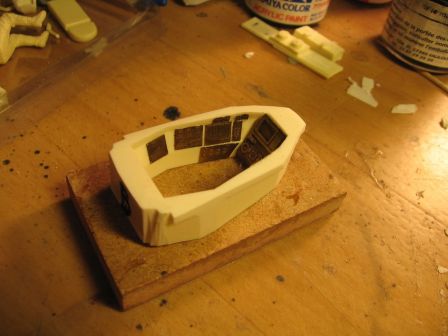
This done, photoetched instrument panels are superglued on the cockpit walls. IMG_8104 IMG_8105

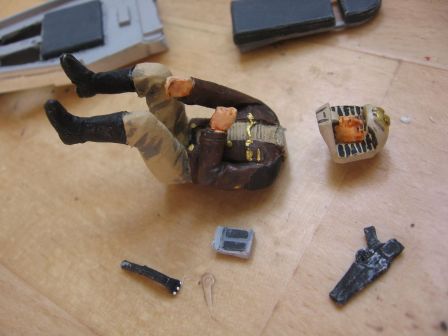
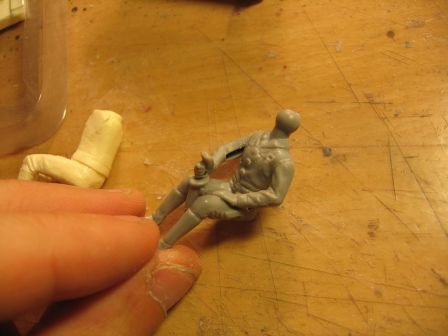
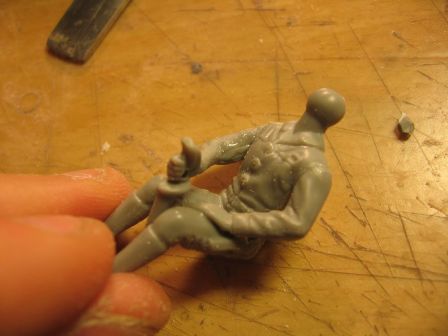
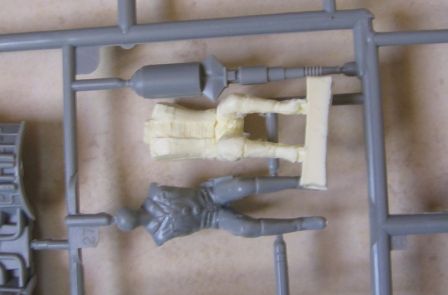
The arms are glued to the pilot. The set allow a right-handed or left-handed. Here it will be right-handed. The pilot of Revell last edition is a level below compared to the MMI resin one. It also has some rather visible lack of material in the hand, the right arm and the upper back. All these are is quickly filled. IMG_8109.JPG IMG_8110.JPG

After a layer of primer, they are ready for painting. IMG_8218

Revell Viper - Wings and engines module panel lines

First work quickly led : the panel lines are engraved on the wings and the engine module. The Revell initial scheme of the panel lines is overall well positioned, with minimal mistakes to correct.

Before / After

IMG_8037 IMG_8041

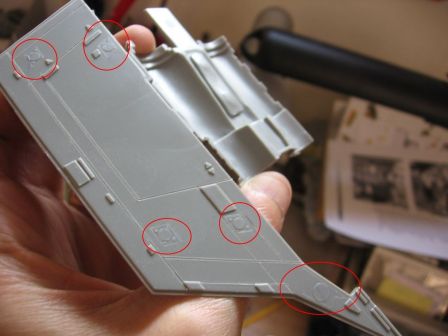
On the half-wing underside parts, there are five strange details that, curiously, cannot be found on the studio models. They are actually the marks of the punches that eject the part trees from the molds ! It was rather well hidden for the time of the first issue of the kit, but it has no place here, so they must be sanded and/or filled with putty.

IMG_8043-2

mardi, 9 août 2011

Box comparison of 2 Colonial Viper TOS (Monogram and Revell)

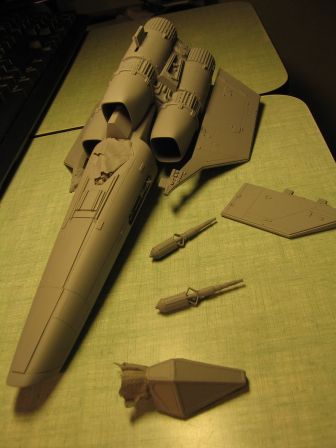
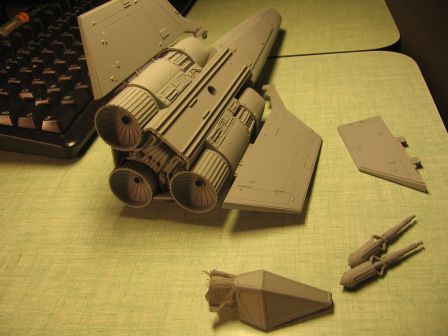
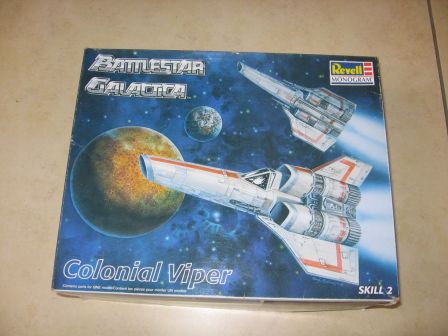
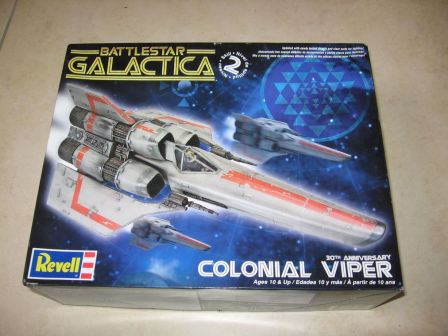
While I was waiting for the preshanding to dry on the Moebius' Galactica, I did started another subject : the Viper from the original series. It turns out that this kit was waiting for almost 15 years (so this is the 90's reissue of Revellogram). In fact, it waited so long that a little fellow arrived to join him : the improved reissue from Revell. This will allow me to compare the two kits.

So, open theses boxes : IMG_8020

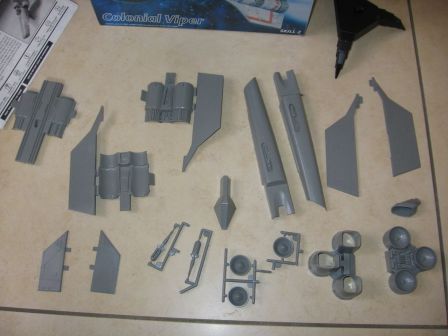
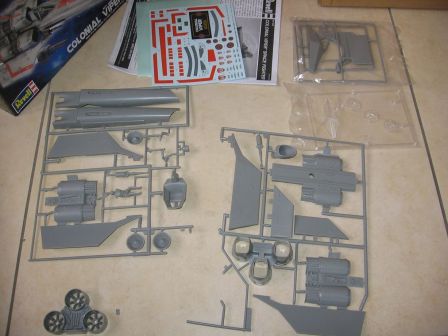
The kit of 1997 had already seen its trees disappeared, and the display used elsewhere. IMG_8021

The shortcomings of this kit are well known (since the days !) : Raised and incomplete (mostmy on the fuselage) panel lines, incorrect details, erroneous nozzles, rear back too recessed, and especially ... especially ... a full canopy, so no cockpit, no pilot, did result in a gloomy subject.

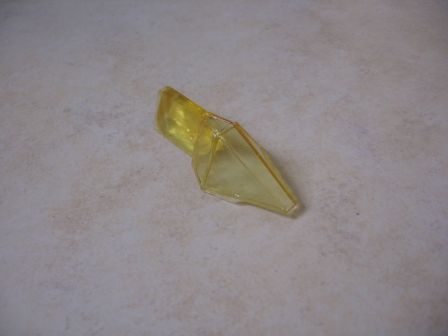
Long ago, in the 90's, I did thought to scratch myself the cockpit, so I had a cast made of transparent resin canopy, which gave me a lot of troubles. I did found the result a little yellow and has therefore abandoned this approach. It was a good idea, because this thing continued to yellow in the time, here it now ! IMG_8022

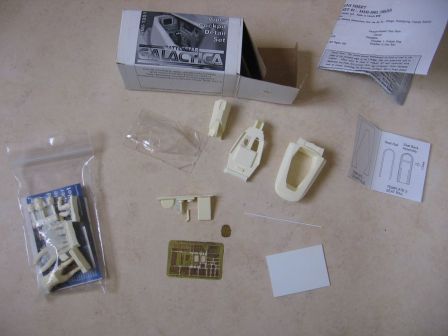
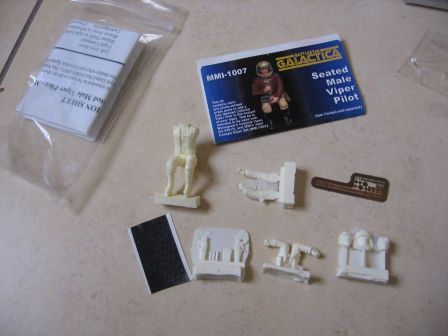
So, I purchased the upgrade sets from MMI : the cockpit (the second version, with photoetched parts, and the thermoformed canopy), and the colonial pilot. These two sets are superb, the details are thin, and parts free of bubbles. IMG_8023 IMG_8026

Let's go to the opening of the last edition of the Viper. IMG_8027 IMG_8028

It brings substantial changes :

  • The decals sheet is completed.
  • The hole under the cabin is suppressed (one of the last traces of this missile system on the first edition of the kit)
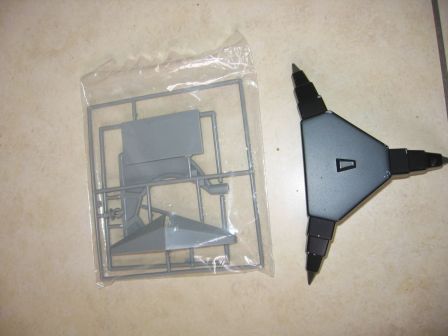
  • A more aerial display stand replaces the old weird three claws thing.

IMG_8029

  • The rear part is totally replaced, with details changed (but only slightly improved). The aliasing of the nozzles is much better, though still missing some details.
  • The reactors are now in clear parts, so you can easily add lights inside.

IMG_8032

  • Especially this is the main defect that is corrected : the canopy has become transparent, a cockpit and a pilot are finally provided.

IMG_8034

  • The pilot from MMI is much finer and pharaonic than the one from Revell, which is a little buffy.

IMG_8036 IMG_8035

Otherwise, they are the same parts with the same defects in panel lines and details.

On these kits, I will not try to be accurate, as there would be too much work for a result not really noticable in the end. The rear portion will stay as is (as it will ask too much surgery work). The main course will be the panel lines engraving, the guns, and a few details here and there.