OlCabour's Hangar

Aller au contenu | Aller au menu | Aller à la recherche

Battlestar Galactica › Cylon Centurion NG

Fil des billets

samedi, 21 décembre 2013

Cylon Centurion NG - Second painting step and final assembly

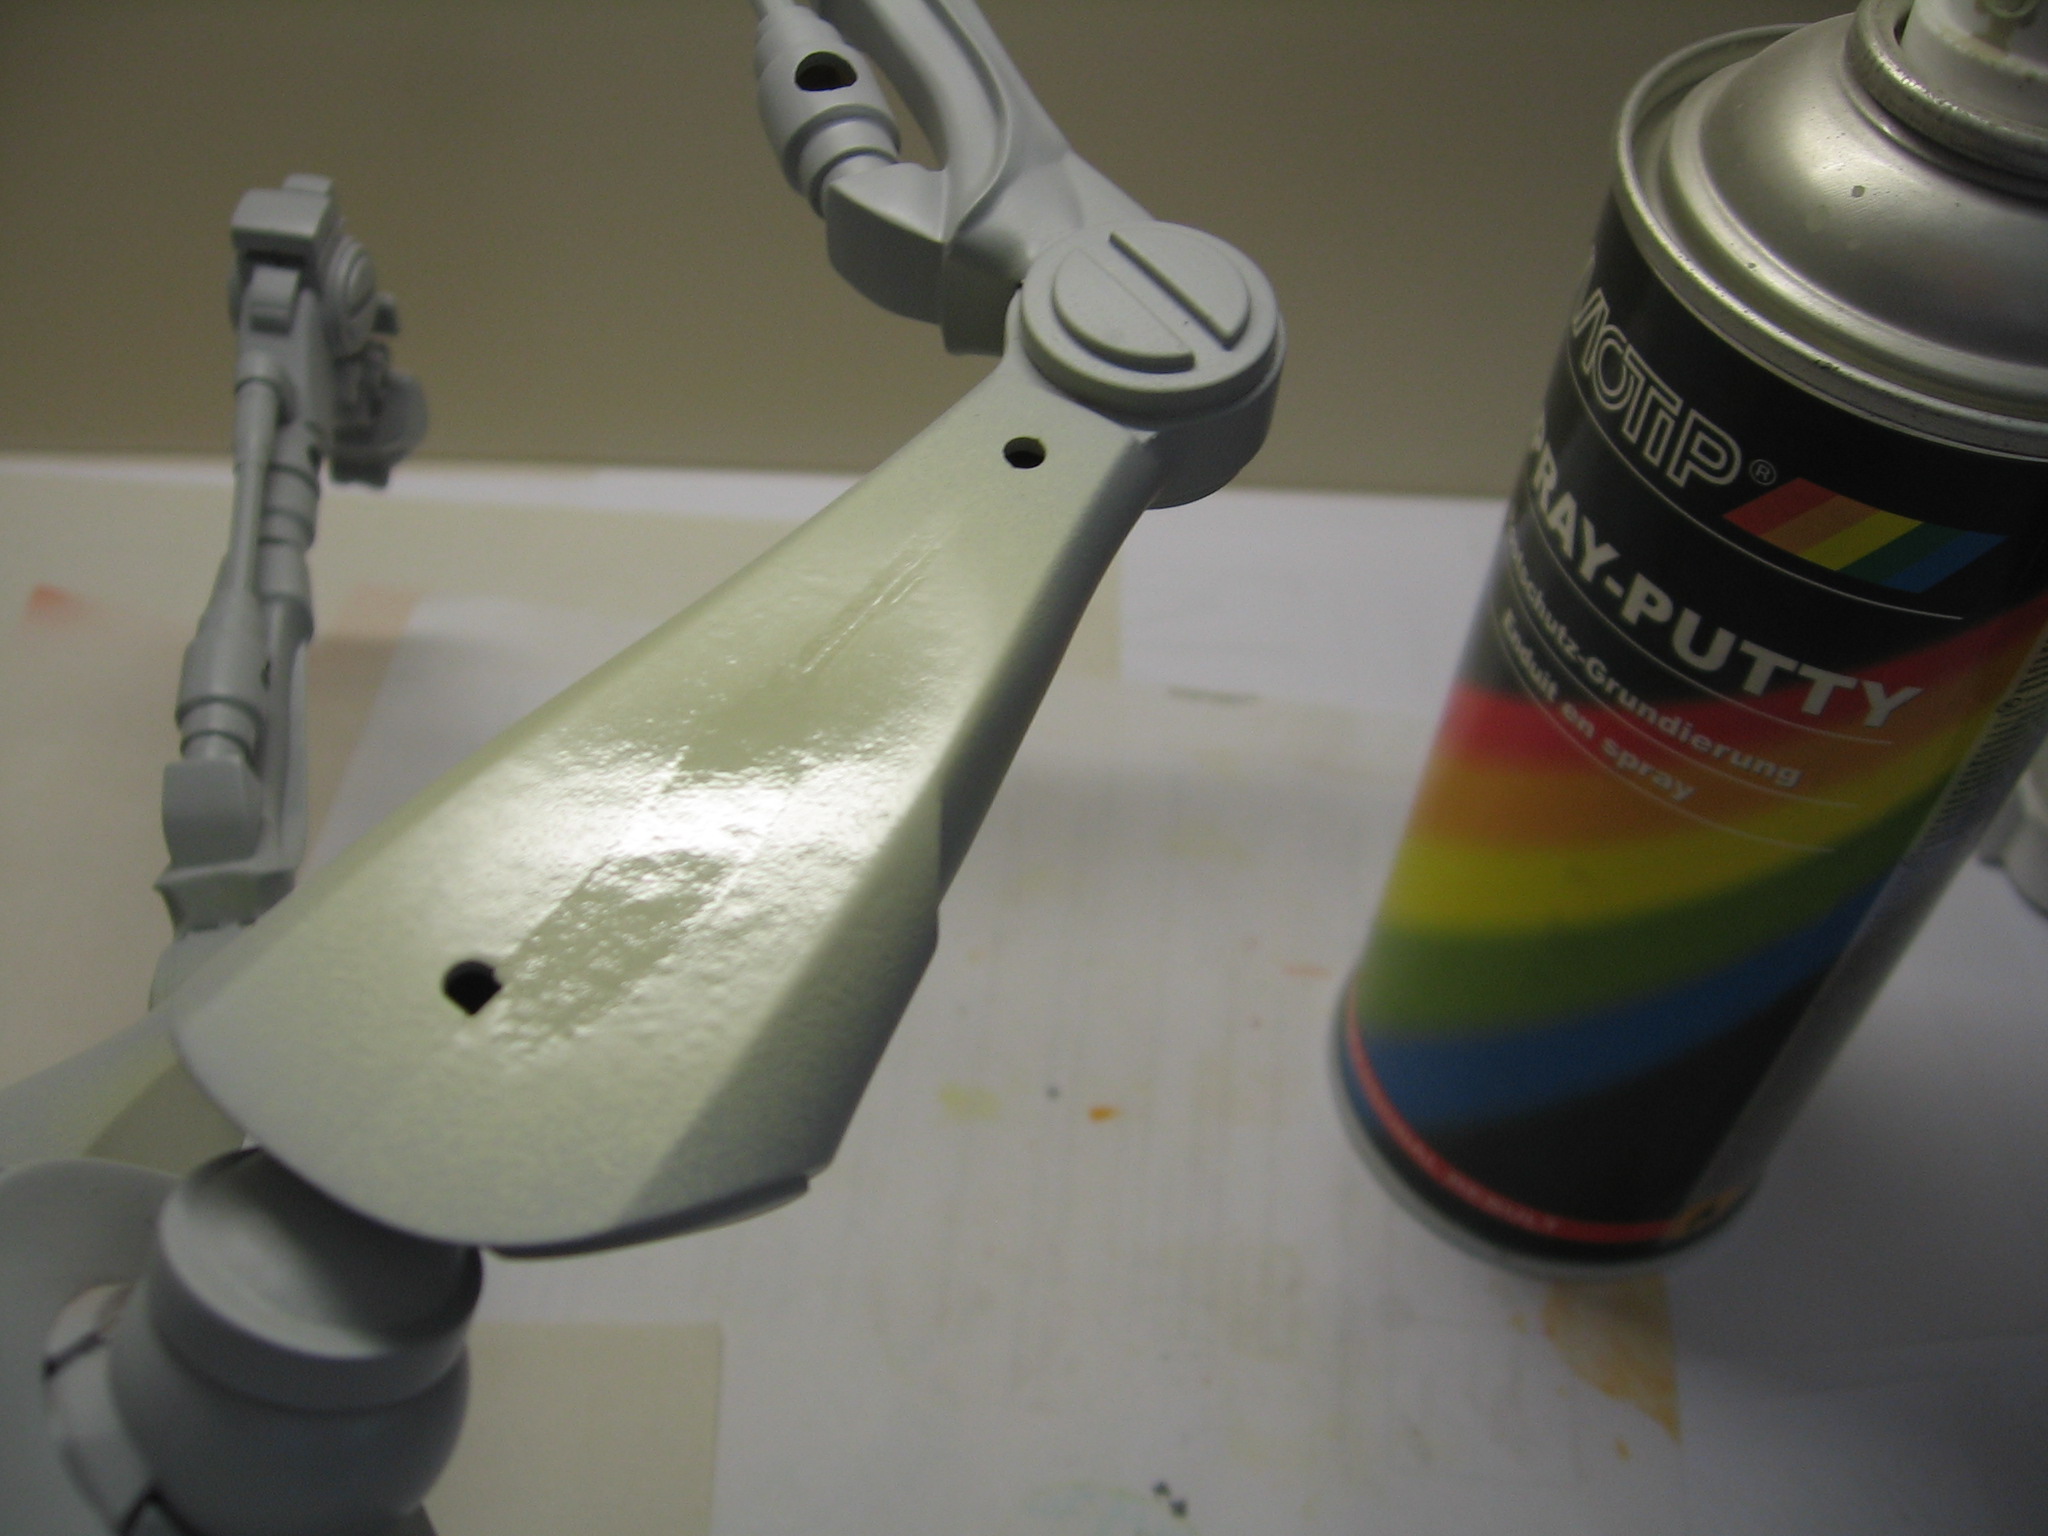
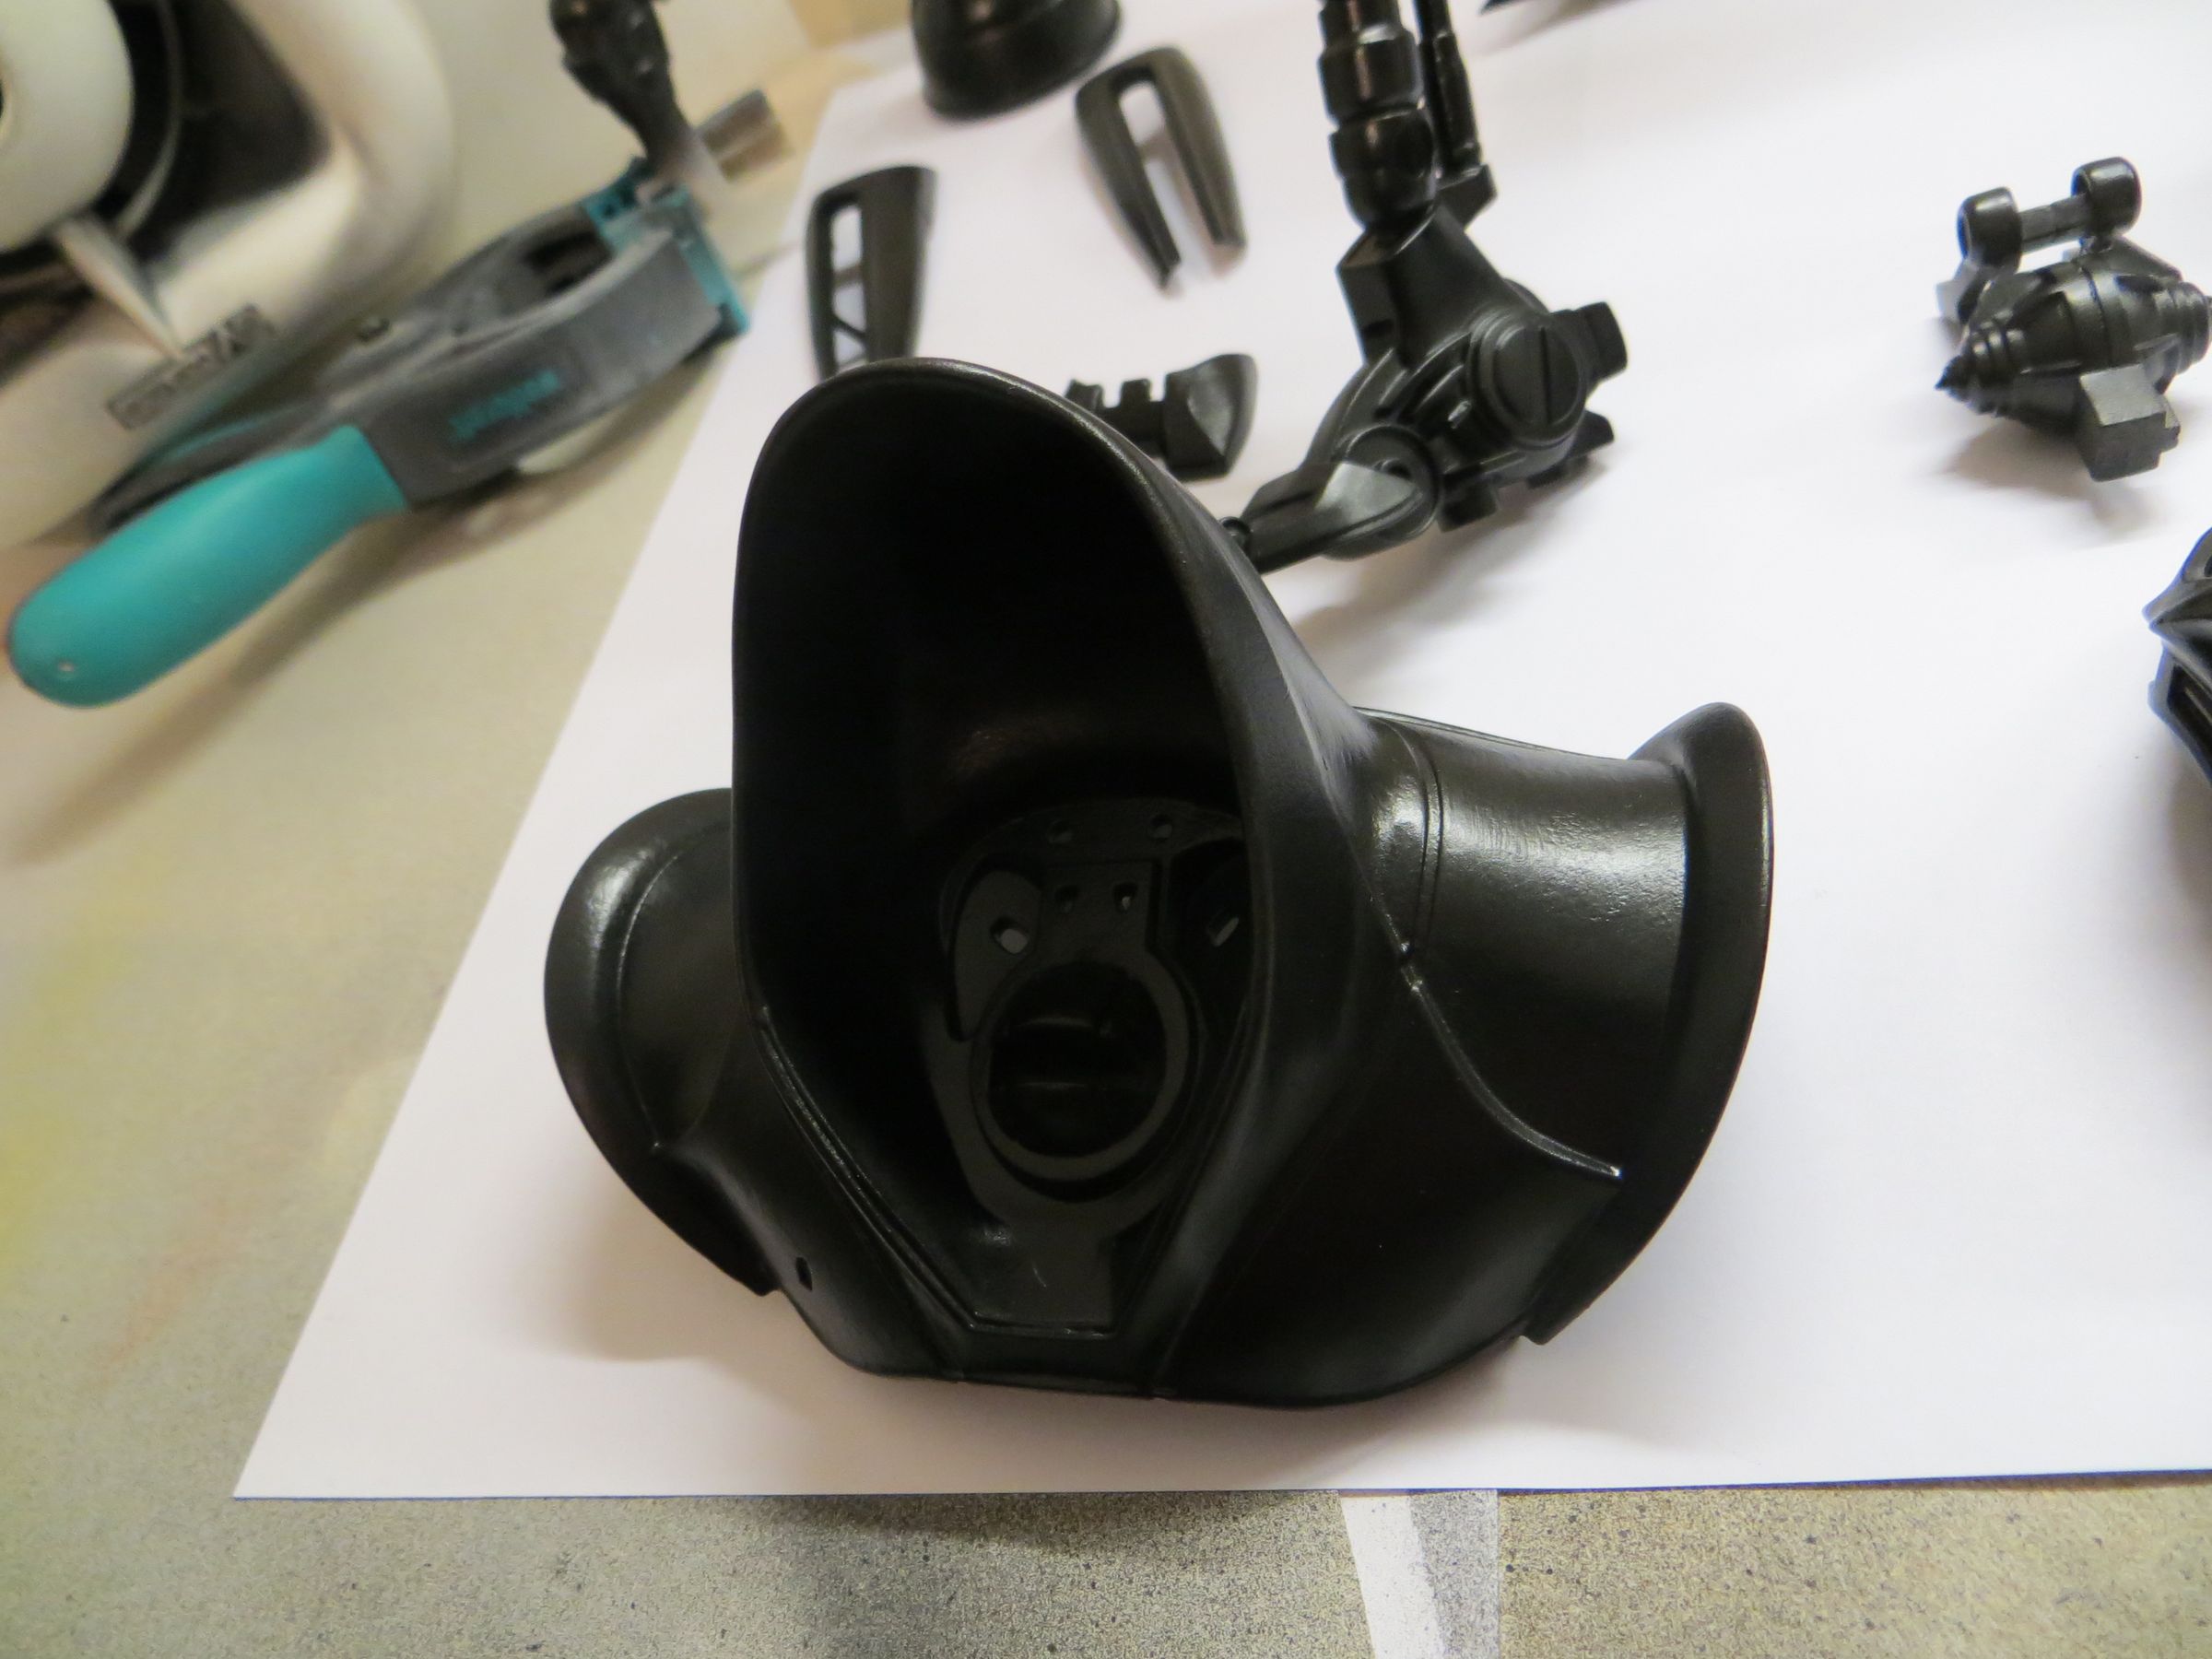
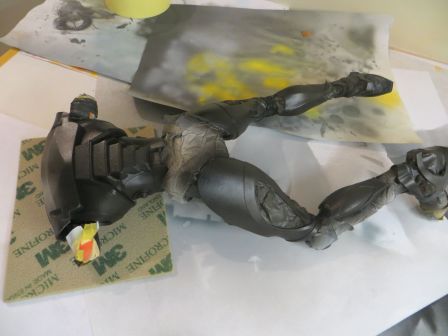
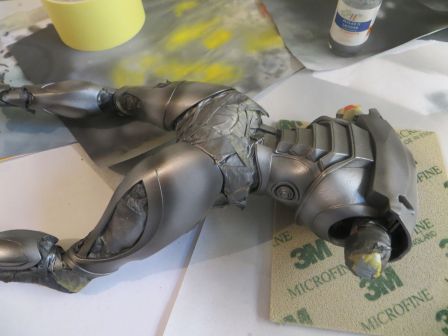
It take time, but the big baby is finally wrapped in swaddling clothes :)

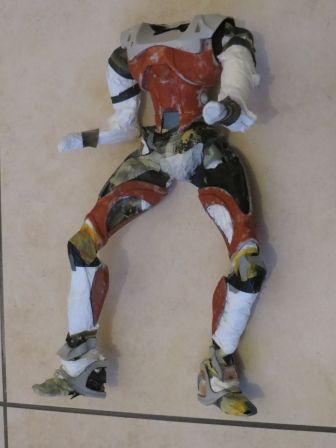
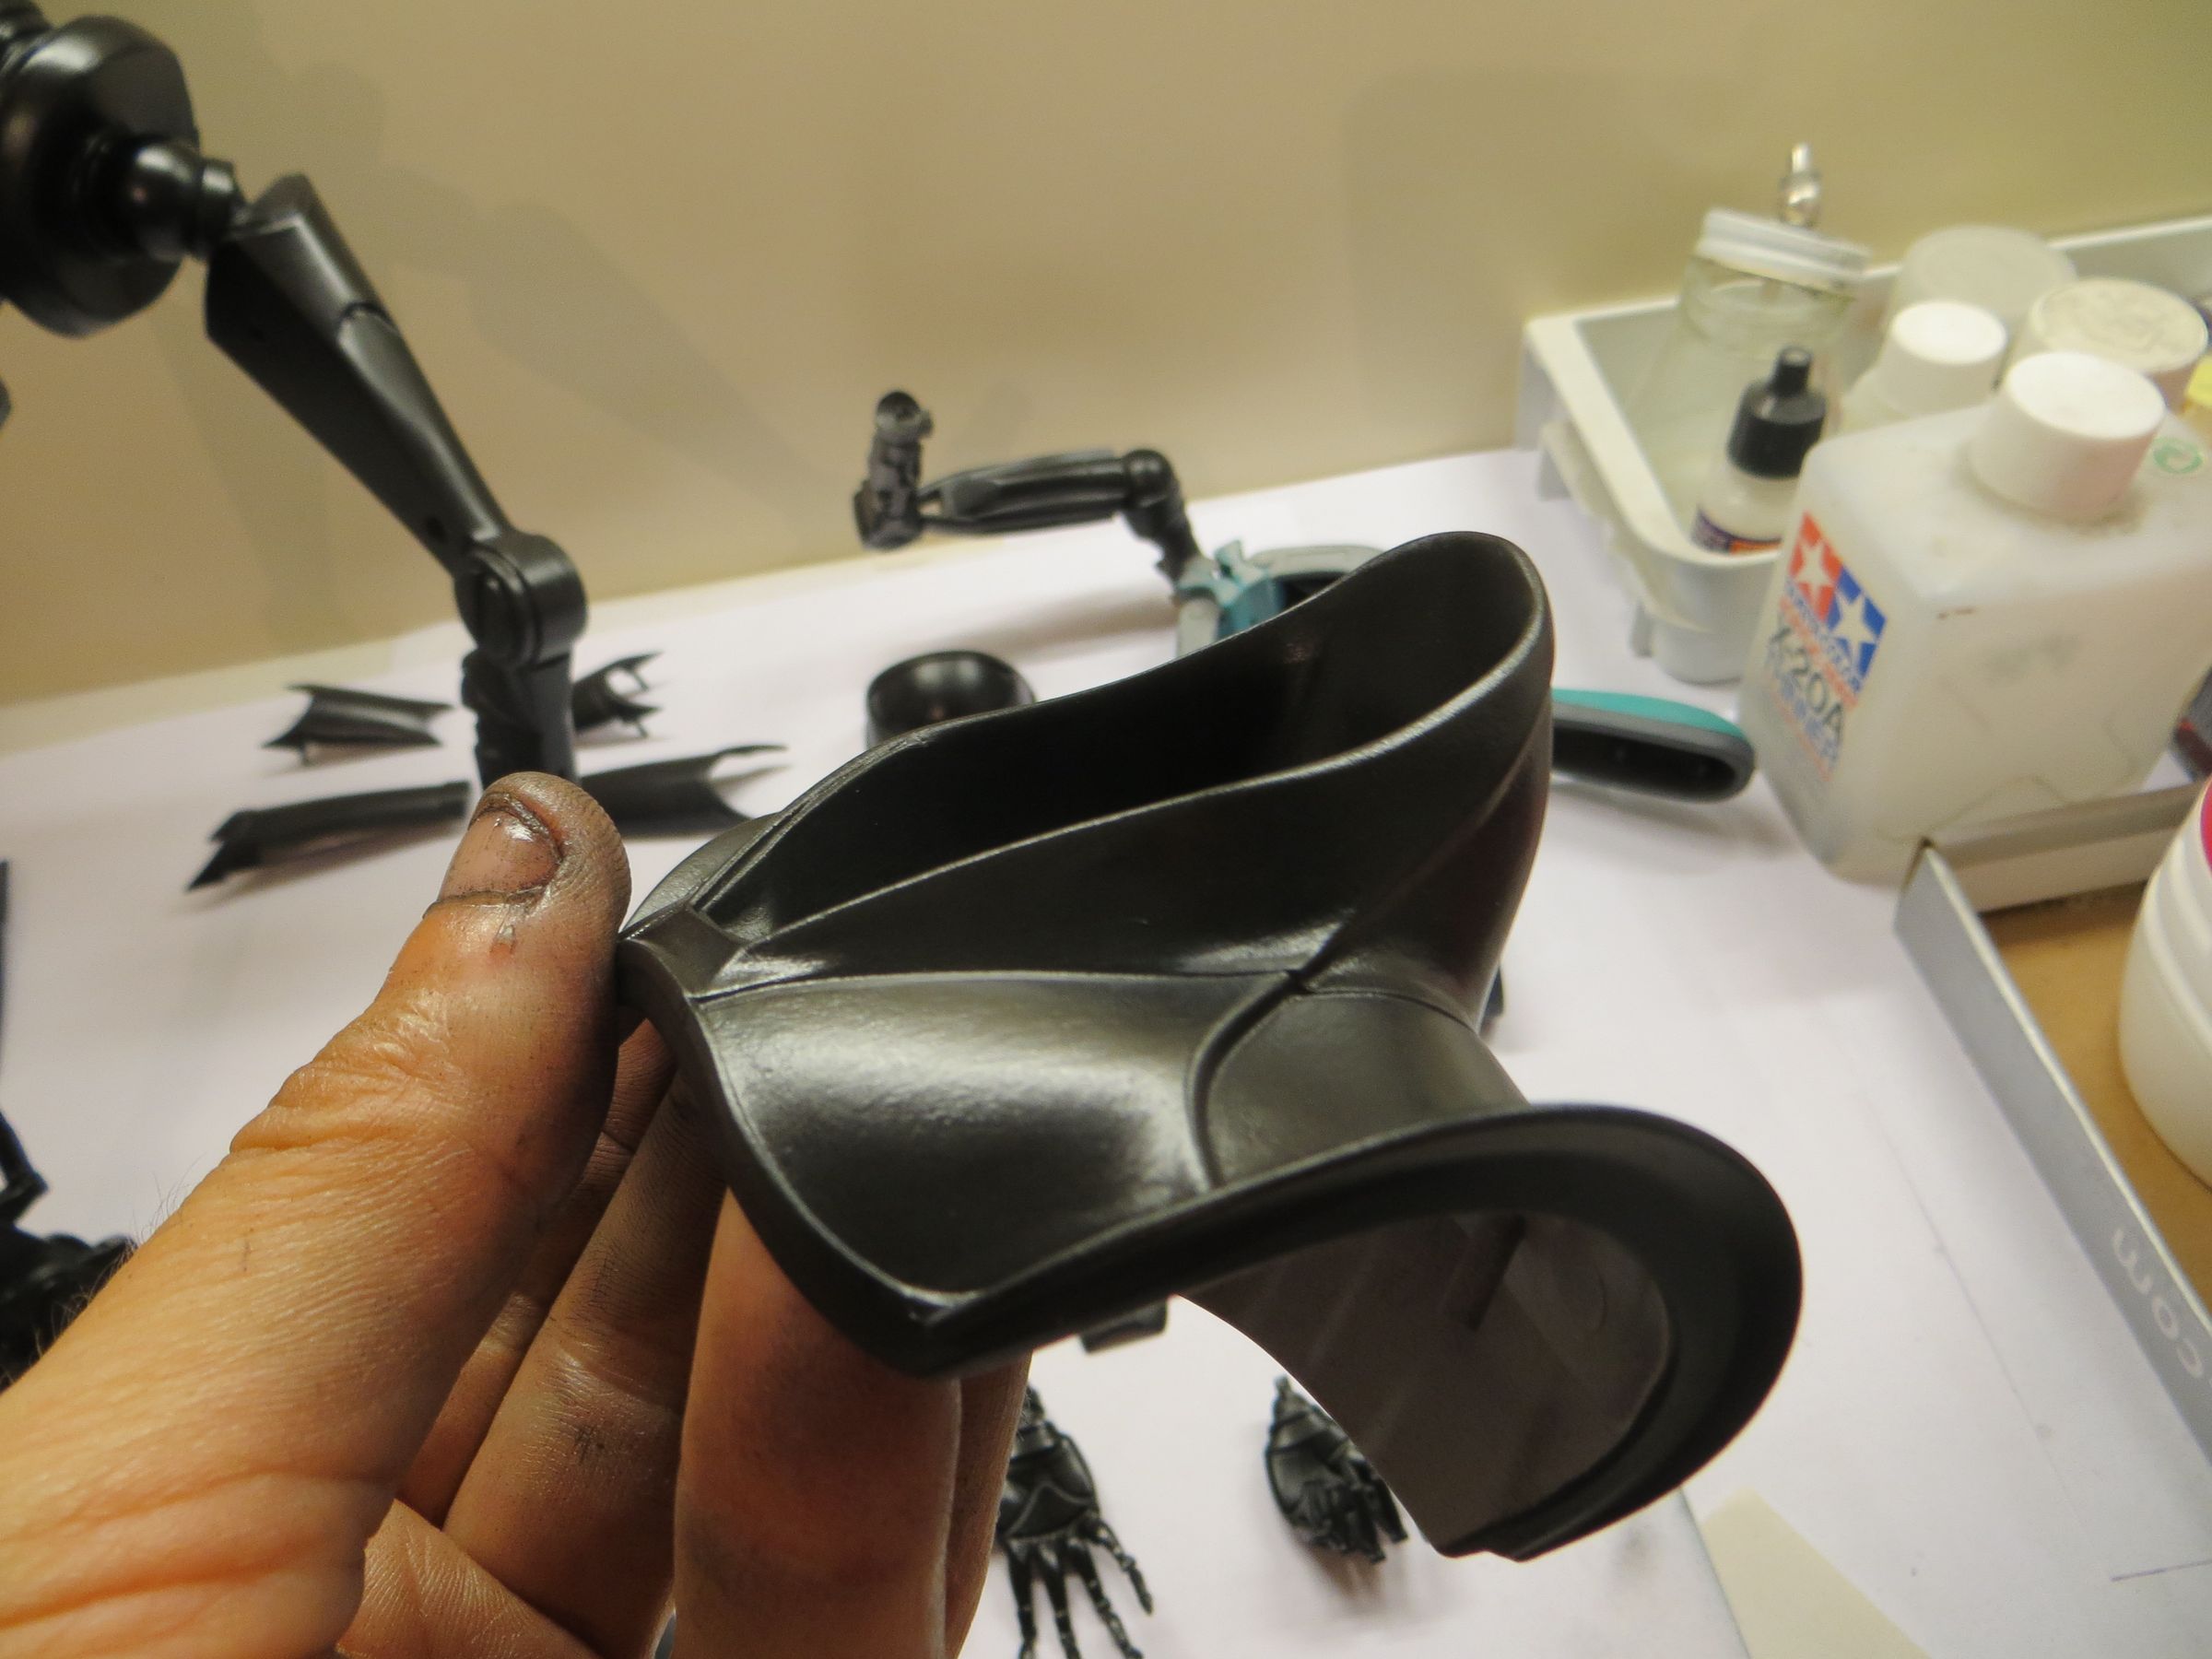
After a coat of primer, it is then painted in gloss black.
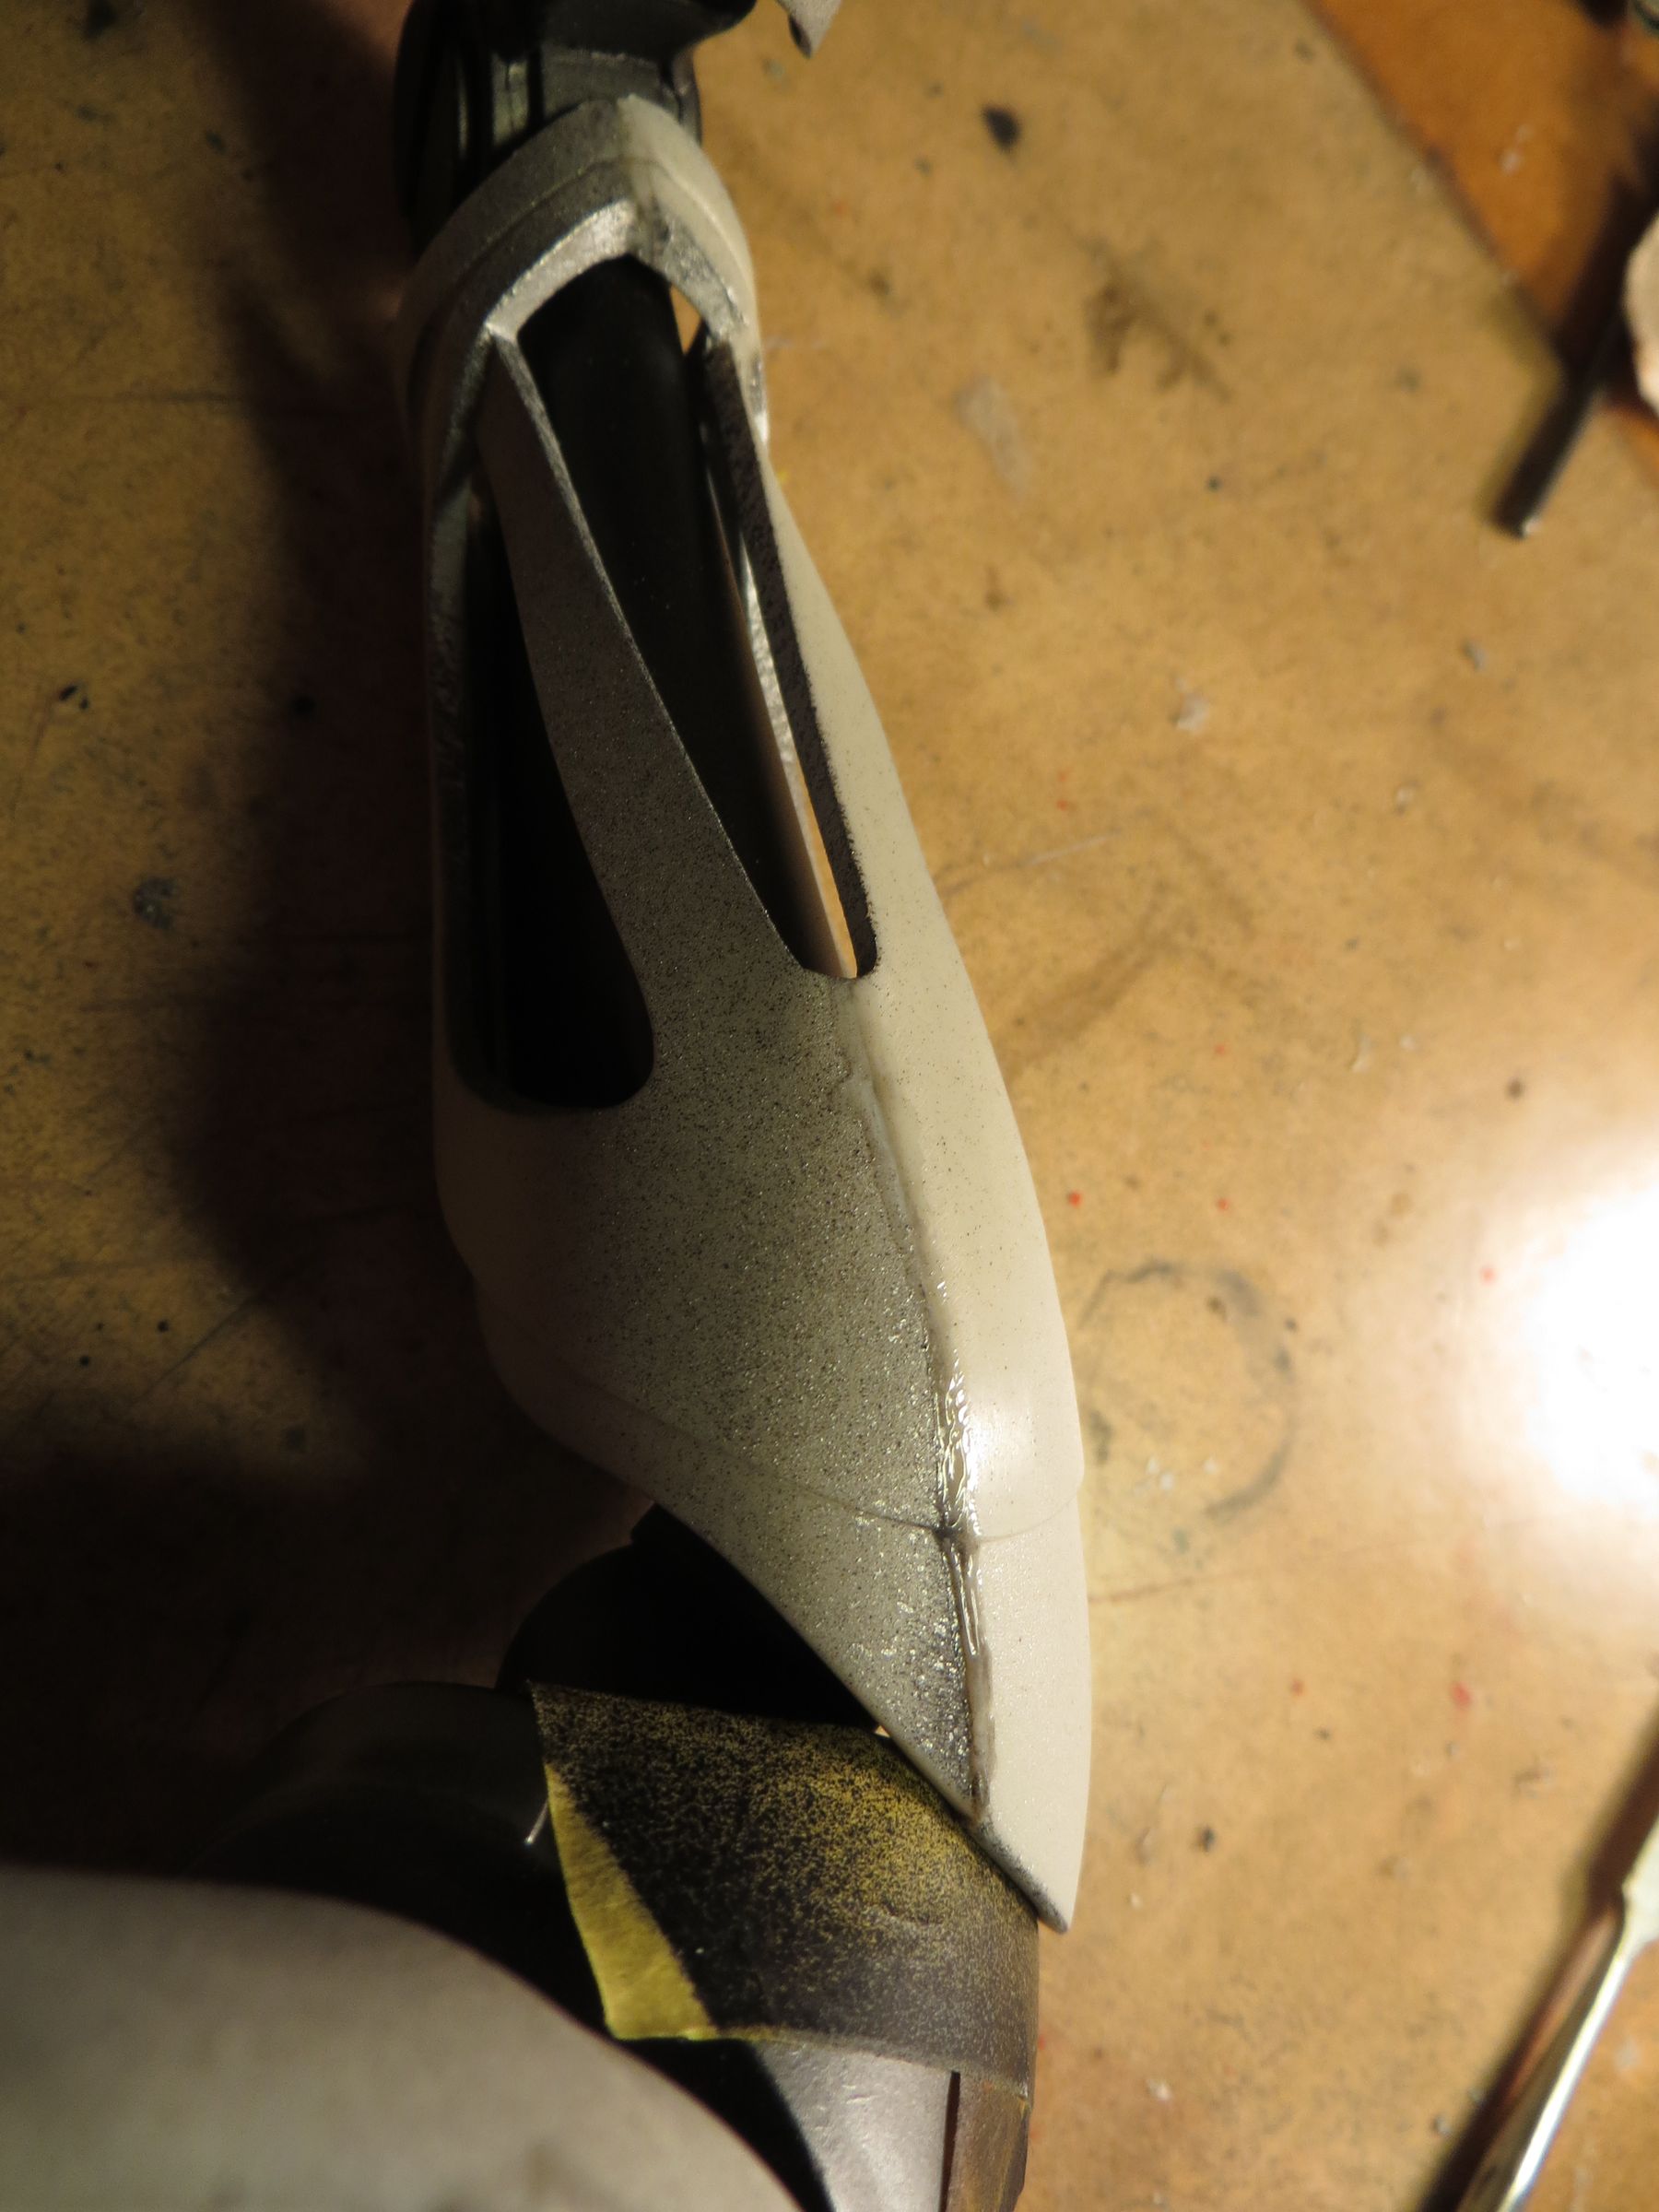
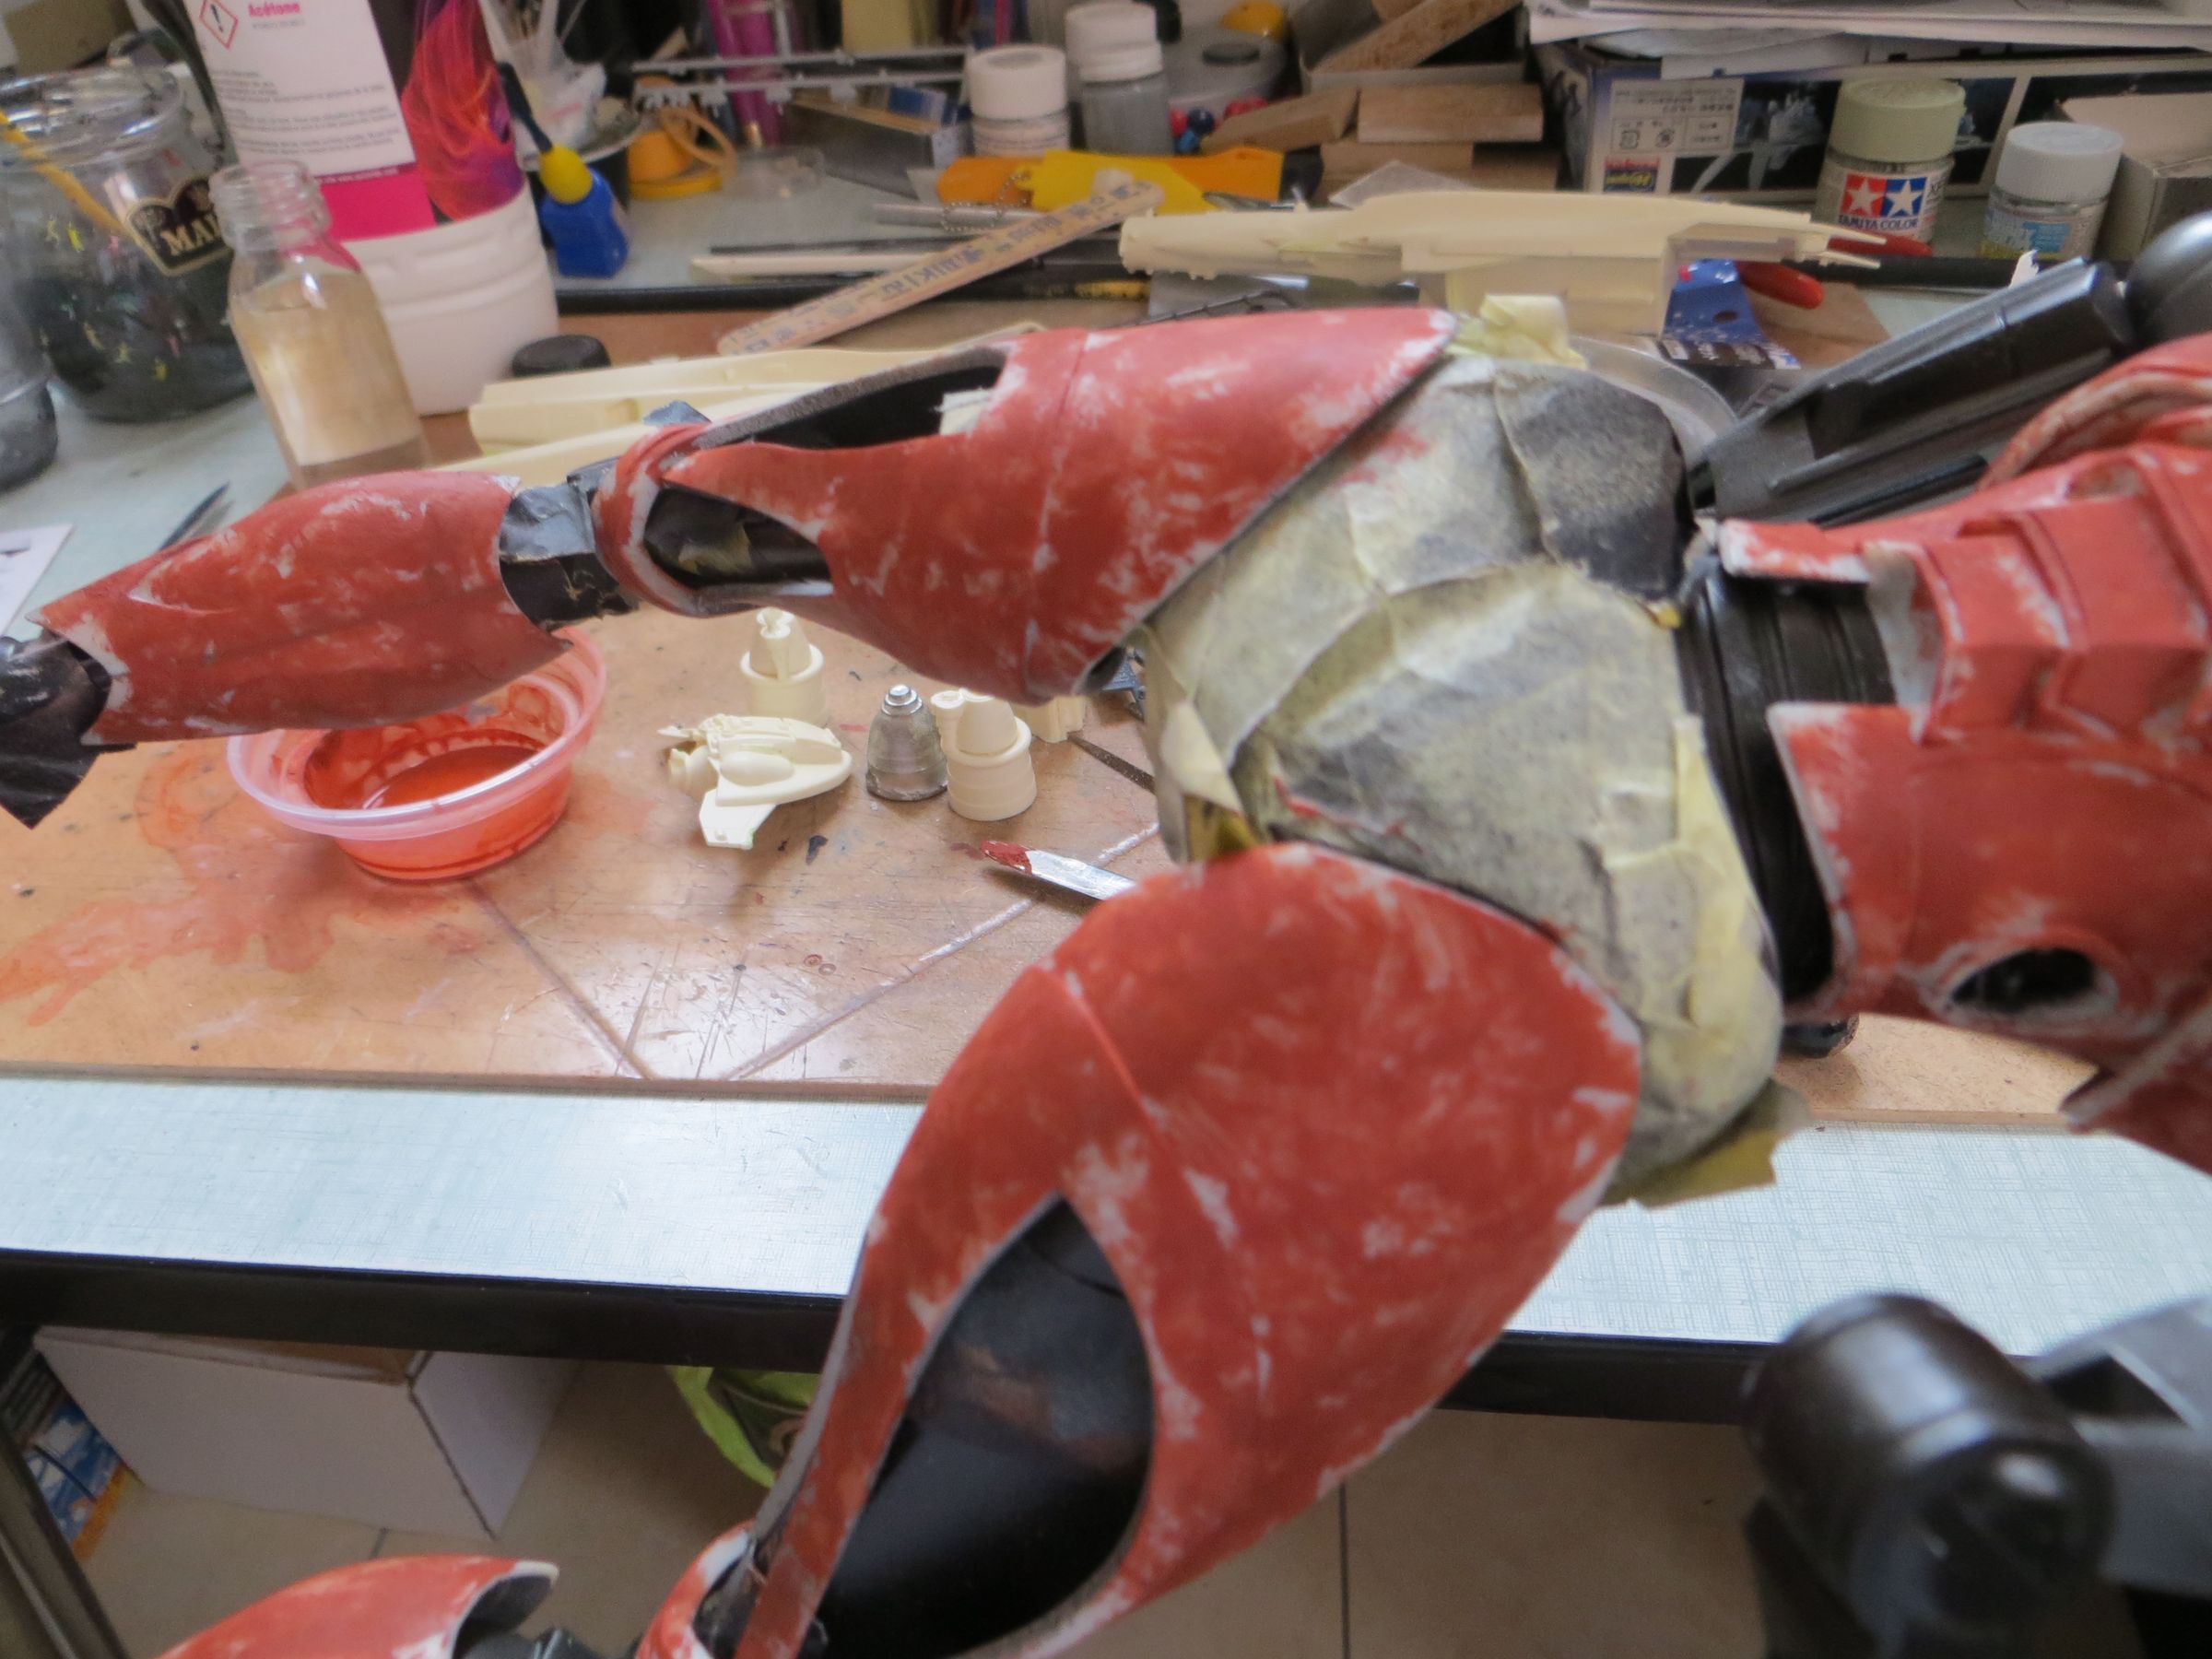
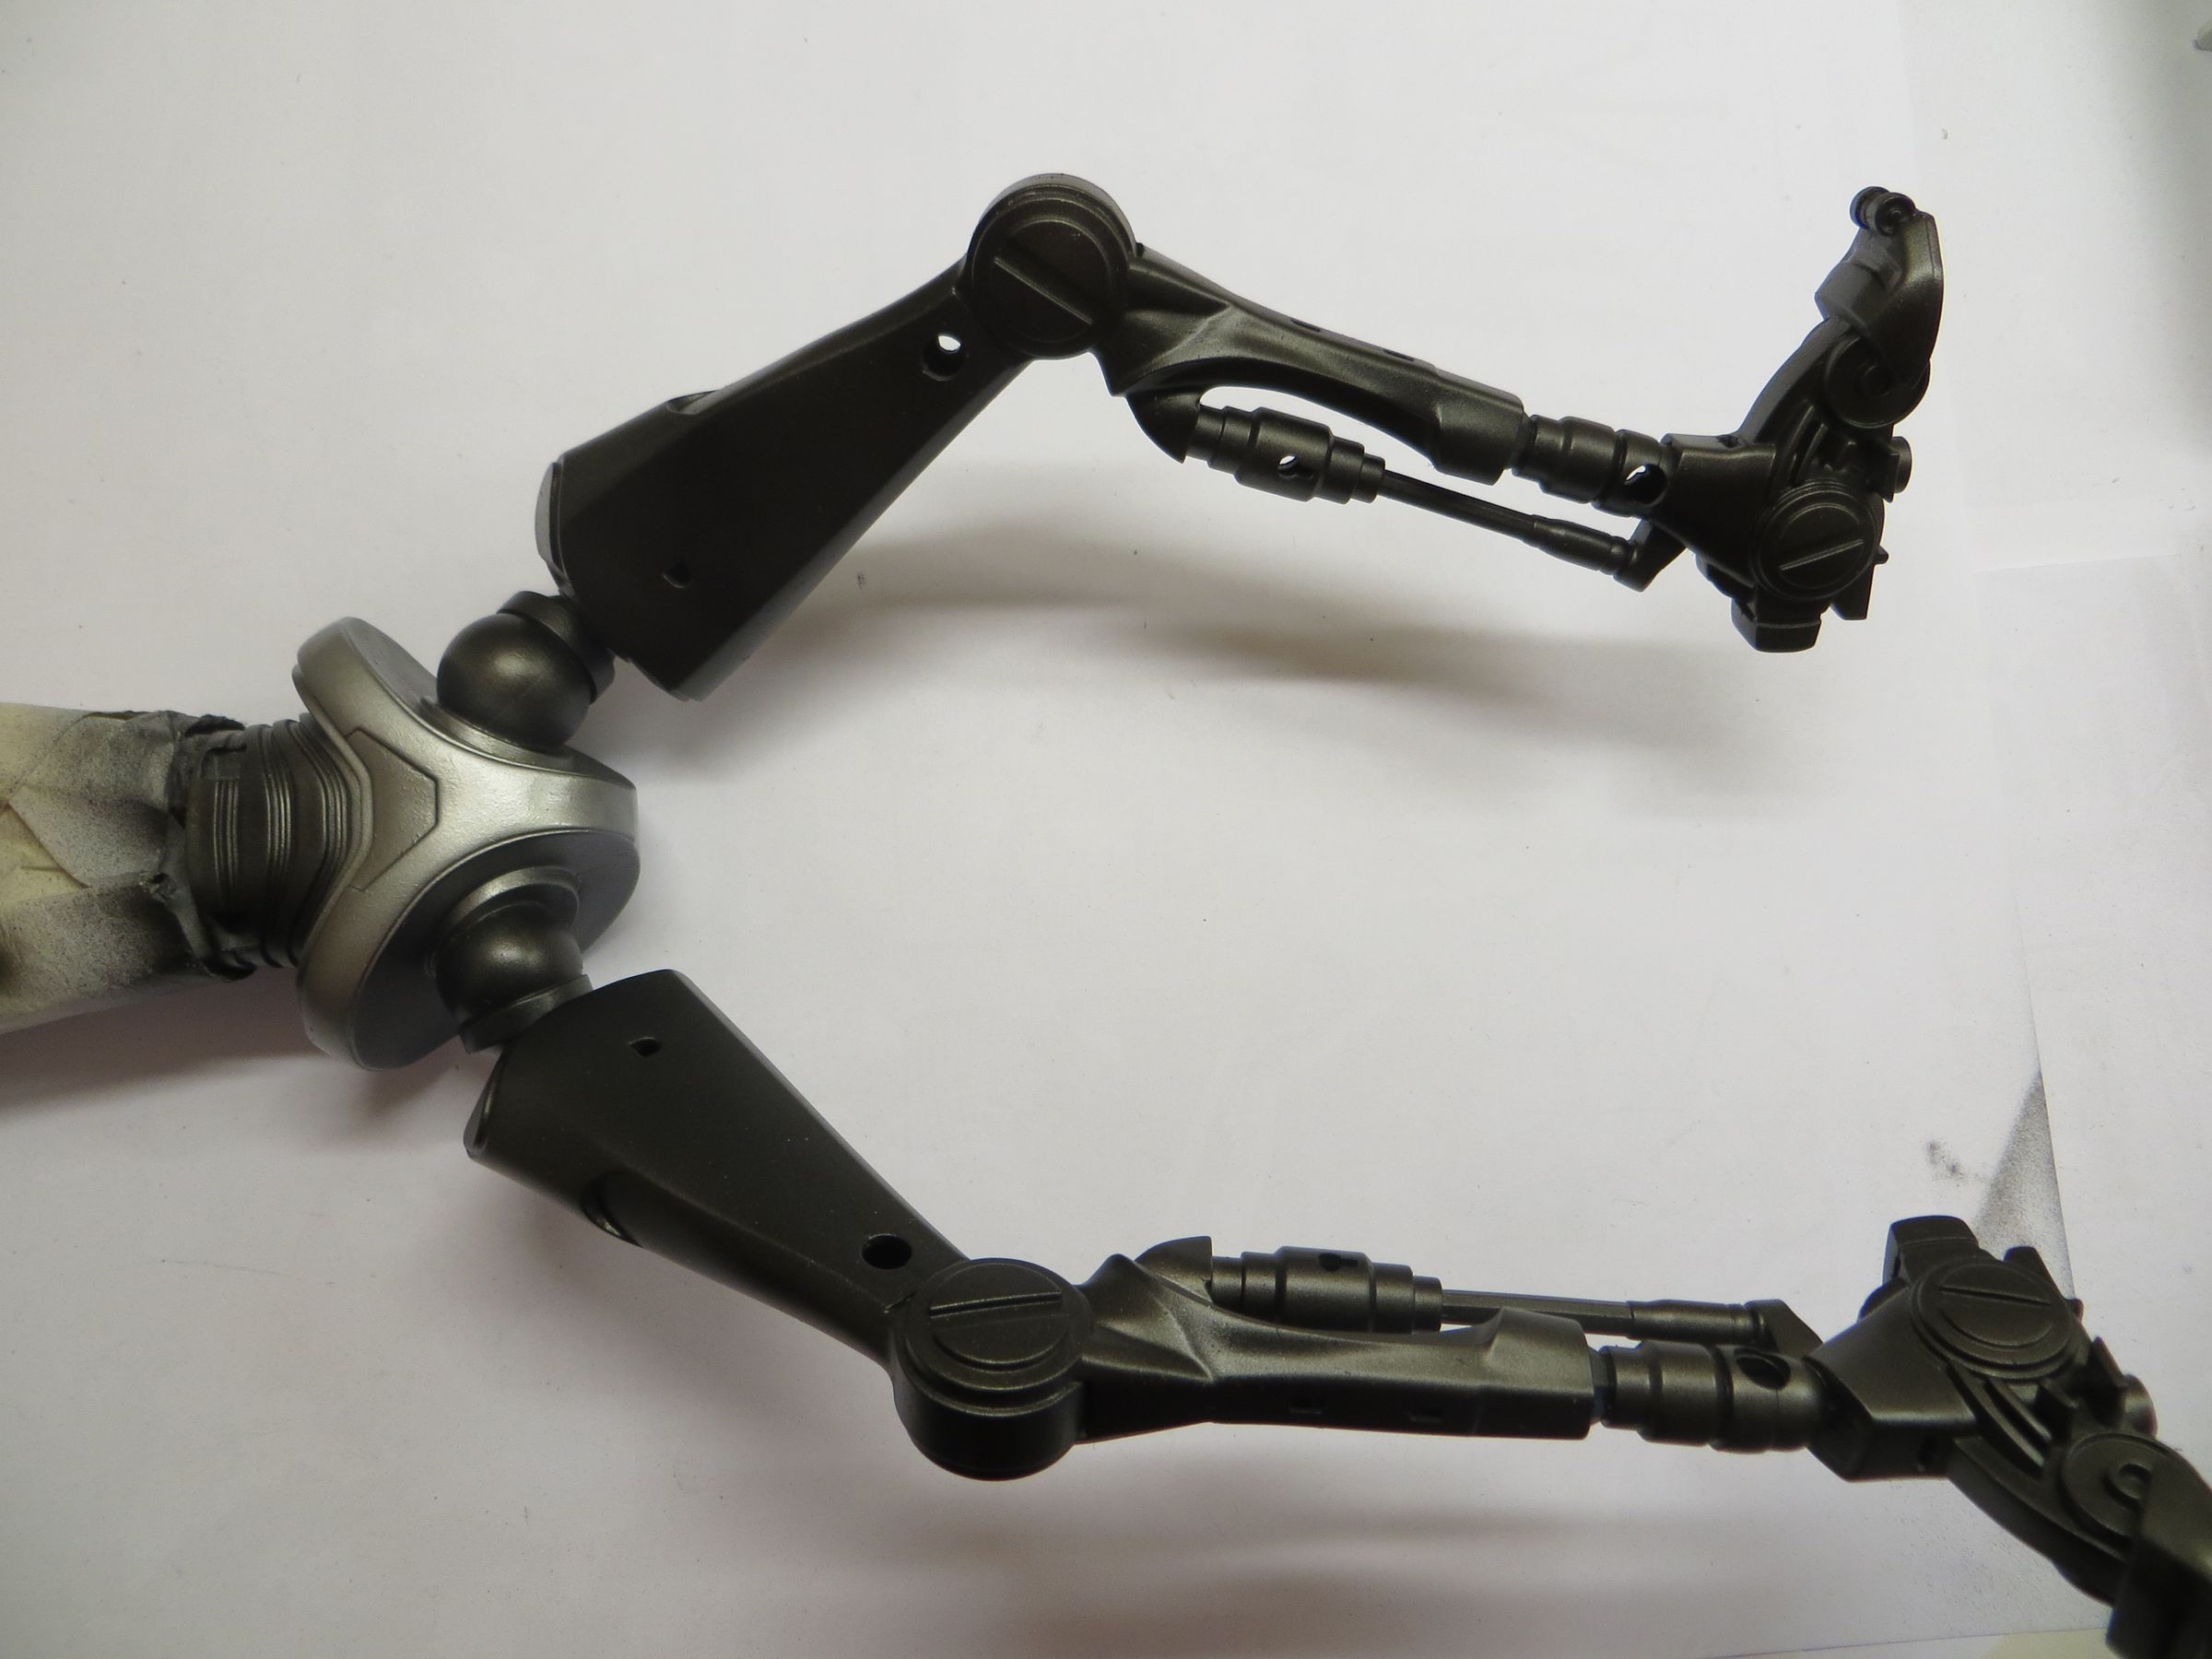
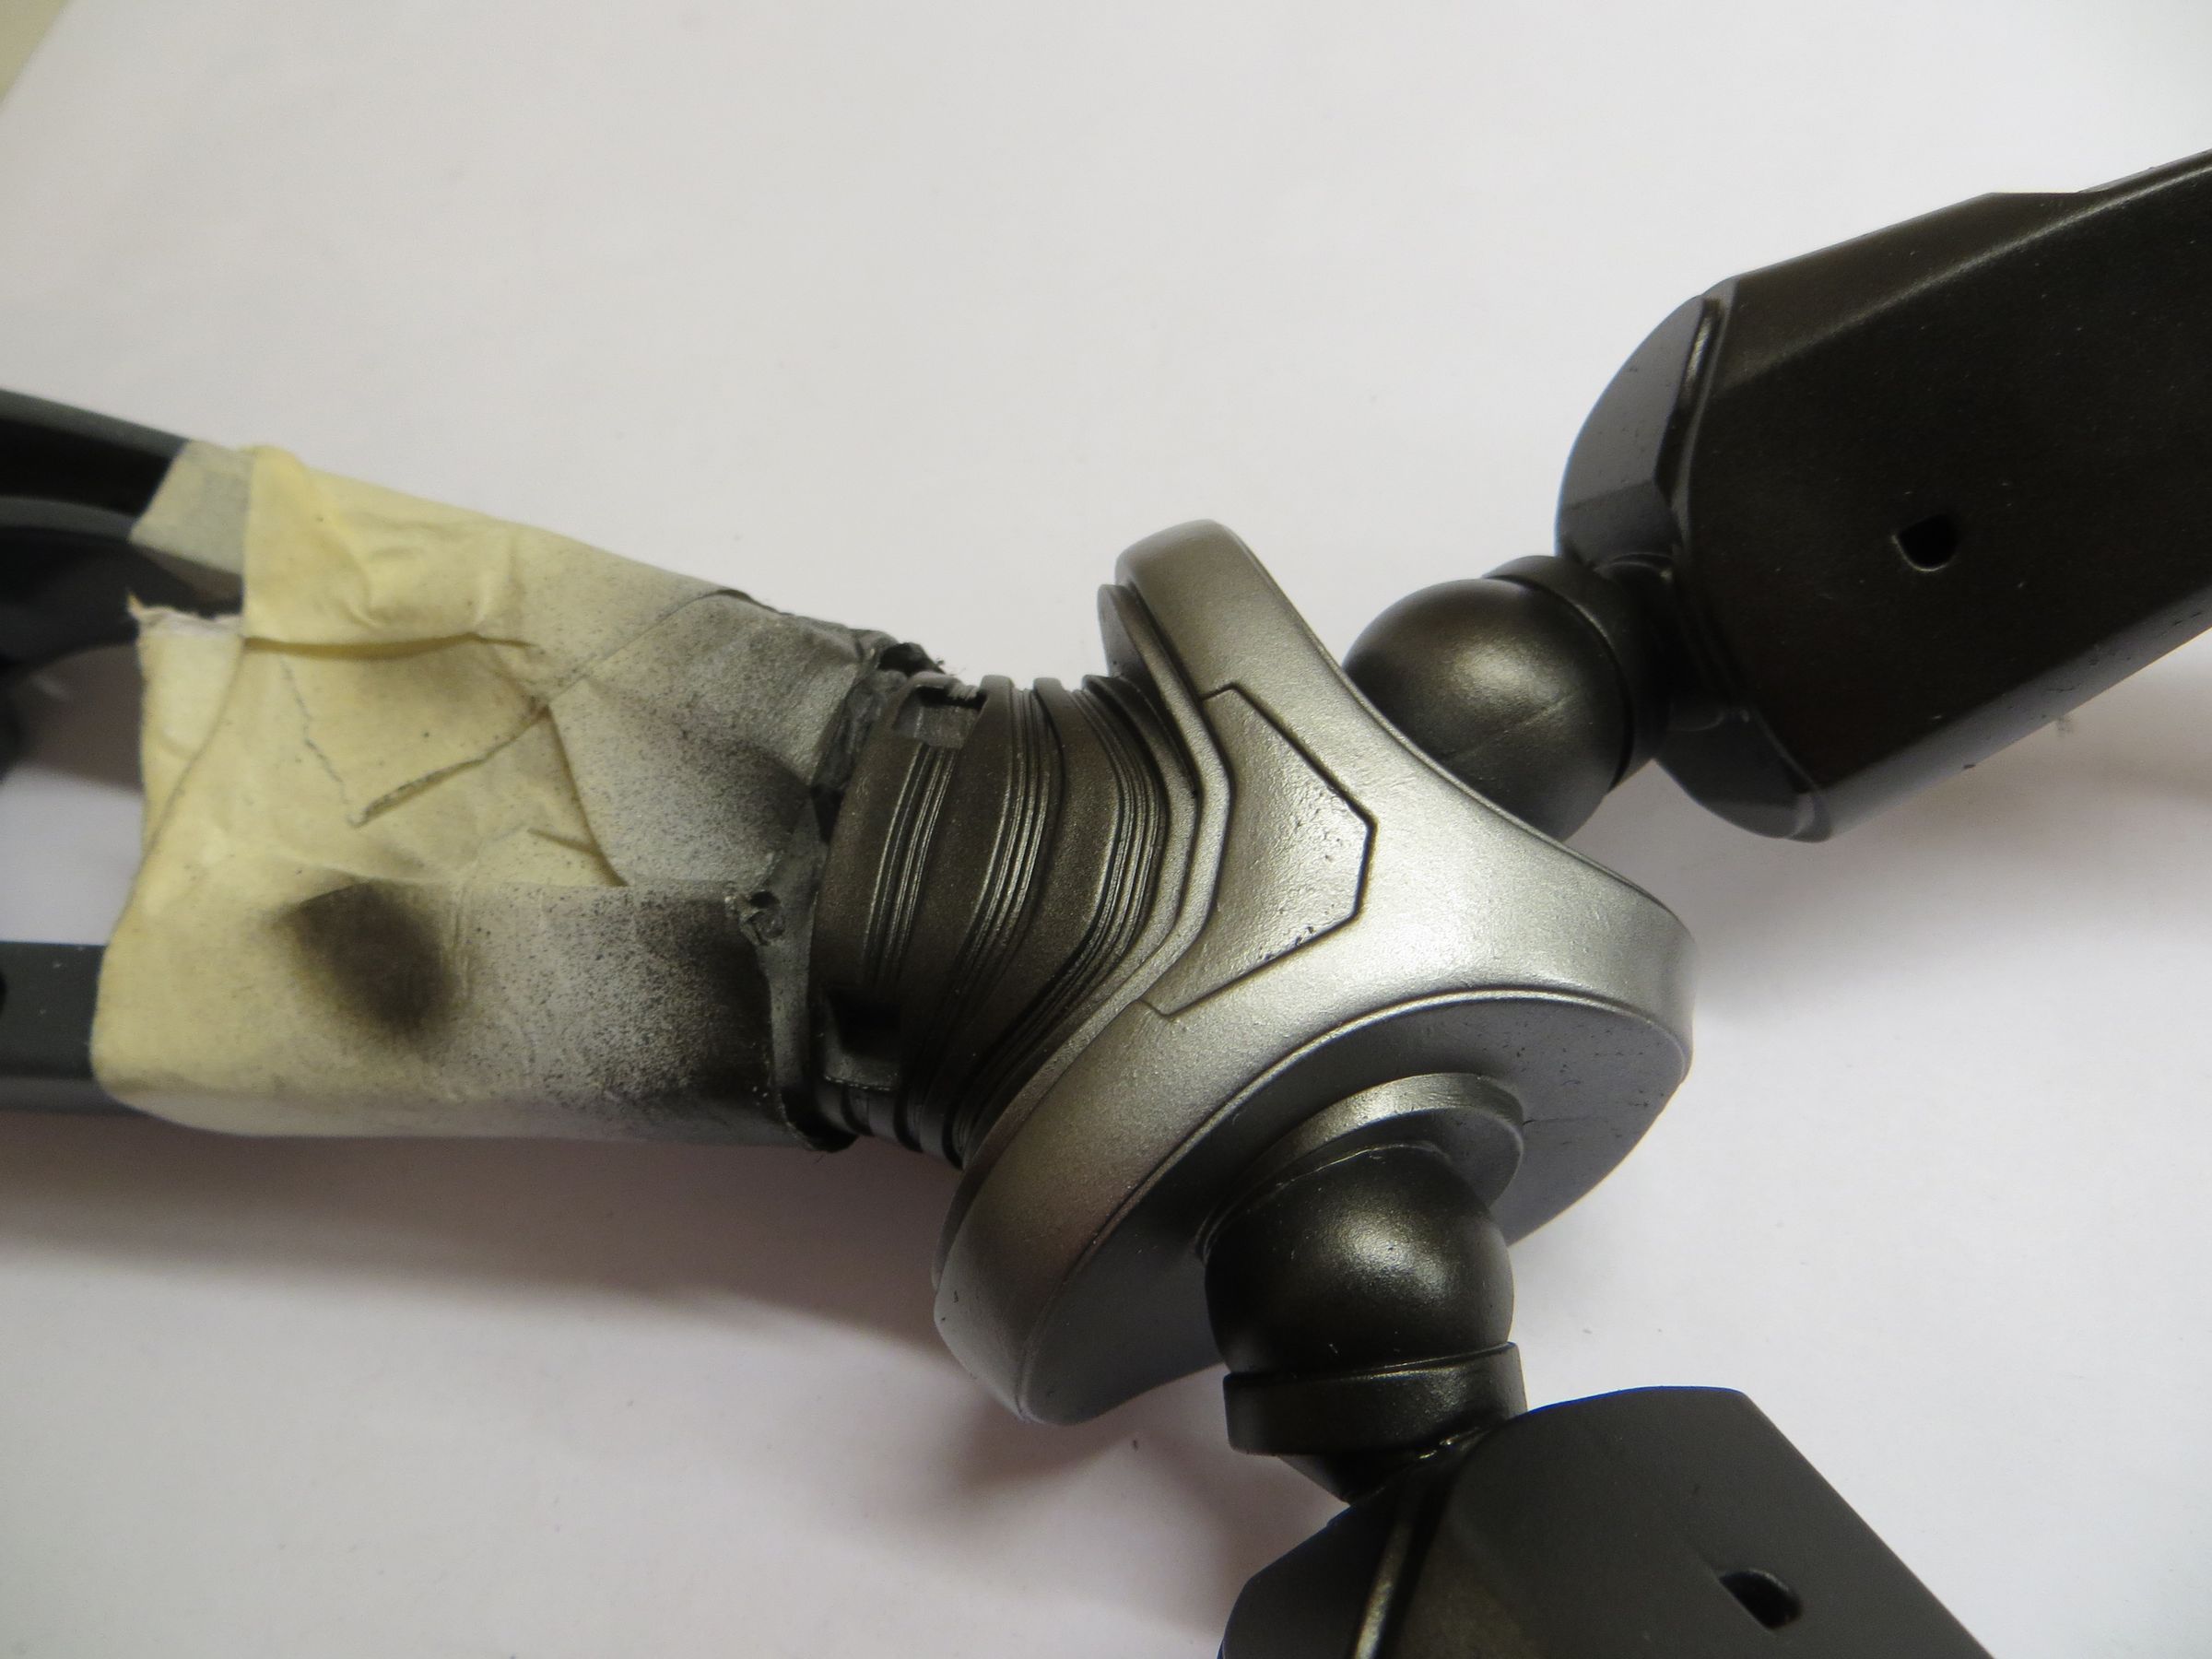
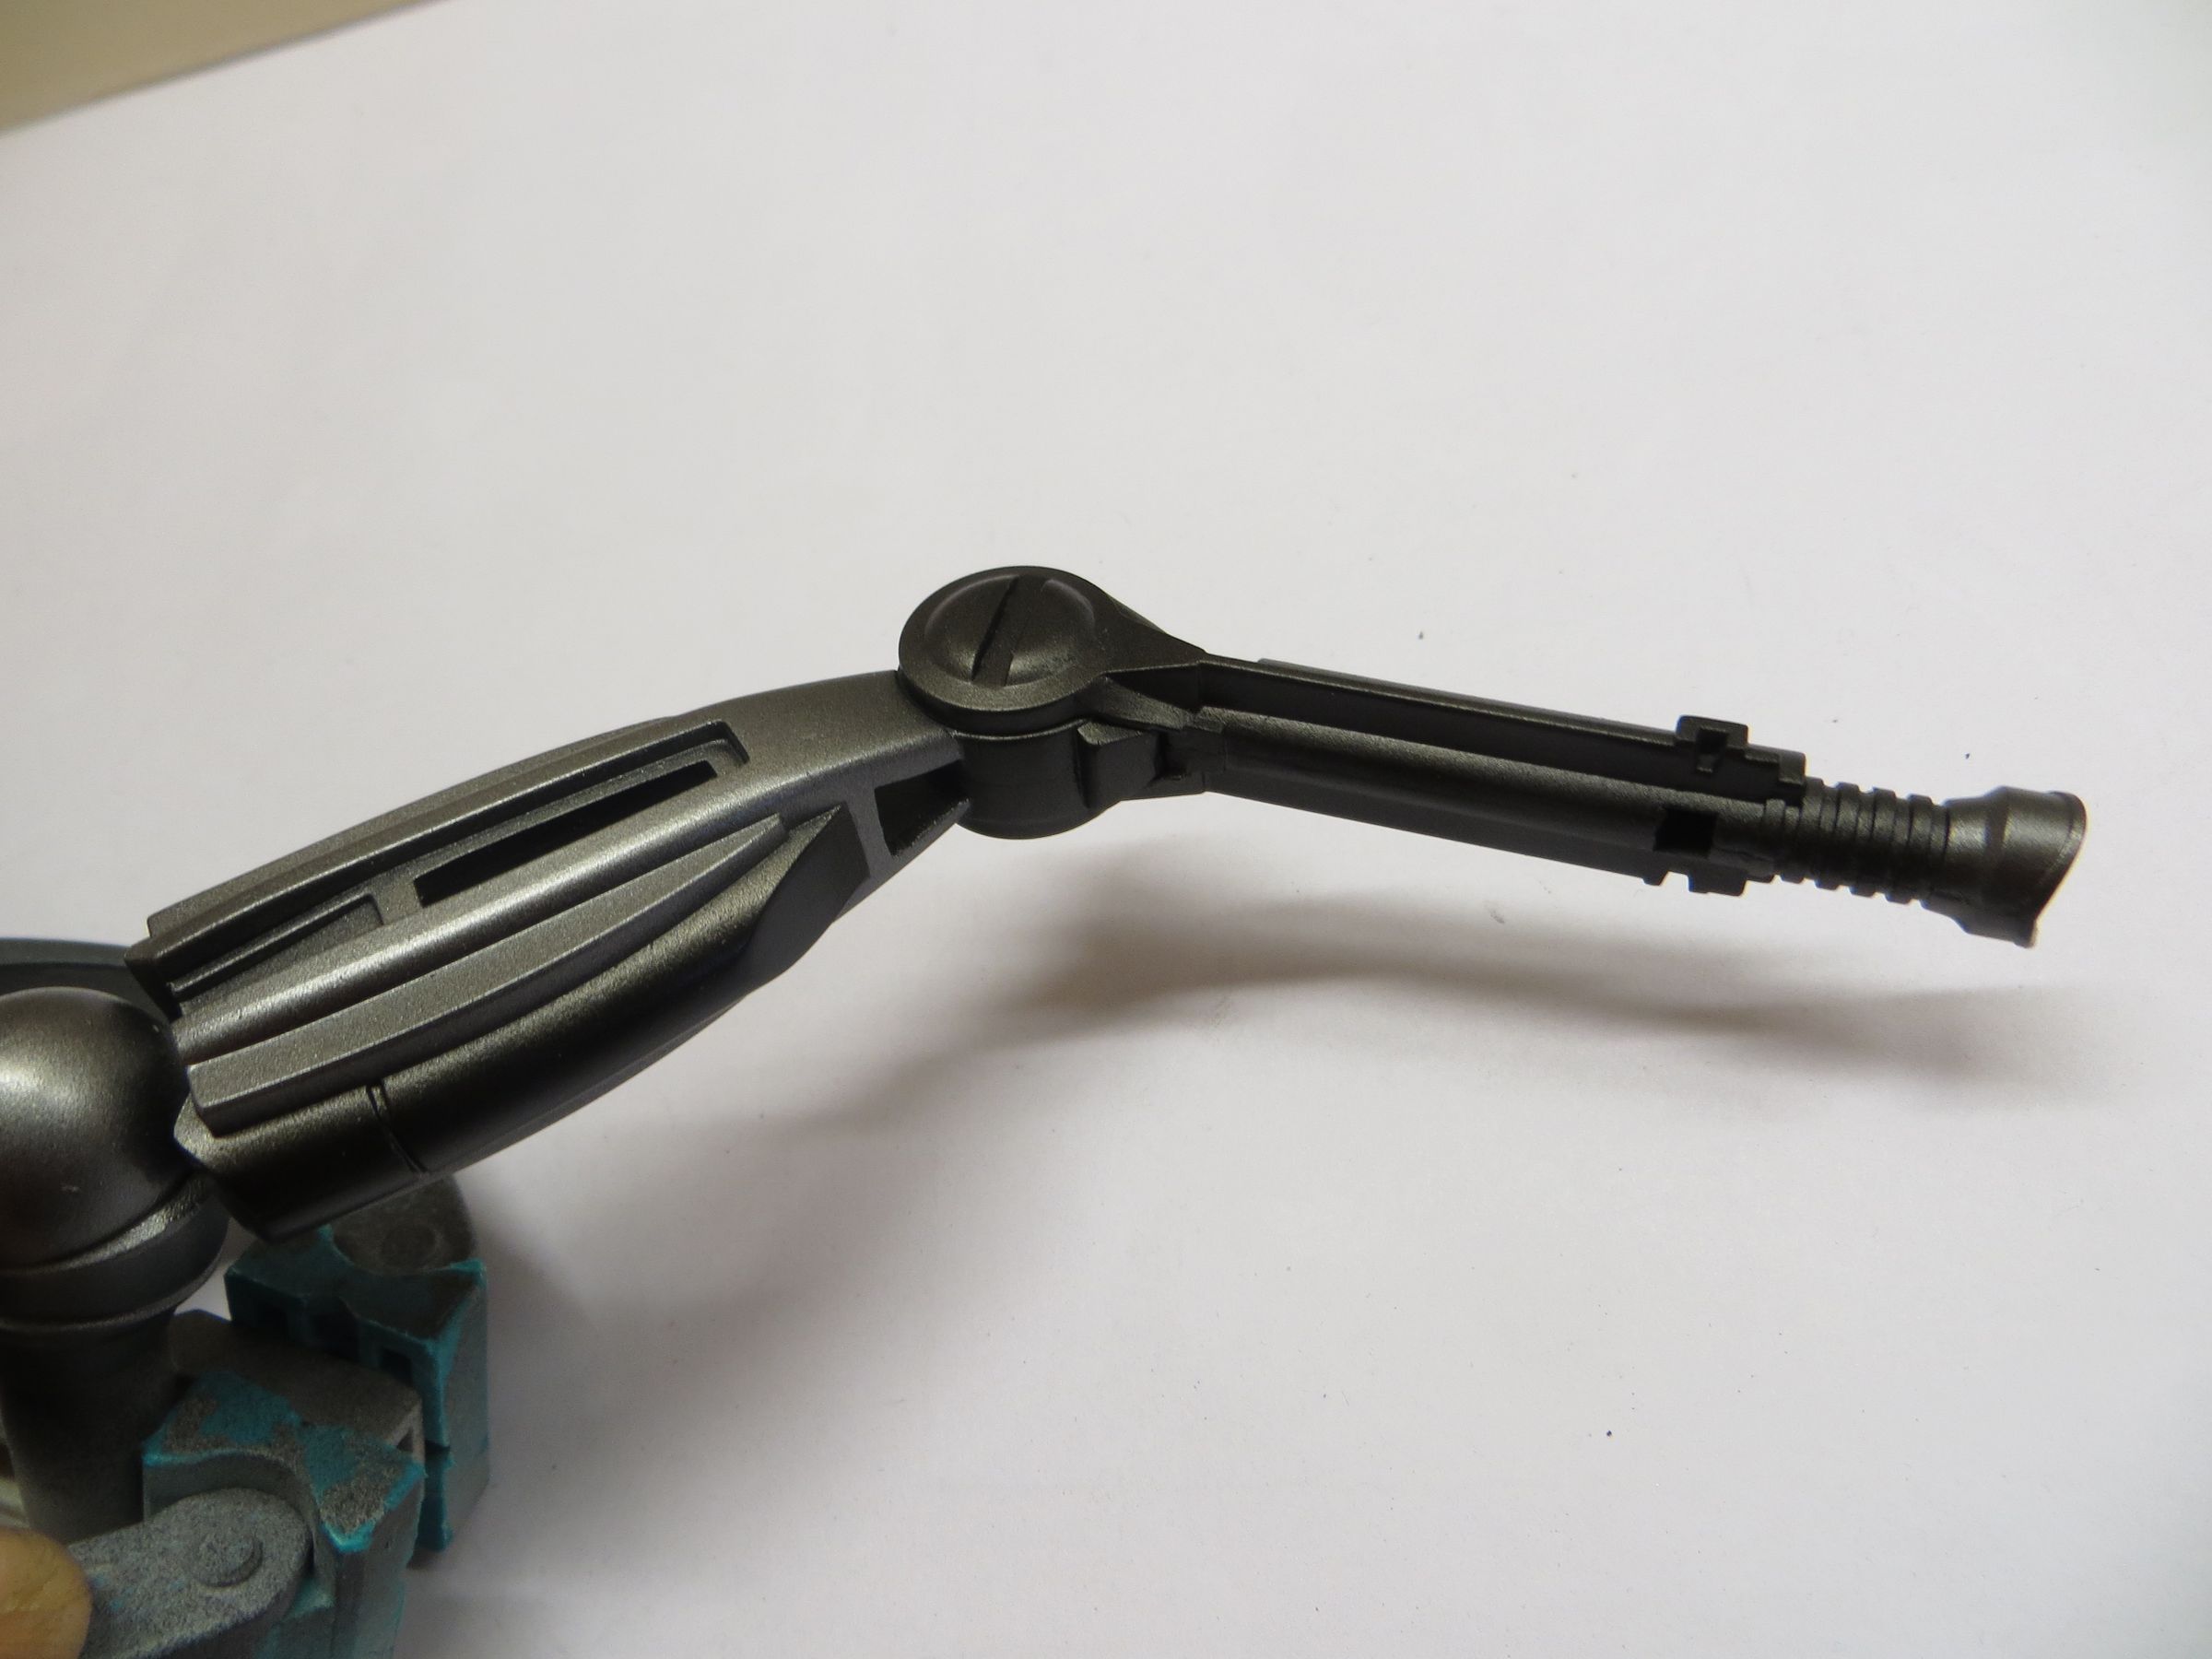
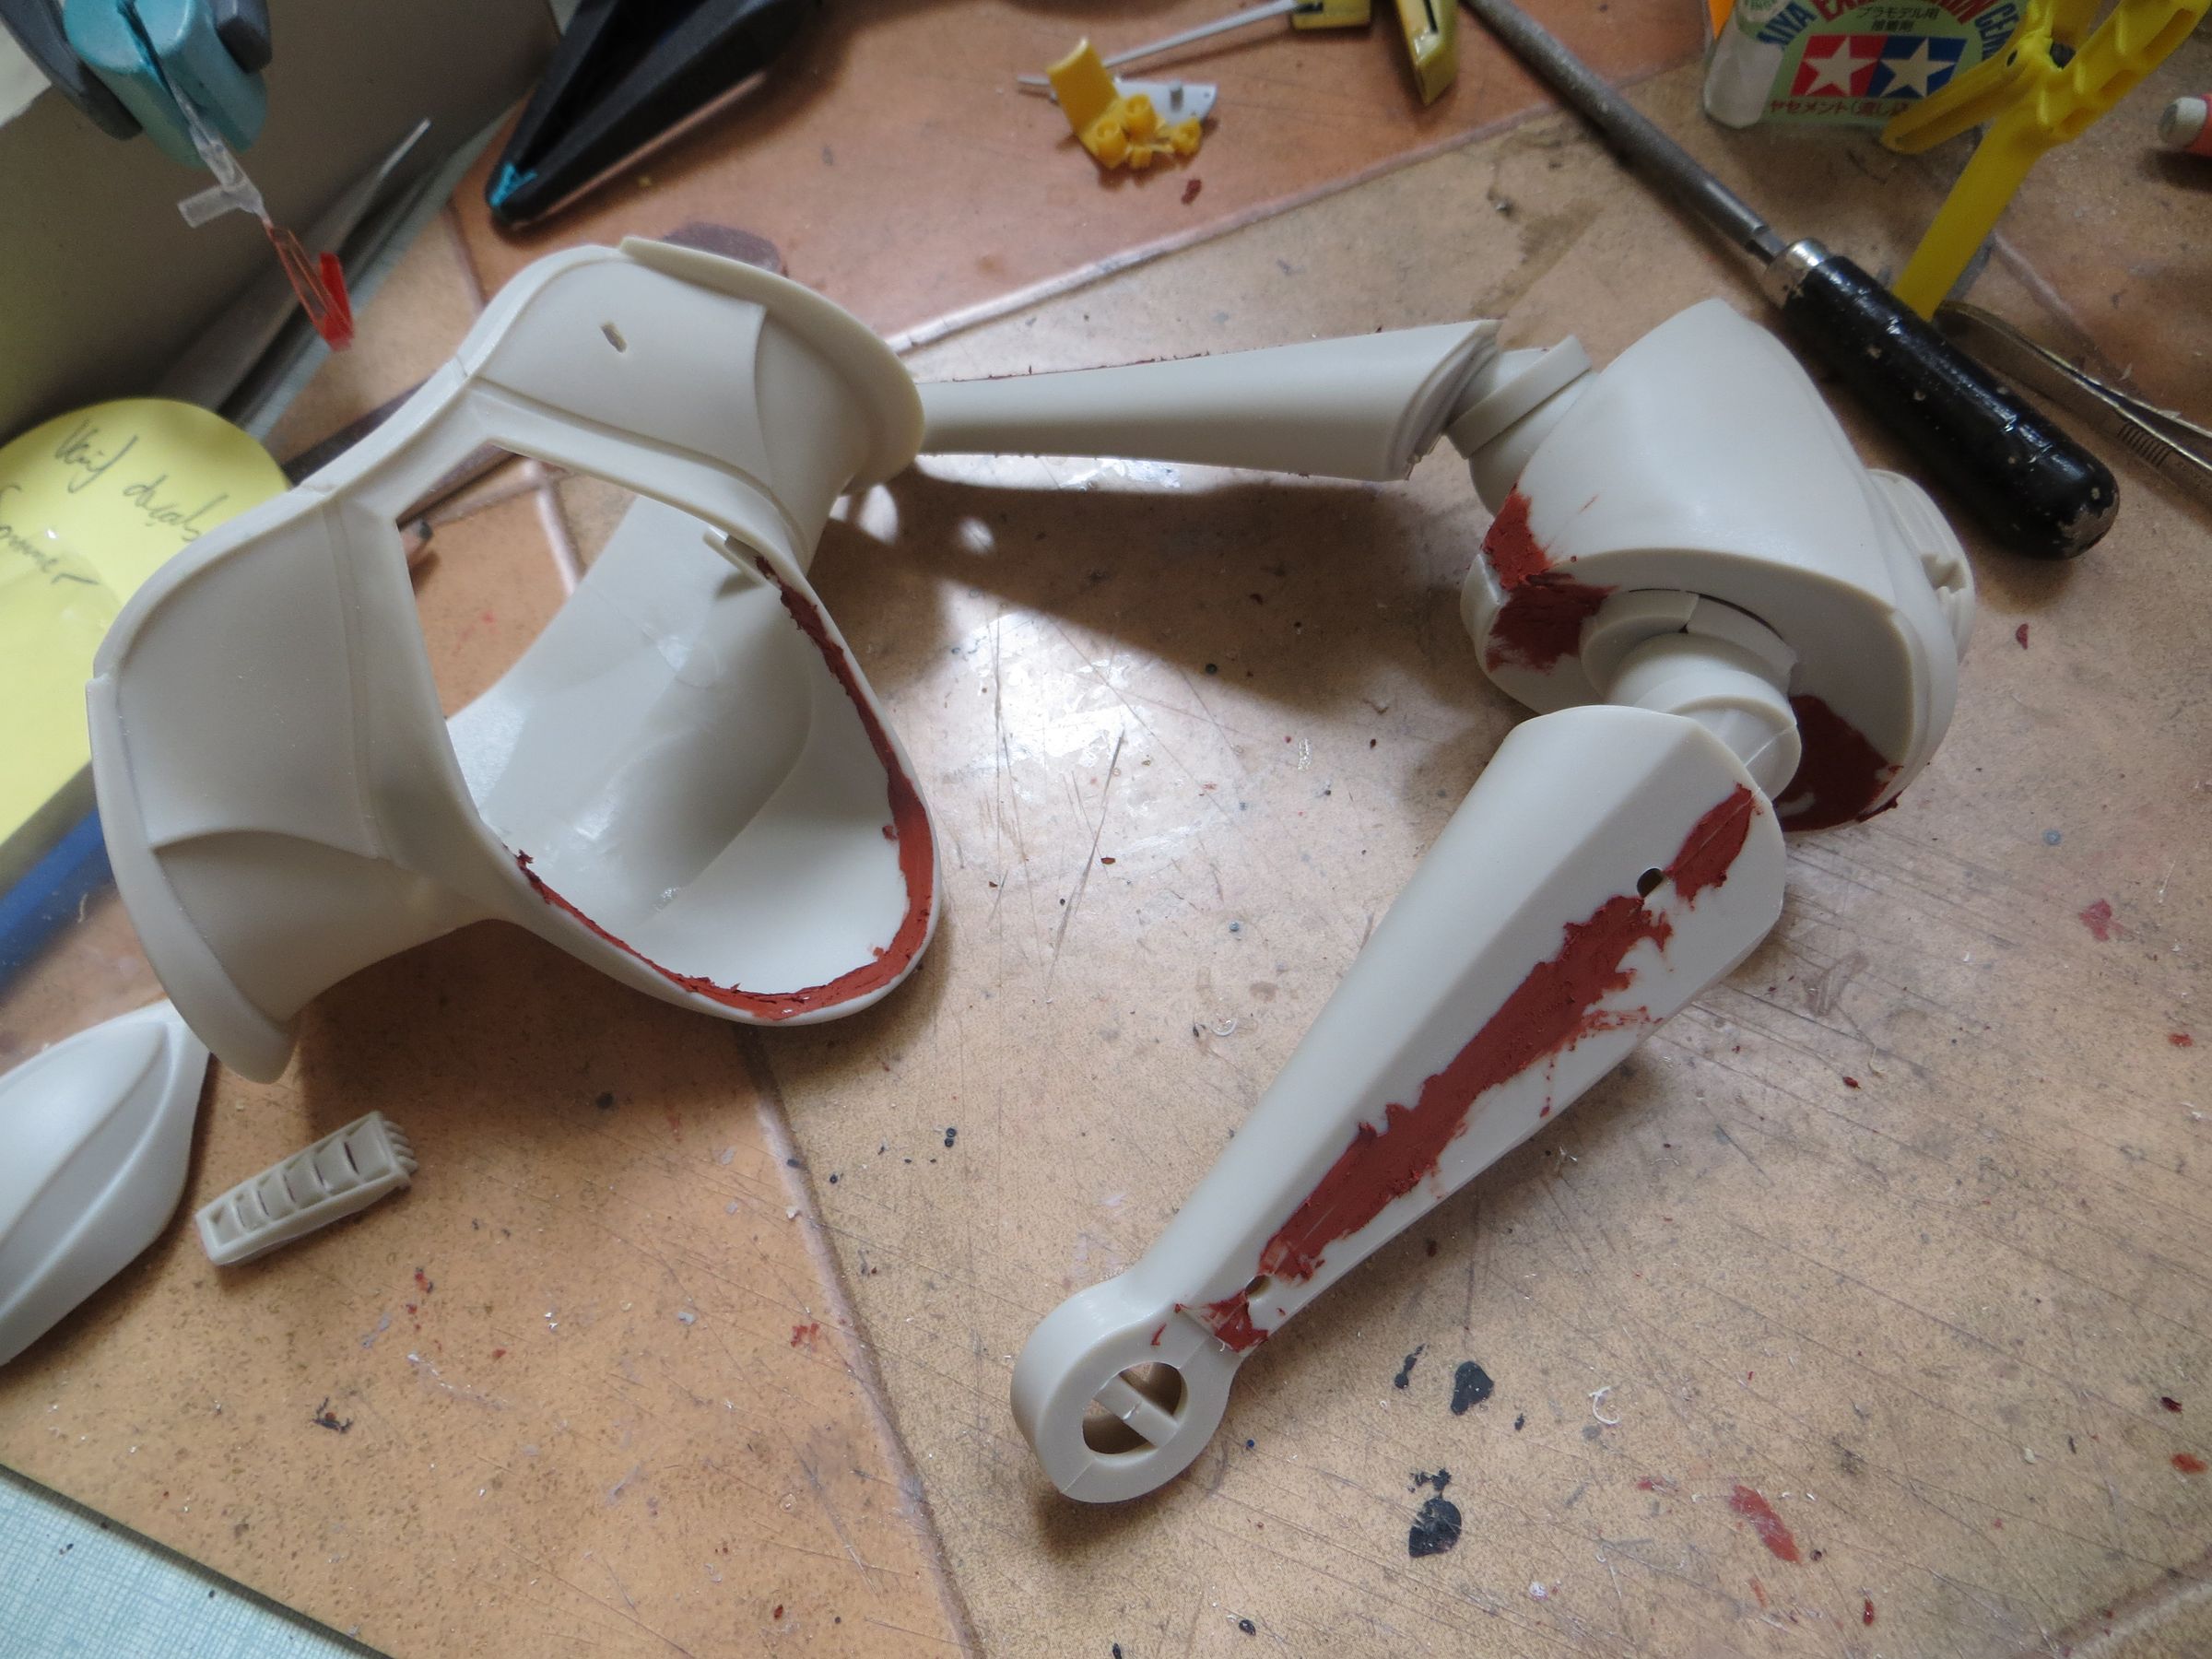
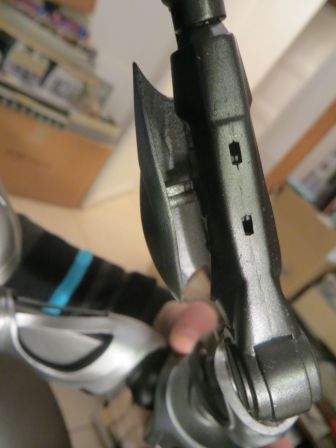
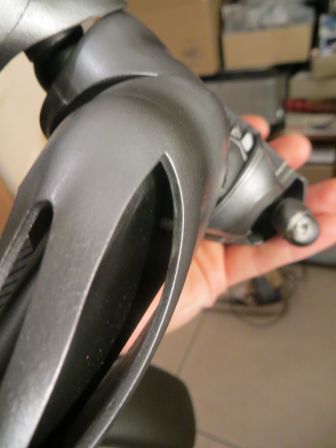
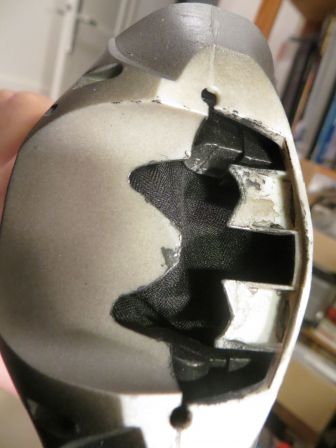
Unfortunately, the arms have not resisted manipulations. This is a weak area, and curiously, the plastic is less thicker here and hollowed. The design of this Moebius kit never cease to surprise me...

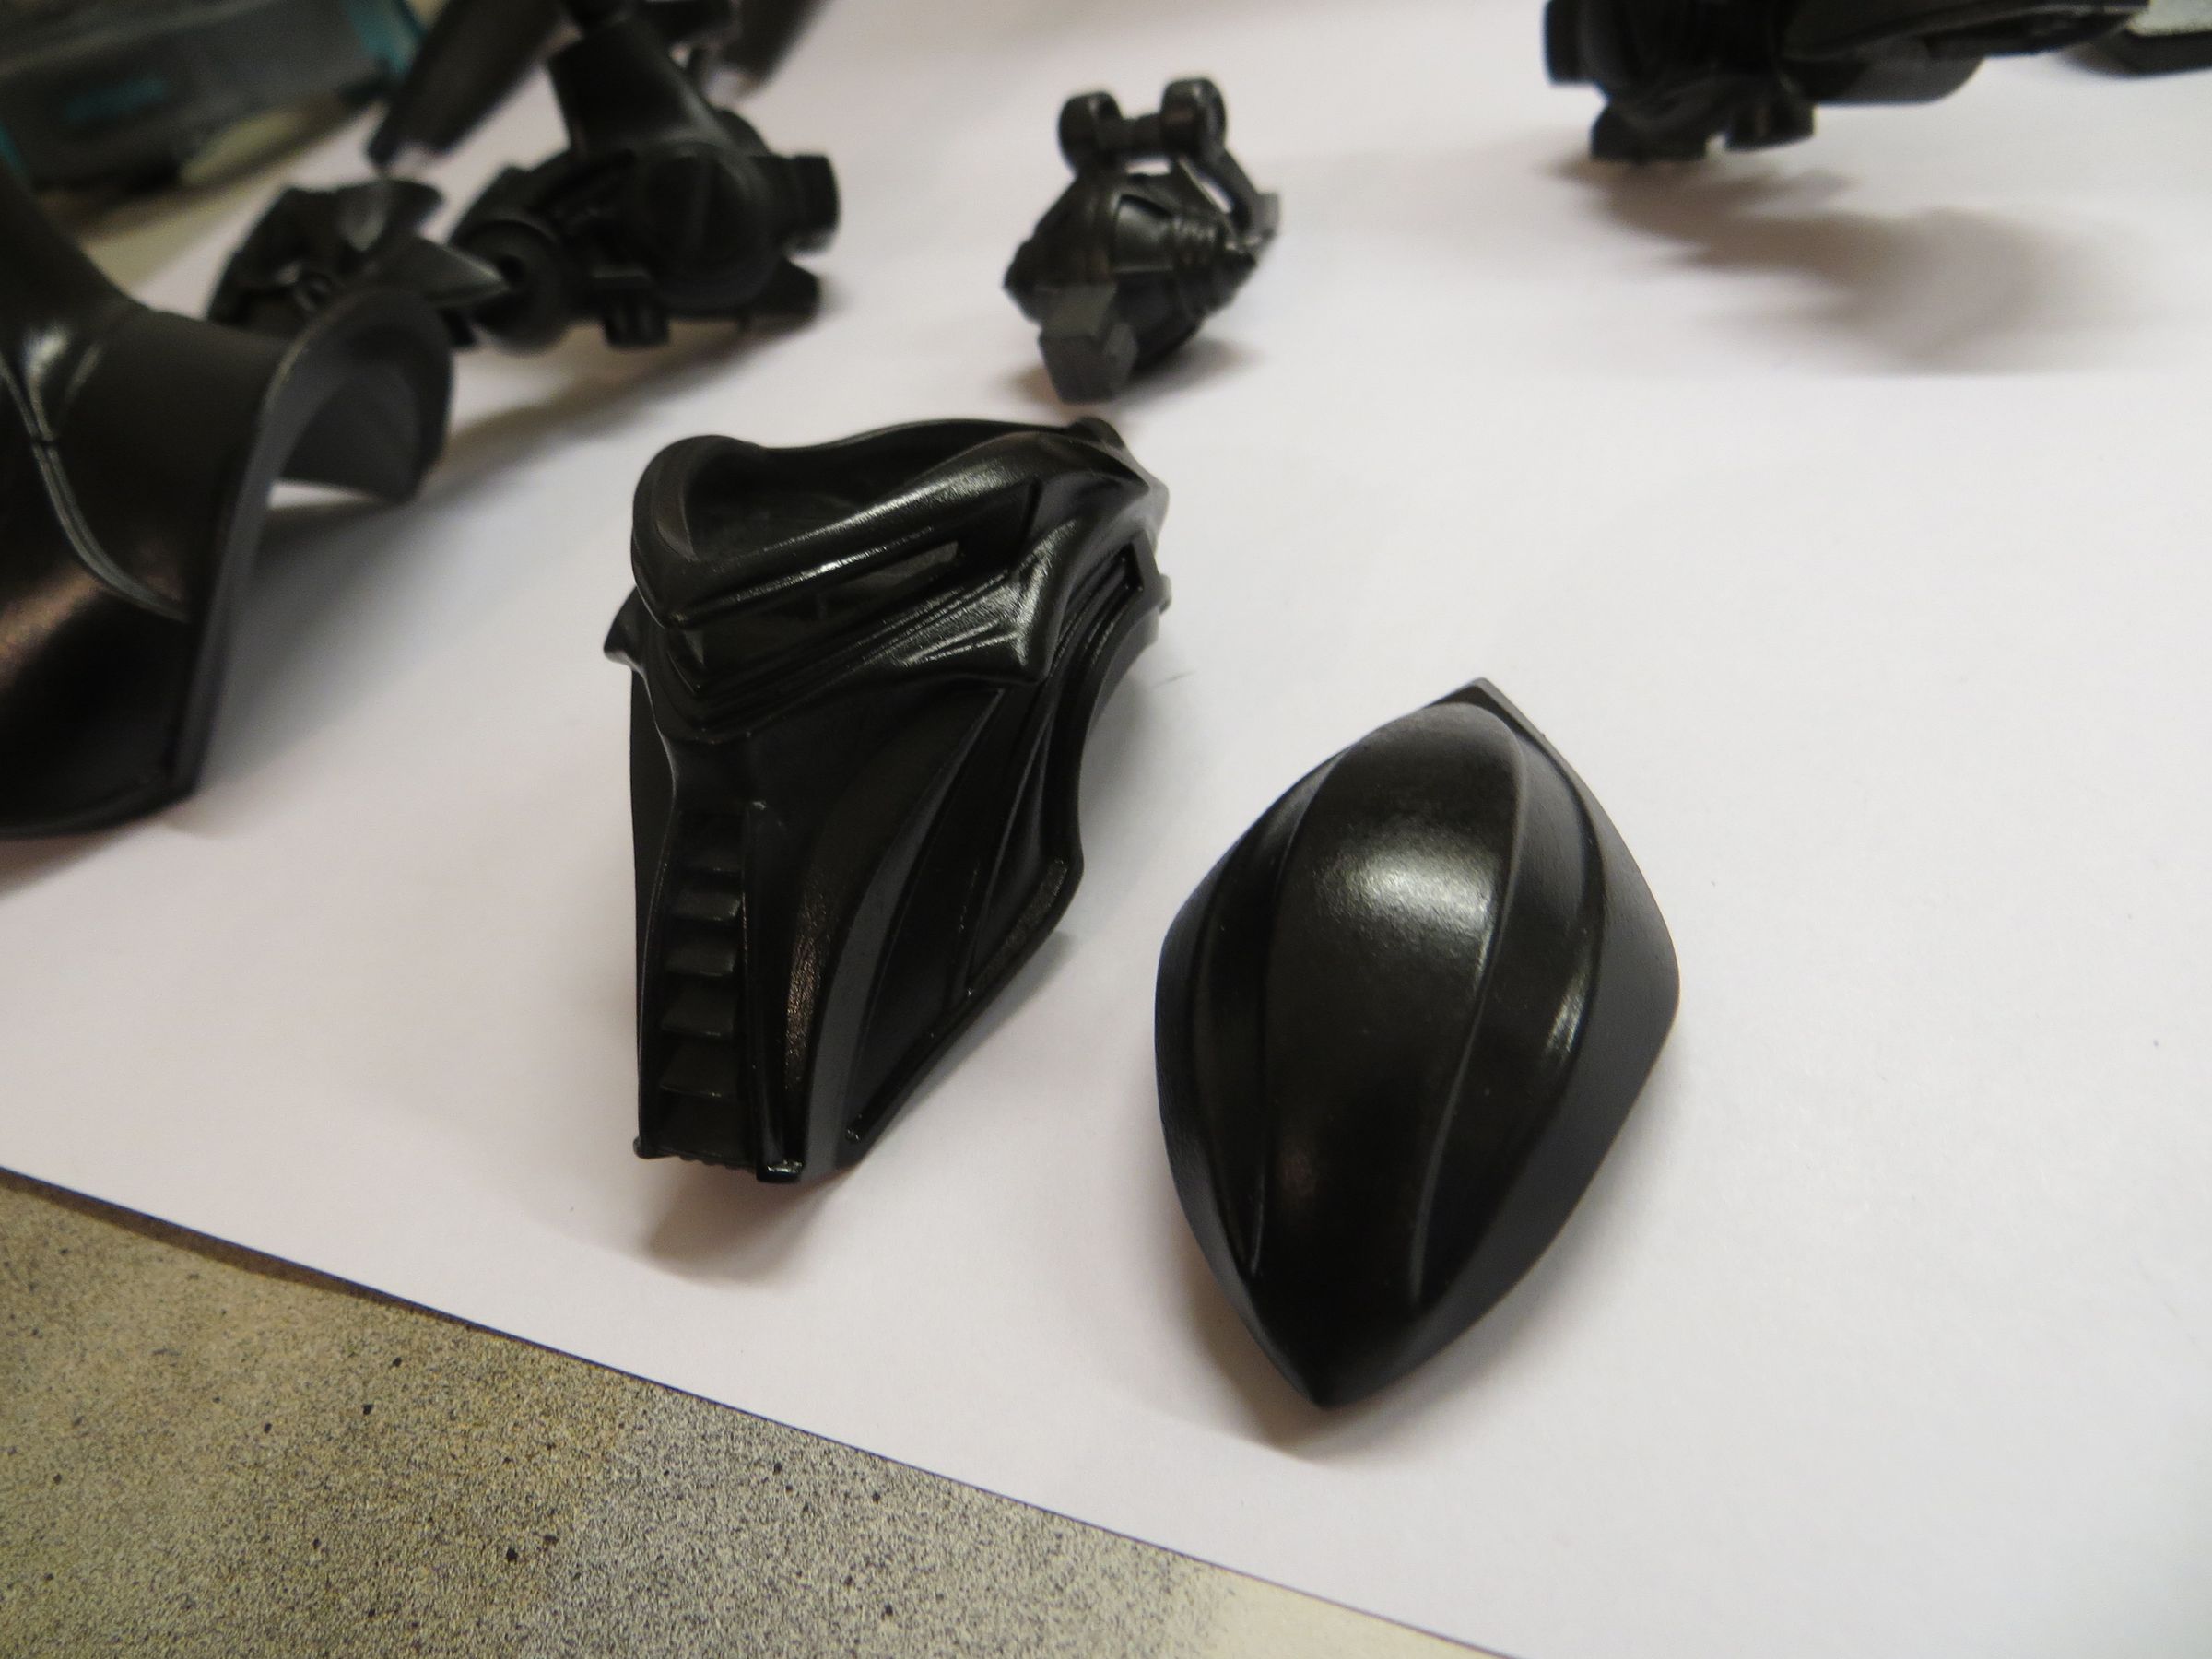
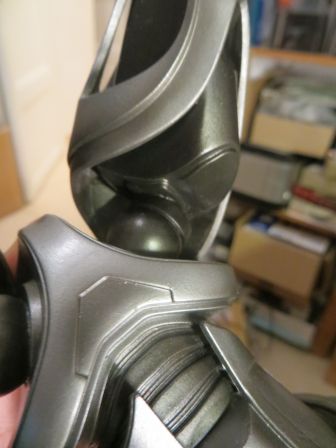
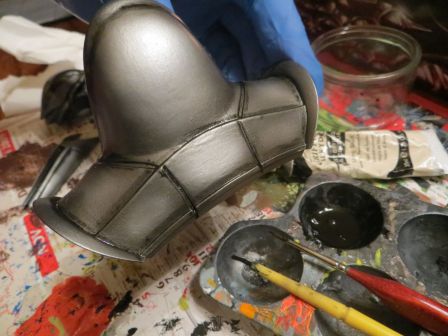
I use the same procedure as previously, with Alclad :

- Base Duraluminium

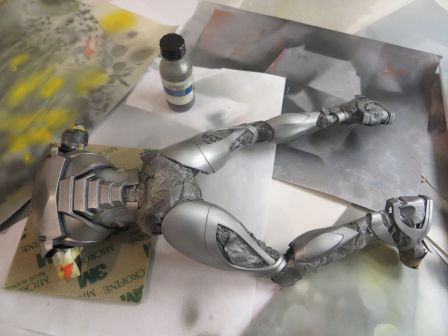
- Edges and panel lines highlighted in steel

- panel centers lighted in aluminium and chrome

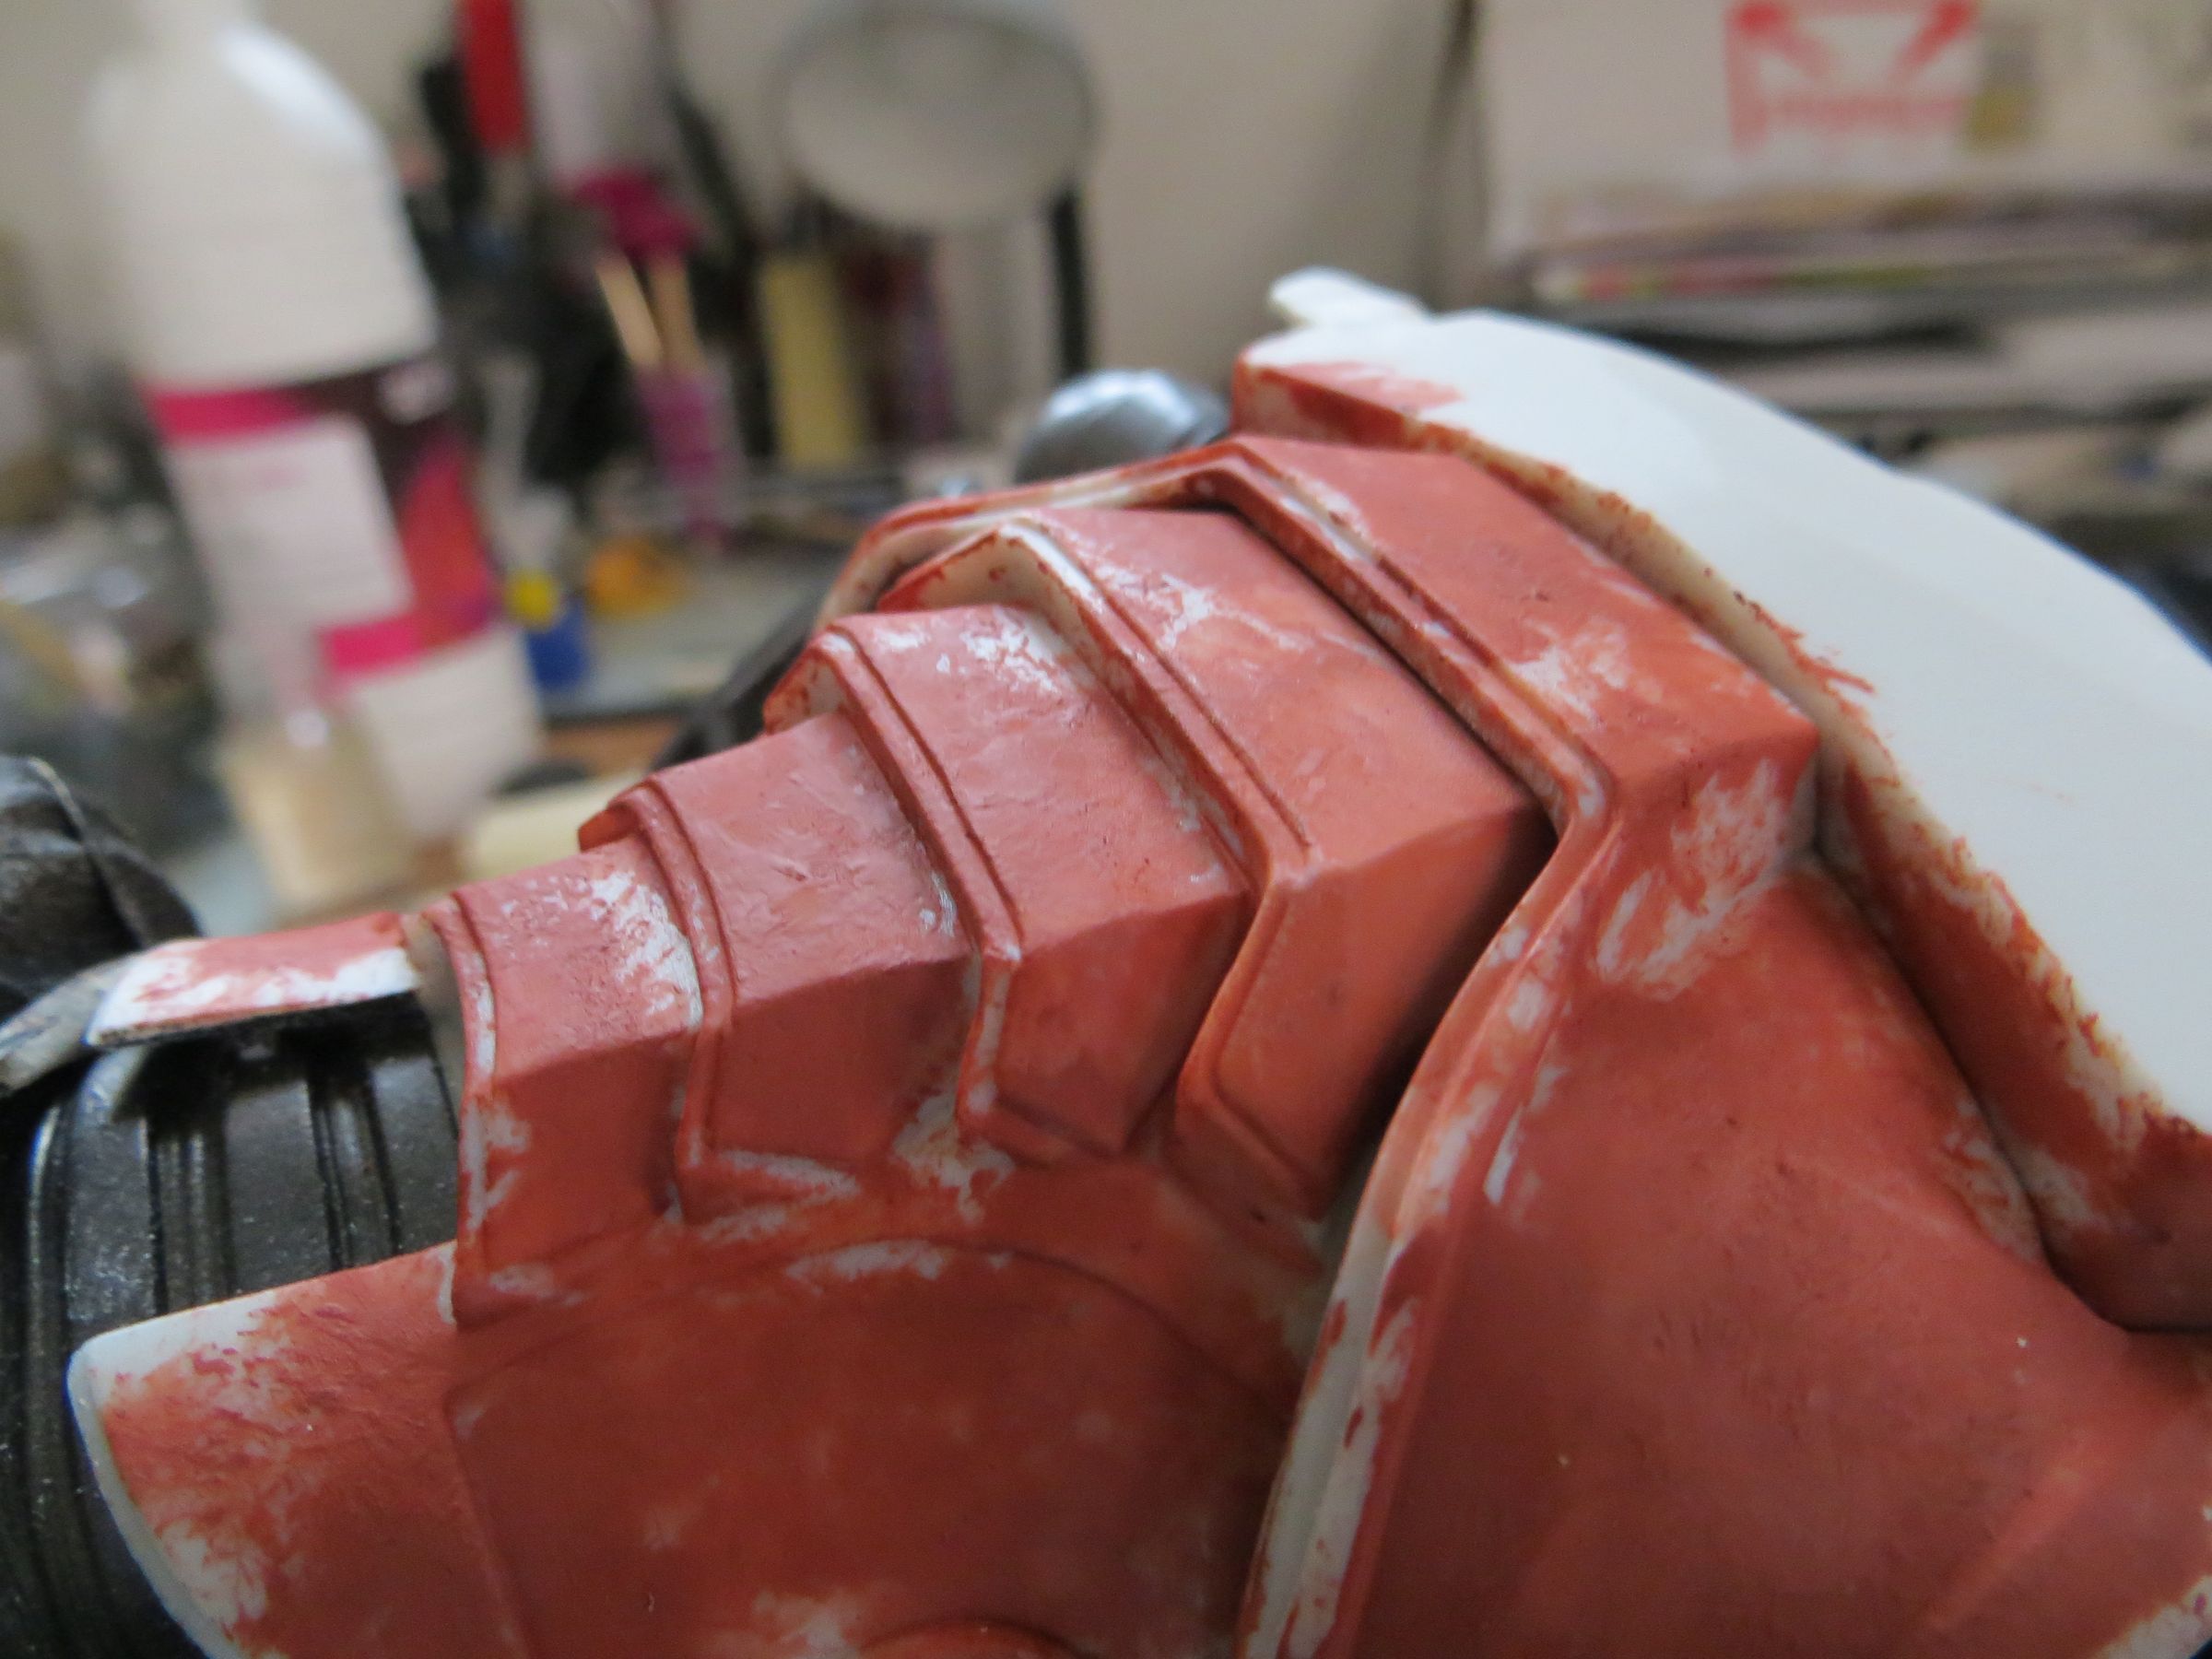
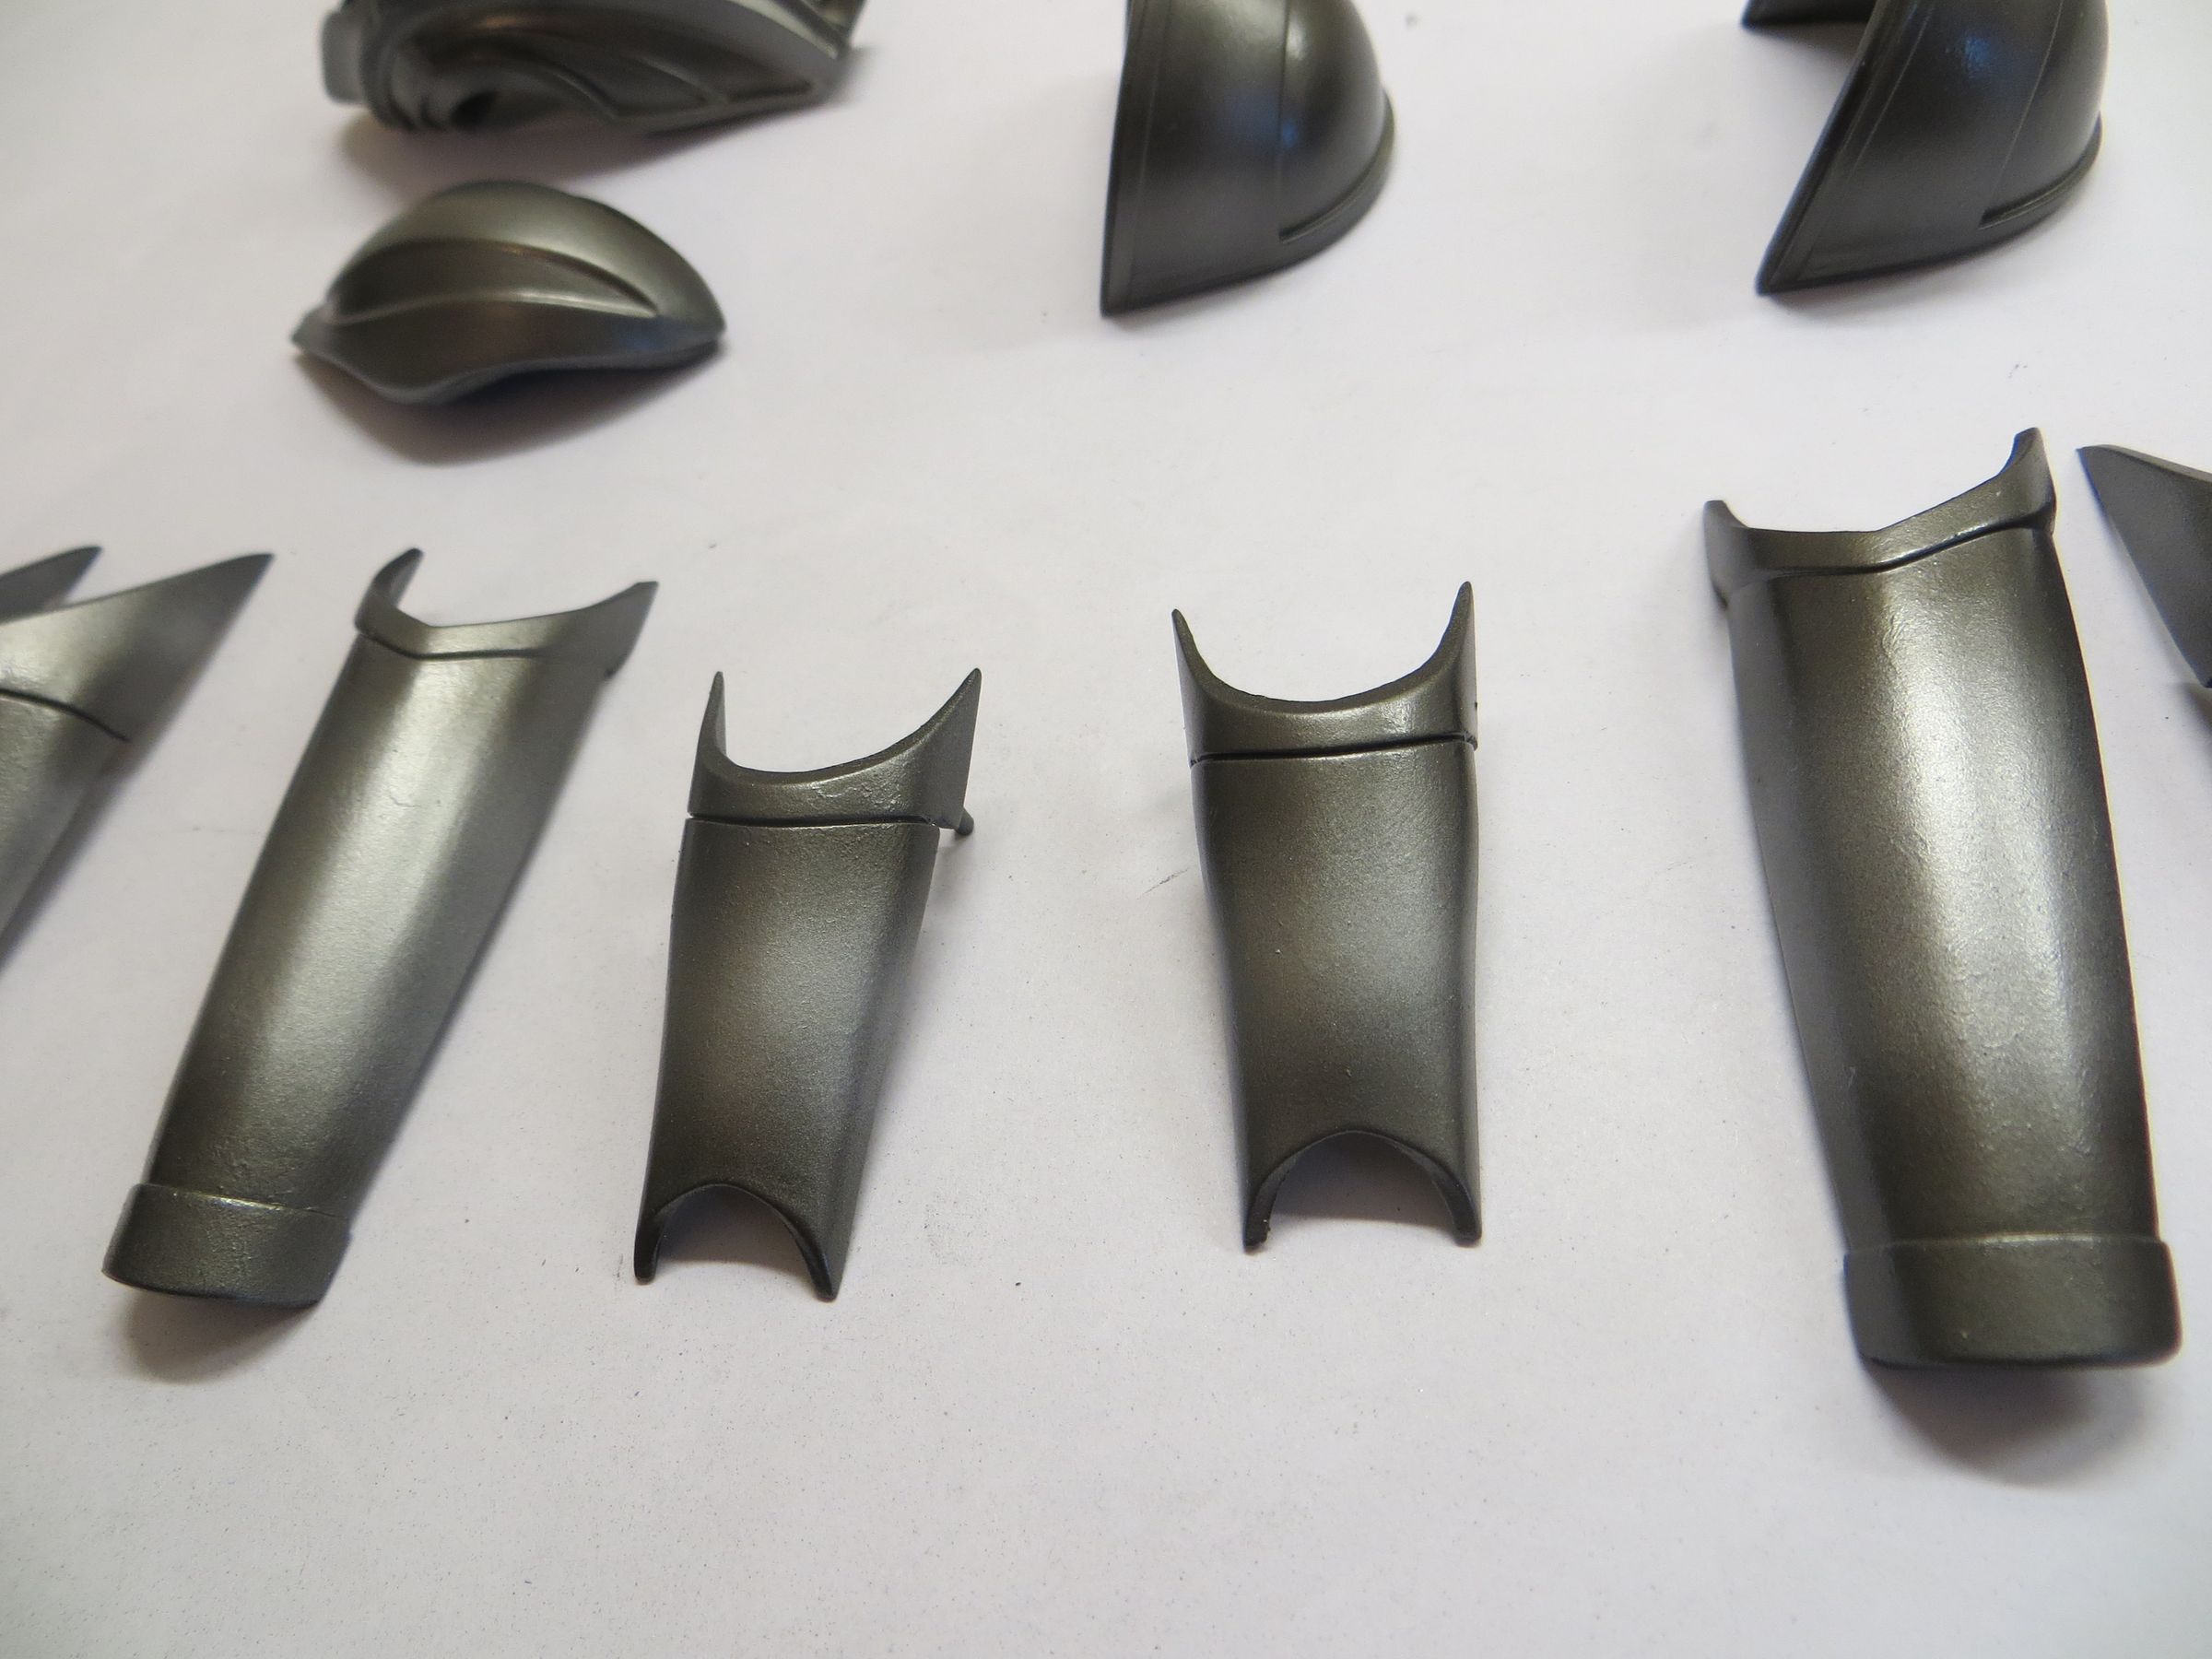
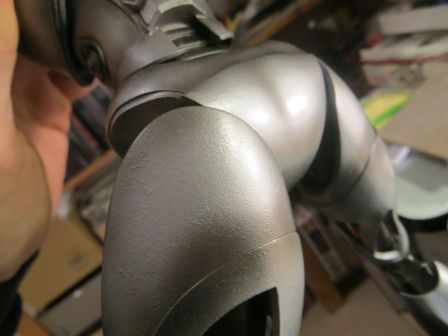
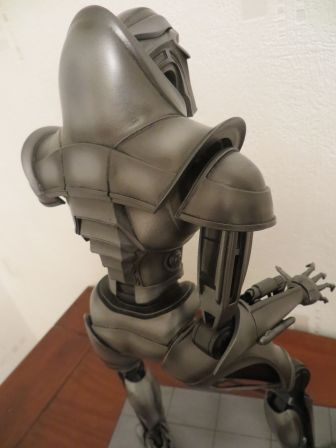
The foundry rough effect is more pronounced this time.

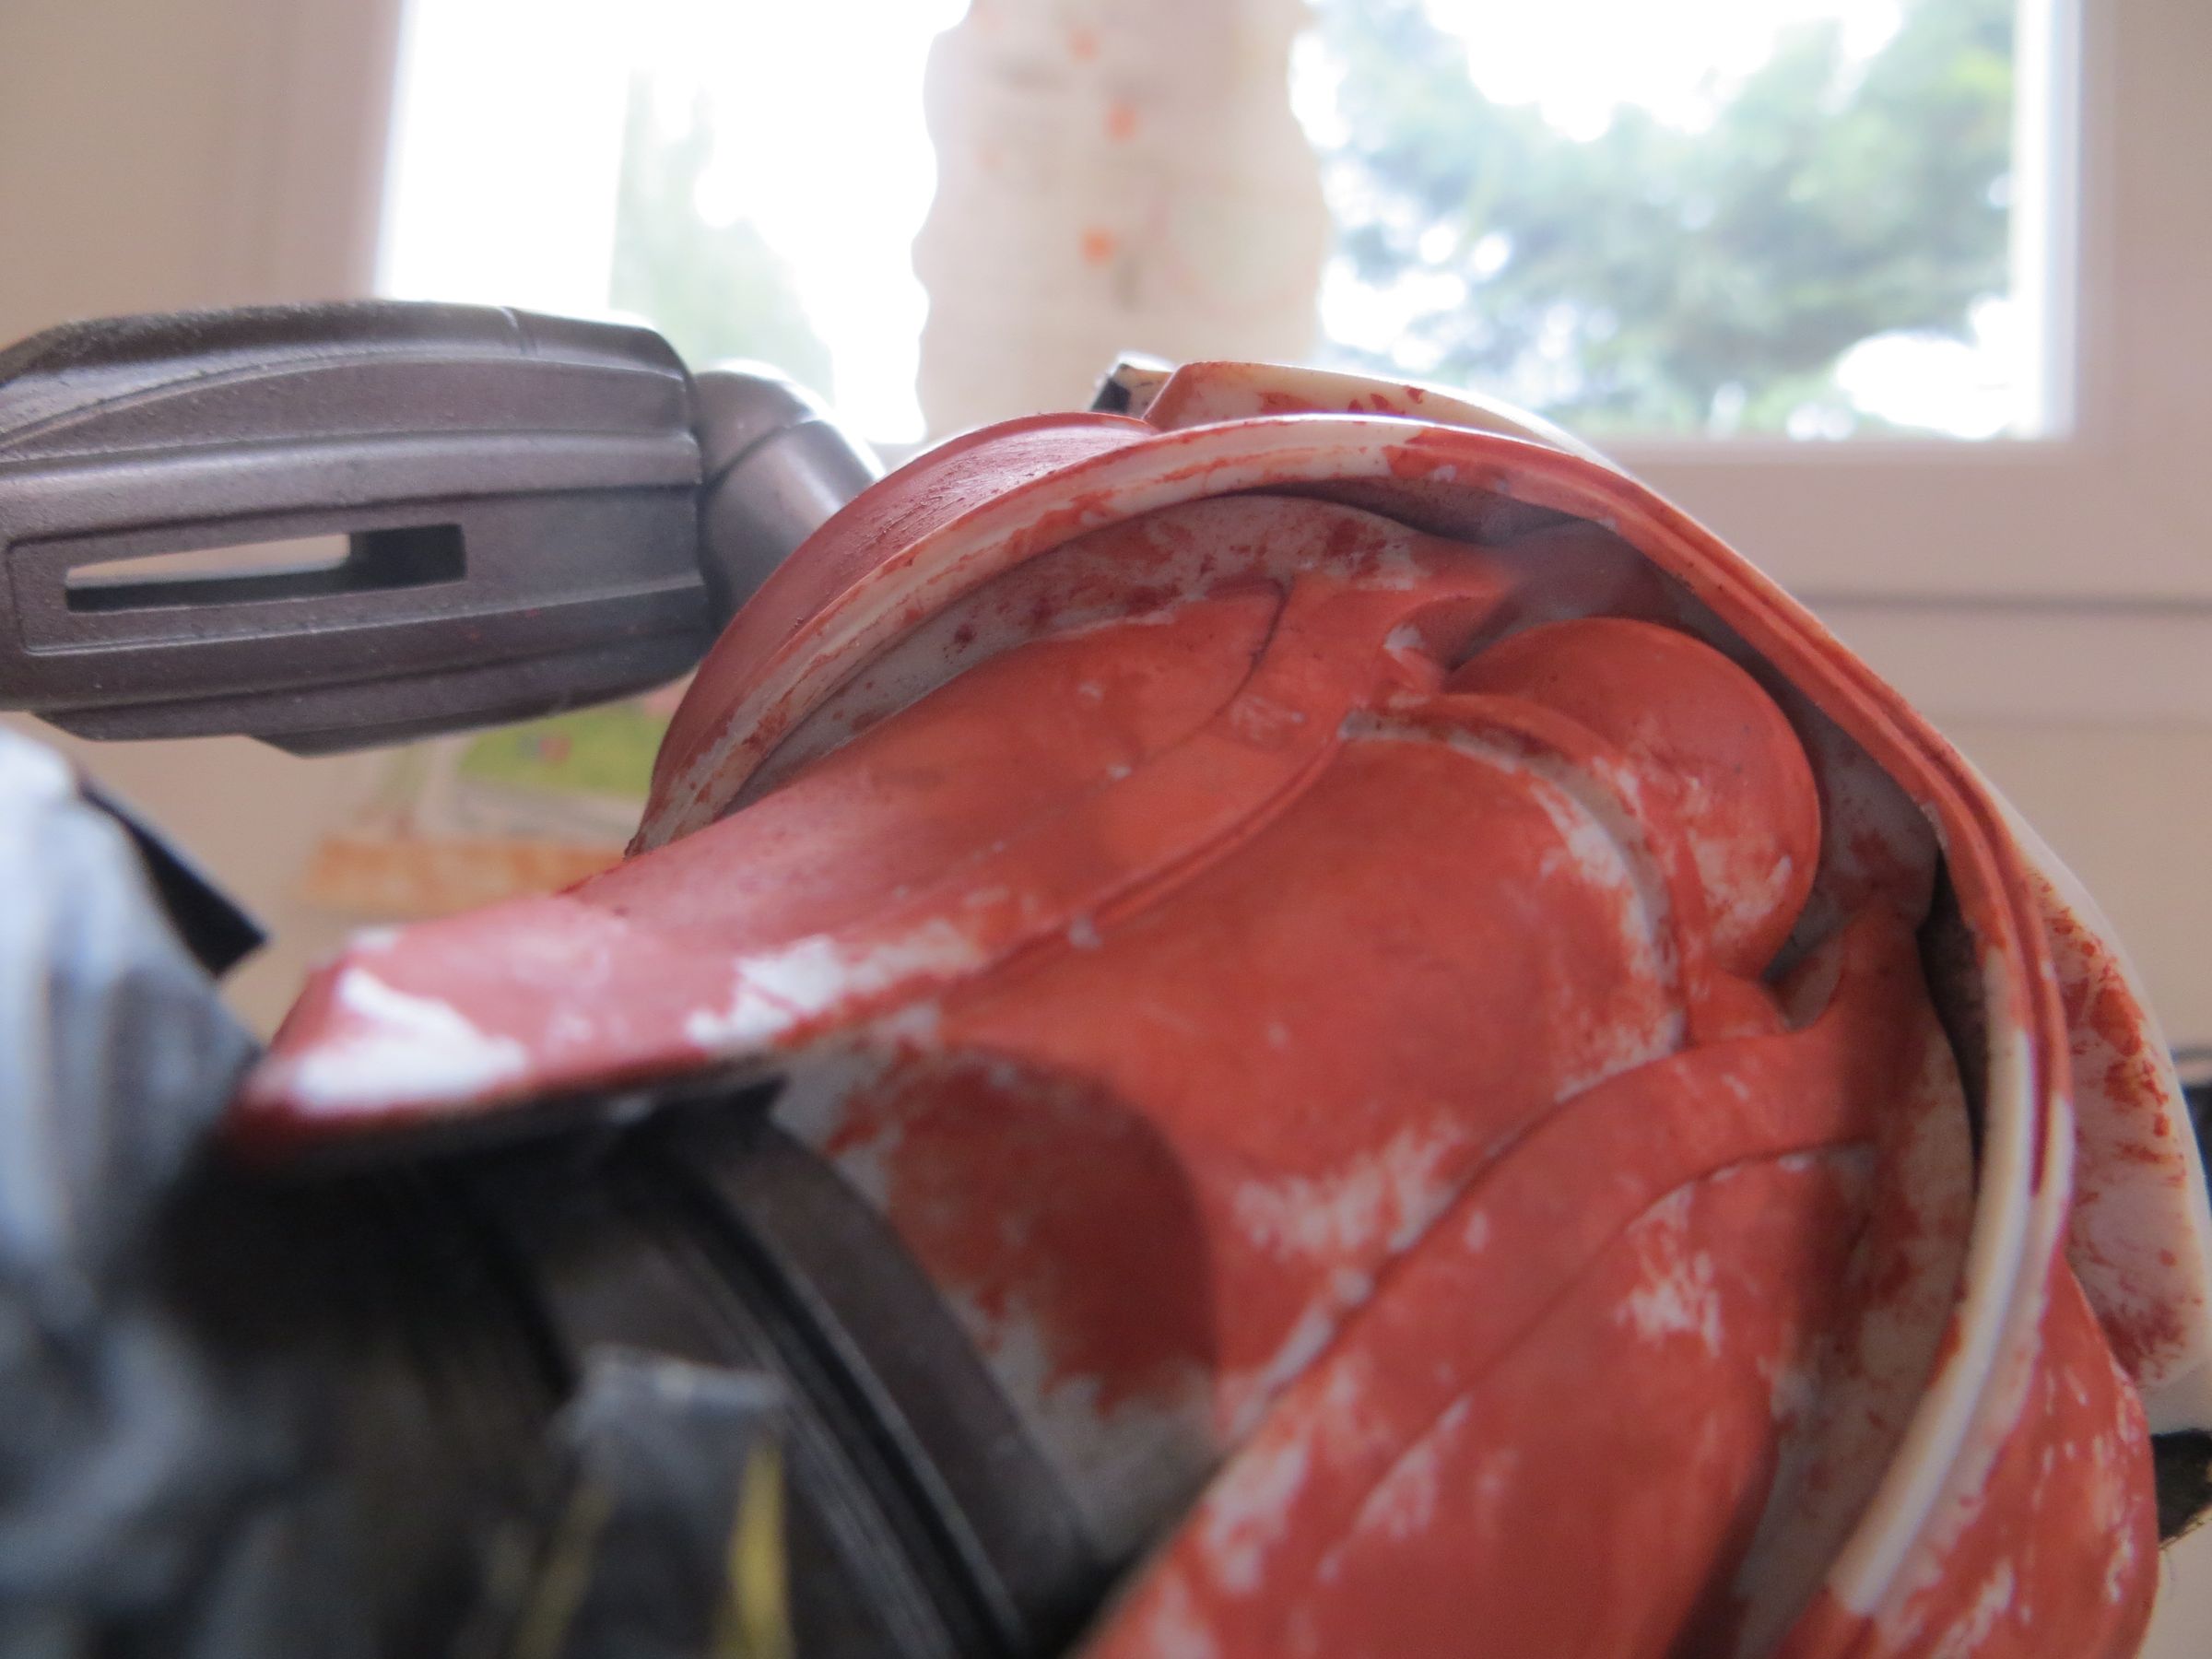
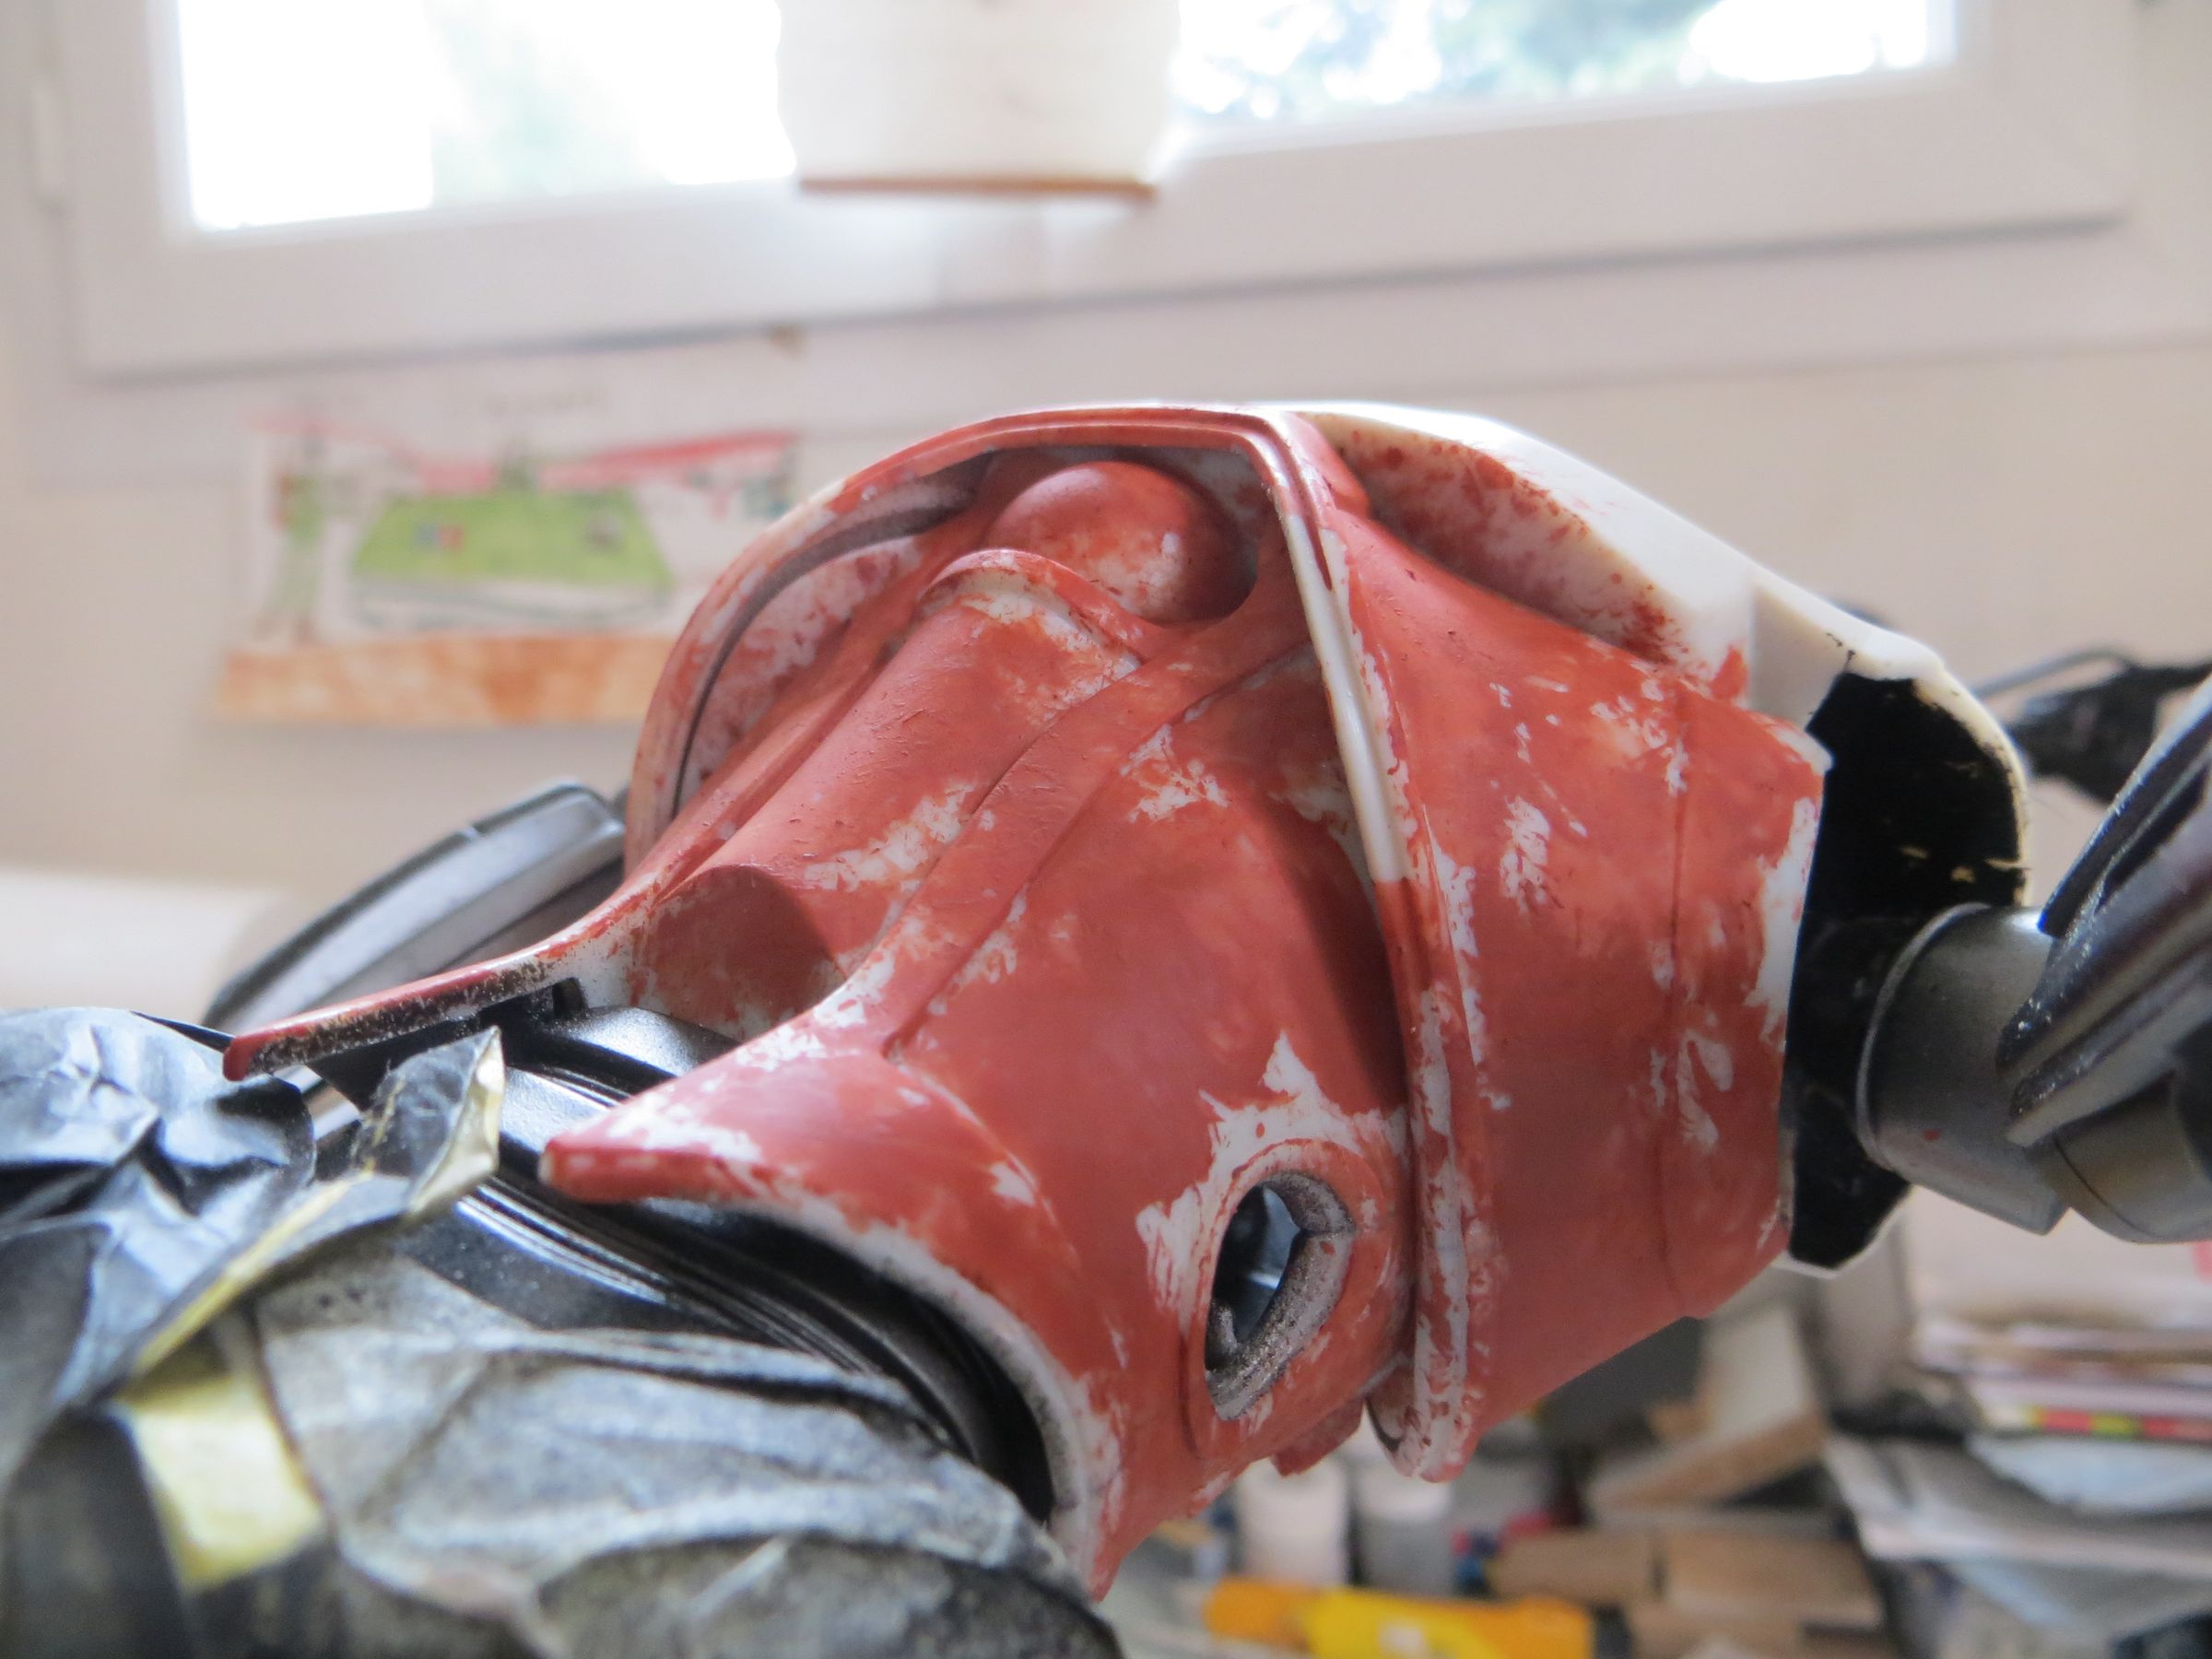
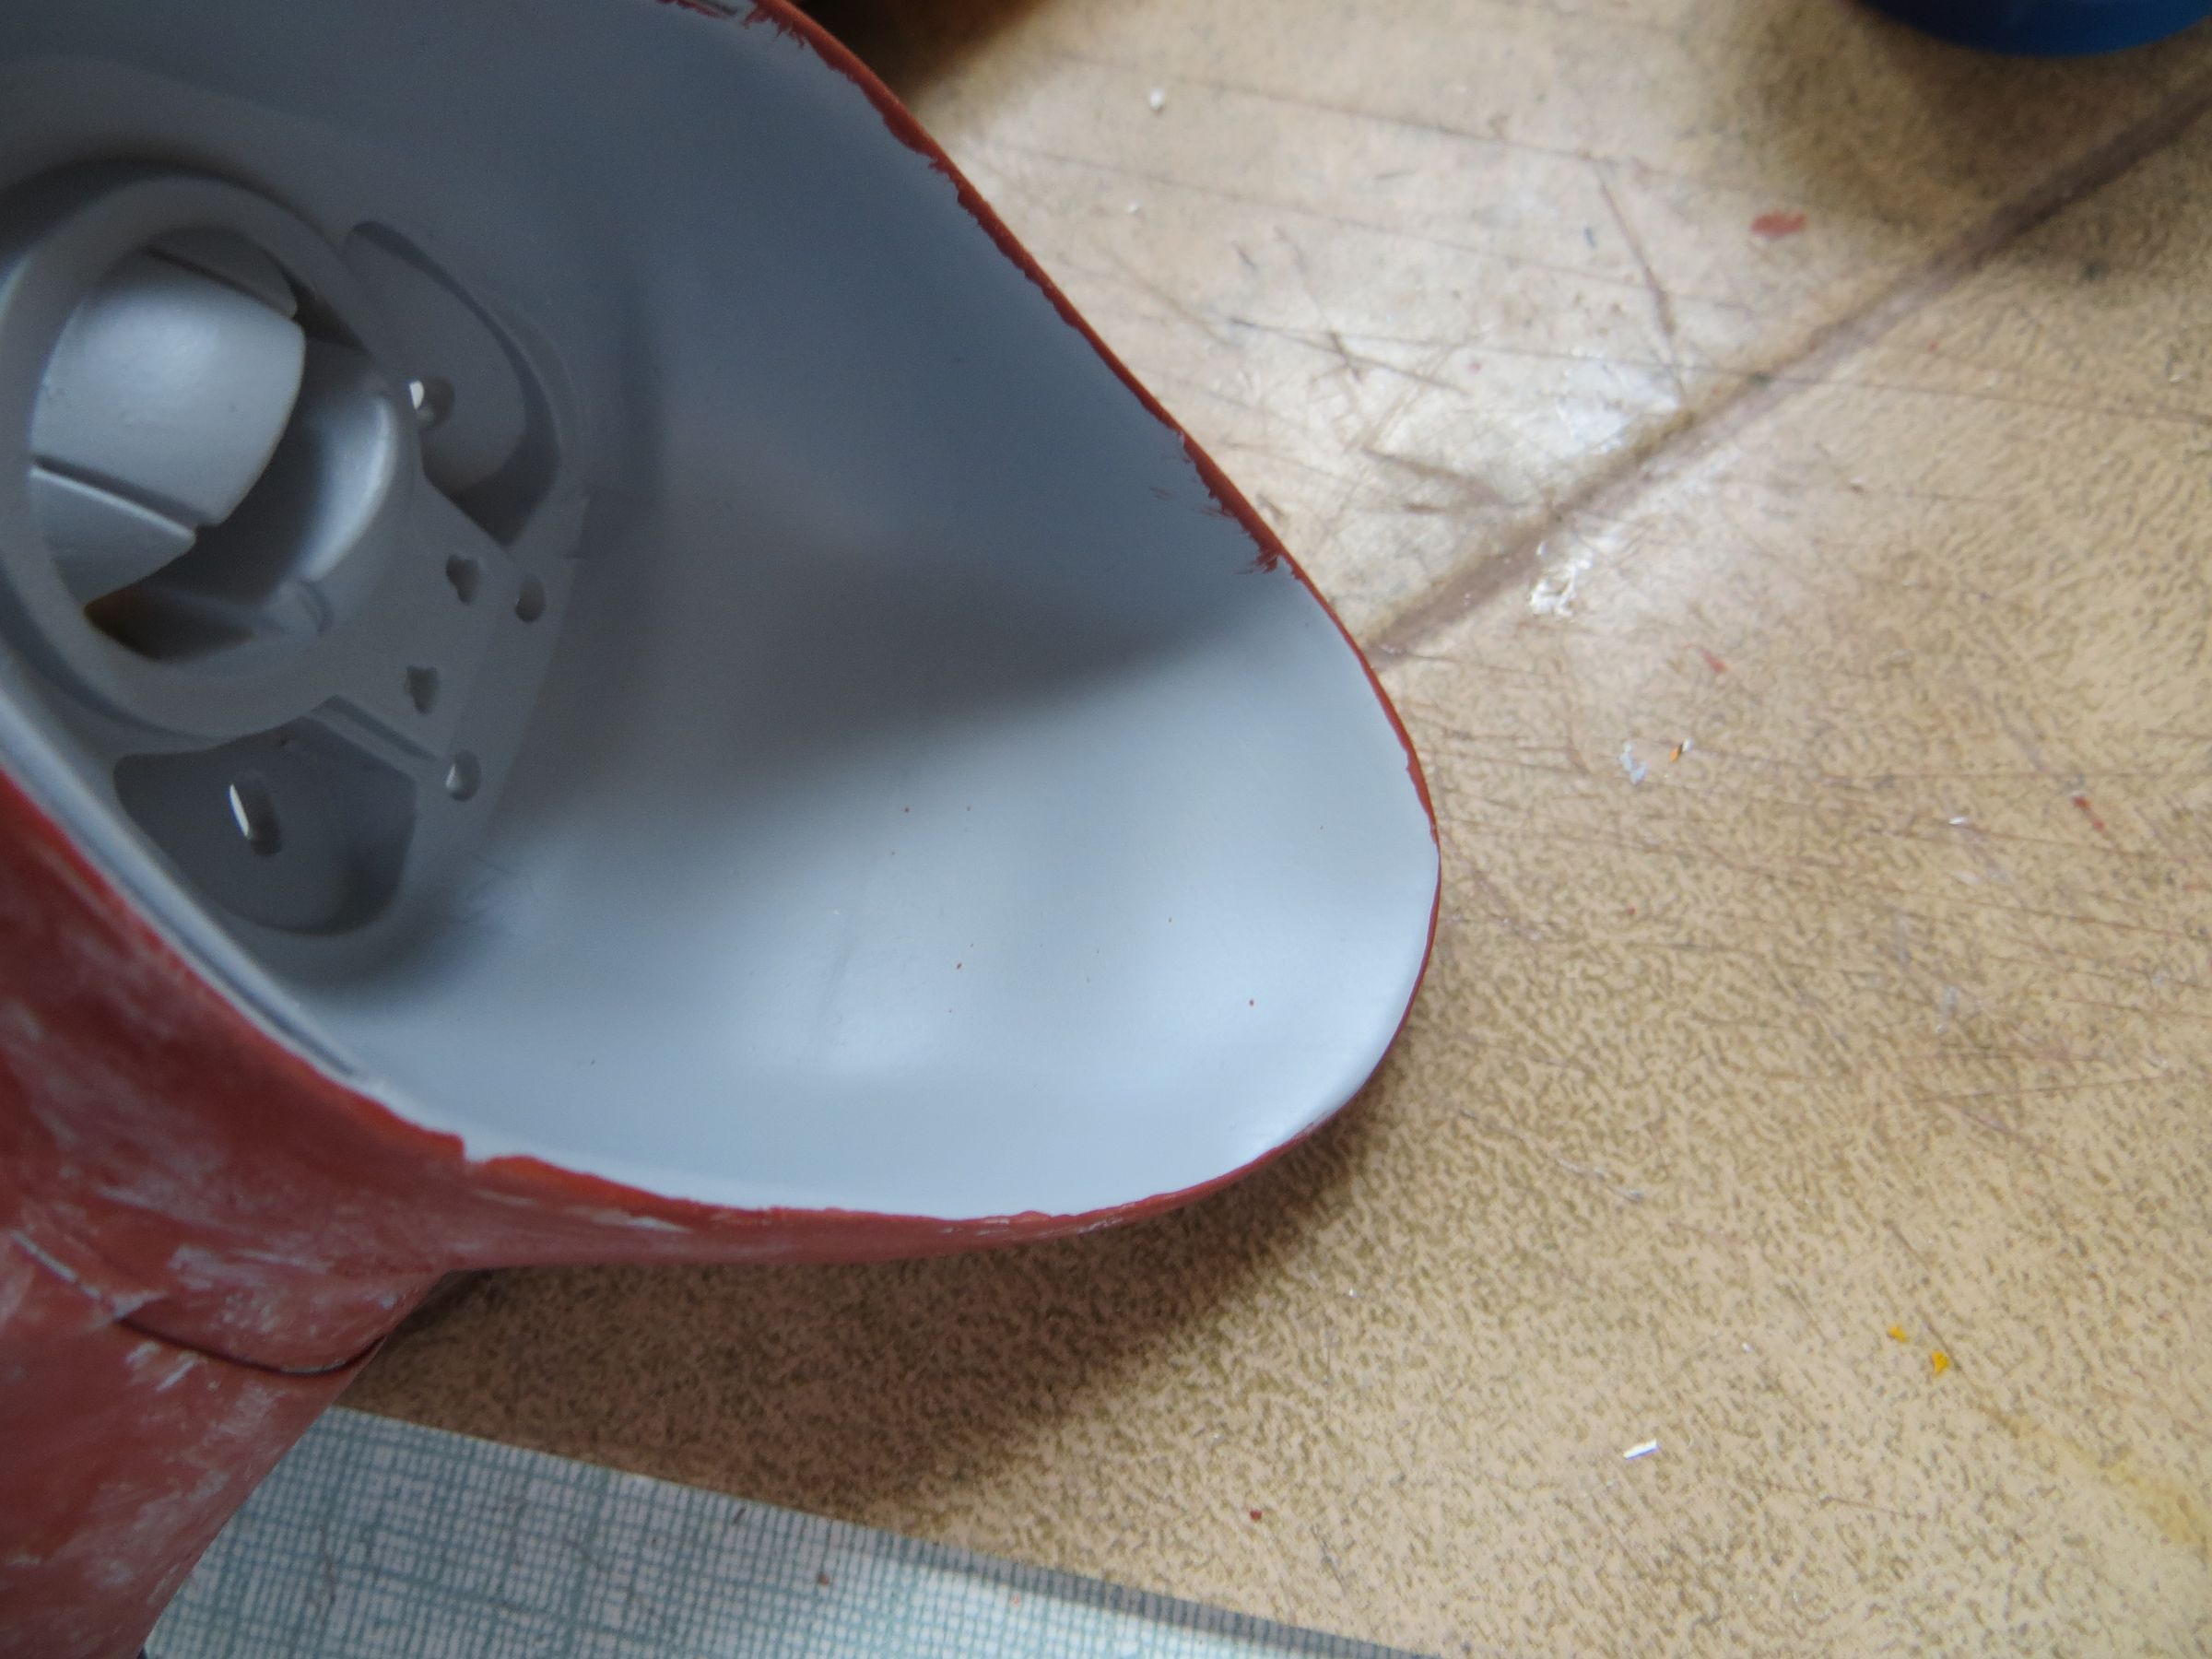
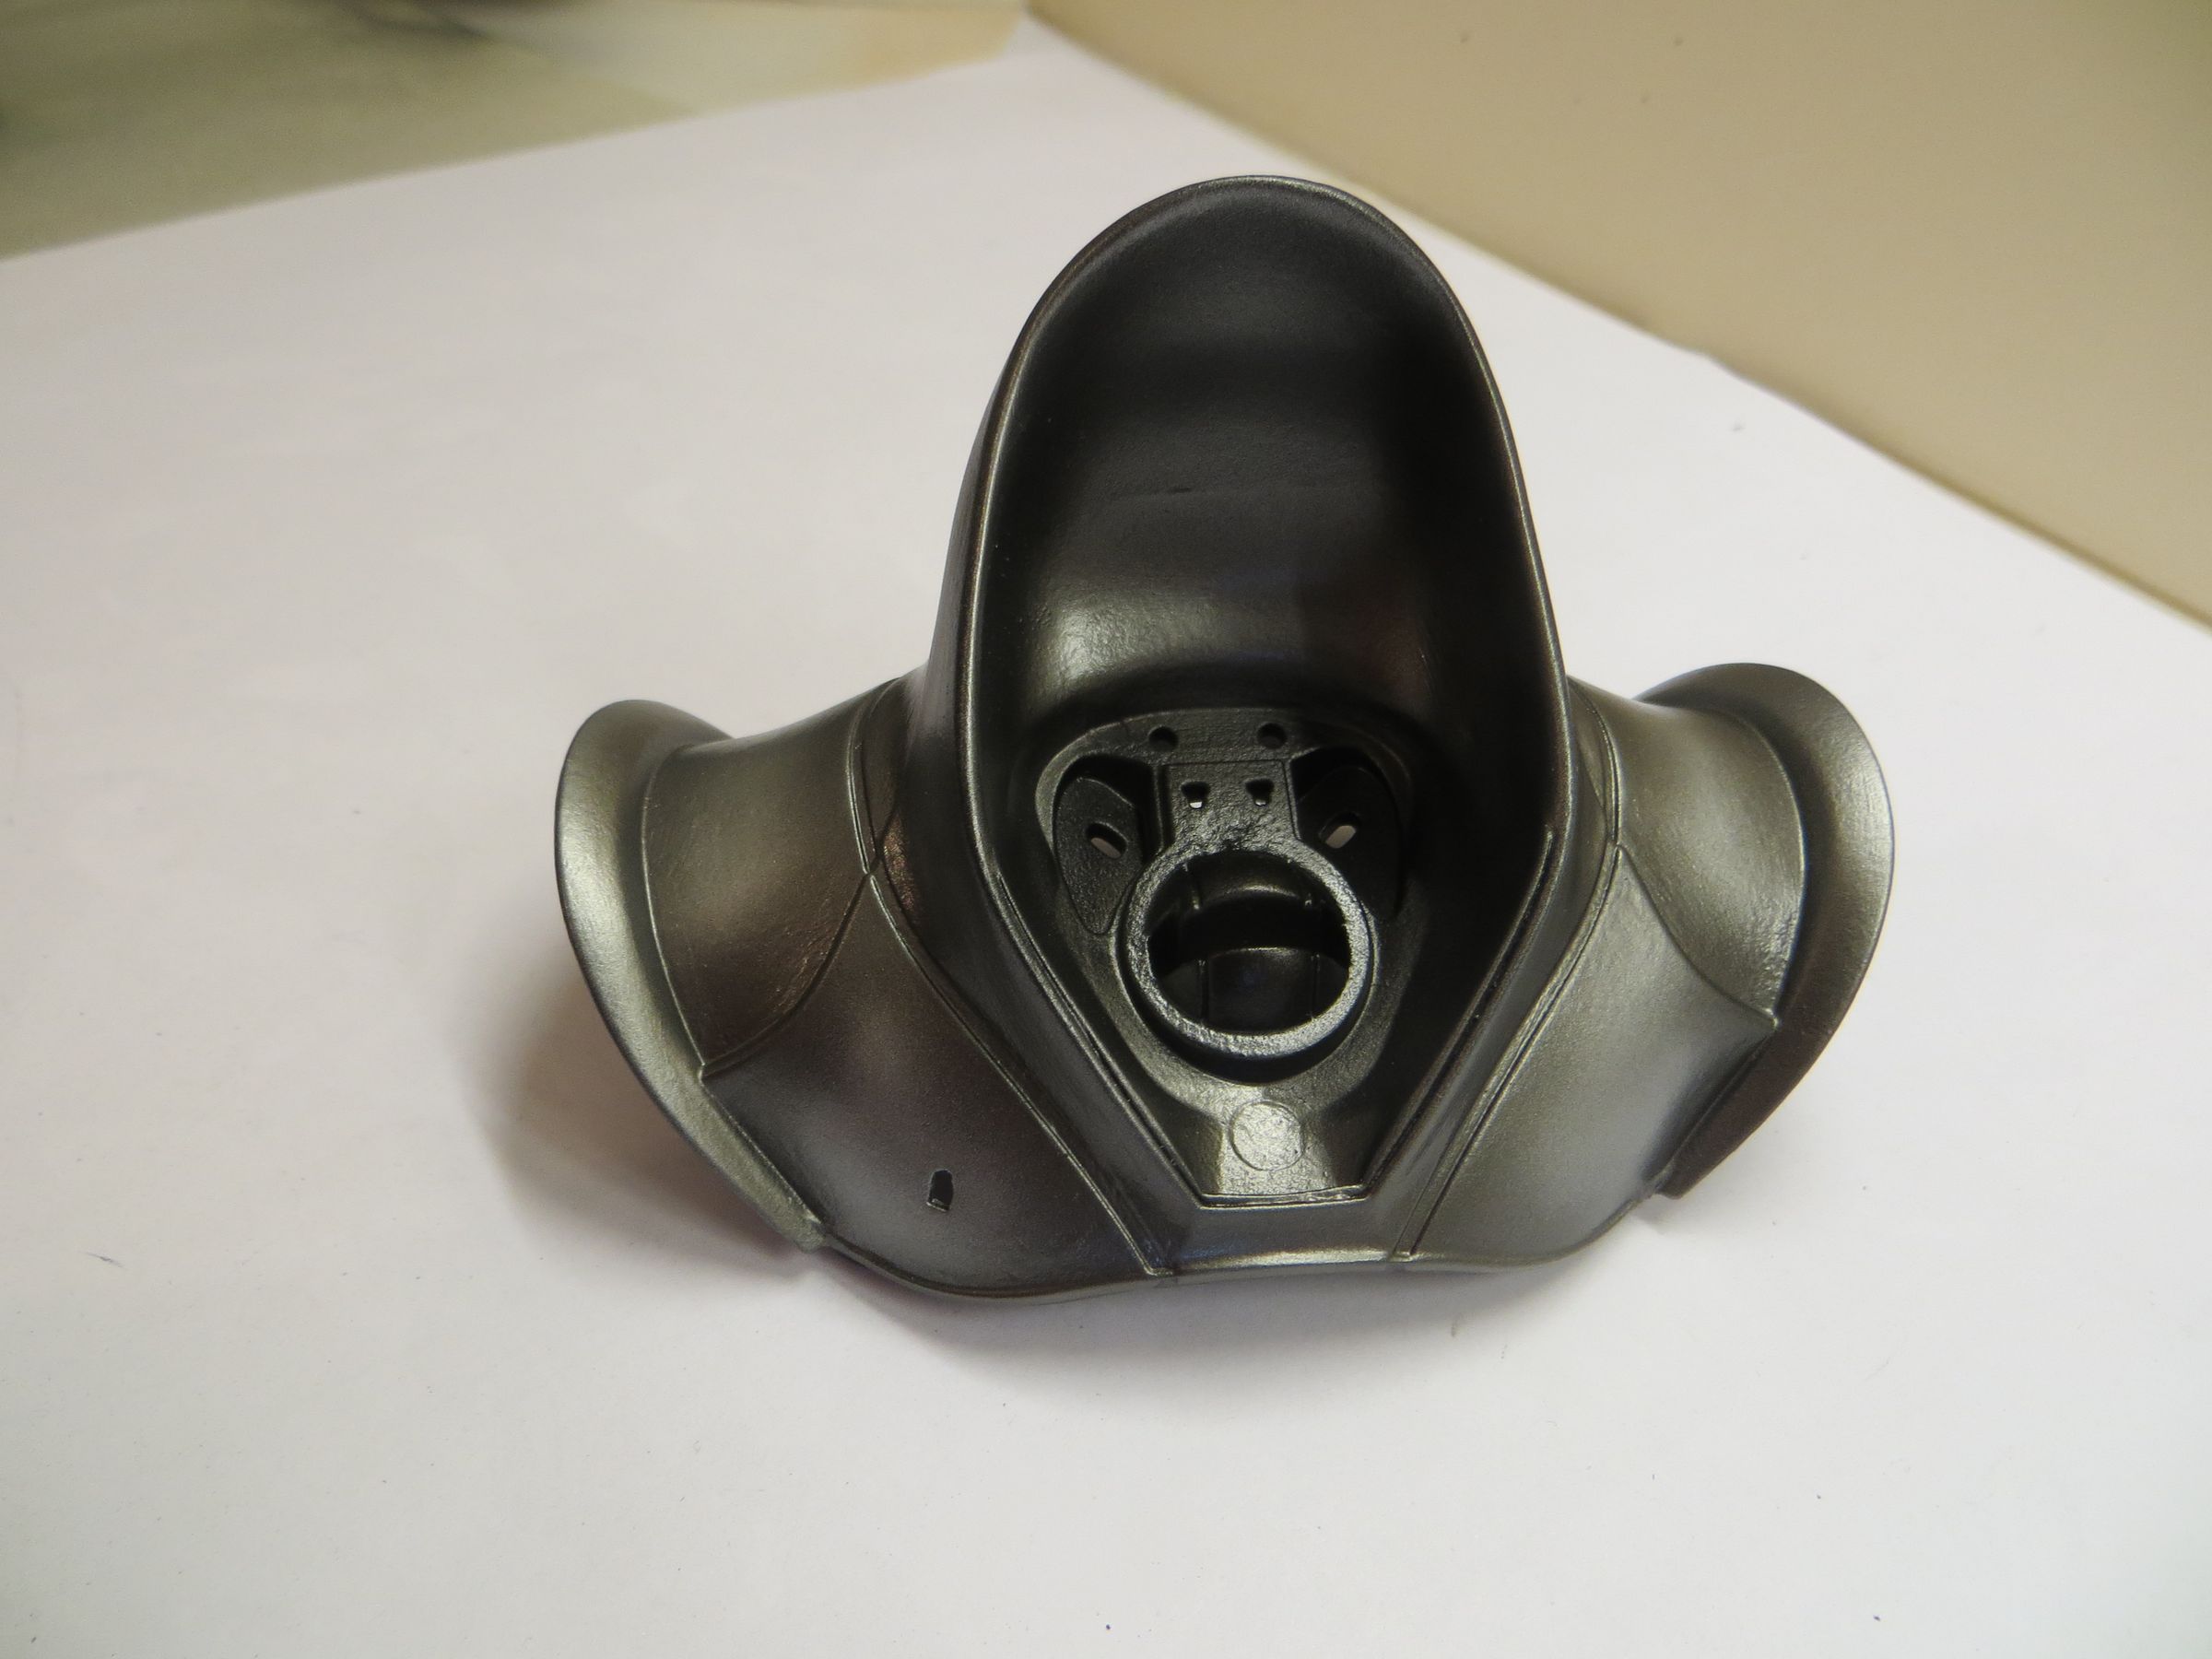
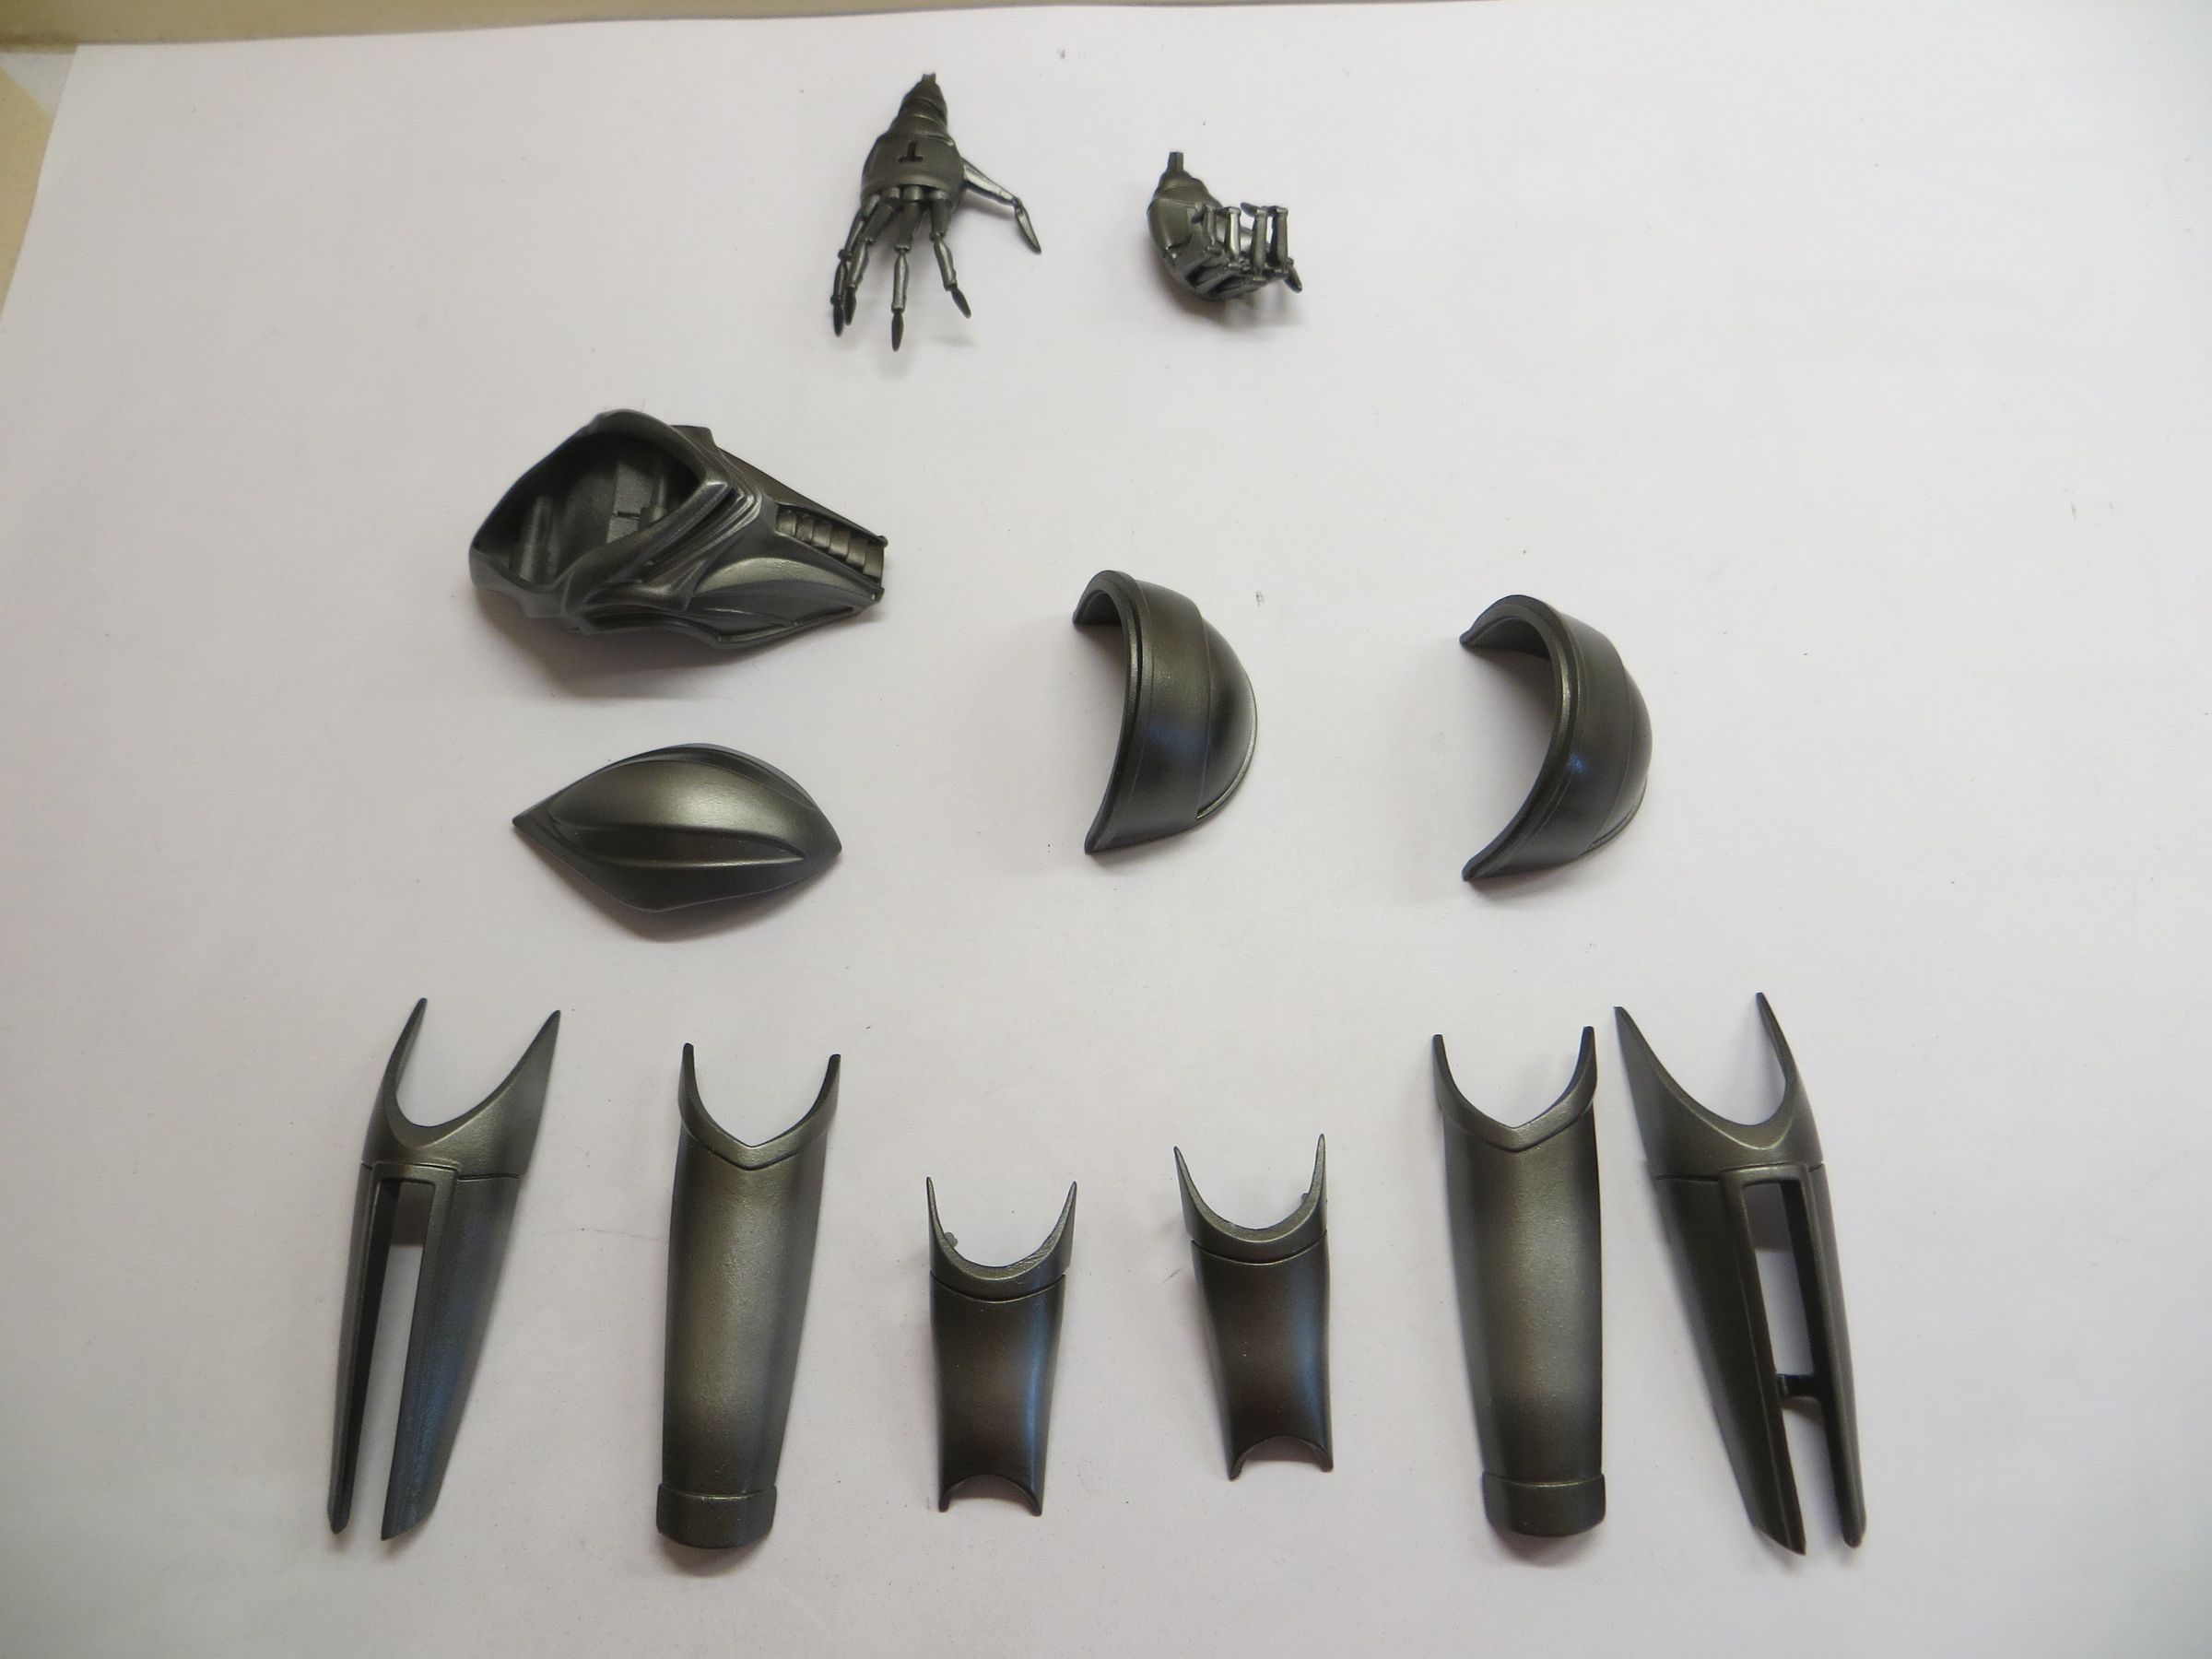
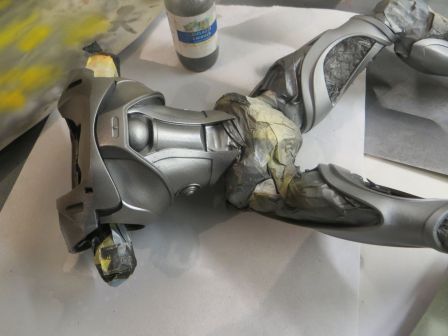
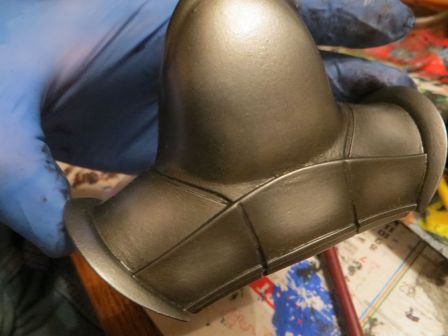
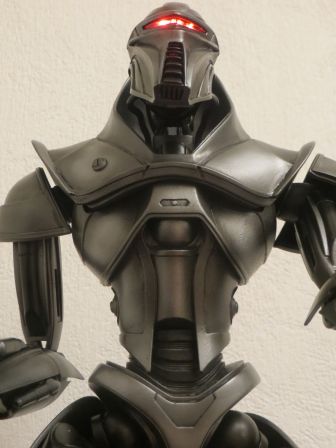
Once the baby's diapers removed, I realize that the viewable inner sides were not enough dark, and some of the plate chamfer, so I had to catch up them with gunze steel (brush painted). All this is not easy to see in the pictures.

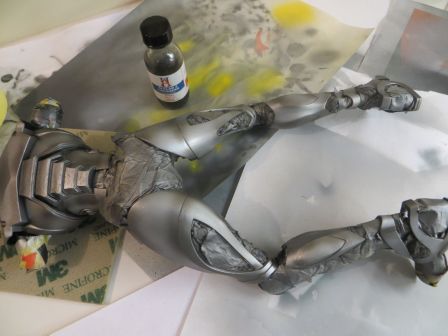
After a few touches here and there with a brush, a black juice is applied. On this type of paint (Alclad), the wash need to be heavy to be seen once dry.


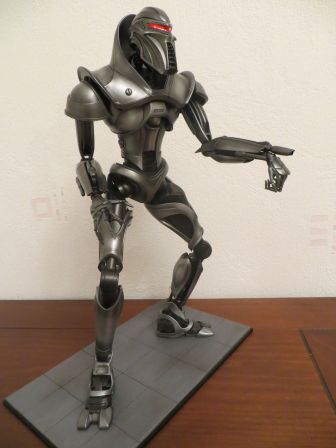
For the base, I had previously applied an heavy wash, without wiping it to keep preshading streaks.

Shades of Alclad stainless steel (so dull finish) are then vaporized so that the streaks still remain viewable underneath. As the base below was not brilliant black, Alclad can give completely the usual metallic effect and therefore I get an indefinable color between gray and metal. It is a little more pronounced than I had planned , but I like it better that way.

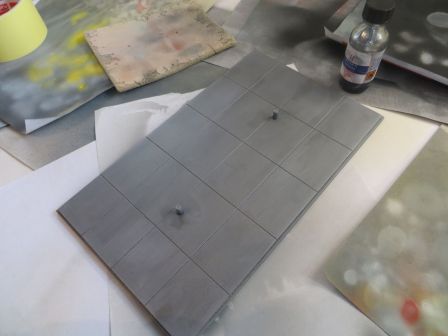
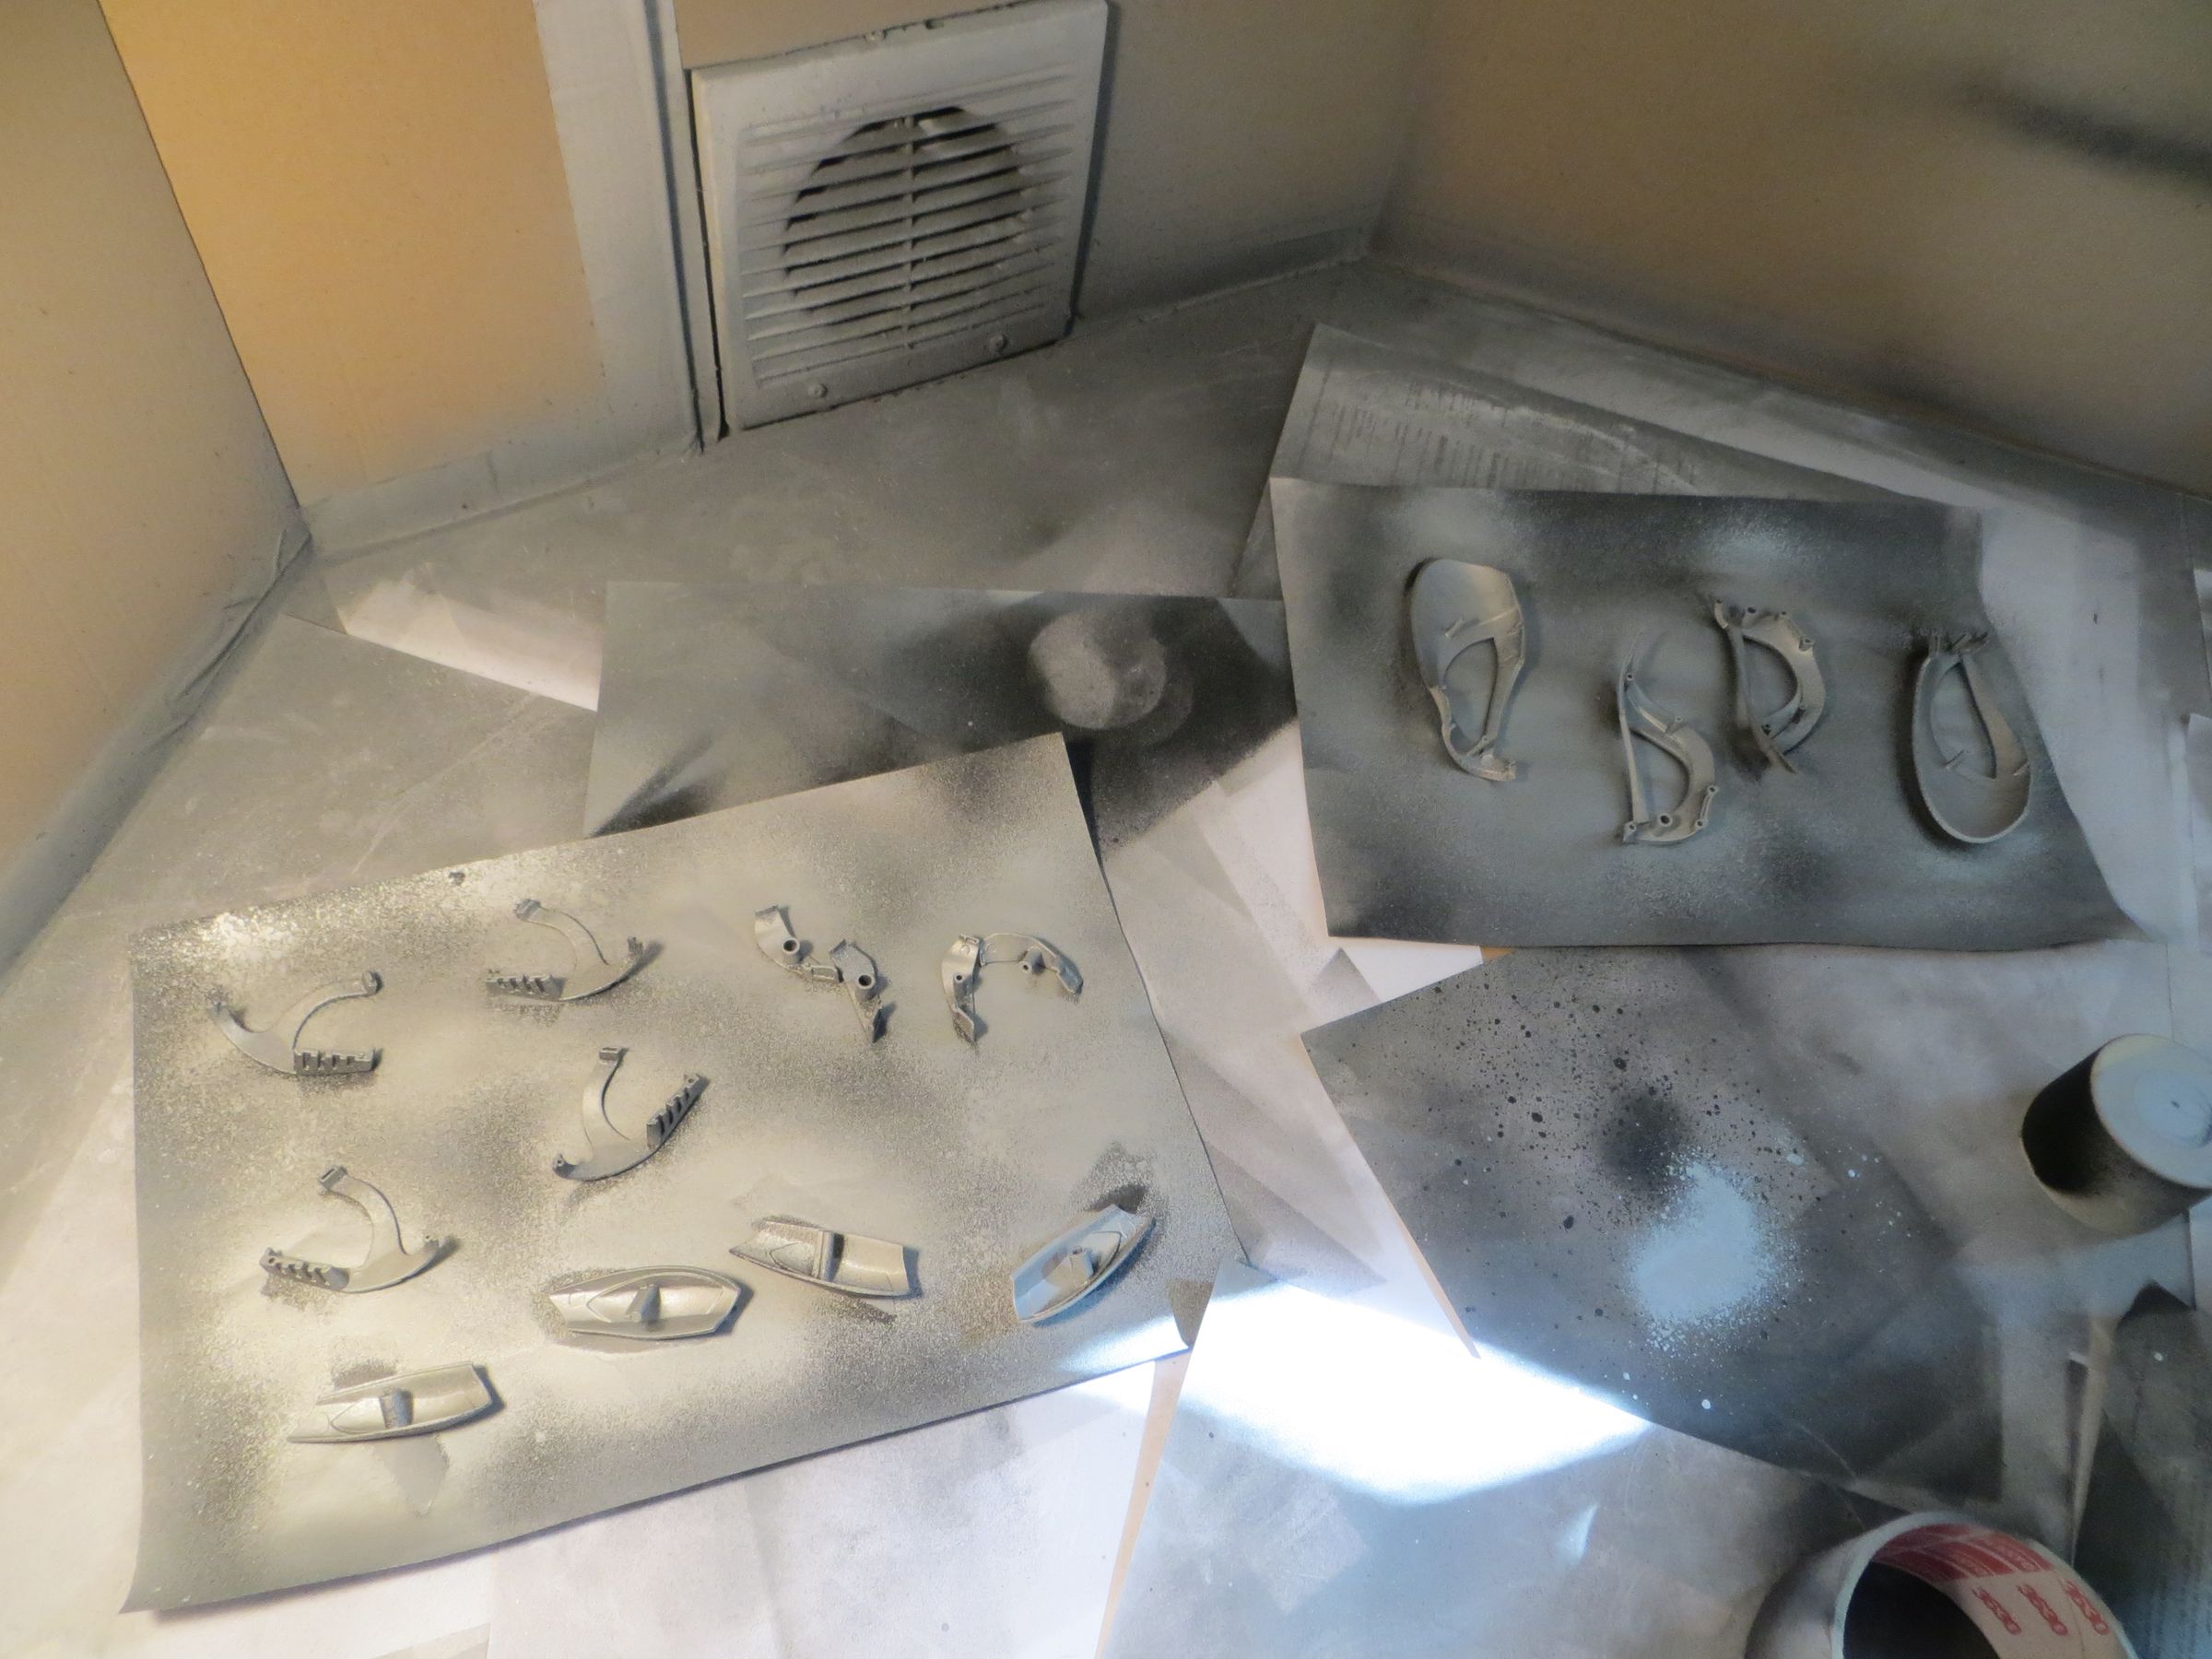
I then dirtied the floor with gray, black and brown spots. For this, I just reduce the air pressure of the compressor almost at the minimum (limit of the pressure drop), the airbrush has then not enough power to vaporize a shade and they are fine droplets that are sprayed.

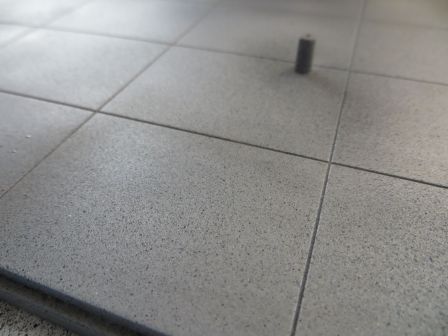
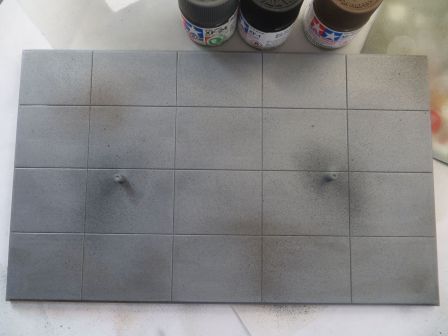
The result satisfied, but I feel it lacks something without getting to put my finger on. Maybe some paint chips ?


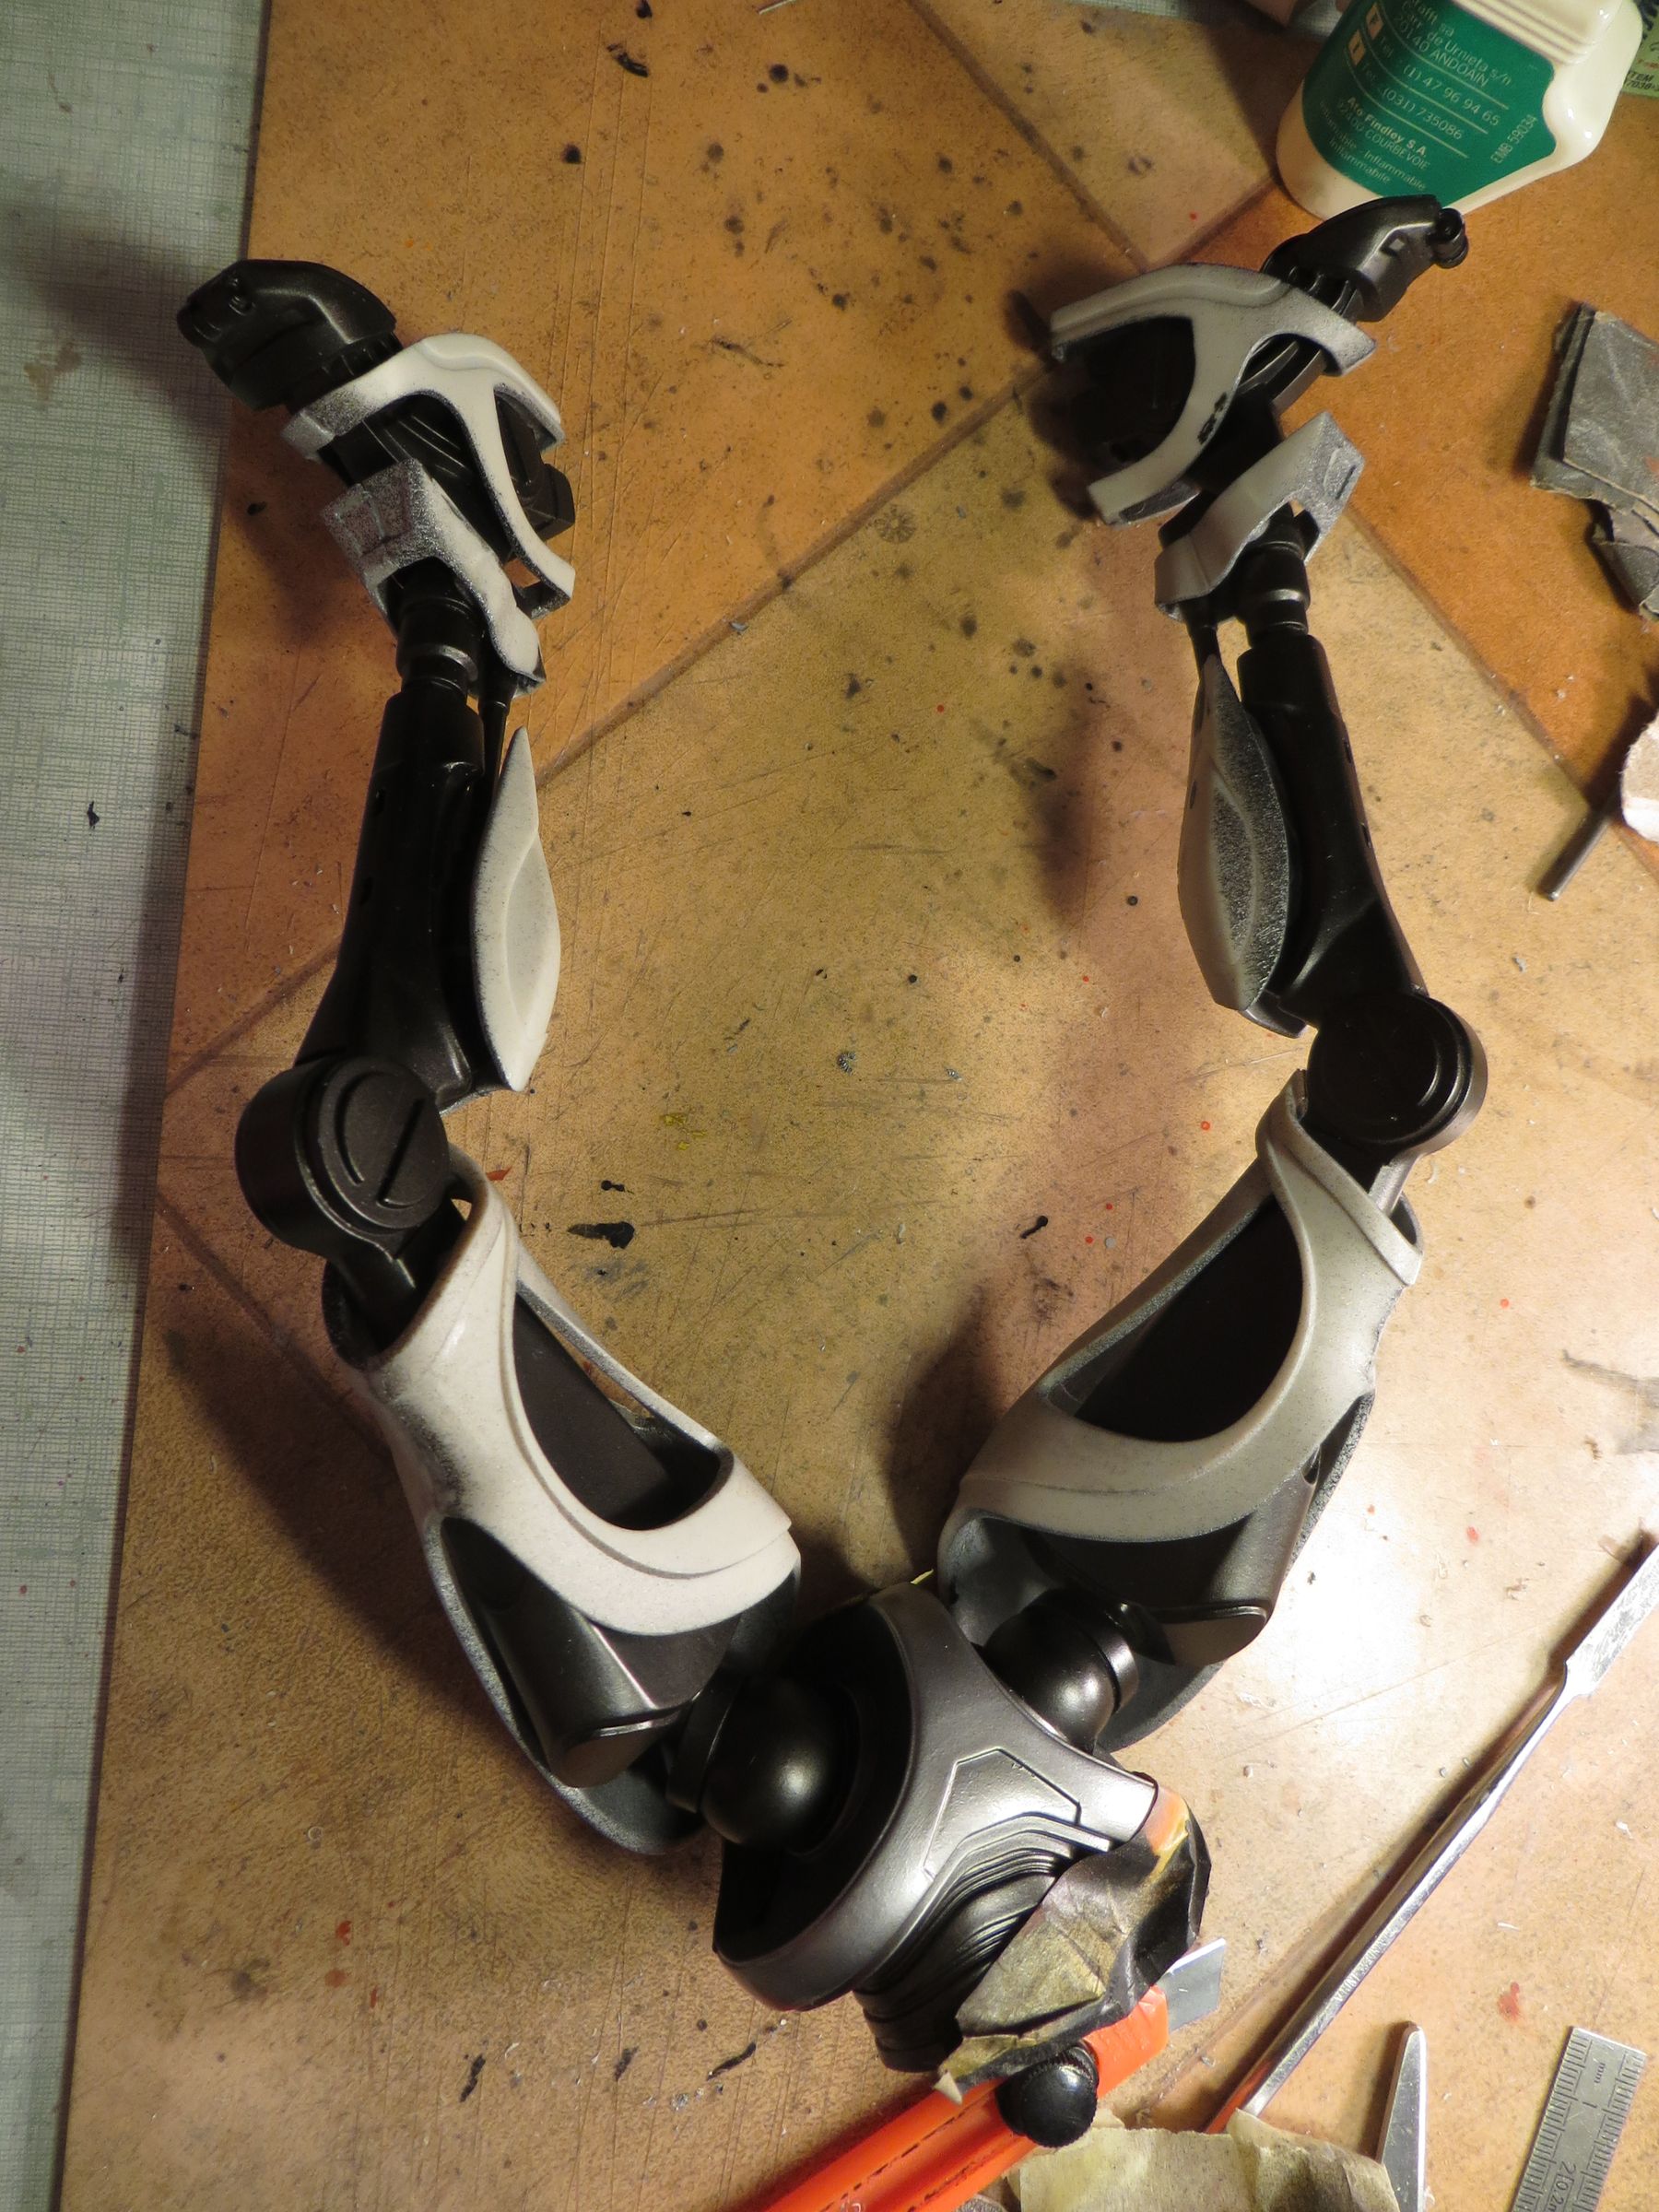
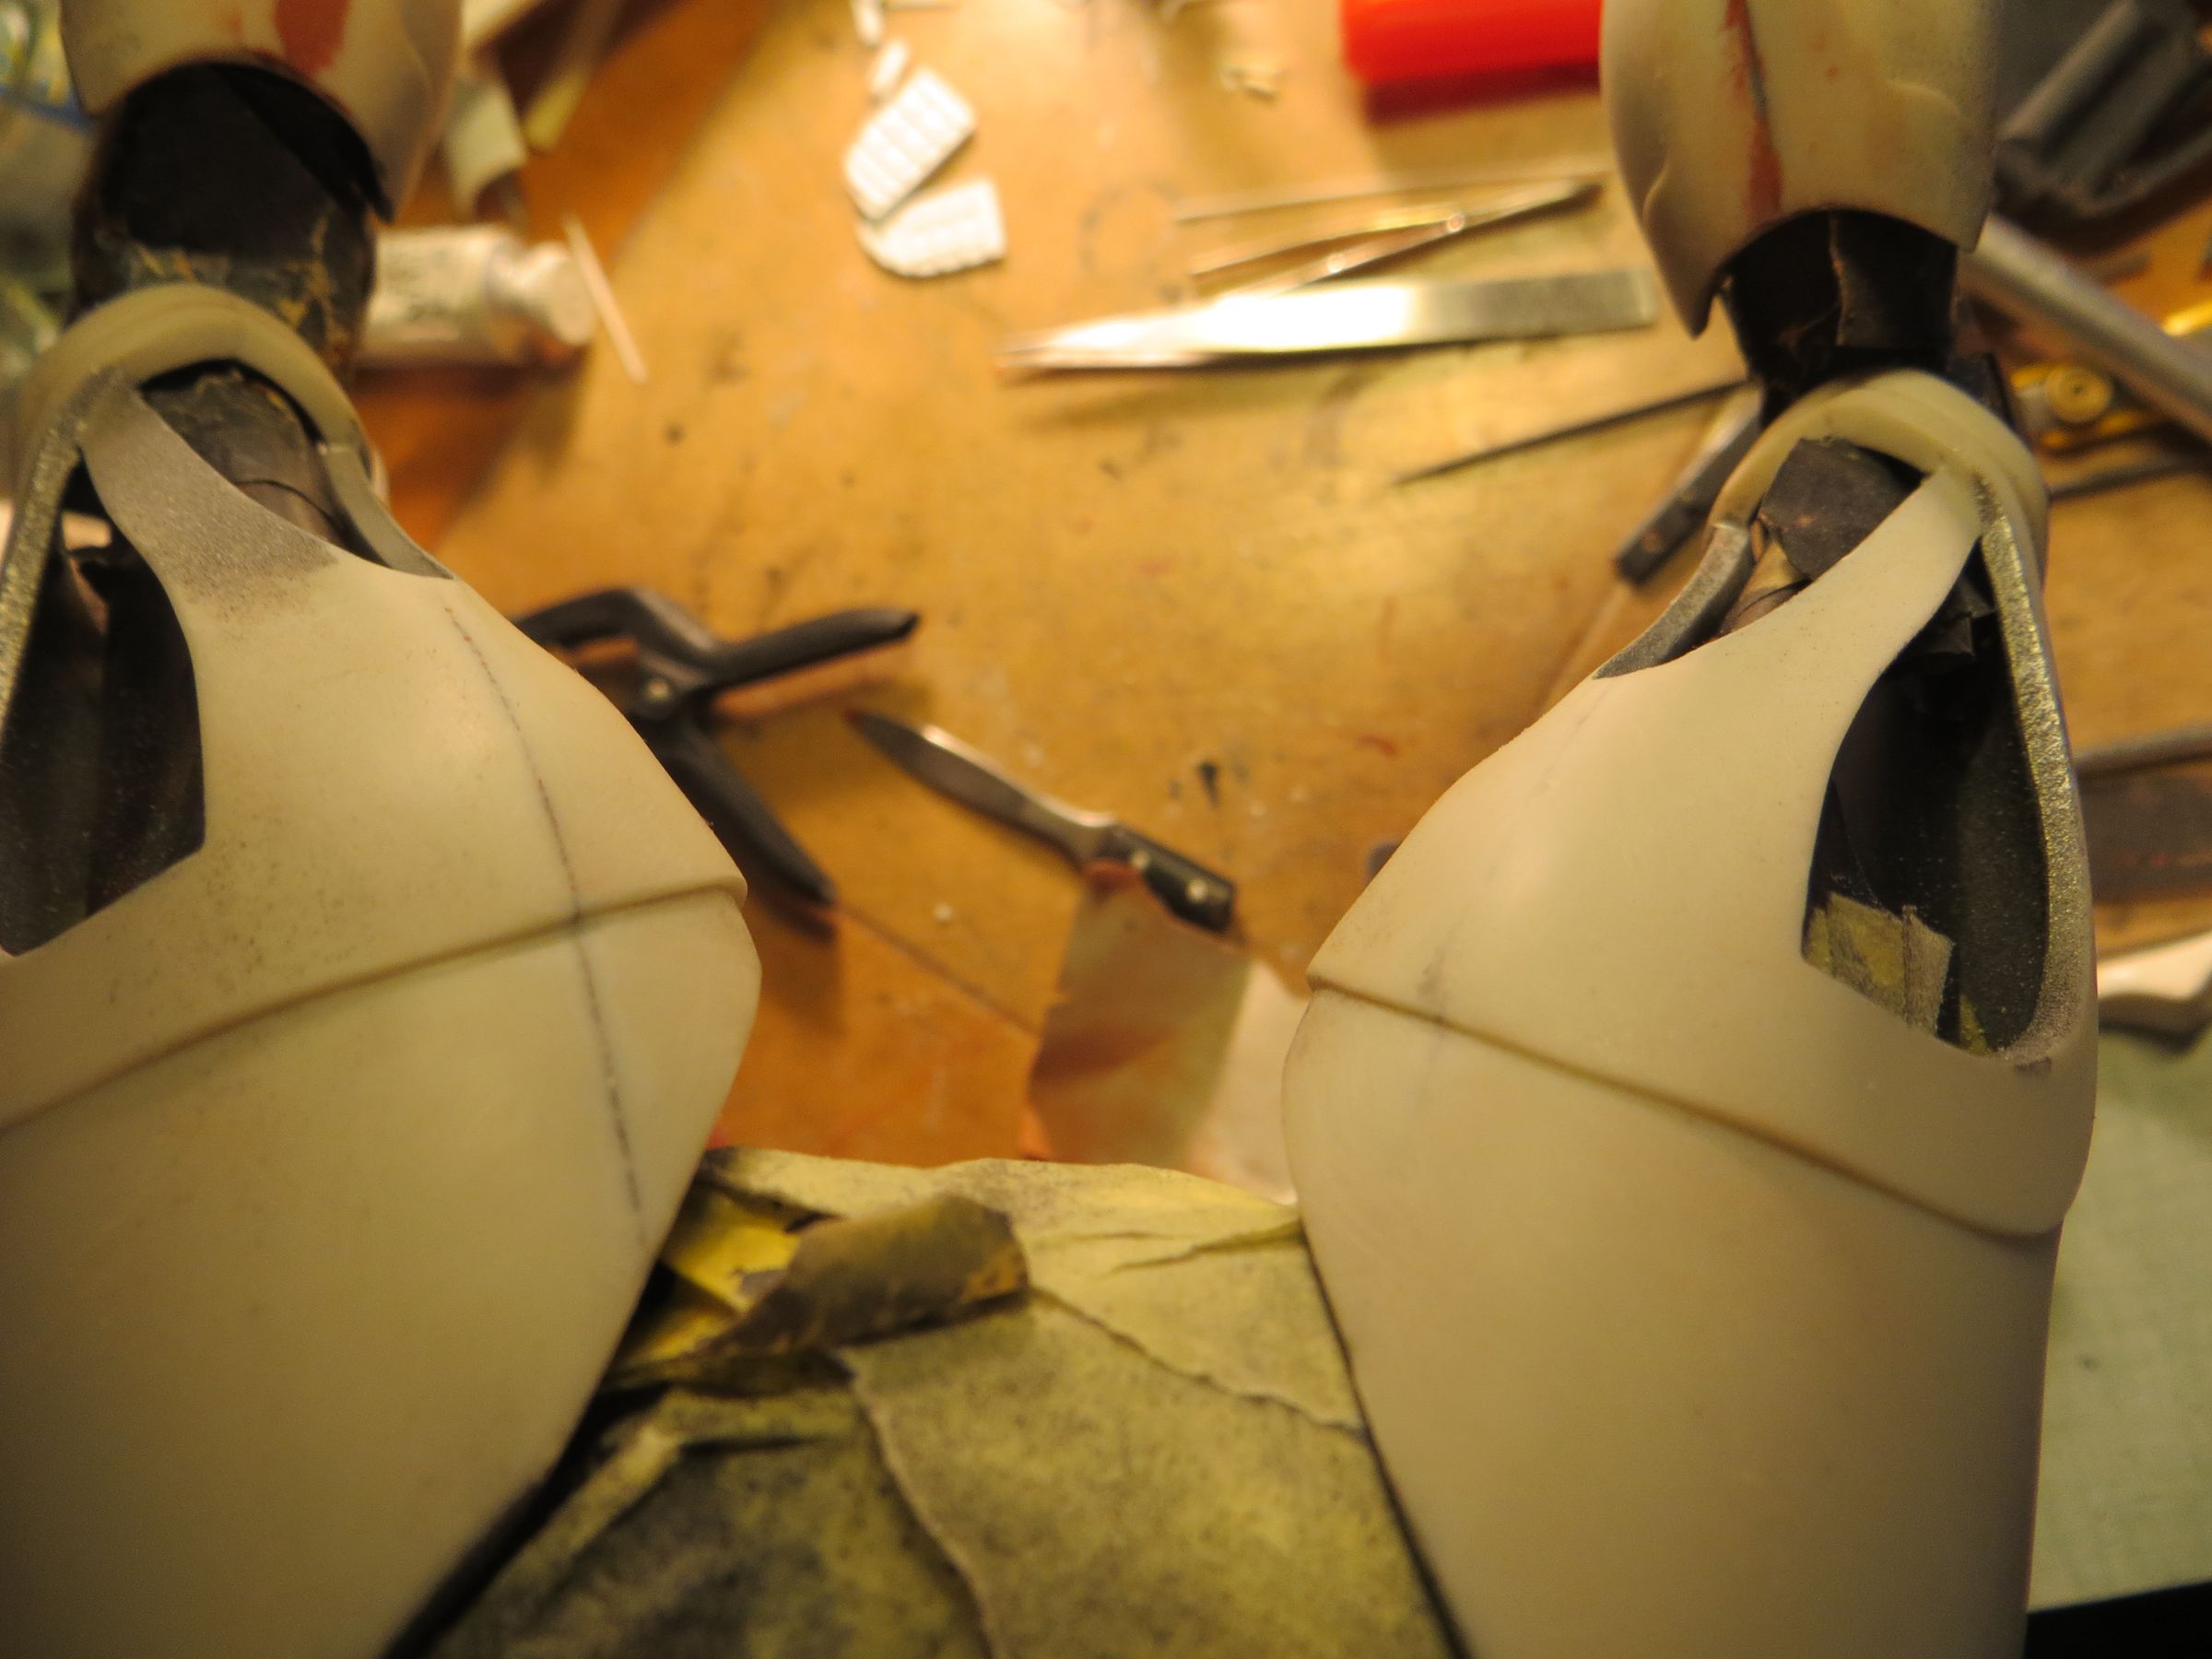
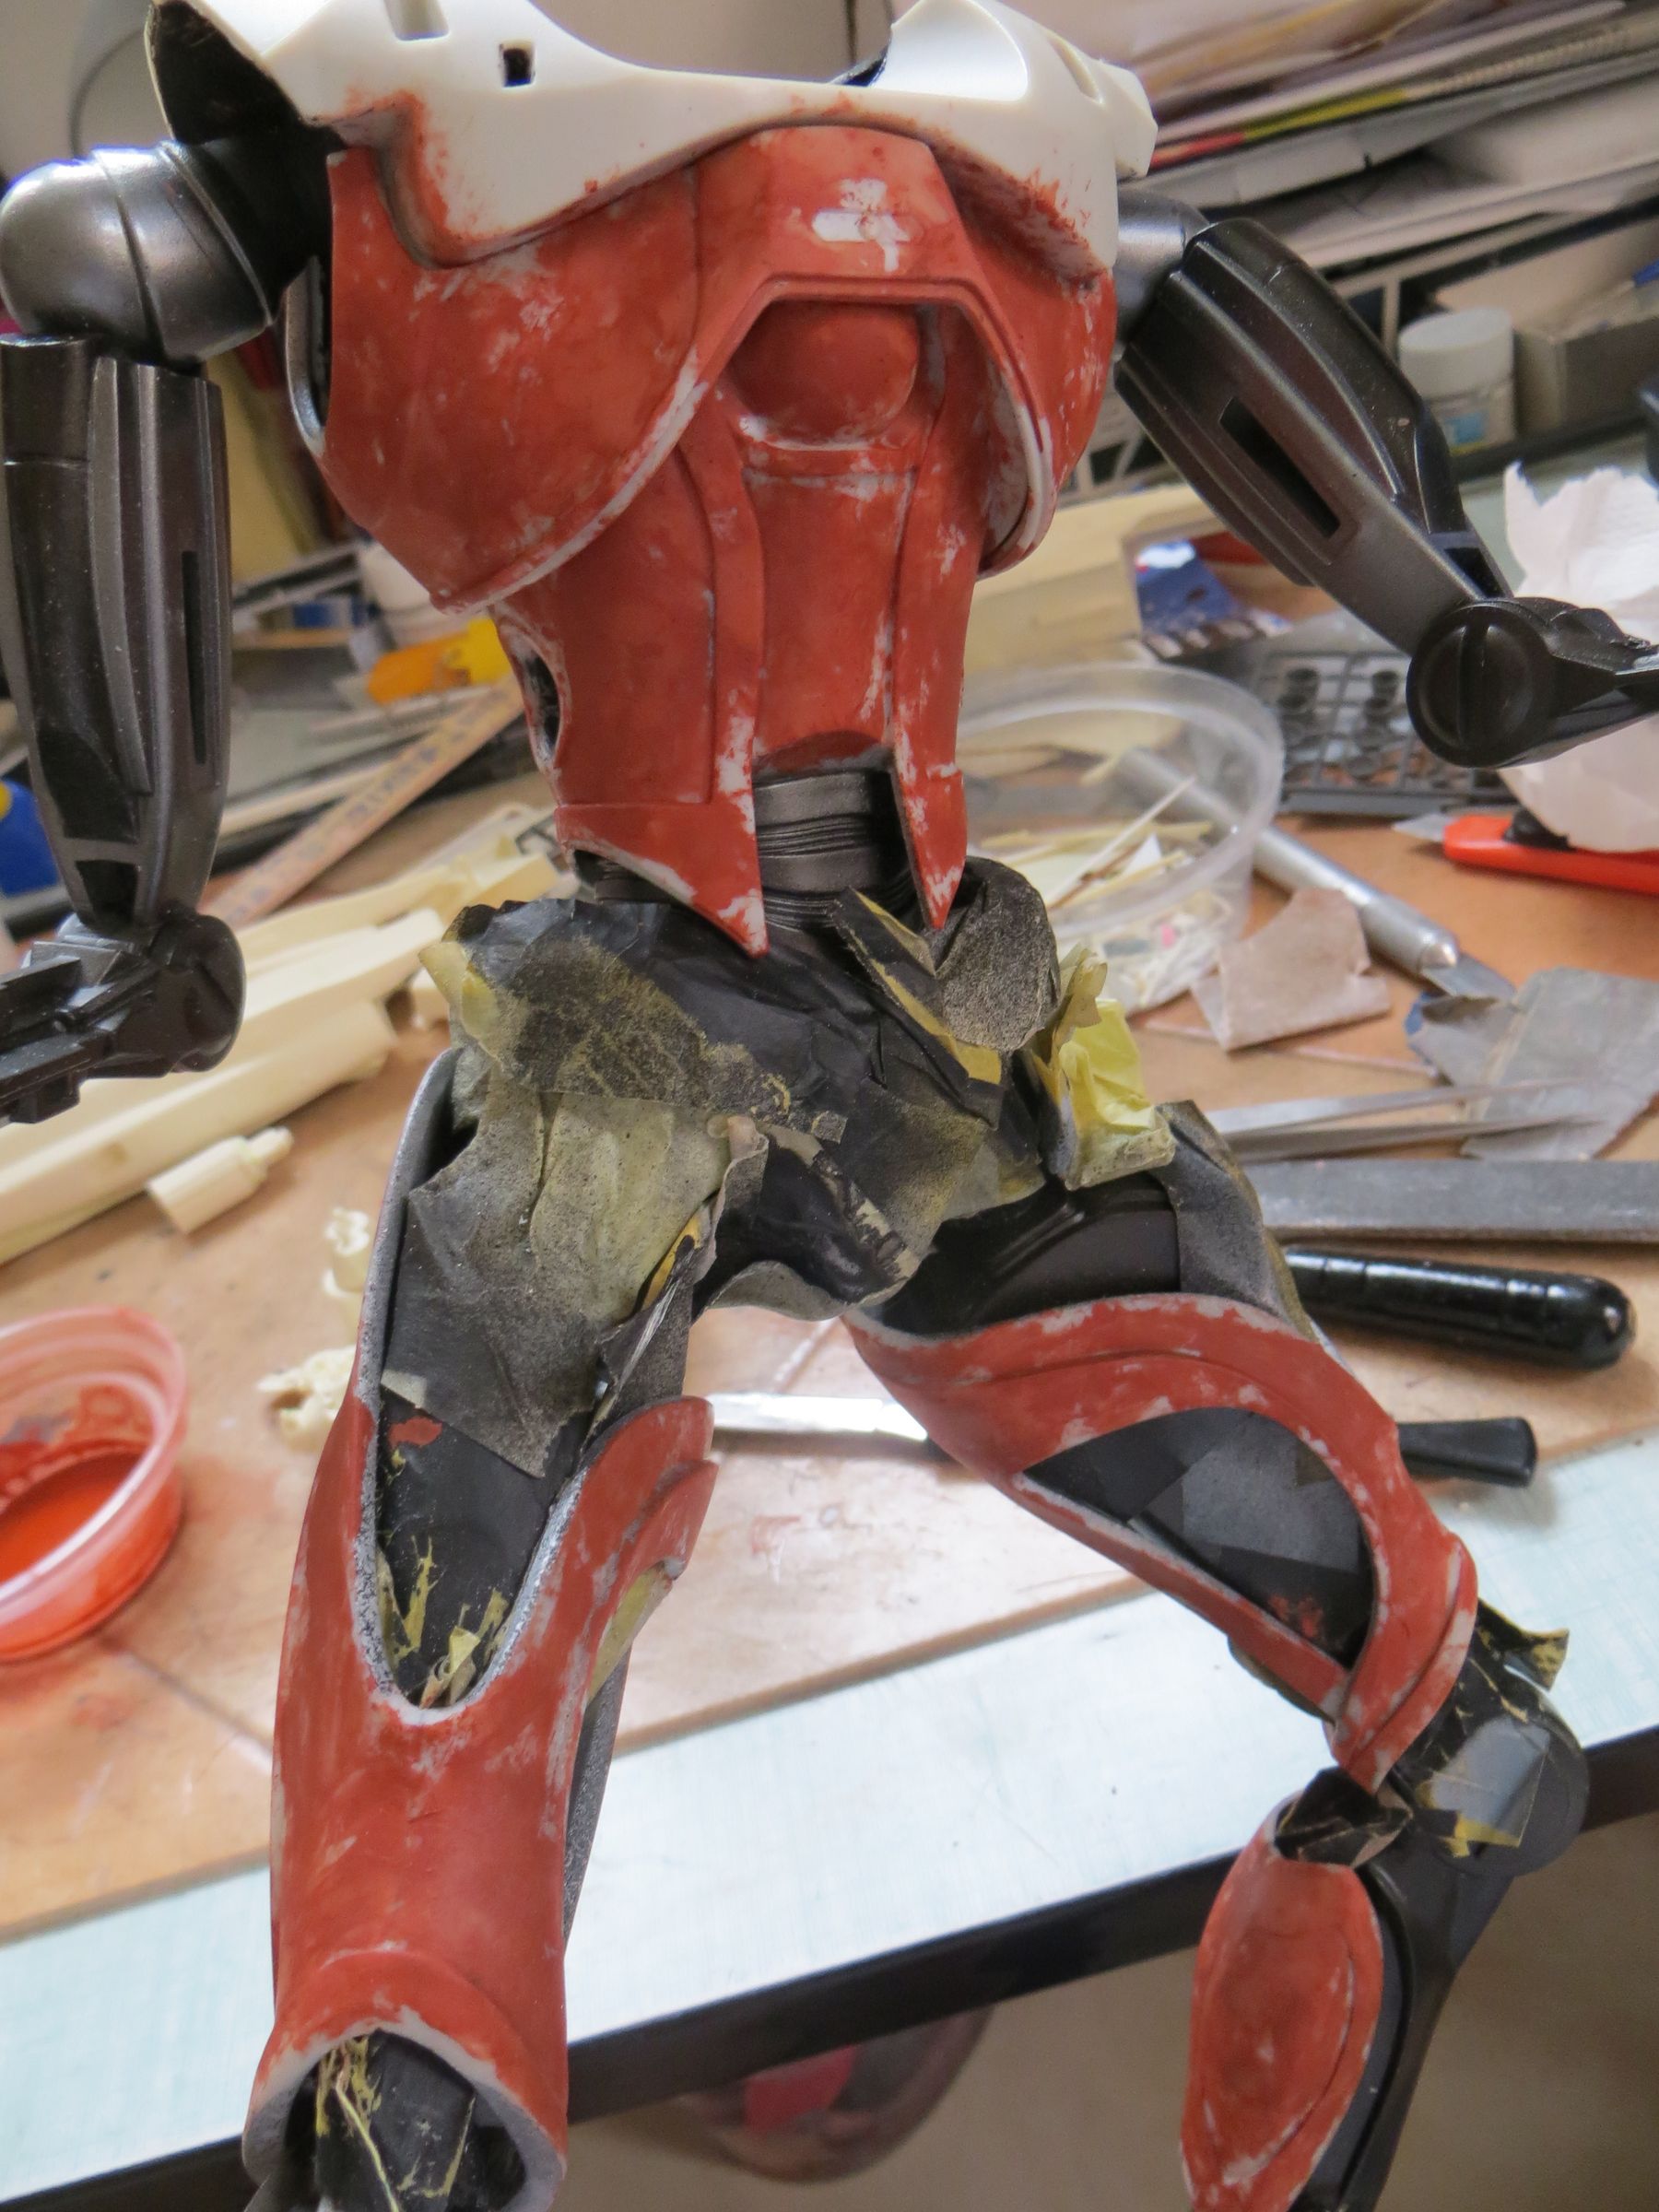
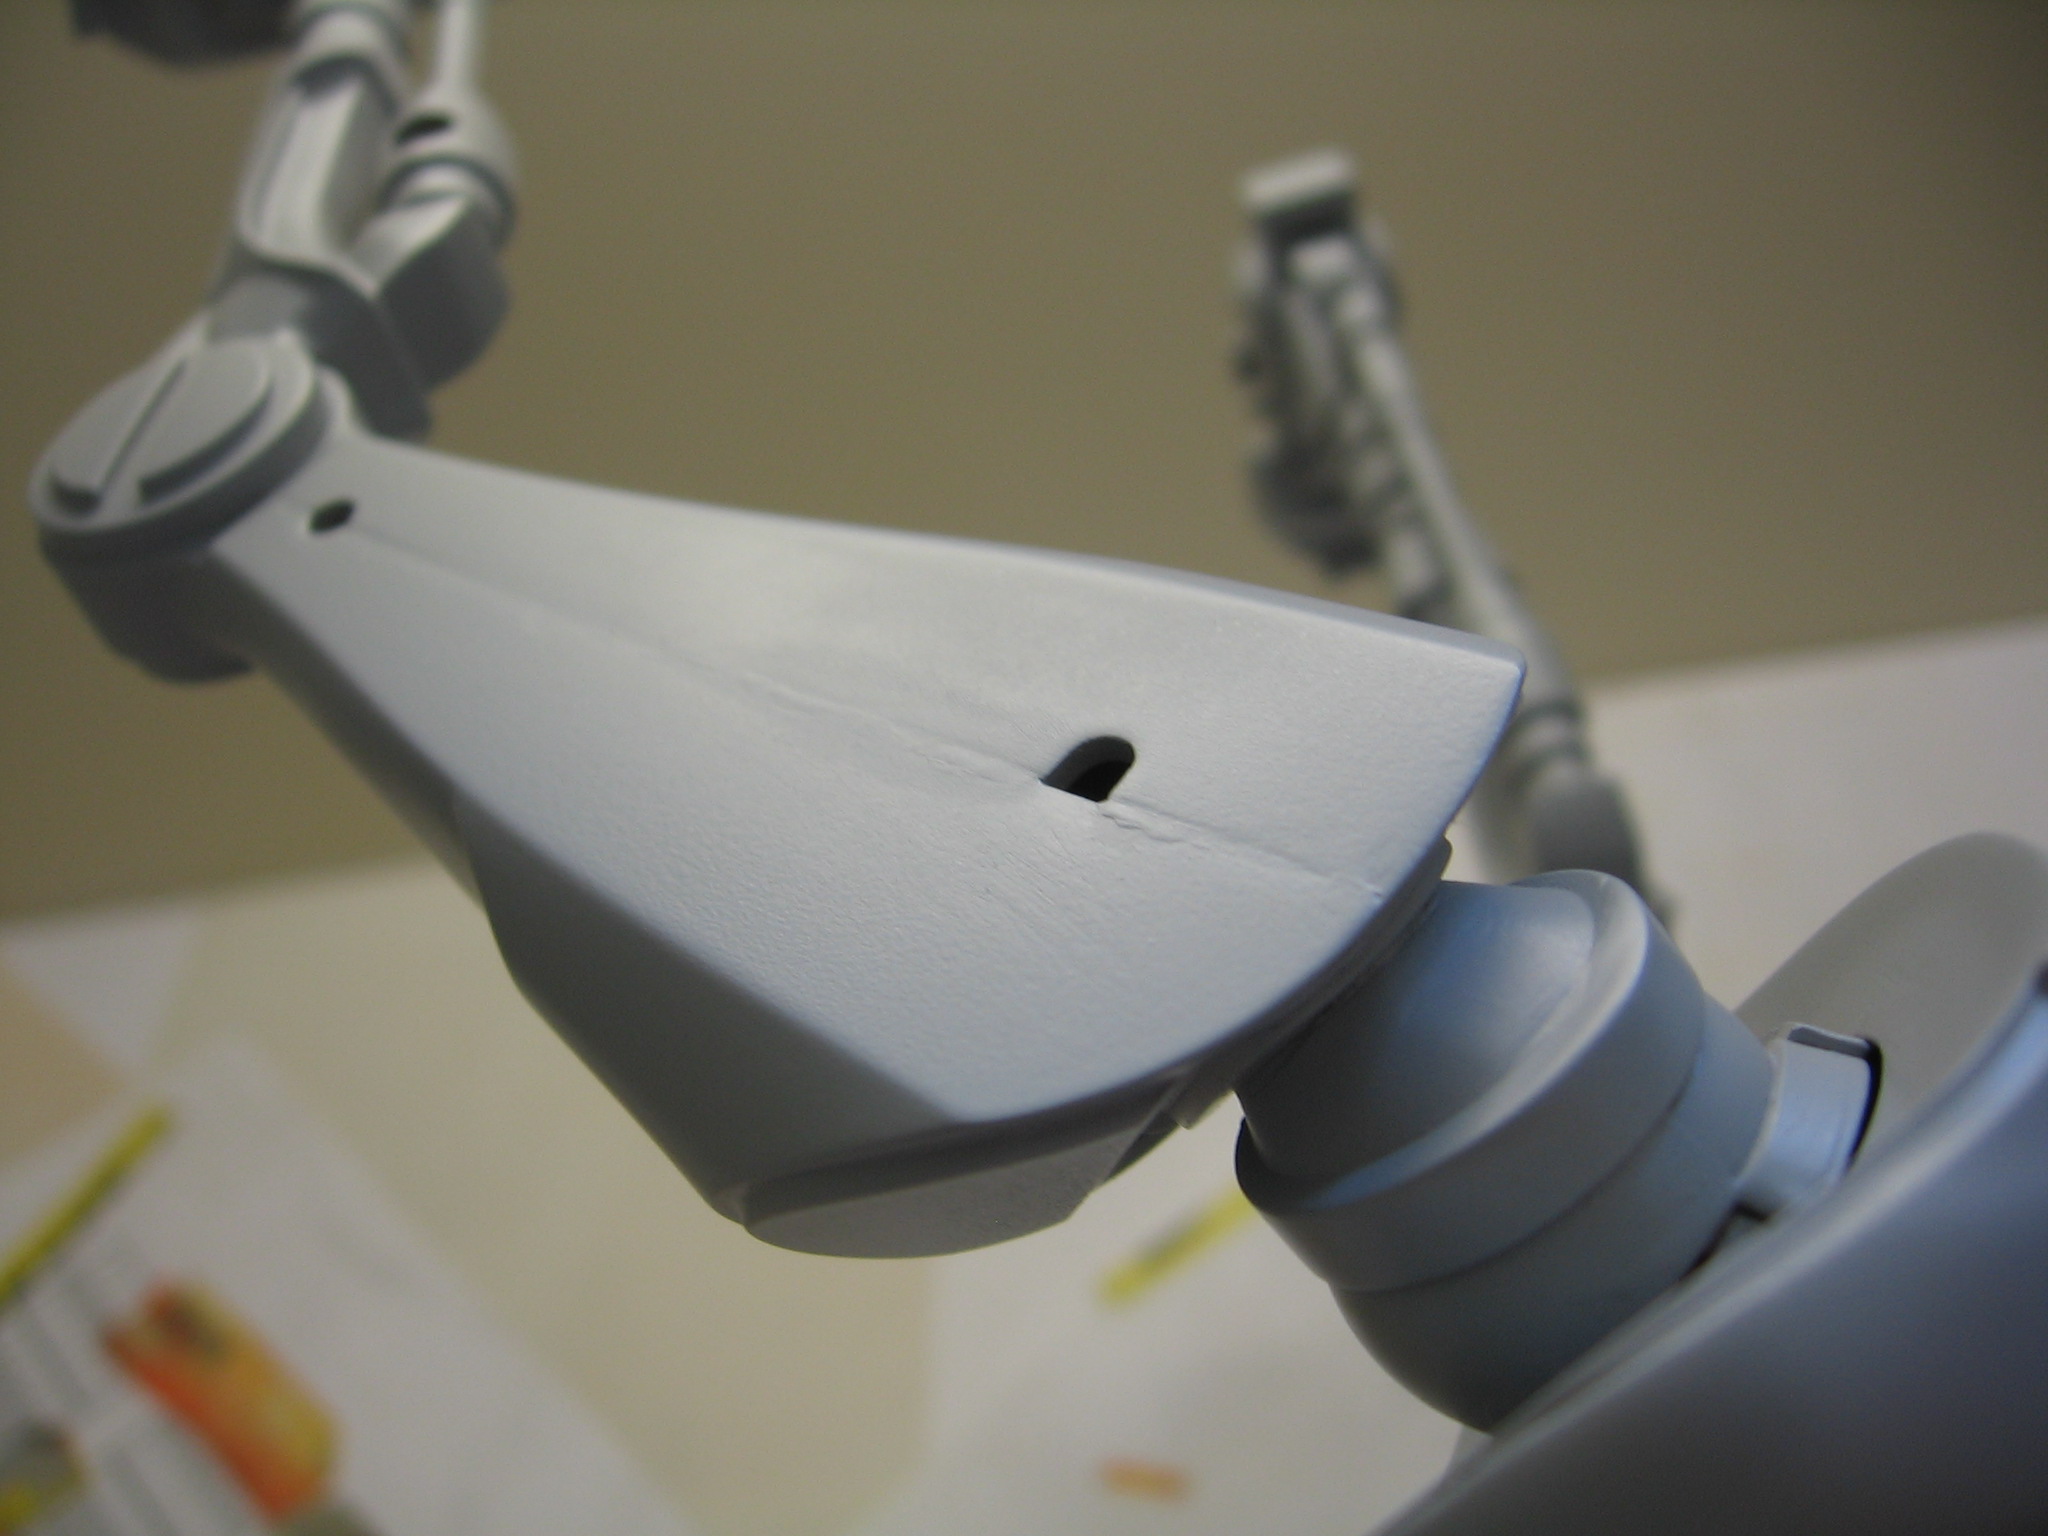
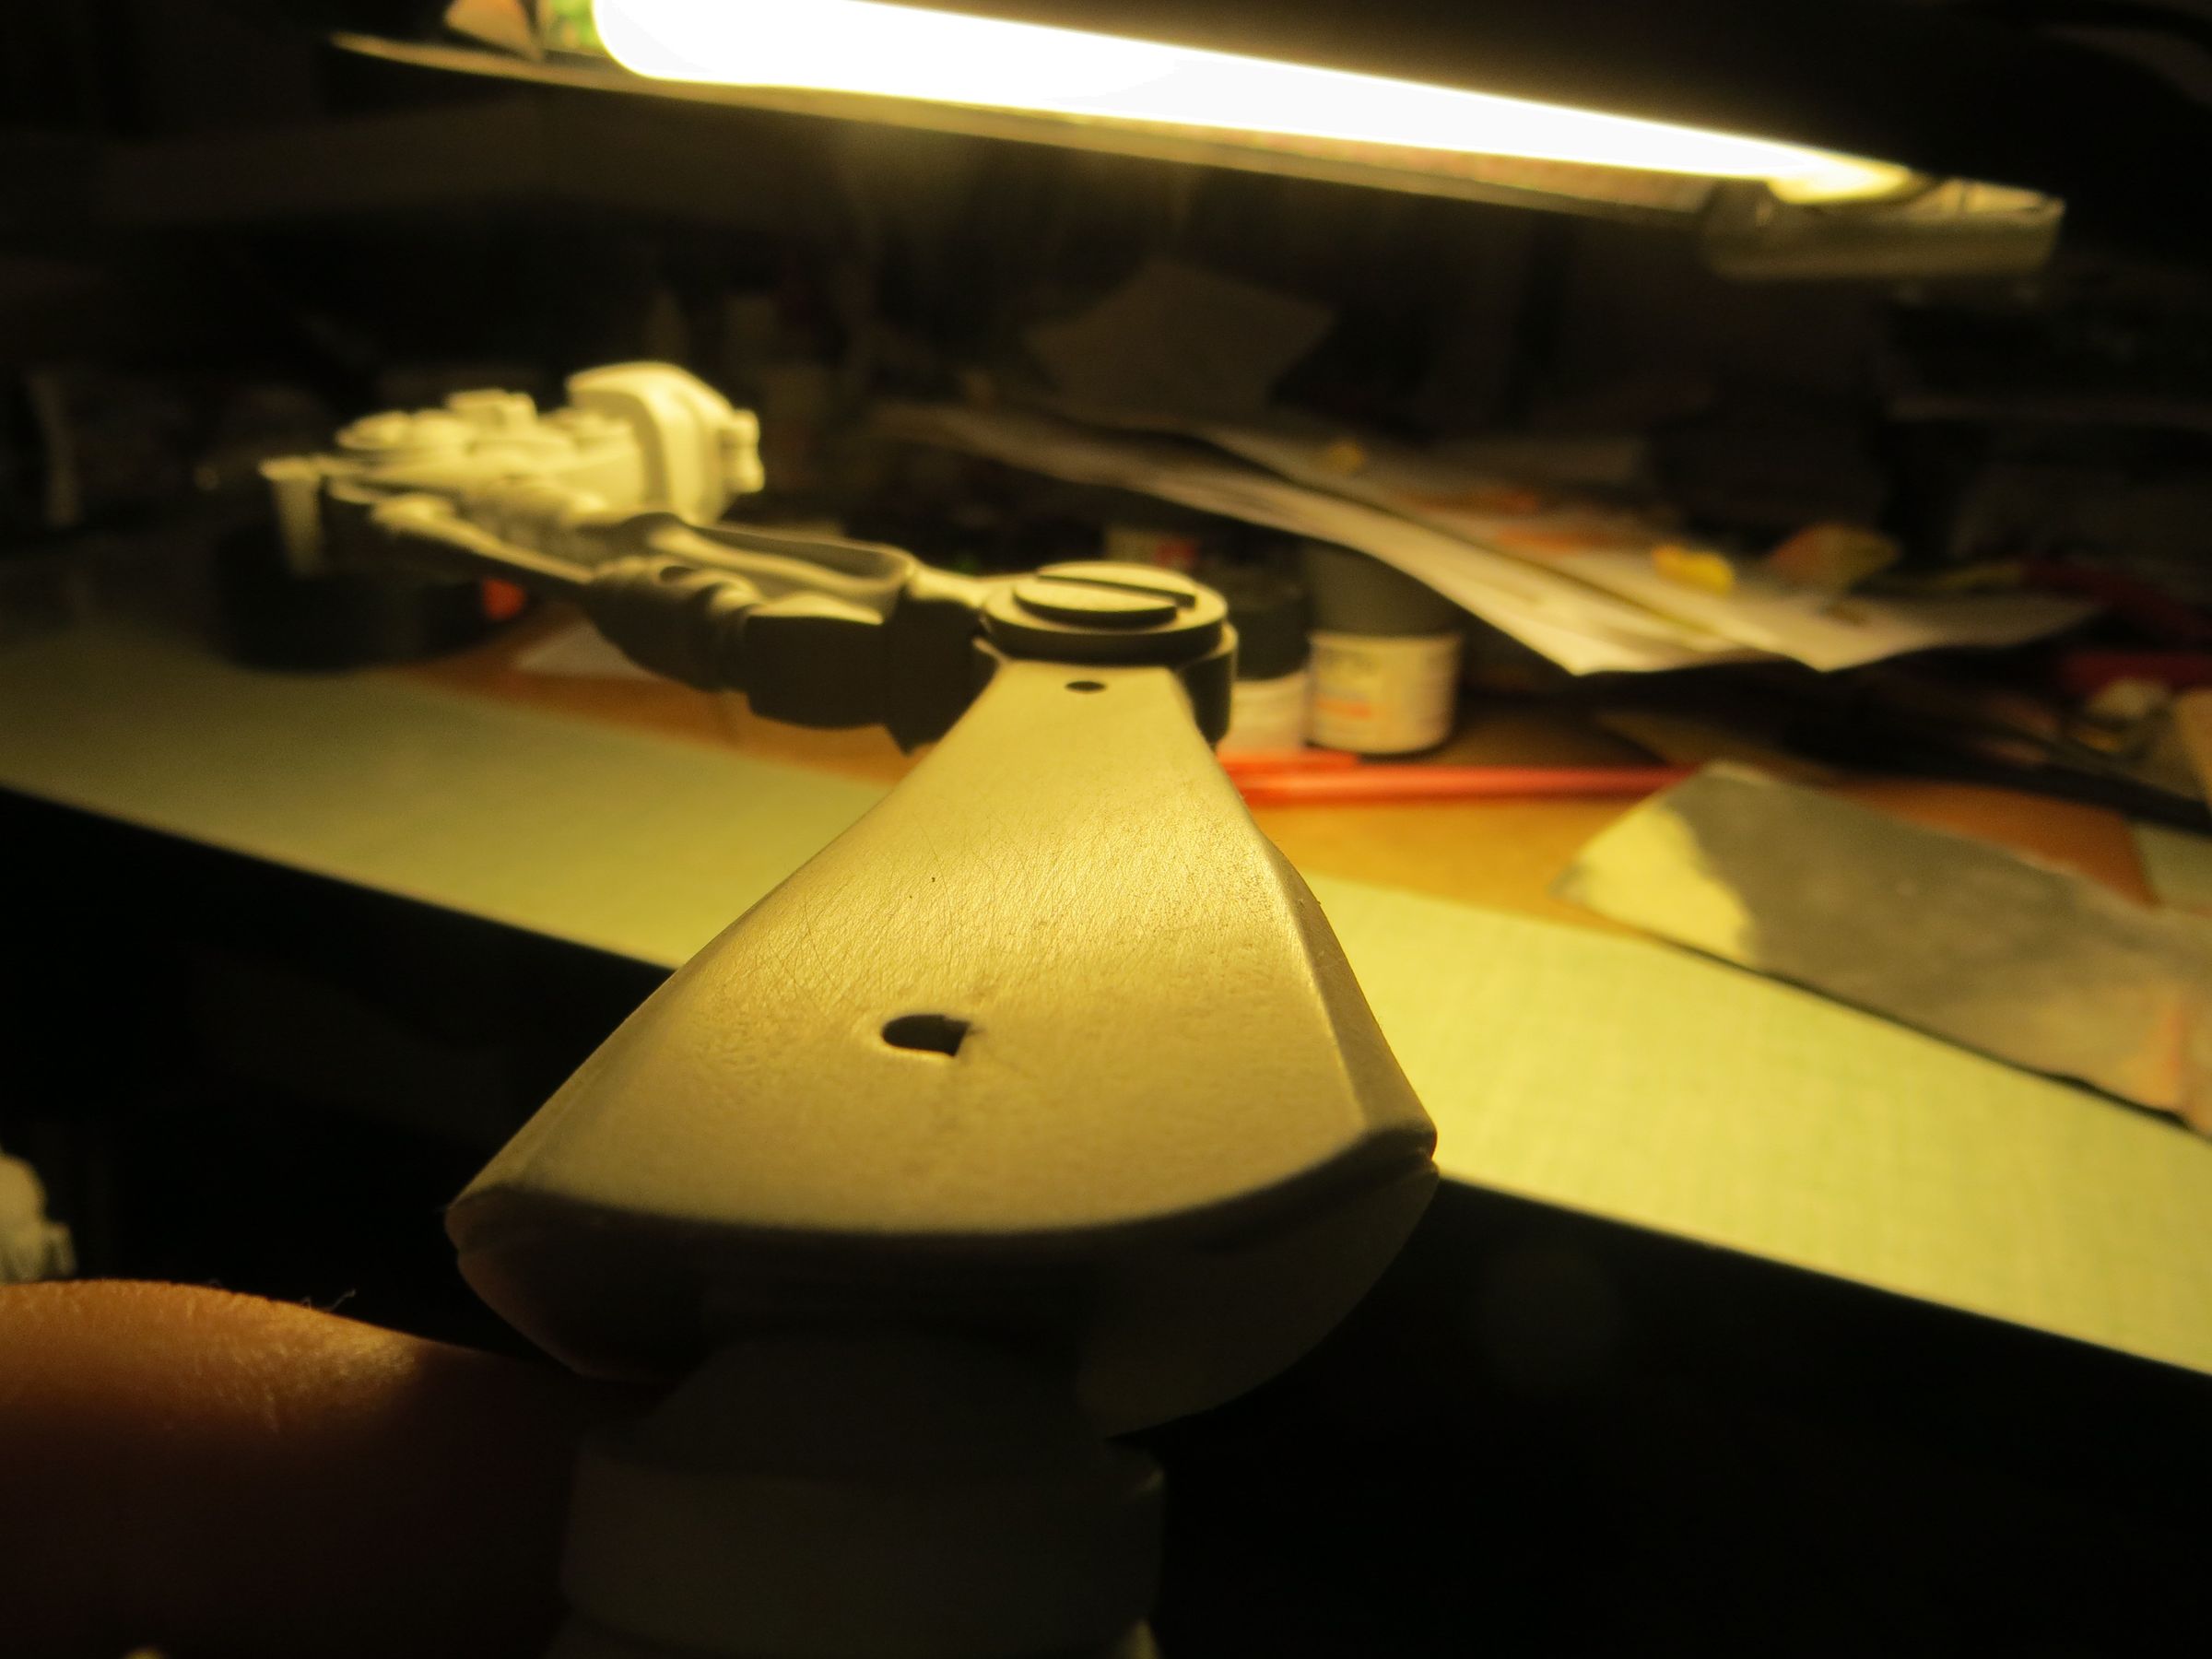
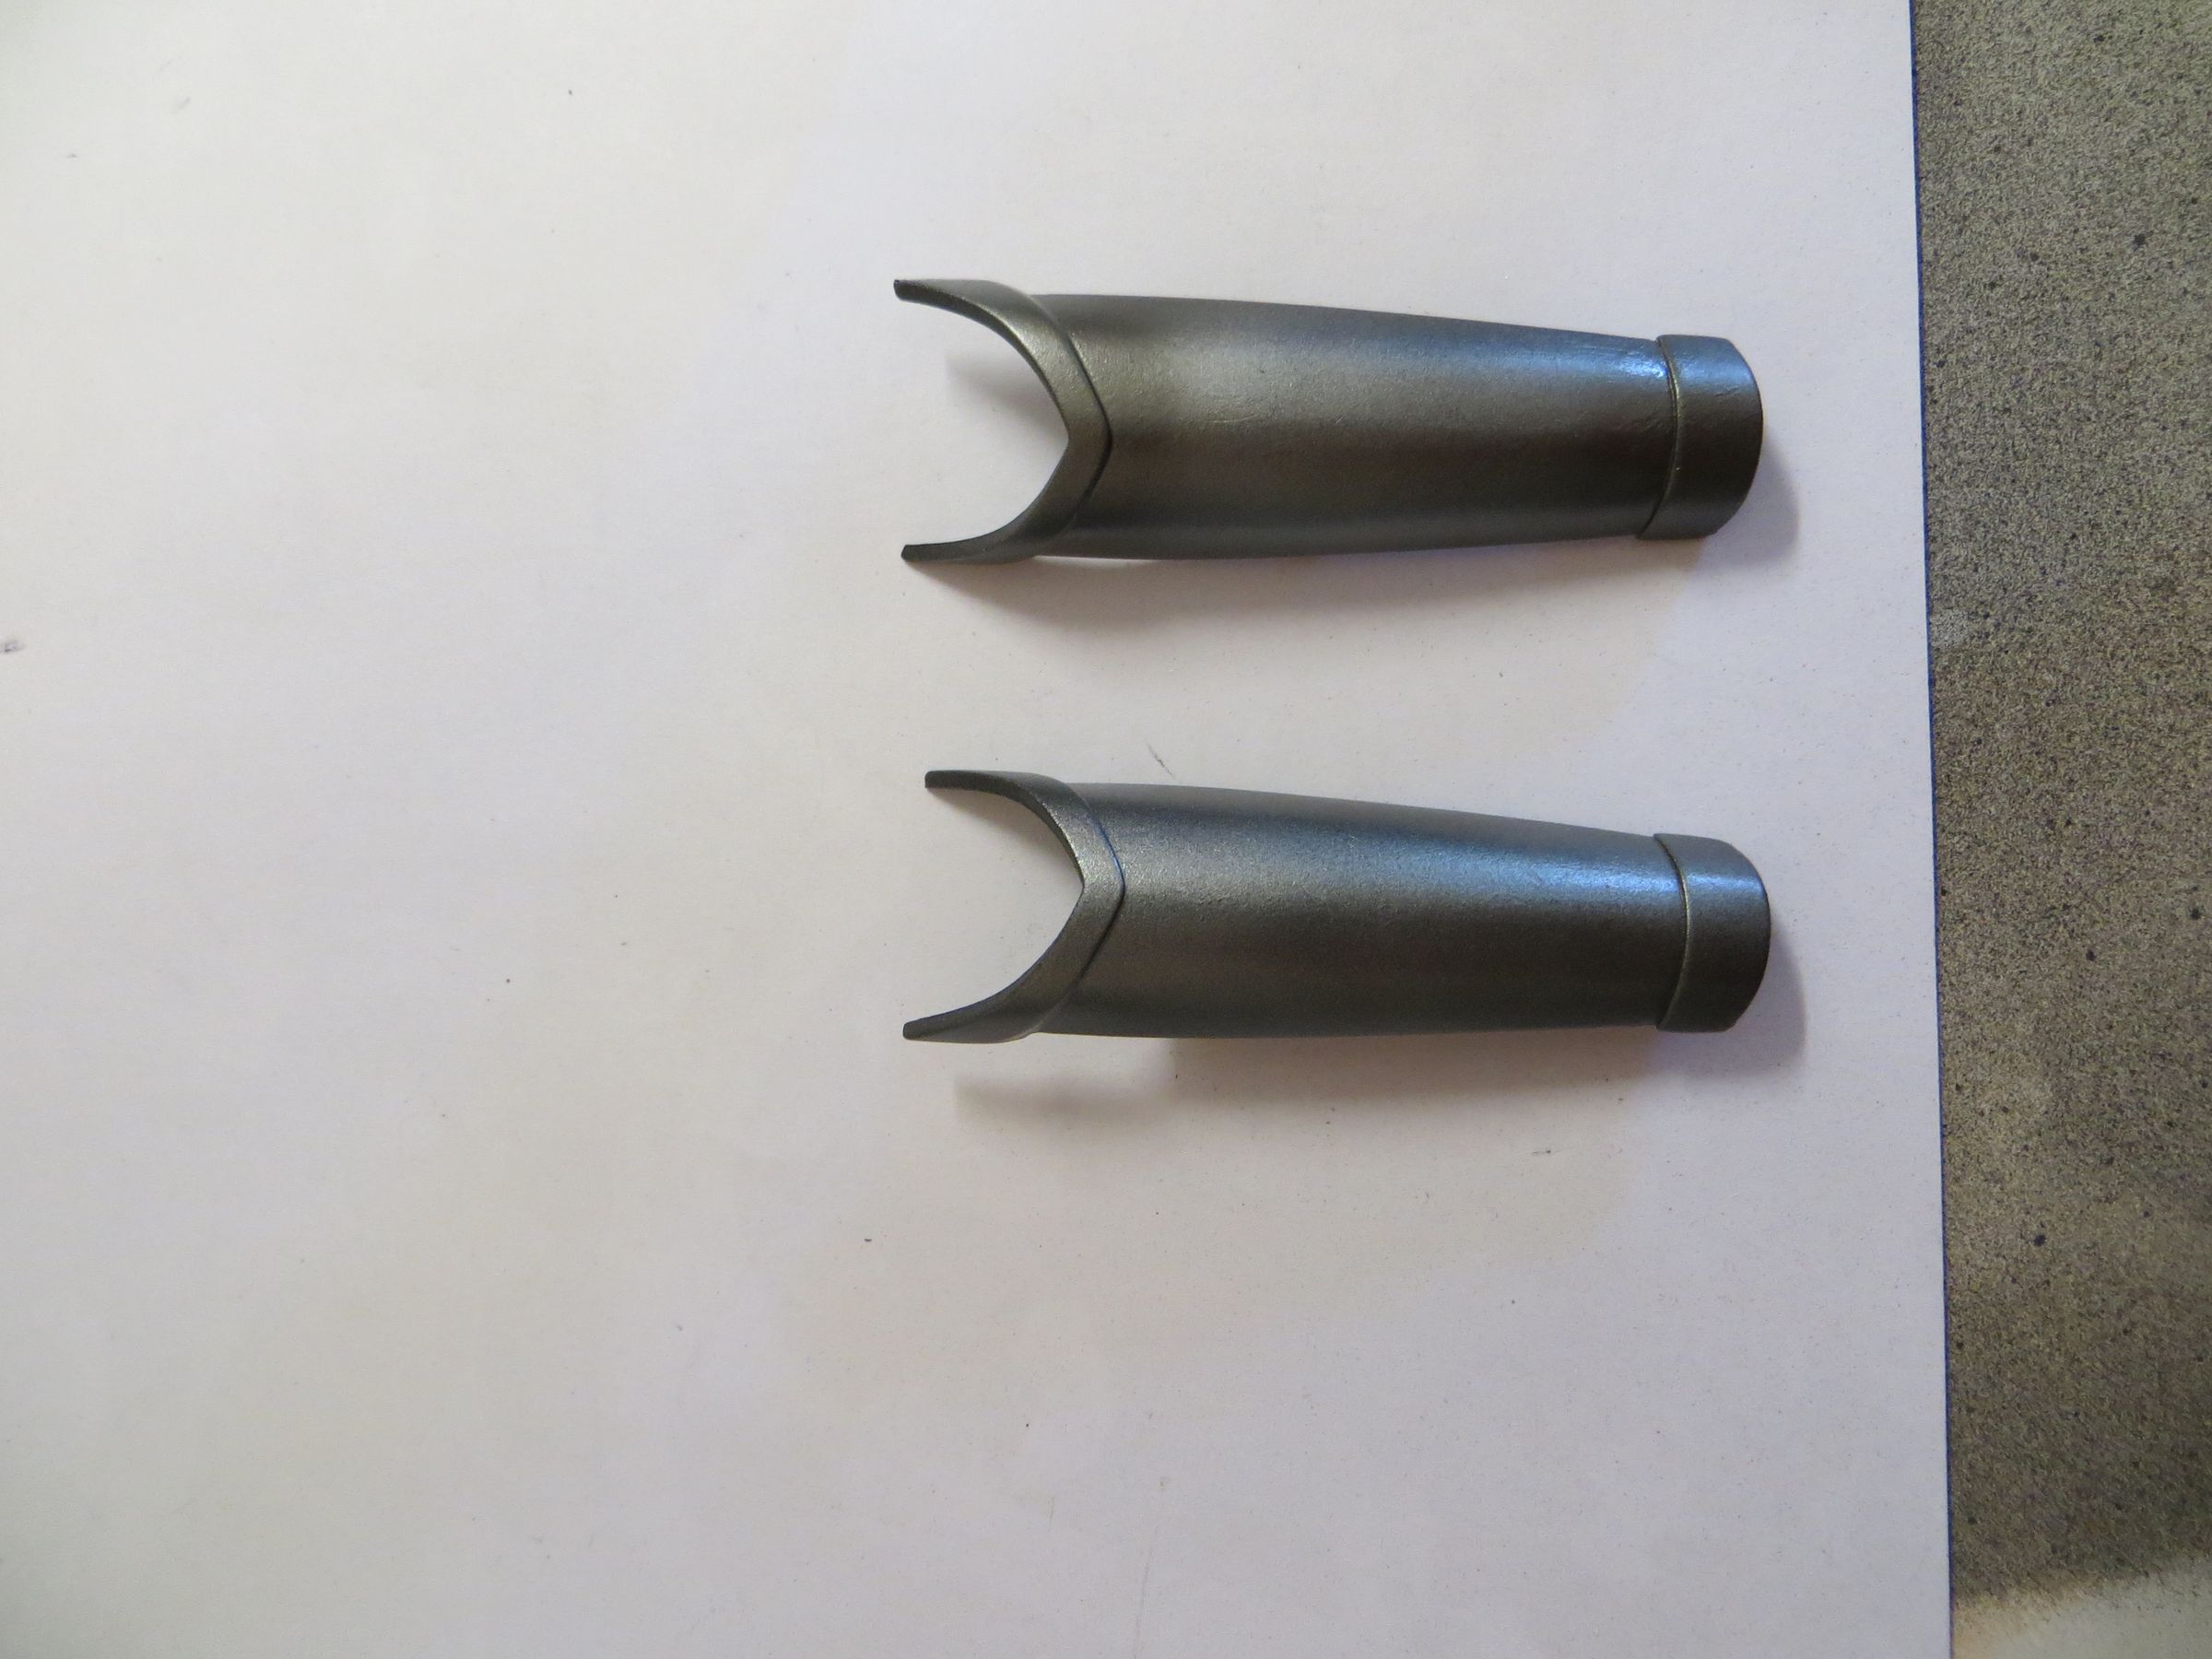
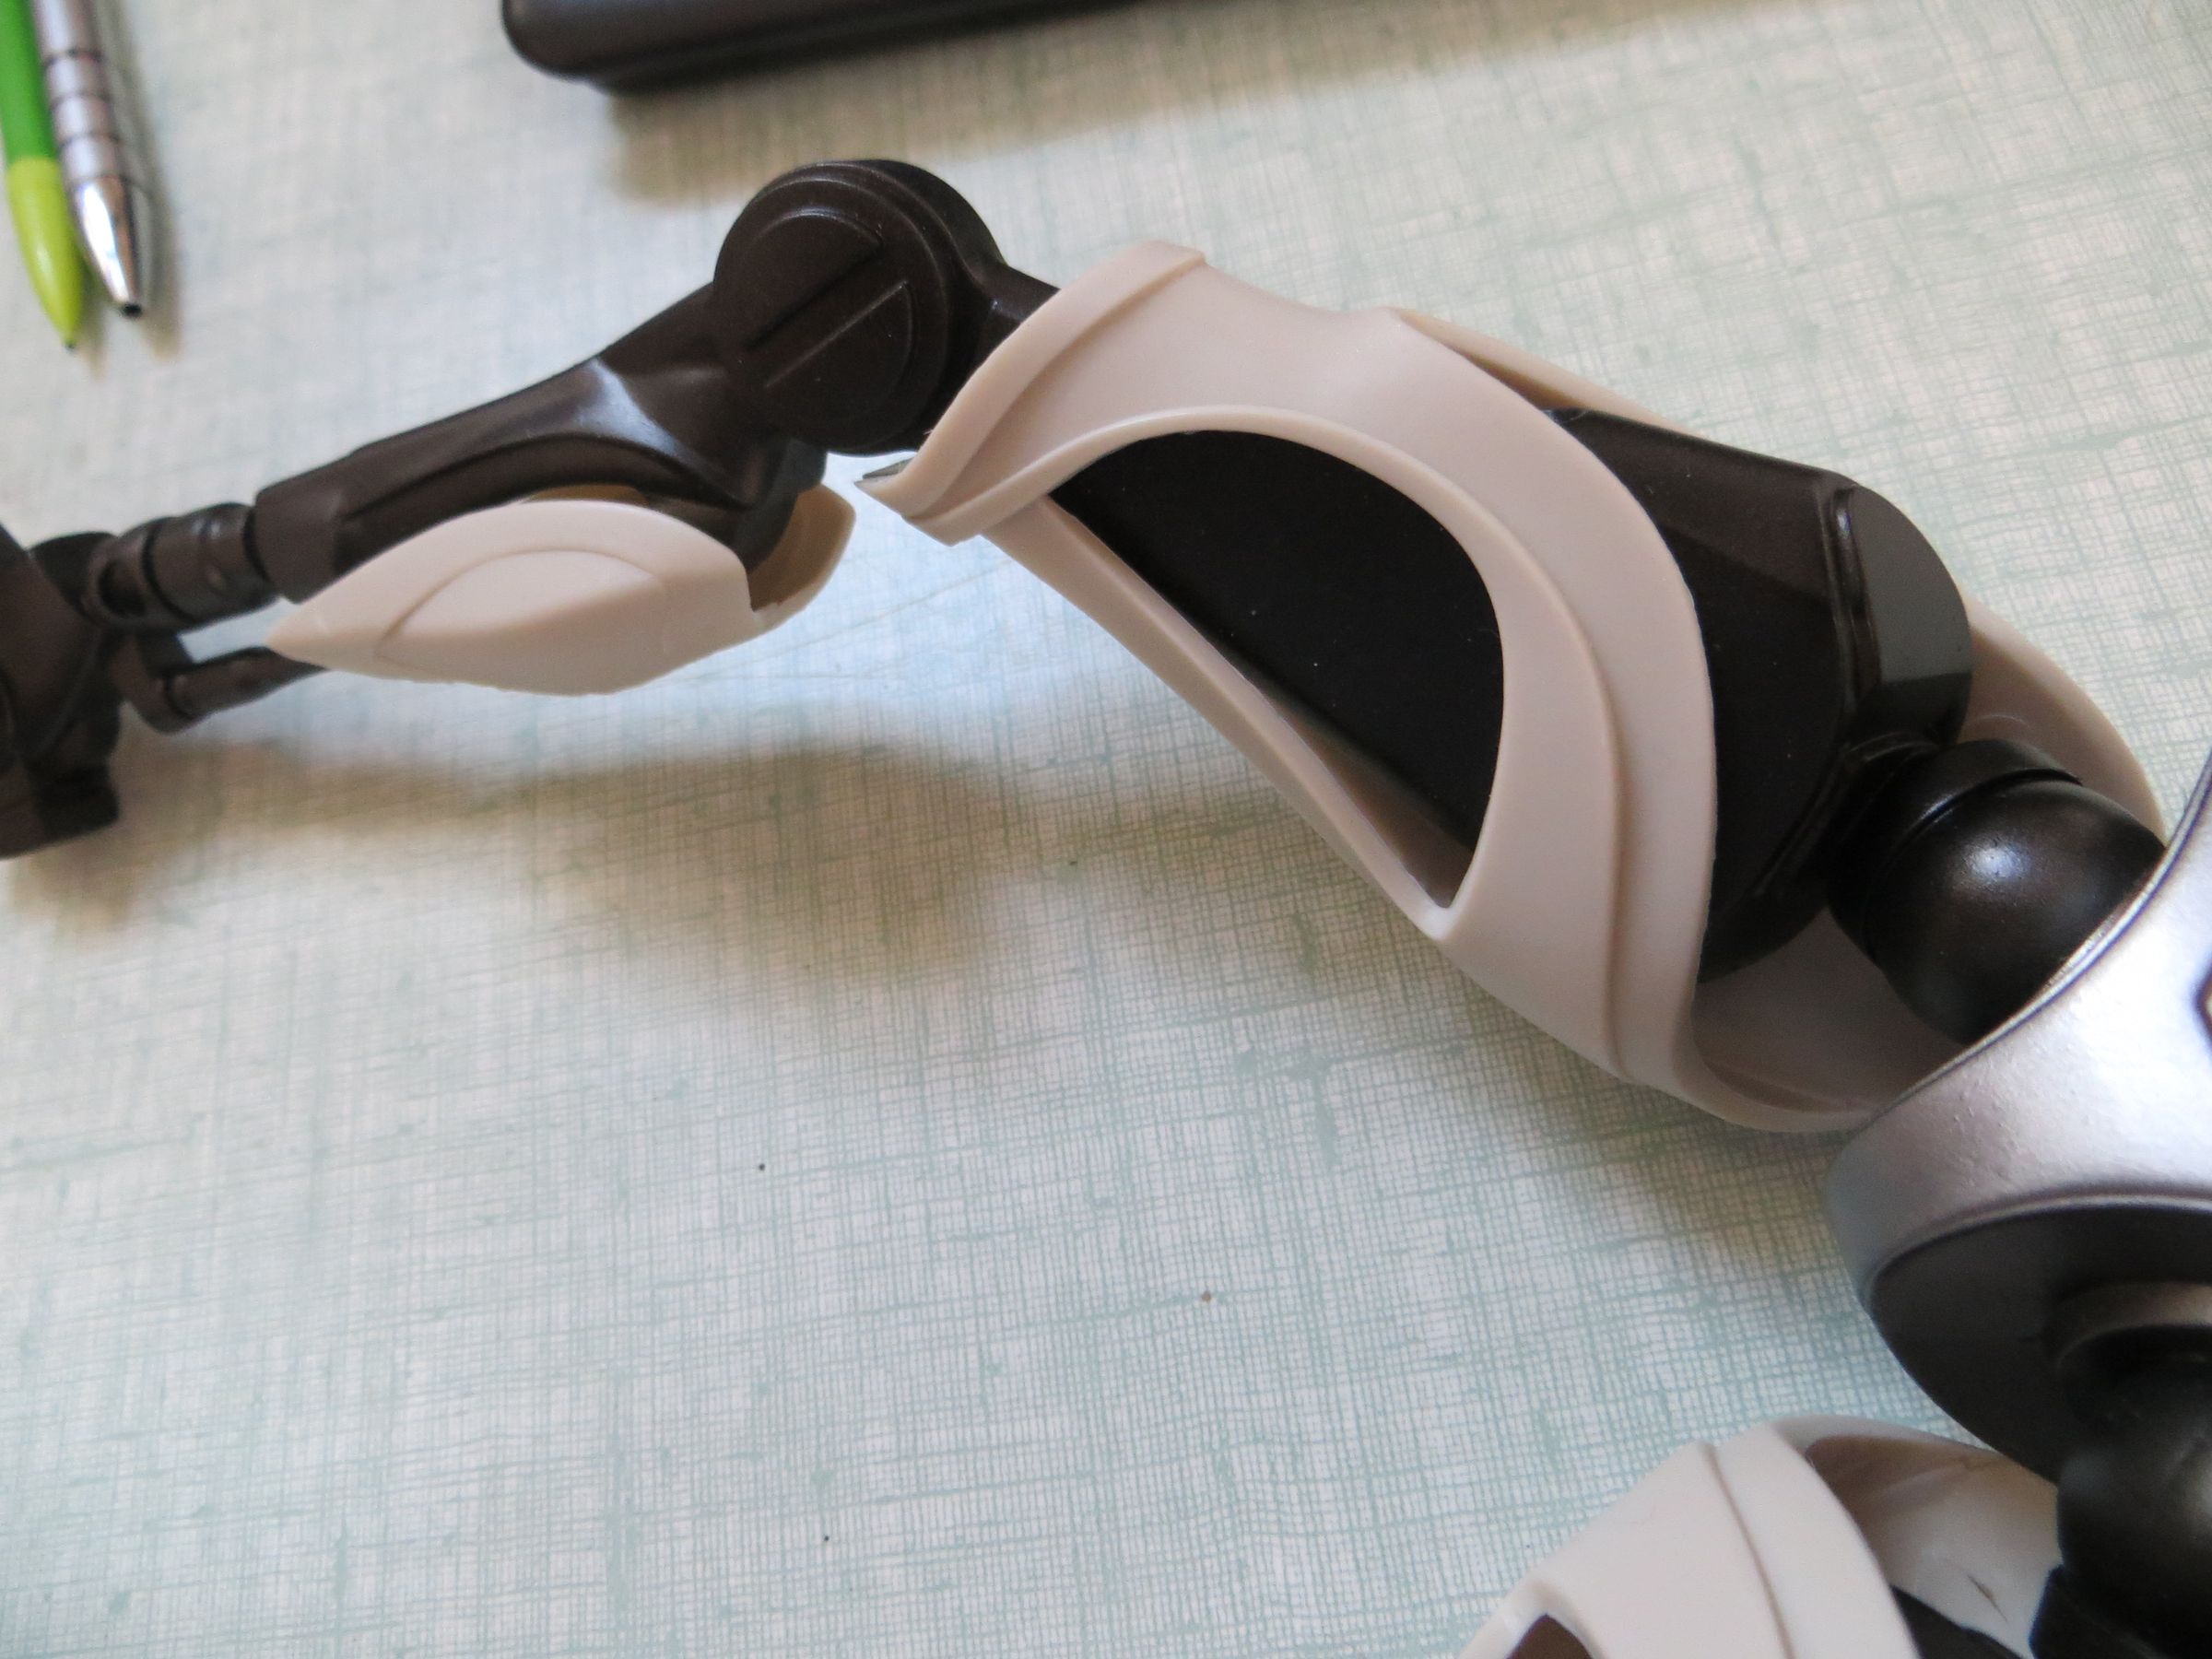
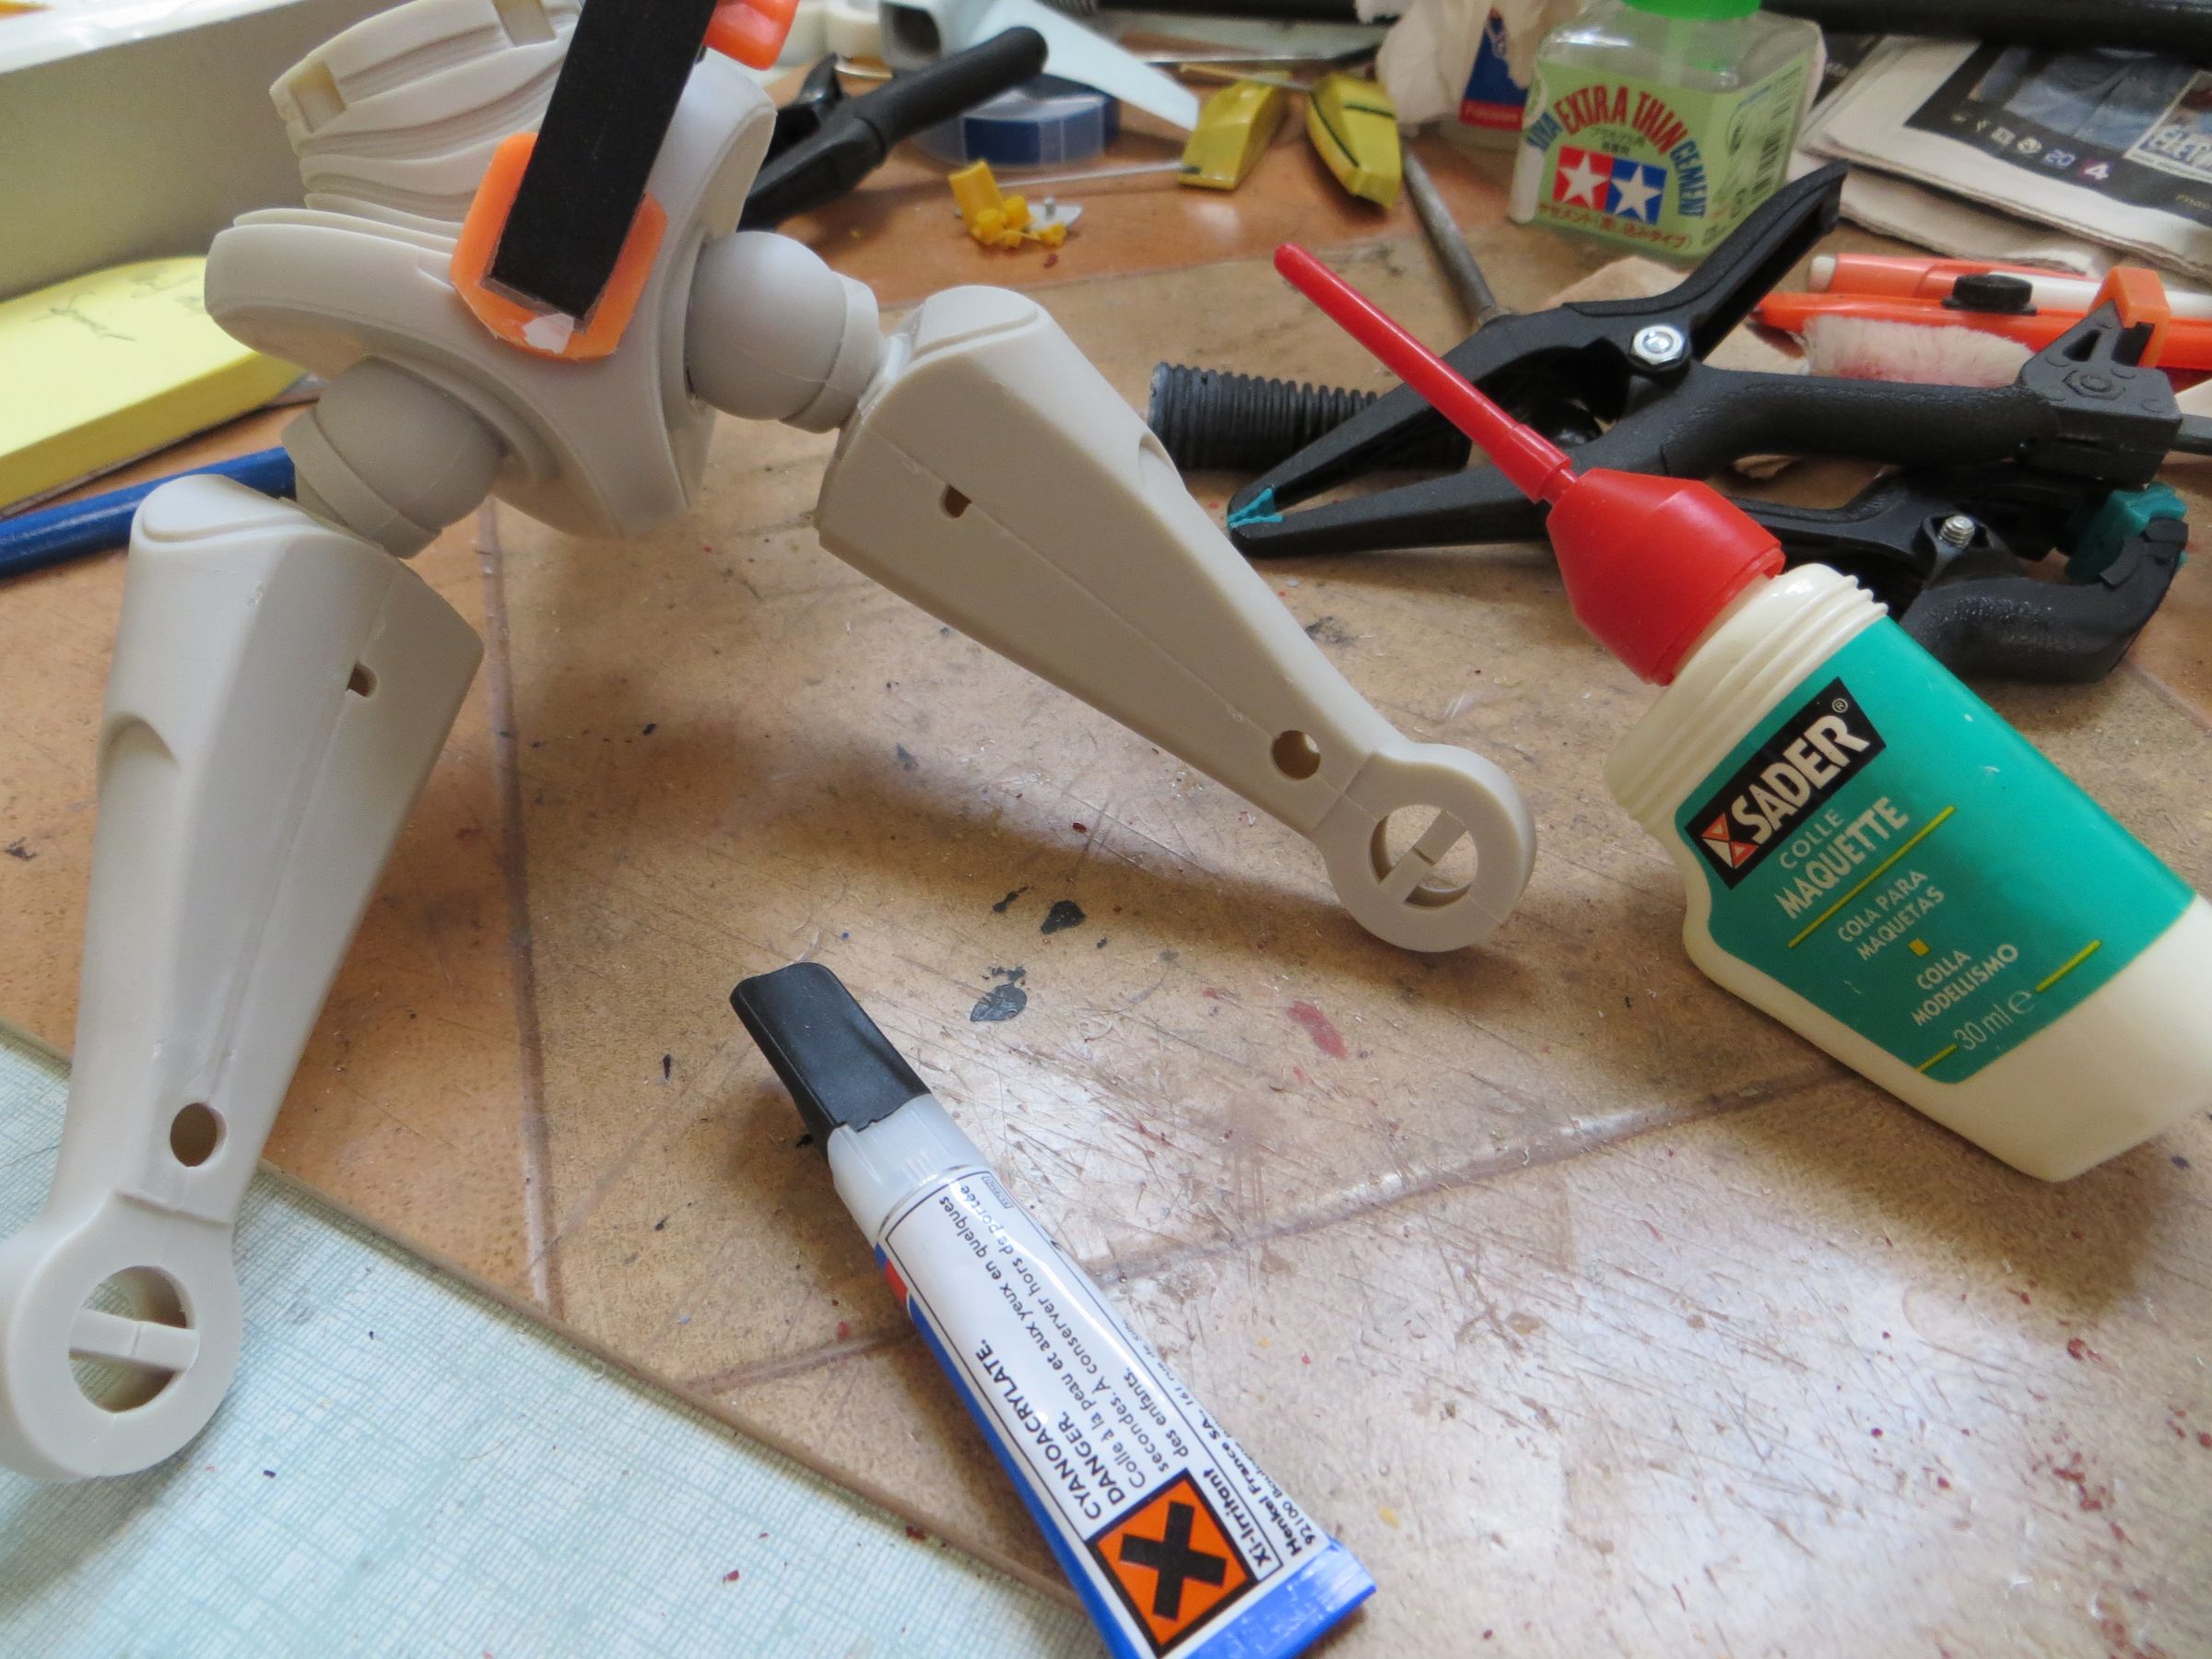
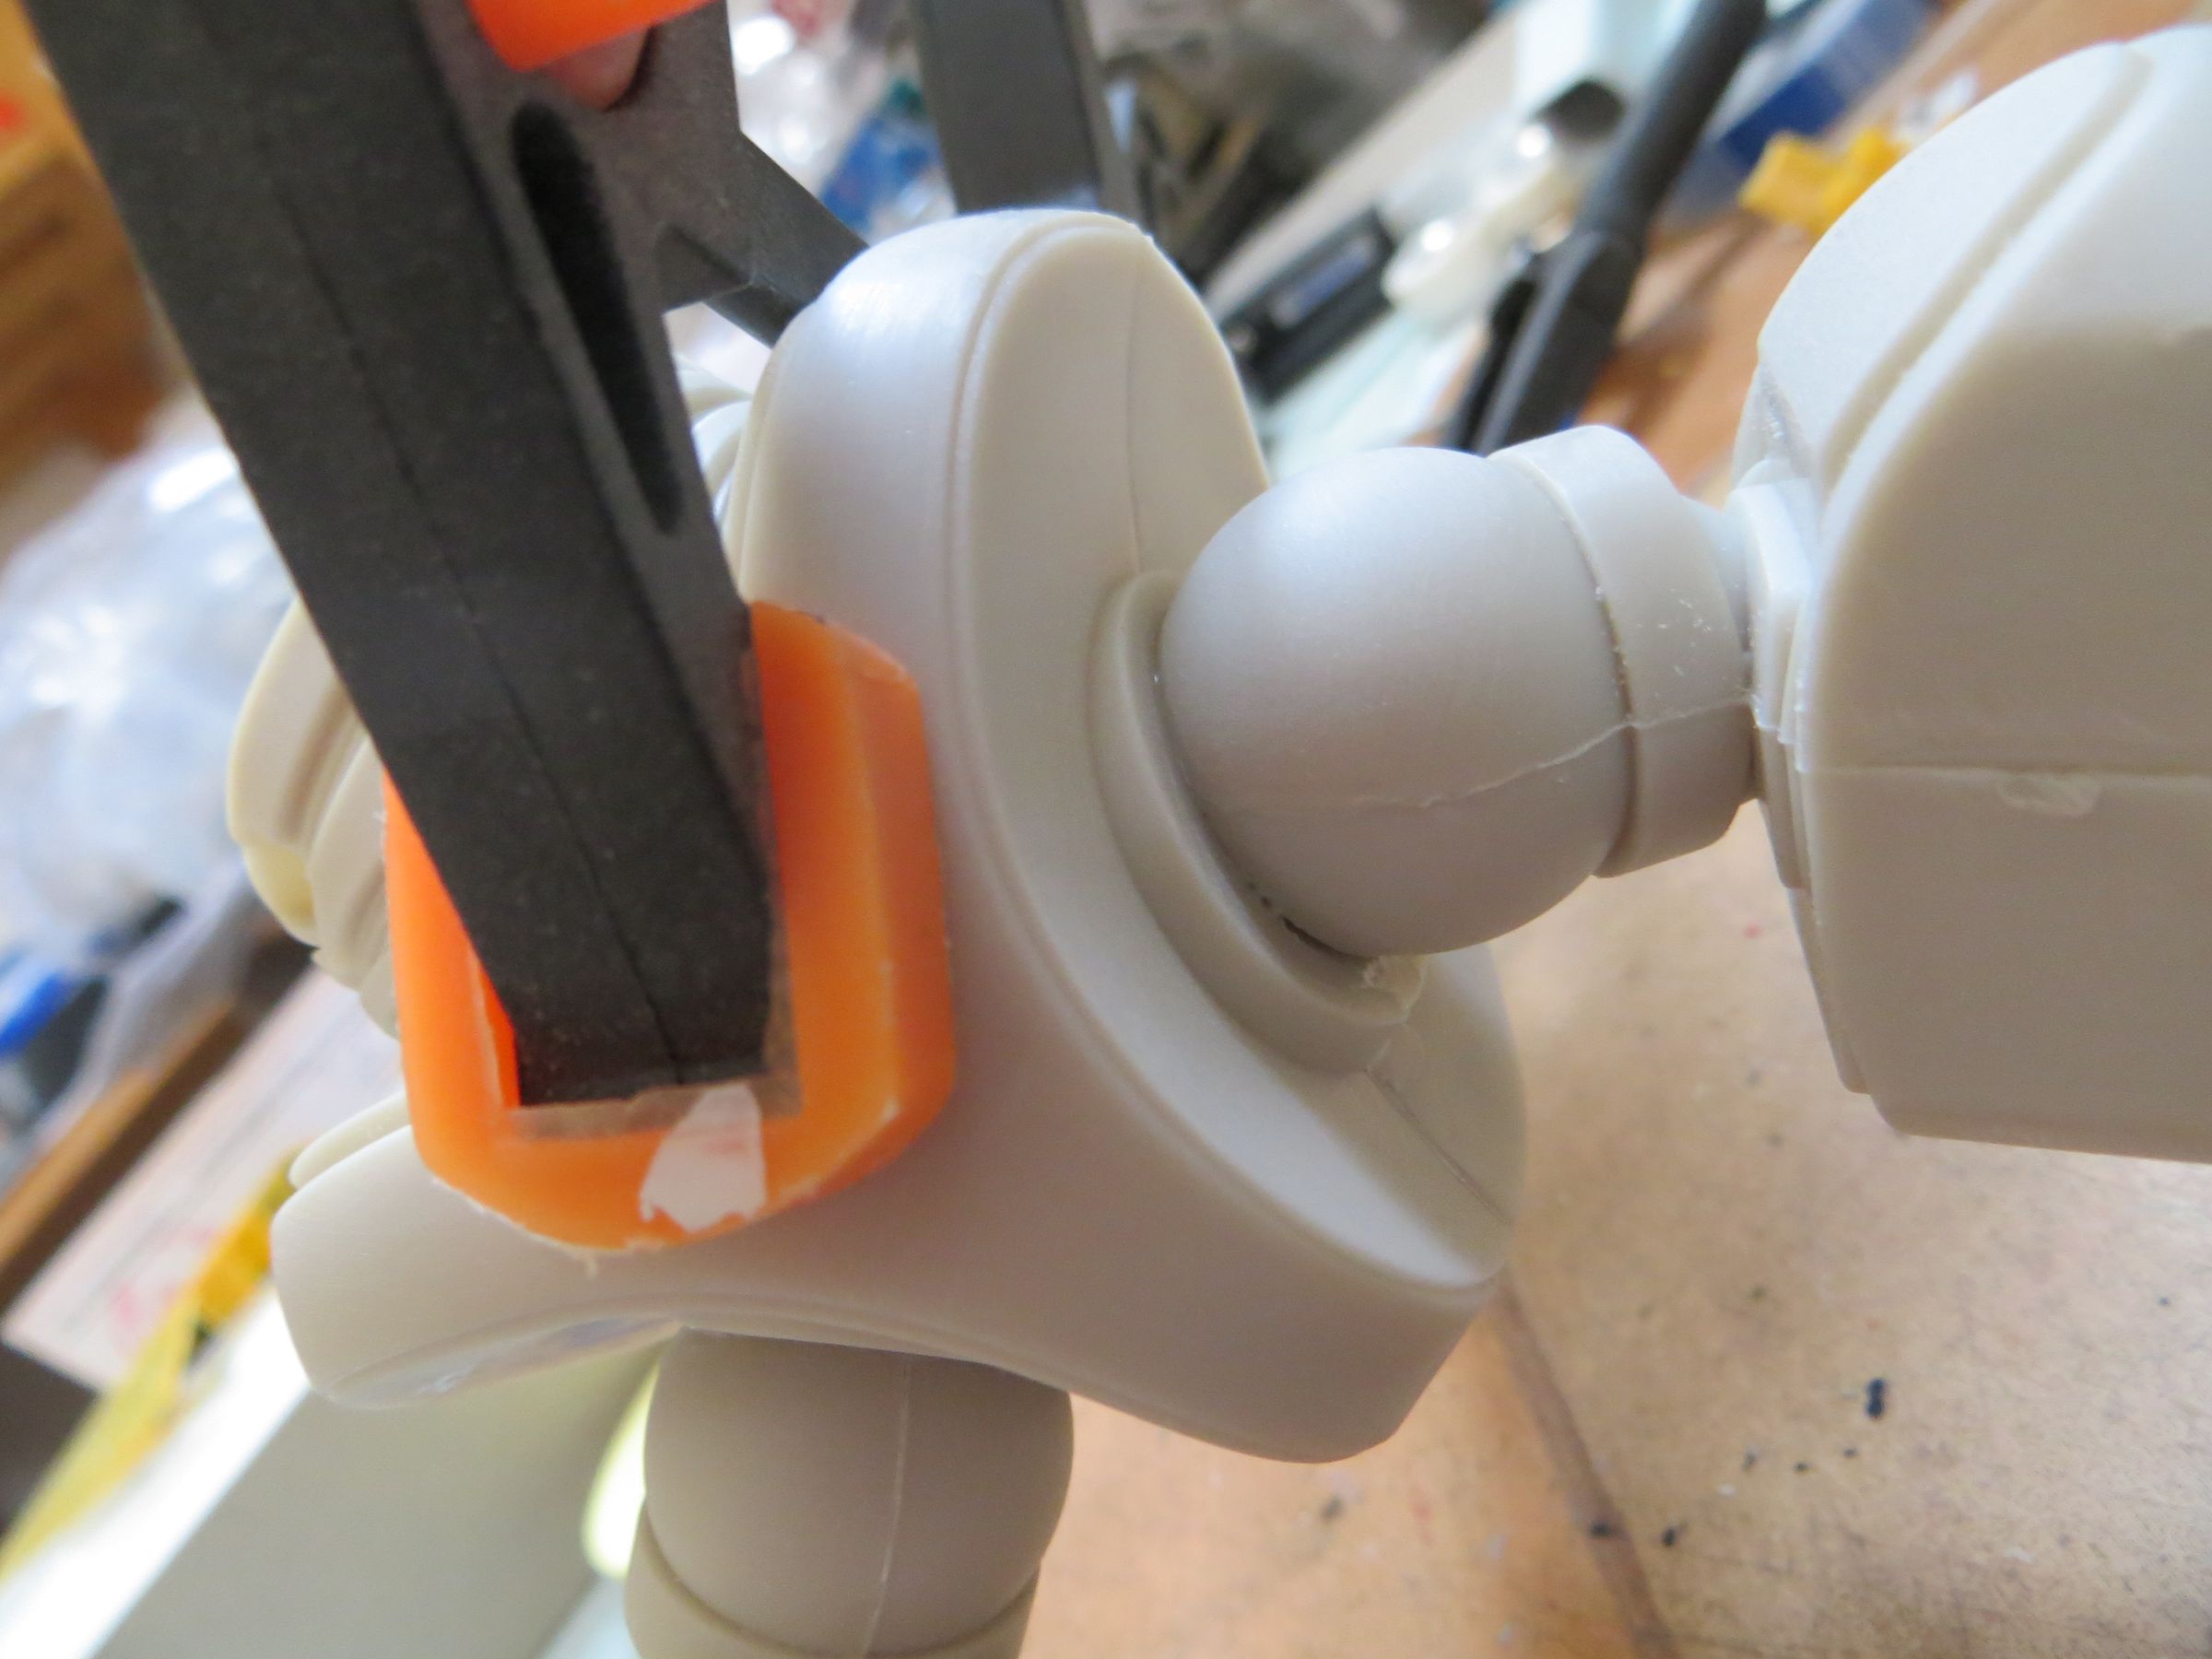
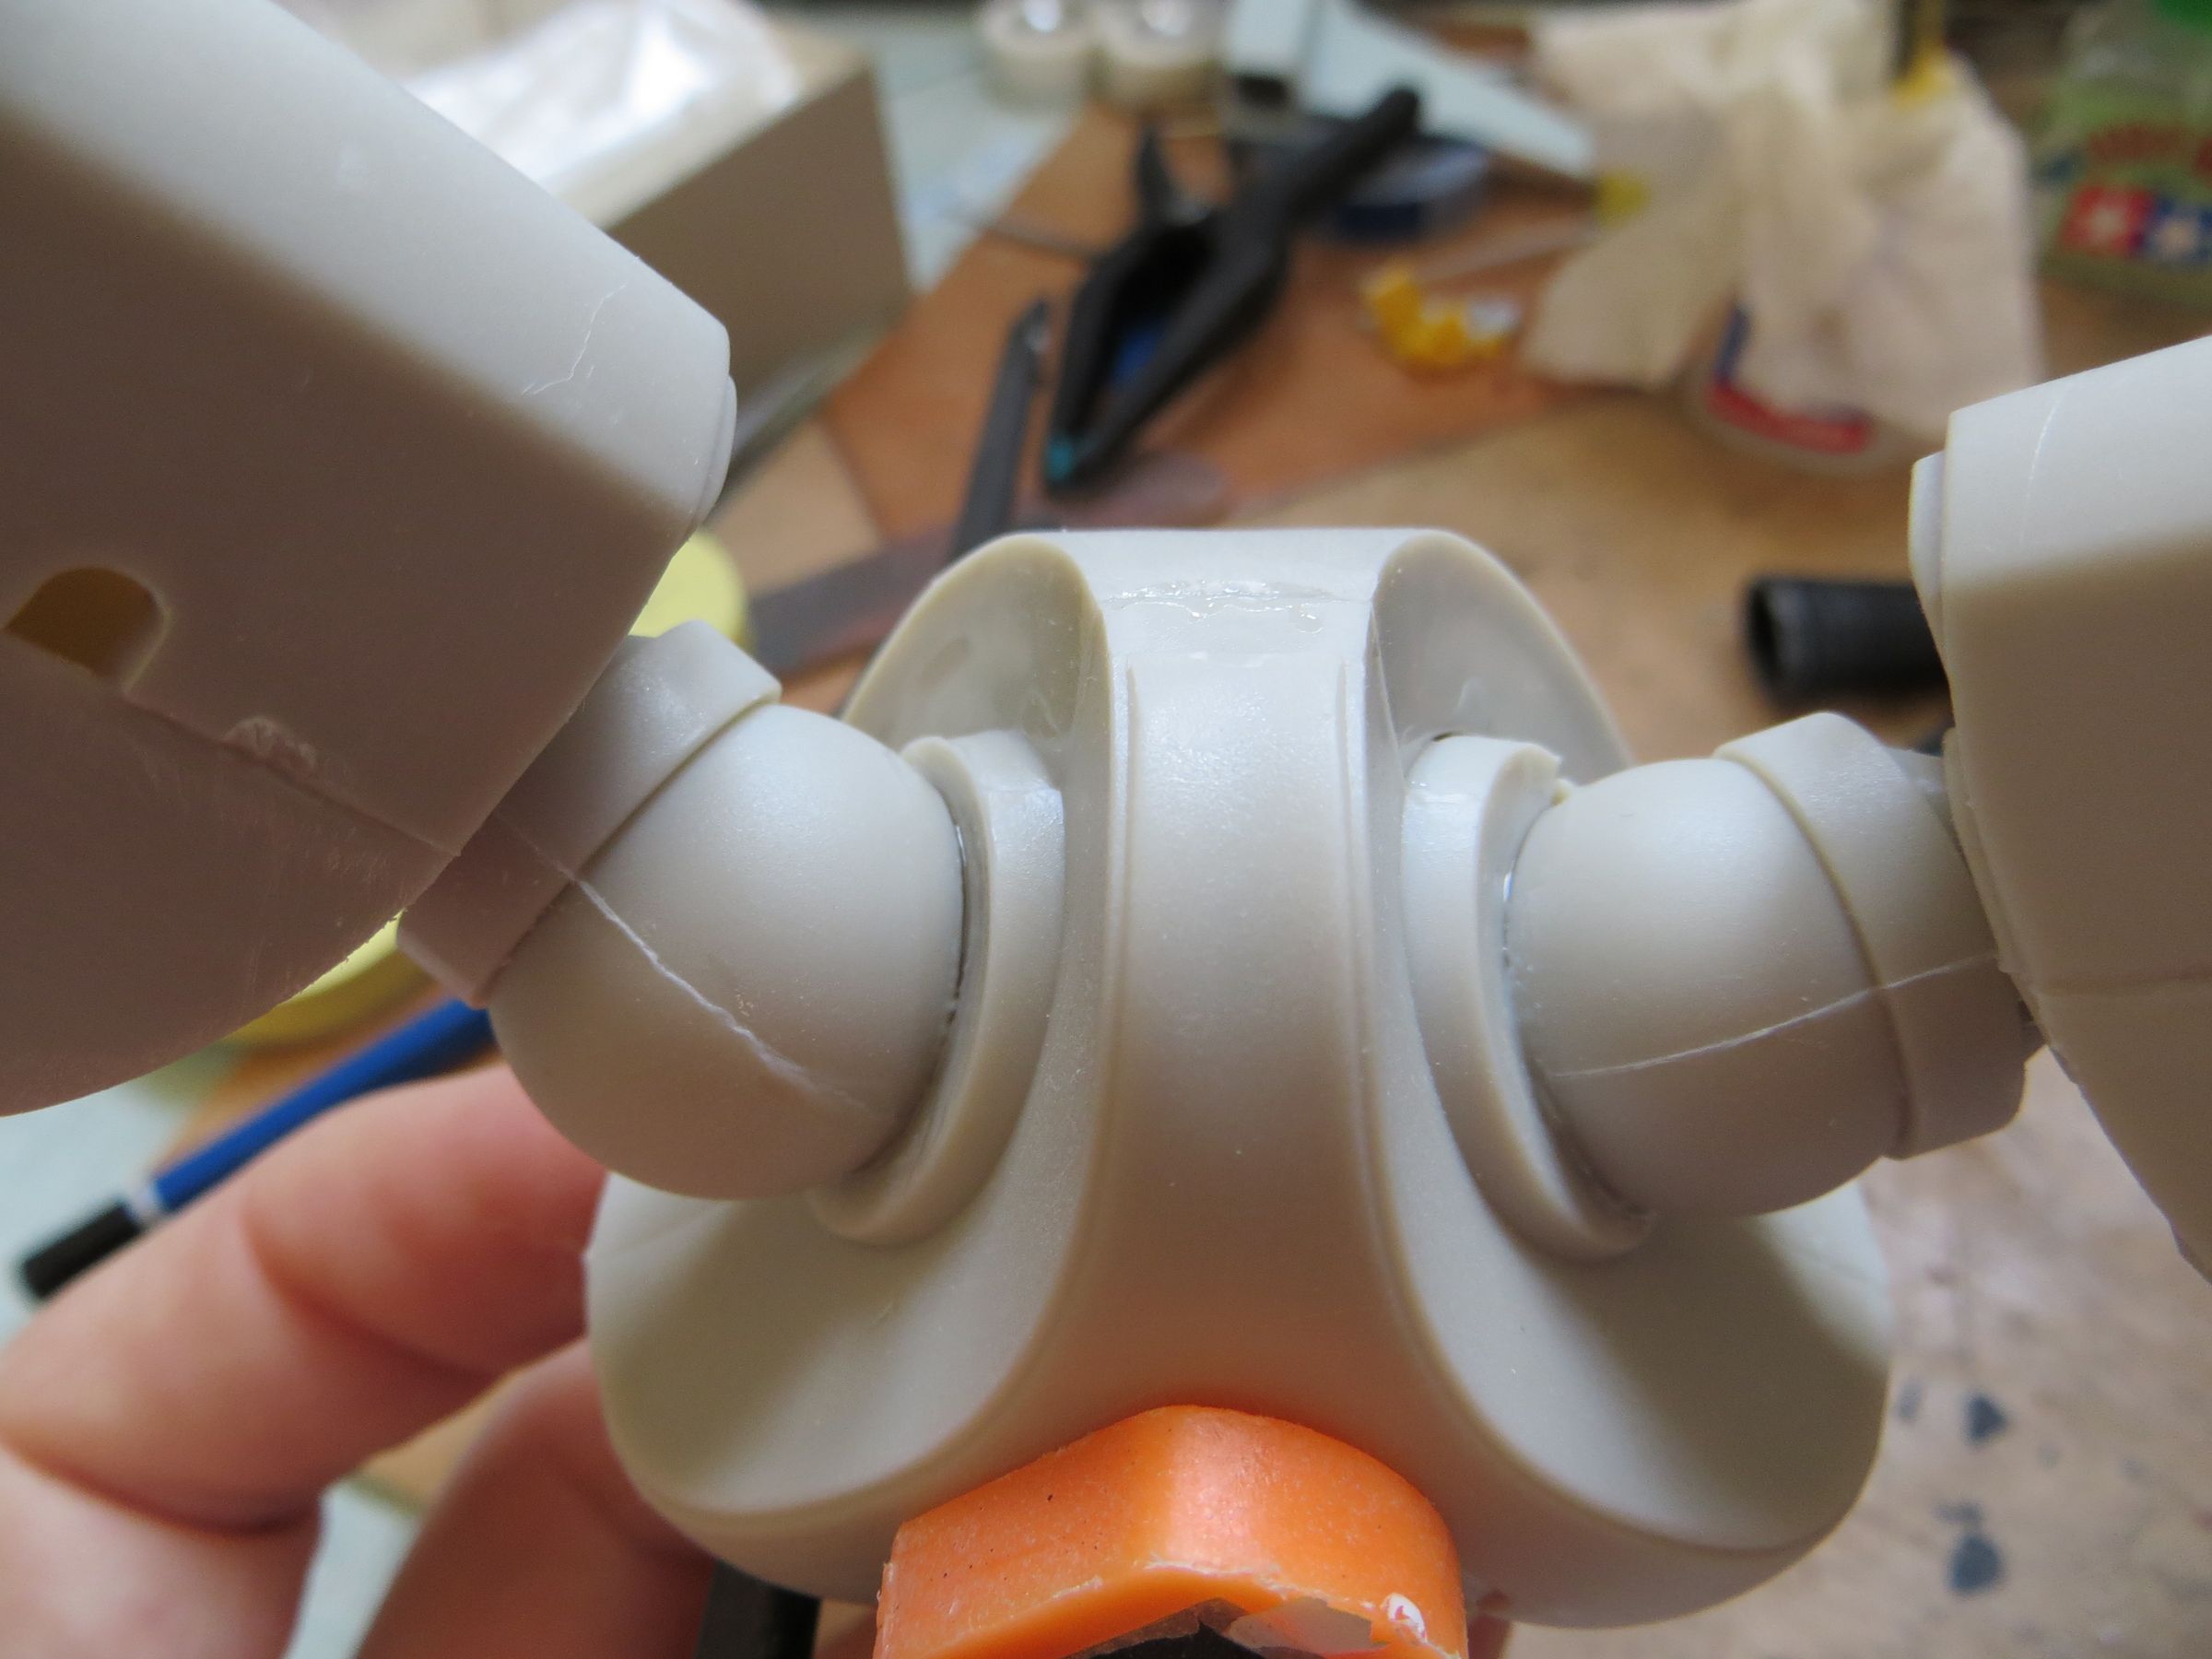
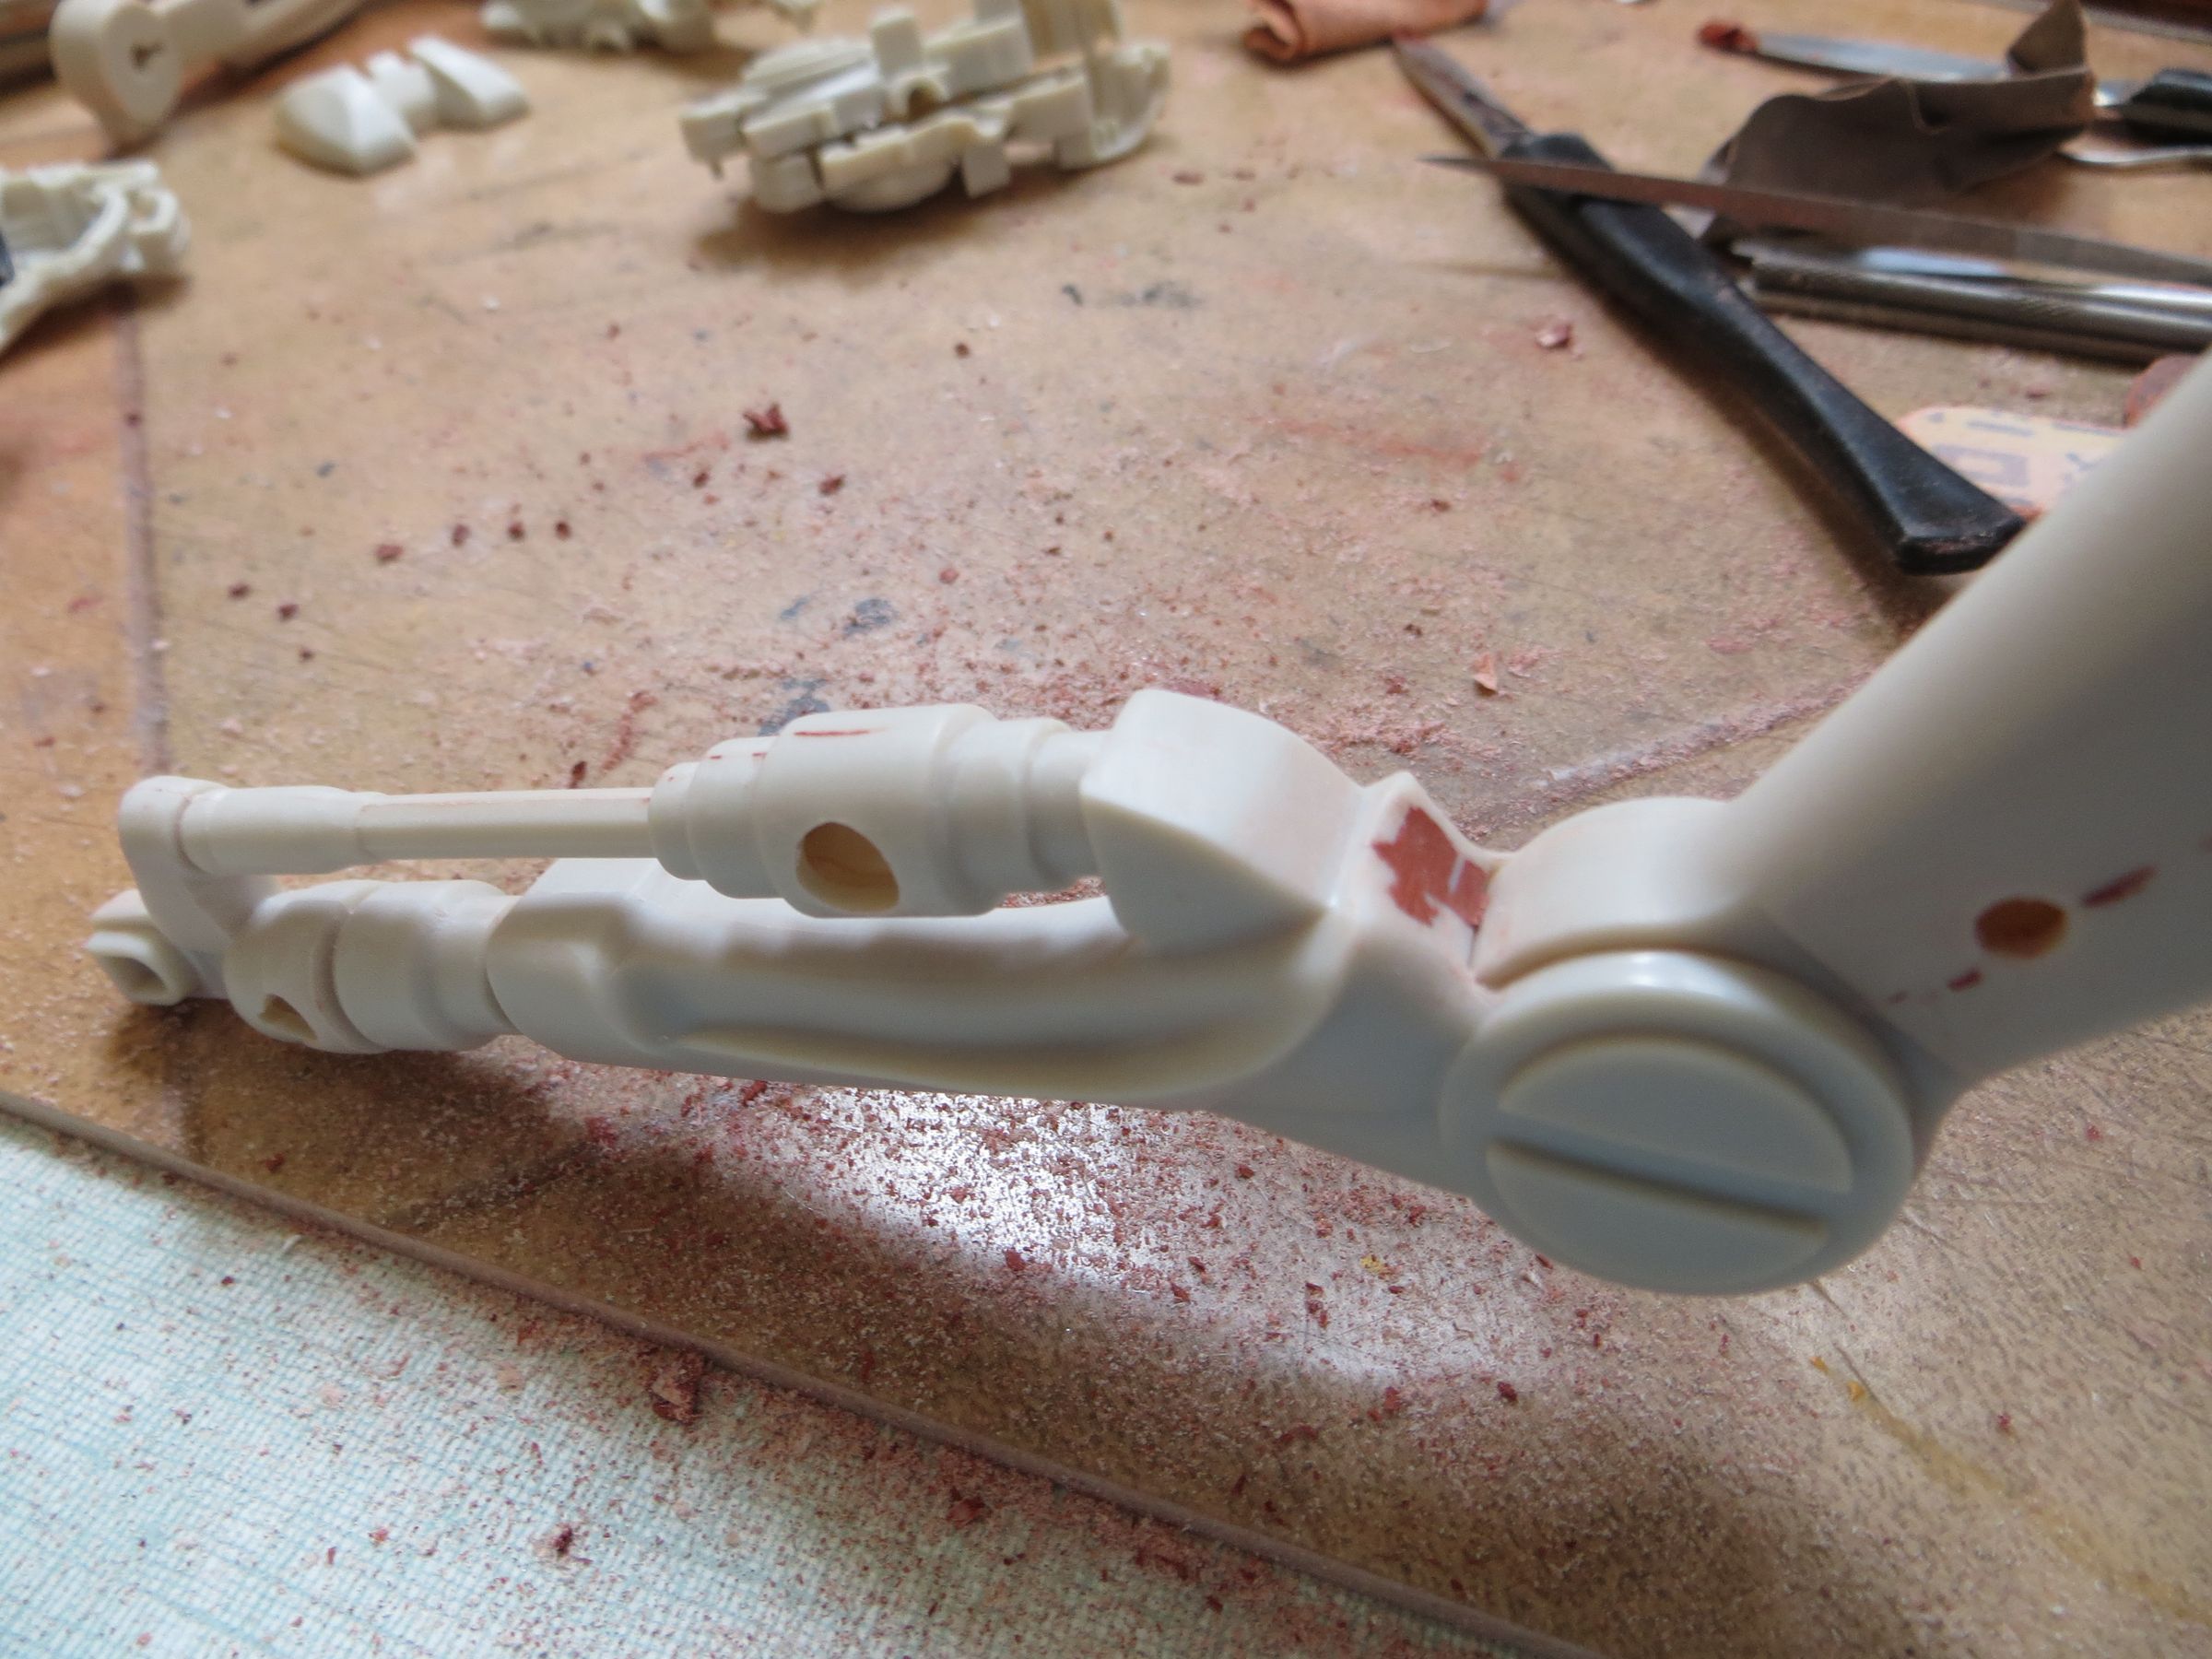
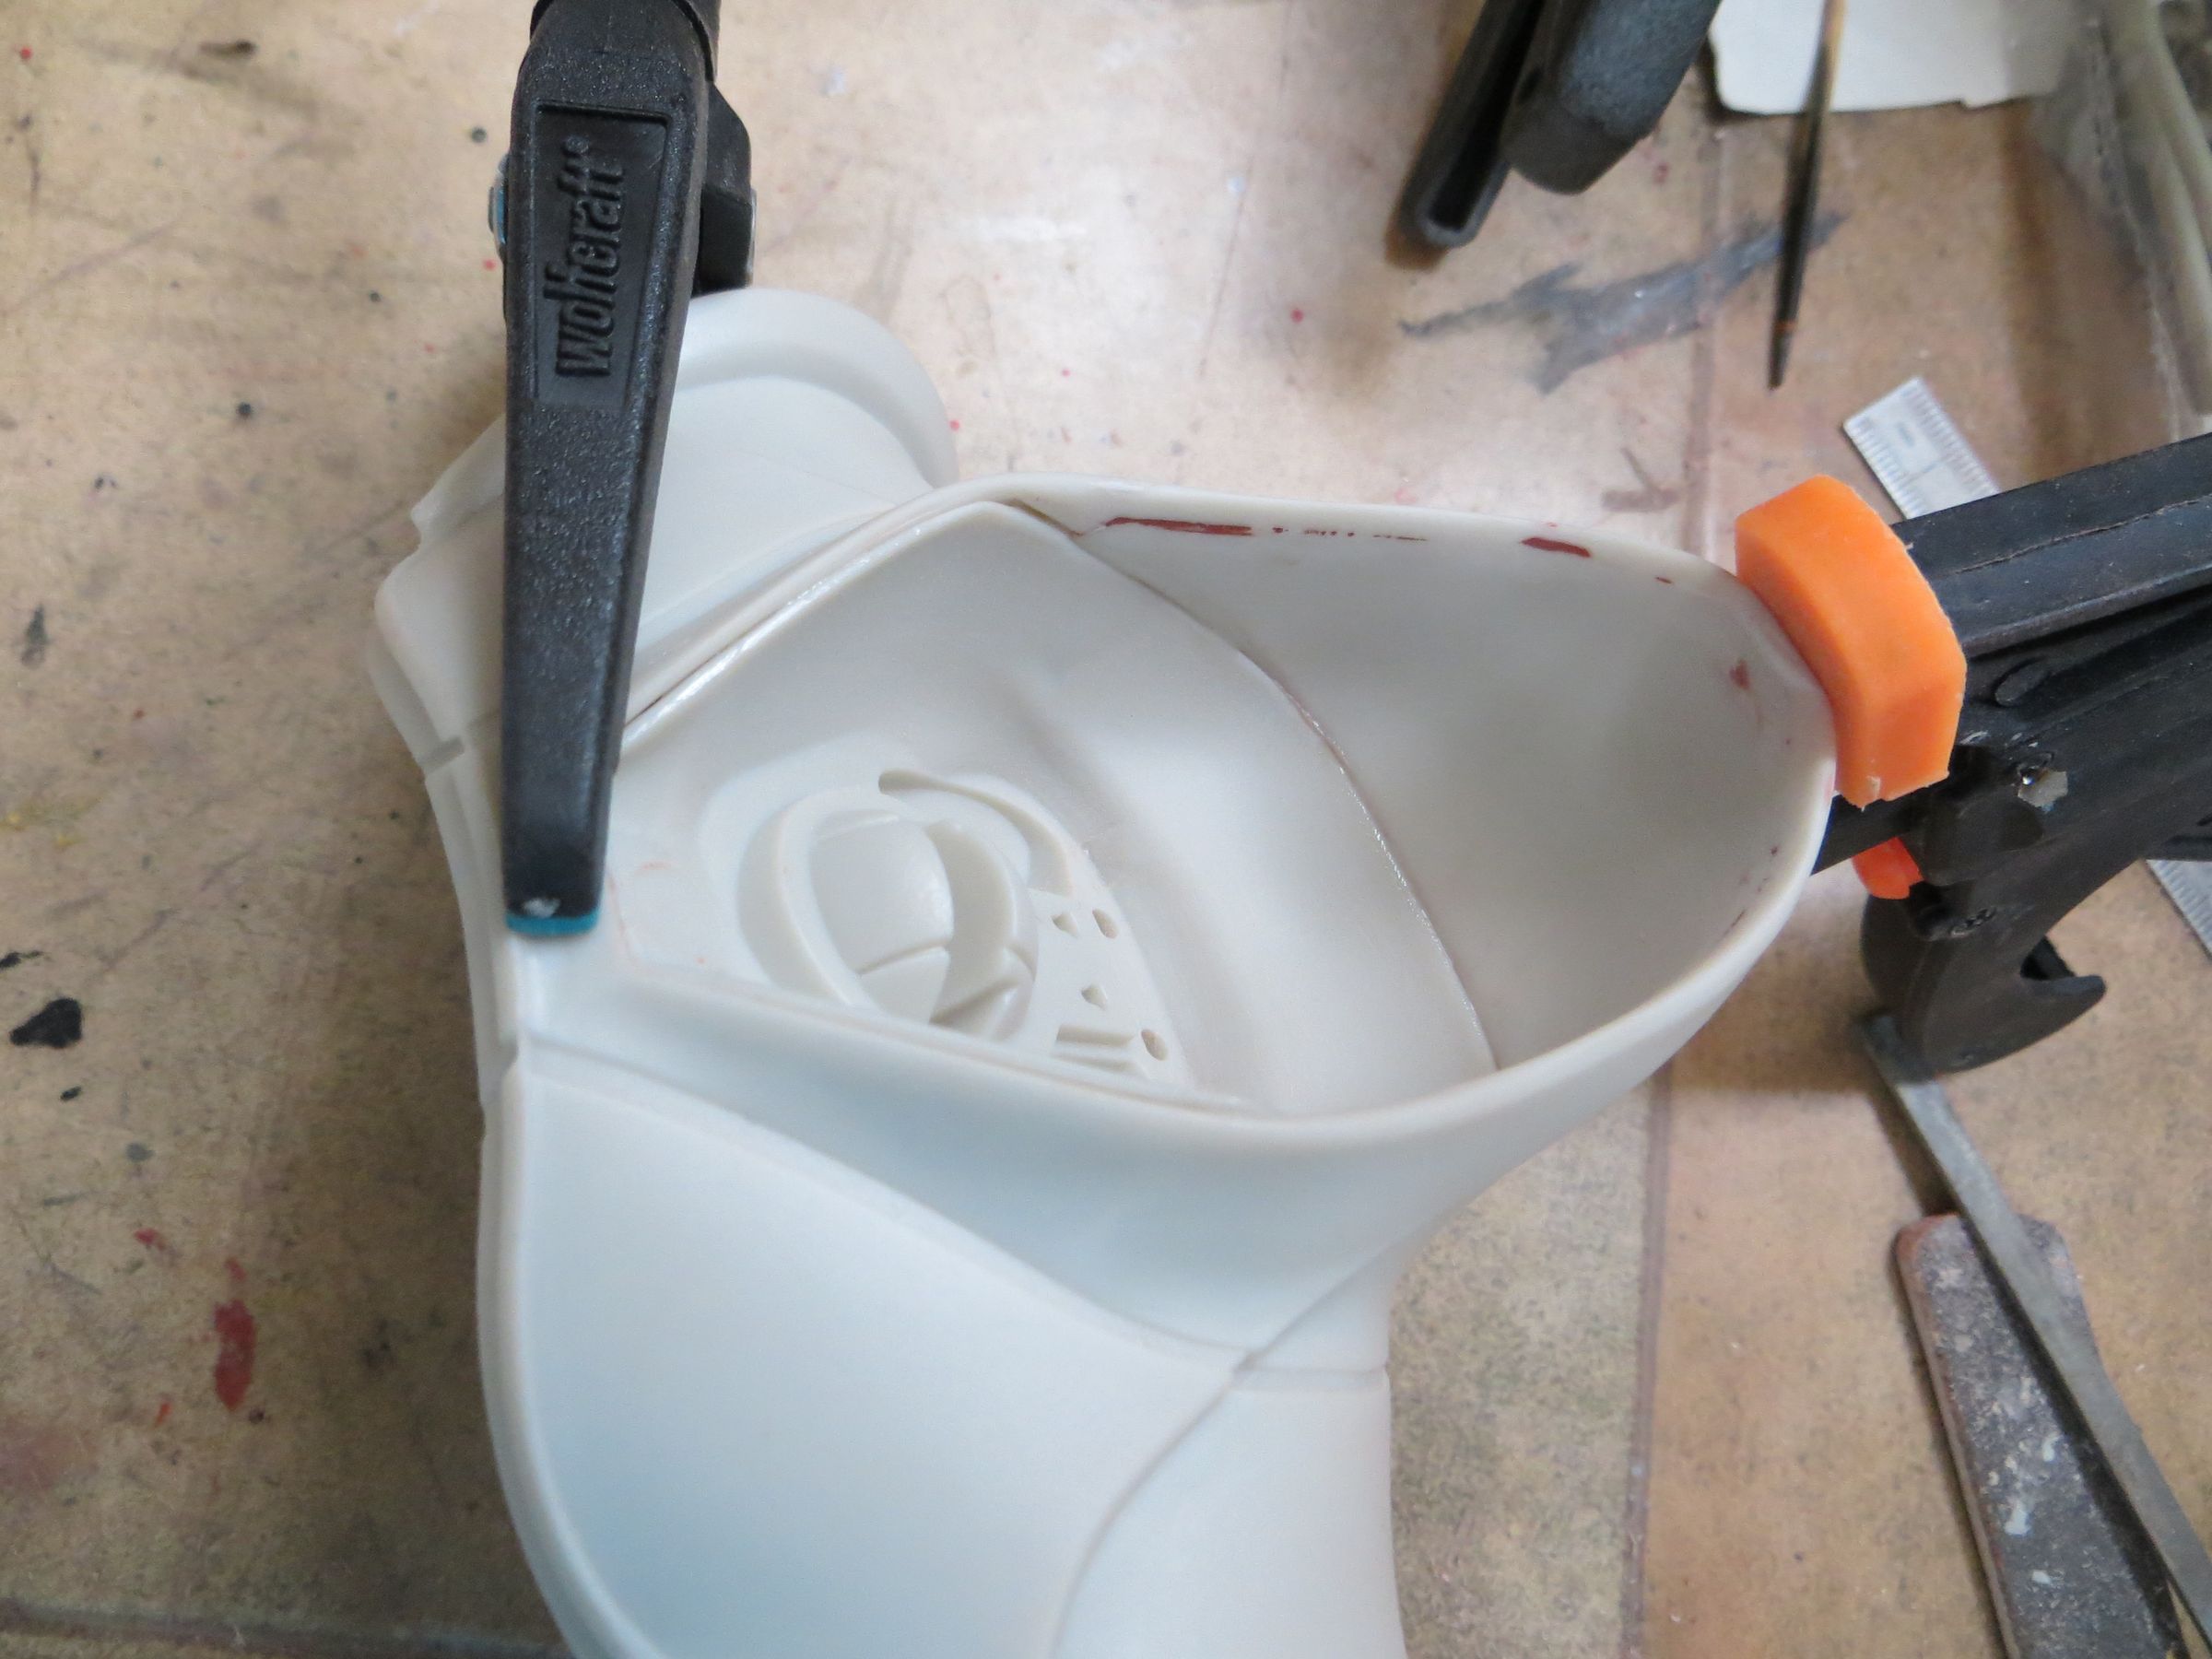
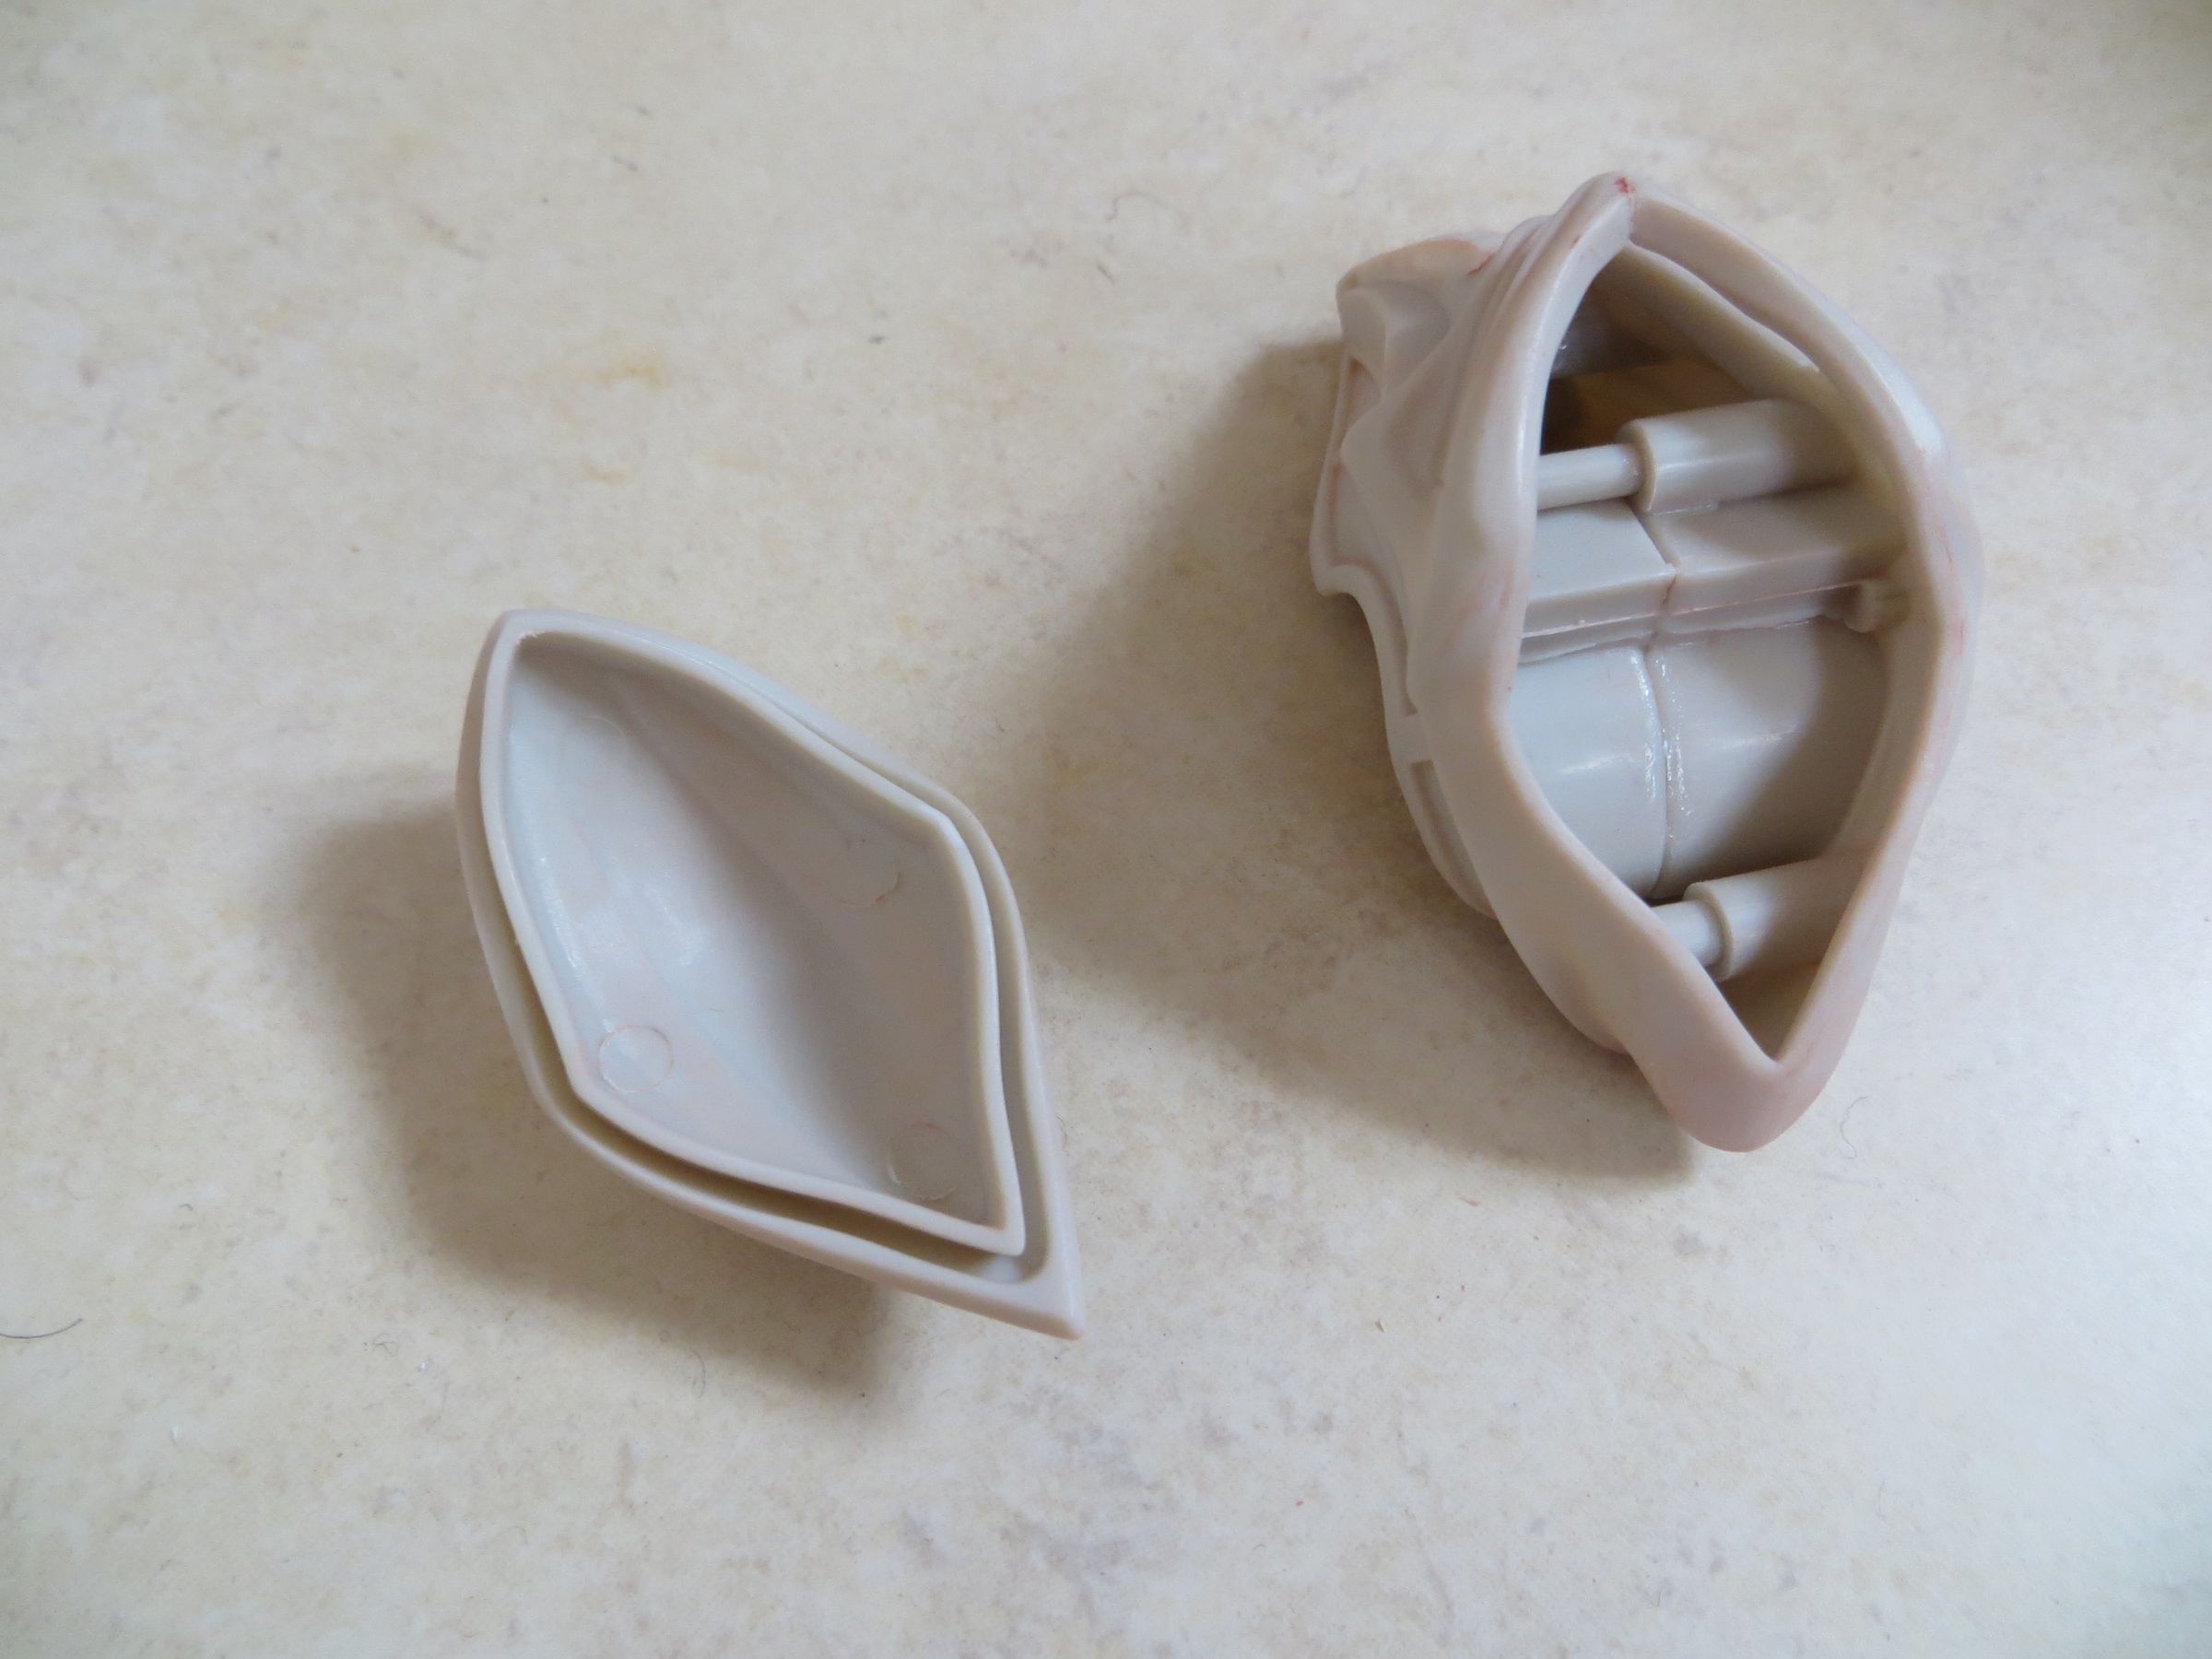
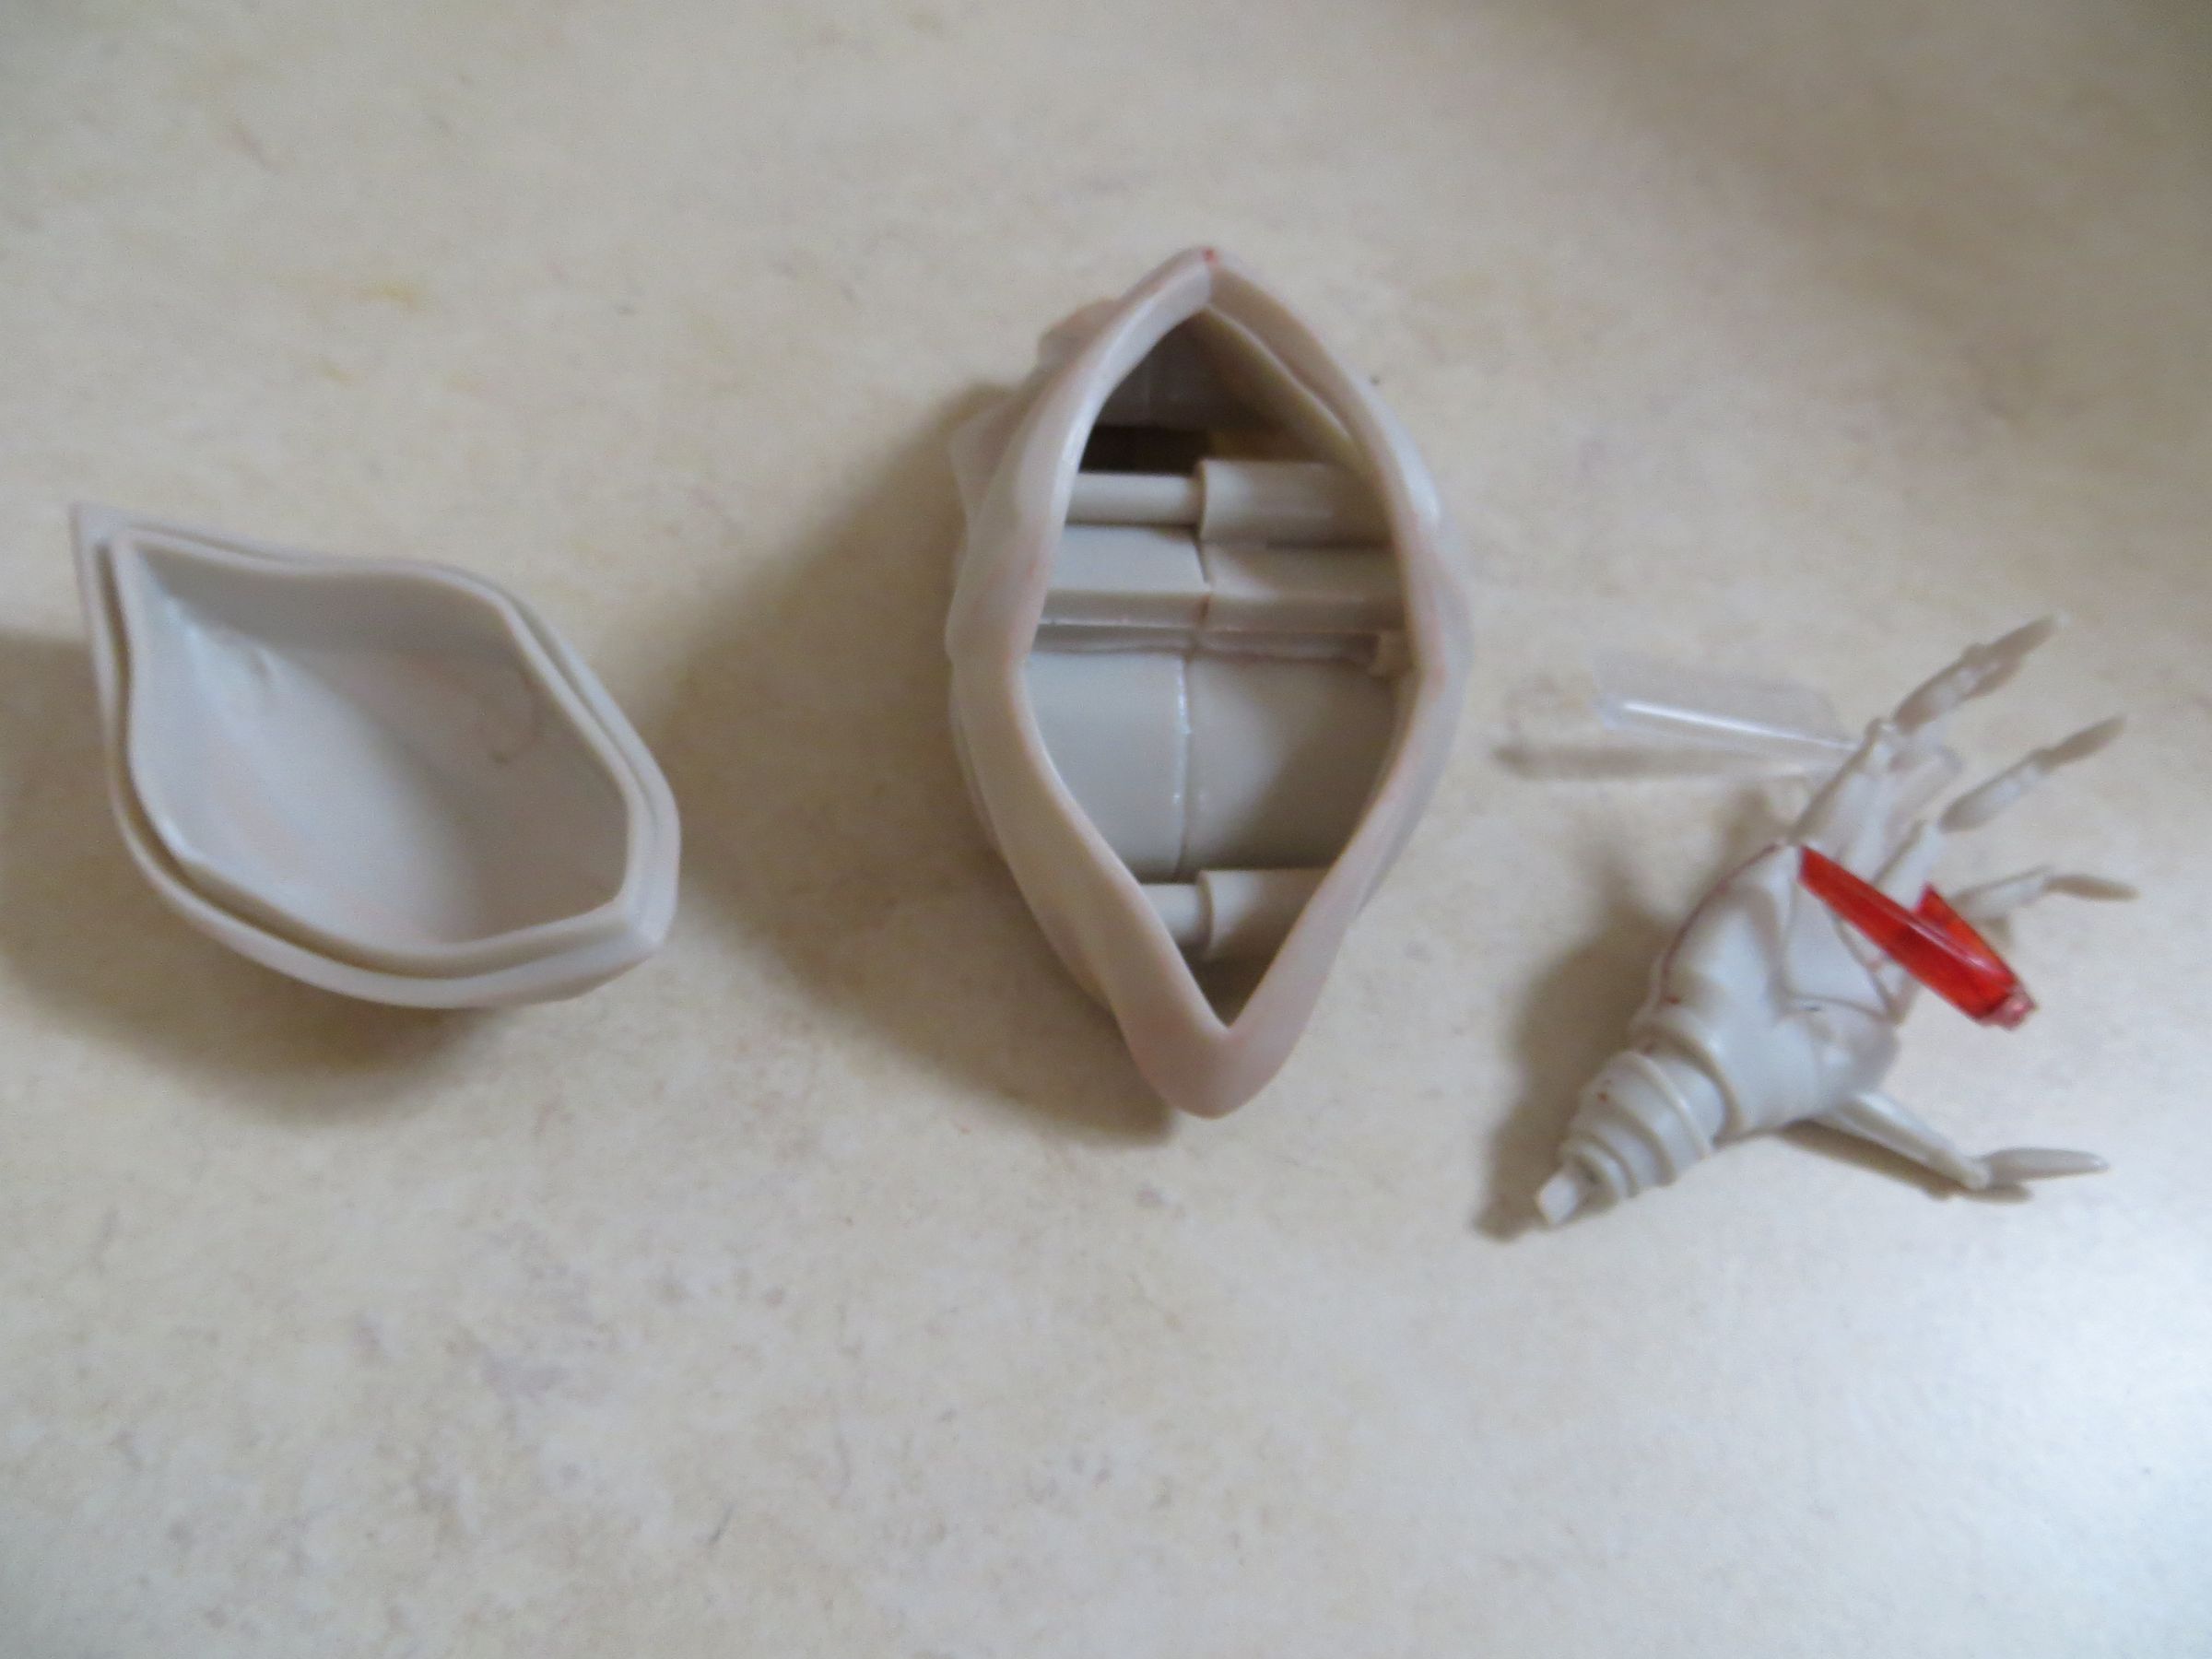
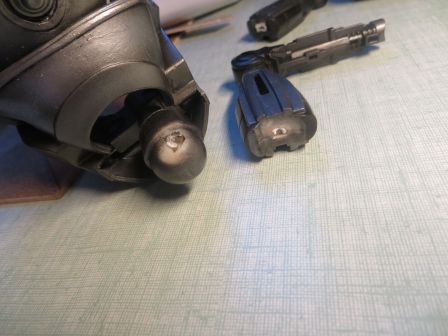
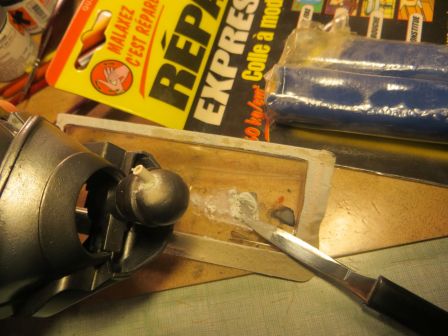
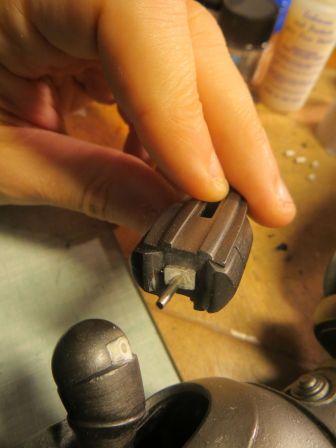
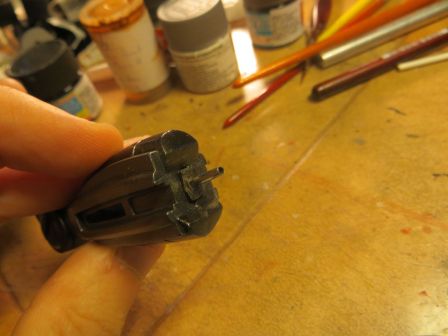
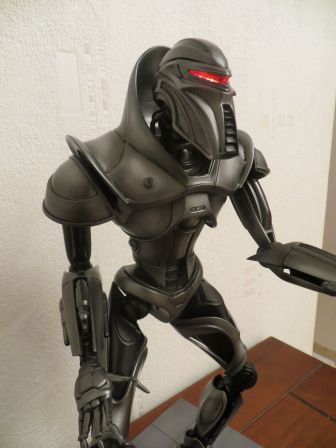
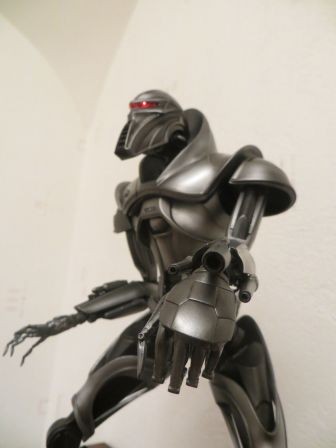
Now I have to repair the arms, otherwise it will be only have its head to track Colonials. As they showed to be fragile, I'm afraid he can not resist transportation and handling, even being reinforced bonding with a rod. So I will make them removable. For this, I cut a hole for gluing a plastic tube, wherein a metallic rod is held in strength. Nice side effect, the arm can also rotate a little, so I can change the position.

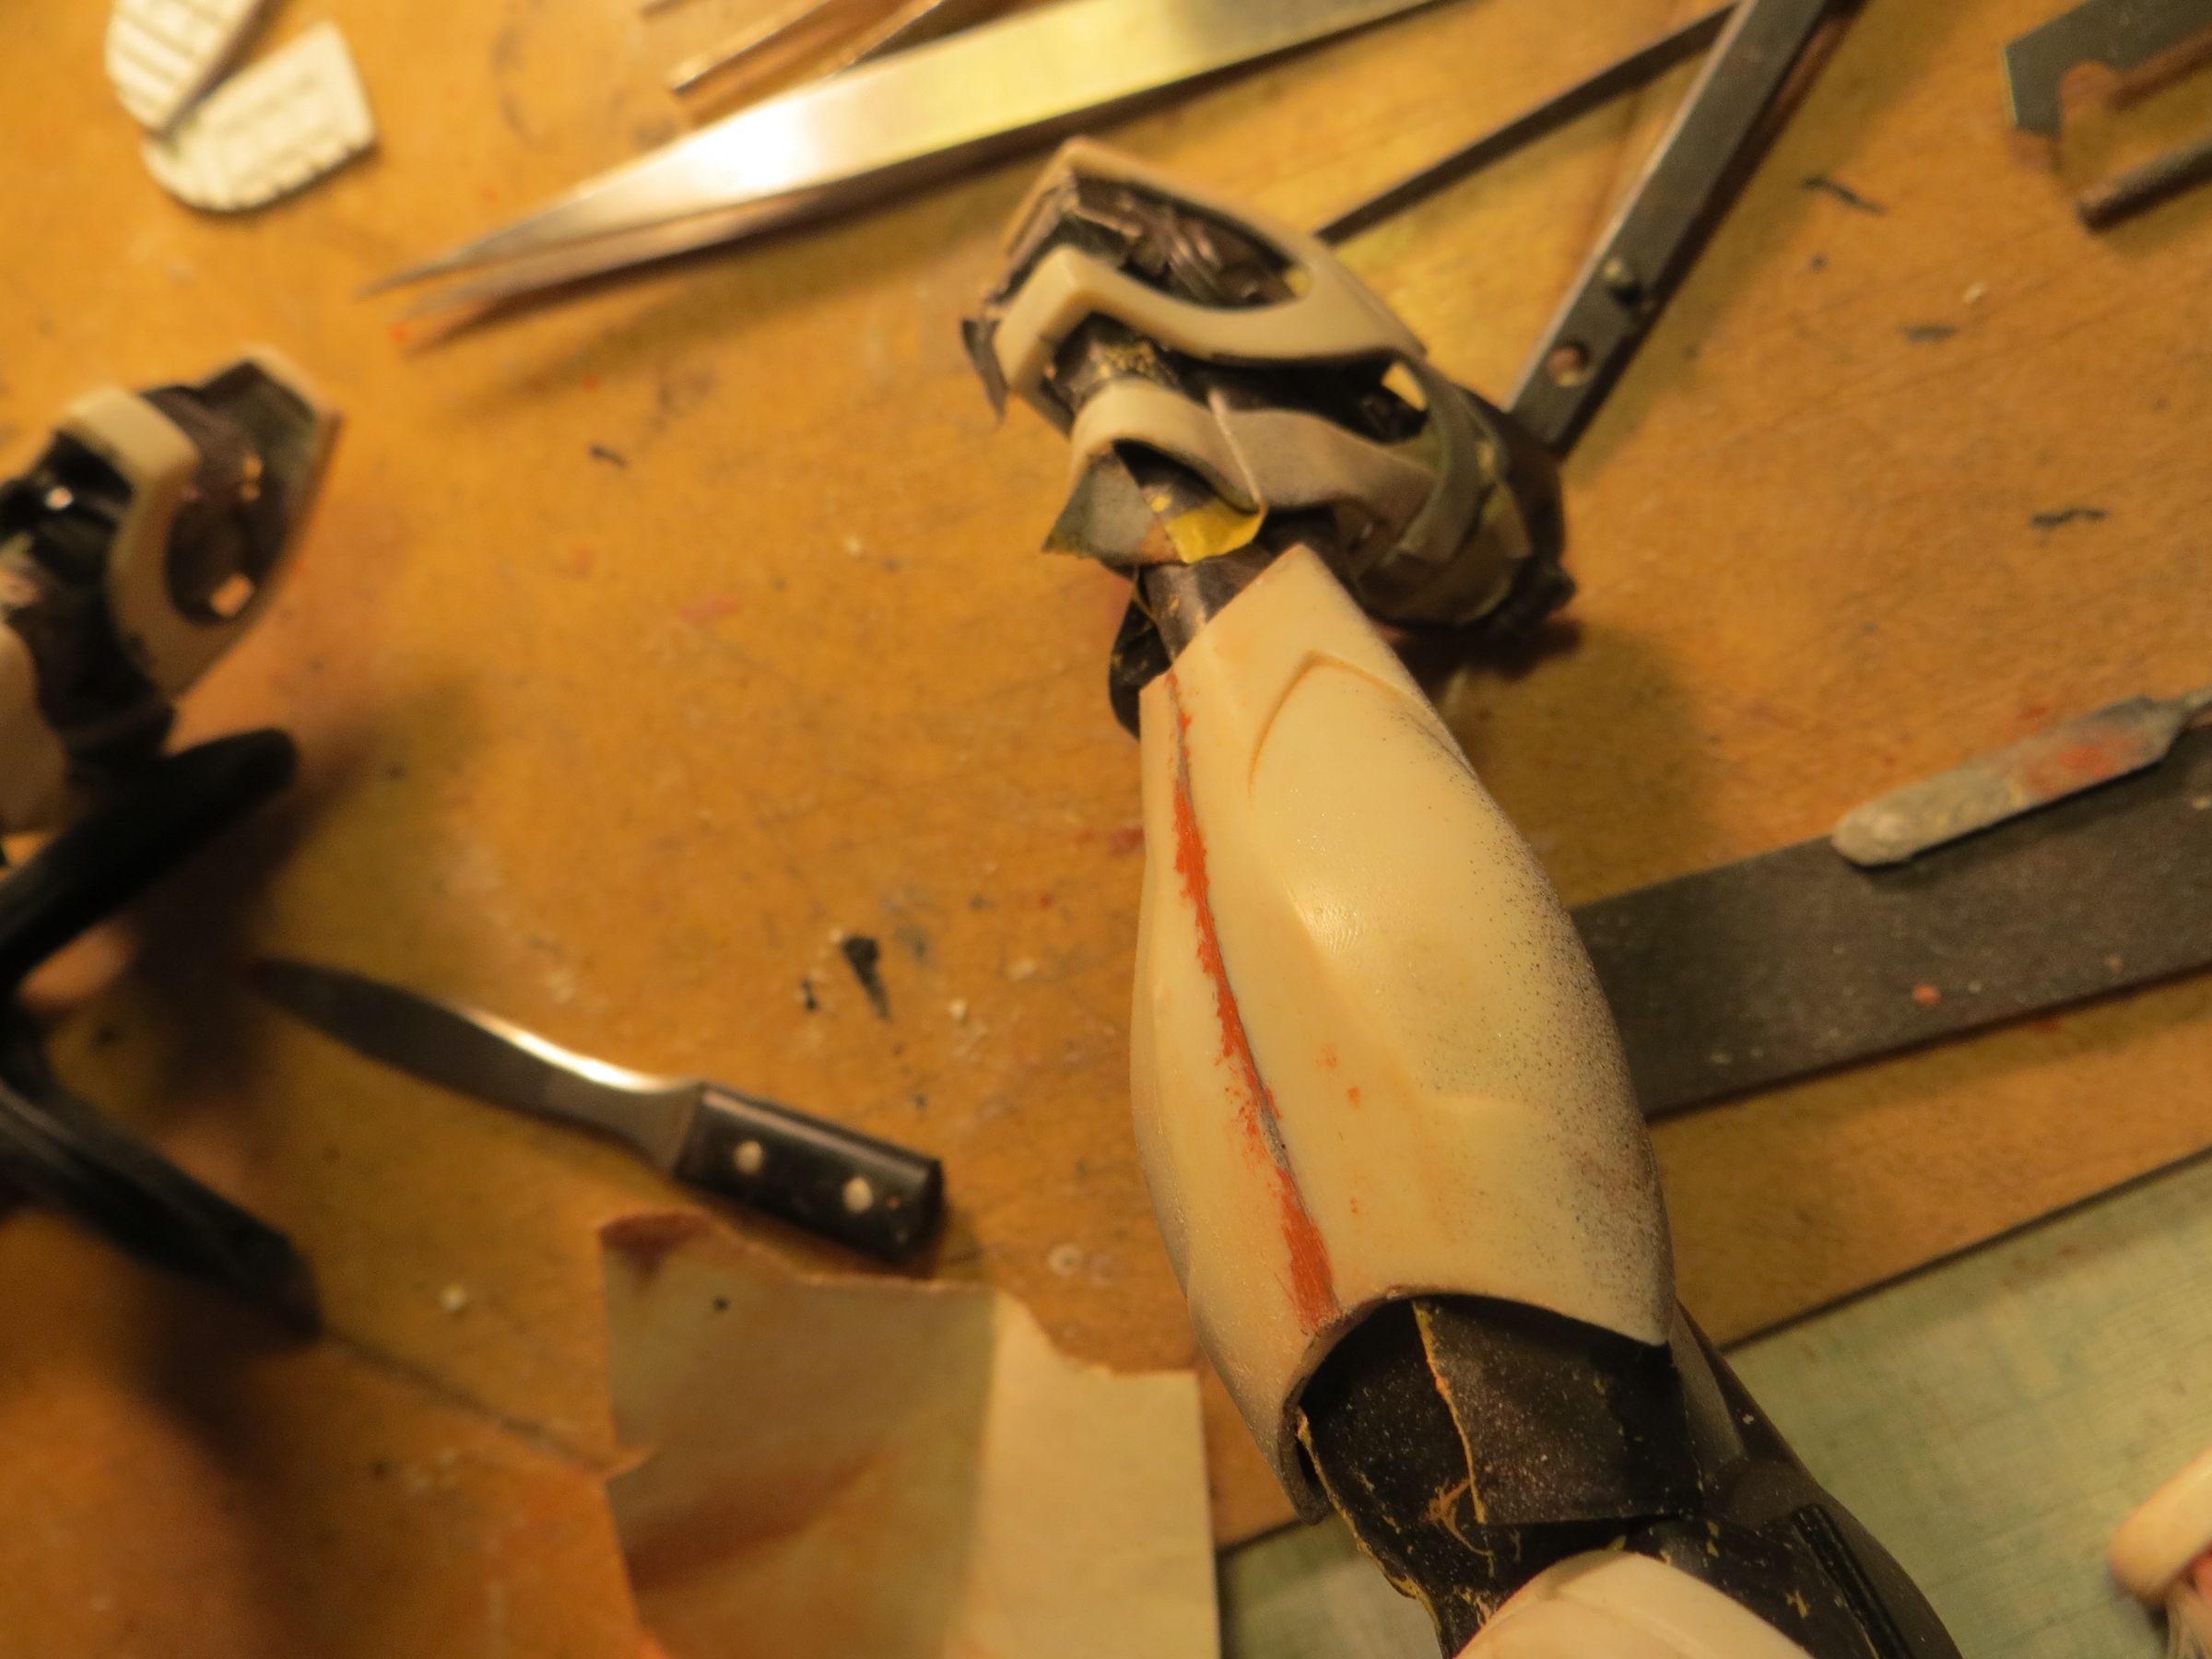
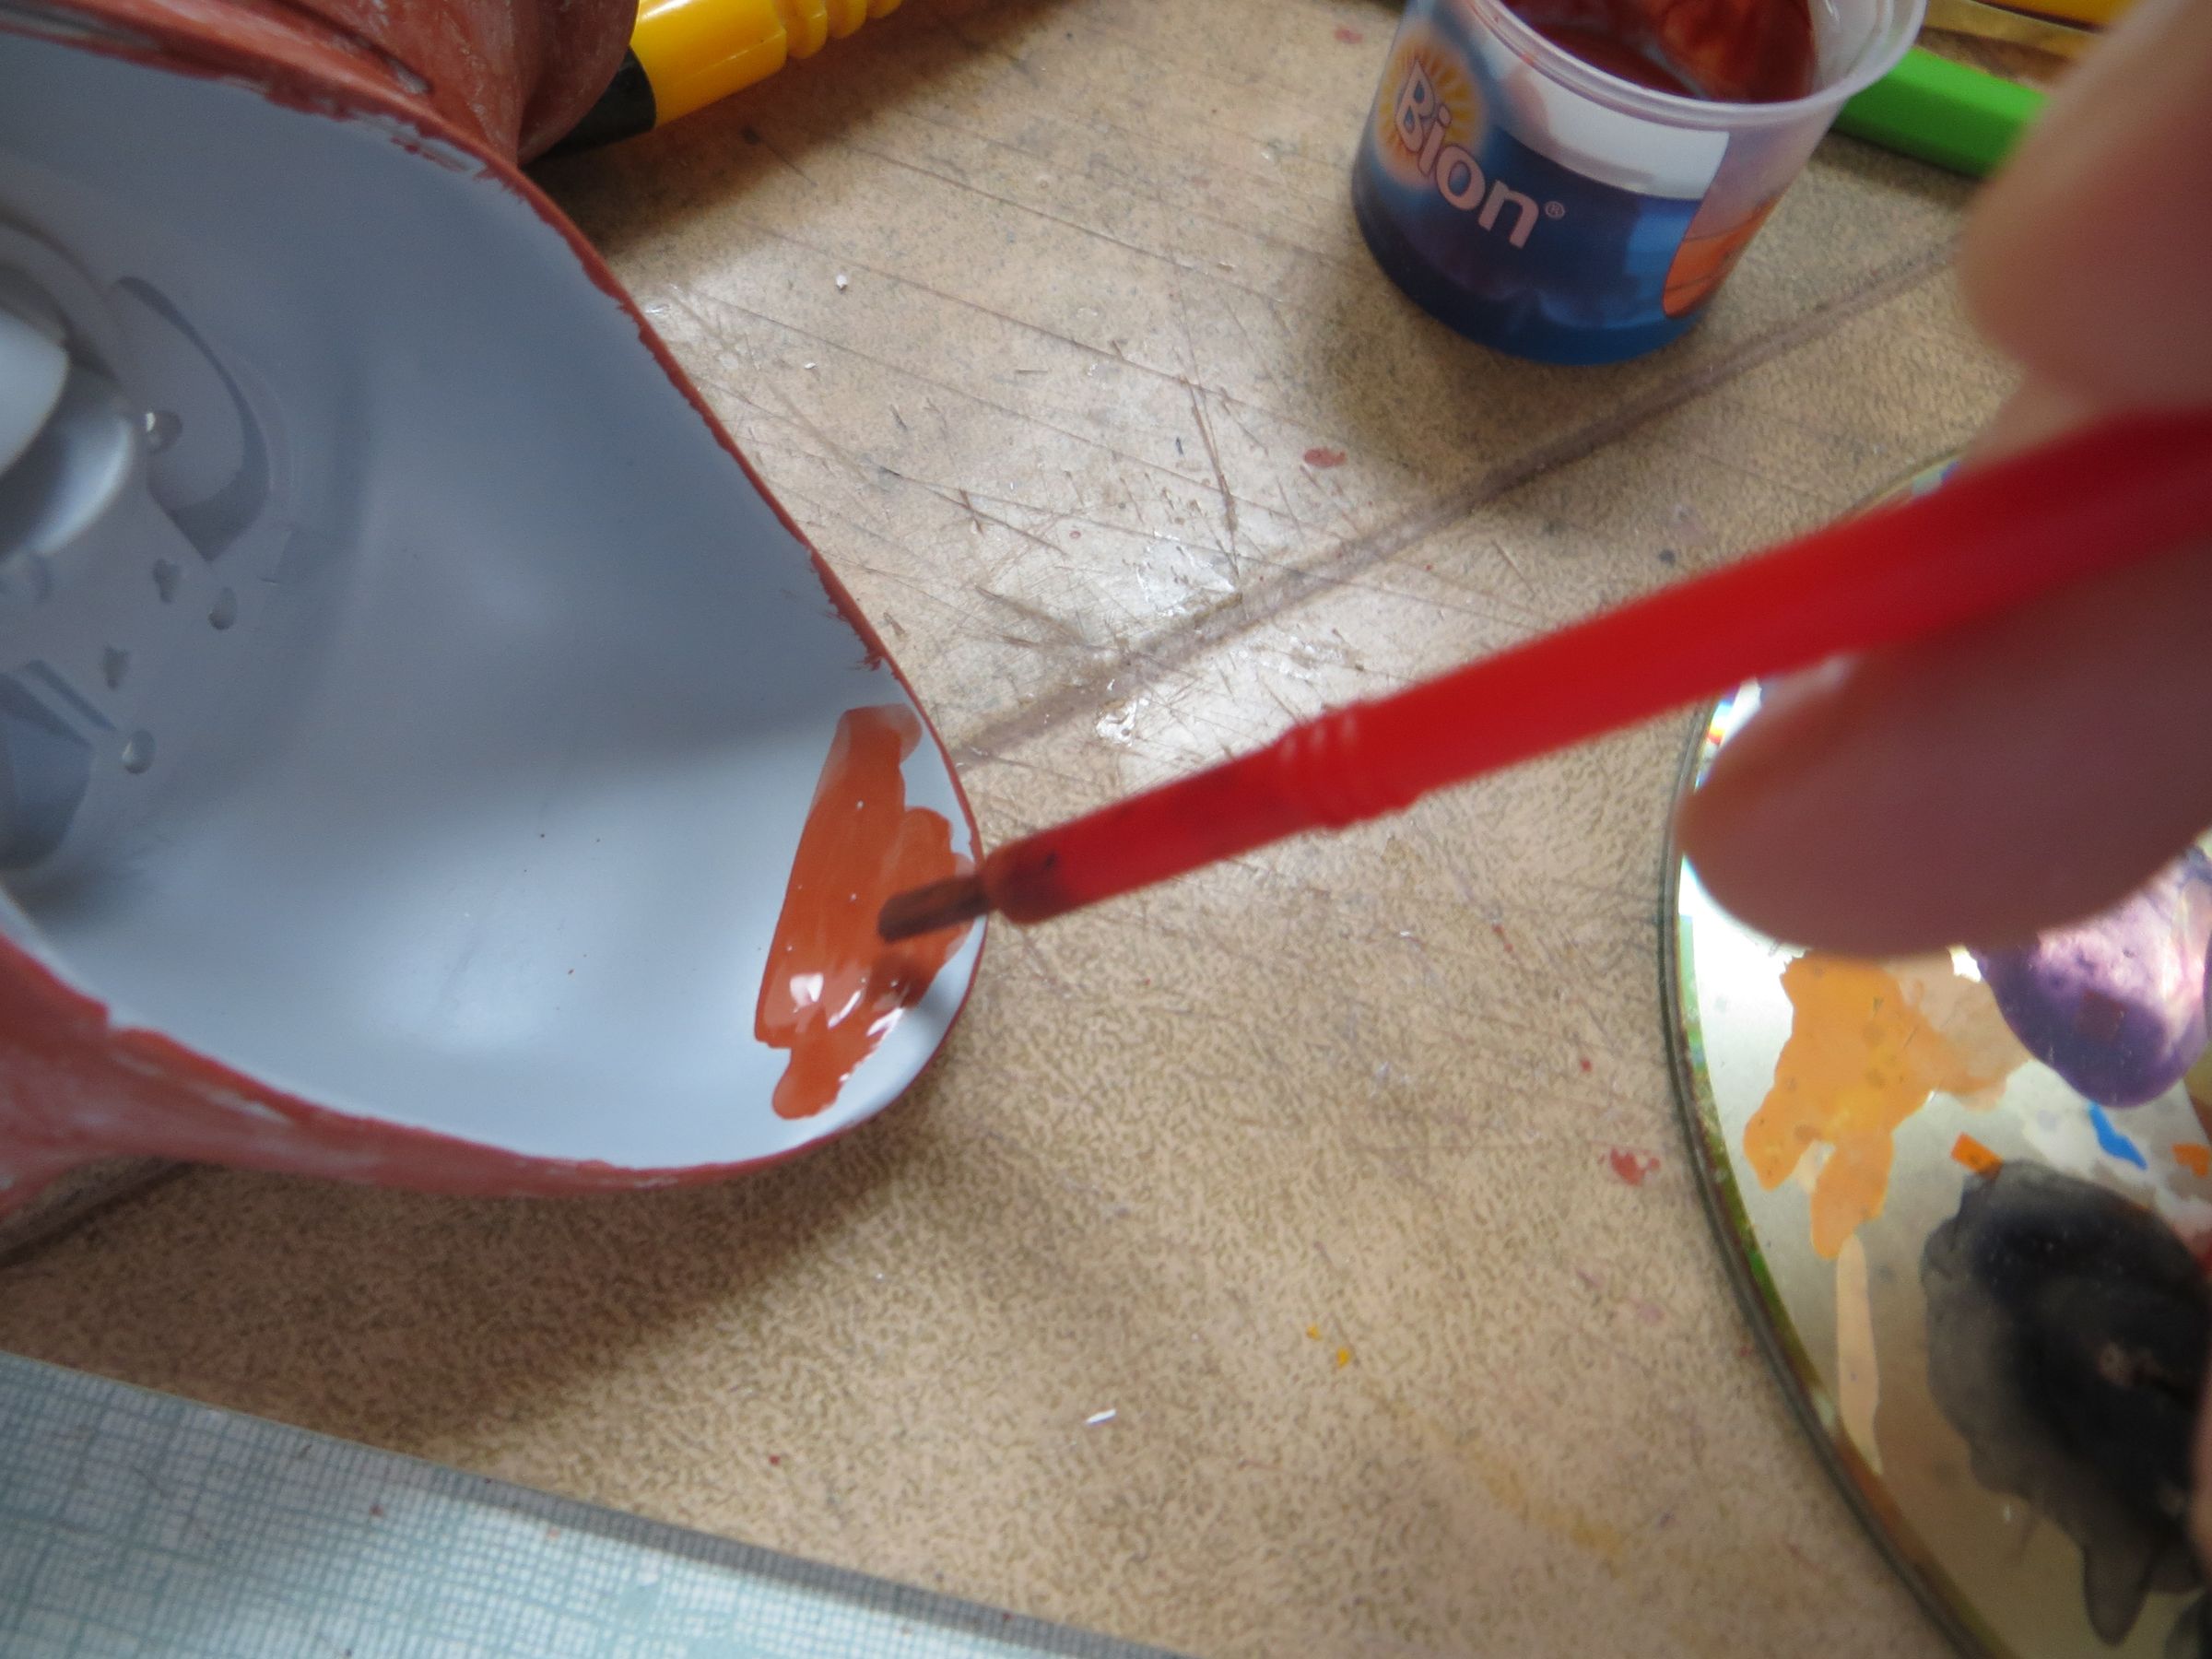
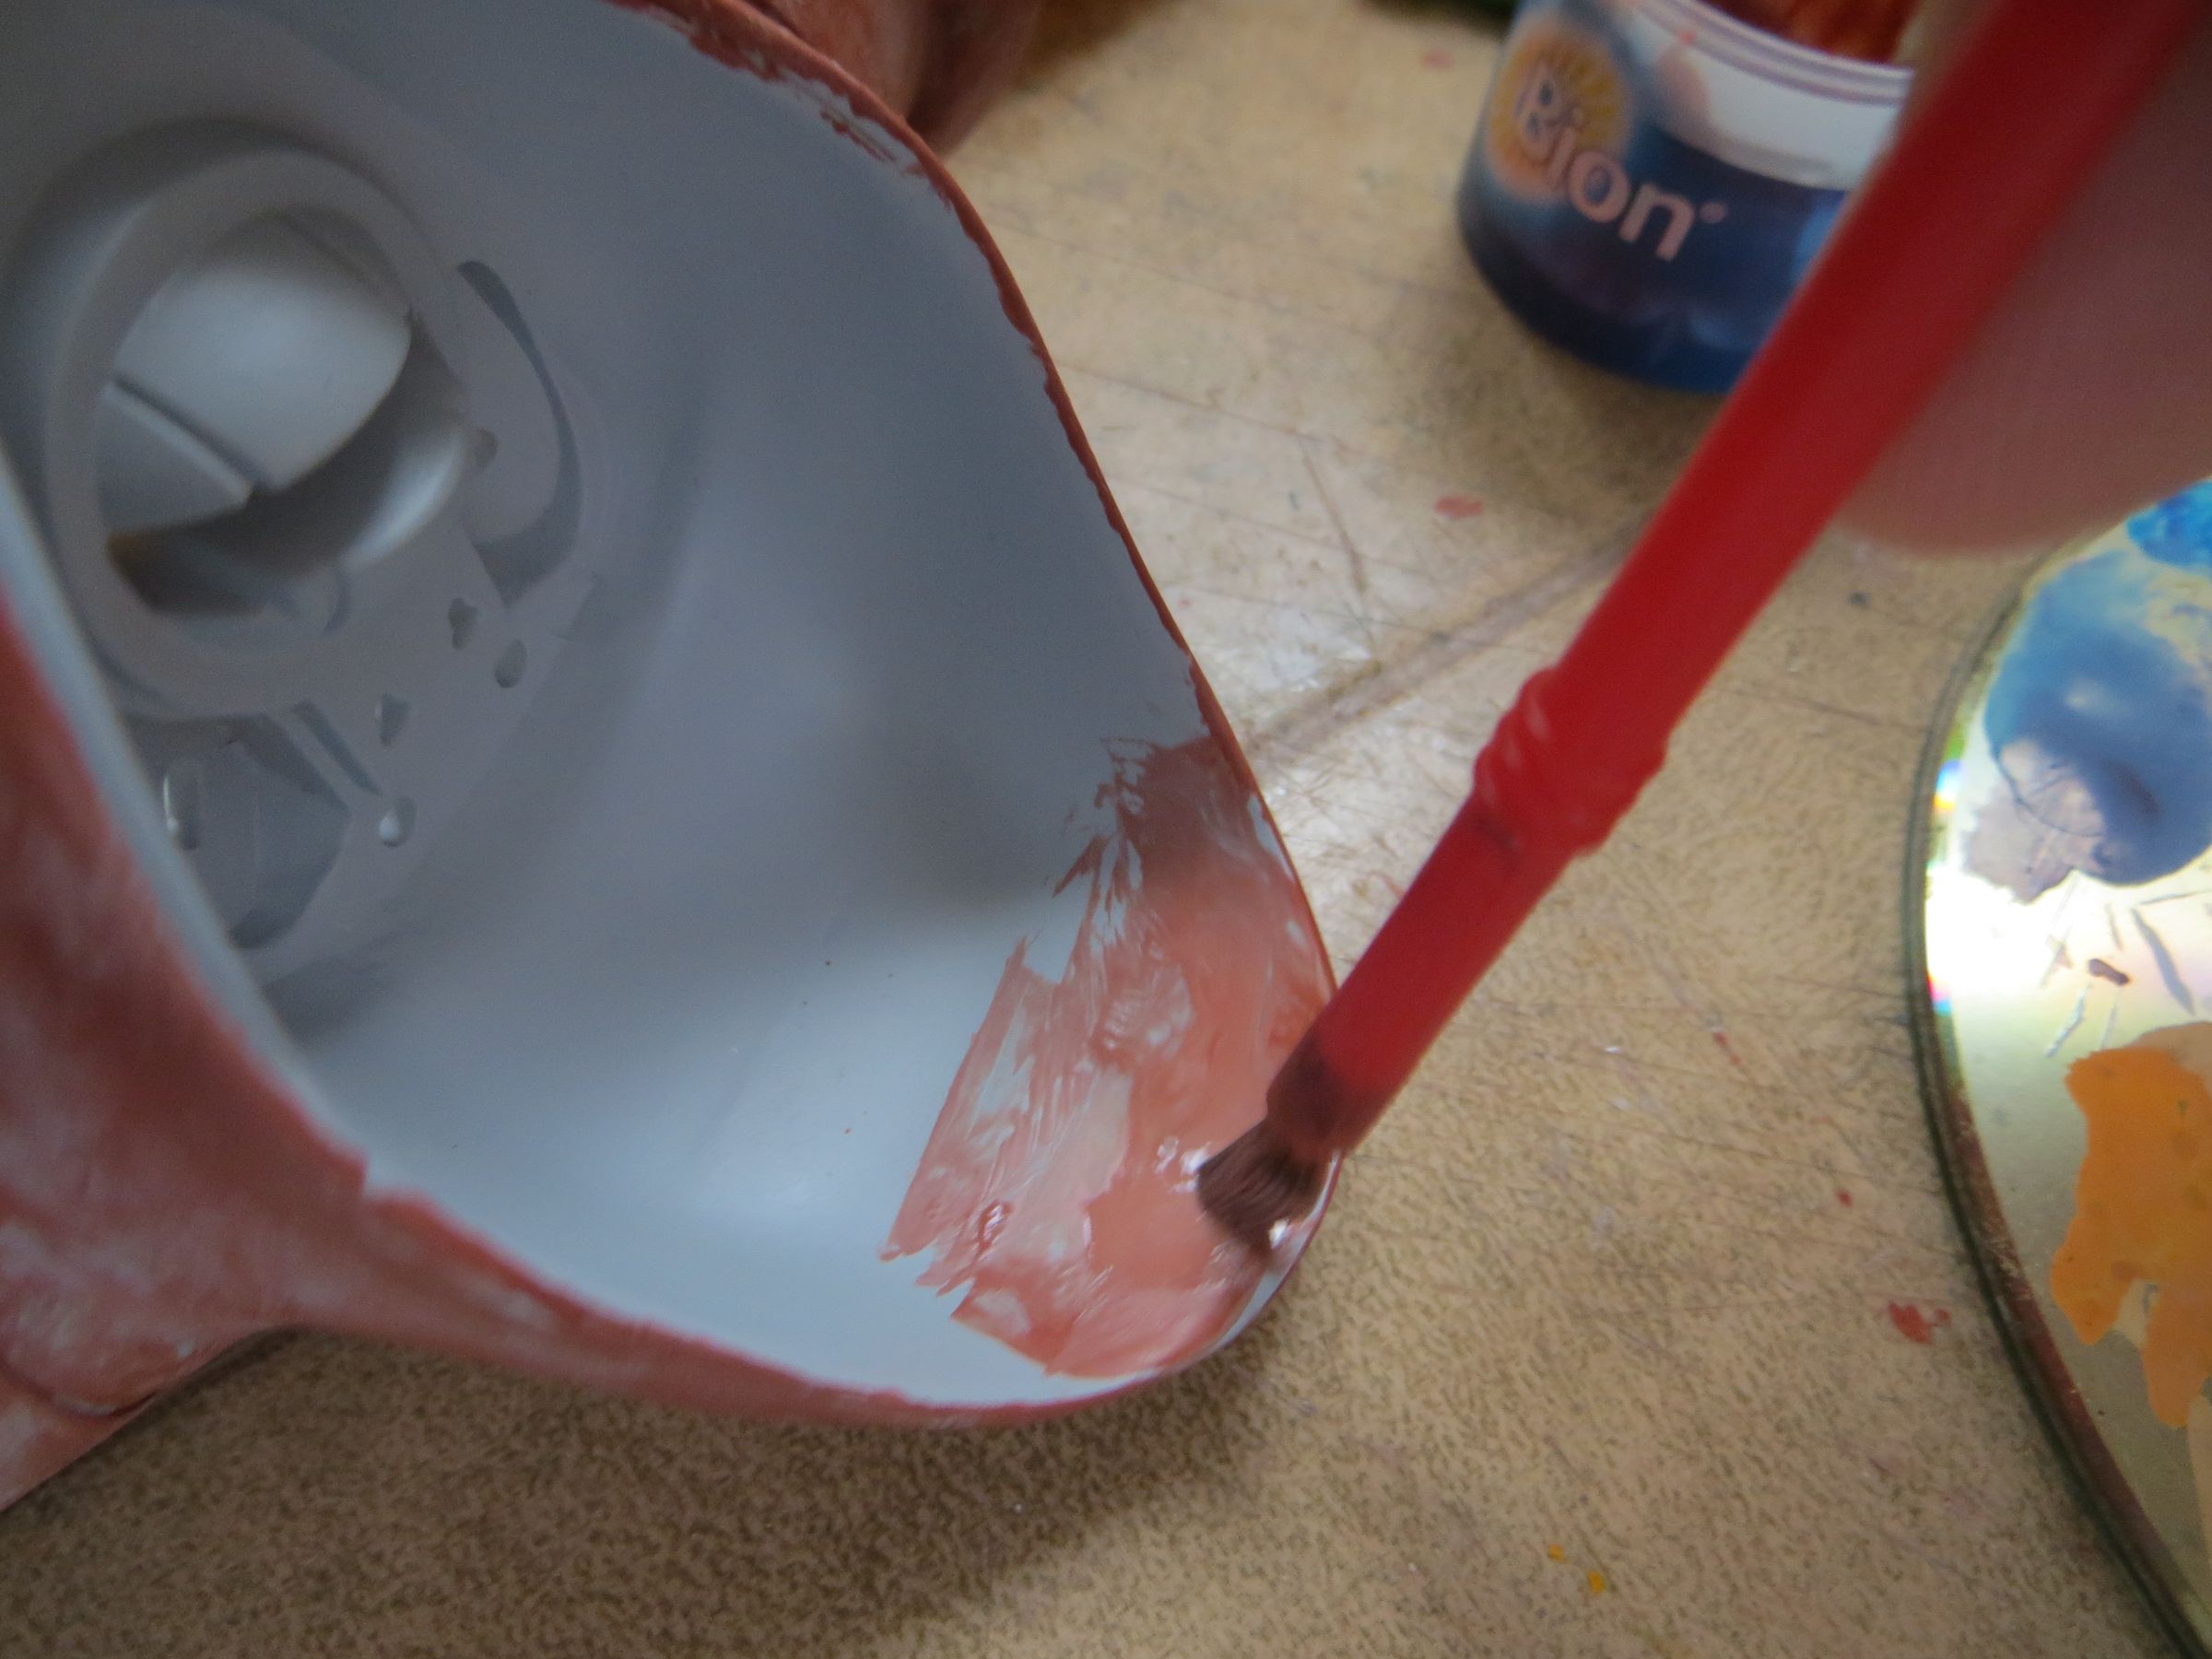
It remains to repaint the damaged areas.


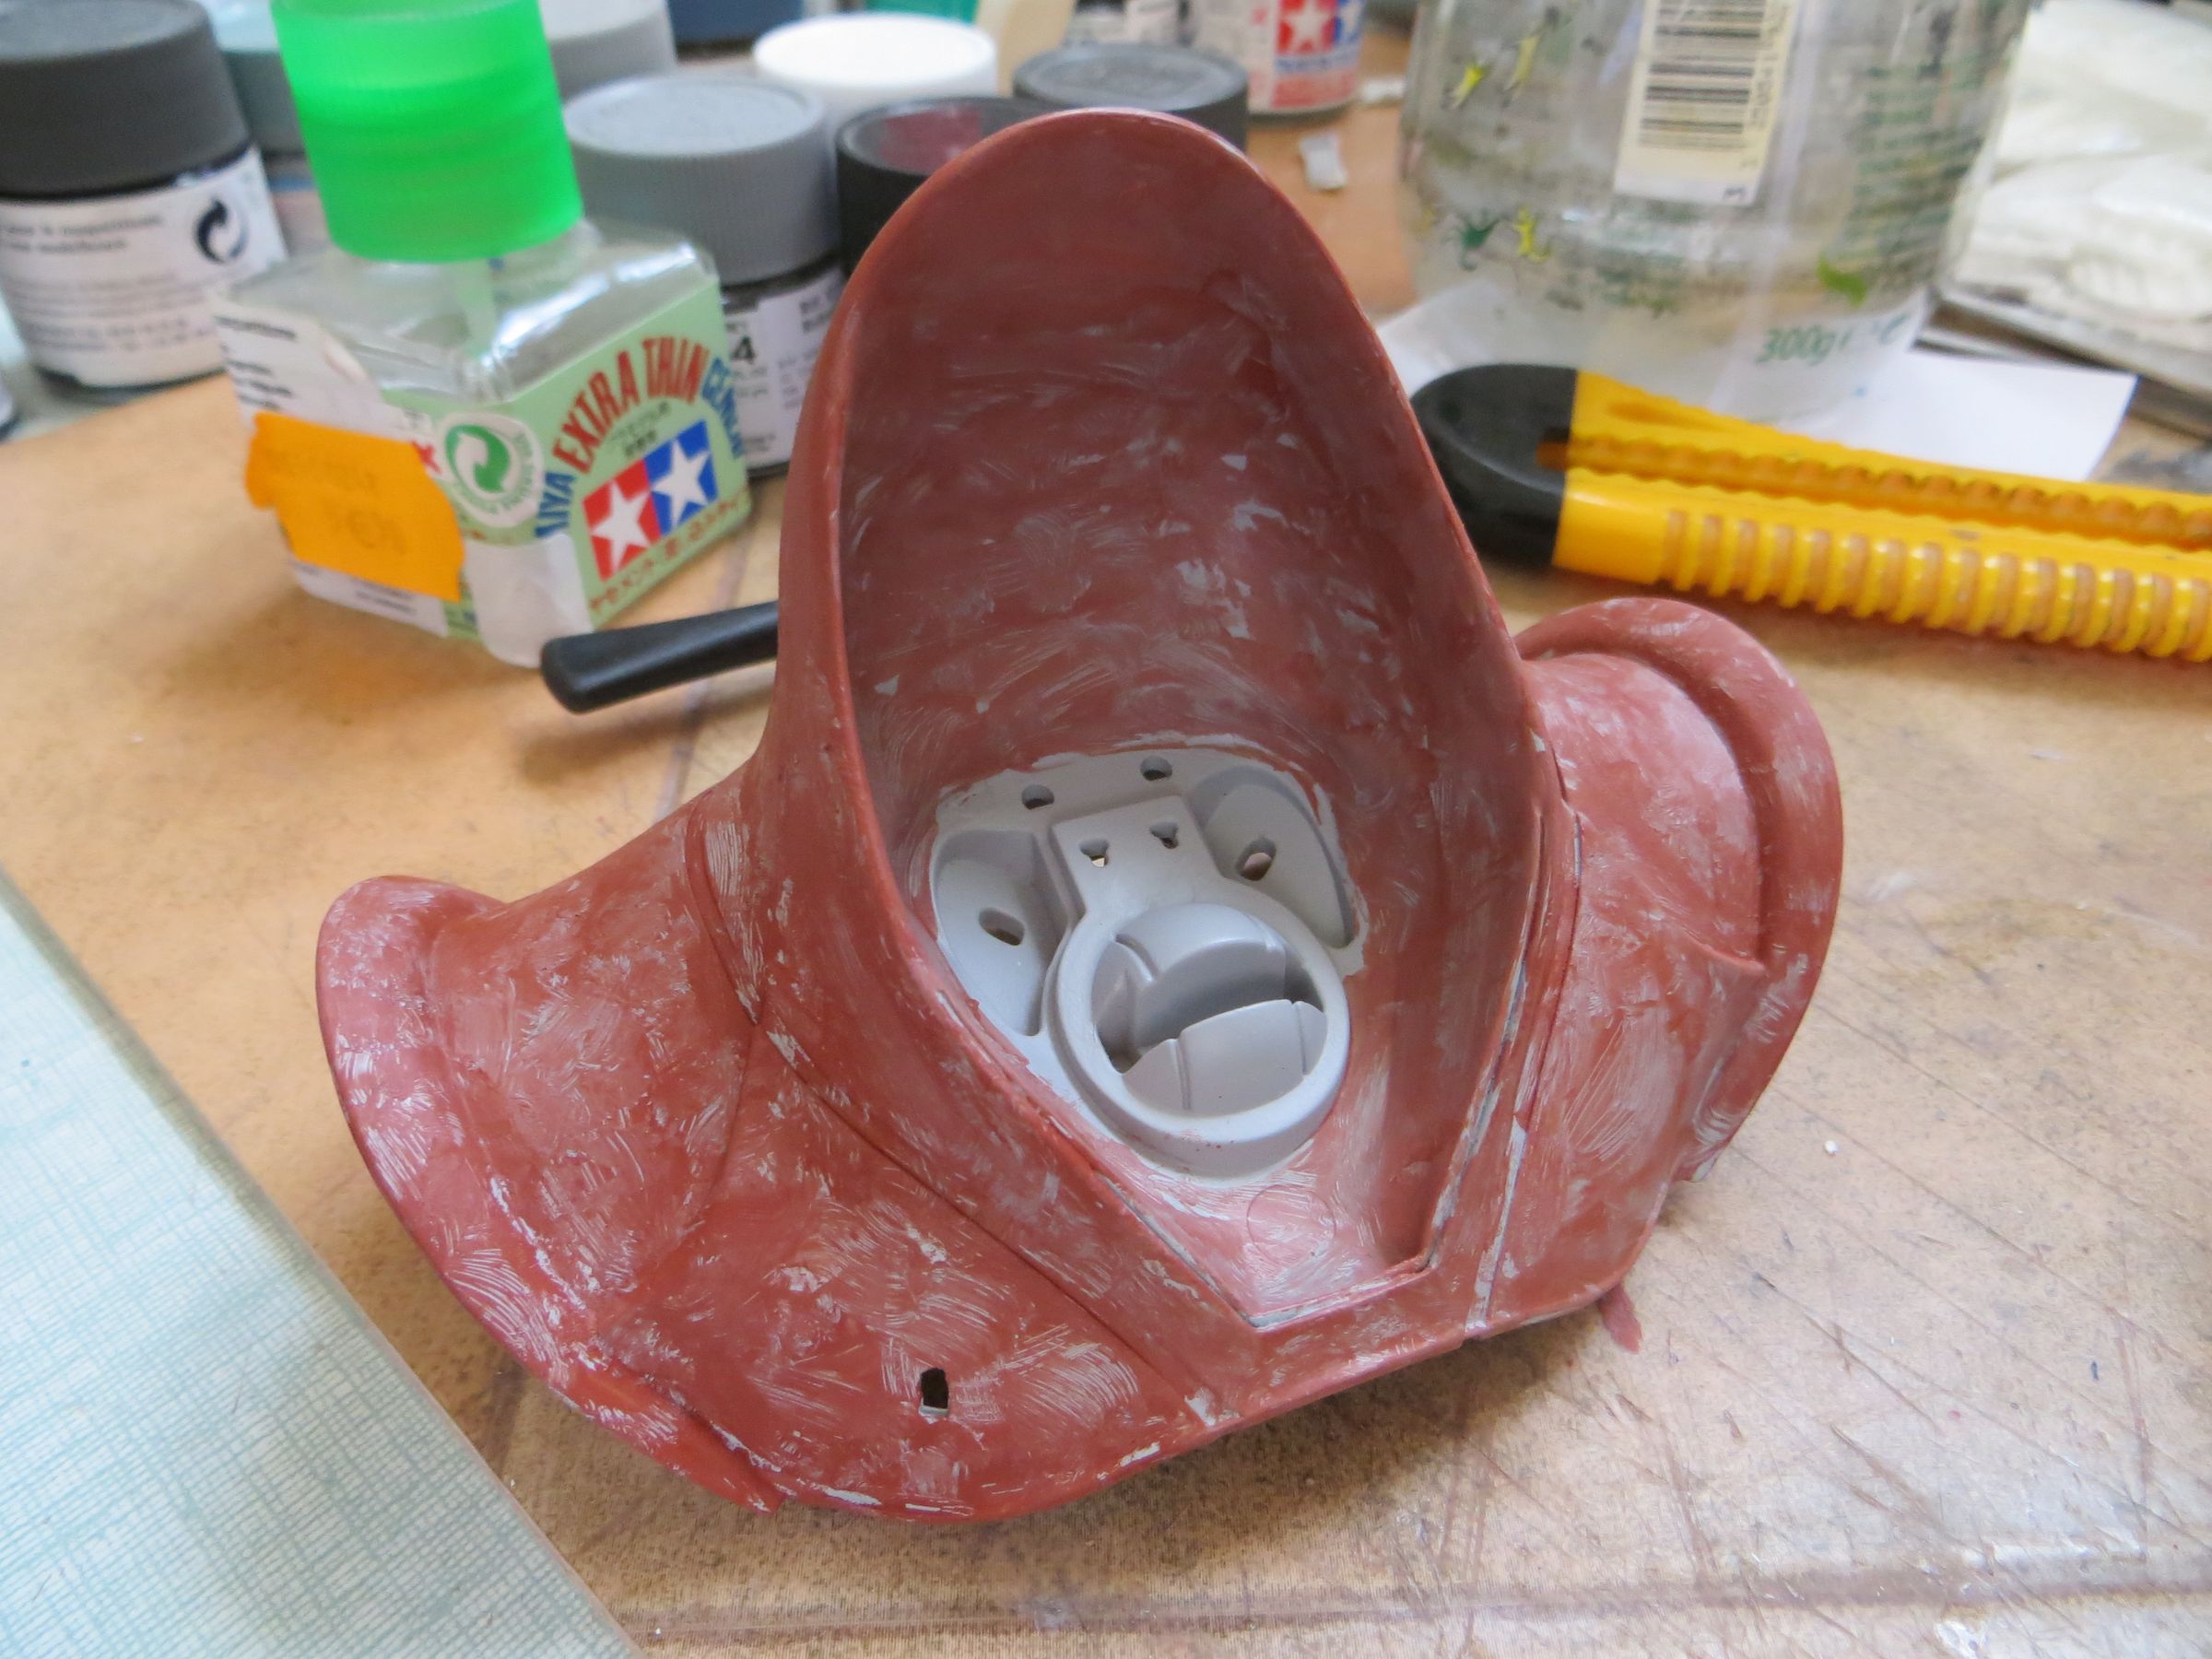
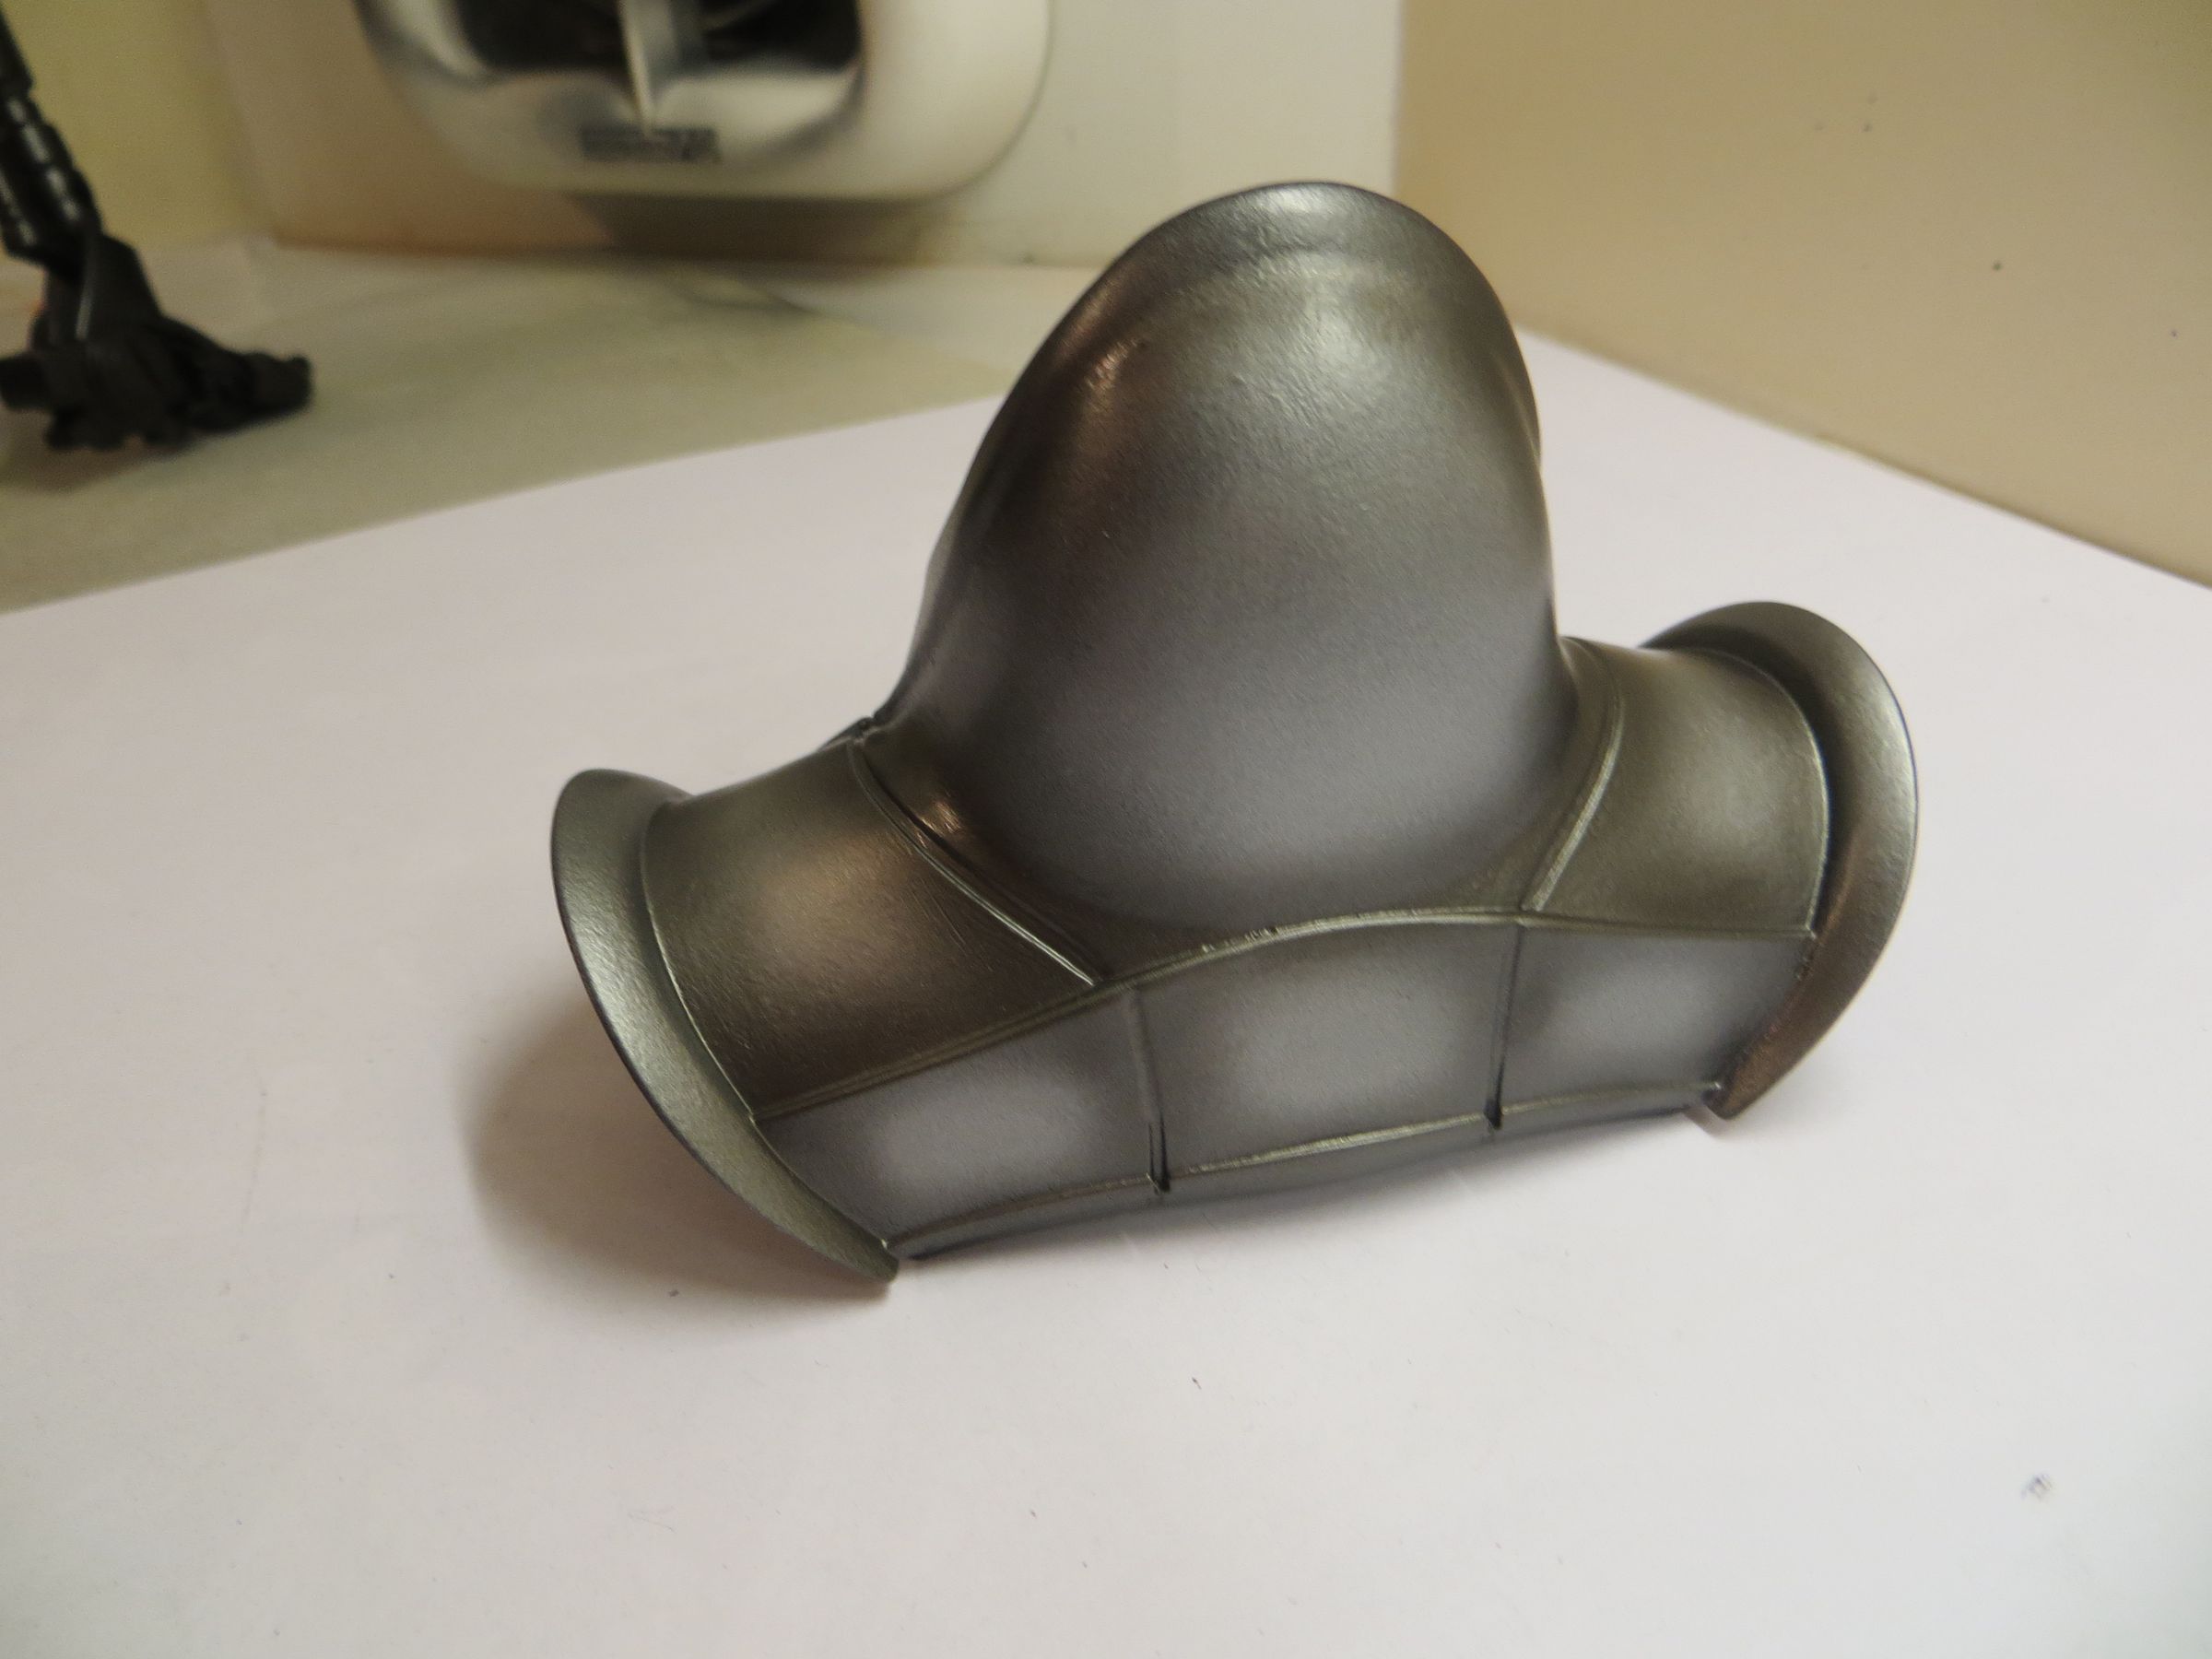
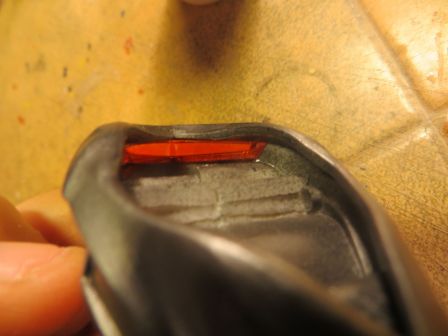
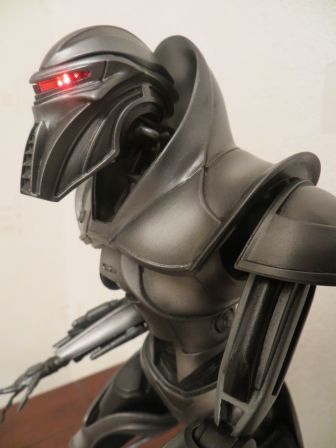
A black cloth is inserted into the body to conceal the armpits openings.

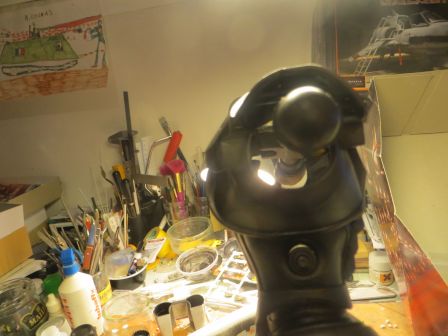
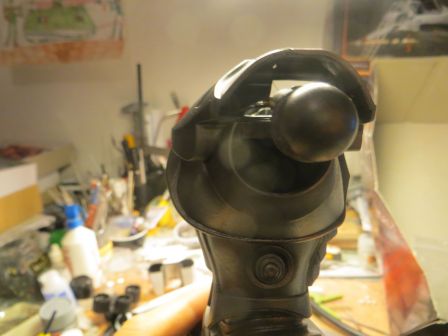
The visor is stuck with microscale kristal klear

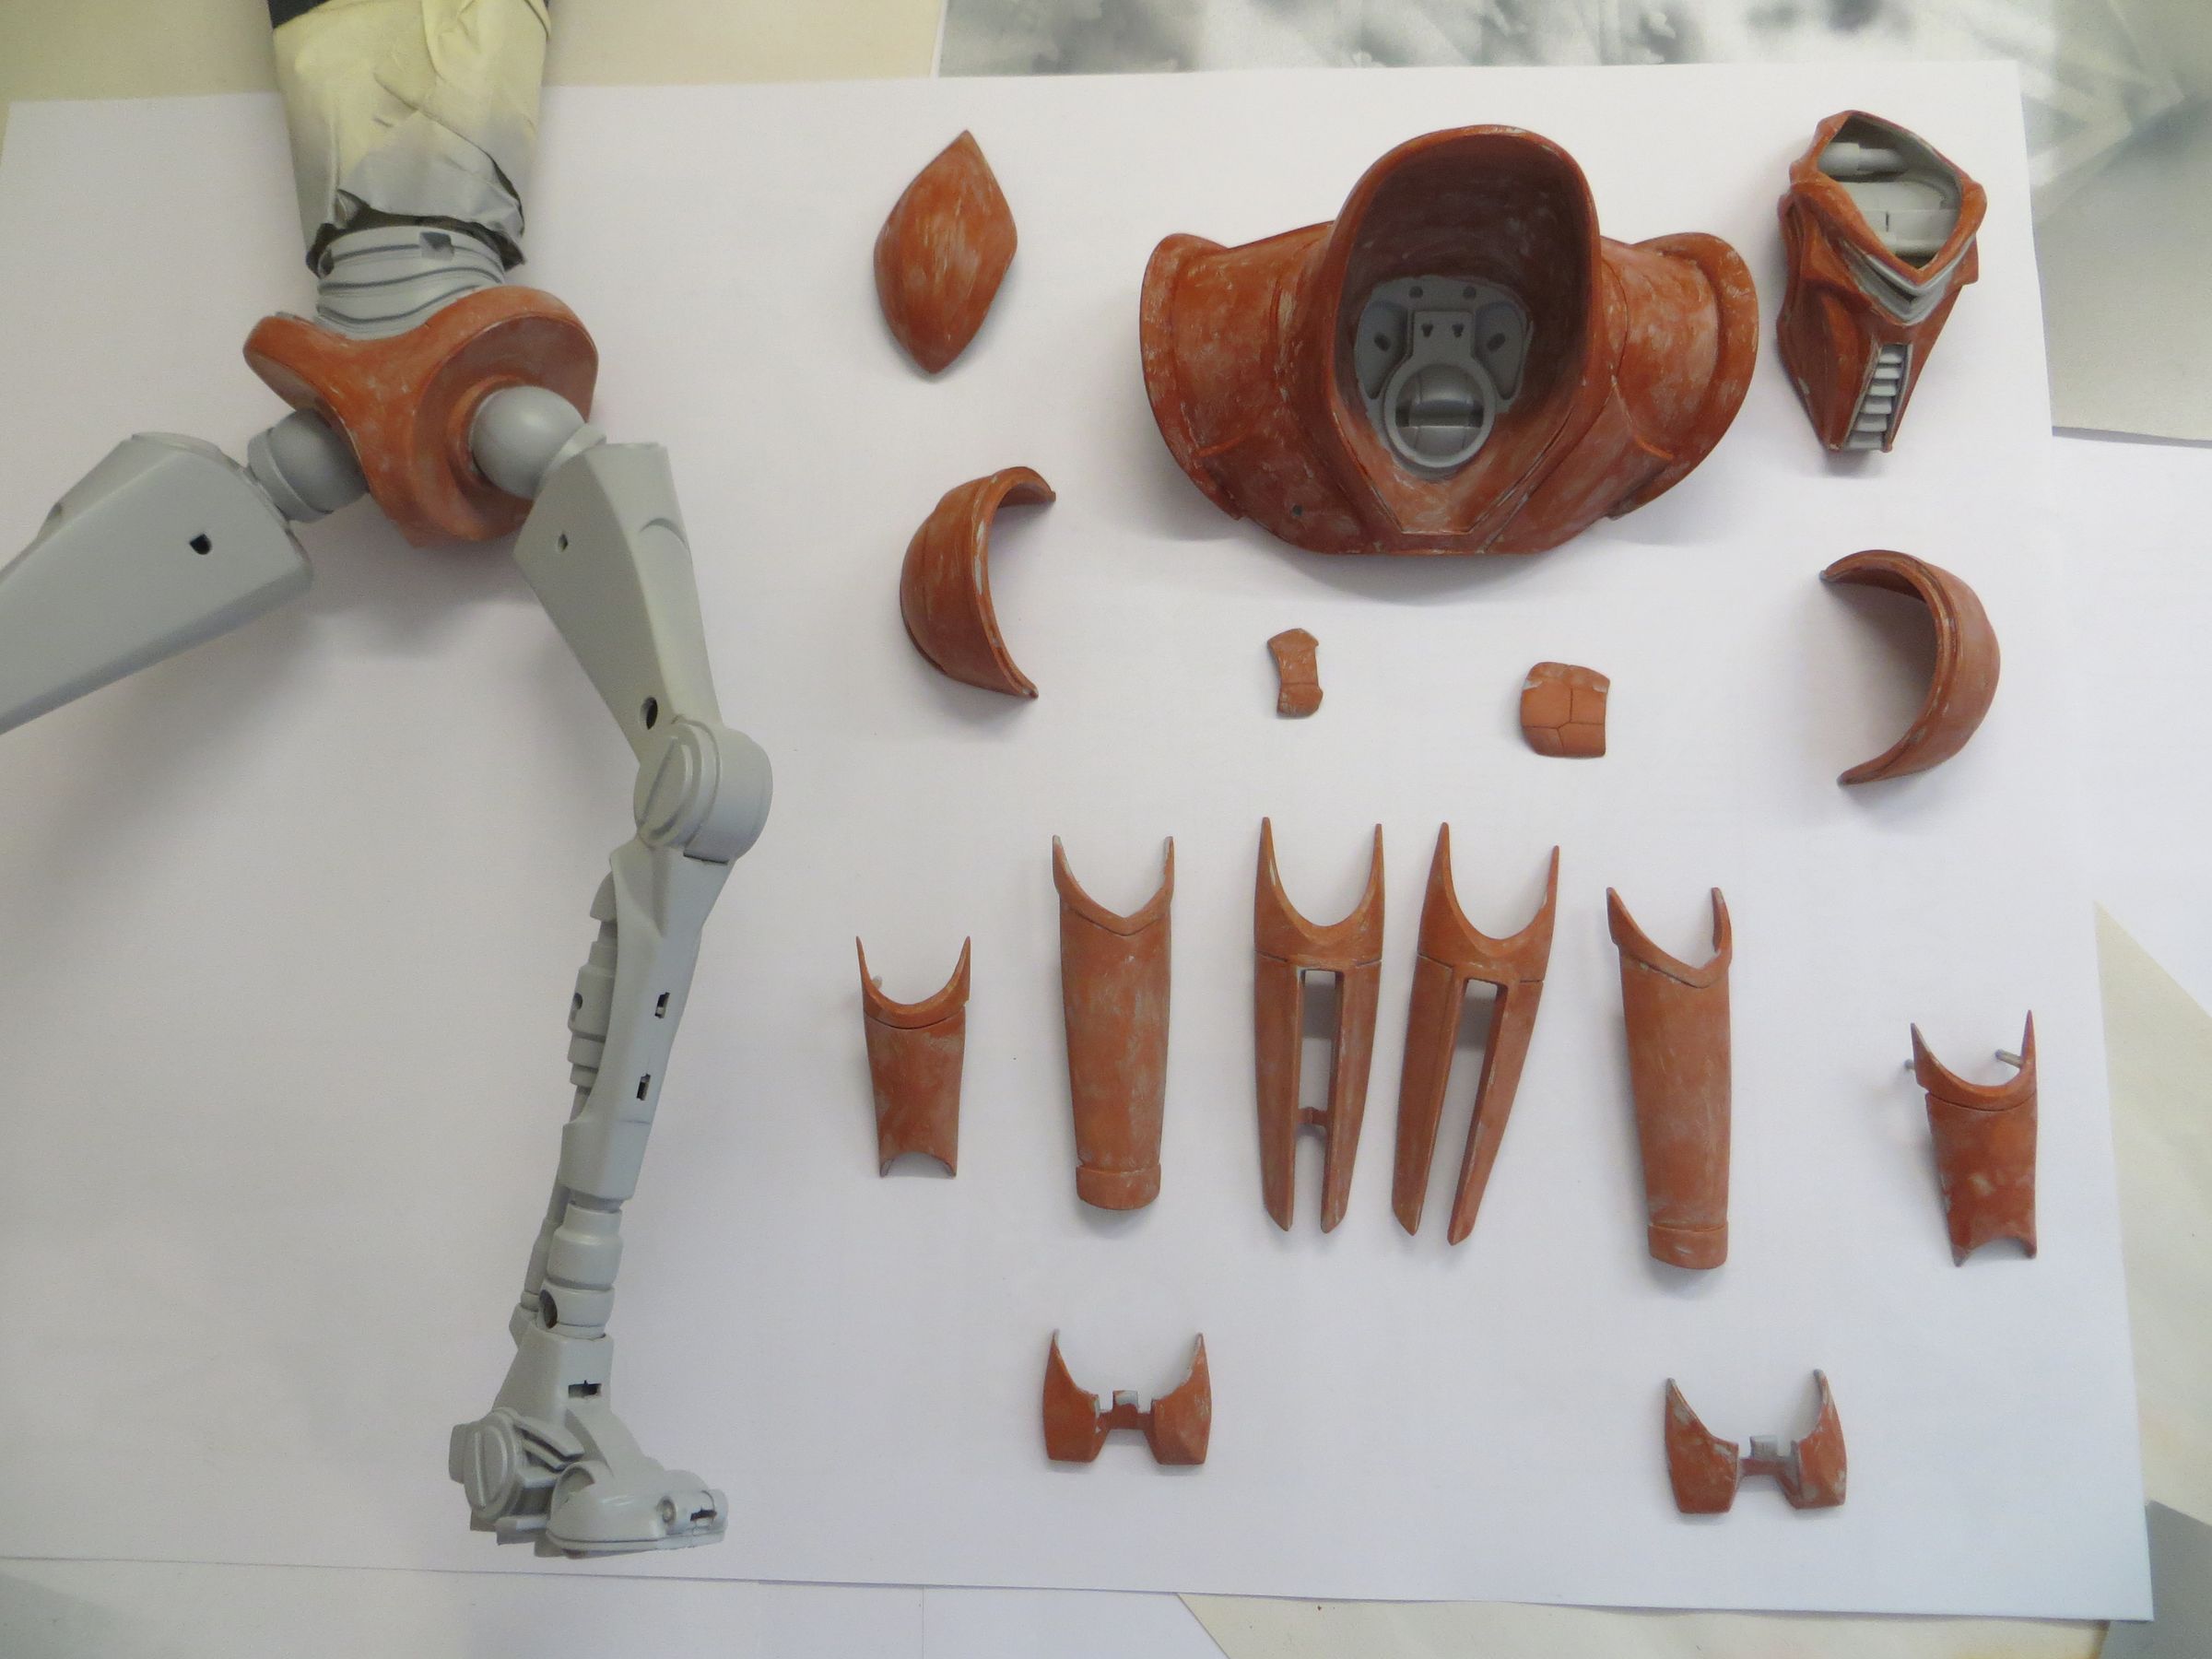
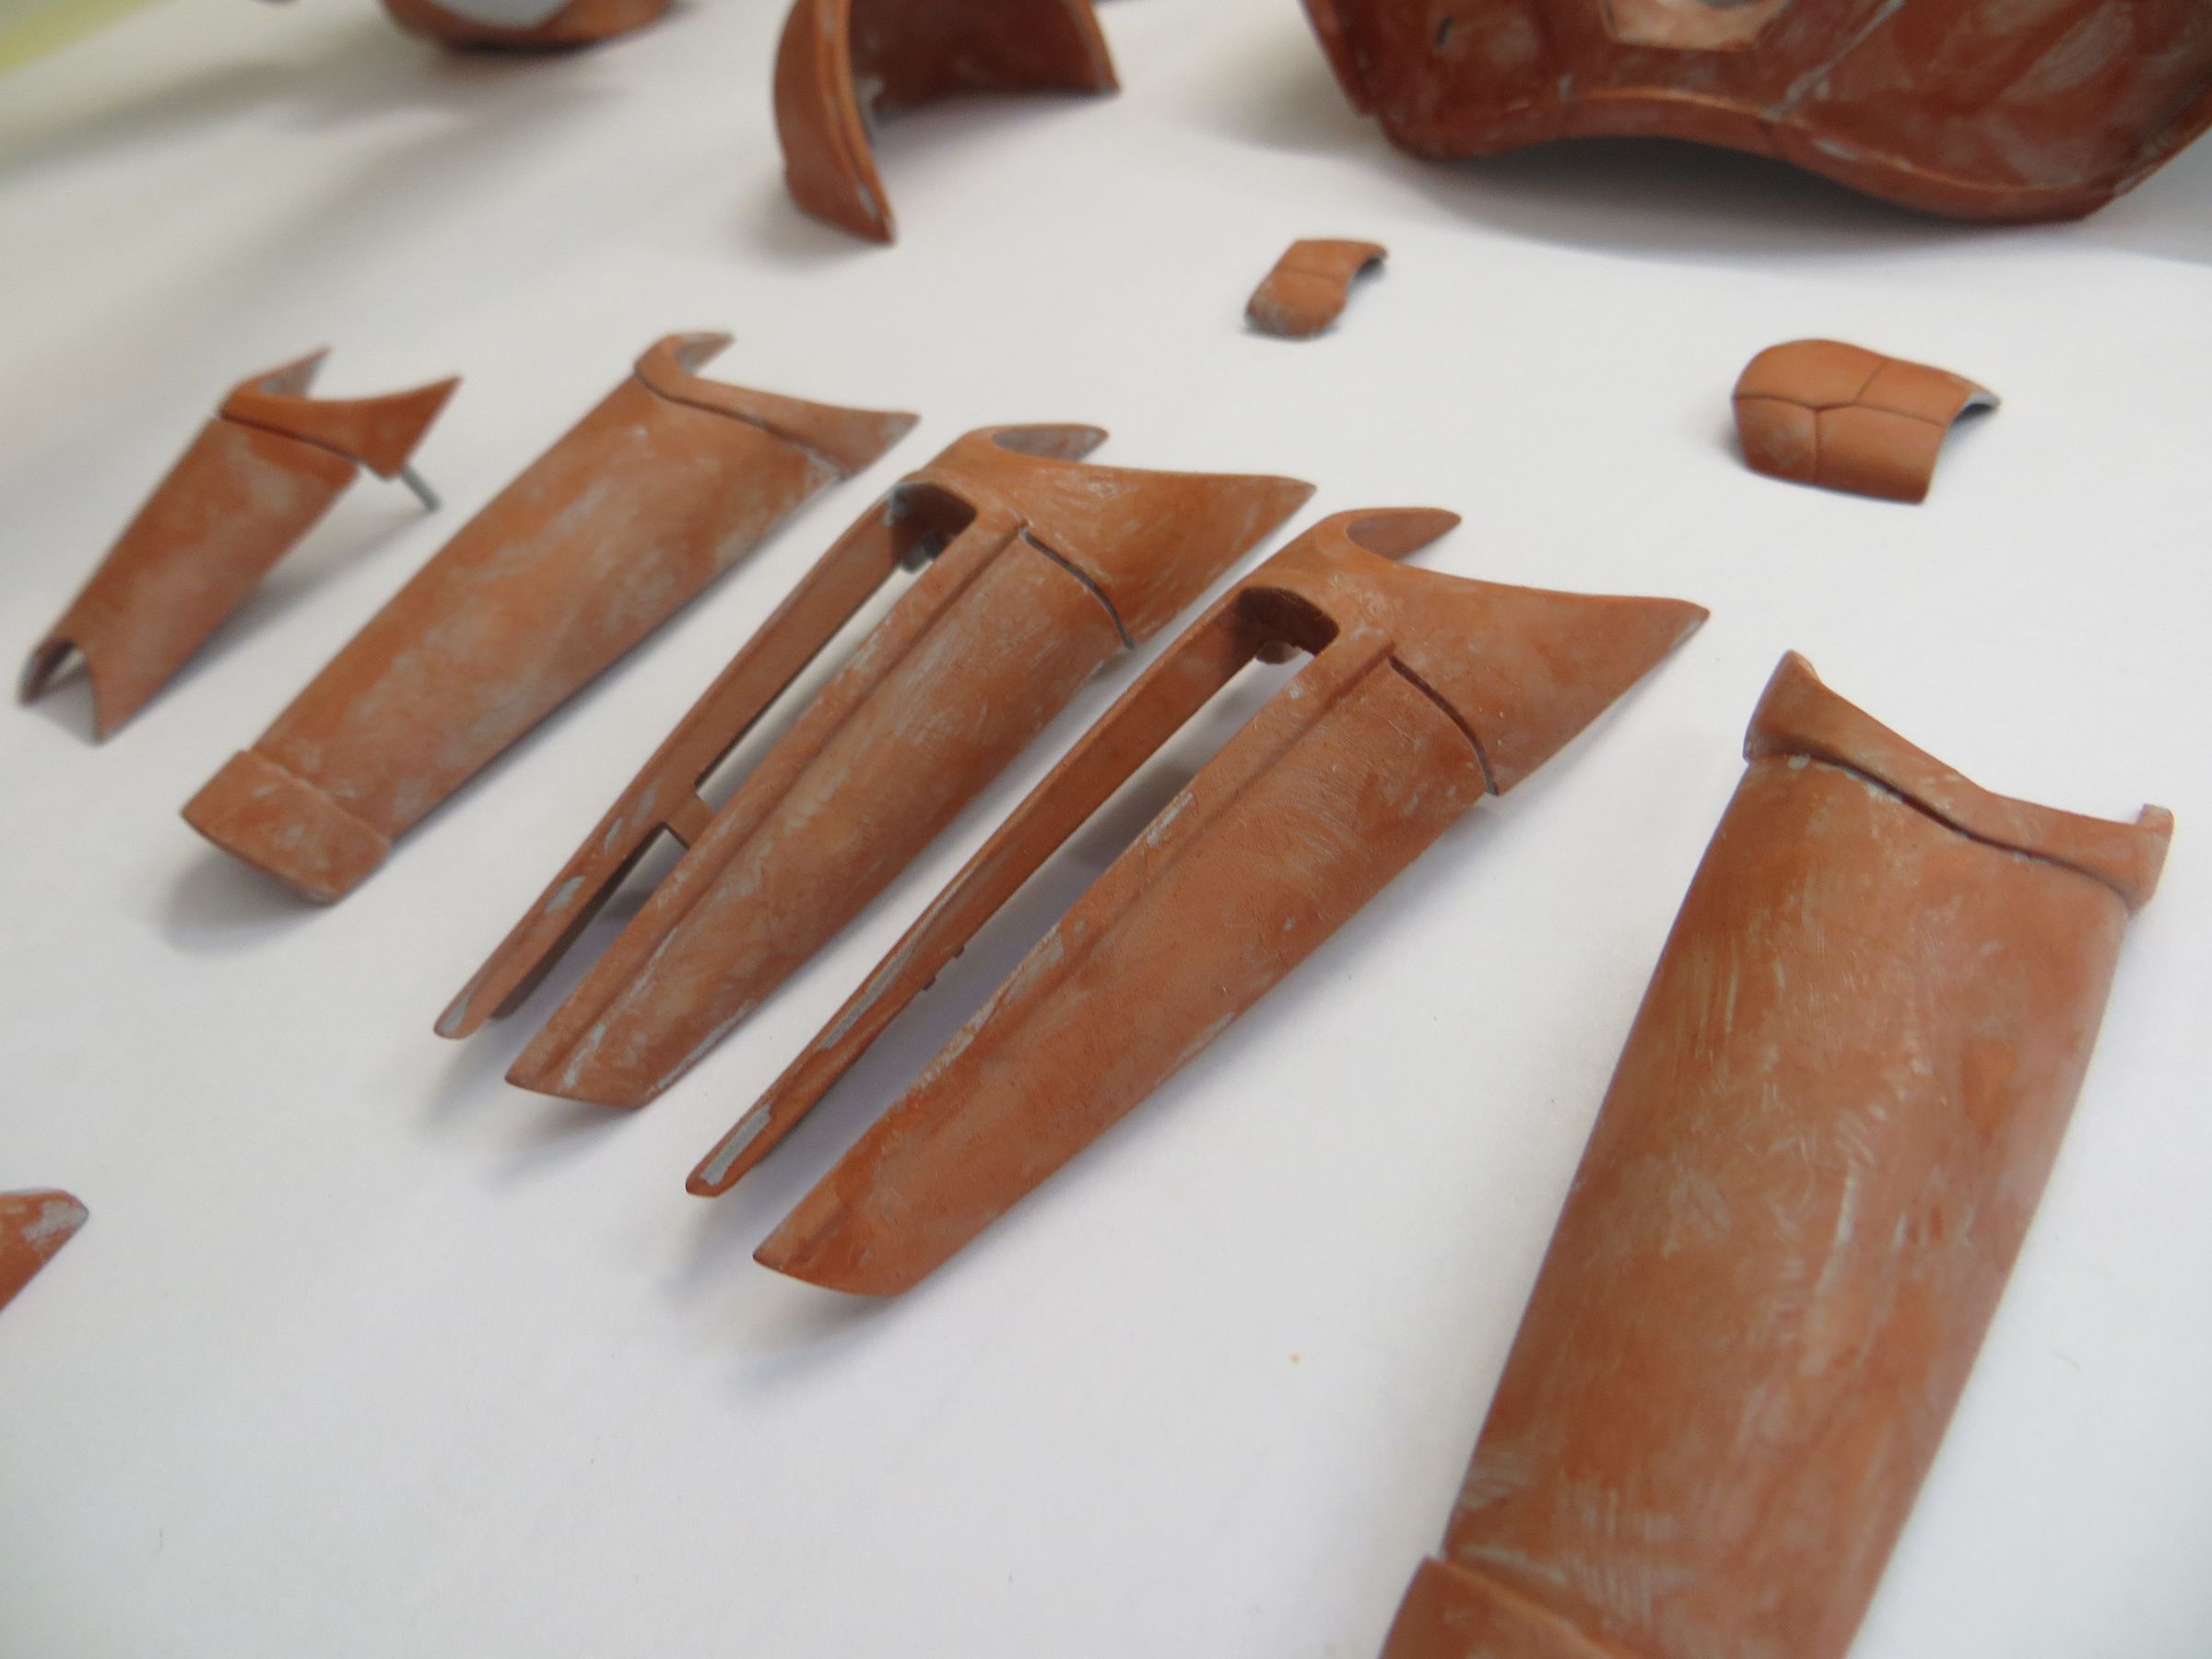
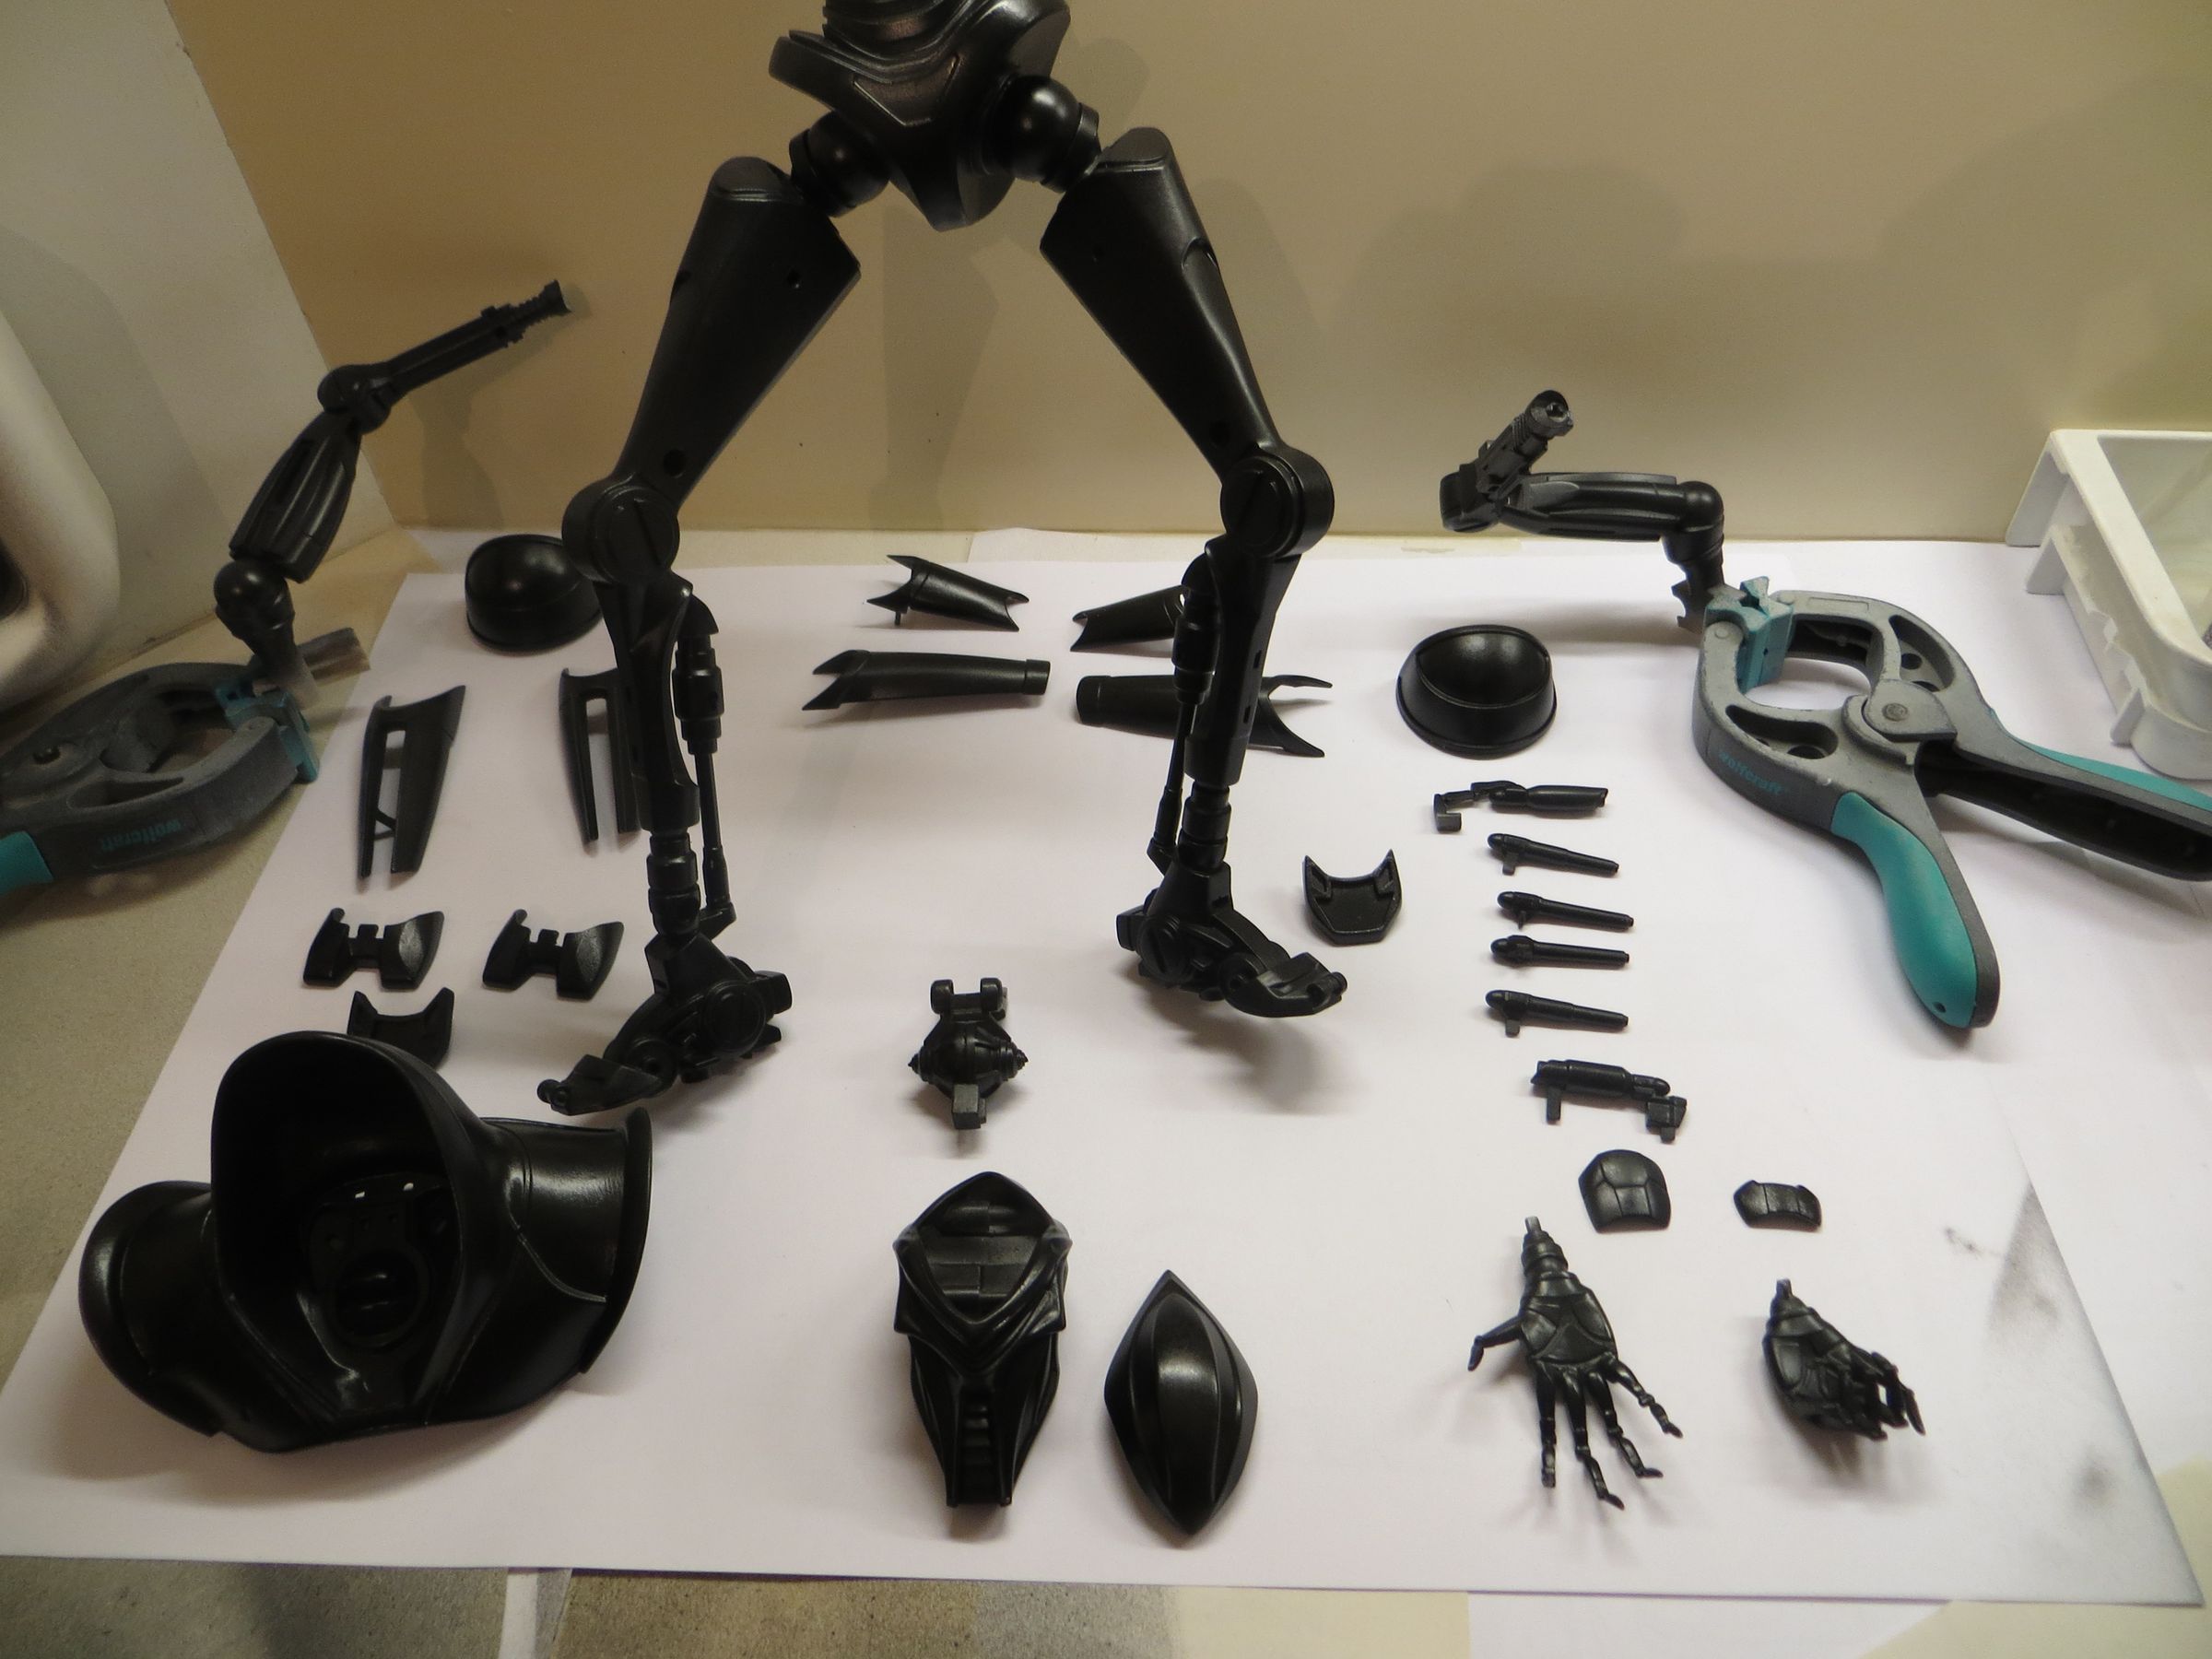
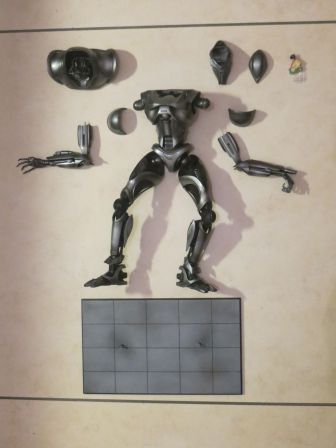
The model will be completly glued, and remain in pieces when possible.
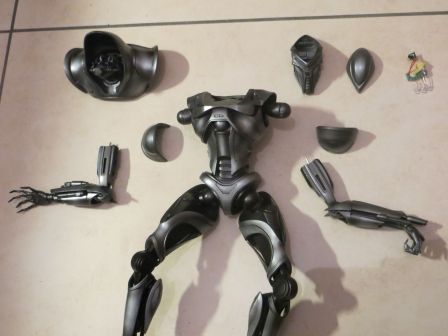
And final assembly.

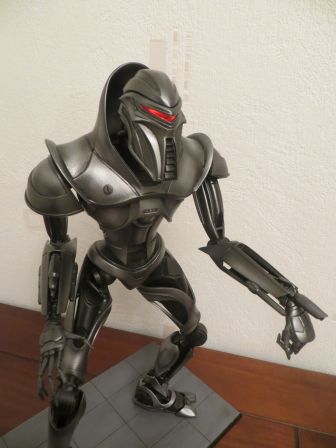
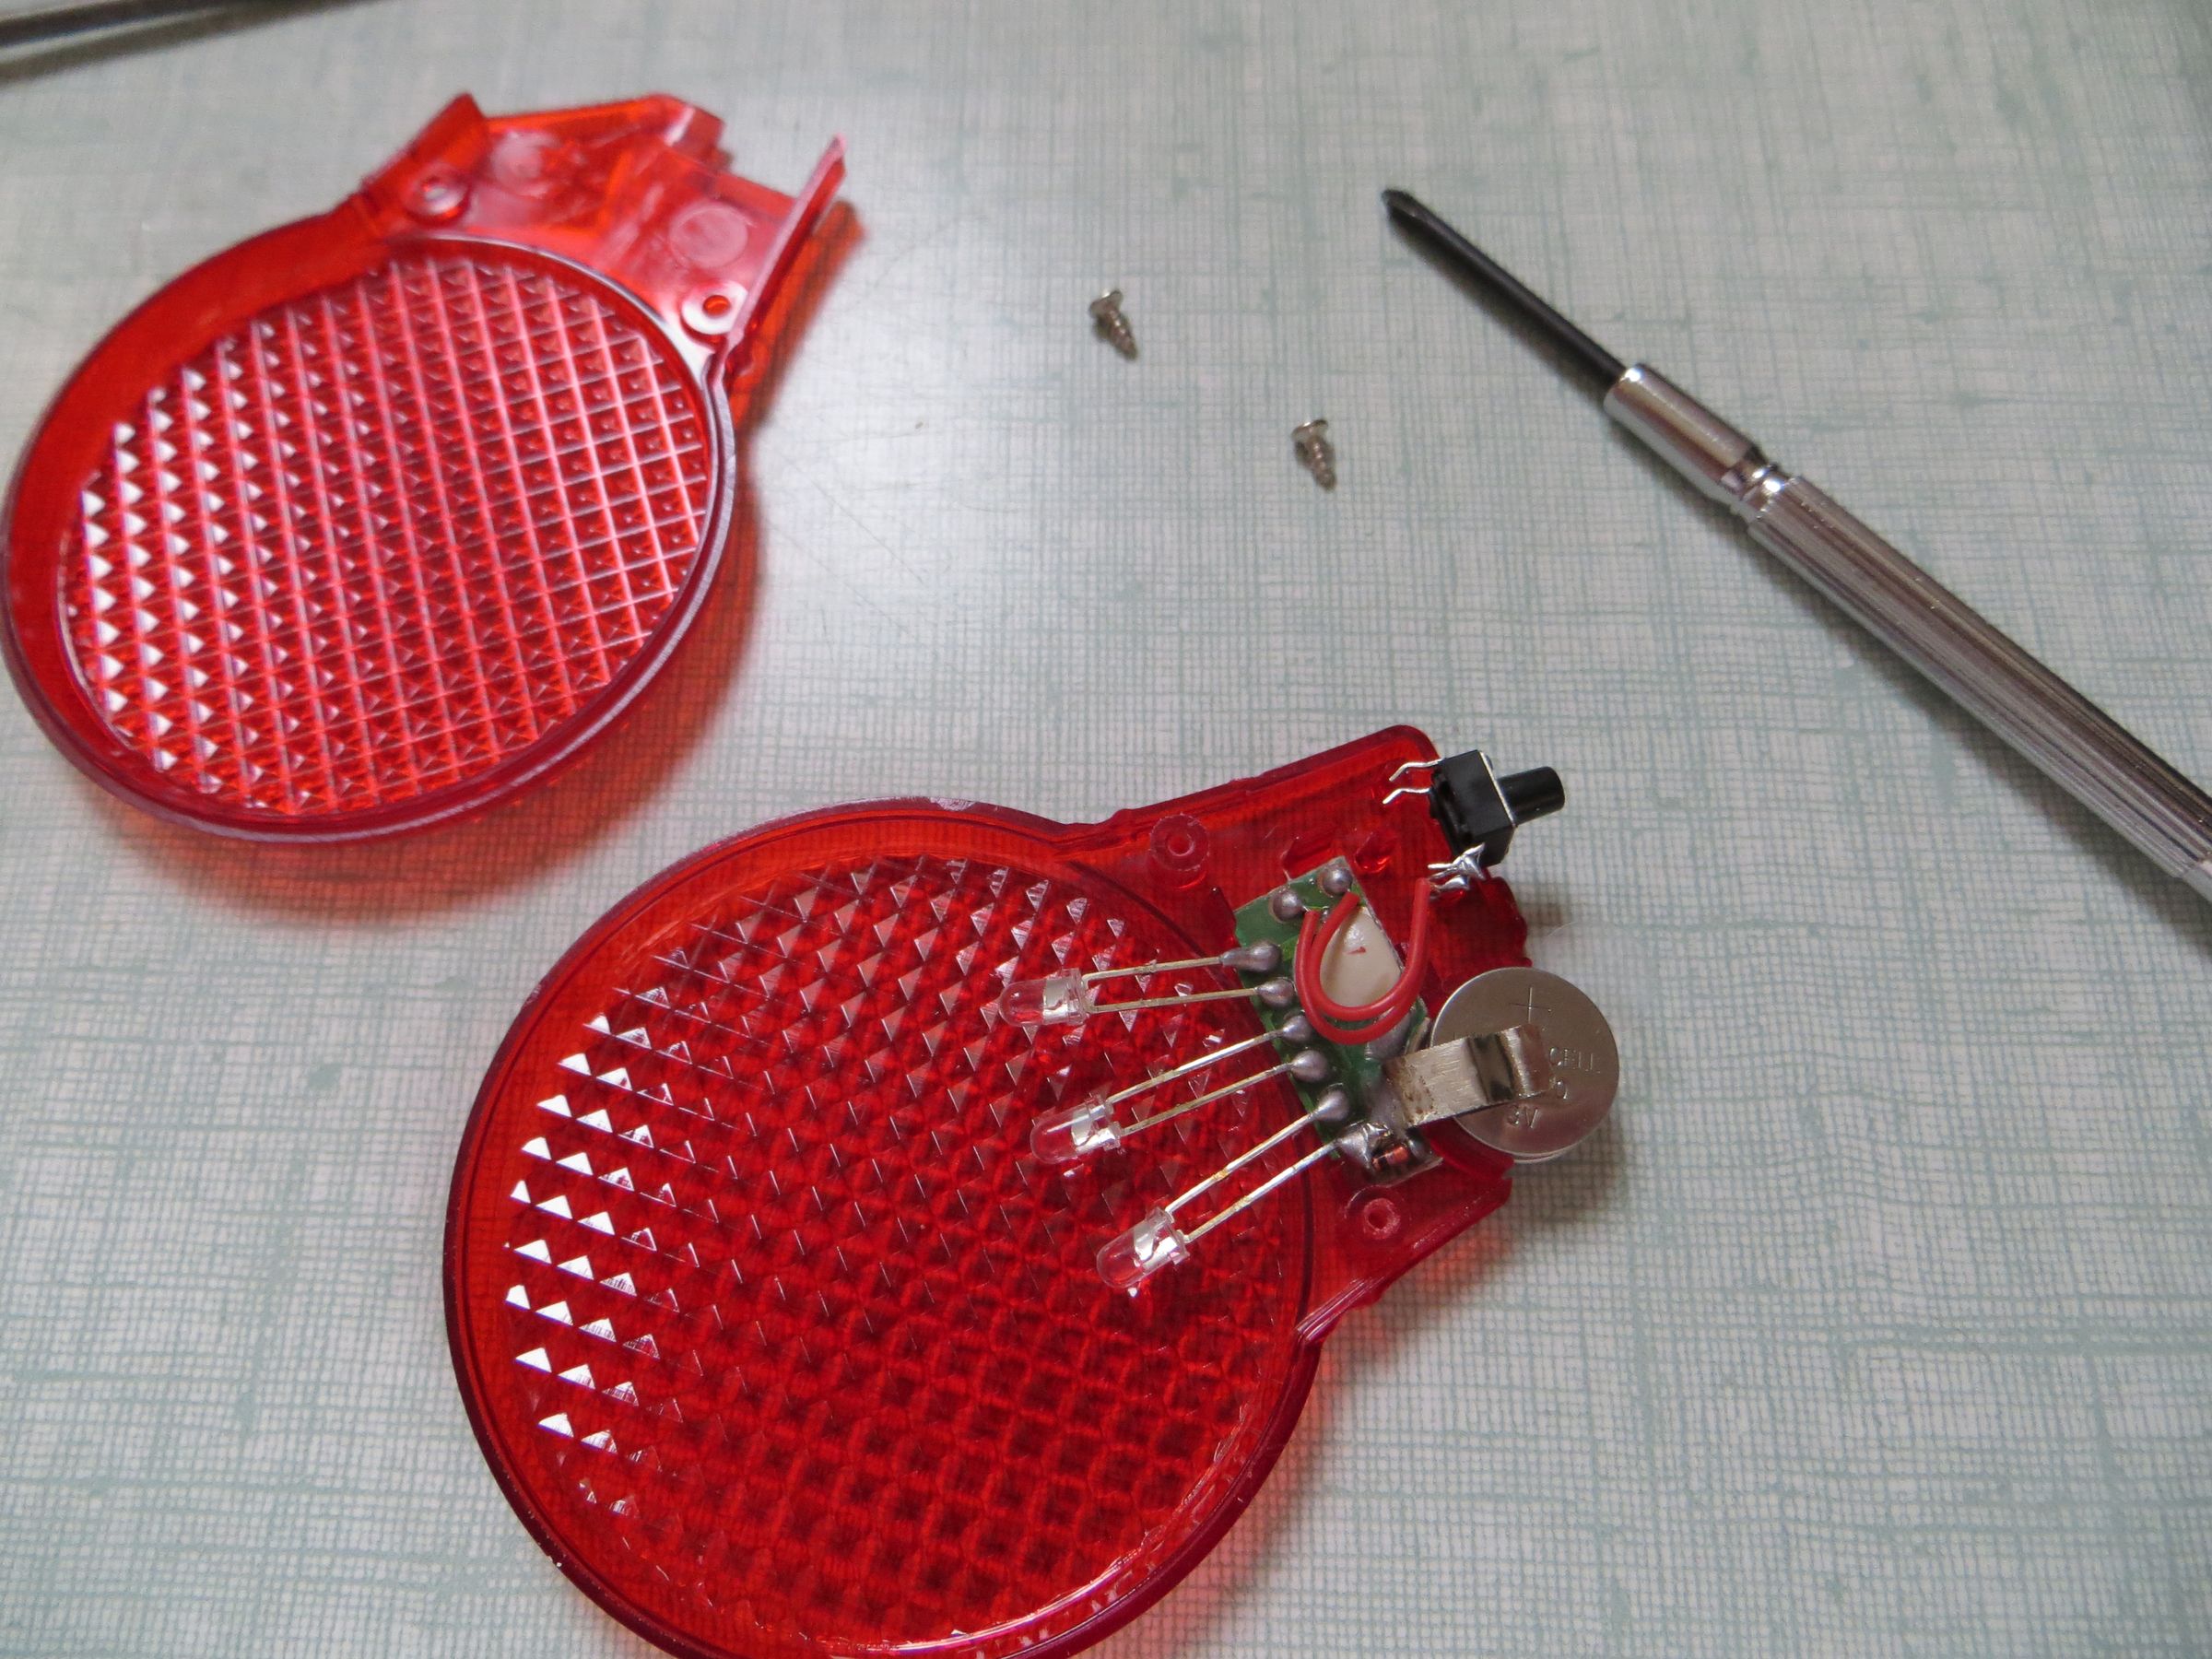
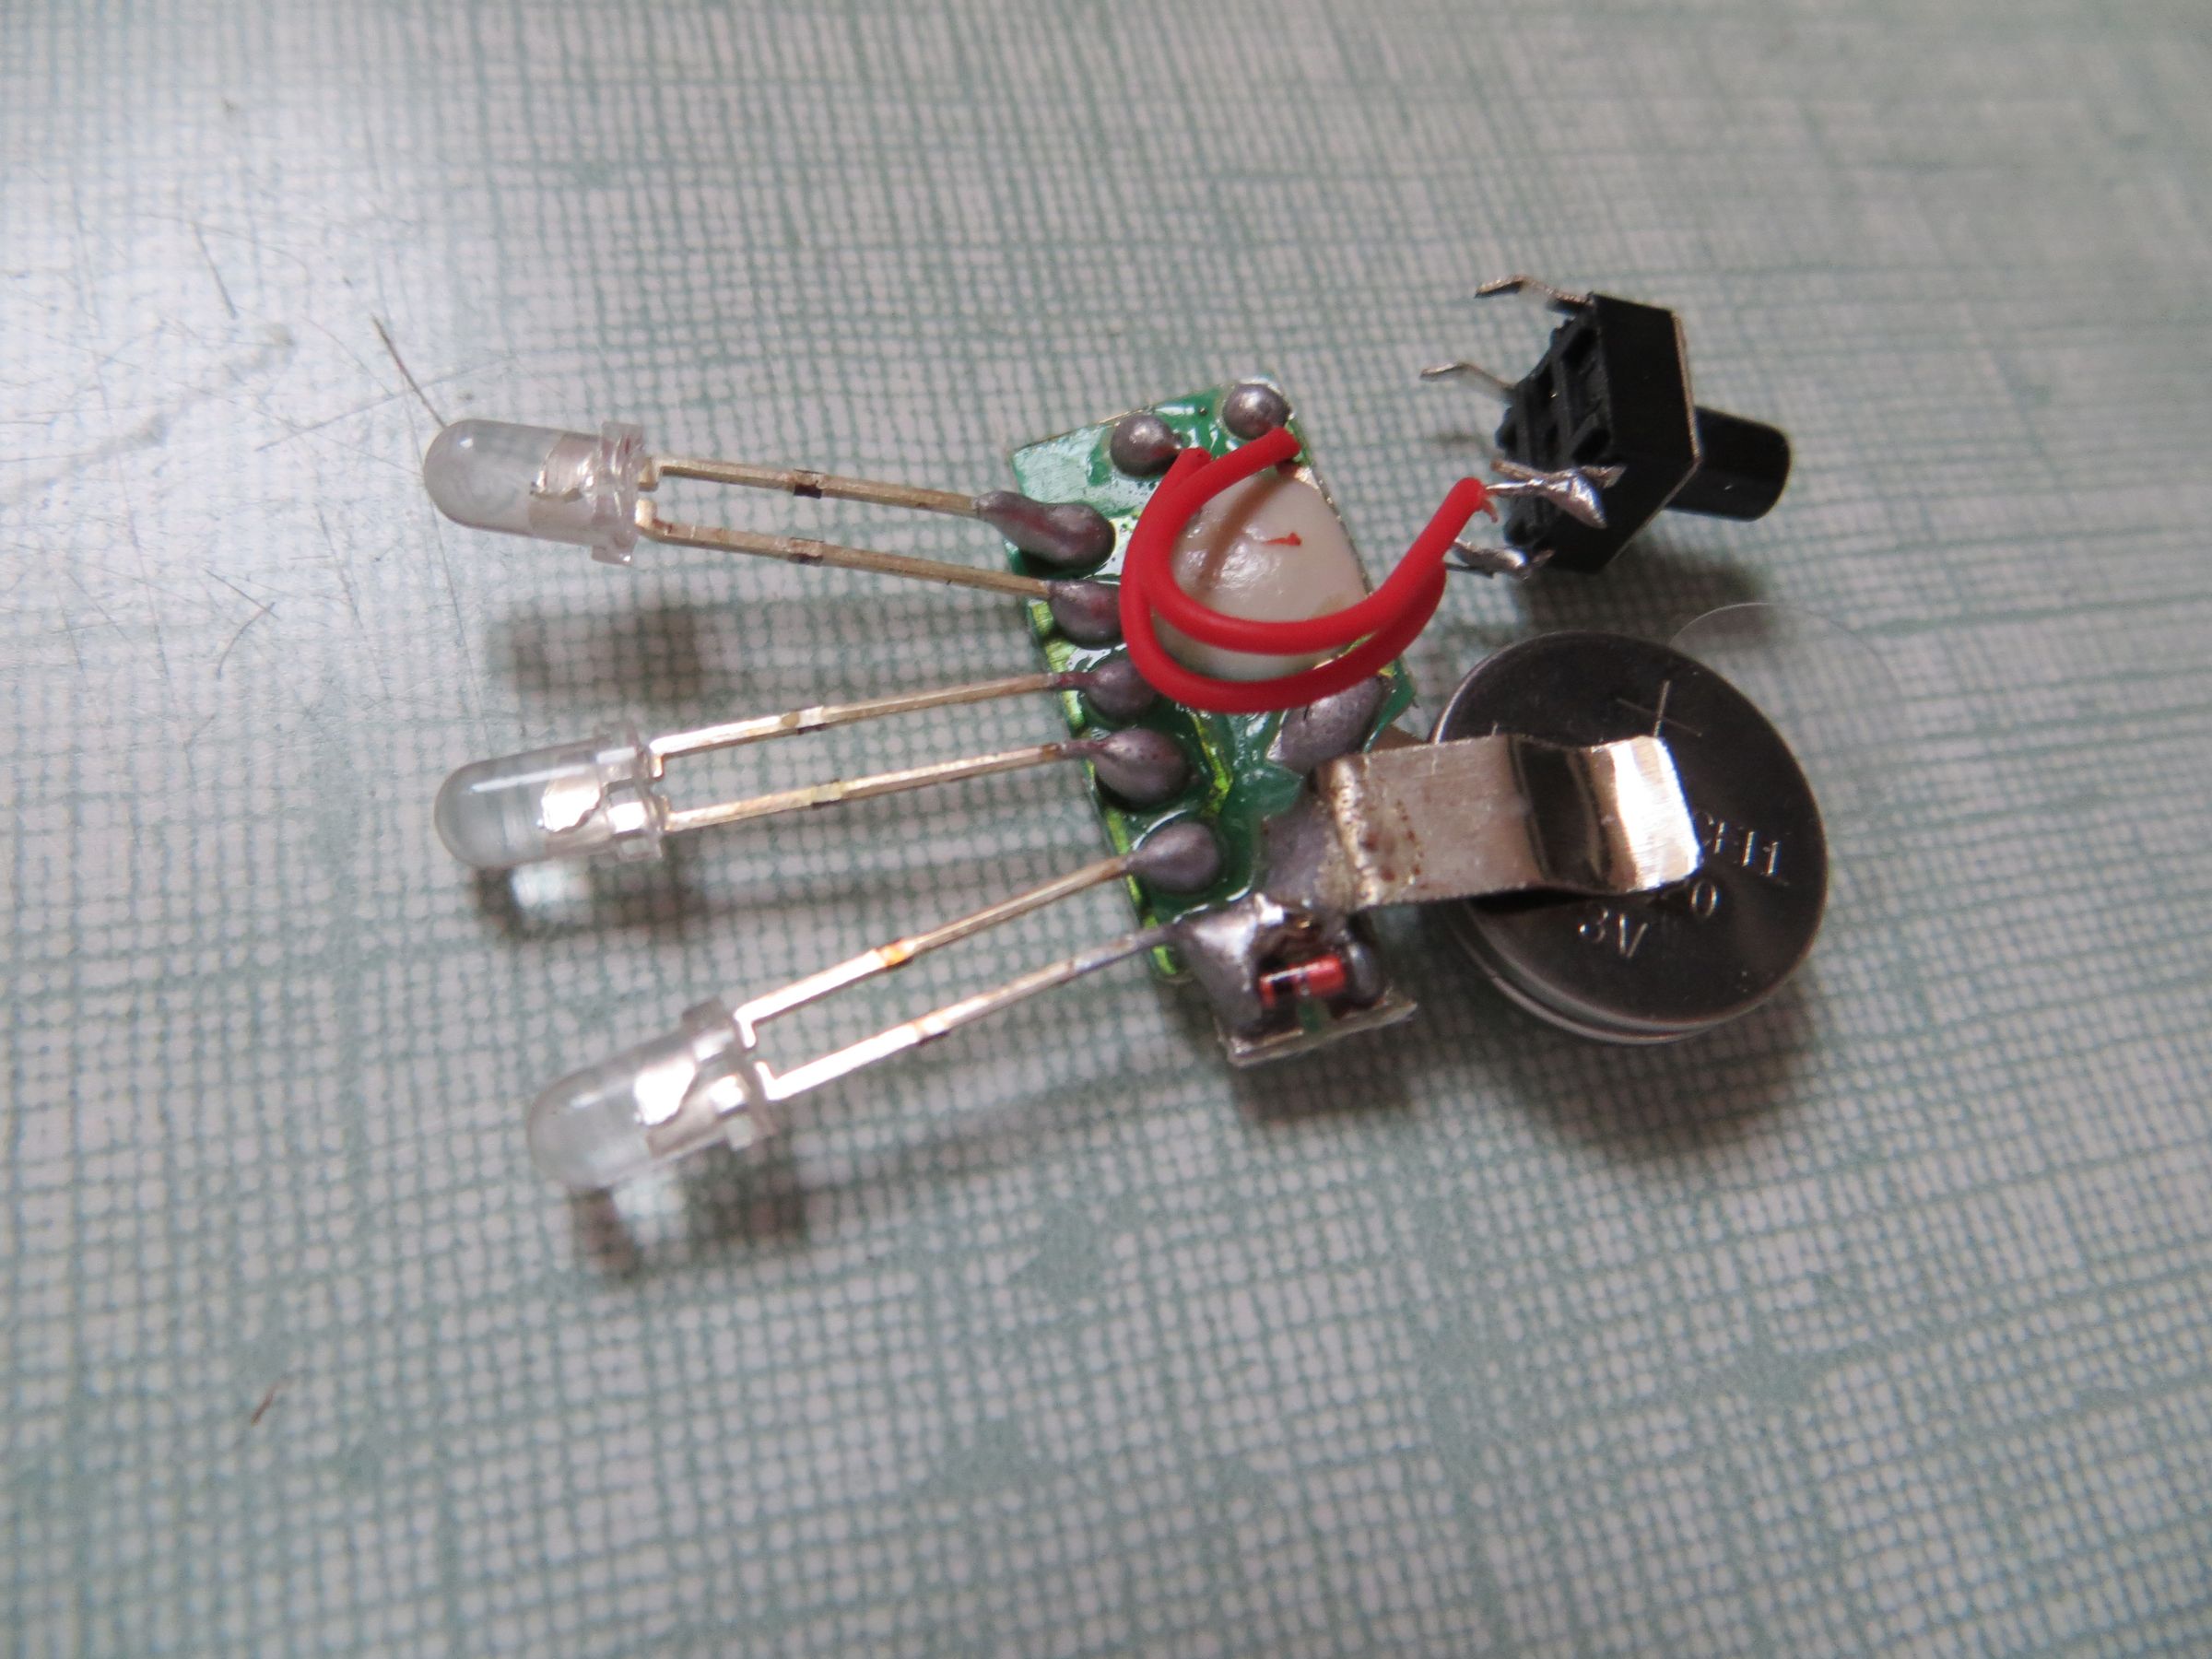
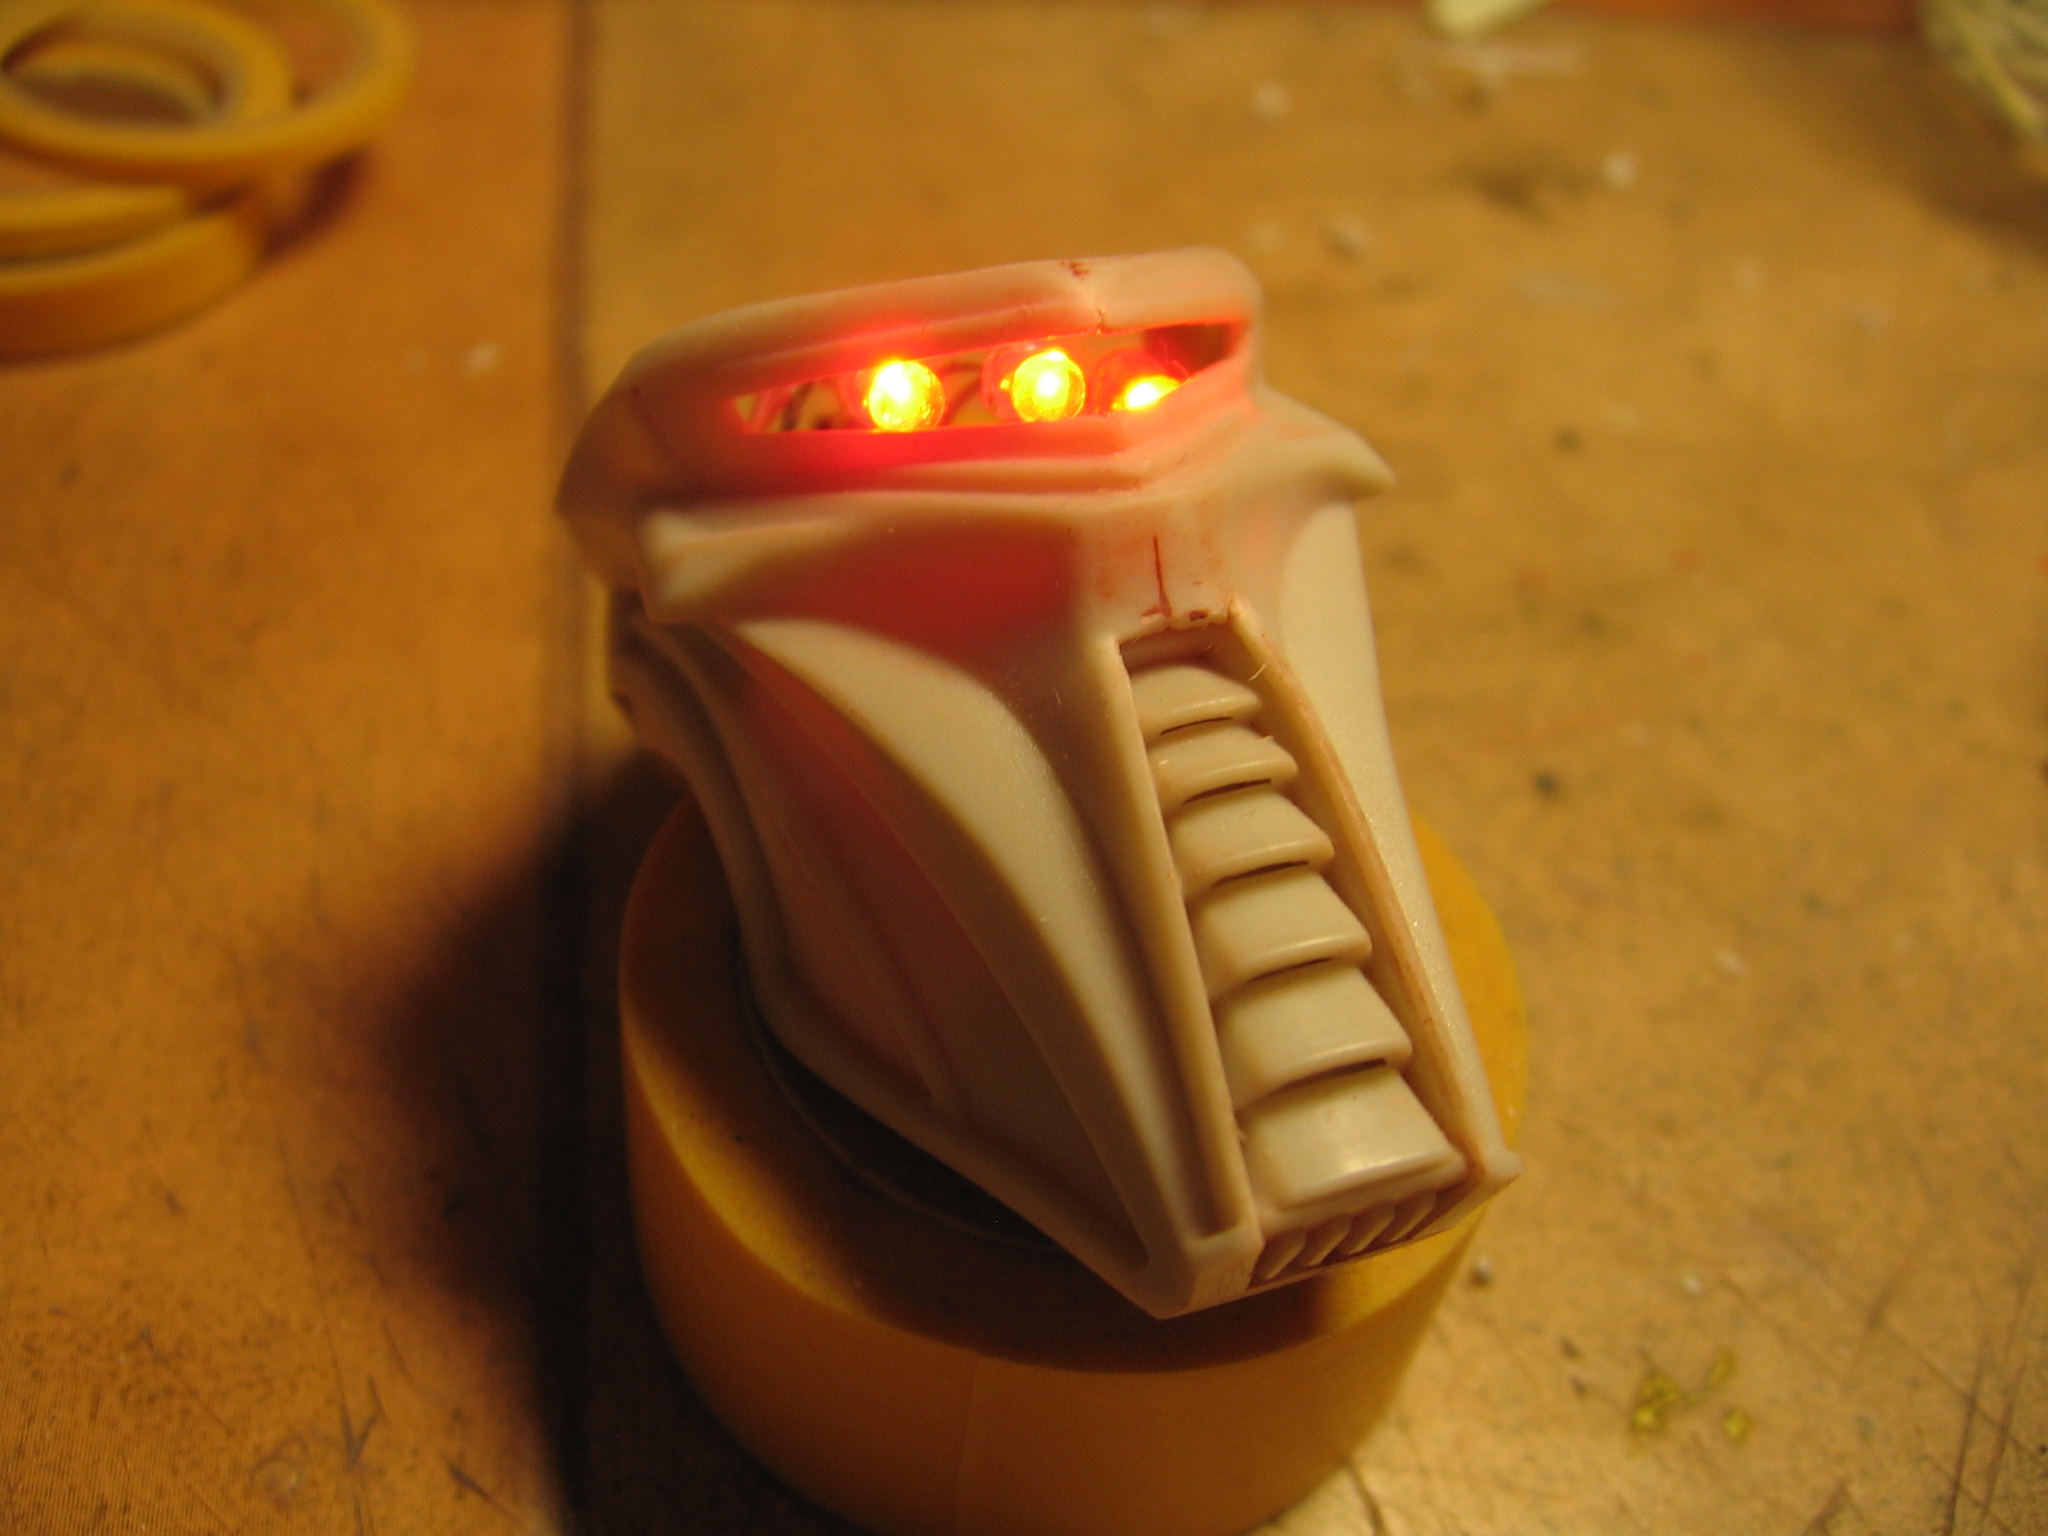
Little video of the eye :

jeudi, 19 décembre 2013

Cylon Centurion NG - Stage 2 : Gluing, filling, sanding again !

The second stage begins by painting (primer and black and silver in spray cans) on the inner side parts that wil remaining partly viewable (and difficiult to paint later).

The assembly still requires as much puttying and sanding of the horrible seams...

I noticed that the inside of the torso would also remain clearly viewable from the armpits. I did not anticipate at all while dry testing the kit, and it is a real winds palace with these 2 large opened "windows". And as now it is bondes, I can not hide the opening from the inside.

The interior is brush painted in black as best as I could from his armpits. In the end, I will insert a piece of a black cloth to conceal the void.

The foundry rough look is applied to these new pieces (mixture of putty and acetone).

It's ready for the second painting stage.

mercredi, 18 décembre 2013

Cylon Centurion NG - First painting step

After a first layer of primer, a seam appears on all 4 sides of the legs. As the surface was perfectly smooth few weeks earlier, the filler has certainly continued to cure in the meanwhile (with the amount I have had to apply there).

I sprayed several coats of spray putty over 2 or 3 days, and then I left it dry for ten days.


A good sanding and they were back smooth.


Like on the raider, I use a mixture of acetone and filler to achieve the fondry raw effect. It is applied on the armor plates, the skeleton and articulations remain smooth.

A layer of primer. The raw effect can clearly be seen.

Everything is covered in gloss black, a necessary basis for Alclad paints.


The Centurion has two basic colors: dark base for the skeleton and articulations, clear base for the armor plates, head and hands.

The clear base is made with Alclad Duralumiun, followed by dark edges post-shading (alclad Steel) and light panel center (Aluminium or Chrome ... I do not remember !)


The dark base is Alclad Jet Exhaust, and some area covered with Steel

The first step of the assembly is completed. All internal parts are made, as well as some external ones that did not need the second step (shoulder, head, hands...).


The second step is to glue the remaining parts over the first module and work the horrible seams that will appear. Oh, and before gluing, they will quickly painted on the reverse, as it is clearly visible, as shown in this dry assembly :

lundi, 22 juillet 2013

Cylon Centurion NG - The eye

On french forum ArtMovieFan, I was pointed on some flashing LED reflectors to quickly made the eye of the Centurion. I opened the reflector and get the device.


Here is a dry test of the circuit installed in the head.

lundi, 8 juillet 2013

Cylon Centurion NG - Gluing, filling, sanding and so on

So, let's go for the assembling: gluing, sanding, filling, sanding ... filling, sanding ... then ... filling, sanding ... And filling, sanding ... oh I forgot: filling, sanding ... (A 80's kit style as I said !) And it just for the pants and legs !

The hips fits also poorly, so I had to force heavily with model glue and superglue. with superglue.


As it will receive metallics (alclad) paint coat, which will reveal any defects, the finish should be as clean as possible.


The rest of the assembly on the same way. Parts joined like evil, and tend not to stay up. Every gluing need to be secured with clips to prevent gap holes to appear. Here are some examples in pictures.


Arms:


Legs:


Feet:


The collar (no tie, so it is clear that he did not need to convince its customers when it goes on appointment, he has enough arguments as is ! :D )


First part of the assembly finished, ready for the primer.


Head and noggin. The visor iscovered with a layer of Clear Red.

Cylon Centurion NG

Although not being a big fan of Cylon design from the new series, and having poor interest in any character's model kits, I wanted to build a Cylon Centurion to complete the collection, and not have only starships to exhibit on display stands.

Like the Raider NG, it will be build from the box.


Compared to the Raider, the box is much bigger and heavier. And it is so filled, it needs careful arrangment to close it back.

By cons, as the Raider, the parts are large and rather coarse. So once again in the 80's style (although it is not).

The scale is 1/6th, which gives it a respectable size of around 33cm built.

The eye comes as a clear part, and there seems to be enough room for a LED and a button battery in the noggin (which is just a separate part, seems to stay without gluing. I will use a flashinf bike LED reflector.

Overall, the Centurion is composed of a skeleton of a rather dark coler (looks like Steel) covered with opened armor plates in a lighter (seems aluminum). If some of these plates can be set after painting, a whole bunch requires bonding between them. And who says gluing, said sanding and puttying.
So to facilitate painting, this building will follow two major steps:

  1. assembling and painting the skeleton,
  2. assembling and painting of the armor plates other a masked skeleton.