OlCabour's Hangar

Aller au contenu | Aller au menu | Aller à la recherche

Star Wars › Fine Molds Millennium Falcon 1-144

Fil des billets

jeudi, 24 janvier 2013

Cockpit Lighting

Back on the lighting after some hesitations, where I opted to light the cockpit by the existing hole in the floor of the part.

IMG_1039


All instruments and dashboards are captures and images found on the web and printed to scale. Here is a first test on white paper:

IMG_1041


It is not obvious in the photo, but it lacked a bit of sharpness and color depth, so the final prints were on glossy photo paper. After the painting is done, the instruments panels' "wallpapers" were prepared, glued and then covered with a matt coat.

IMG_1053 IMG_1056 IMG_1060 IMG_1072


The LED is boxed to give it support and prevent light leaks

IMG_1087


Dry test of the lighting

IMG_1074 IMG_1075


Once all this prepased, bad surprise, I can not close the cockpit and two elbows access corridor part no longer fit. So, it was necessary to sand here or add a bit of material (plastic card) there, and especially that I was obliged to seriously shorten Han and Chewie by cutting thier back...

IMG_1090 IMG_1376


The assembly is complete. After a short session of masking, it will move to the paint workbench.

Falcon detailling

In the meantime, I kept on detailing :

- Photoetched landing gear baffles were prepared. The conical section is shaped around a pen. It looks a lot better than the original parts, completely sealed.

IMG_1005 IMG_1007

- 2 small vertical rectangles are prepared to be added under the Falcon skirt.

IMG_1026

- The side panels were glued to the lower half-shell, and a small gap is to seal the front of the mandibles

IMG_1085

lundi, 14 janvier 2013

Falcon lighting

The lighting is actually quite new to me, so I experiment a lot on this subject (and burn few LED on the way!).

- Power

The electrical circuit will be powered by a small plug, at the end of a rod. The location is then hollowed into the cabin

IMG_0969

As this plug will not be sufficient to hold the Falcon into position, as I had originally planned (the socket is unfortunately not strong enough), I was obliged to add an additional support rod, and thus provide a location and thickness to get her firmly plugged.

IMG_0967 IMG_0971


- Thrusters

My first intention was to scoop out the part from the inside to get an hollow mesh. It turned into a disaster, so I had to order the upgrade kit on Starship Modeler with this part molded in transparent resin and a complementary photoetched mesh.

IMG_9161 IMG_0876 IMG_0877

The resin part was all bent when I received it. This time, I tested to heat the part in a microwave oven. It worked, but surprisingly it took a really long time, so I went back to the proper method with hot water. (Sorry, no photos)


The engine location is hollowed inside the two half-shells, and a box is built, ended by an array of LED. I used cold white LEDs, that tend to a blue tint, which is perfect for the Falcon engines.

IMG_0897 IMG_0980 IMG_0987 IMG_0988 IMG_0994 IMG_0995 IMG_0985

To keep access to the inside, the half-shells will not be glued but just remain stacked (and they hold very well as is, once the side panels are in place).
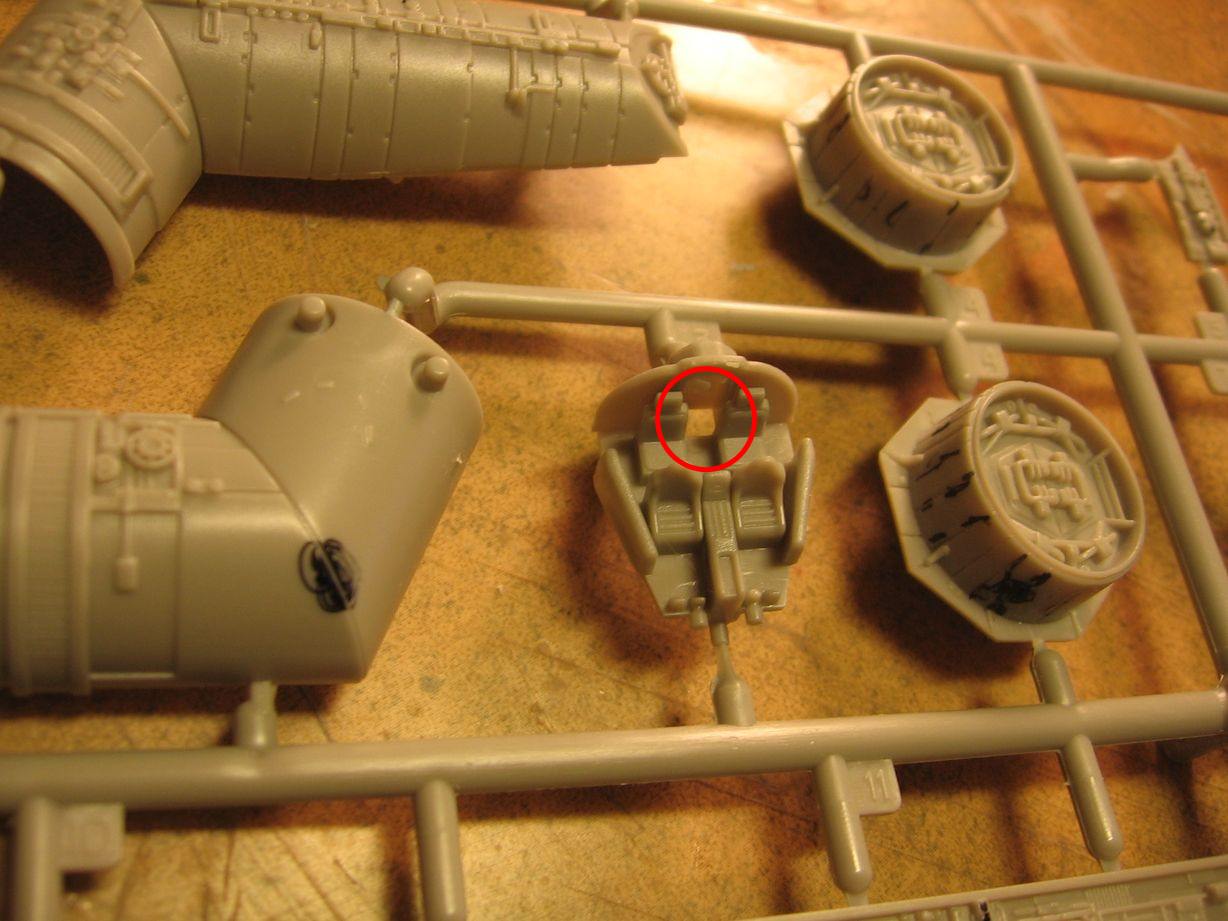
IMG_0996


- Cockpit

The access arm to the cockpit itself also stay in place without glue (like a snap-kit), so I will leave the module cockpit and arm module removable in case of internal operation. For cons, the electric circuit needed to be adapted, which is done with brass terminals. There is a hole in the cockpit floor, I'll certainly keep it as is, and use it for the lighting. A small box for the LED is done with a piece of pen tube, each ends closed with plastic card bits It is not yet finalized, so it is possible that may change, as I want to paint the cockpit to see what happens before closing this box. If it does not please me, so I will look at other options: switch to a warm white LED (rather than cold white), open the door and make the inside corridor, replace the cockpit wall by a backlit transparent on...

- Turrets

In the kit, they are movable and clogged. I will fasten them, pointing forward. The bottom is sanded, and connect to a PVC tube. This will give a sense of depth (without trying to be "accurate" here). A pen tube is taken up again in order to insert the LED, to have an indirect lighting.

IMG_0992 IMG_0993


- Headlights:

They are made with 2 1mm fiber that fetch the light from the turrets LED

IMG_1000 IMG_0997


Everything inside is blackened to prevent light leaks.

IMG_0998


With the PE part, the thruster look pretty good

IMG_0999 IMG_1003

dimanche, 13 janvier 2013

Han and Chewie

The cockpit is empty without Han Solo and Chewbacca.

For Han, I modified a small German WW2 soldier from a 1/144 panzer kit (purchased only for its parts).

For Chewie, this is a long hair woman from a 1/170 Macross Hangar diorama, which simulates perfectly the wookie's hair wig. Her chest is sanded, and his muzzle is done with a dot of putty. He also needed to be change from standing to sitting position.

This looks rather ugly on the pictures, but do not forget that they are 1 cm high only. So, painted and hided in the cockpit, they will do the job perfectly.

Initially, I also intended to add C3PO (from Gundam characters in space suit), but it was not really possible for him to sit without completely cutting its legs, and there was not enough space in height to let him stand up. So Han and Chewy will stay alone.

IMG_0970 IMG_0990 IMG_0991

vendredi, 11 janvier 2013

Improving details

As the lighting is more complicated for me... I will start with the simplest part of the job, improving details :

  • After I asked myself if I would replace the pipes in the openinf by brass rod, I did only changed in two places where it was really noticable and aesthetics.

IMG_0963 IMG_0965


  • The mandibles are separated from the clamp, ("Scalpel, Doctor Ross")

After | Before IMG_9162 IMG_9163


IMG_0904


  • The escape pods panel lines. Ideally, it should have been all filled and re-writing, but I played lazy here and only simulated the offsets by accentuating recessed engraving on one side or another (with more or less success finally! )

IMG_0890 IMG_0891 IMG_0905


  • Laser impact, and this is not what is missing on this ship...

IMG_0879 IMG_0880 IMG_0881 IMG_0882 IMG_0883 IMG_0884 IMG_0885 IMG_0886 IMG_0887

As well as on the escape pod, and cockpit access arm.

IMG_0888 IMG_0892 IMG_0902


  • The inside of the clamp is detailed with plastic bits.

Some pictures of this aera on MR Falcon, with and without camera flash :

top

IMG_0908 IMG_0909


low

IMG_0906 IMG_0910


the mod :

top

IMG_0911


low

IMG_0912


  • plastic strip on the lower clamp

IMG_0895


  • Small circle on a side corridor

IMG_1077


  • Scoop out some tiny hole (clamp...):

IMG_1009-2 IMG_1083 IMG_1081-2


  • Adding, modifying or refining various details, in pictures :

IMG_0893 IMG_0901-2 IMG_0899 IMG_1078 IMG_1079-2


  • The dish should have a top and bottom piping around the edge, which proved to be difficult to reproduce, so I simulate the reverse by removing some material where there should not be any piping.

IMG_1084


  • The pins of landing gear doors are refine to be able to be inserted without strength, and without offsets.

IMG_0878

jeudi, 10 janvier 2013

New projet : the millennium falcon in 1/144 by Fine Molds

Now that my works at home are completed (until the next ones ?), I can finally throw myself on my favorite hobby.

And I started with the 1/144 Fine Molds Millenium Falcon, that was making eyes to me for some time!

Han : You've never heard of the Millennium Falcon ?
Ben : should I have ?
Han : It's the ship that made the Kessel run in less than 12 parsecs!
(...)
Han : She's fast enough for you, old man

IMG_9167

It is a nice model, well detailed, easy to build. In short, she looks like a little gem. More closely, it nevertheless has a few imperfections, as we shall see later.

It is based on the Empire Strikes Back Falcon with five landing gear, and additional wells under the saucer. For ESB movie, a new model of the Falcon was built, smaller but more convenient to handle, then the A Nen Hope one. The ANH Falcon was also modified to be upgraded for ESB, so with wells added. Nevertheless, Details remains different between these two models. One easy ways to recognize the ANH to the ESB Falcon, is to focus on two raised parts that connect the saucer to the mandibles on each side of the central clamp. On the ANH Falcon, their front shape is trapezoidal, where it is cylindrical on ESB one.

The box art of the kit is as a photo model ANH, and does not represent that found inside the box!

Pro:

  • As I said, the level of detail. I compared it to the Master Replicas (which is the same version of the Falcon), and it's really correct. Hard to beat in injected.
  • Correct proportions
  • A common scale with Gashapons kits (F-Toys), which allows the creation of dioramas of a reasonable size (compatible with display cases for example).

Cons:

  • The external escape pods recessed panel lines are straight, while much of them should present kinks
  • The mandibles: as on 1/72, FM is wrong here, but this is less viewable due to the tinier size of the model. By cons, mandibles are curiously connected to the clamp, and need to be worked.
  • The pipes are molded into the body (which is logical given the fineness of molding), by cons it is noticable in 2 or 3 places, when they dive into the access openings.
  • The access ramp is lacking, which is a shame for ground and hangar dioramas.
  • I would also have liked some characters to enhance the cockpit

In short, the shopping list of things "to add/modify" is quickly drawn up :

  • Lighting the engine, the beacons in the mandibles, the cockpit, and why not the turrets
  • Improve some small details here and there, mainly due to the constraints of casting, except inside of the clamp where they are missing
  • Complete capsules recessed panel lines
  • Add the impacts that dot the armor shield of the saucer
  • Add some 1/144 characters in the cockpit
  • Despite I will mainly showed her in flight, improve the landing gear with a photoetched upgrade kit (in case she stoppes in a possible diorama hangar).

All parts are reviewed one by one, and black marks are drawn directly on them where they need modifications. IMG_9151 IMG_9152 IMG_9153 IMG_9154 IMG_9155 IMG_9156 IMG_9157 IMG_9158 IMG_9159 IMG_9160