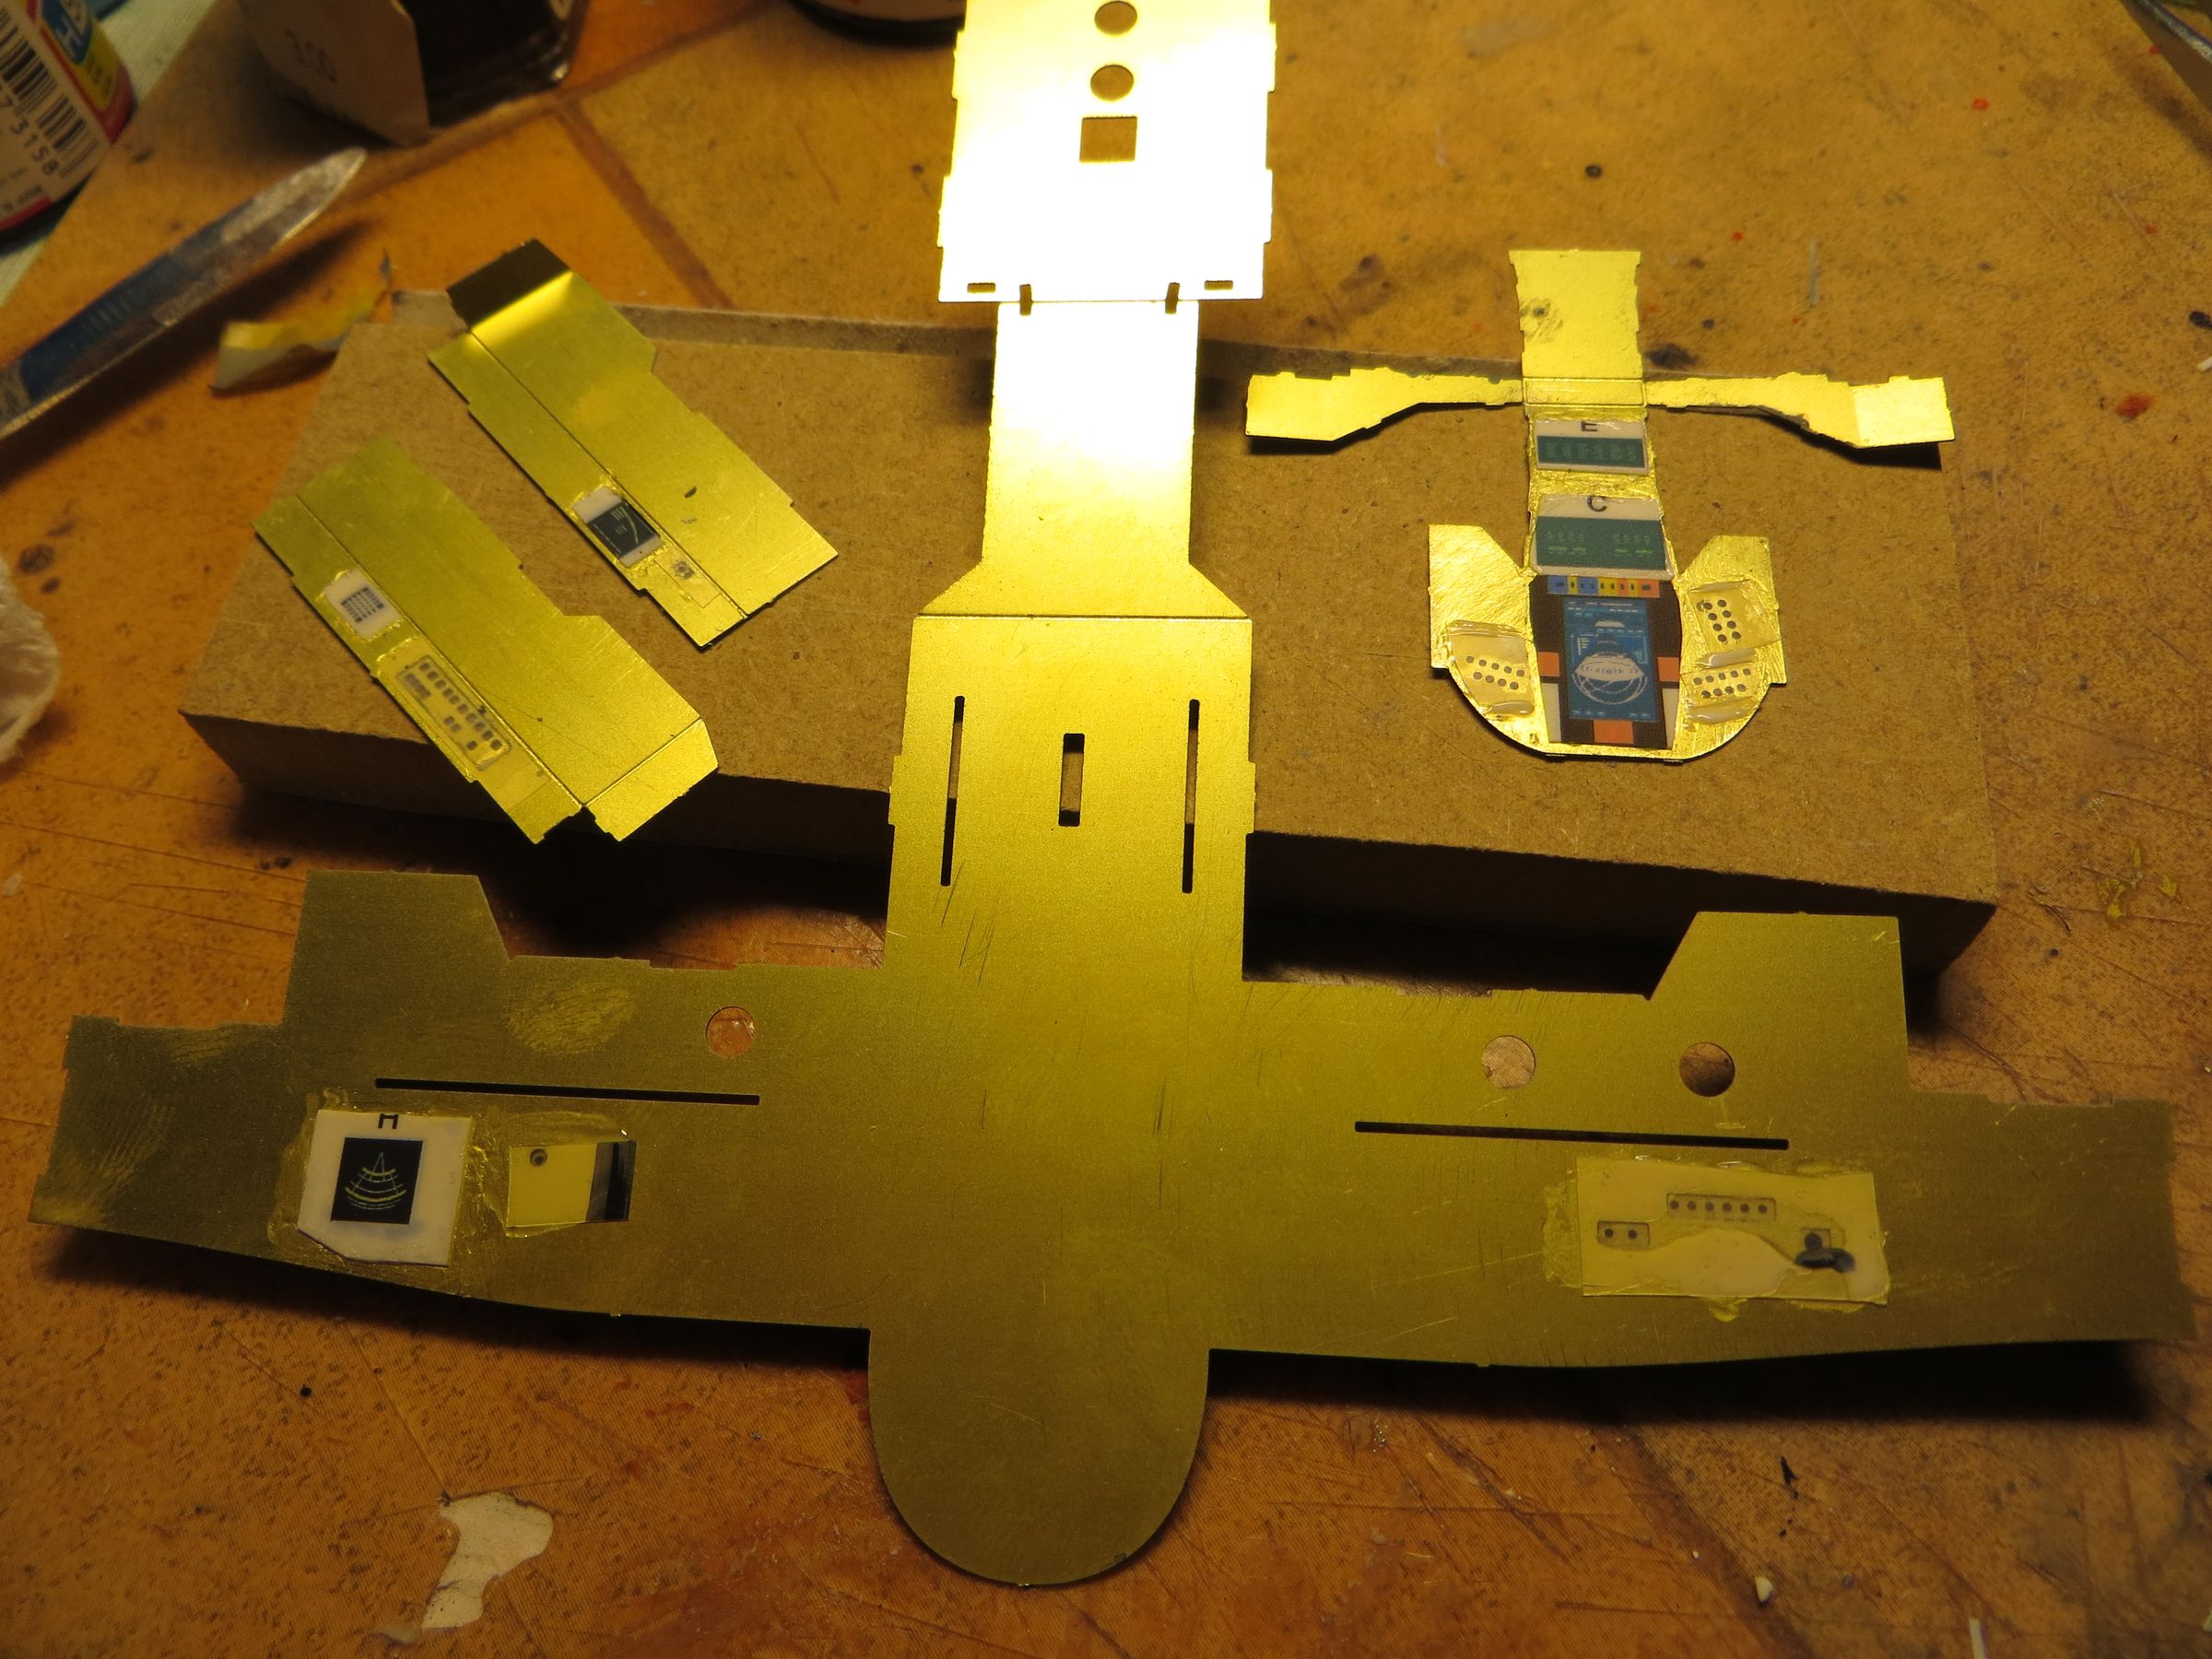
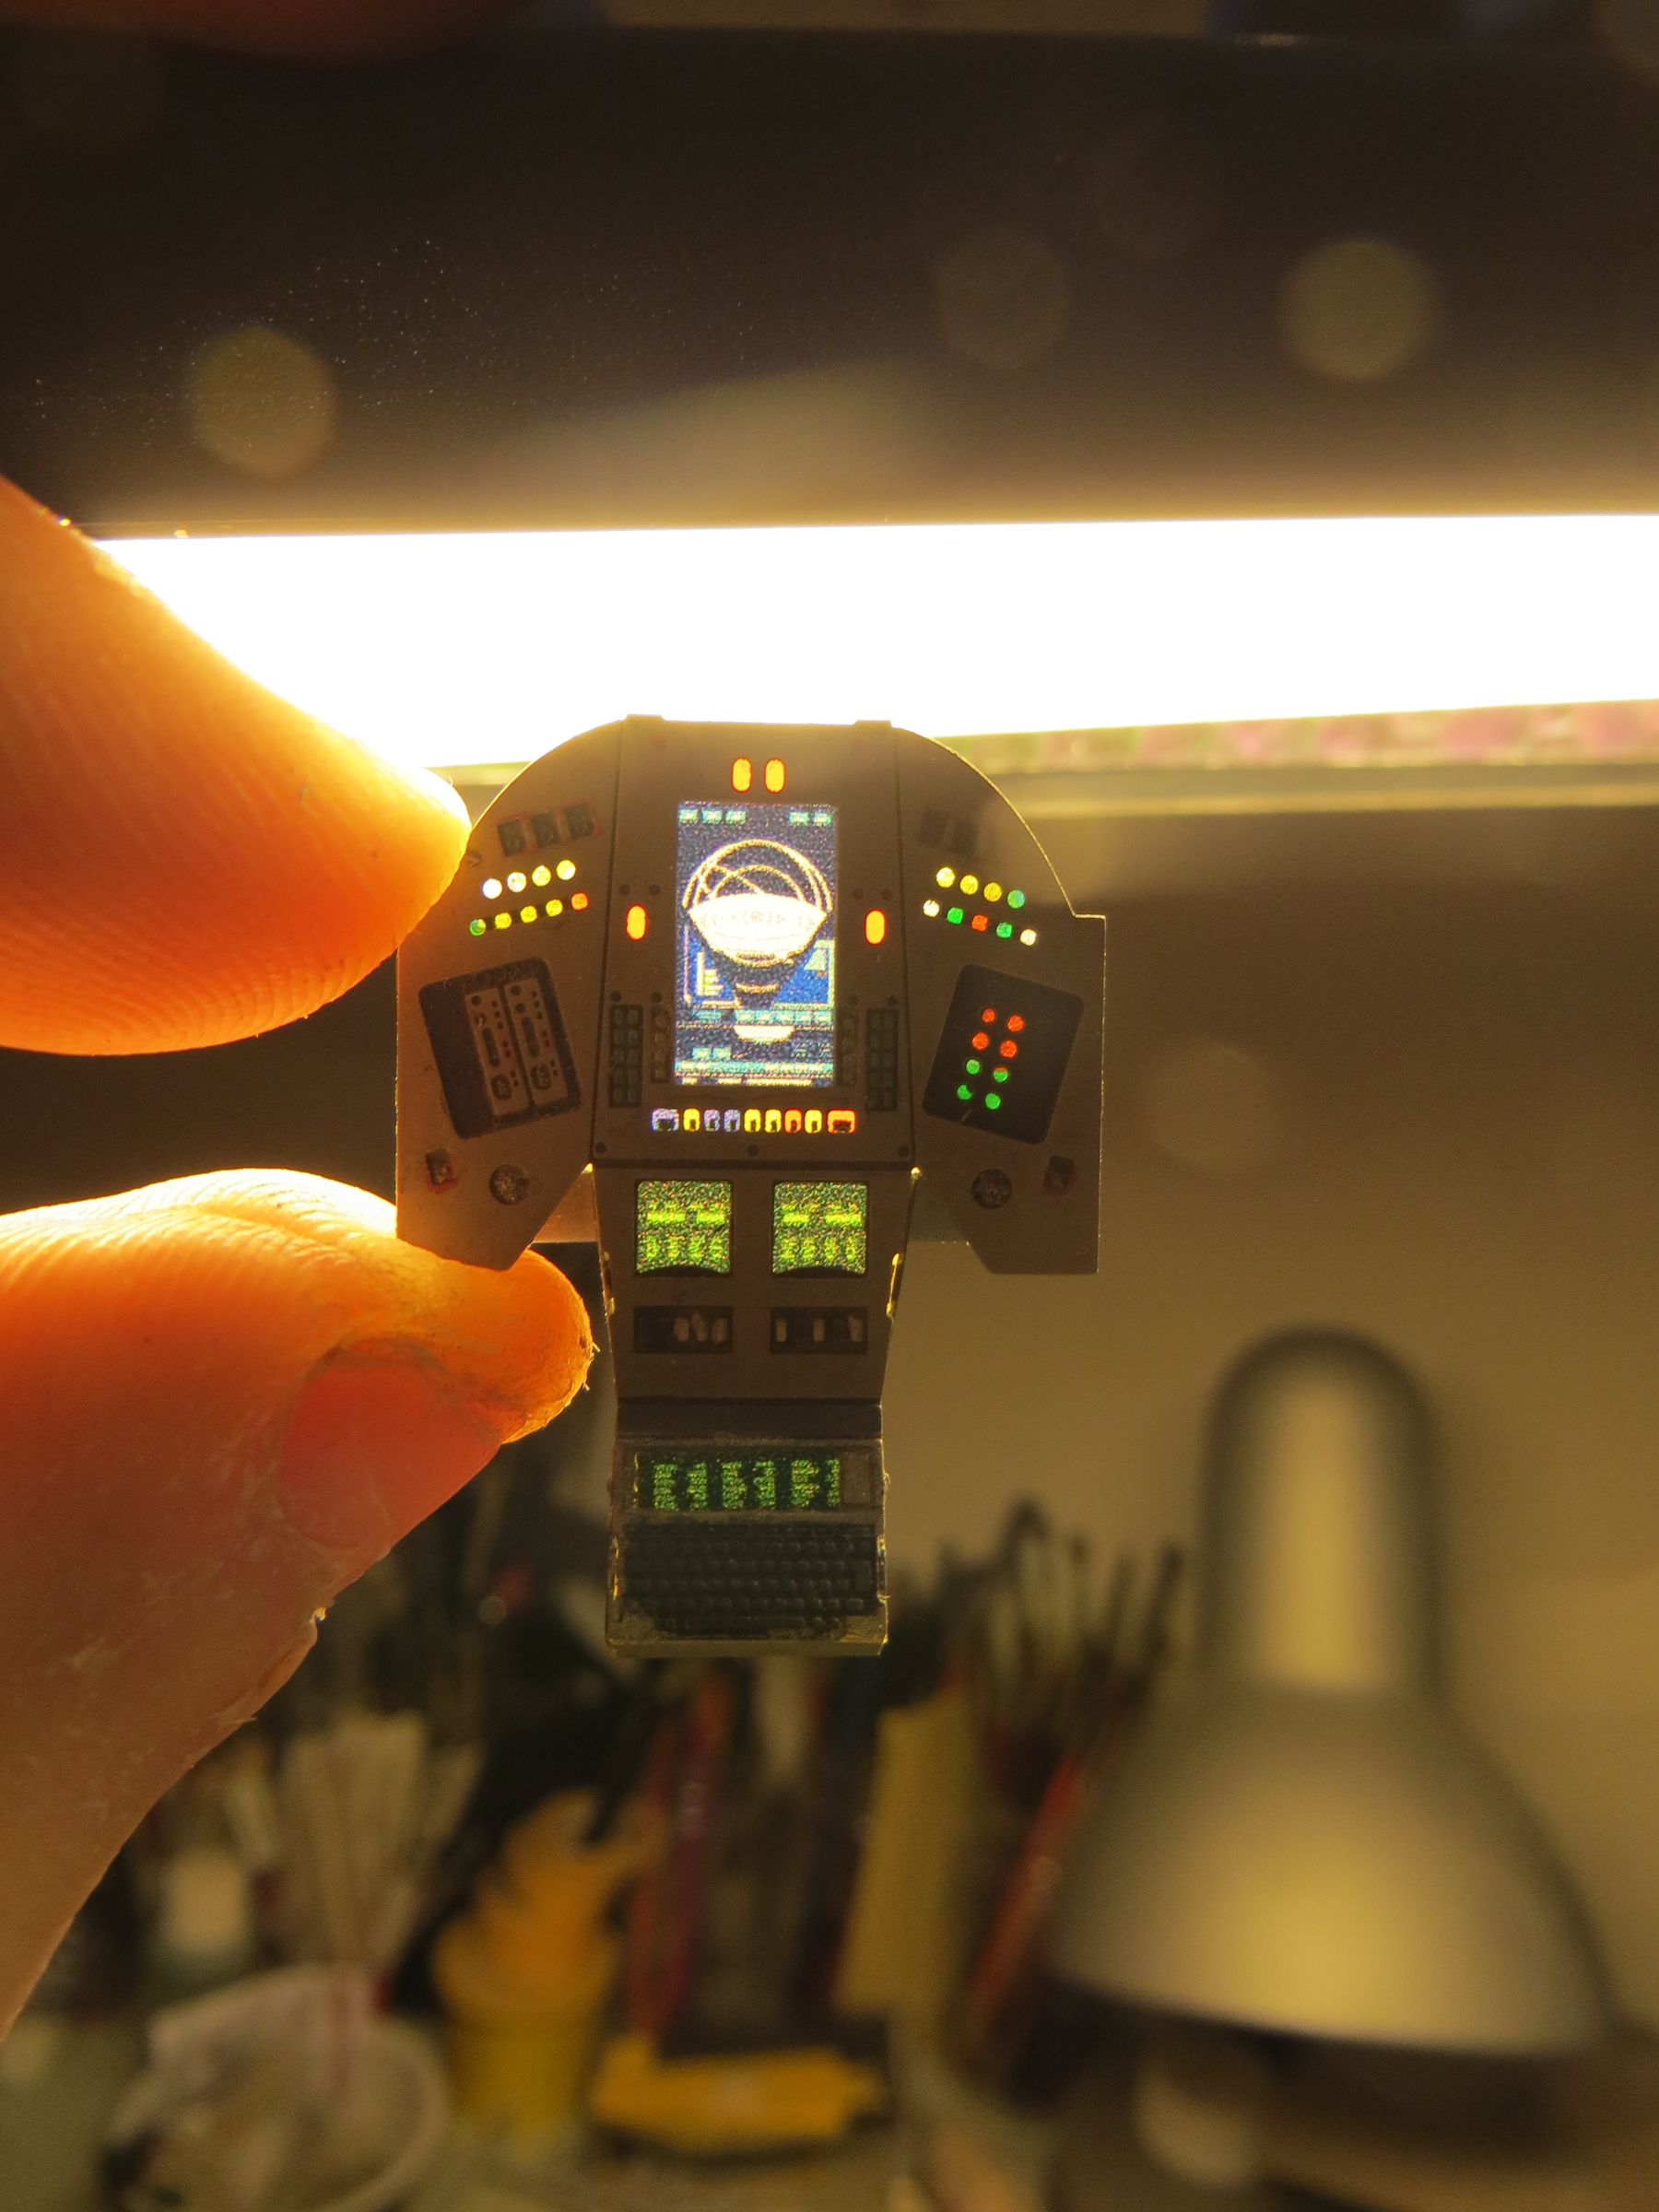
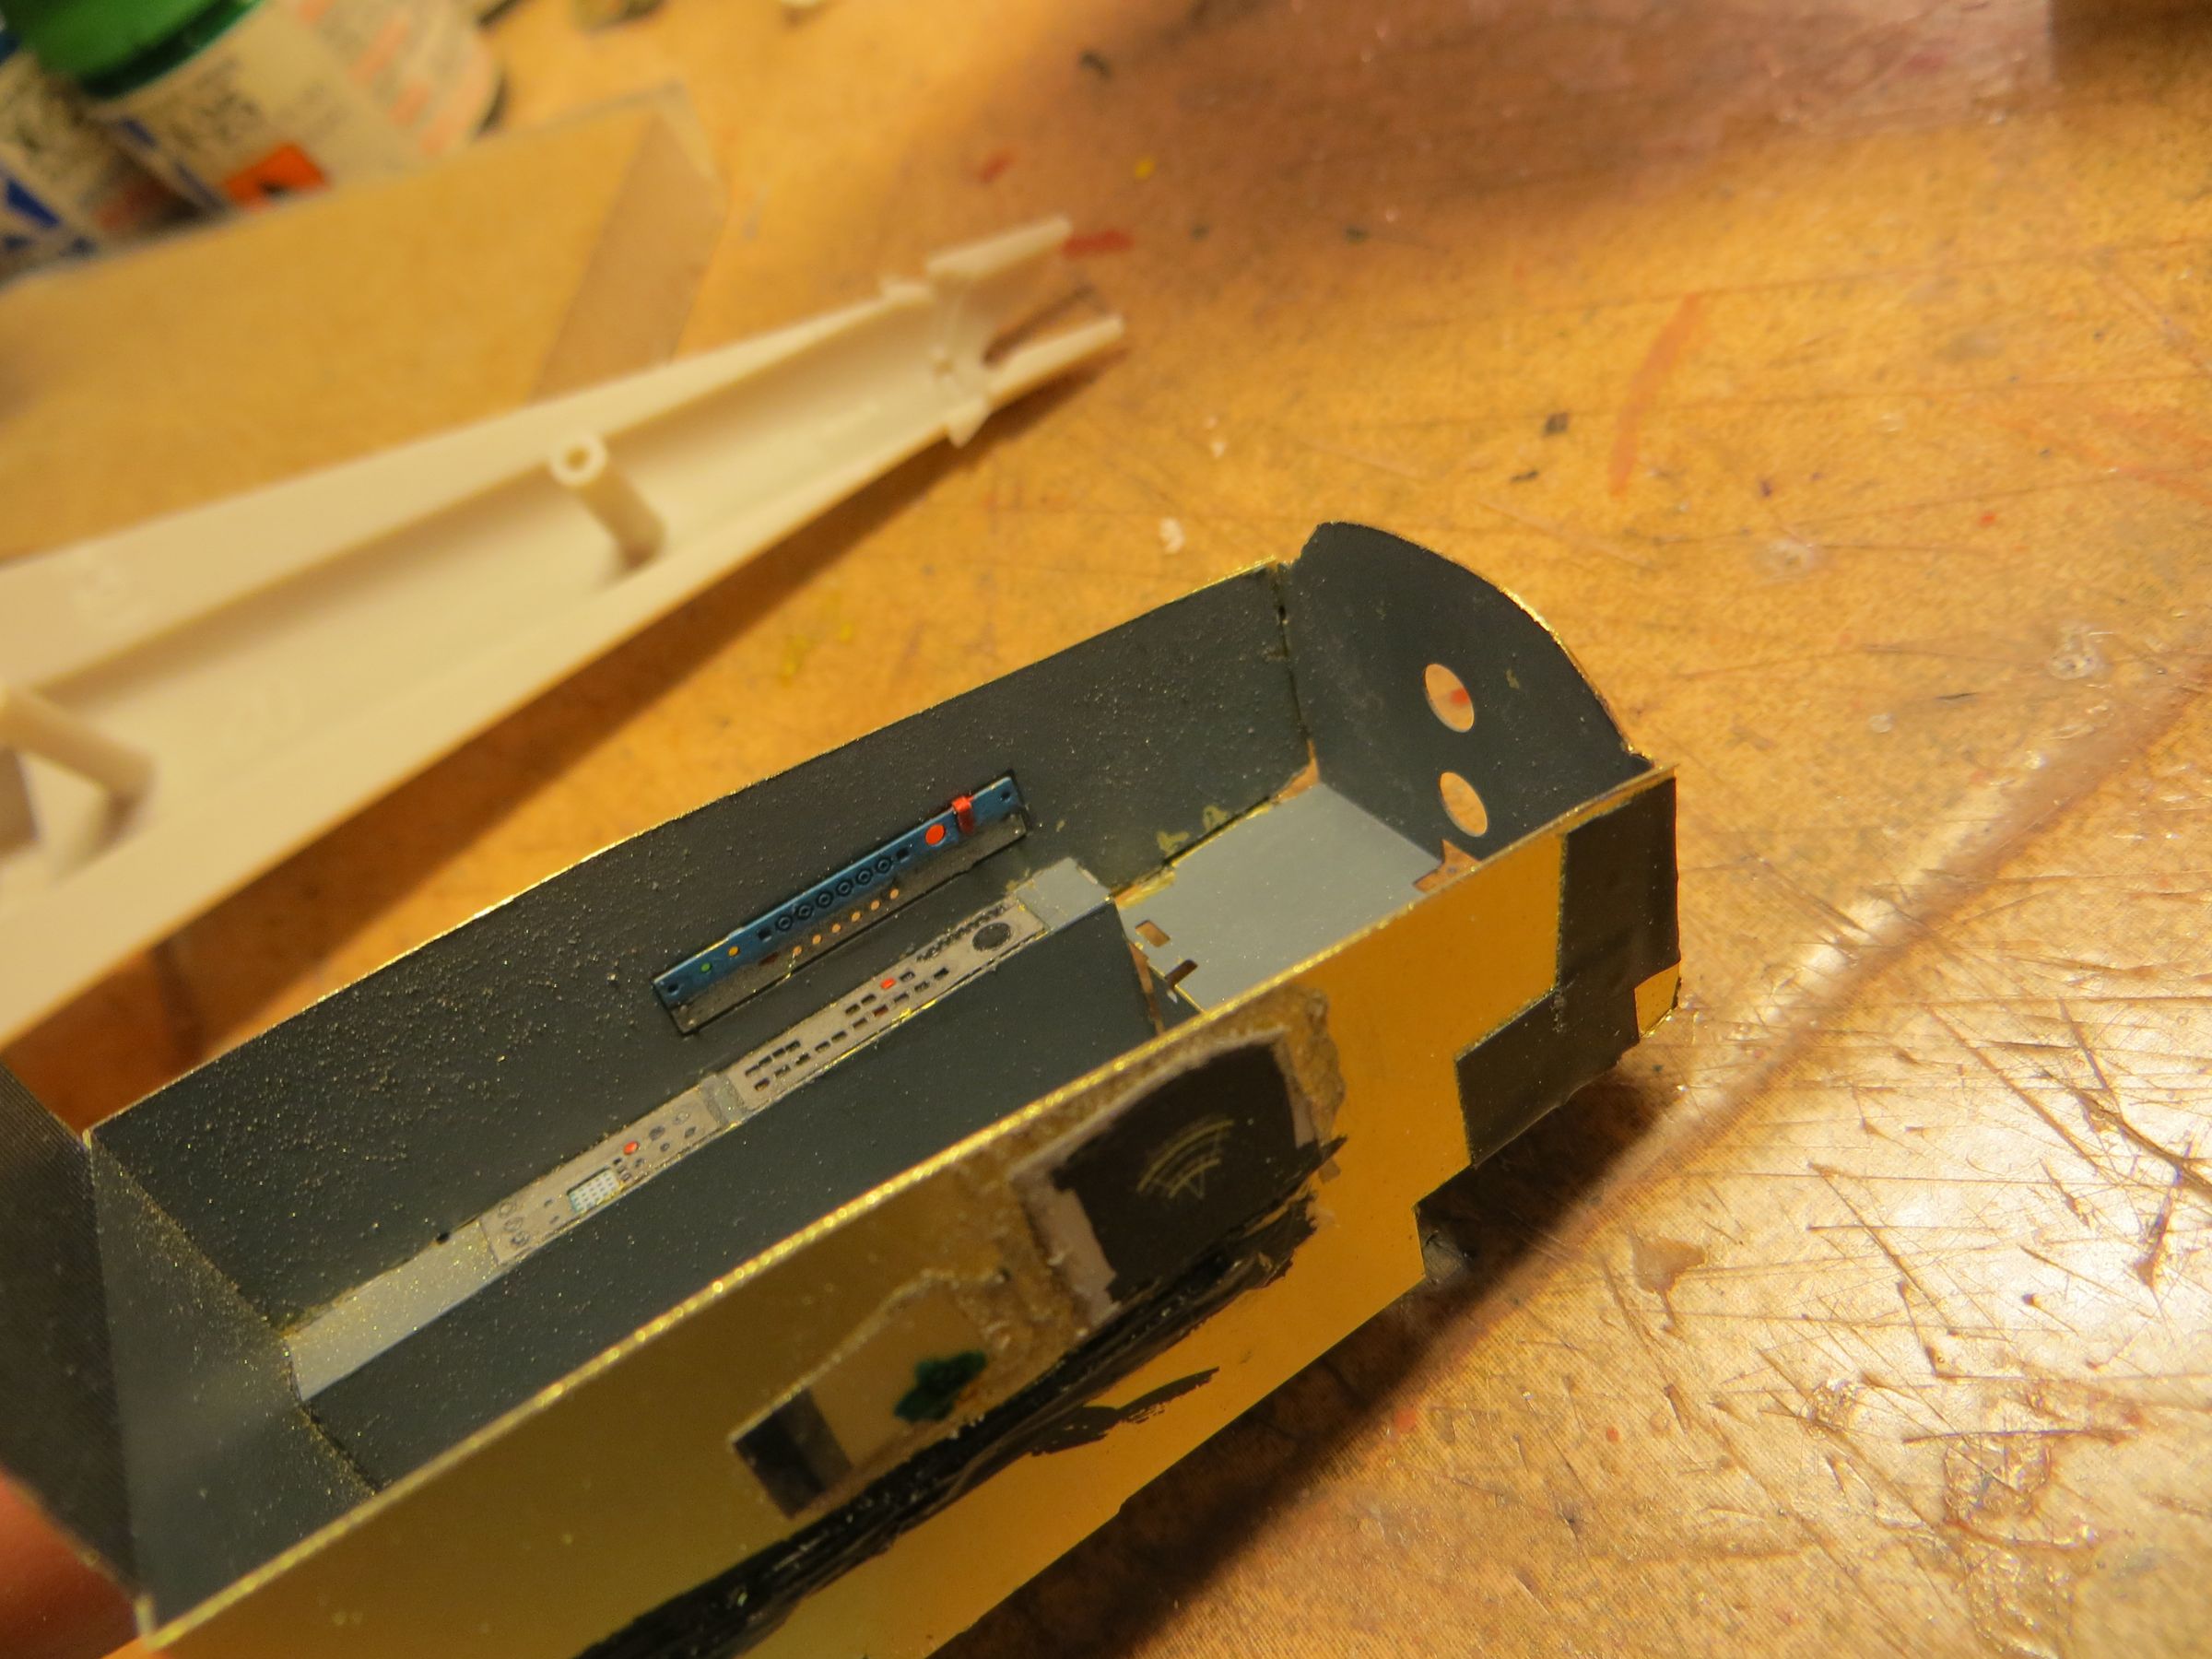
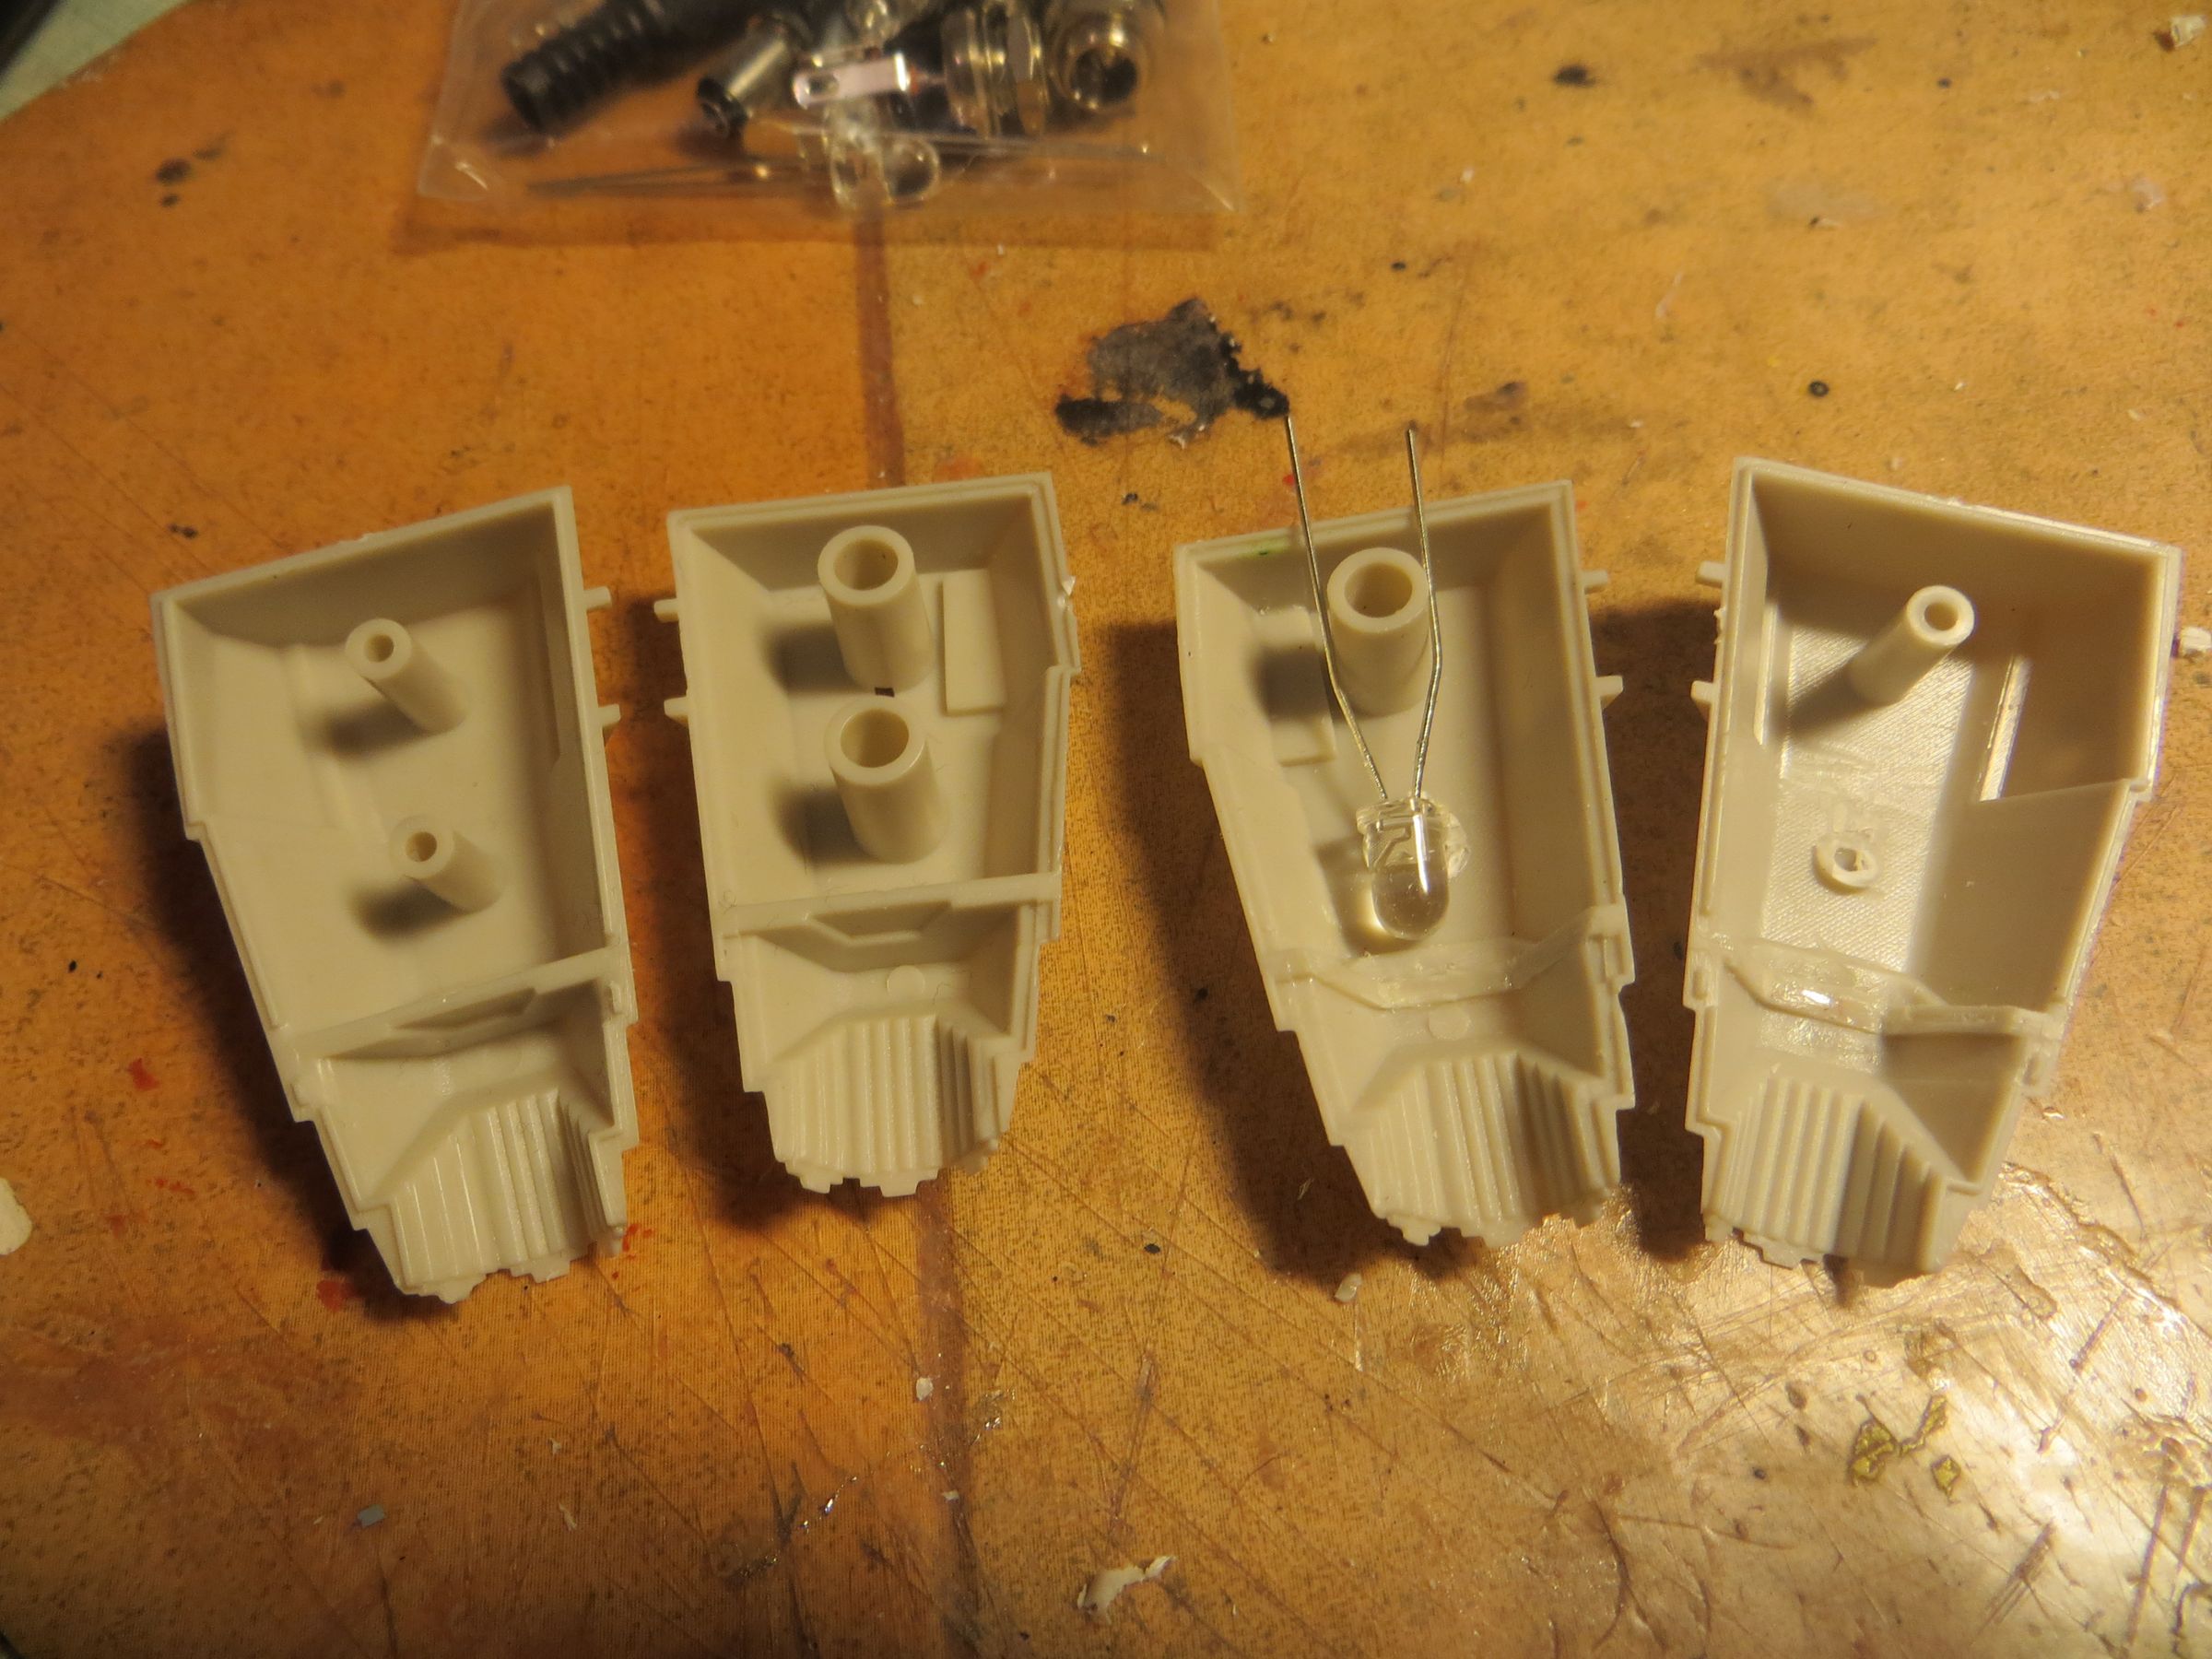
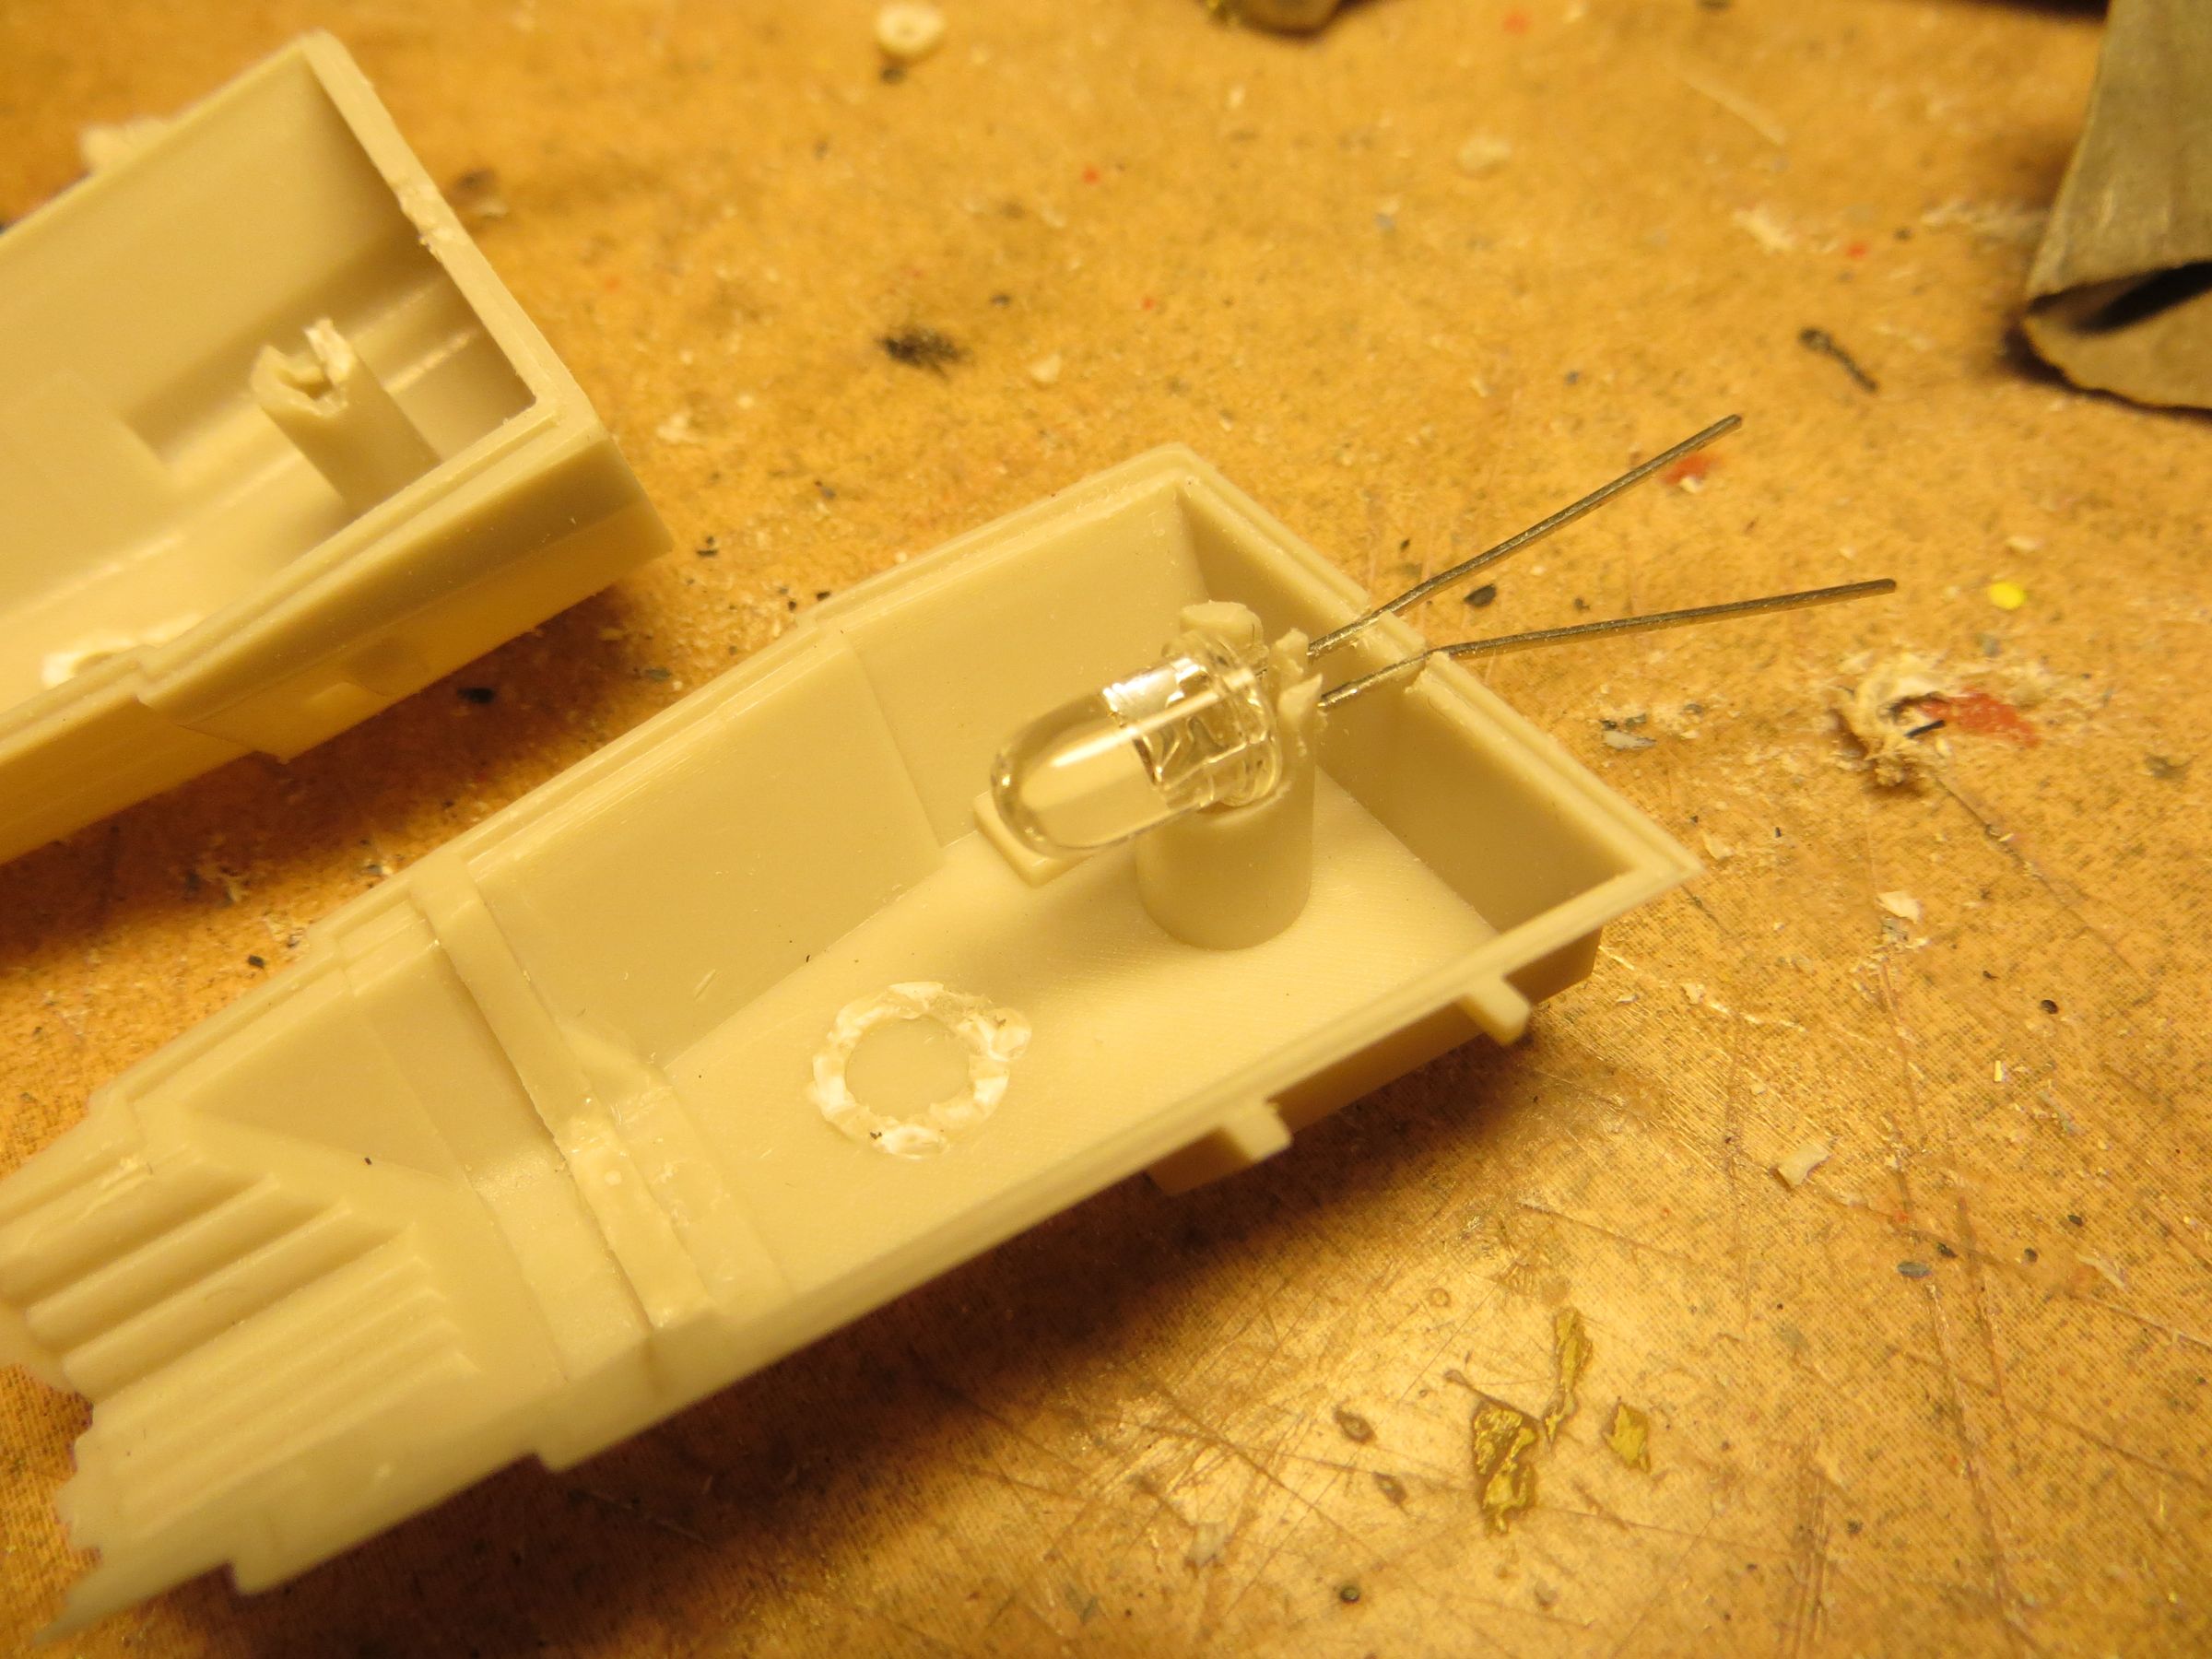
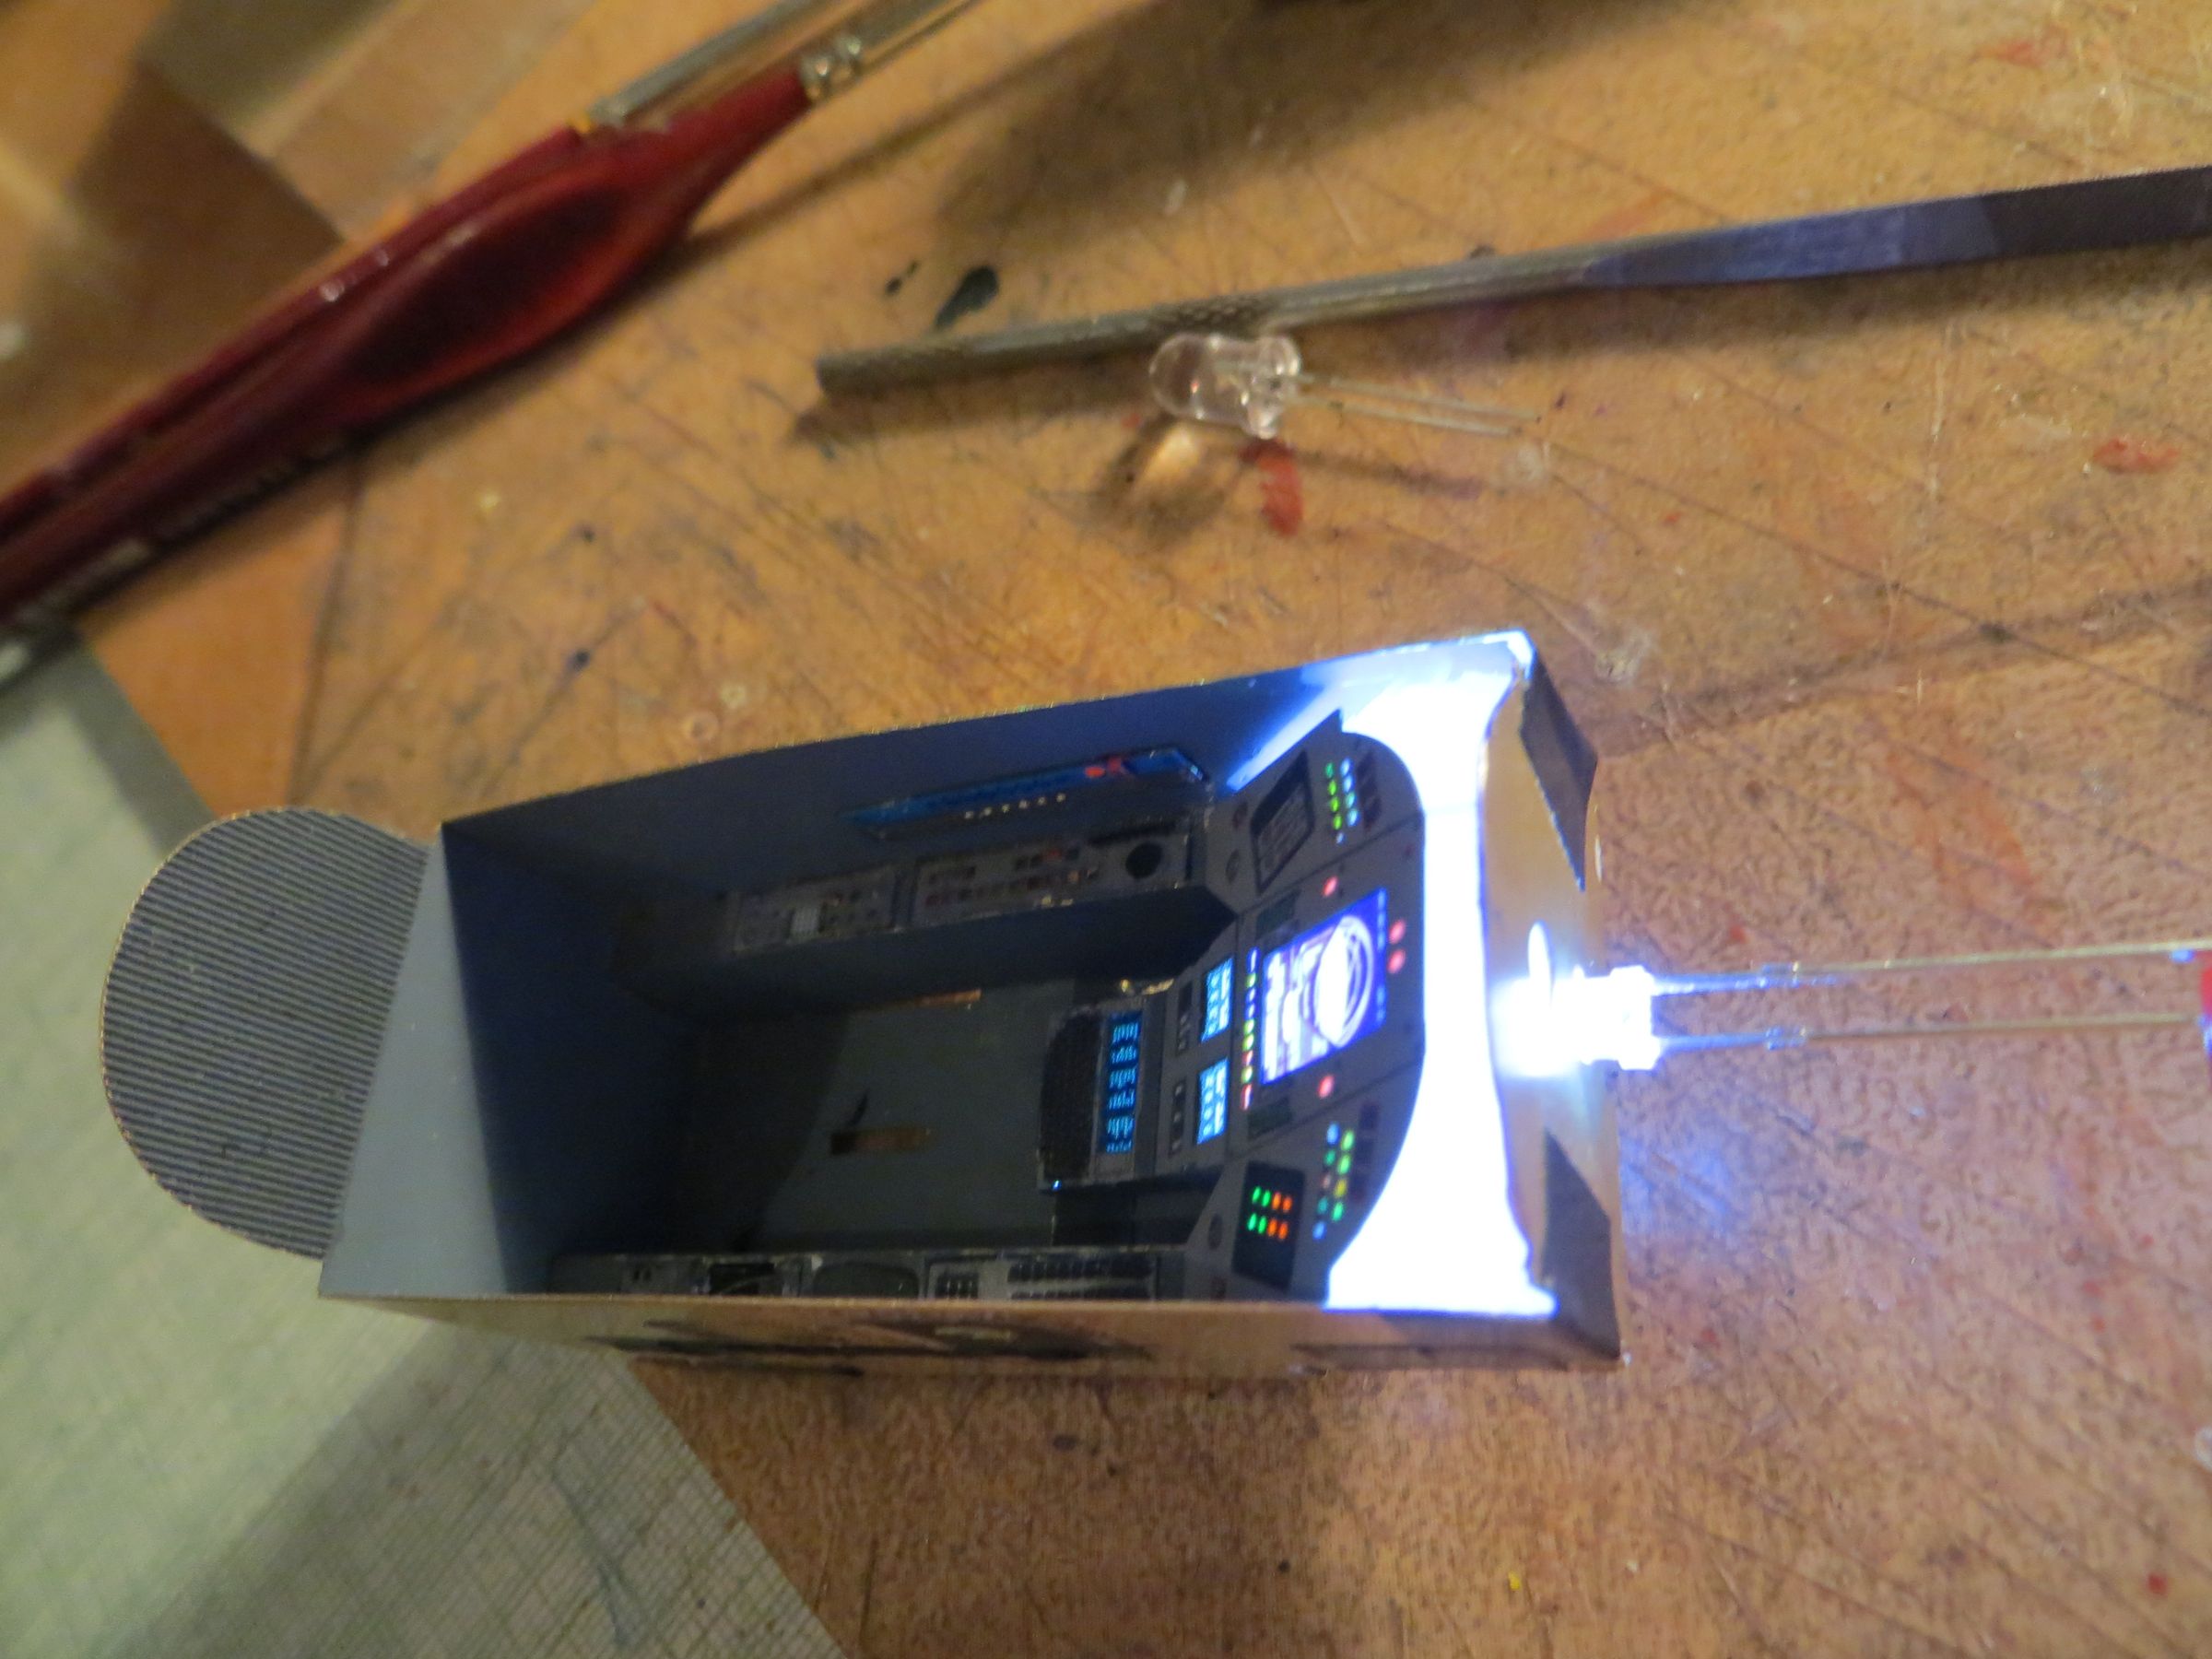
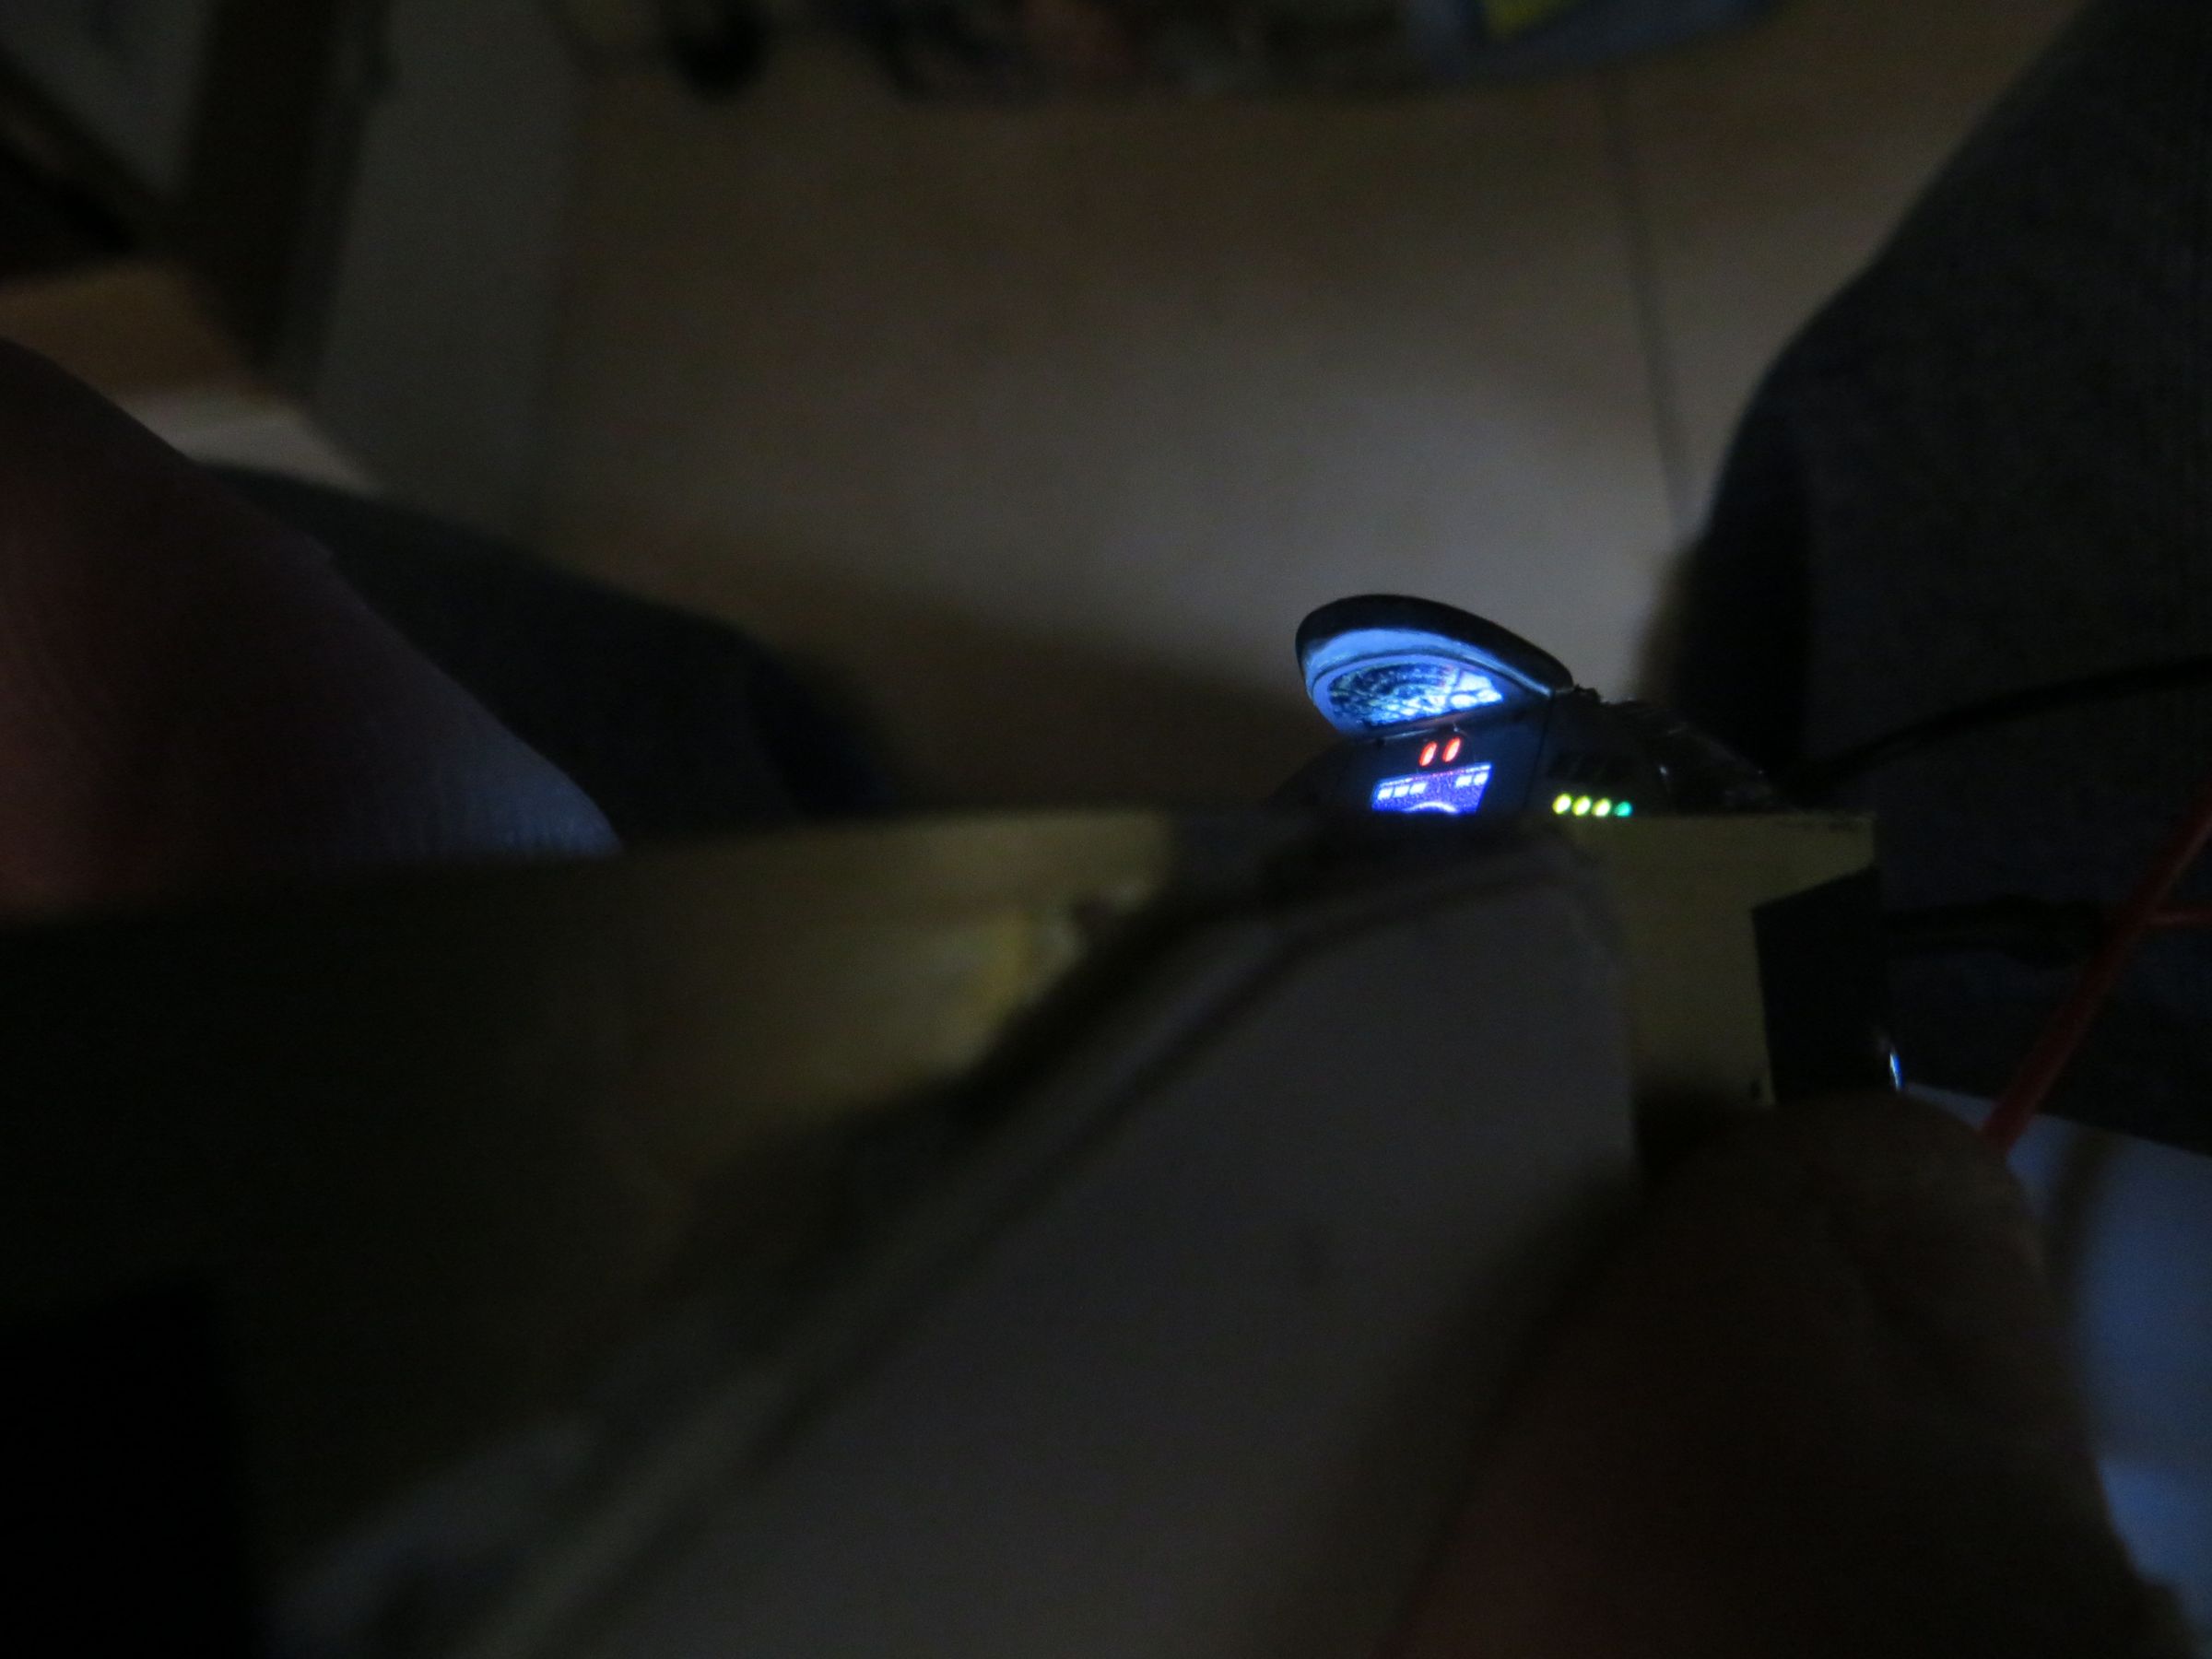
New test with leds this time.
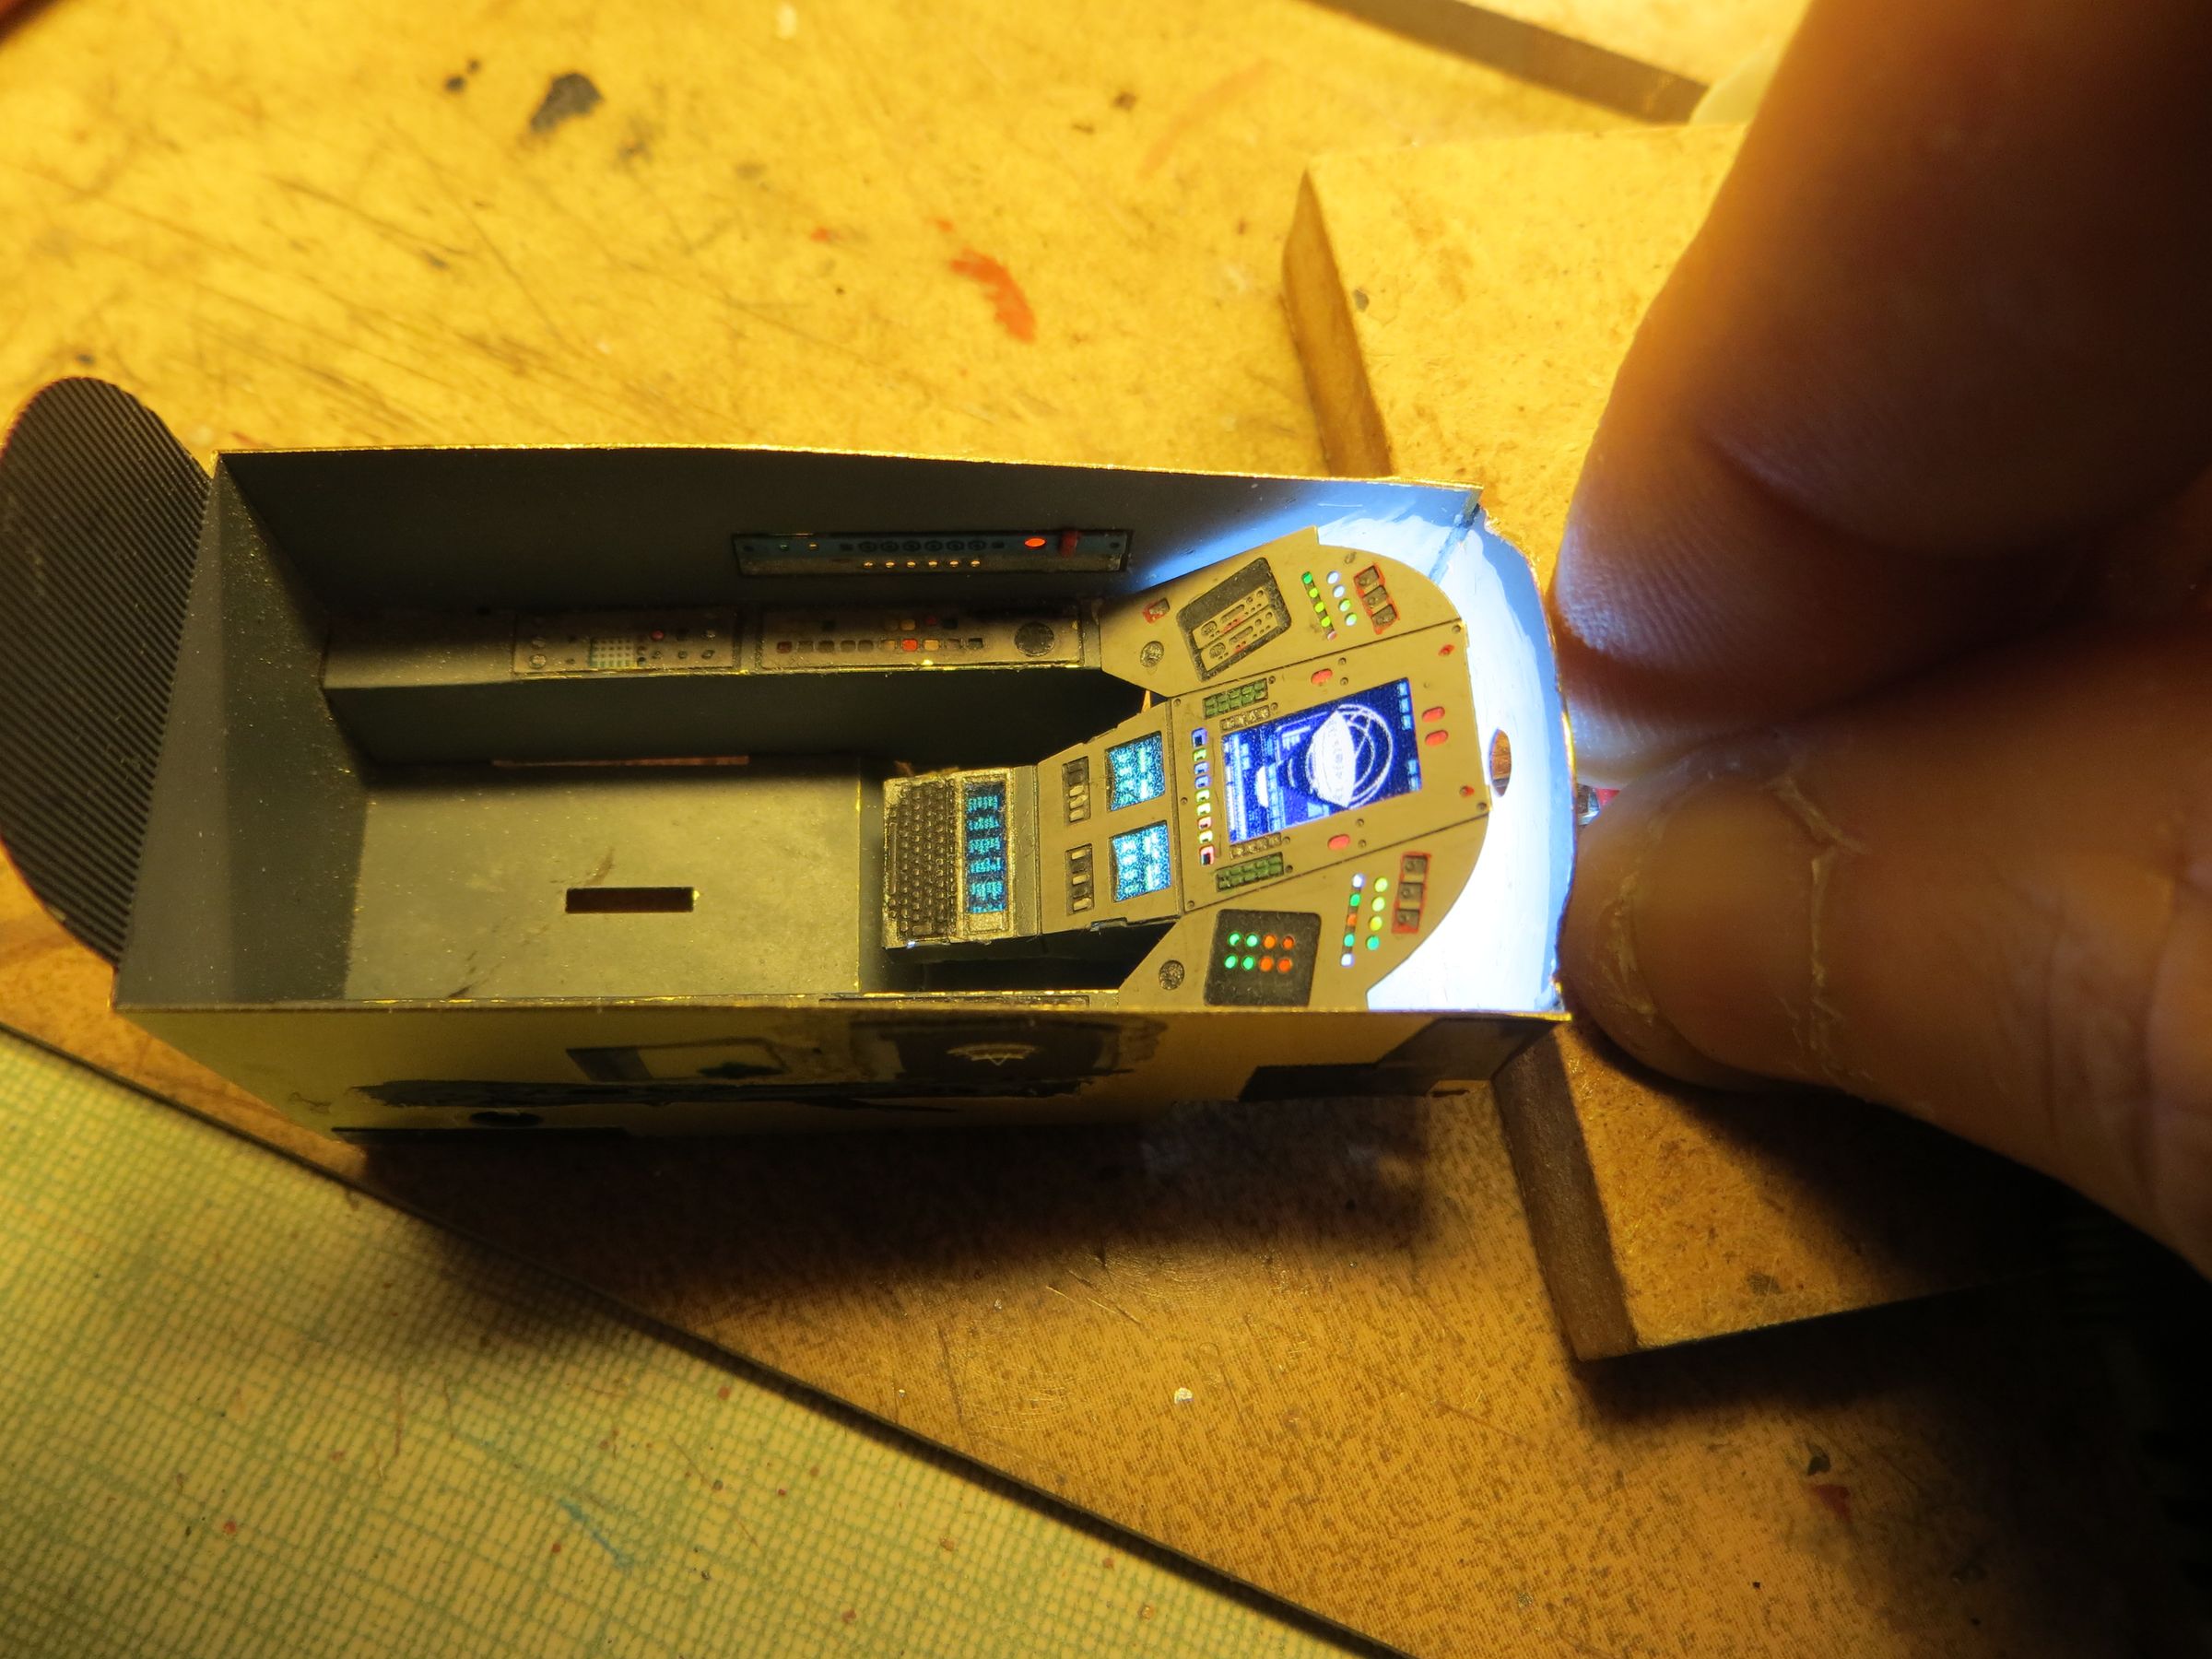
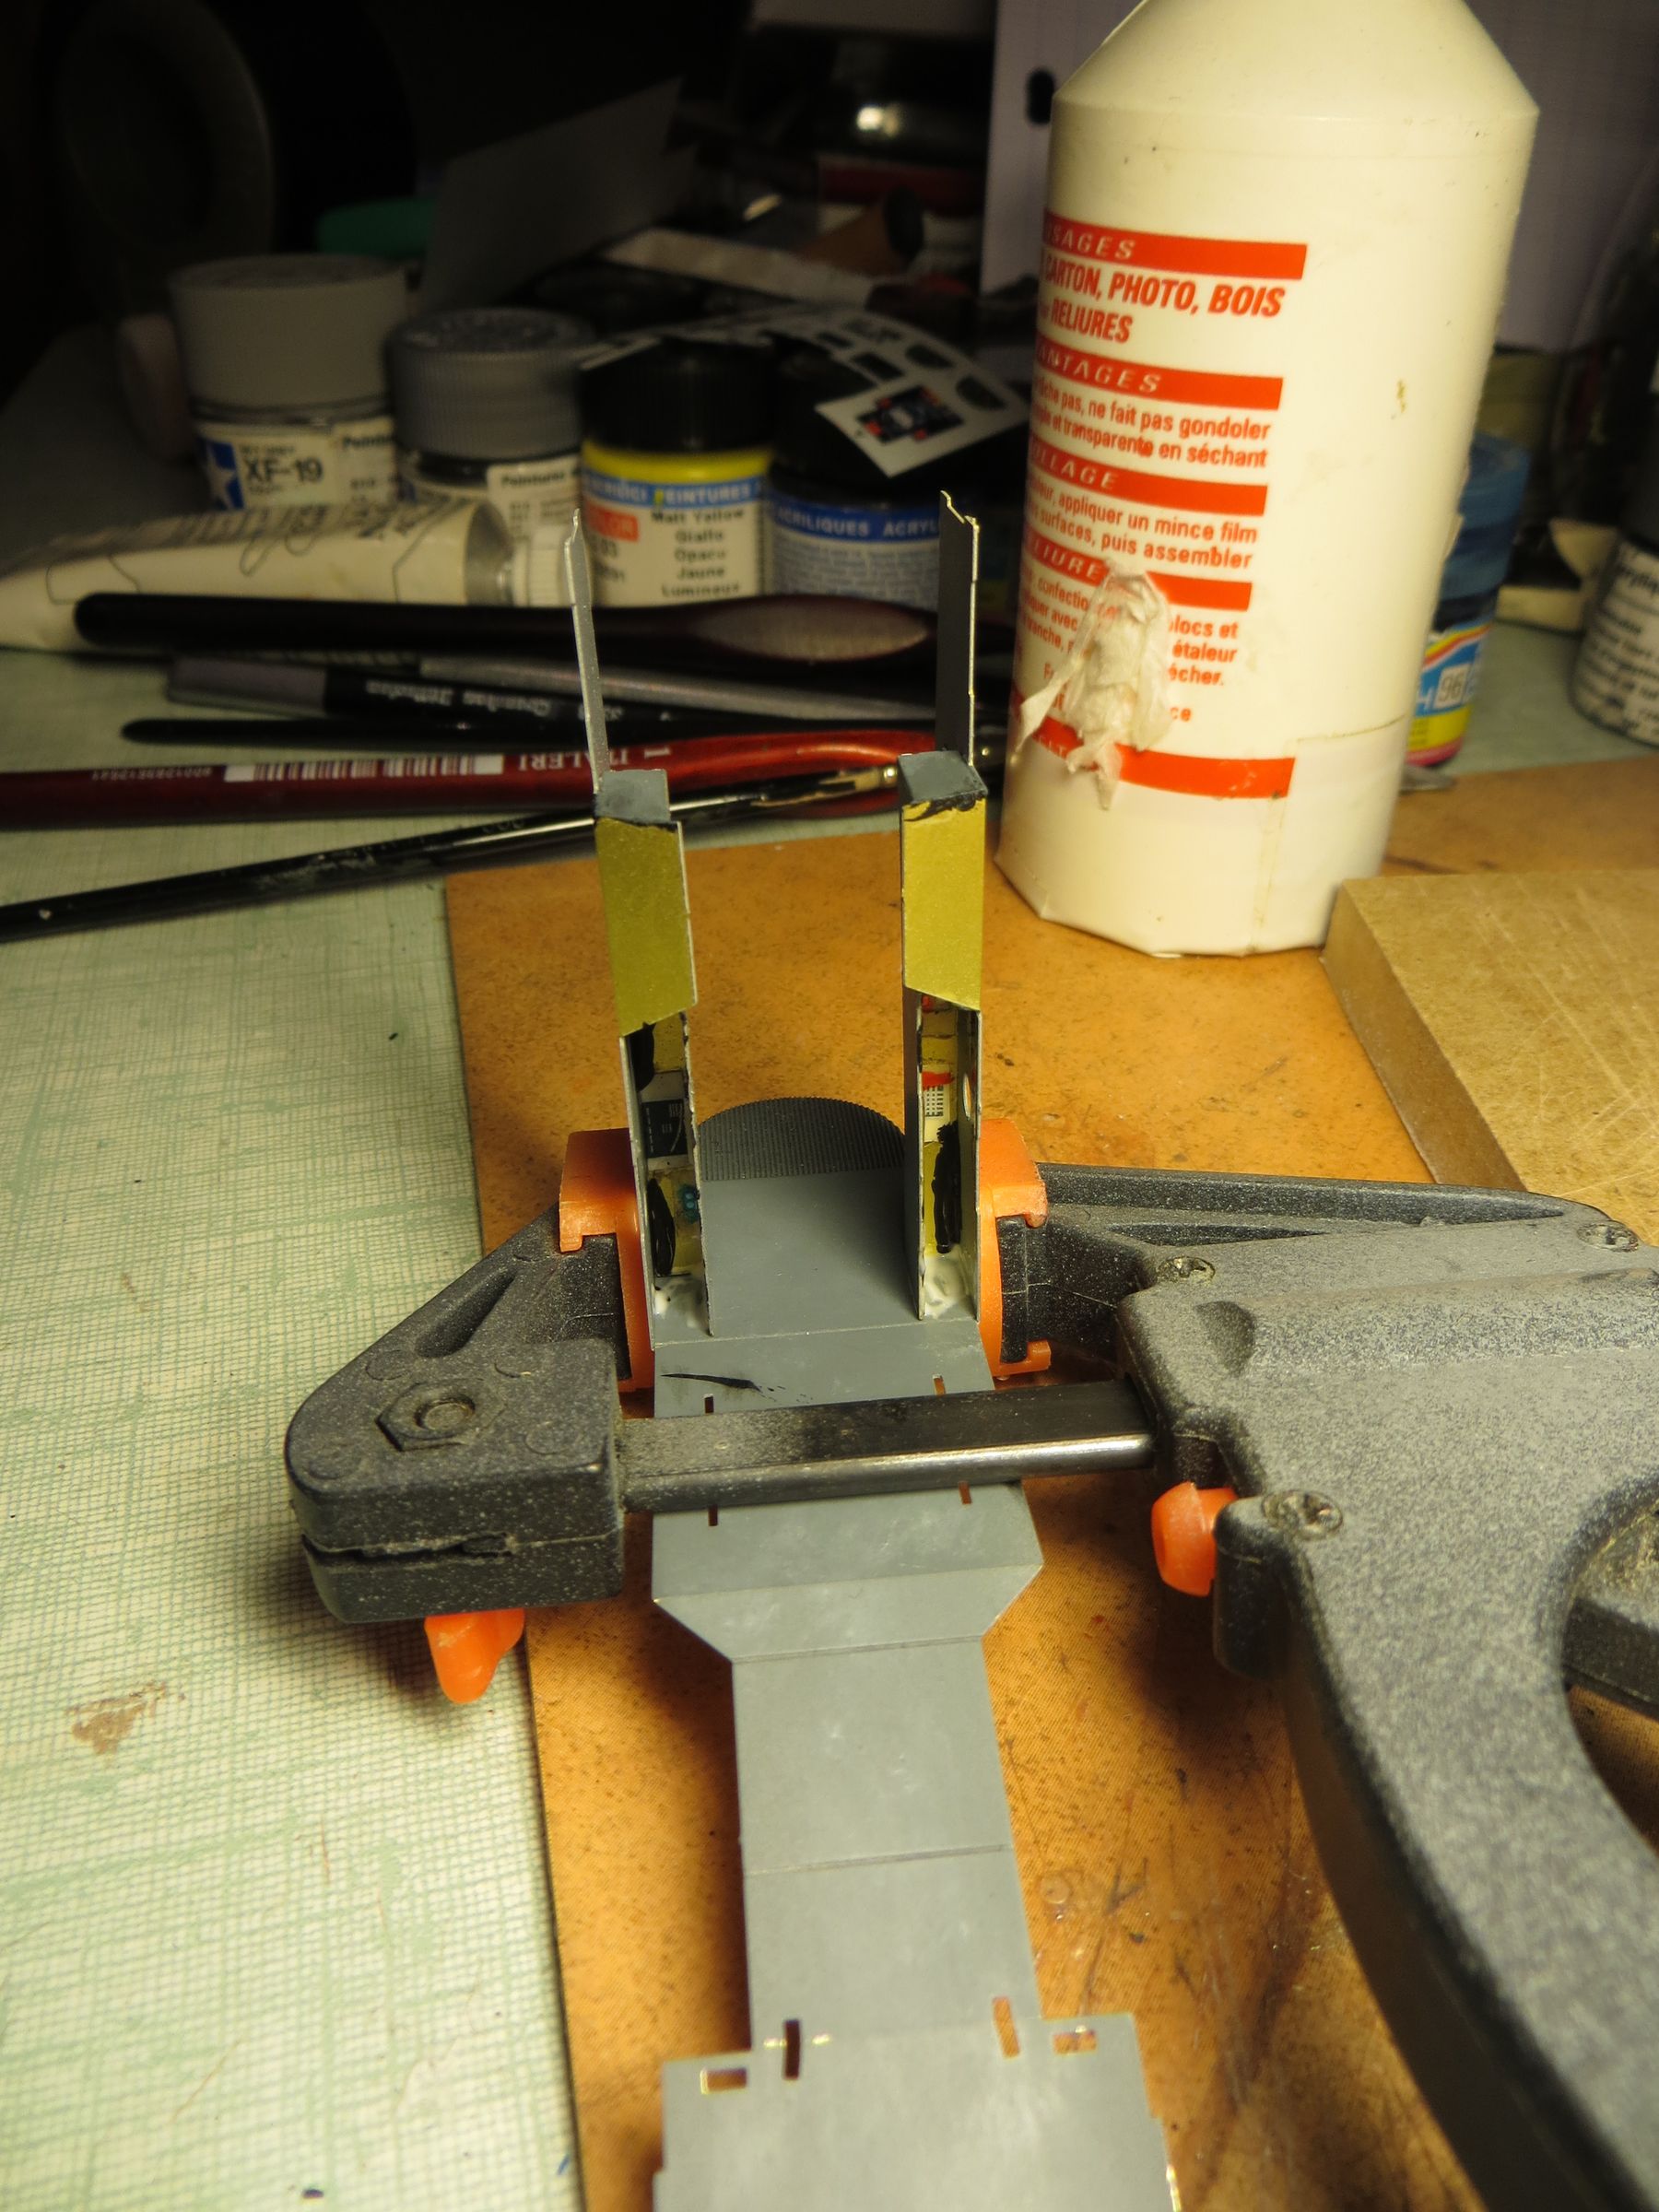
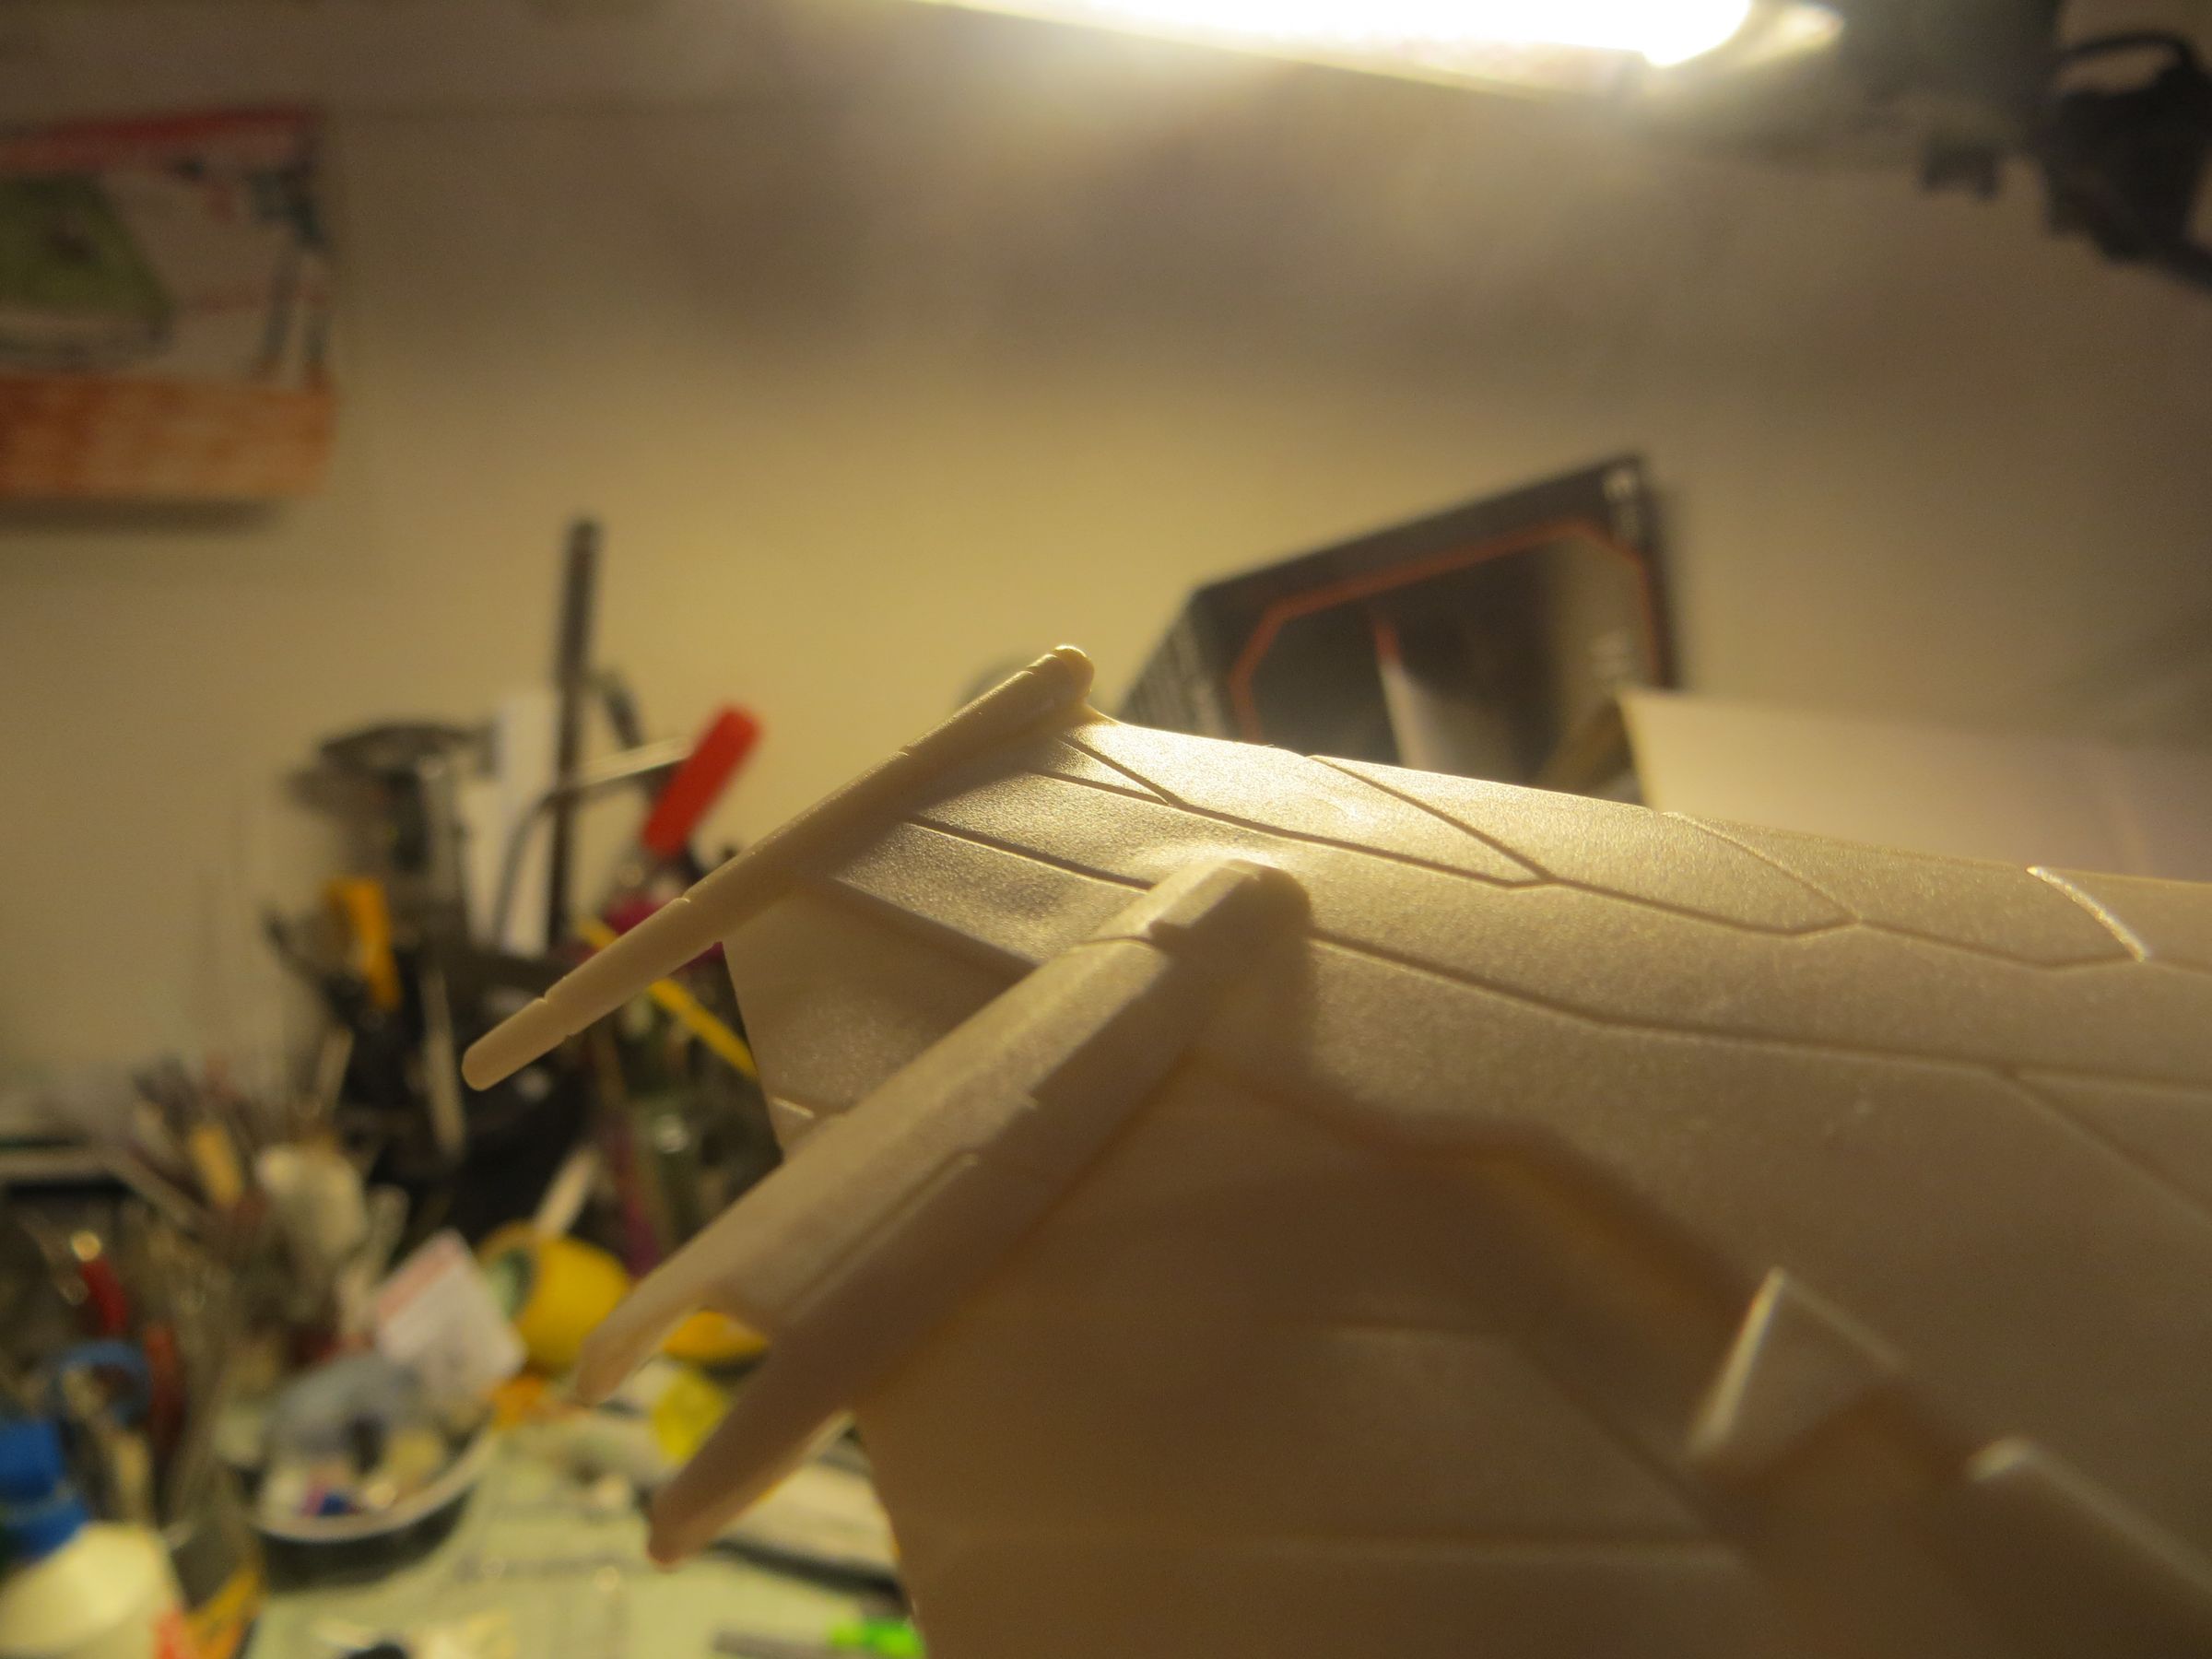
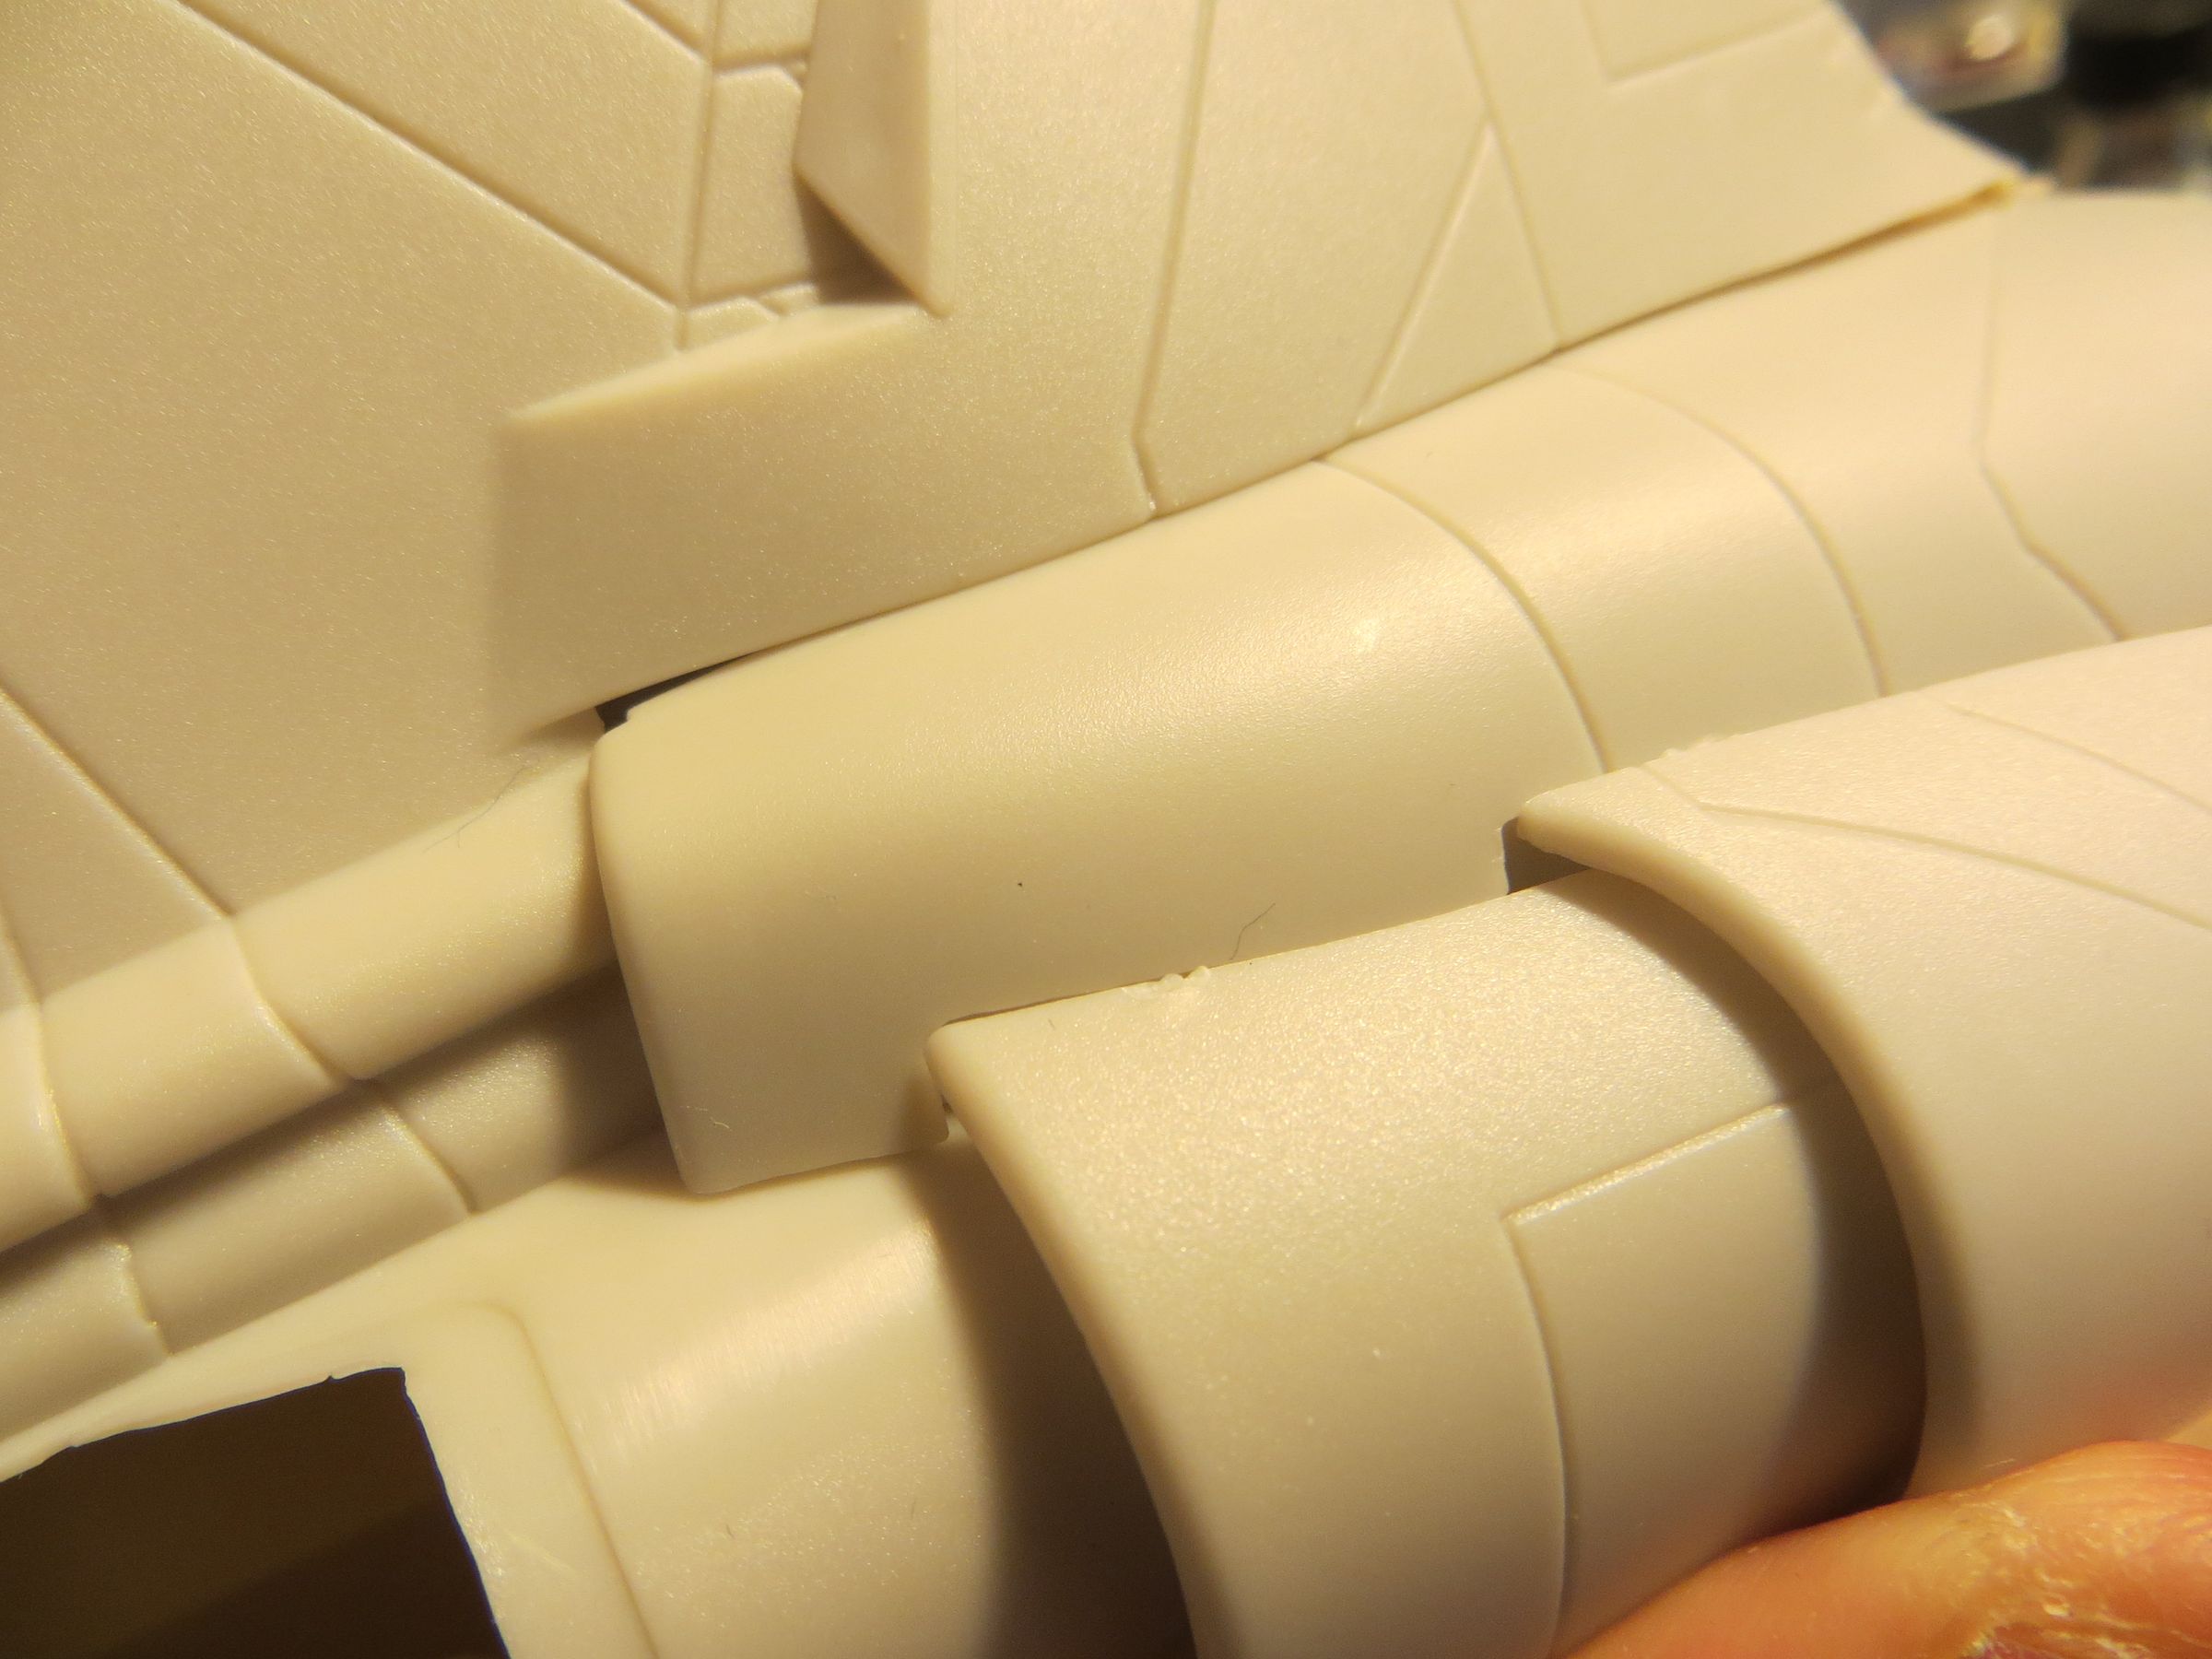
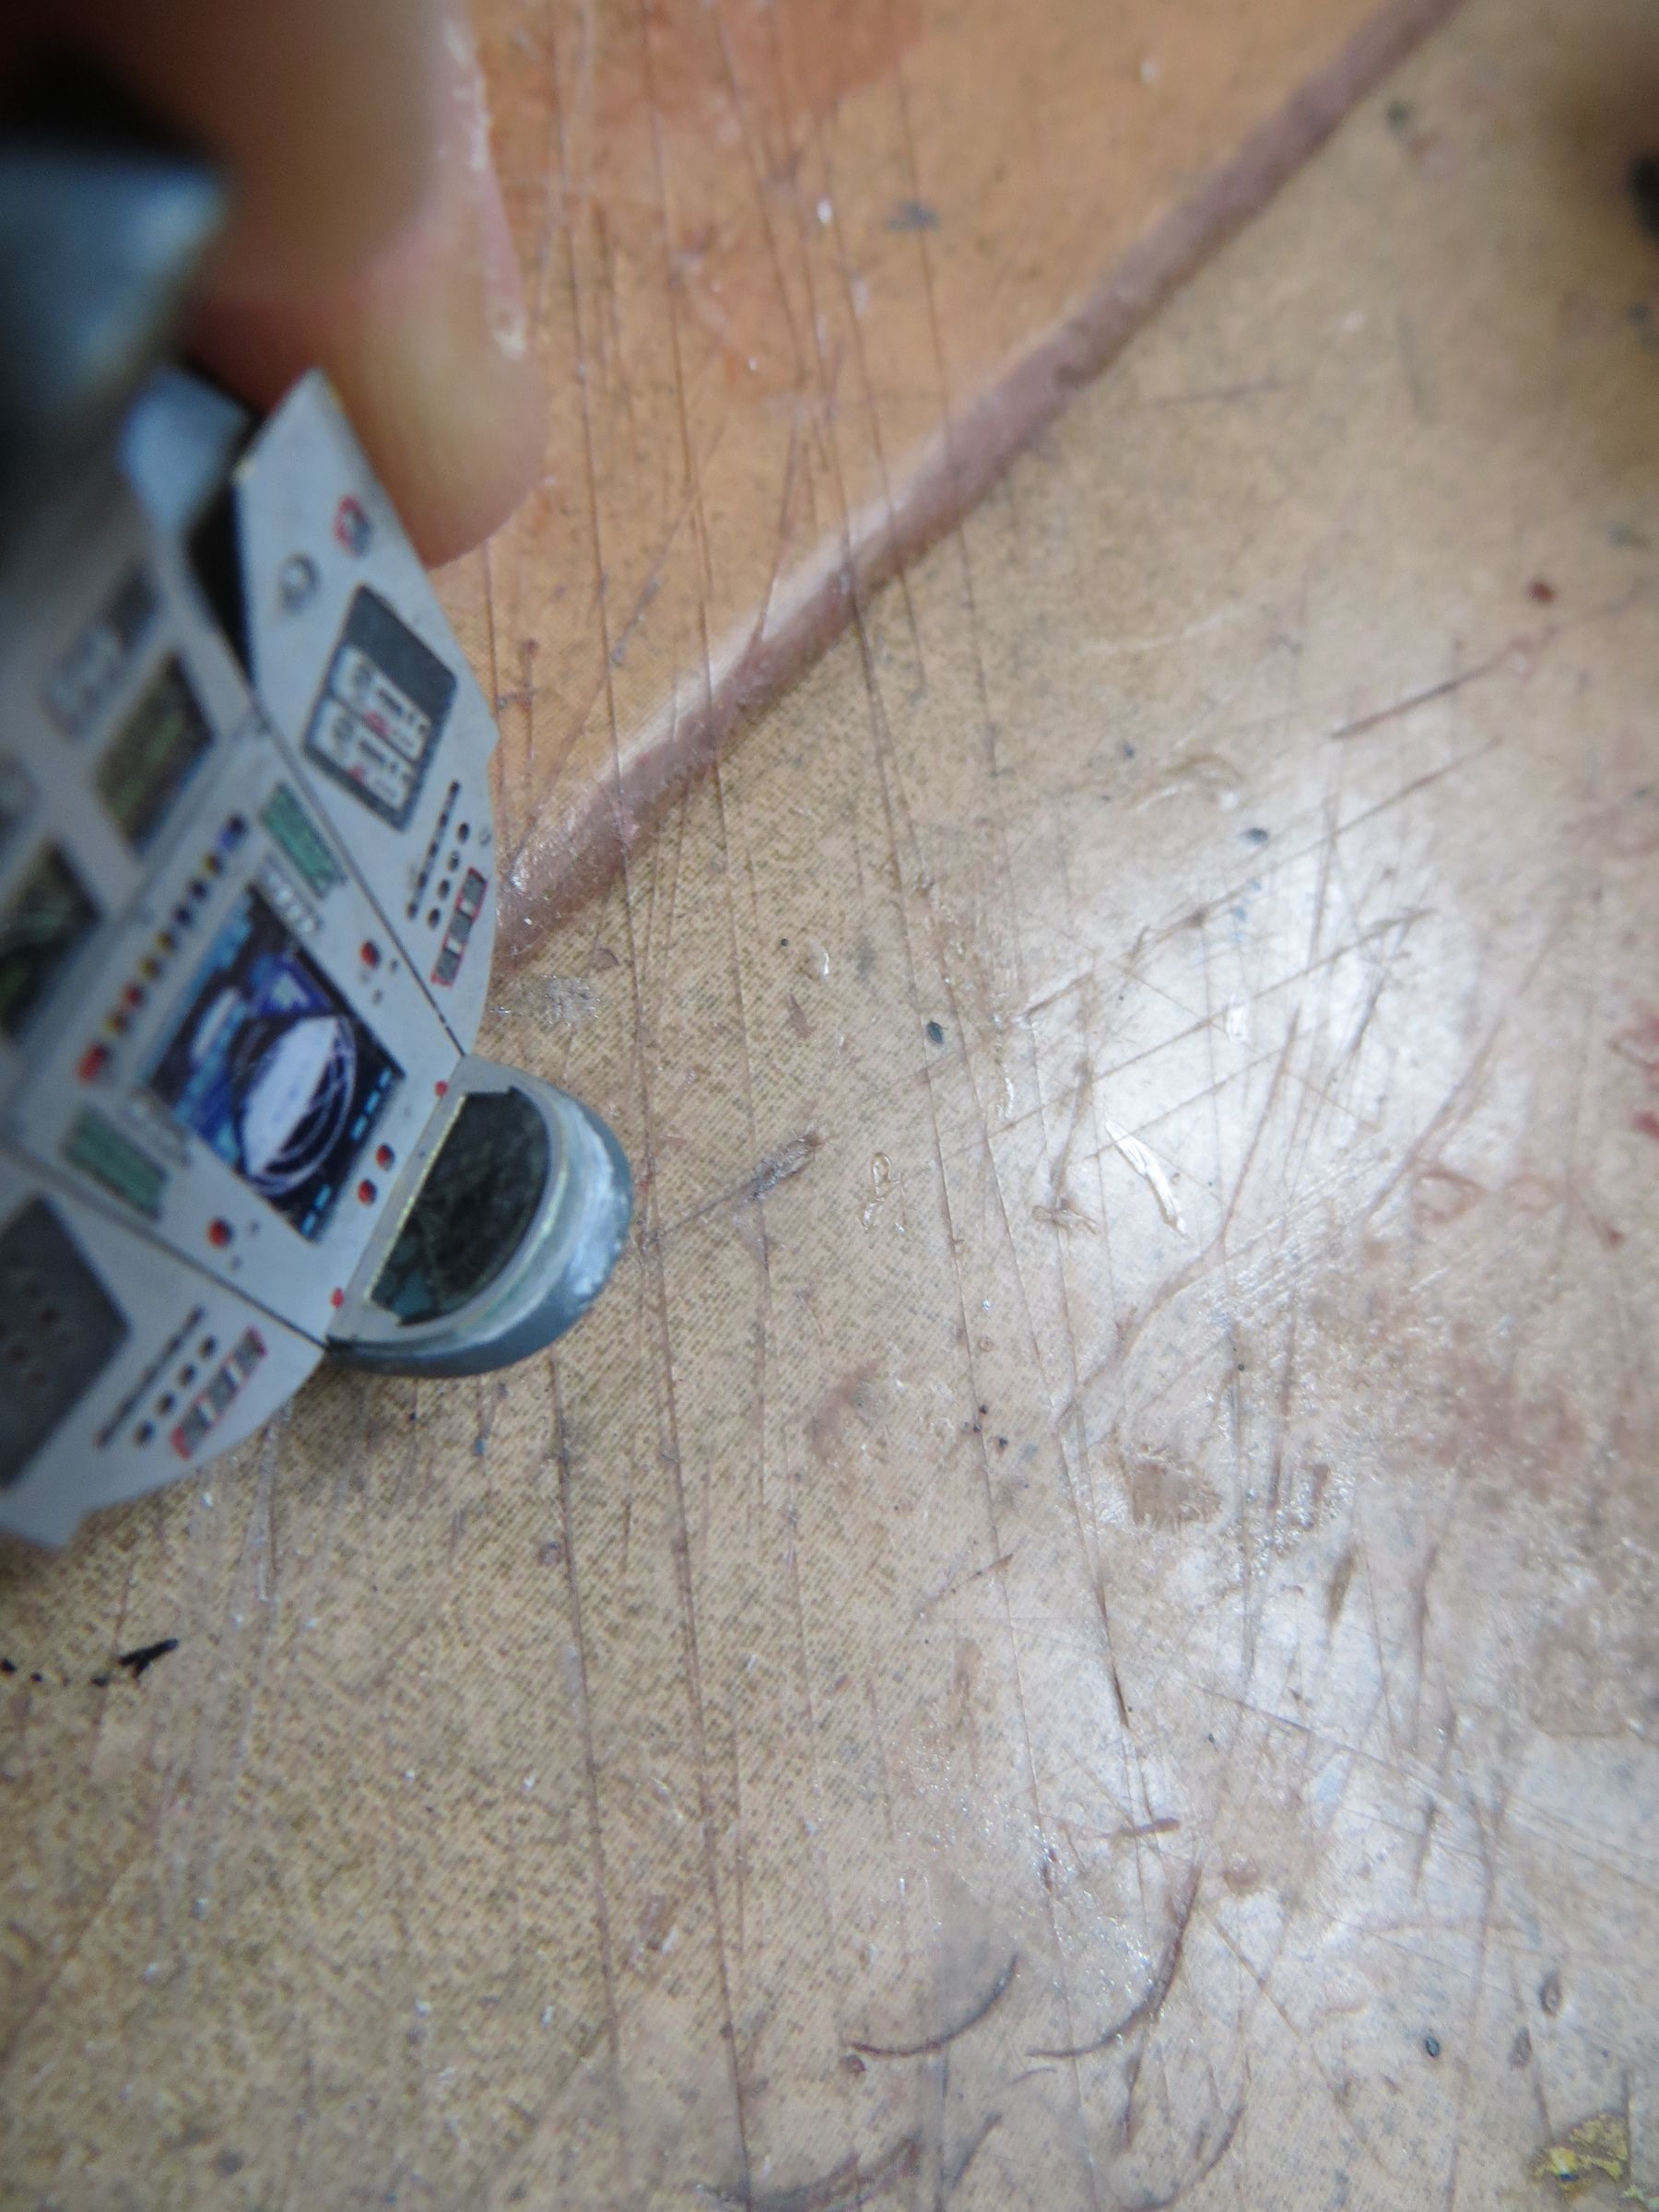
I find that the front panel of the dashboard went up not enough close to the cabin. There was a gap of about 2mm.
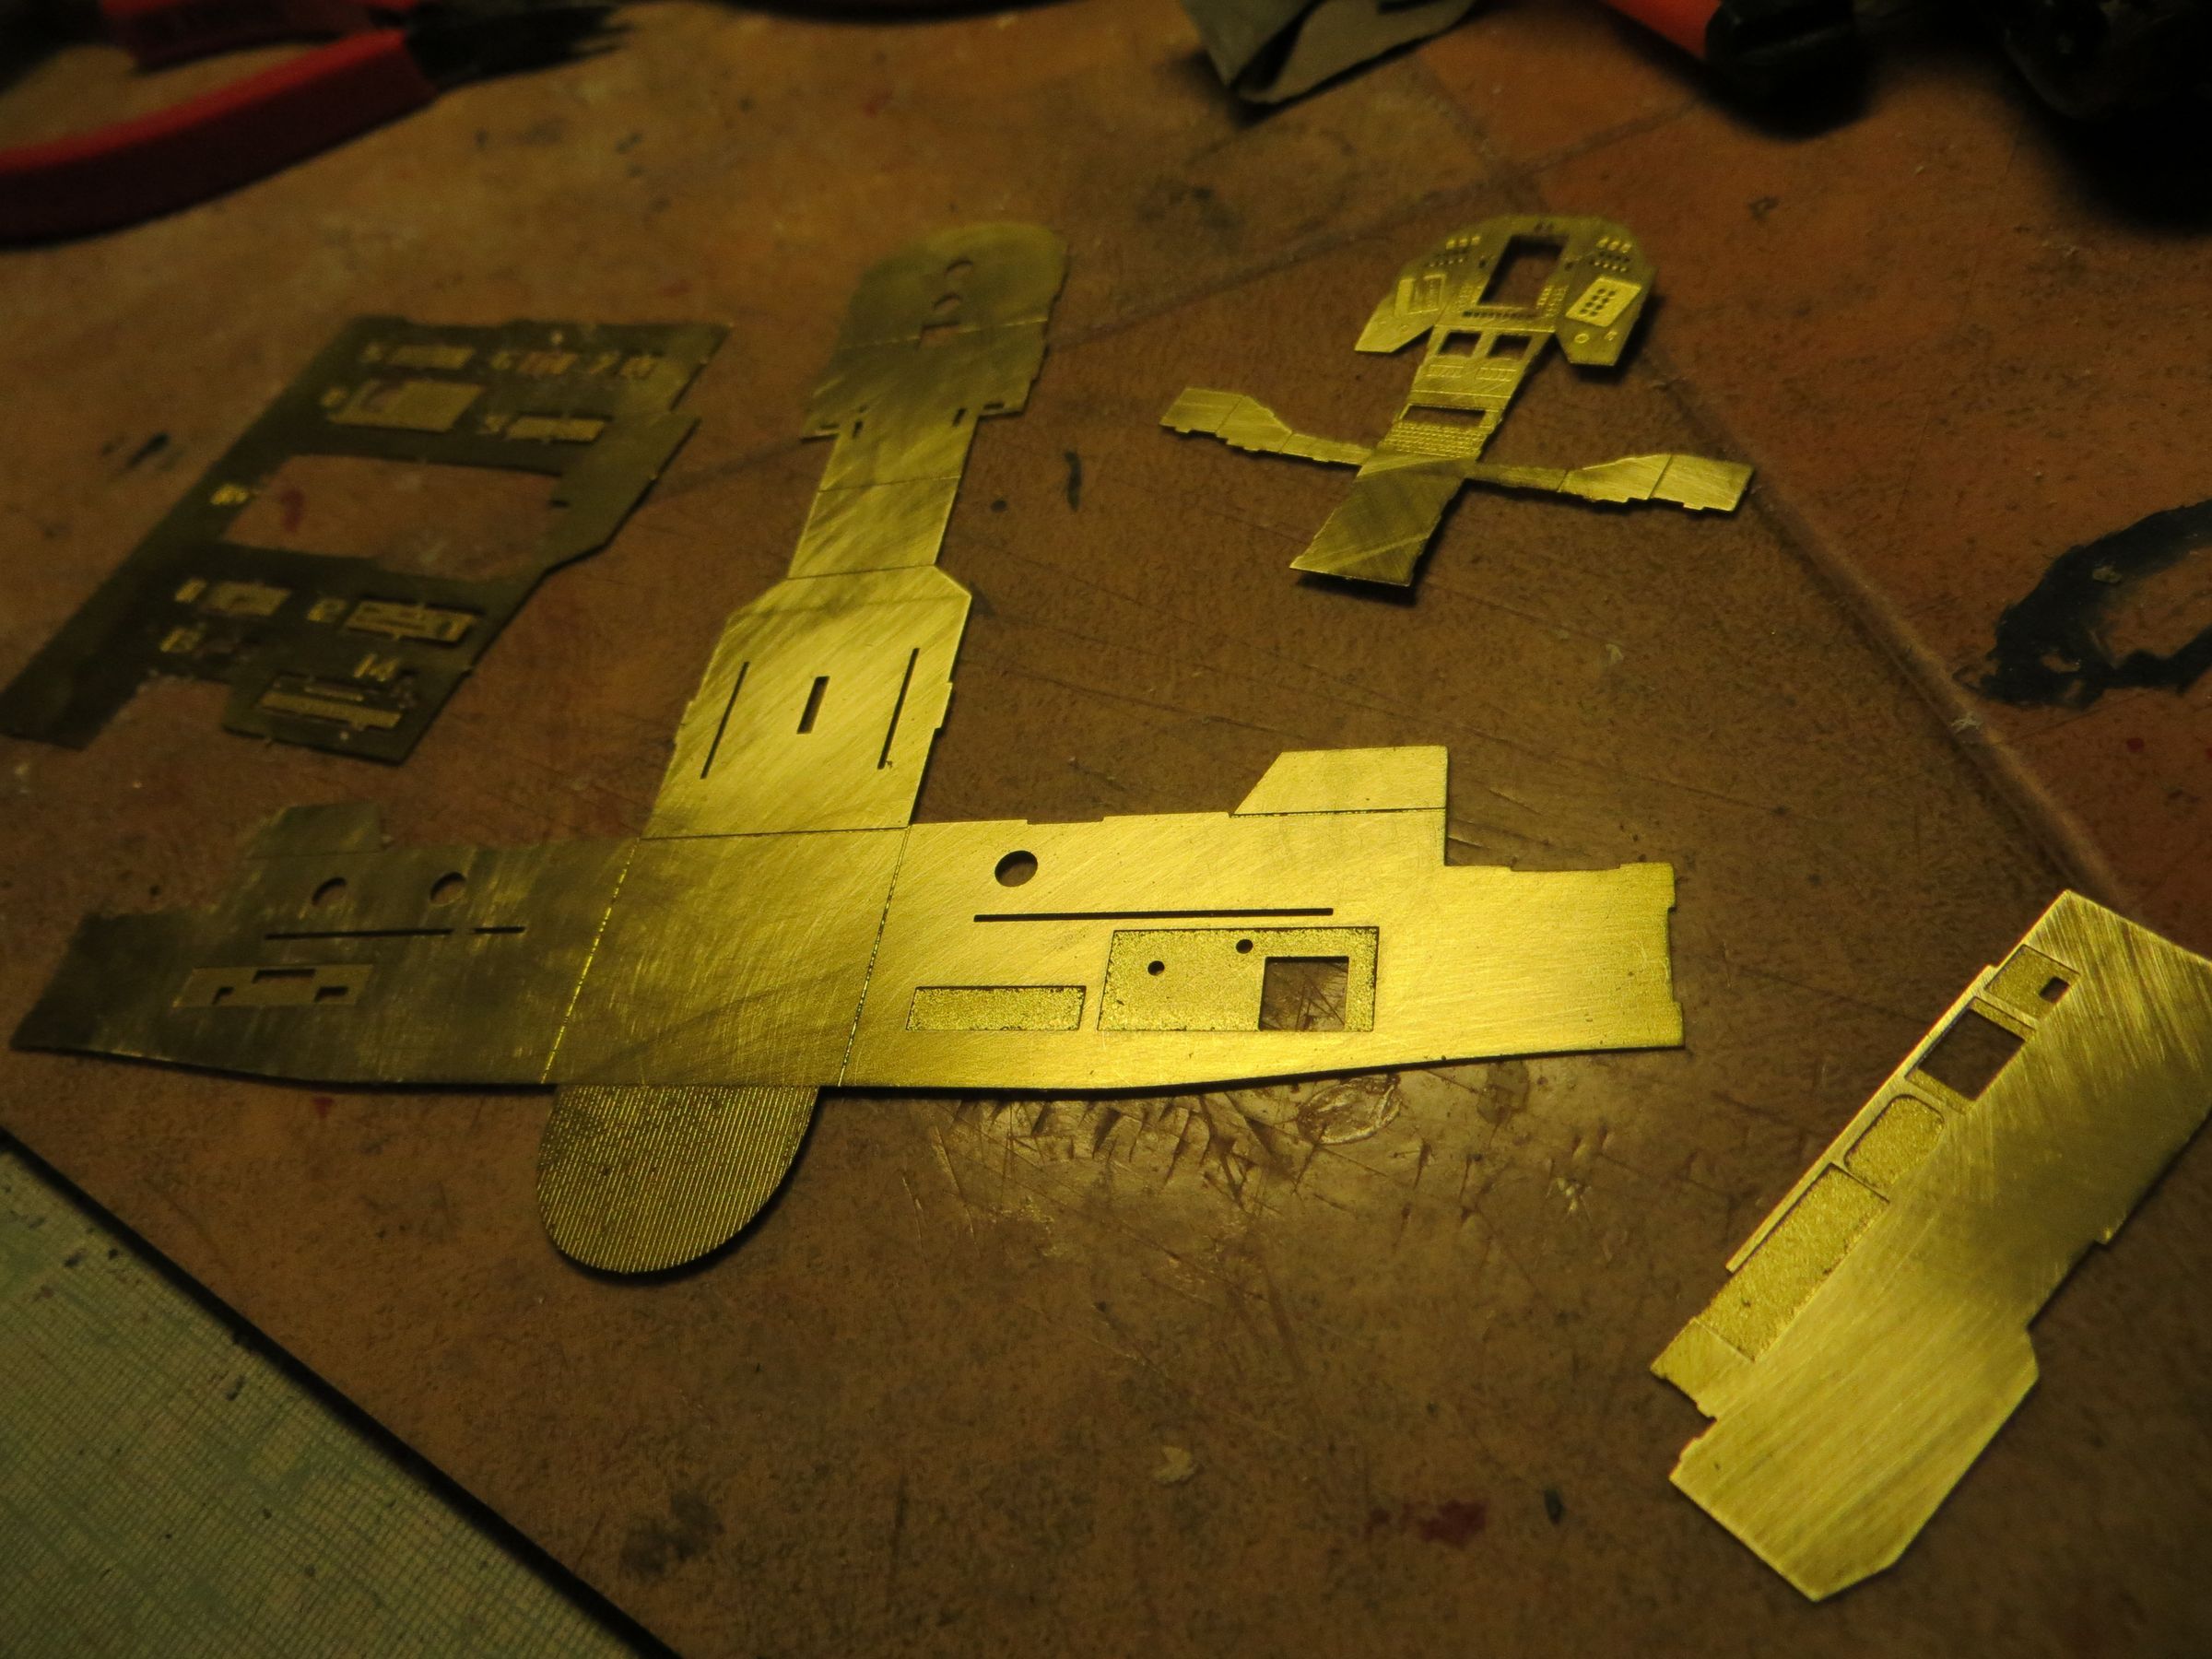
I was almost resigning myself to cut the brass panels, when I realized that I had stupidly forgotten to fold one panel of the photoetched dashboard ! (no kidding, but I'm stuck on it for half a day...)
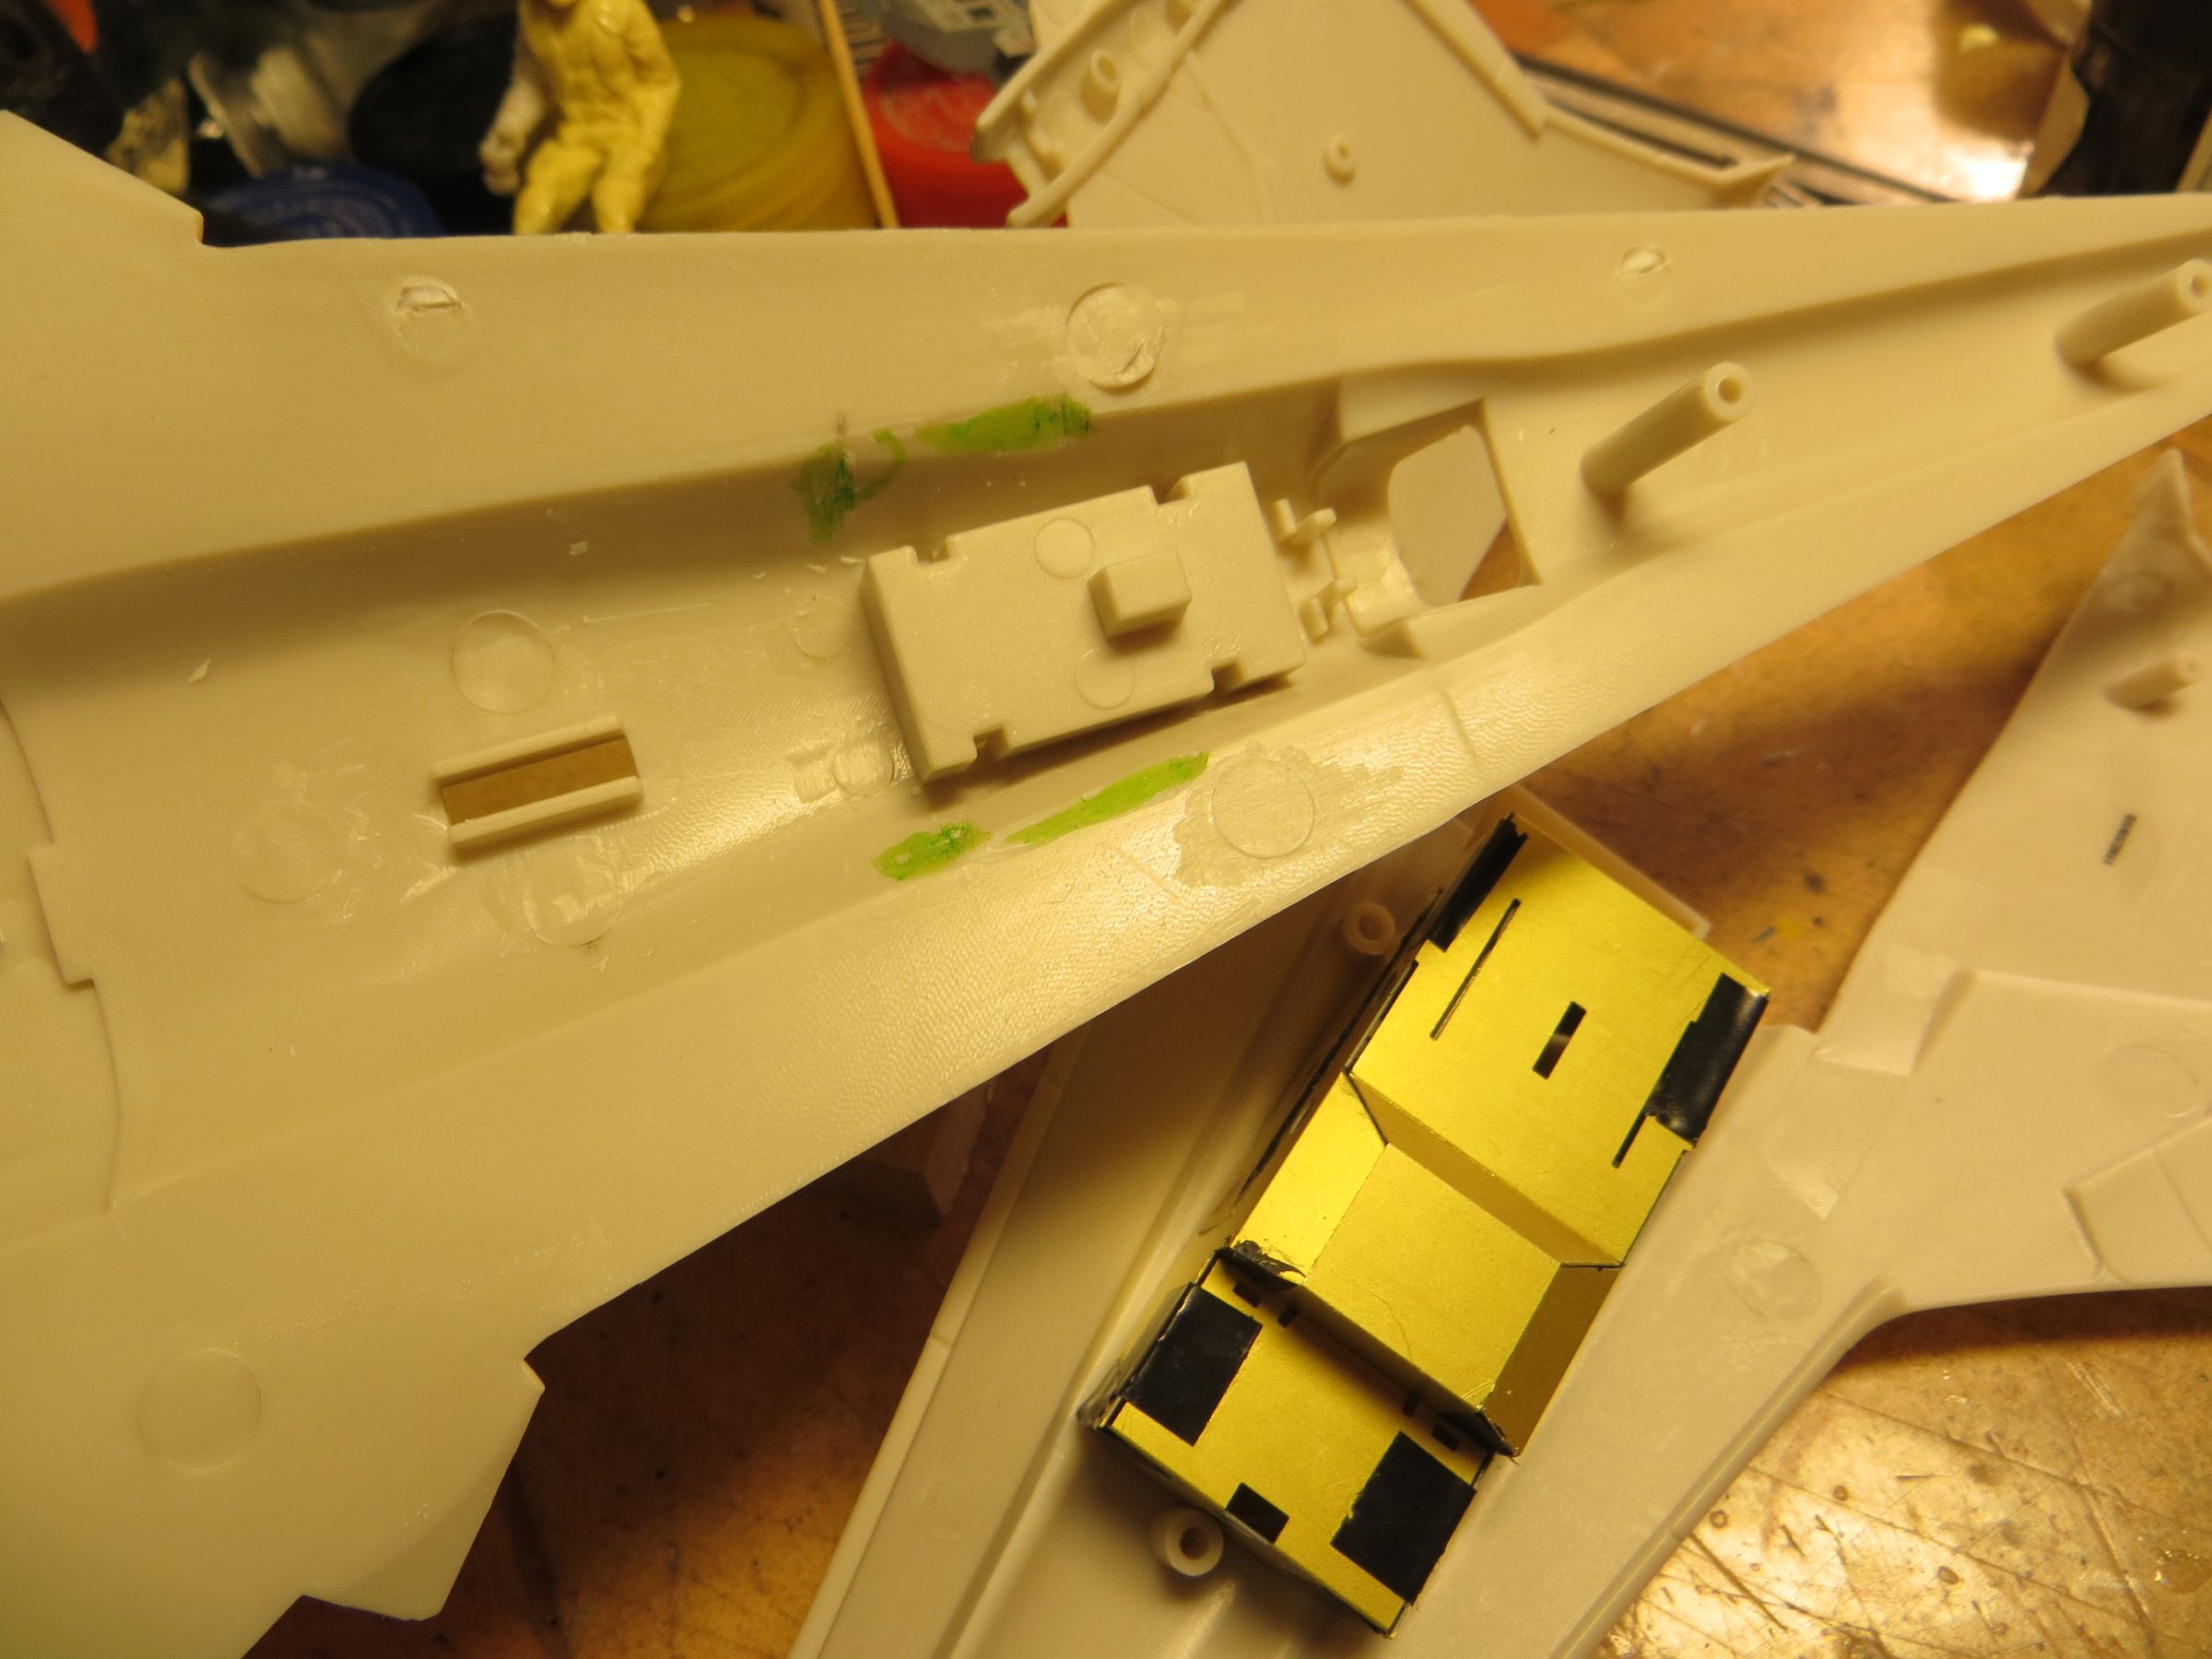
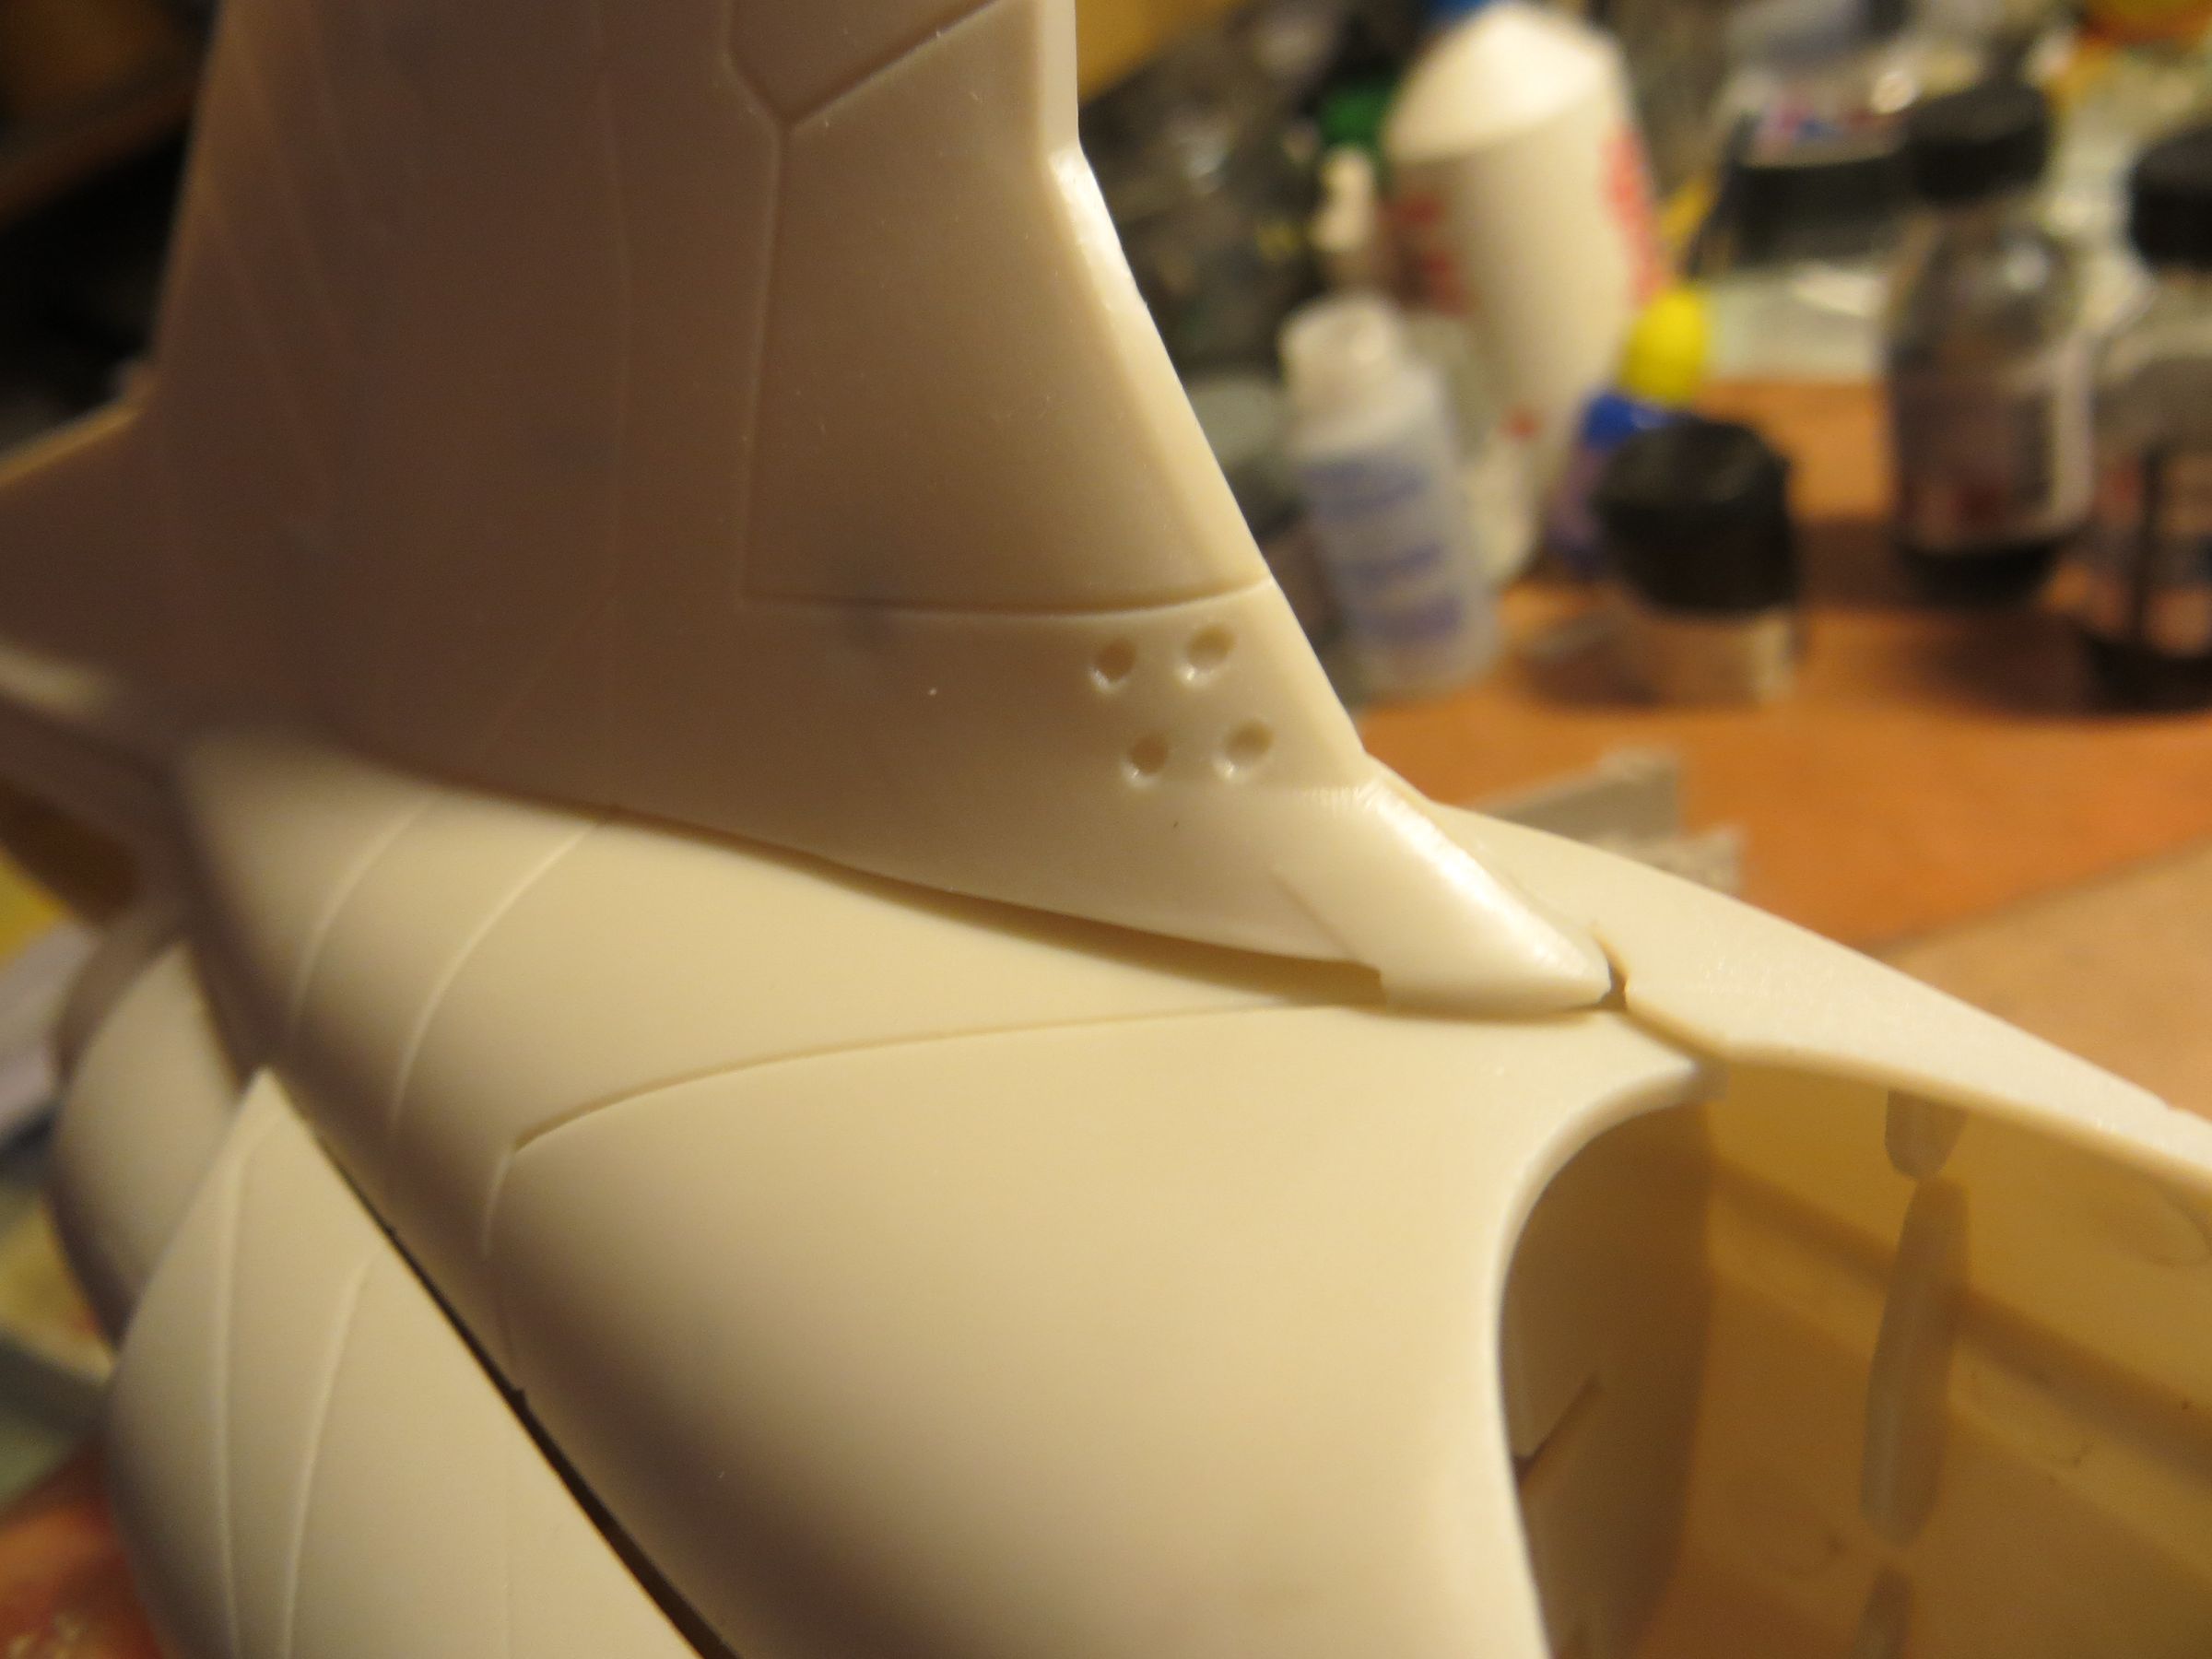
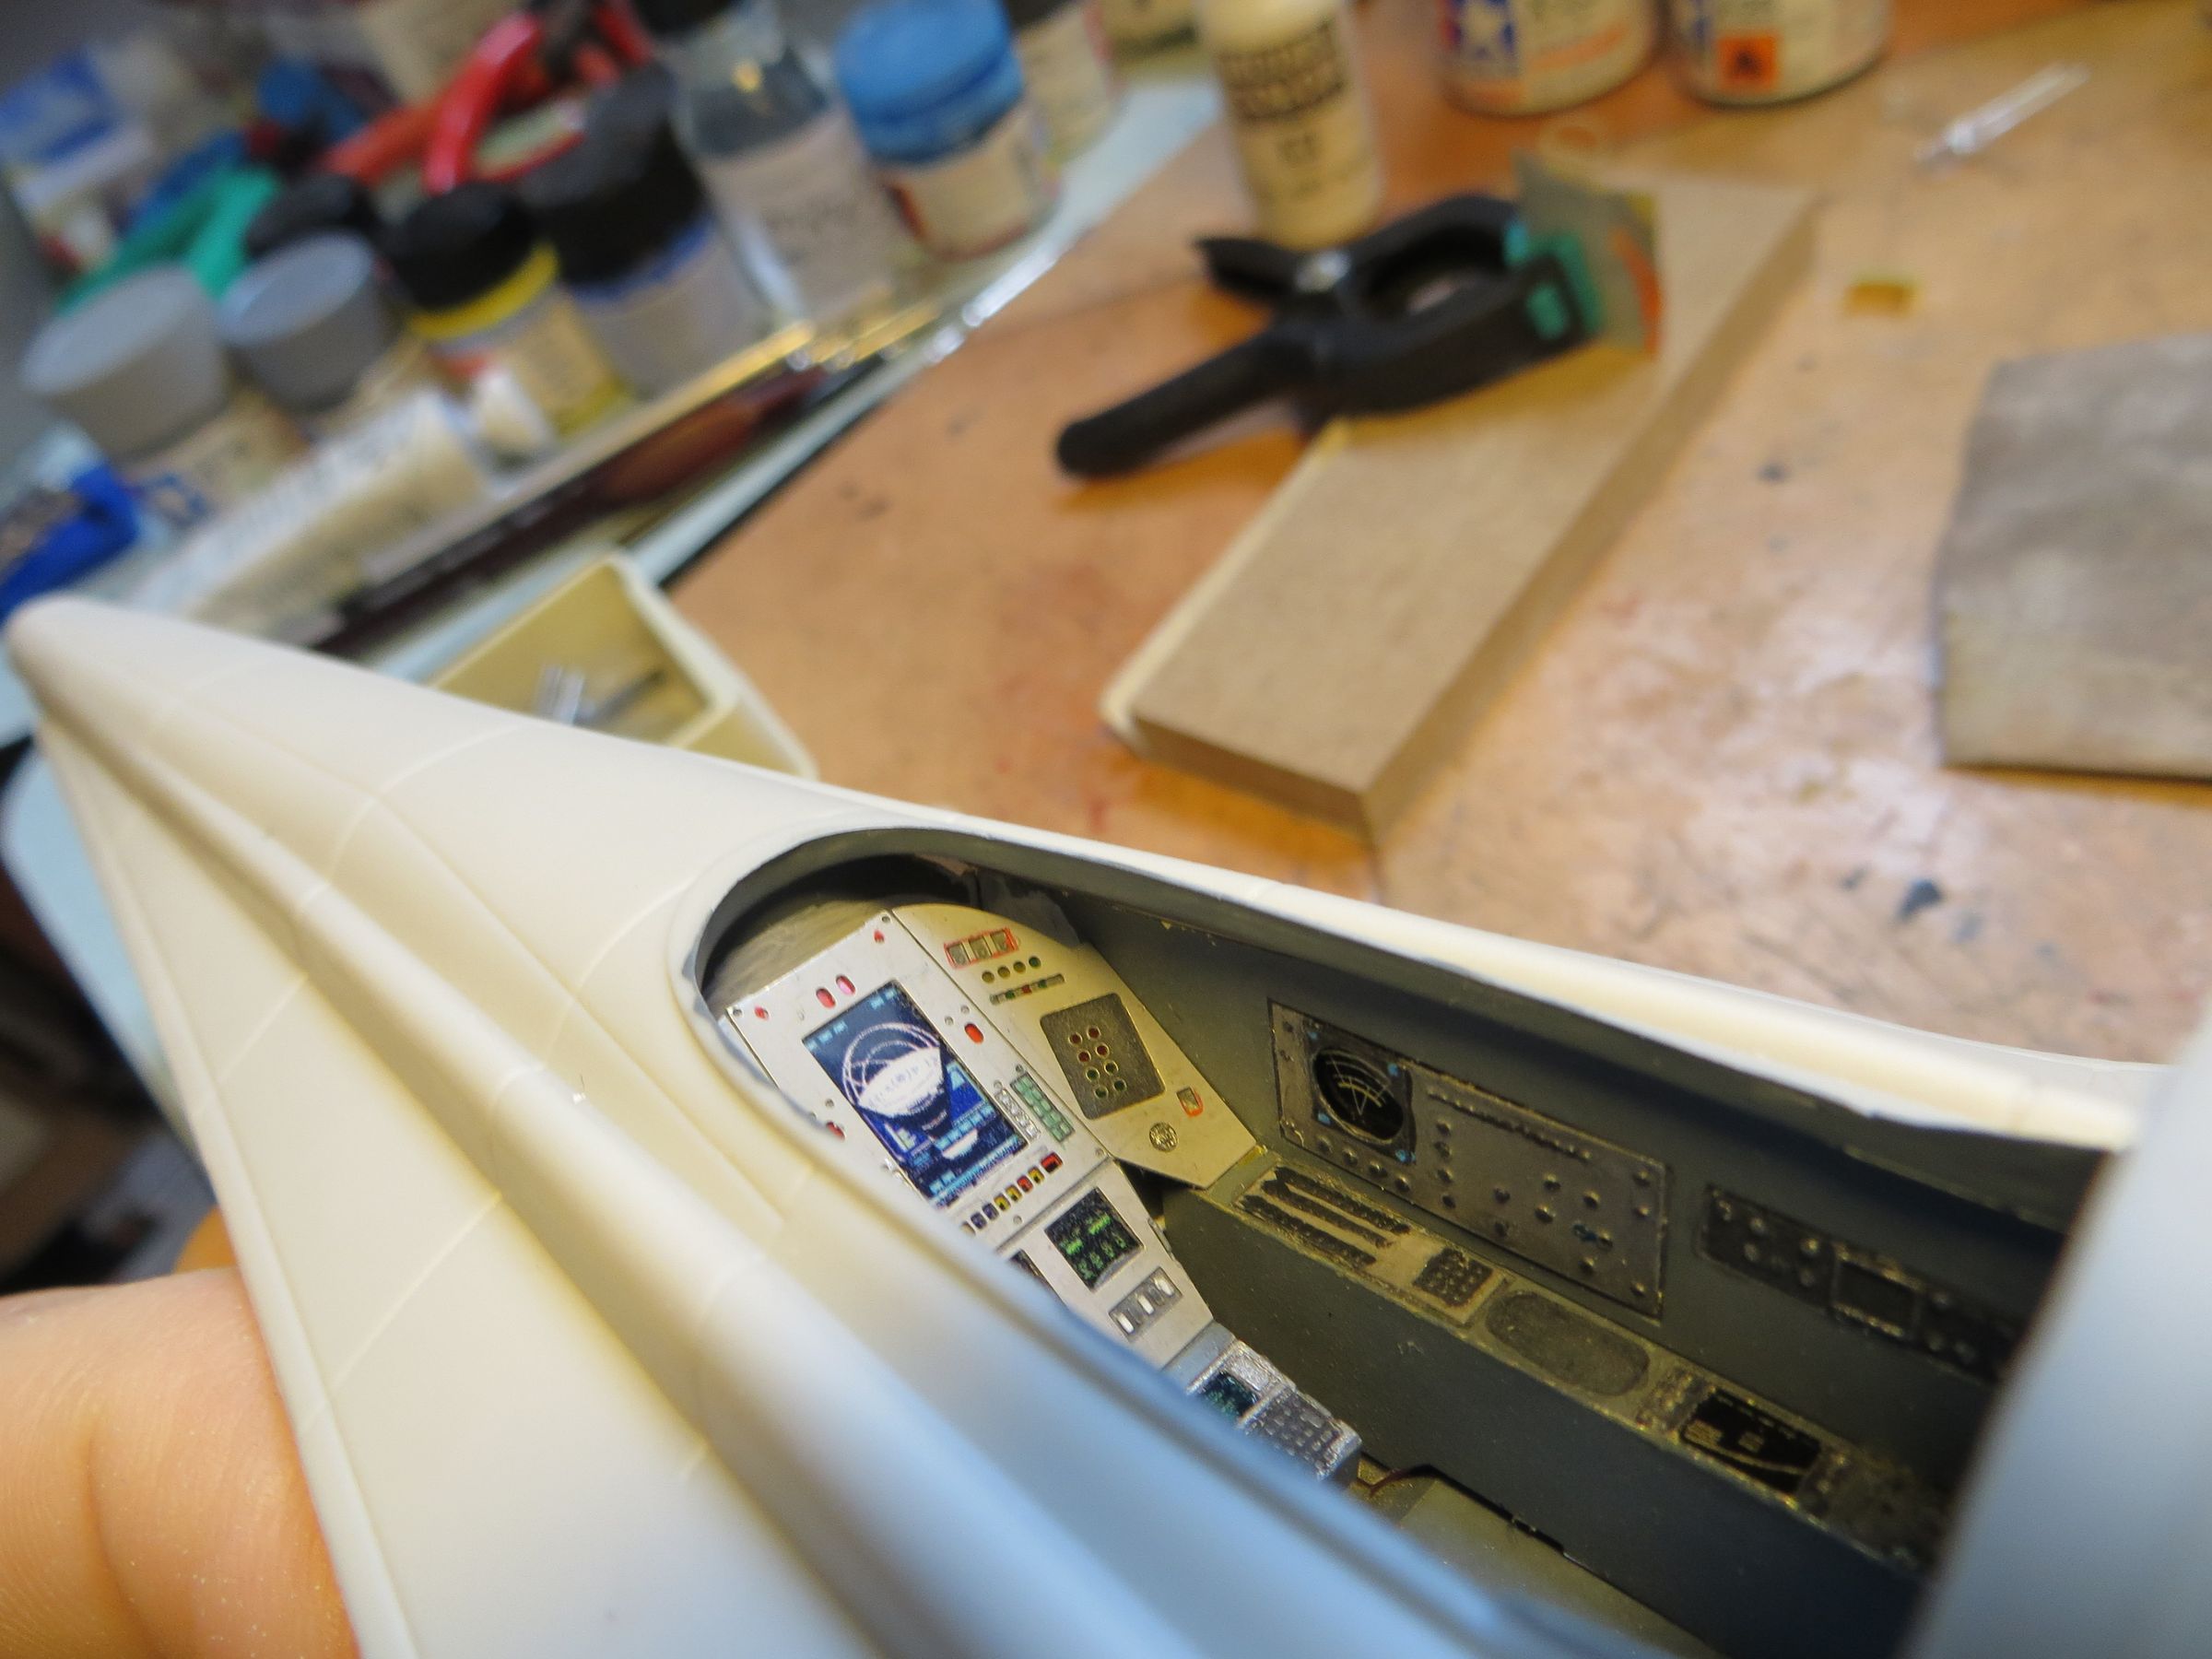
before
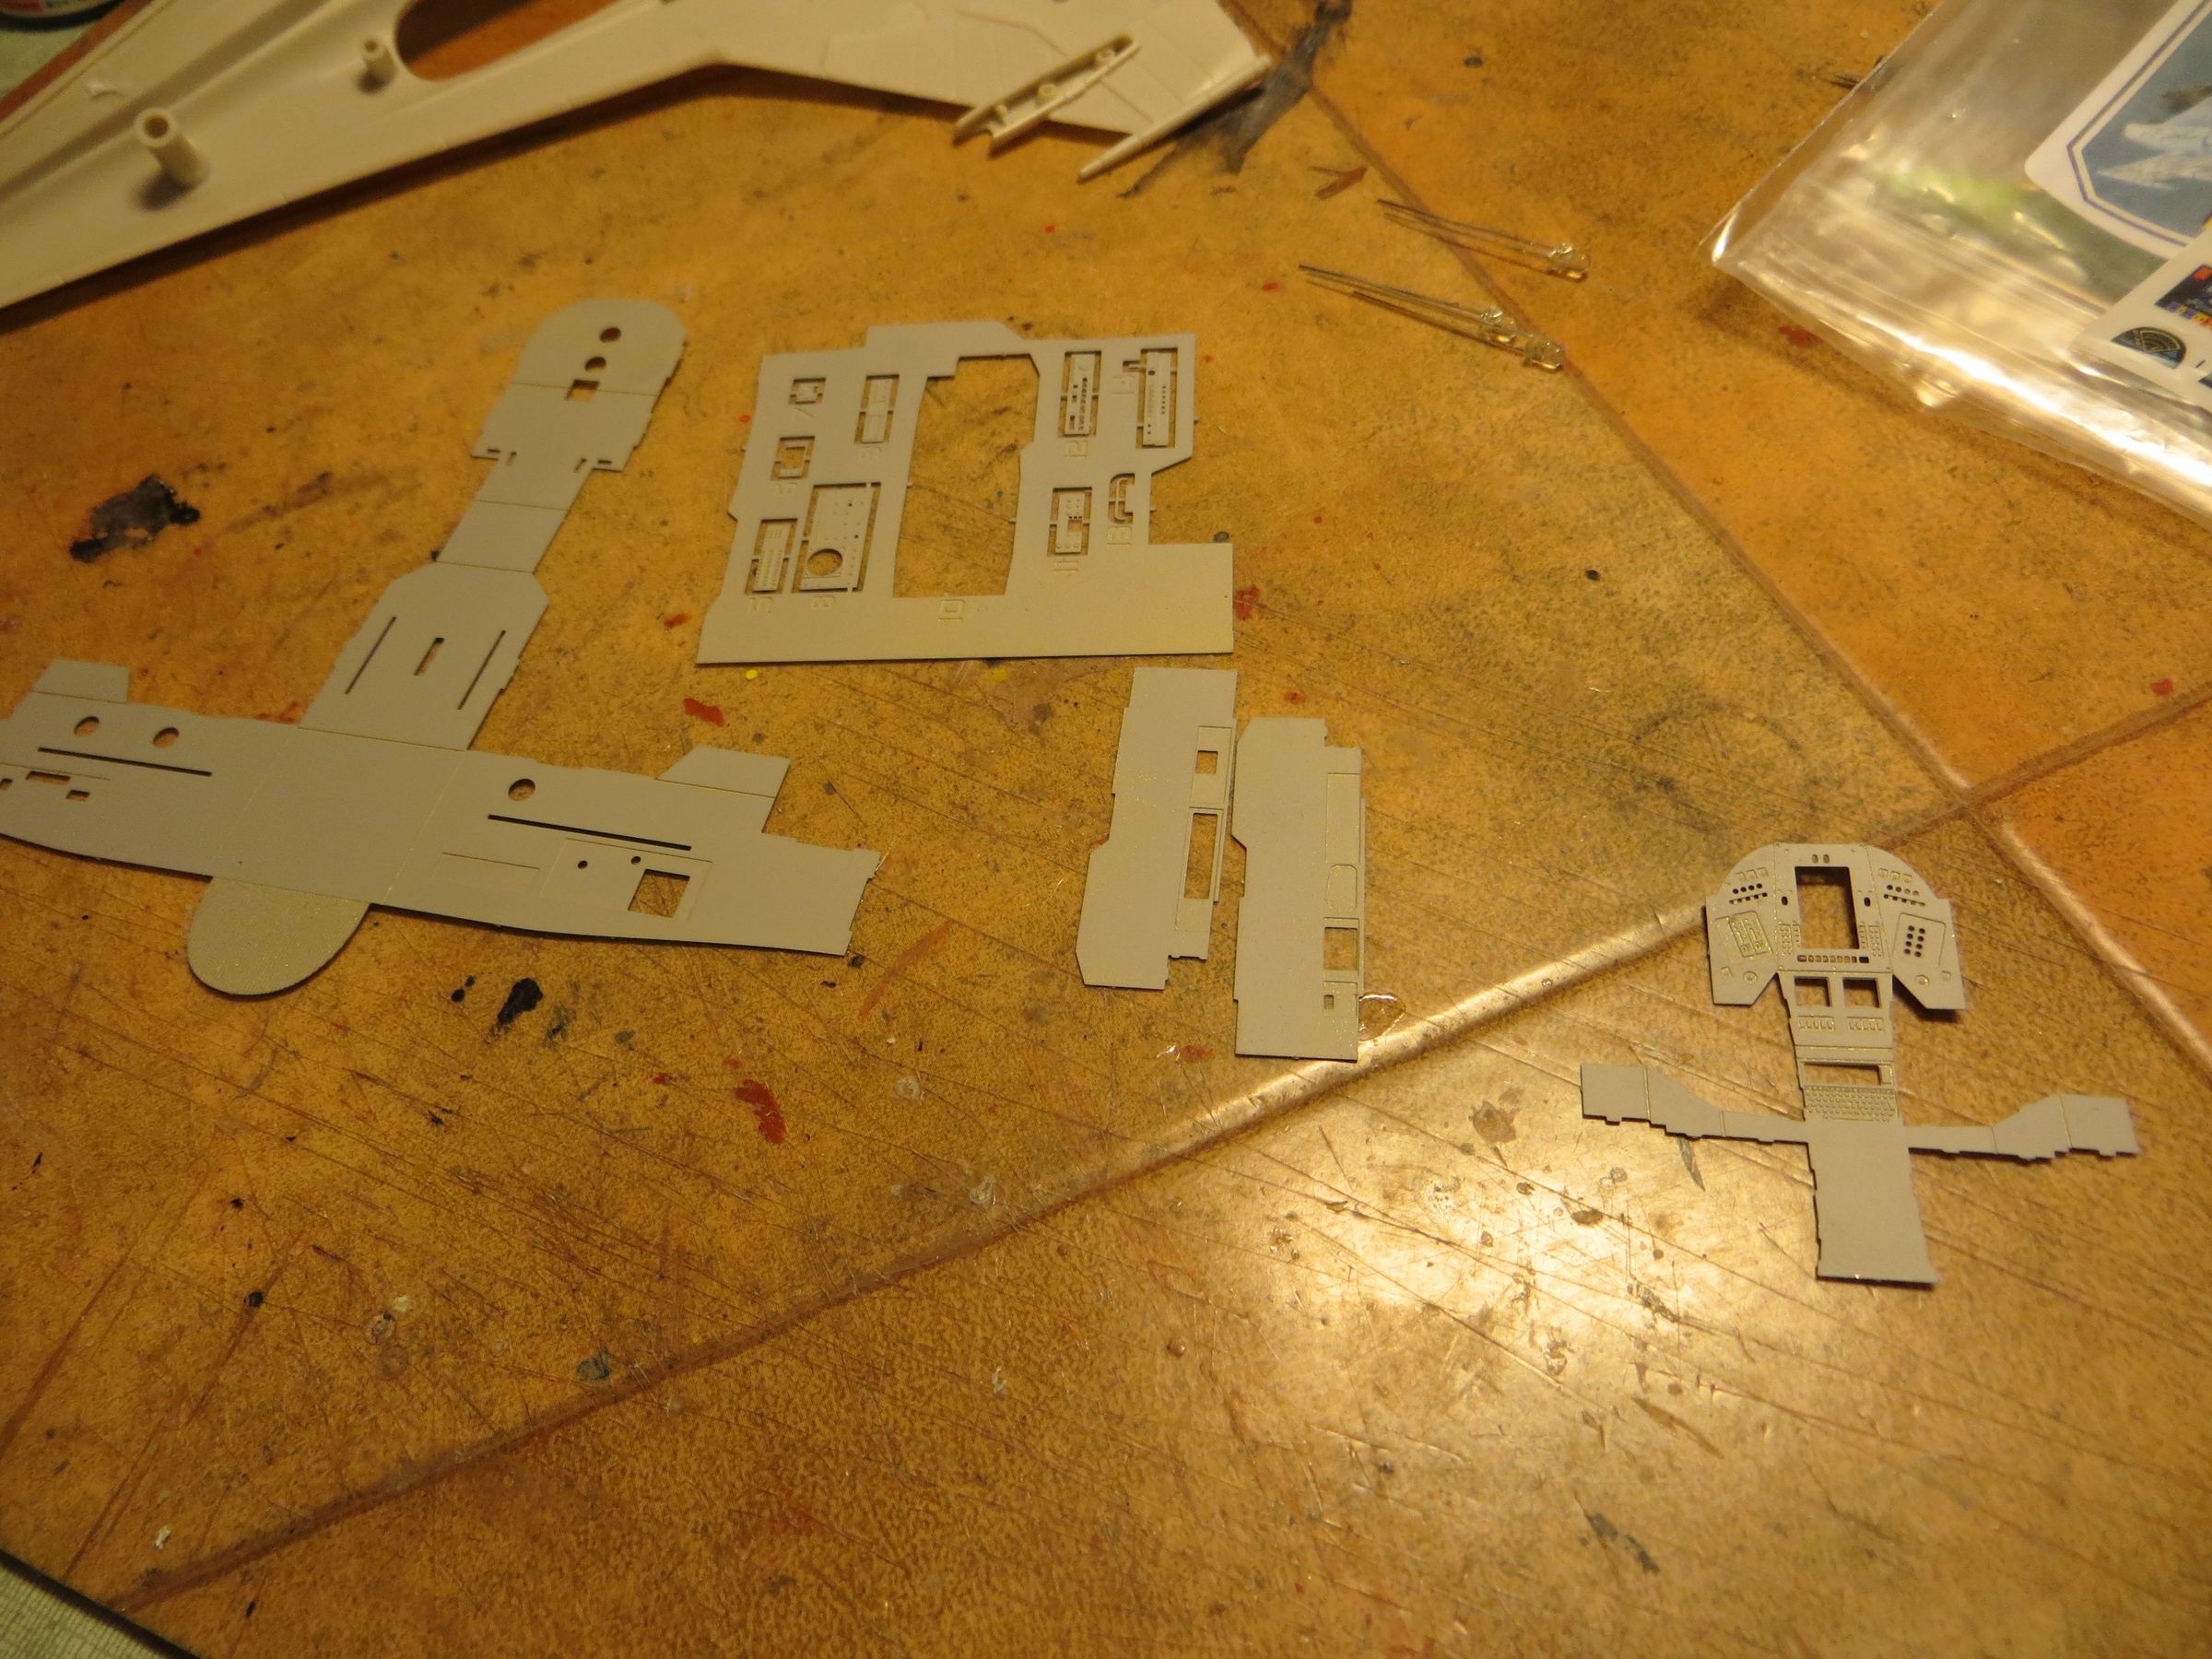
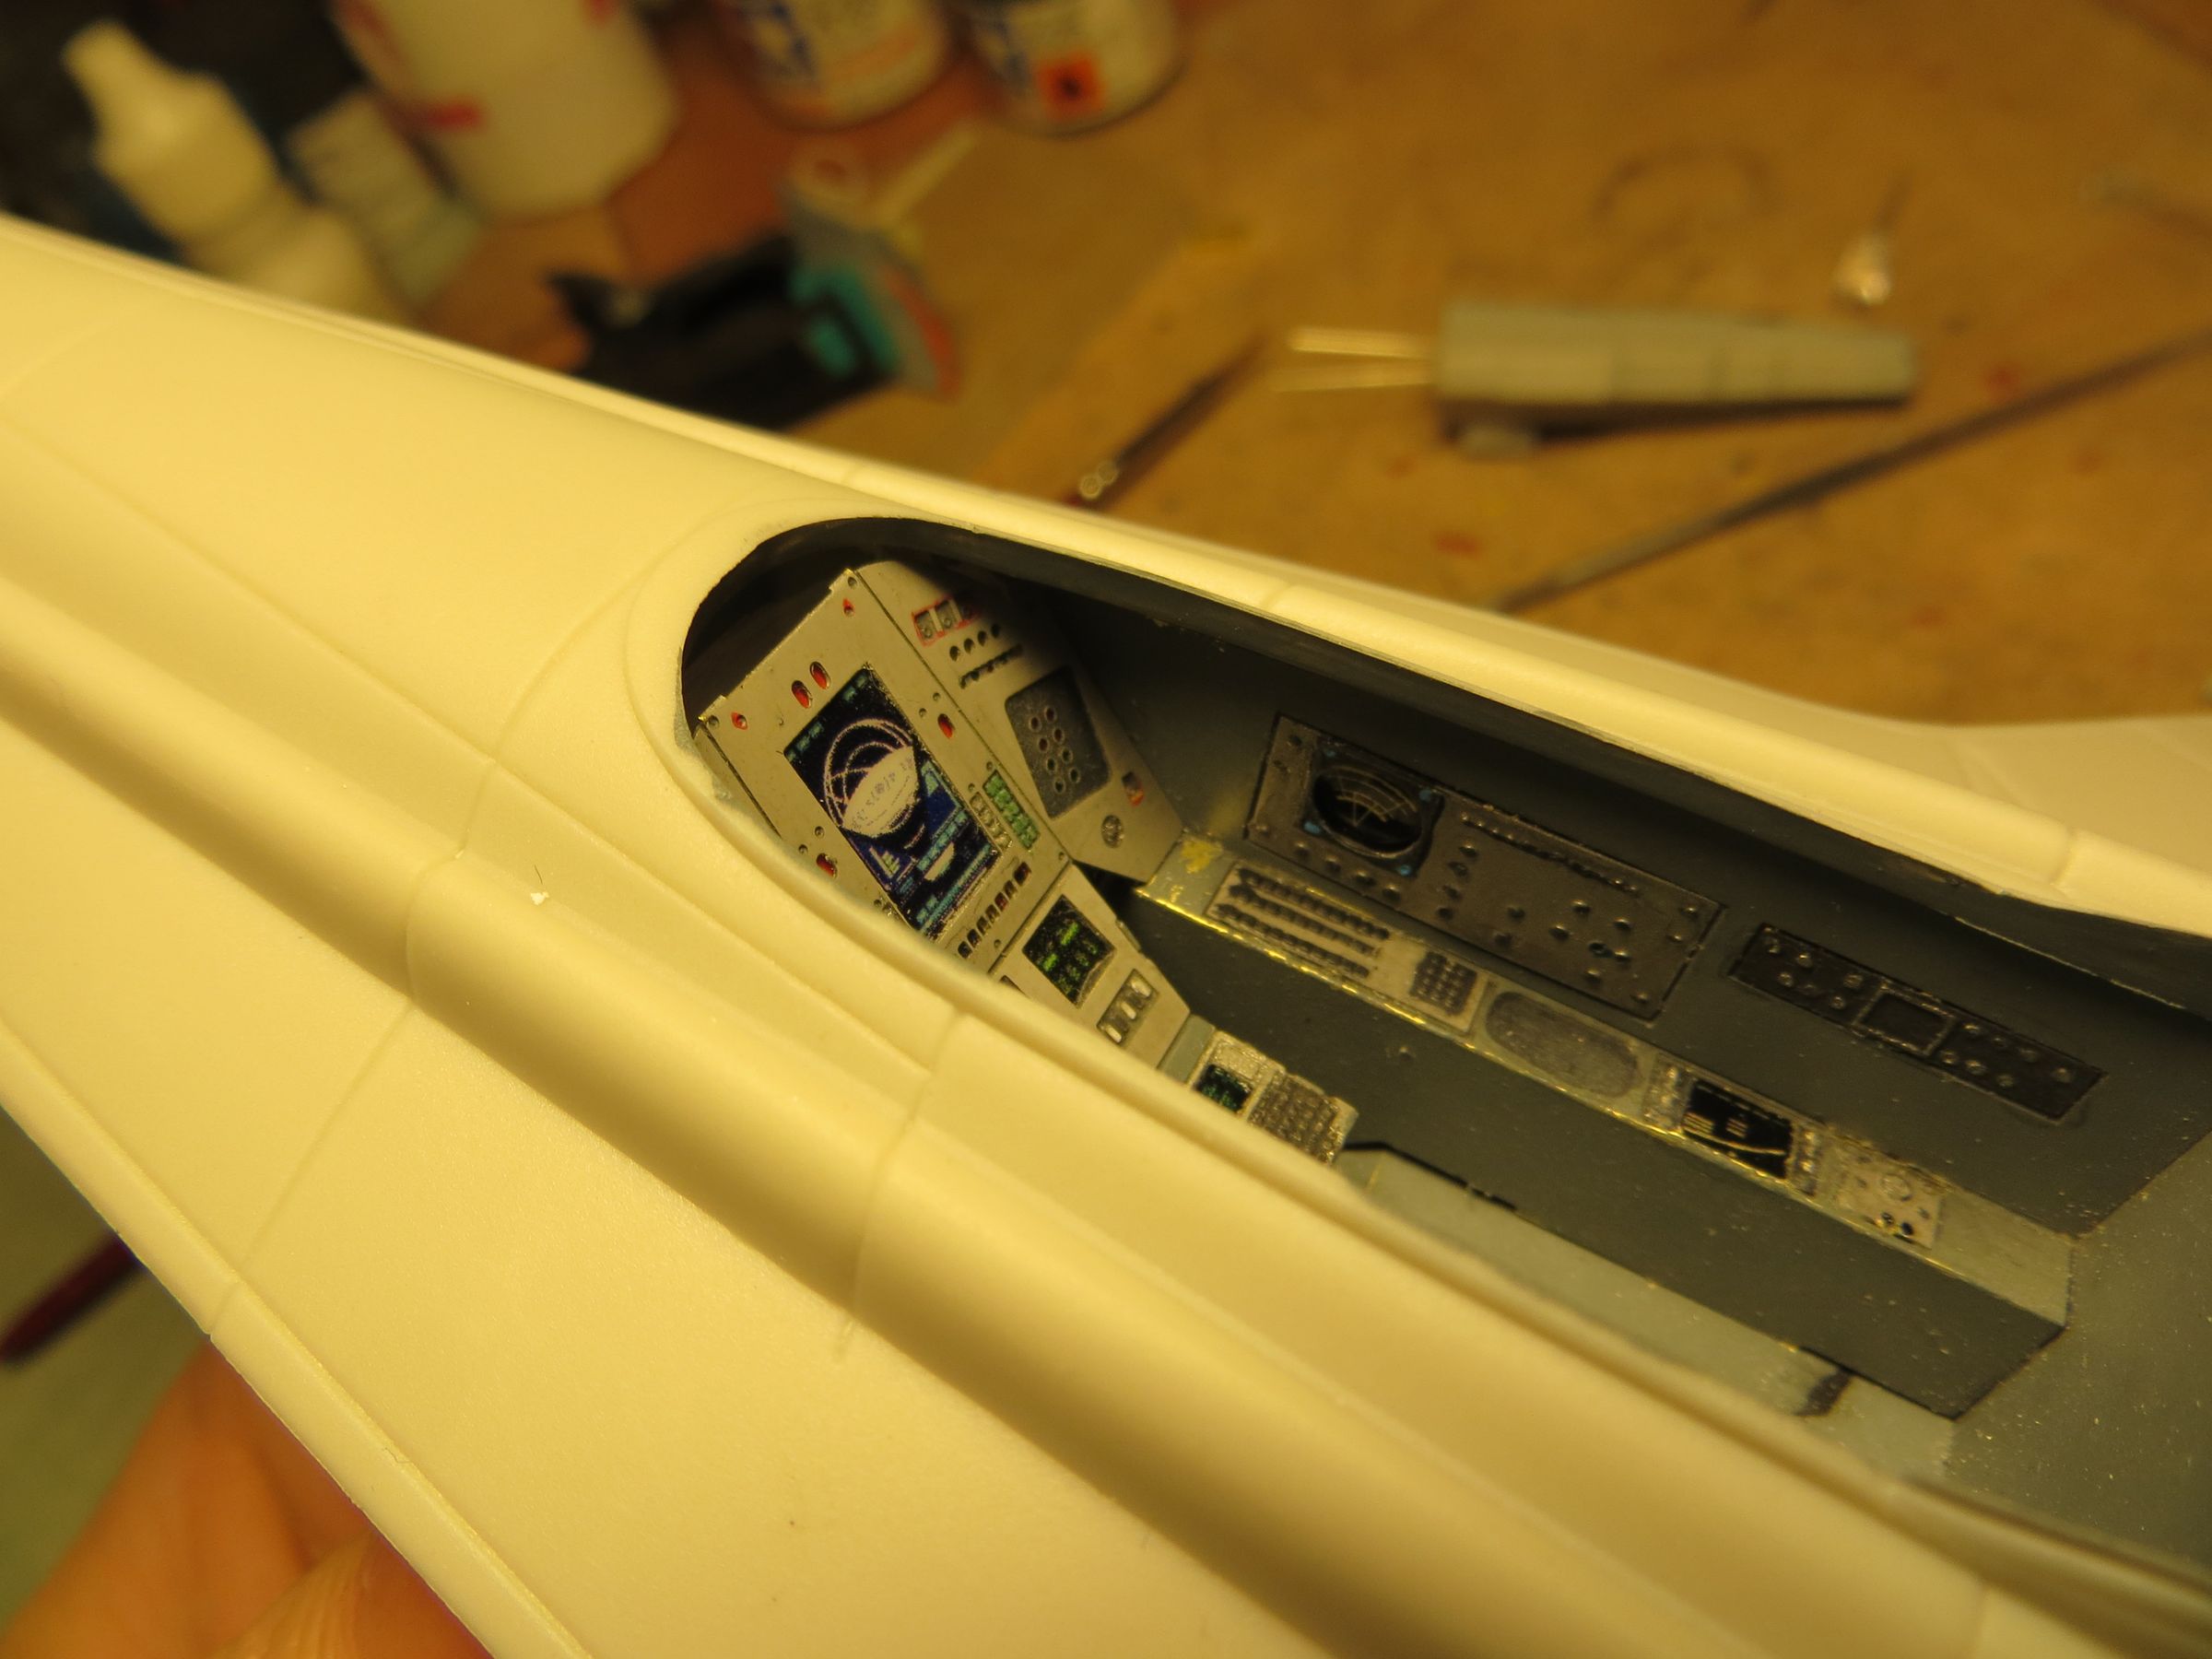
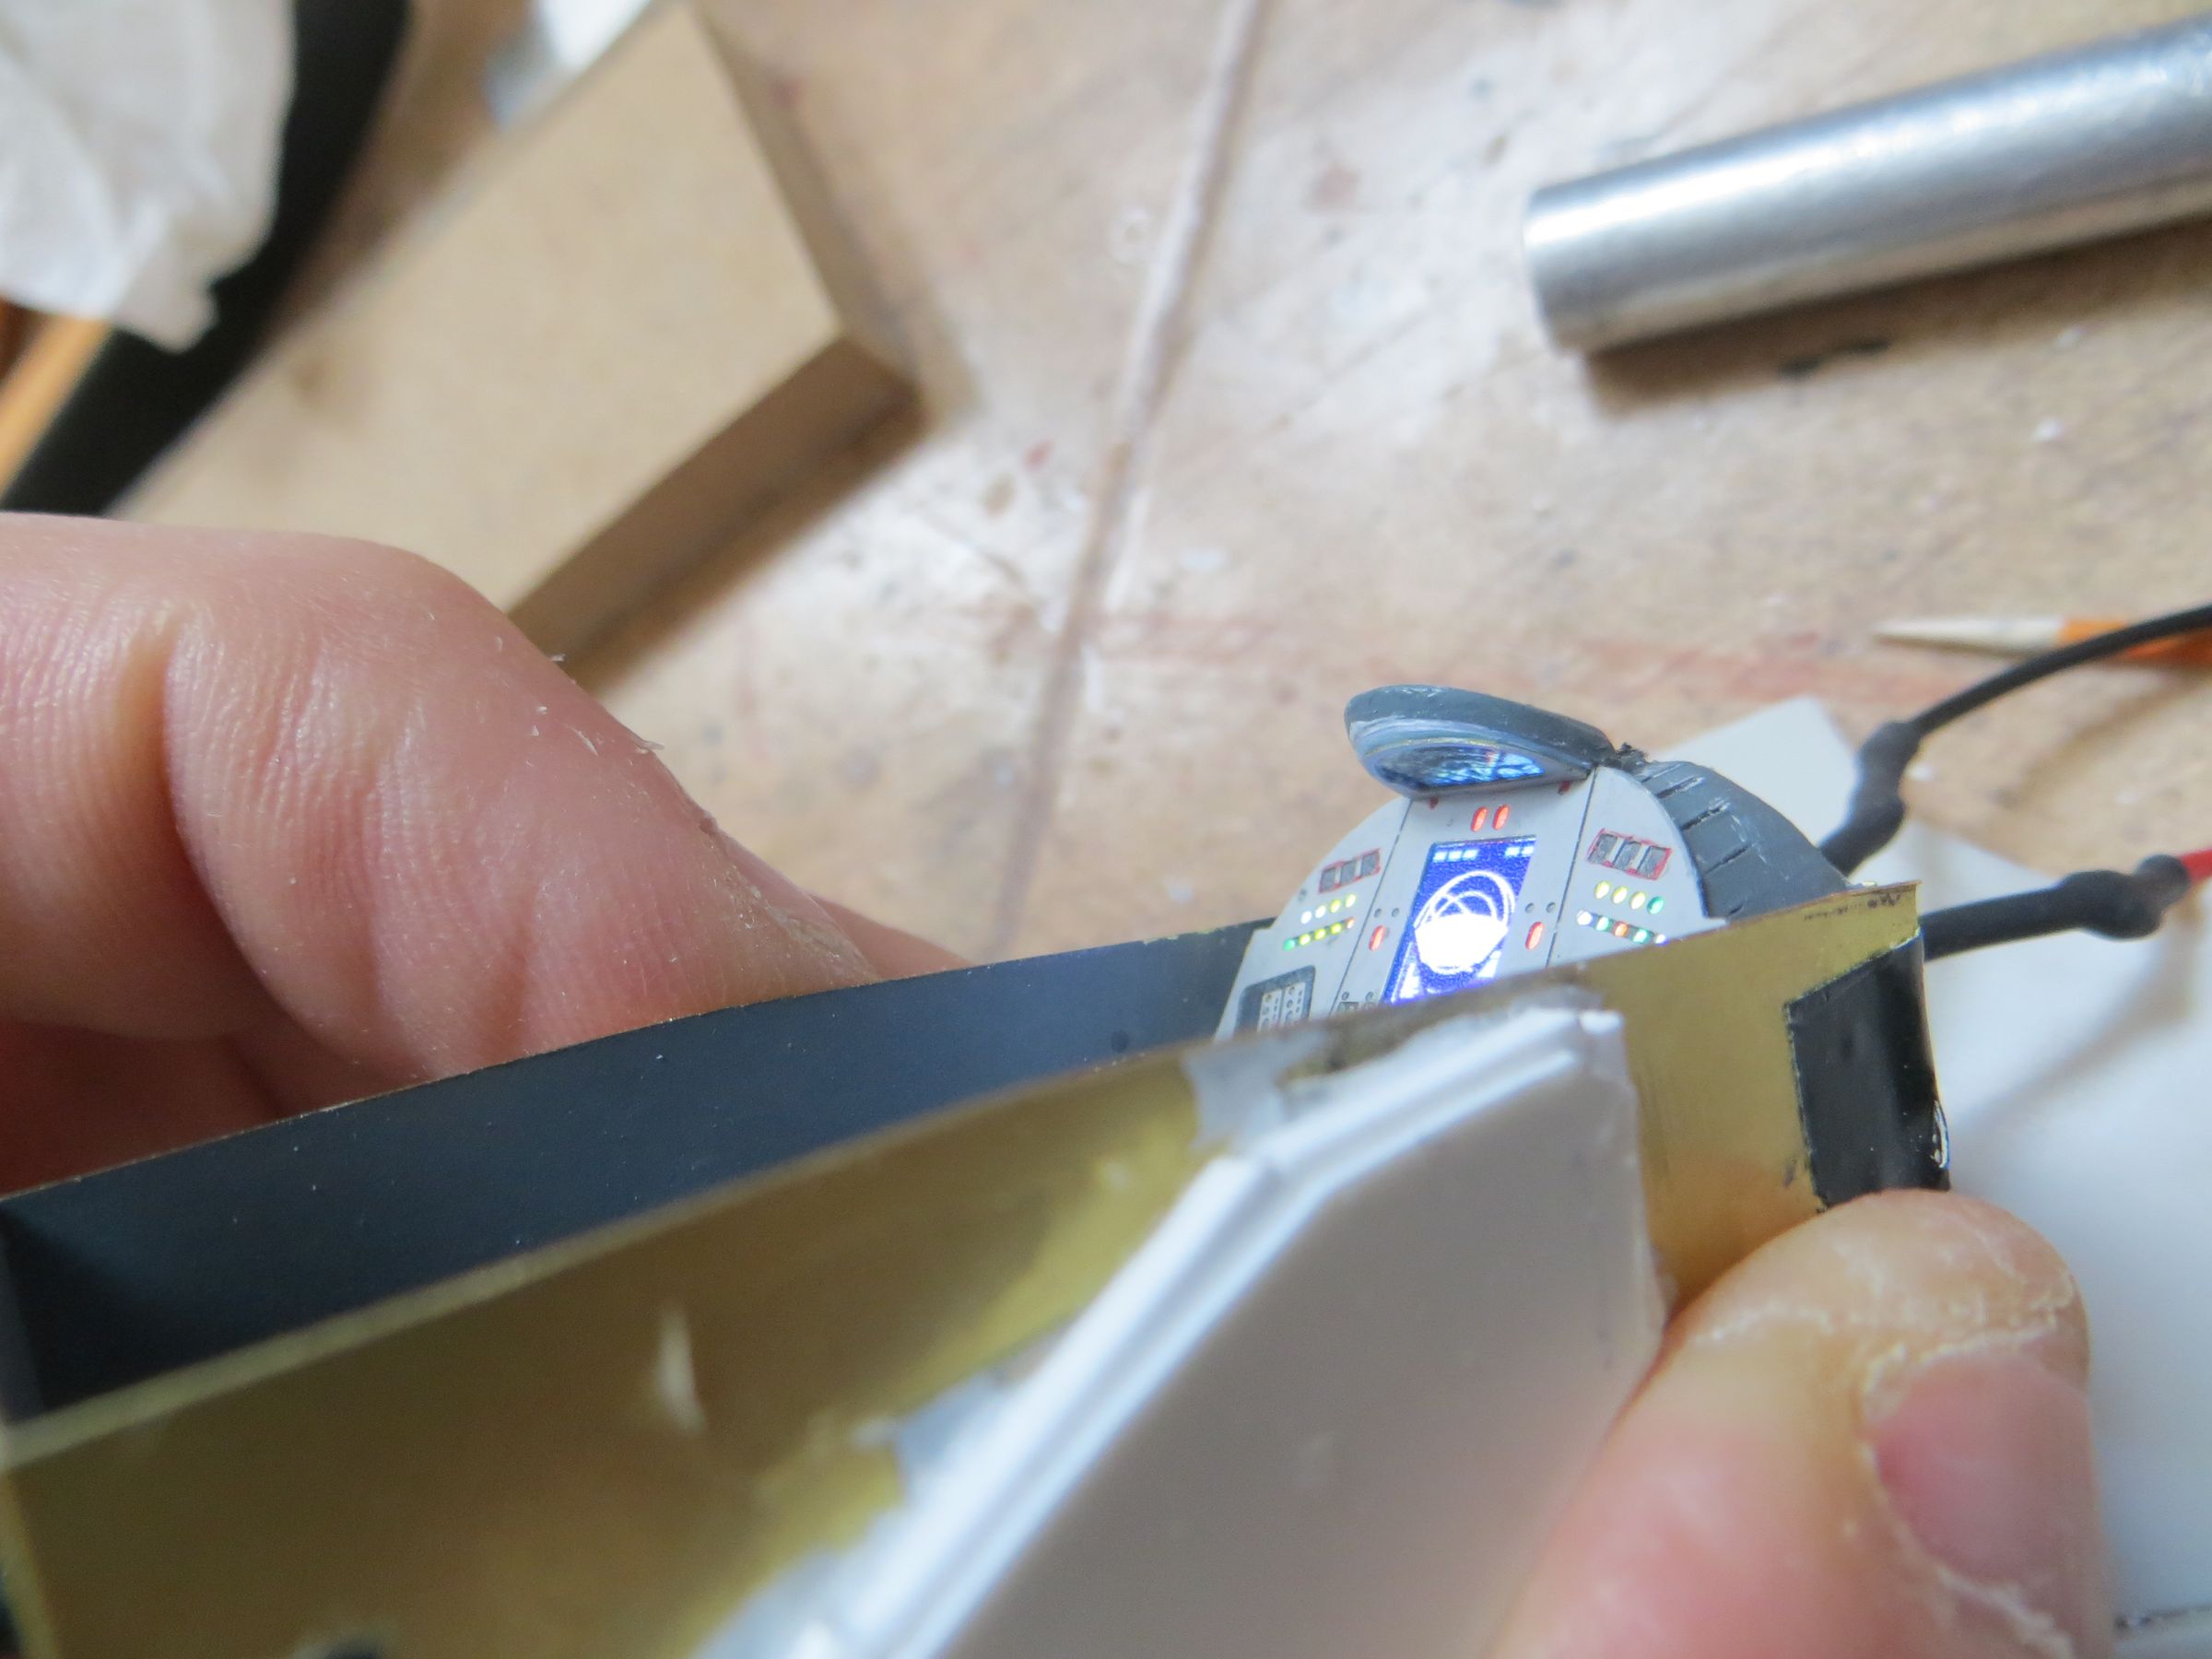
after
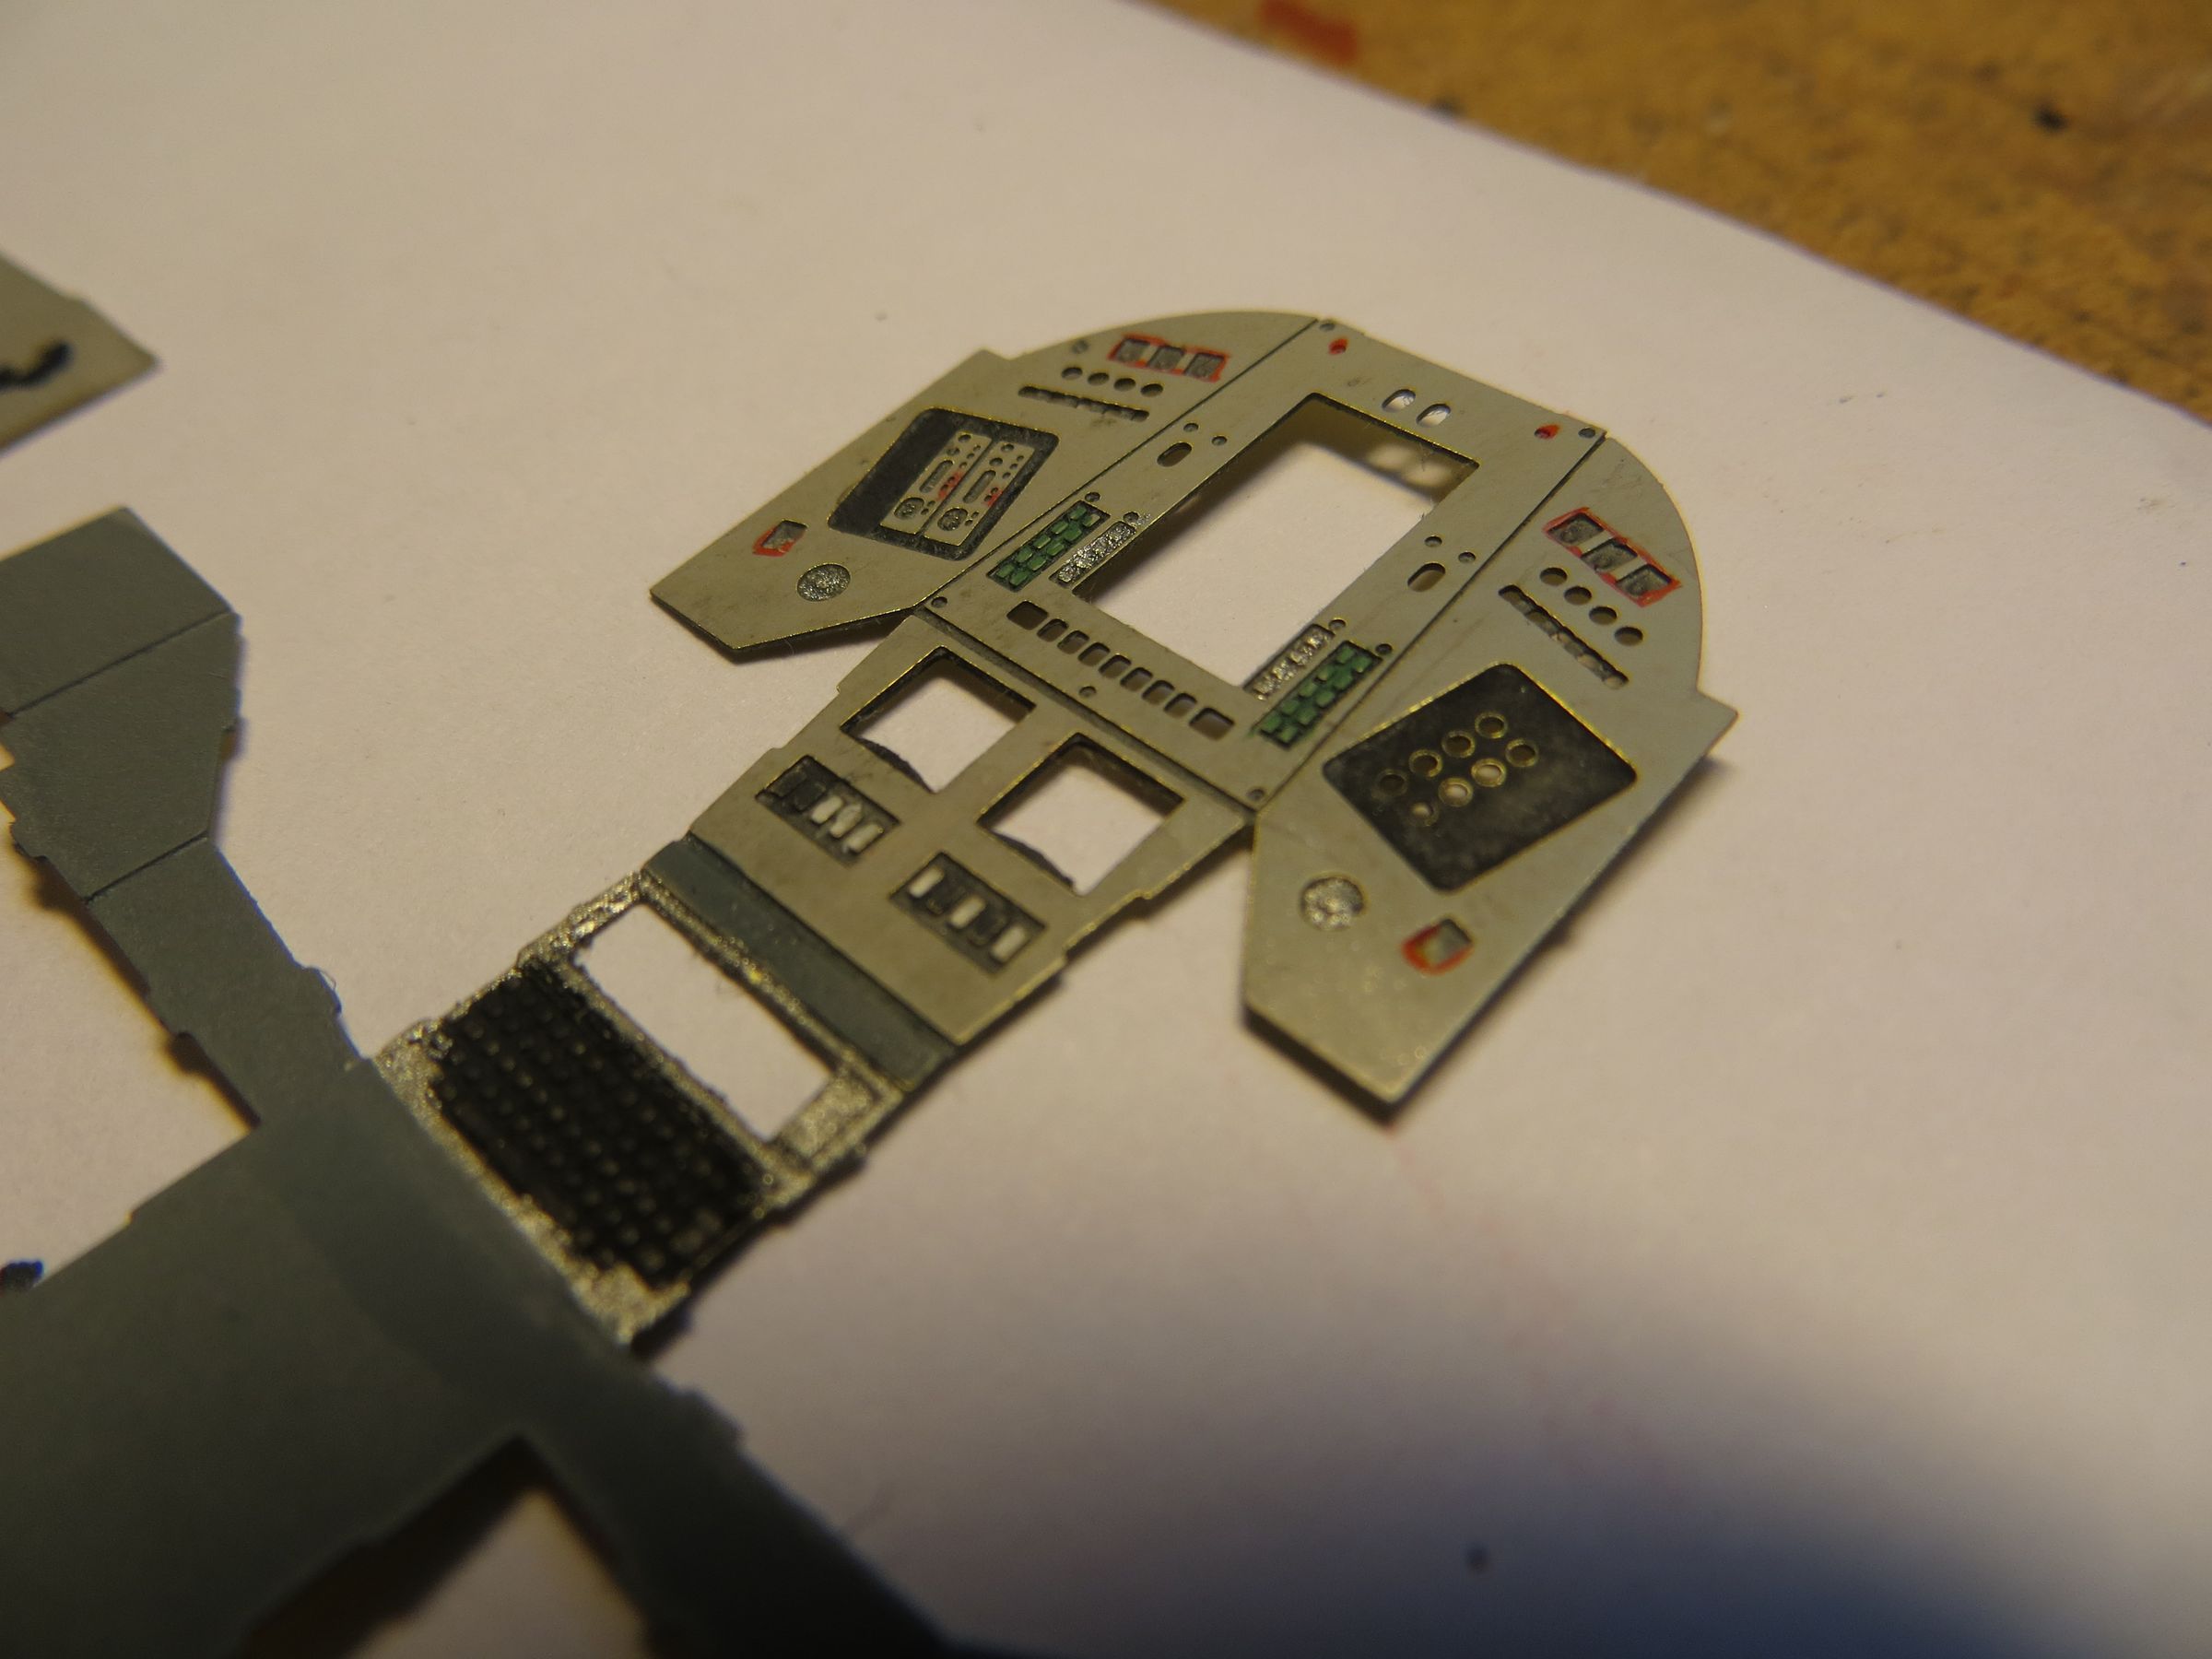
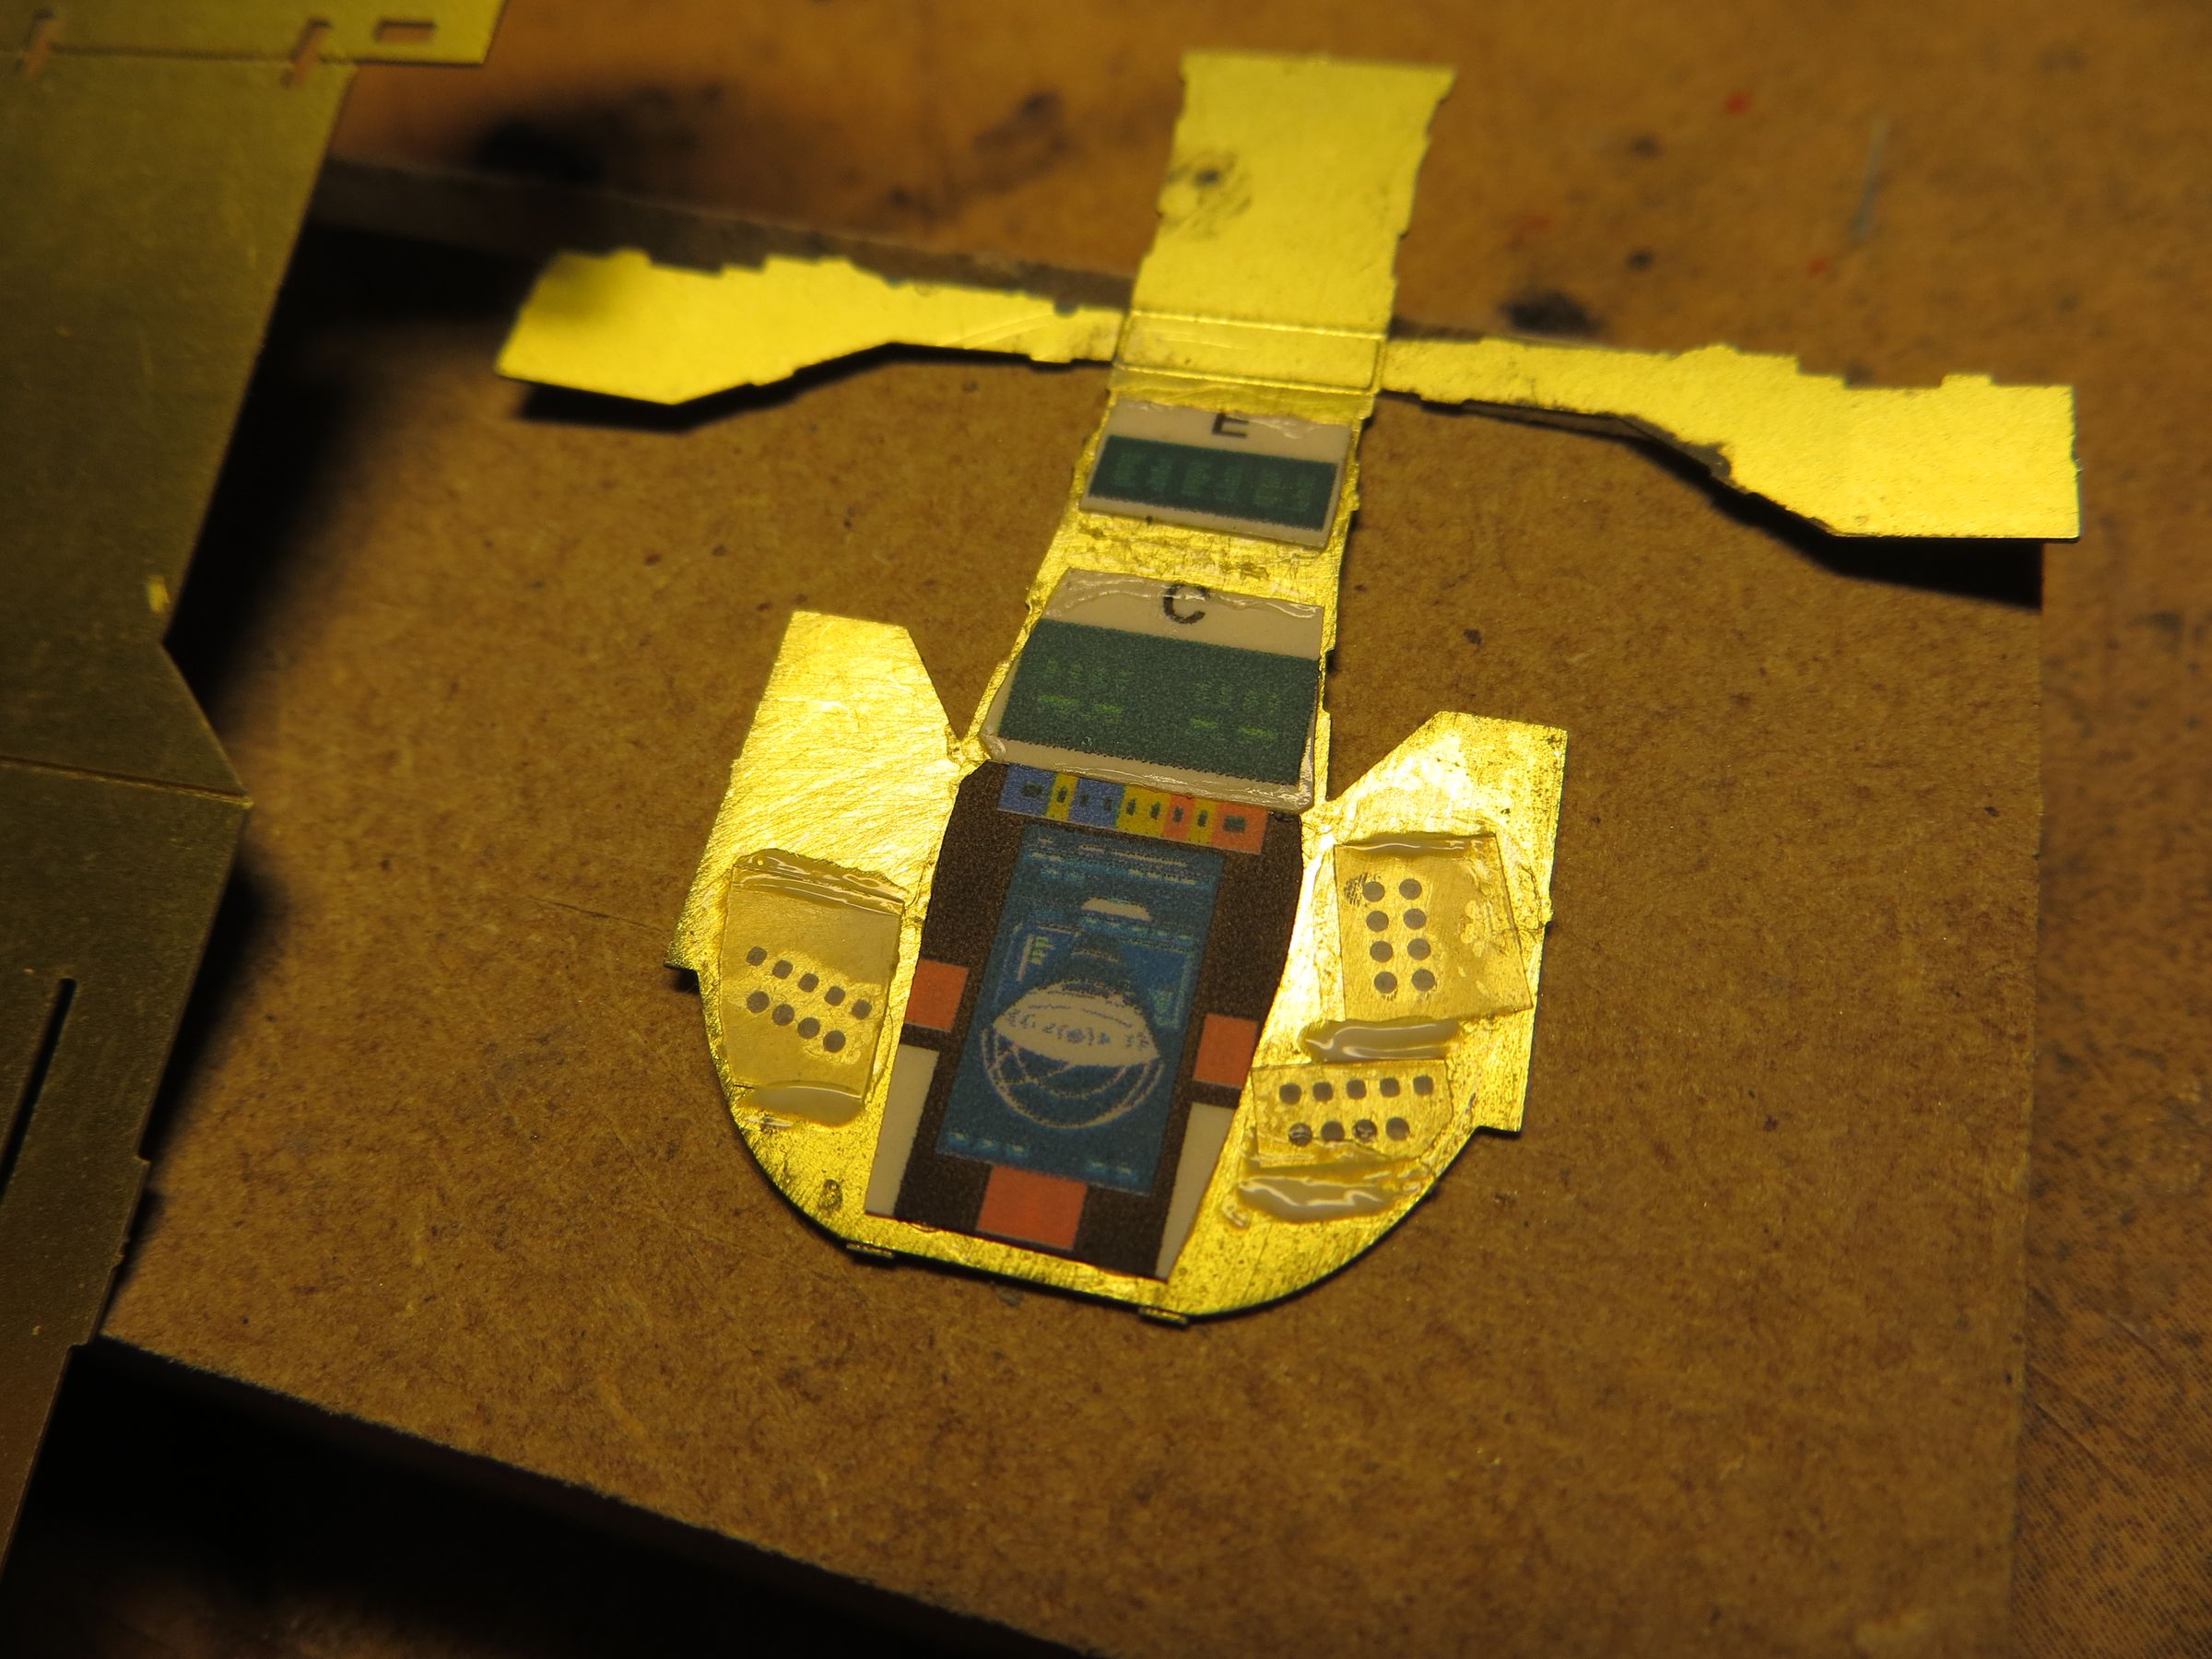
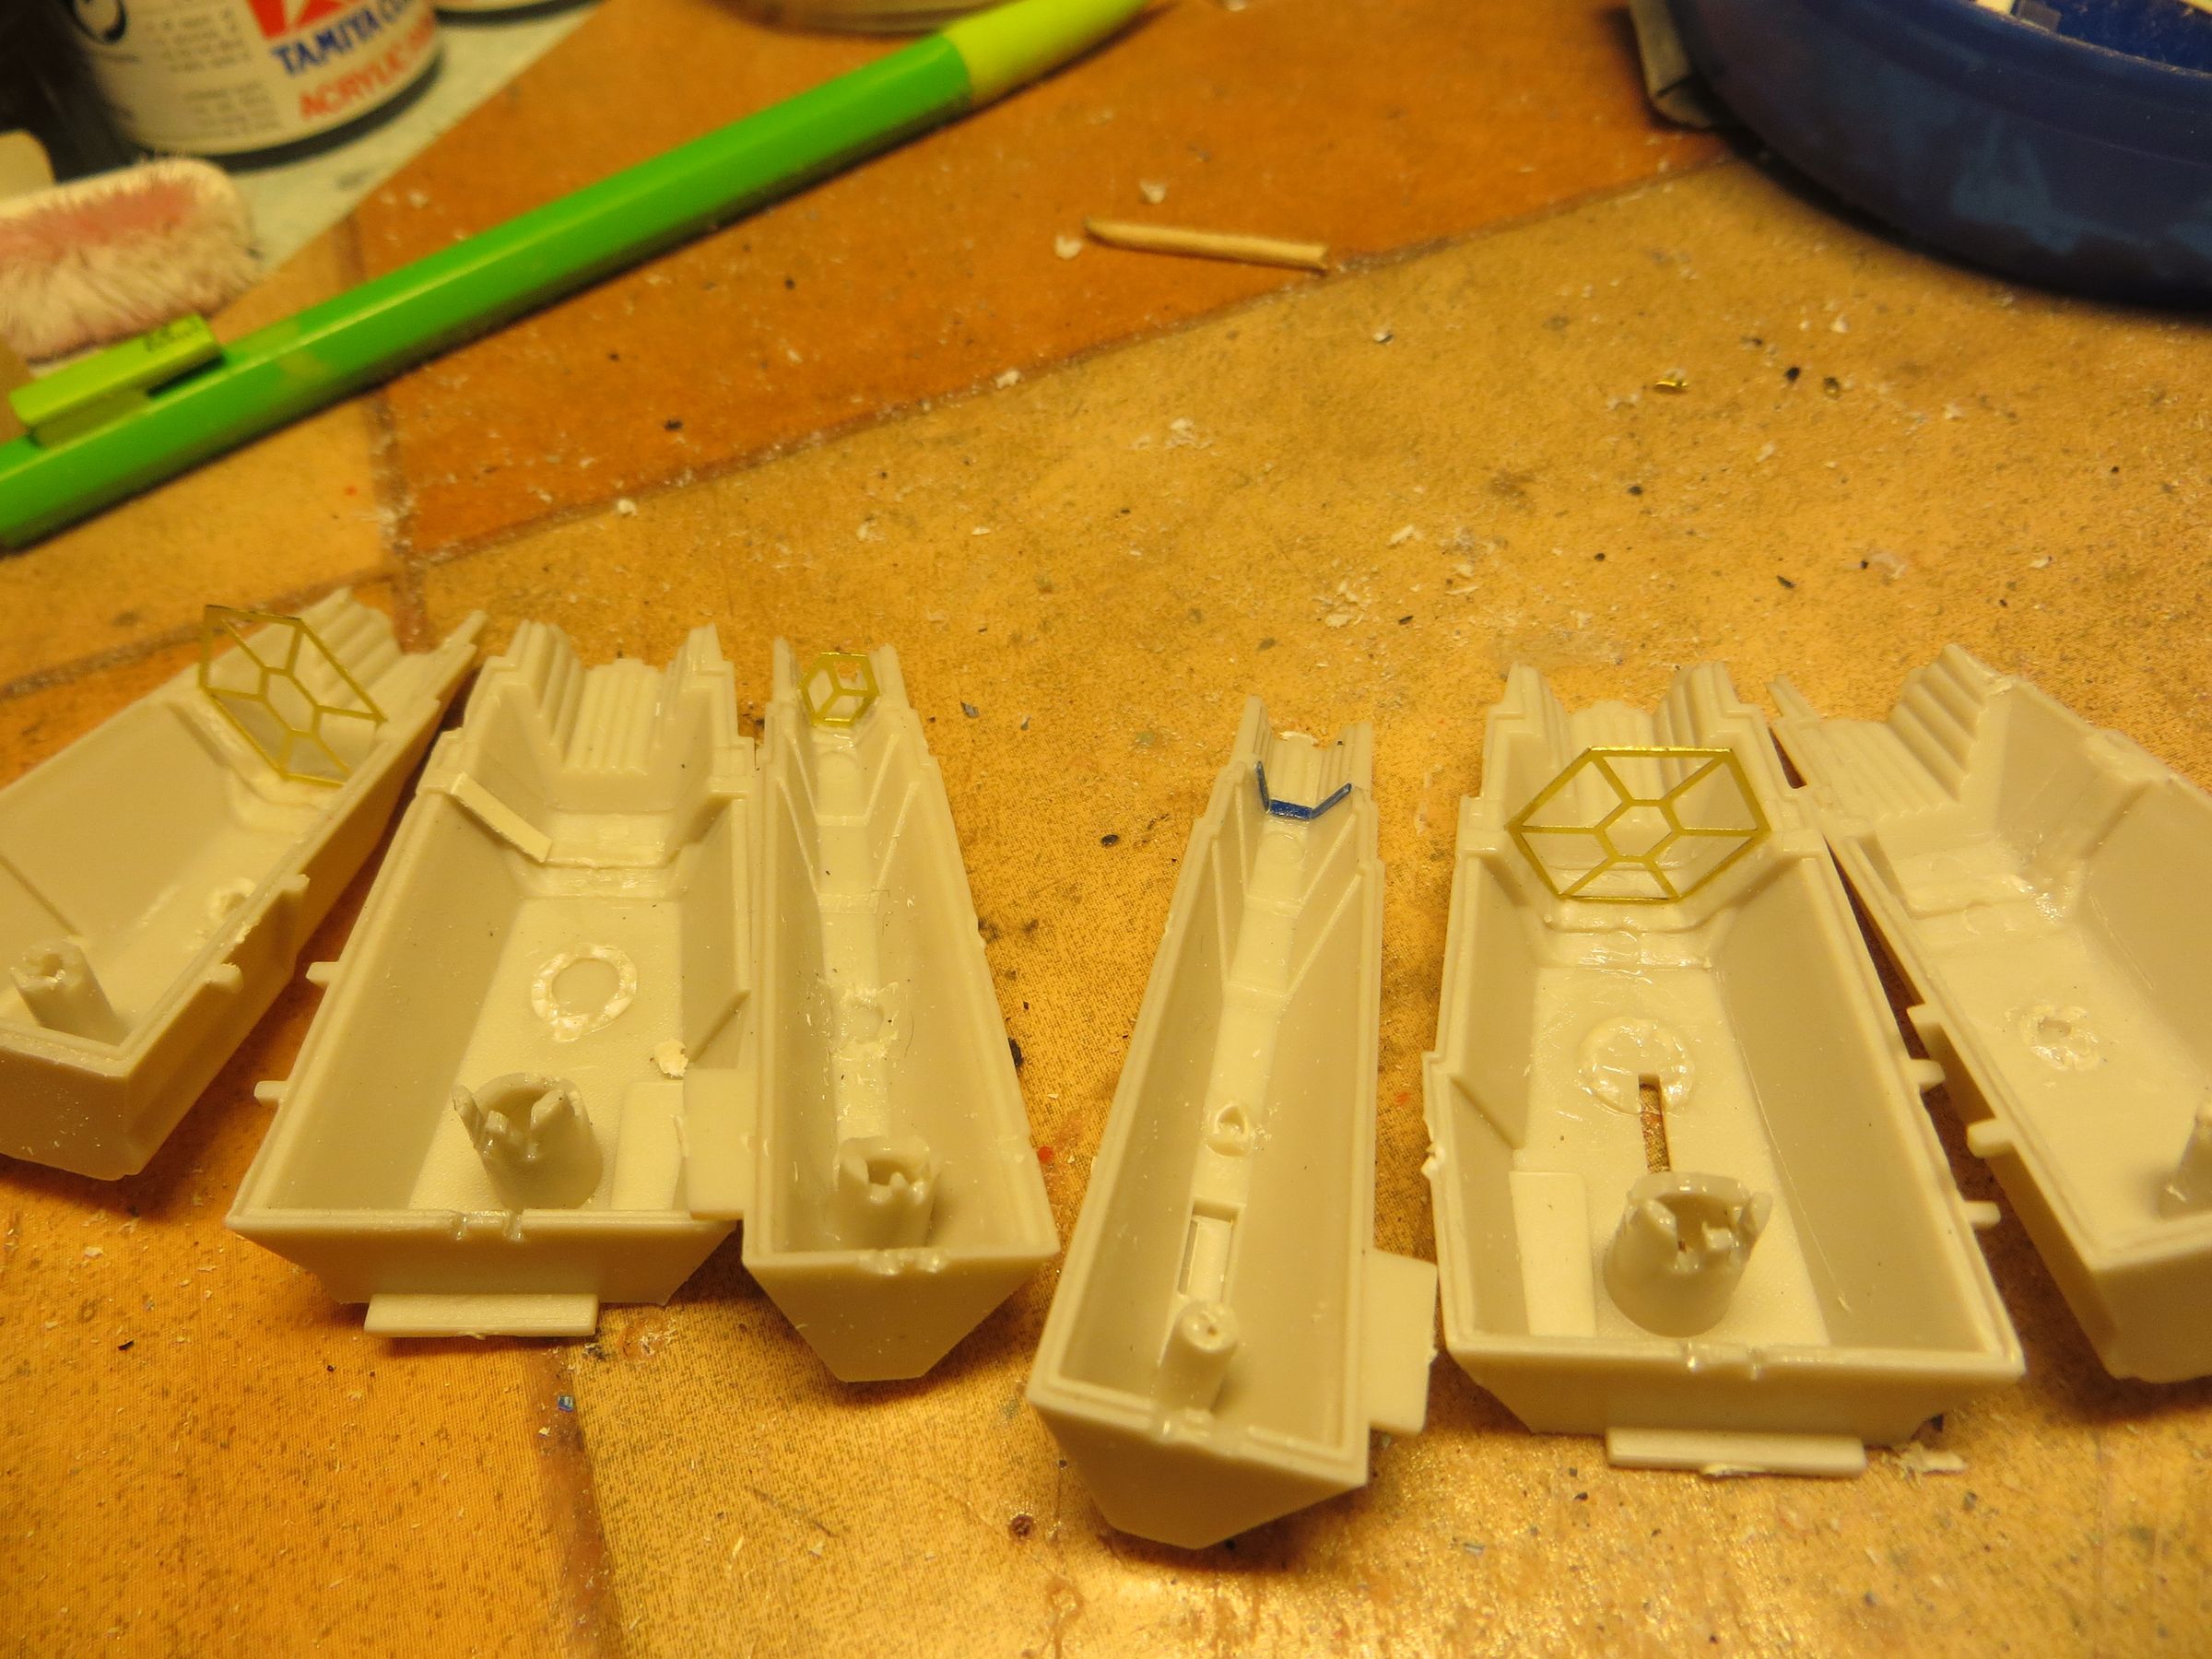
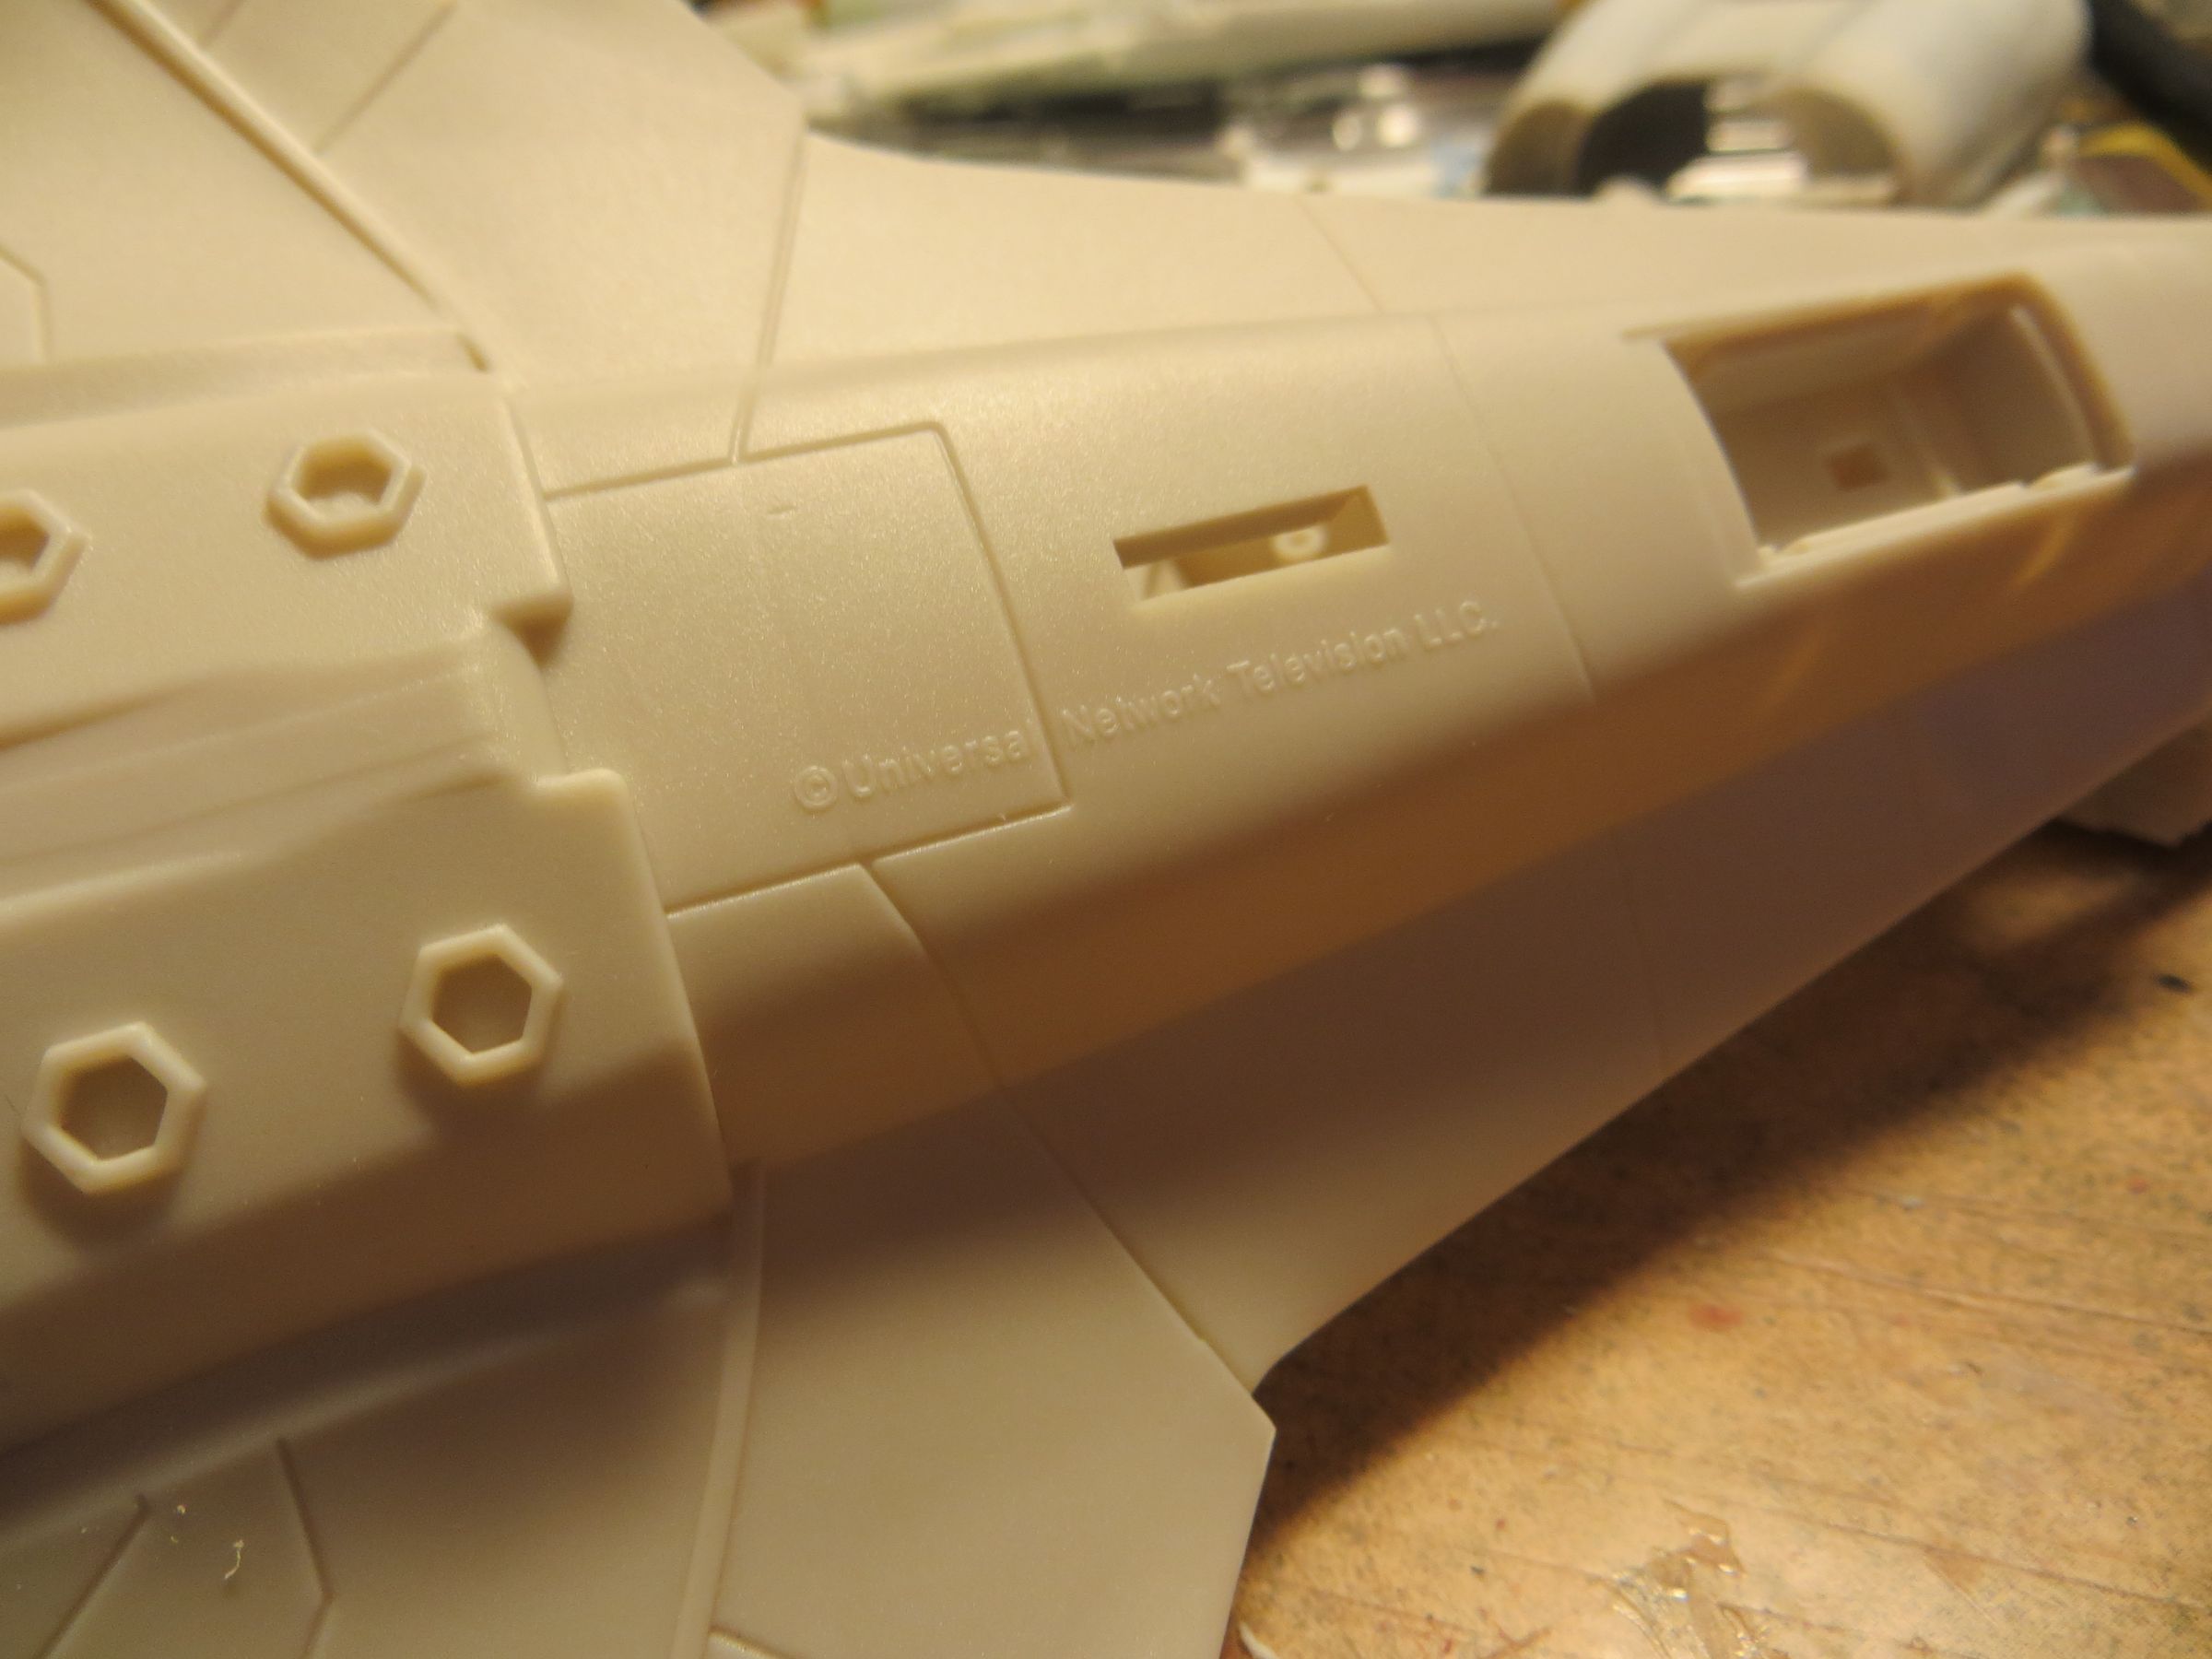
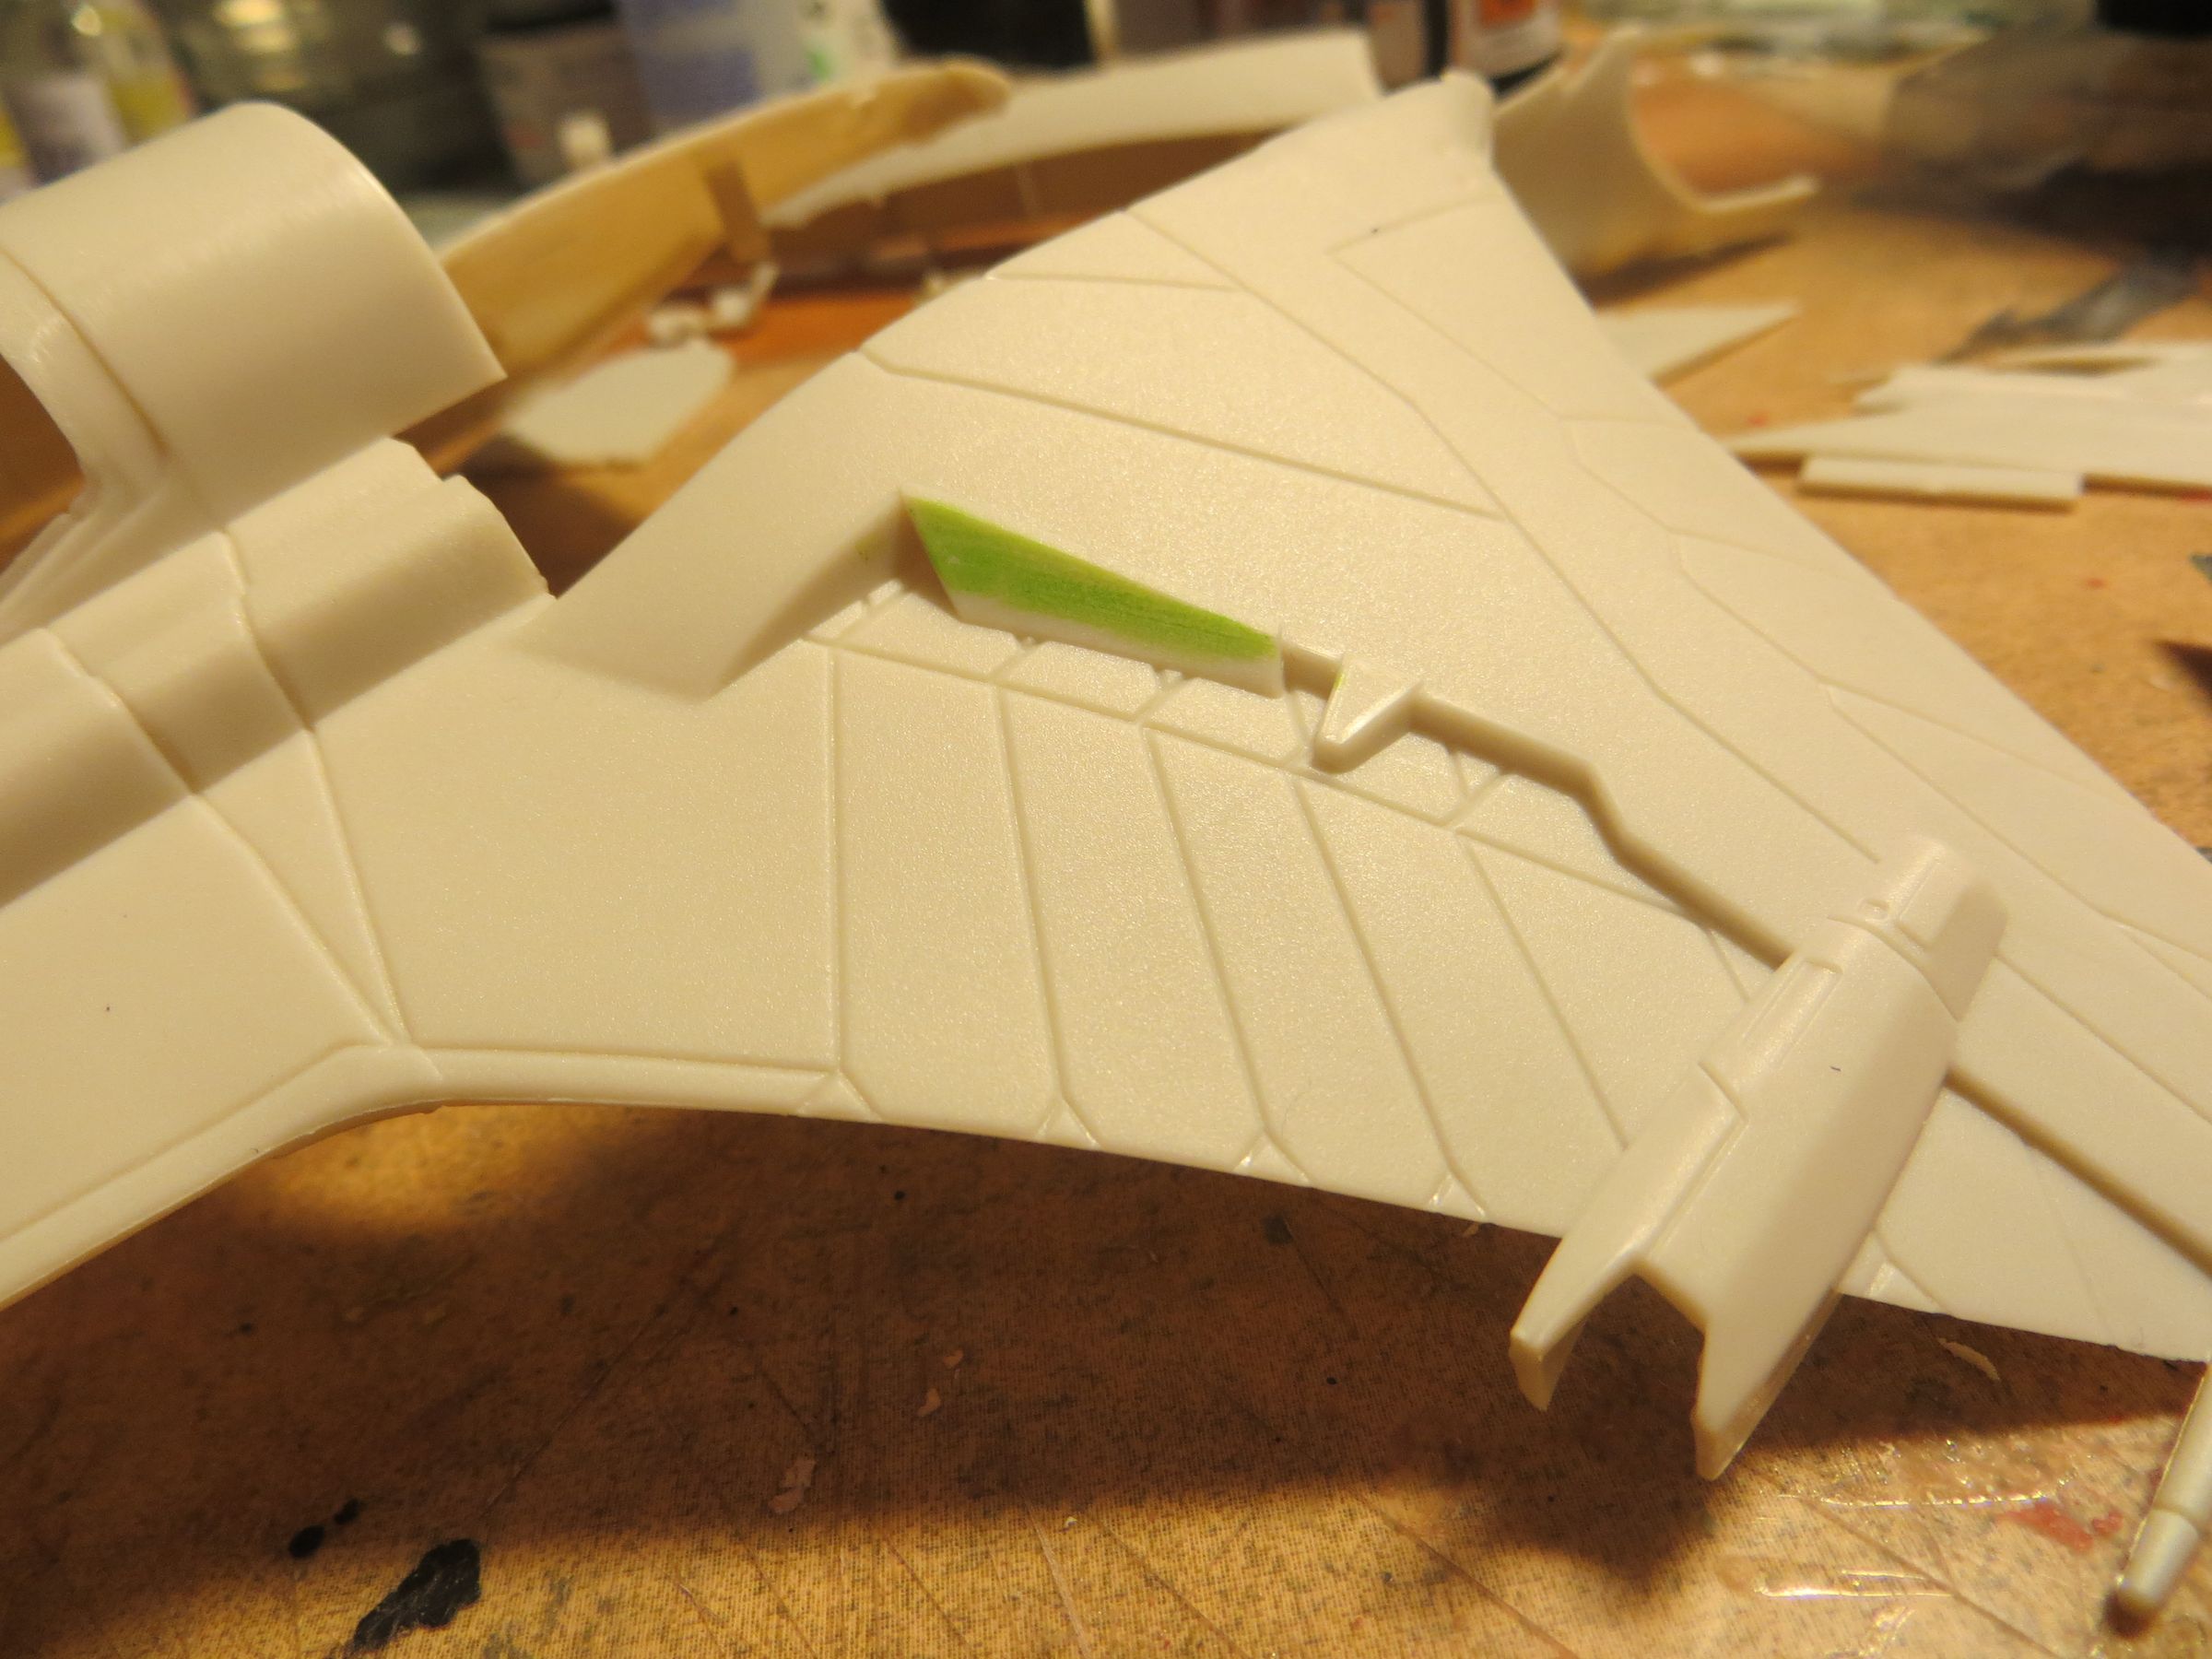
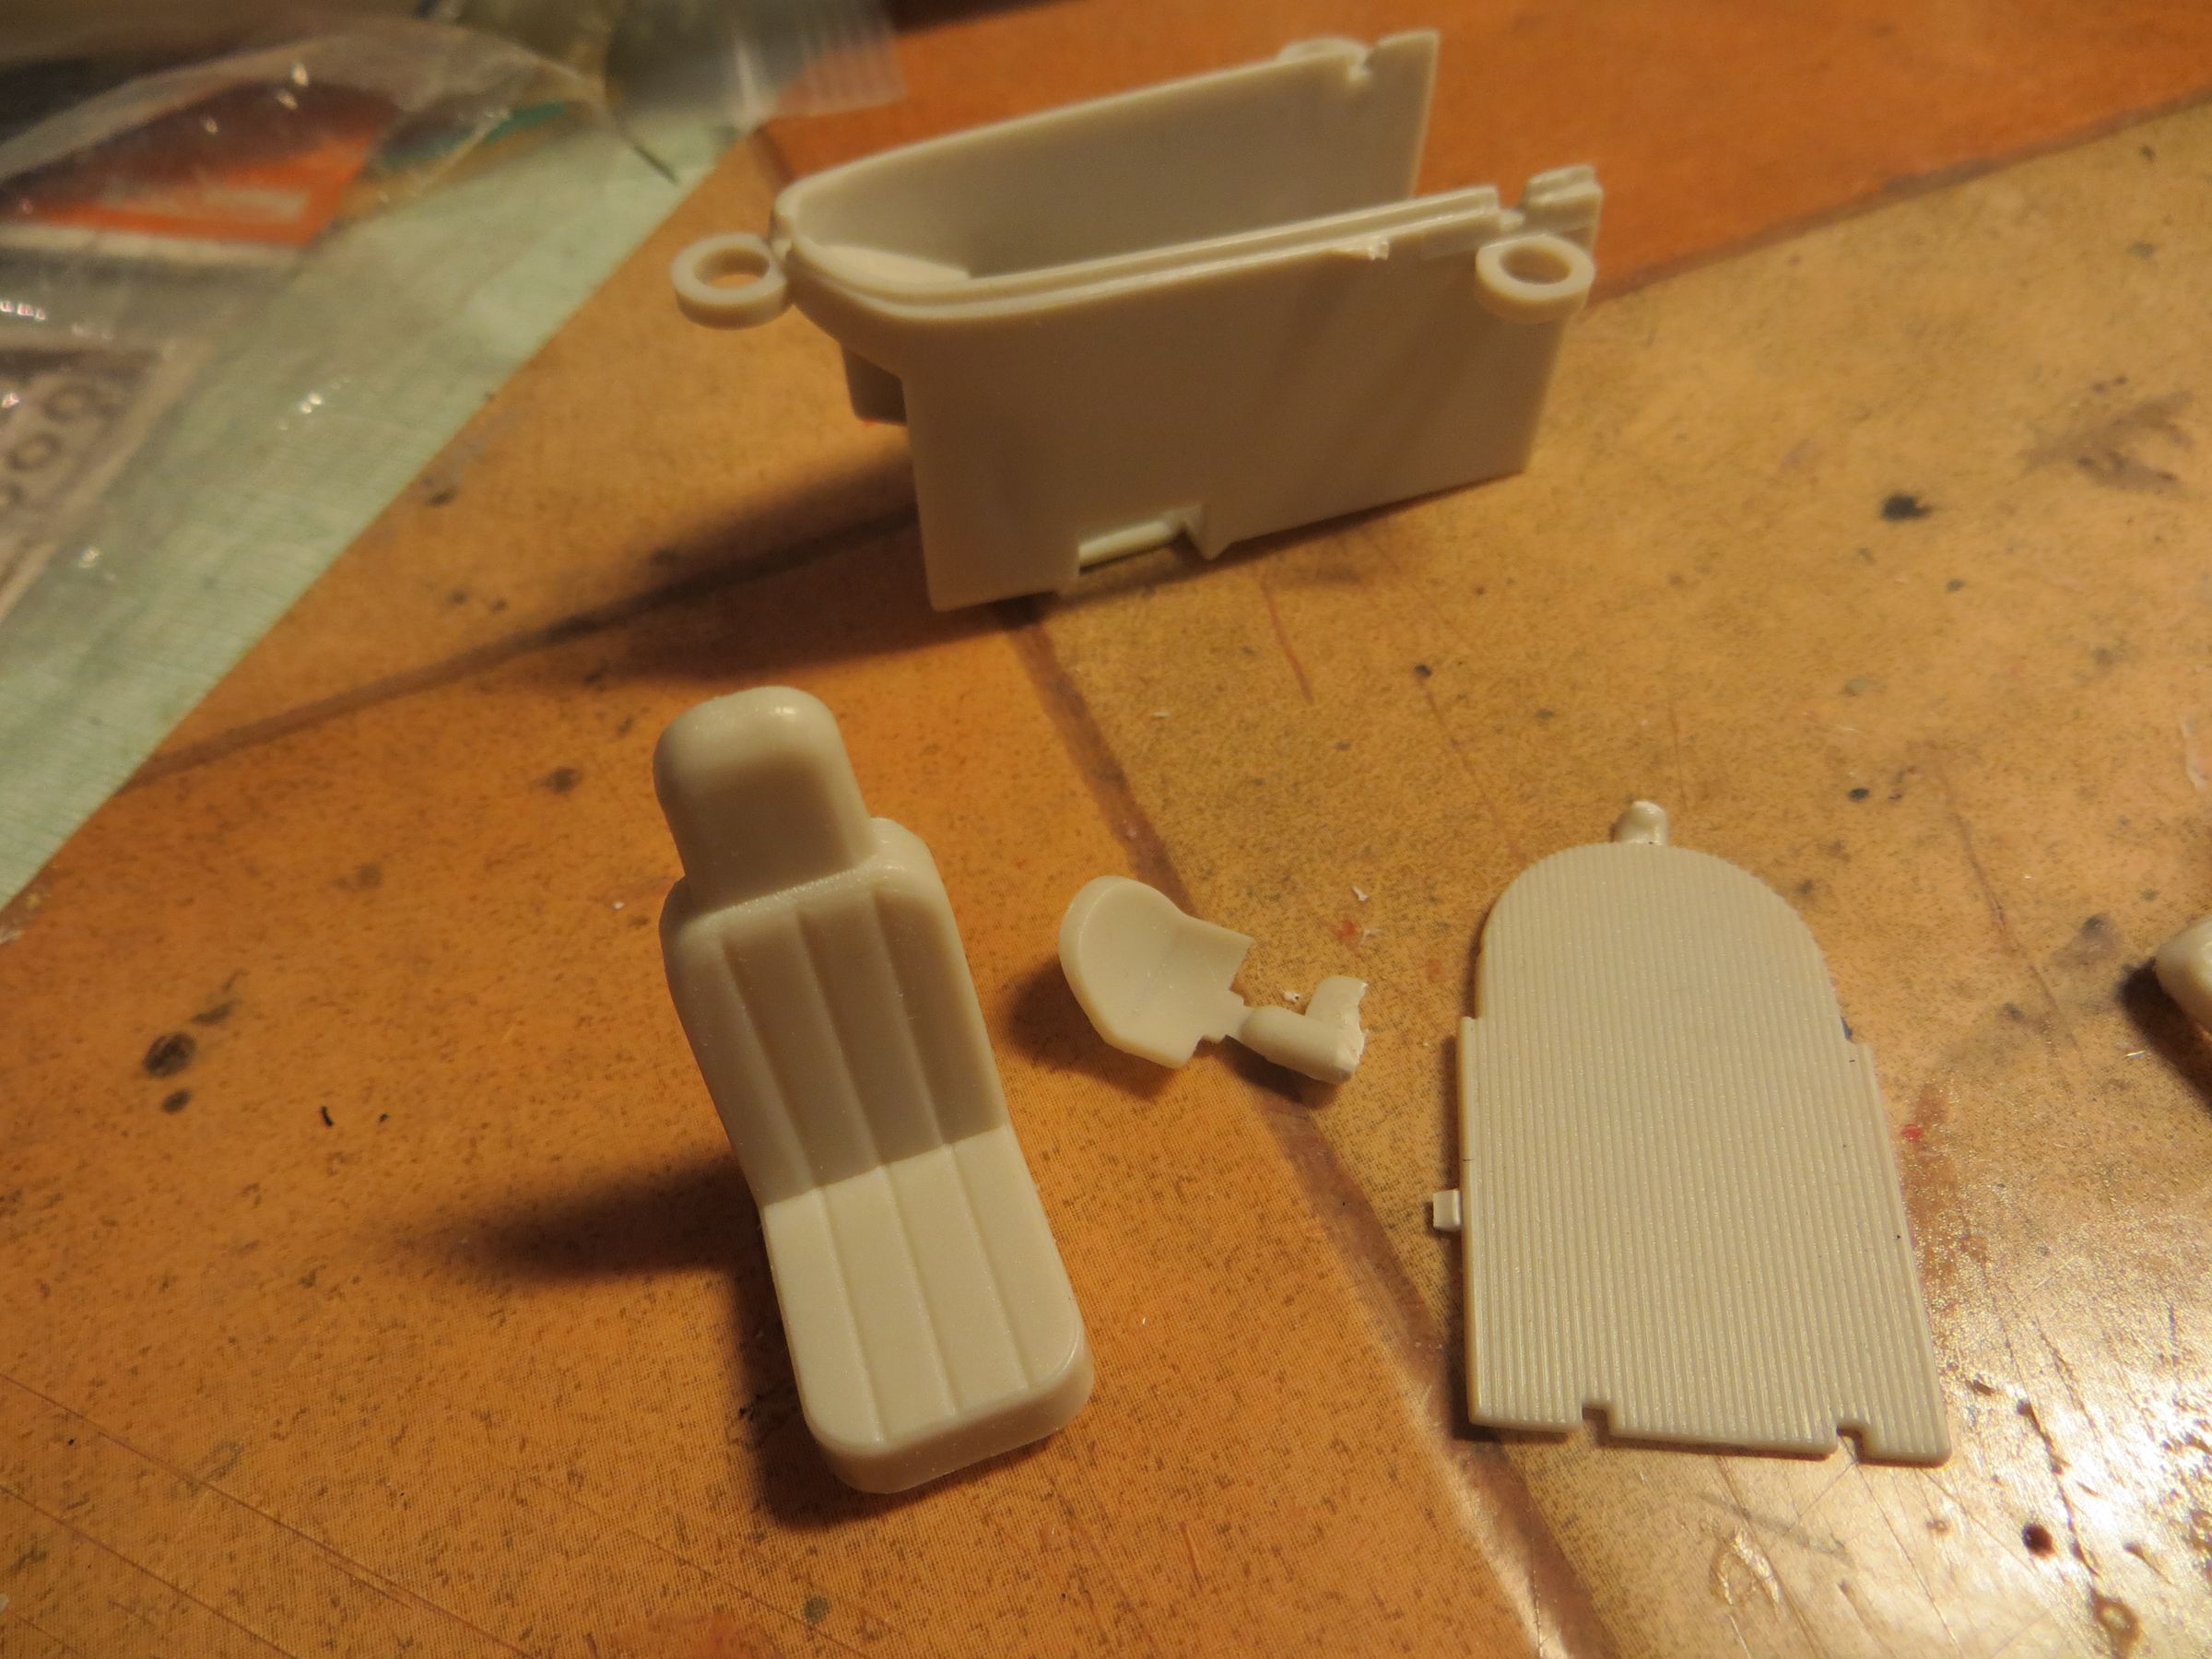
The photoetched little wedge, that went off from the panel, is glued back. This wedge will hold the HUD screen.
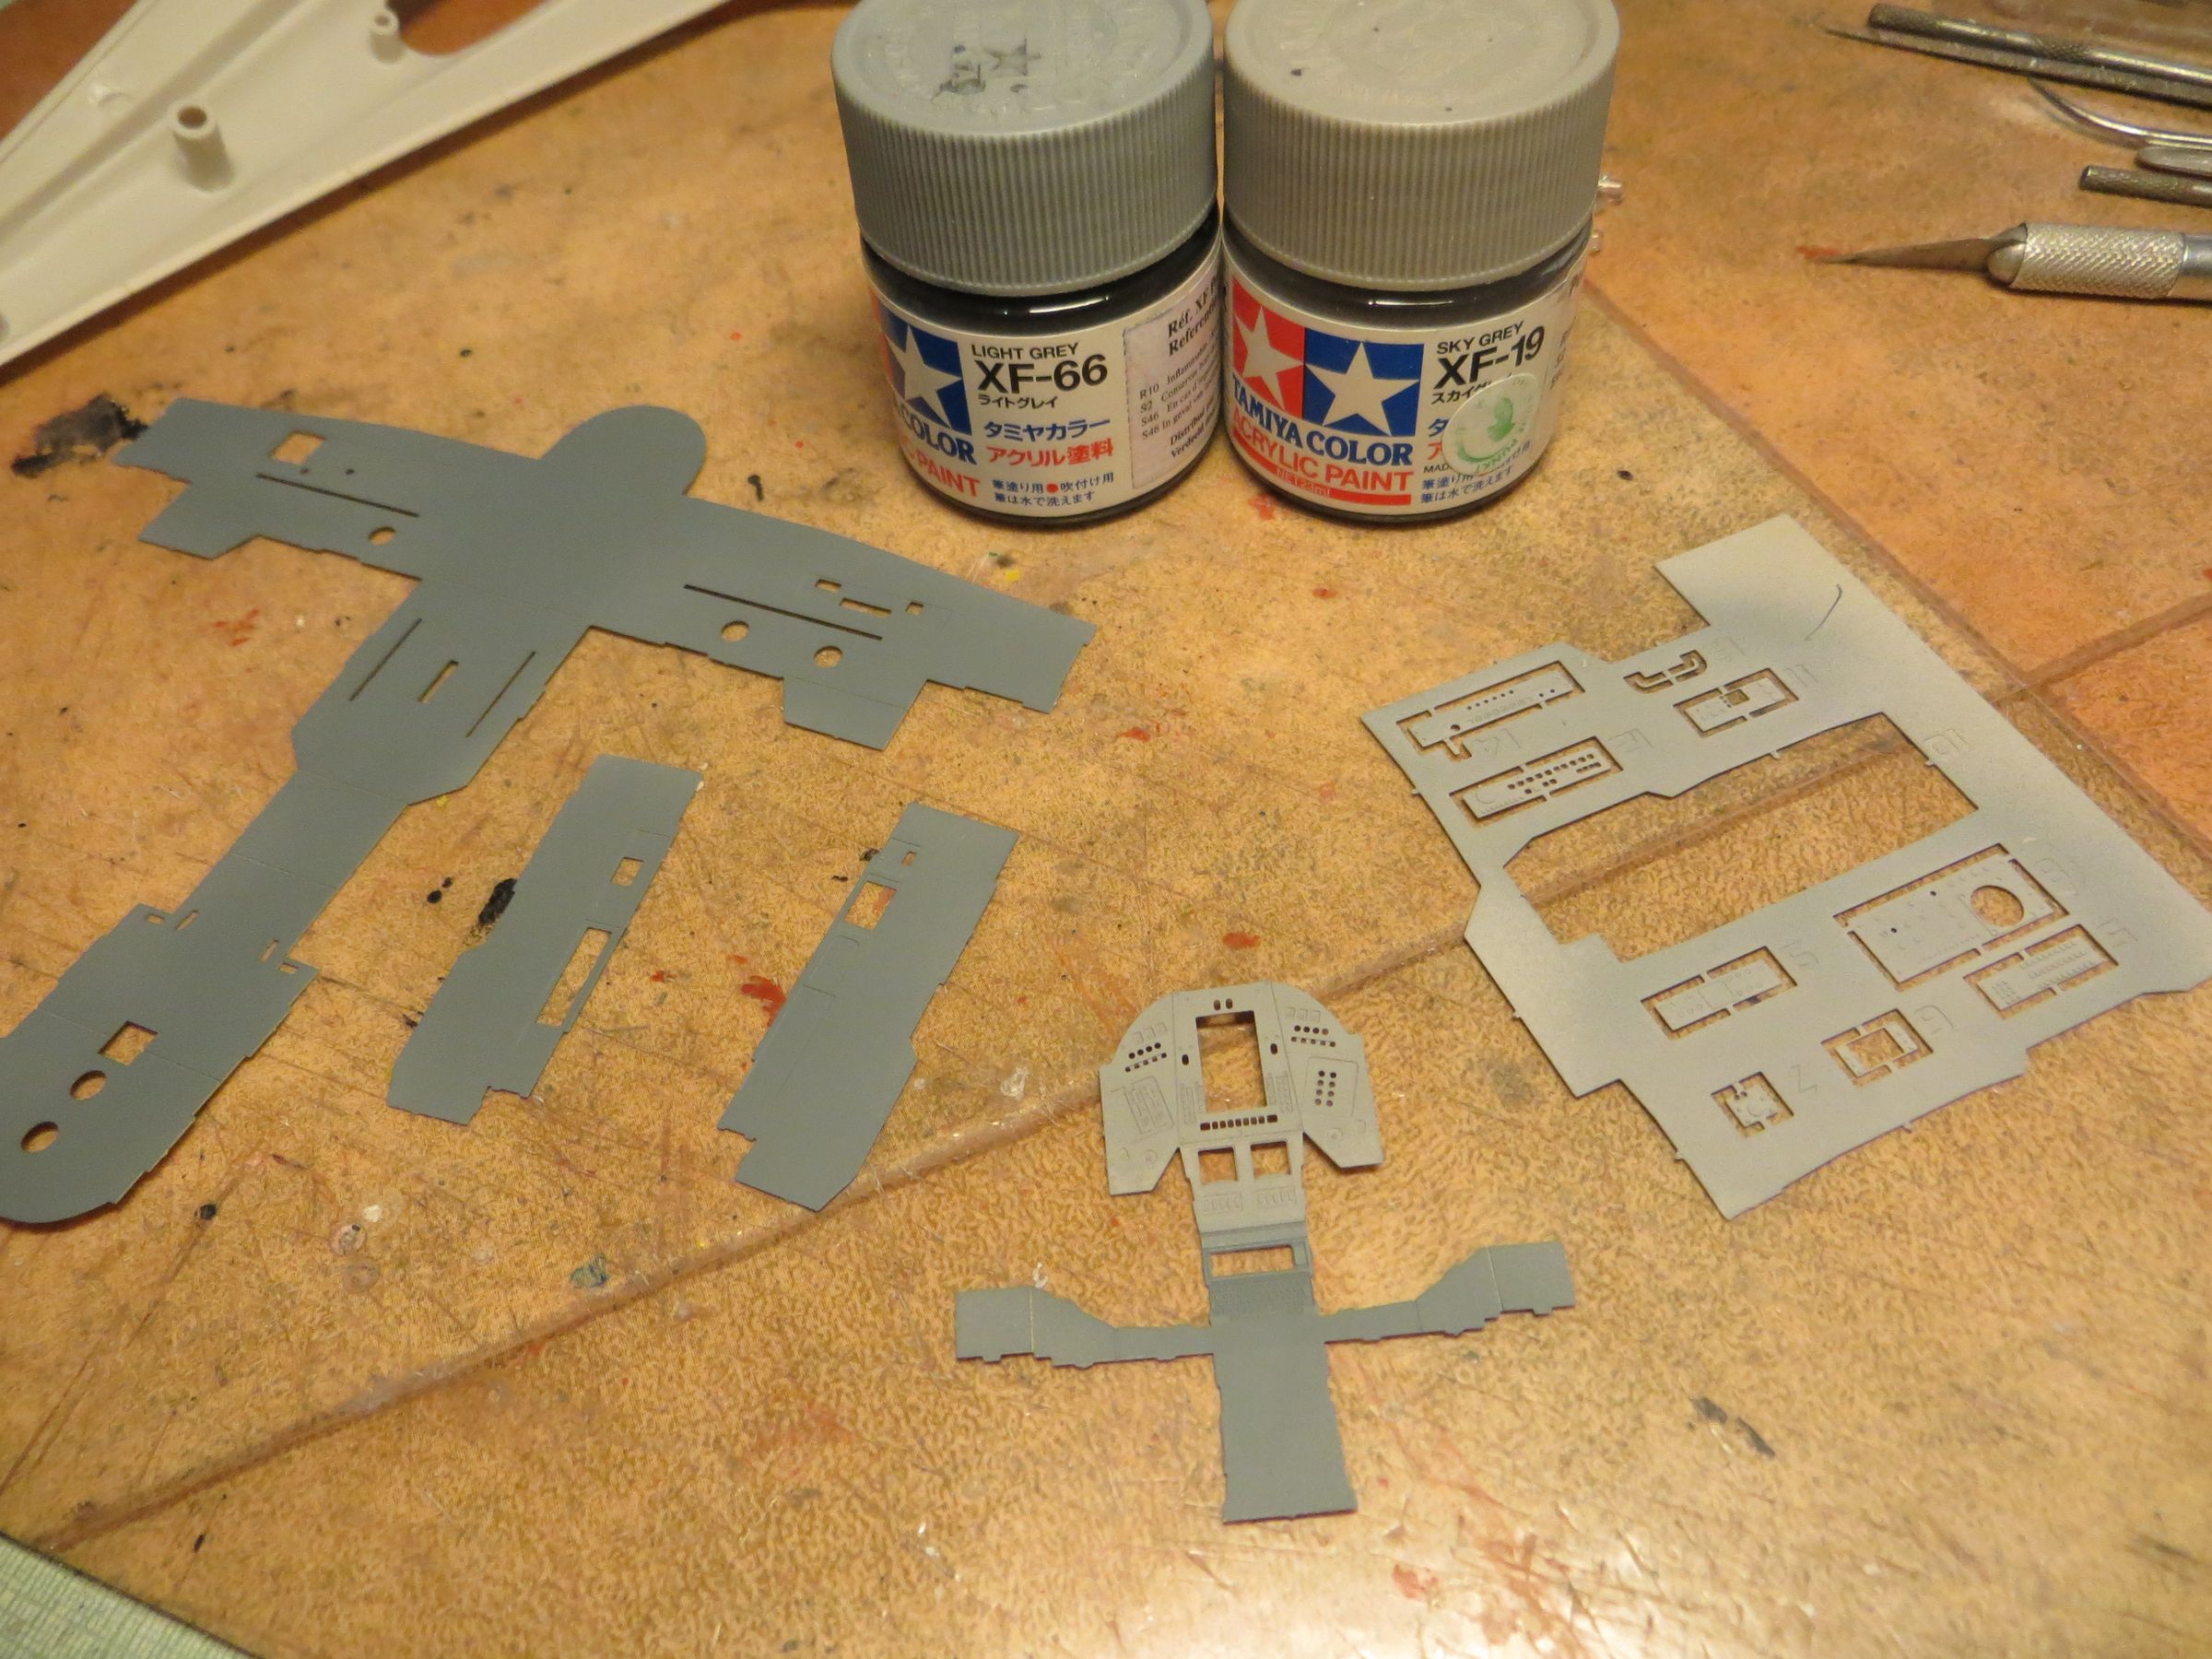
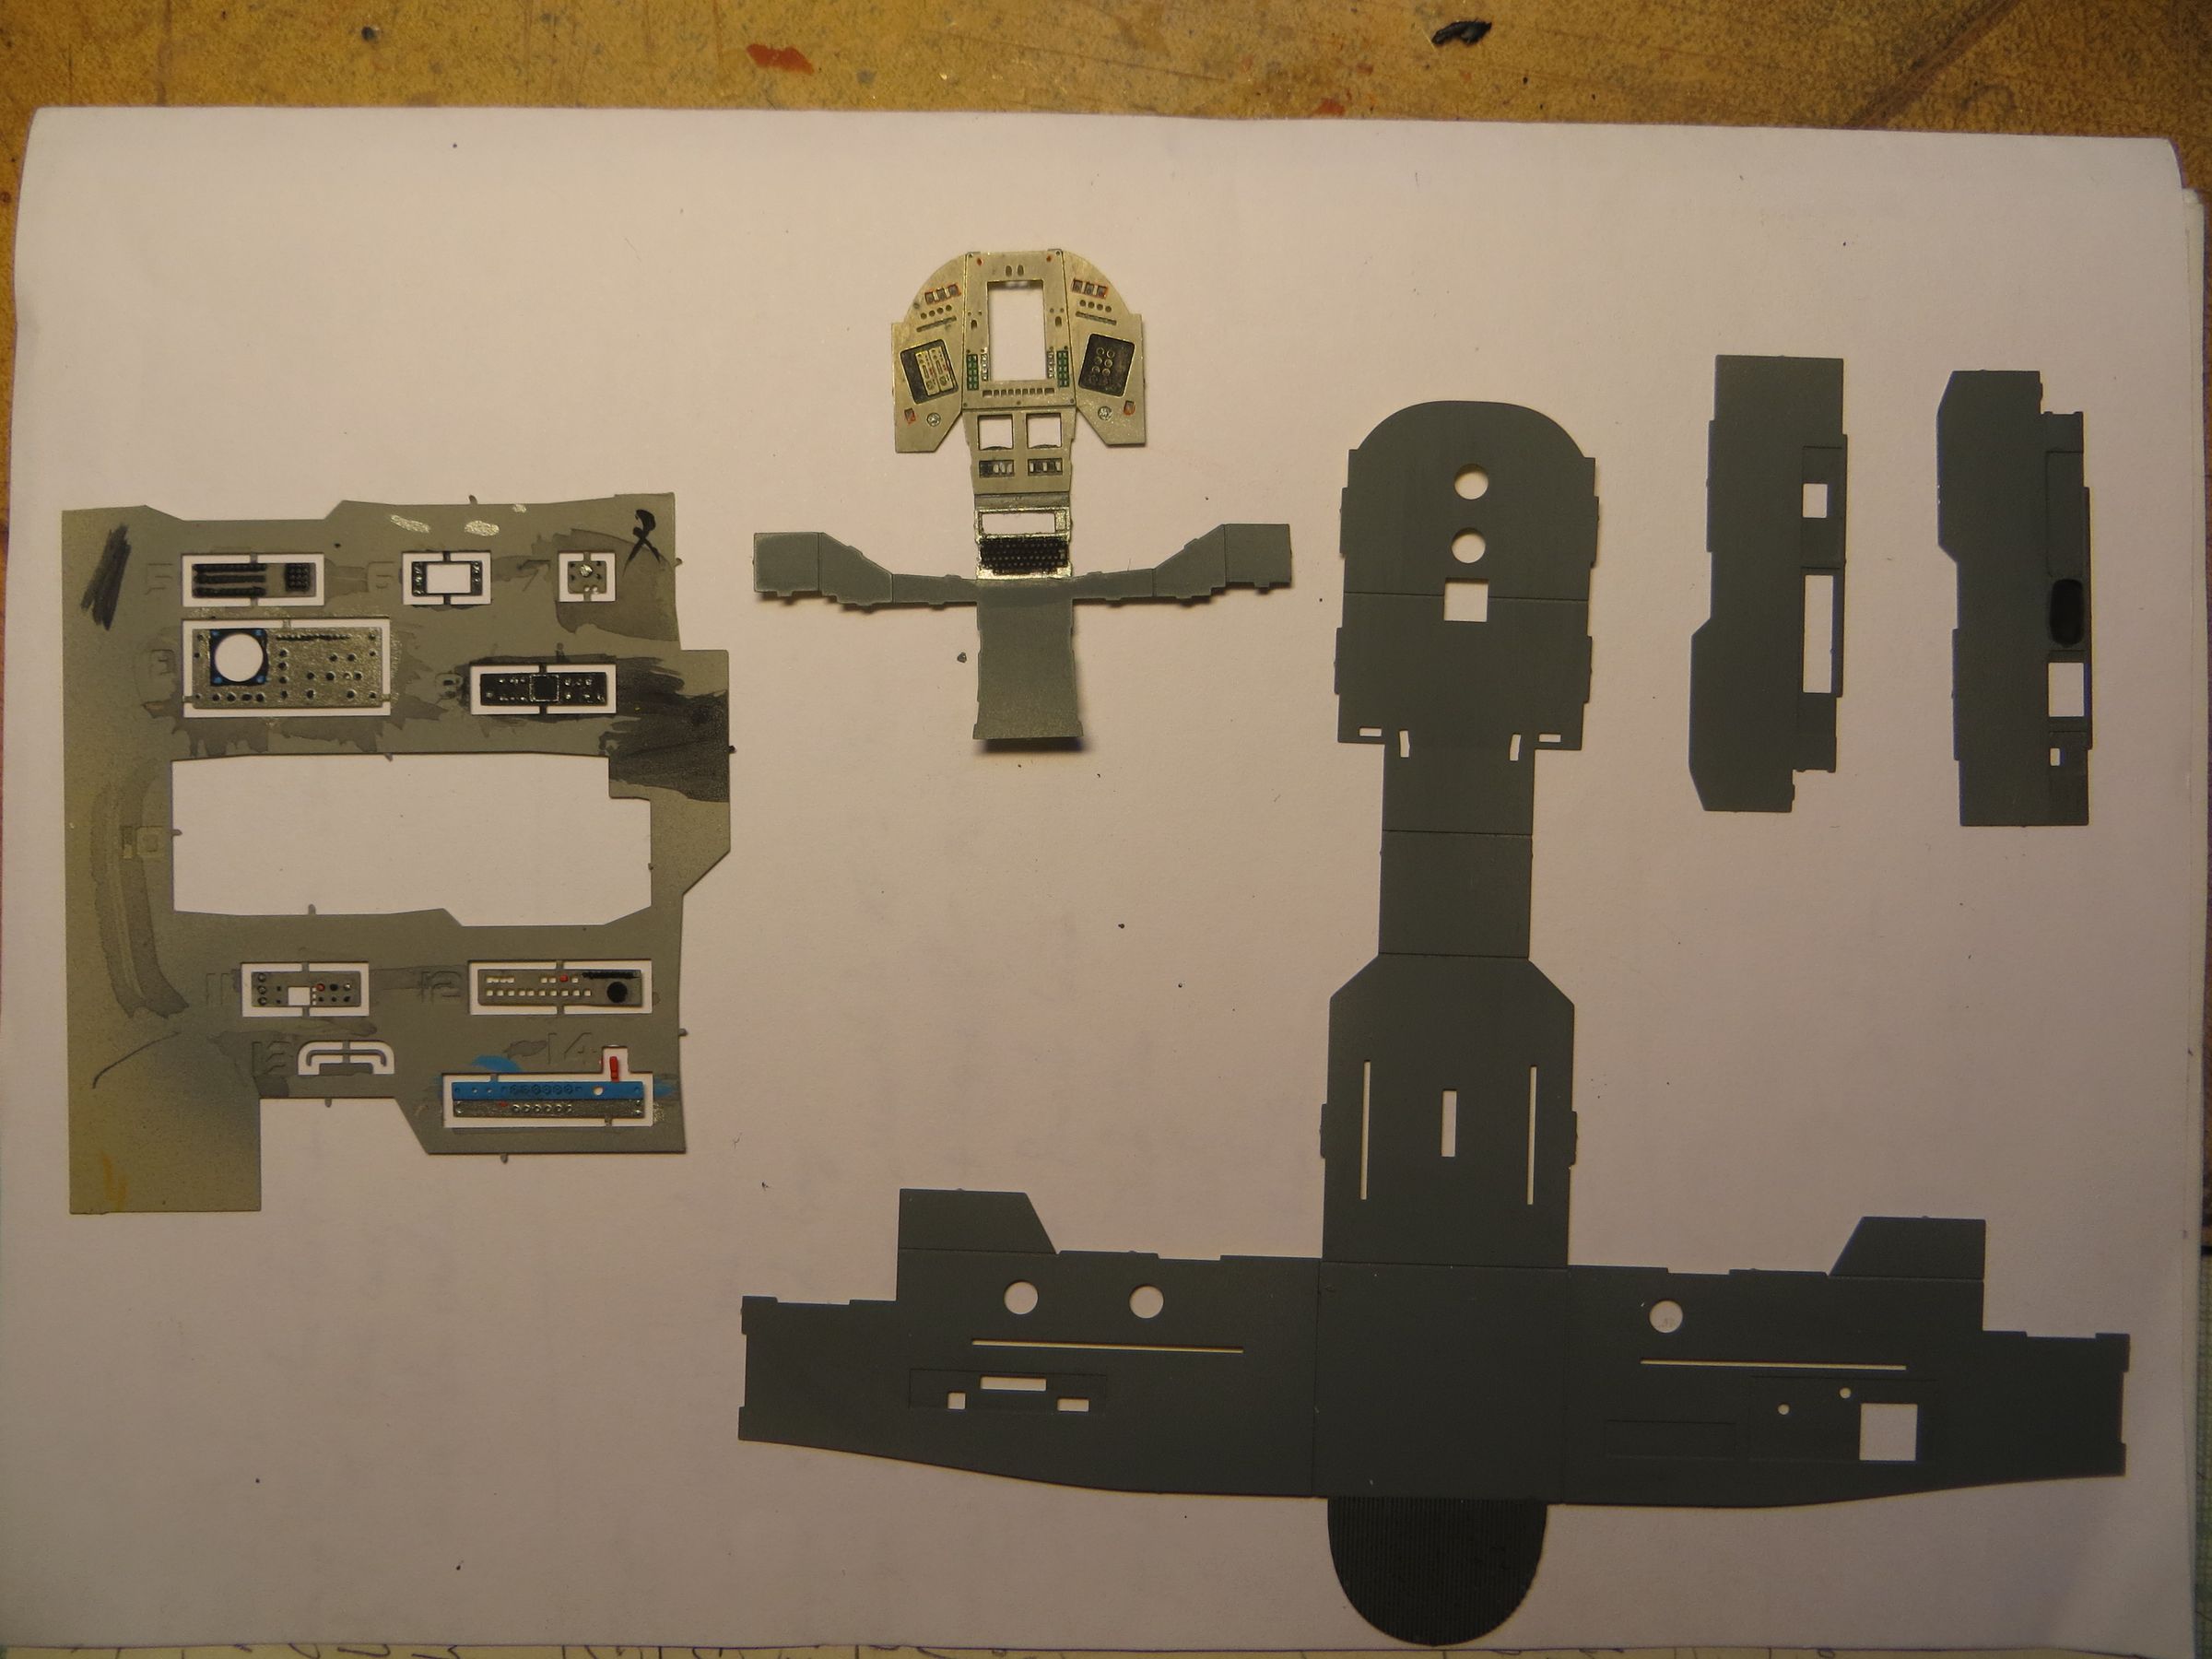
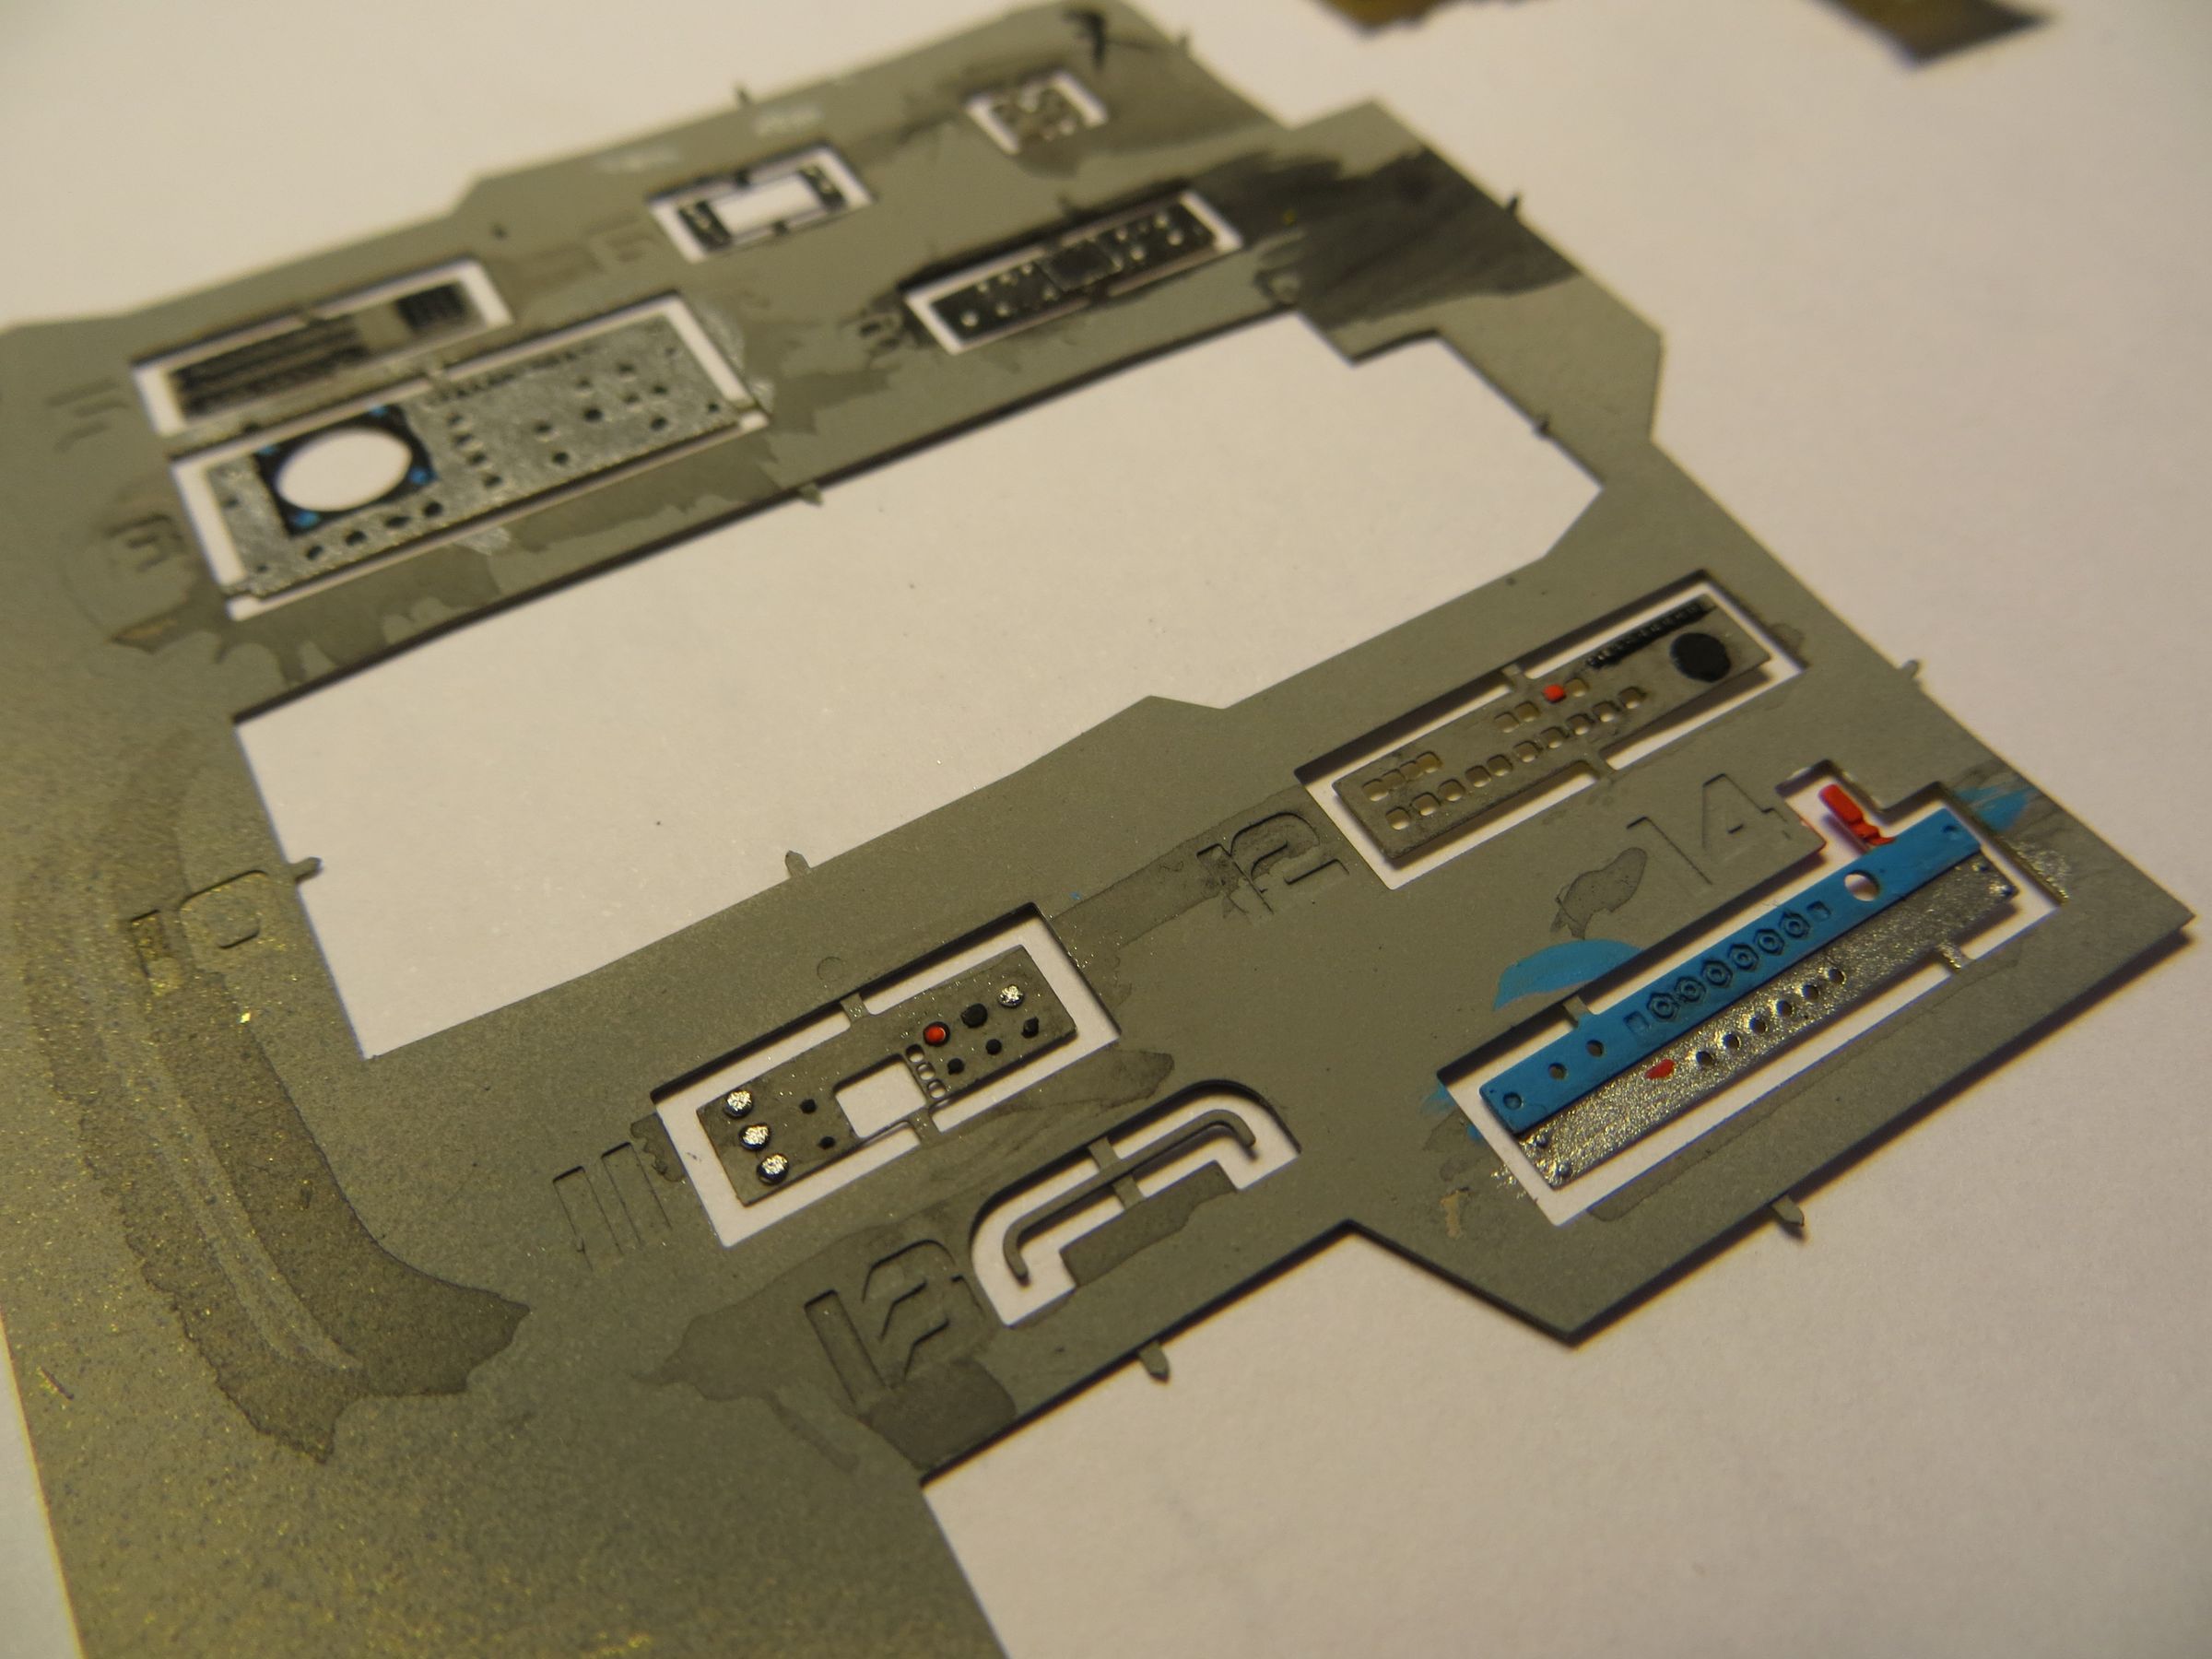
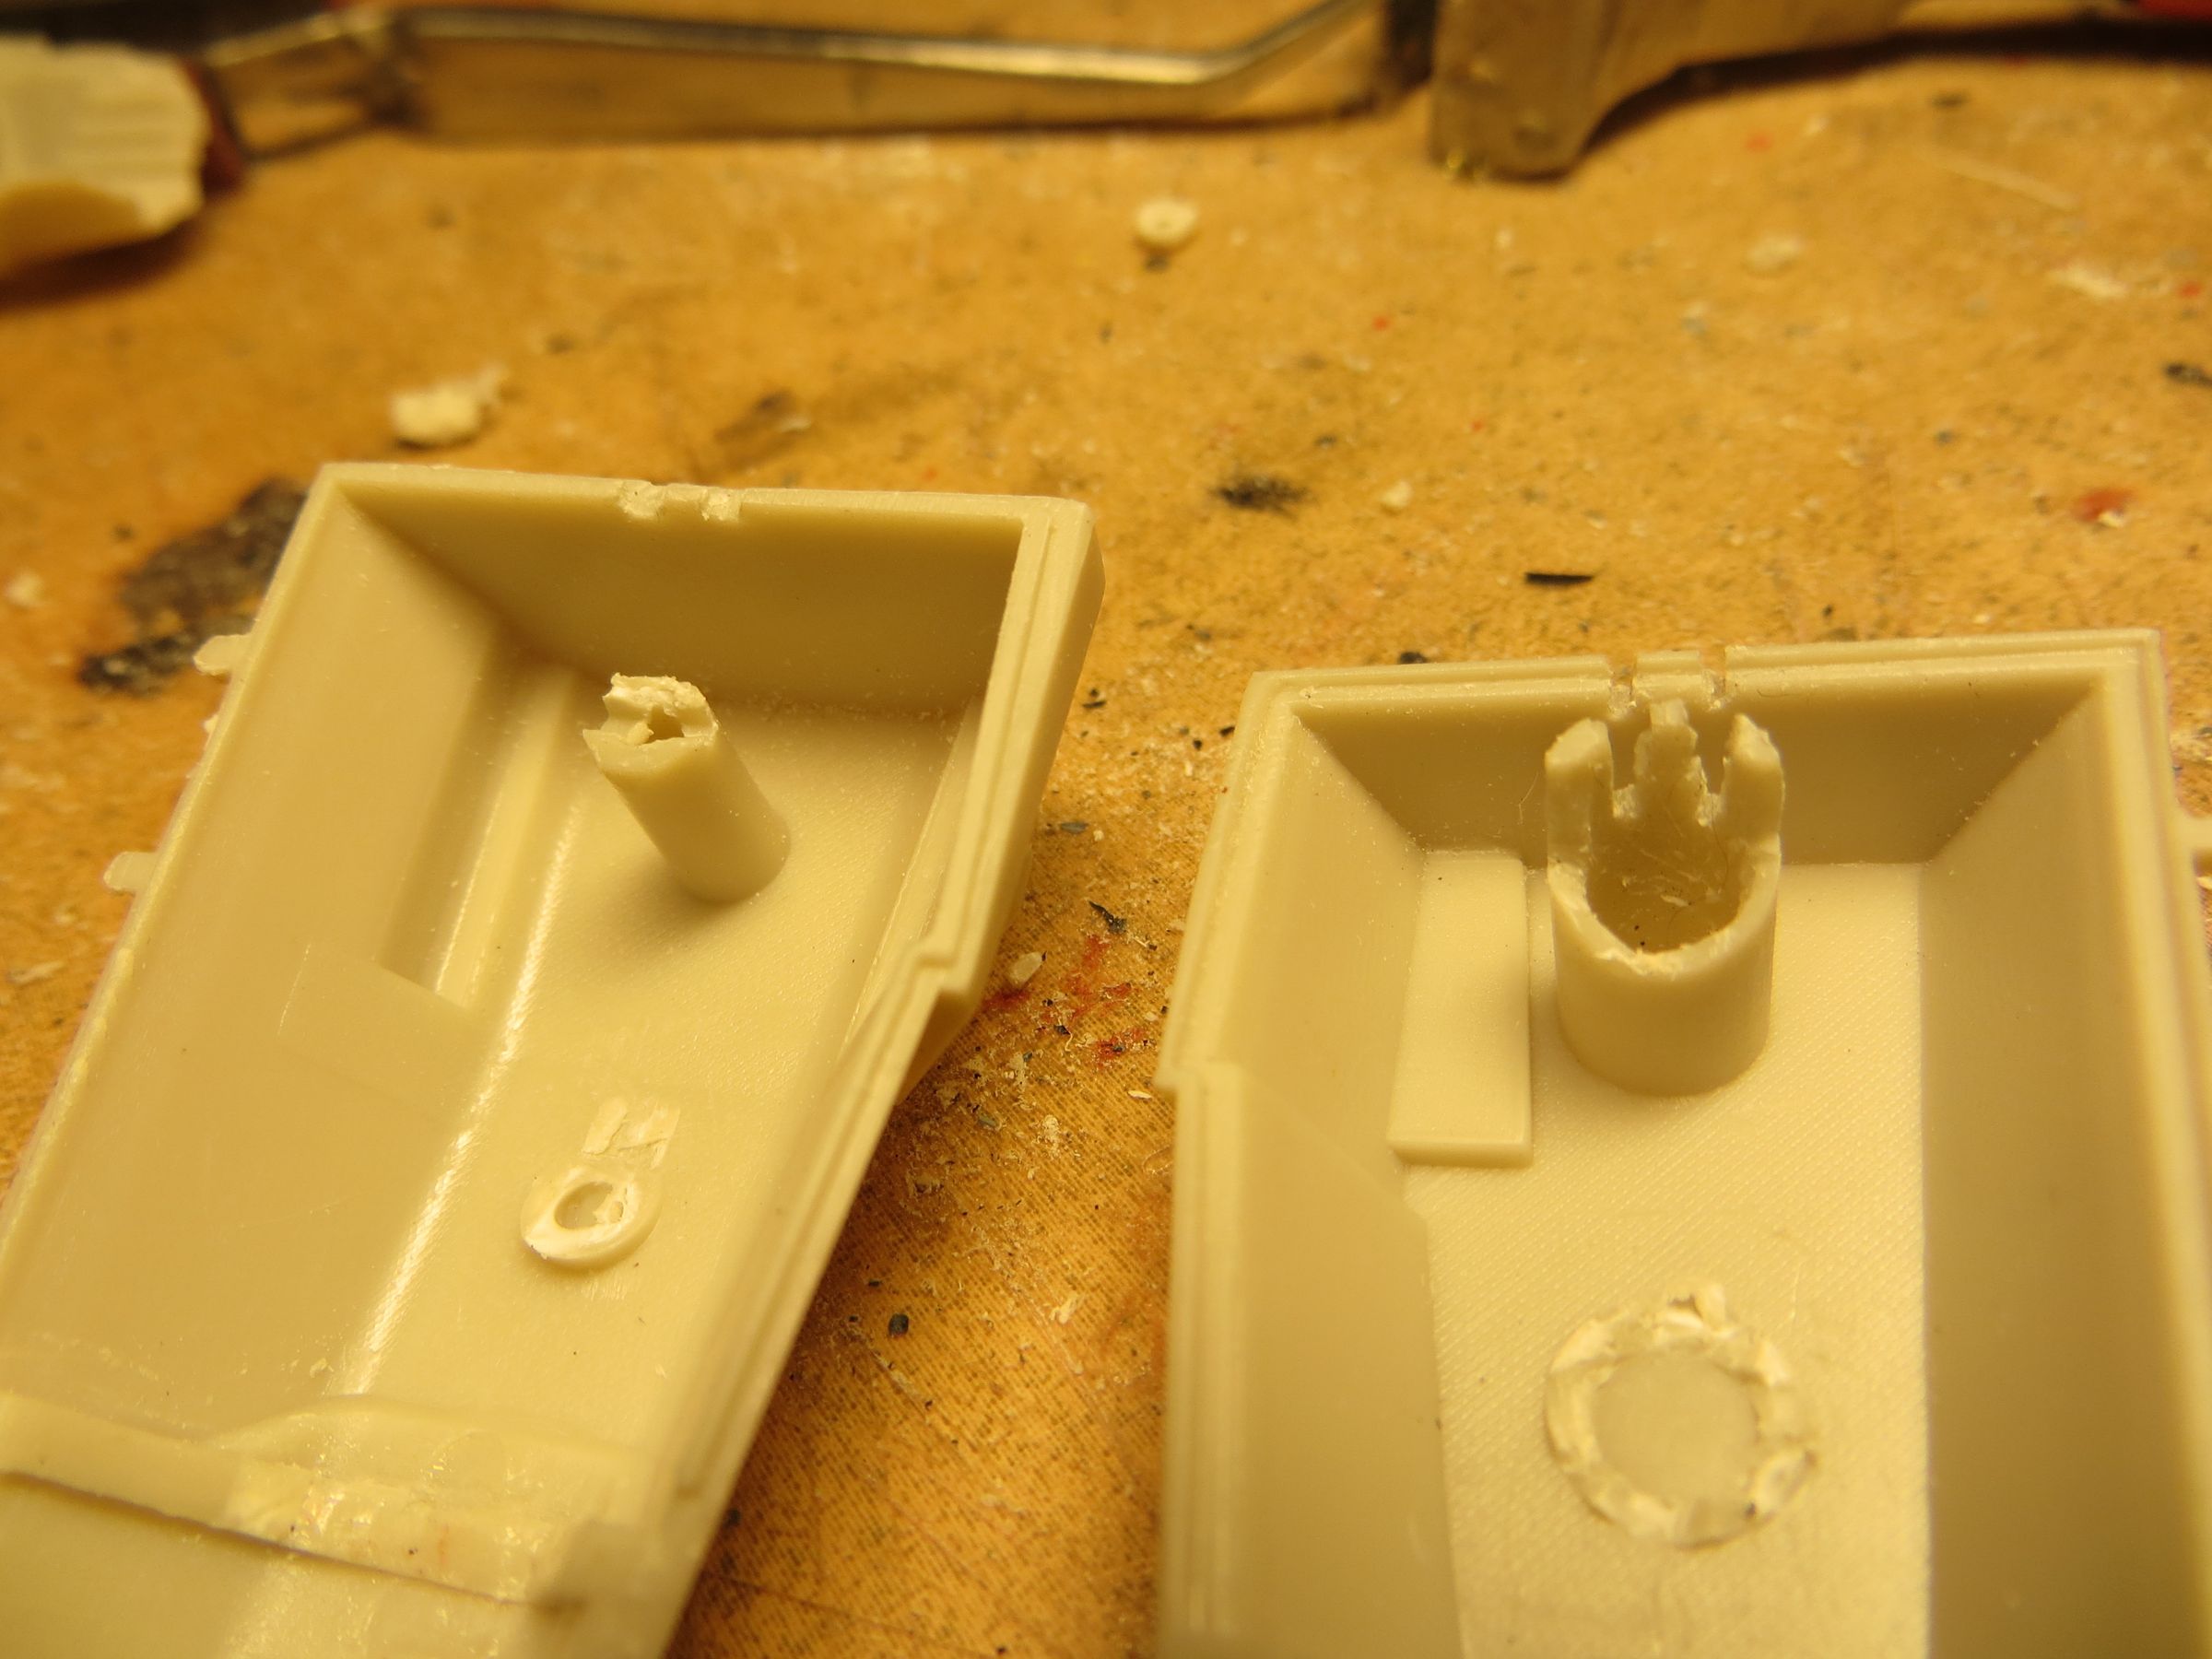
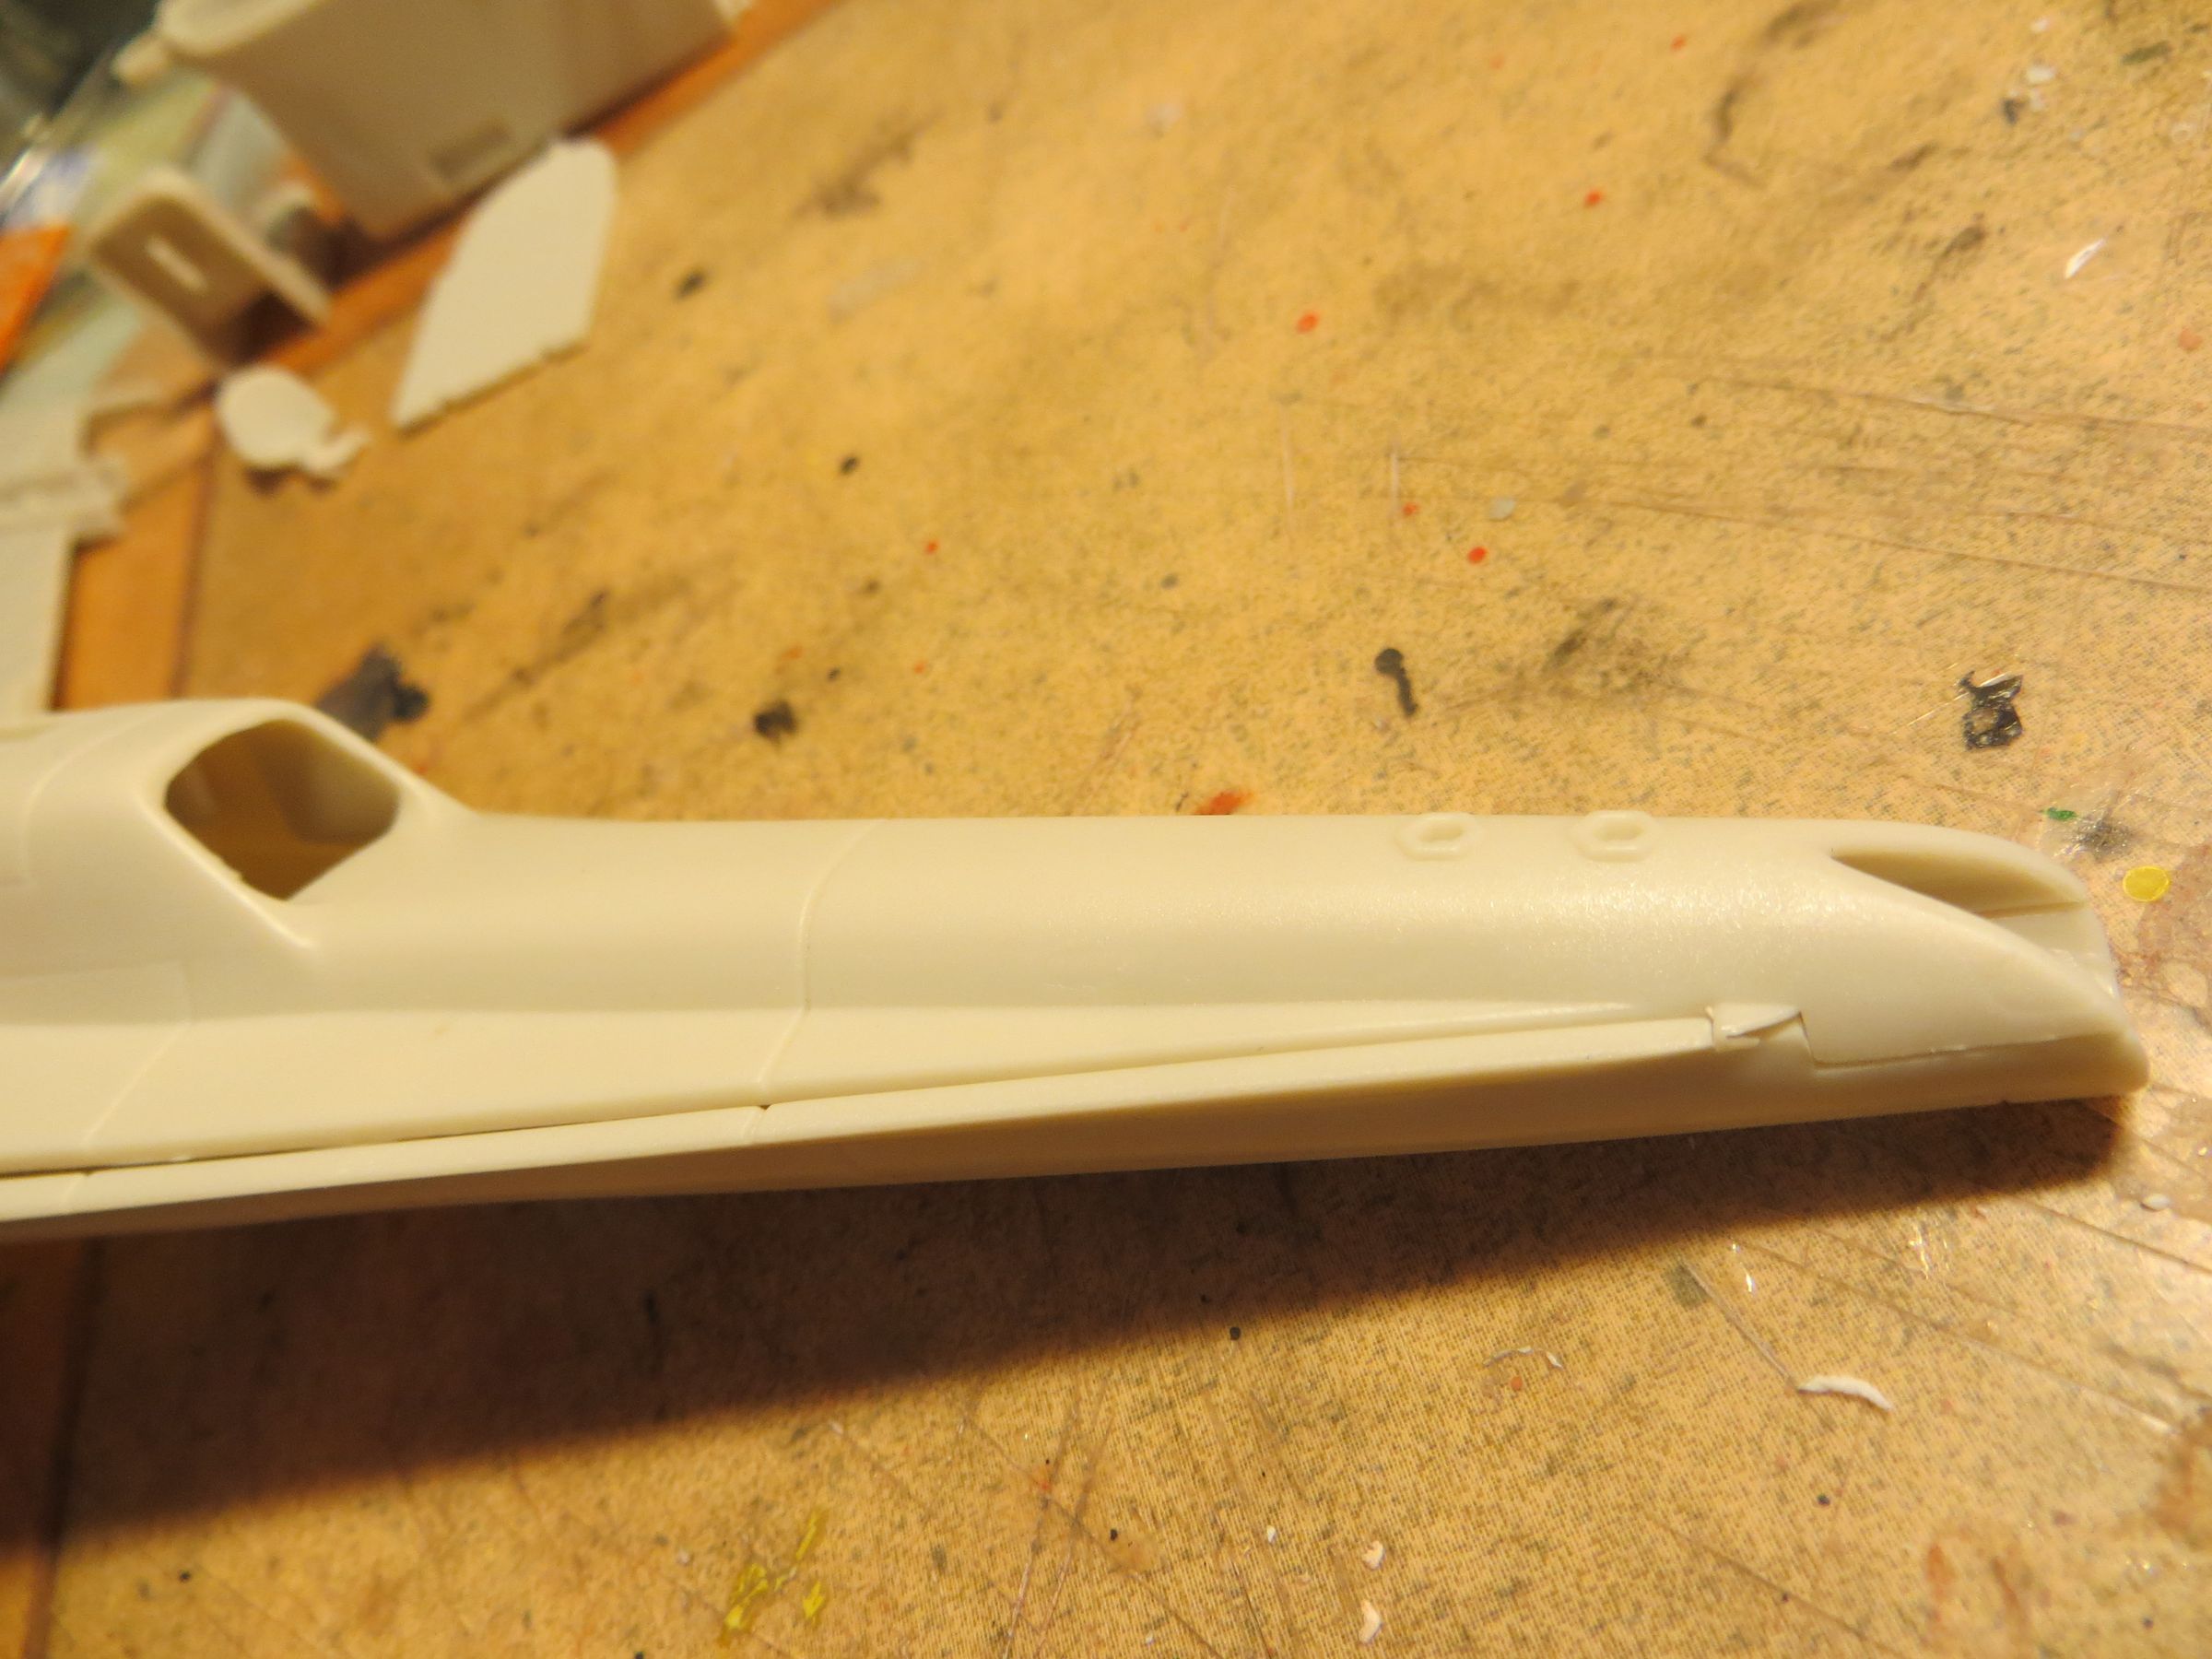
With plastic card, the dashboard is completed to fill the openings and to prevent light leaks.


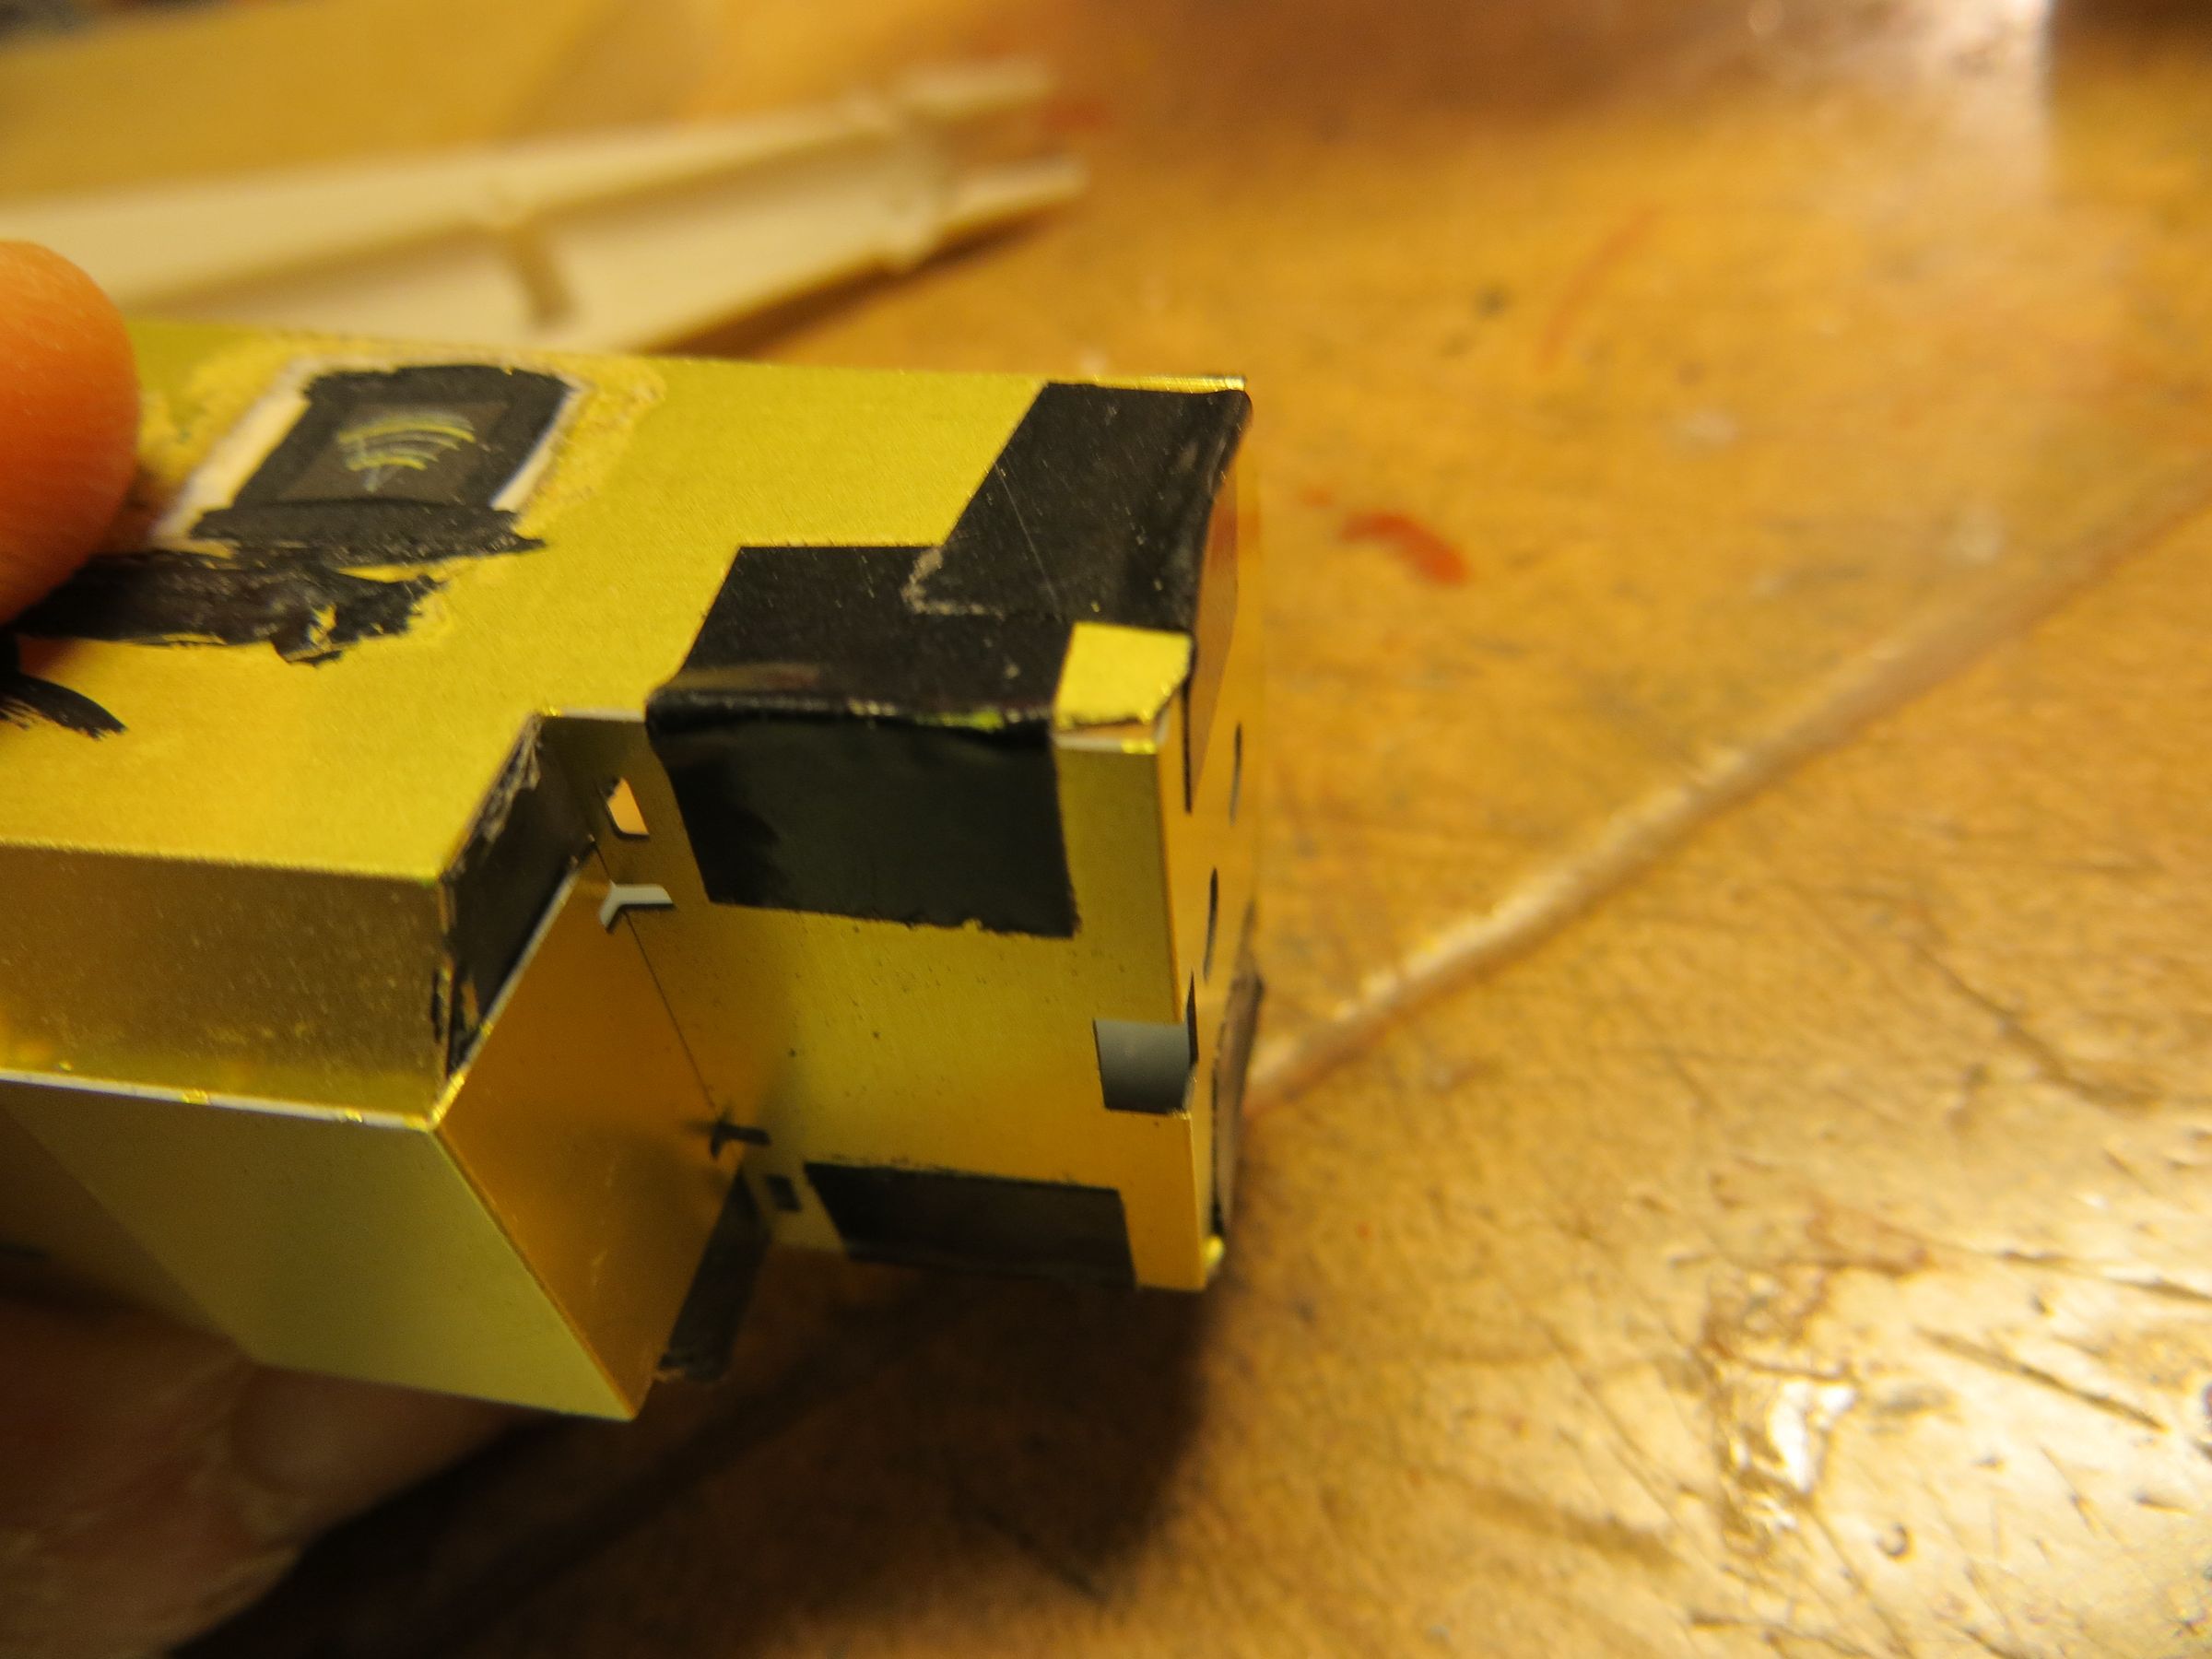
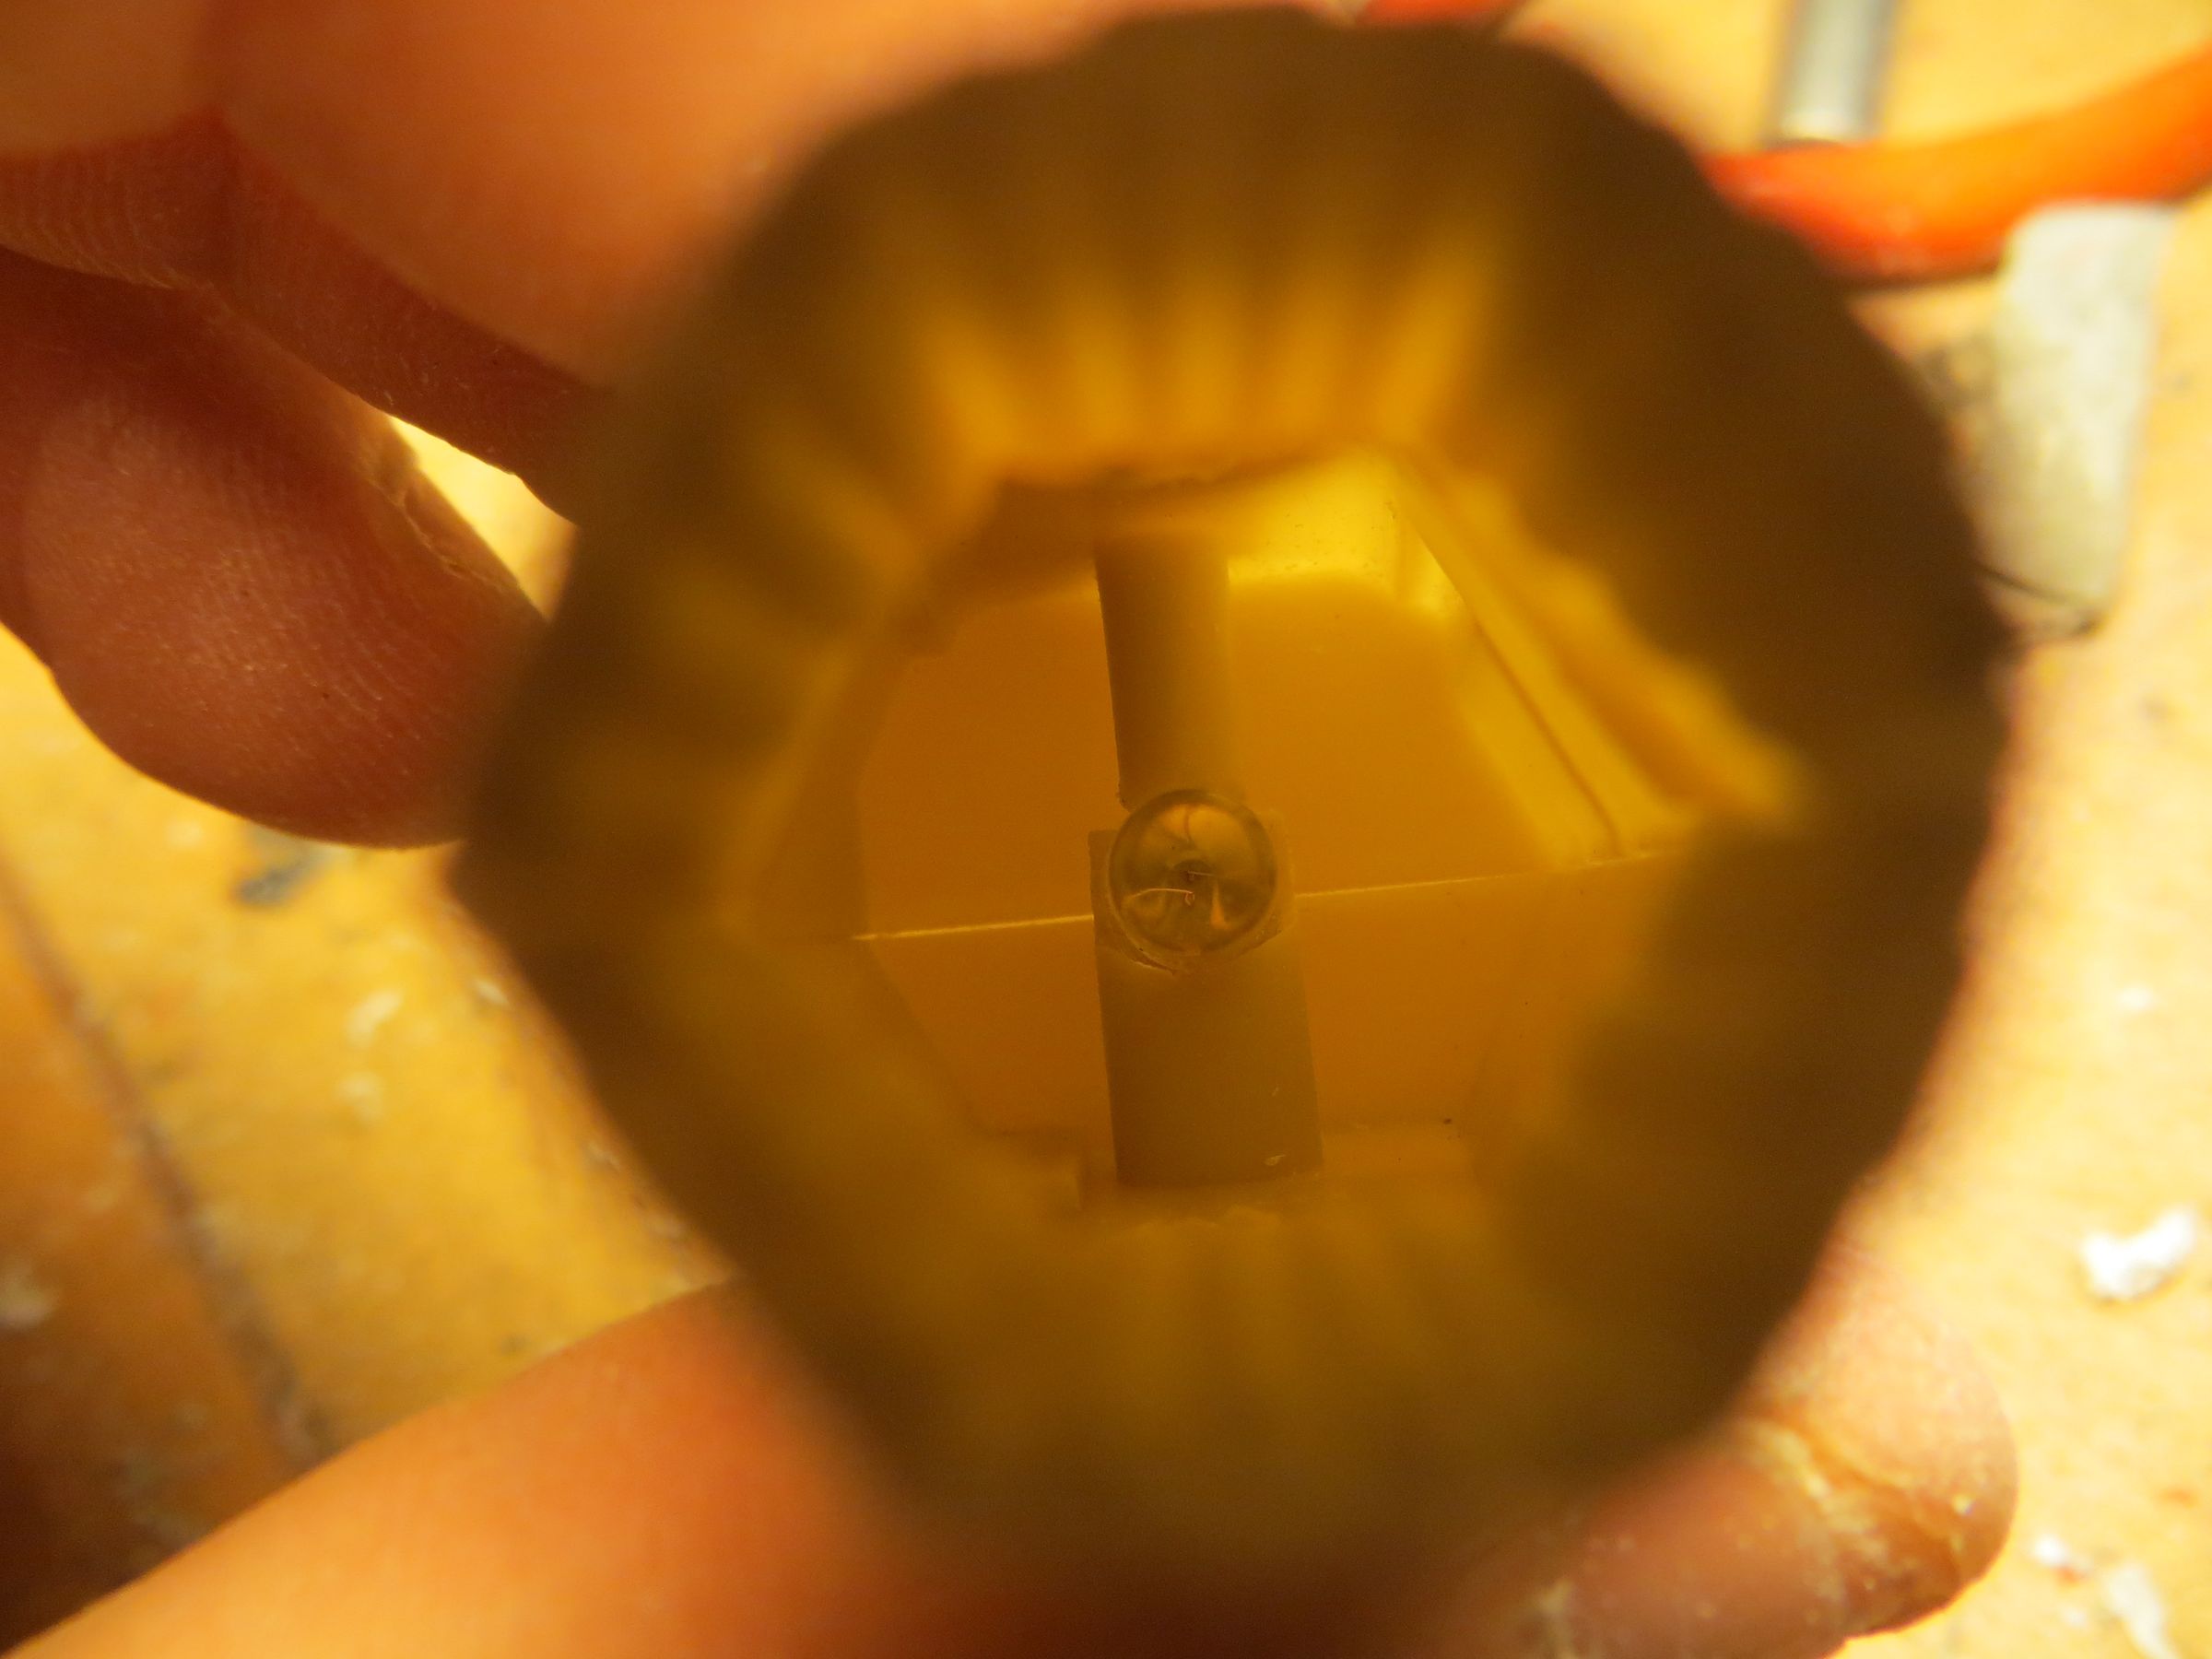
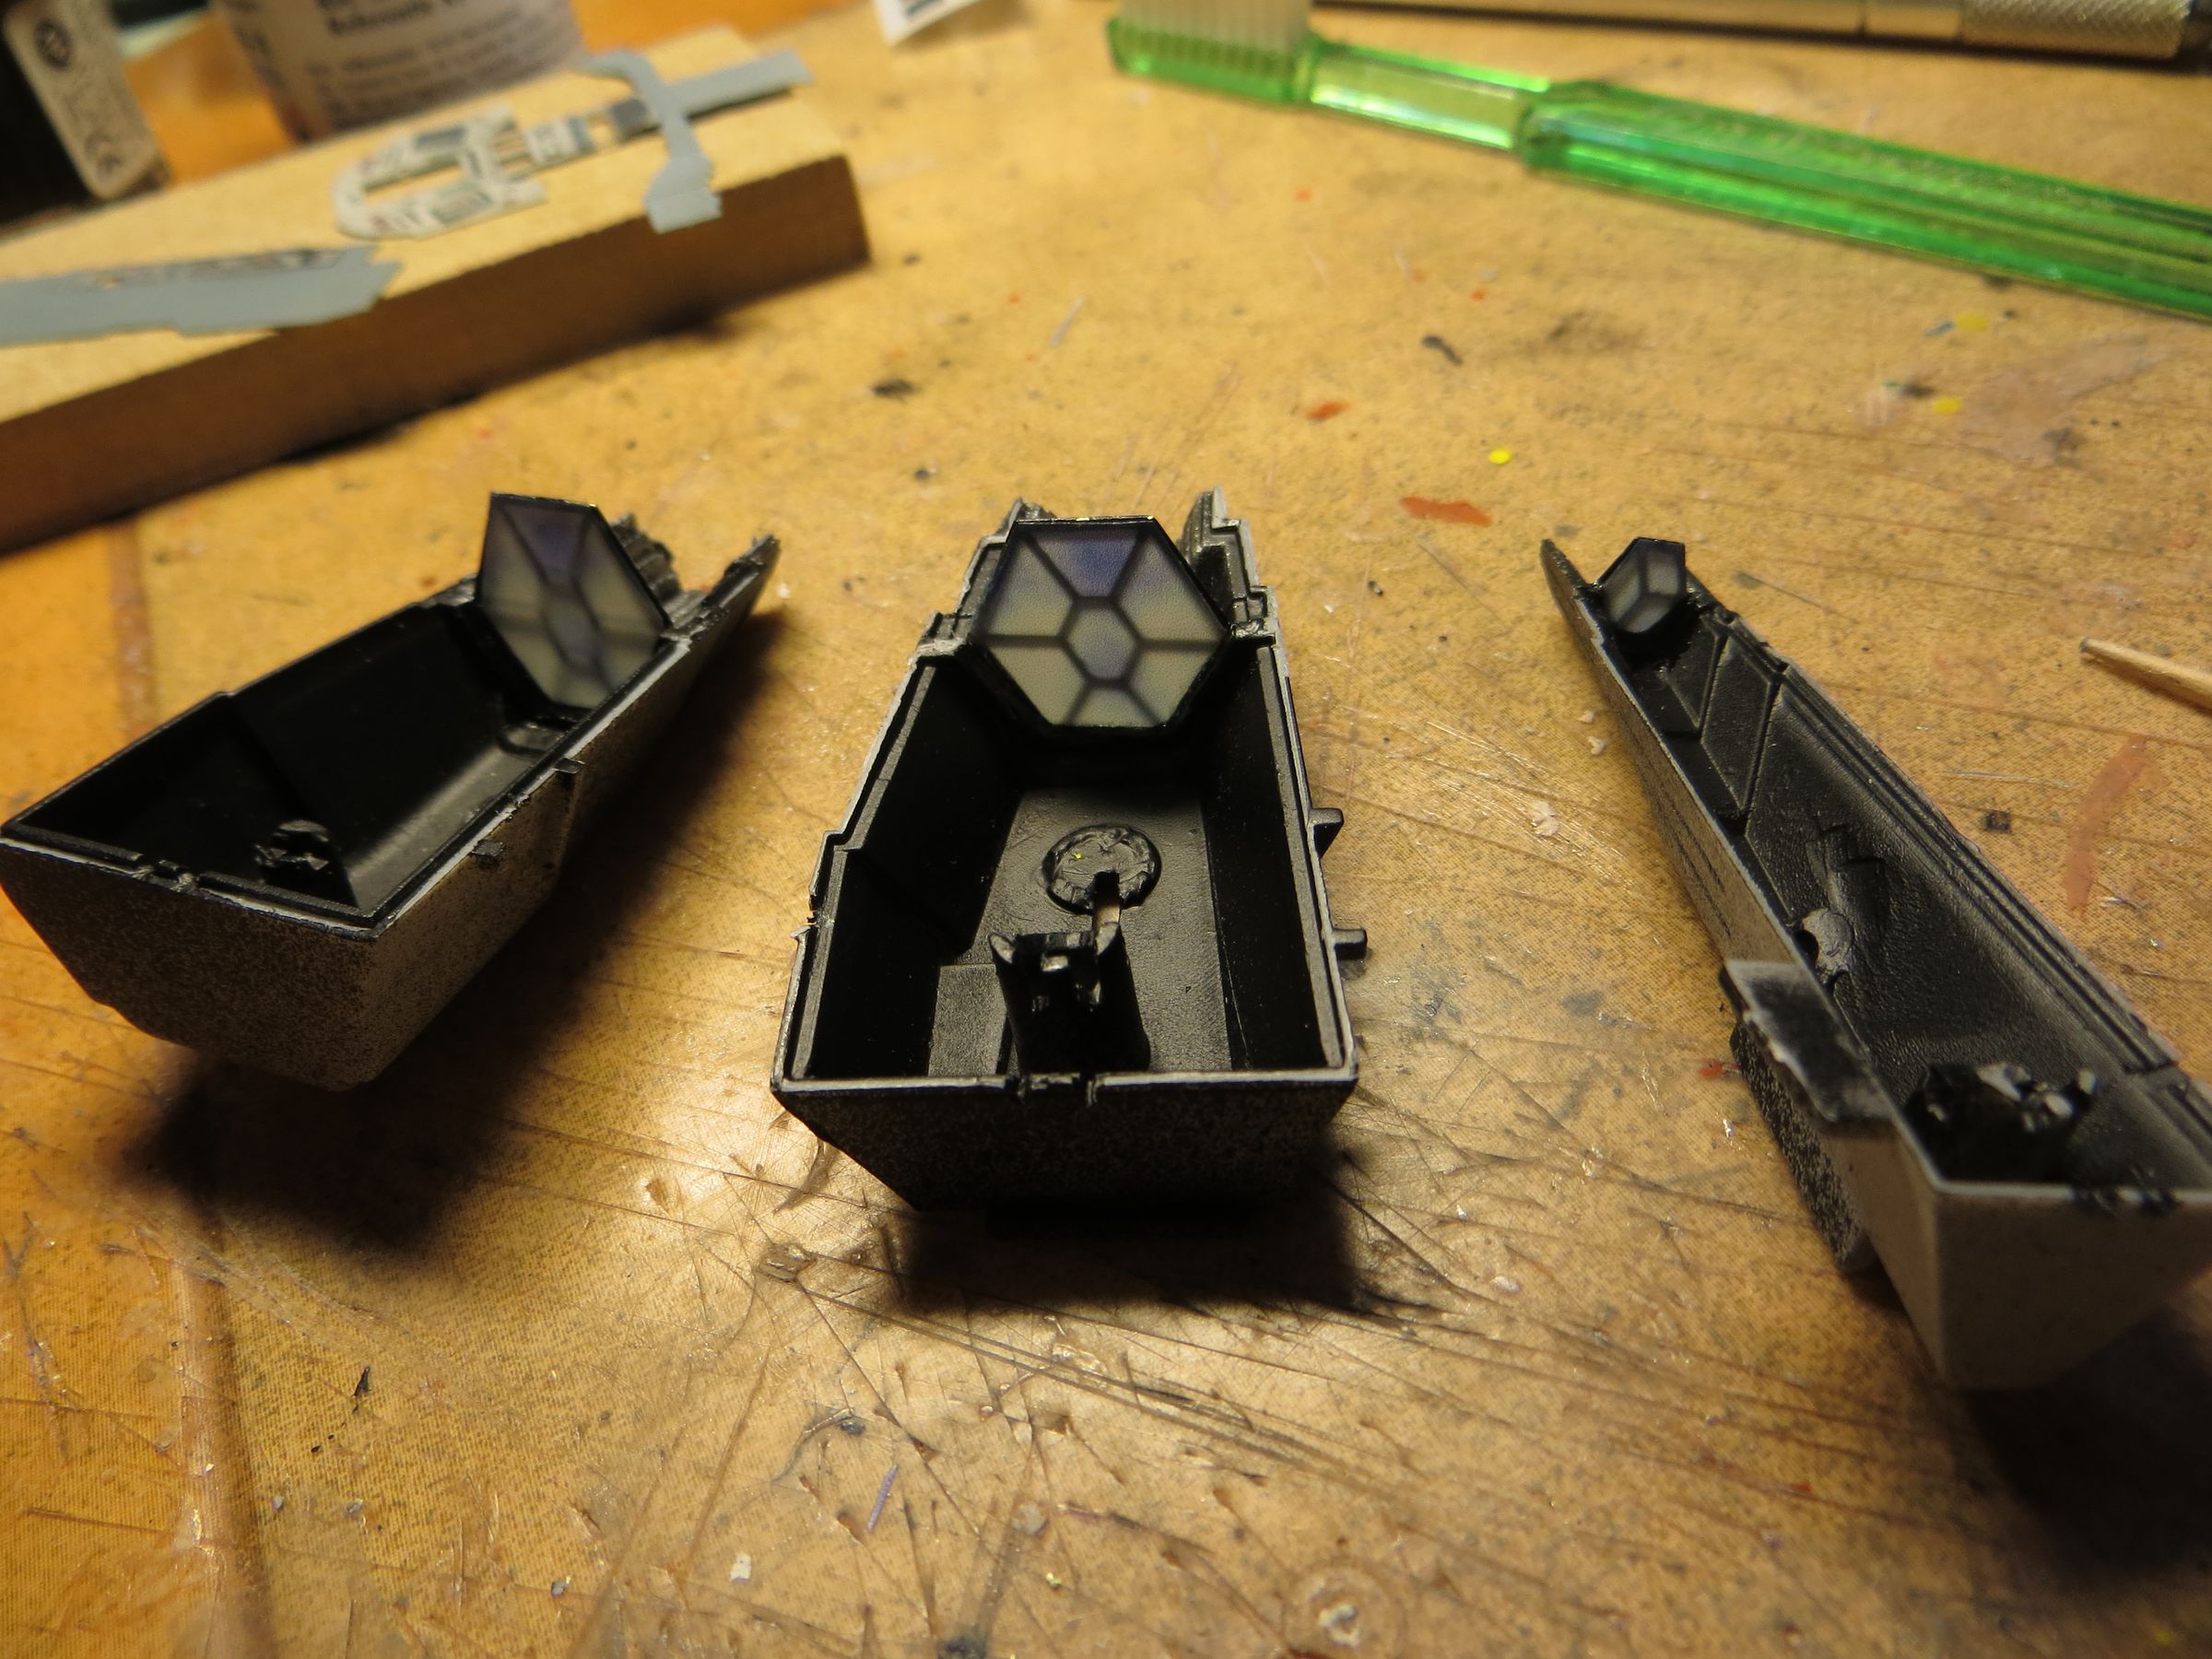
The HUD is hollow to get the maximum light from the bottom. The film screen from upgrade kit is too thick (or too dark), and nothing can be seen without direct lighting.
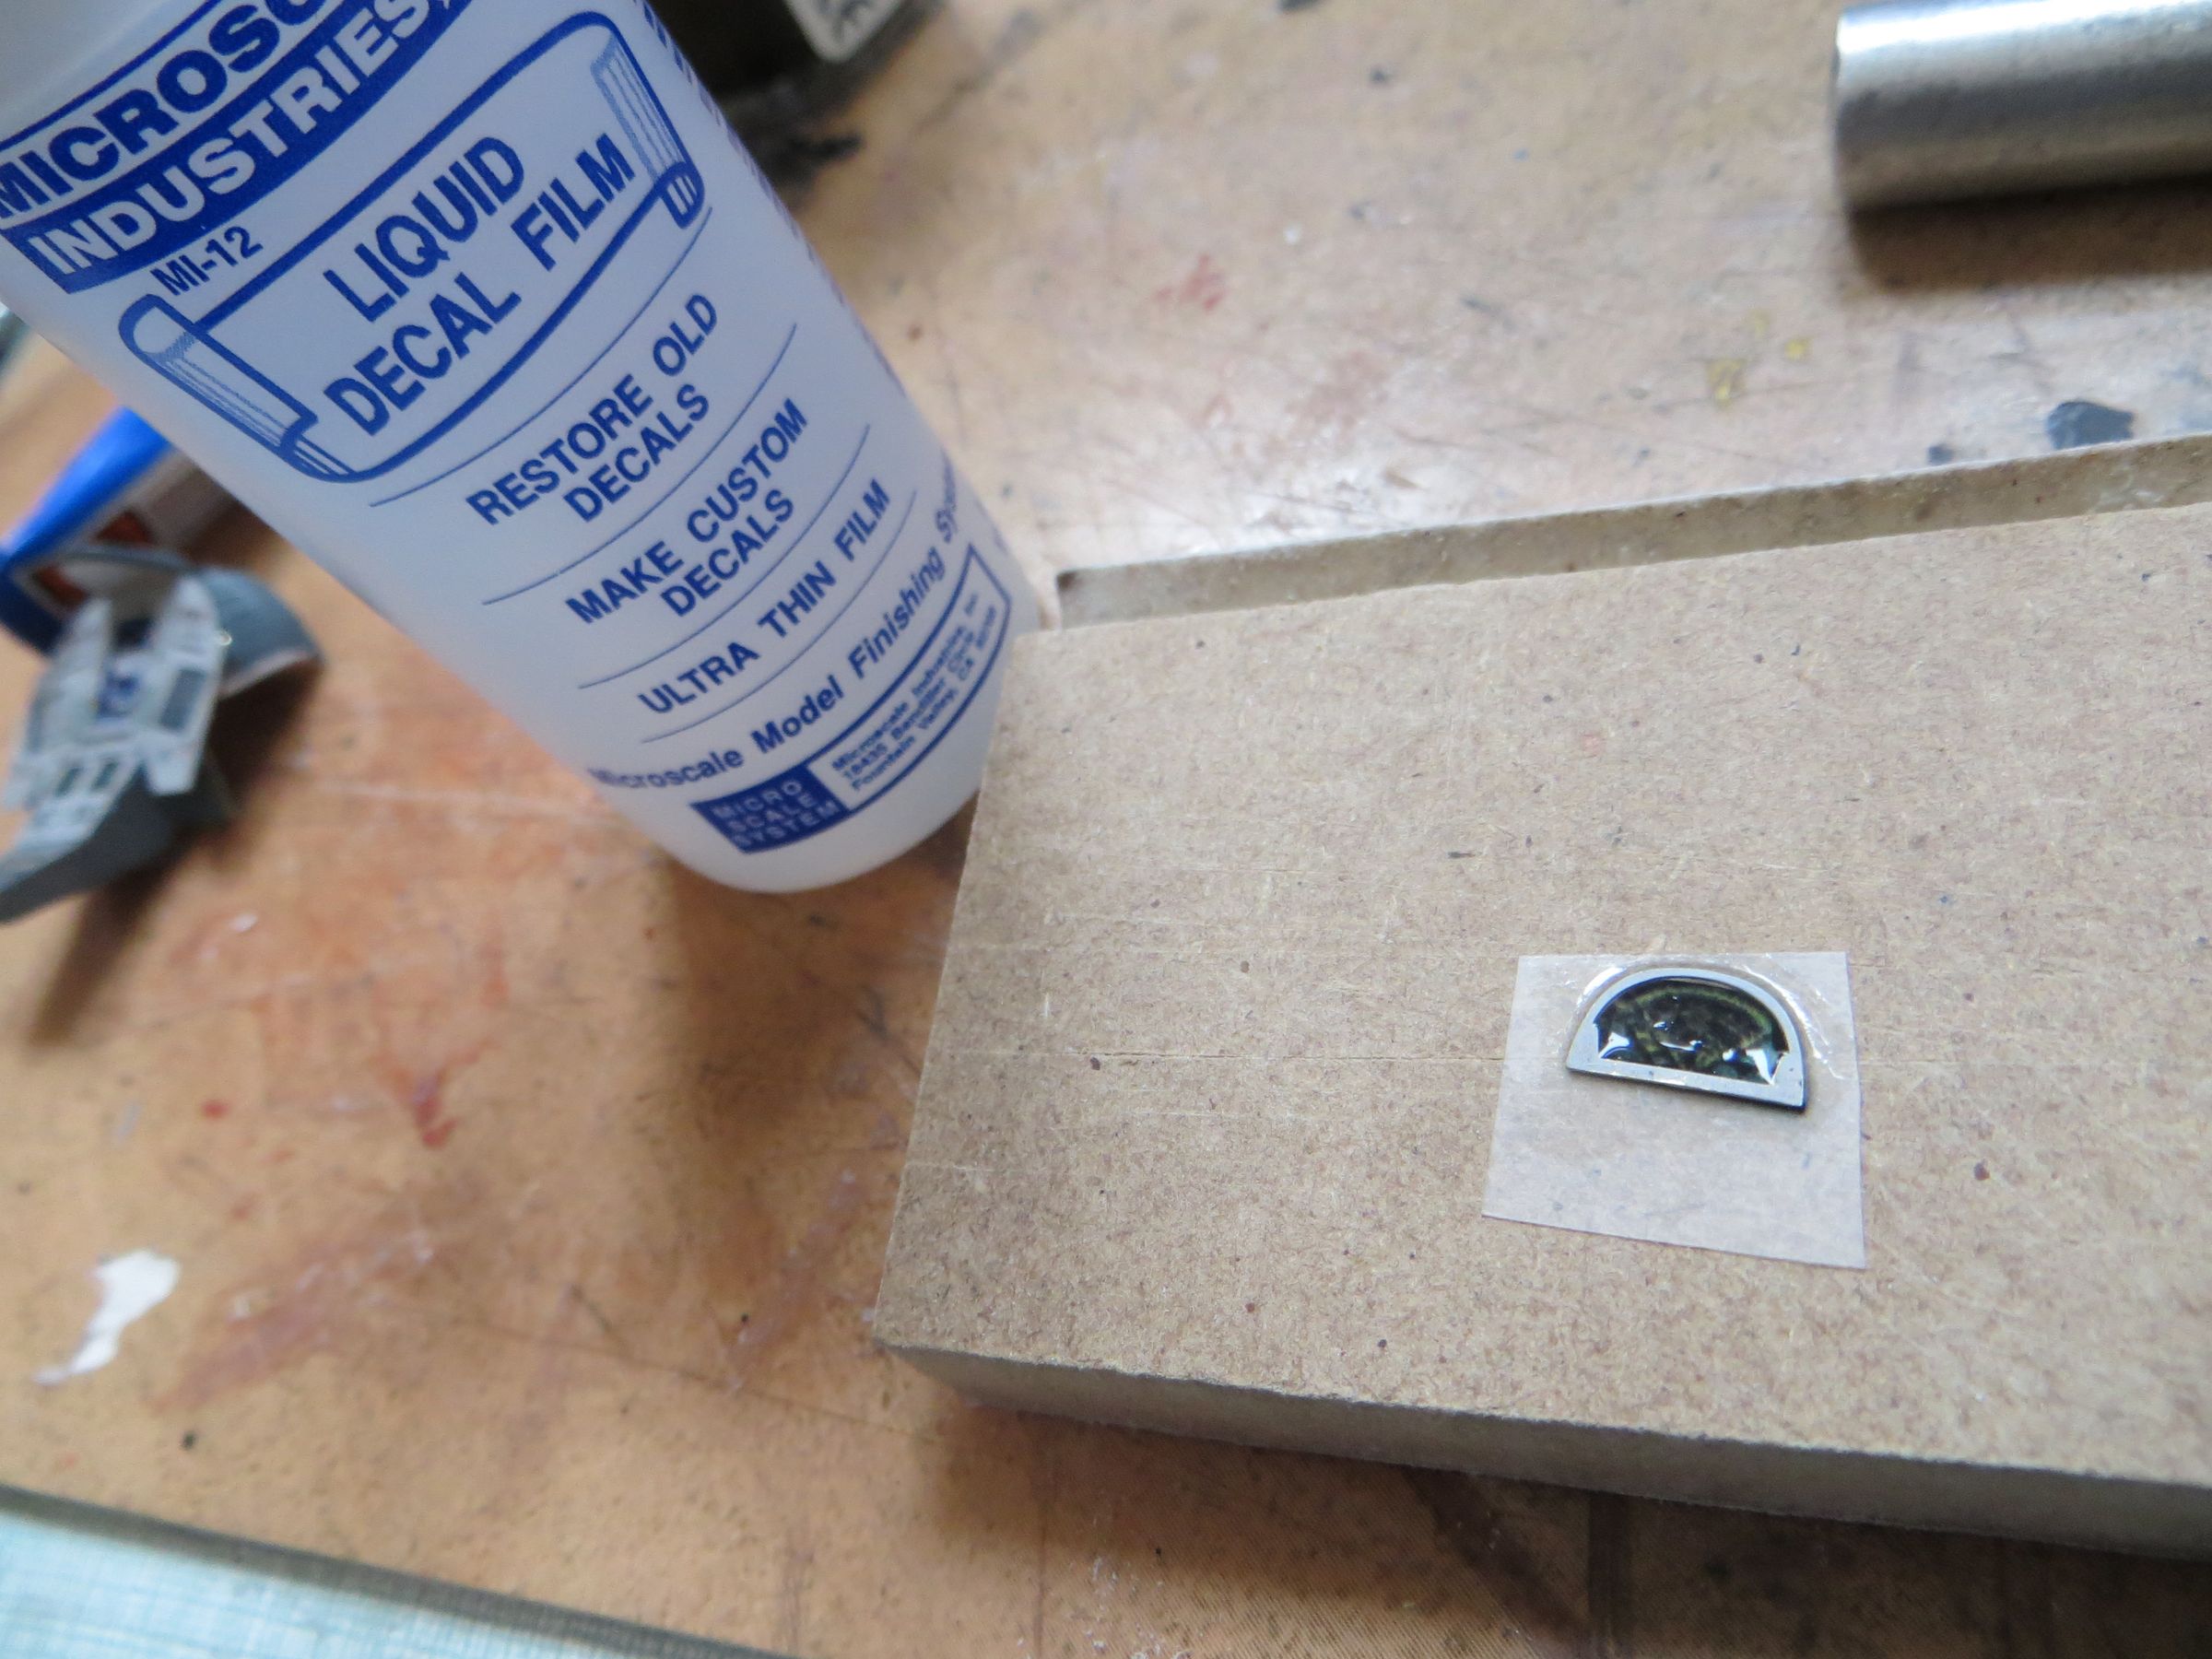
I therefore replaced it by a color photocopy of a transparent decal.
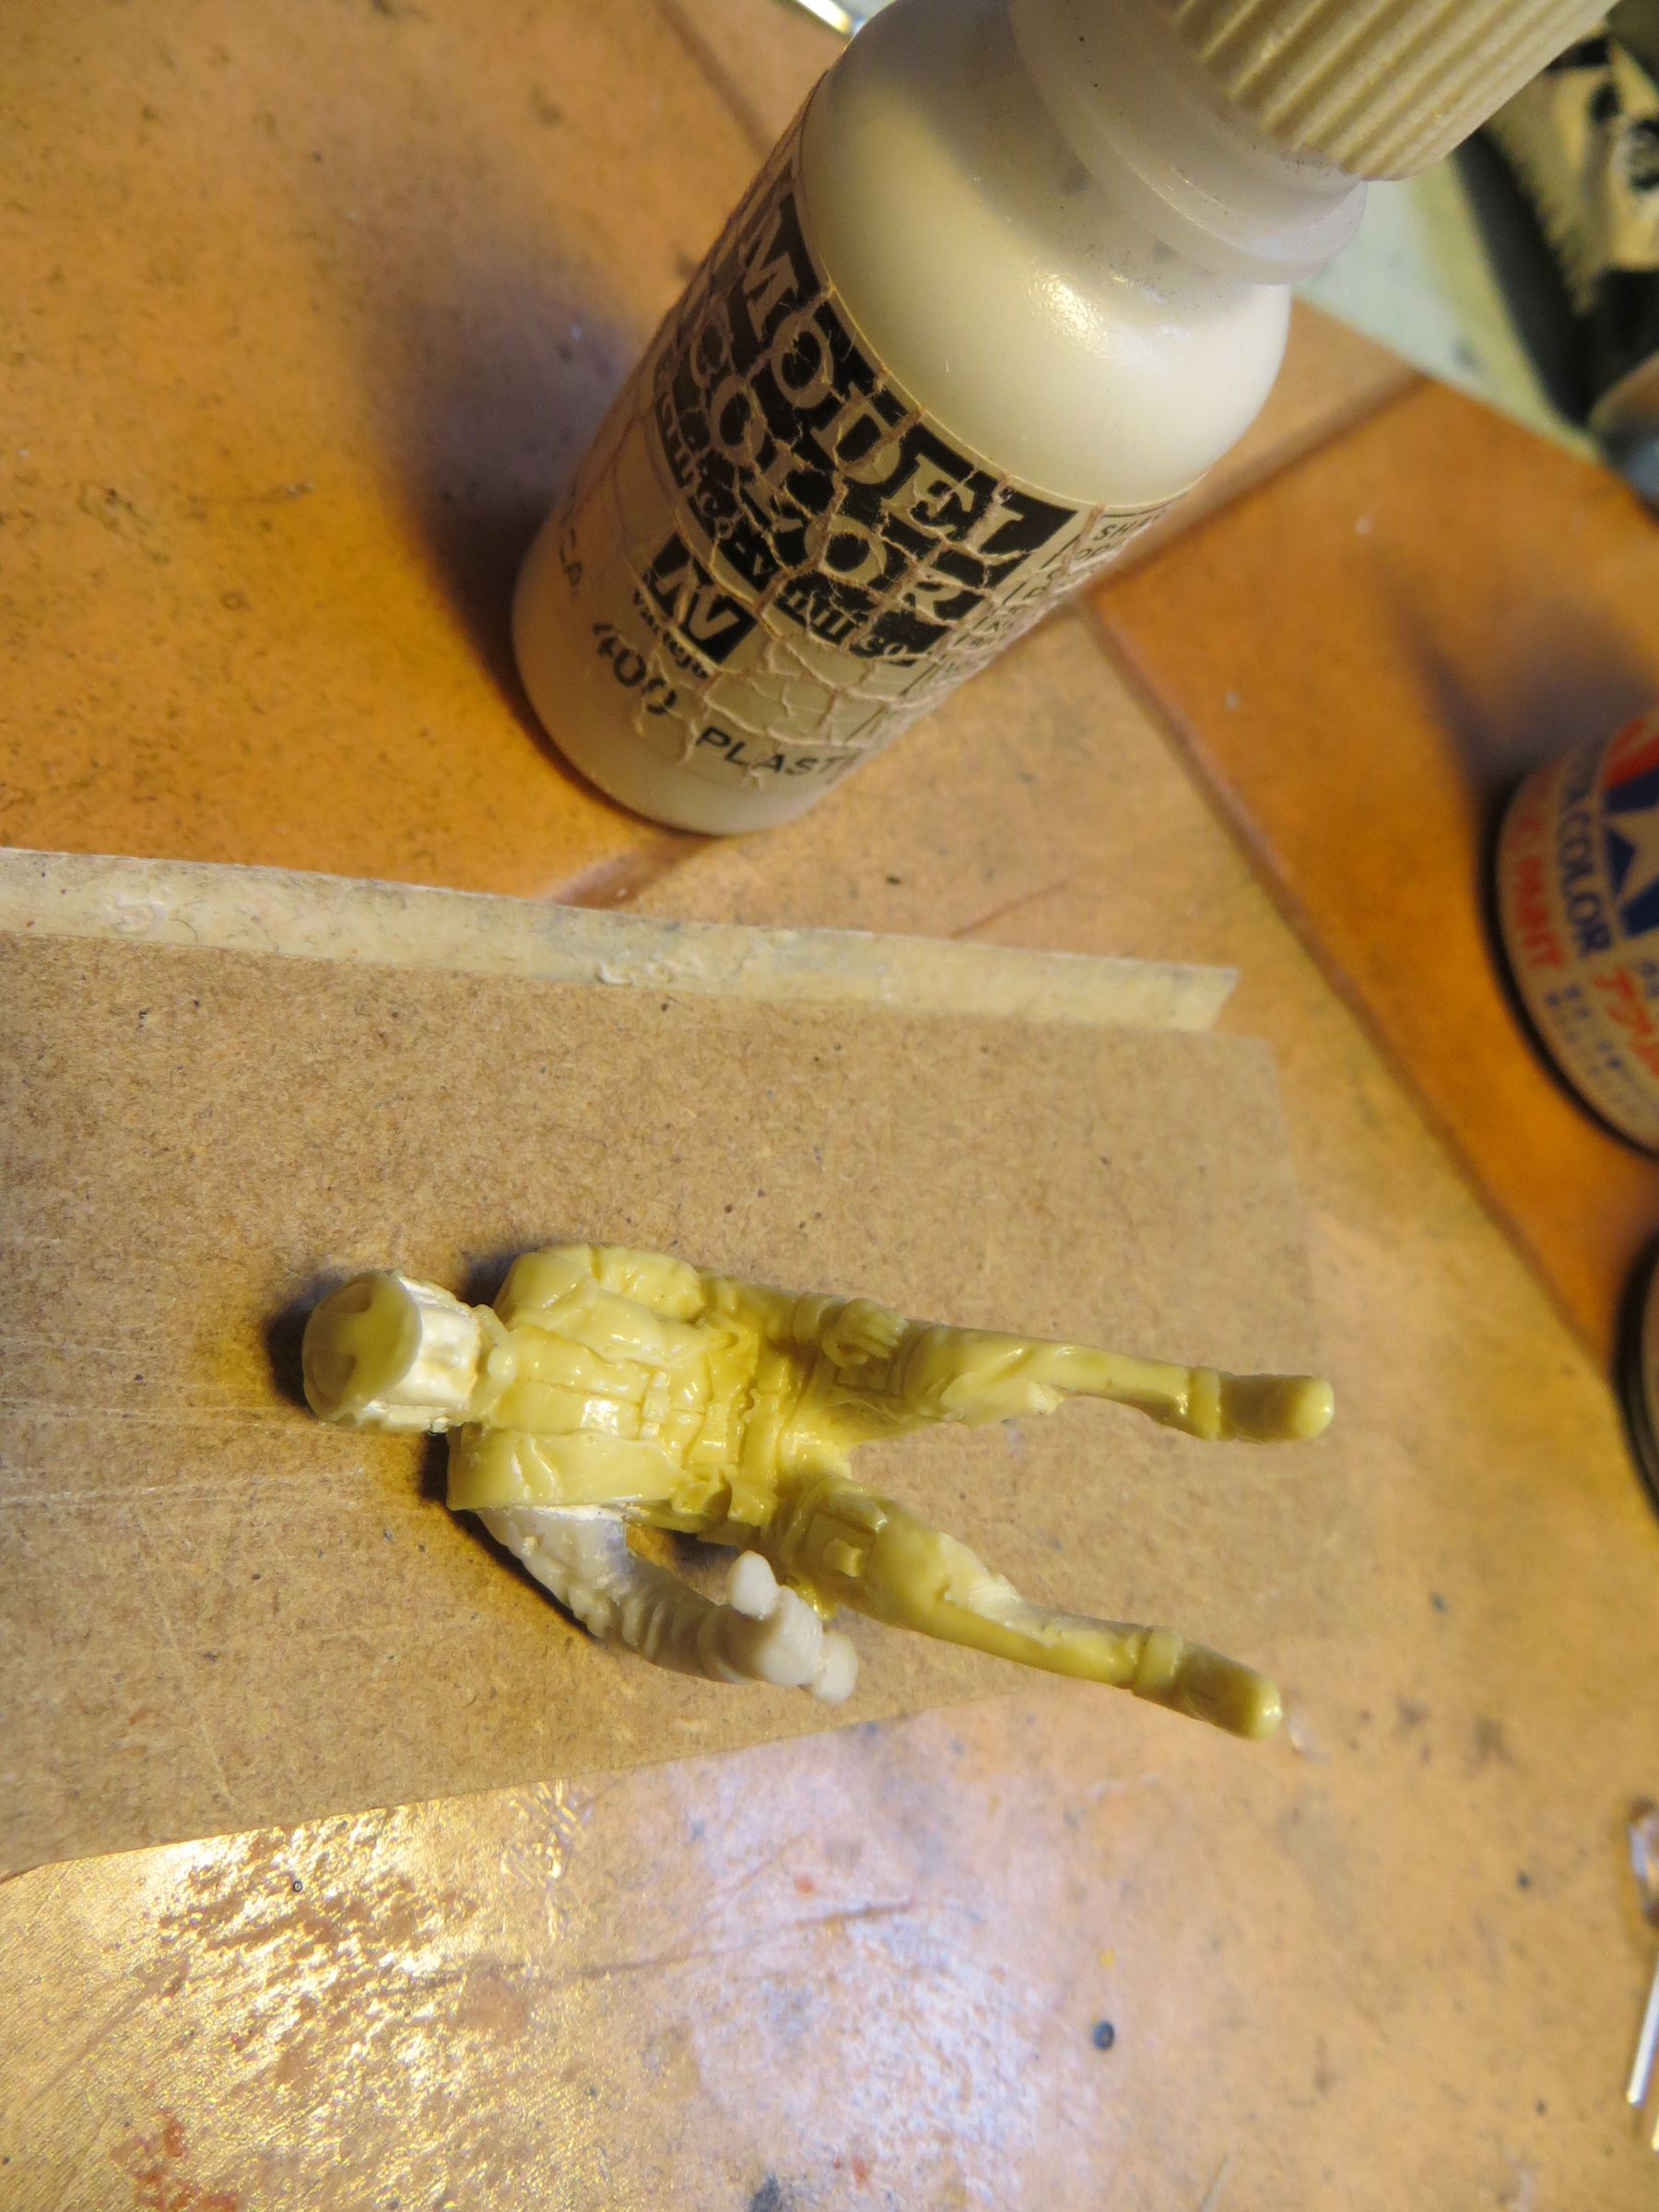
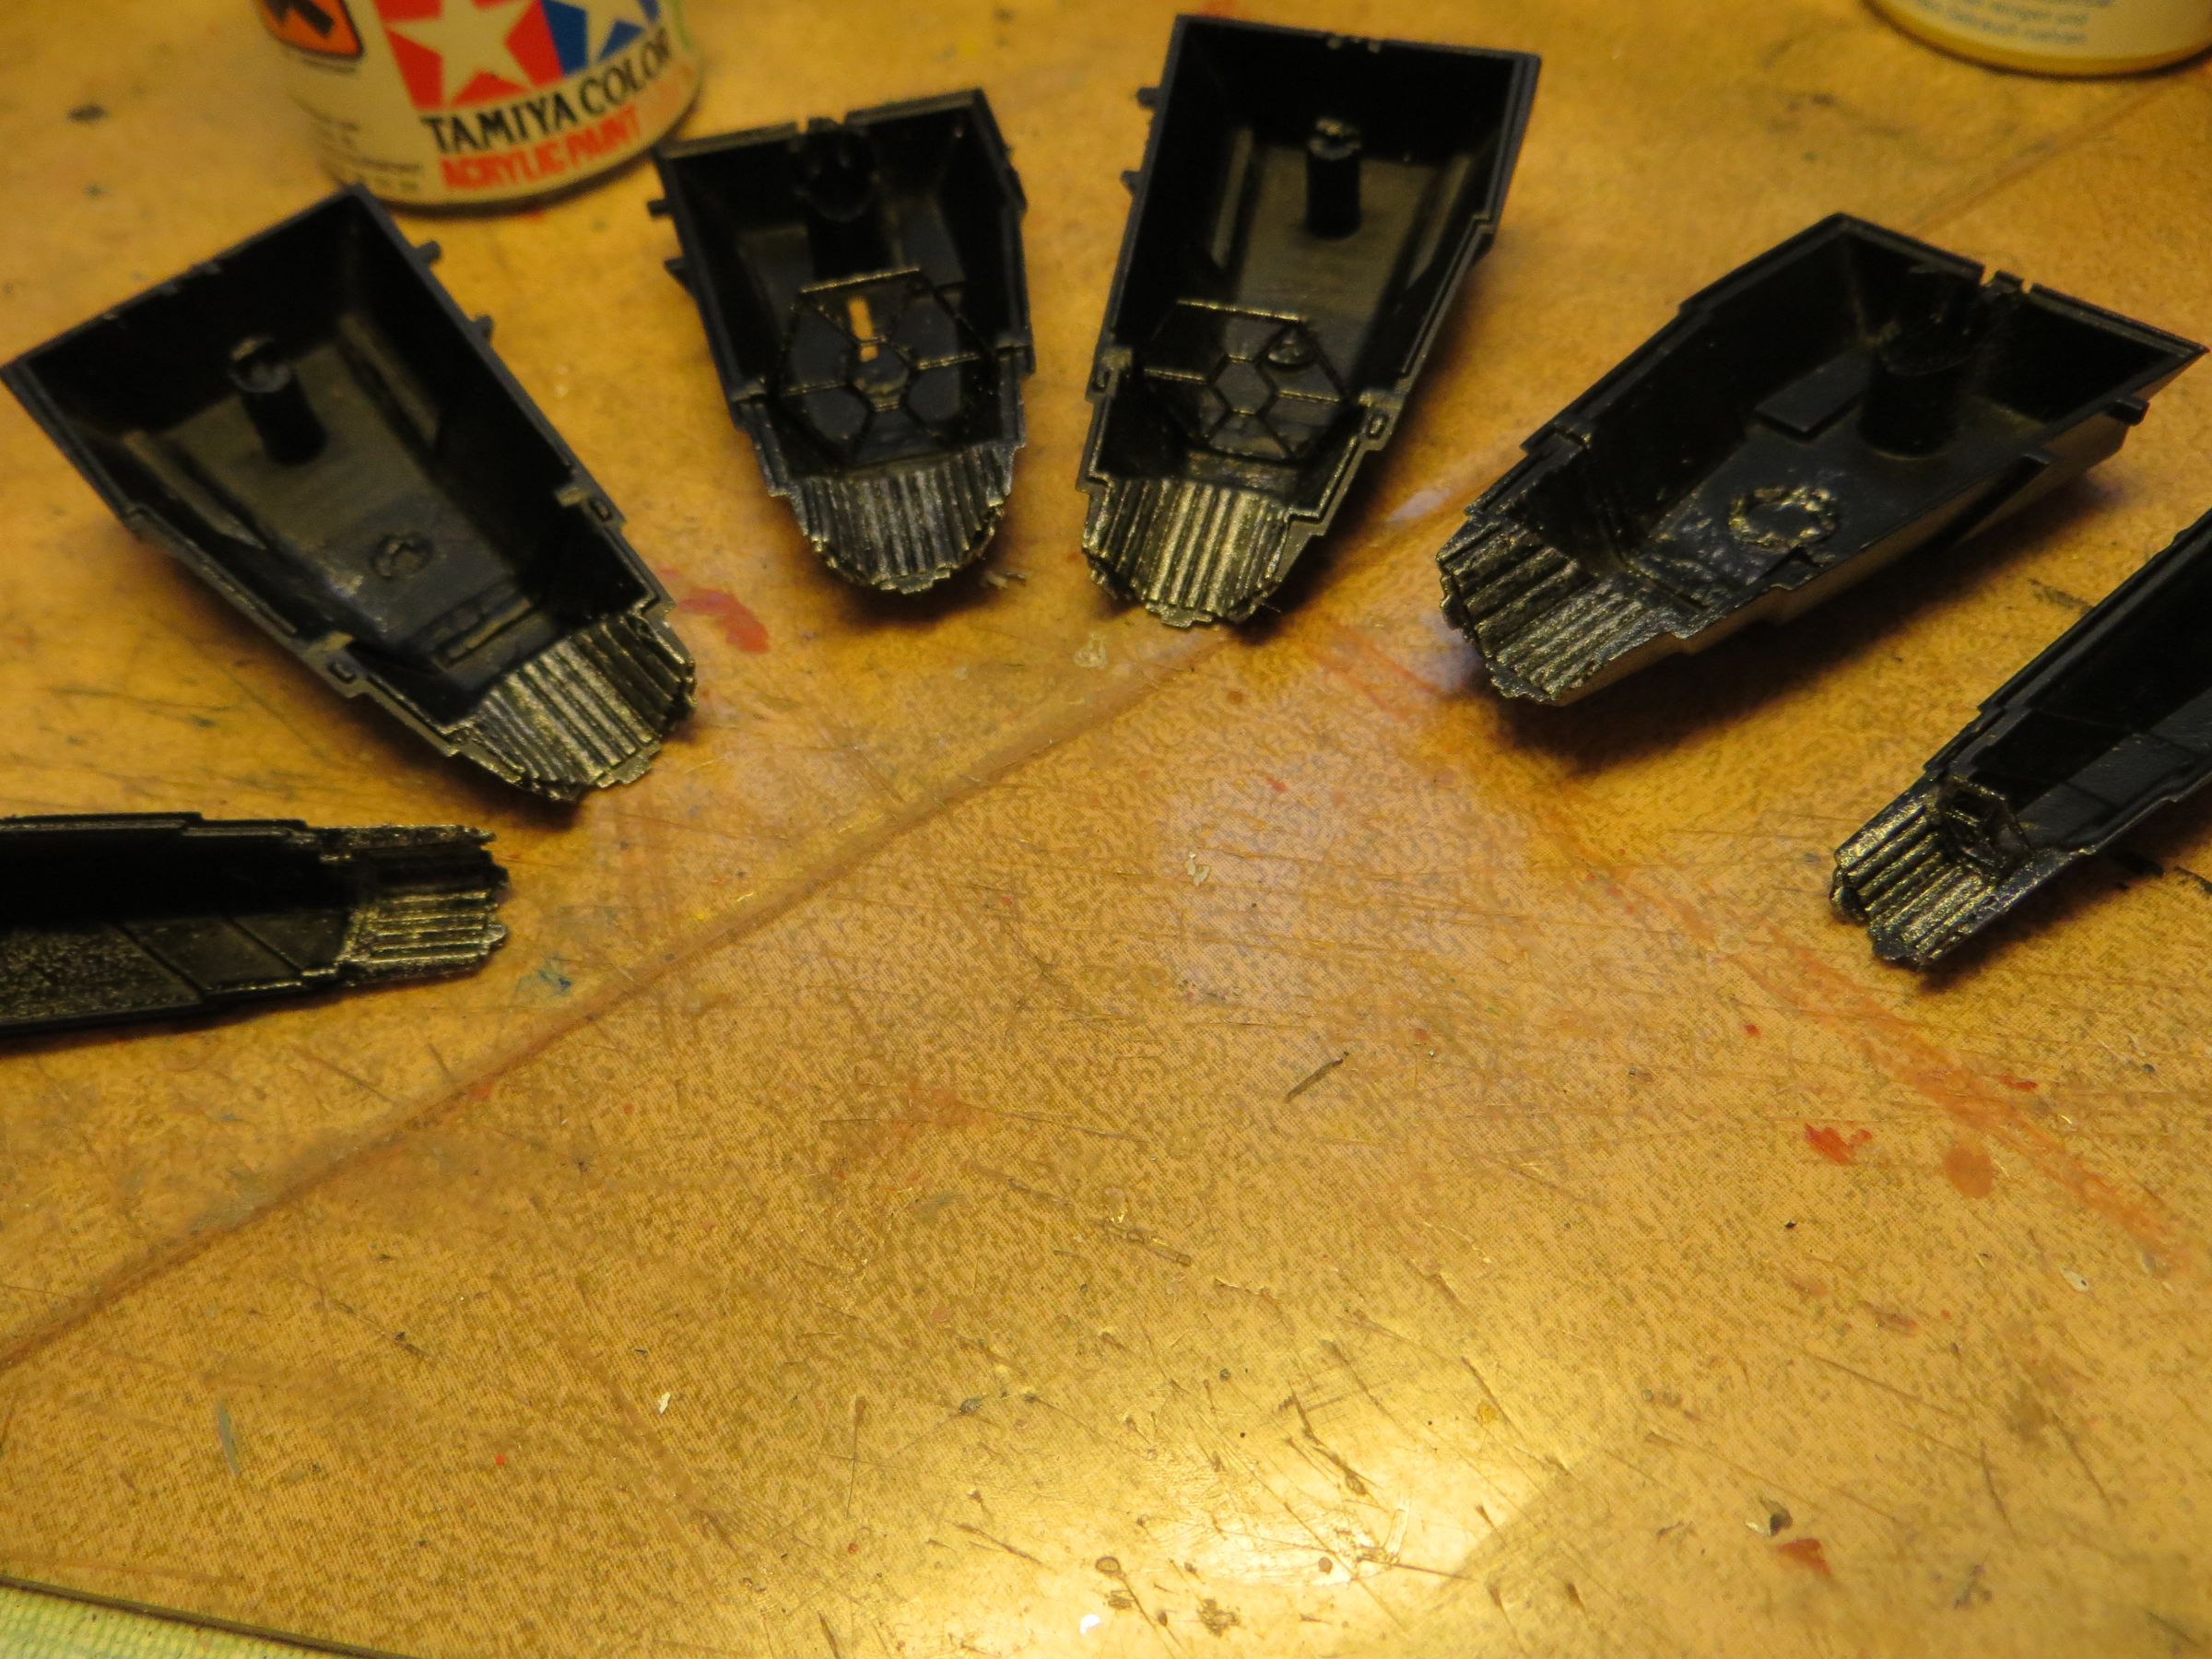
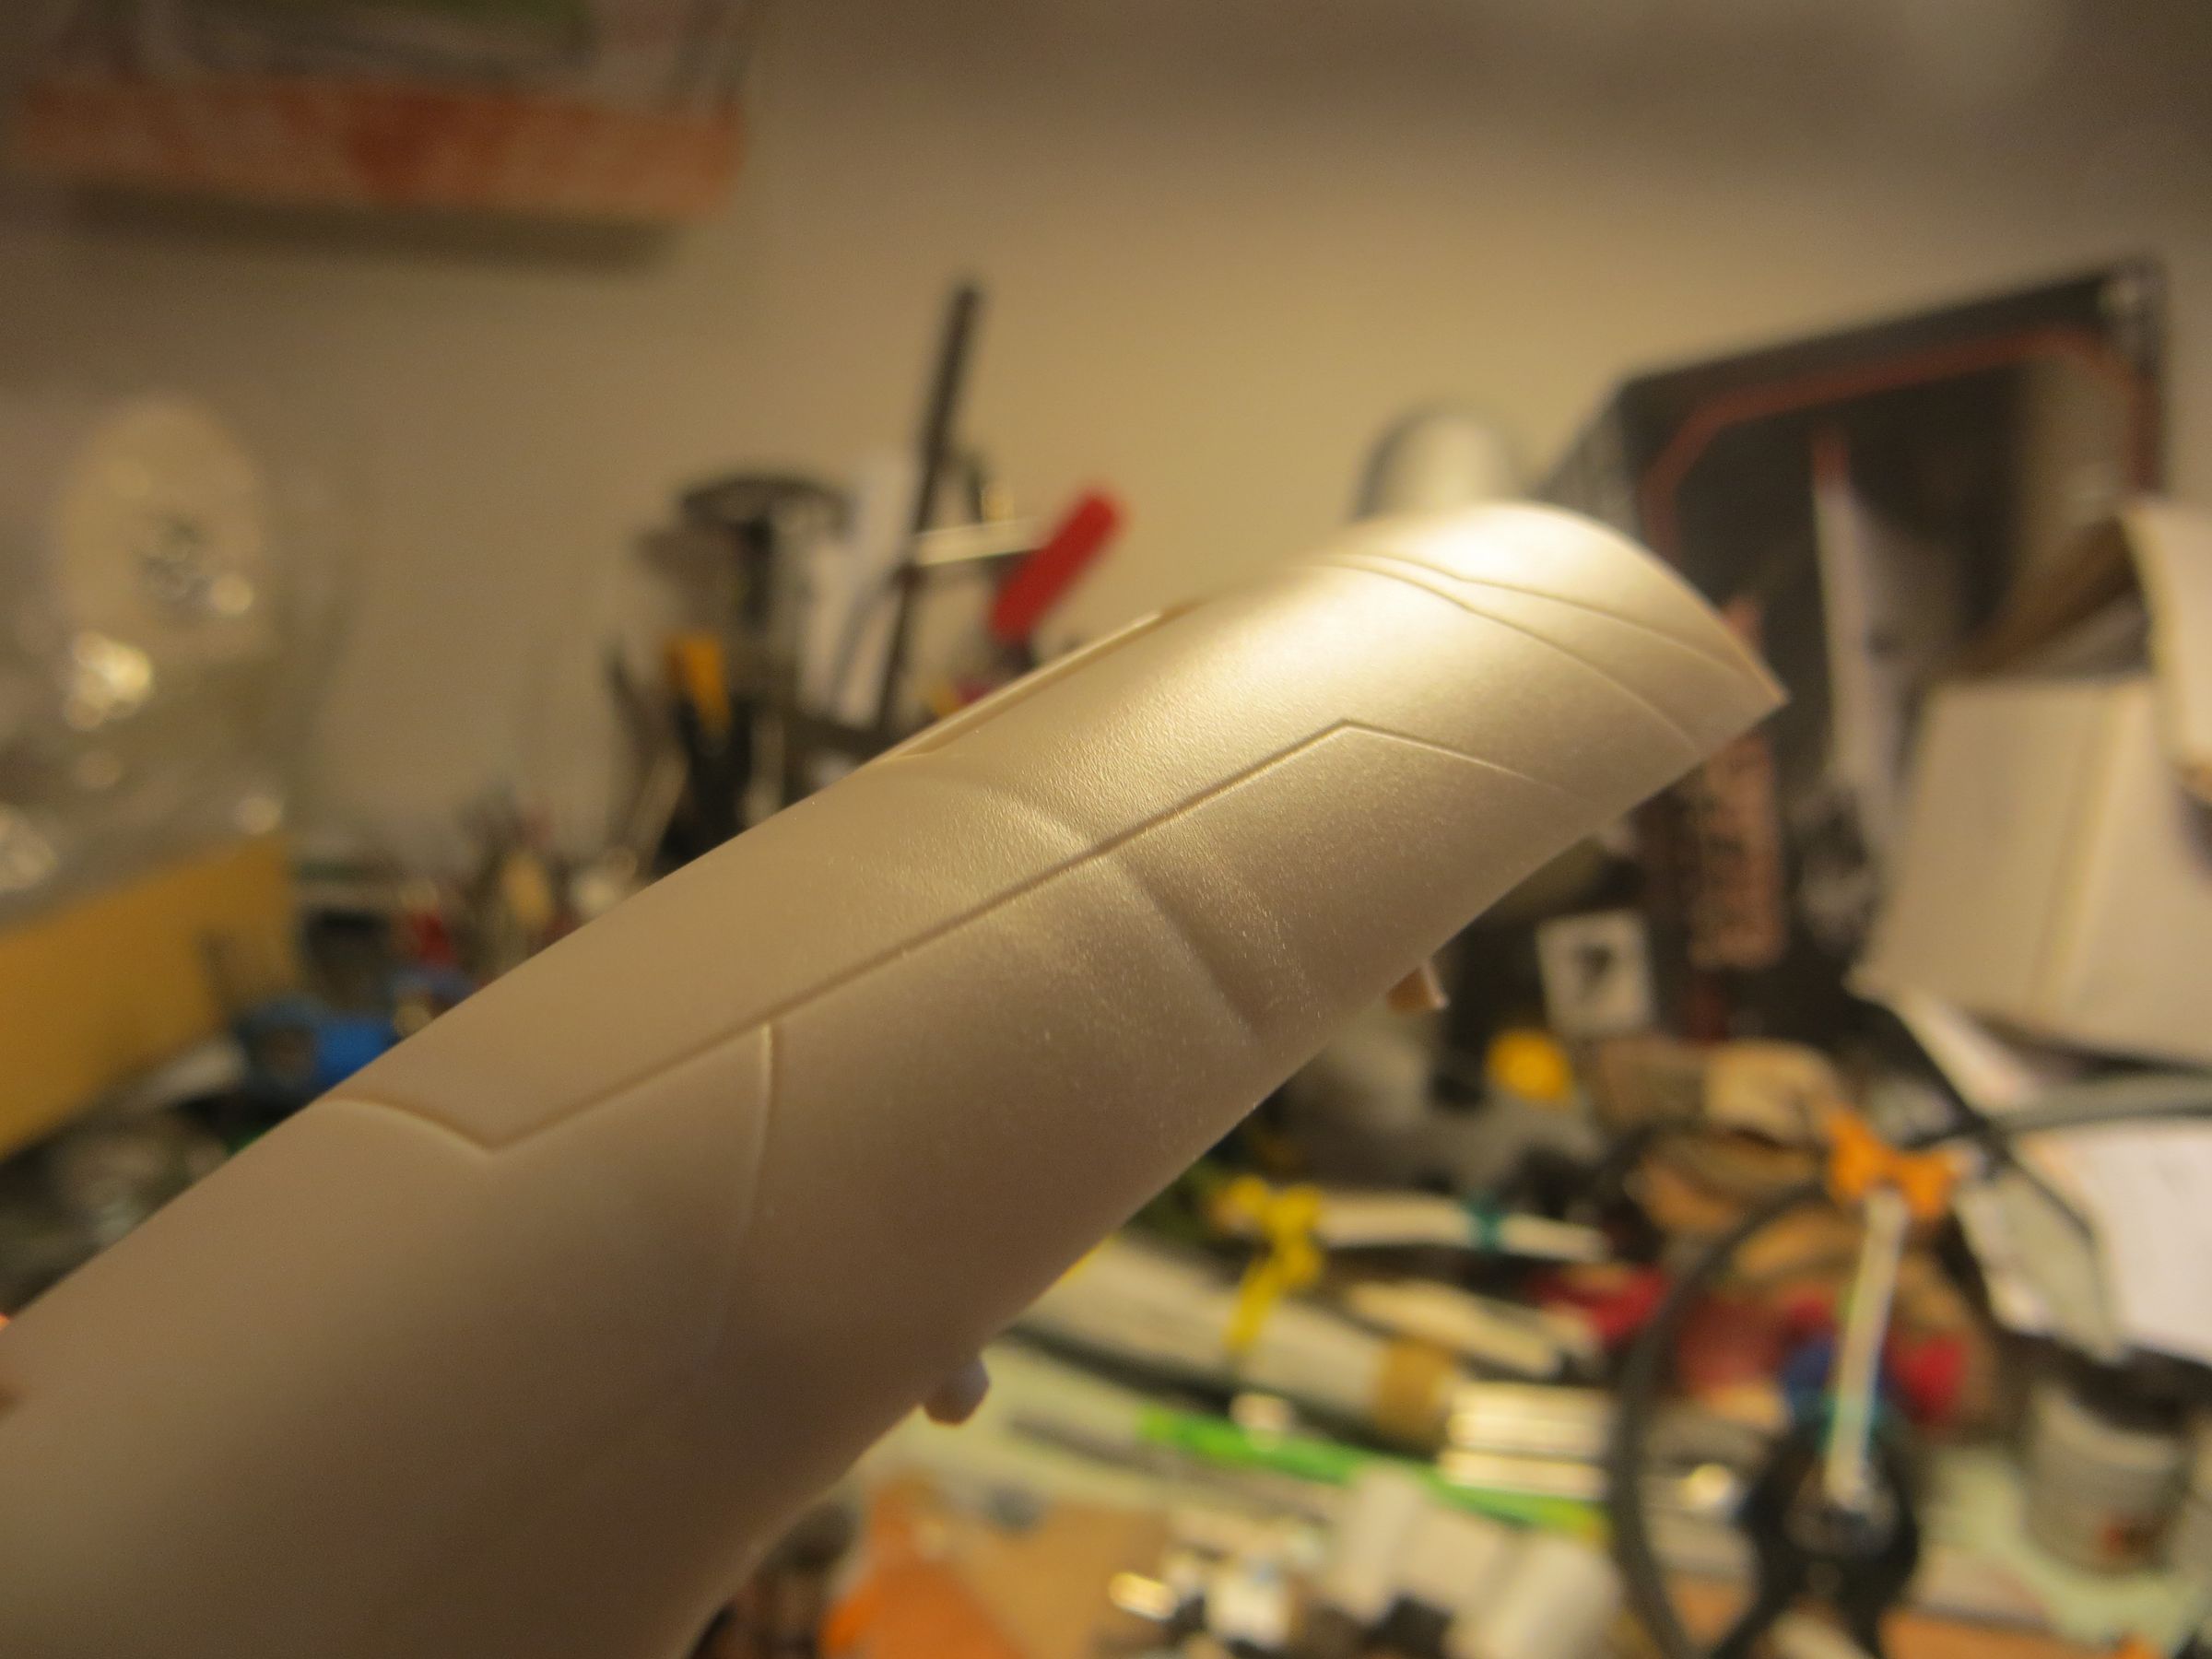
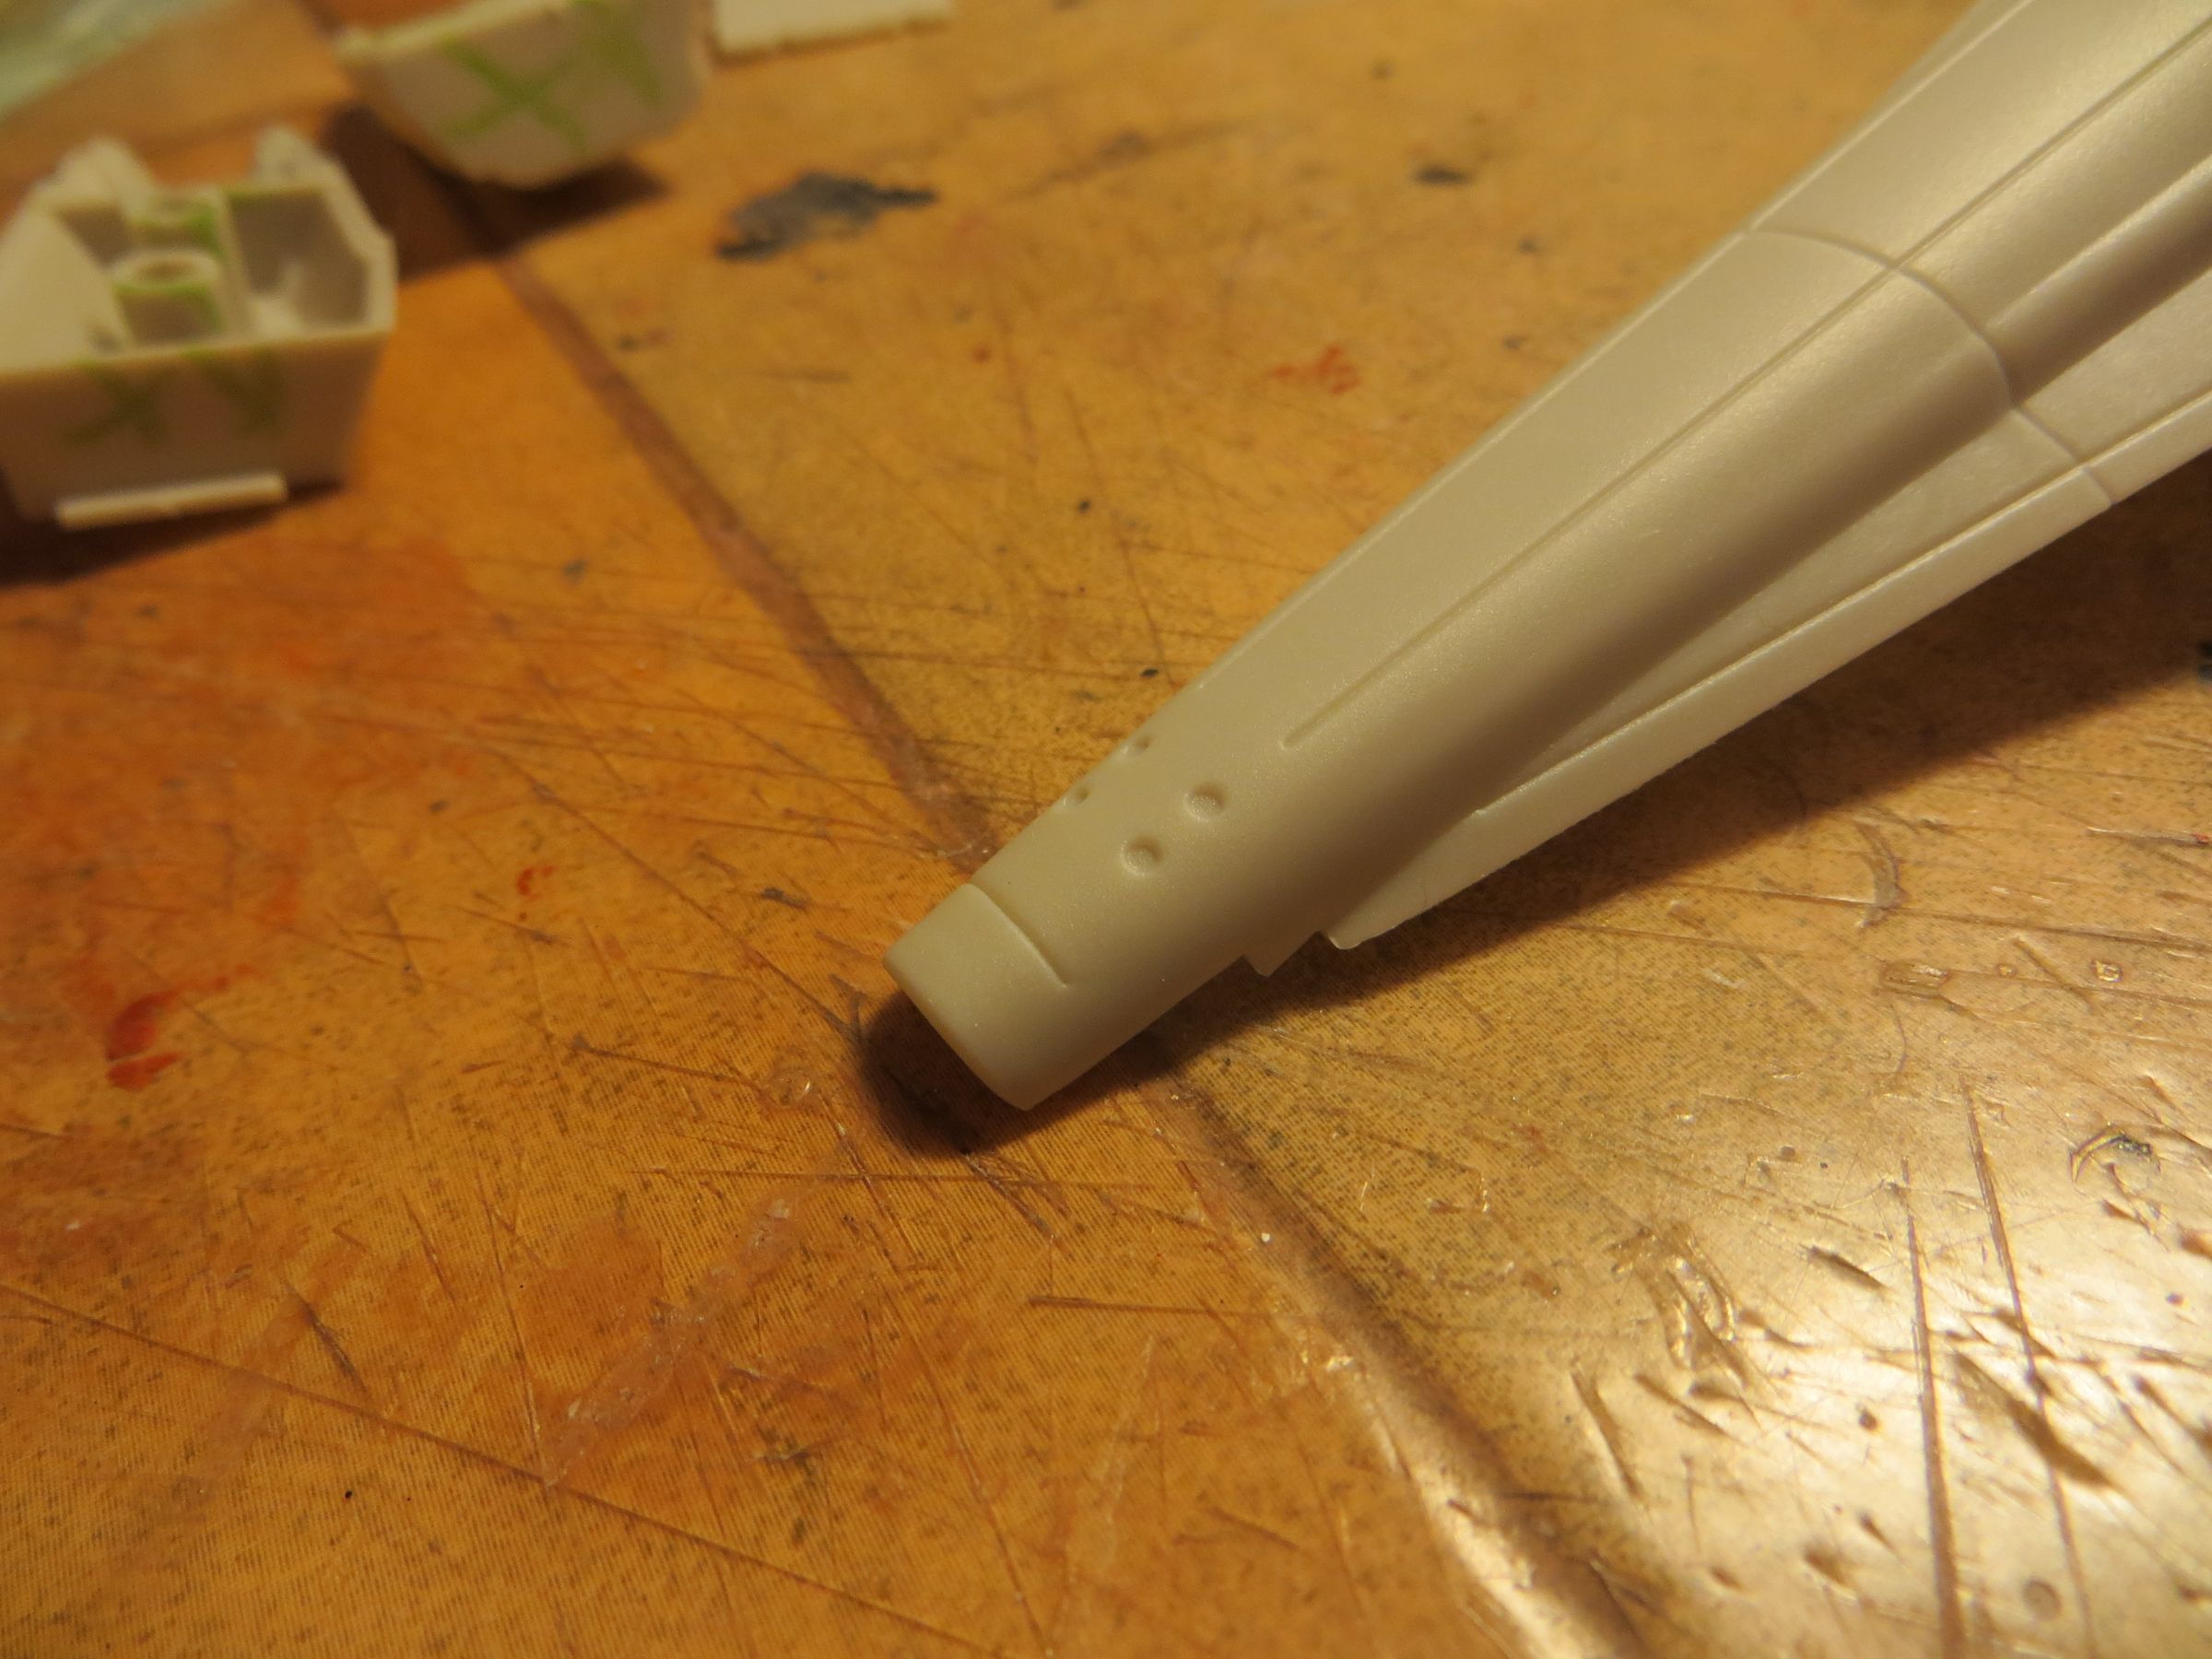
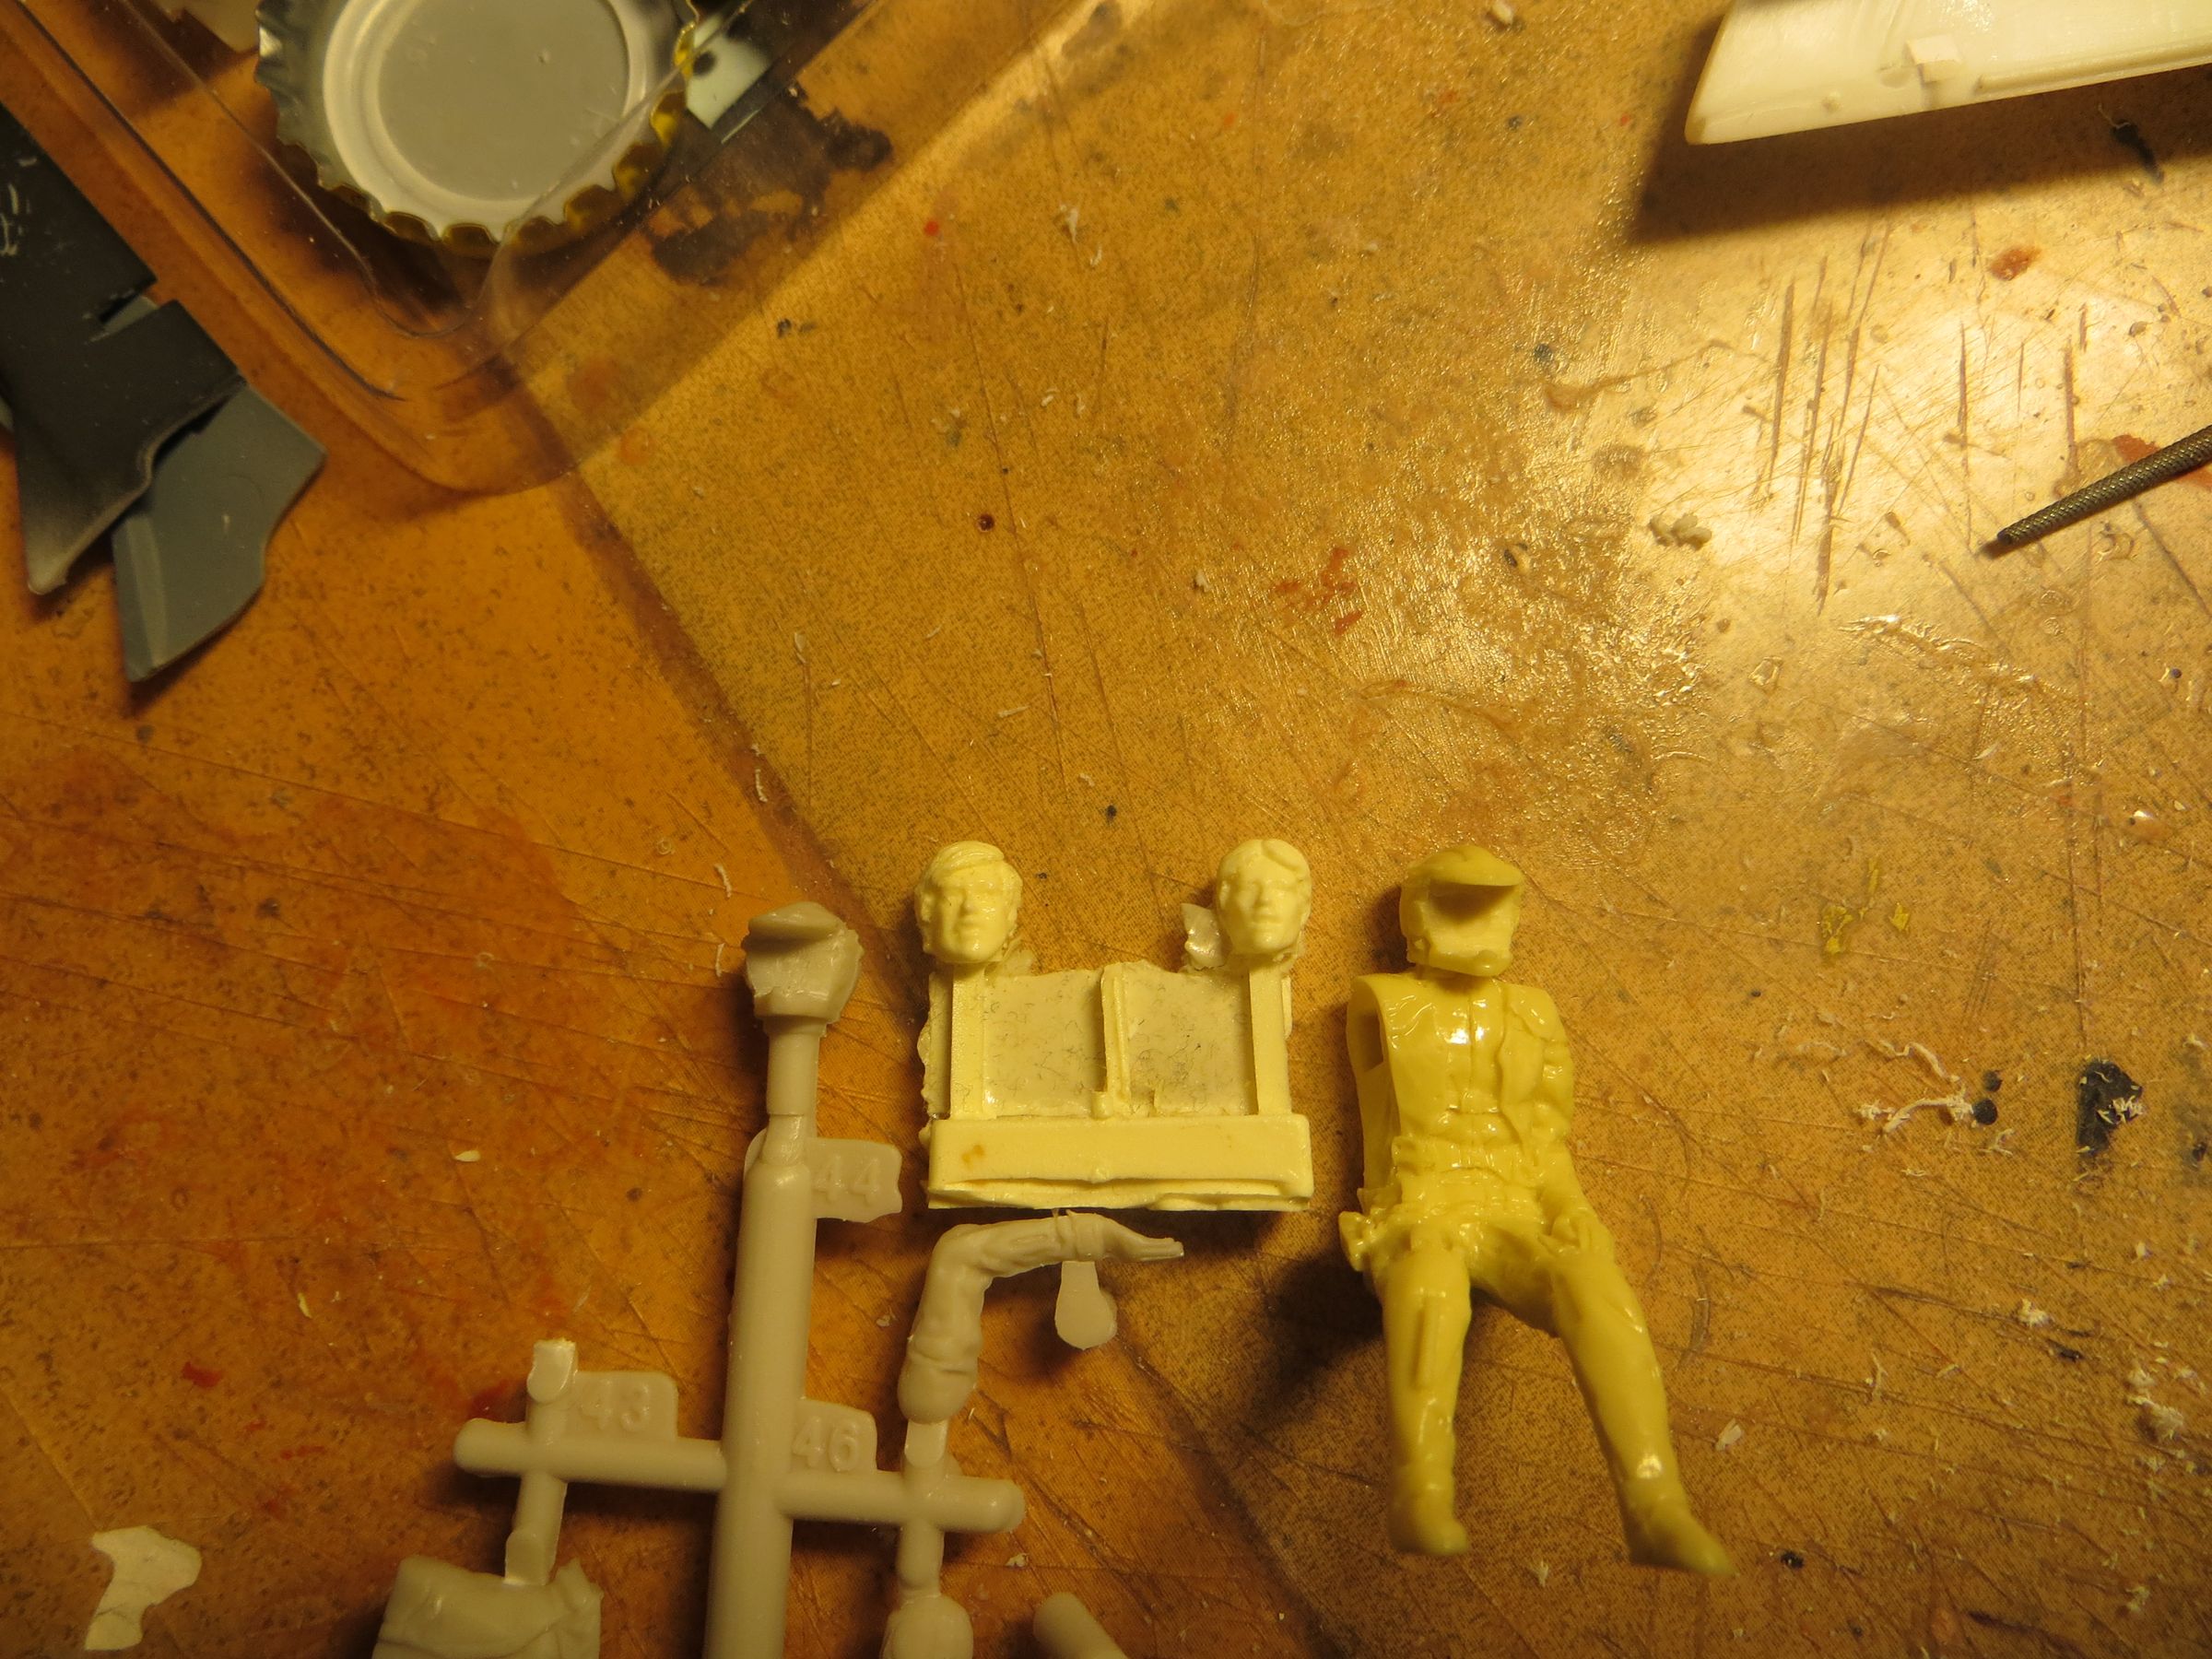
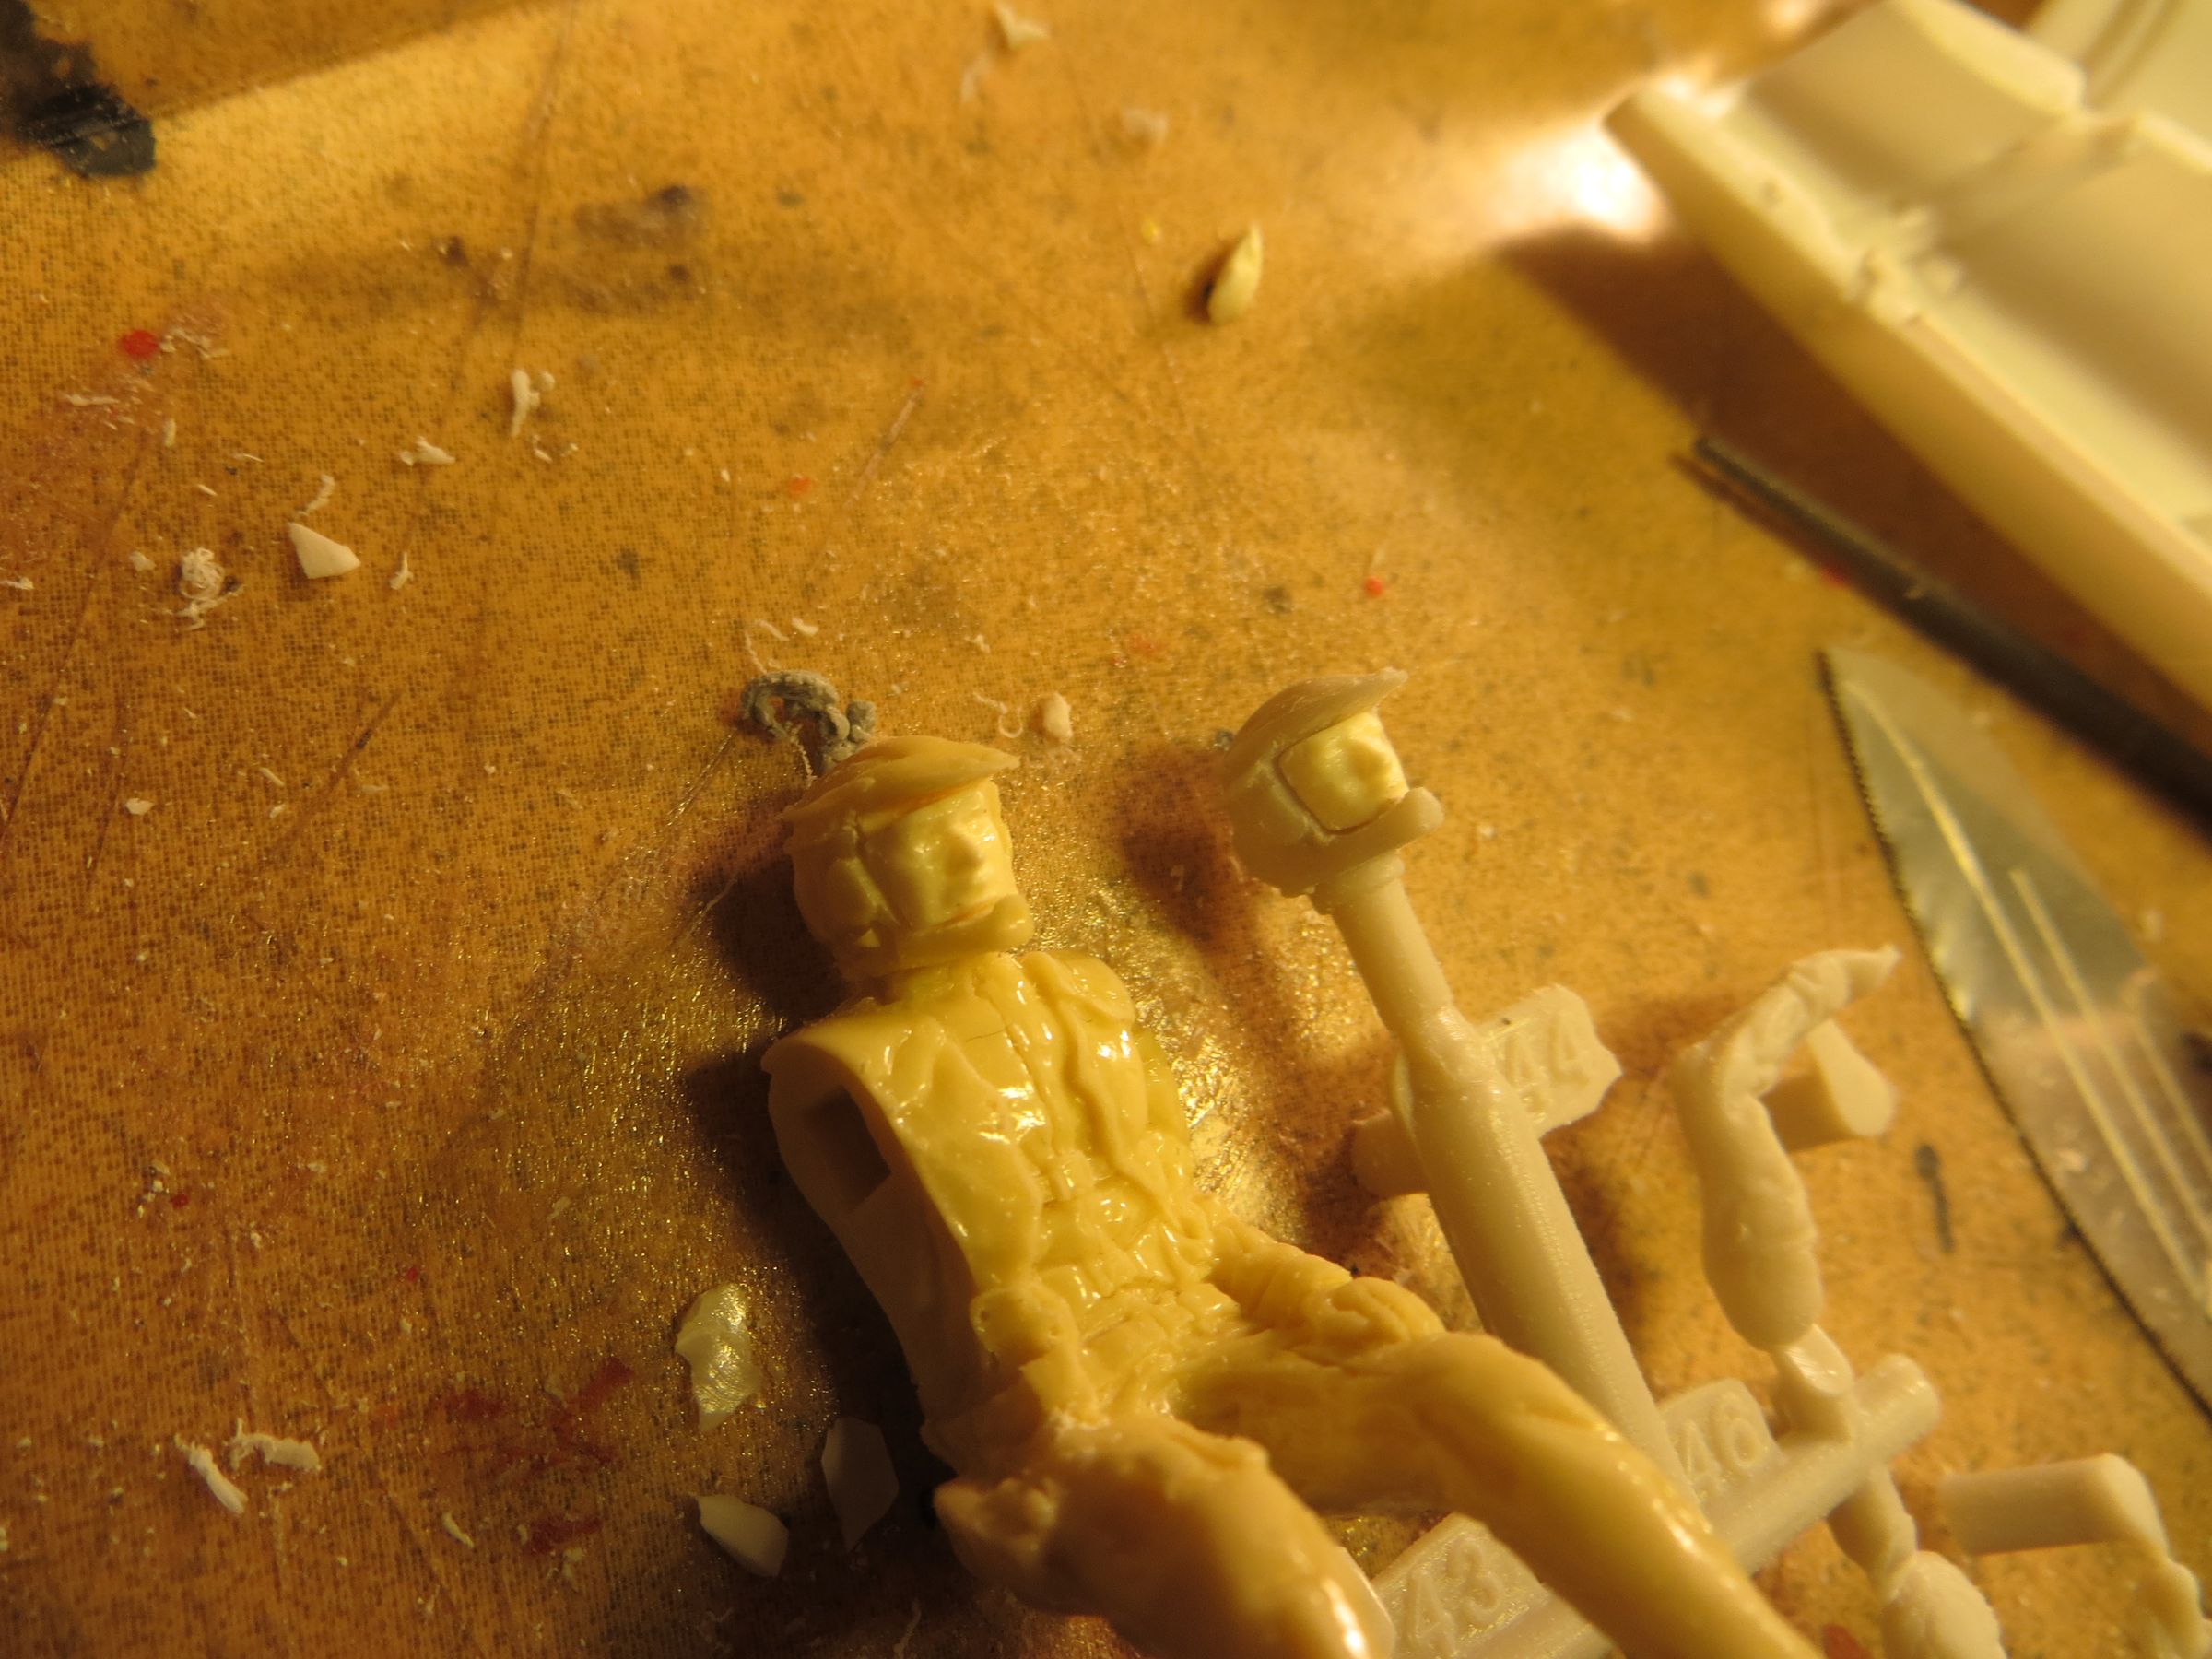
The pilot arm is modified to adapt to the resin body of pilot. The seam is filled with plastic putty.