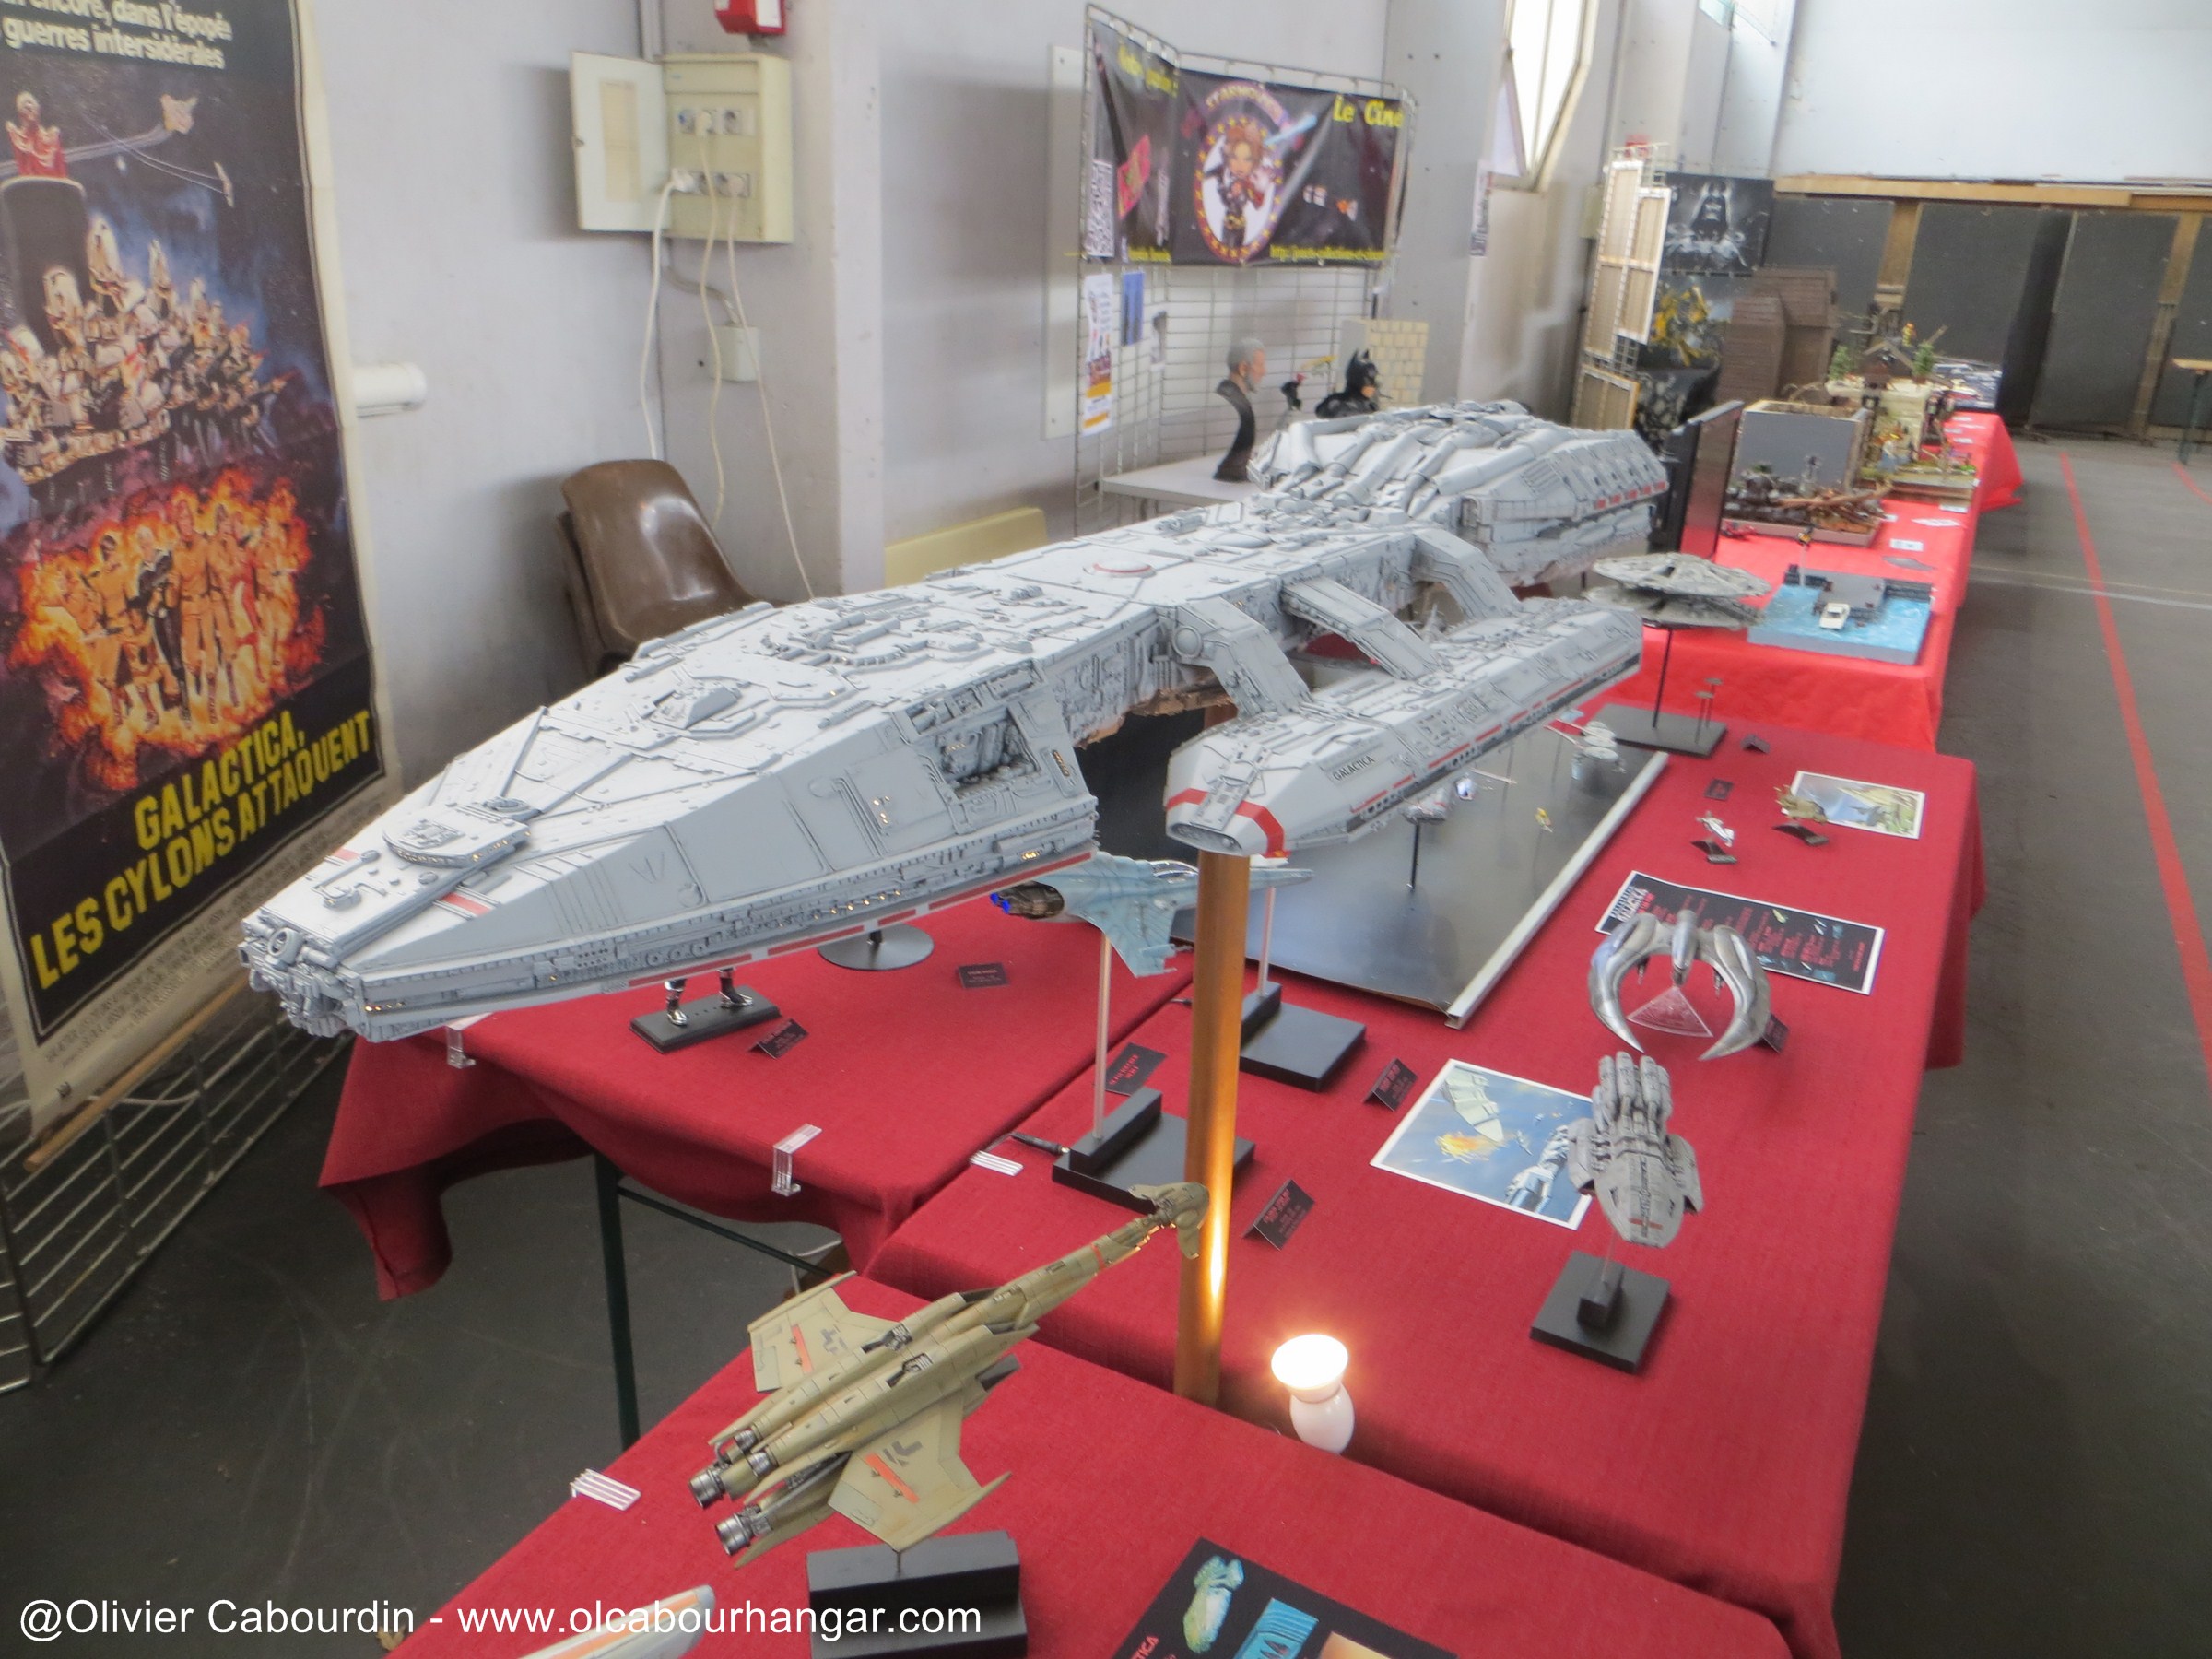
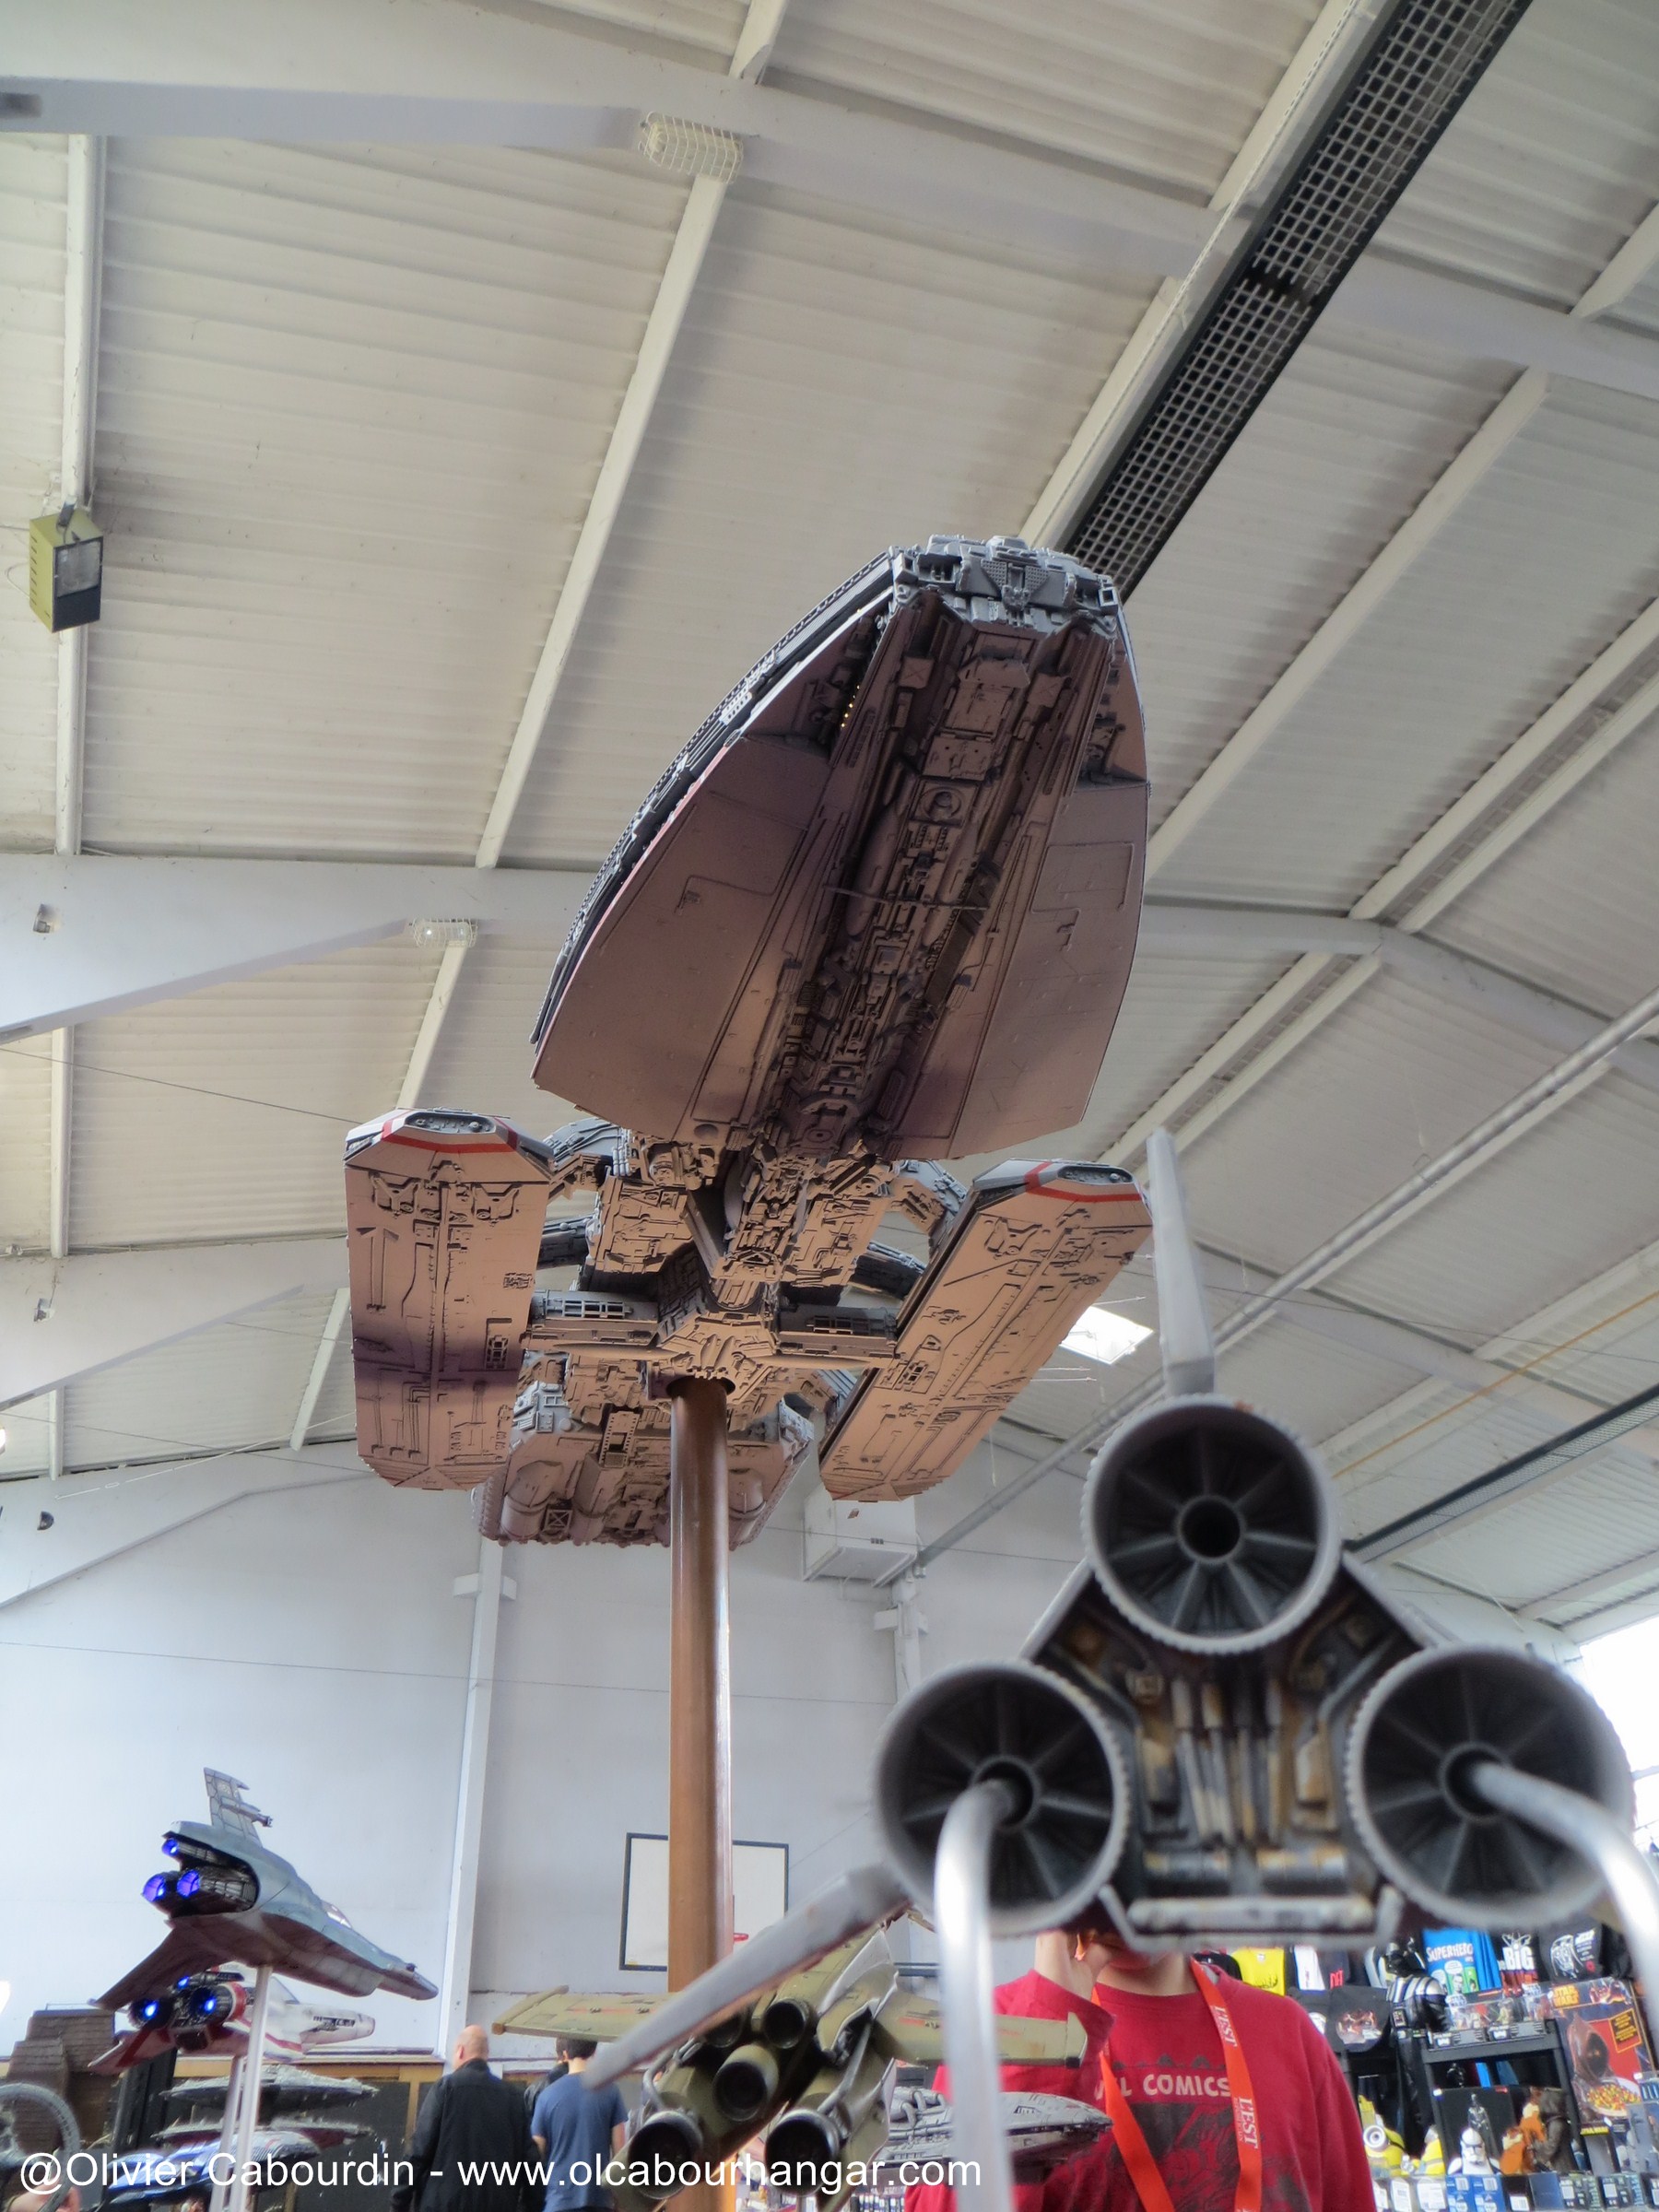
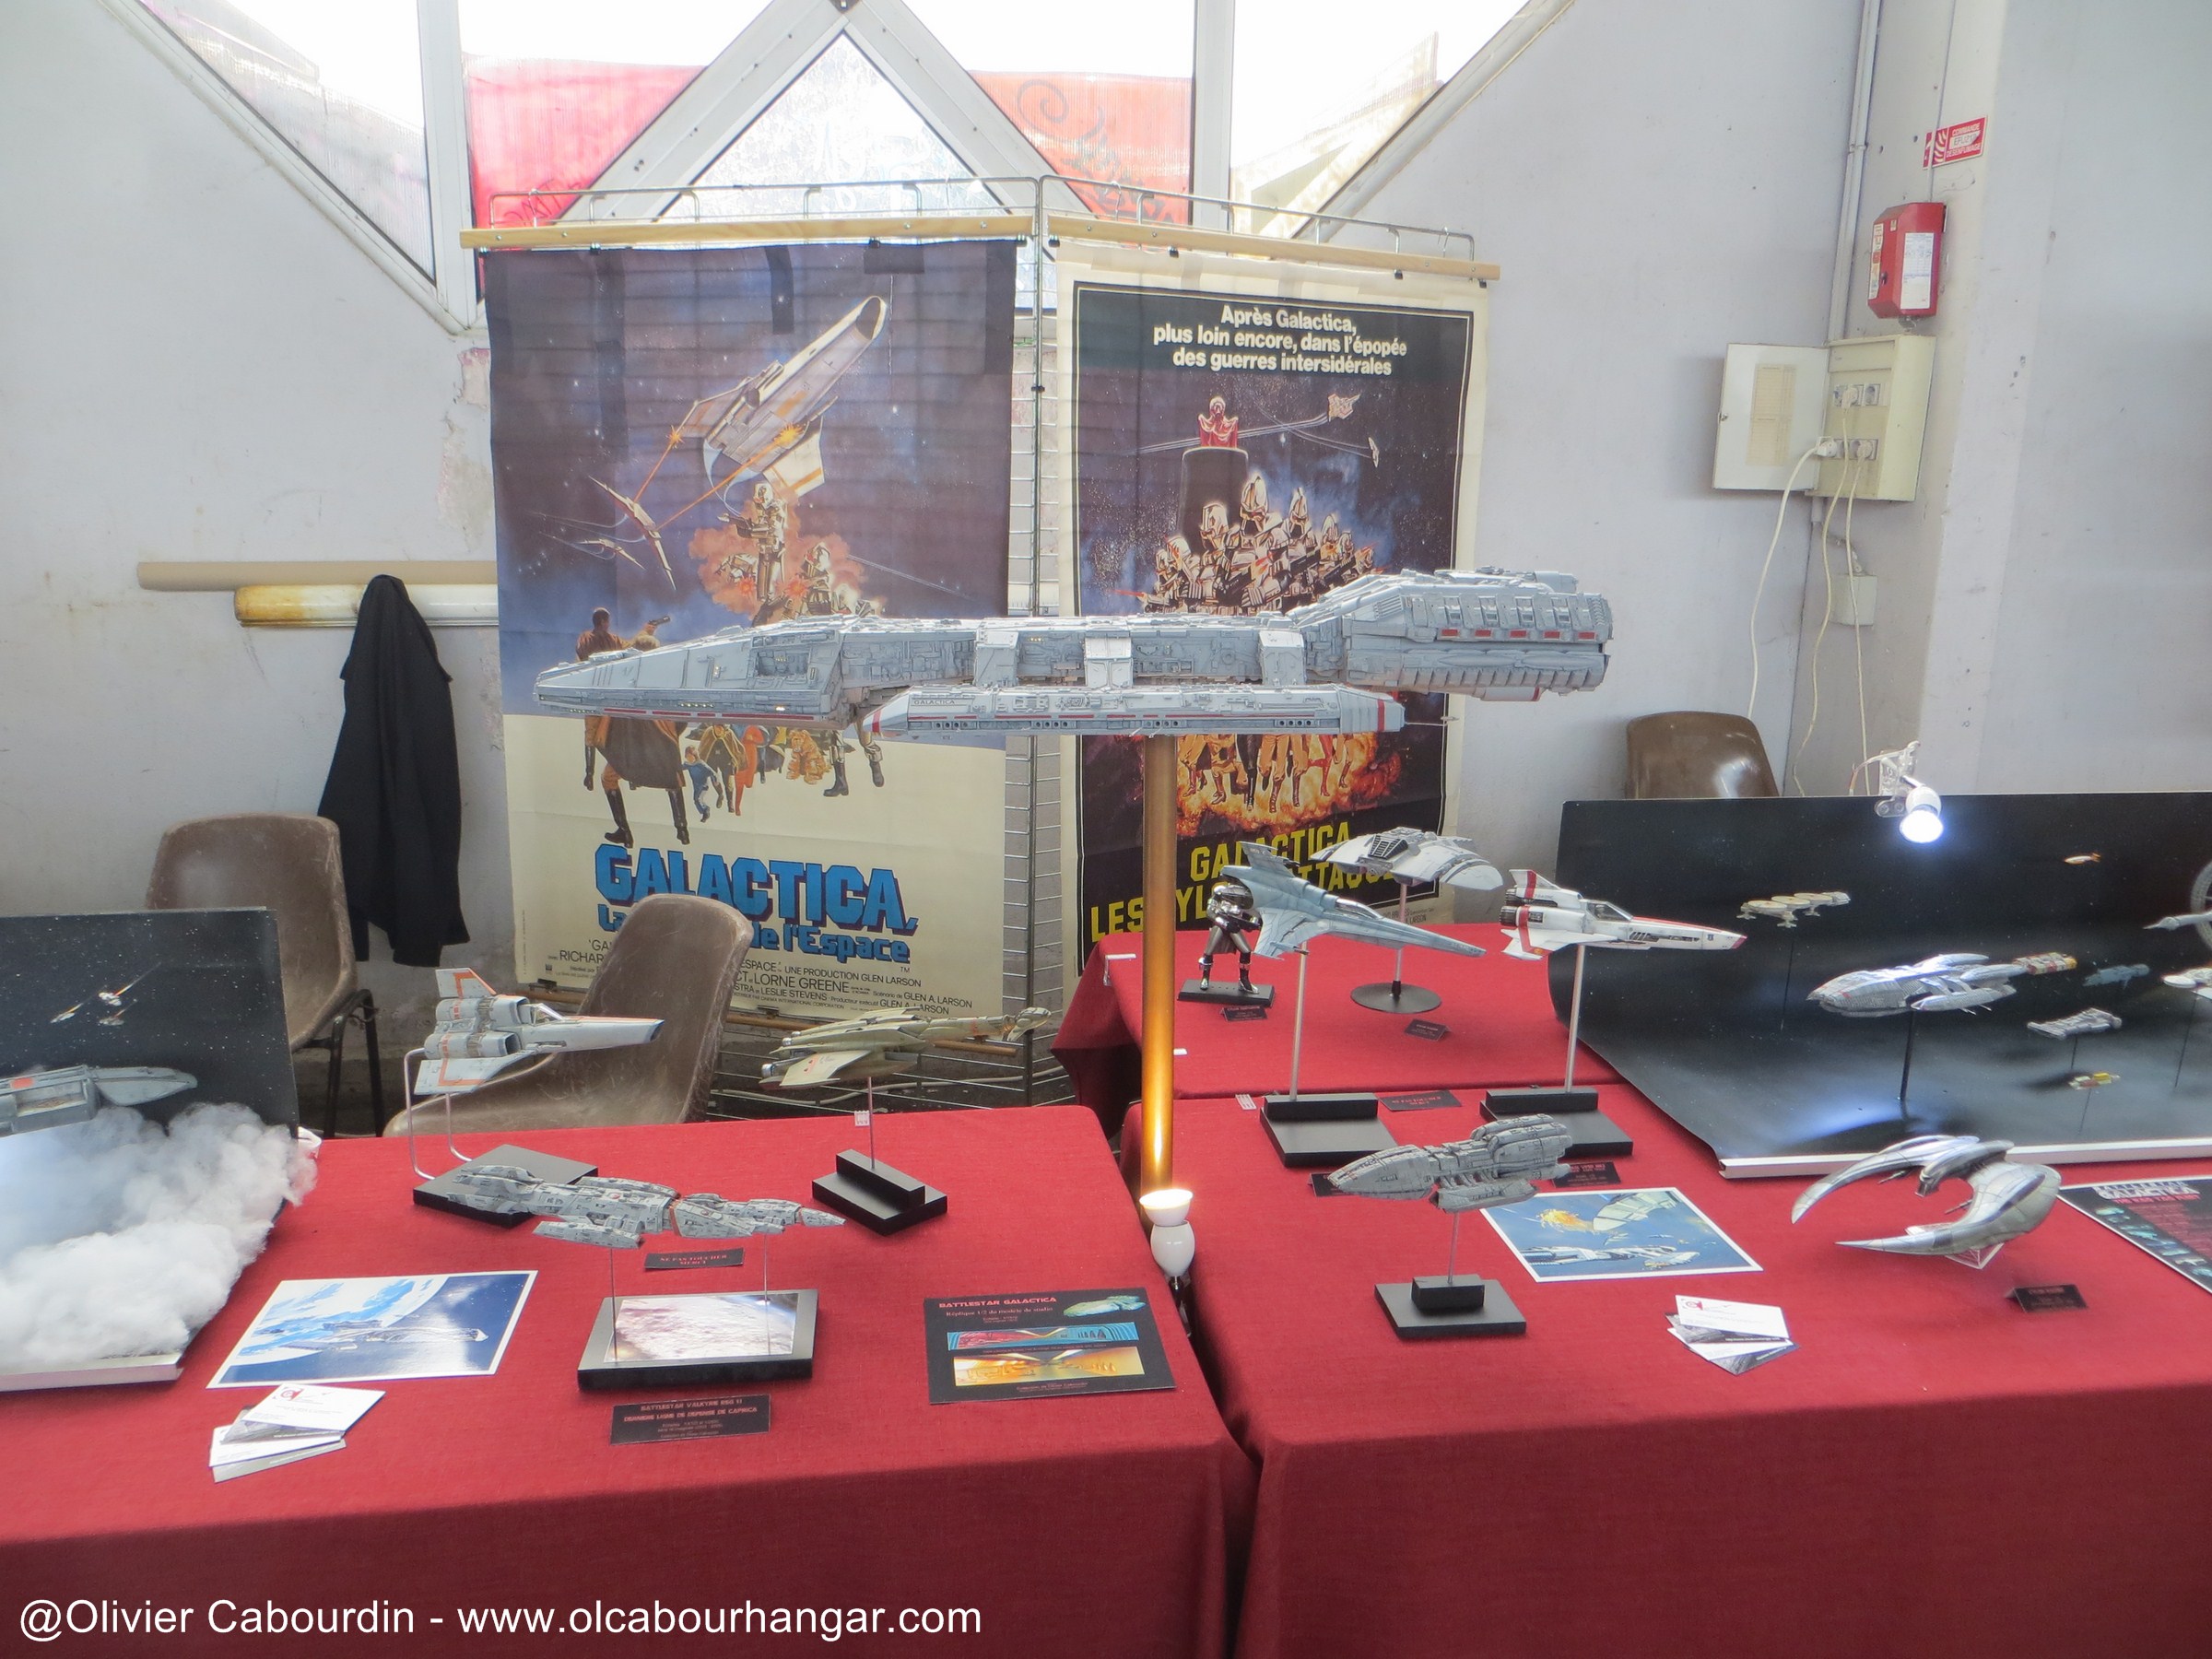
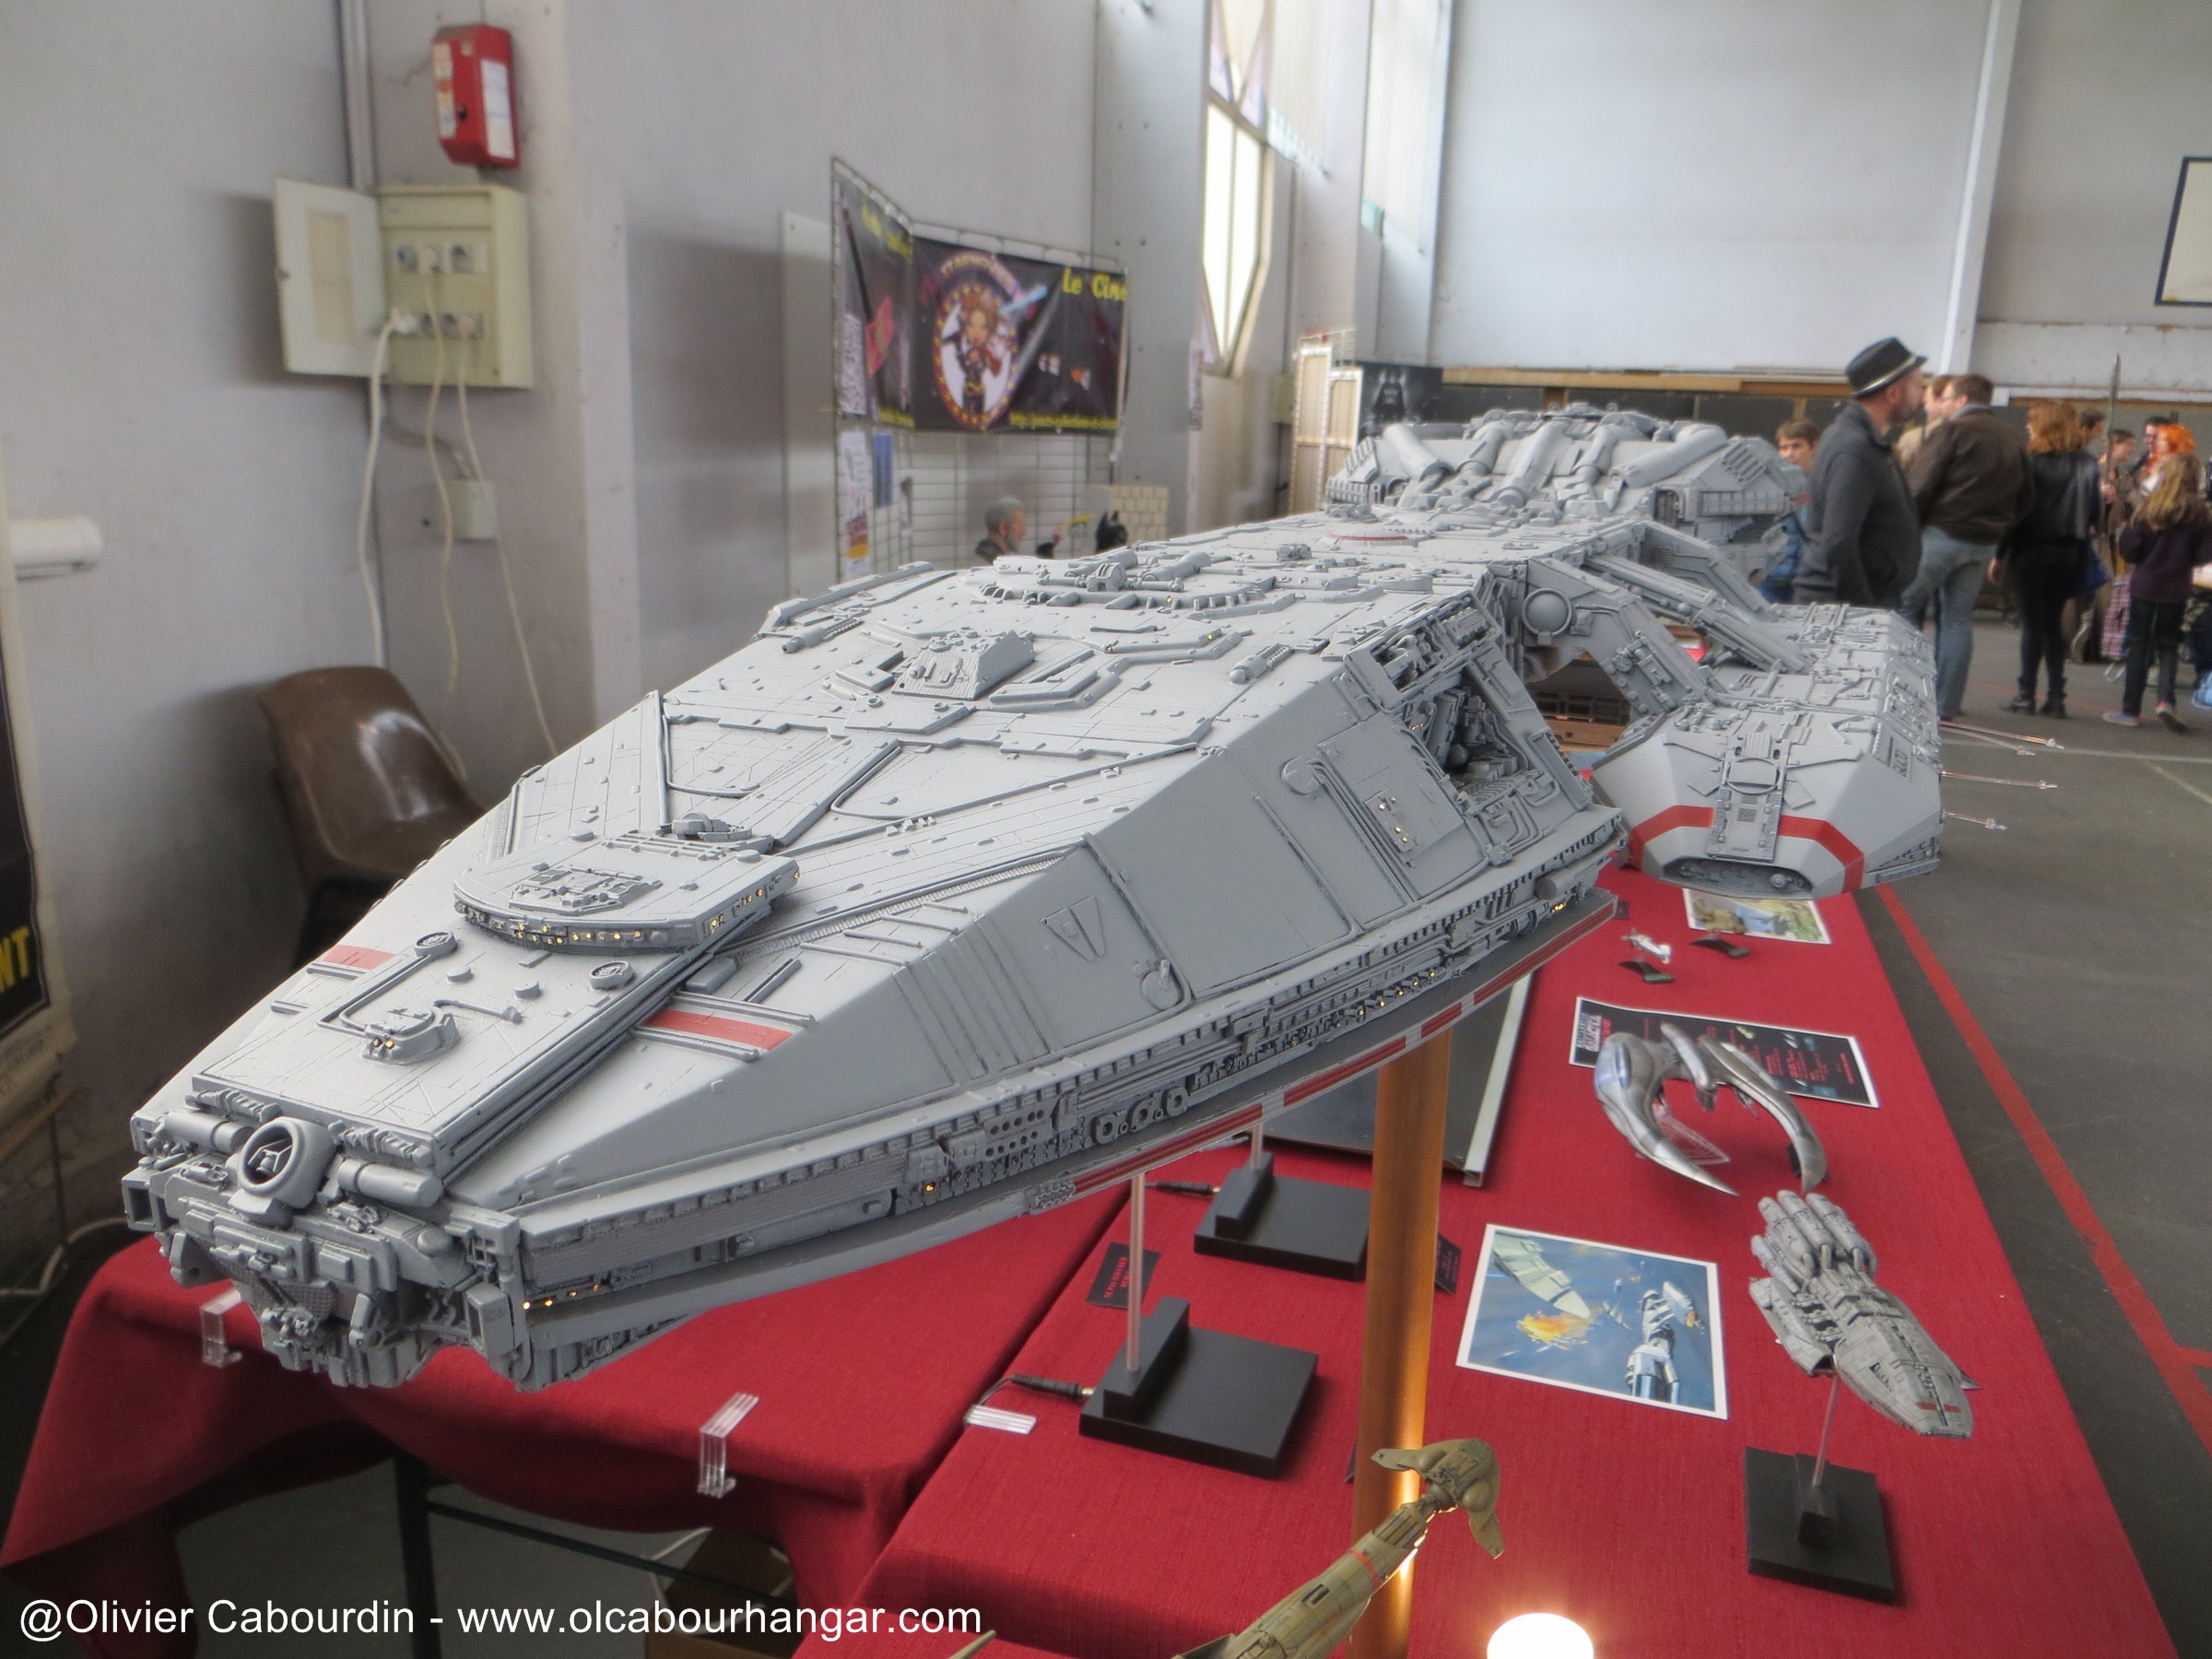
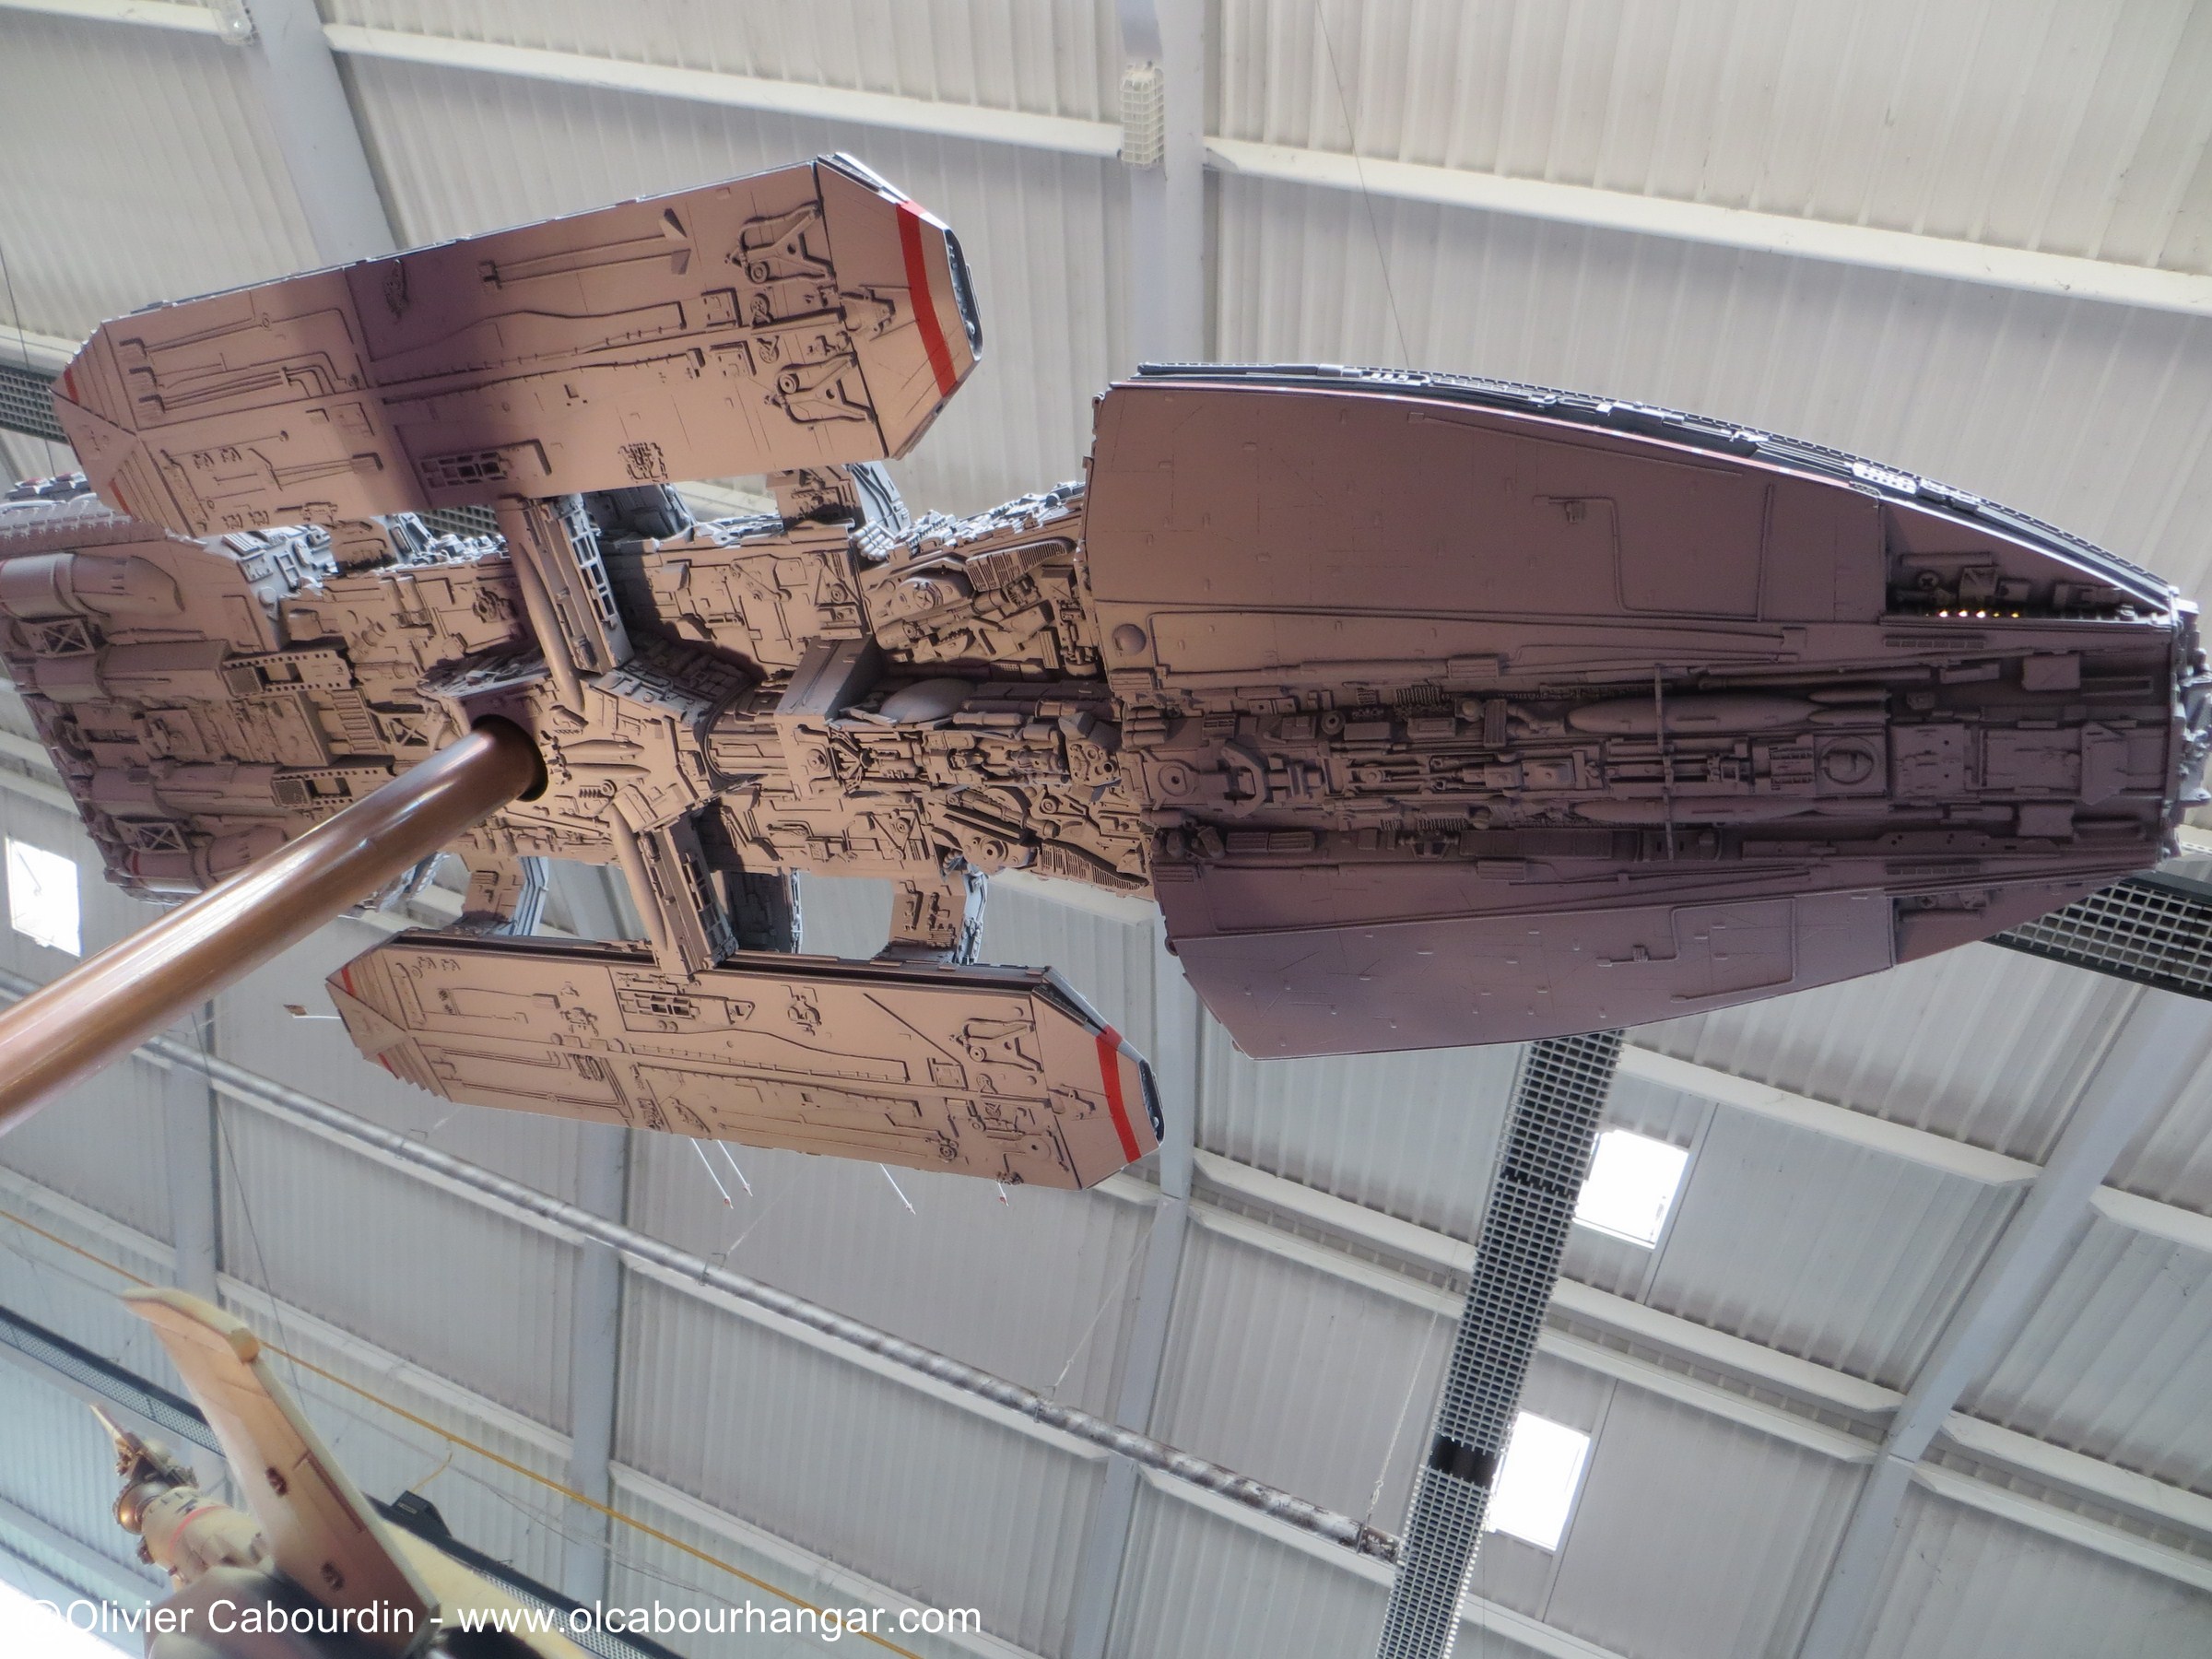
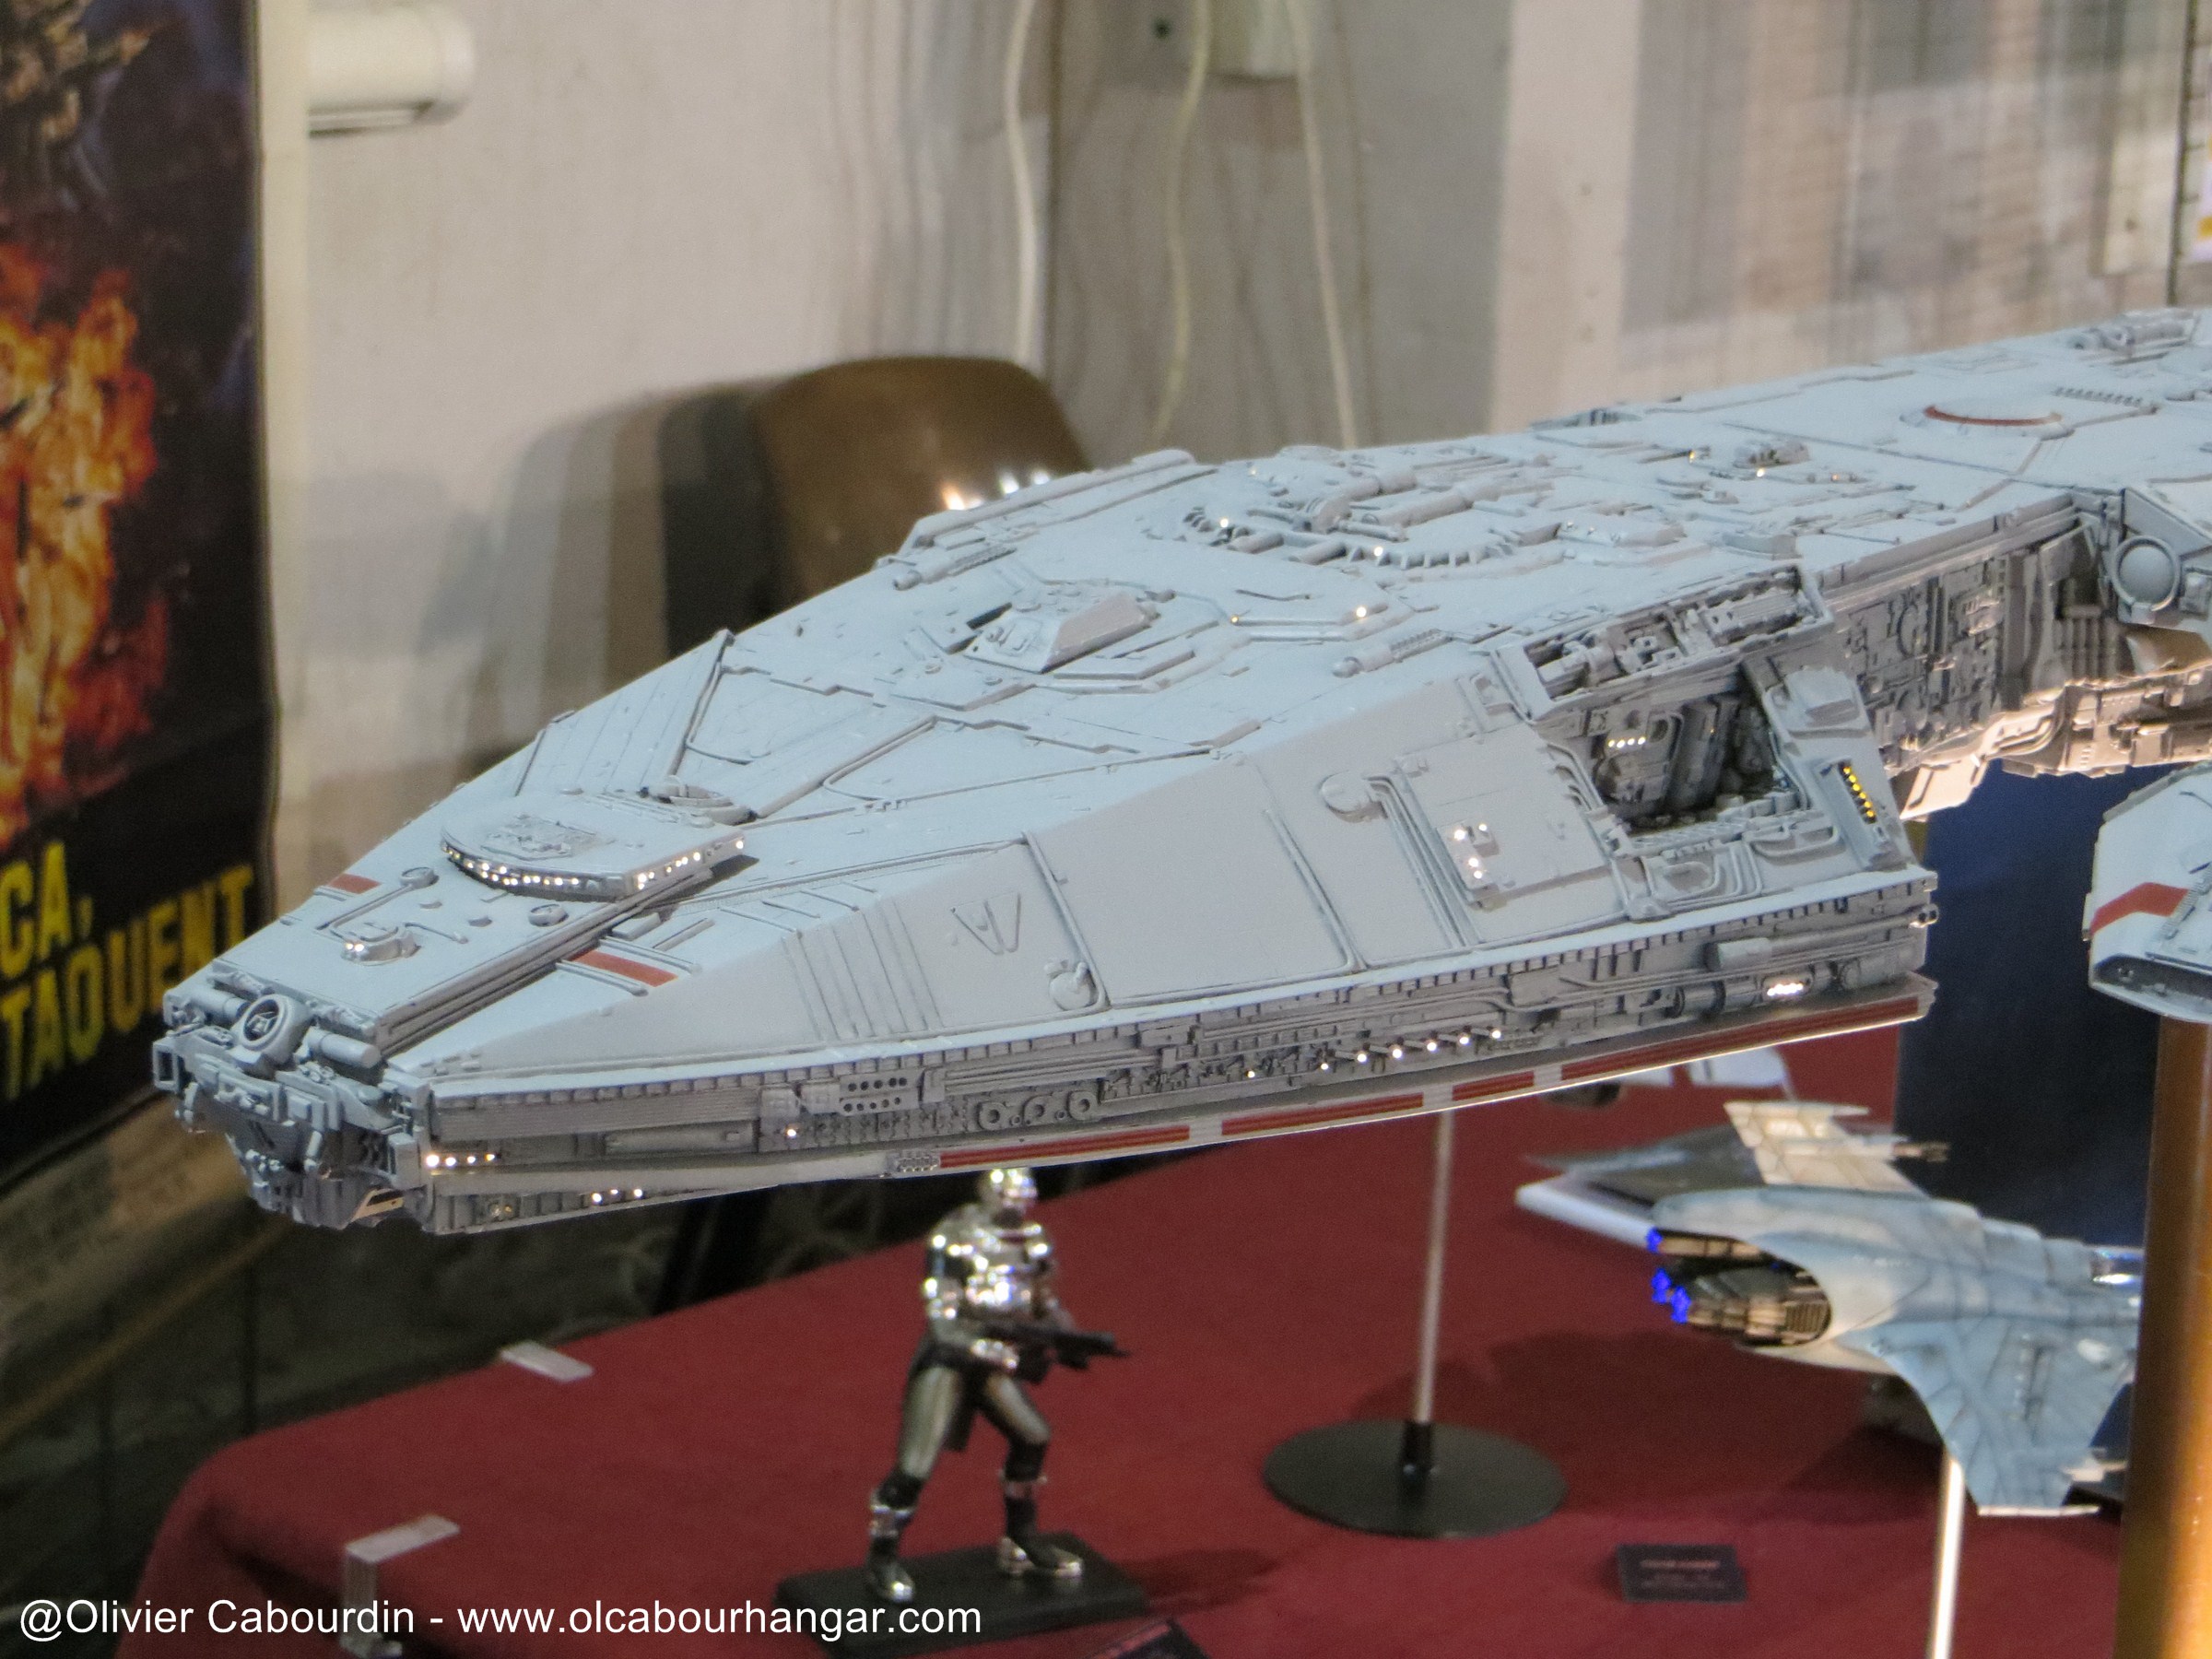
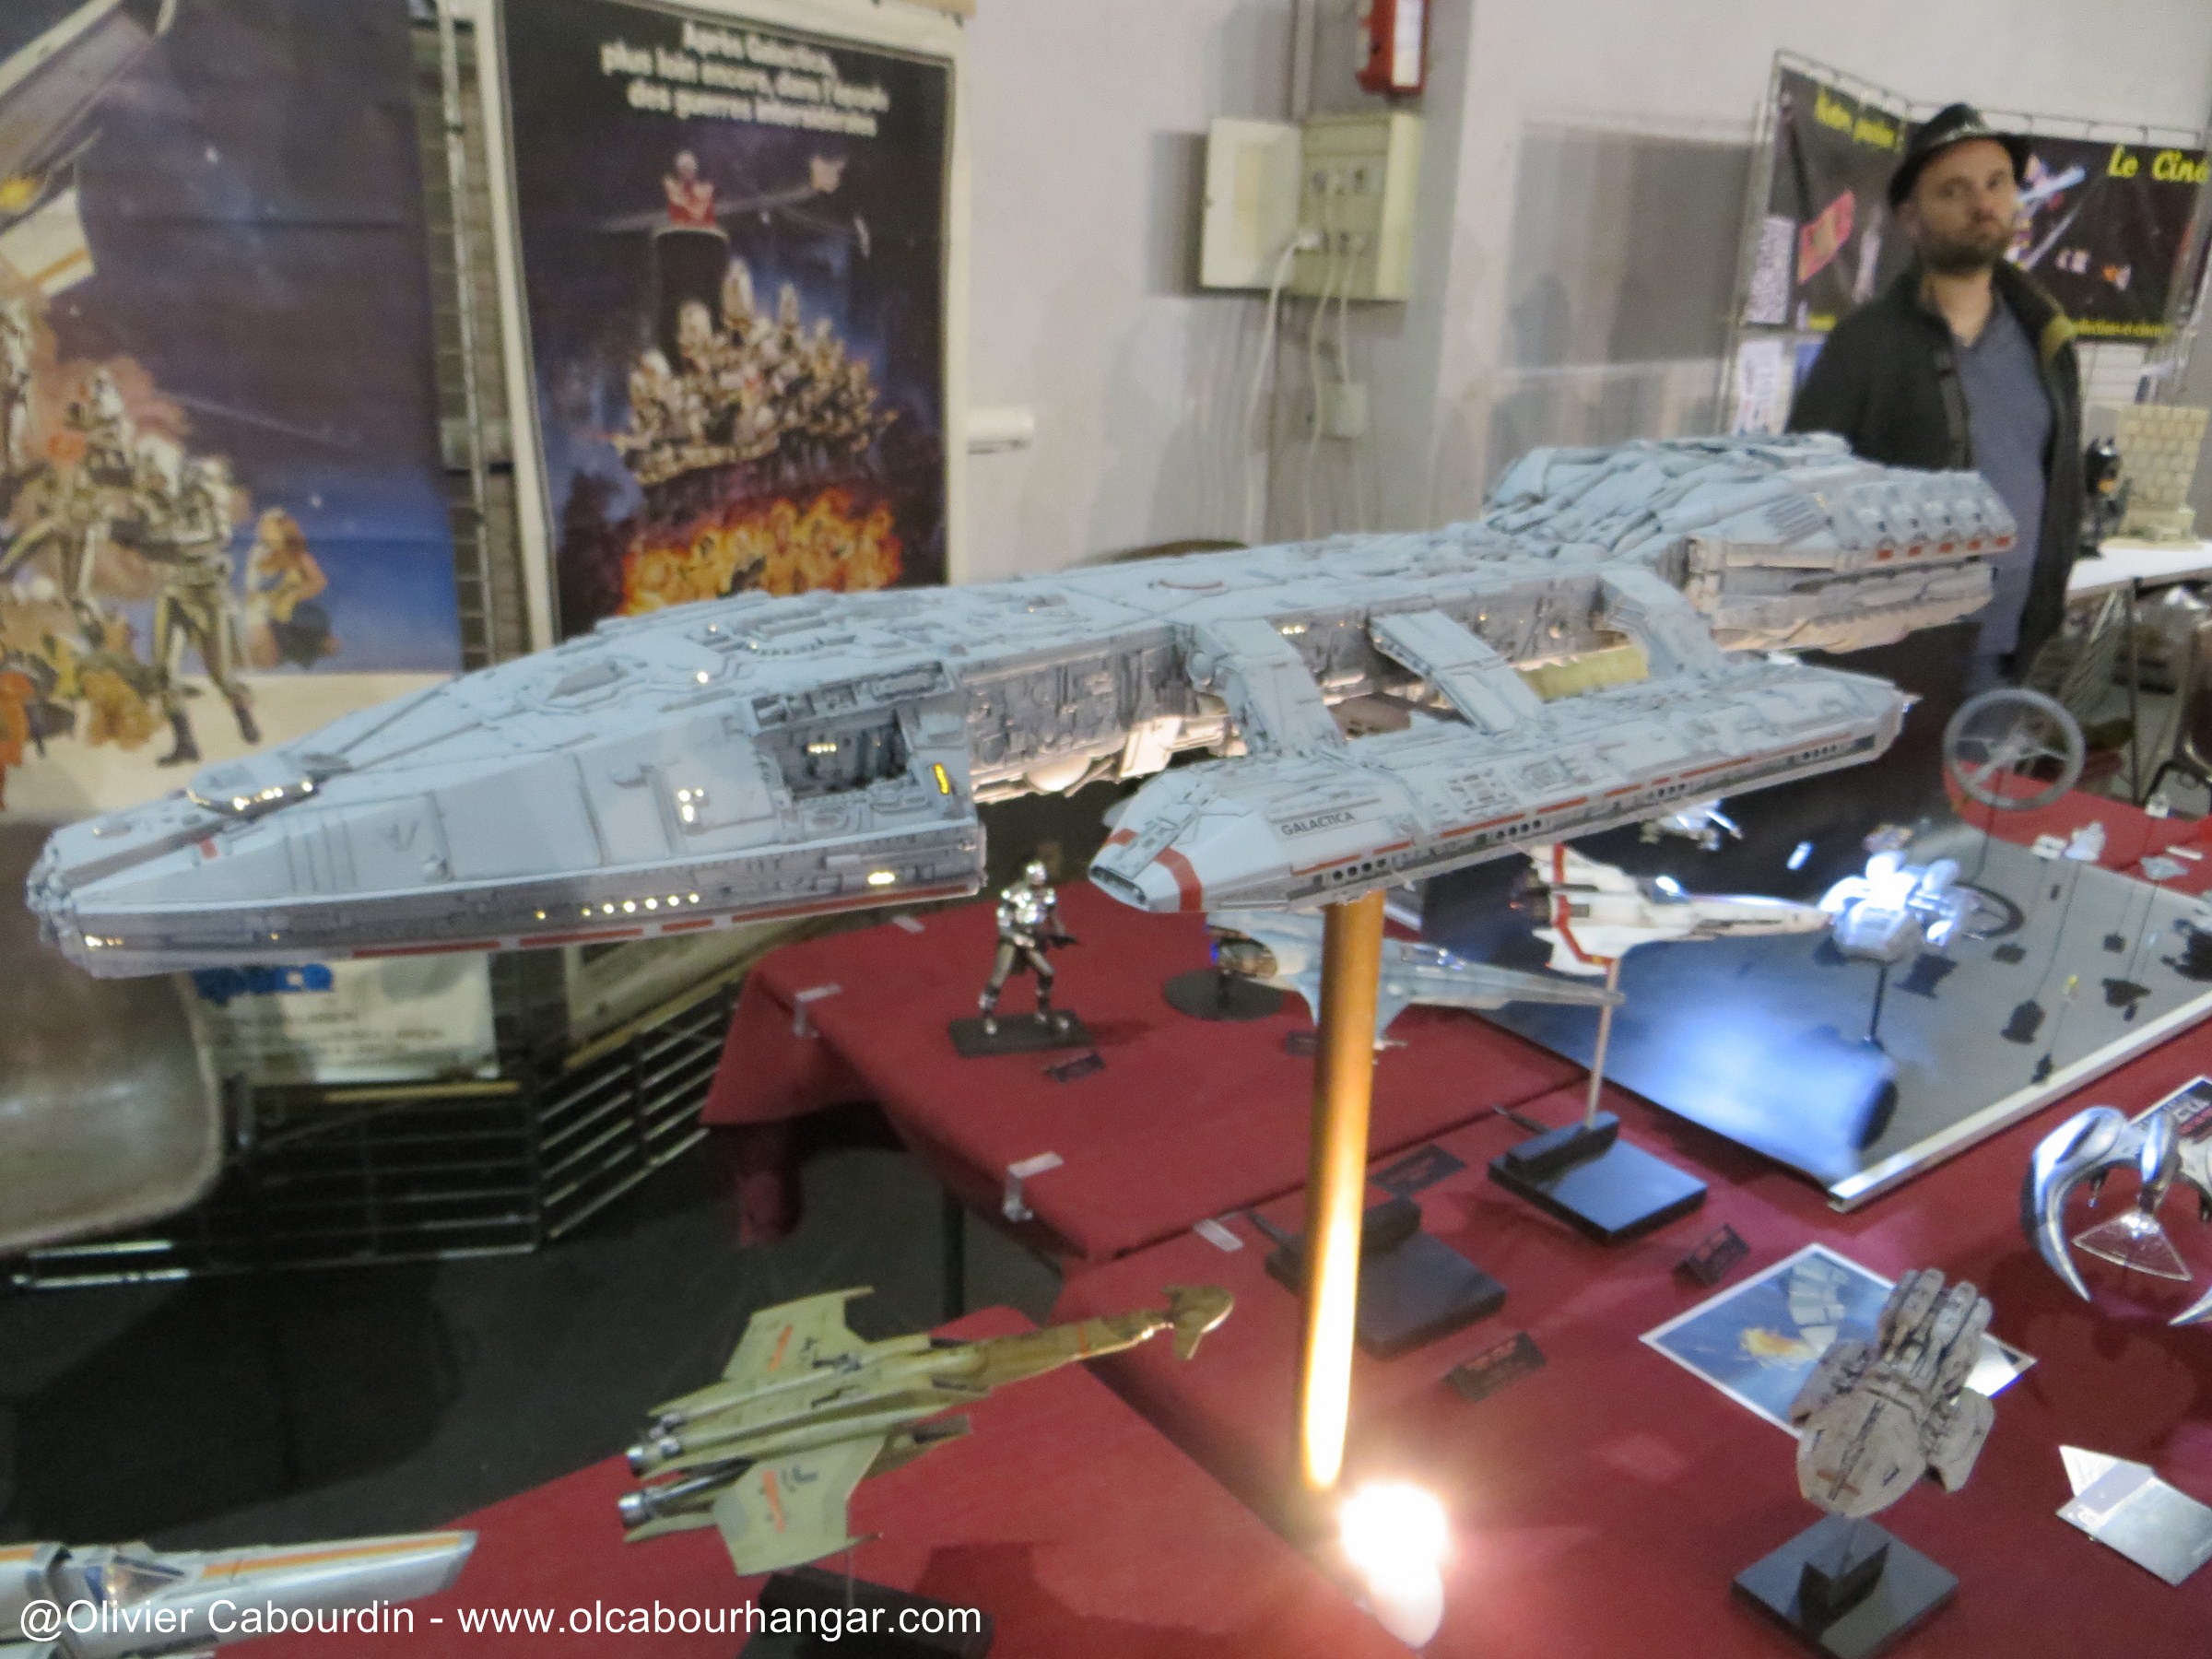
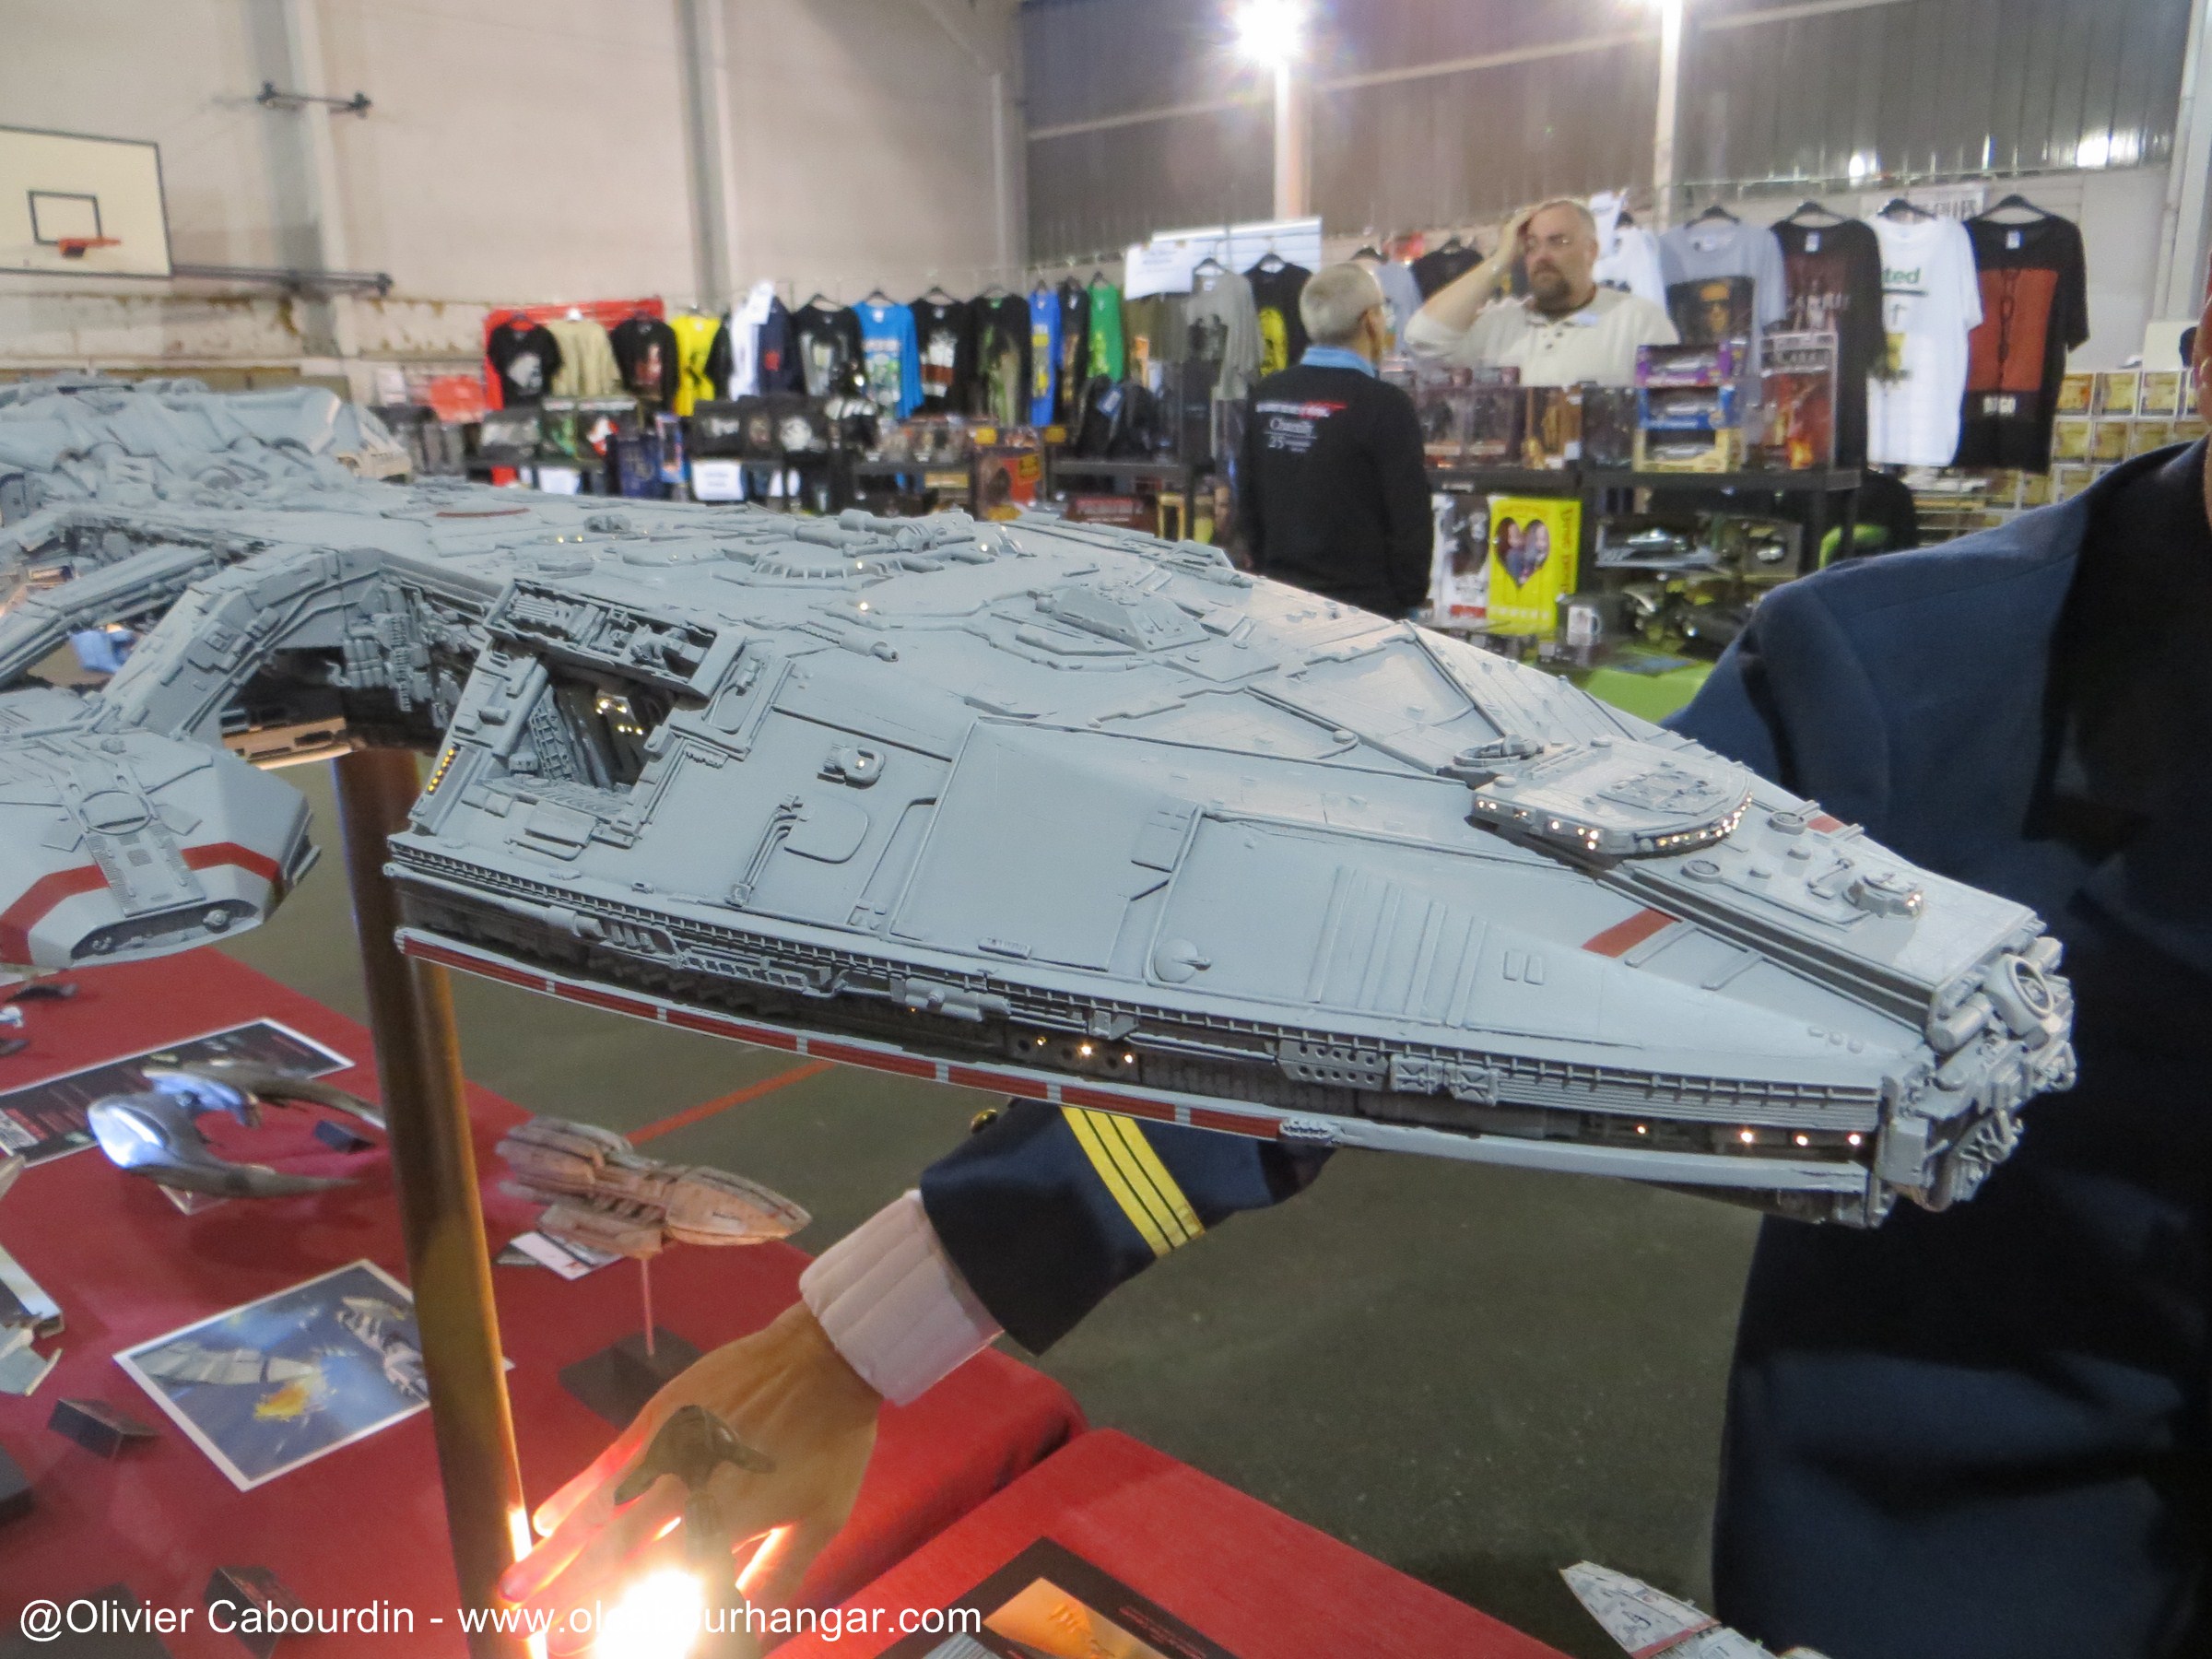
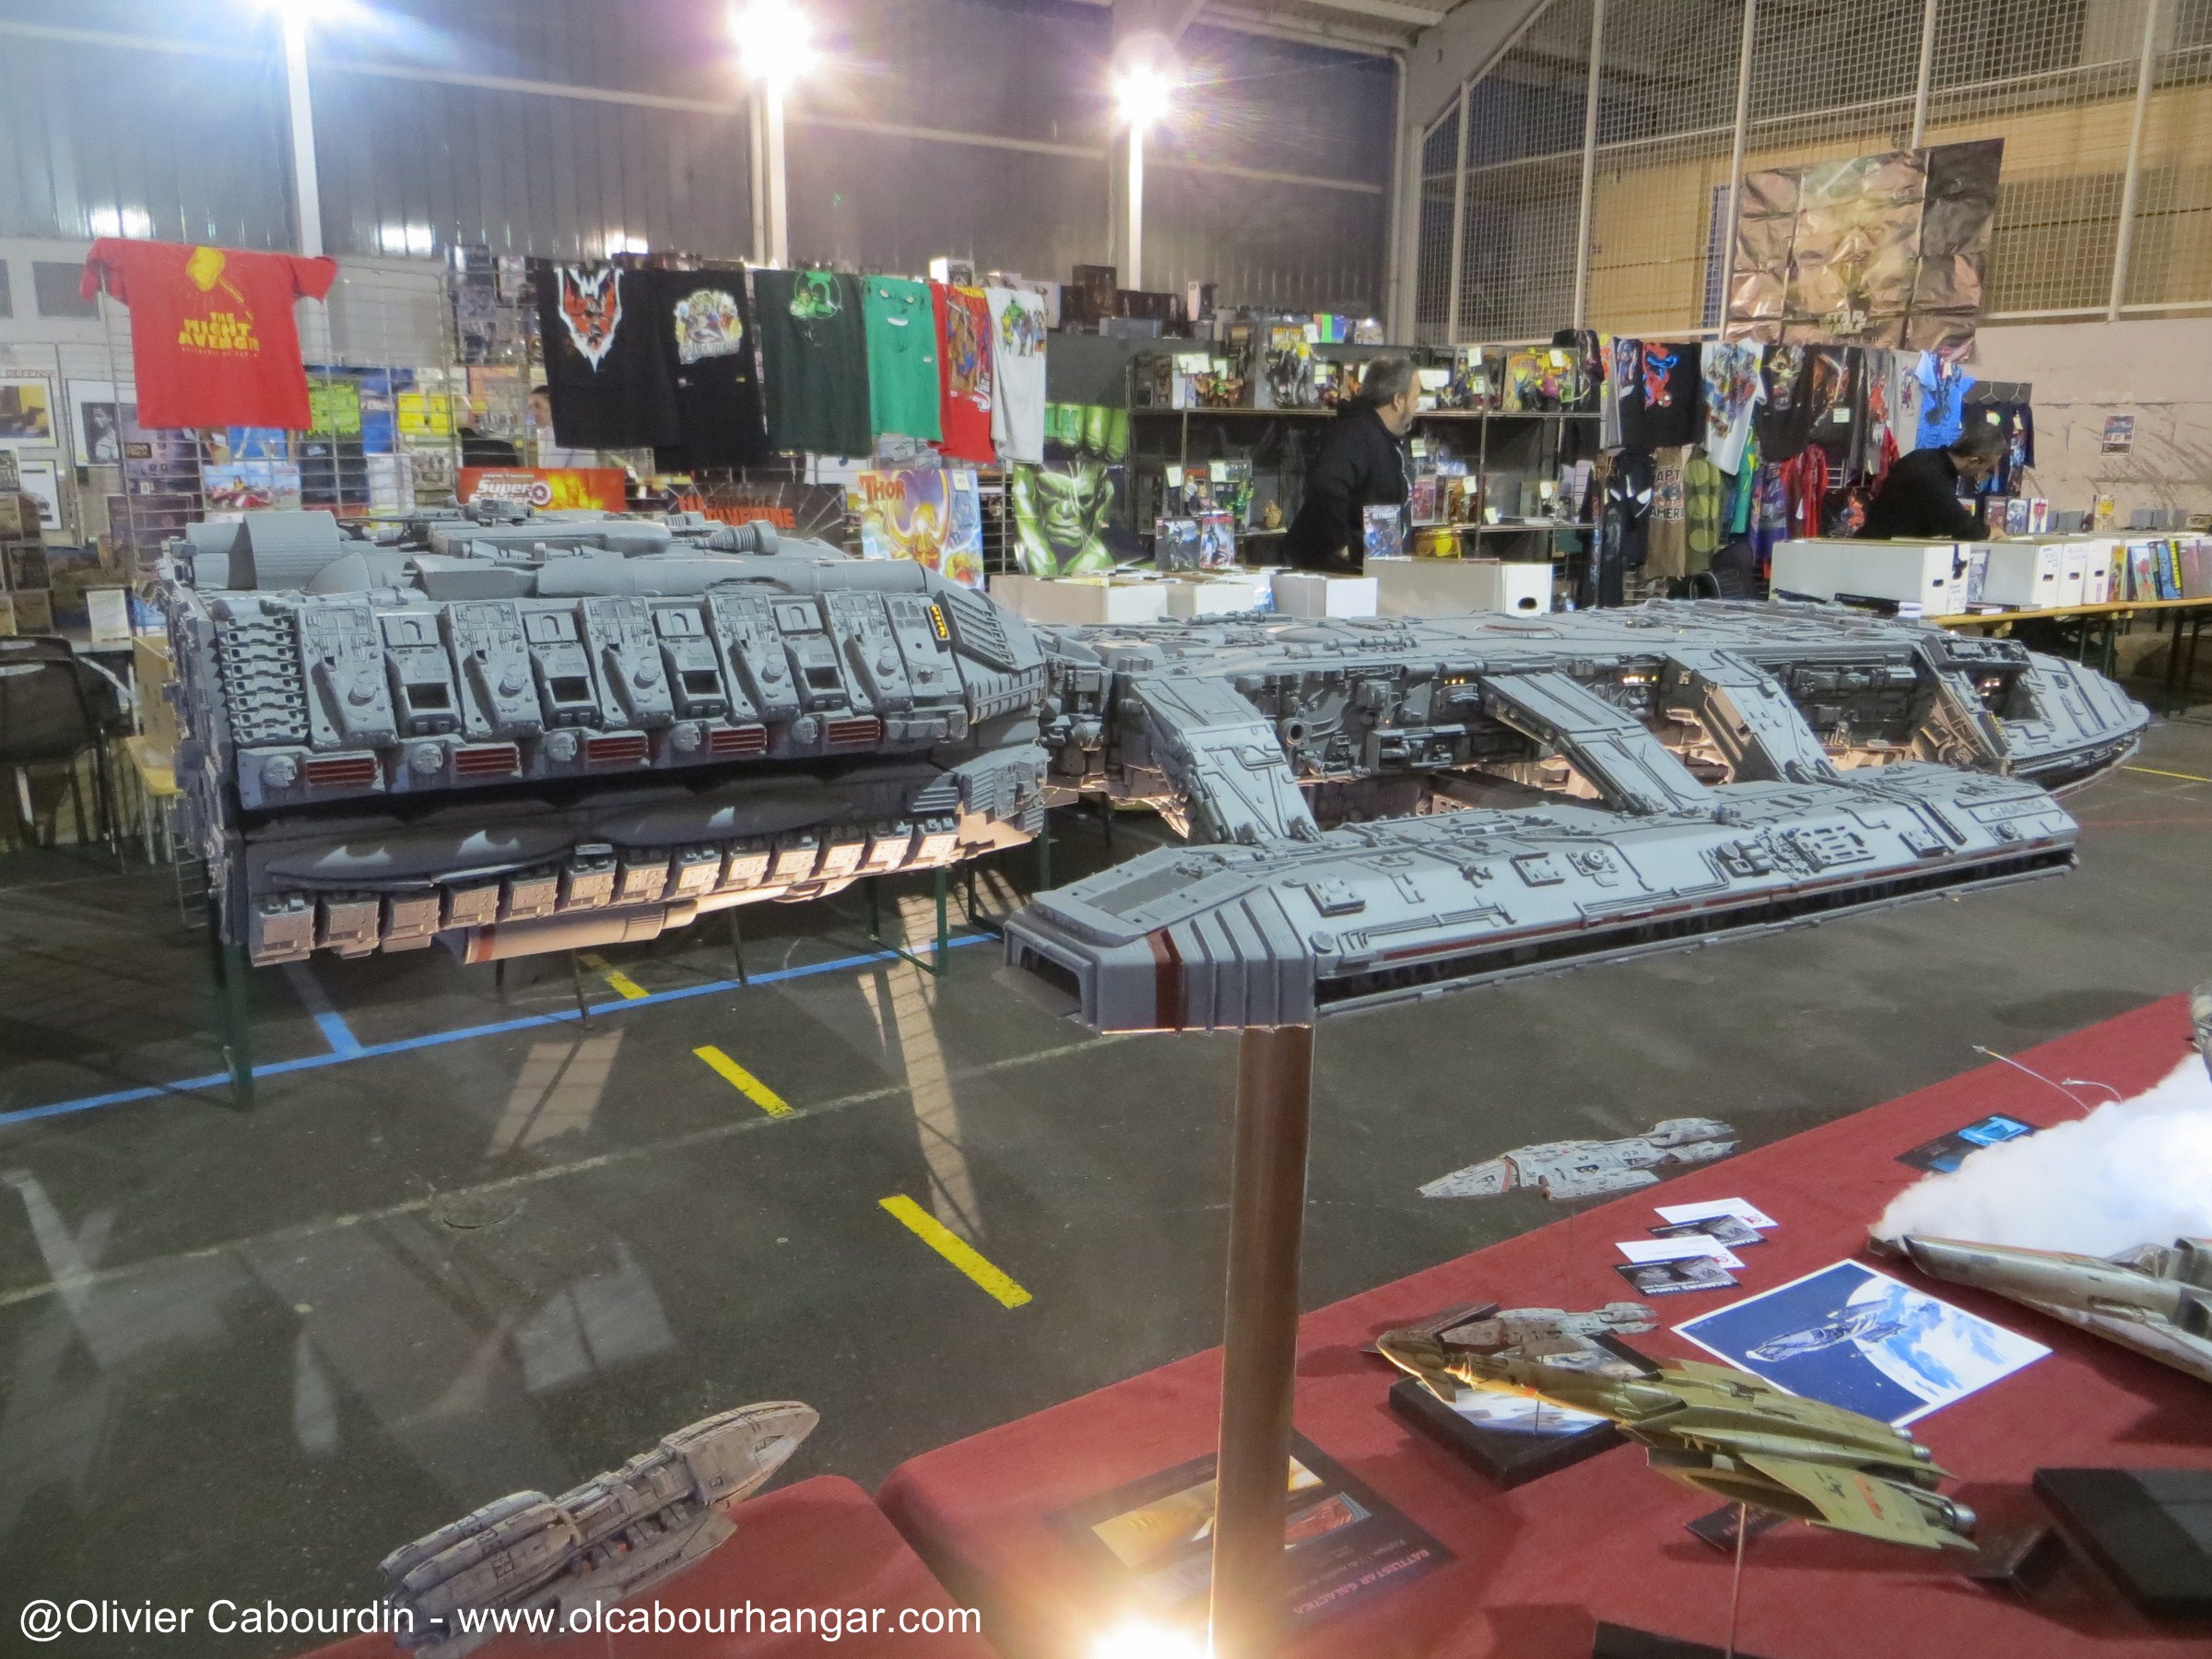
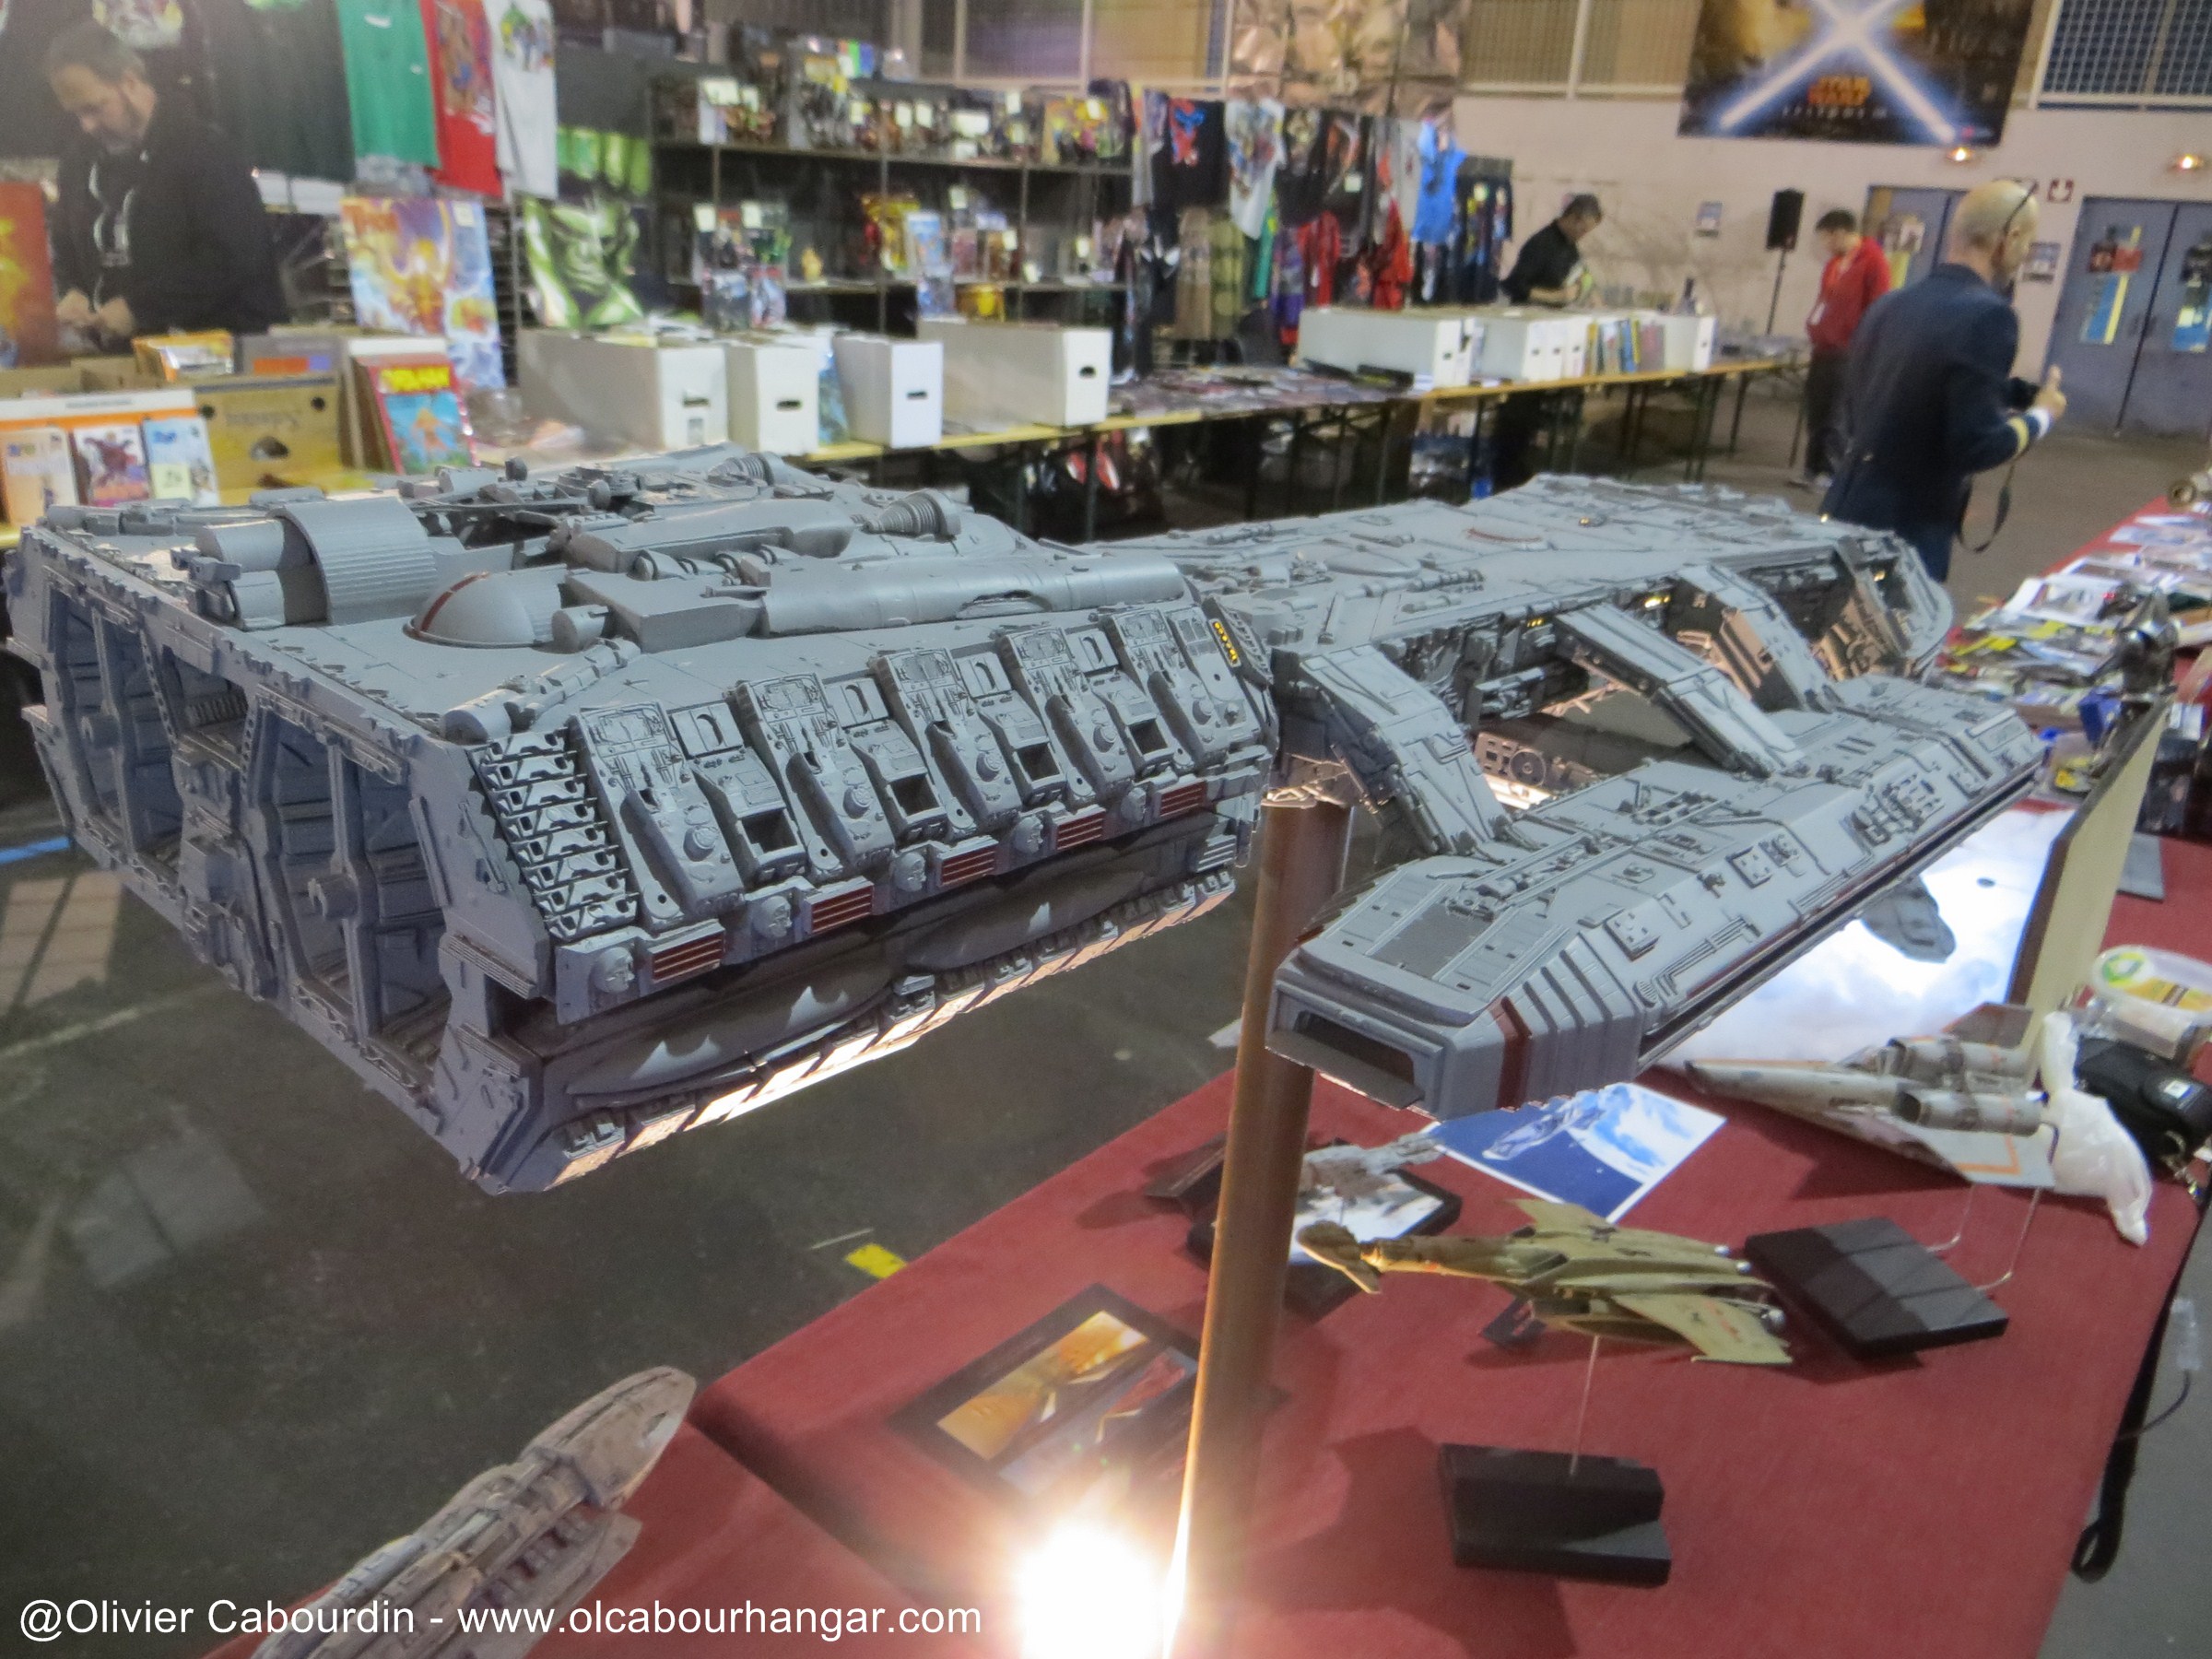
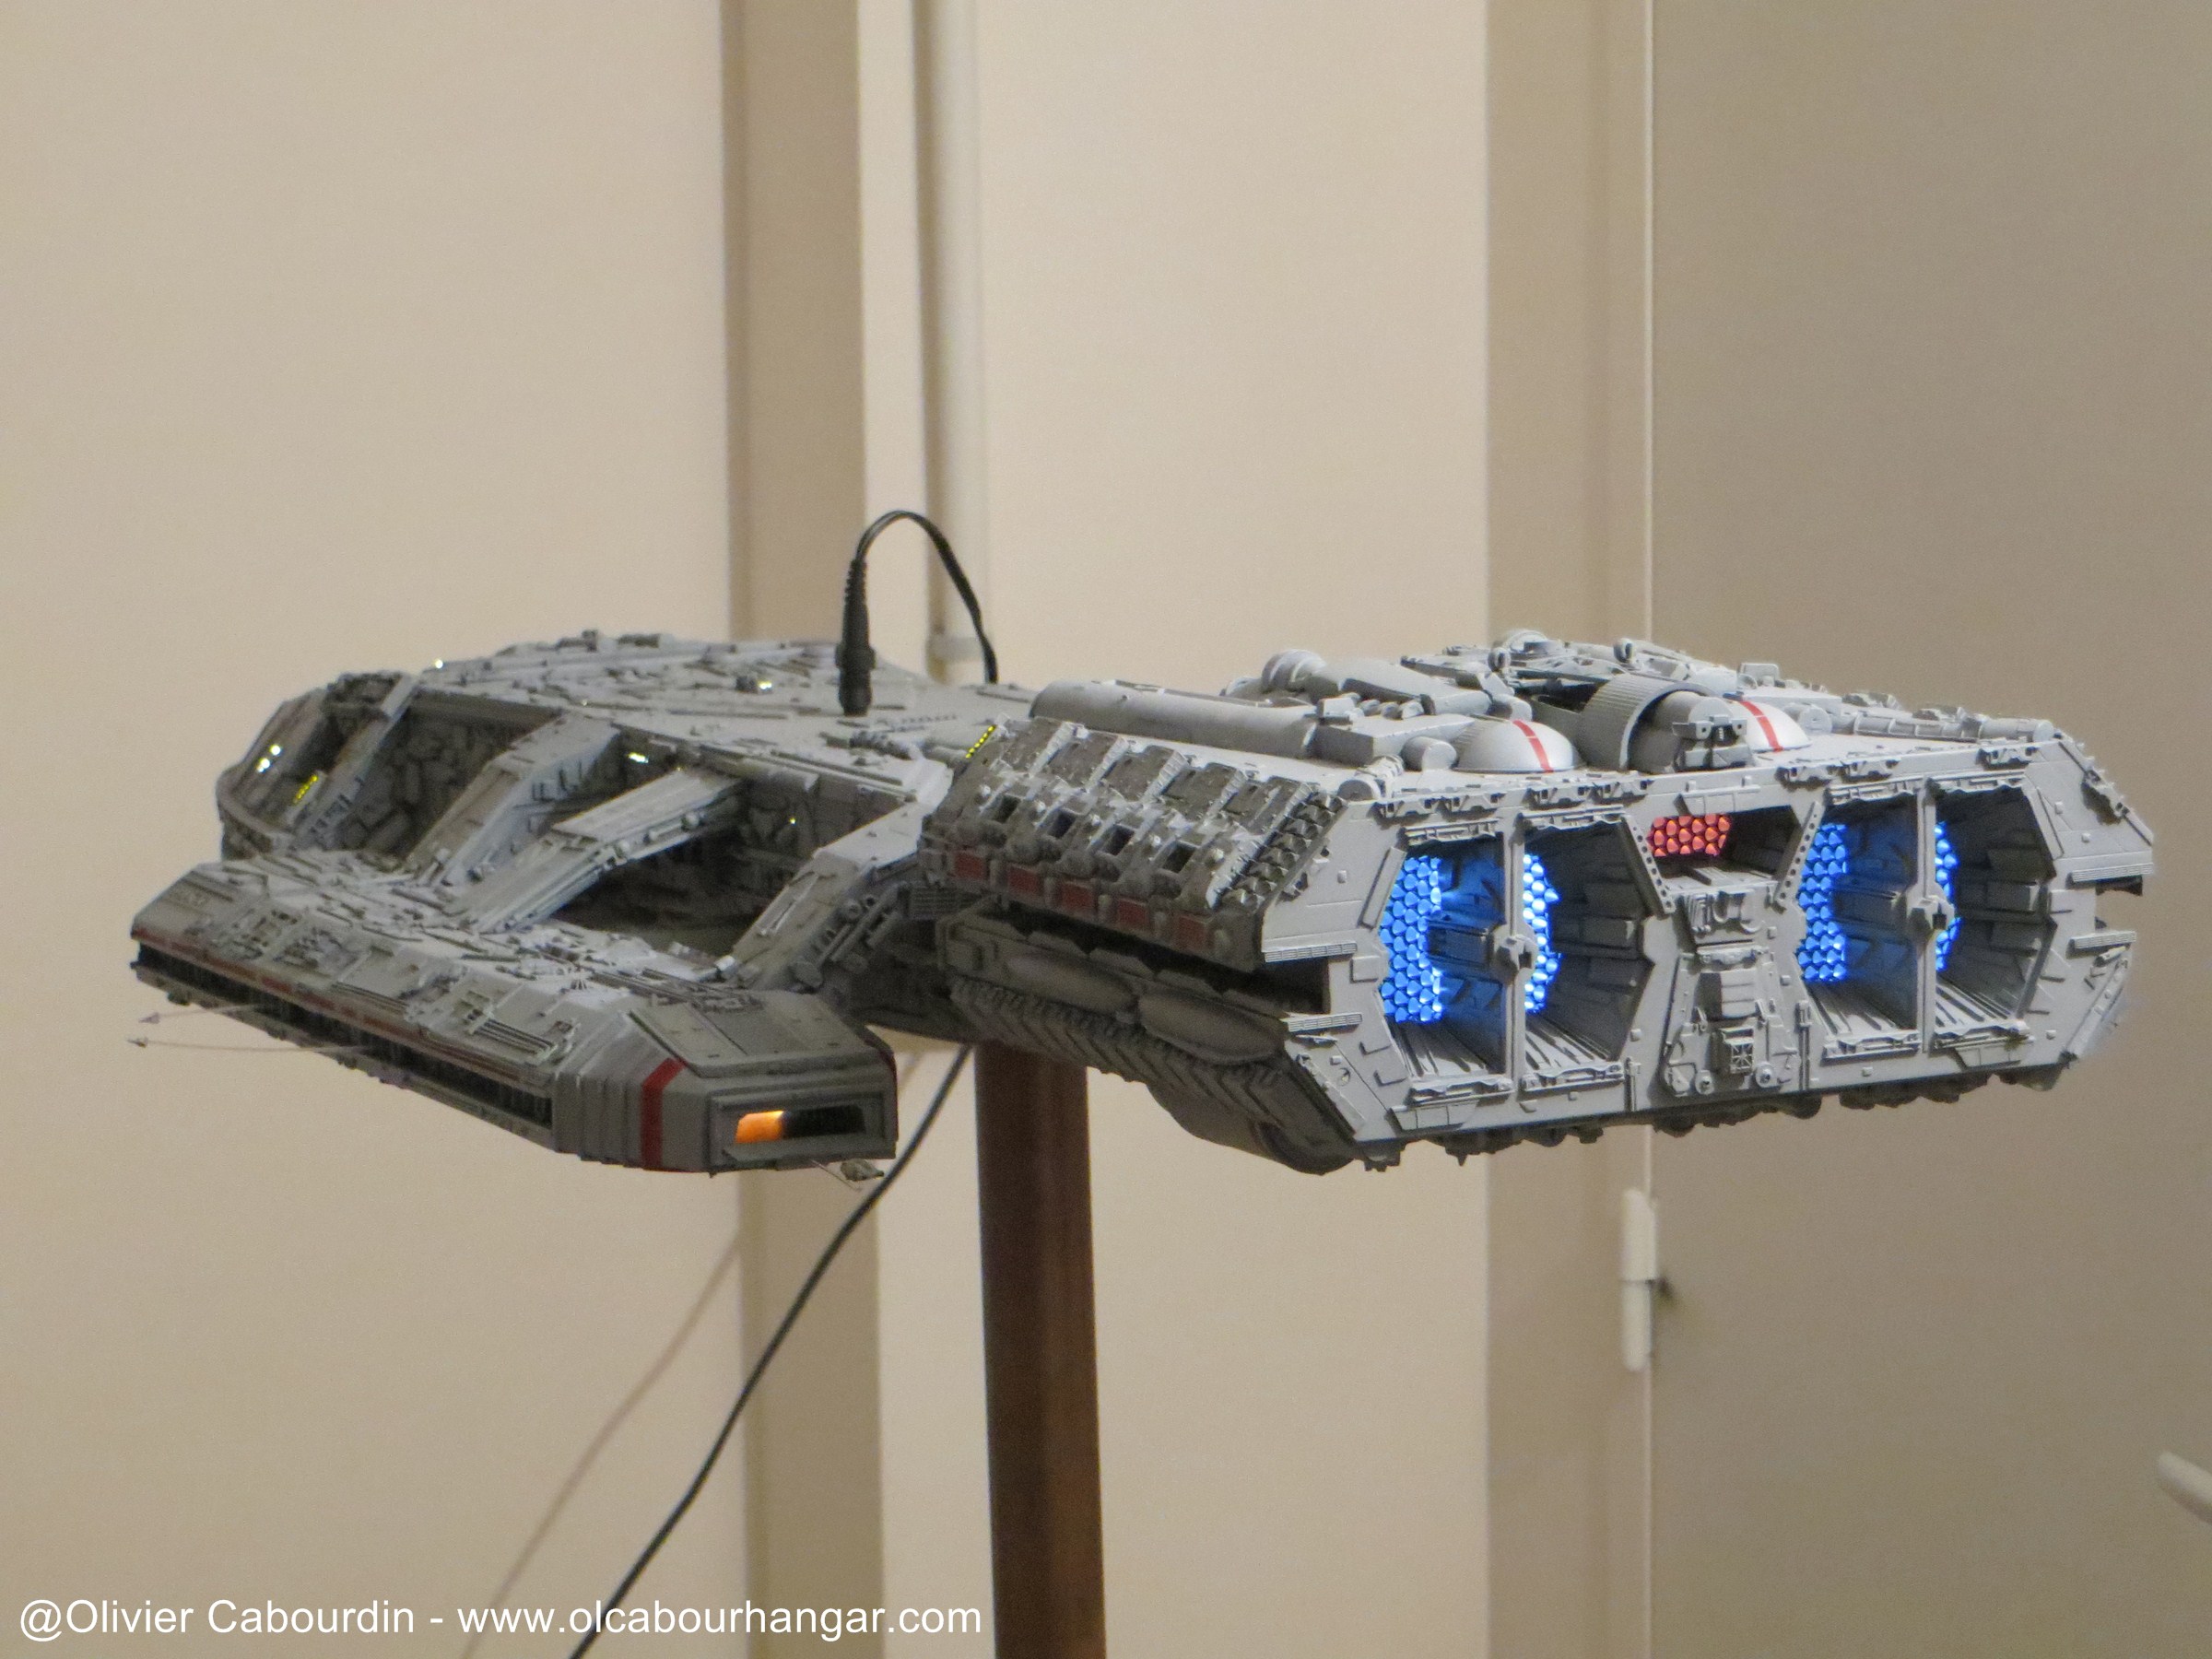
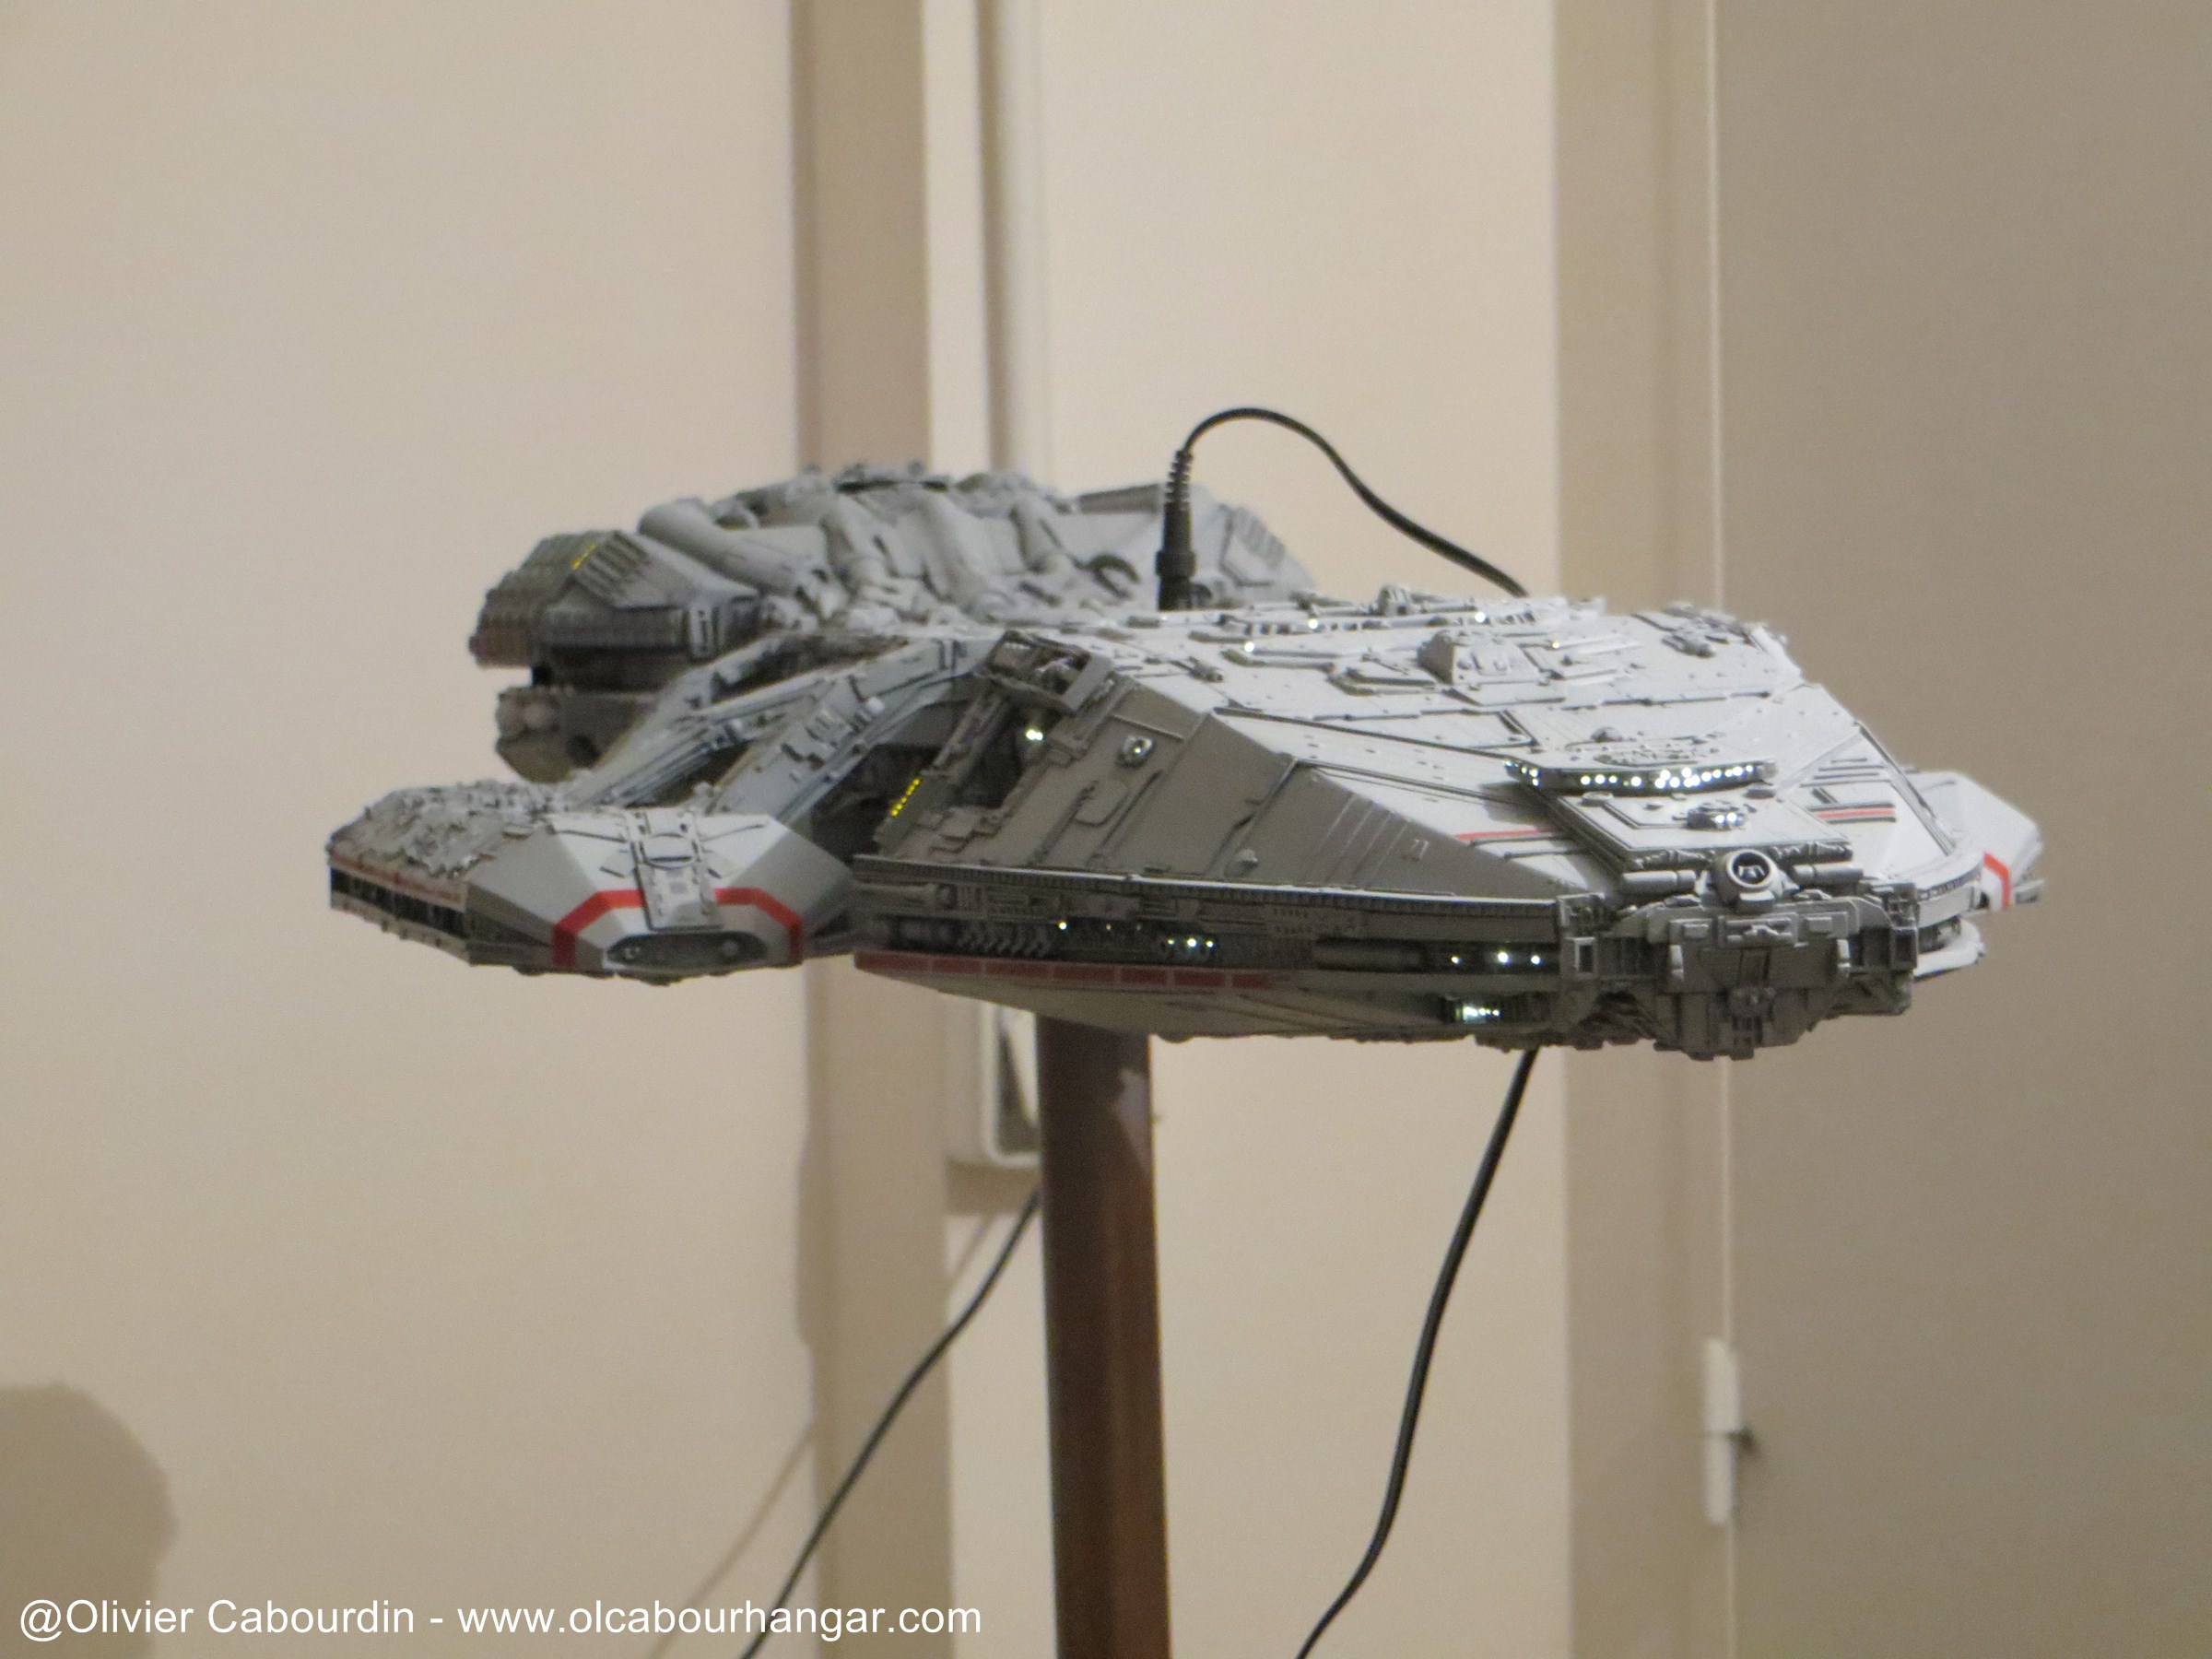
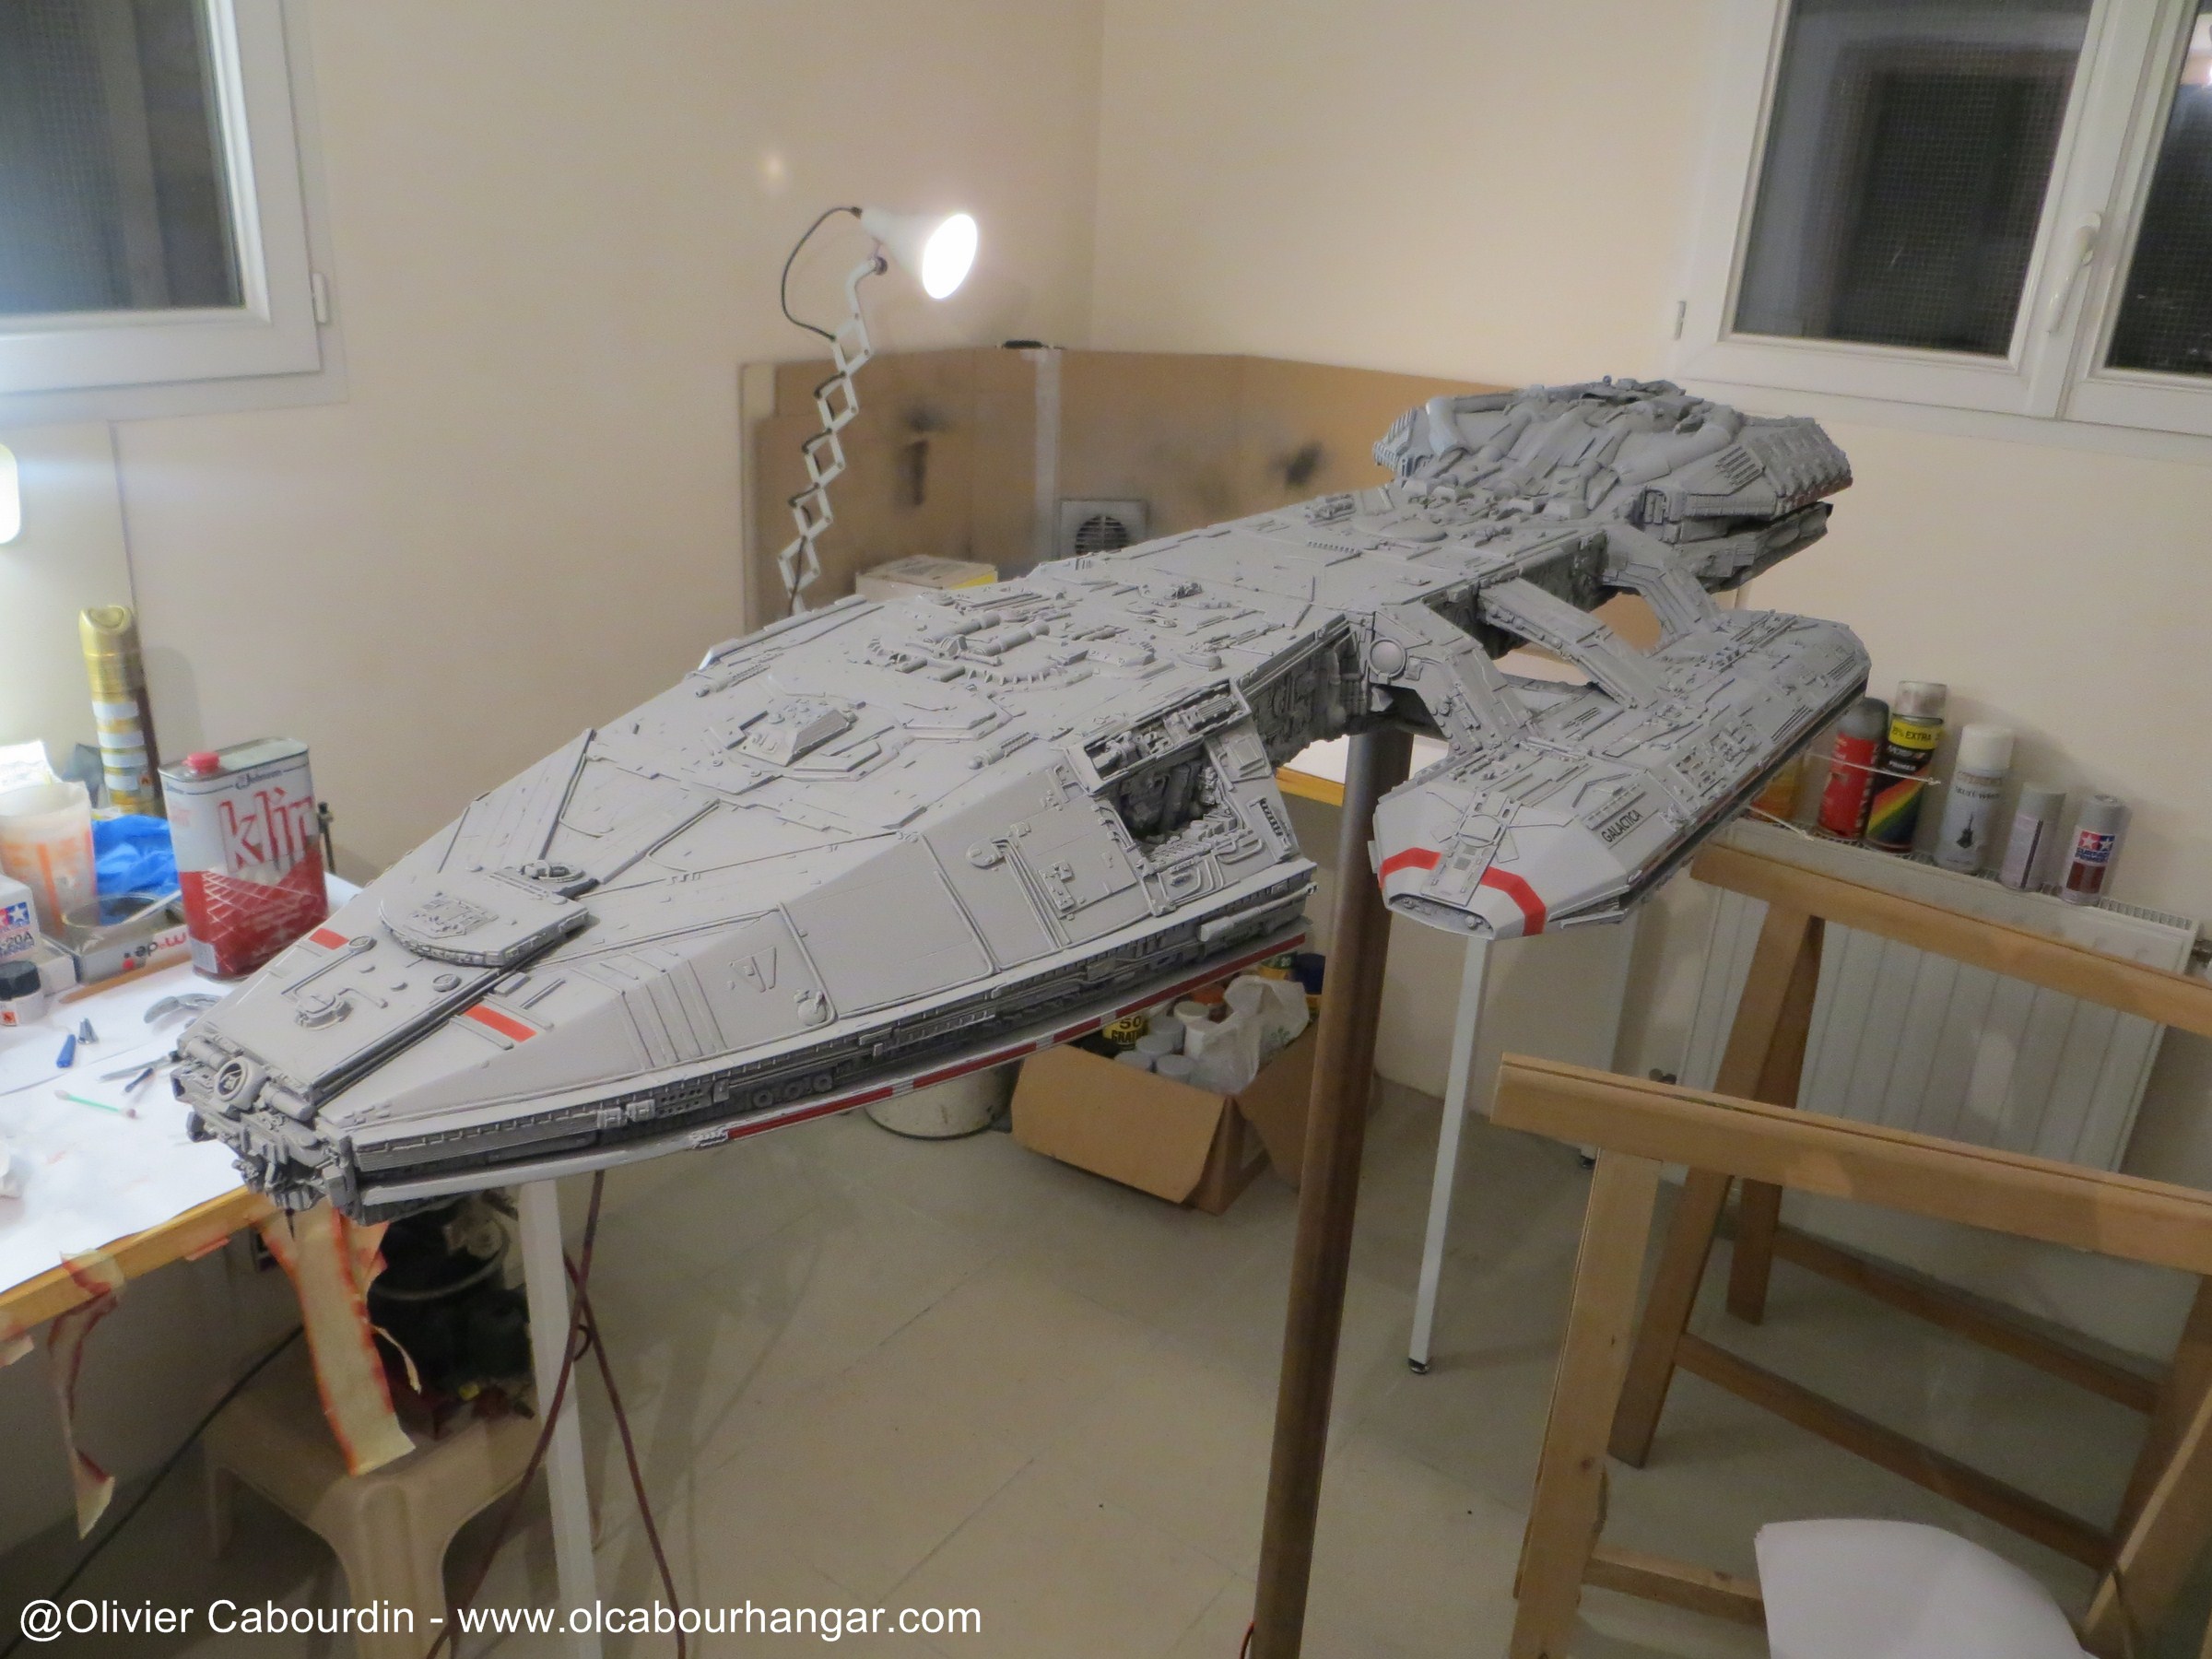
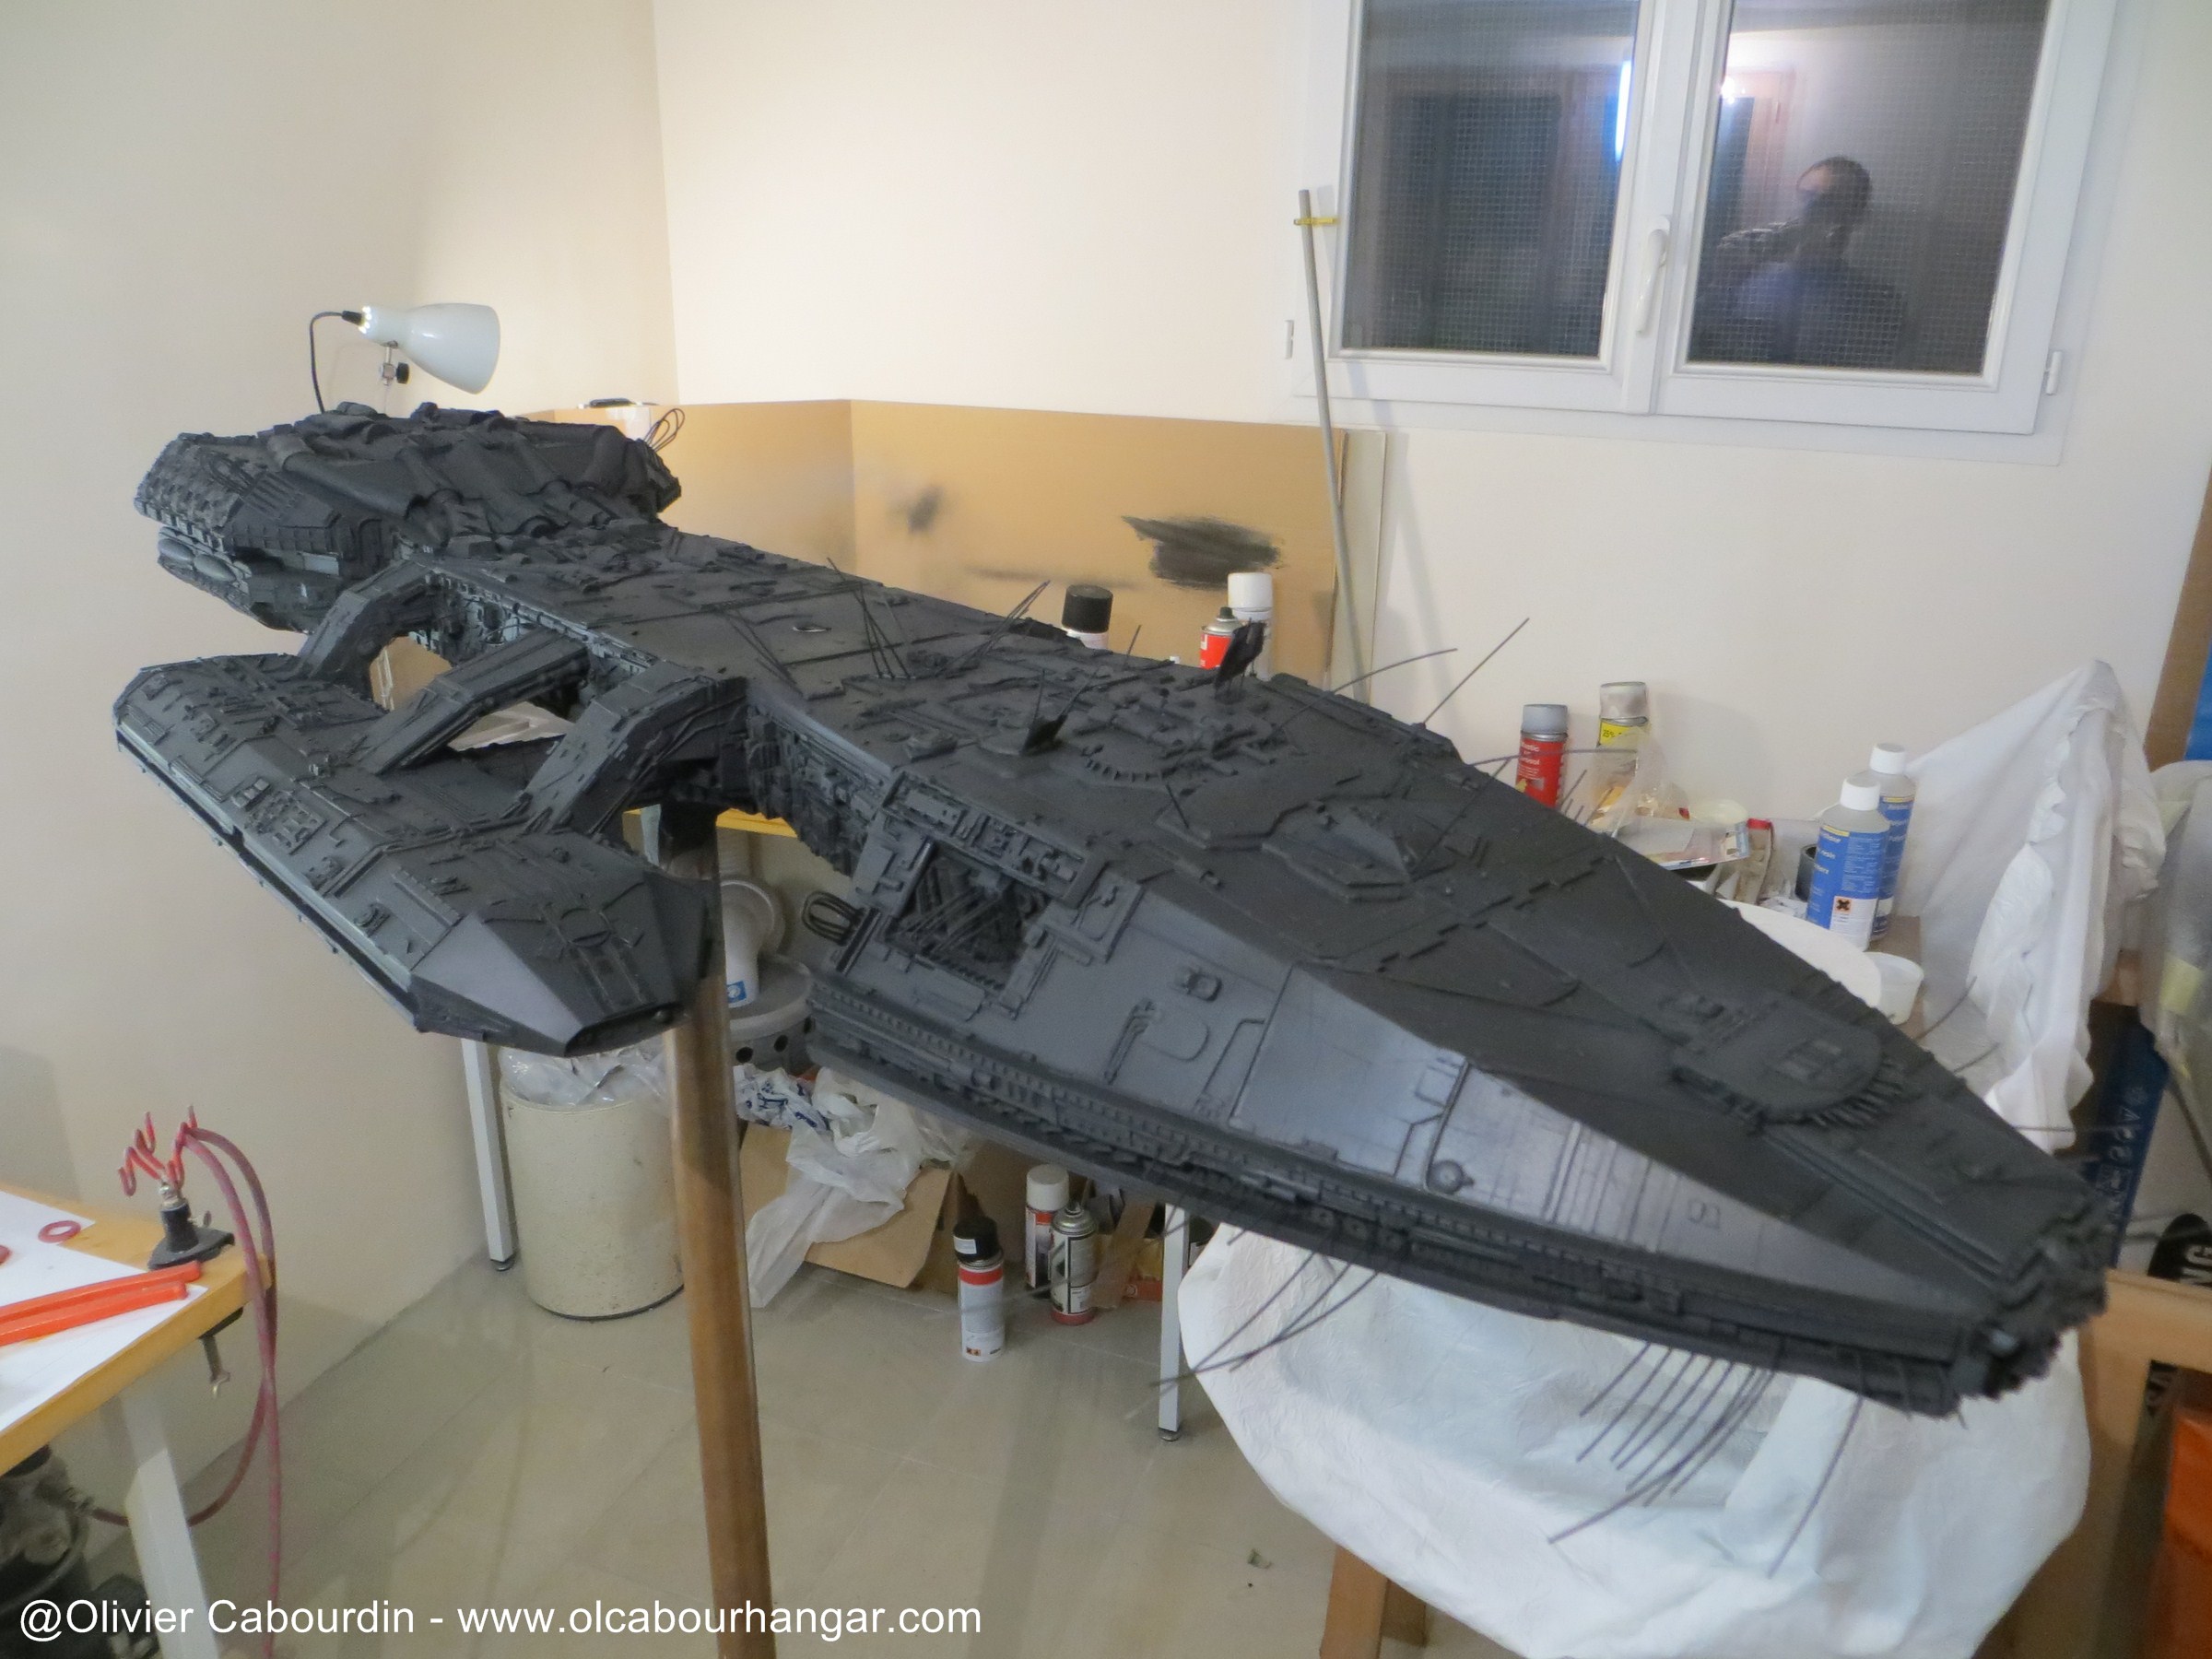
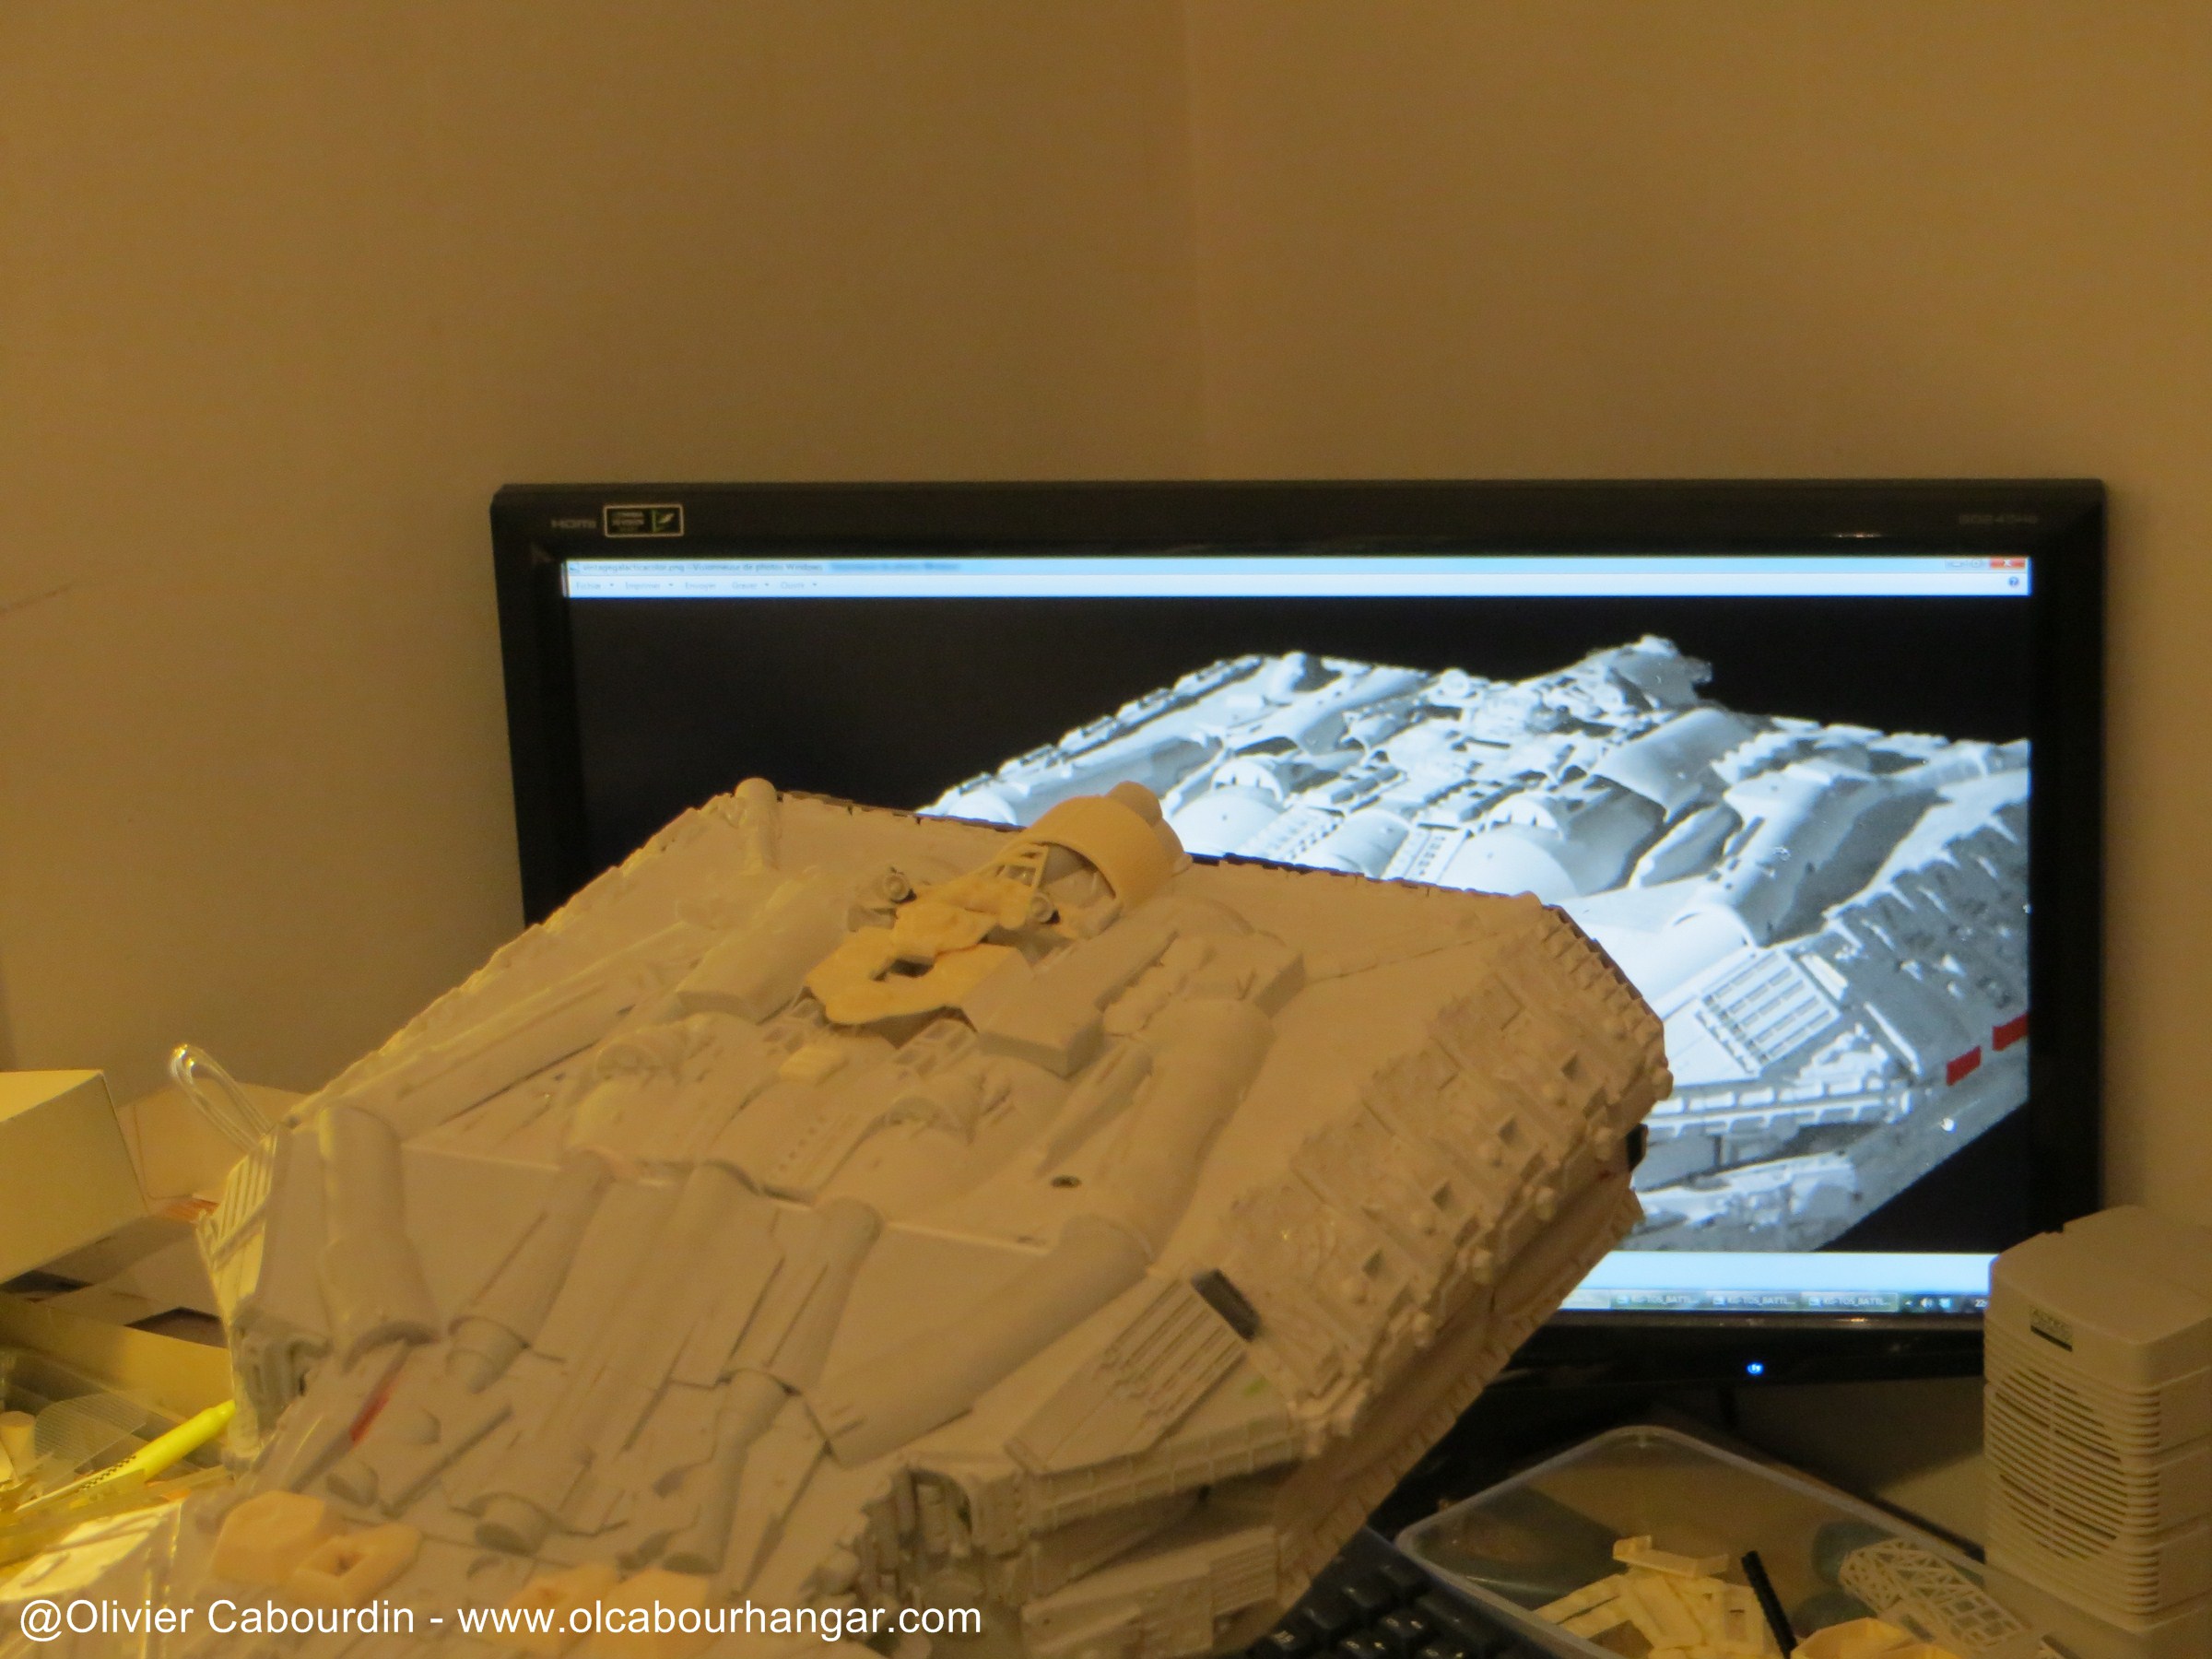
The Galactica was finished just in time for a convention (NCCS Nancy Collector Ciné Série) in October


Aller au contenu | Aller au menu | Aller à la recherche
mardi, 2 décembre 2014
Par olcabour le mardi, 2 décembre 2014, 12:32
The Galactica was finished just in time for a convention (NCCS Nancy Collector Ciné Série) in October
vendredi, 28 novembre 2014
Par olcabour le vendredi, 28 novembre 2014, 17:22


Par olcabour le vendredi, 28 novembre 2014, 15:07
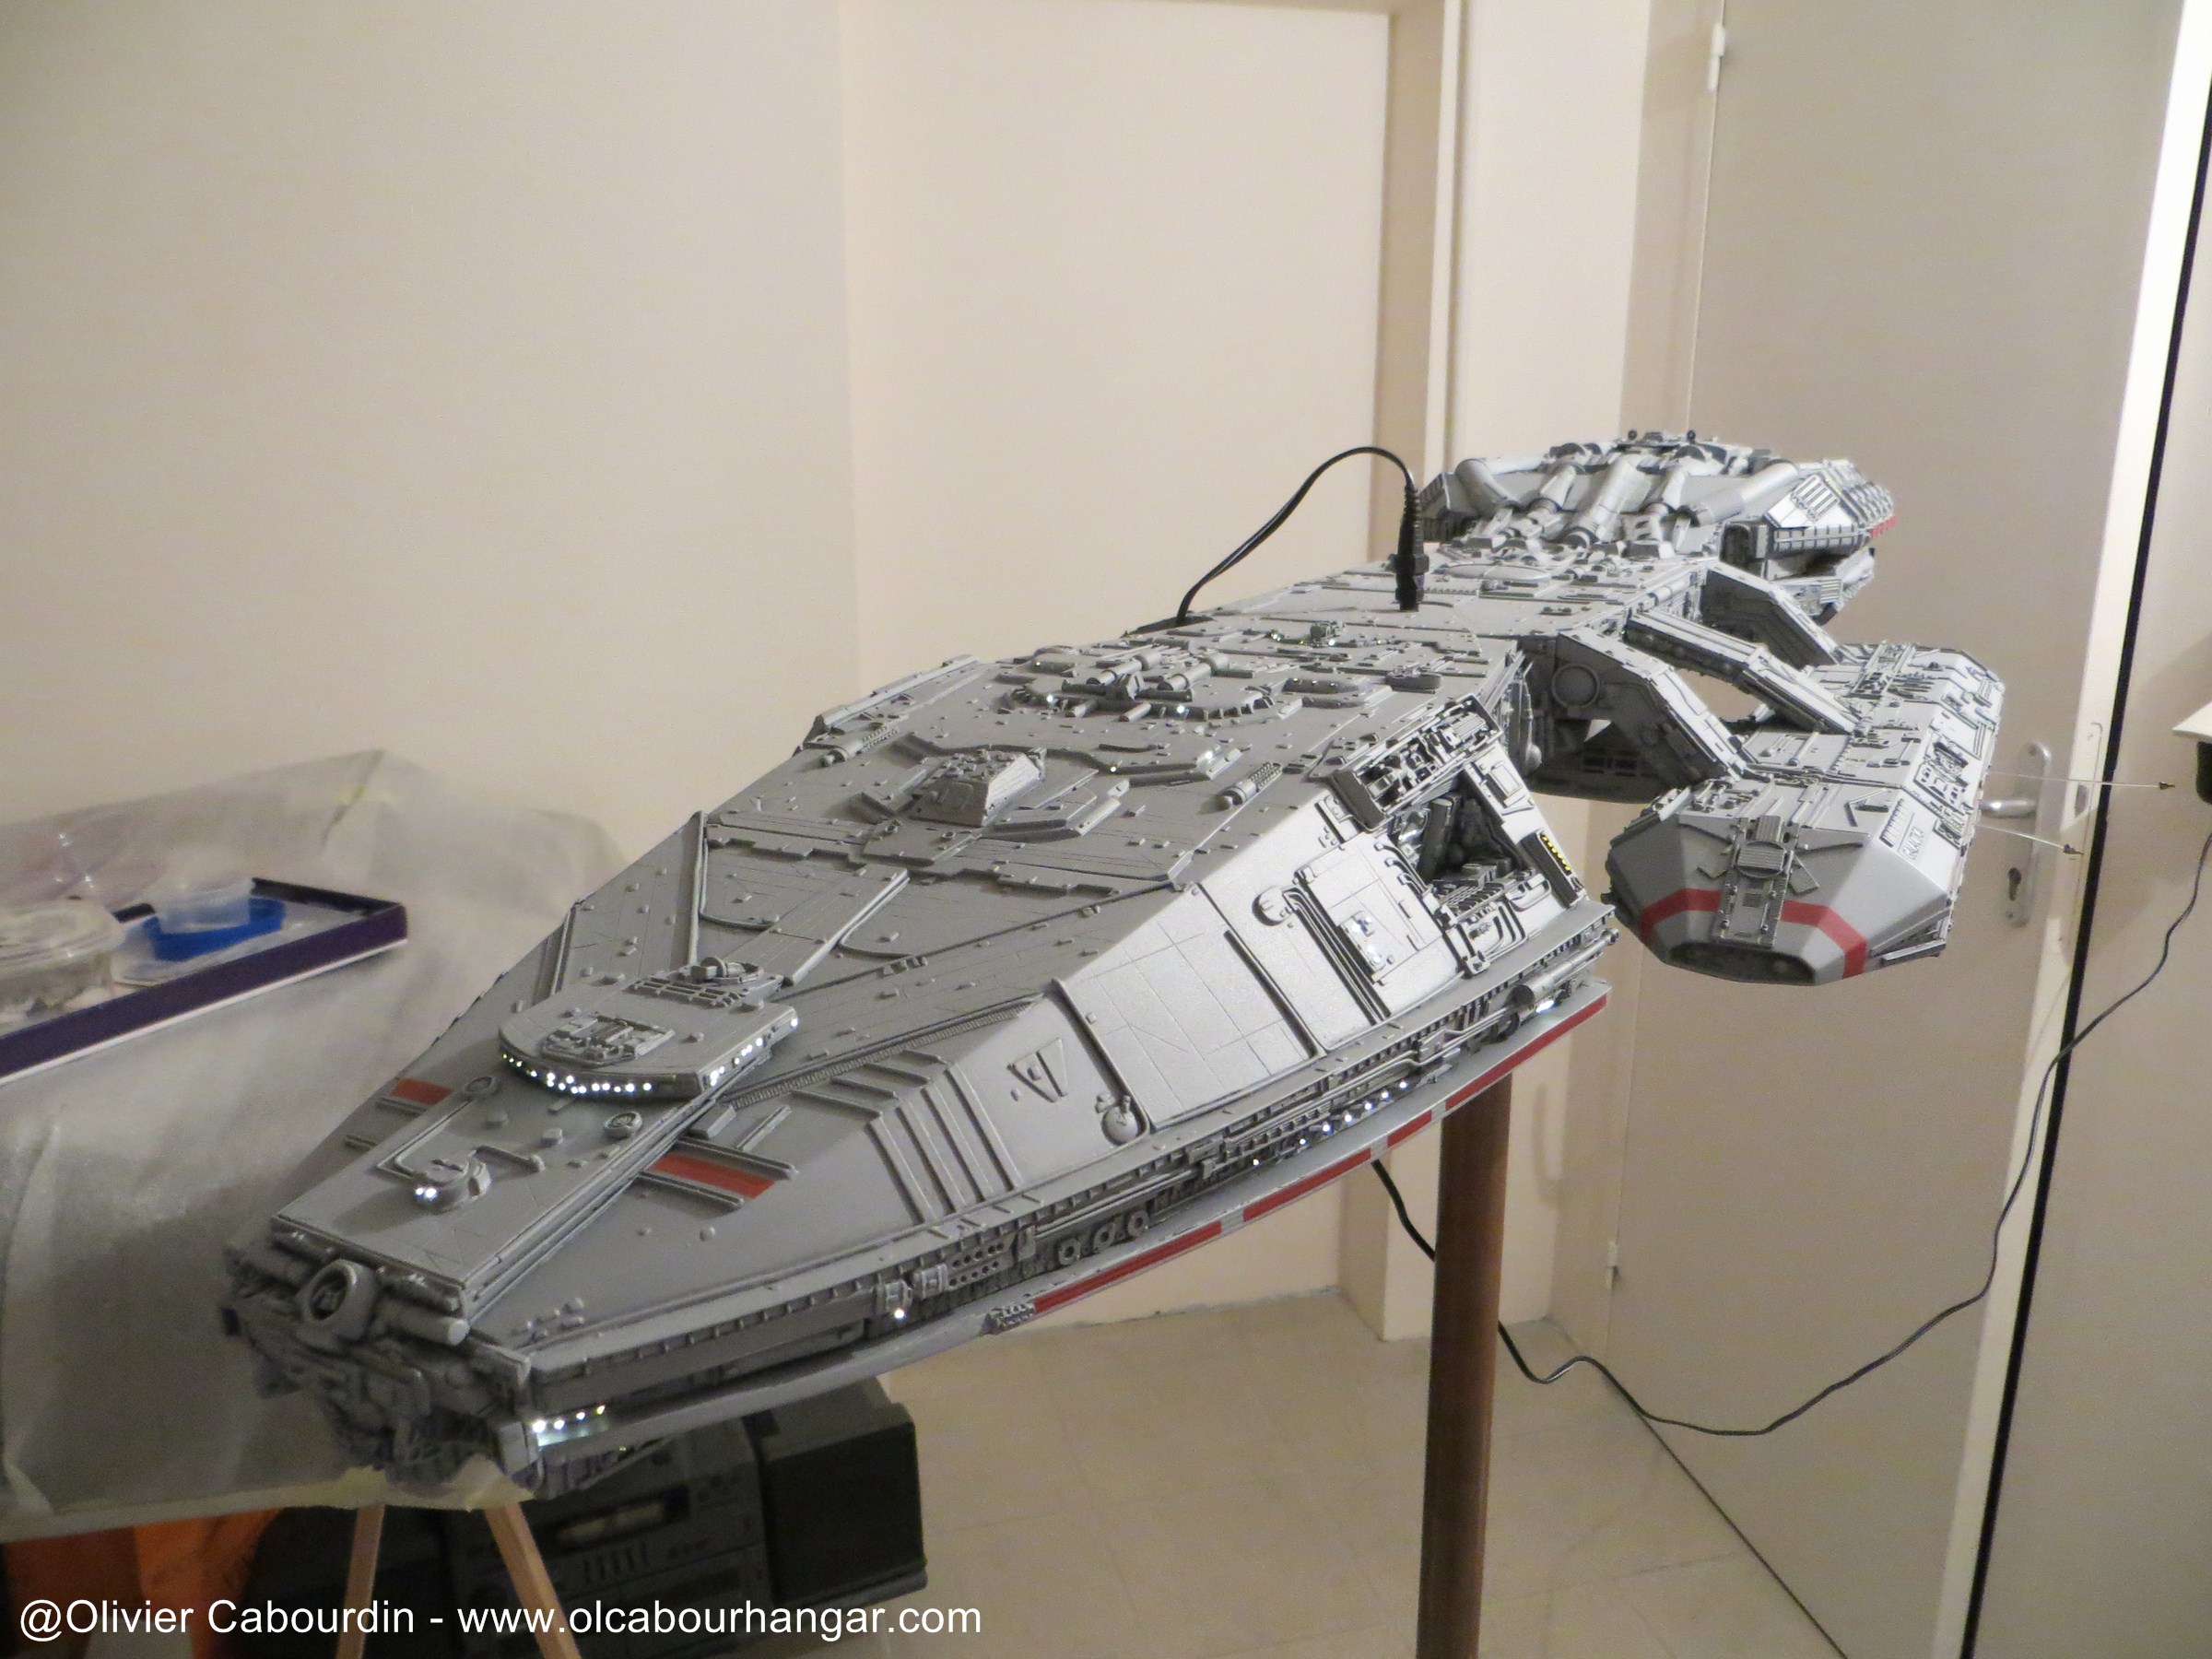
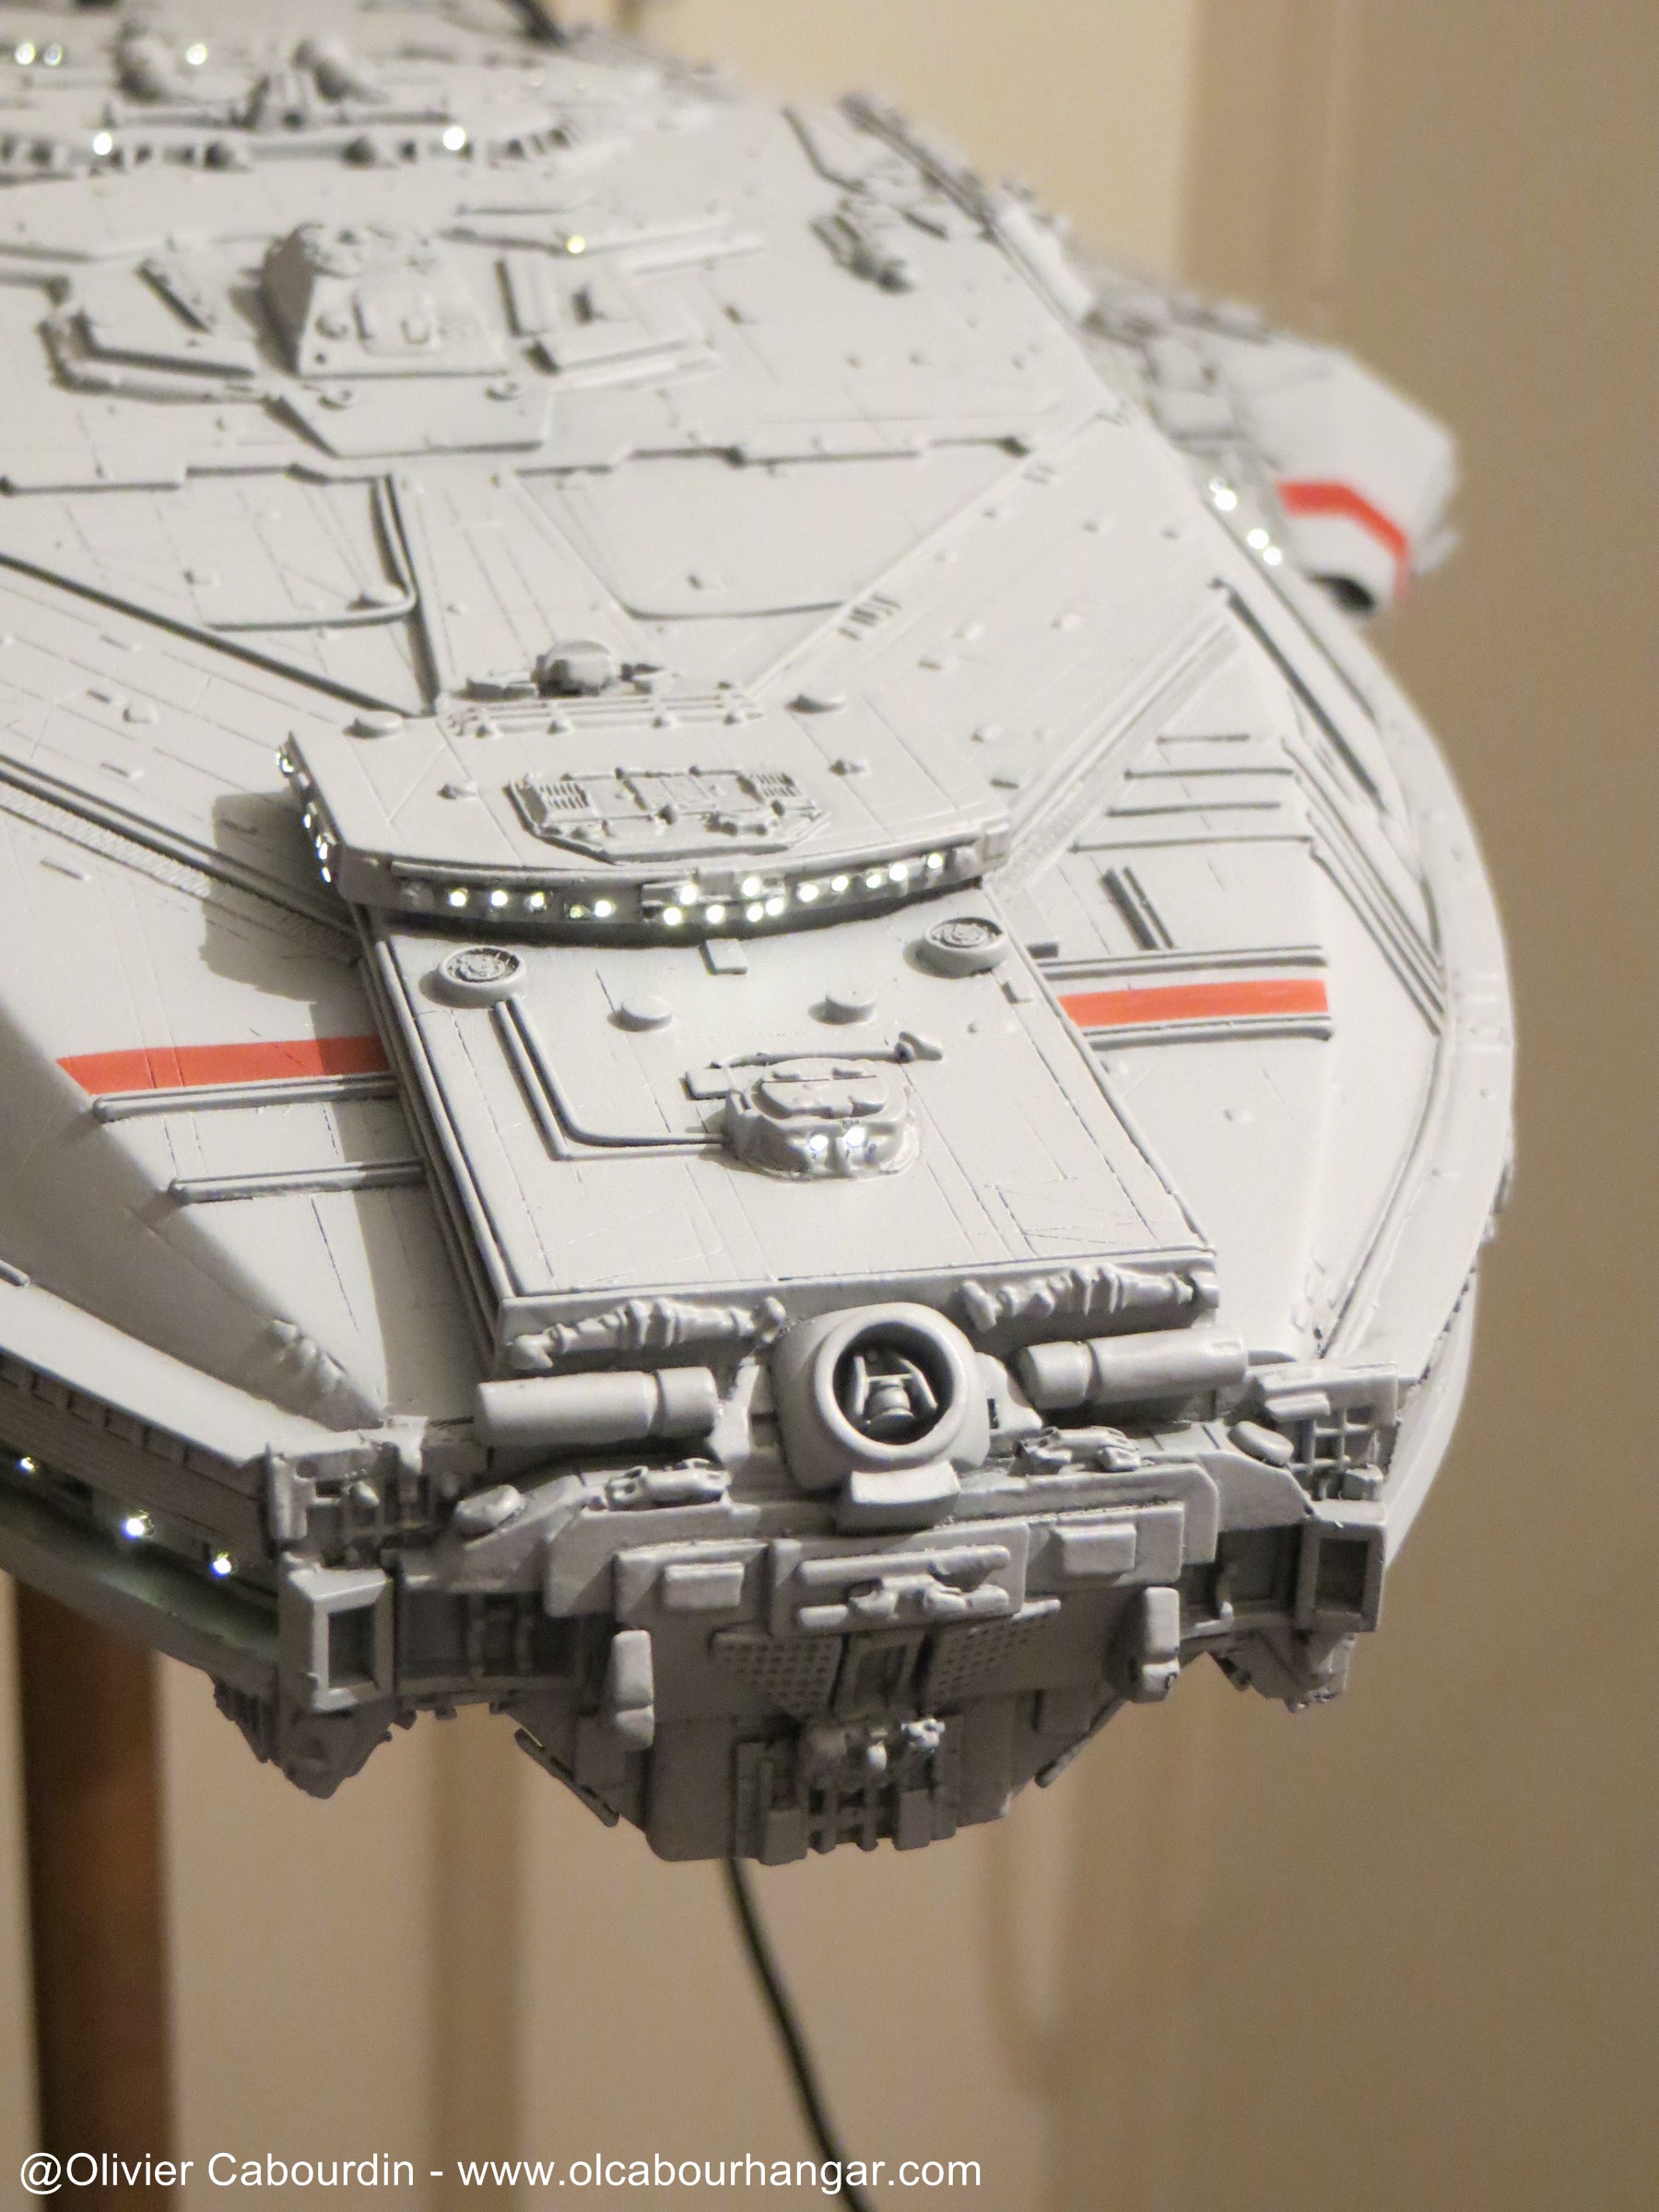
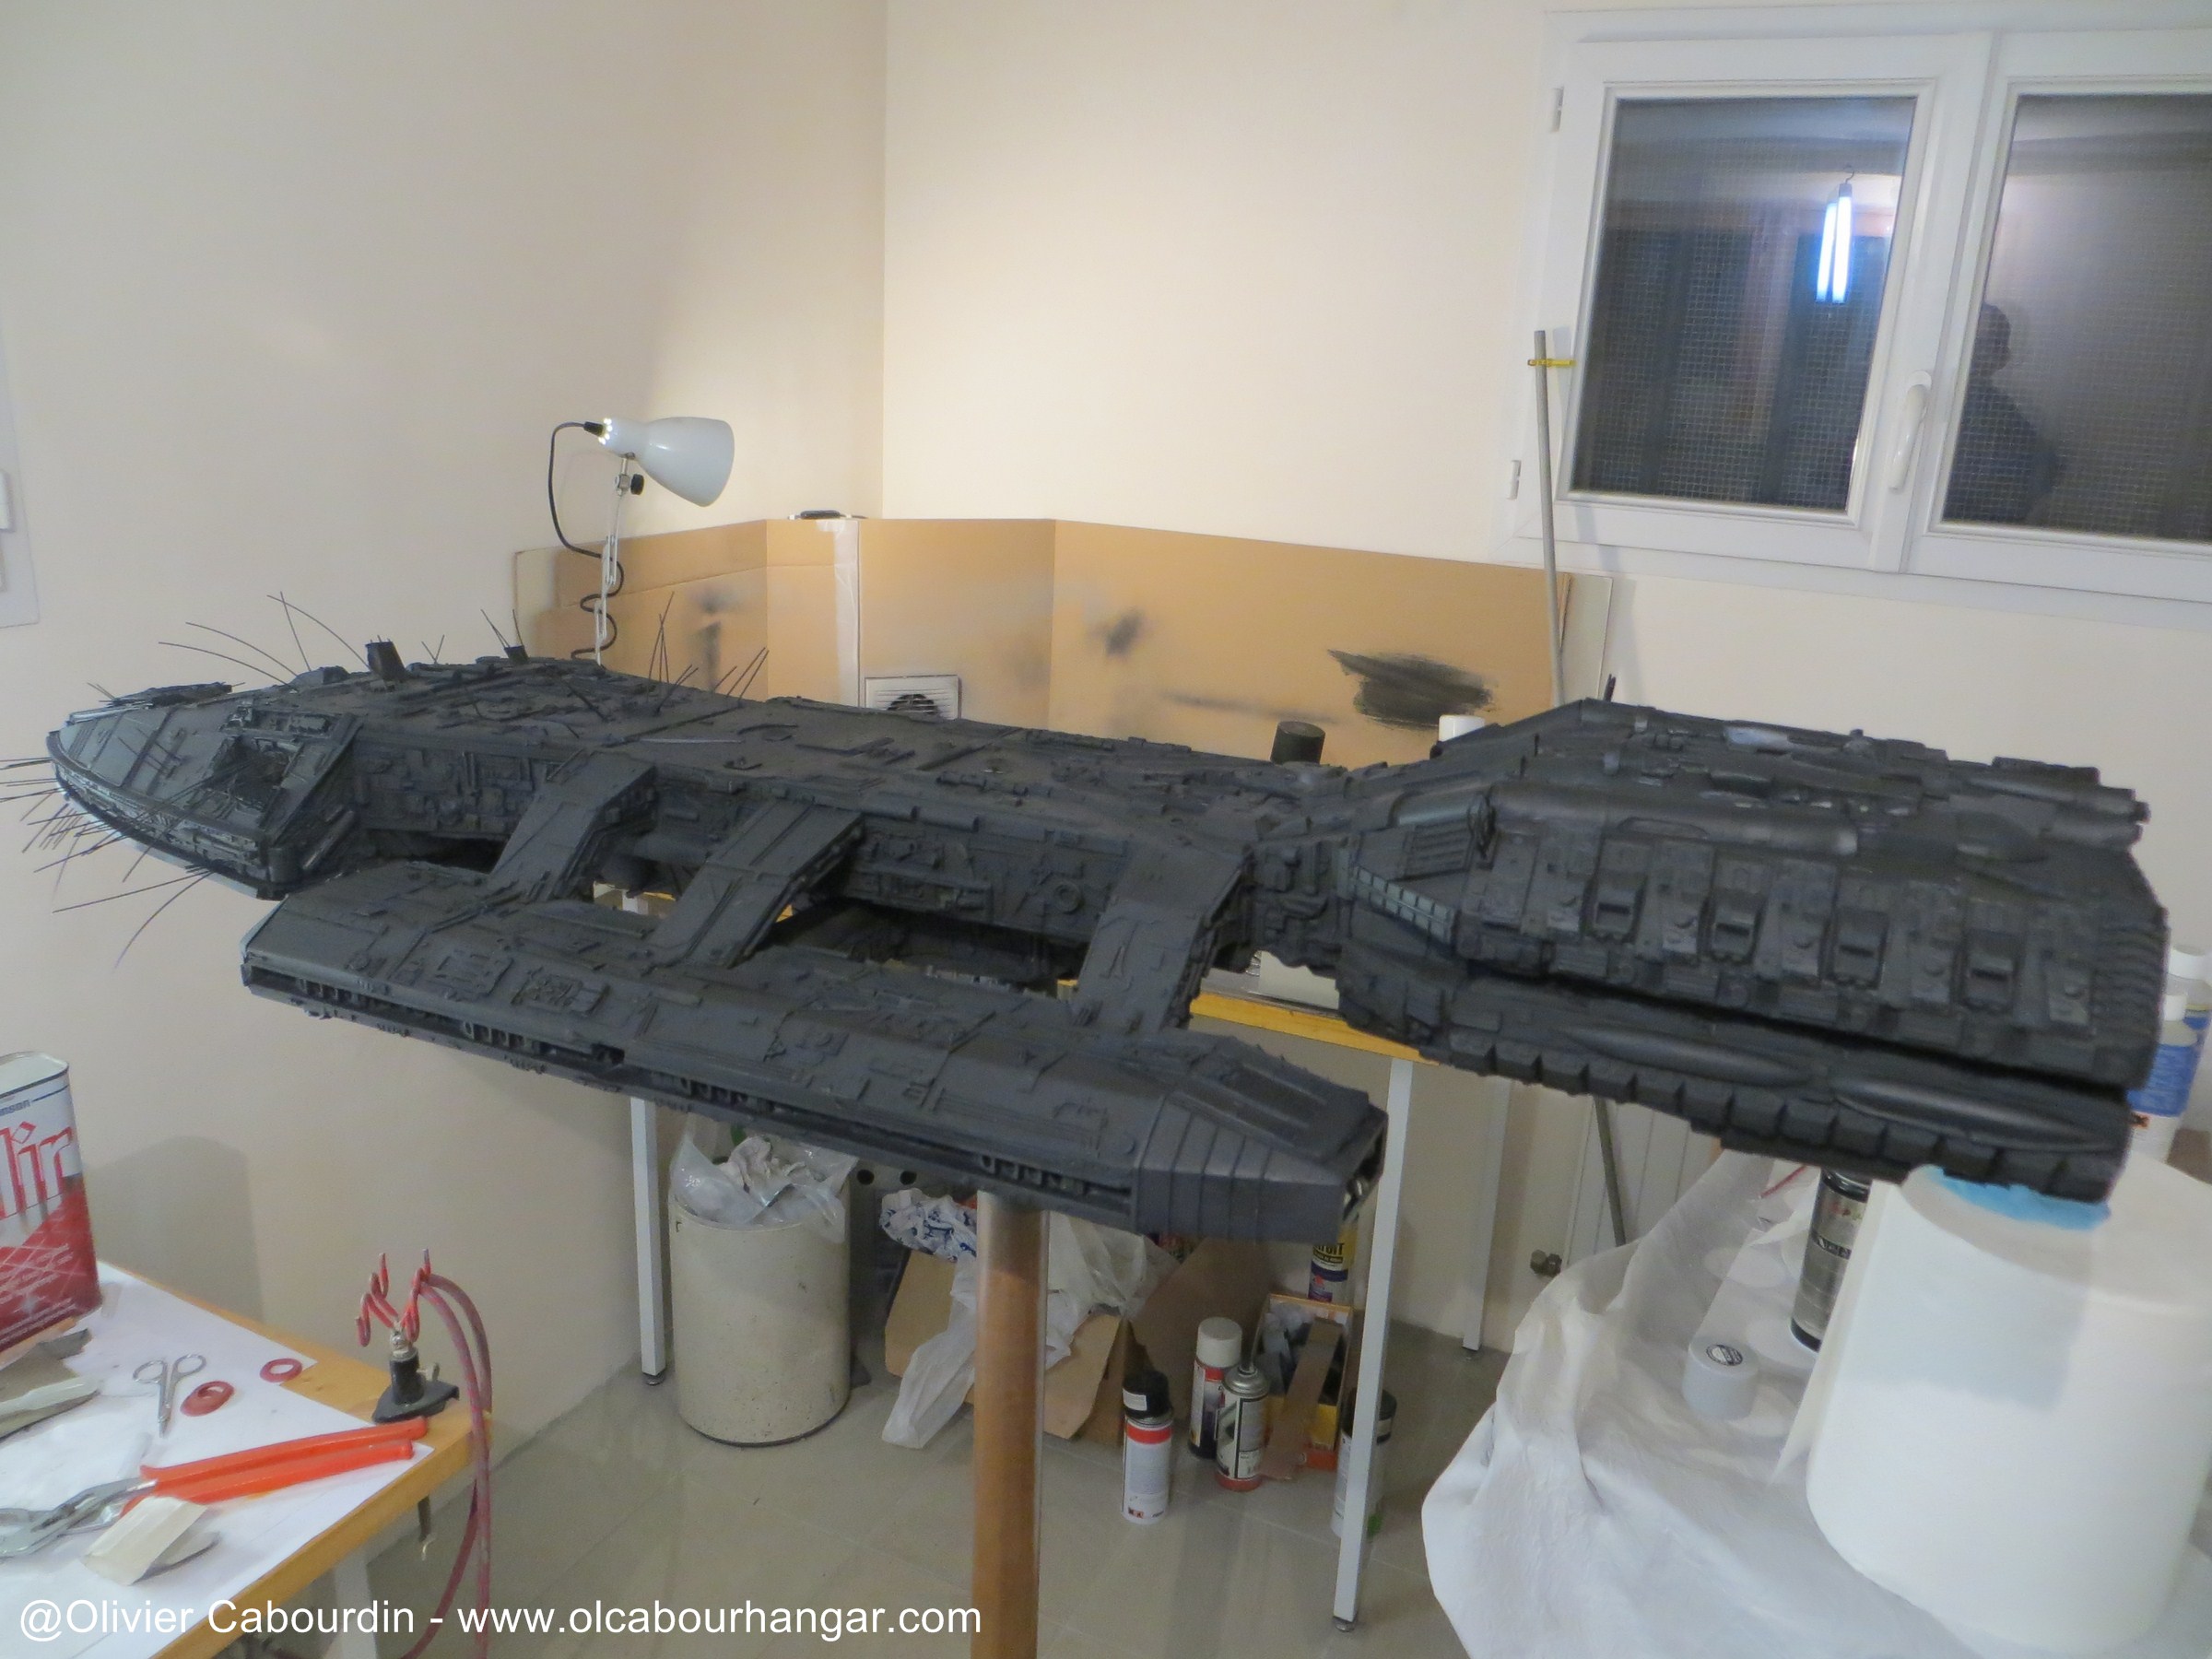
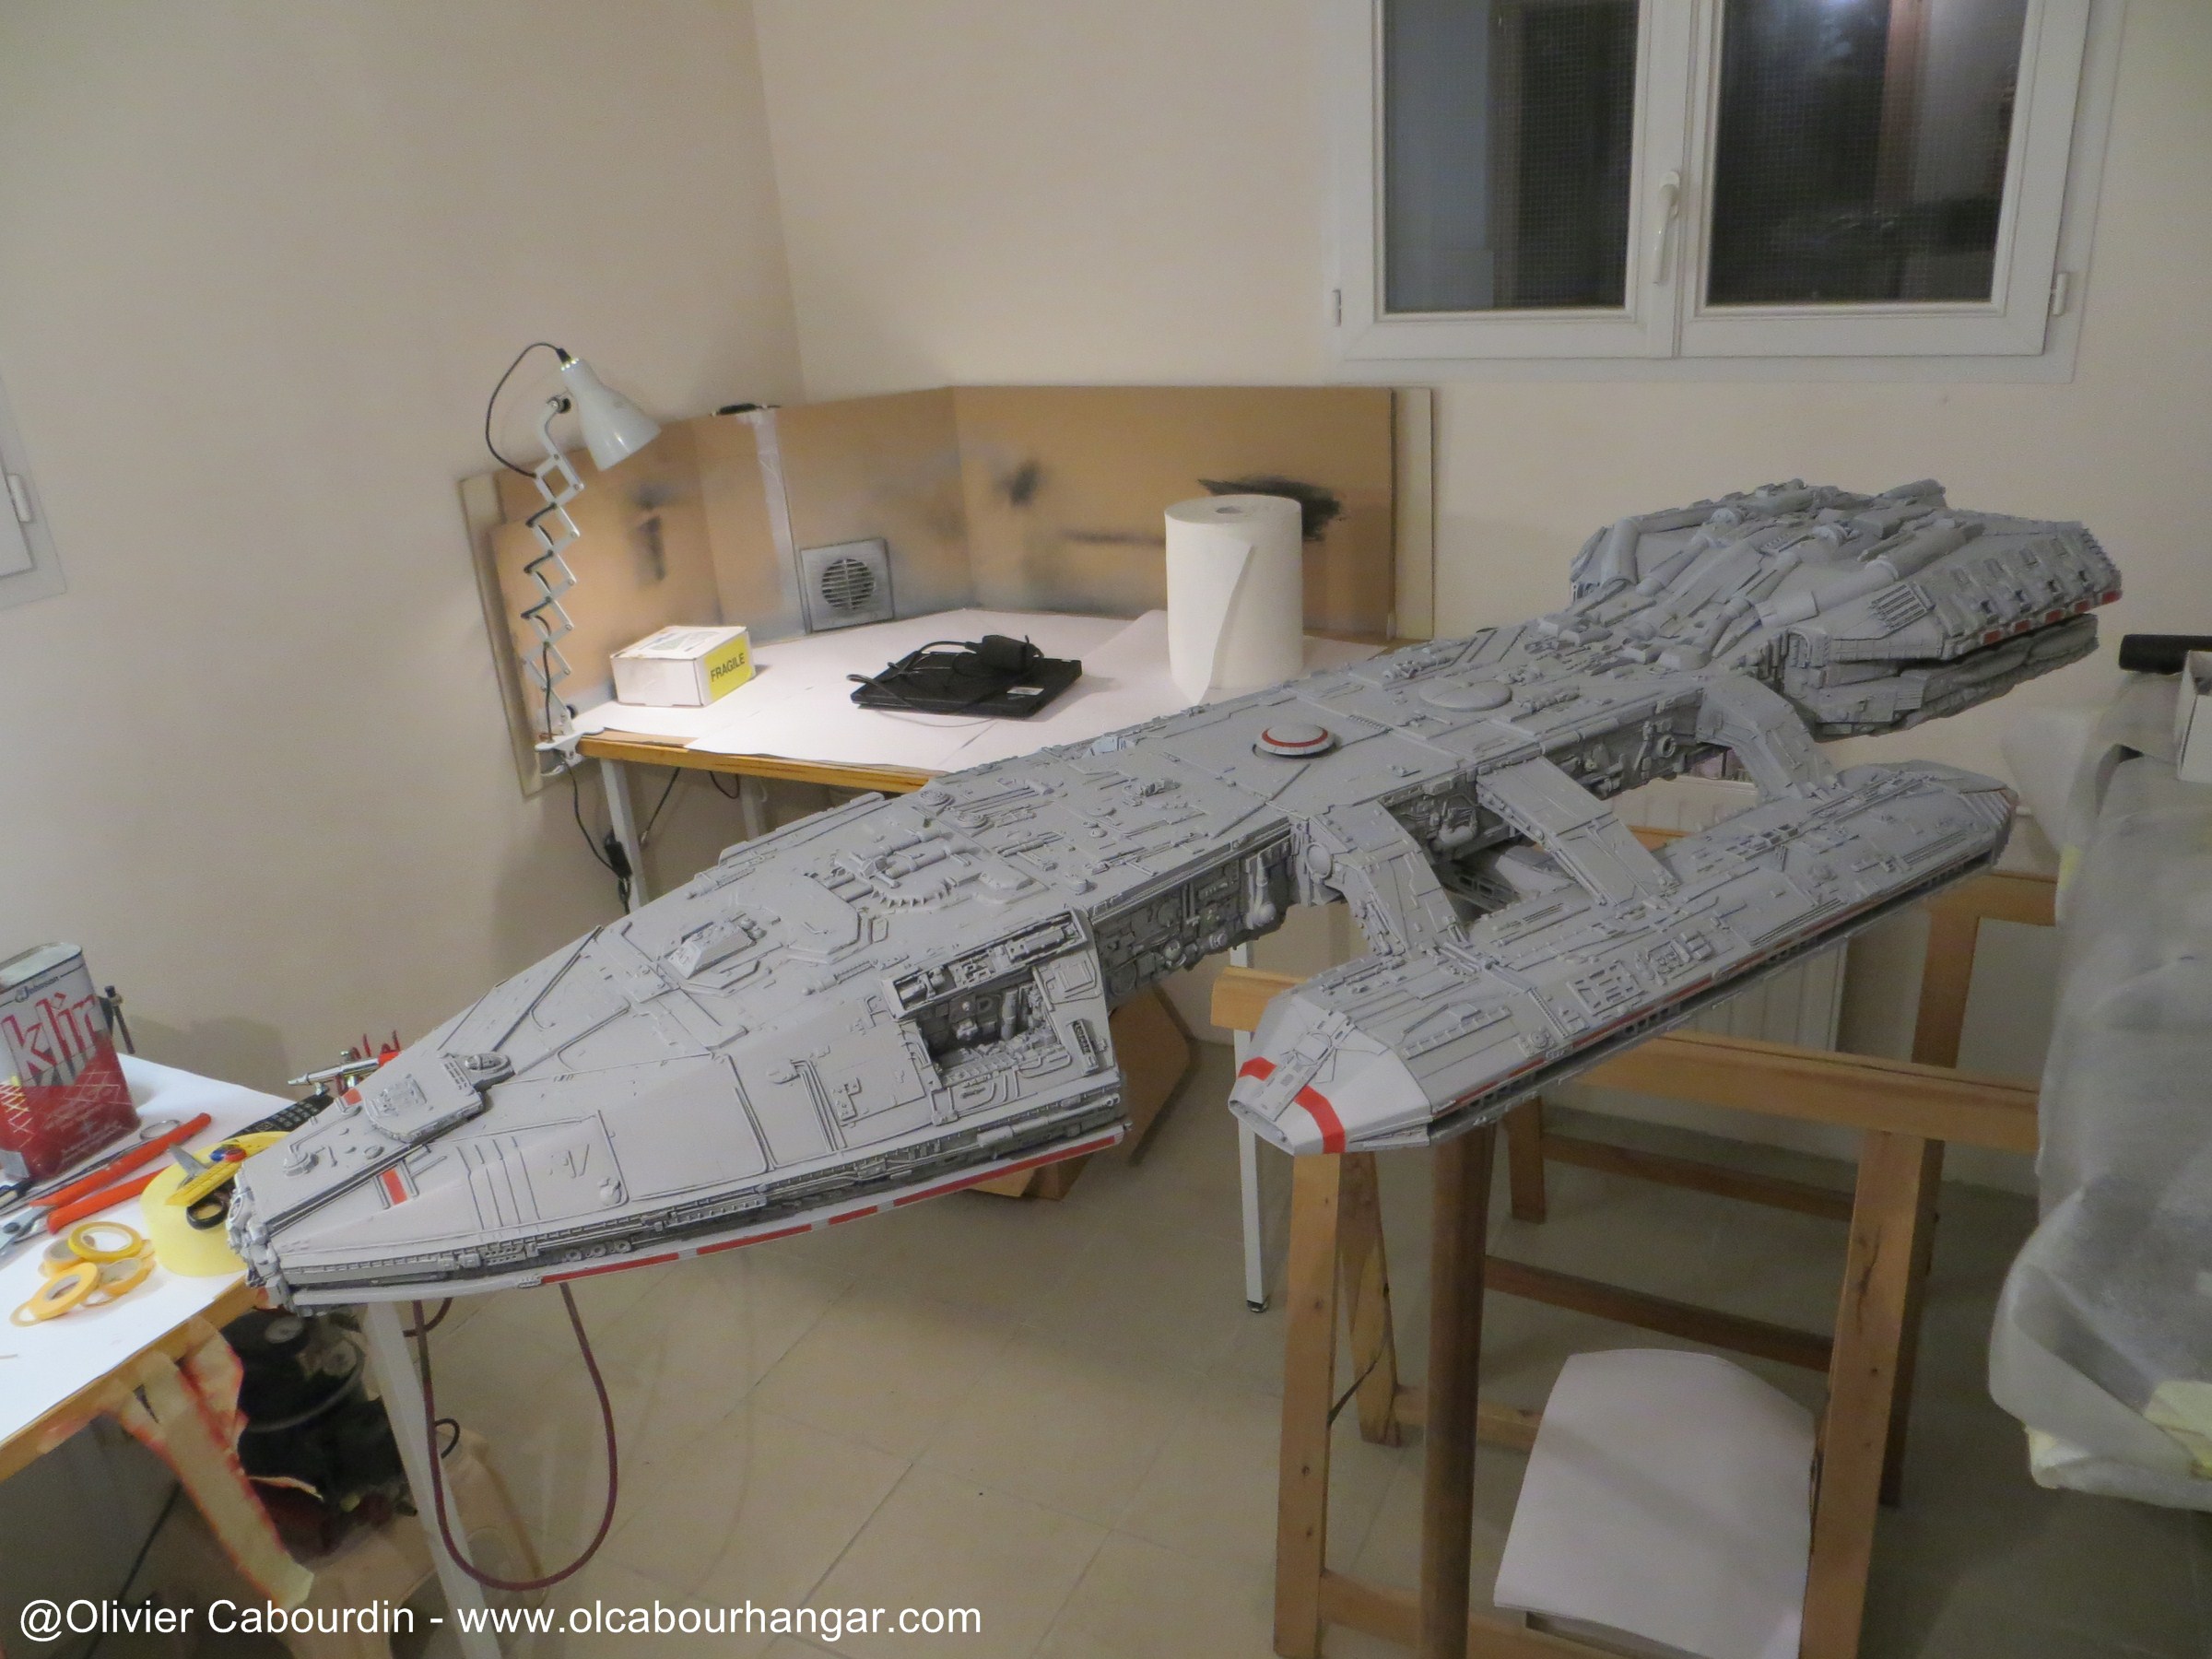
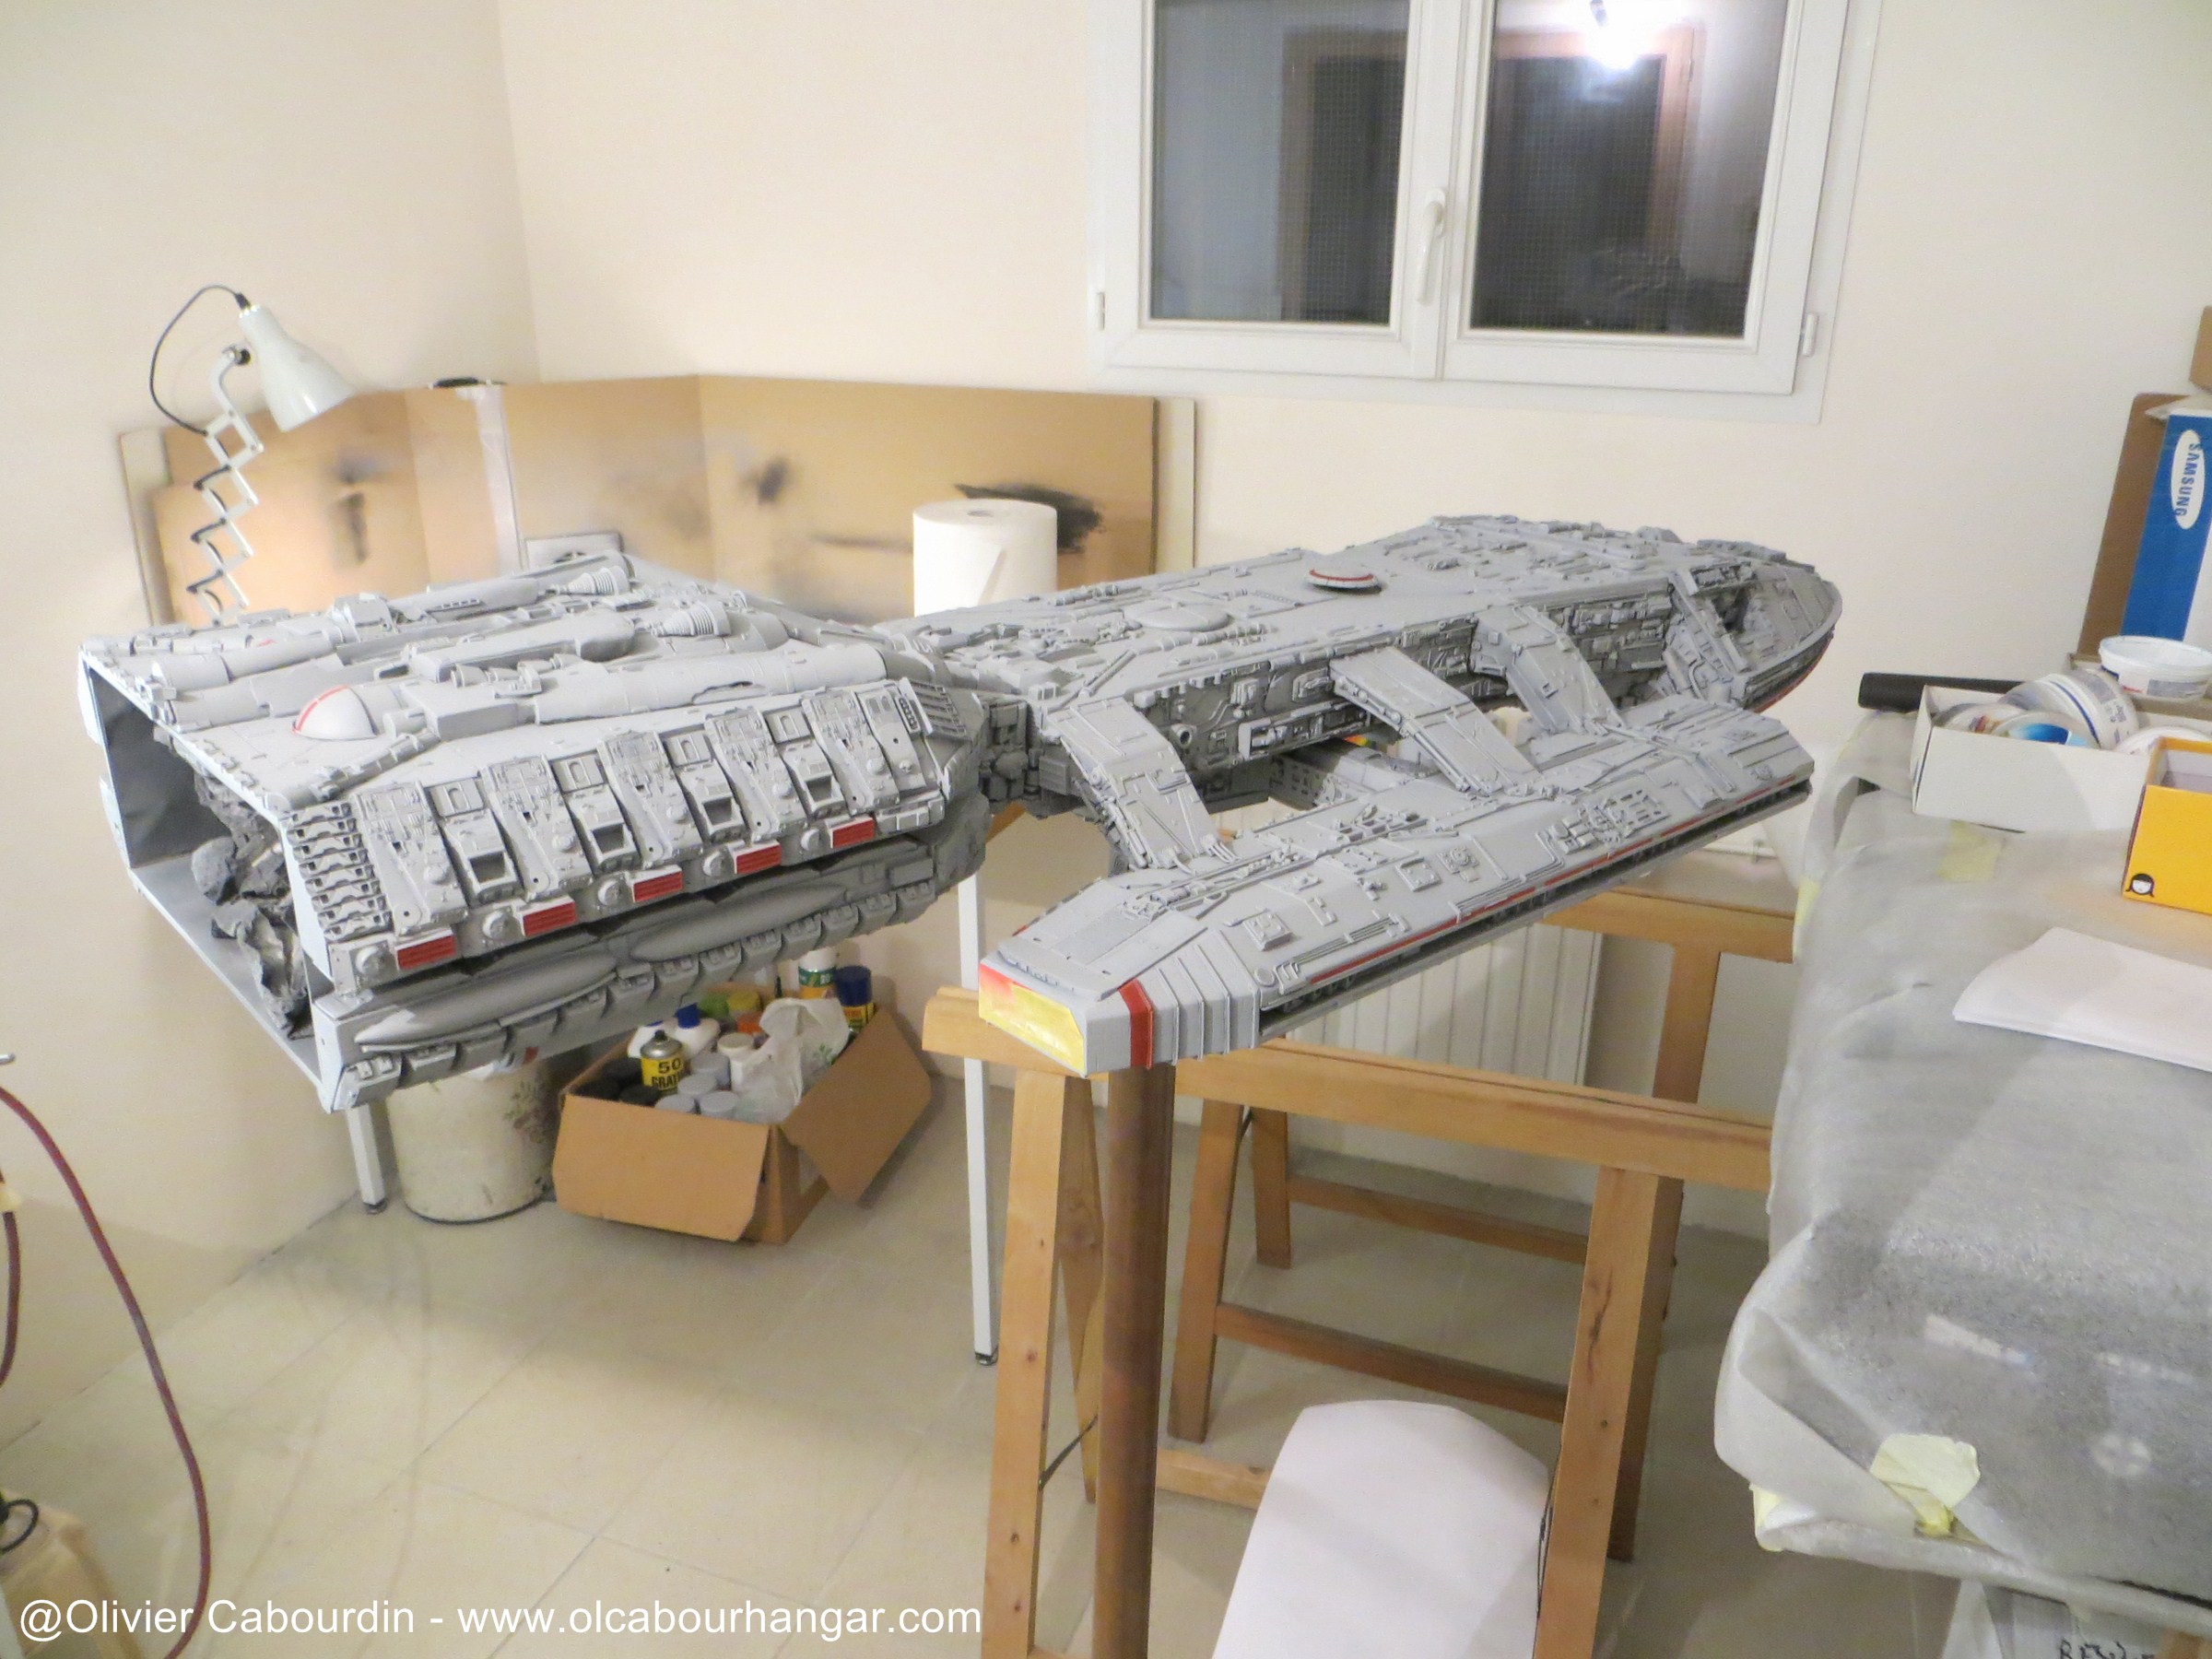
The painting was flat as is, but as there was a dead line with a convention coming quickly, I had to finish and go to the final assembly. I will return to painting later.
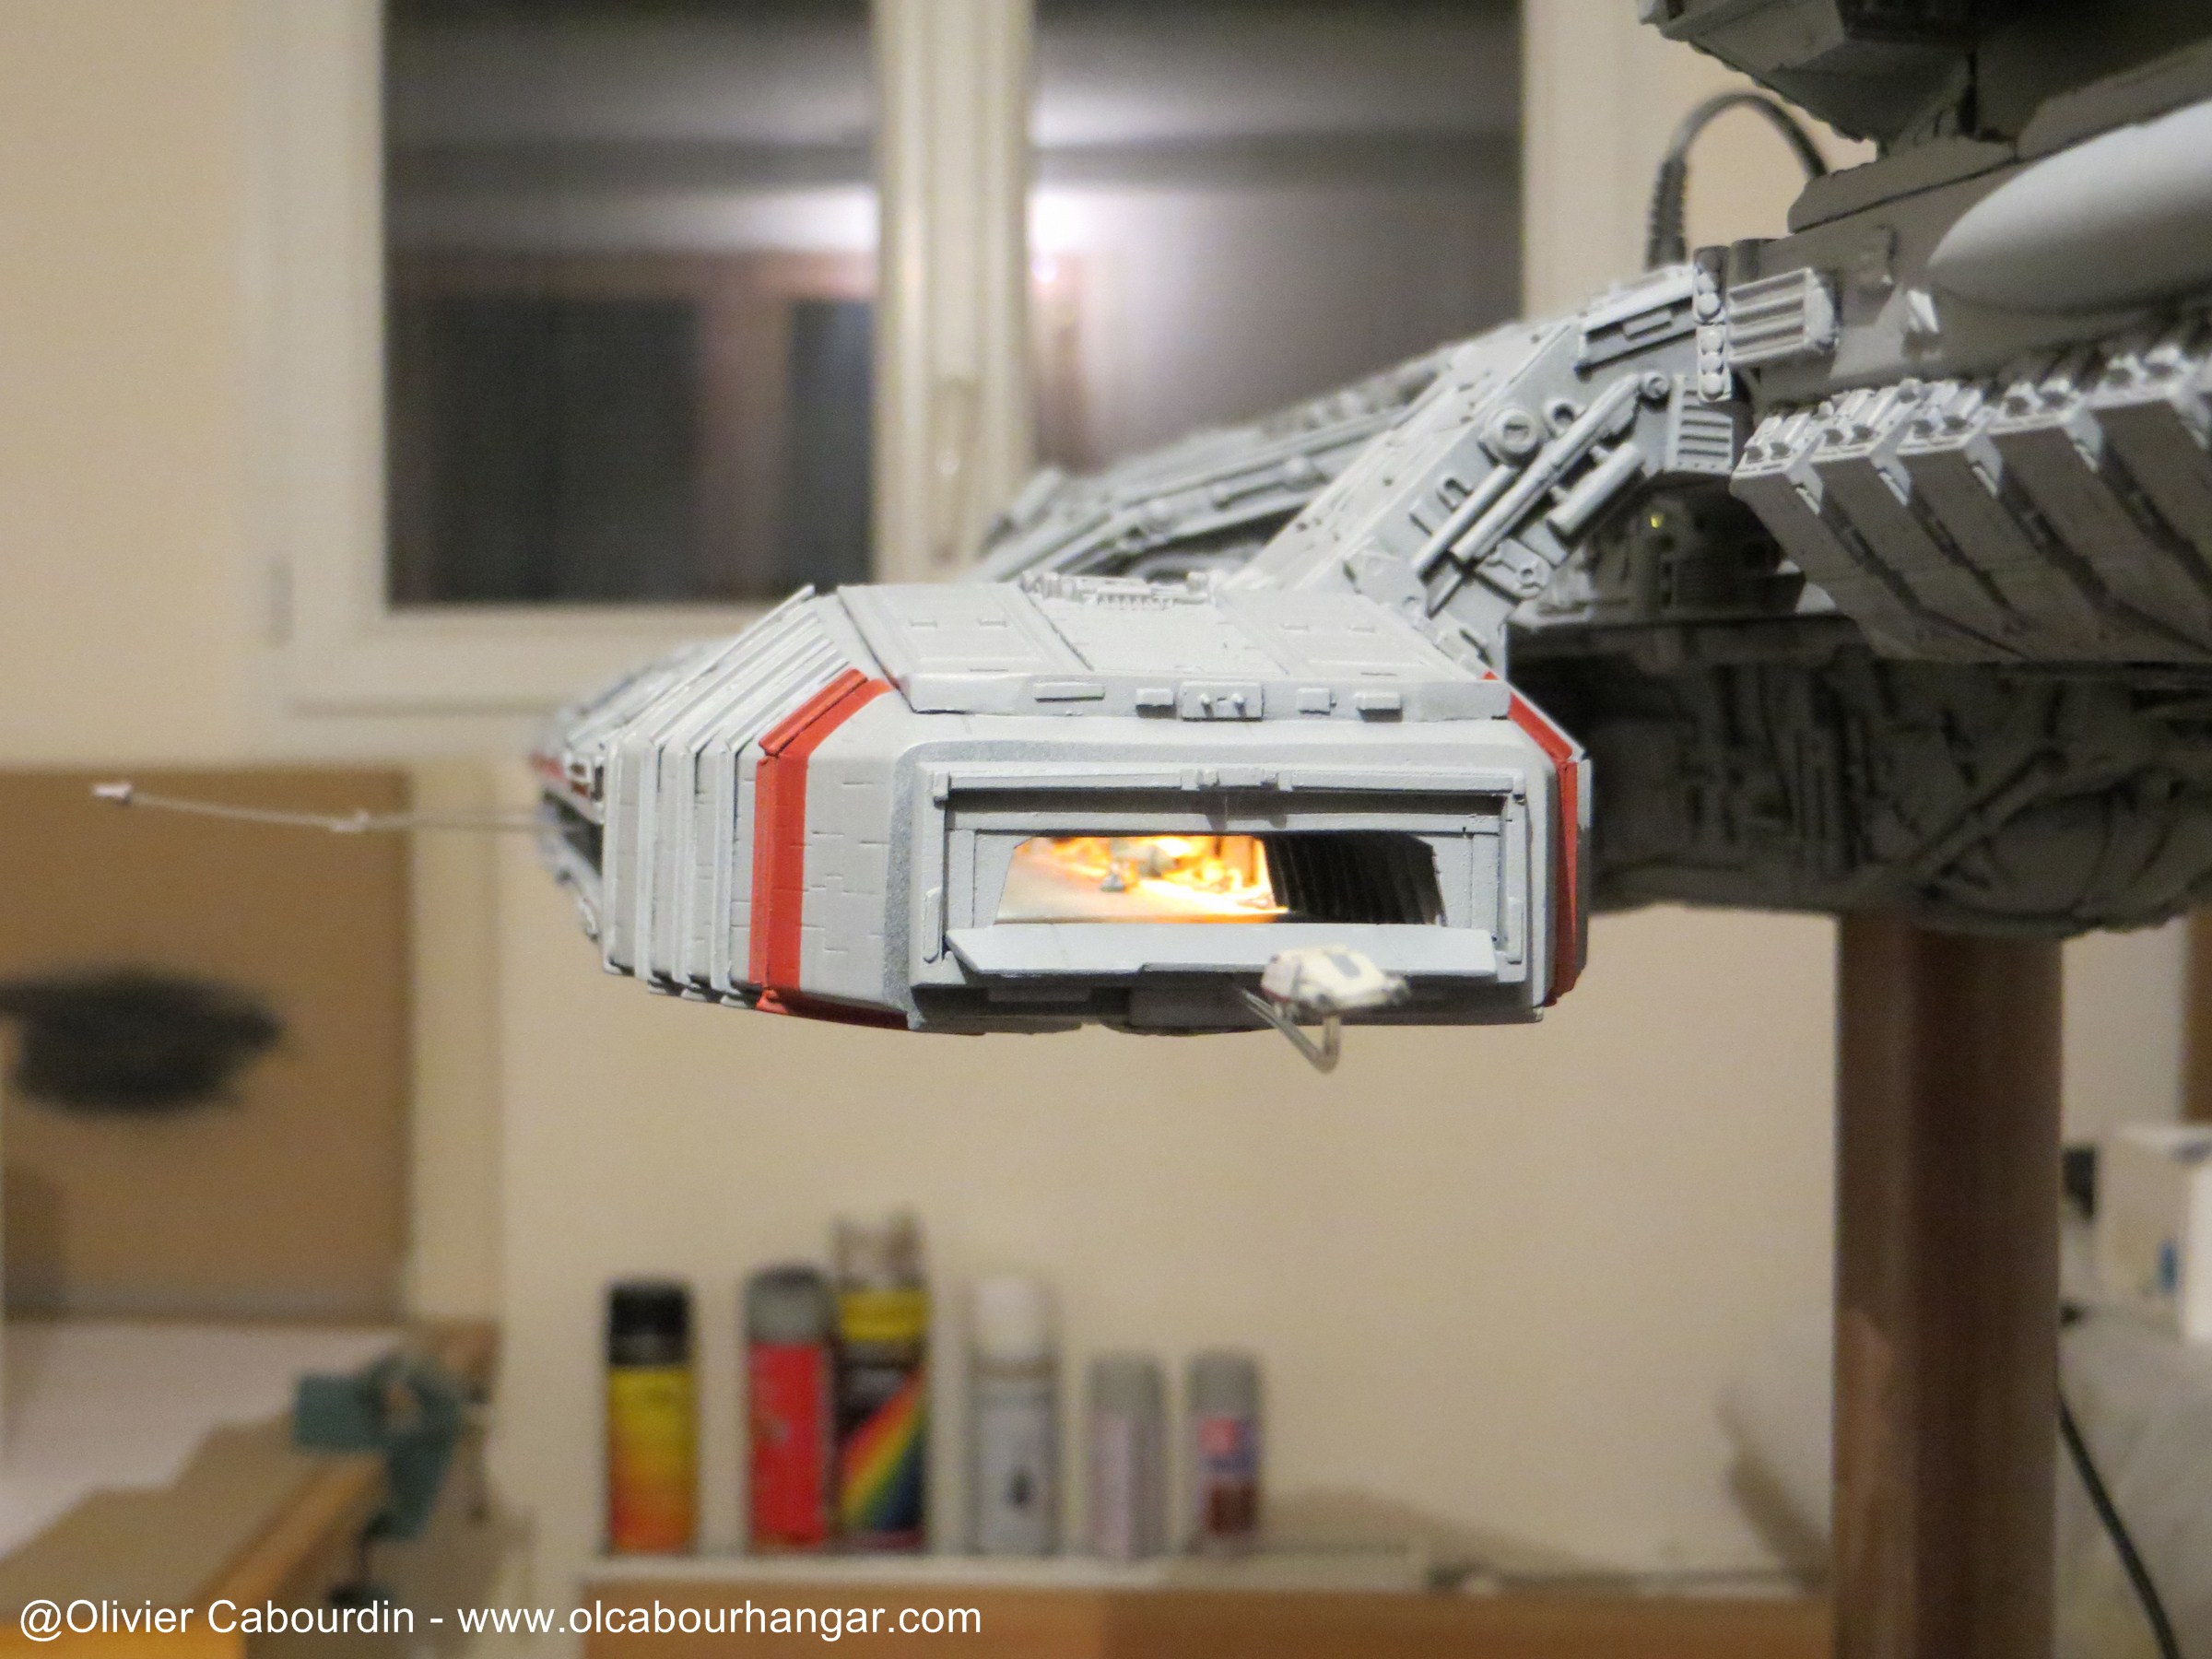
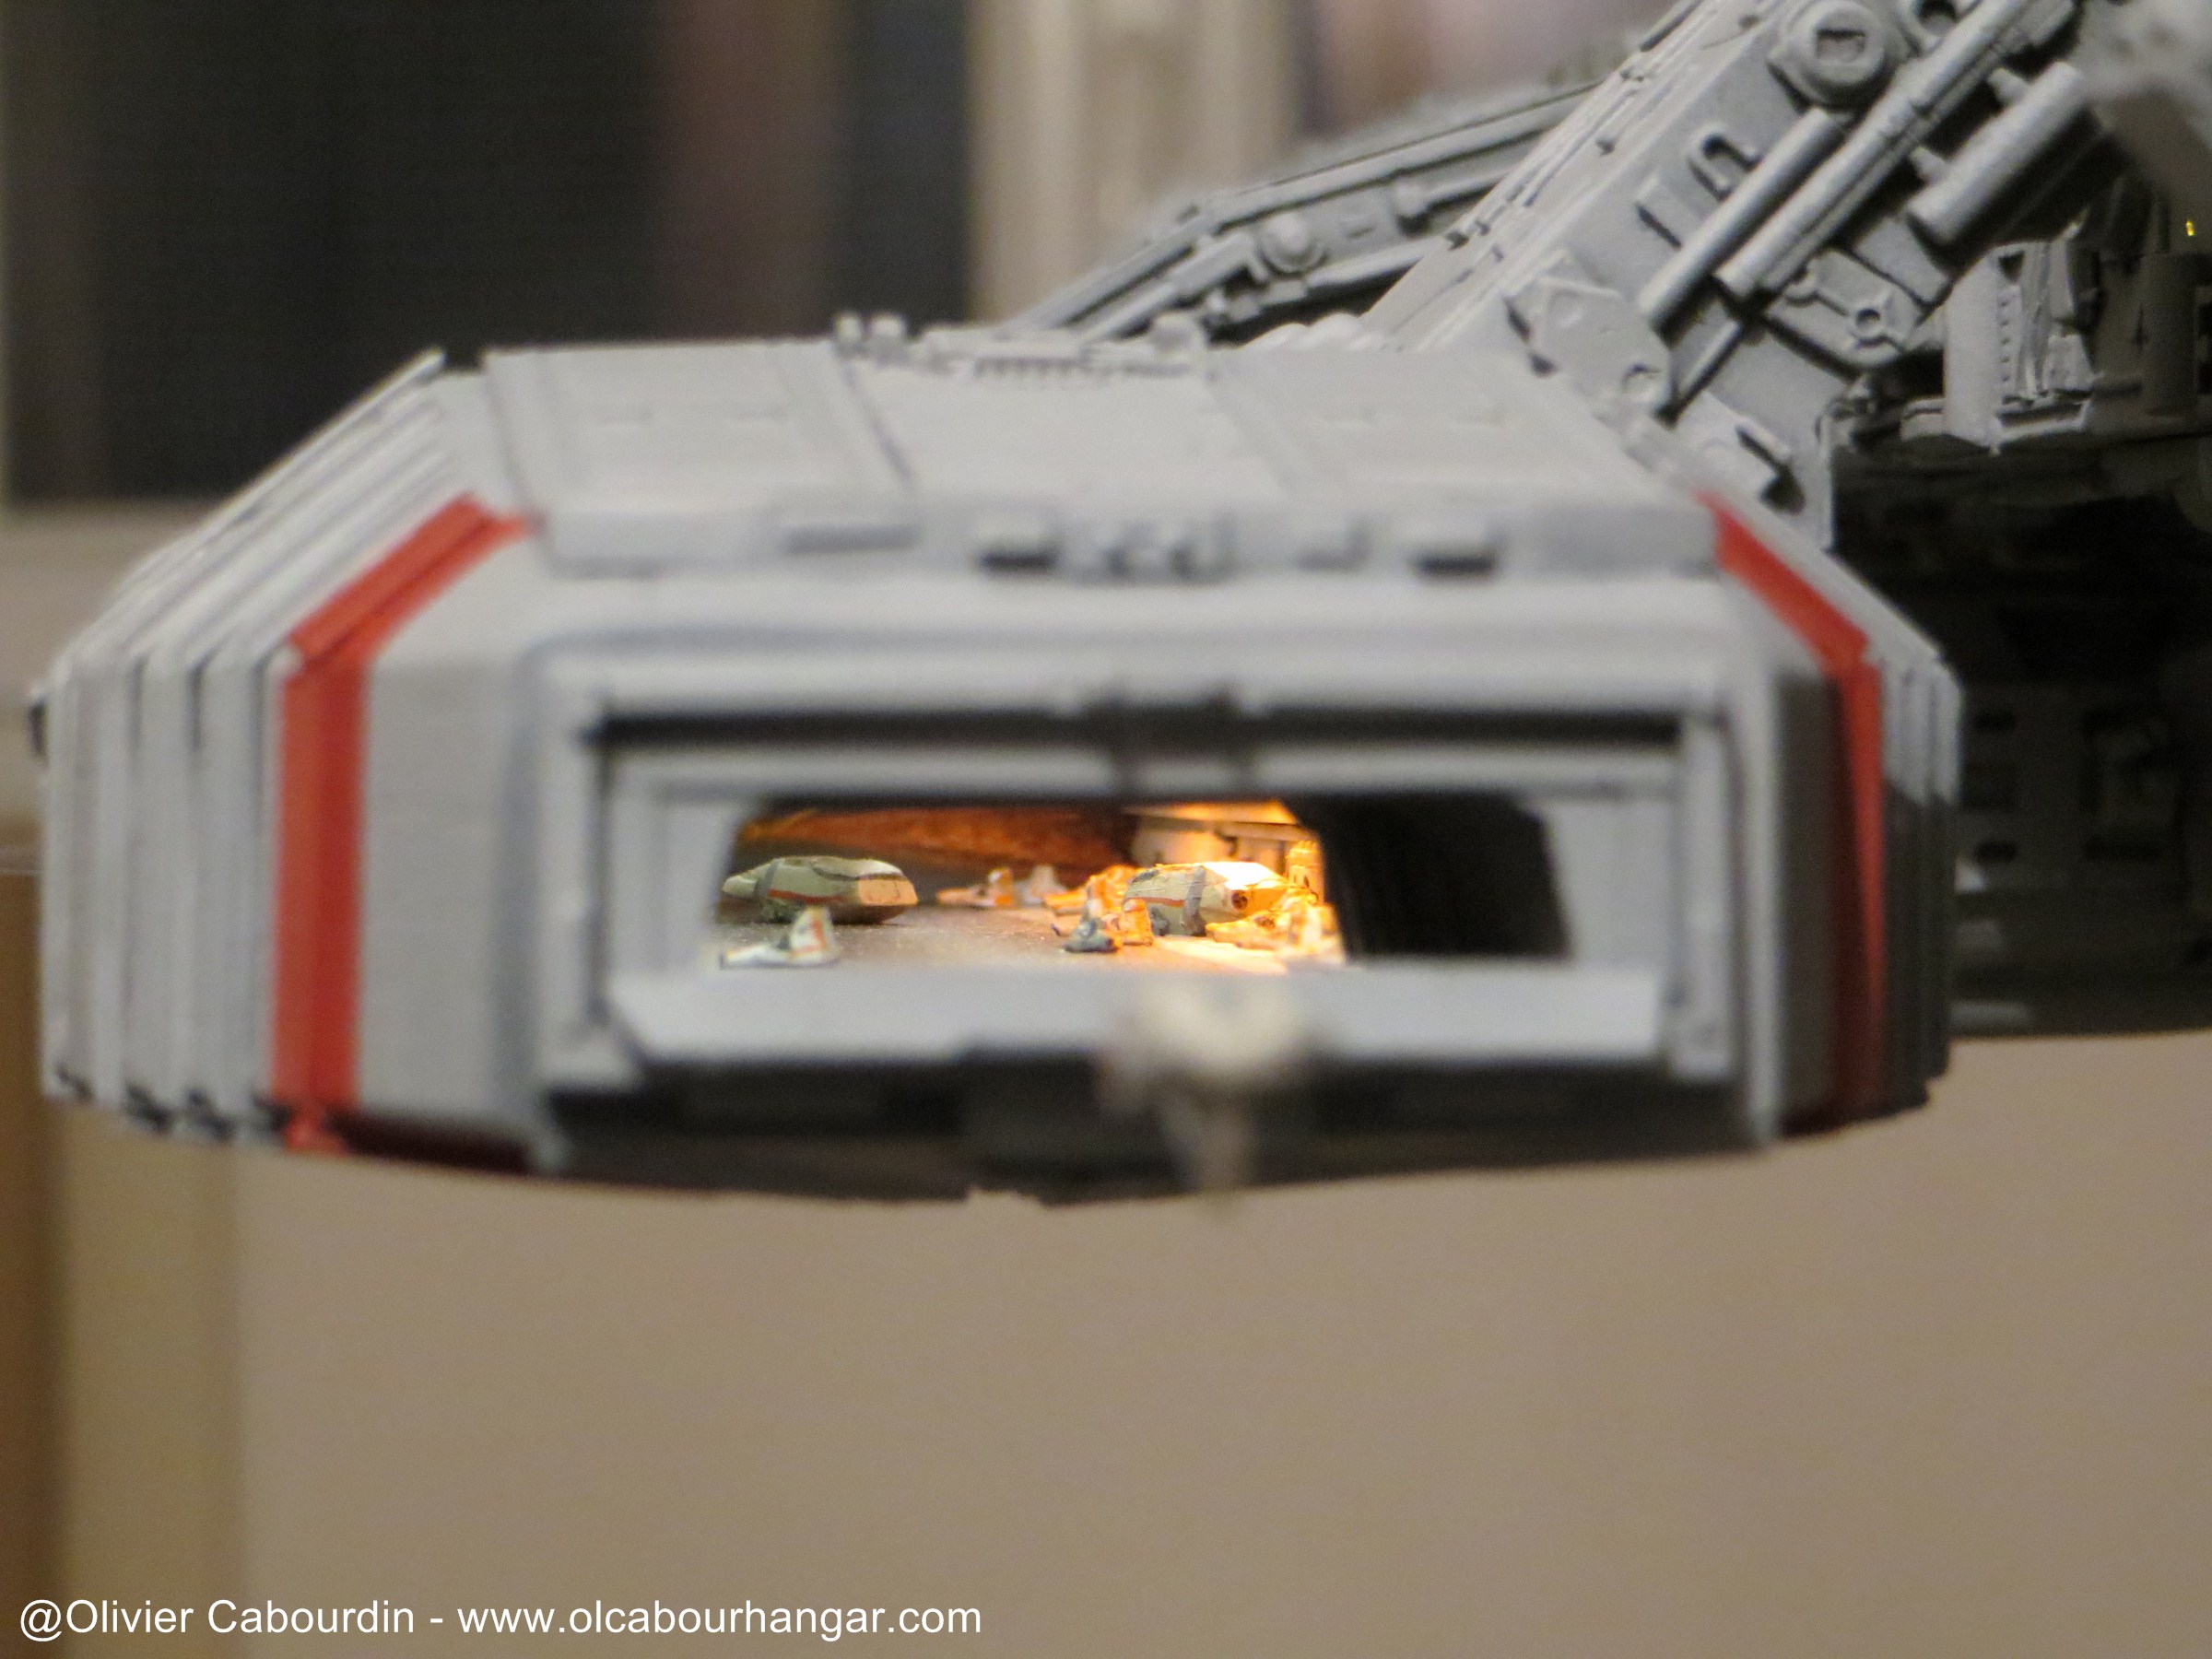
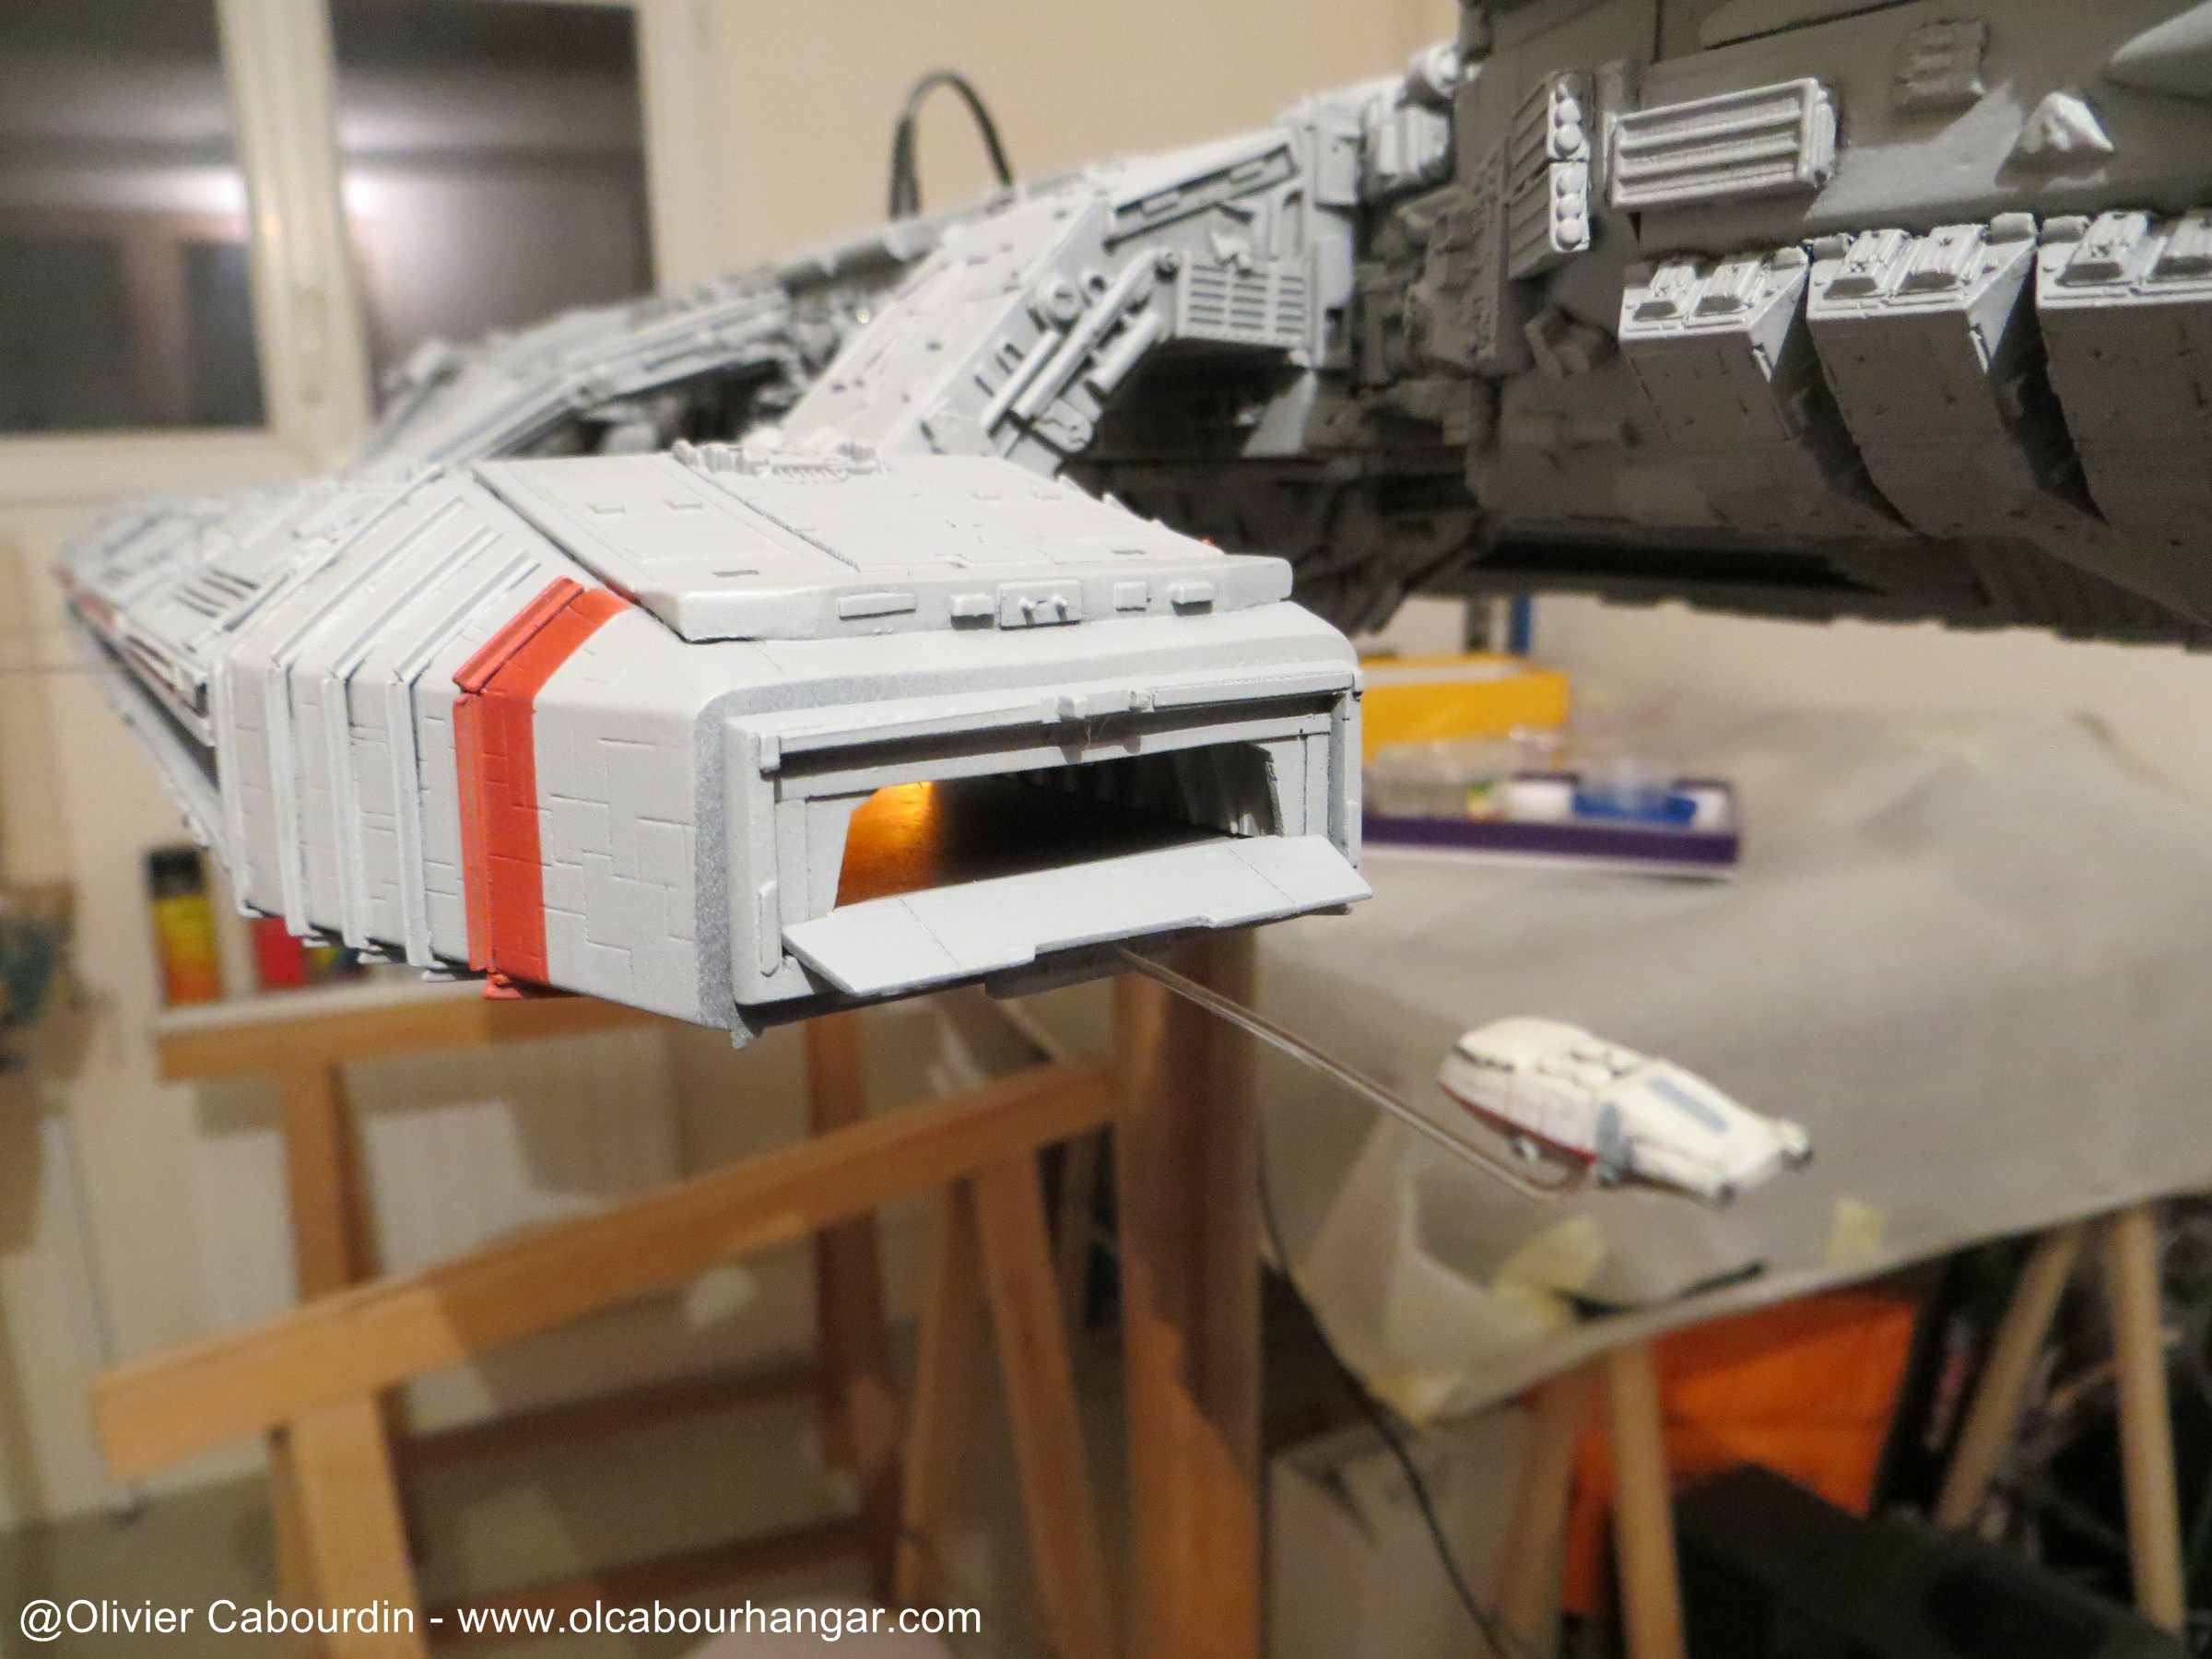
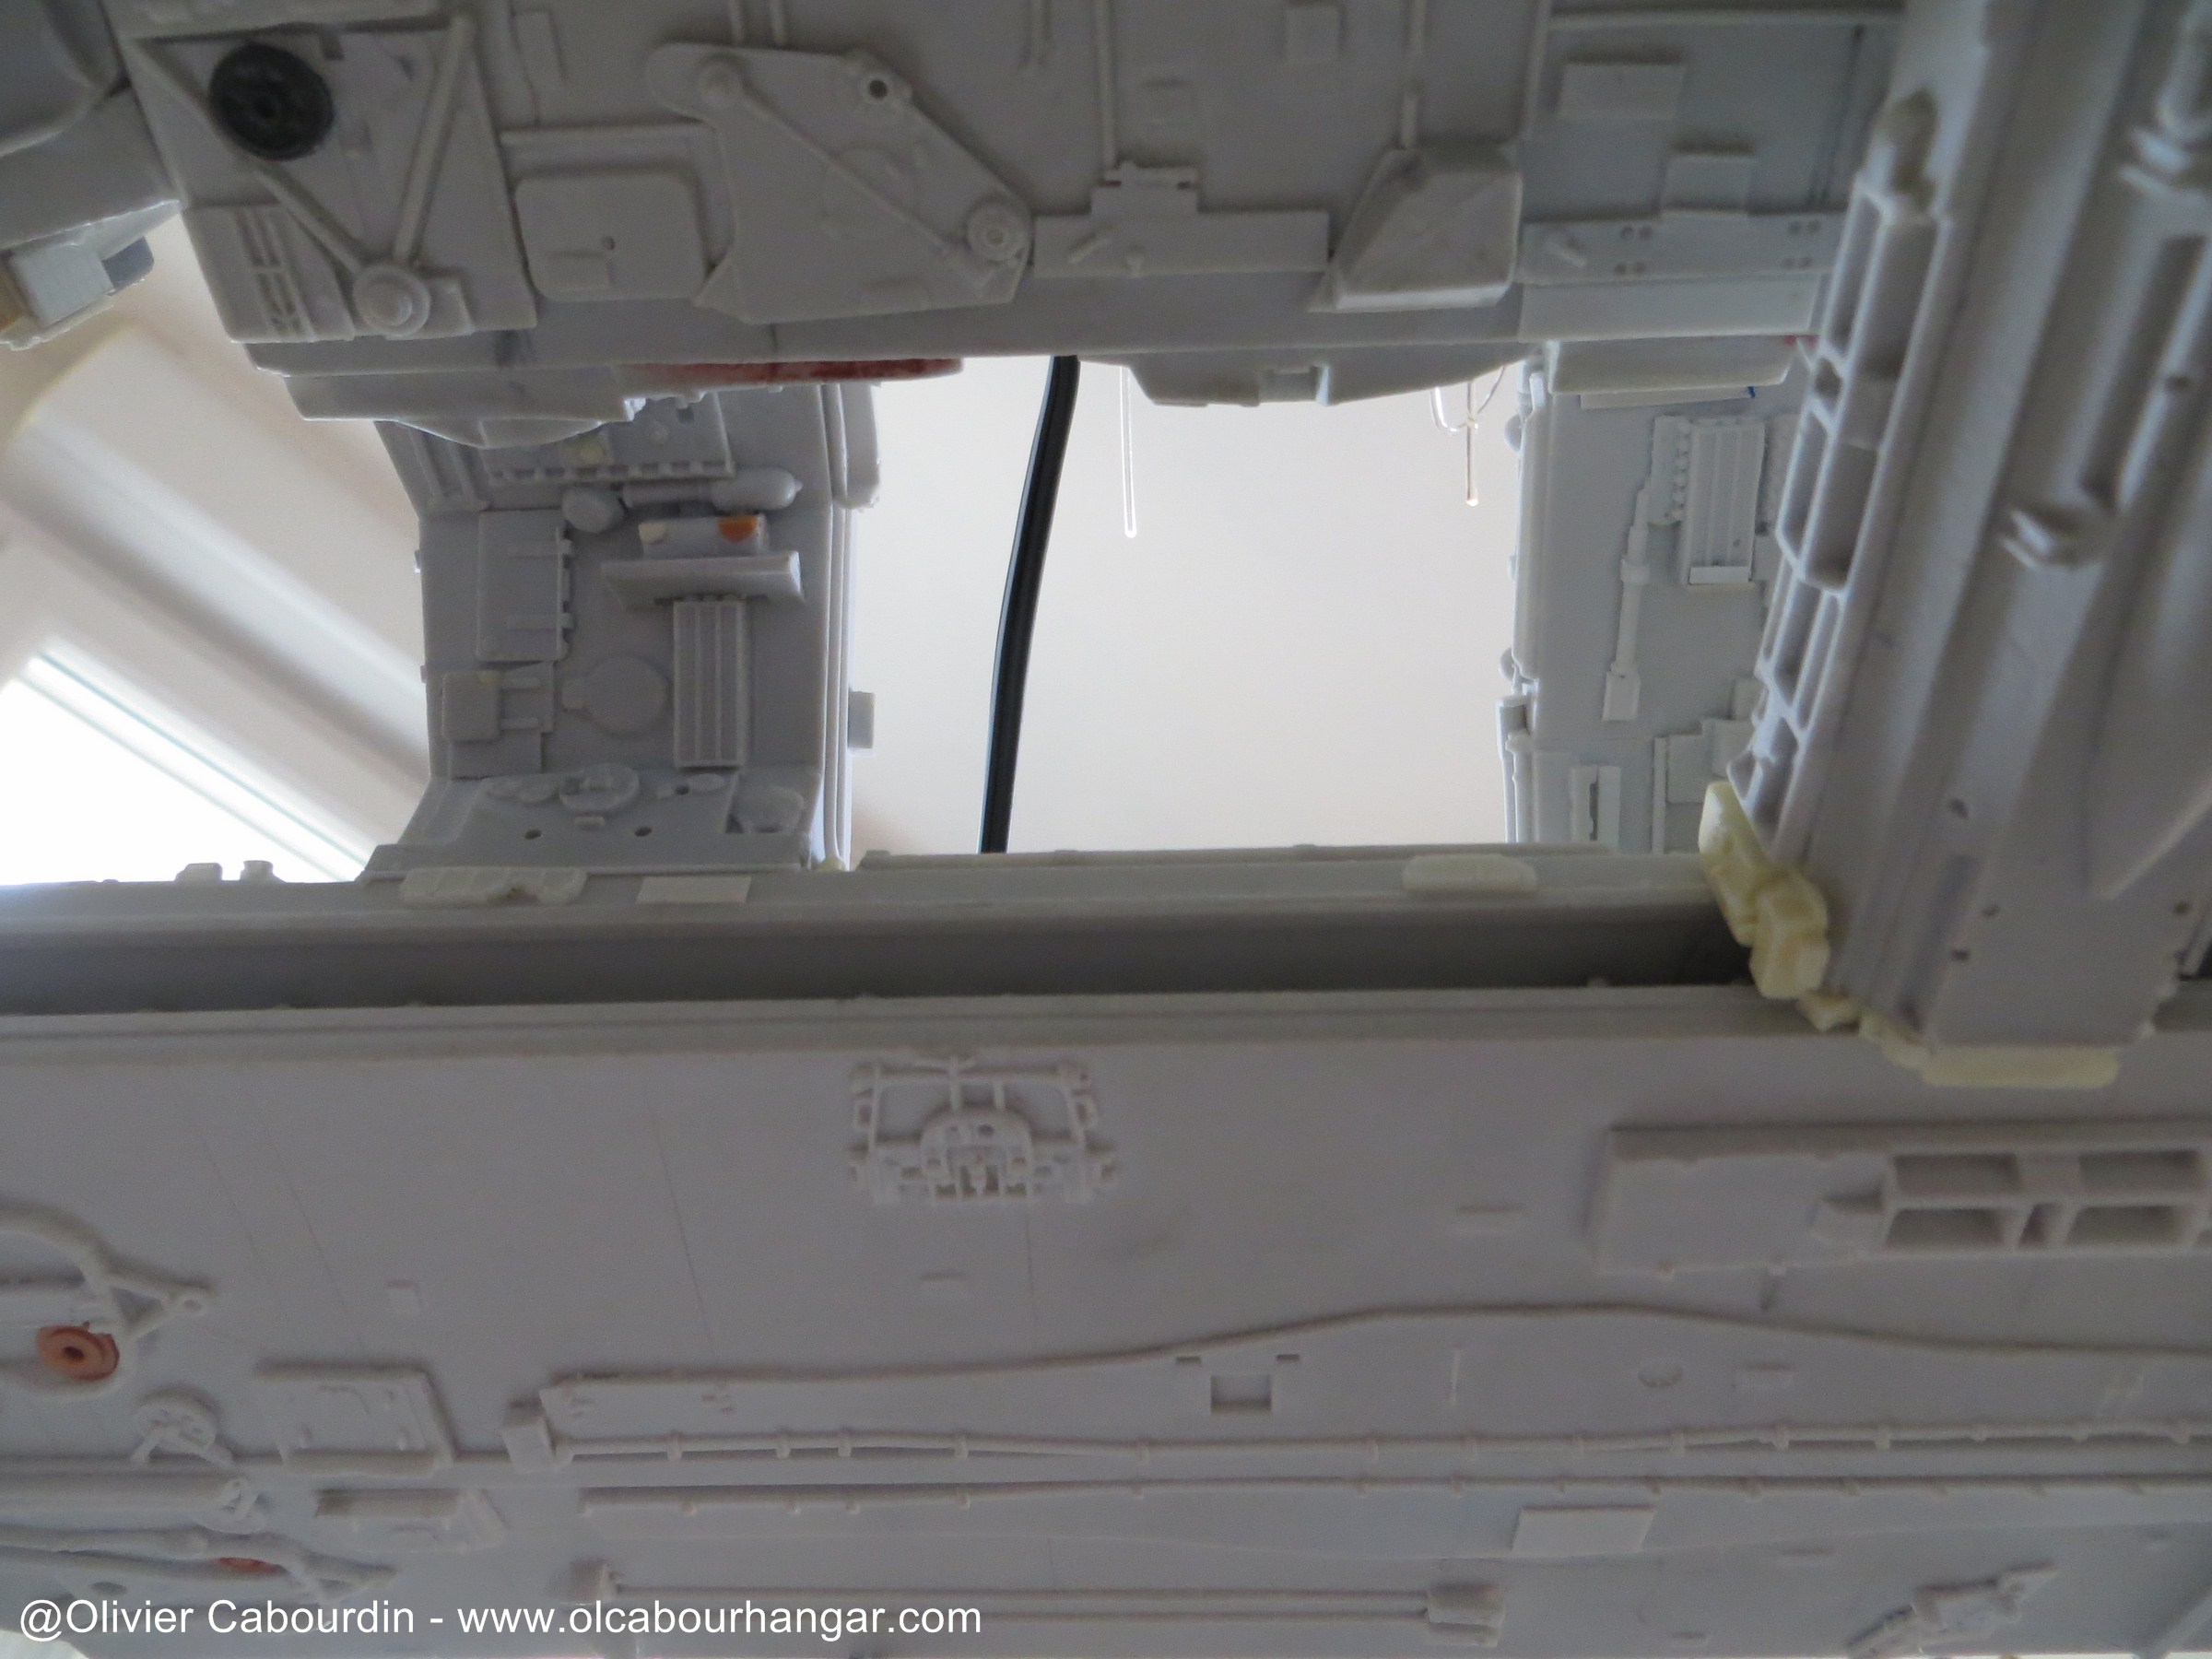
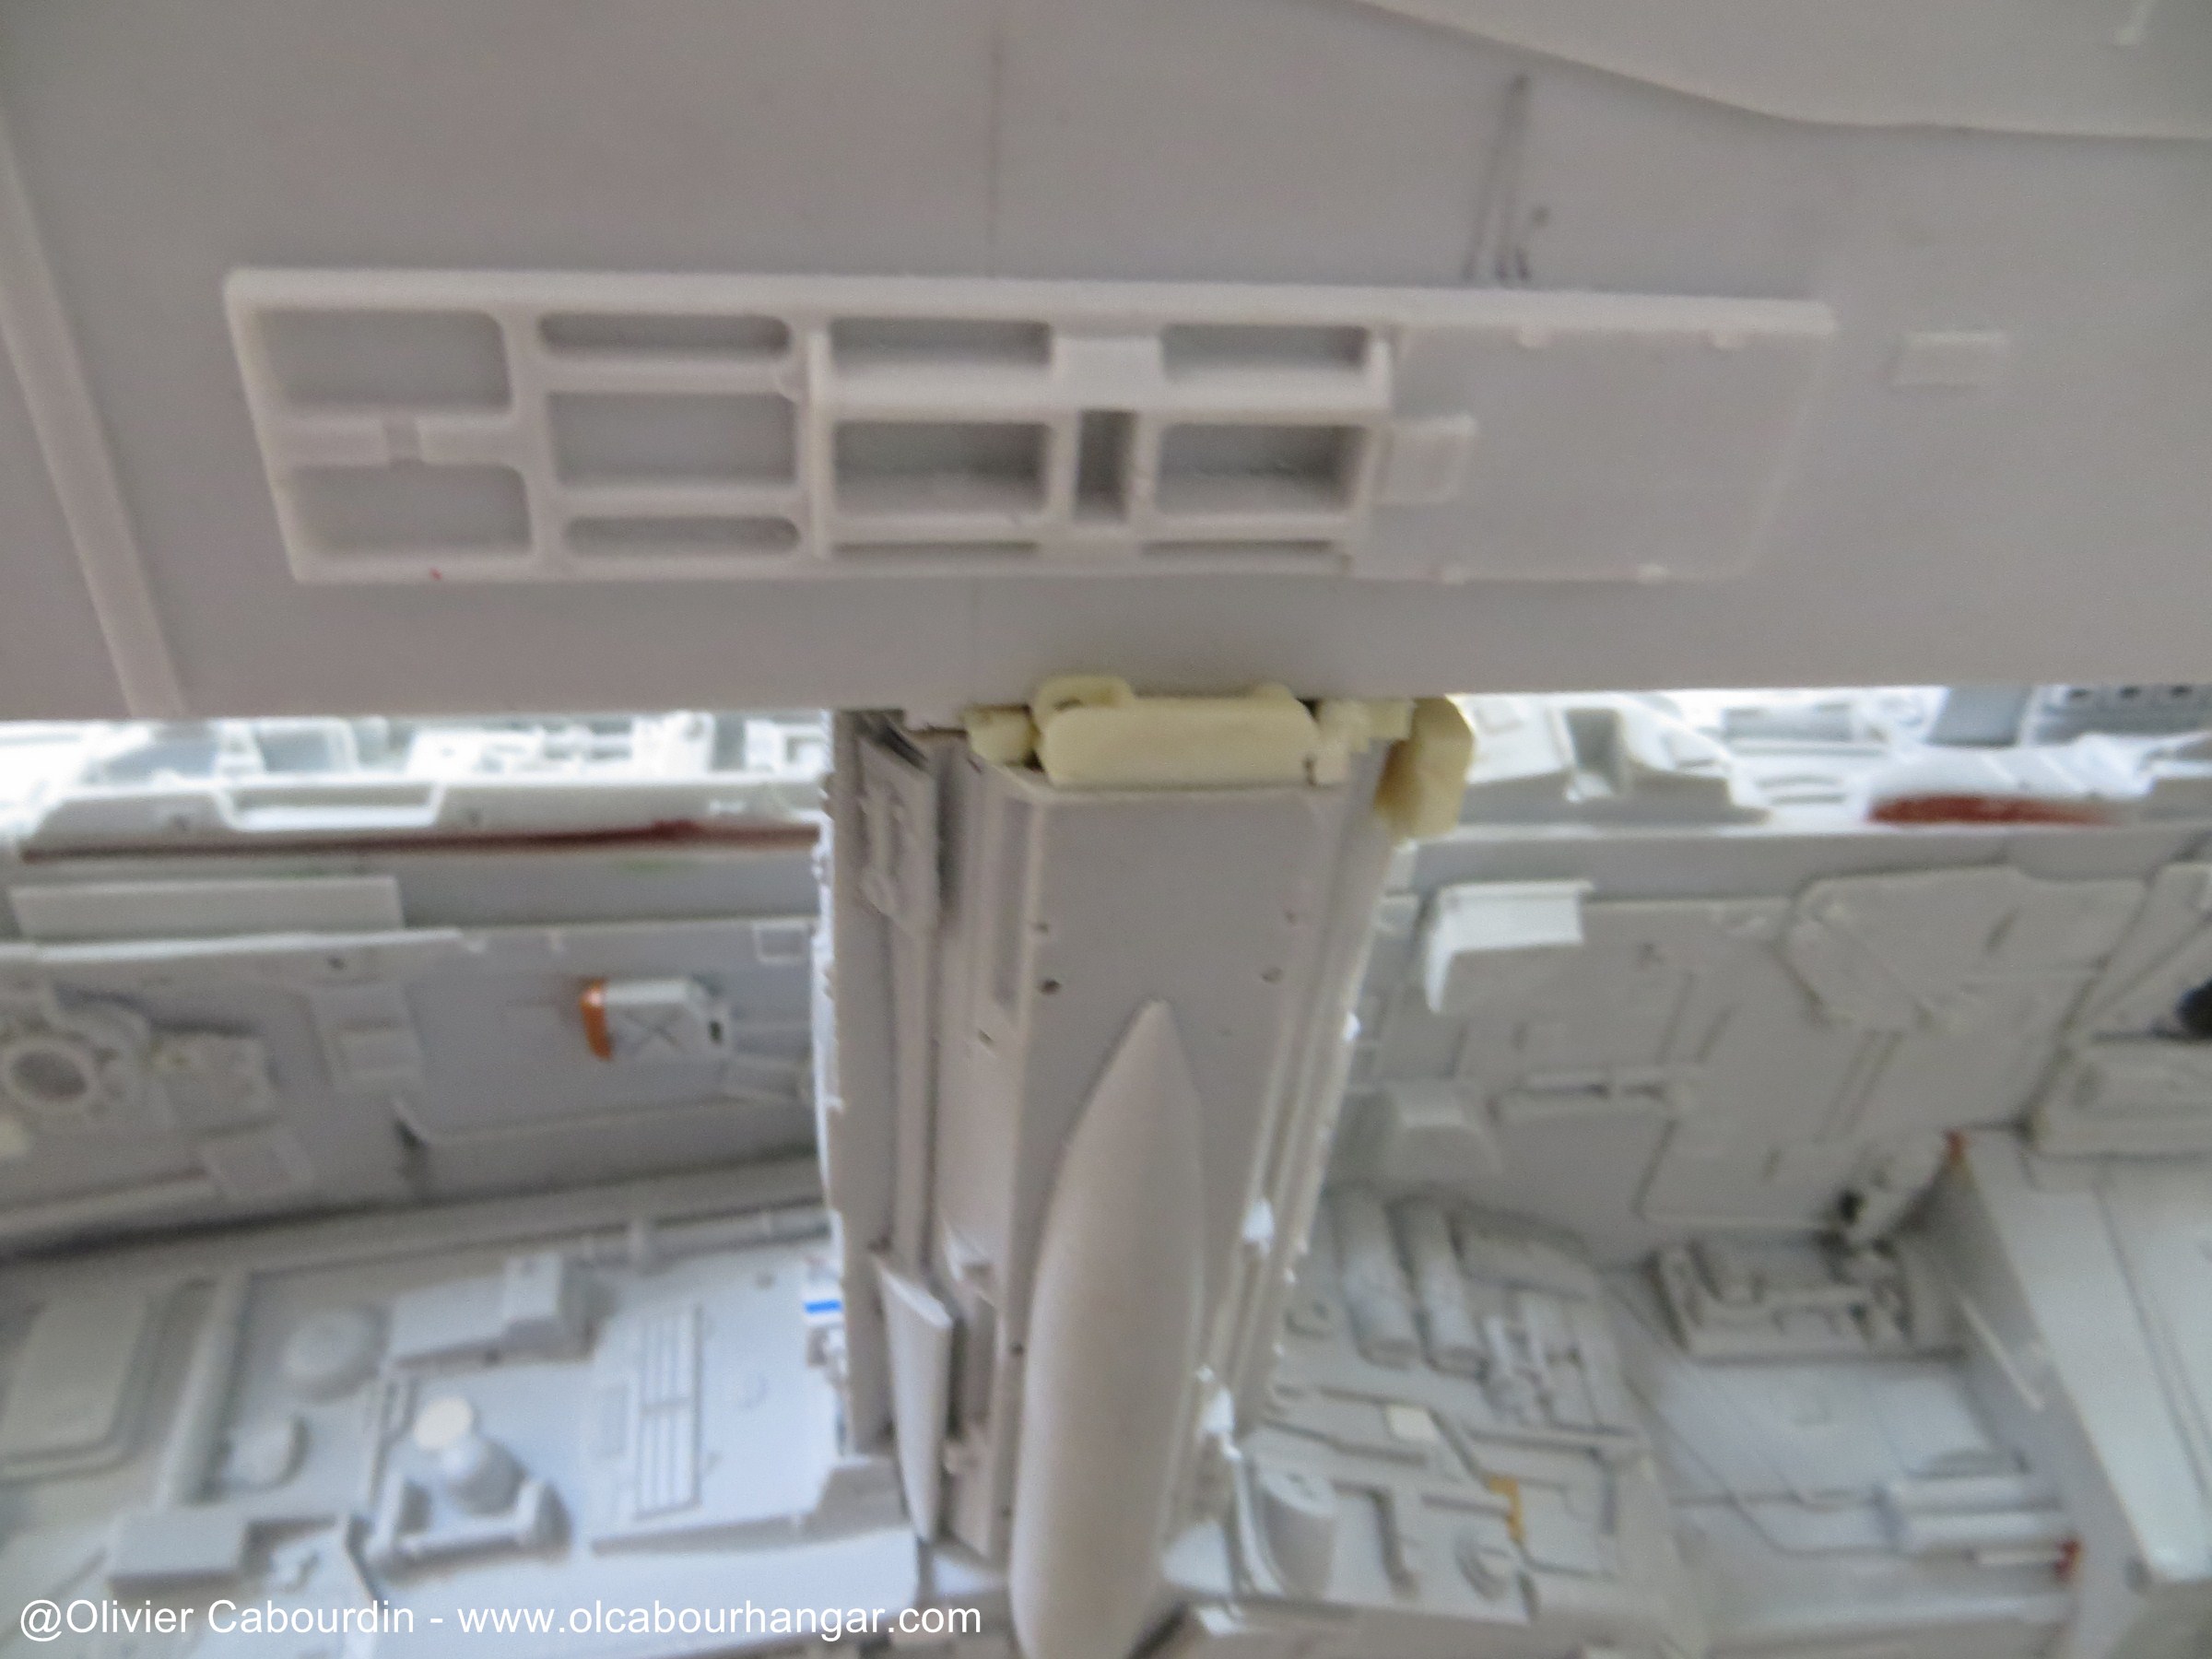
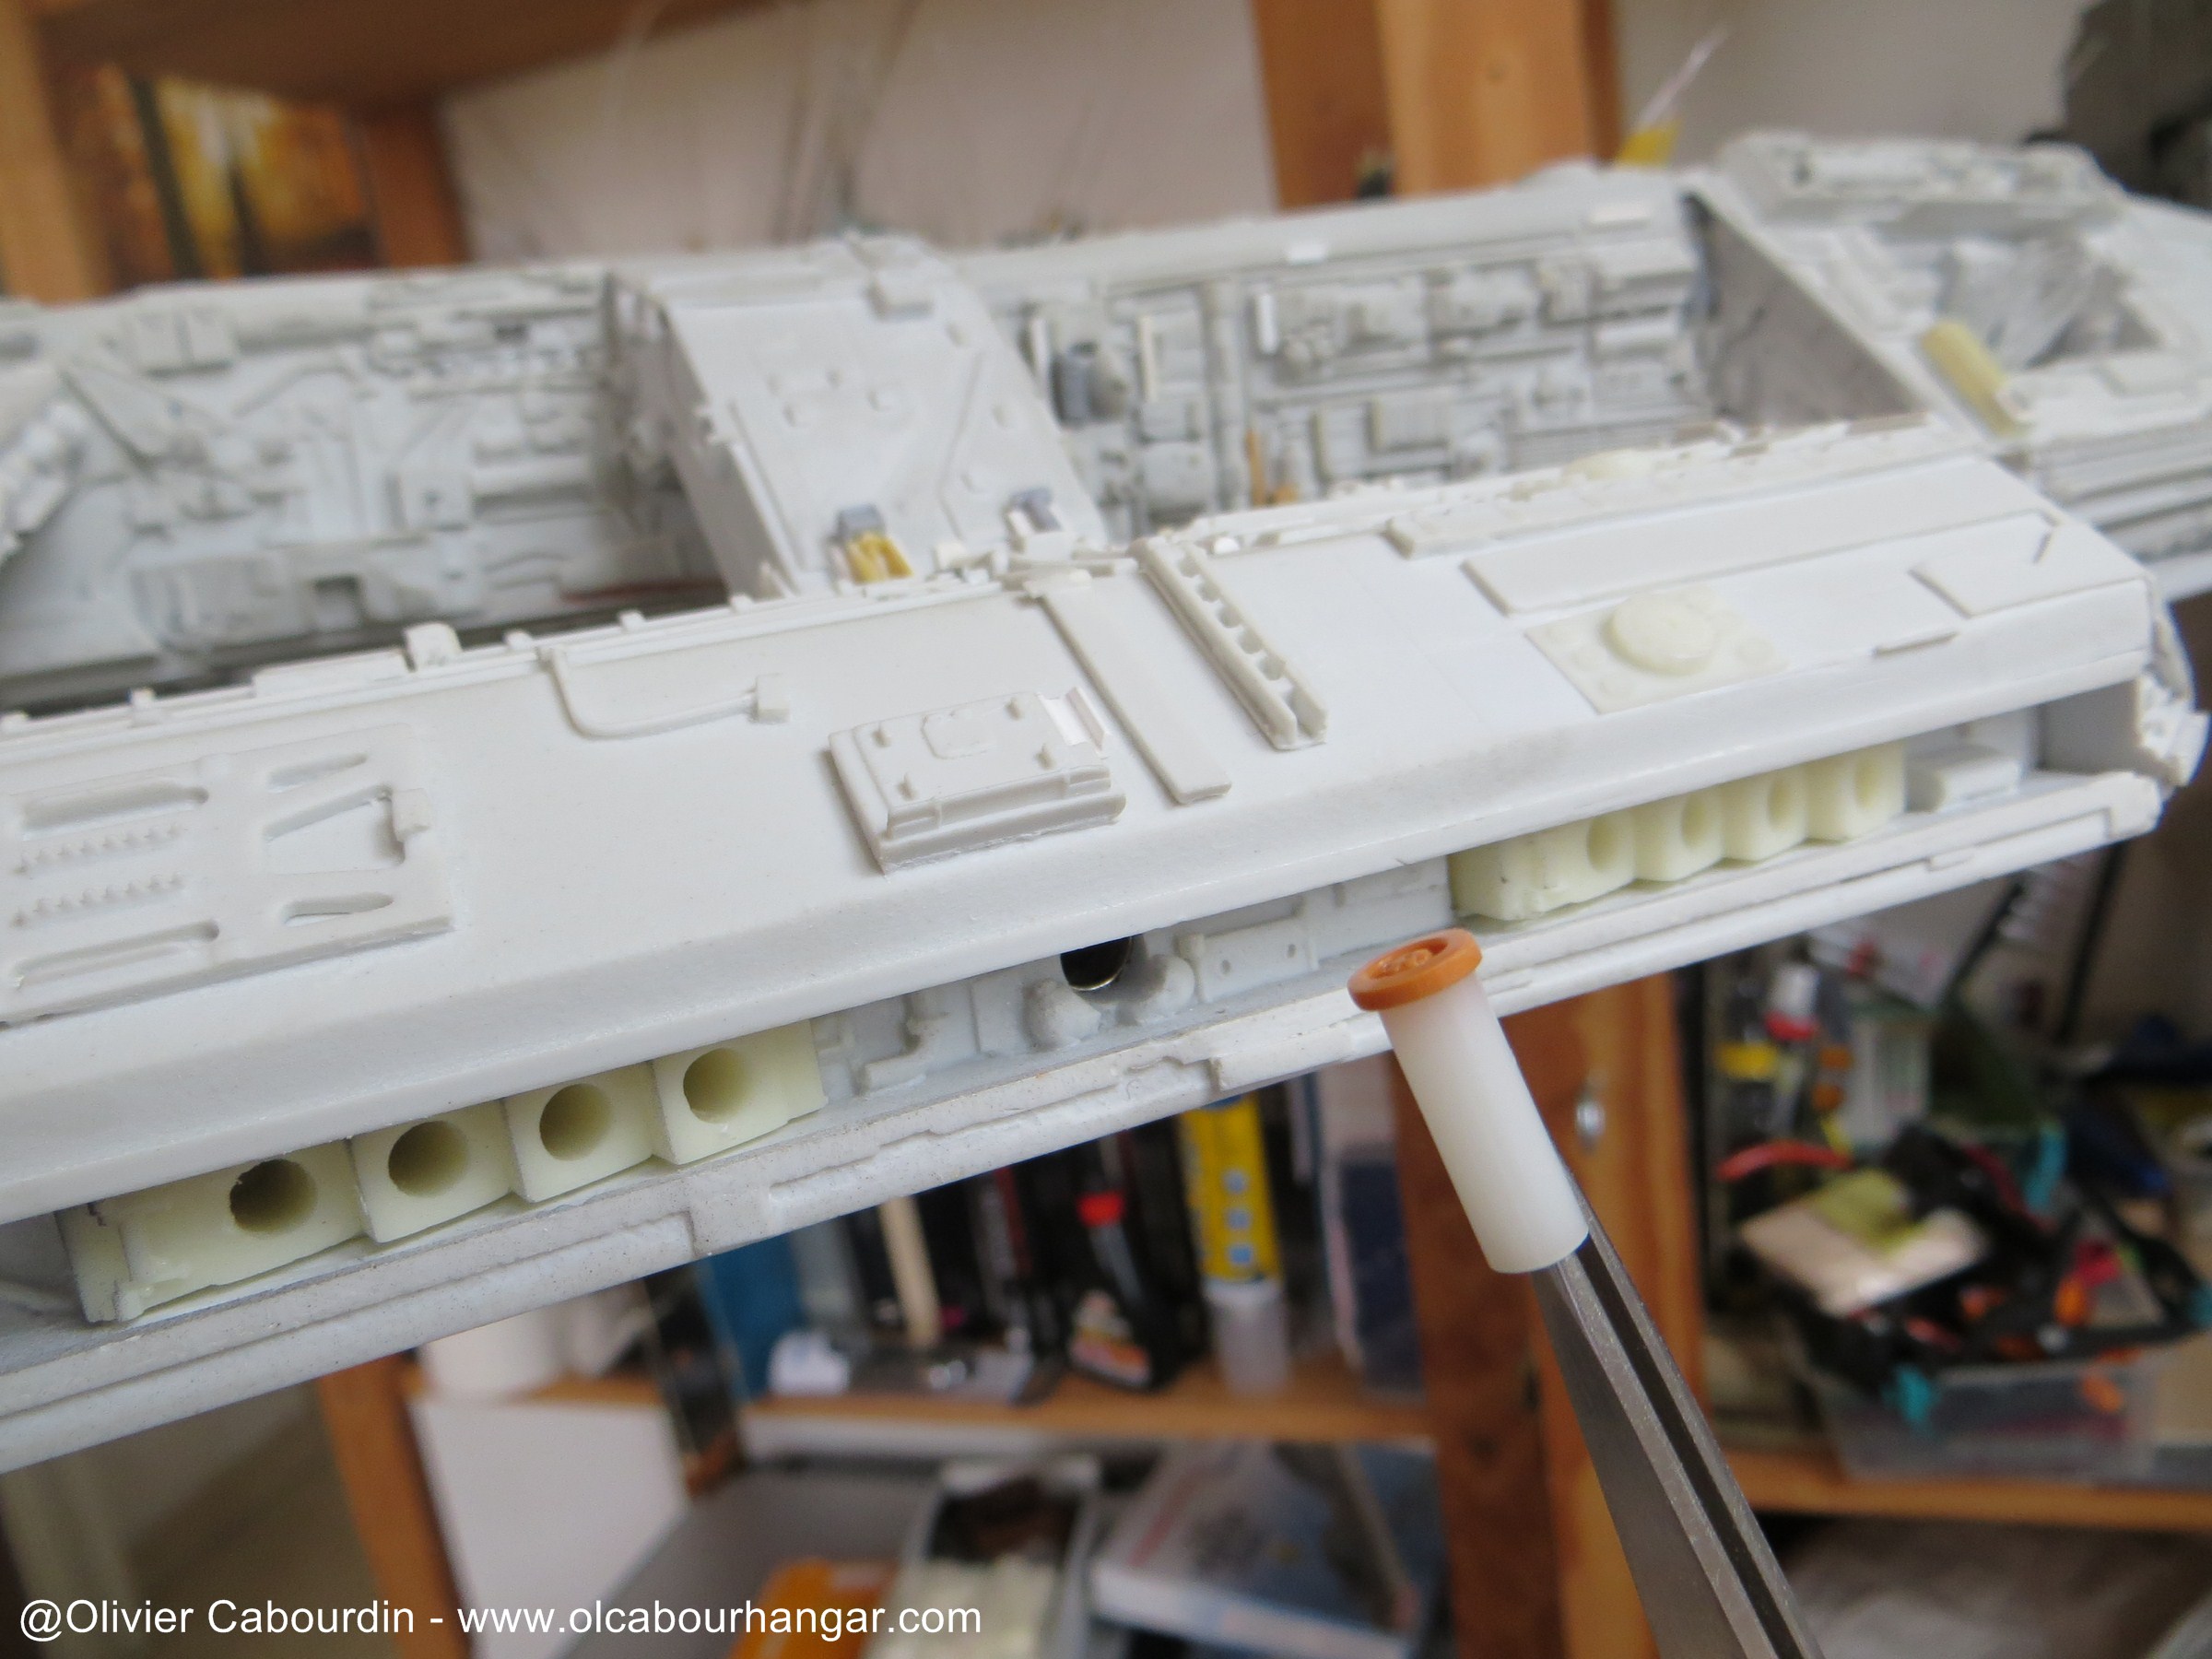
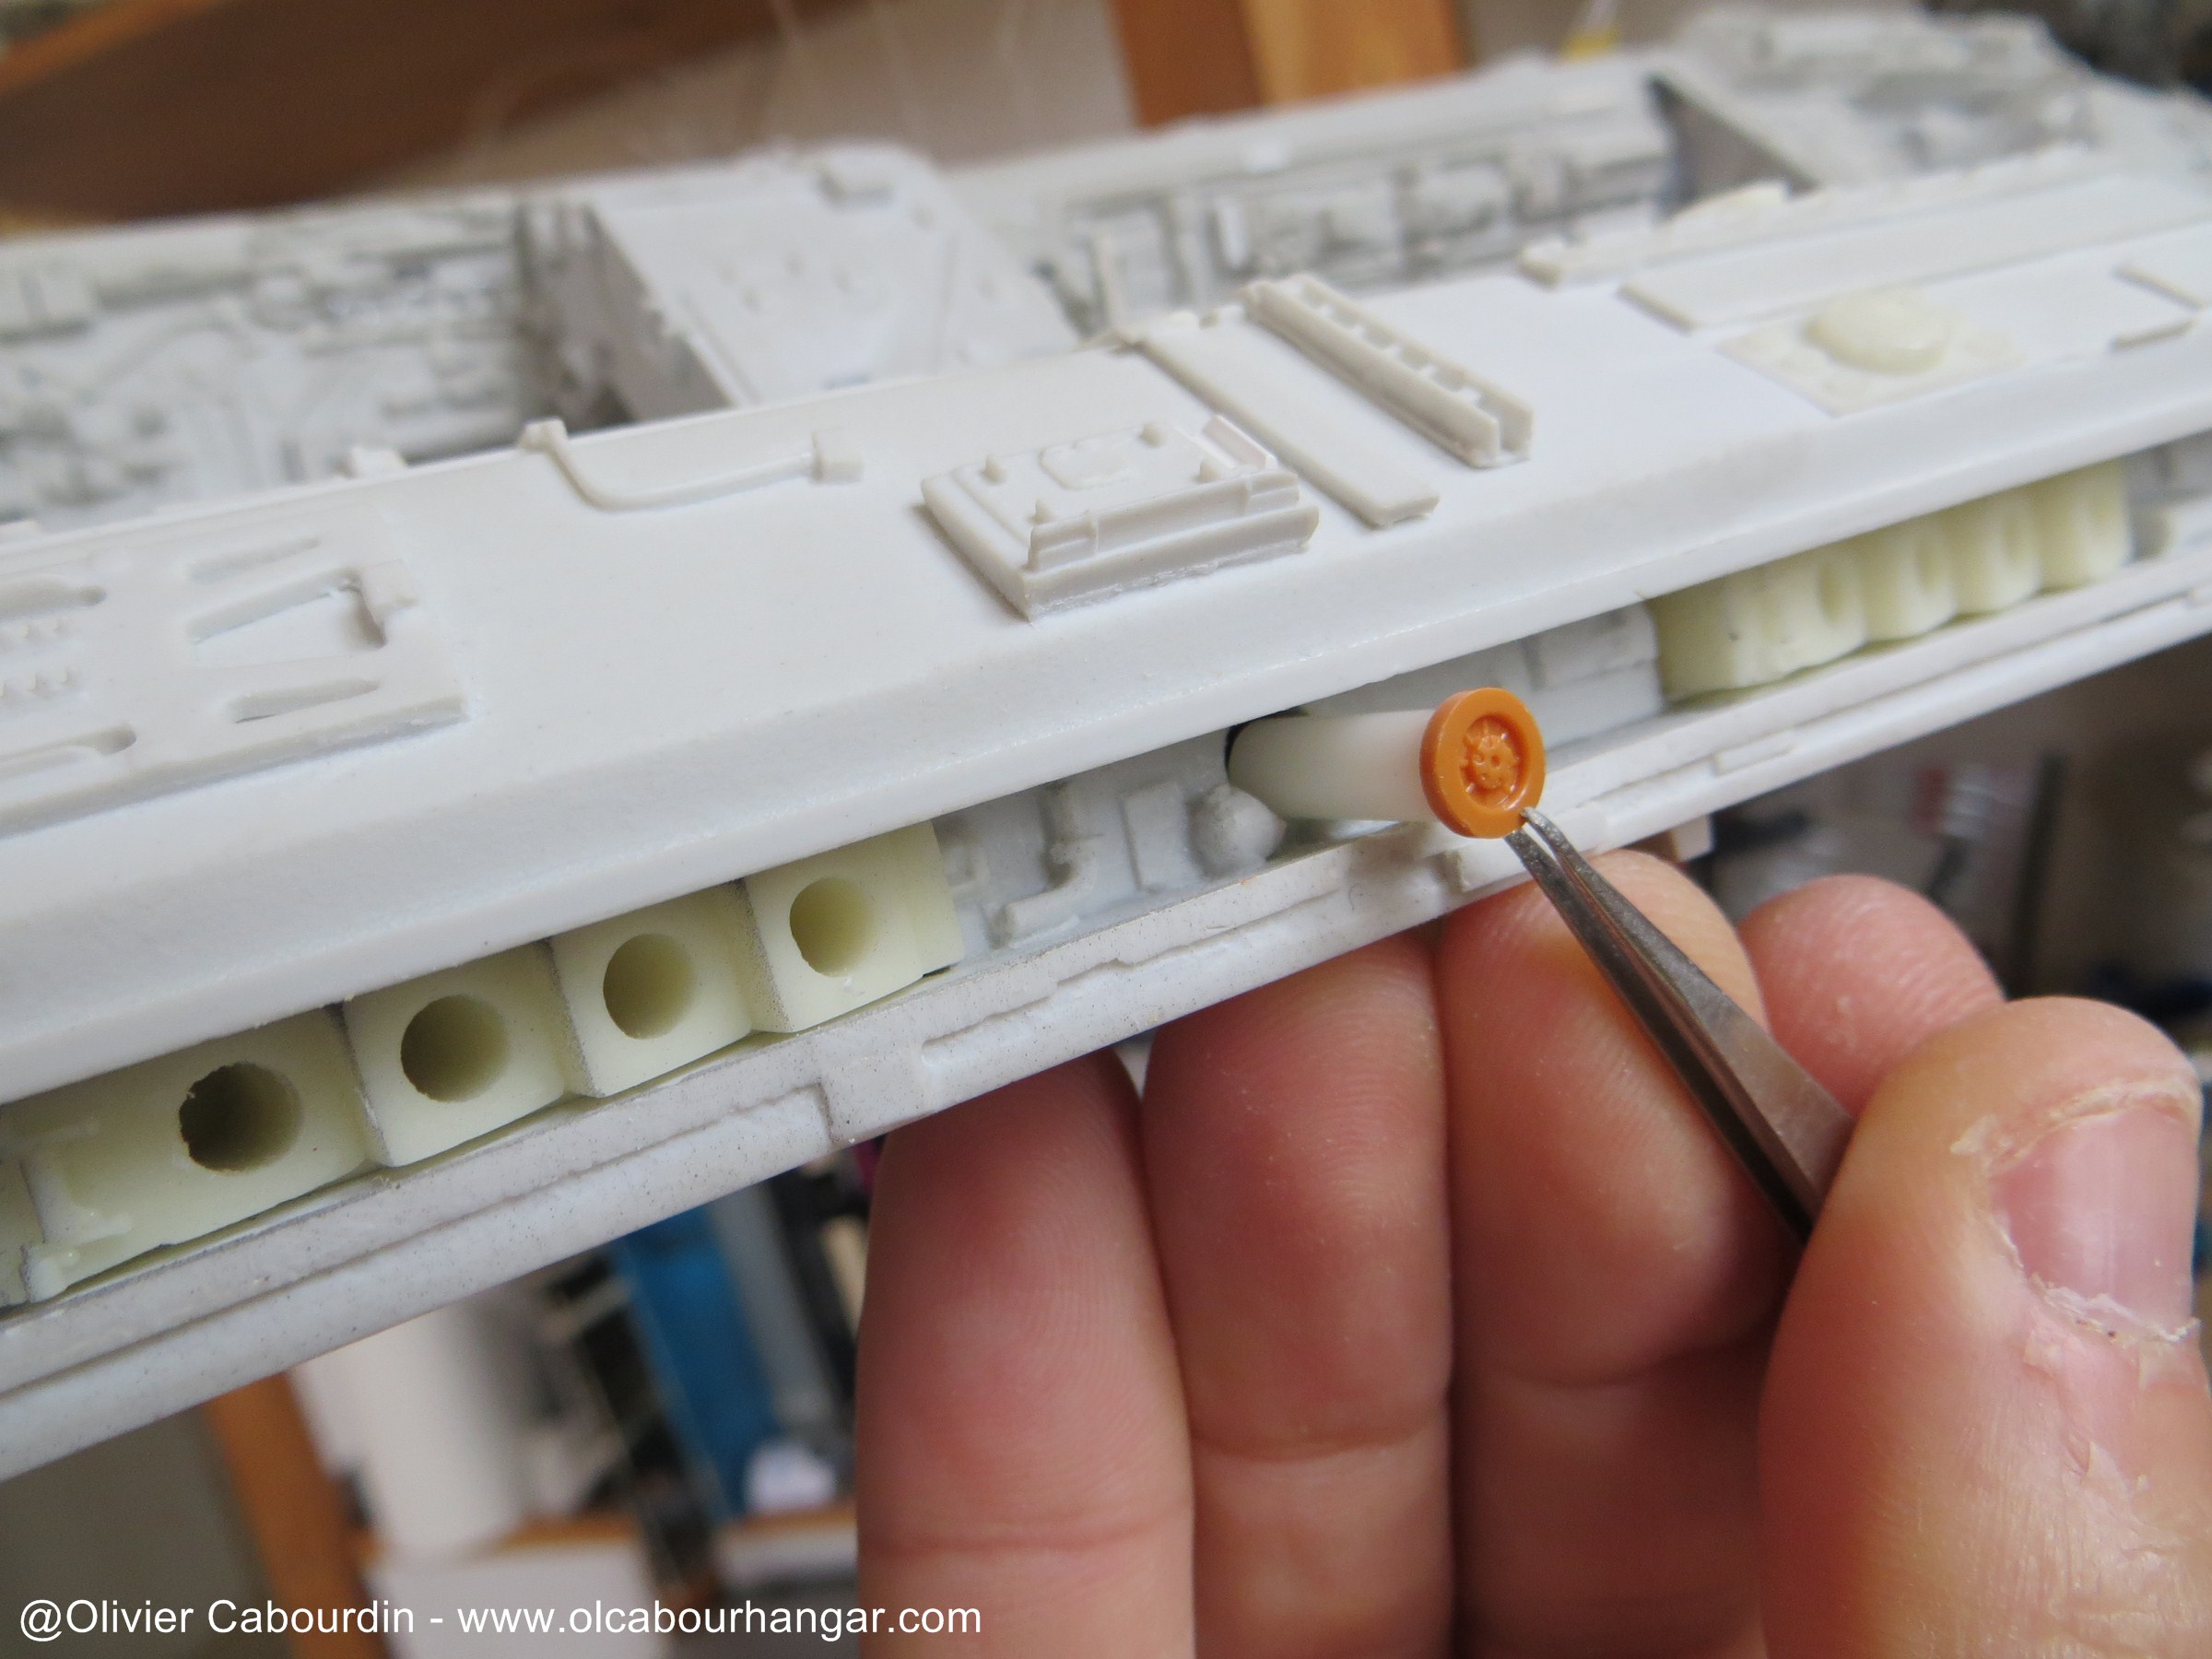
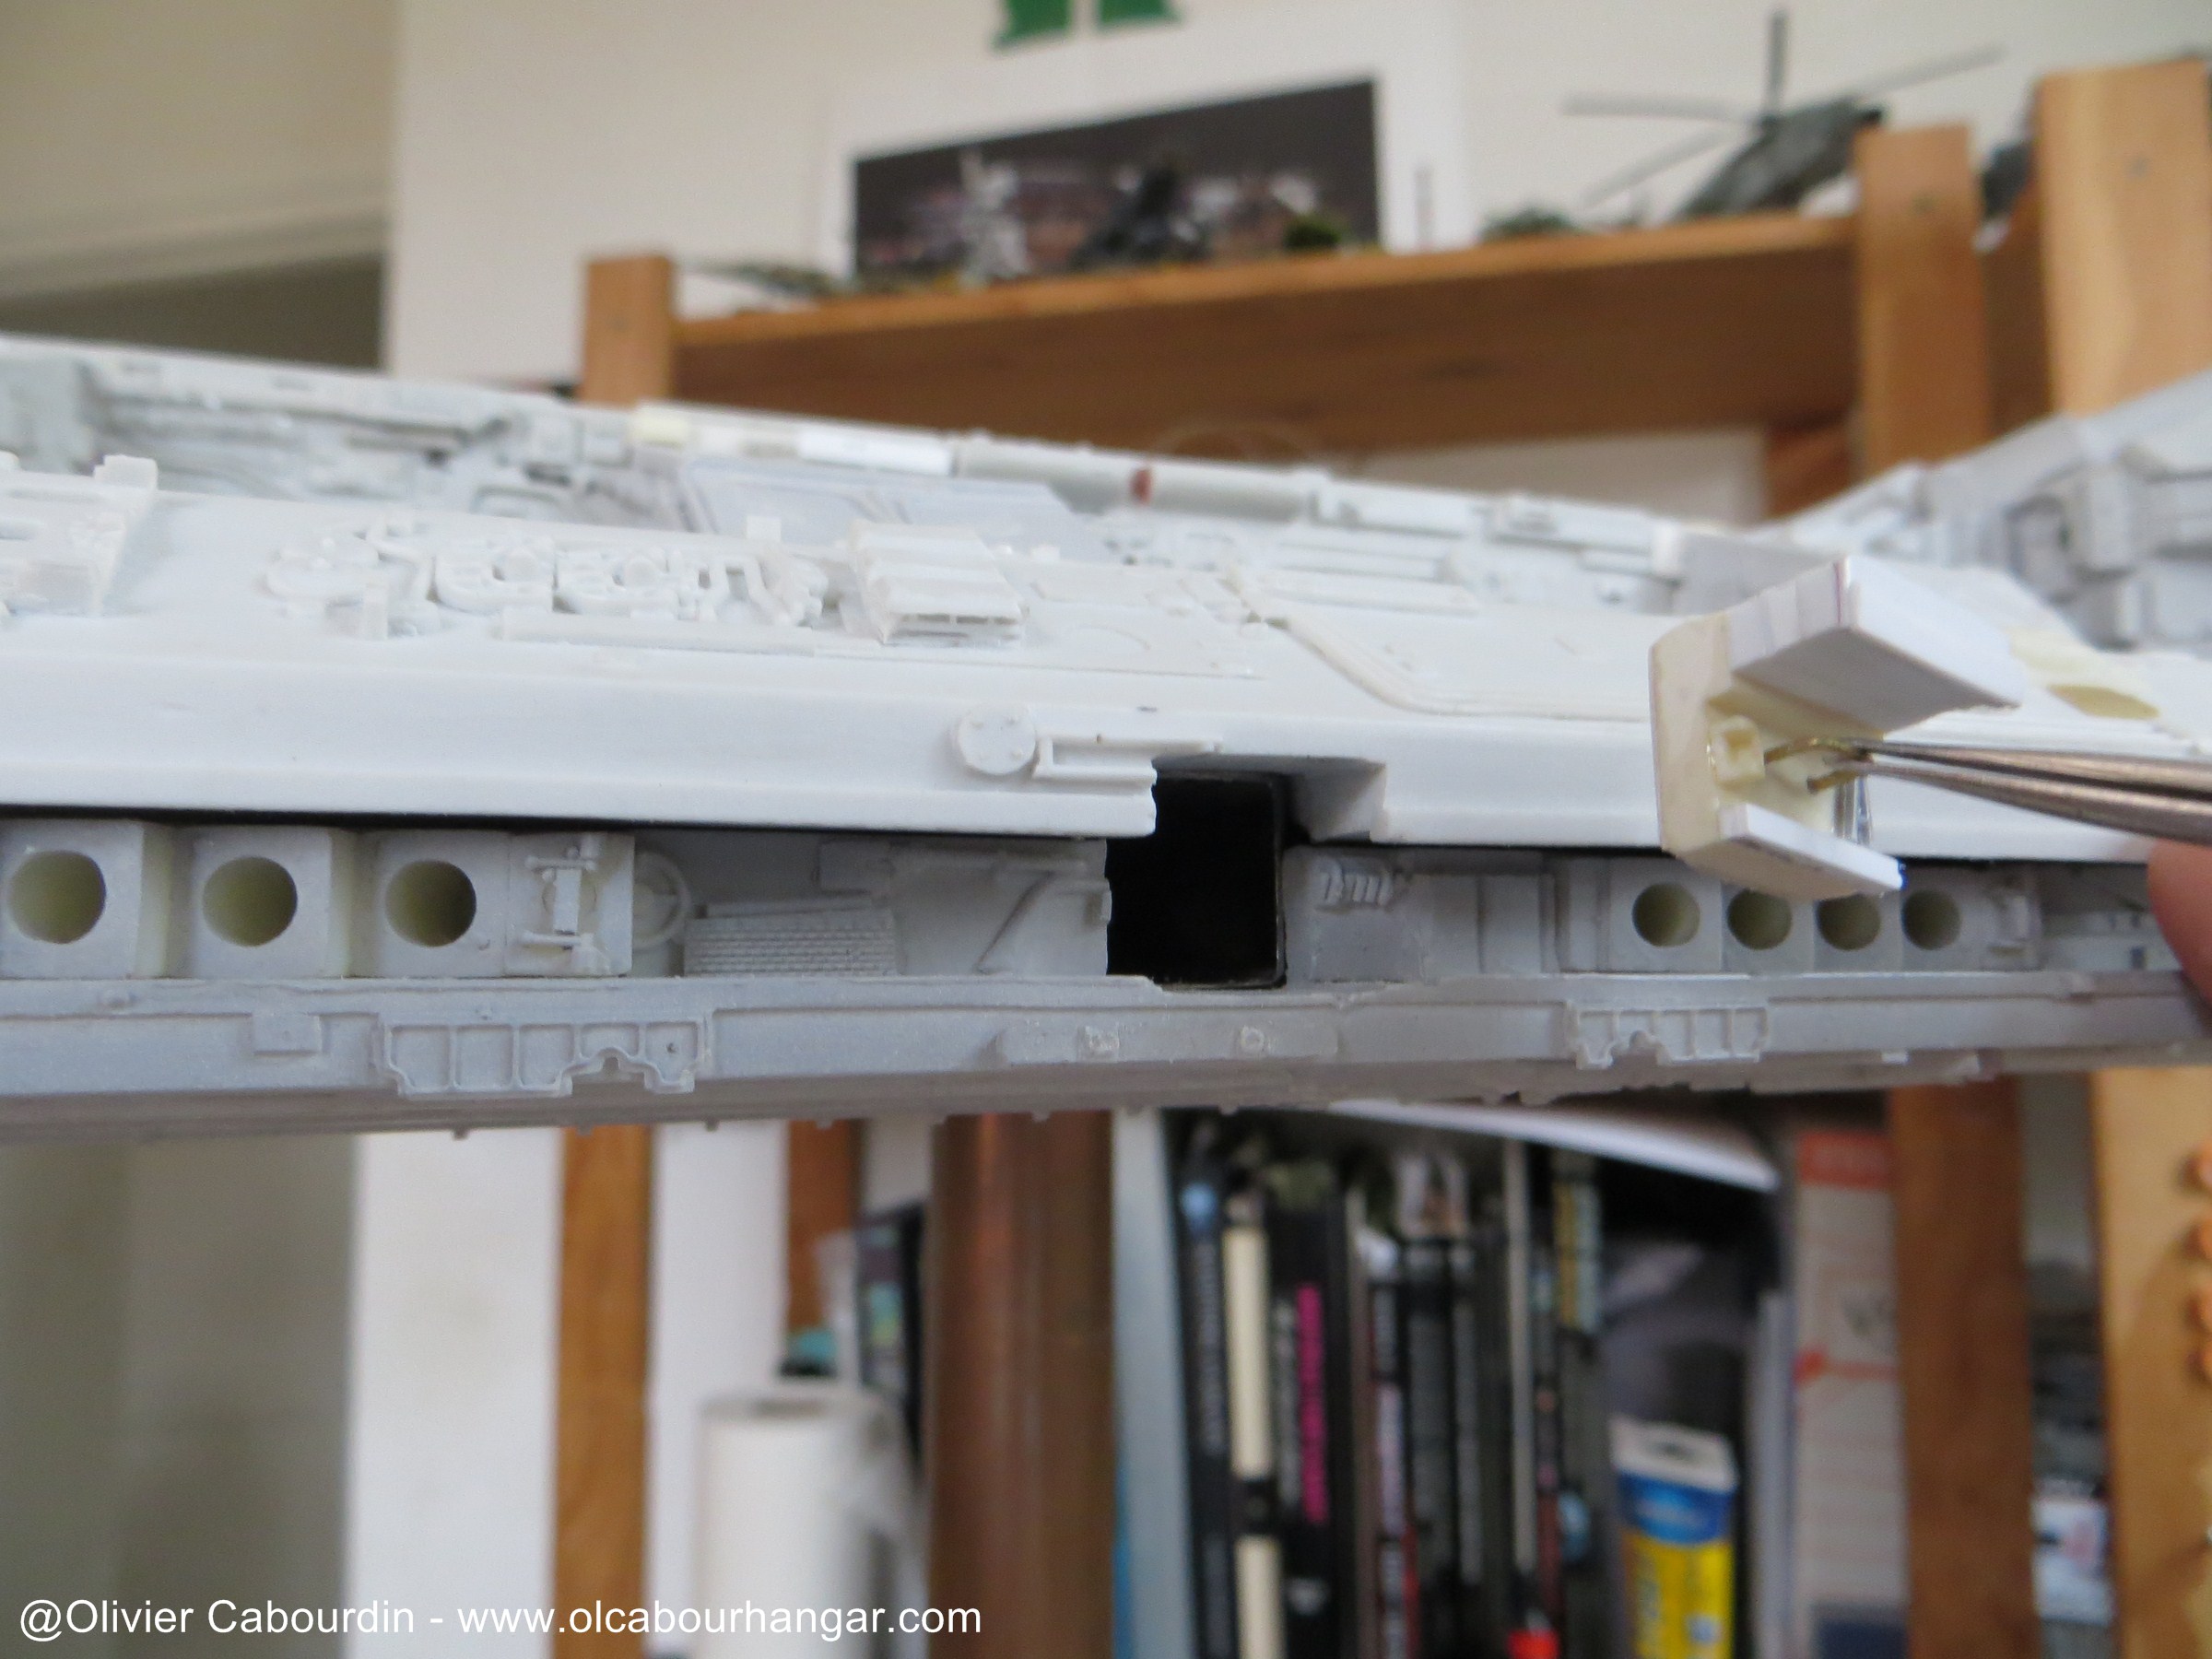
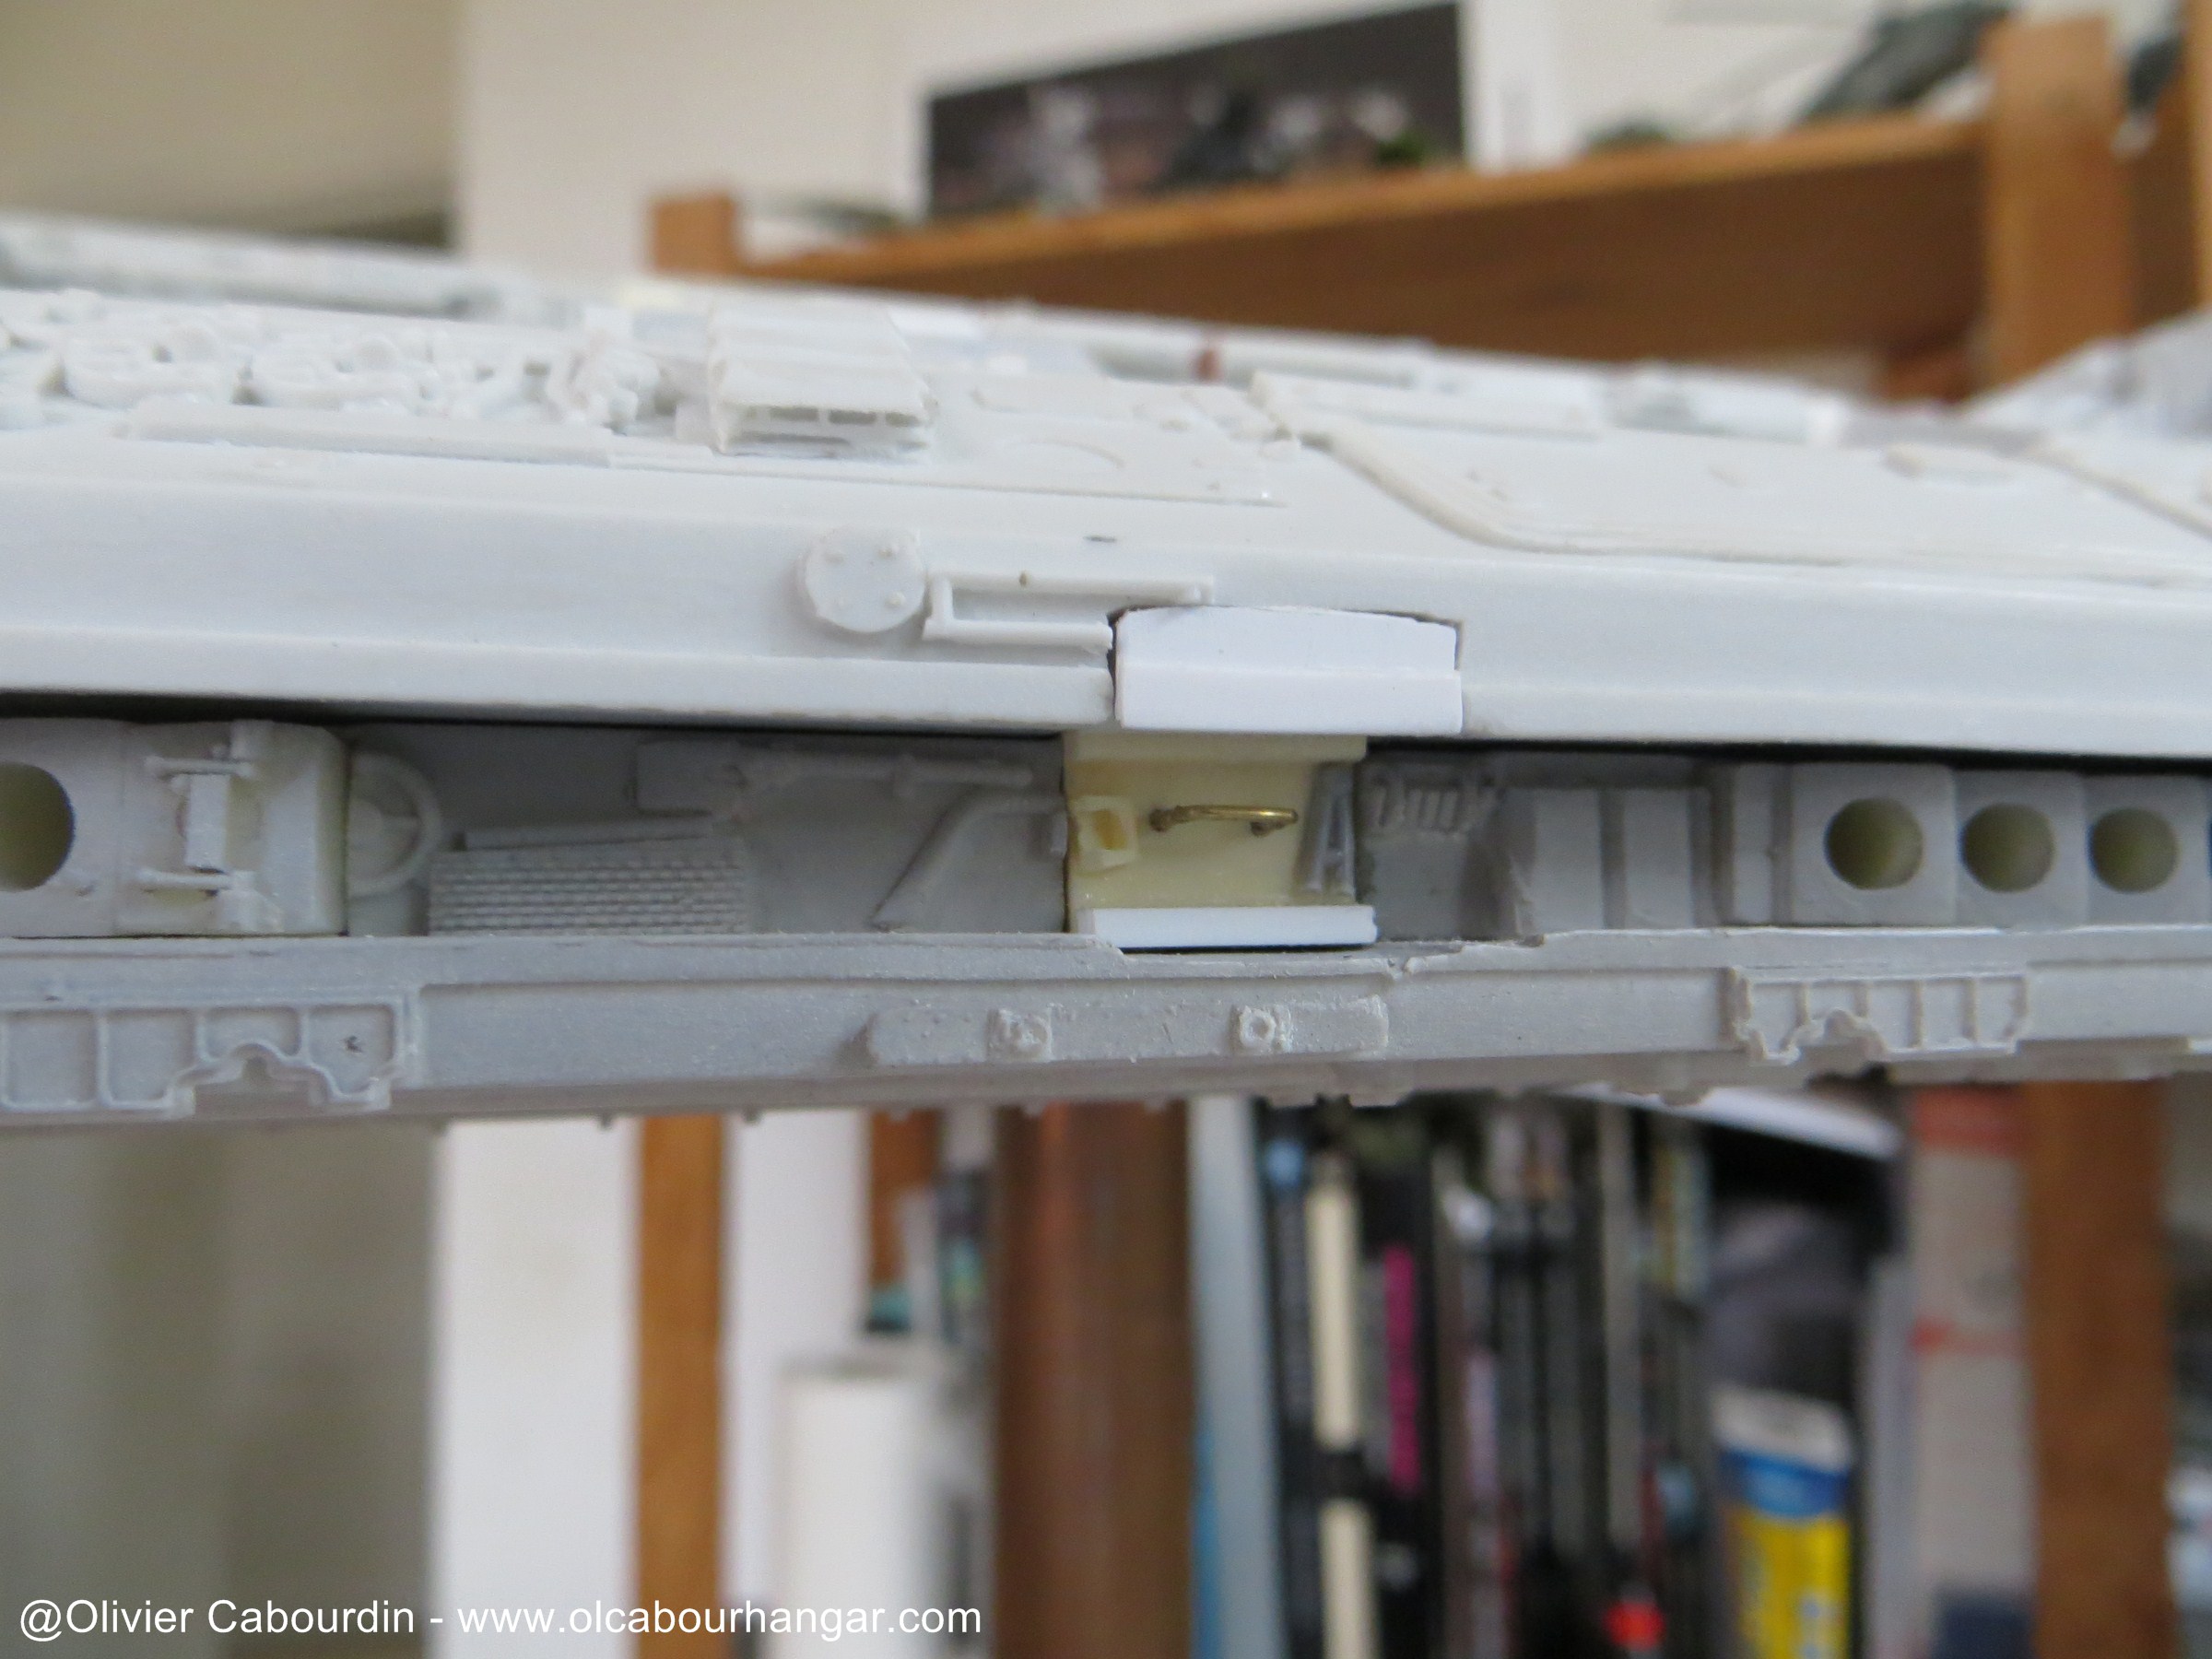
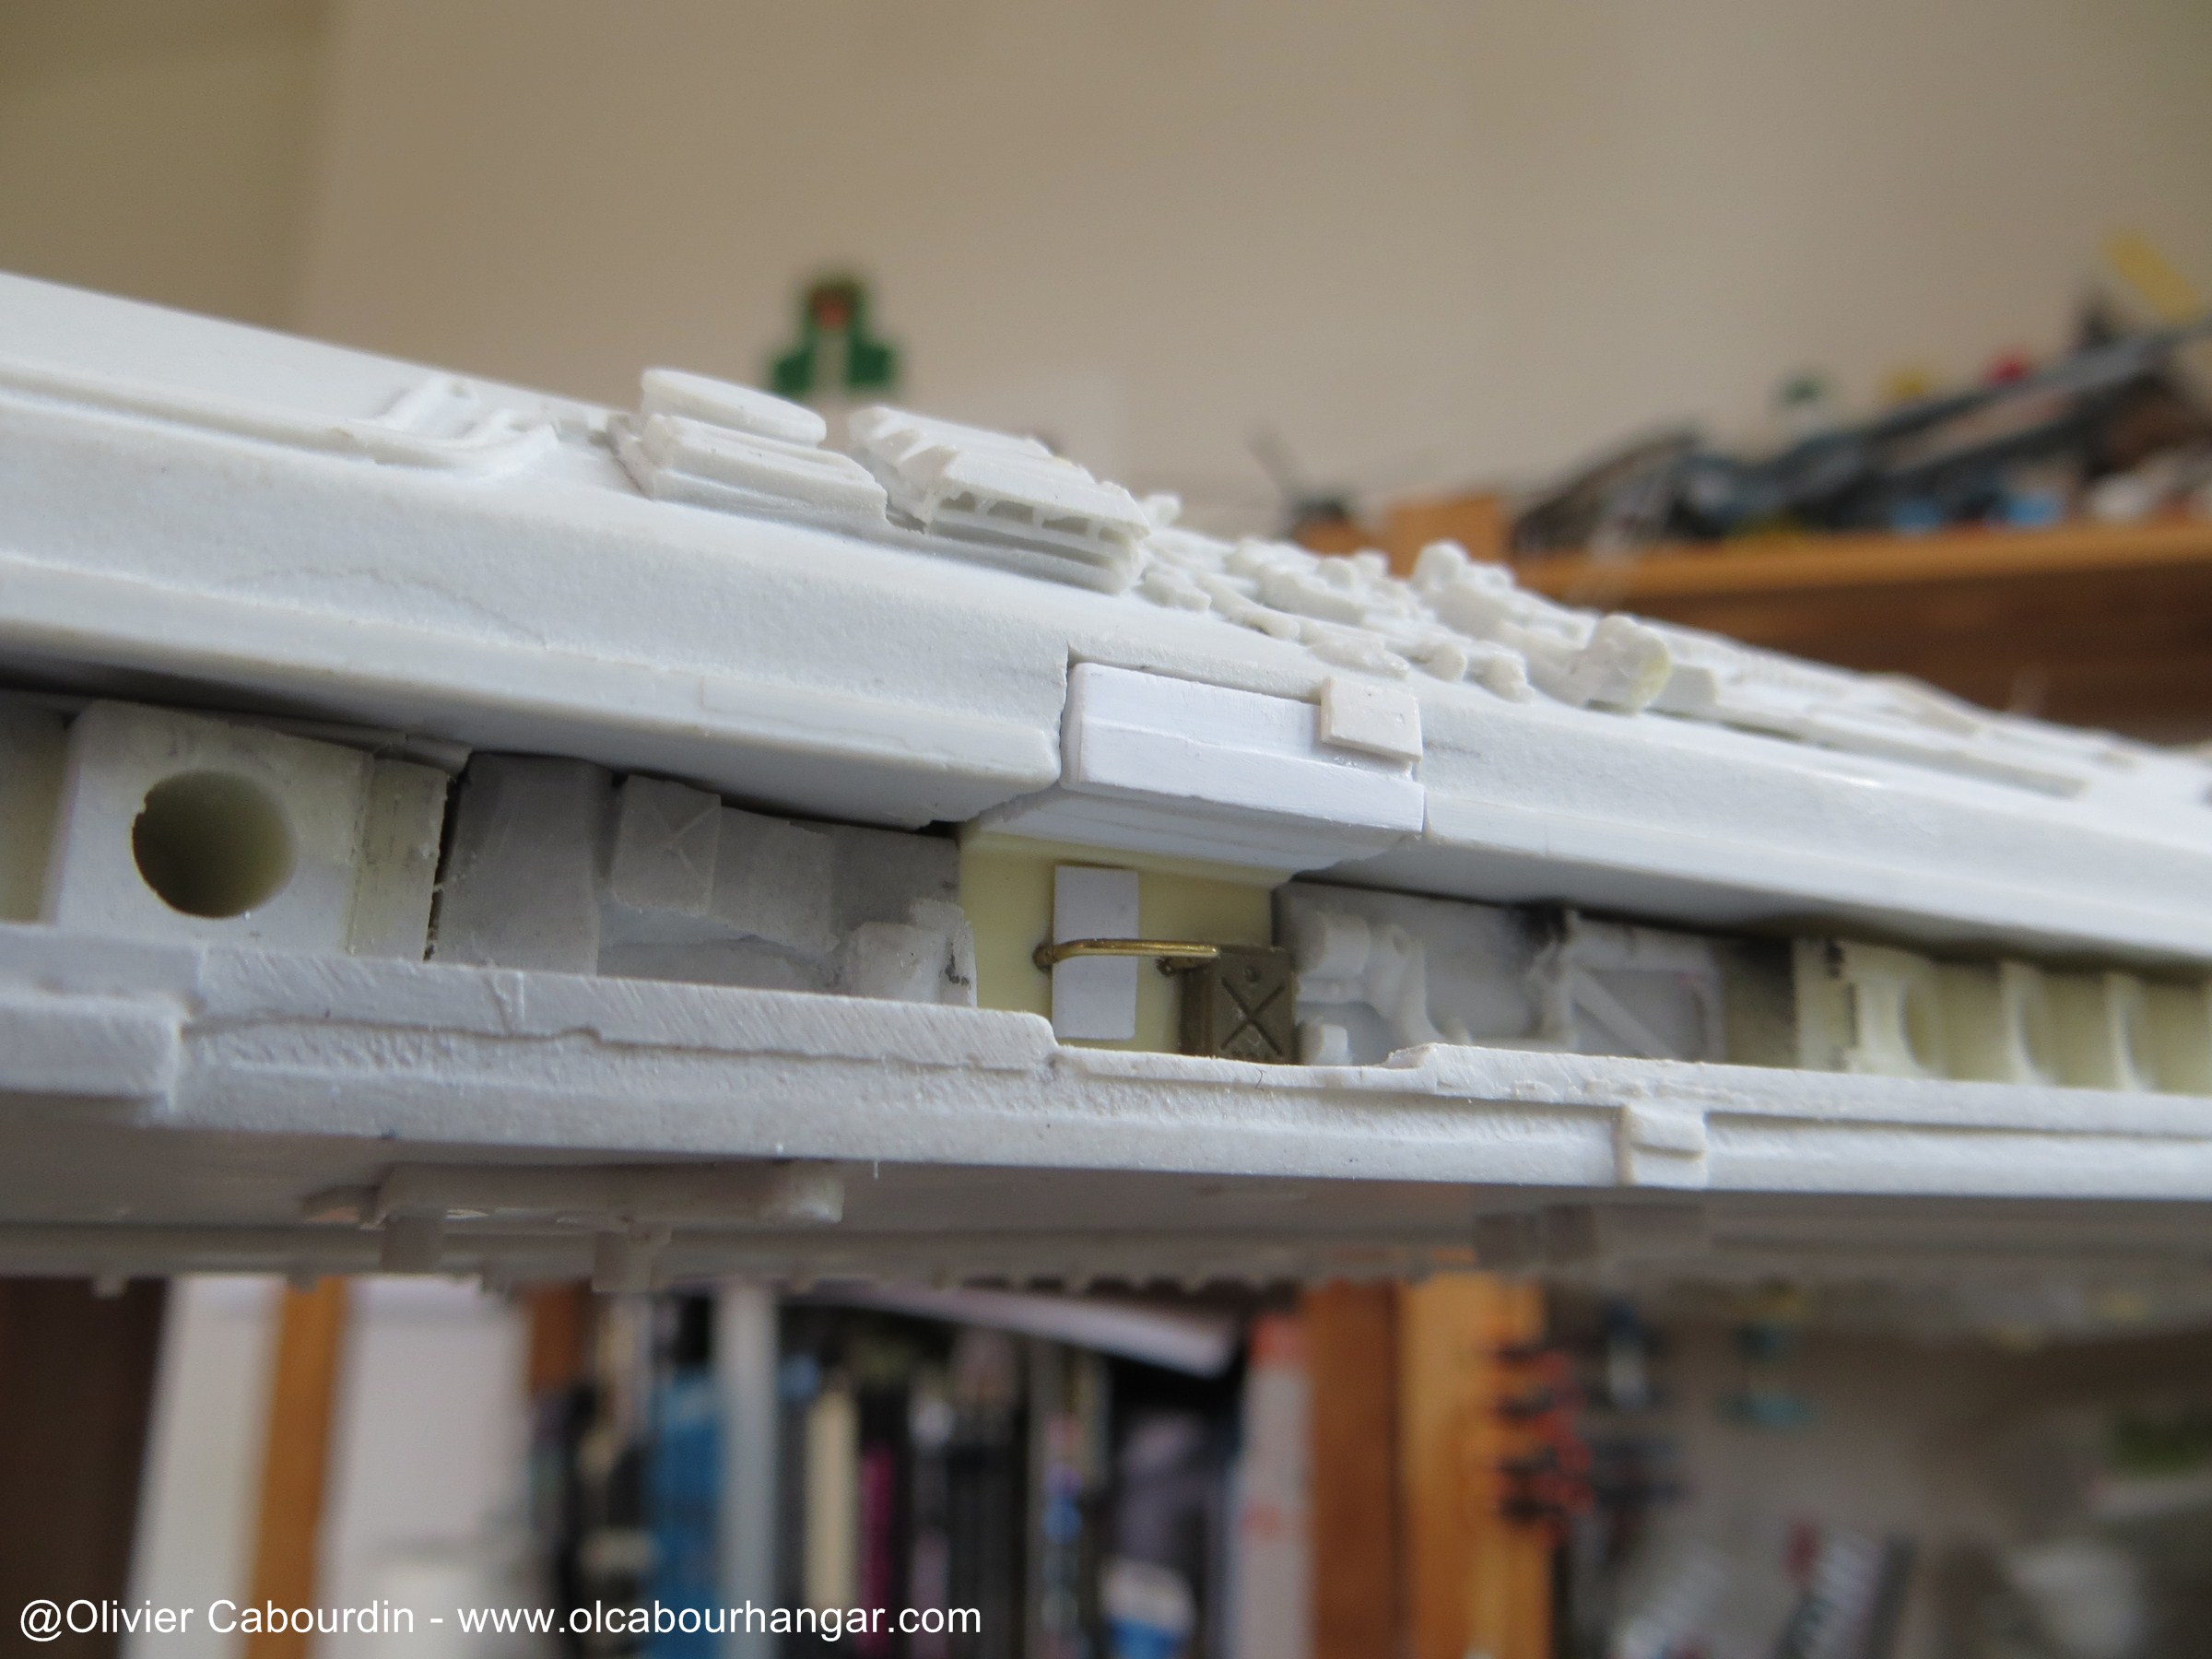
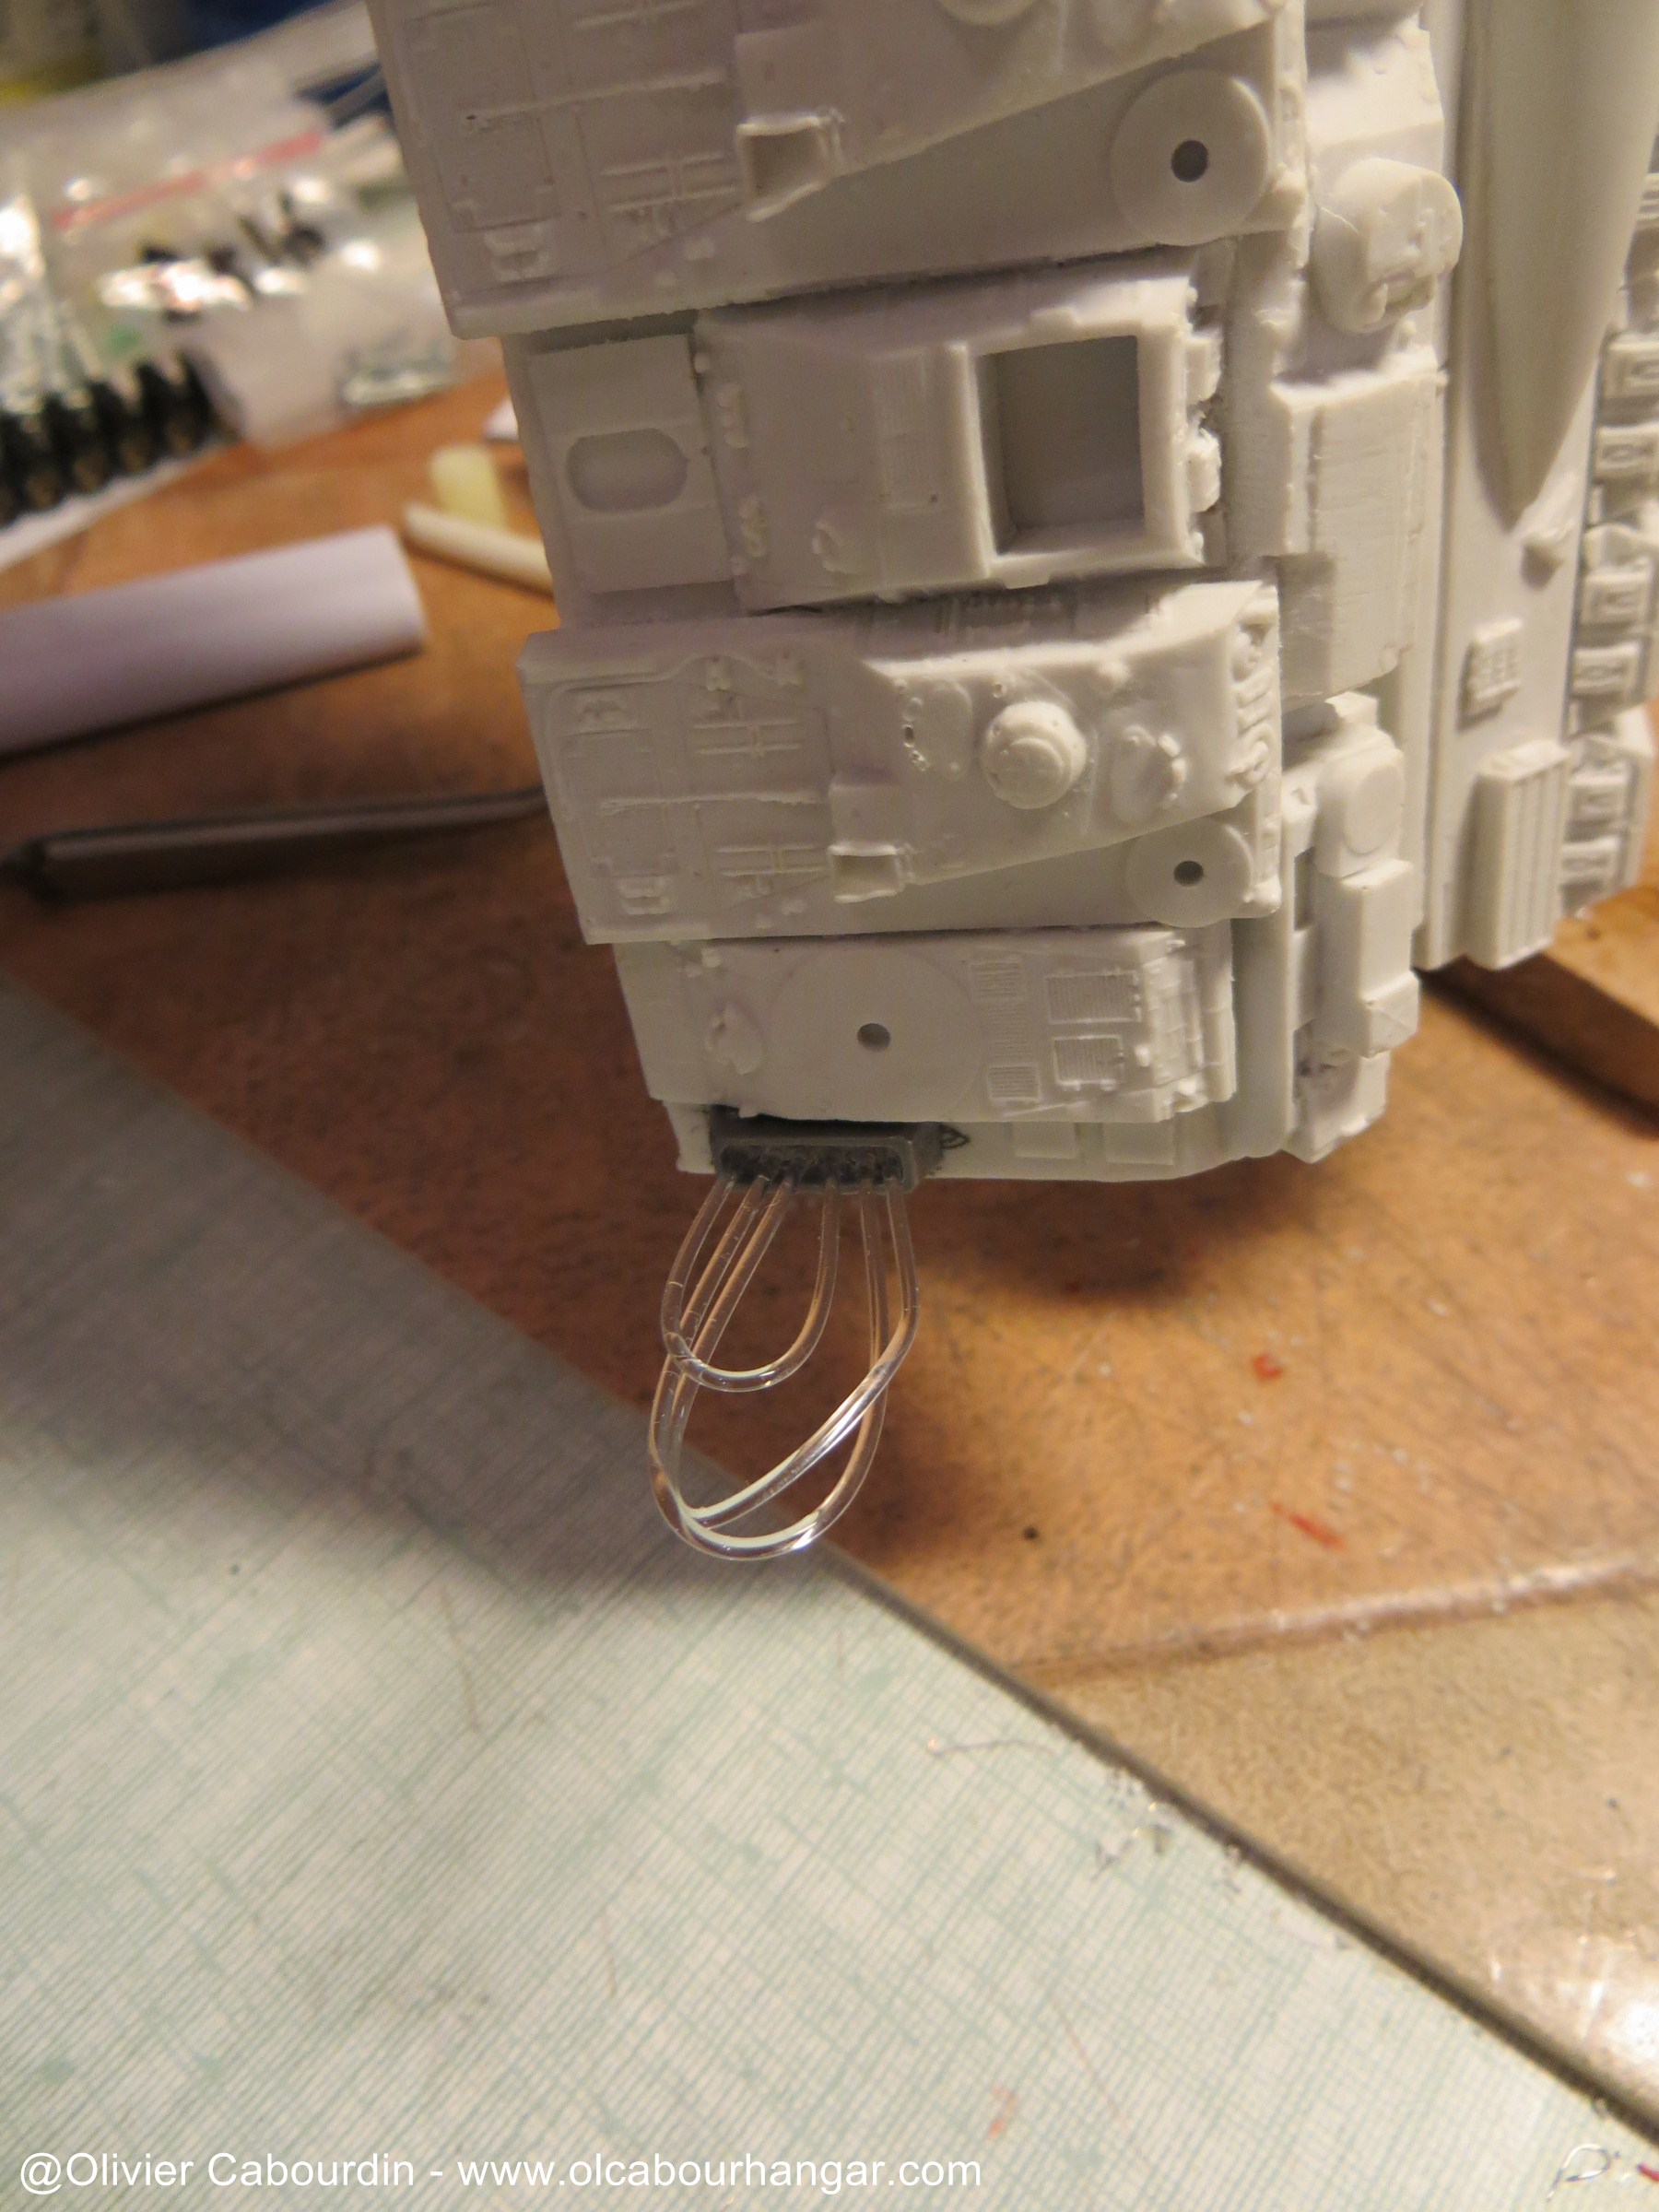
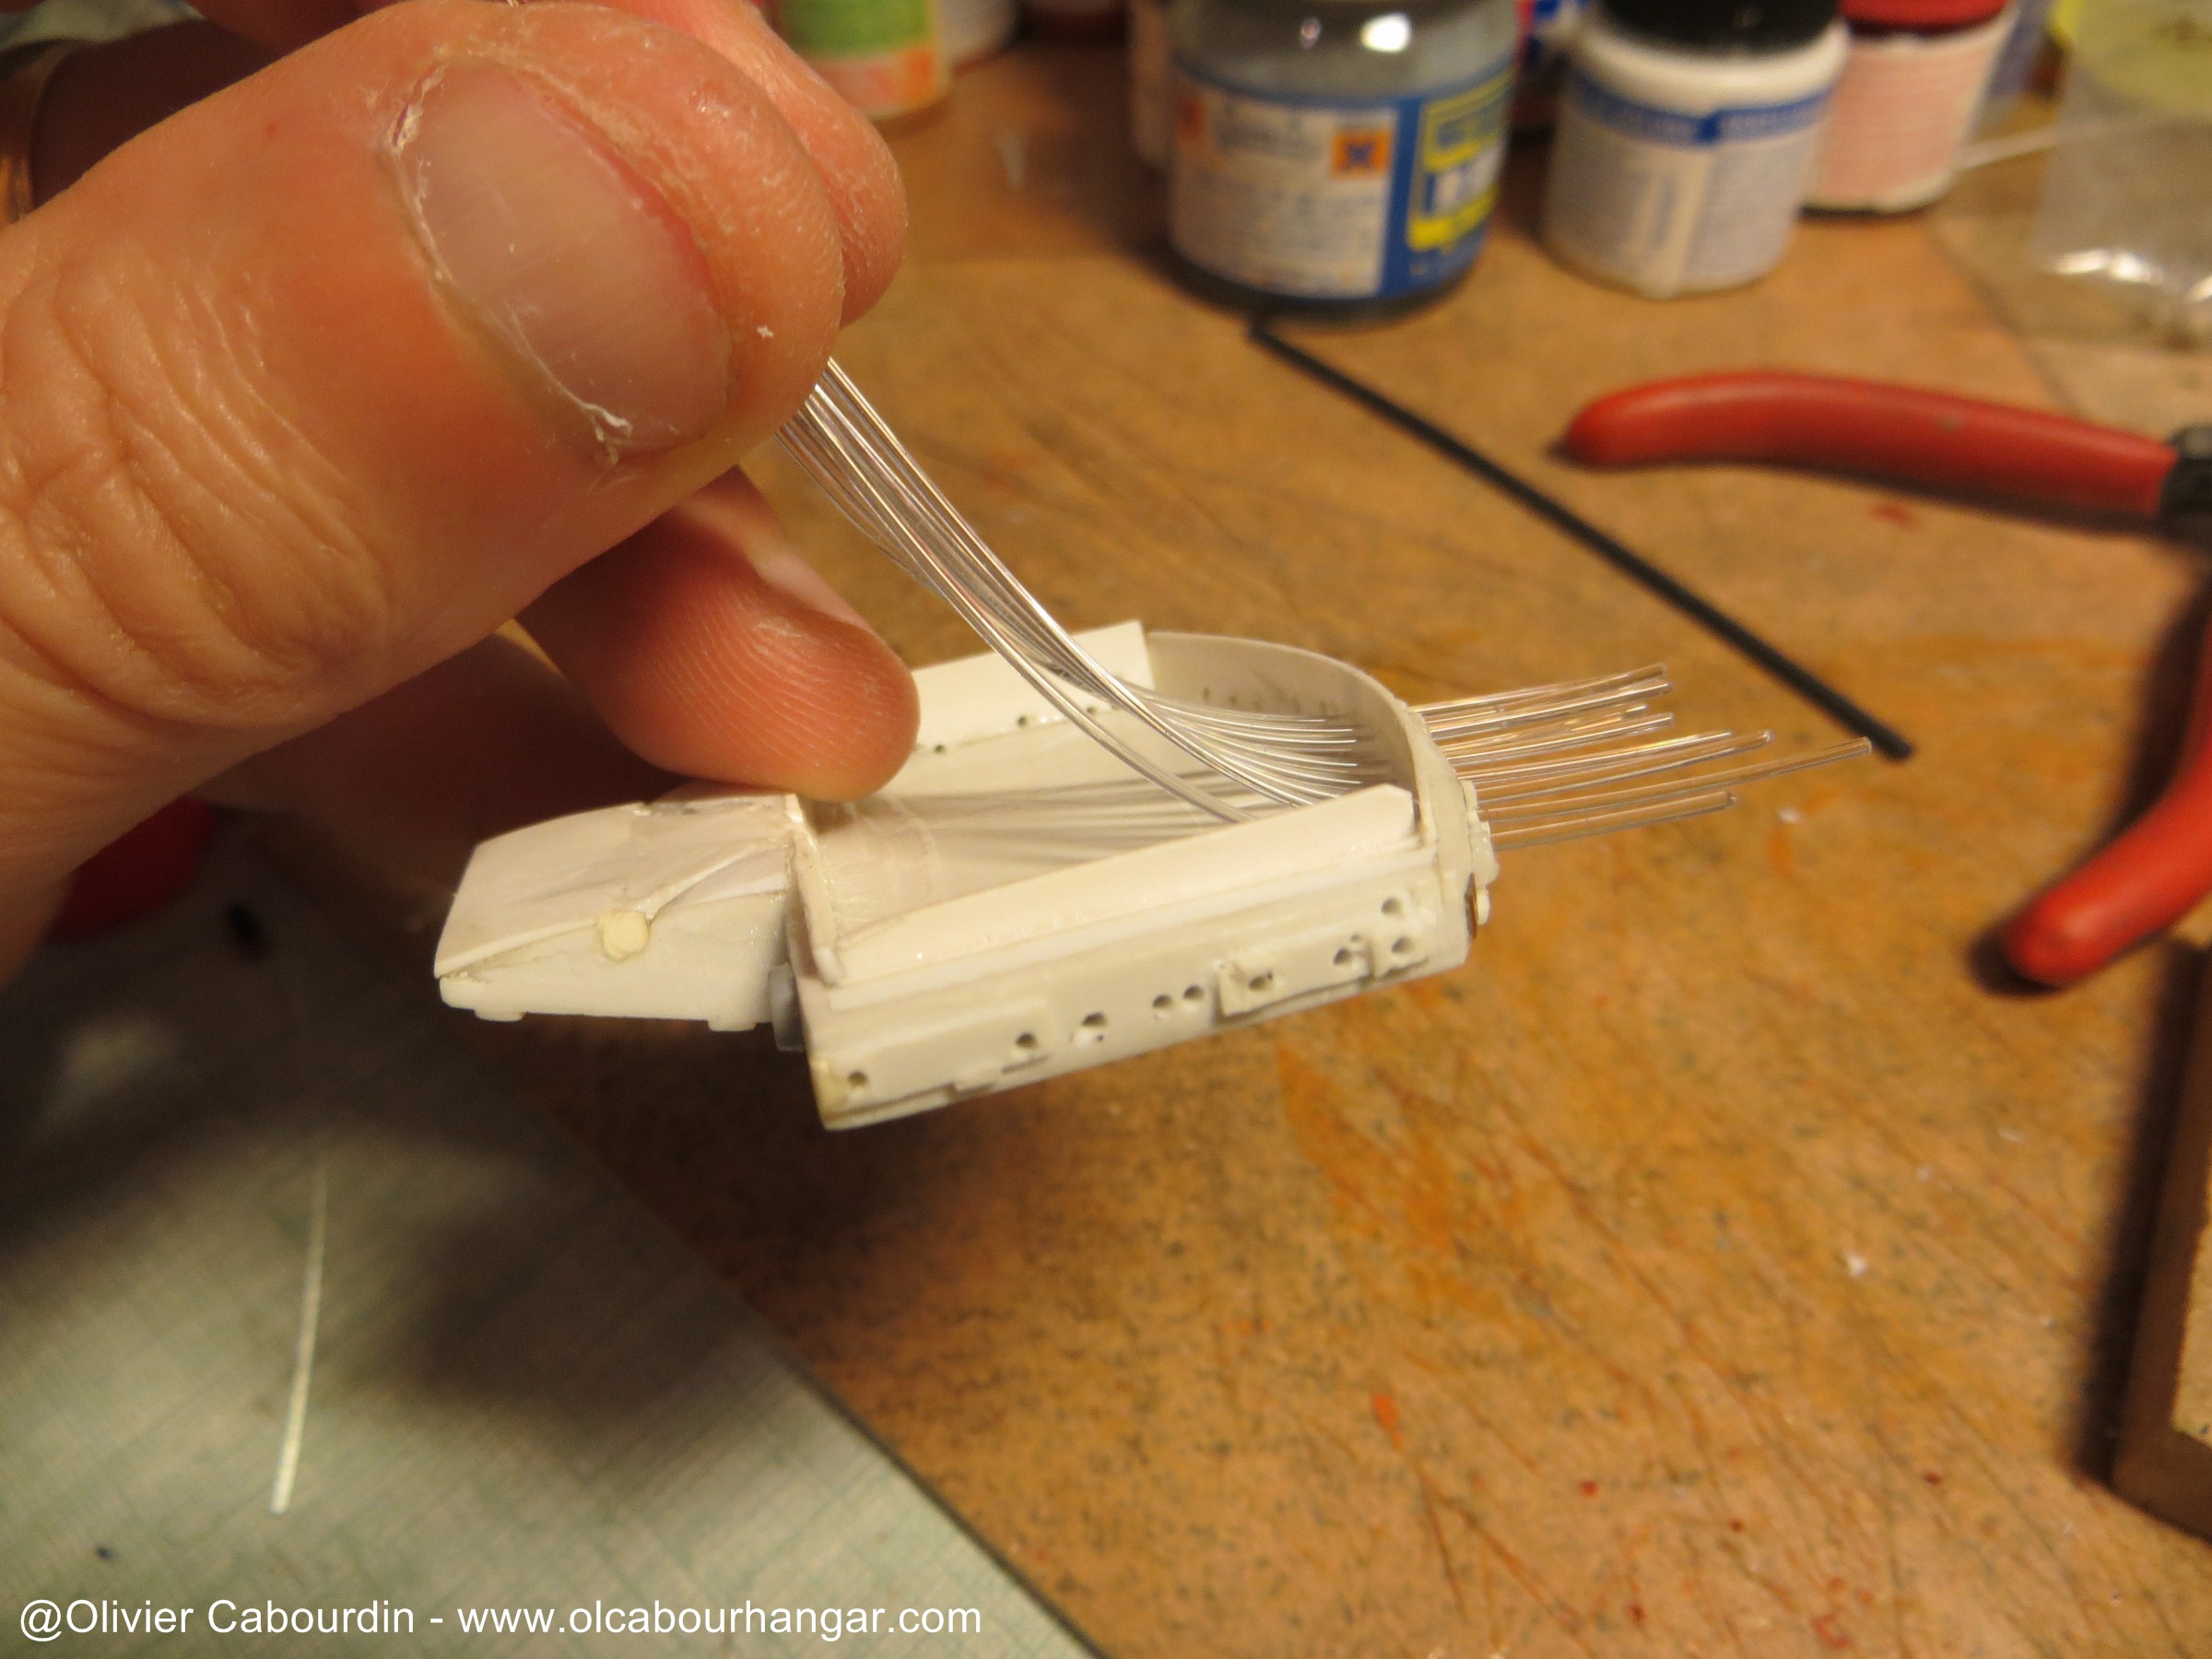
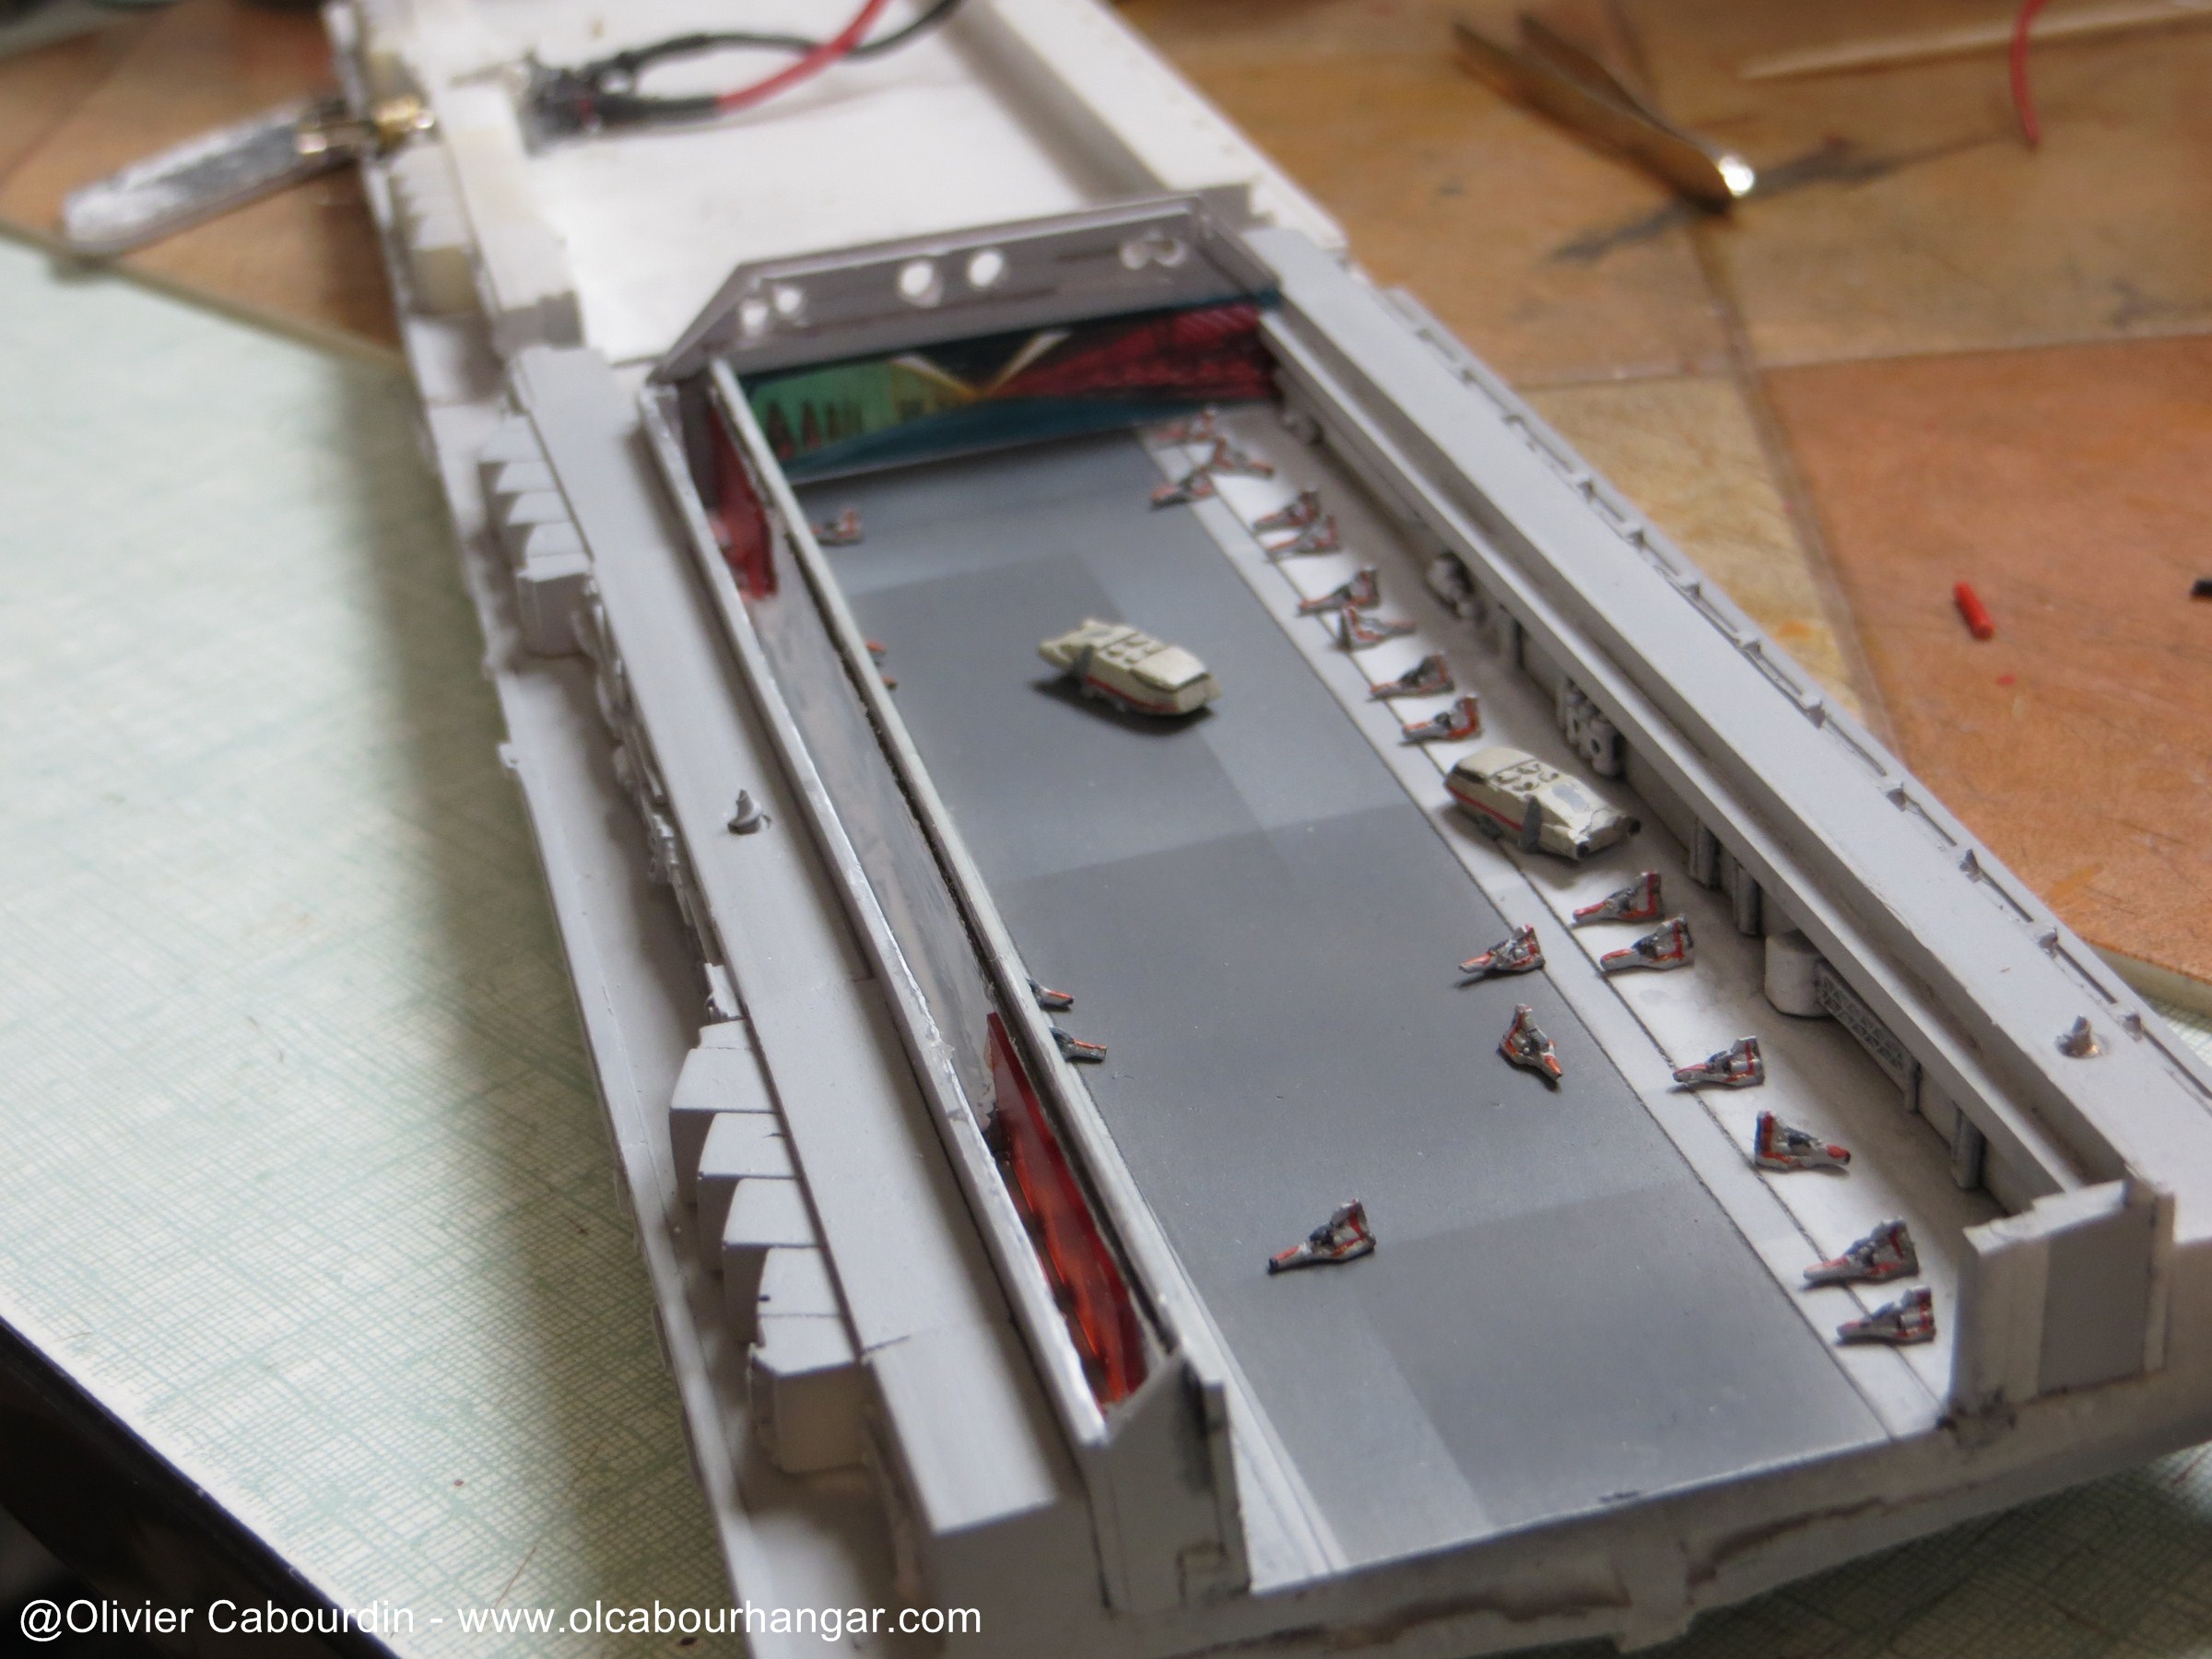
The Viper are mounted on optic fibers and rods plugging in launch tubes.
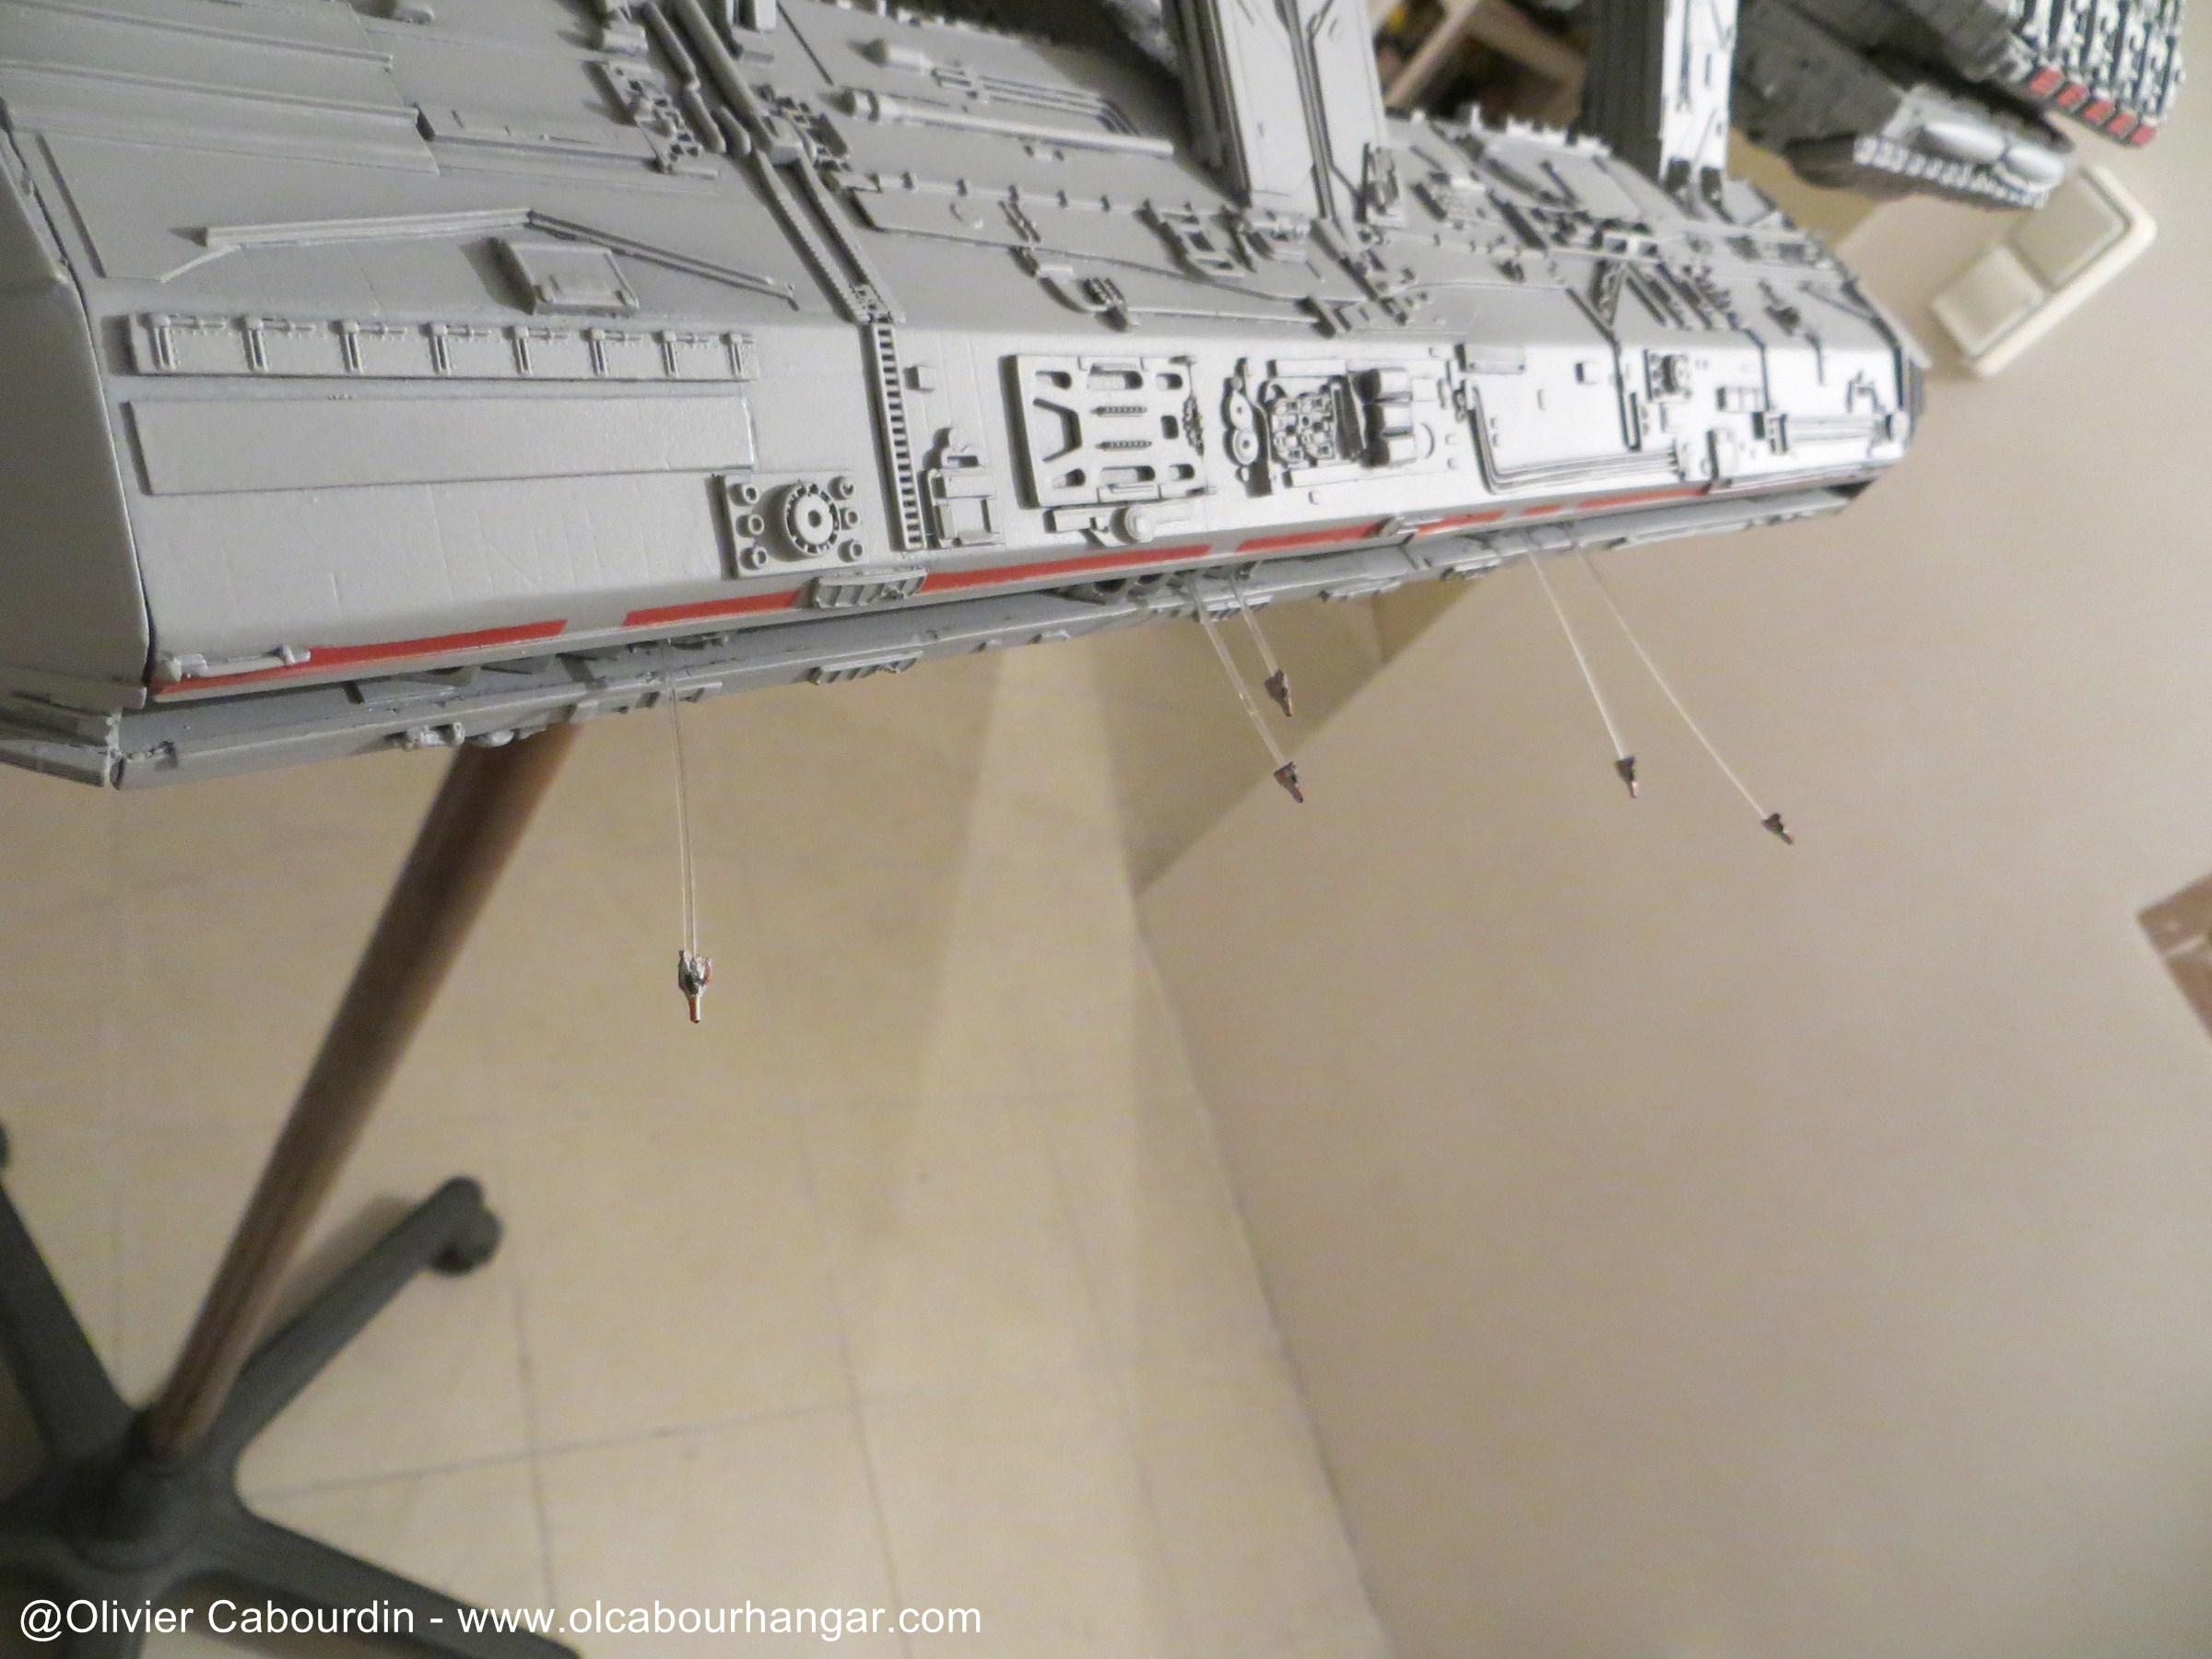
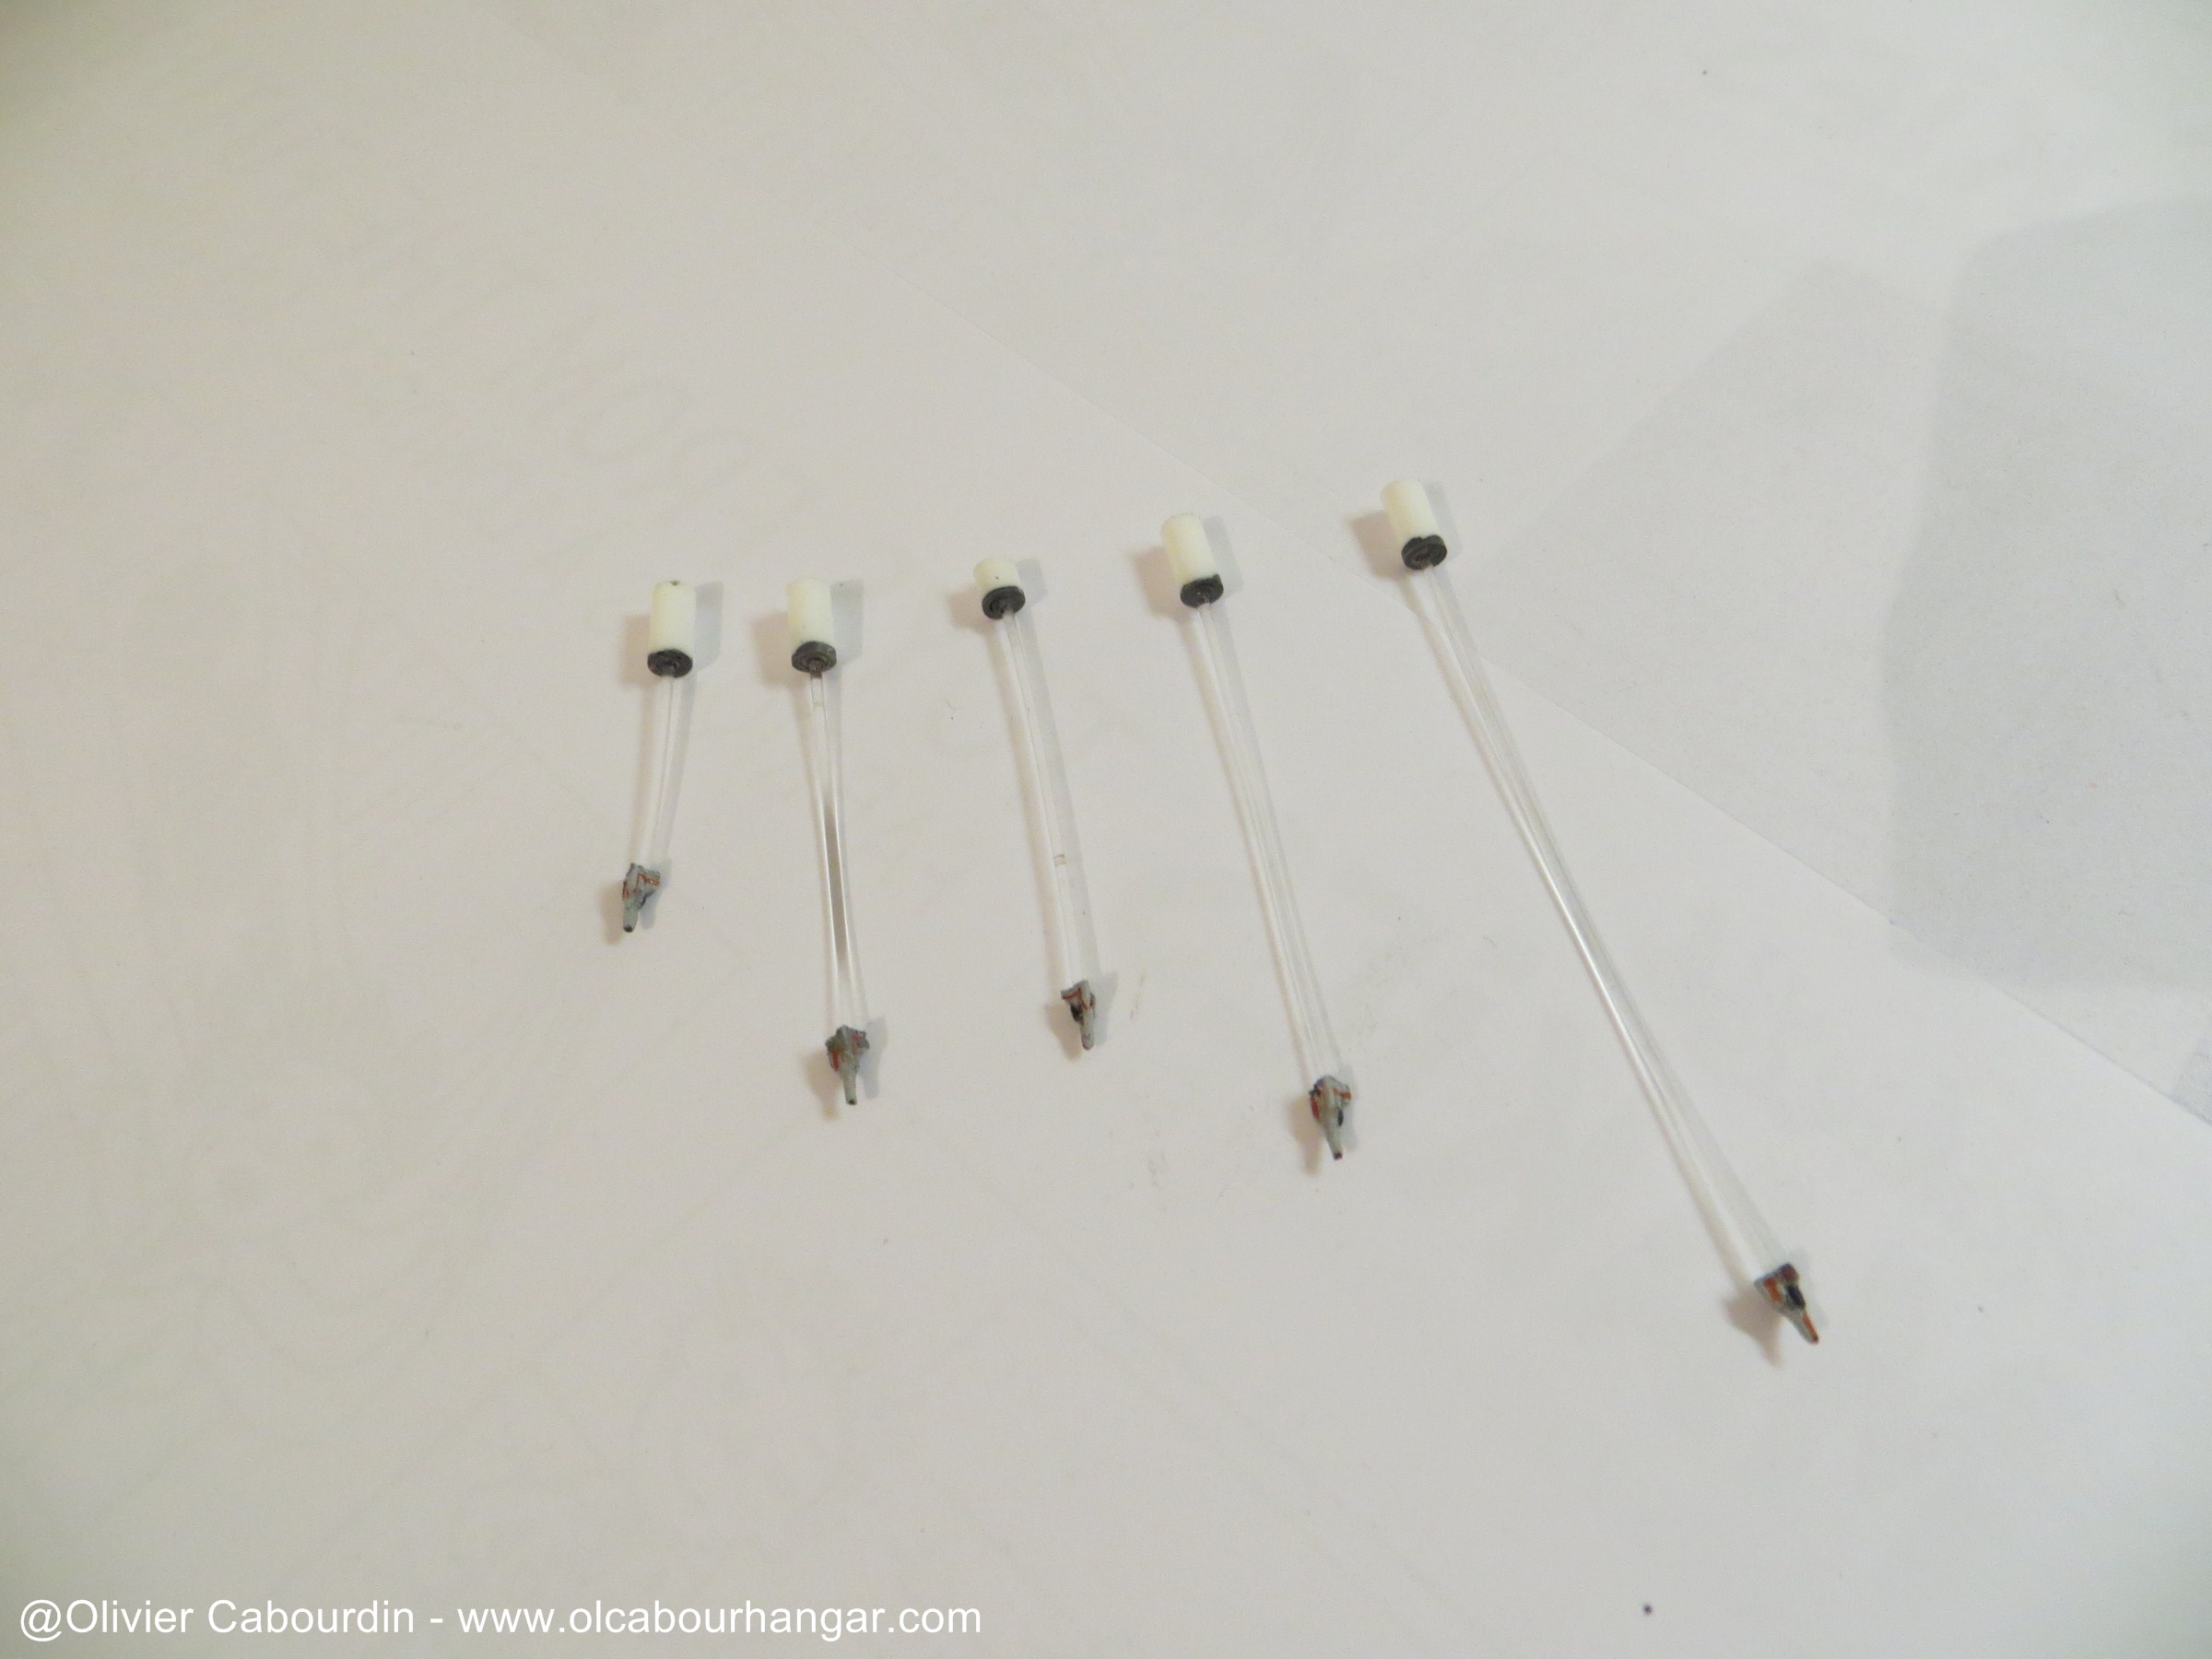
The optic fibers are cut and the last parts are glued.
Here is the result.


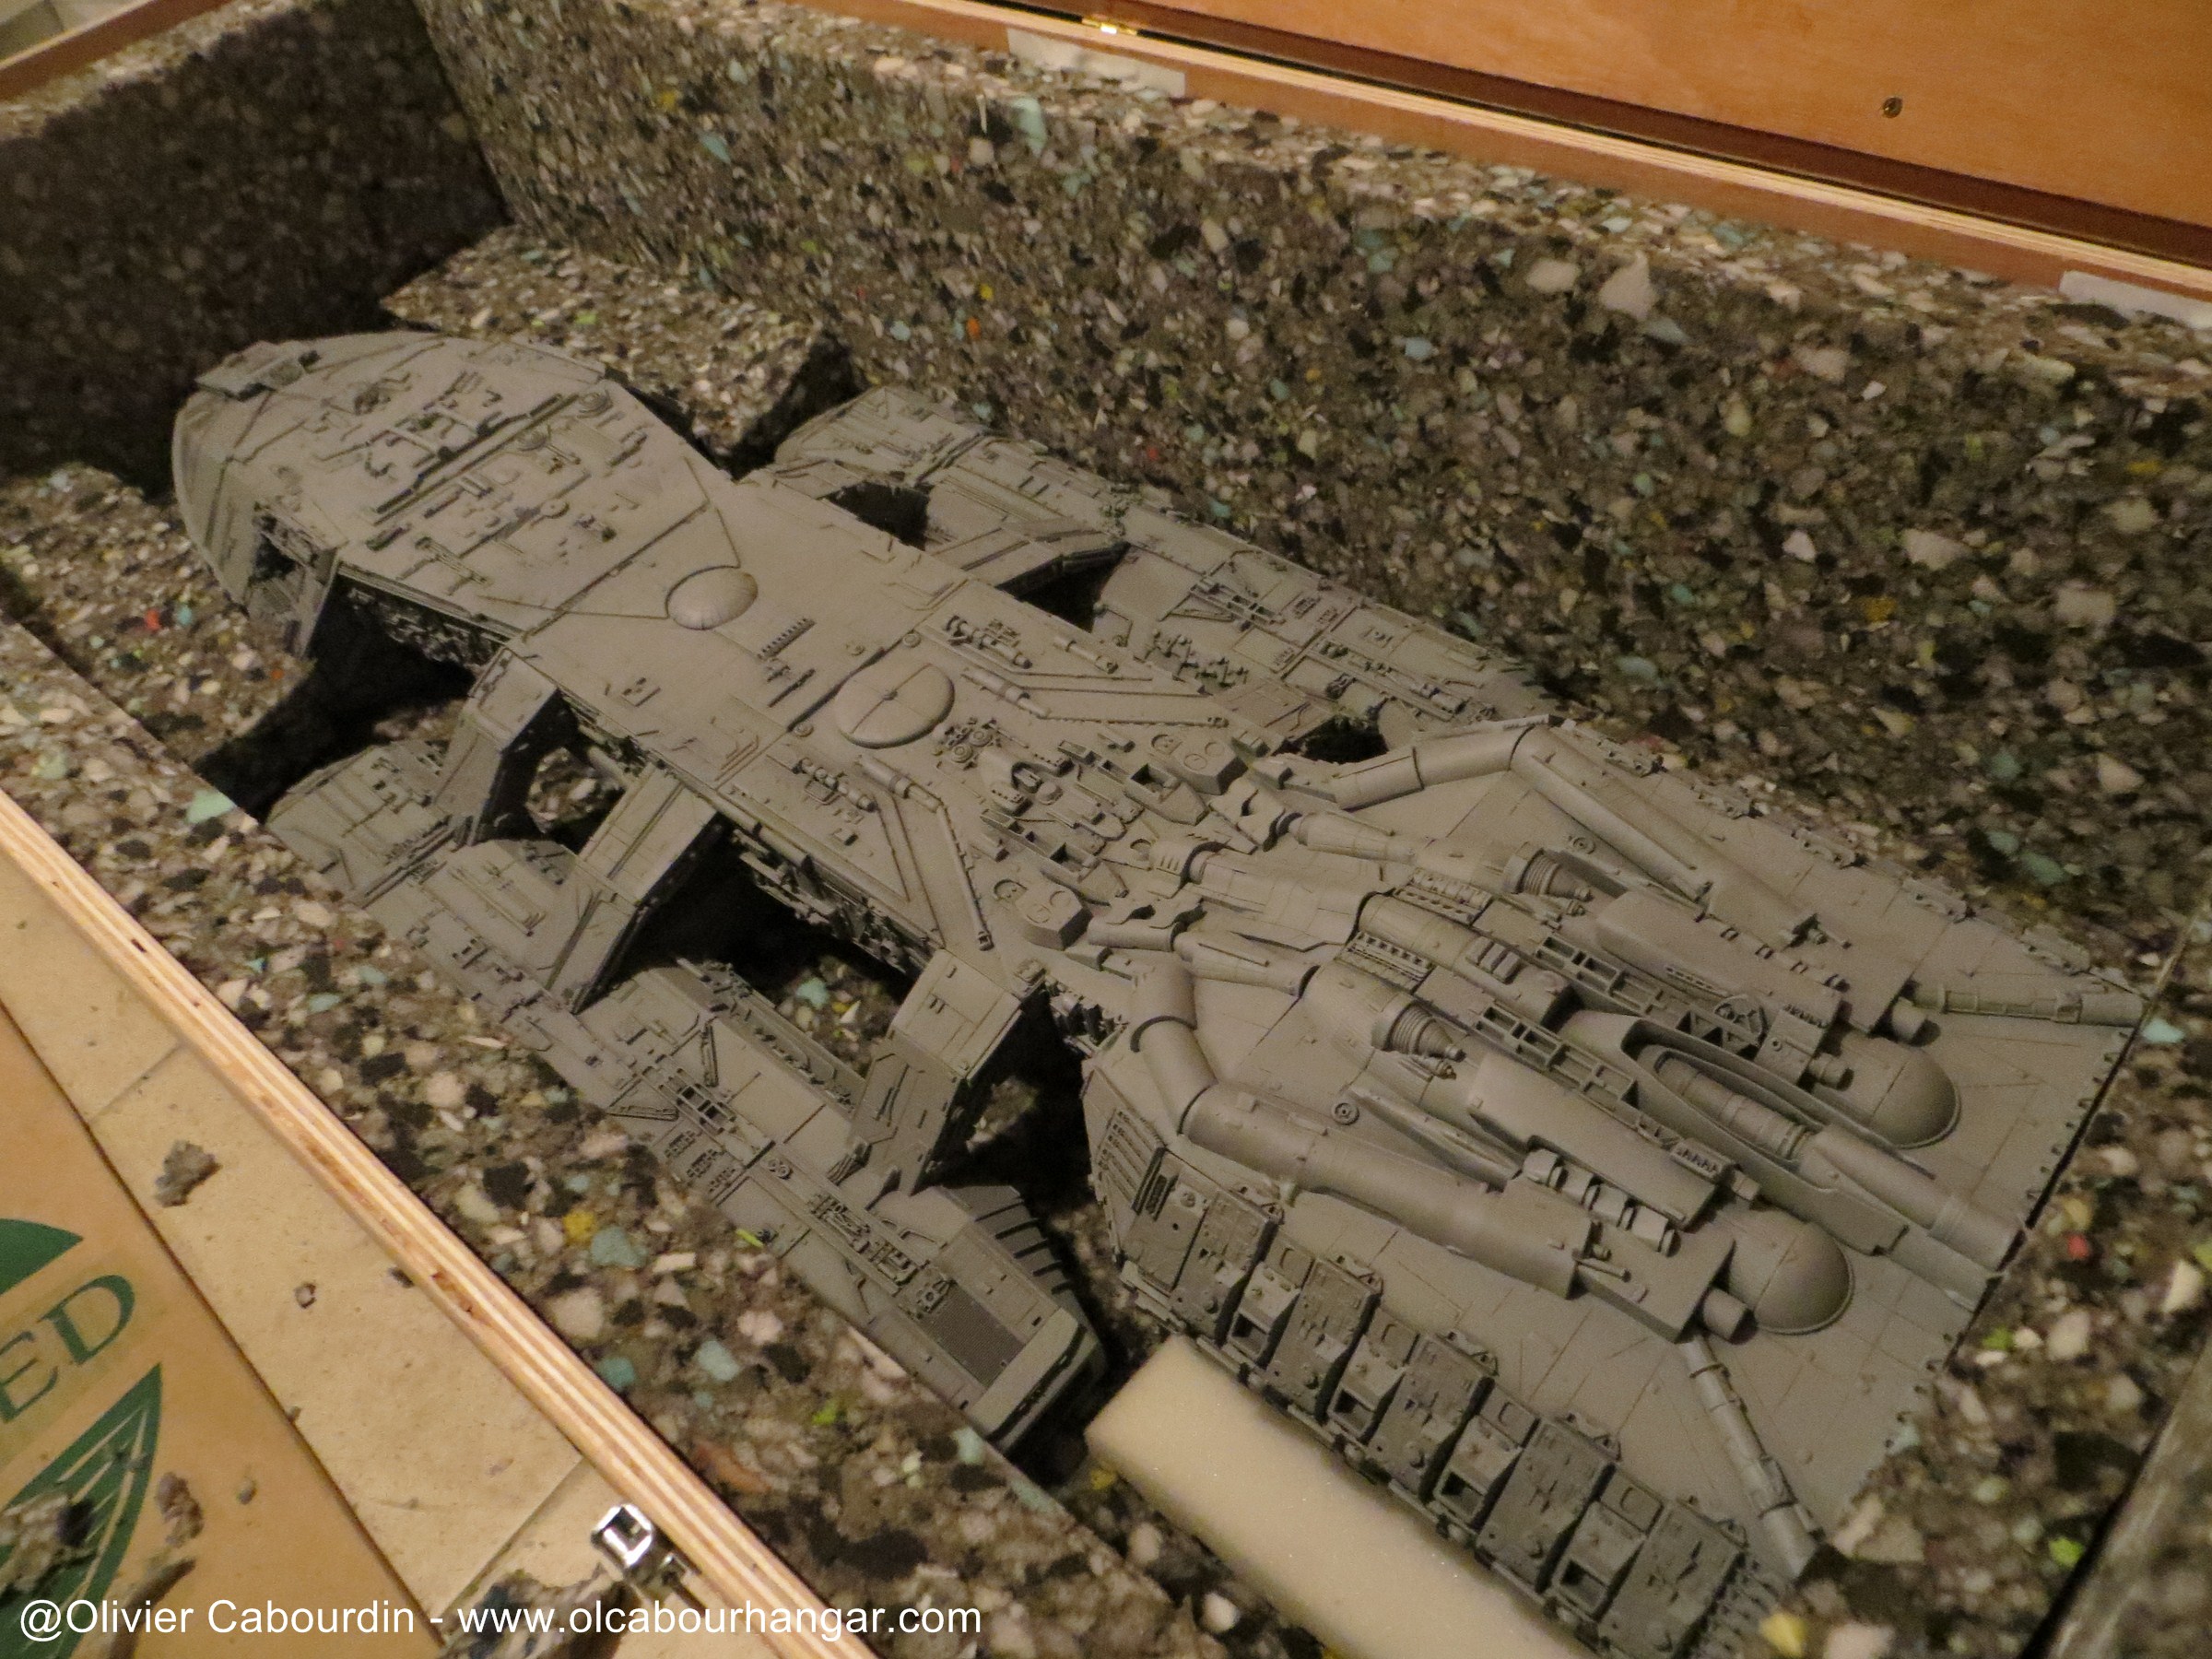
I made a custom carrying case

mardi, 25 novembre 2014
Par olcabour le mardi, 25 novembre 2014, 21:43
First a fair coat of primer (Tamyia spray can)
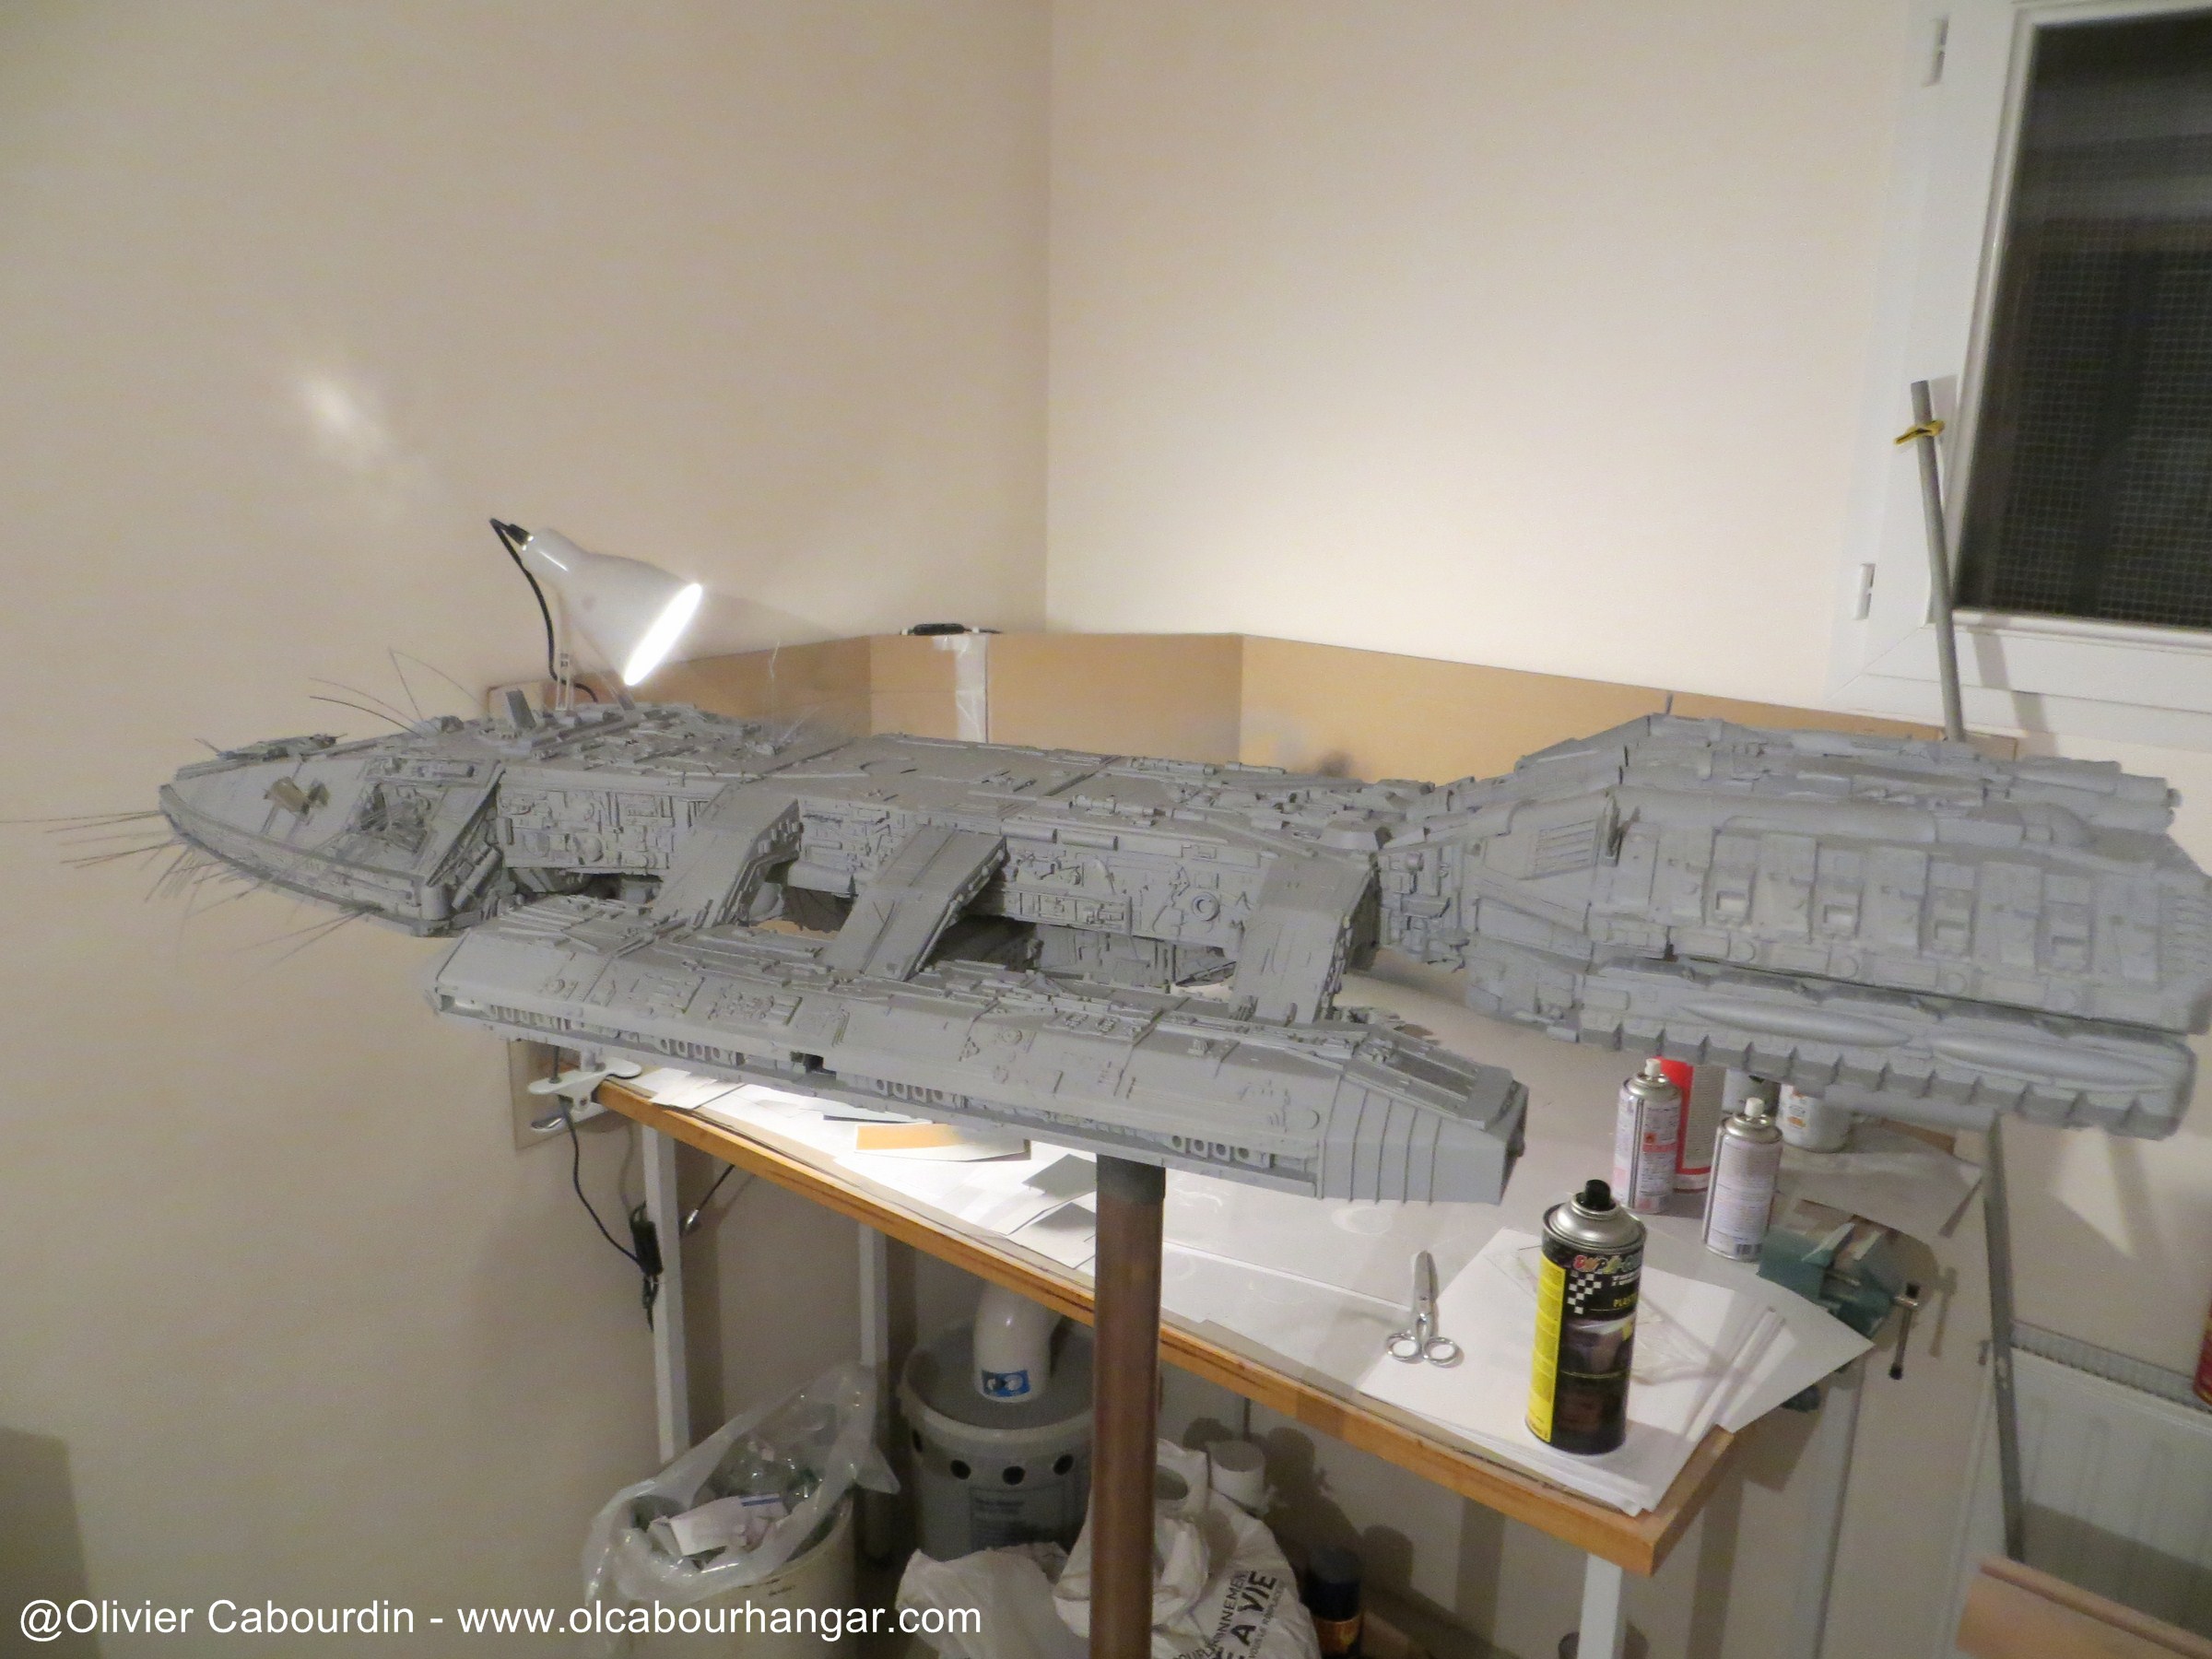
Then matt black spray (car paint spray can)
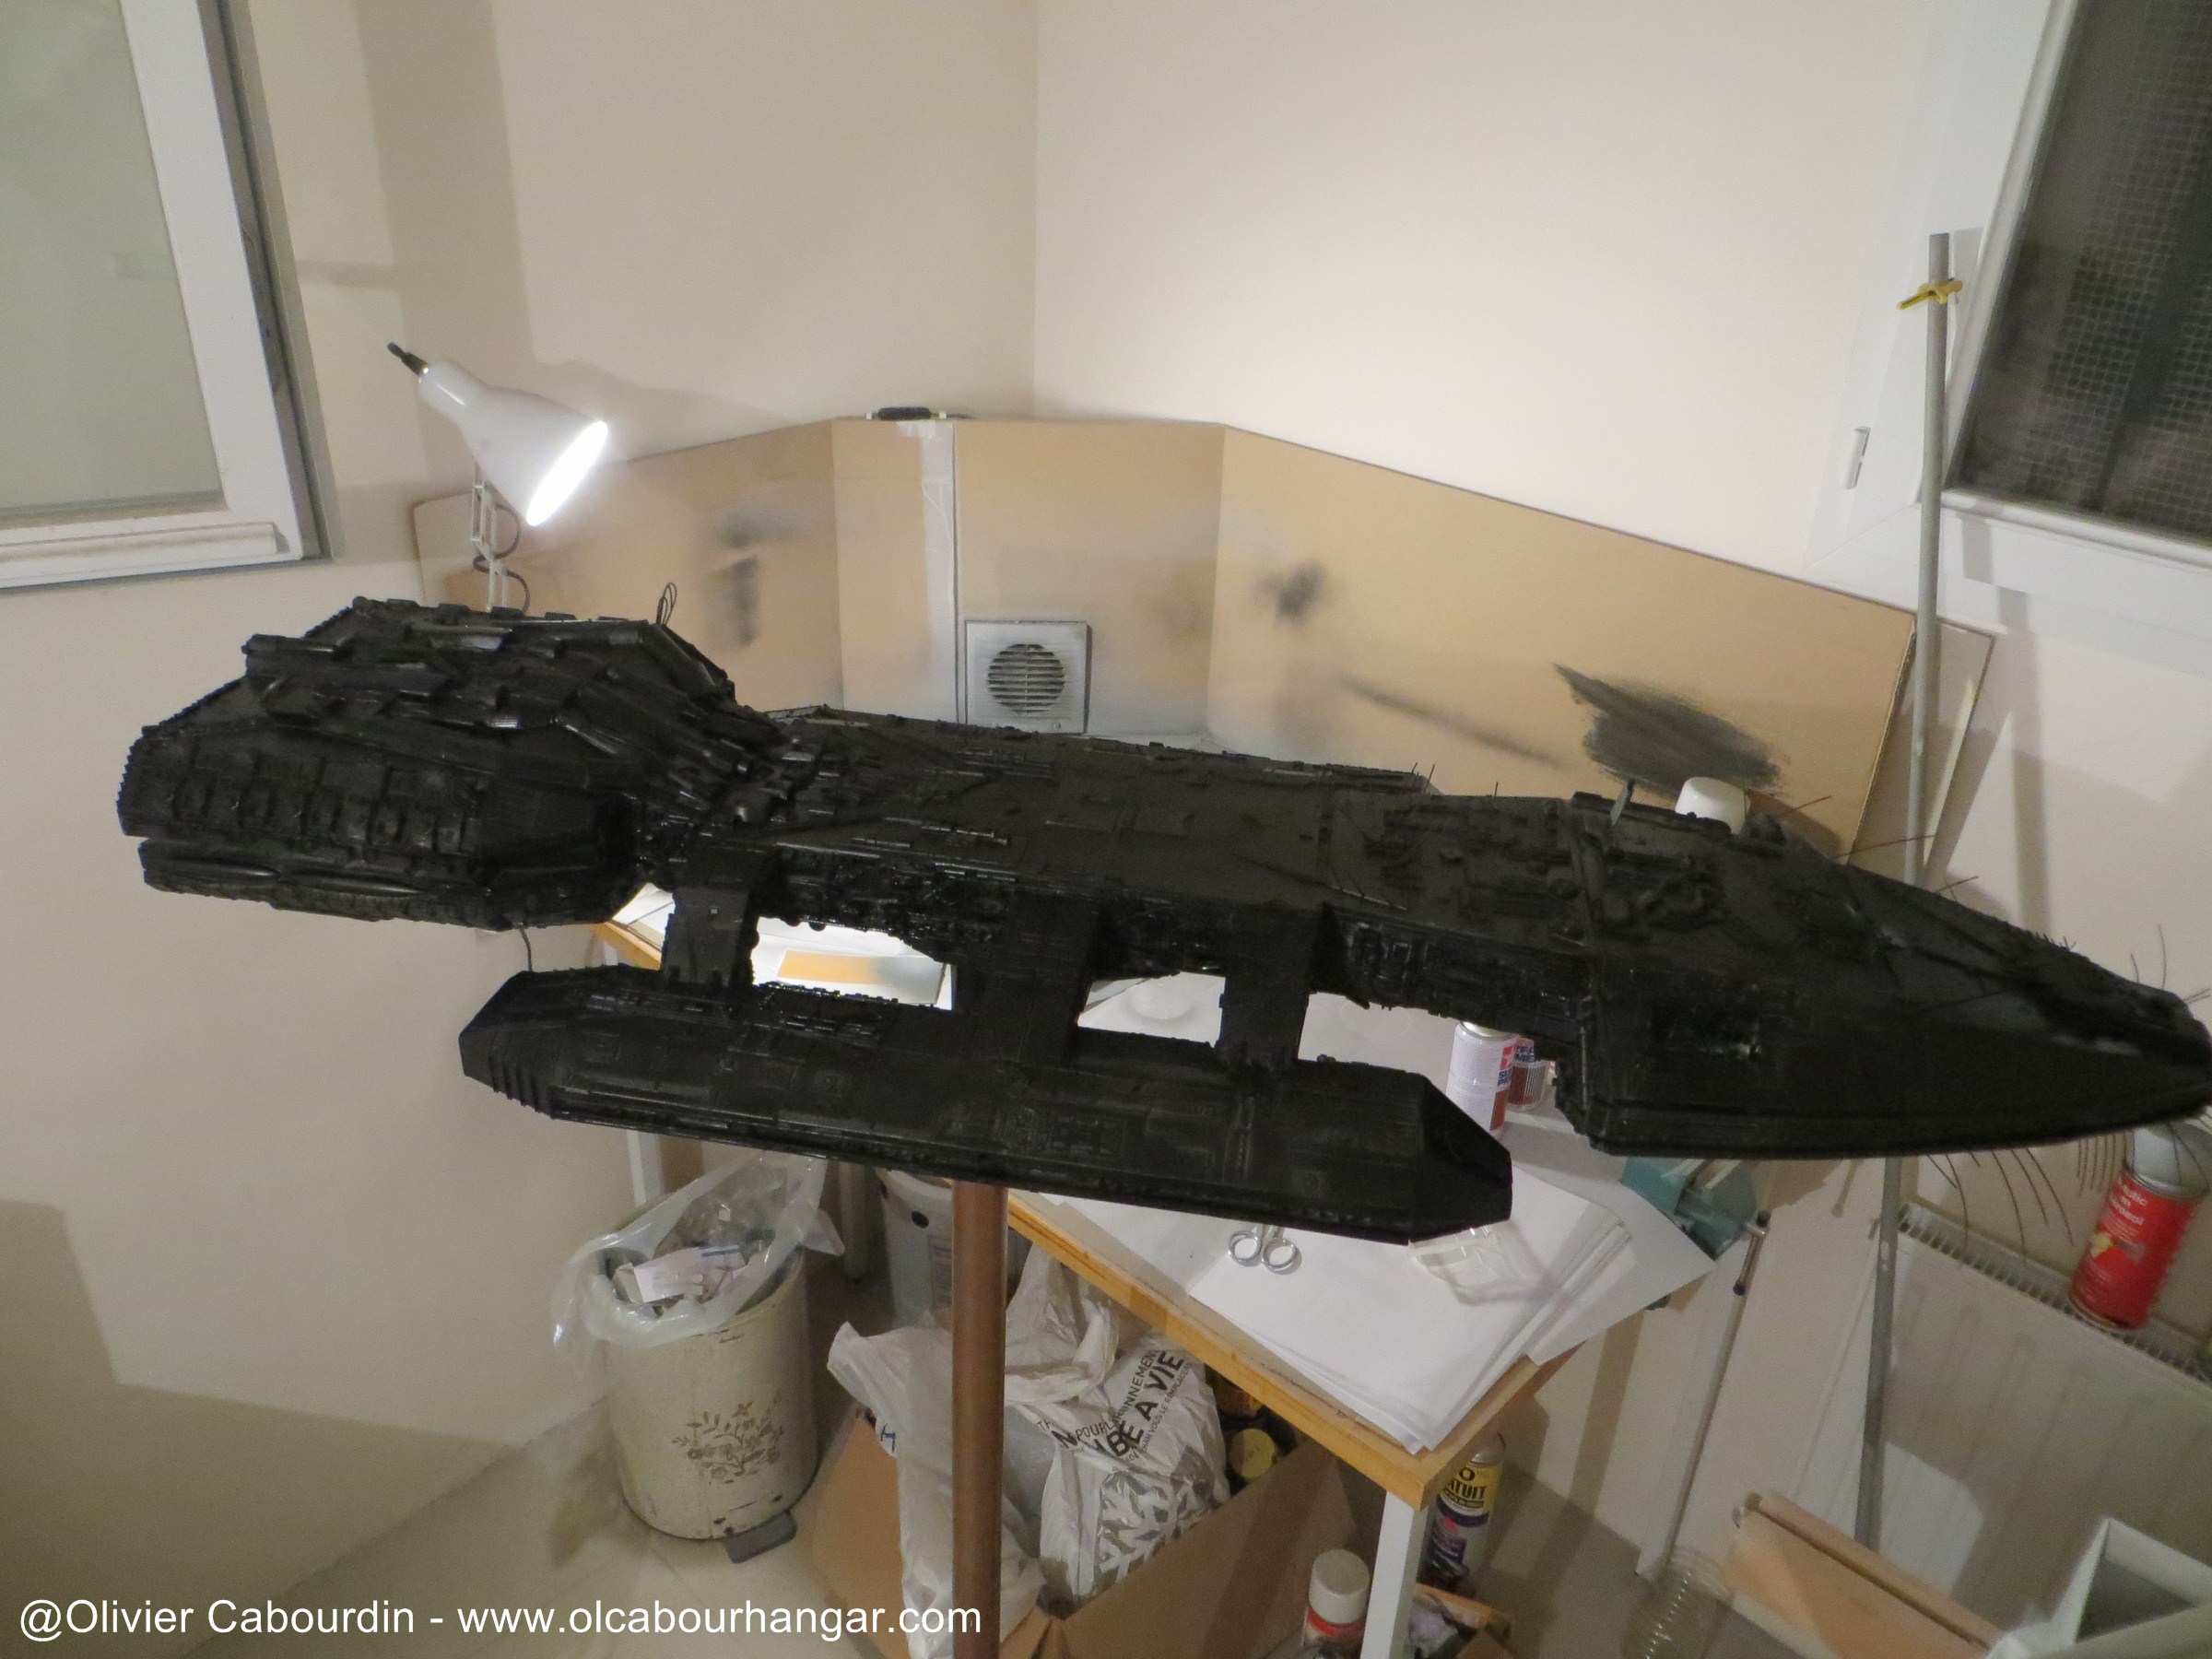


I had to correct a few drops (with sanding sponge)

The spray can can not go everywhere, I finish corners with airbrush
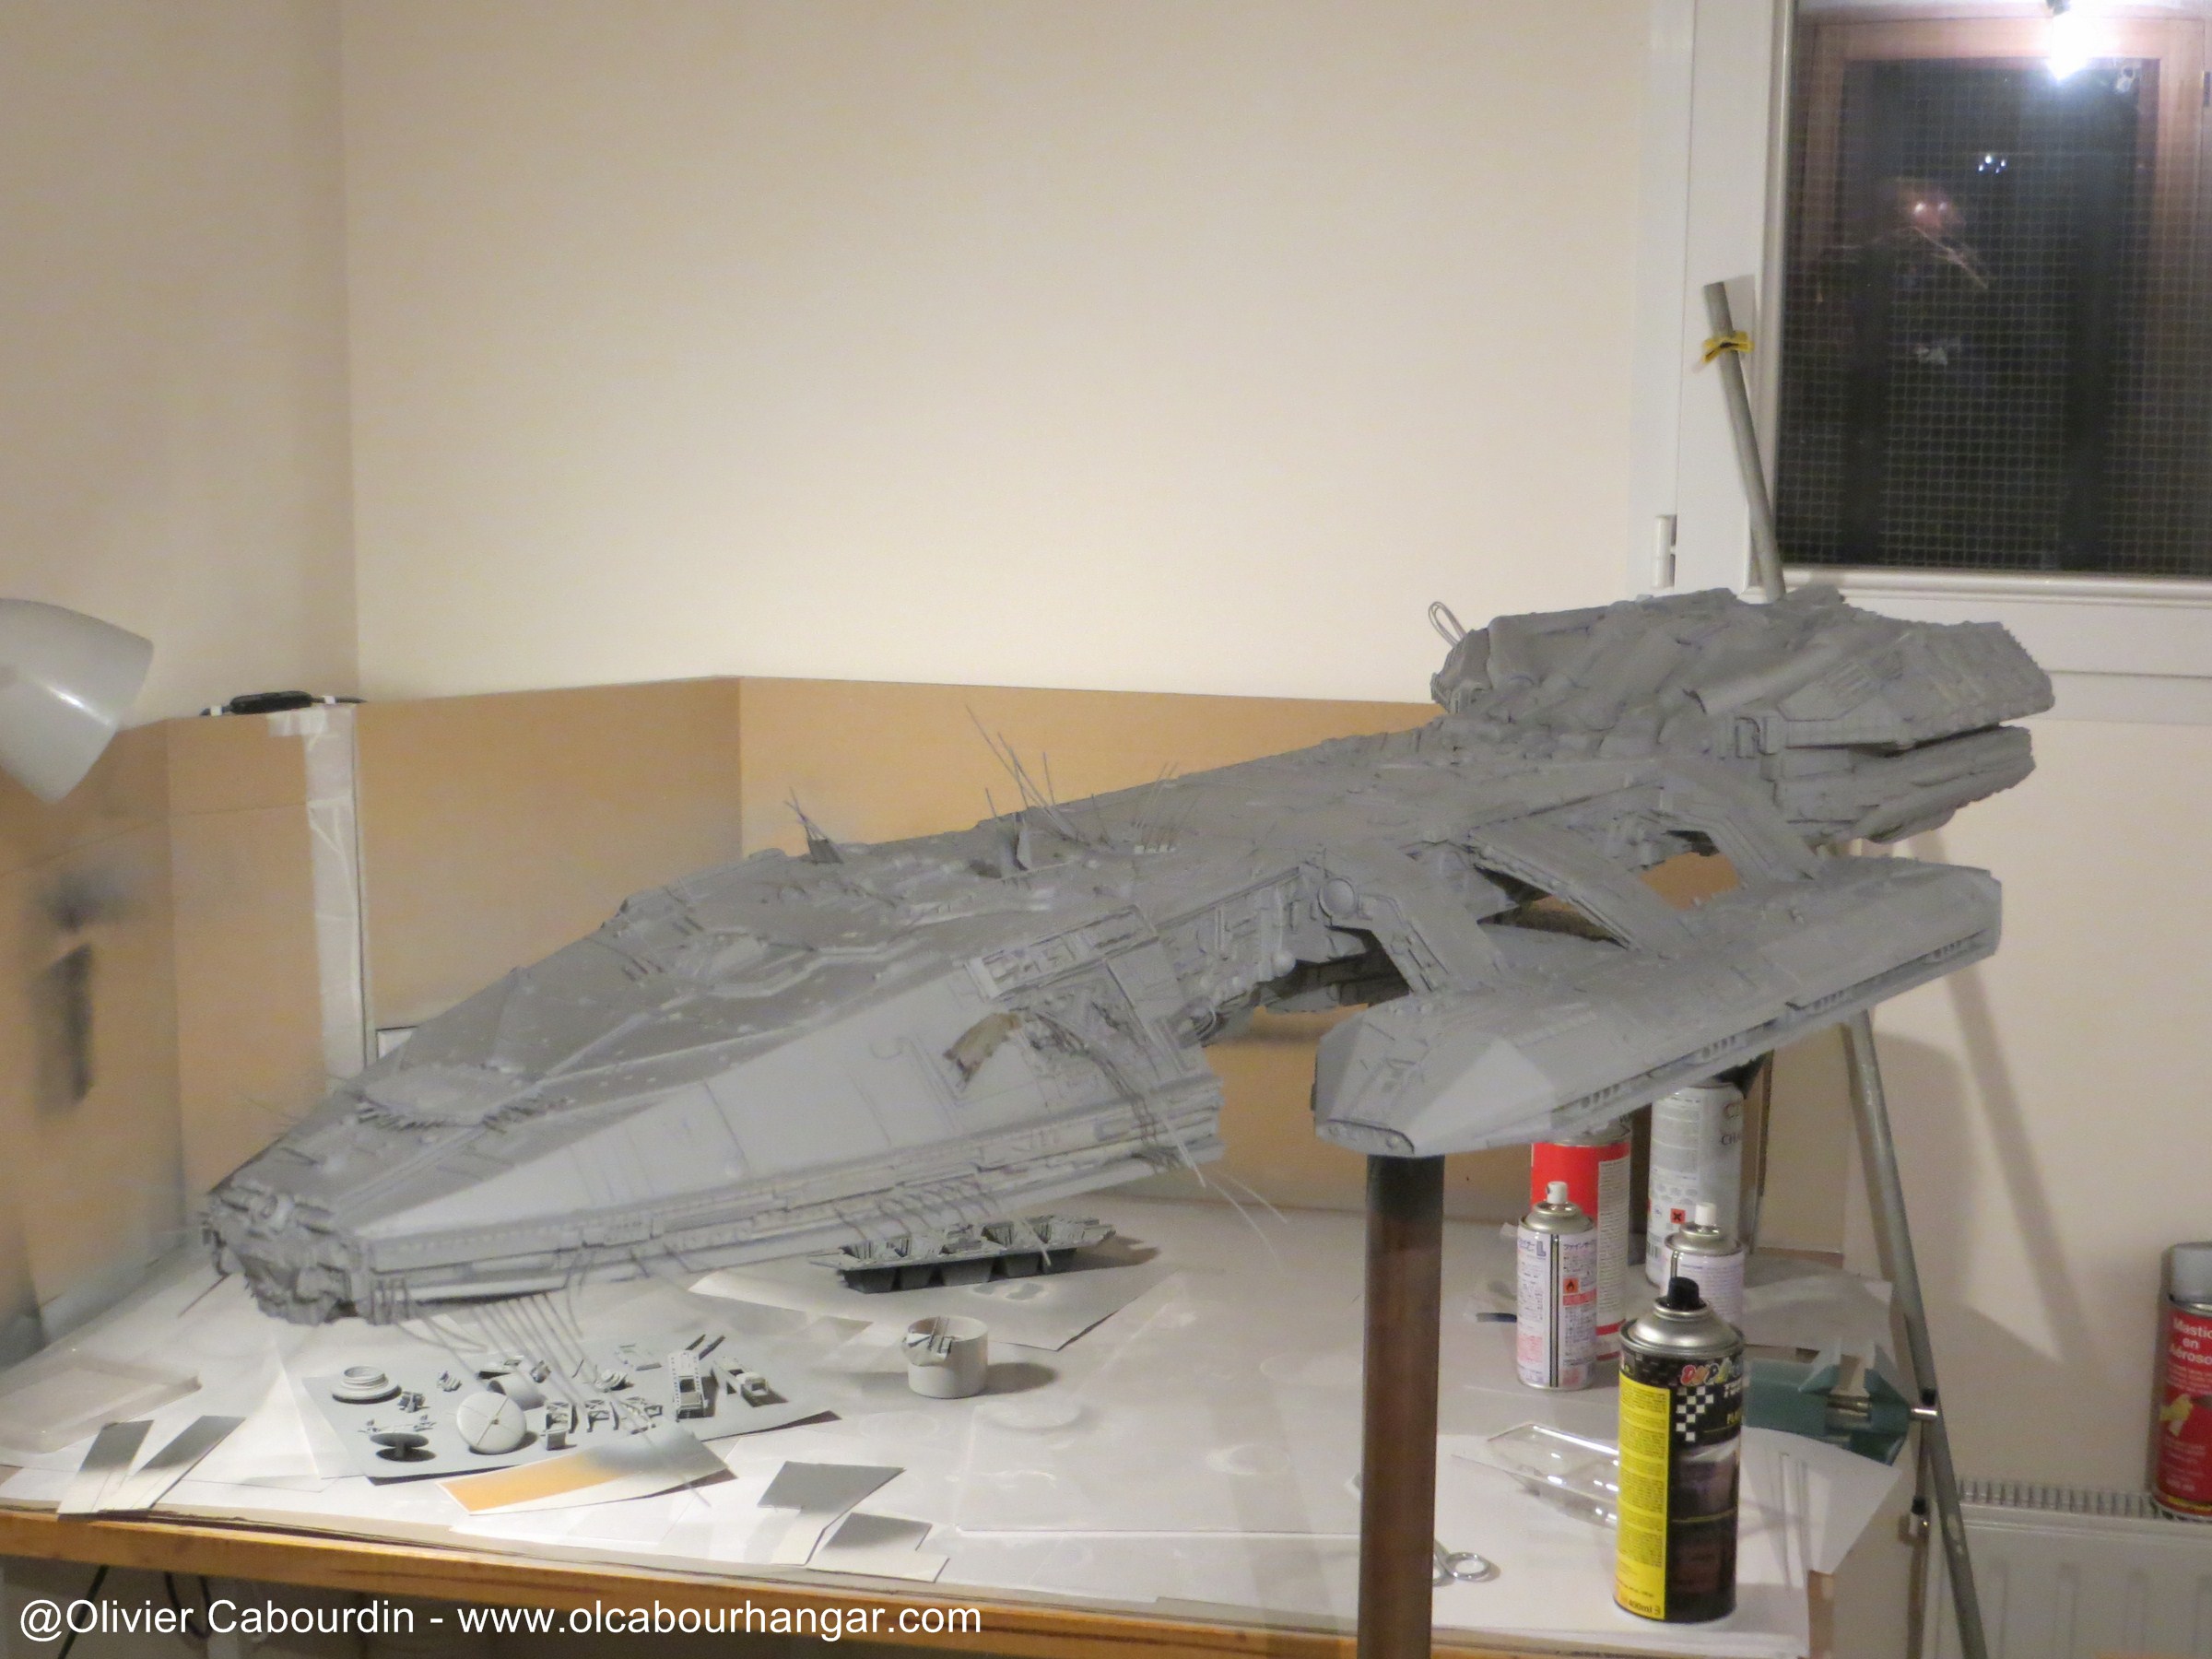
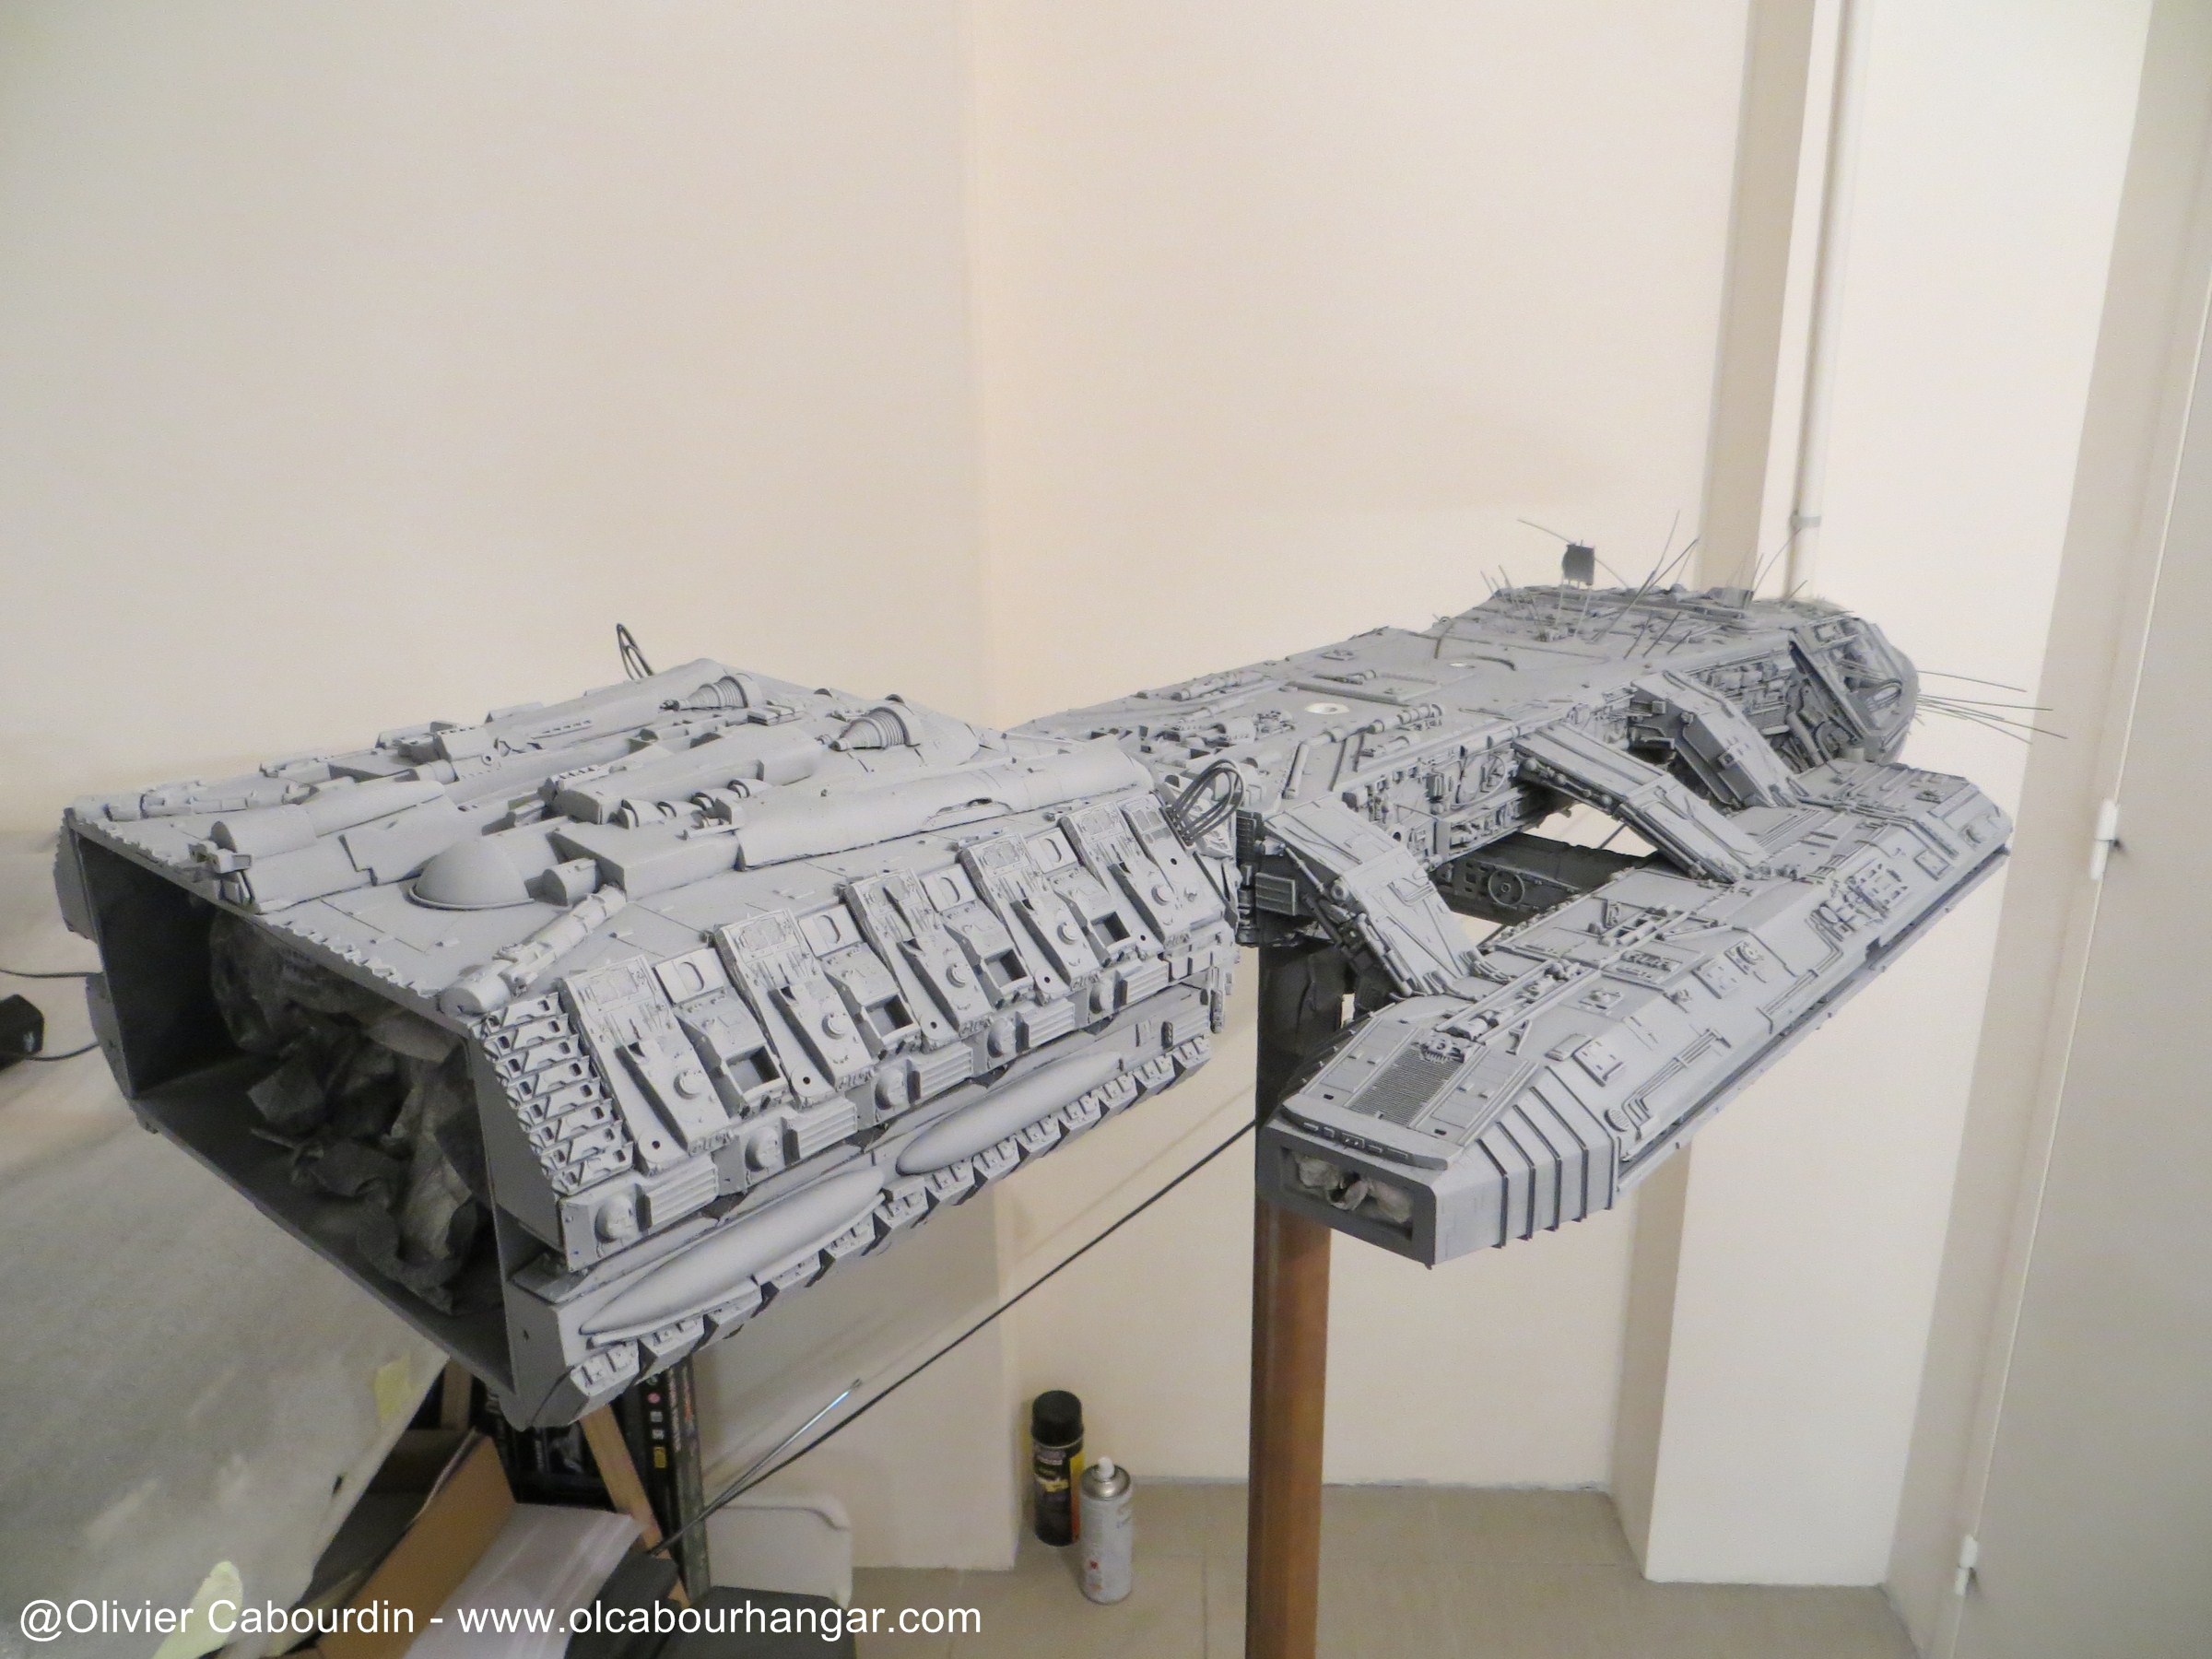
A right gray was difficult to find and to apply as I am not used to paint models of this size.
First test with sky Grey XF-19 aero: rthe esult too white and not enough uniform
So after a new coat of black, I changed color (I do not remember which one). Although it looked nice on the pictures, it was this time too dark.

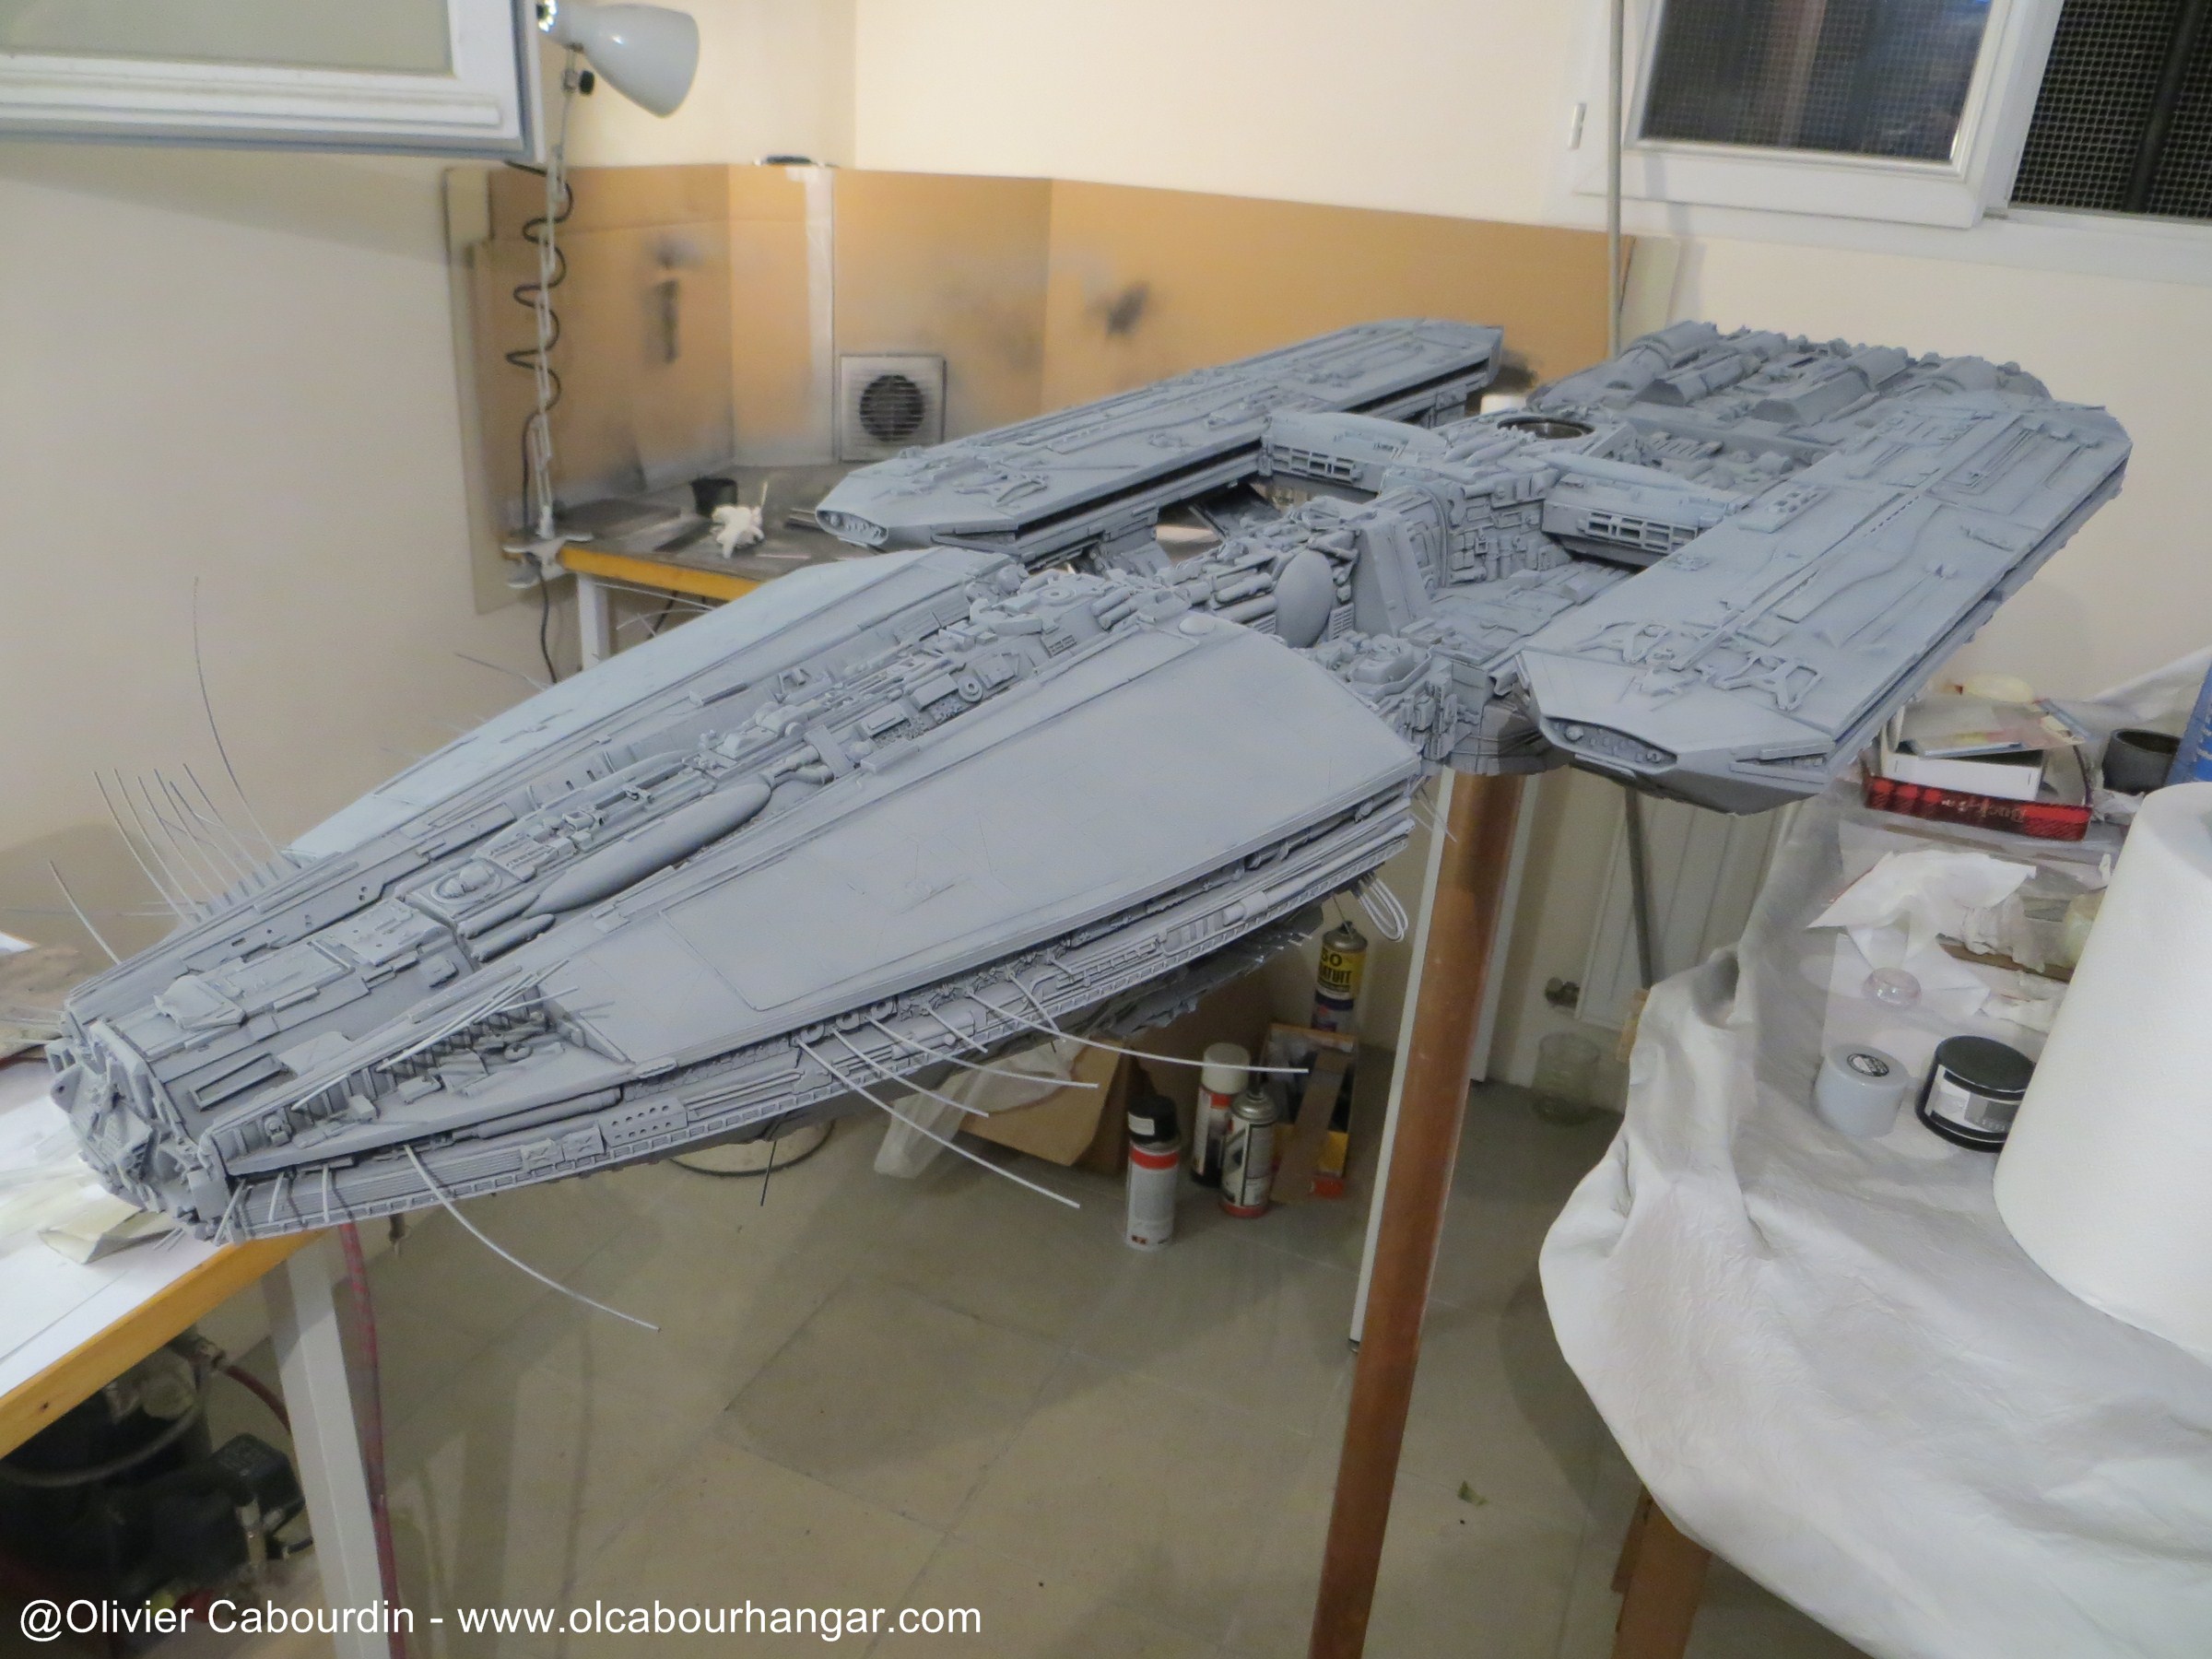
So I change technique, I get back to the tamiya gray primer, and I kept it as base coloer as I liked.
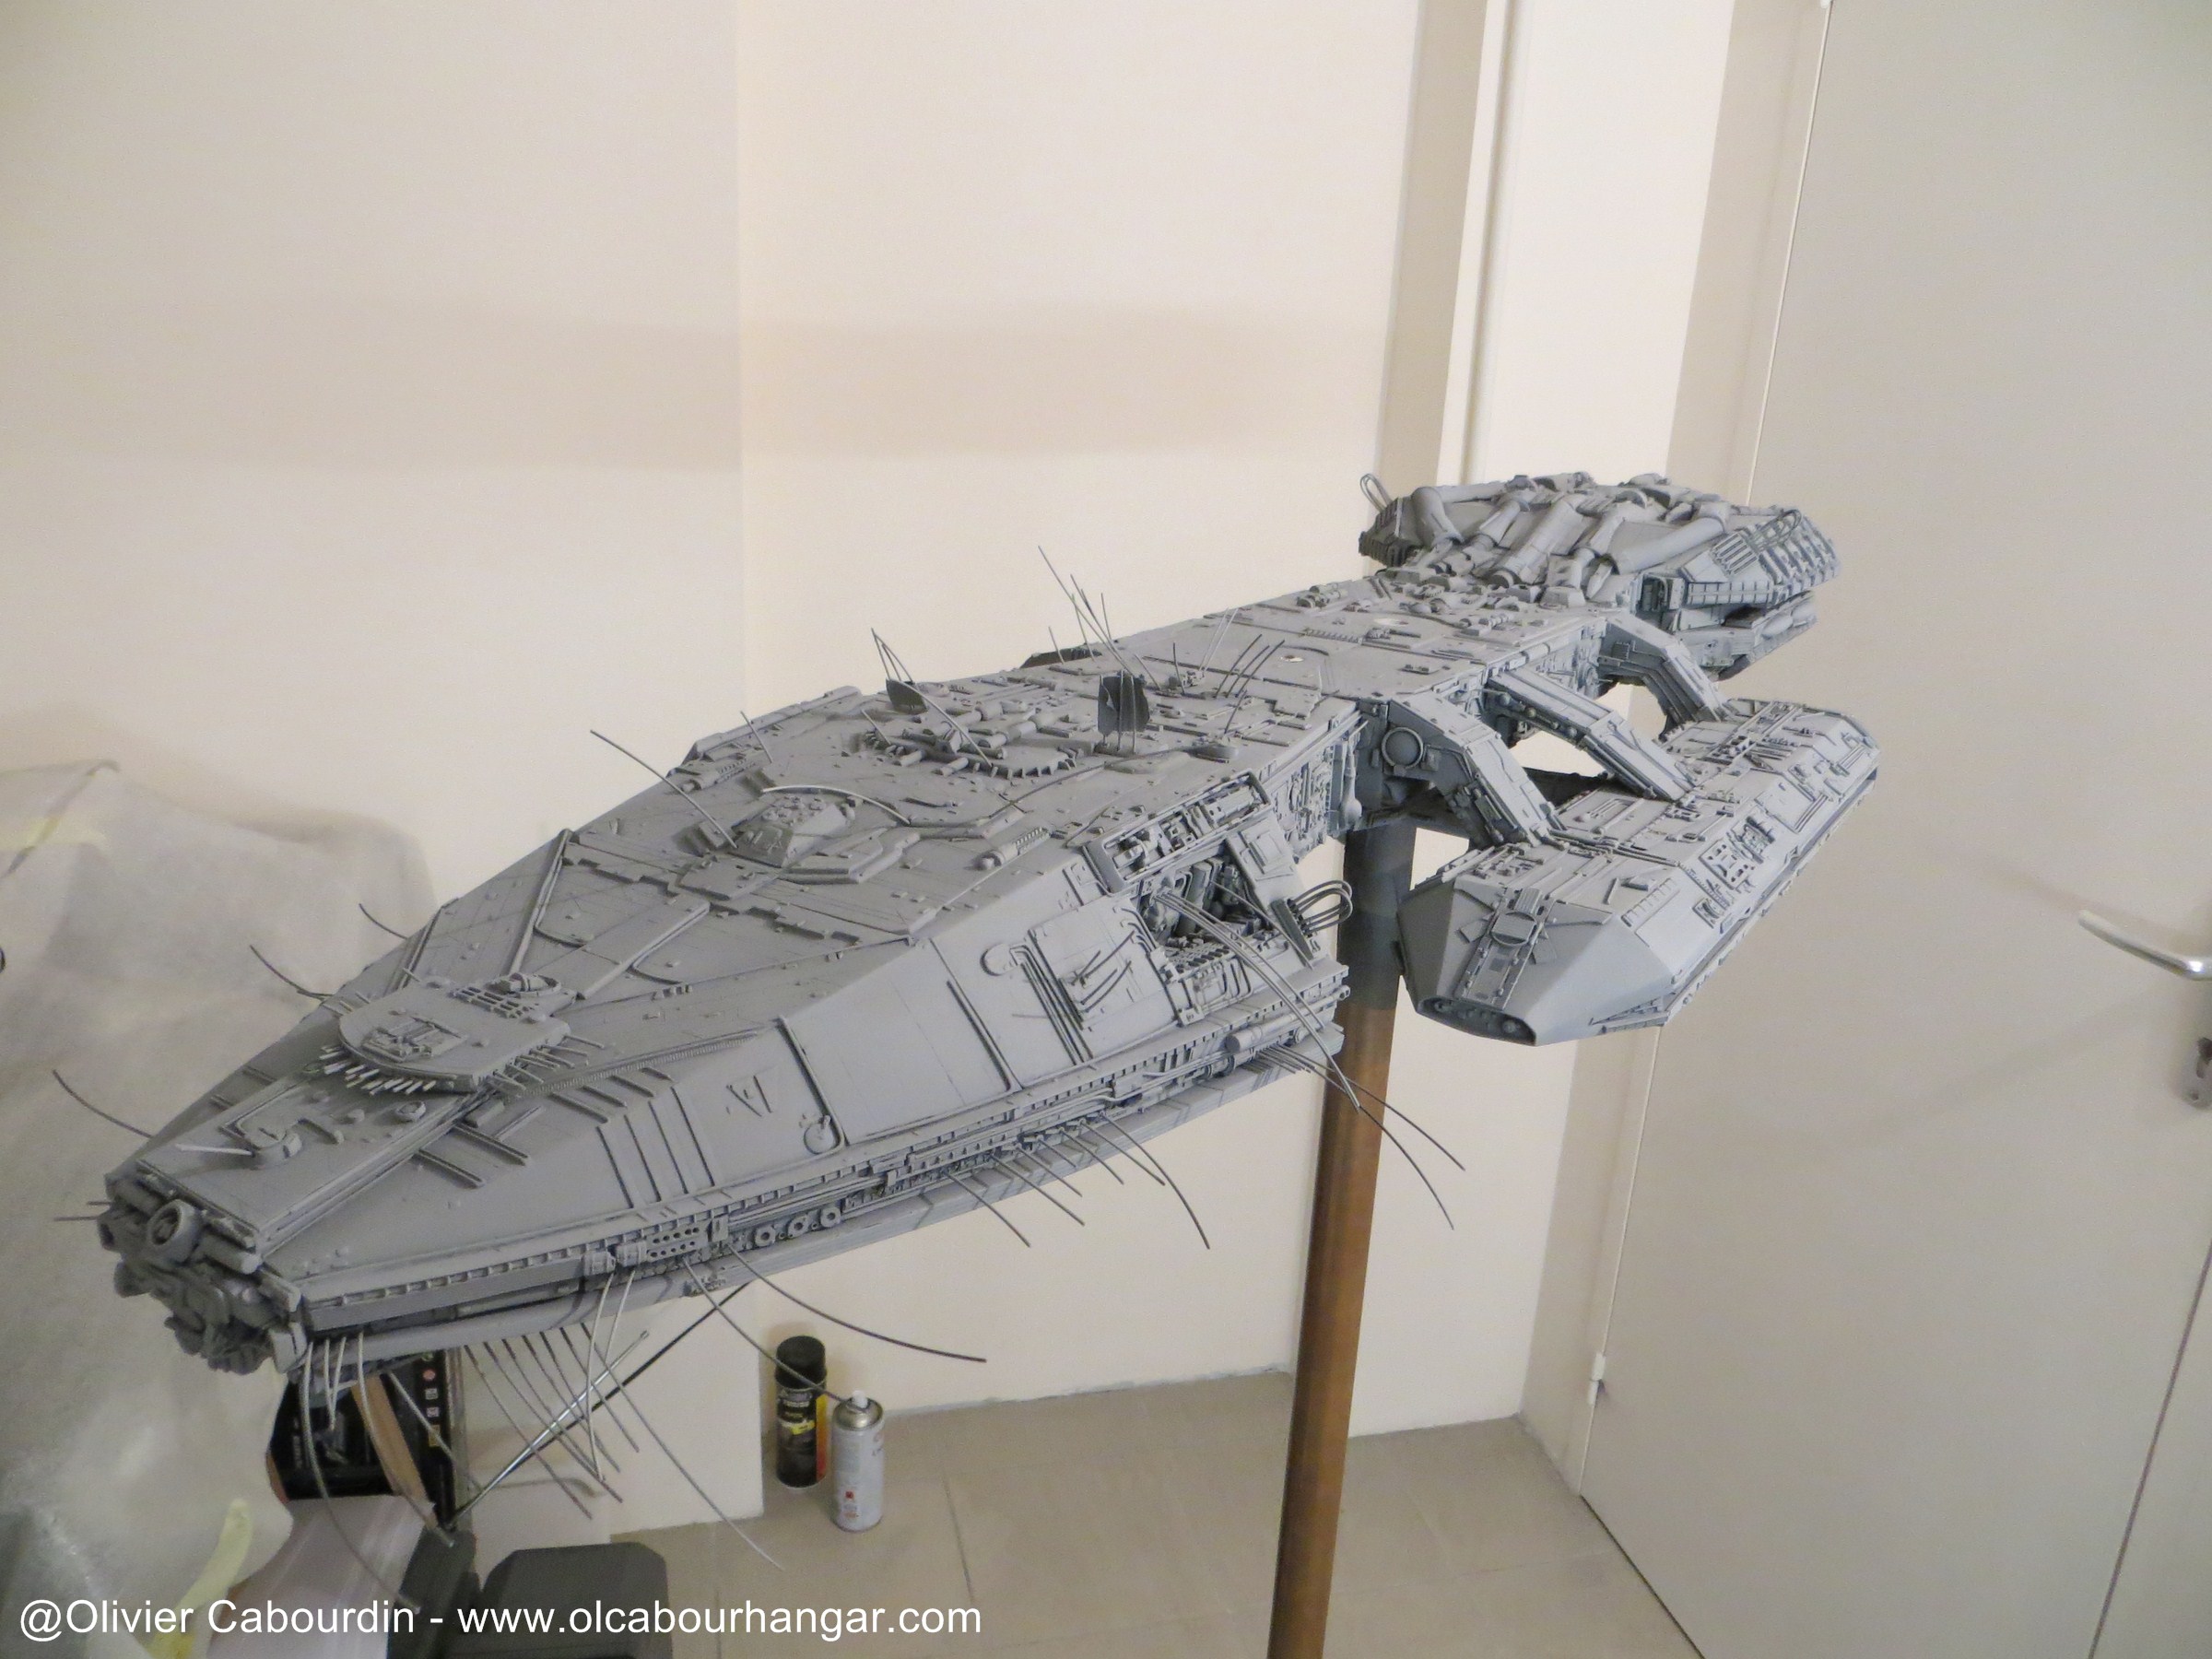
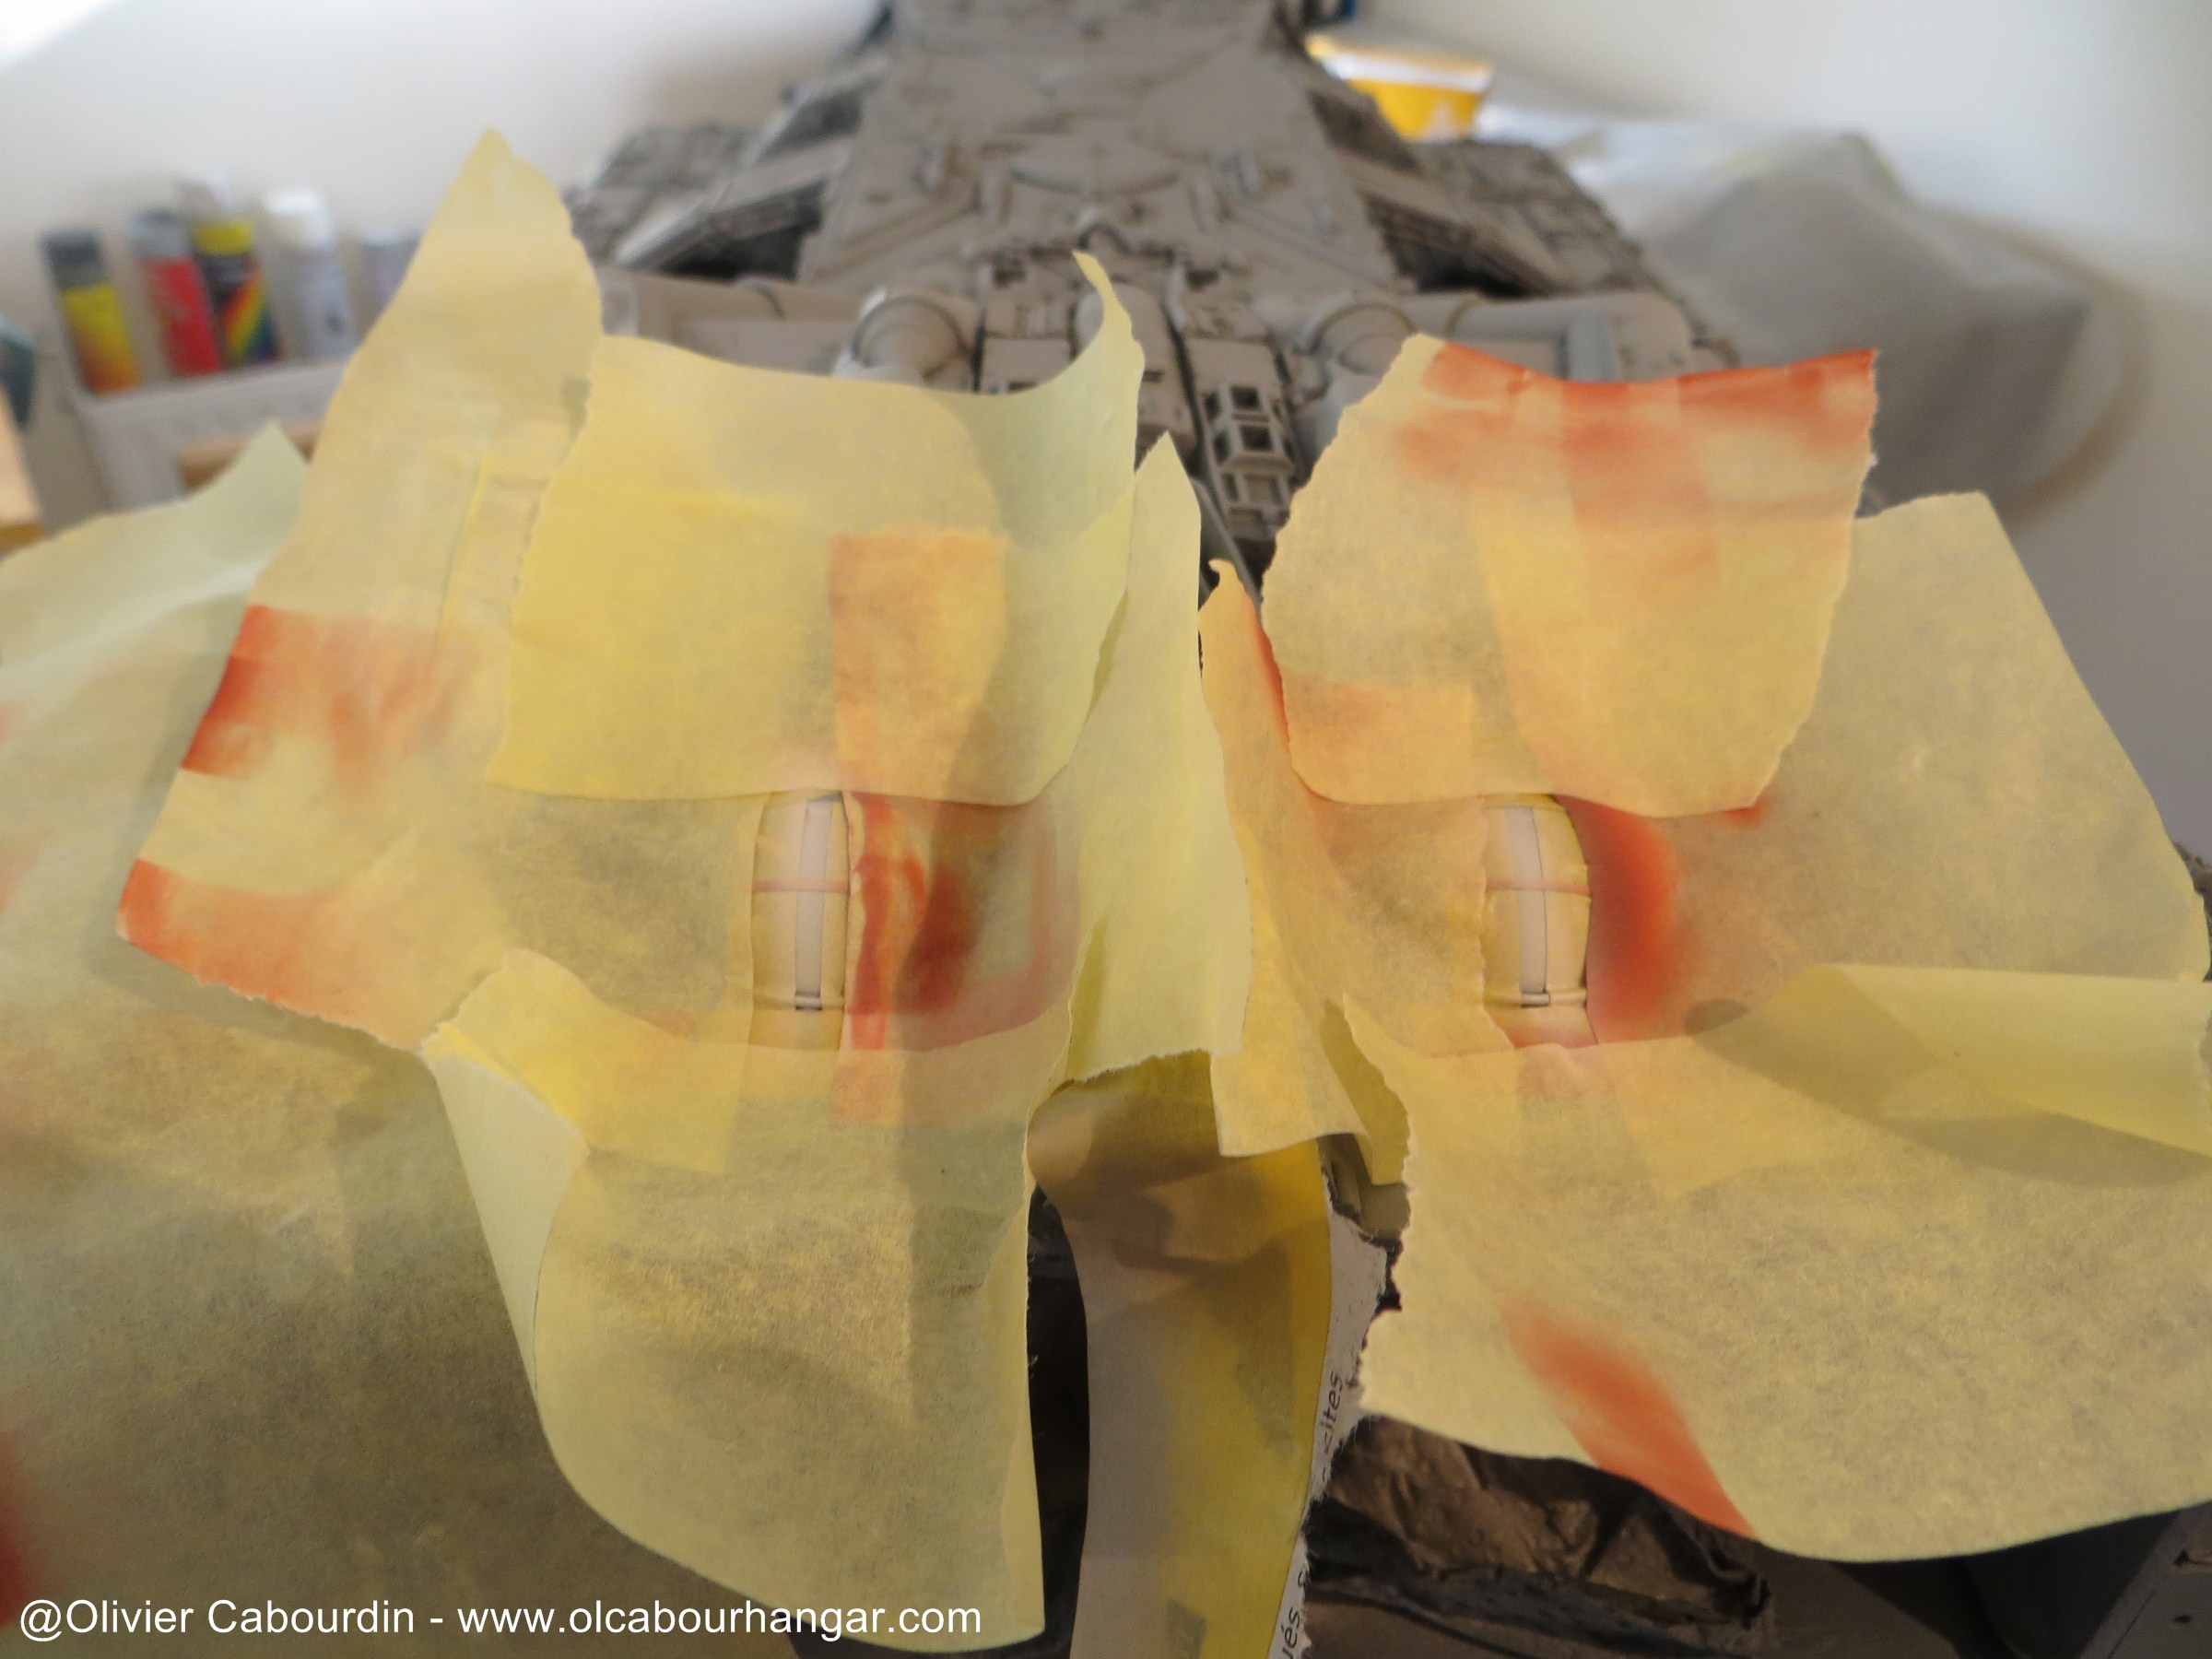
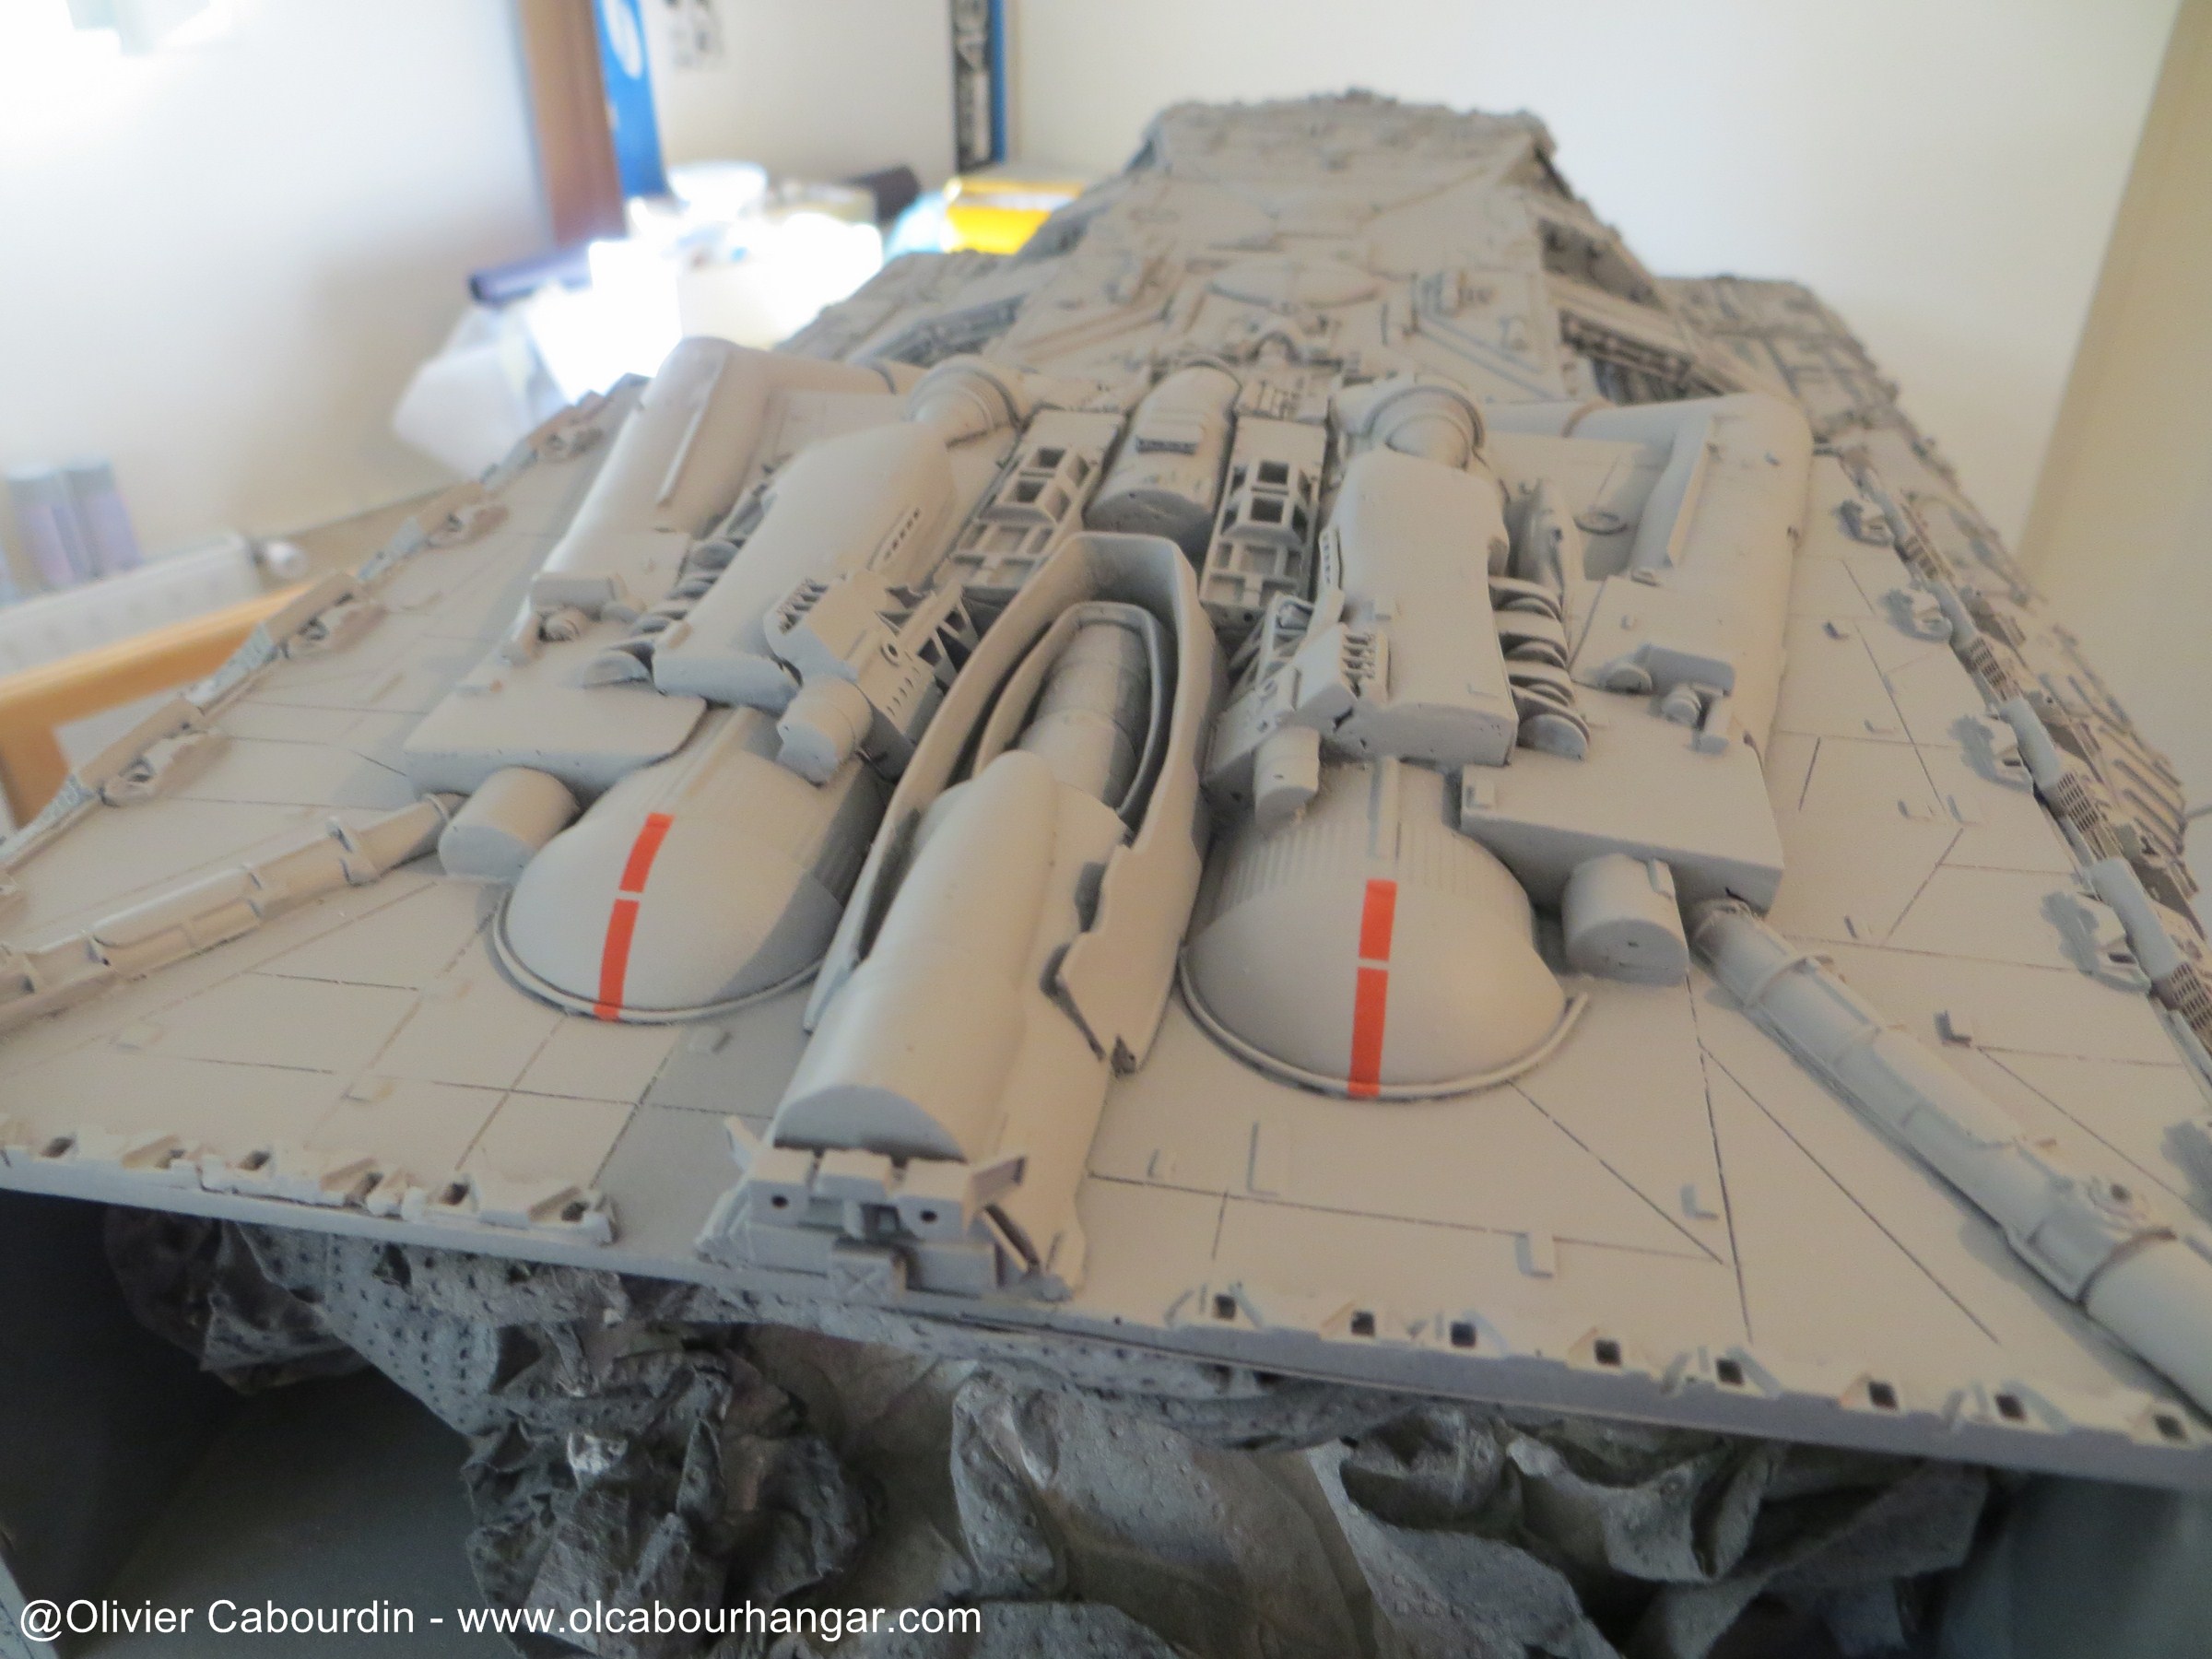
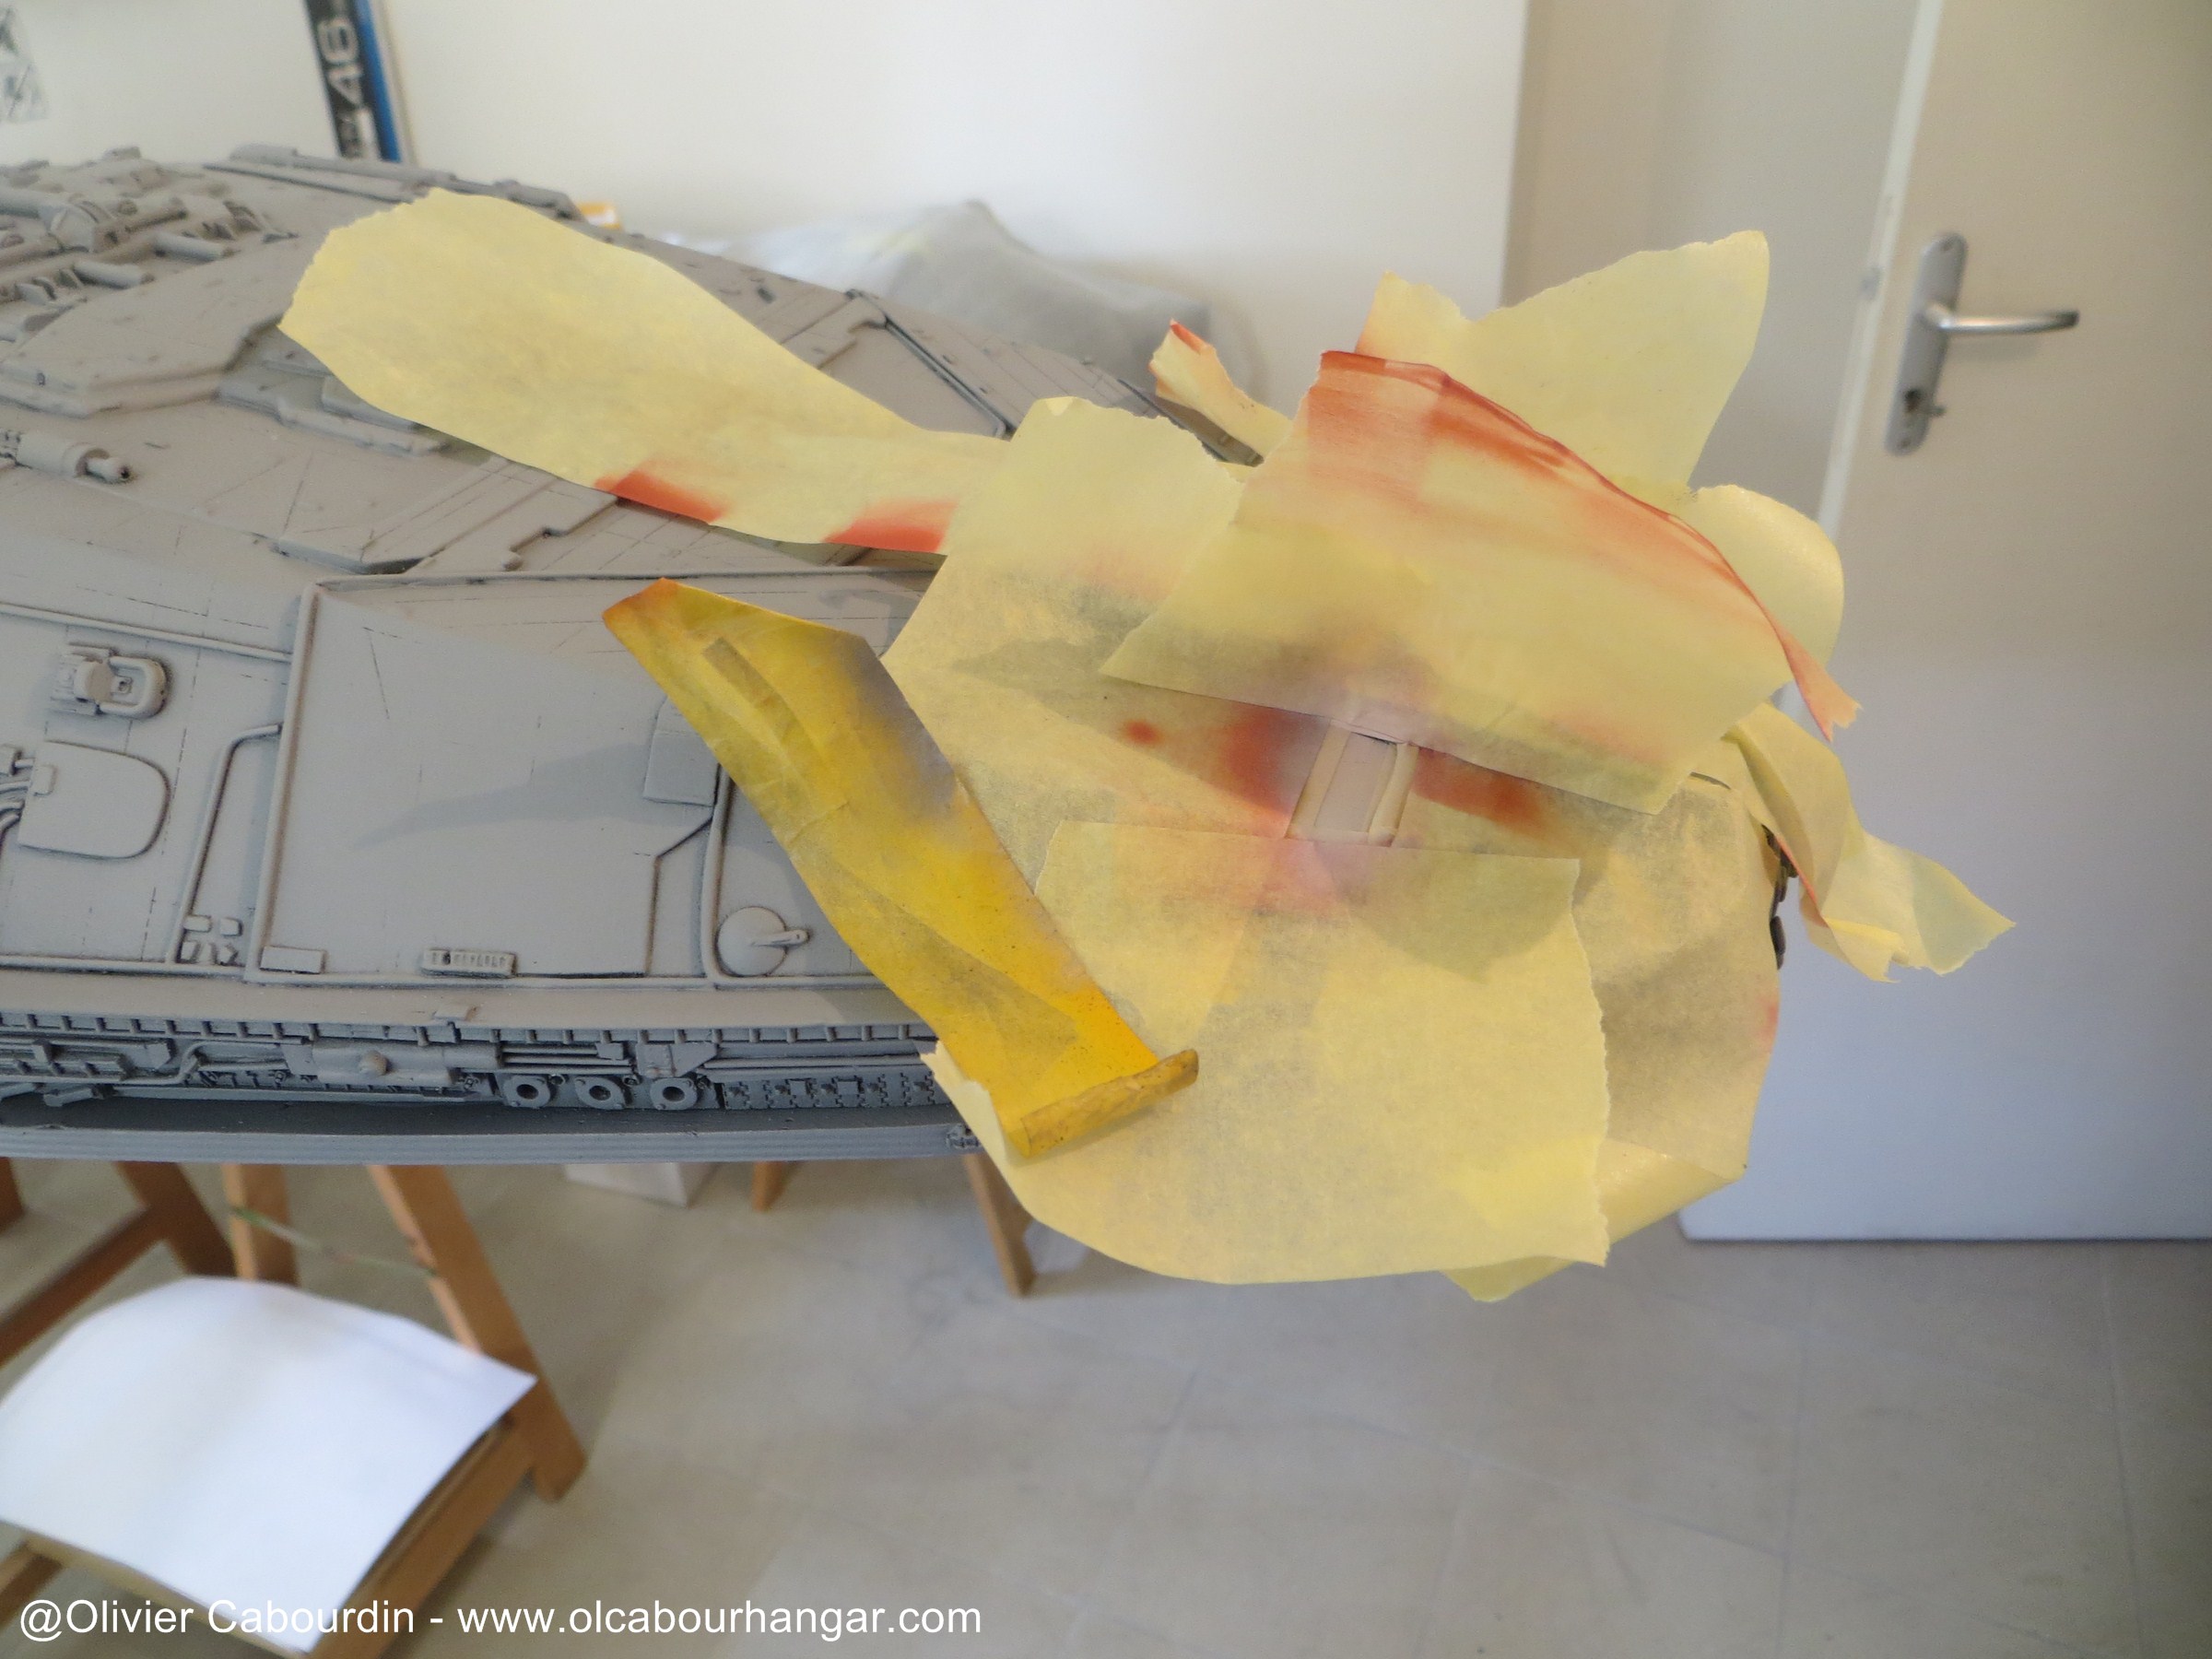
For the red stripes, I first applied white, then a standard red and finally dark red (it is not an X-Wing  )
)


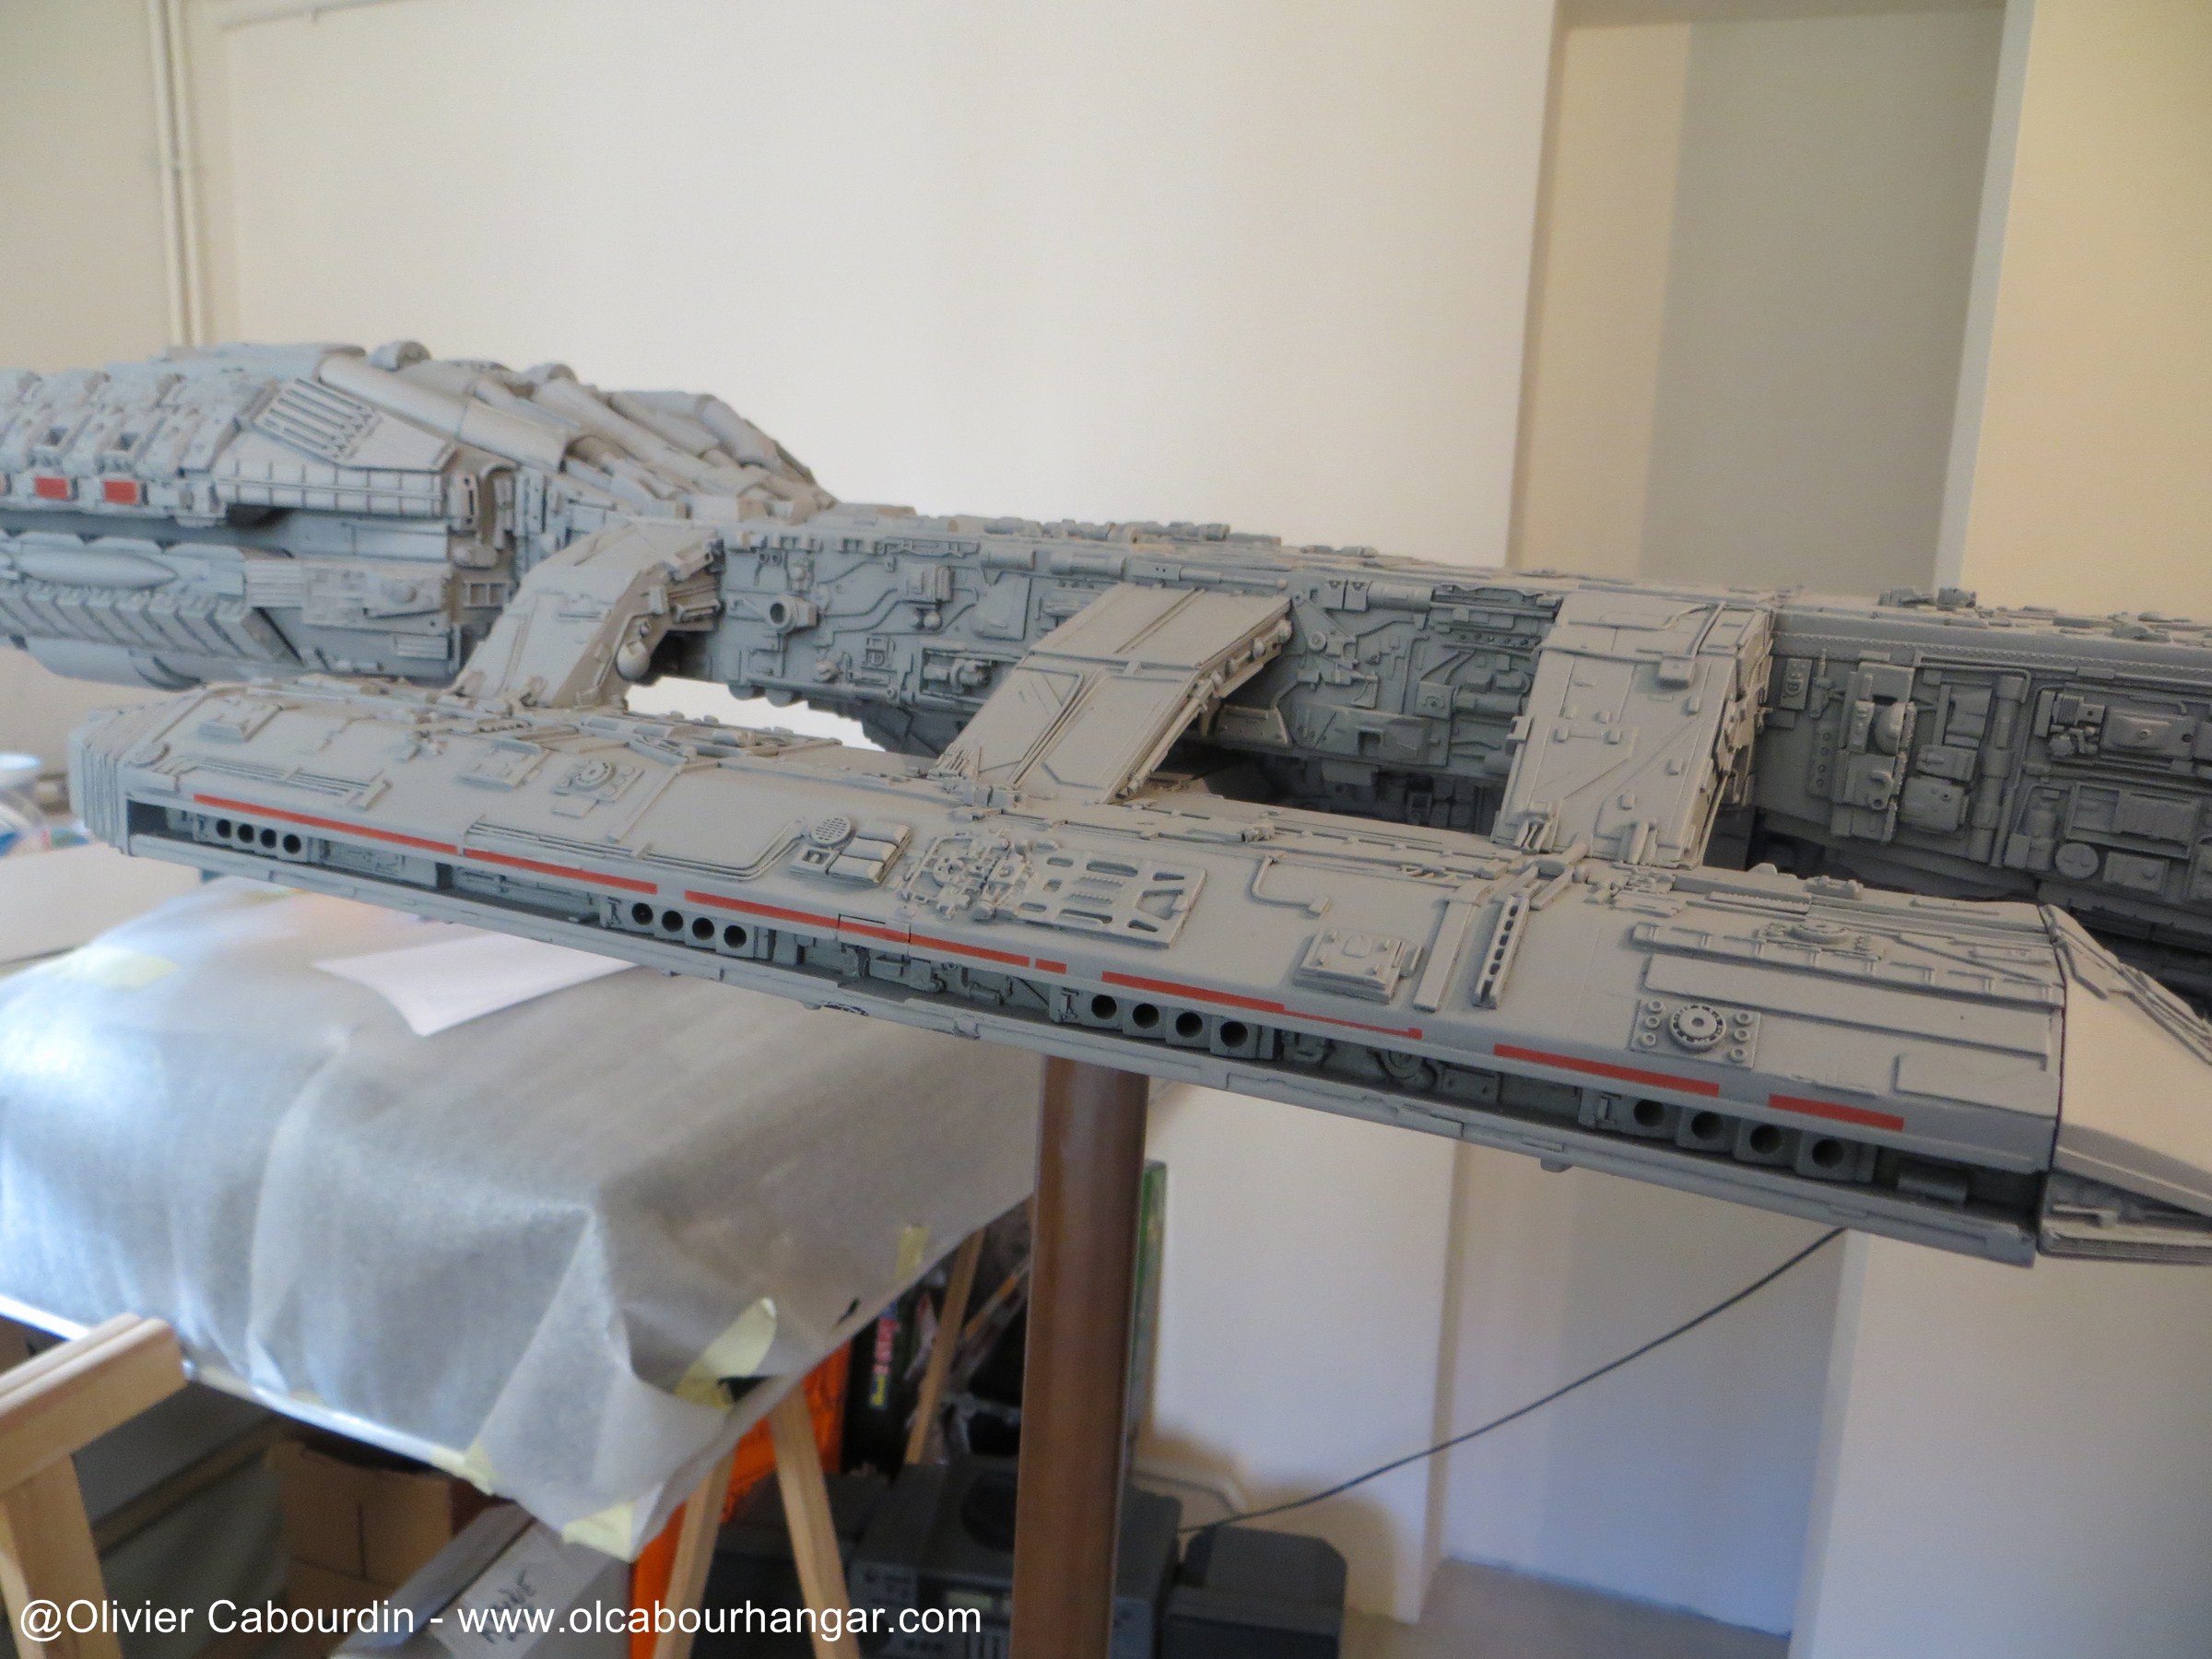
The supplied decals brake down during application. So I made new ones by testing different font sizes.

dimanche, 16 novembre 2014
Par olcabour le dimanche, 16 novembre 2014, 17:41
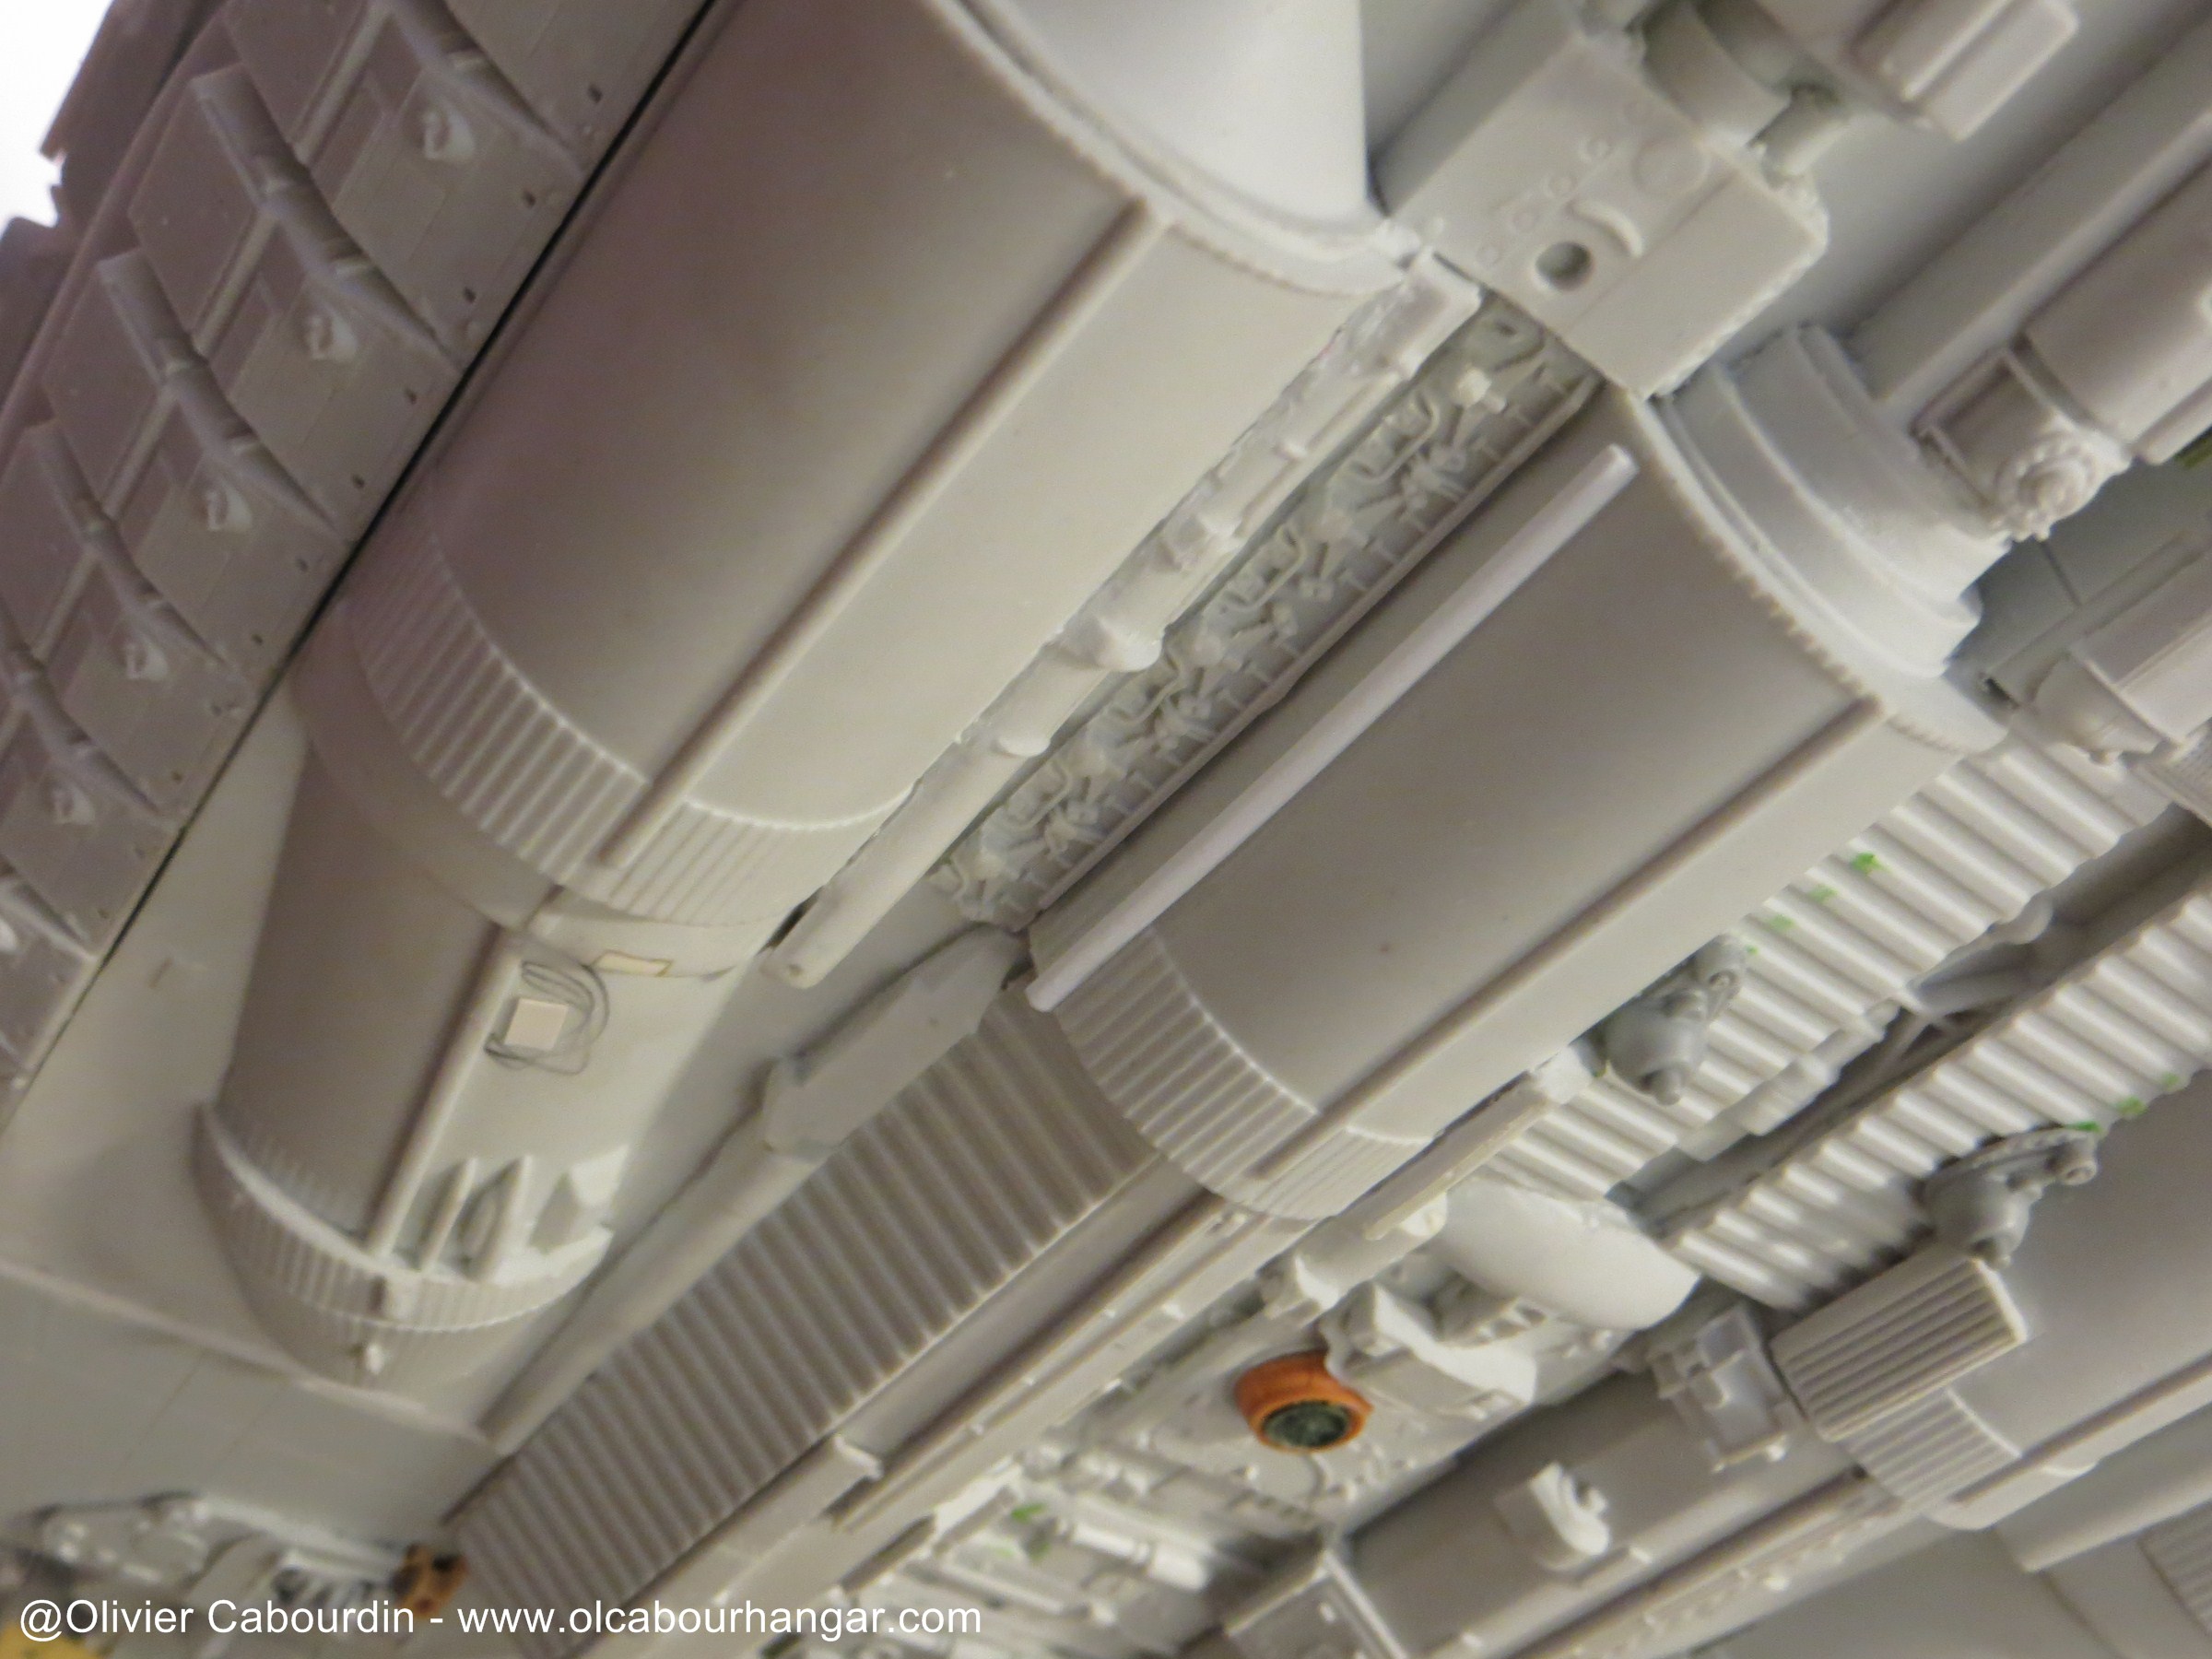
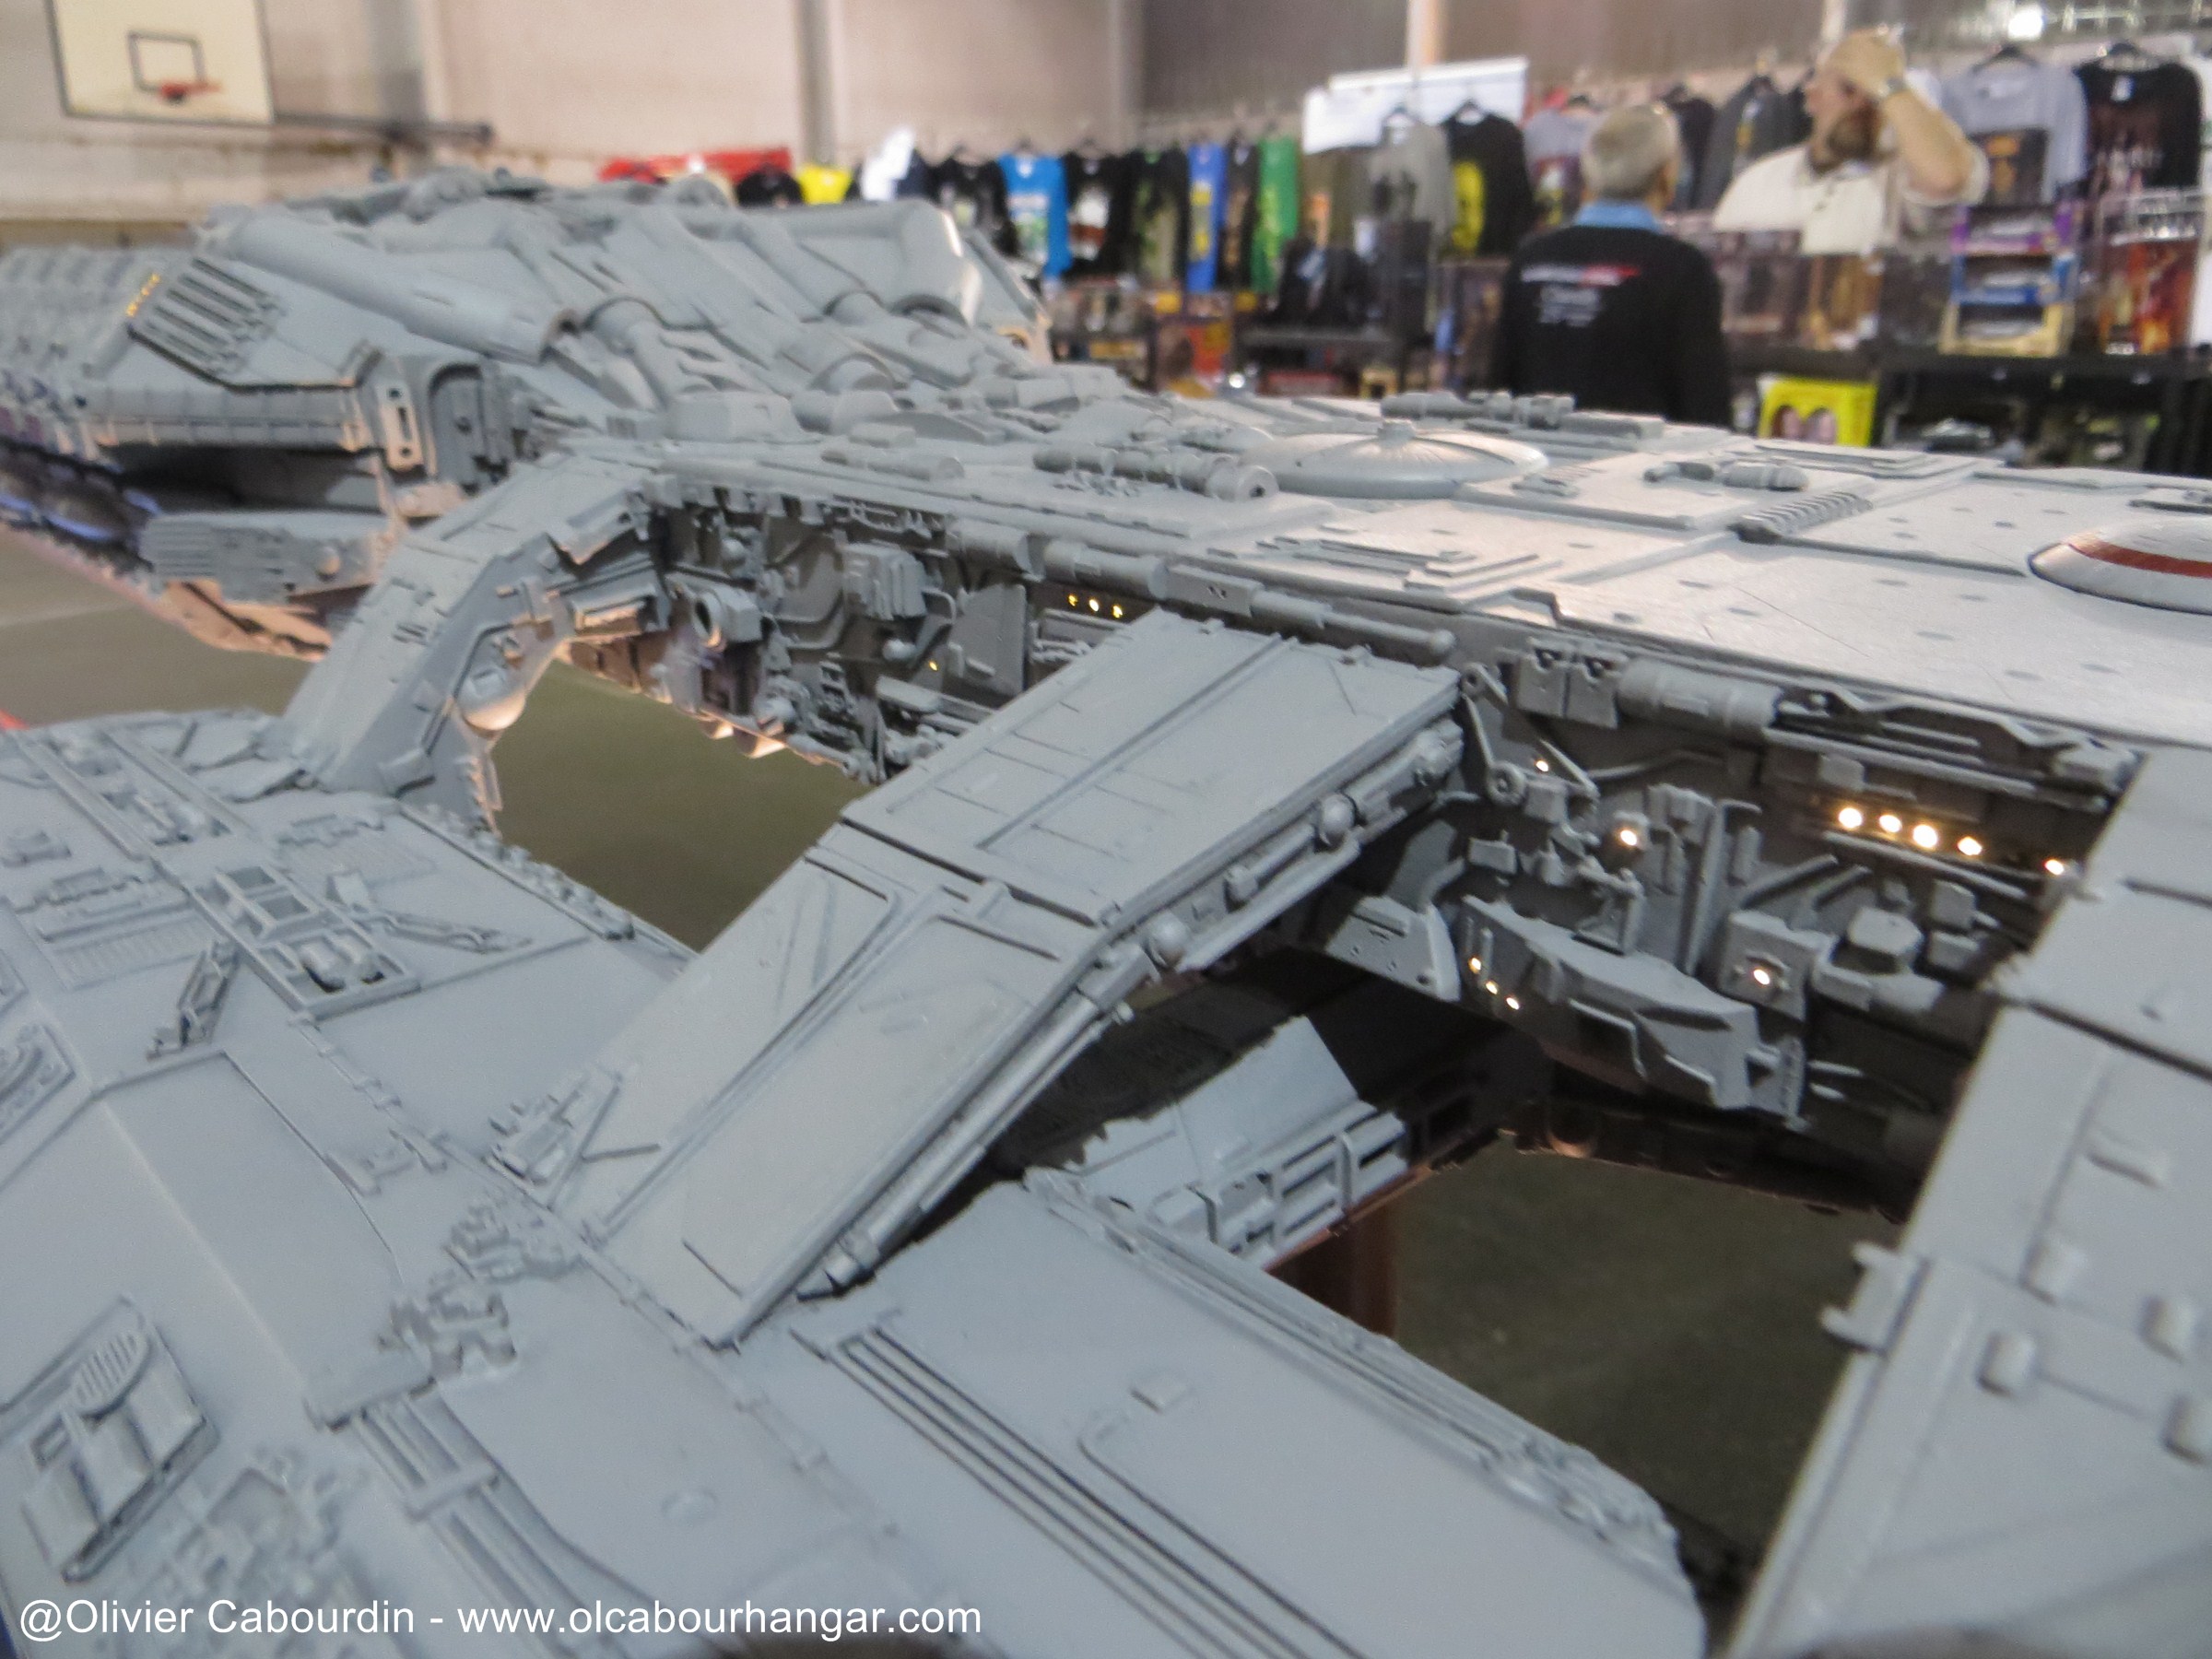
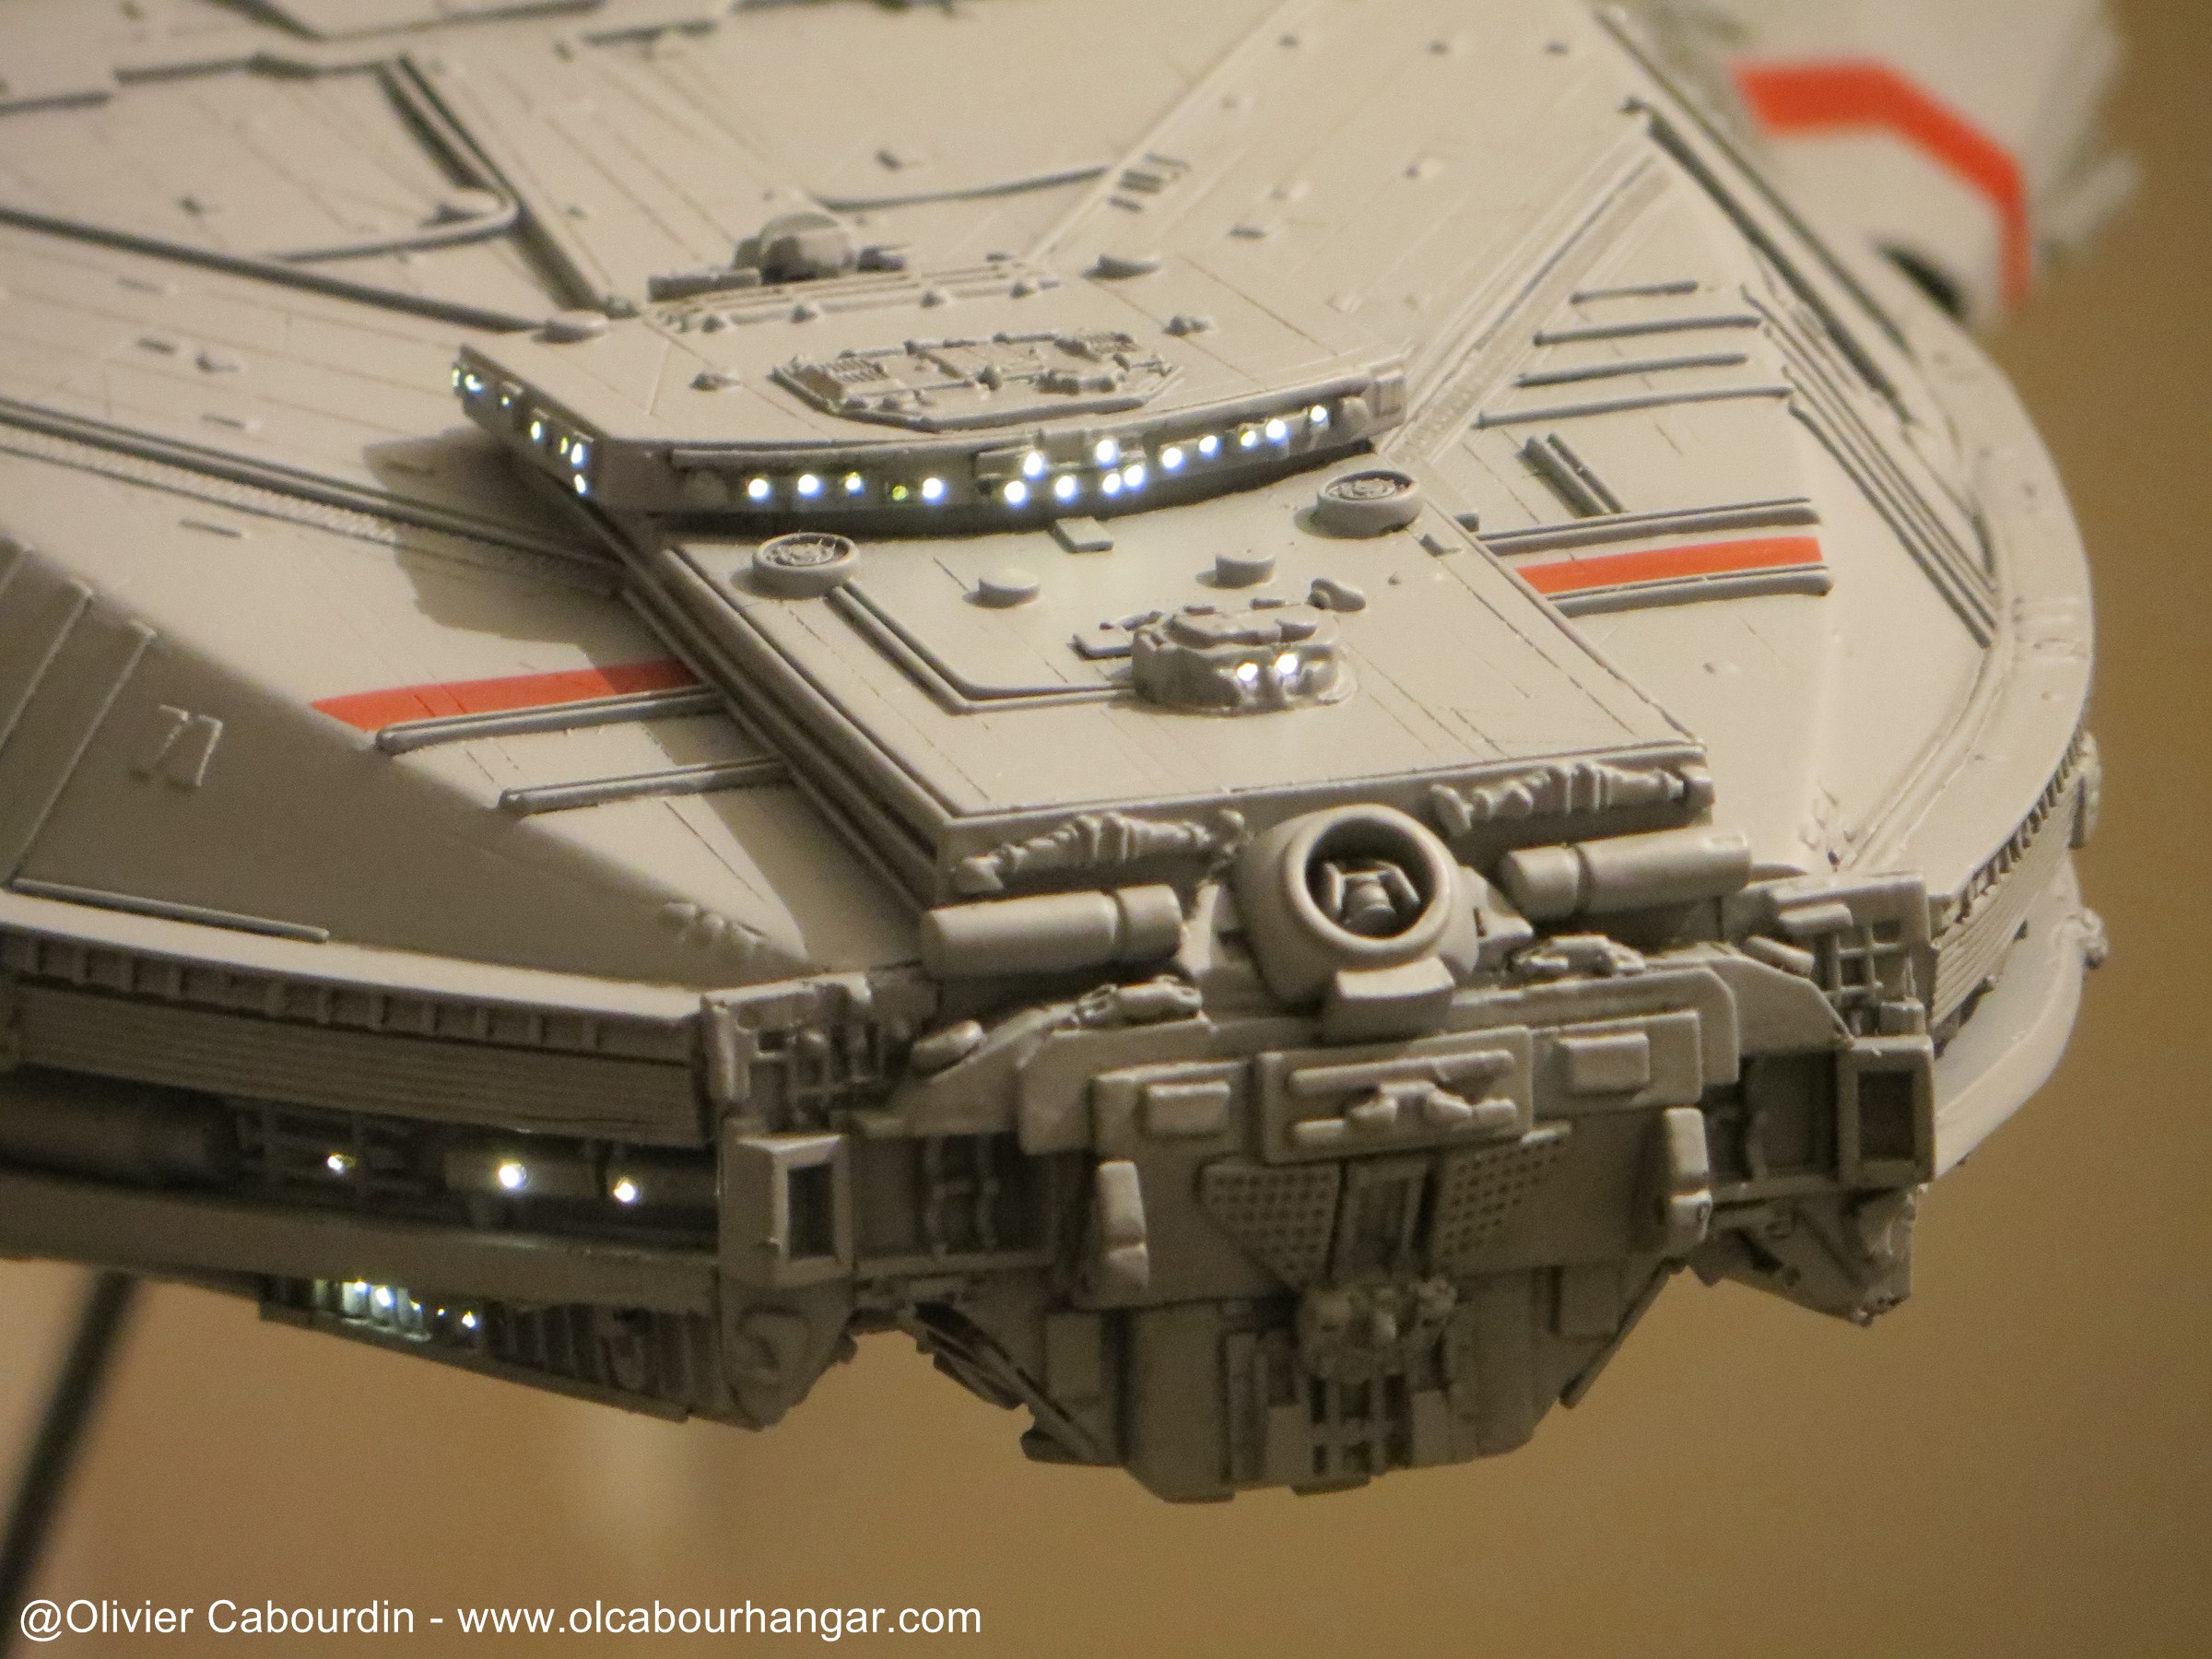
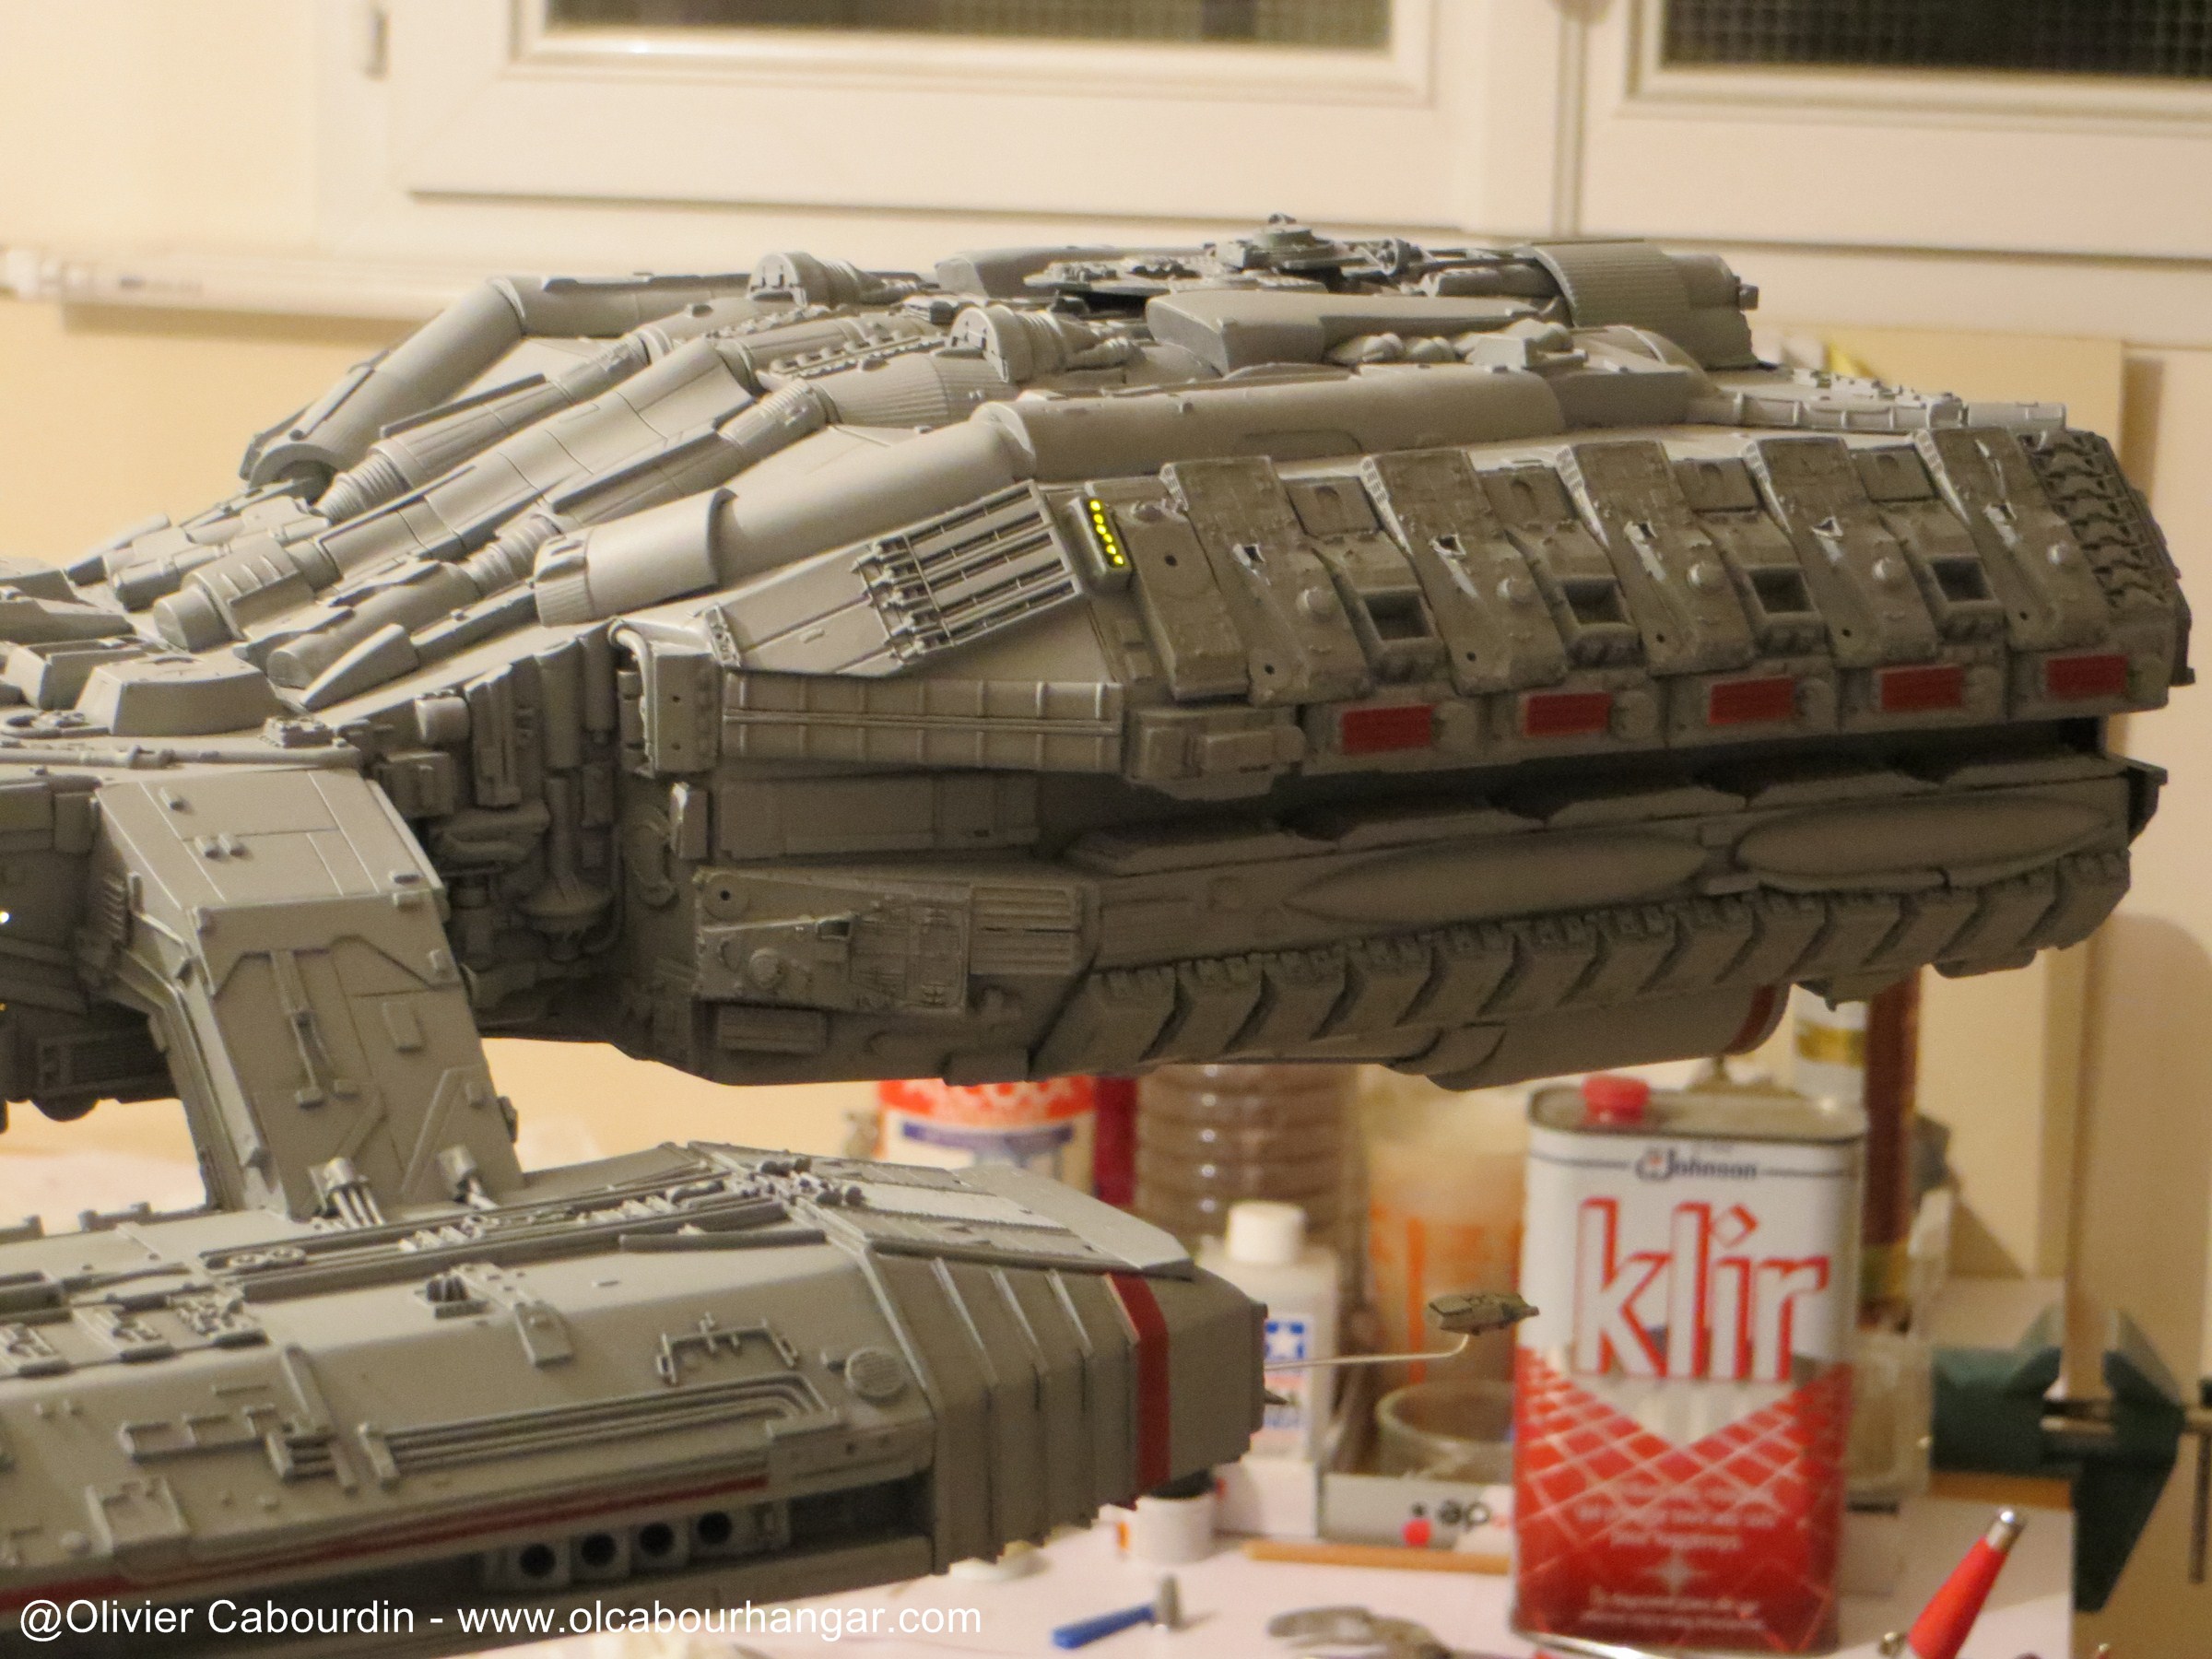
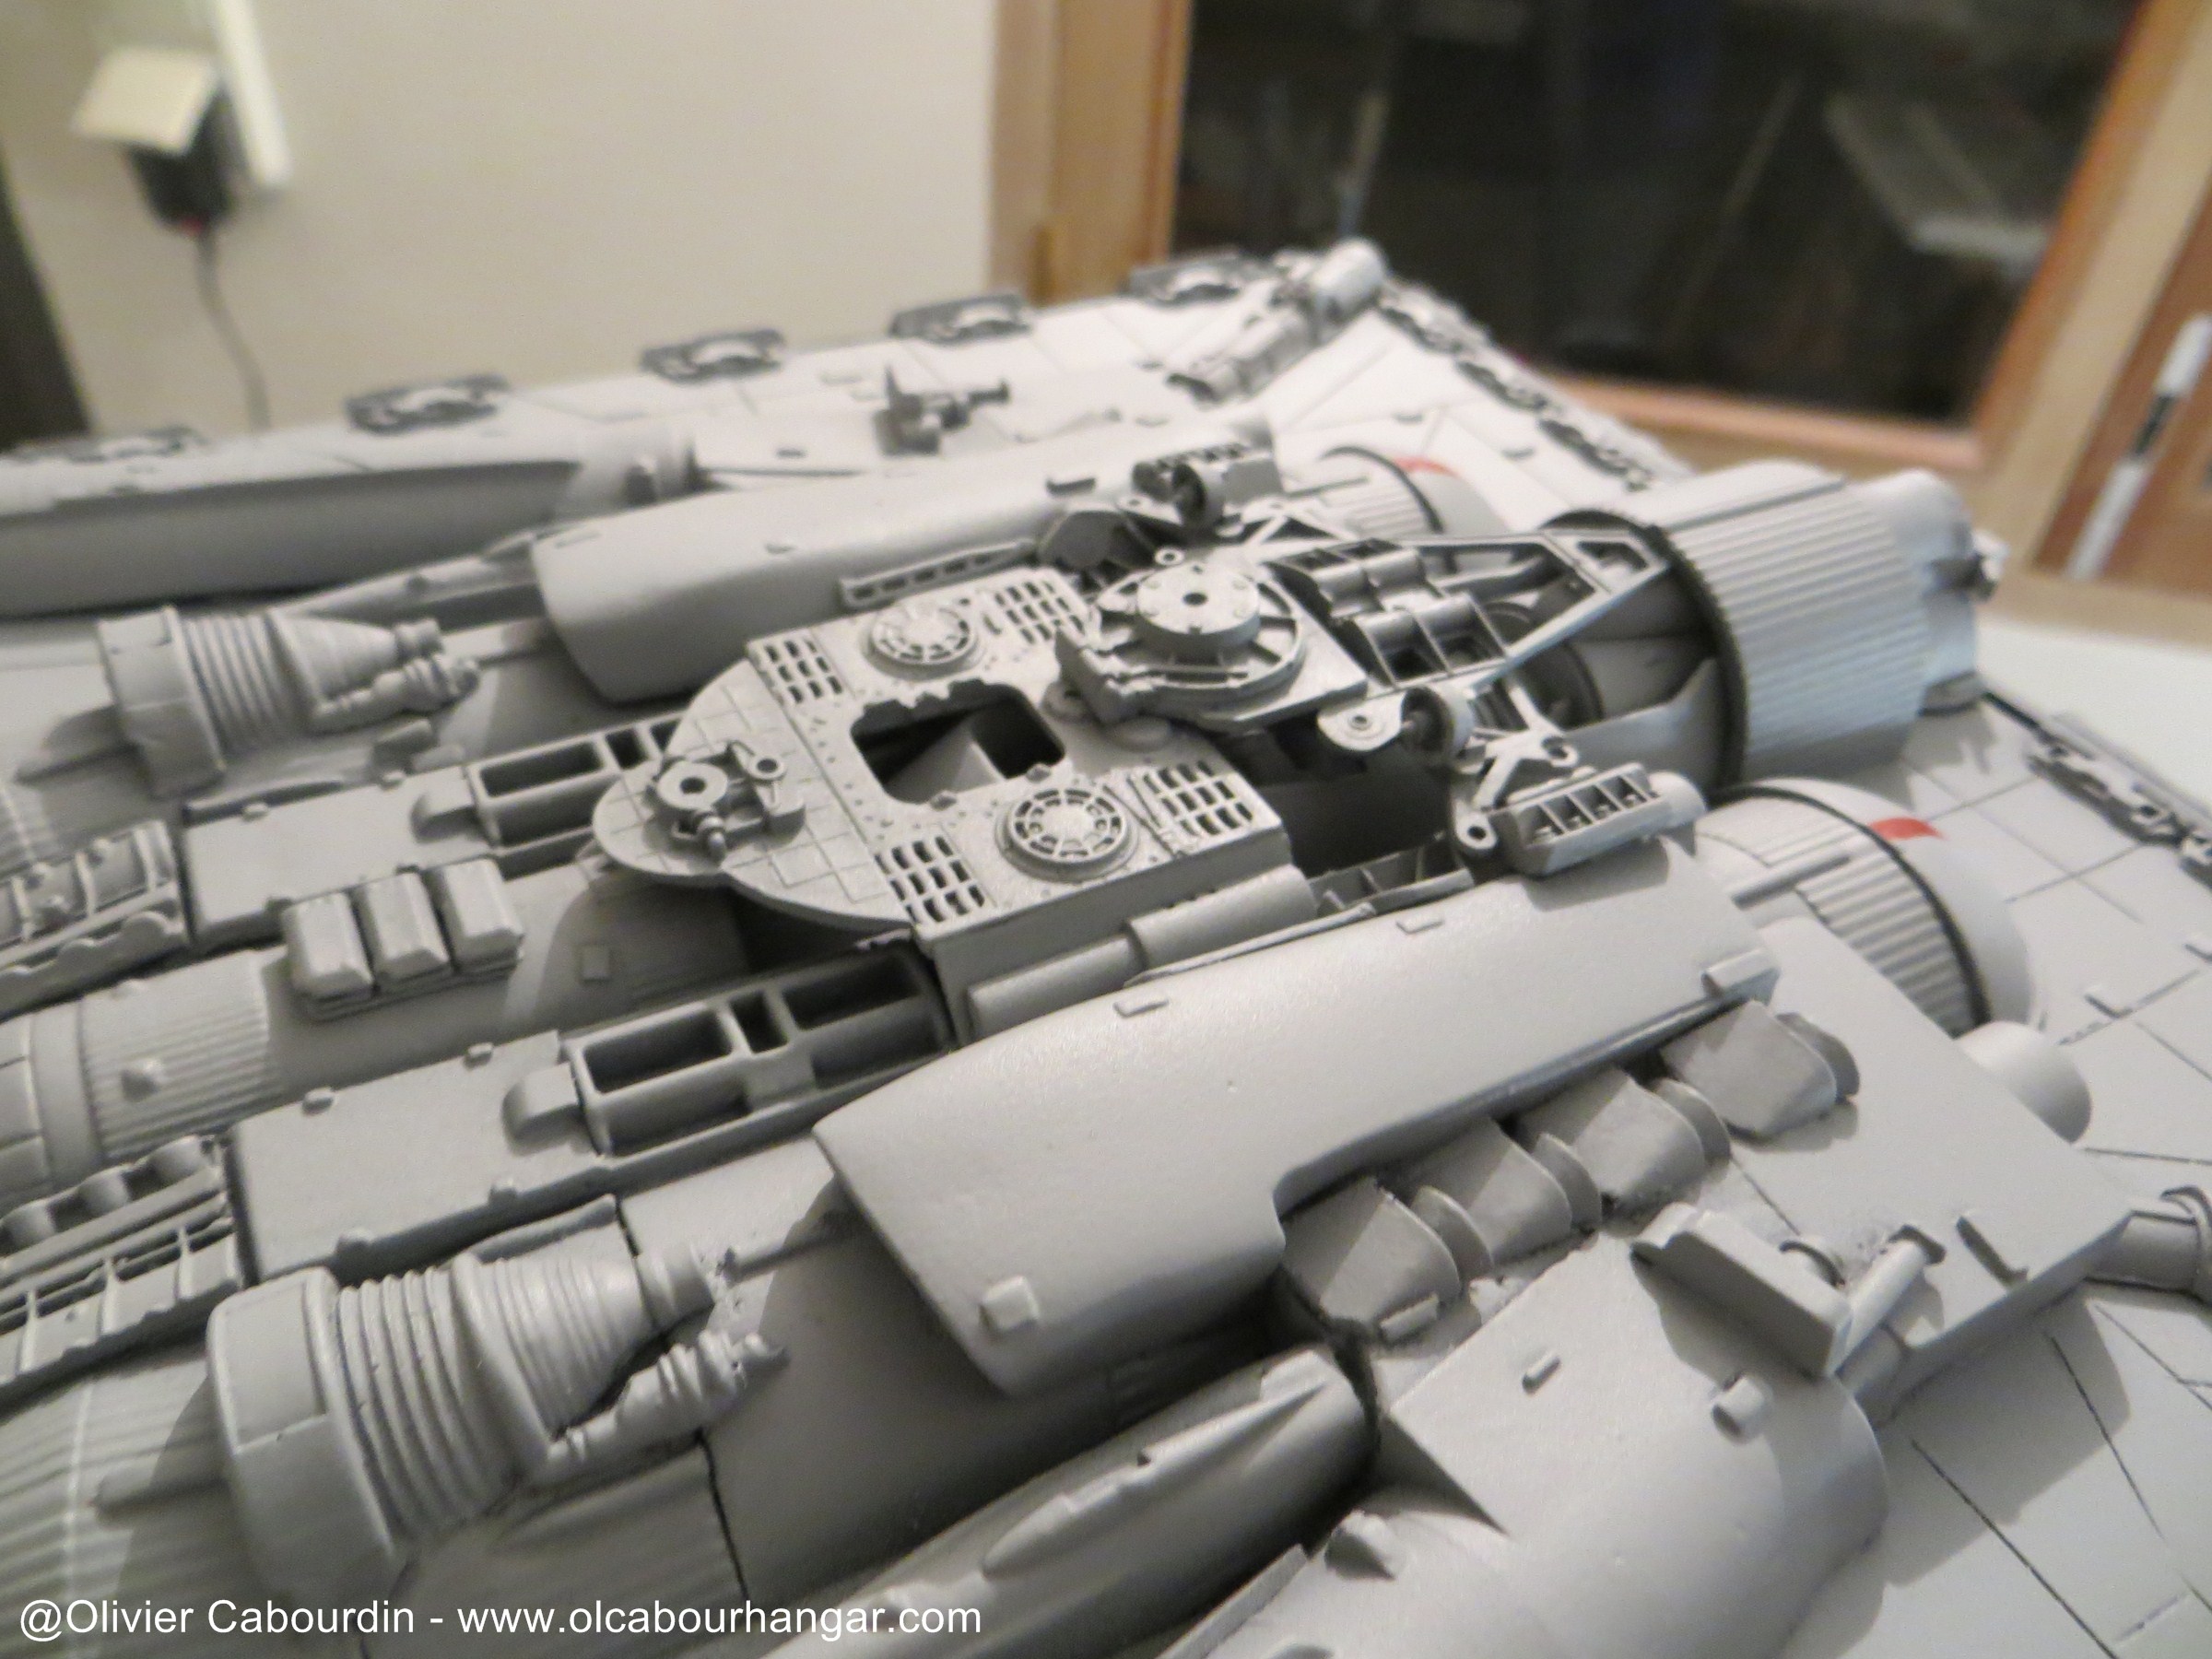
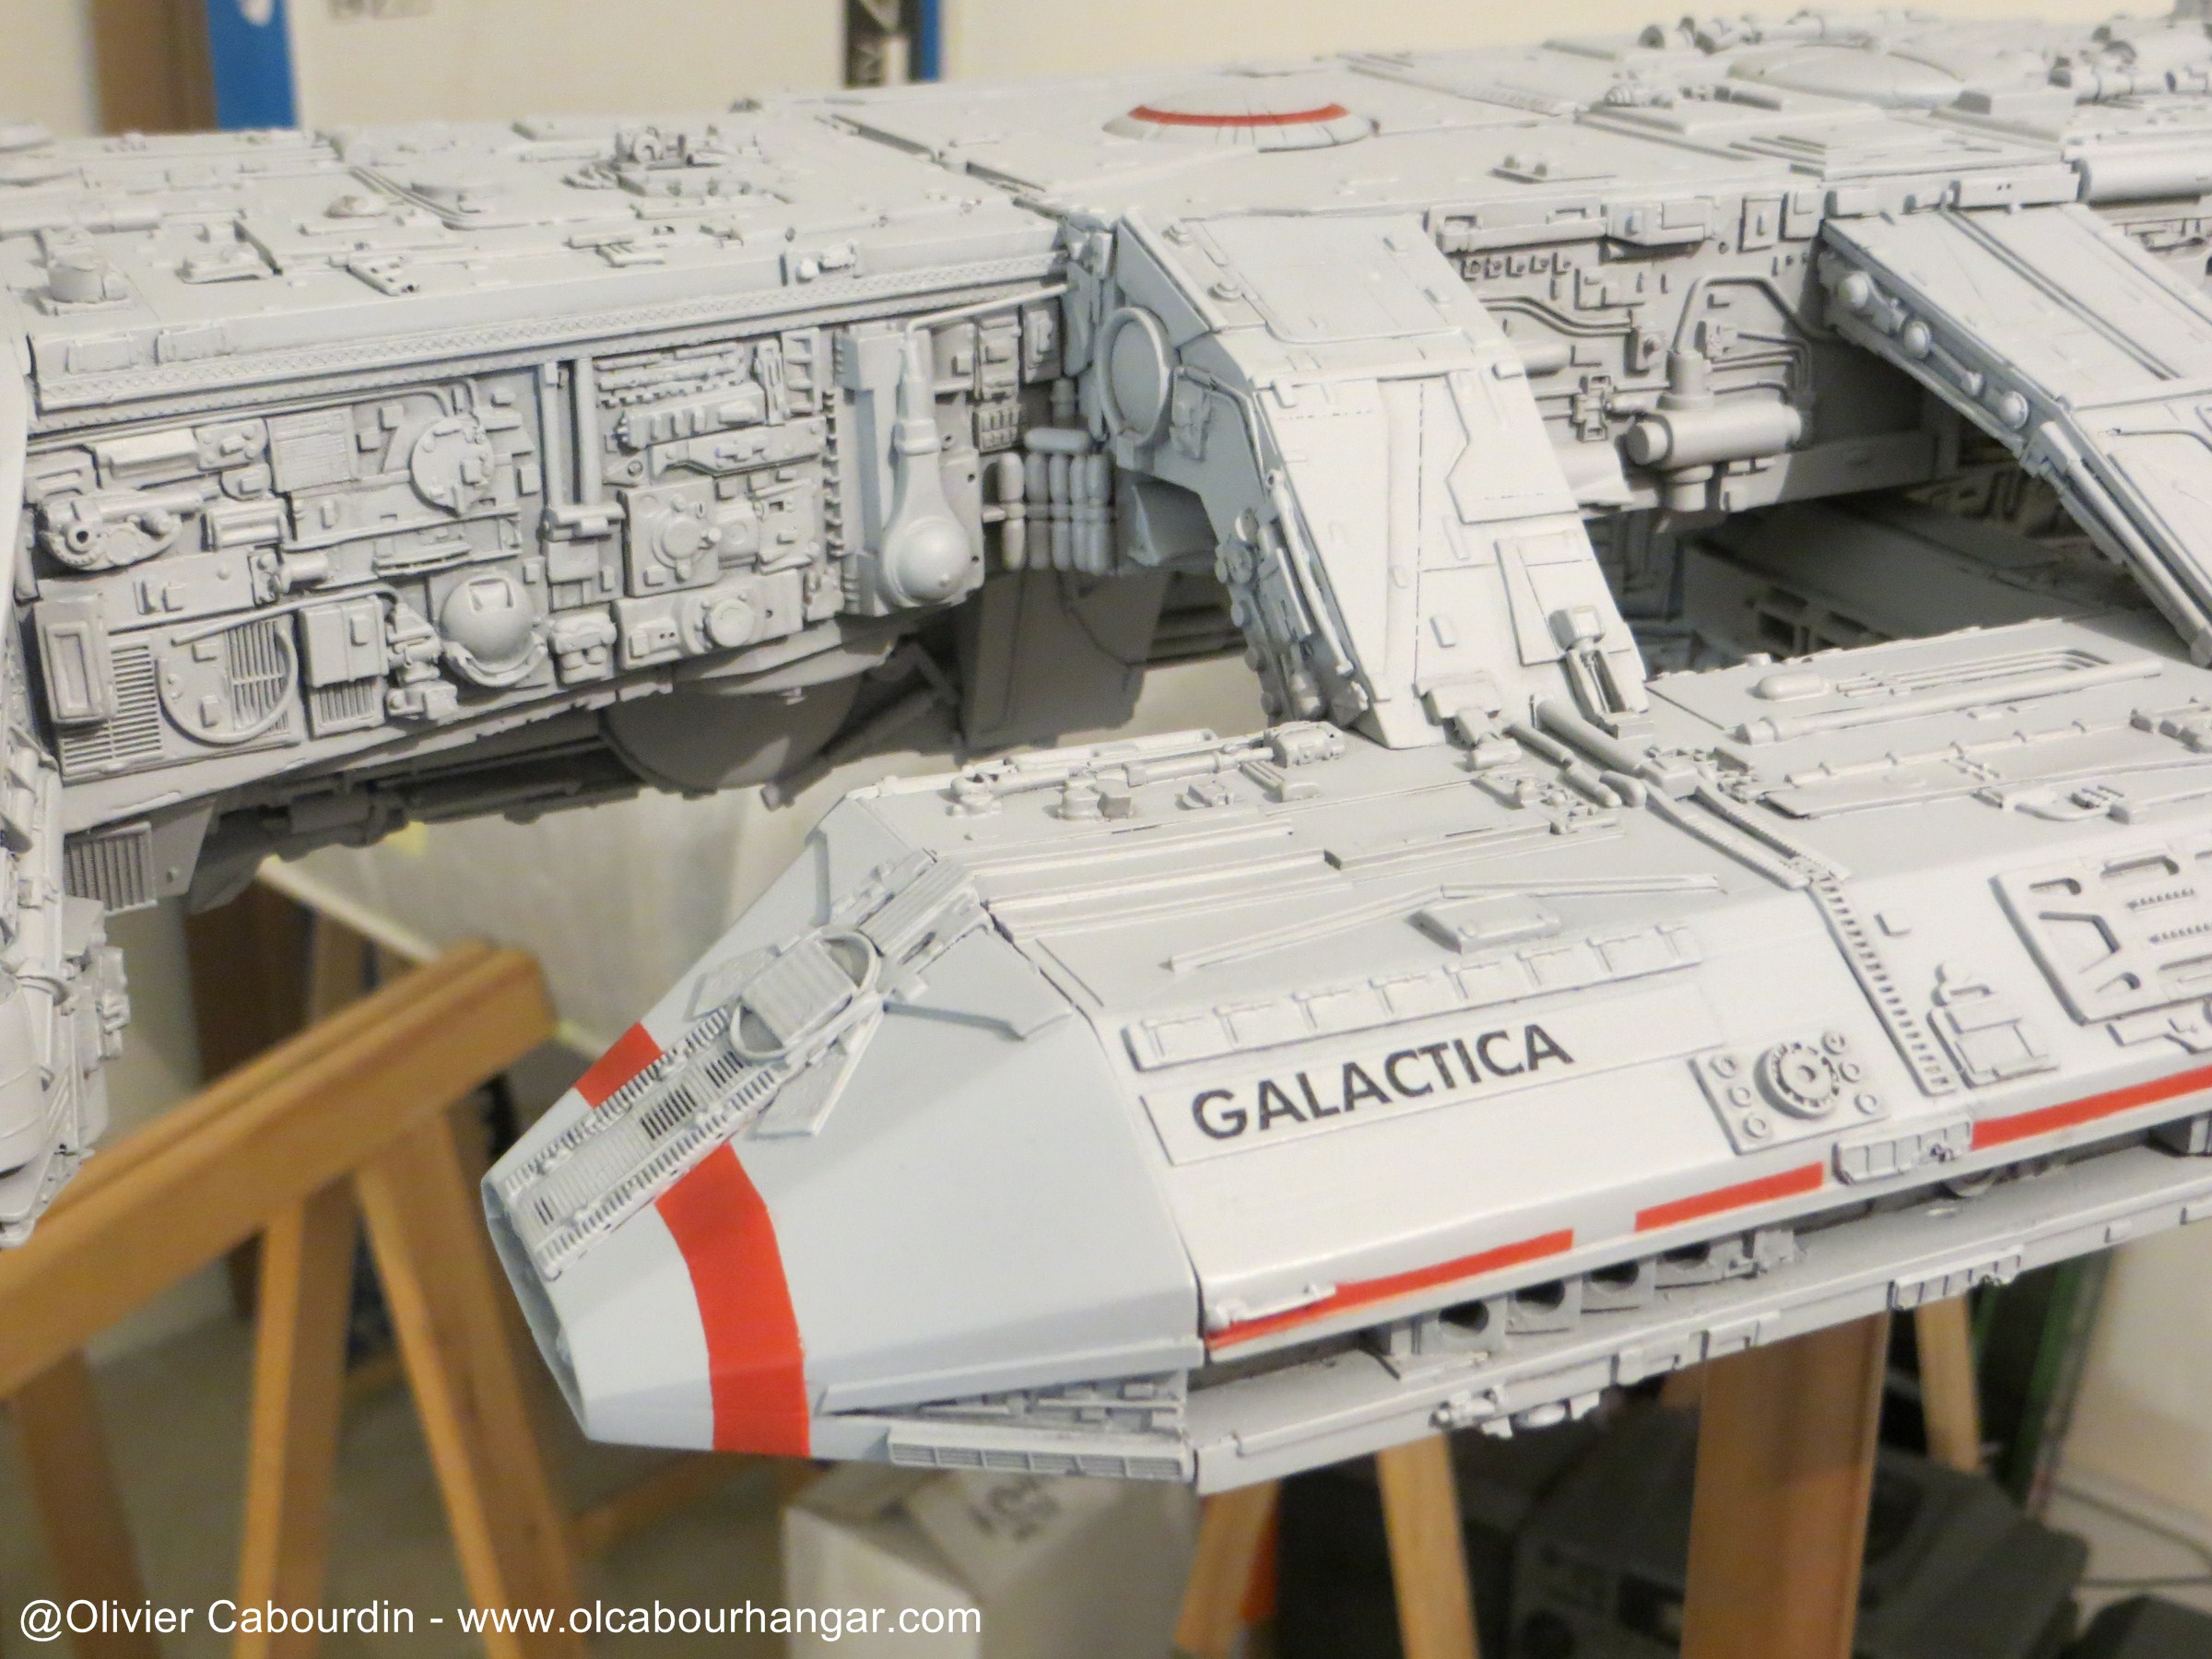
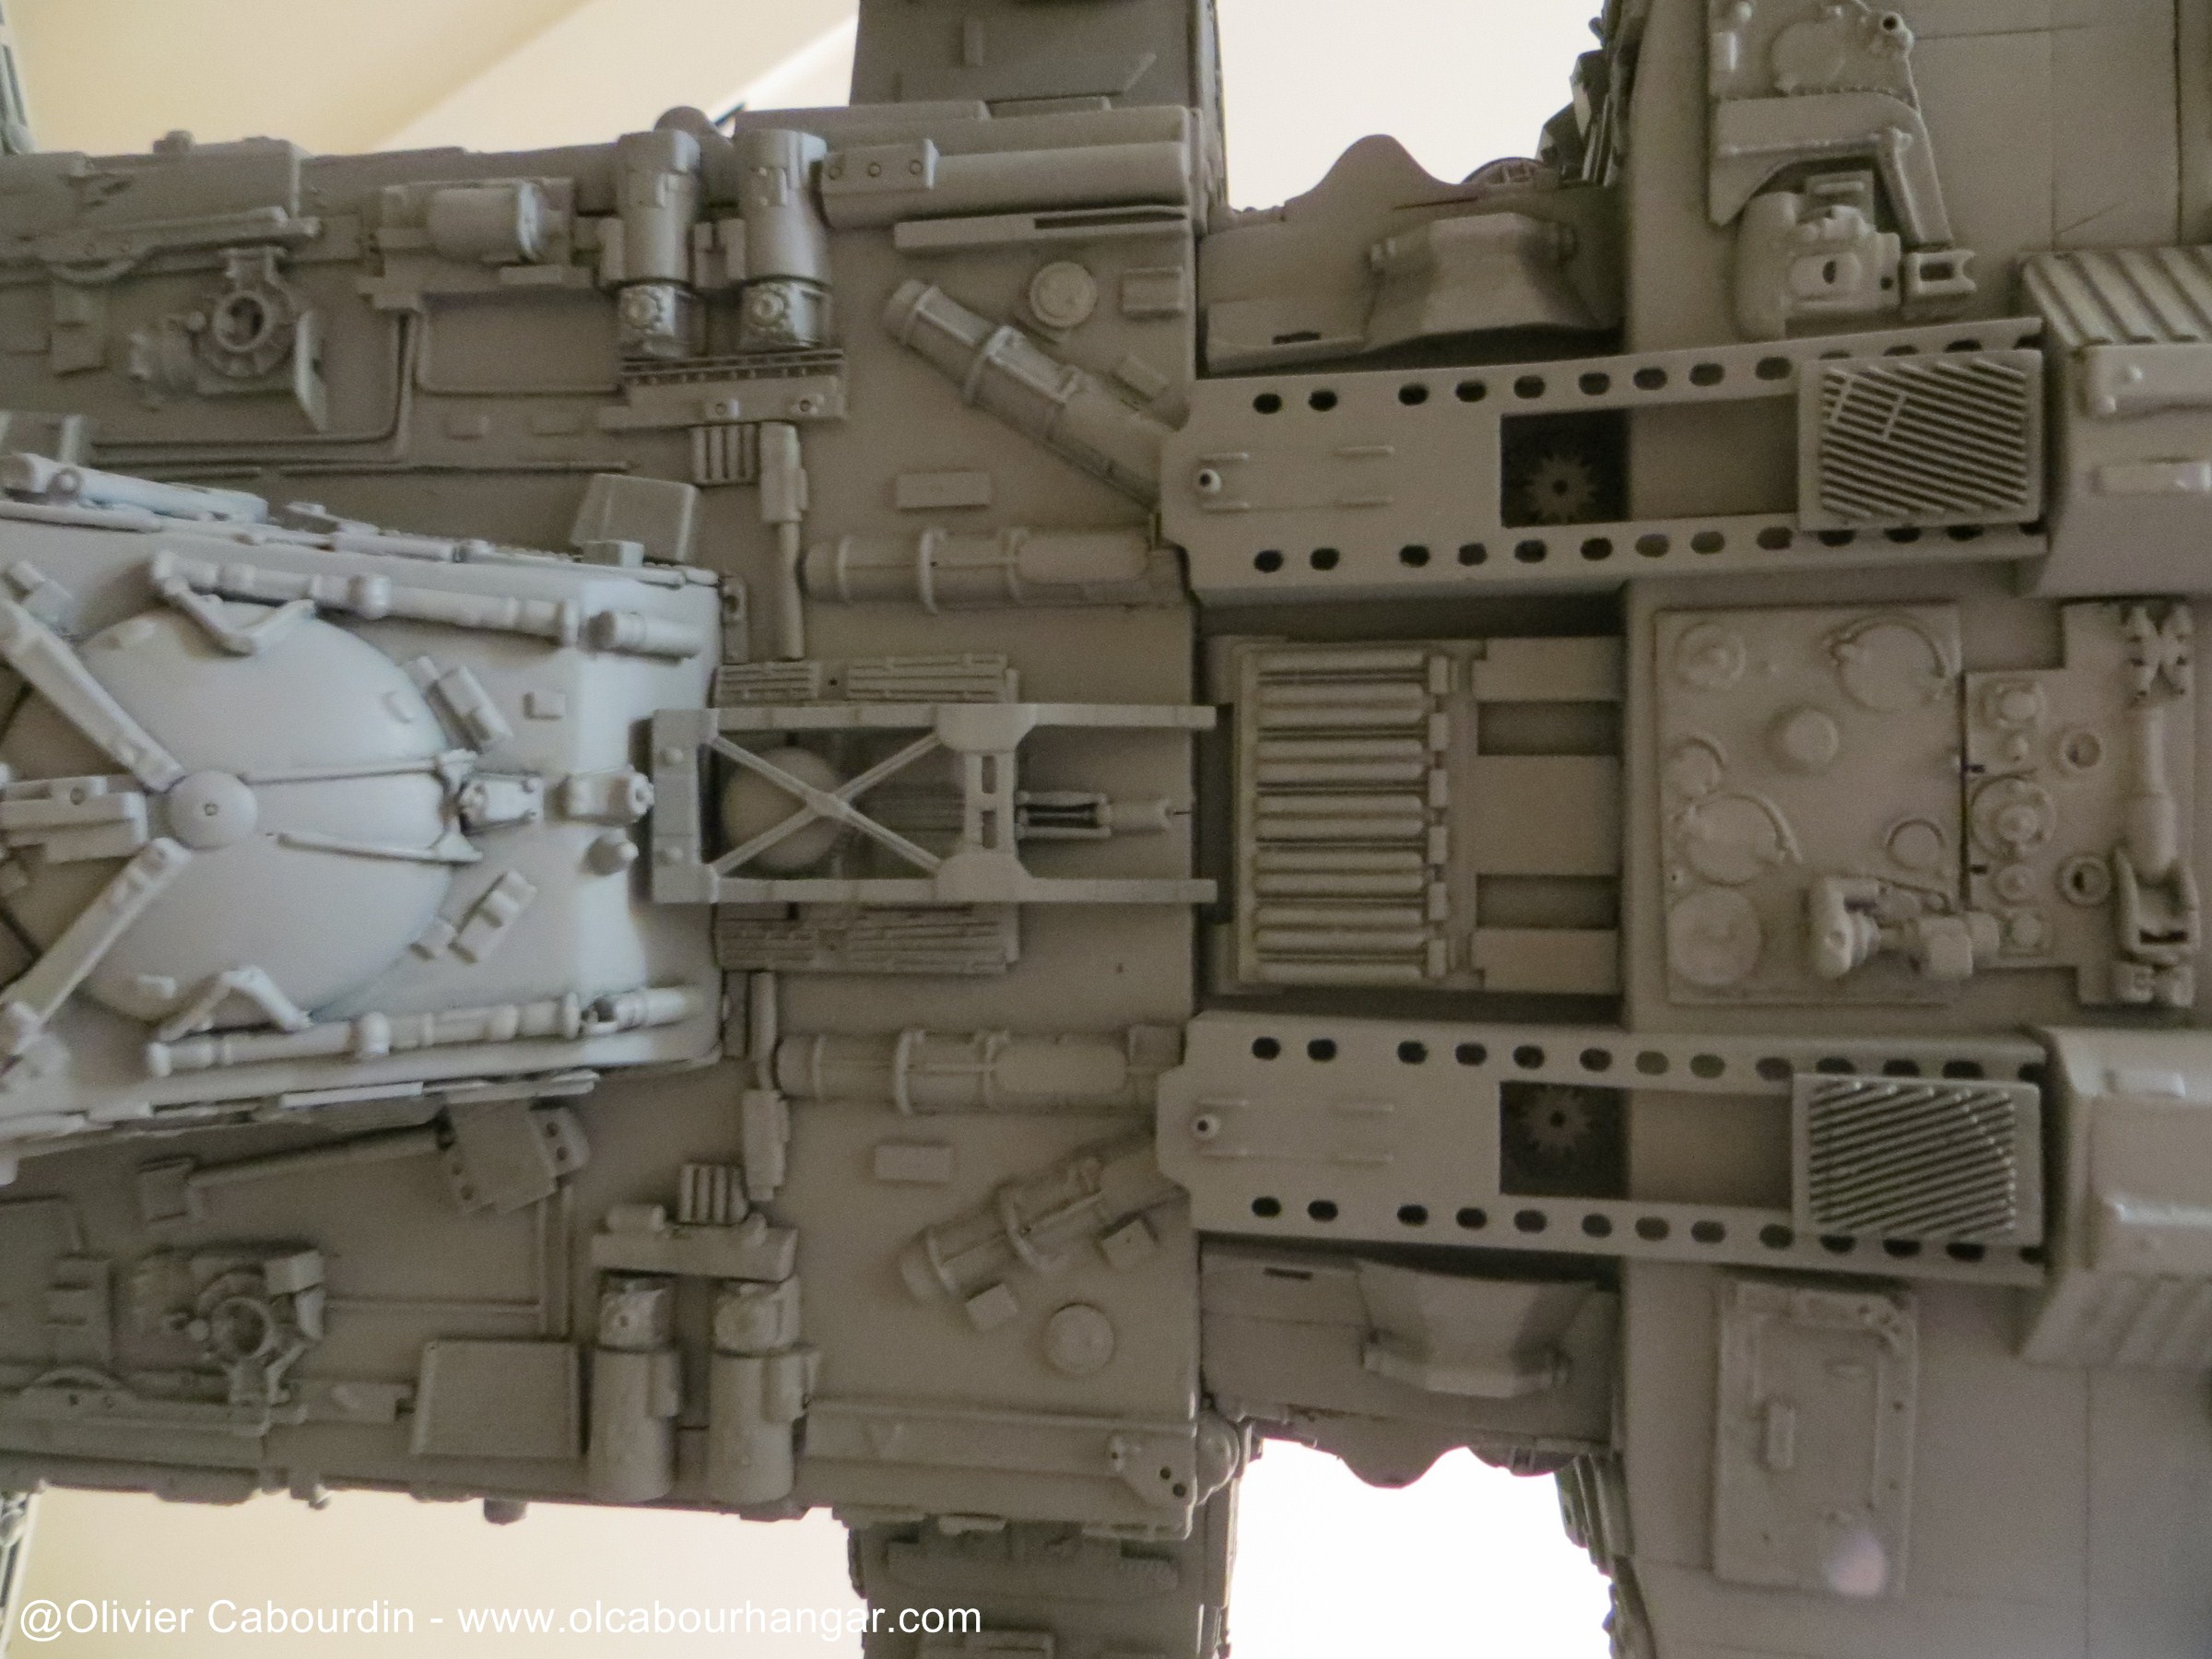
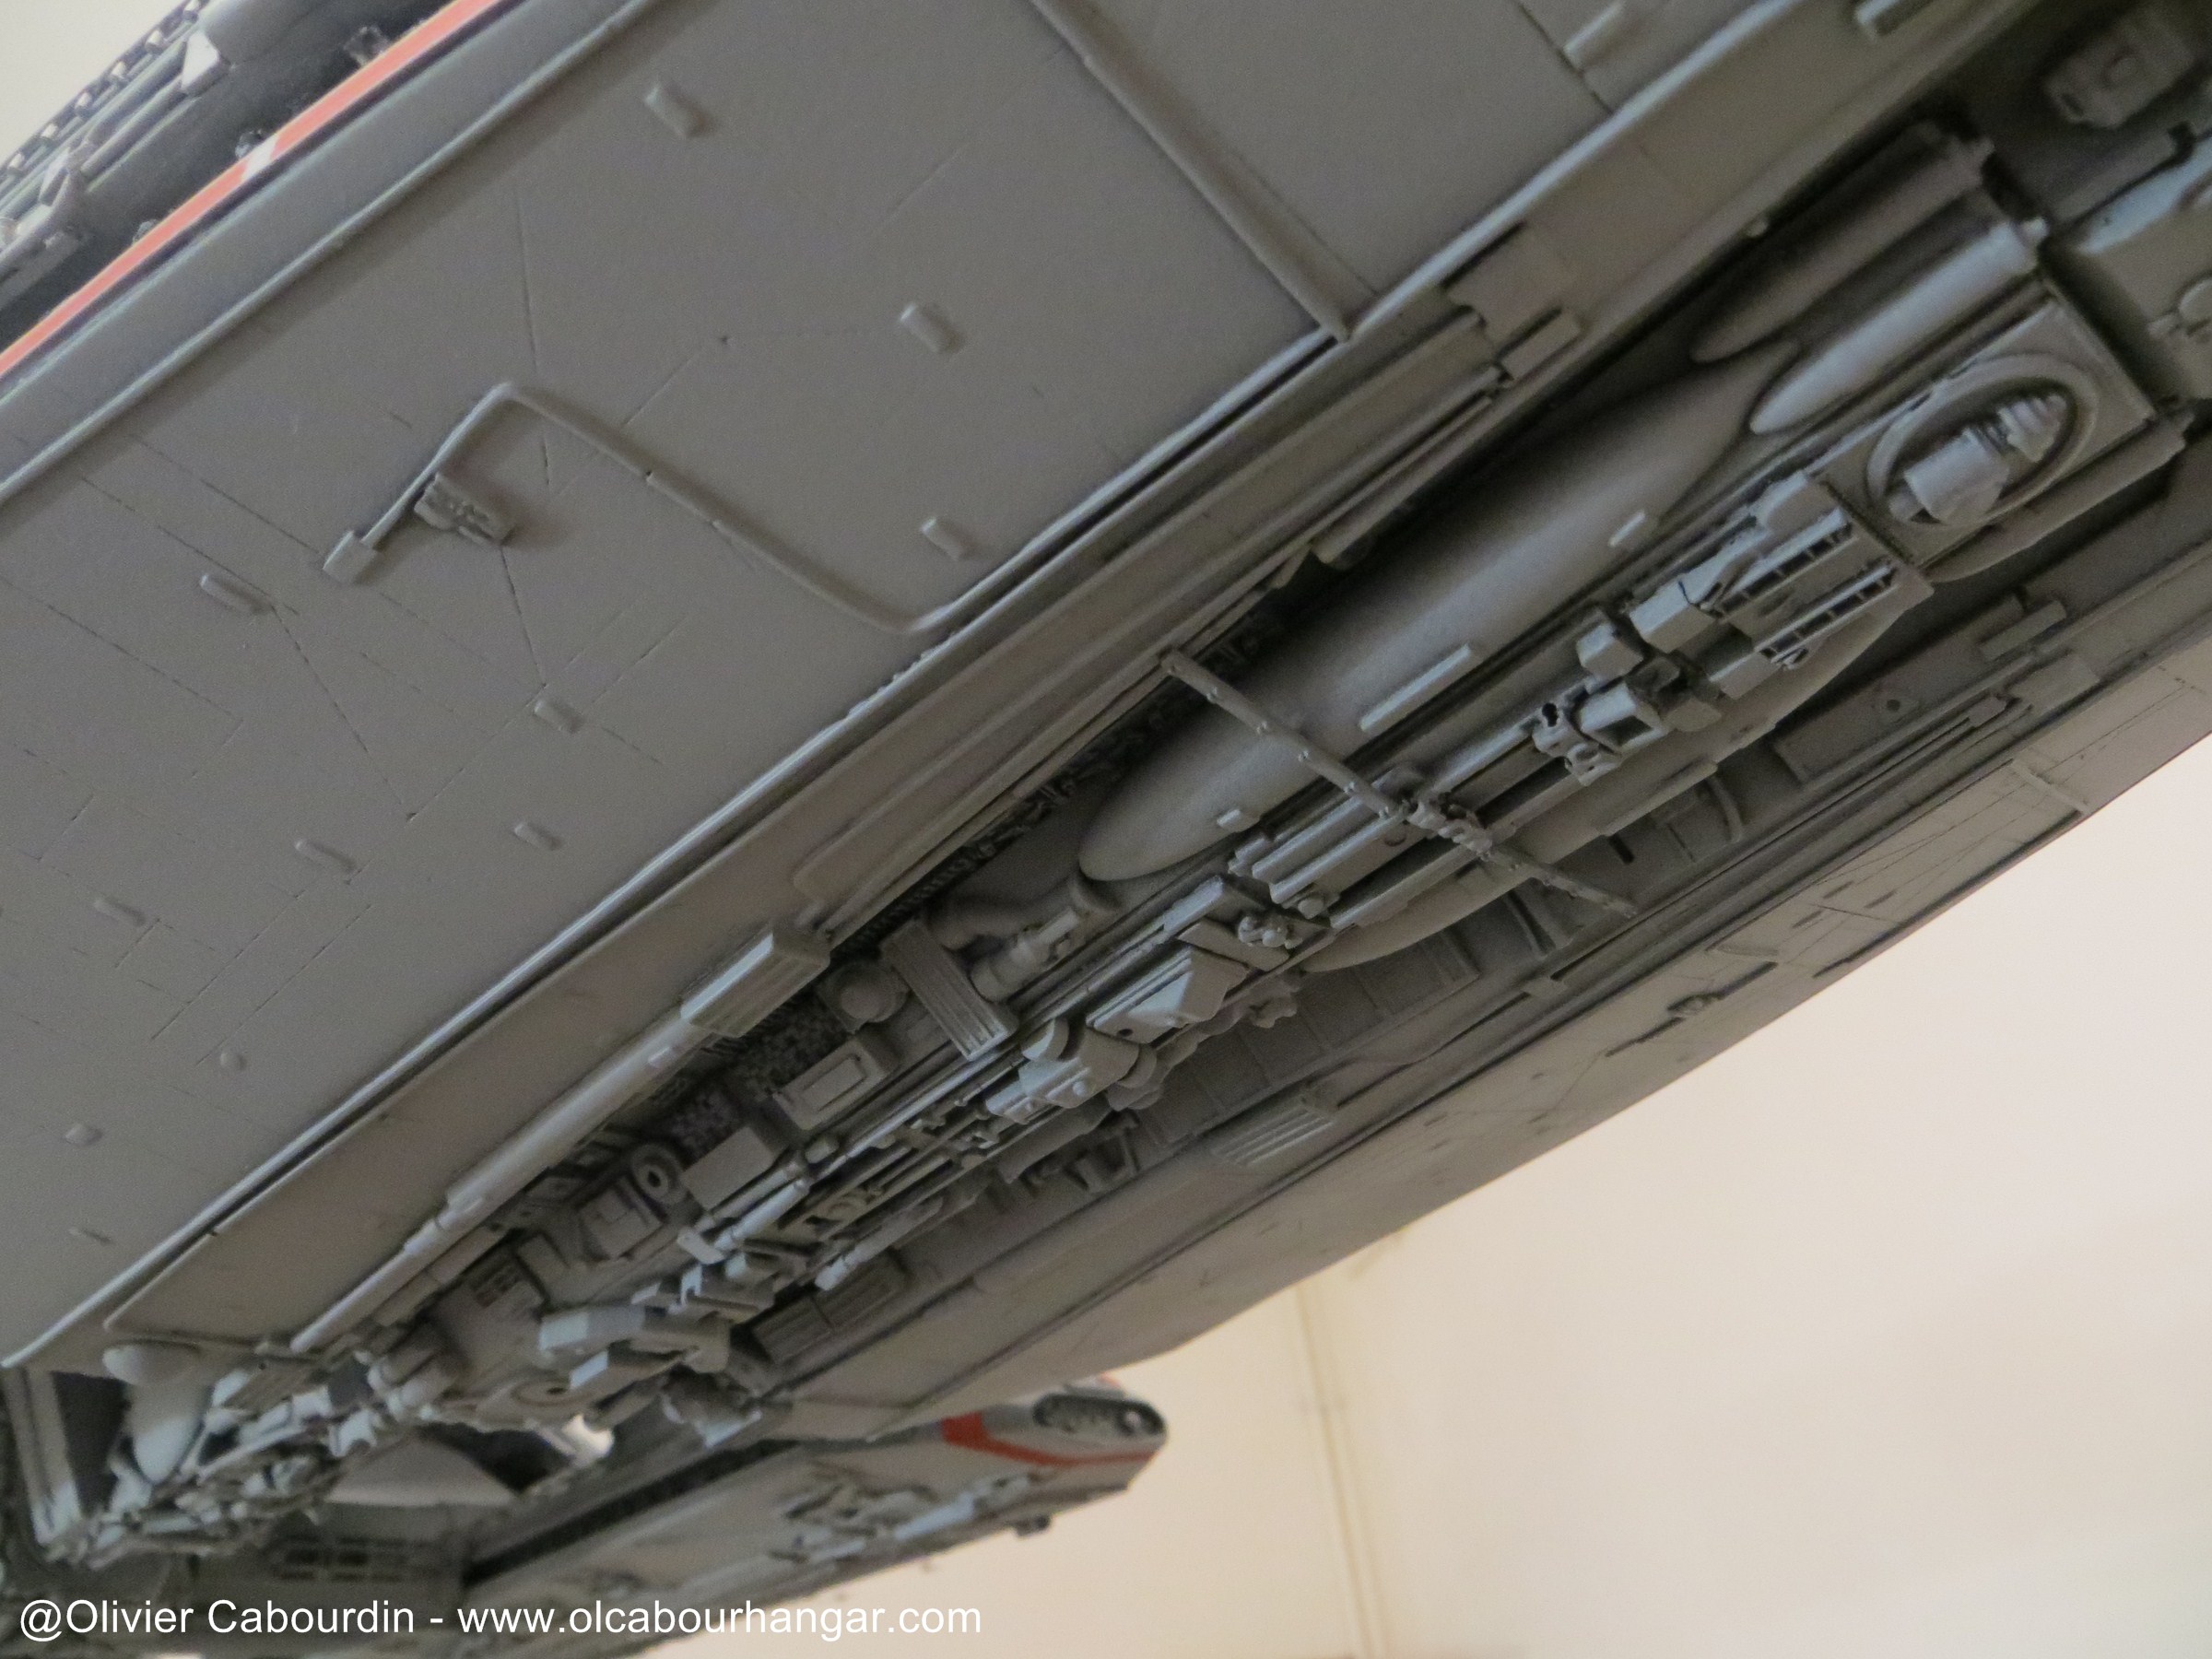
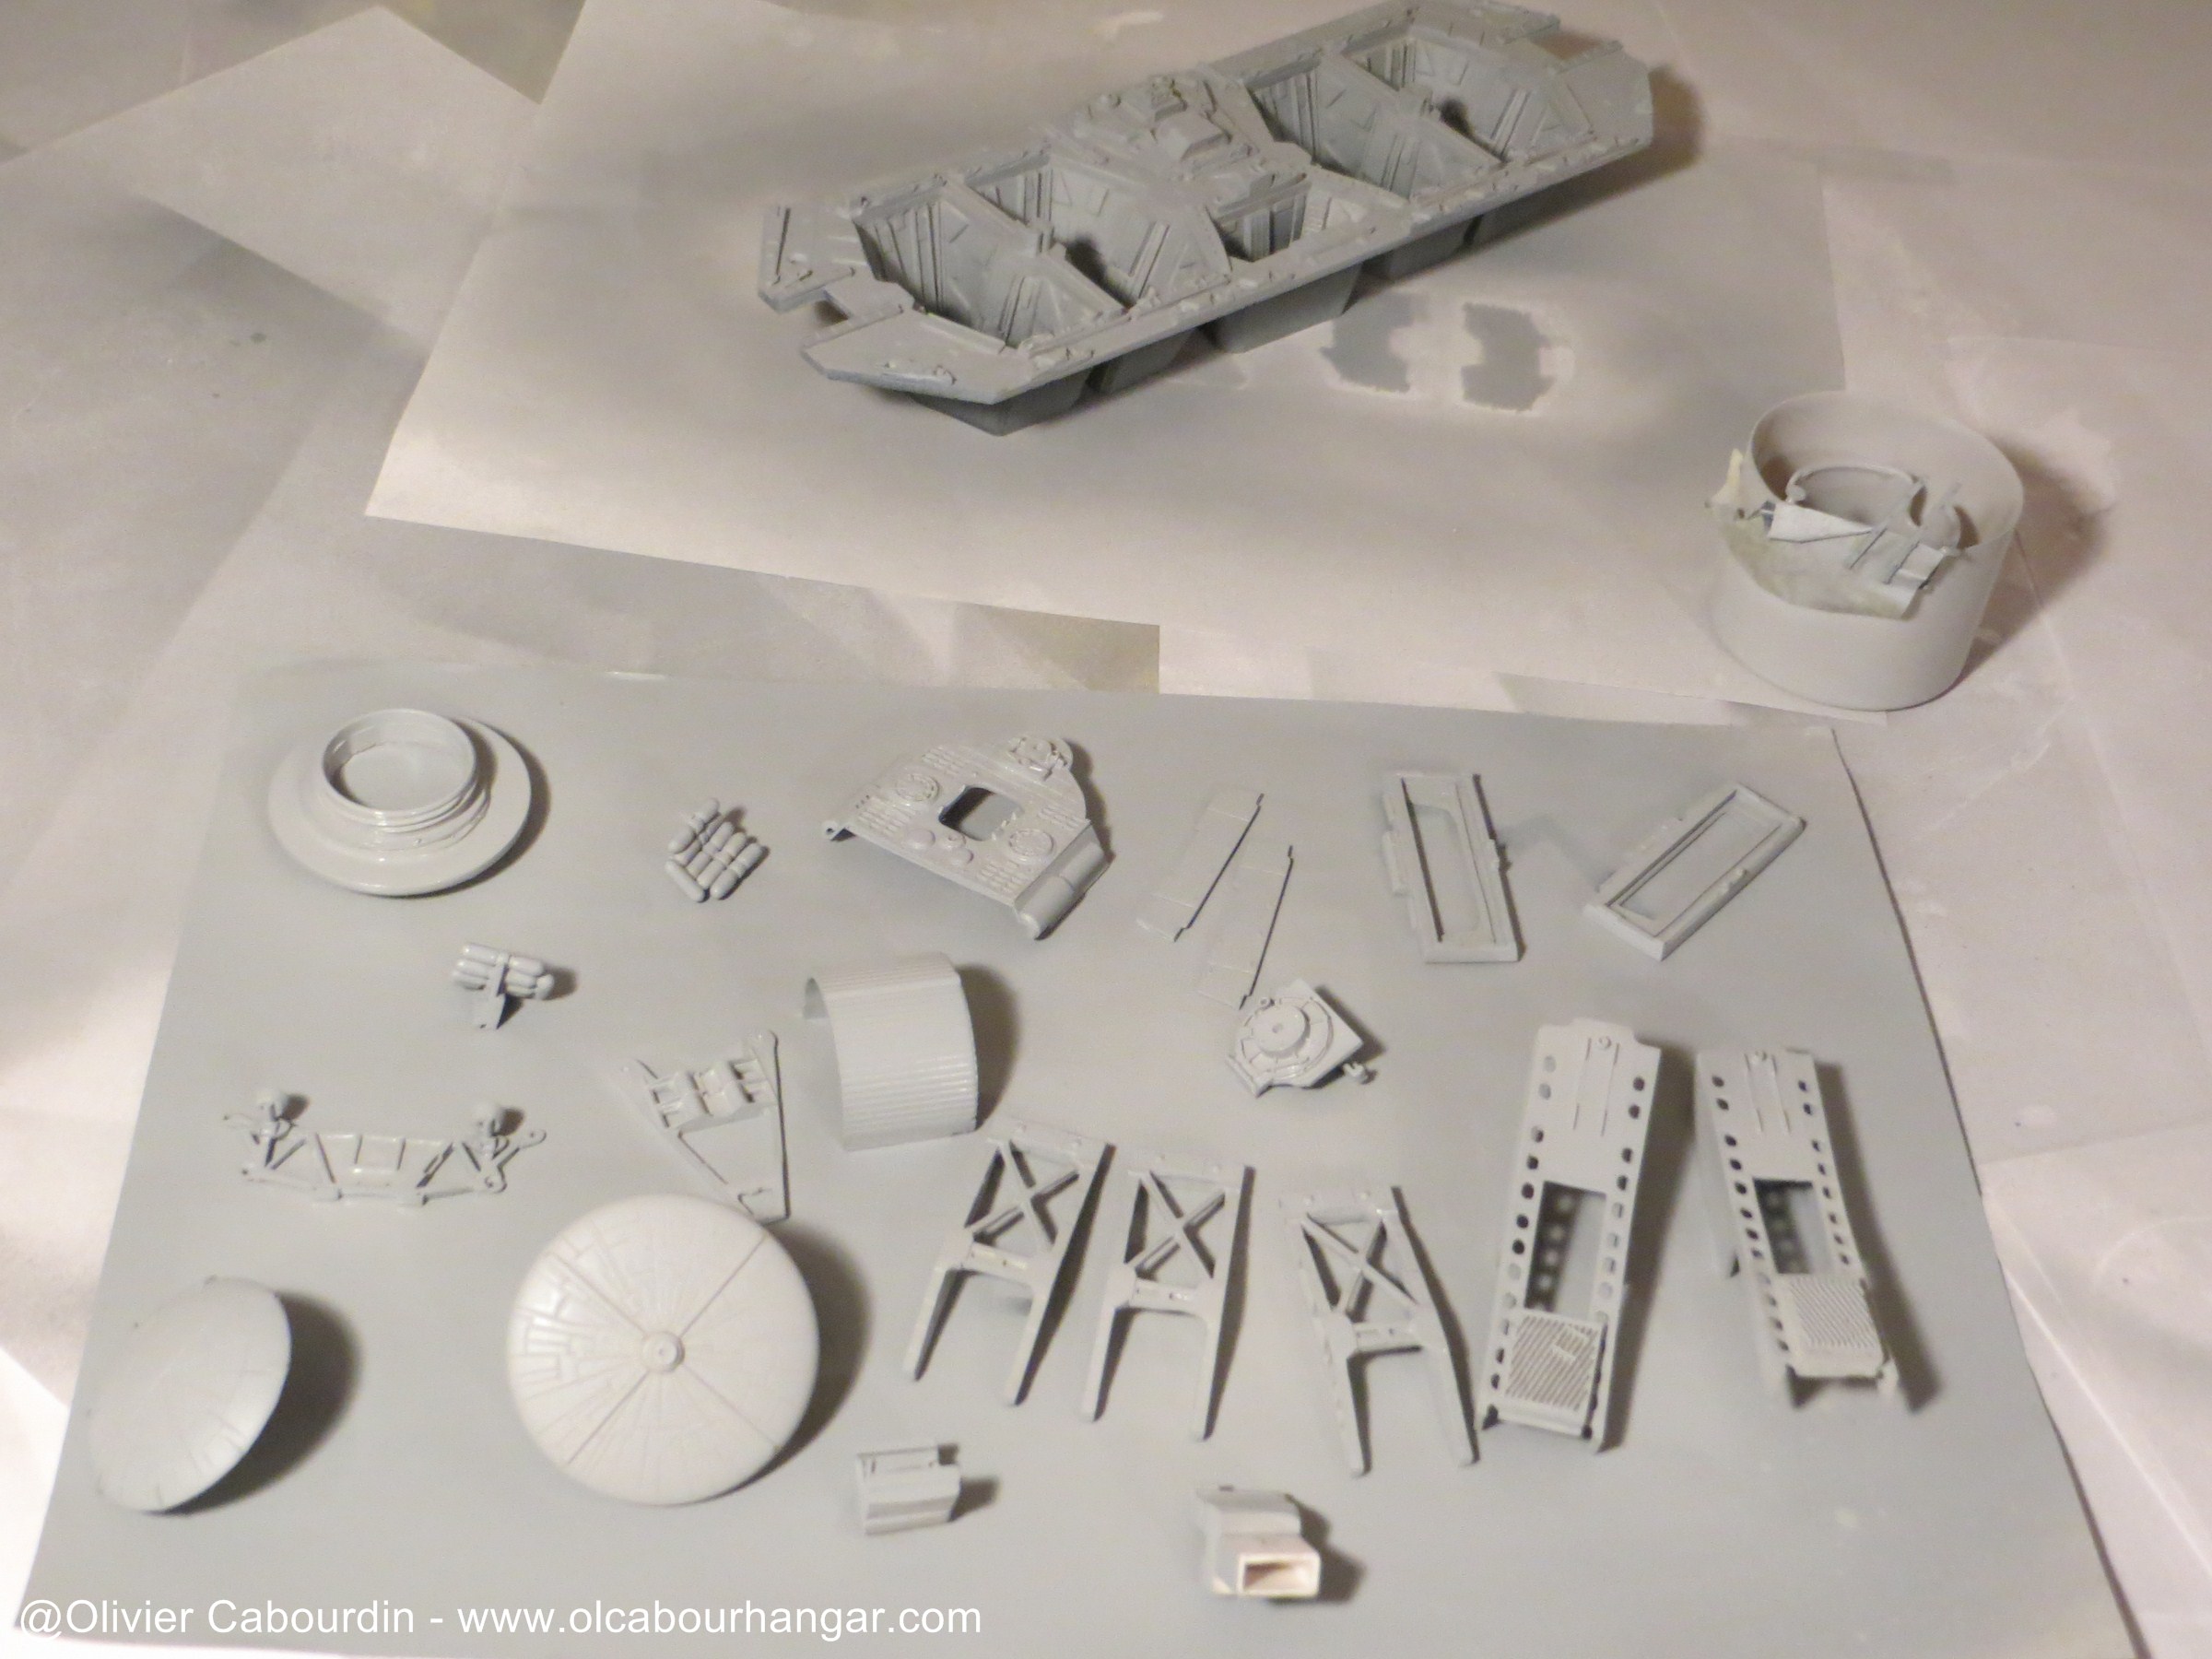
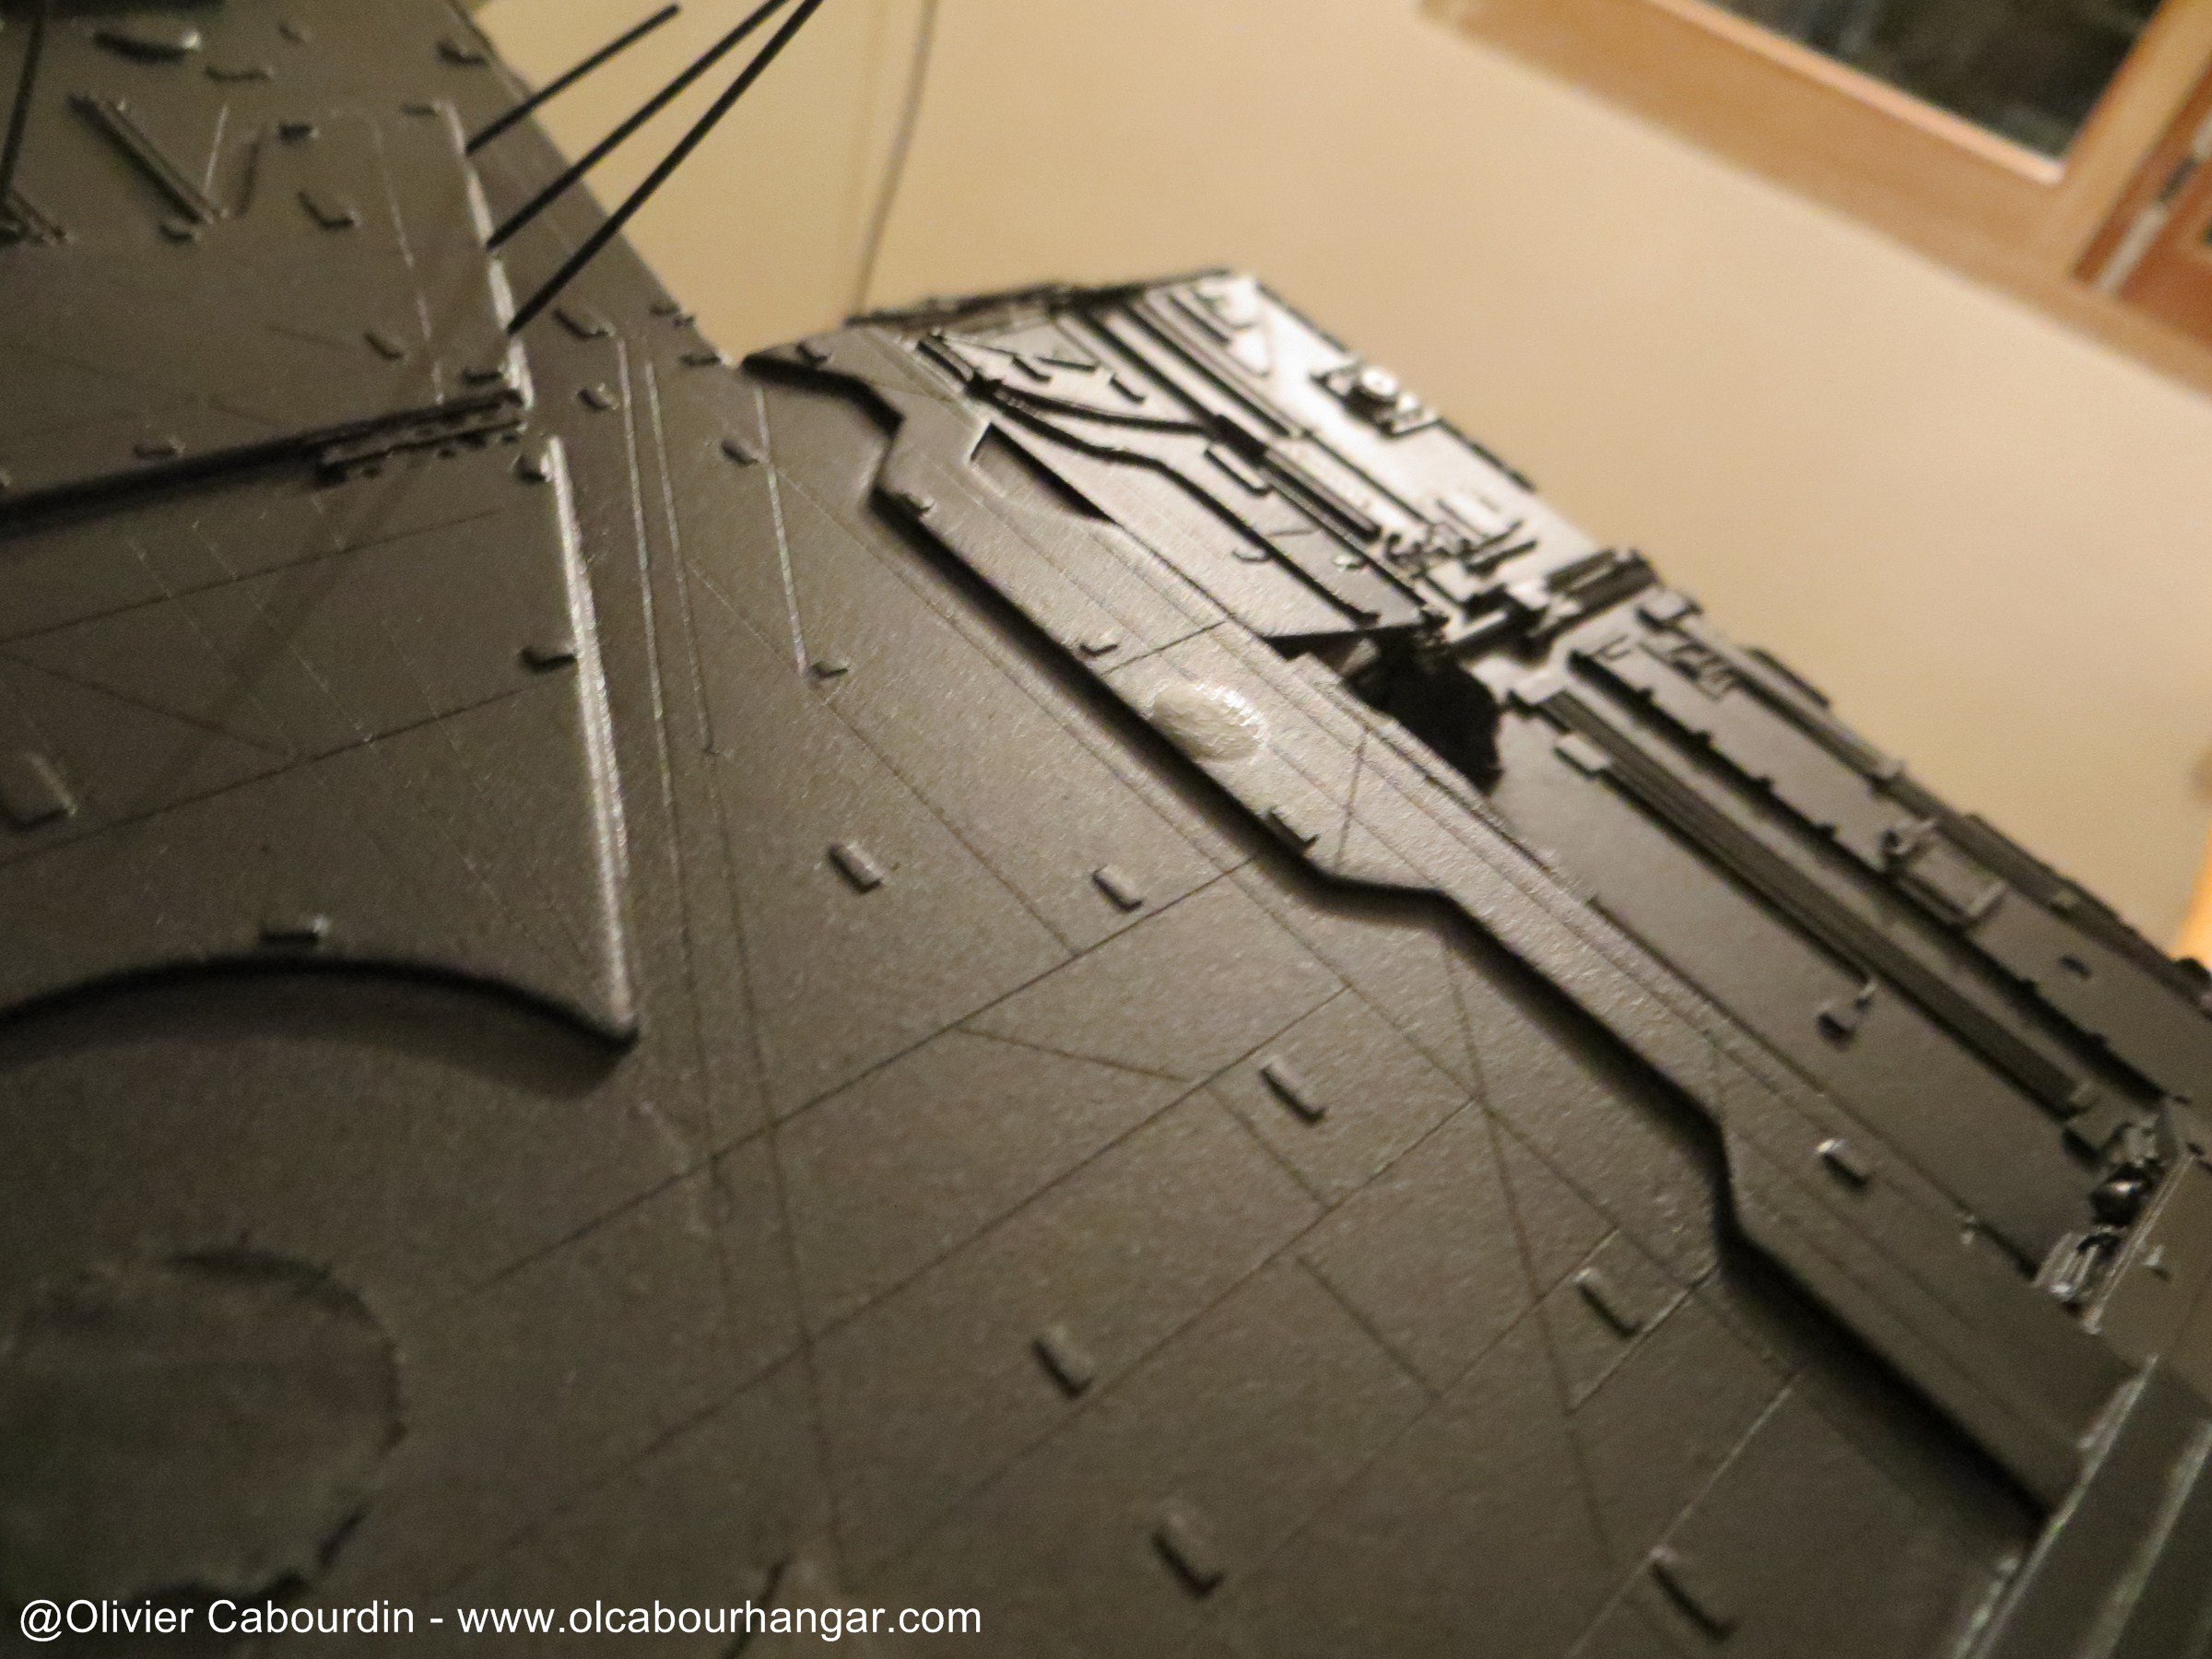
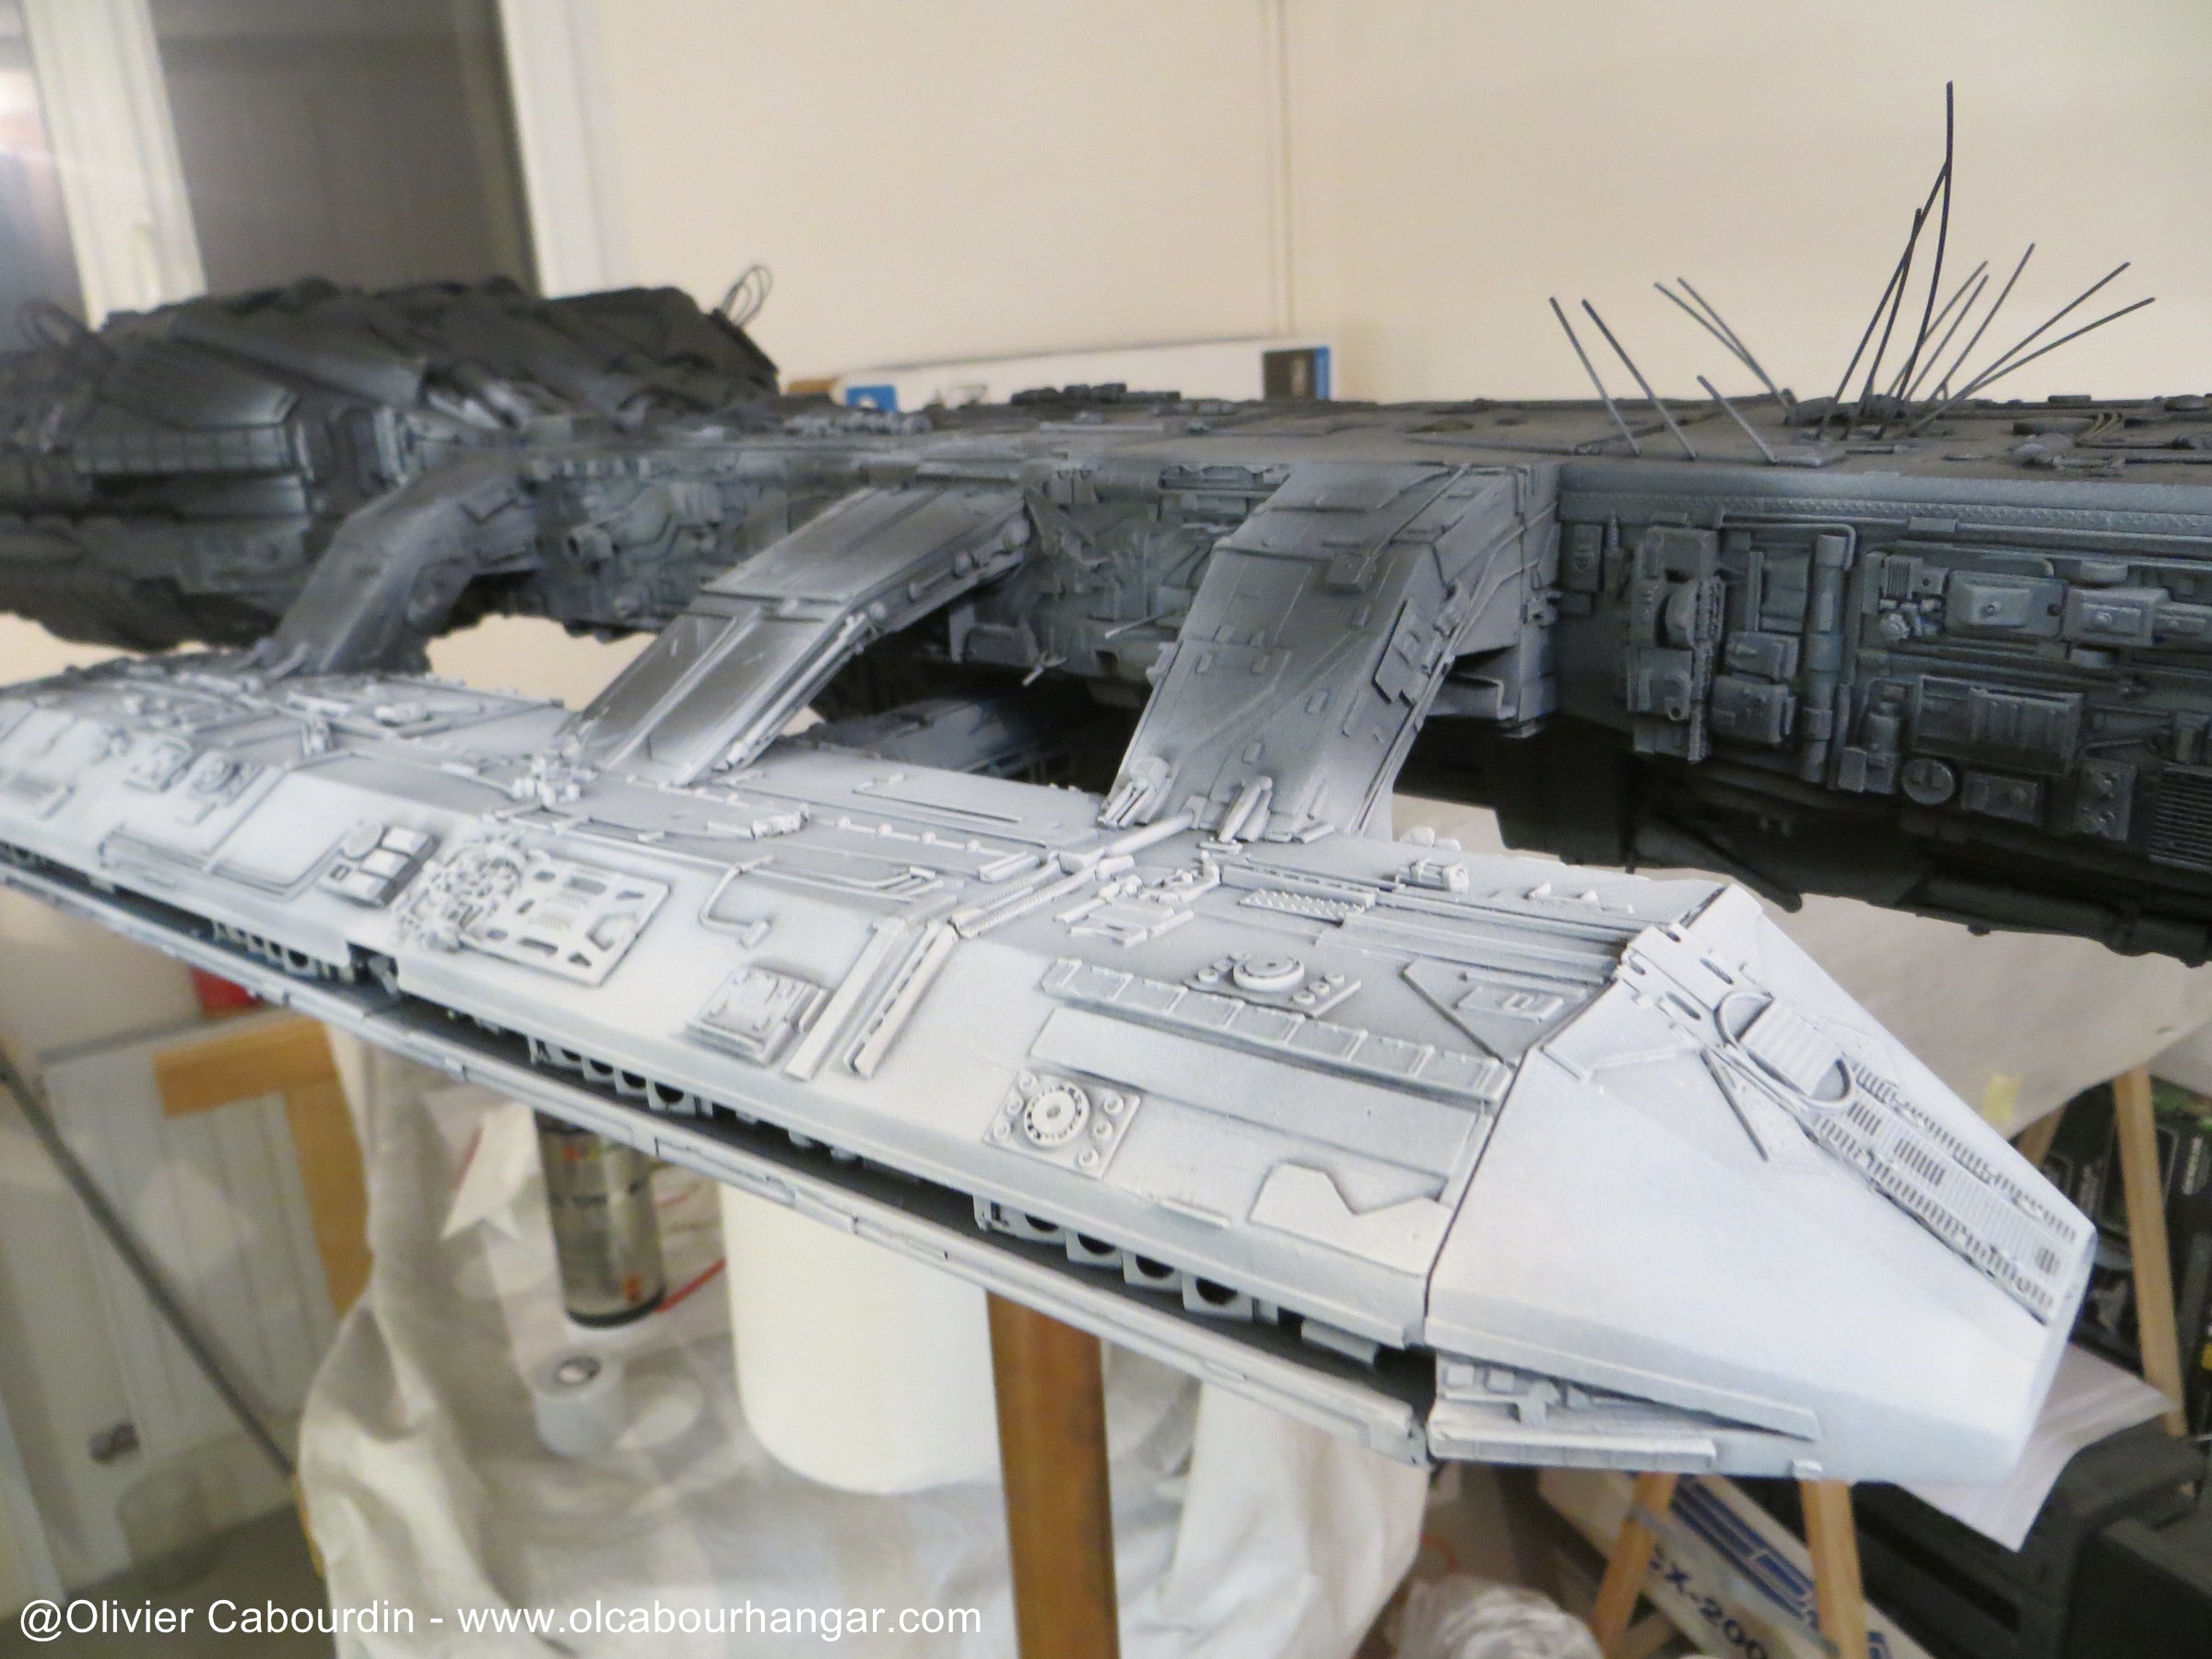
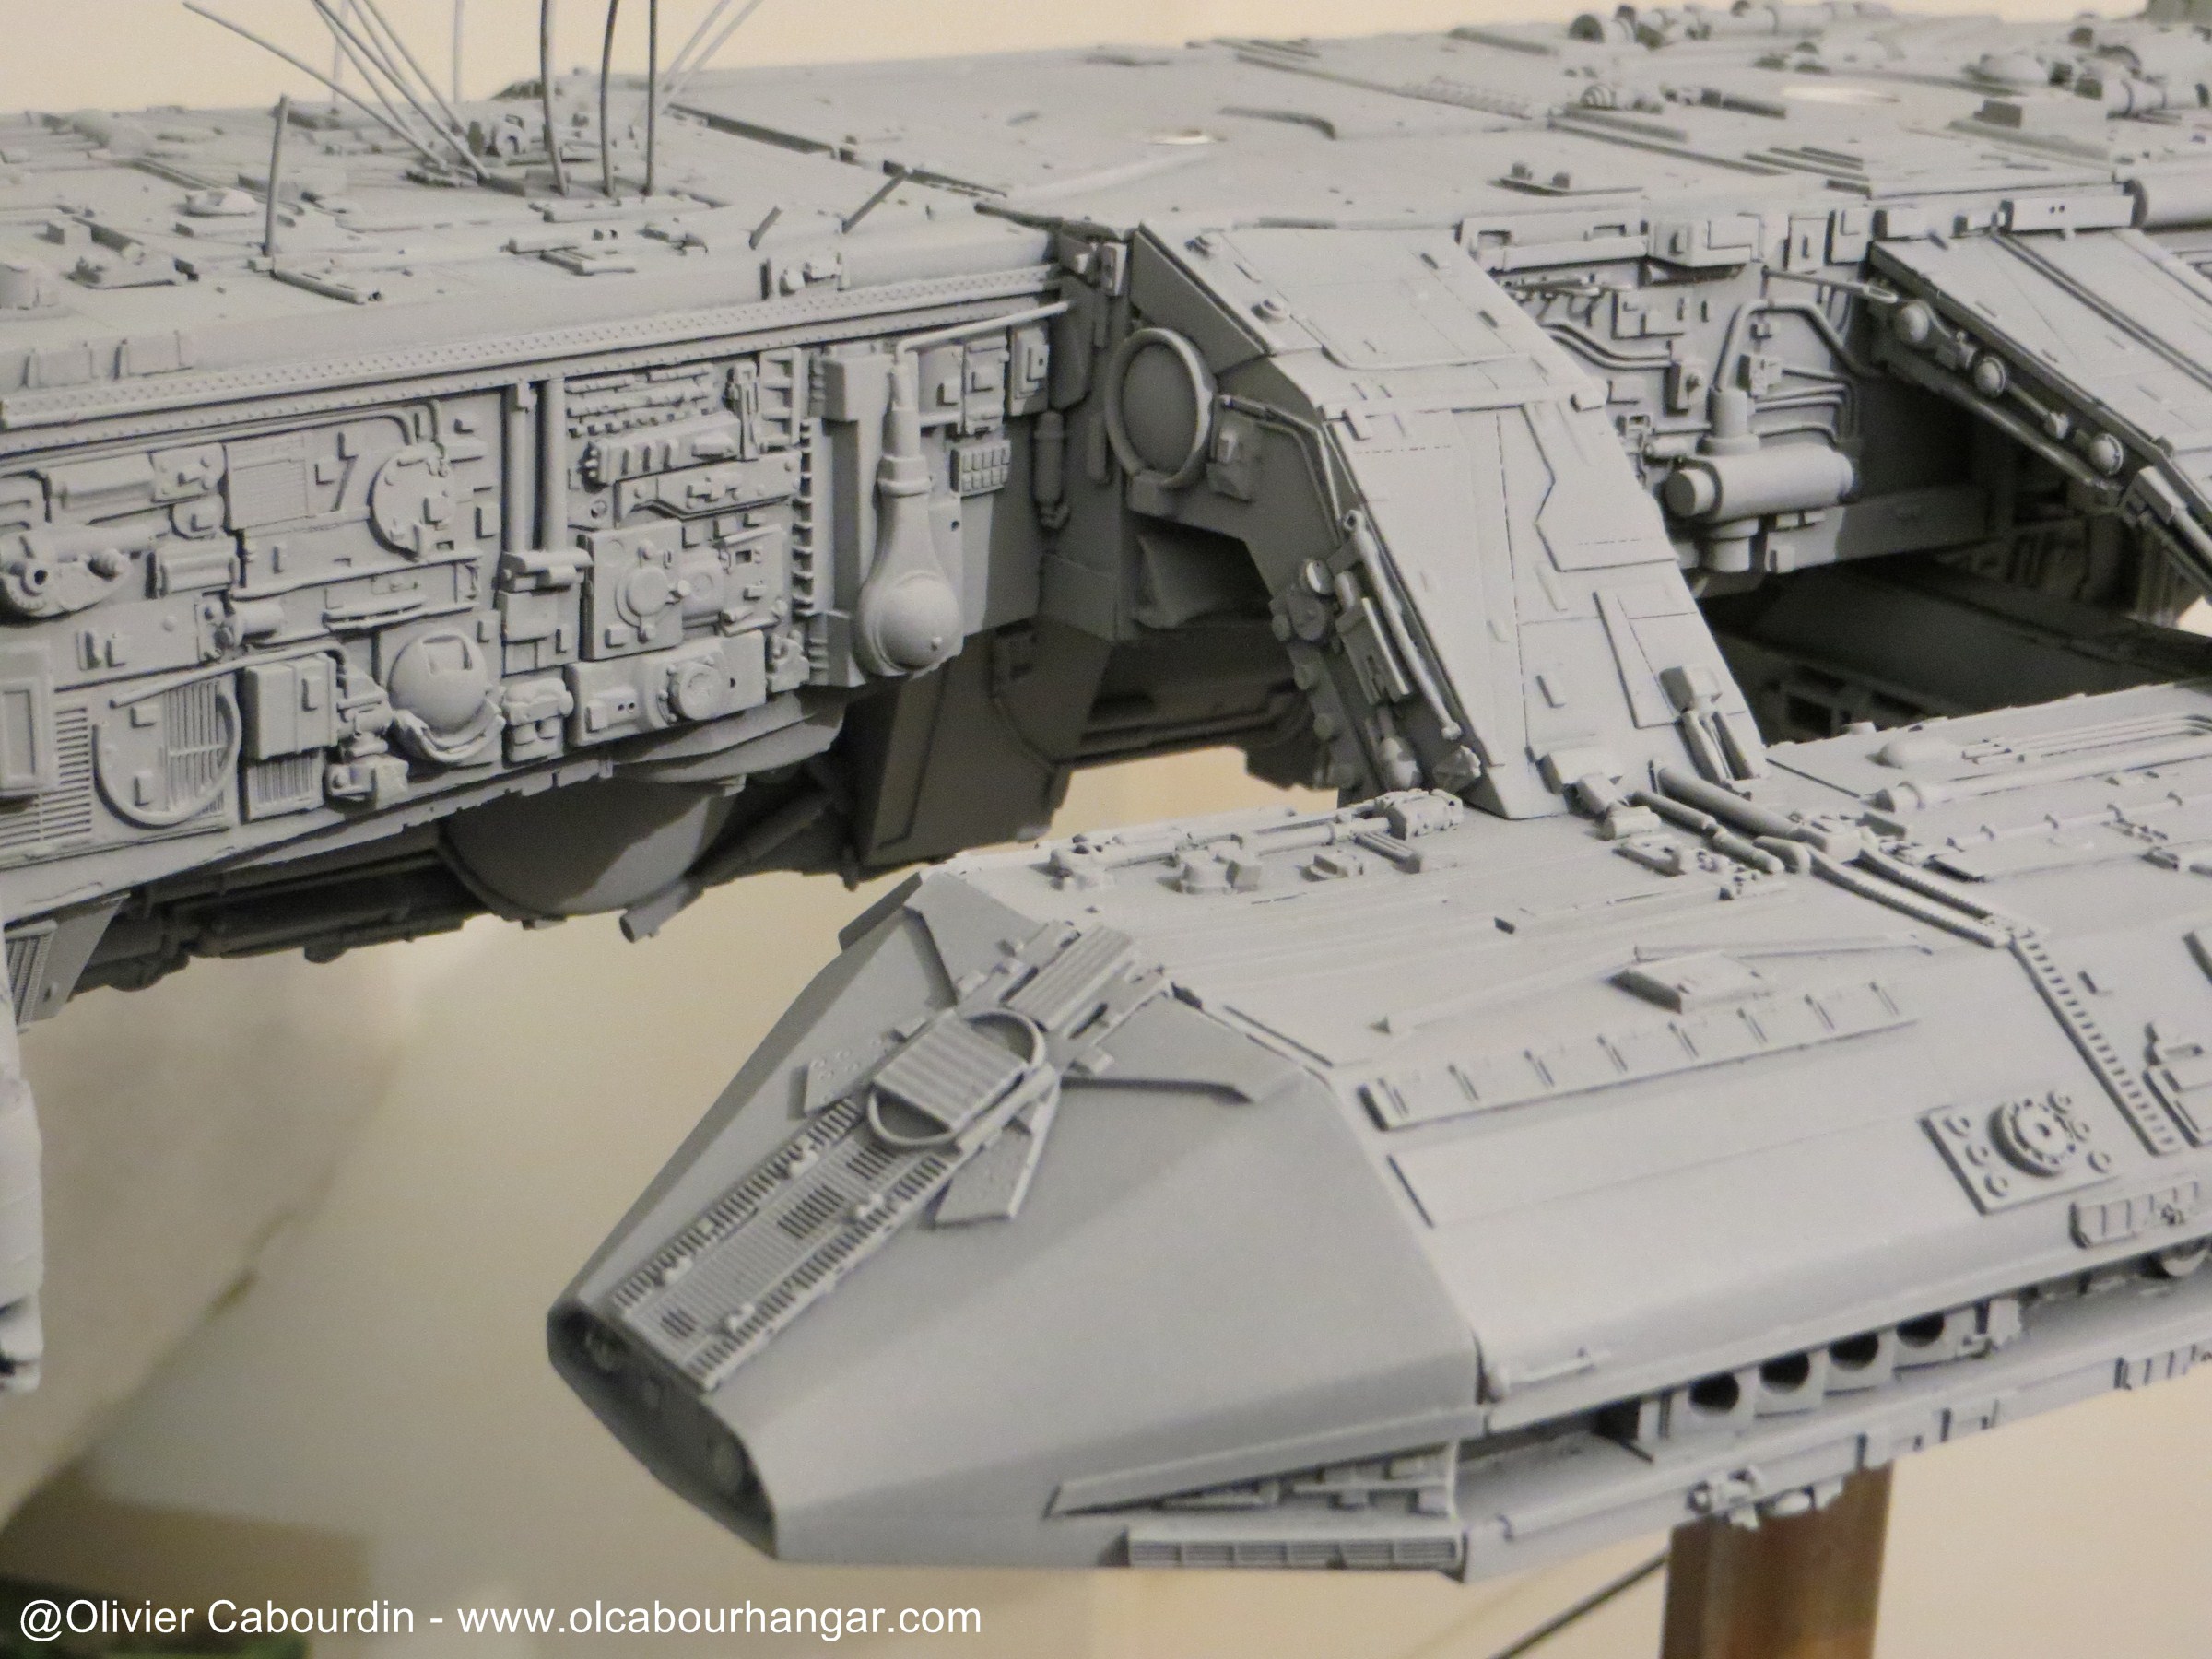
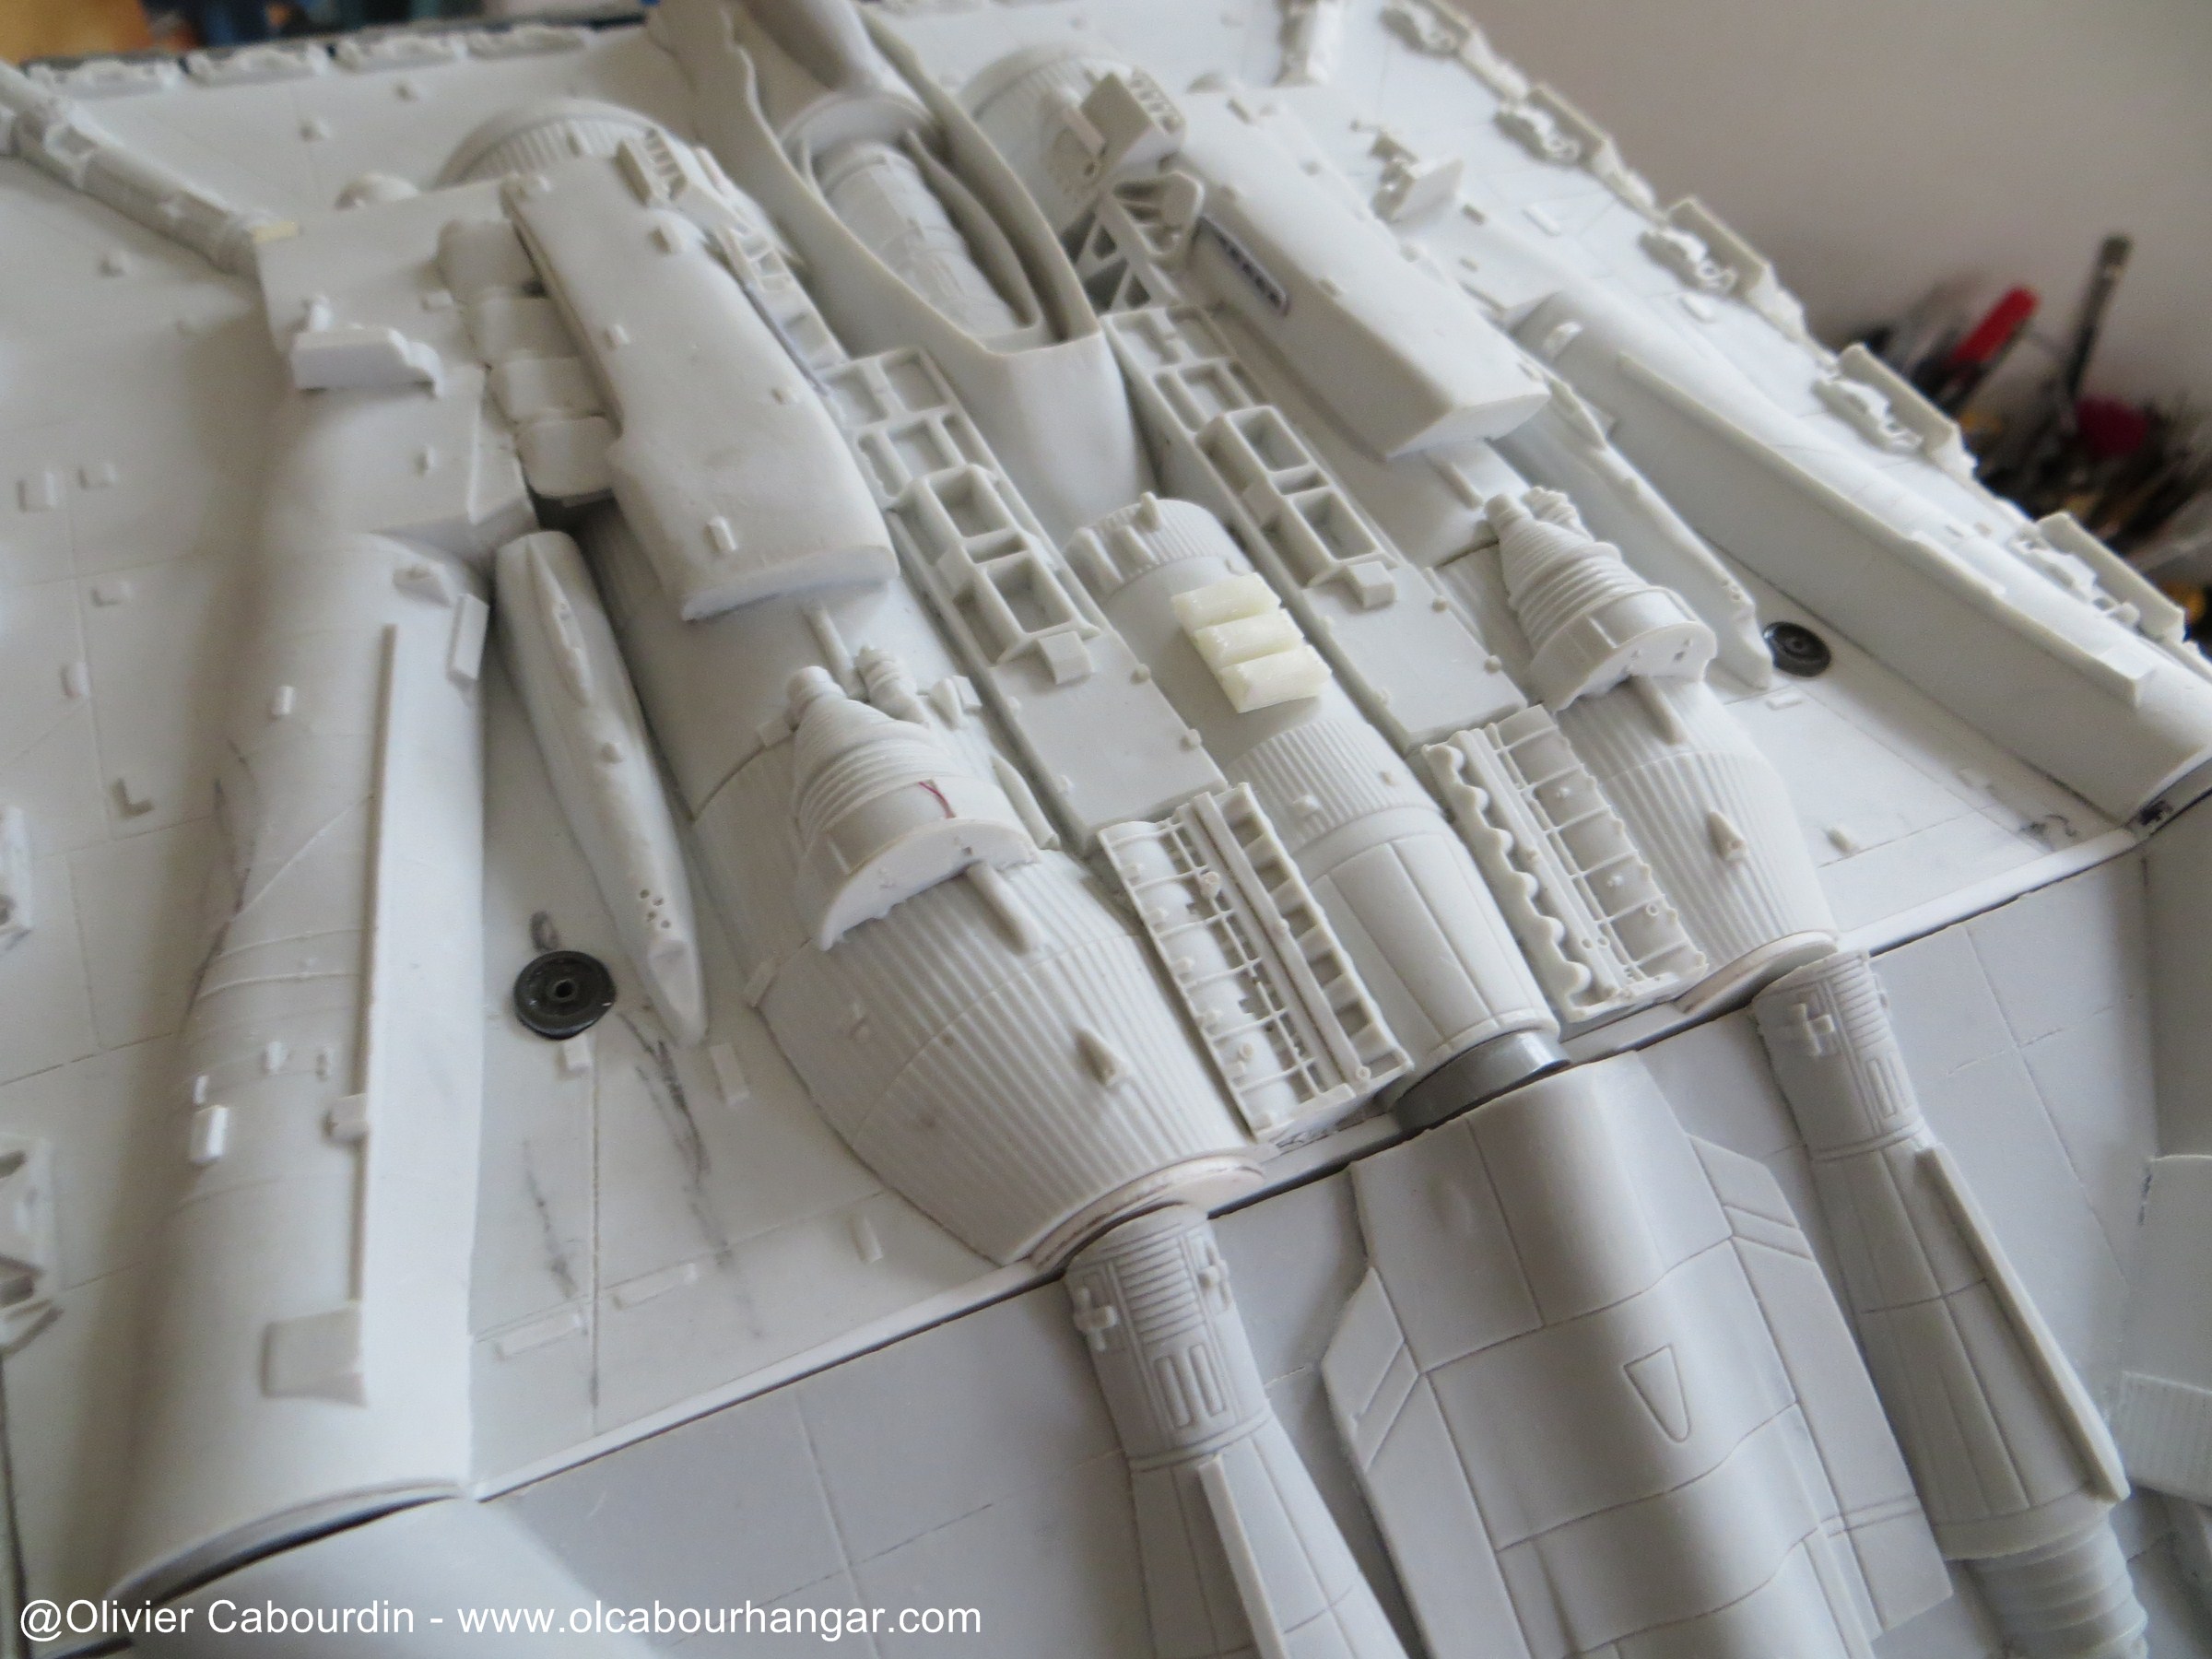
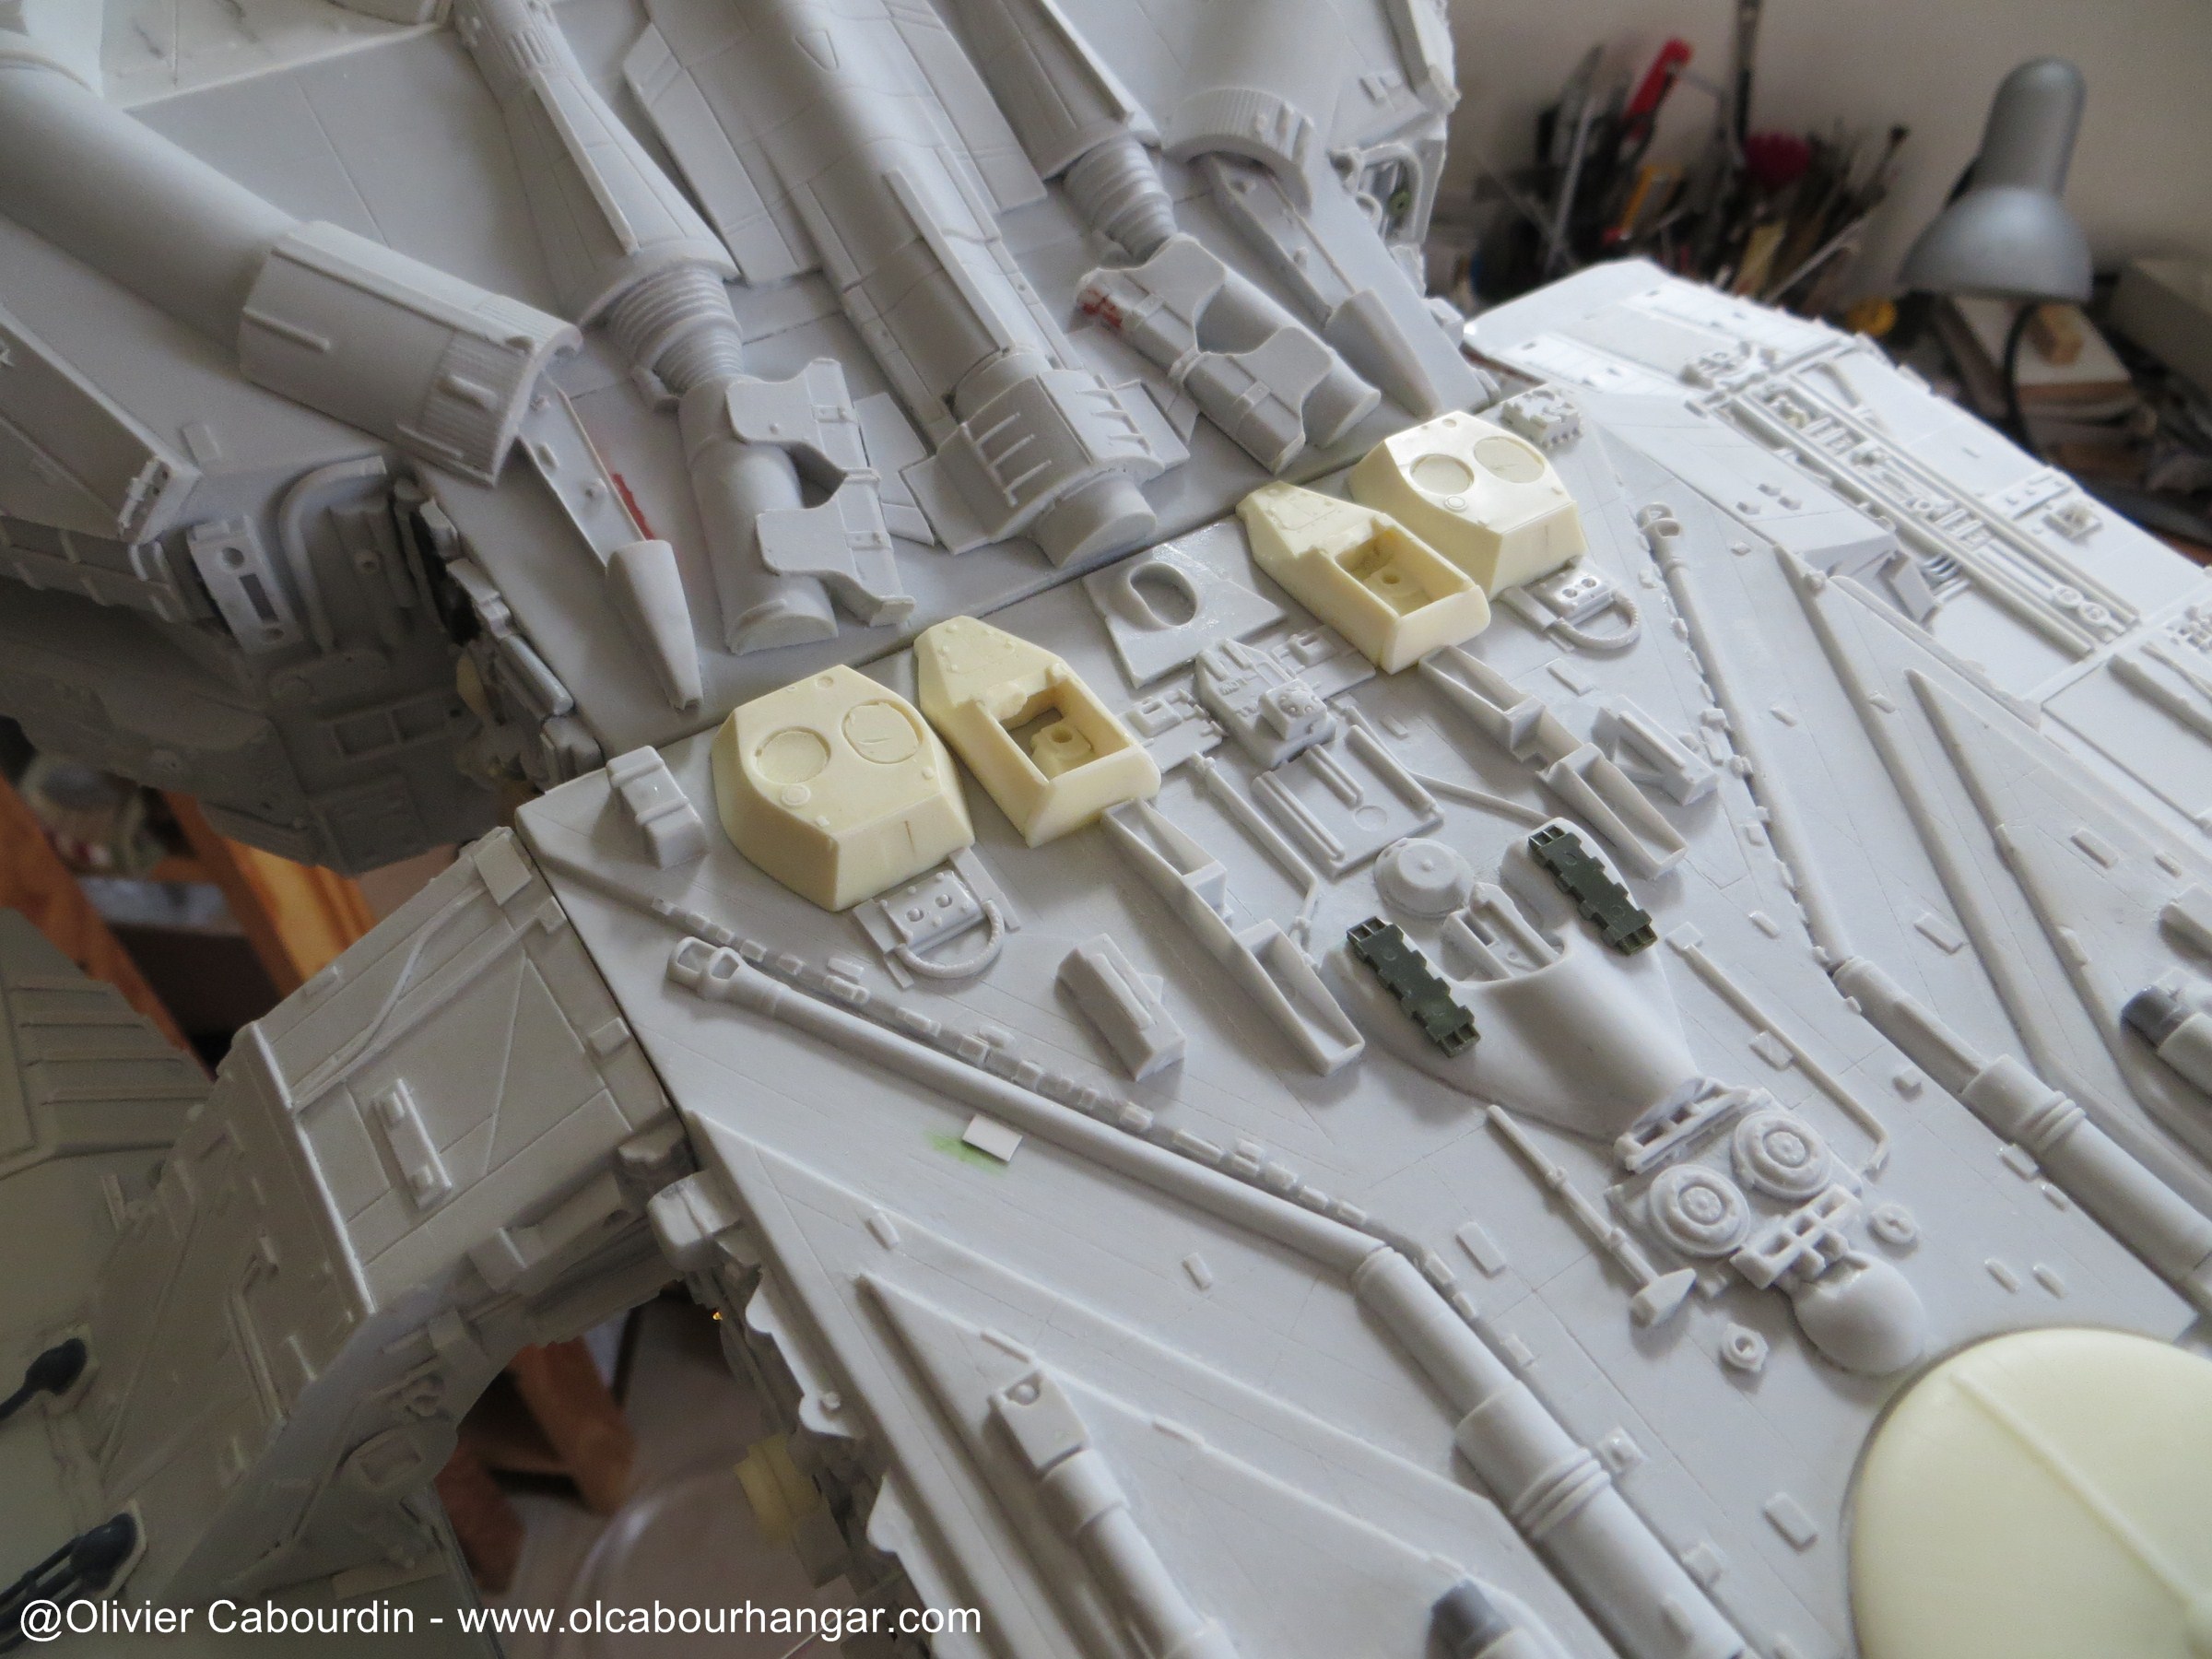
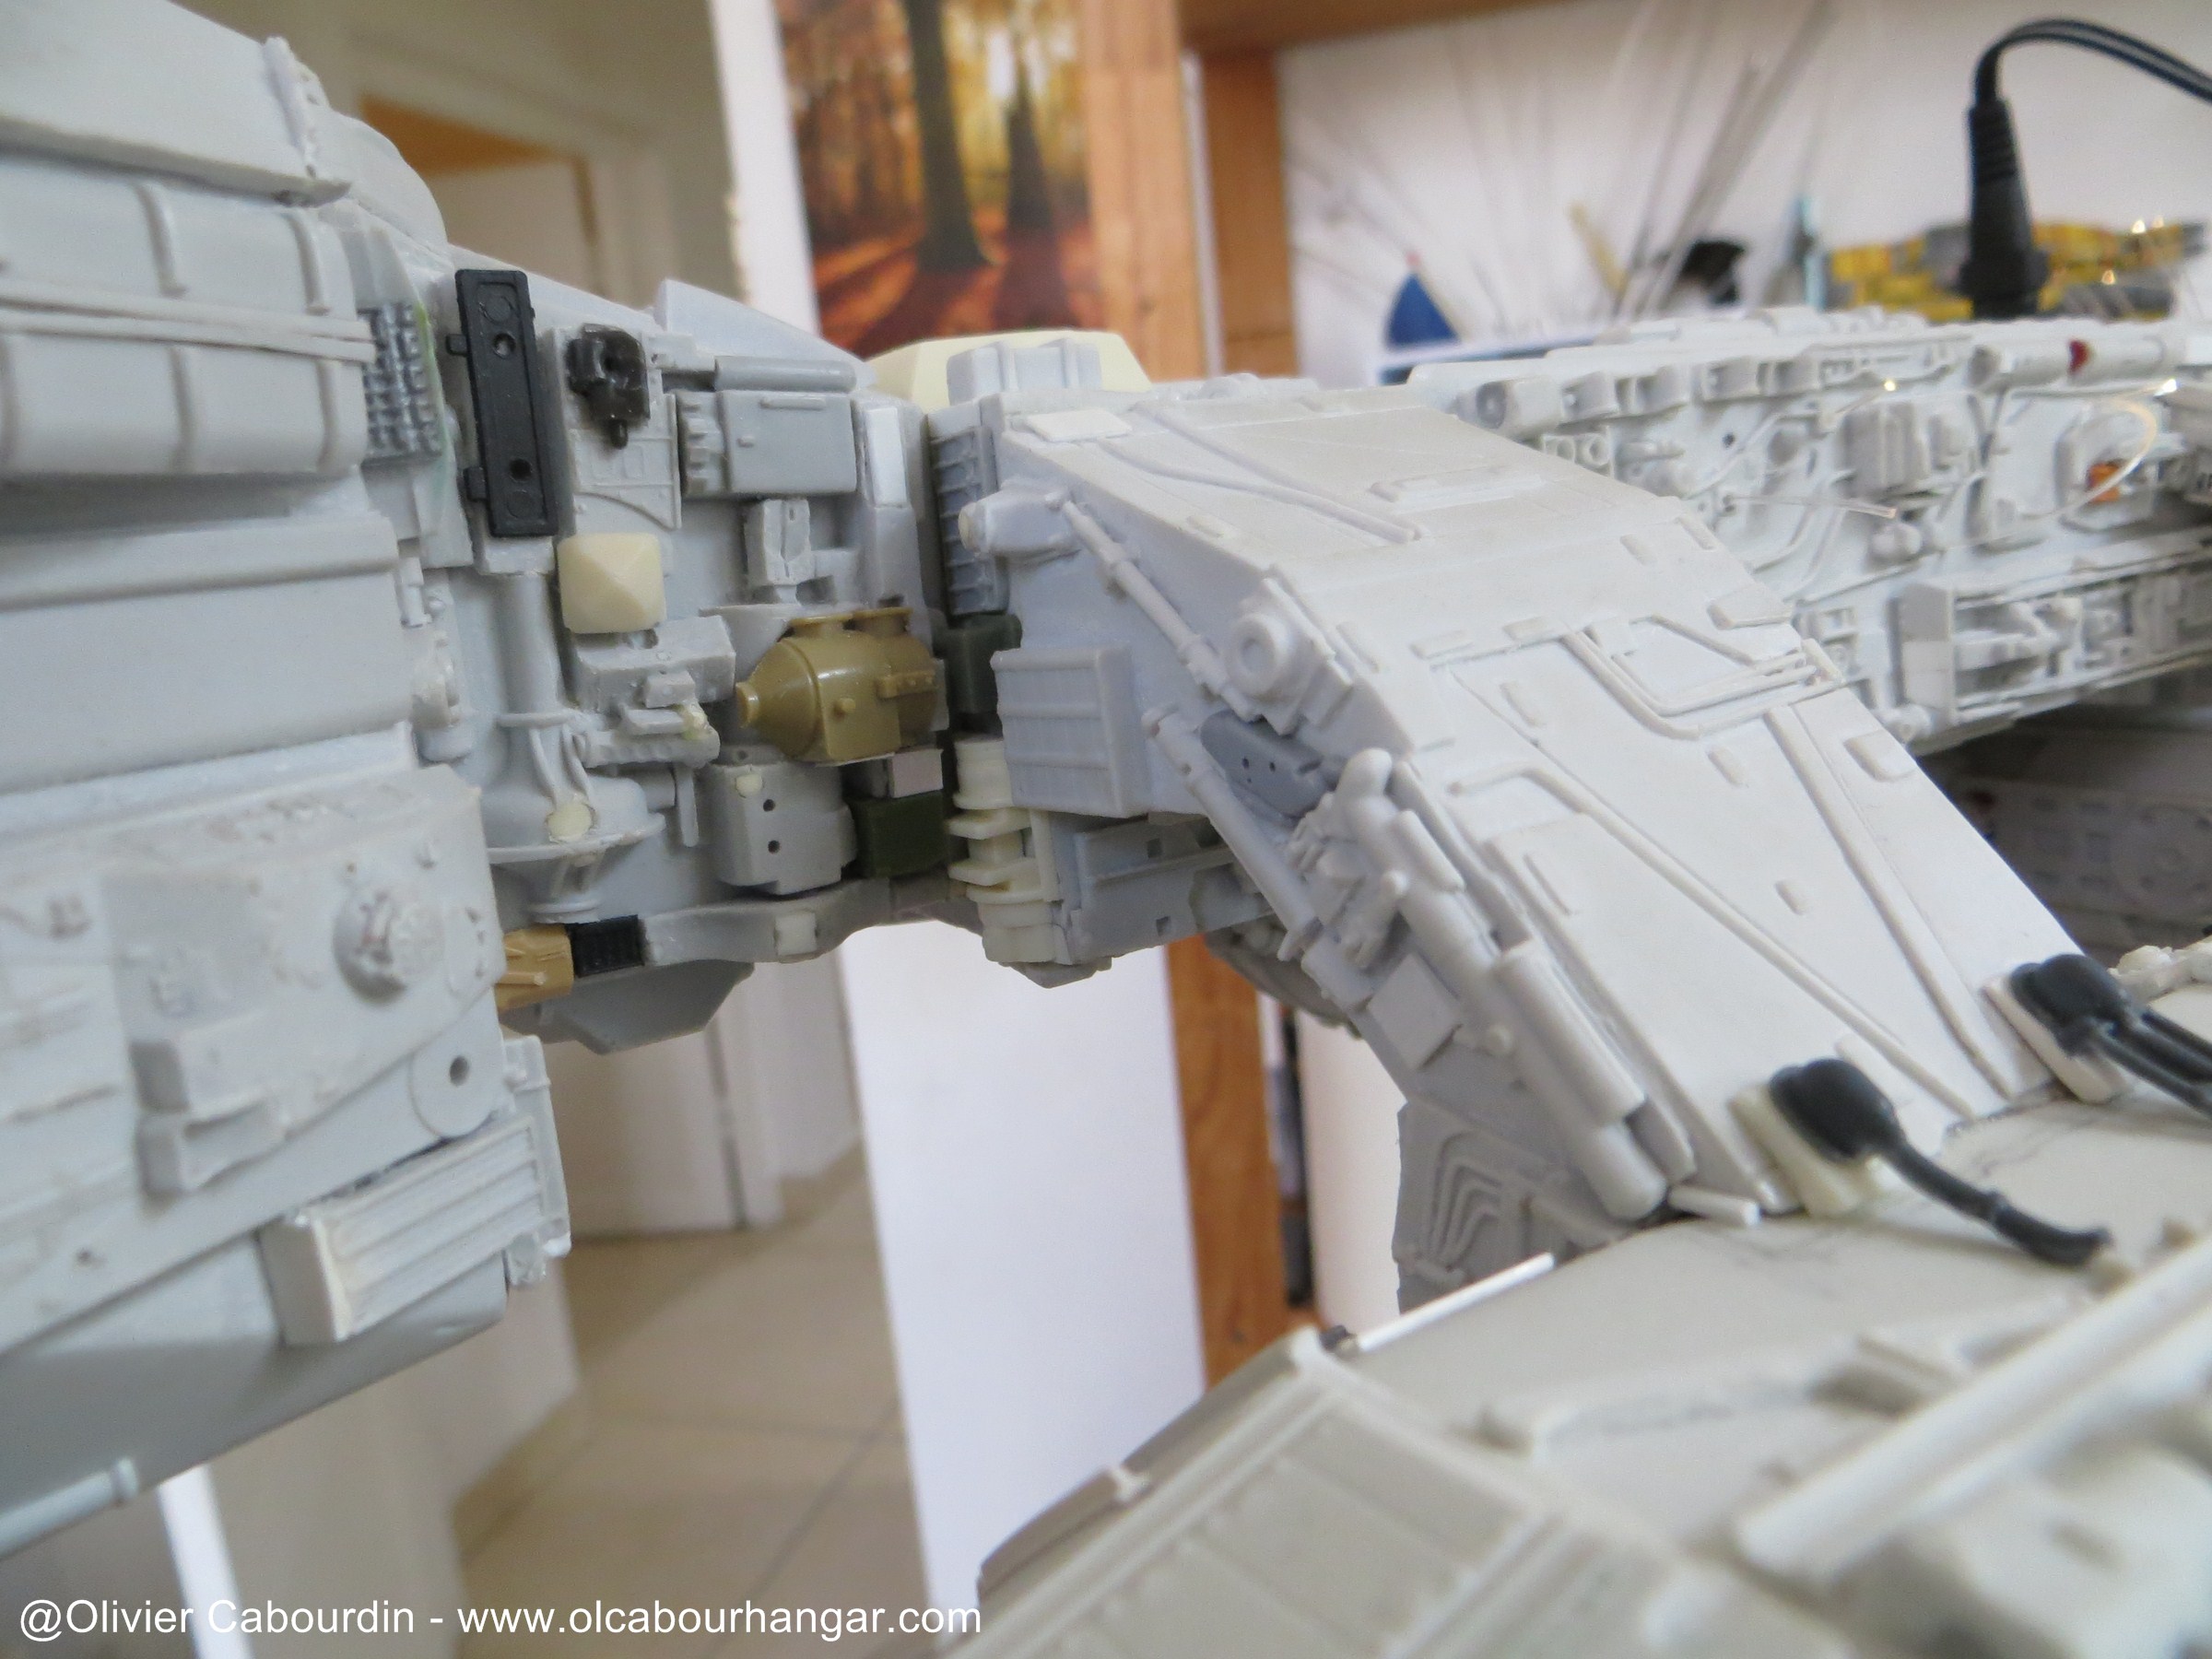
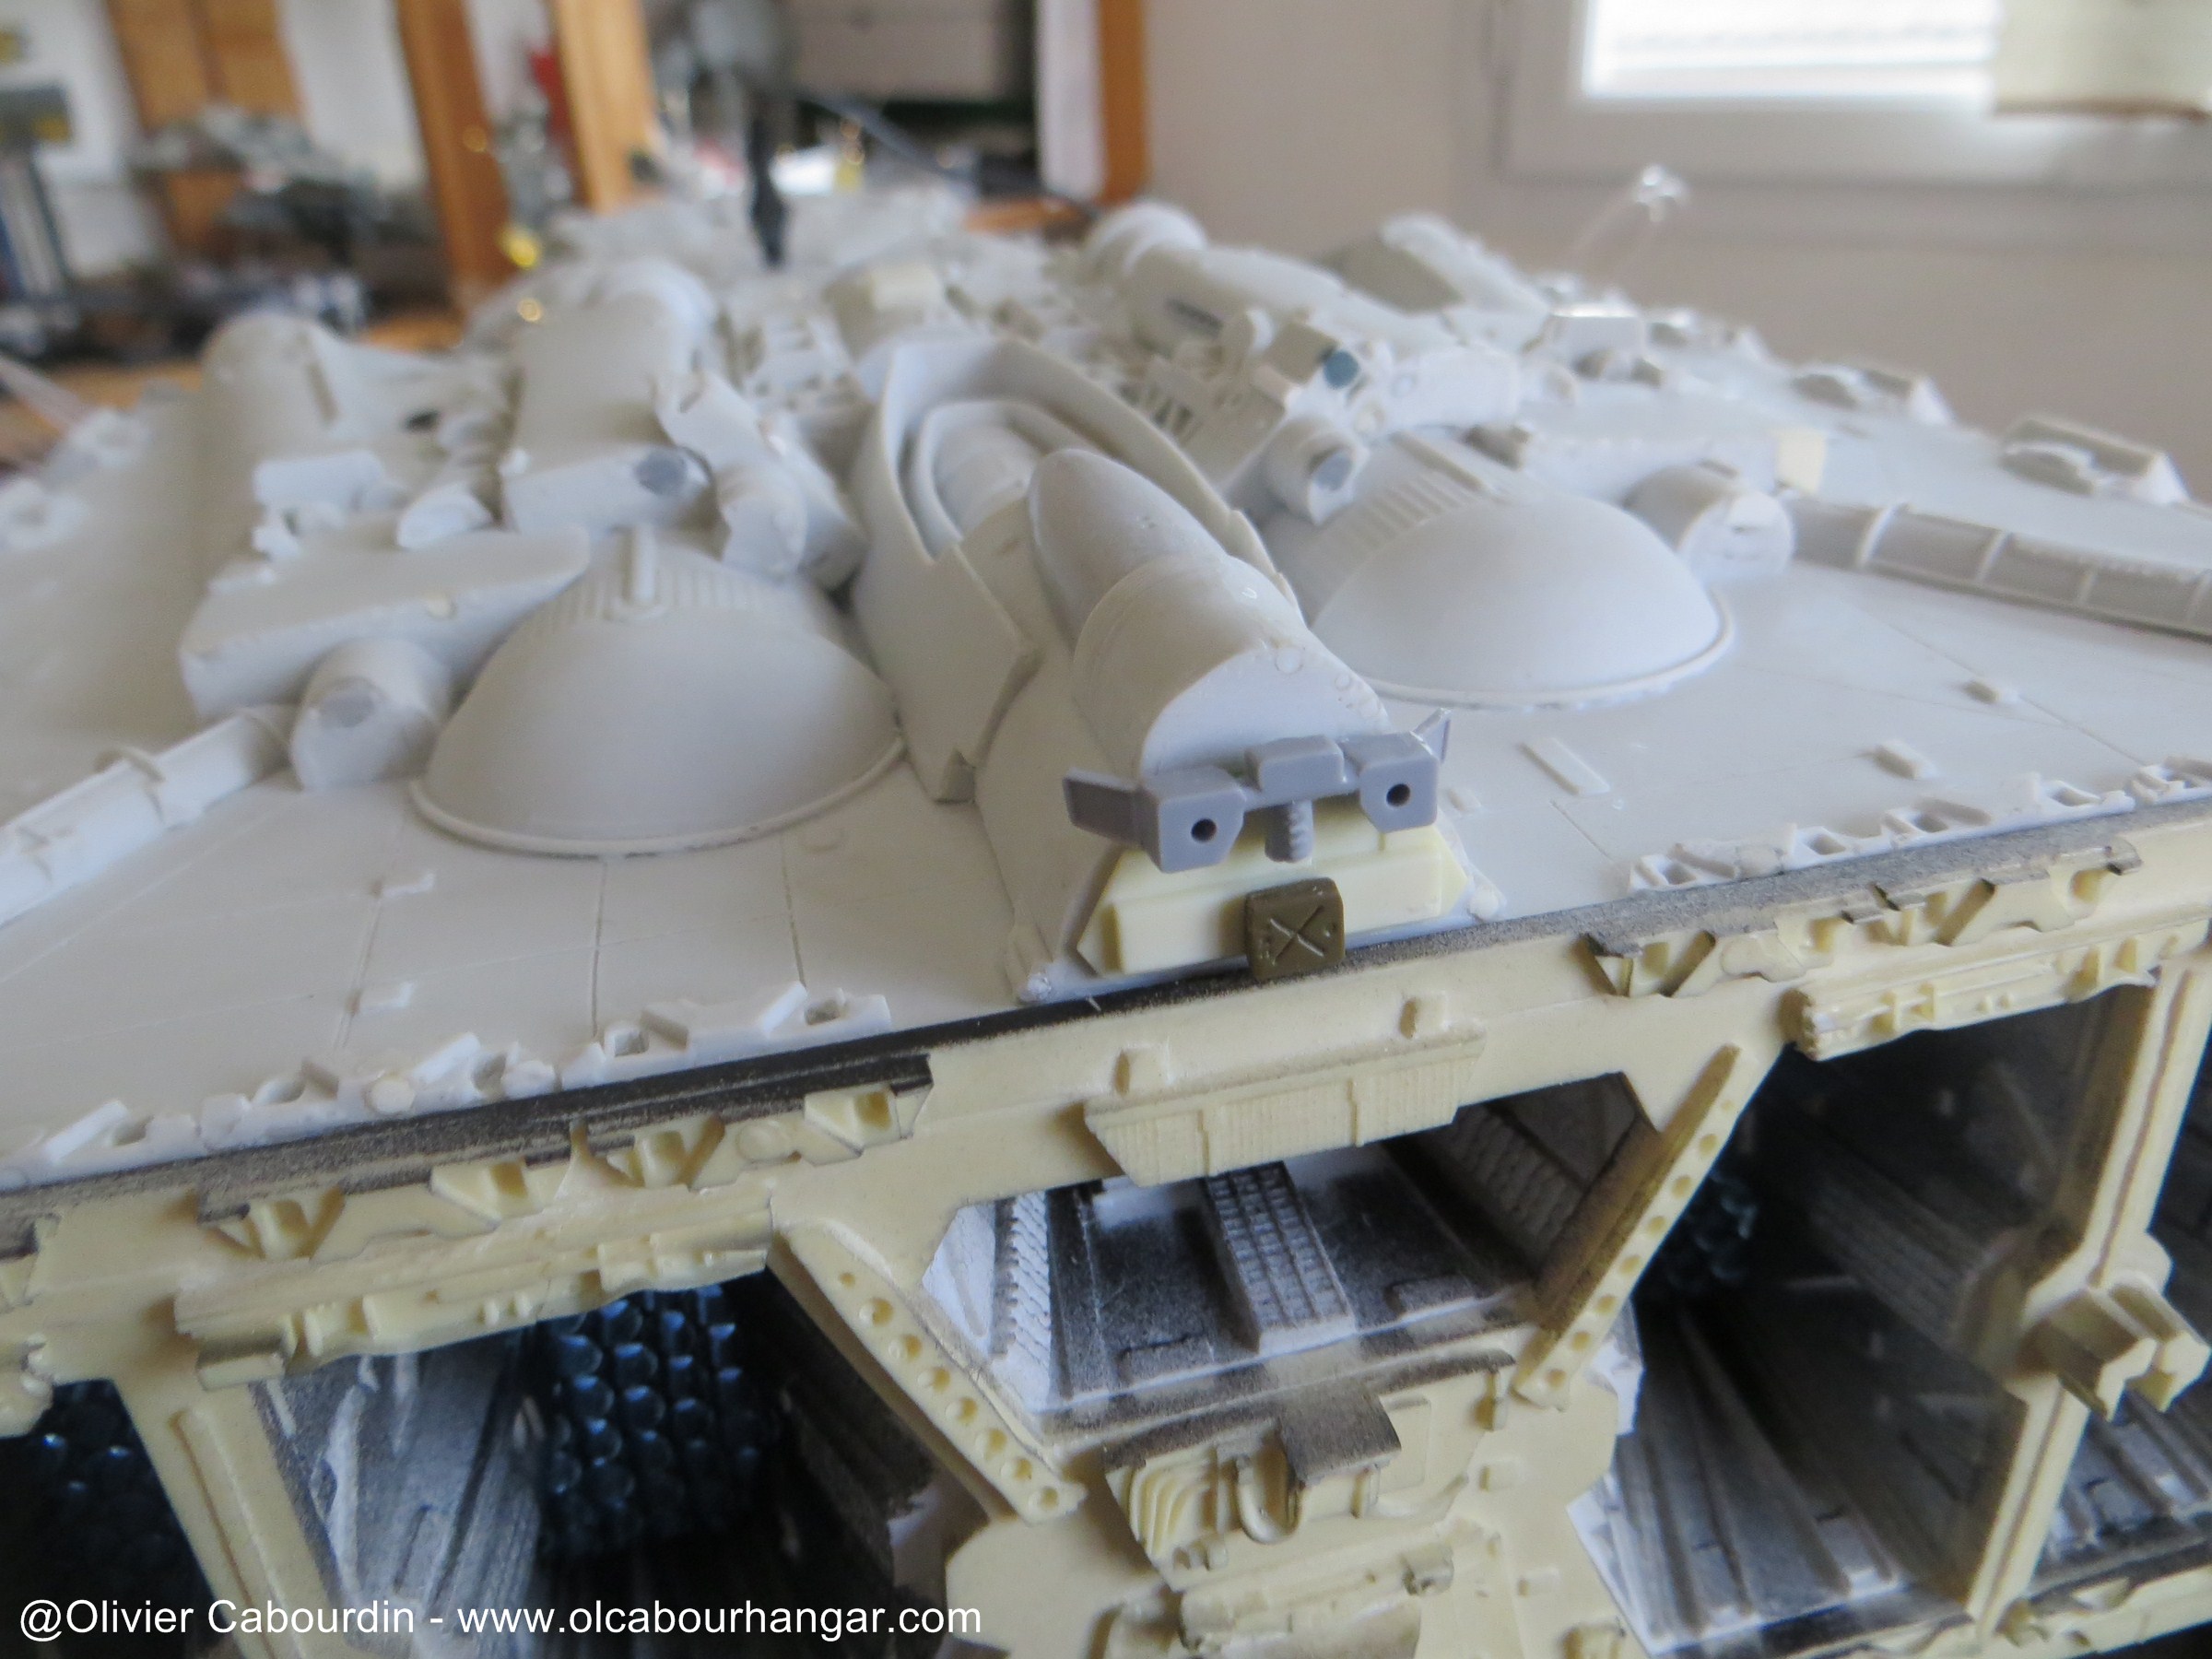
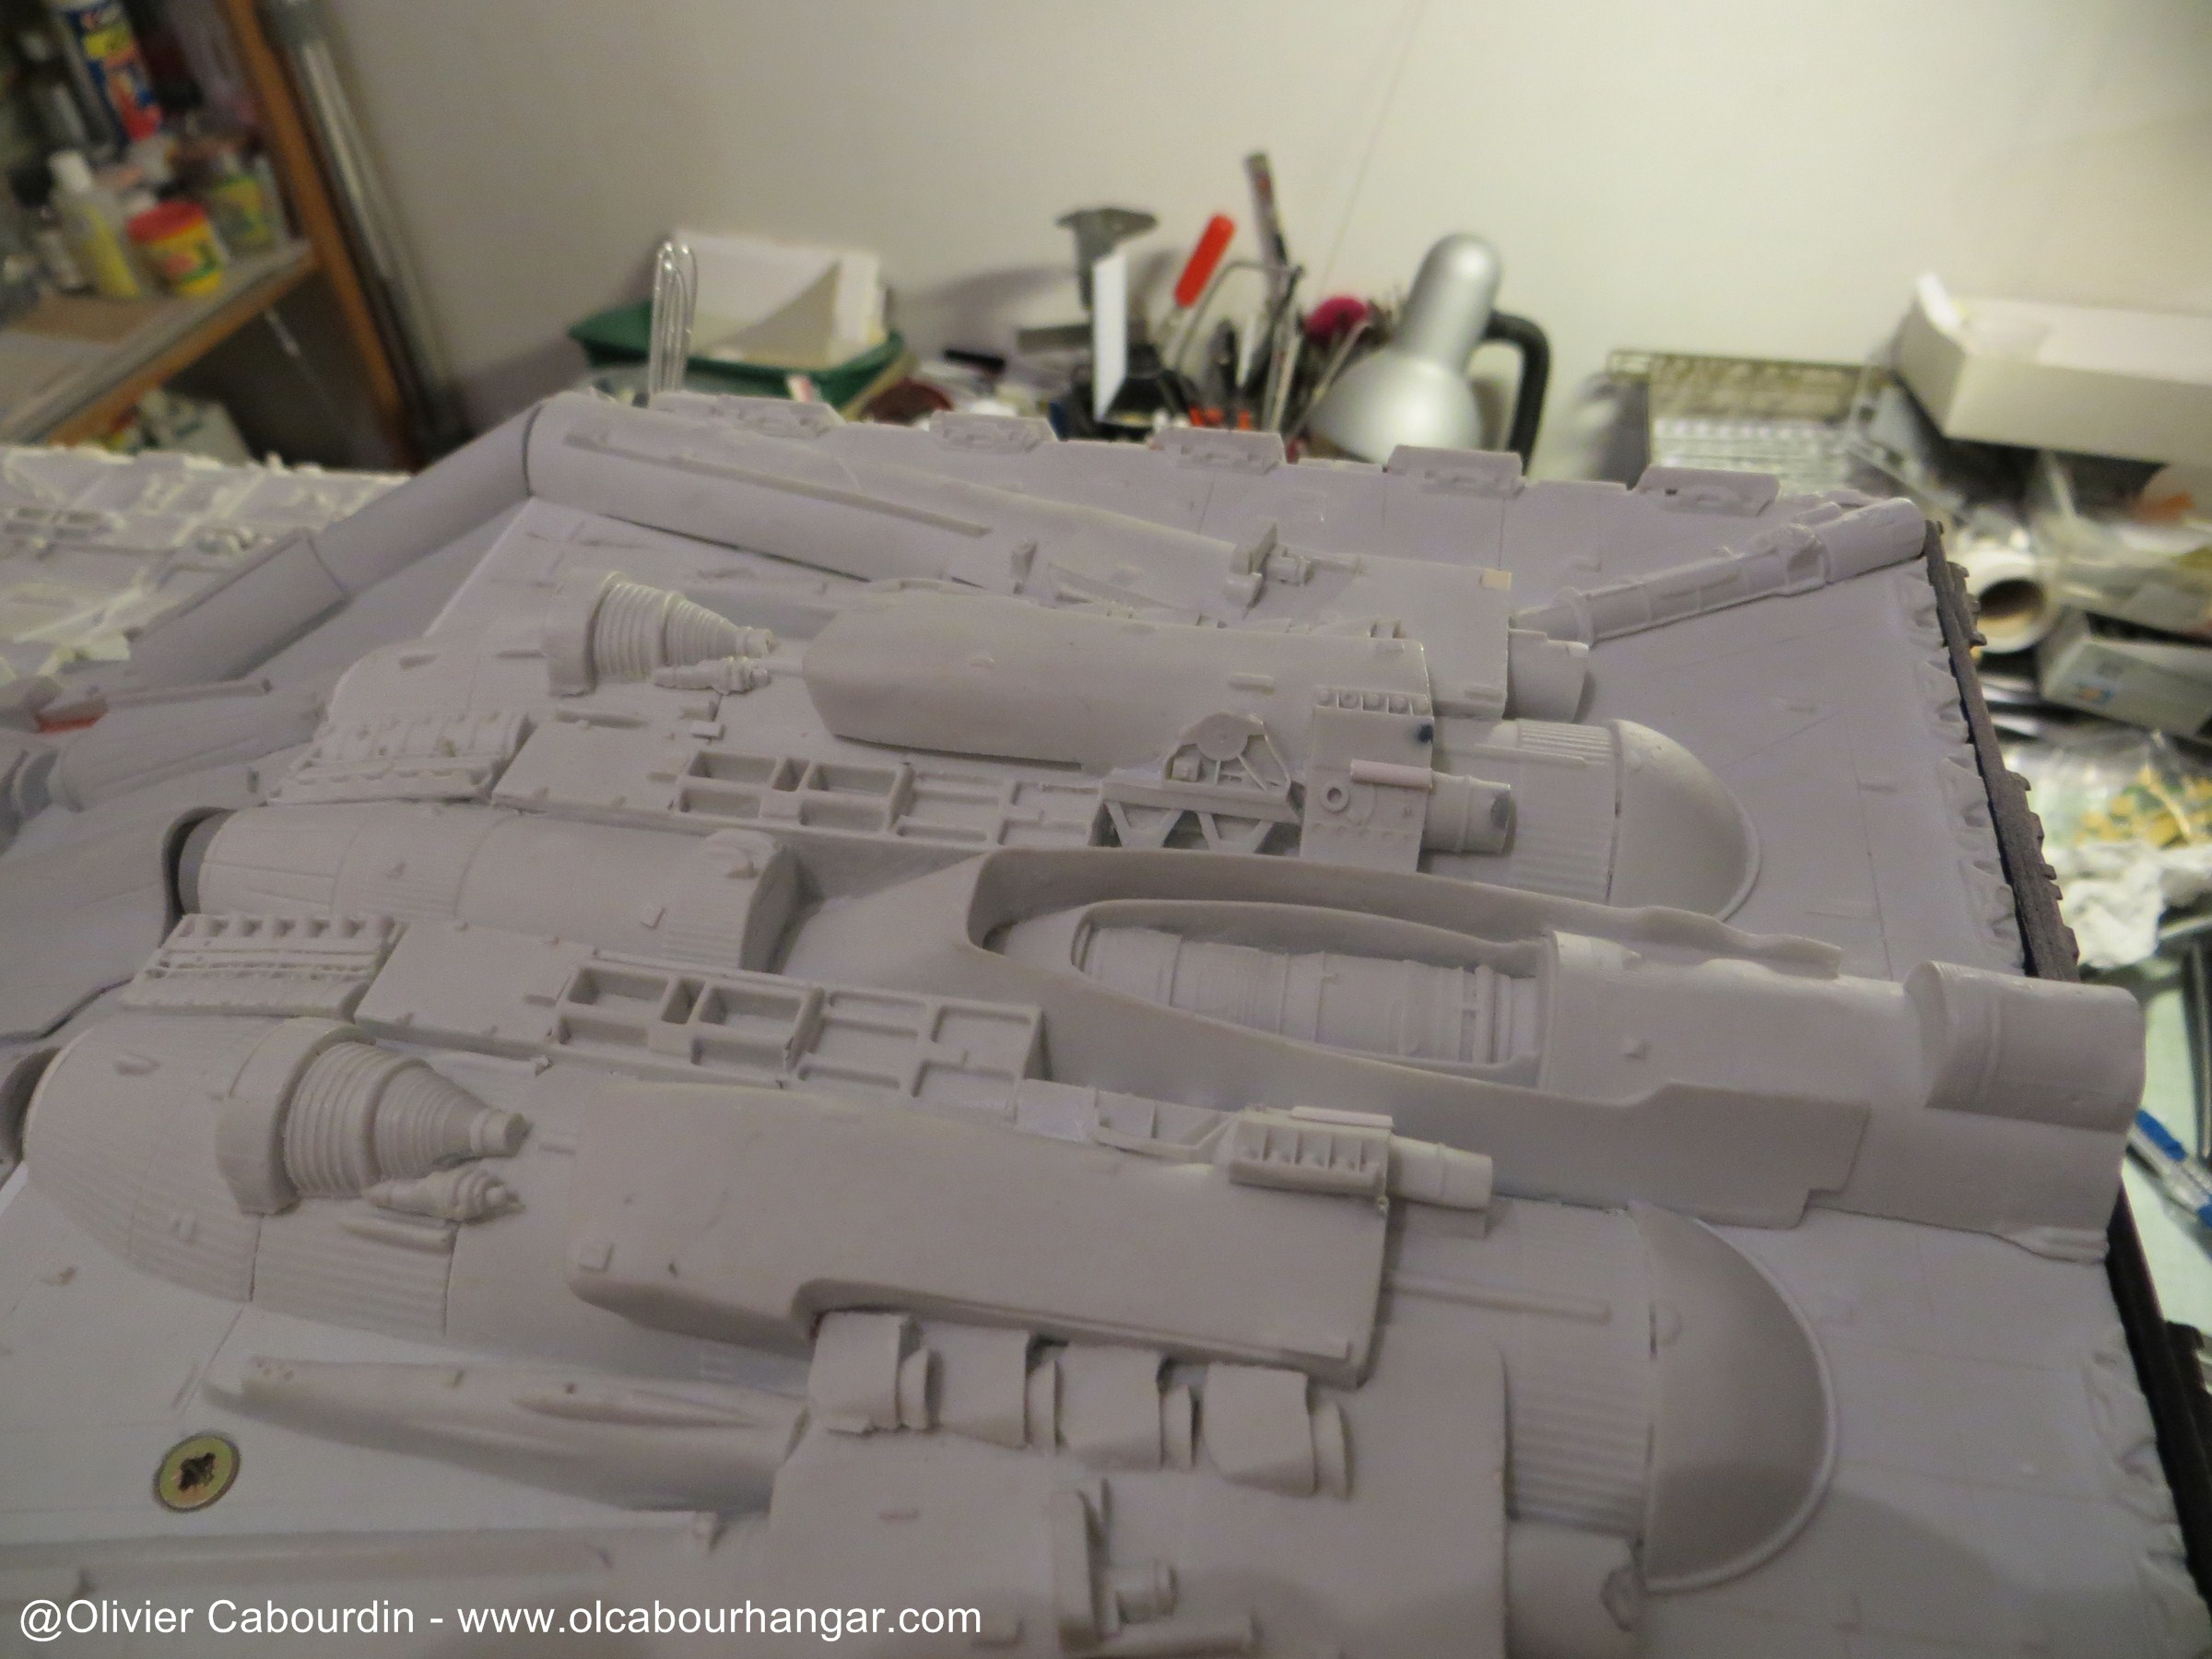
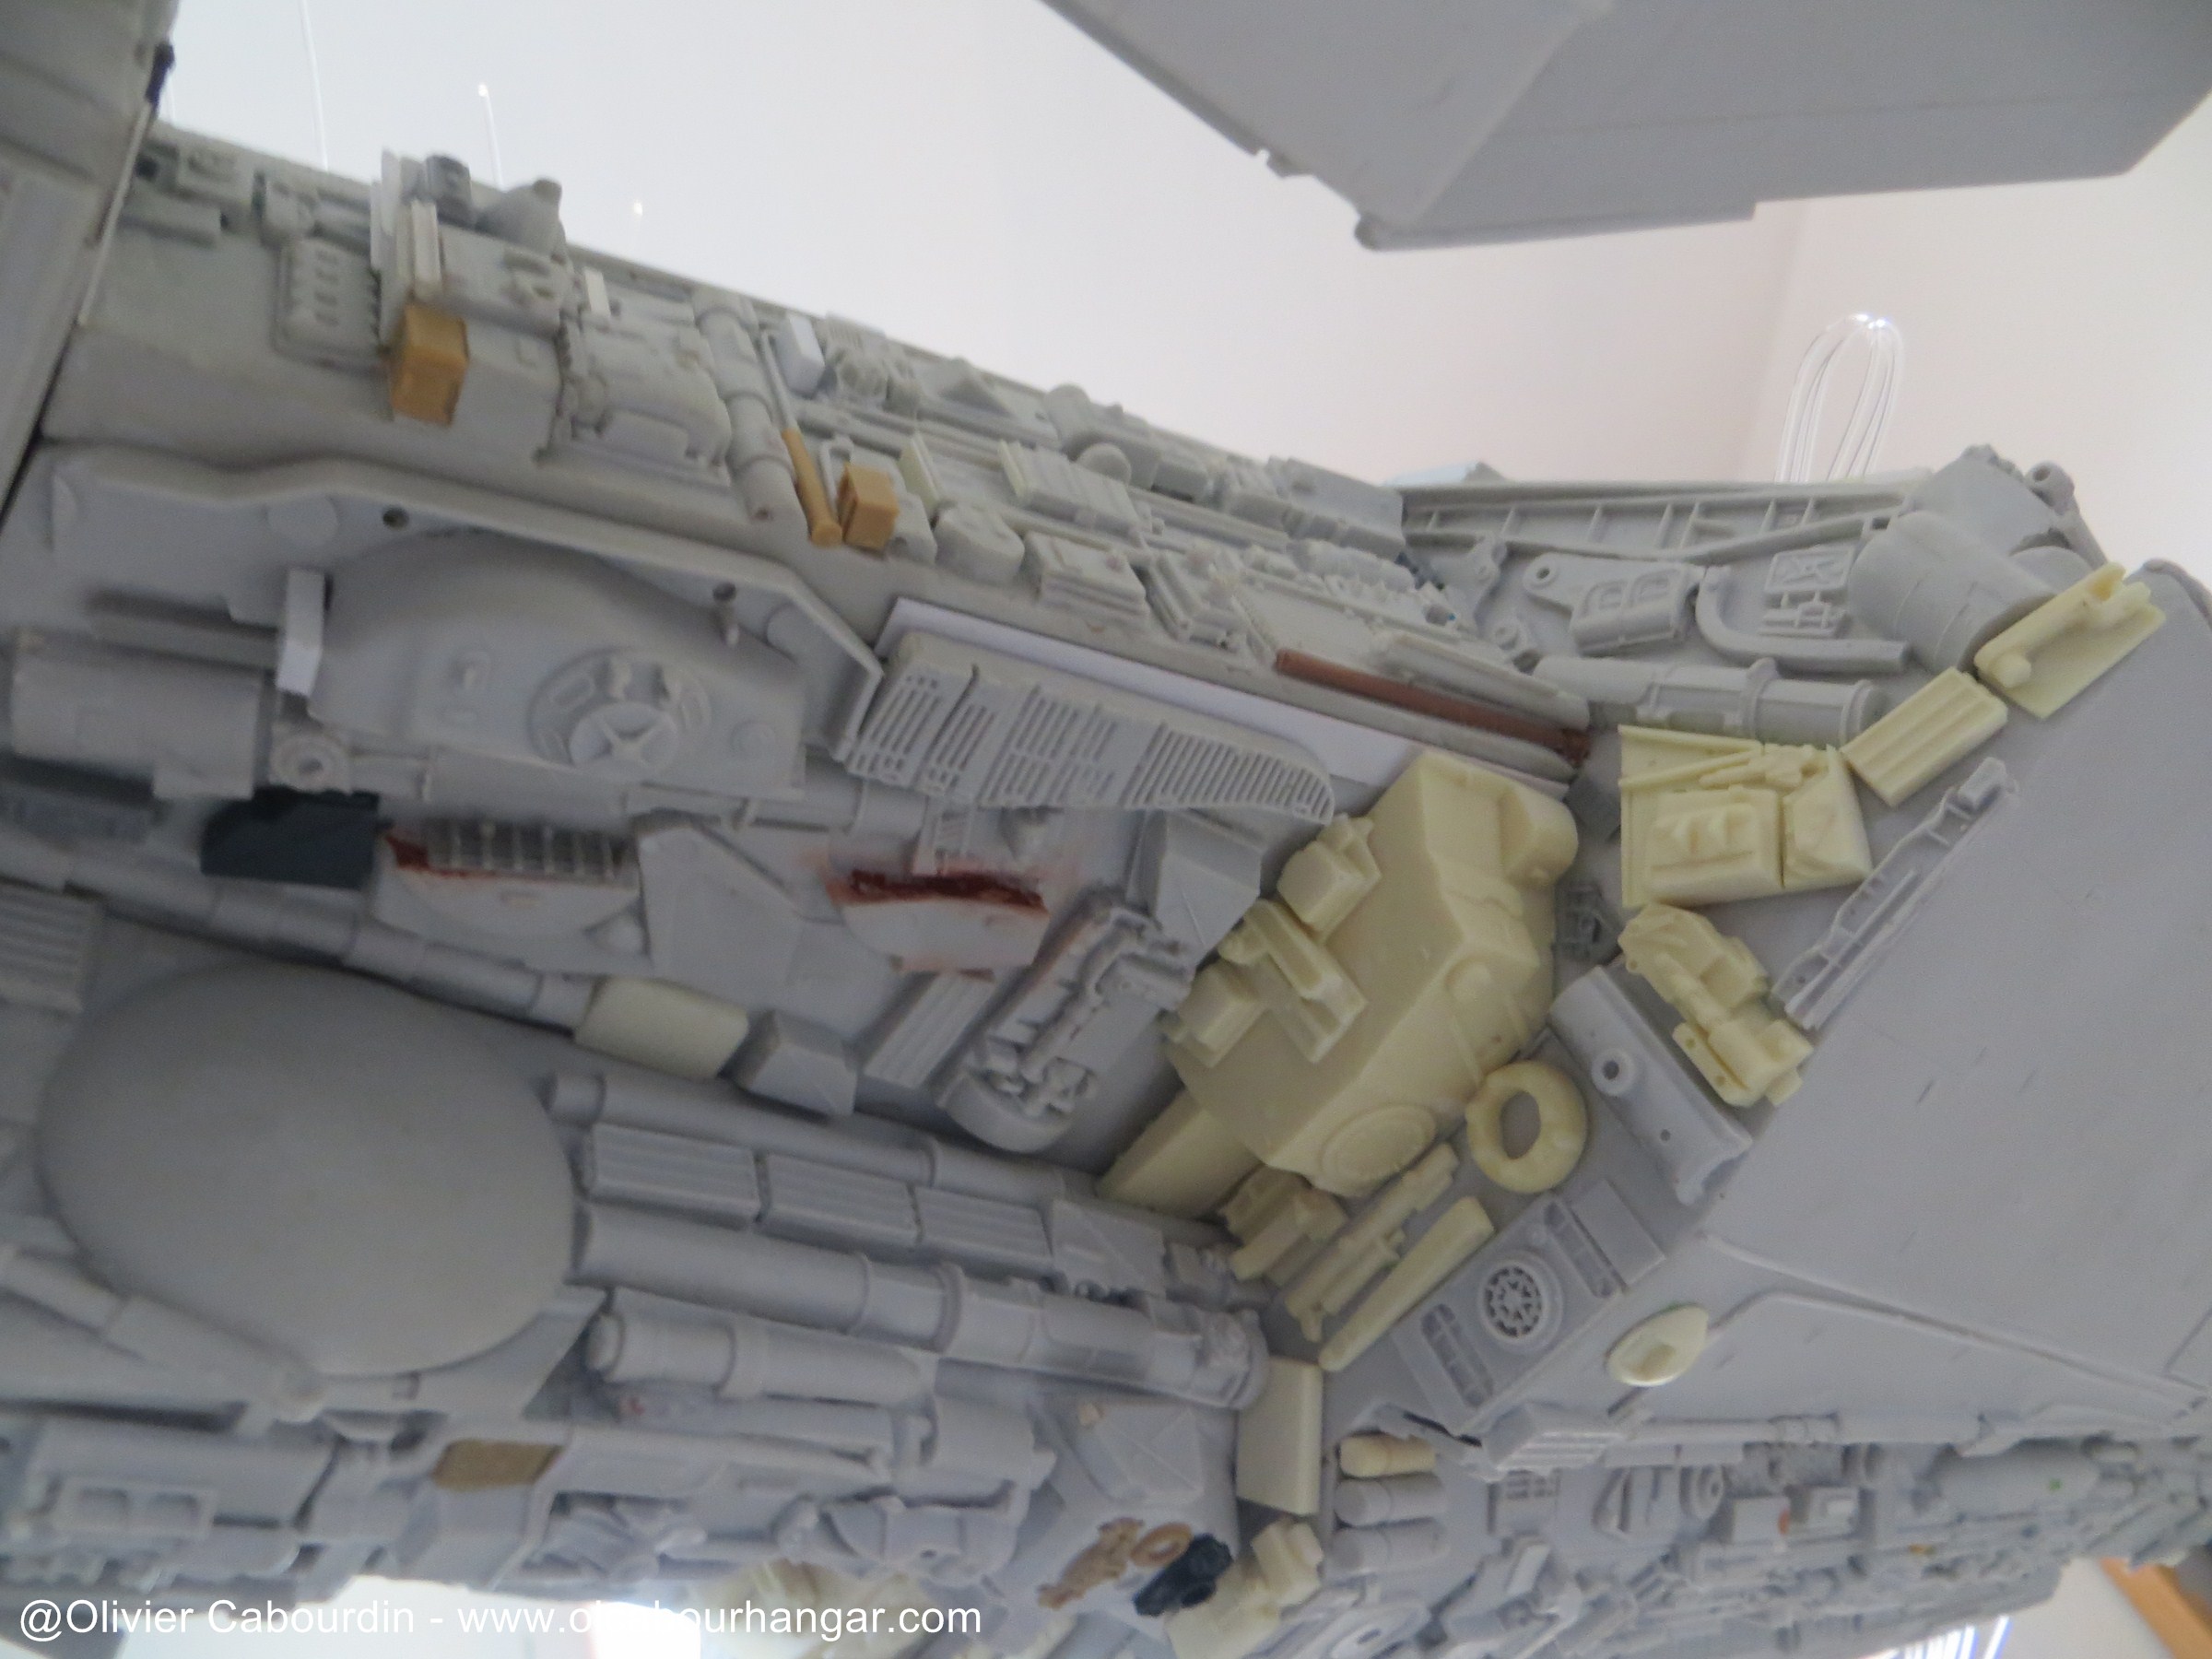
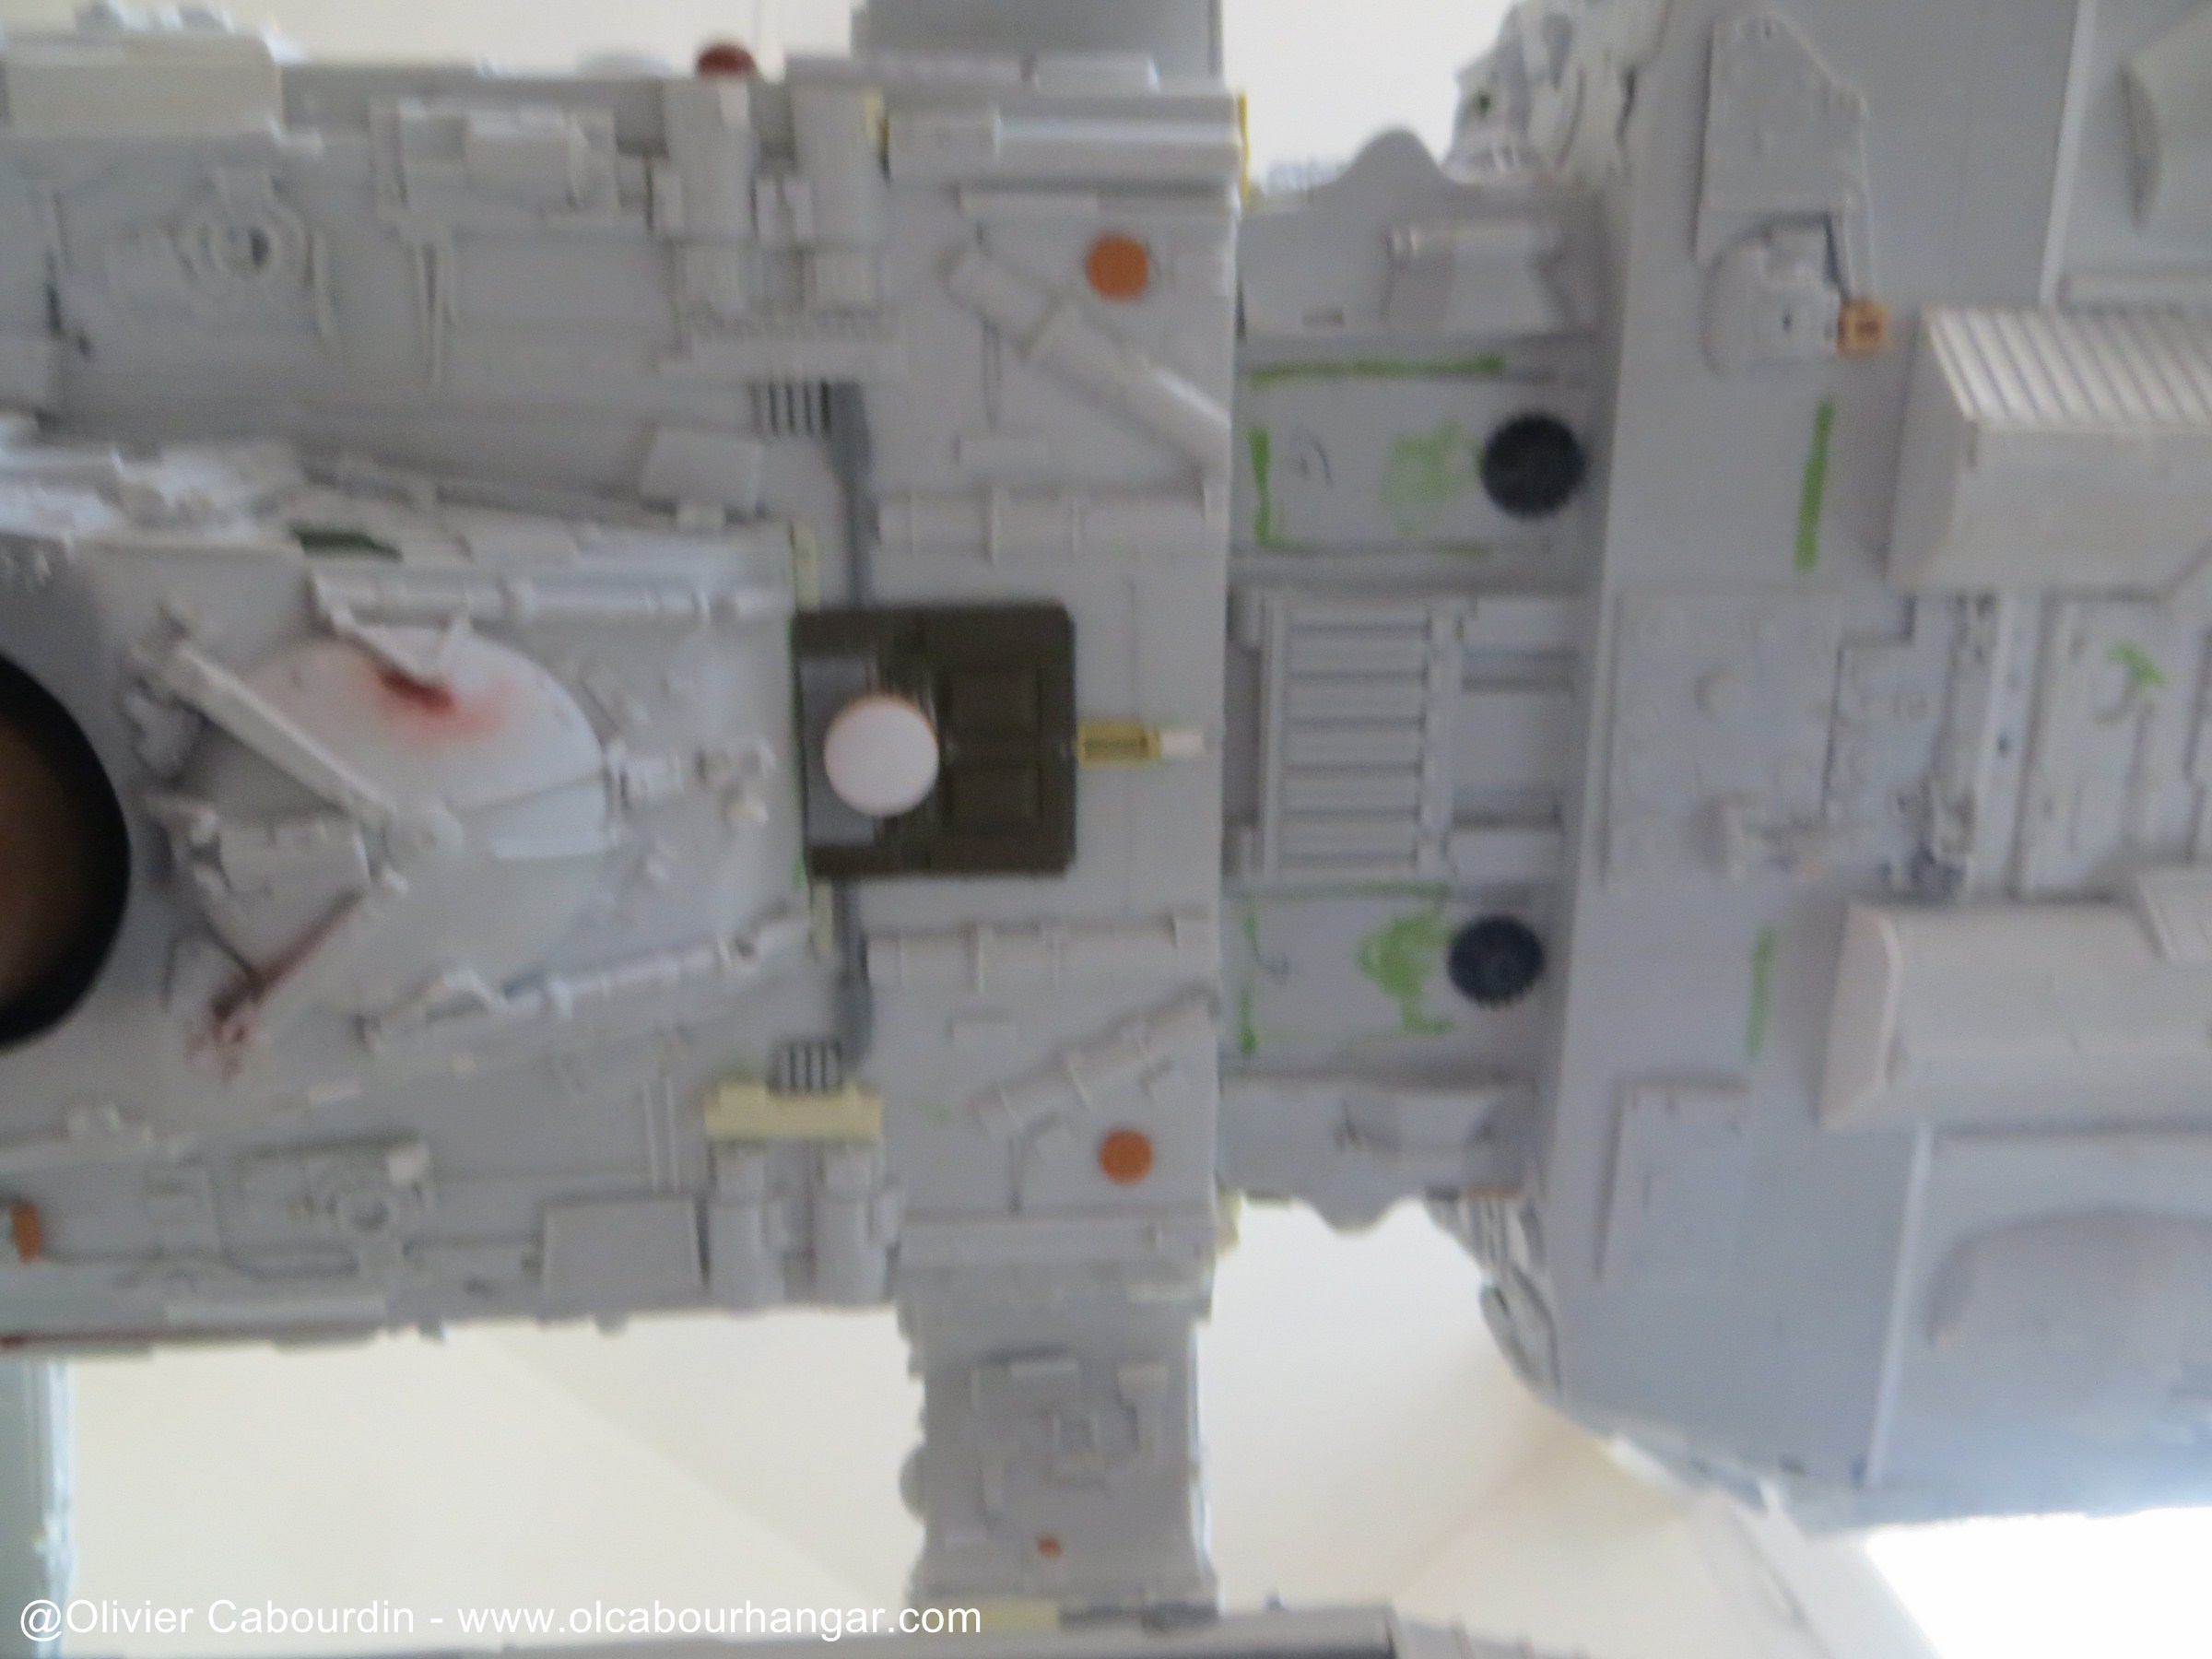
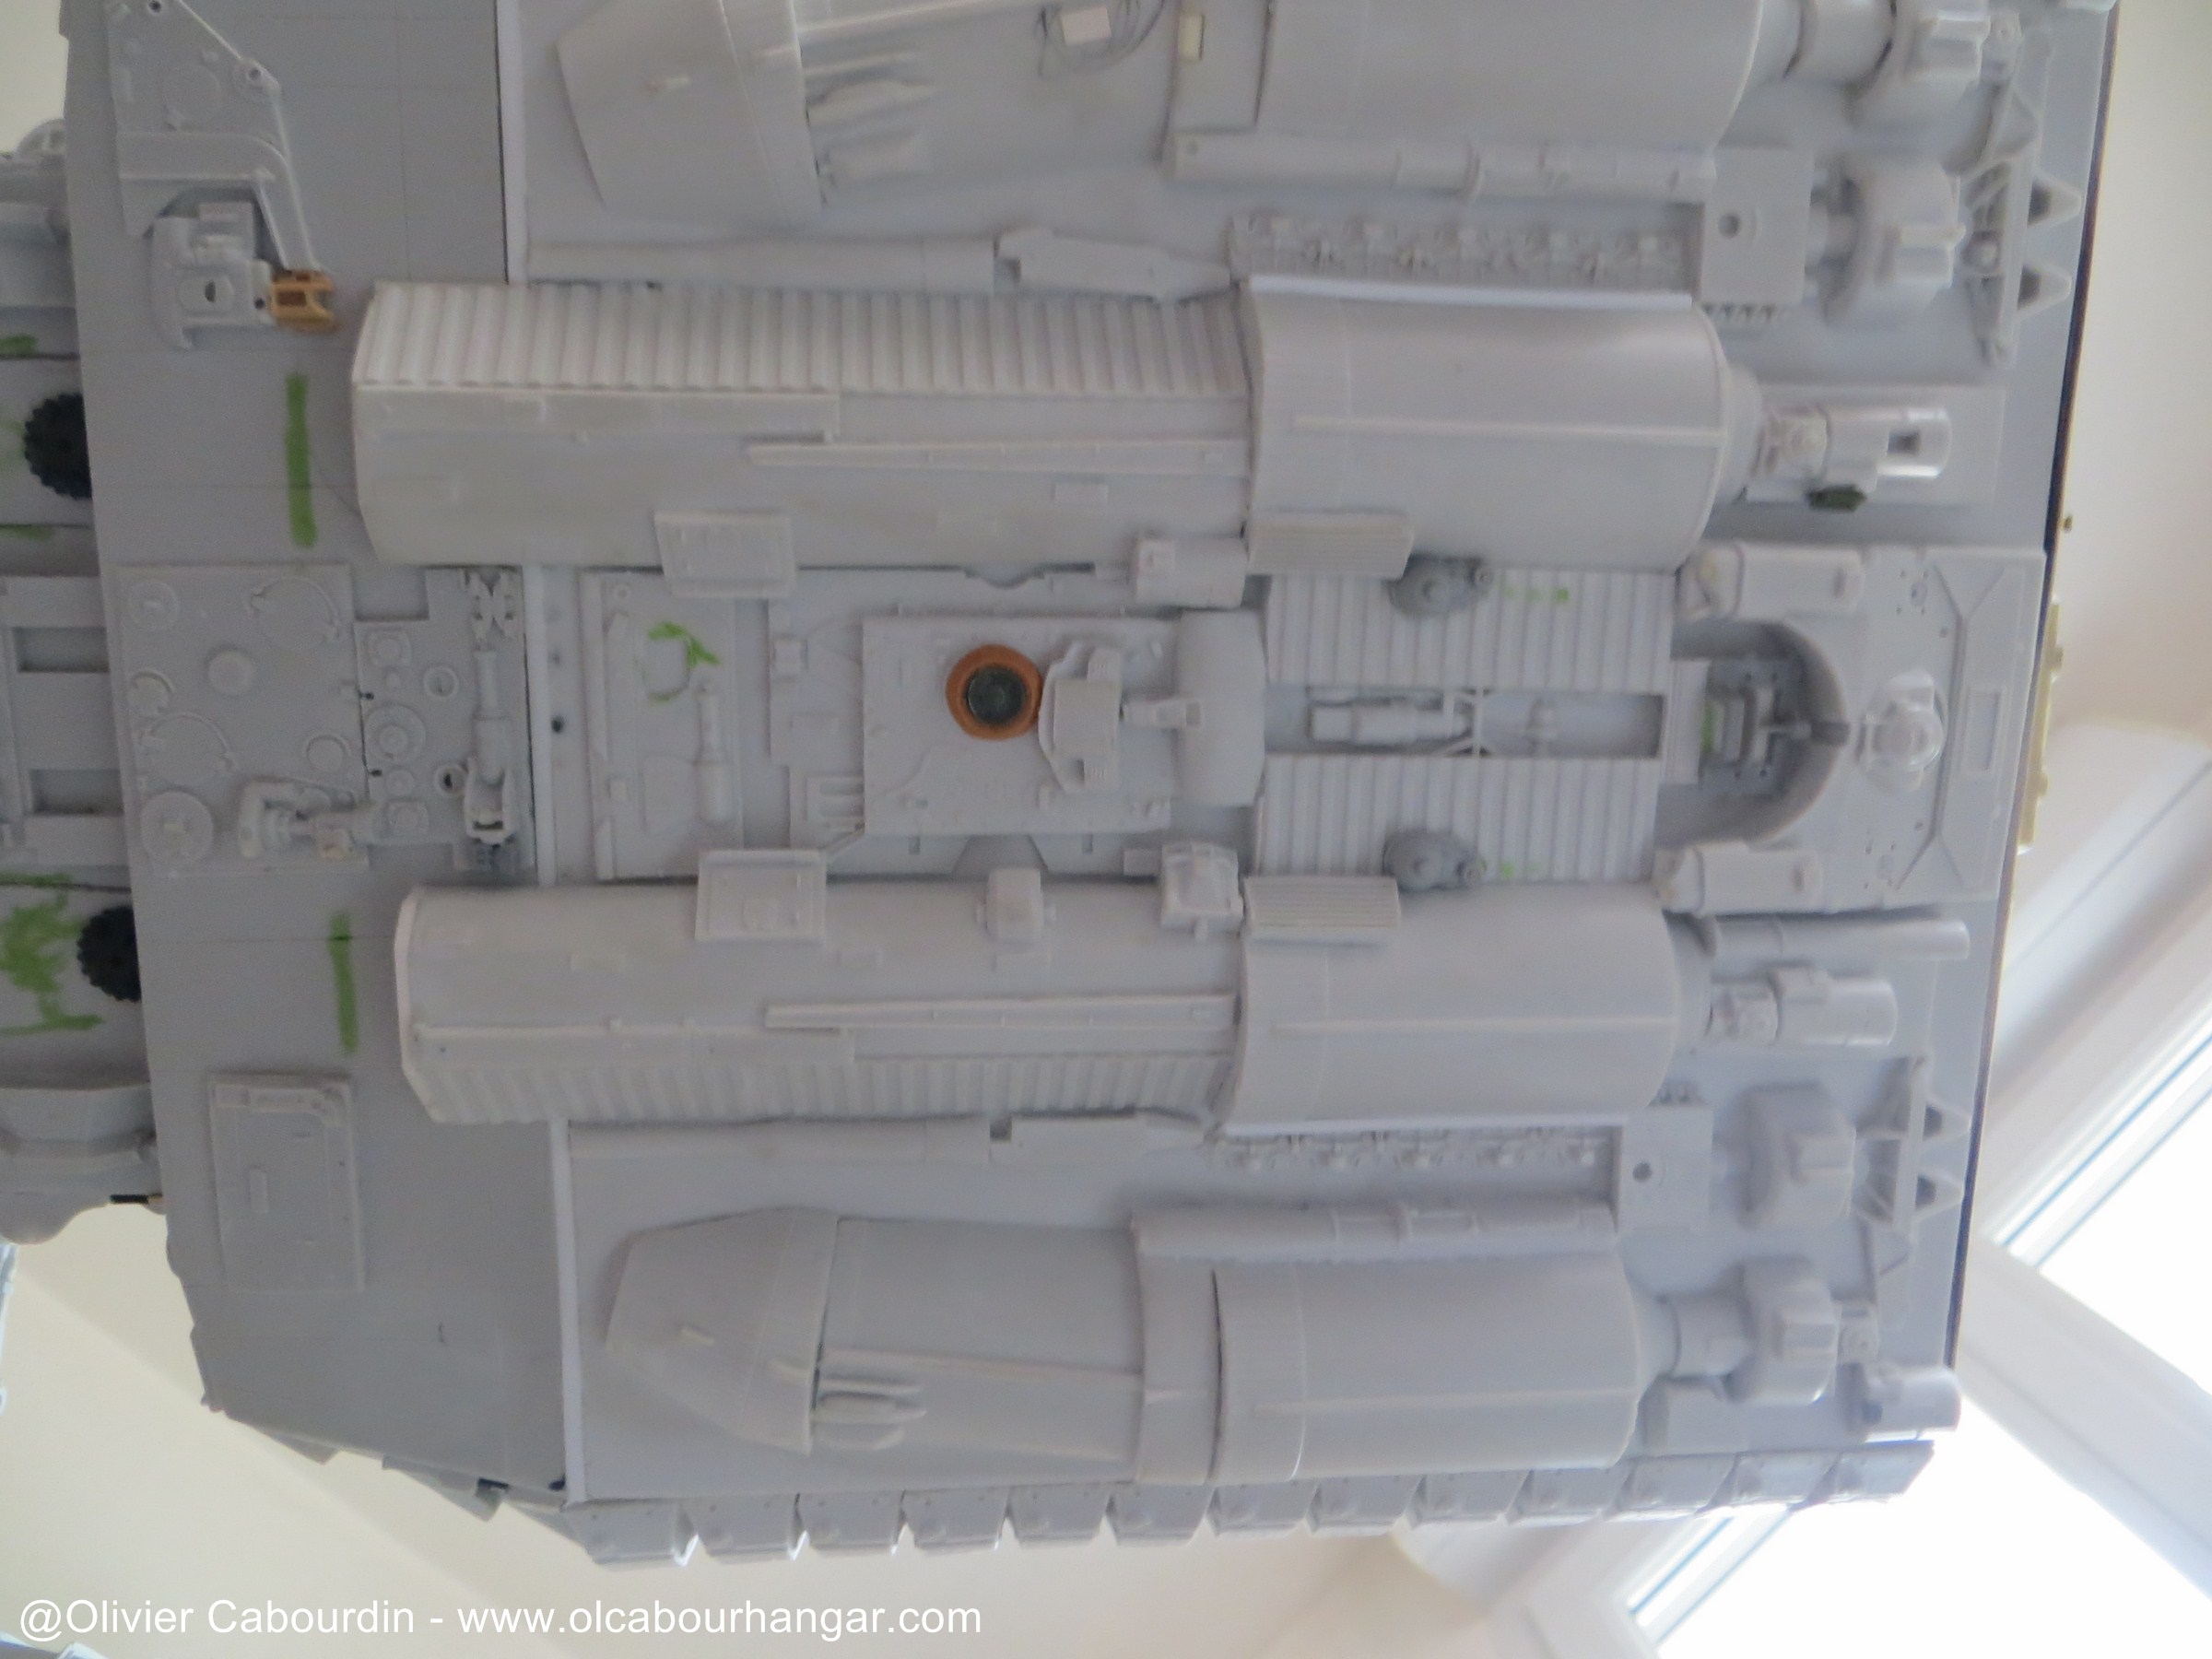
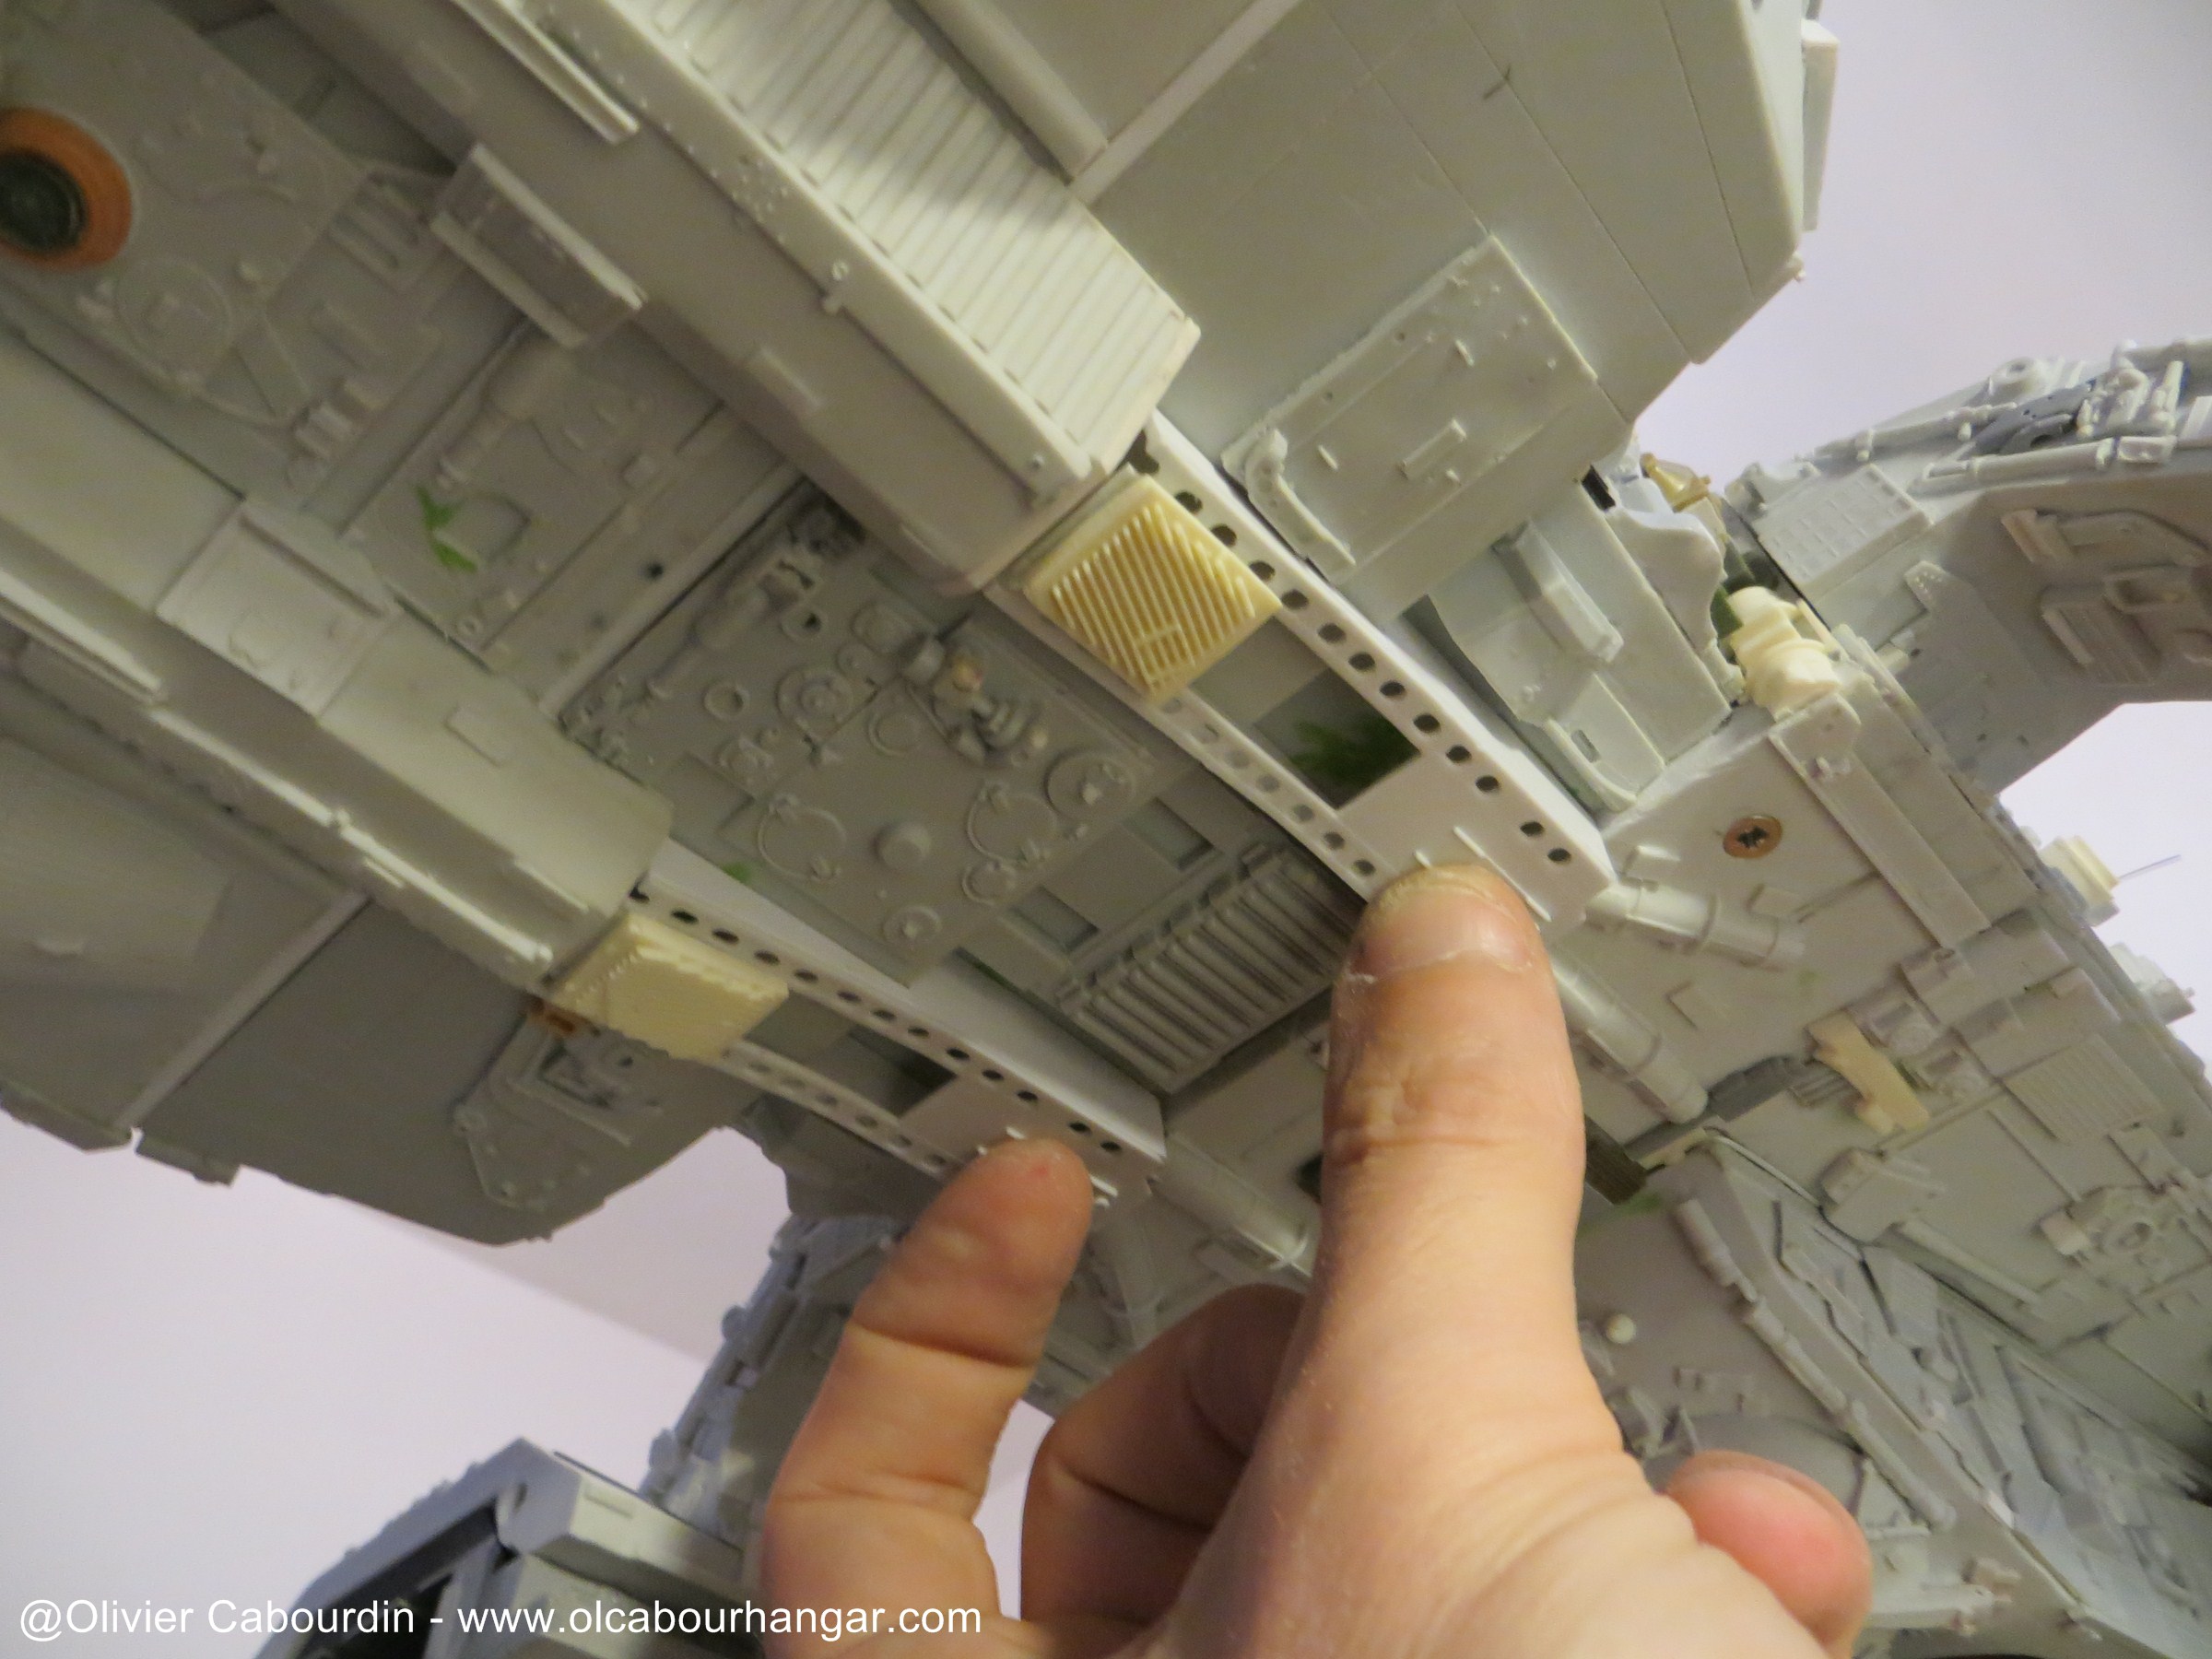
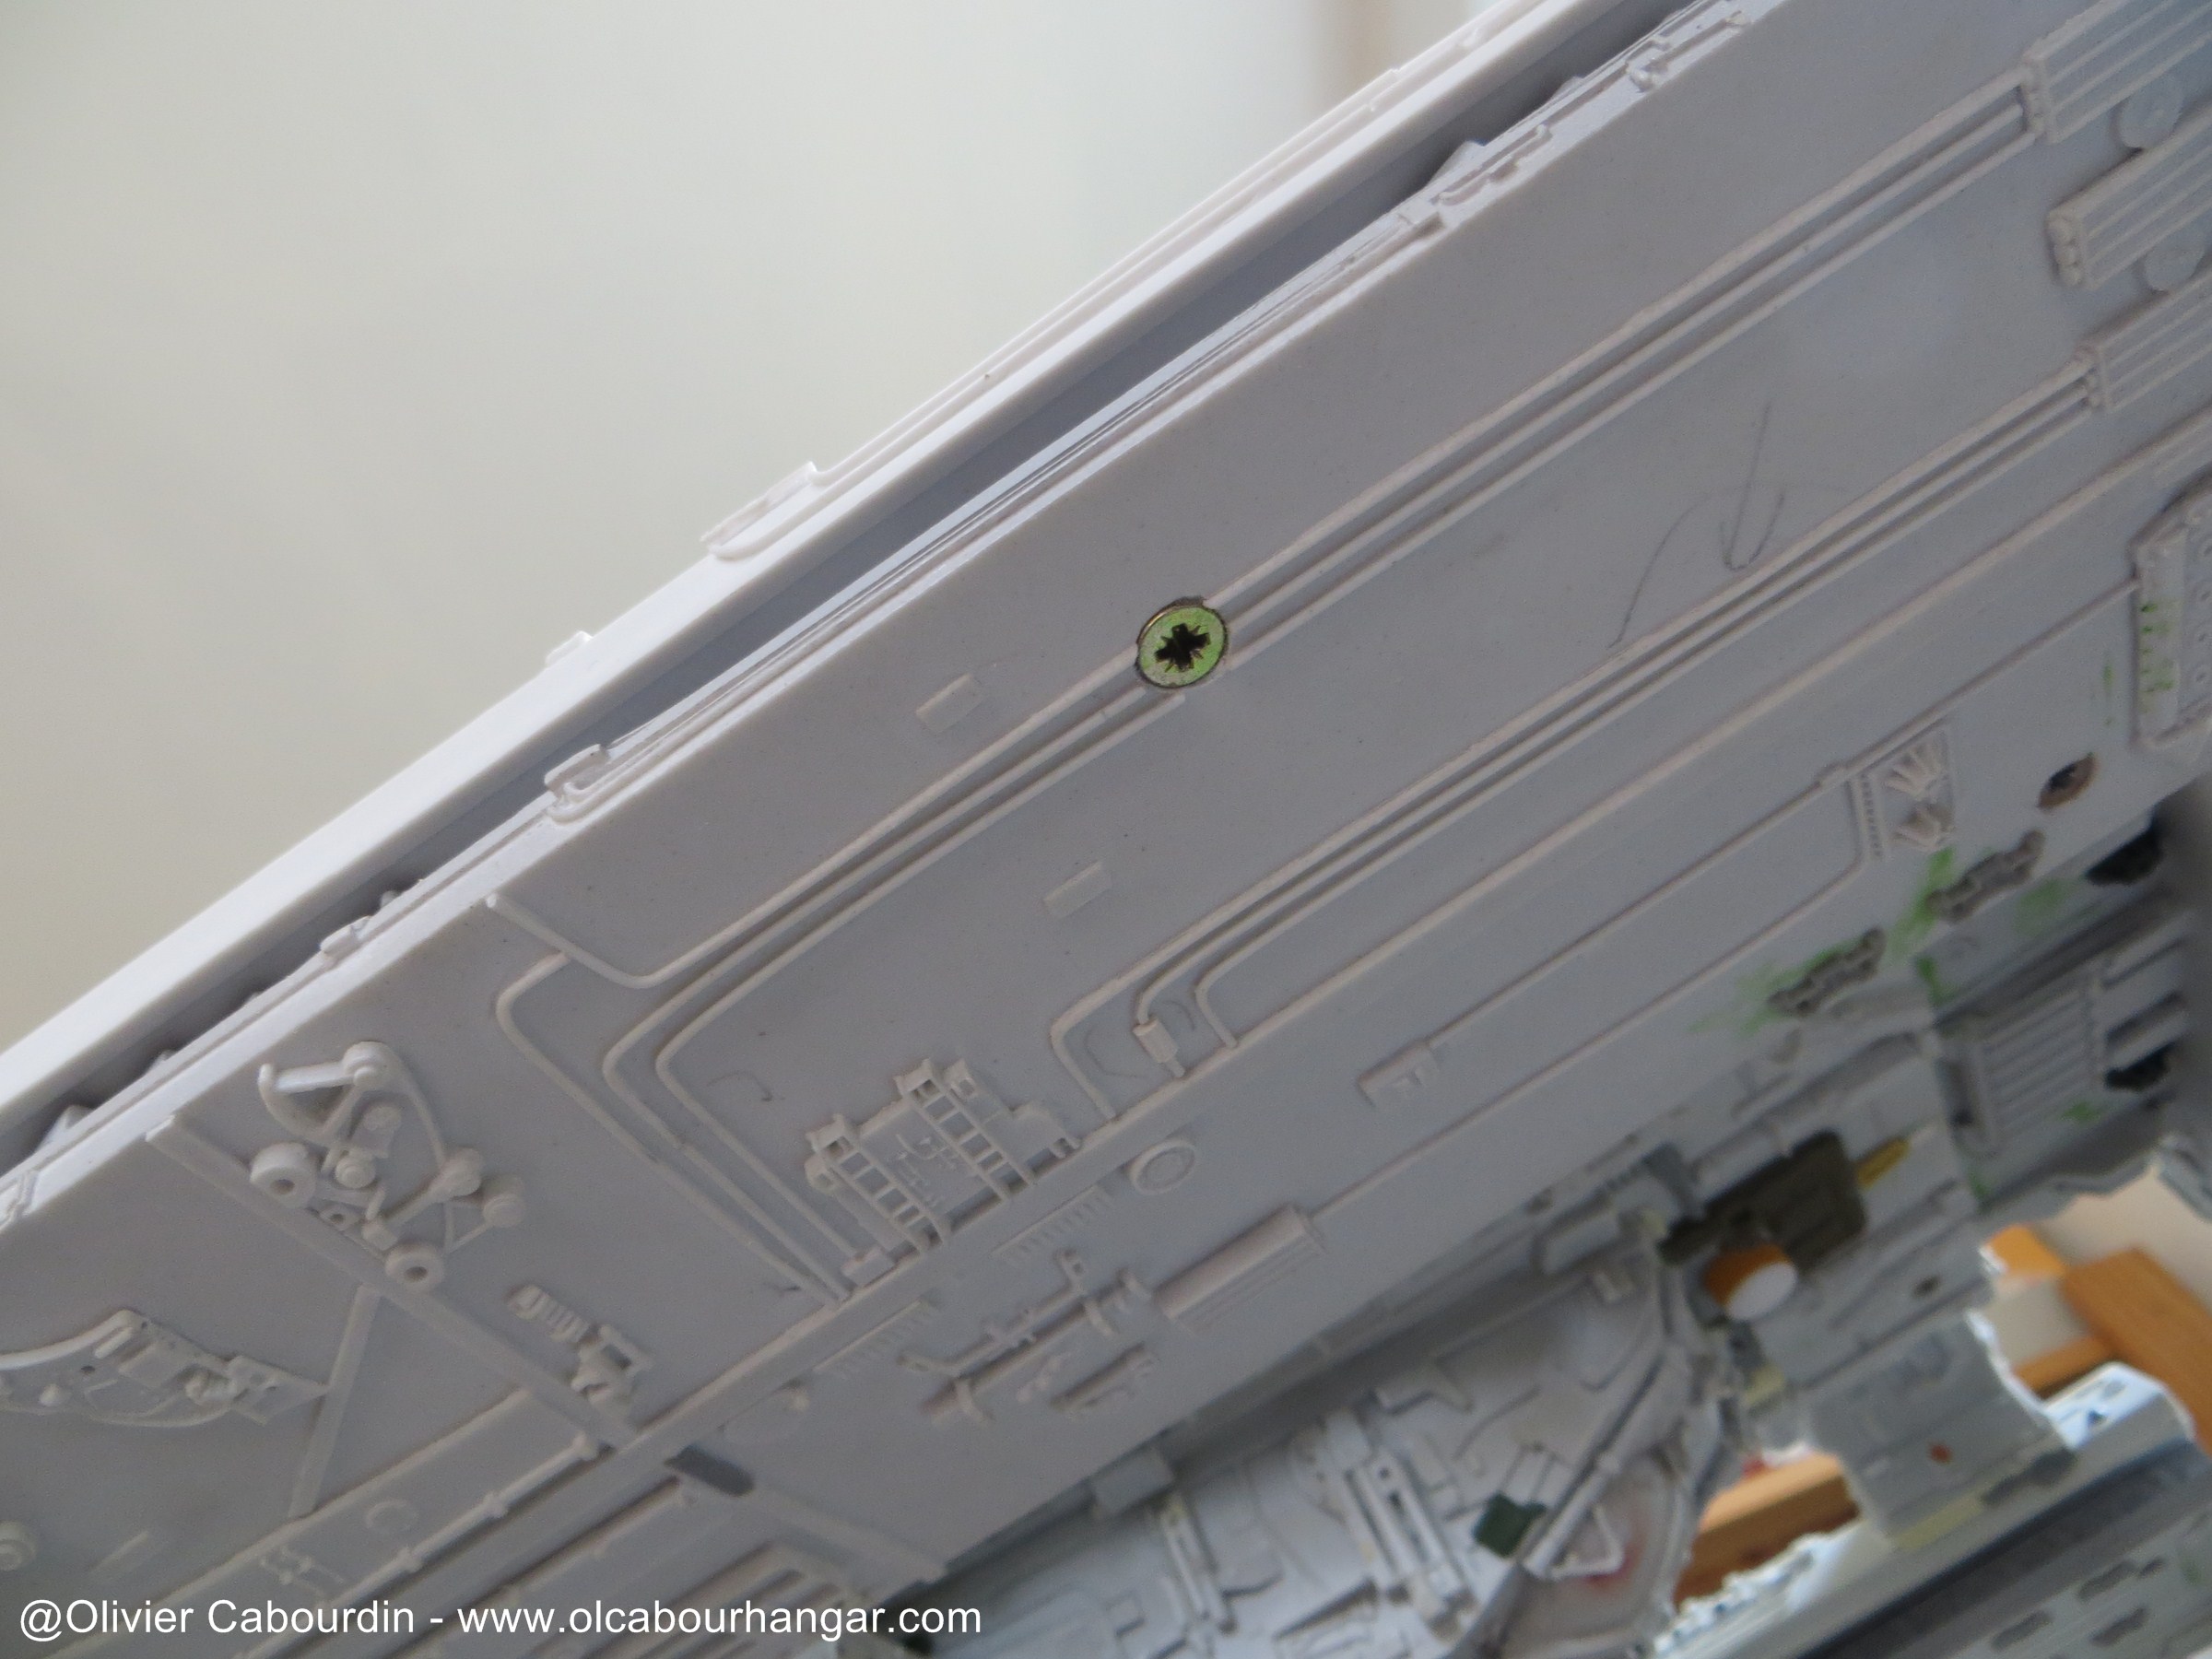
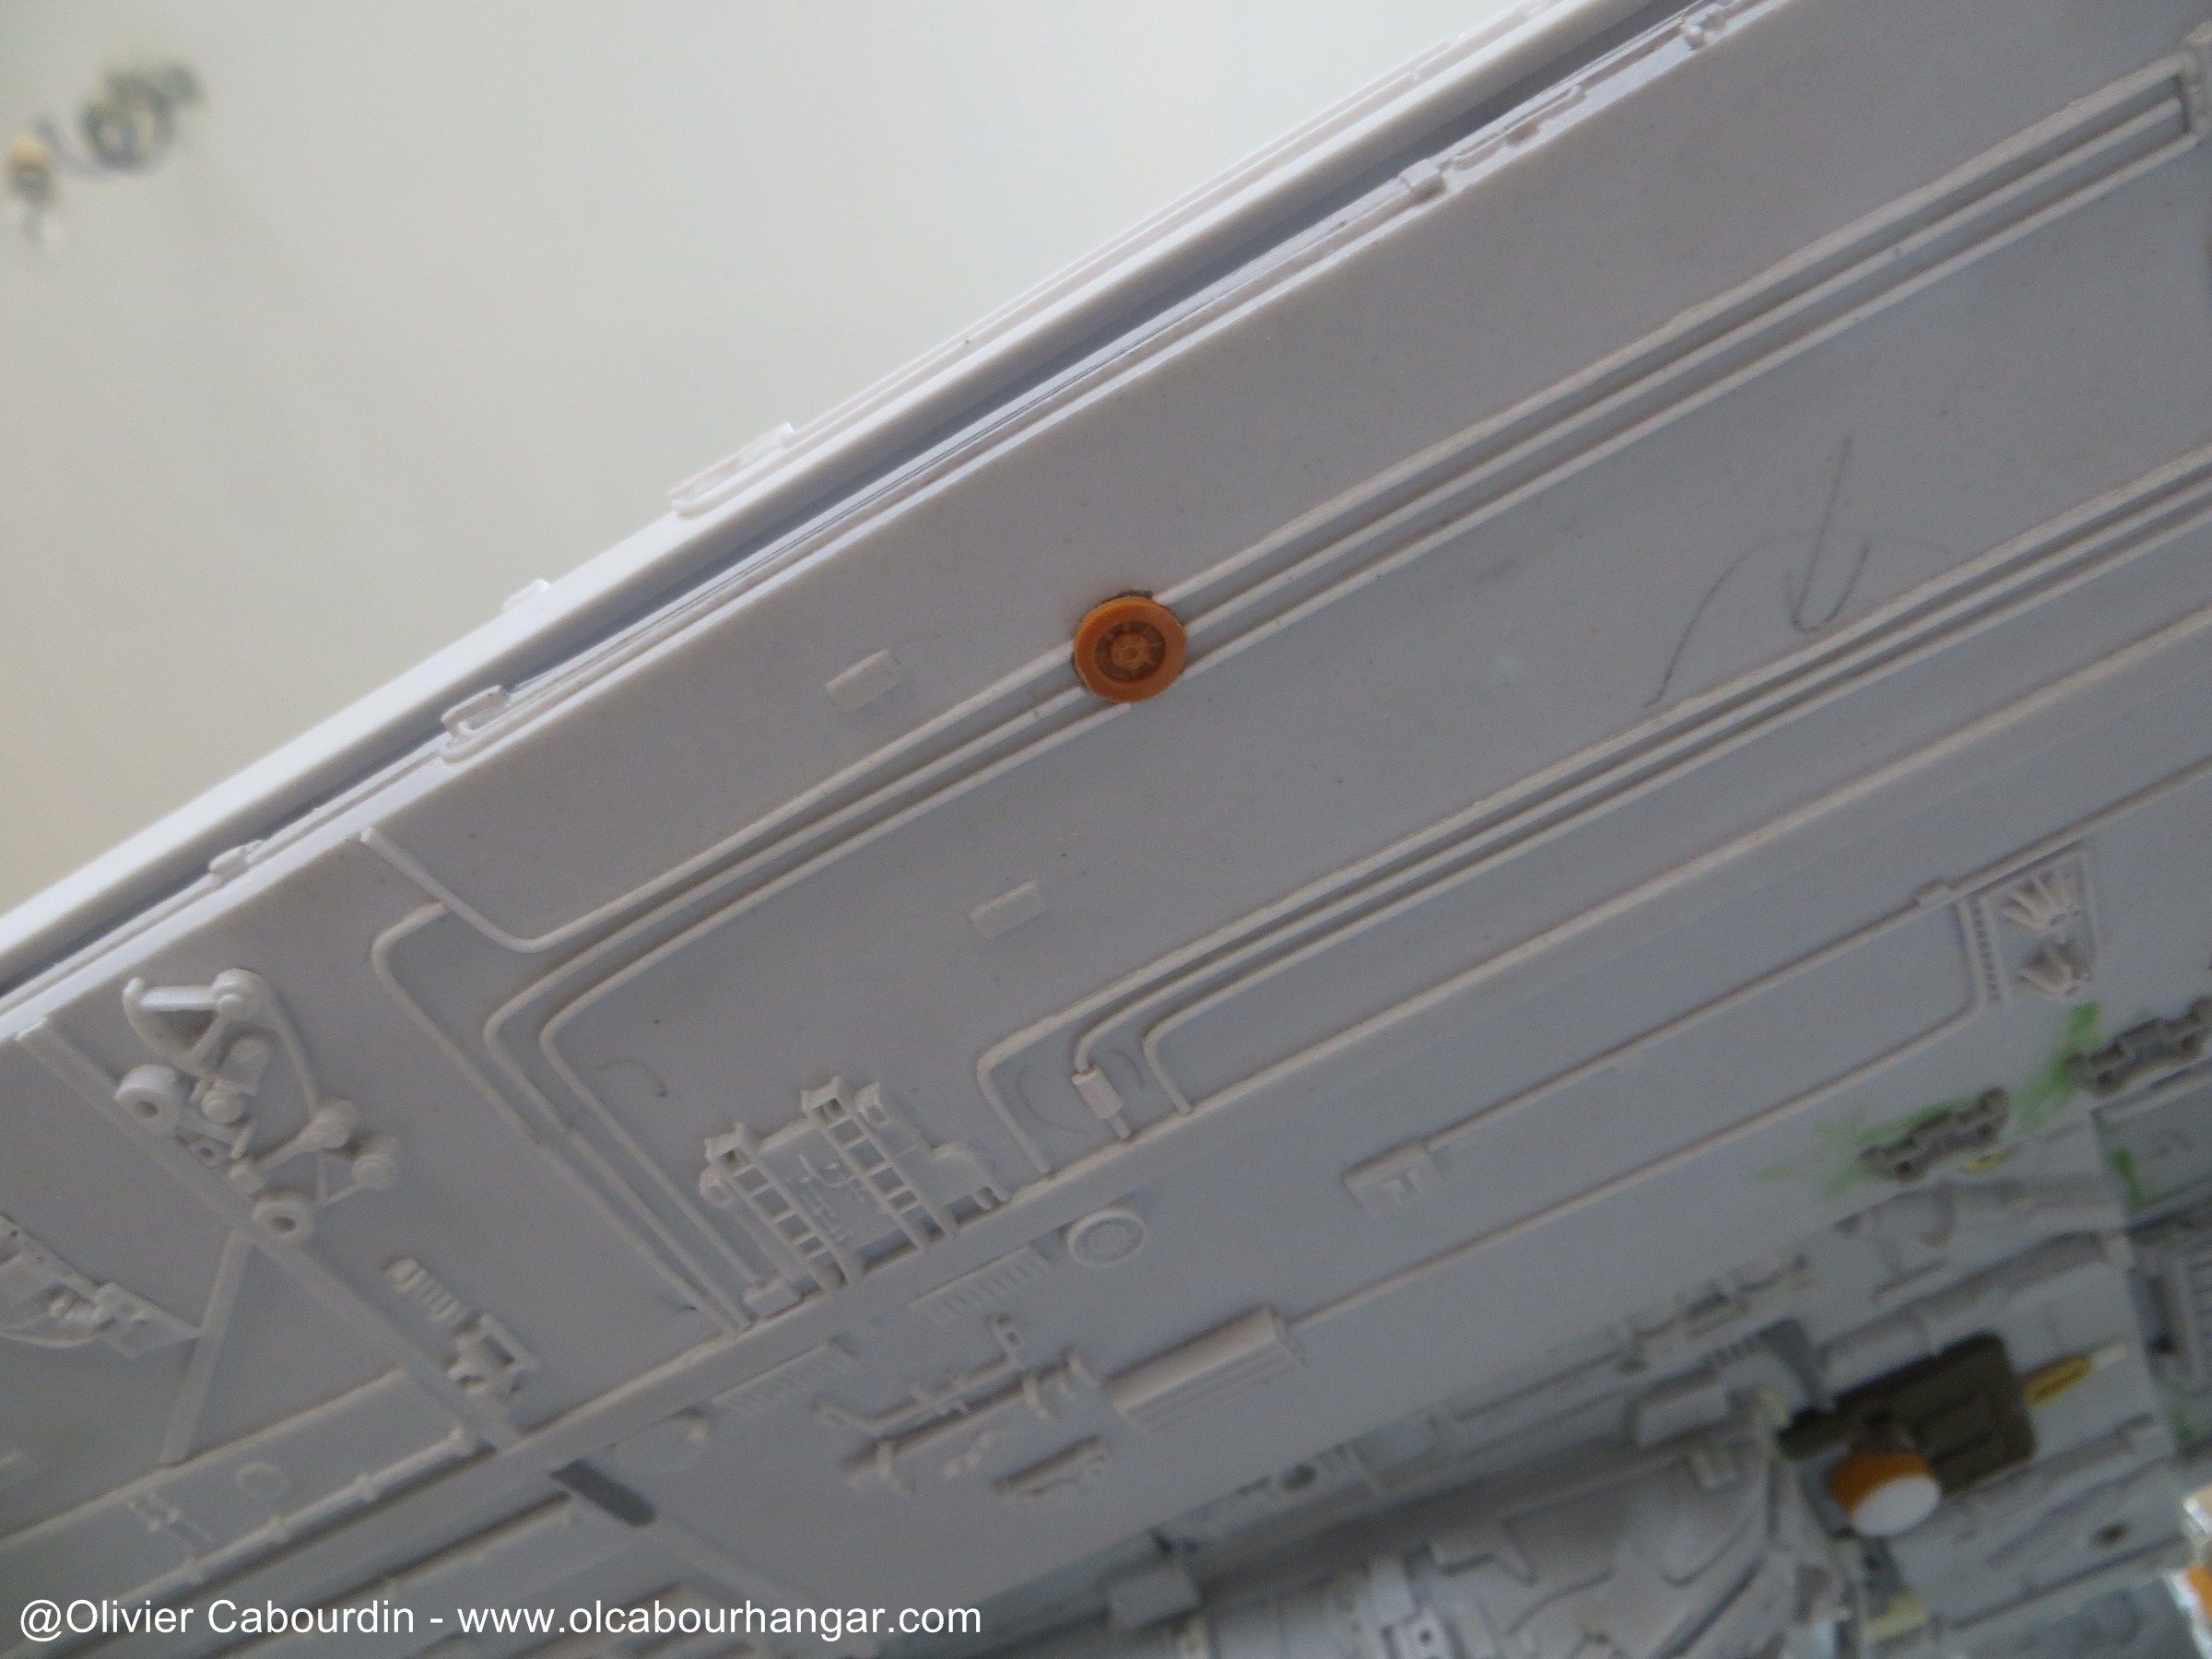
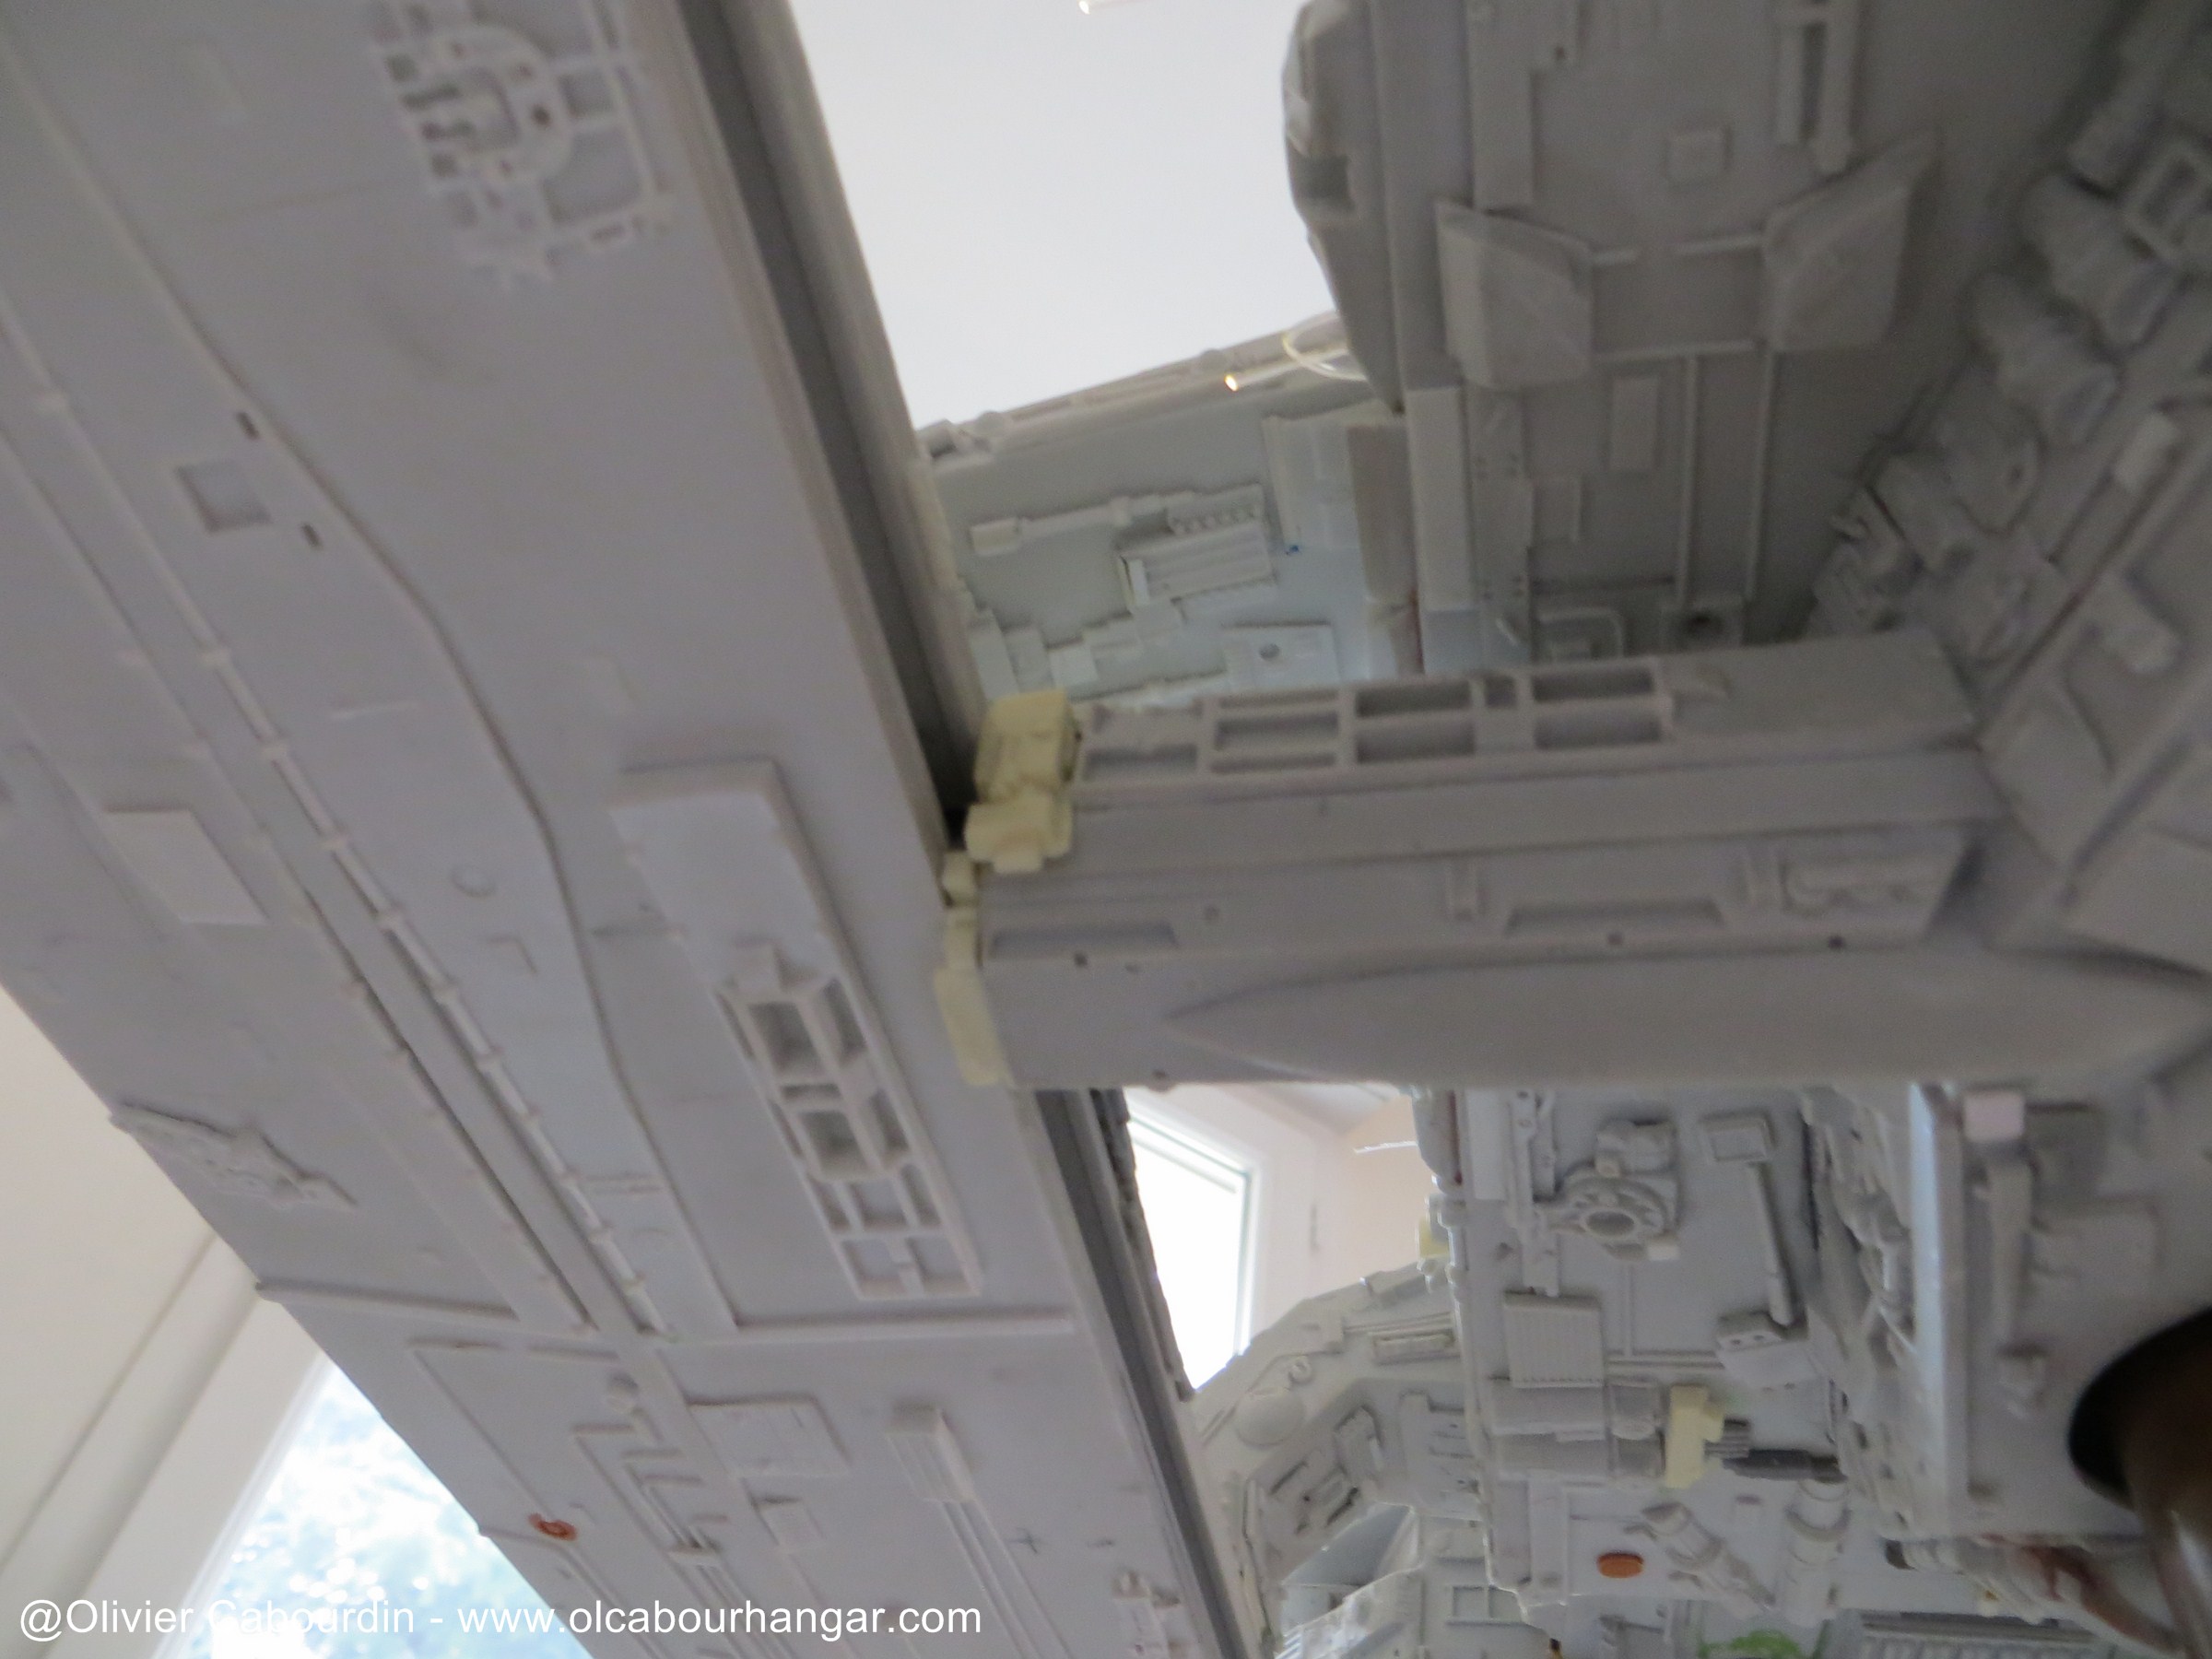
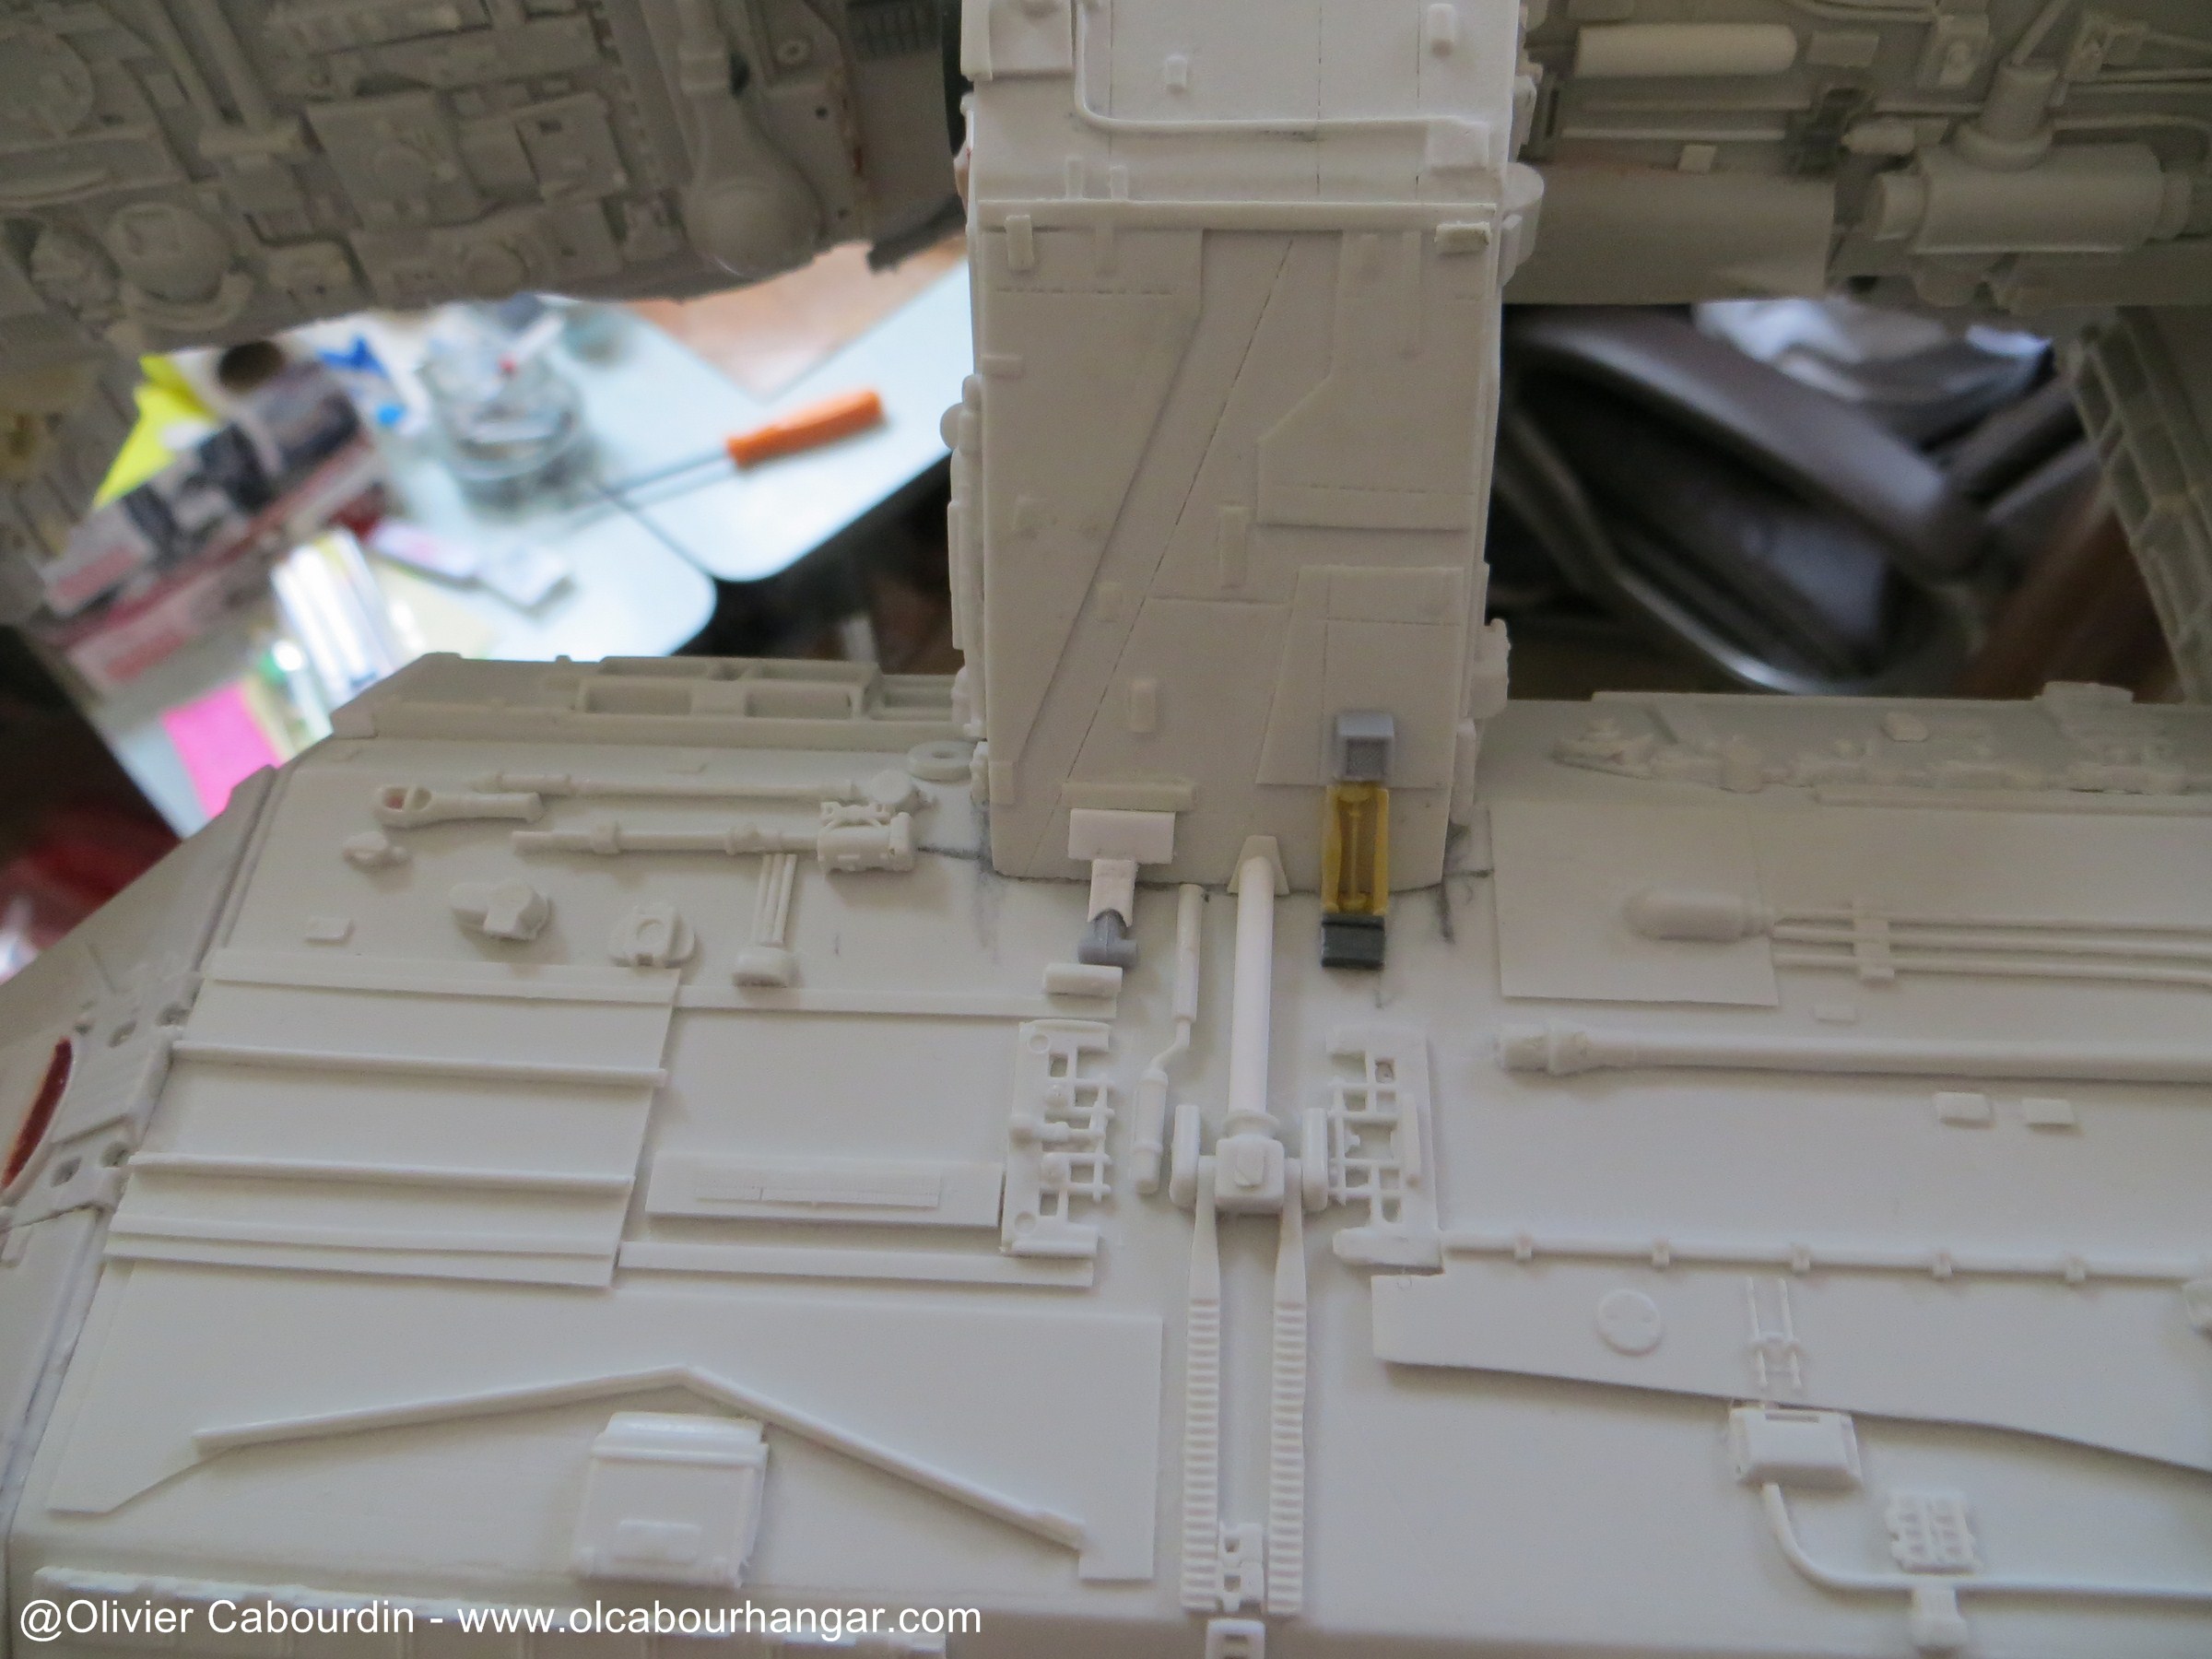
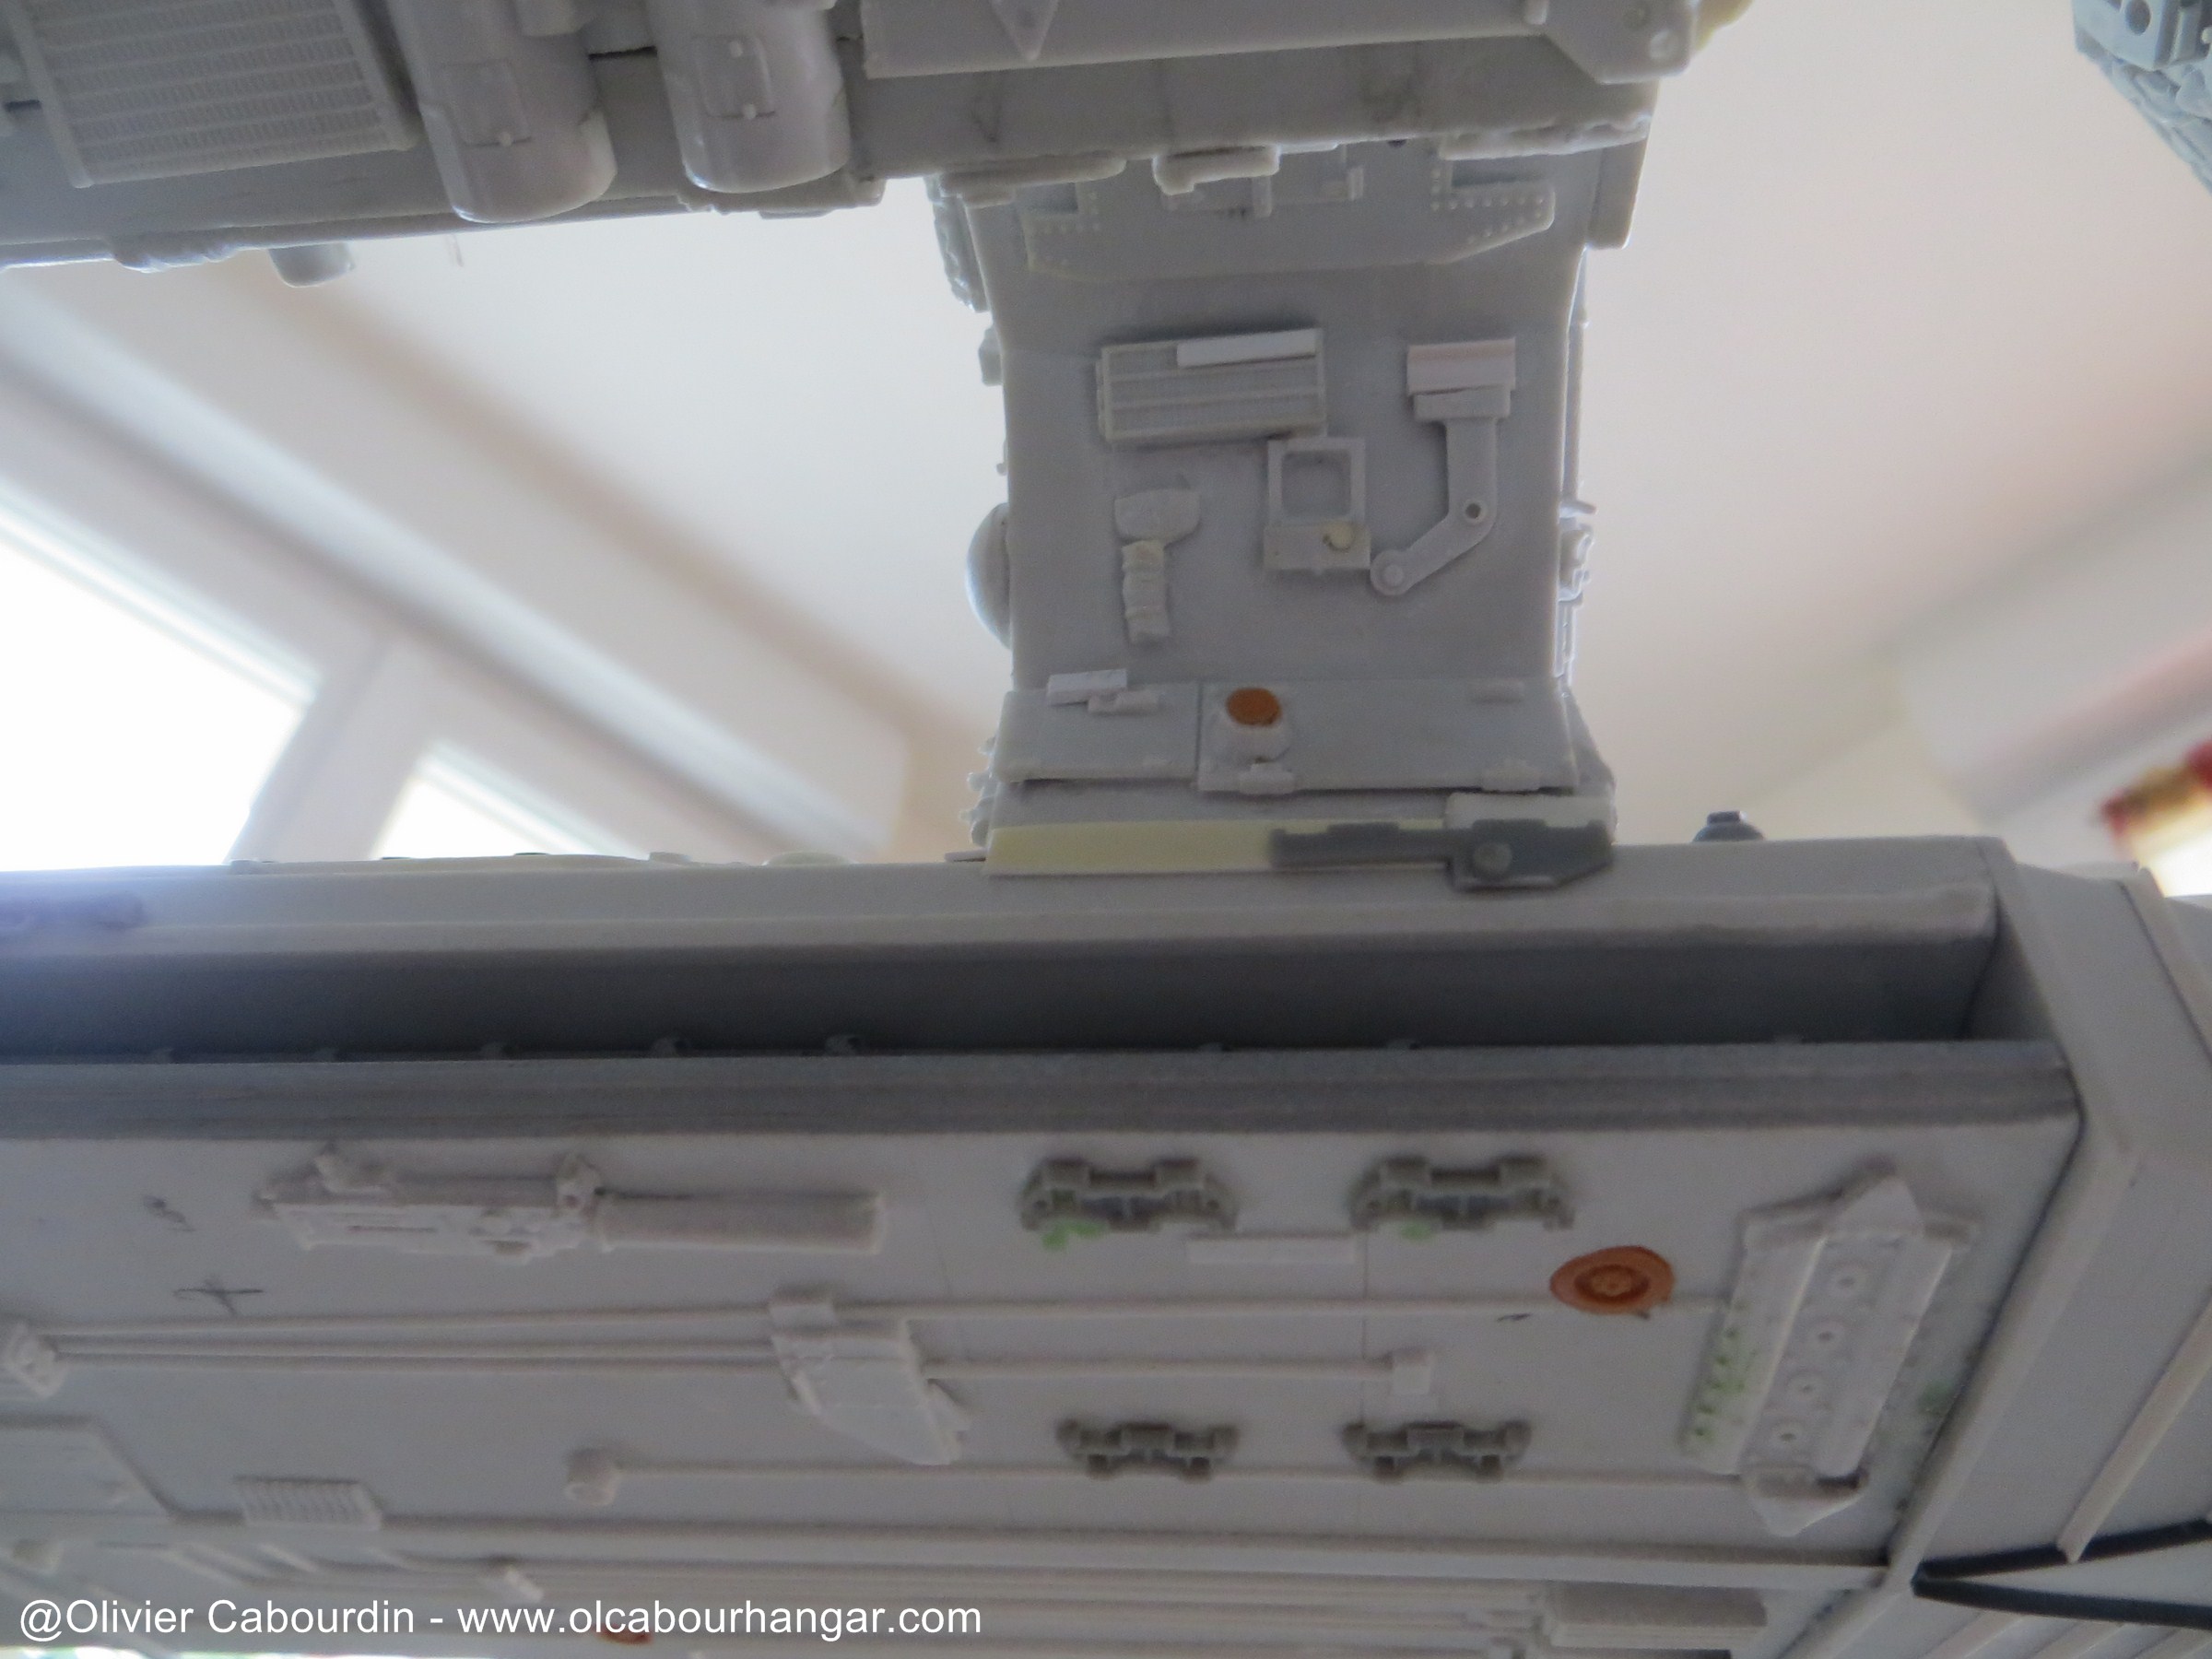
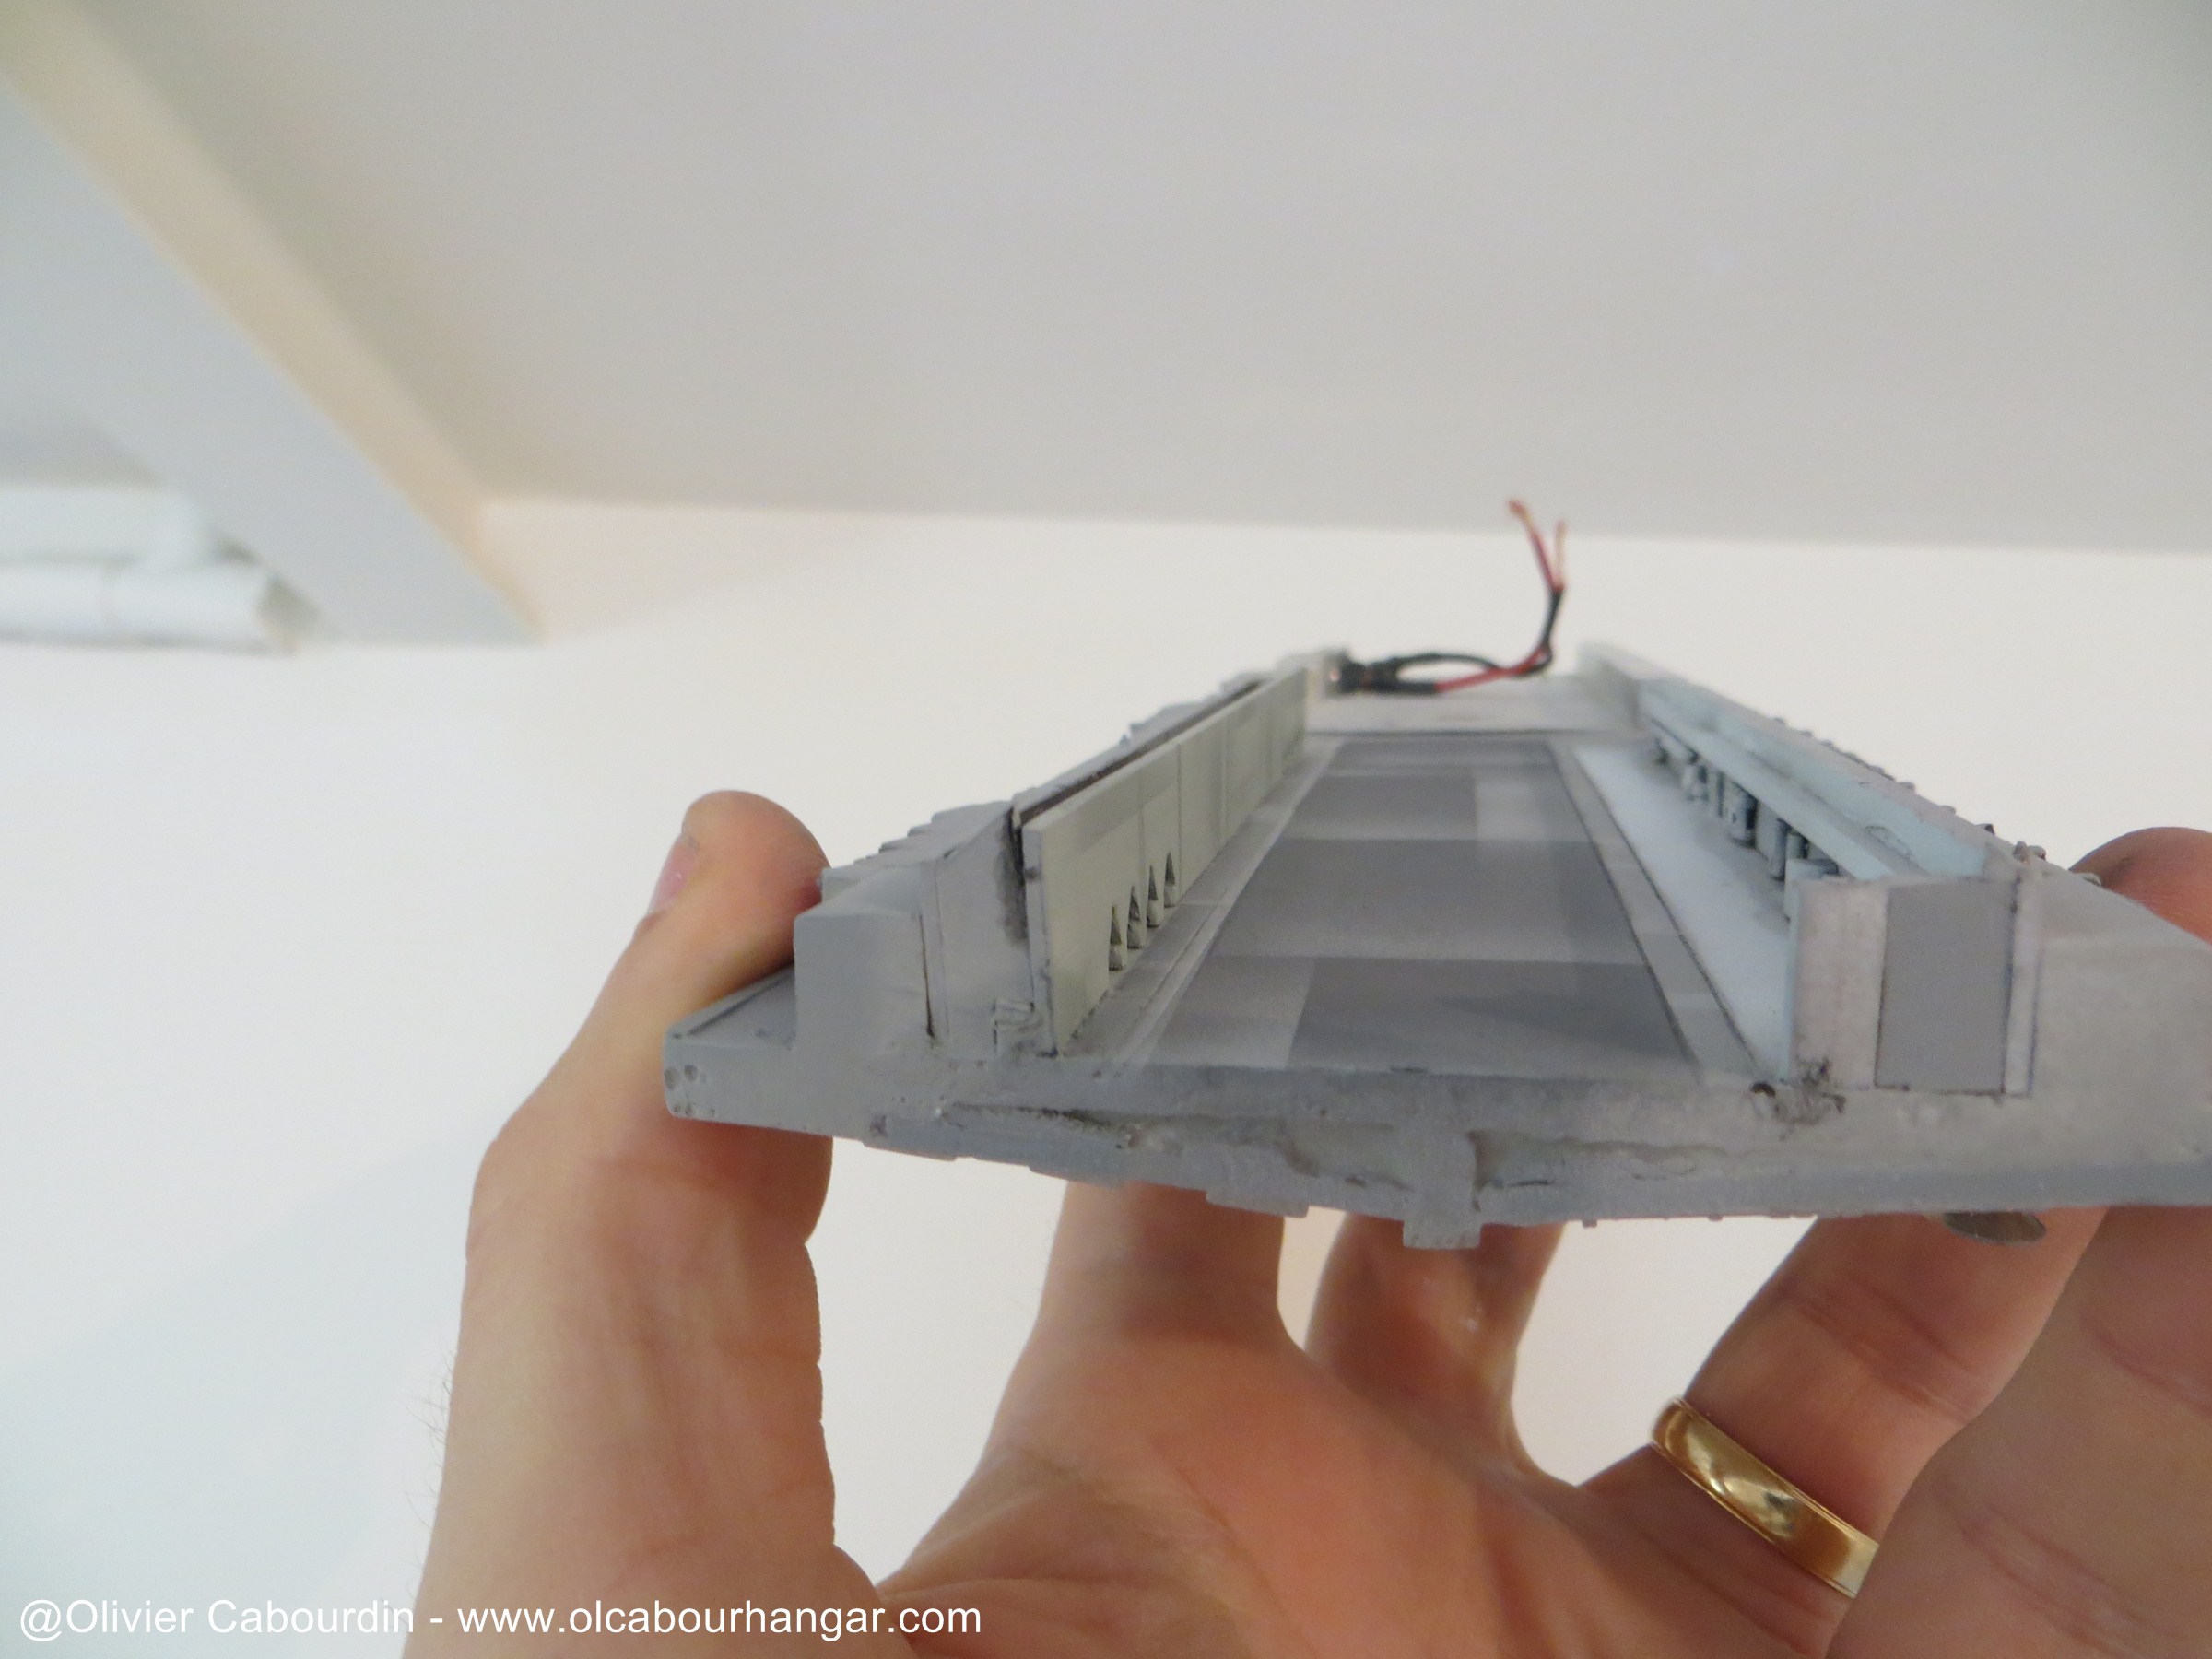
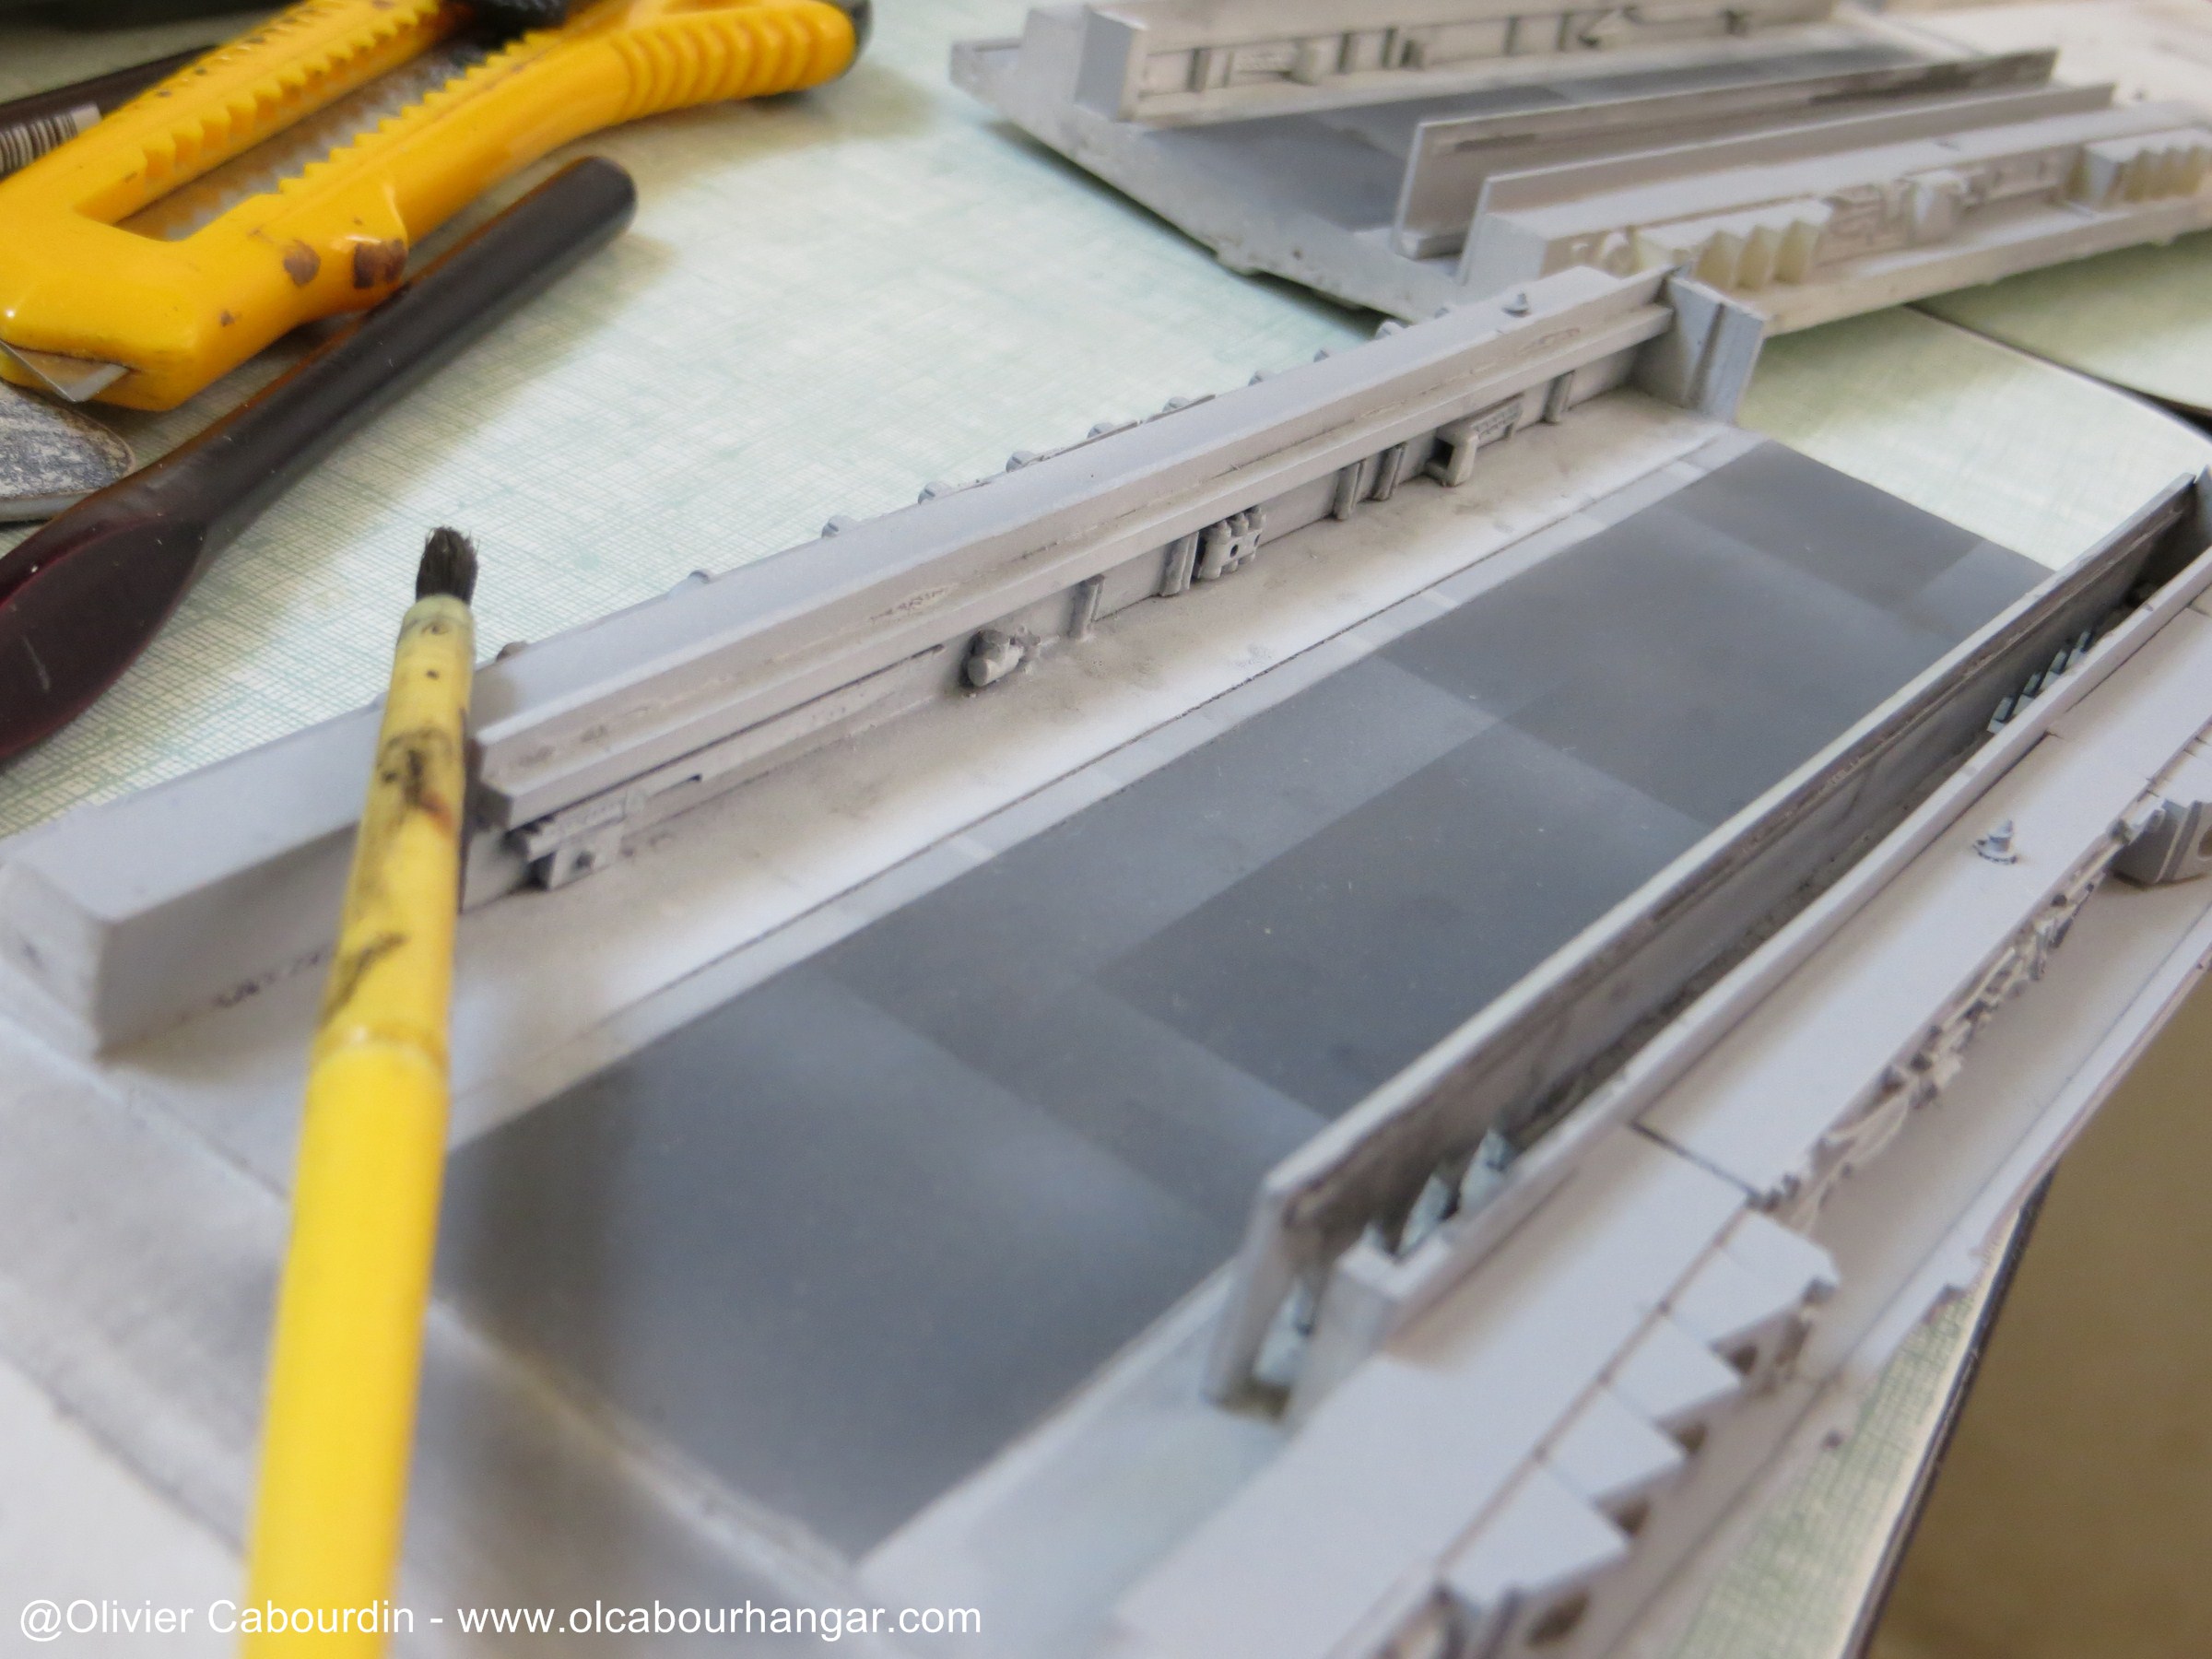
I added details in trying to follow the original model. The parts come from the kit itself, but mainly many kits 1/72, 1/48 and 1/35 tanks, naval ships, or various parts of the spares box.
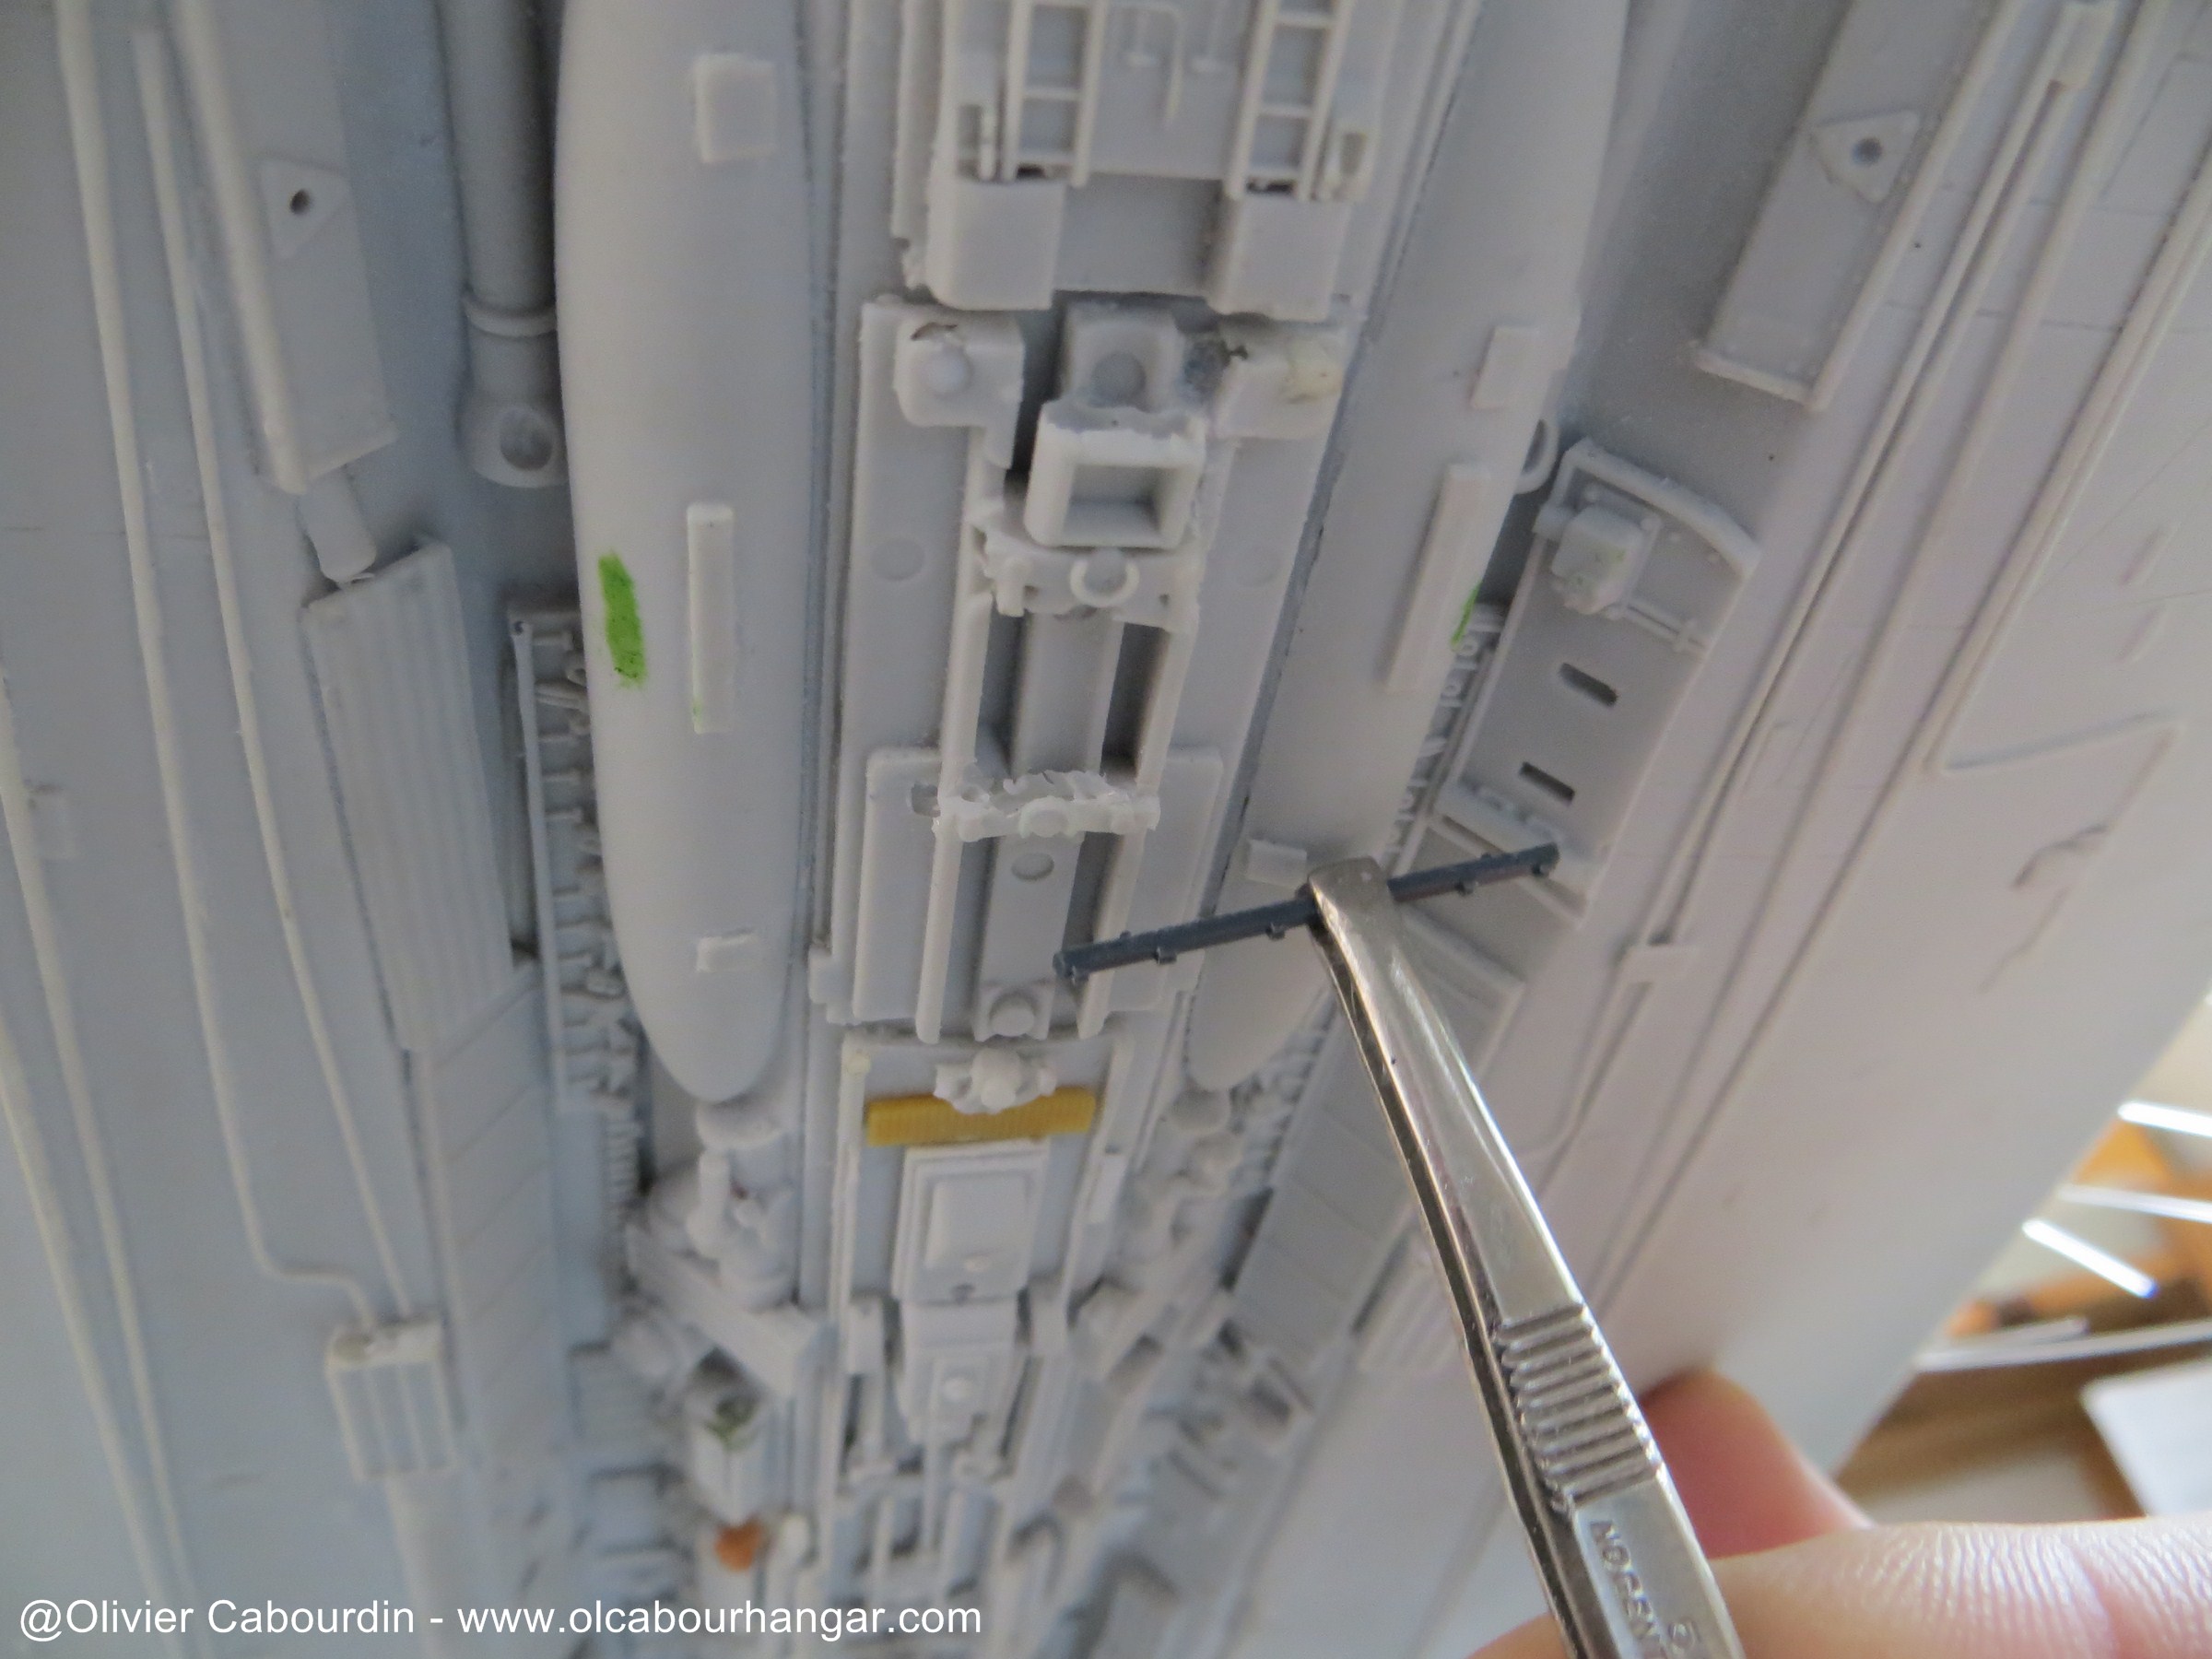


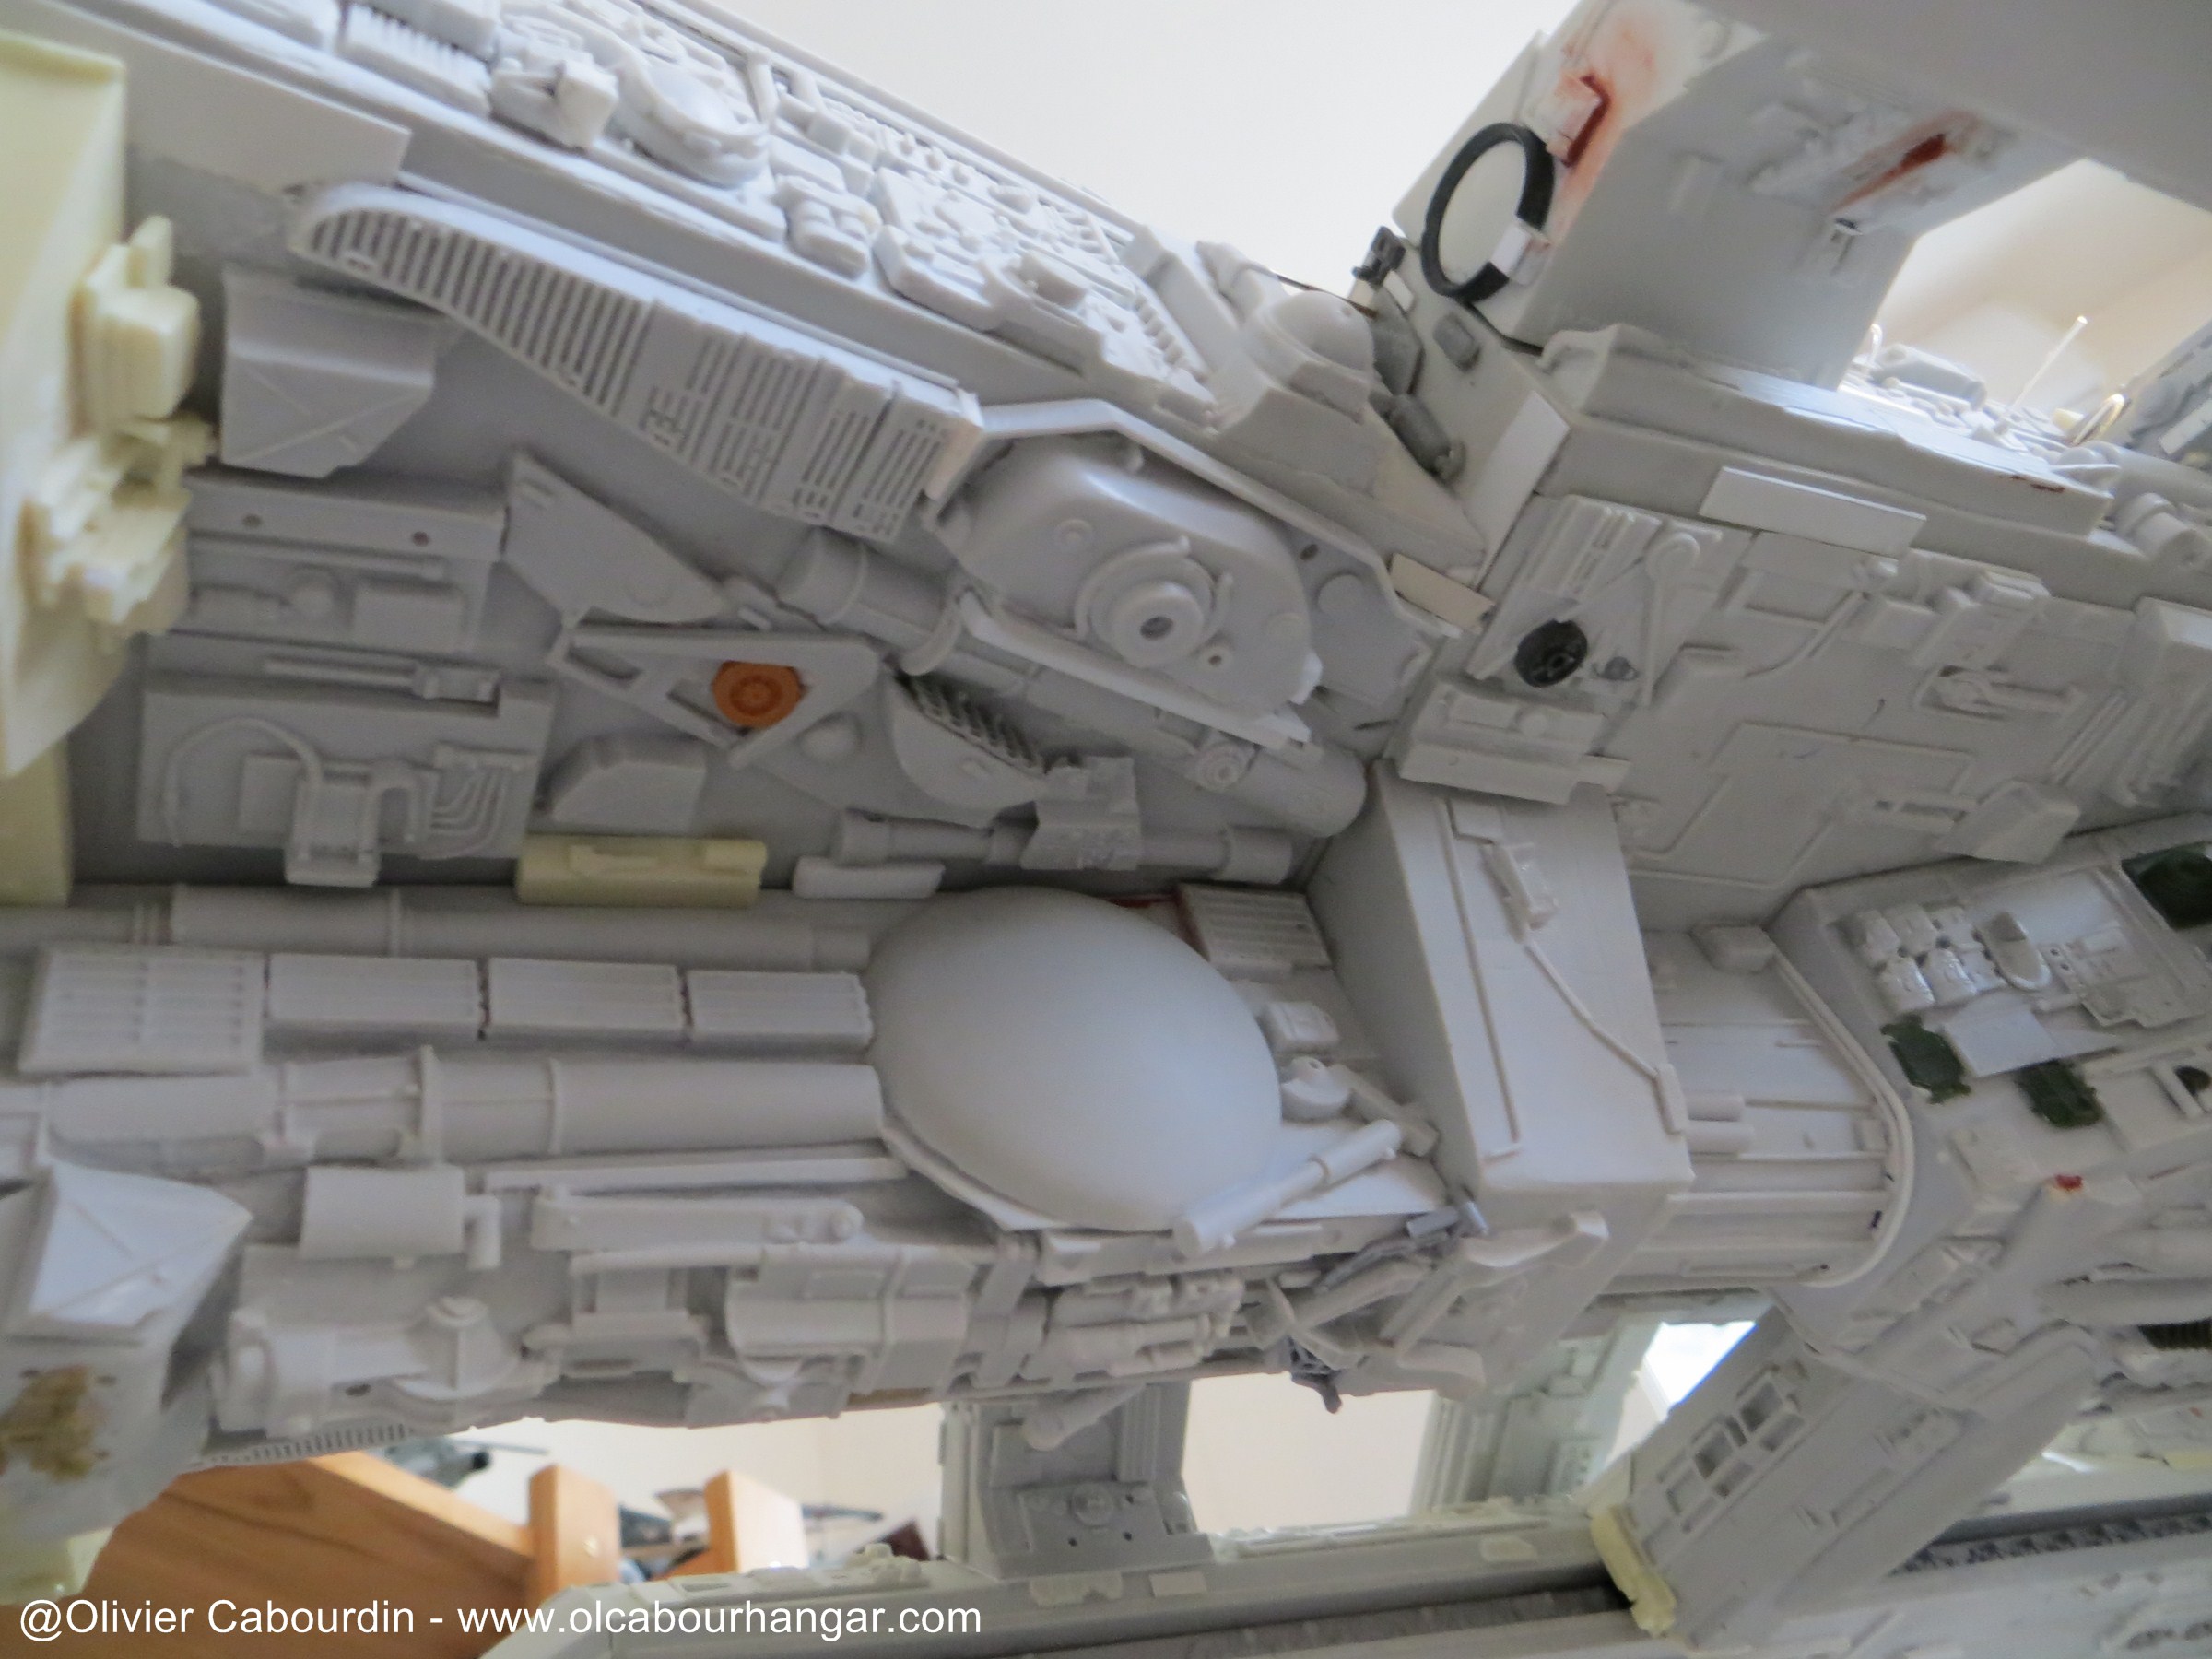


- On top of the engine module, it was not easy to find and set all the parts.
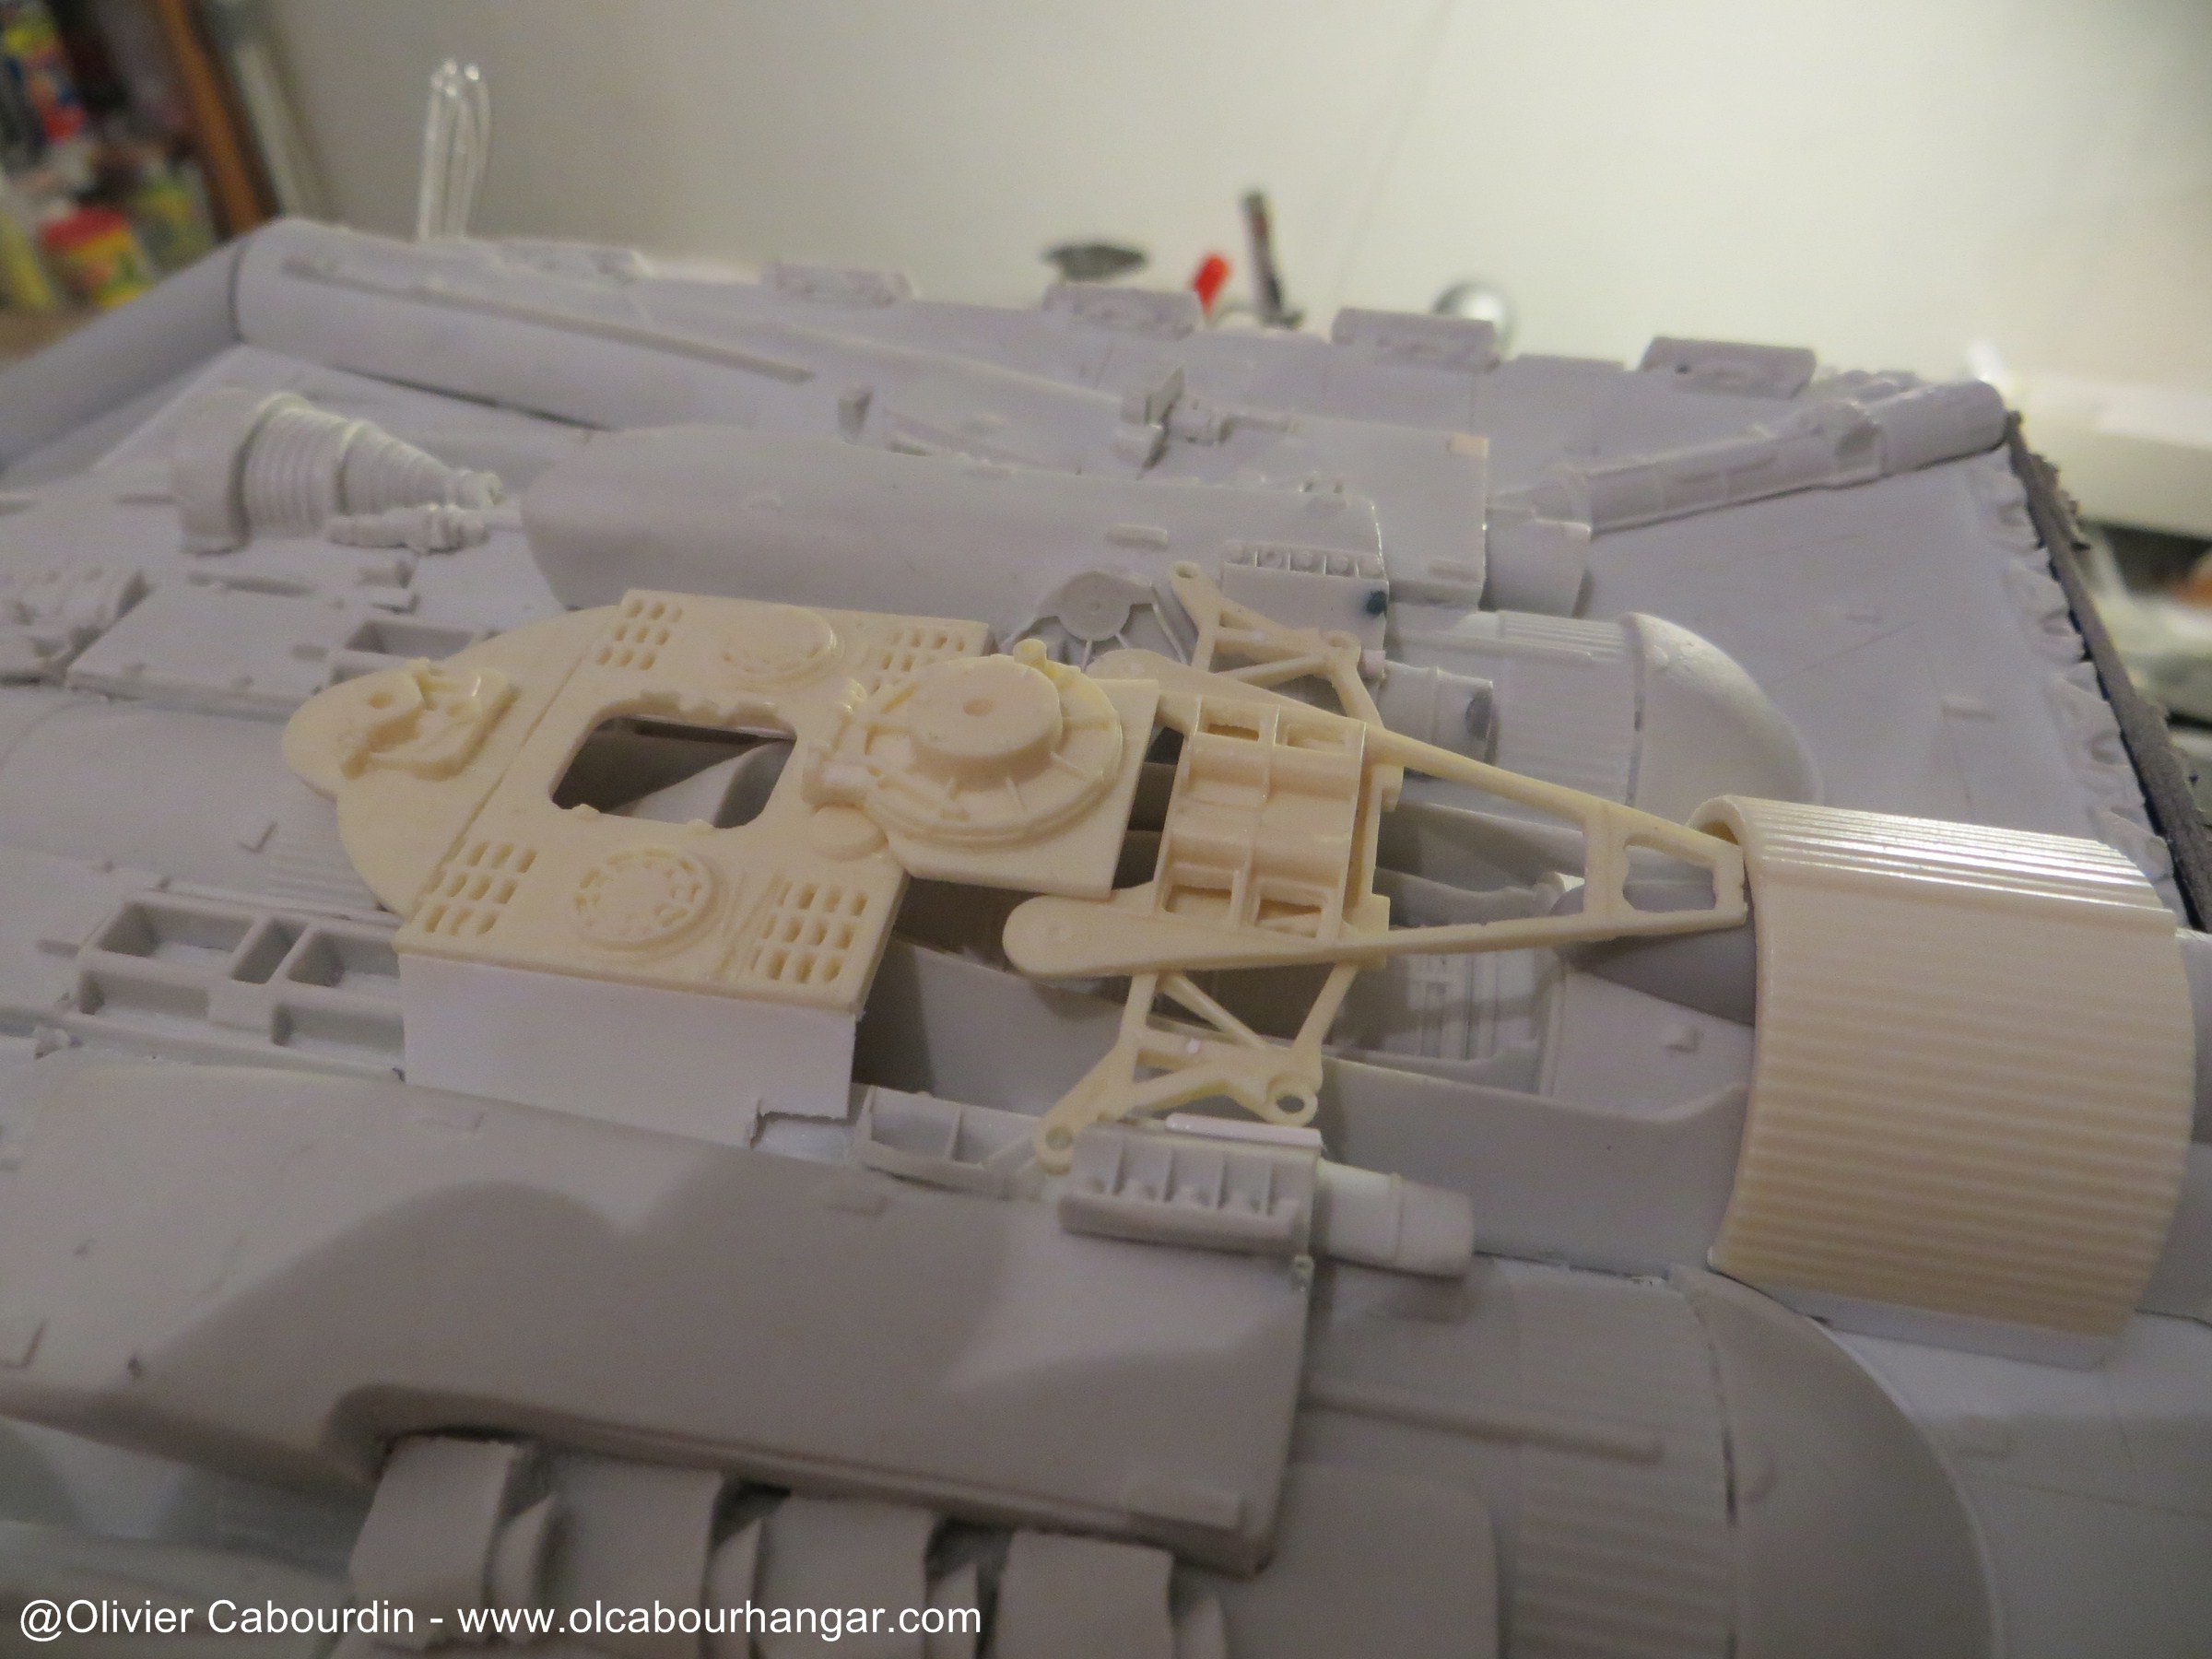


- Same thing behind the head
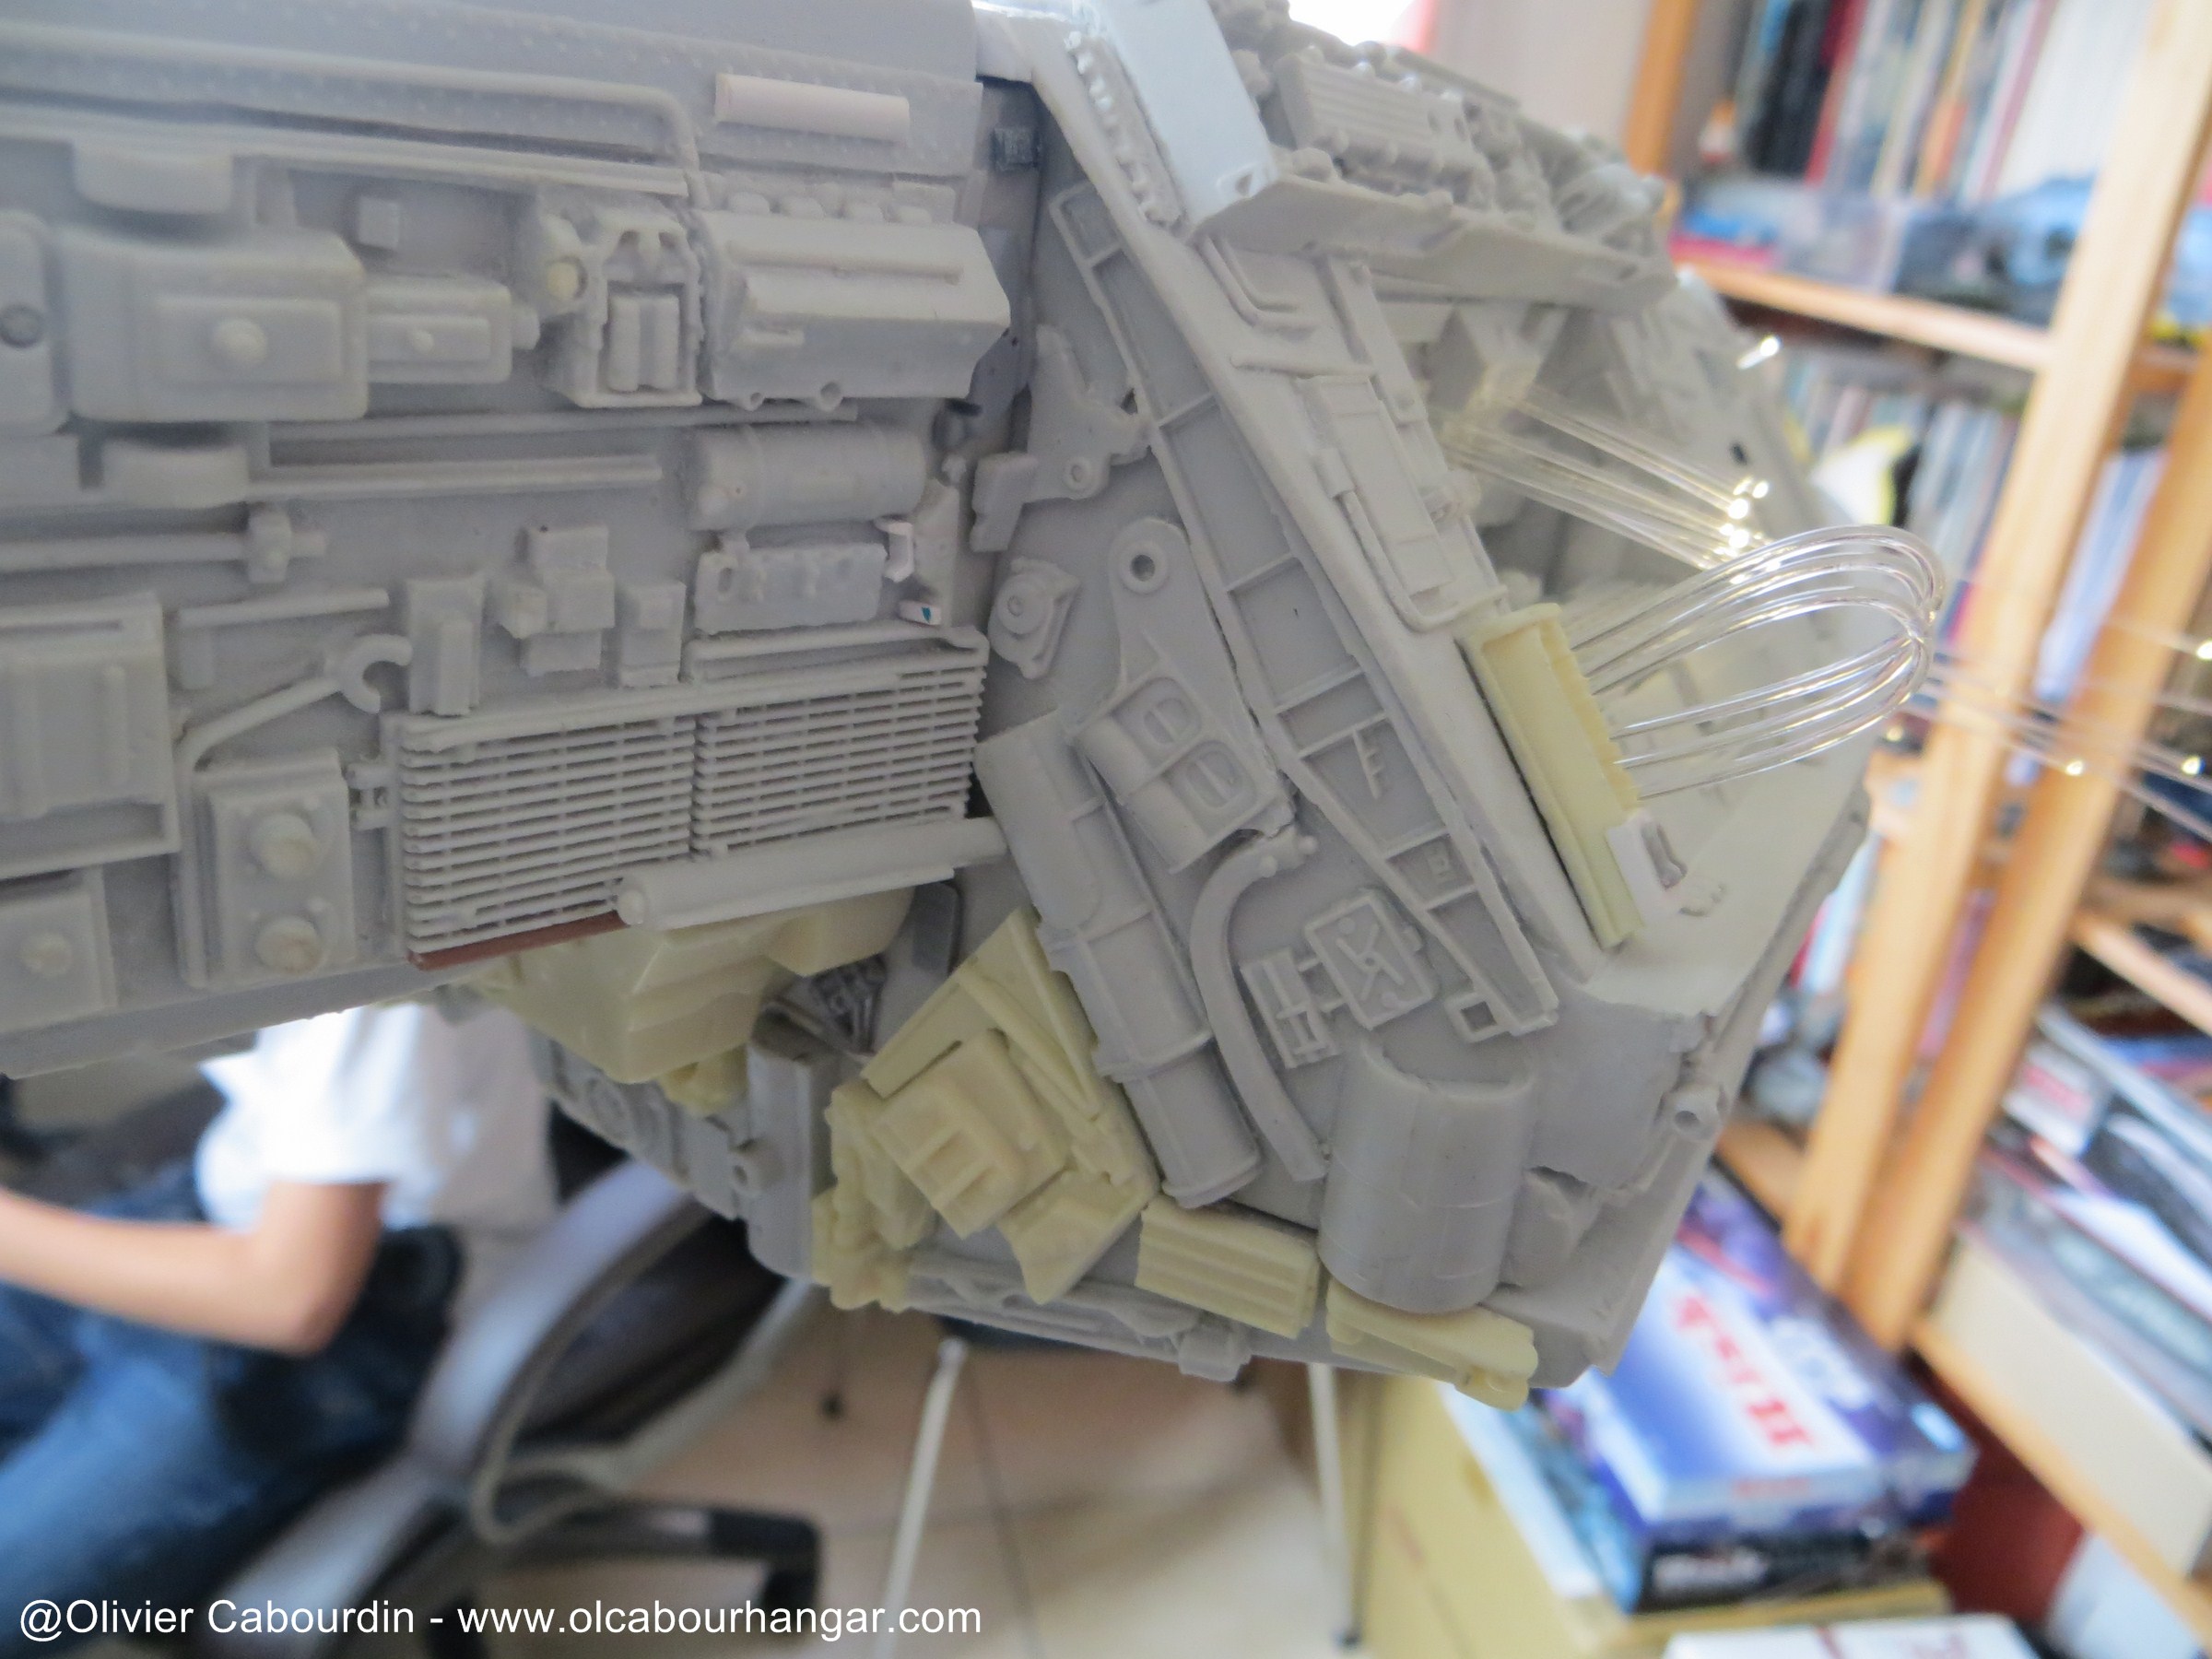

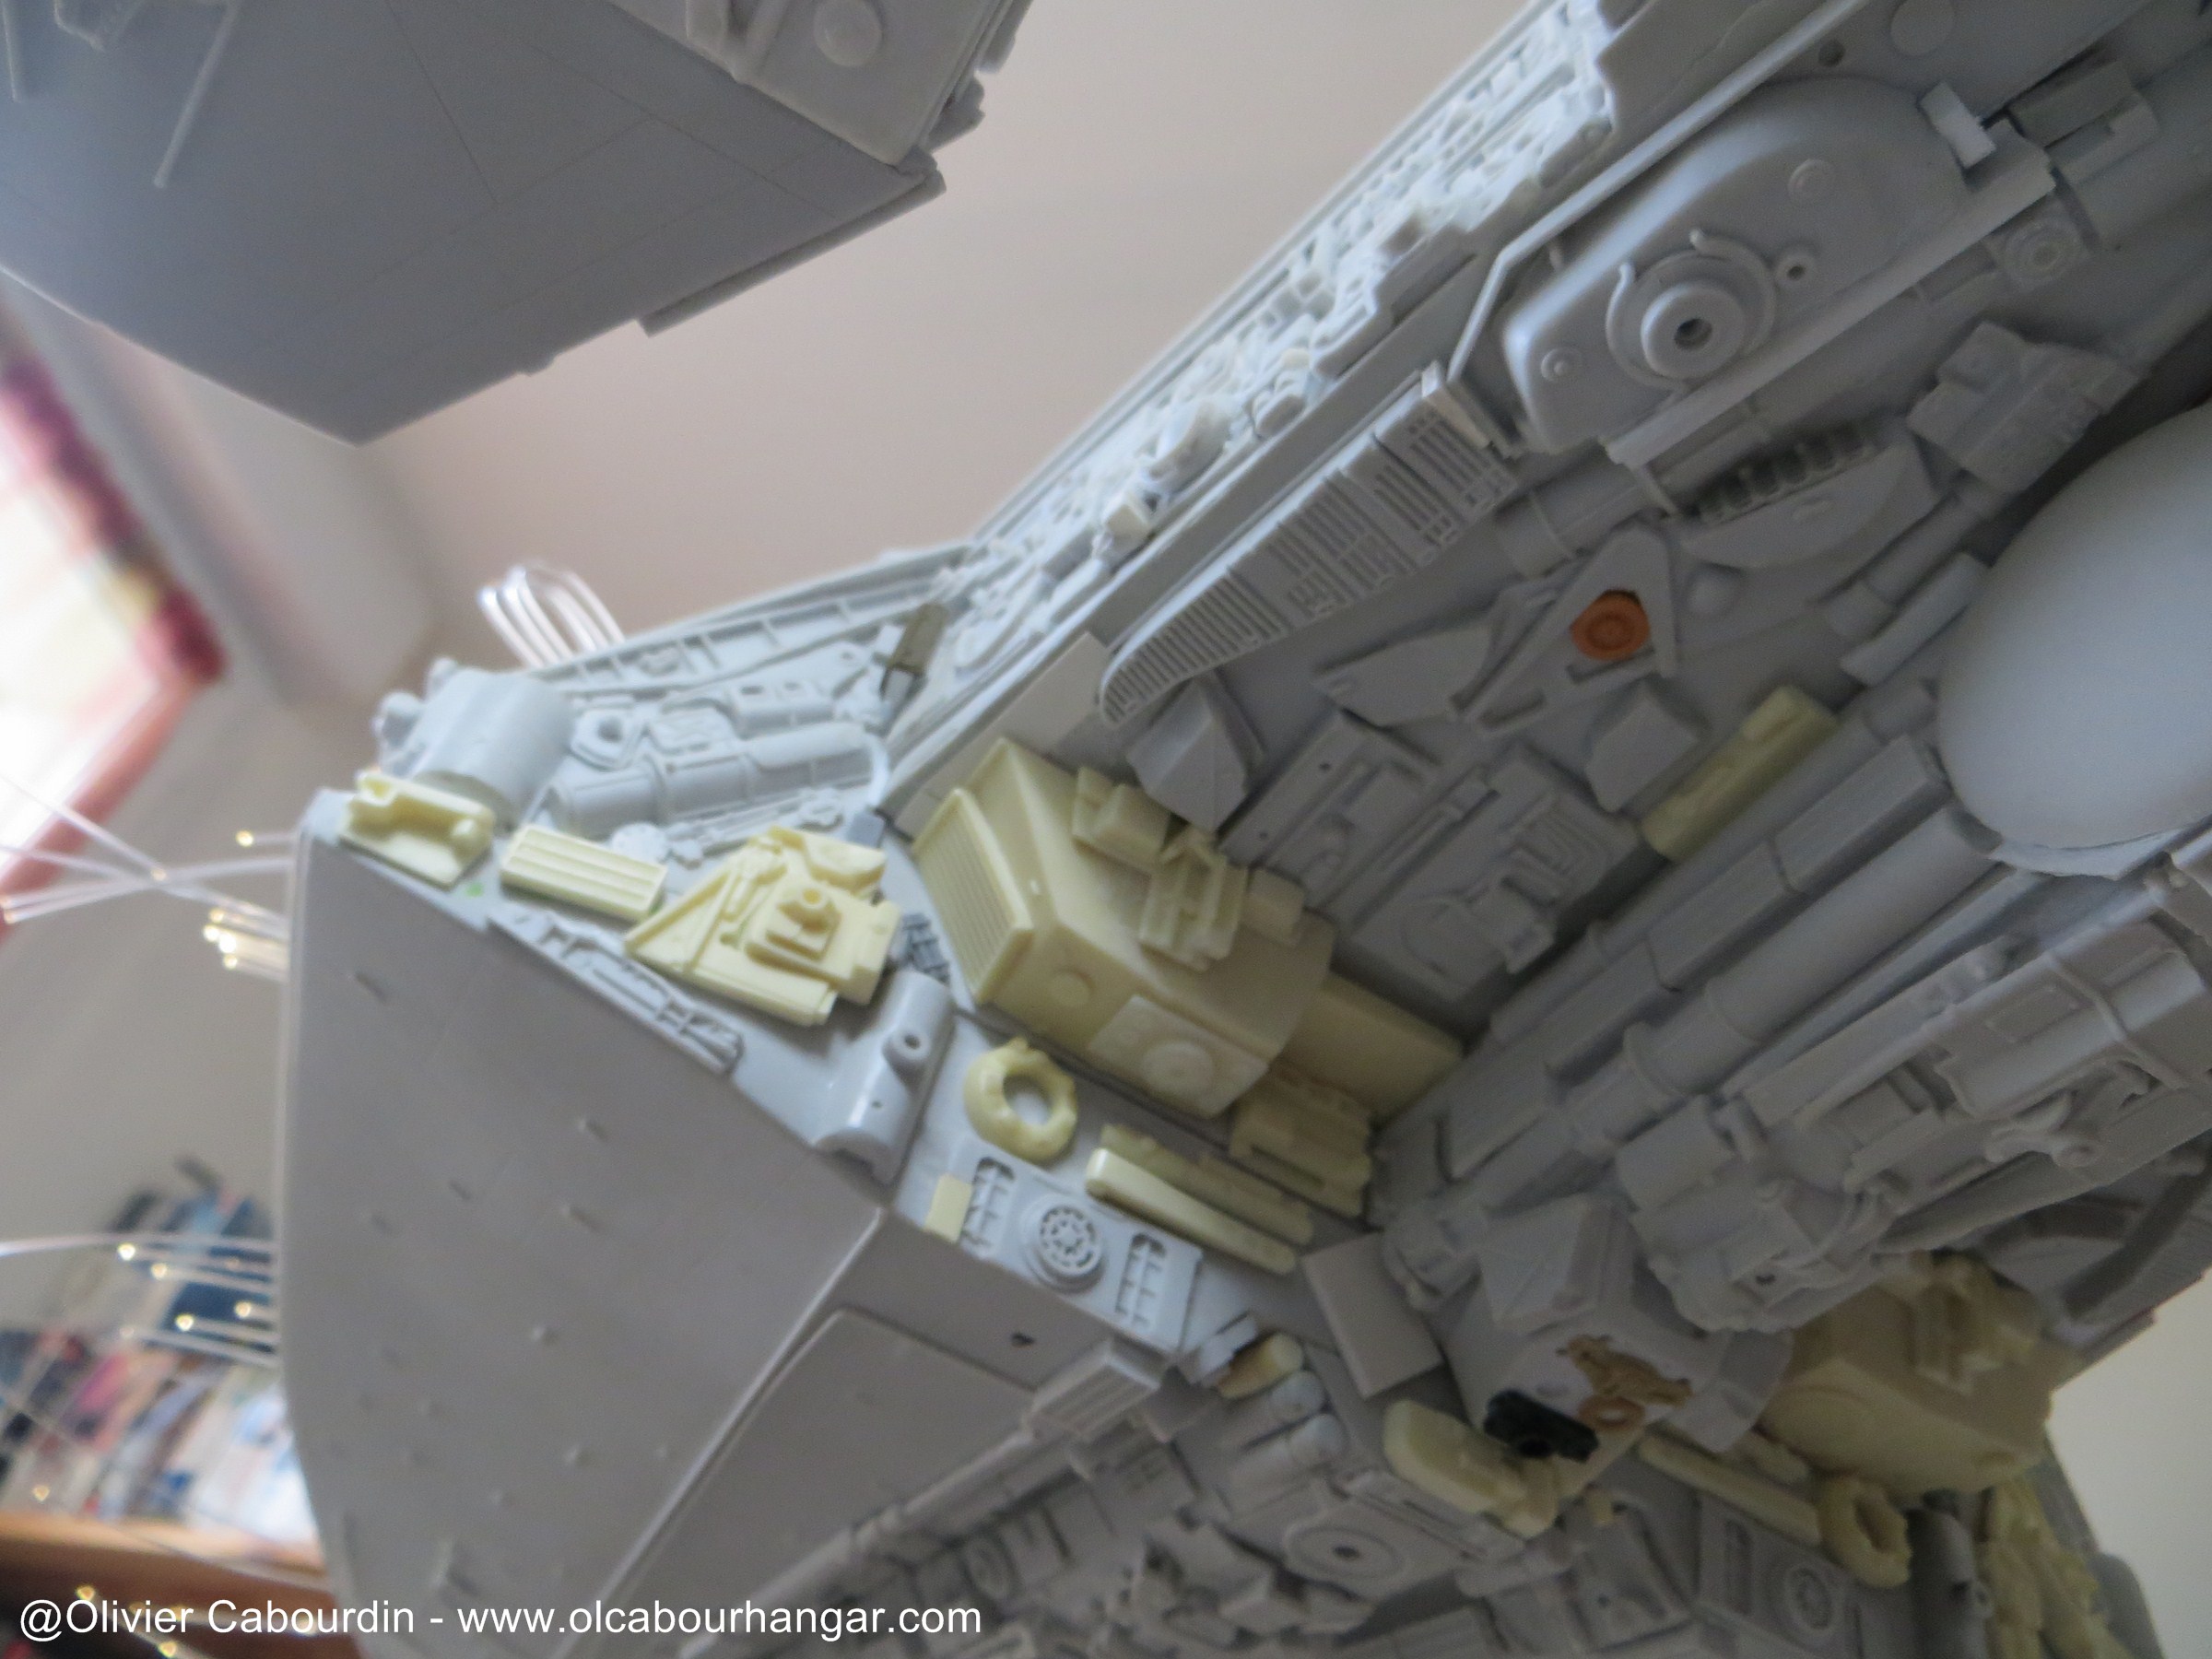
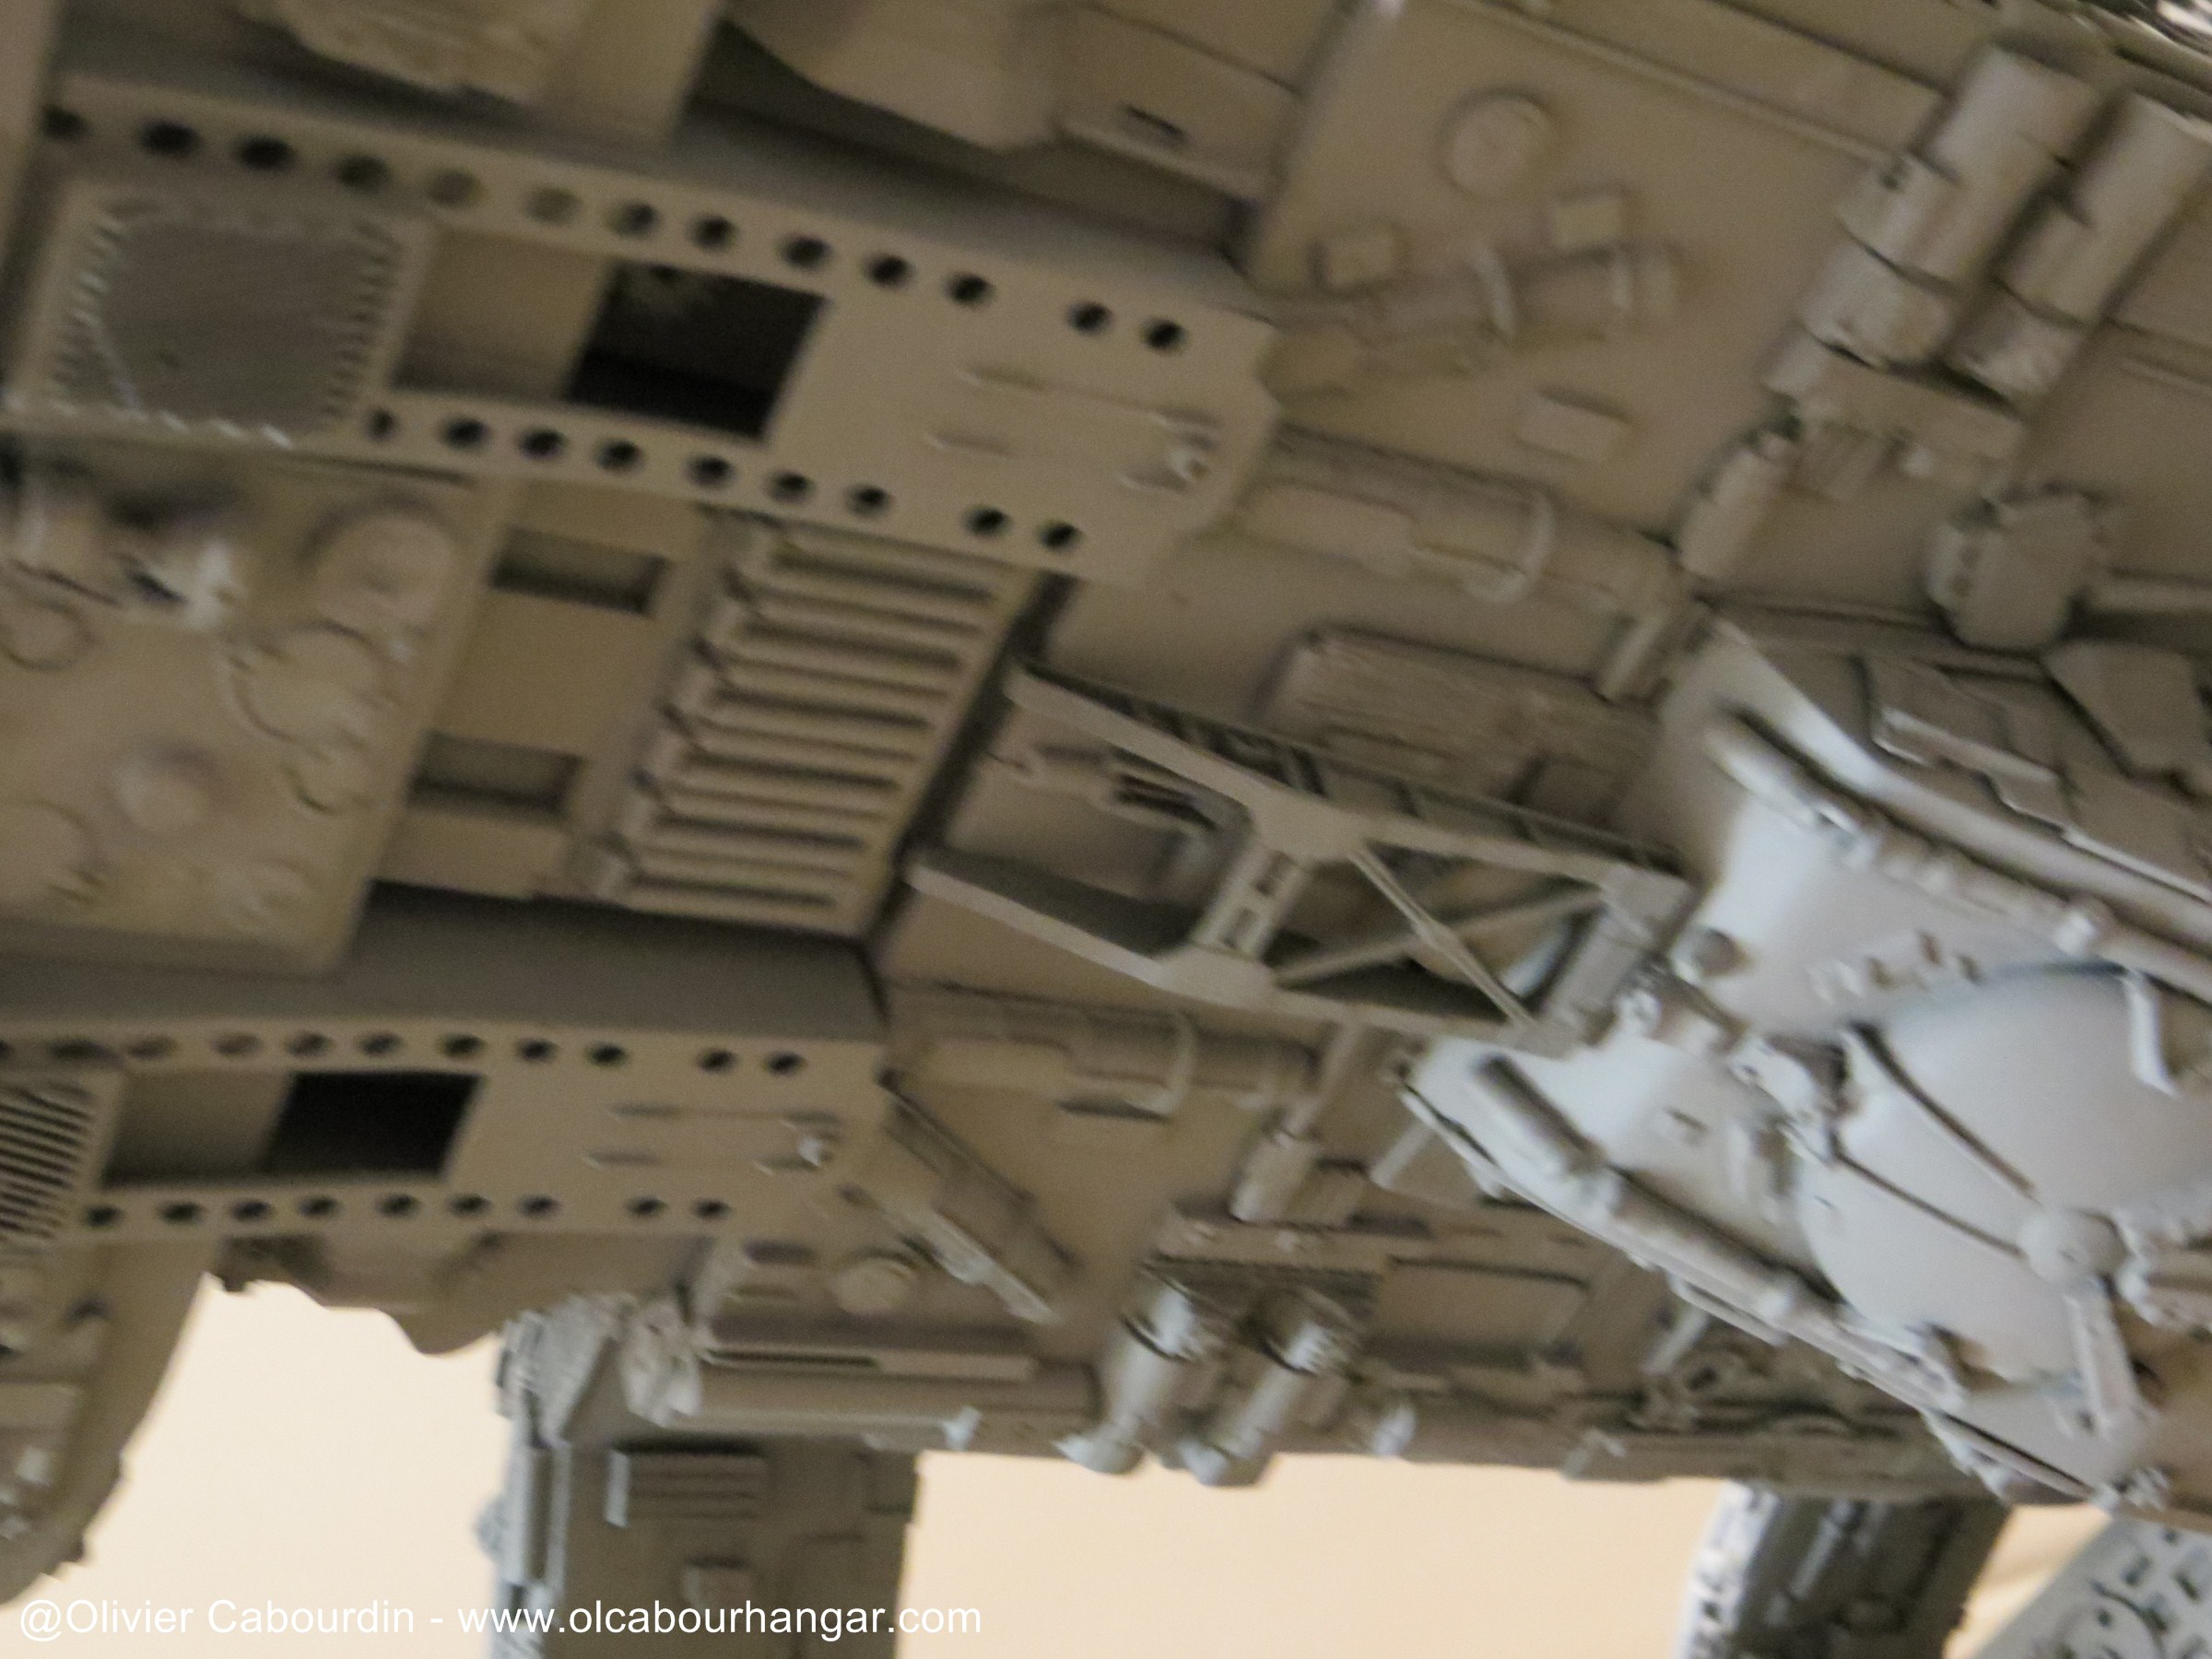
- the underside of the central engine modules also requires a lot of work to complete and adjust the parts supplied

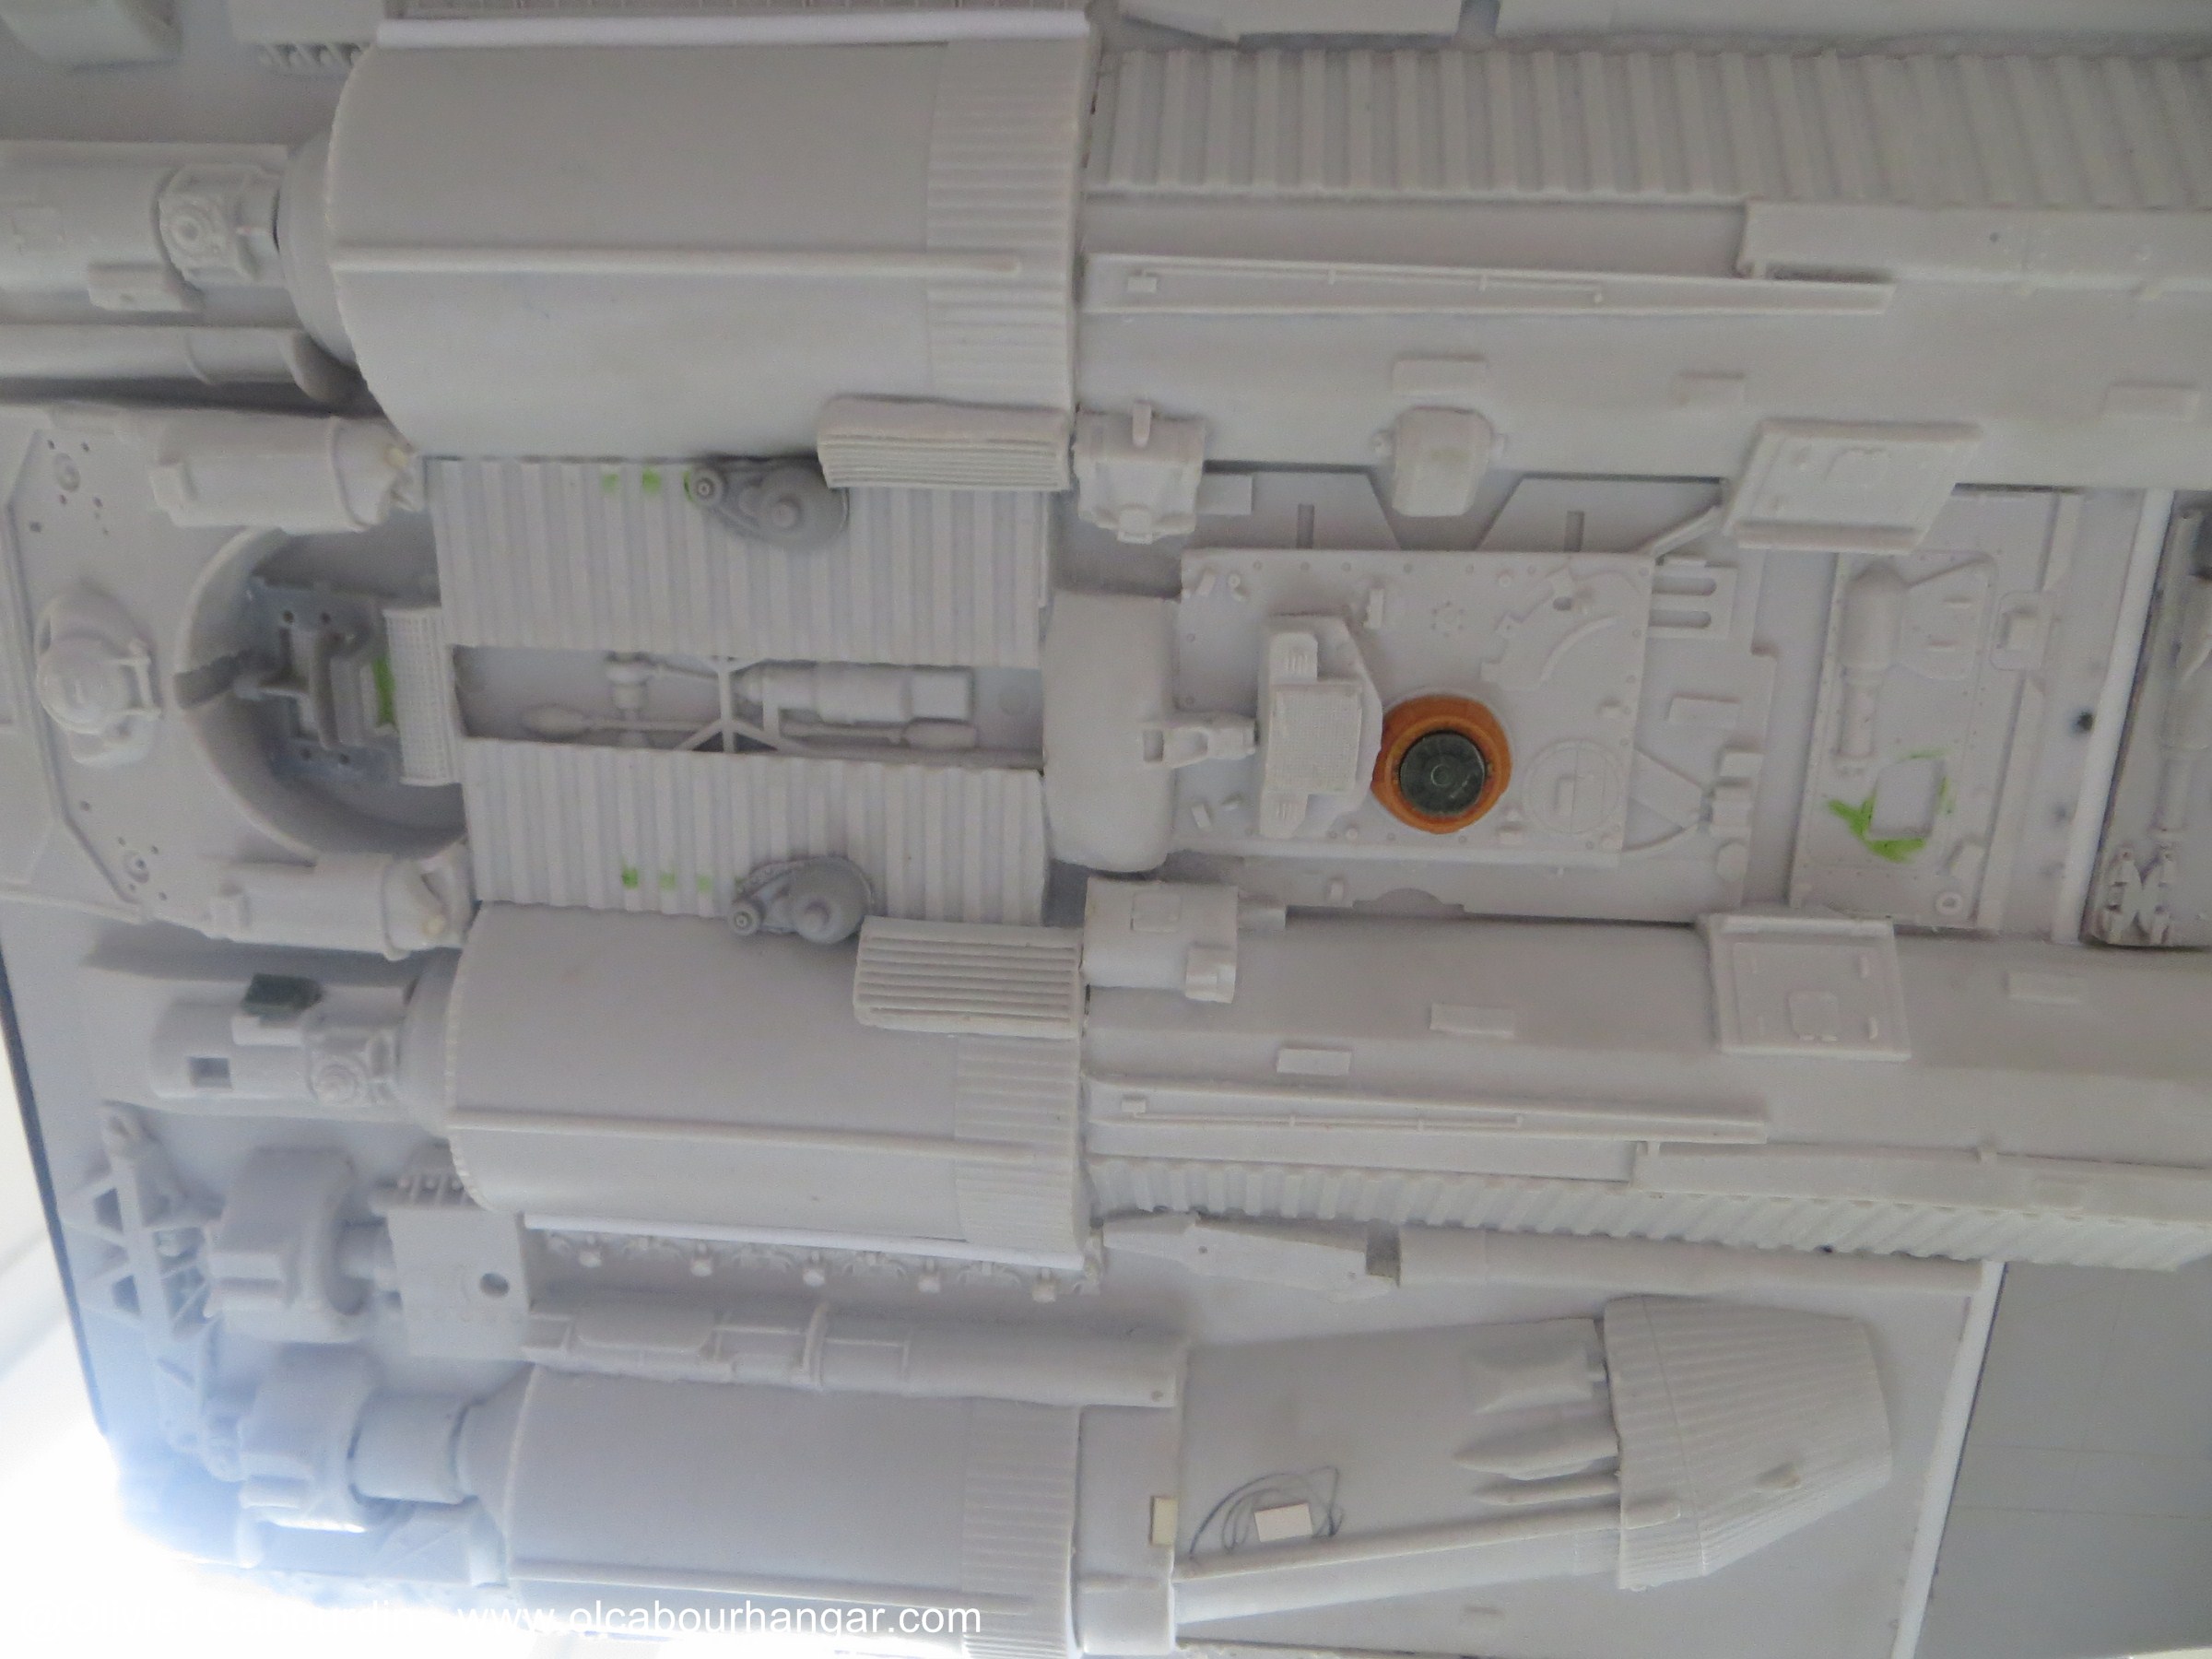
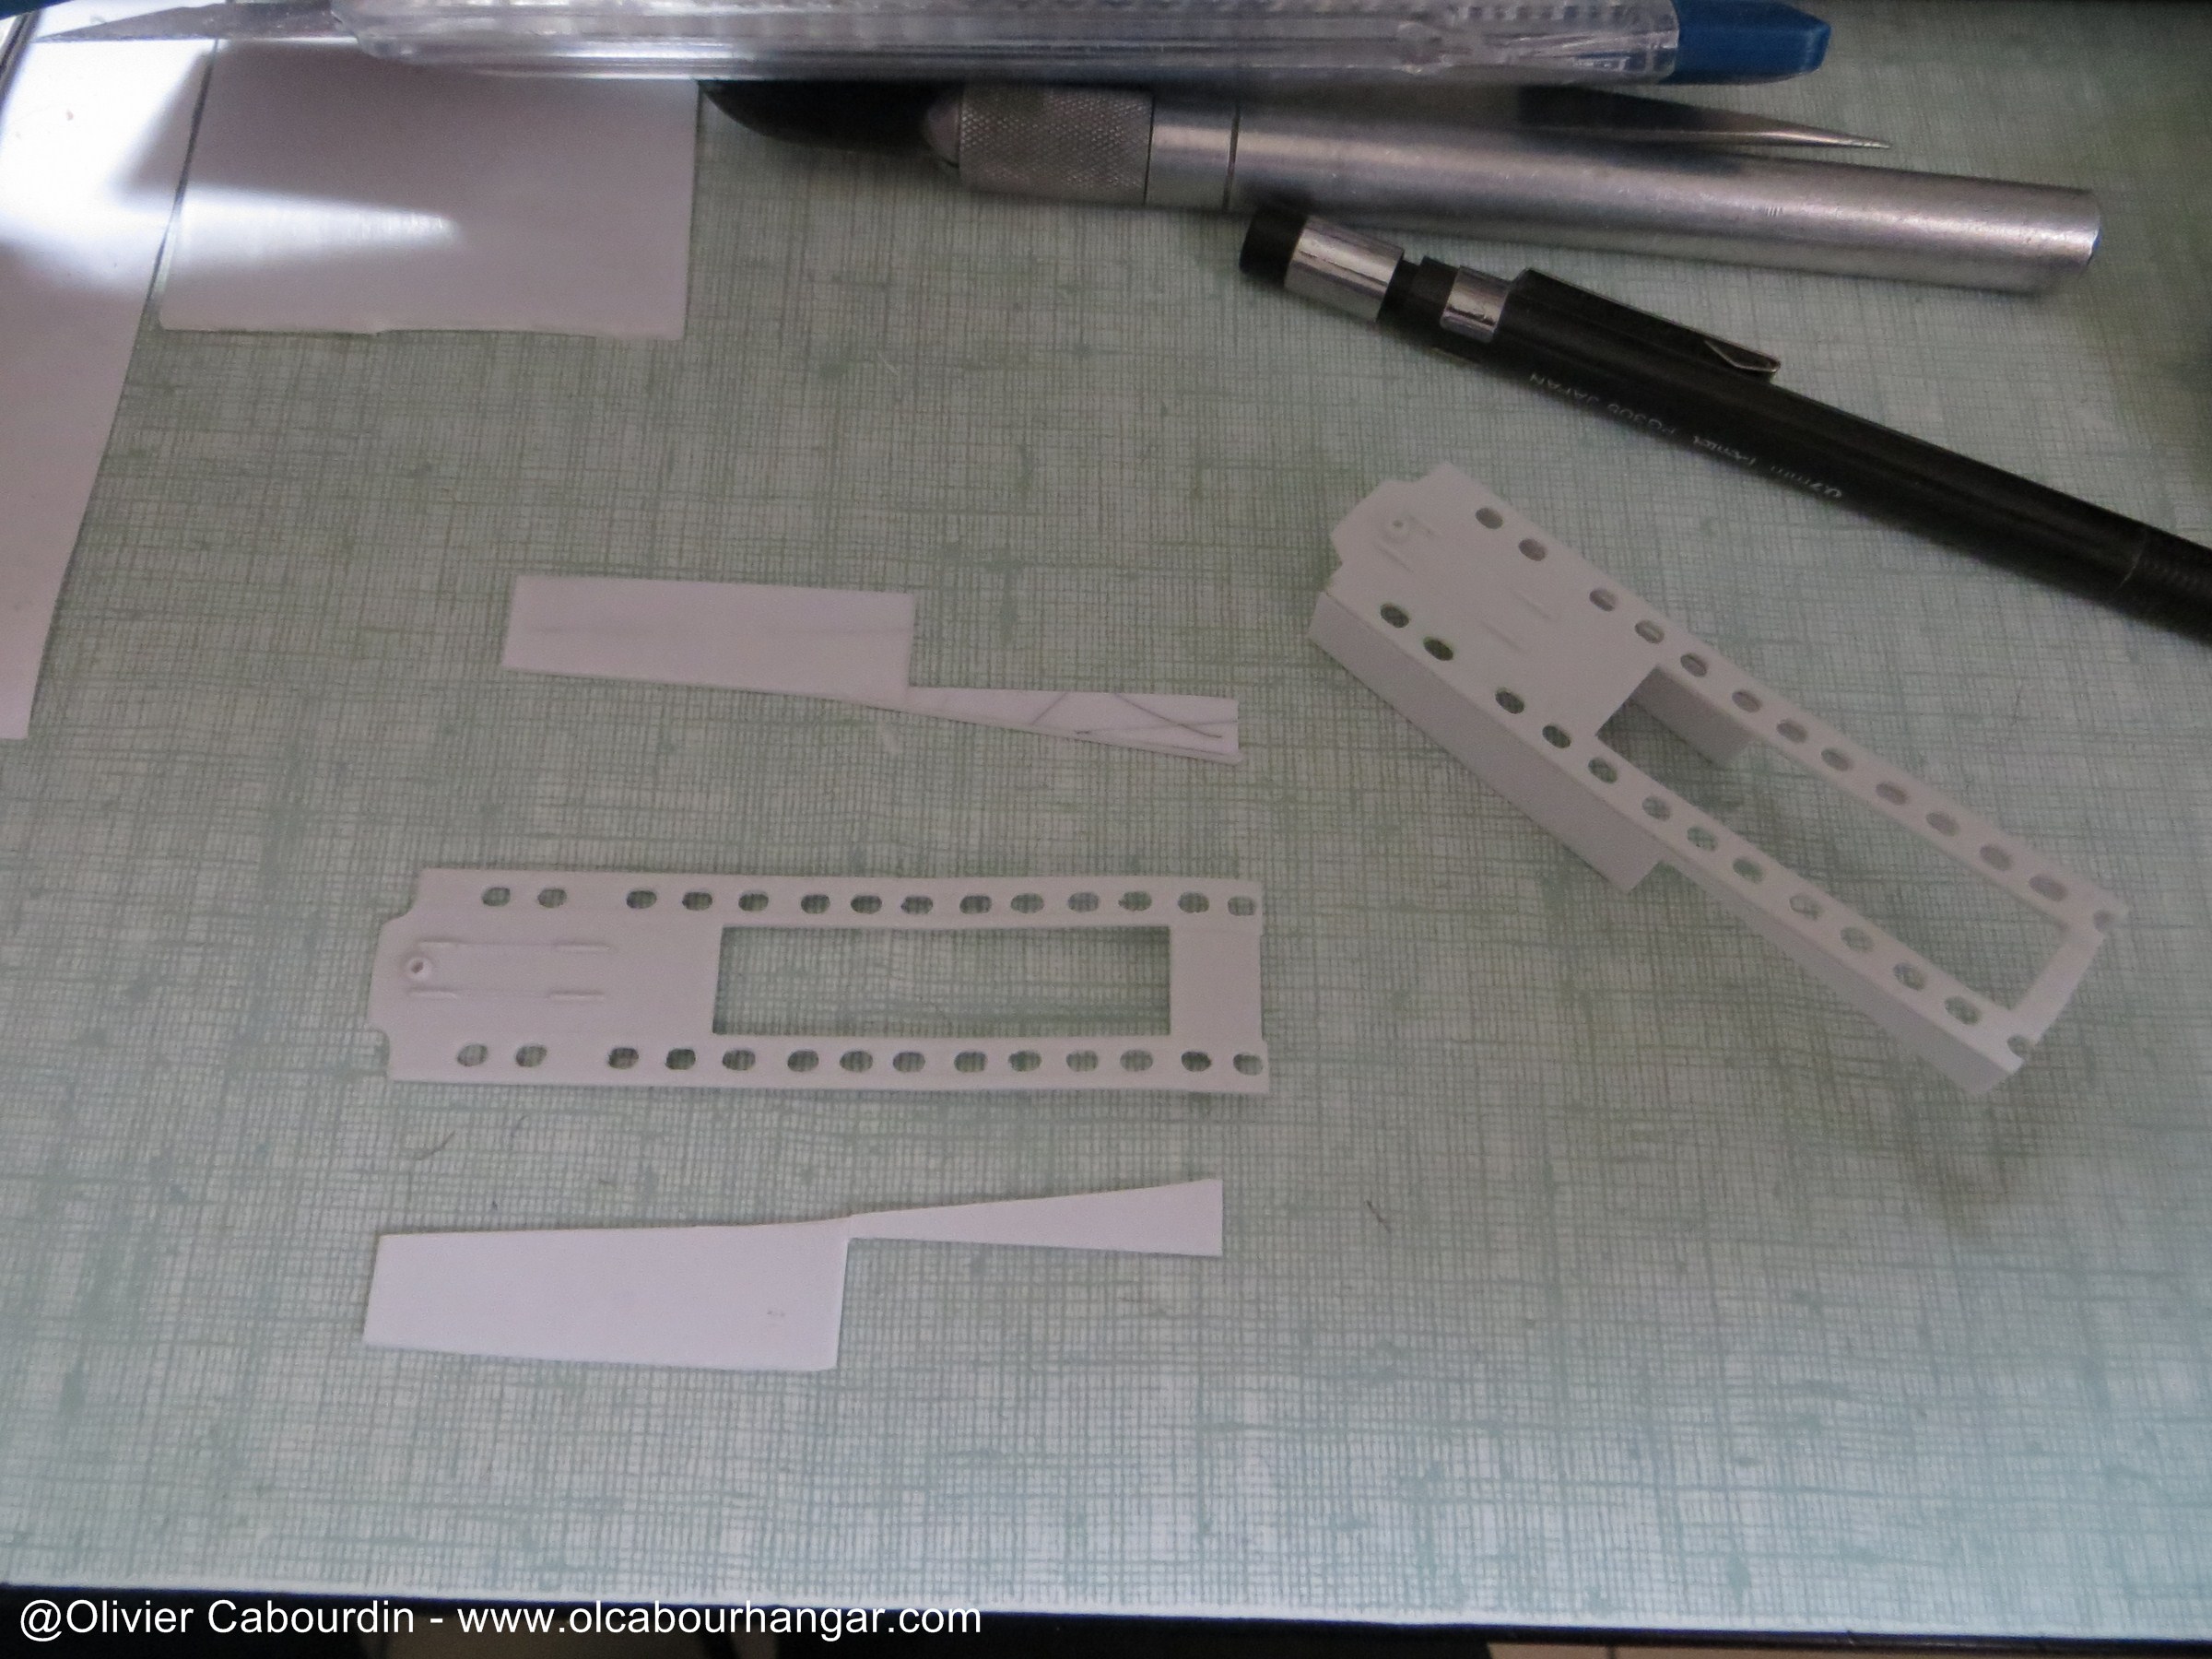
- Here it was necessary to add walls to the Leopold parts
- the screws are hidden behind tank wheels.
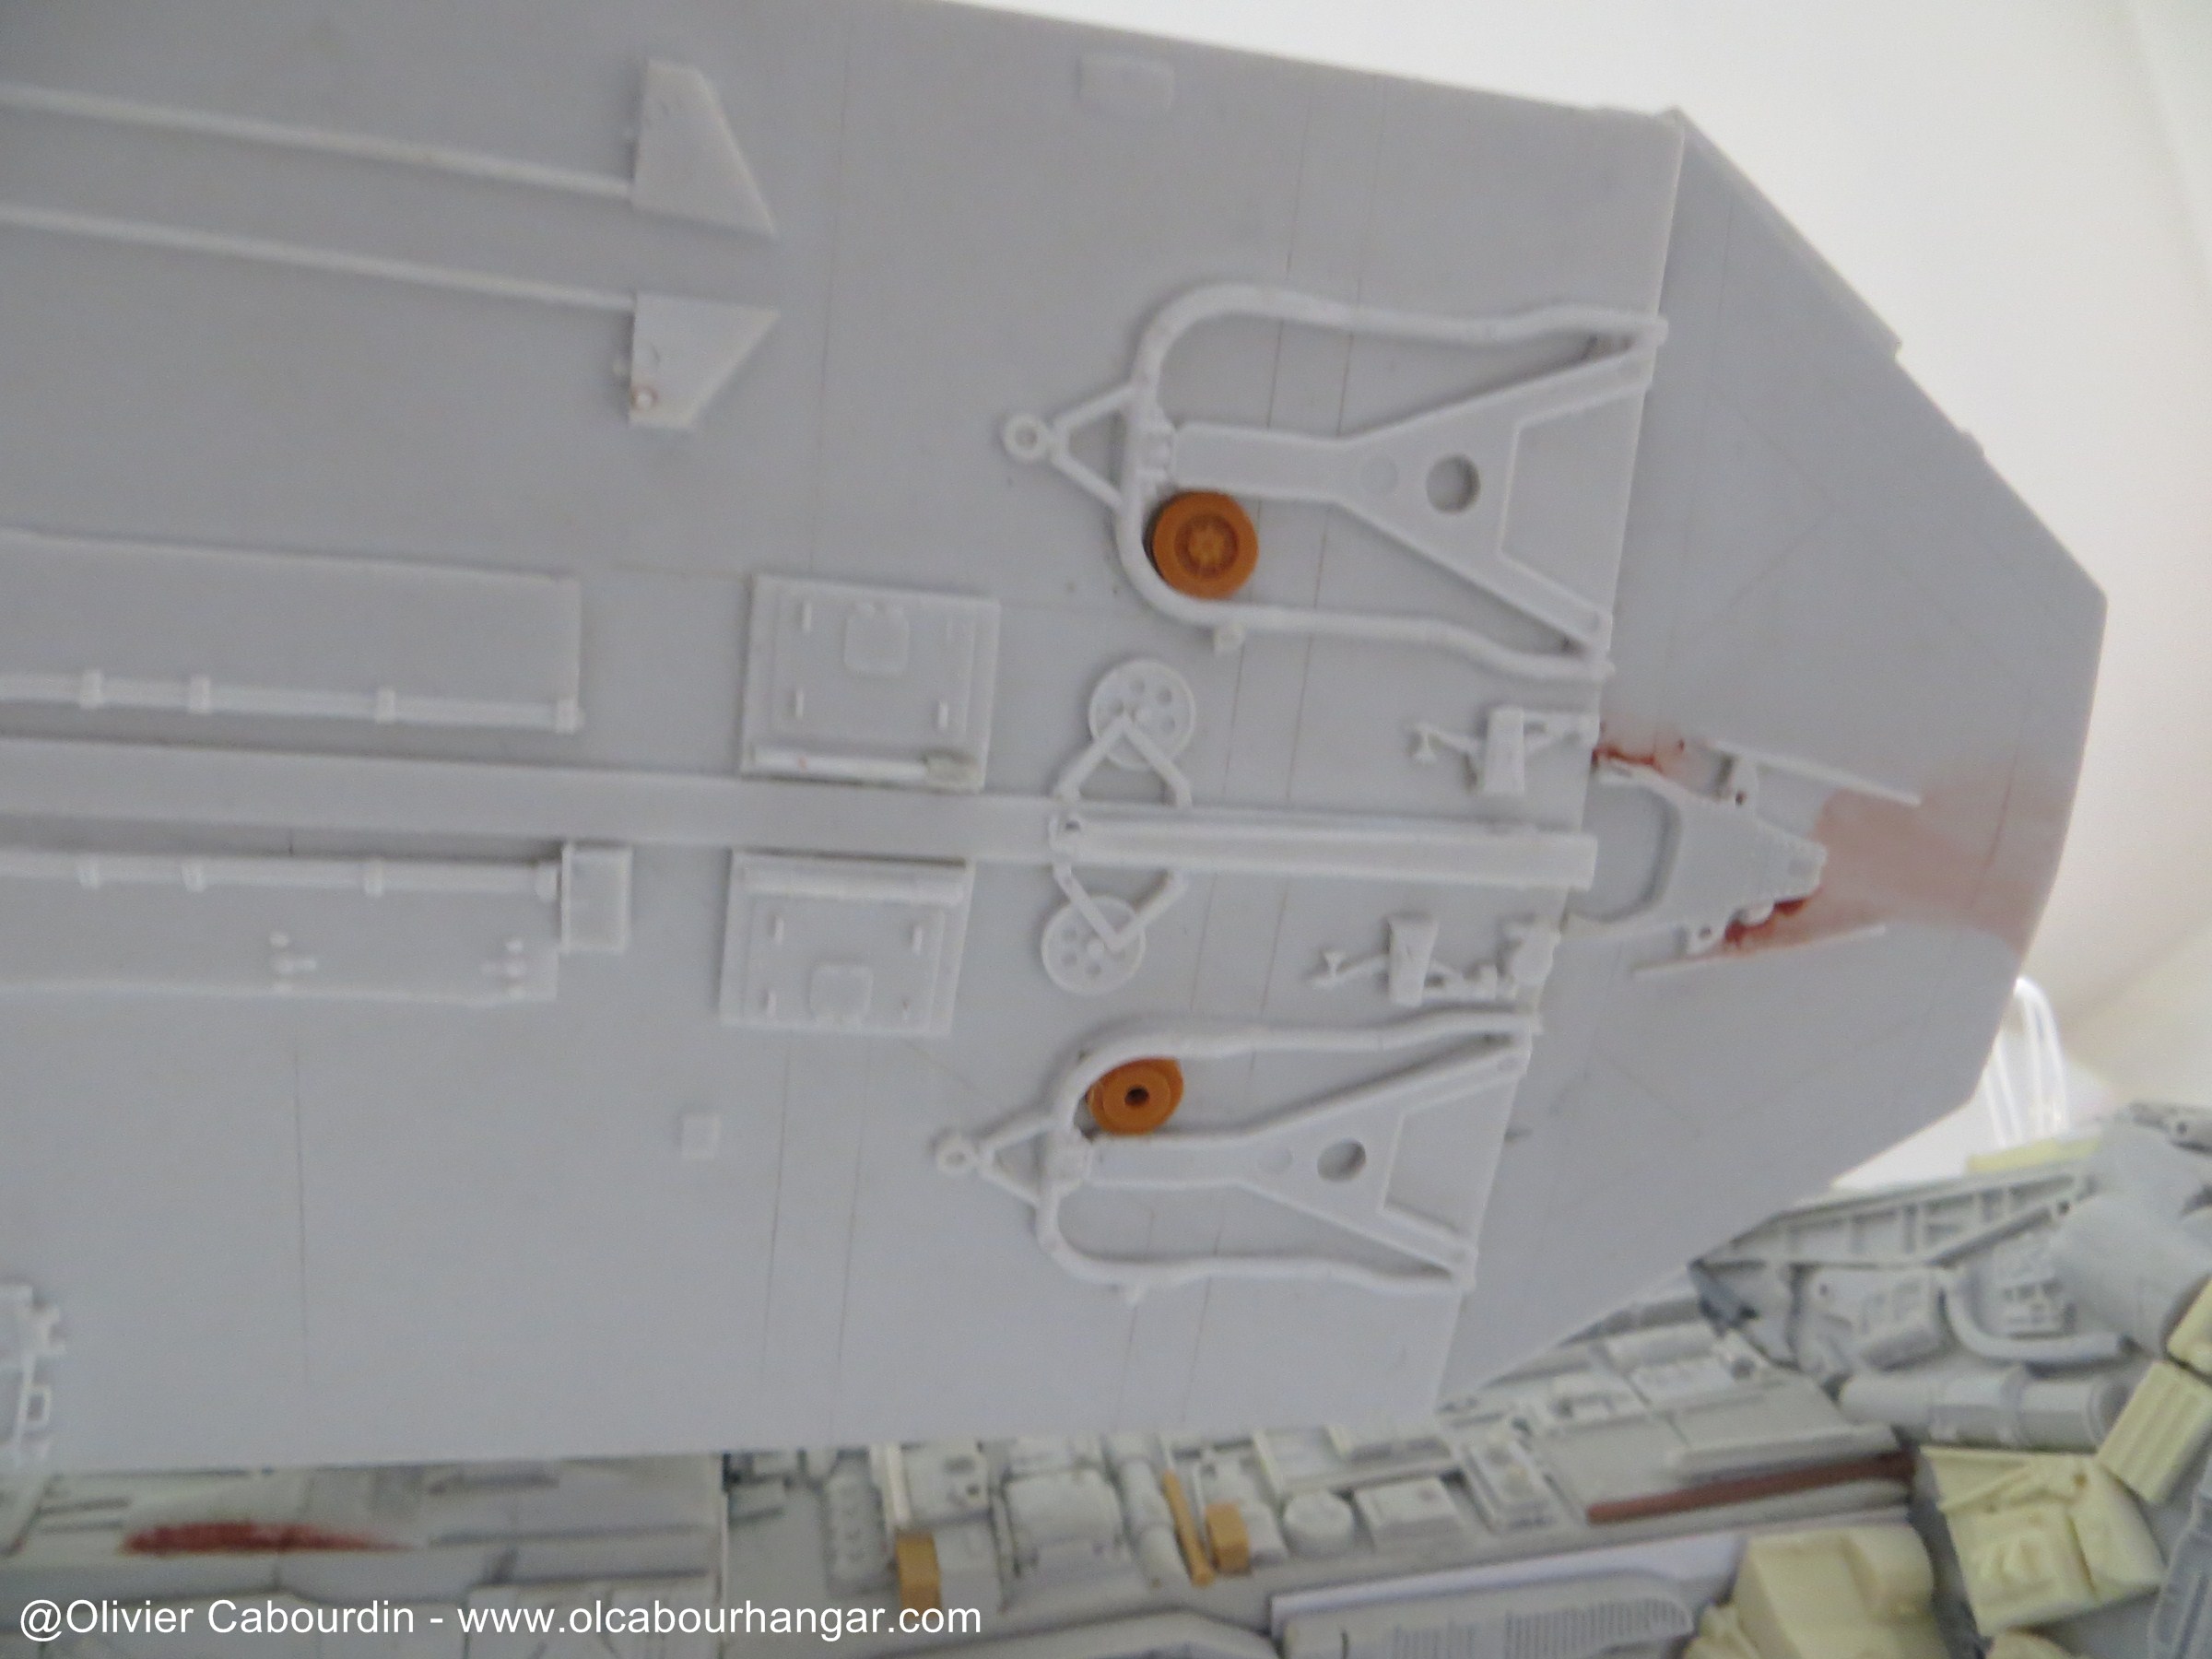
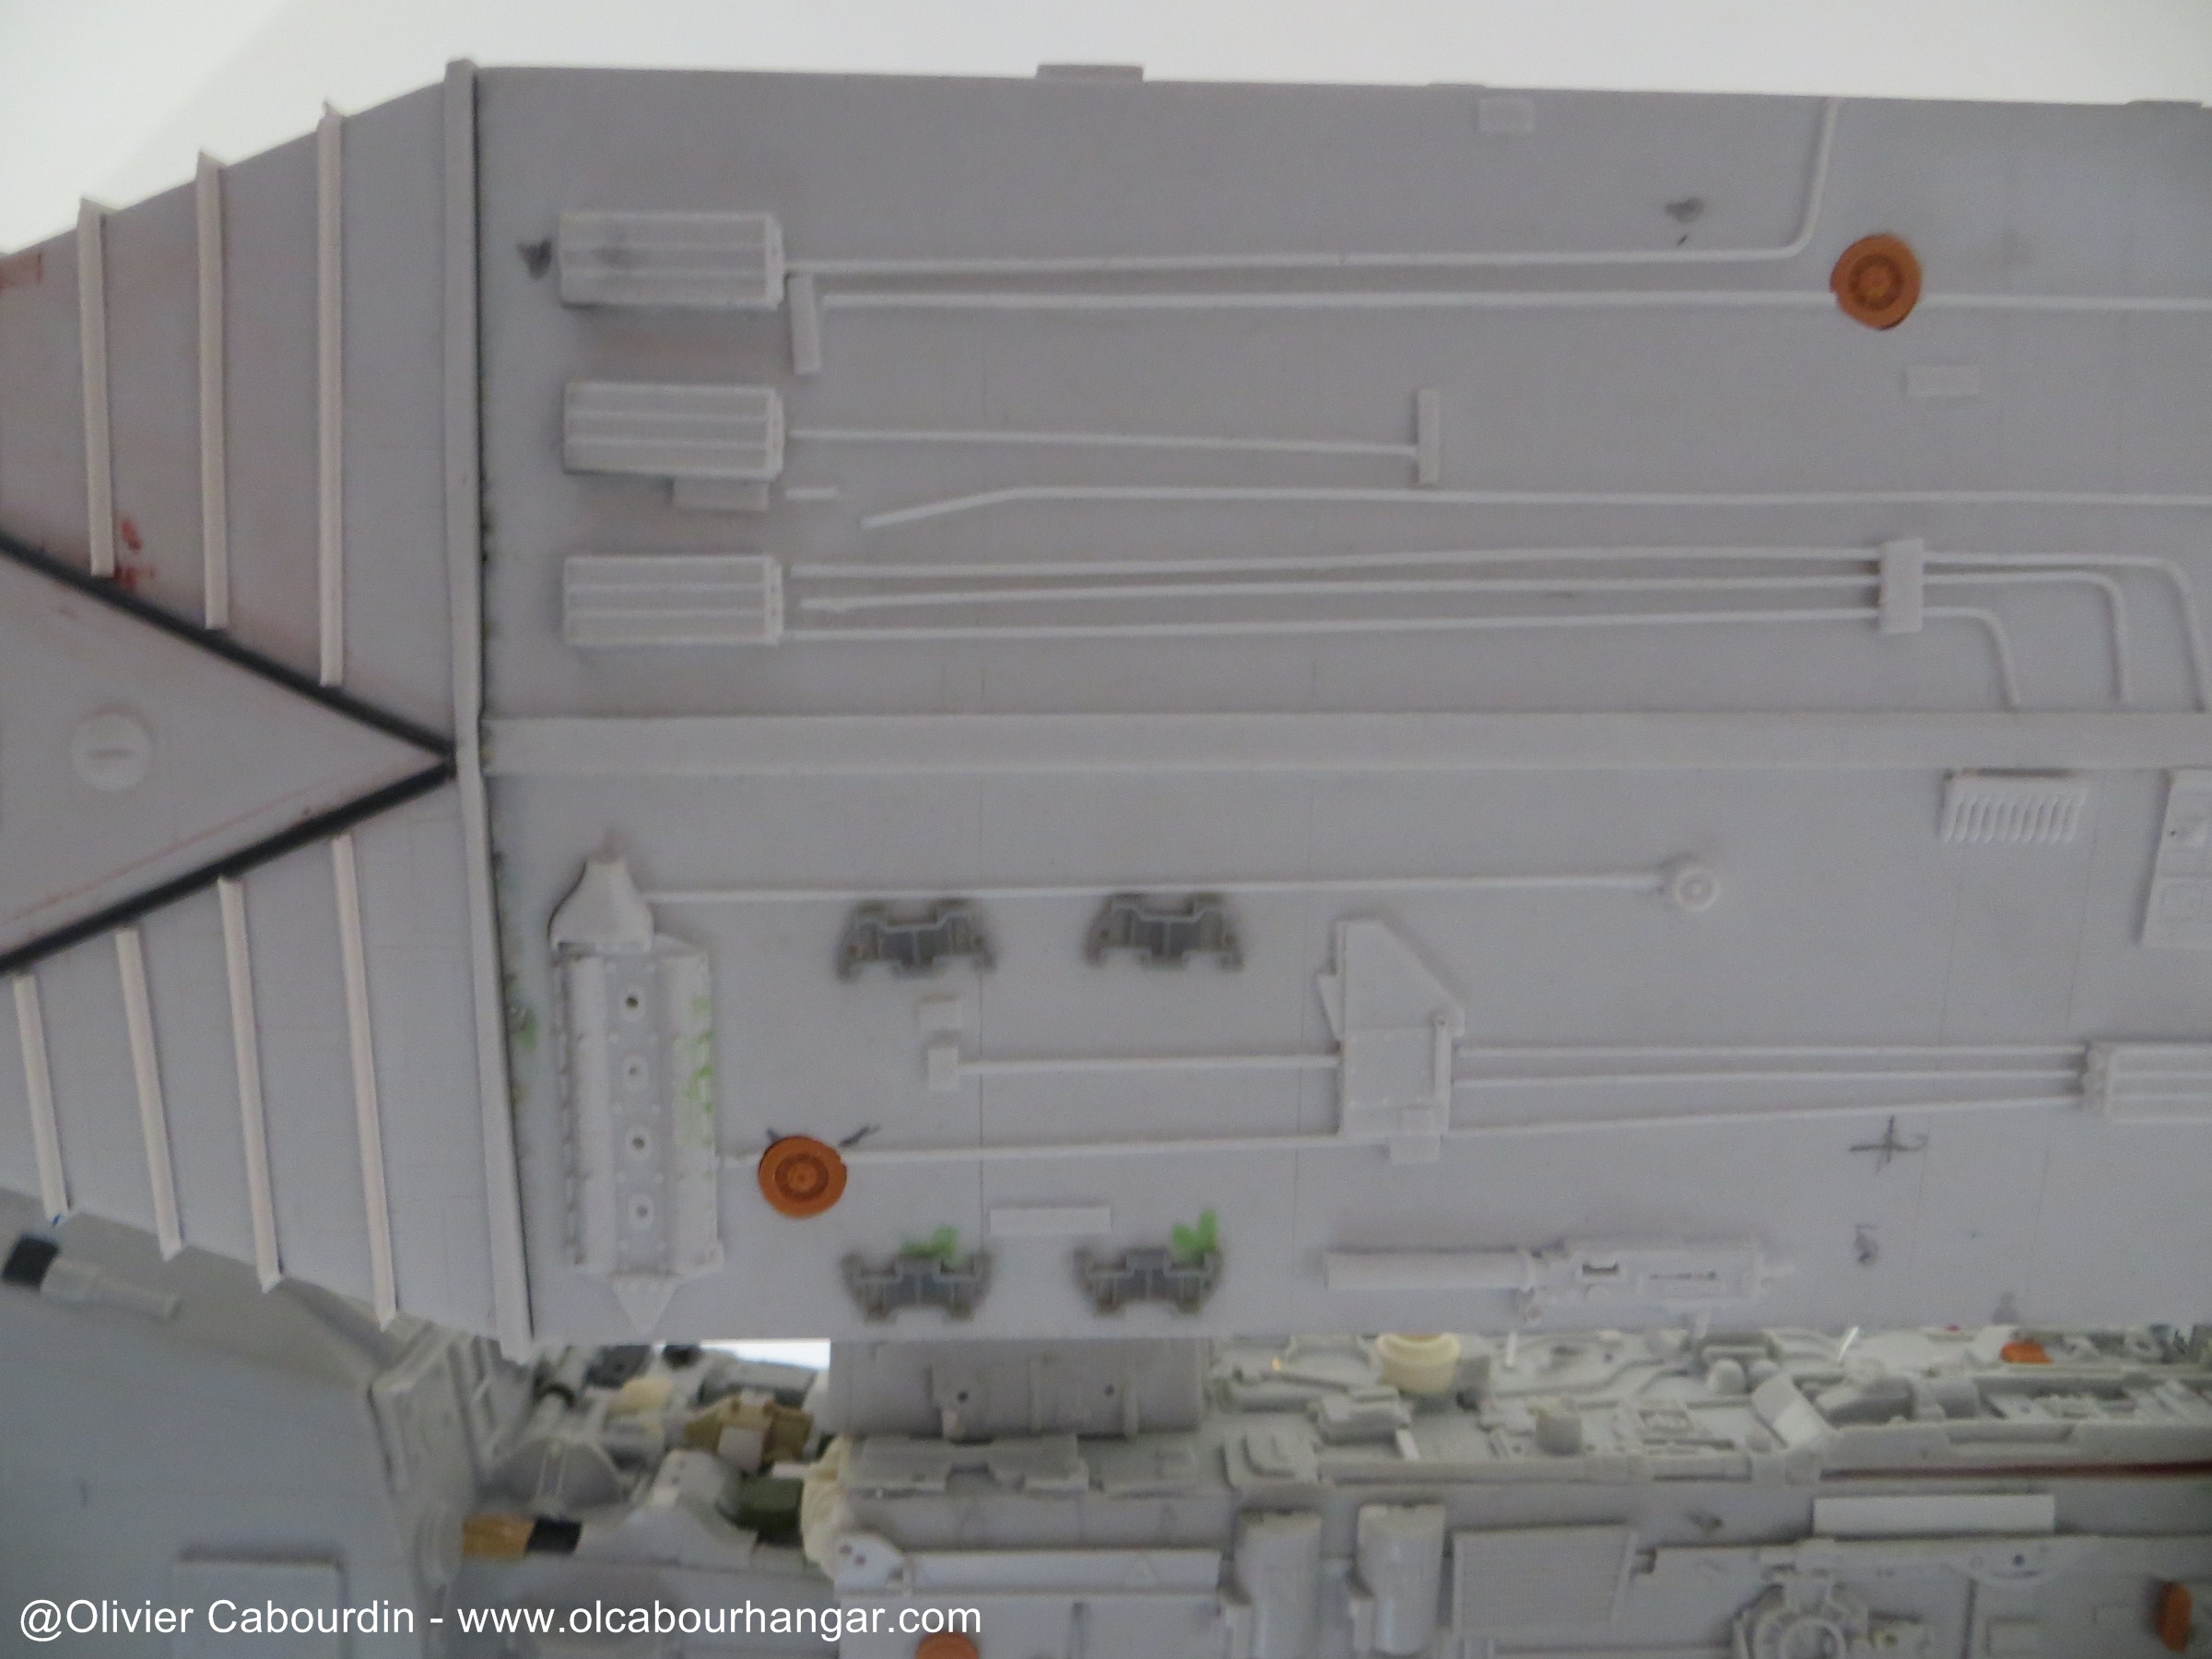
- Junctions of the arms with the hangars


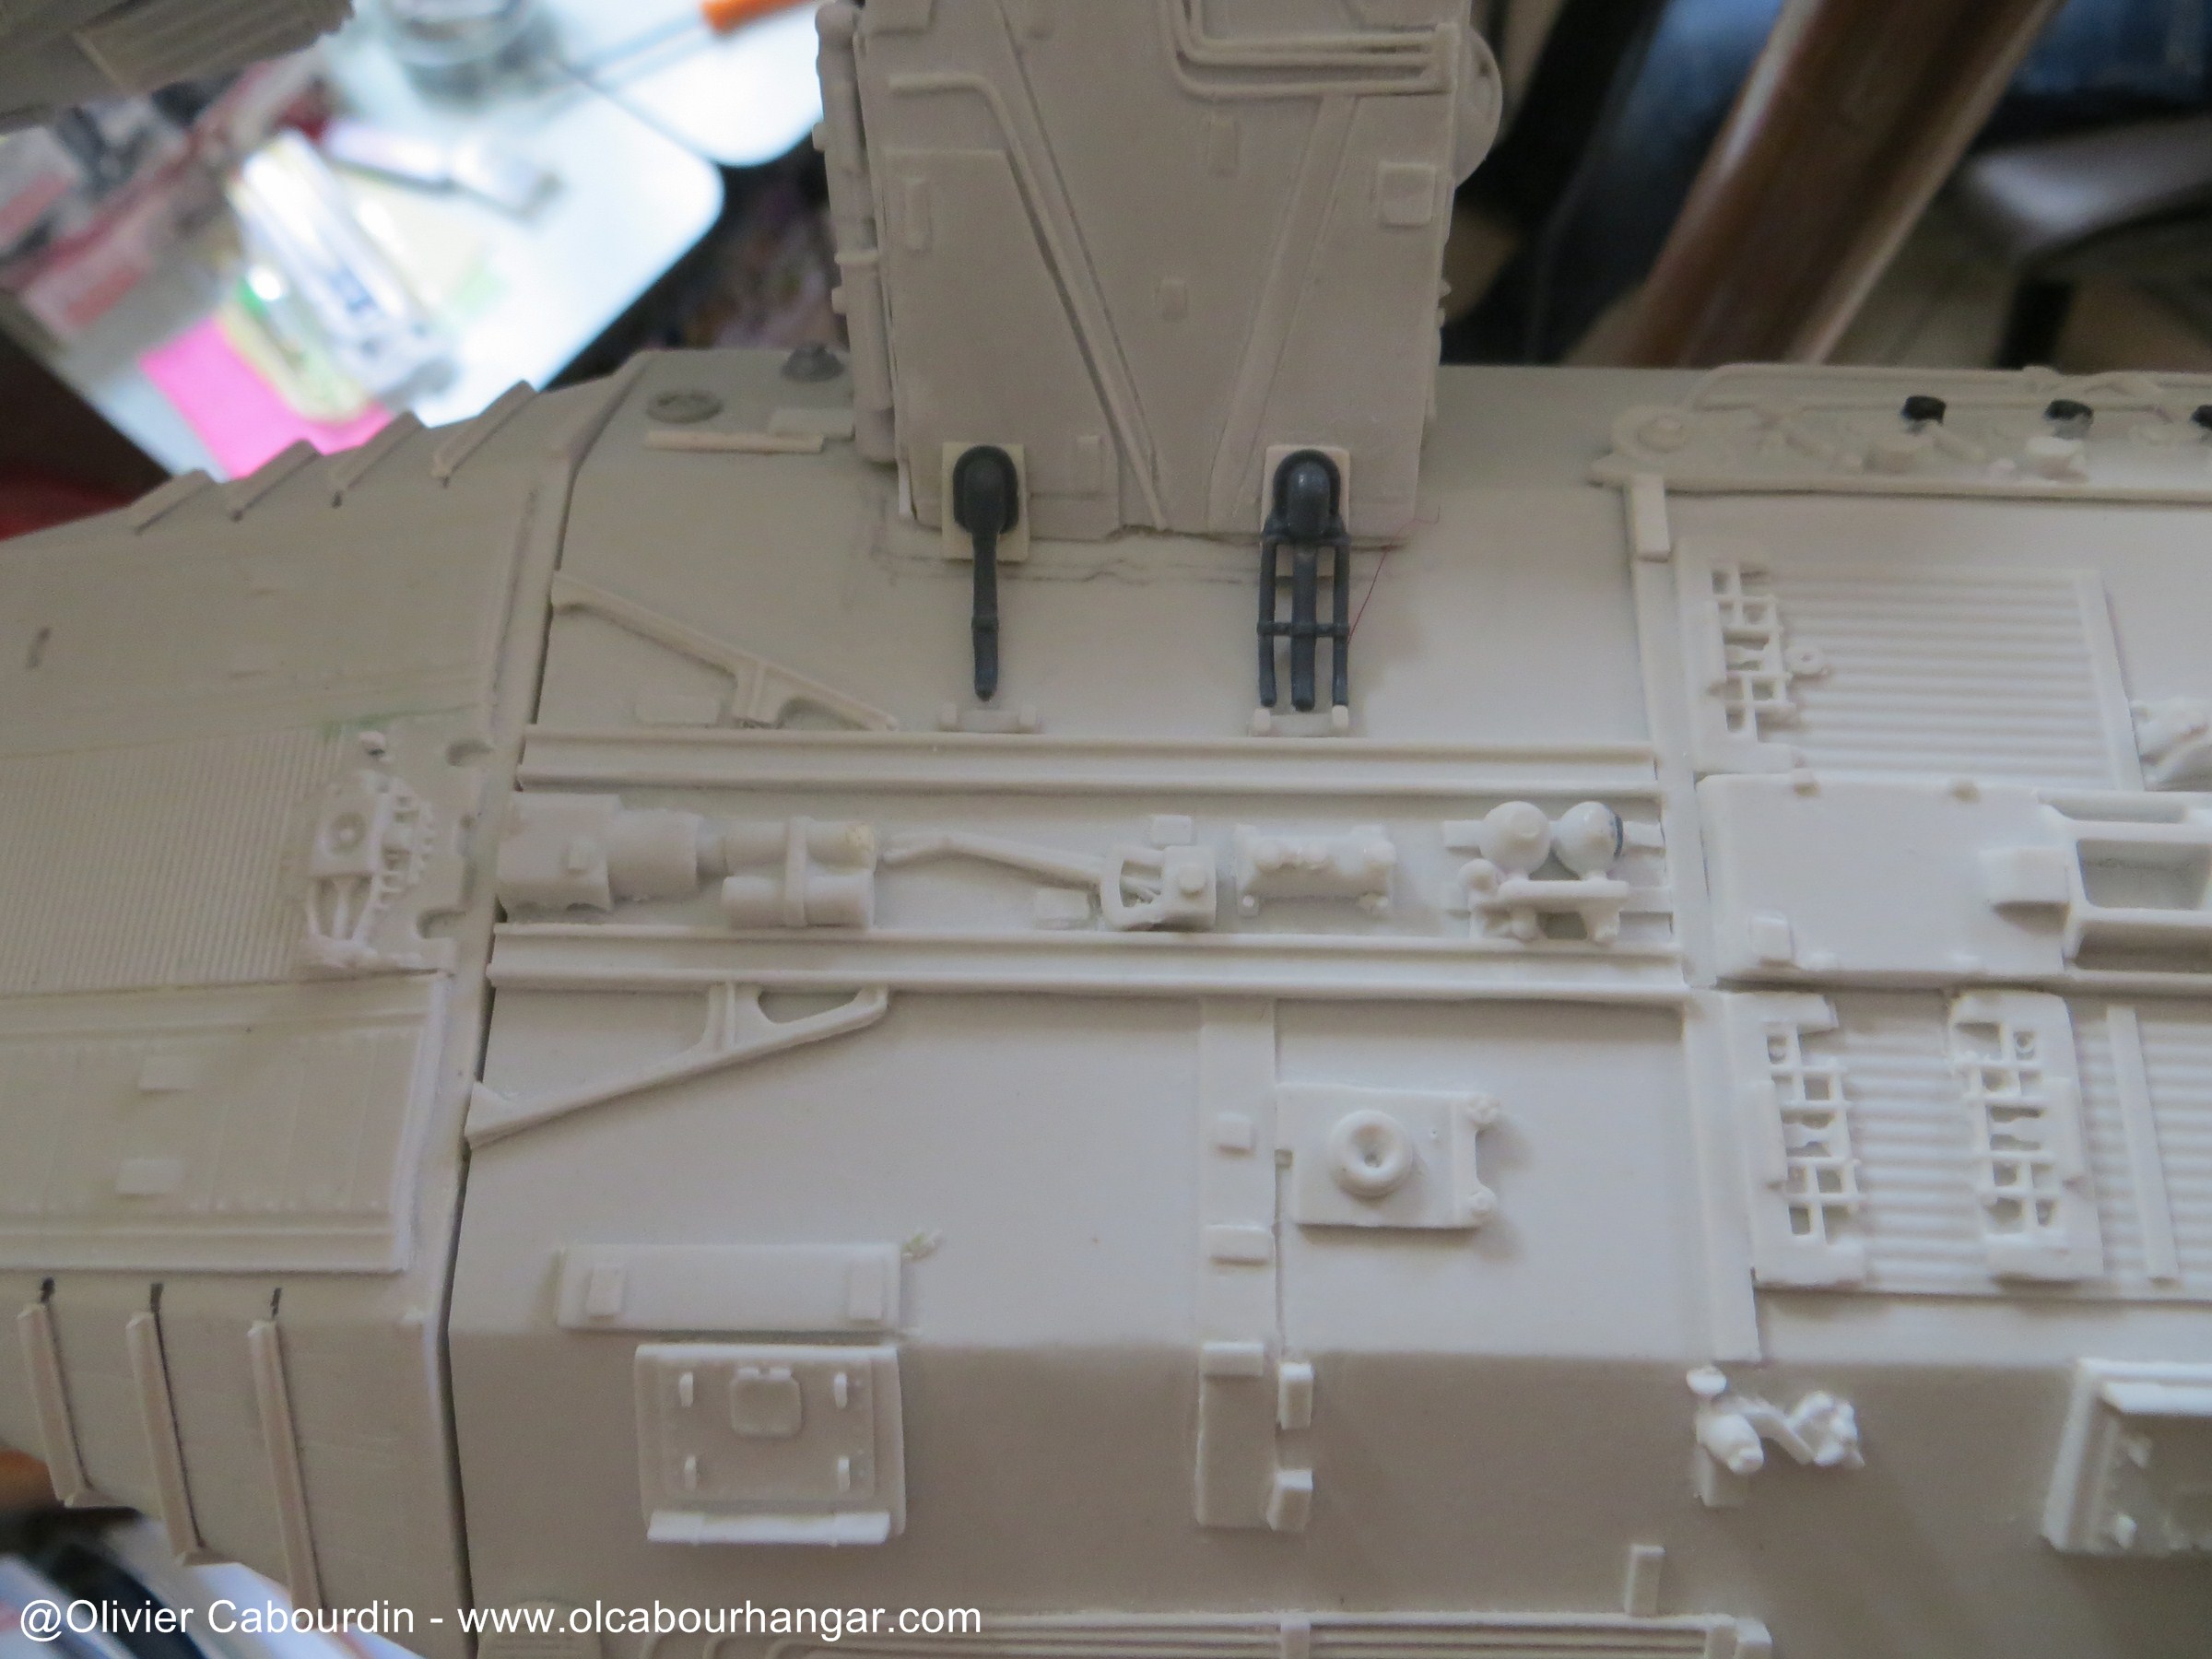
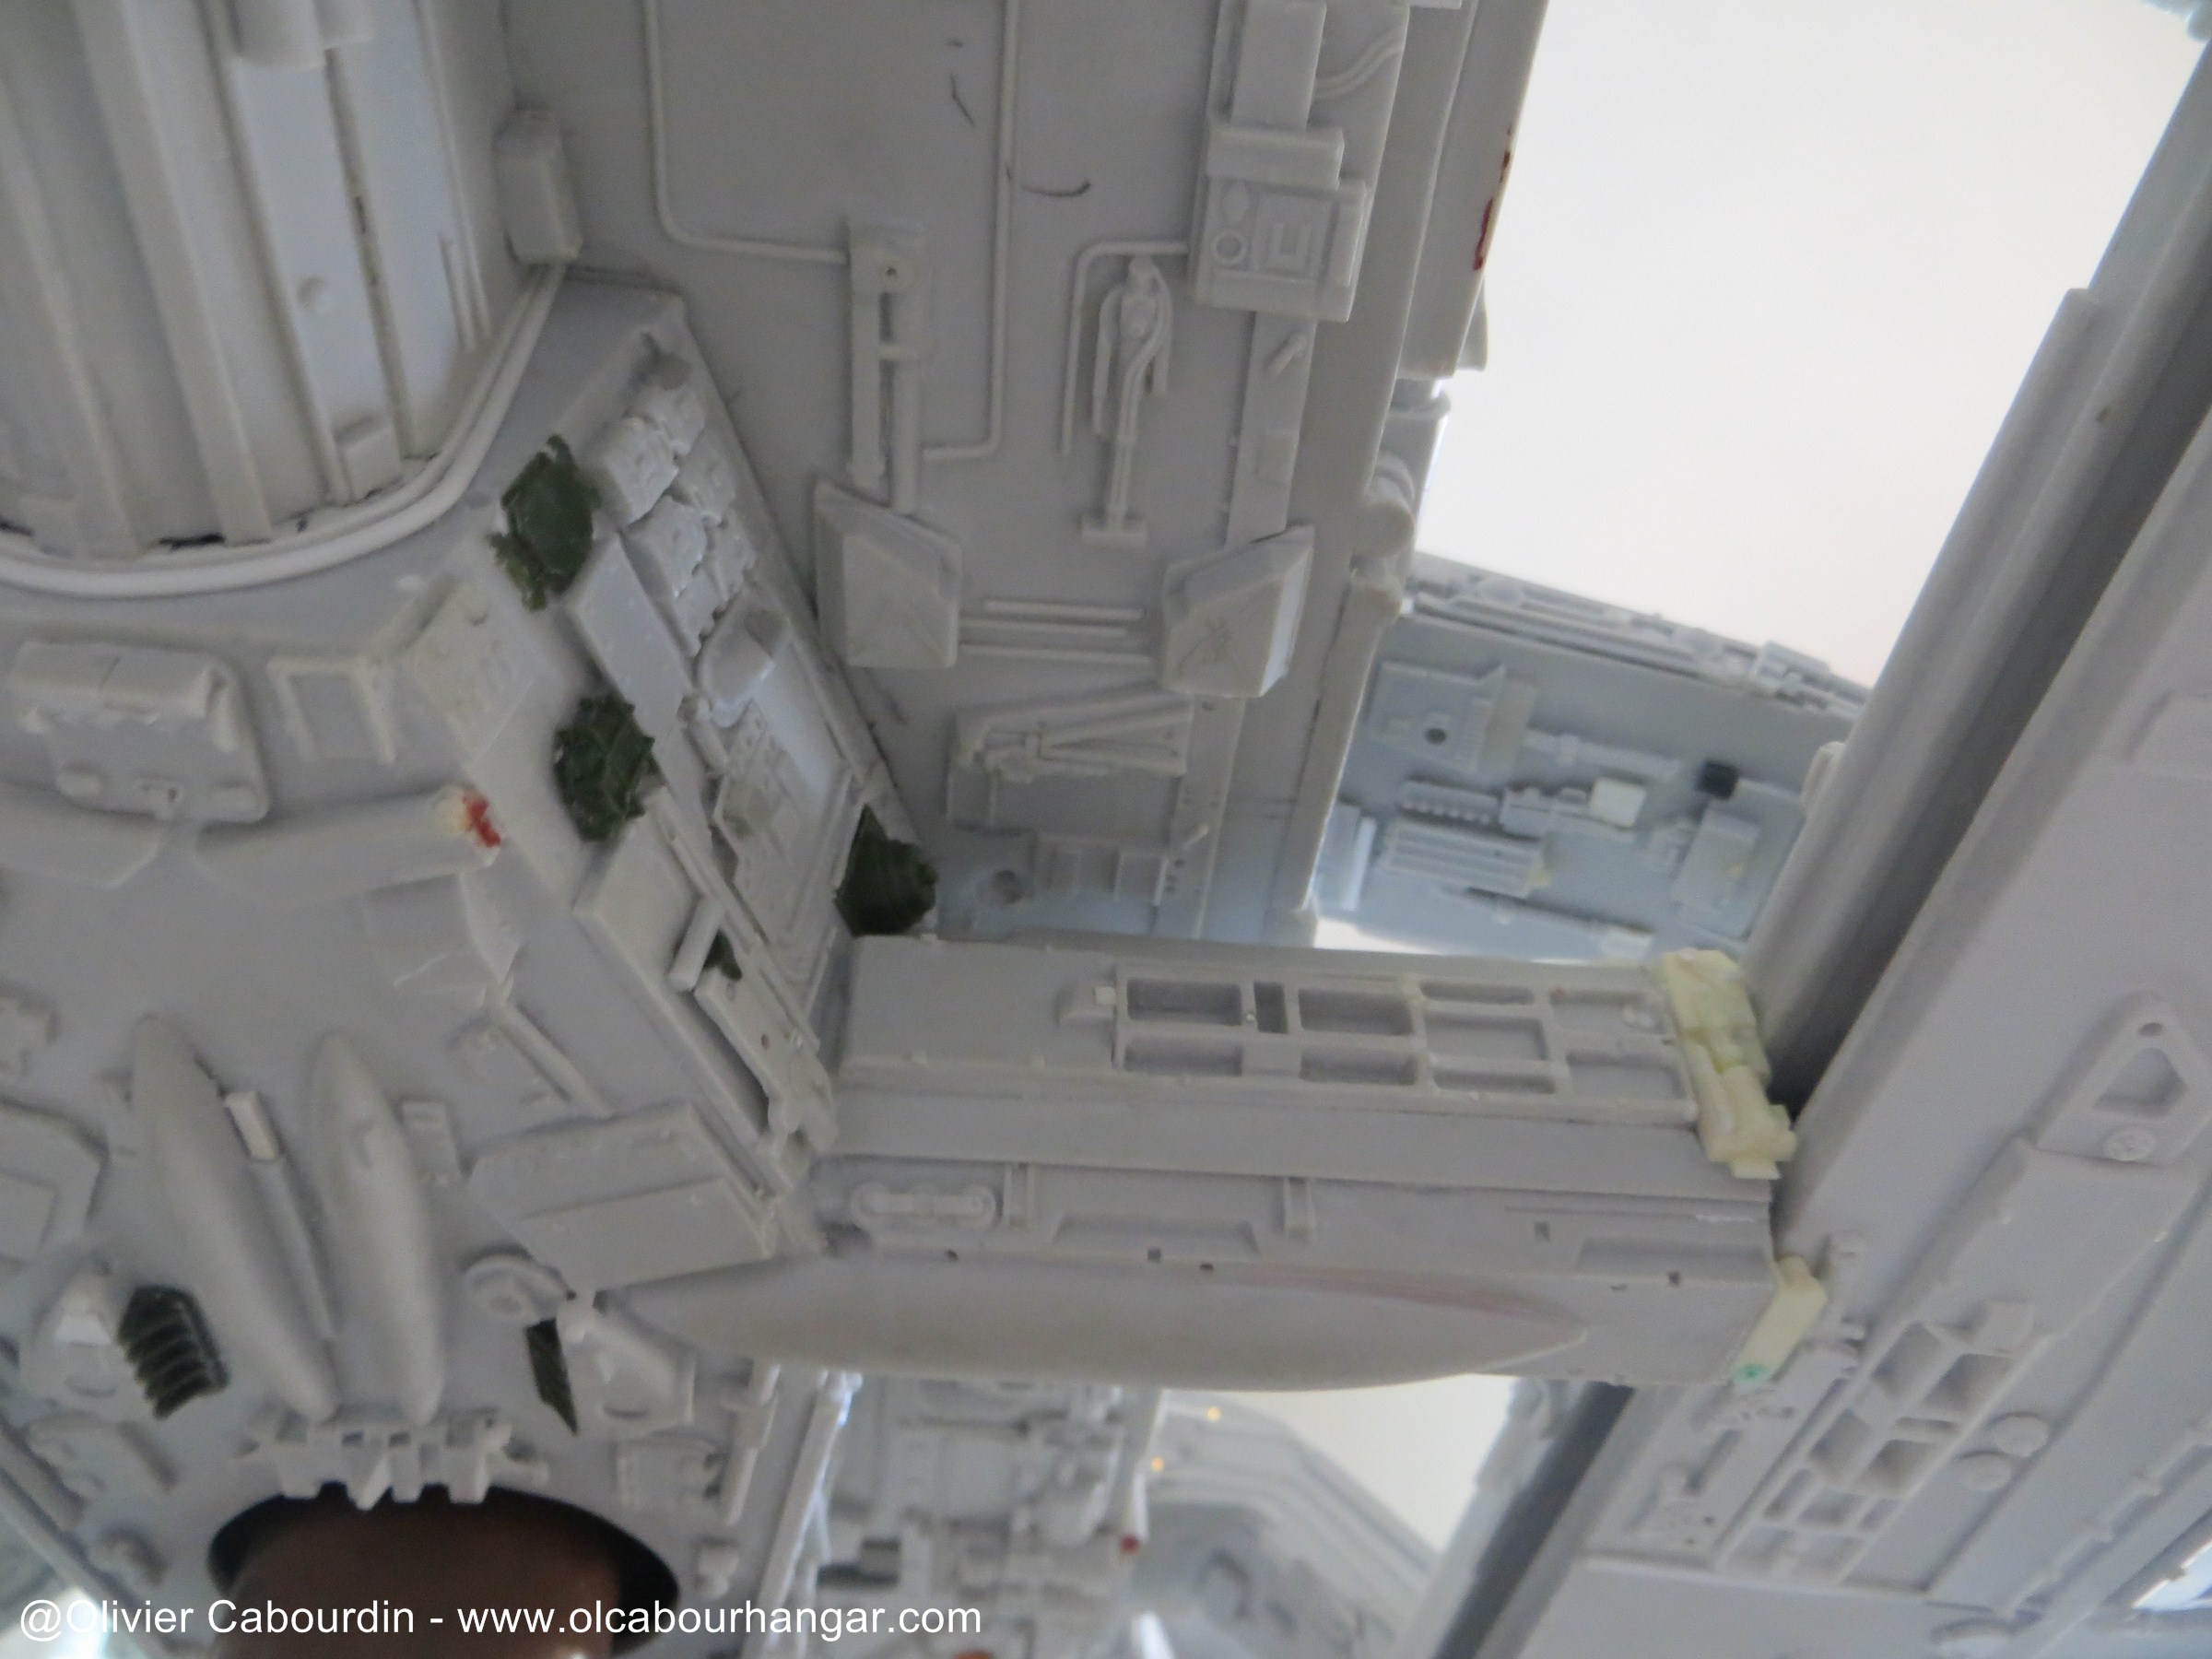

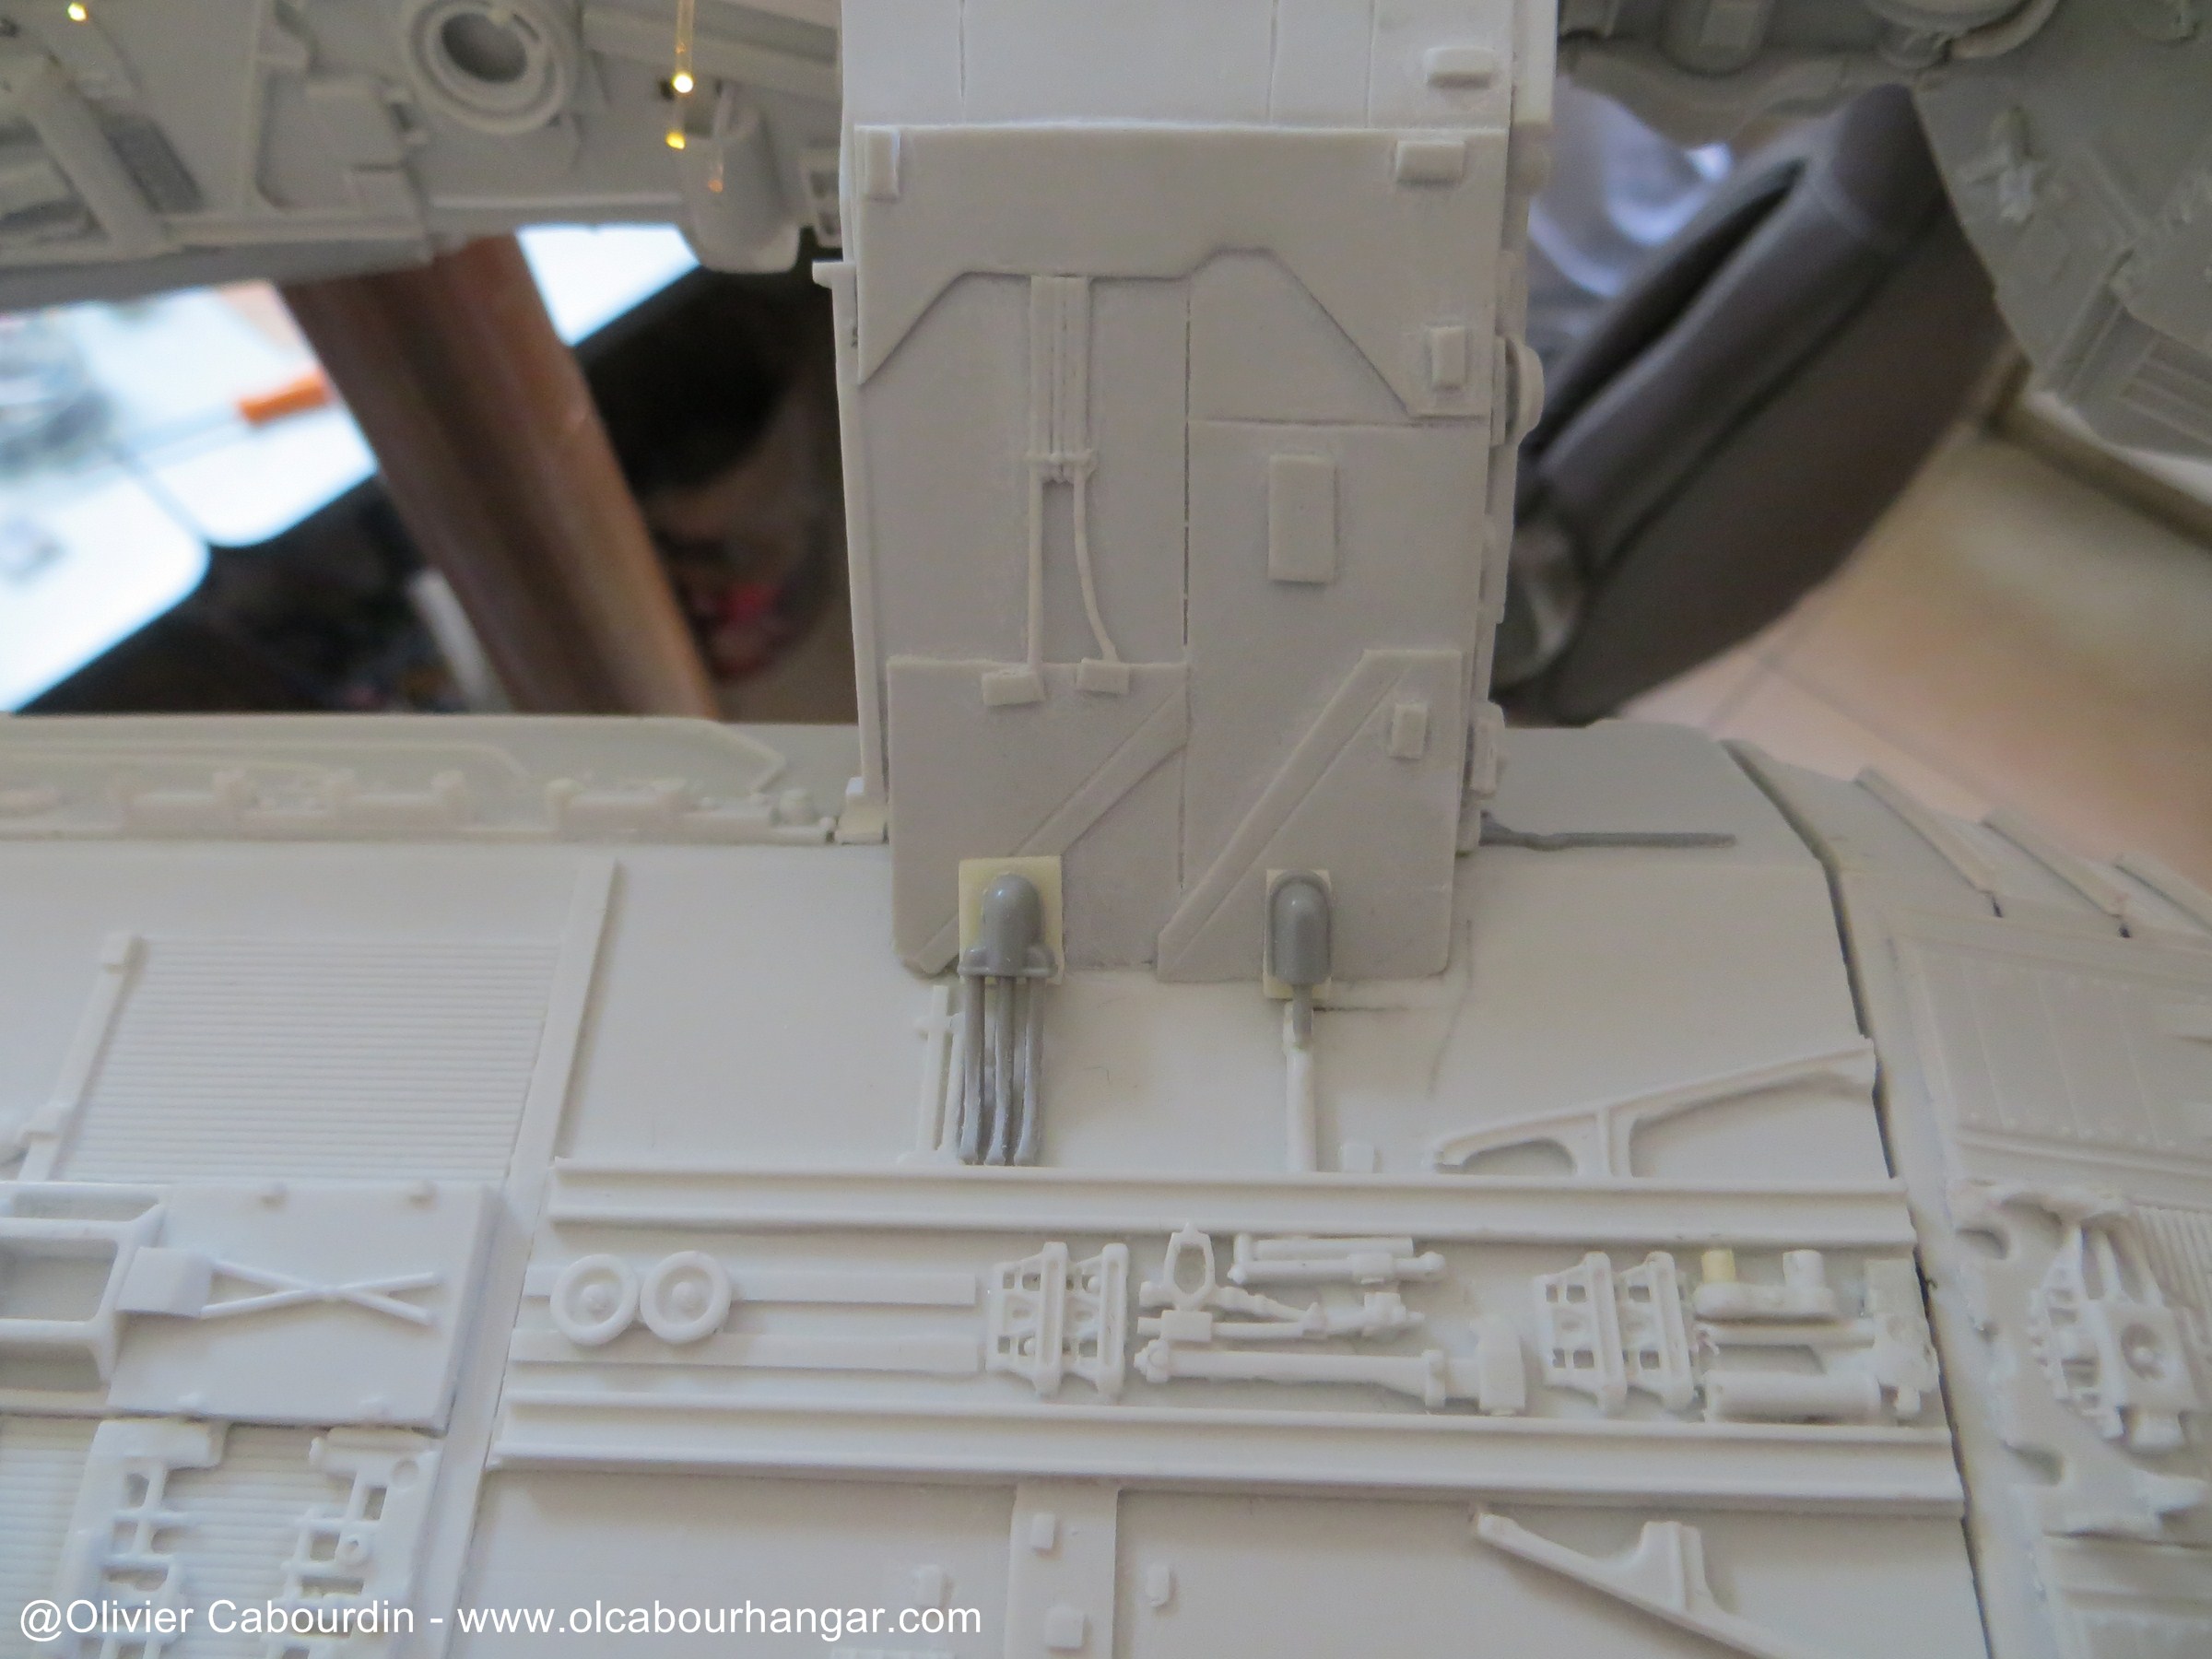


- details creation to hide the hangar lateral openings of the electical sockets and stands.

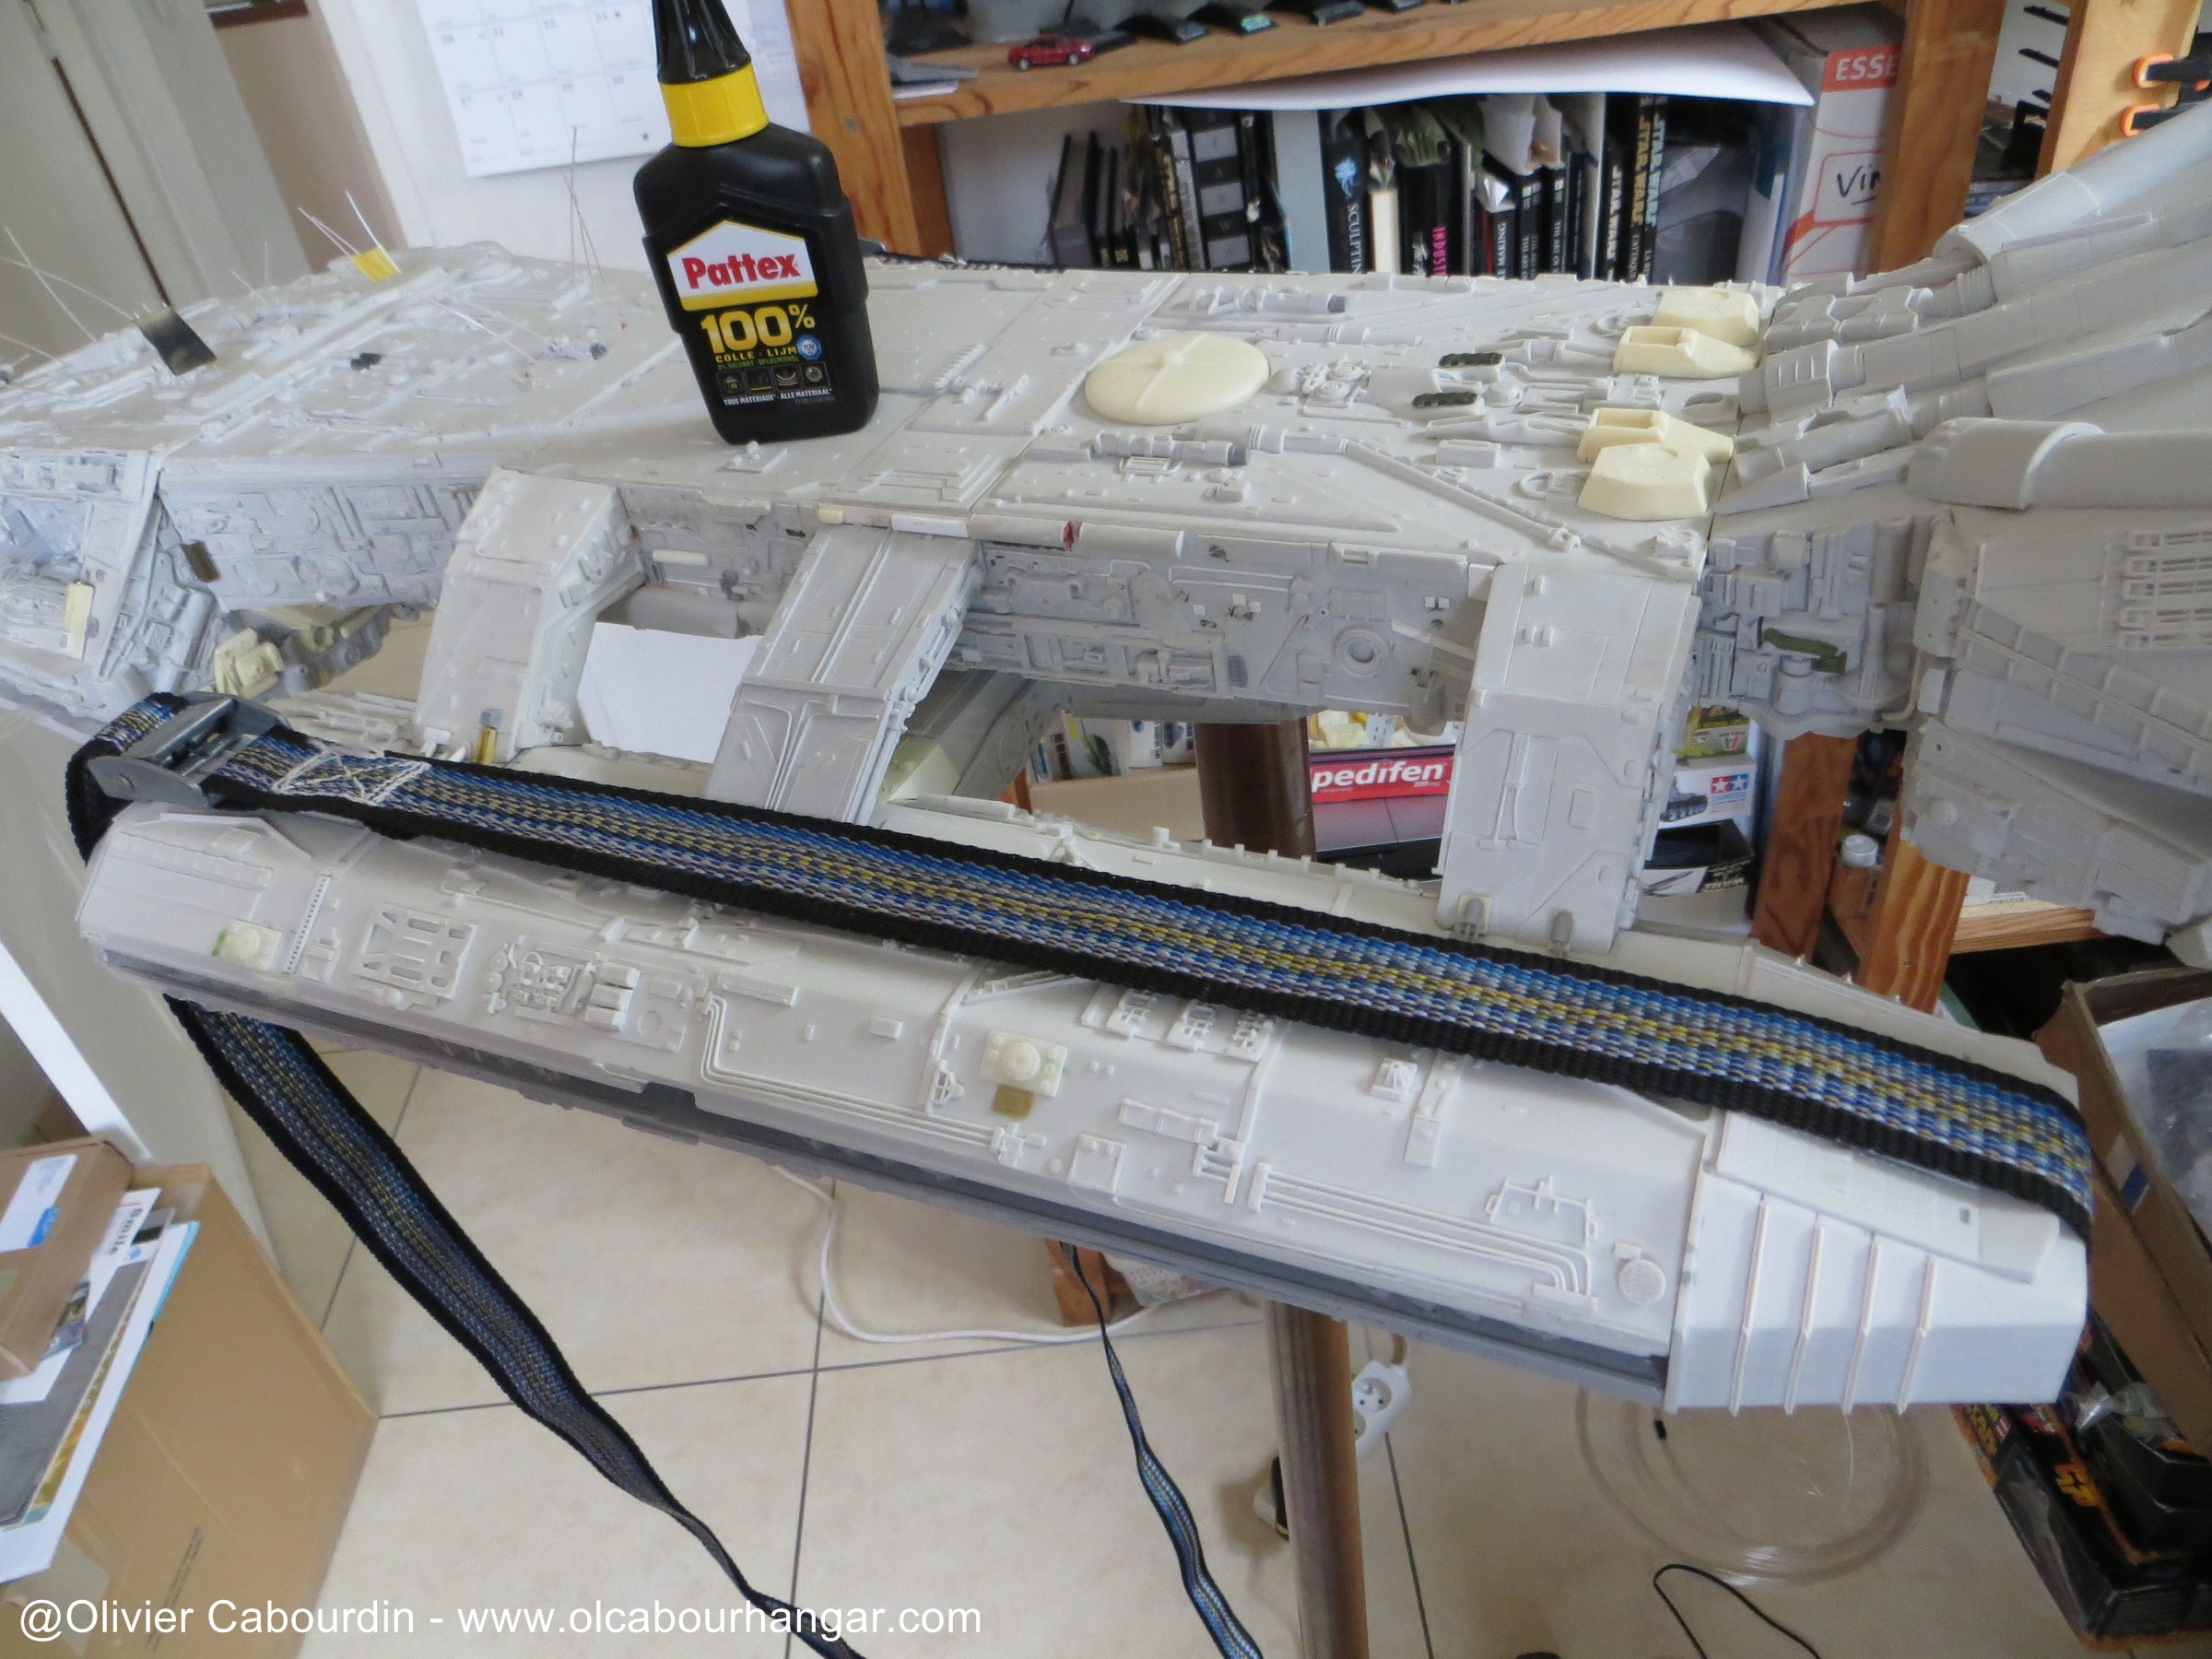
- the end part of the hangars are finally glued and held together with straps during curing.
Par olcabour le dimanche, 16 novembre 2014, 17:31
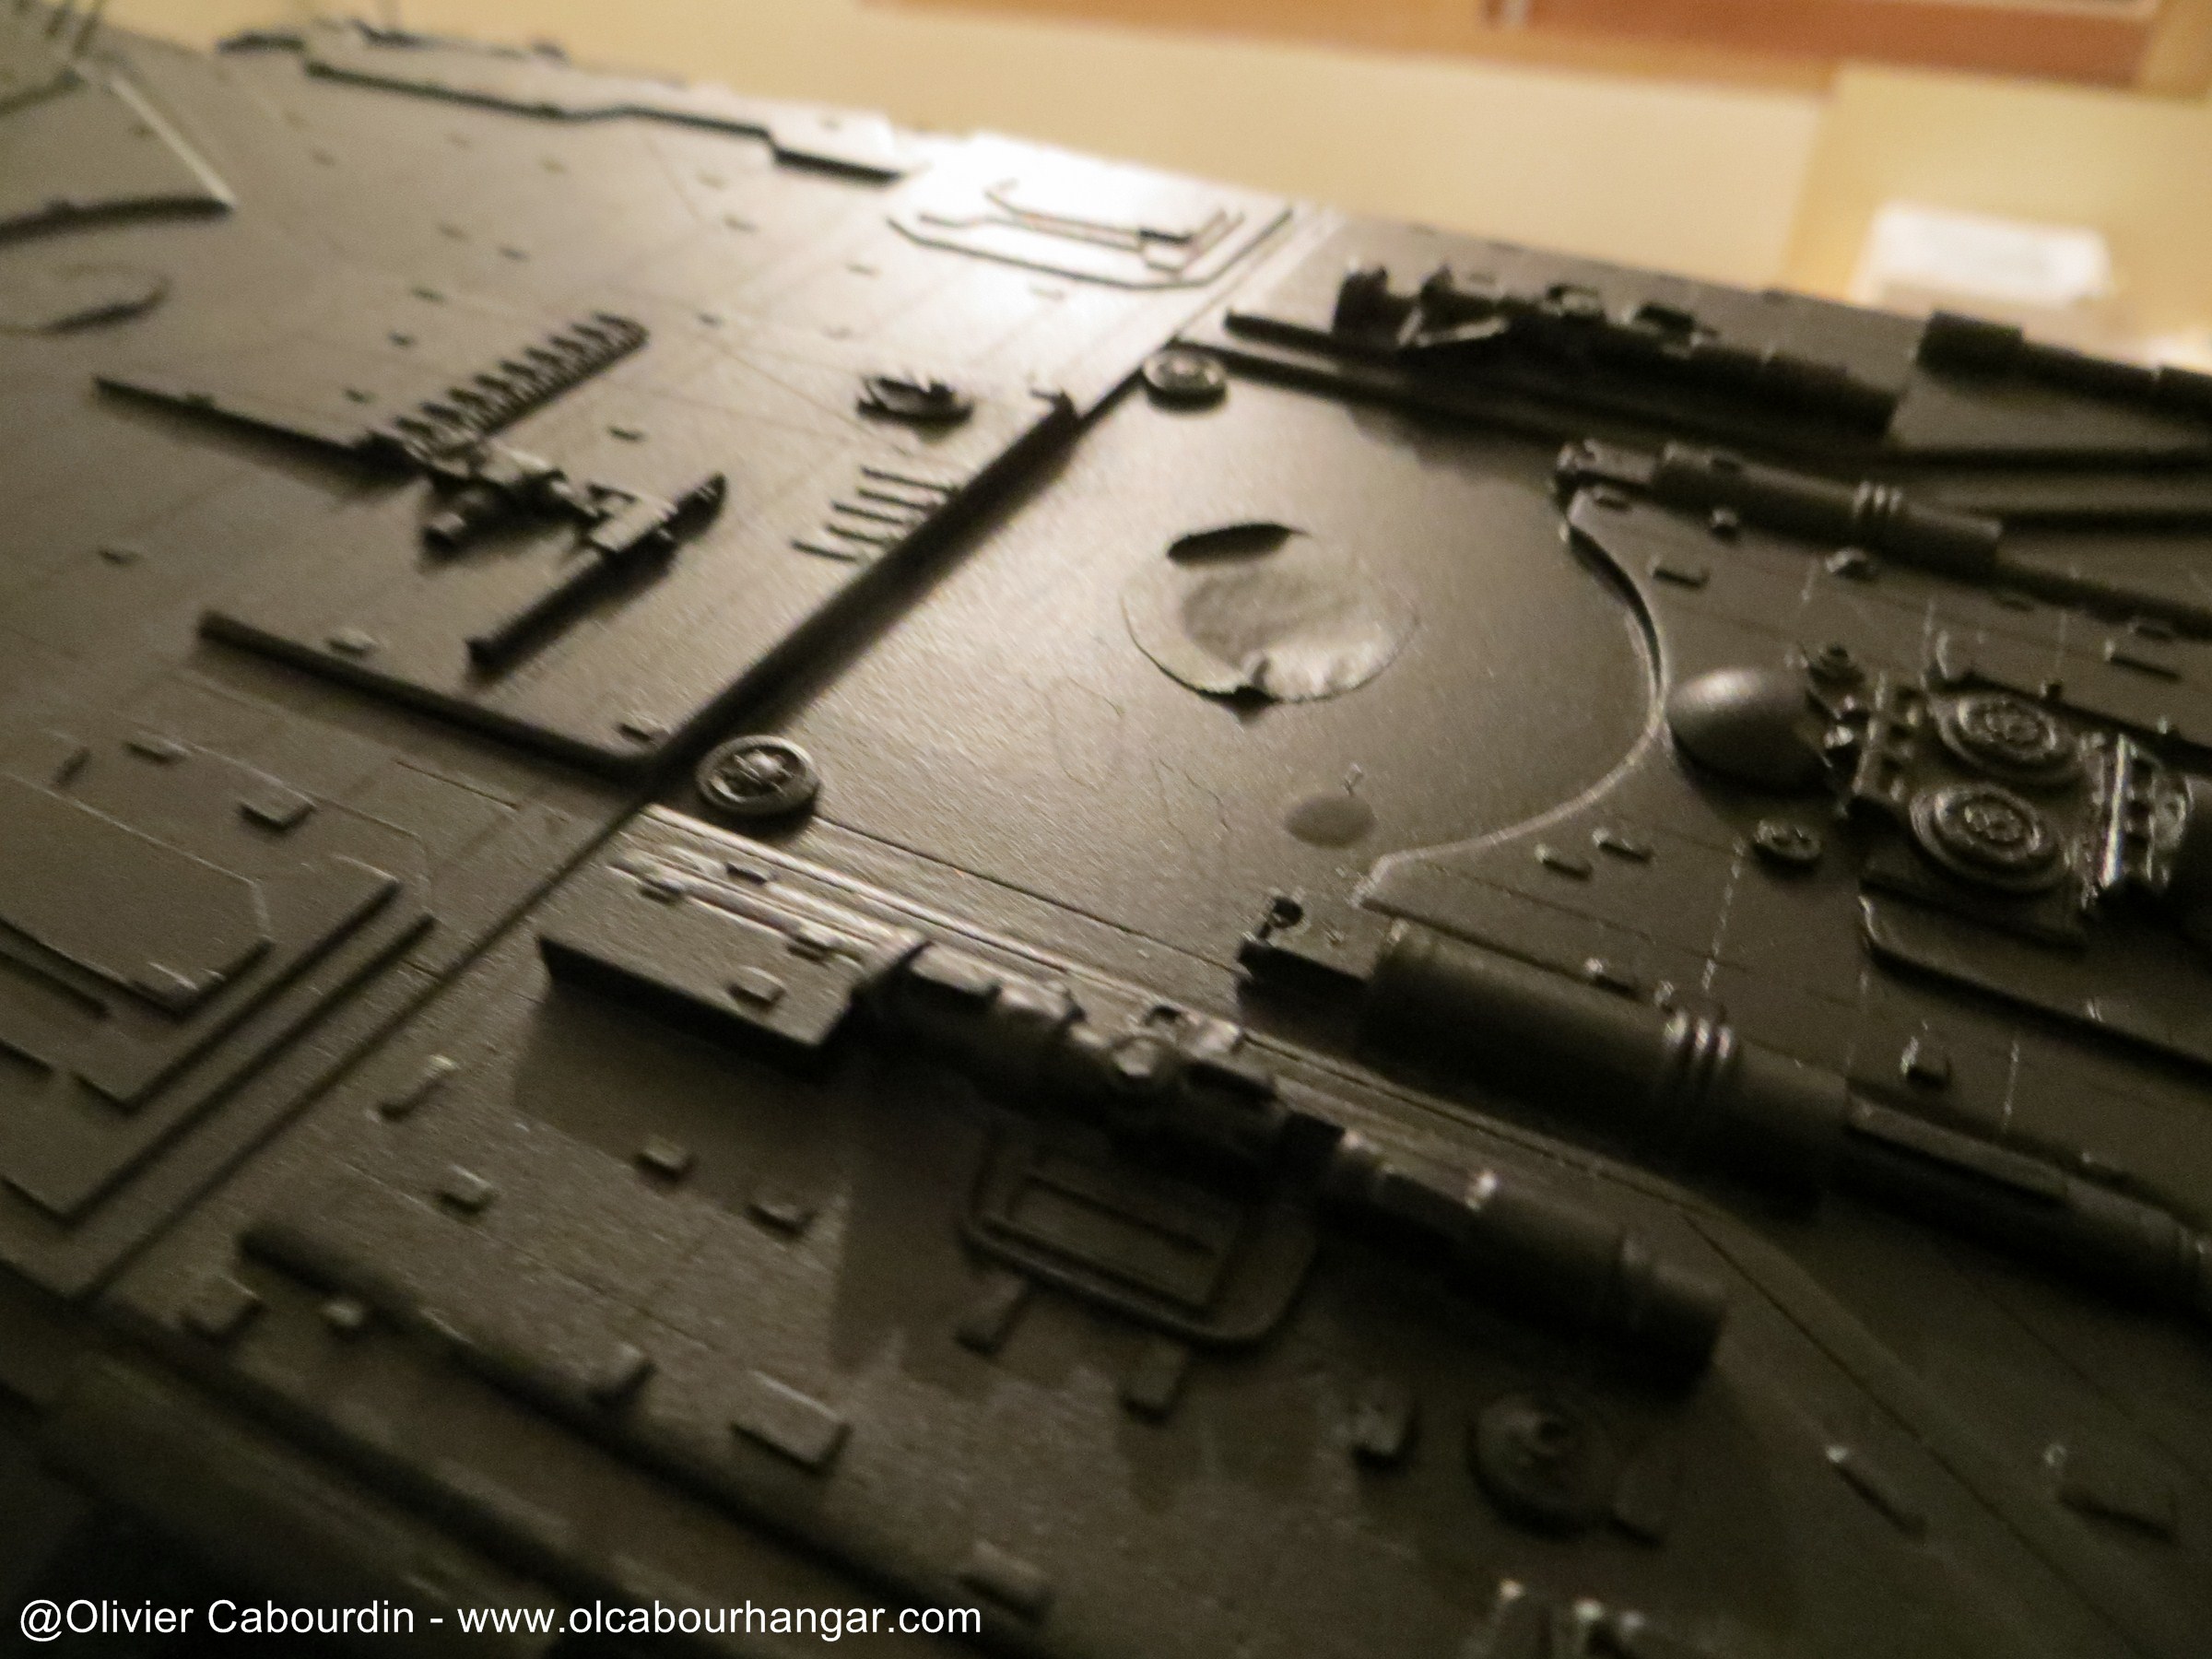
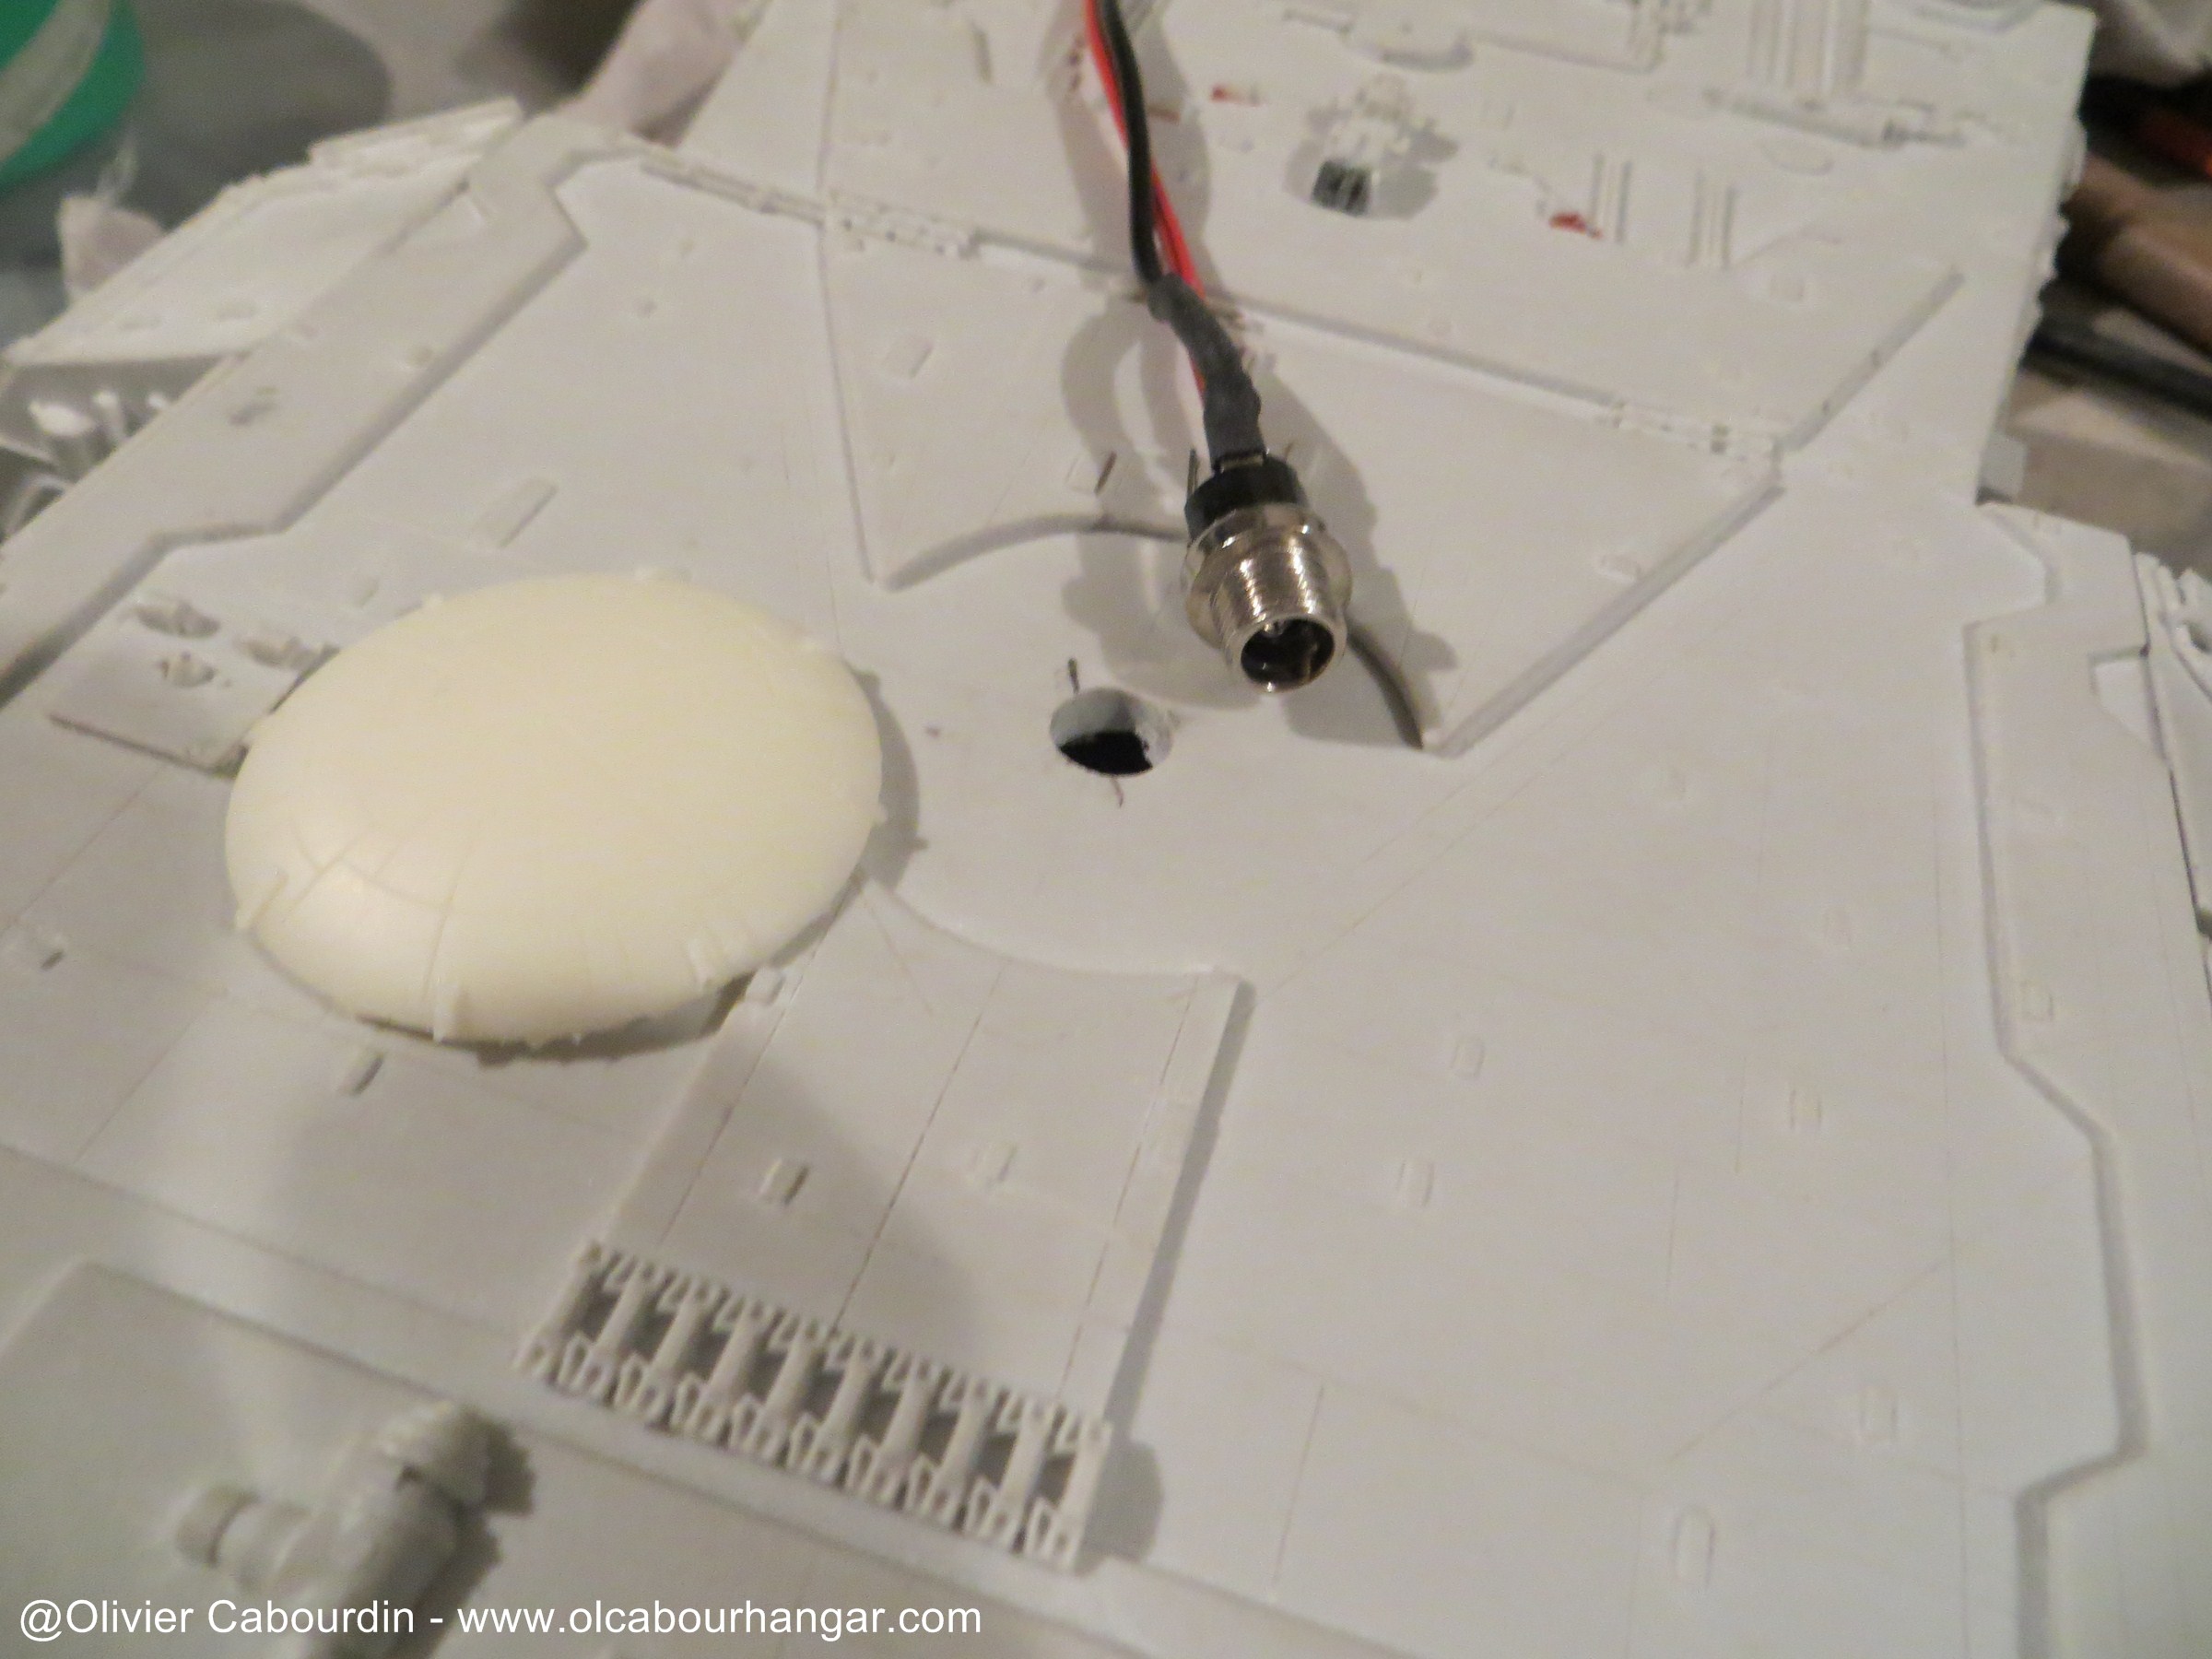
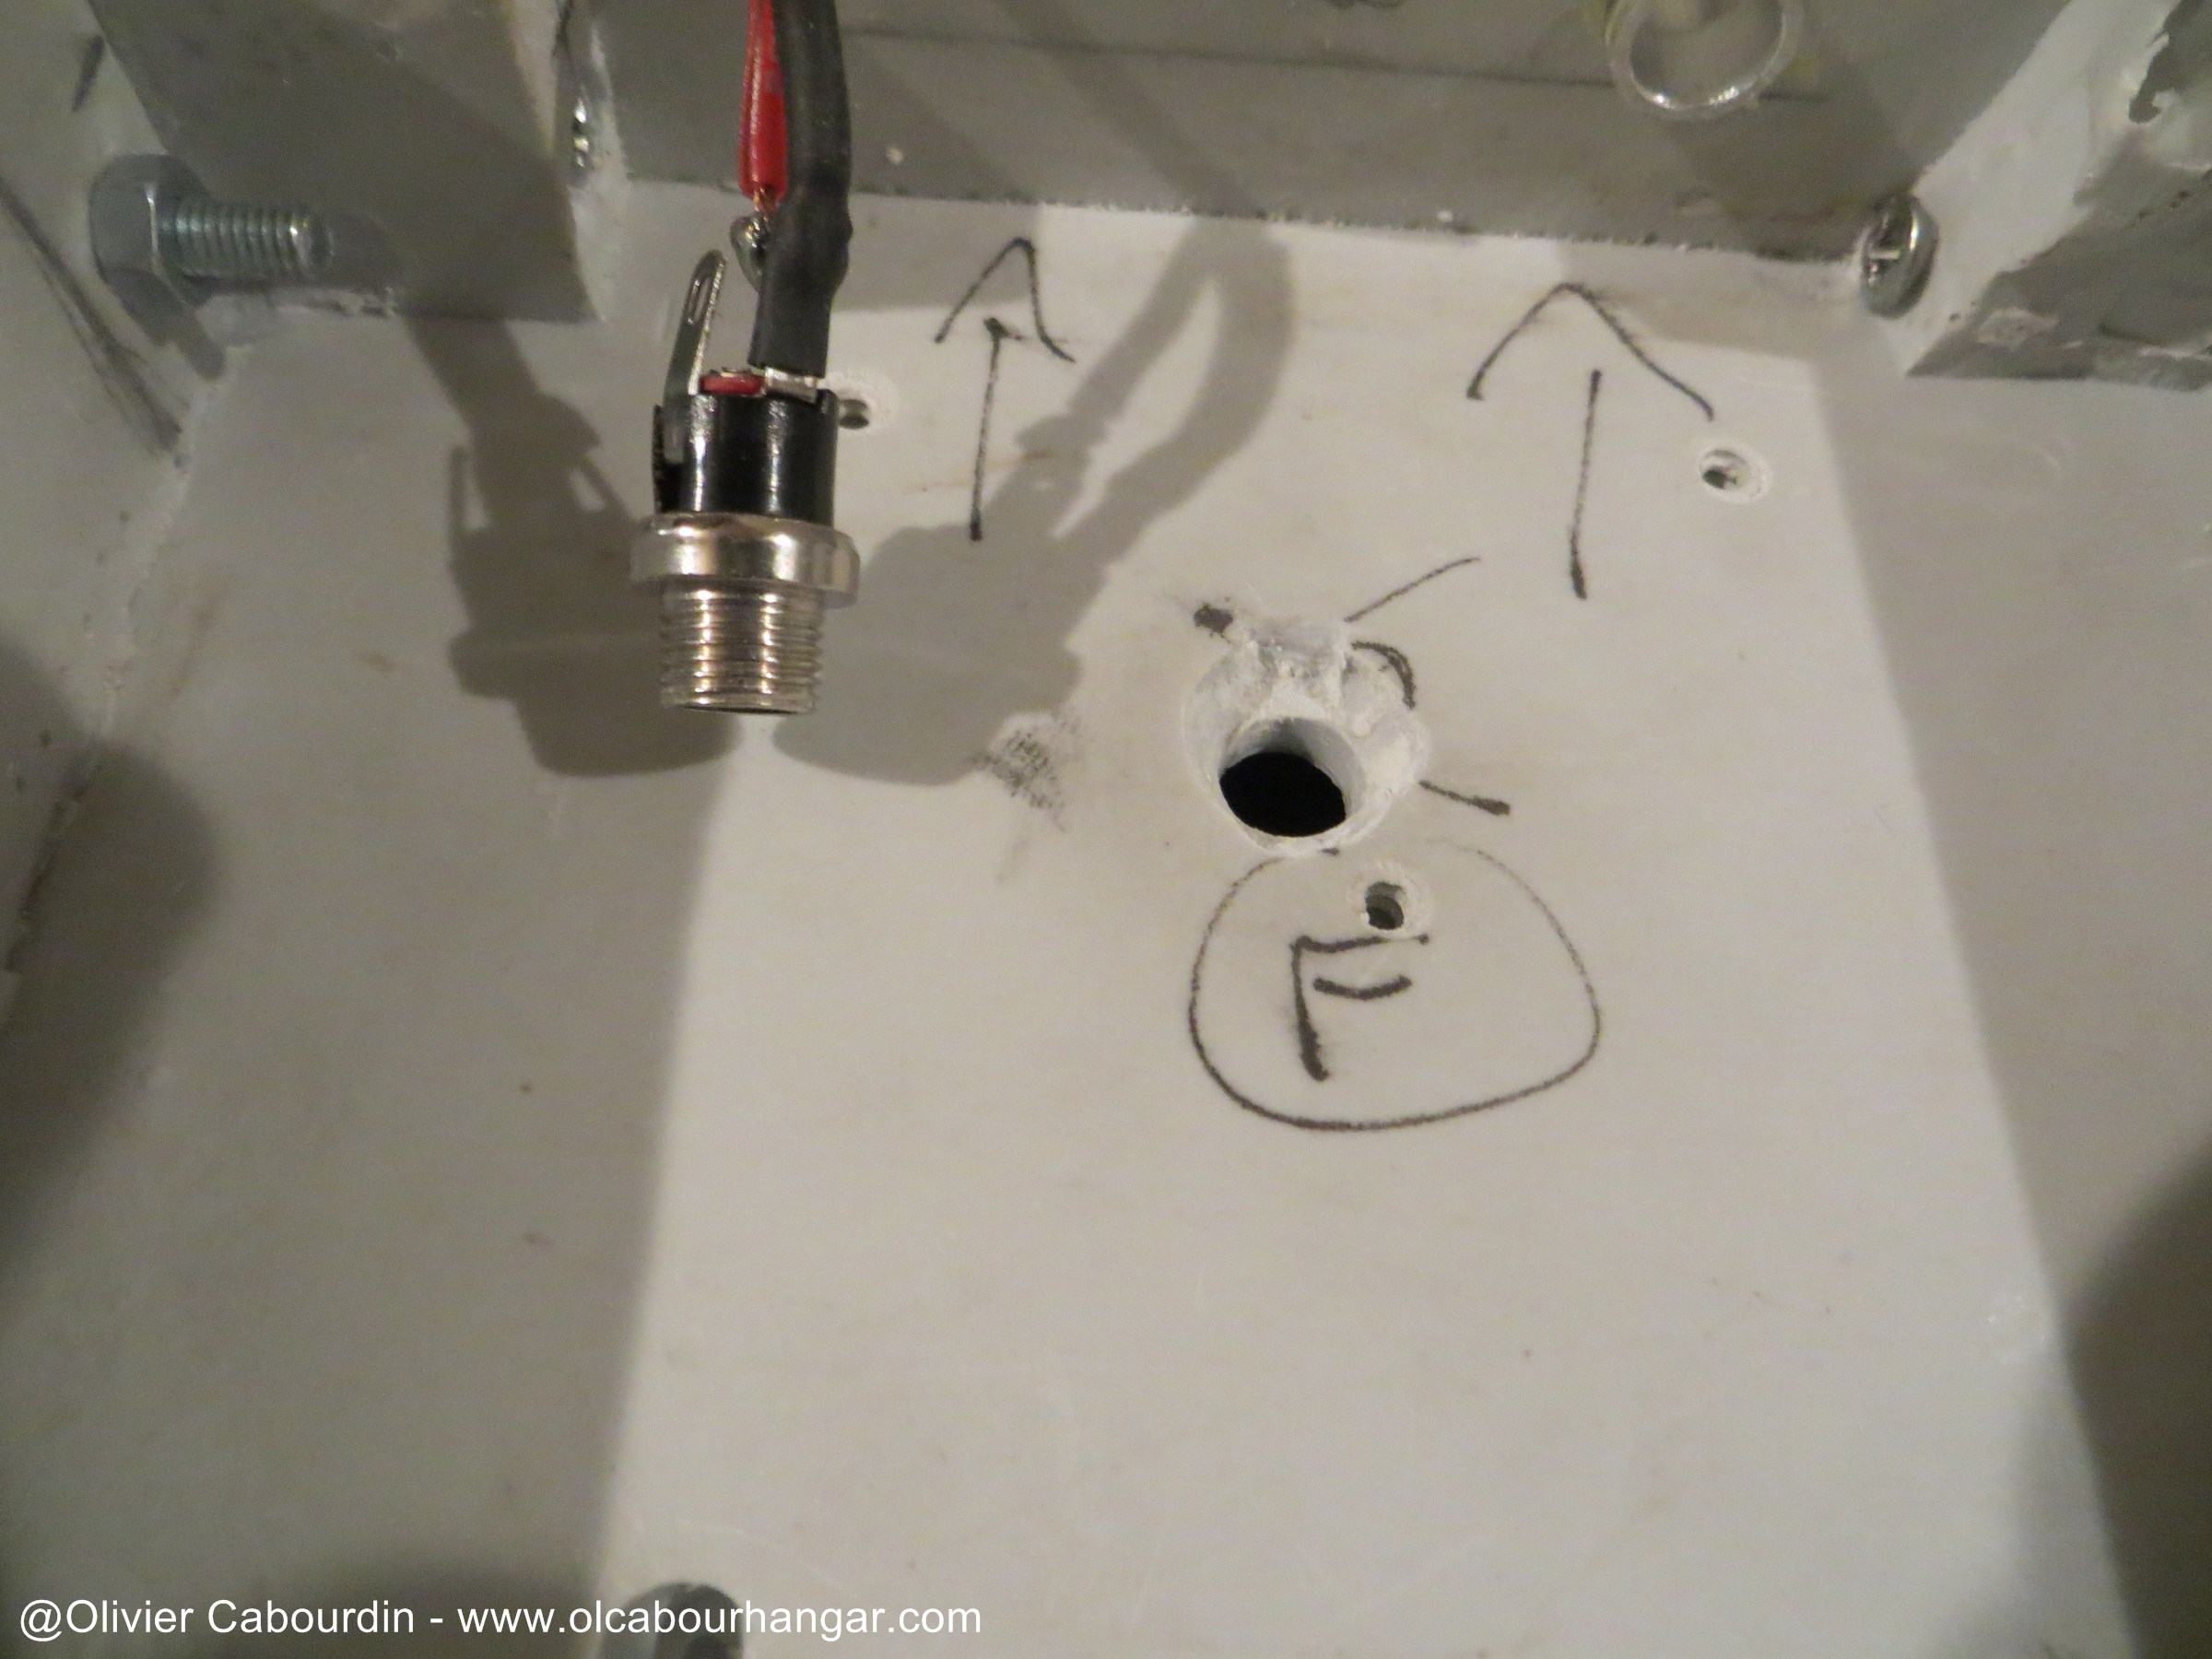
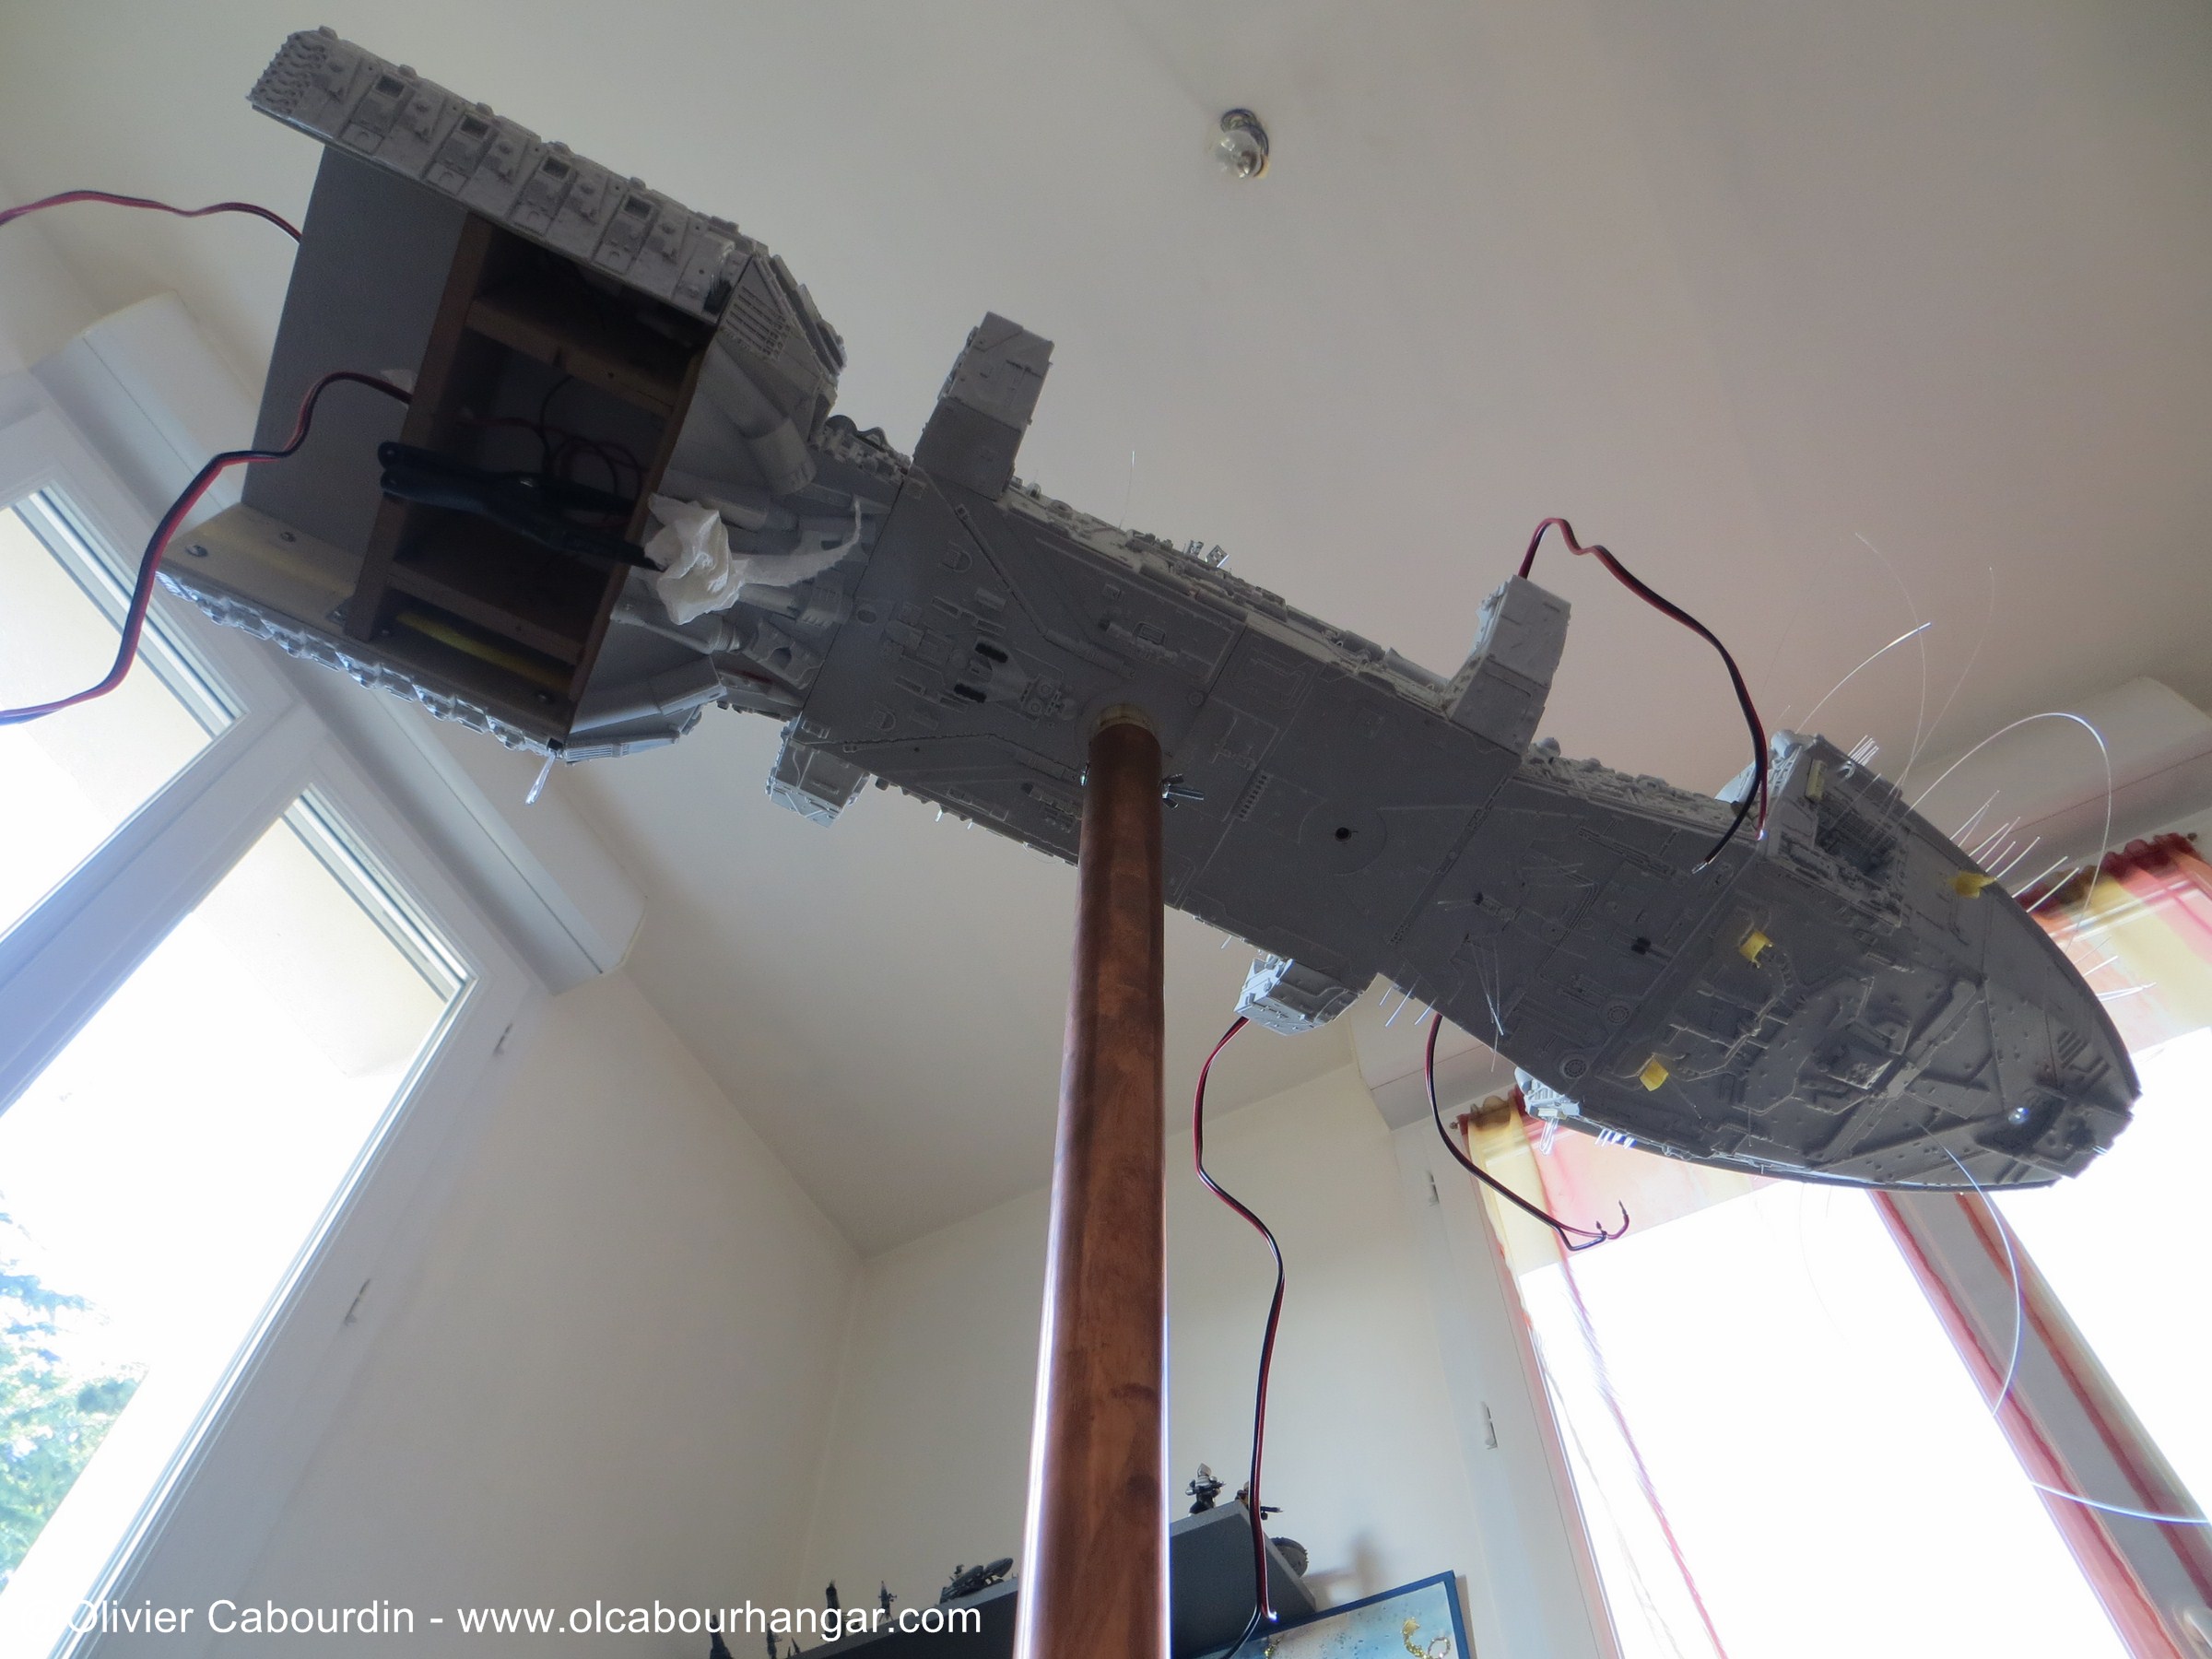
I finish the domes to keep them removable (behind will be hide the electric supply and the support openings).
Here, a flexible tube is used

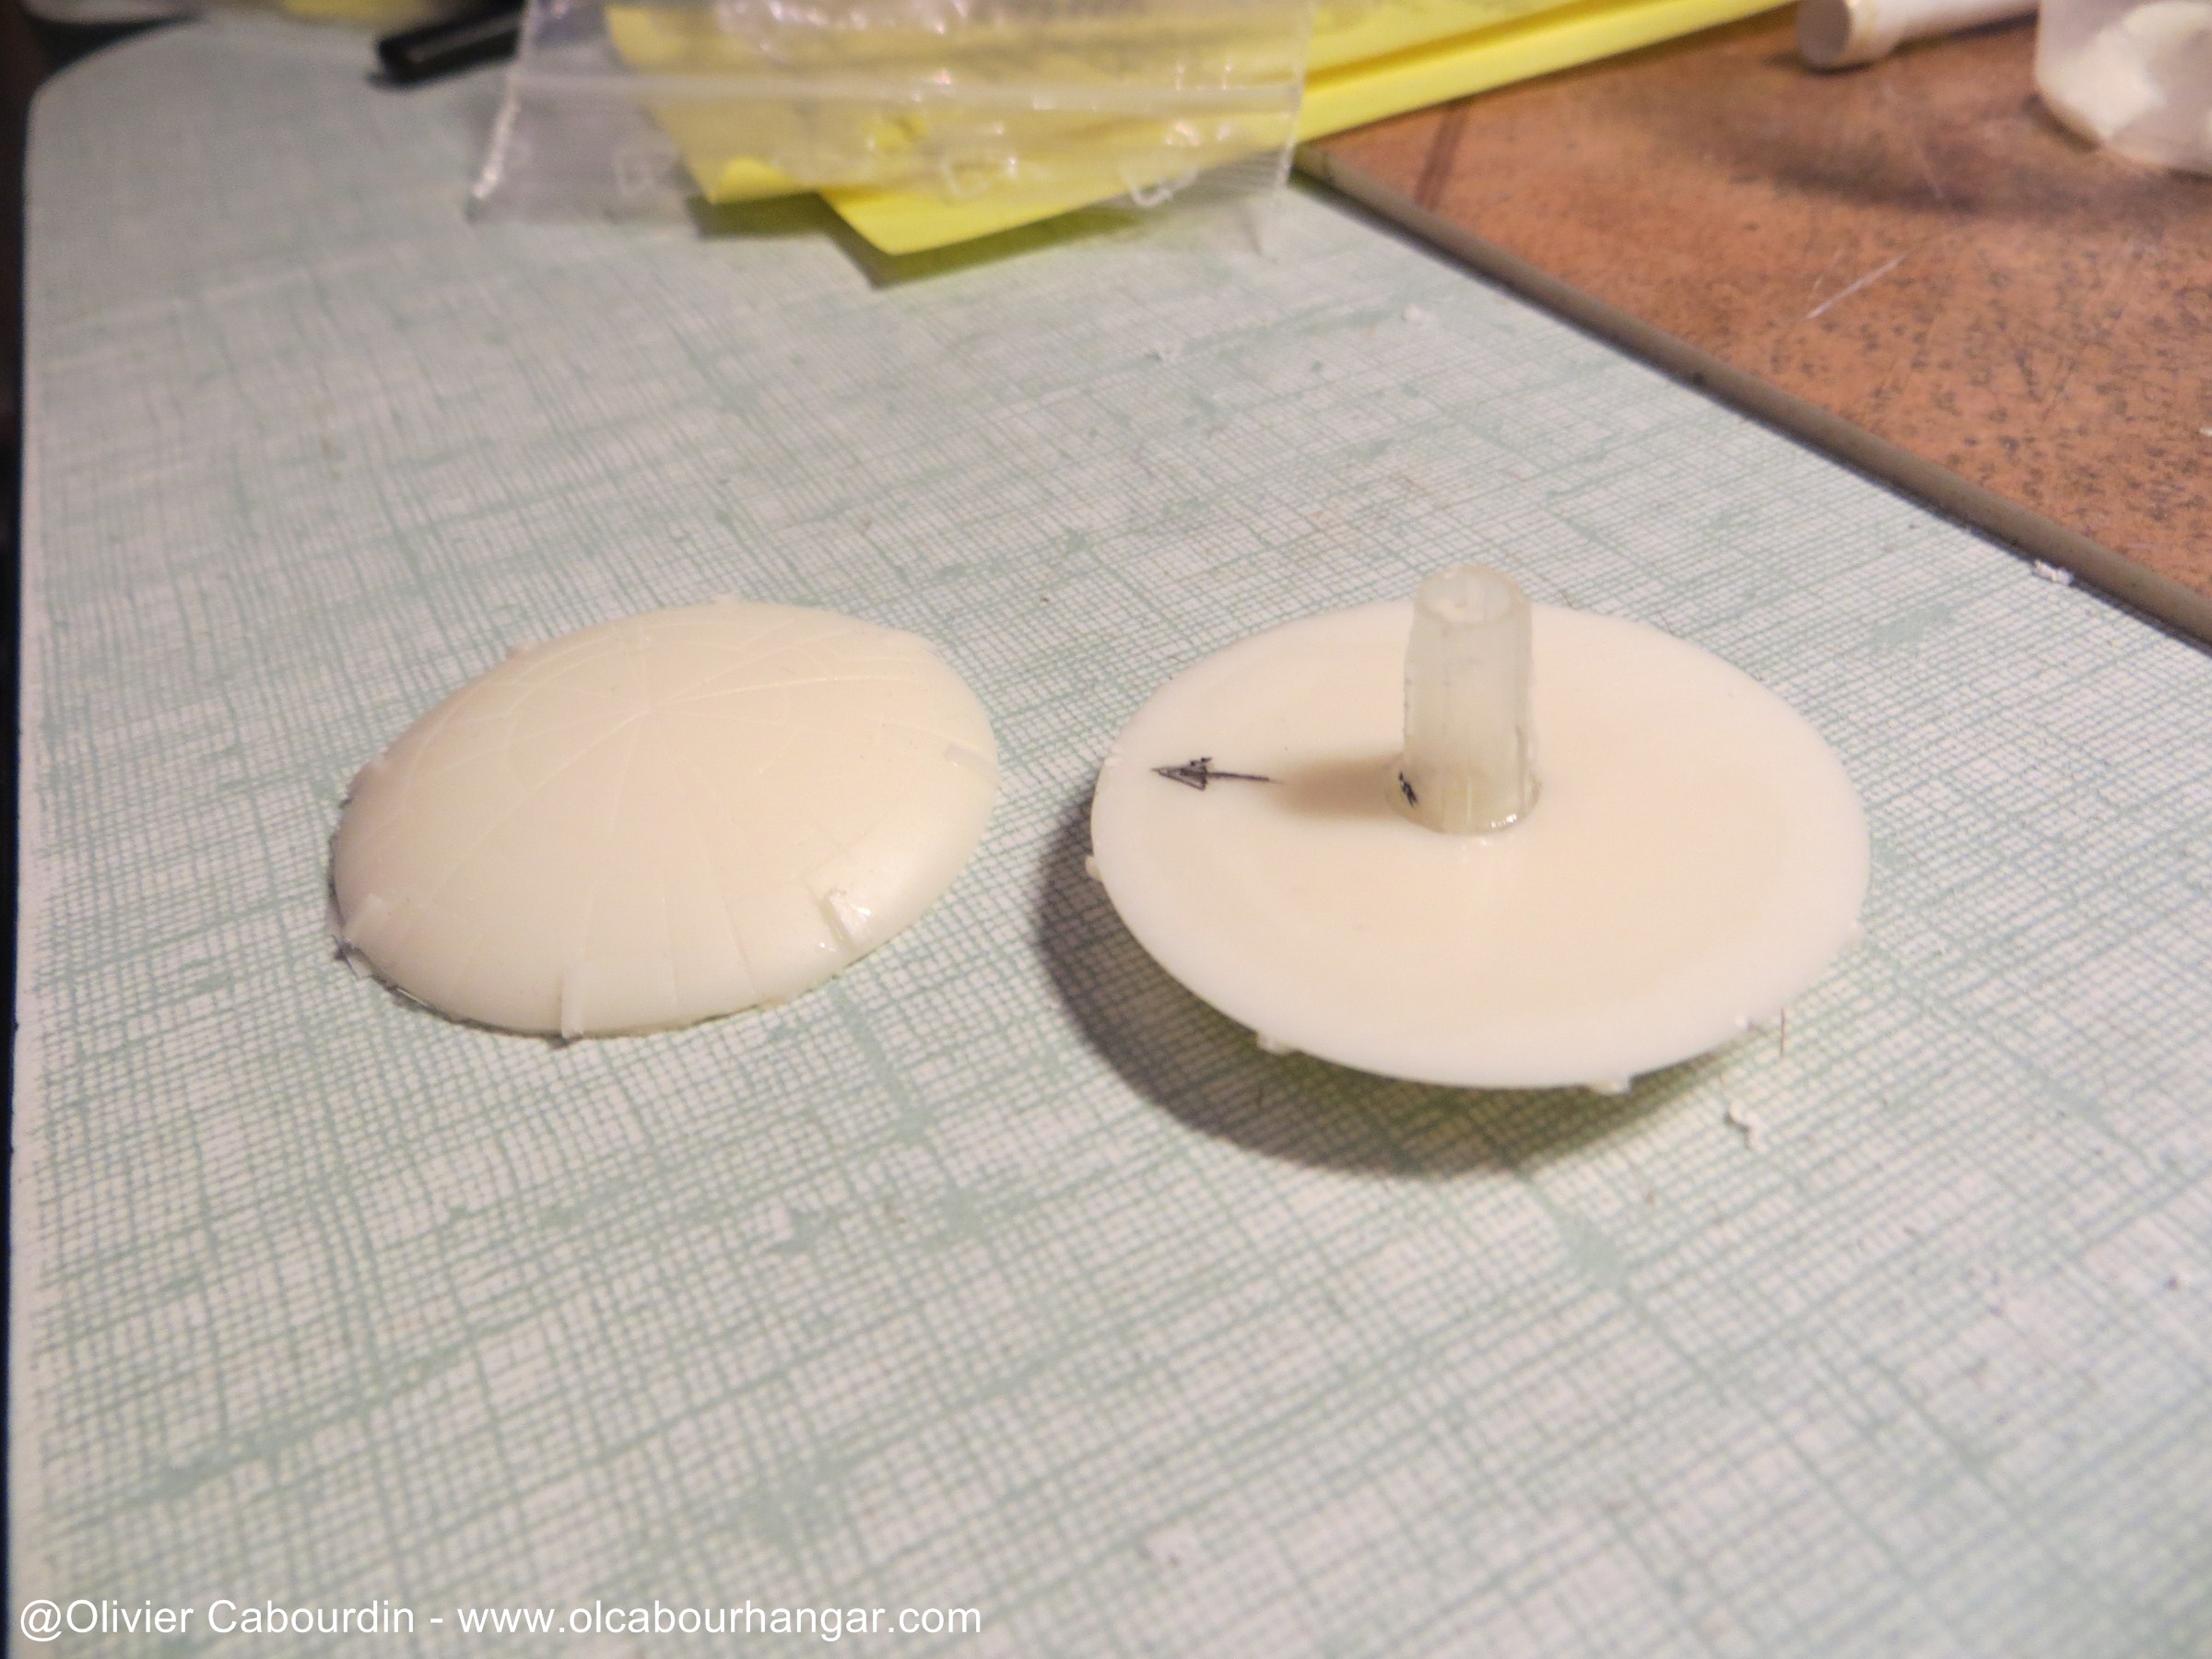
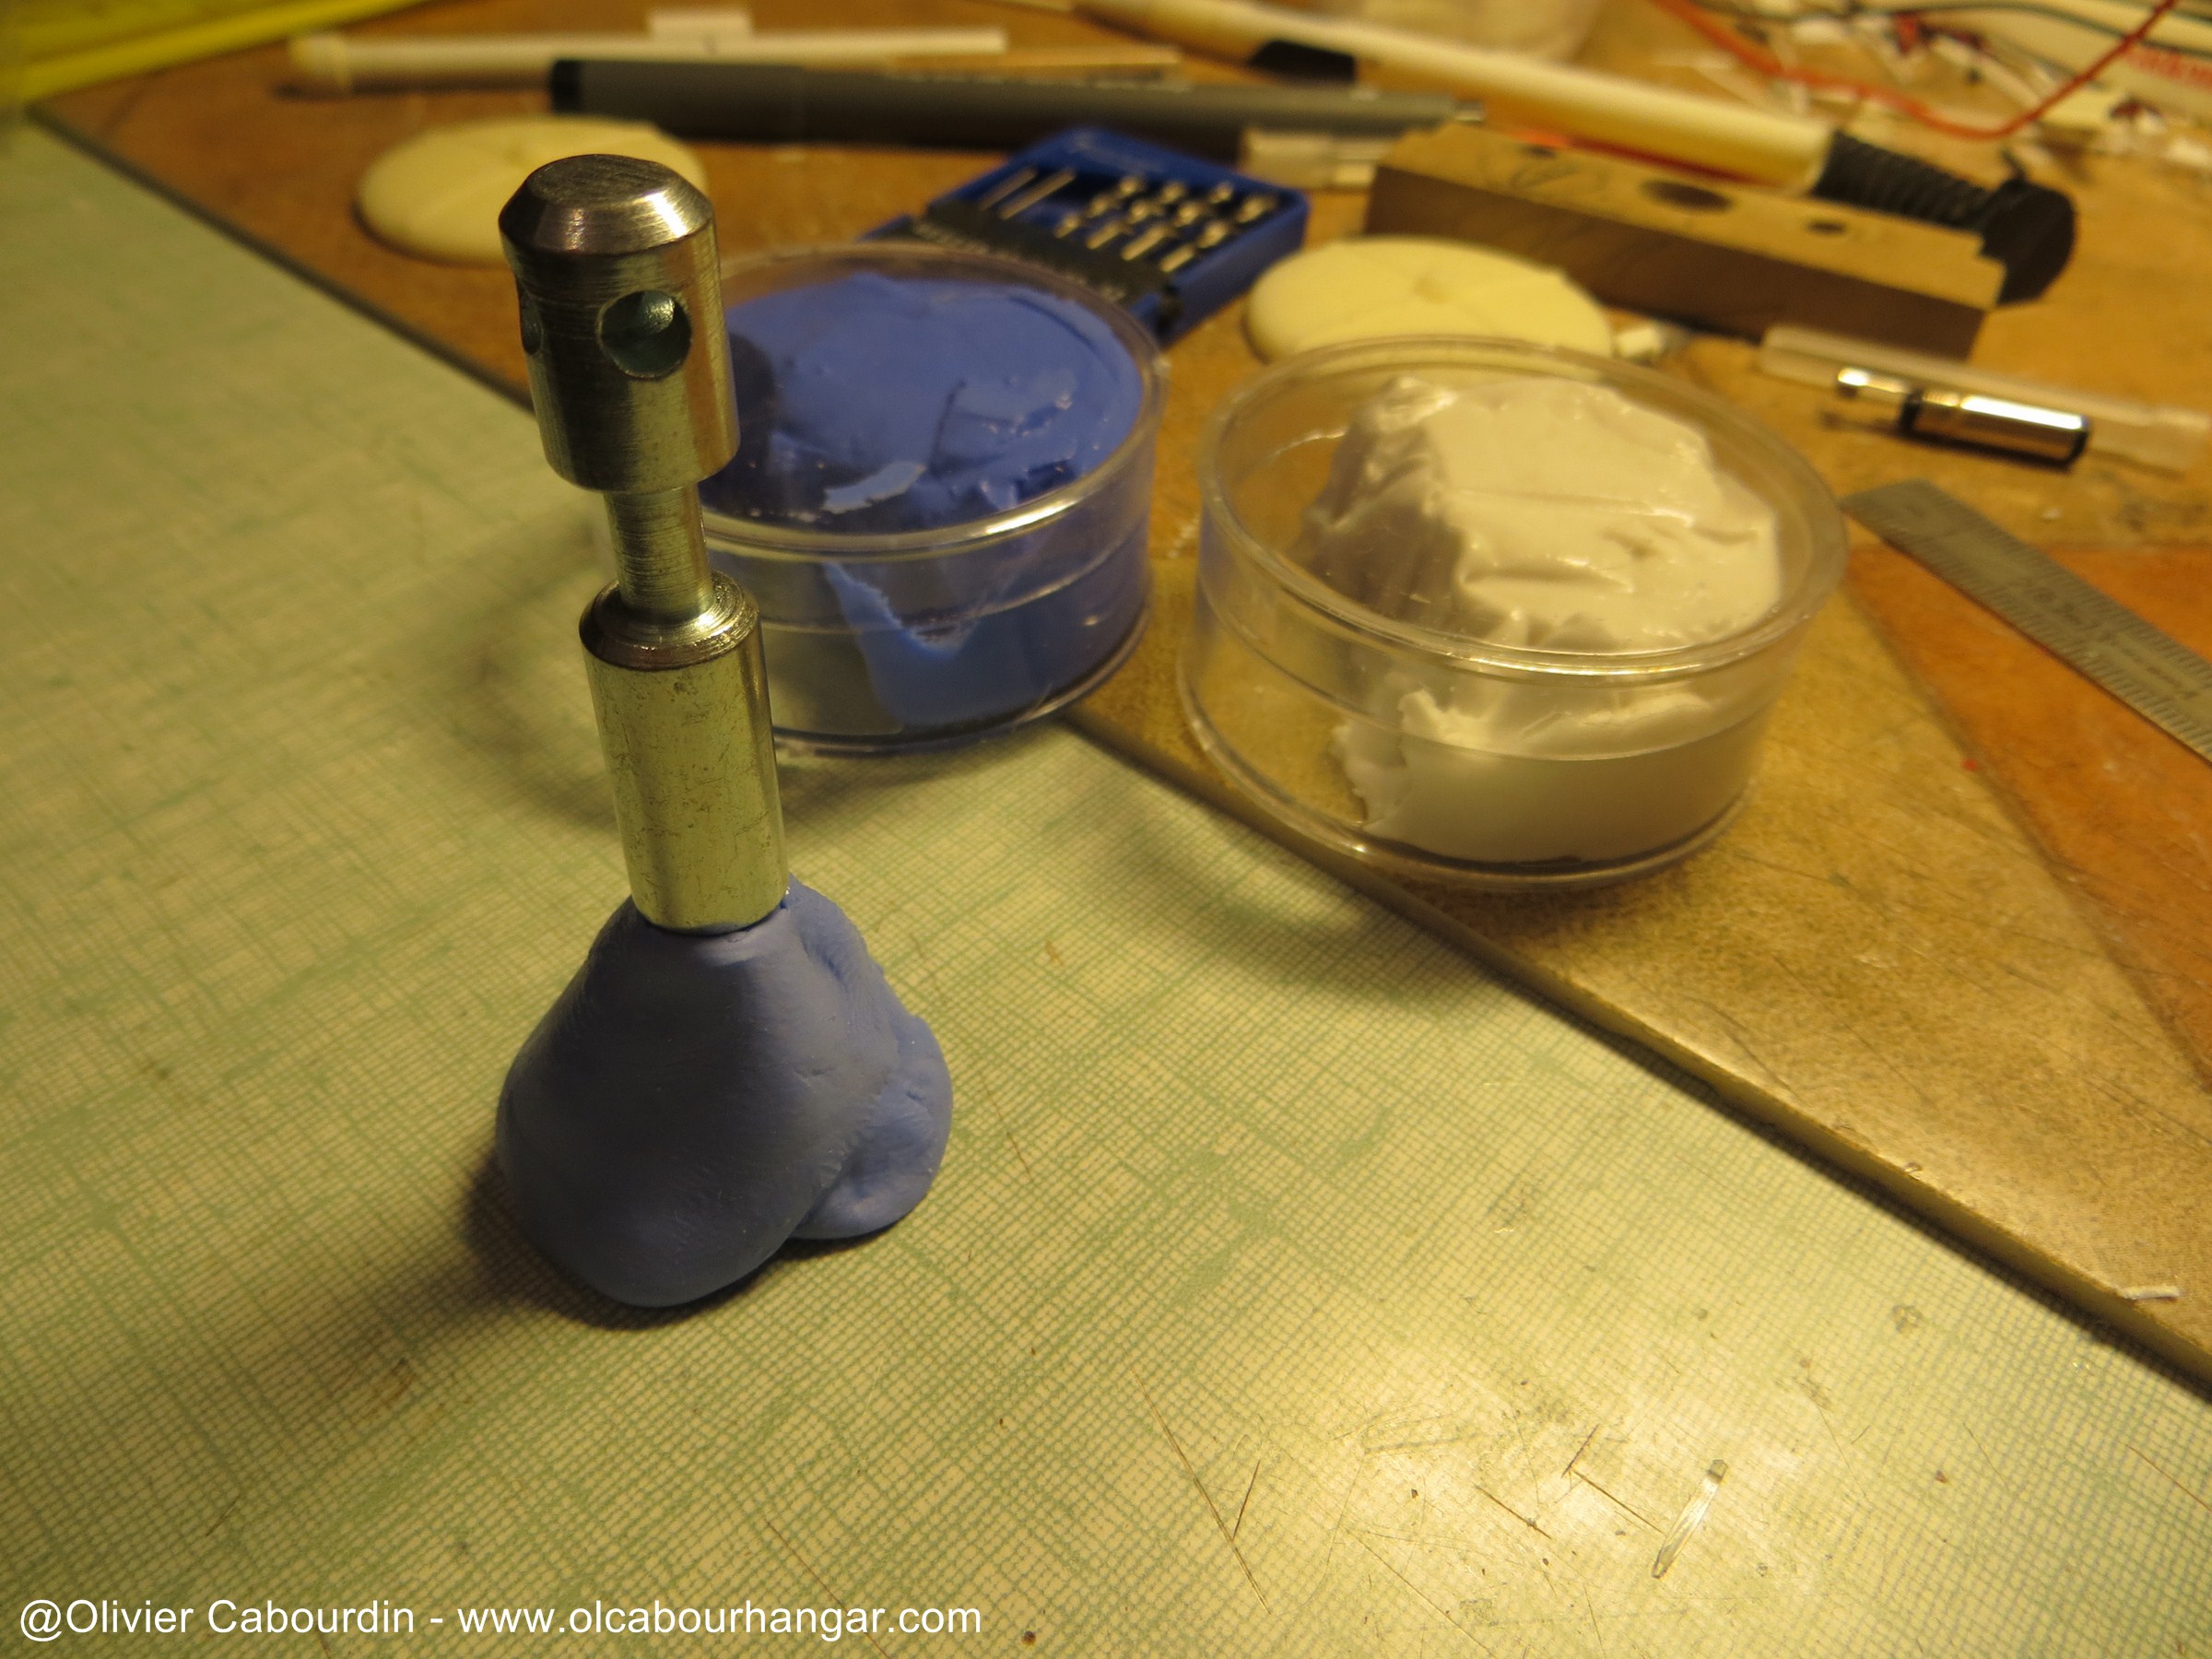
There, I take an mold of the thread that I casted in resin. A screw is inserted to secure bonding.
Below, I use a hooded bathrobe for optical lens that fits perfectly on my tube (table leg, you remember ?). This dome will be rarely used because the Galactica will be 99.9% of the time stand from there.
lundi, 10 novembre 2014
Par olcabour le lundi, 10 novembre 2014, 21:56
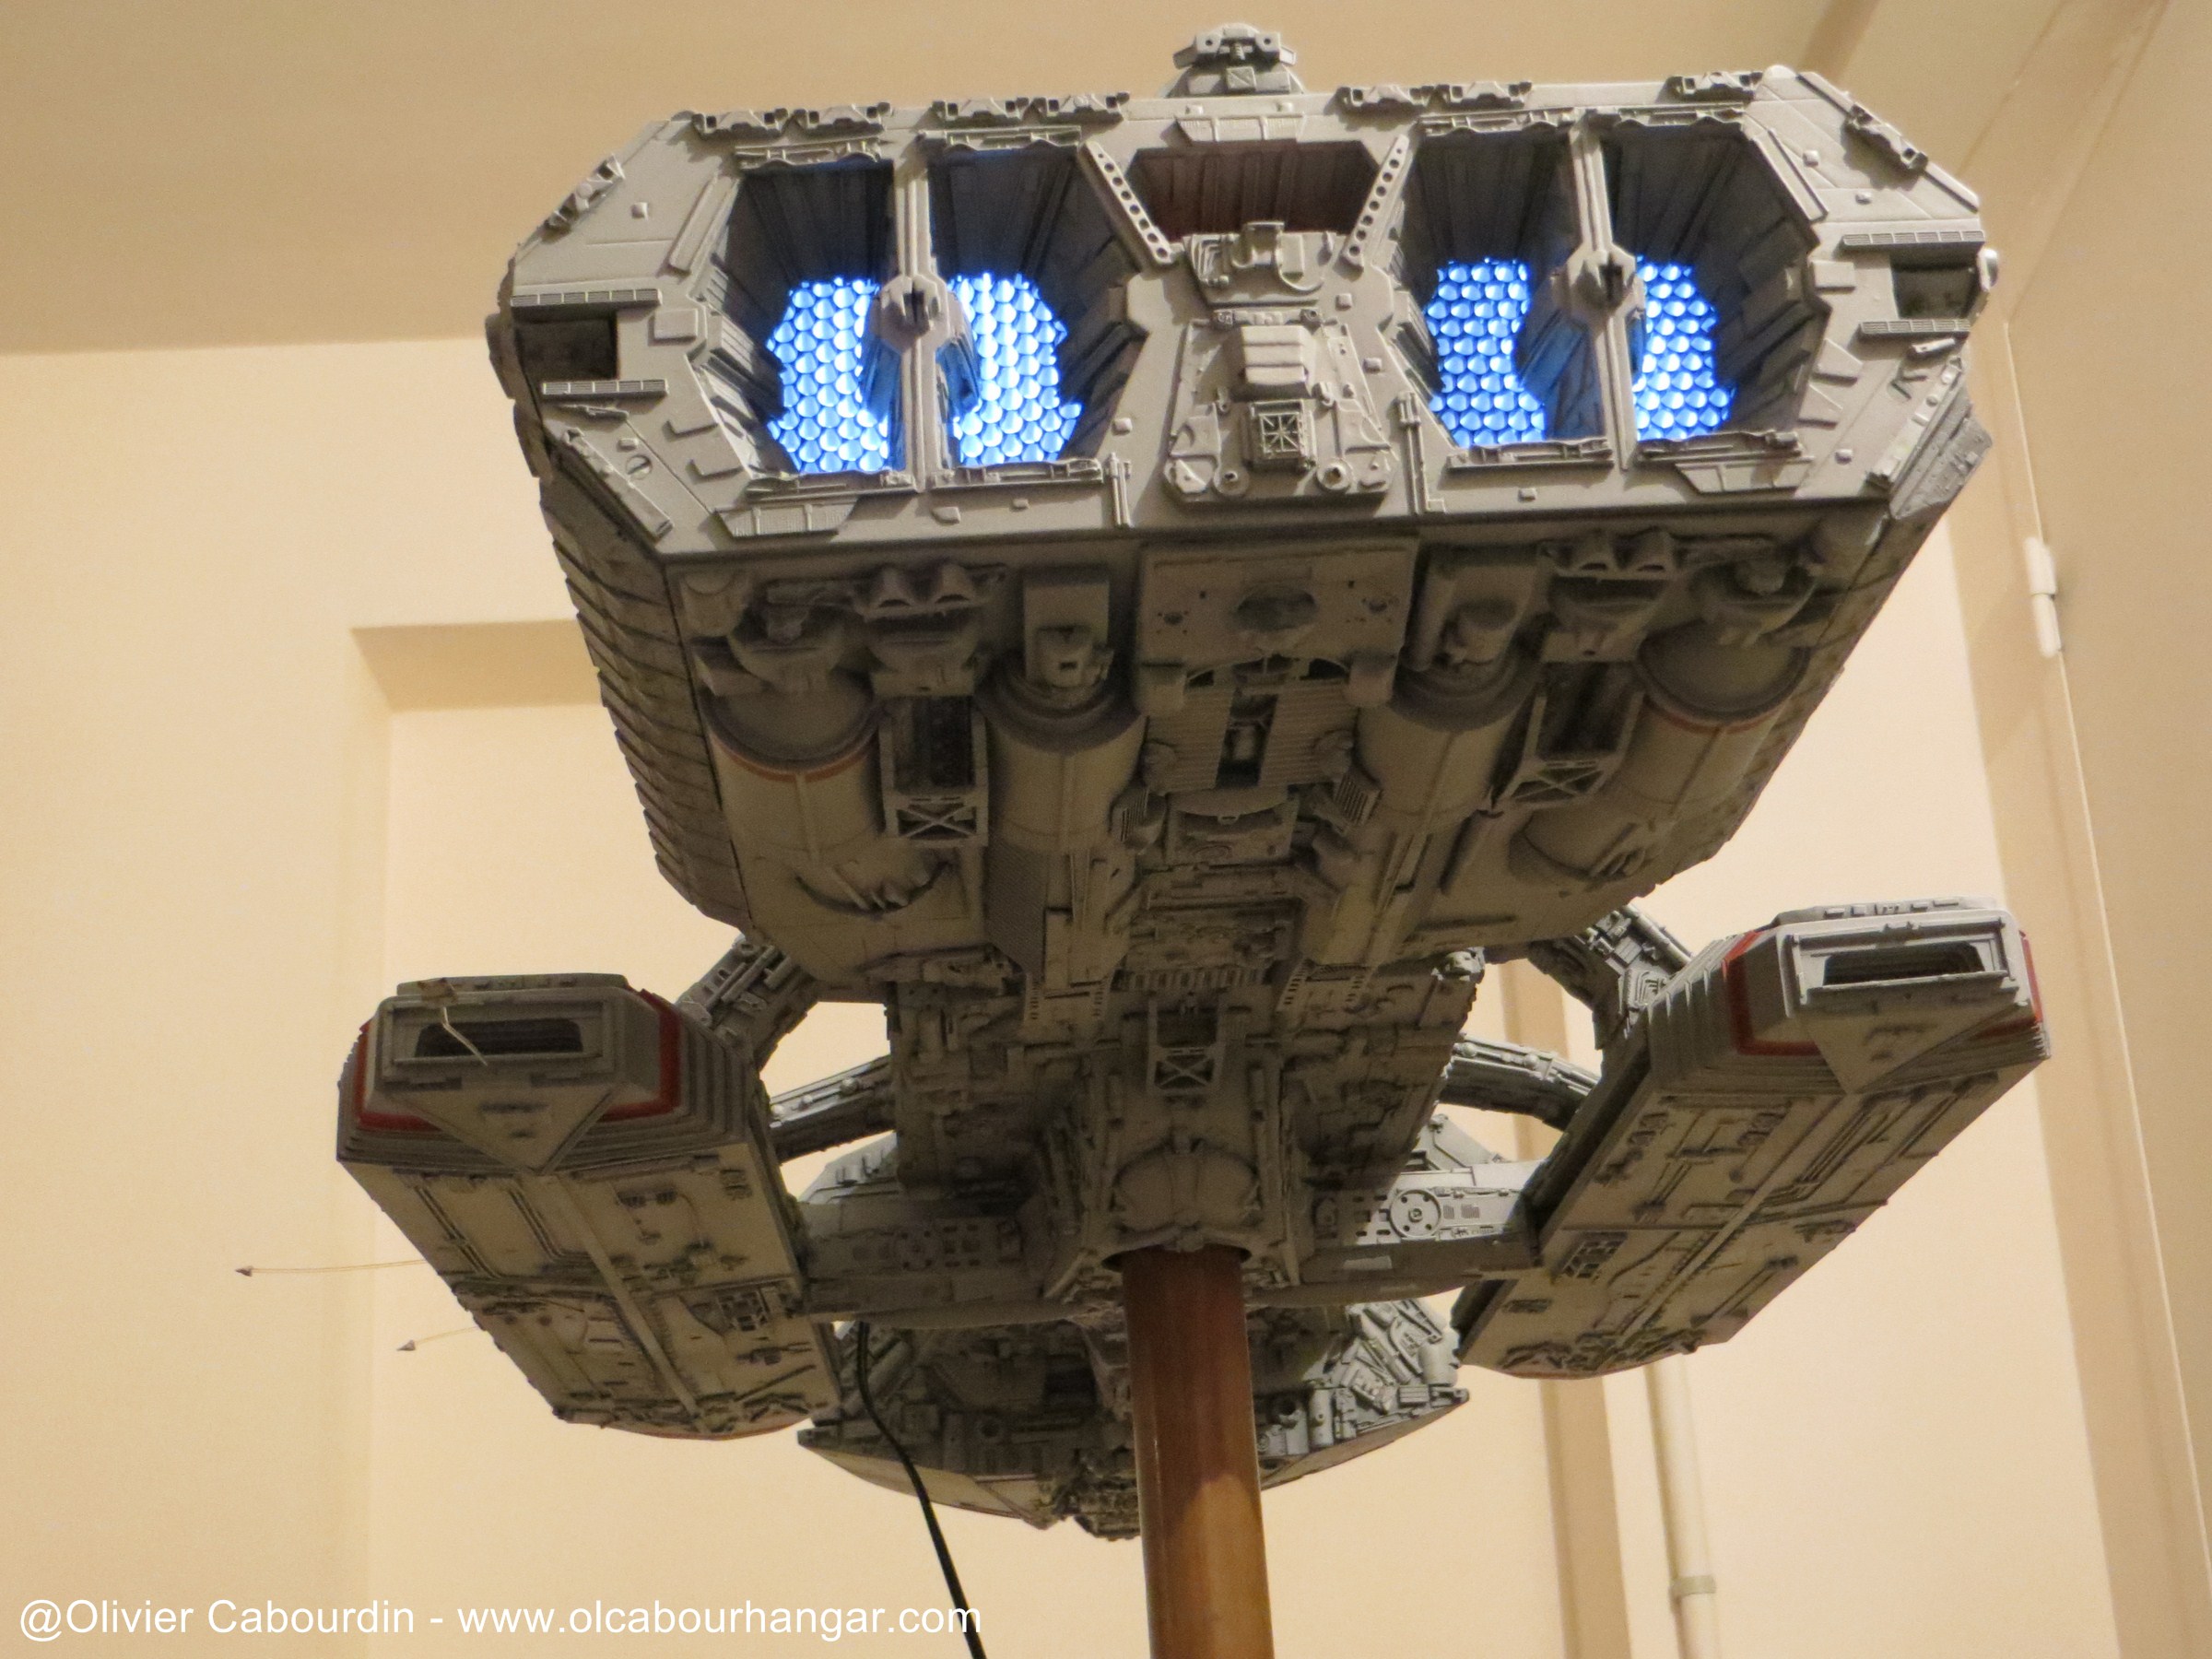
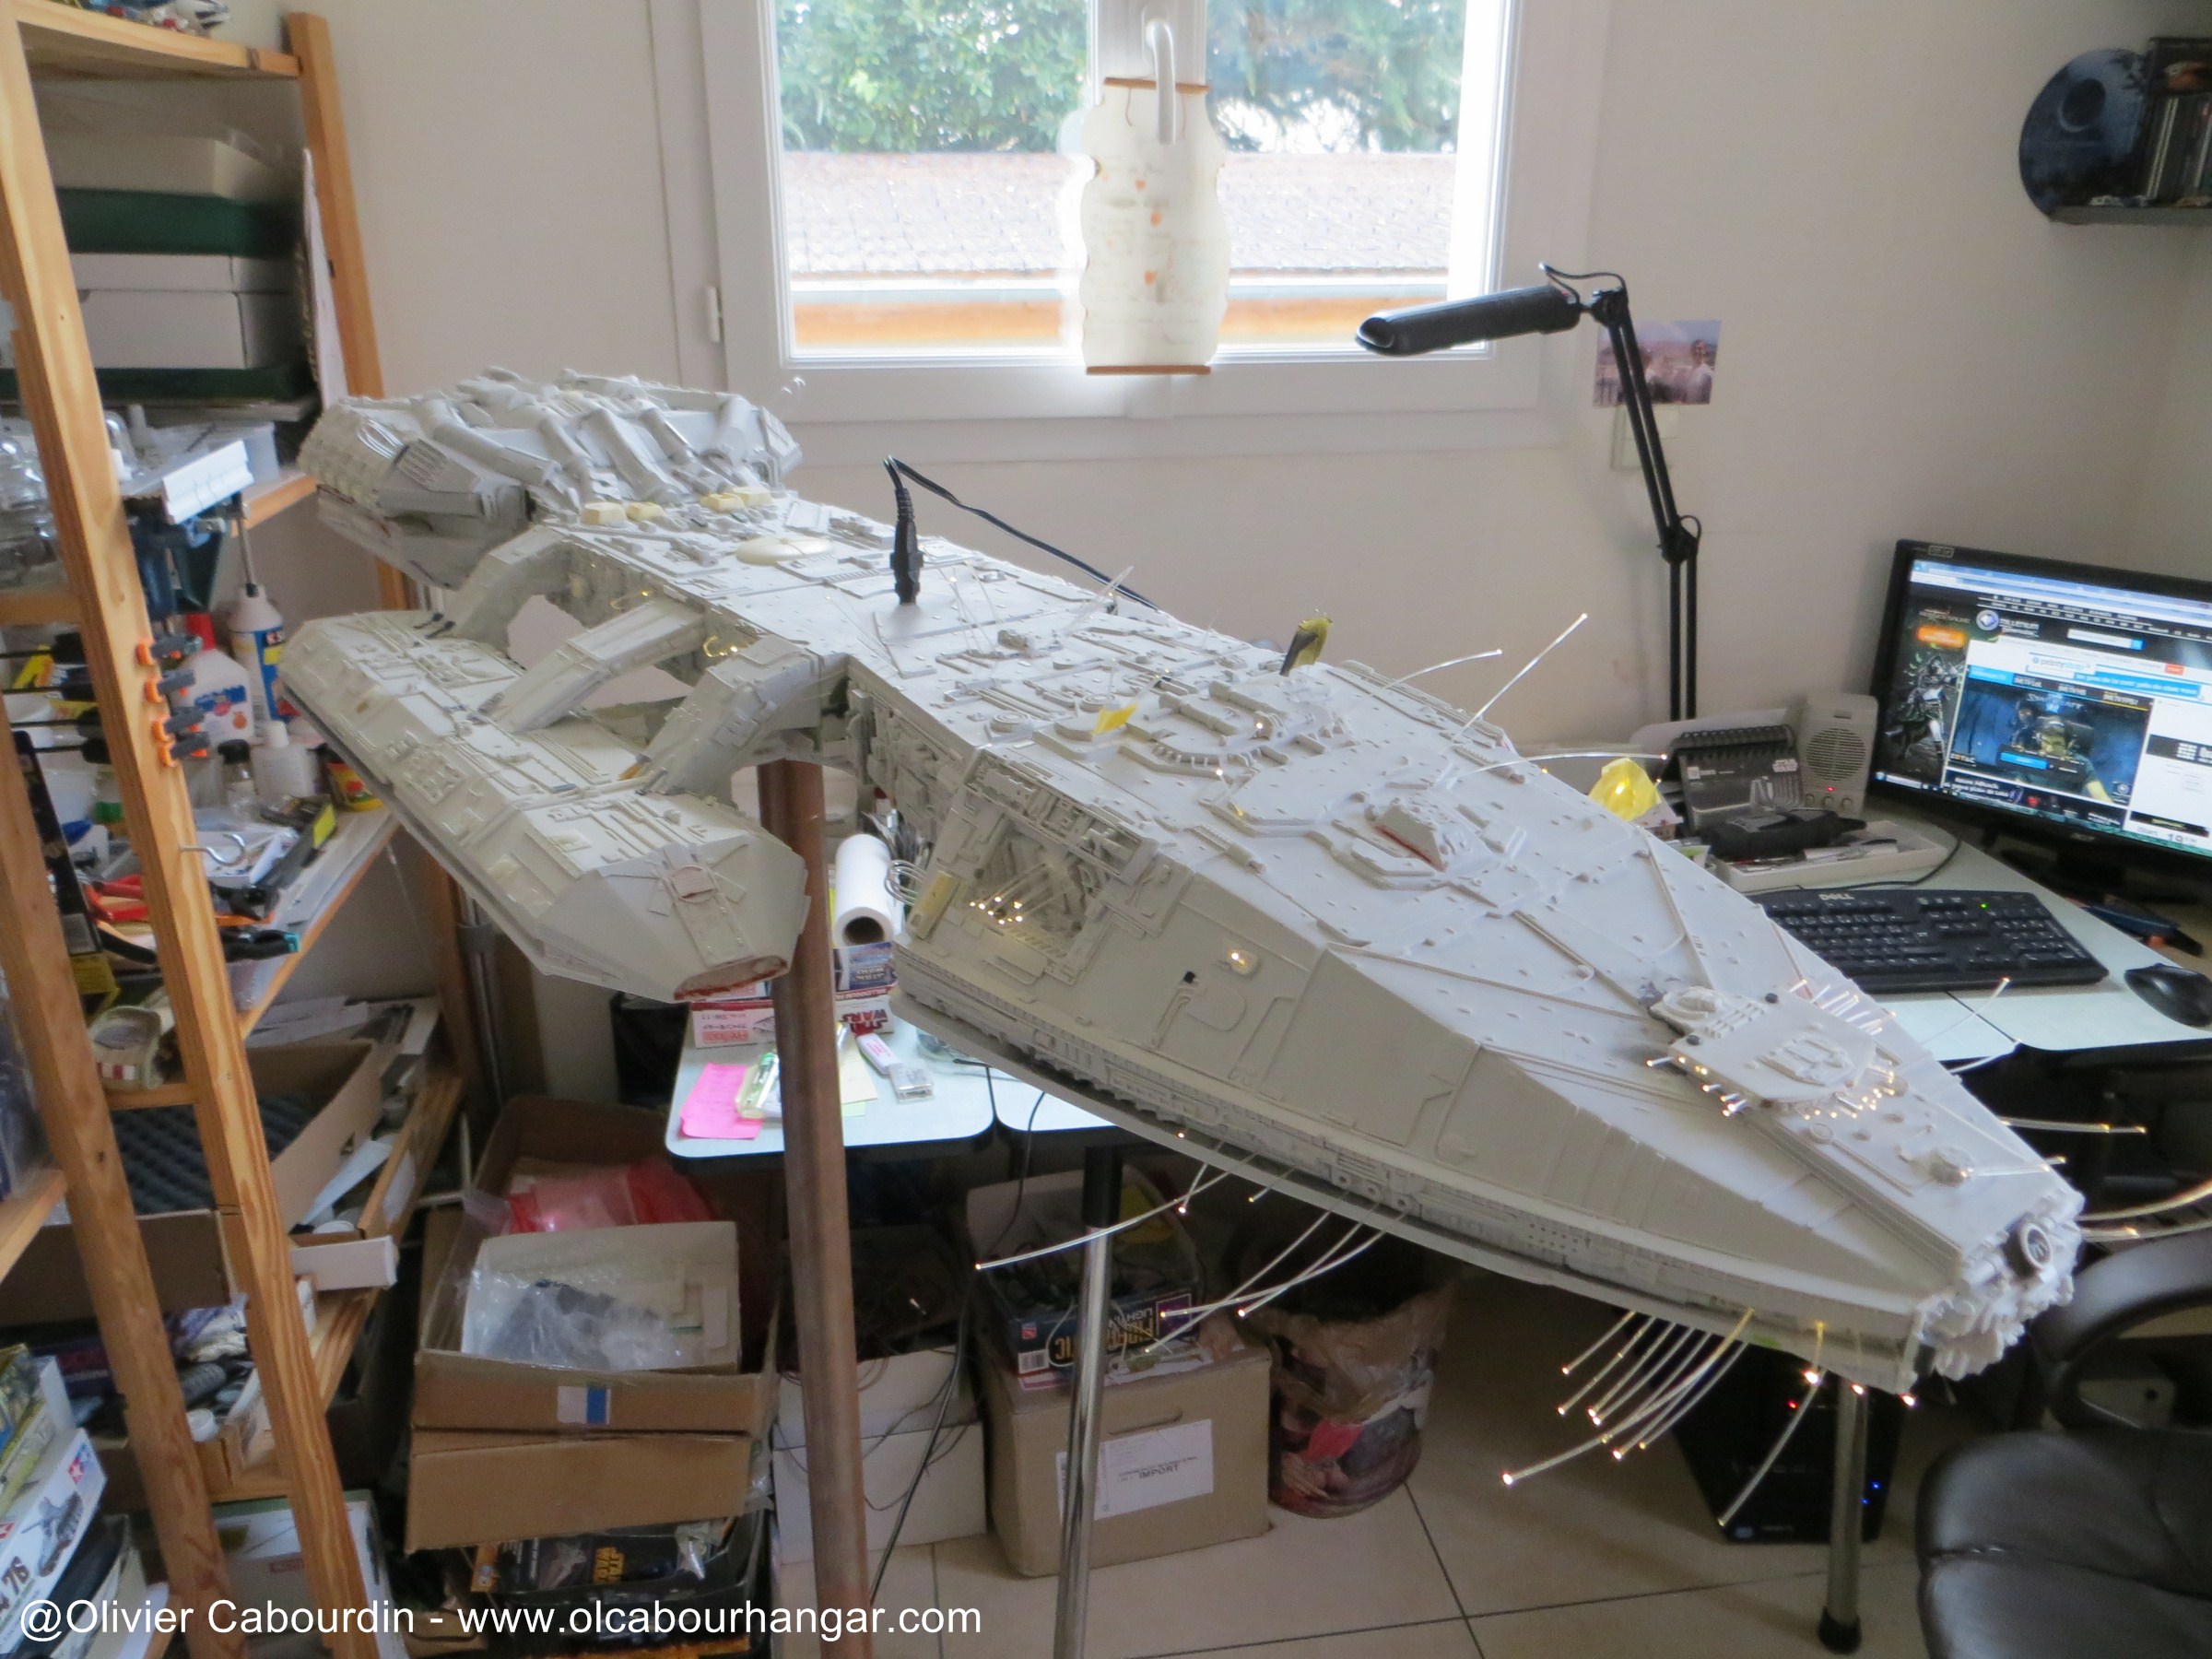
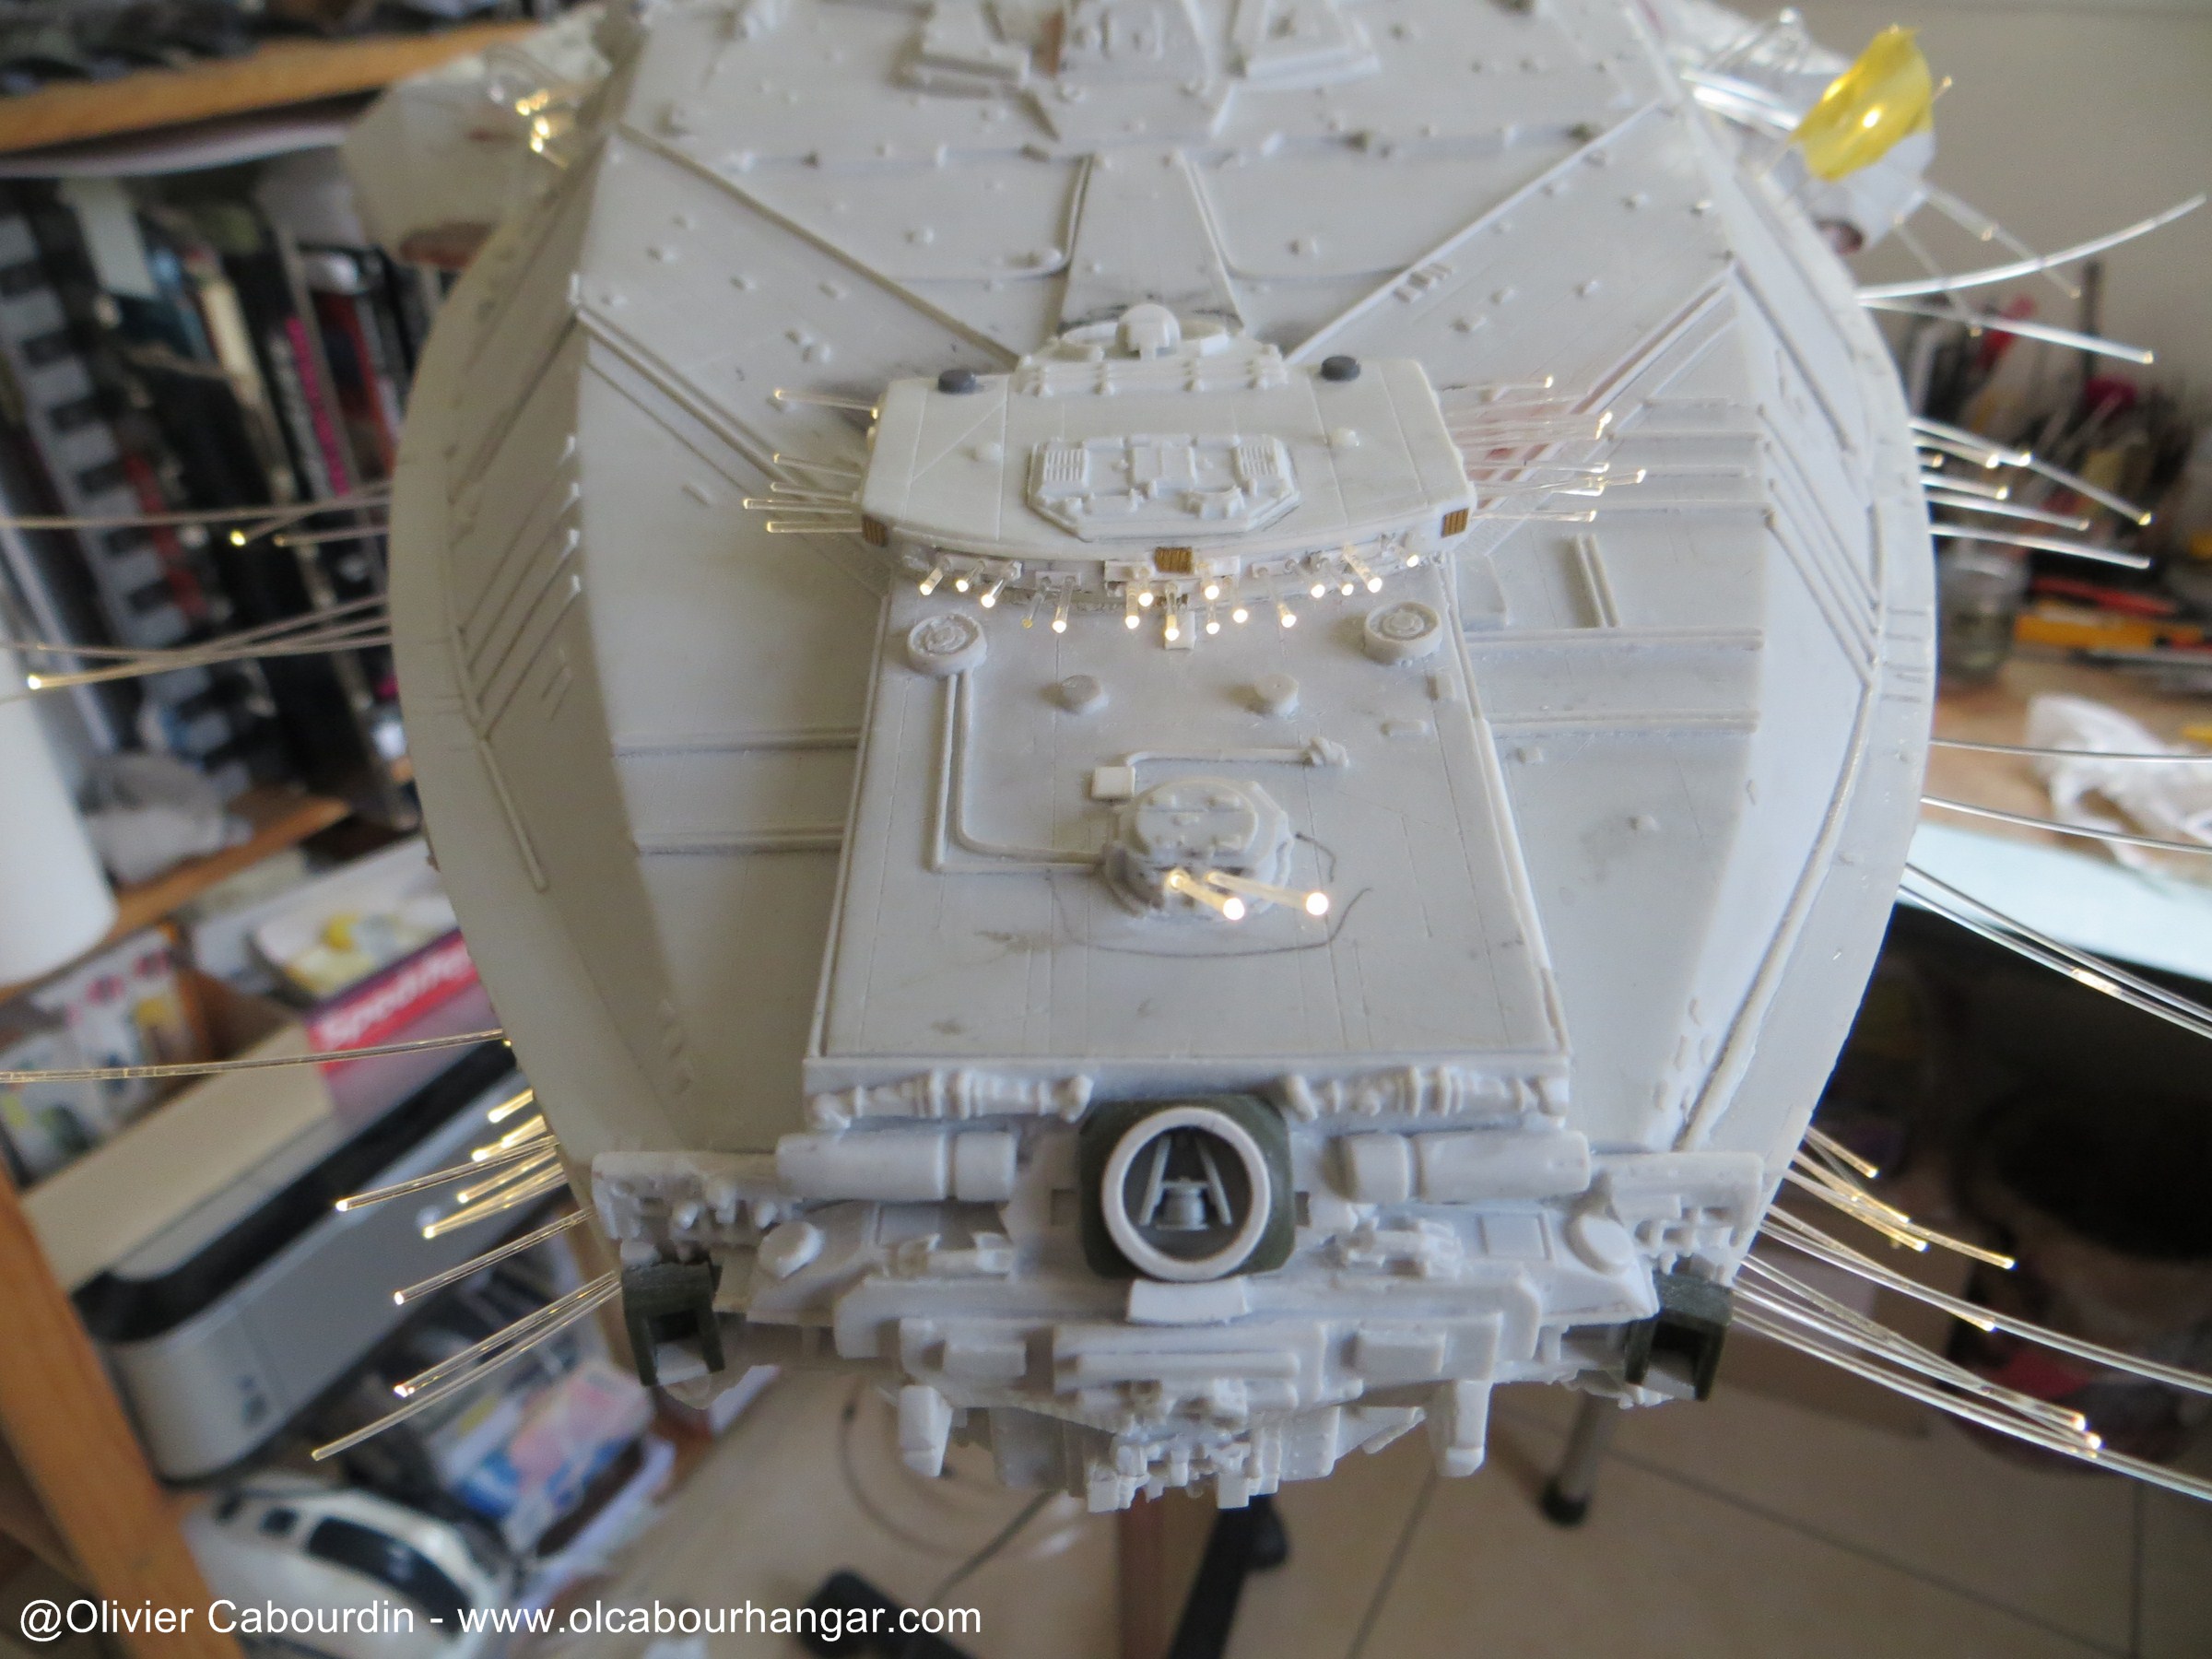
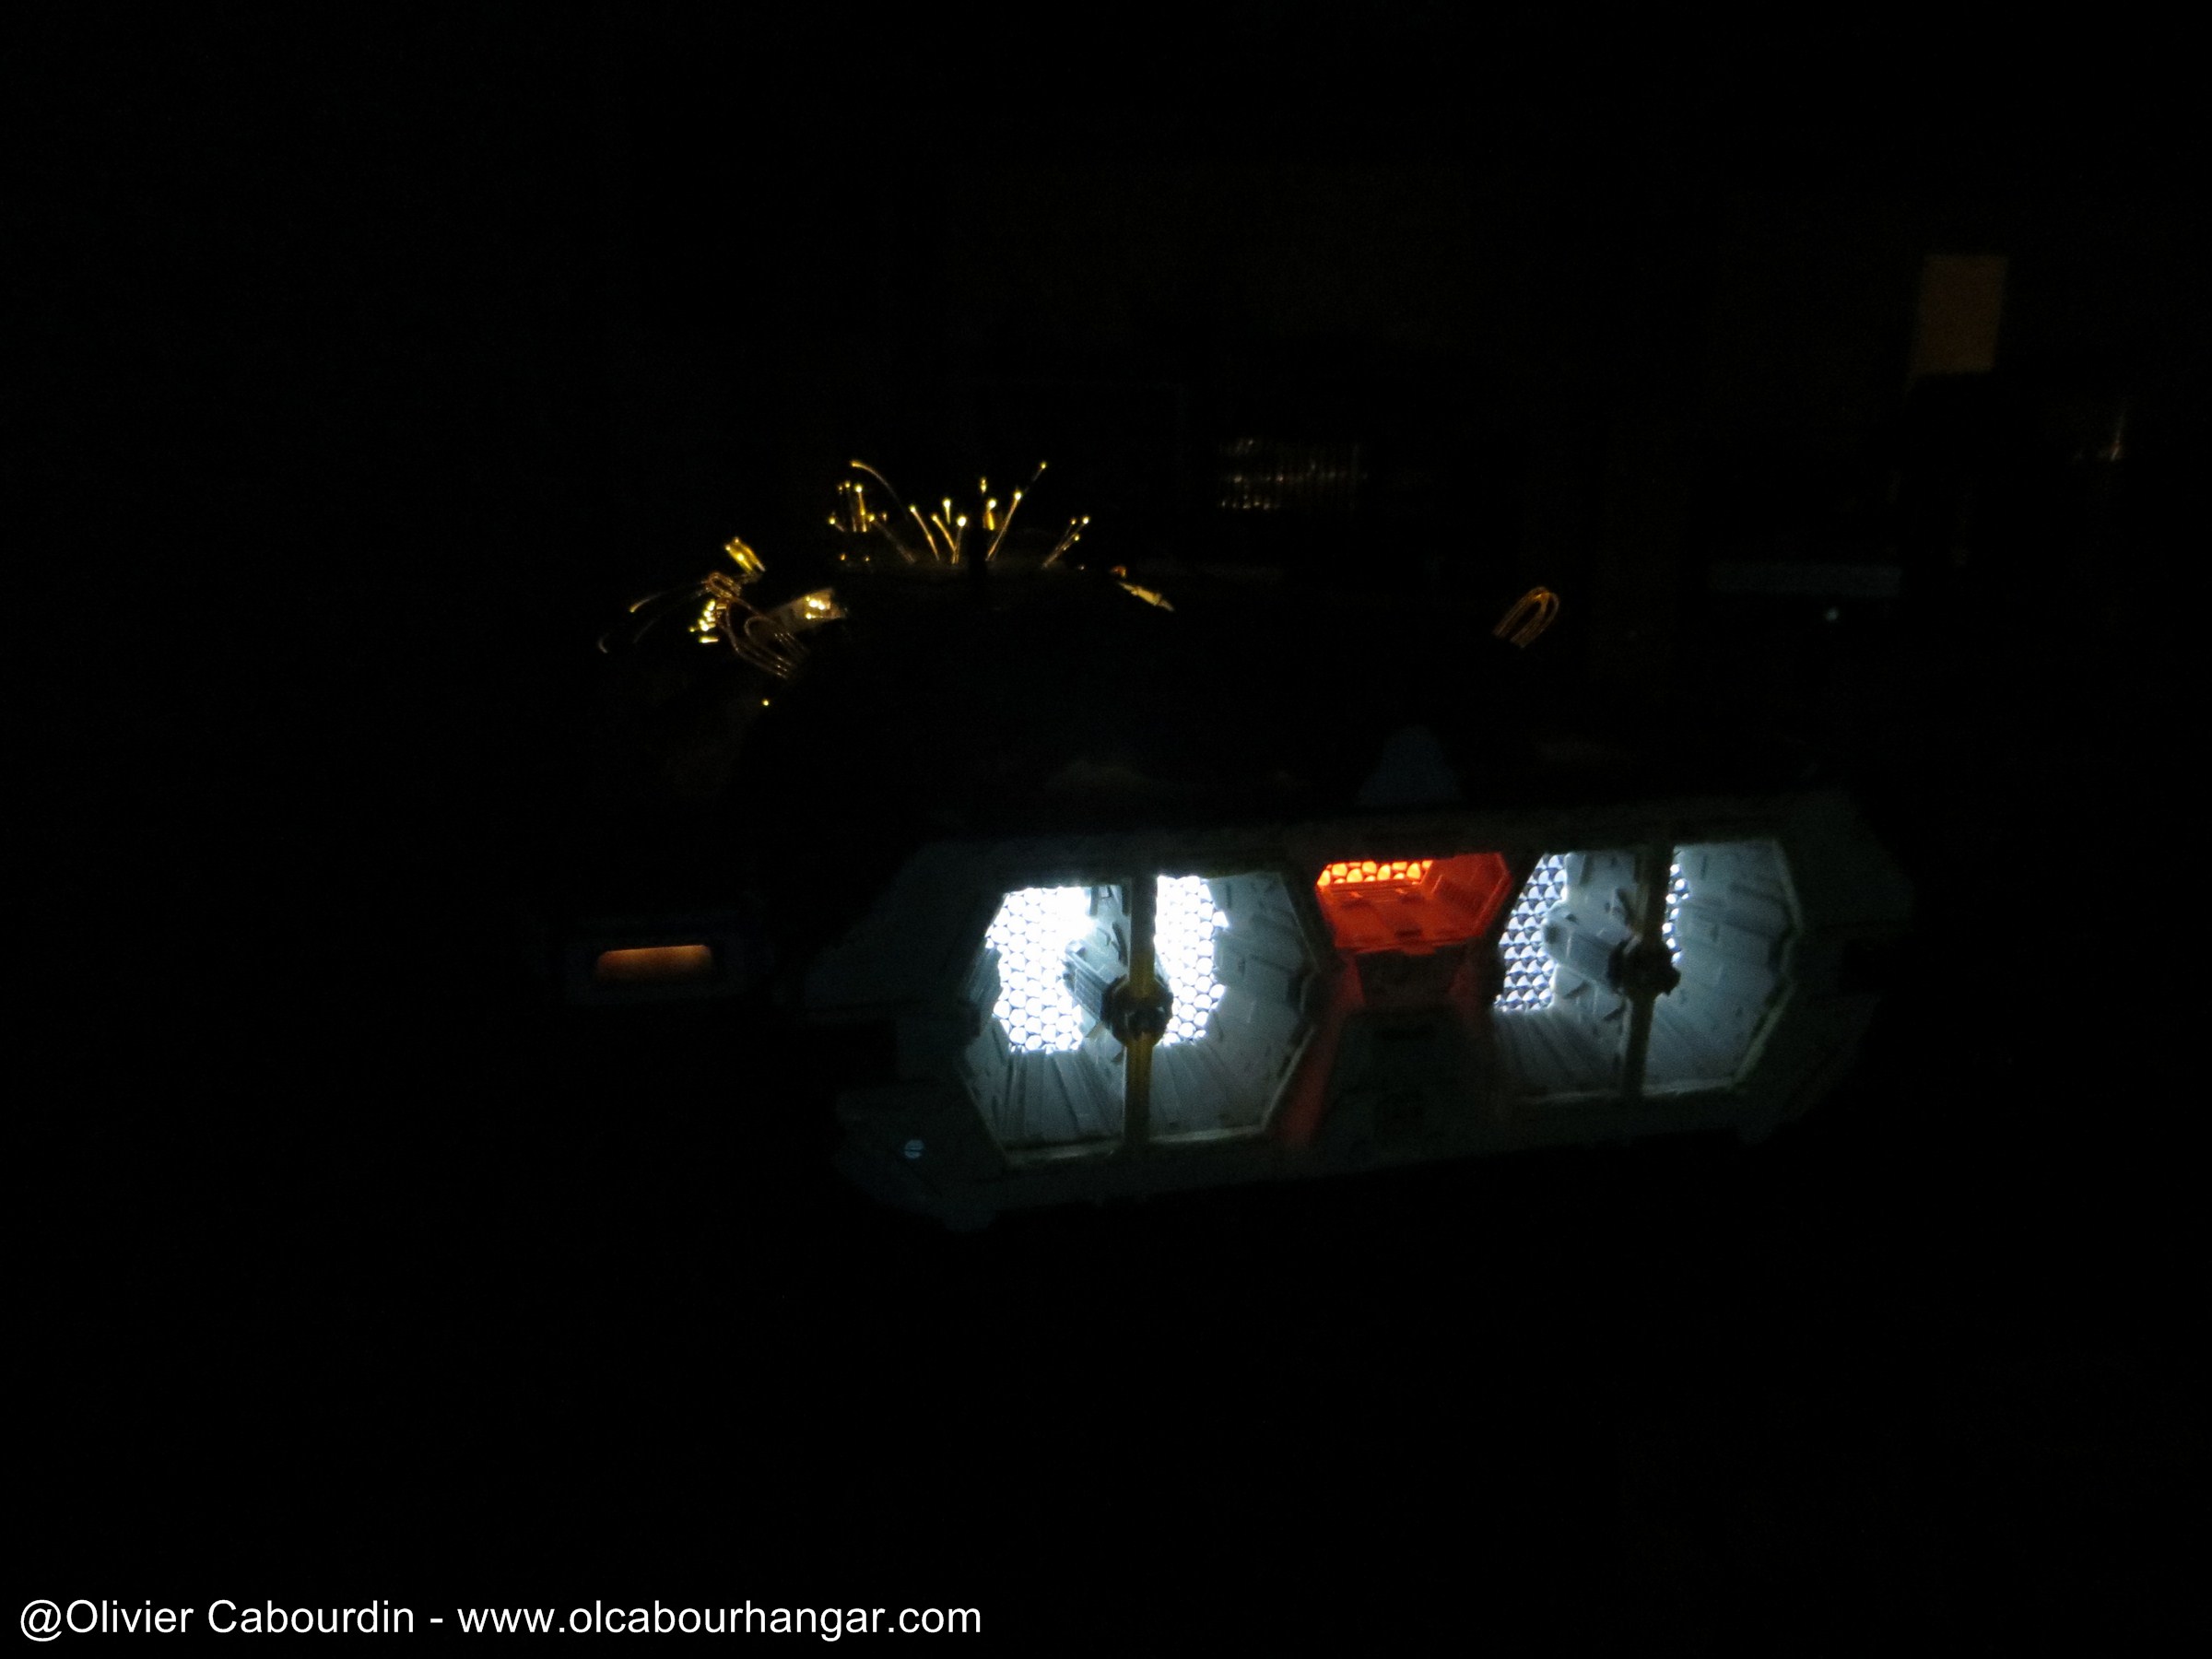
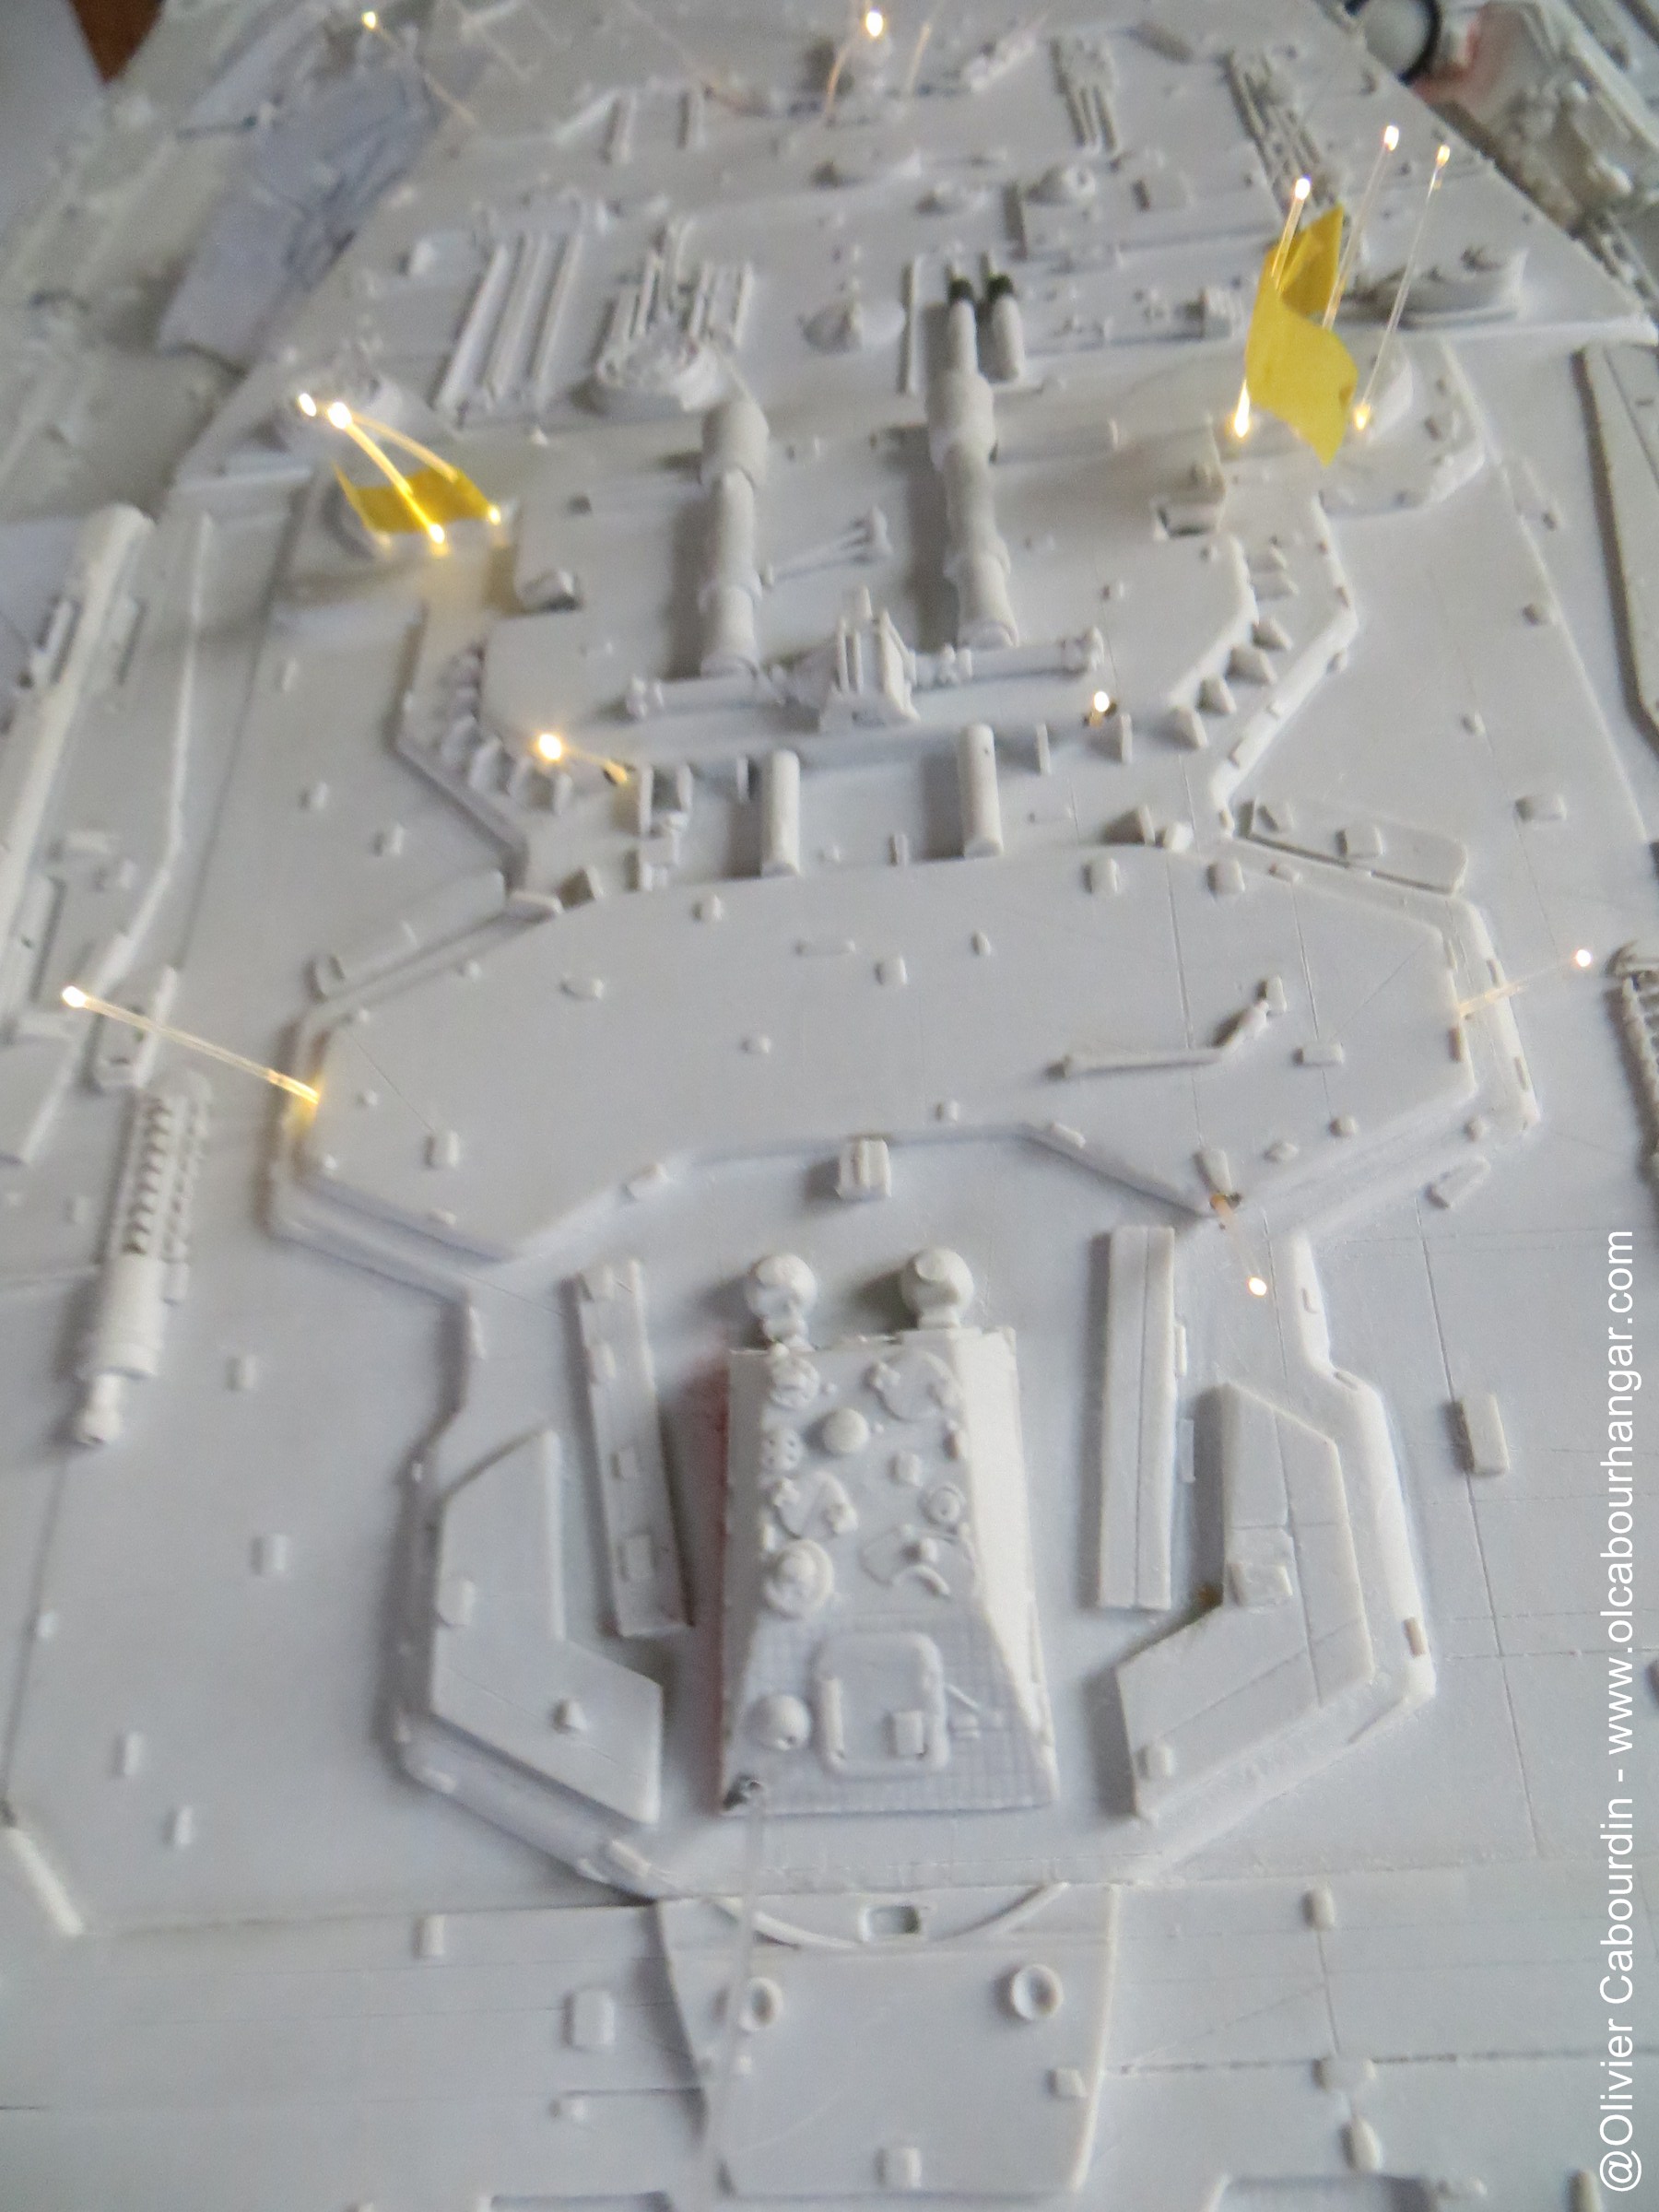
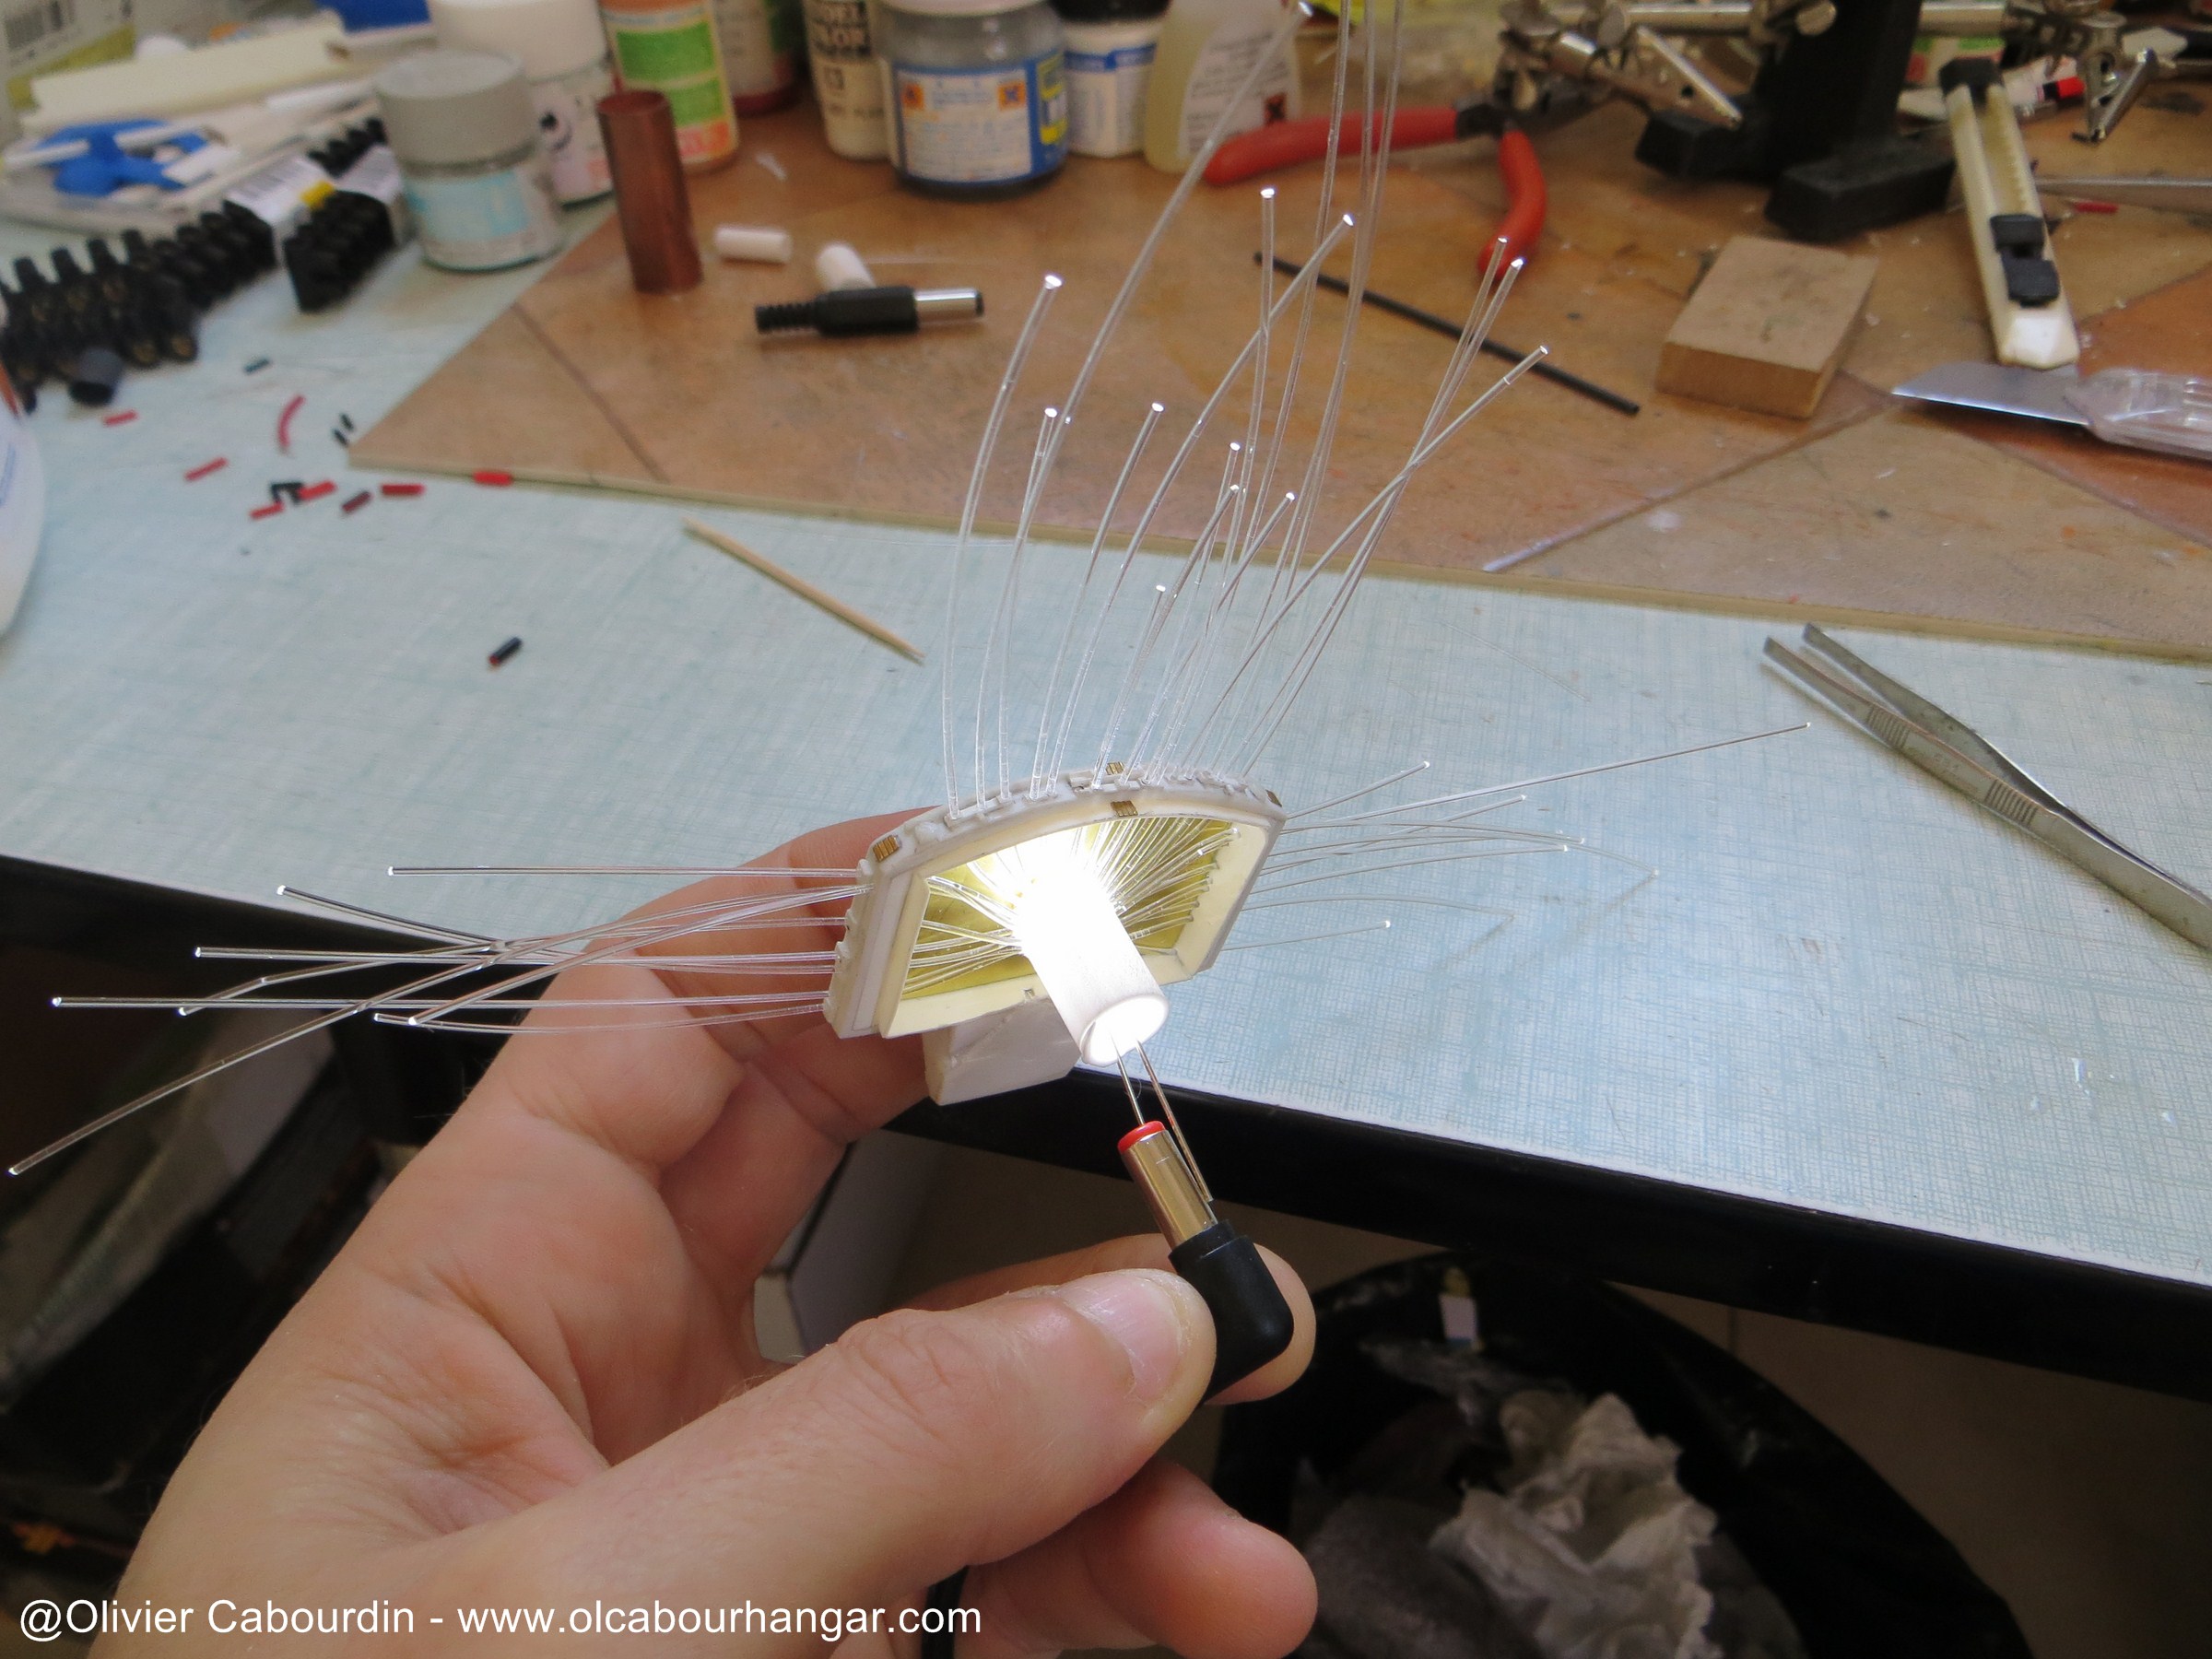
If put in the center of engine, the LED can be clearly seen, and it's not very nice.
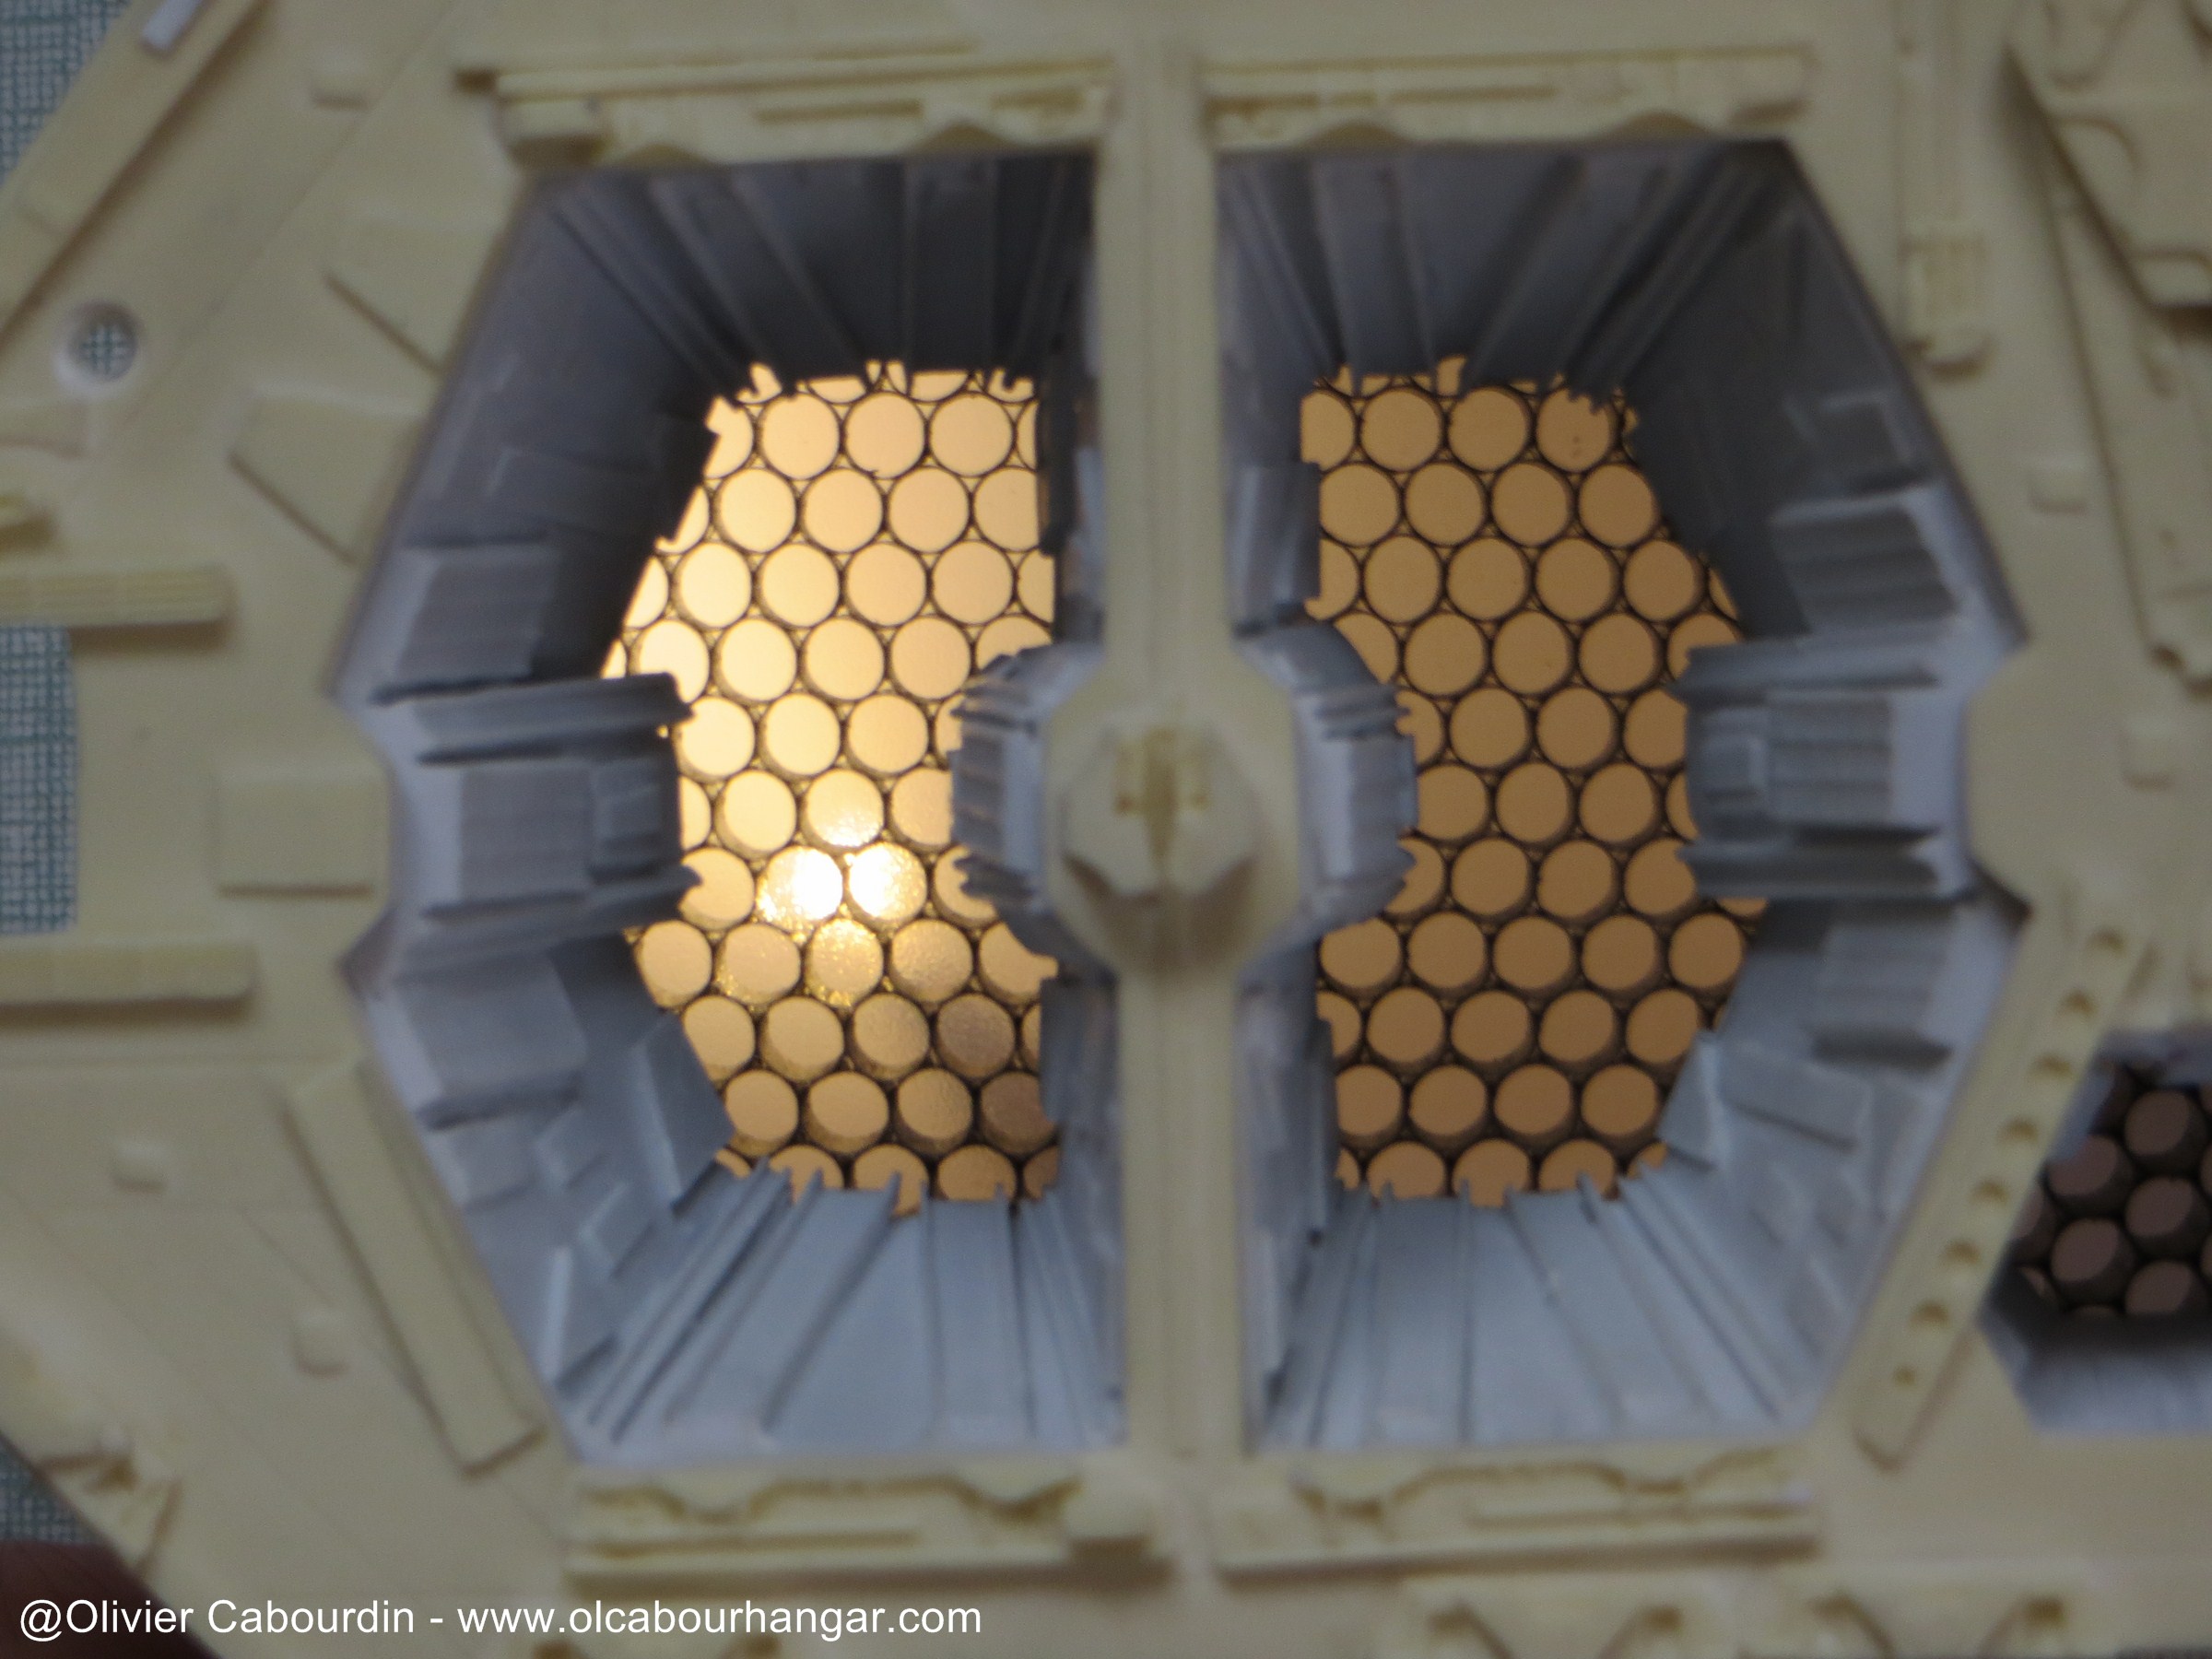
Between two engines, it is much less viewable and lighting is more uniform as being indirect
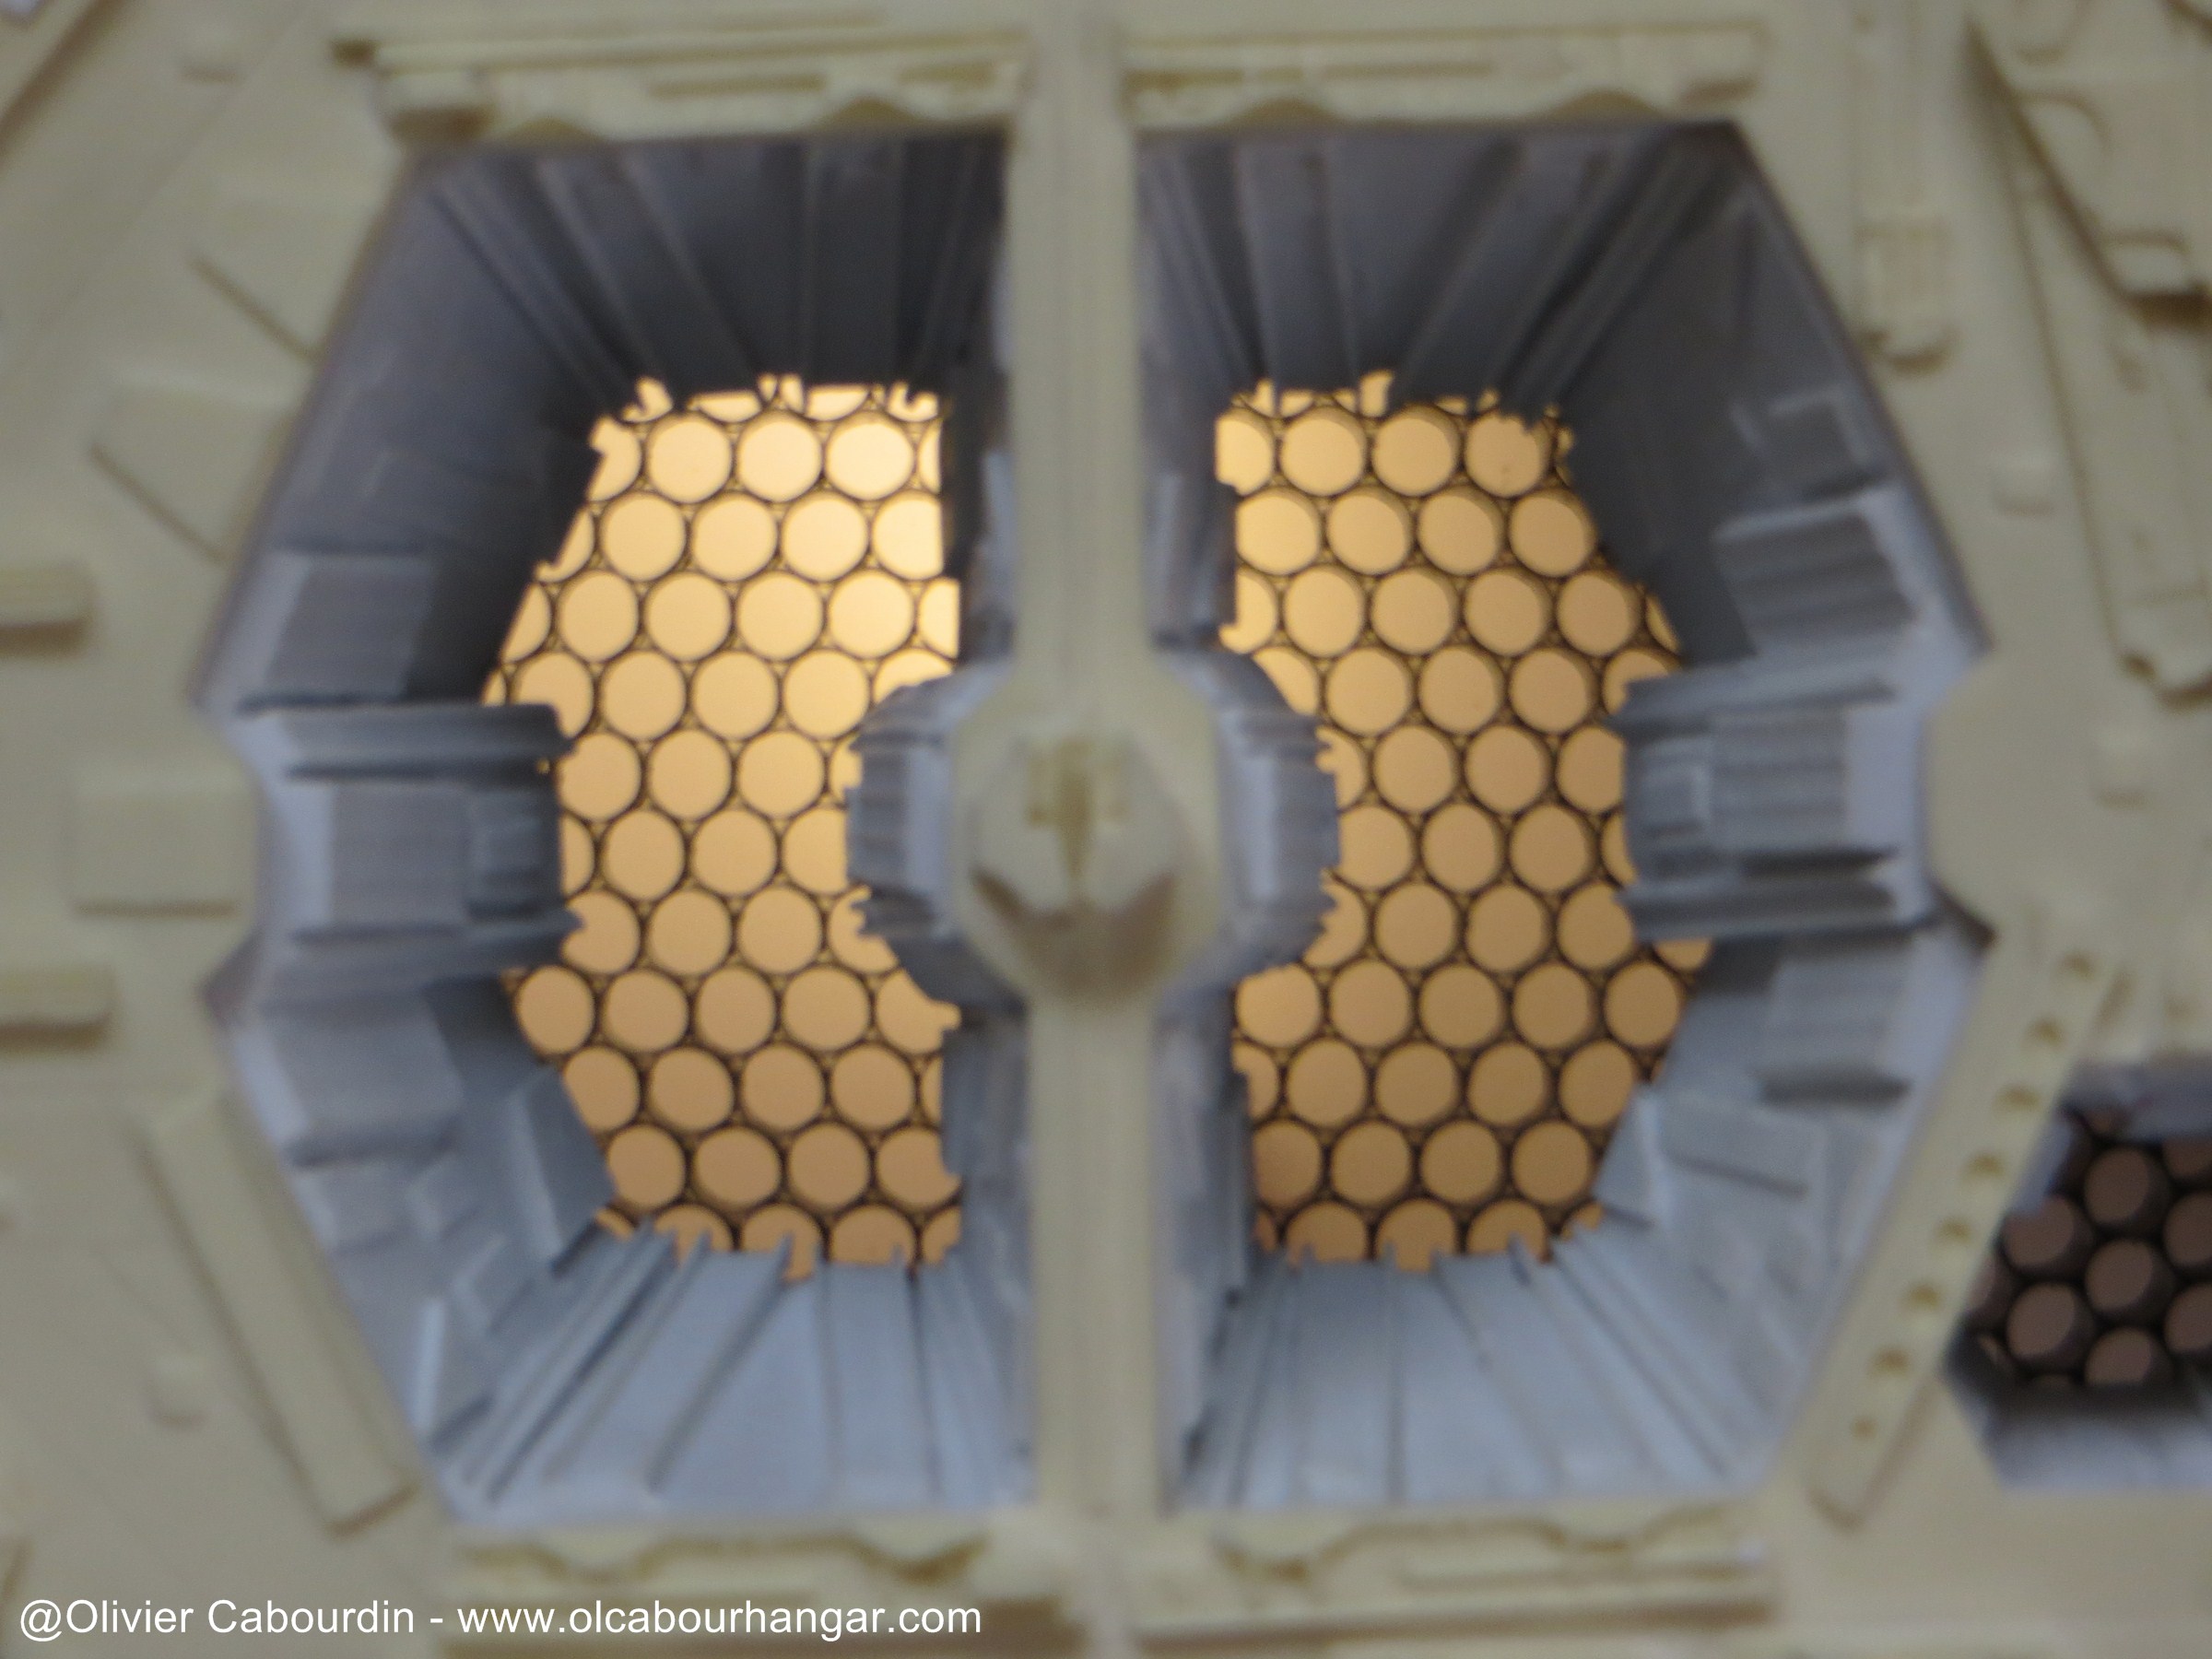
same with the small central reactor.
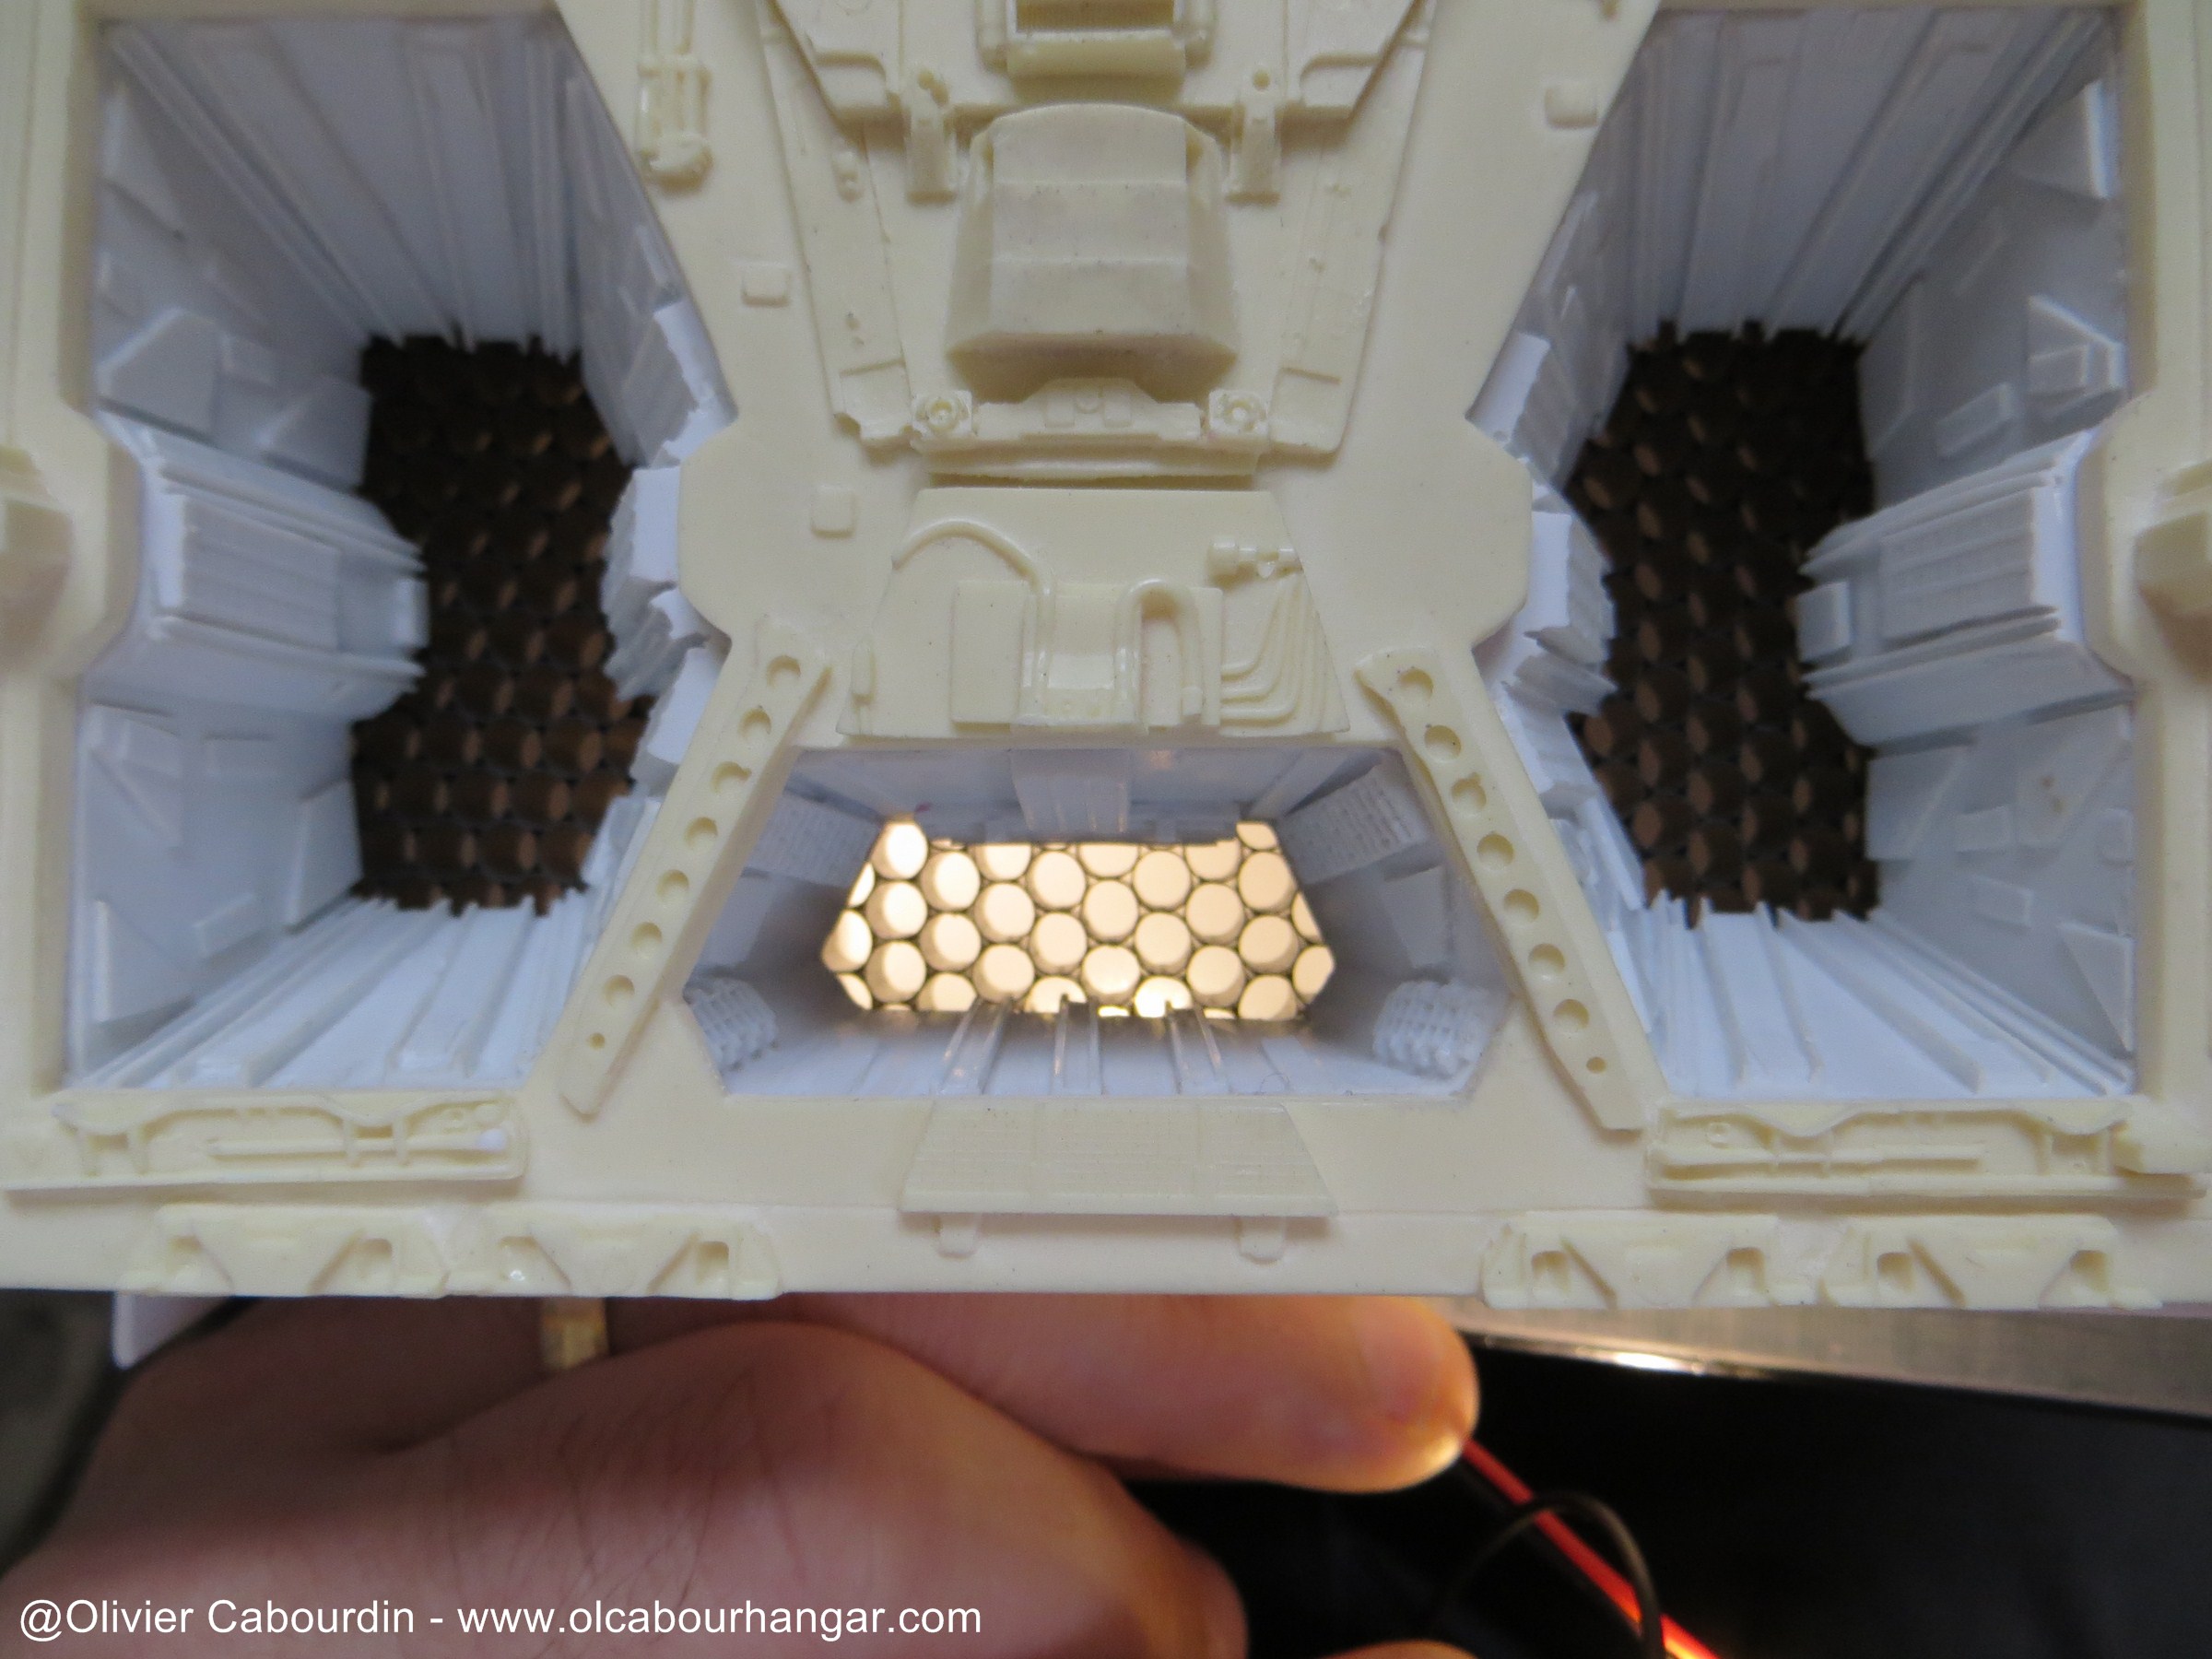
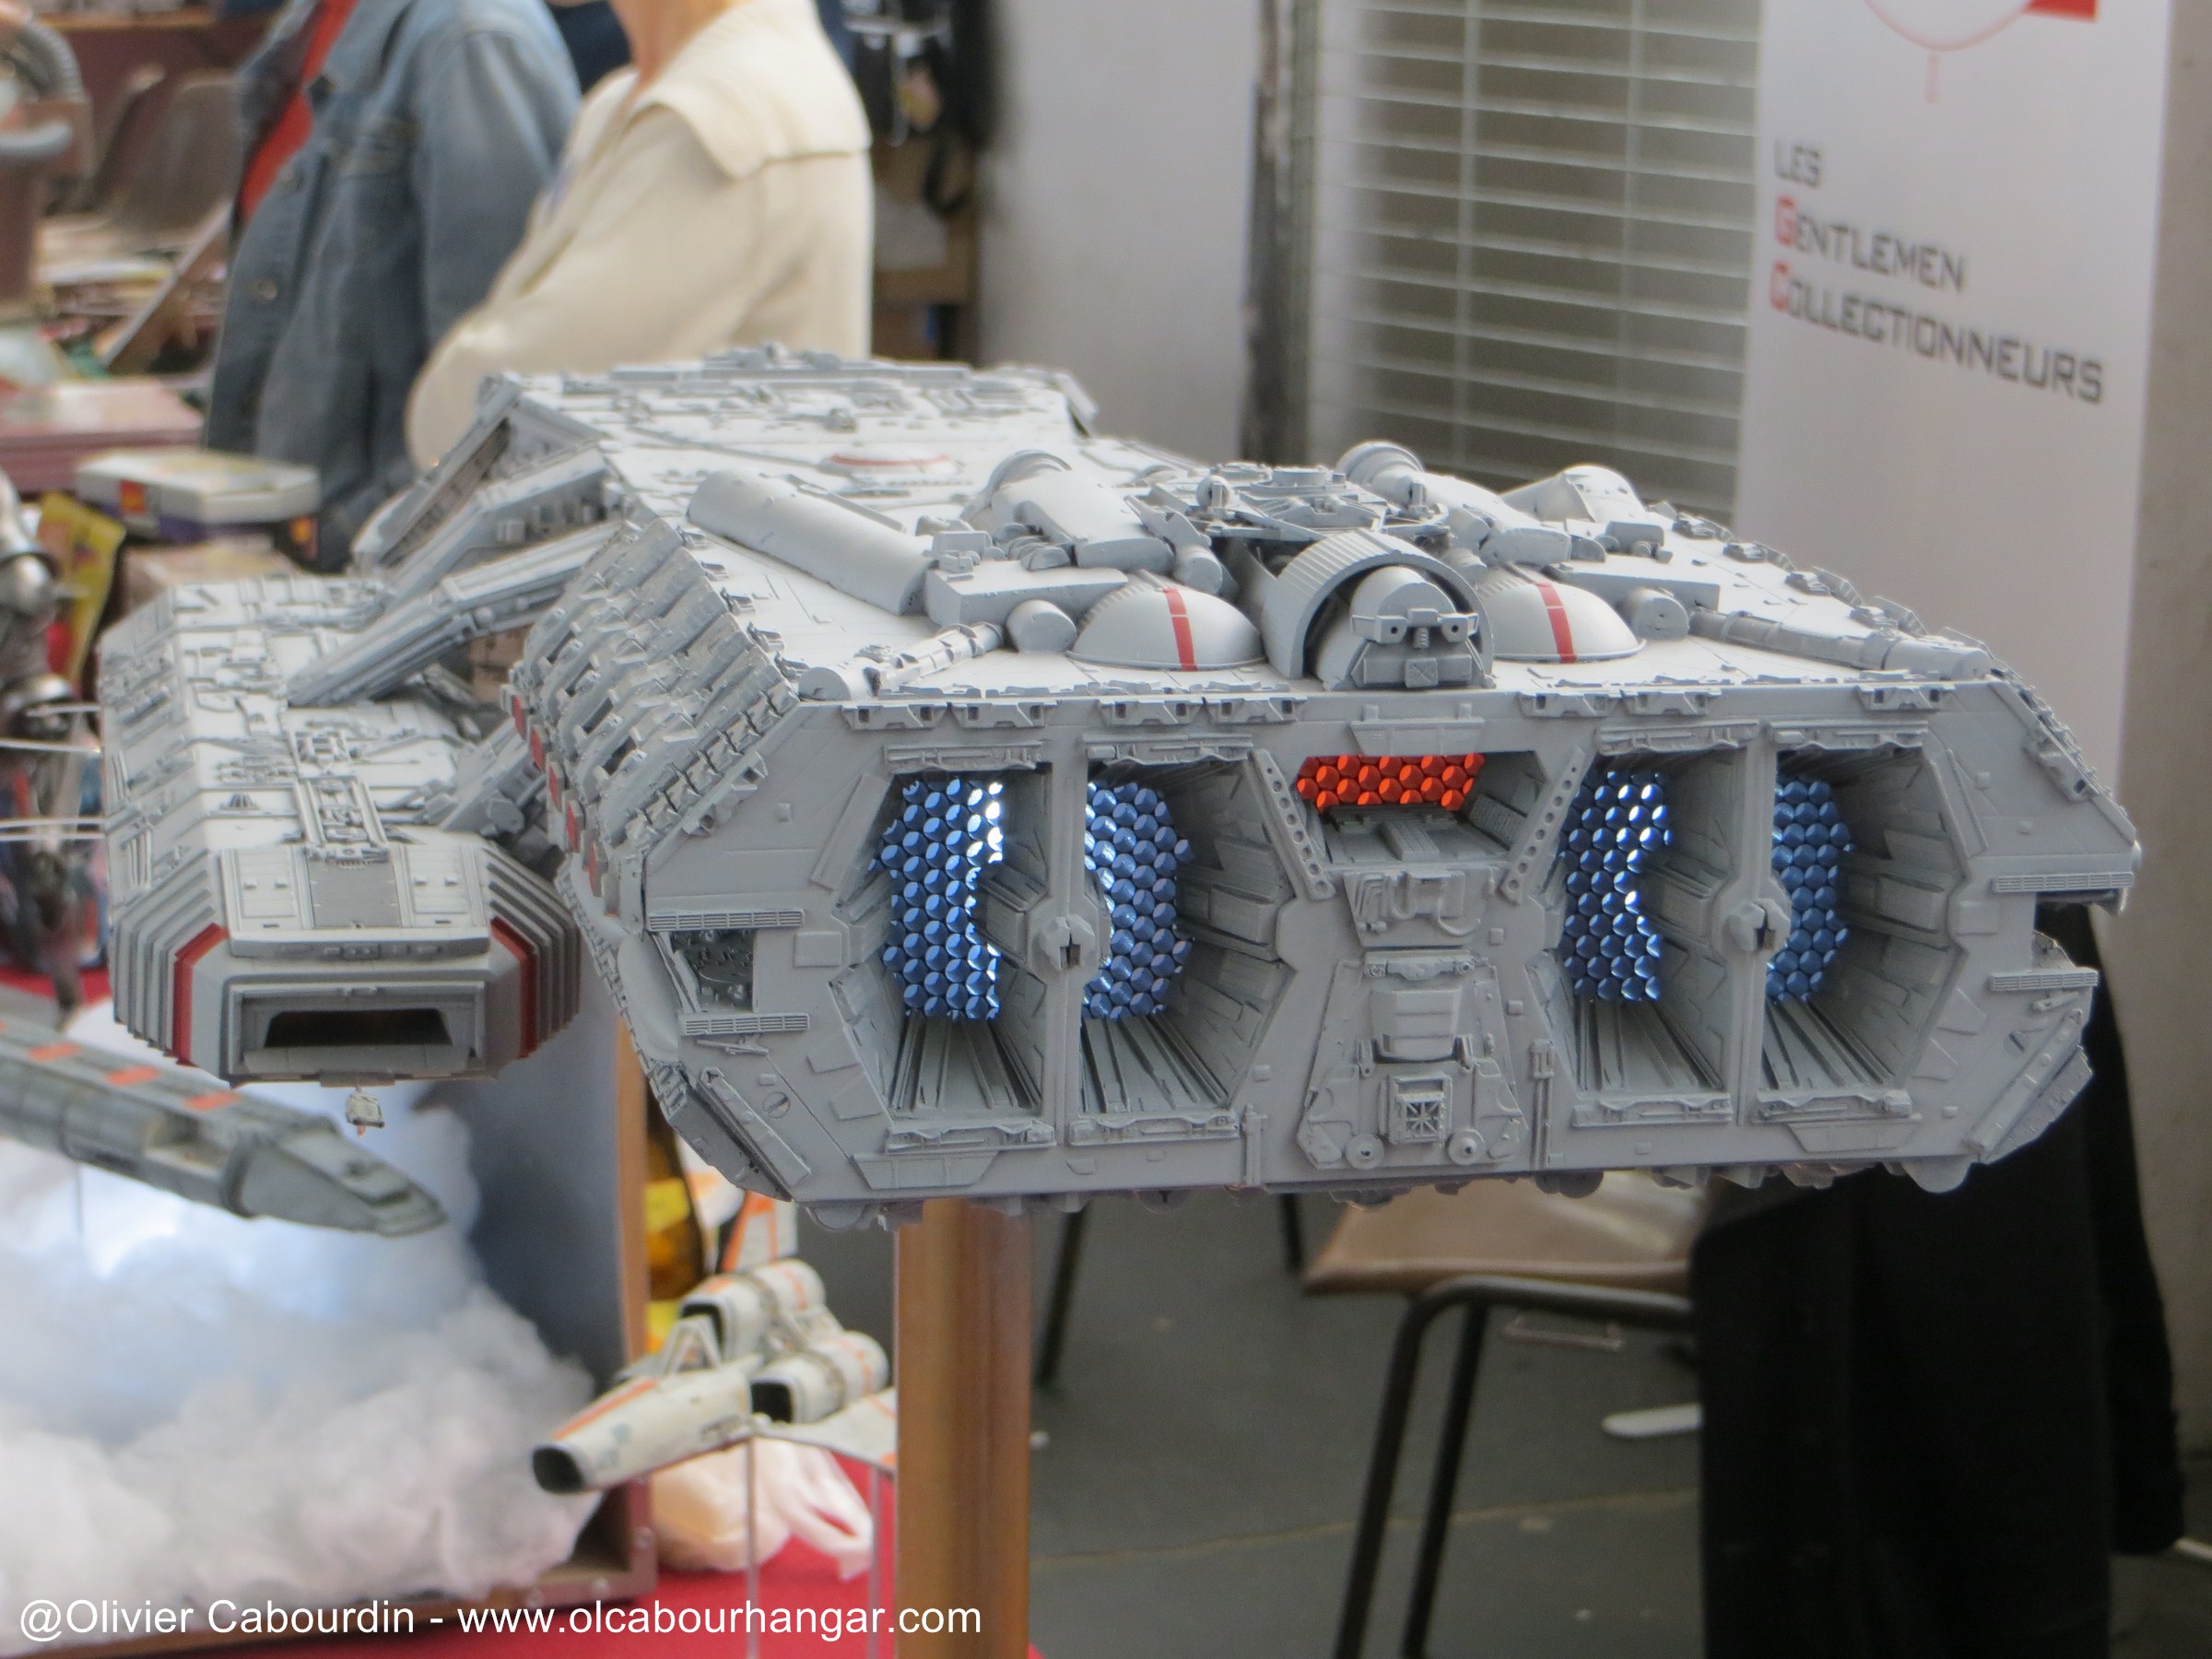
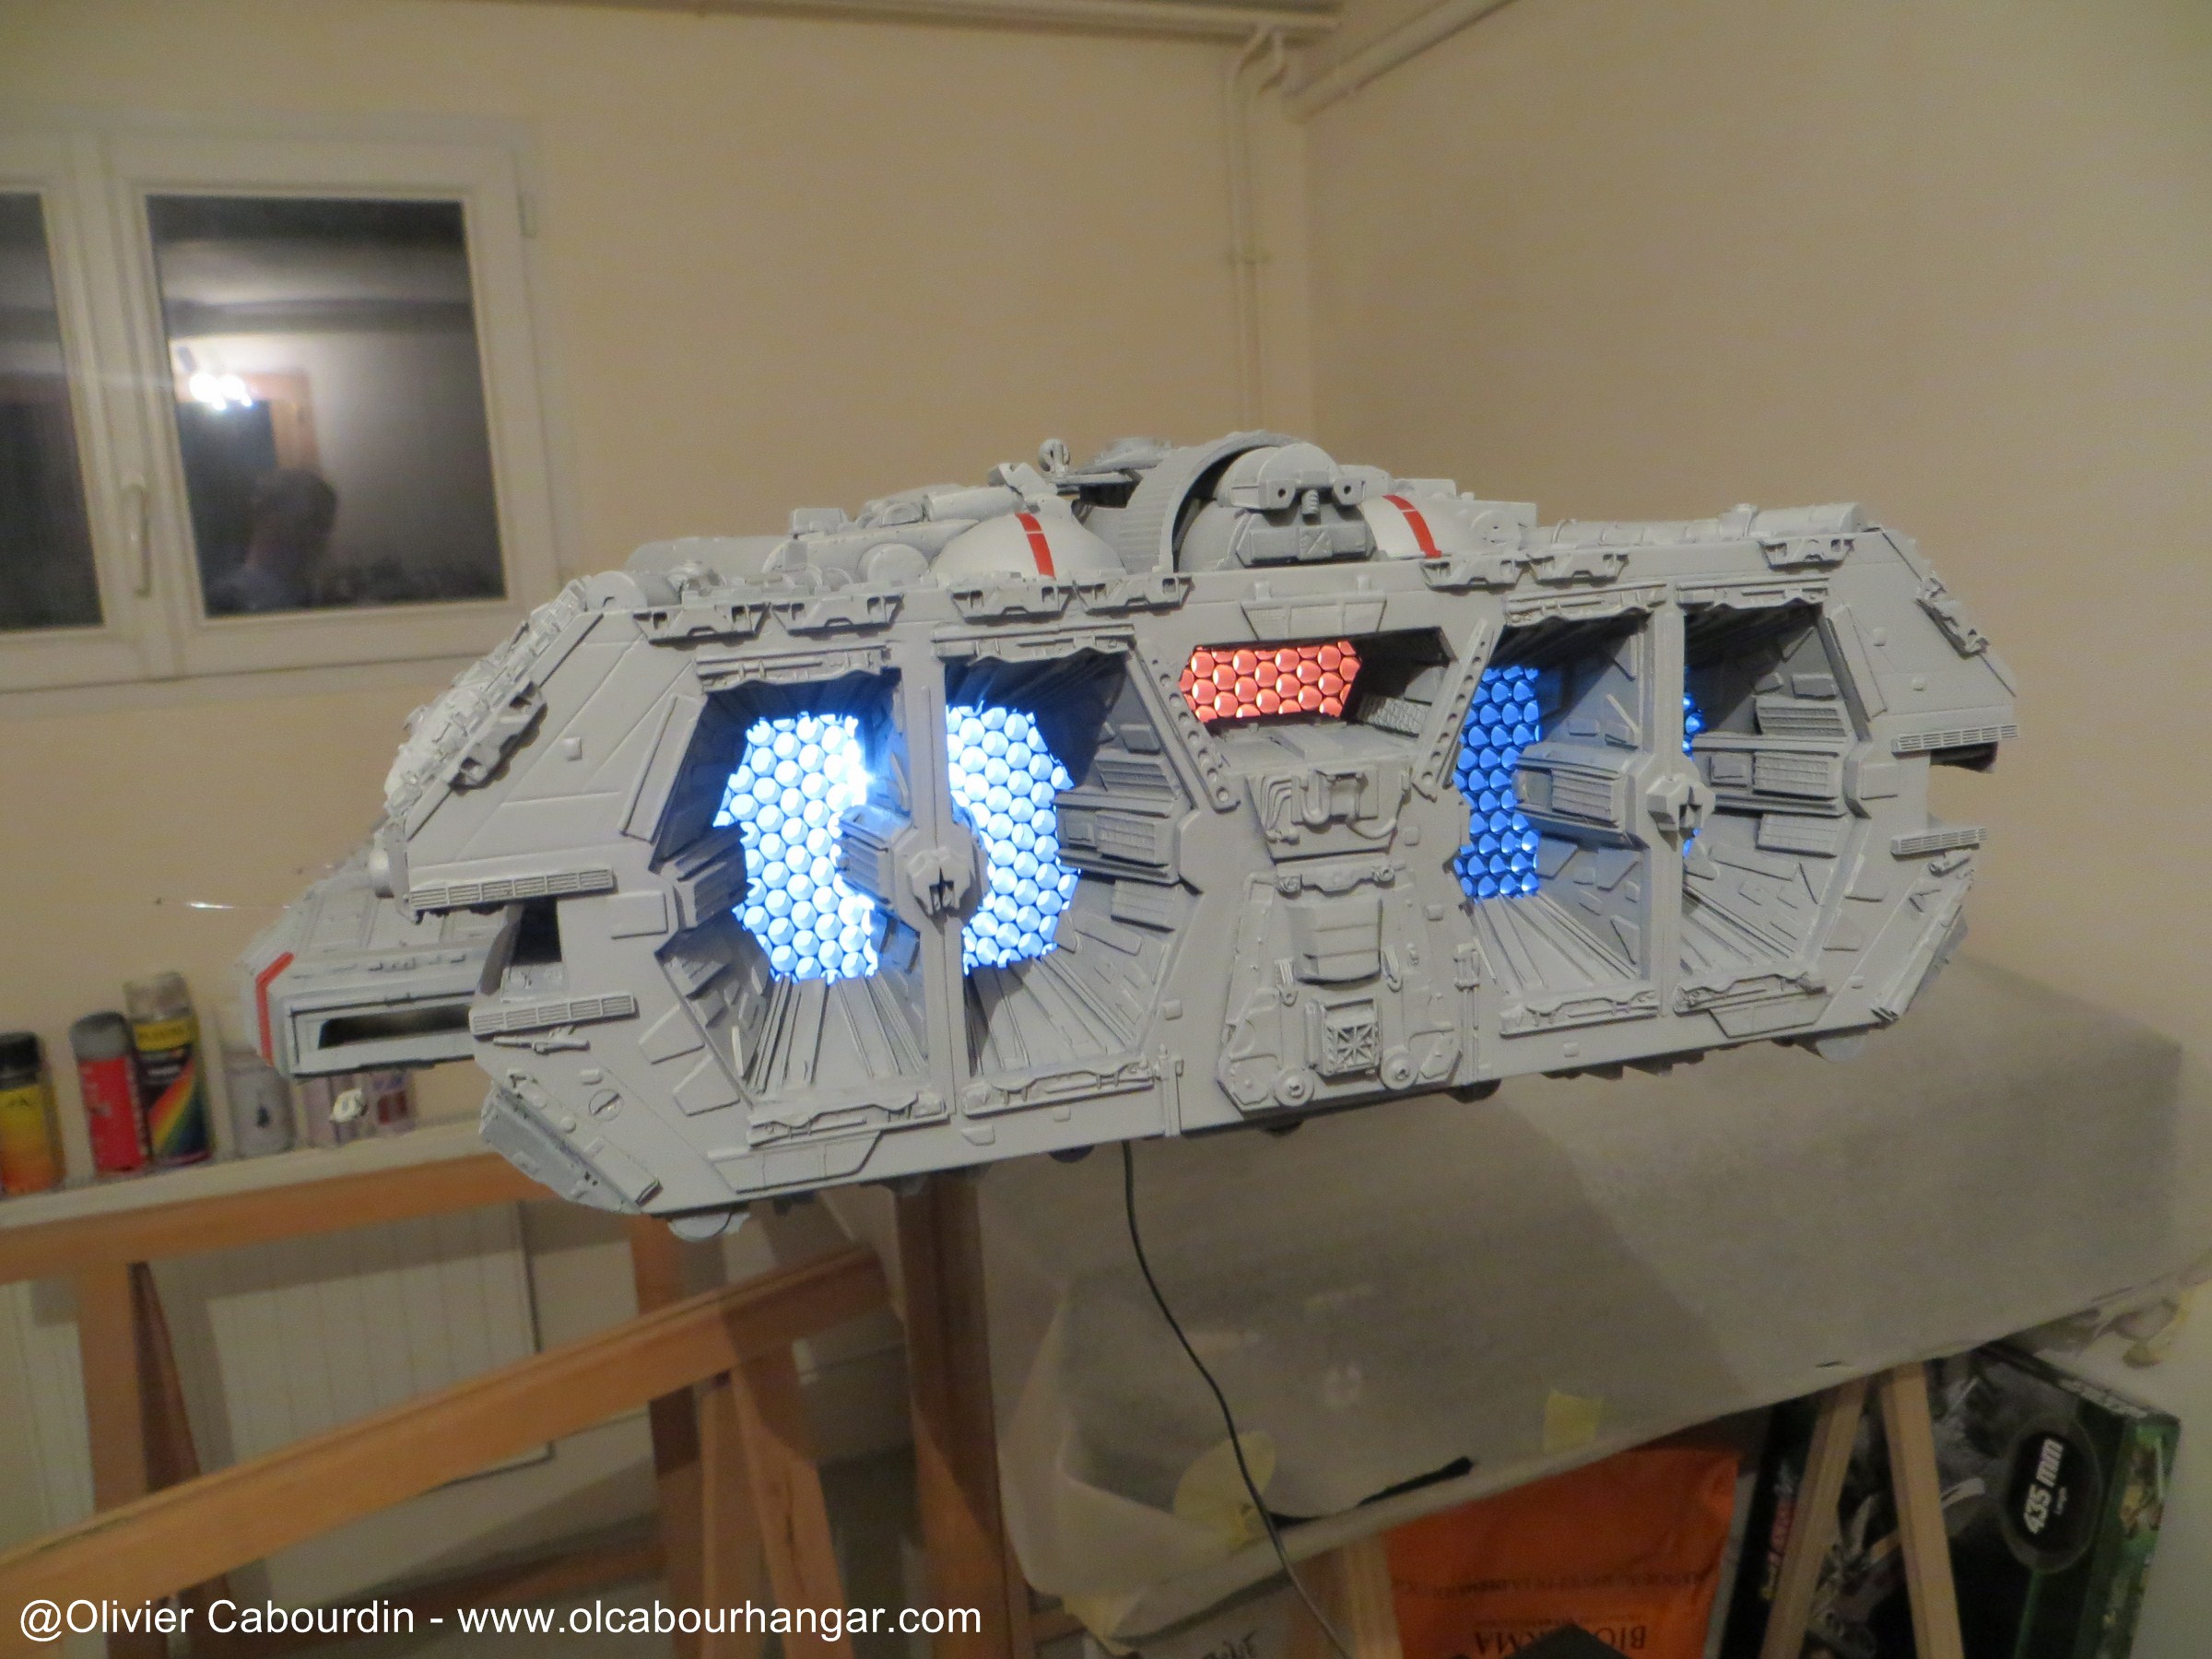
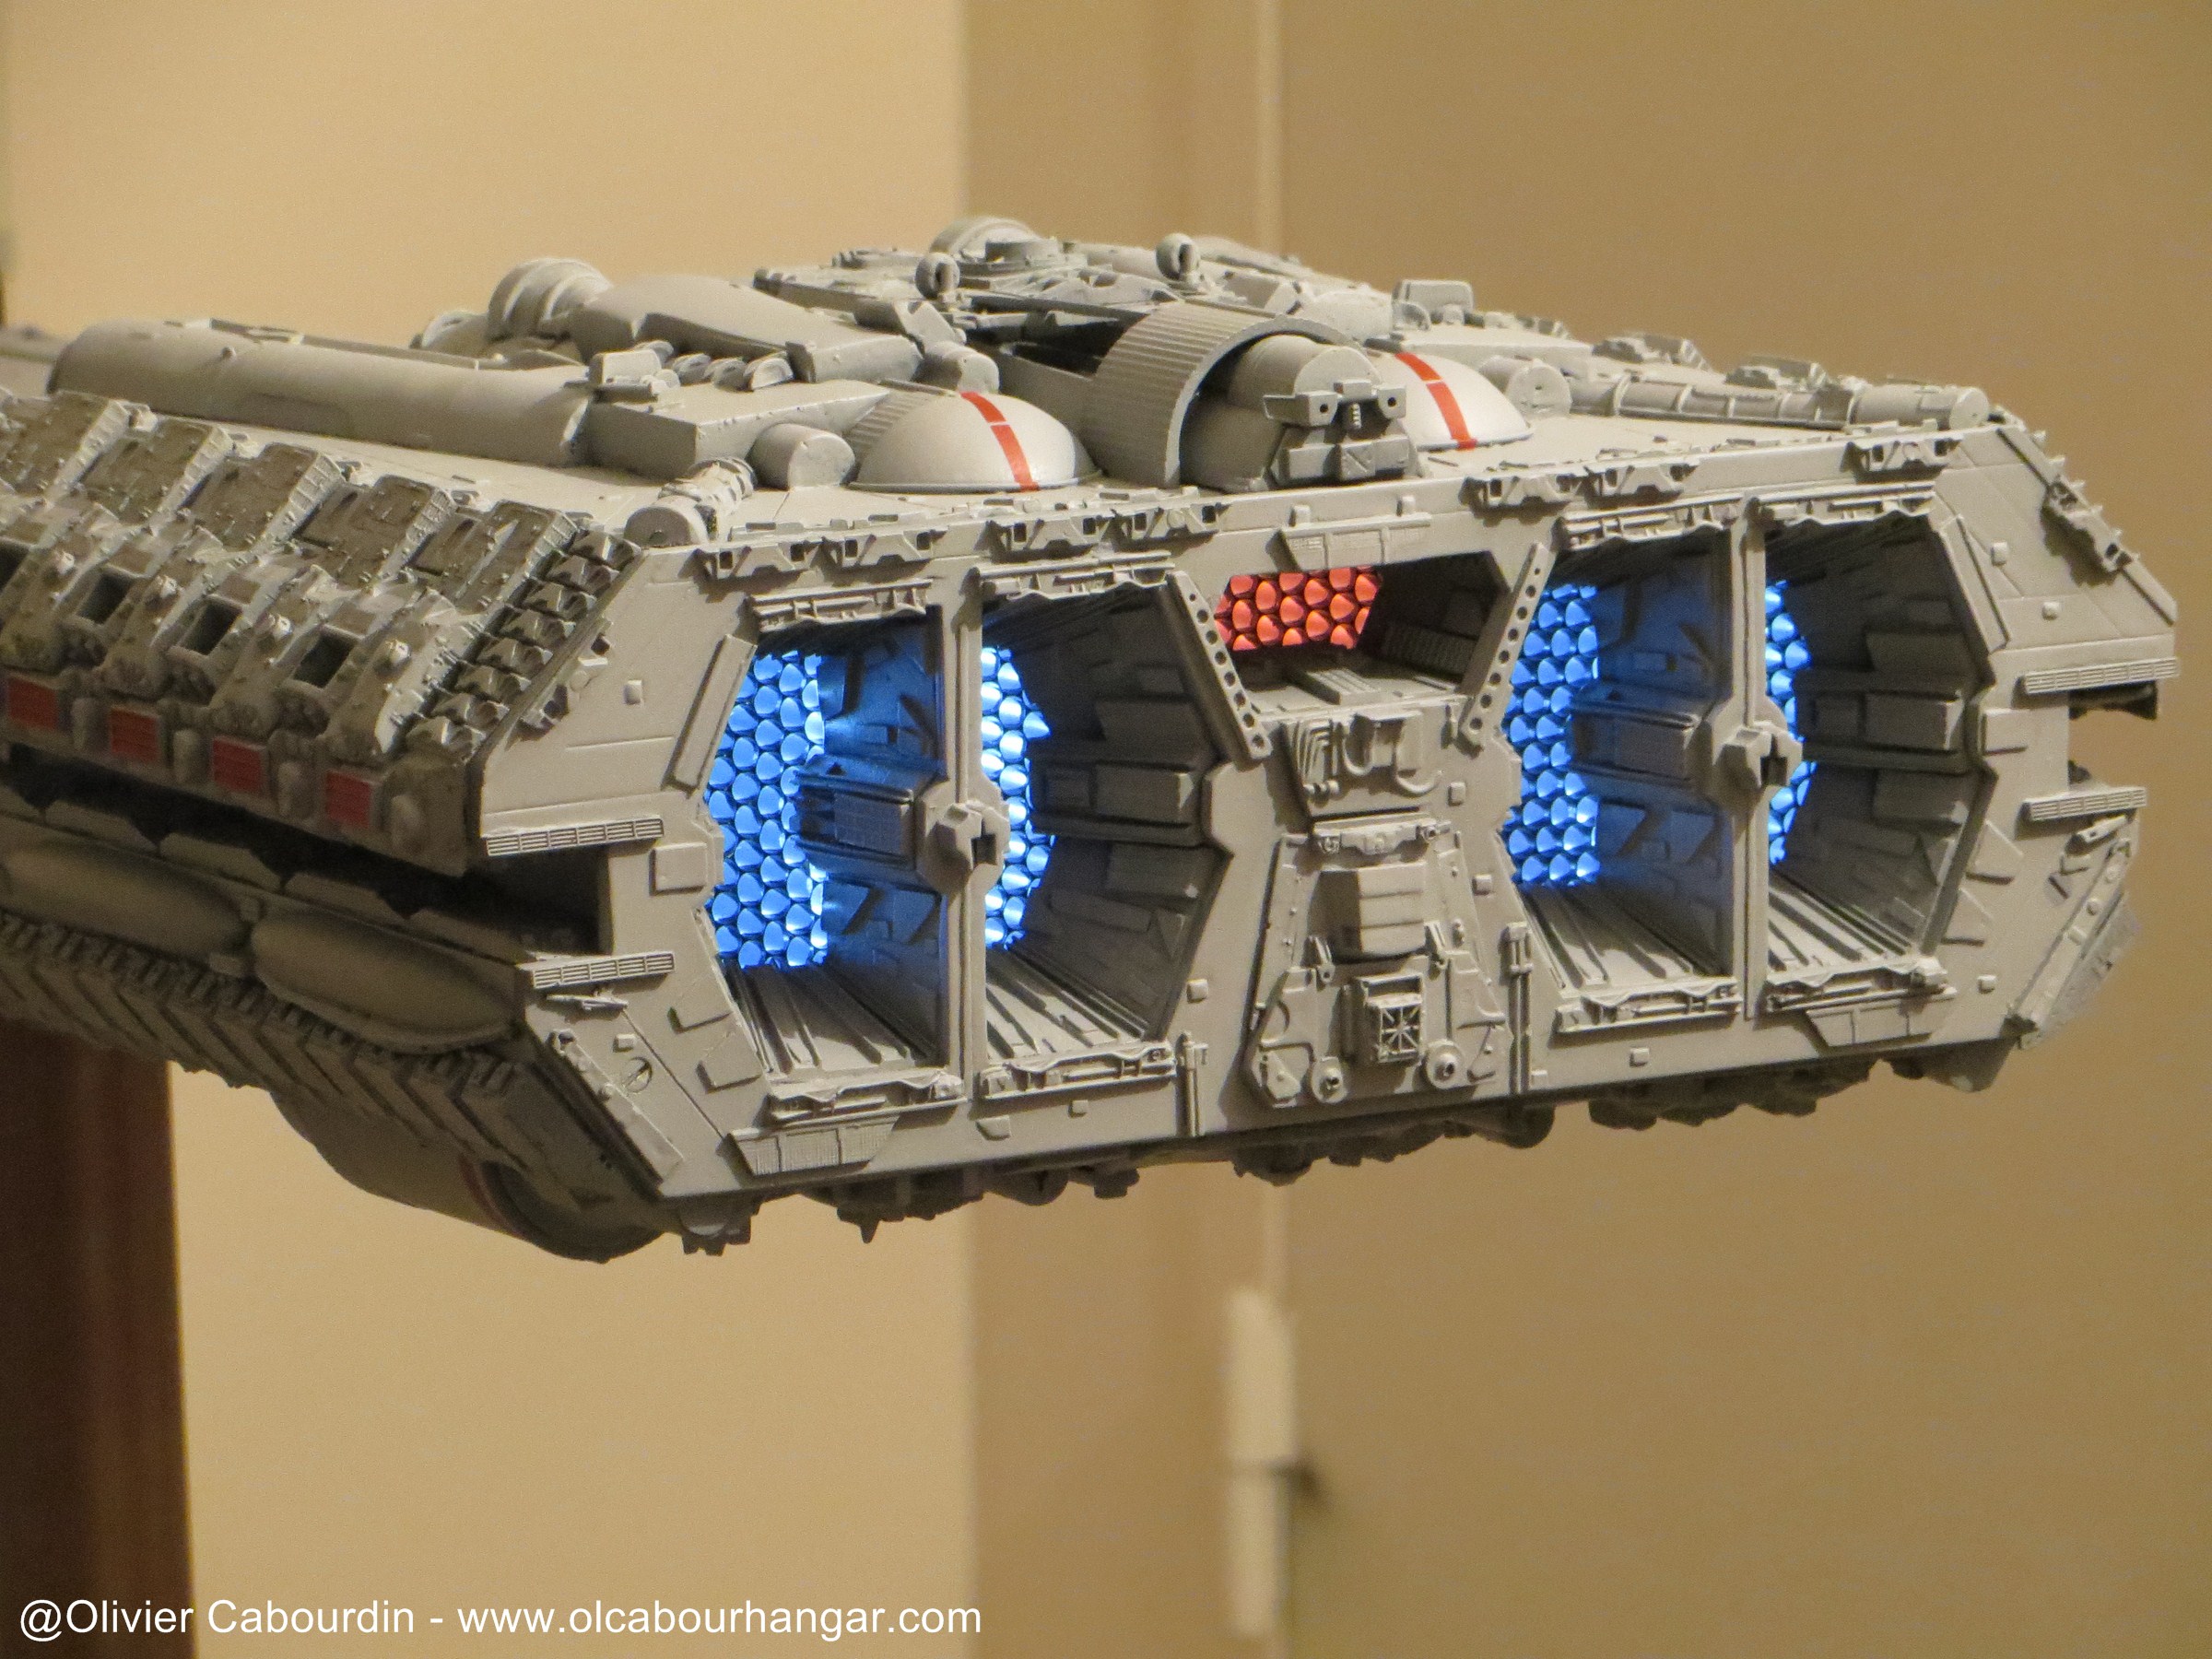
Red center engine is a warm white LED behind a red transparent sheet (like on the real way).
In this case I have to change the box to position the LED below (and more uniform indirect lighting), and out of sight. So I had to remove the "floor" I originally installed.
Rather than a red LED, I use a warm white led. A red or clear transparent sheet painted clear red will adjust the right shade.
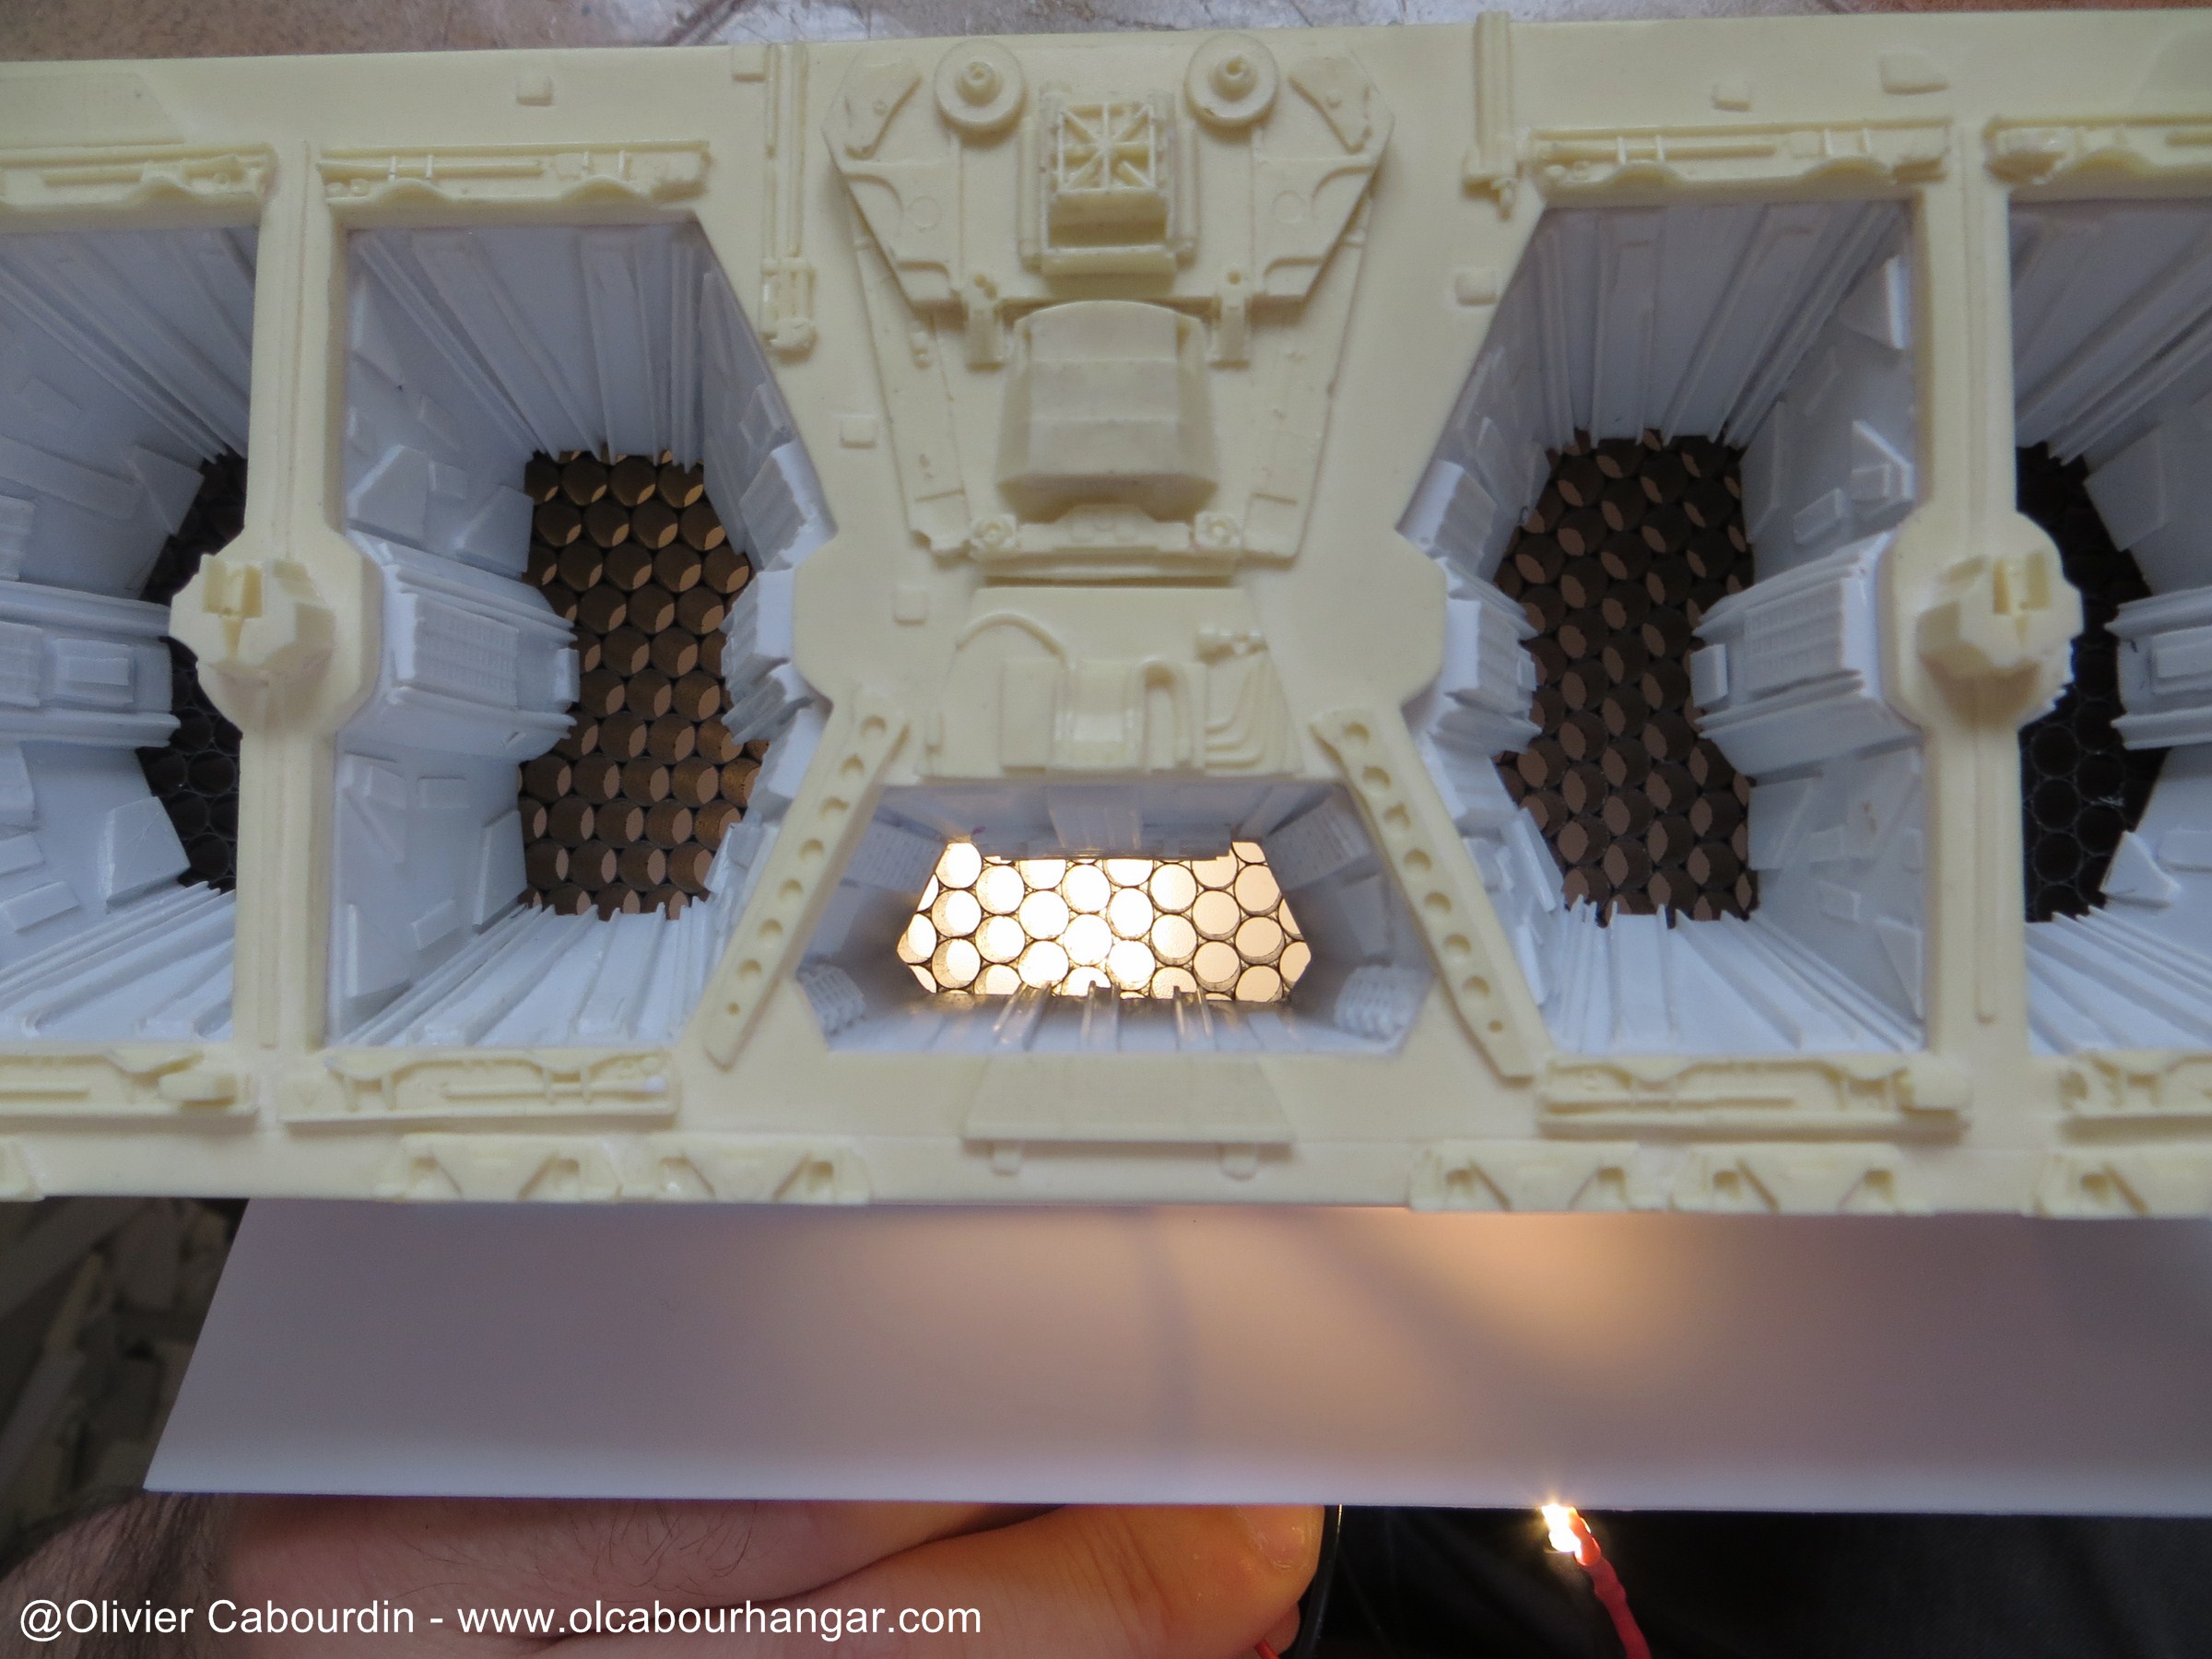
For the main reactors, I take cold white LED, which tend toward blue. If it is not blue enough, so I'll add a blue transparent sheet behind the honeycomb.


I found that it does not yet enlightened enough because the honeycomb grid limits the light diffusion. So I igh LEDs along the backbone, again to avoid direct lighting.
The box will remain removable, so I could still add even more later if necessary.
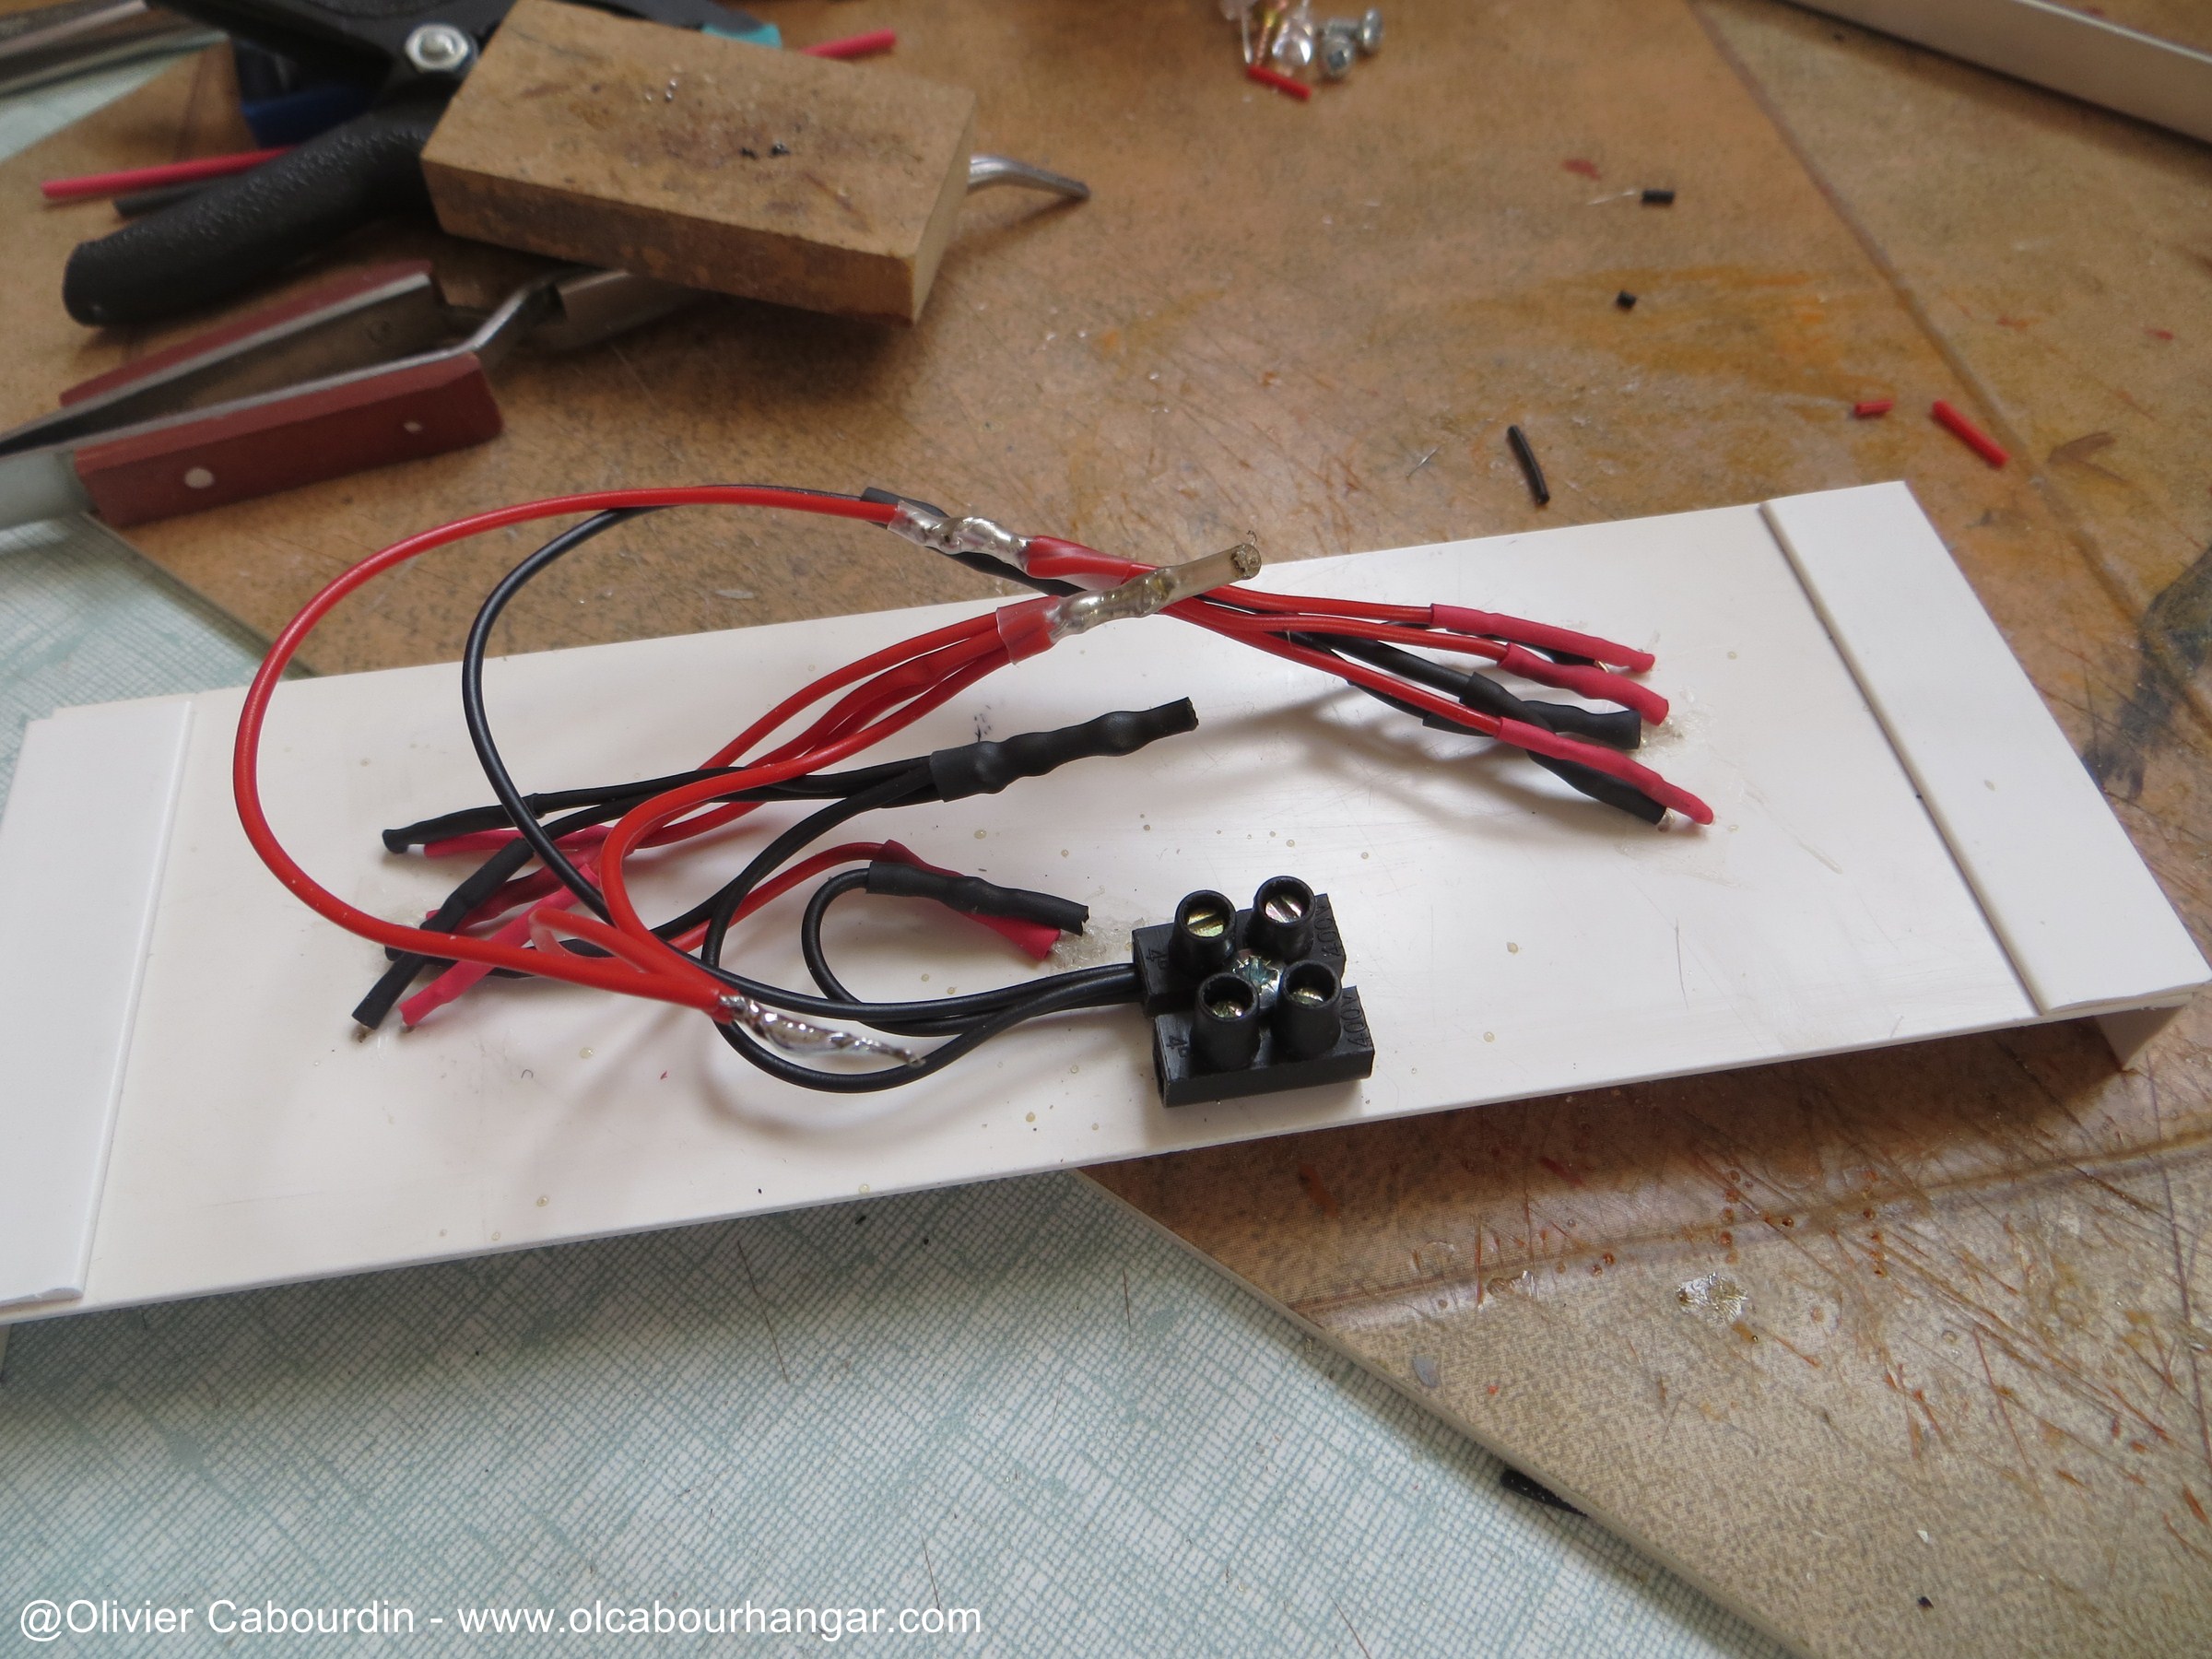
dimanche, 9 novembre 2014
Par olcabour le dimanche, 9 novembre 2014, 22:08
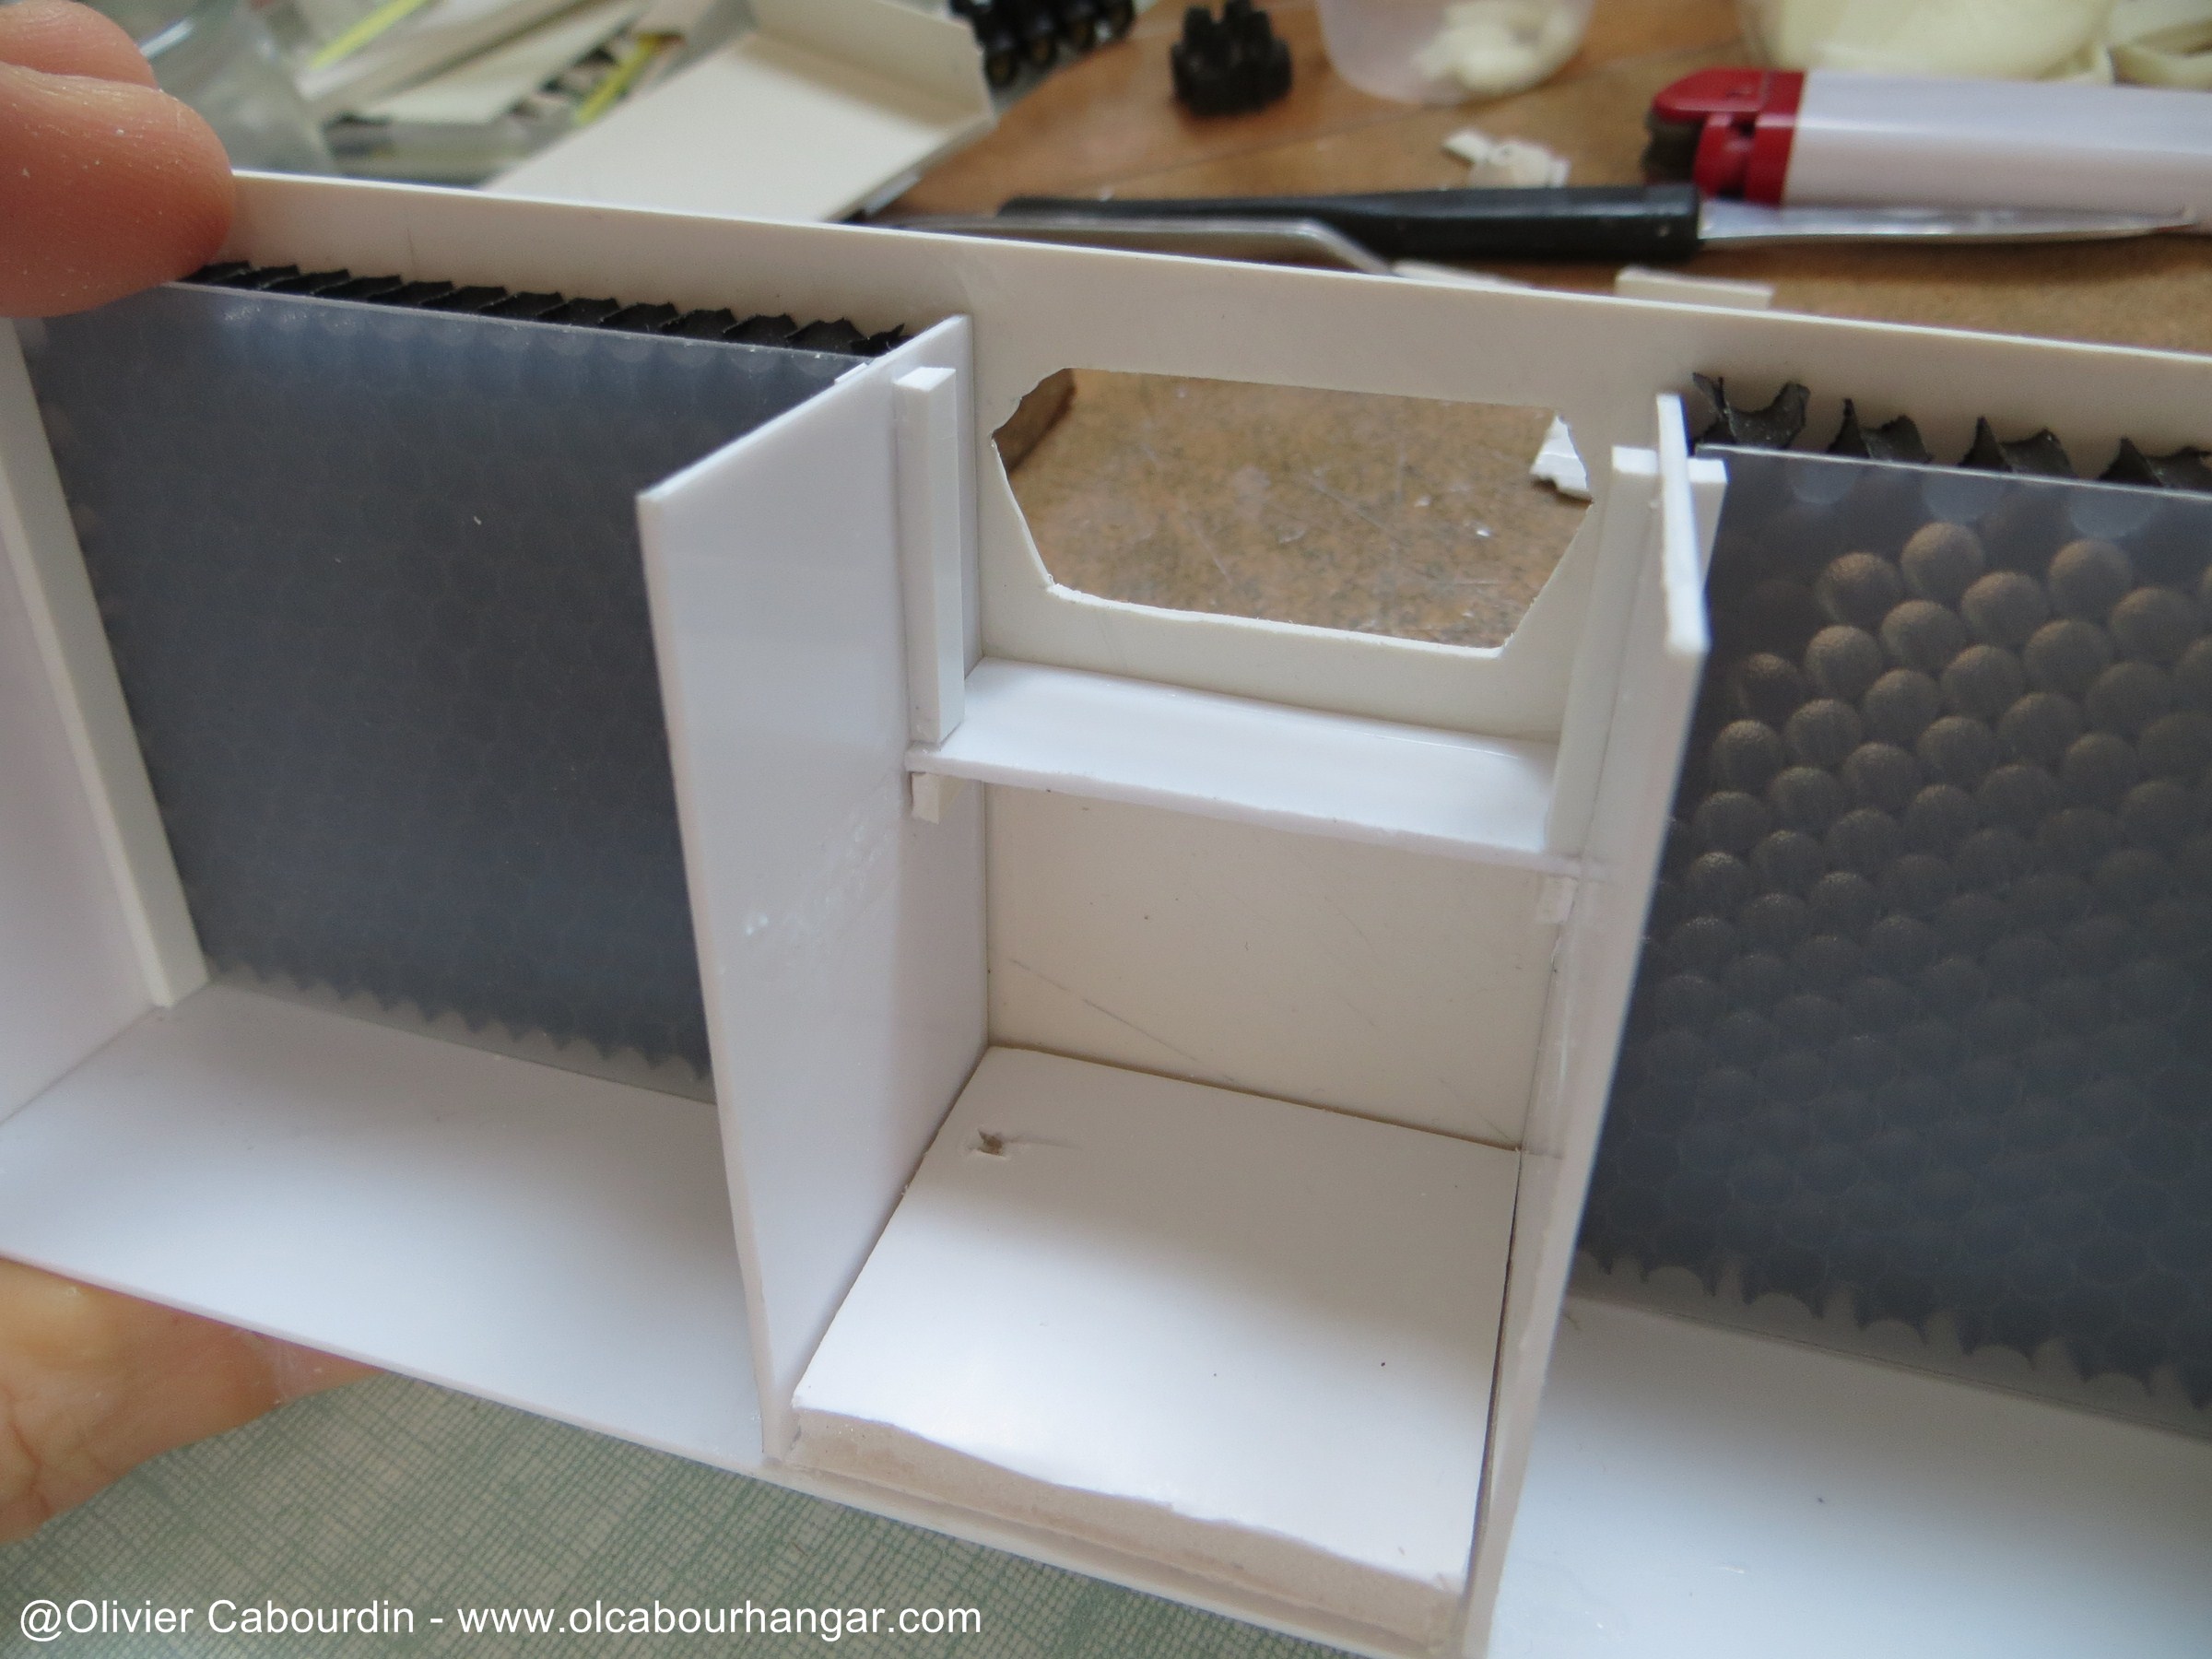
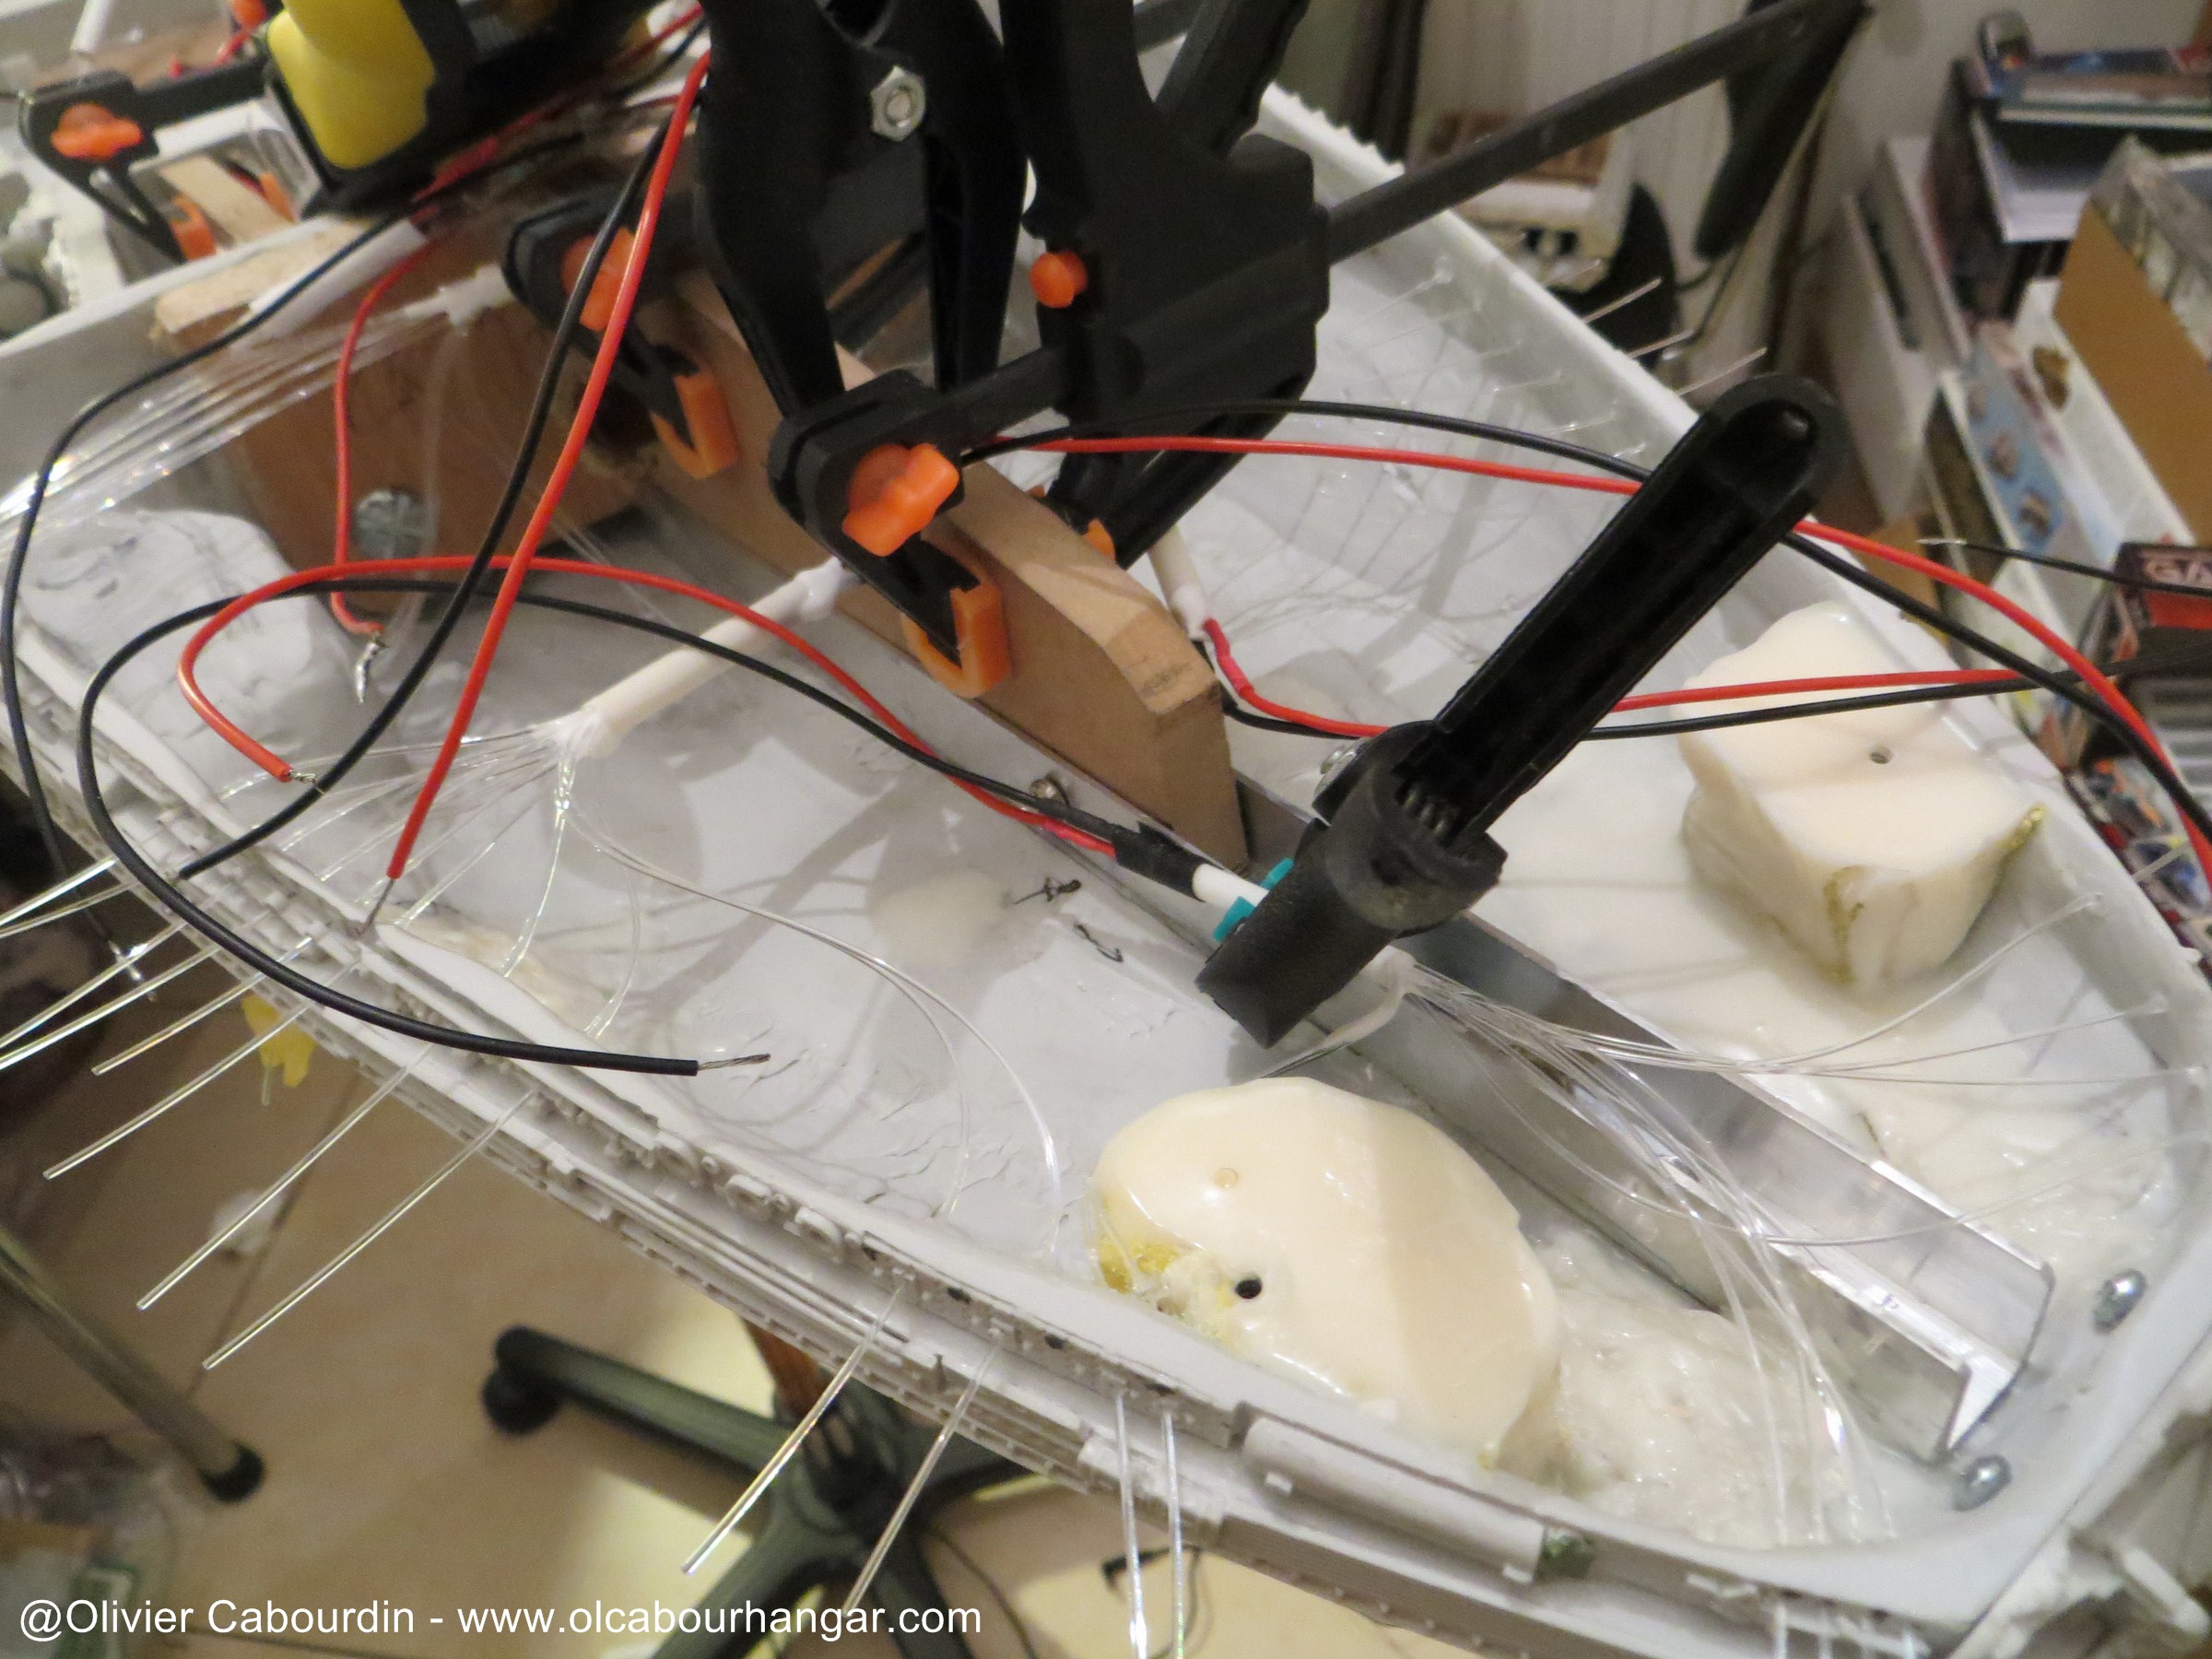
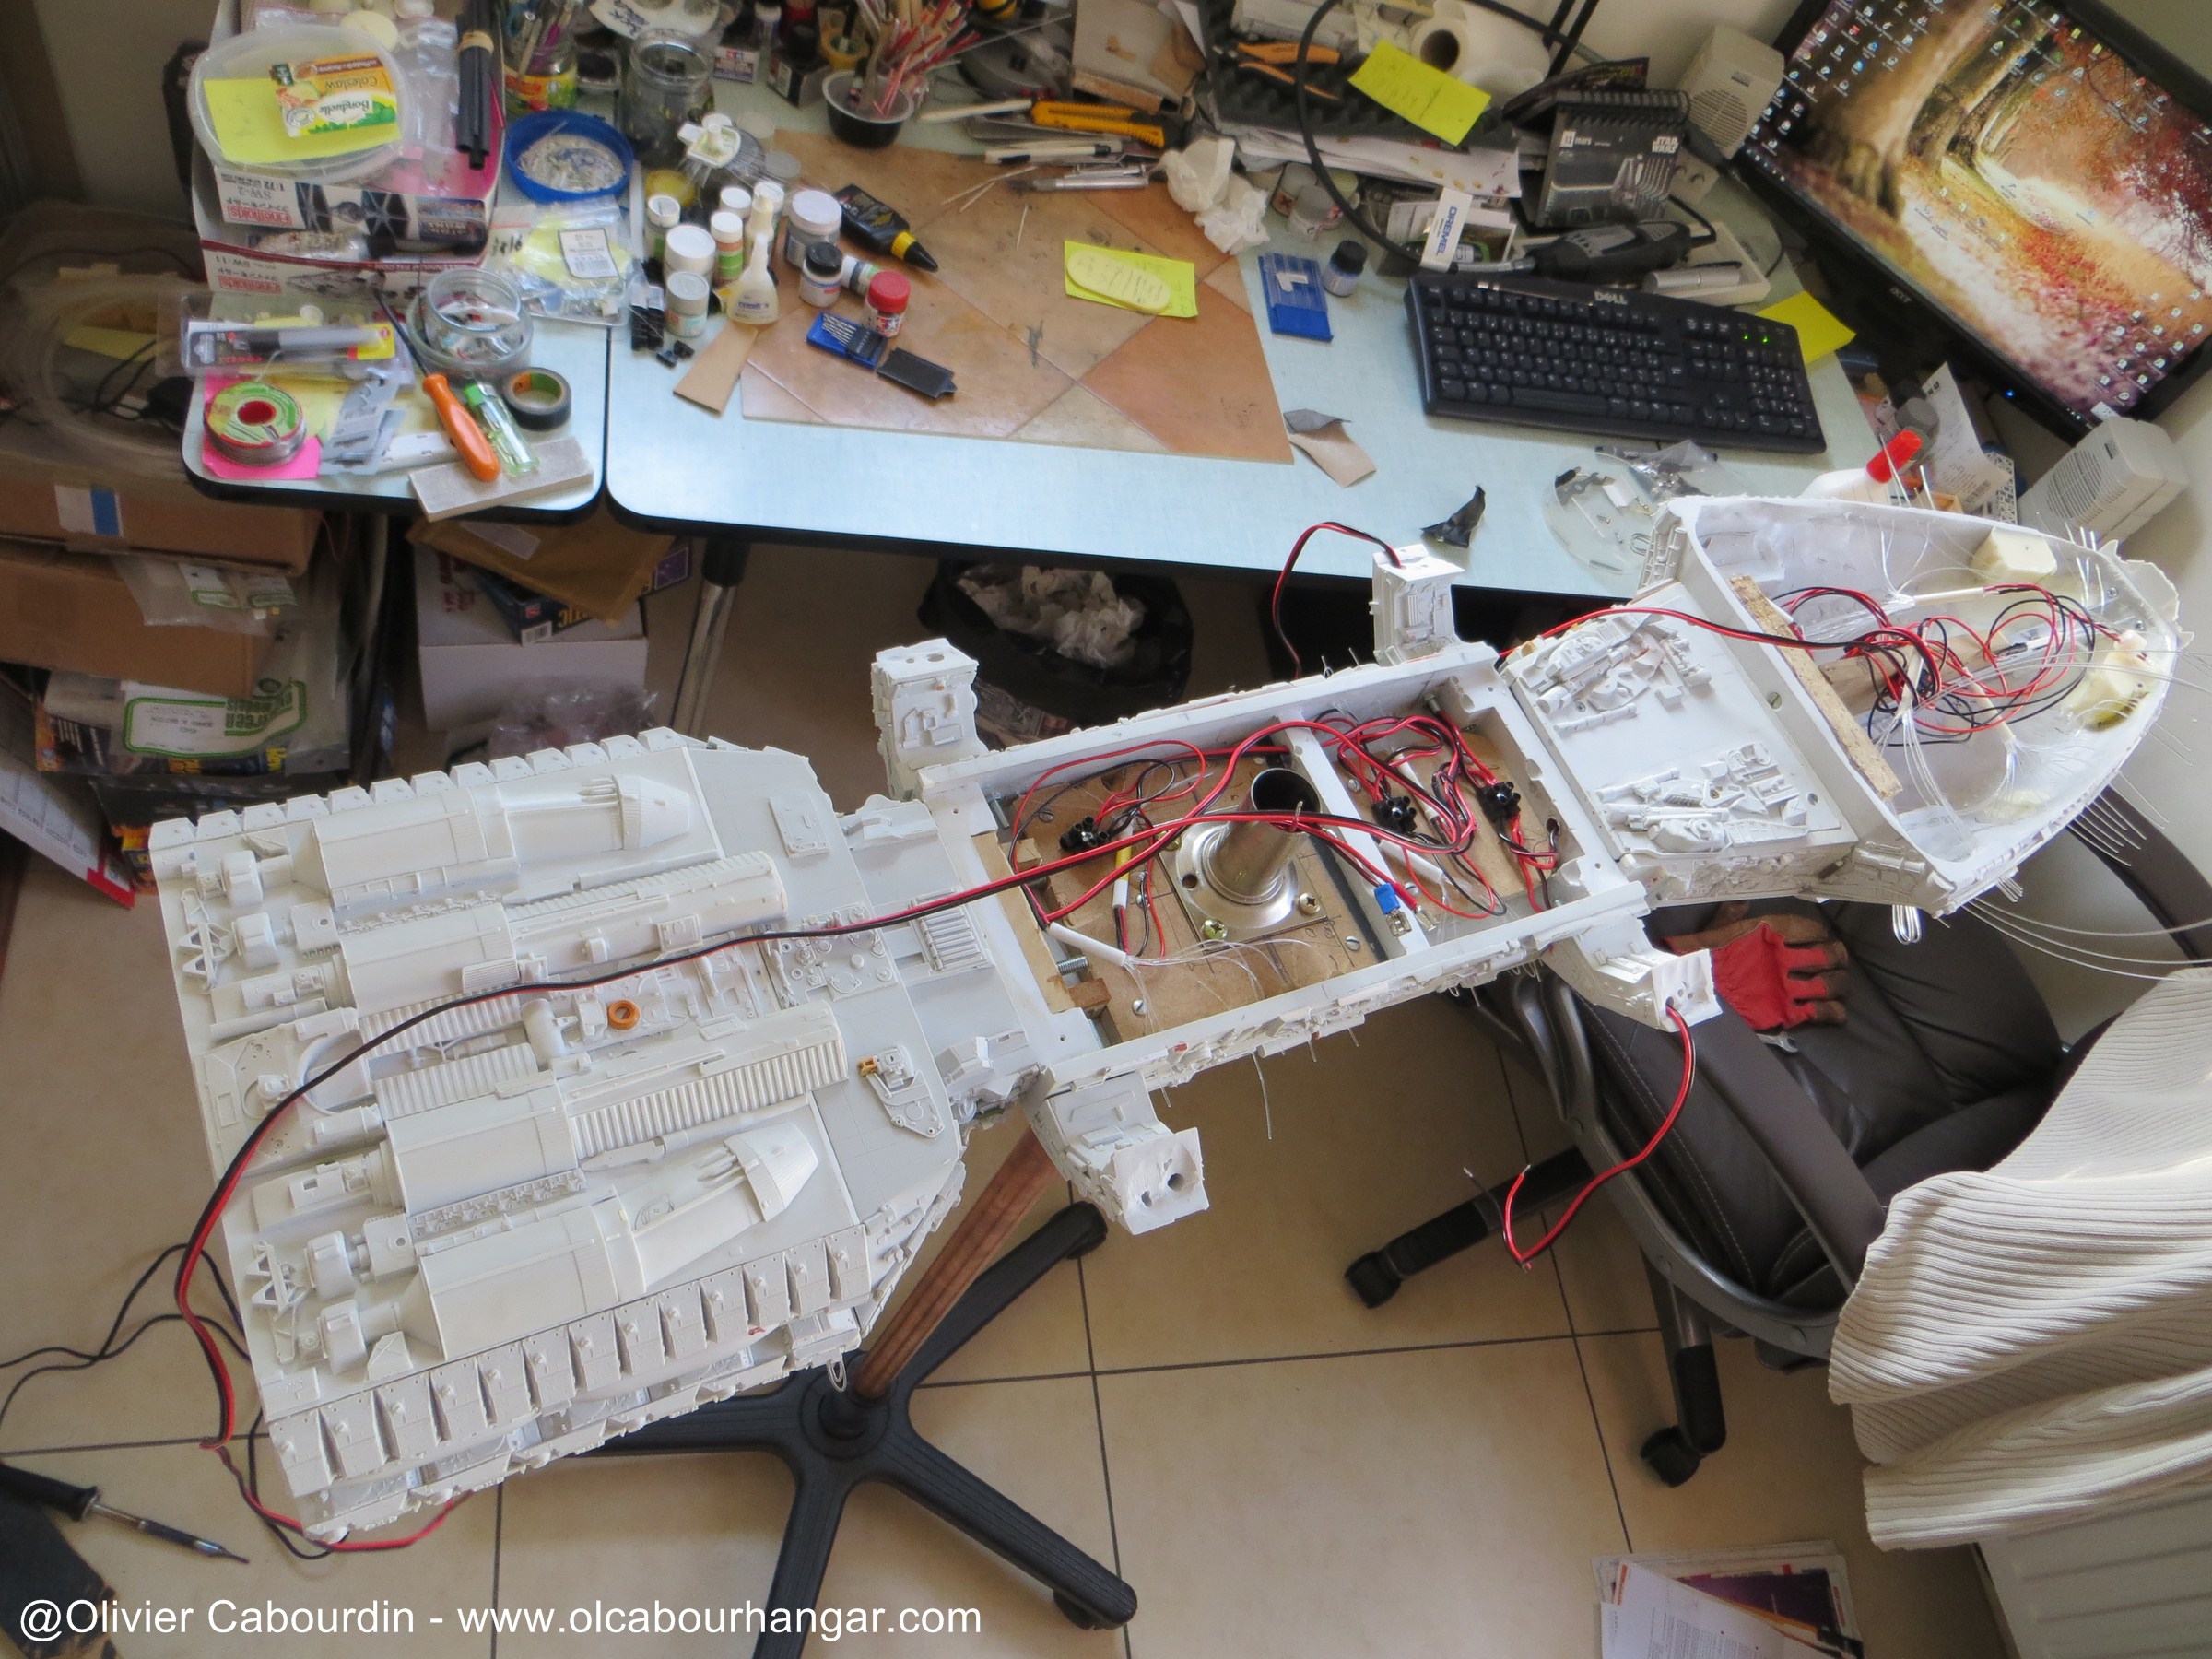
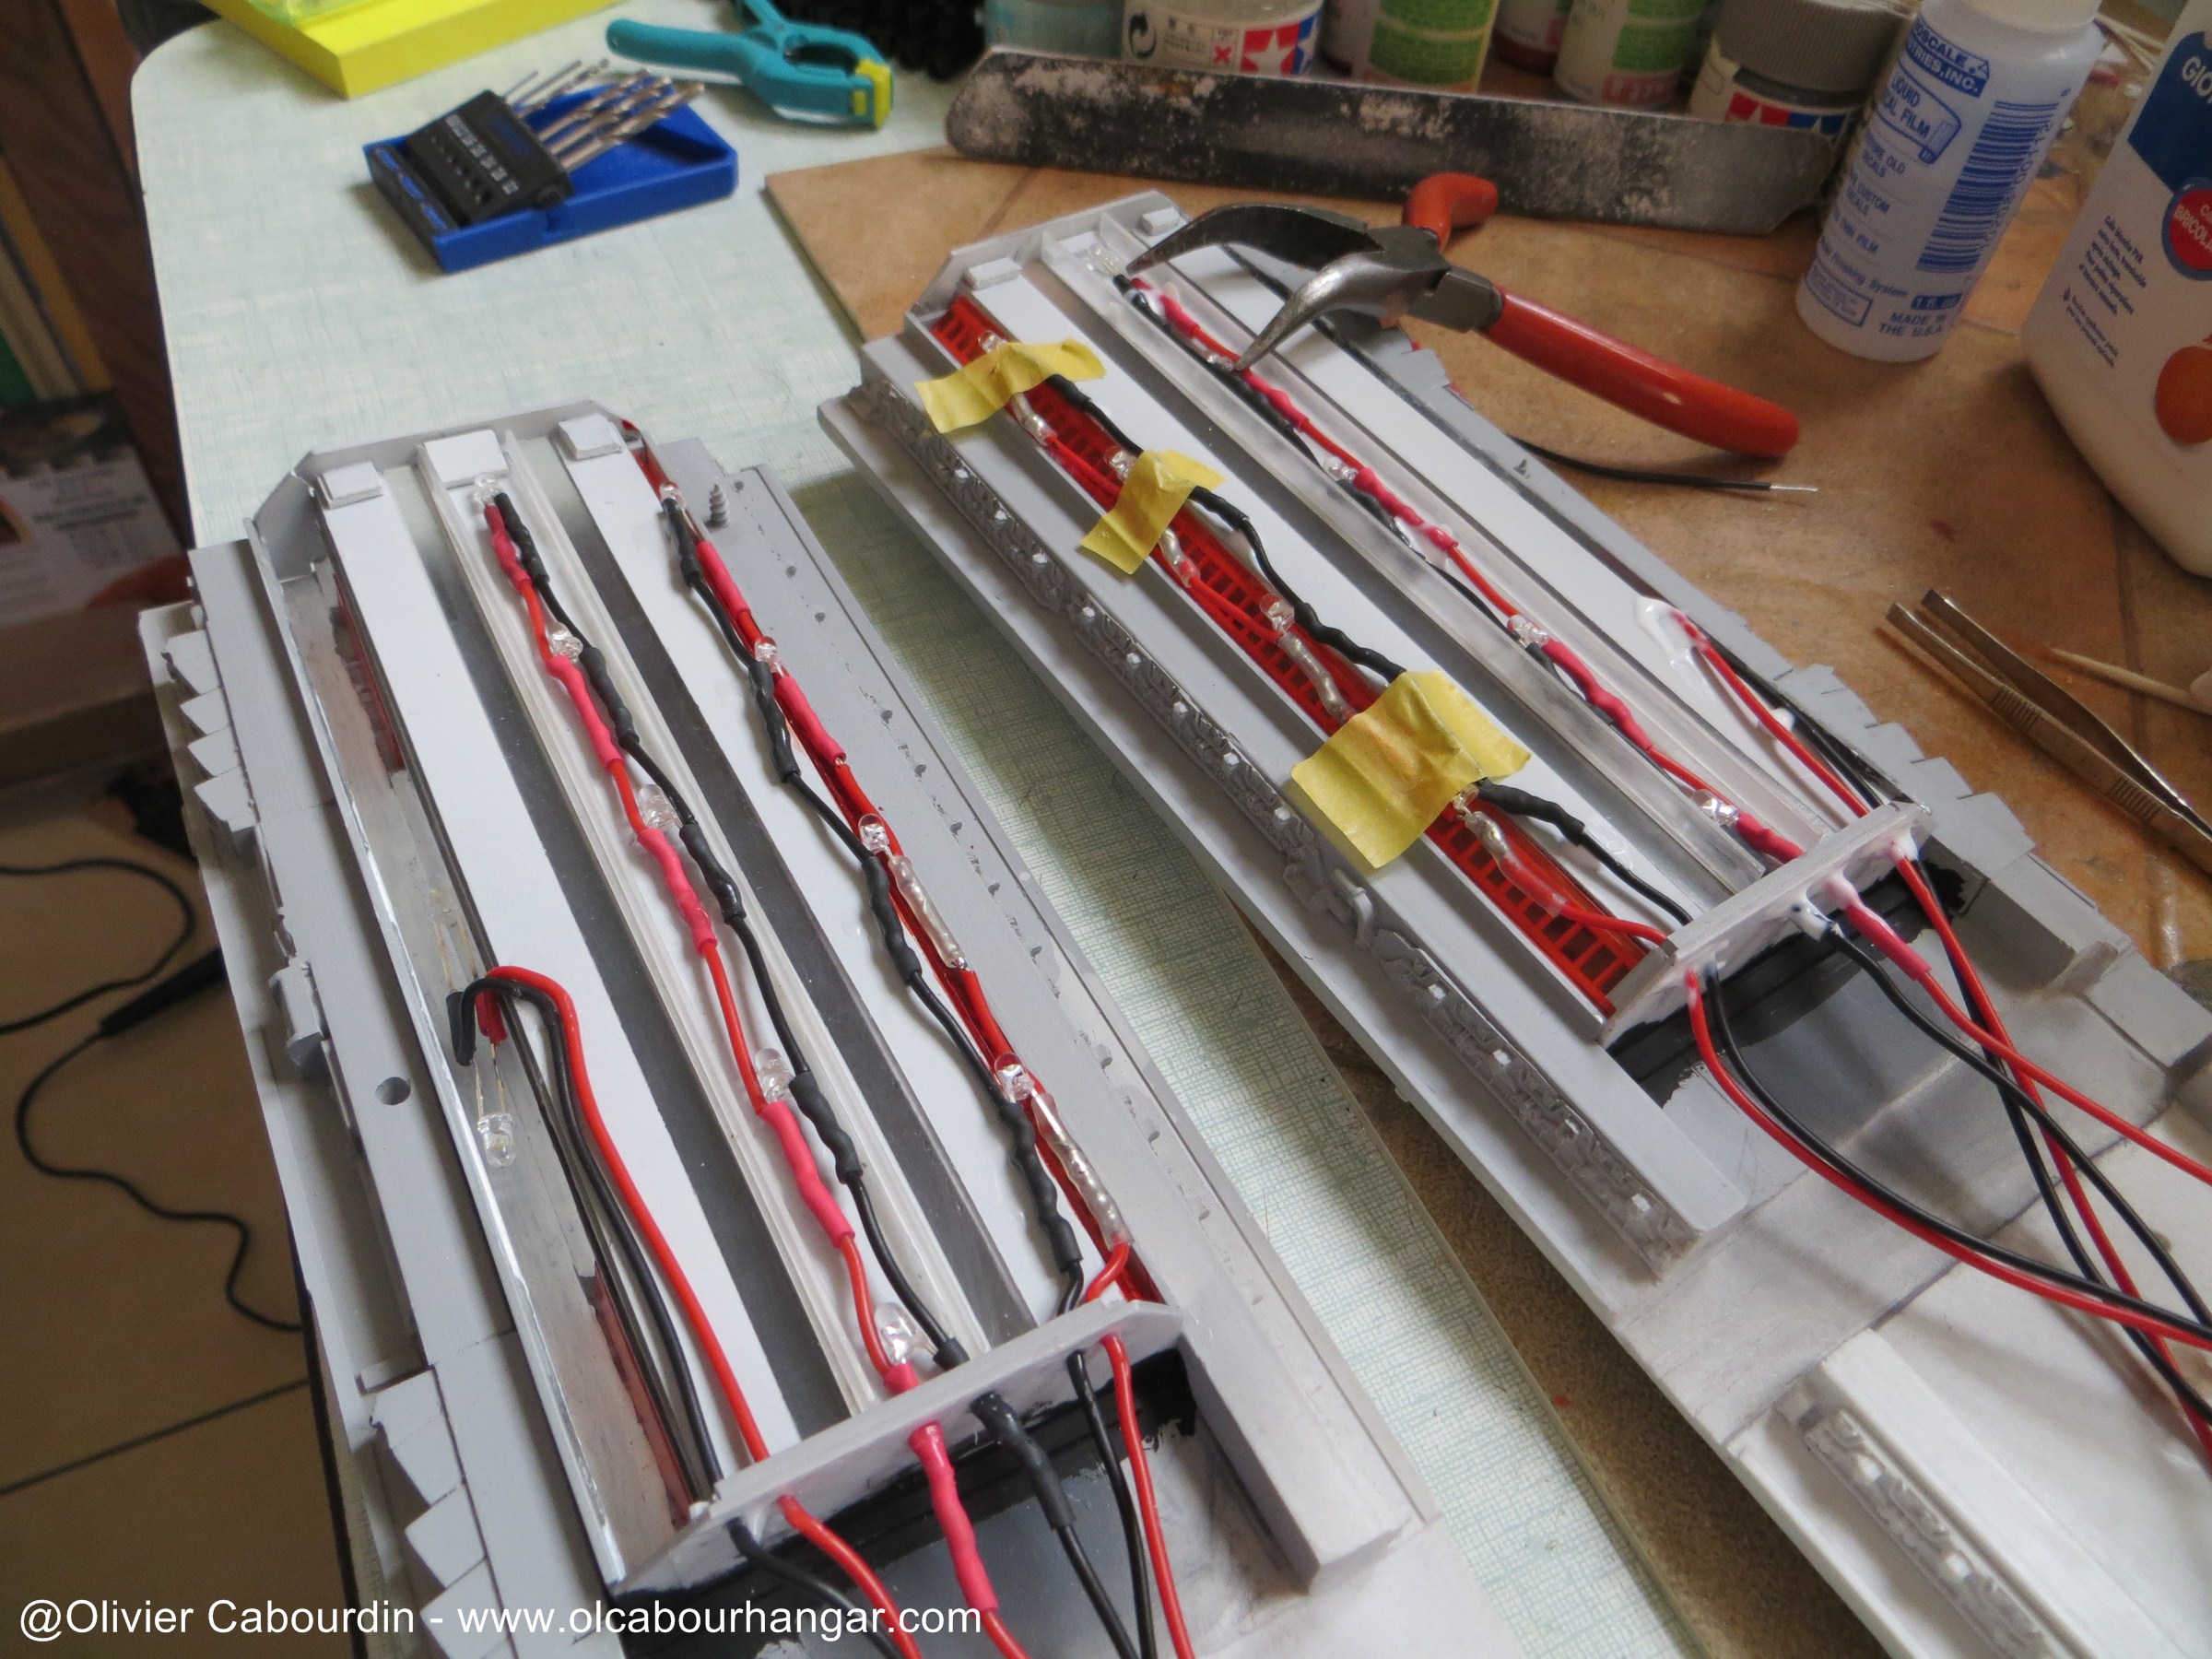
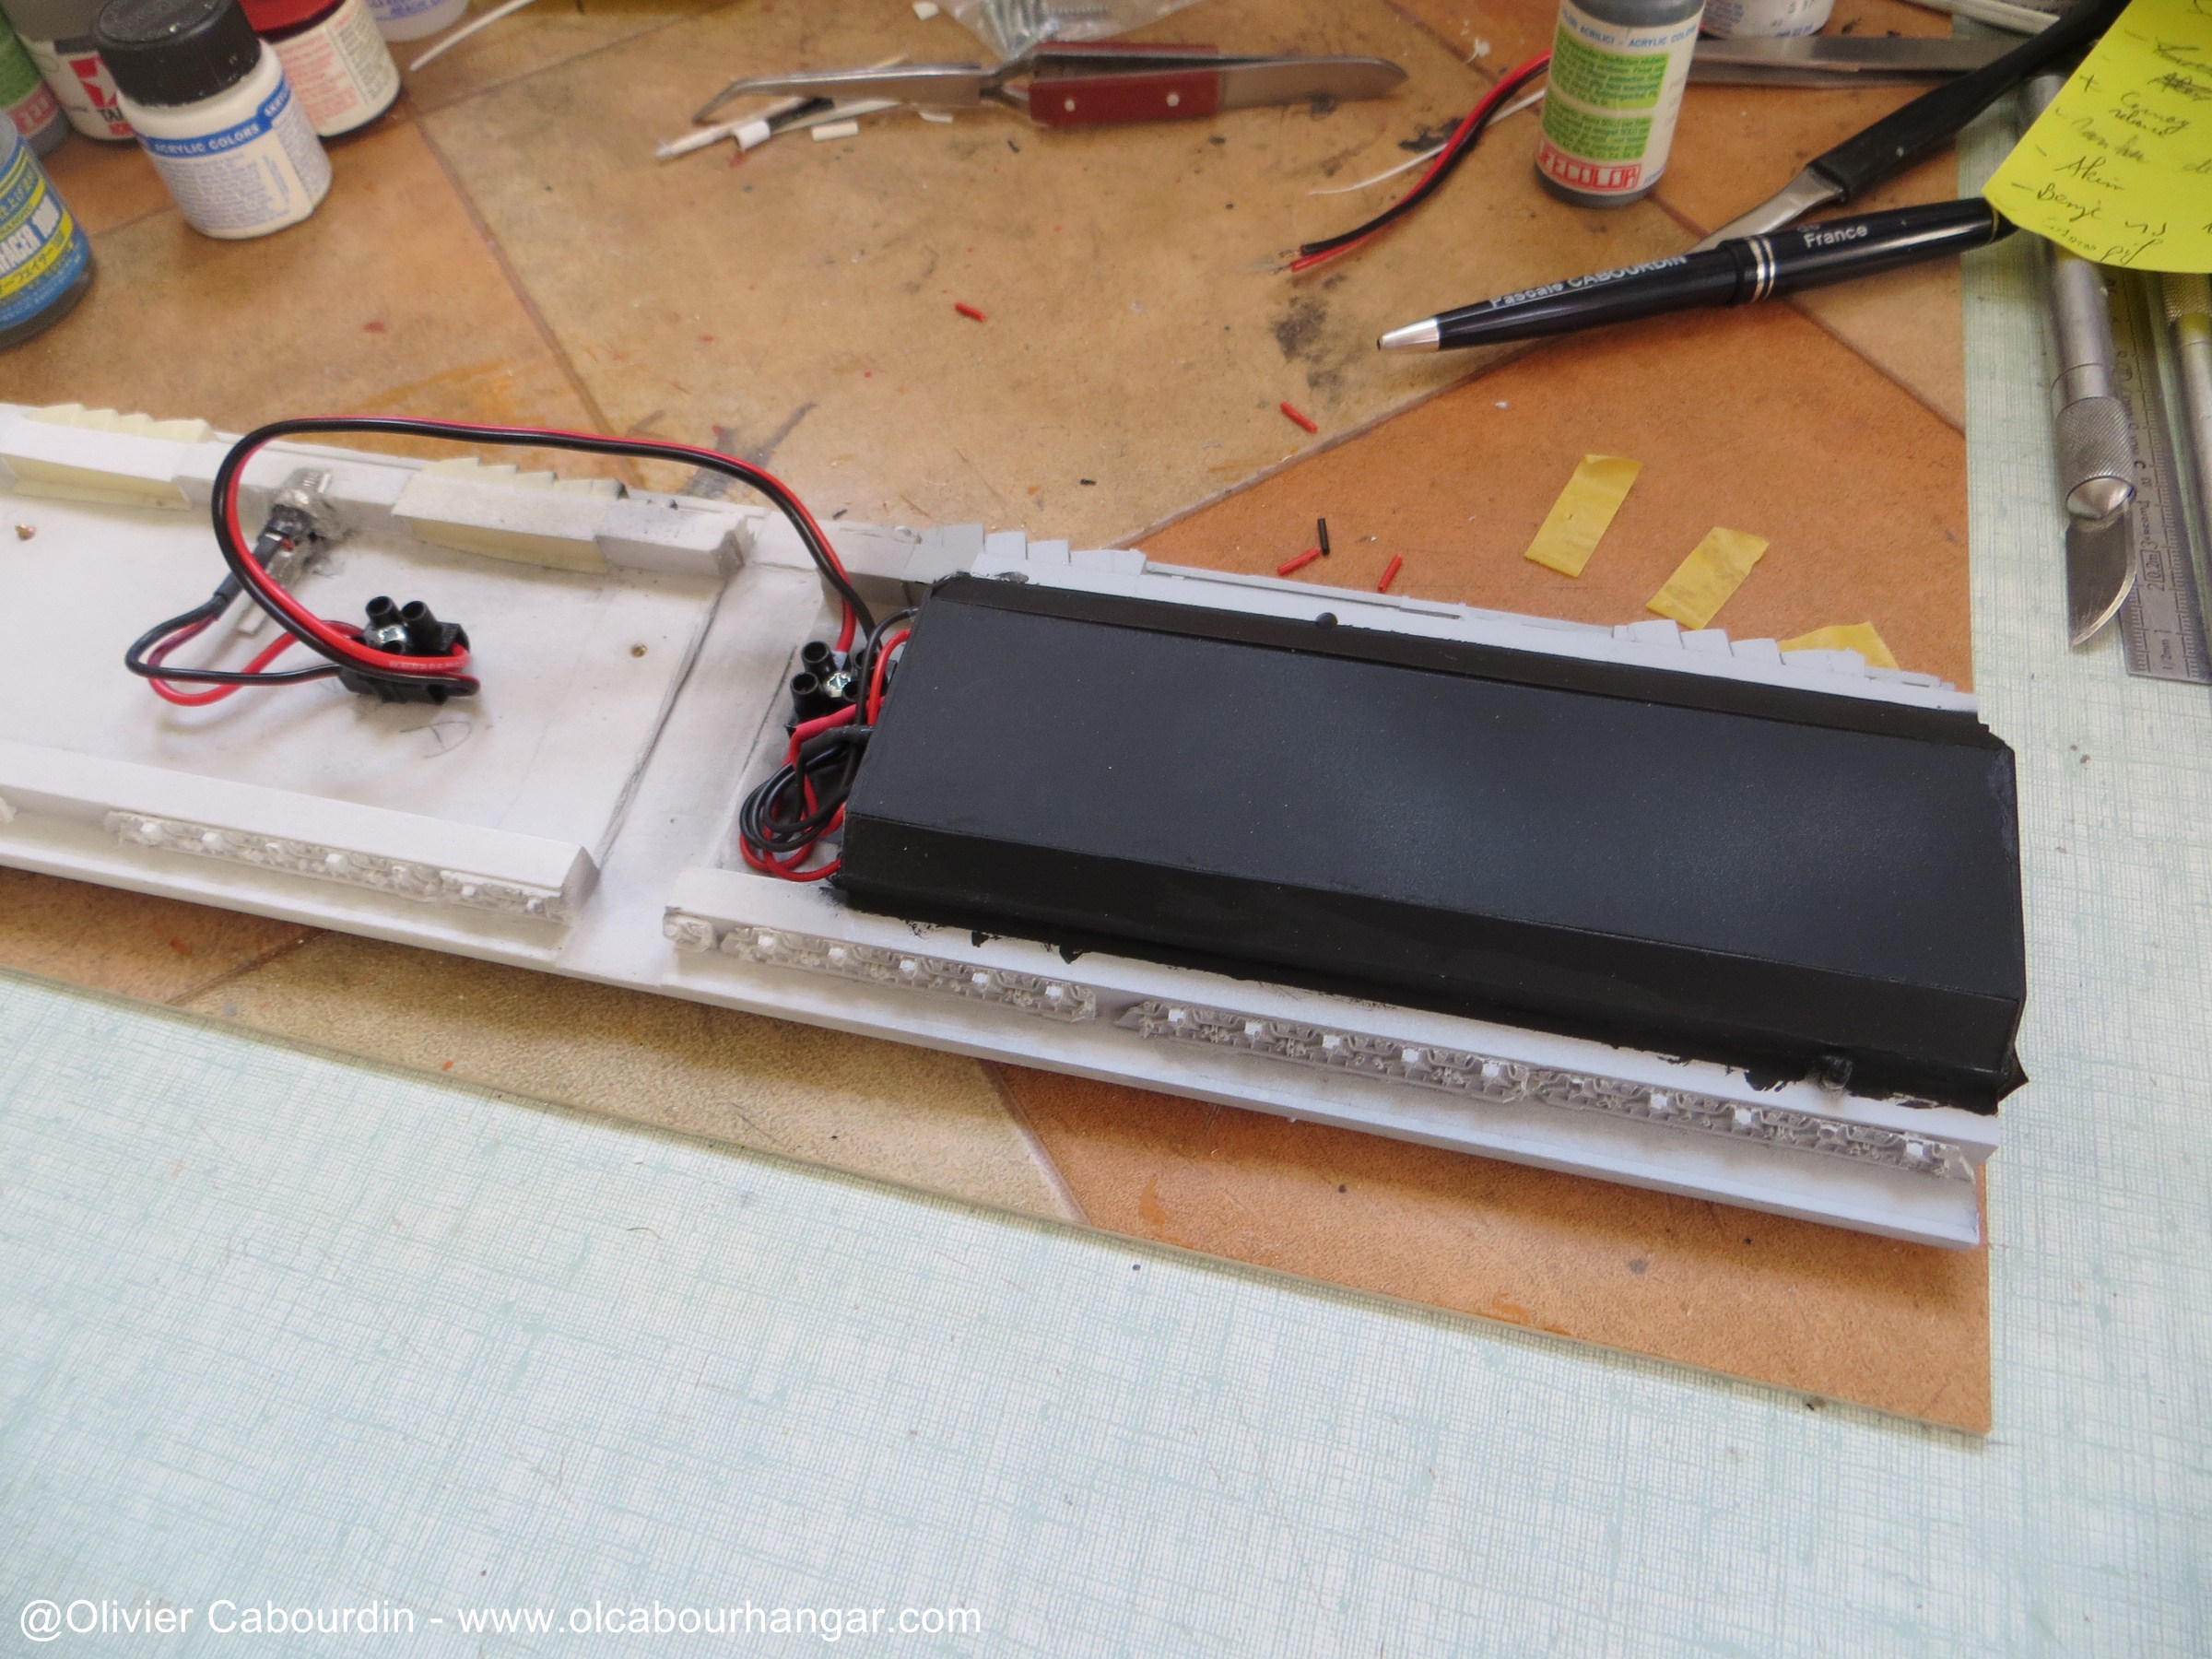
Once the hangars done, I went on the installation of the electrical circuit, which is done along with the main assembly (gluing of the frame and parts of previously prepared large).
- Connectors above the center of the second dome (the first hiding the support)
It is sandwiched between the resin and the reinforcement medium plate.
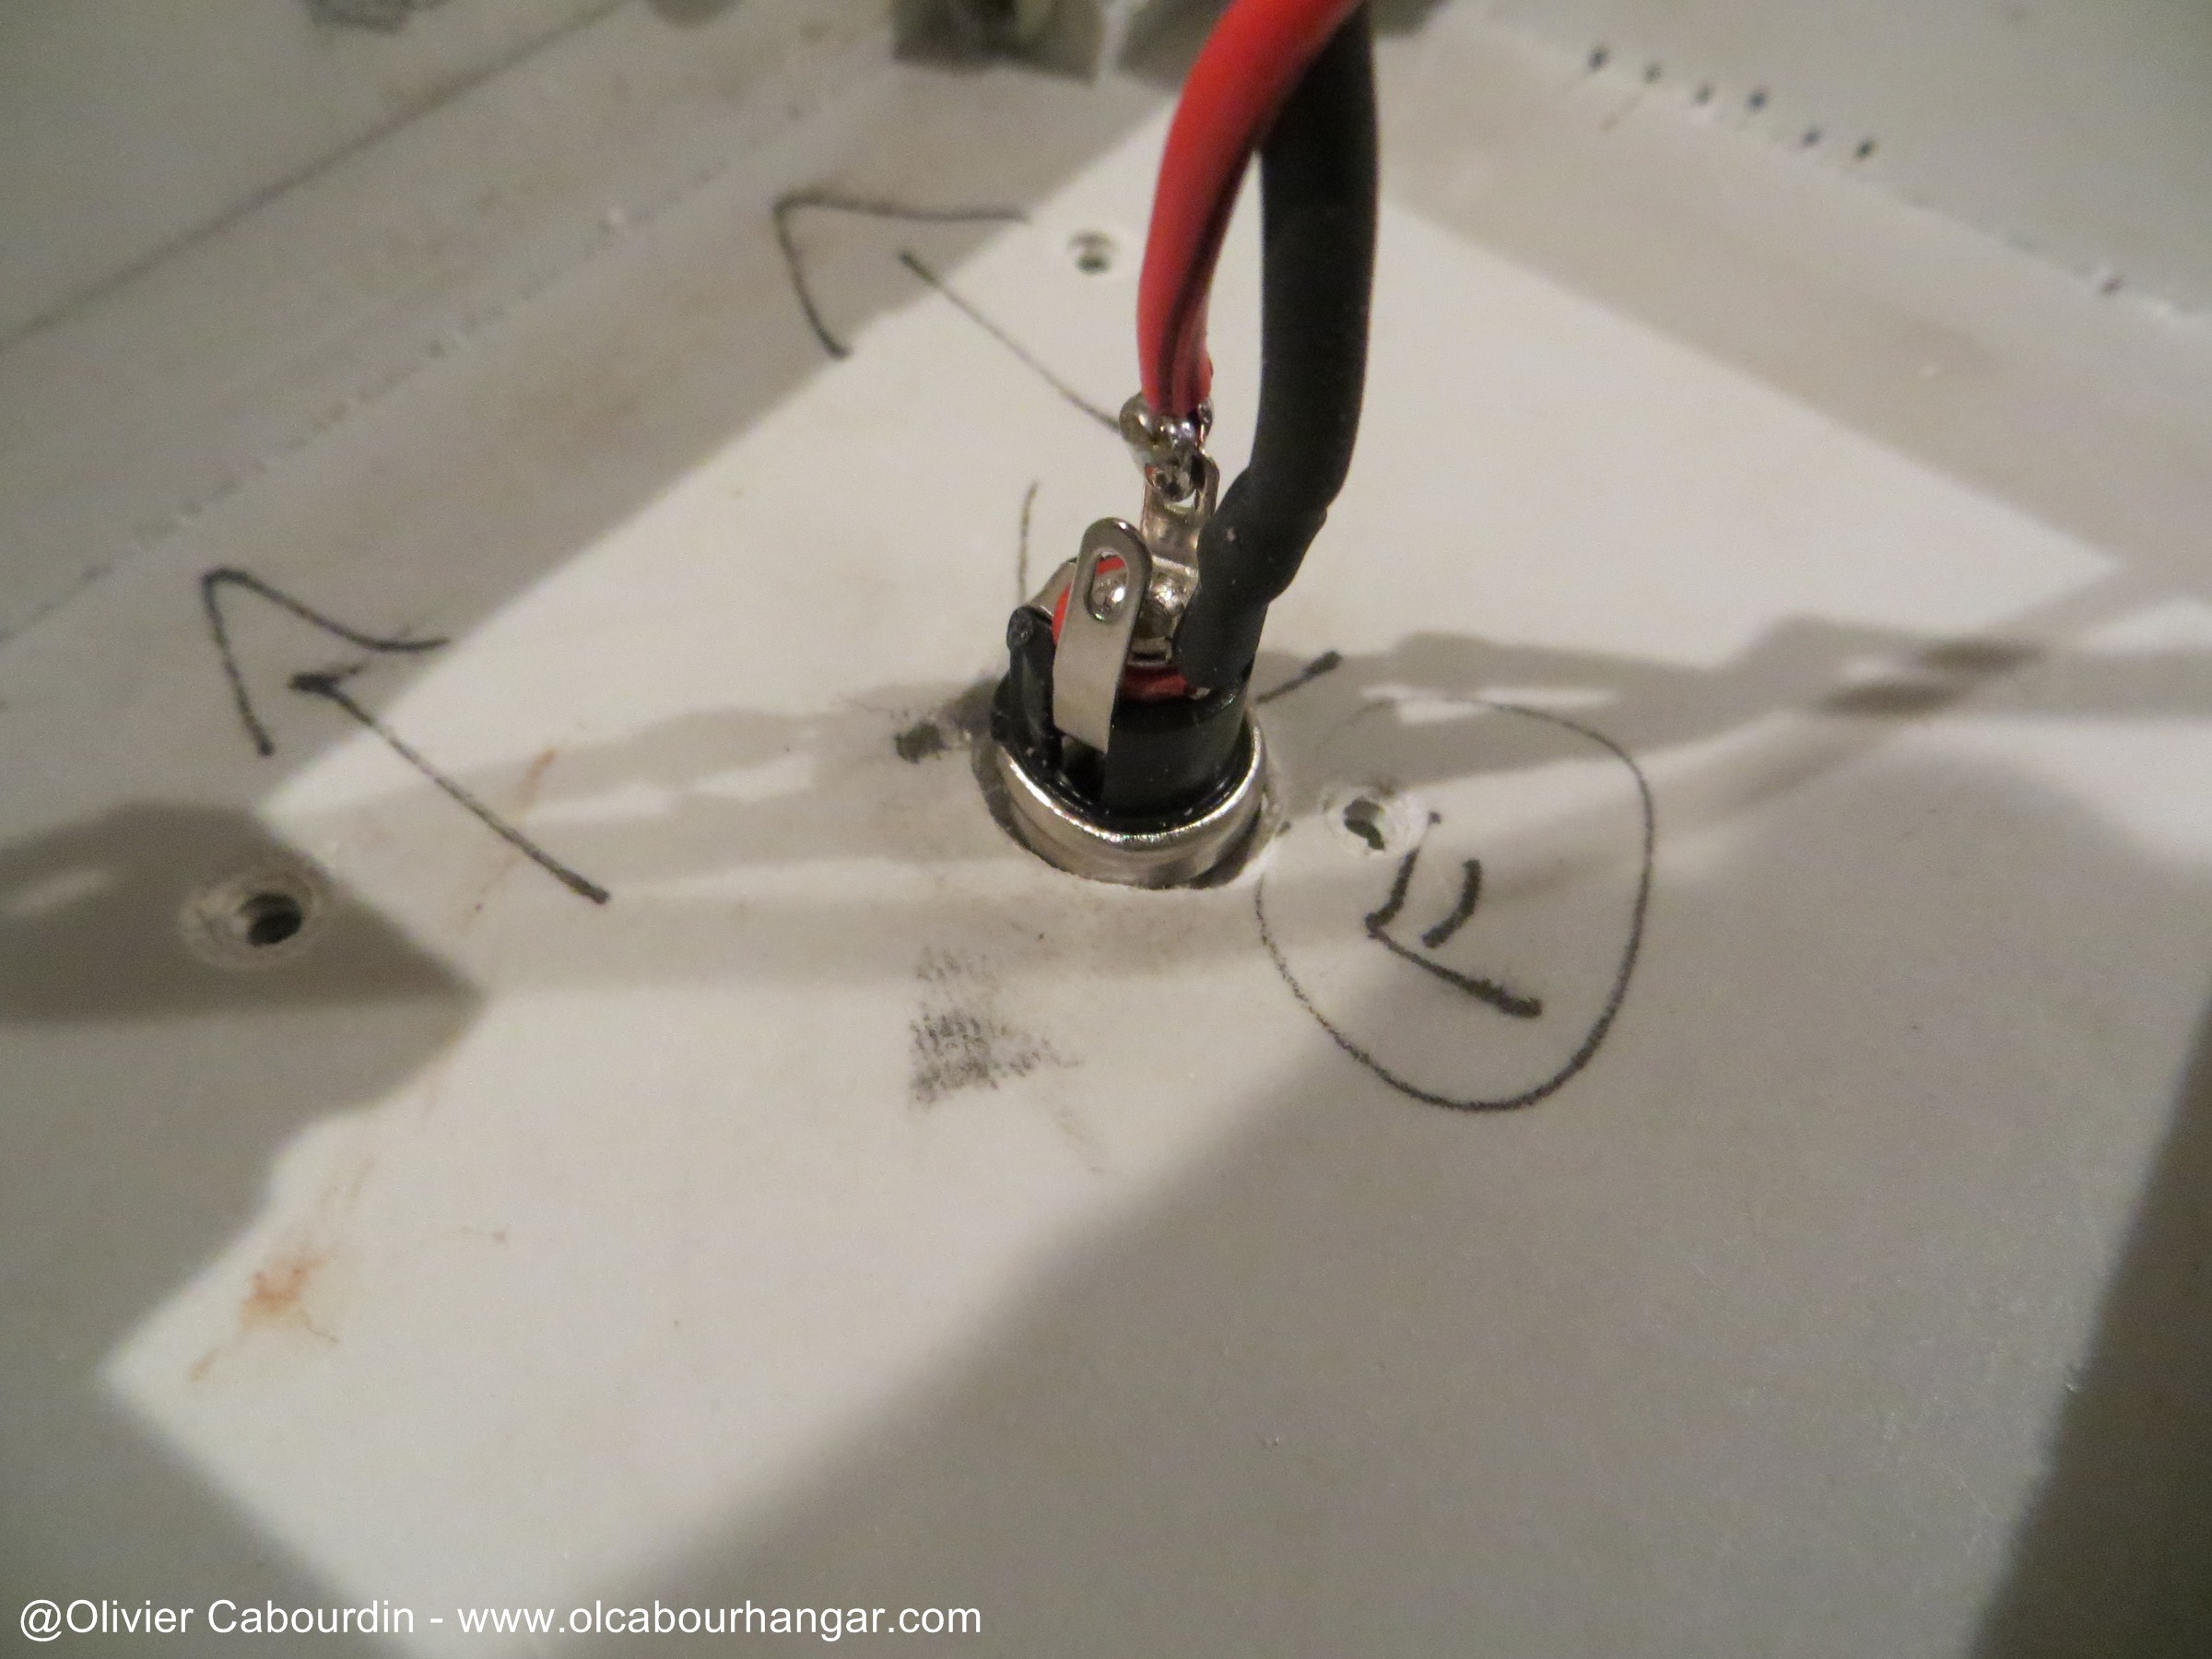
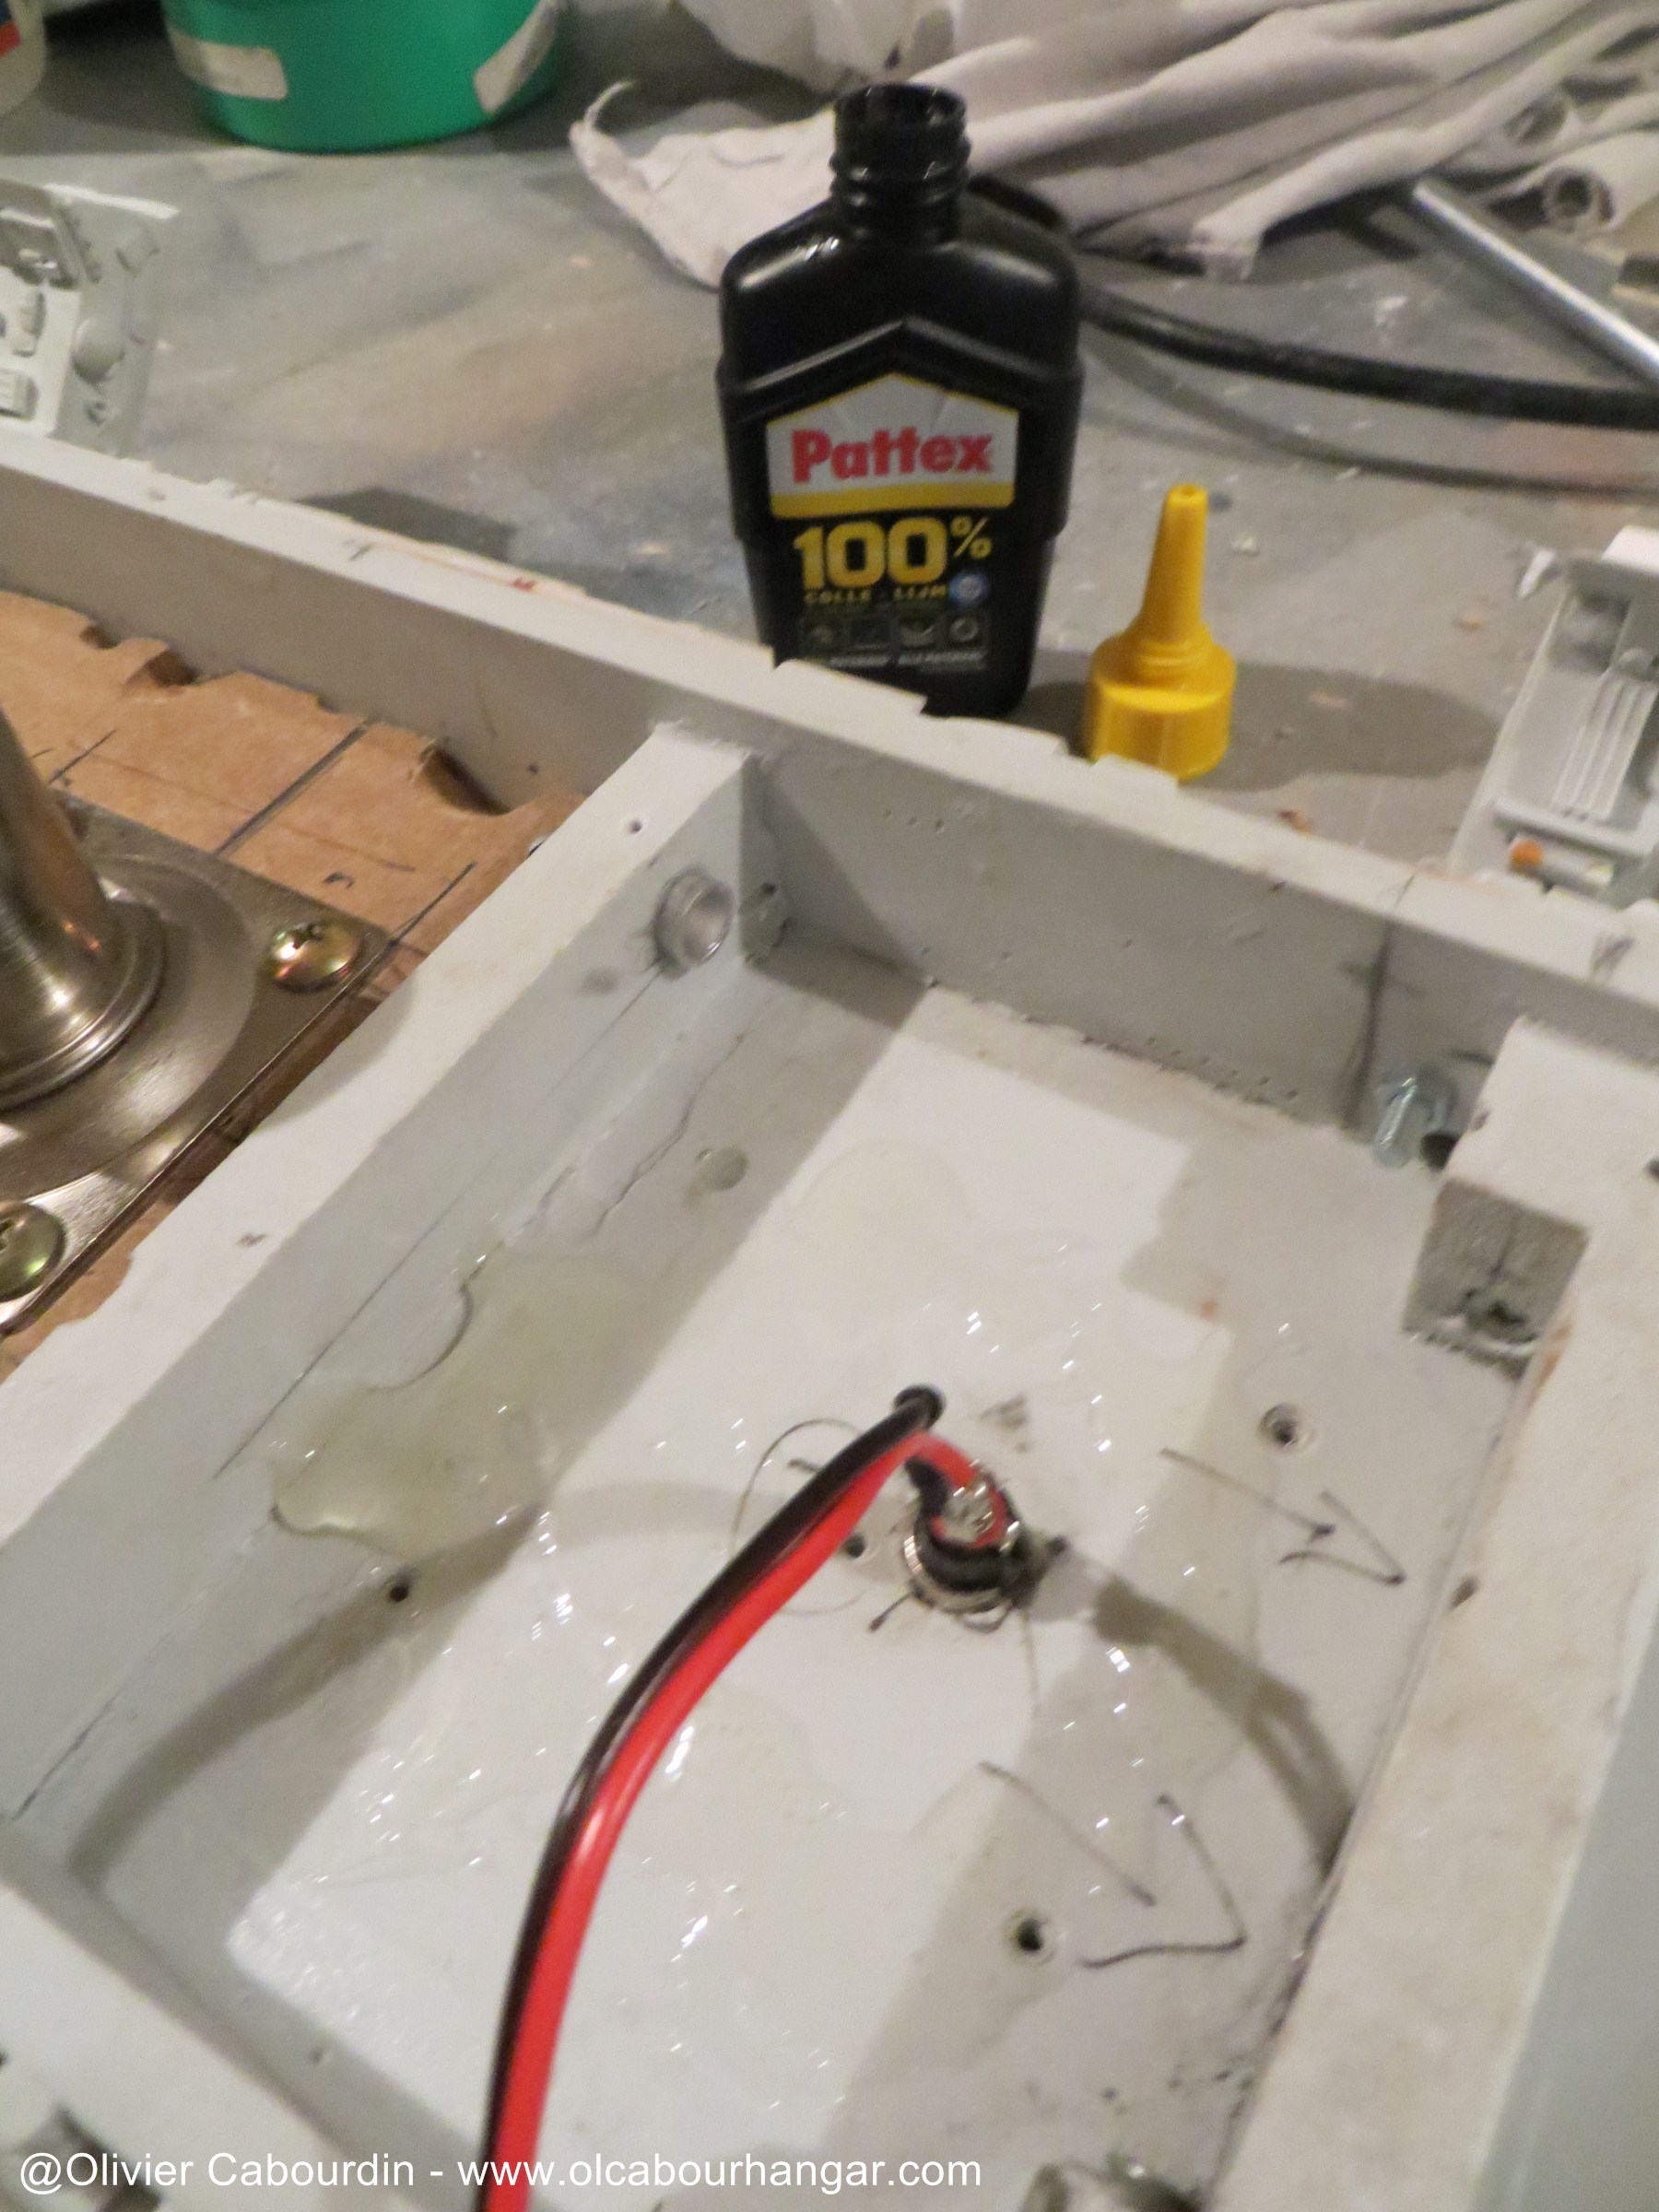
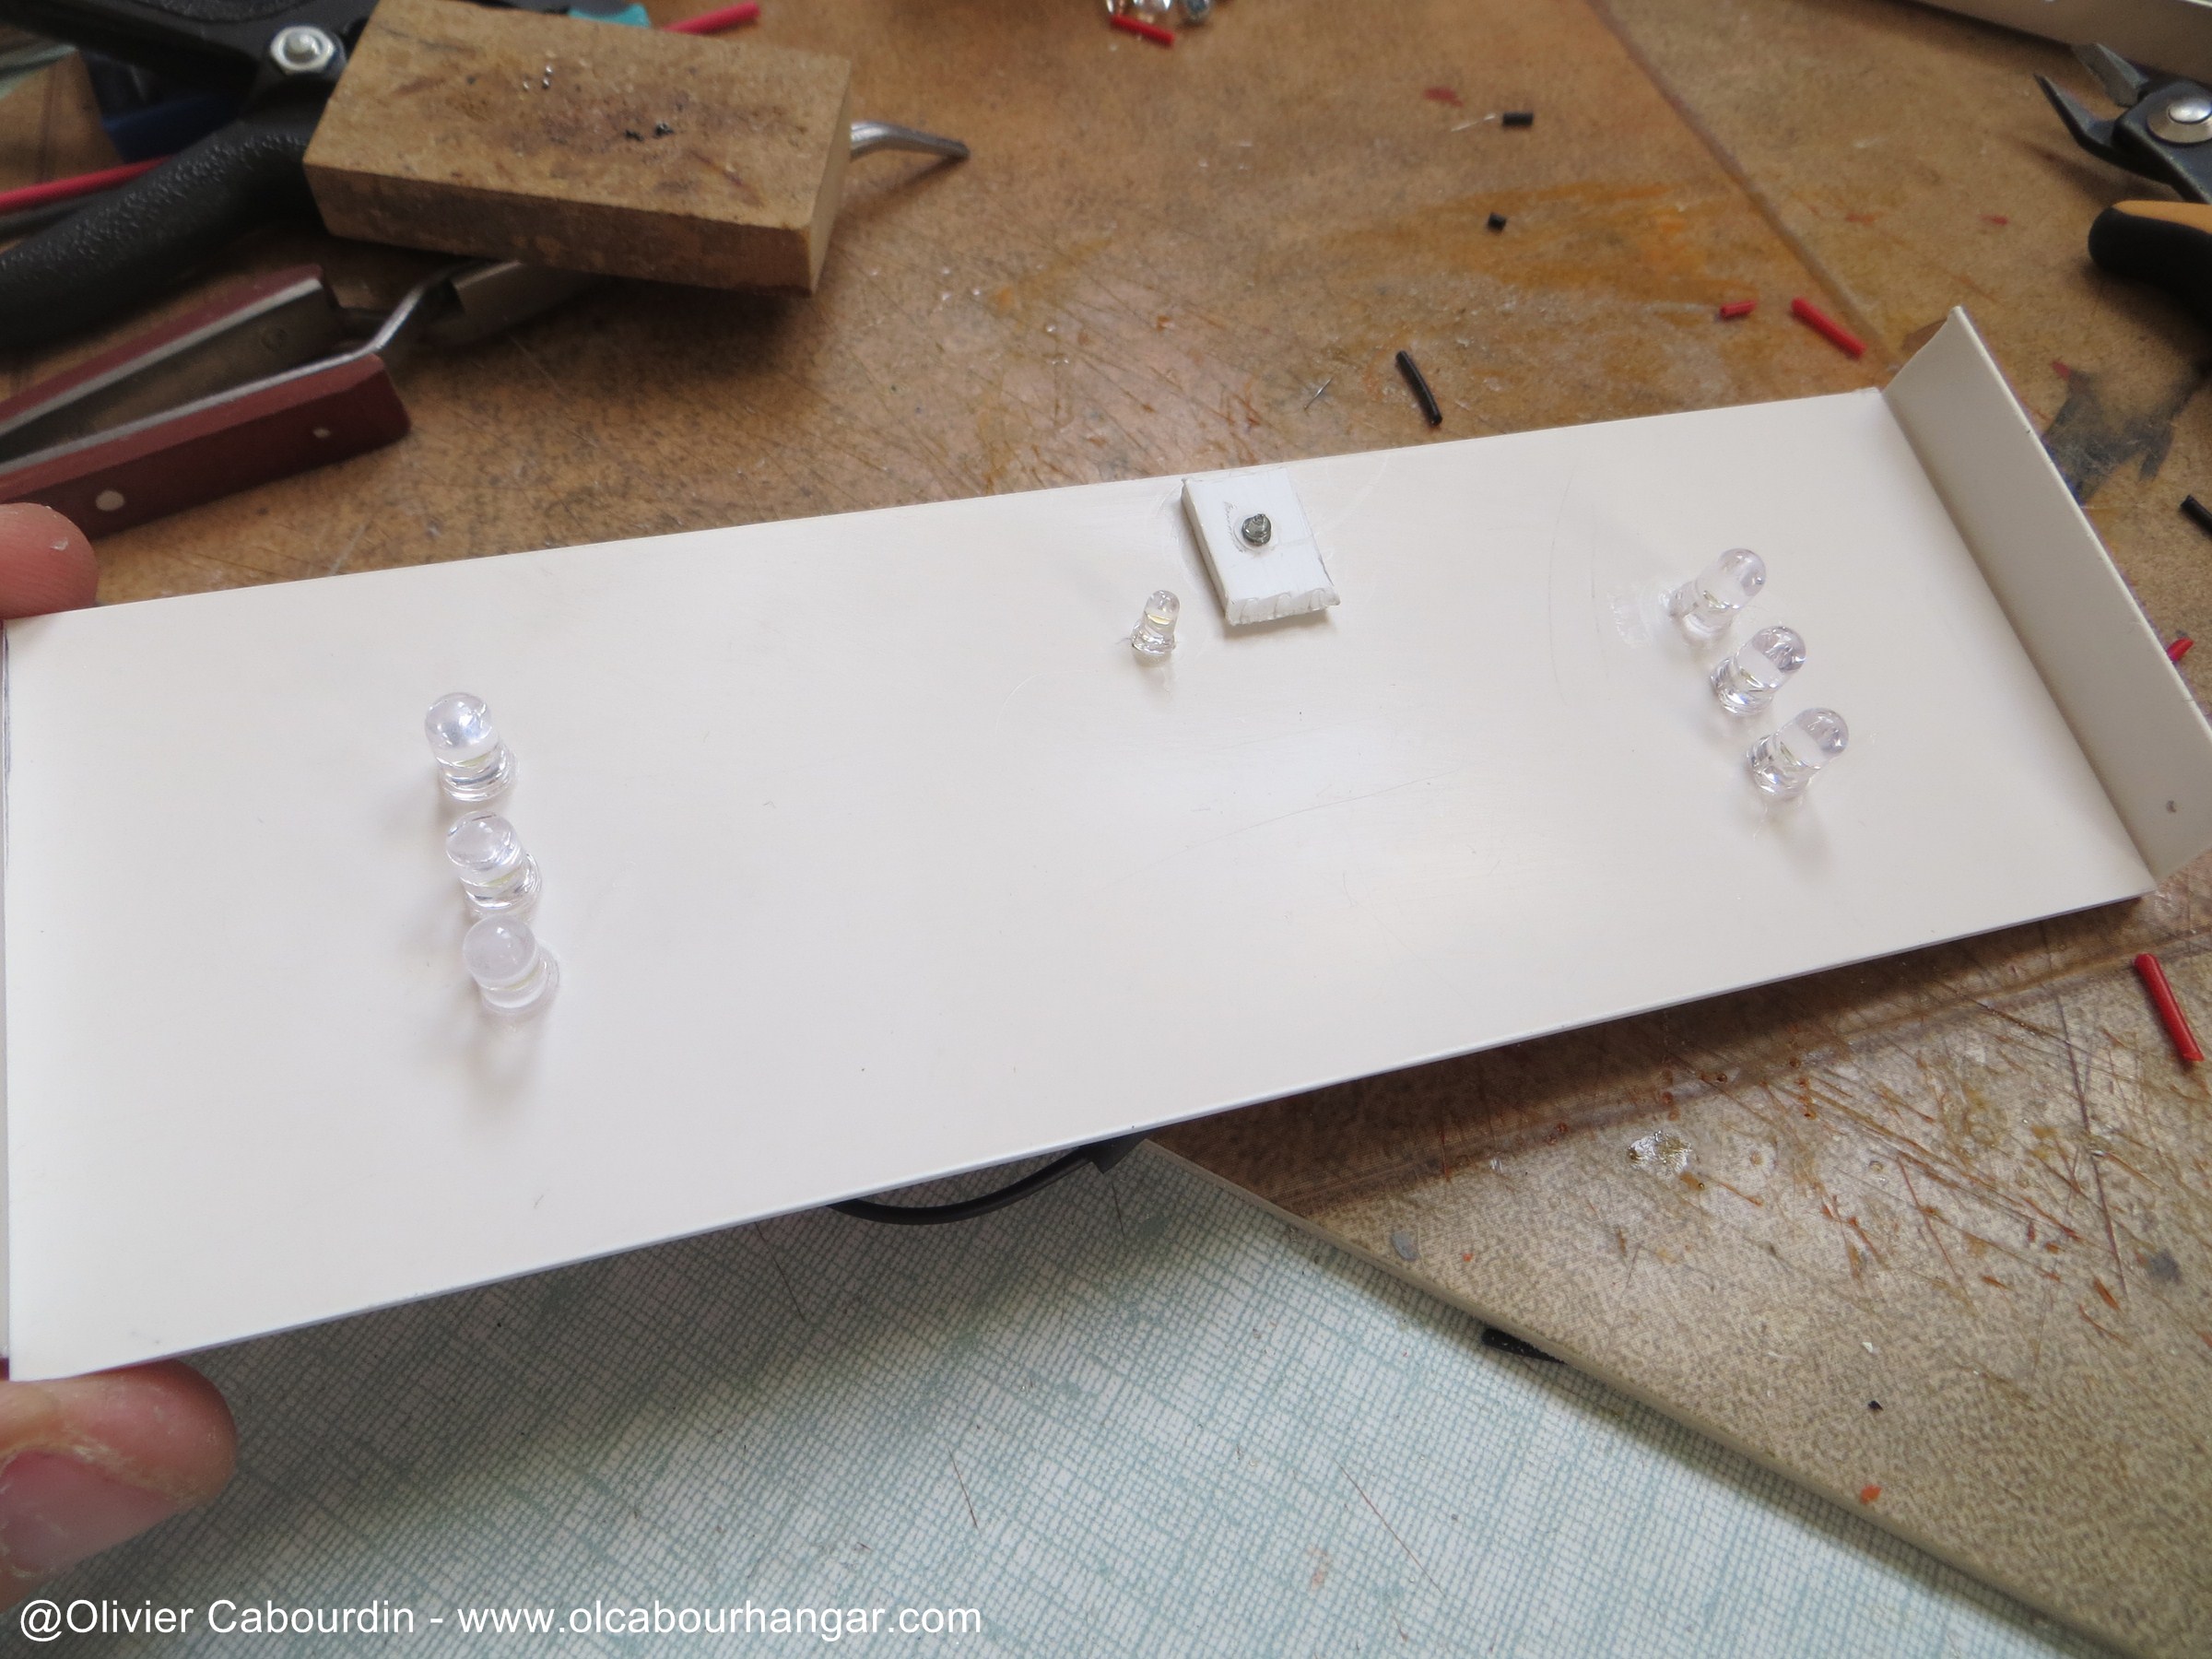
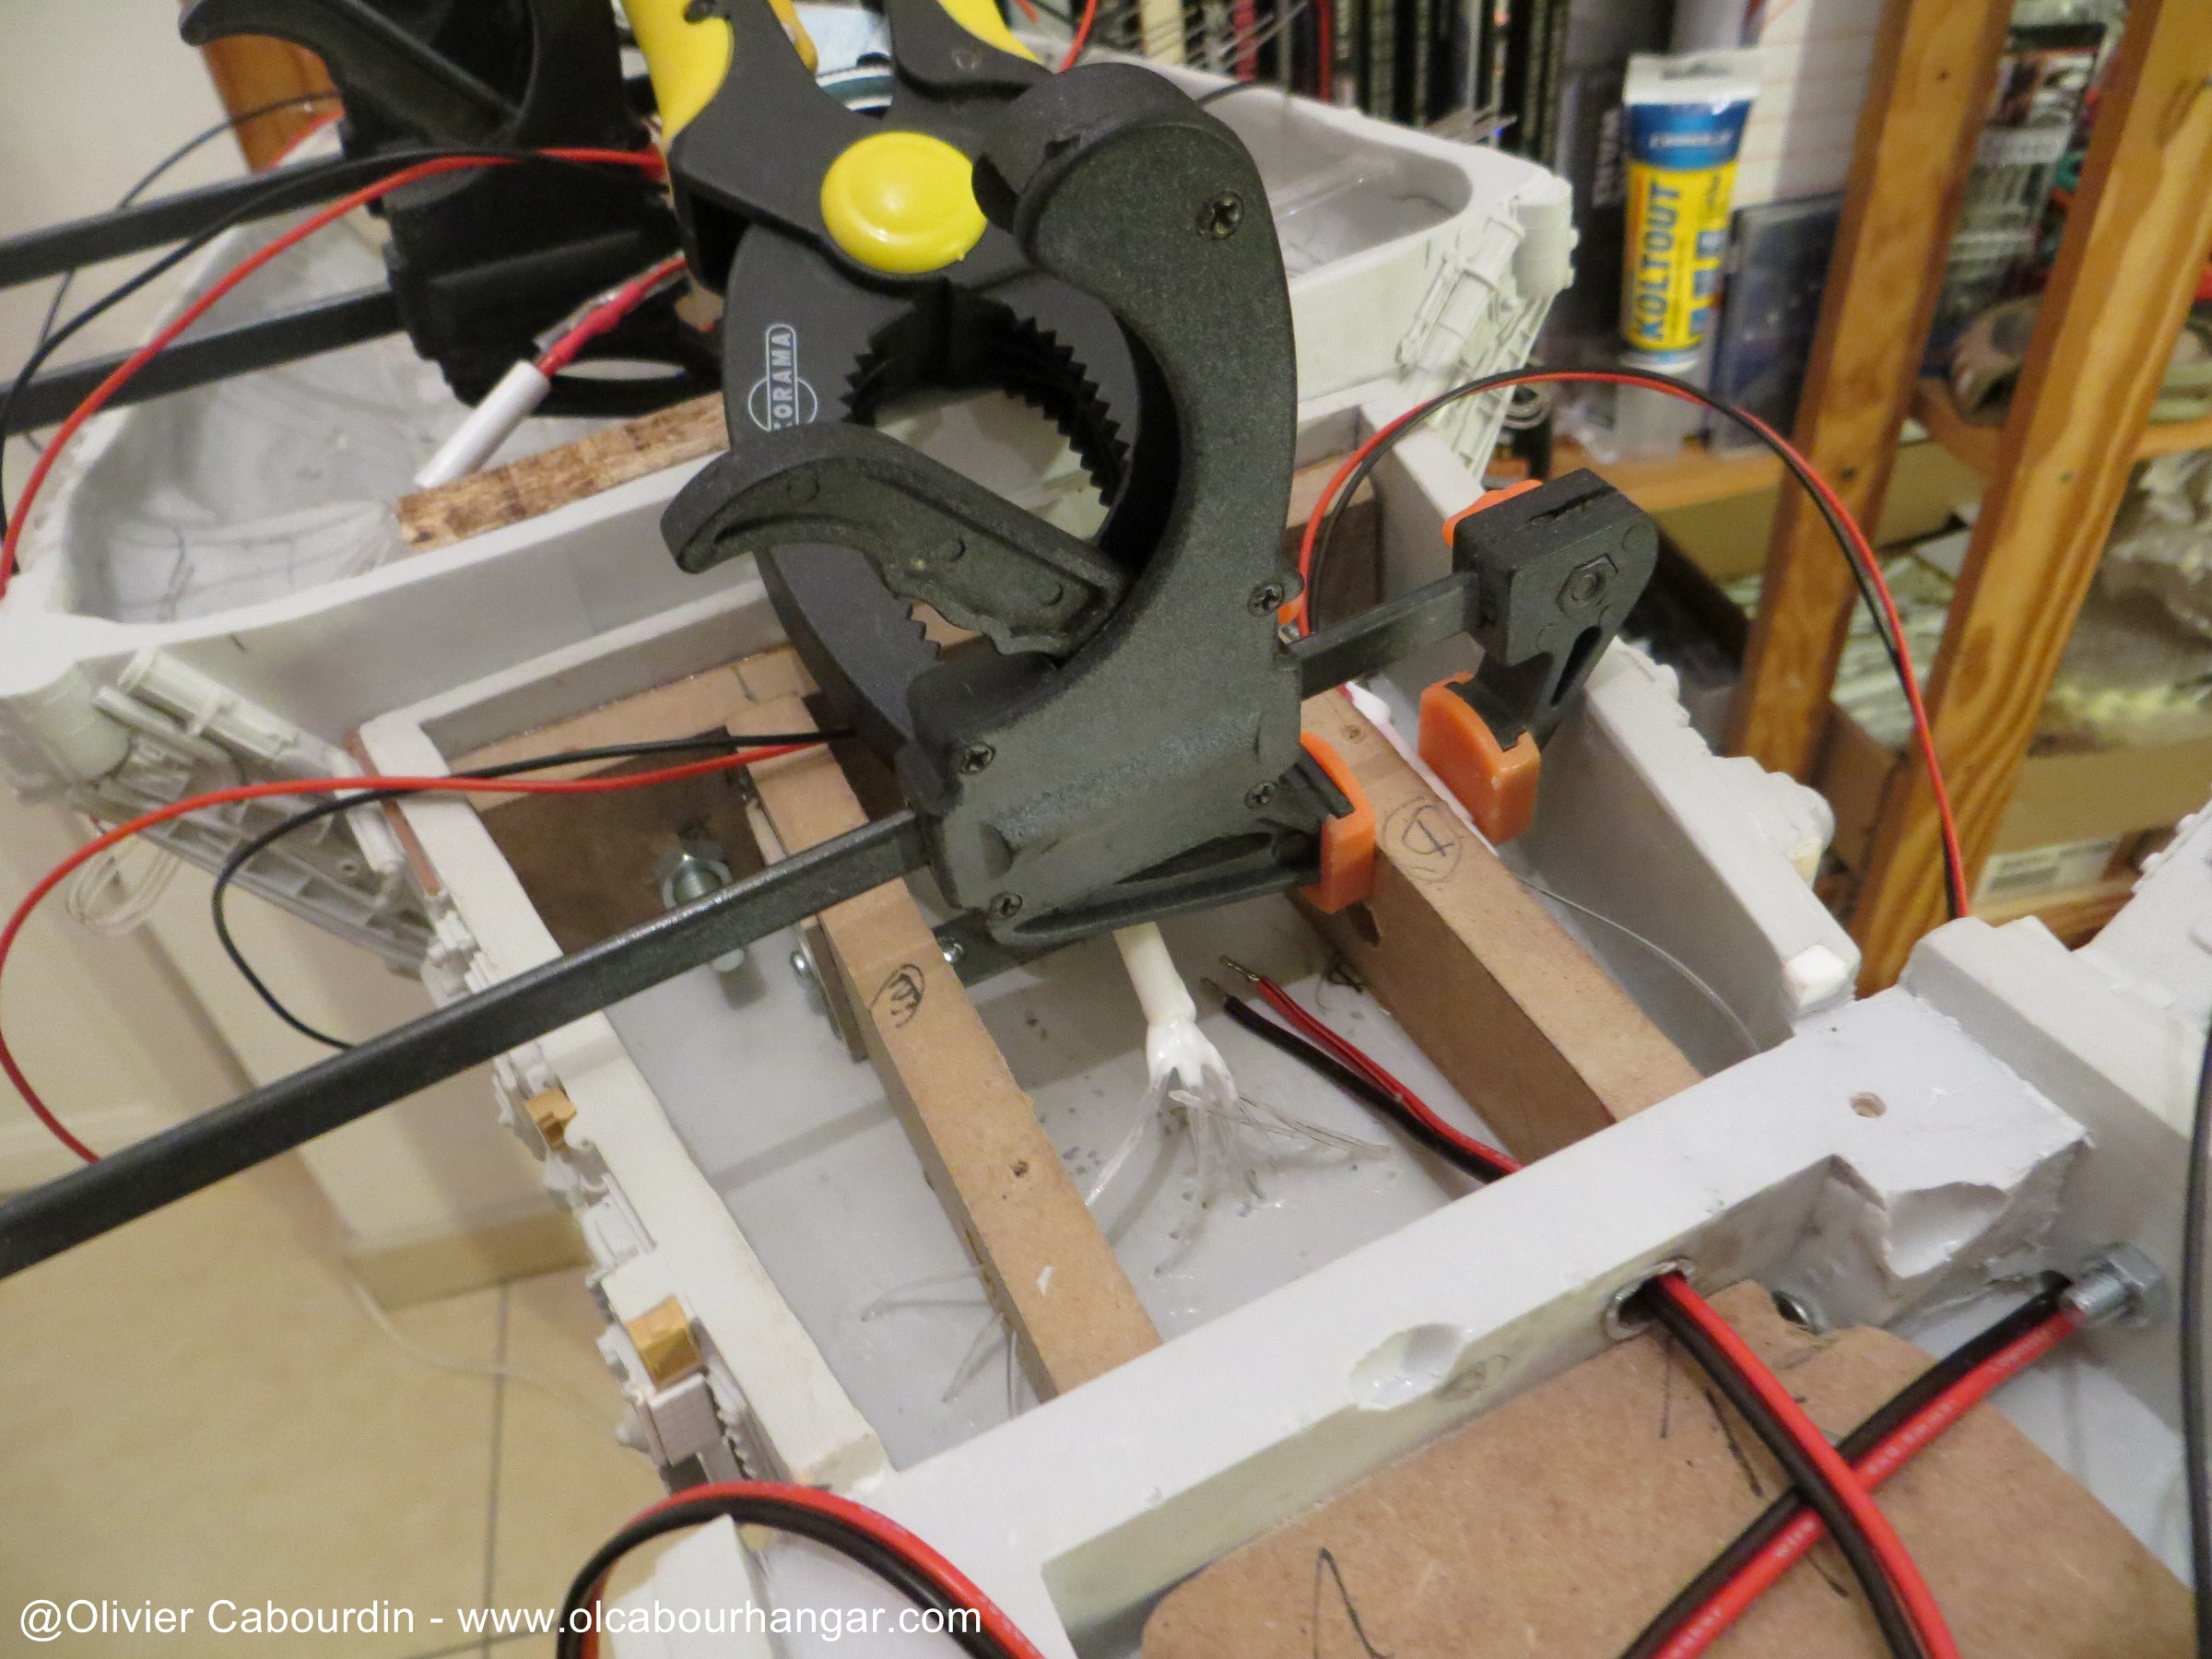
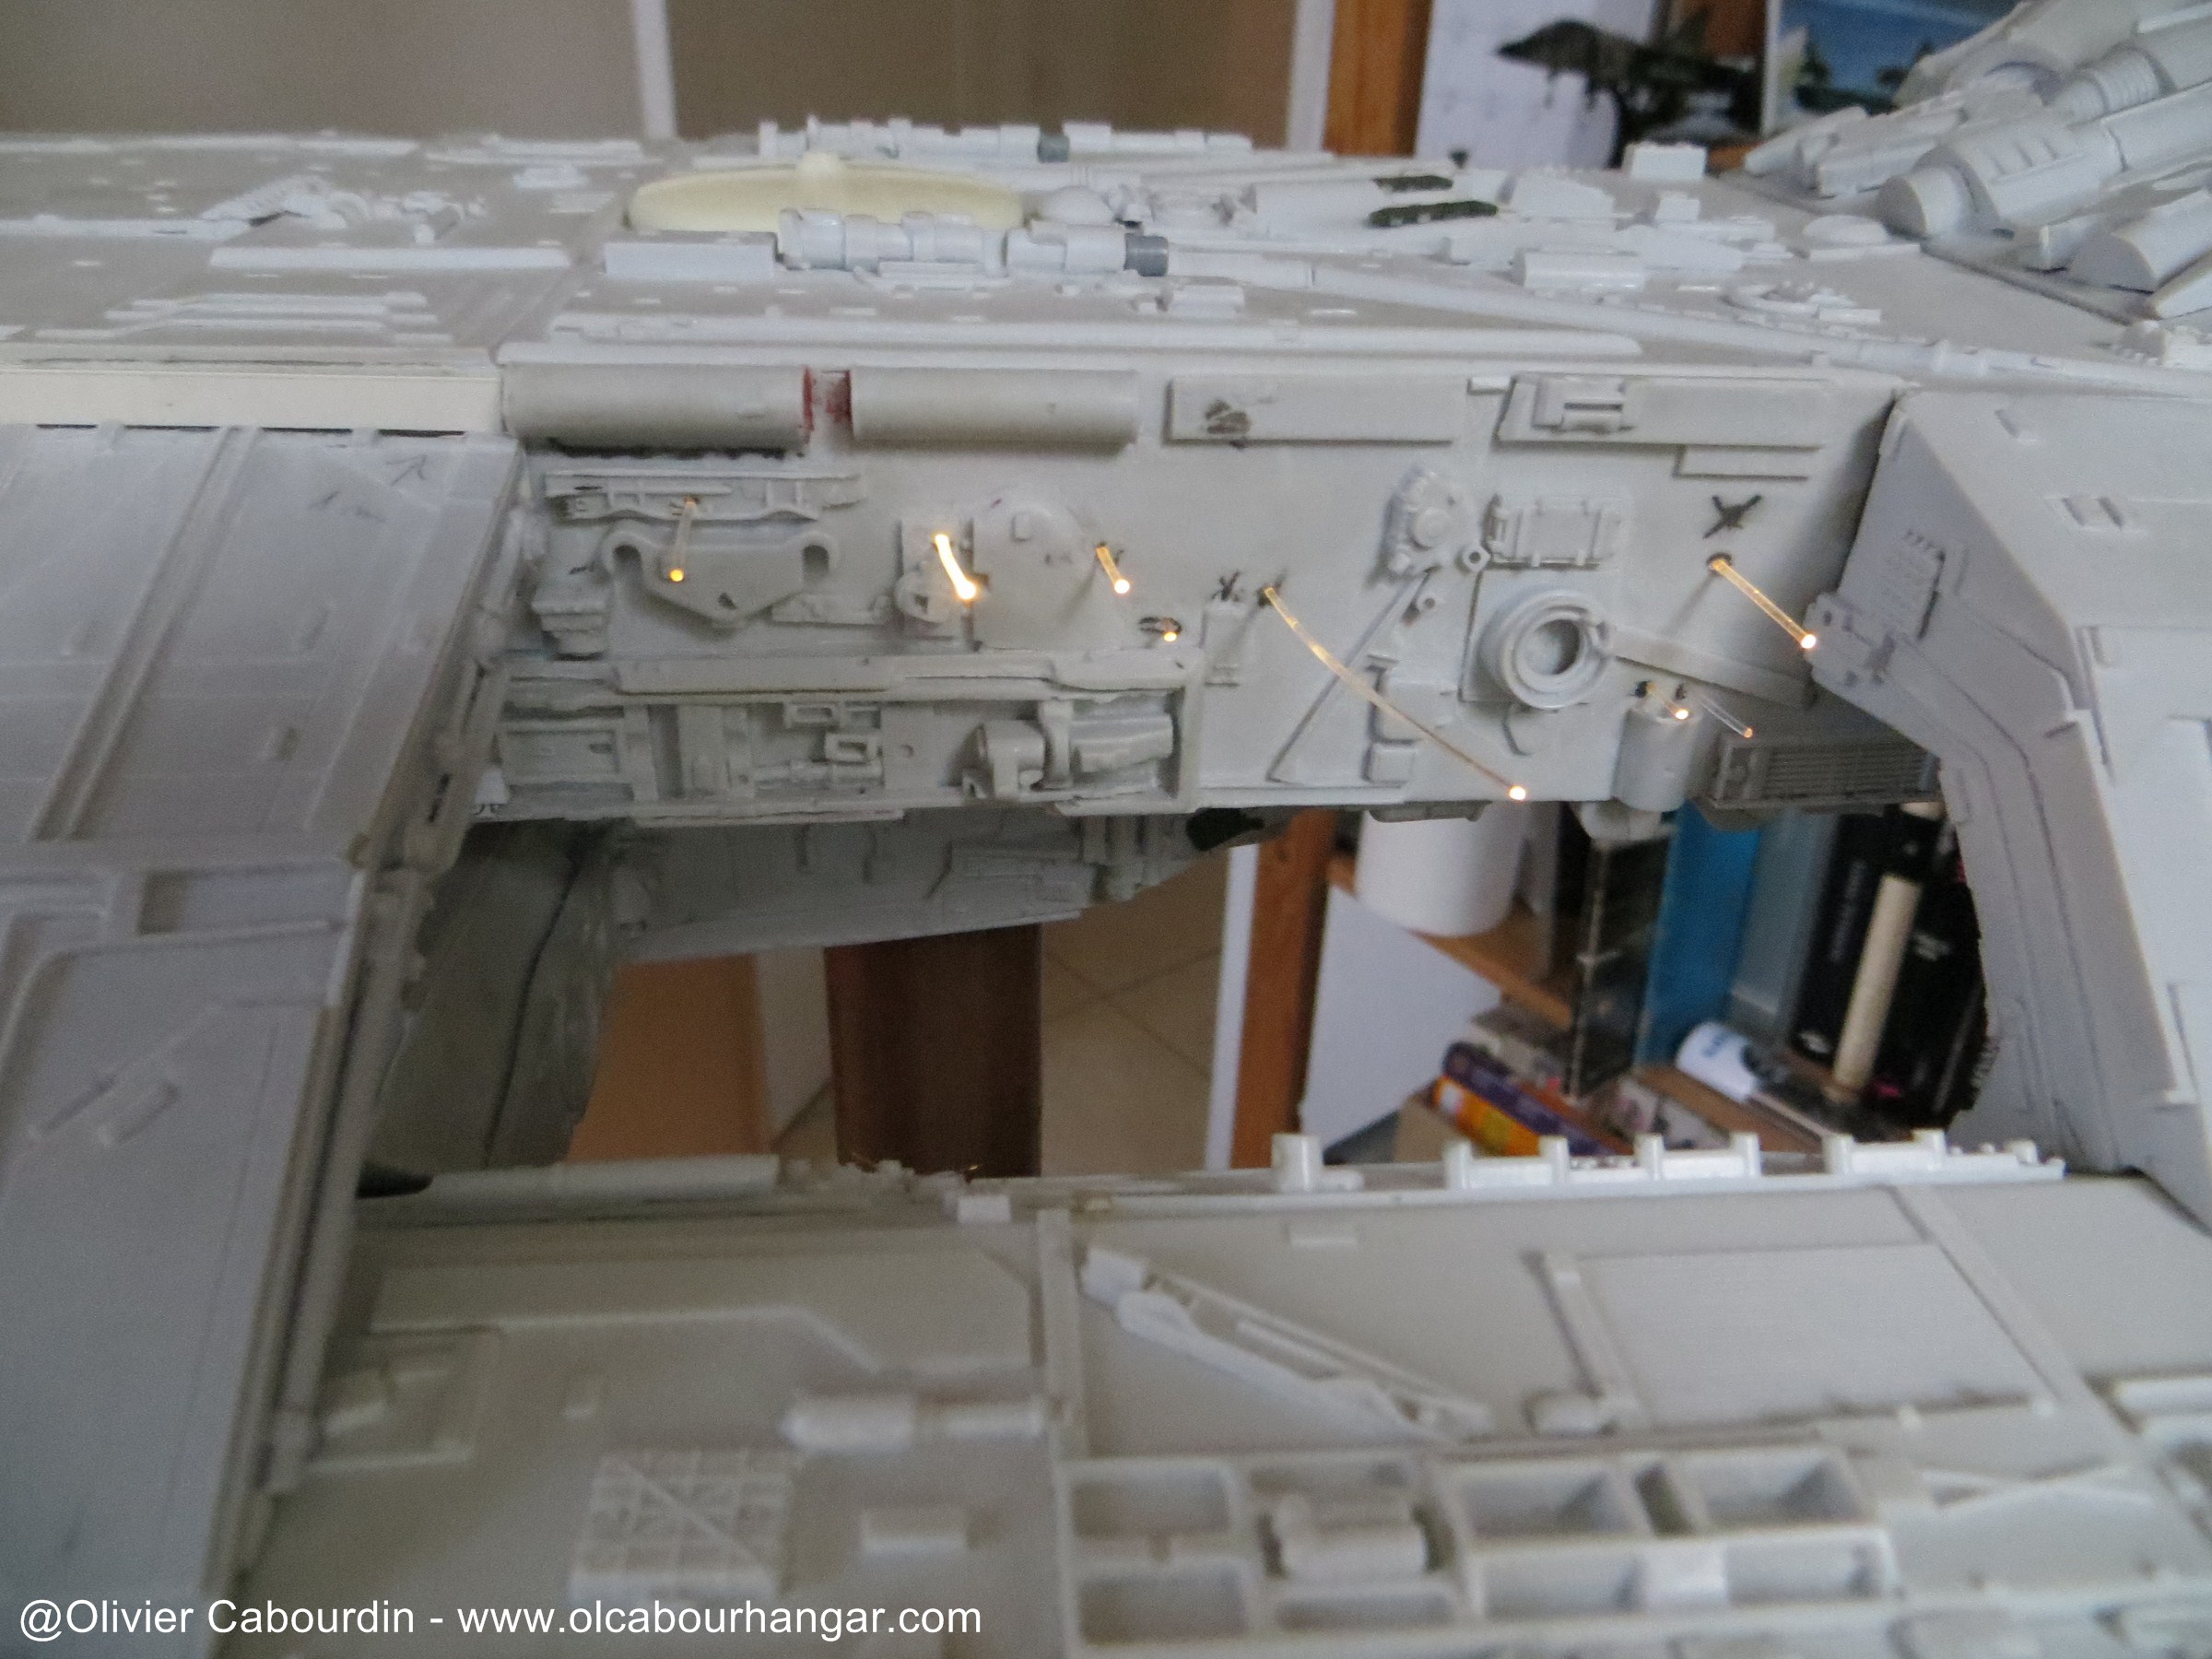
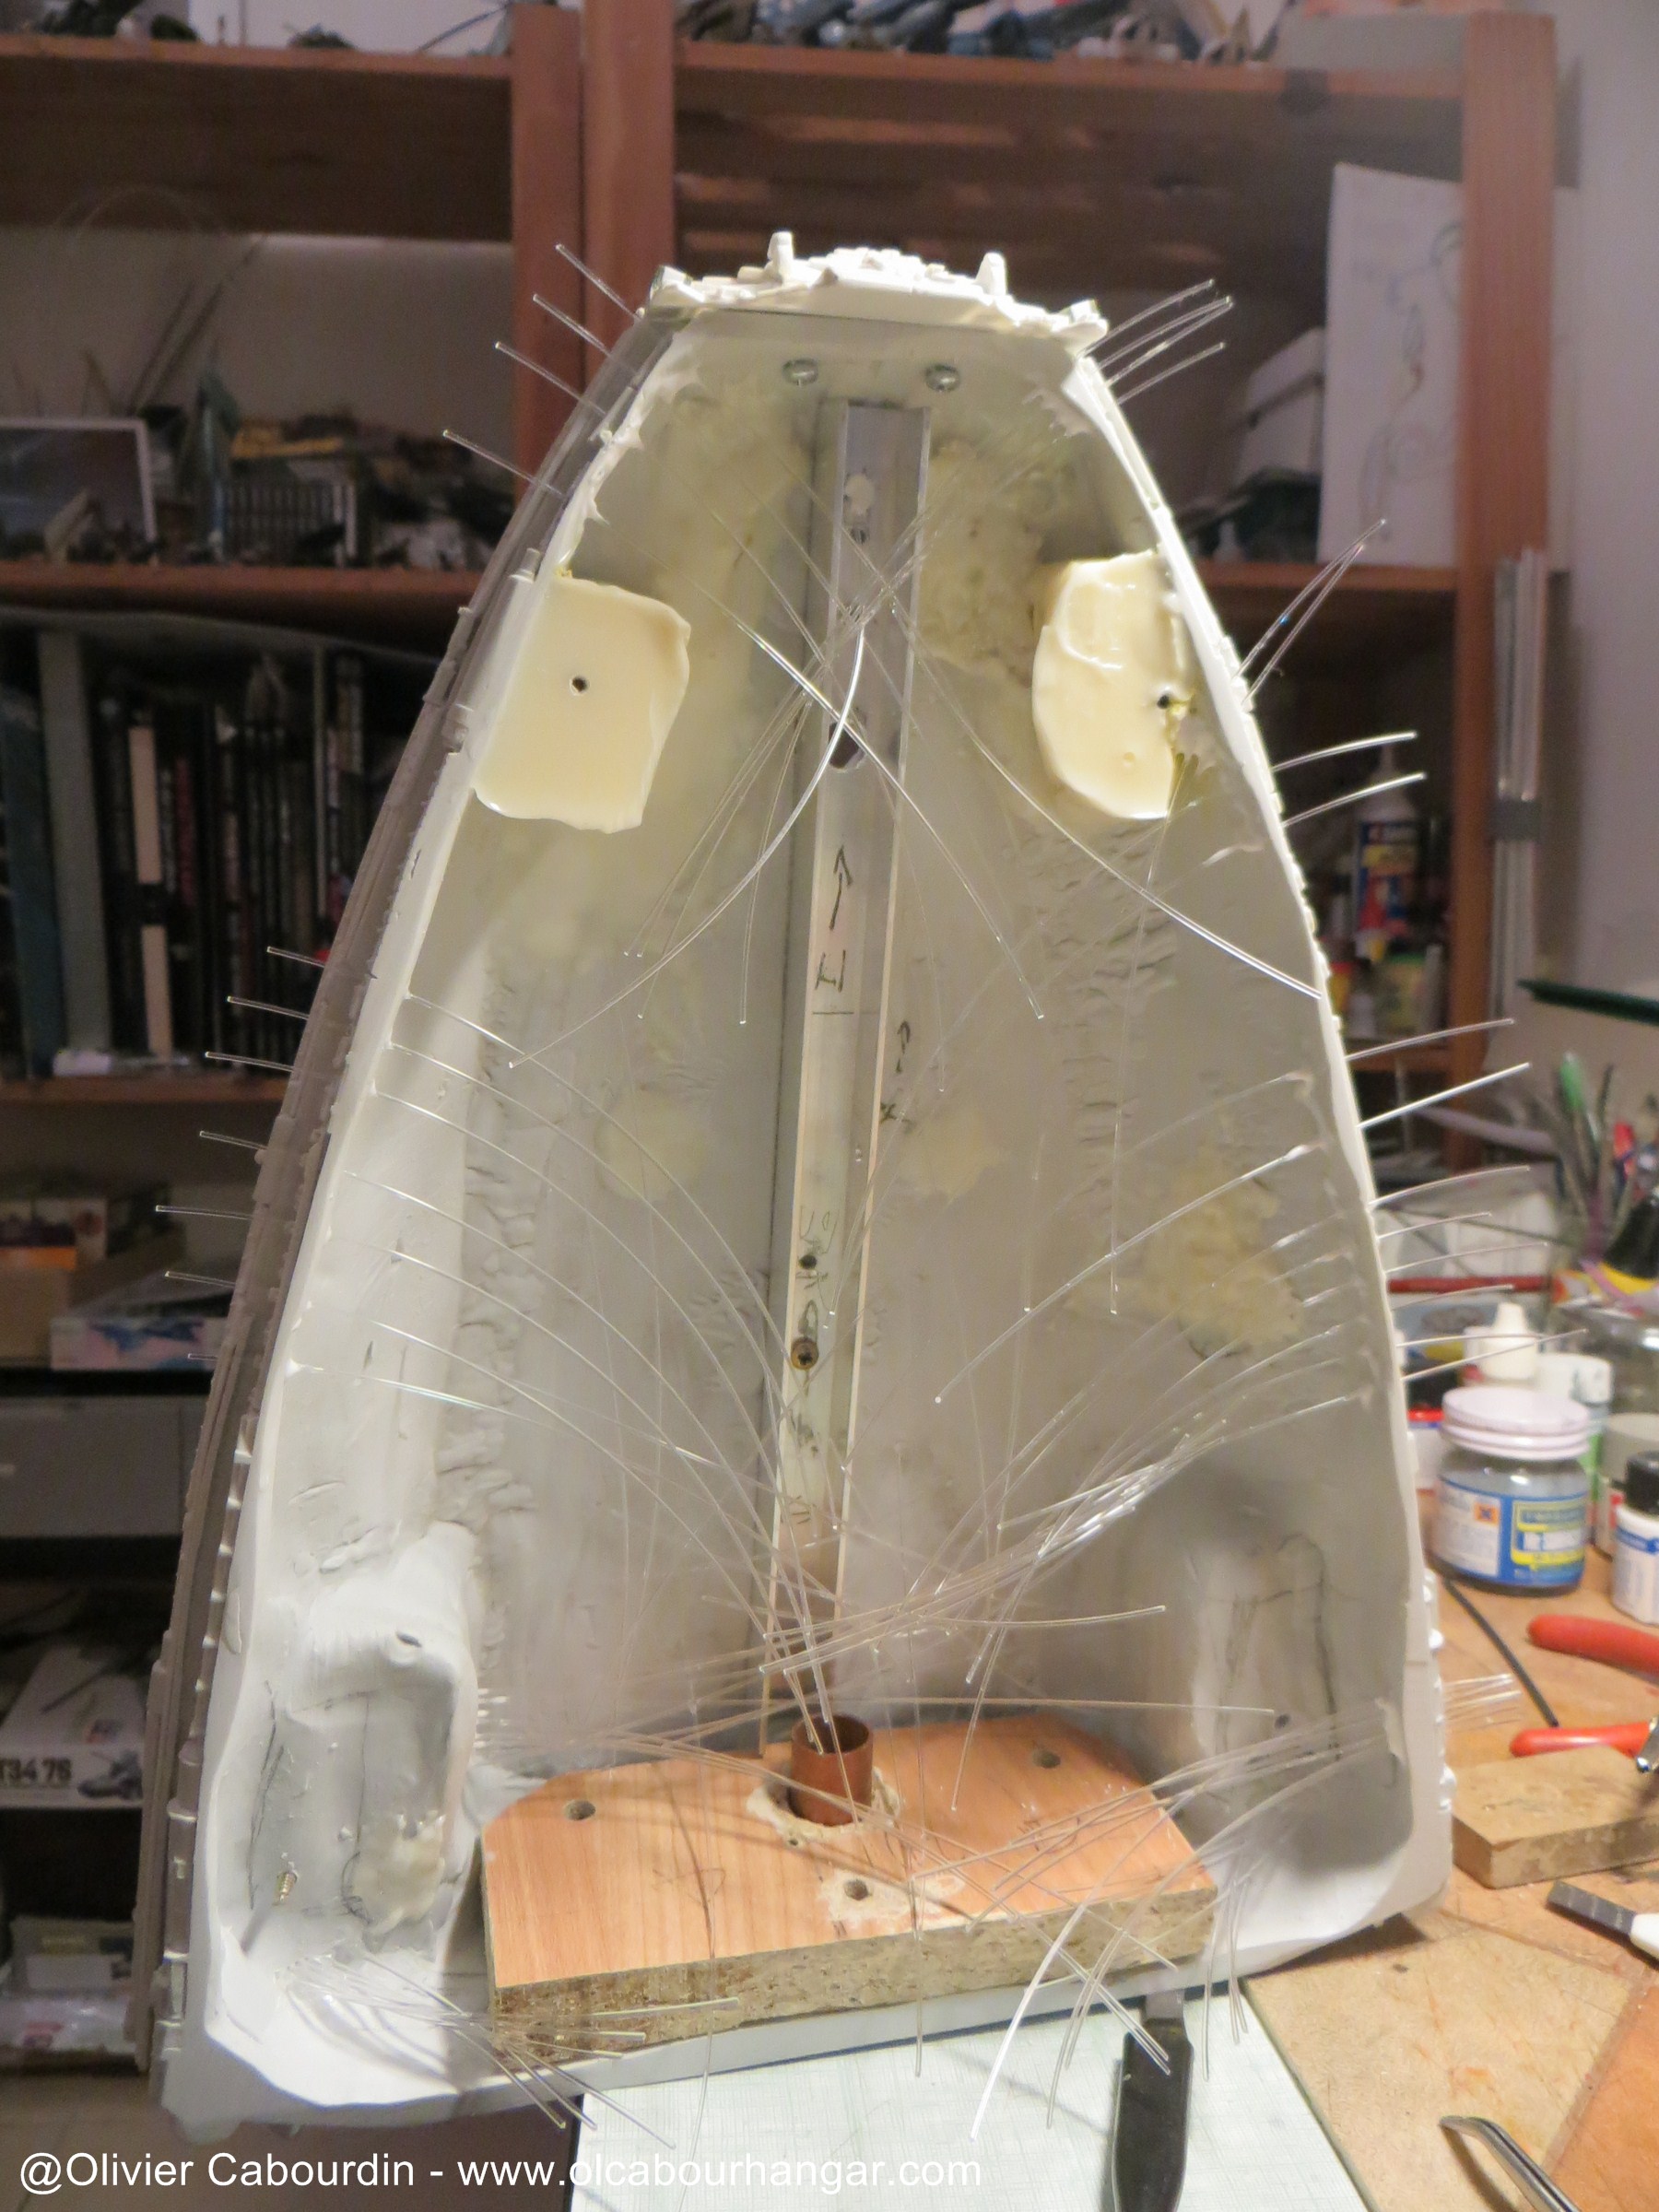
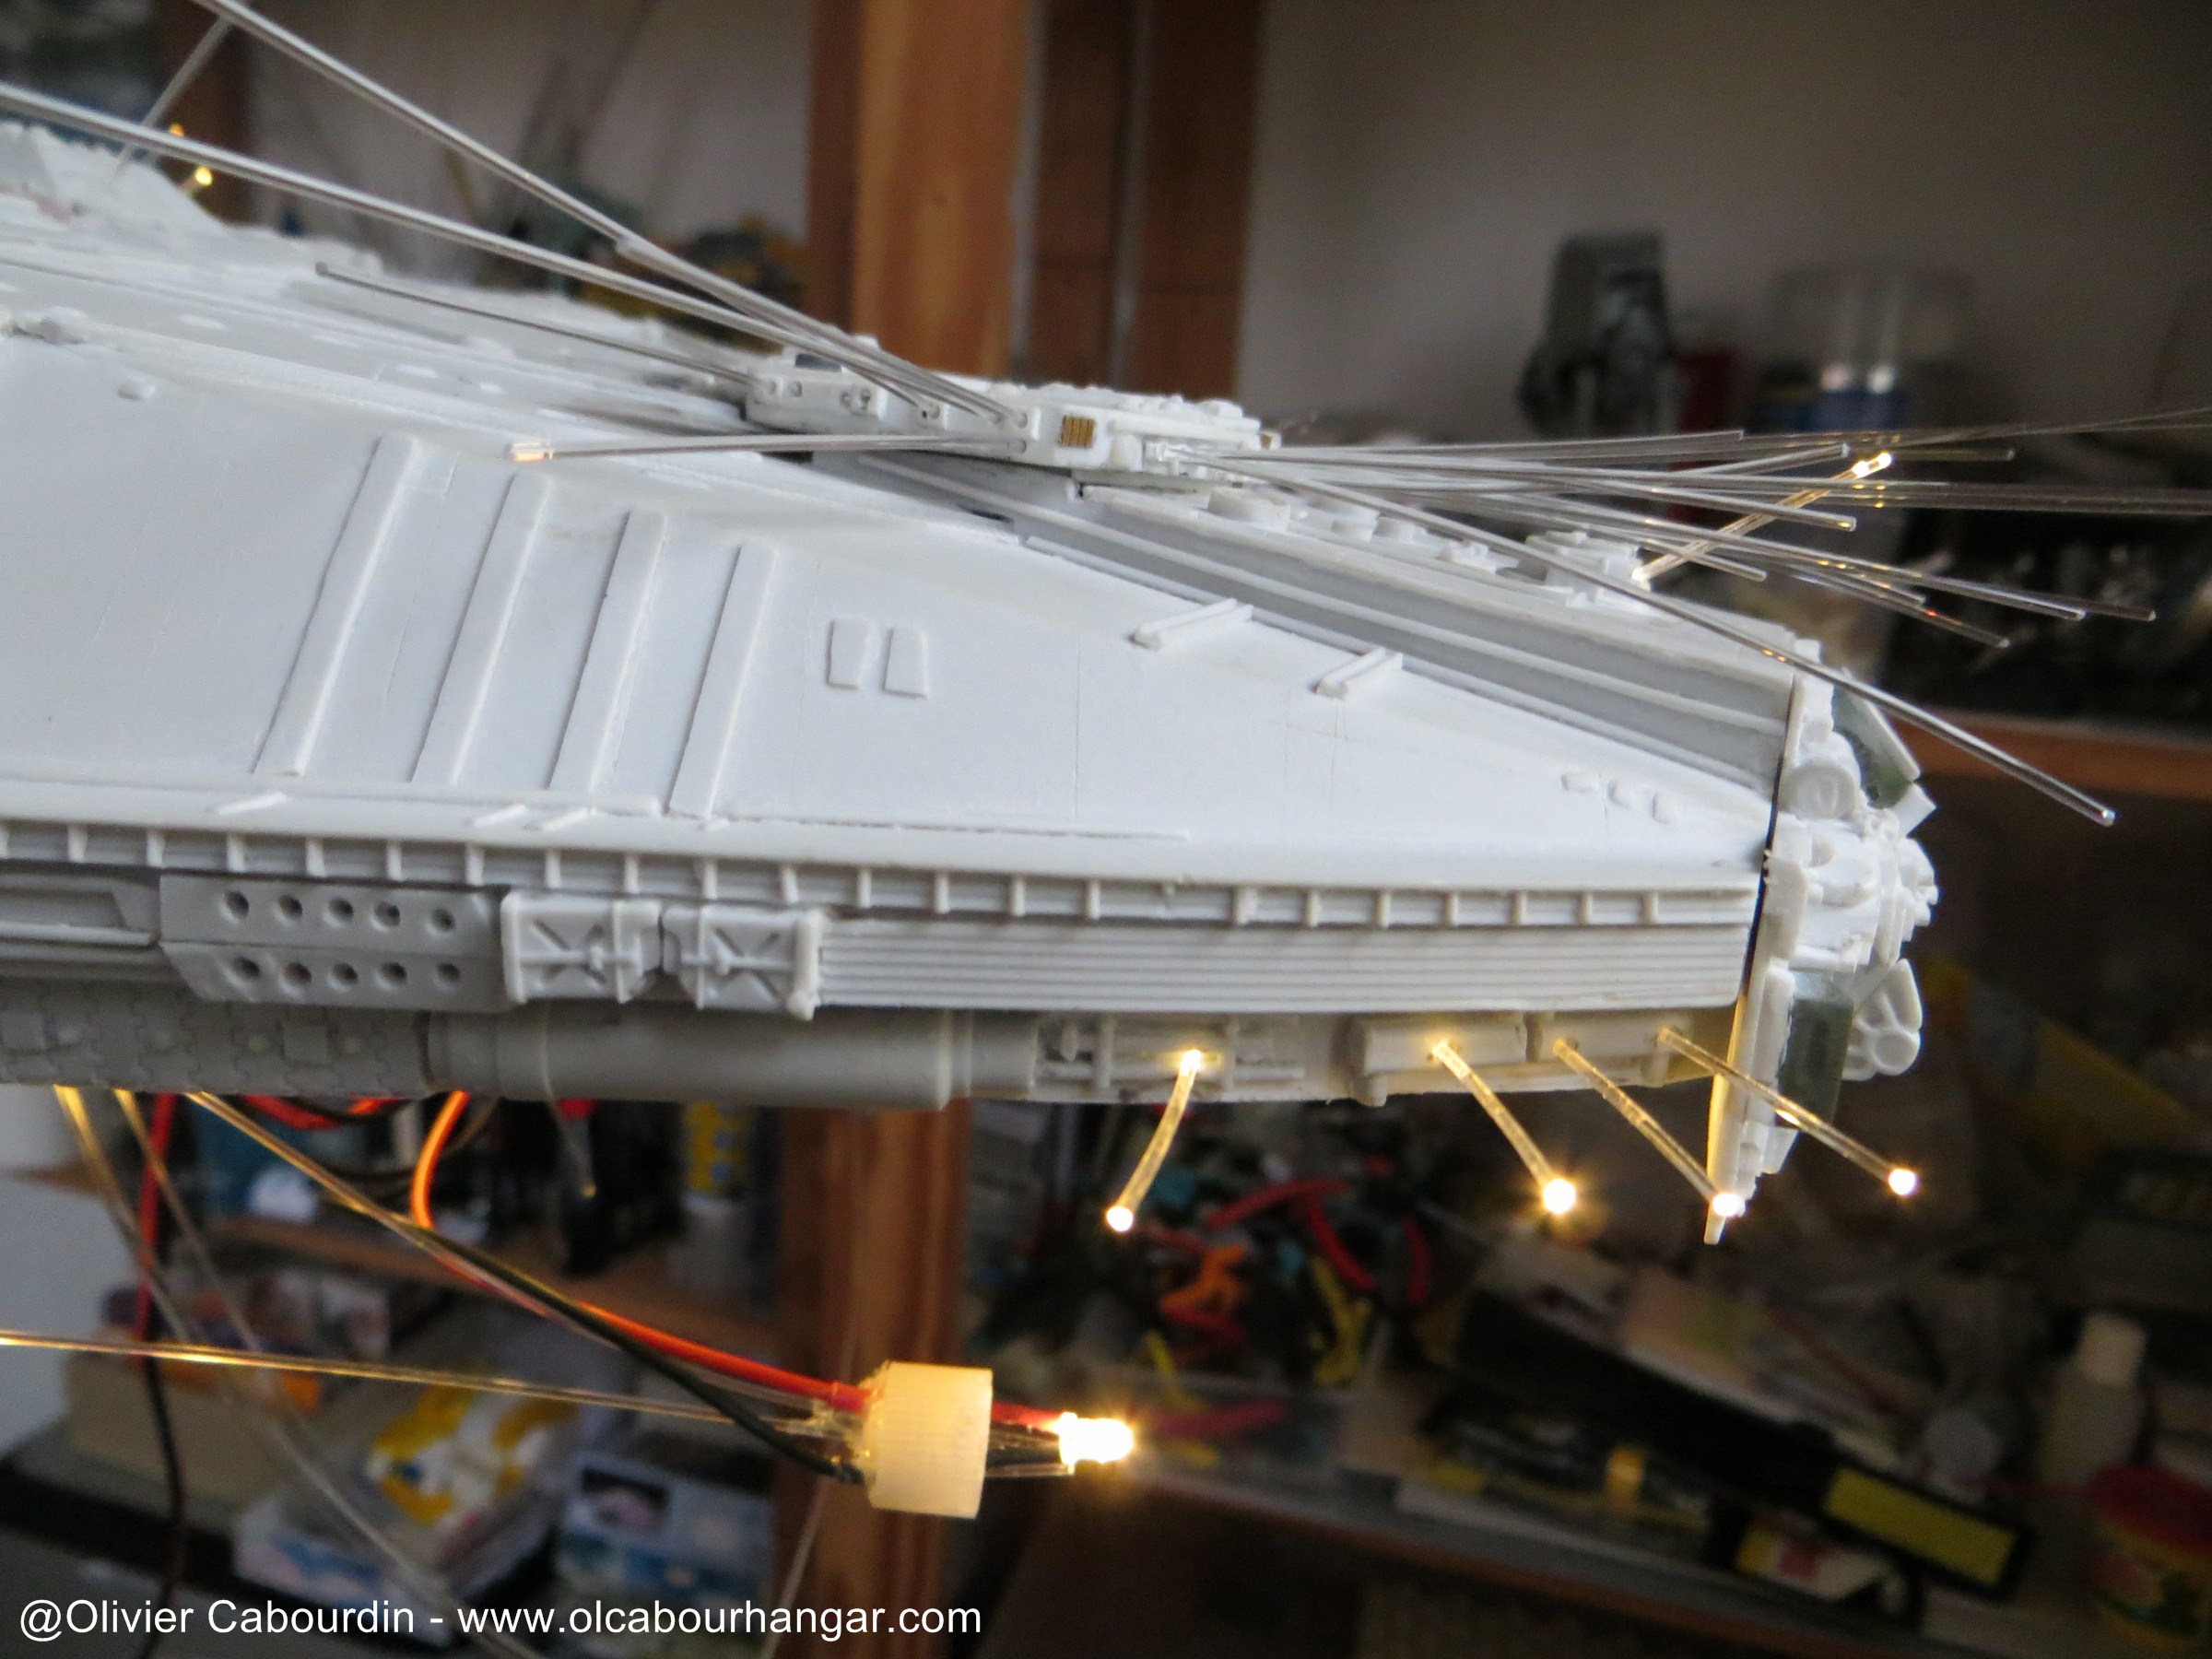
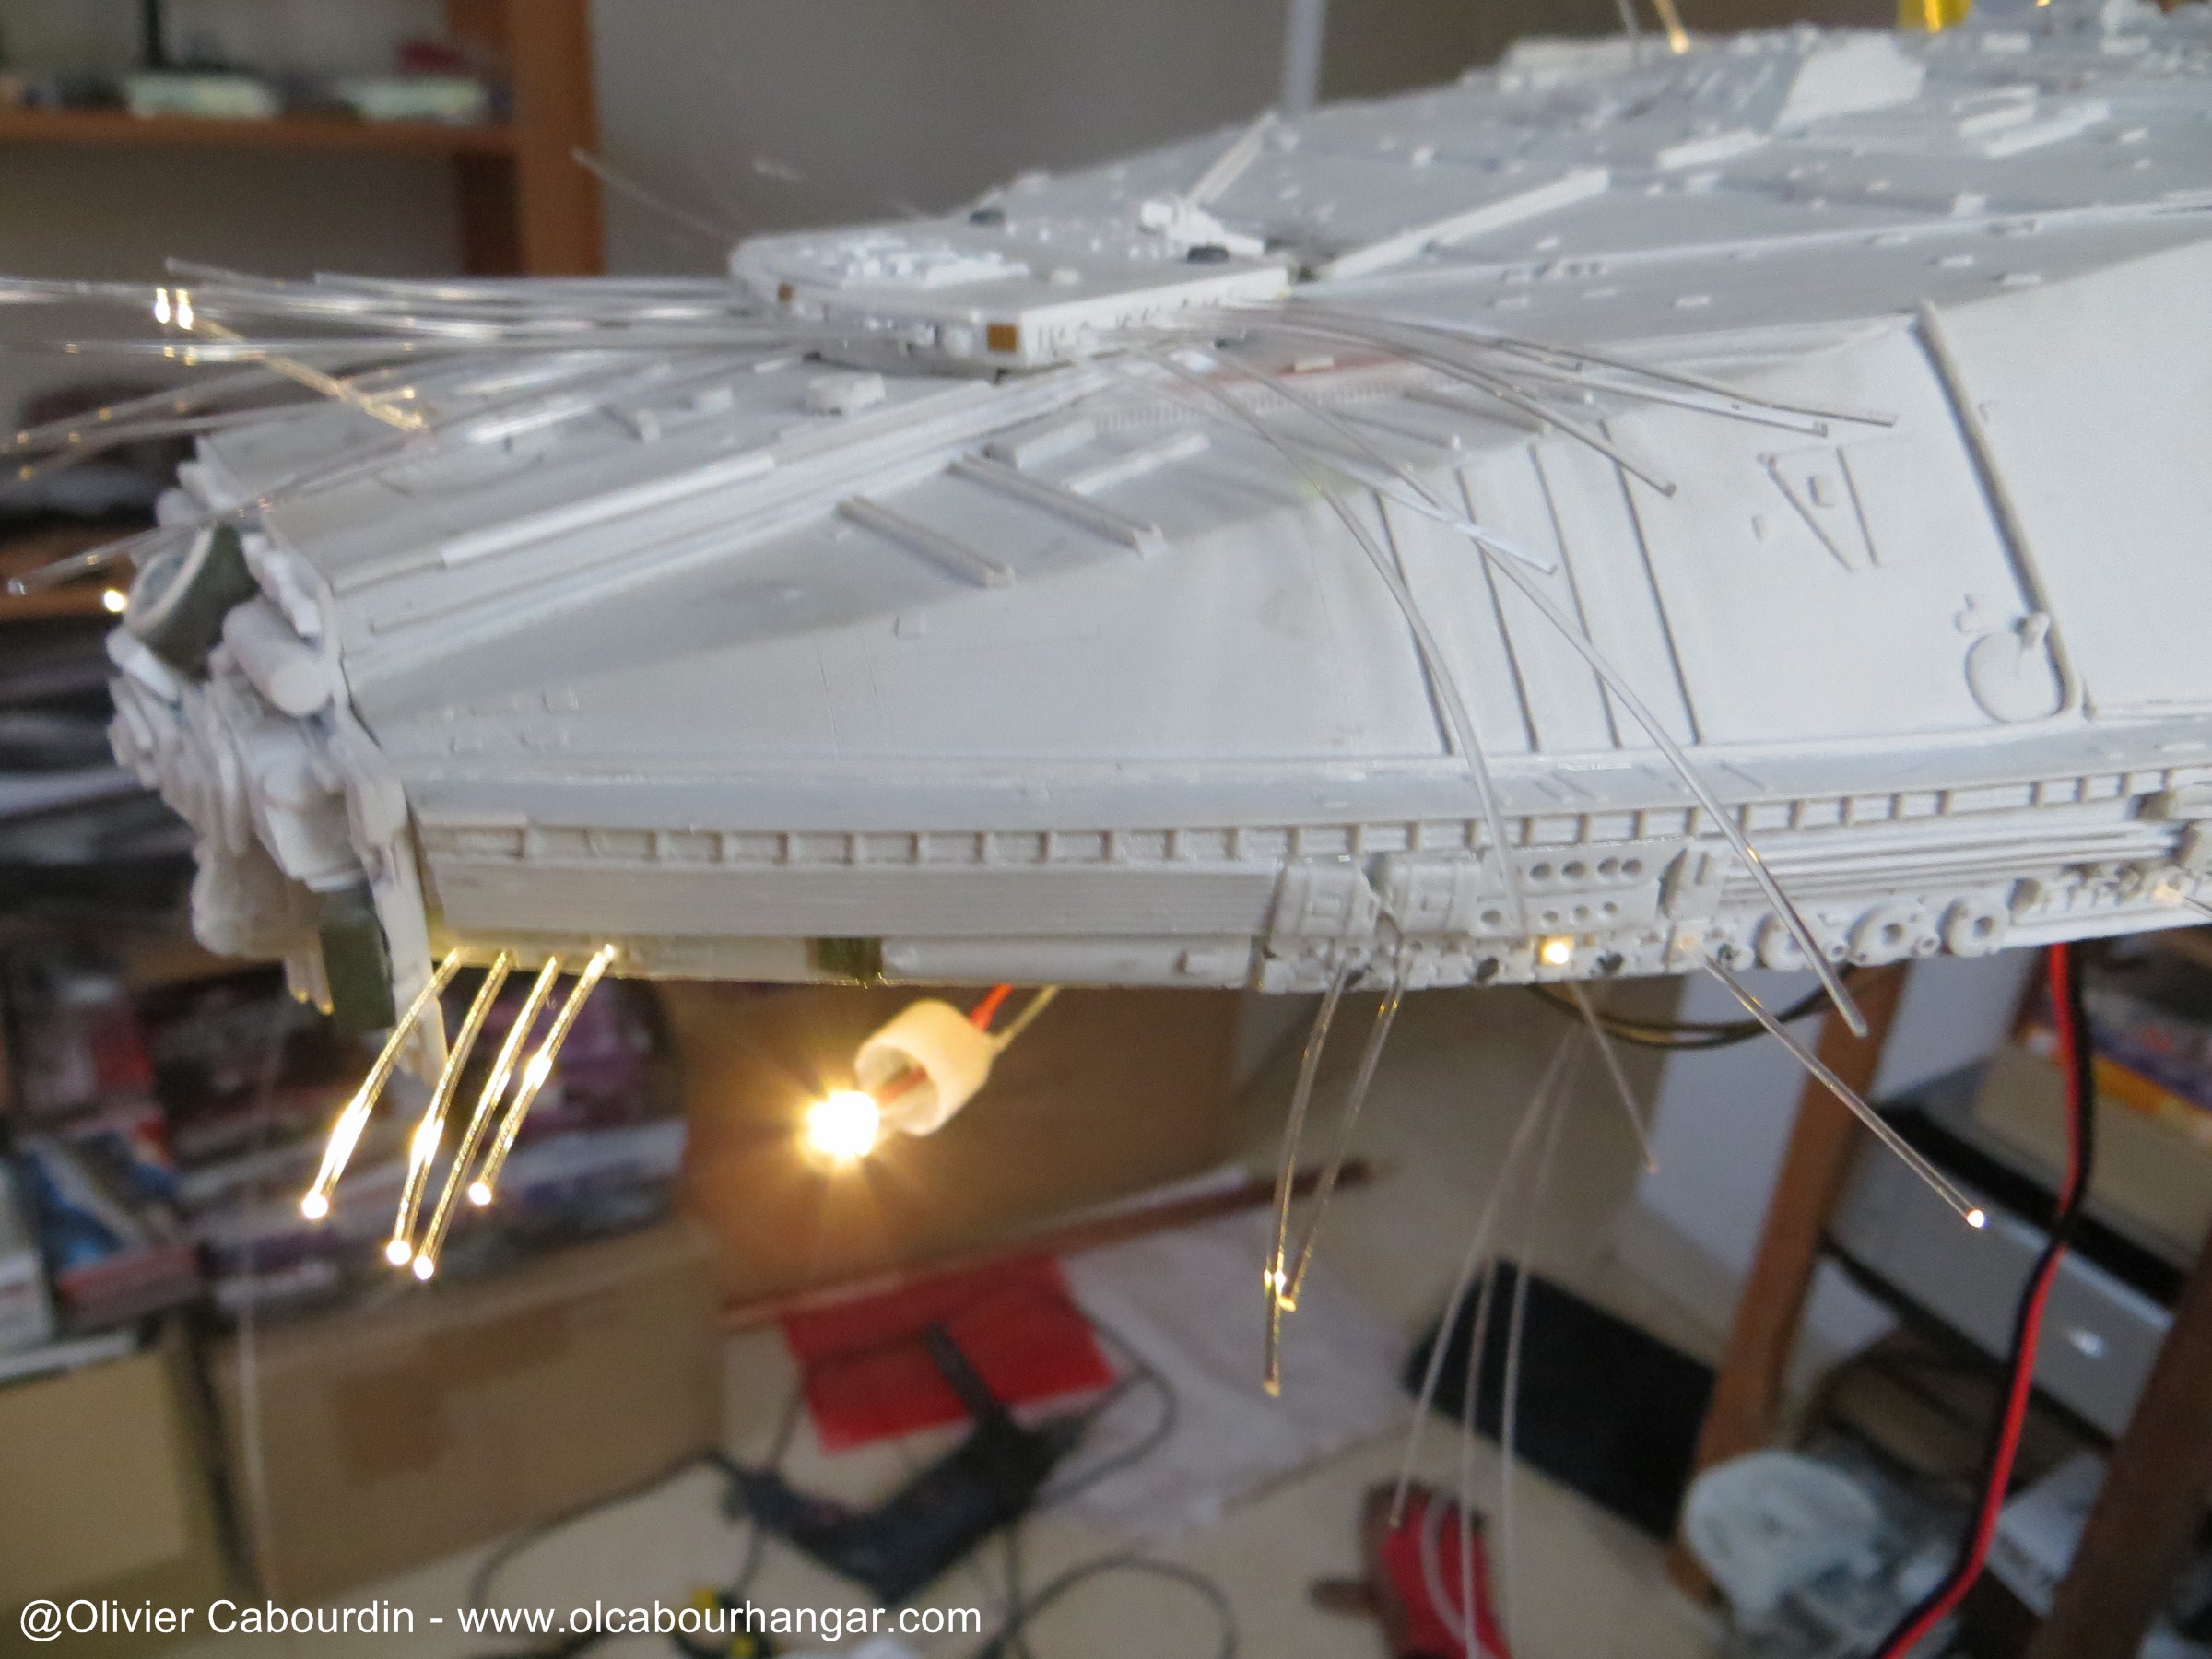
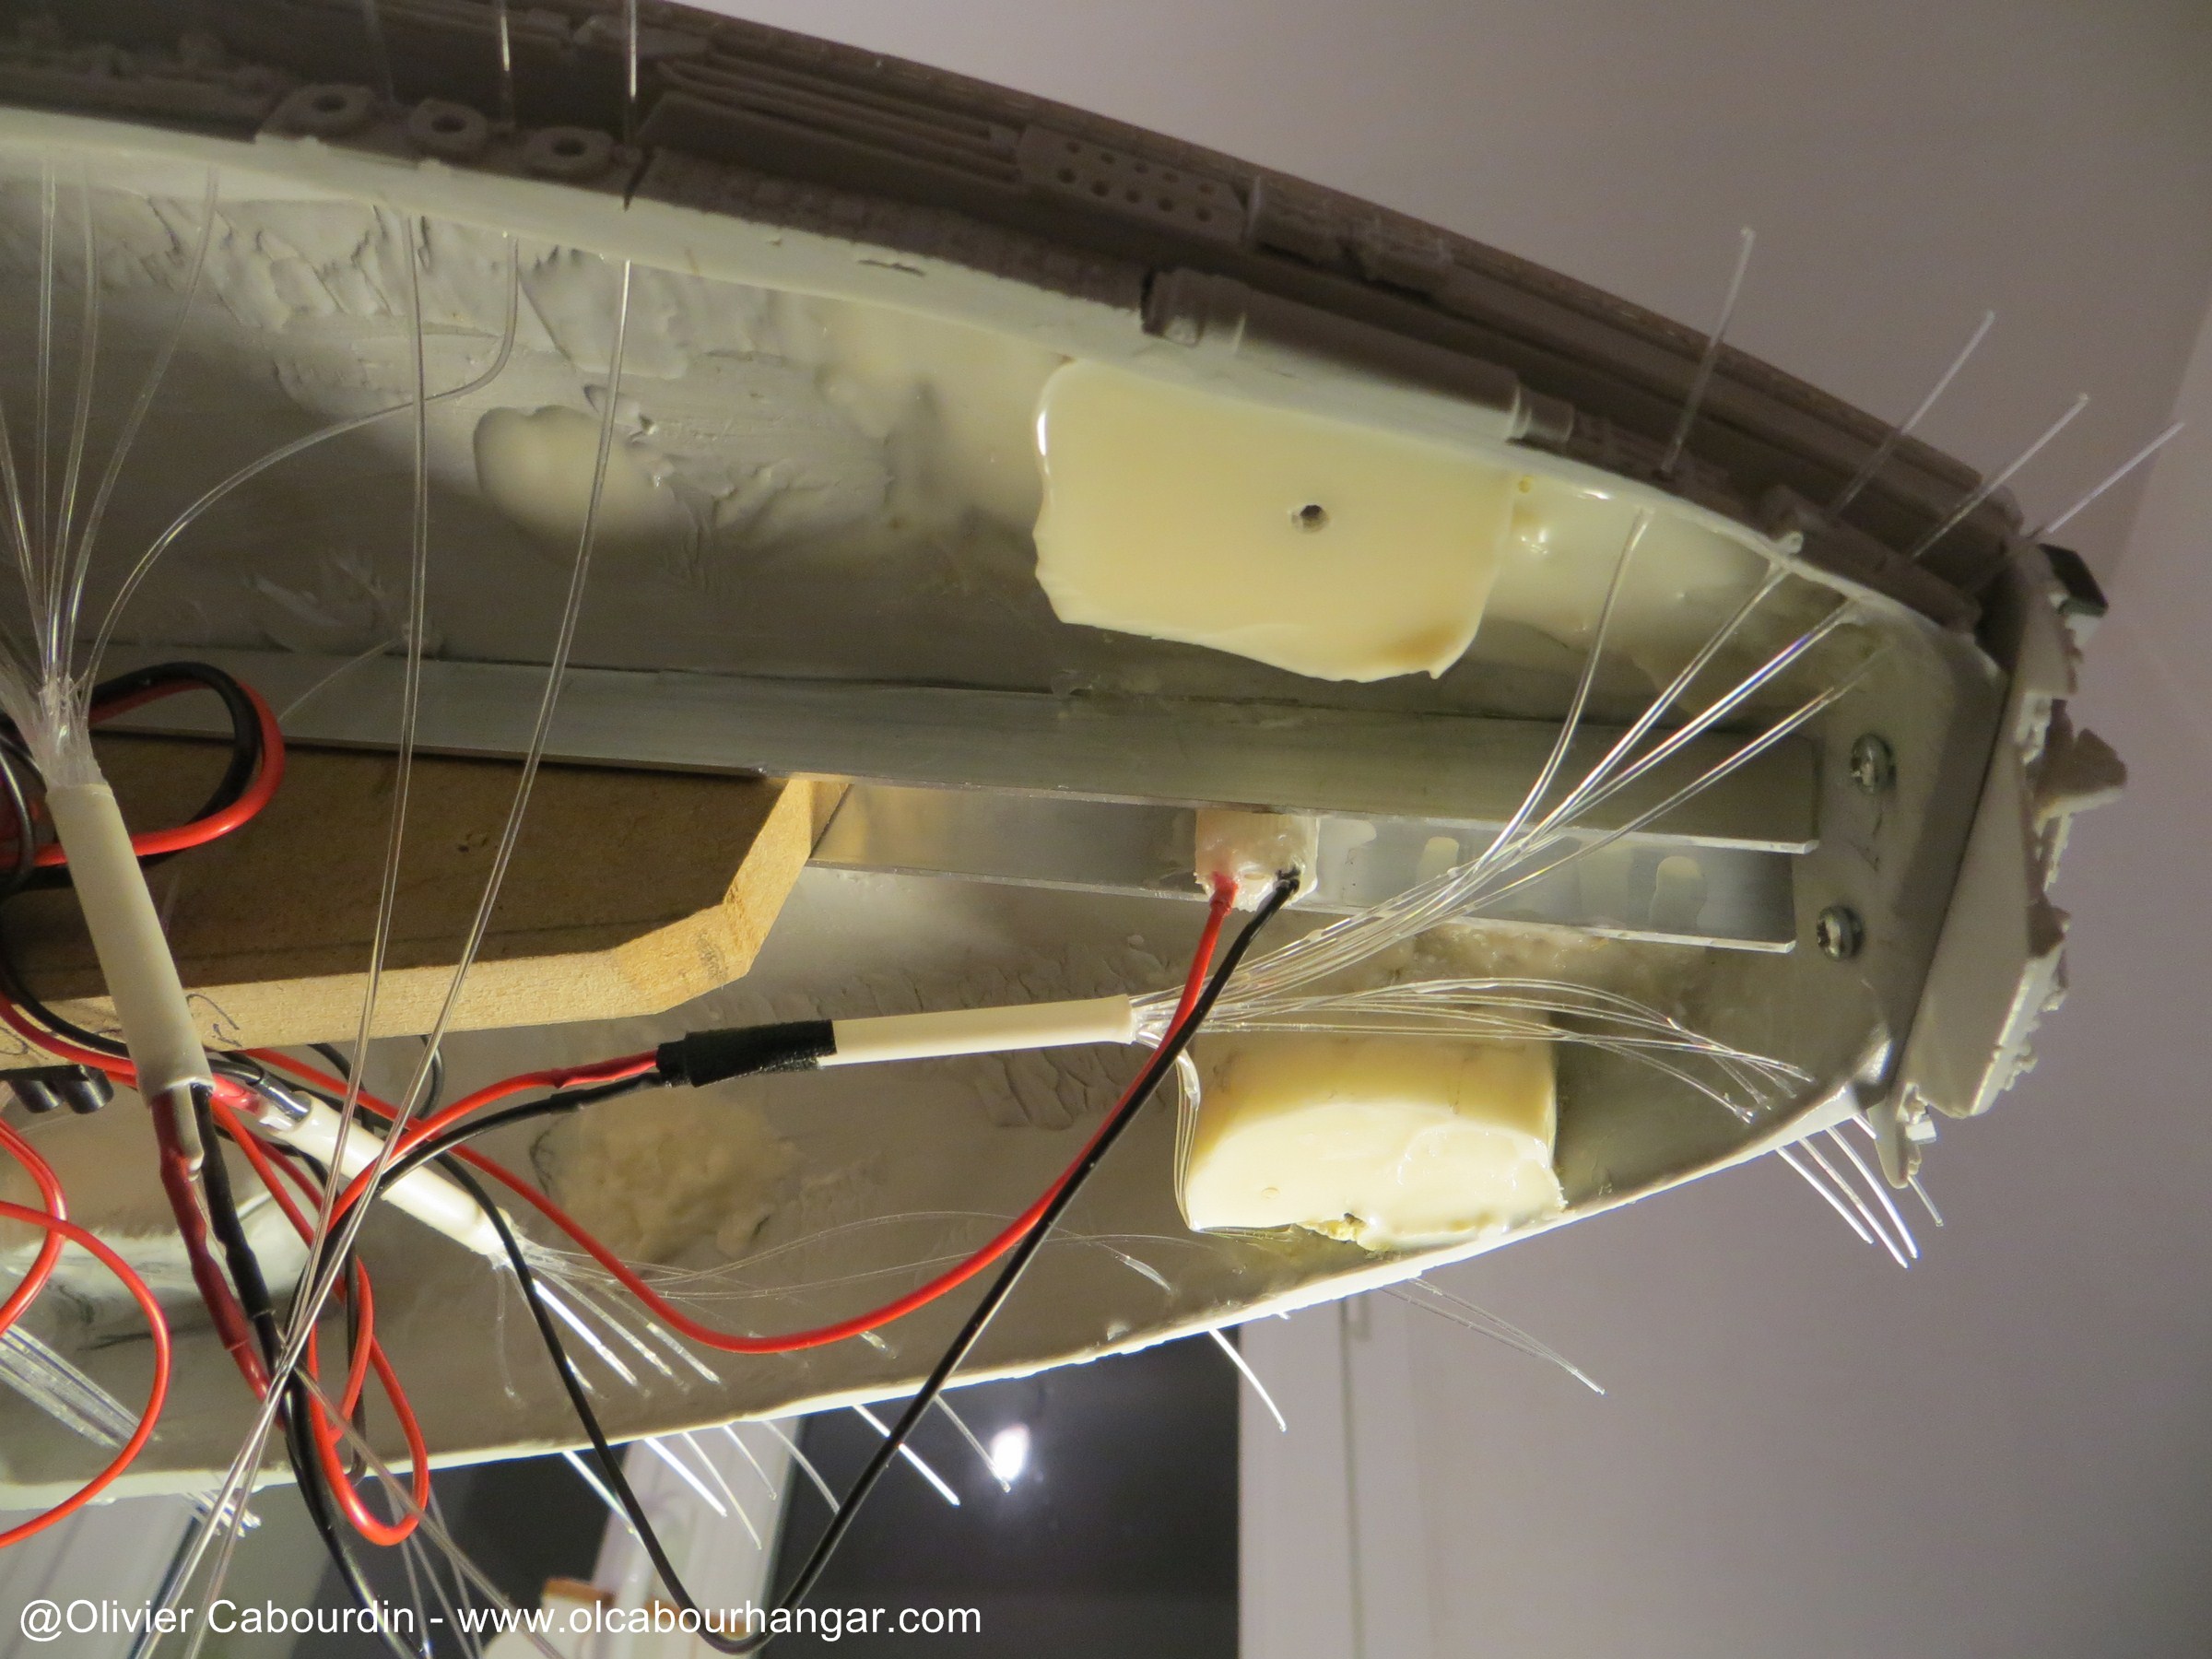
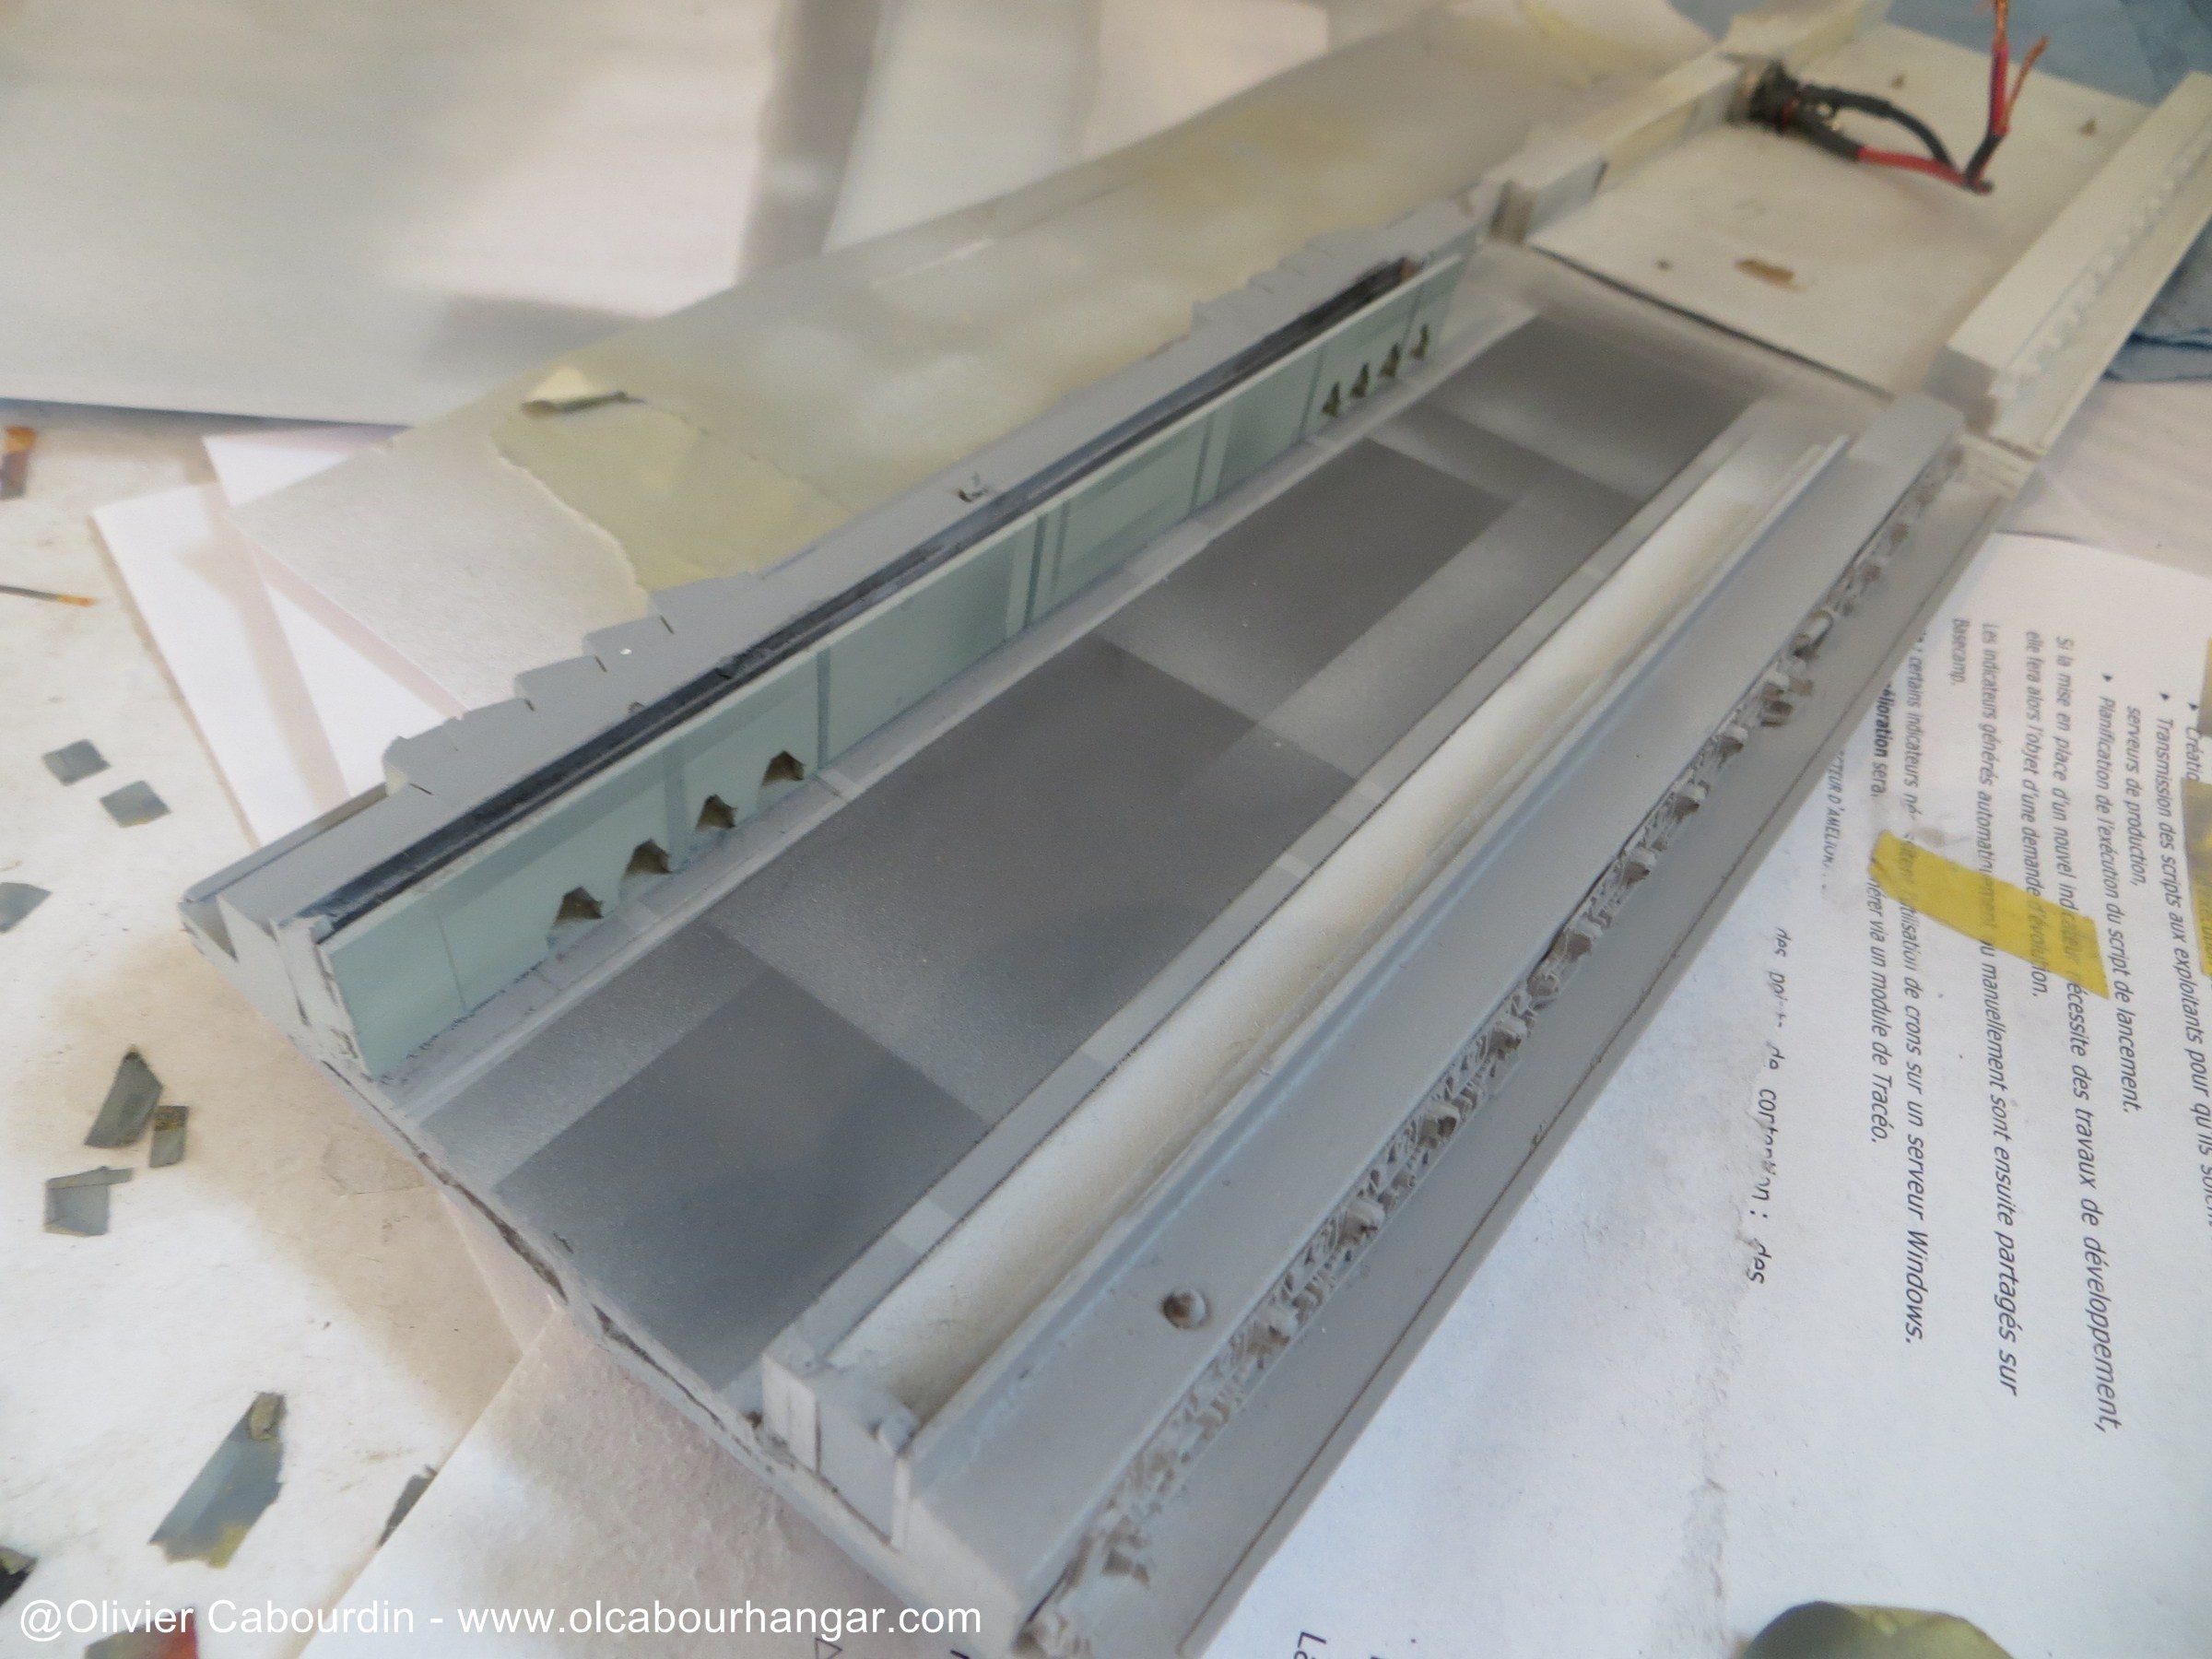
- In the central part, once the structure is in place, the remaining space is small and it is difficult to insert many wires, LEDs and fiber optics.
I use warm white (as are all the windows on the real Galactica). The fiber is 0.75mm.

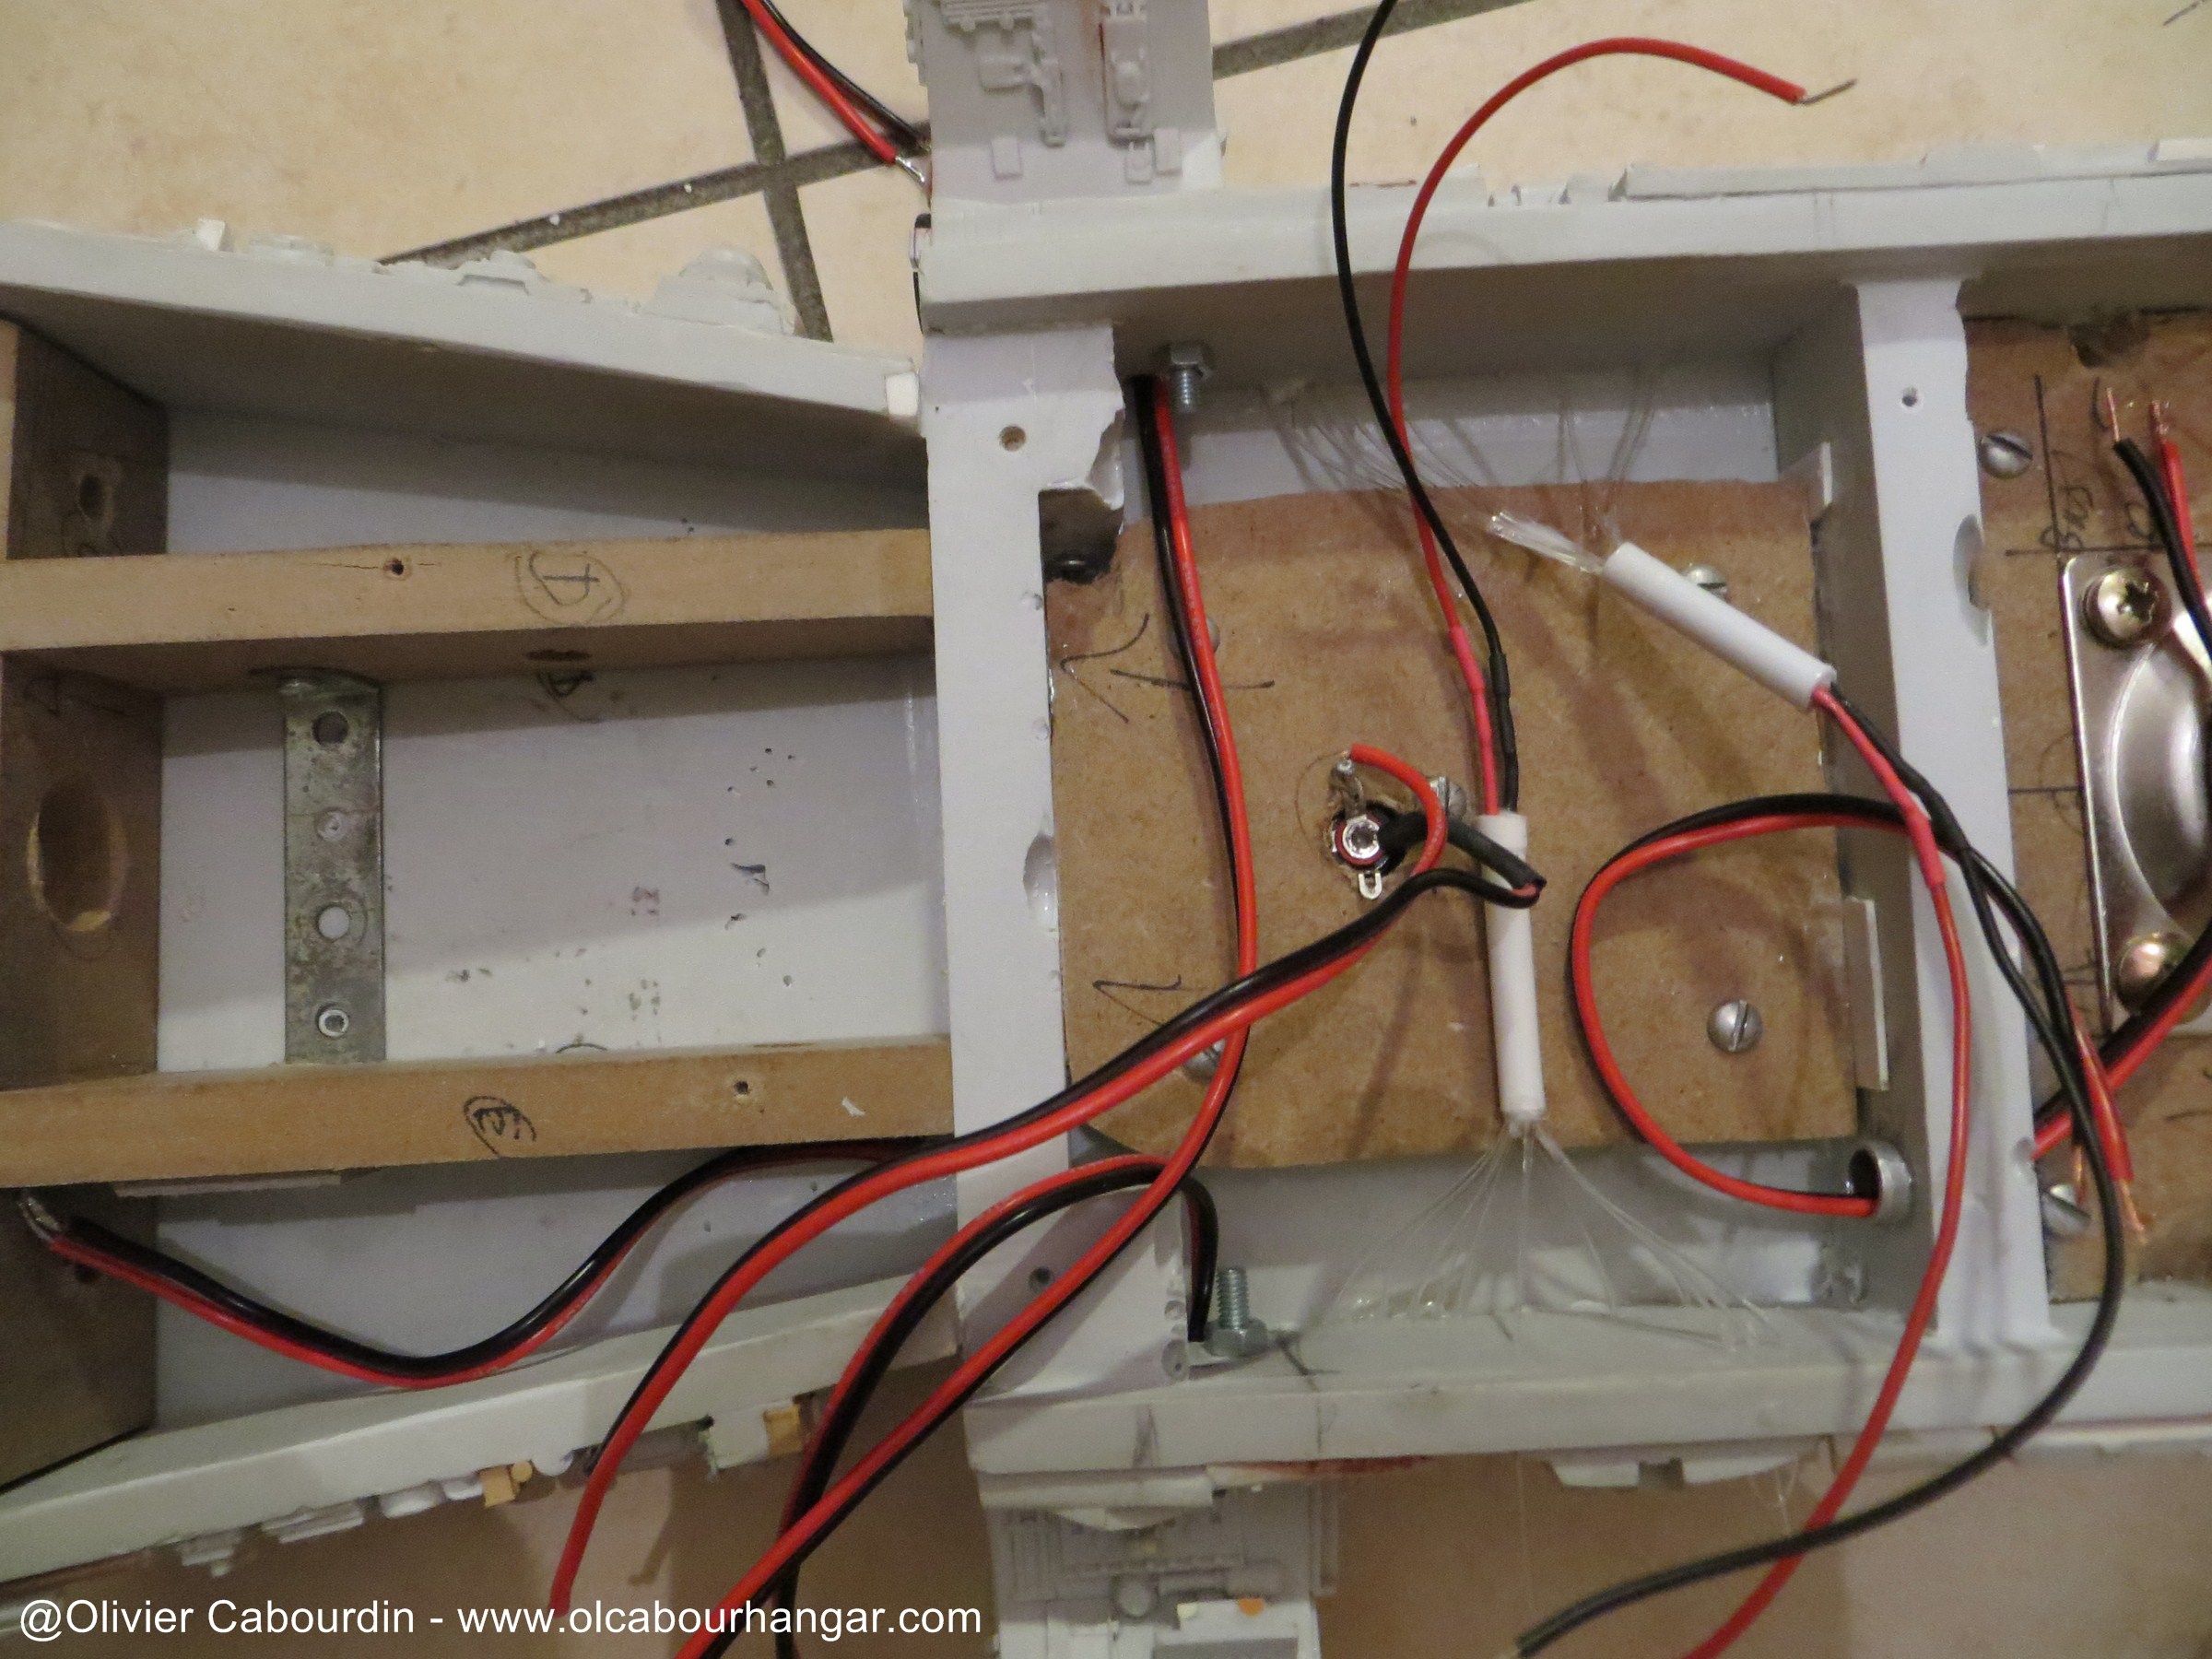

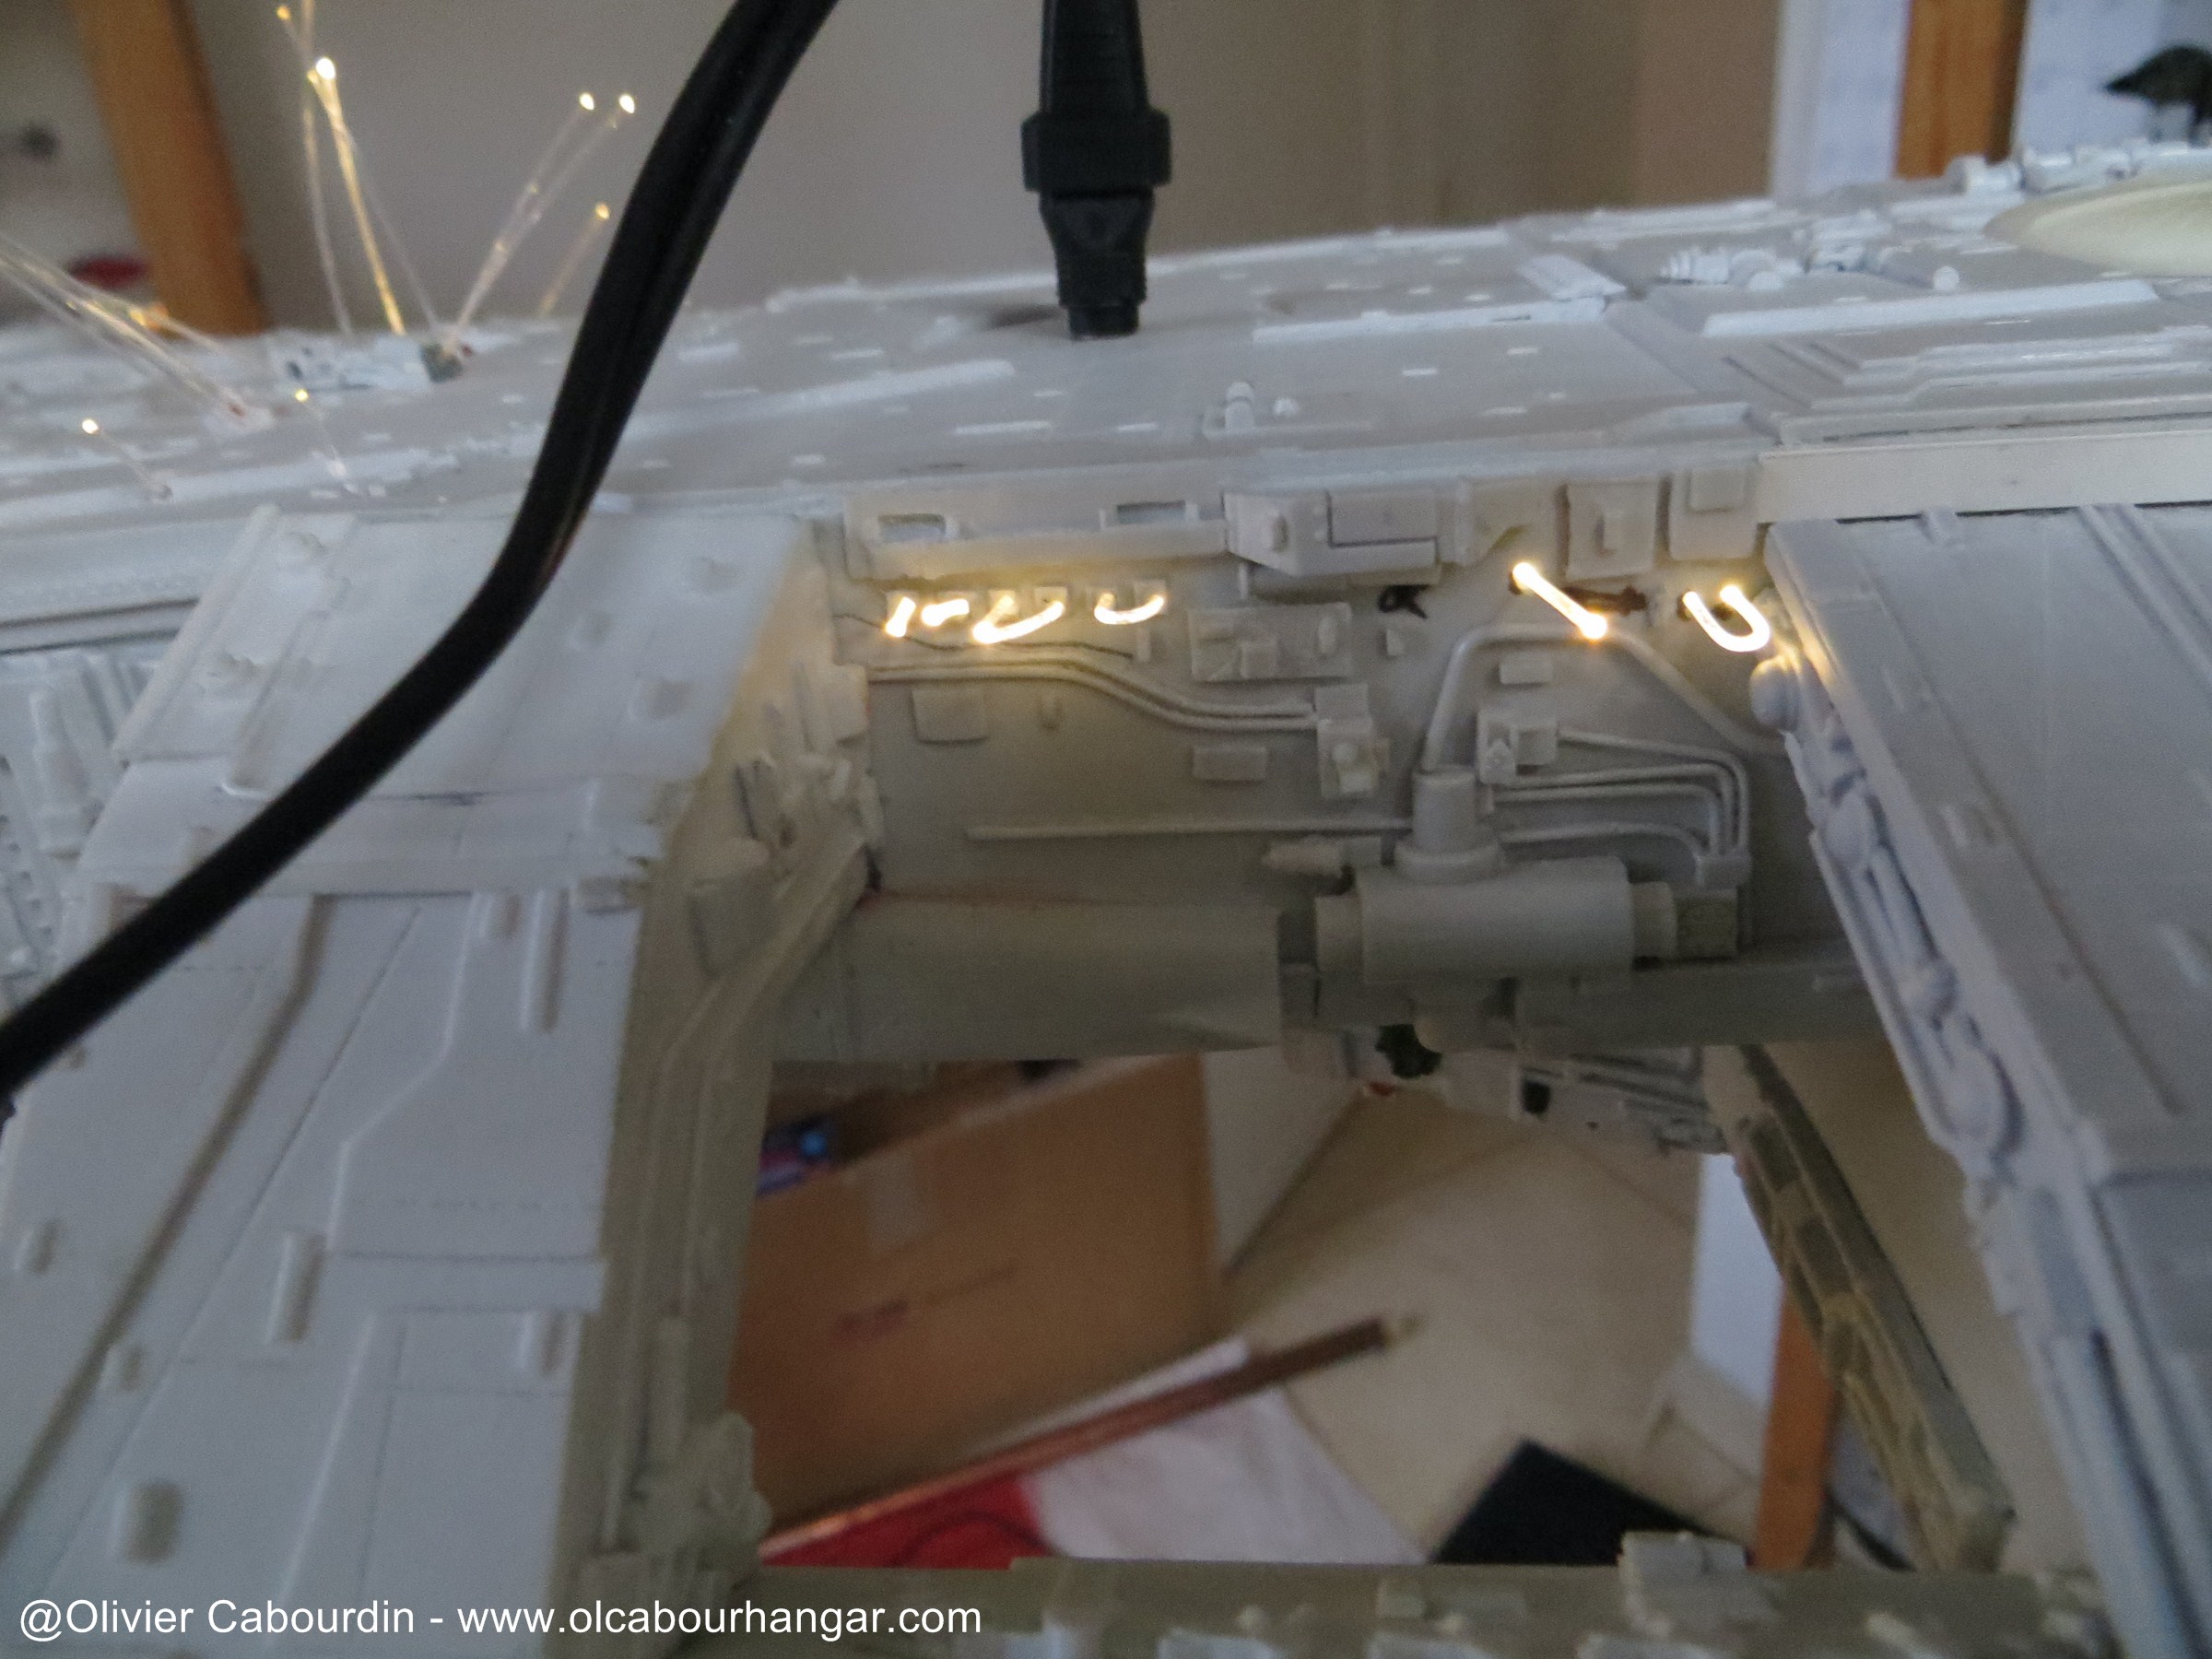
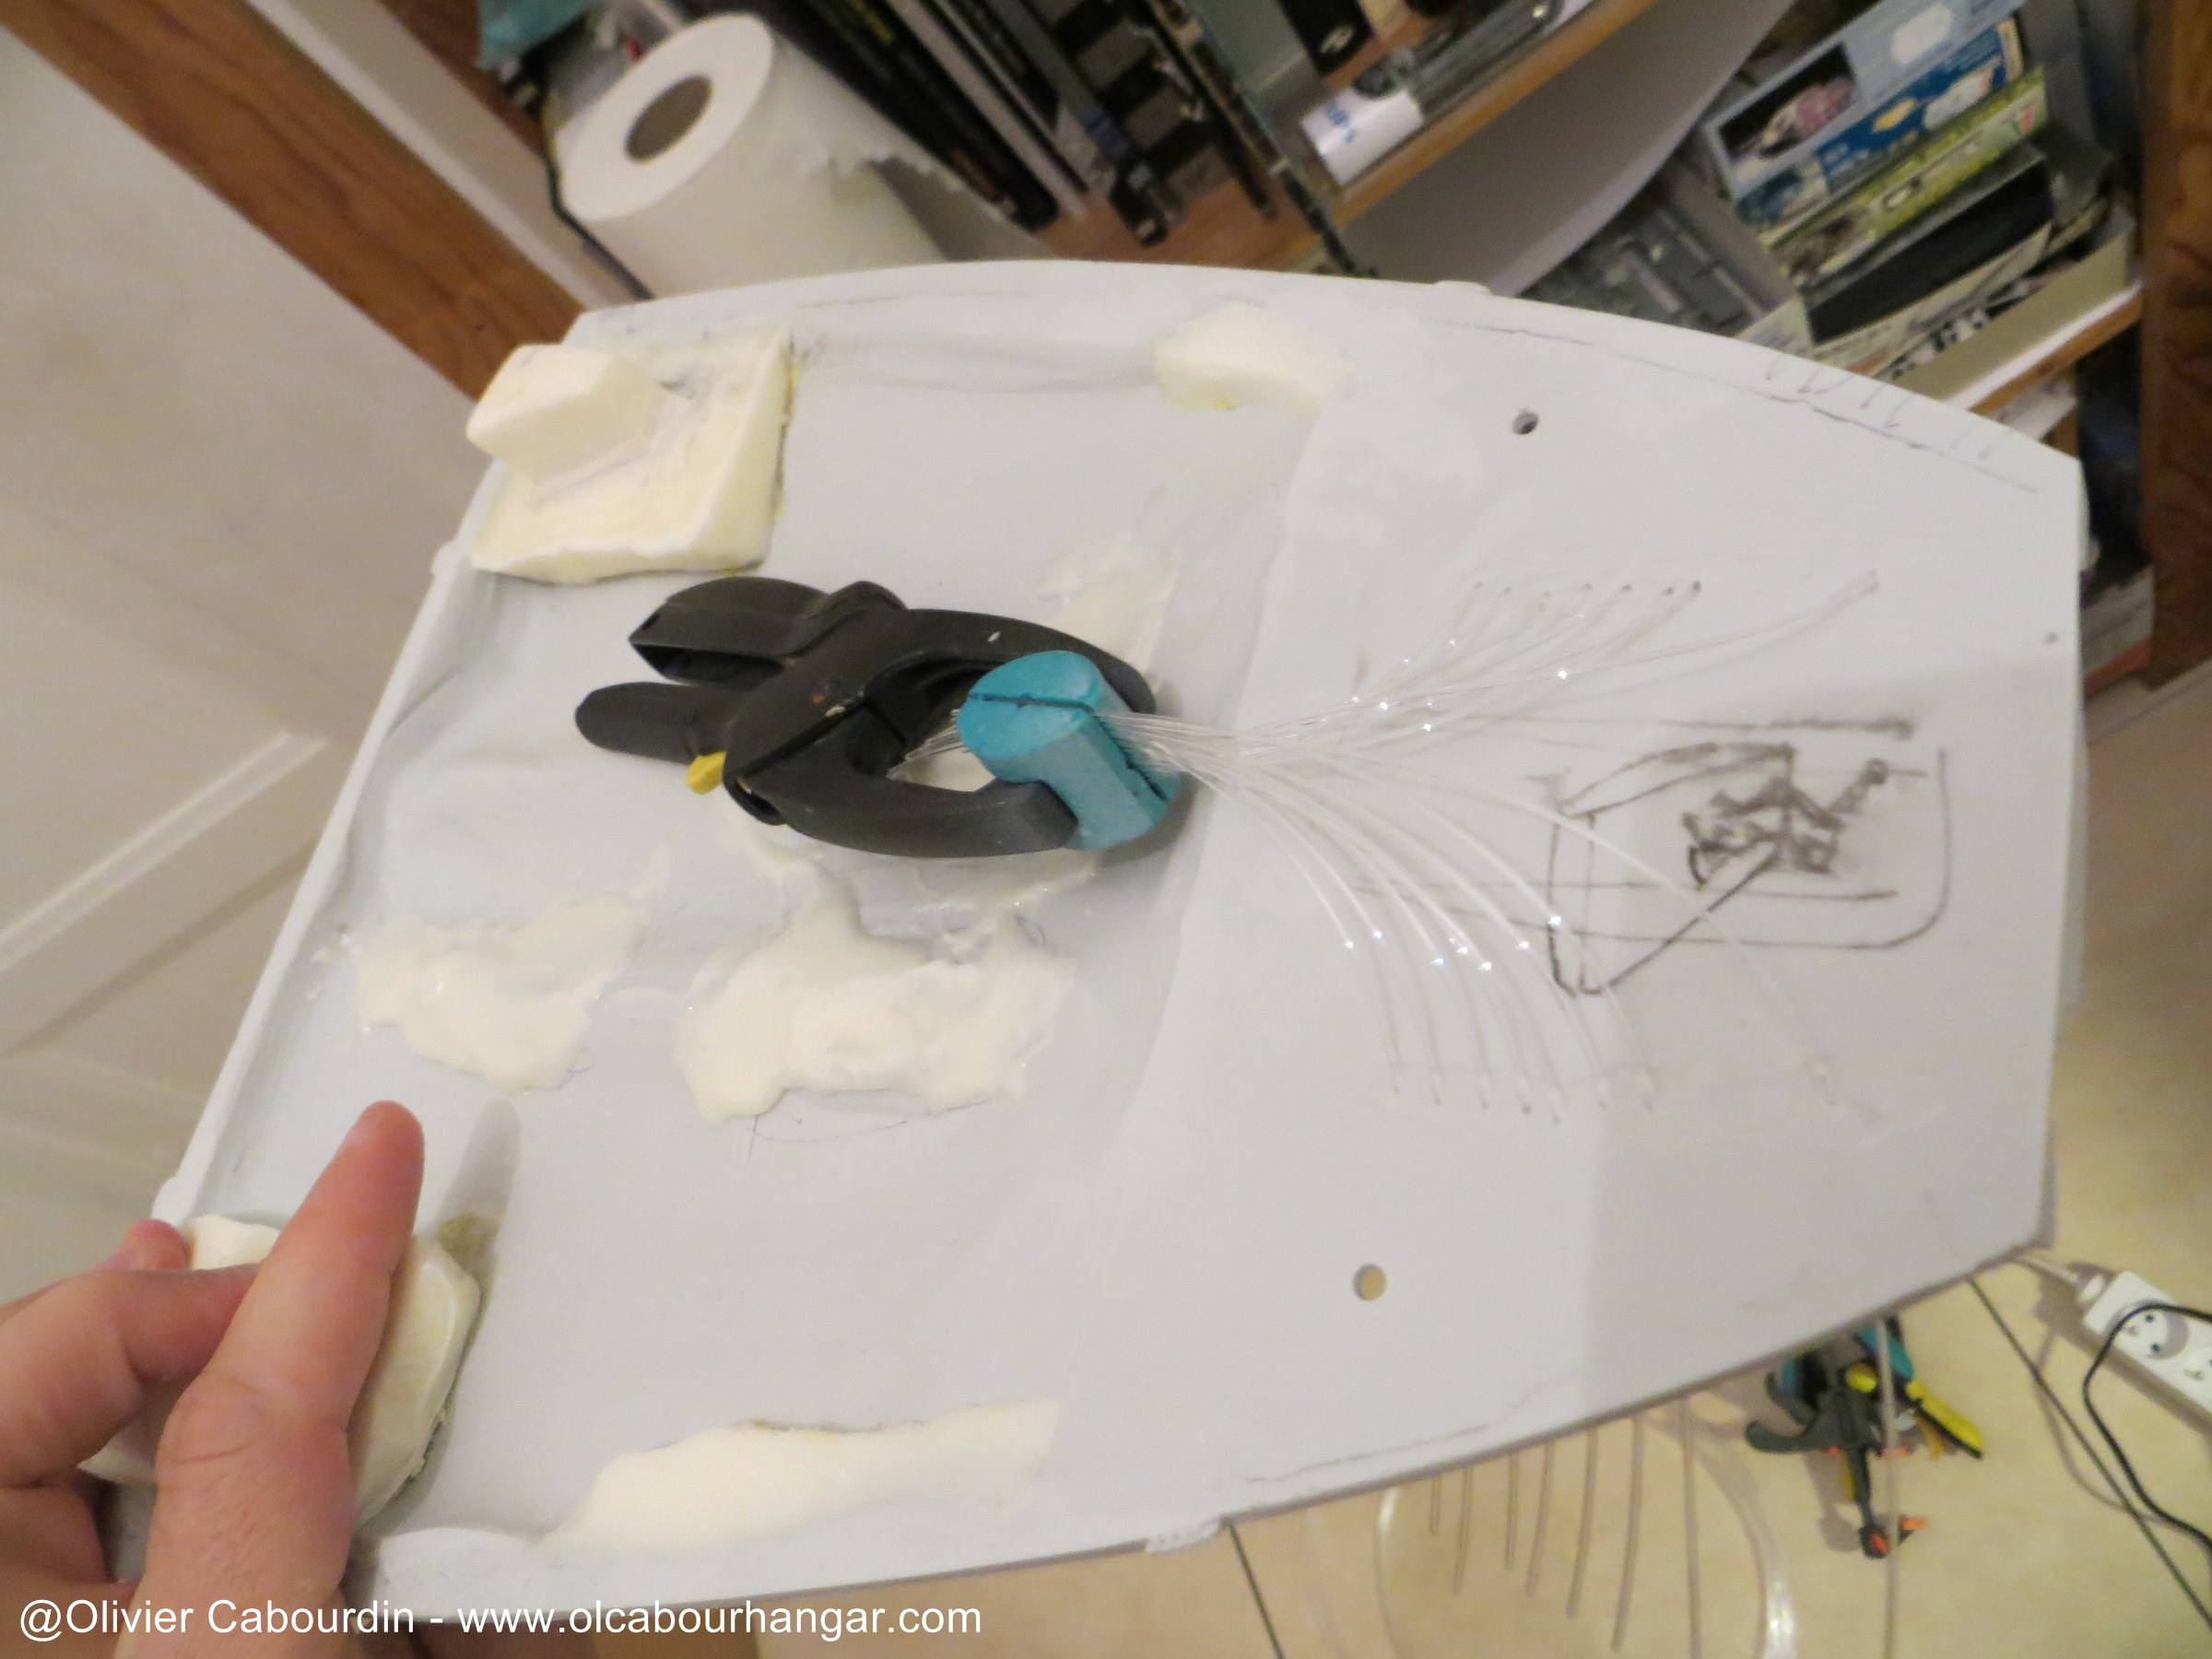
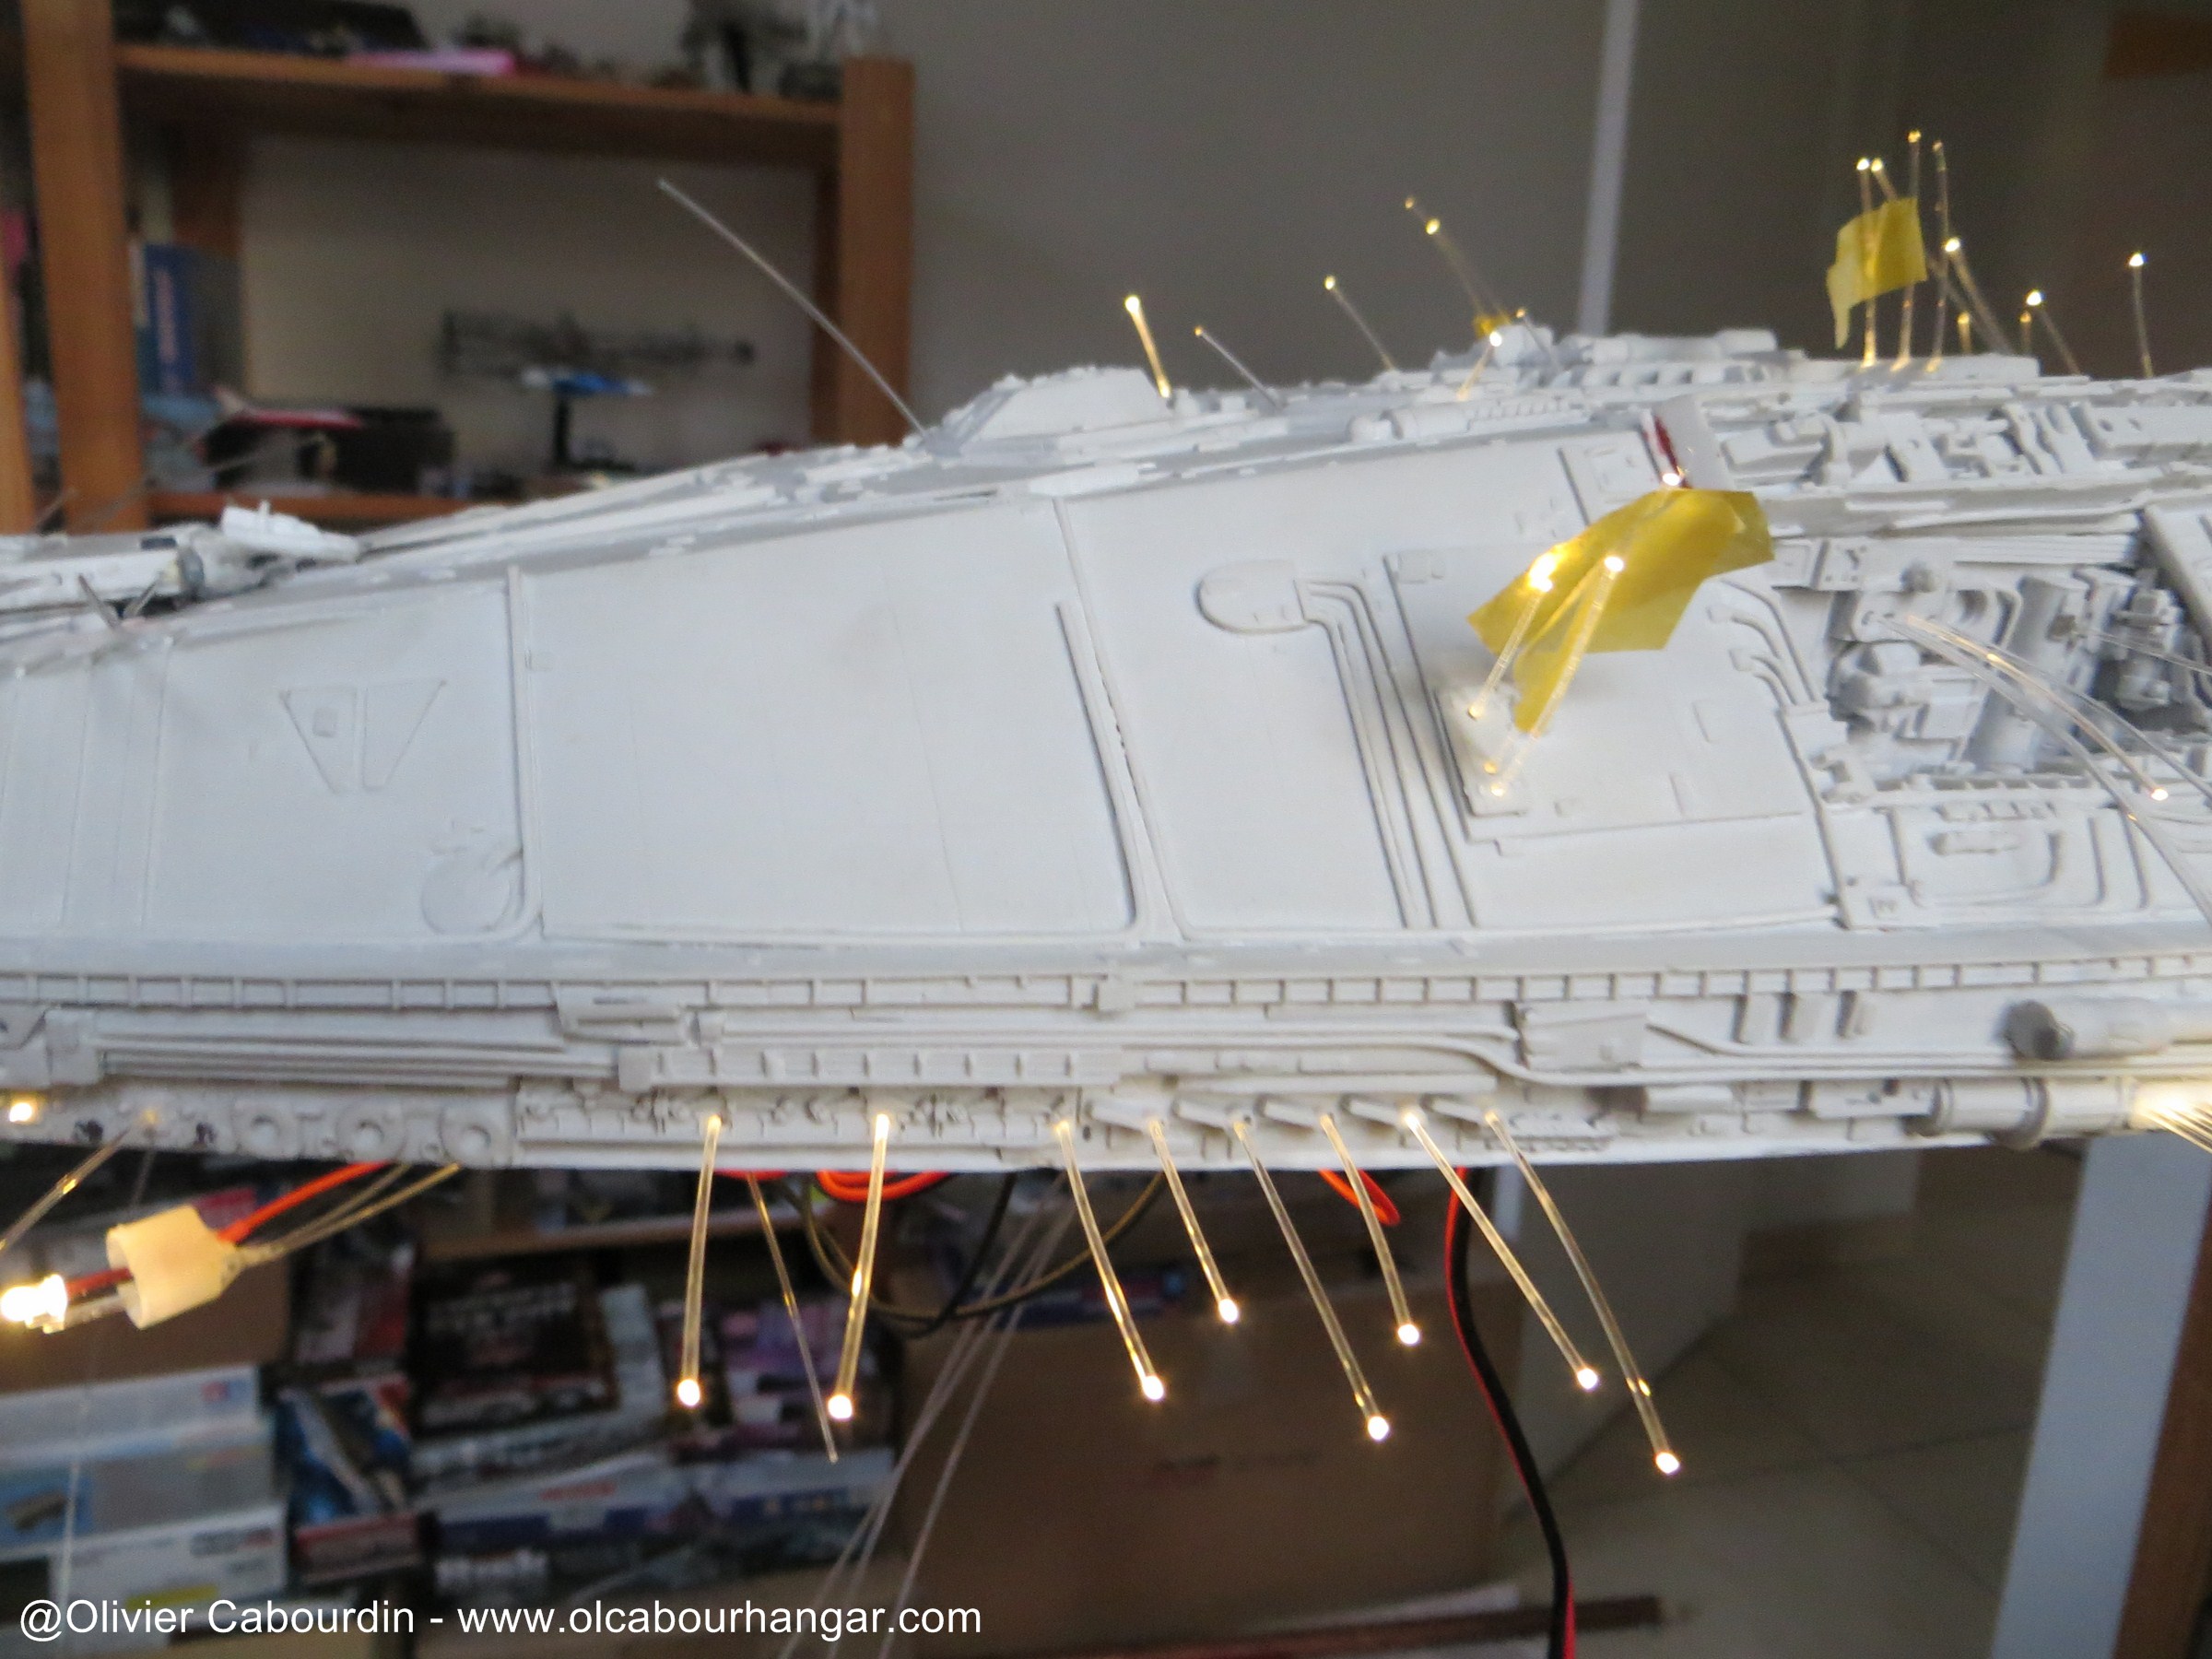
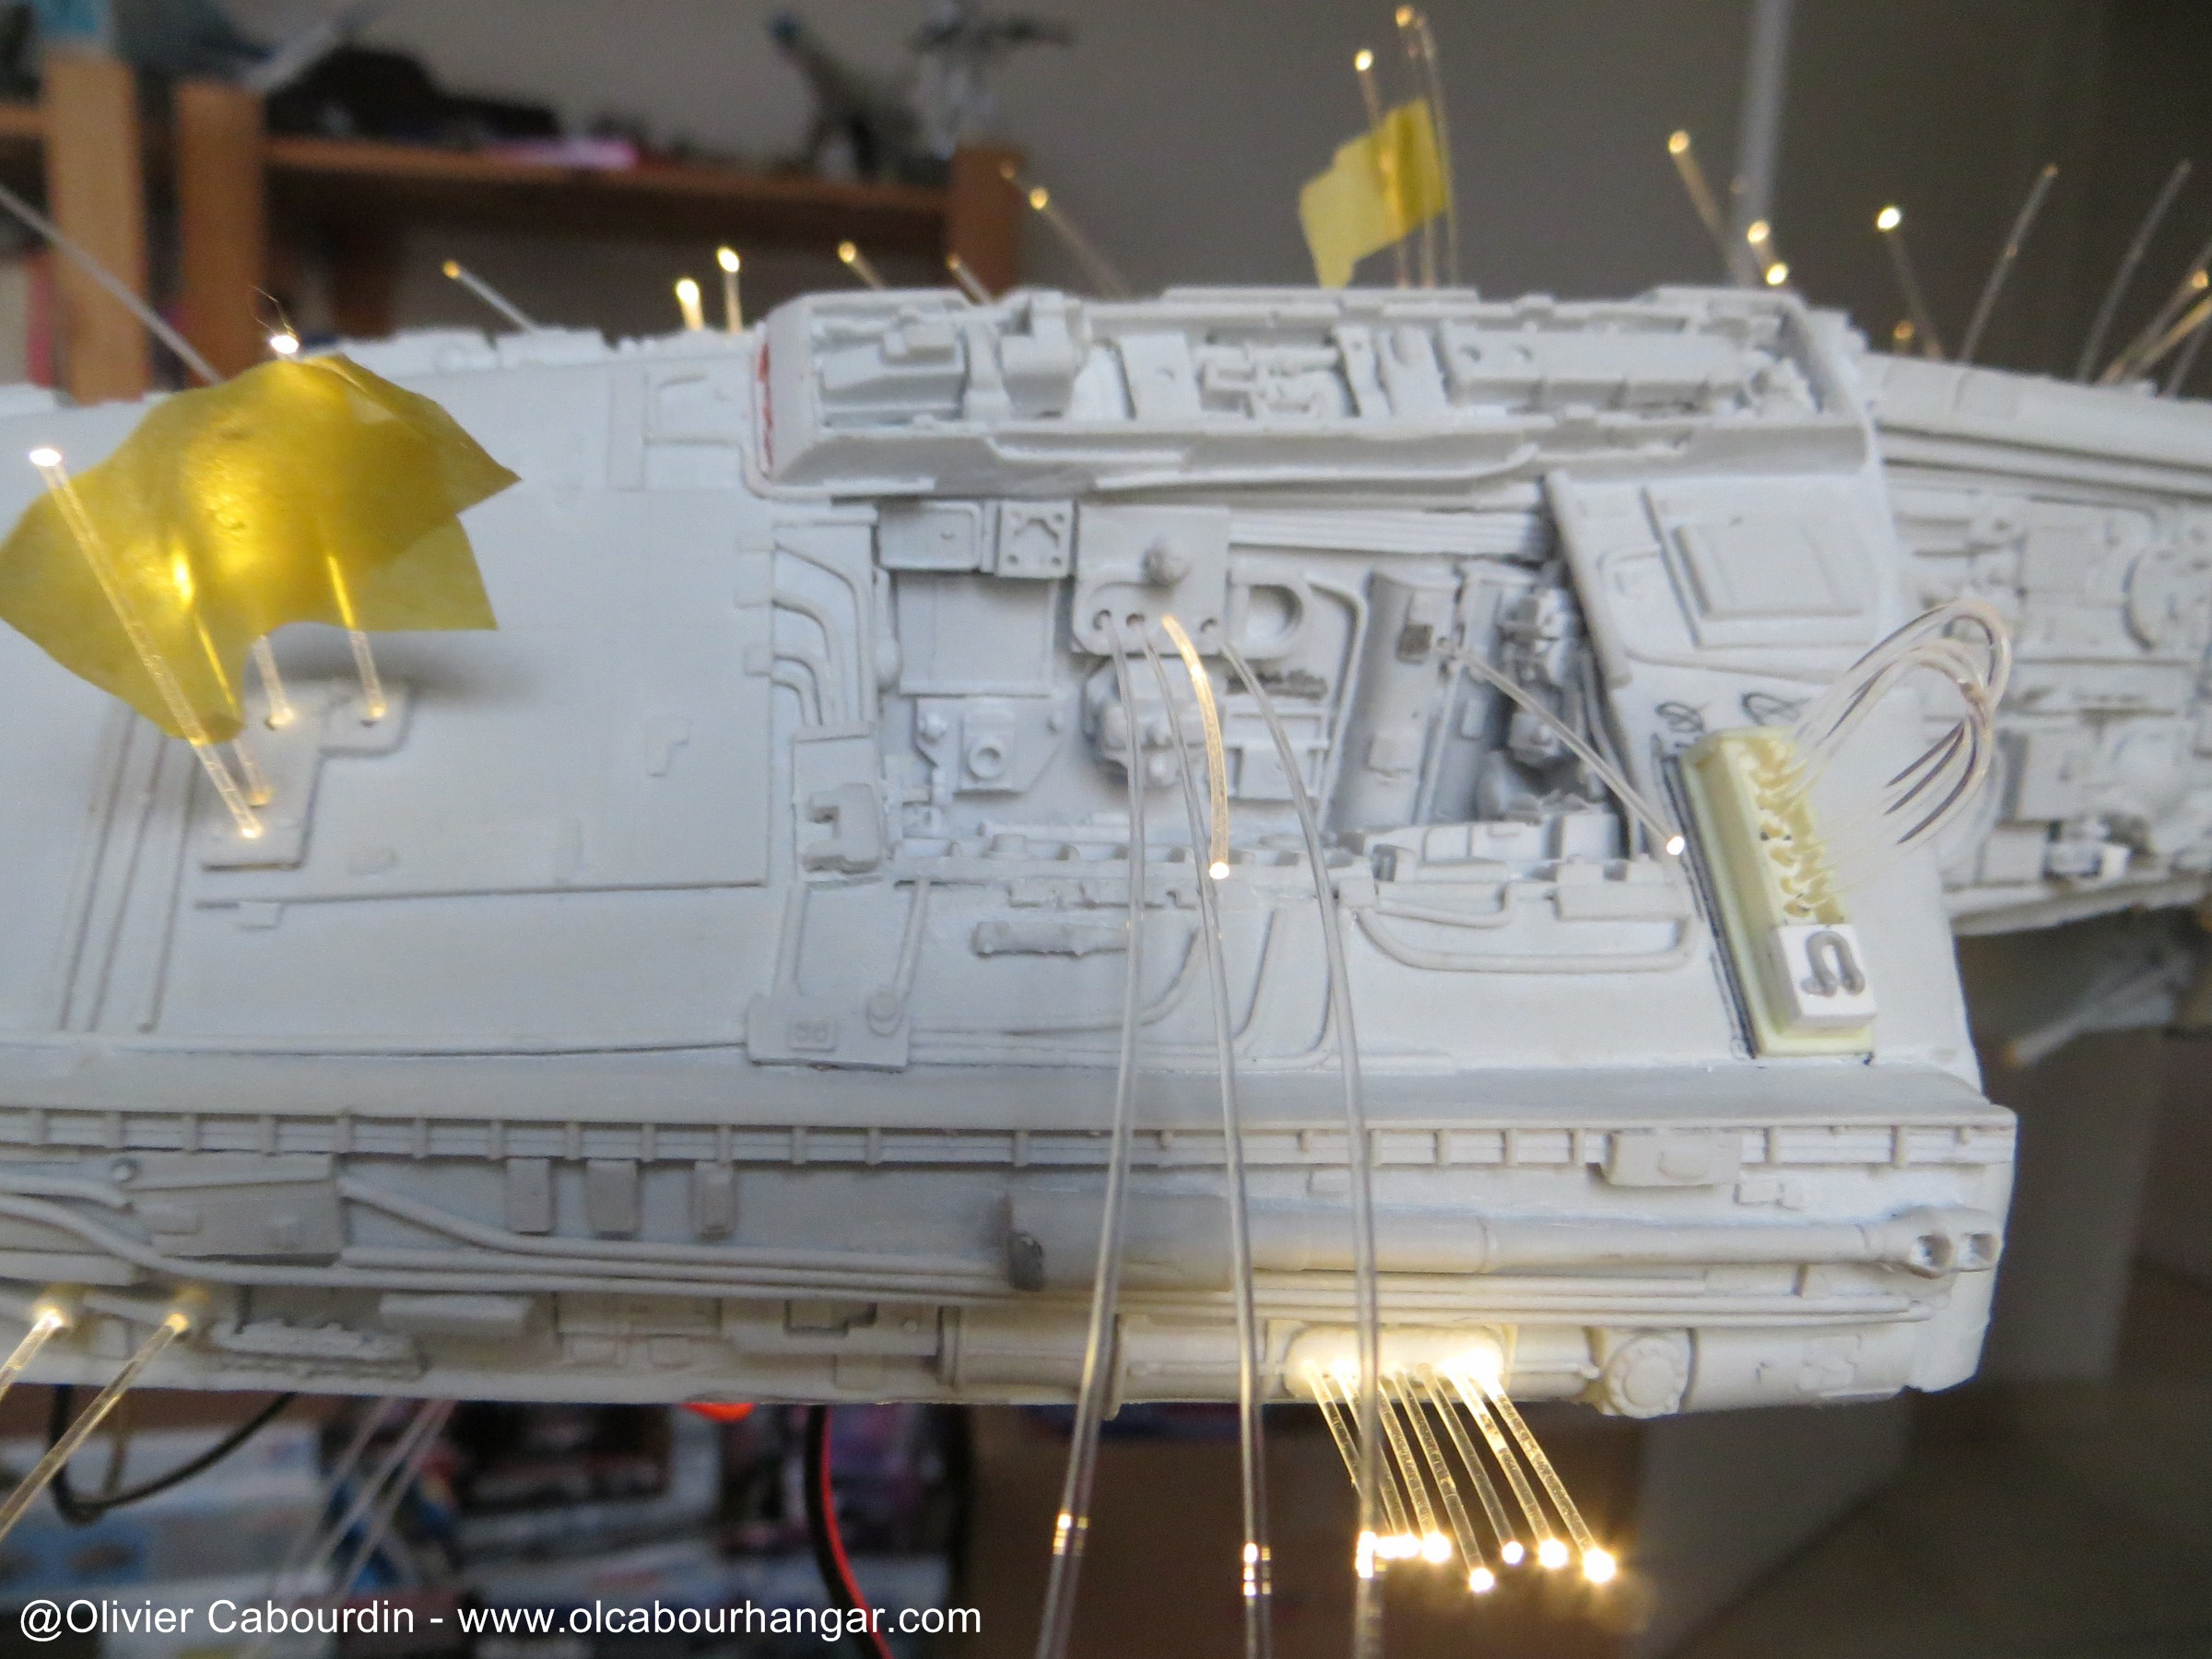
- Yellow boxes
In the four small boxes, fiber is set with white glue.
The yellow LED are connected to fiber (1mm this time) in a white pipe, and secured with white.
- hangars circuit.
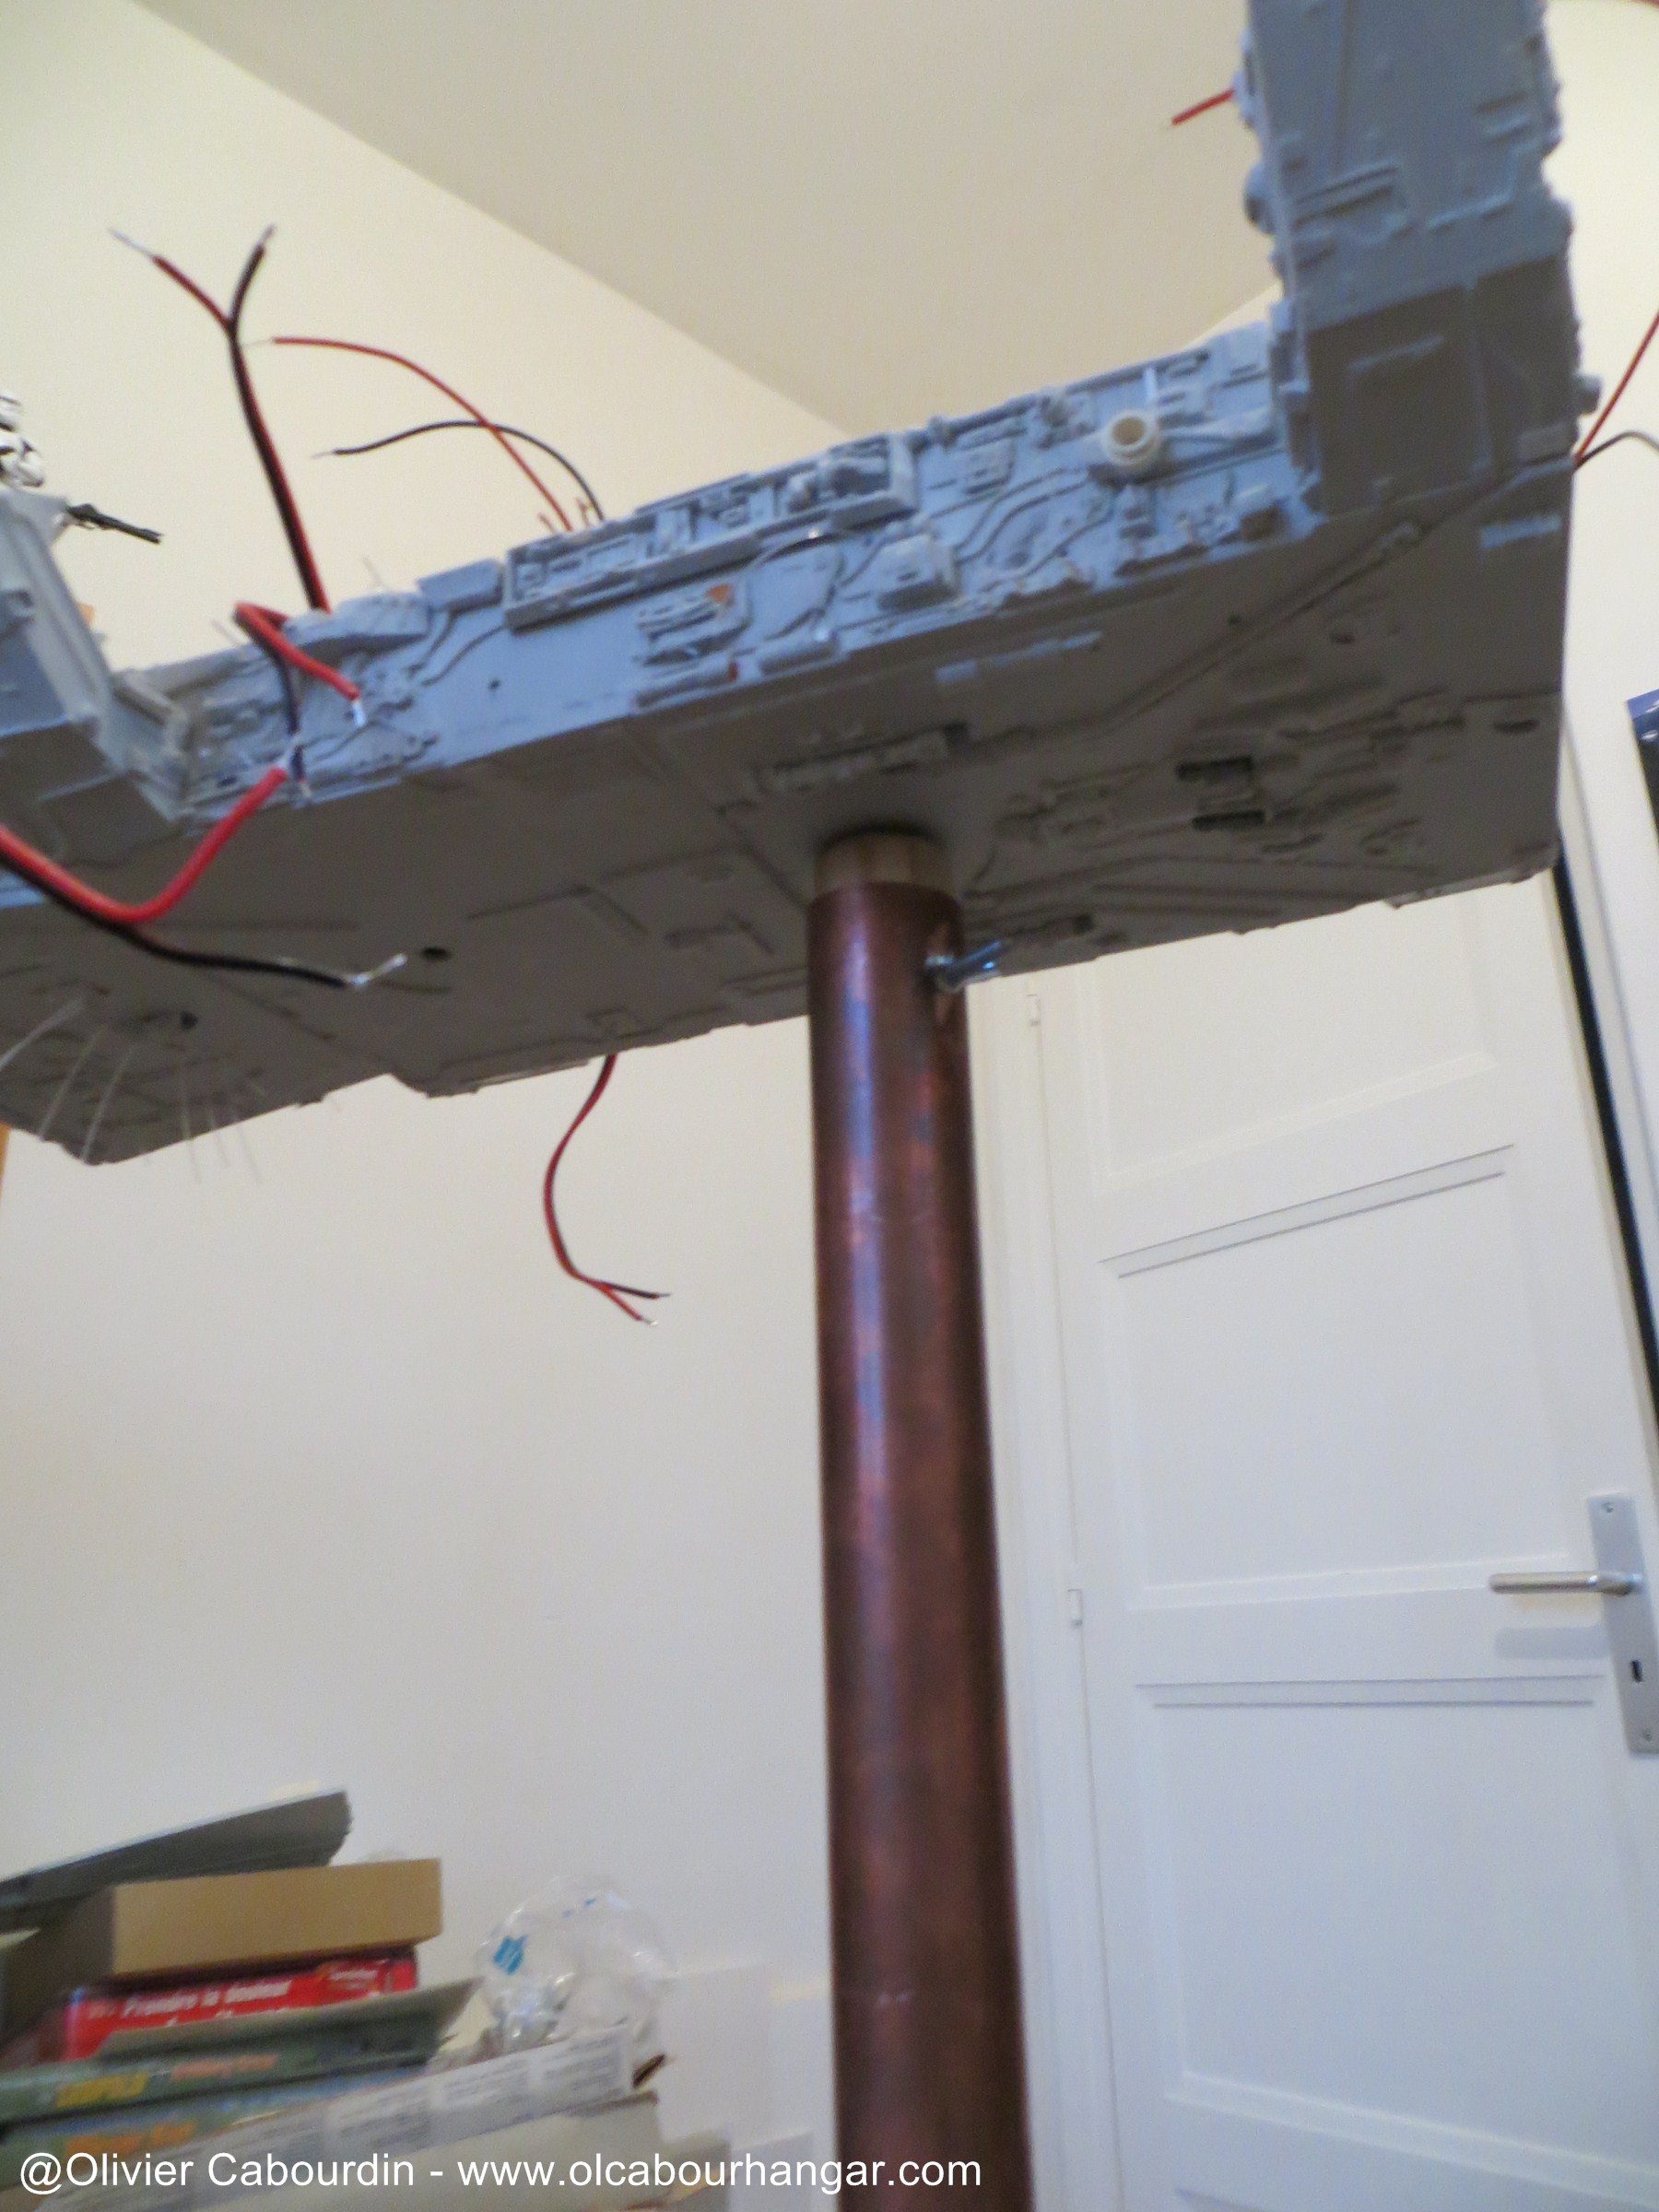
The electrical circuit is connected by a wire going through the forearm (via a tunnel that I did previously during the dry assembling)
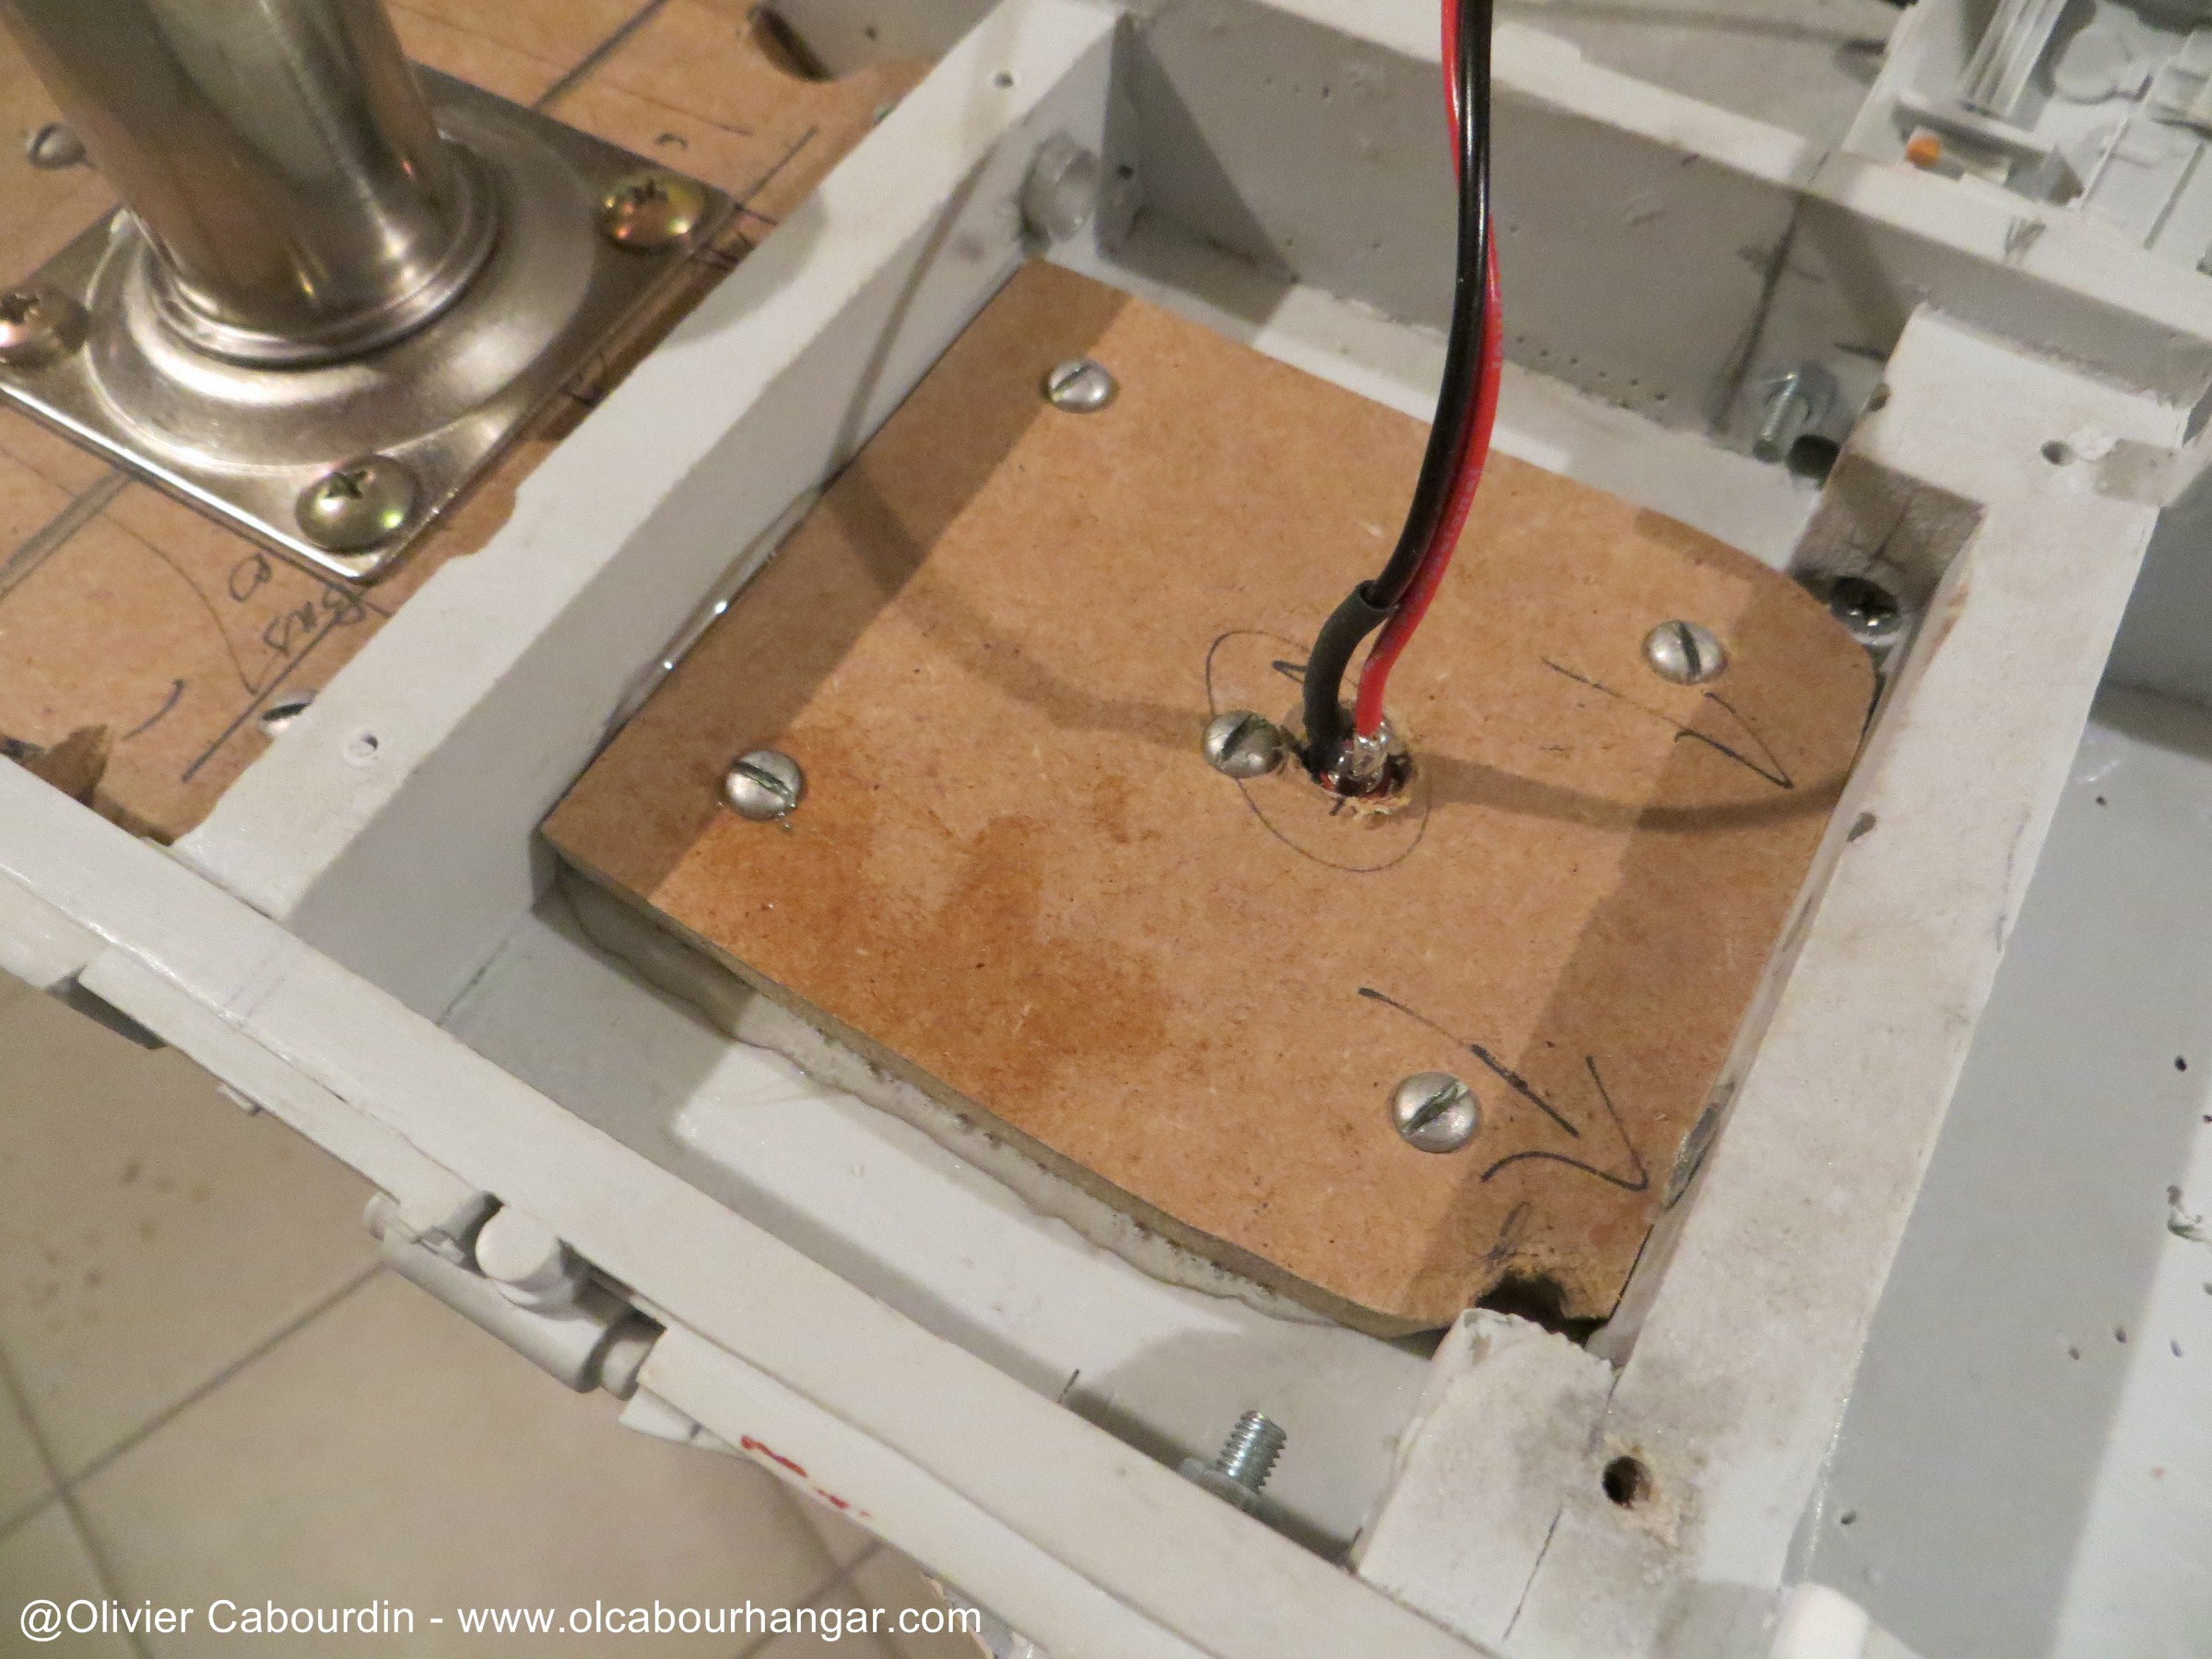
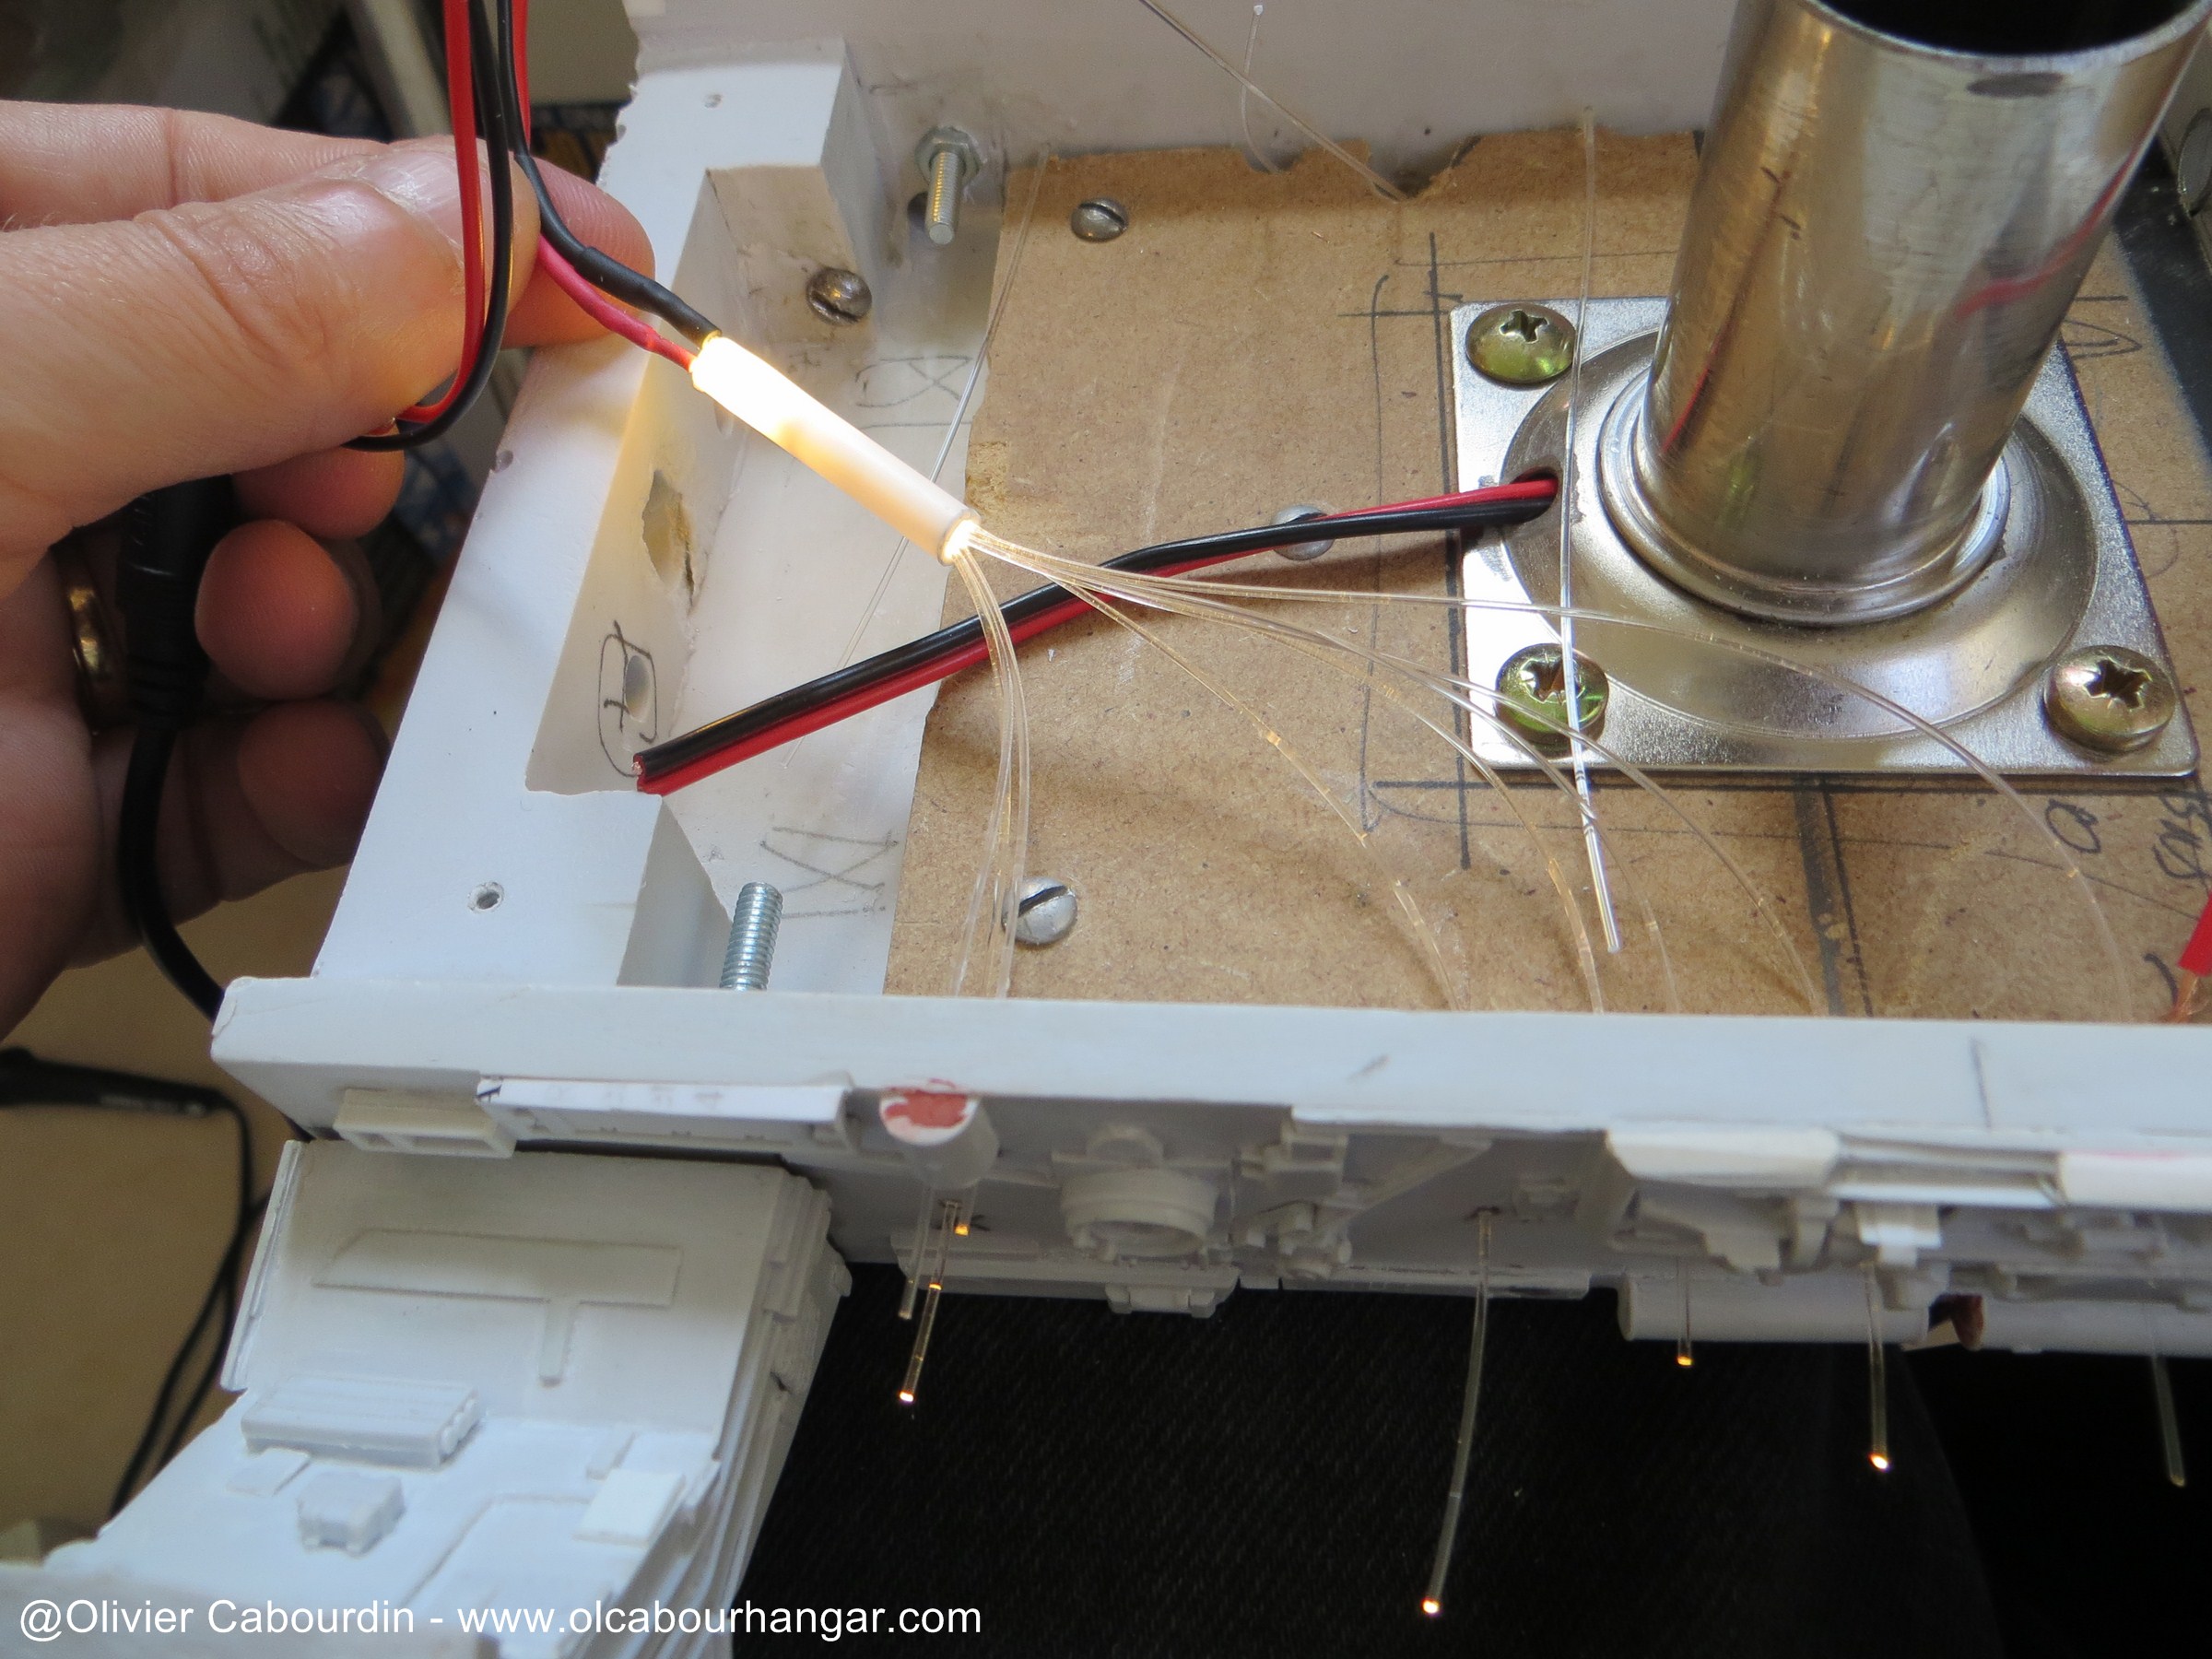
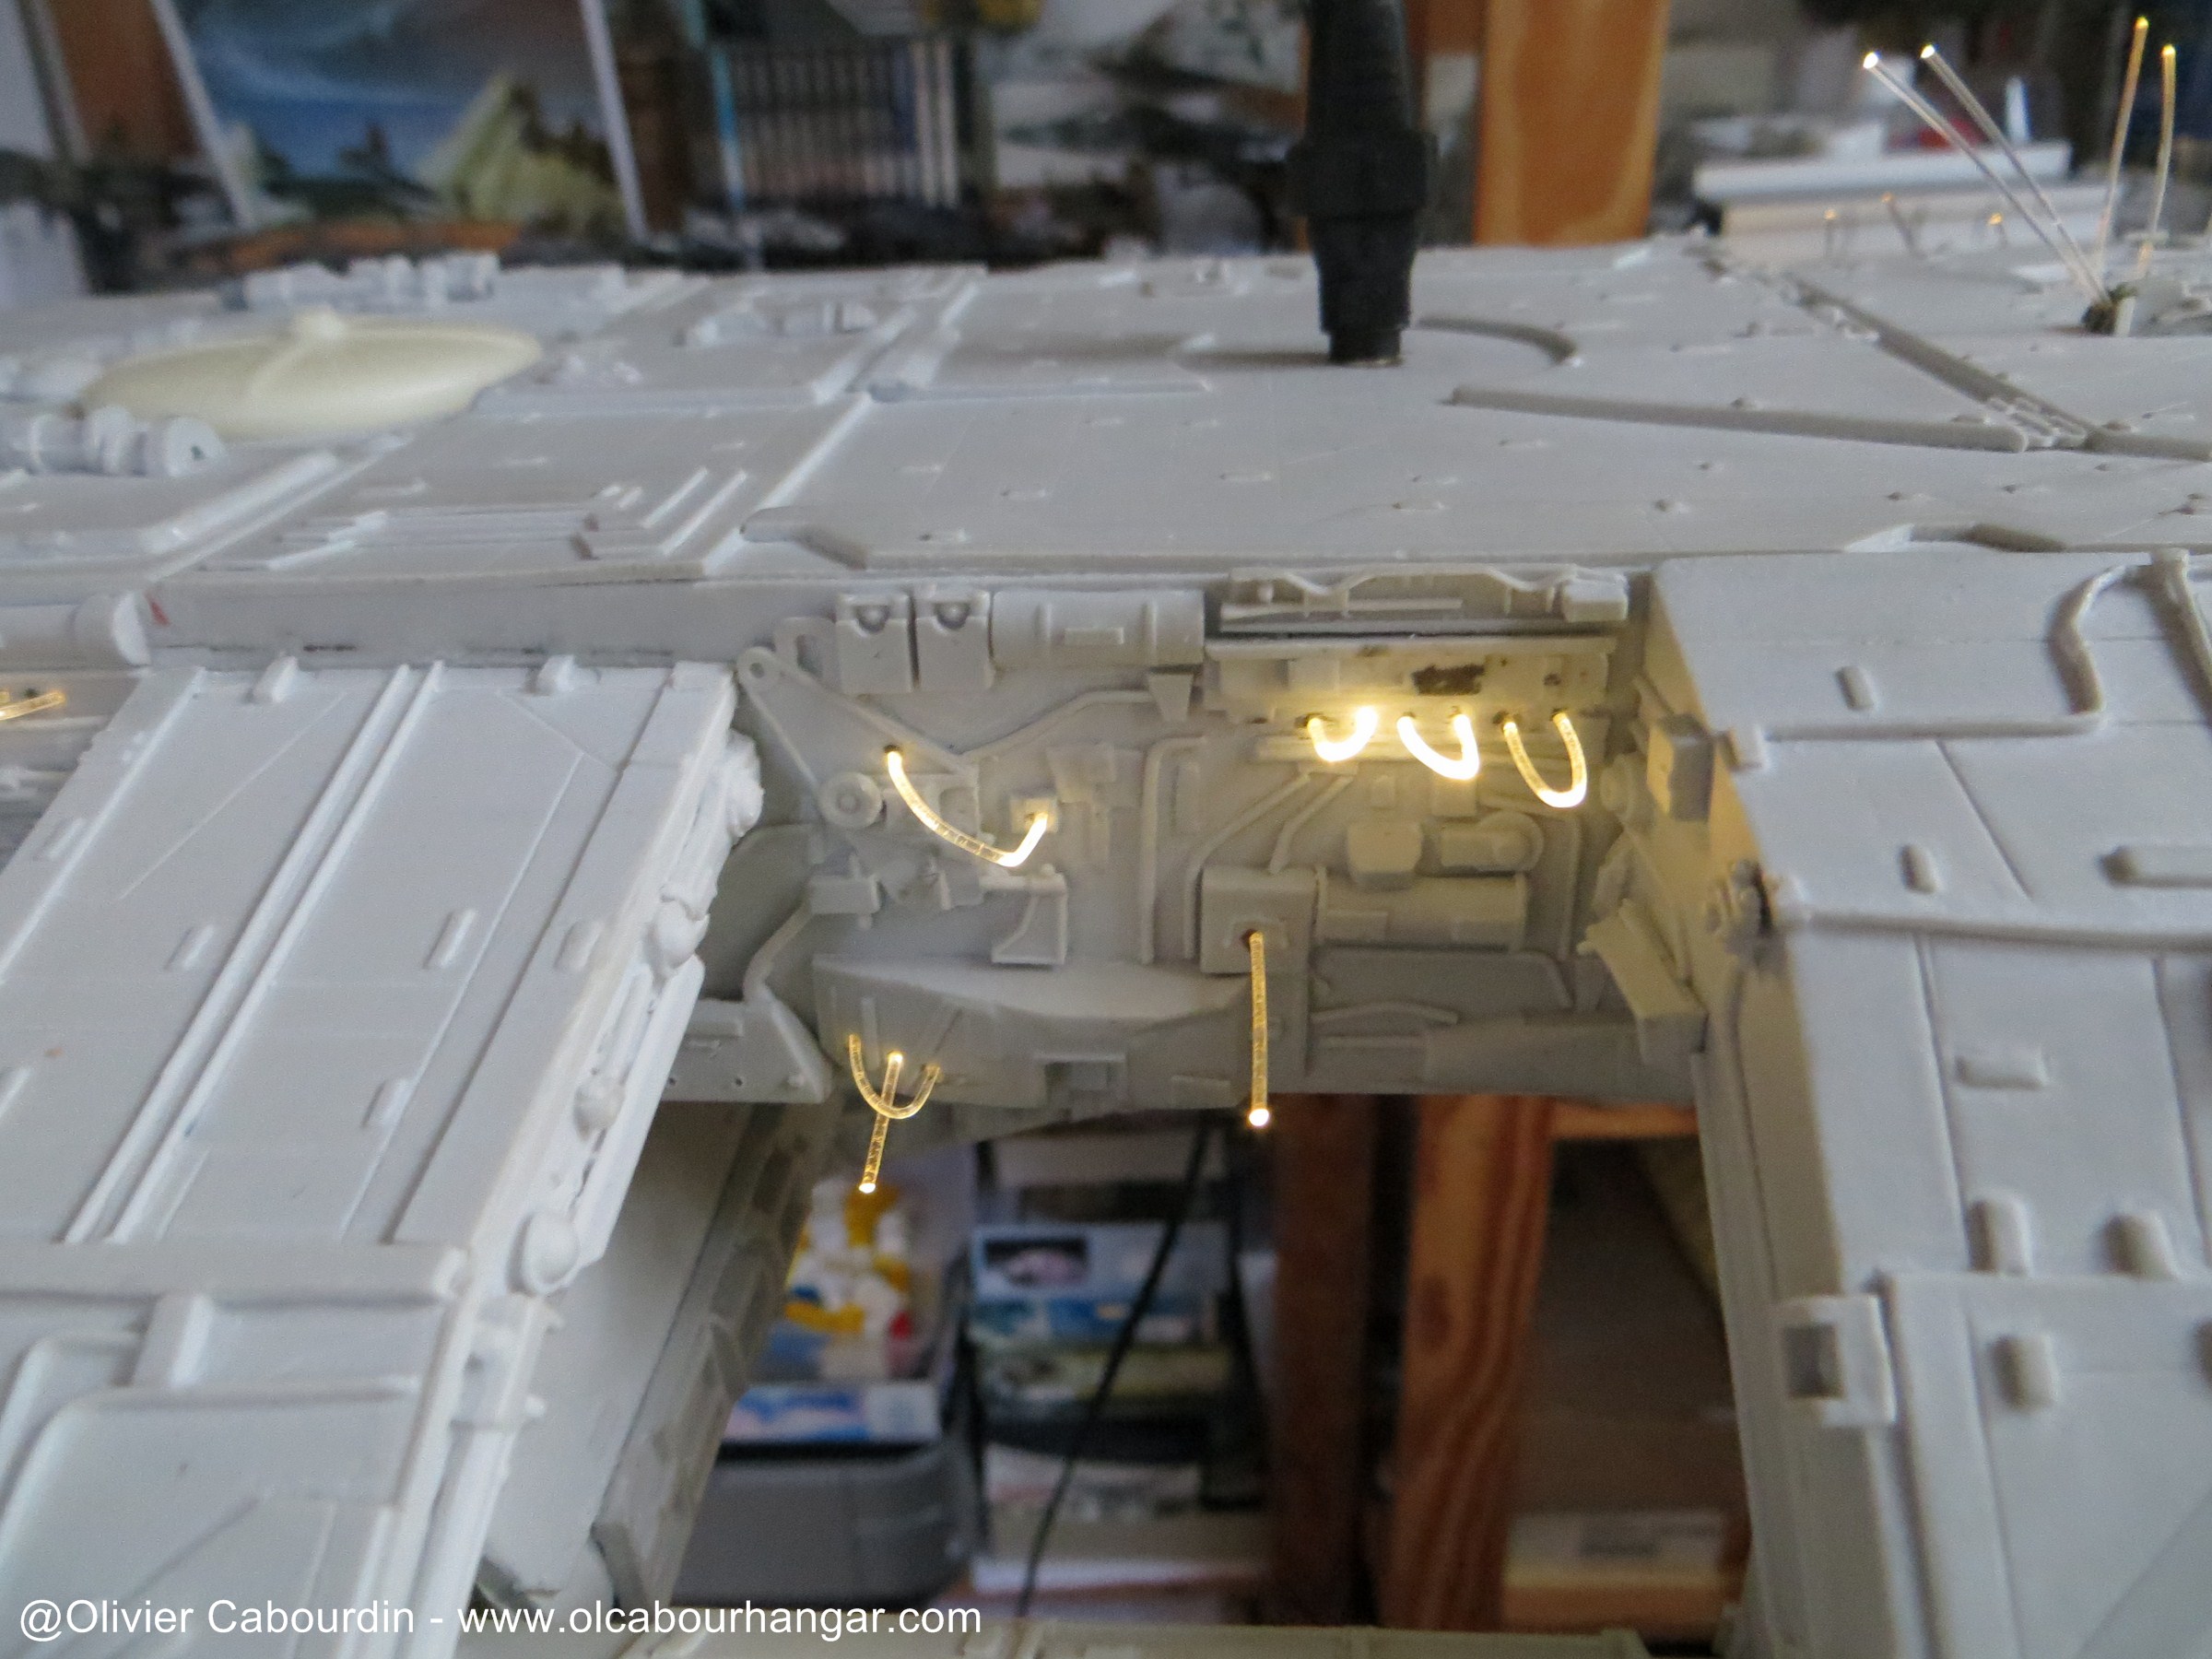
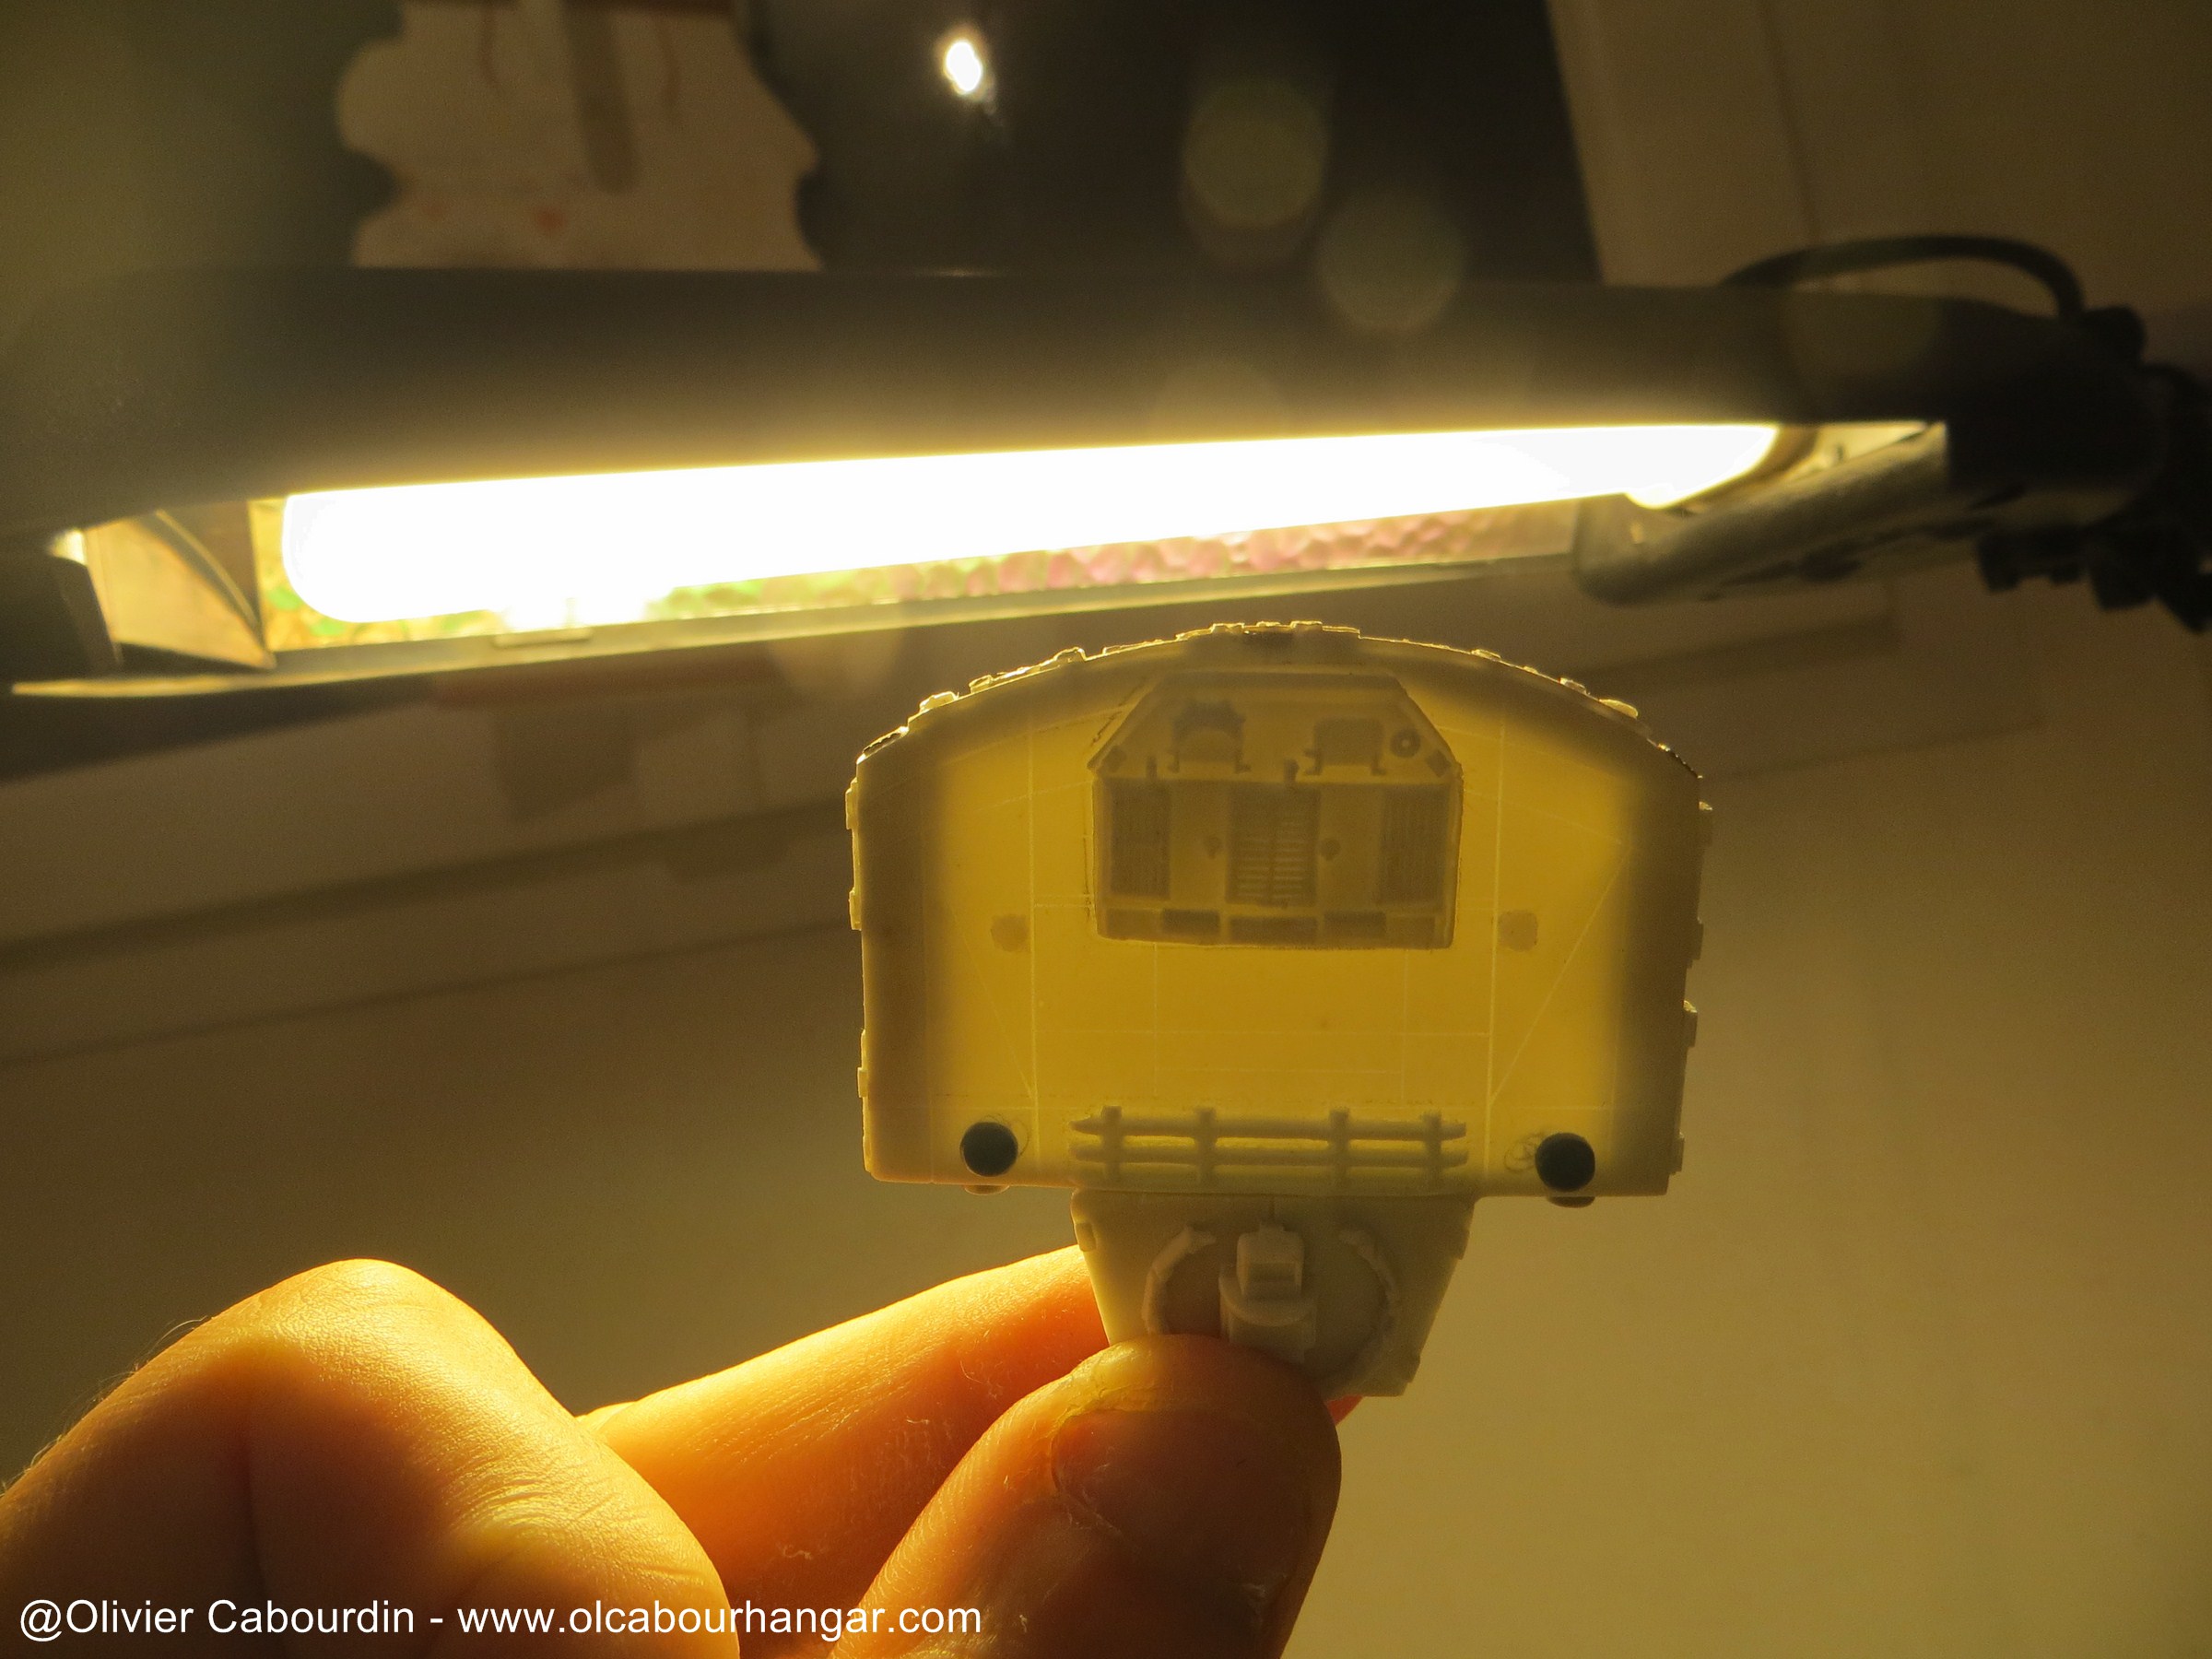
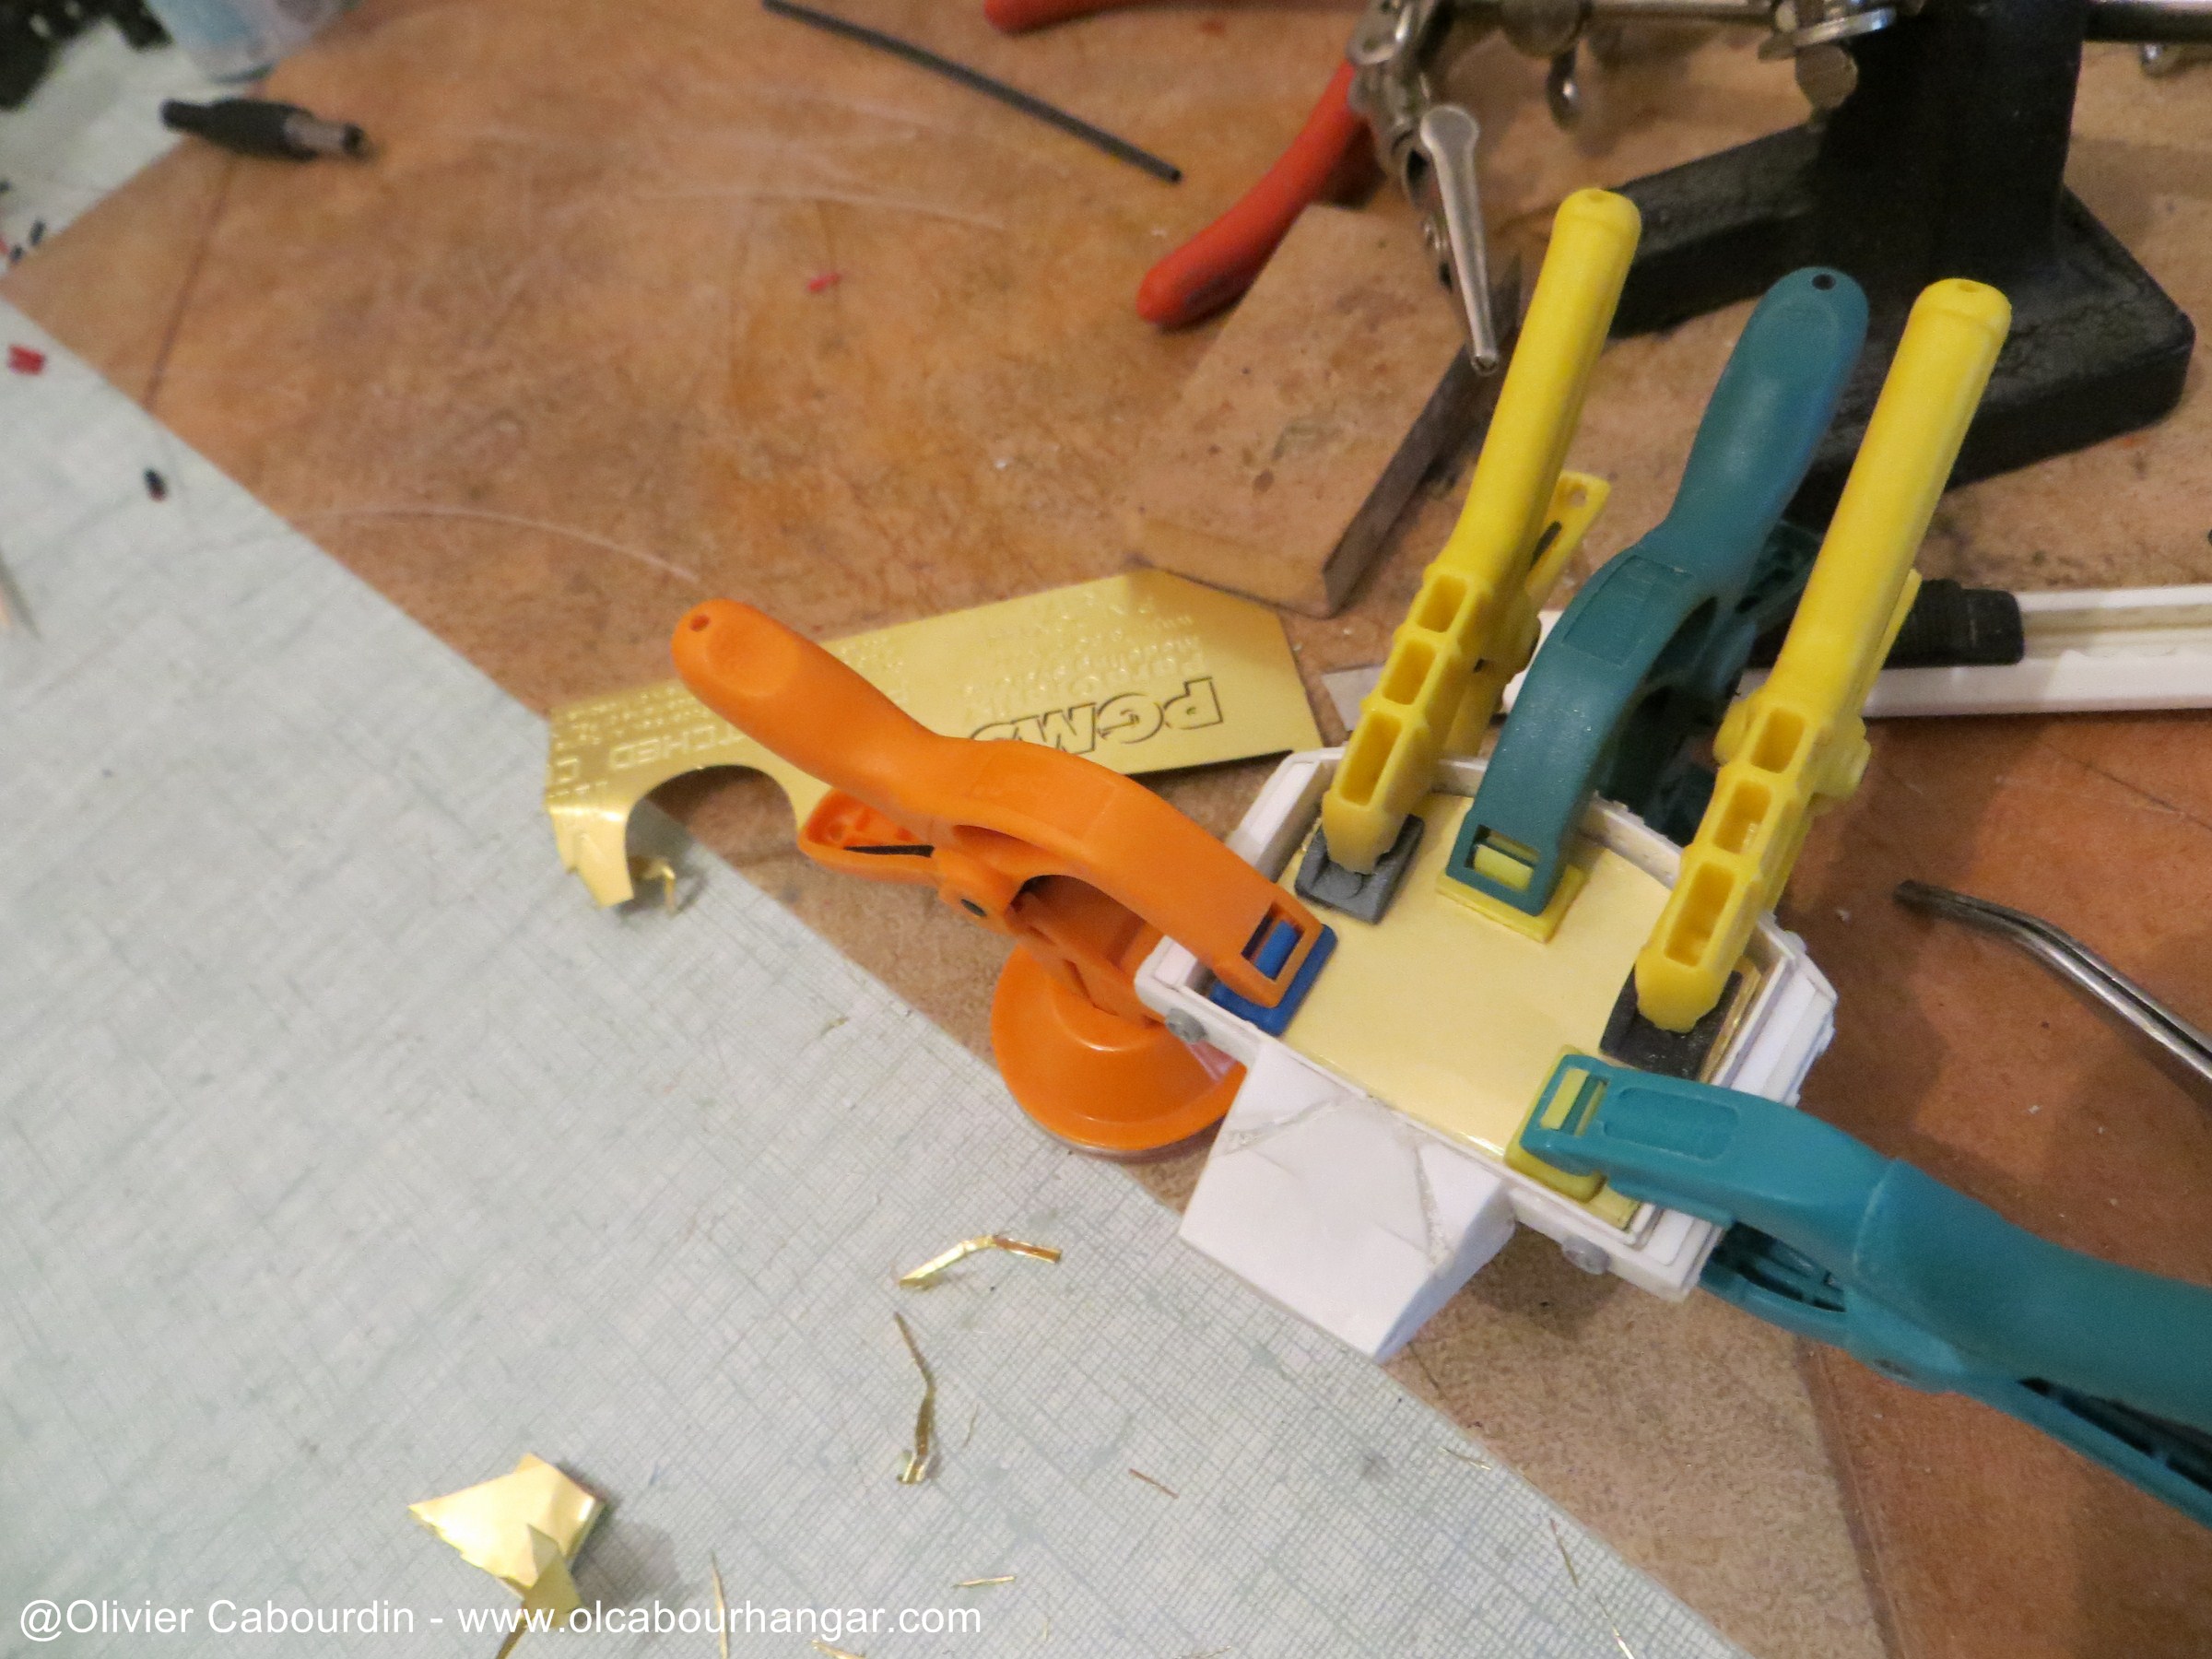
- For the head, there is enough space to install everything relatively quietly. Yet it was not easy.
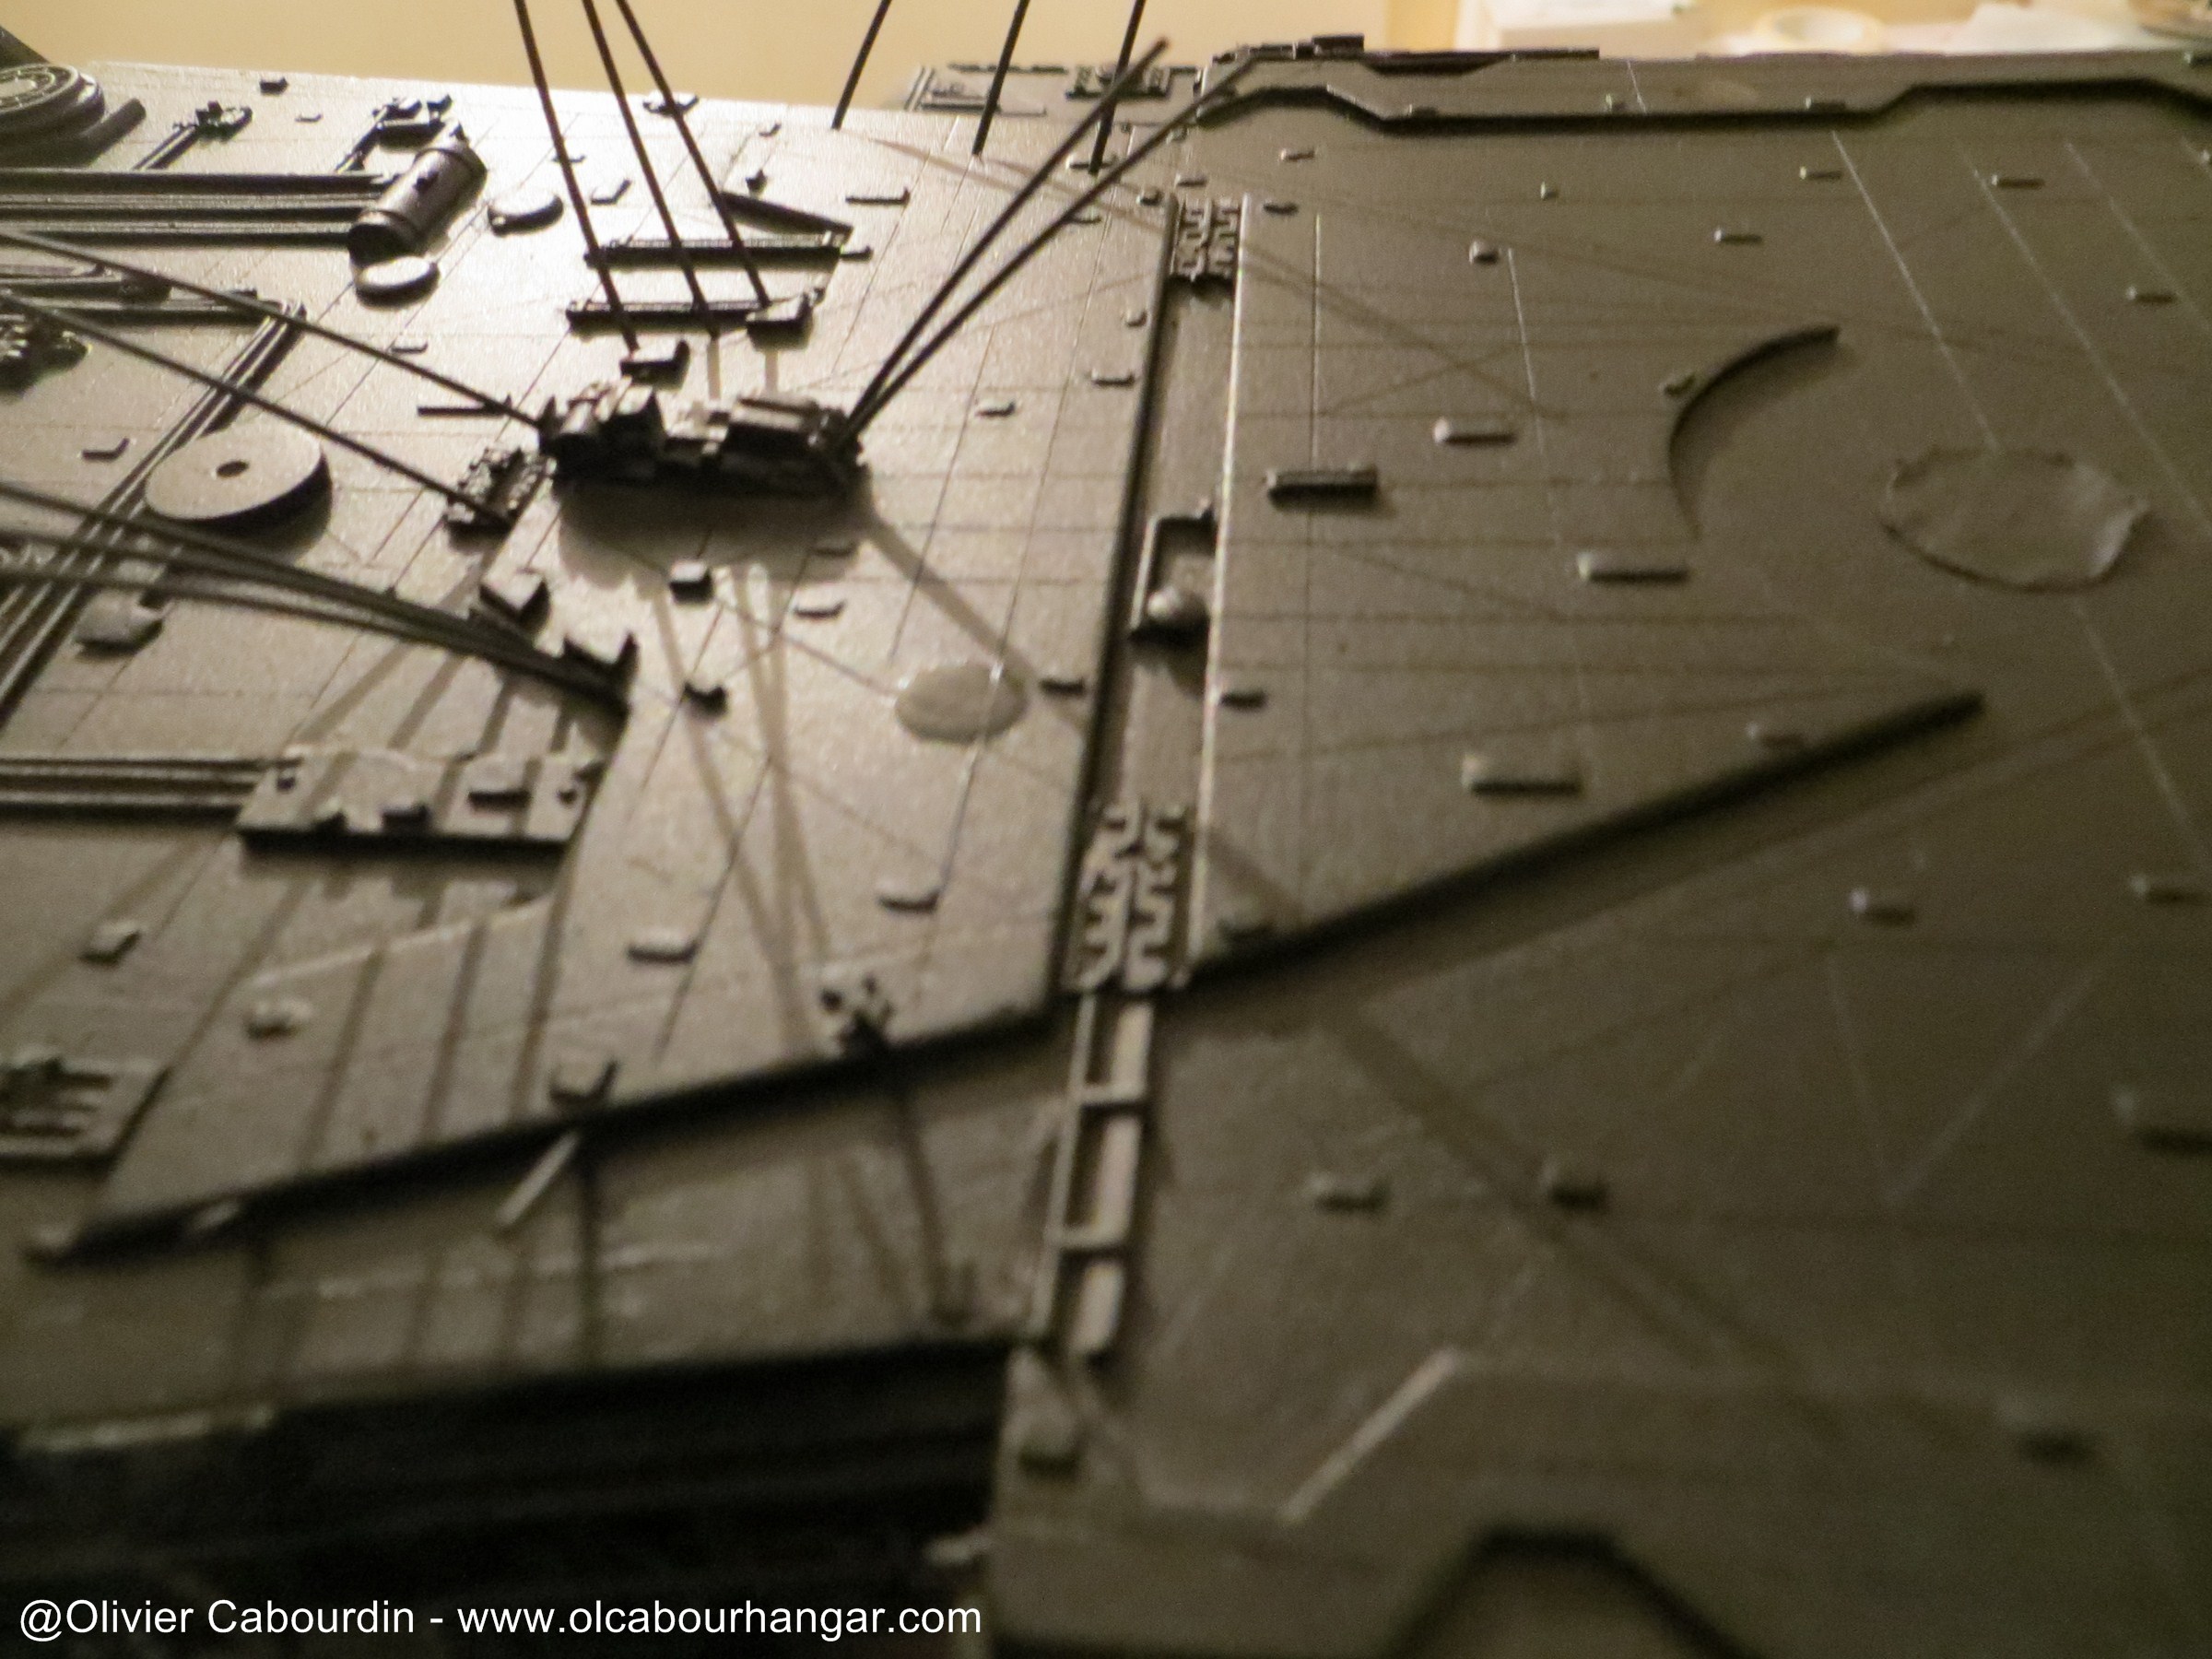
Due to the work on the gap and light leaks, many fibers broke. Some will be replaced up to 3 times! 

In fact, the Galactica is a cat ... the proof: he has a mustache

So to block the ligth leaks on the head, I use black paint (of course), the black tape around the LED pipes and strips of black cloth (with 2 glued in sausage).

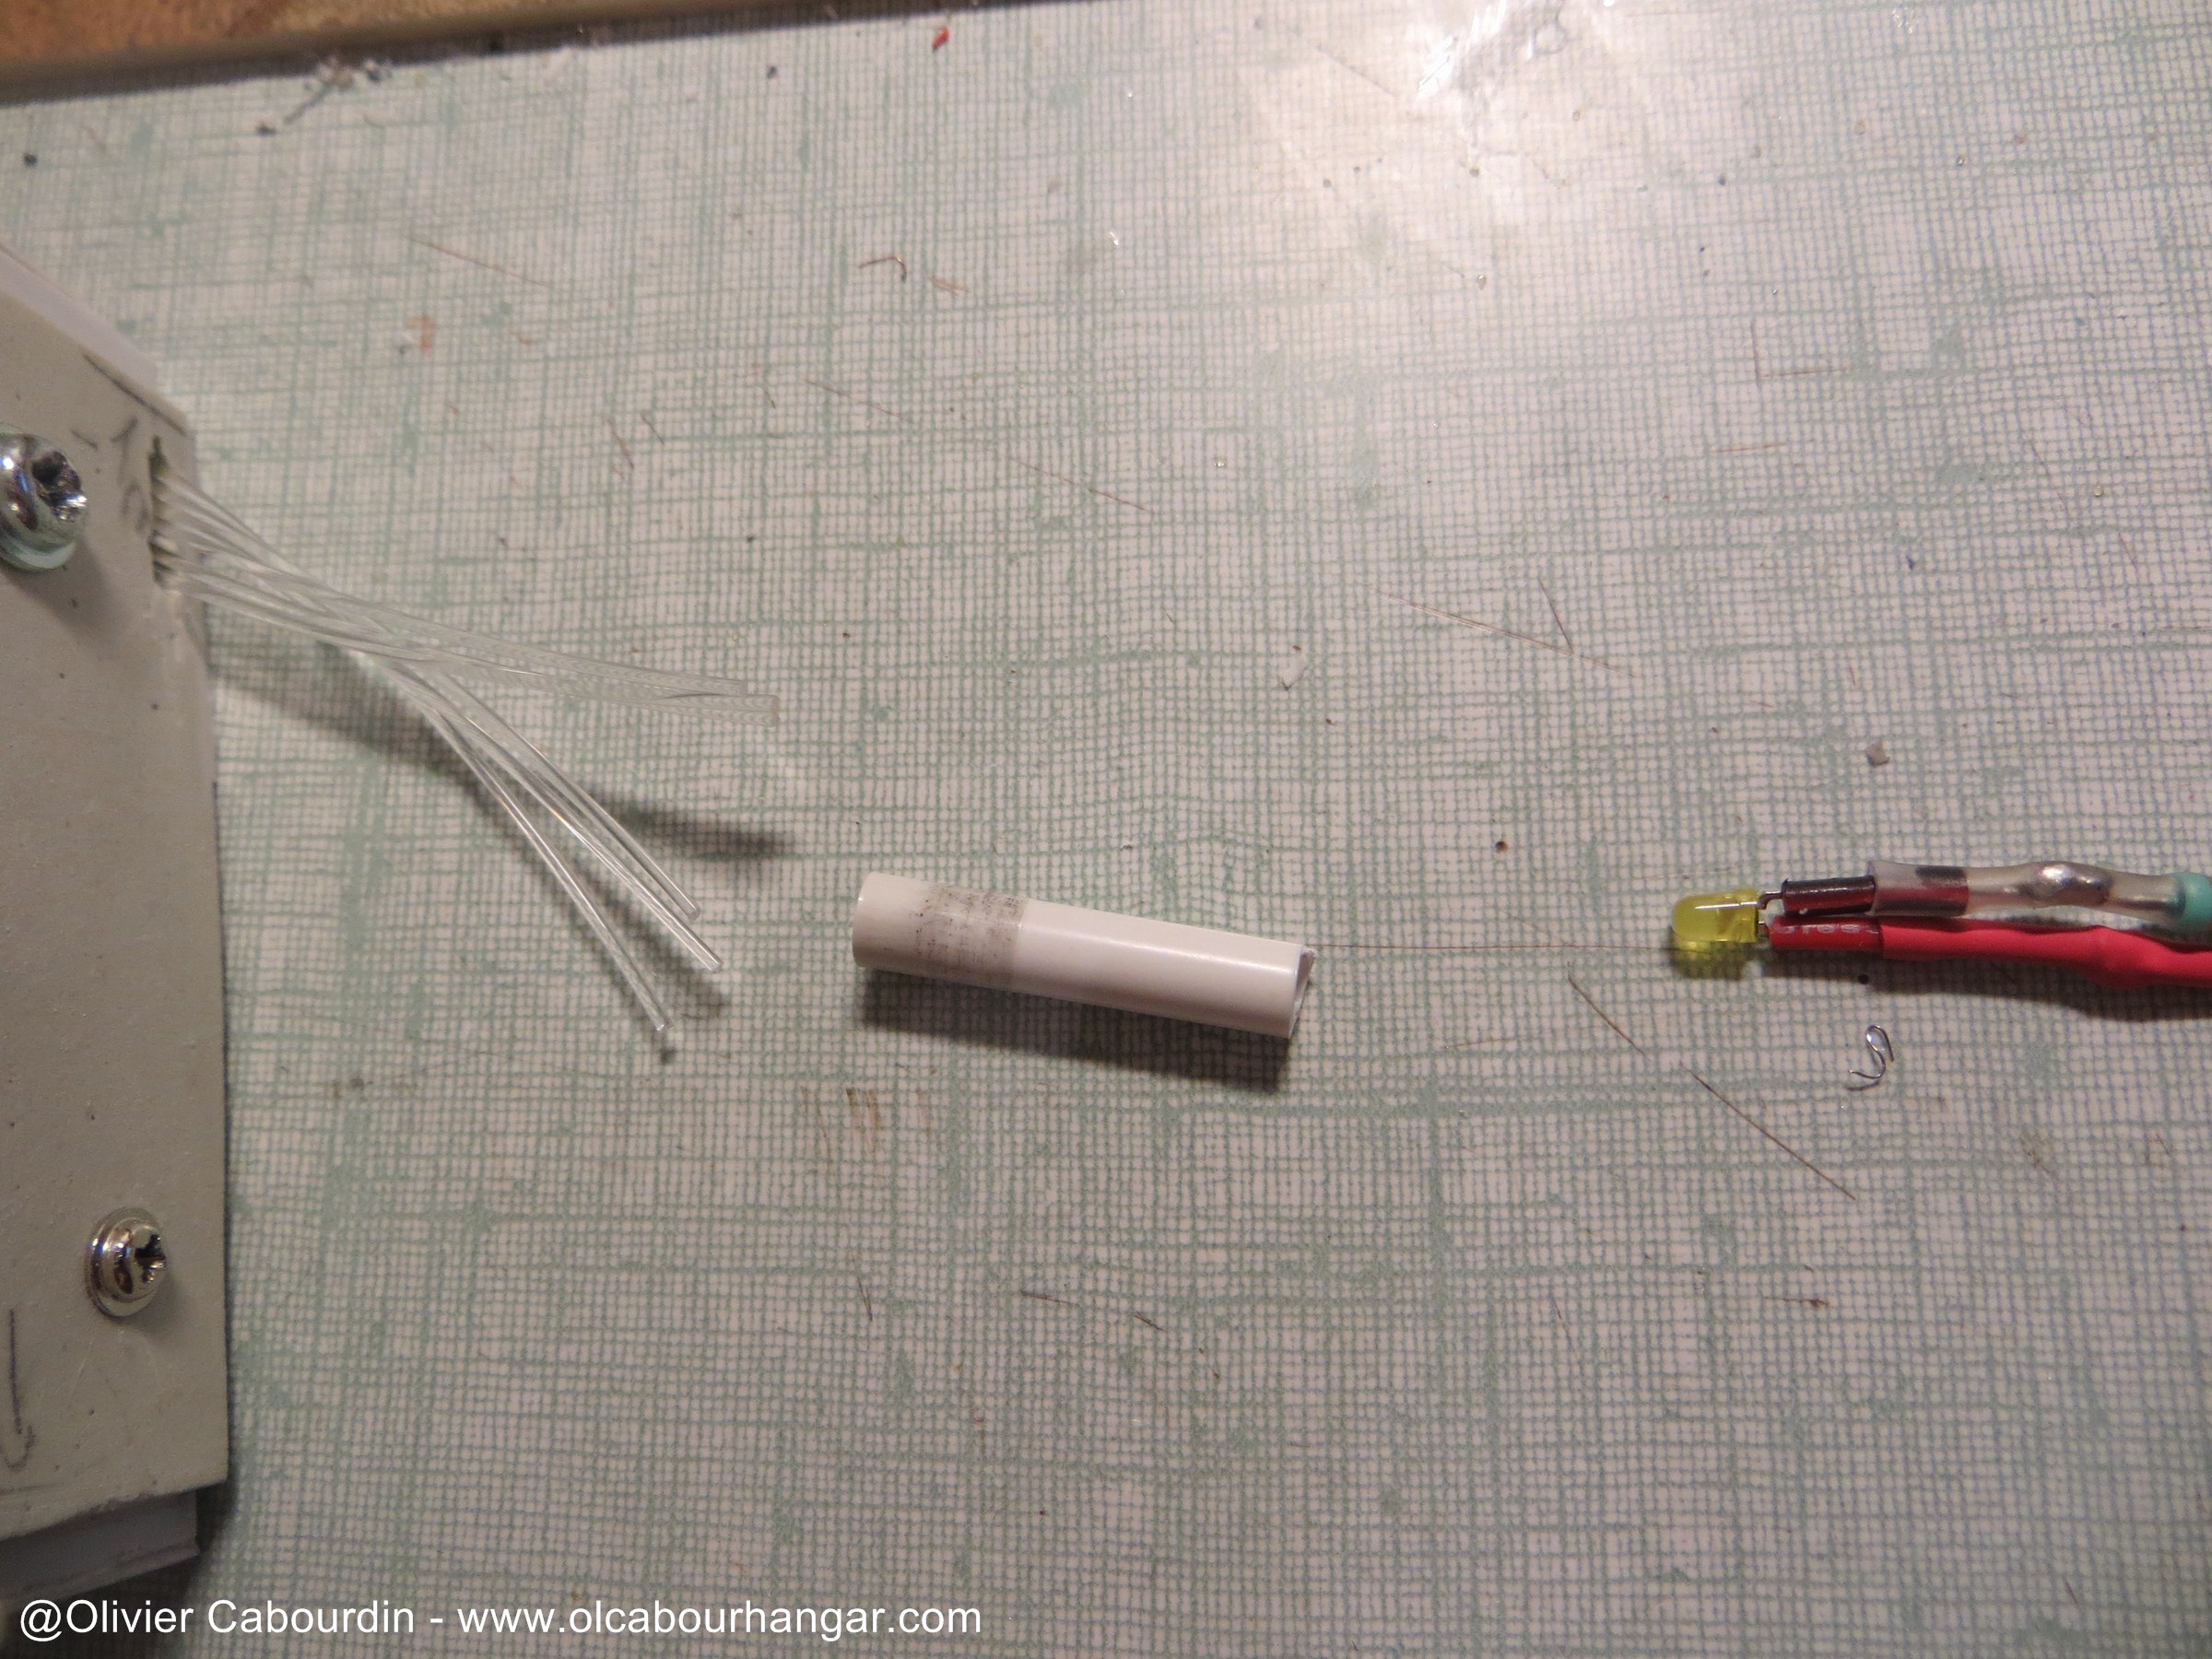
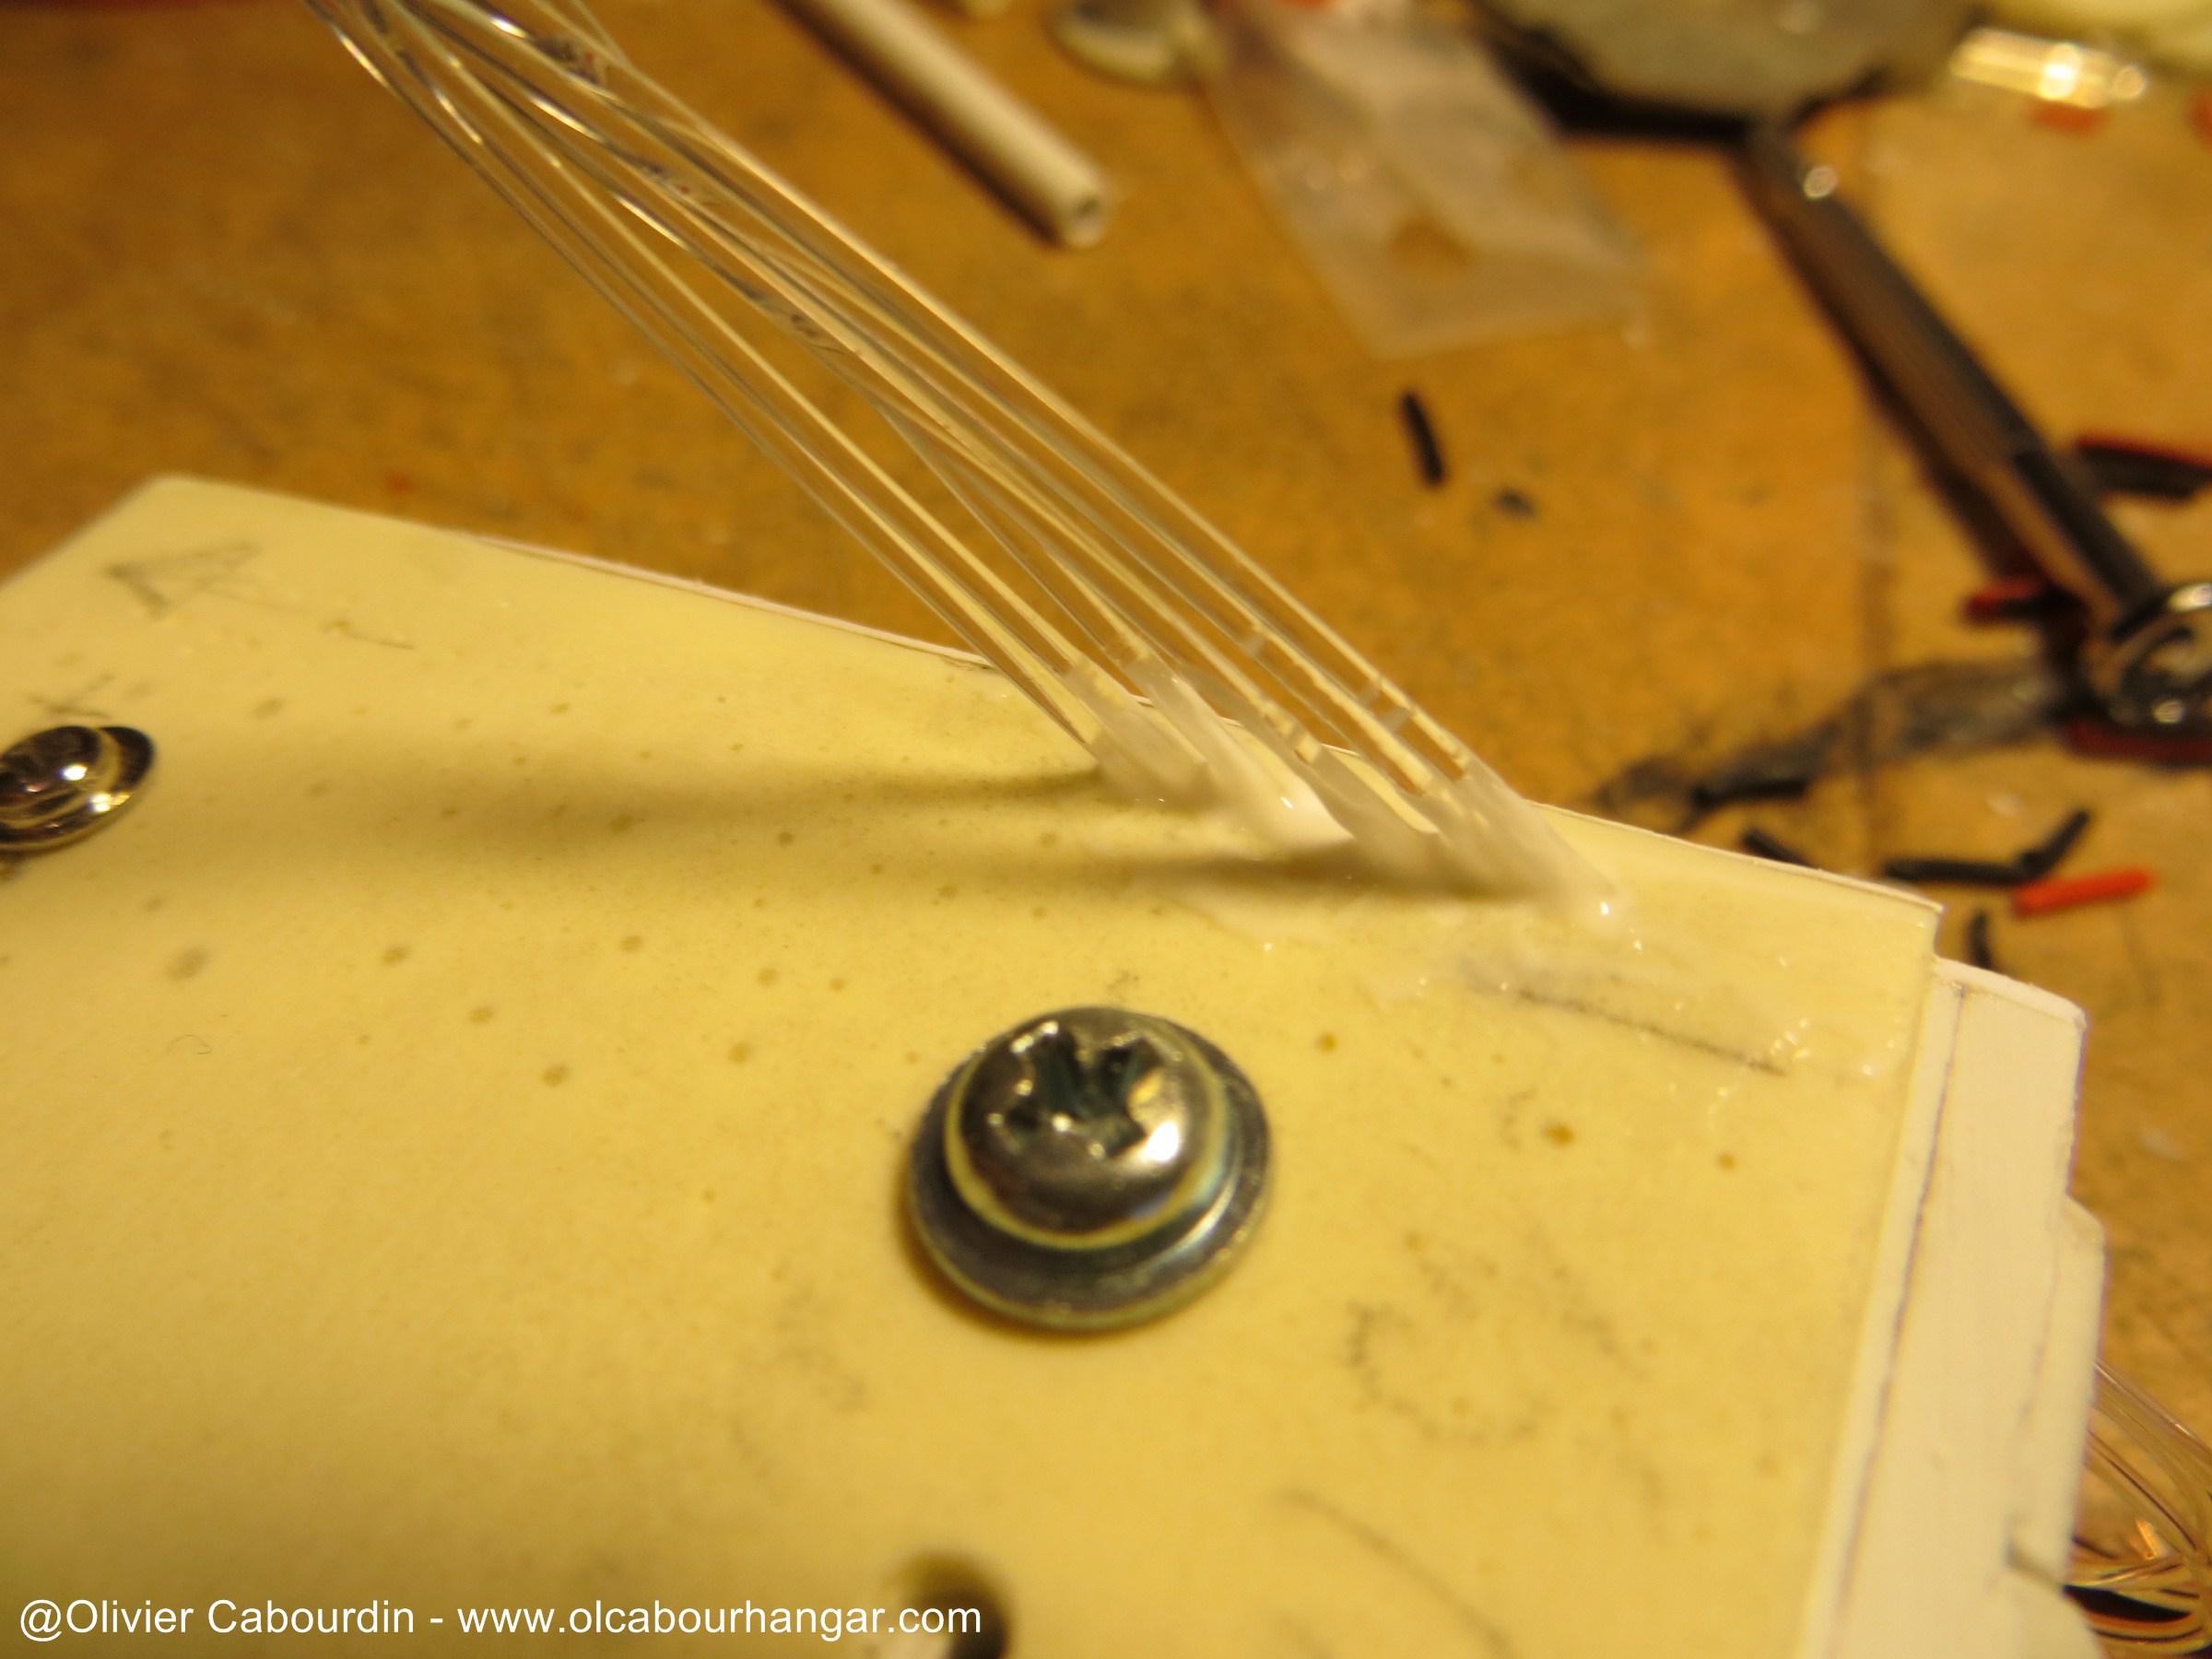
- For the bridge, I was planning to run the fibers into the head, but the strength of the fibers (as a bundle) did not allow them to go through the small opening provided without force feedback on the part, that I was afraid to break !
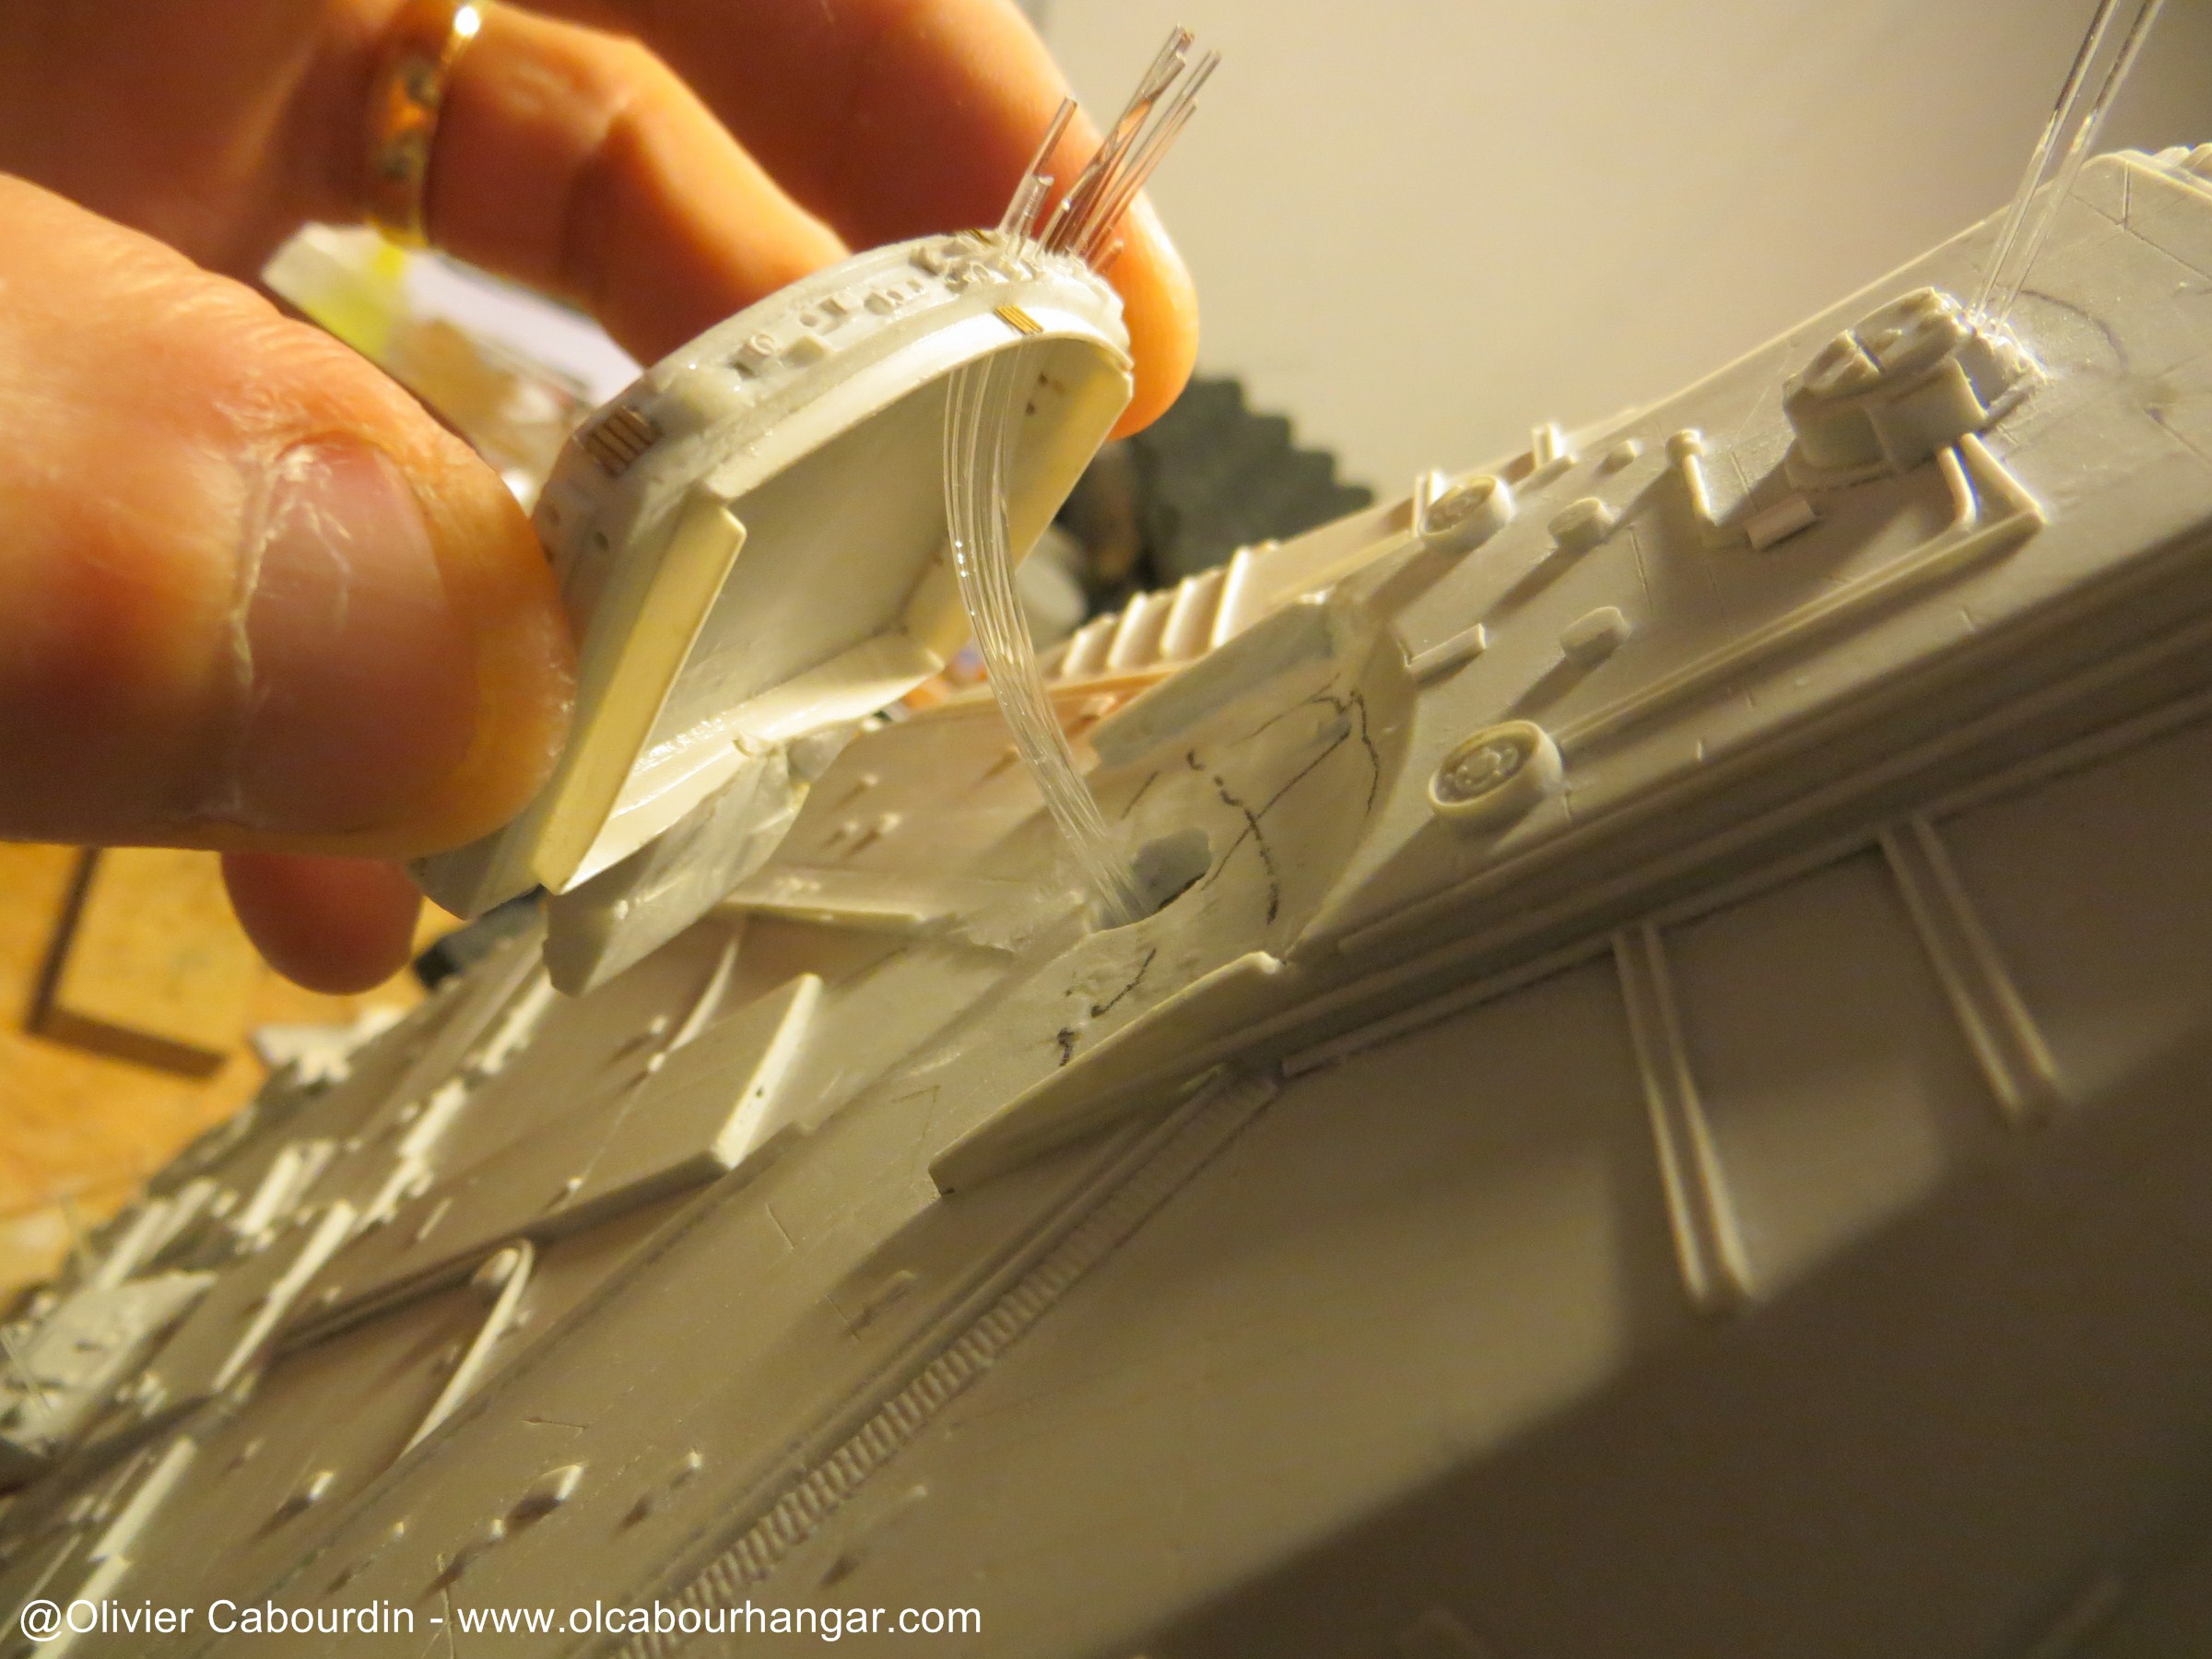
So they are finally inserted in the side a tube where a LED is inserted.

To avoid the light leaks through, I glued a photoeched plate
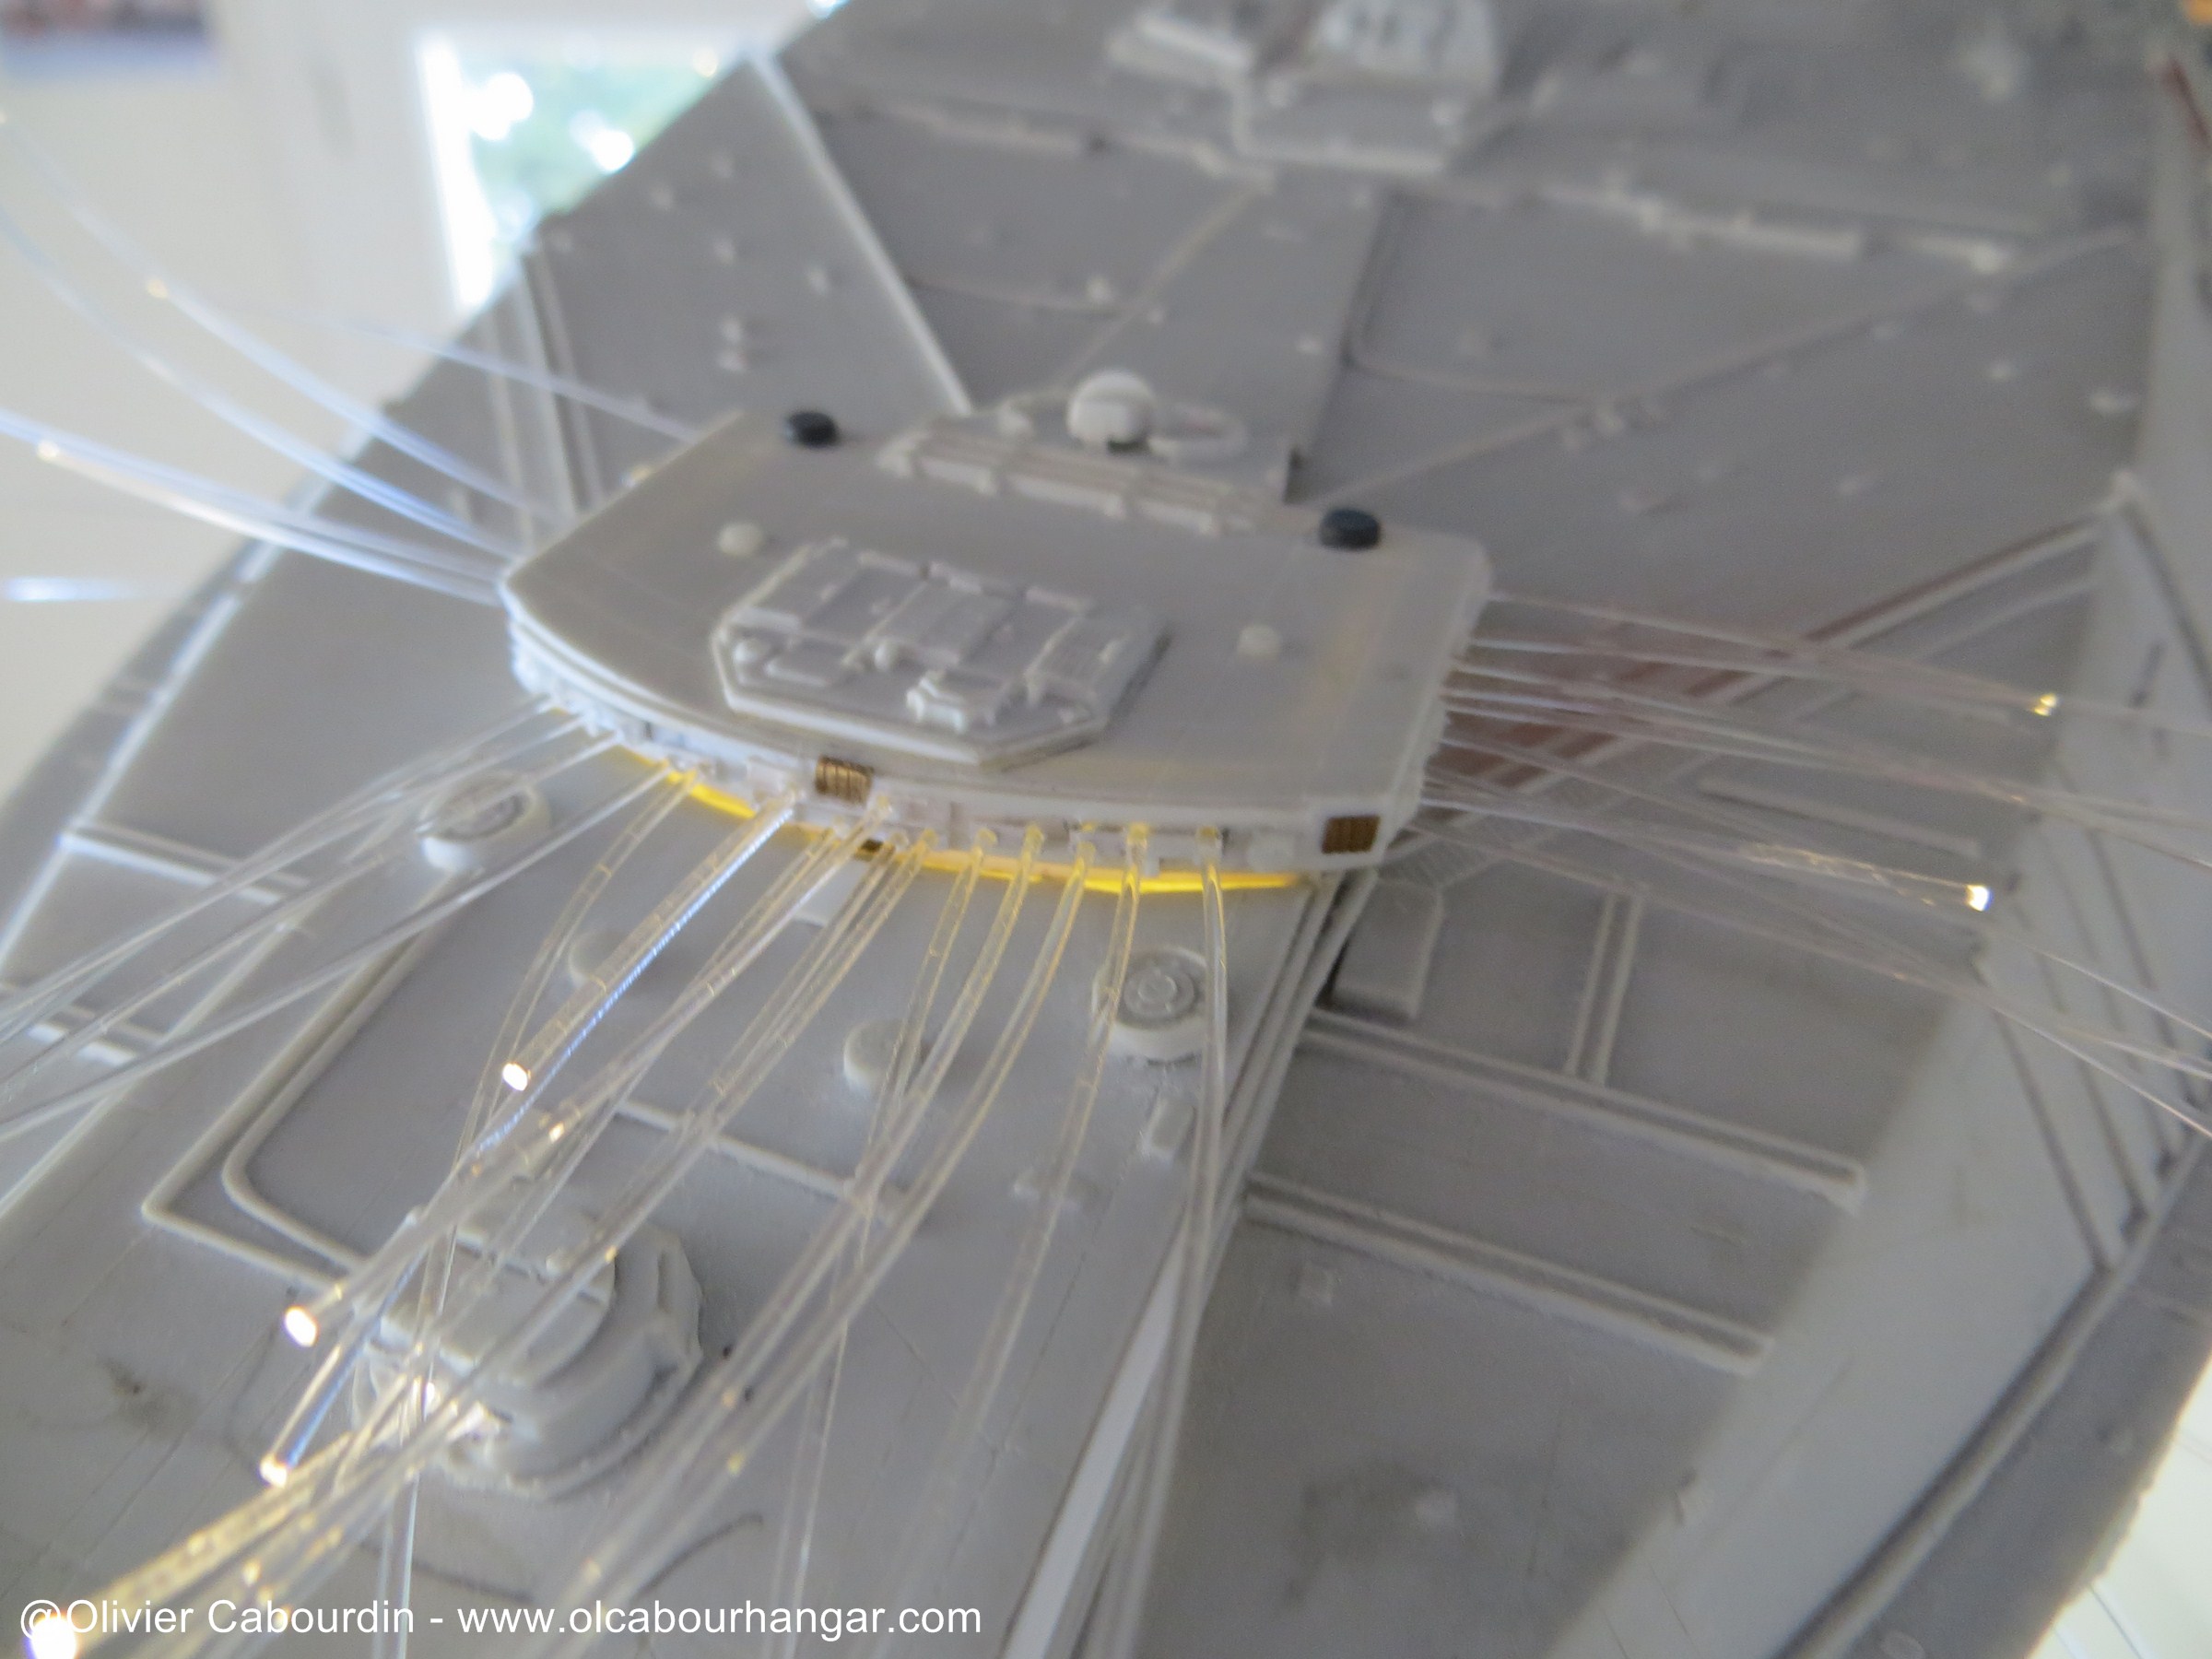
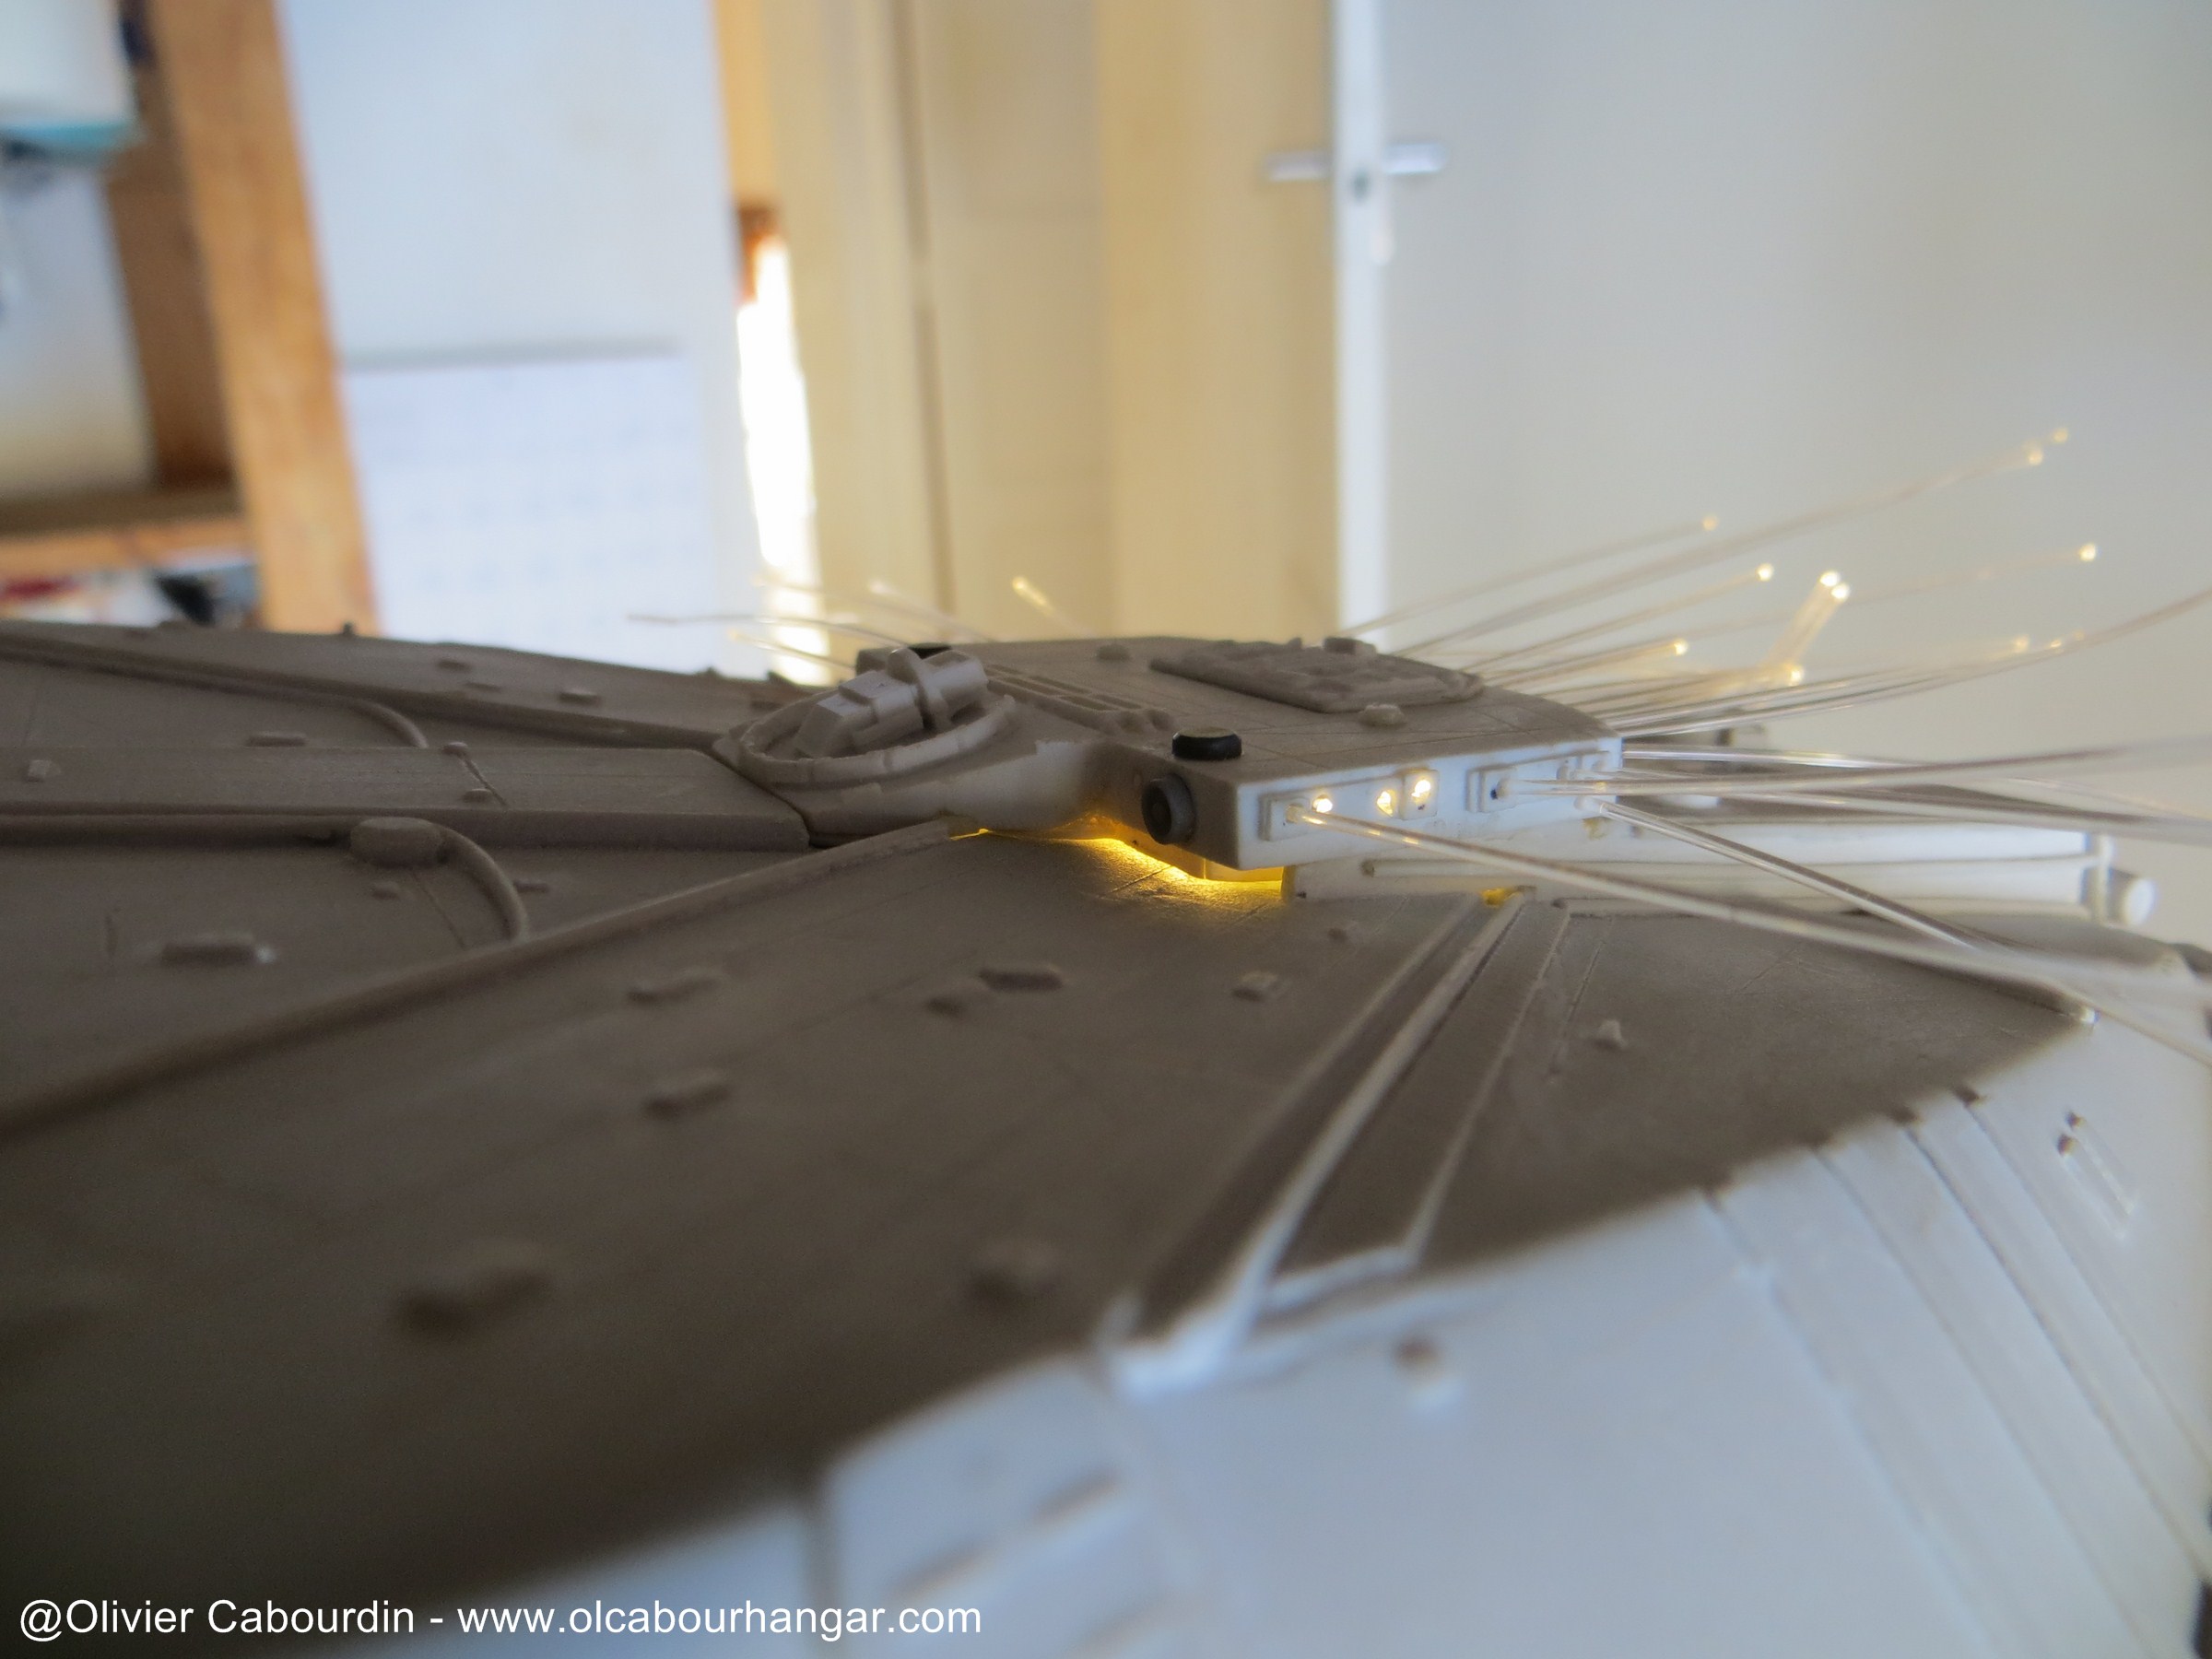
The fibers are set with white glue.
A mixture of plaster and black paint is tsmeared o block other light leaks.

And it works.

The LED is stuck in a cap (superglue cap here)
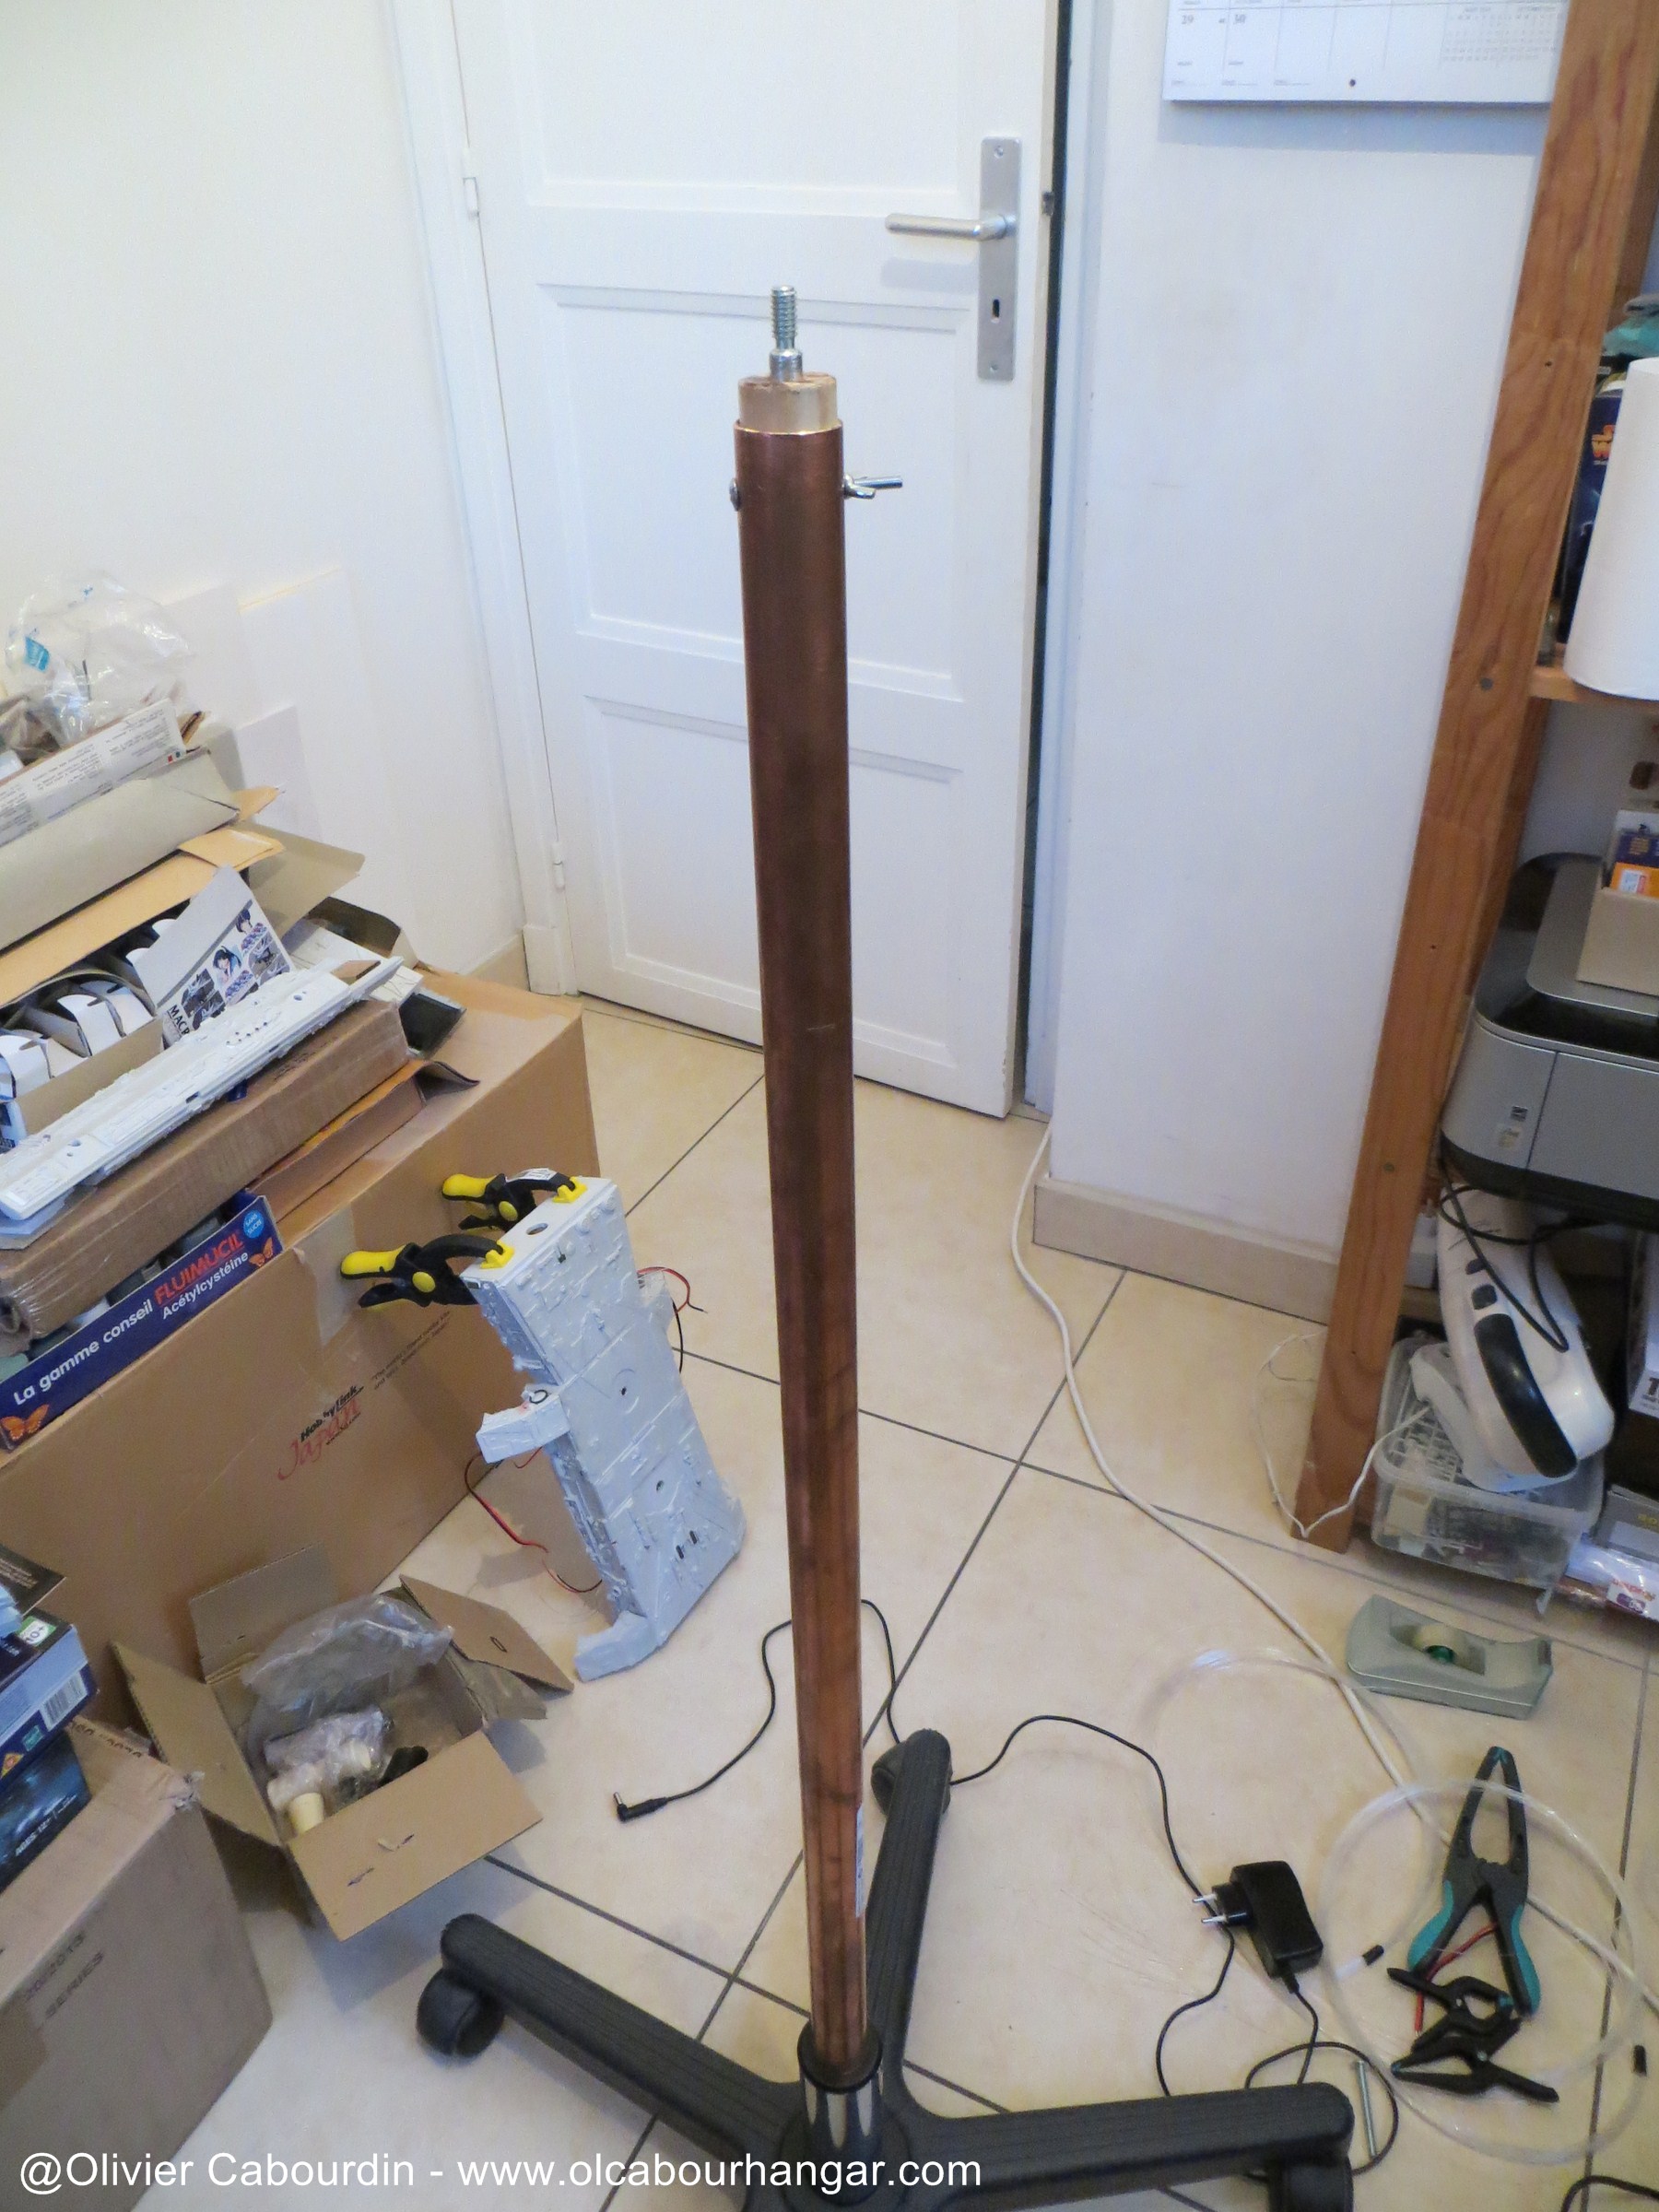
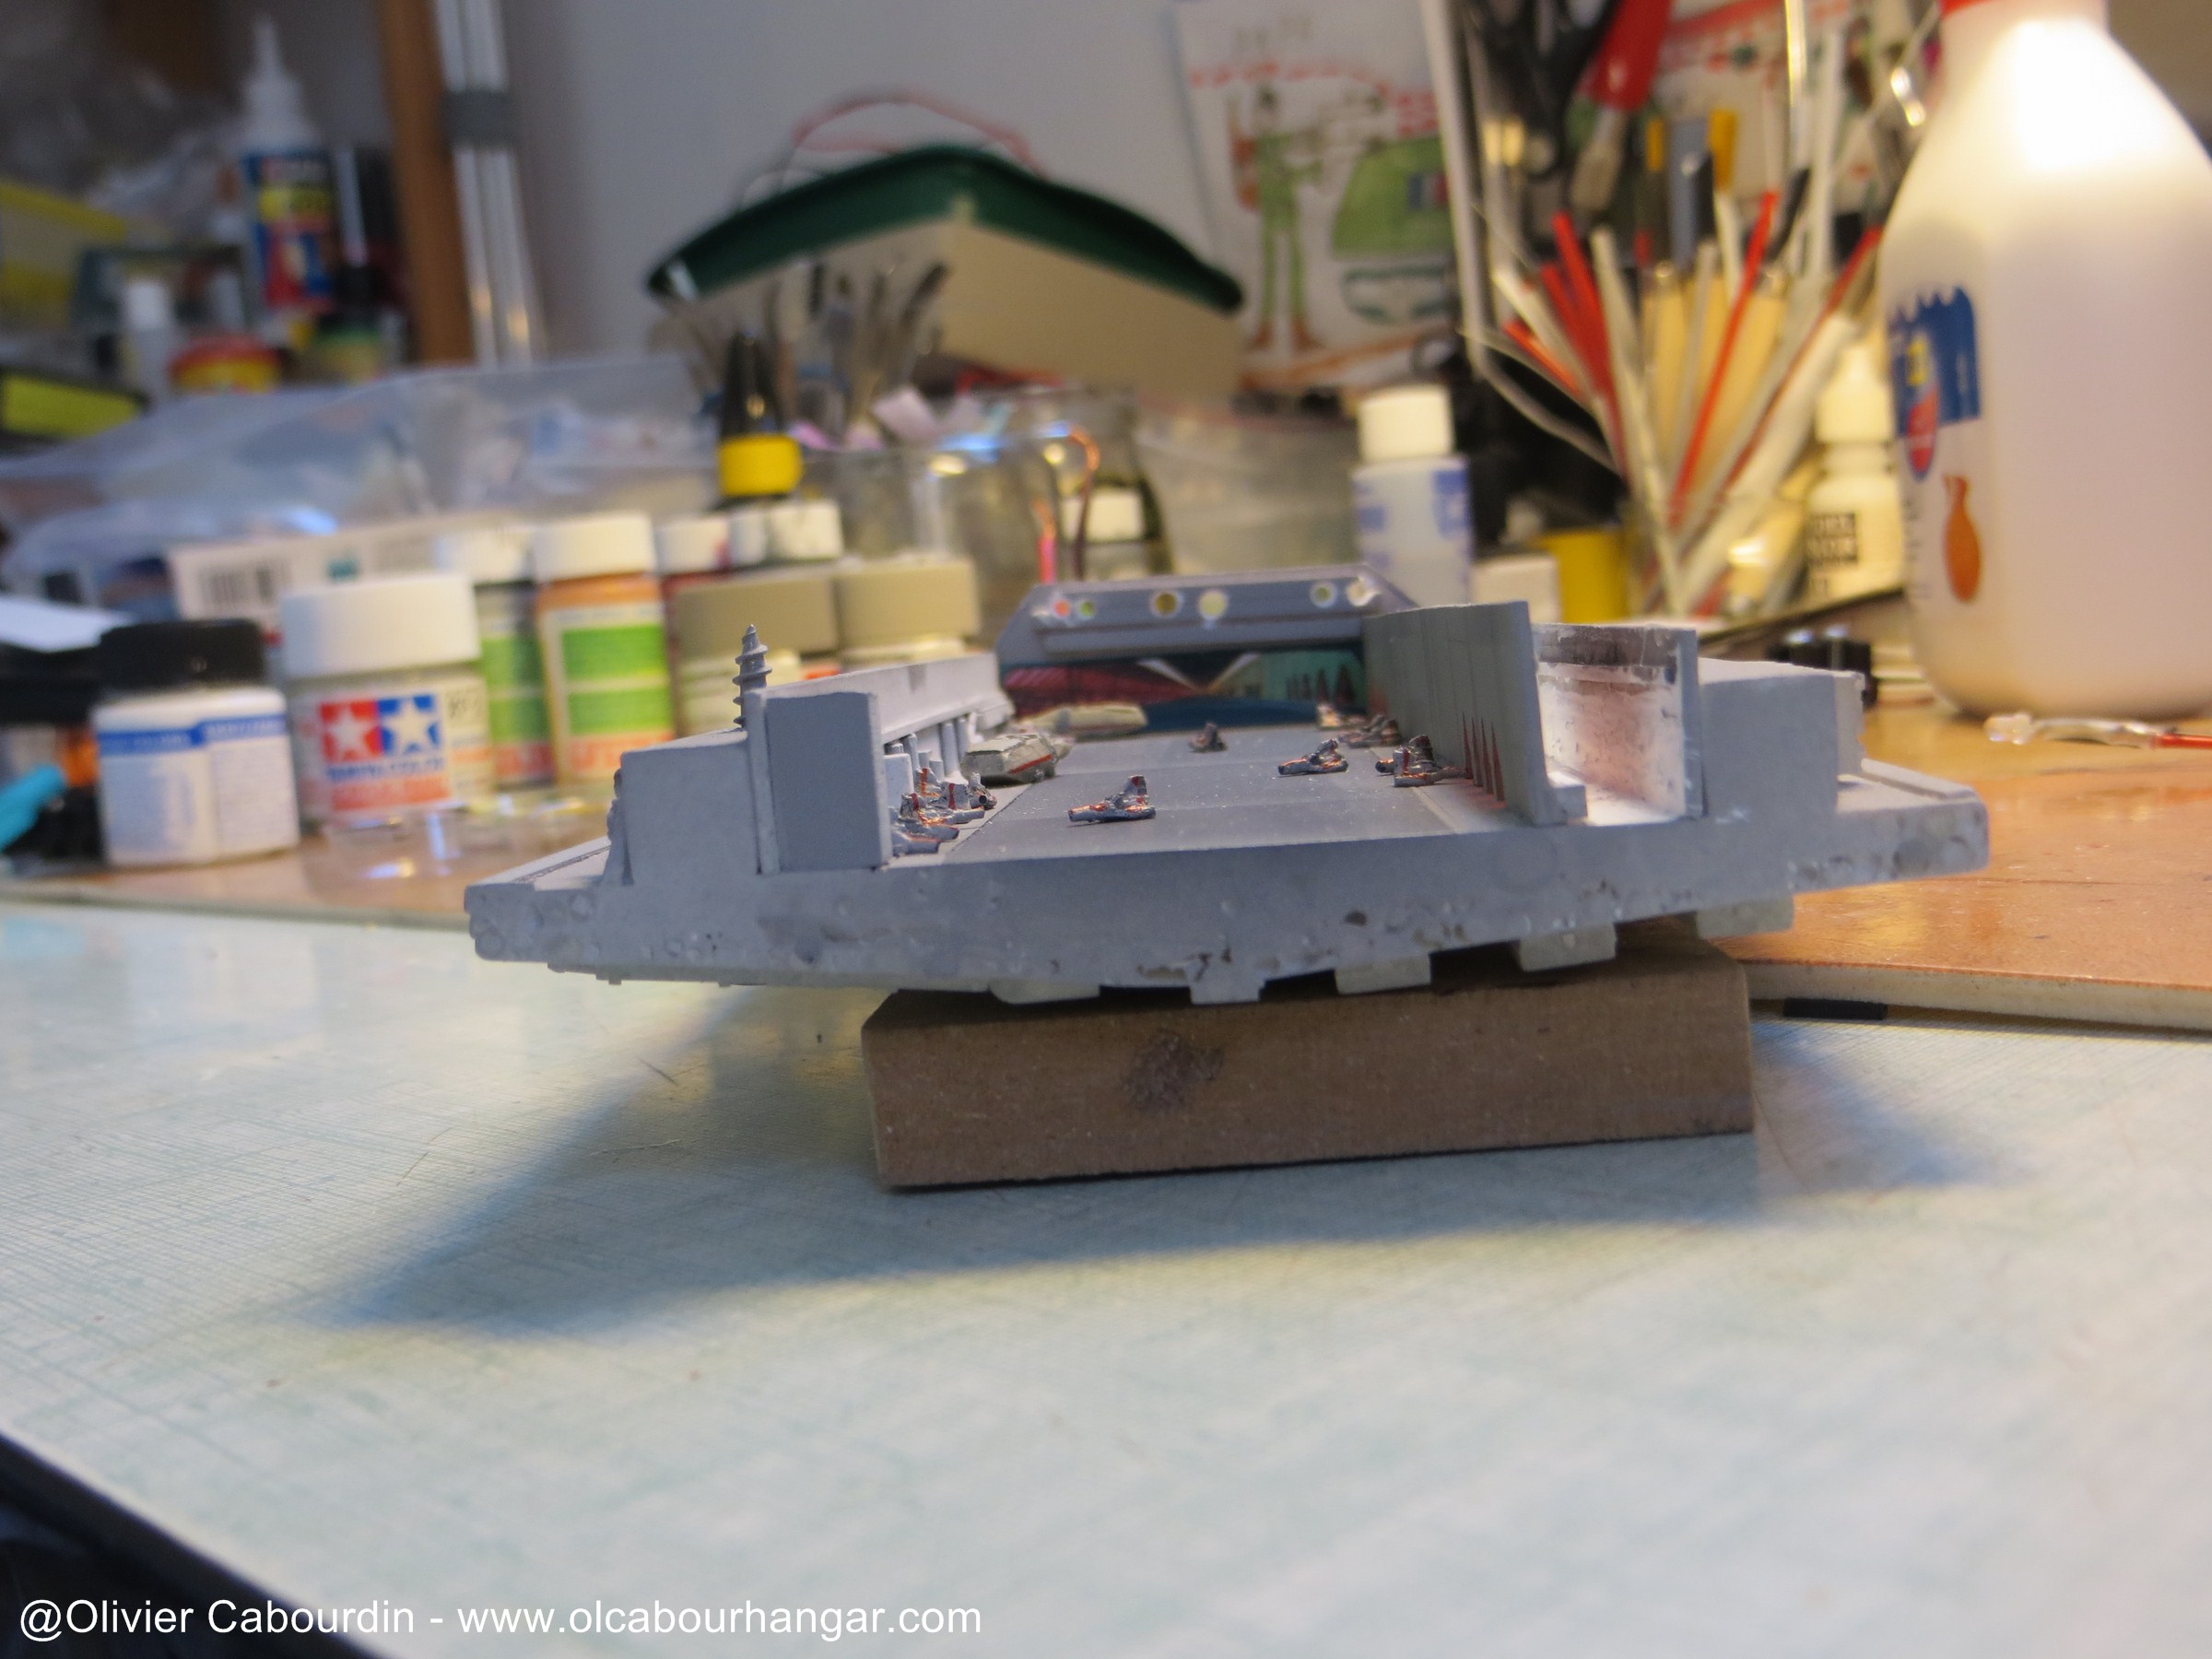
To facilitate the work, I made the stand to support Galactica upside down.

jeudi, 30 octobre 2014
Par olcabour le jeudi, 30 octobre 2014, 22:52
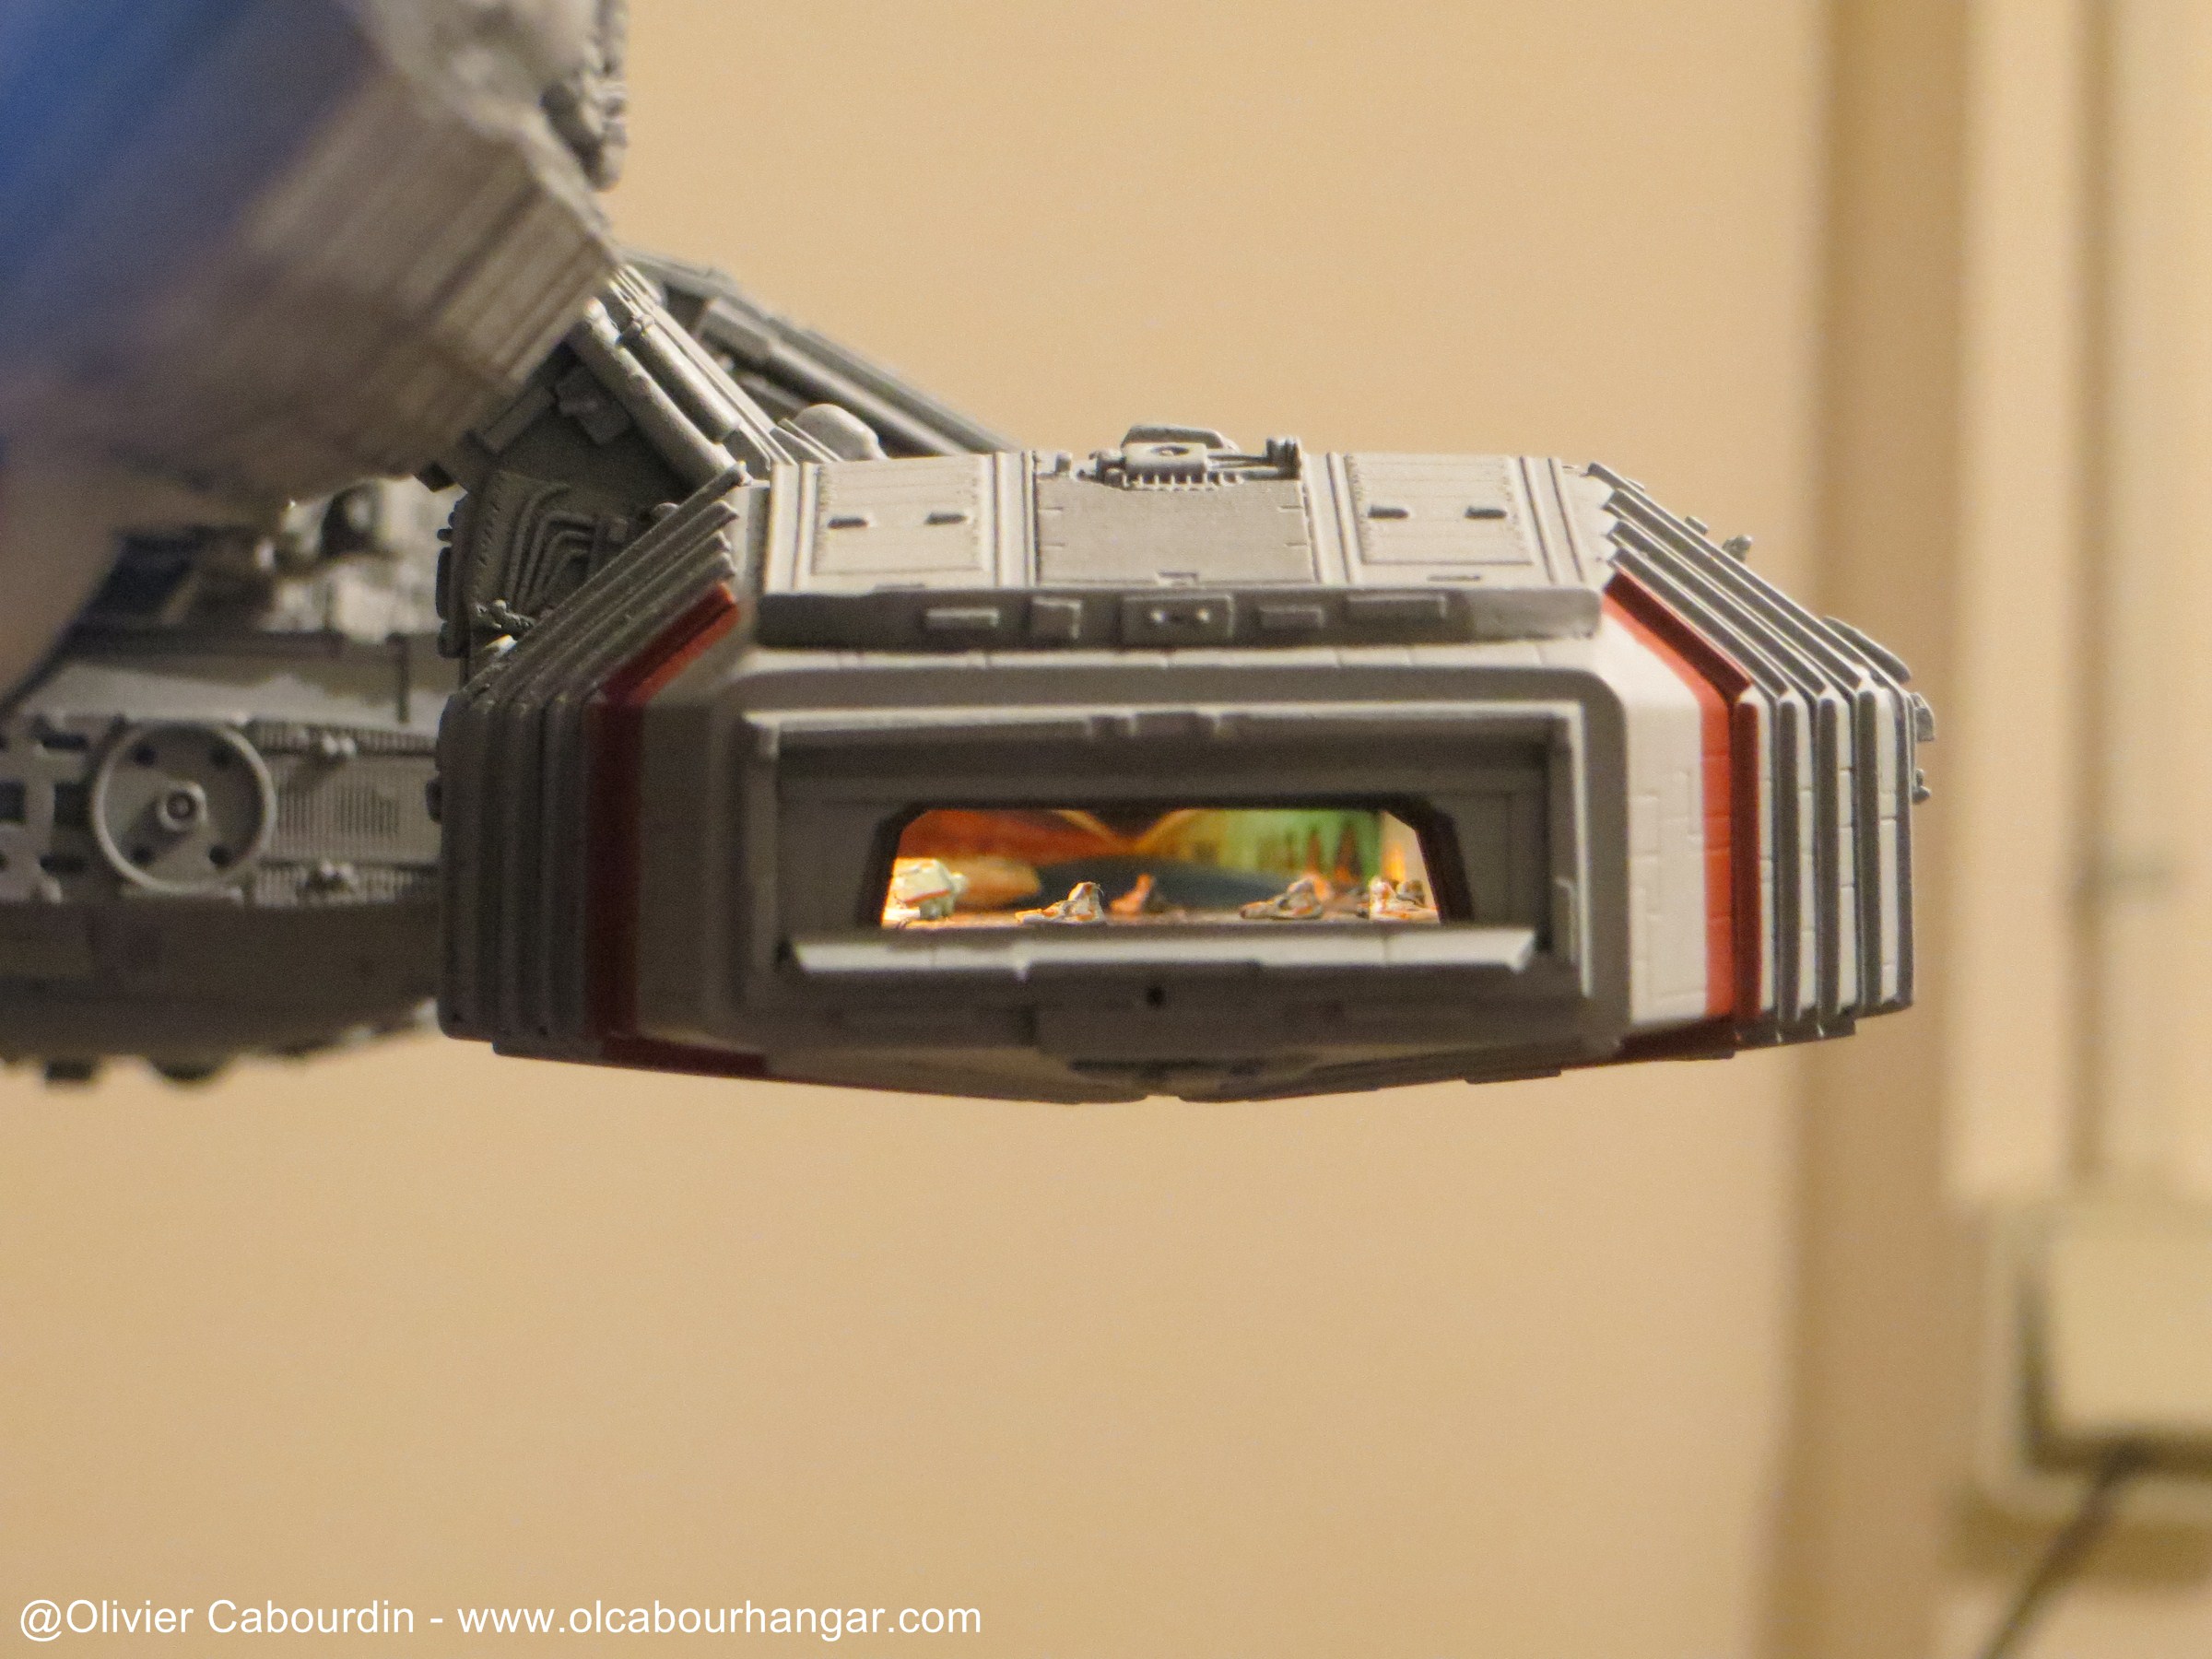
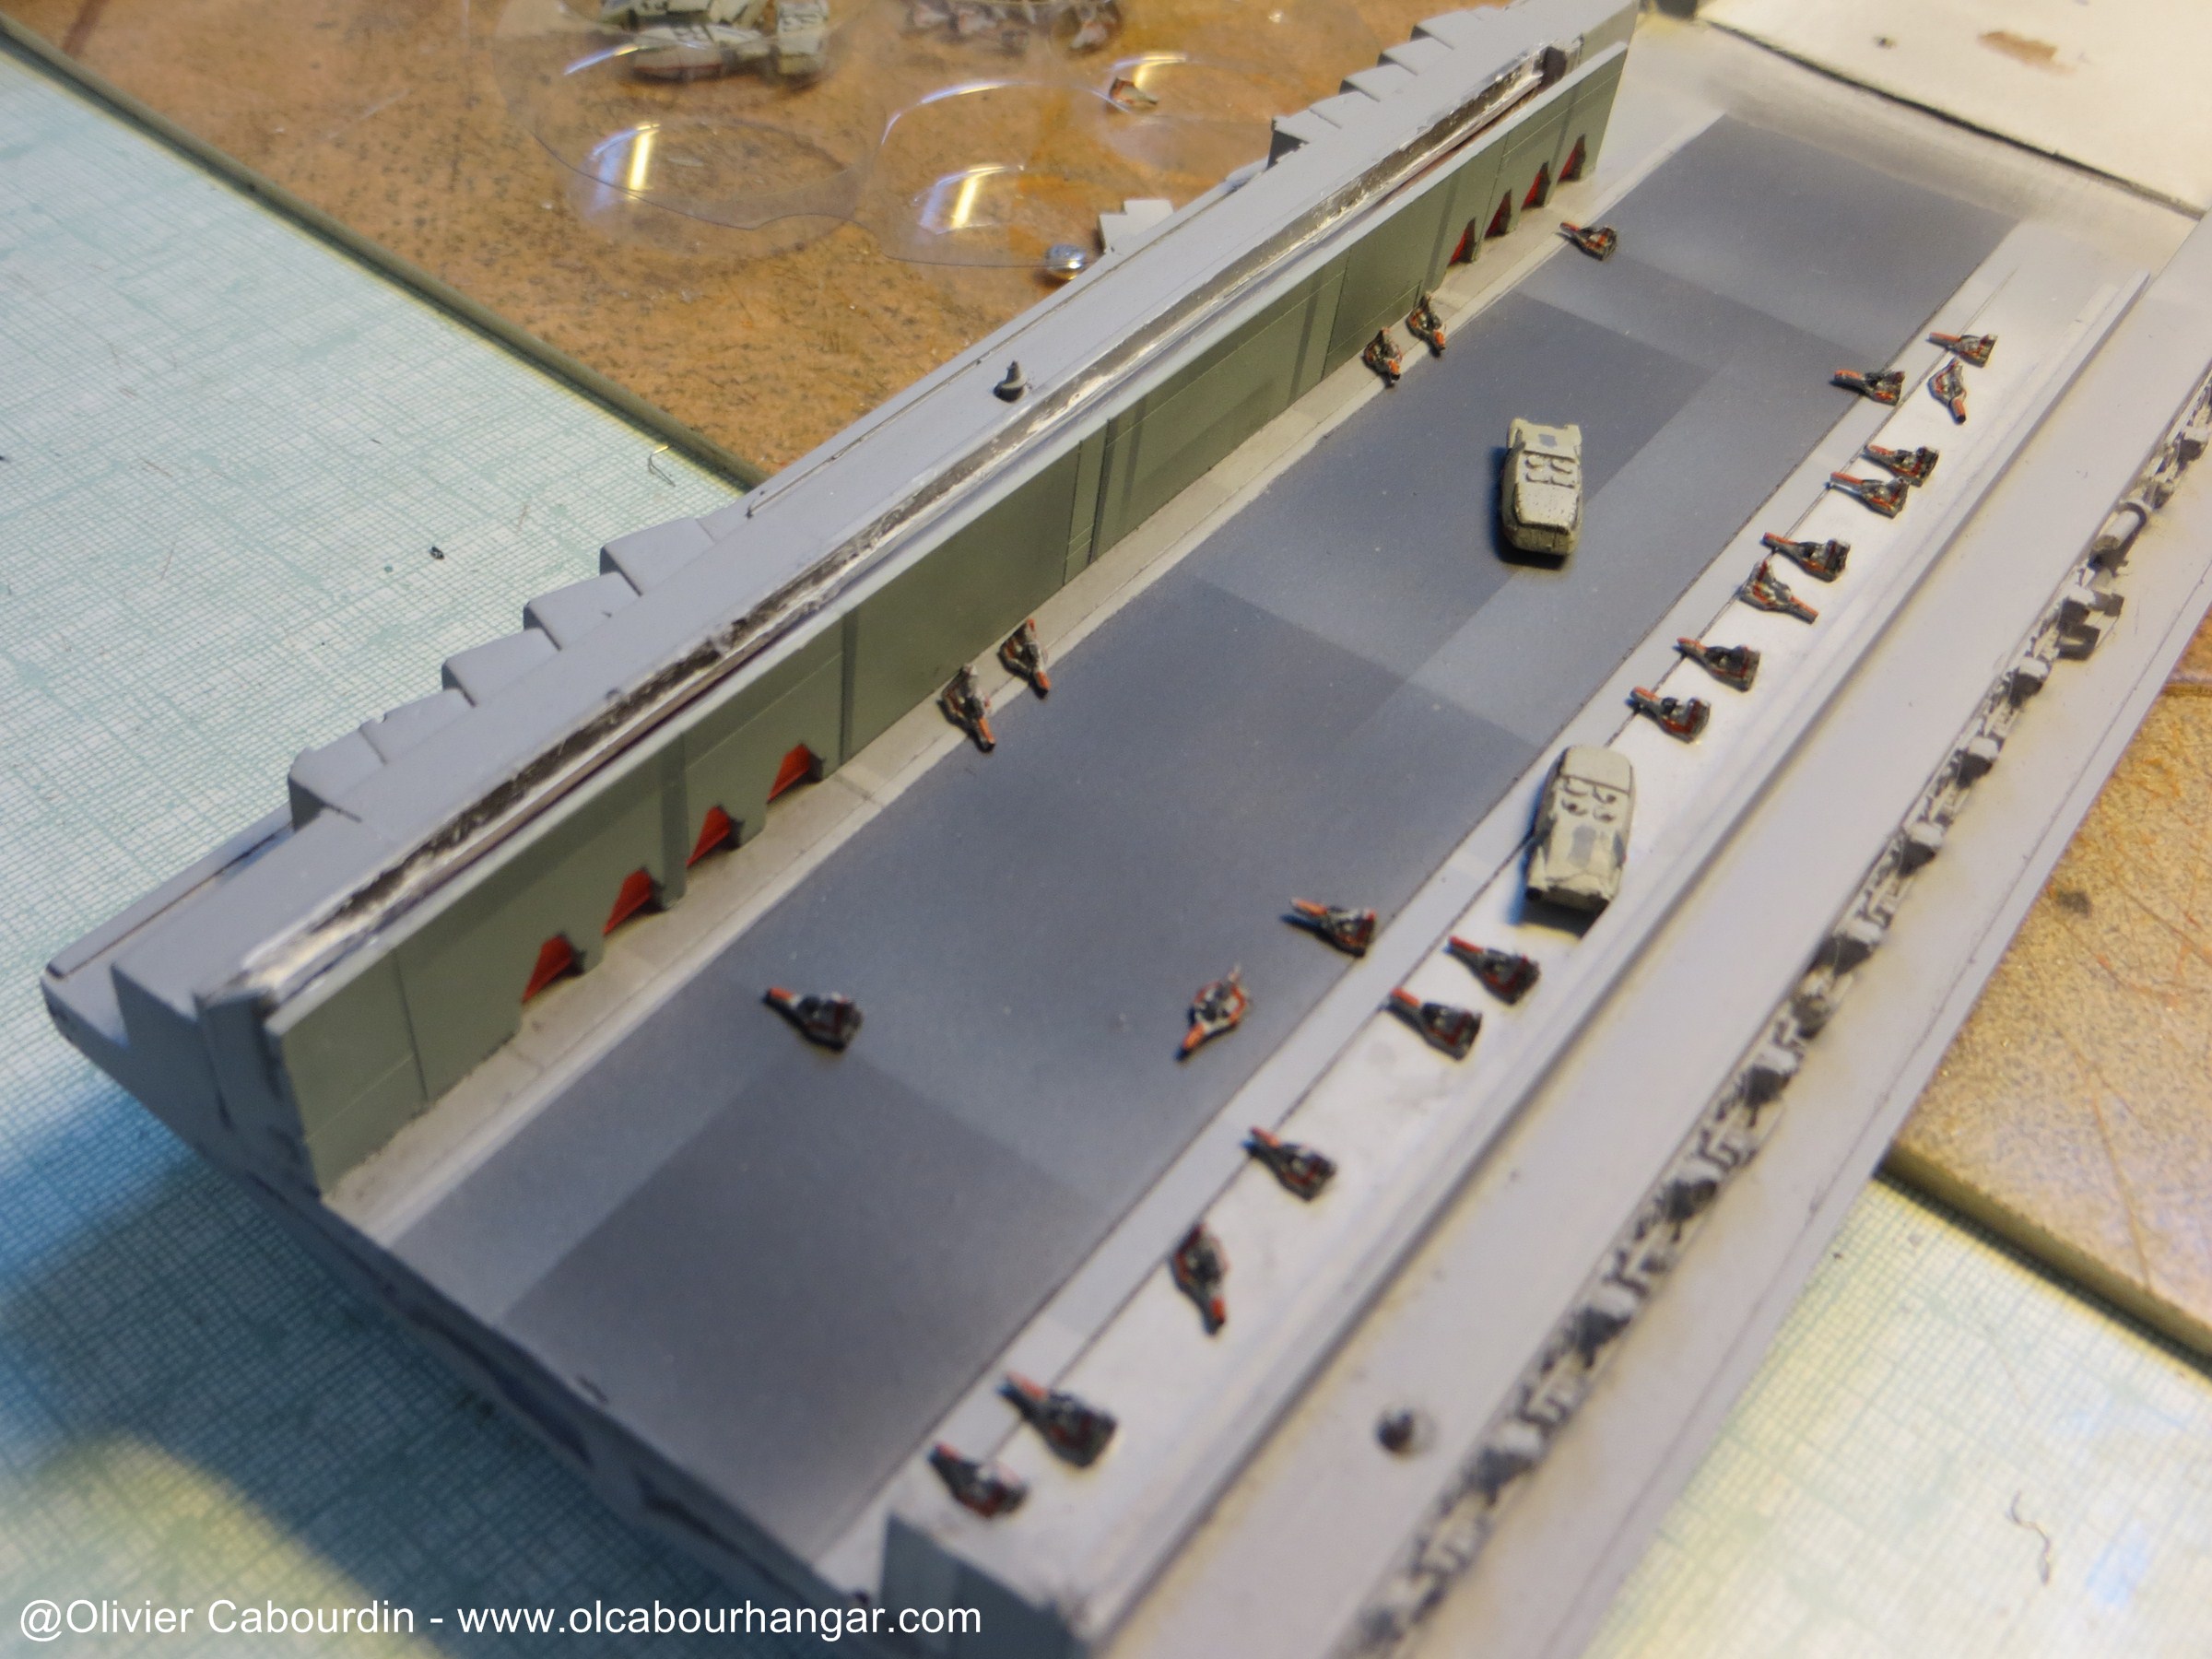
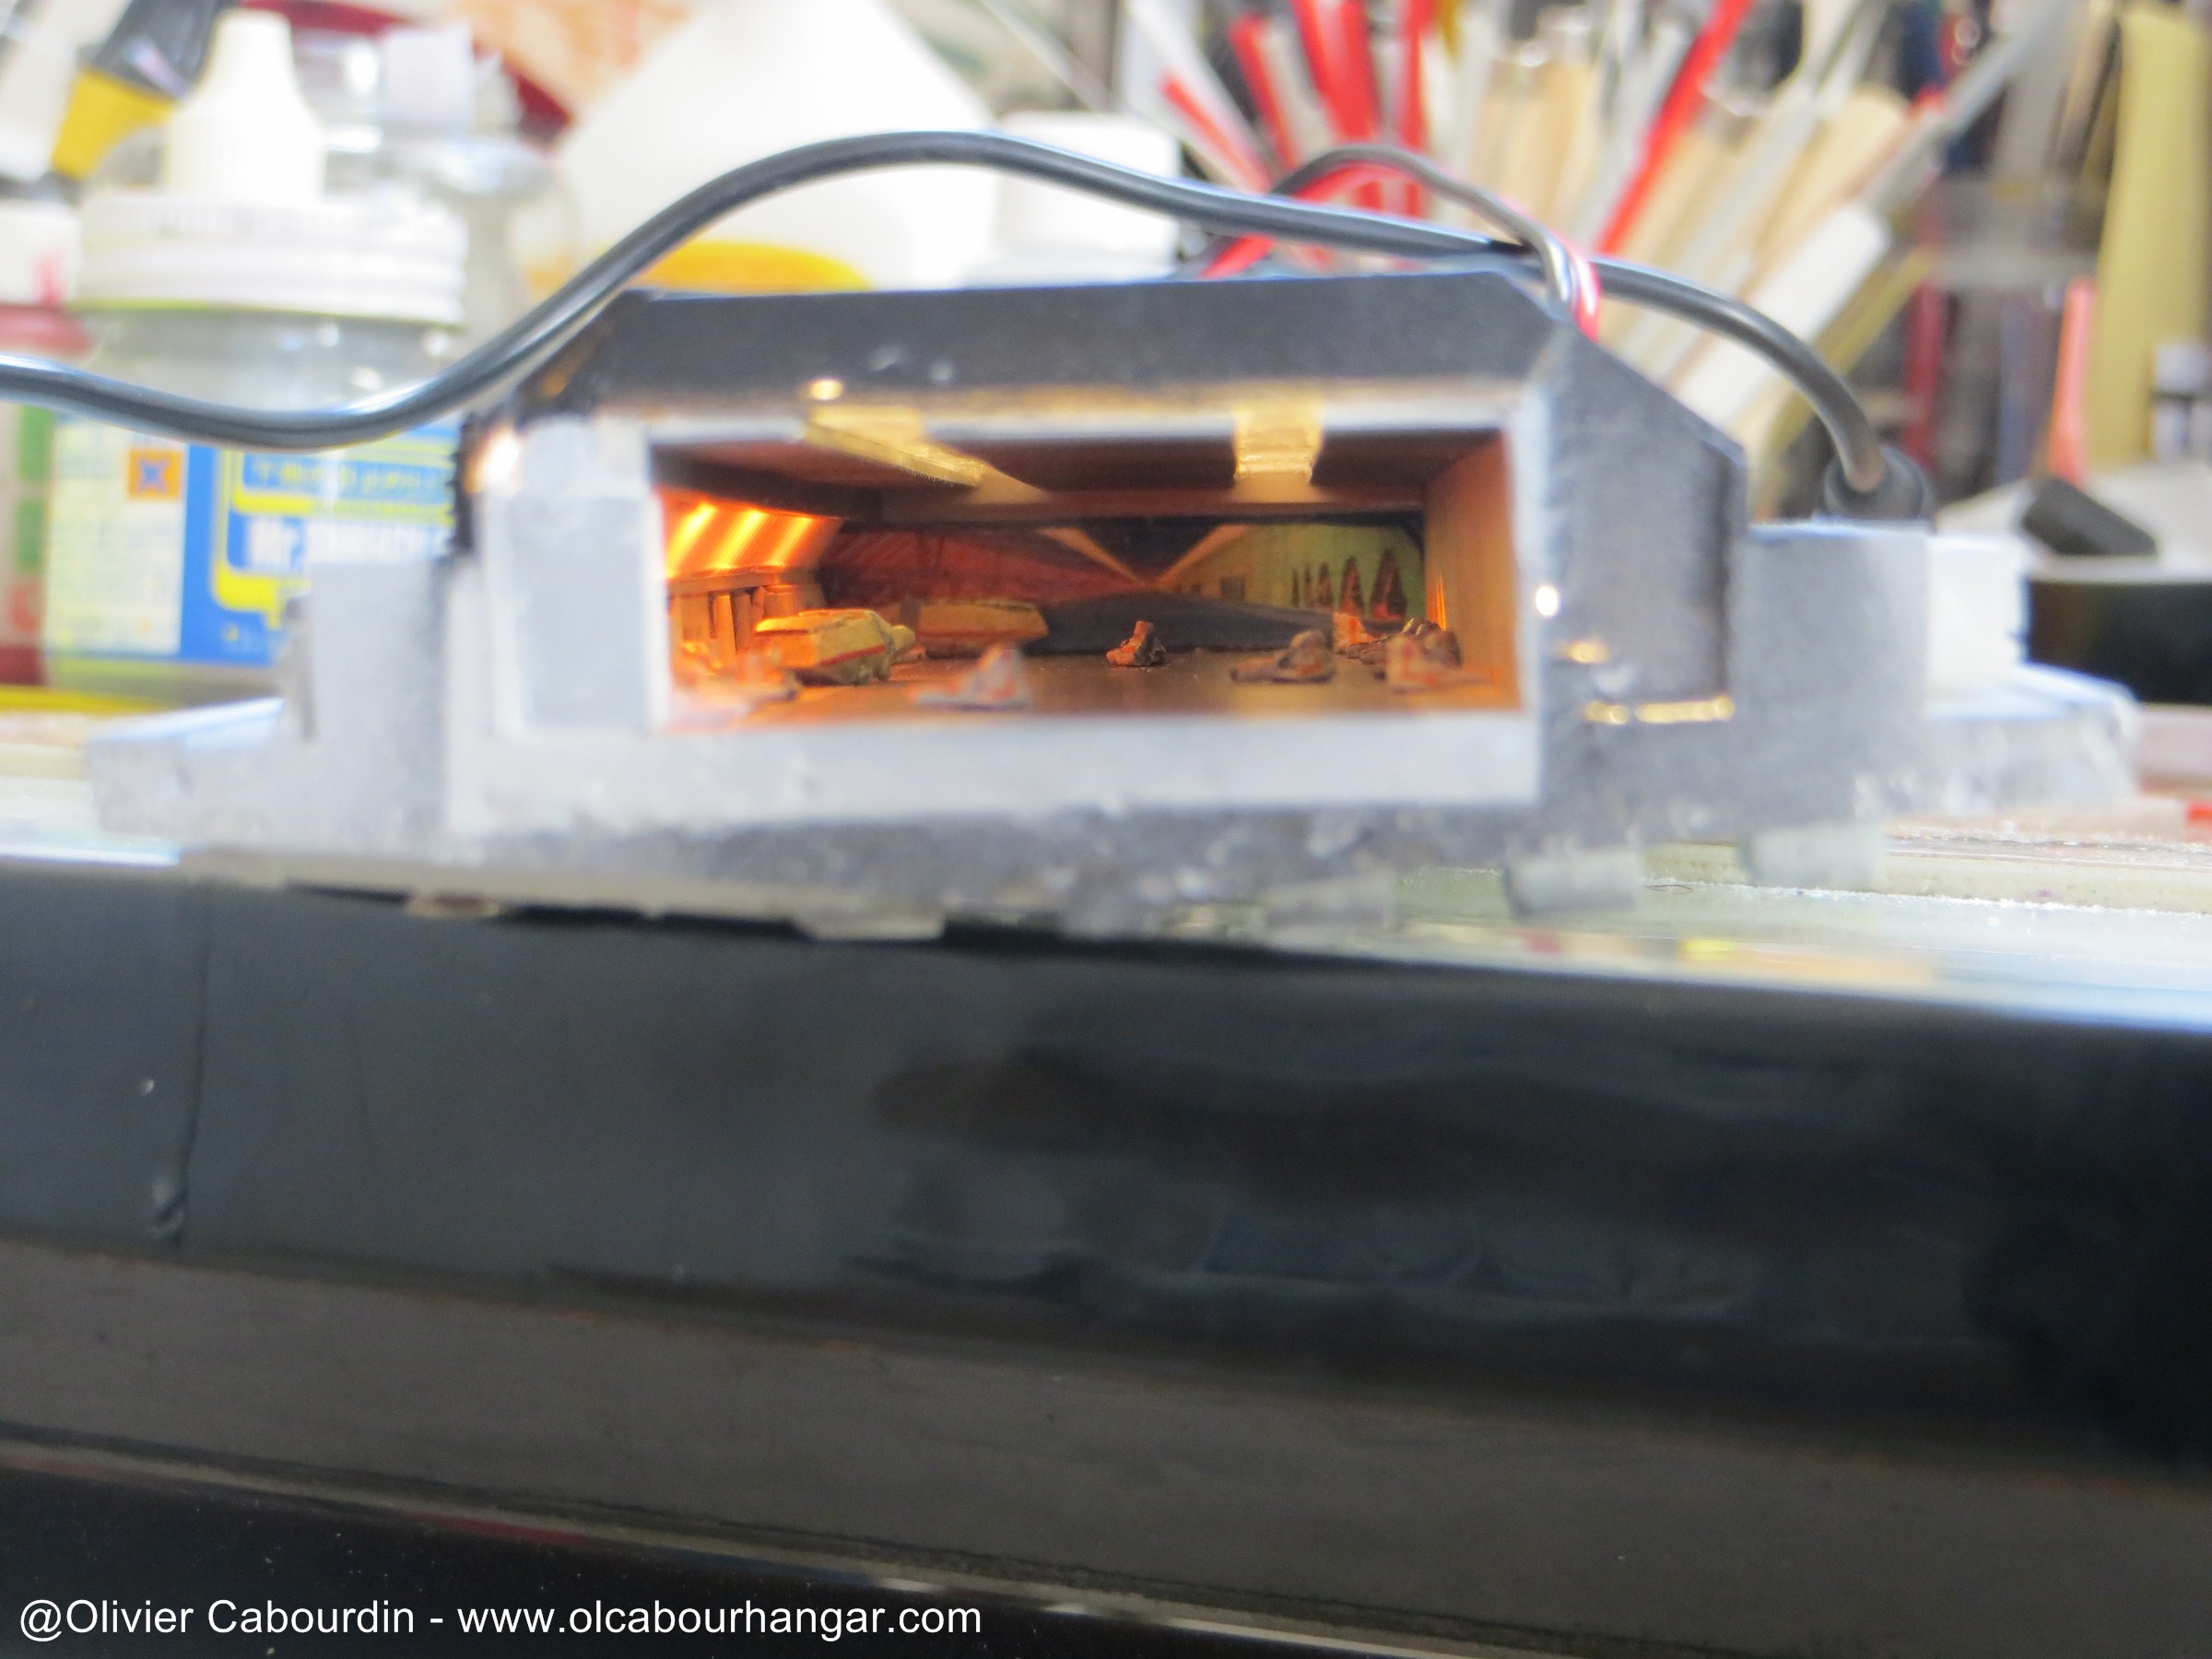
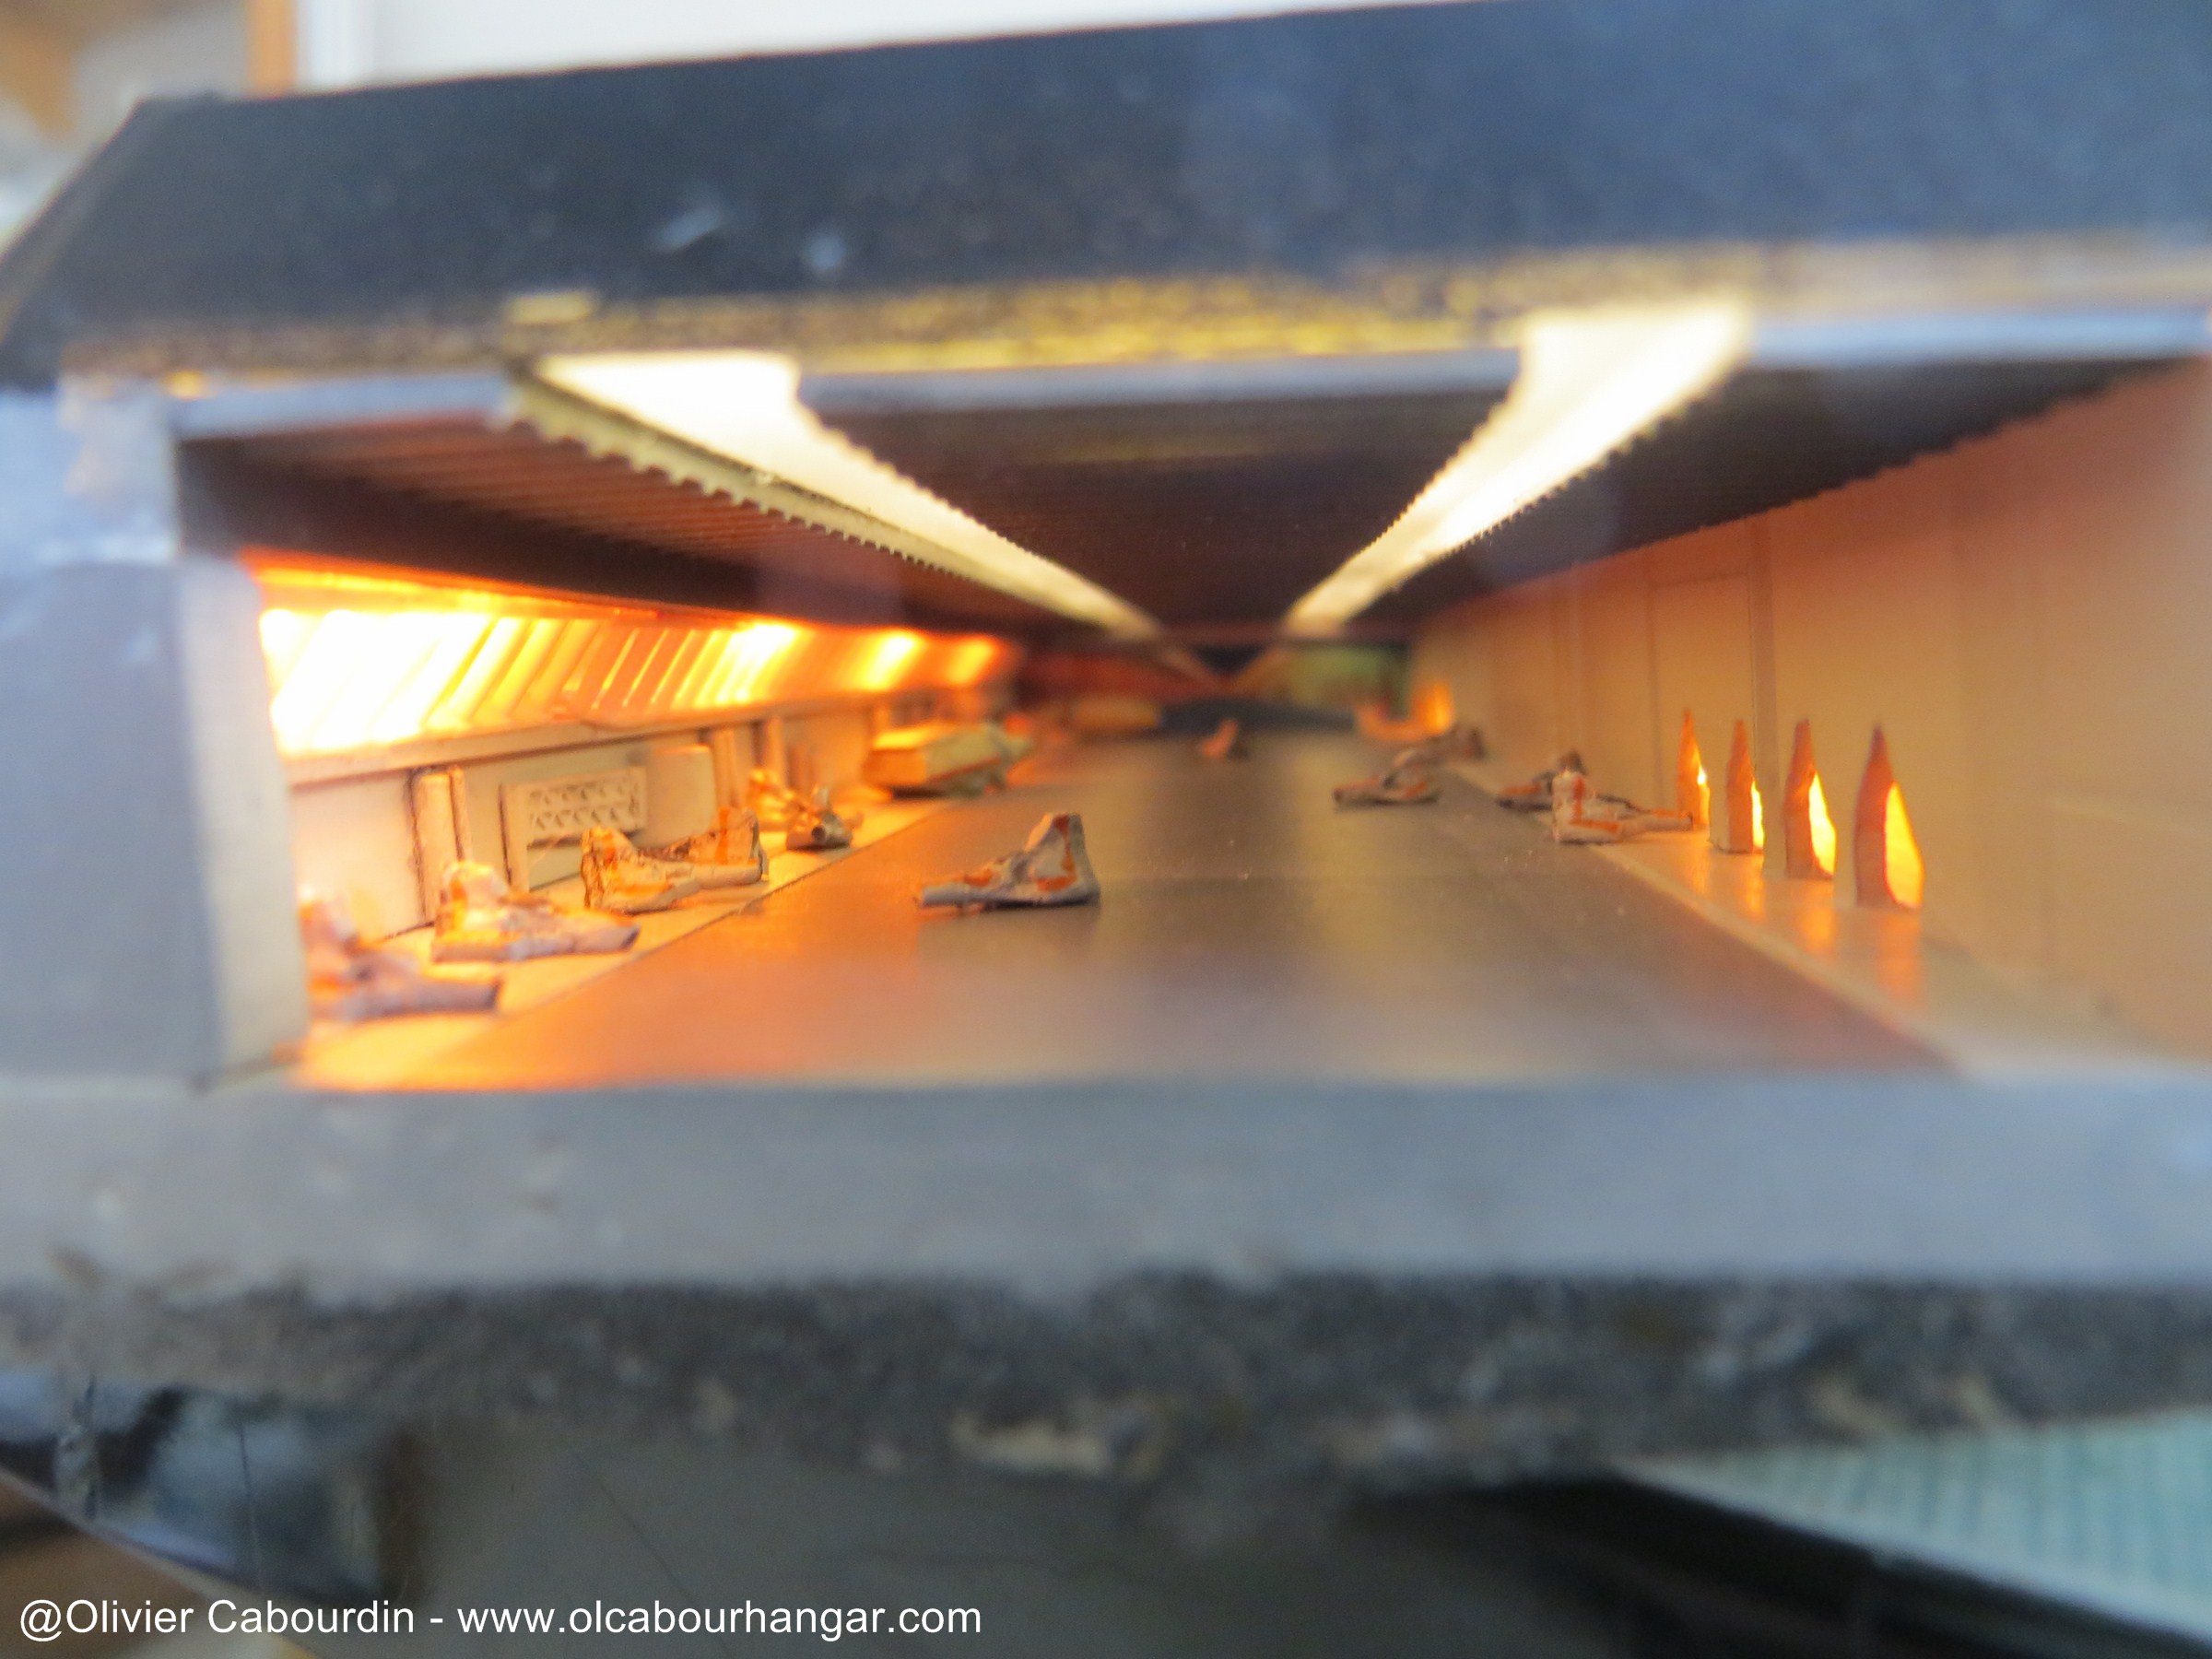
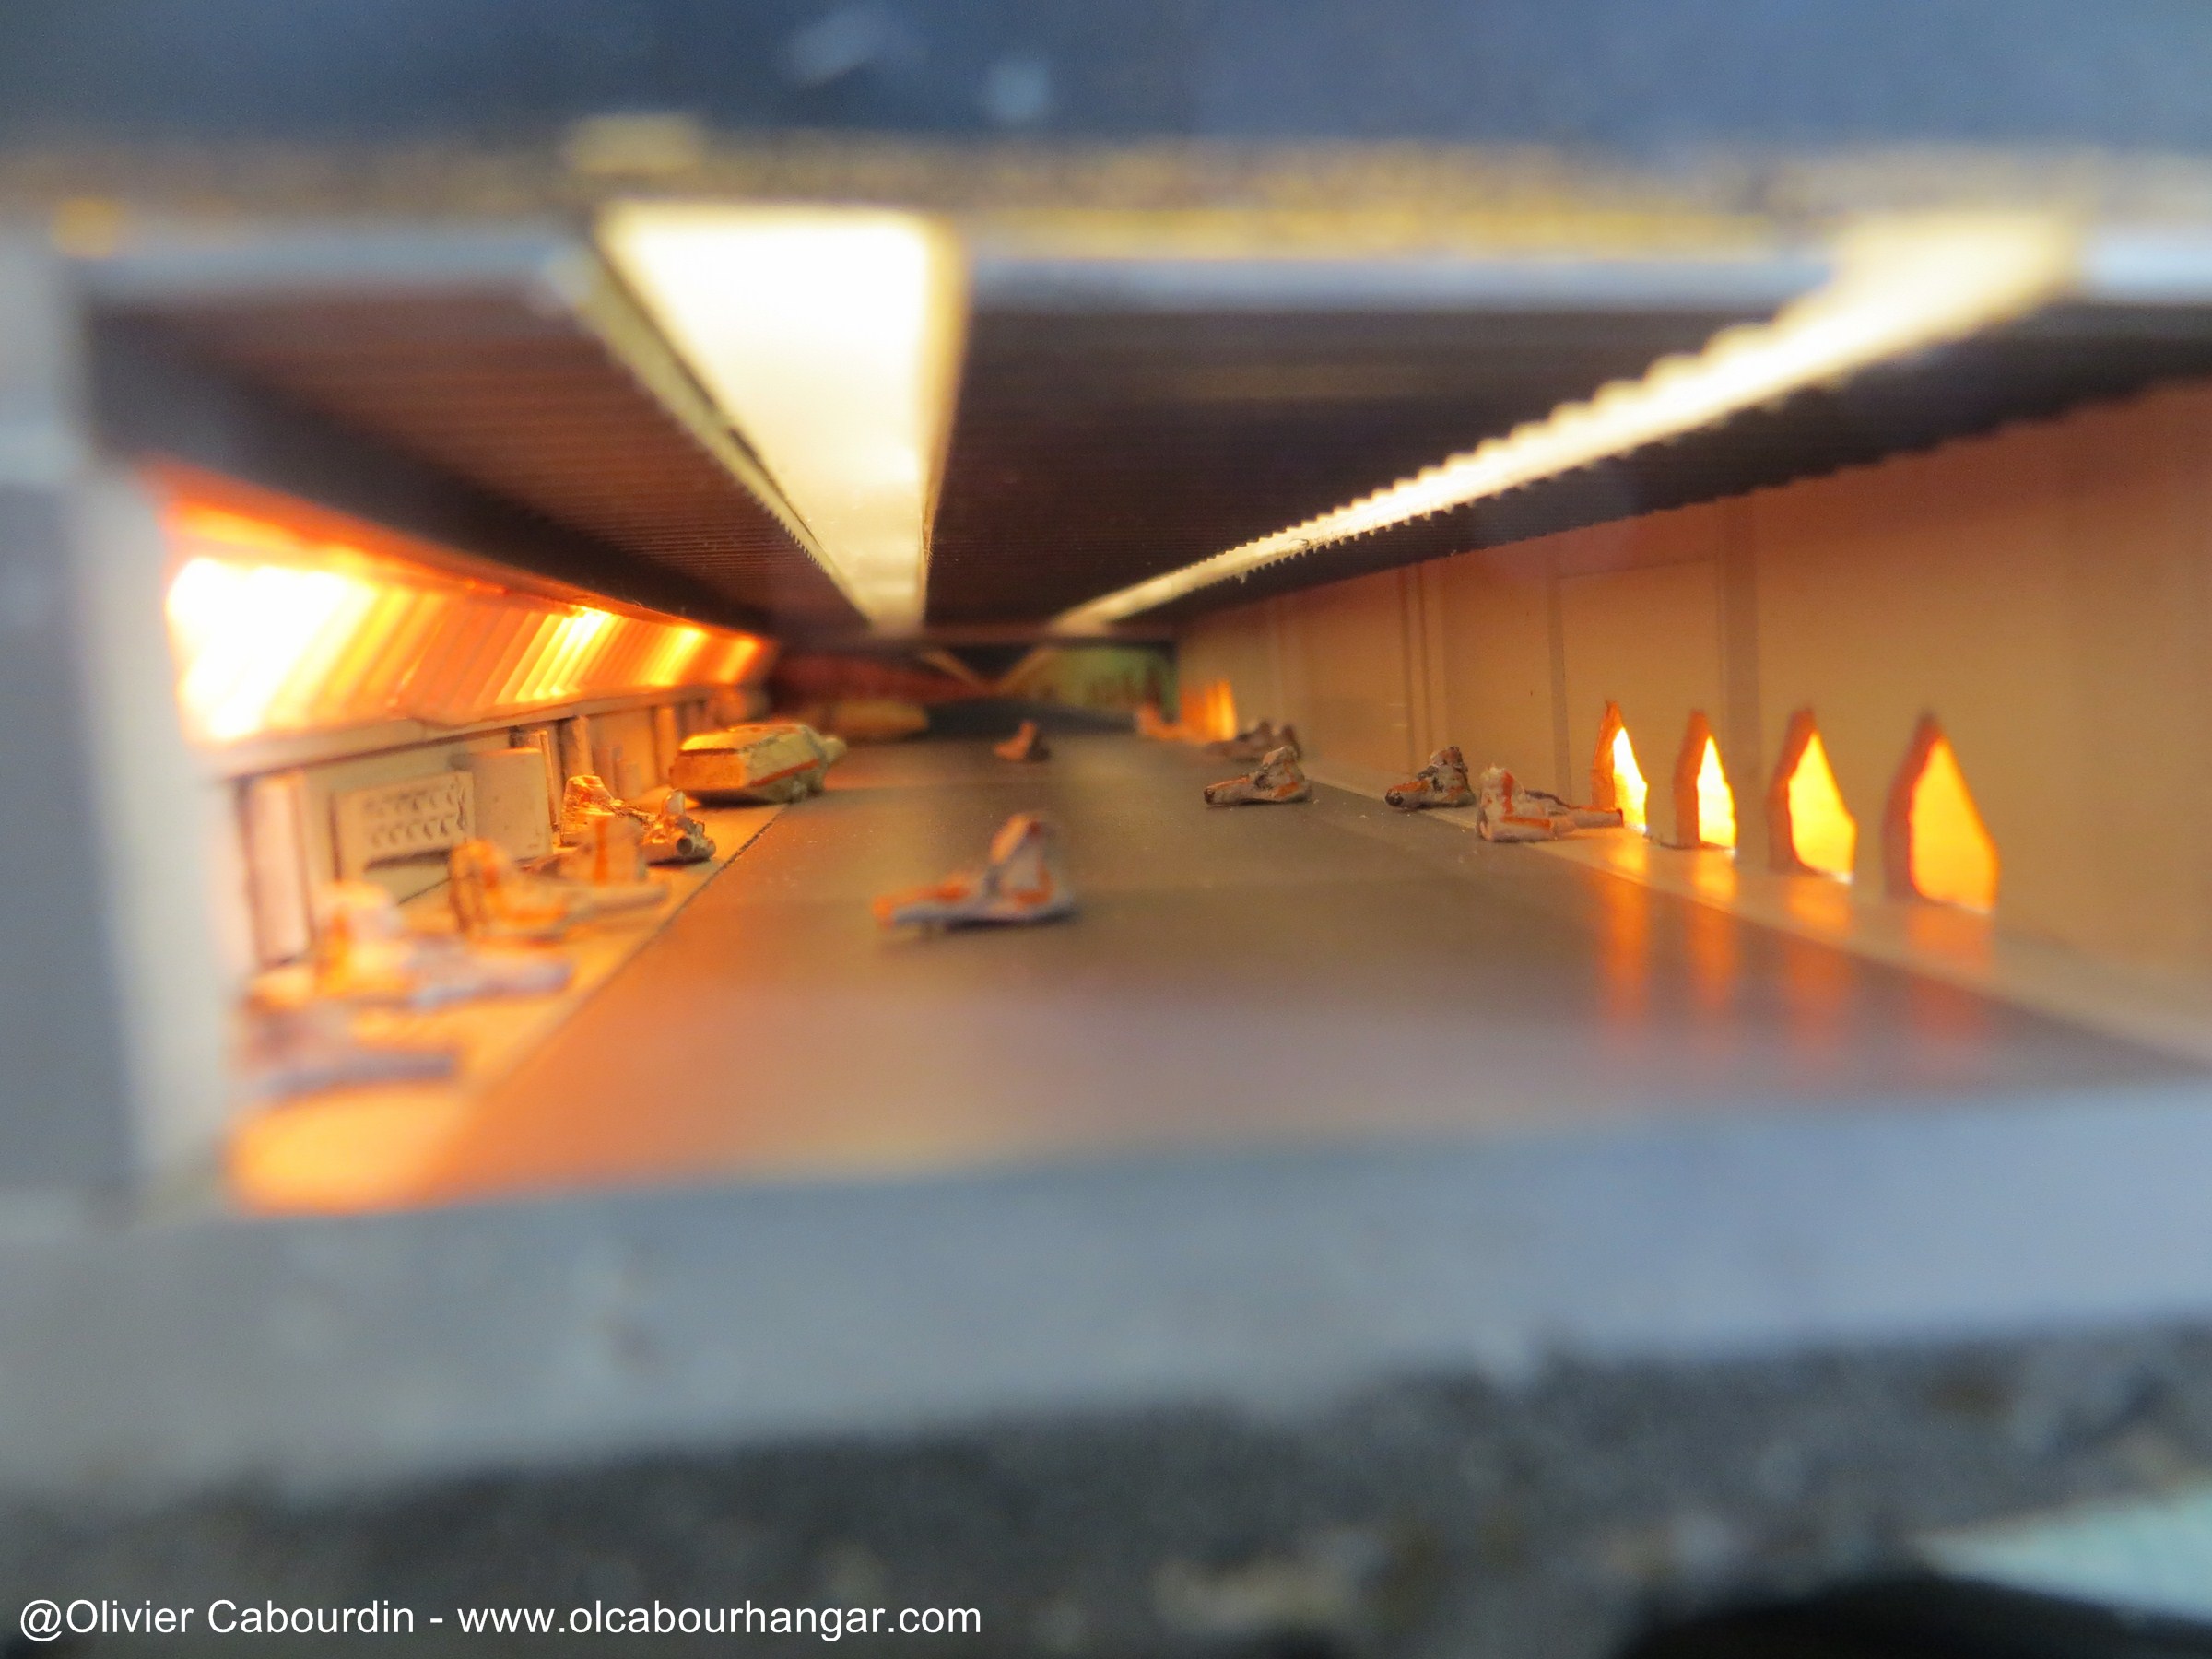
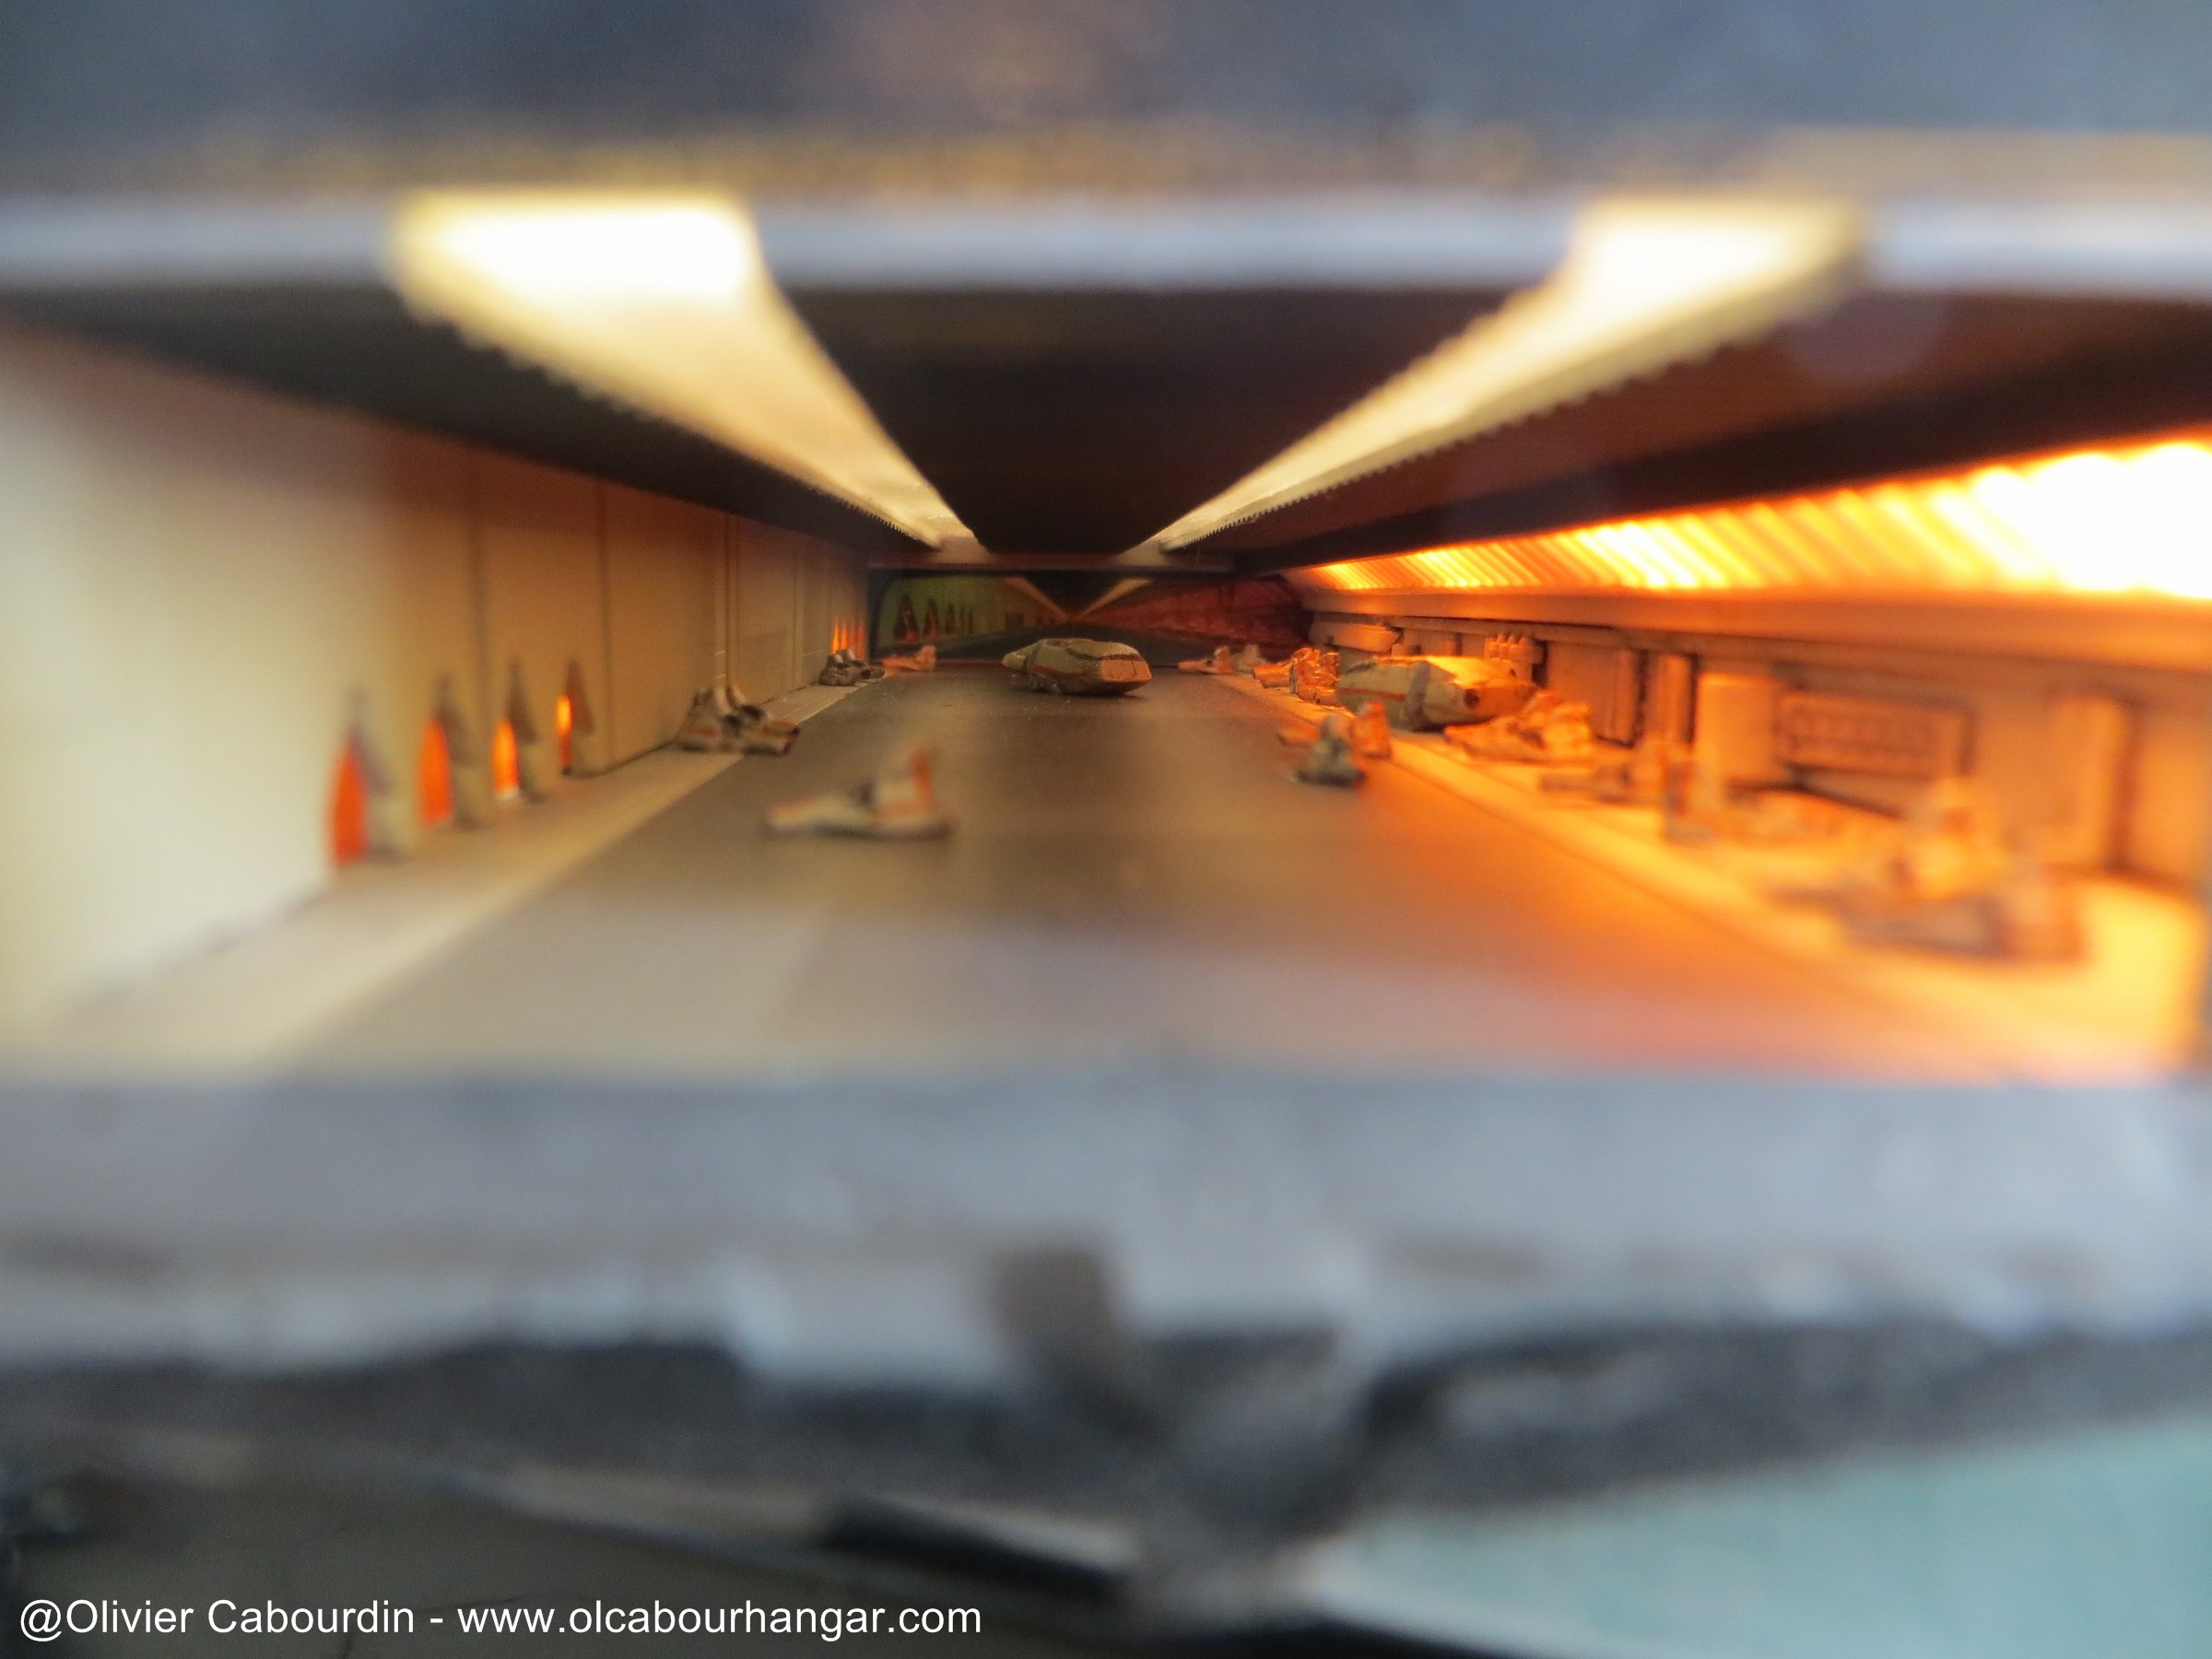
Painting of dozens of viper and shuttles : The orange stripes, cockpits and engines are hand-made.
I'm a Viper maniac ! :D
(and no, I don't need a therapy!)

To paint the hangar, I played with different shades of gray: standards, greenish, beige...
The workshops are covered with white to better diffuse the ceiling red lights.
A light black wash is done mainly to highlight the workshops greeblies.
Added clear red plate behind the doors of the launch tubes of viper

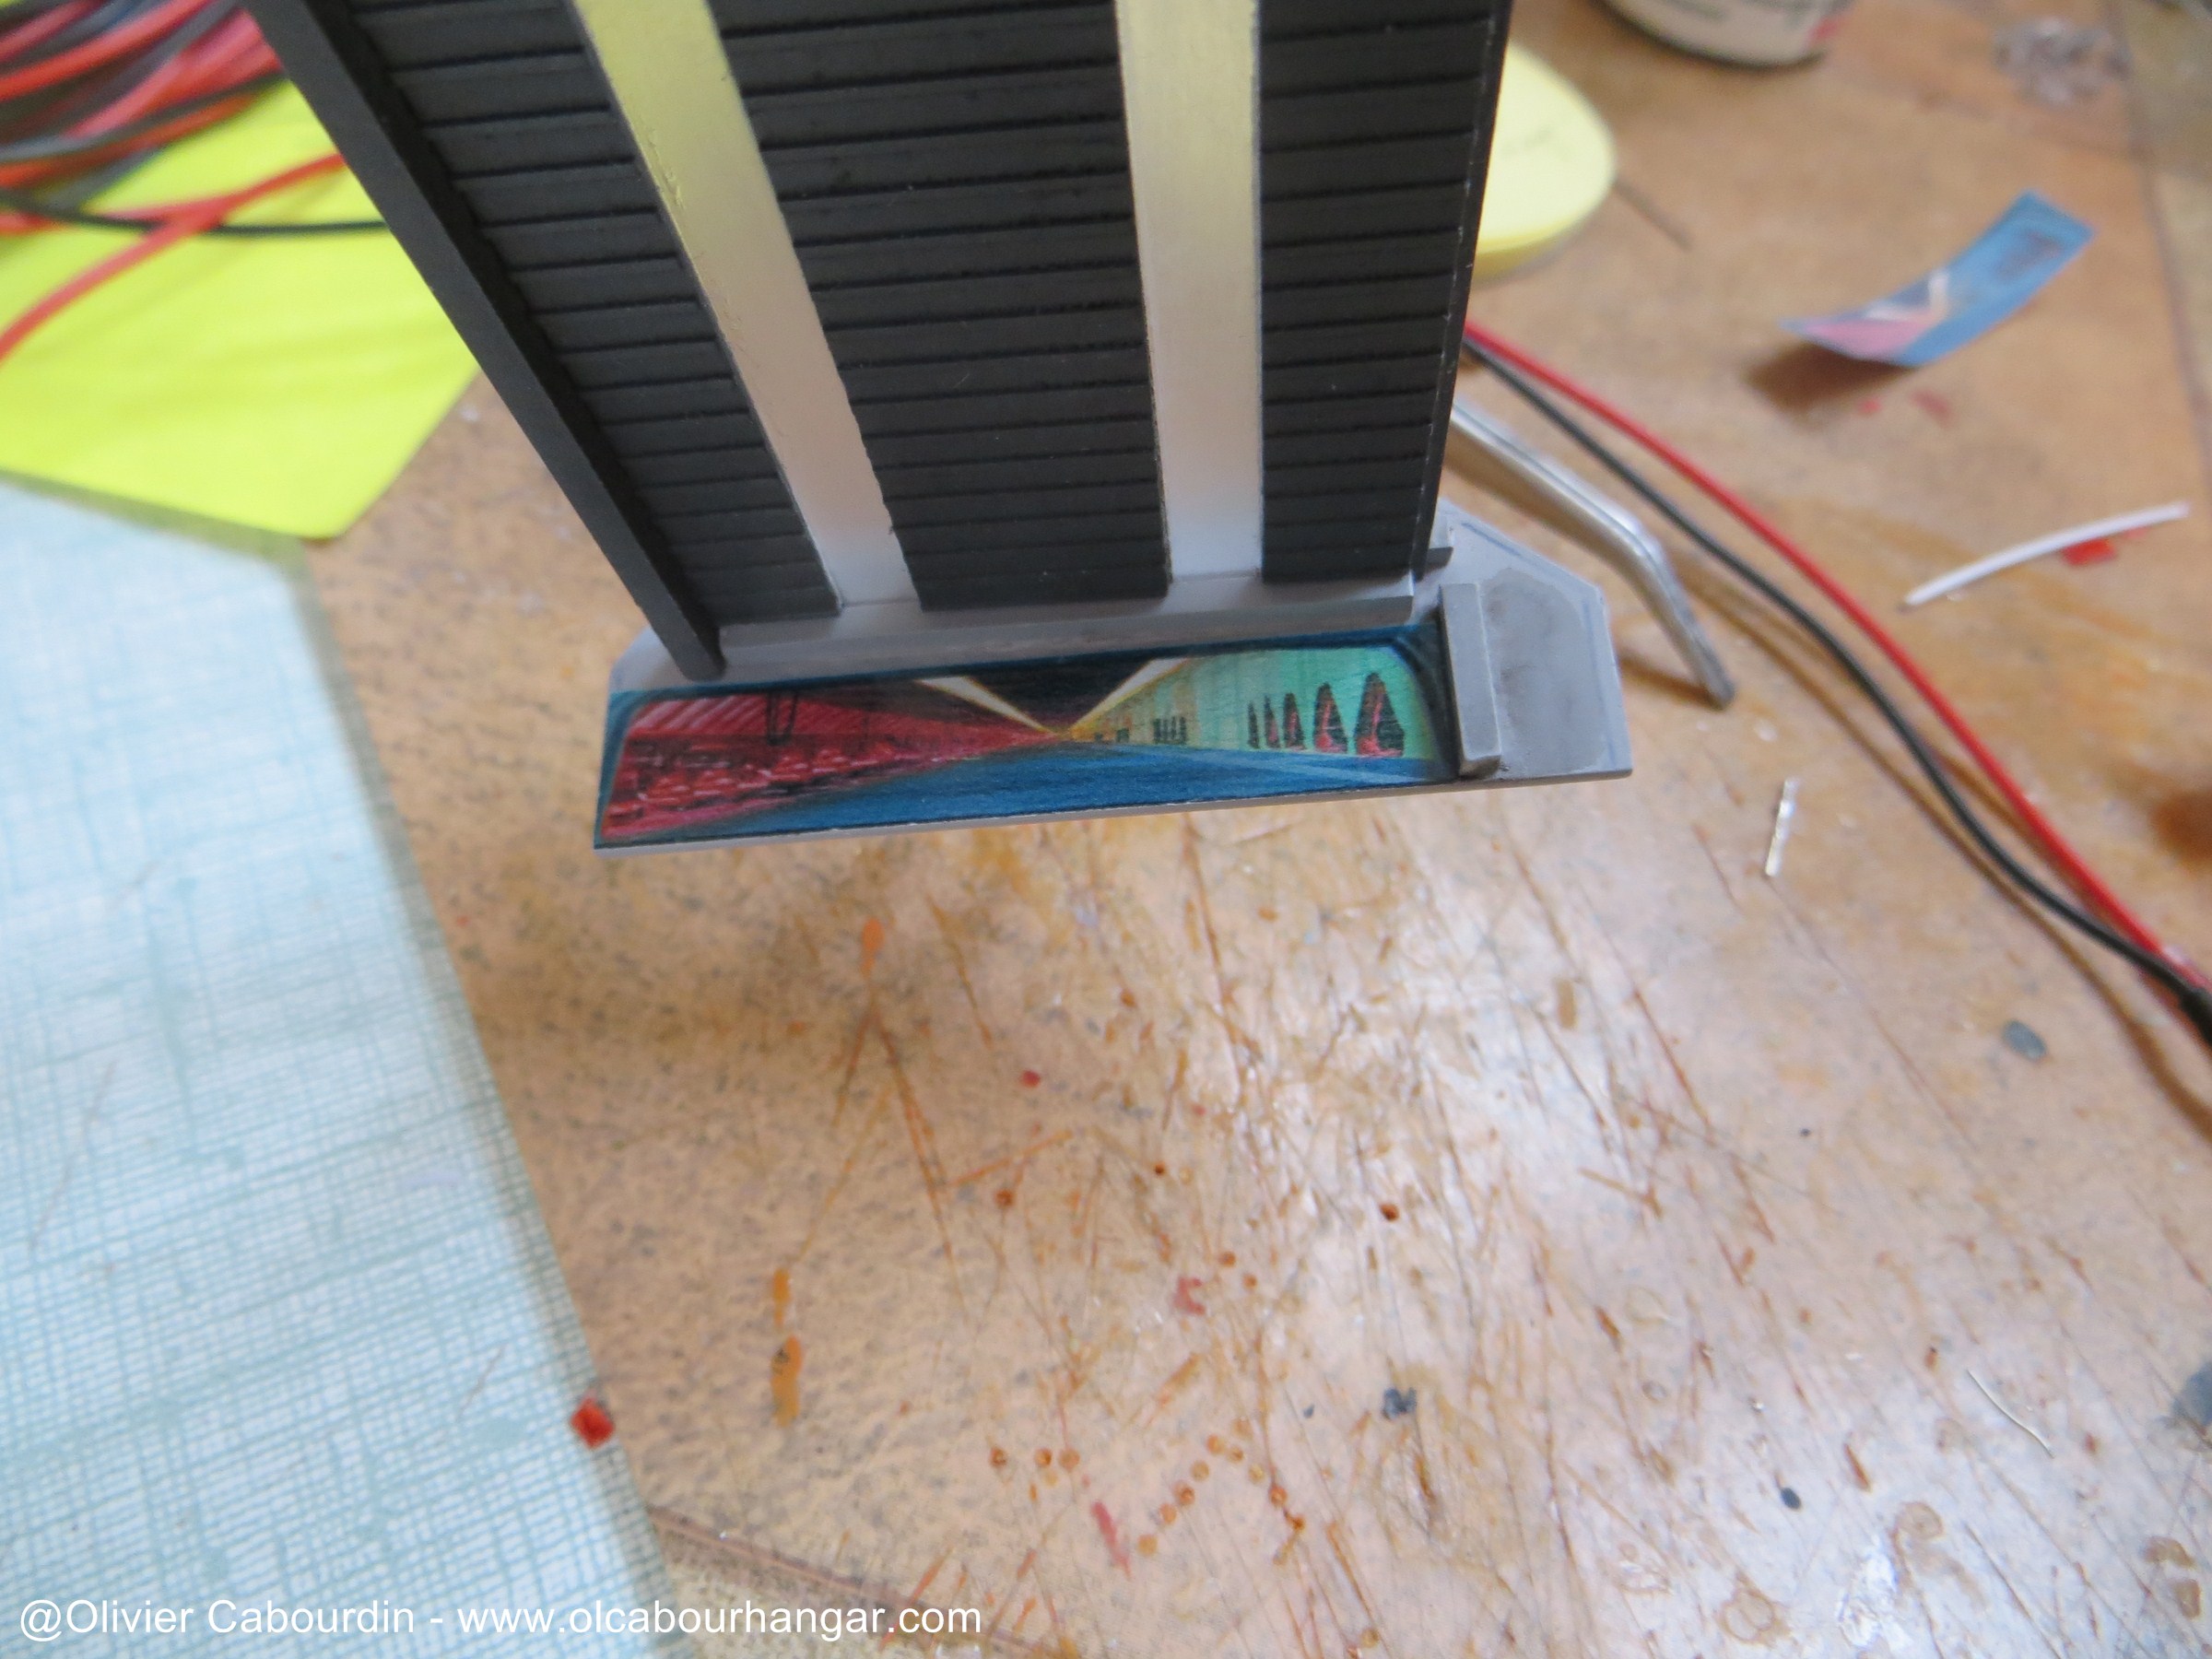
As my hangars can not go the full length because of the side supports (metal bar), I extend it with a decal.
For this, I slightly modified the scans of the original design (removing the large Vipers, and color adjustment)

Placing the Viper and shuttles (with white glue)
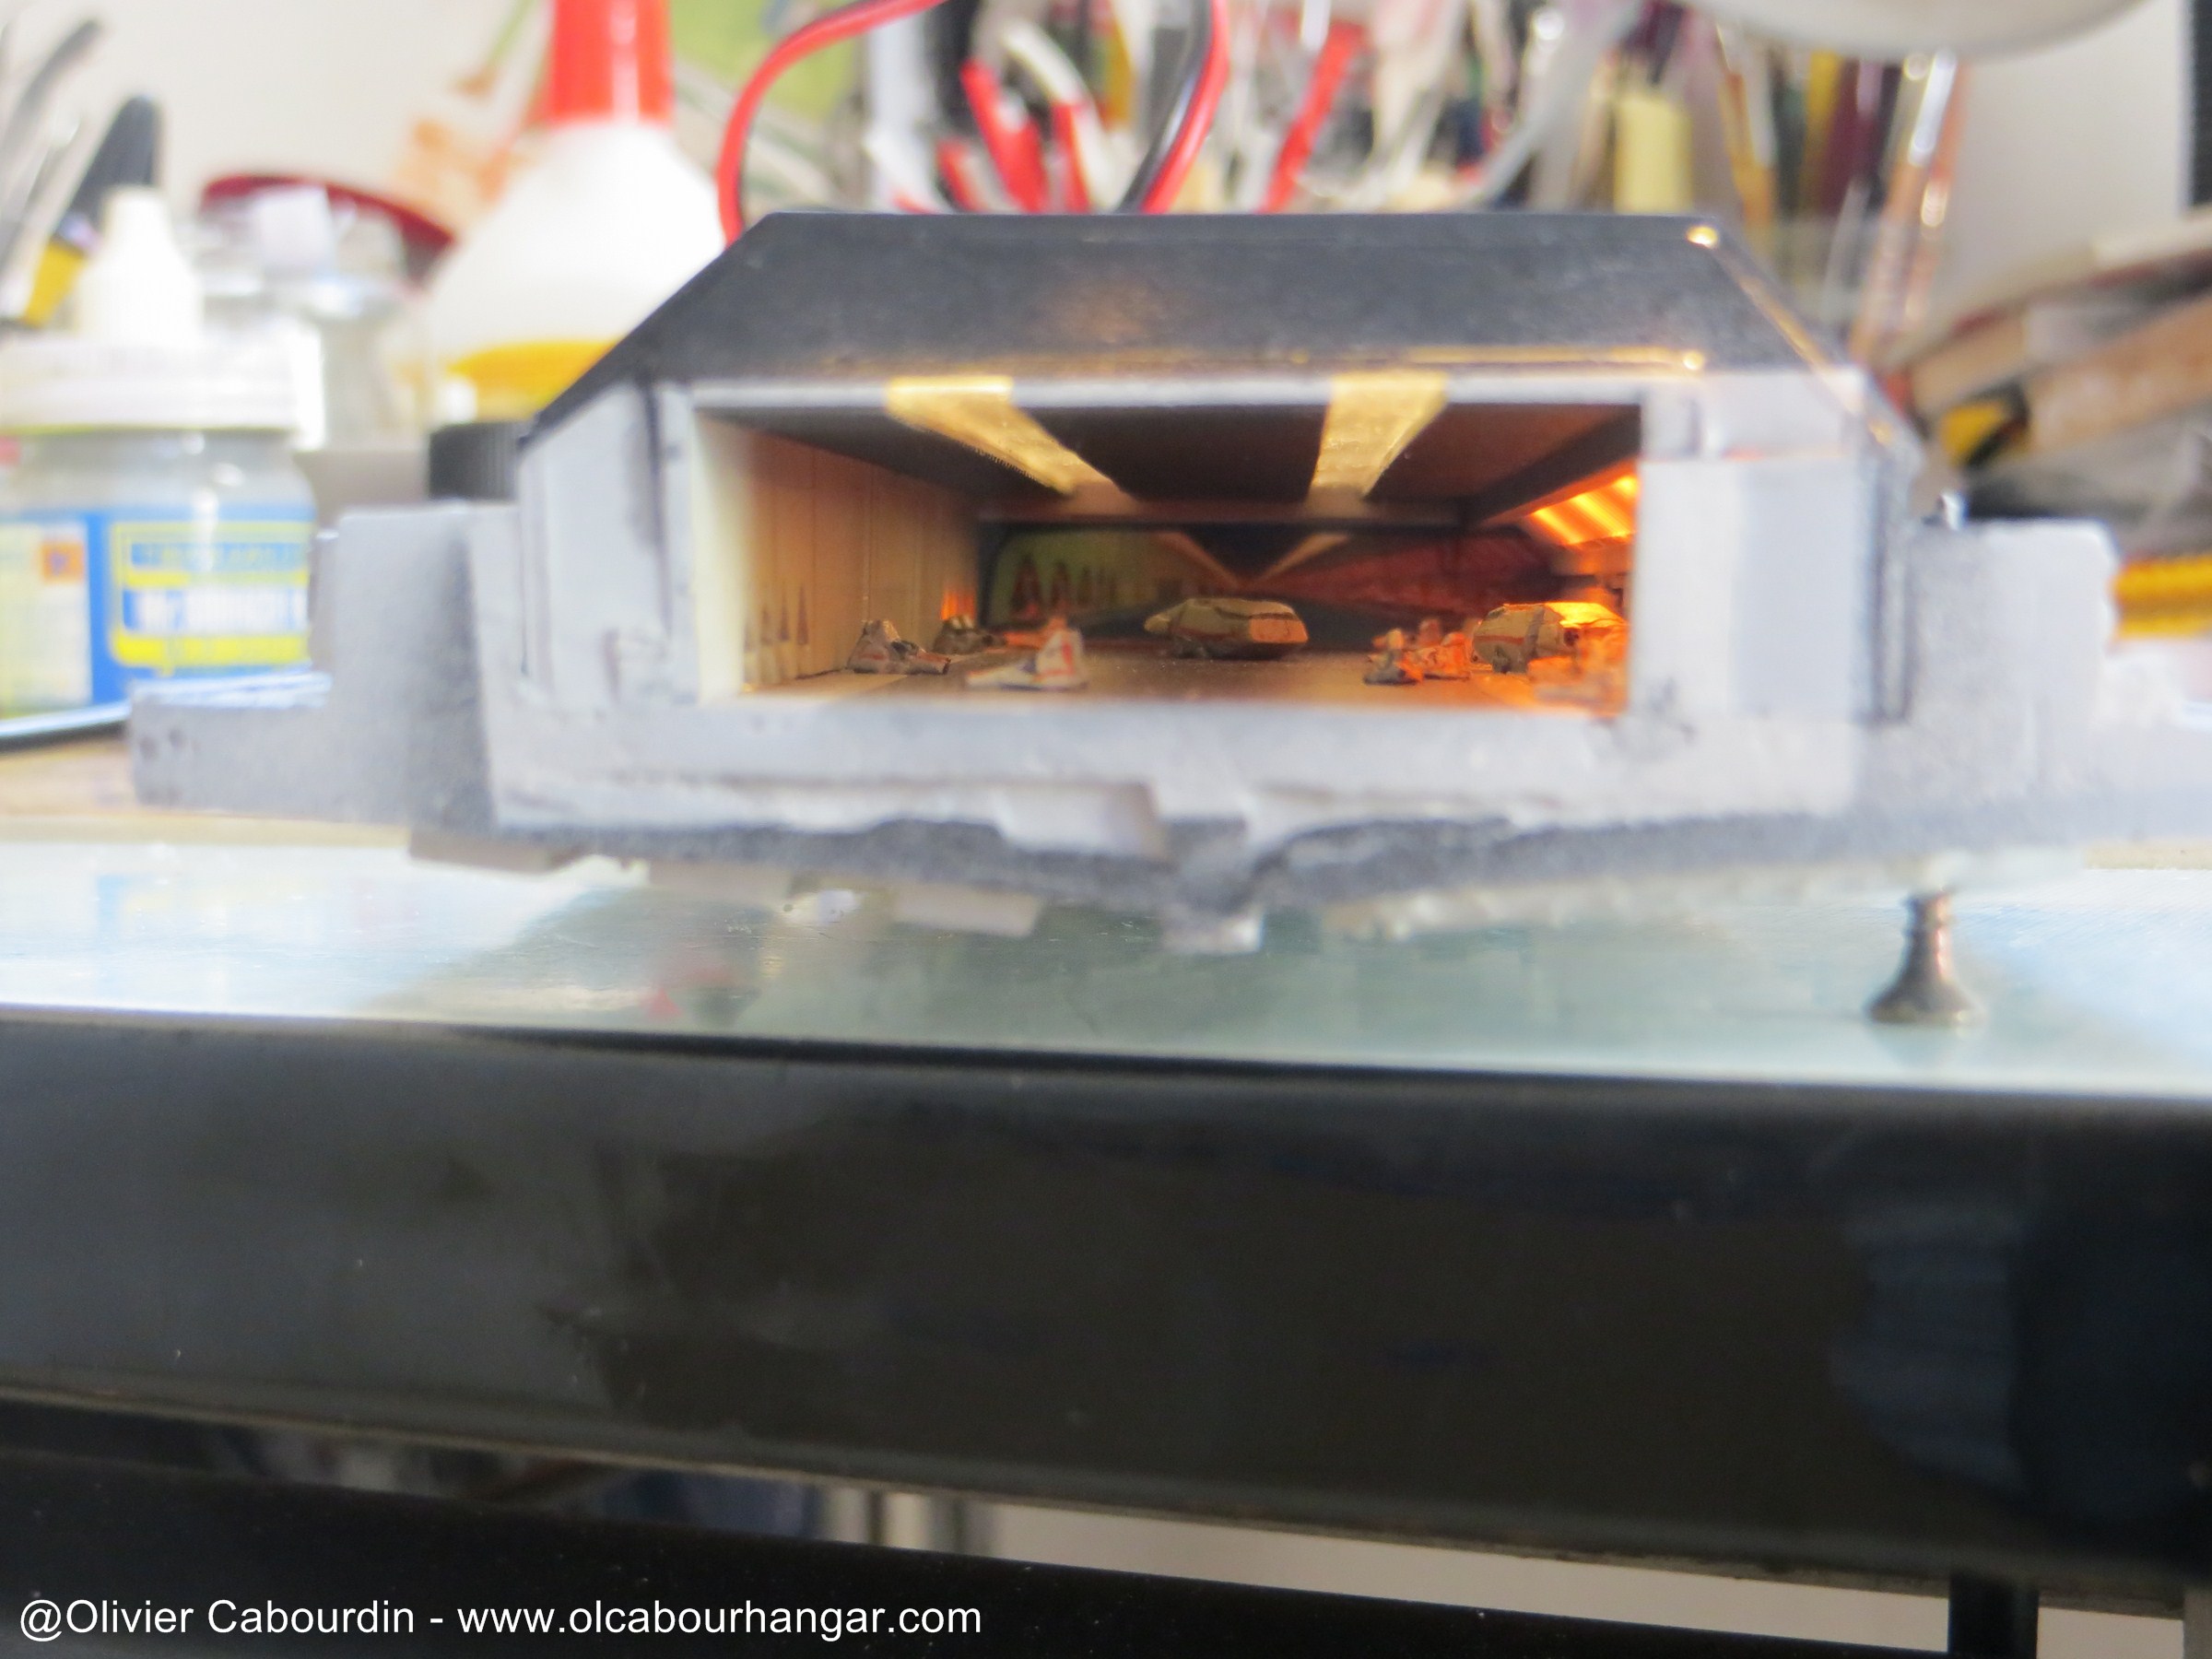
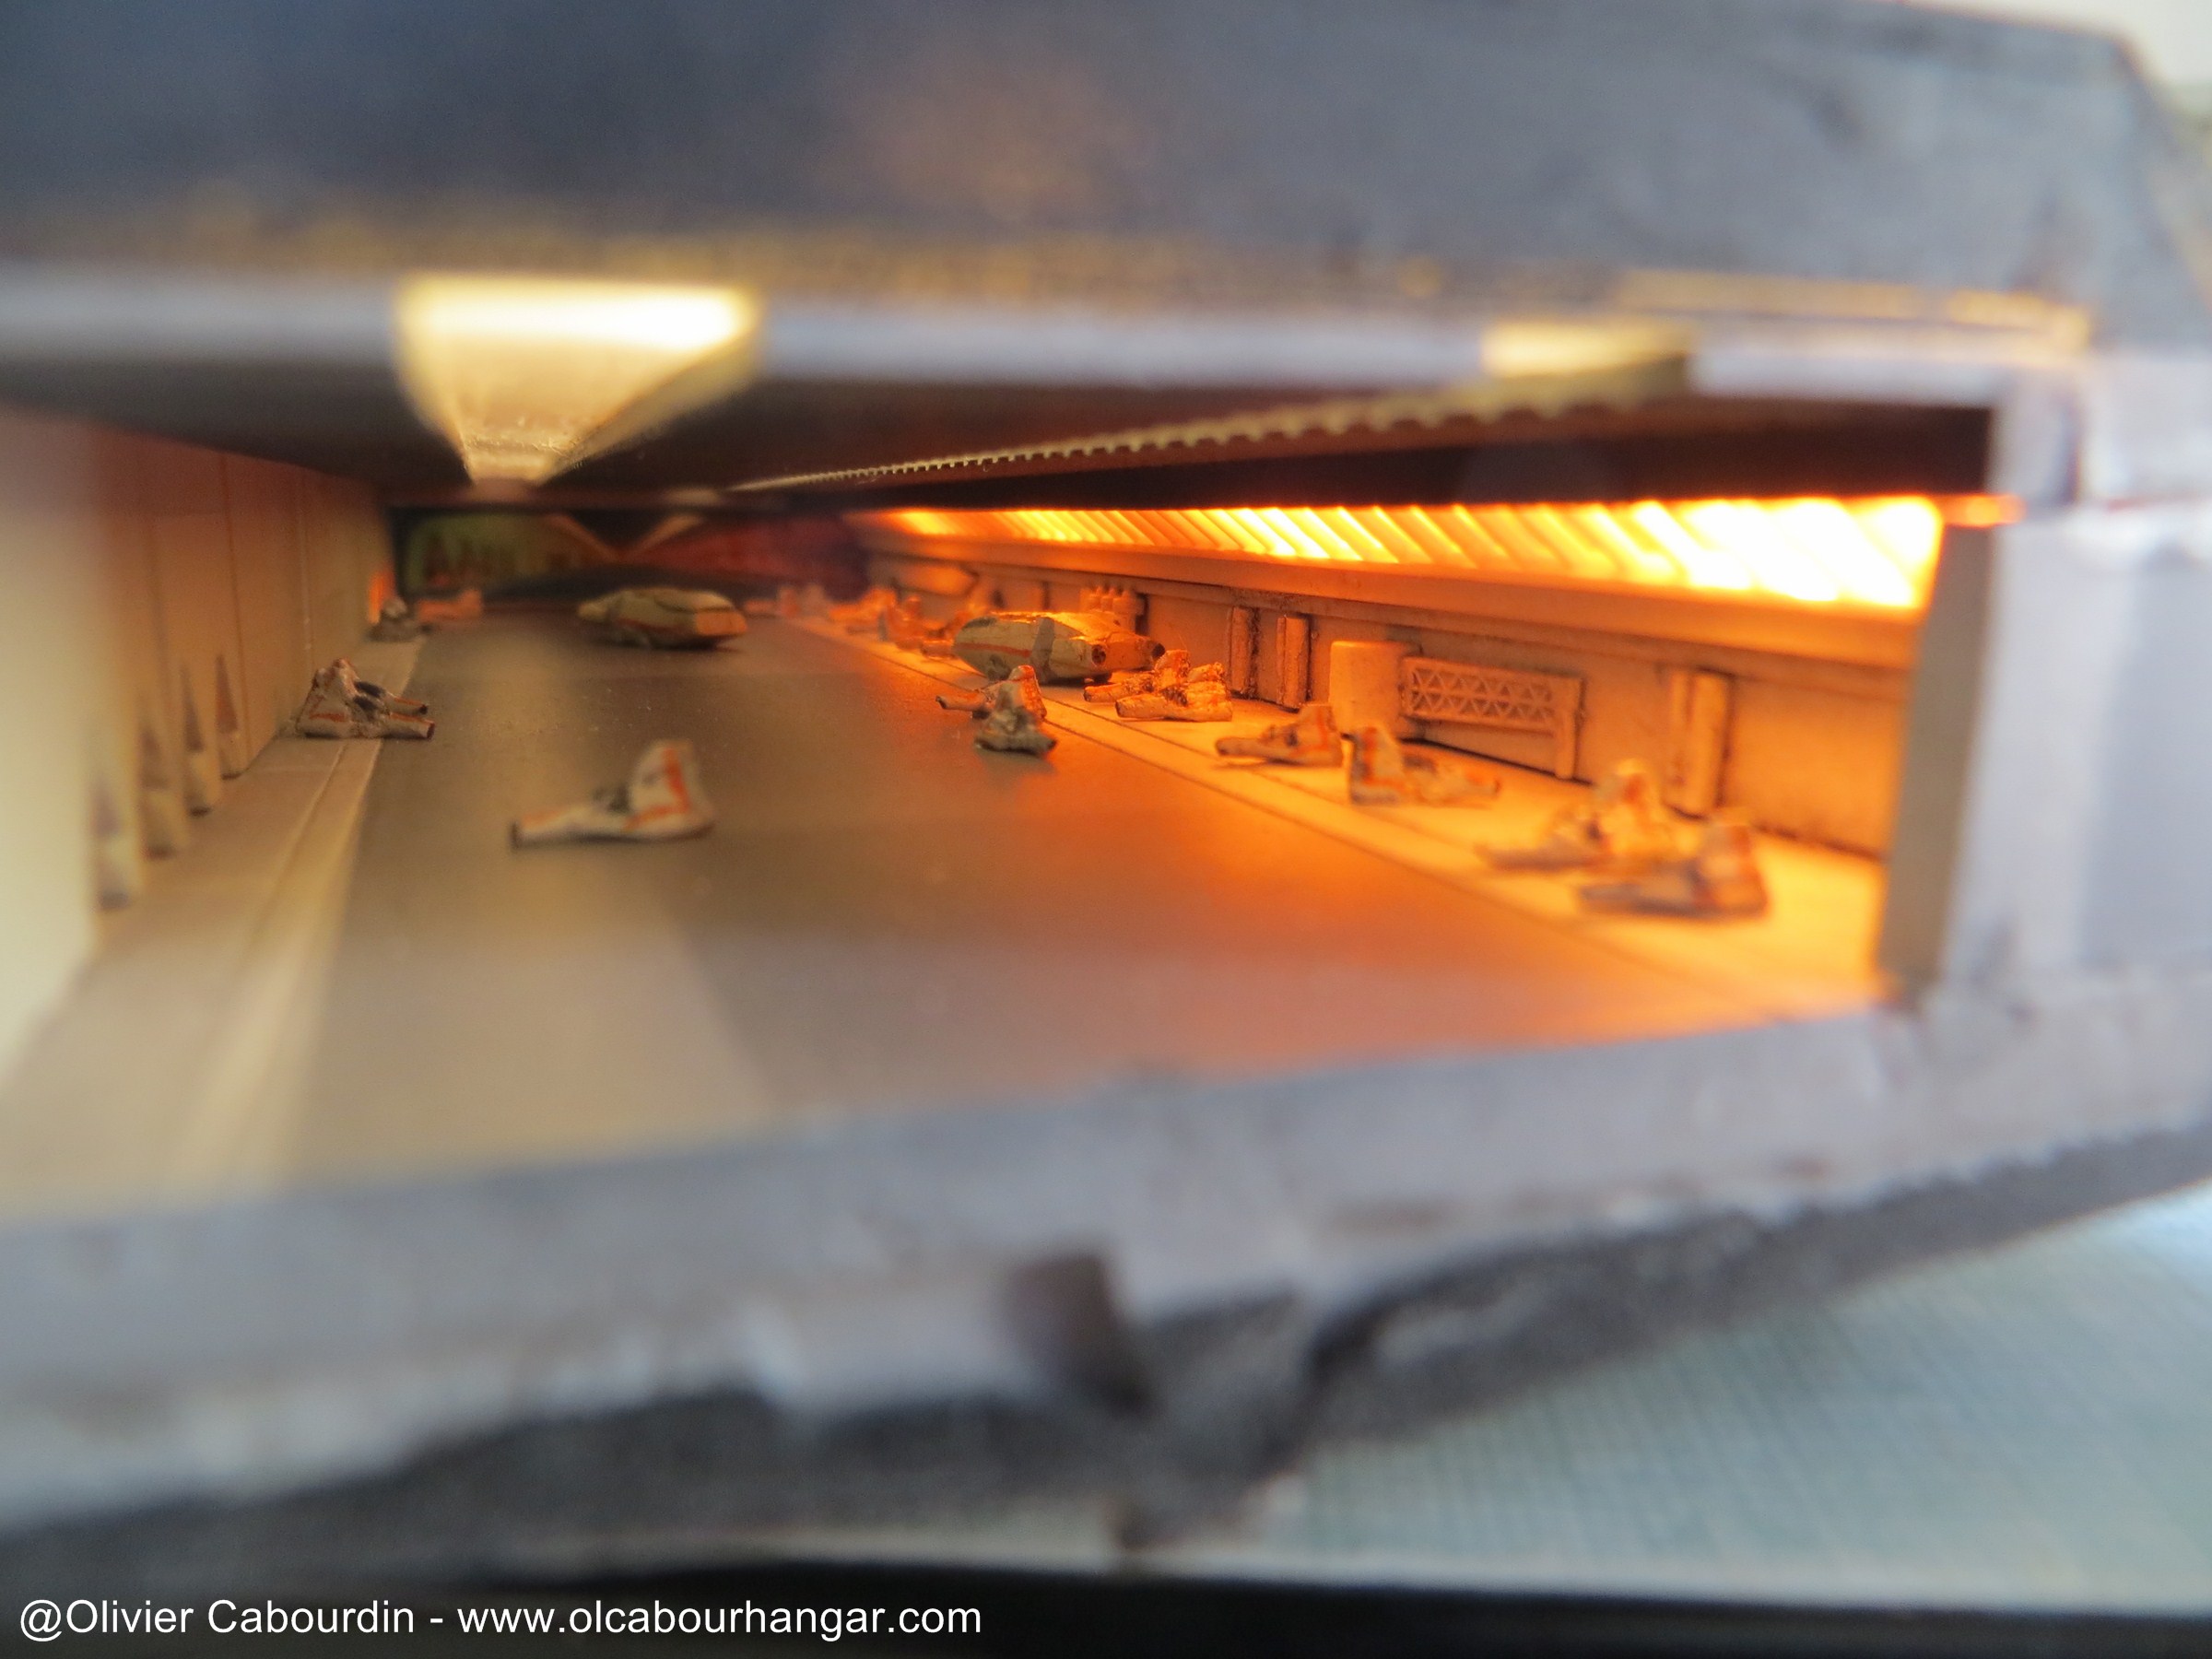
- Right hangar
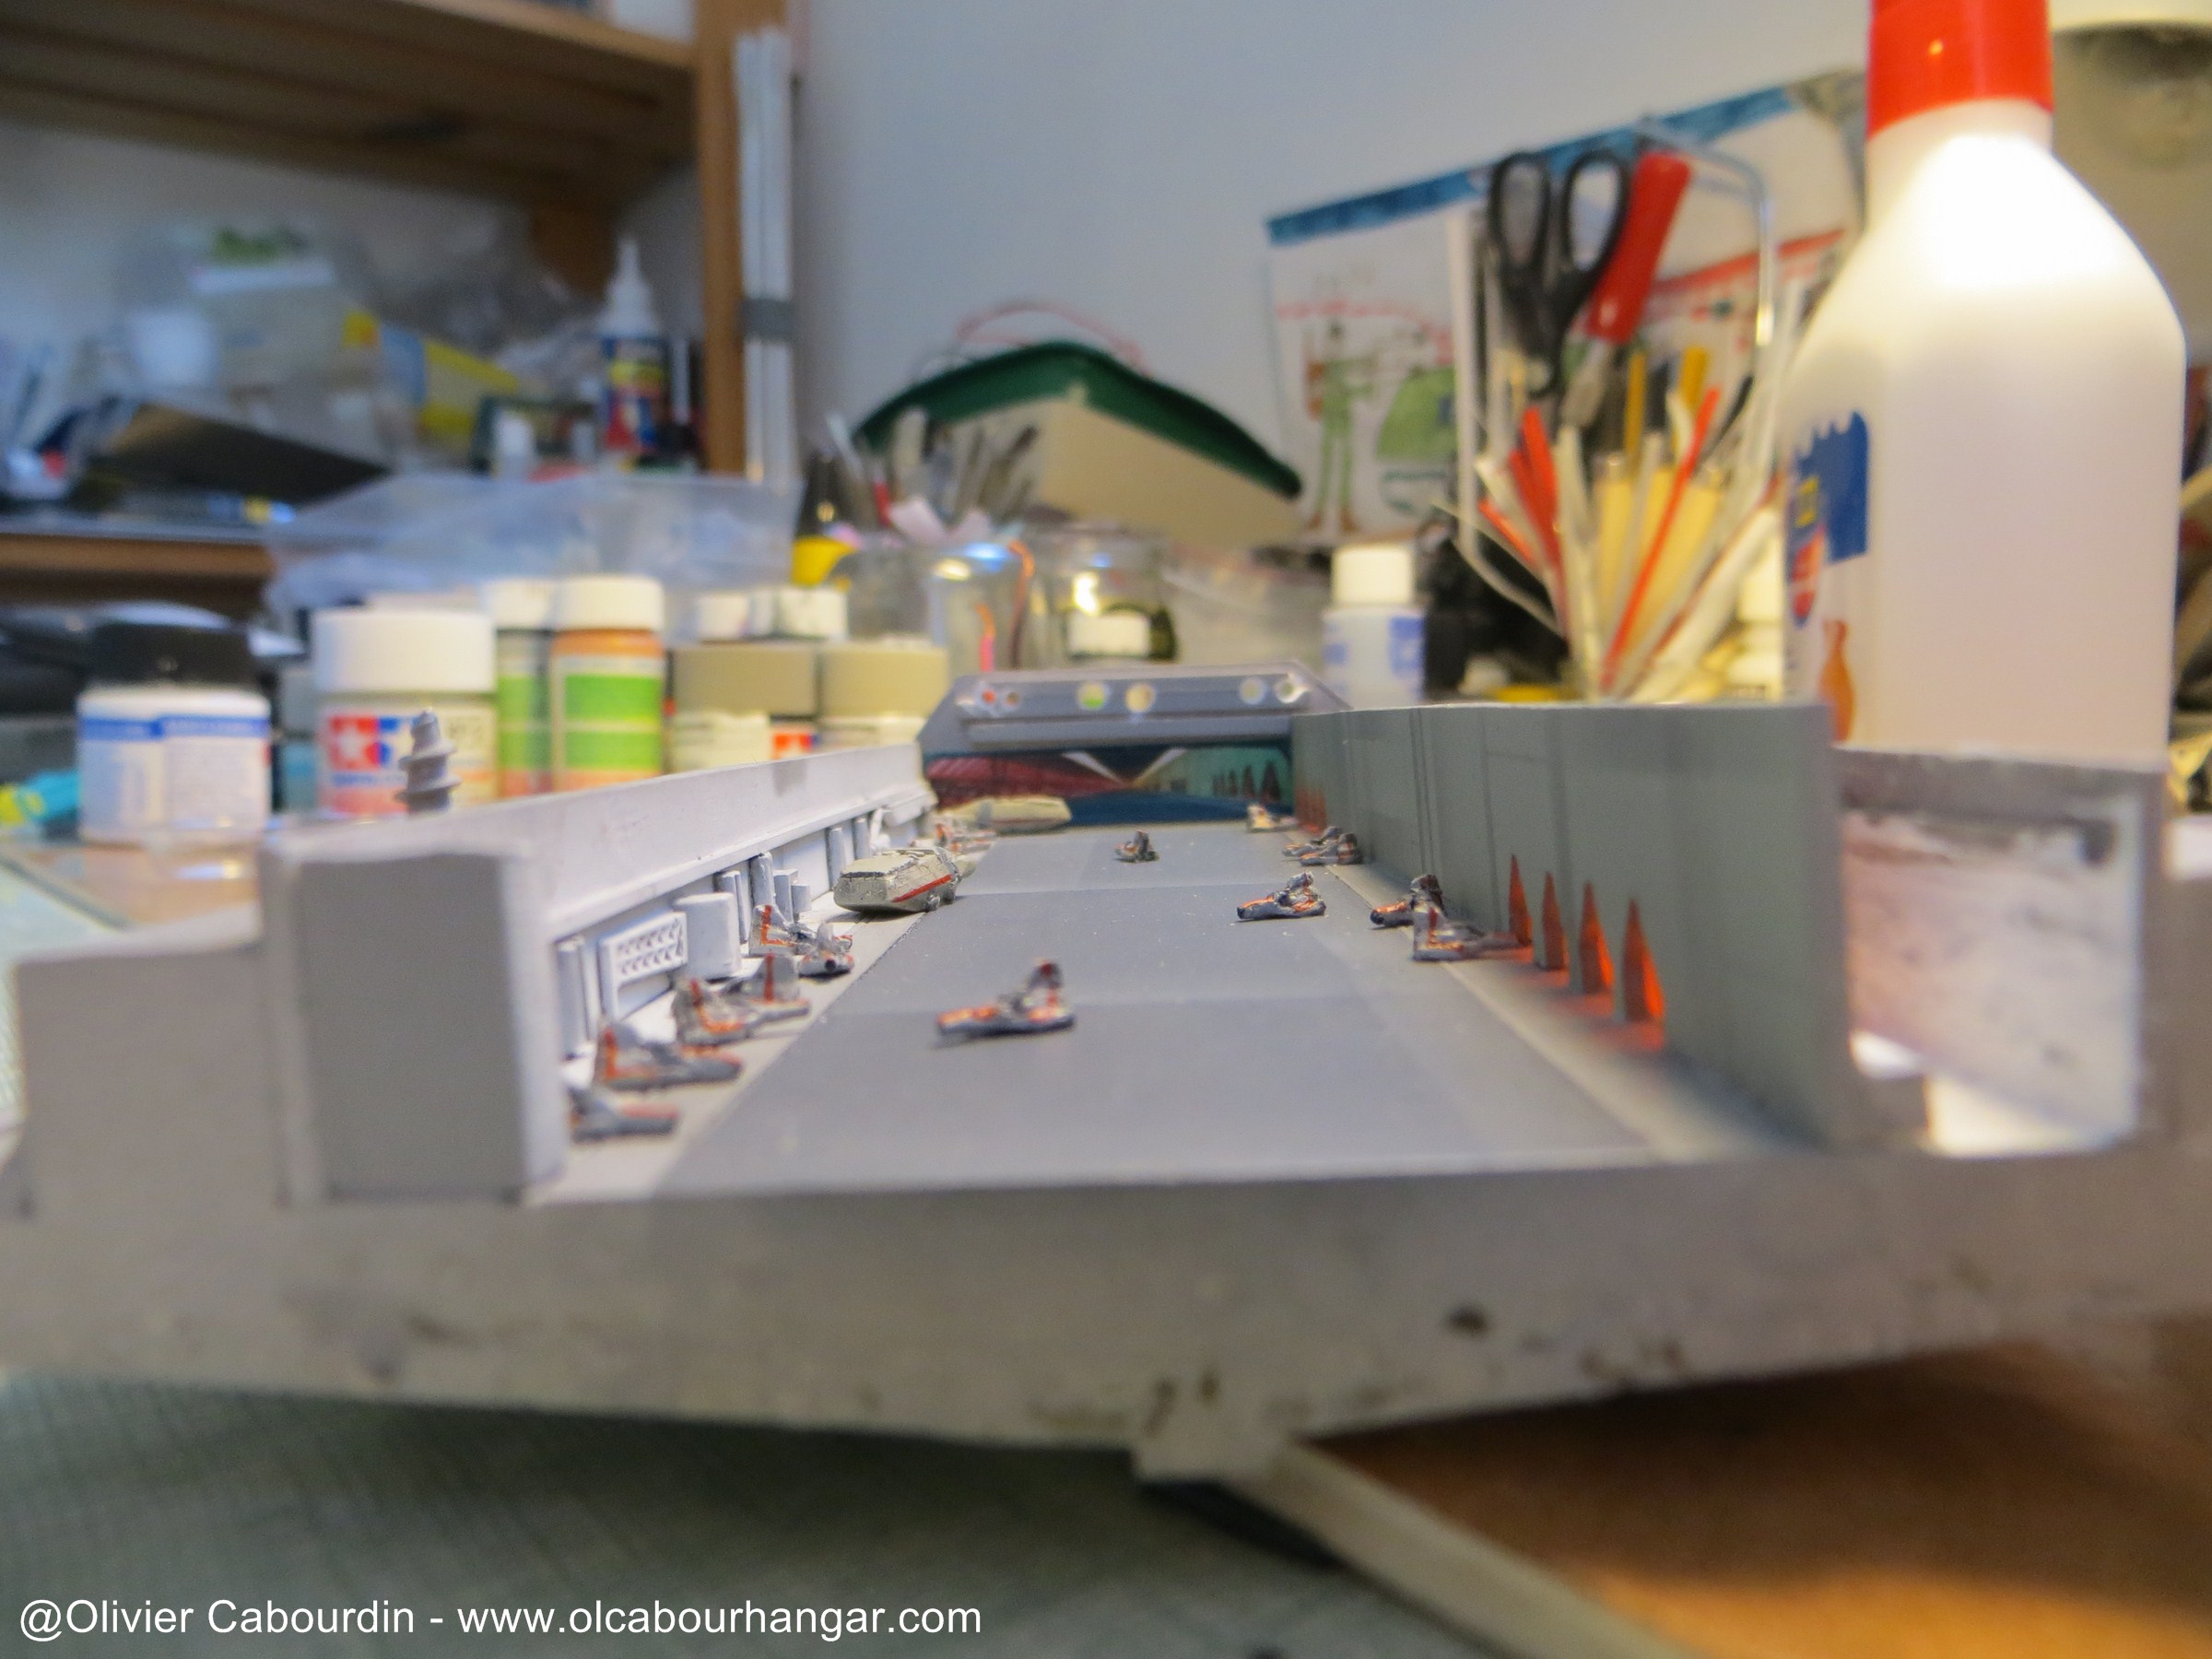
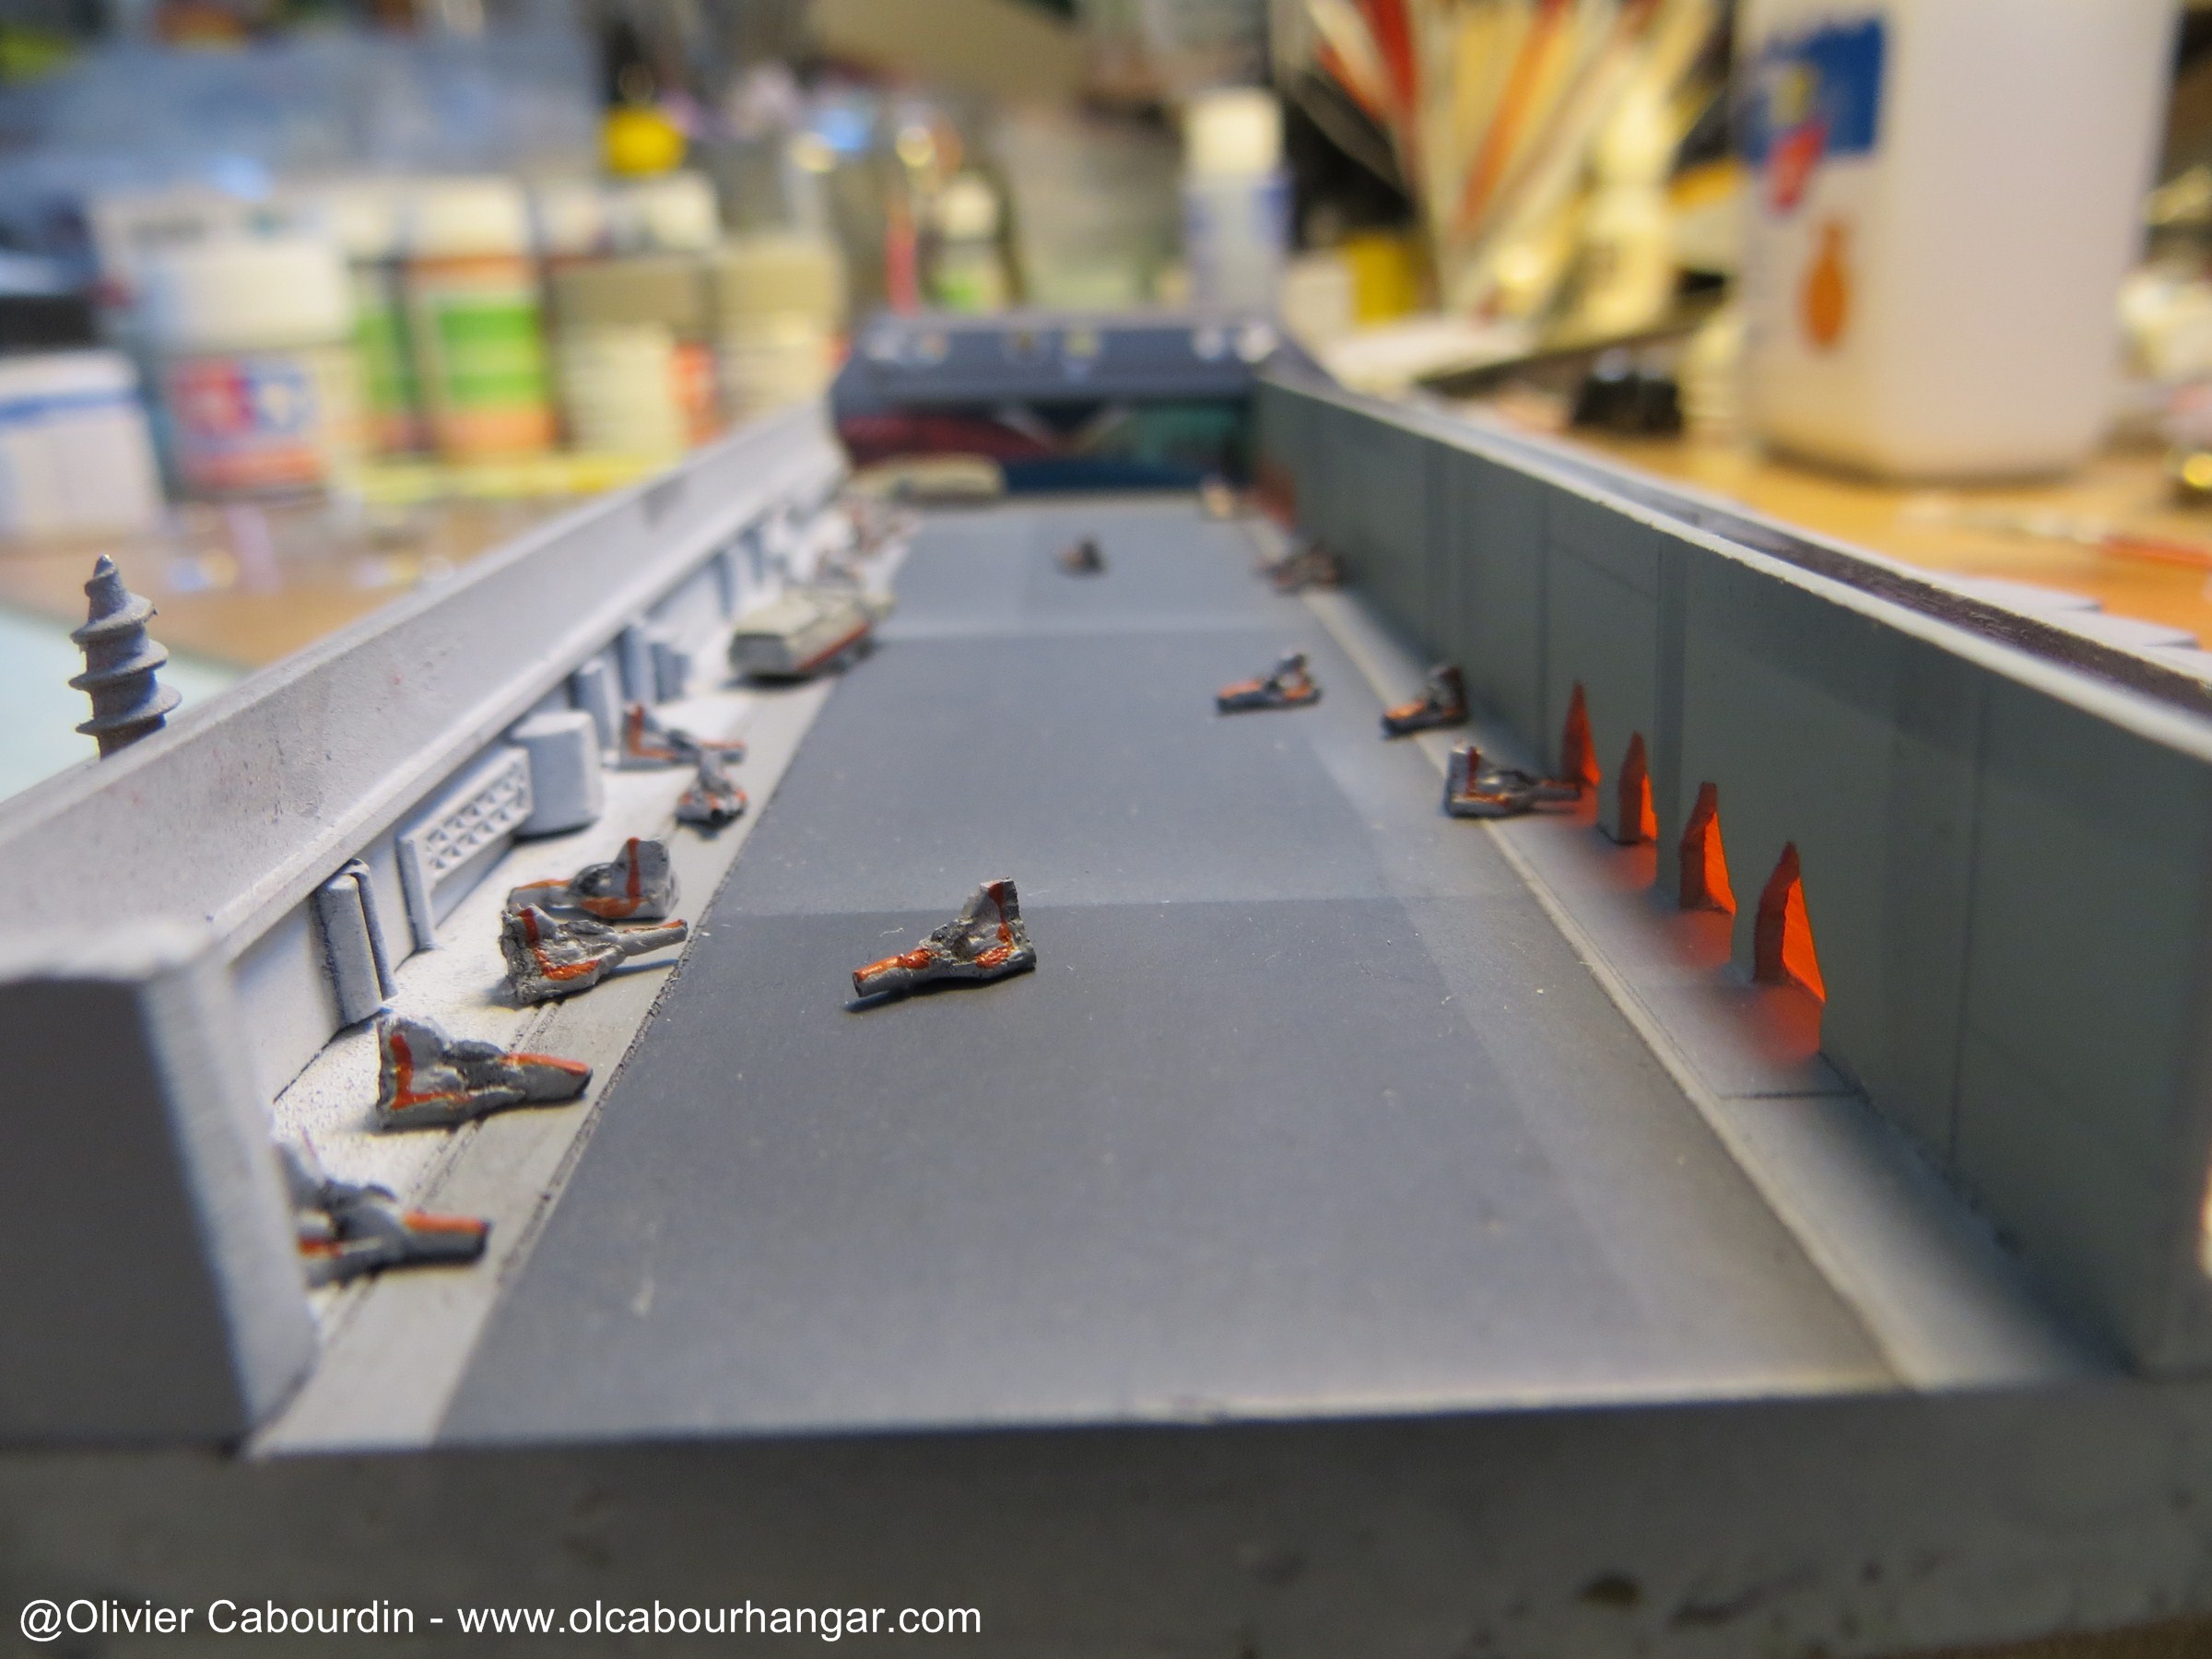
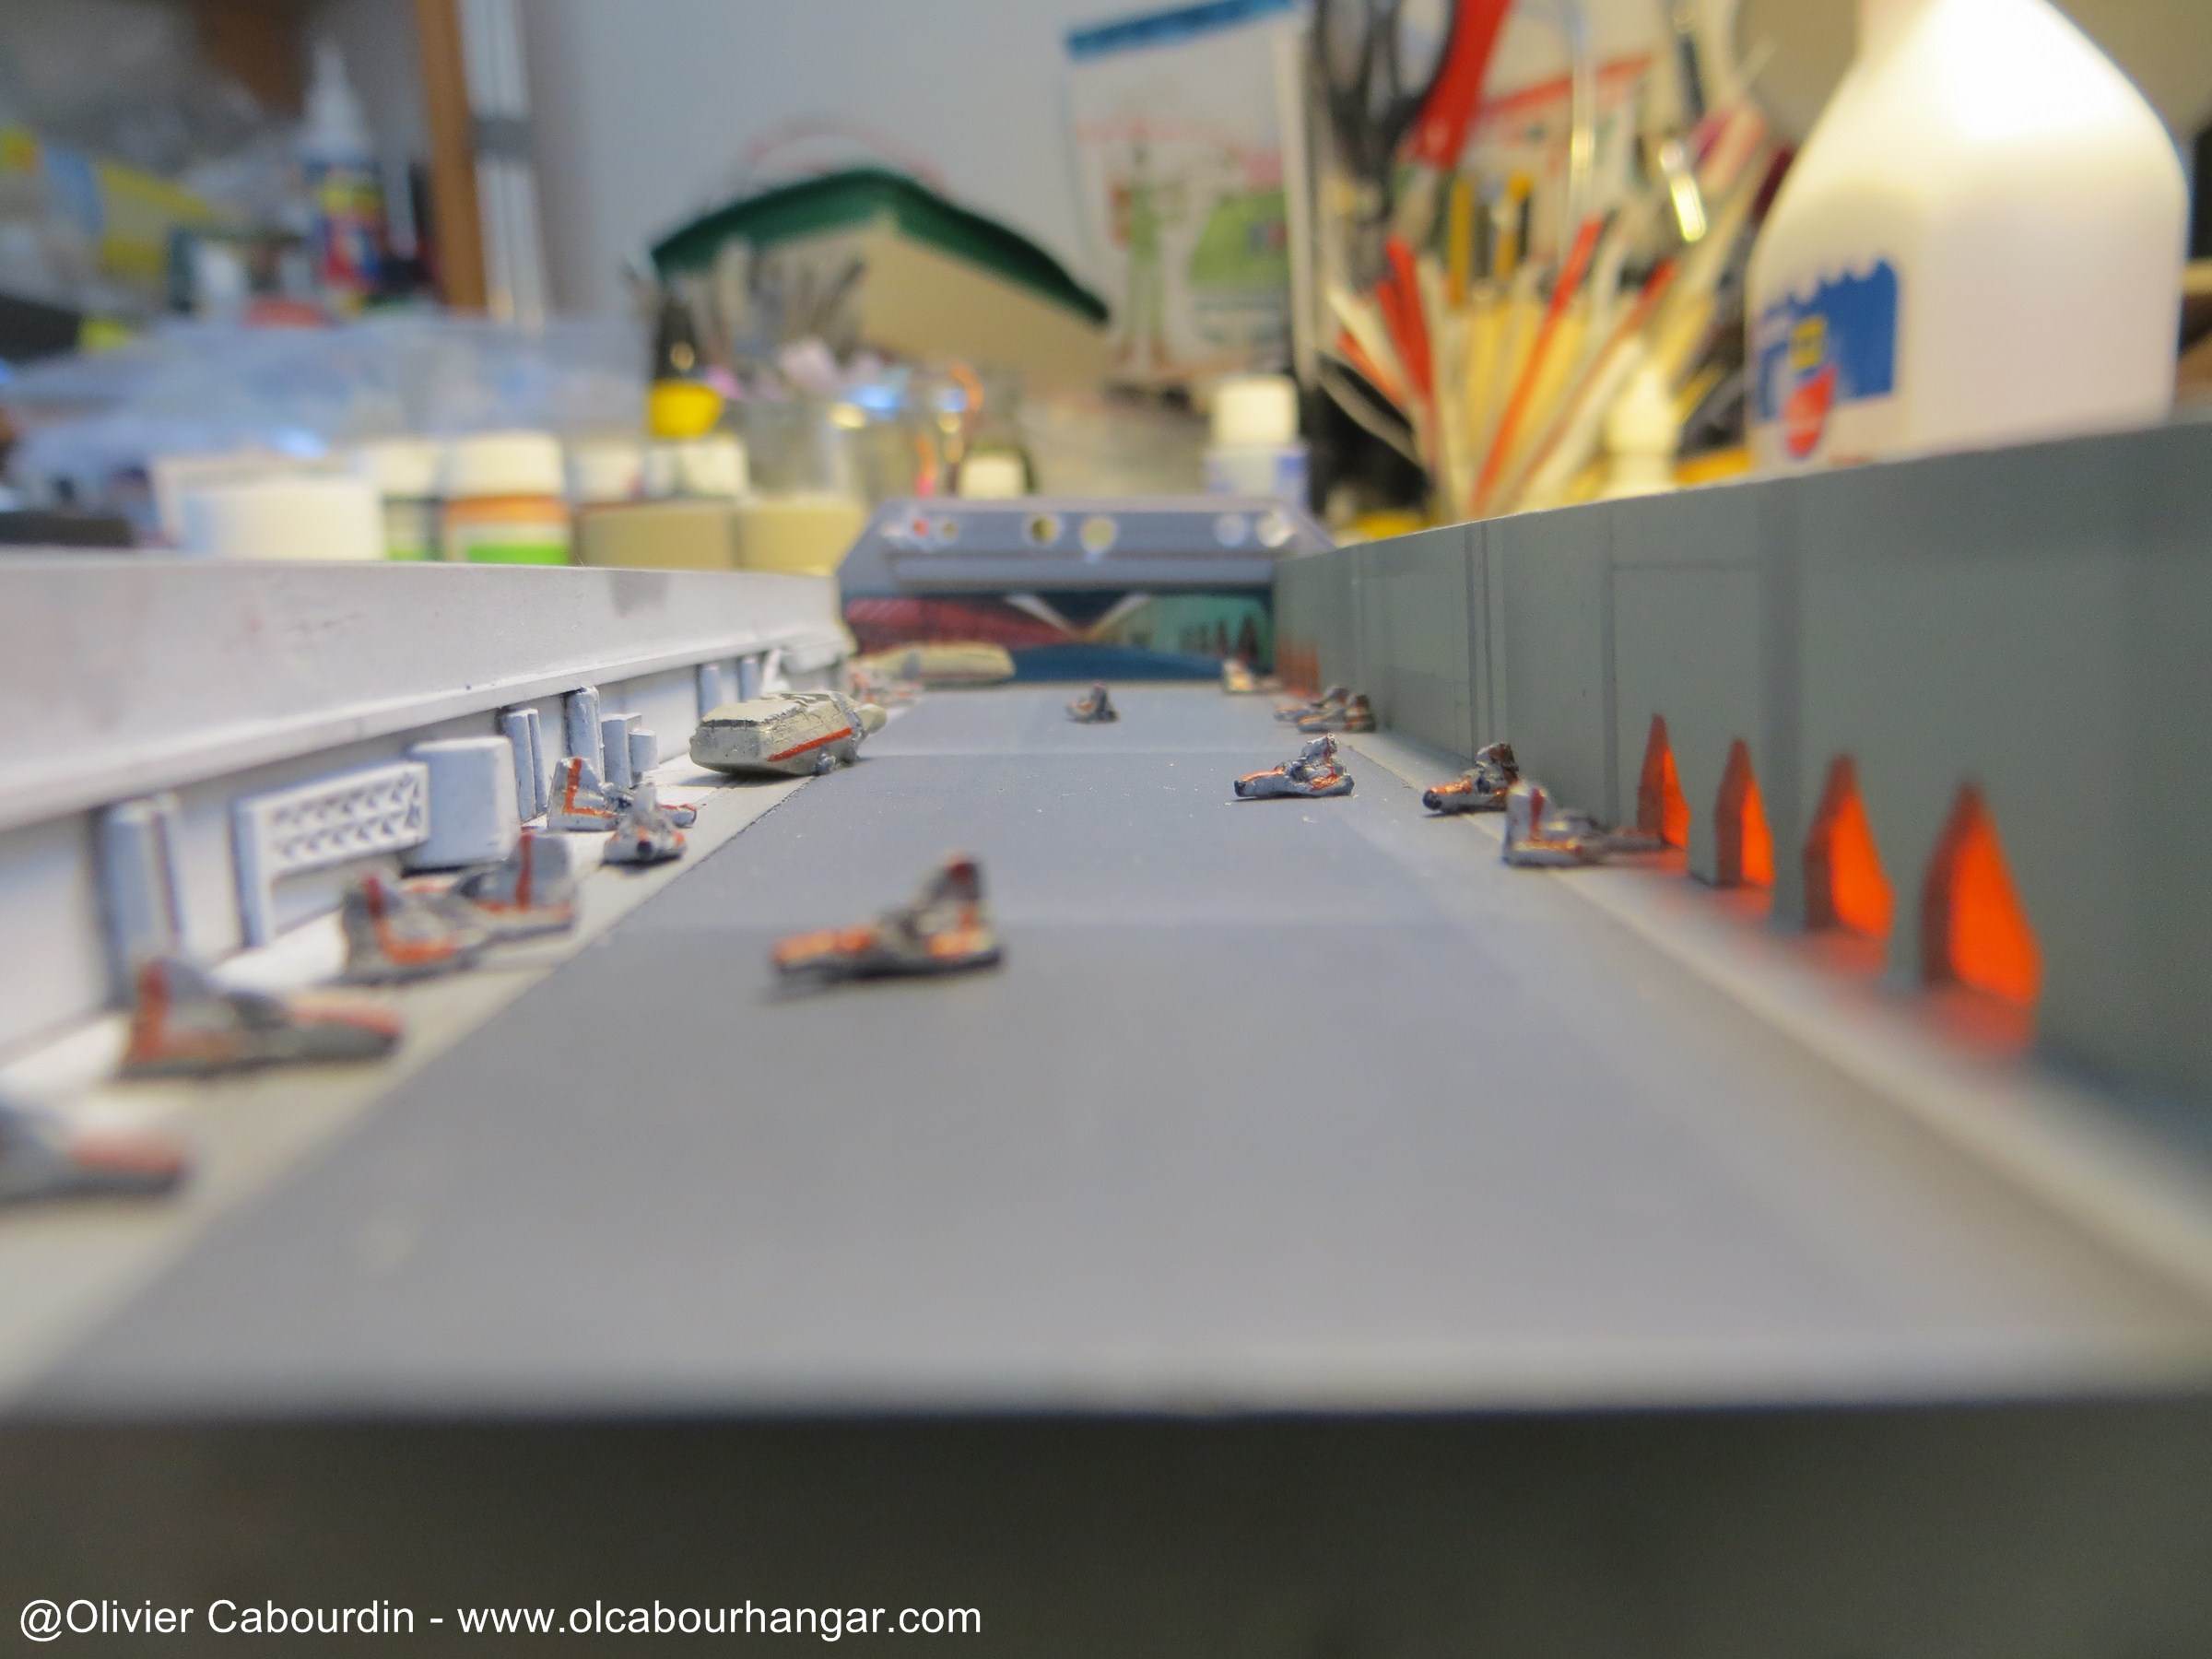
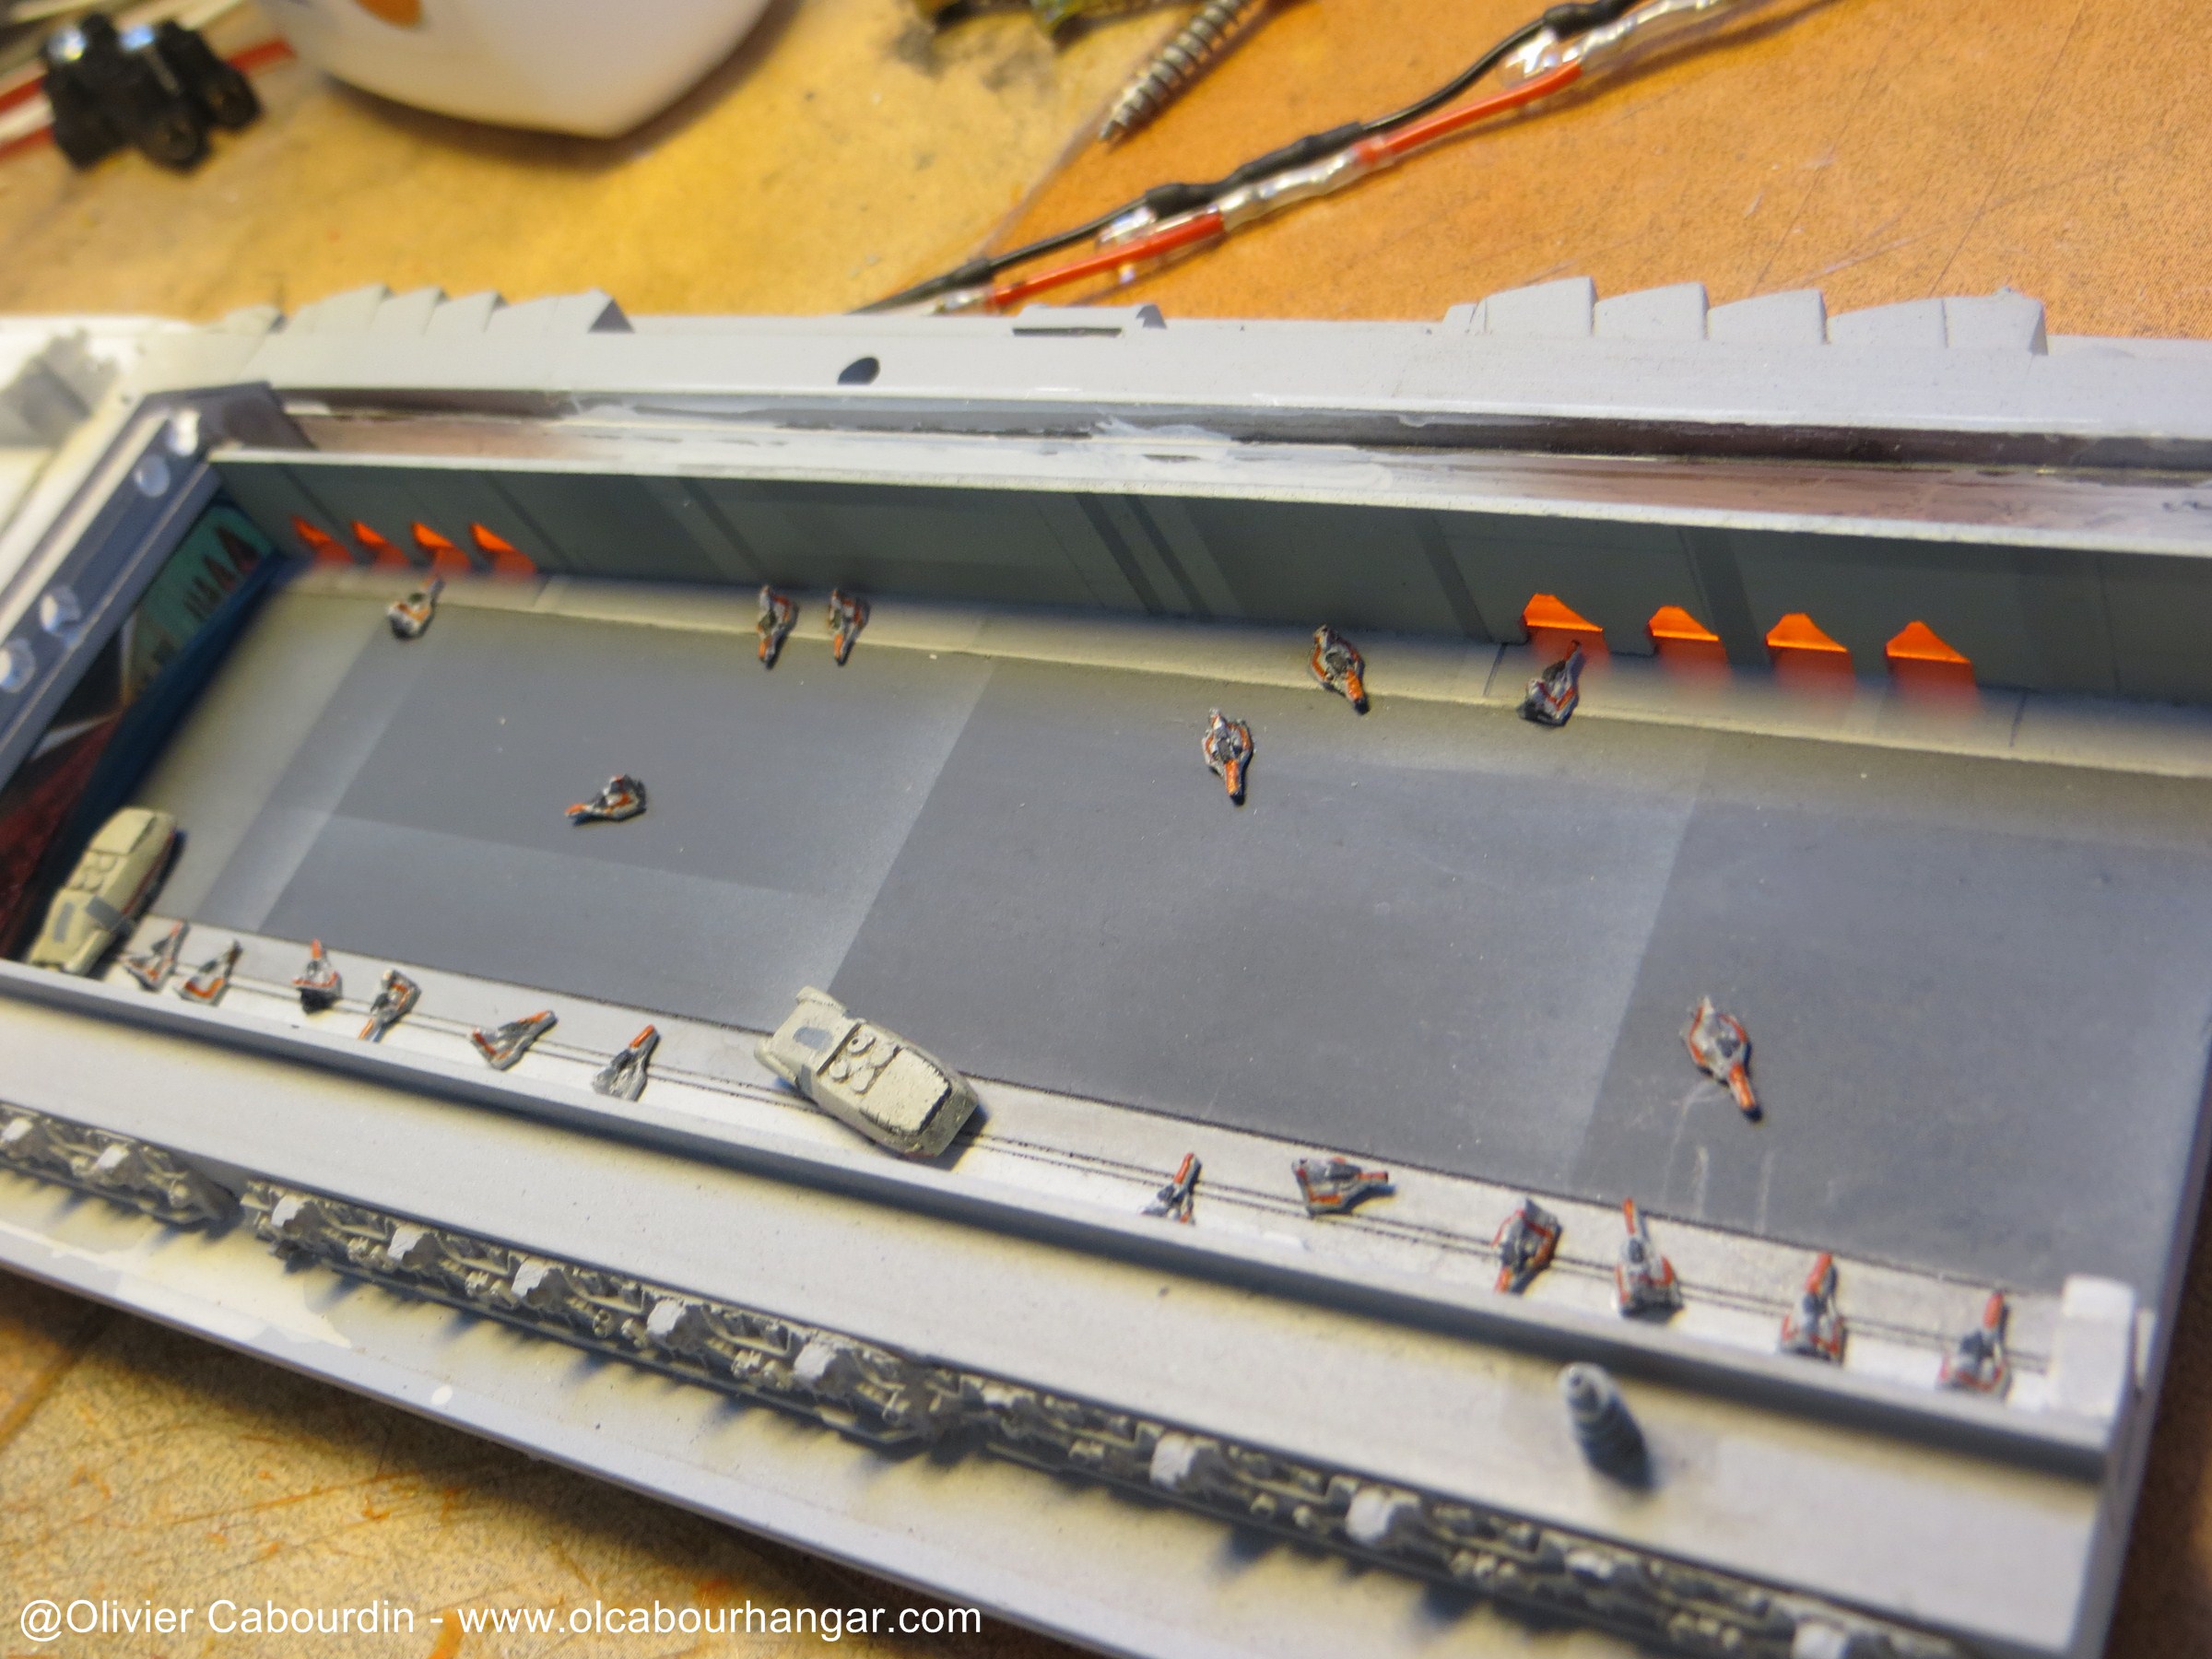
- Left hangar
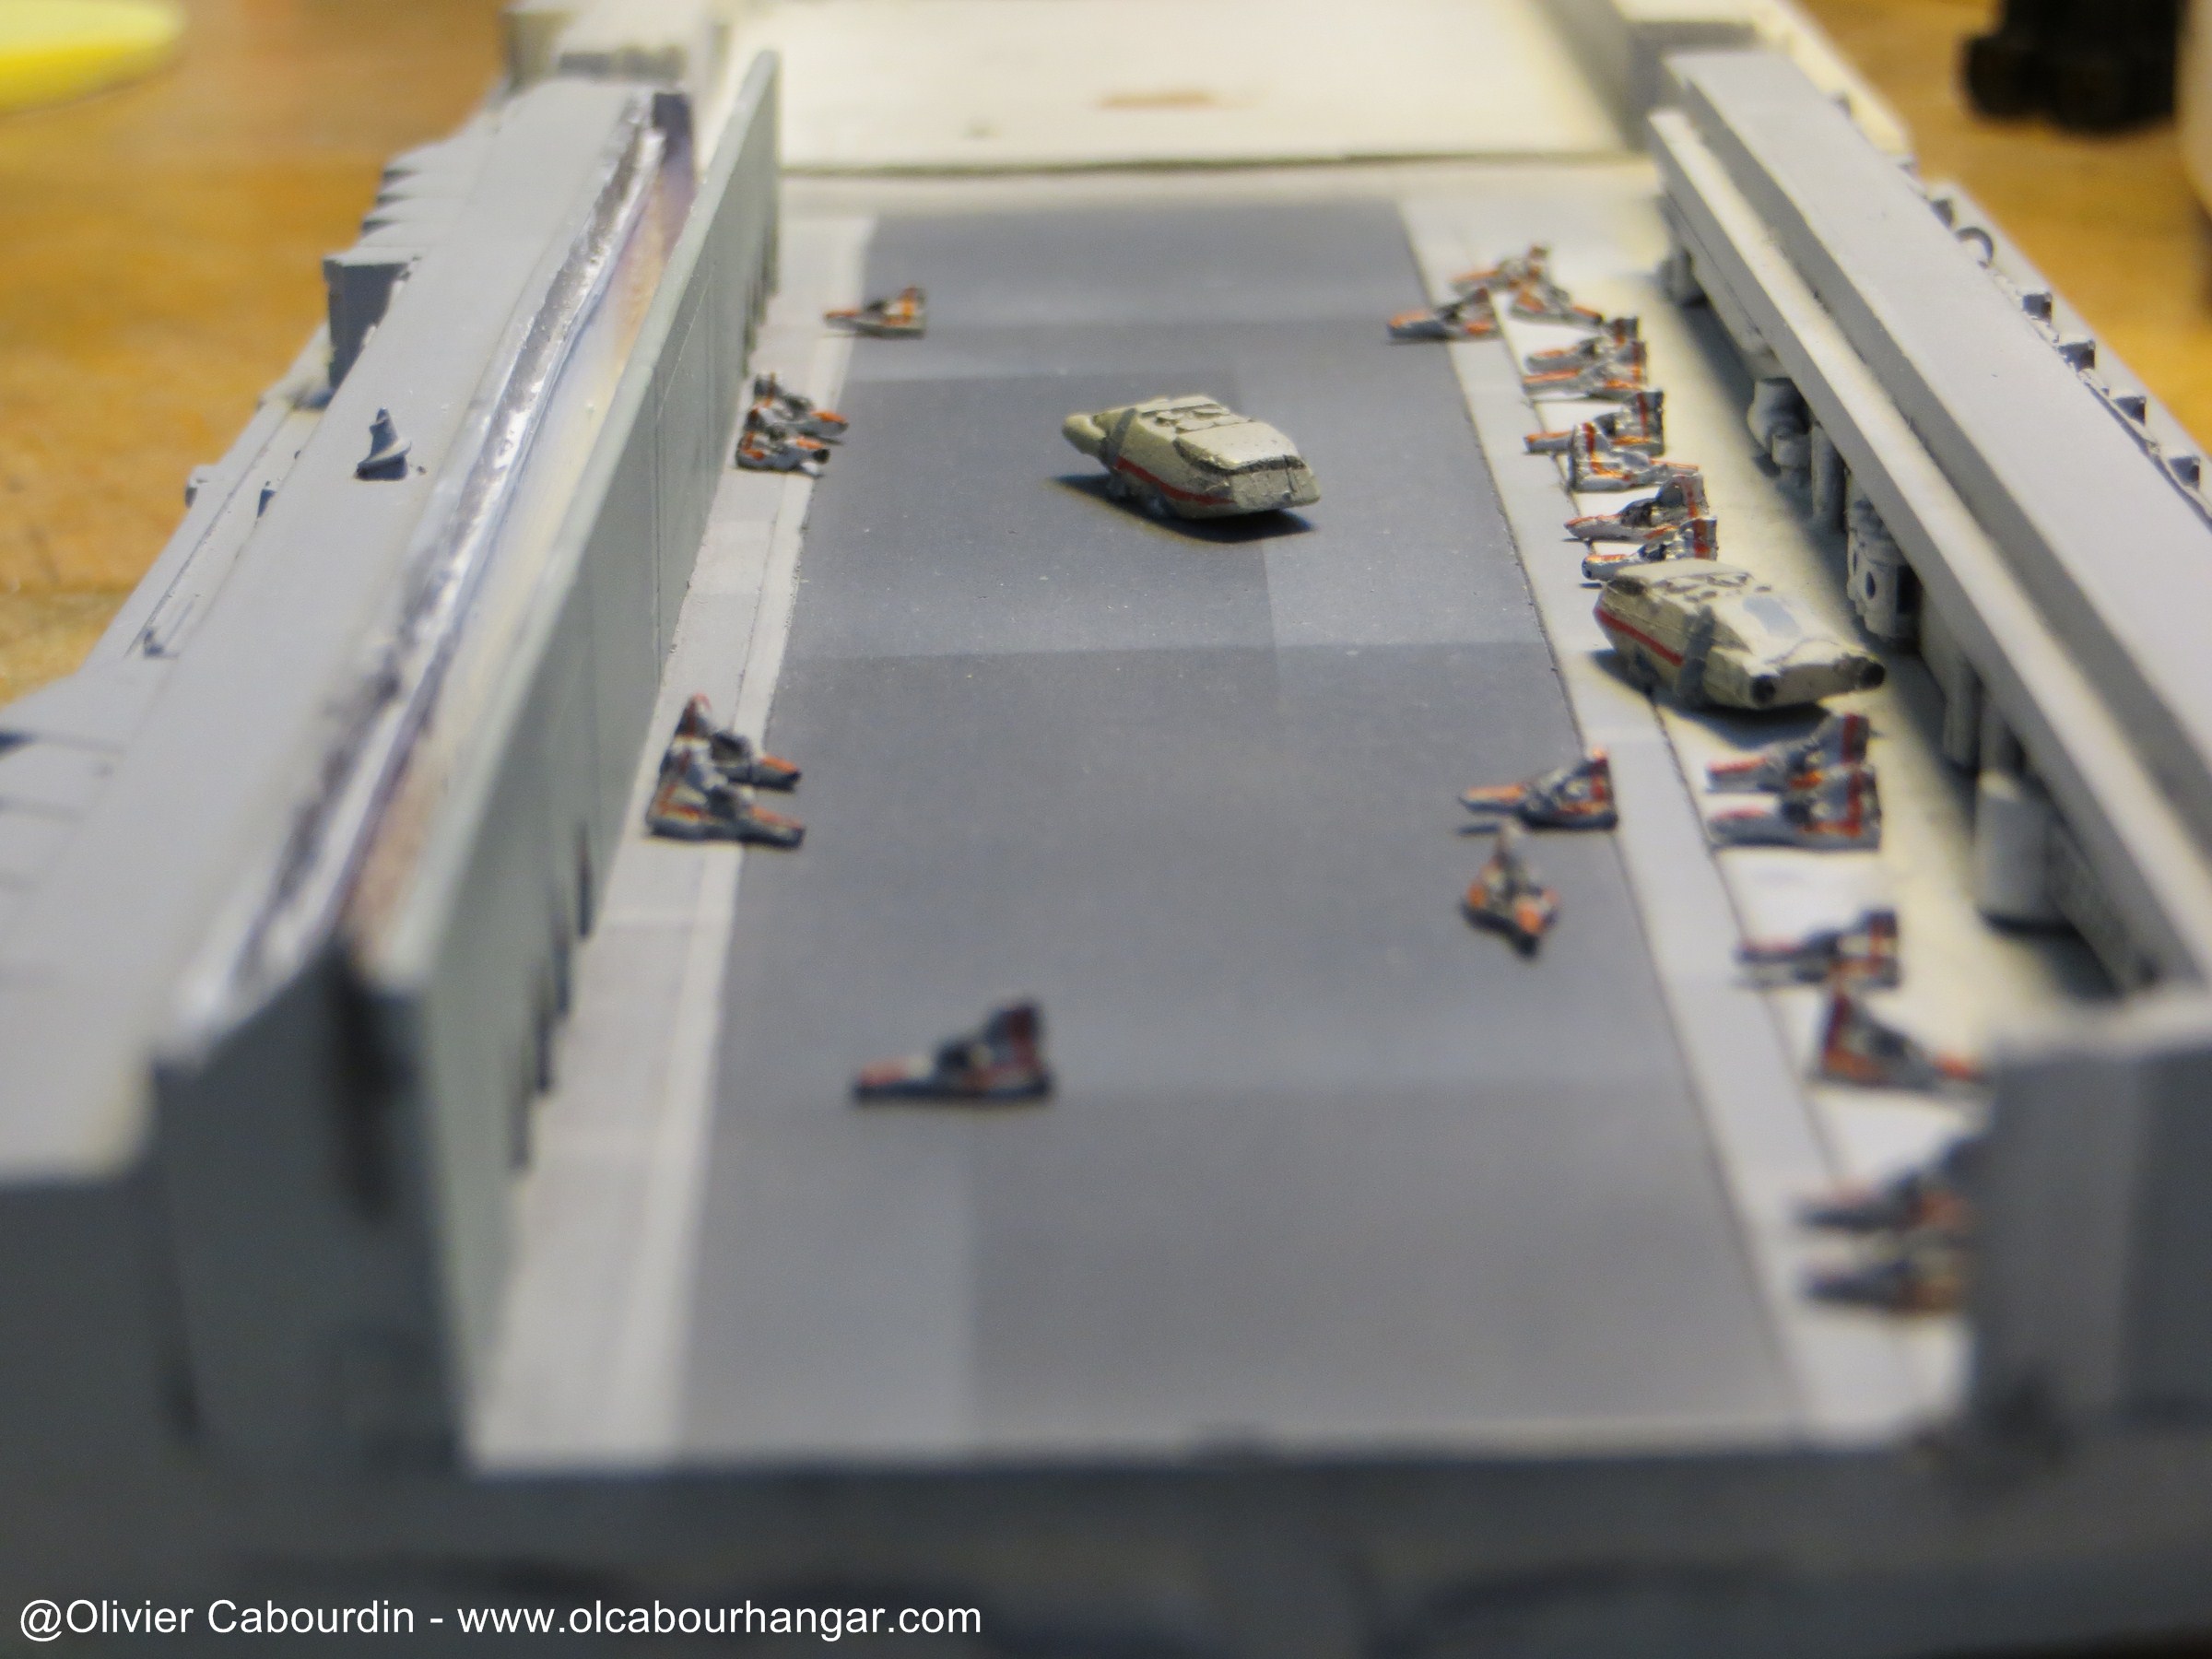
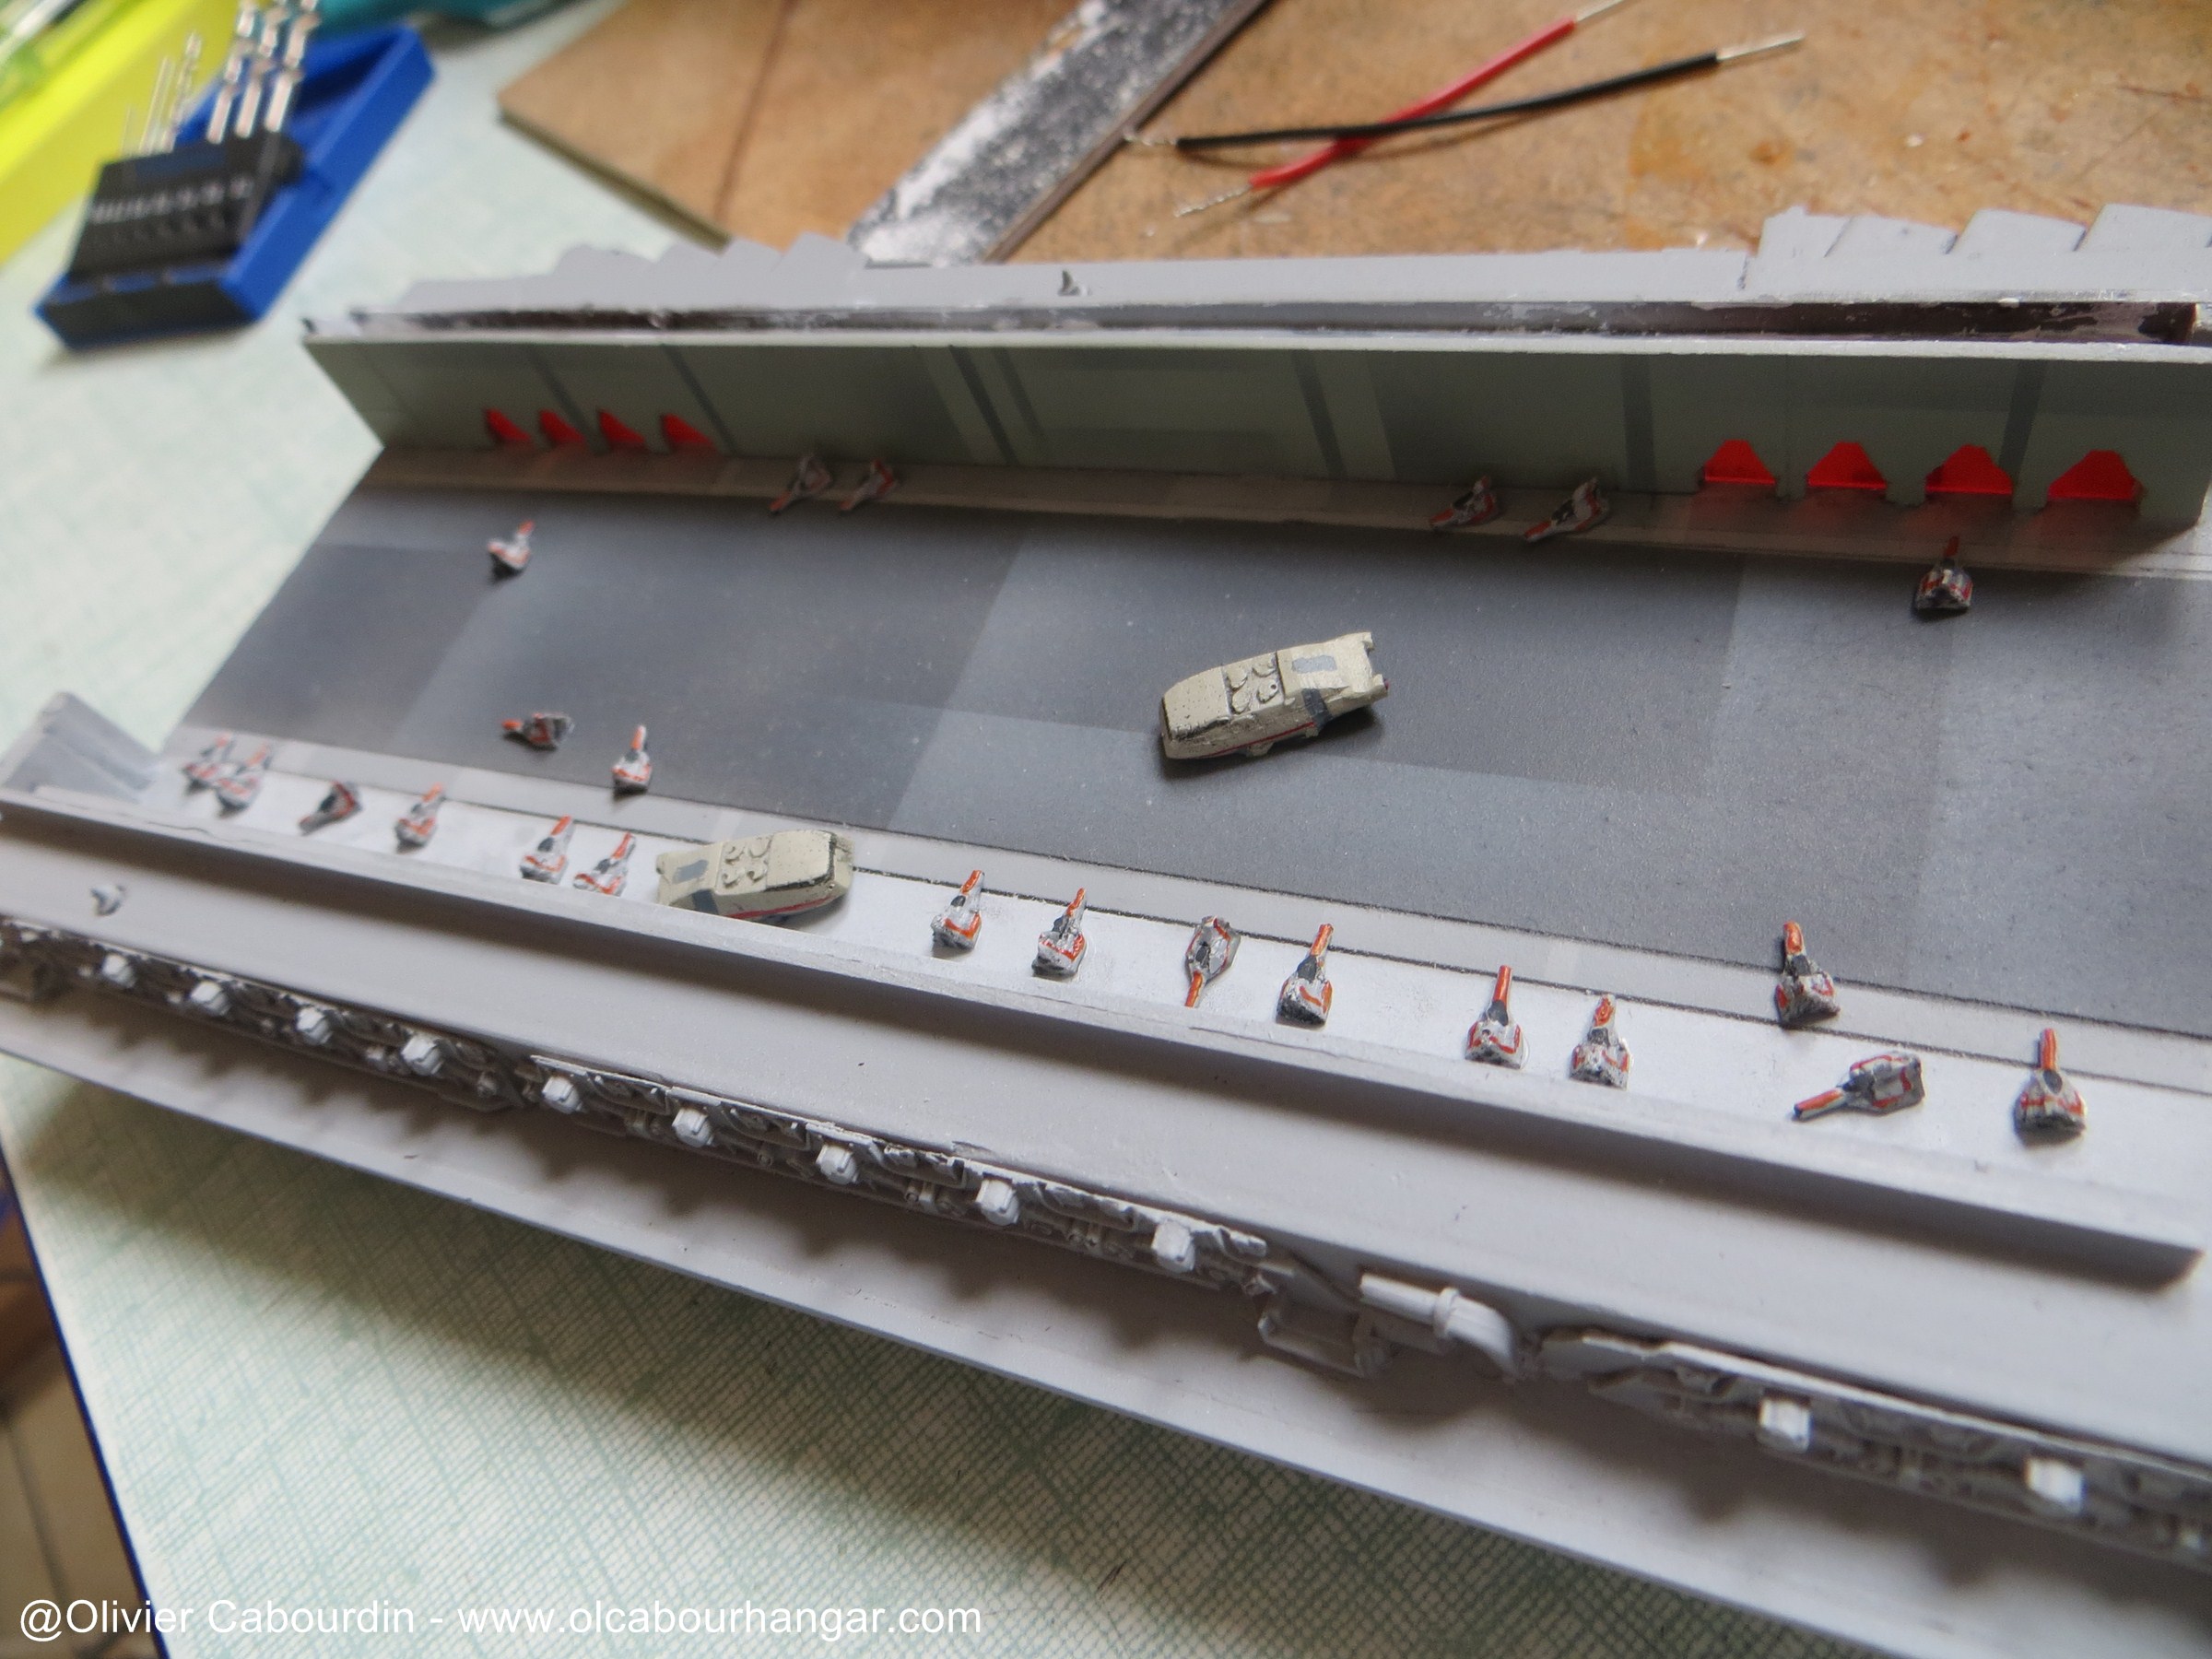
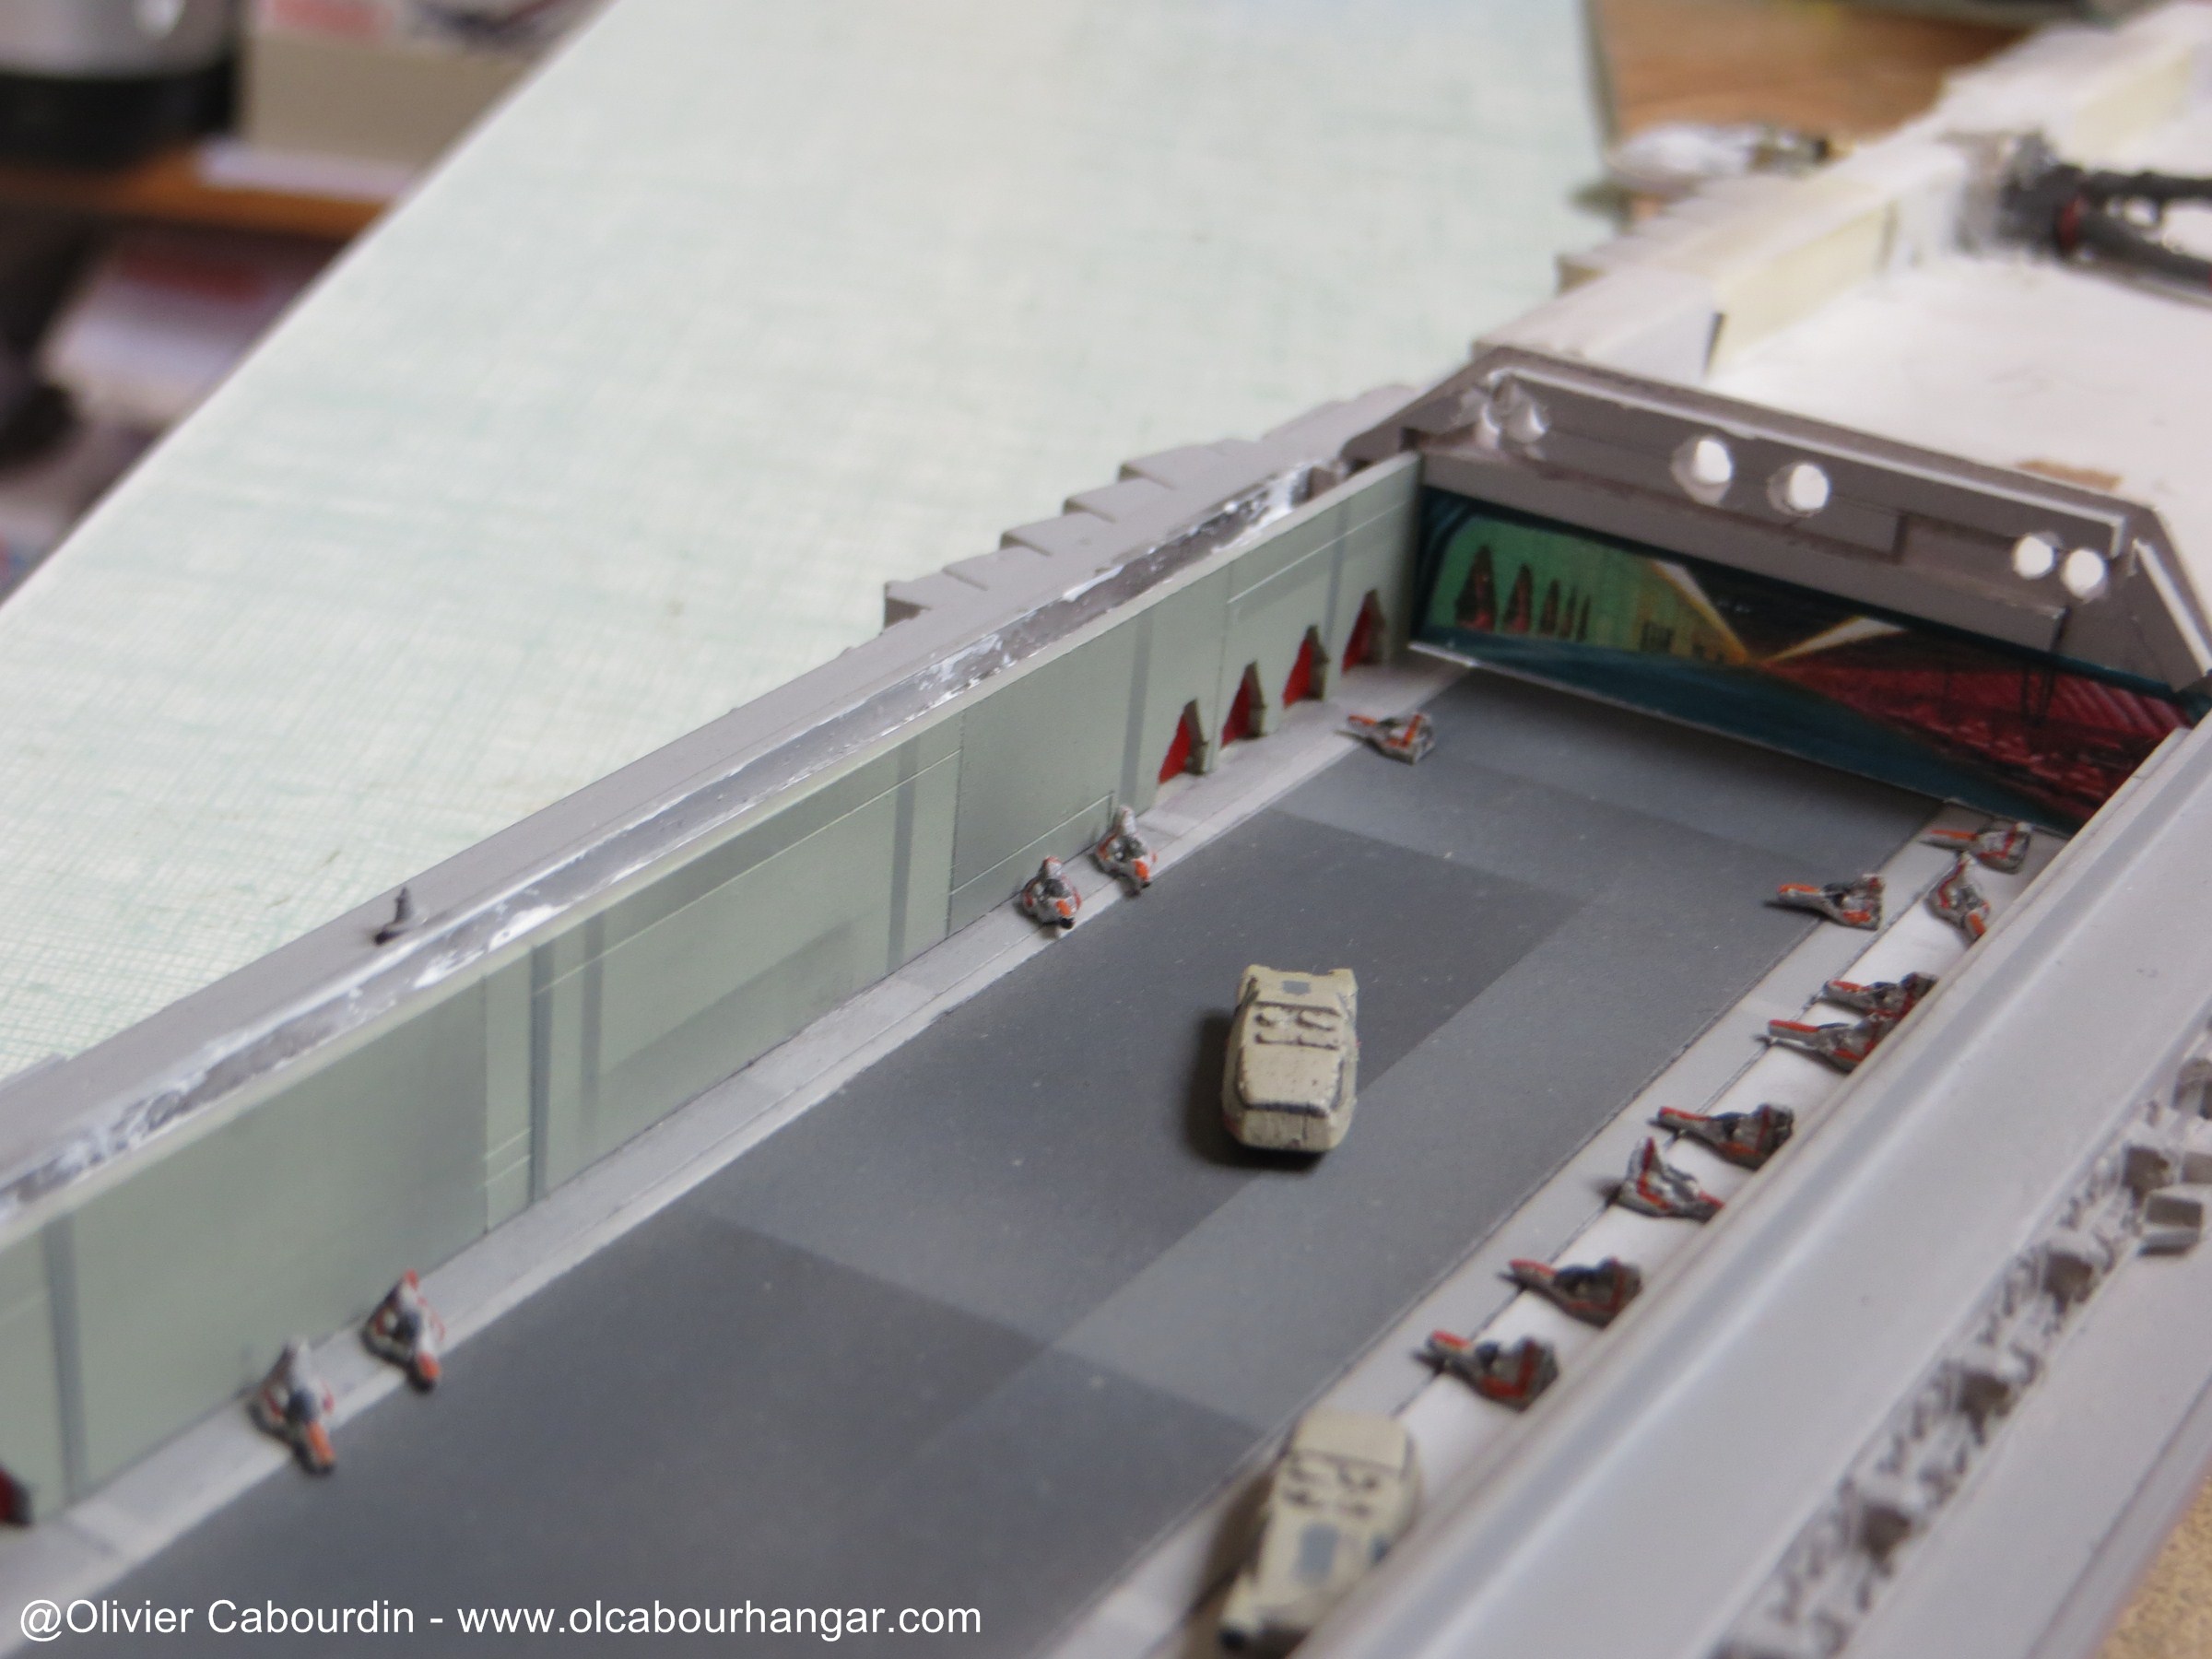
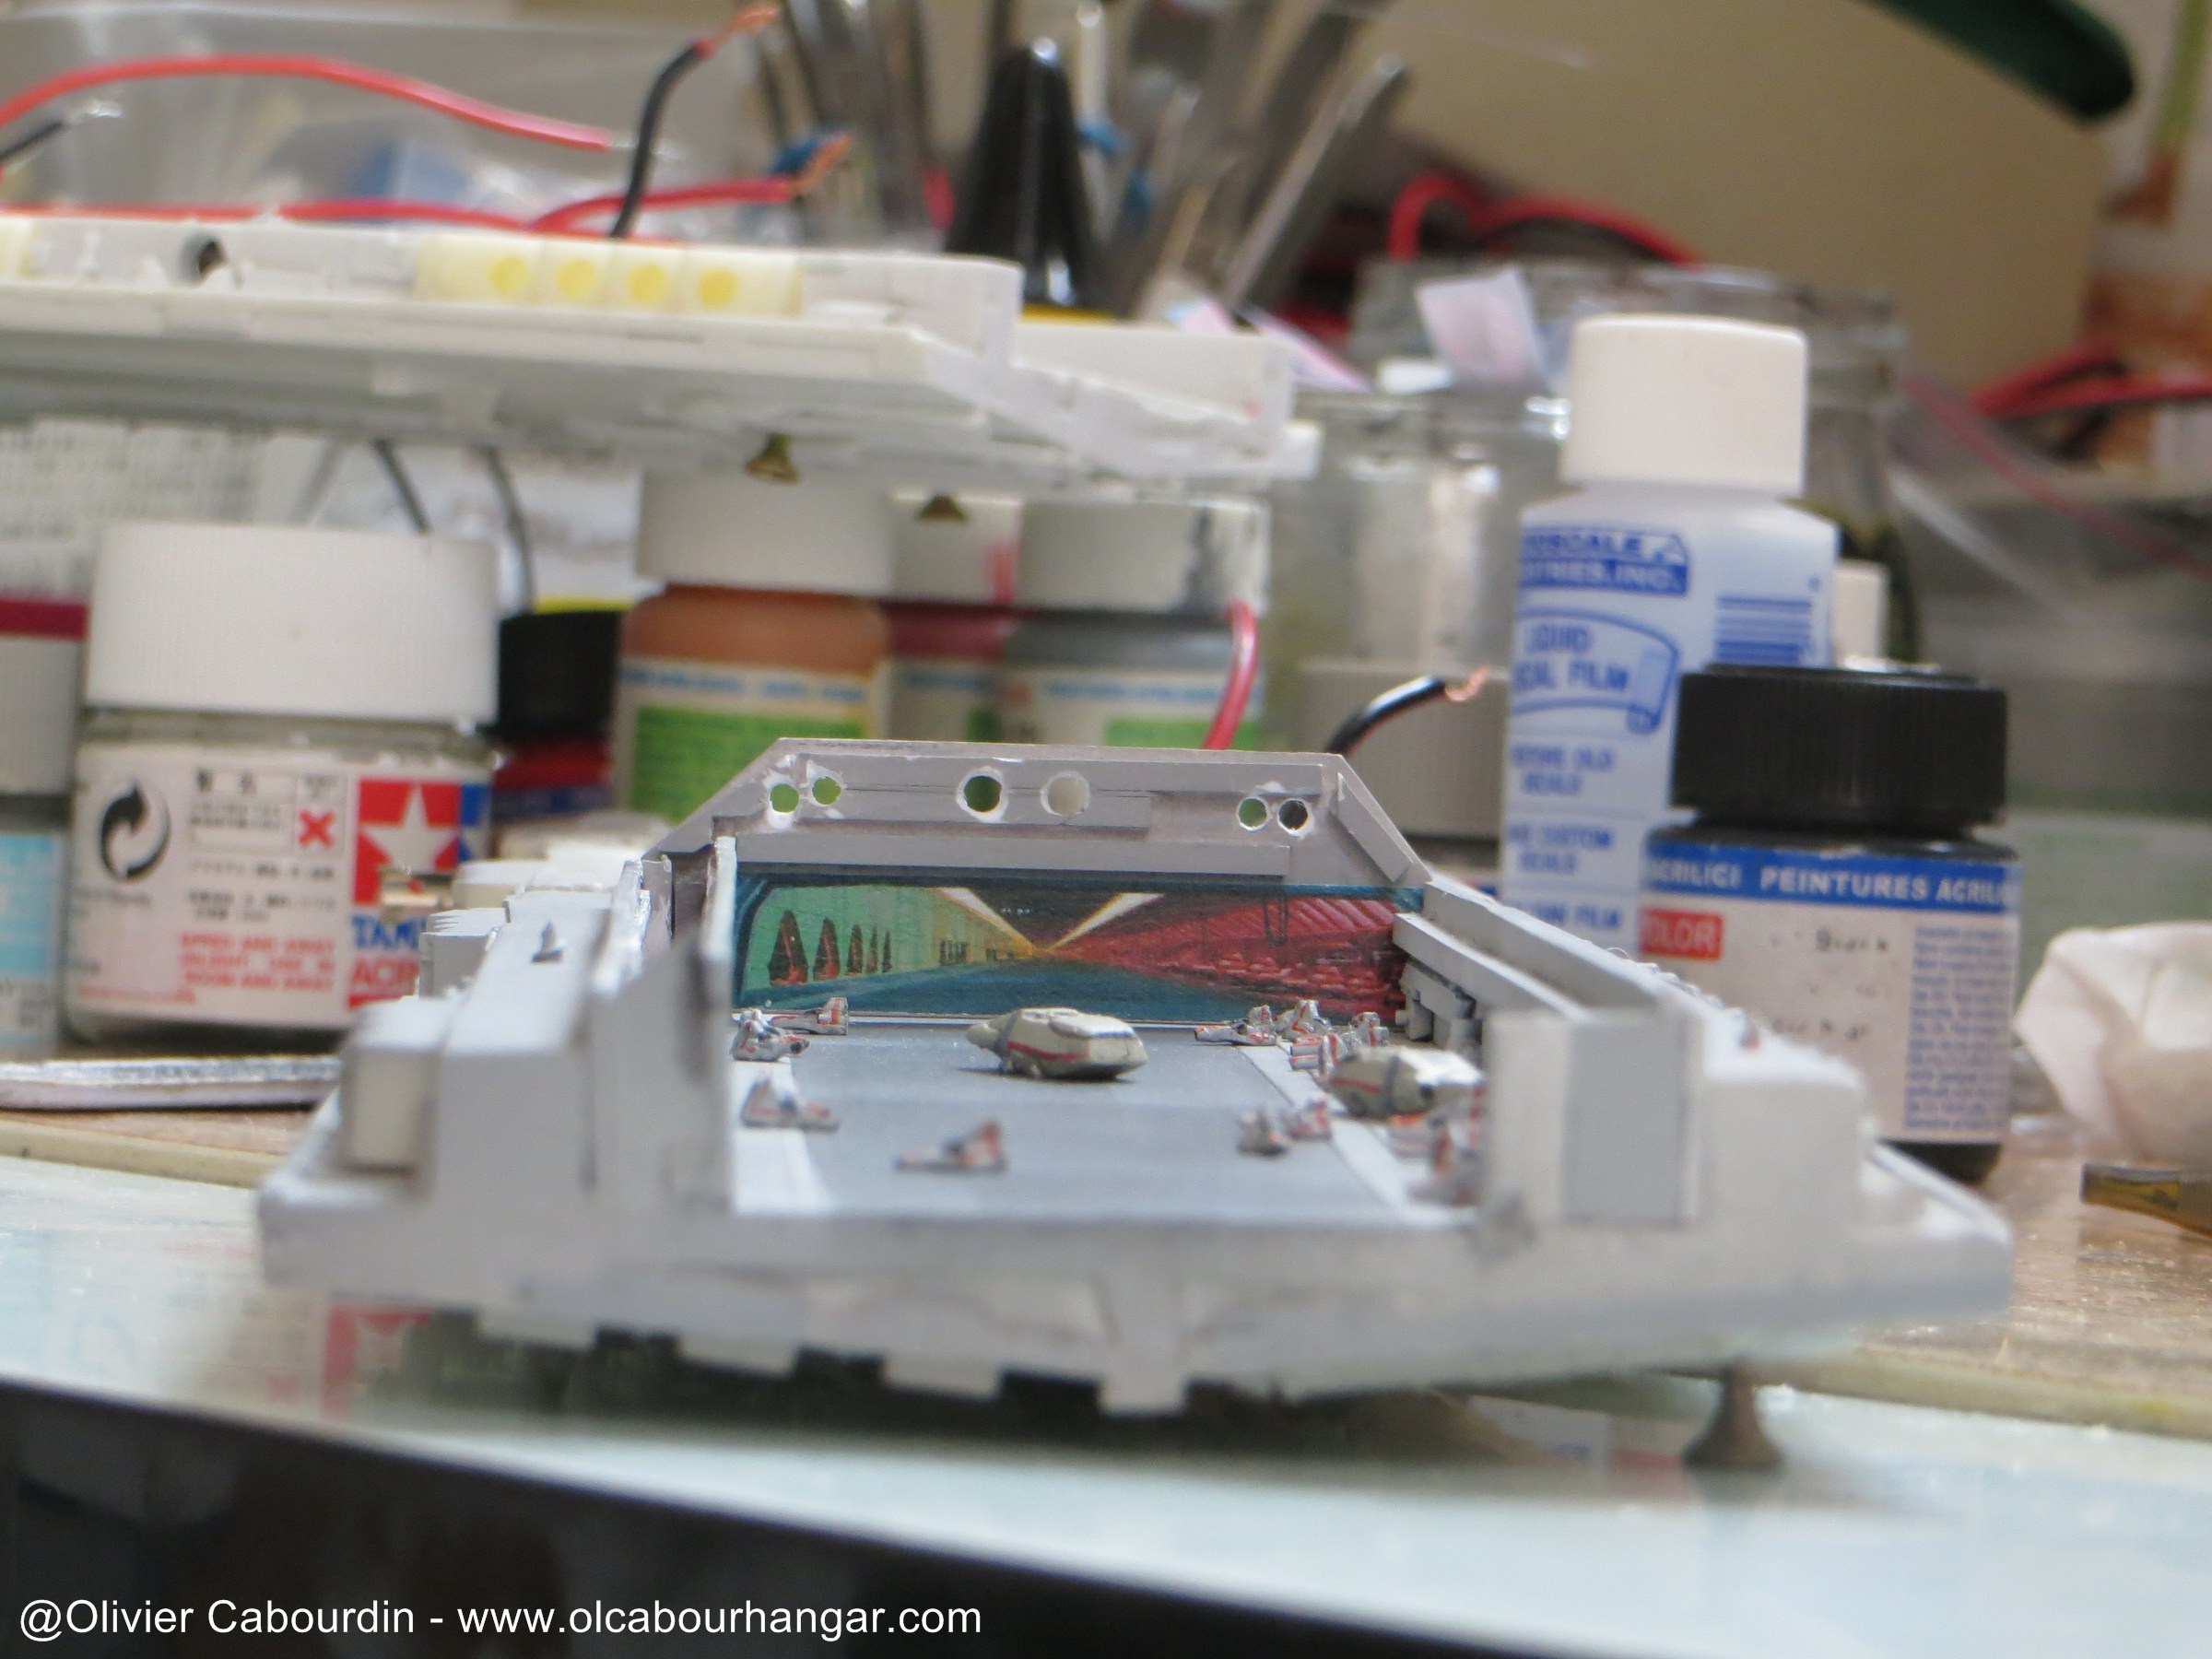
Finishing the lighting of the sheds. Only warm white LED will be used. Red environments are done with transparent plastic sheets covered with Tamiya Clear Red.
There are 11 led by hangar.
Upper ceiling

which is painted mat black
I'm pretty happy with the result 
- Right hangar

- Left hangar

mercredi, 29 octobre 2014
Par olcabour le mercredi, 29 octobre 2014, 22:07
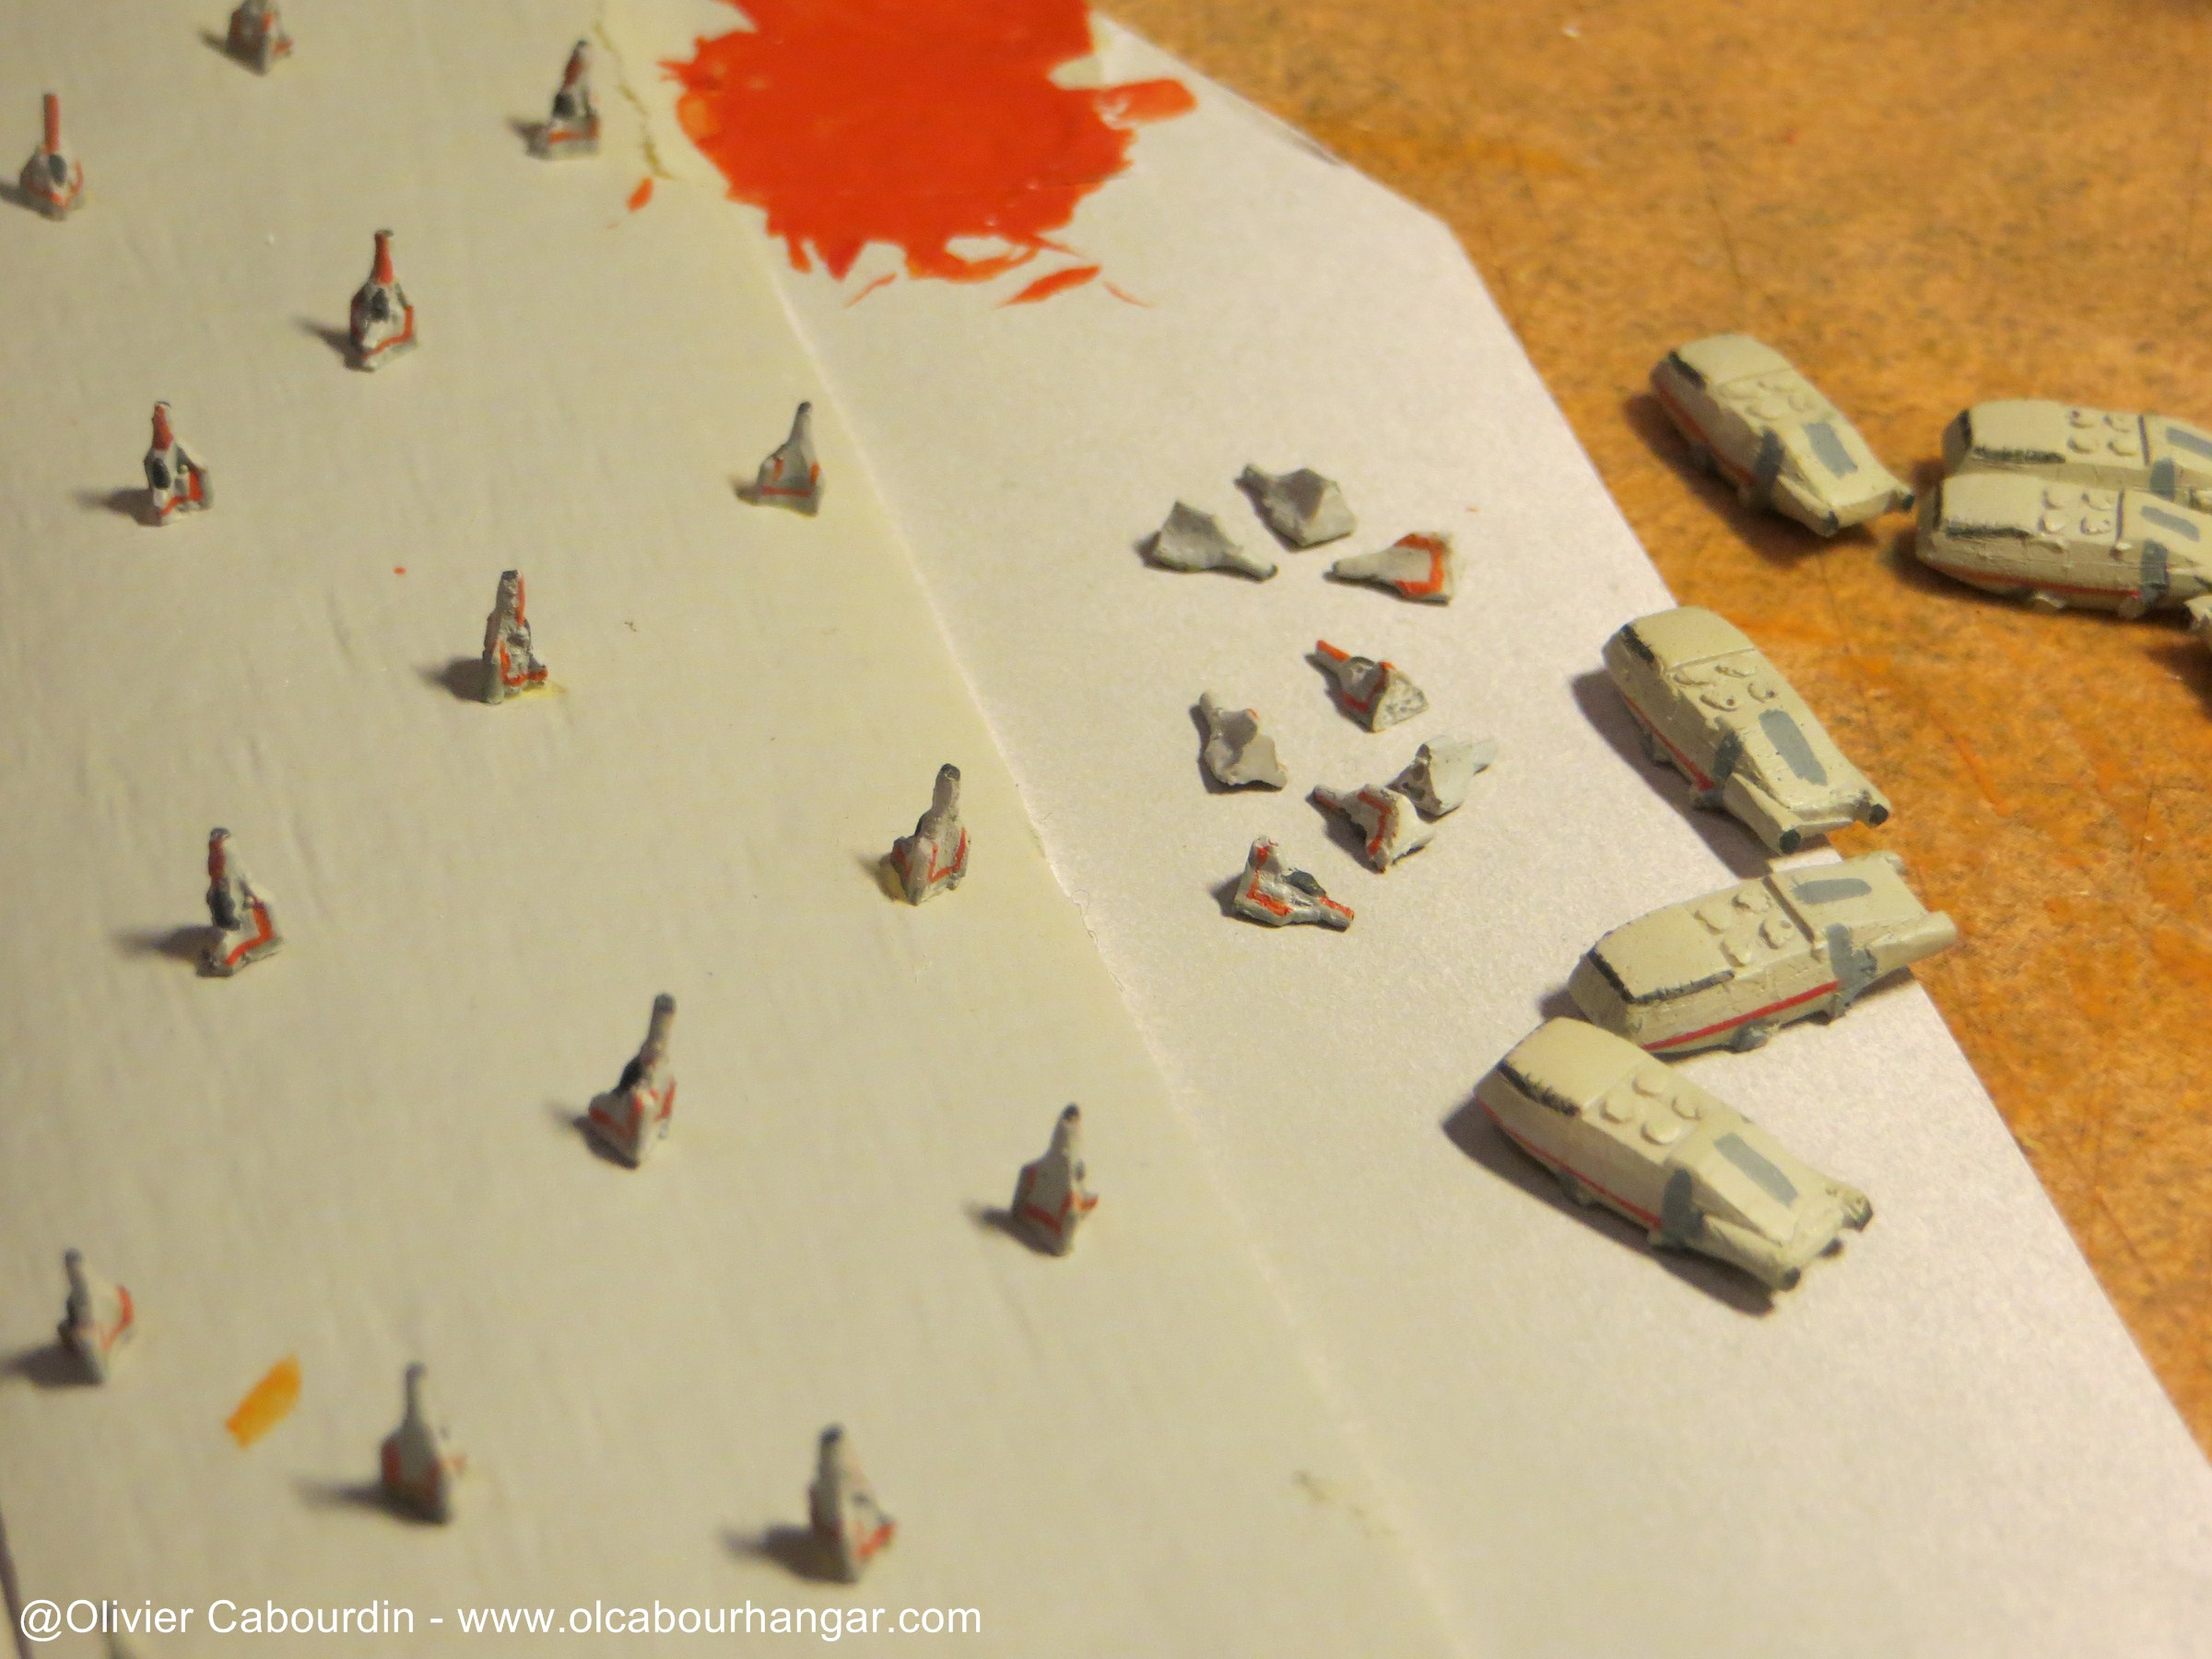
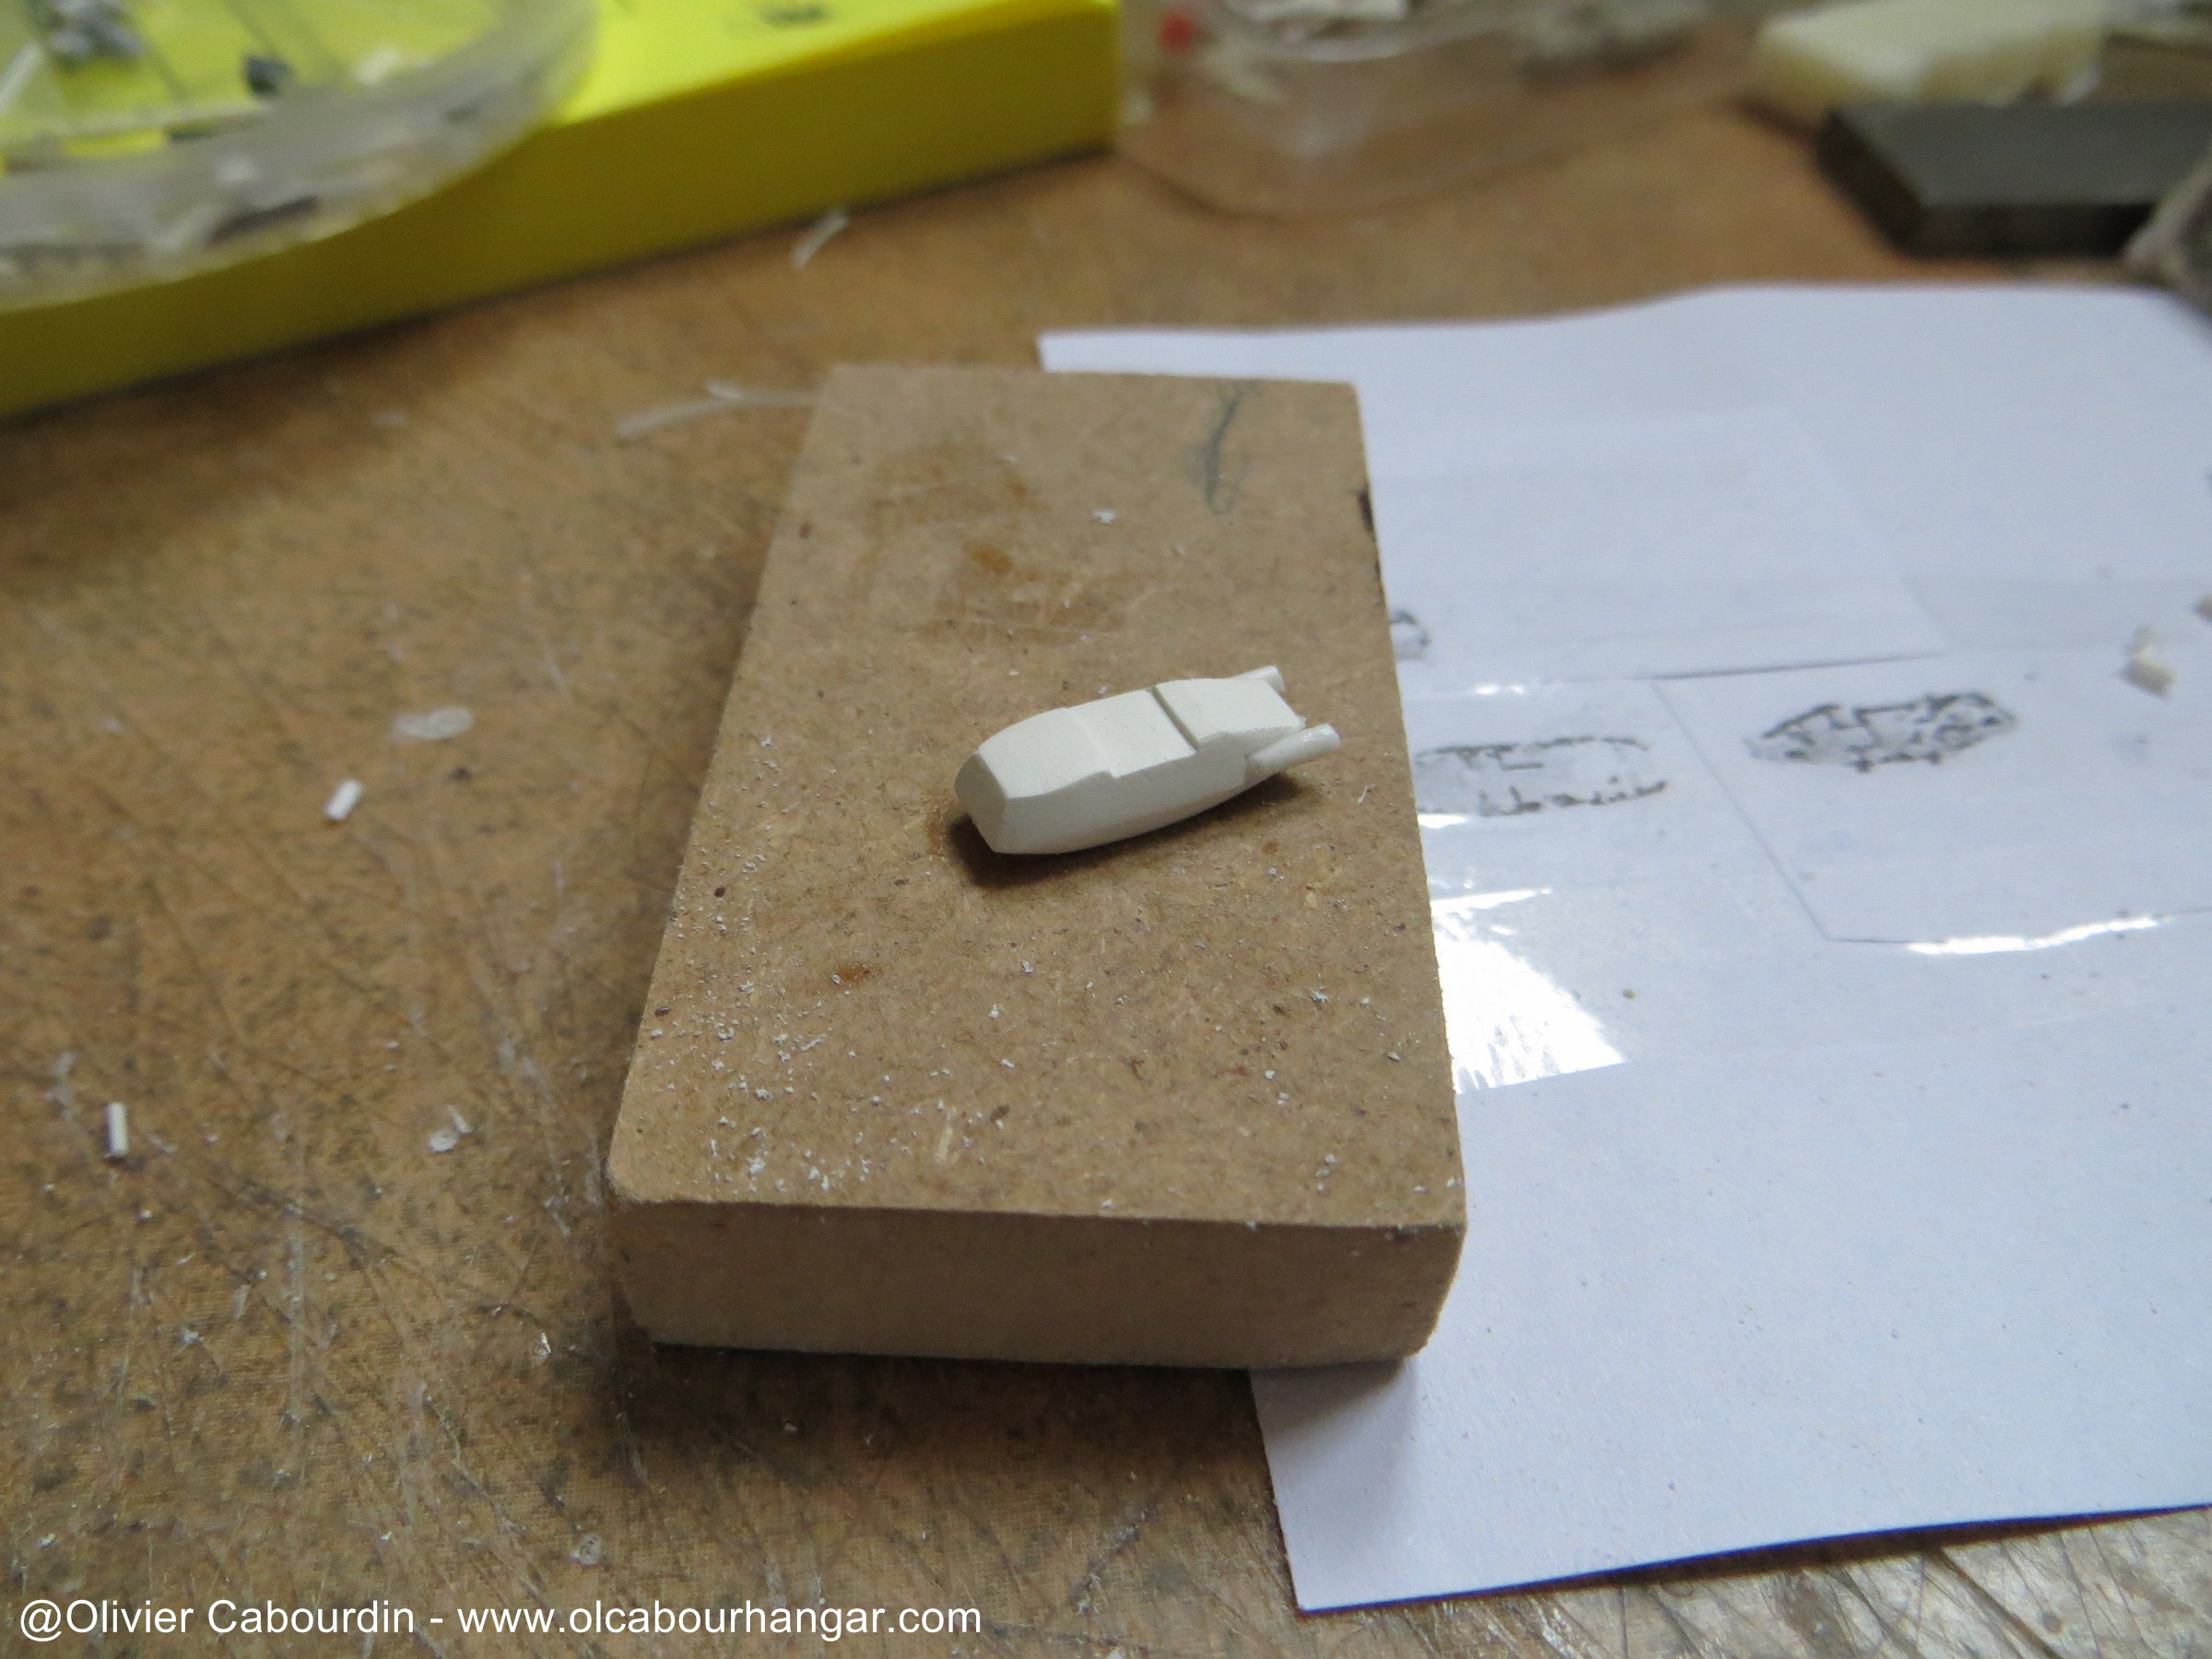
To populate the sheds, I need mini vipers and a few colonial shuttles.
The Viper in this scale is 4.5 mm long.
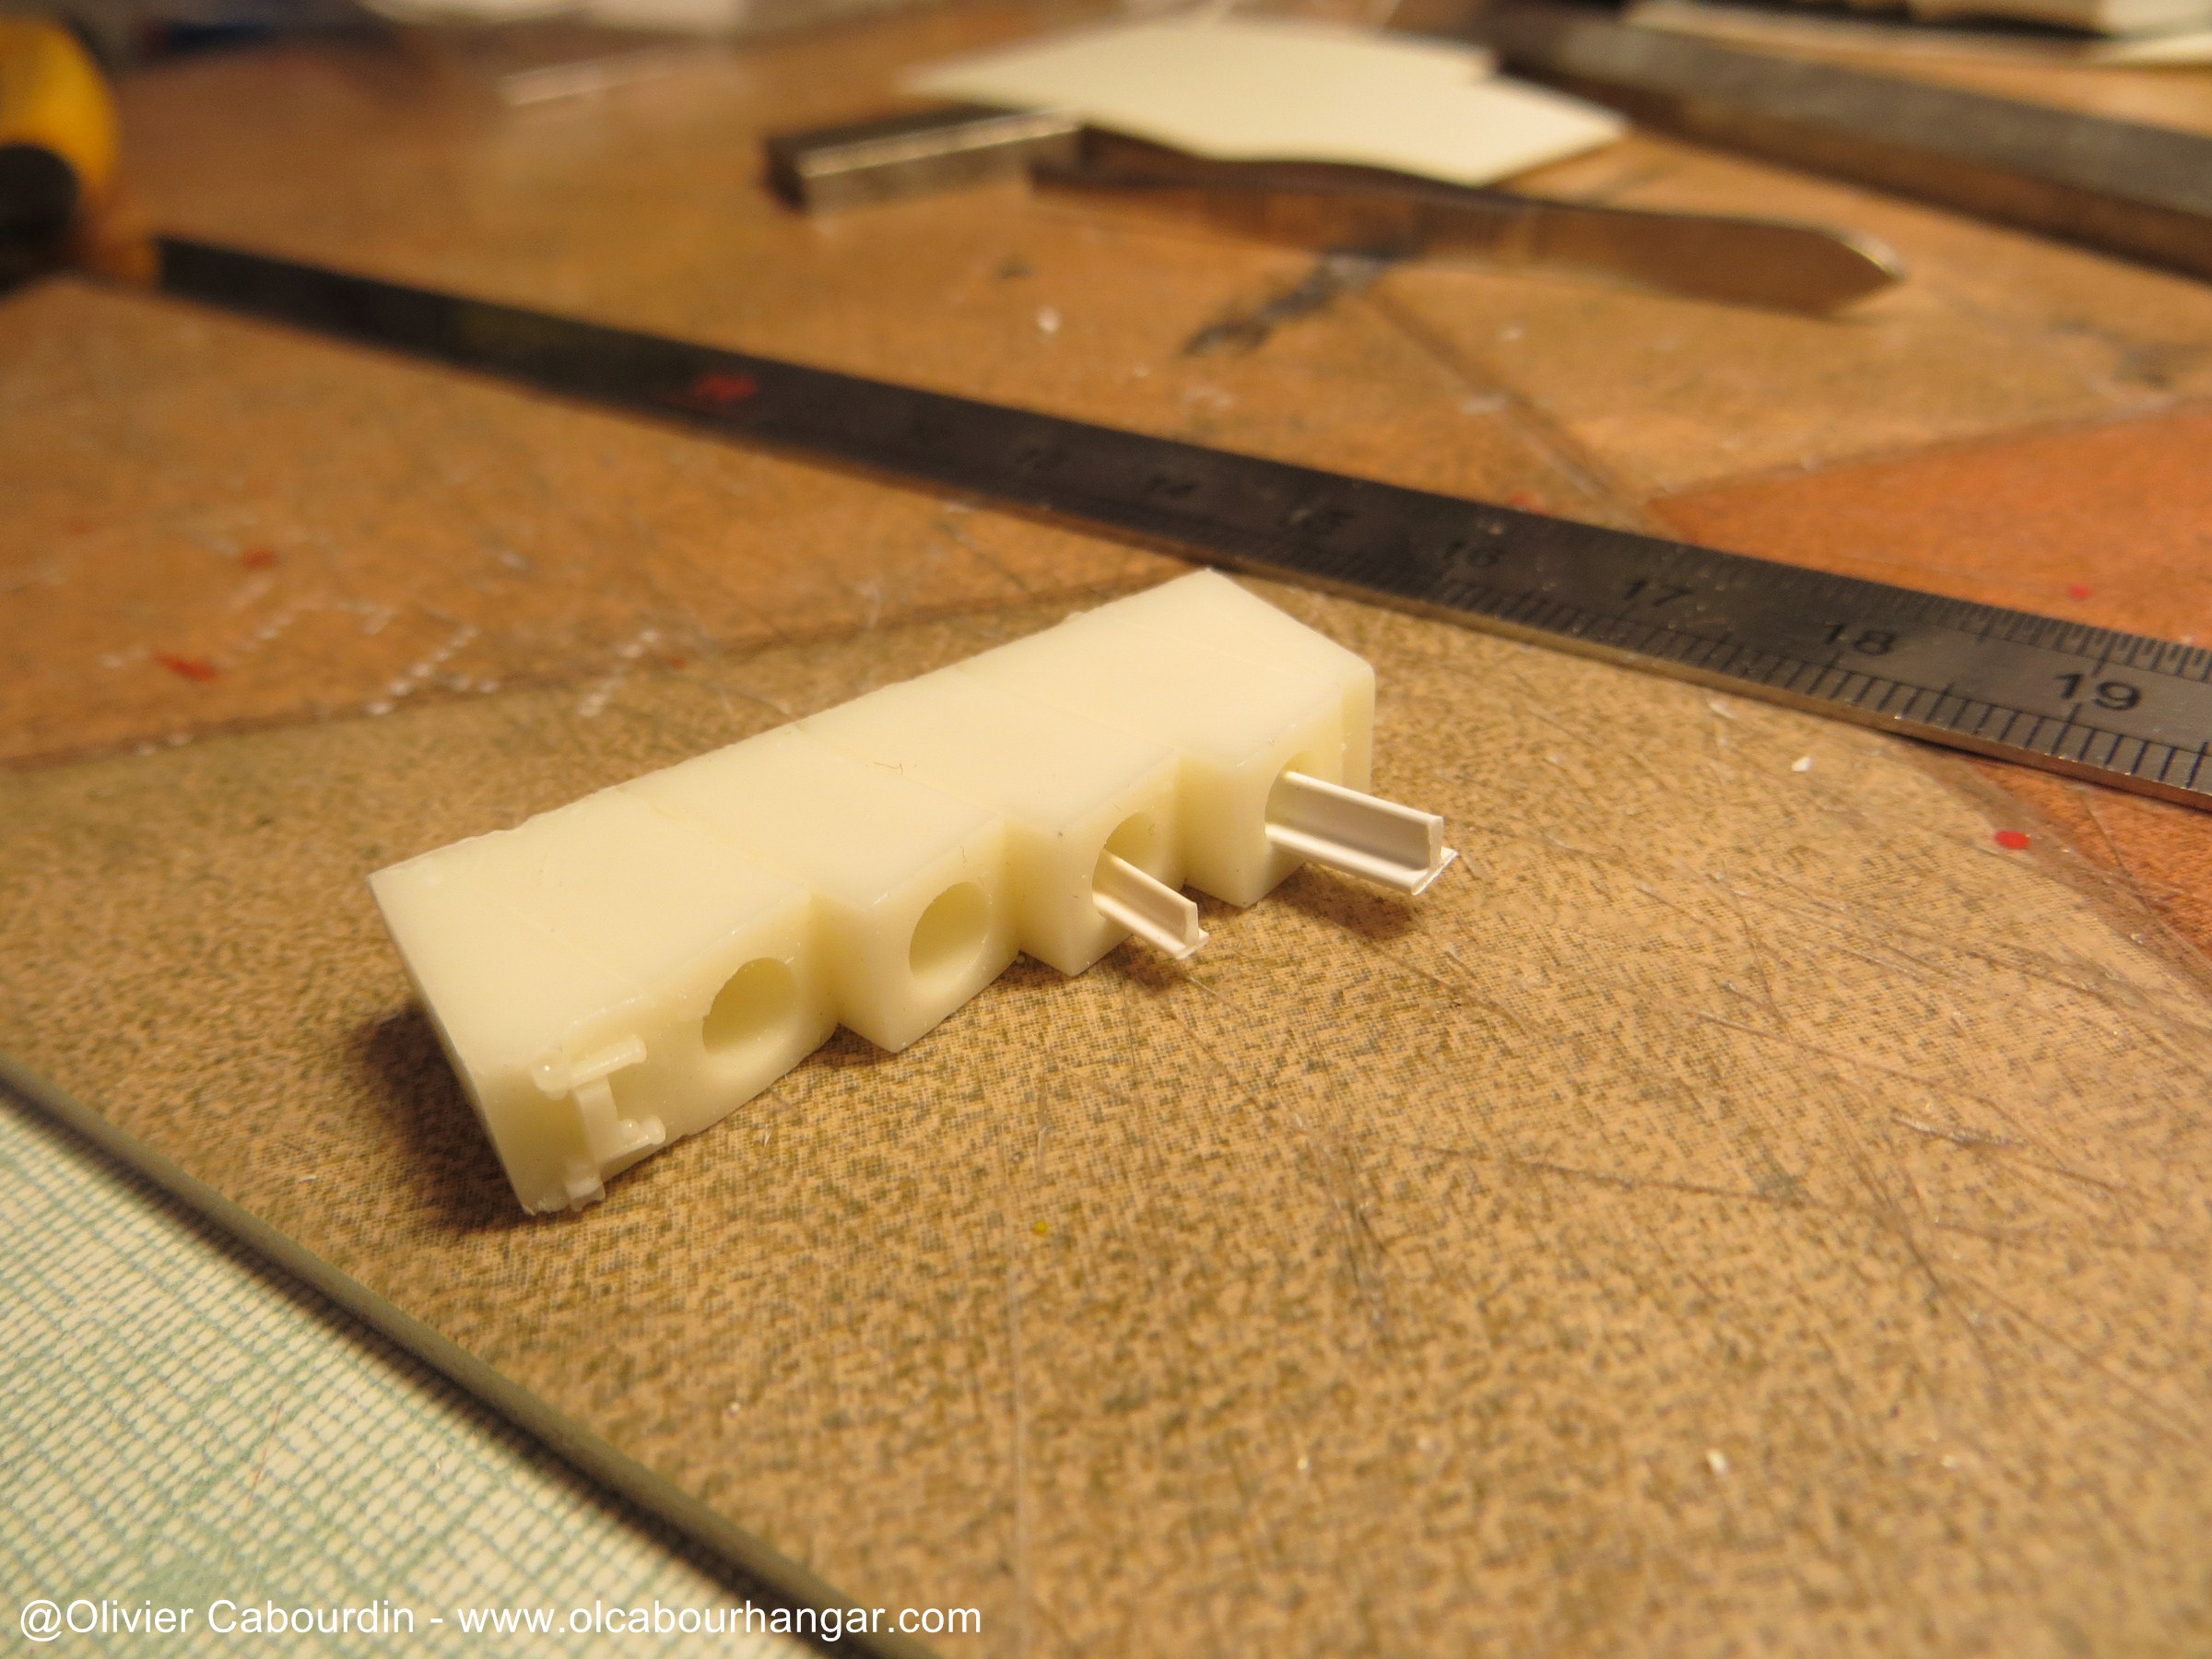
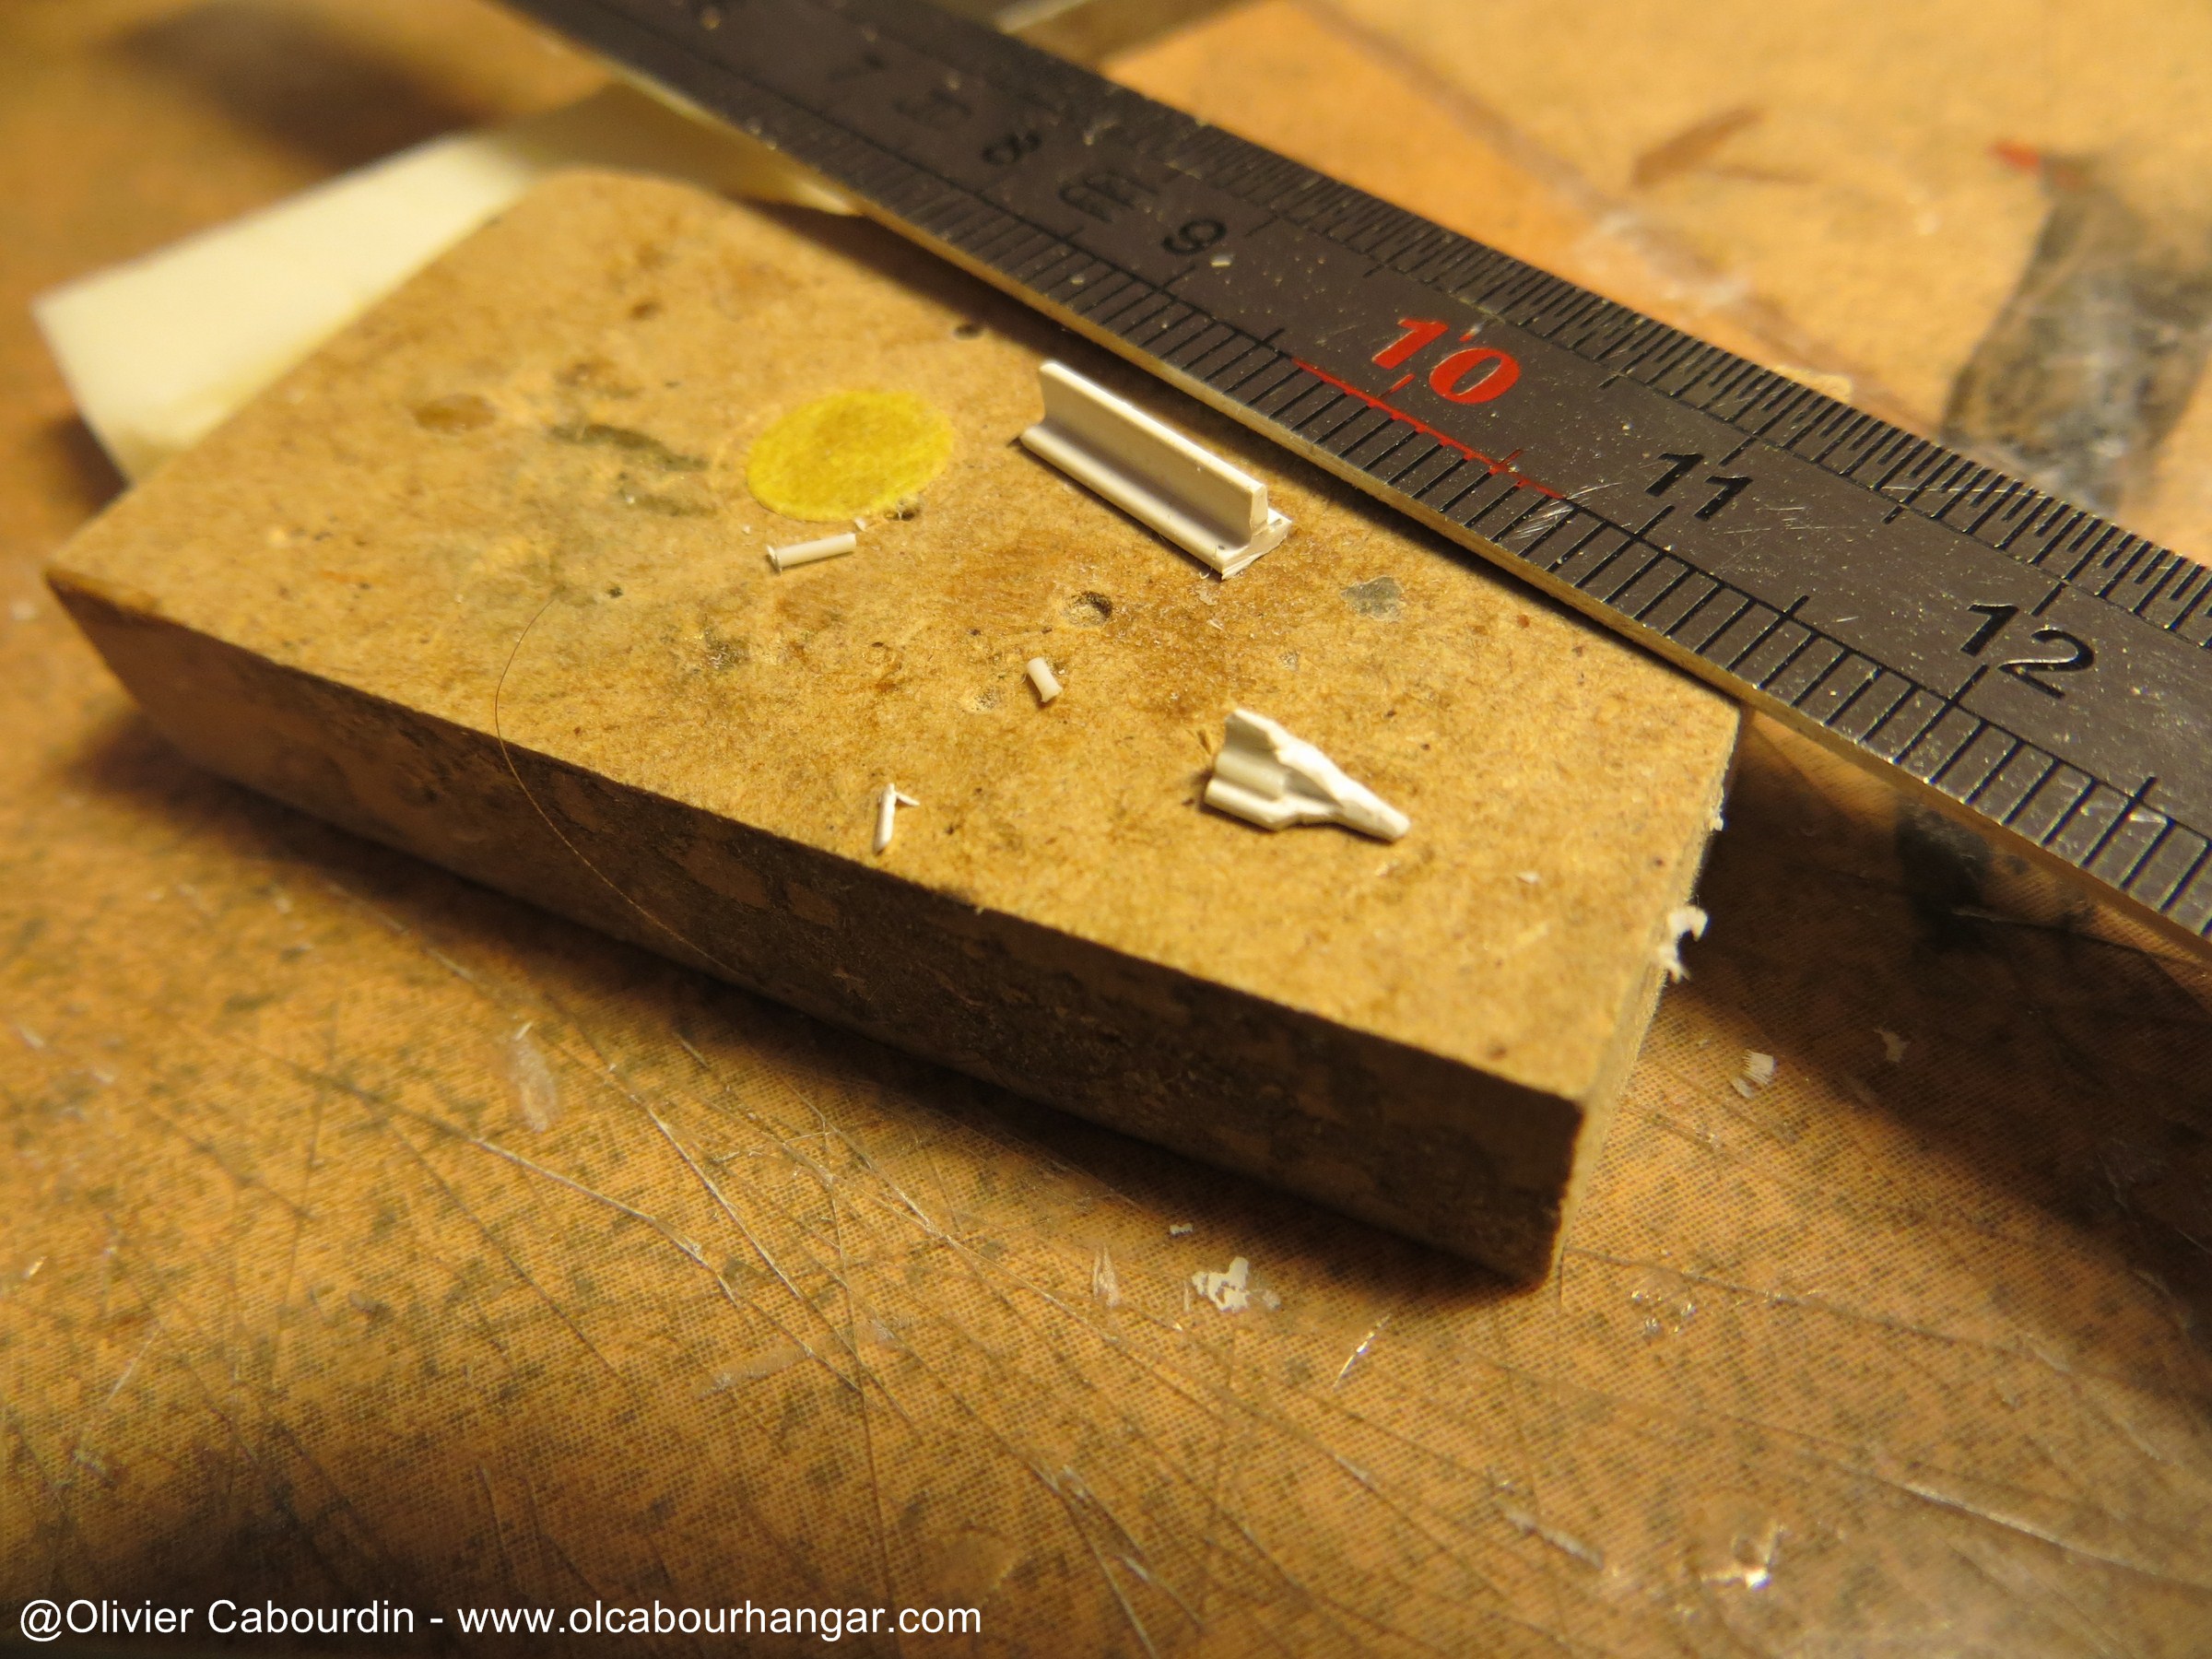
I'm going with T-channel as a base. I tested 2 and I go on the widest.
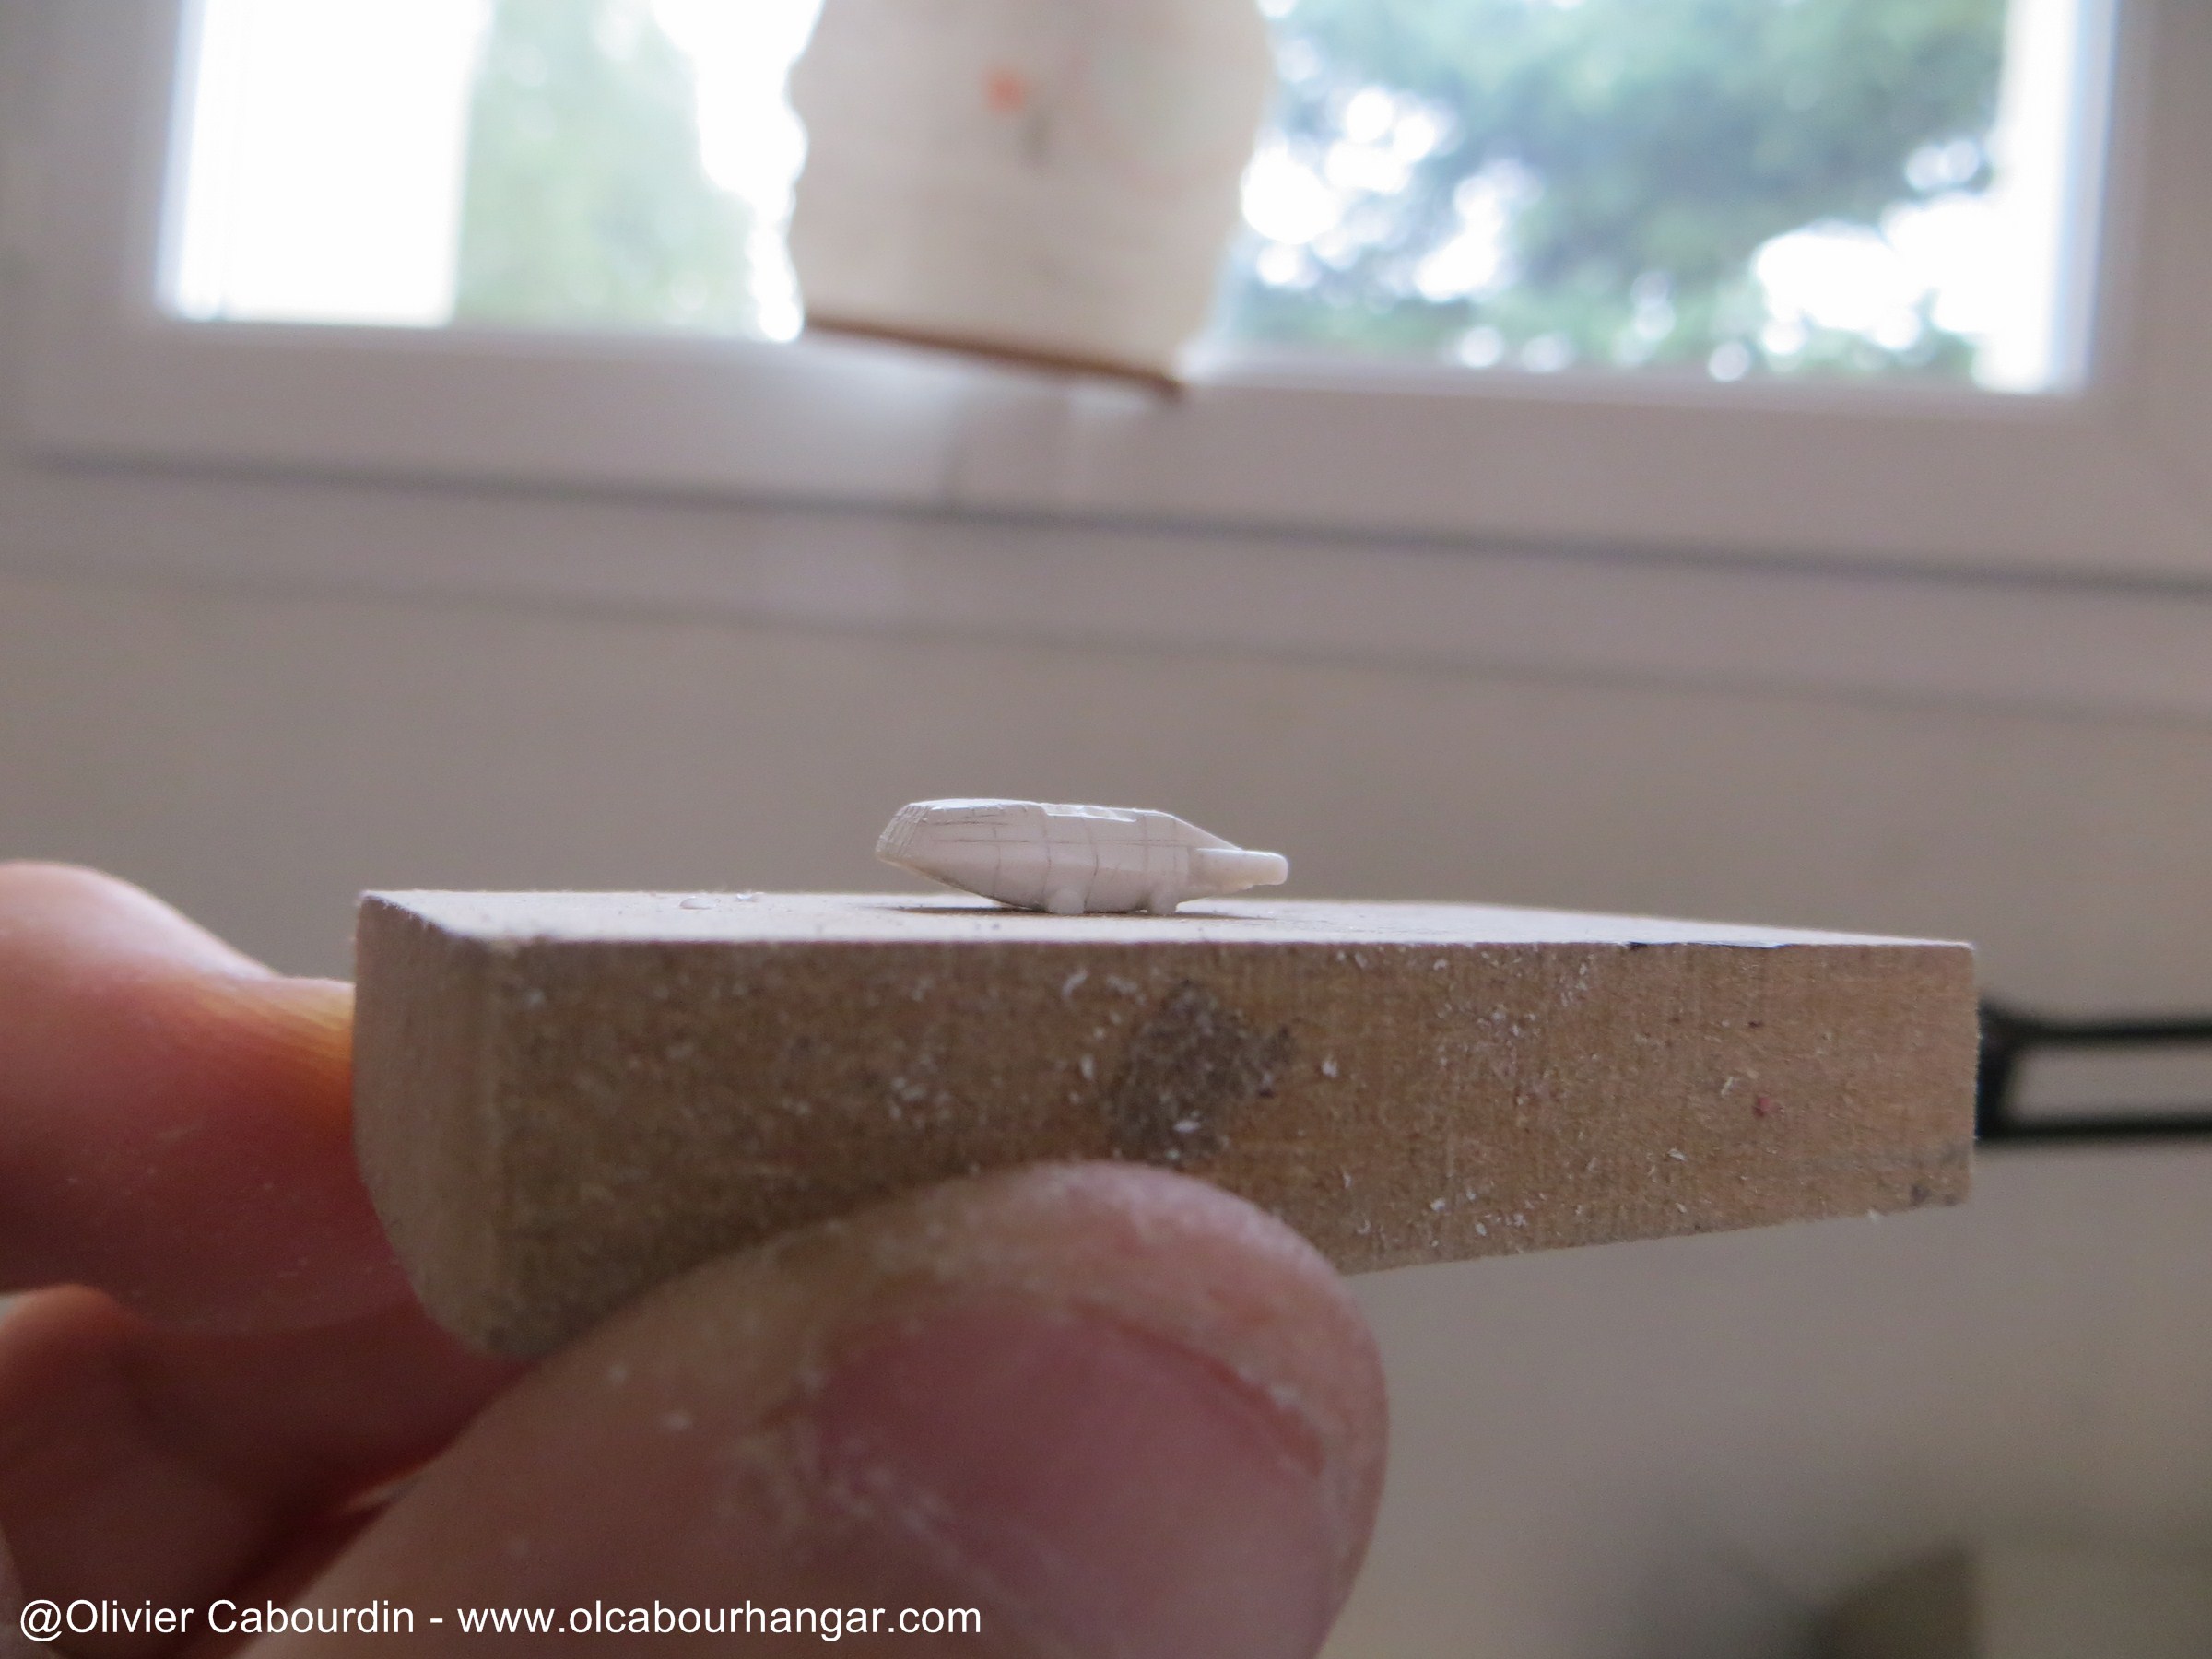
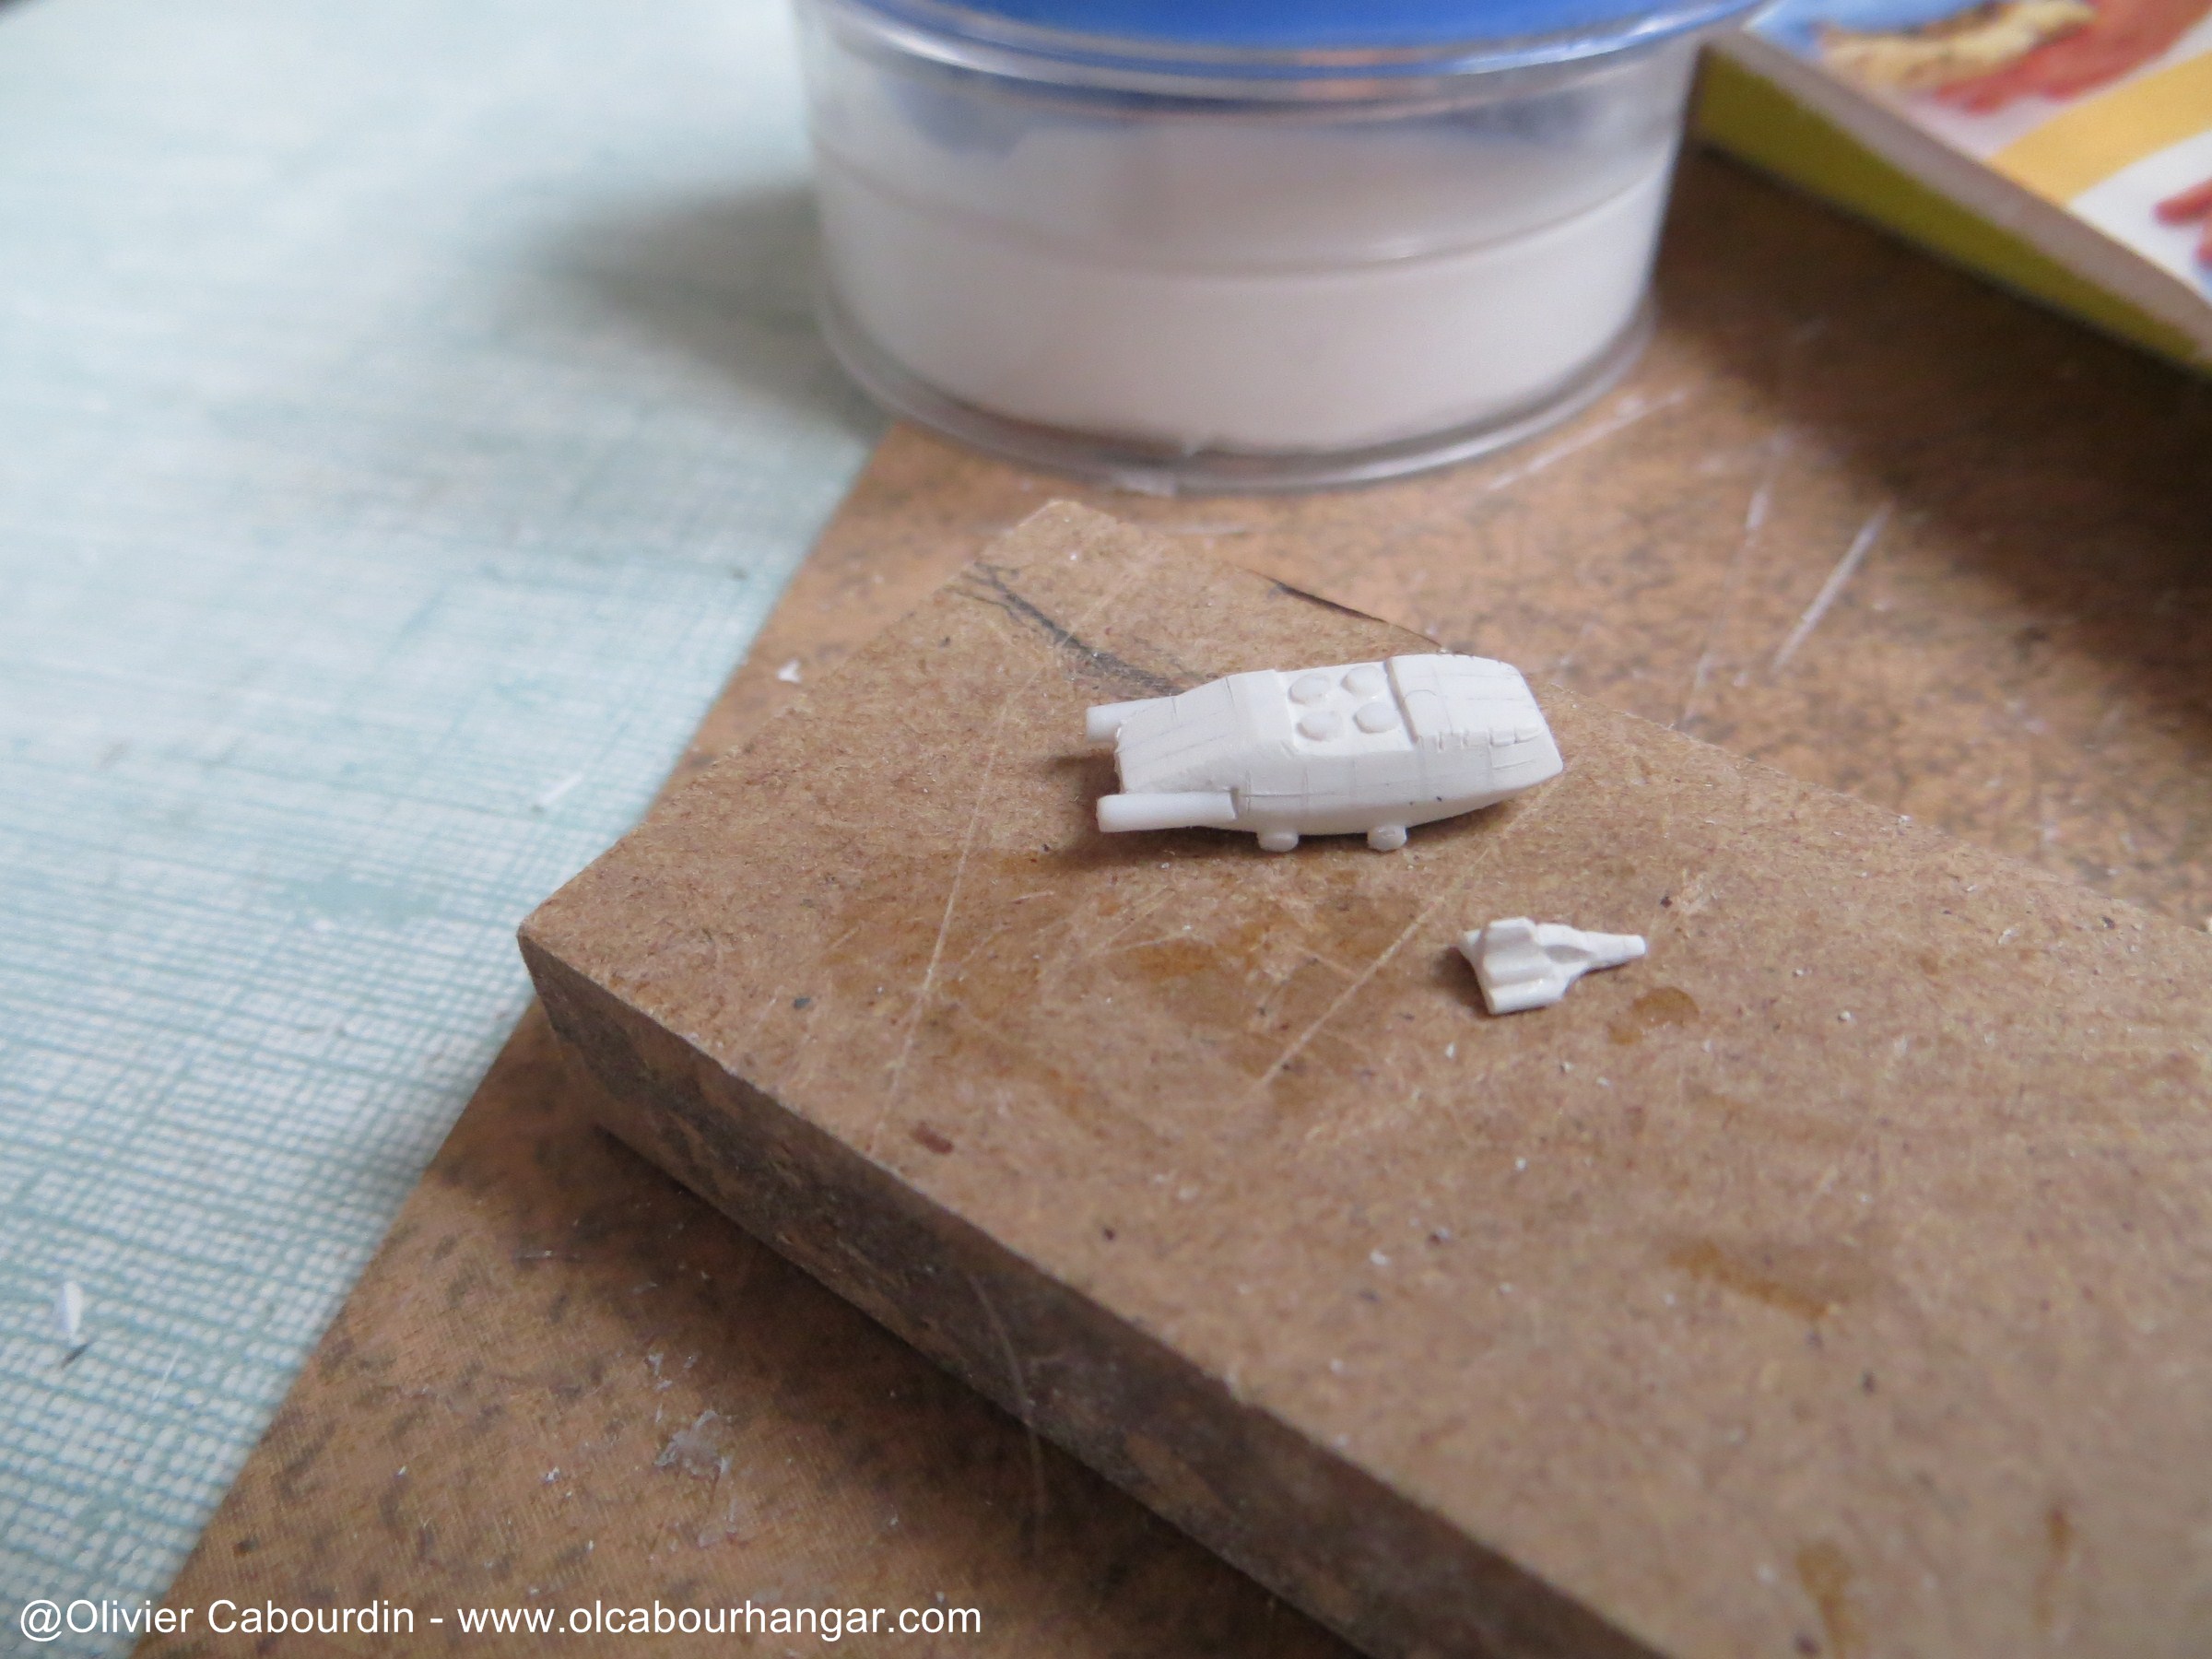
After few cuts, and add of two small rods, it looks like a viper.


For the master of the shuttle, I used a section of a PVC strip.
I mark the corners following a blueprint, and cut.
I added the pads and graved the cockpit windows.


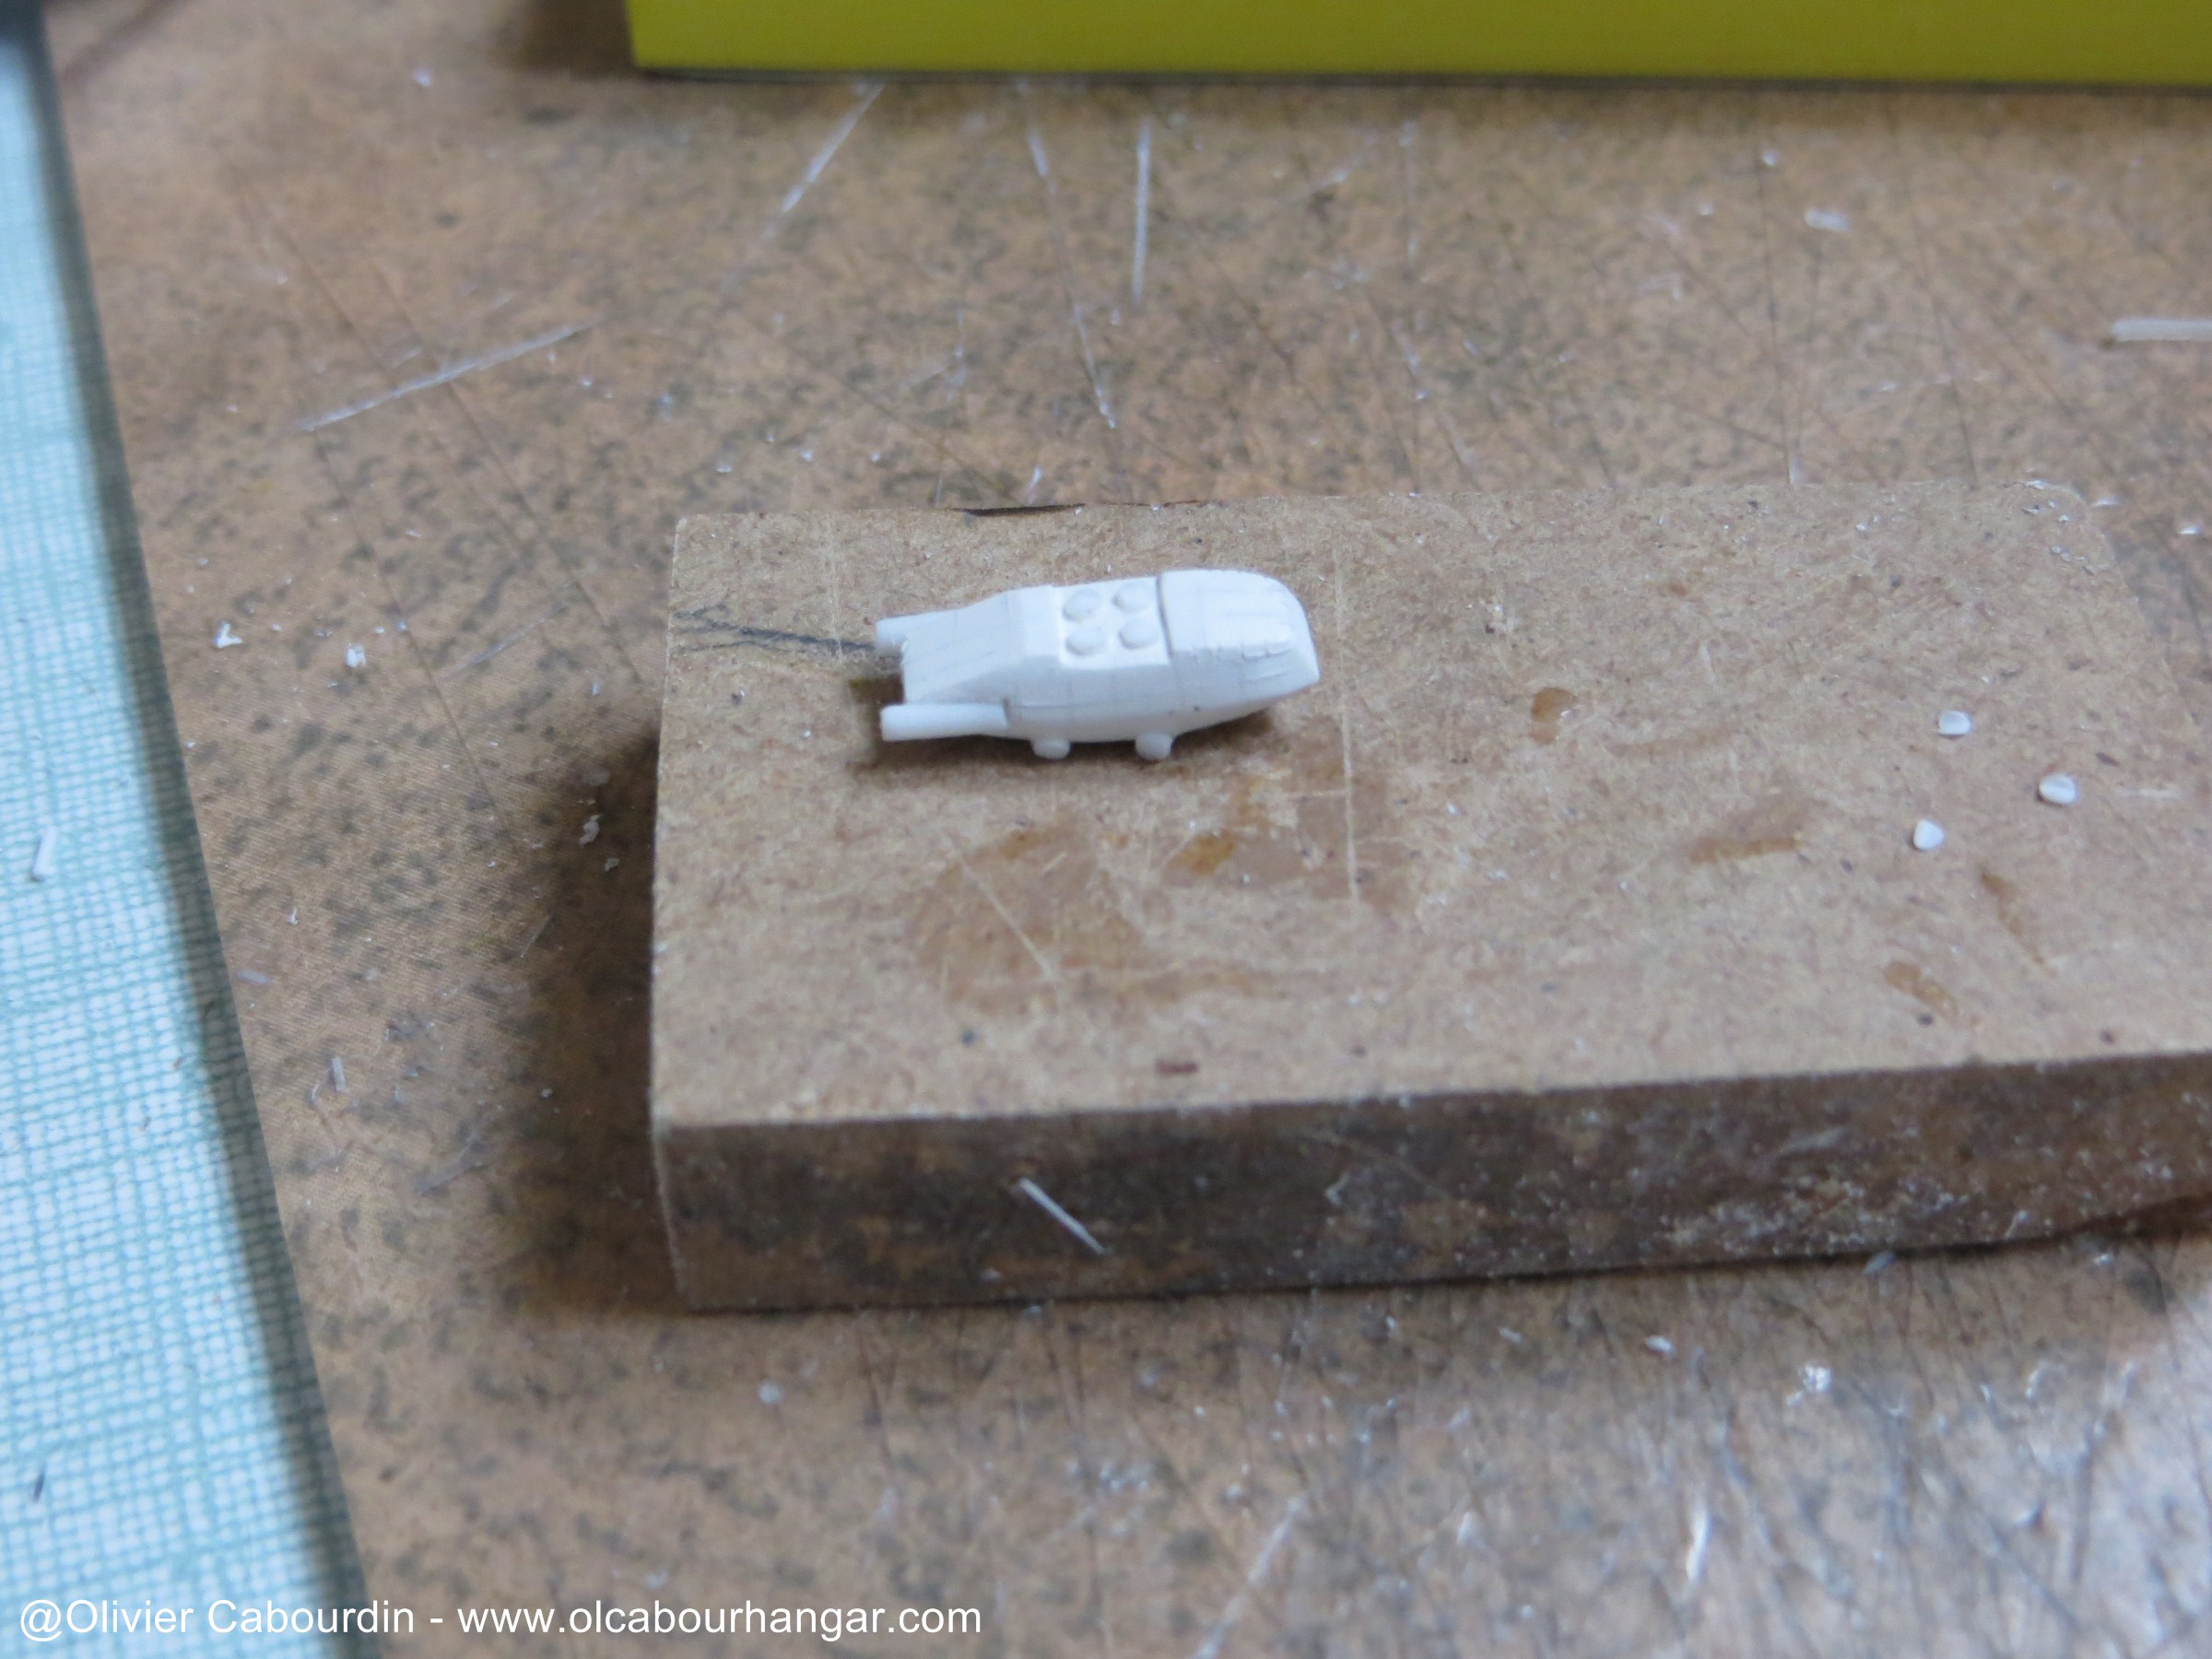
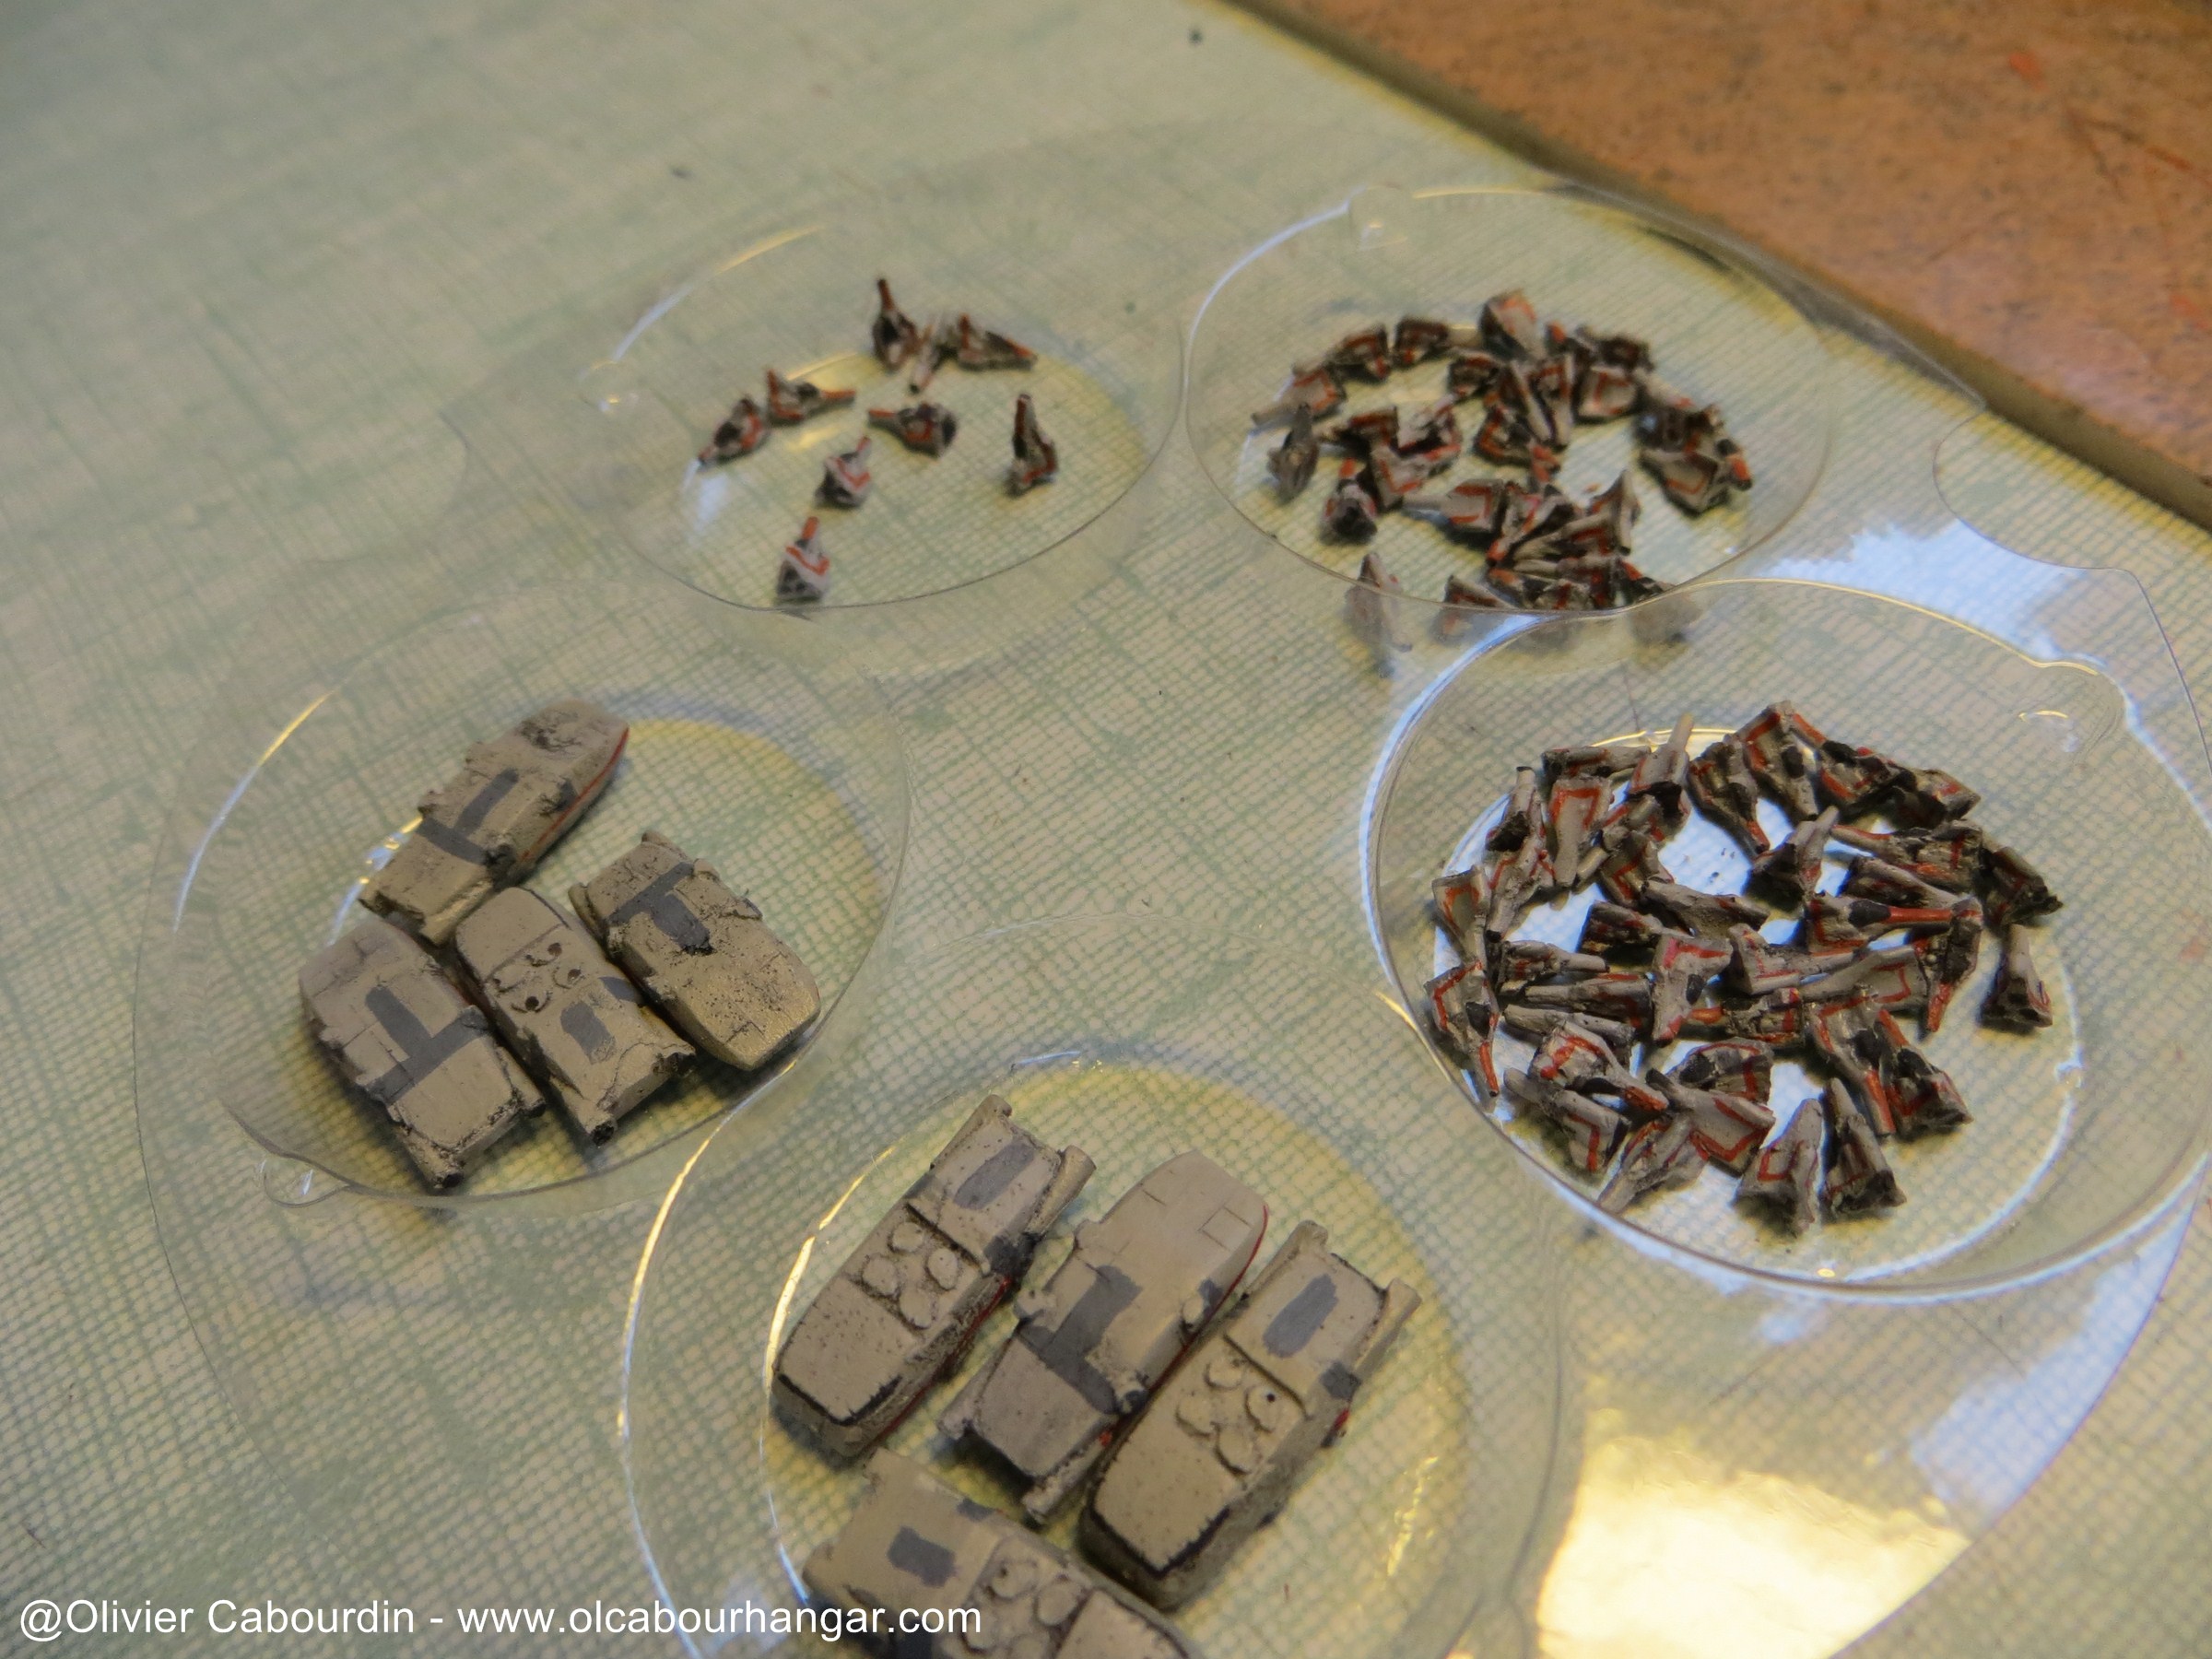
I realize a first mold with Siligum.
And I get my first casts.
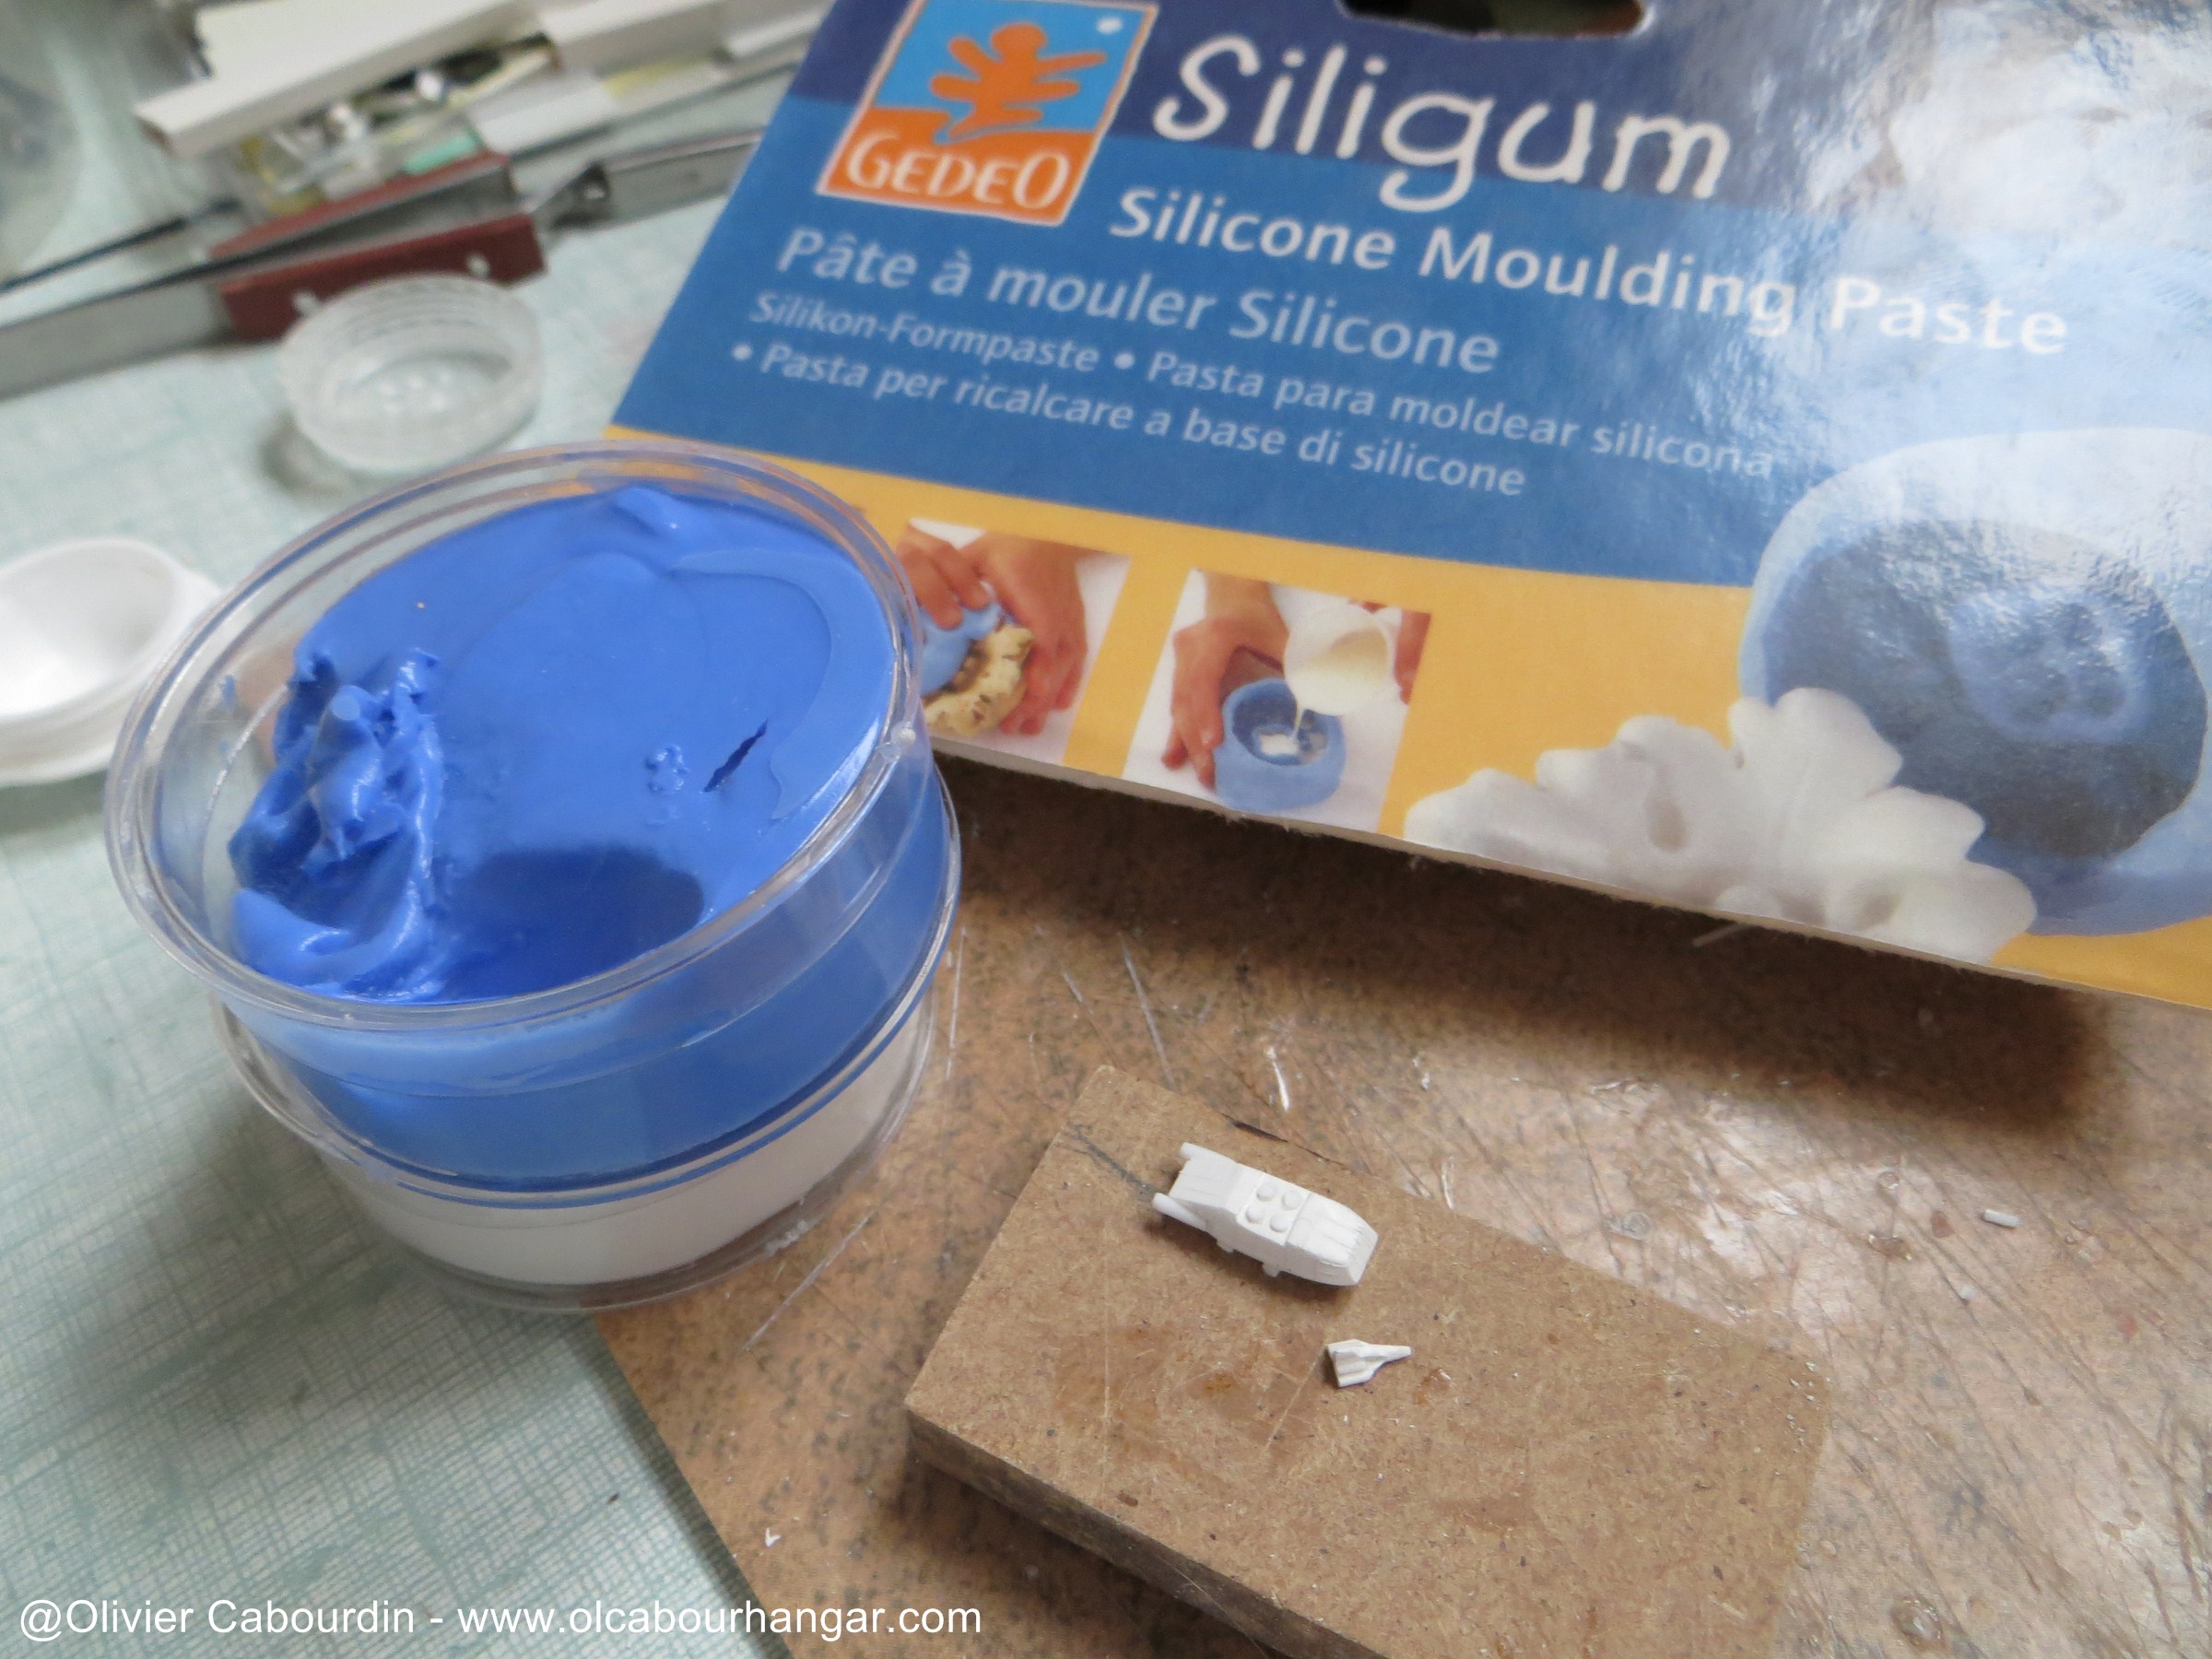
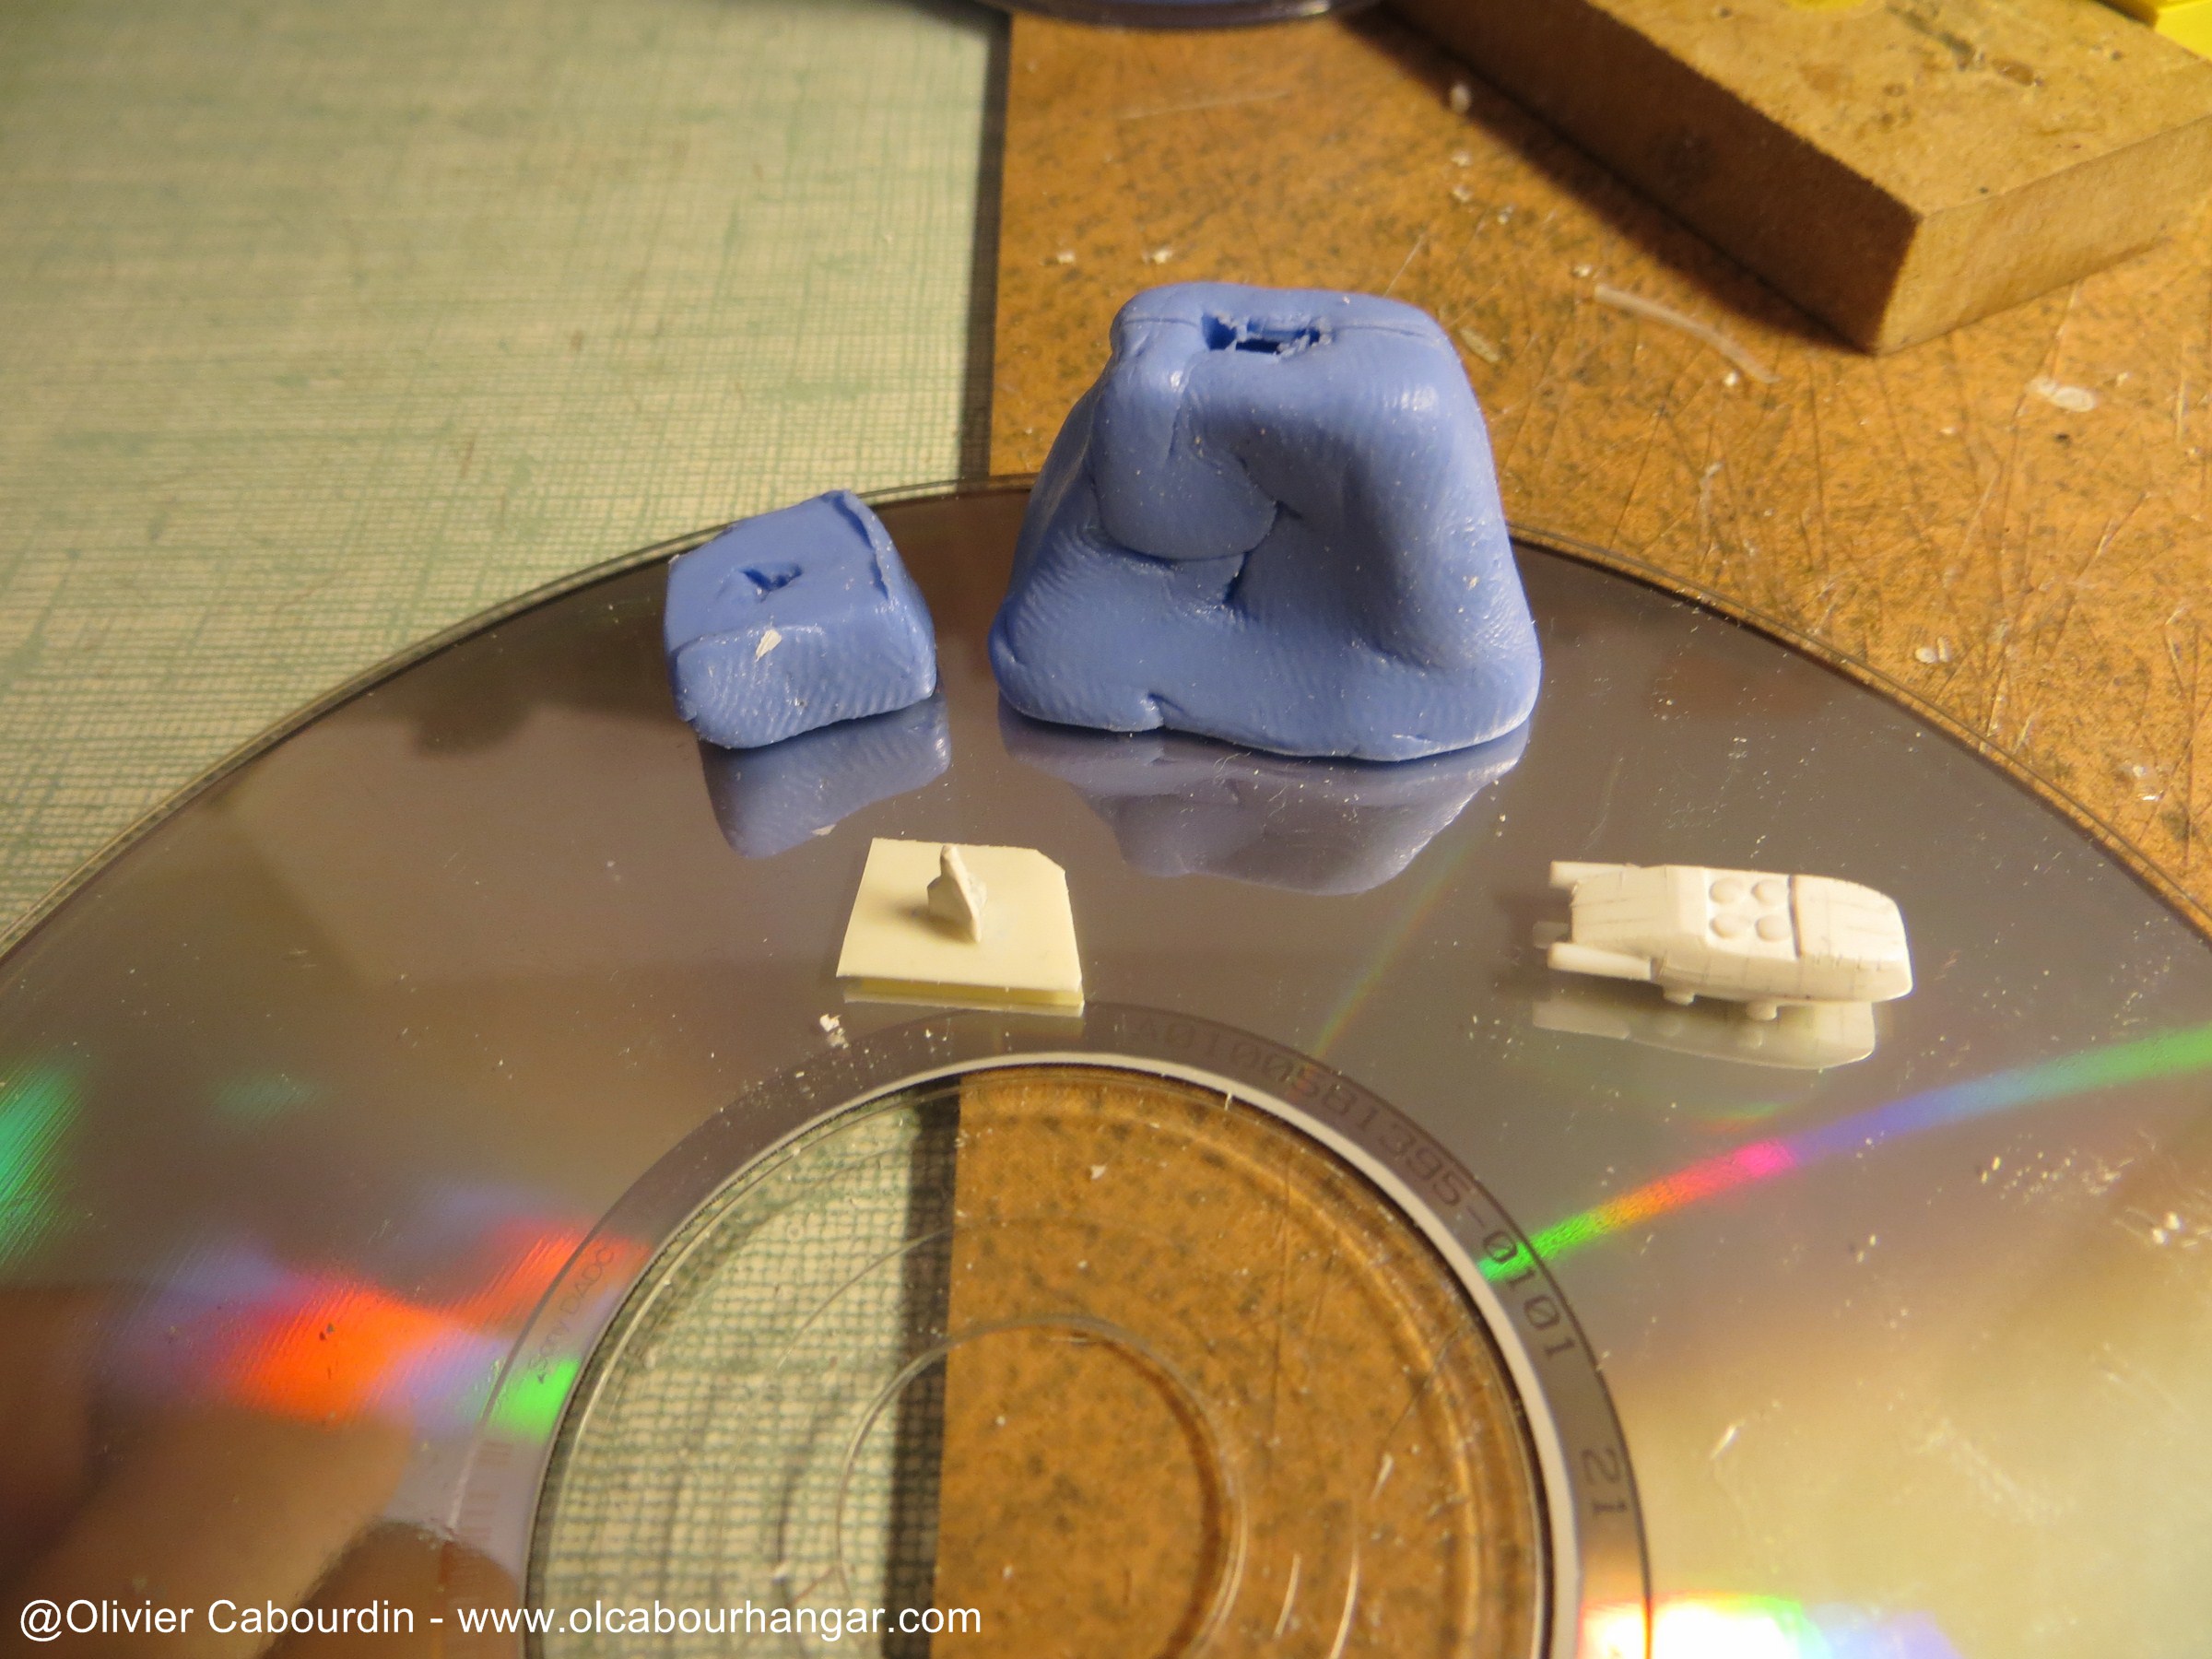
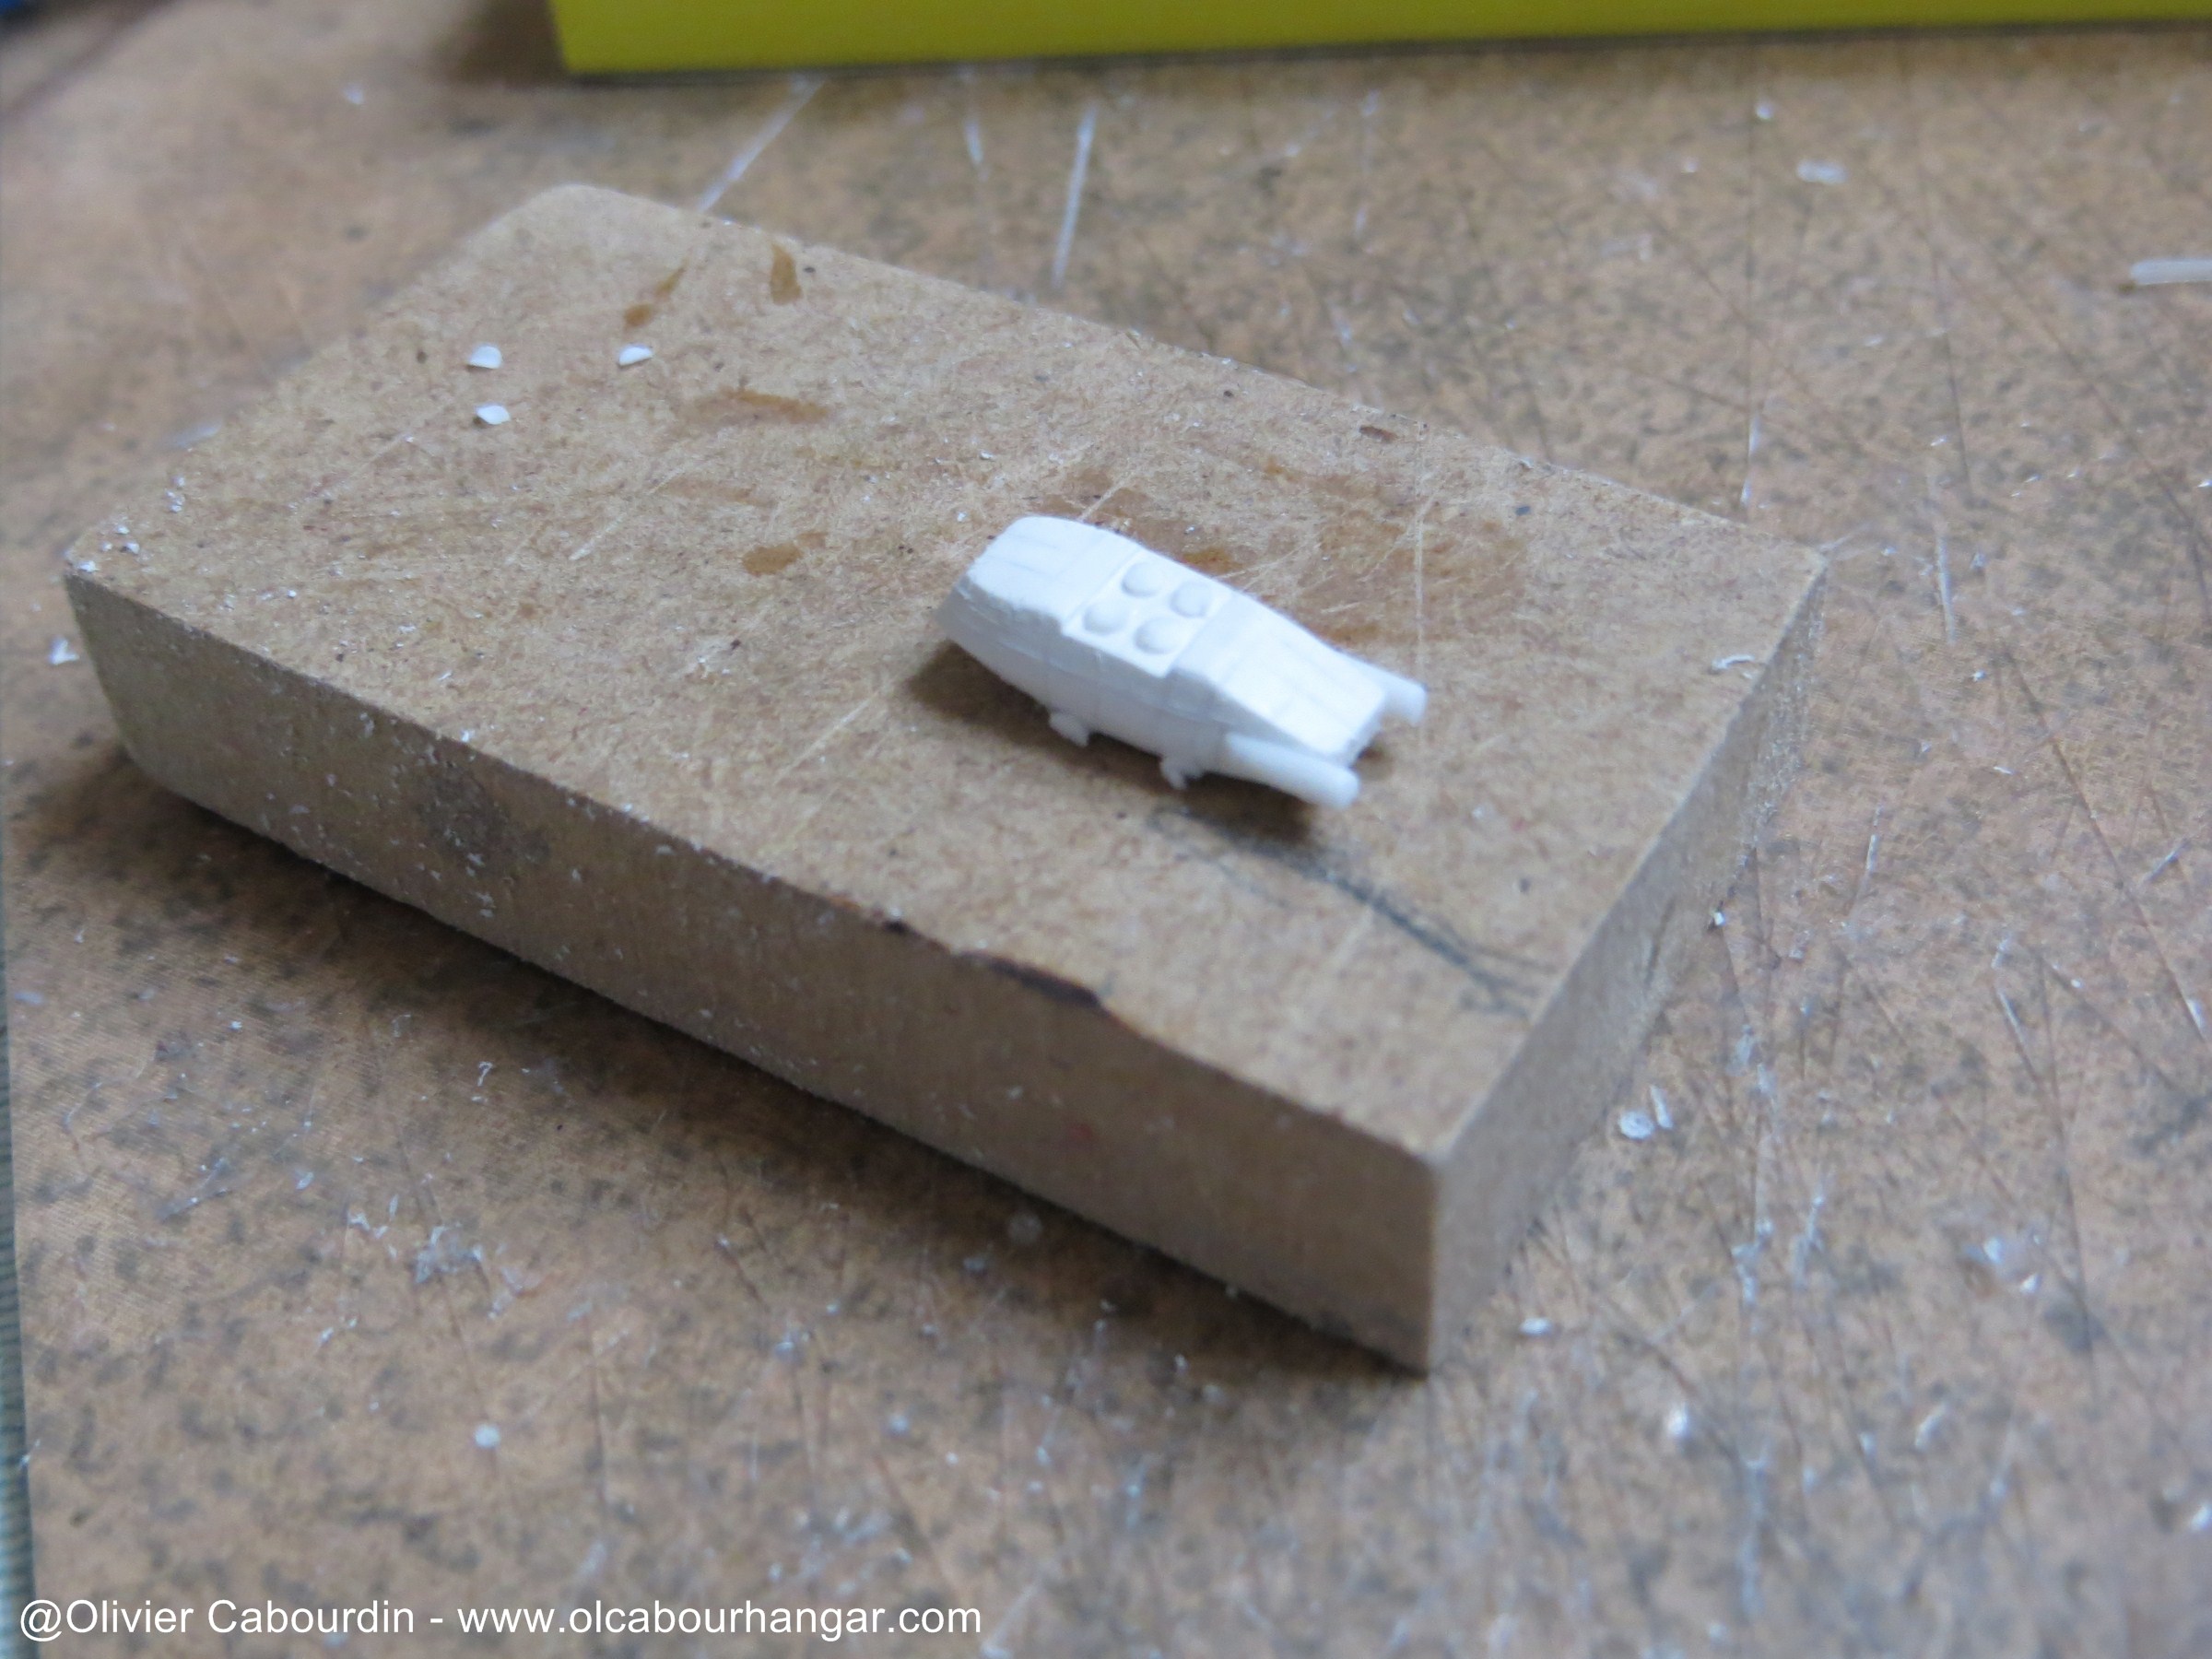
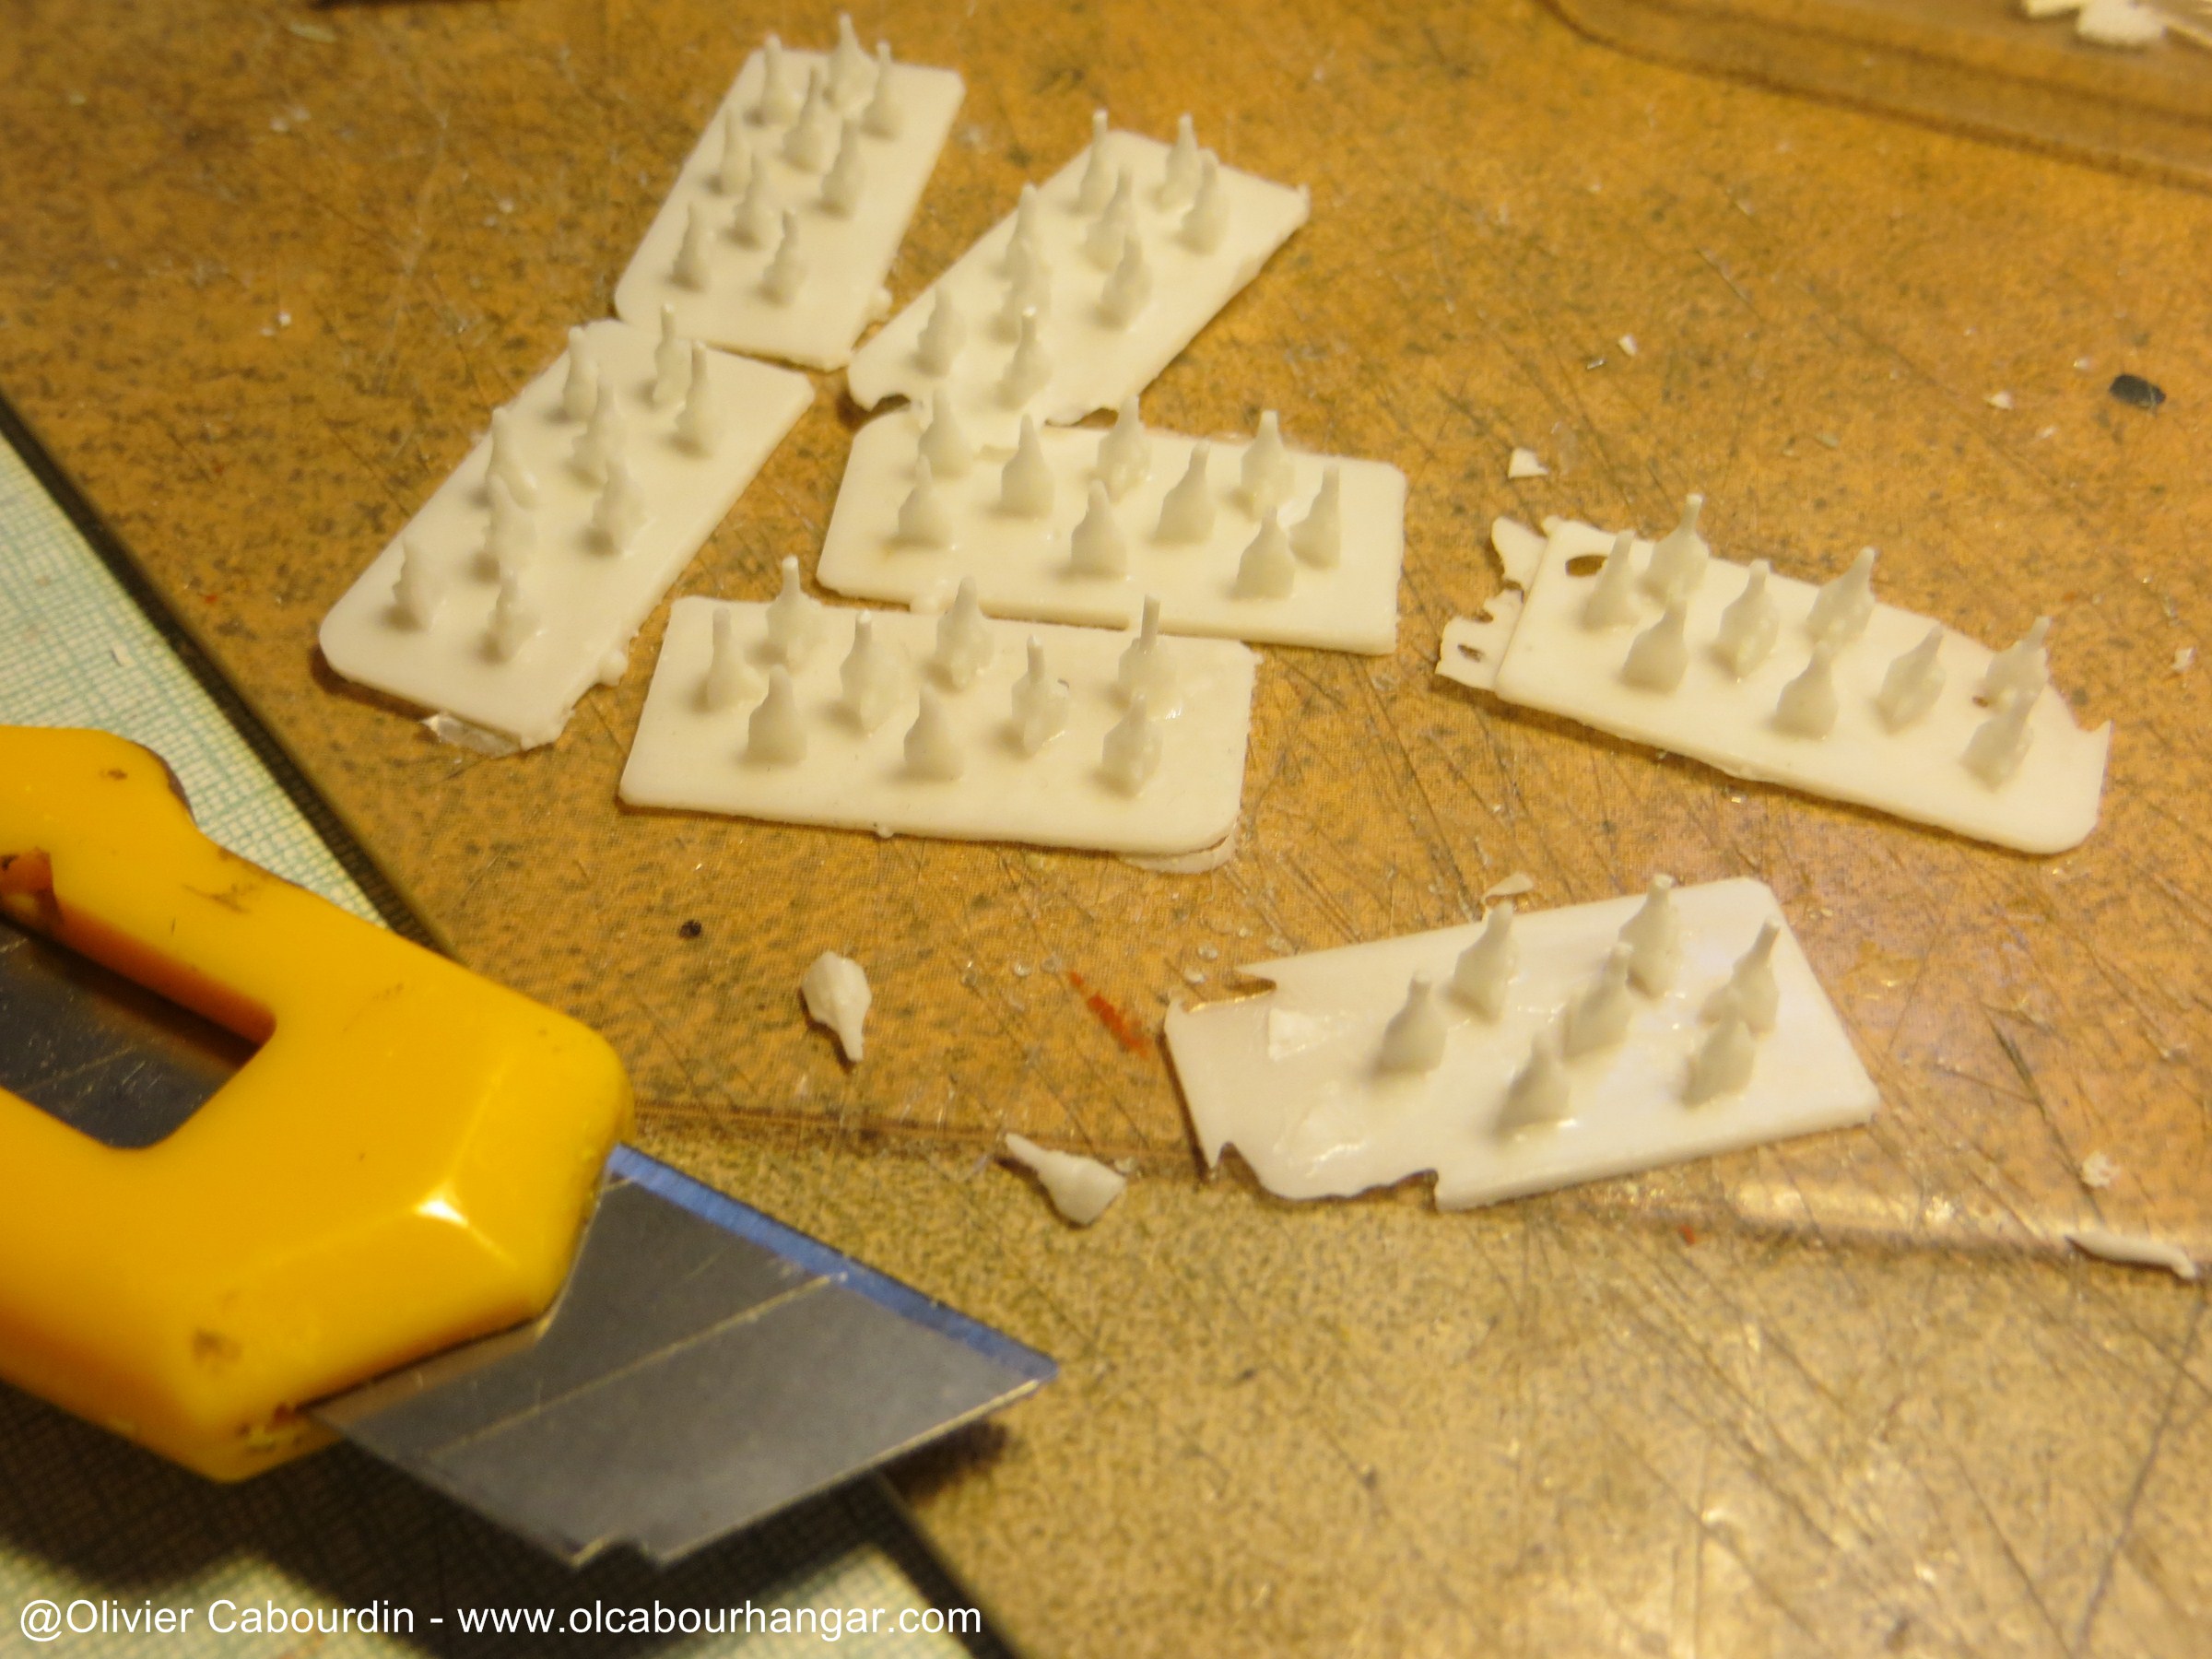
After a dozen runs, the Viper mold is dead, but that does not matter because now I can get into a second mold with a whole squadron, which was the goal
I use standard rtv, which will hold better than Siligum.
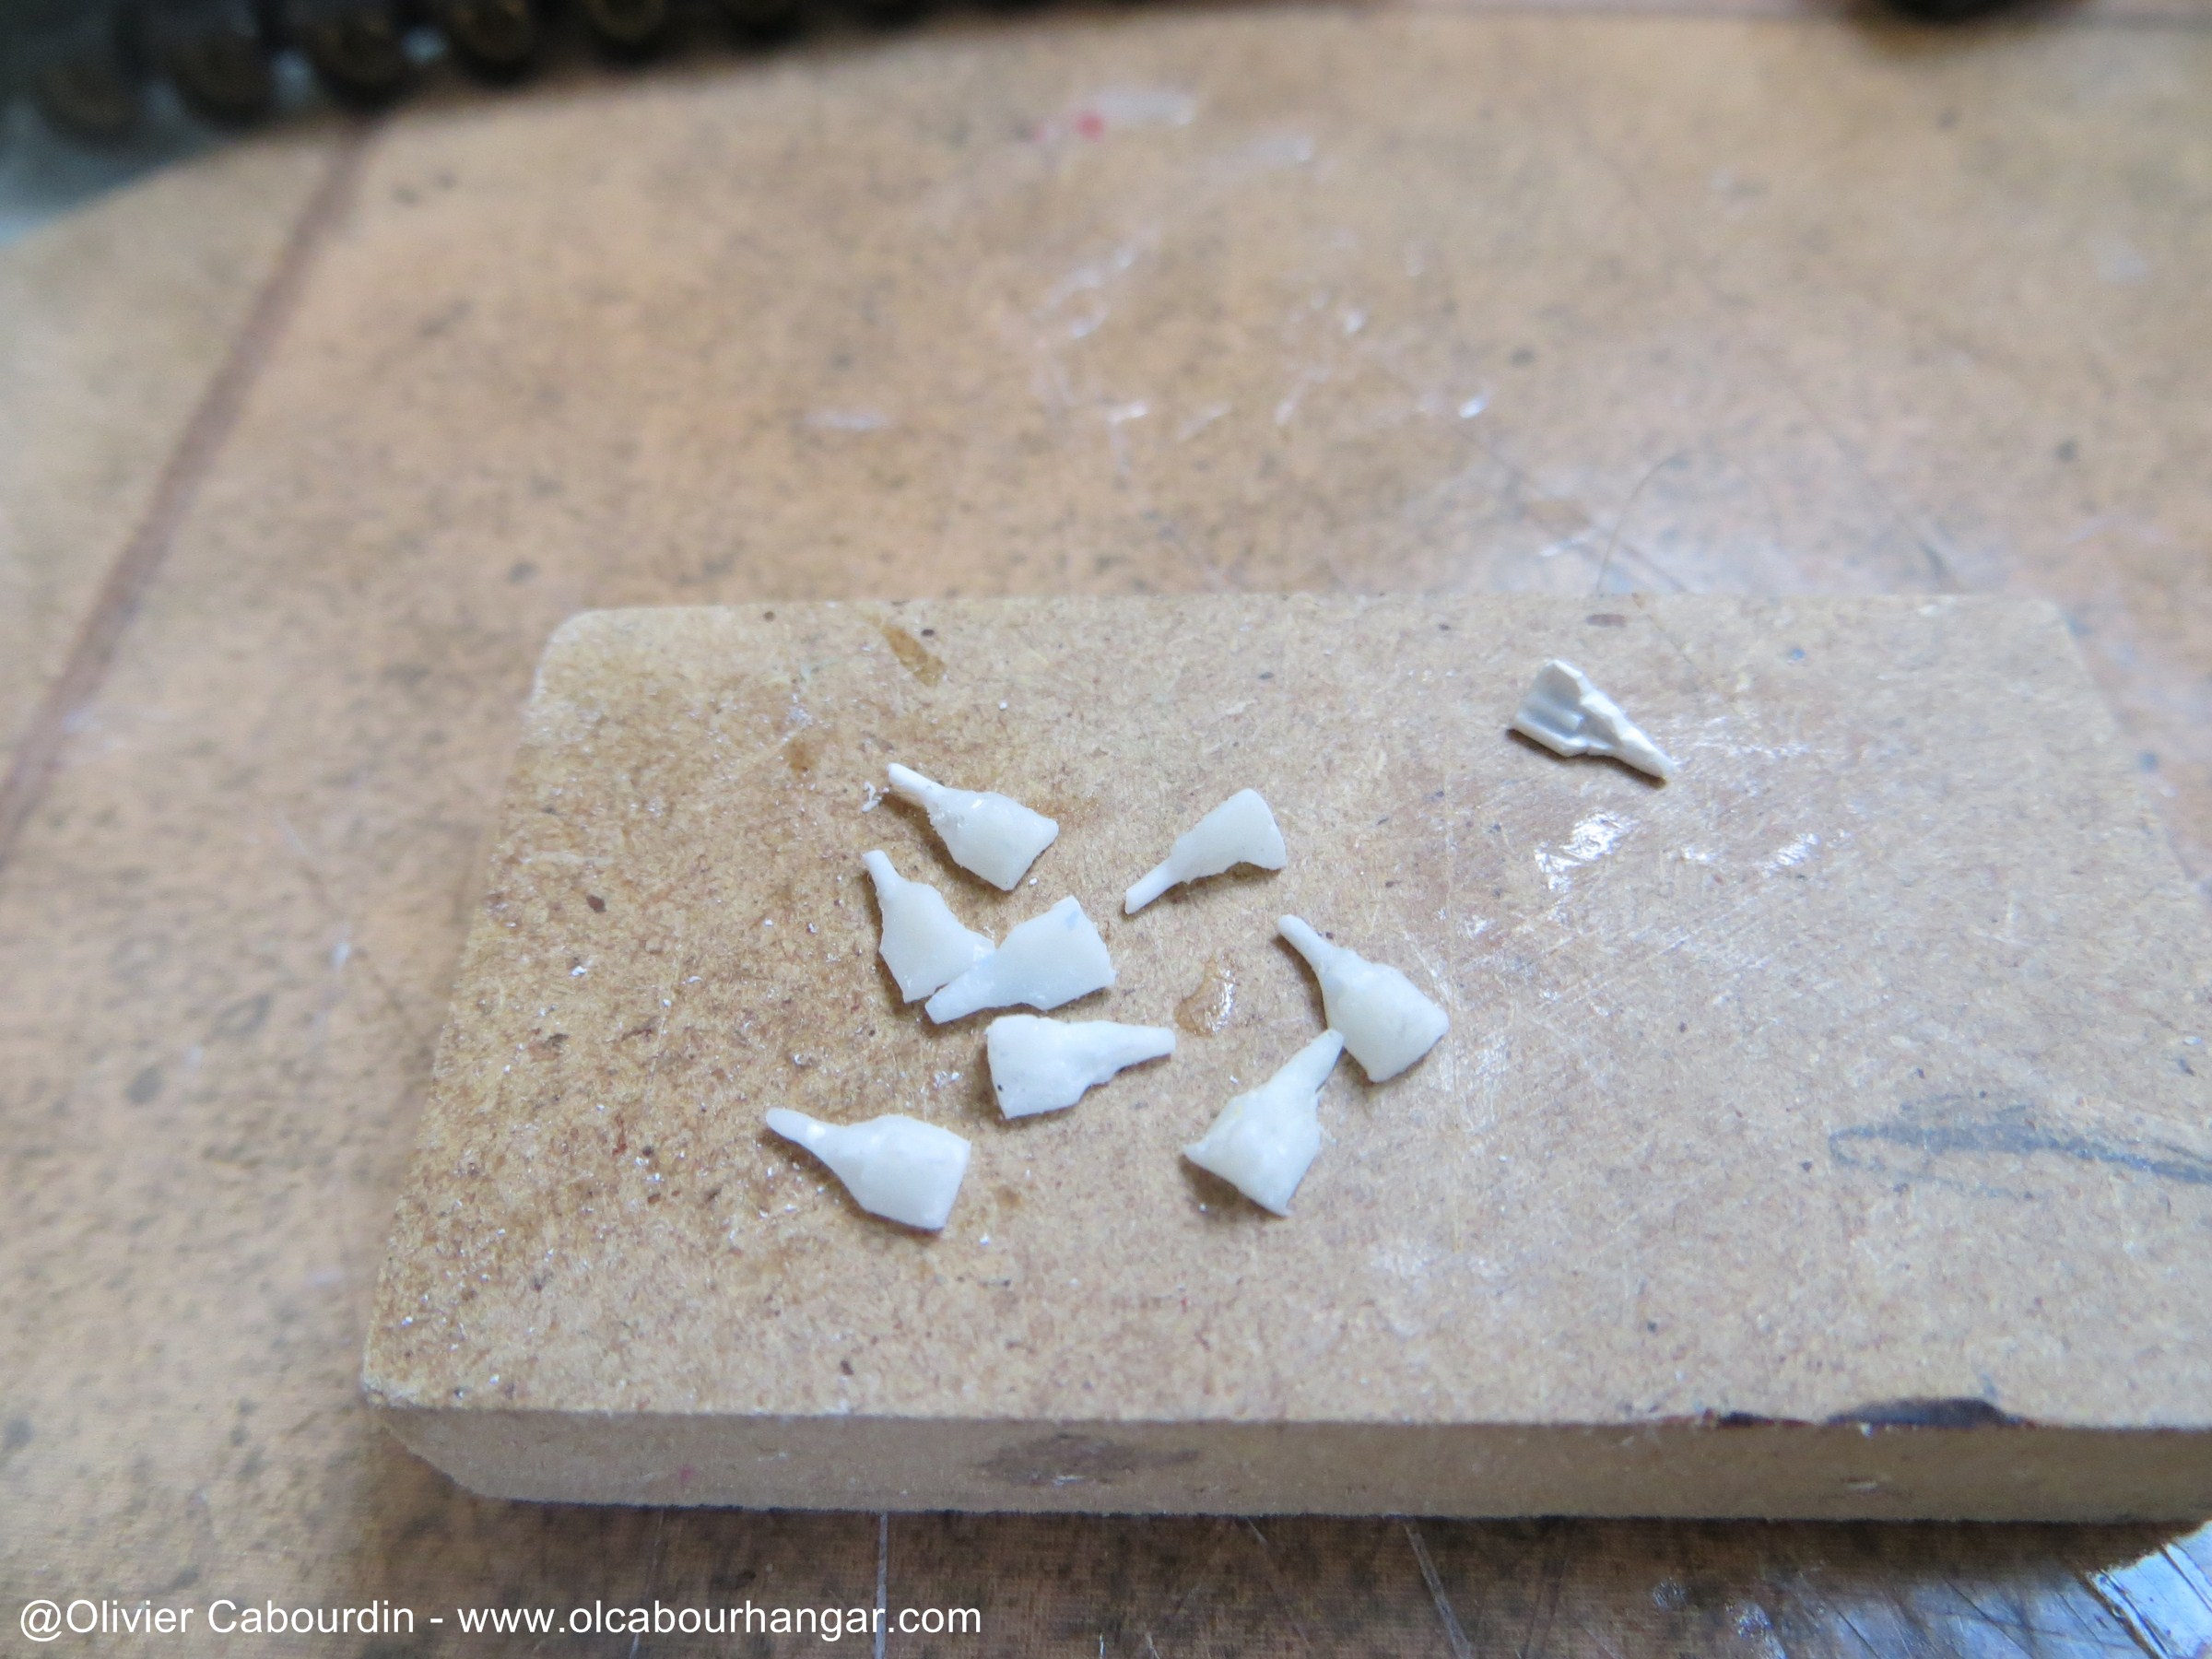

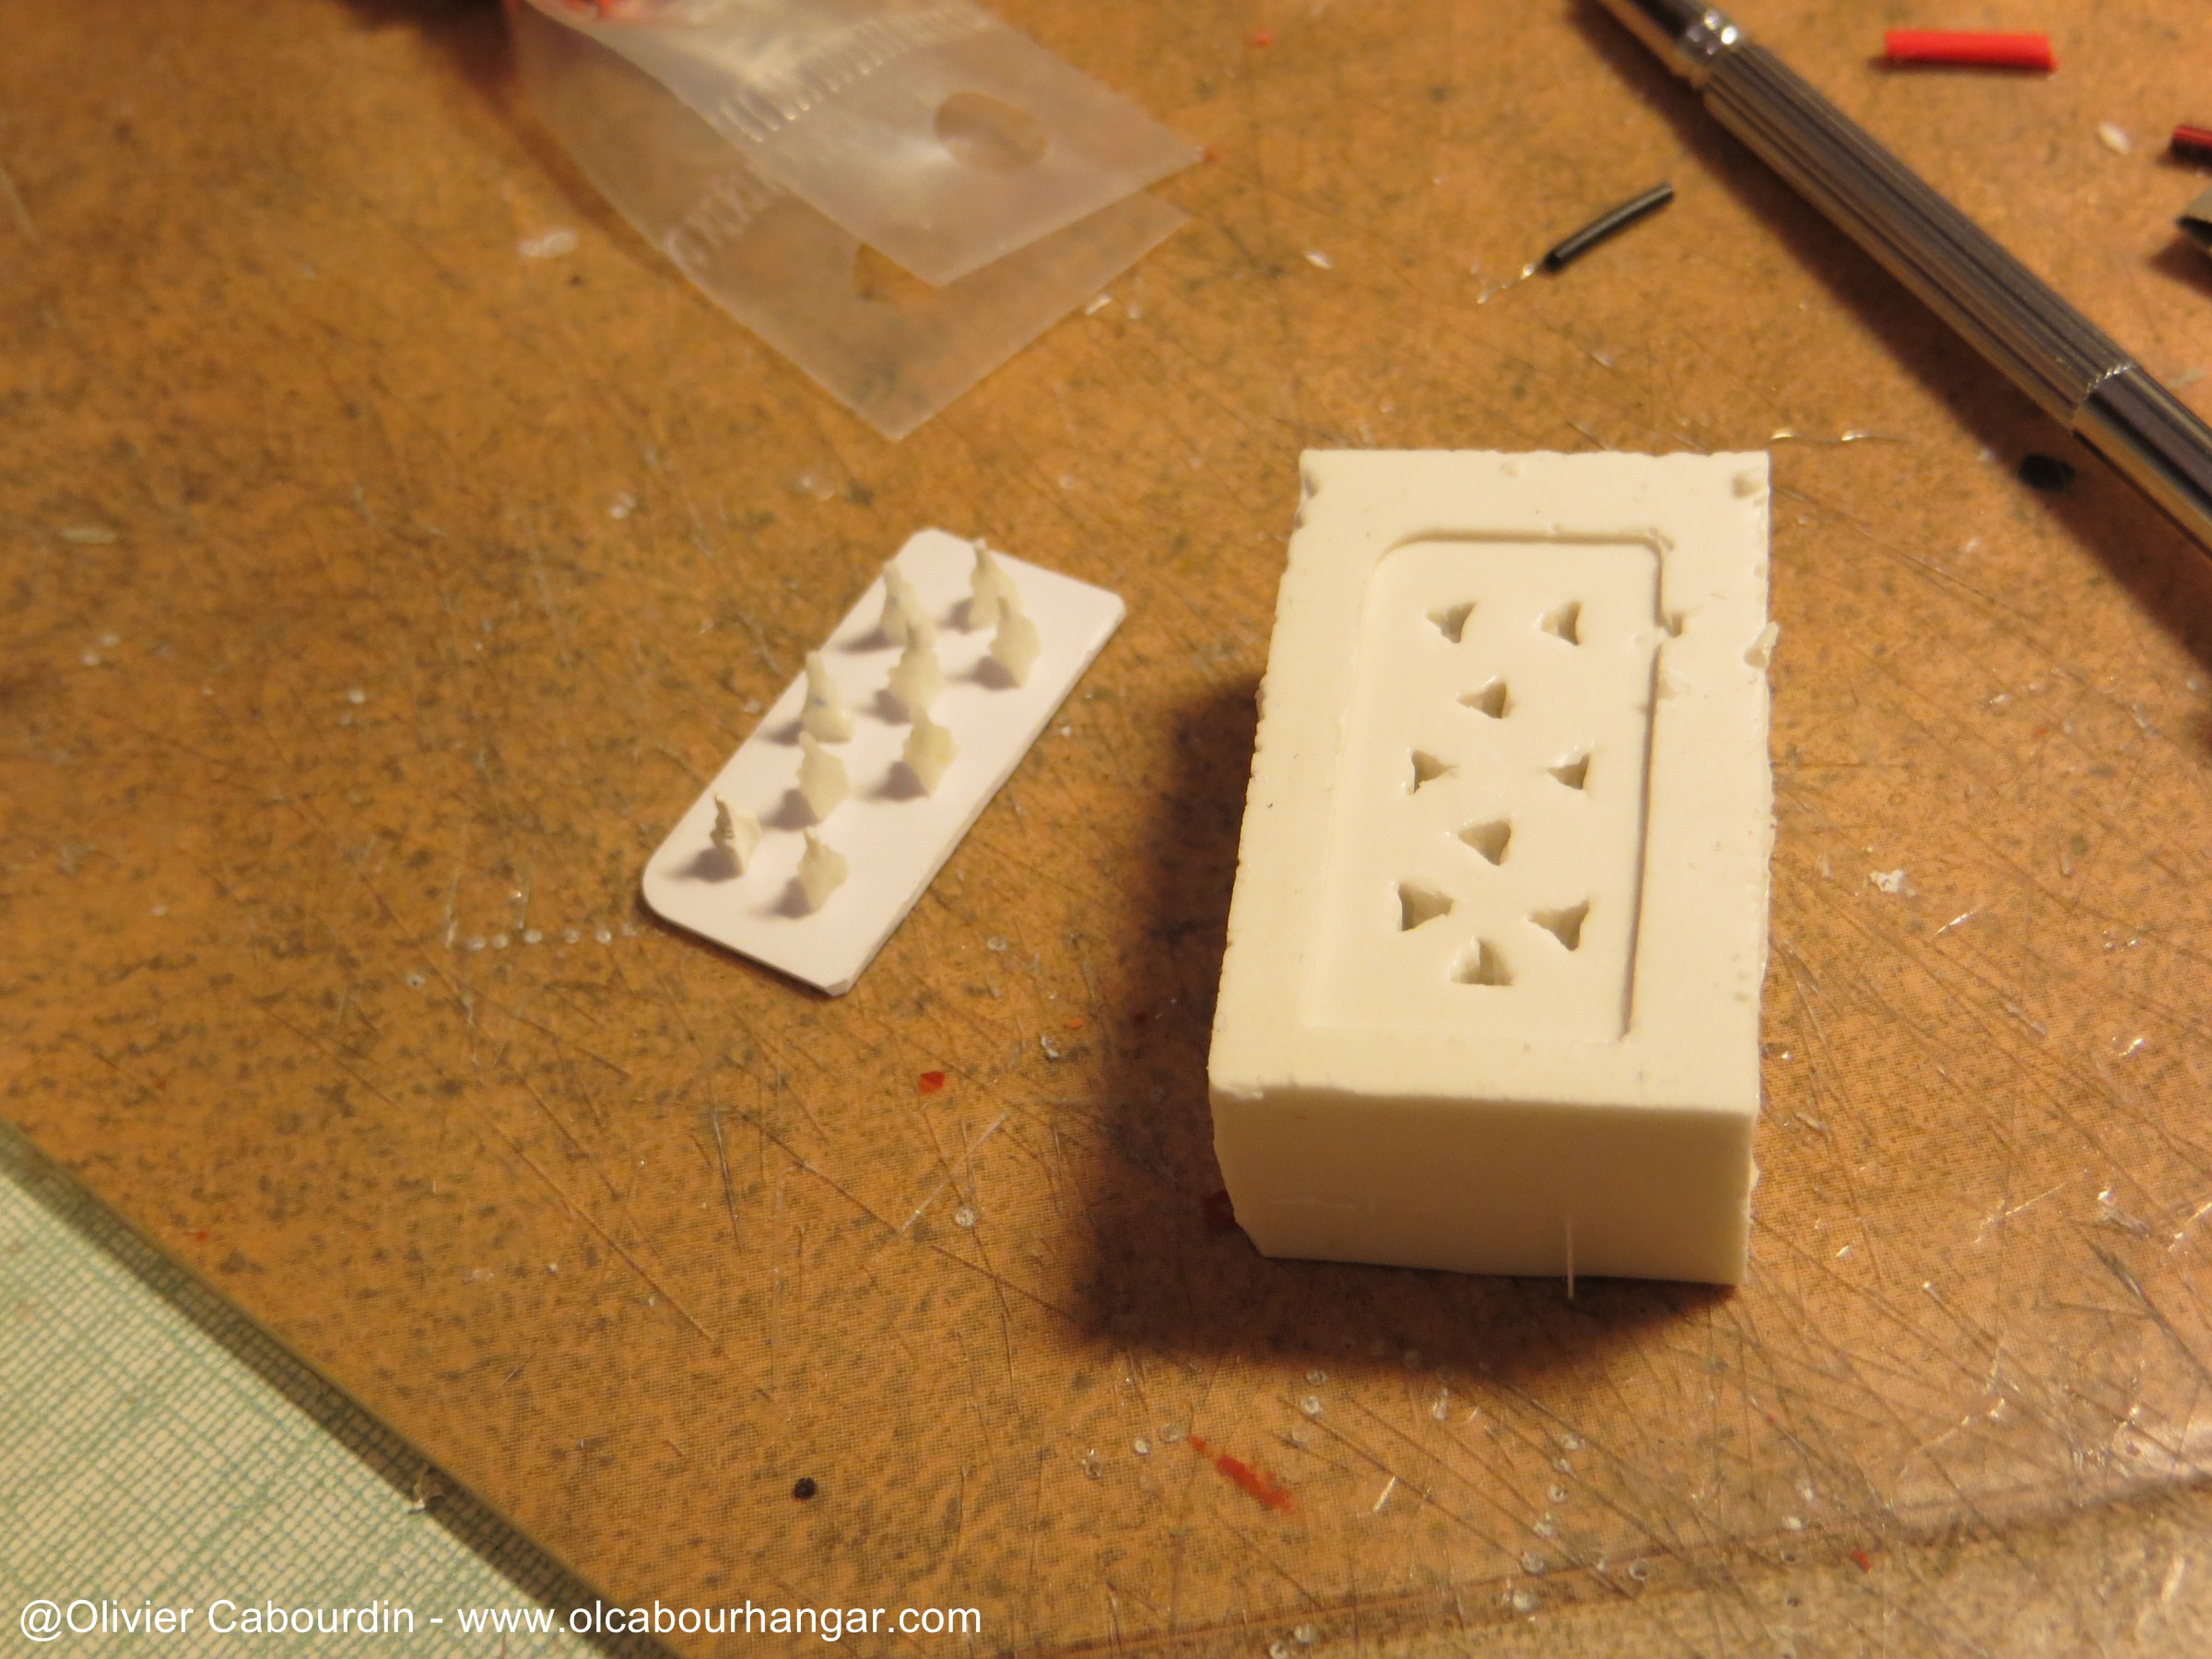
Vipers clusters !
« billets précédents - page 1 de 4