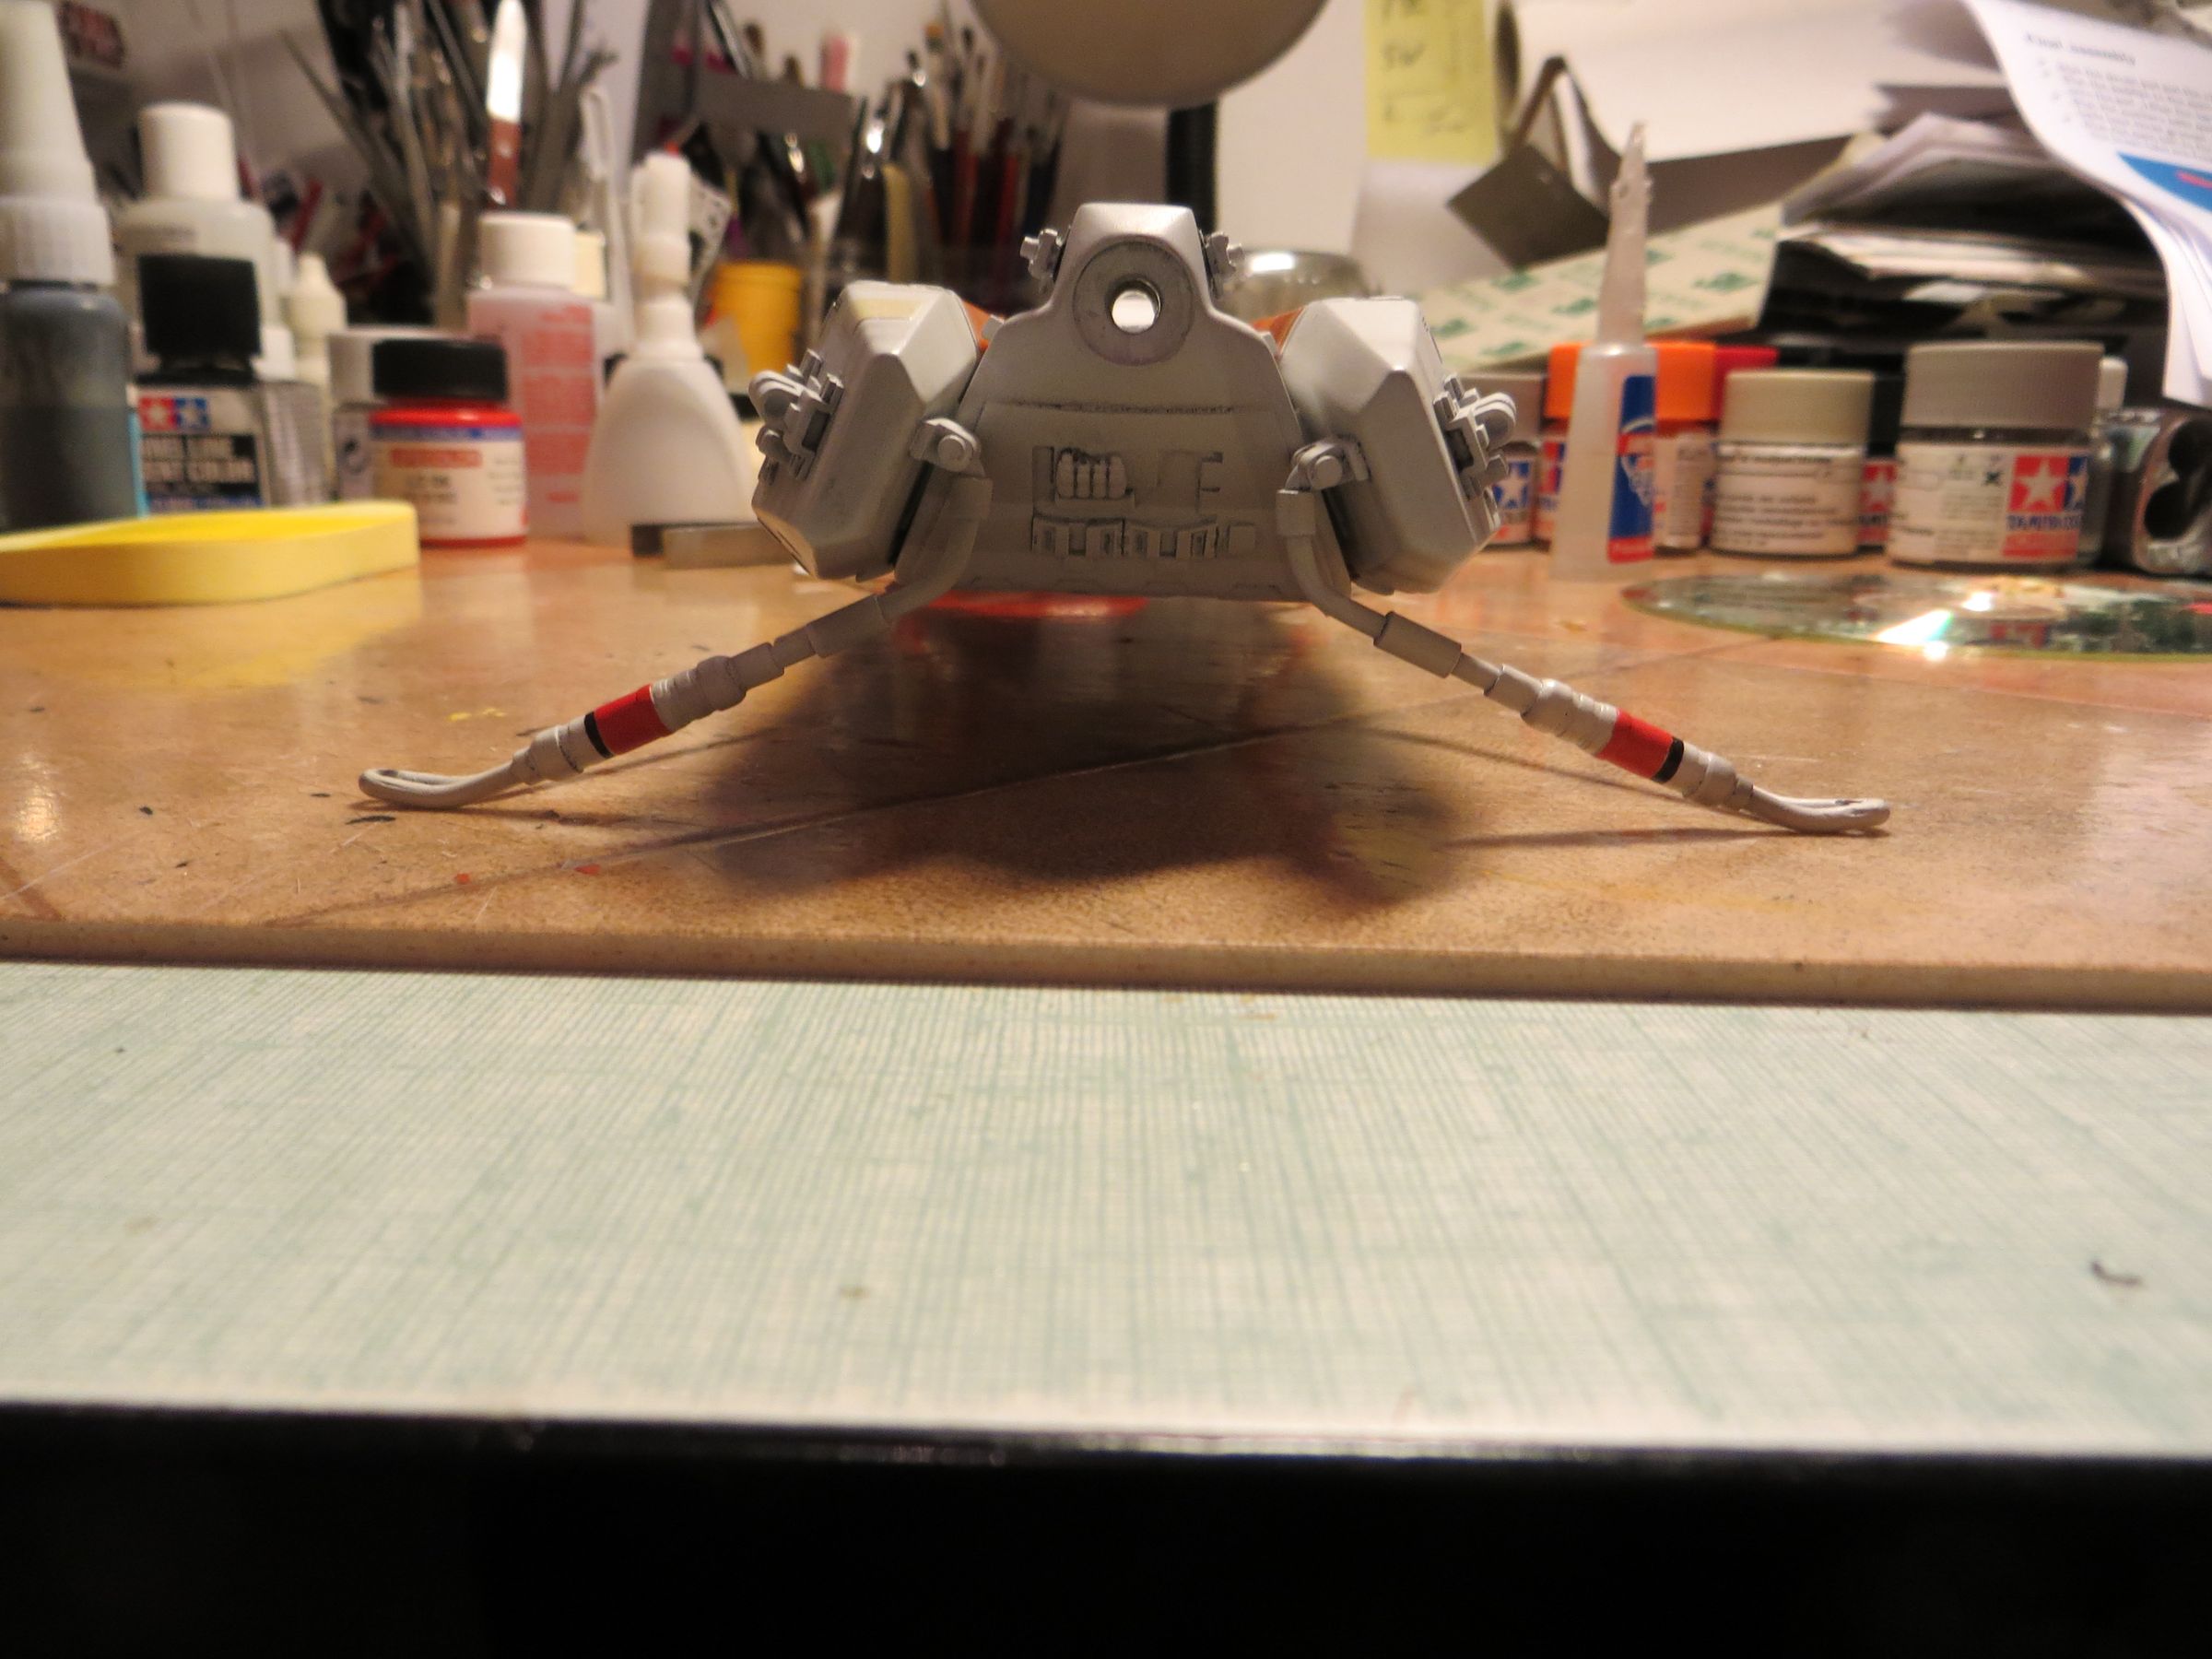
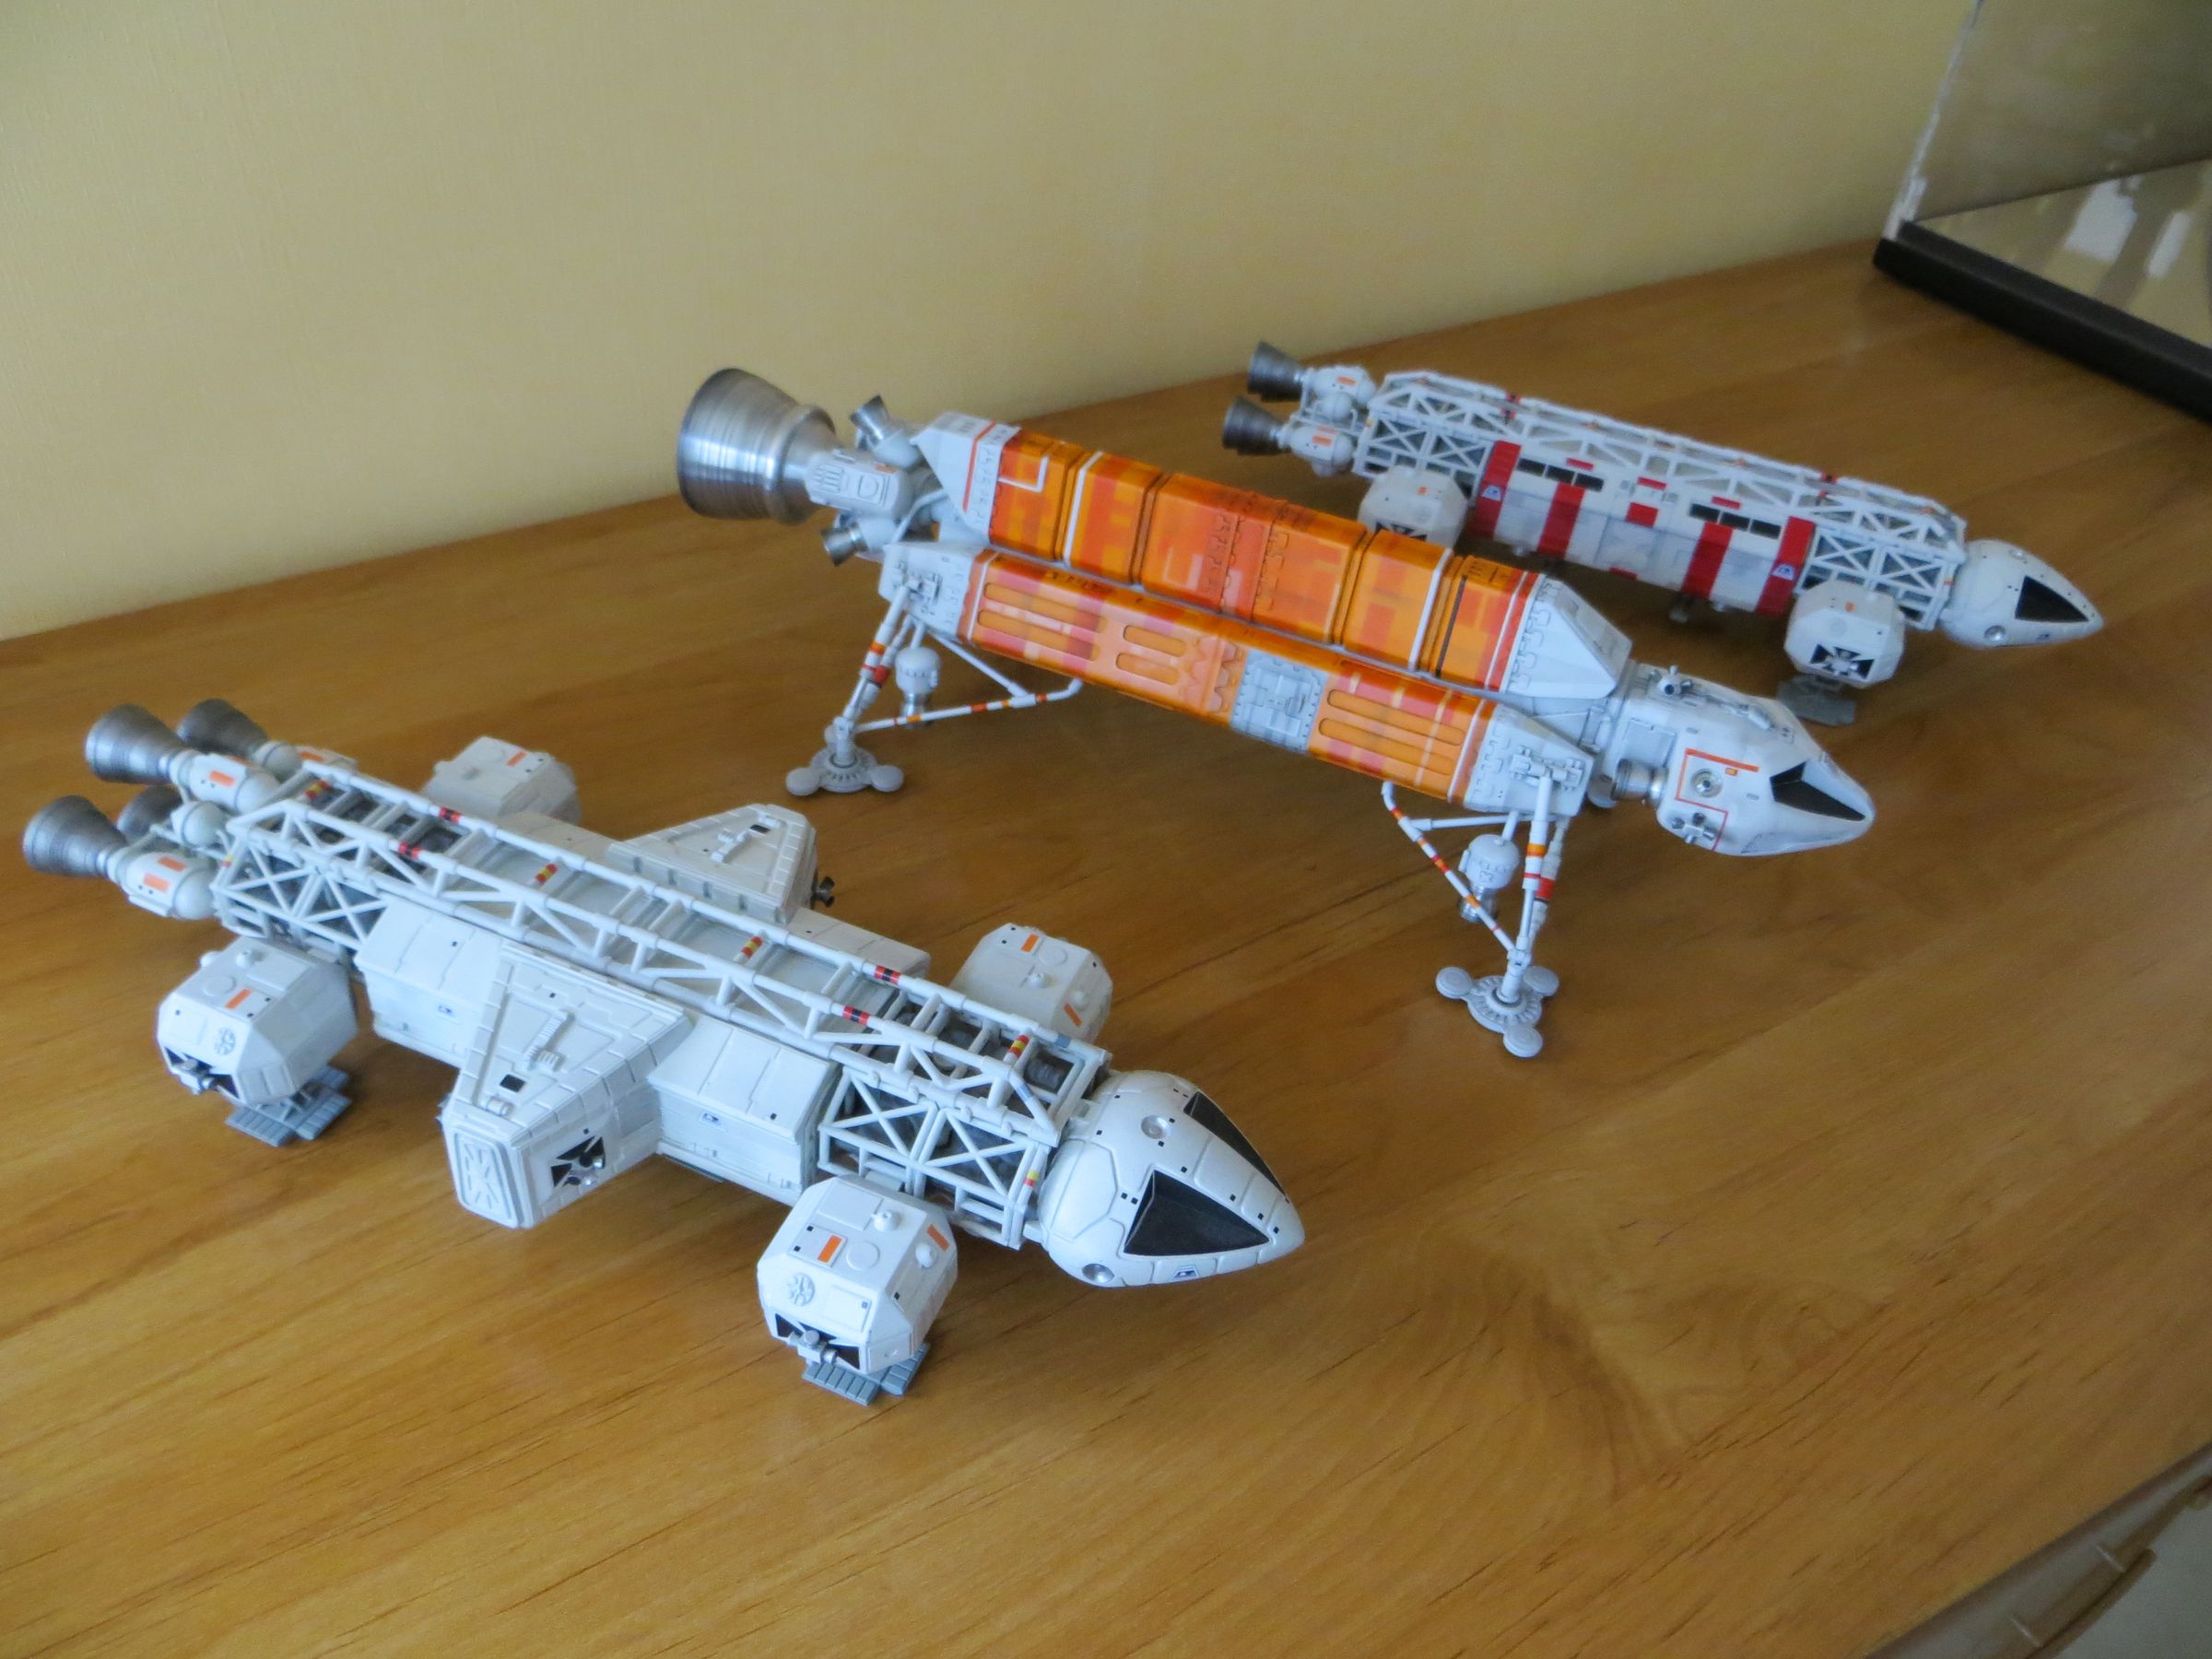
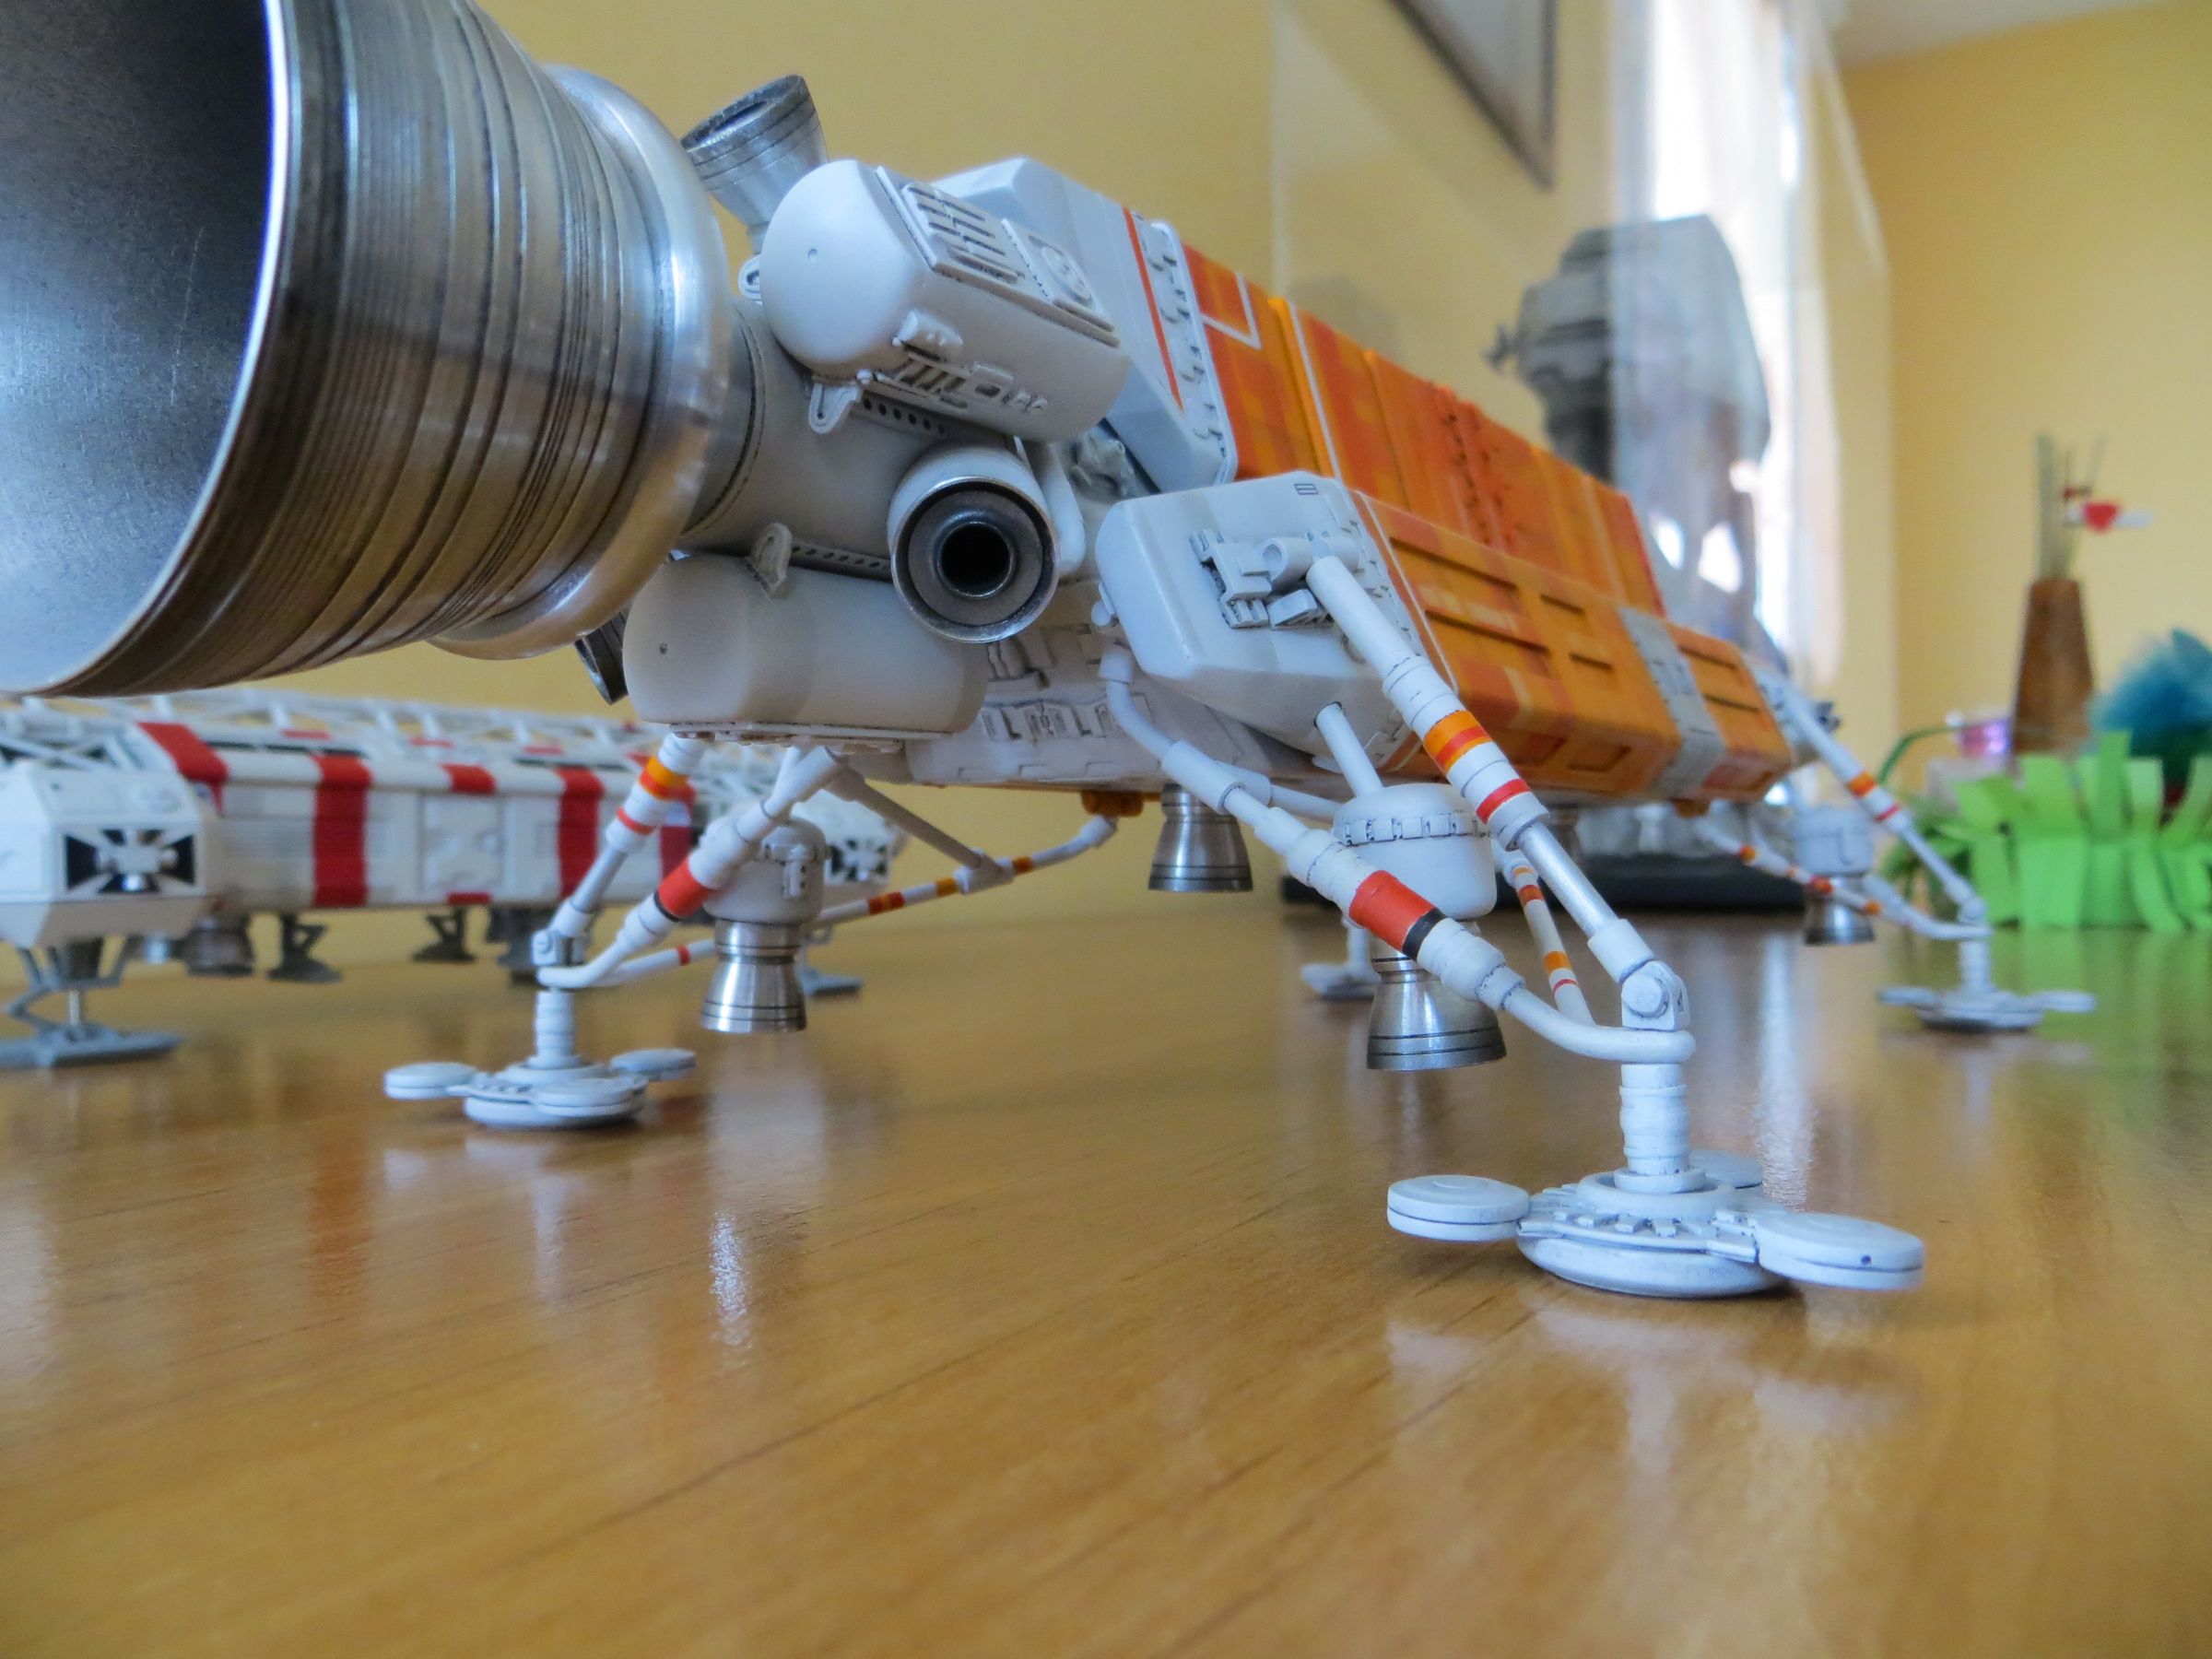
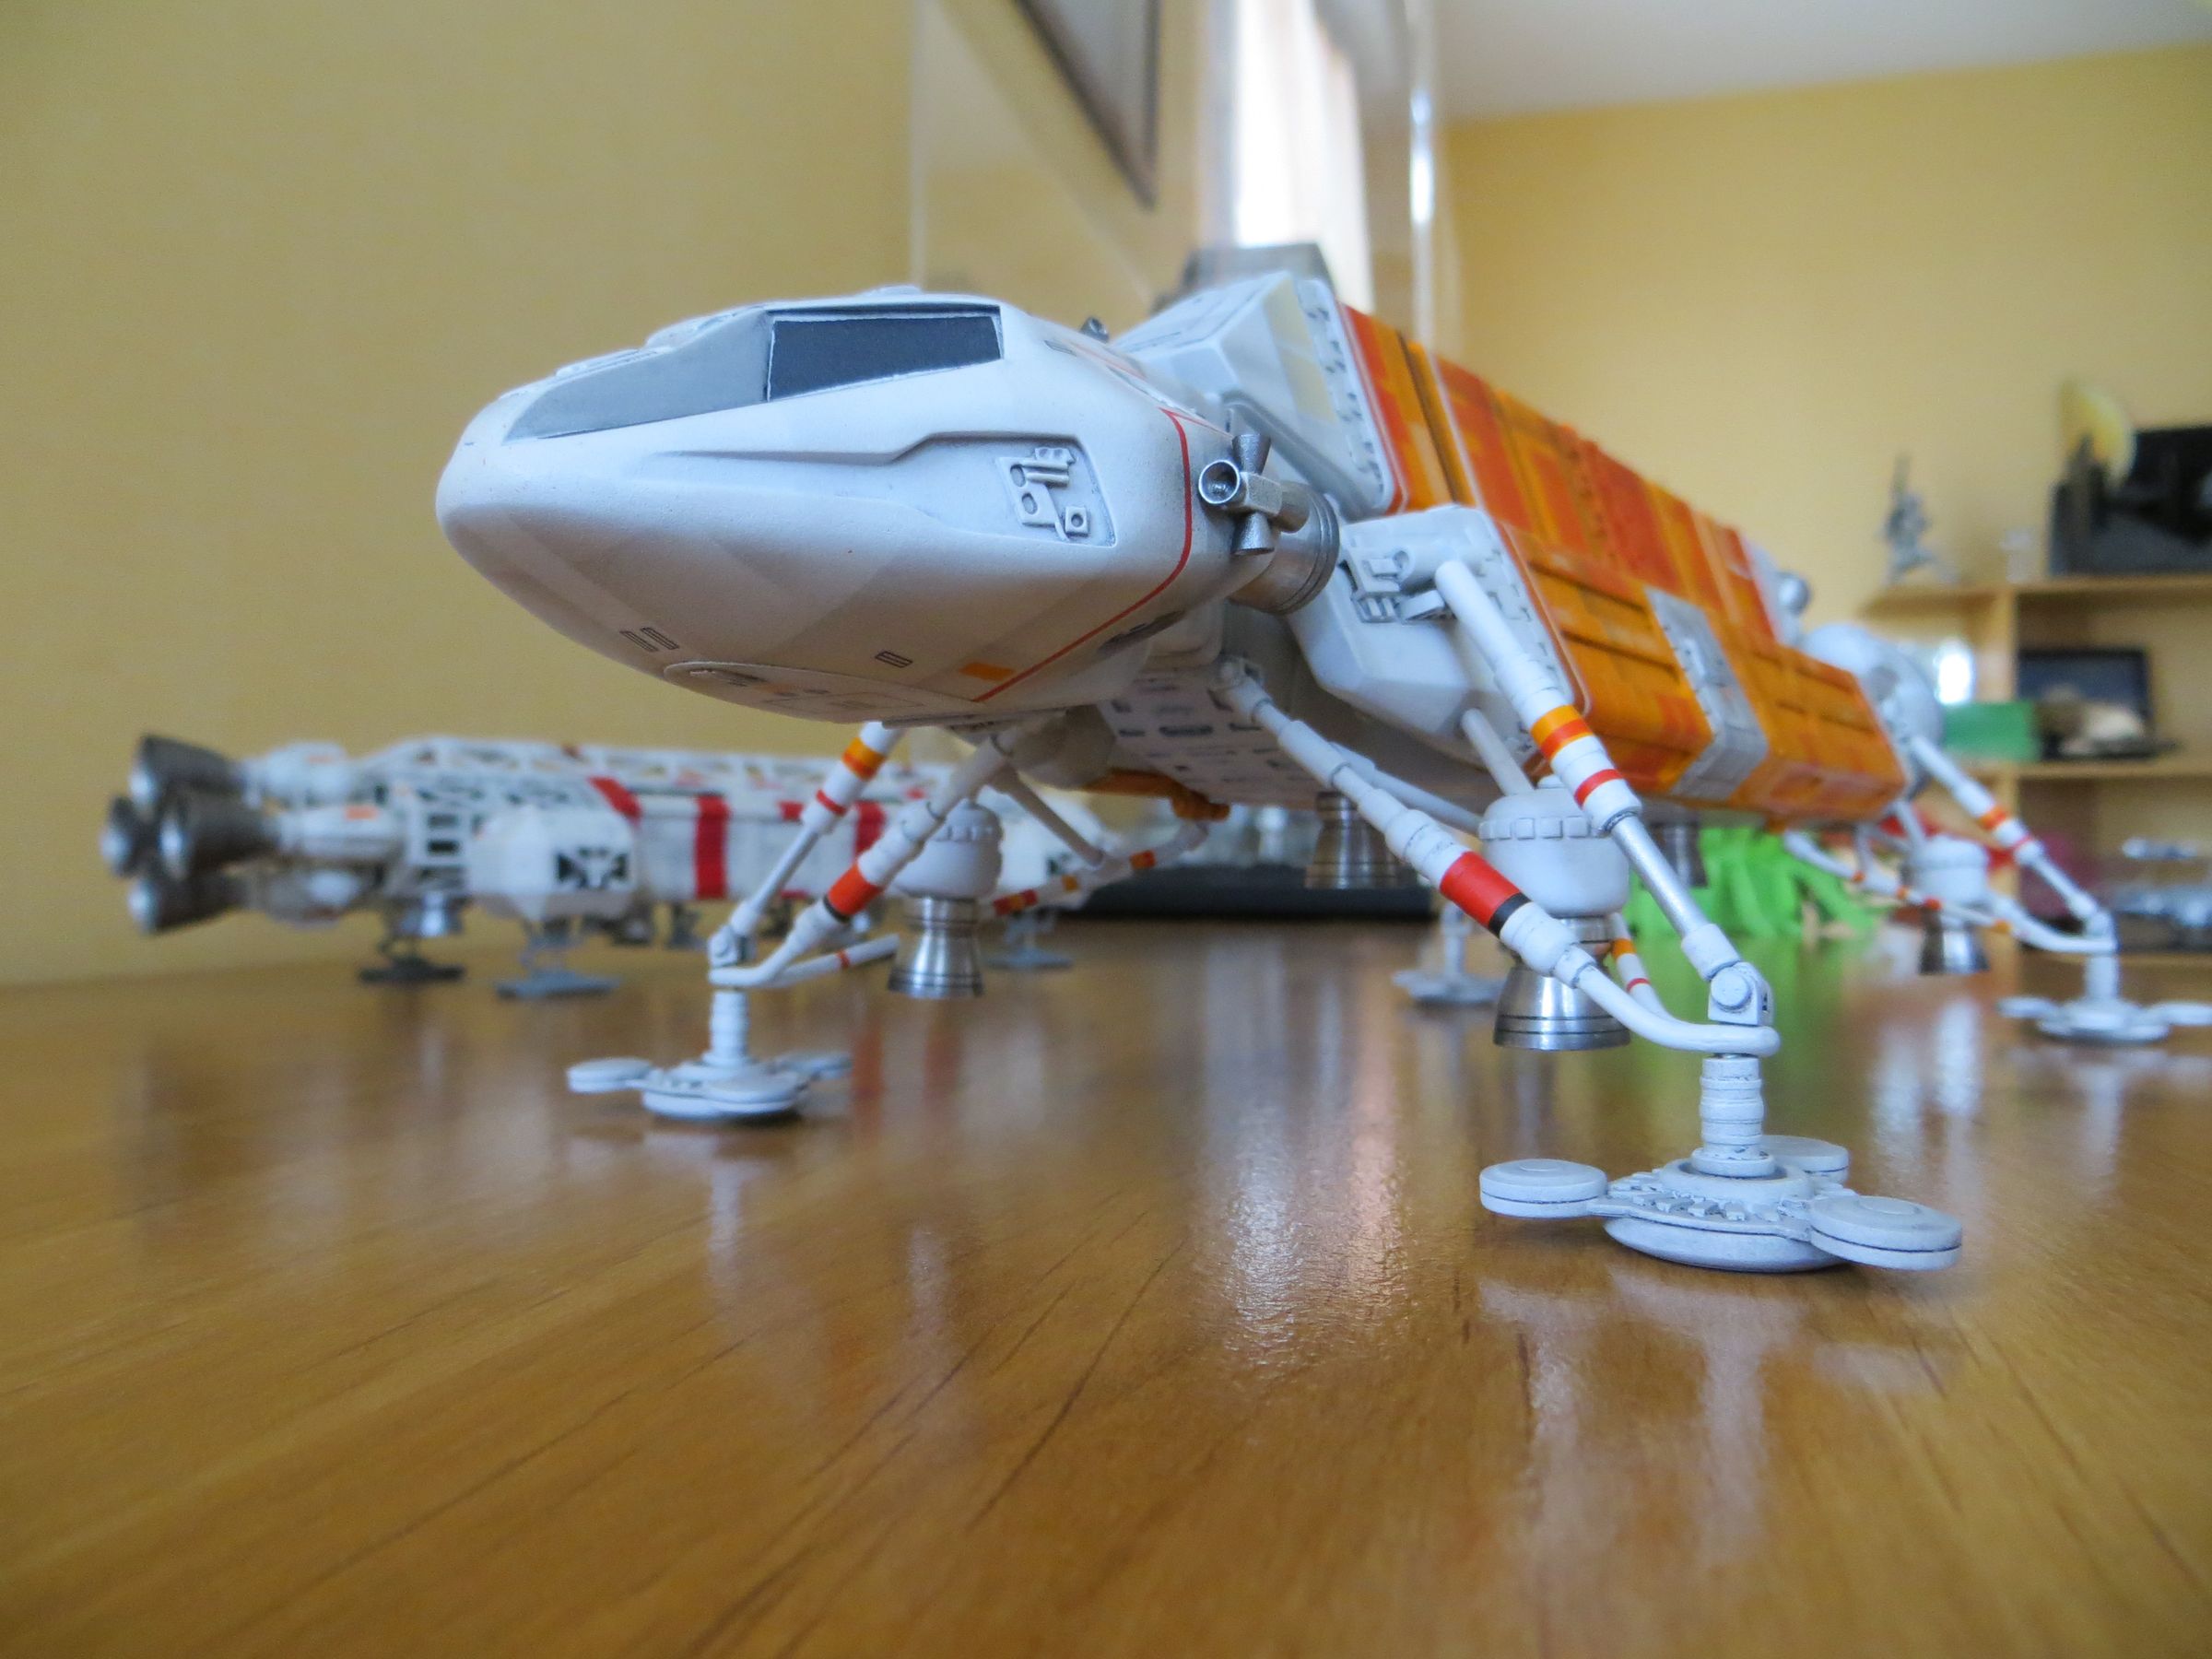
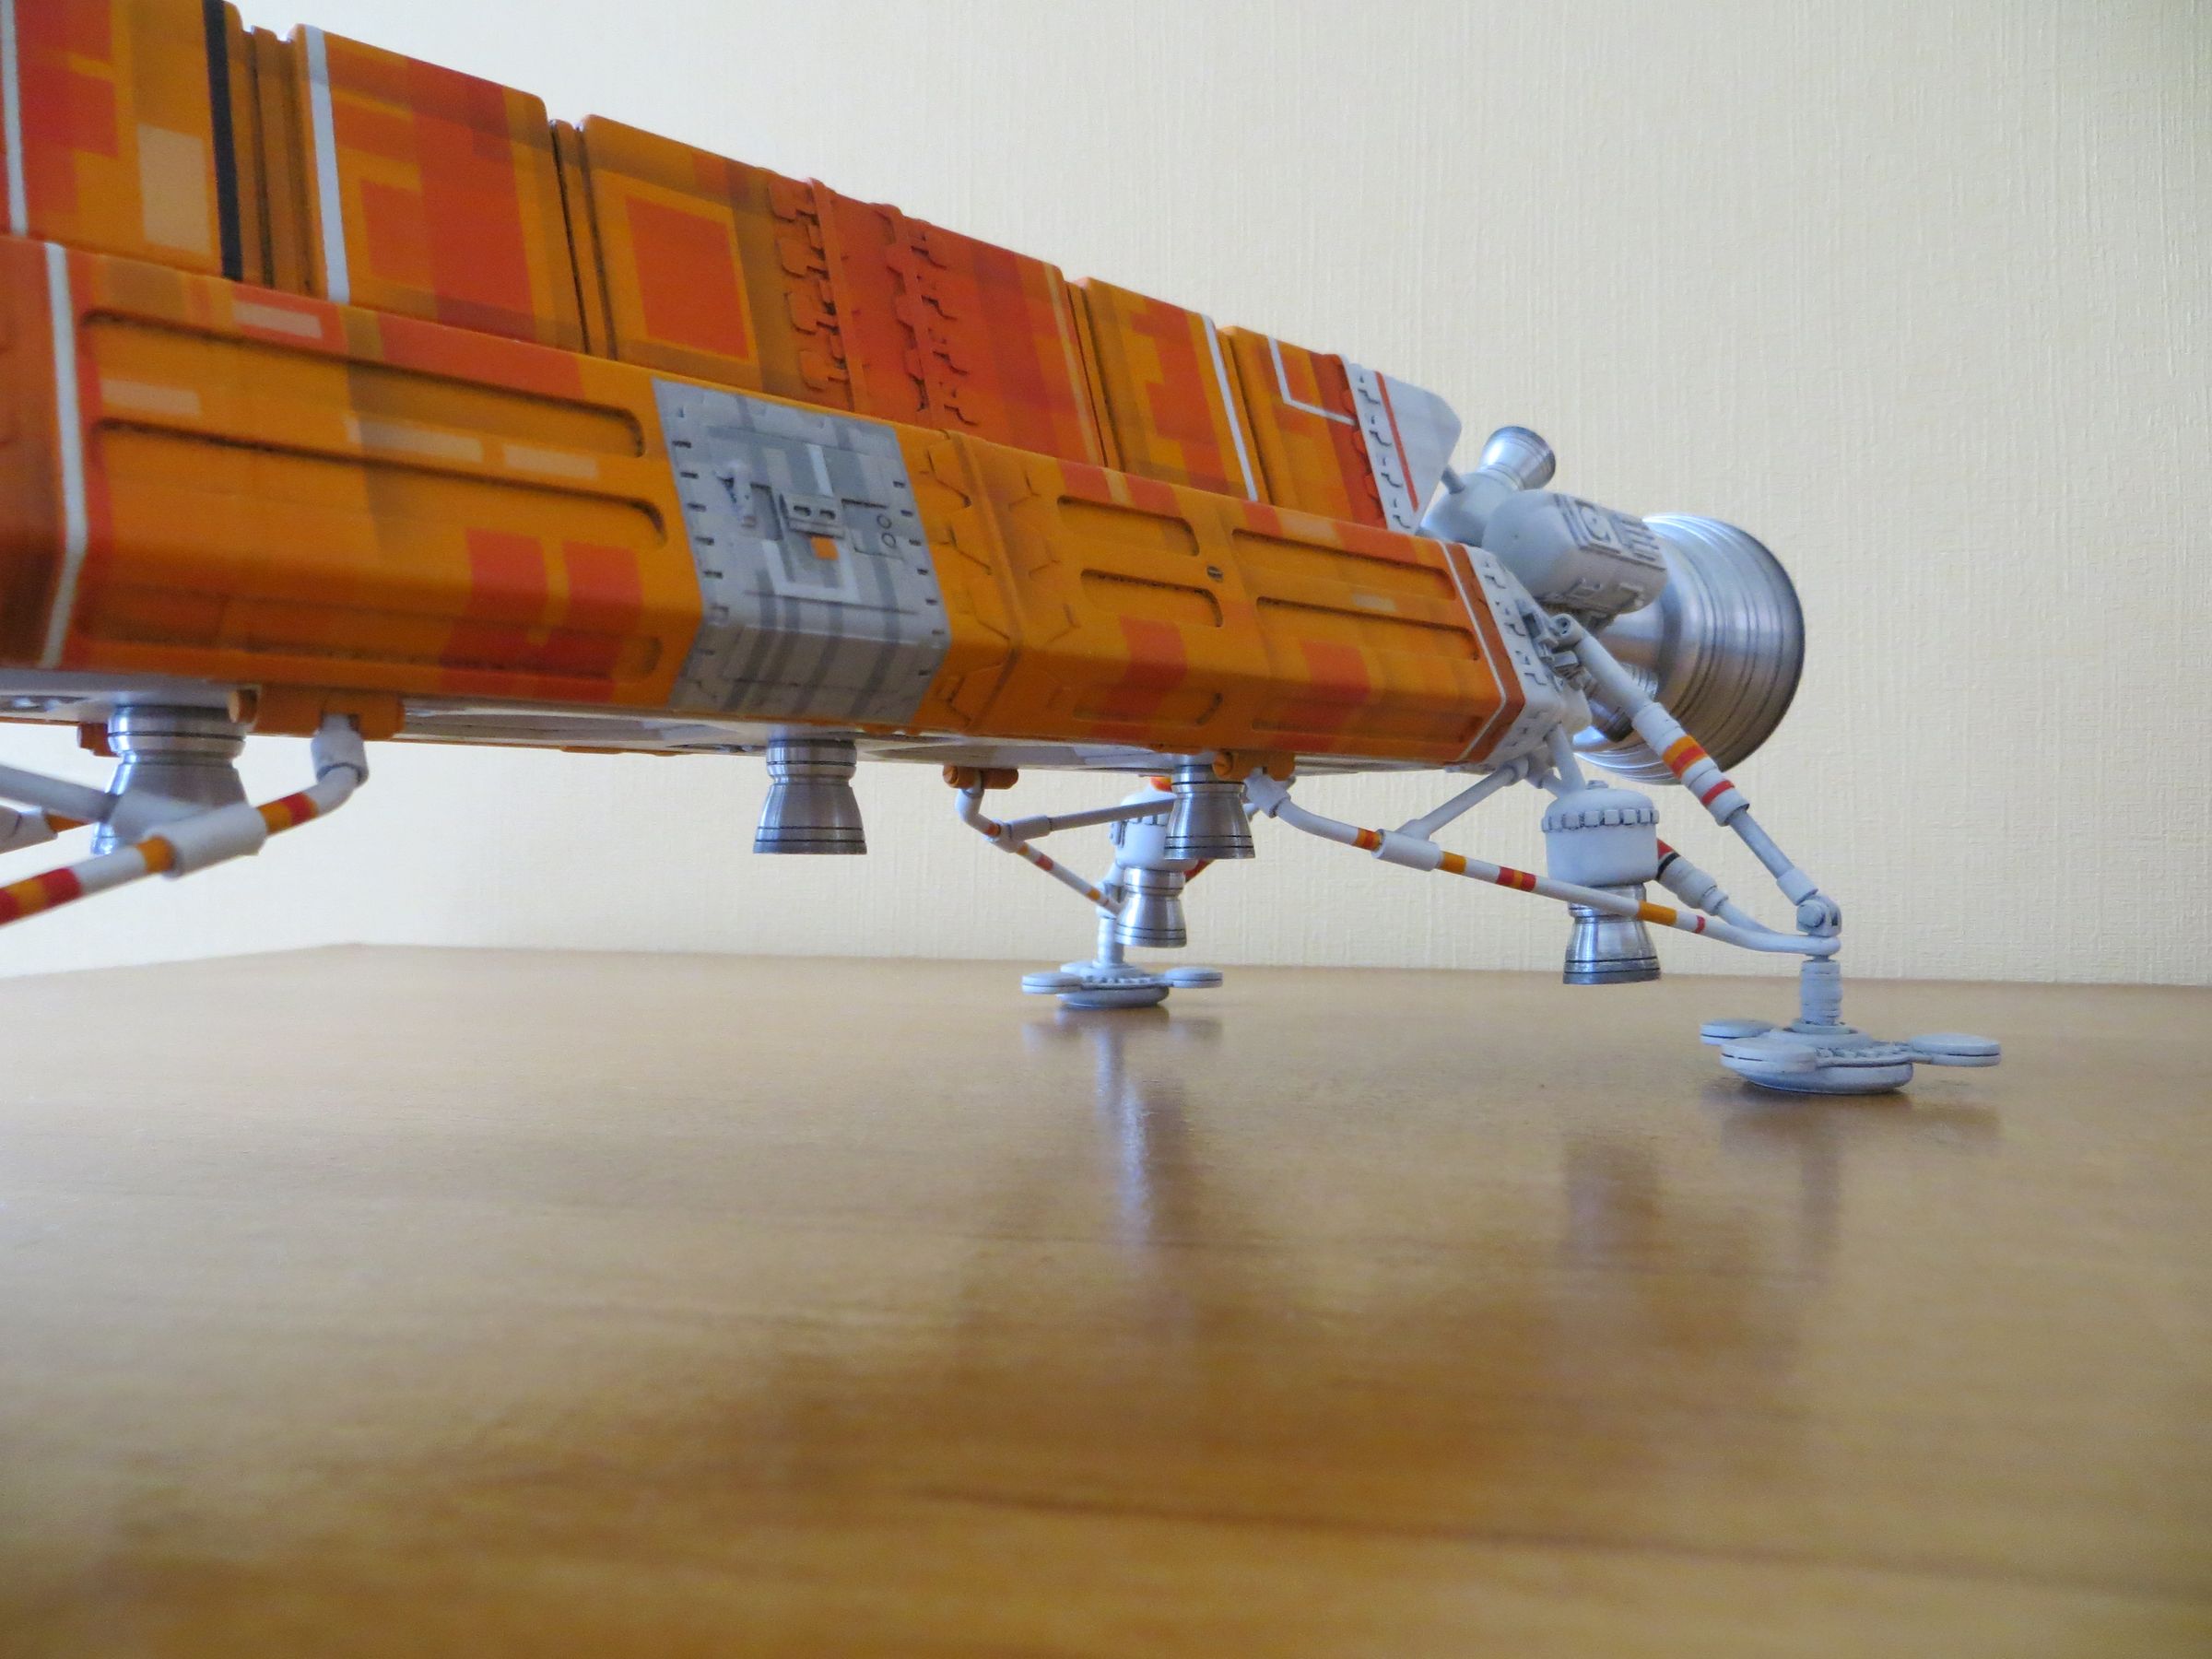
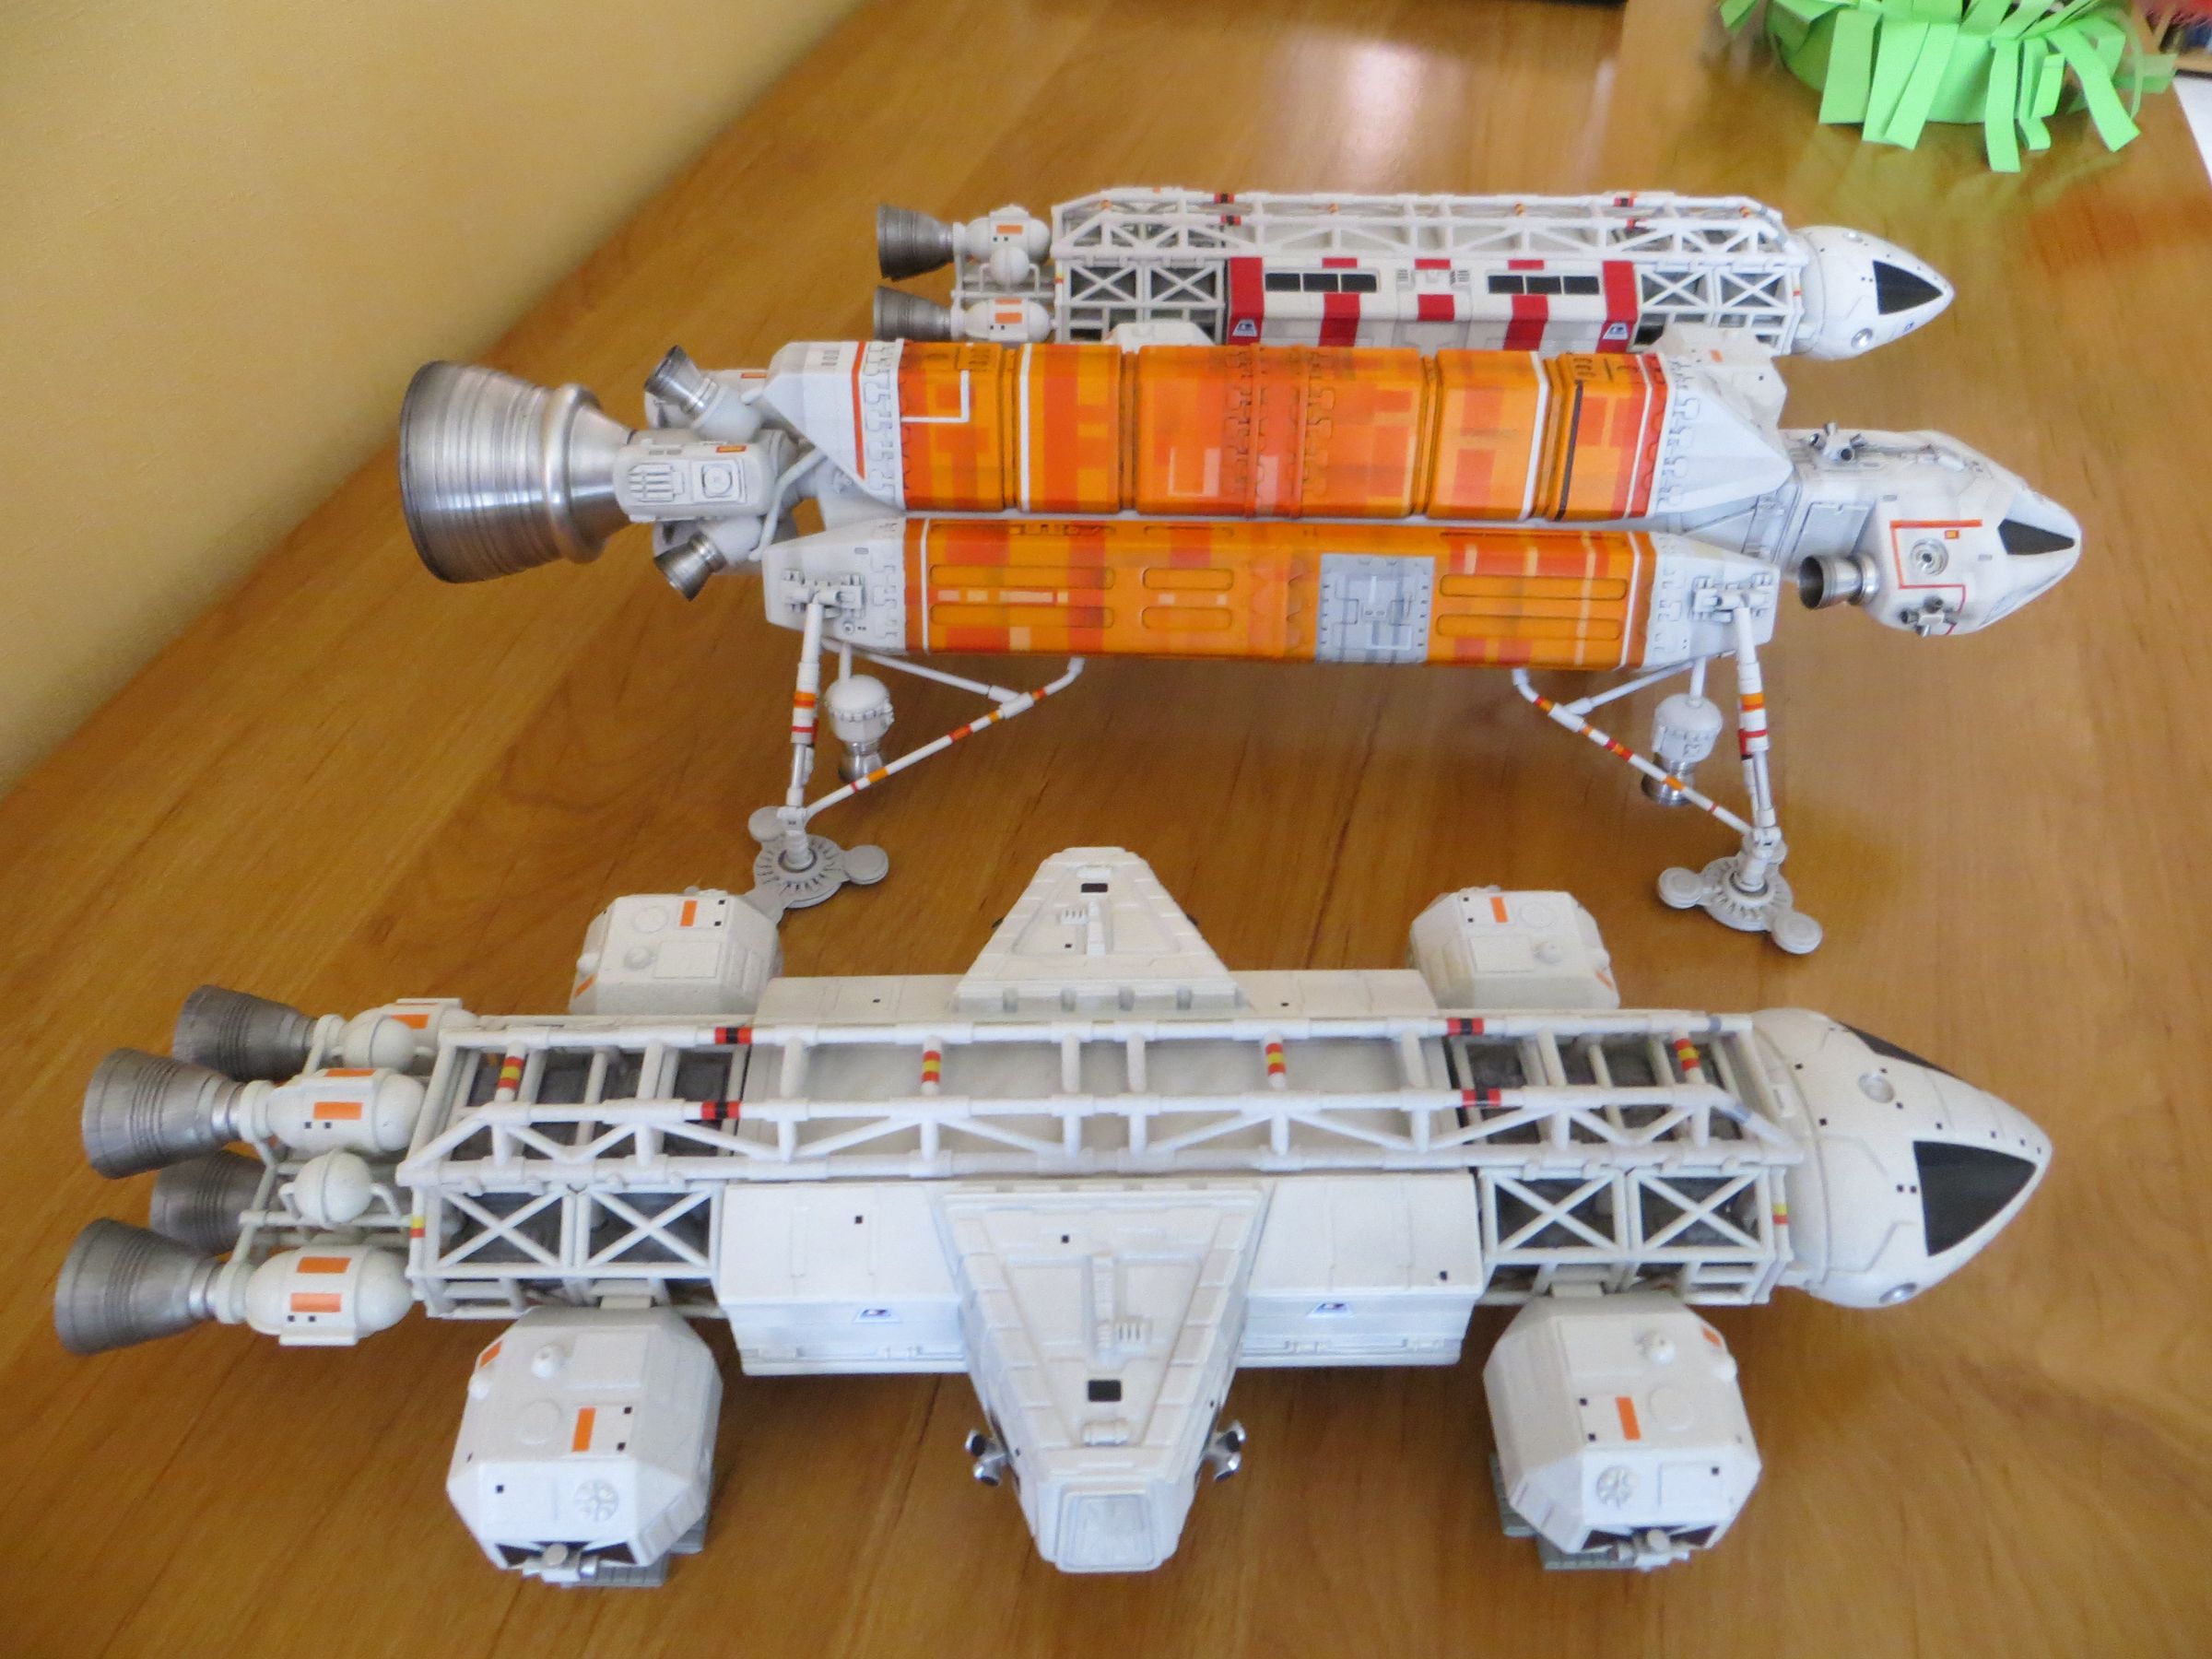
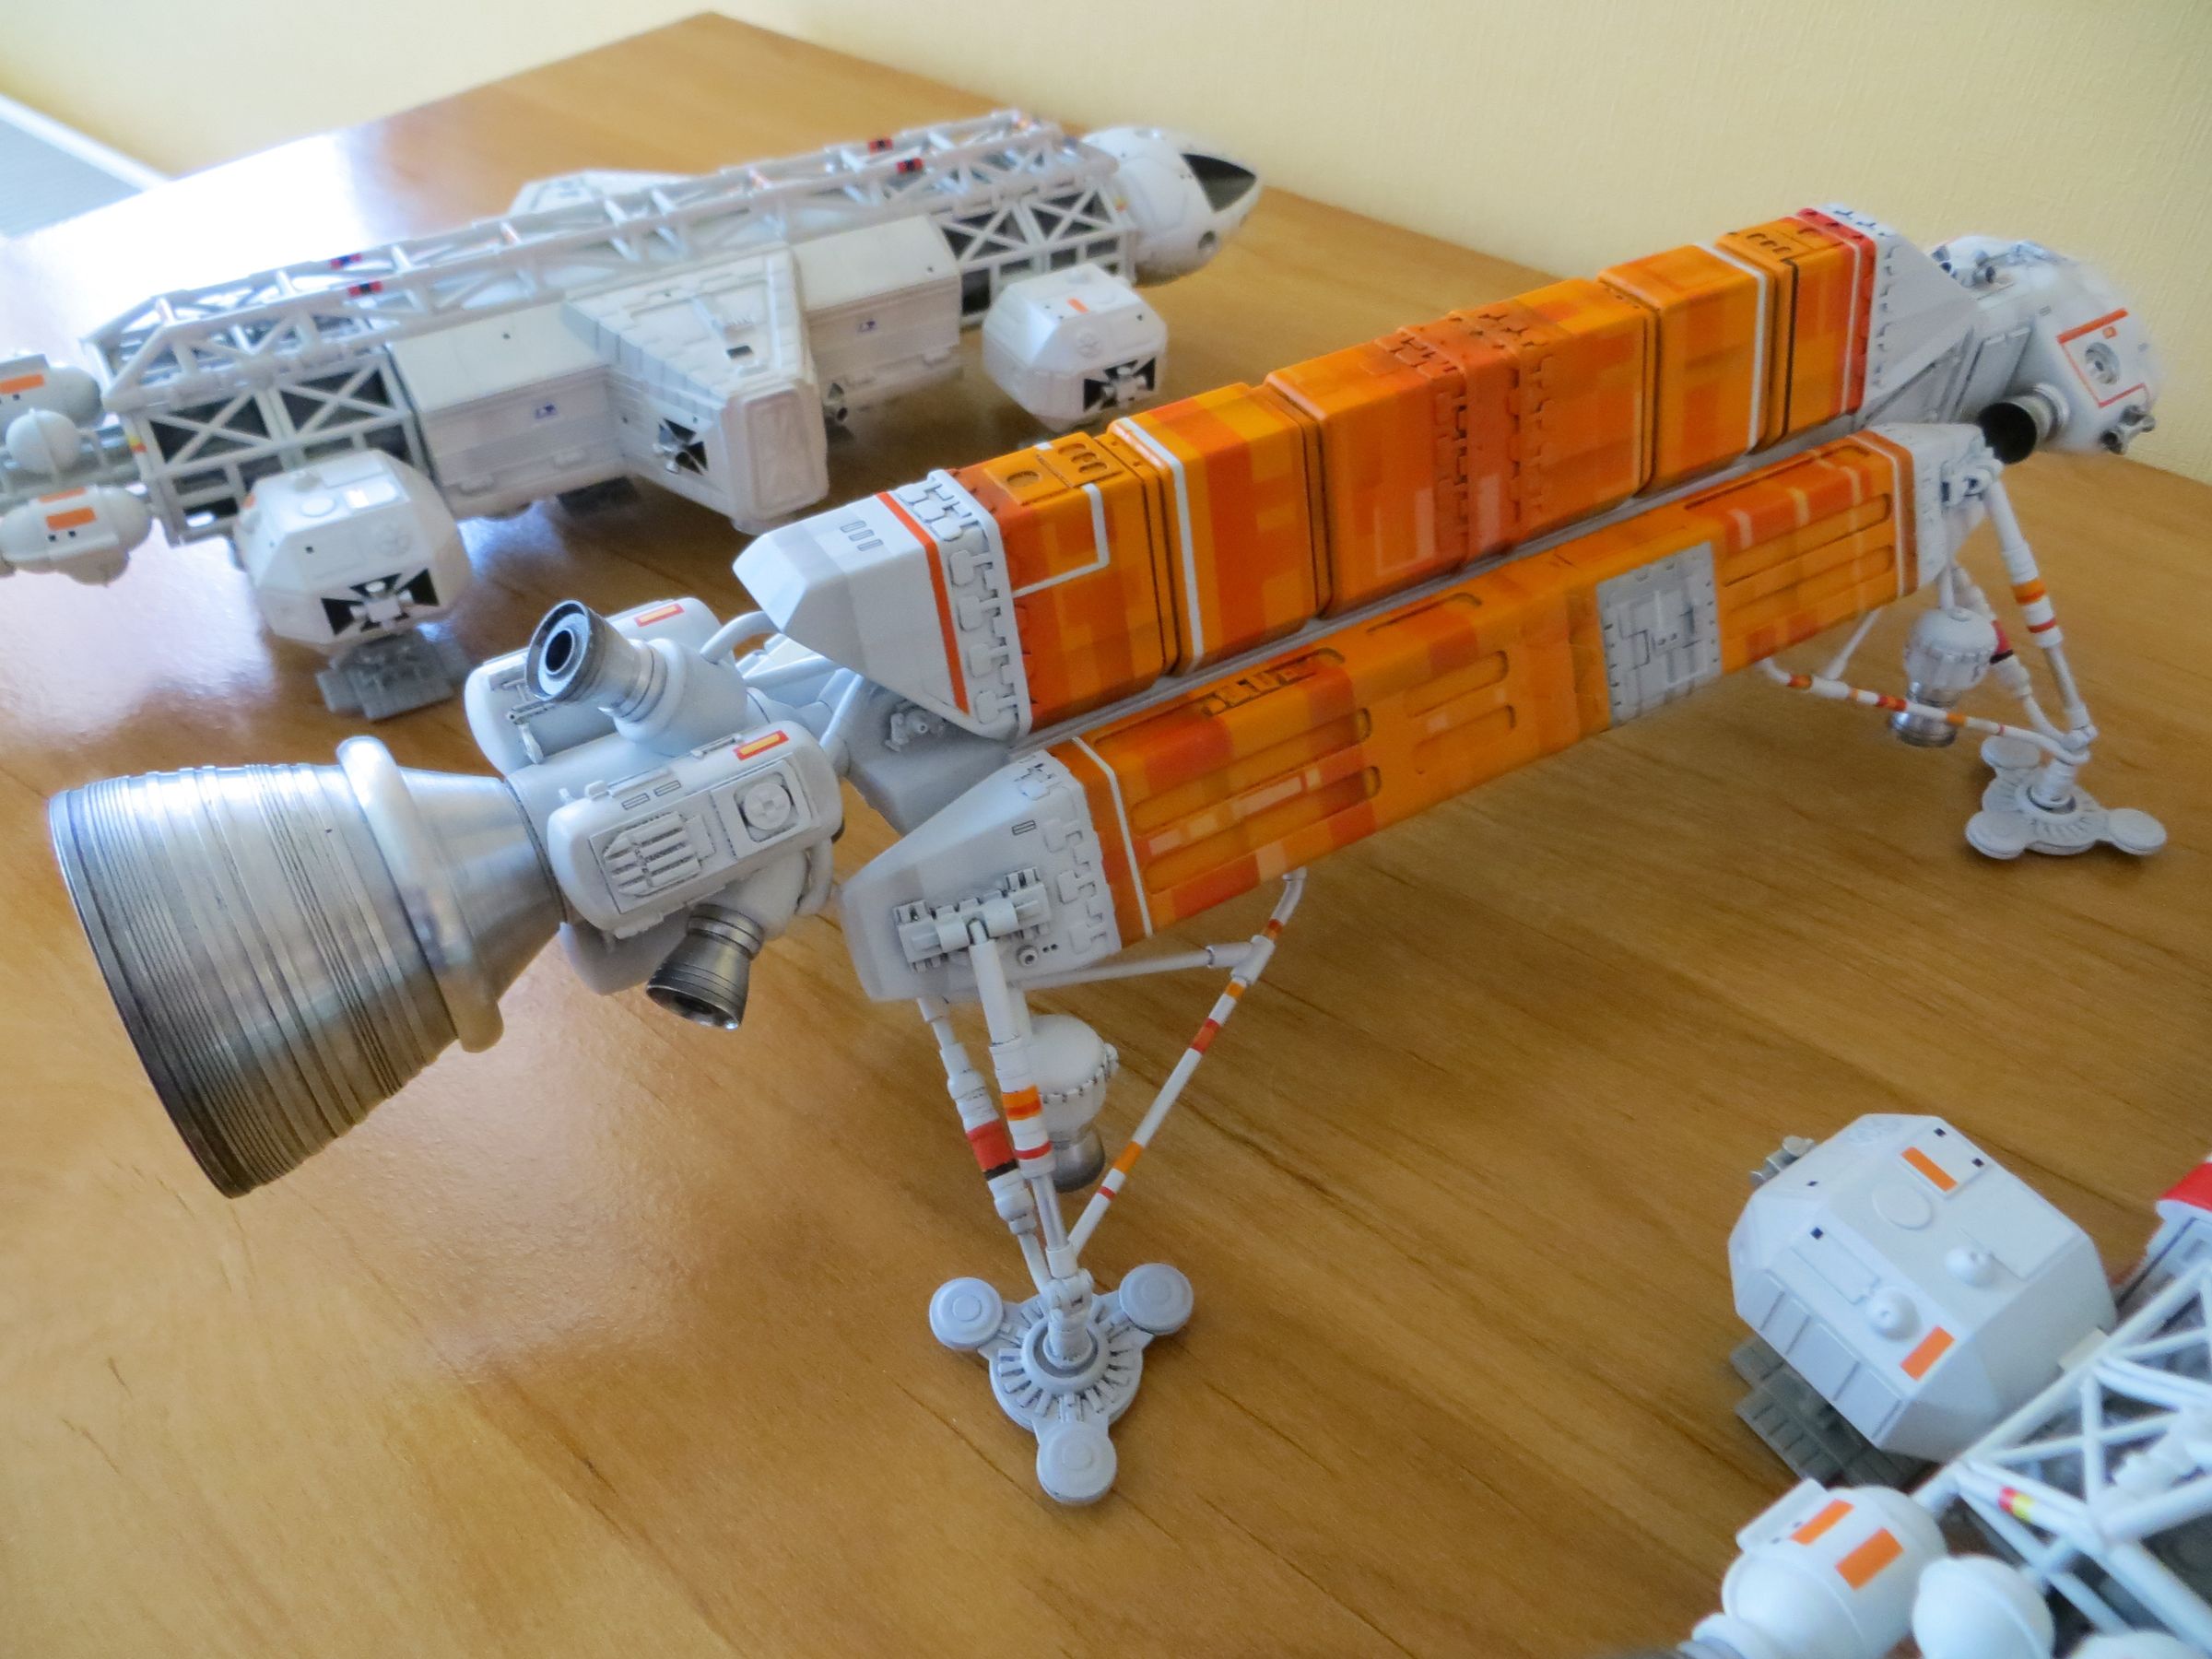
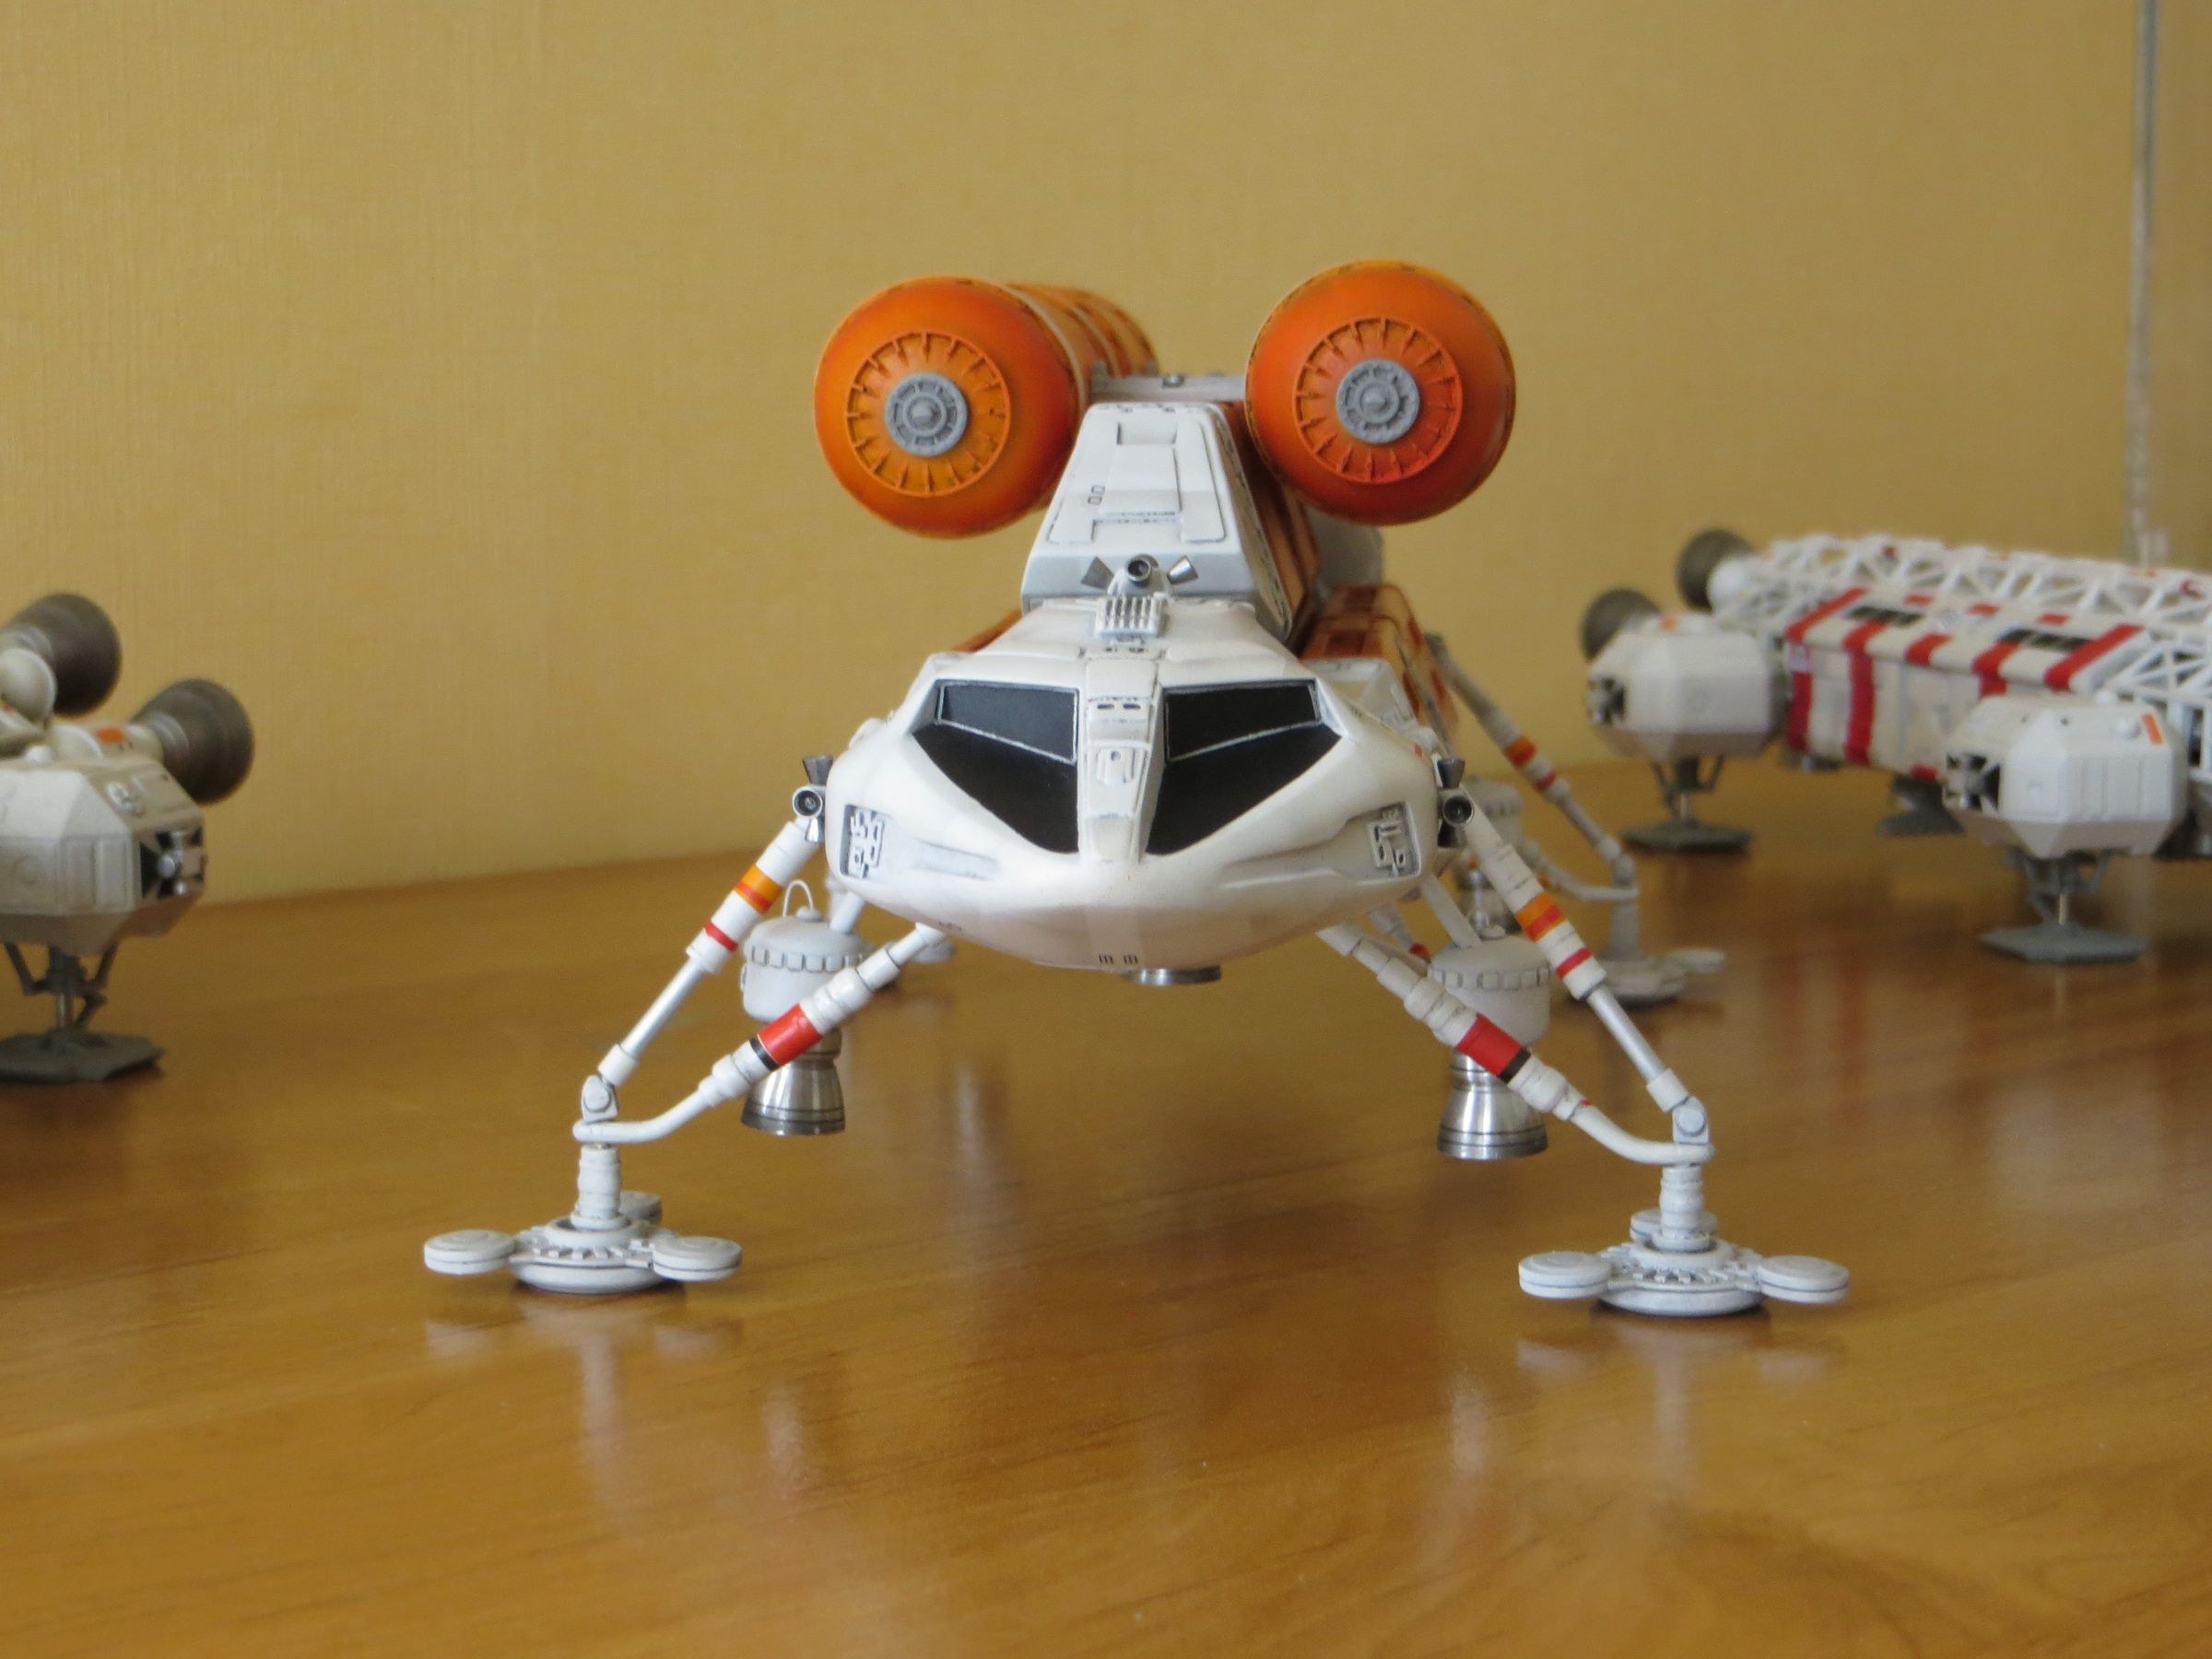
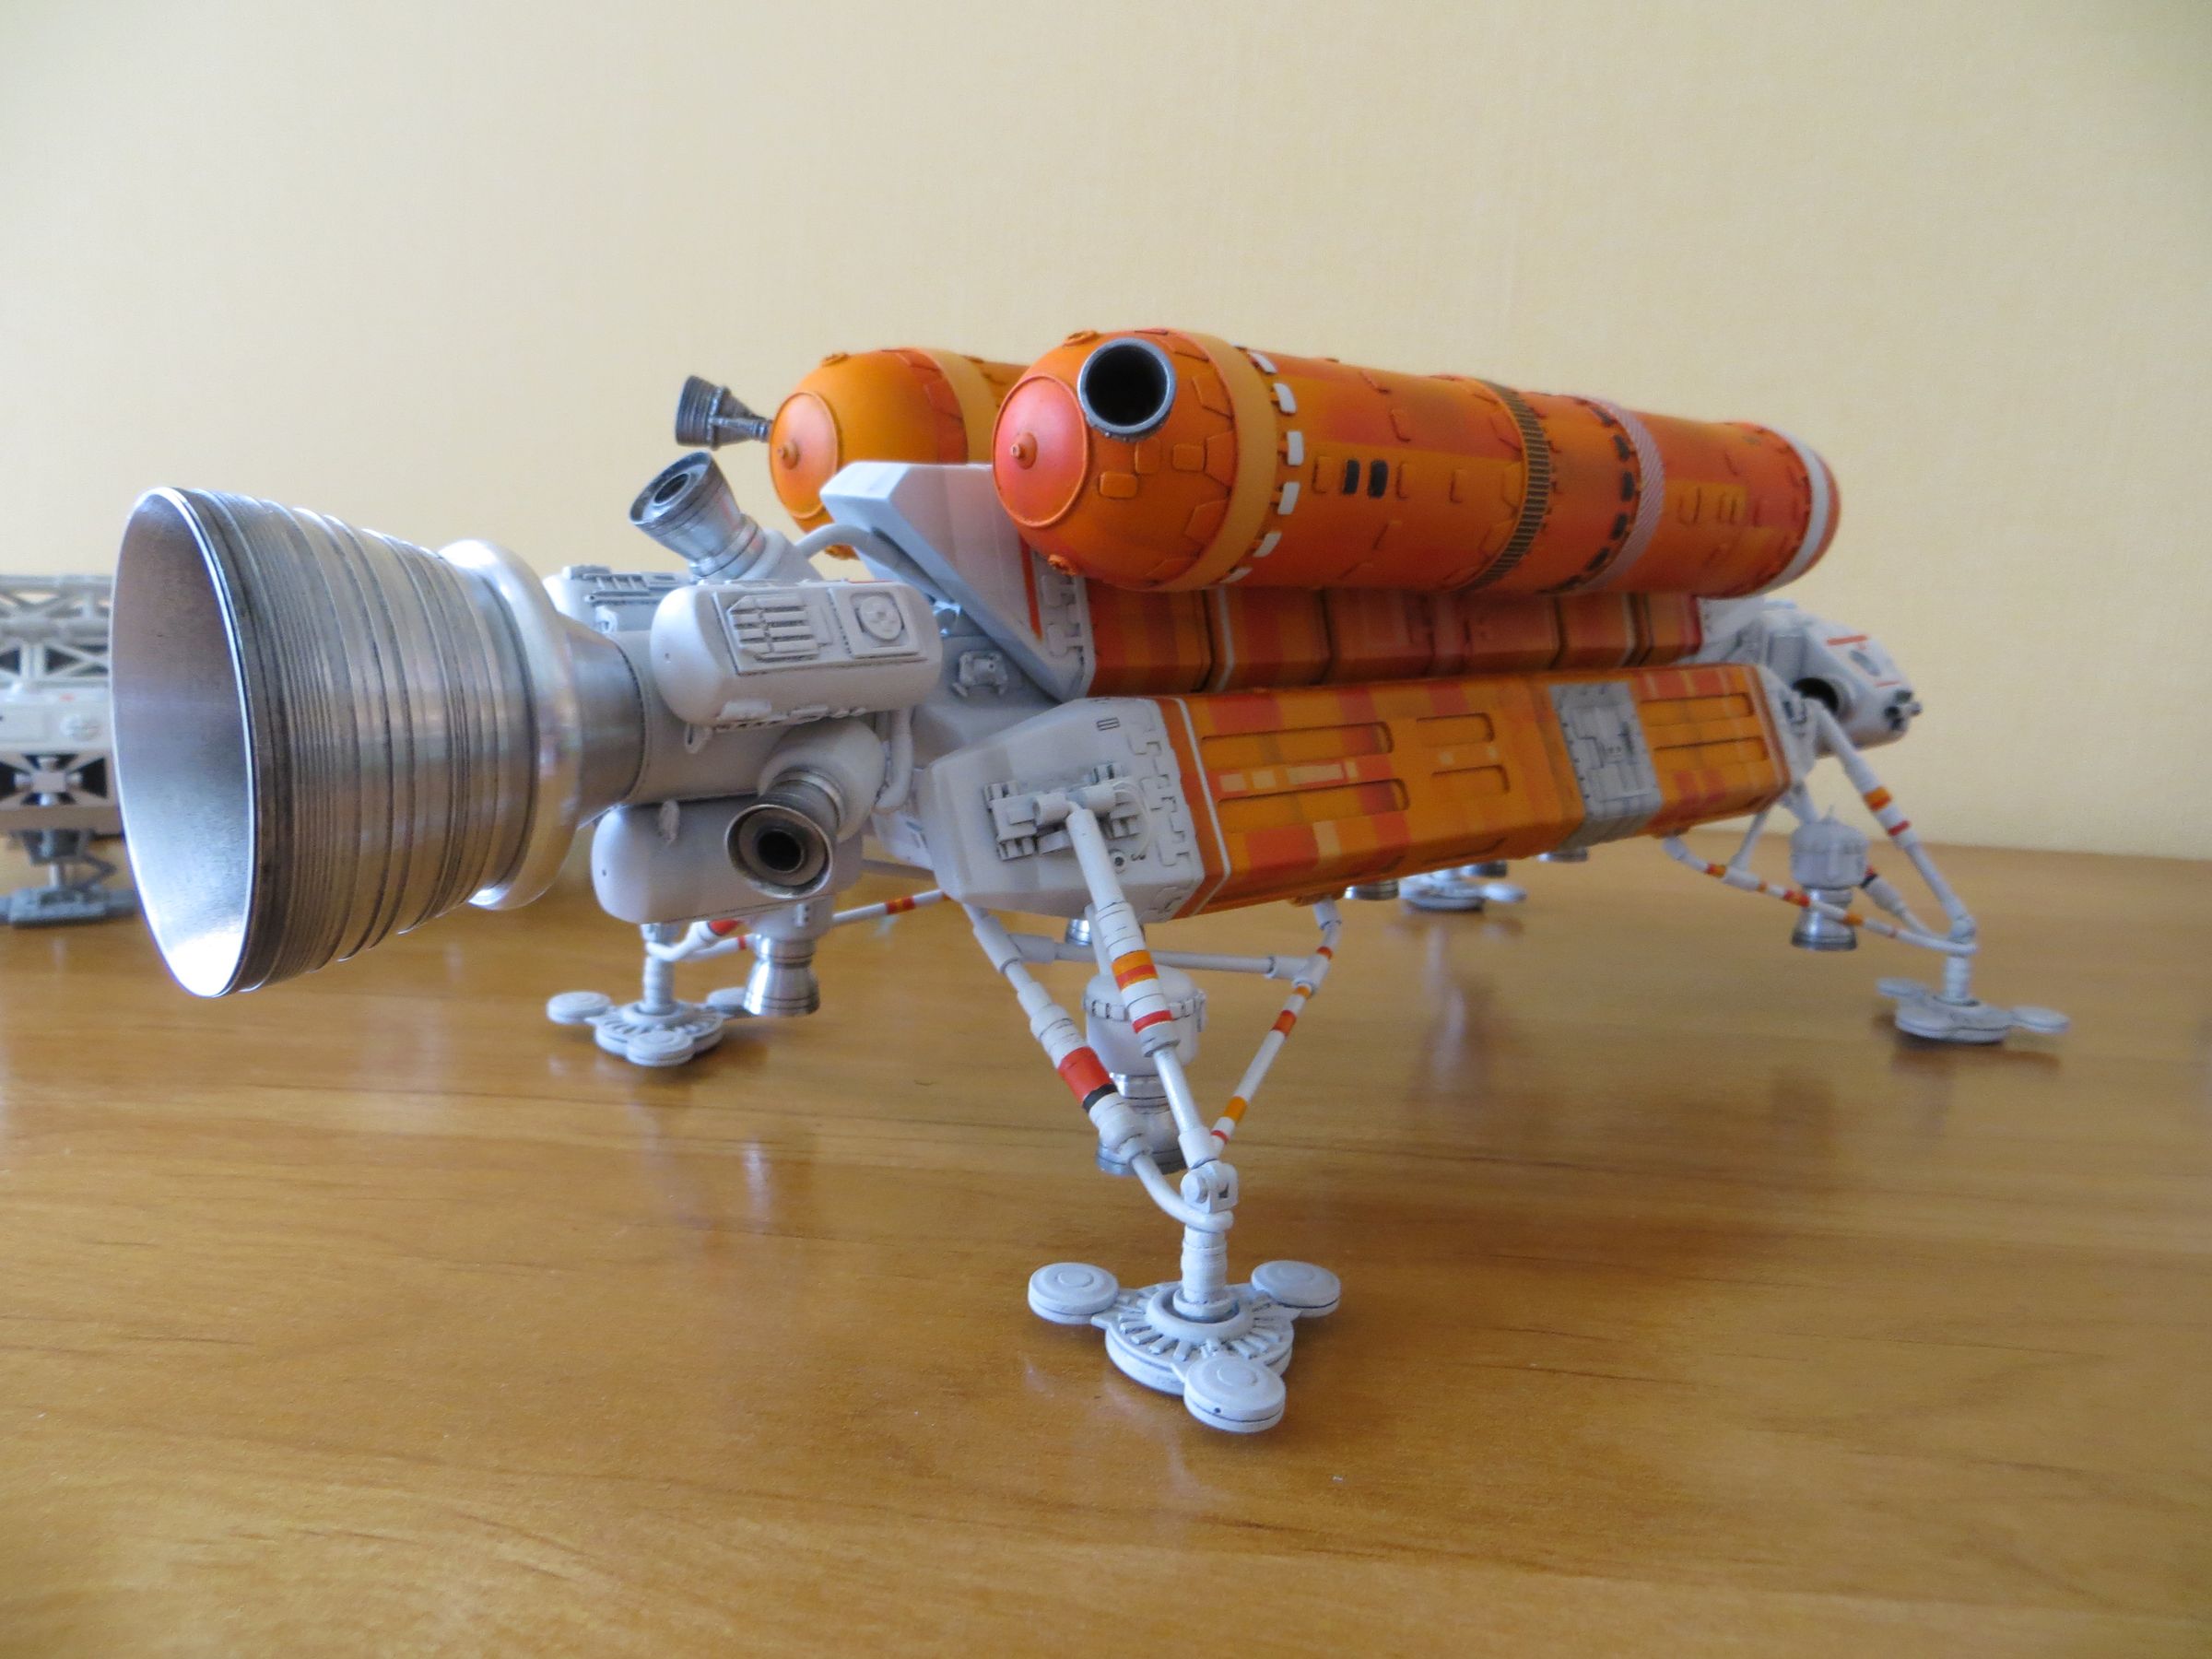
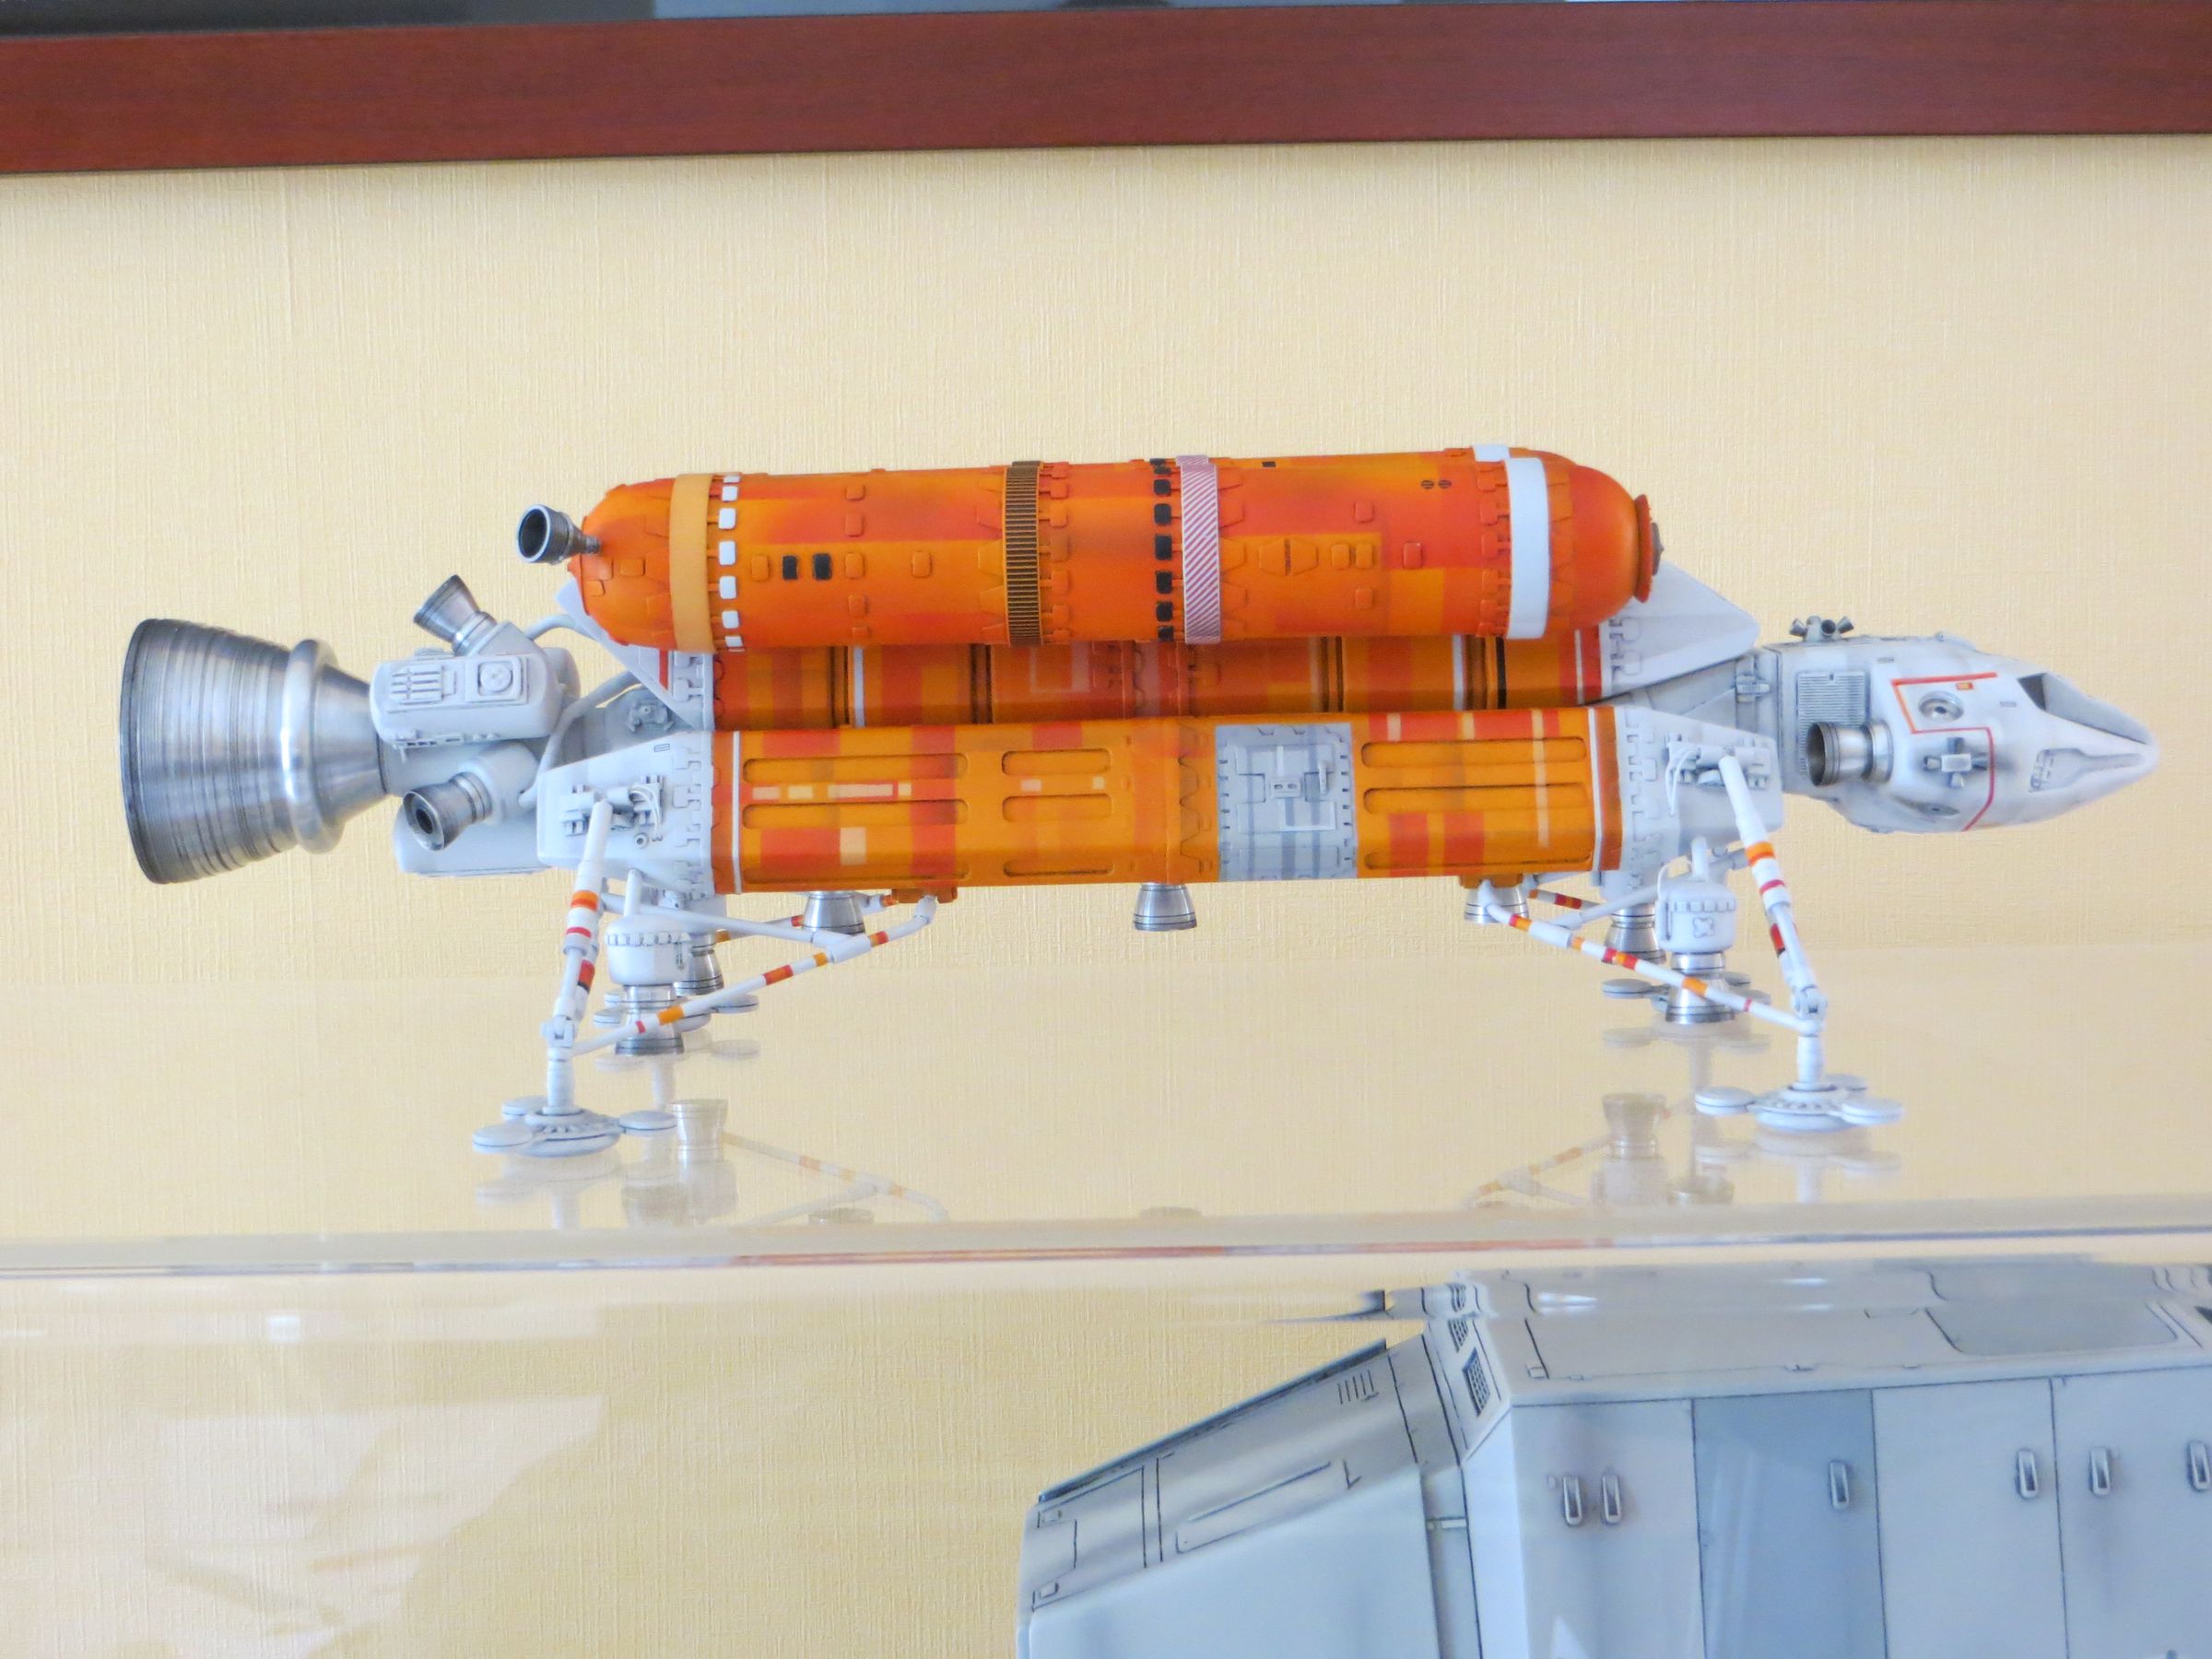
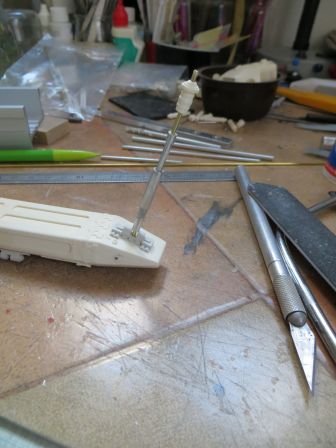
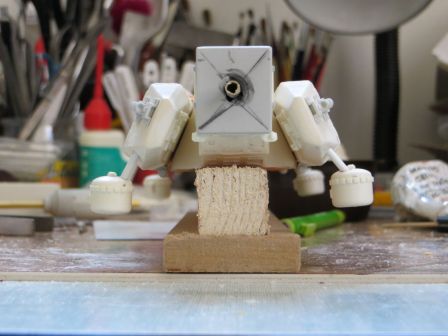
Now, the legs.
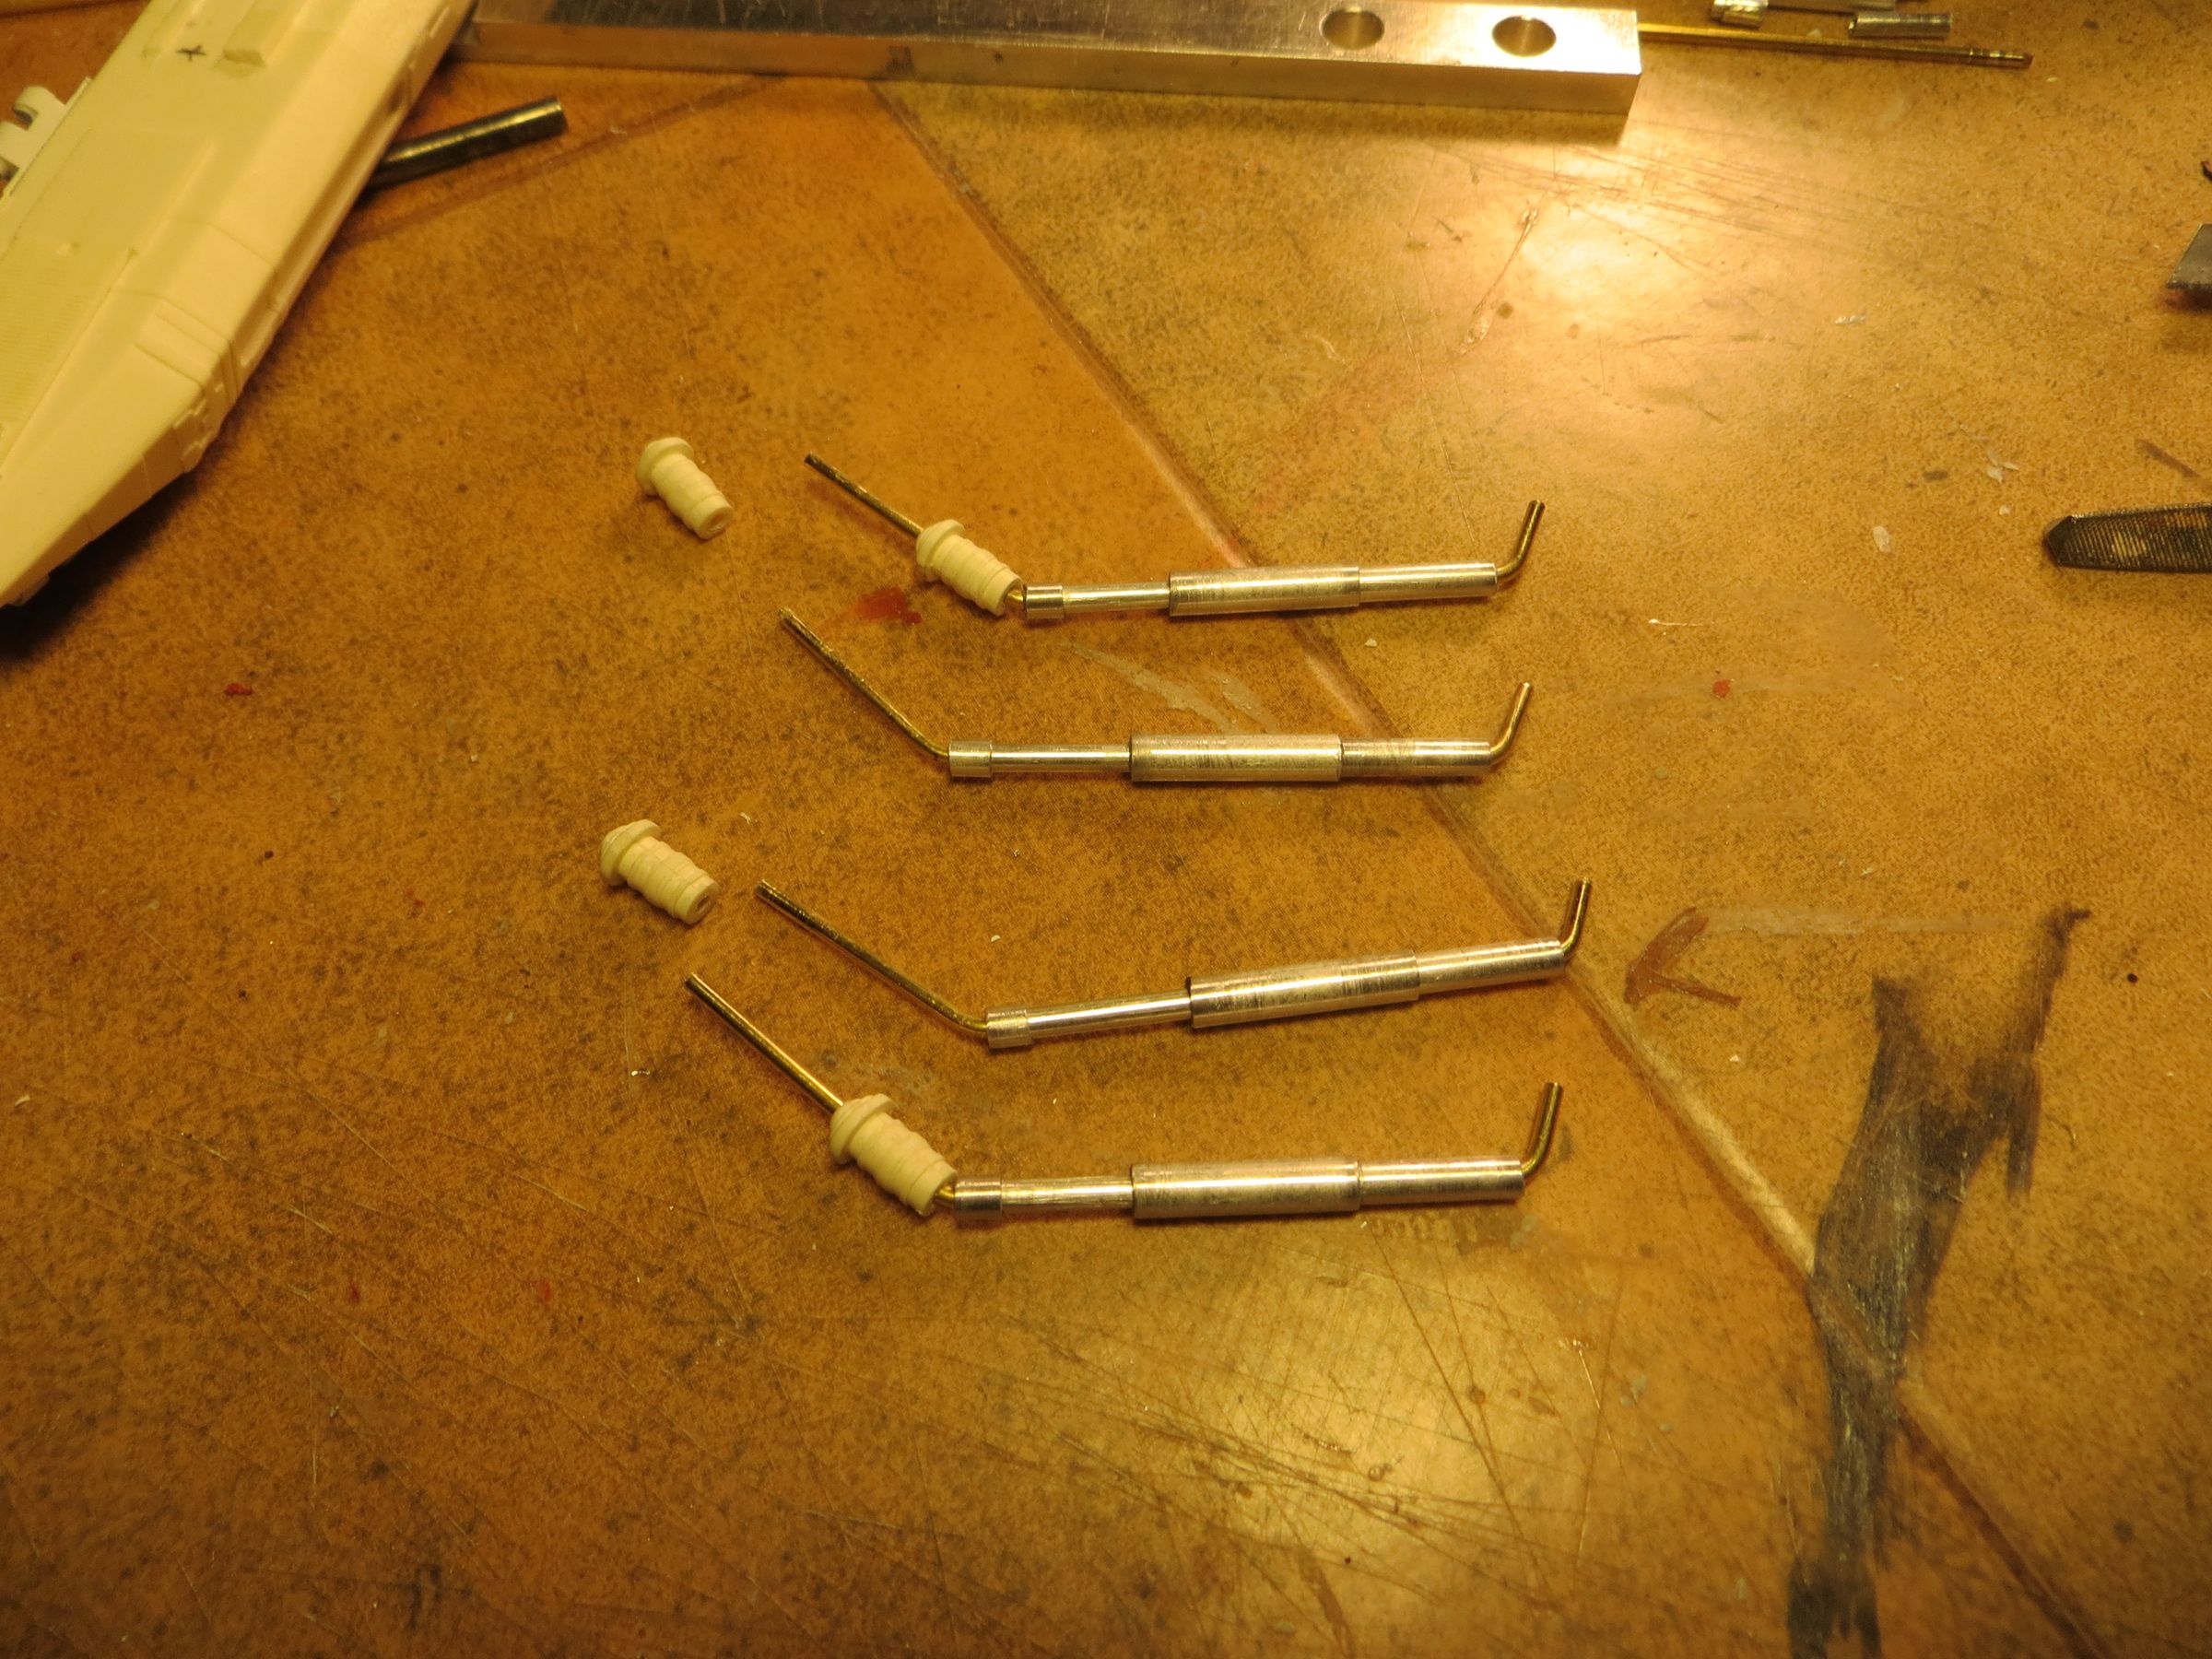
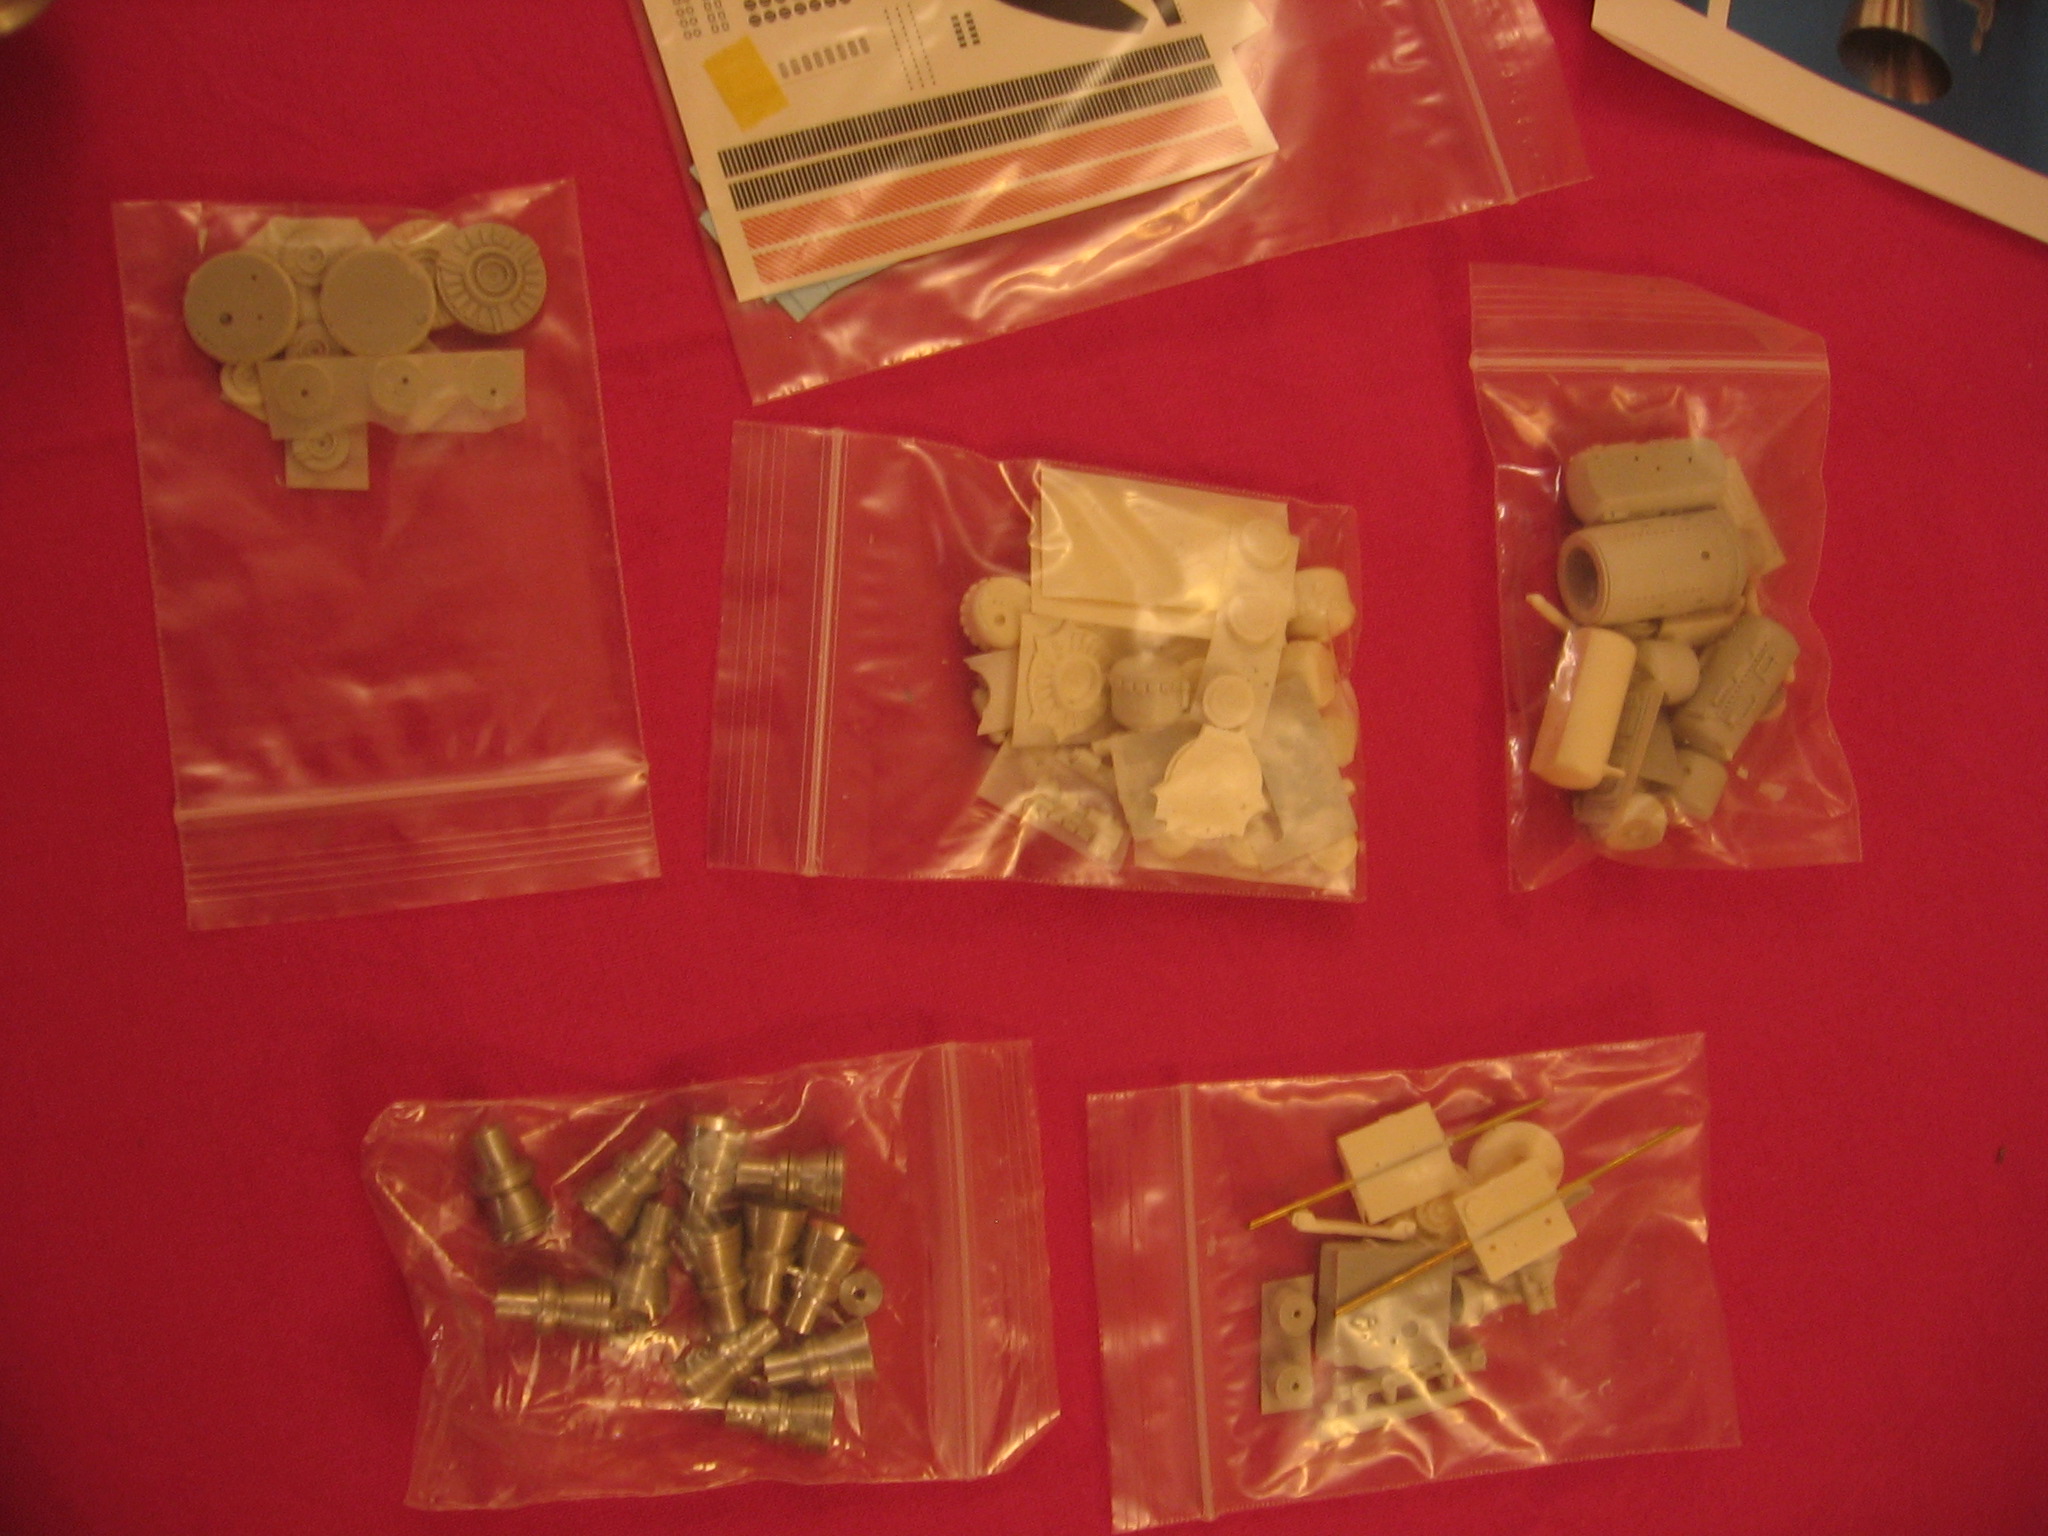
This is by far the most complicated stage of this kit. They consist of several rods to bend in all directions, metal pipes to cut and fit, and resin parts to put on.
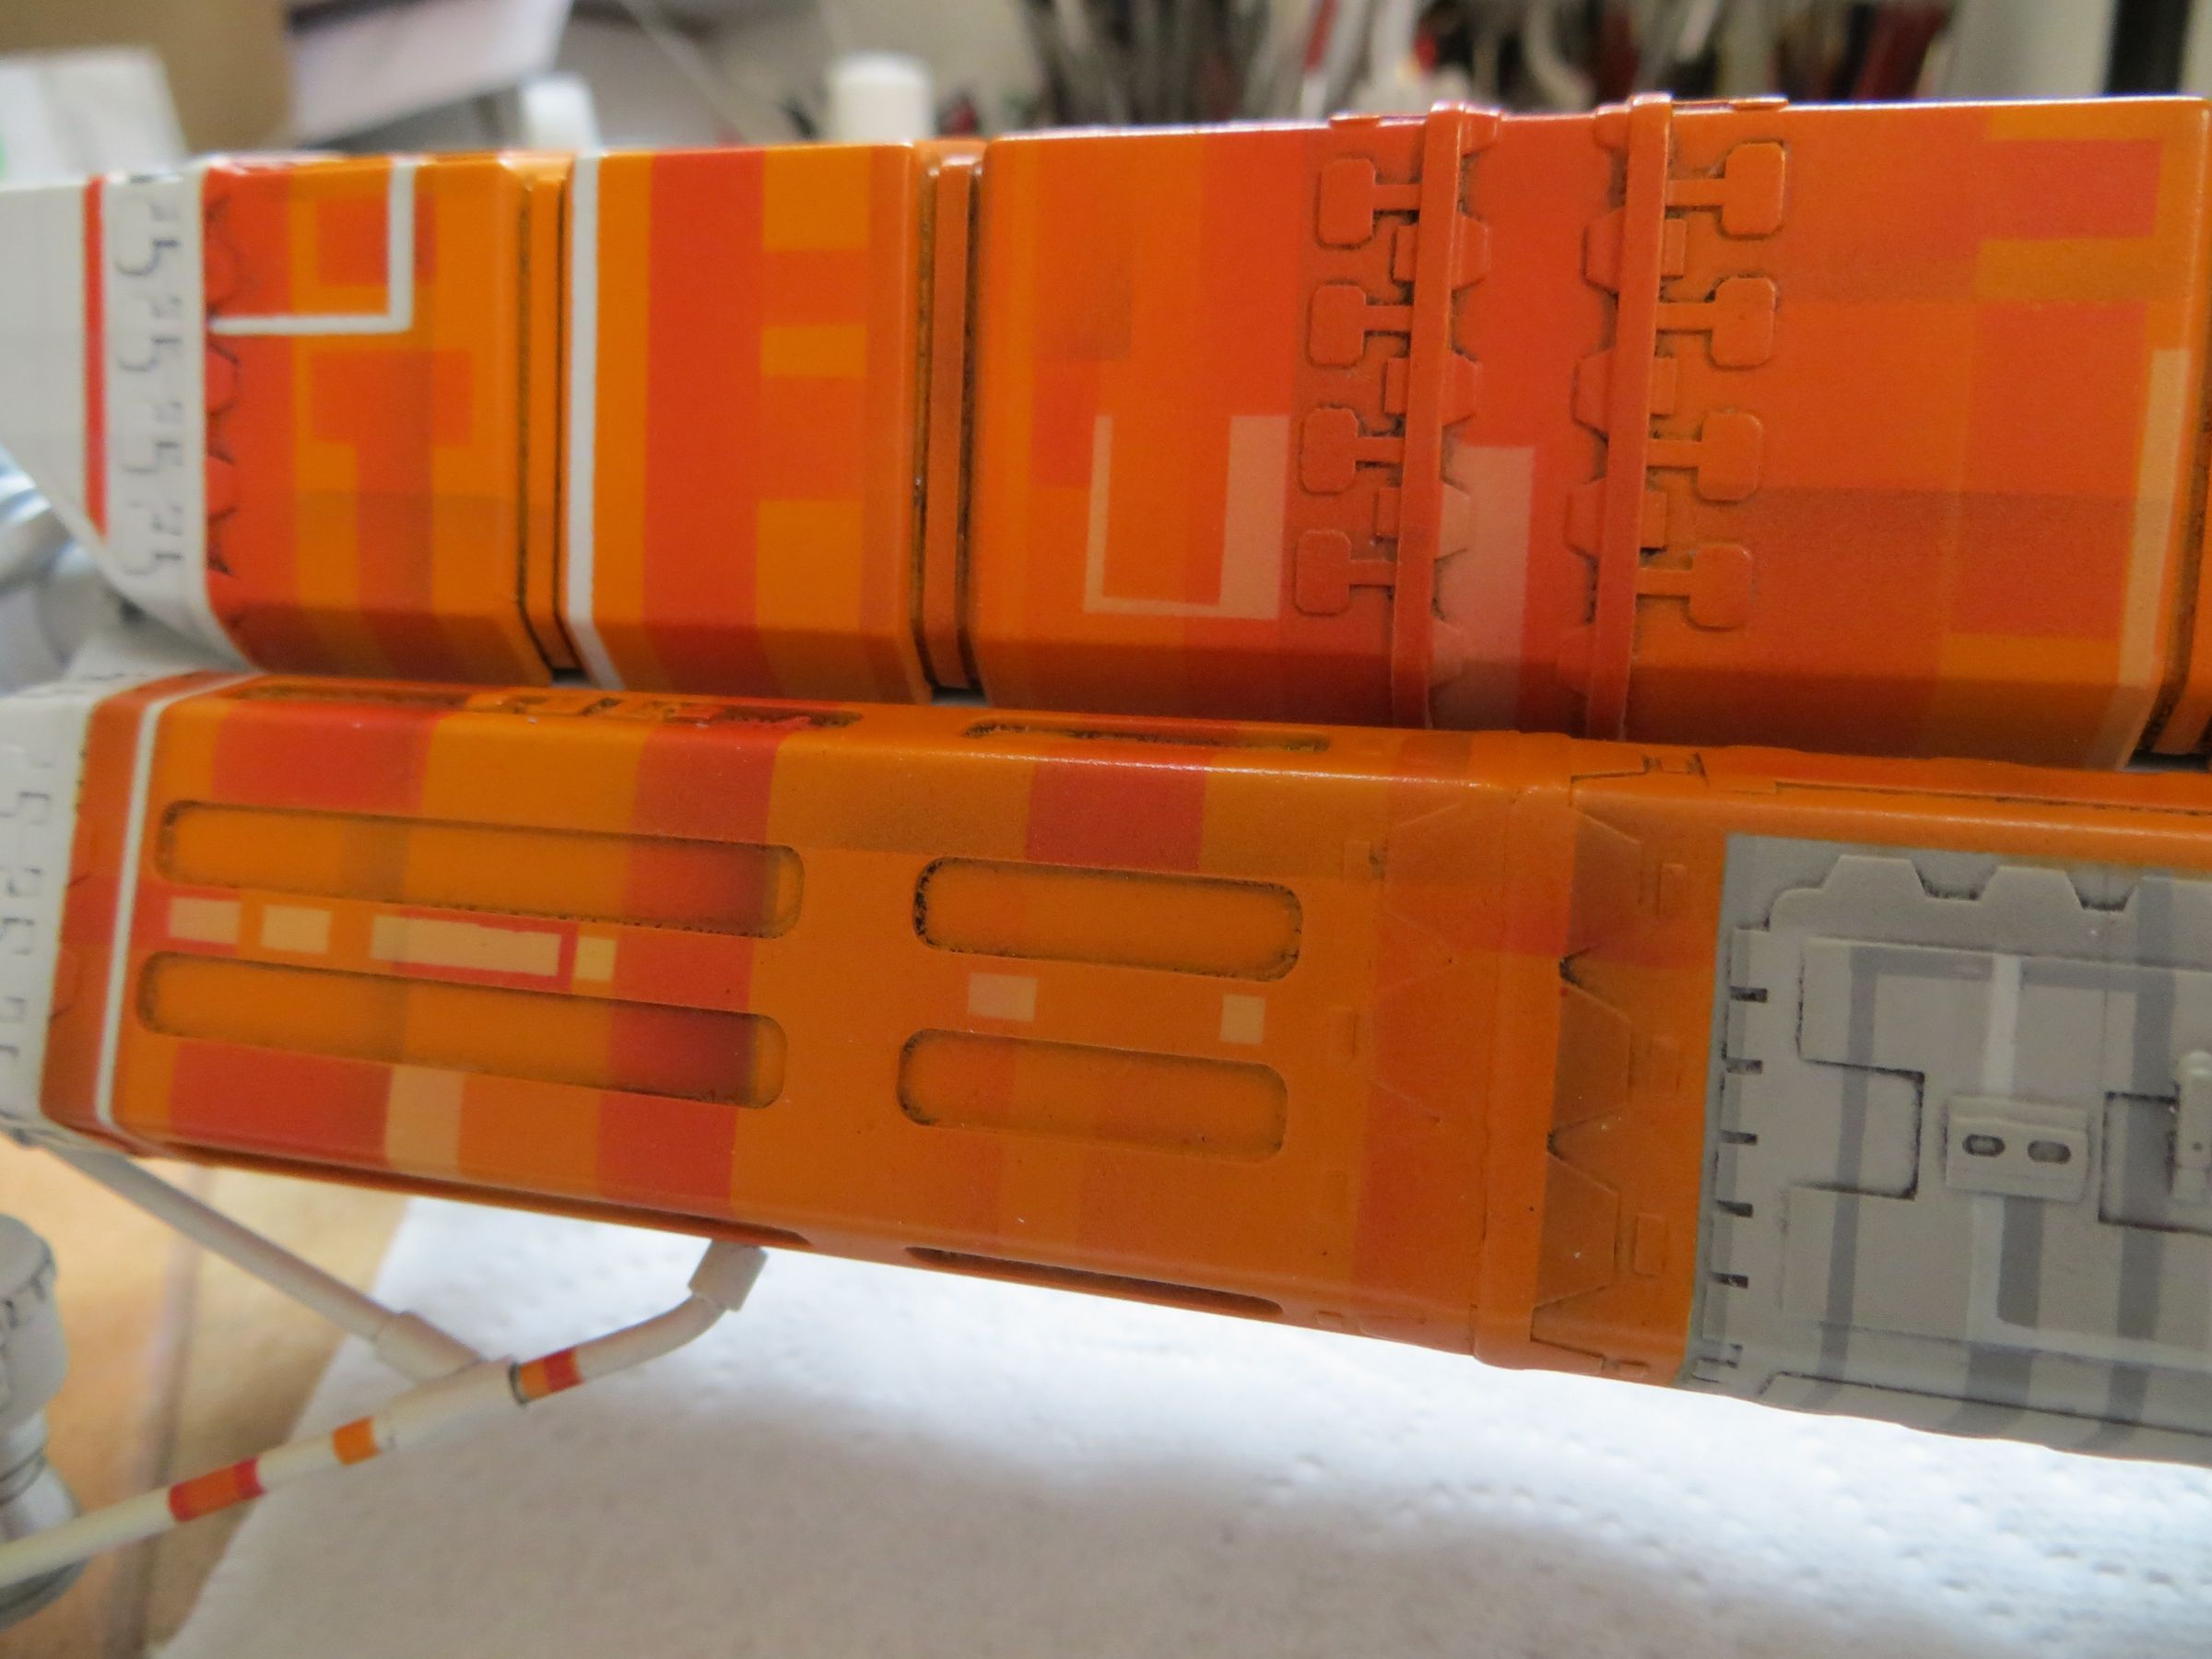
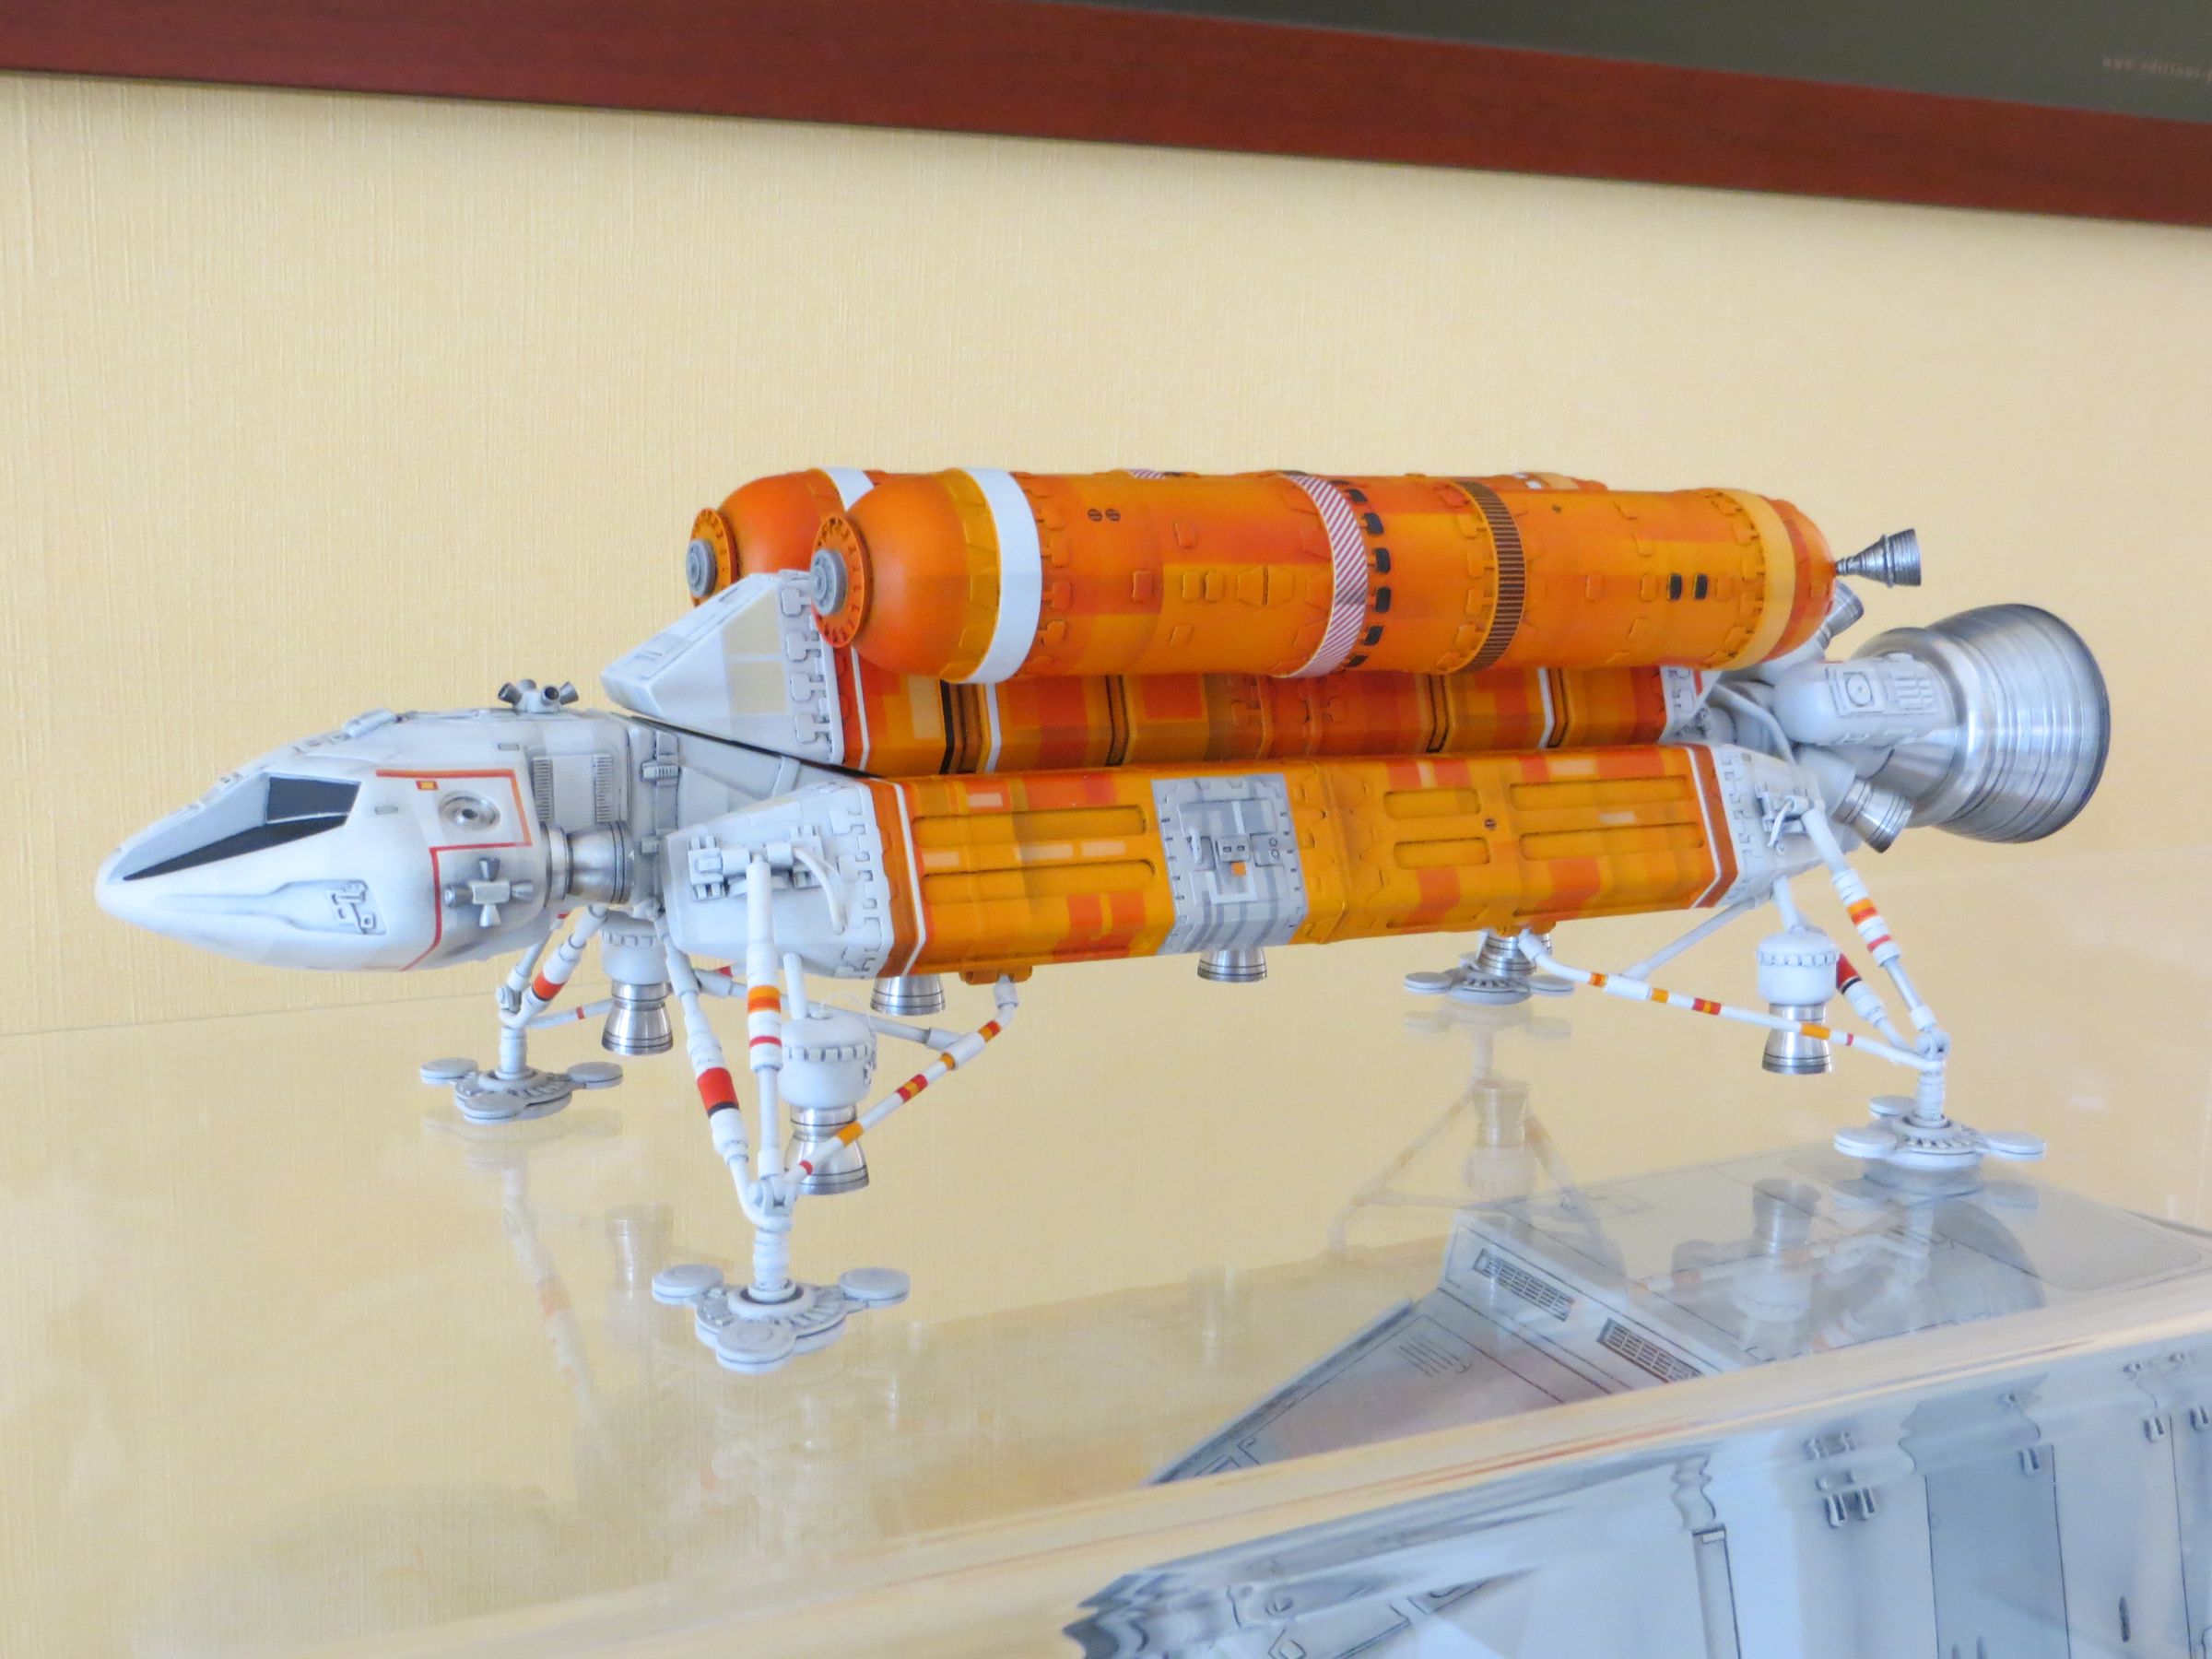
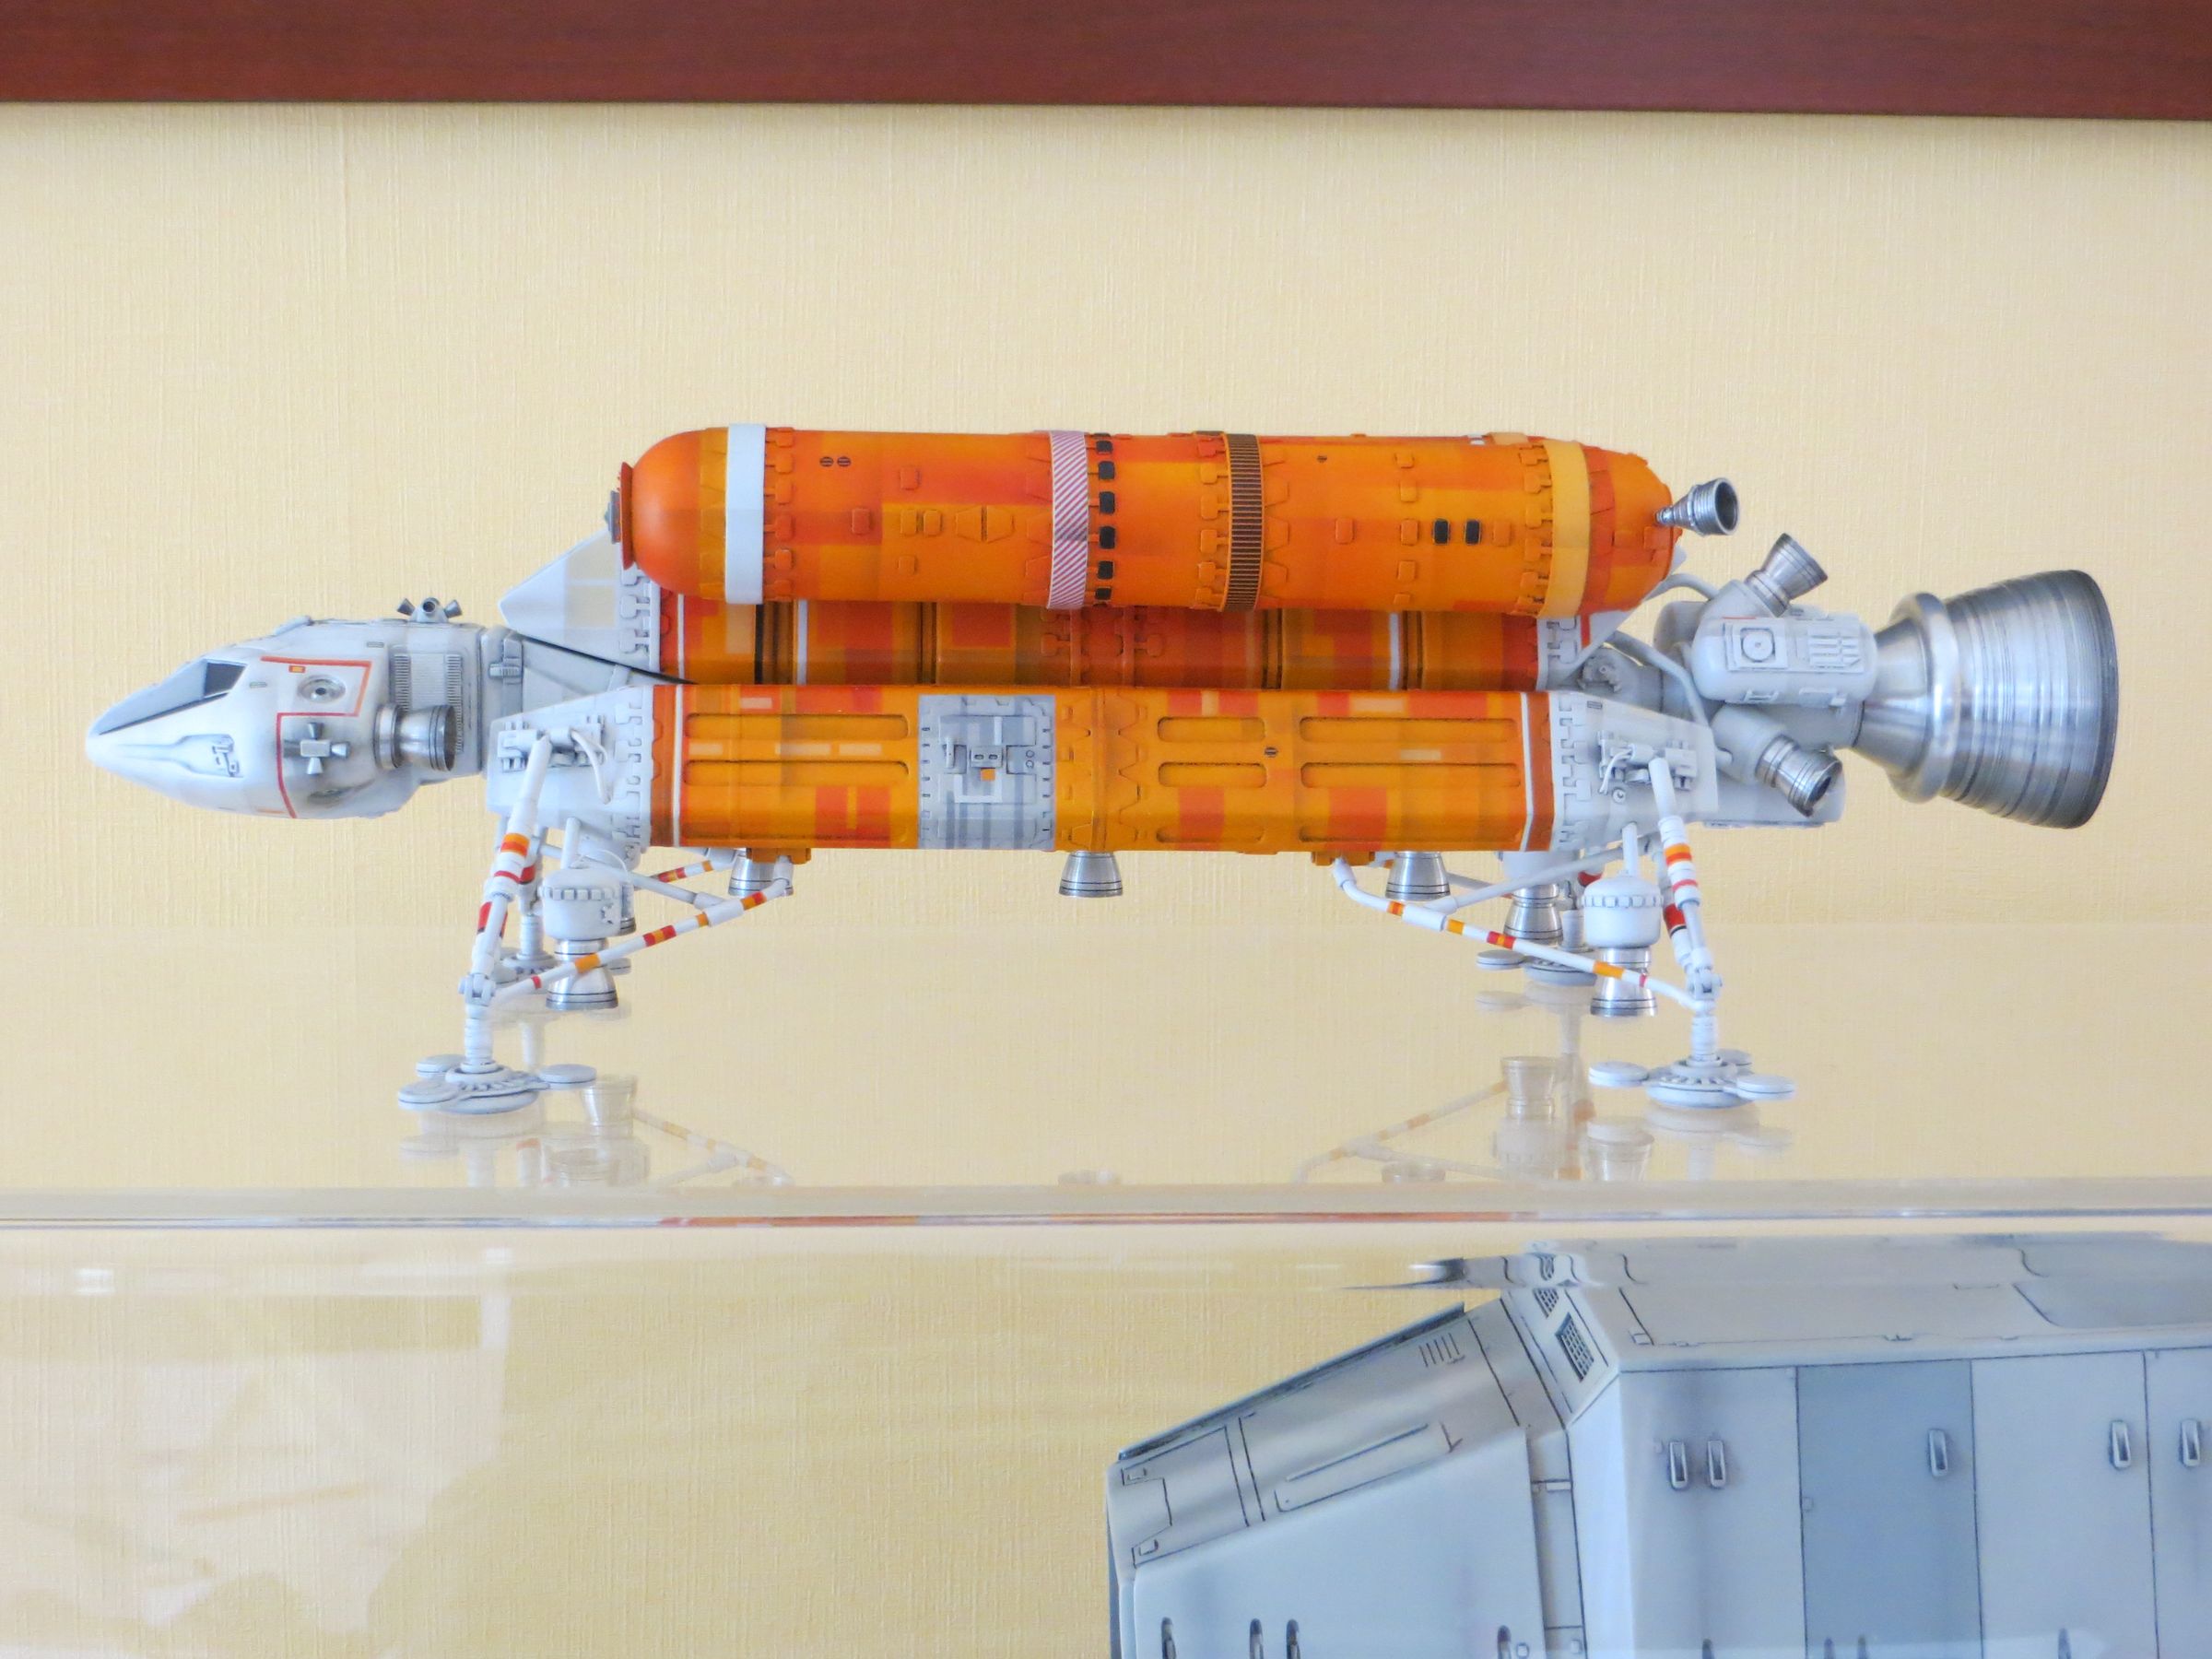
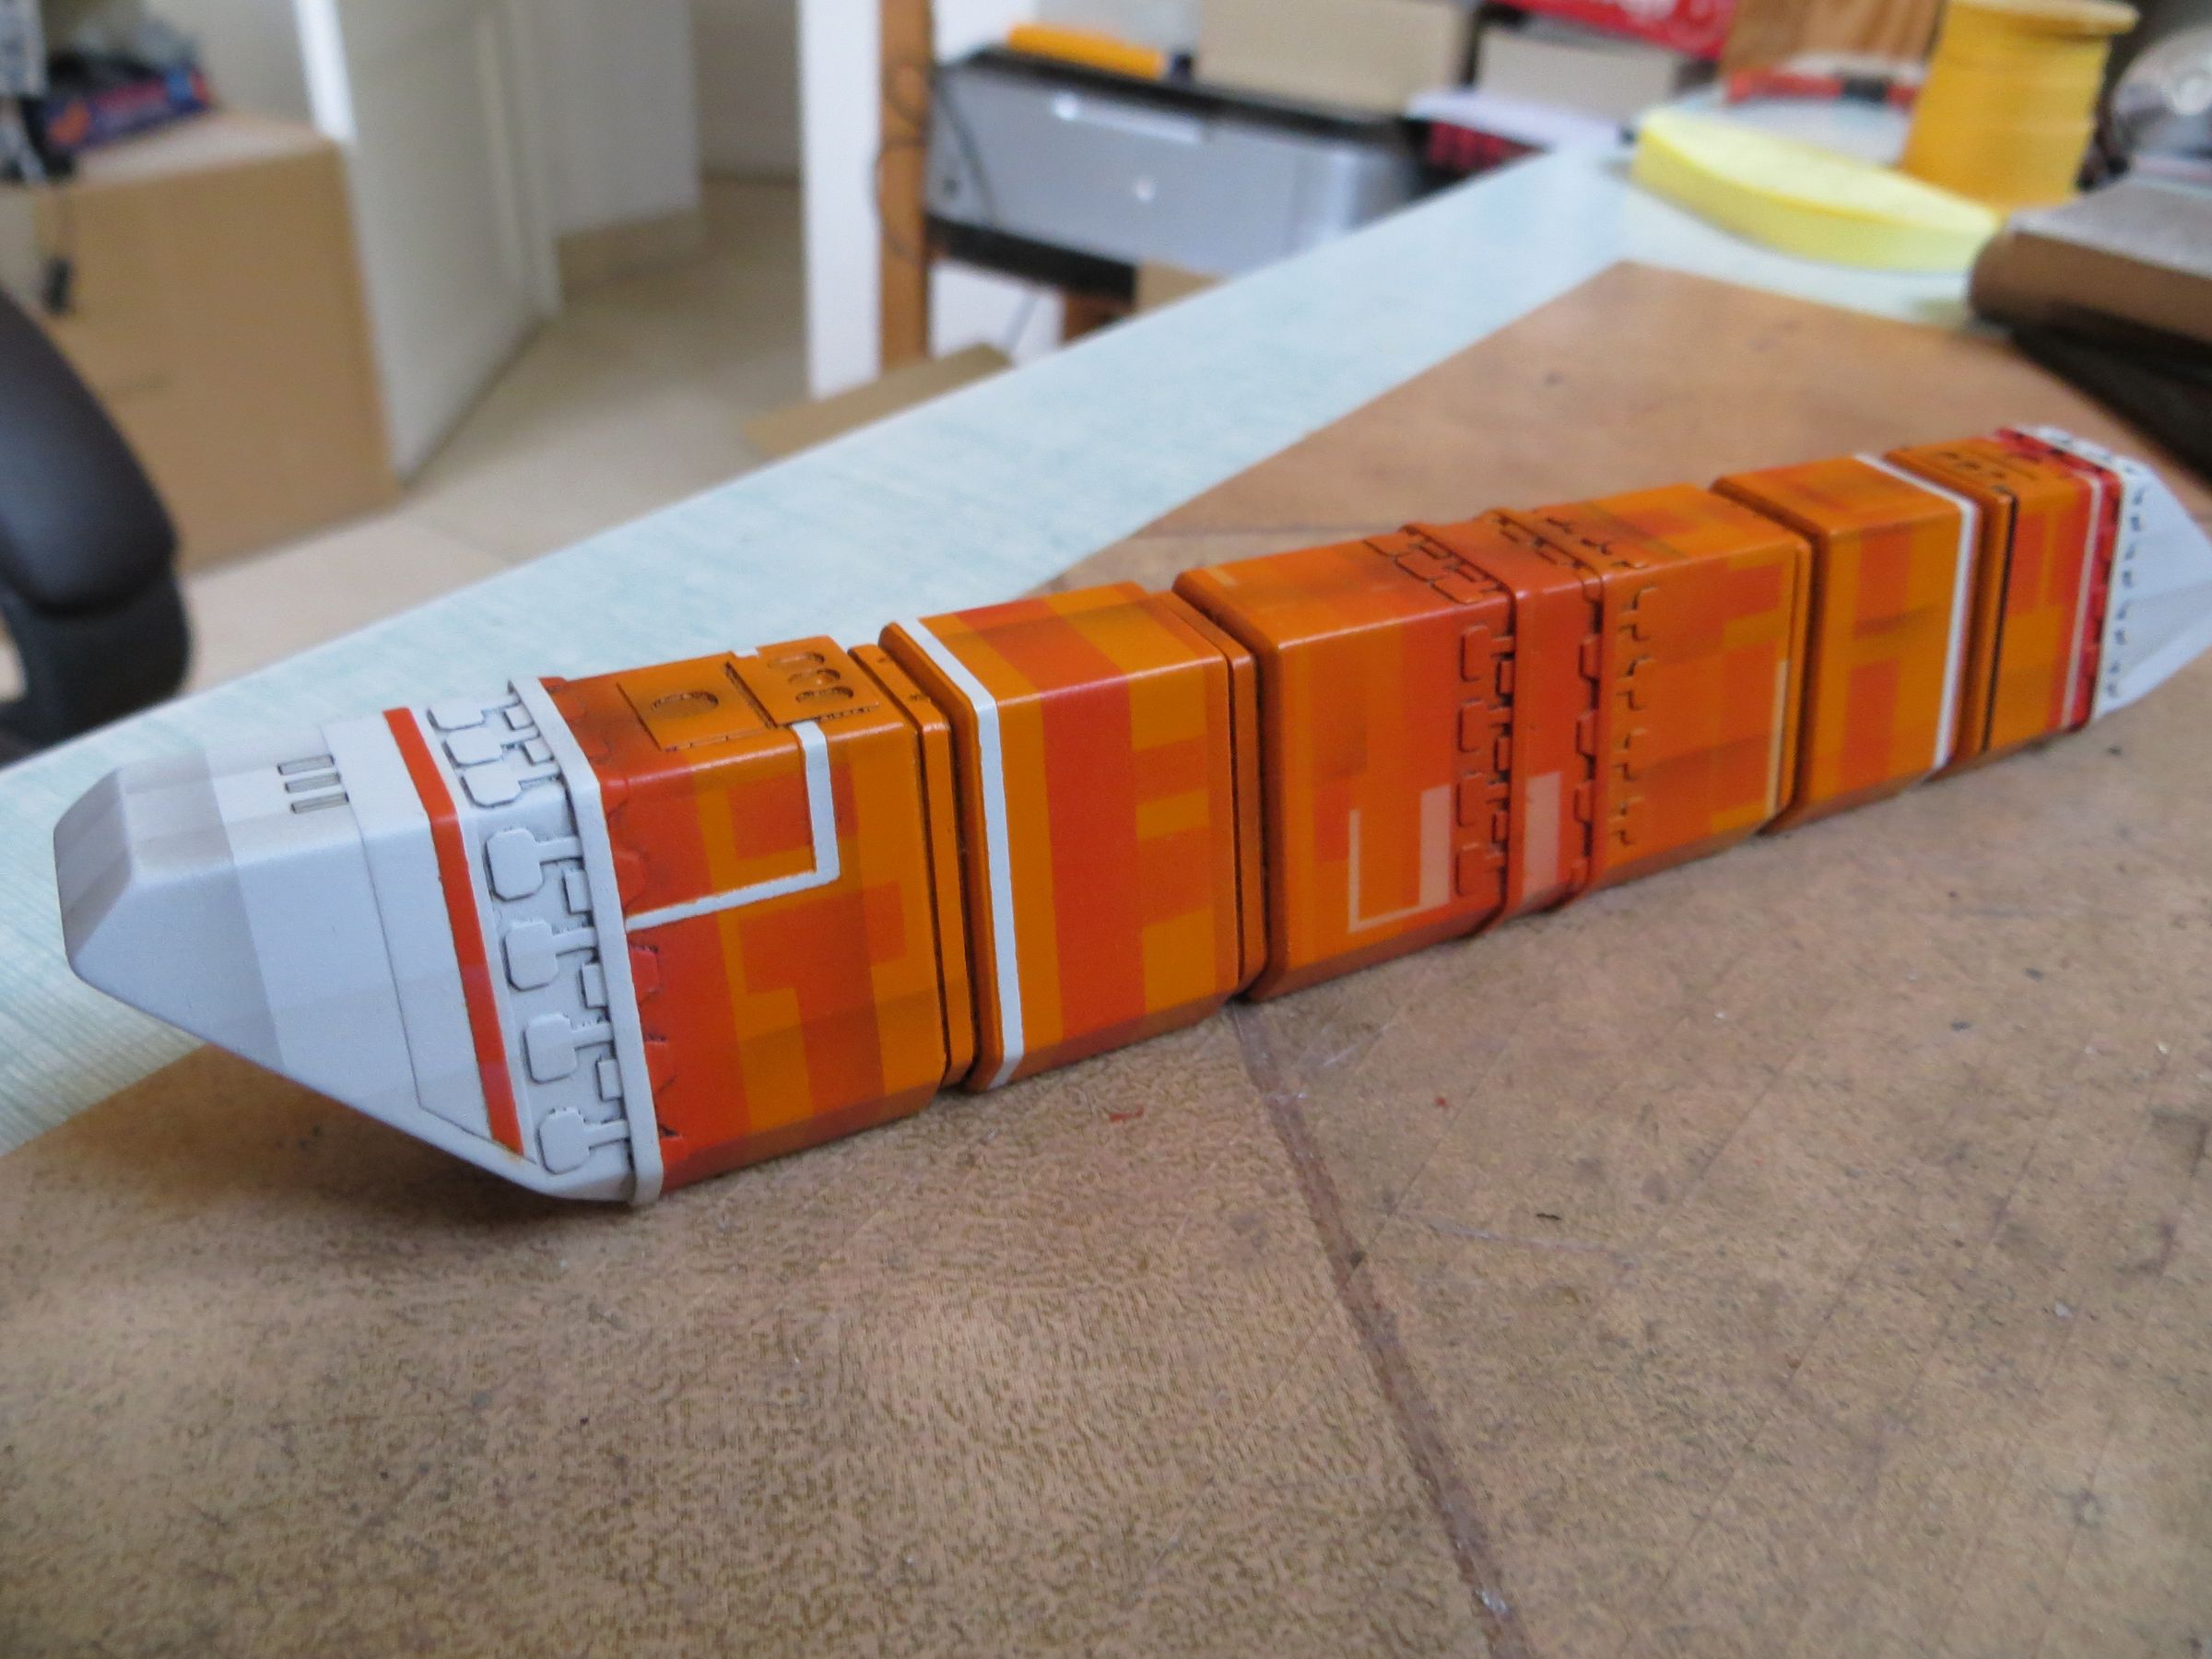
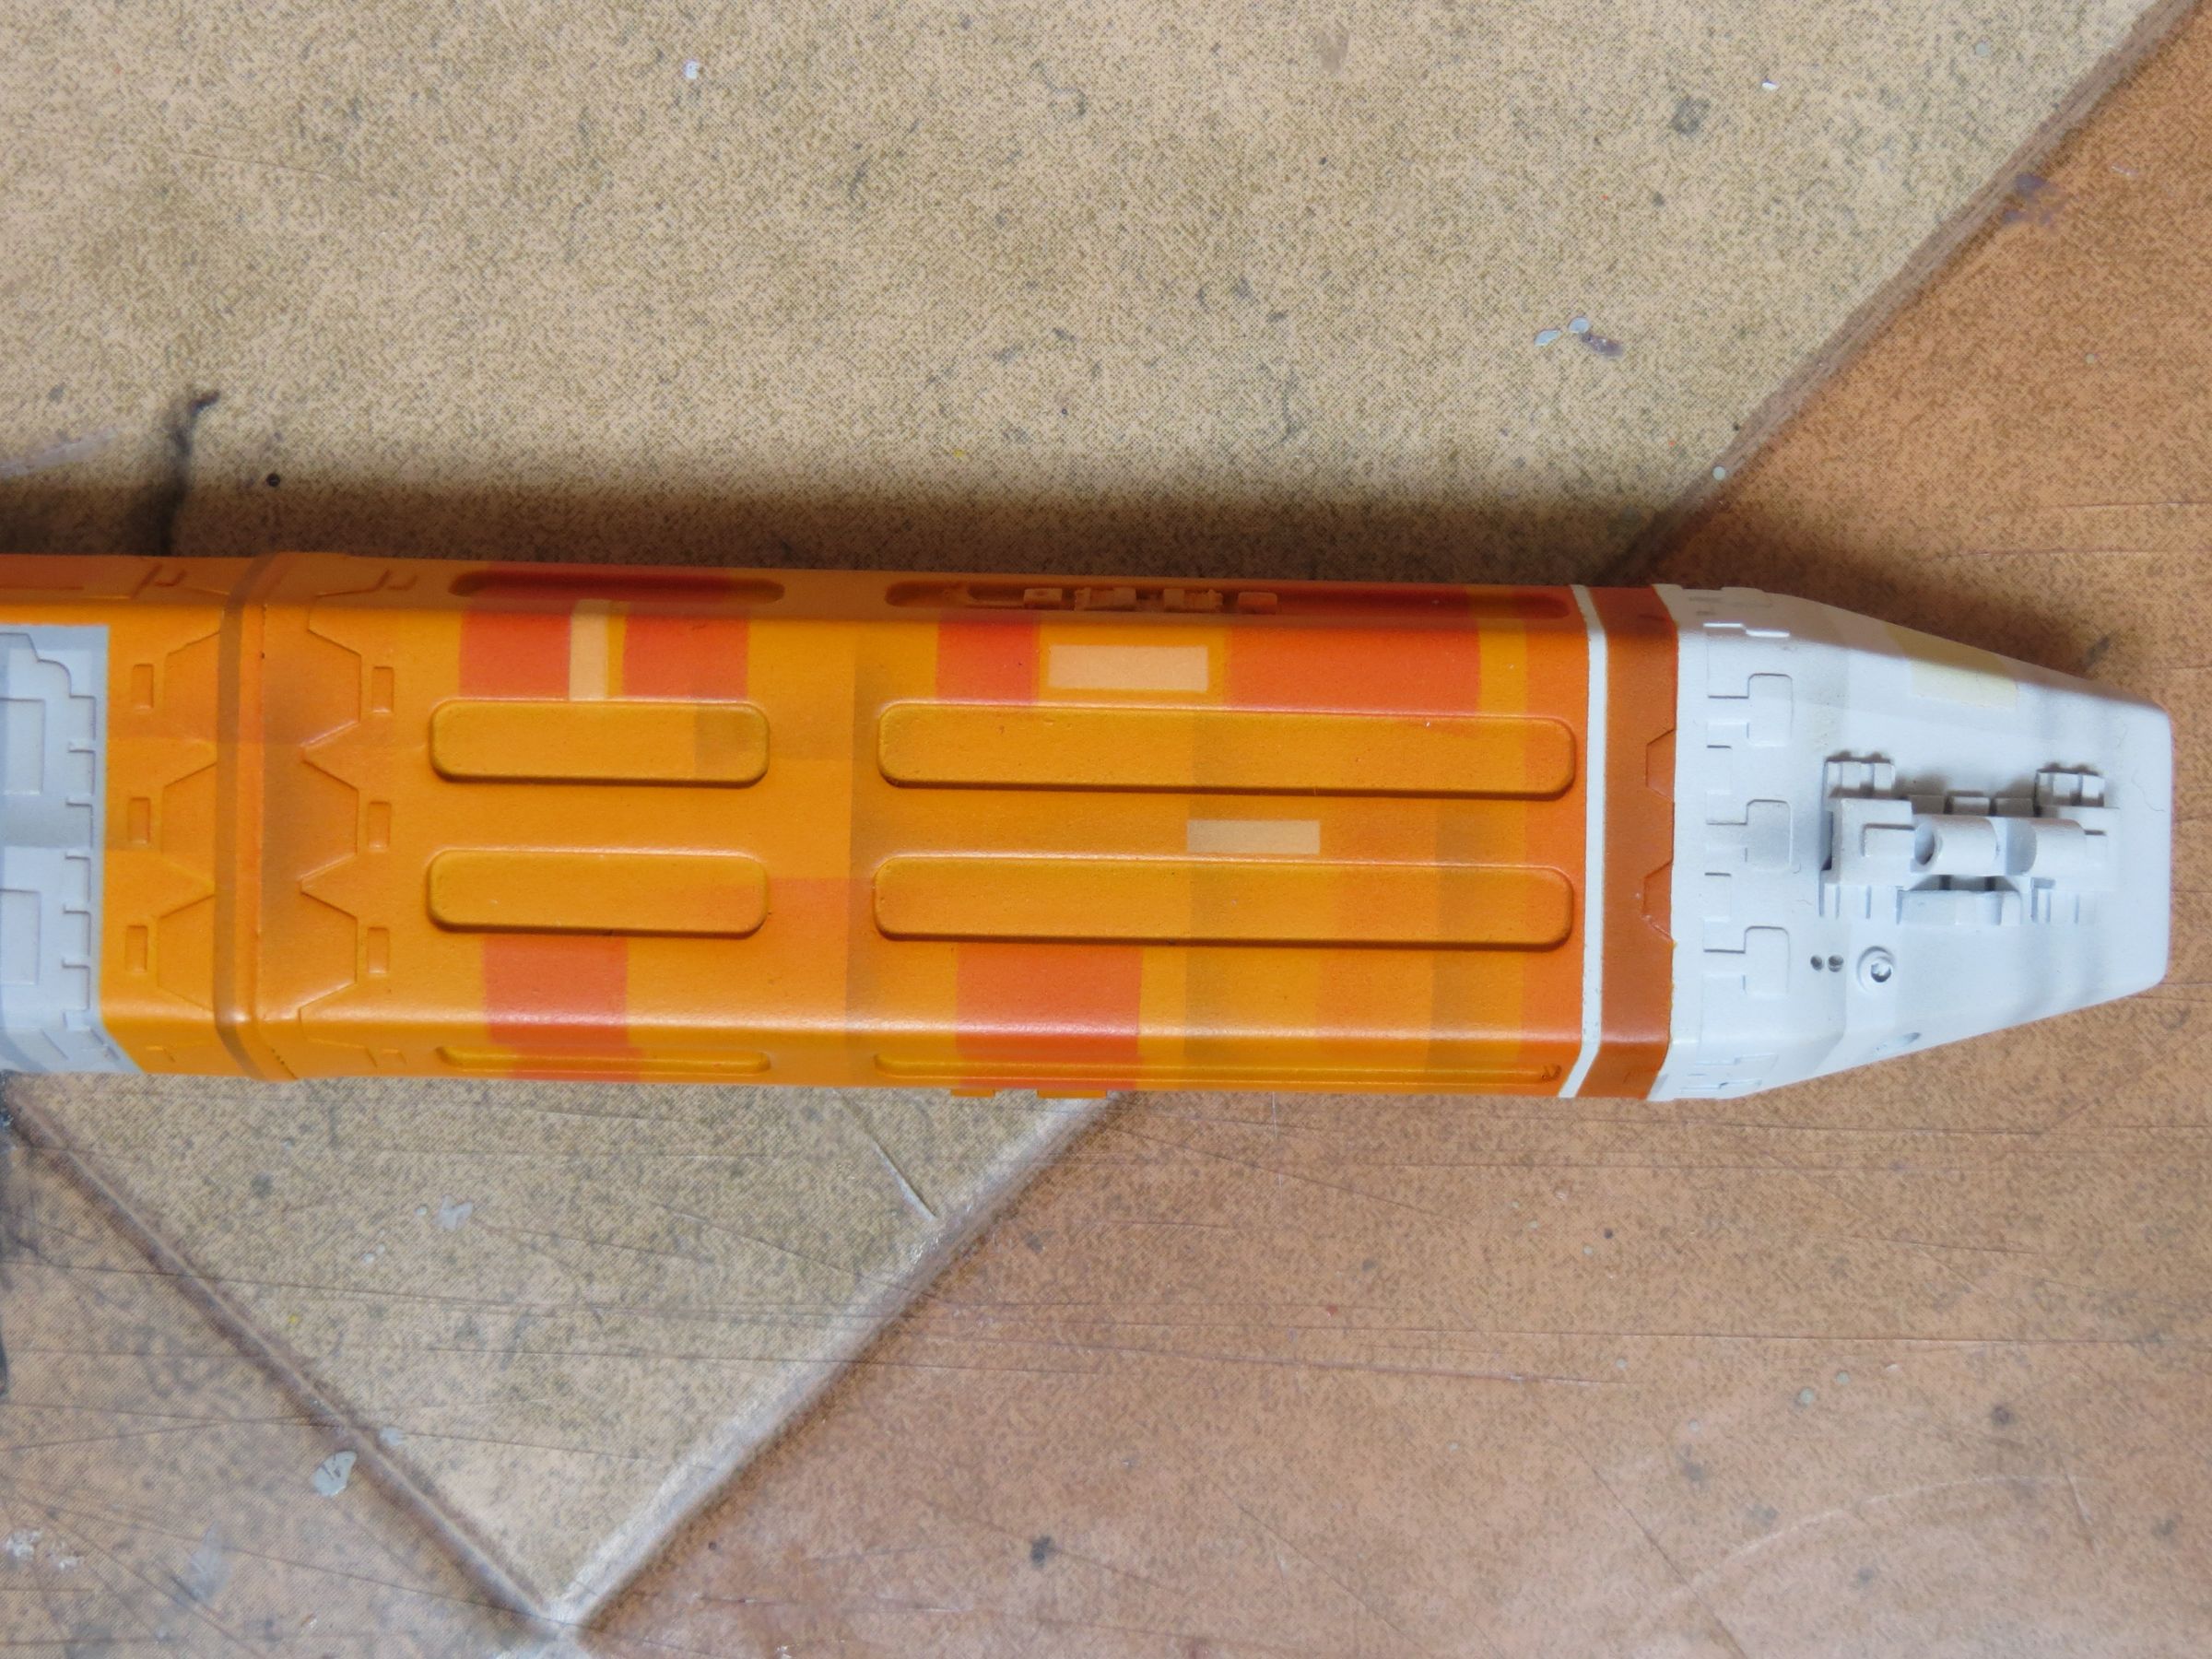
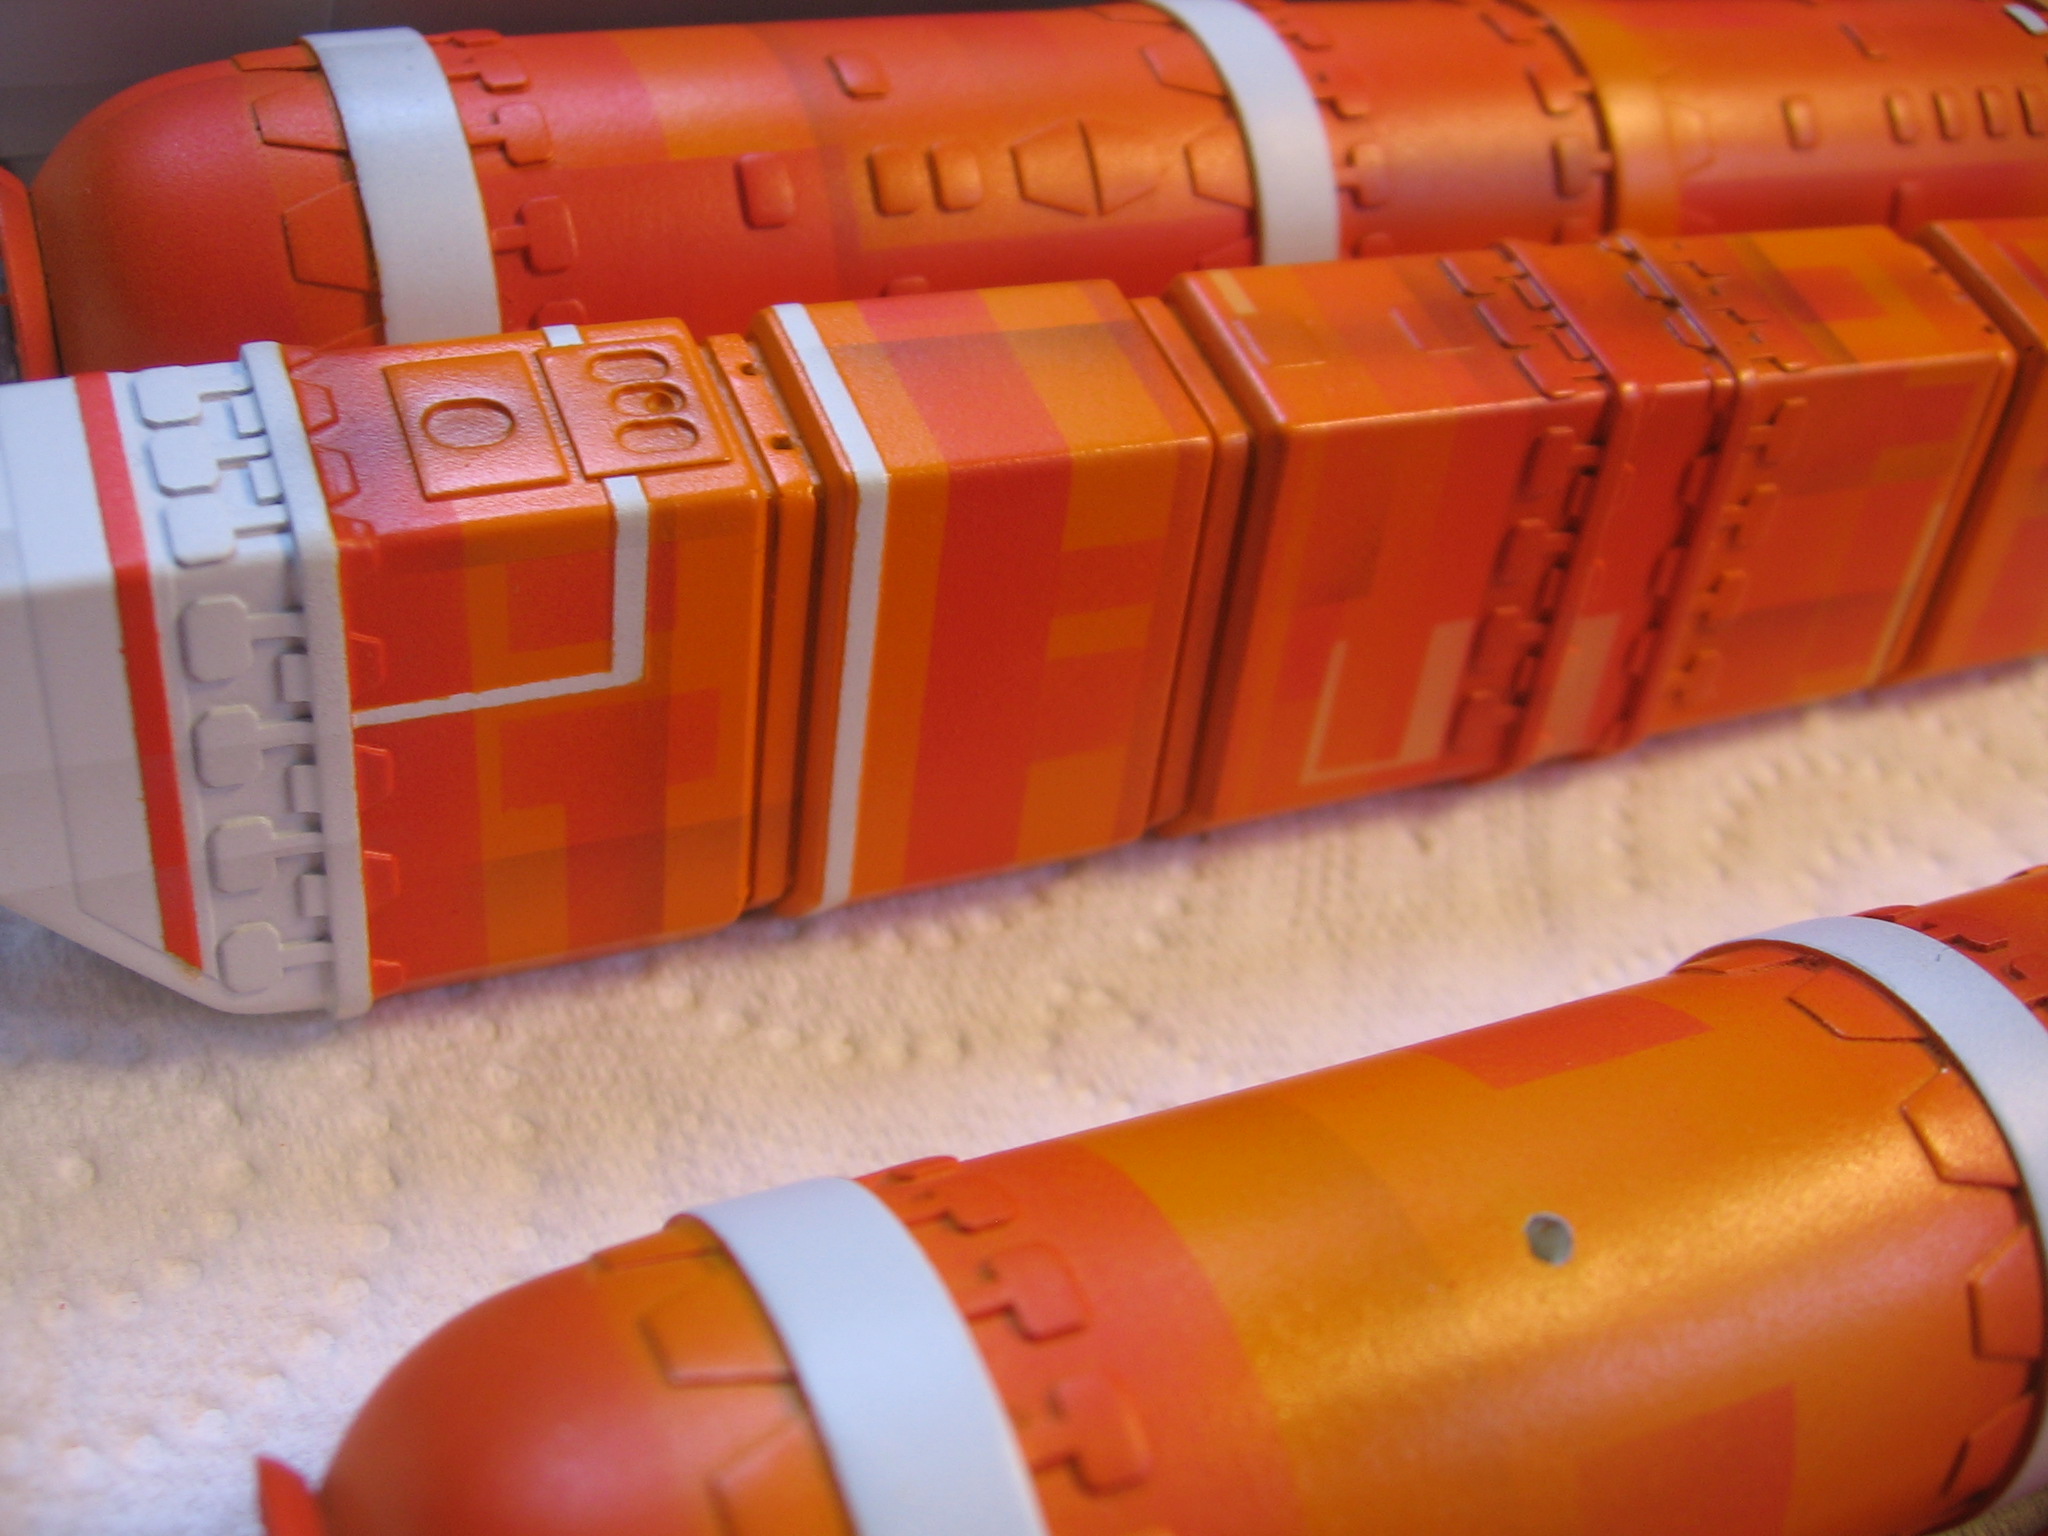
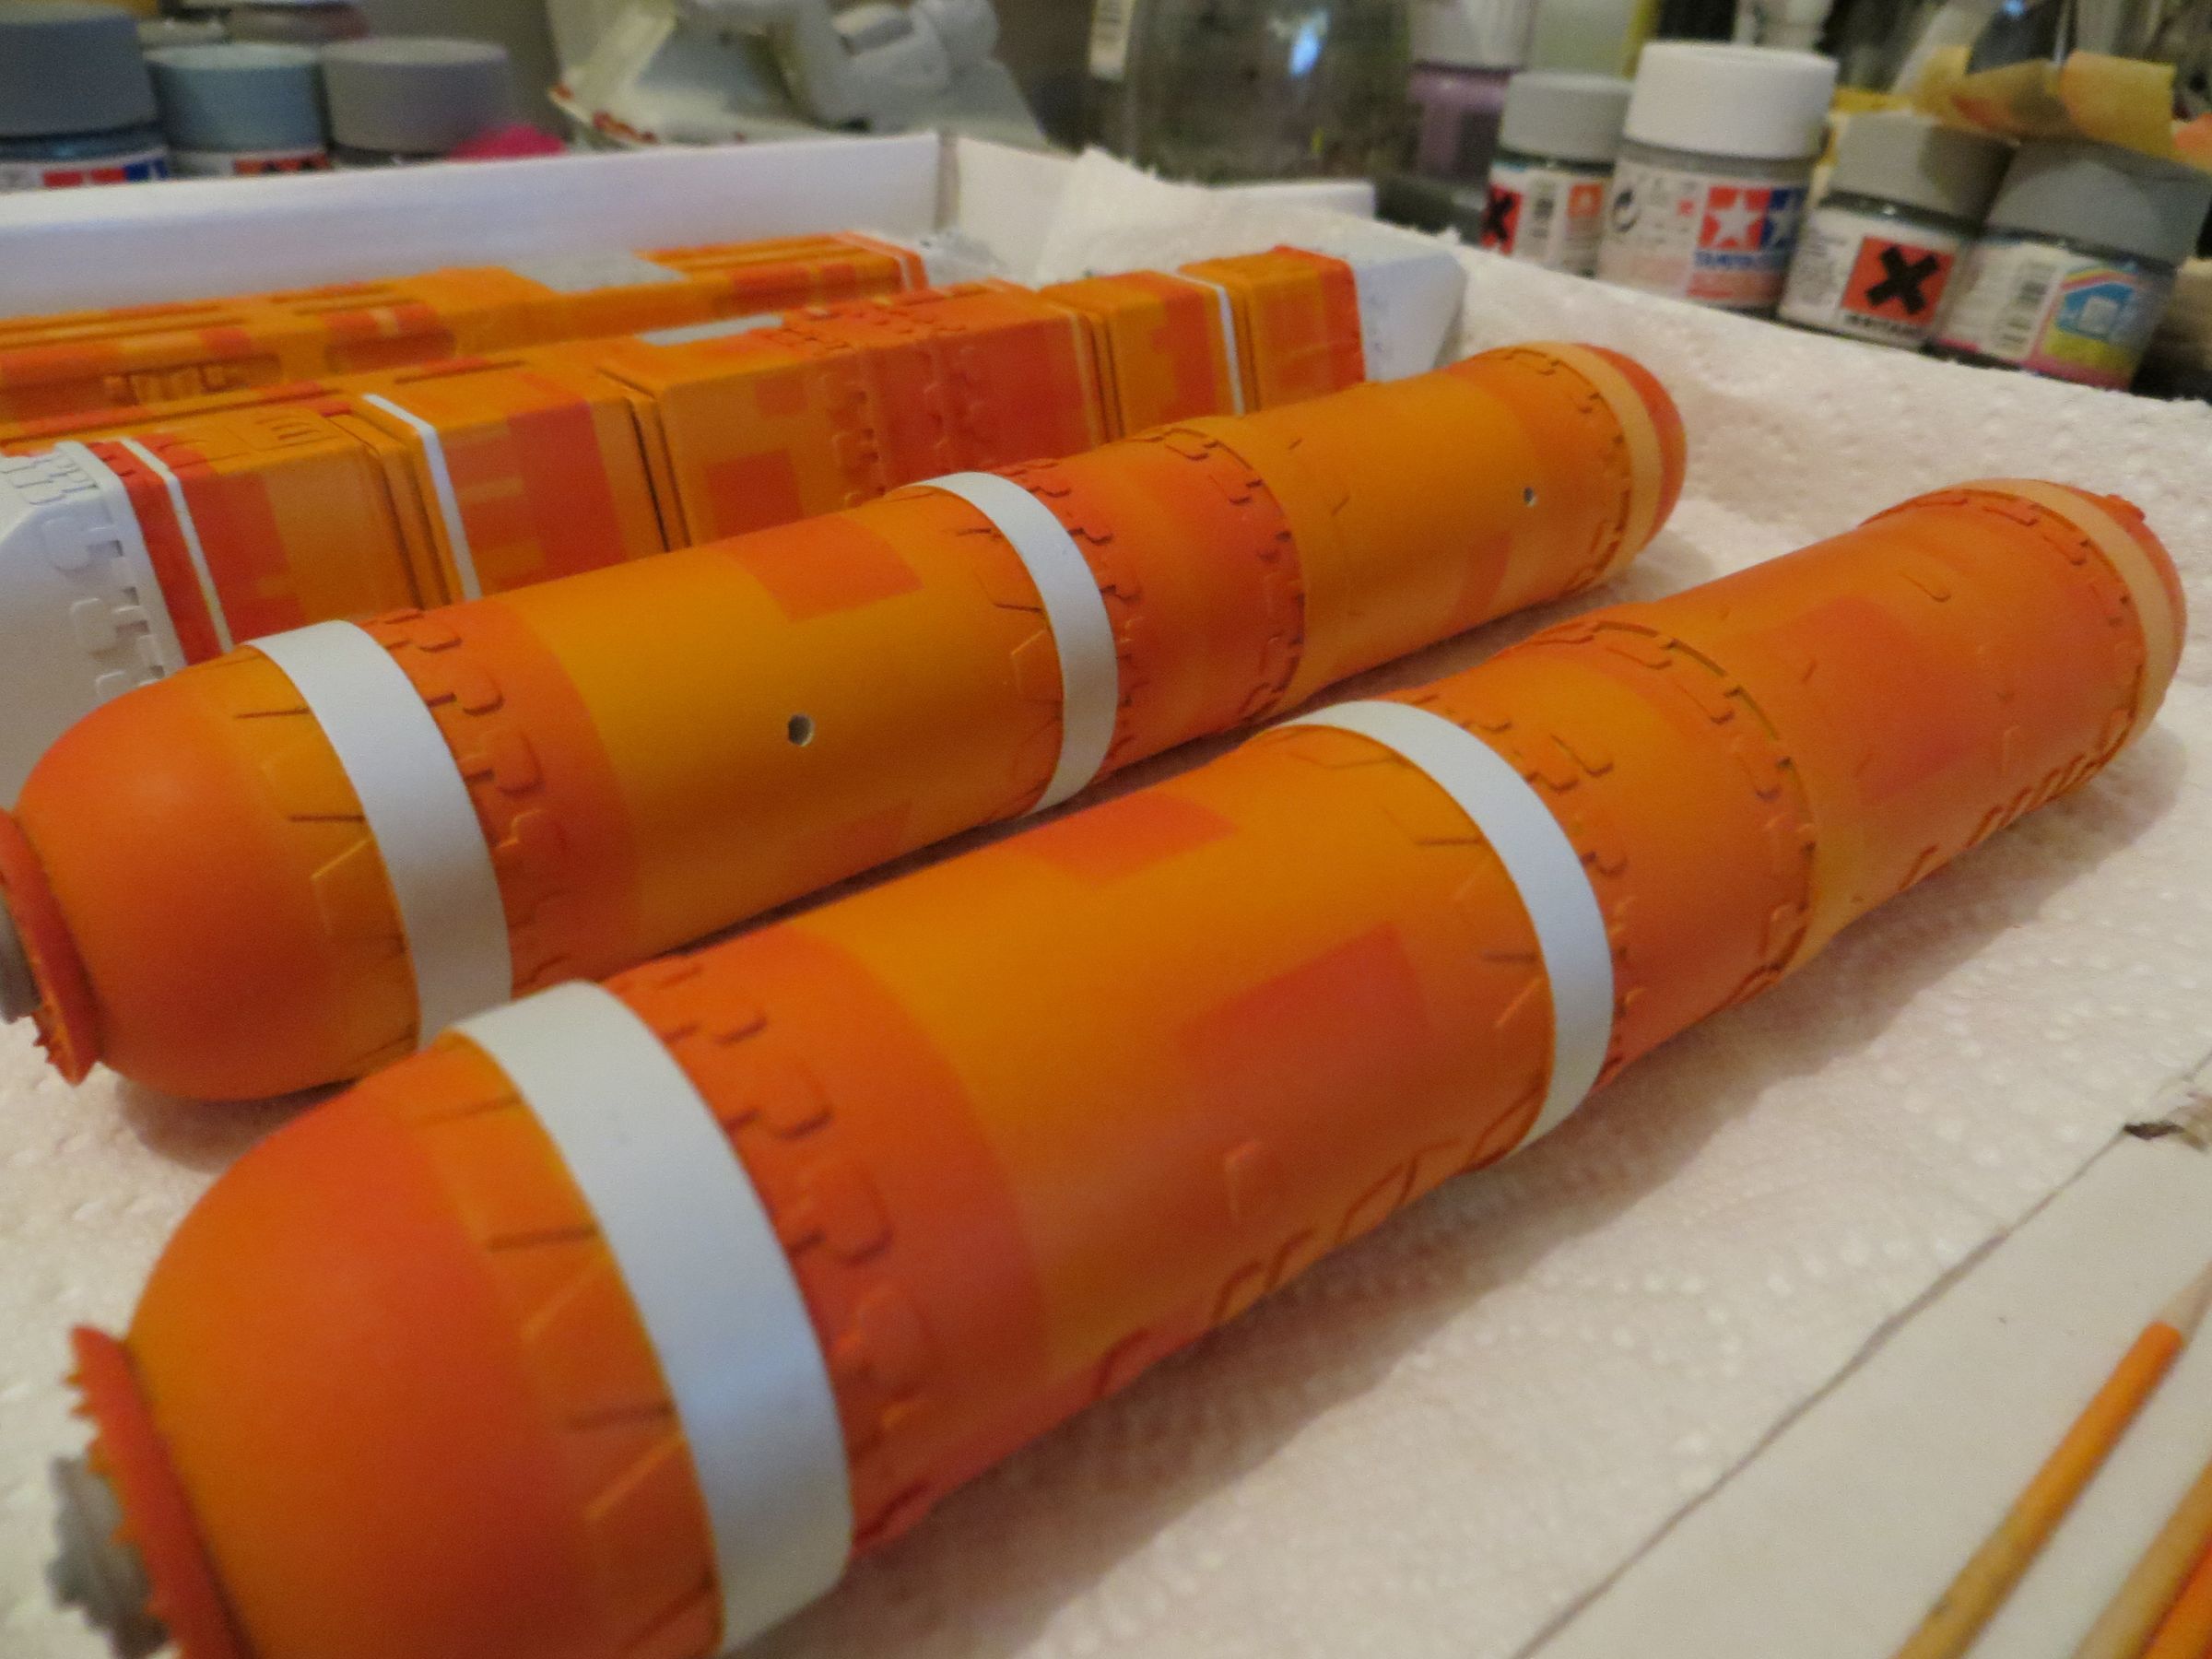
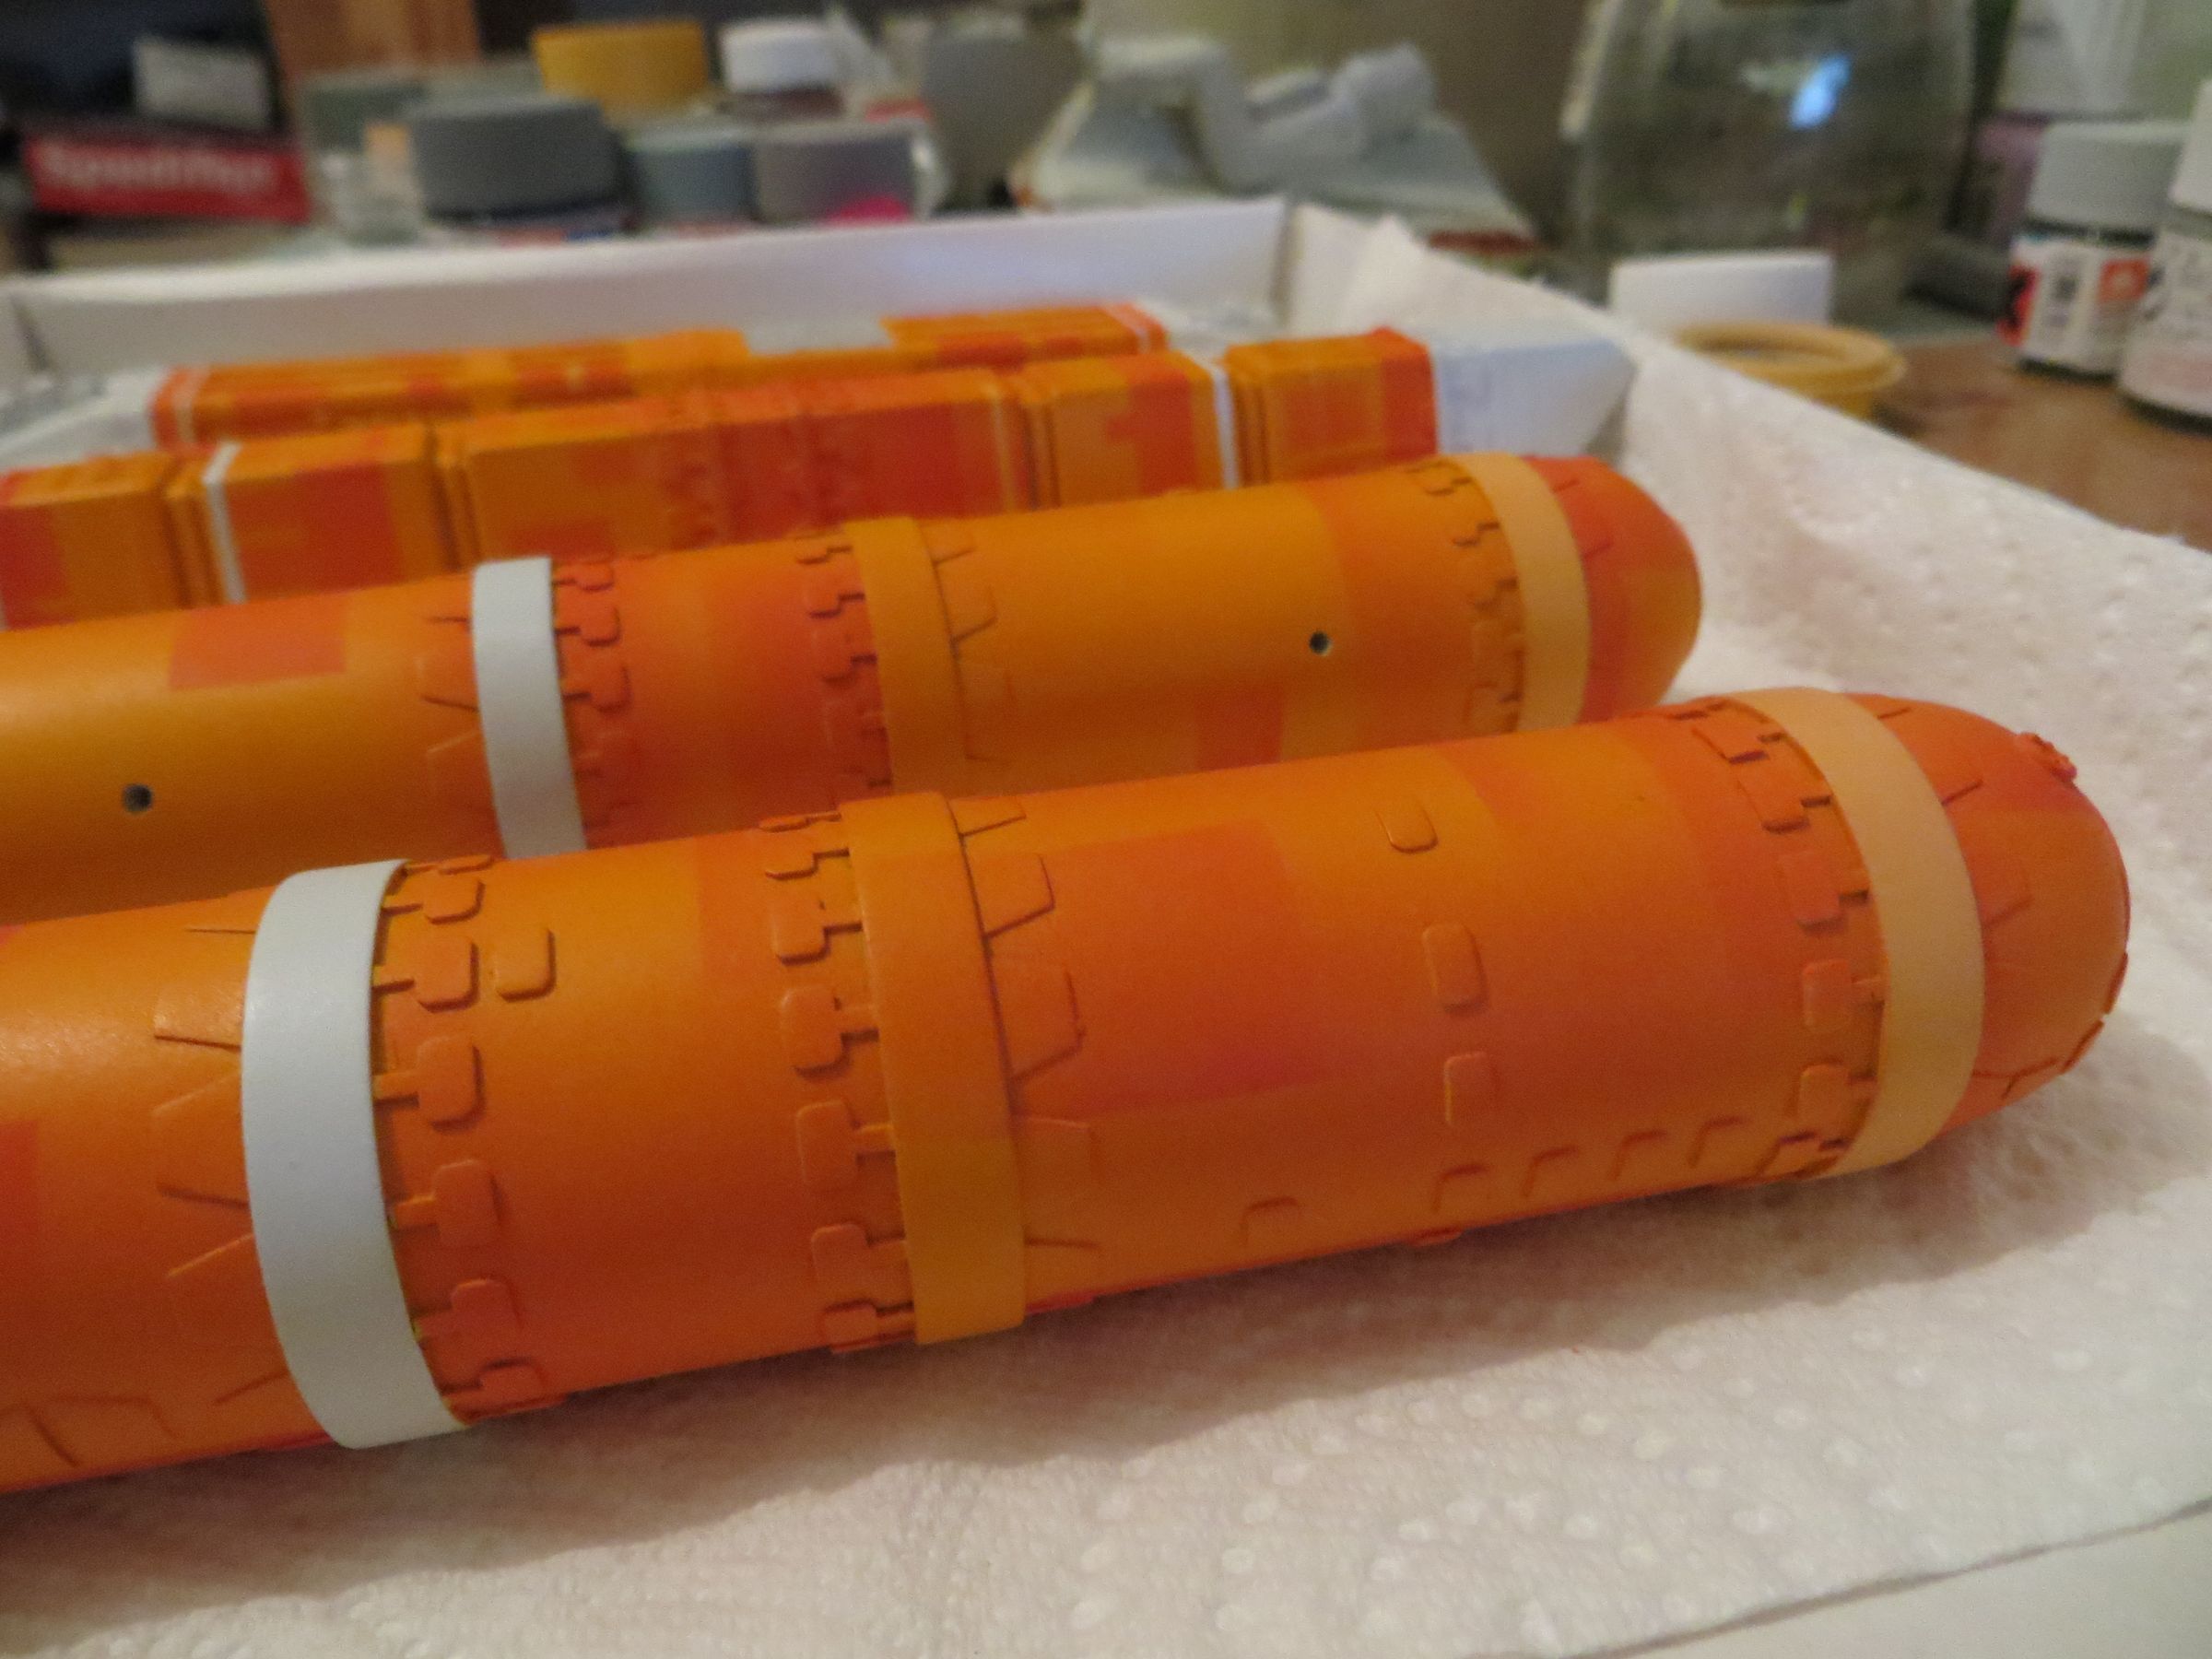
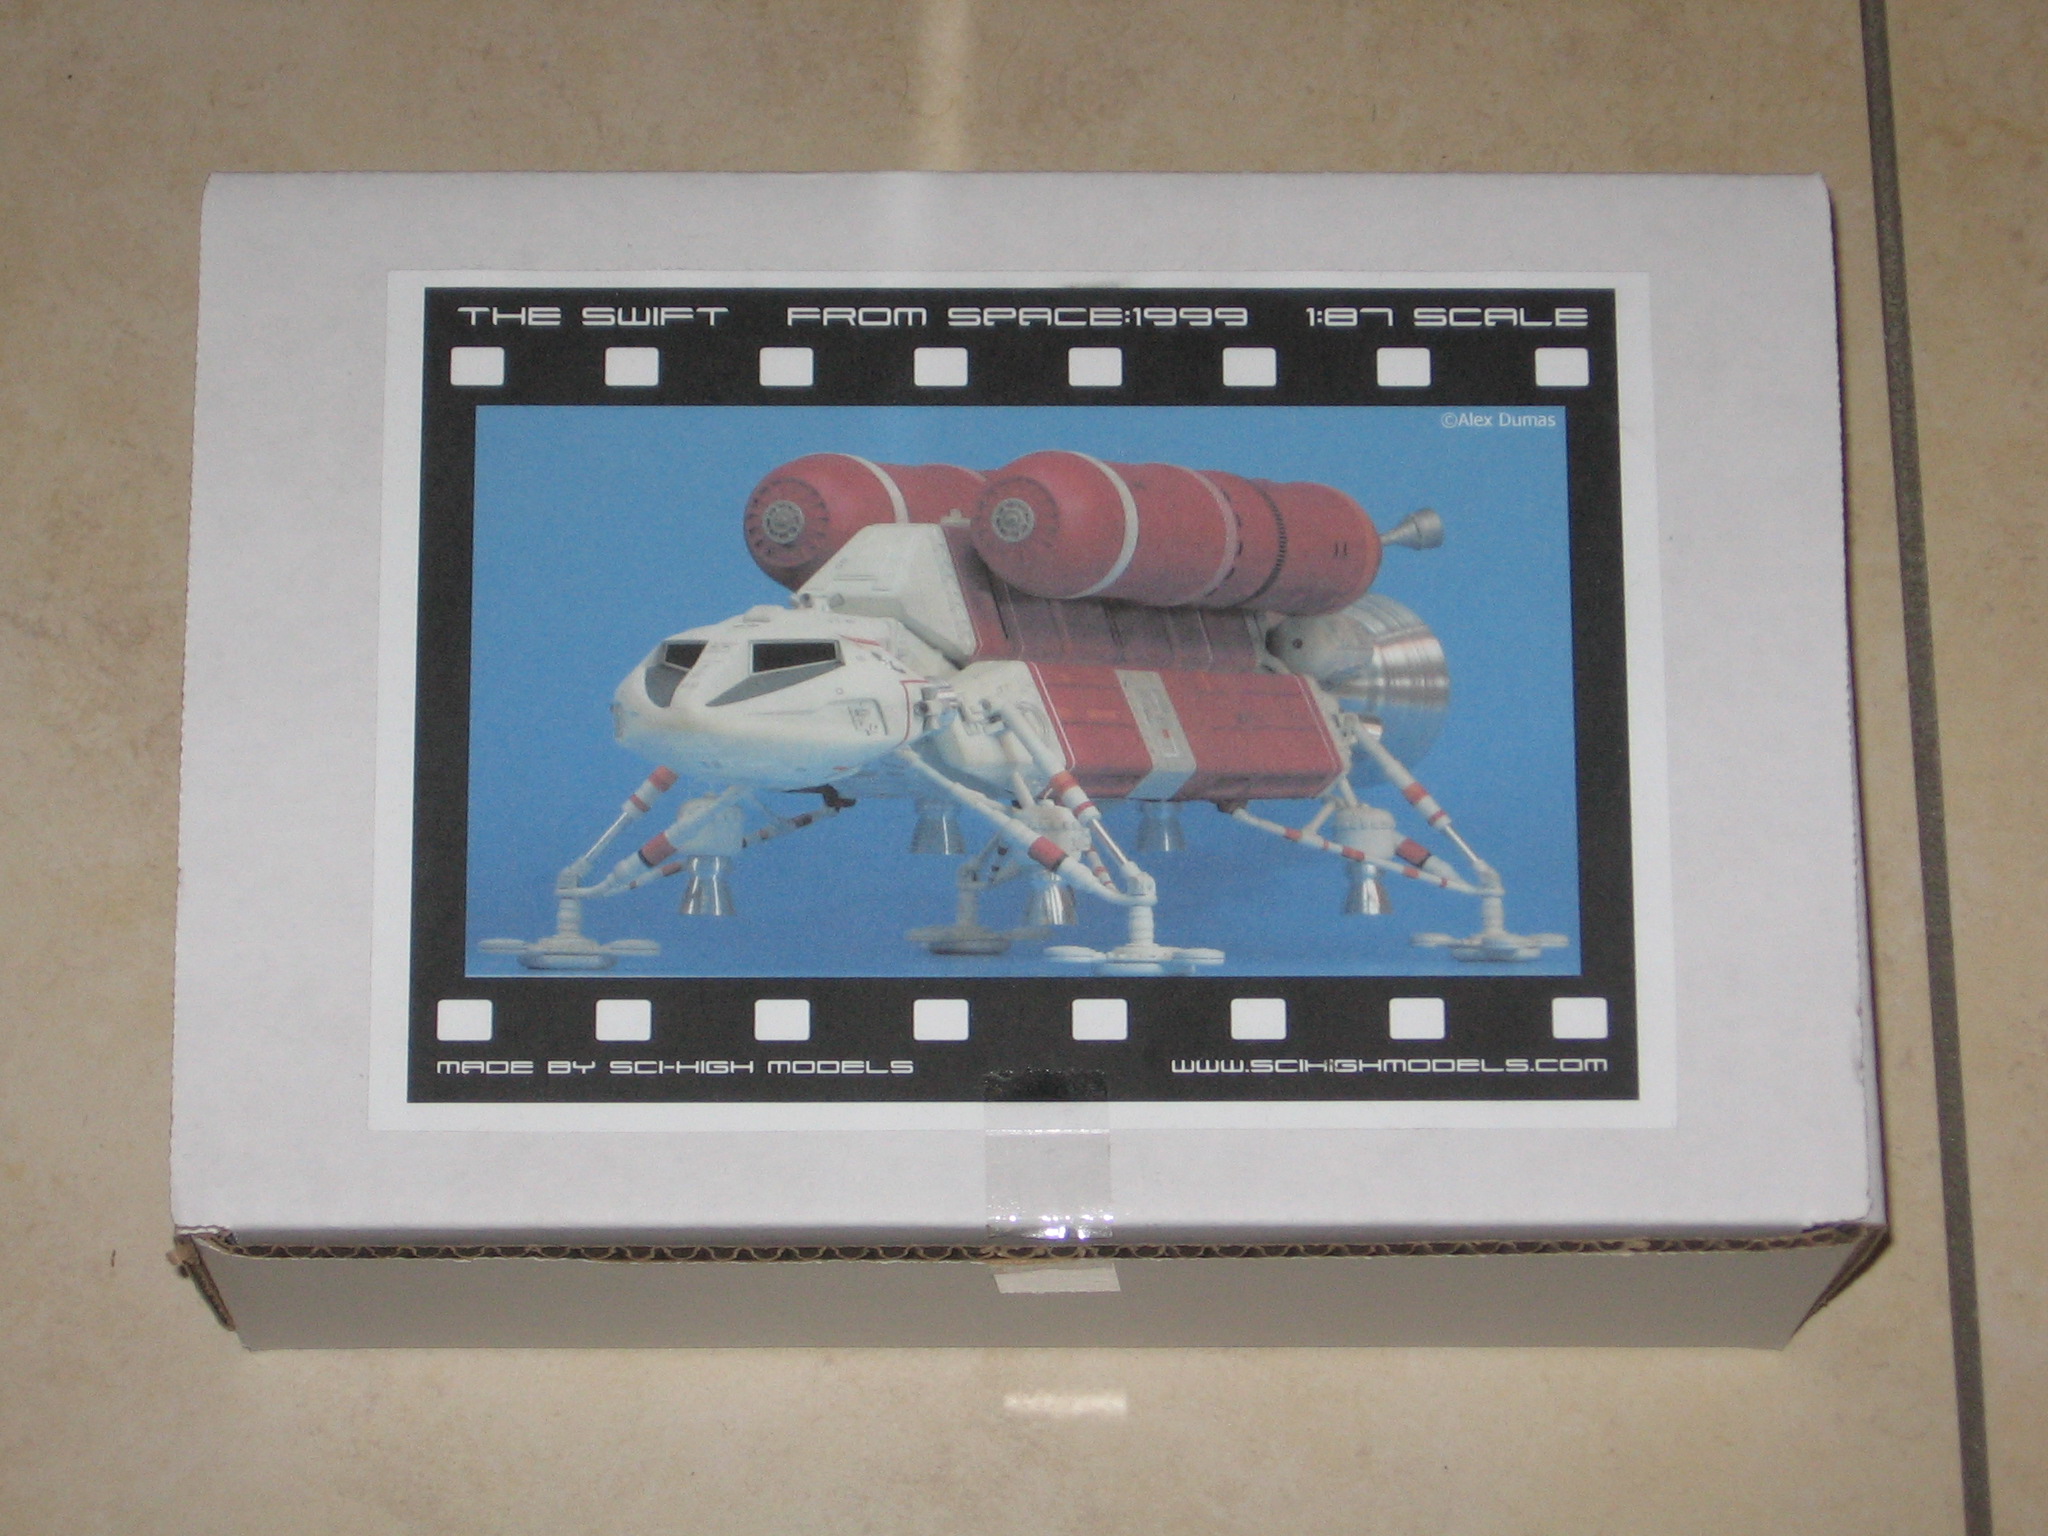
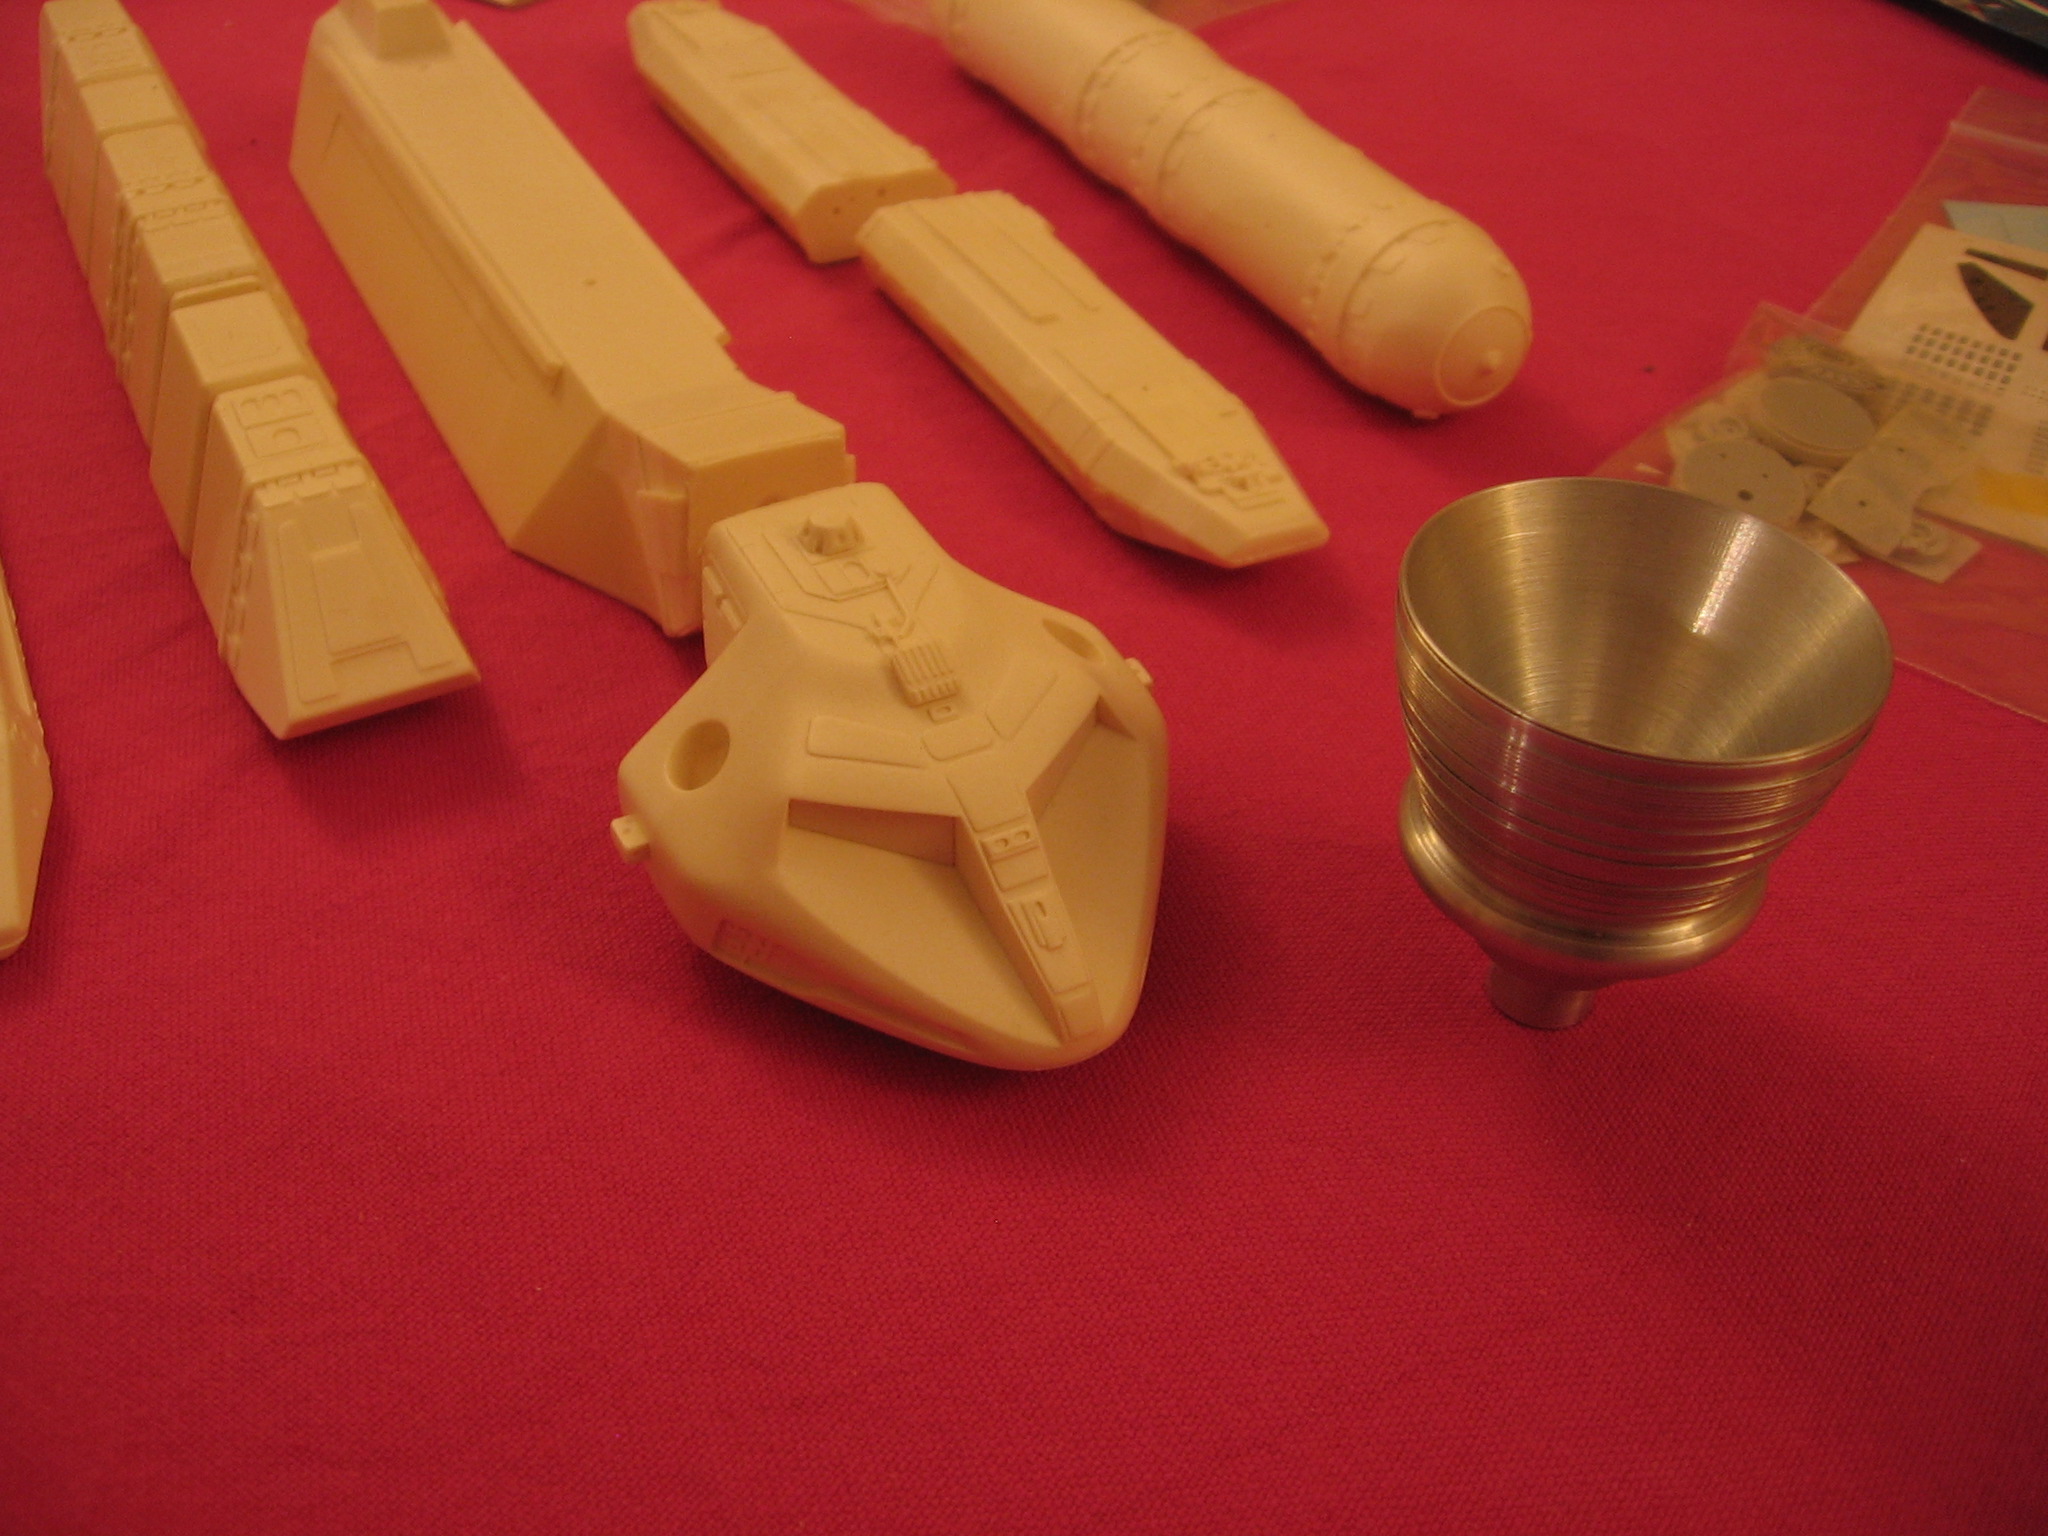
The Swift is a long legged ship. The legs could not be made of resin (it would have been too fragile), and the result would have been, I think, random with cast metal.
In short, this is the right solution that was chosen, but it is a real challenge to ride...
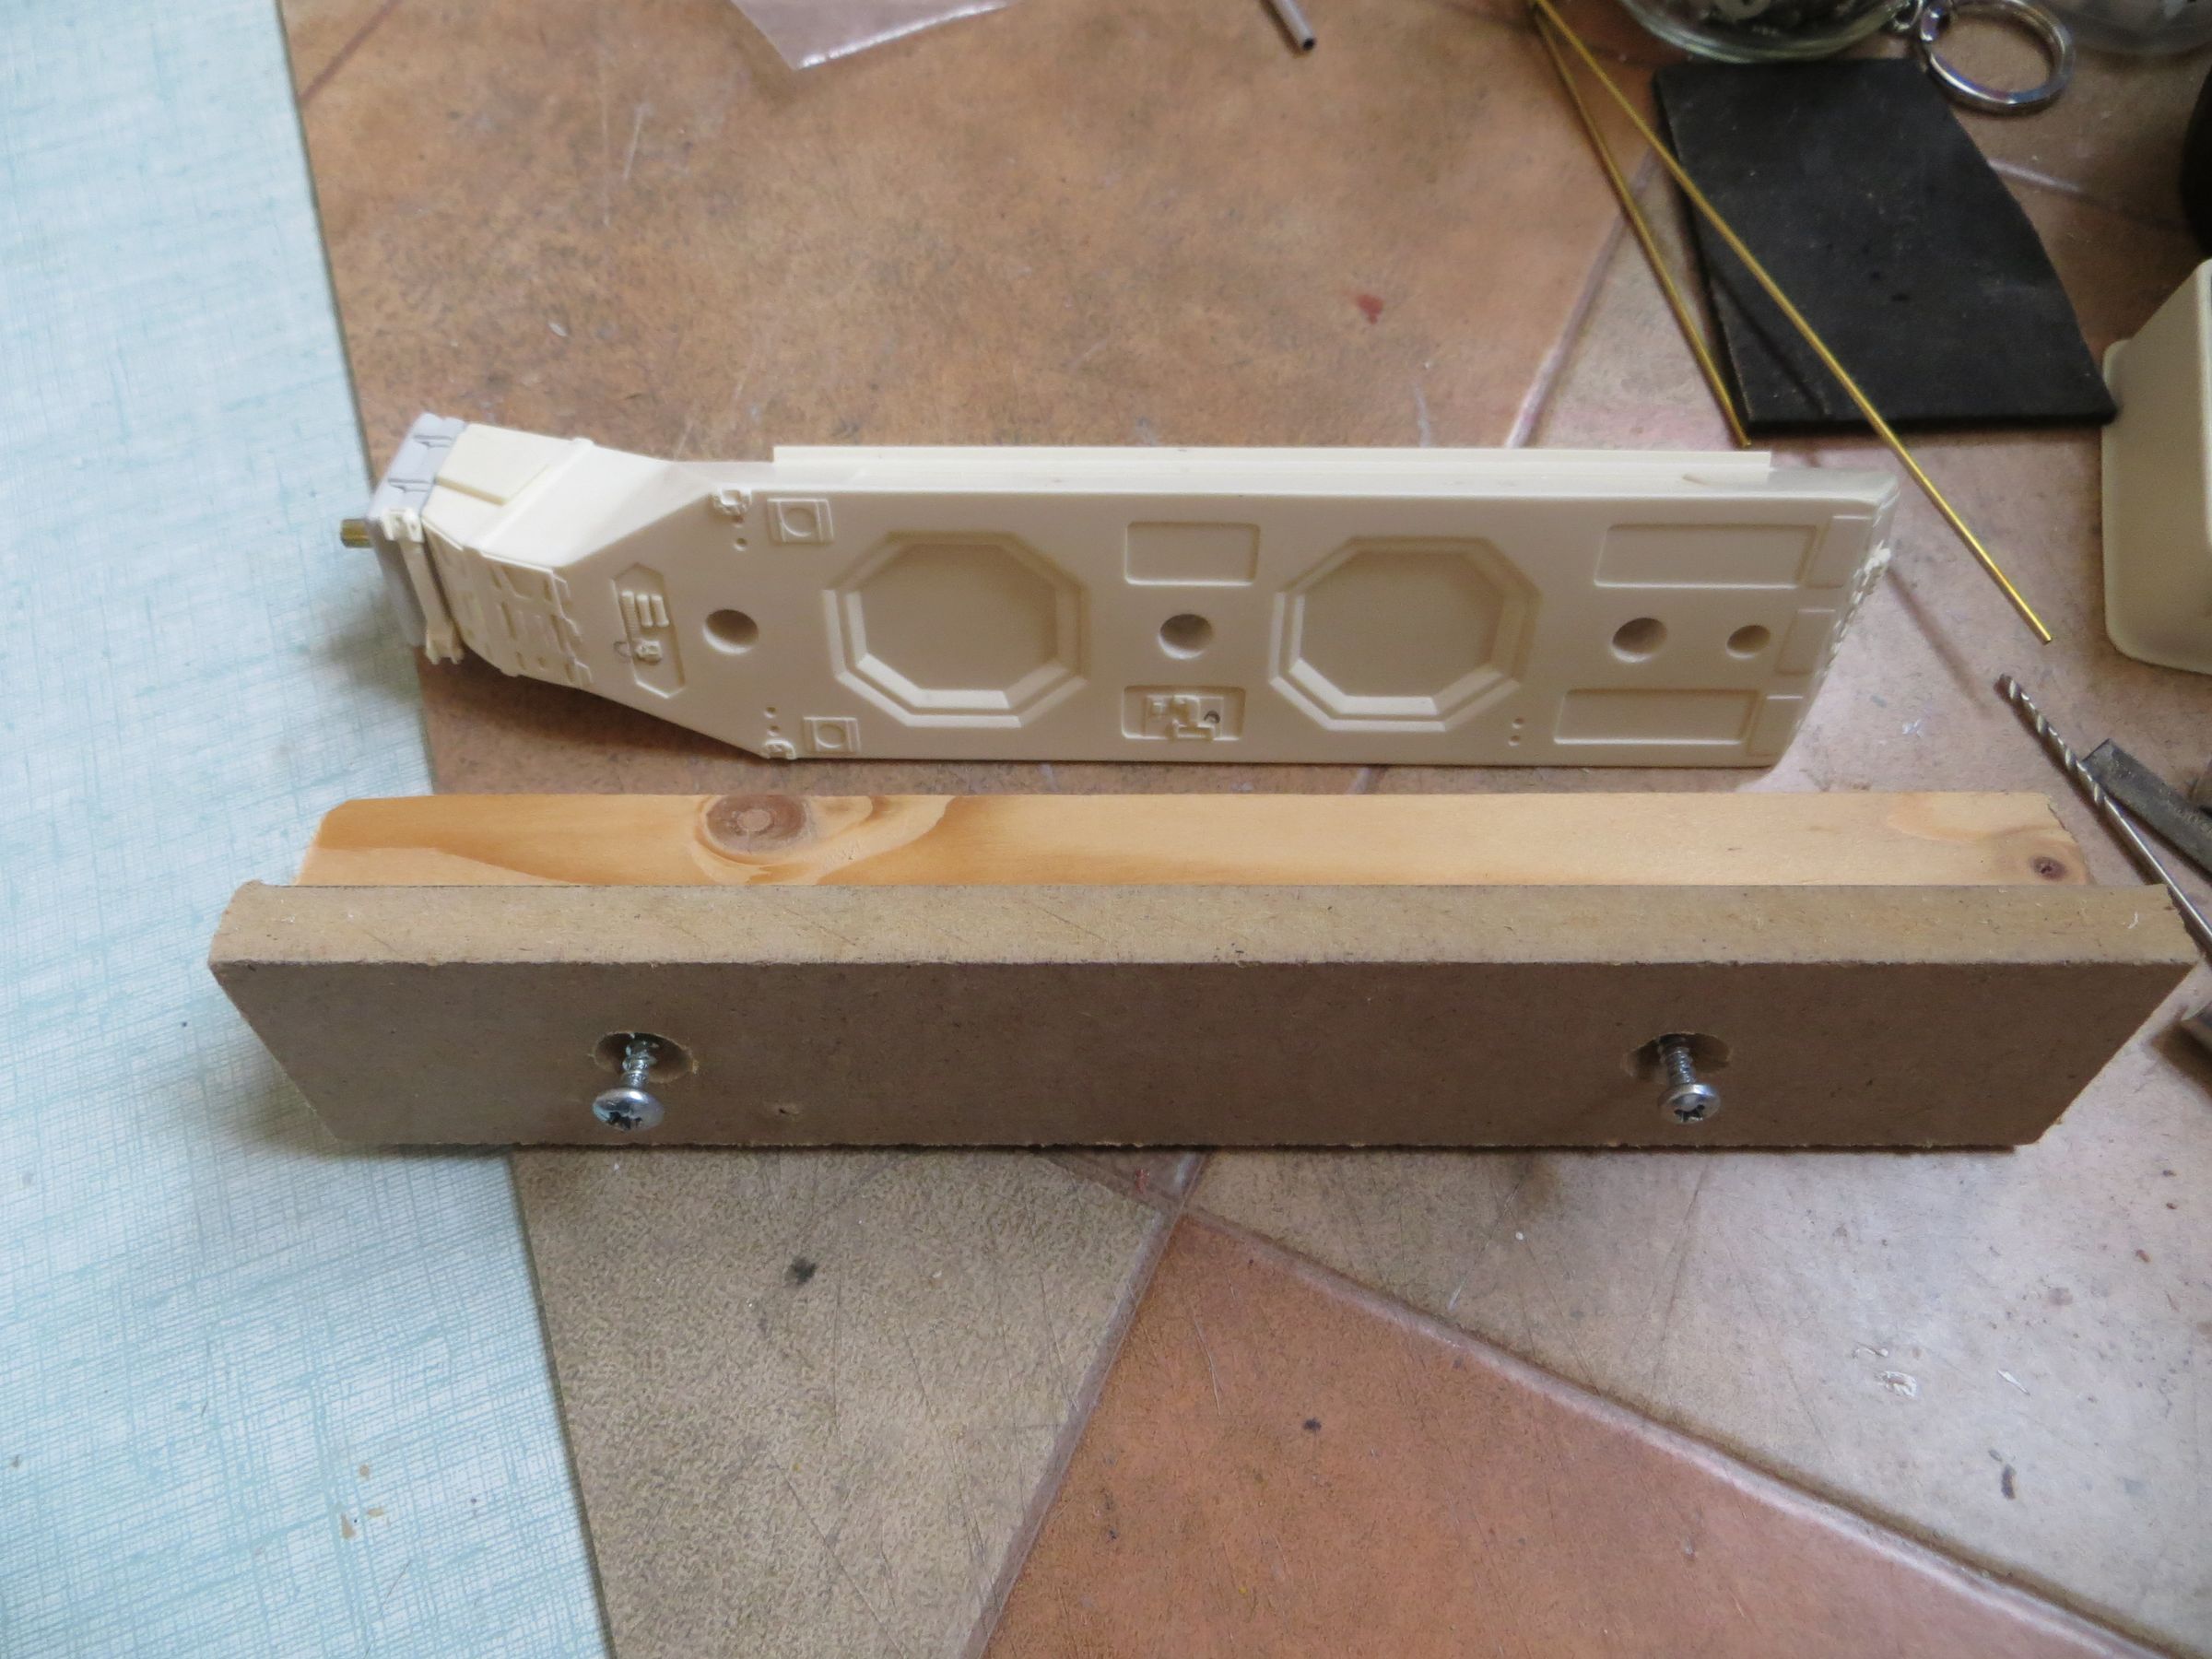
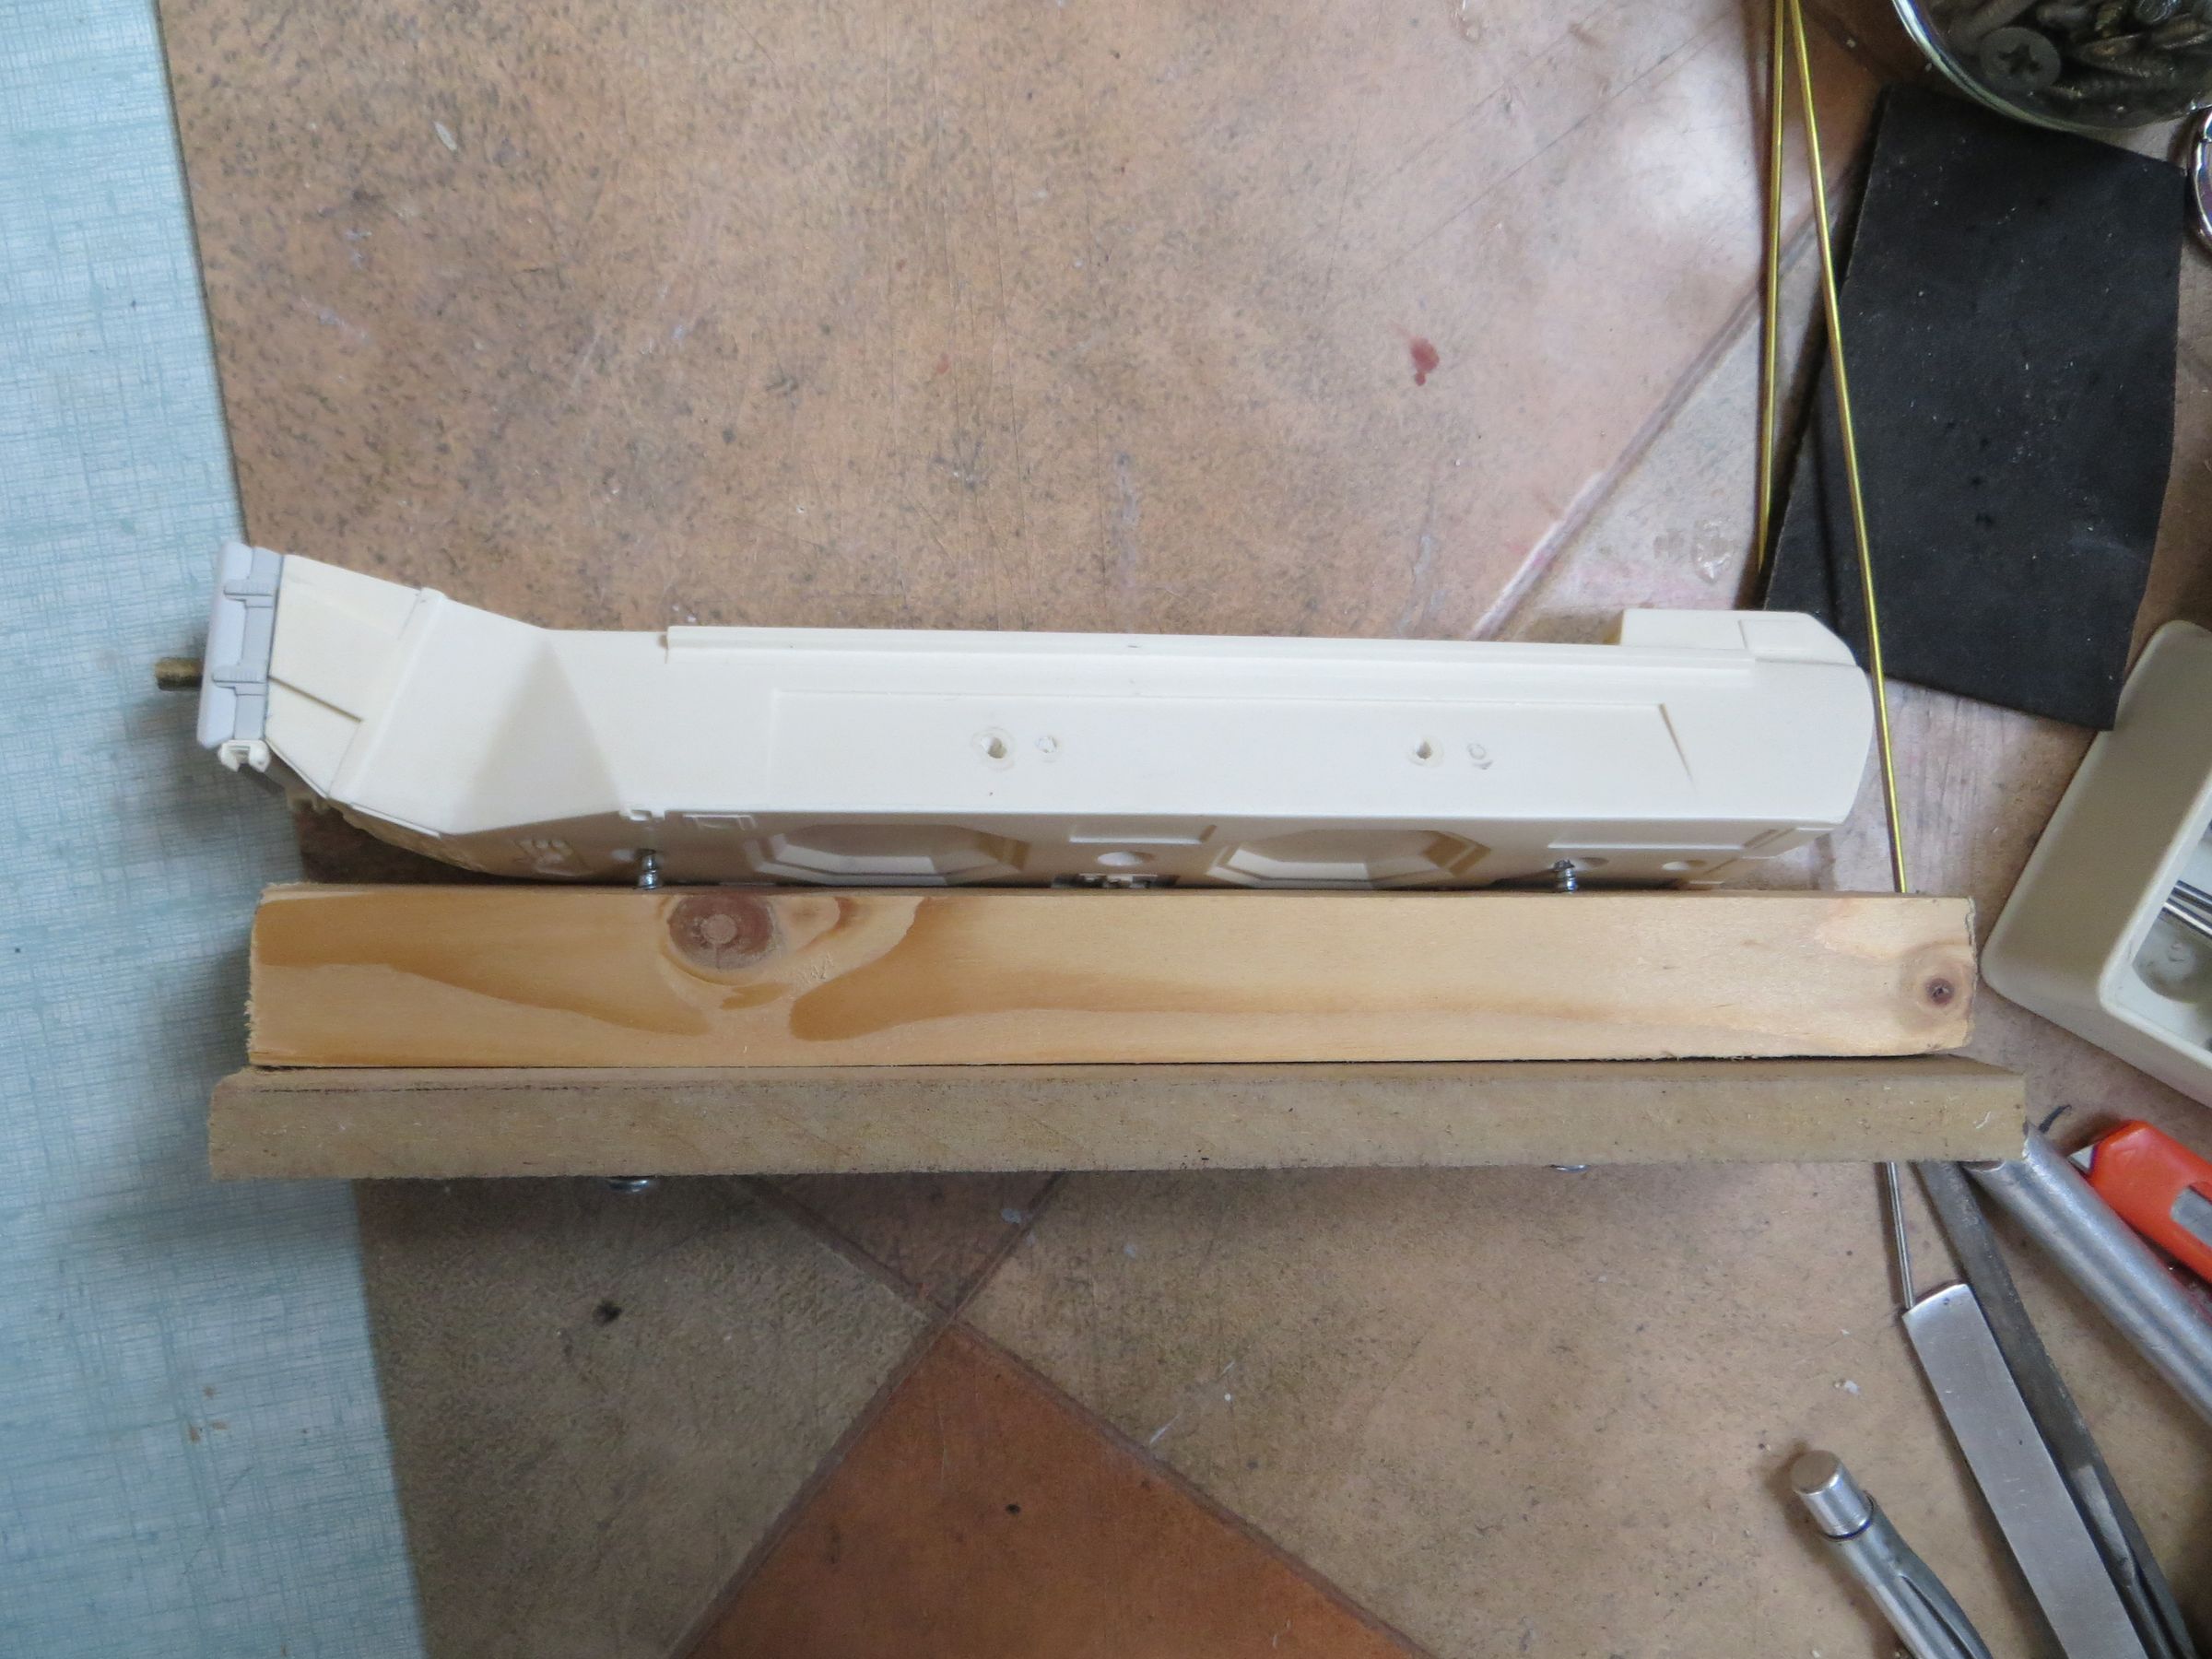
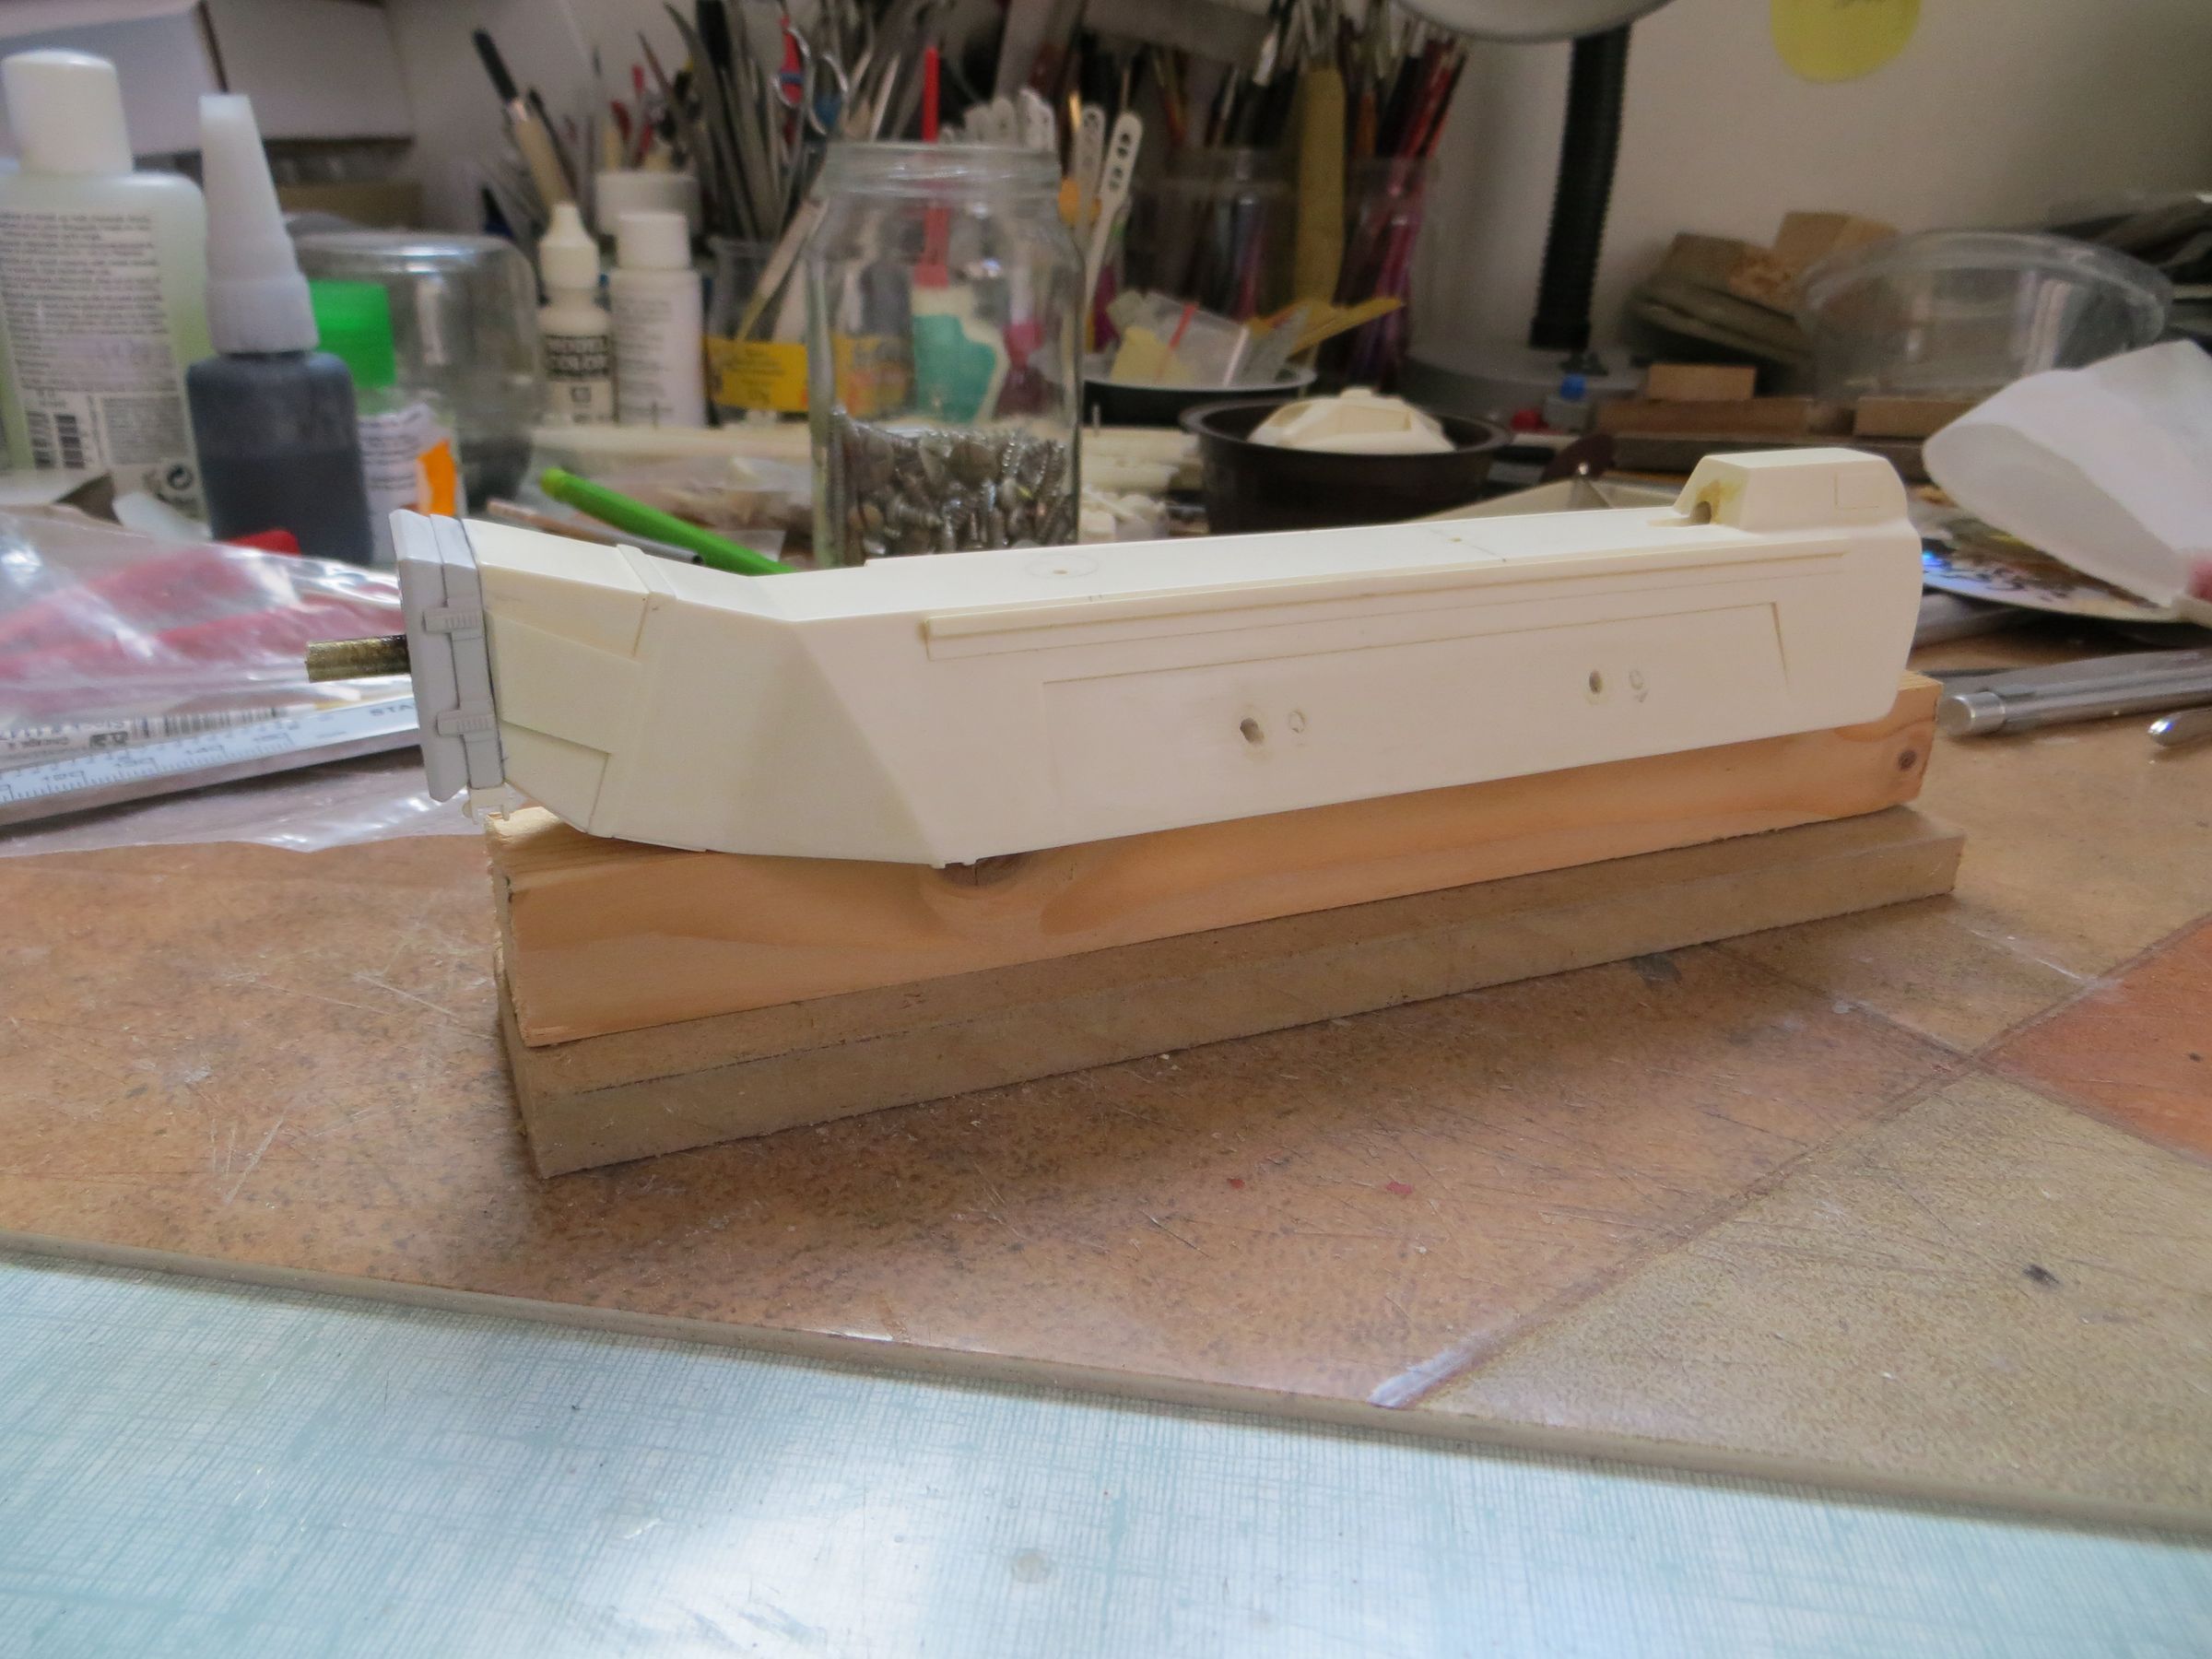
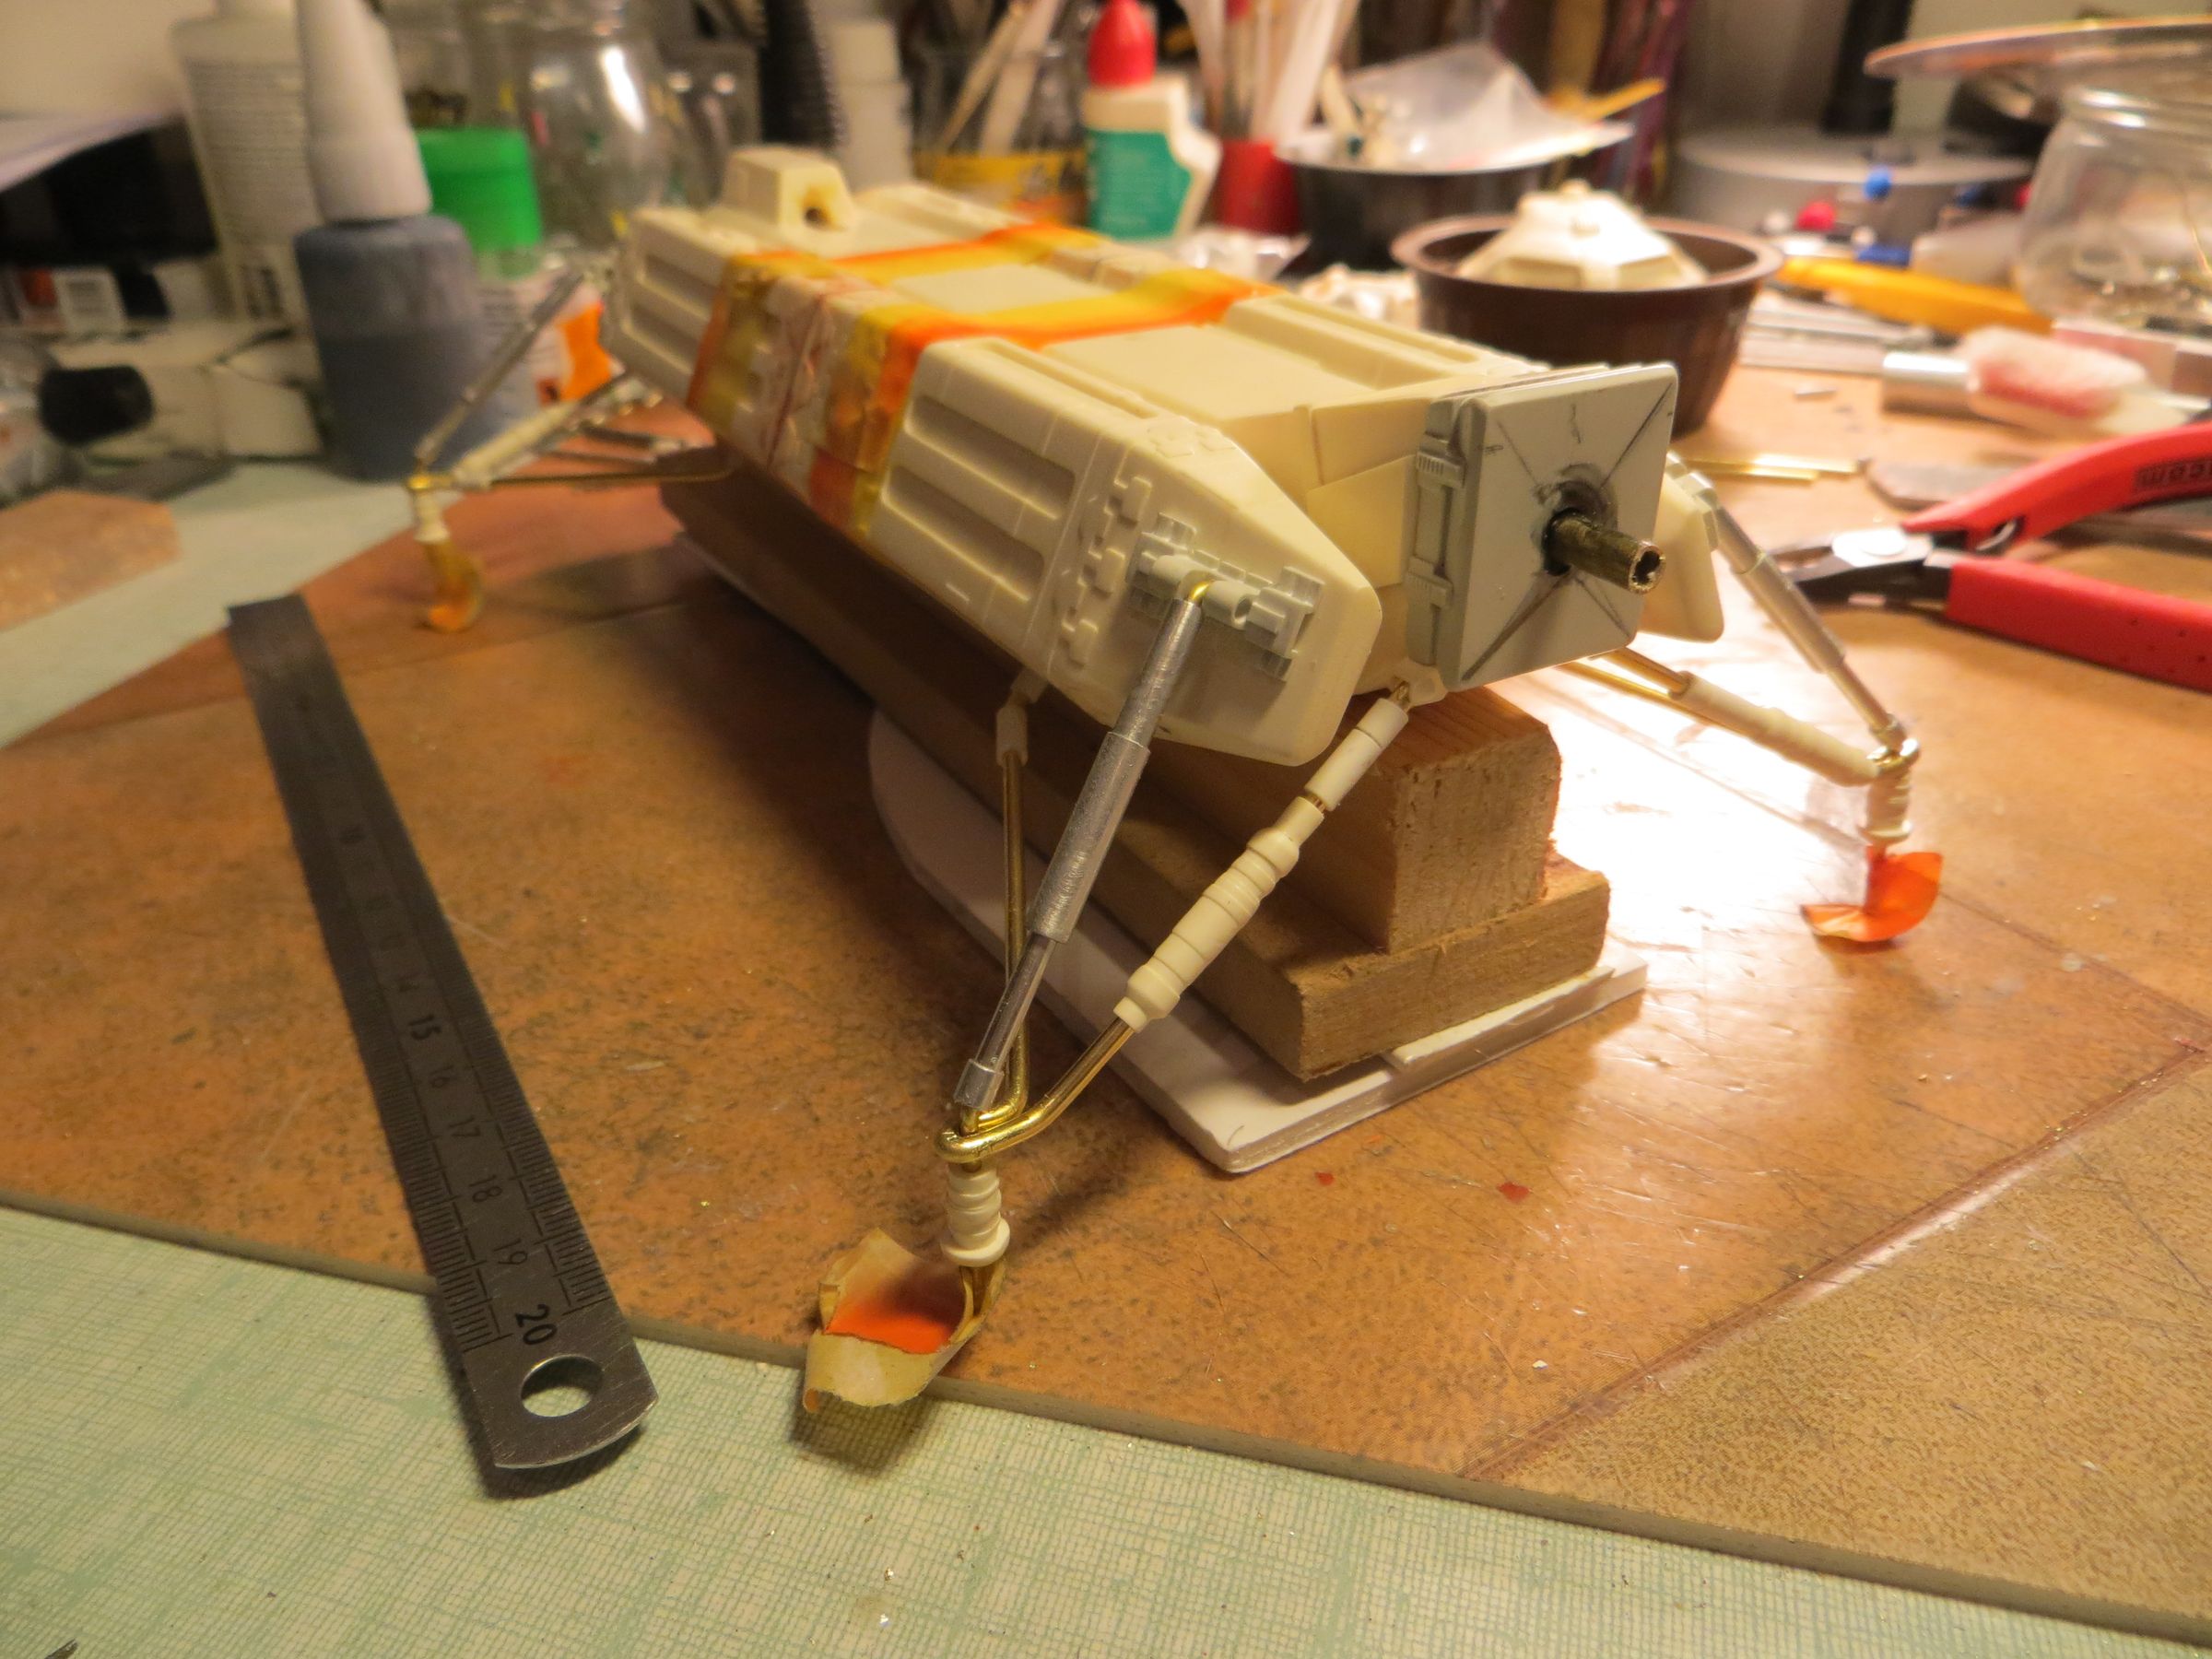
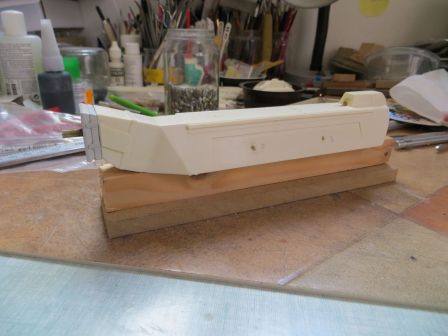
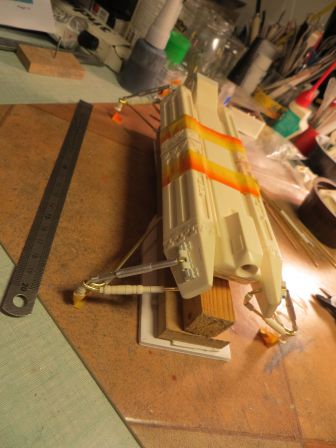
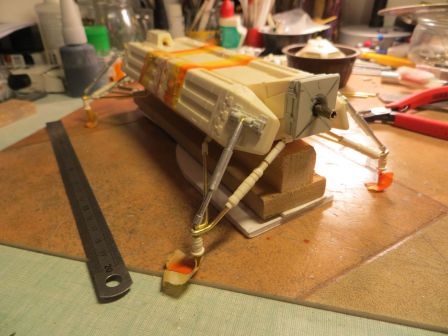
Construction of a wooden stand to hold the central body at the proper height.


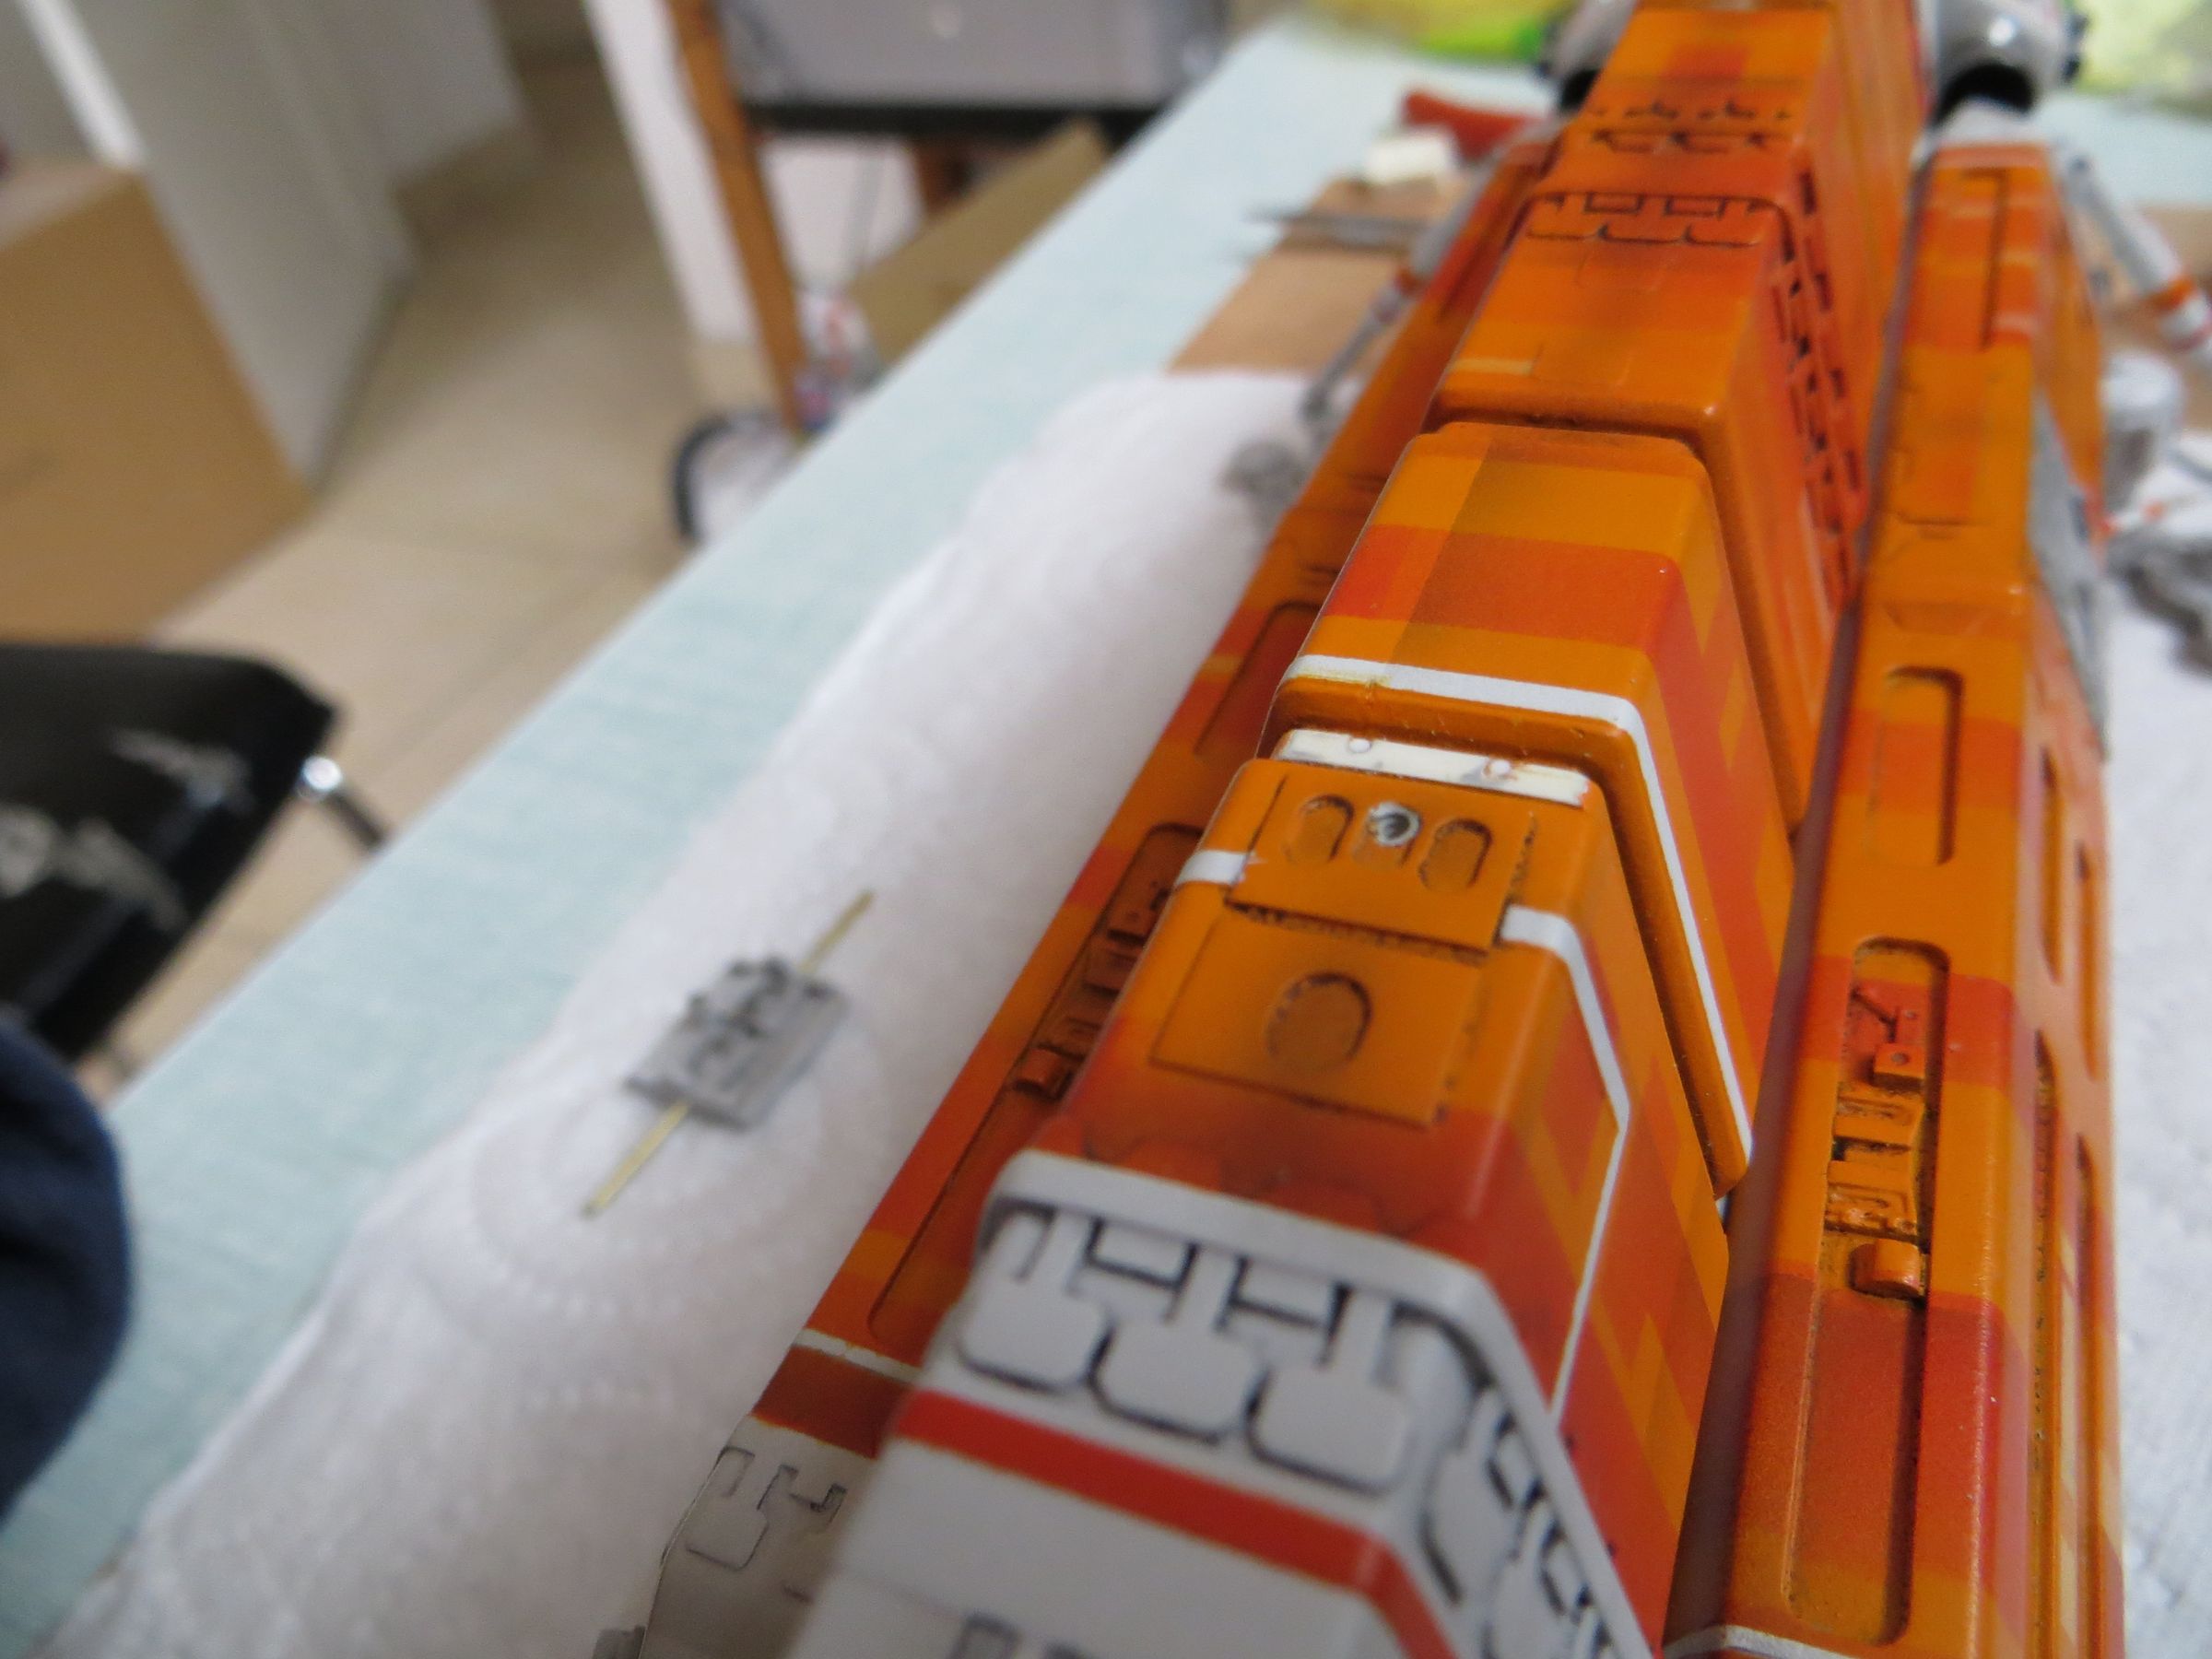
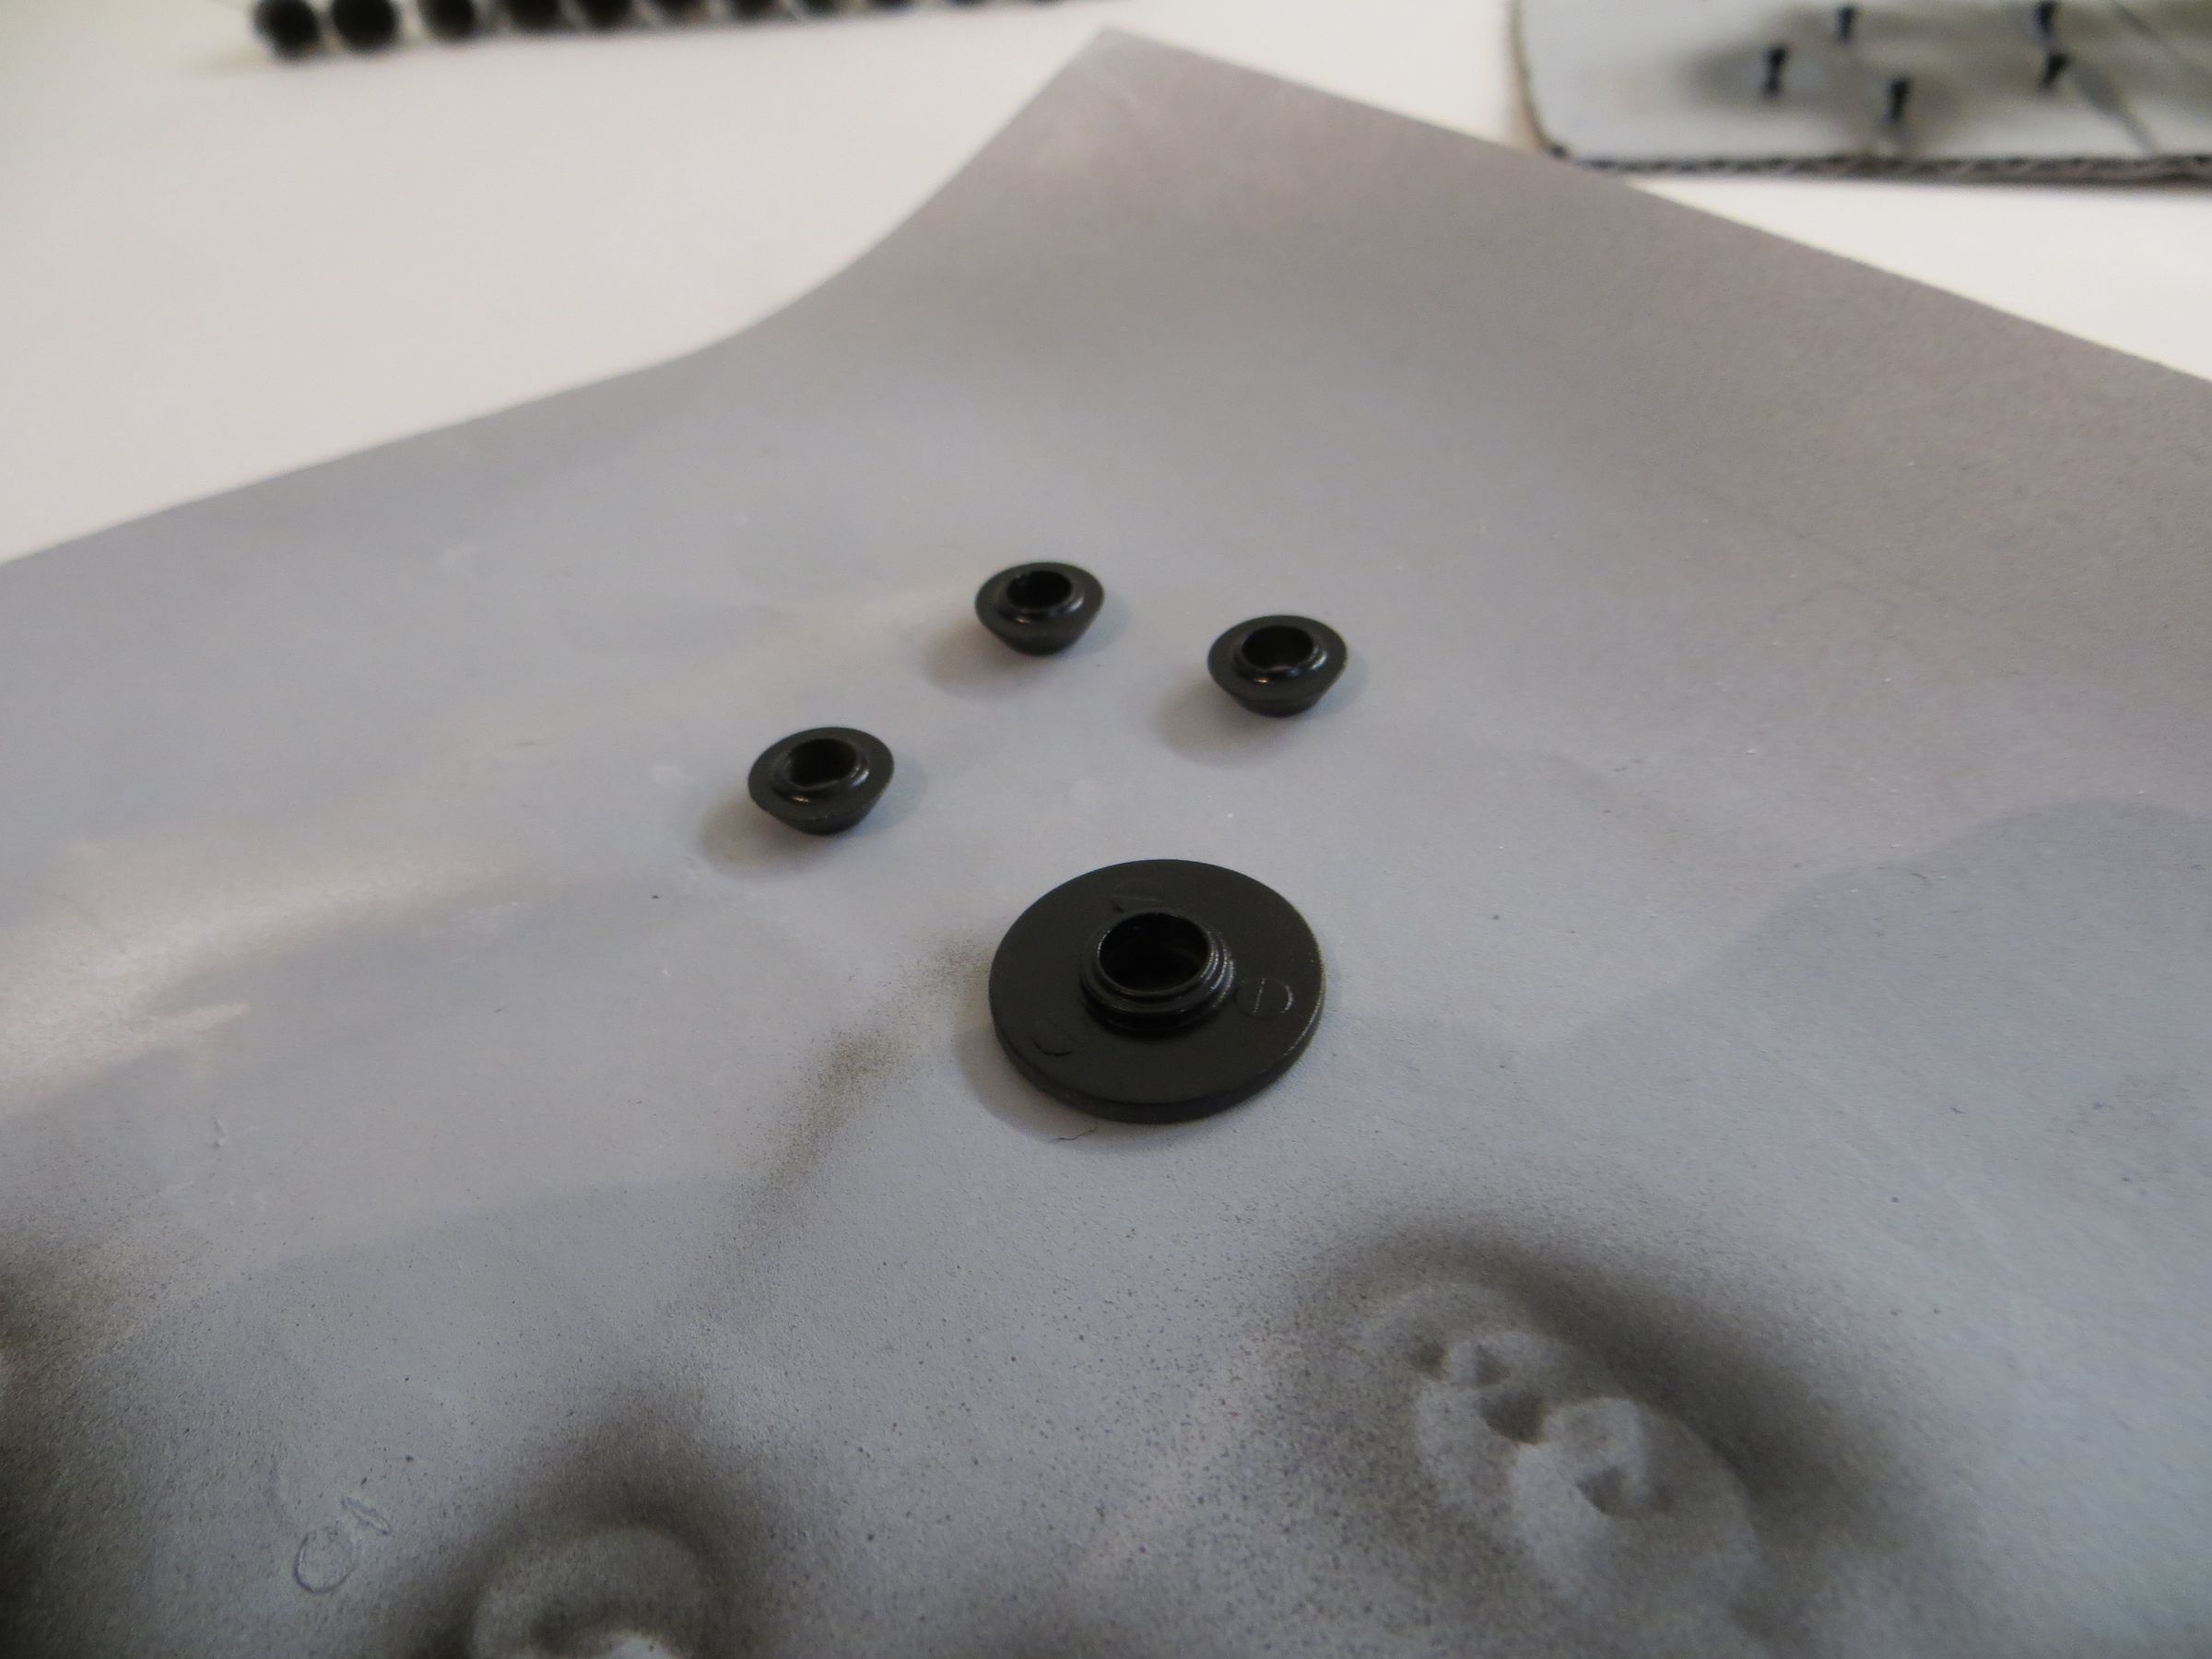
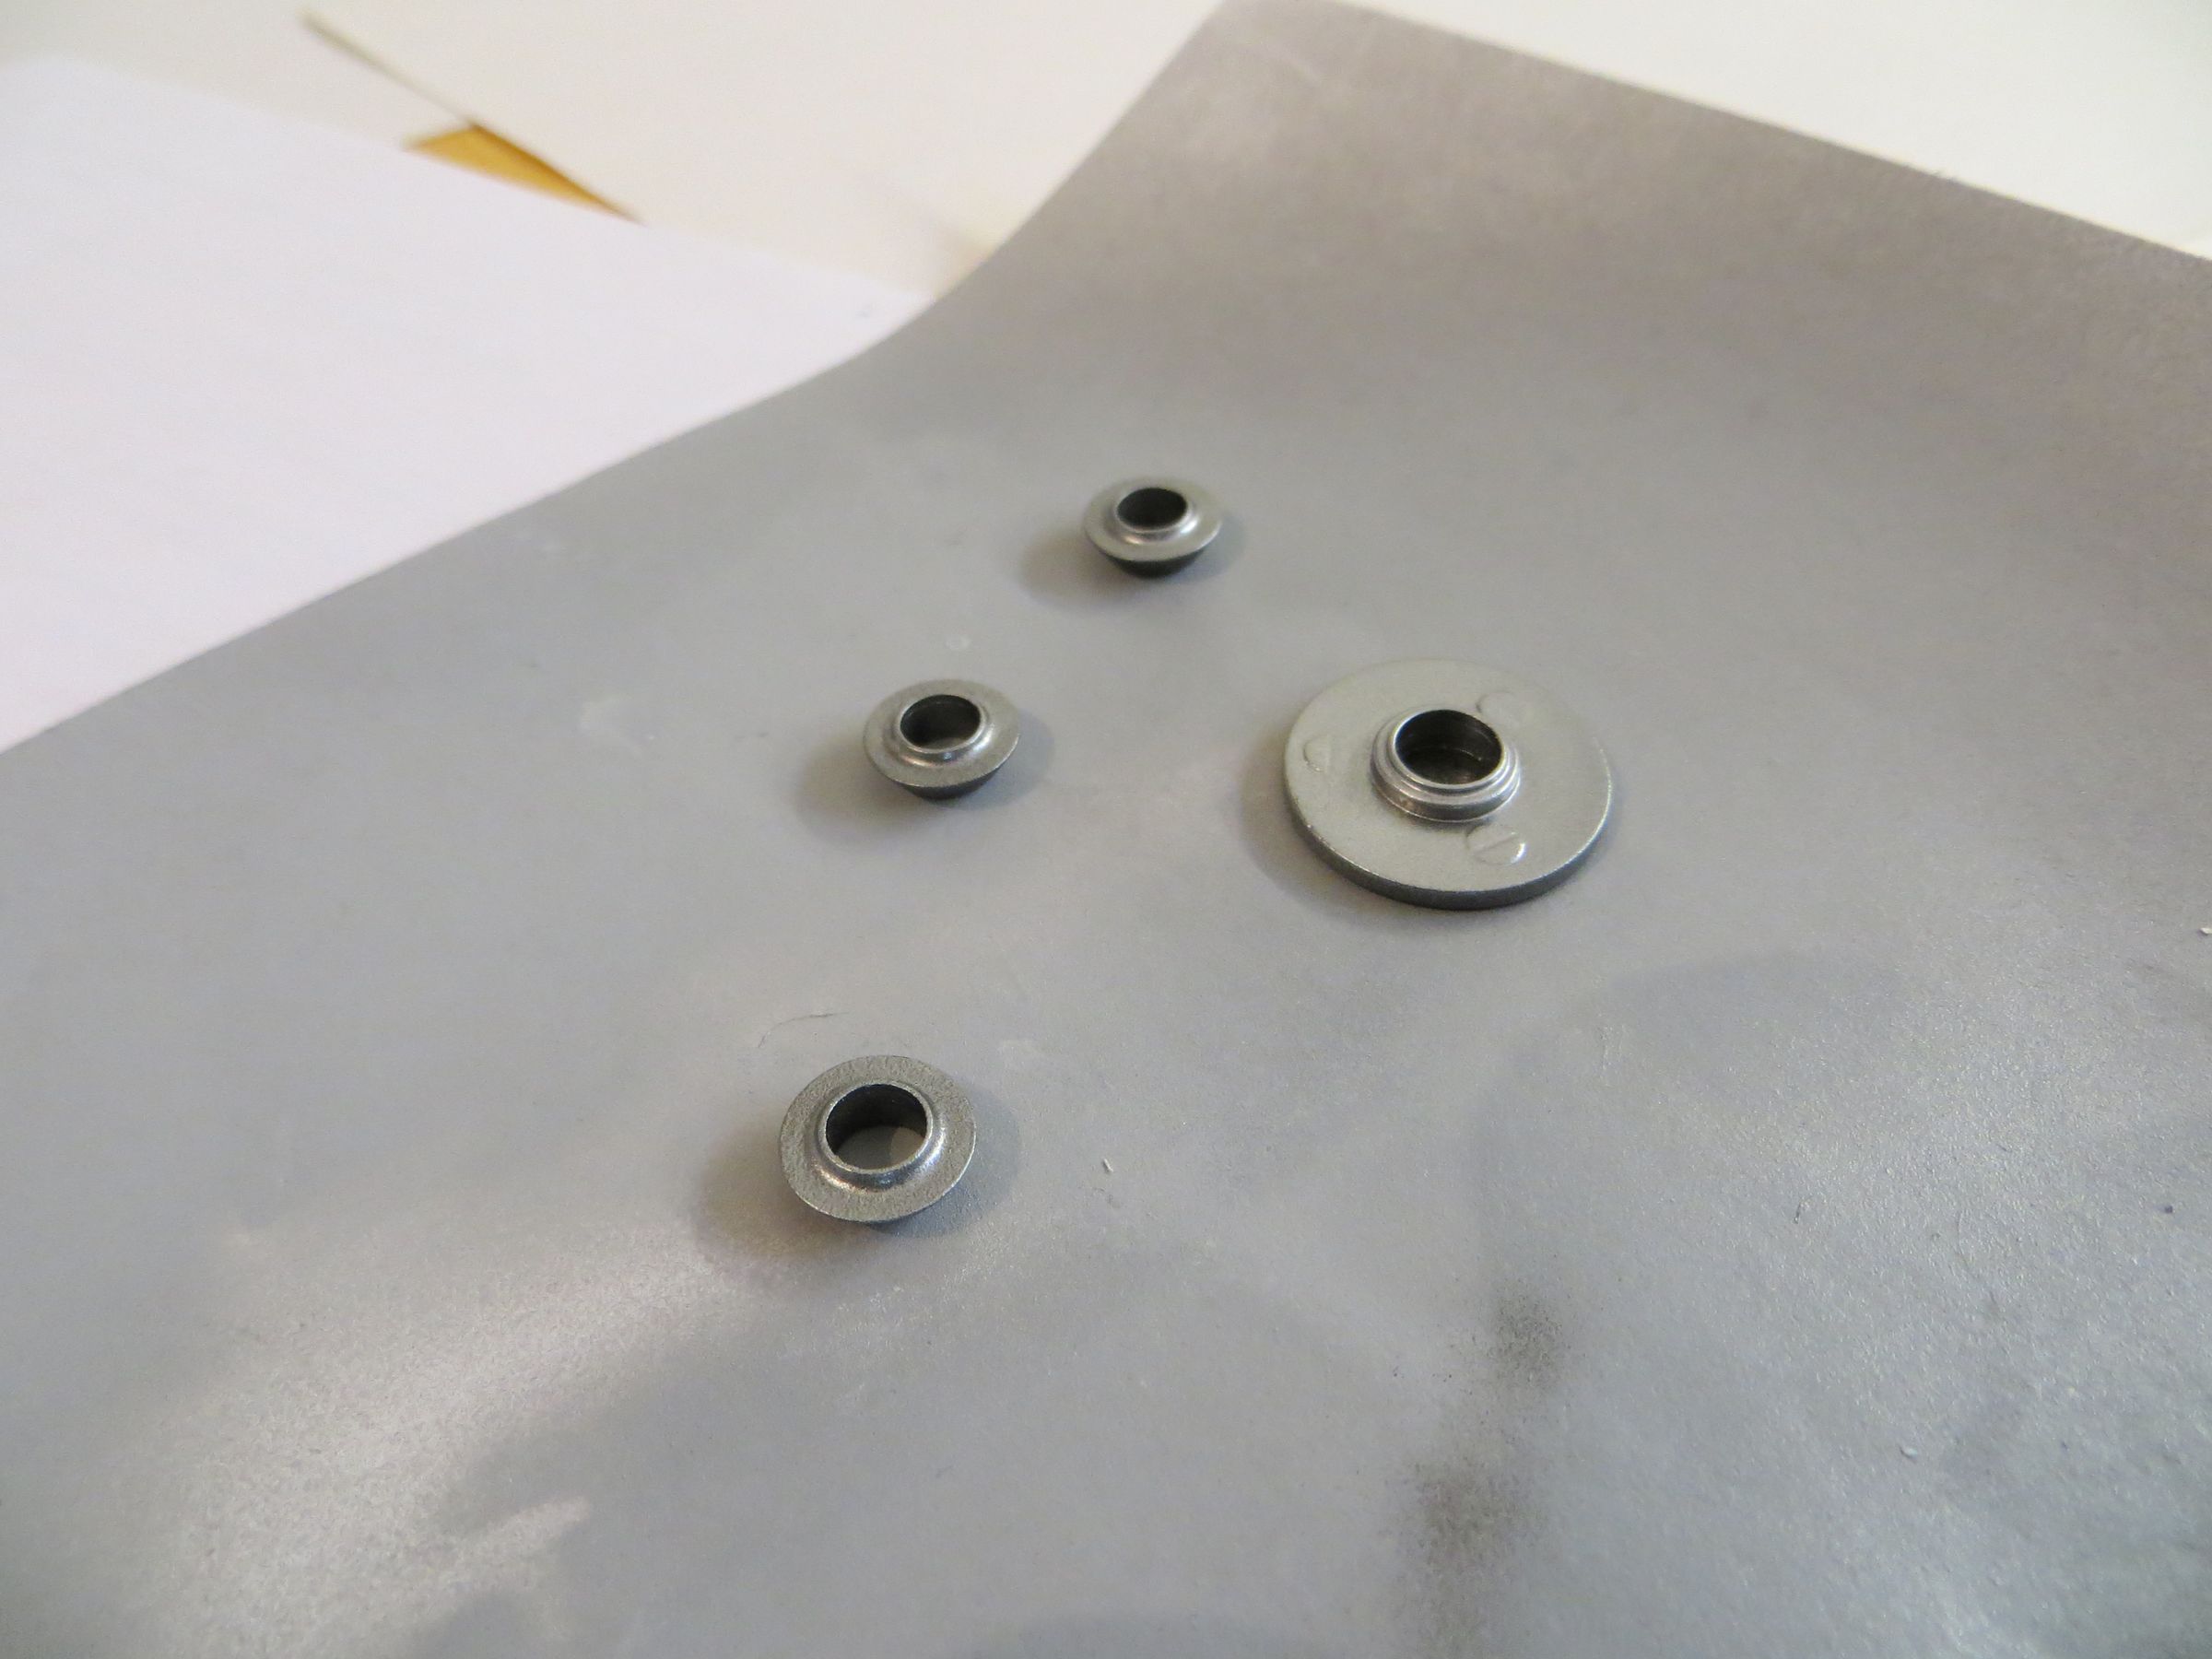
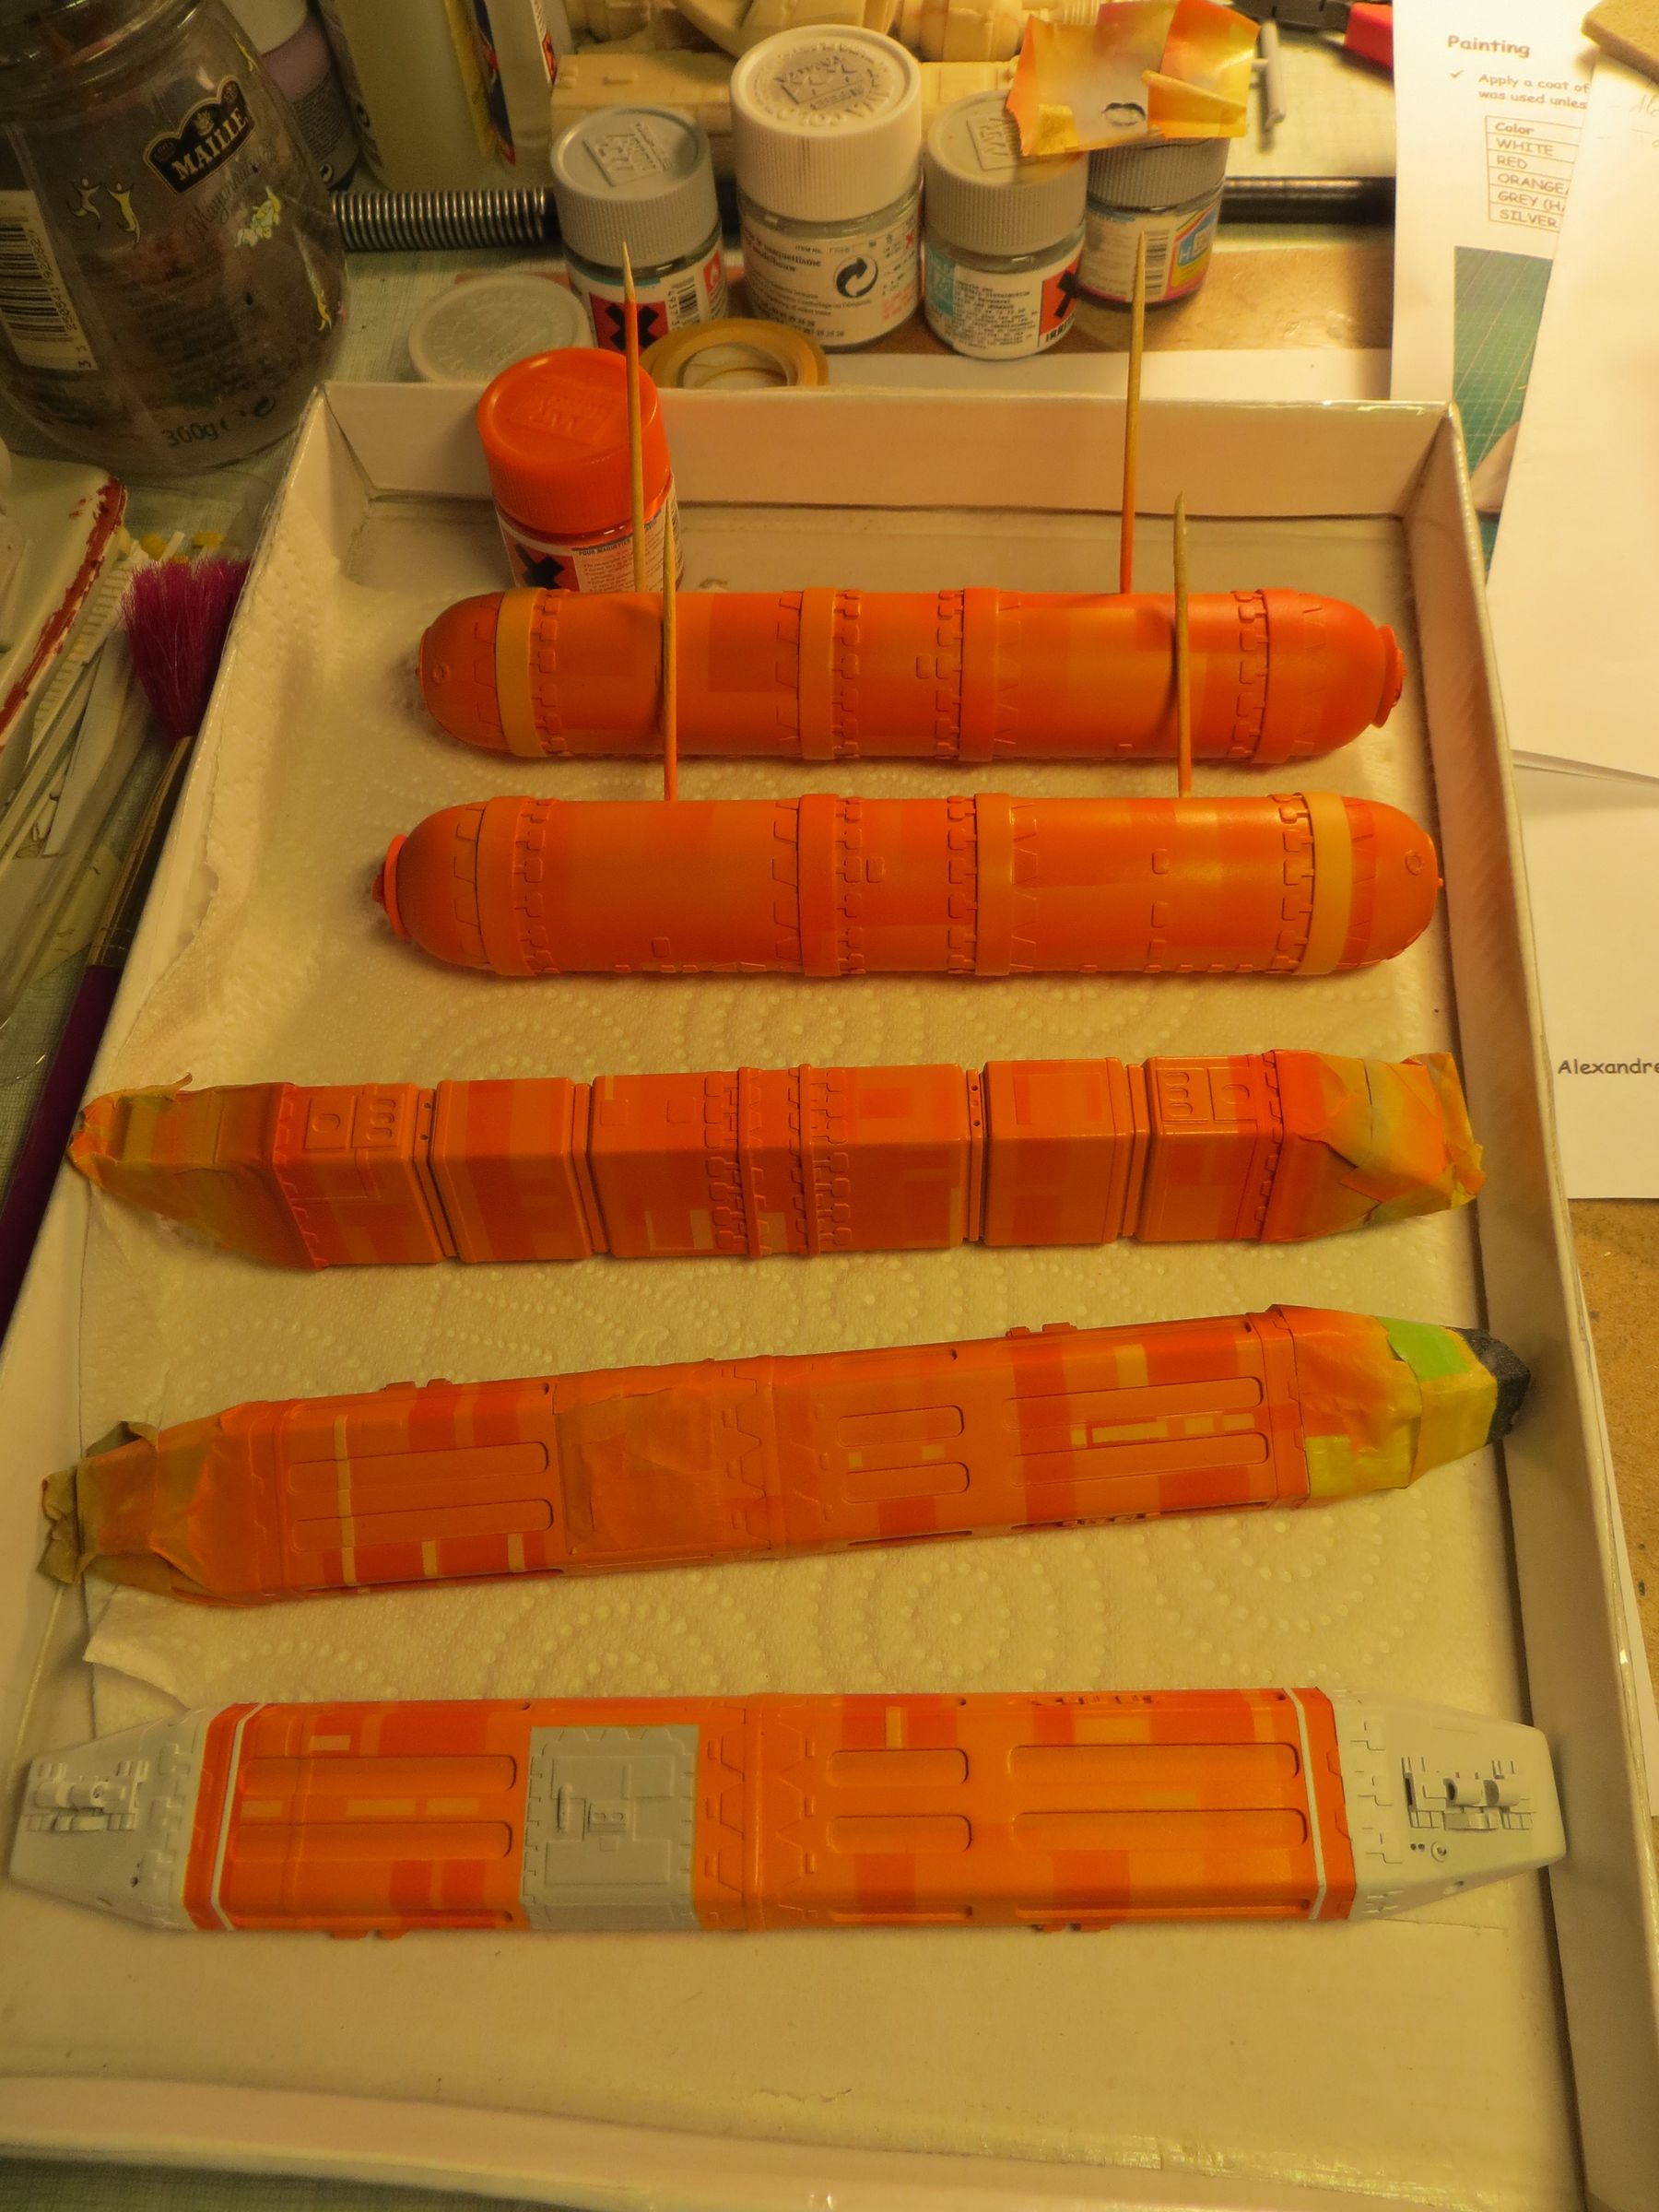
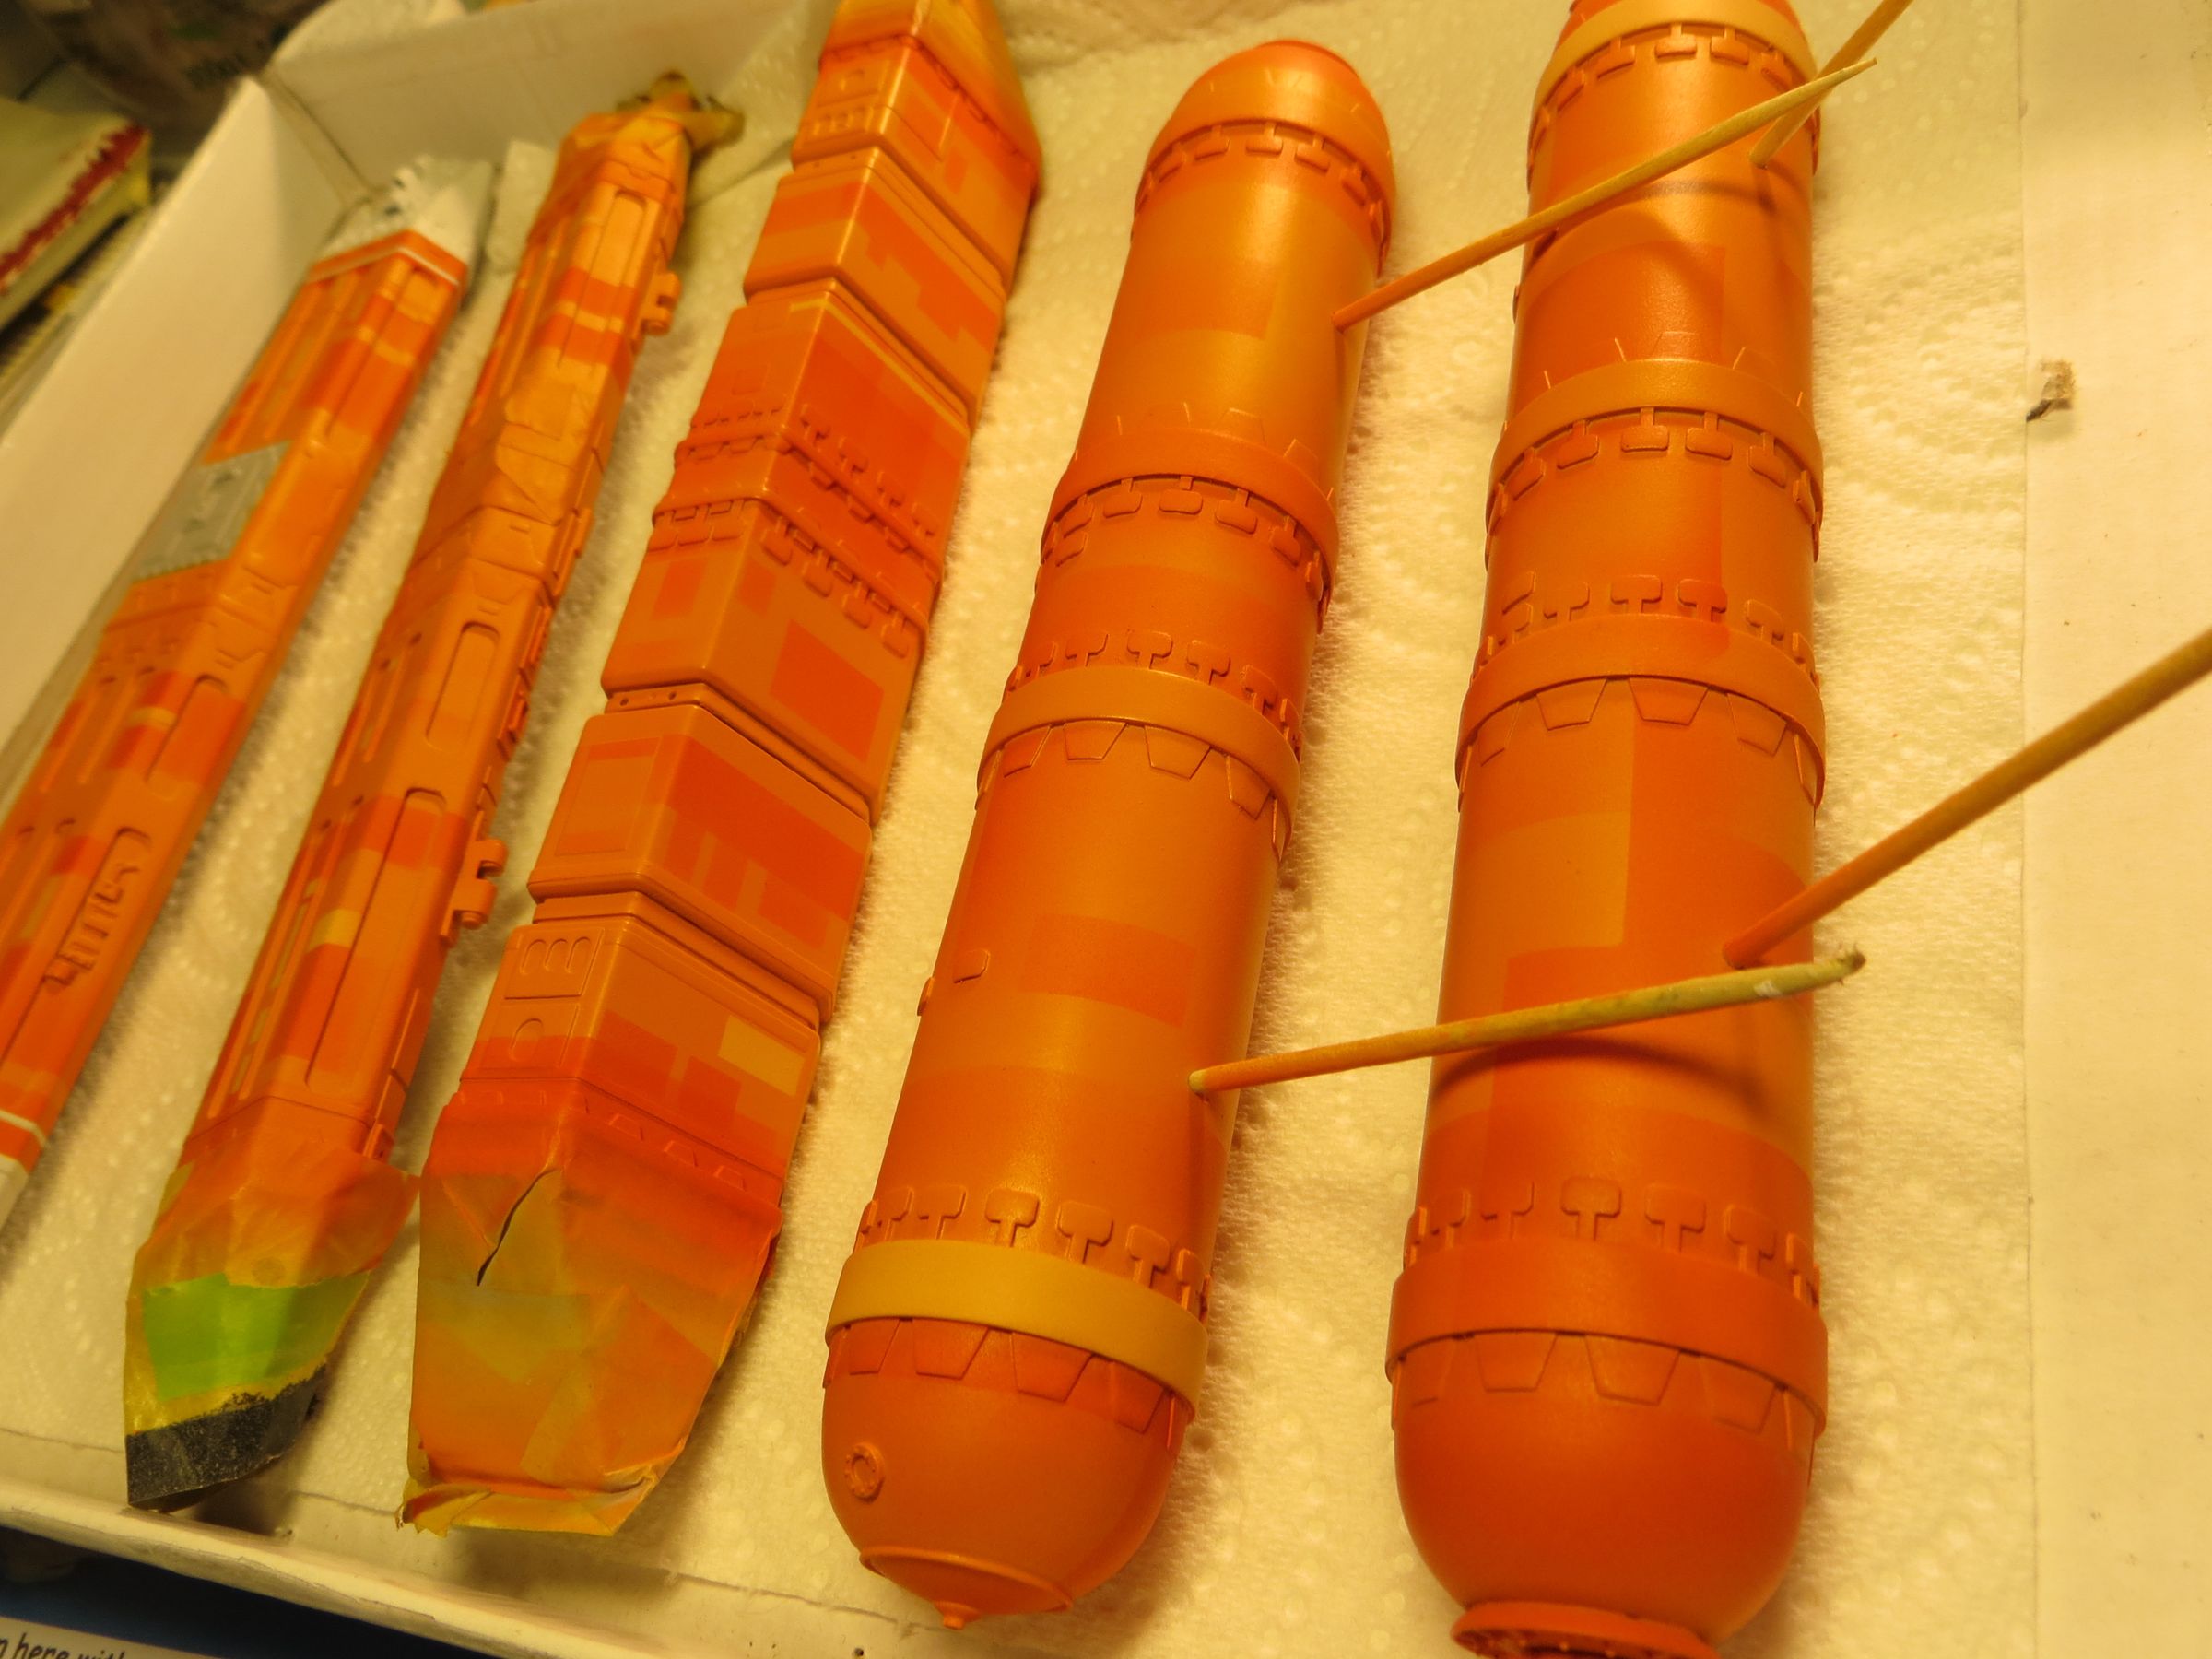
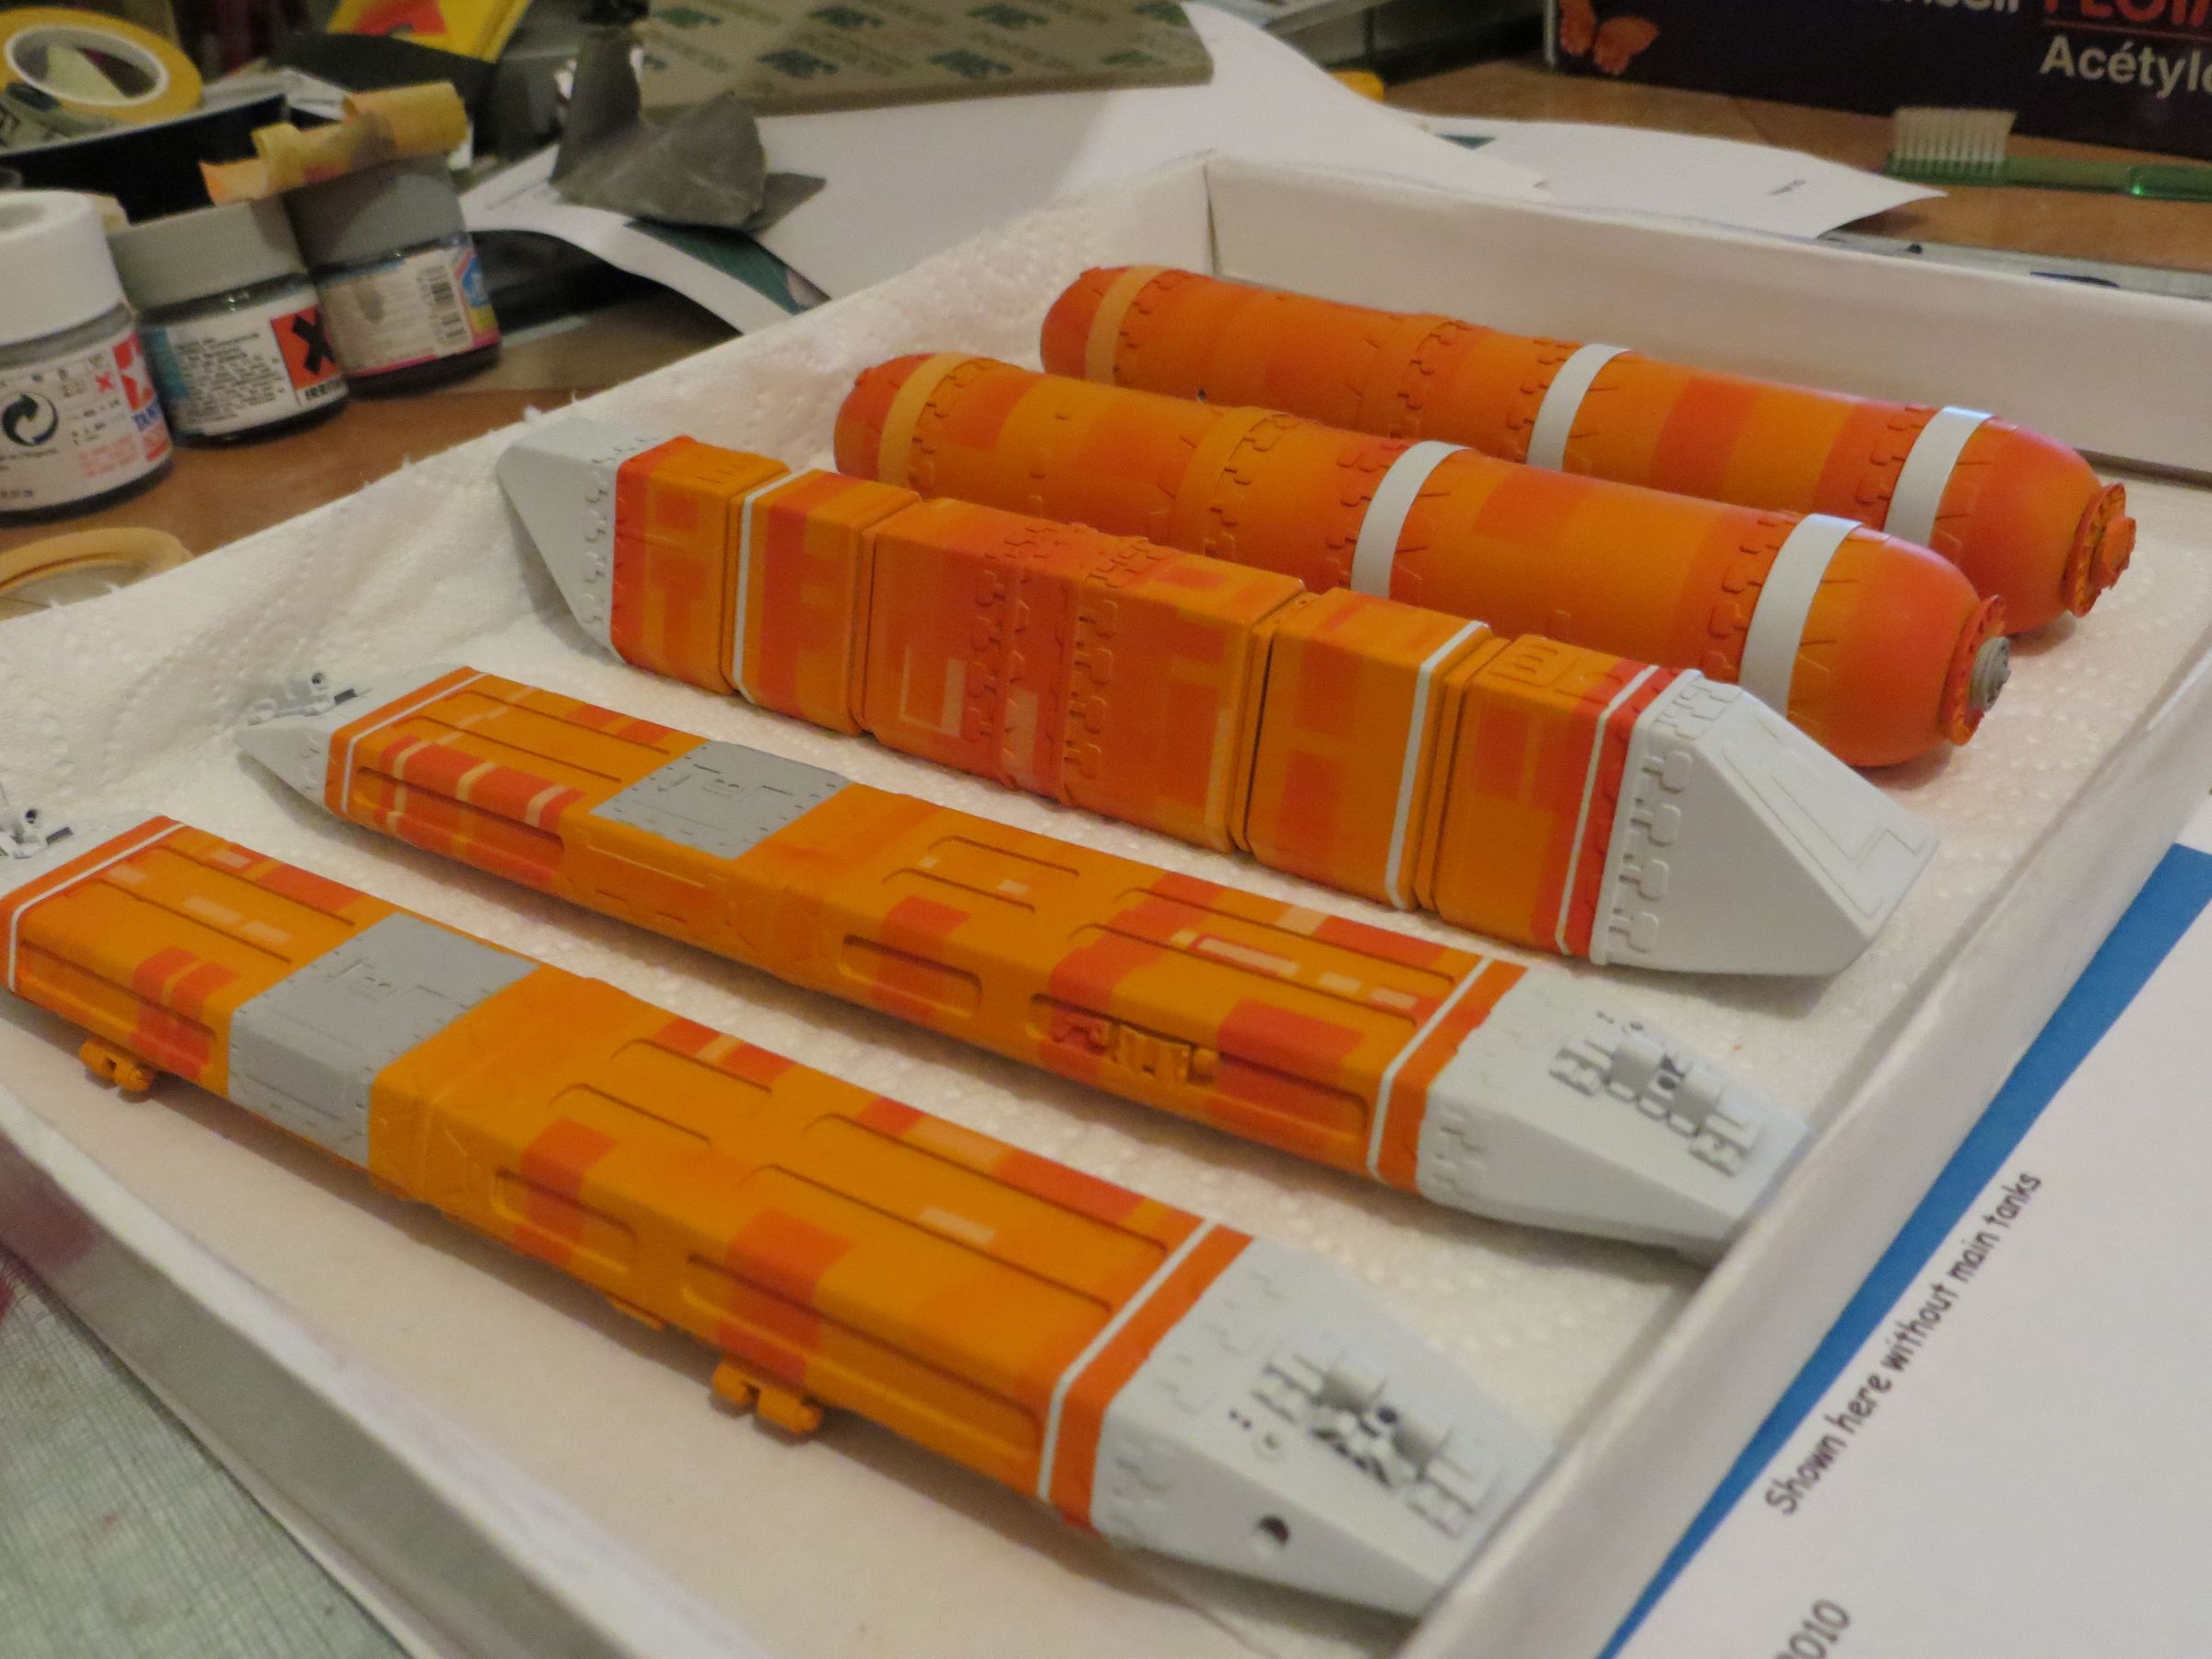
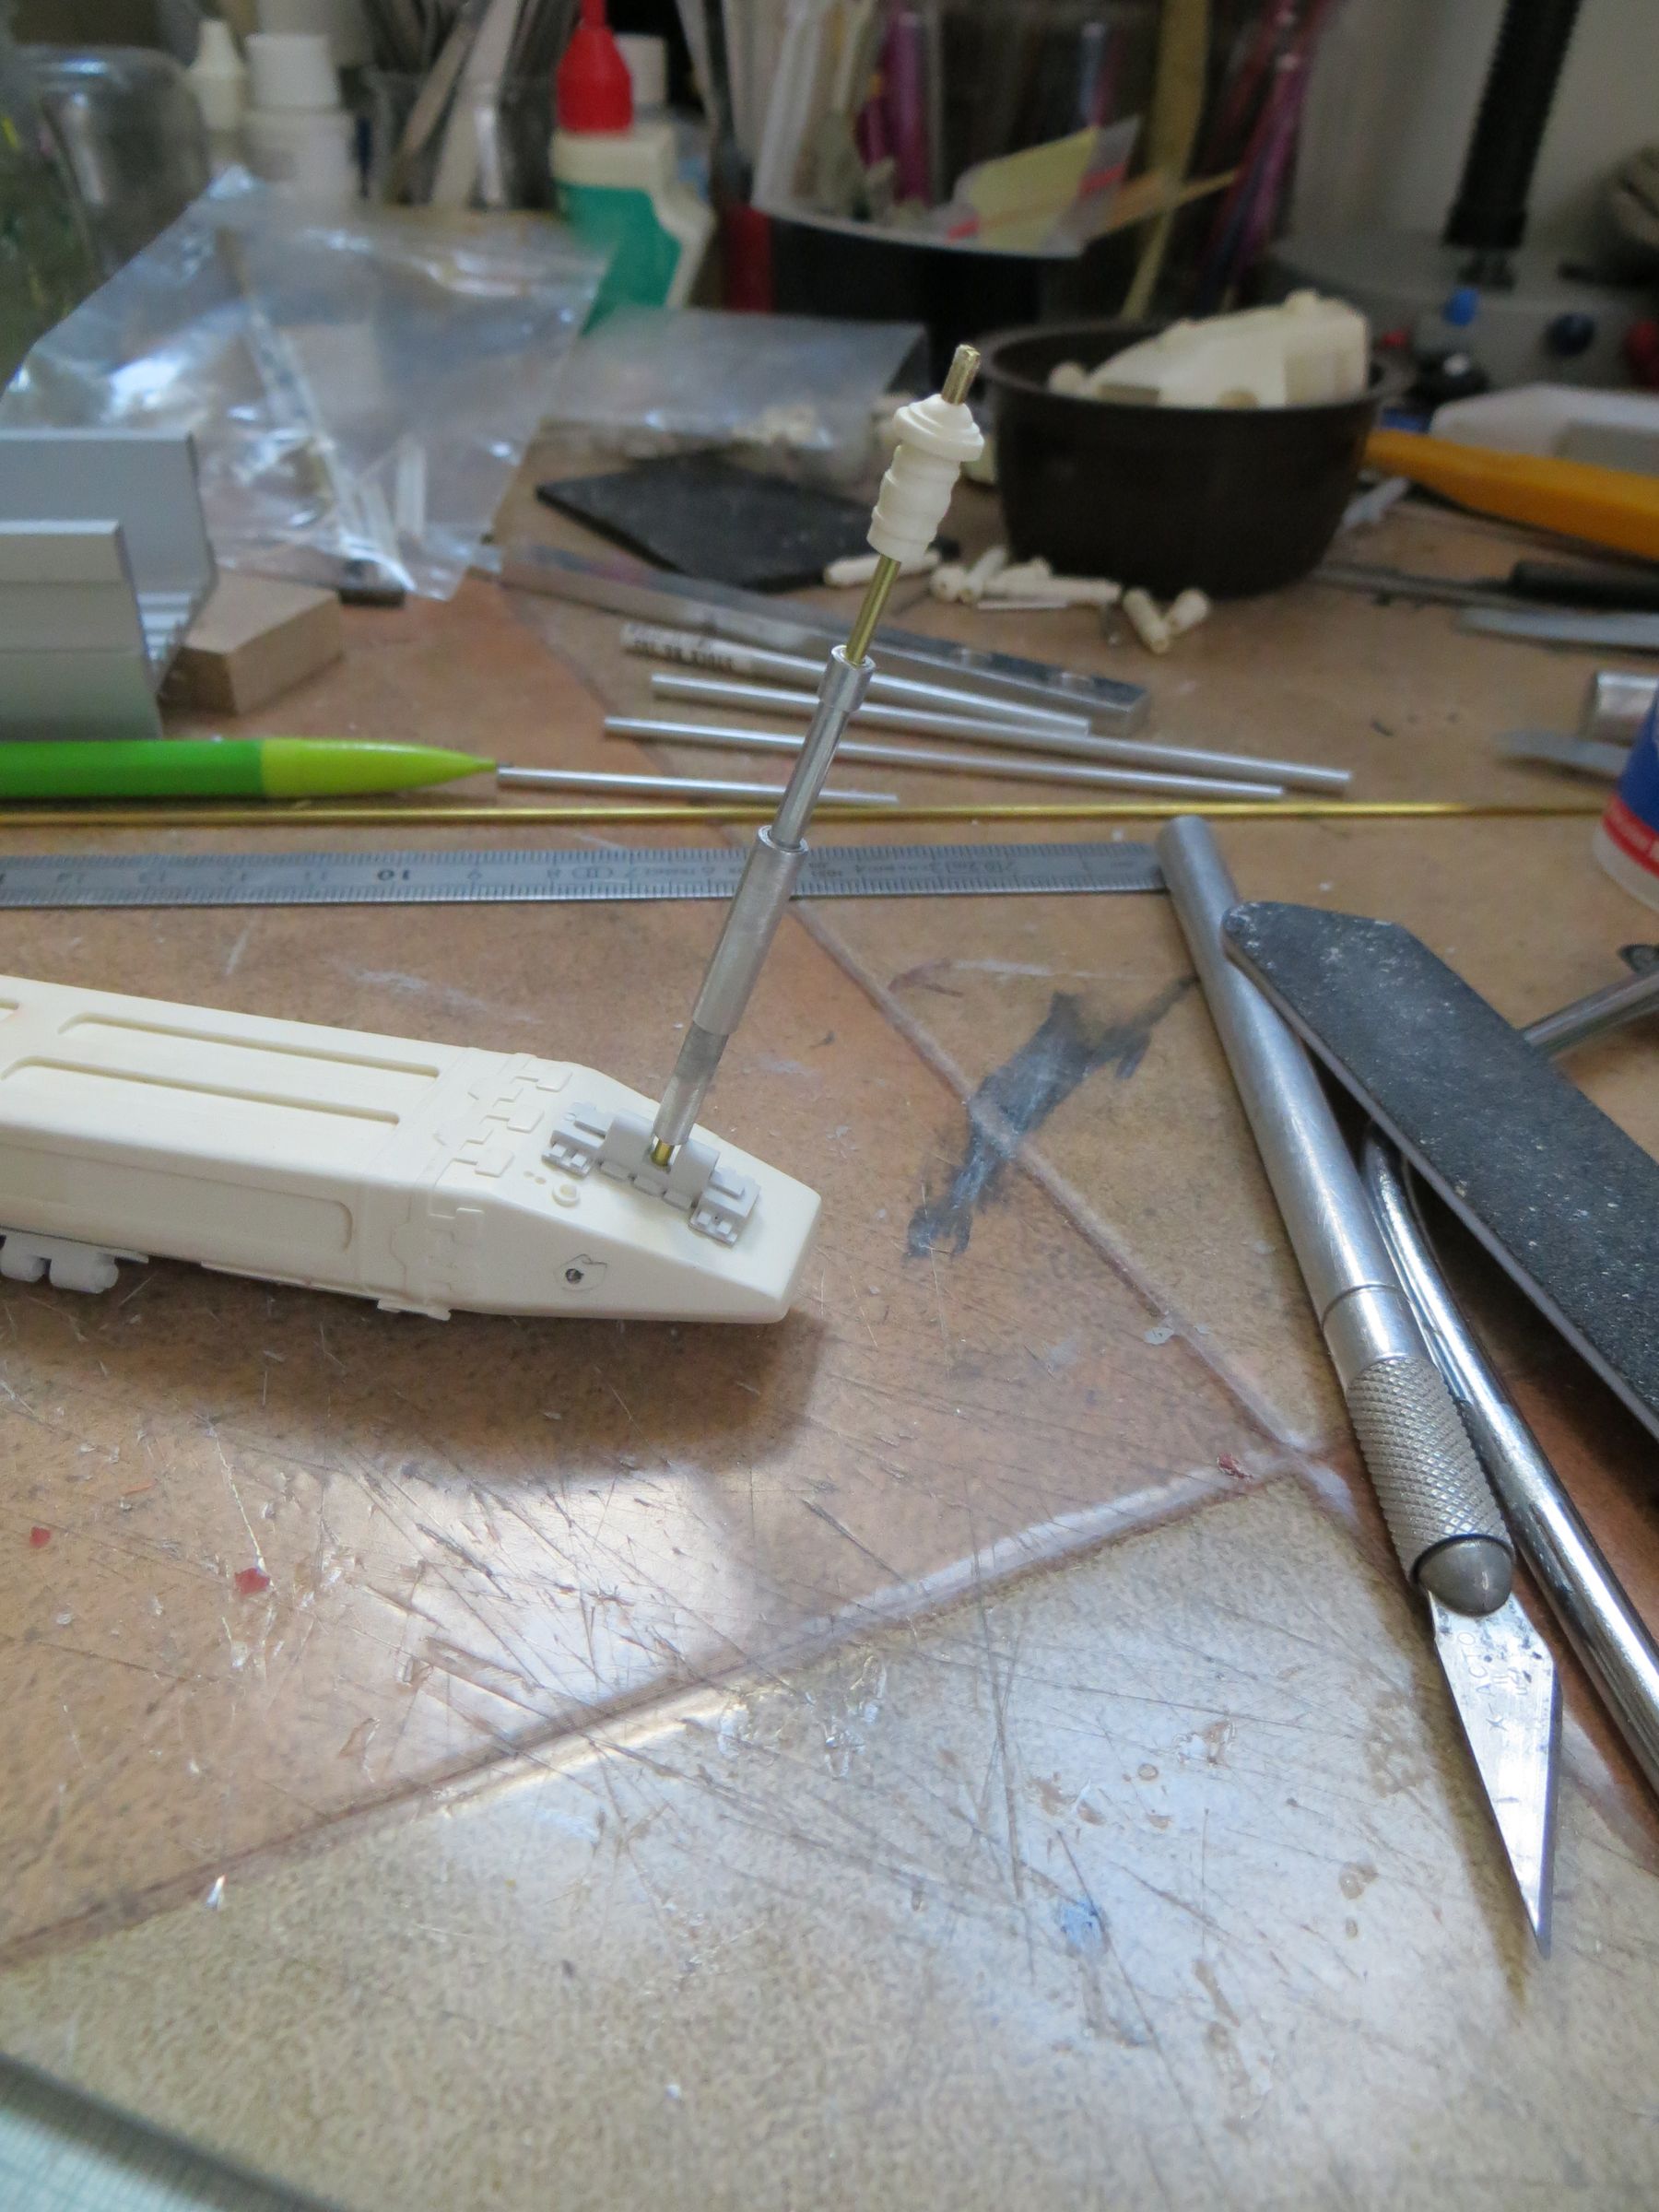
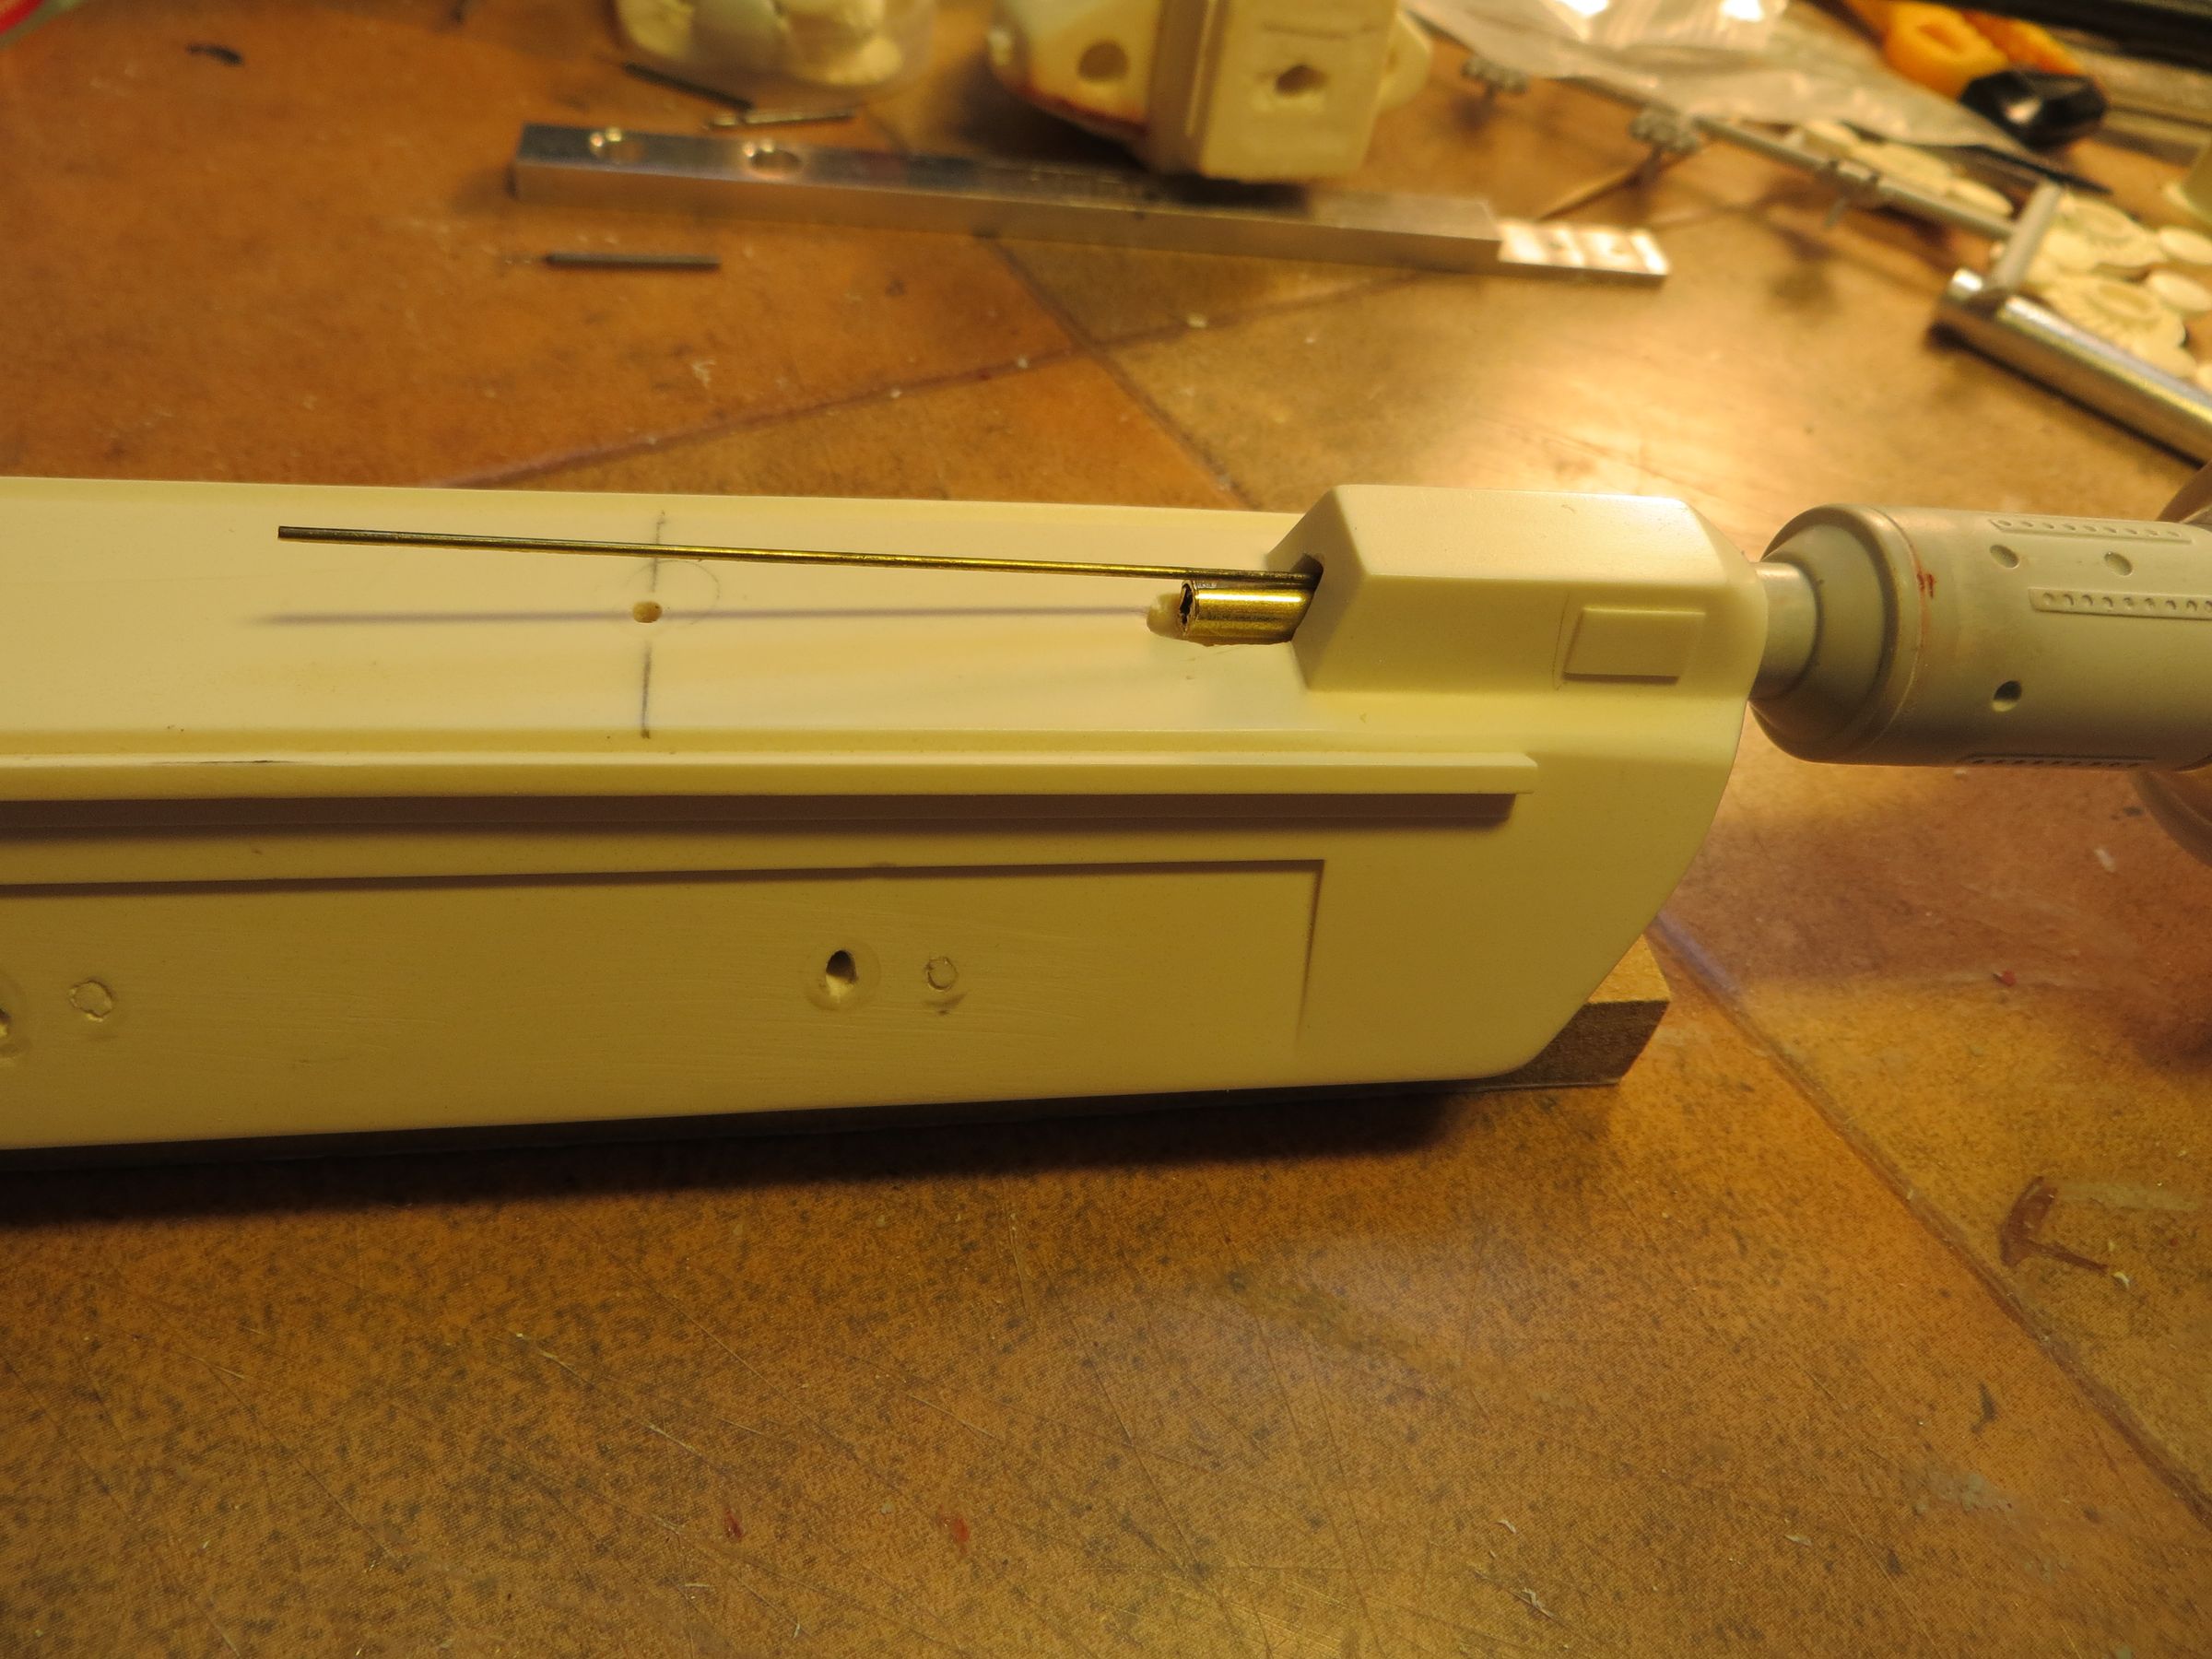
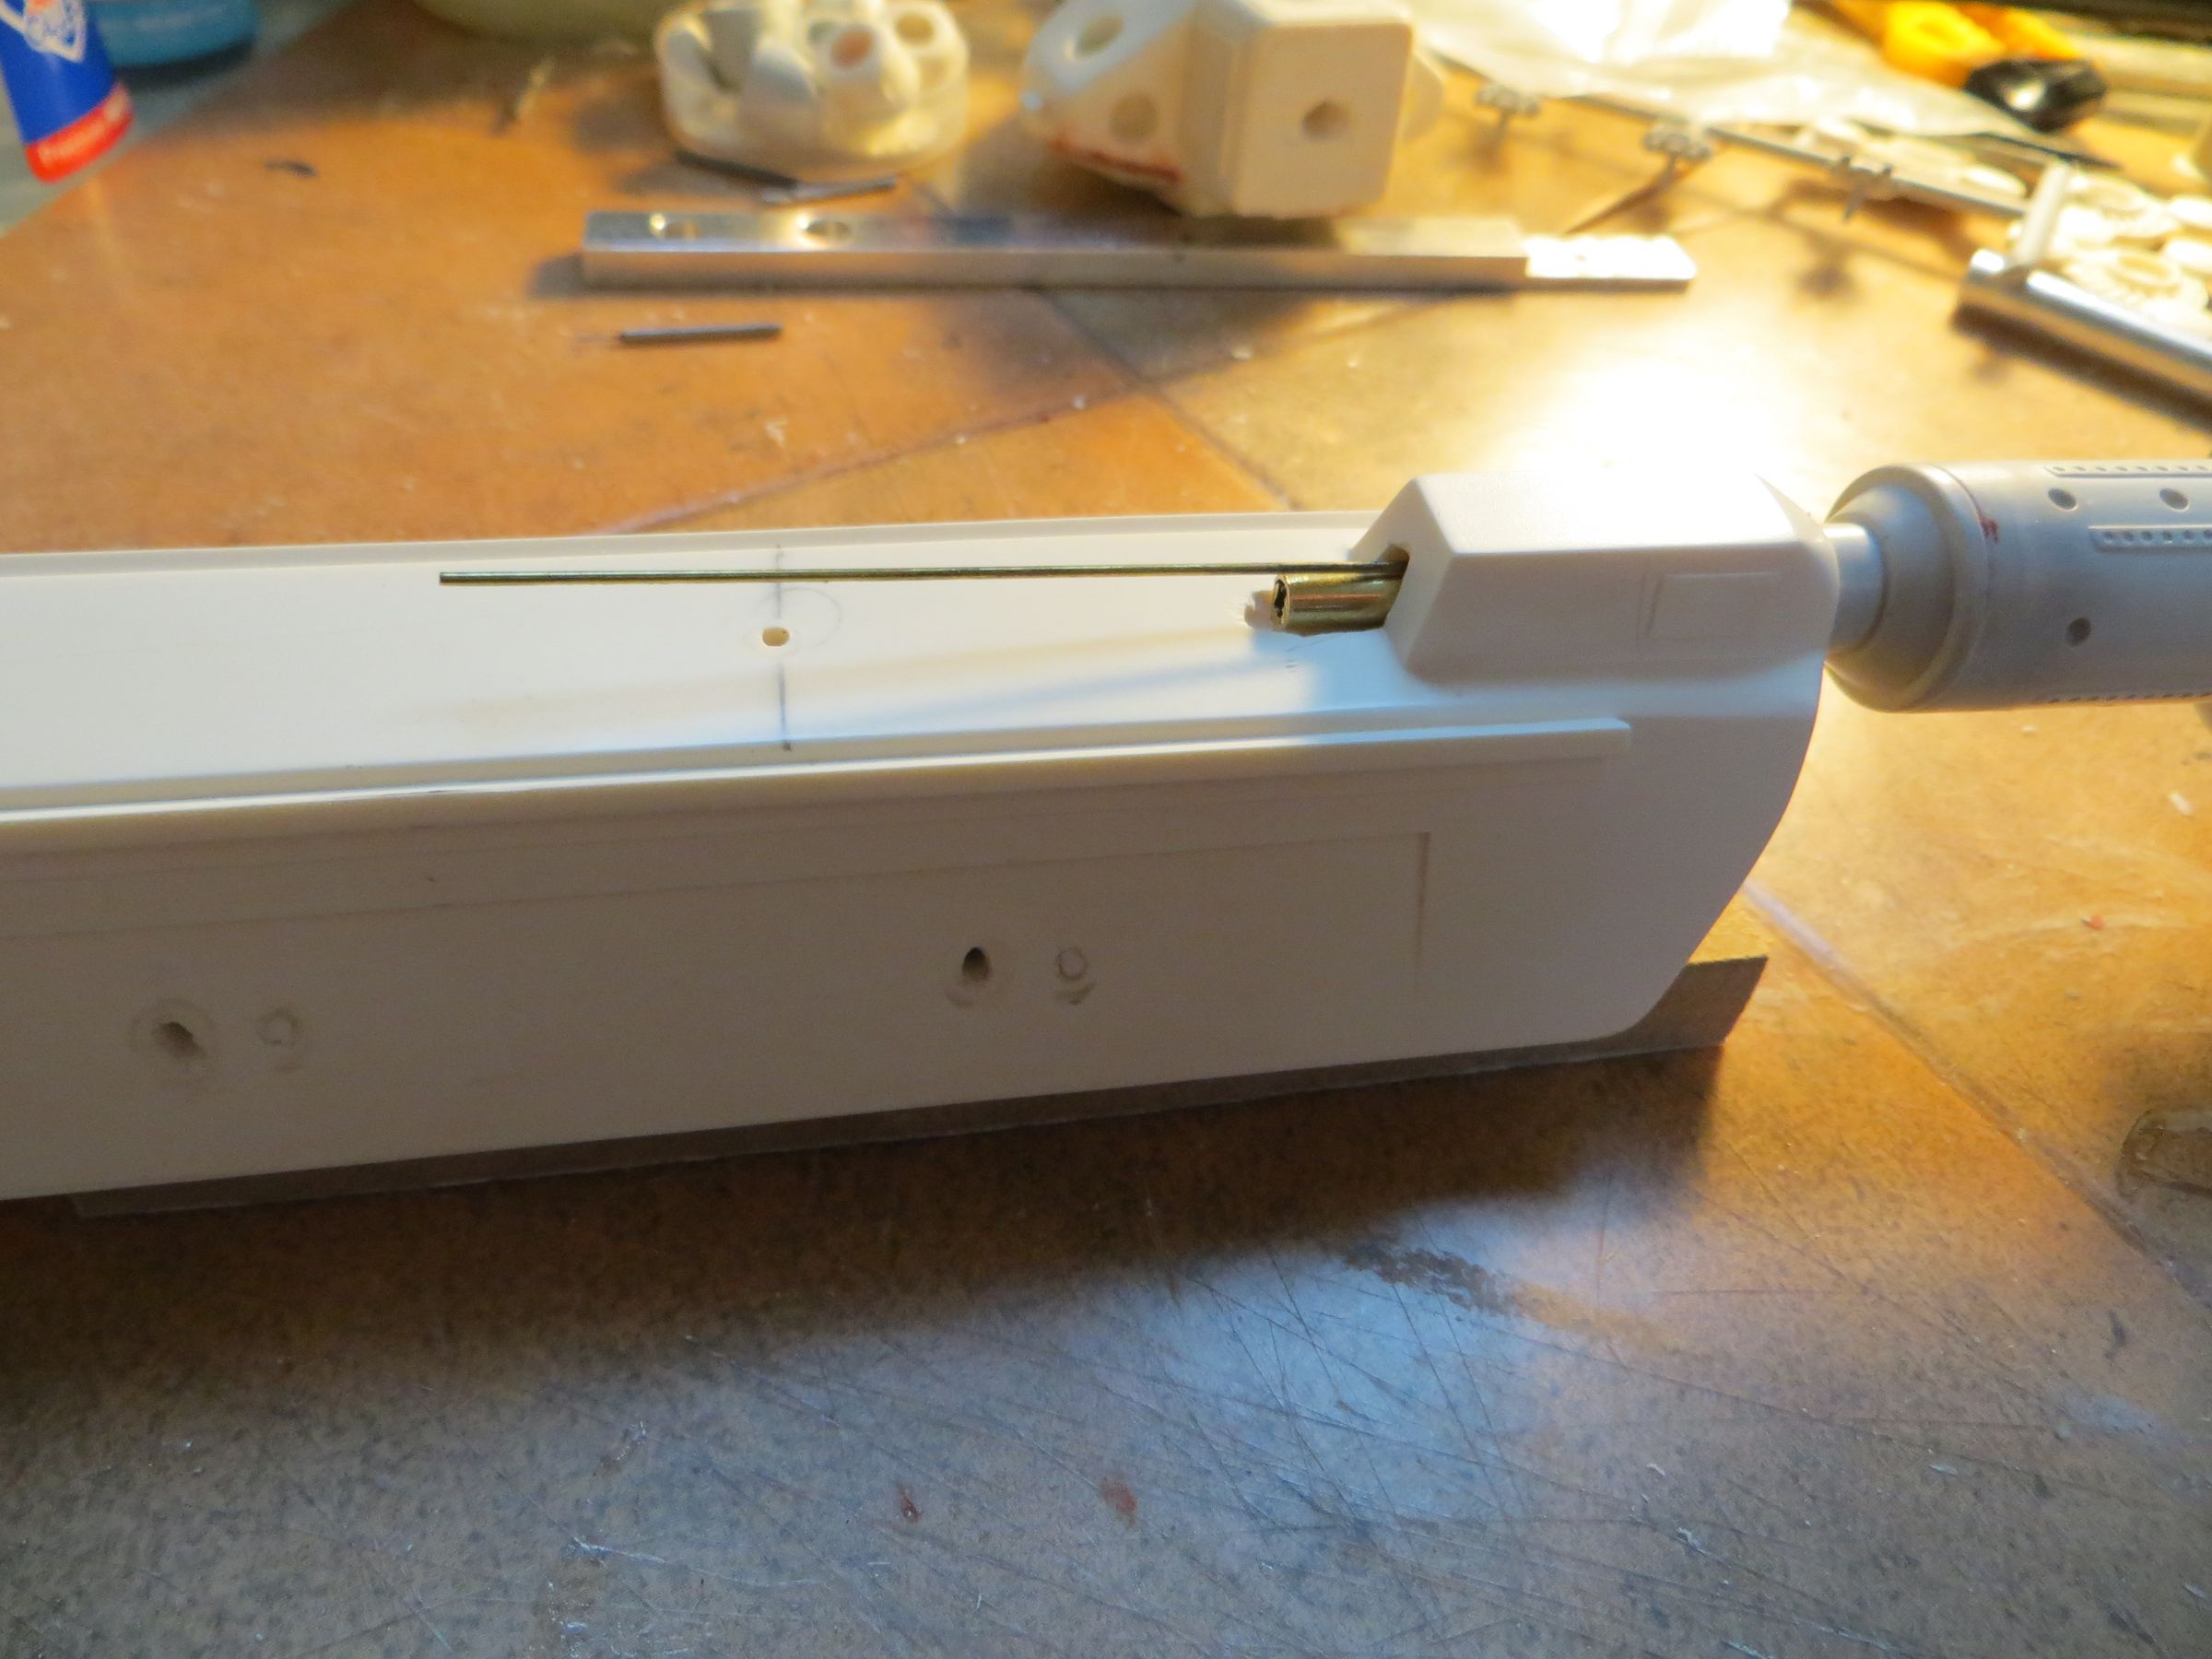
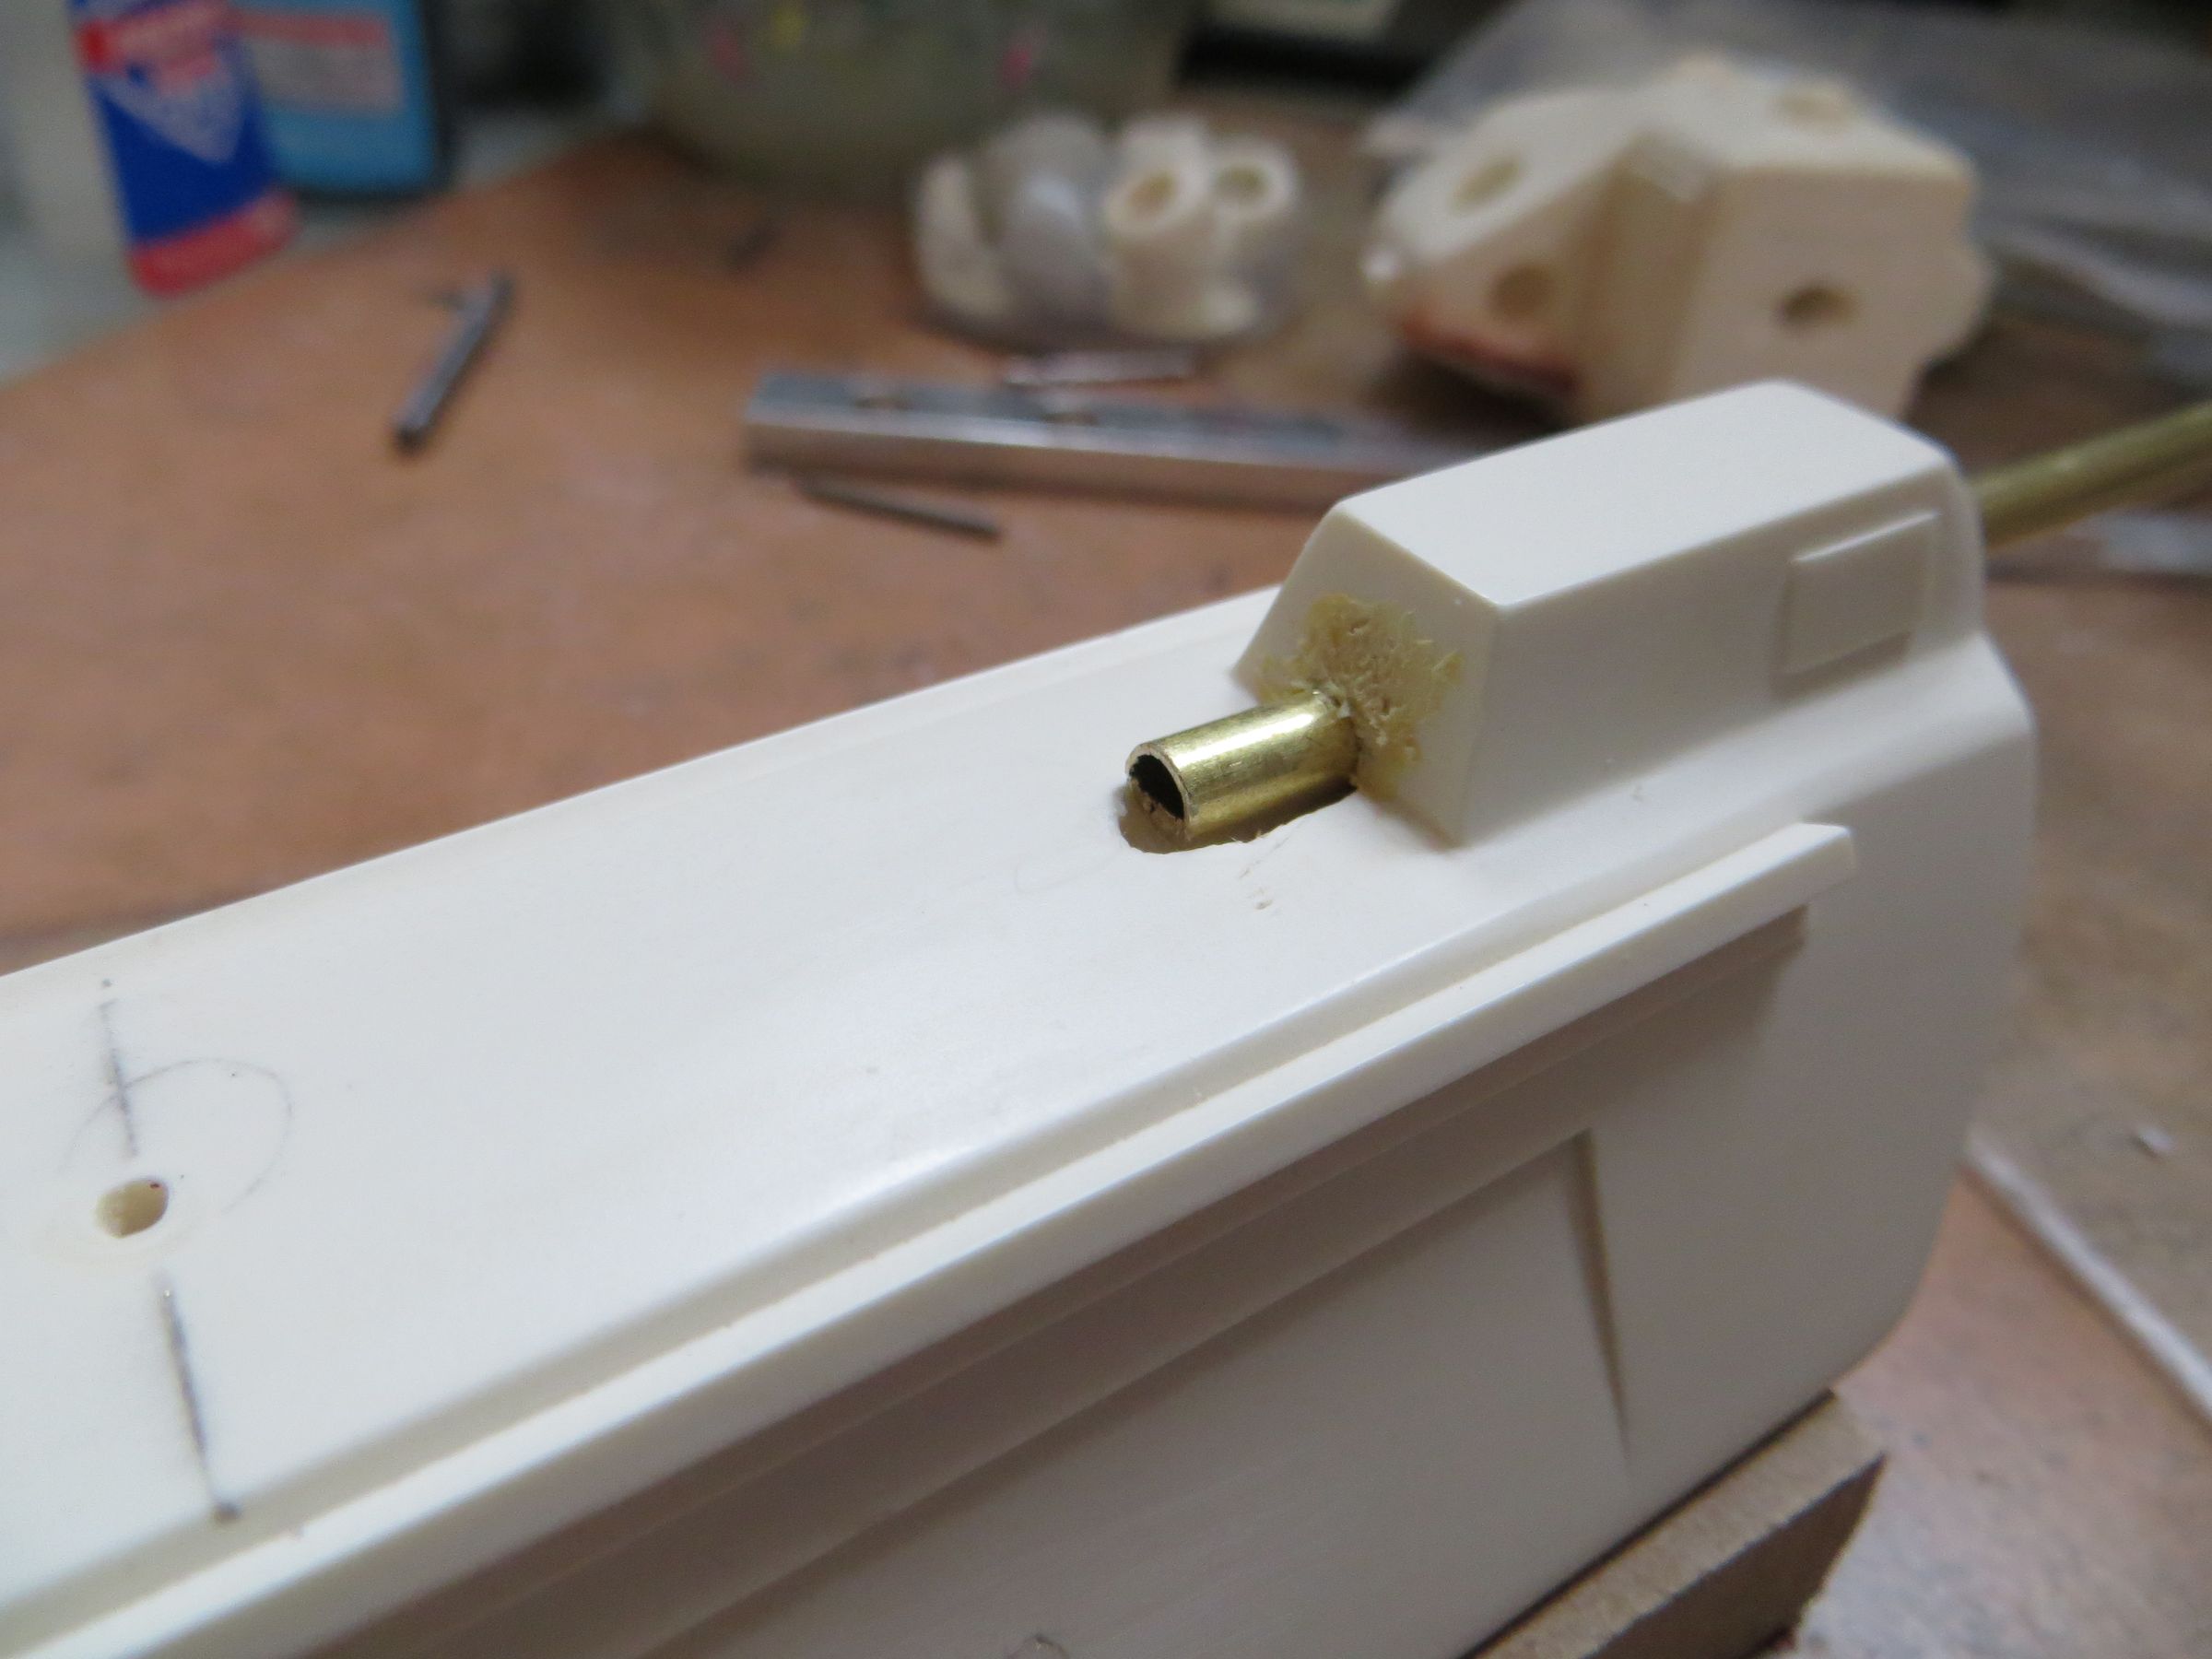
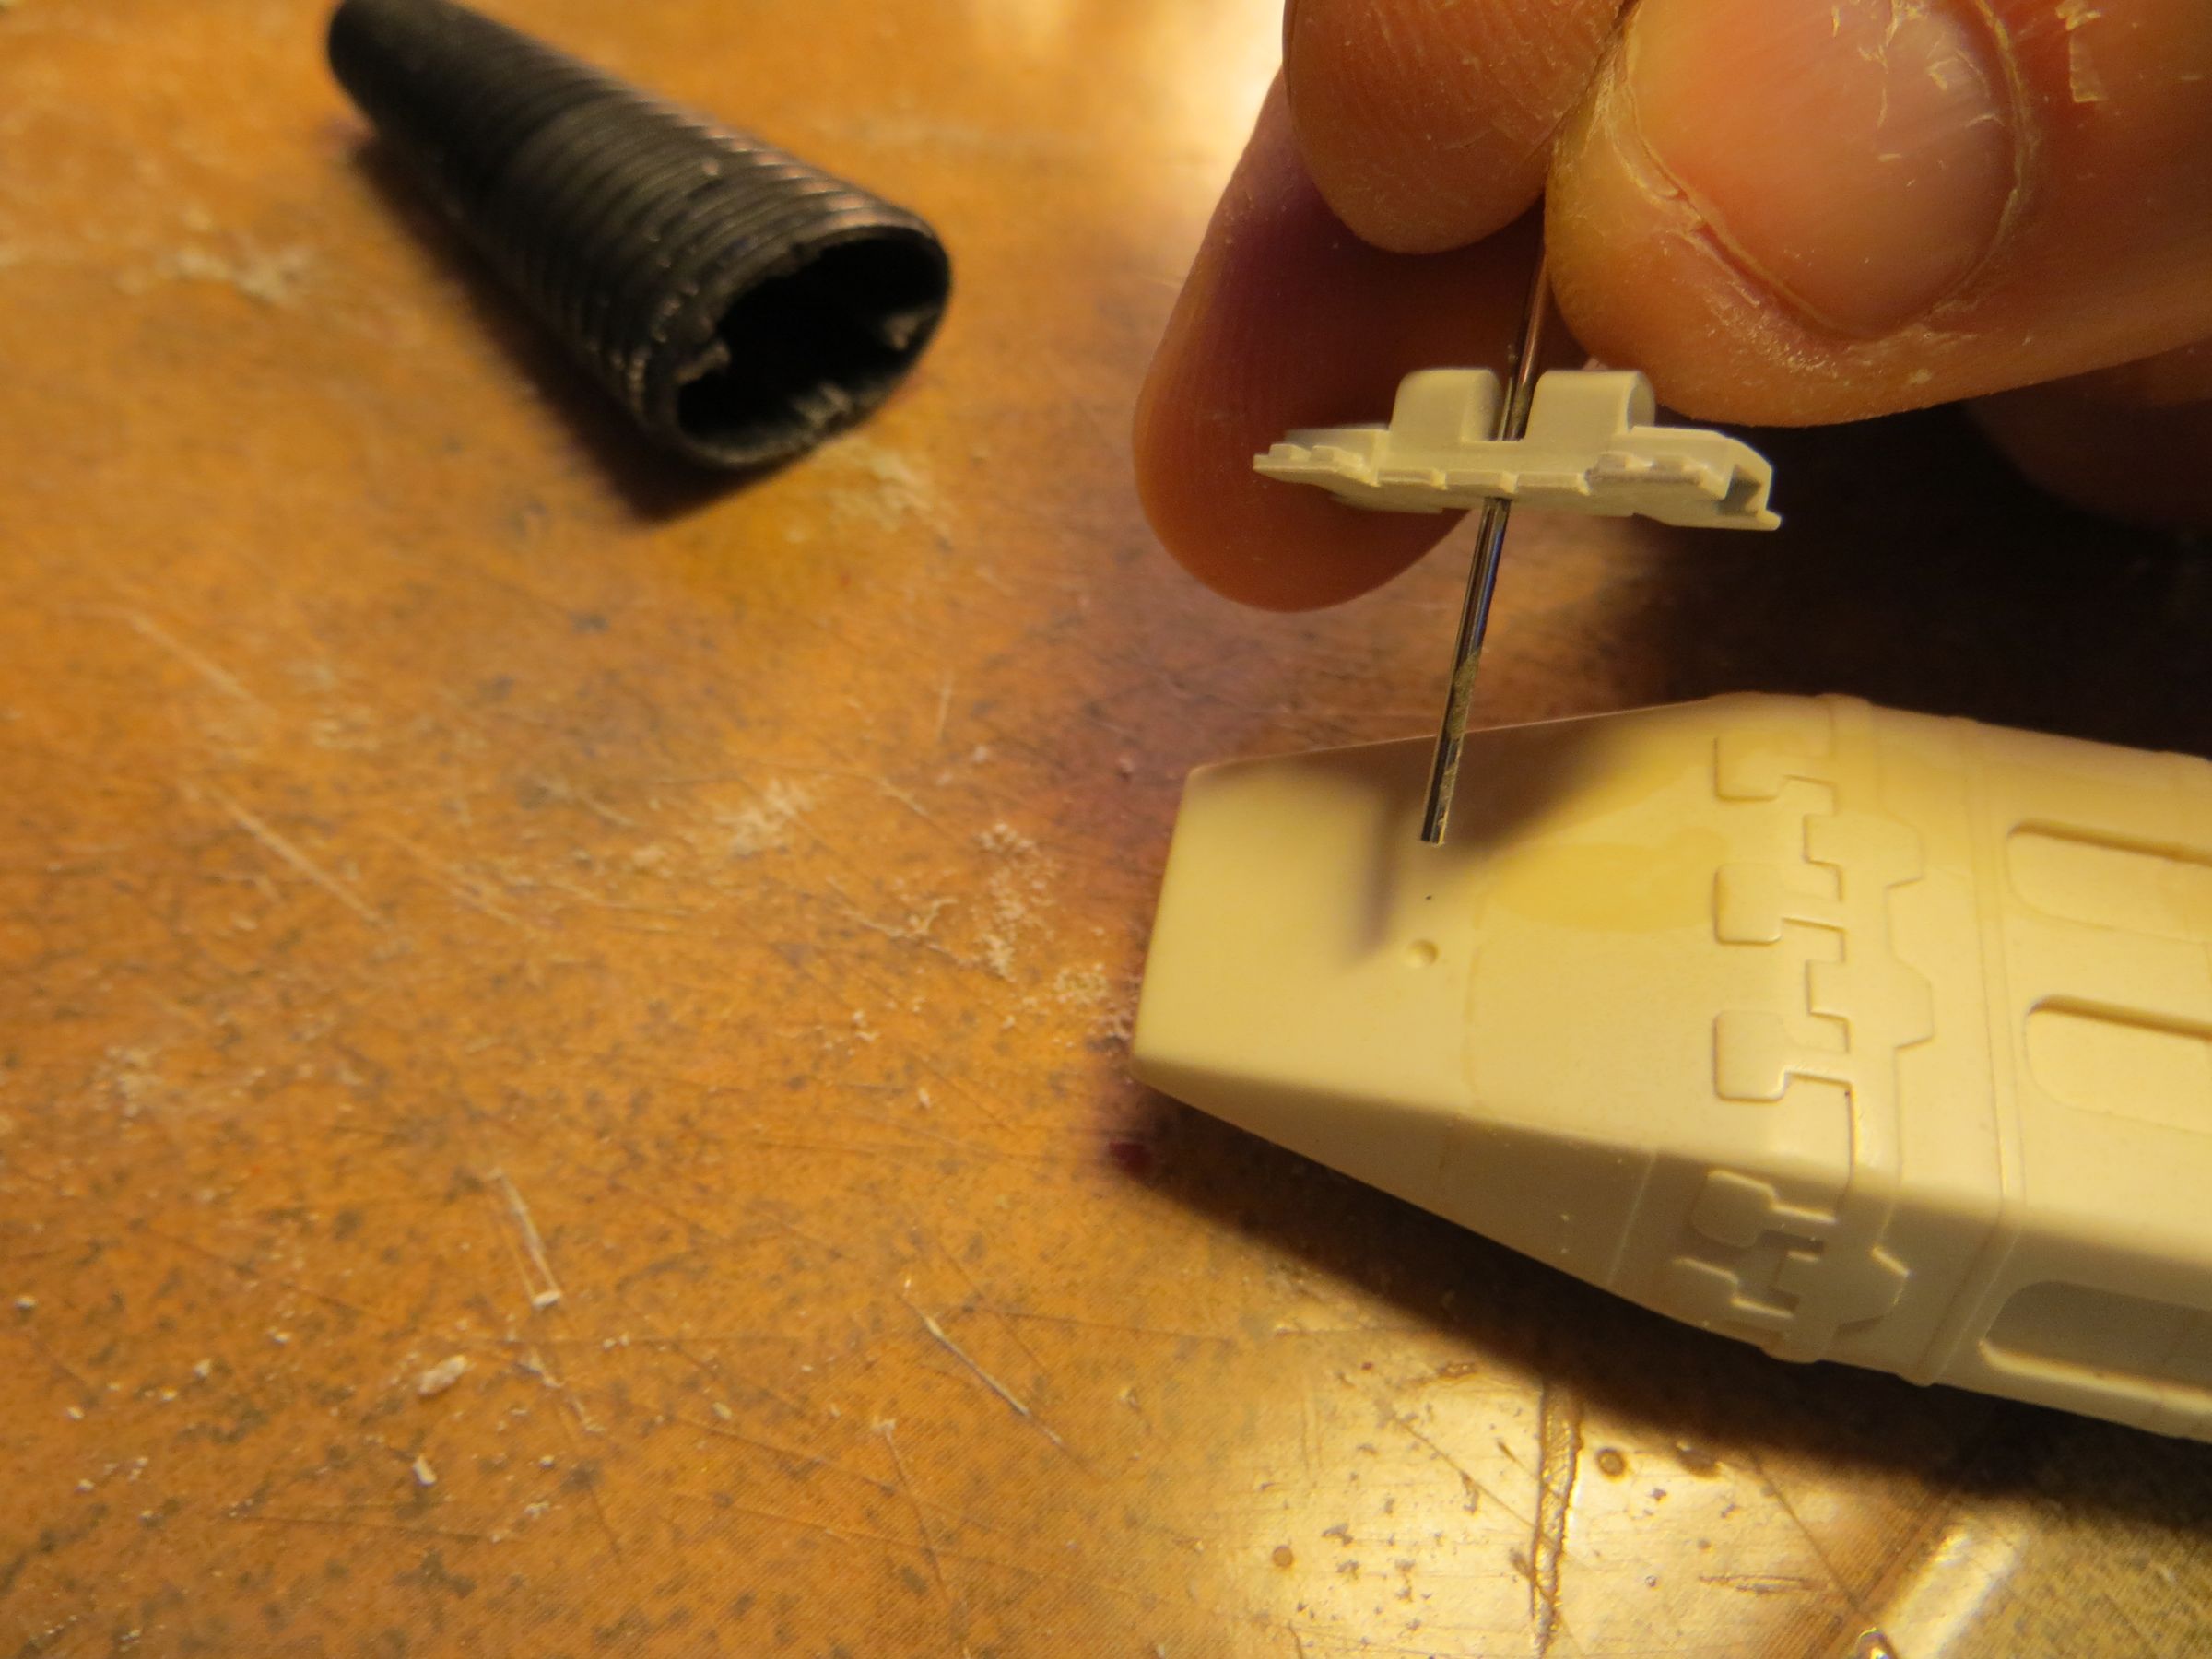
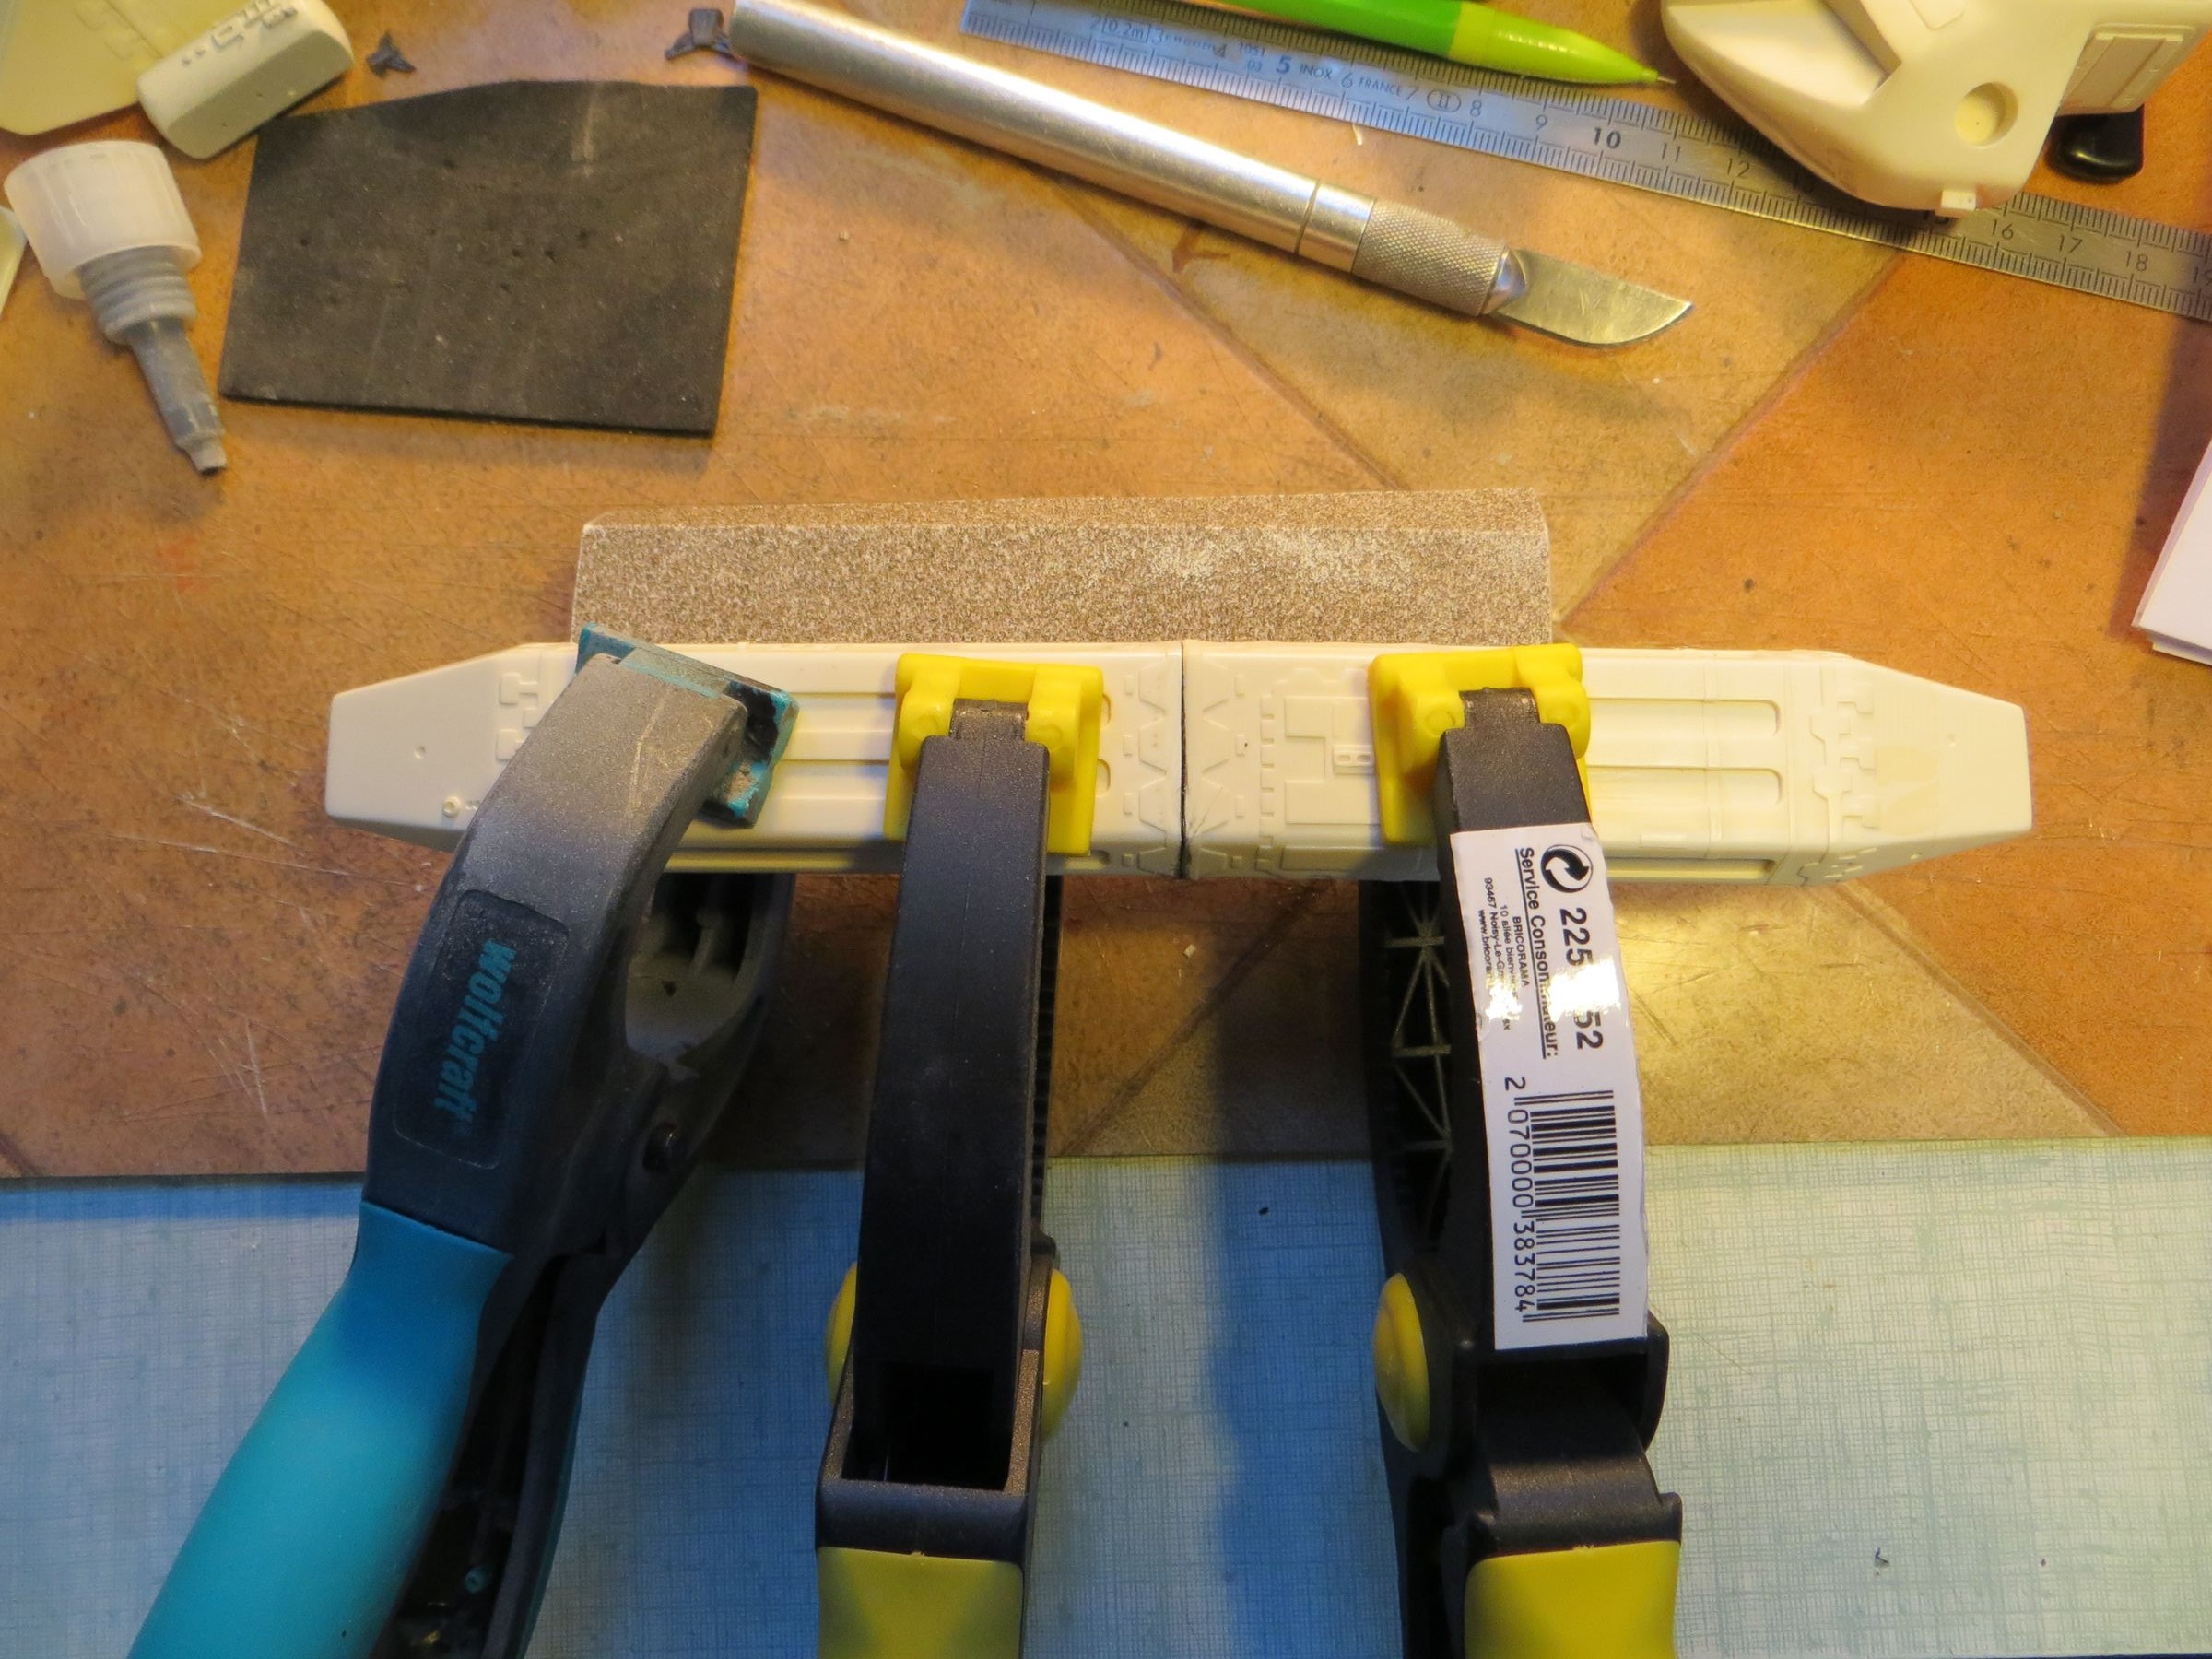
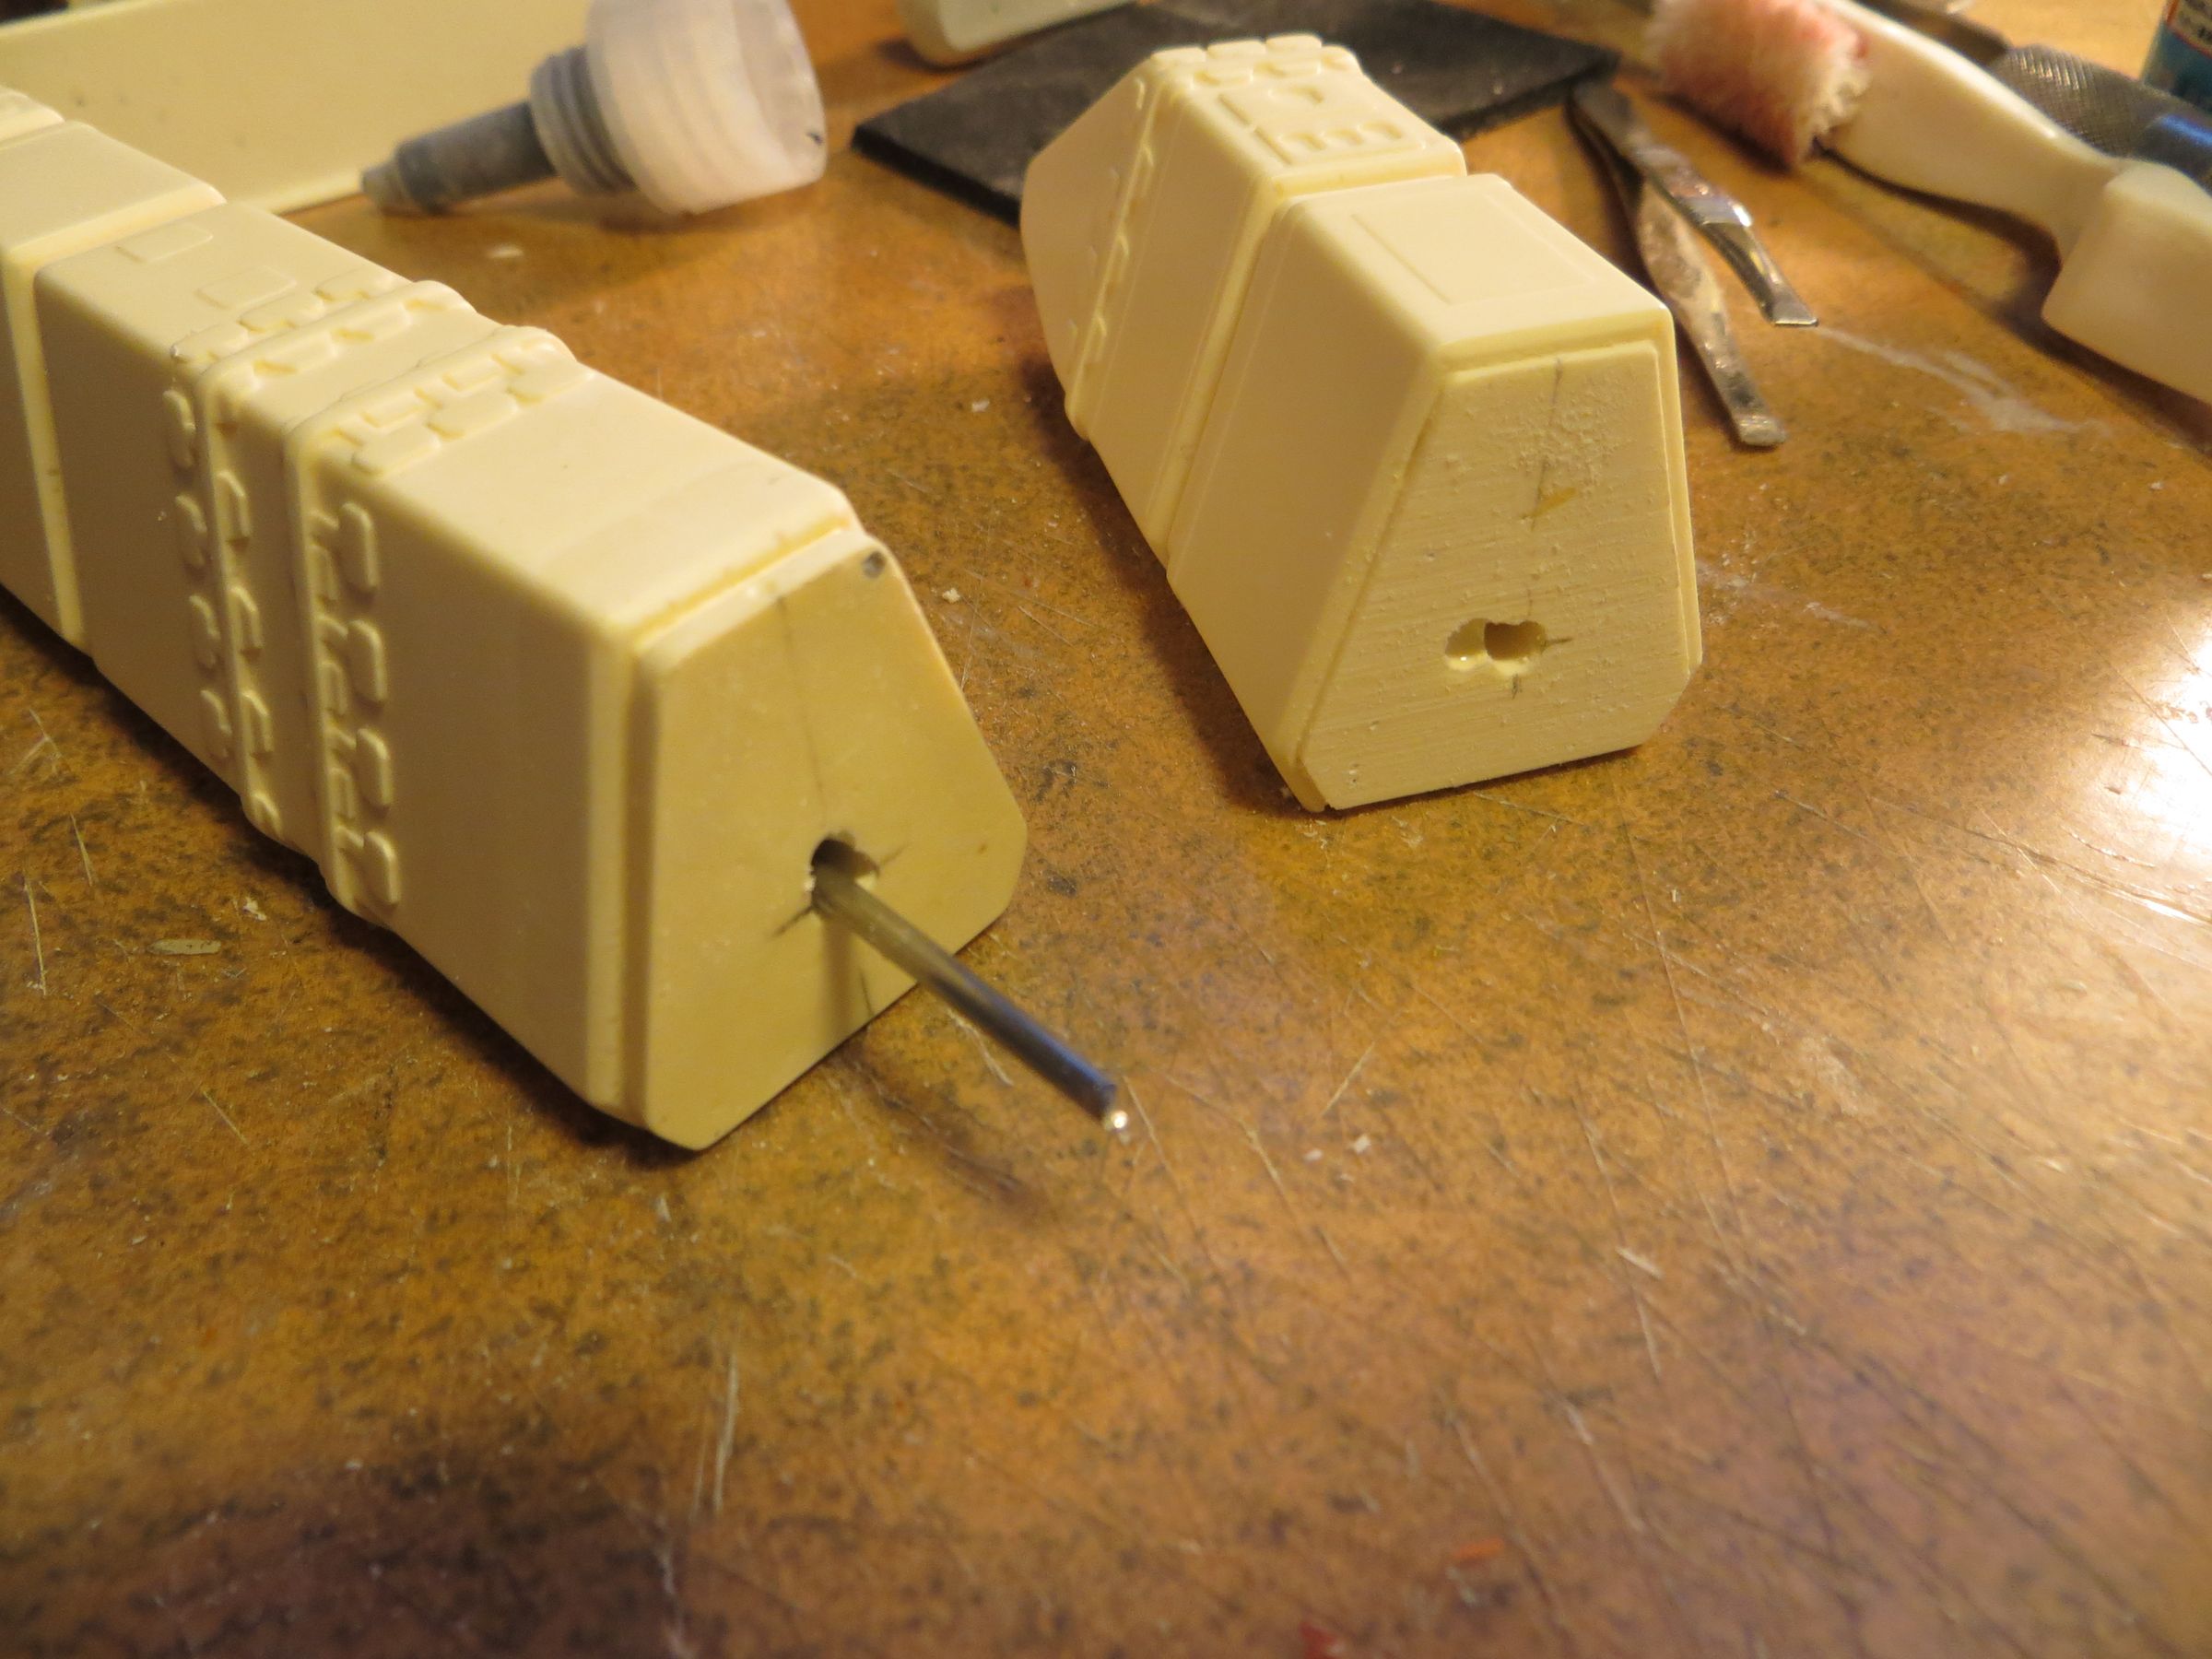
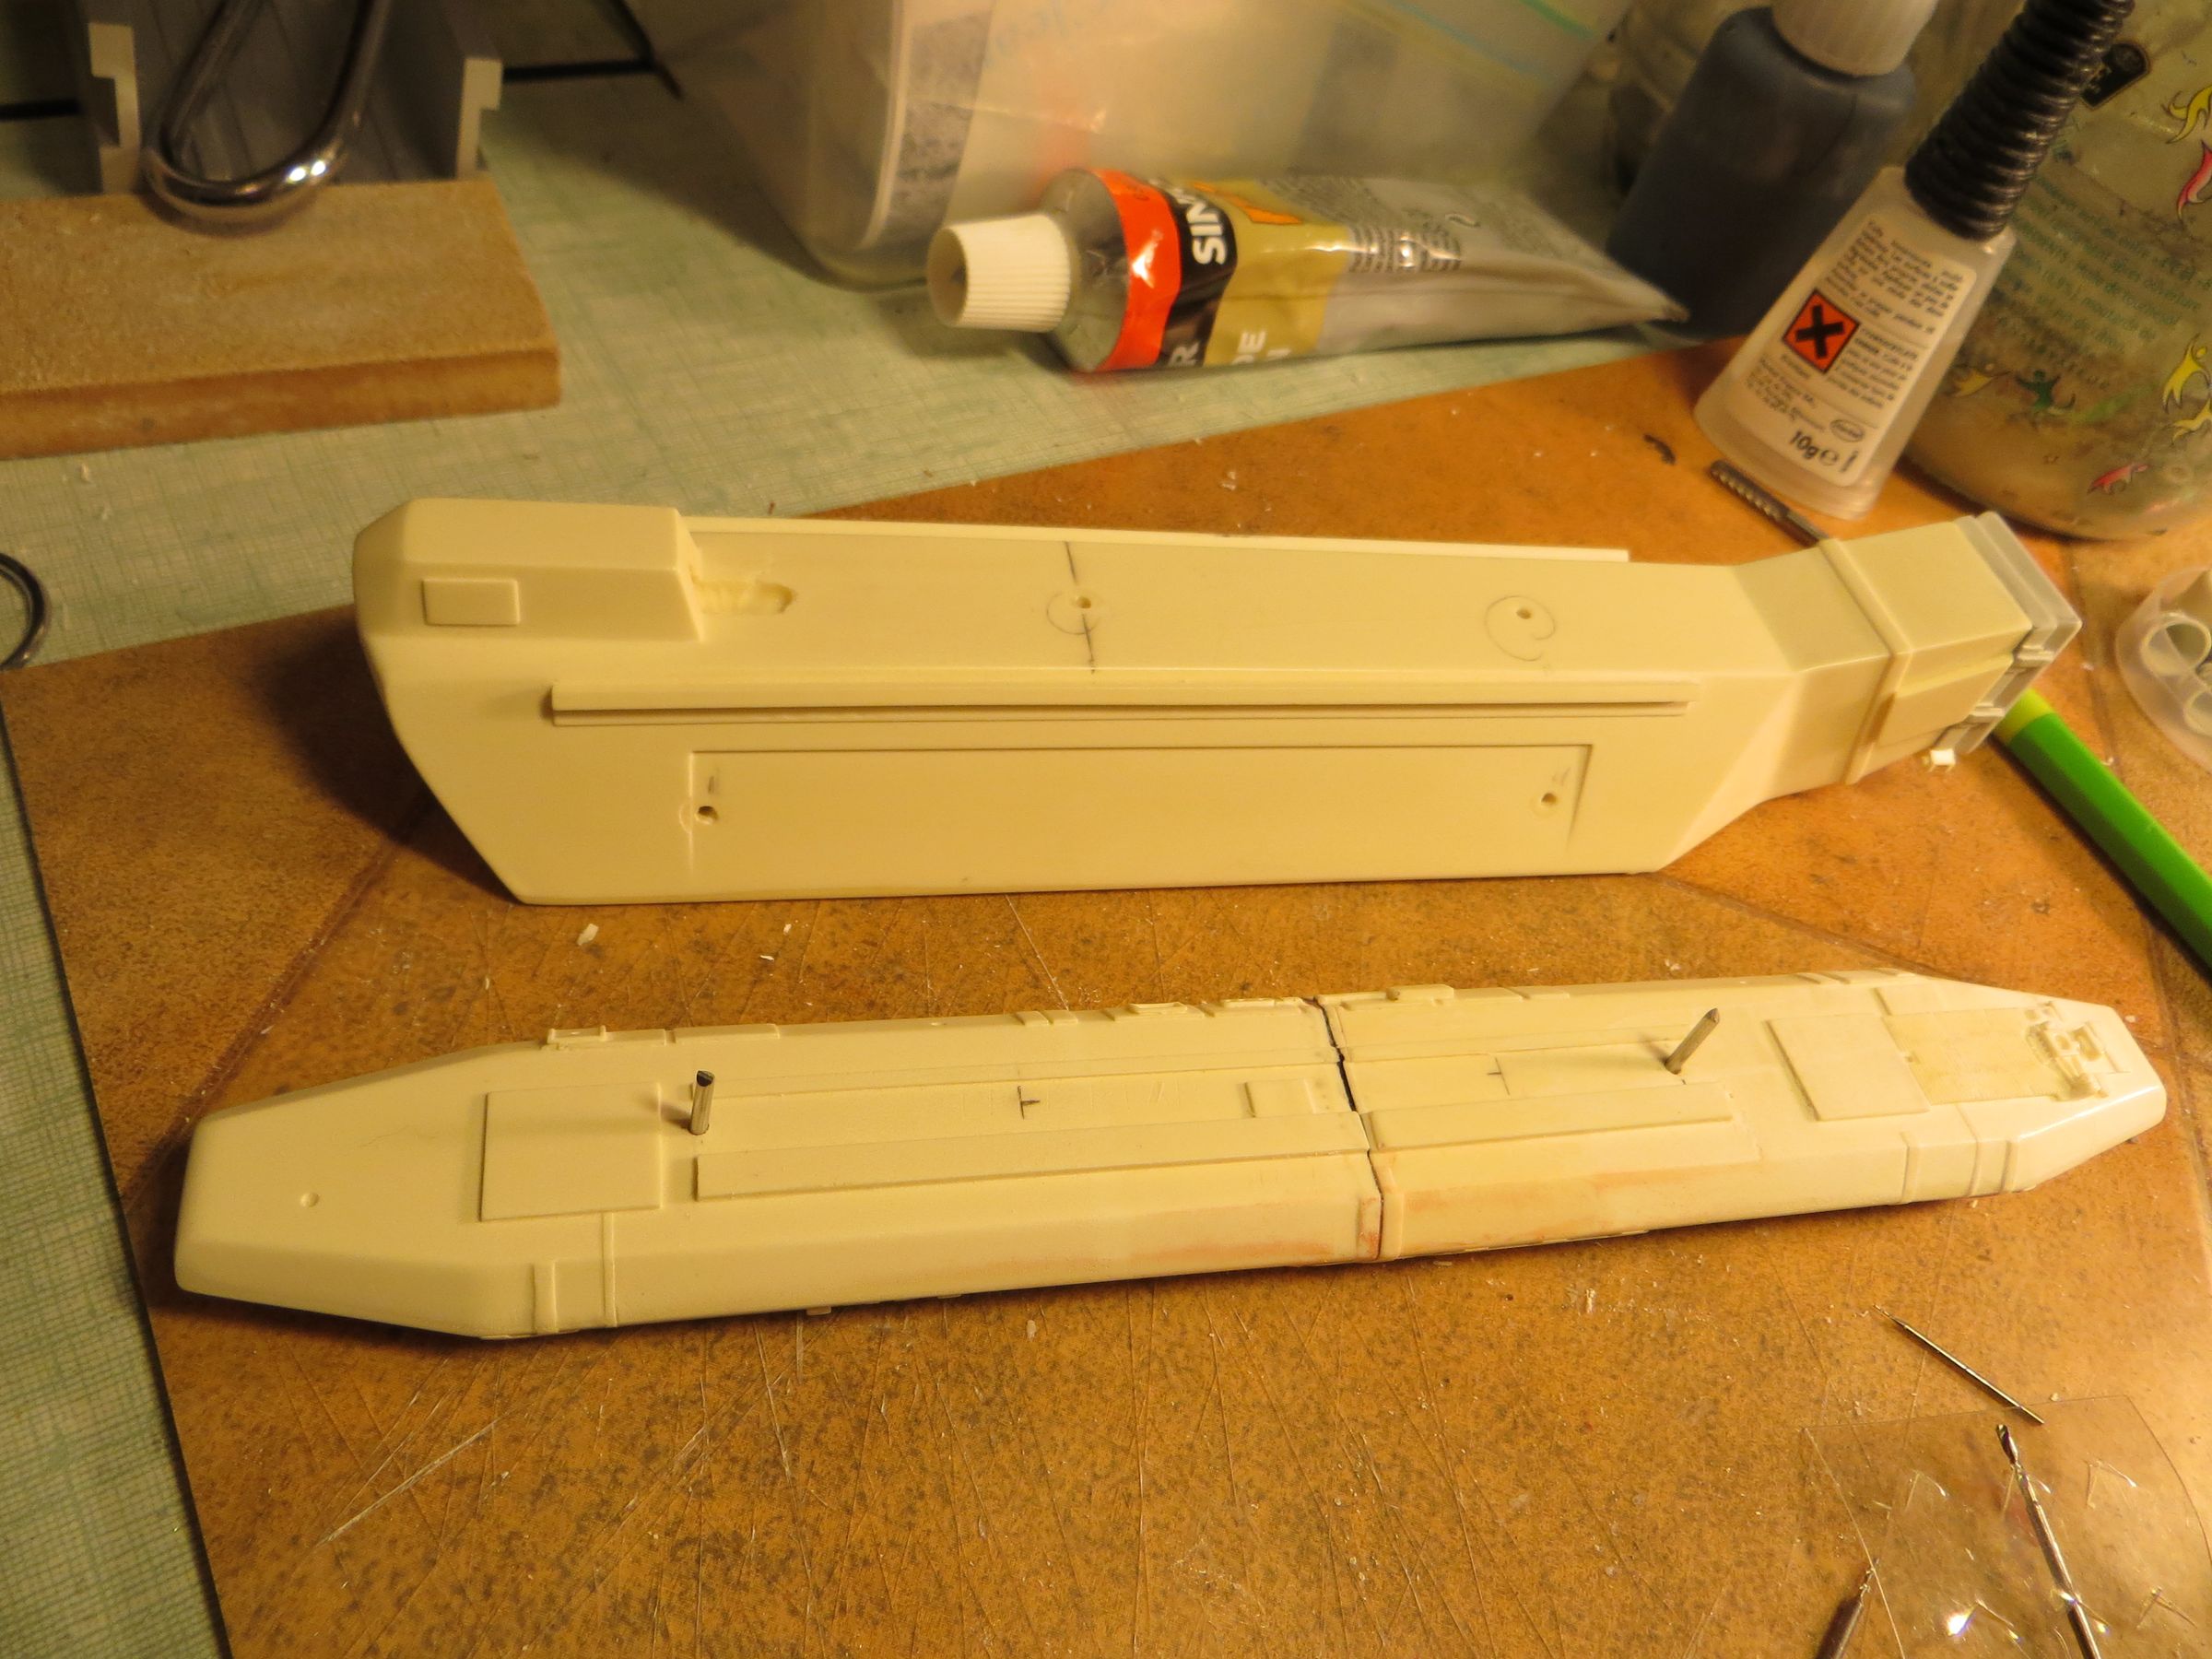
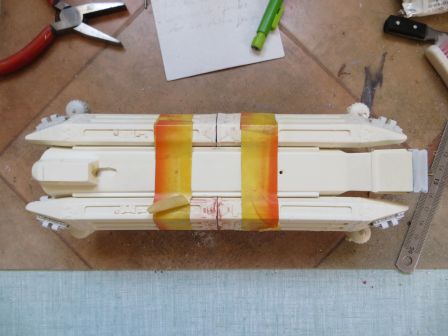
I started by drilling holes in the modules to insert the rods (being careful to diameter because it changes depending on their location).
Even having converted all dimensions and diameters of rods and tubes in the instructions, I did not always find the right diameter in those provided. Either my conversion is lousy (but in this case, all my conversion would be false, which is not the case), or there are errors in the docs (bad copy/paste ?).
Well, I really had to start the legs this time, I could no longer postponed this uneasy stage. So after a clever set of pliers, drill, of sore fingers and swearwords, re-gluing of part coming apart (under a new rain of swearswords) ...I ended in something that suits me.


Phew!
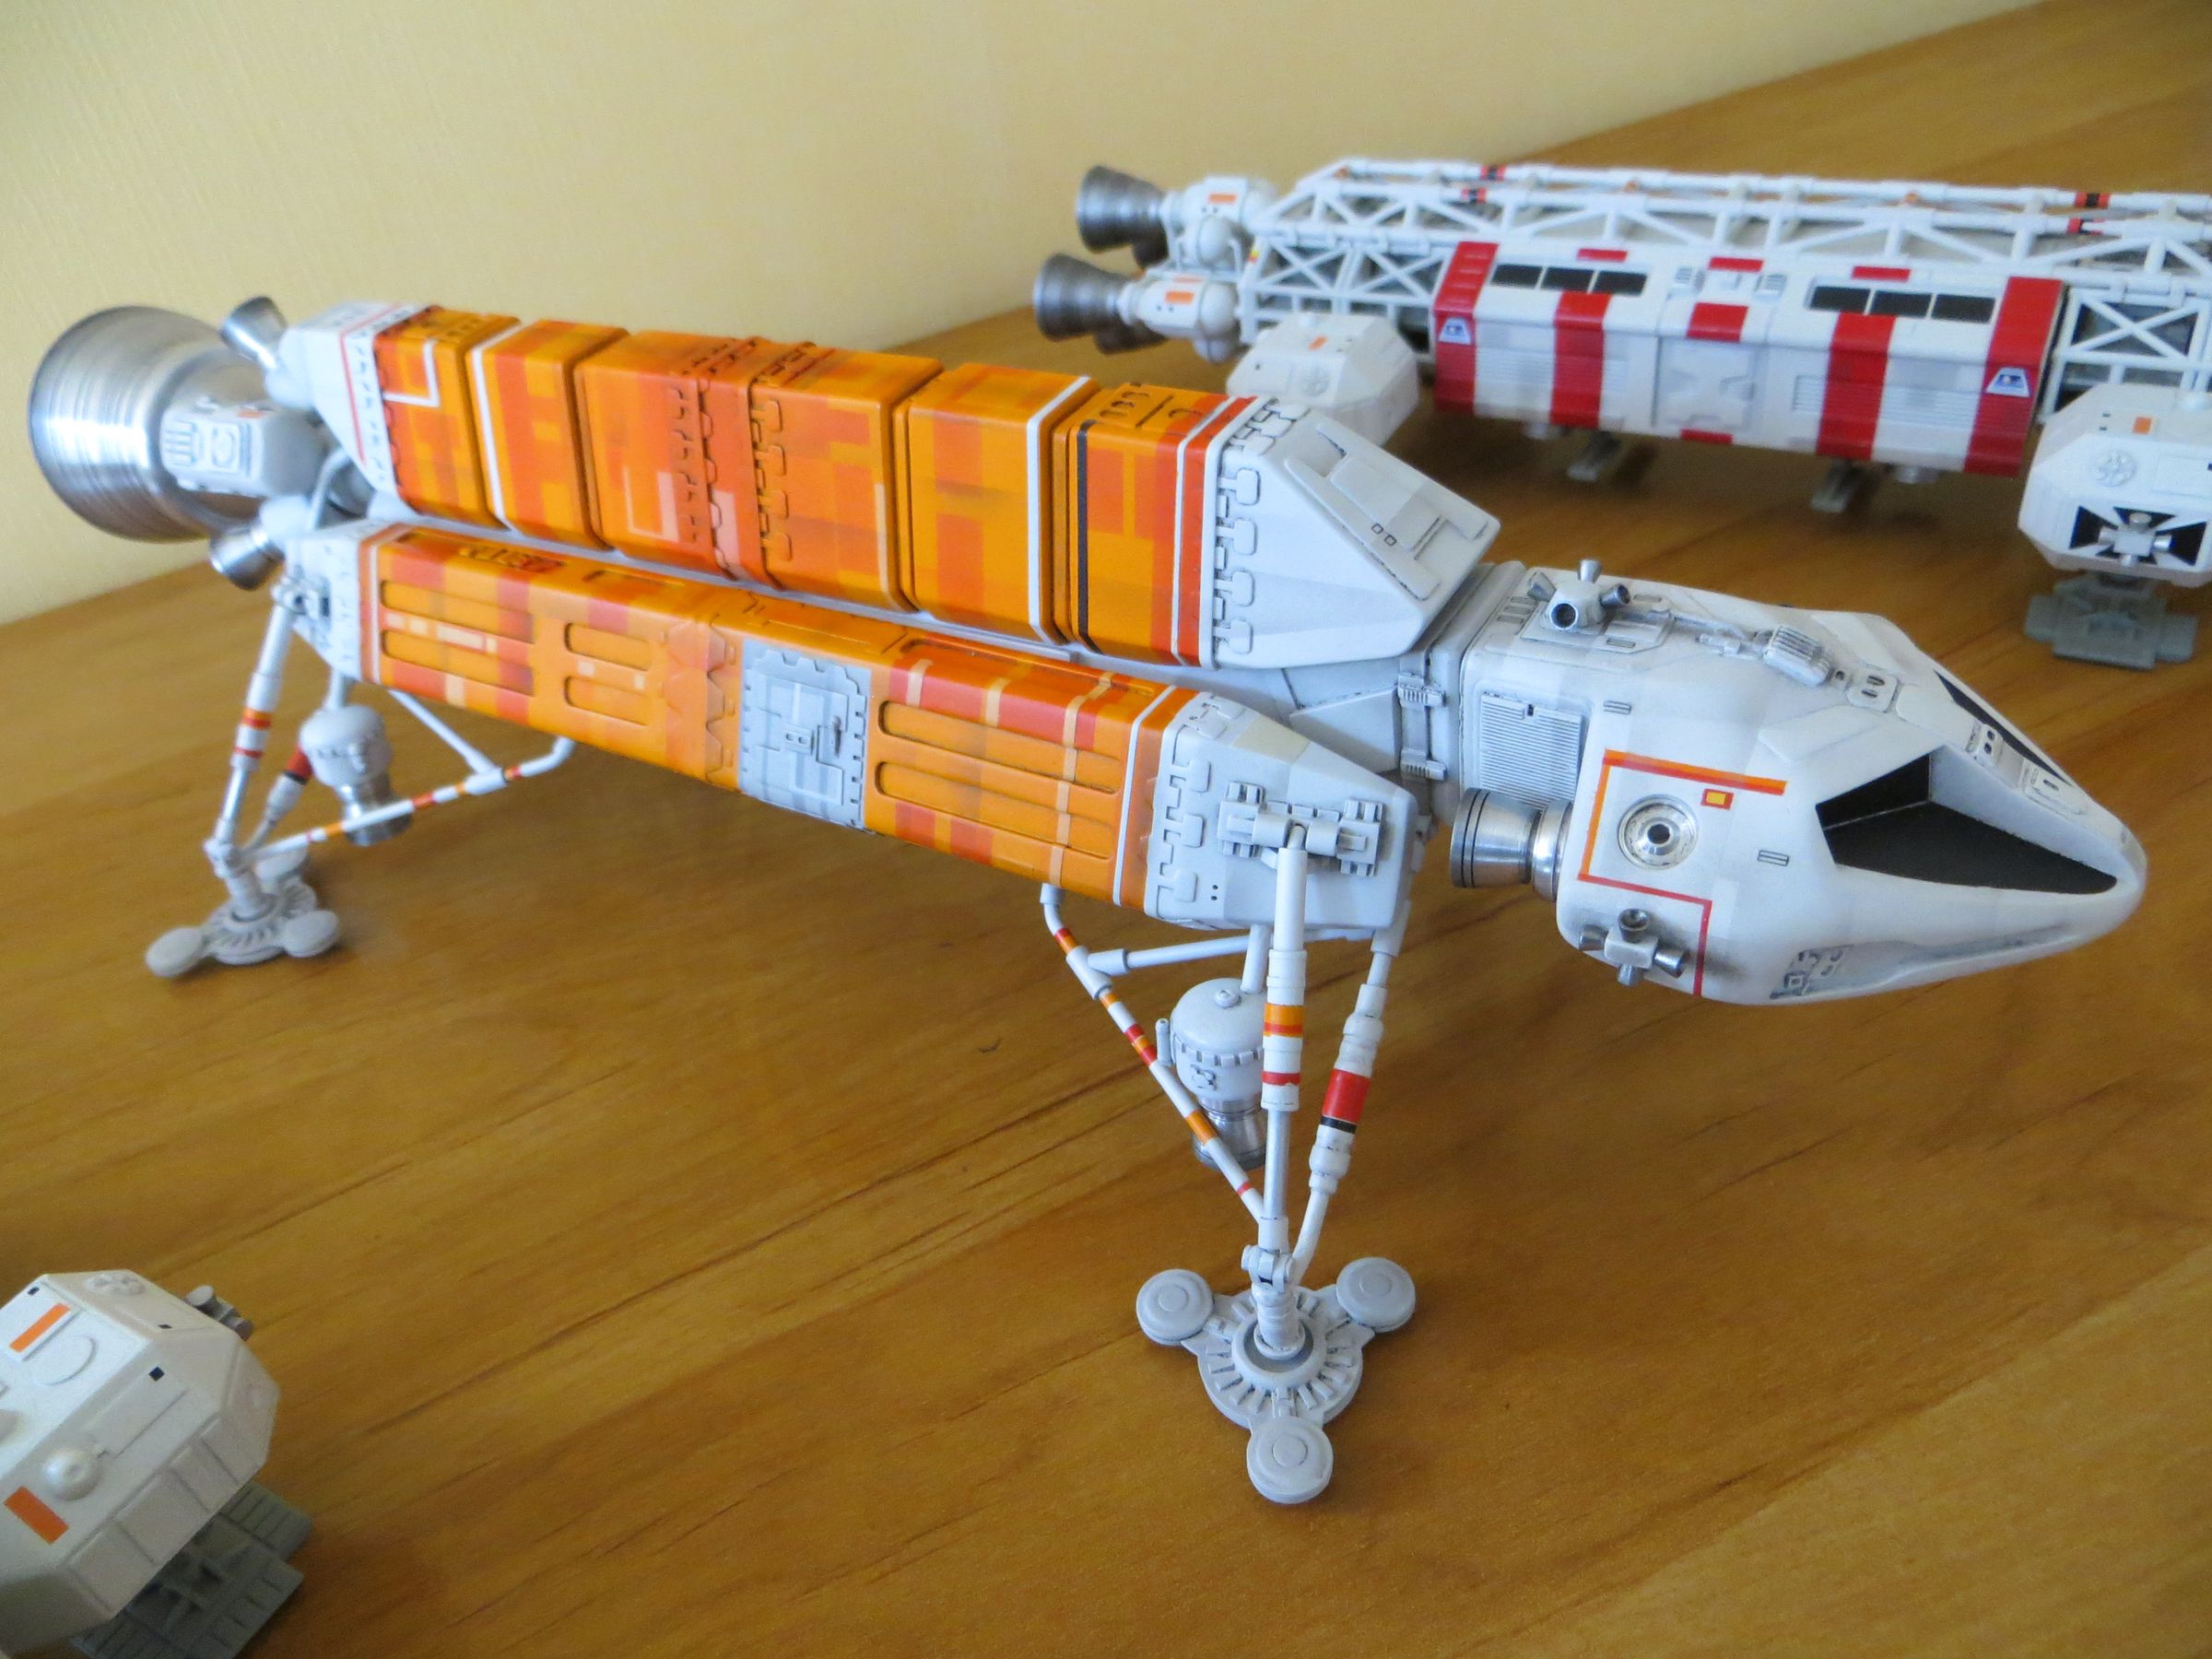
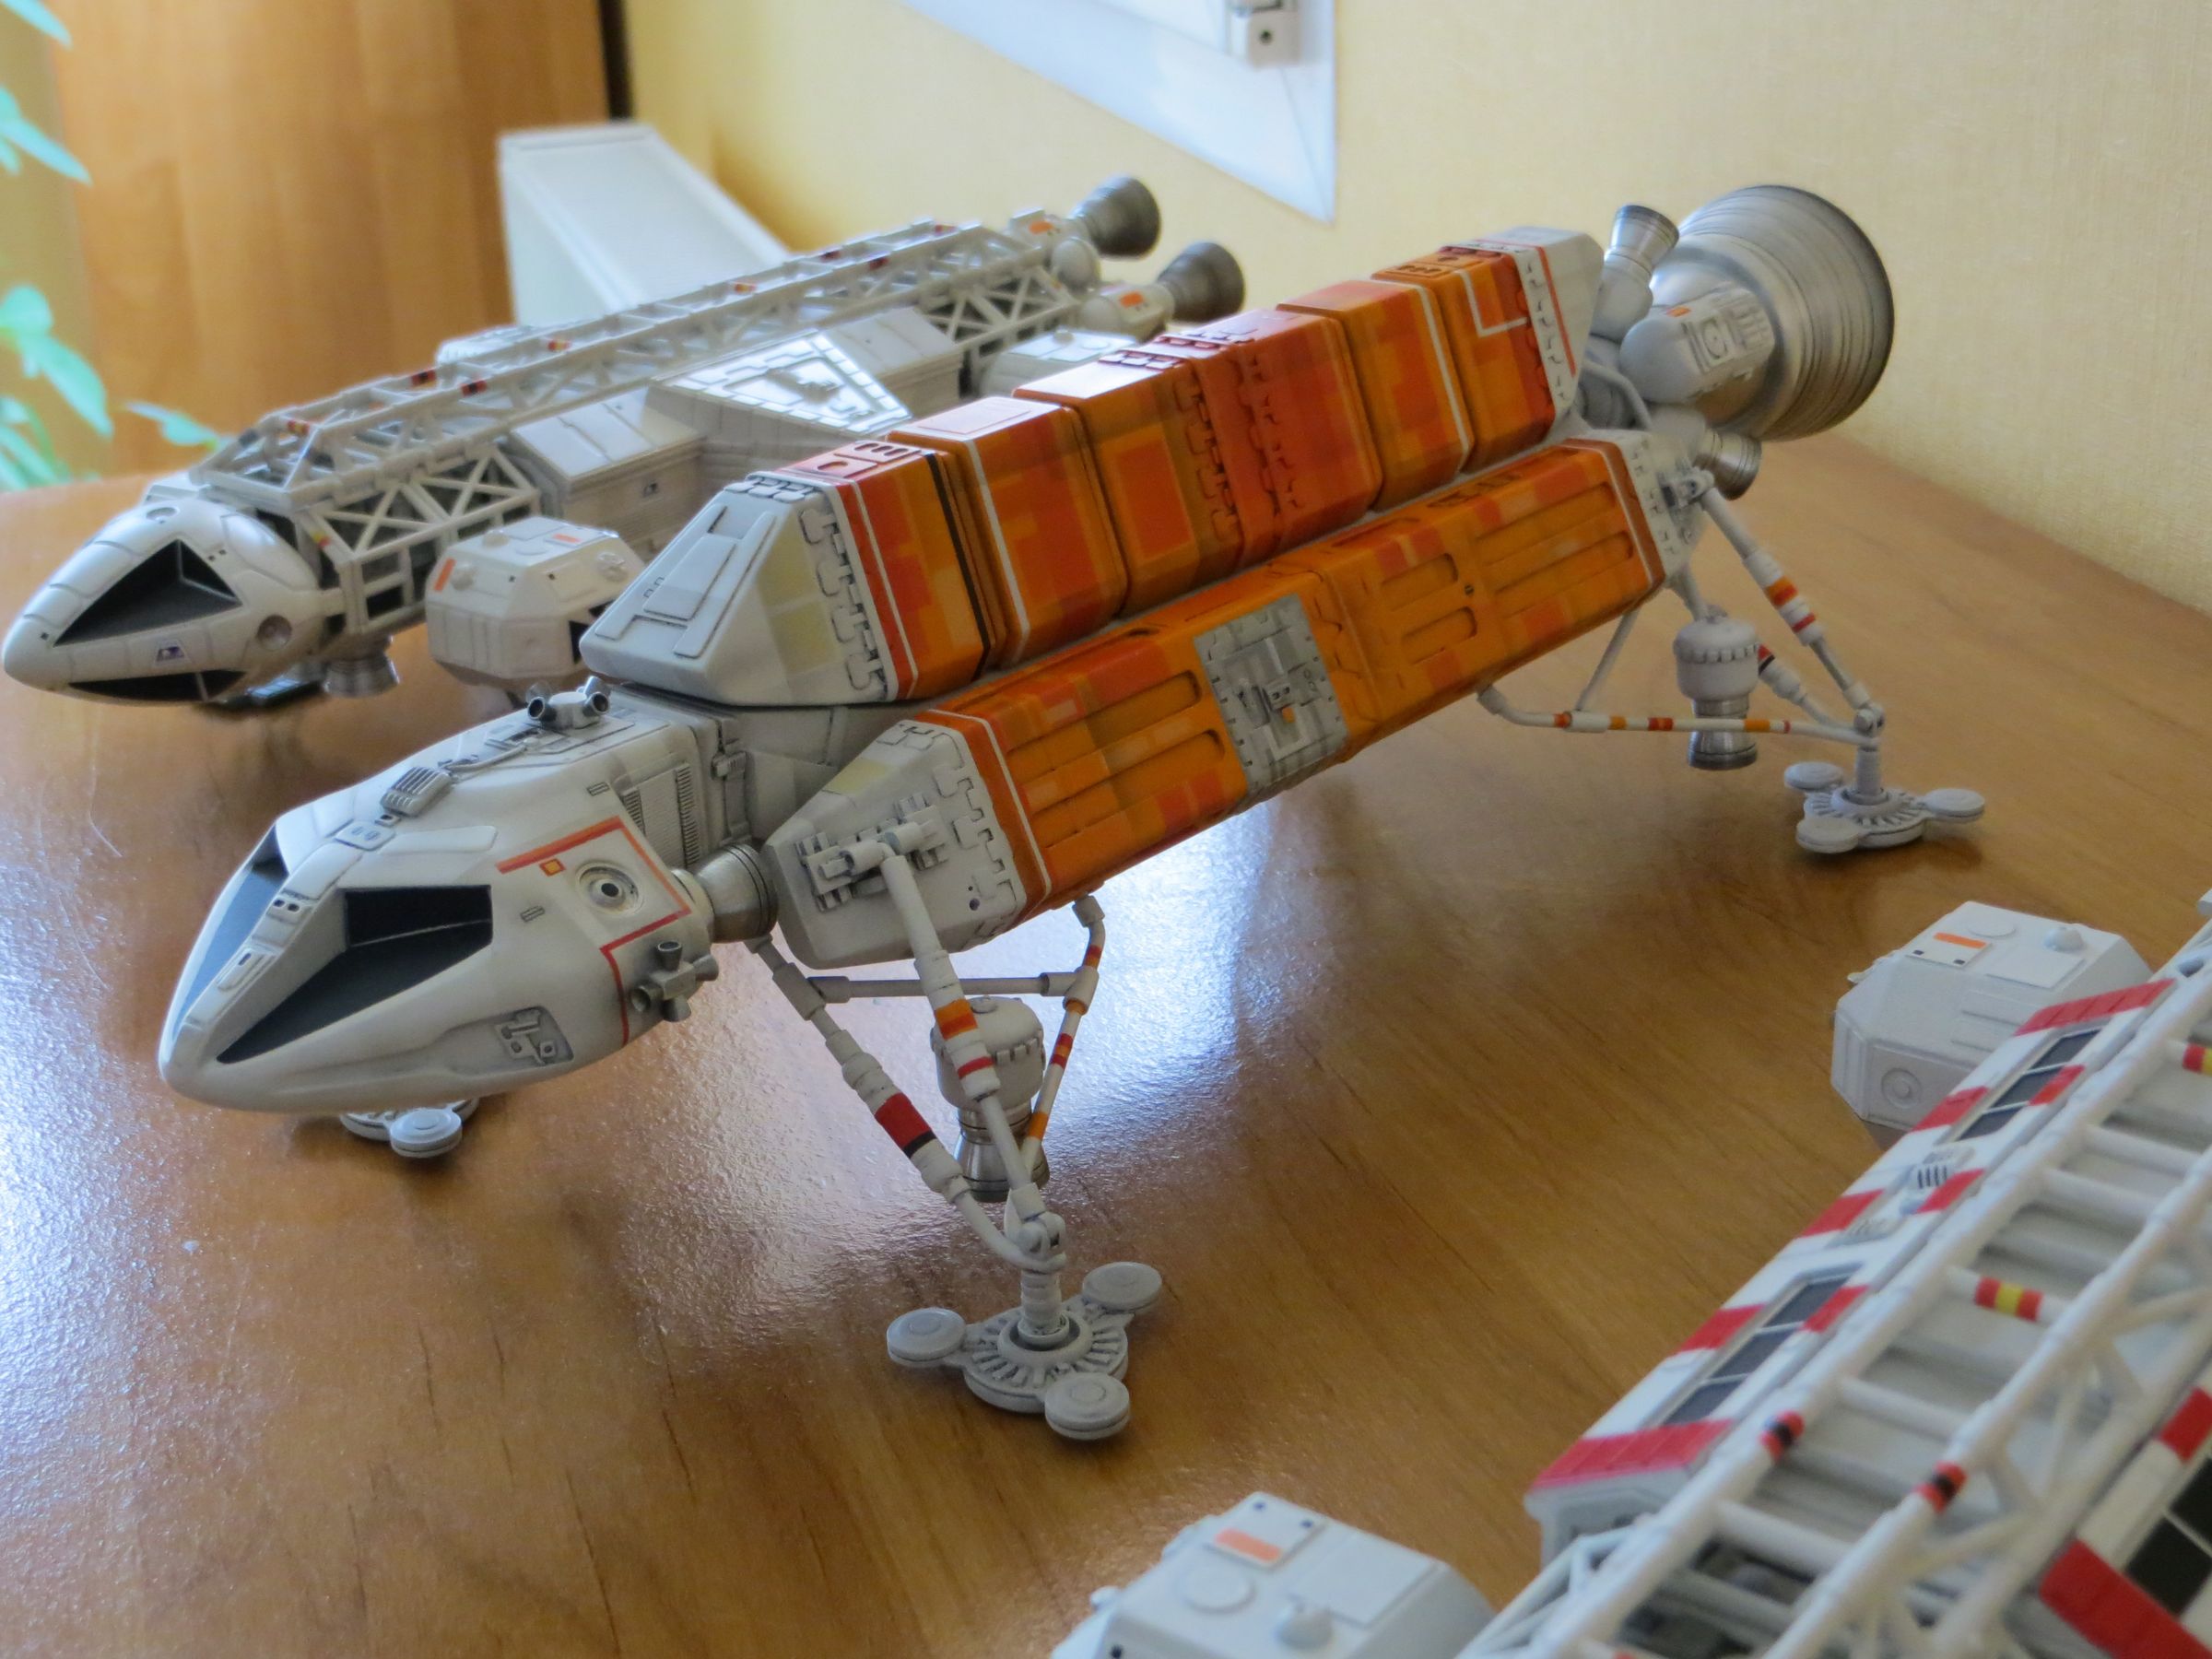
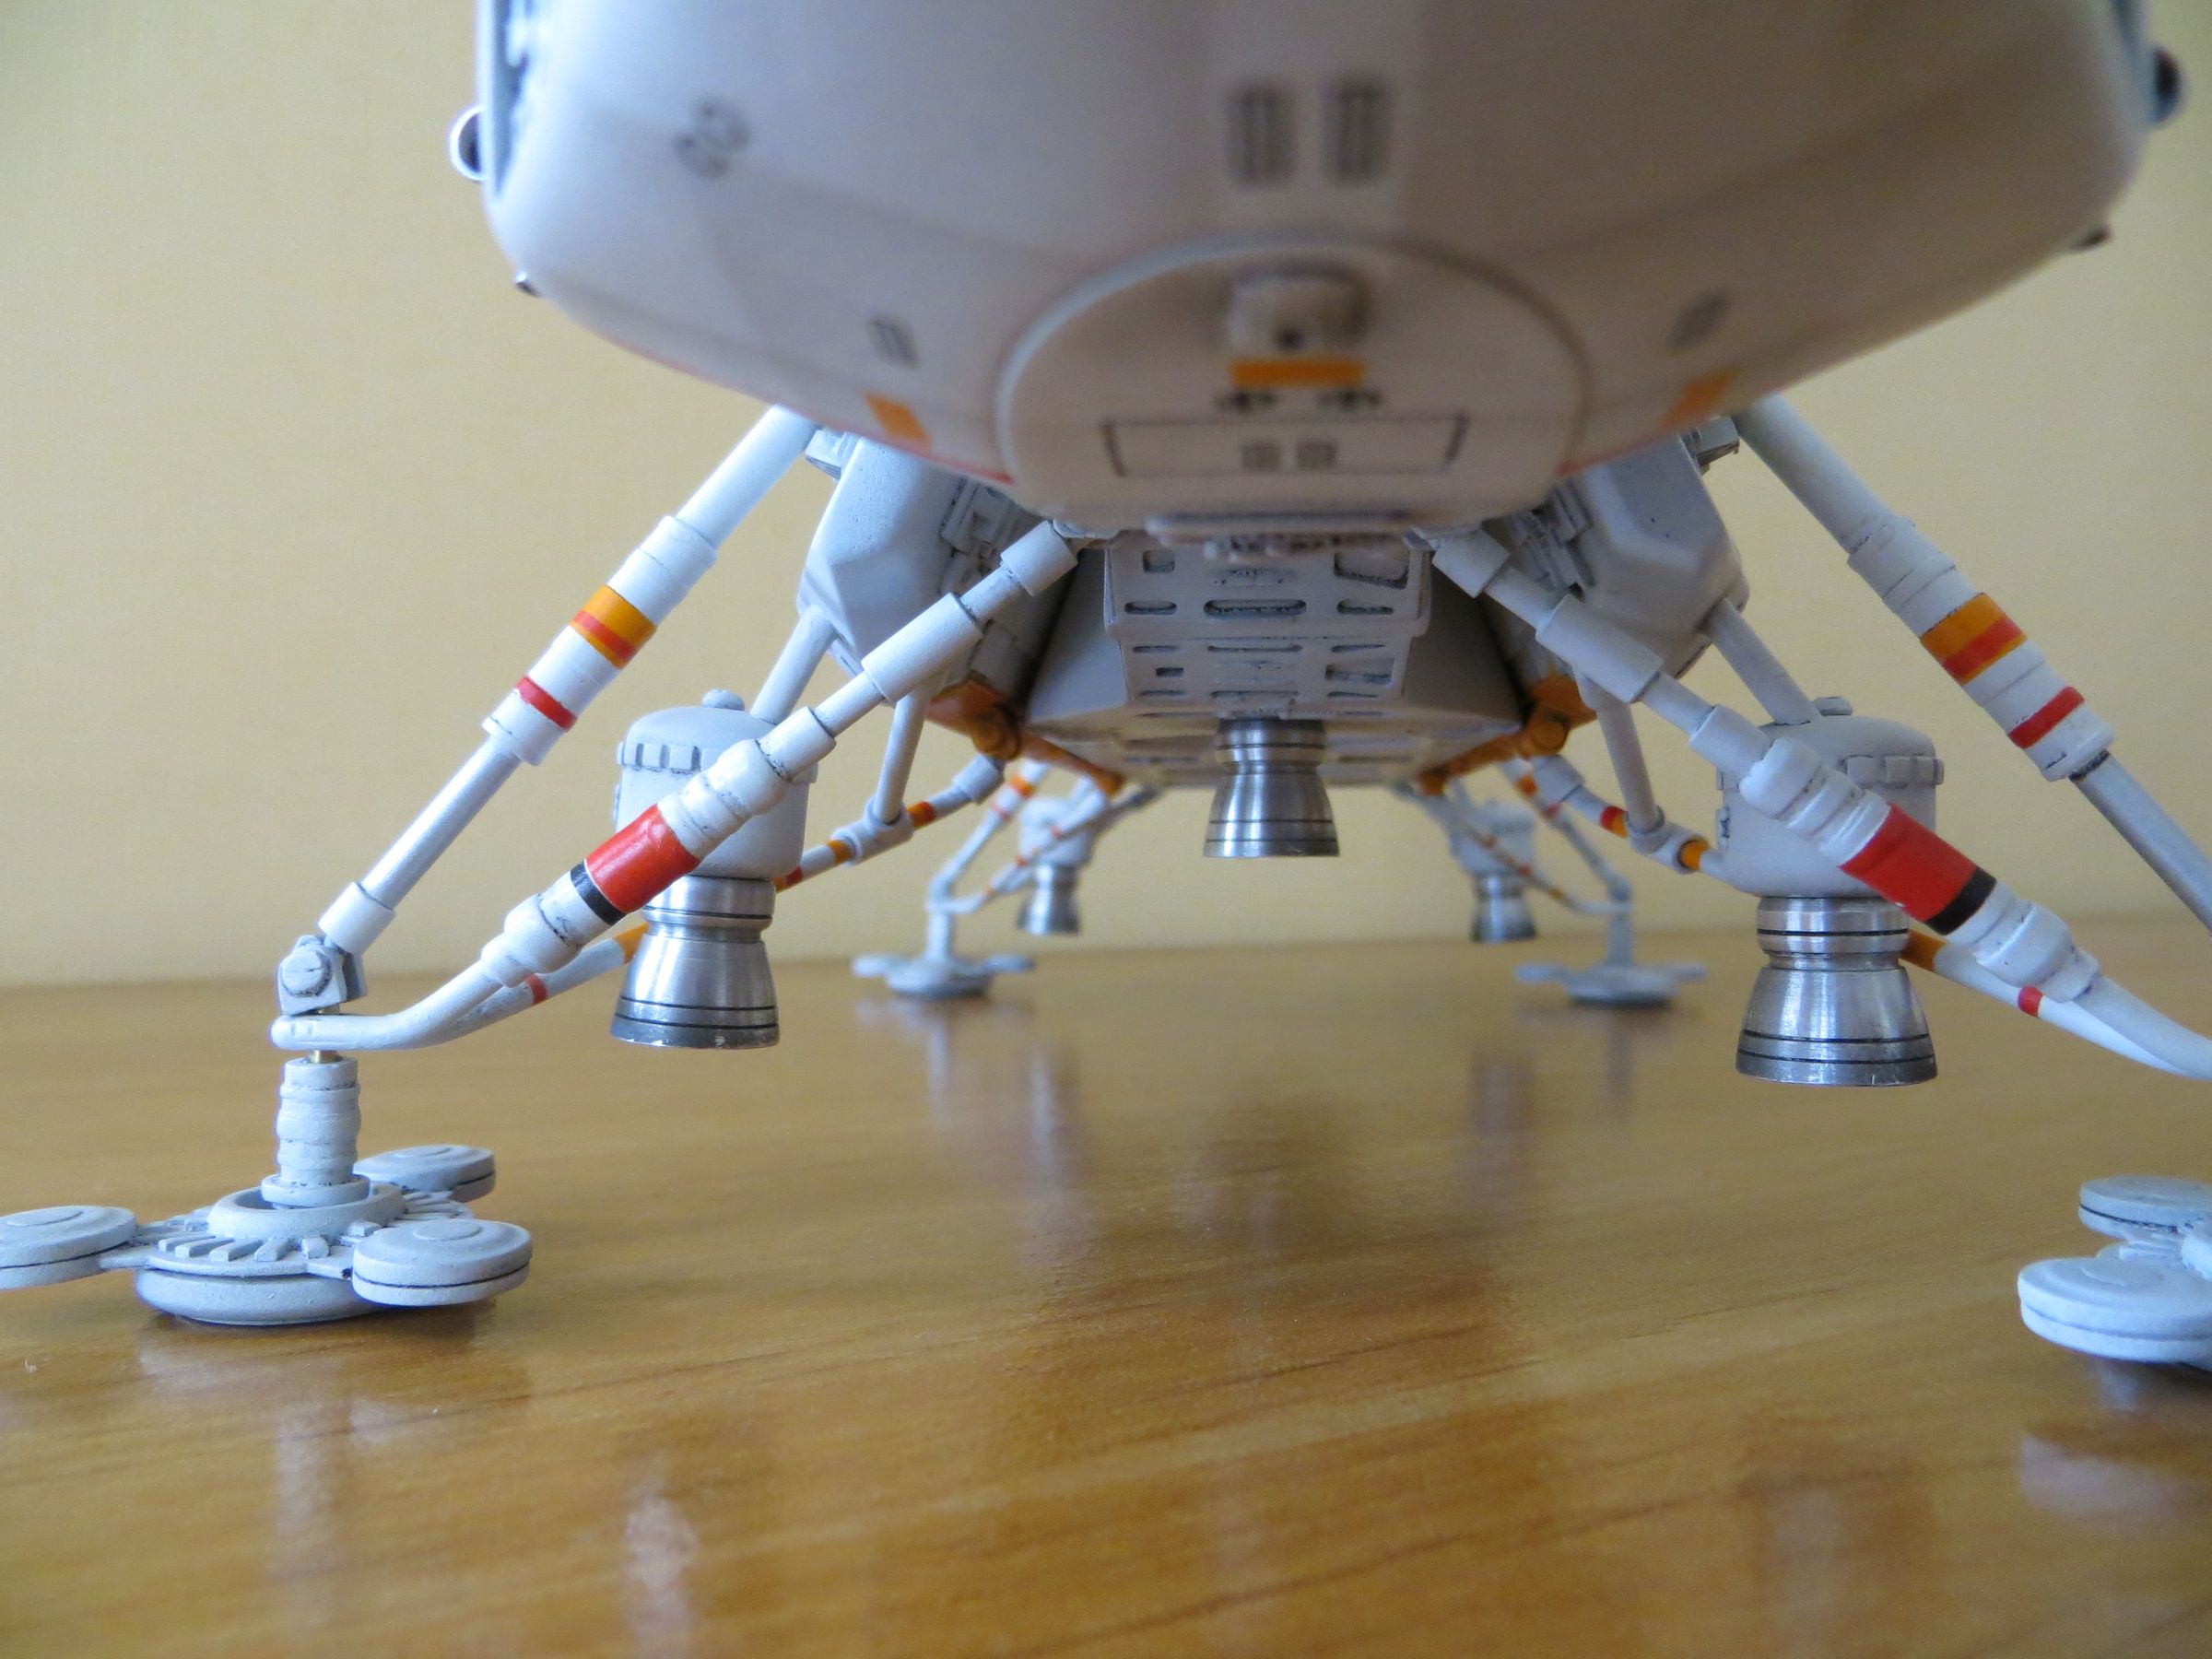
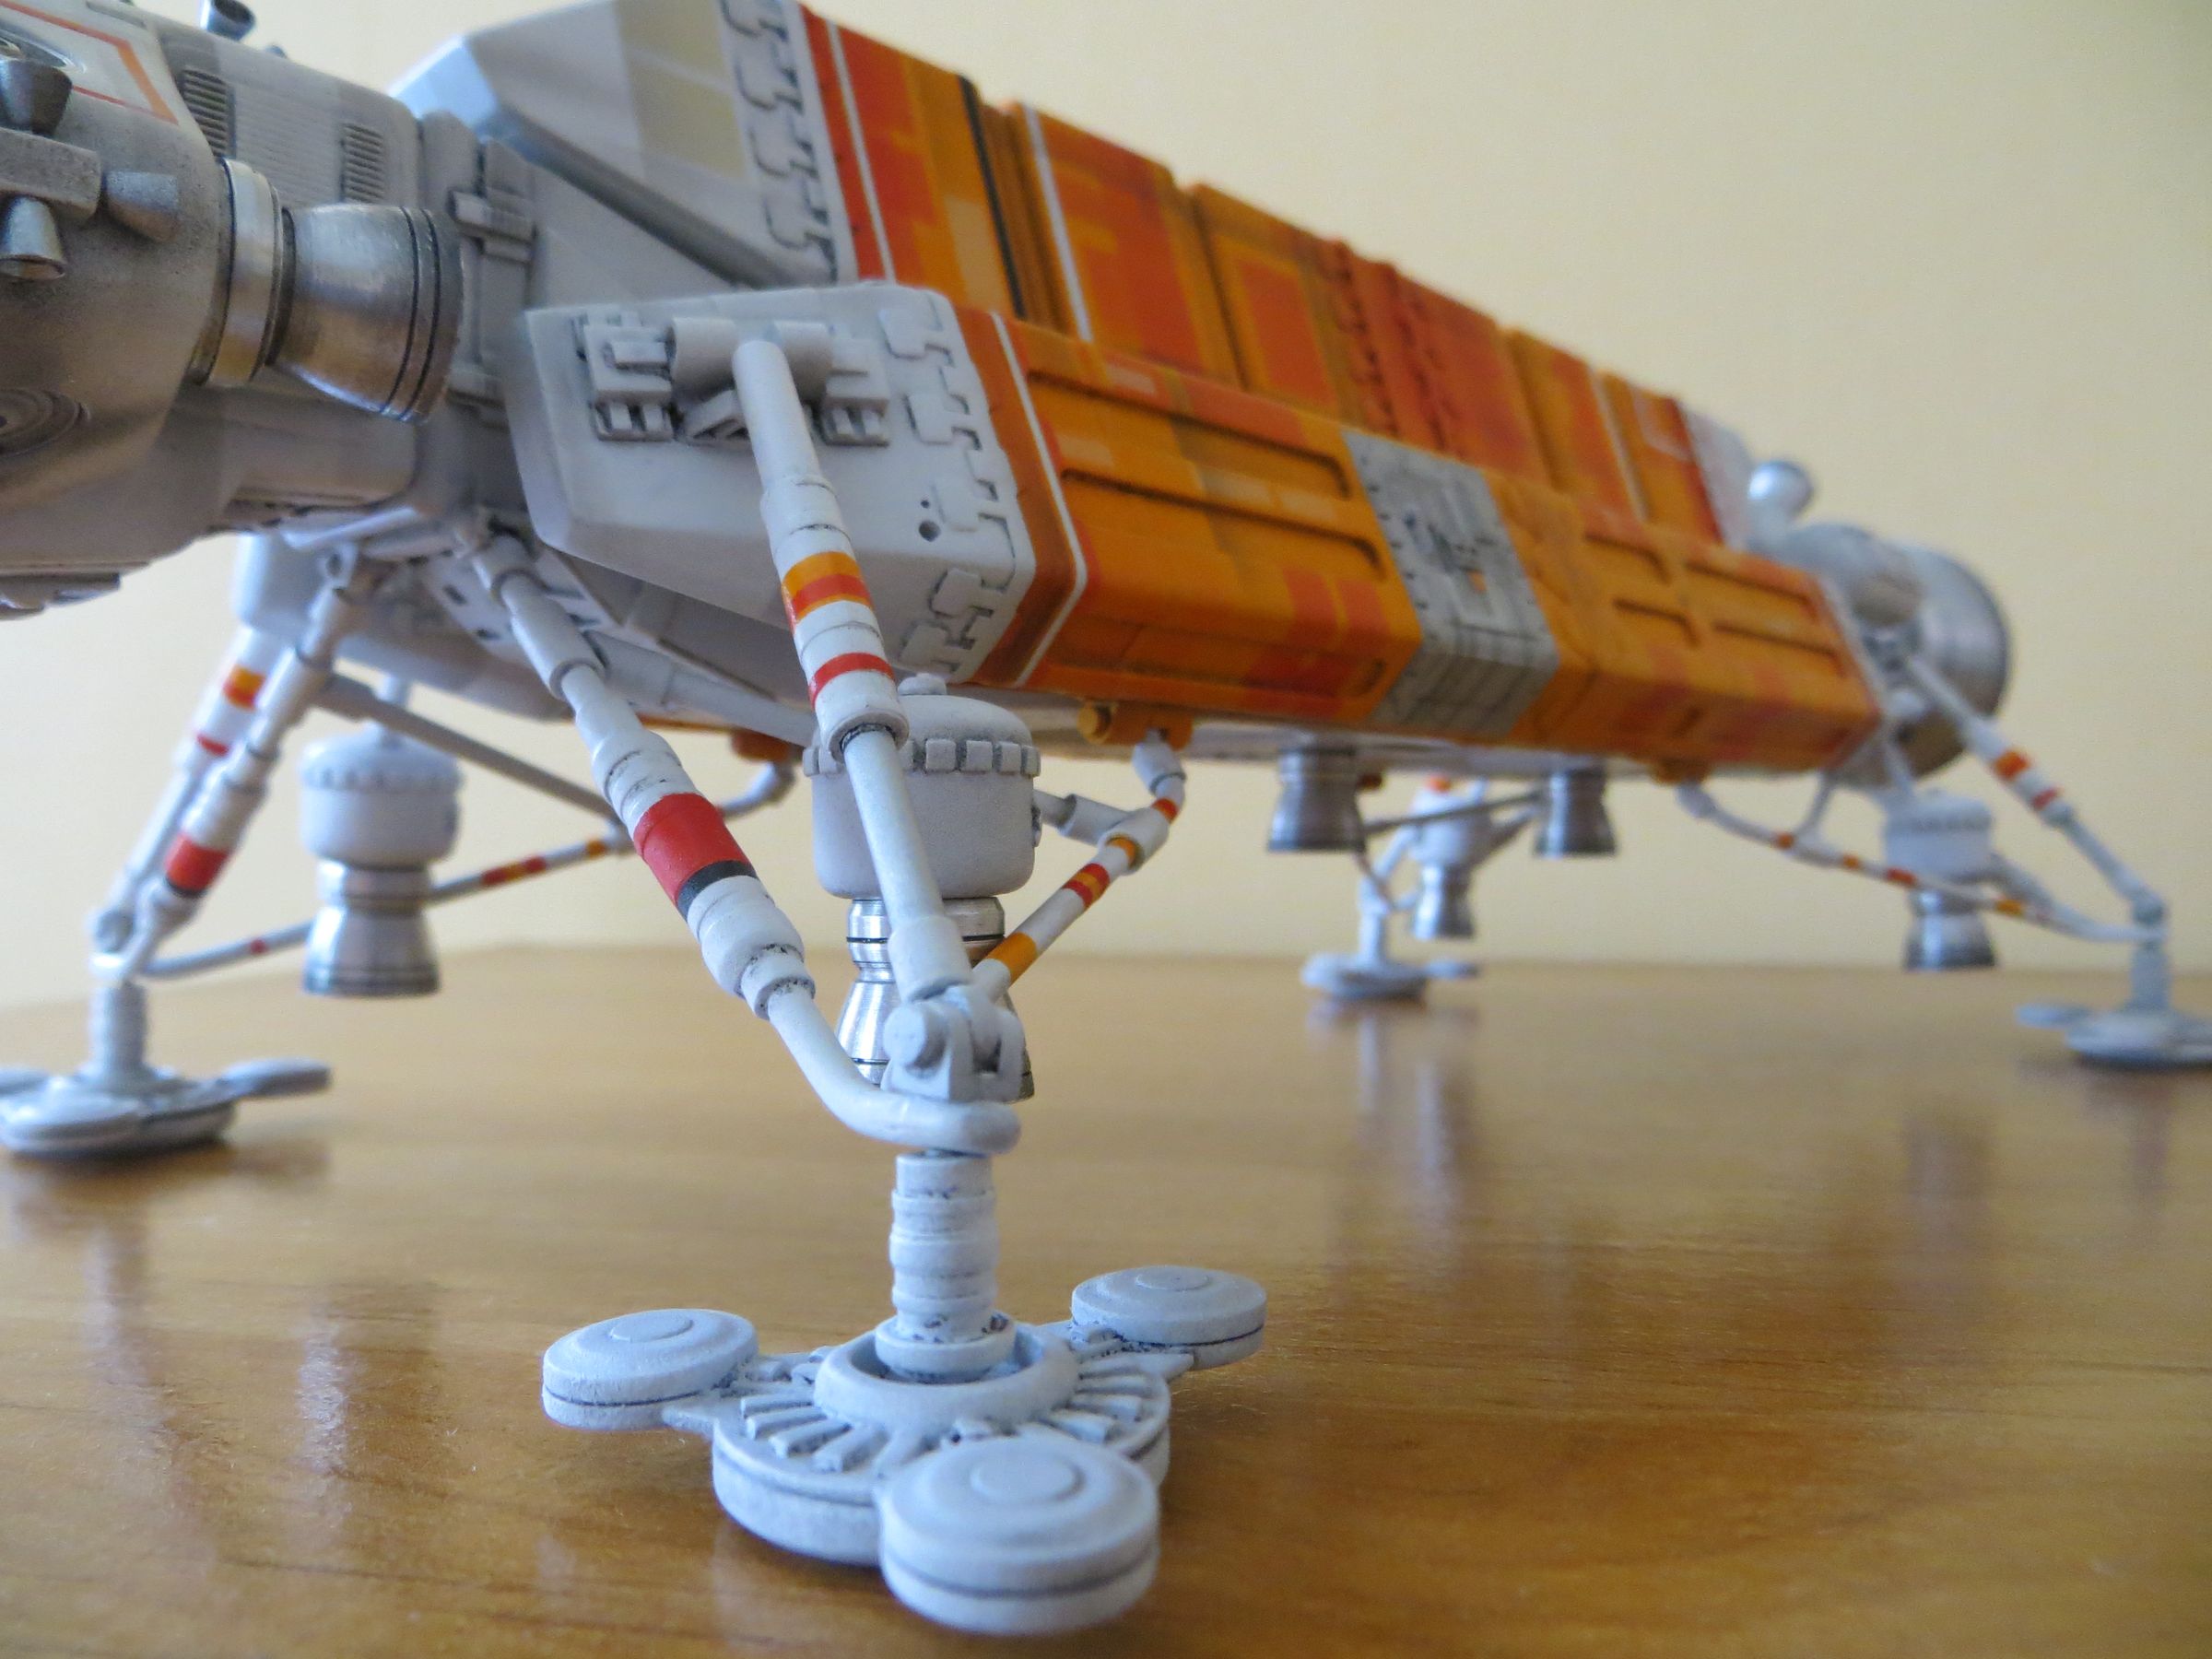
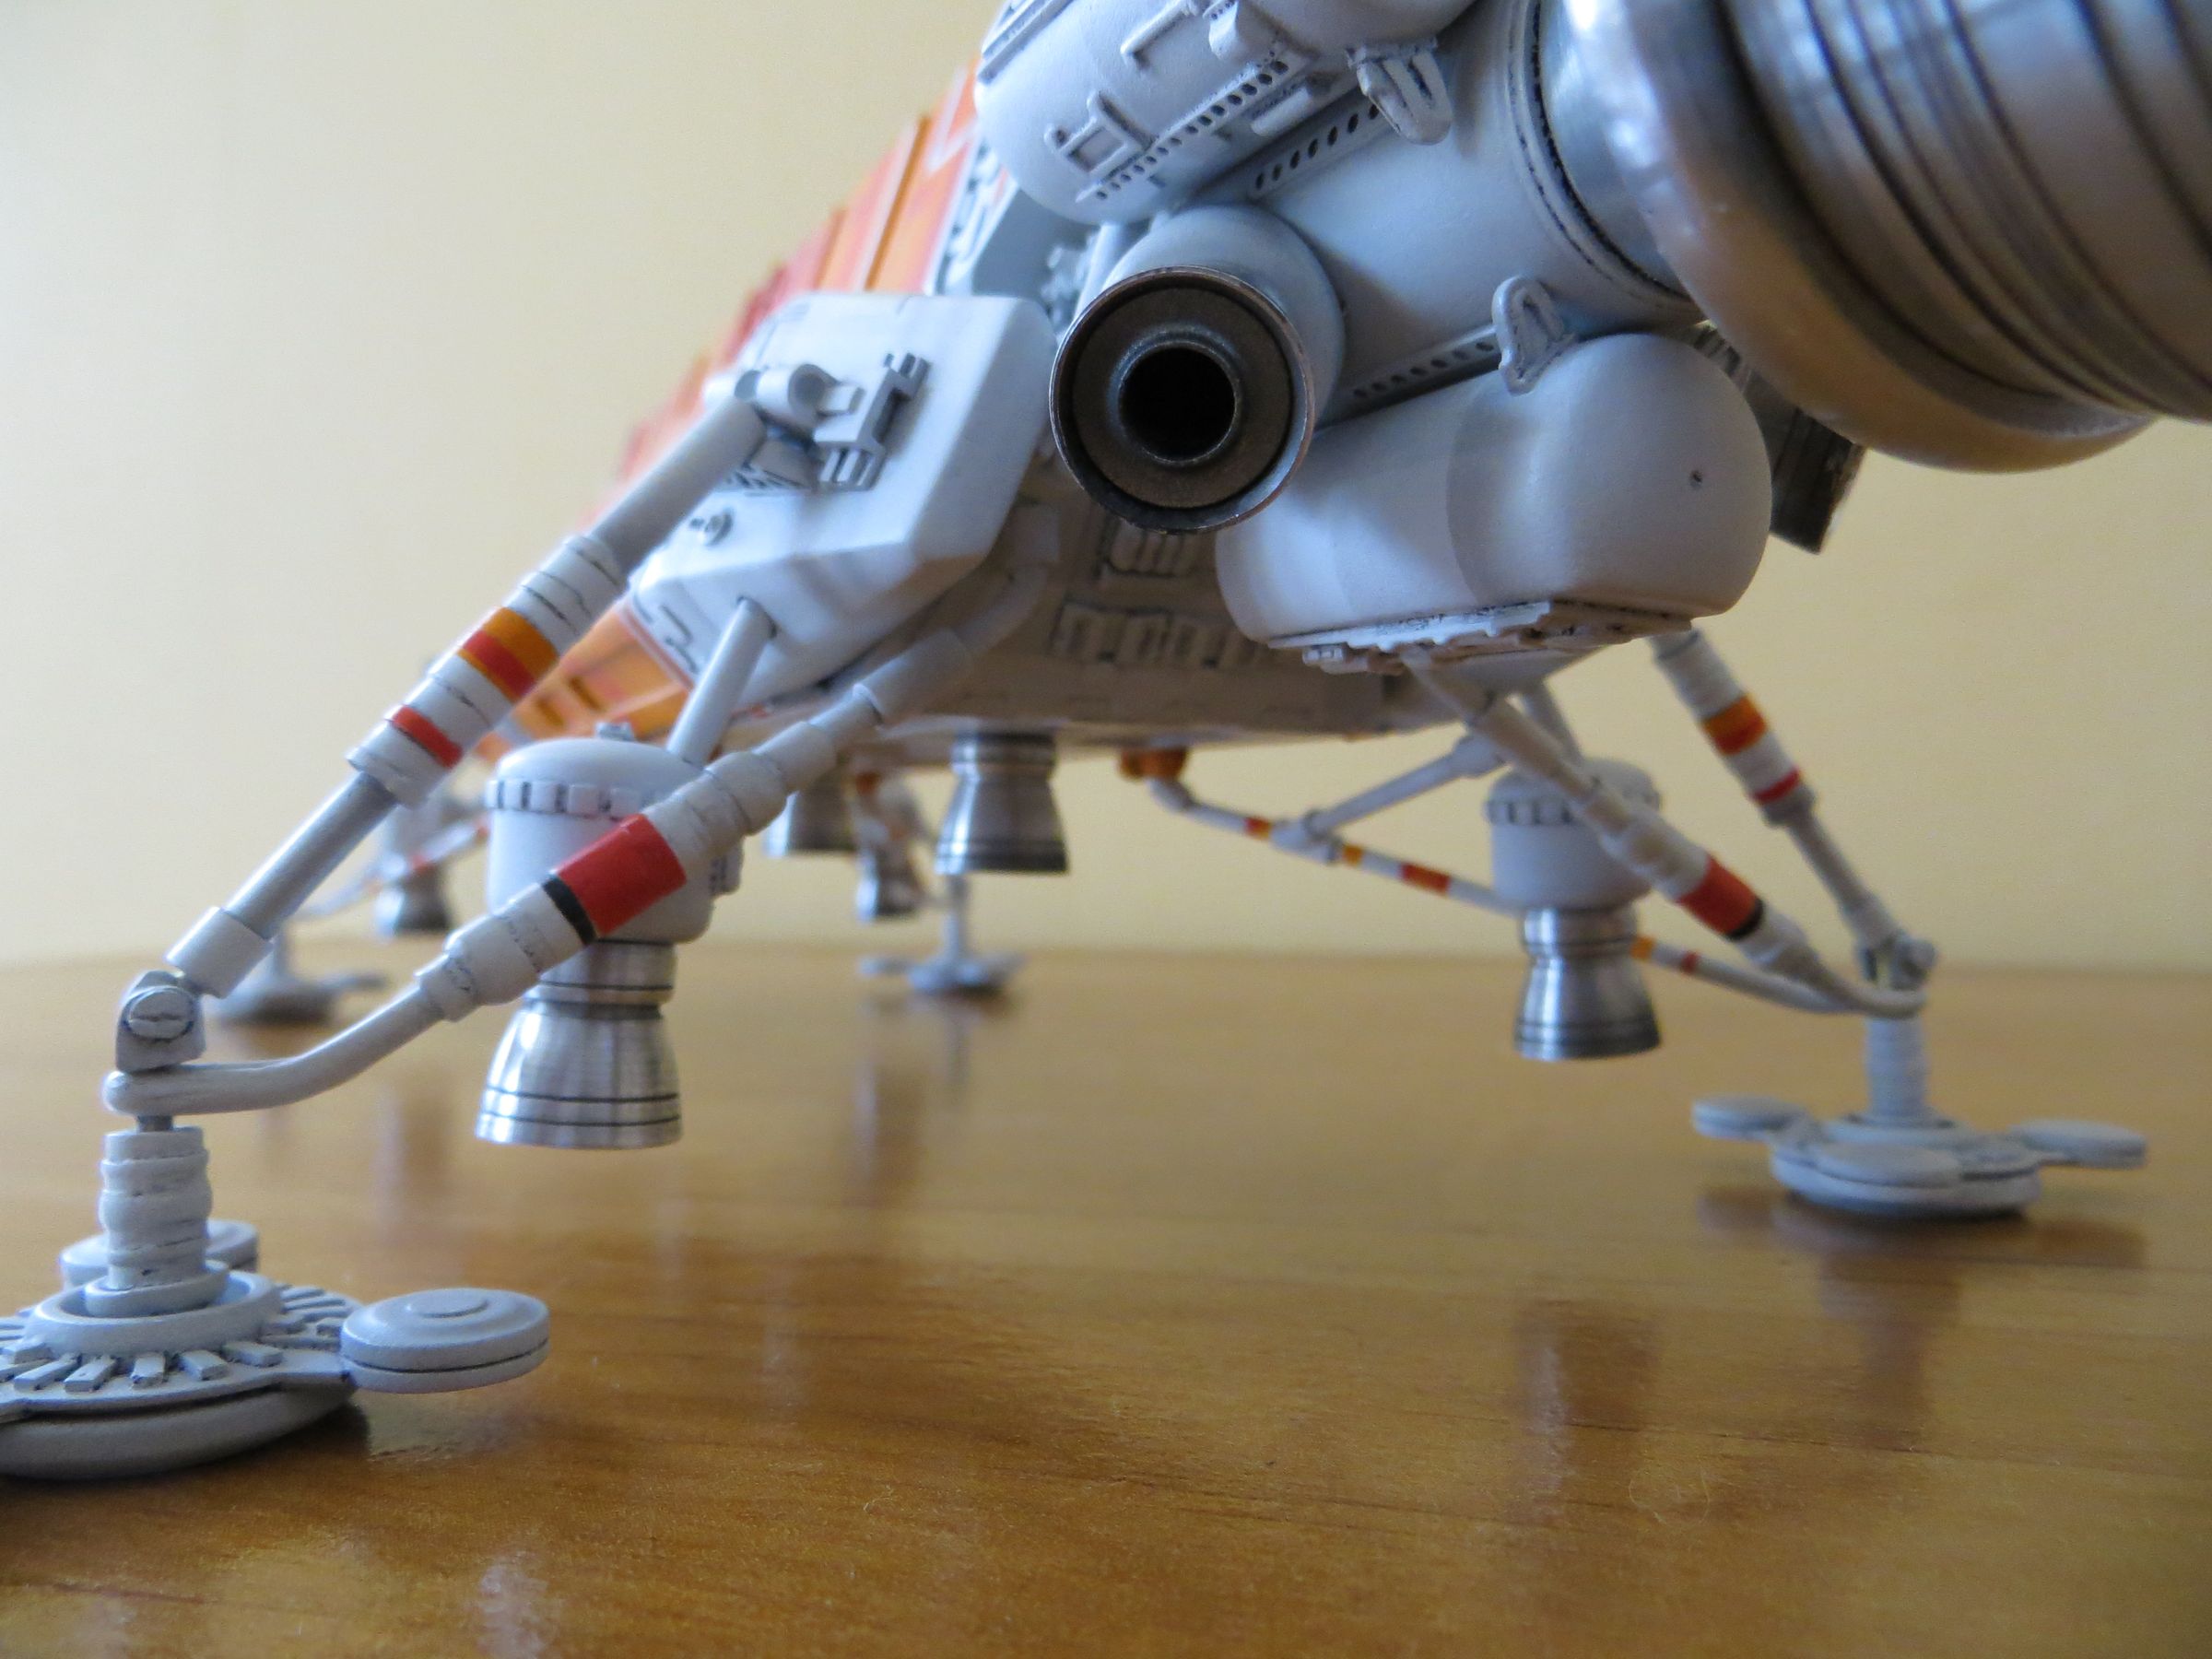
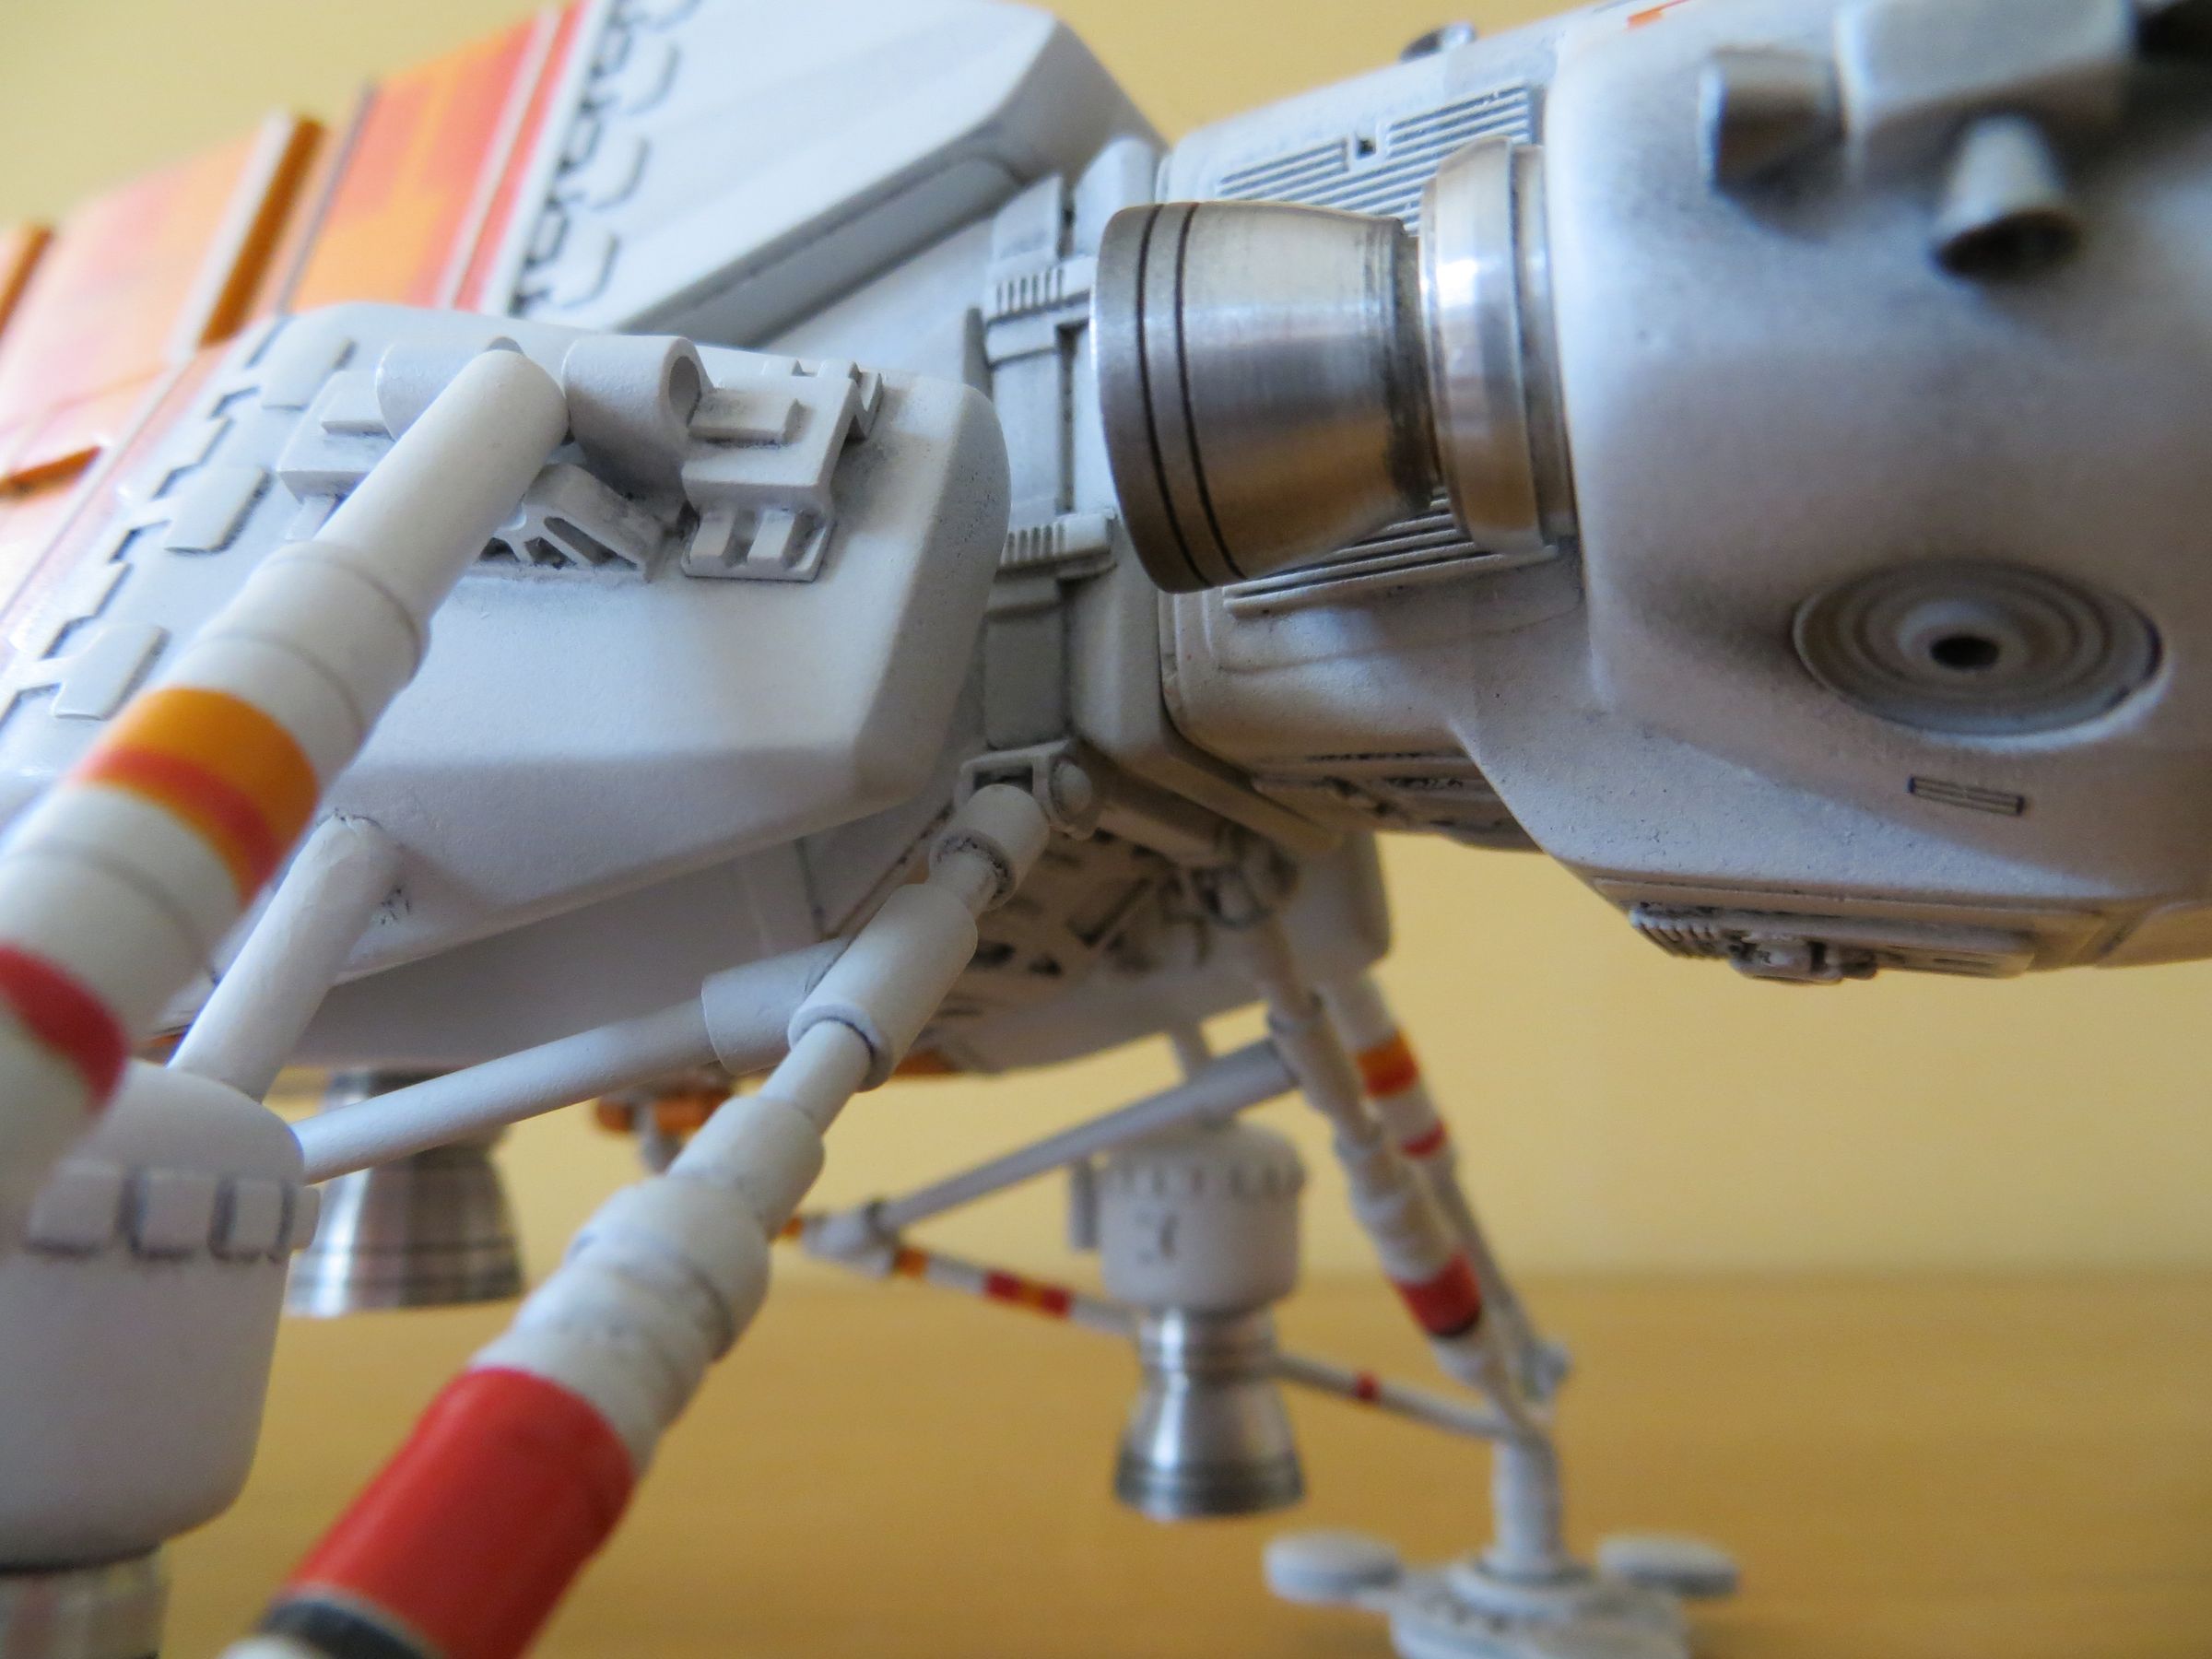
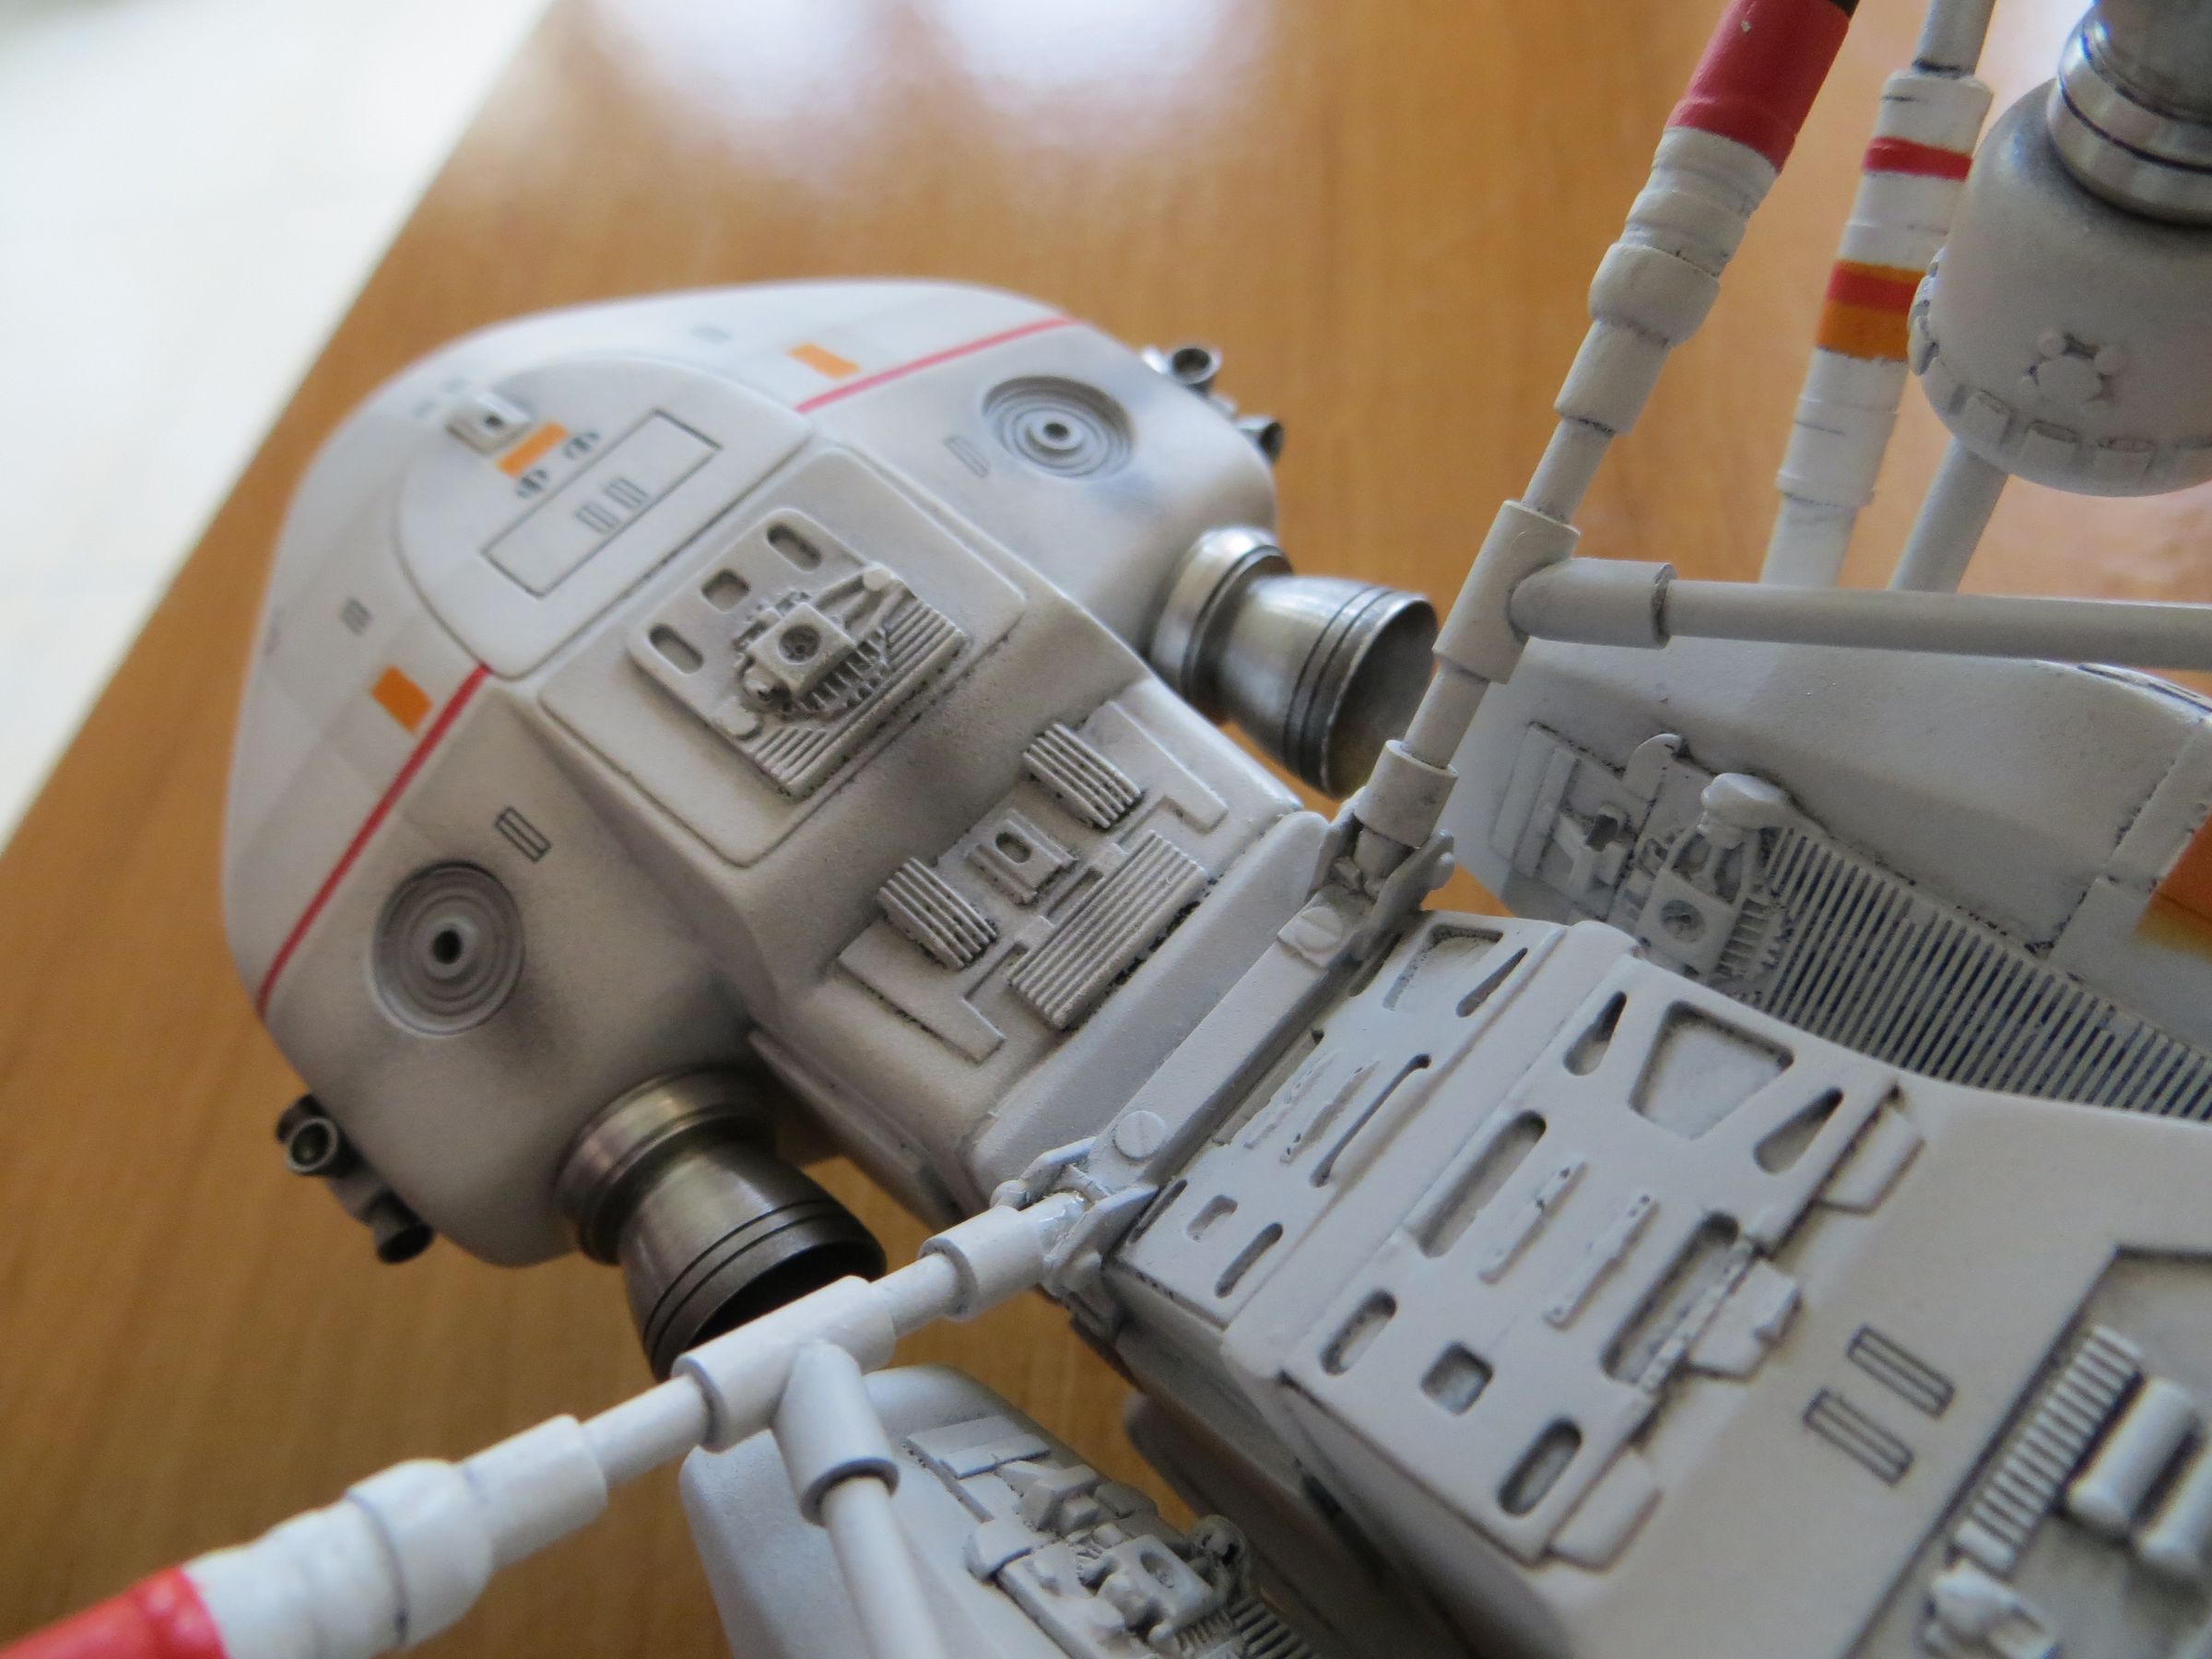
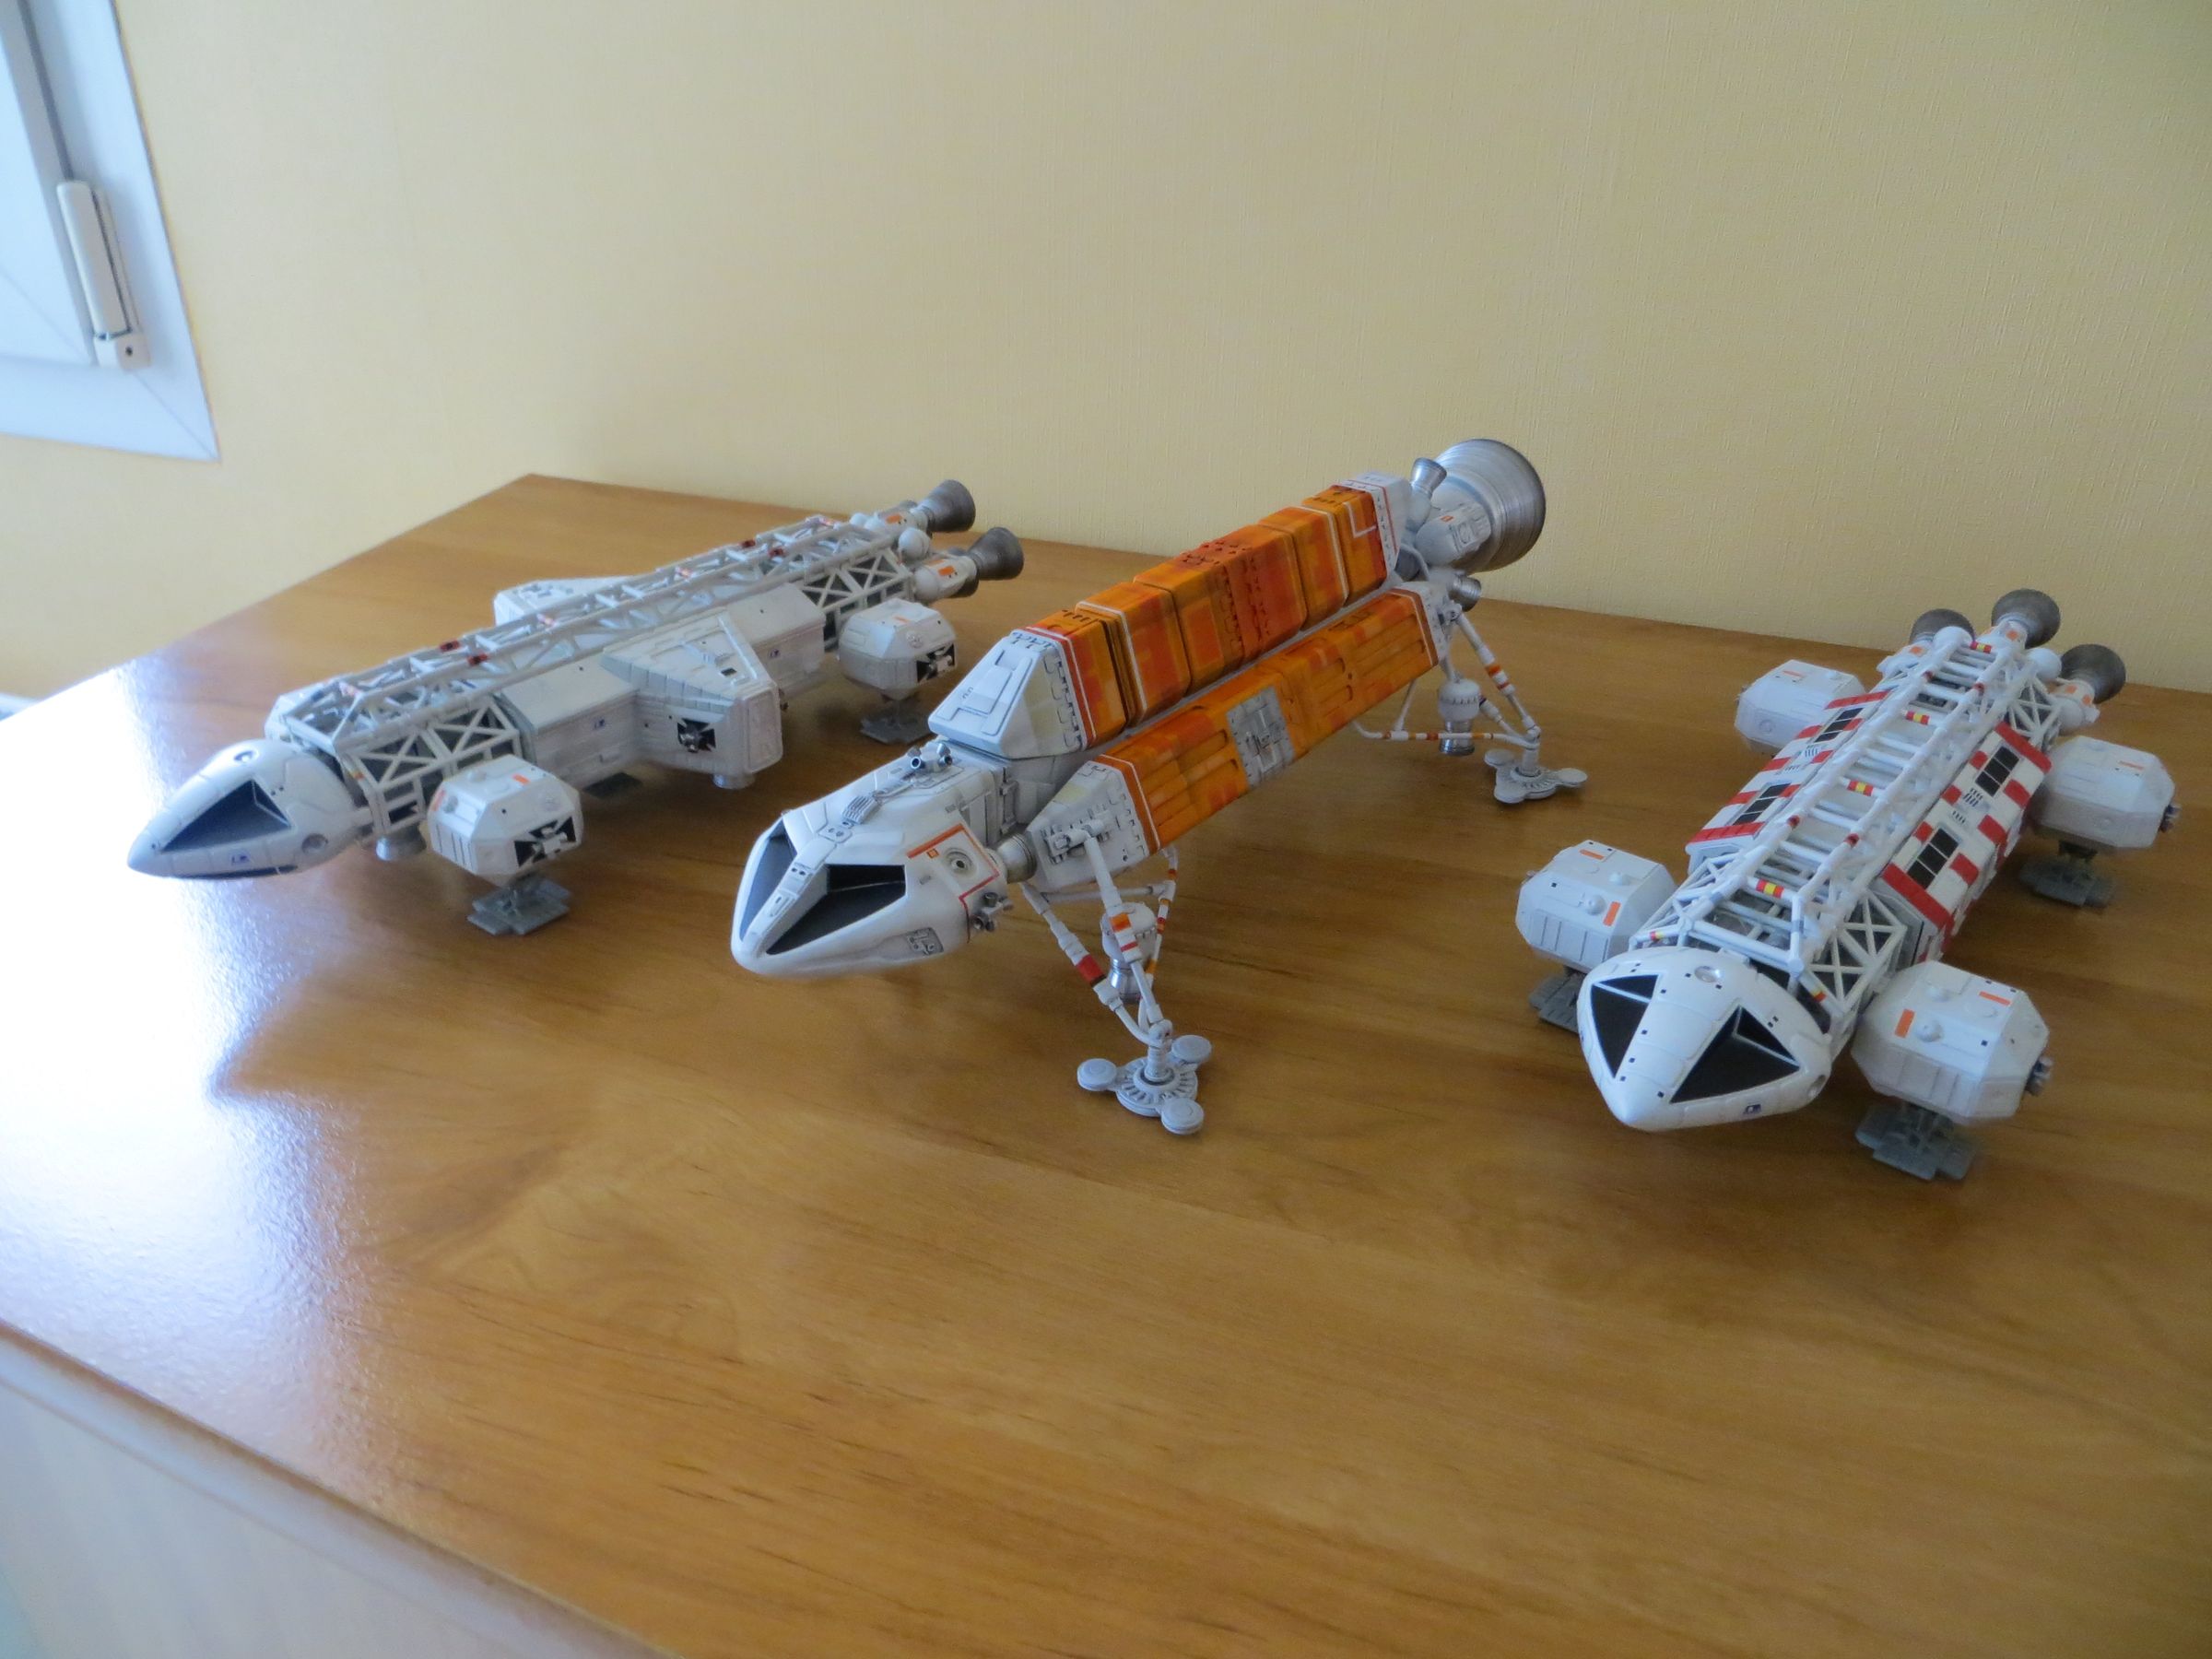
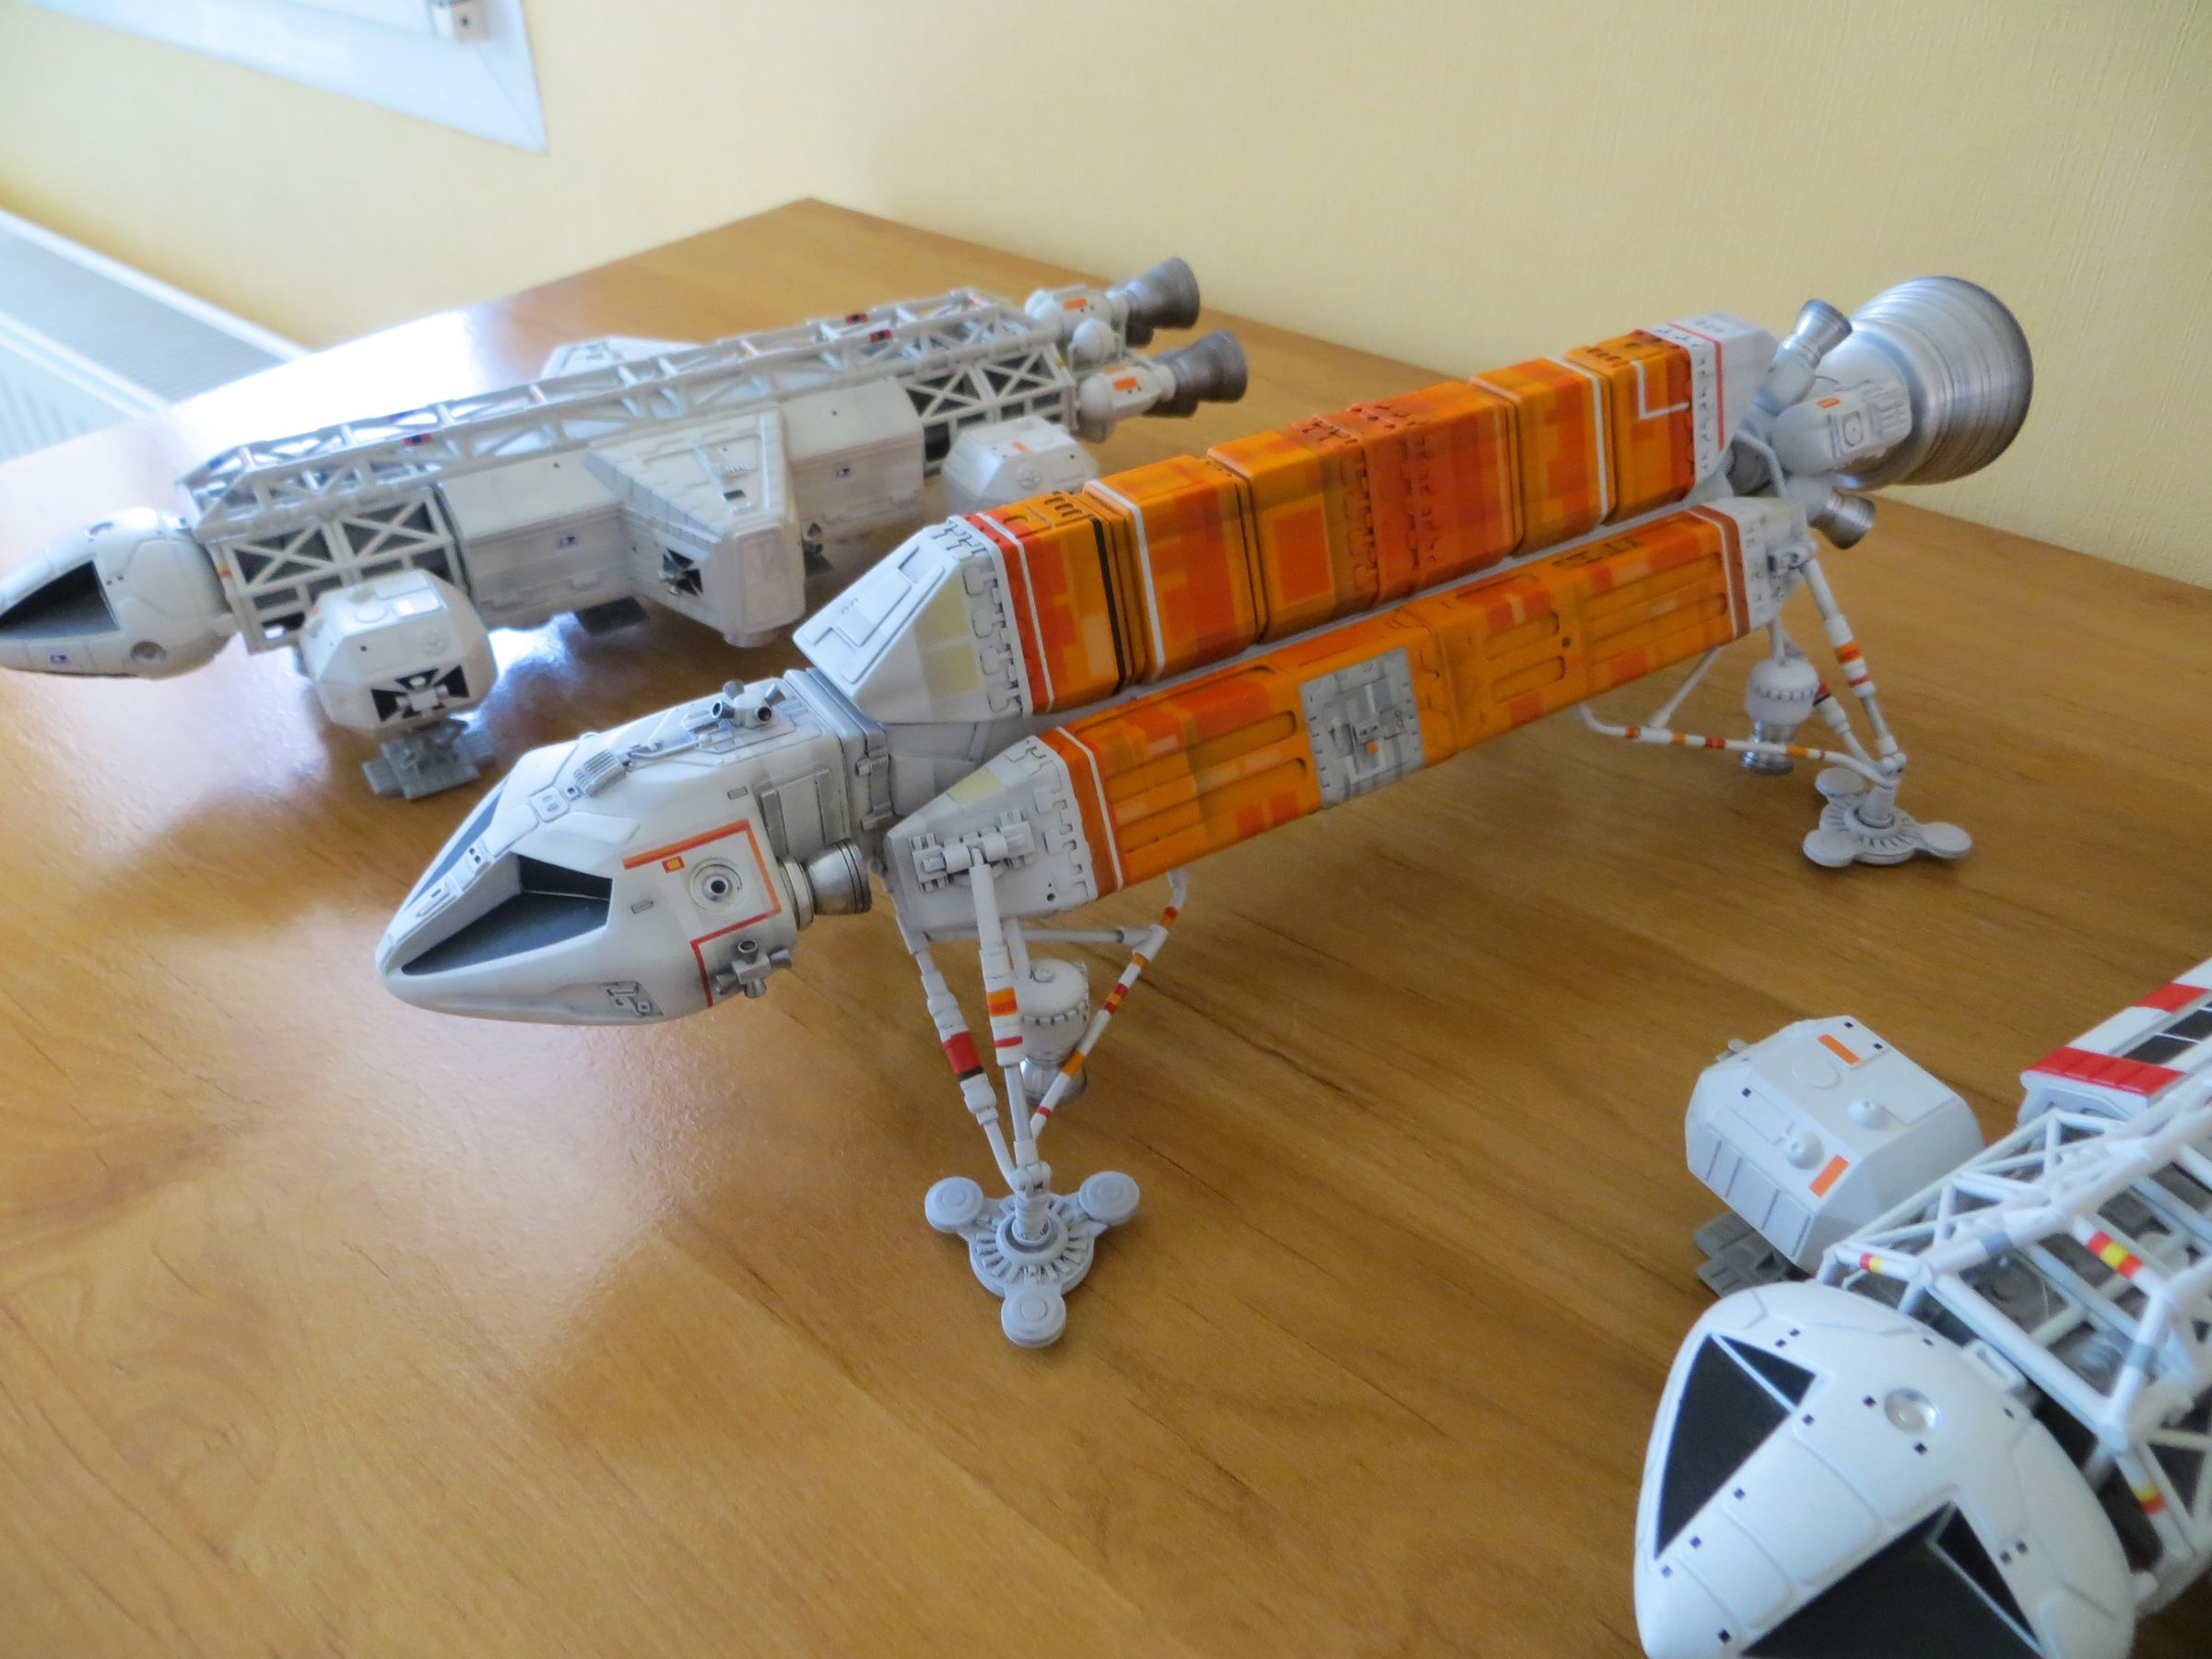
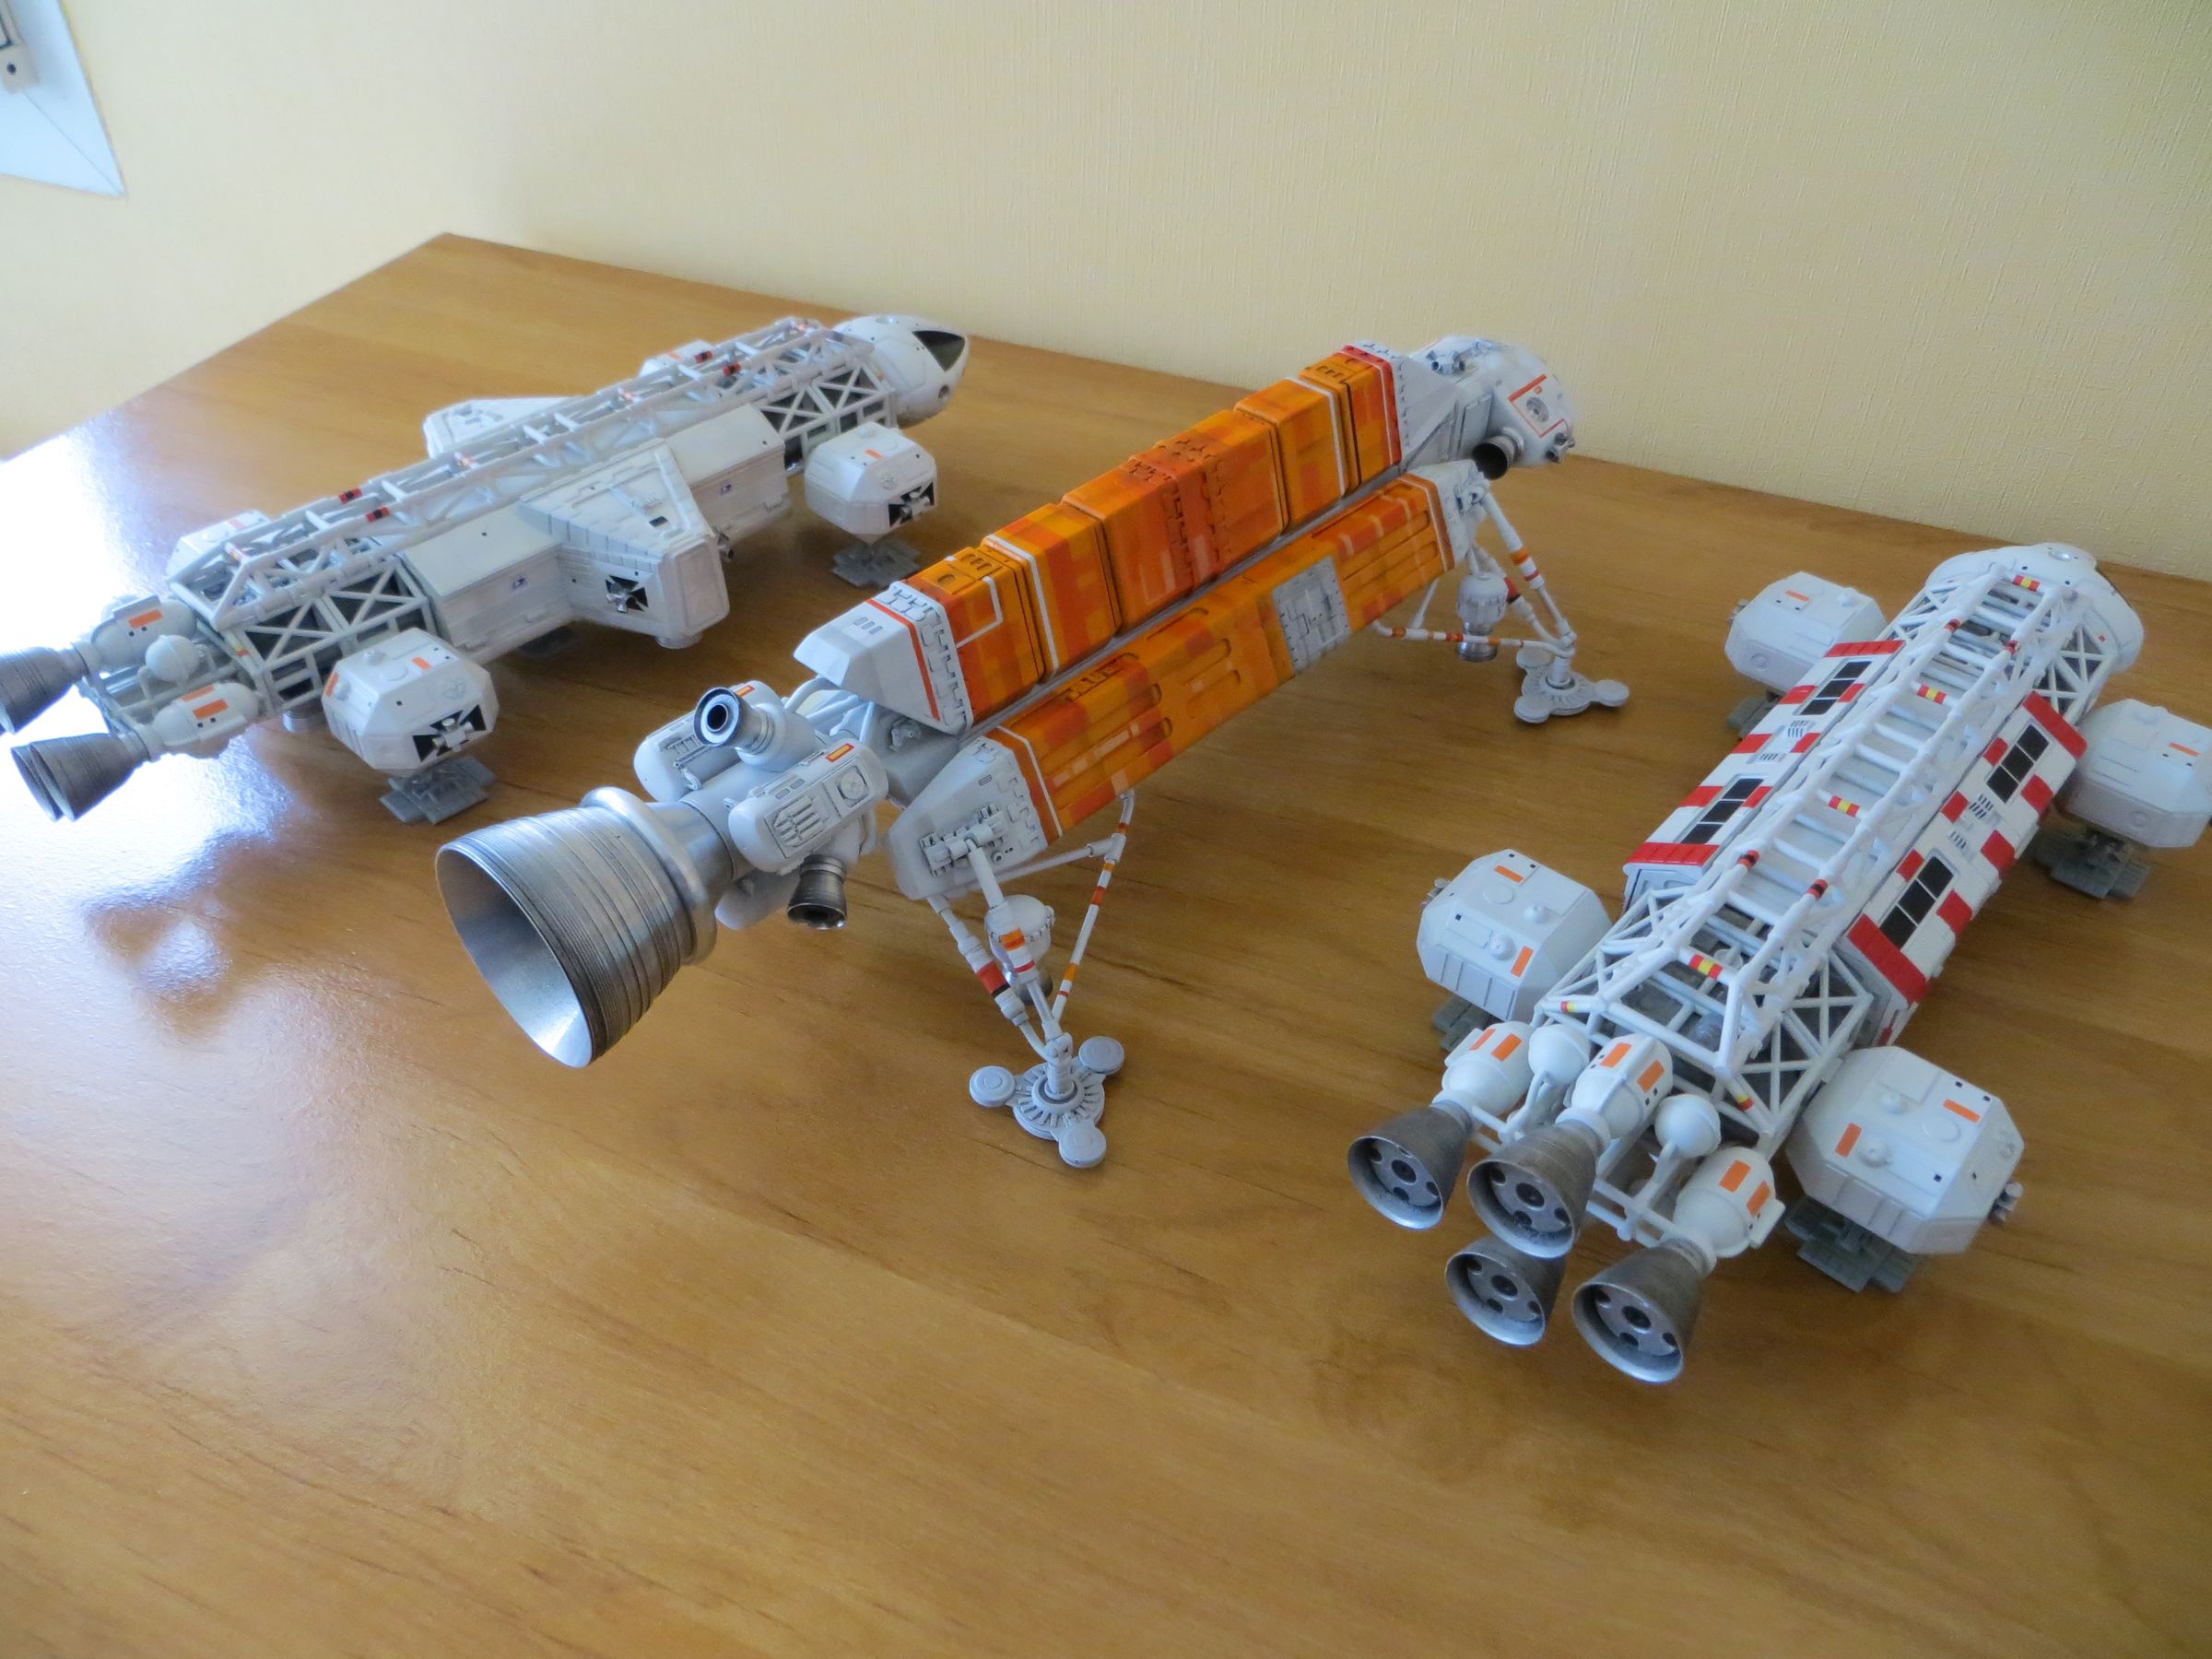
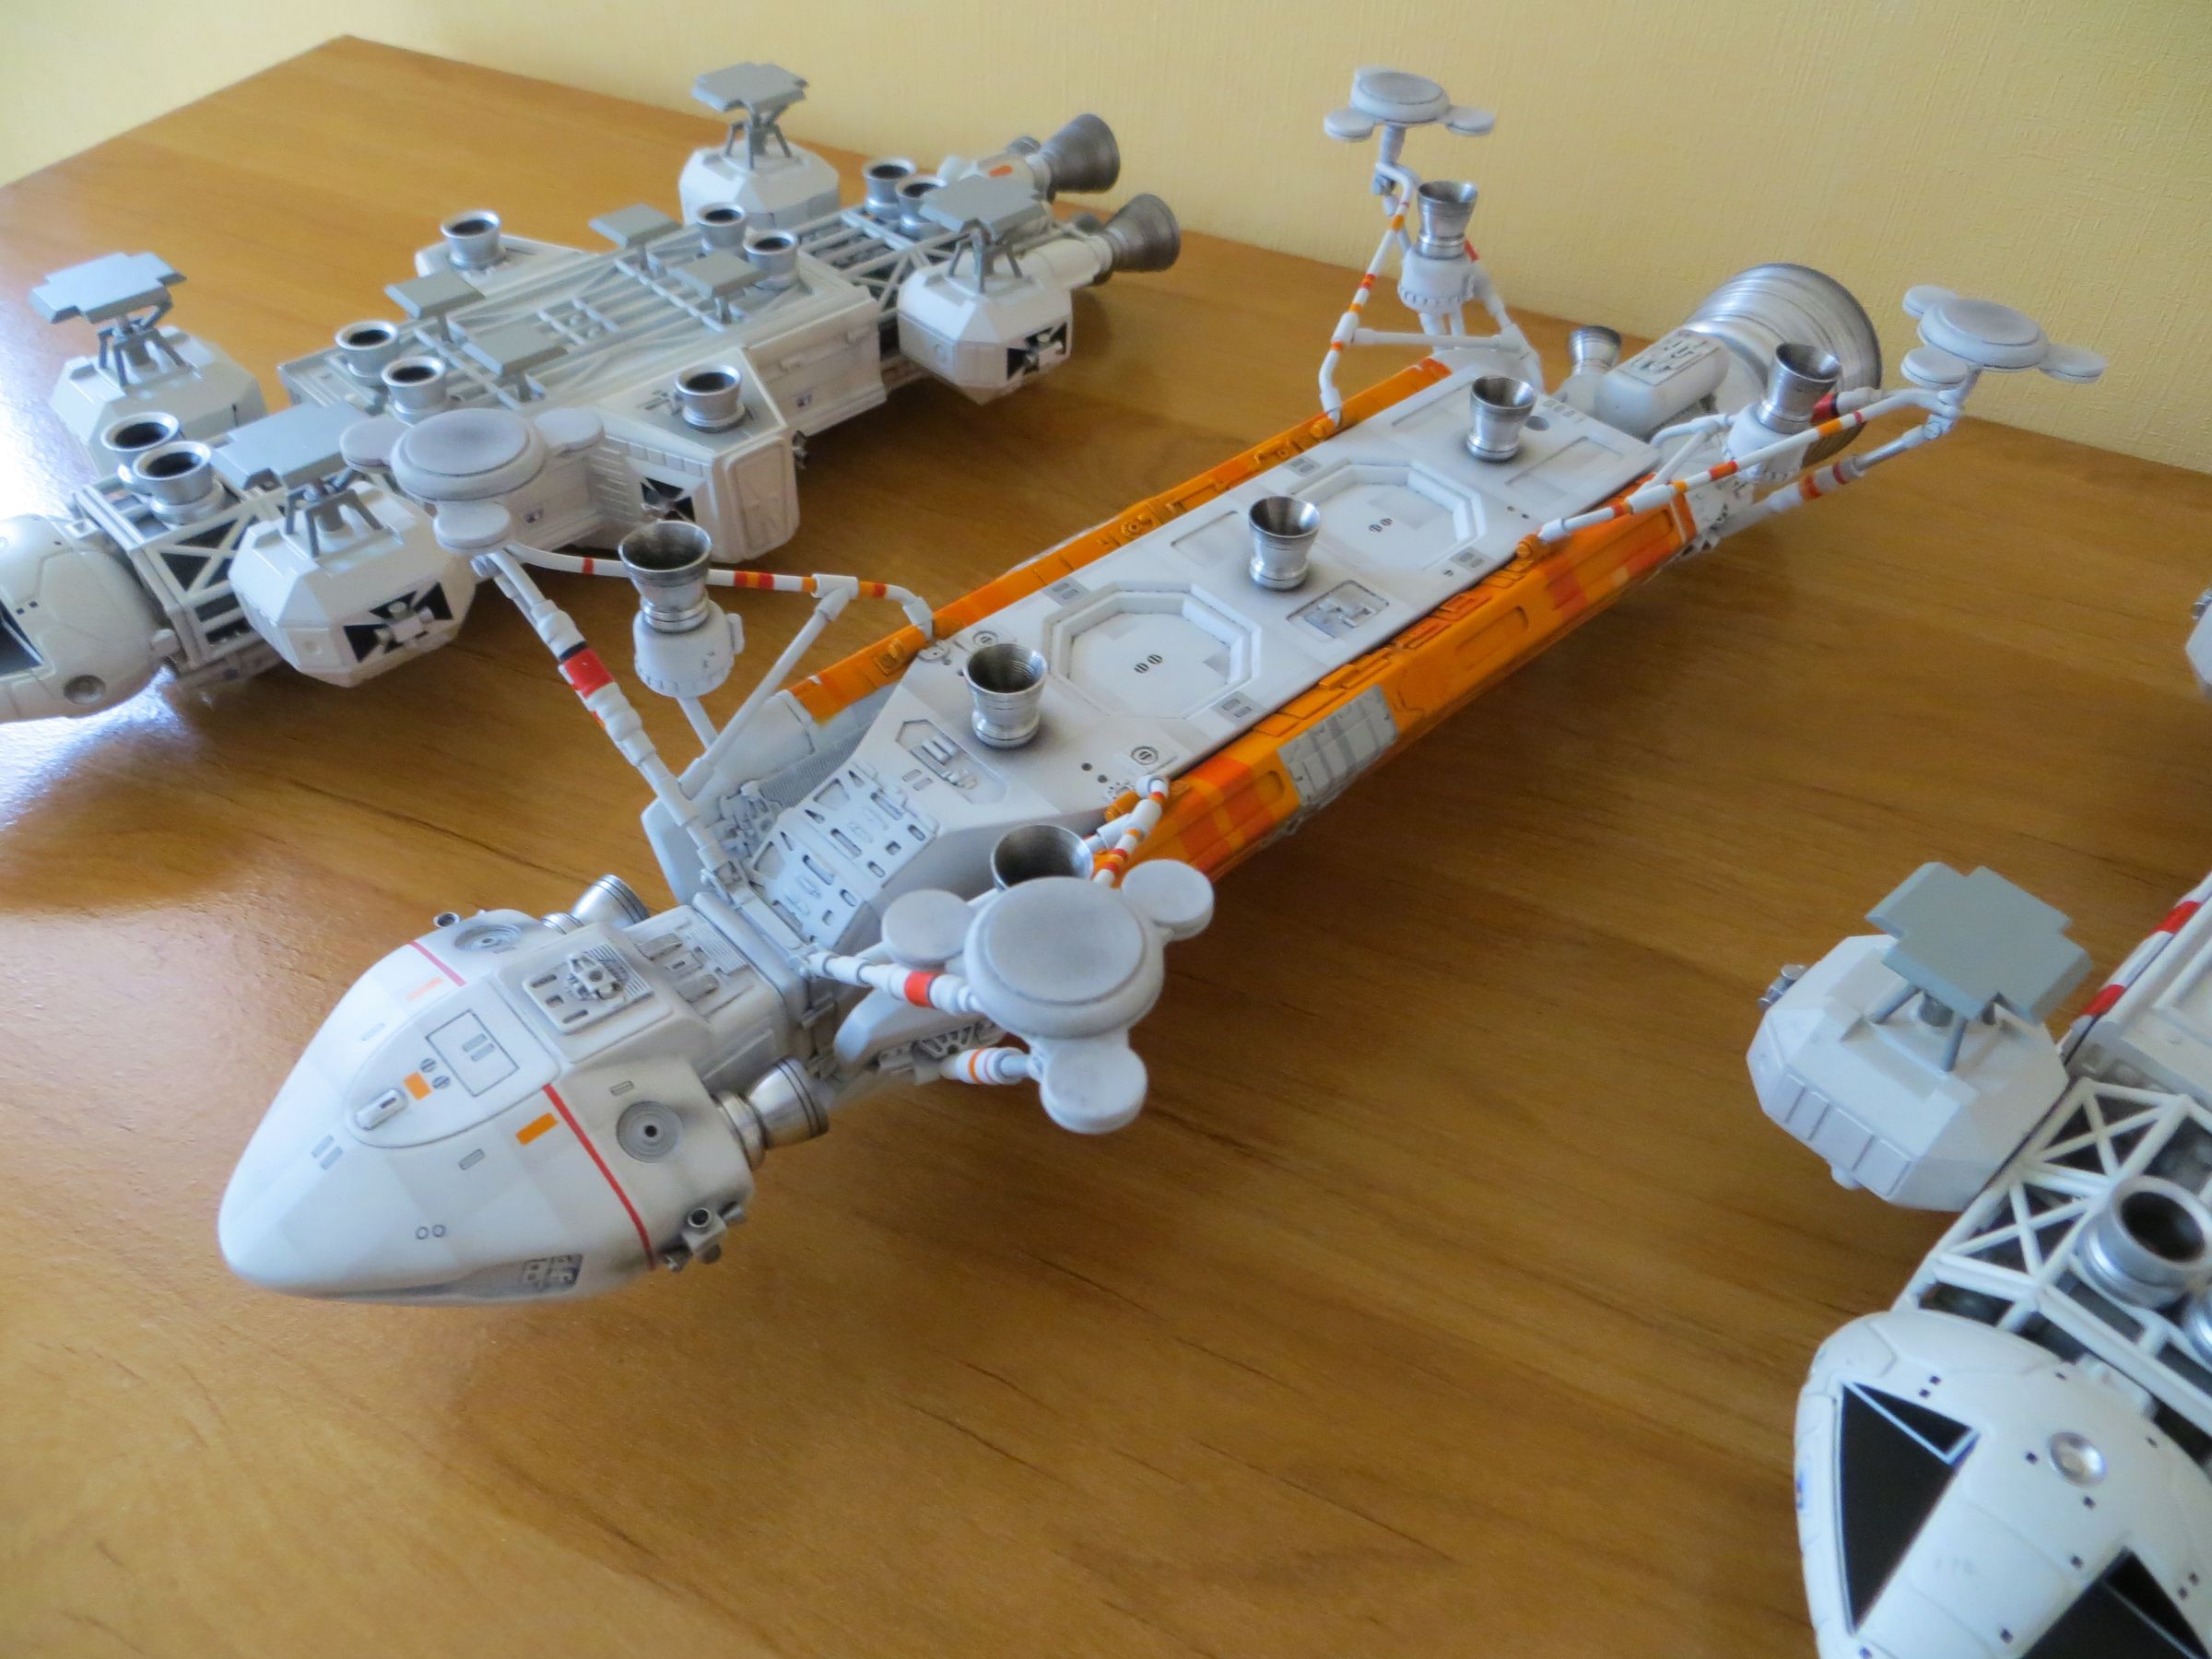
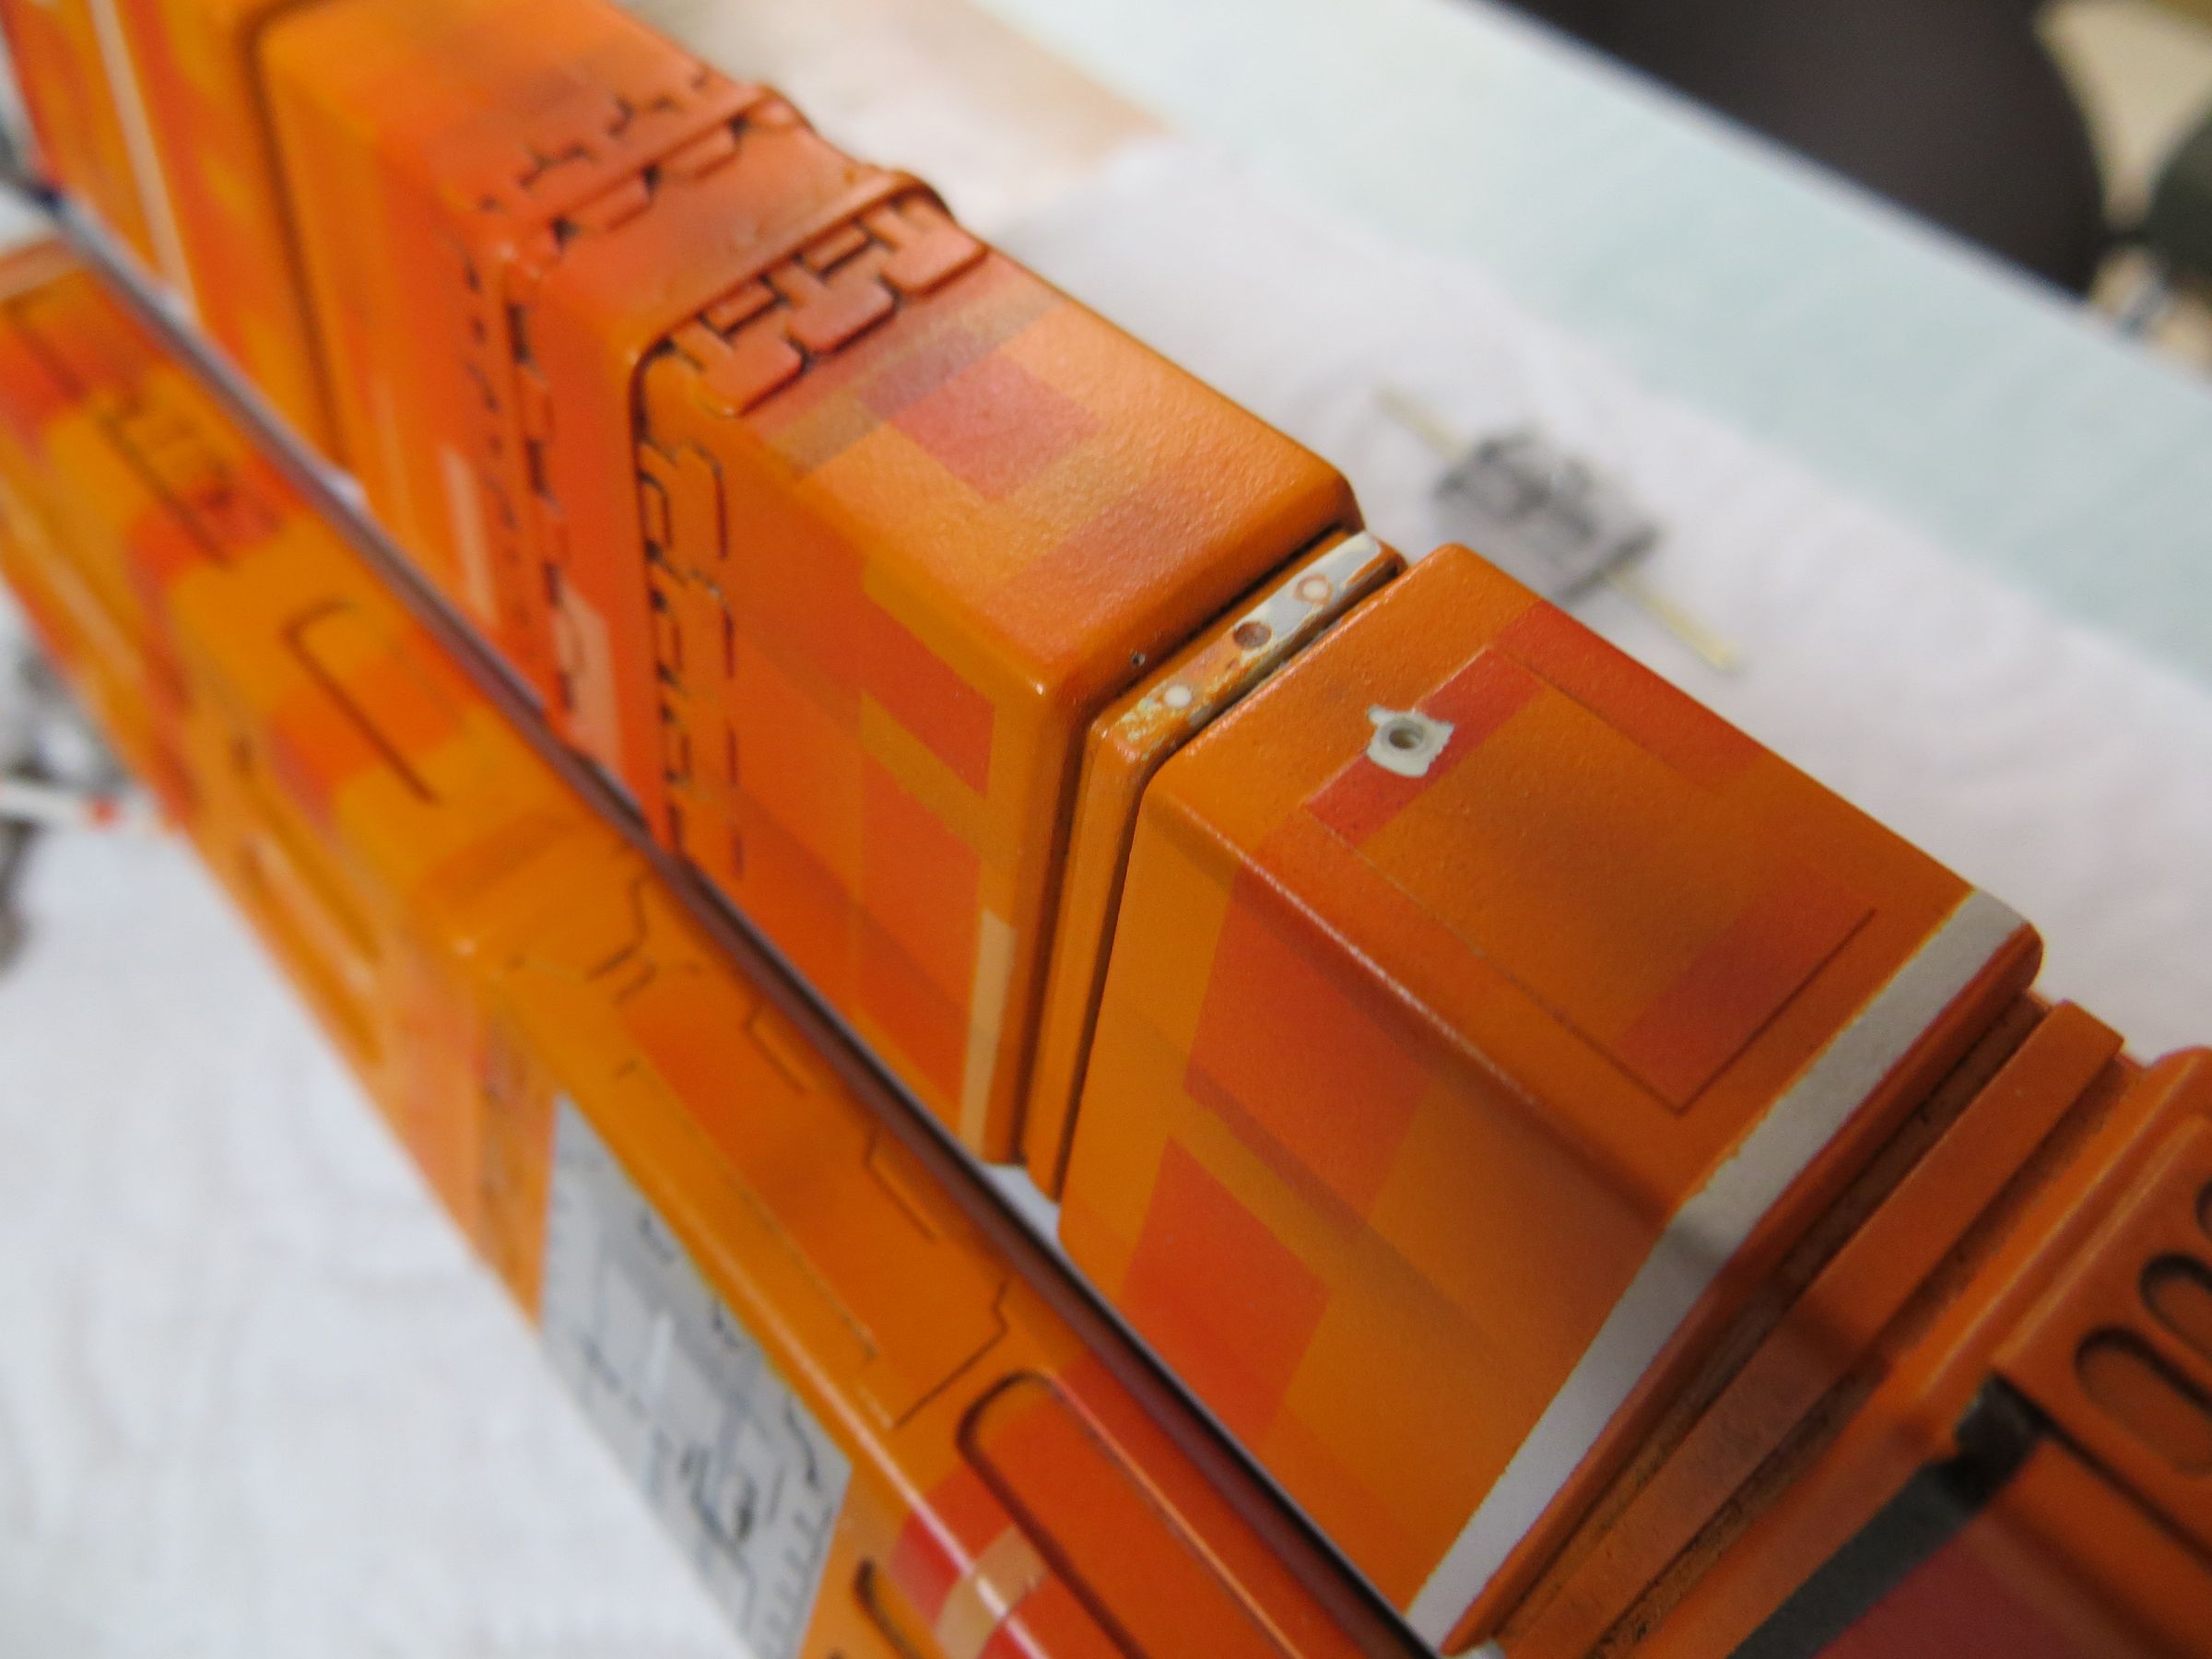
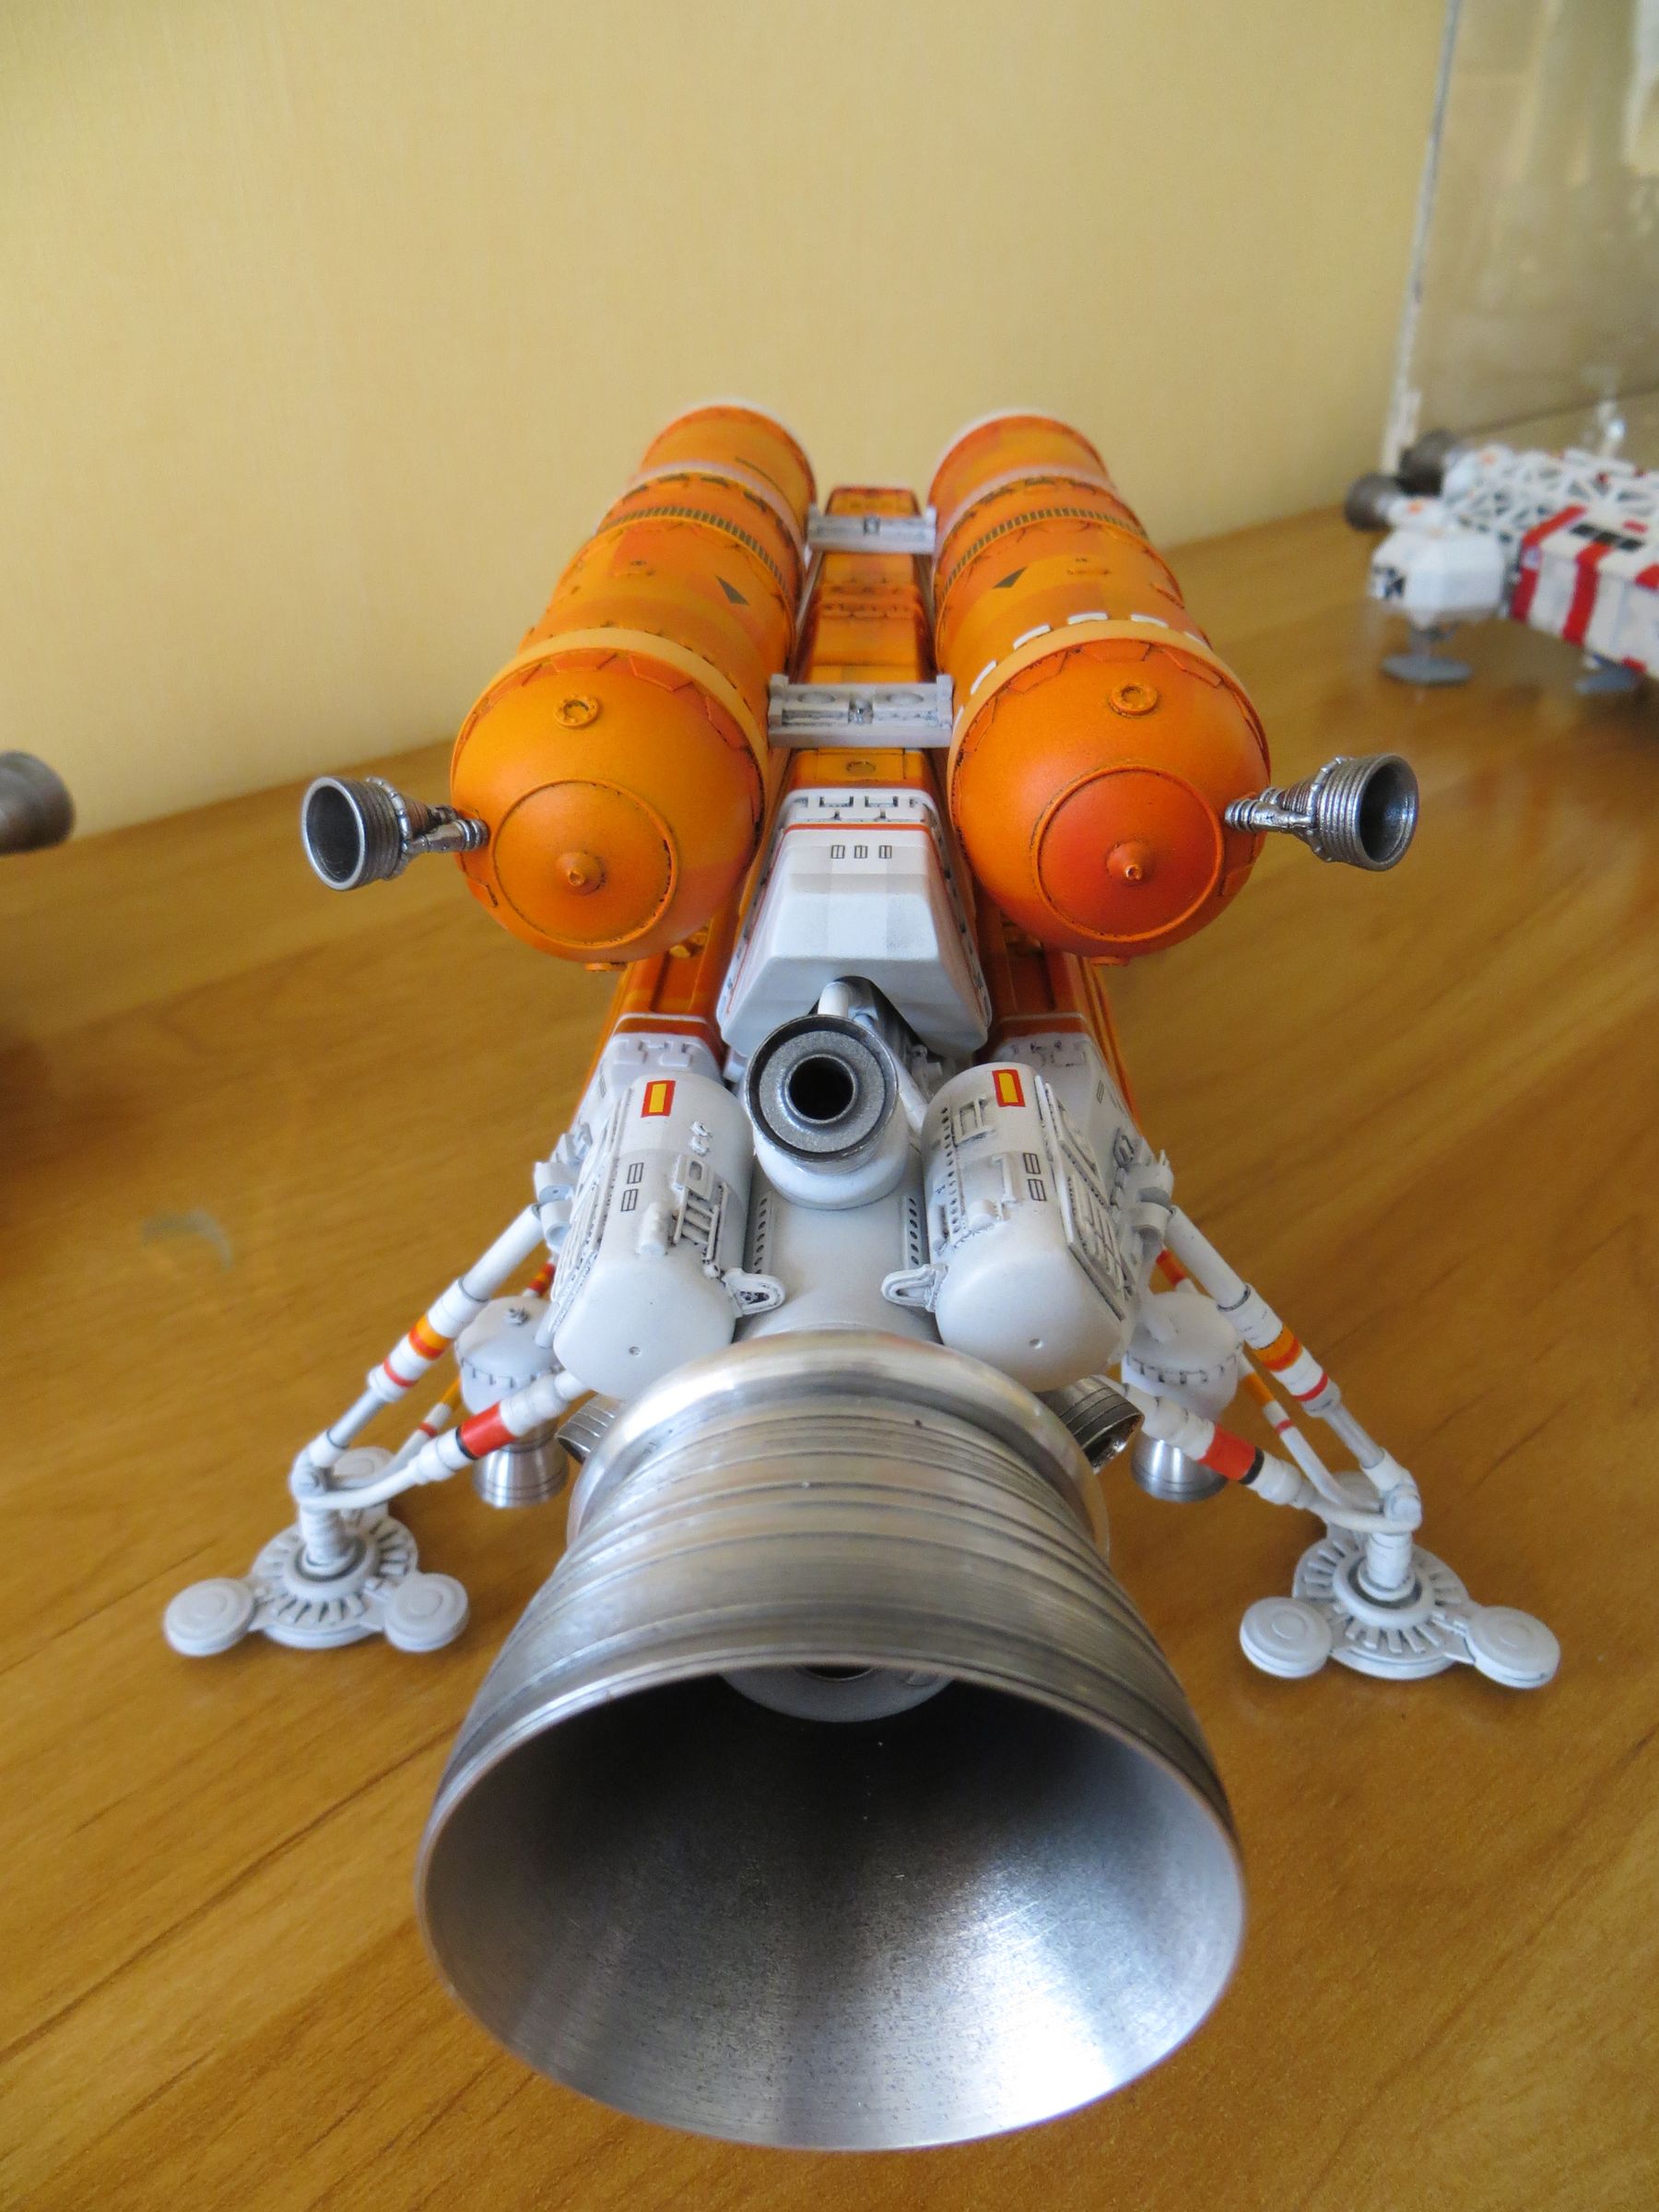
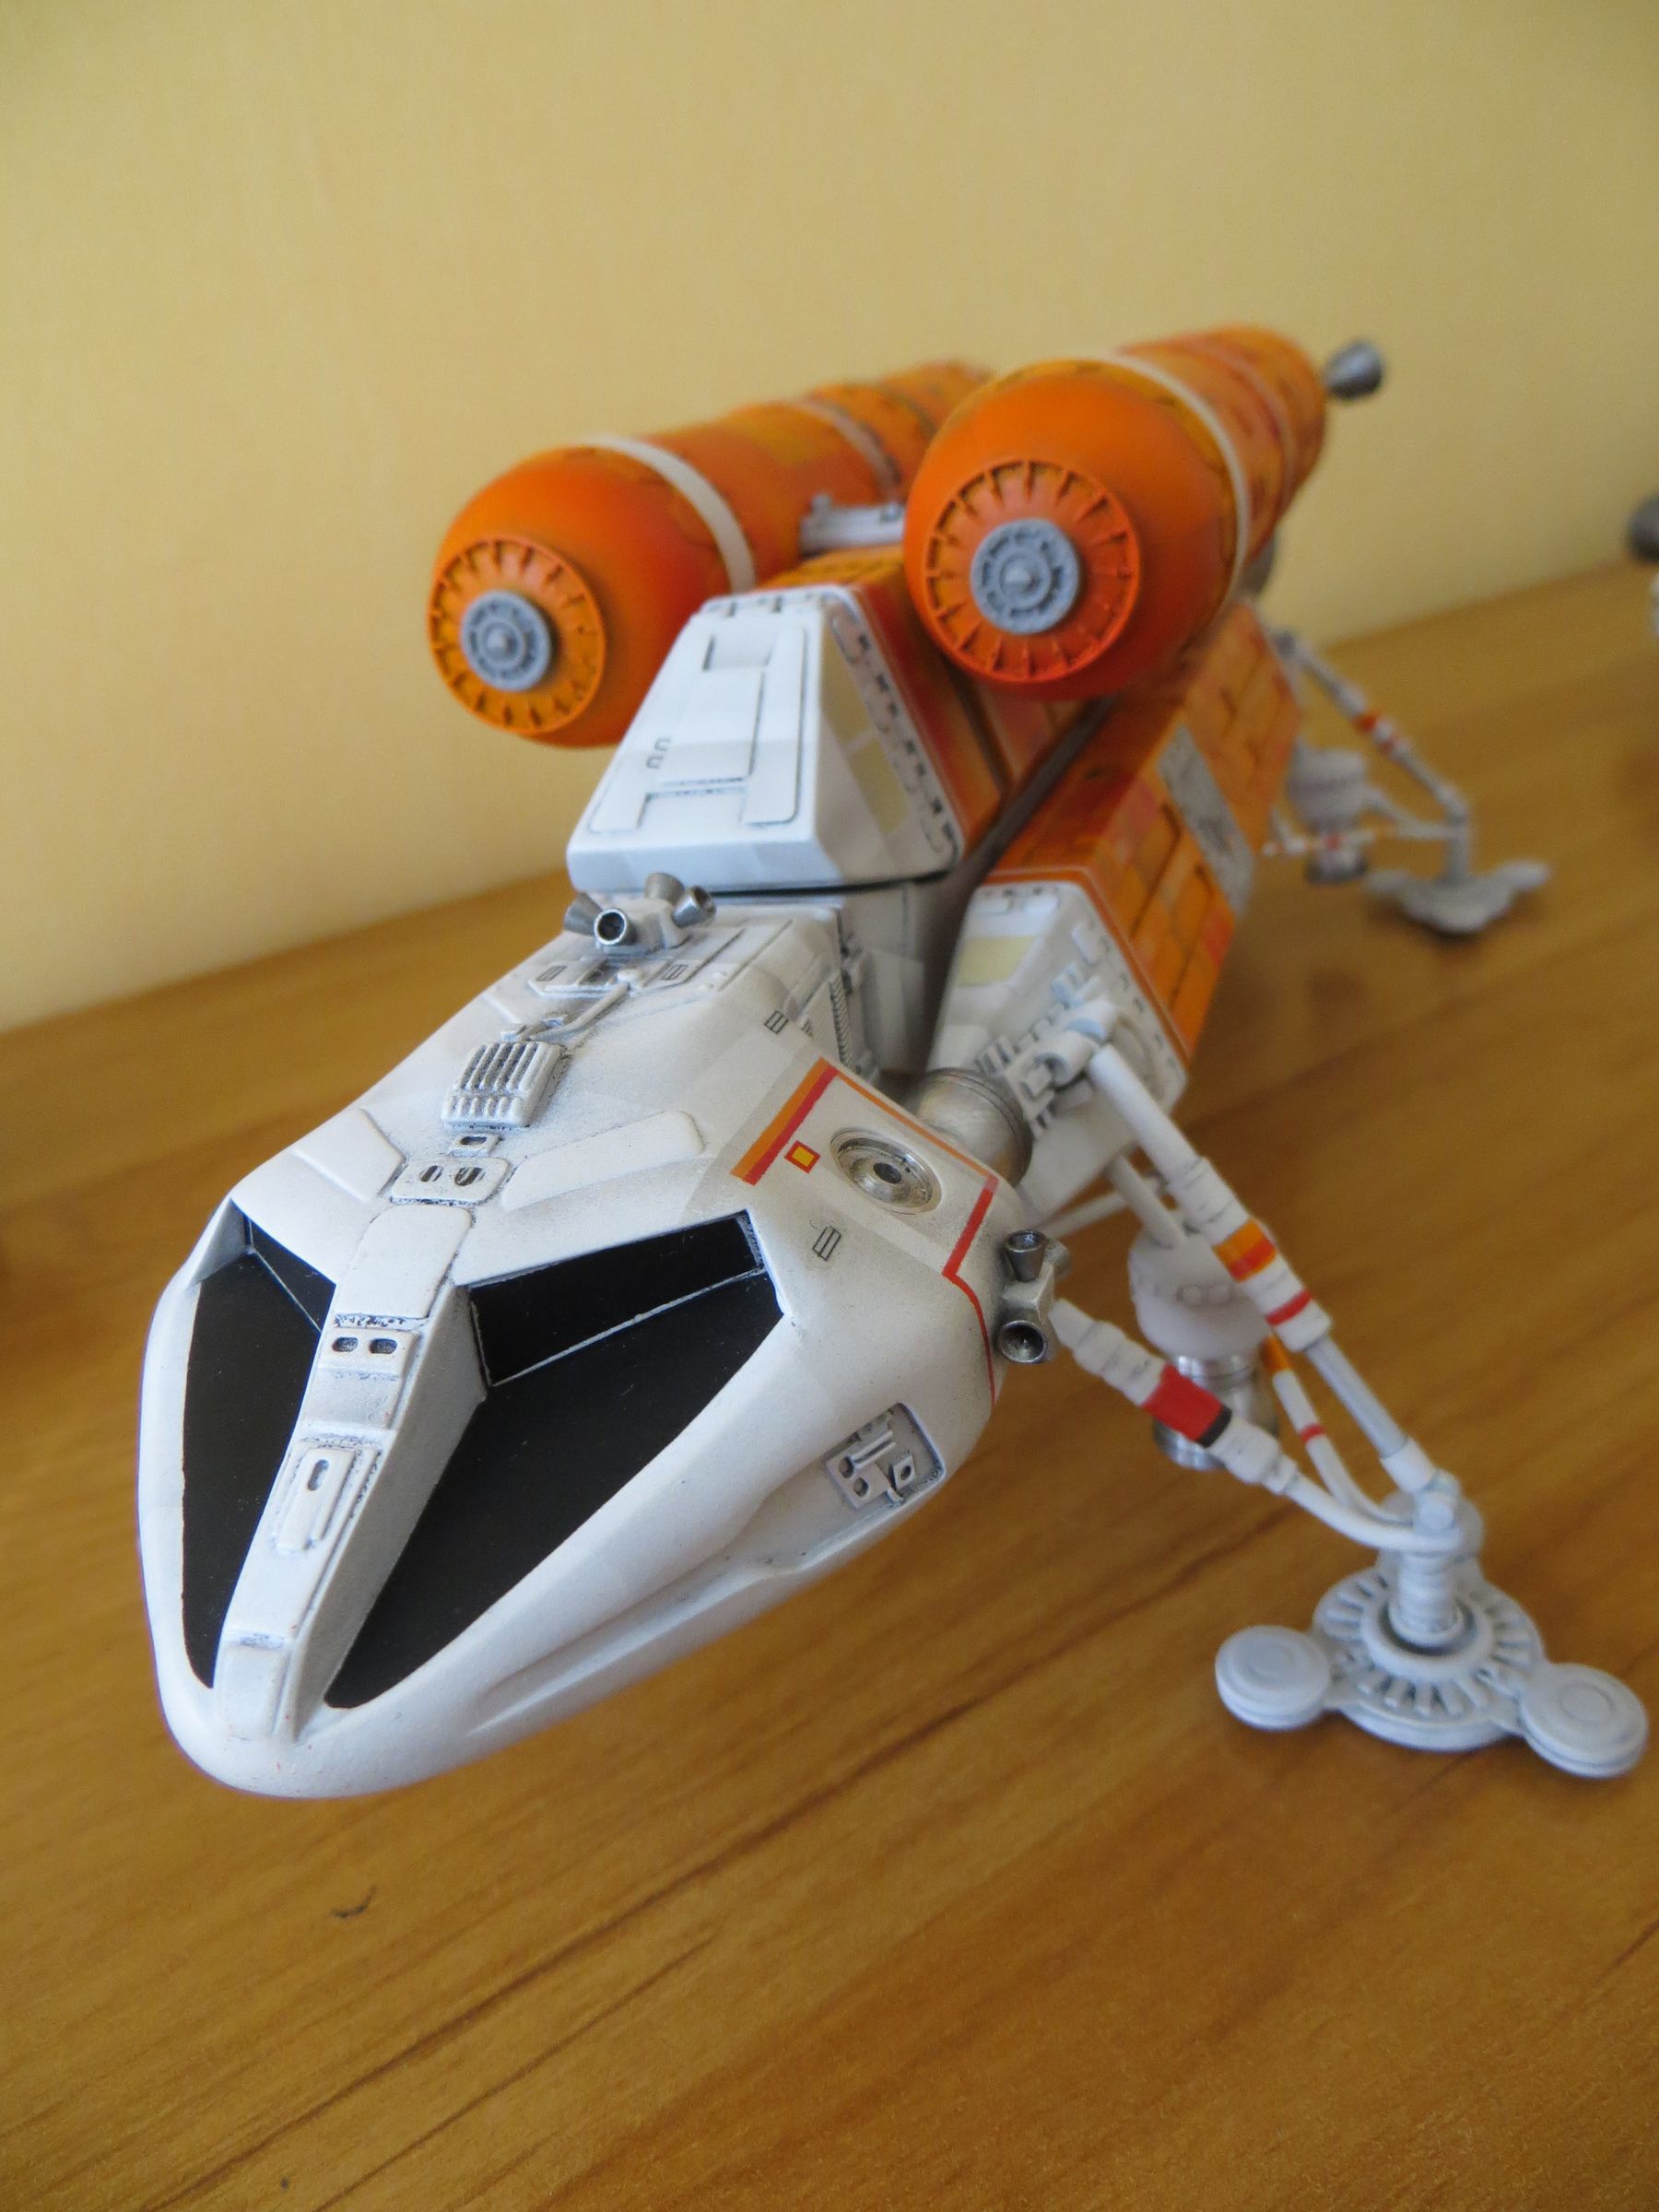
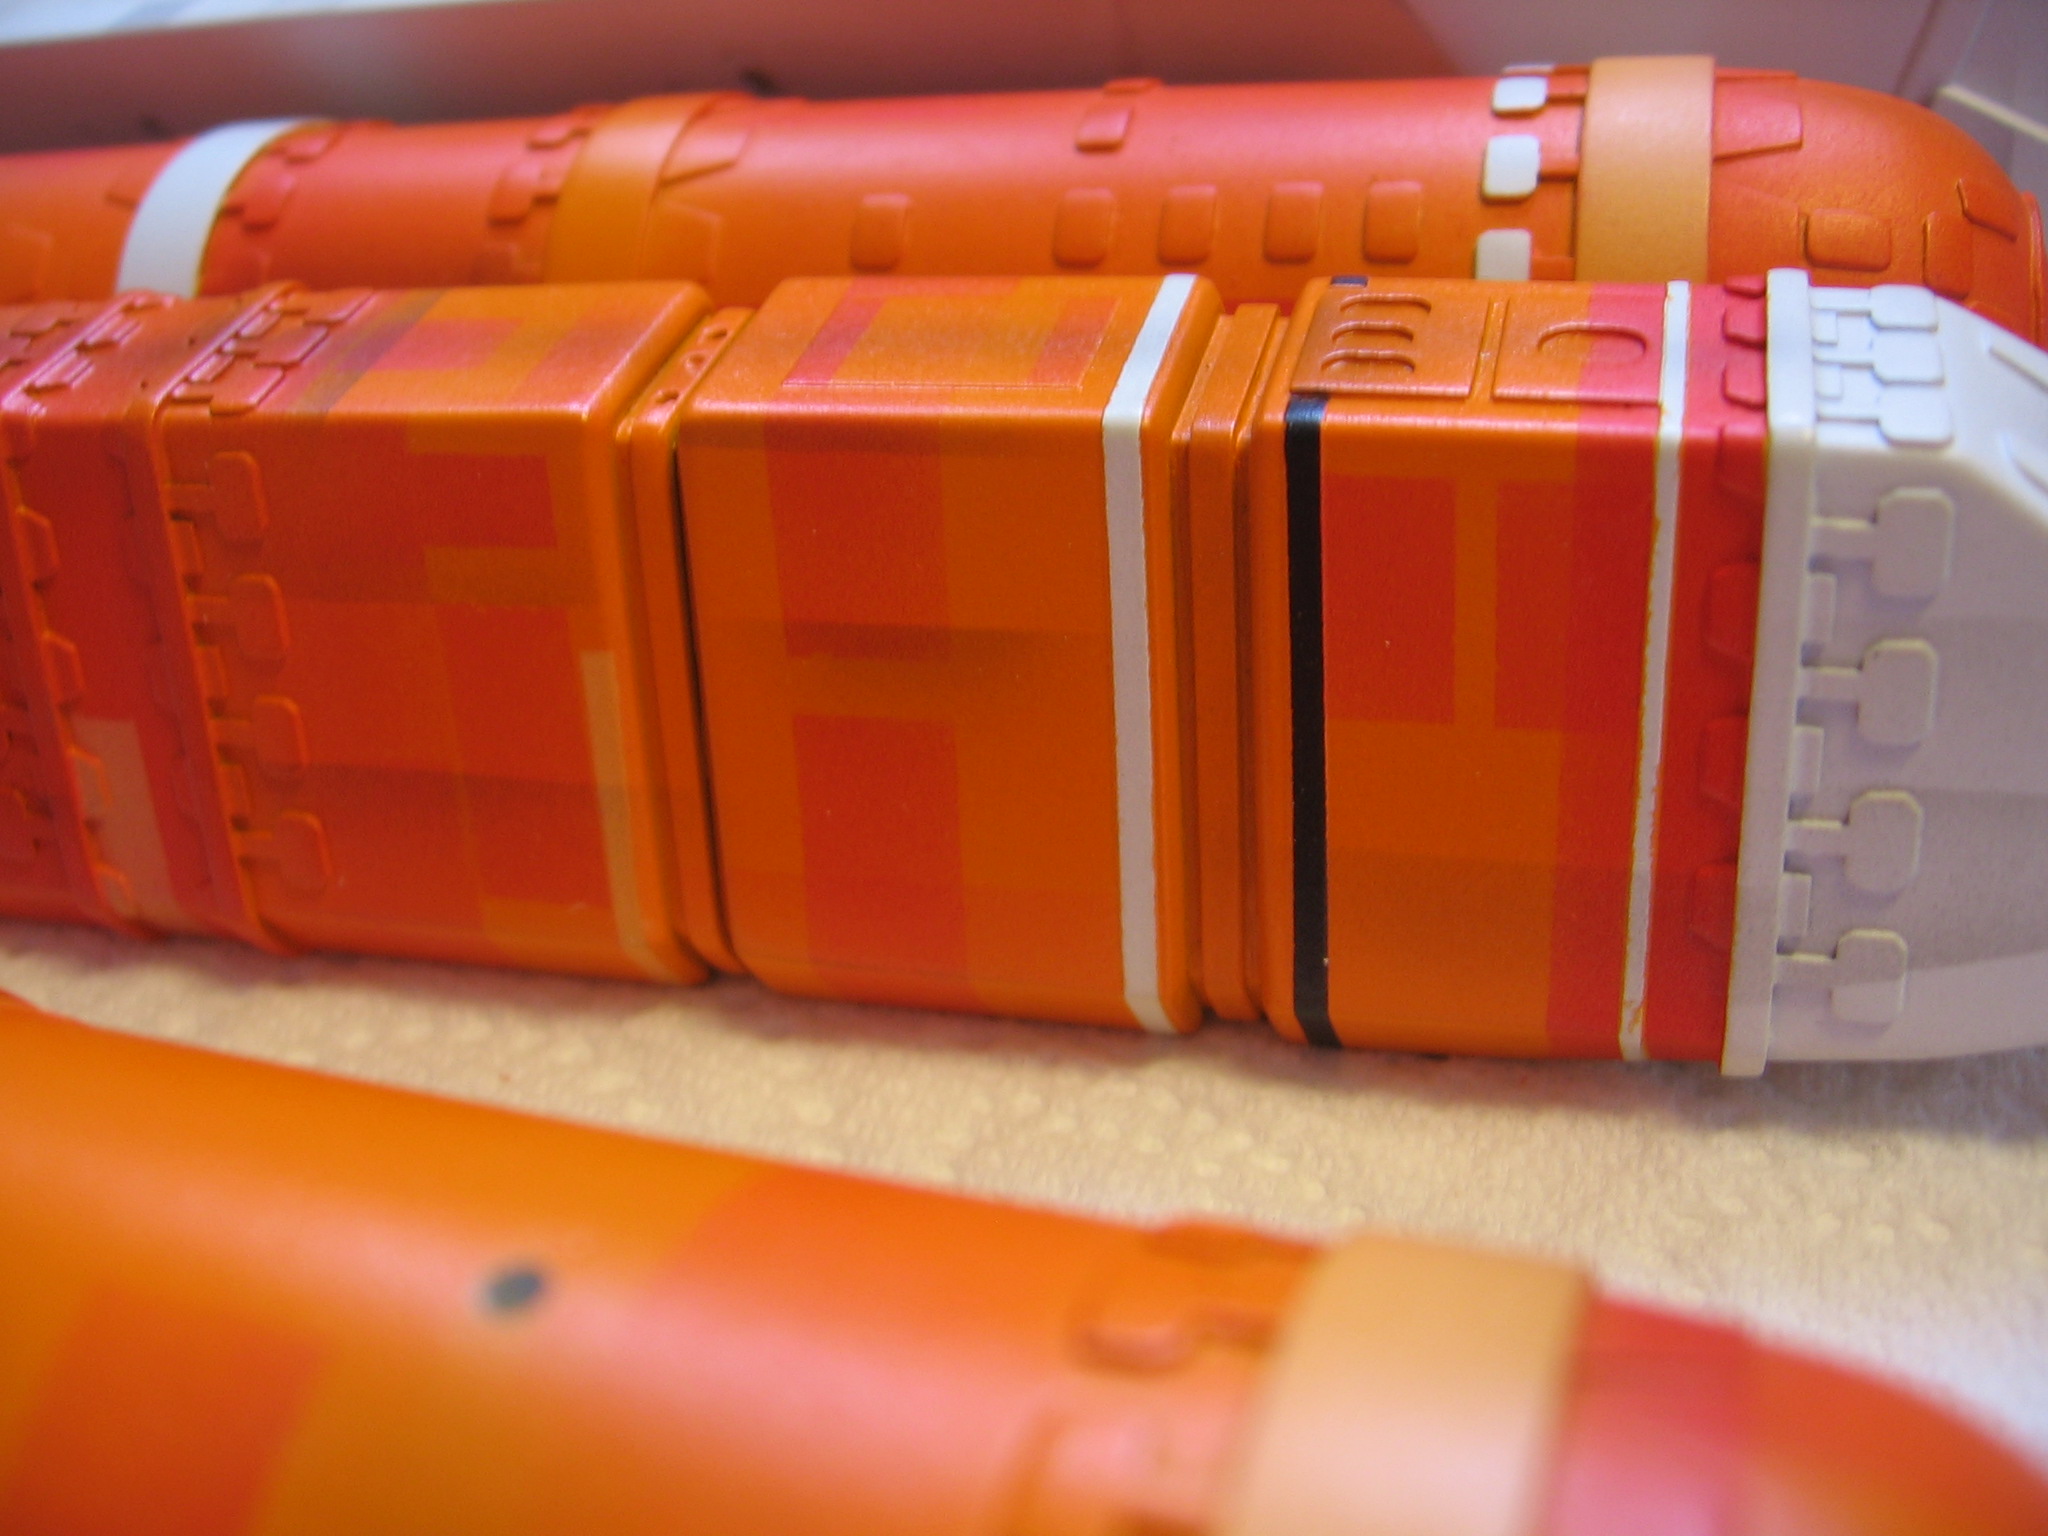
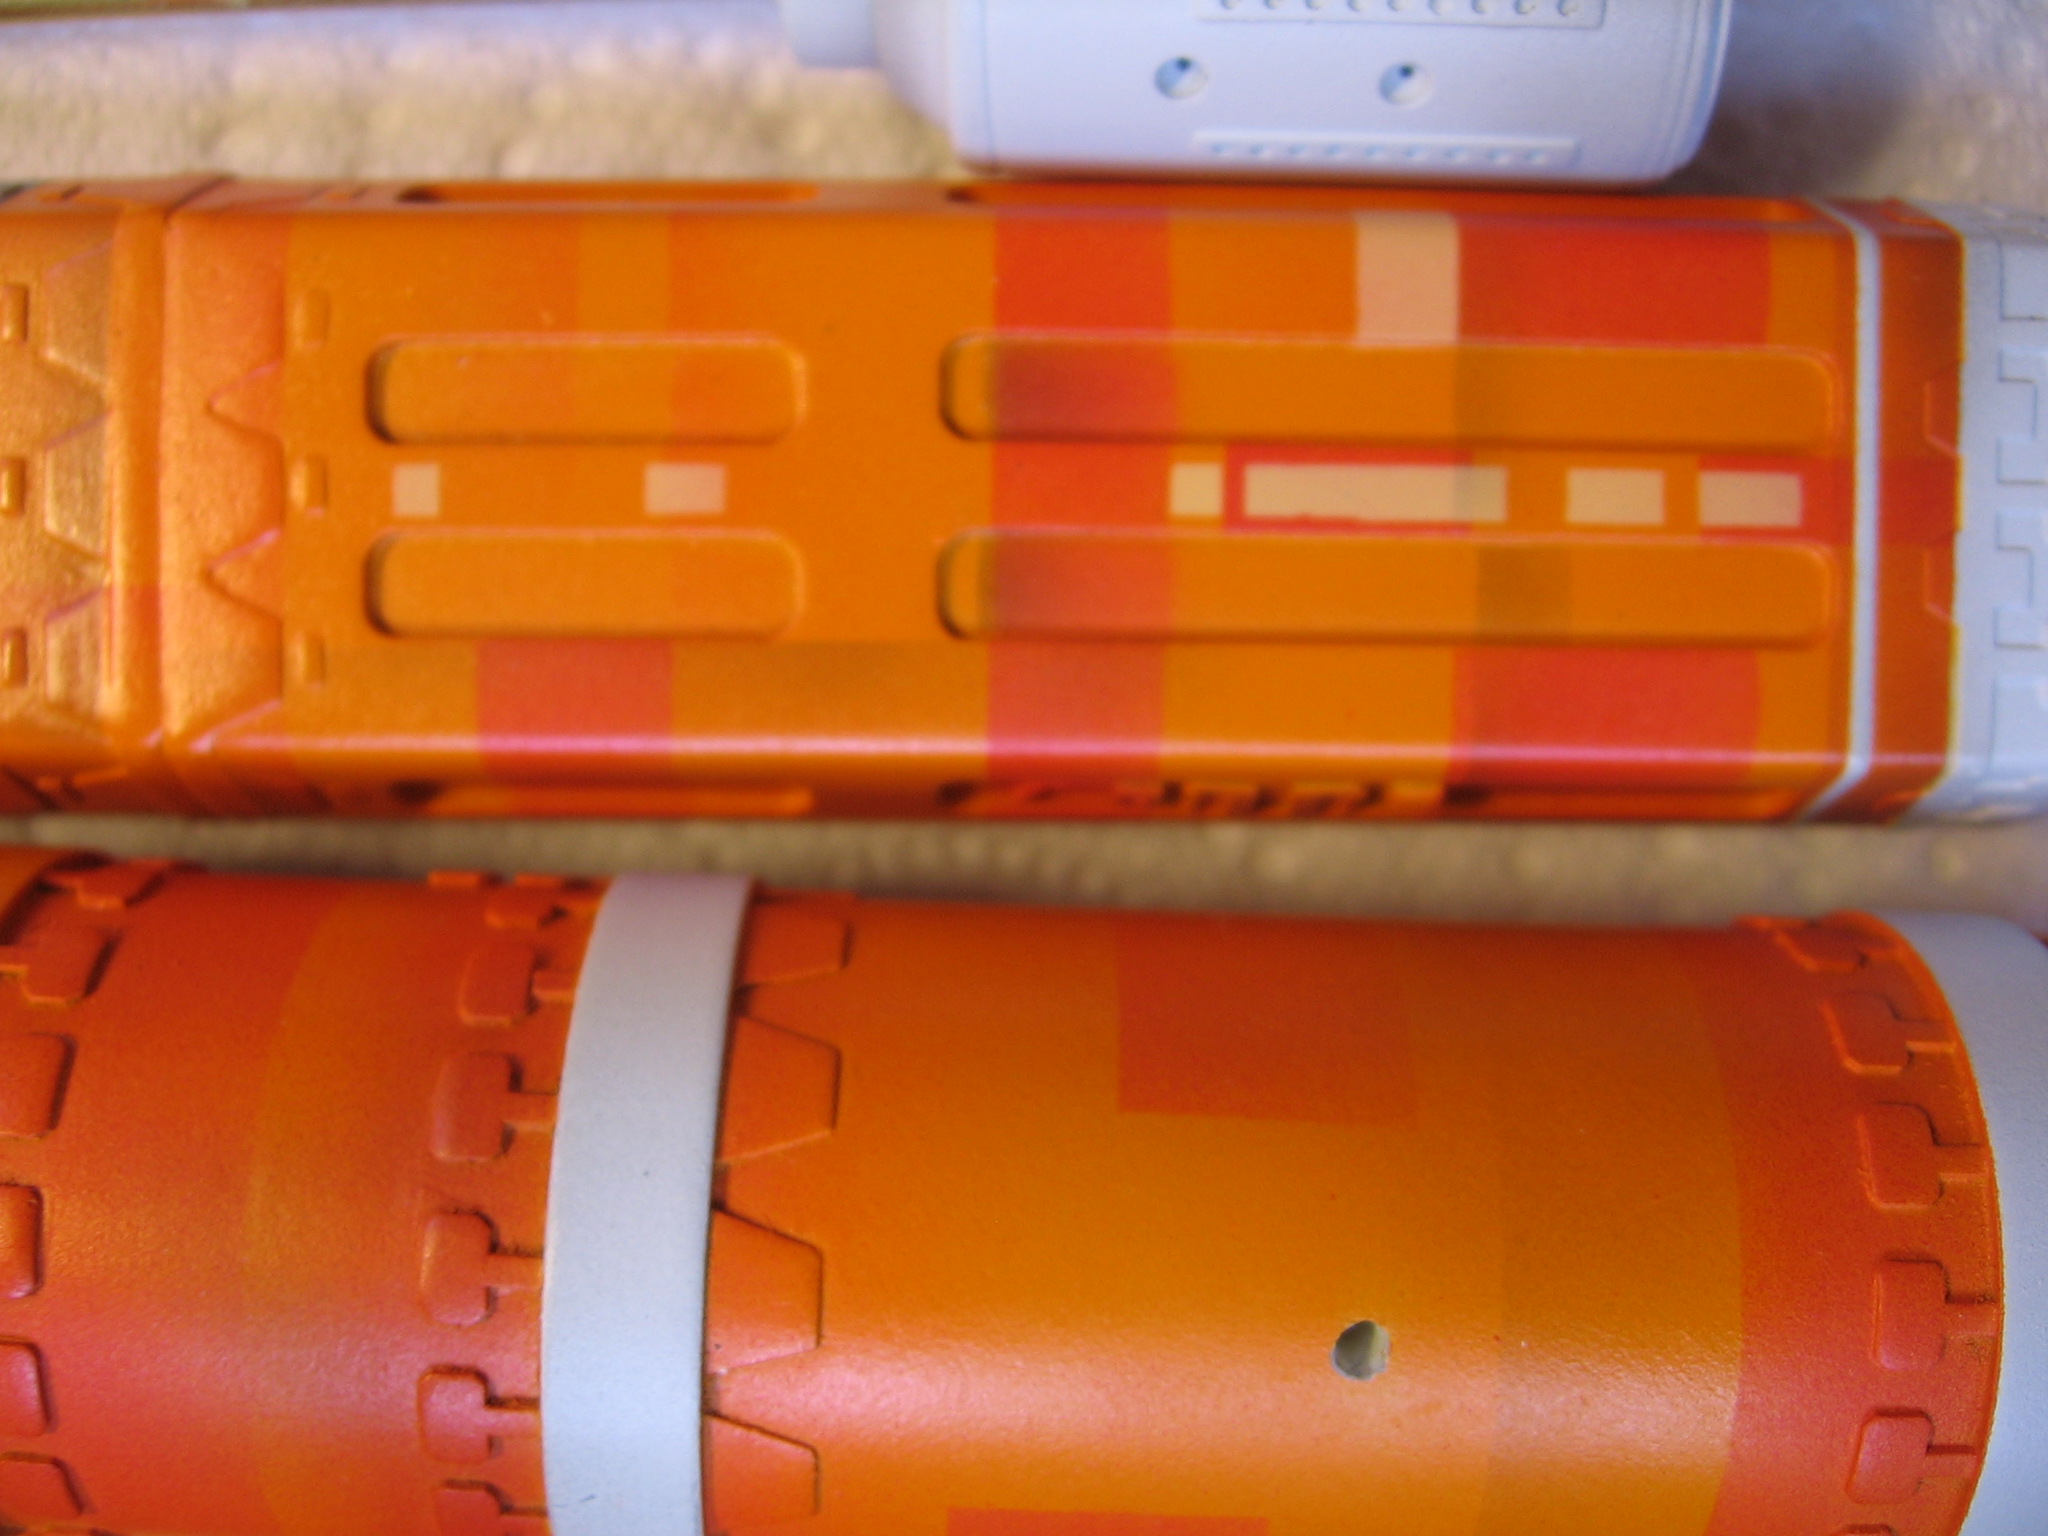
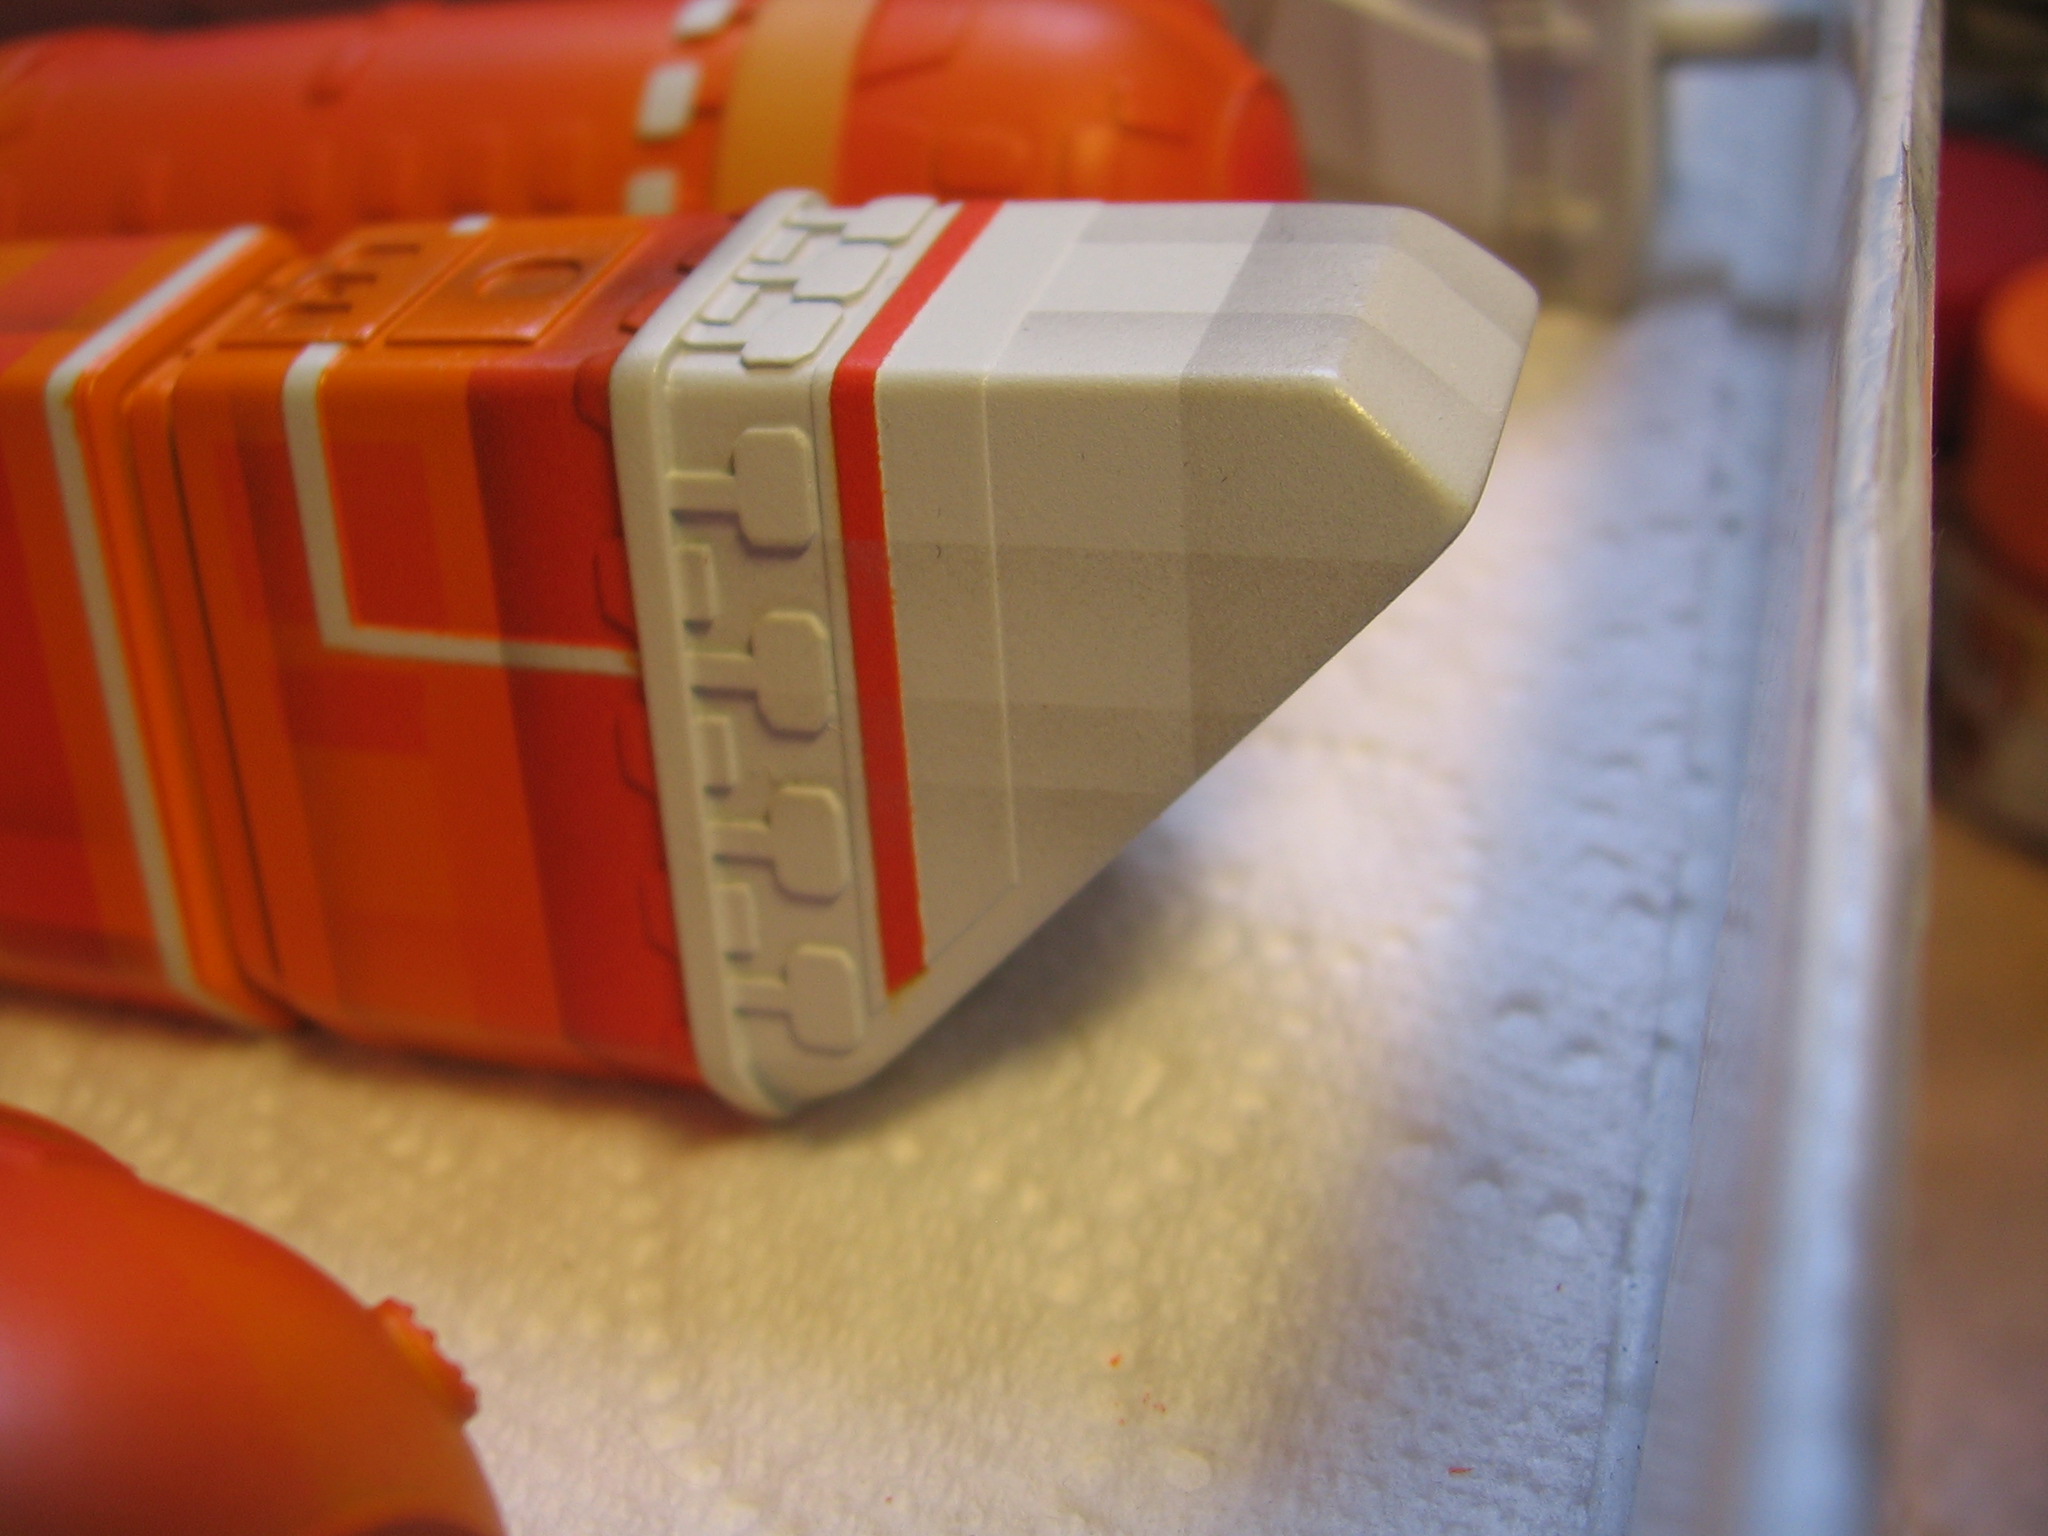
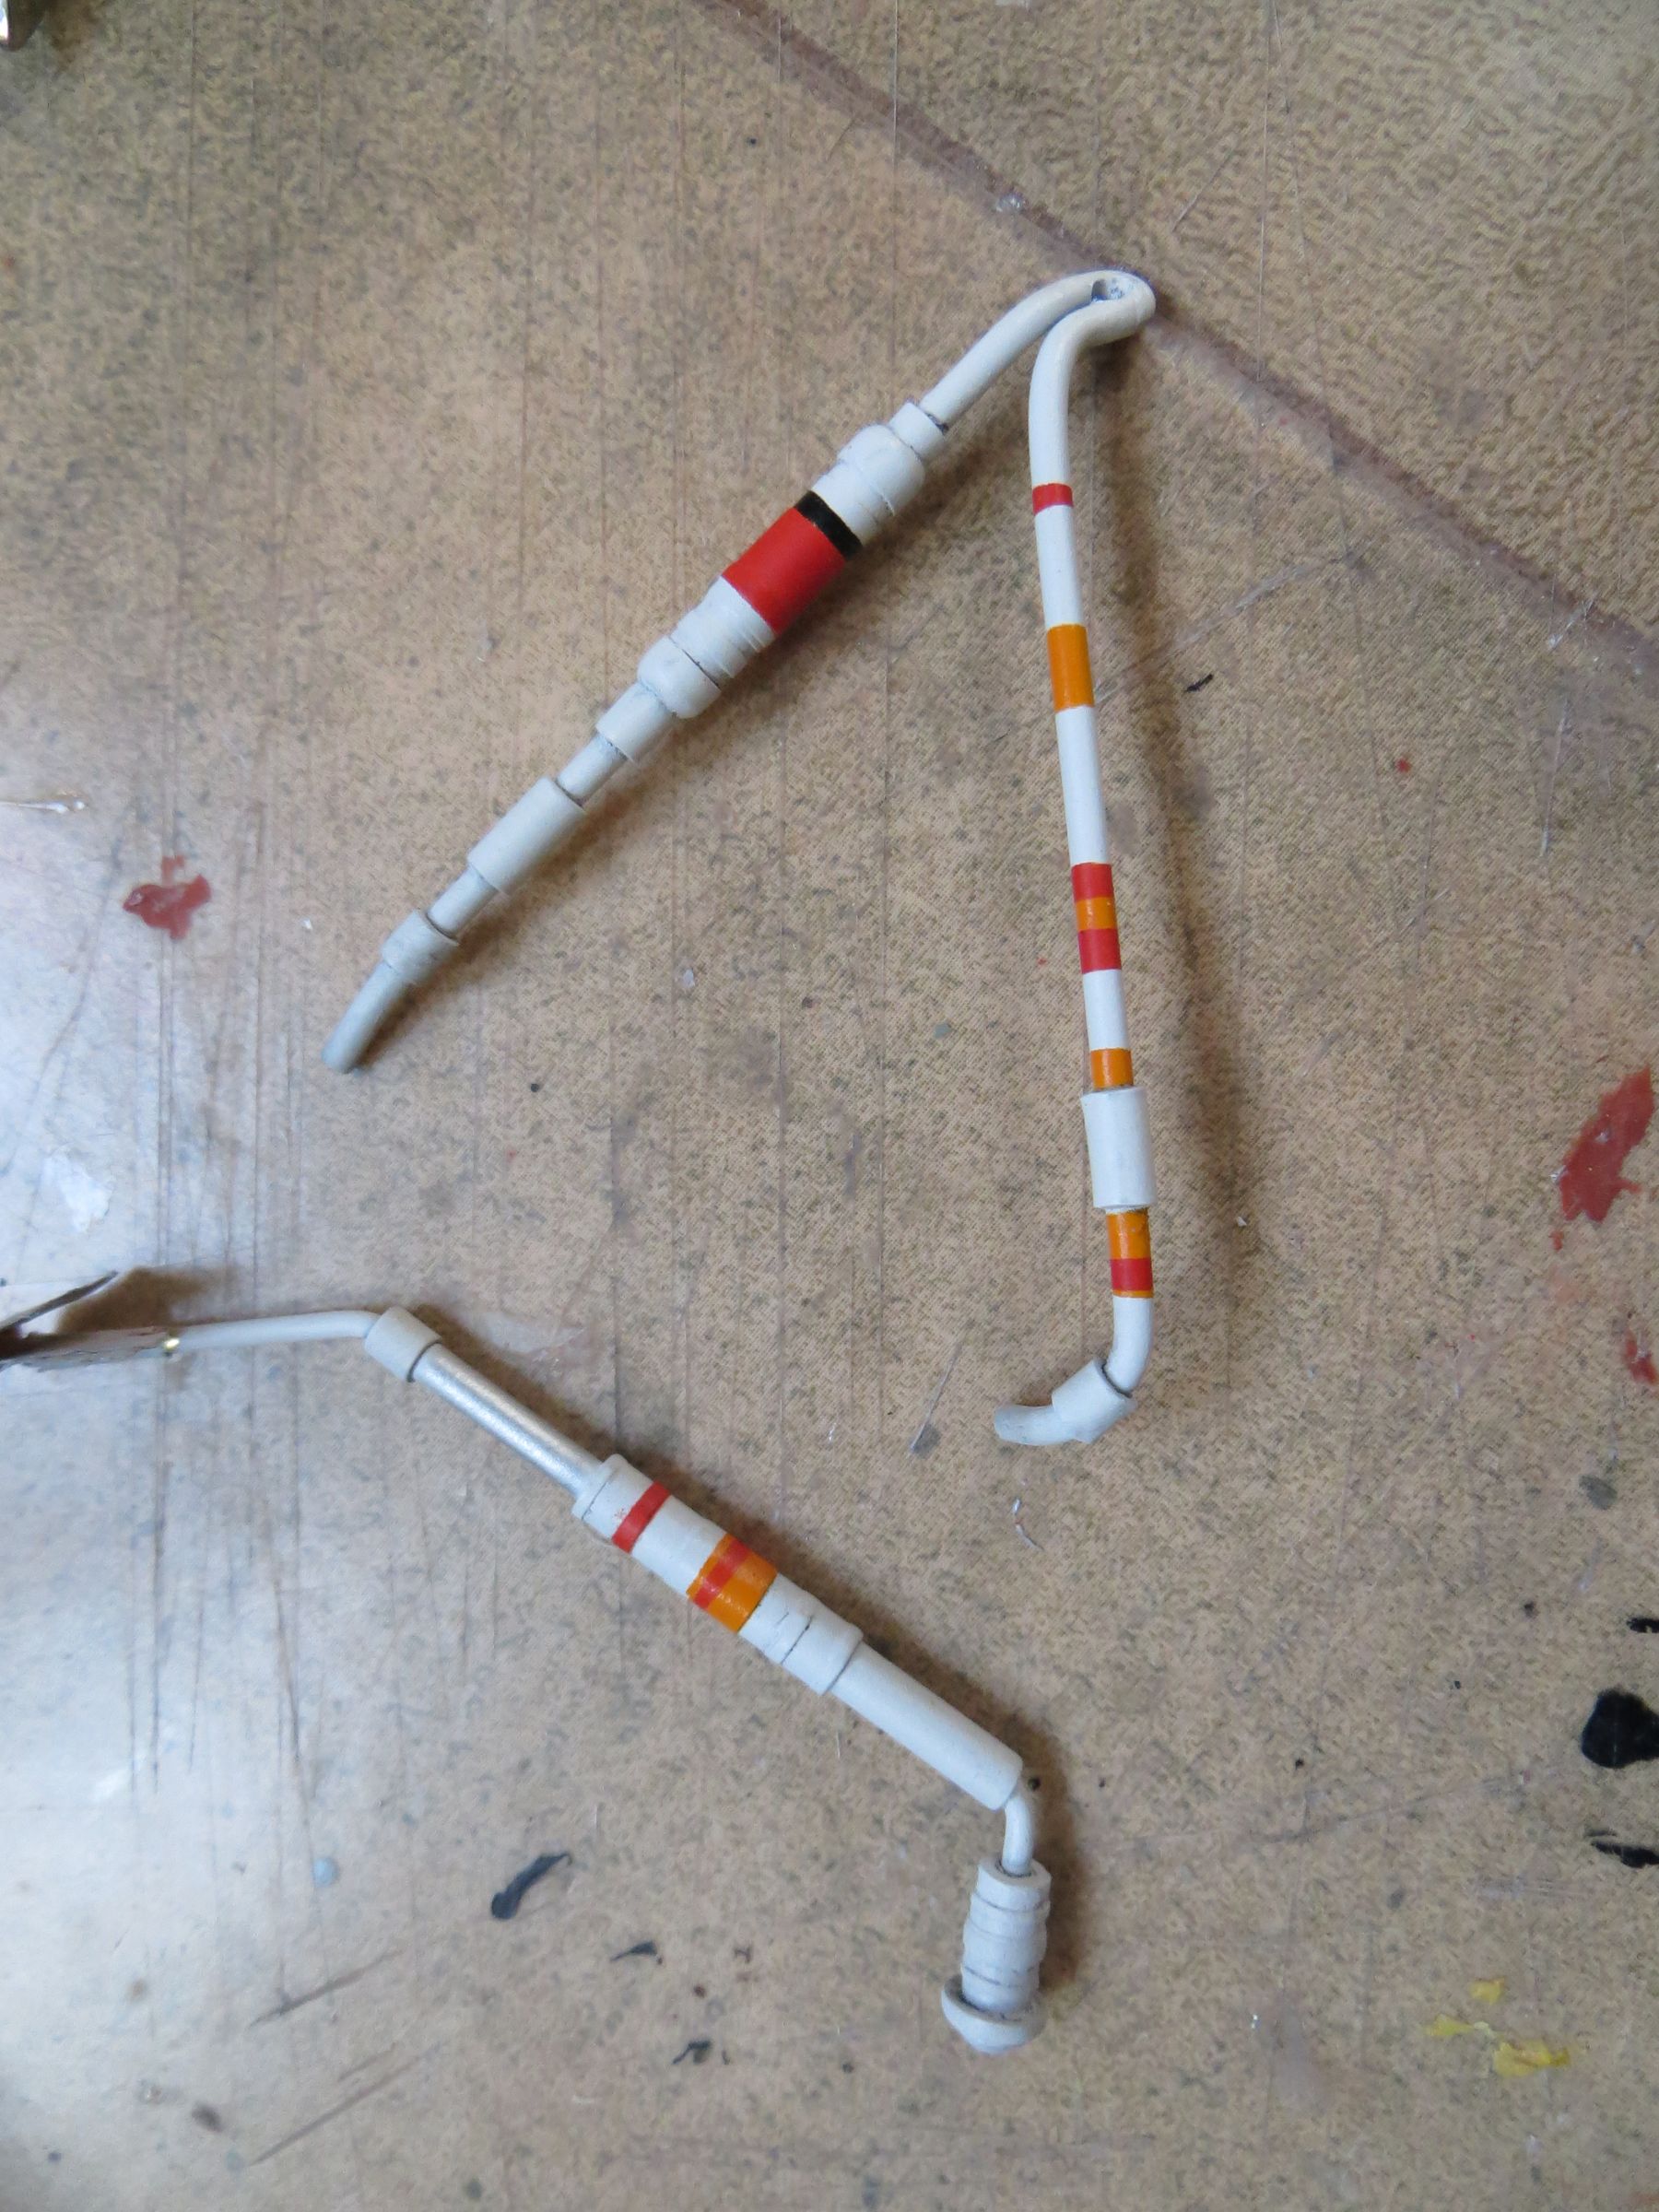
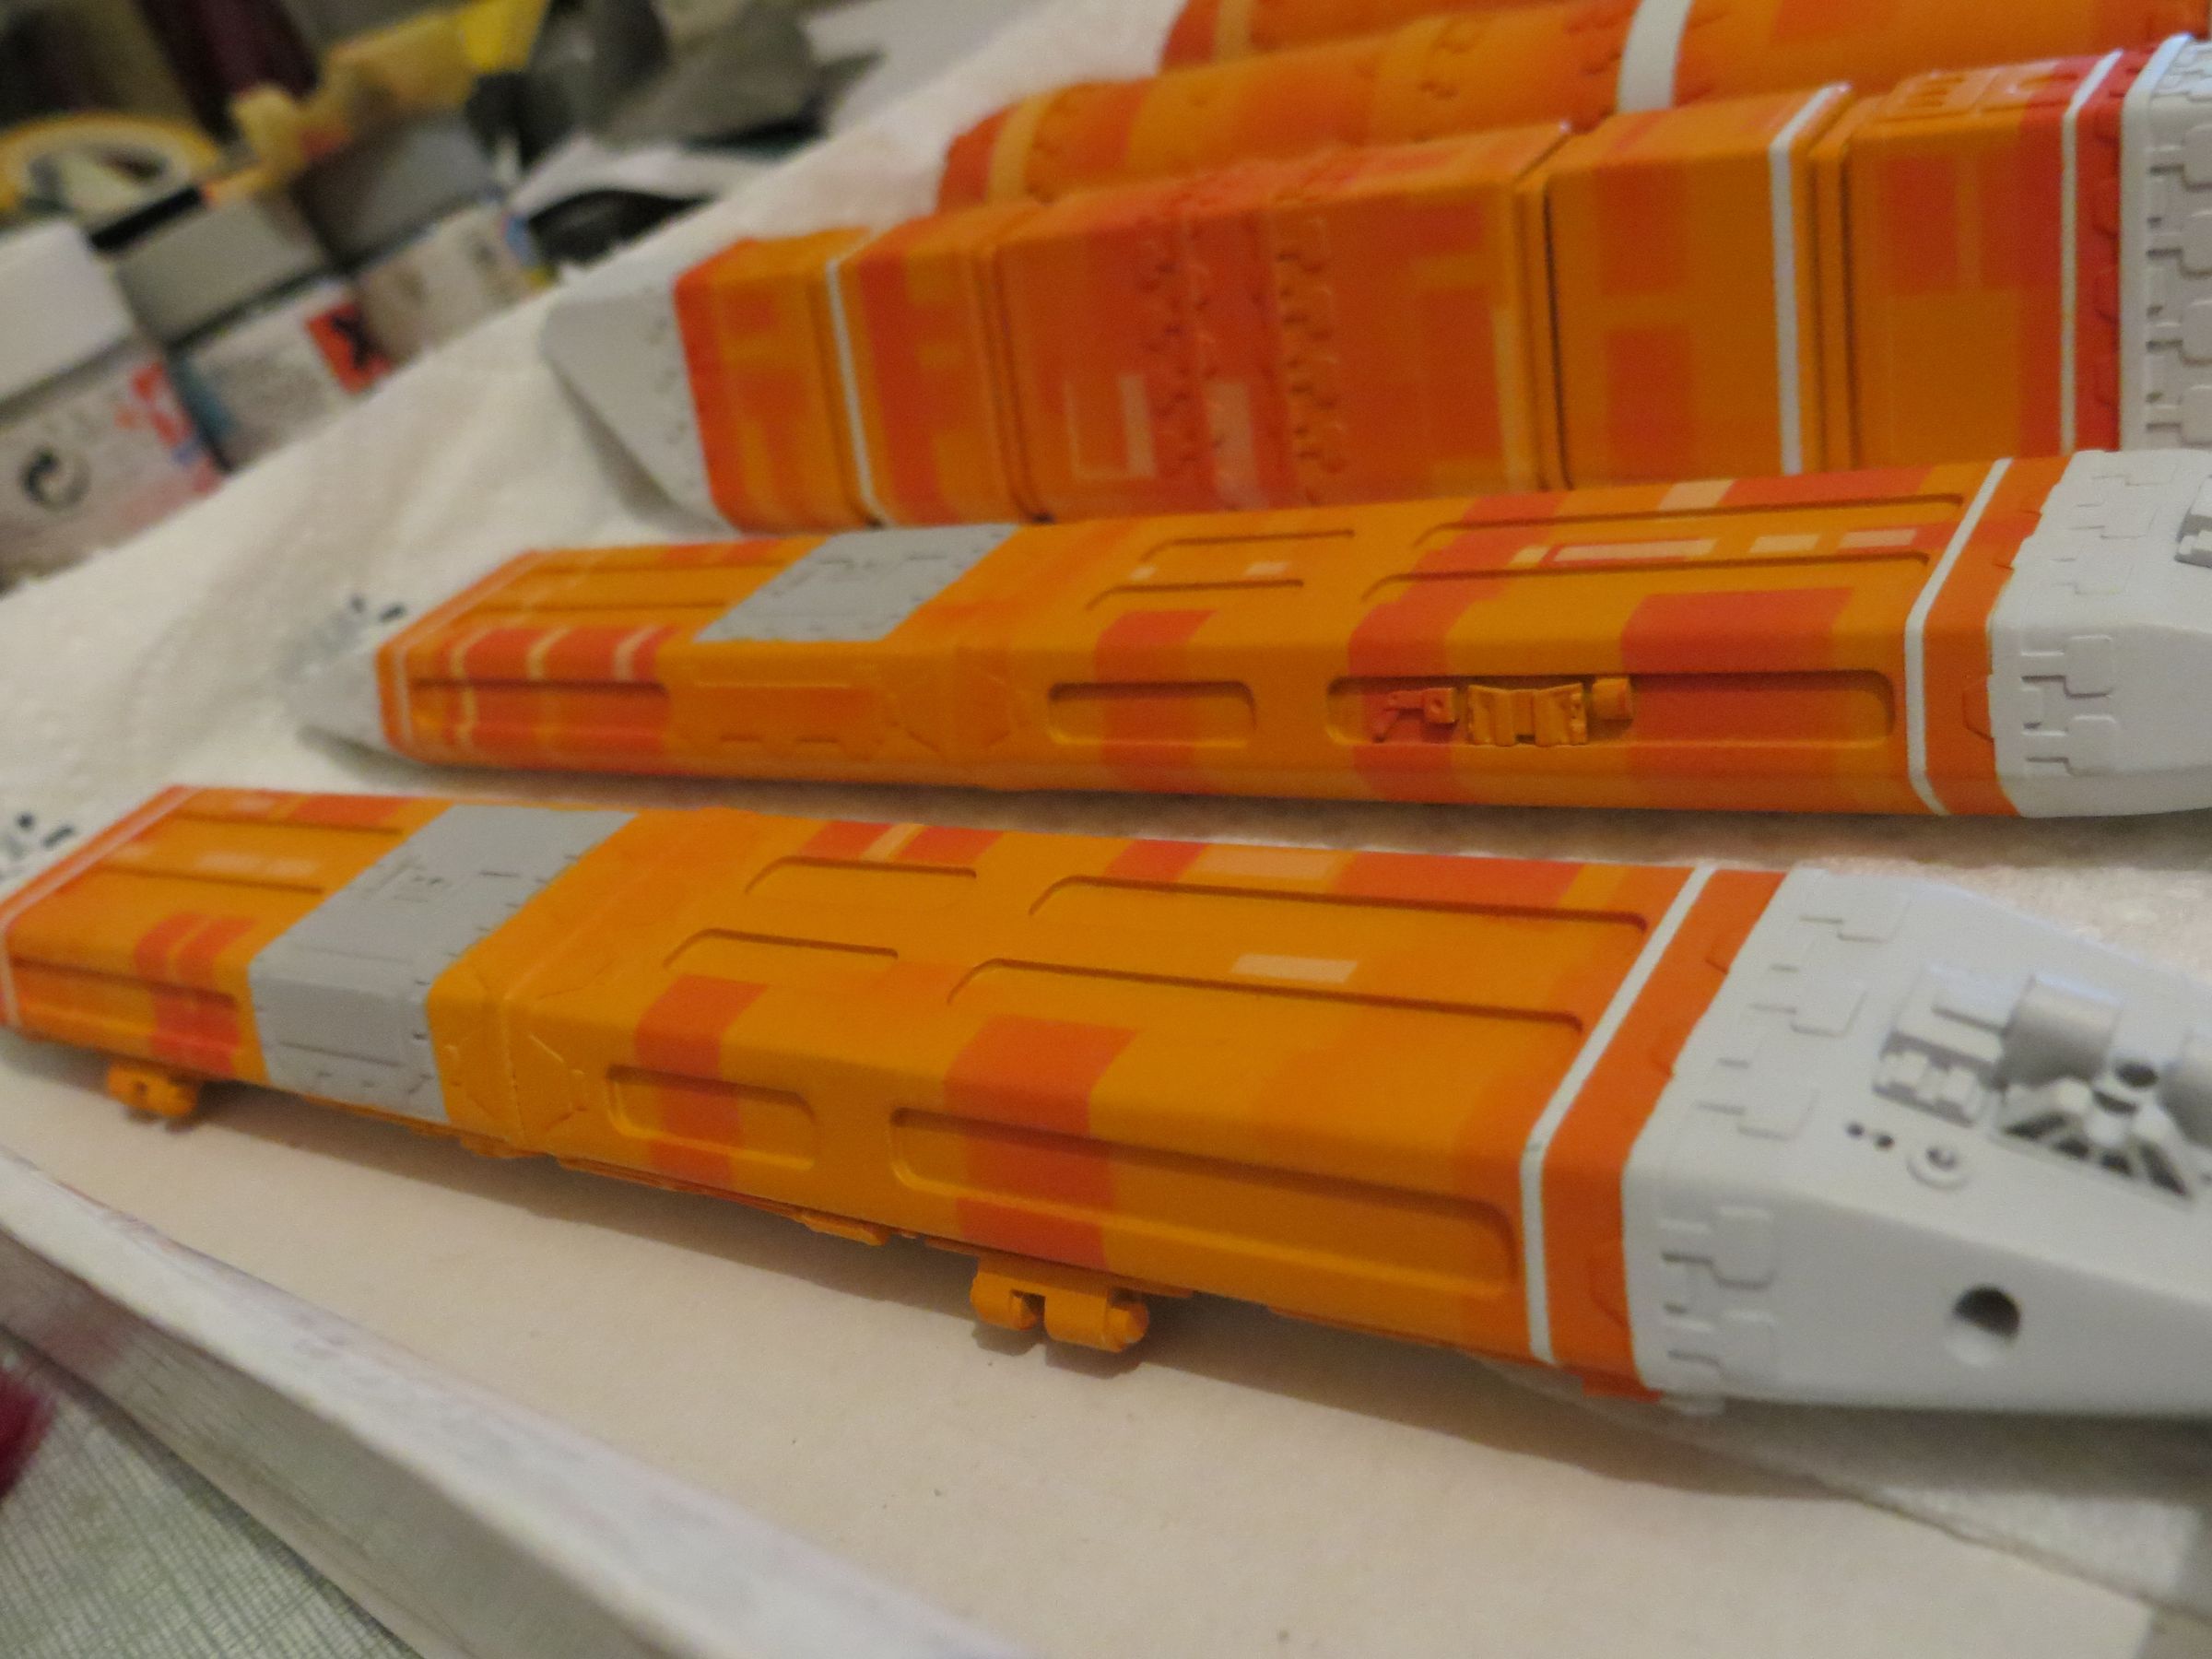
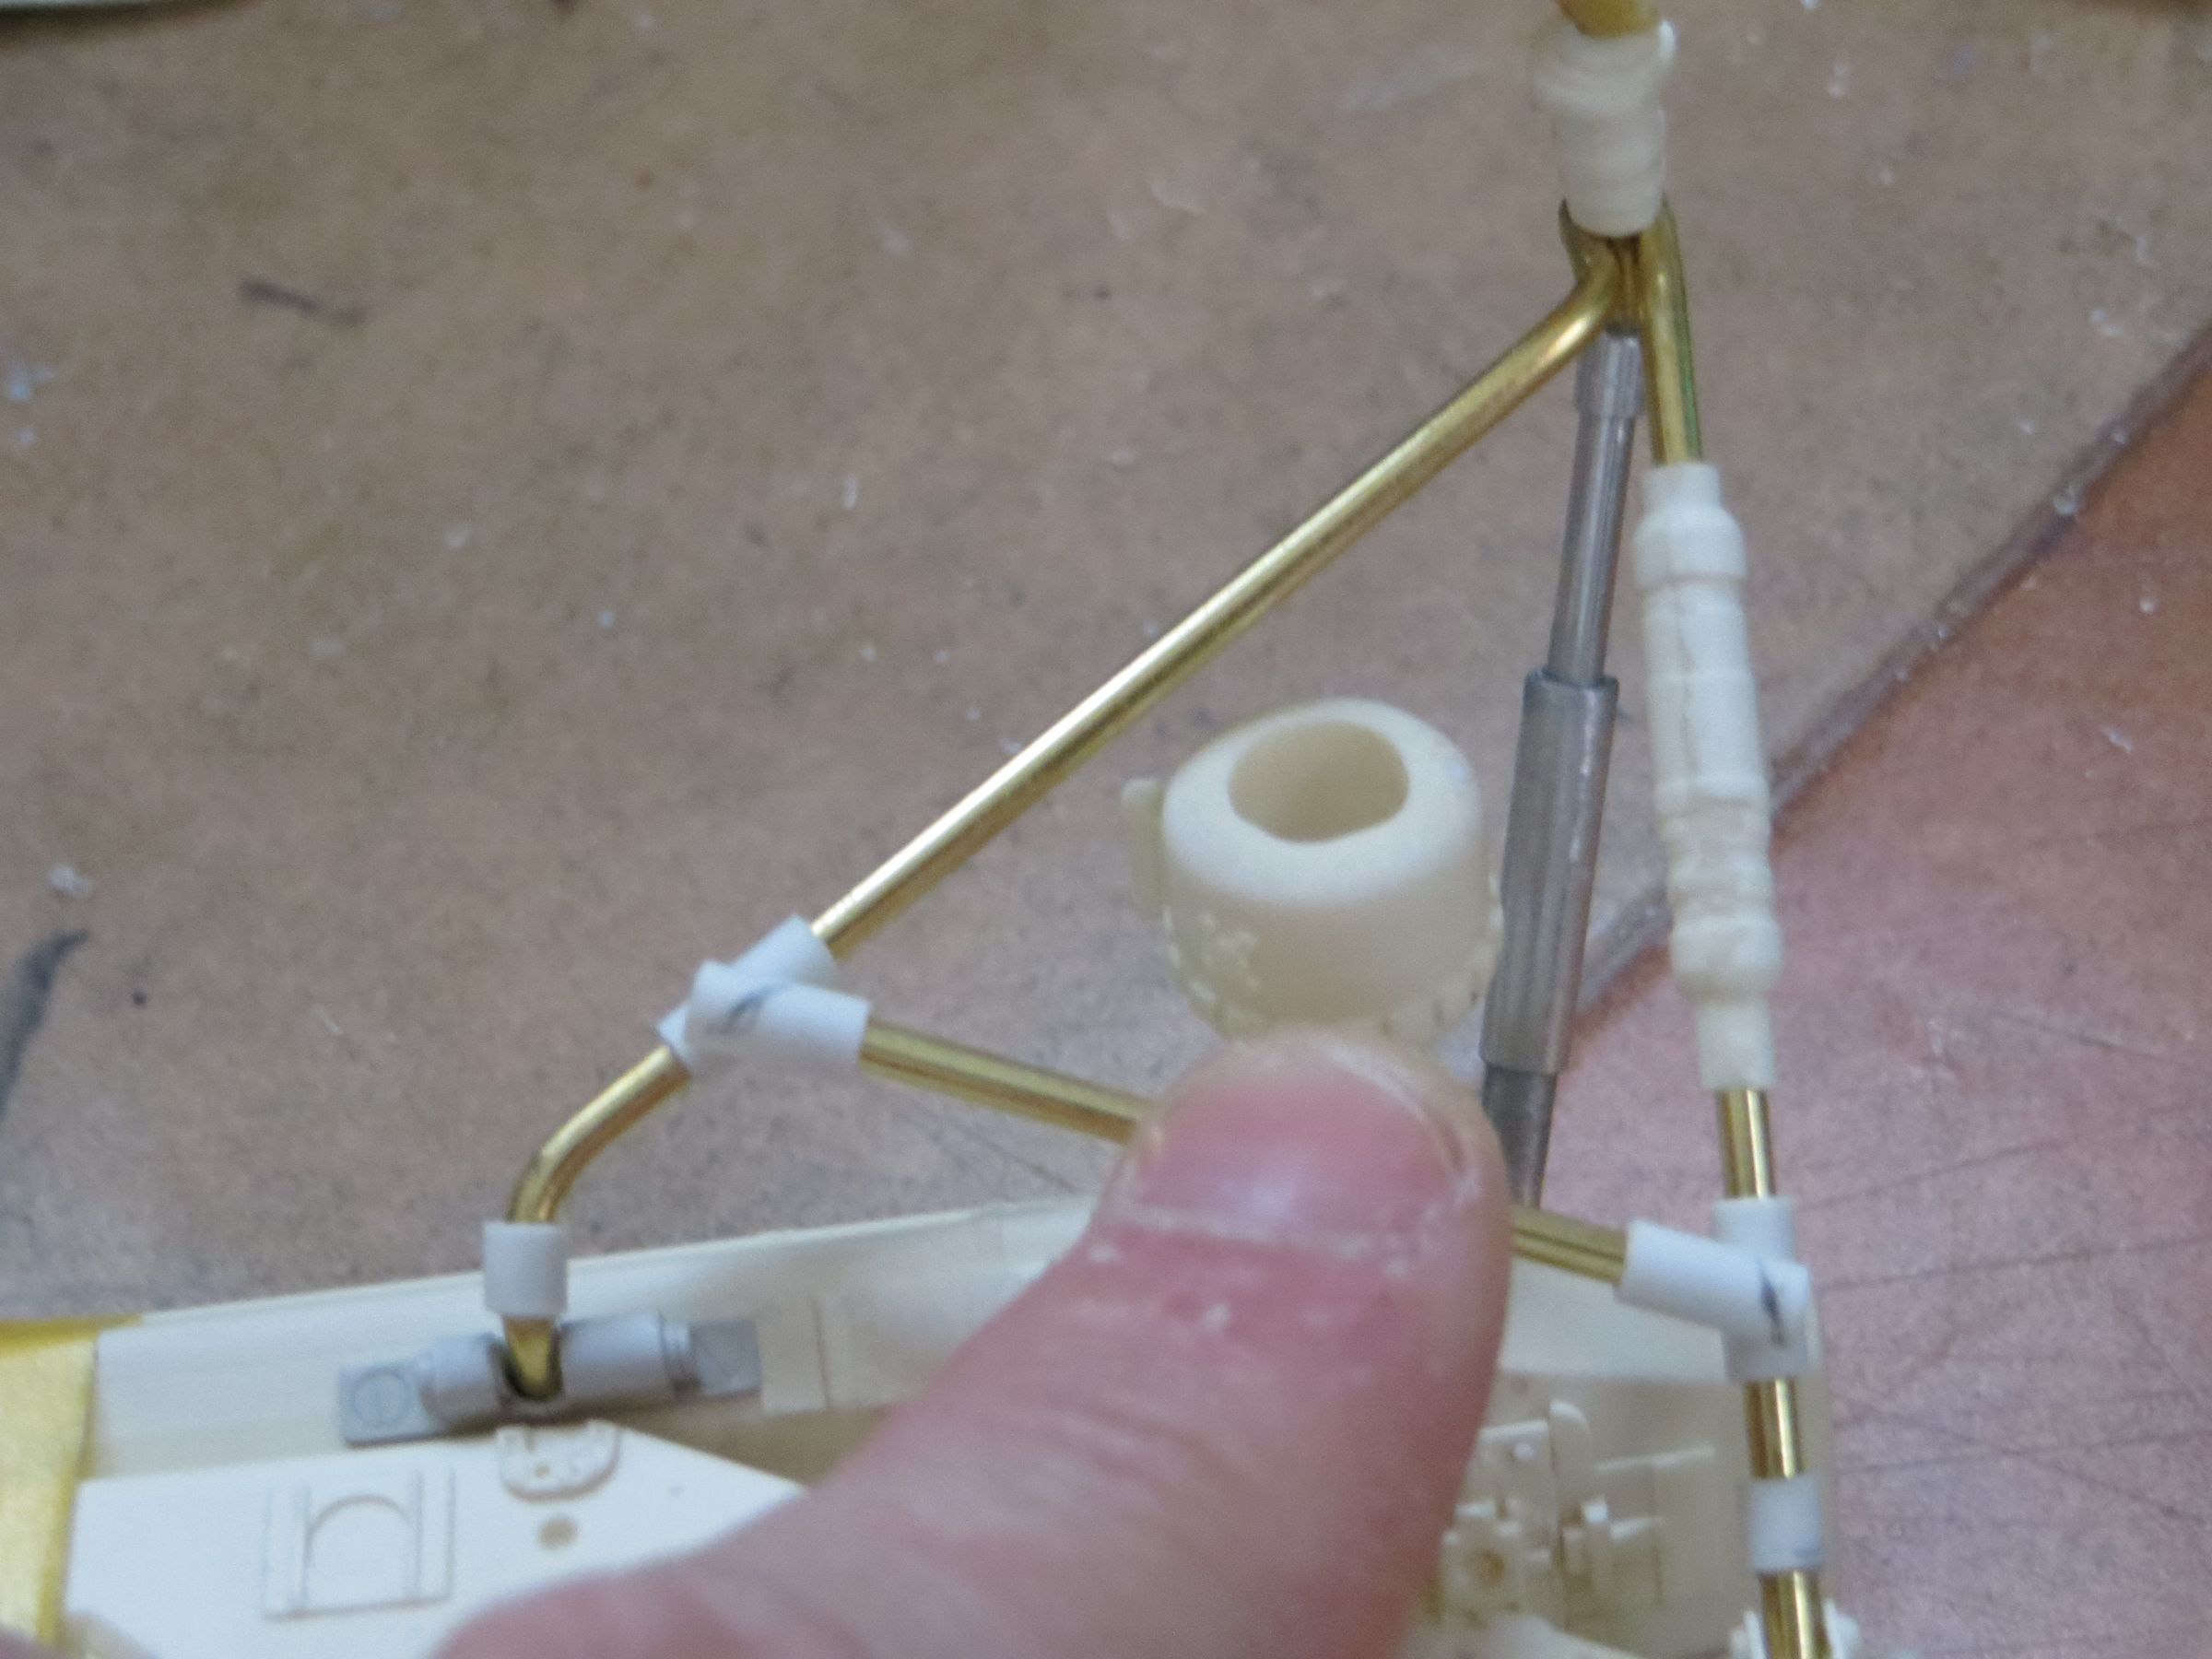
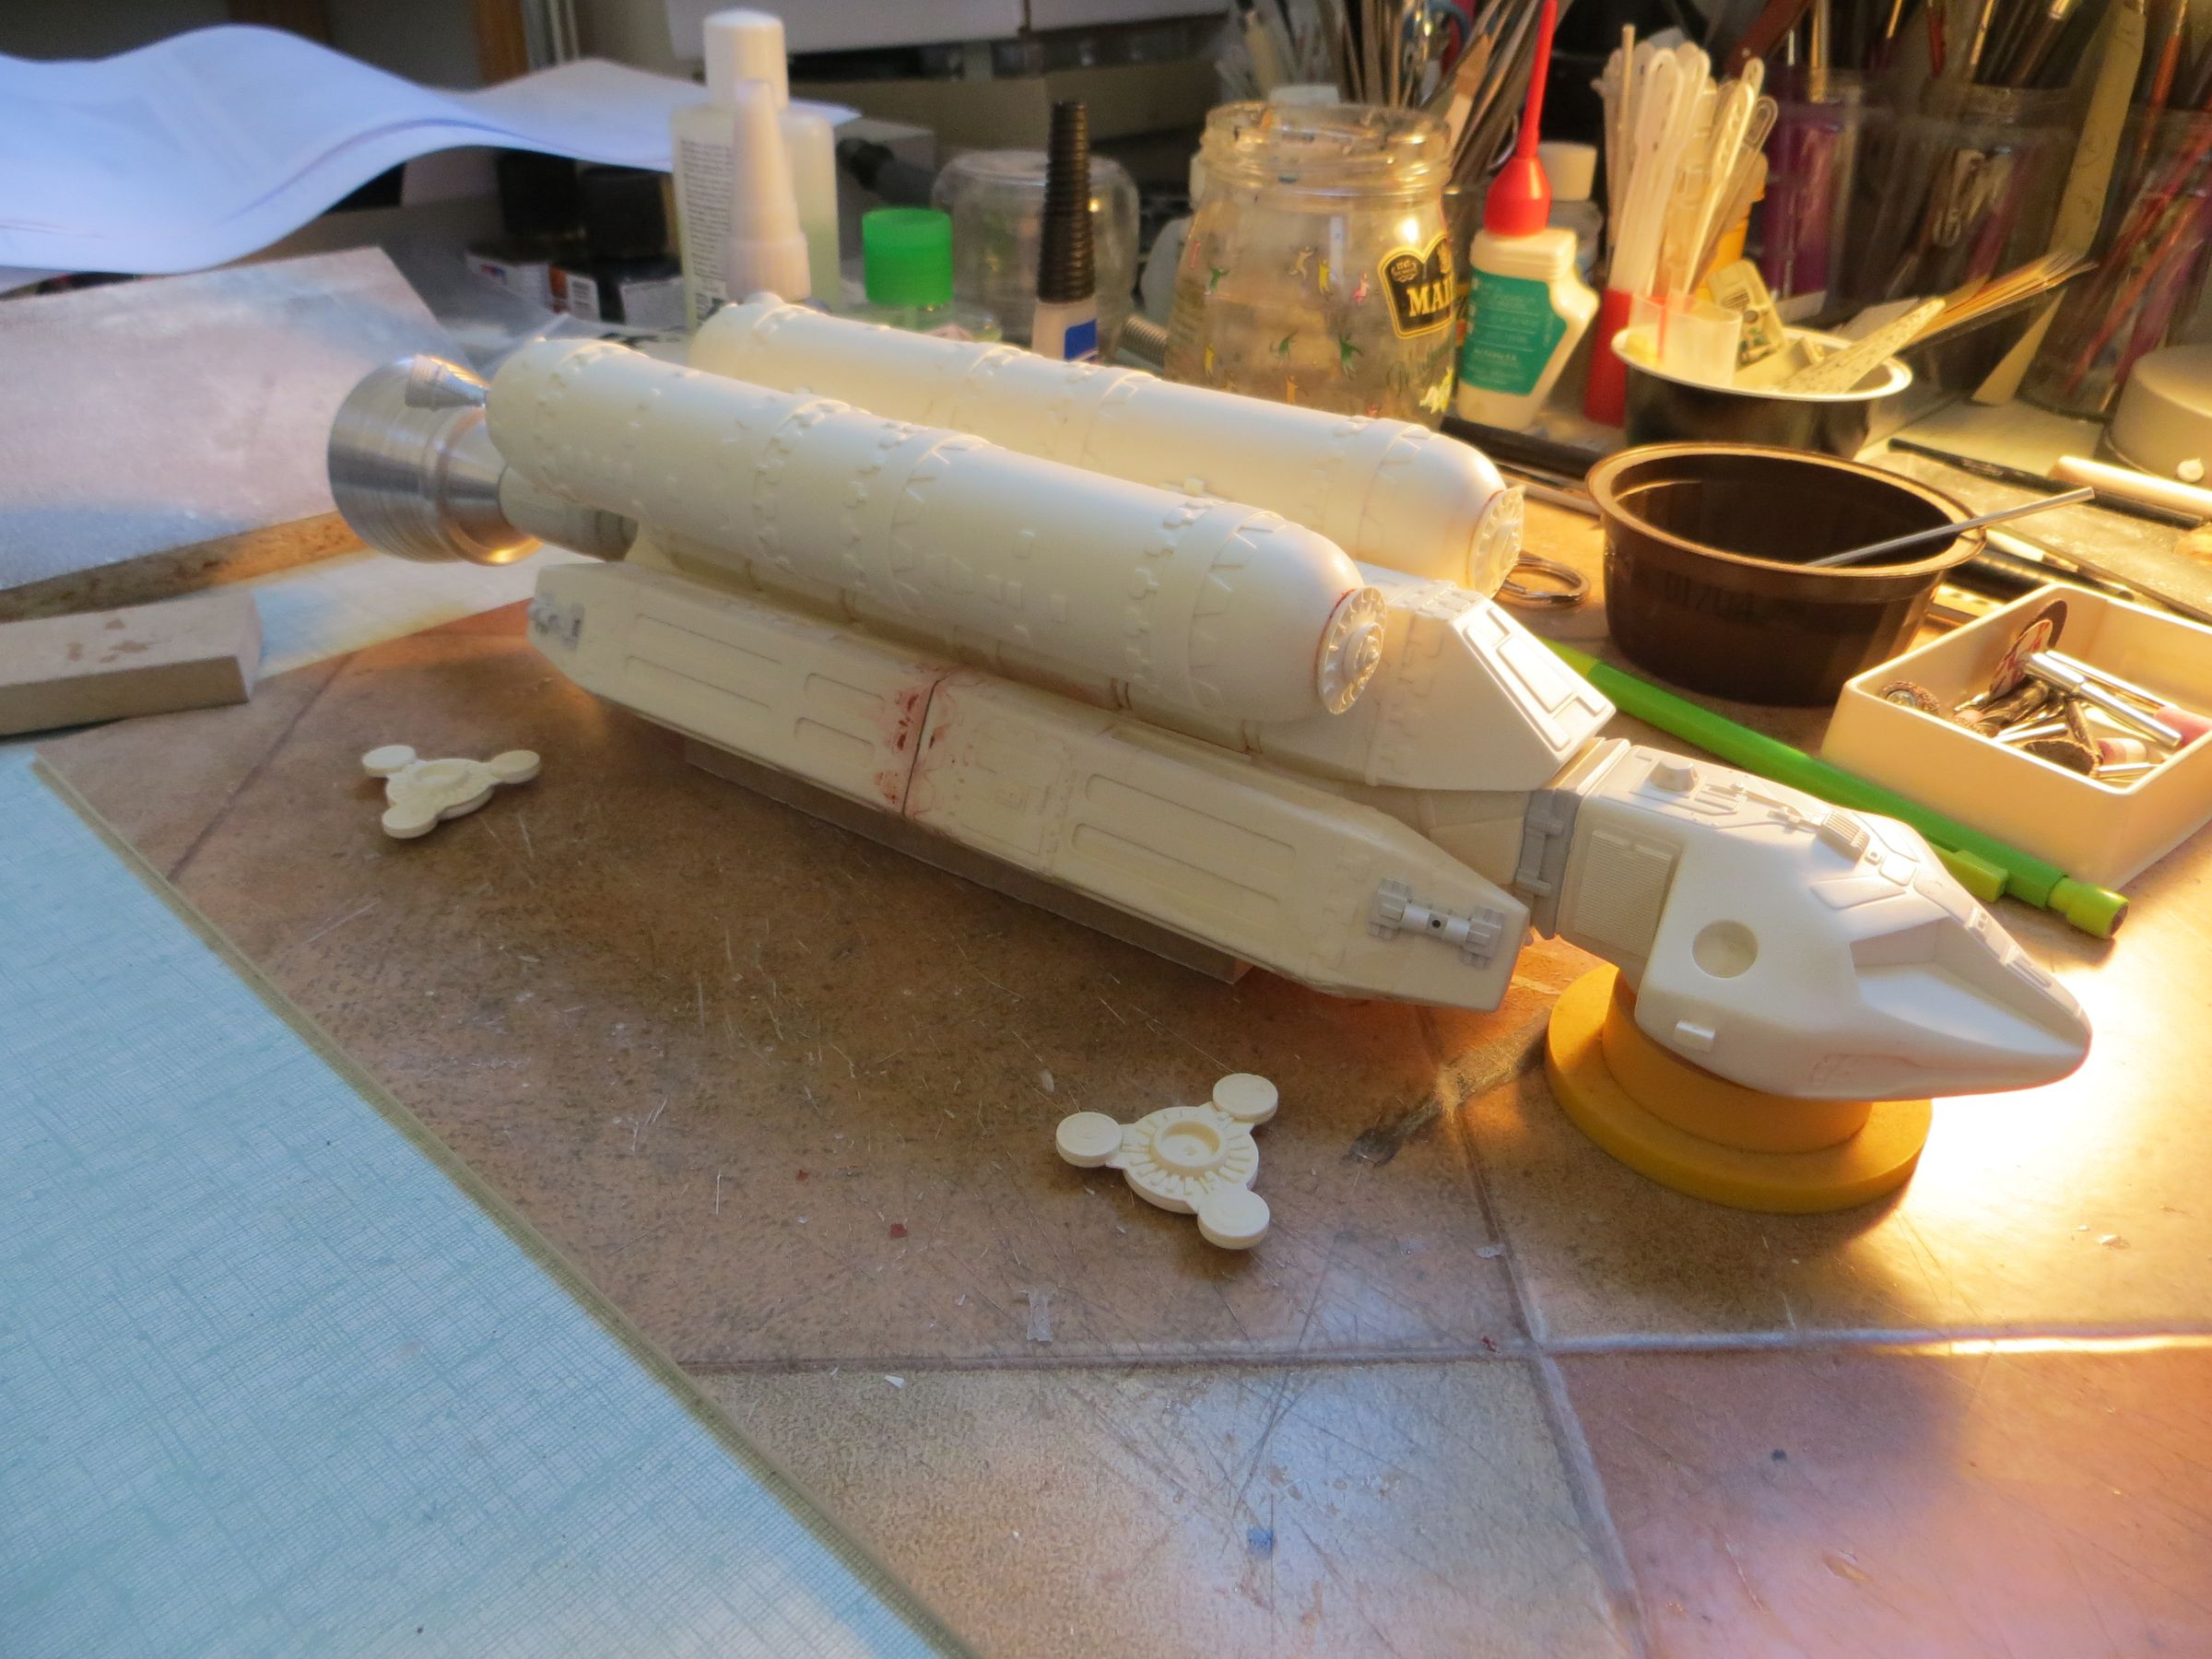
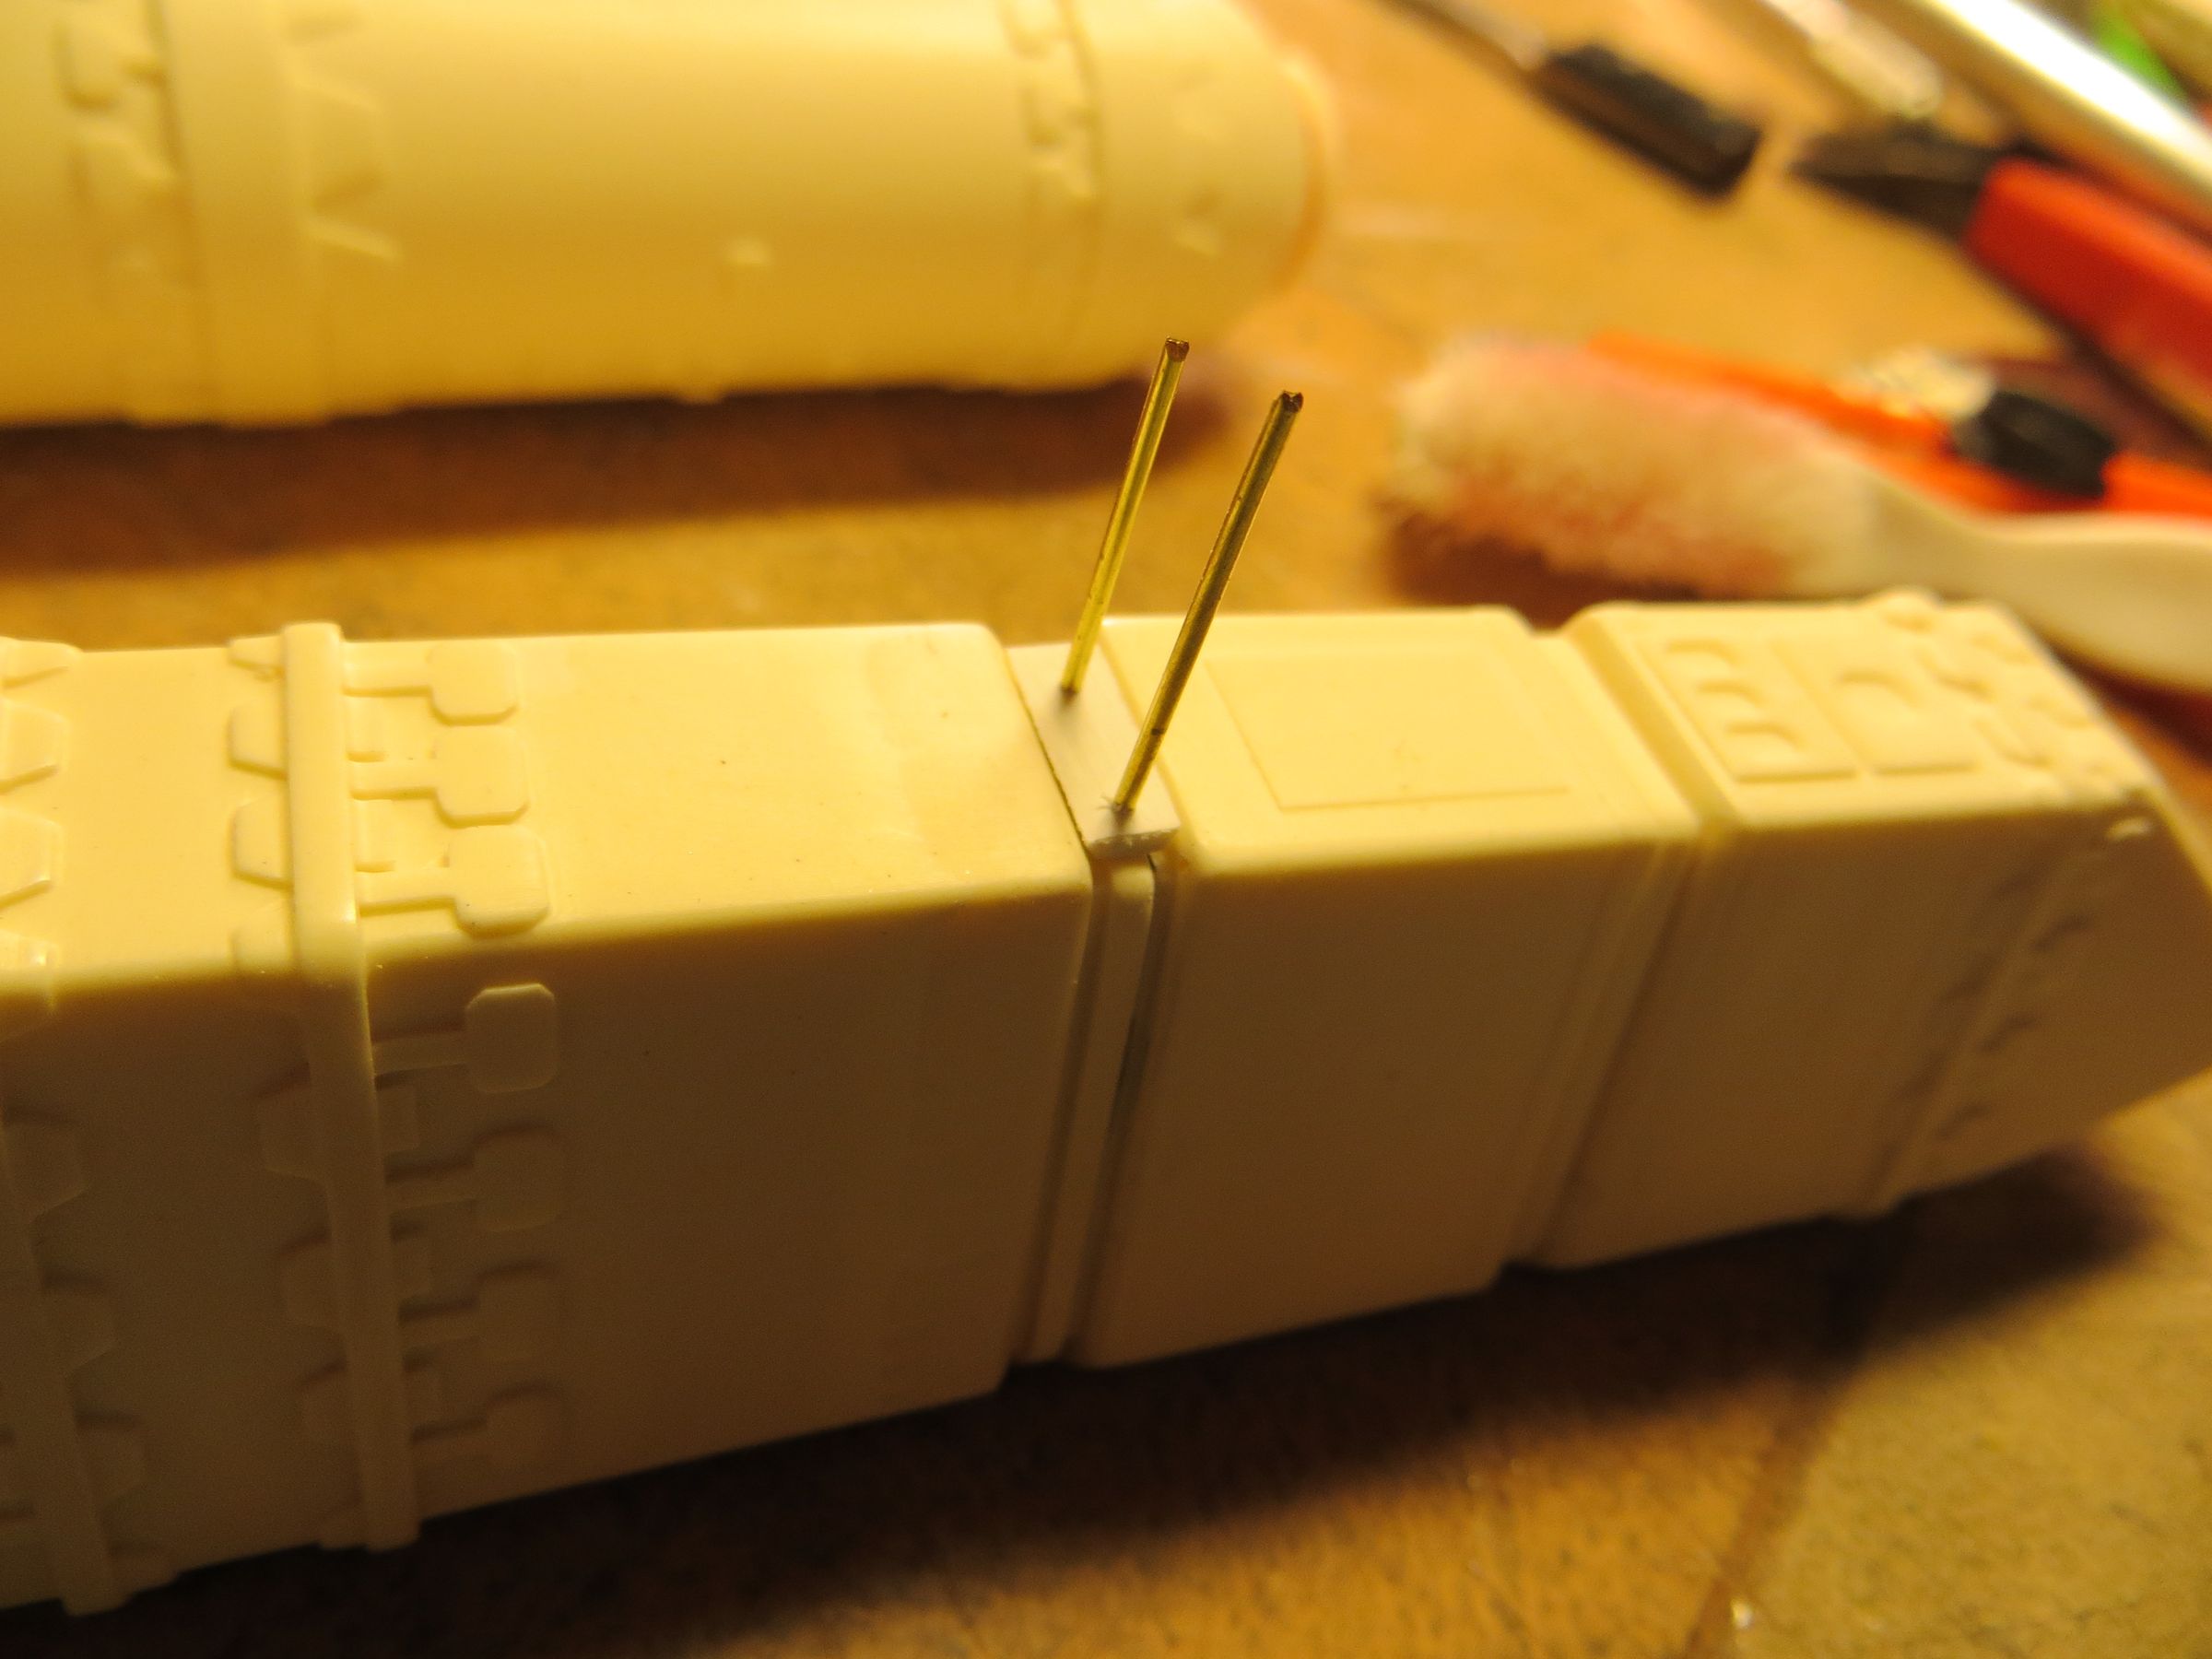
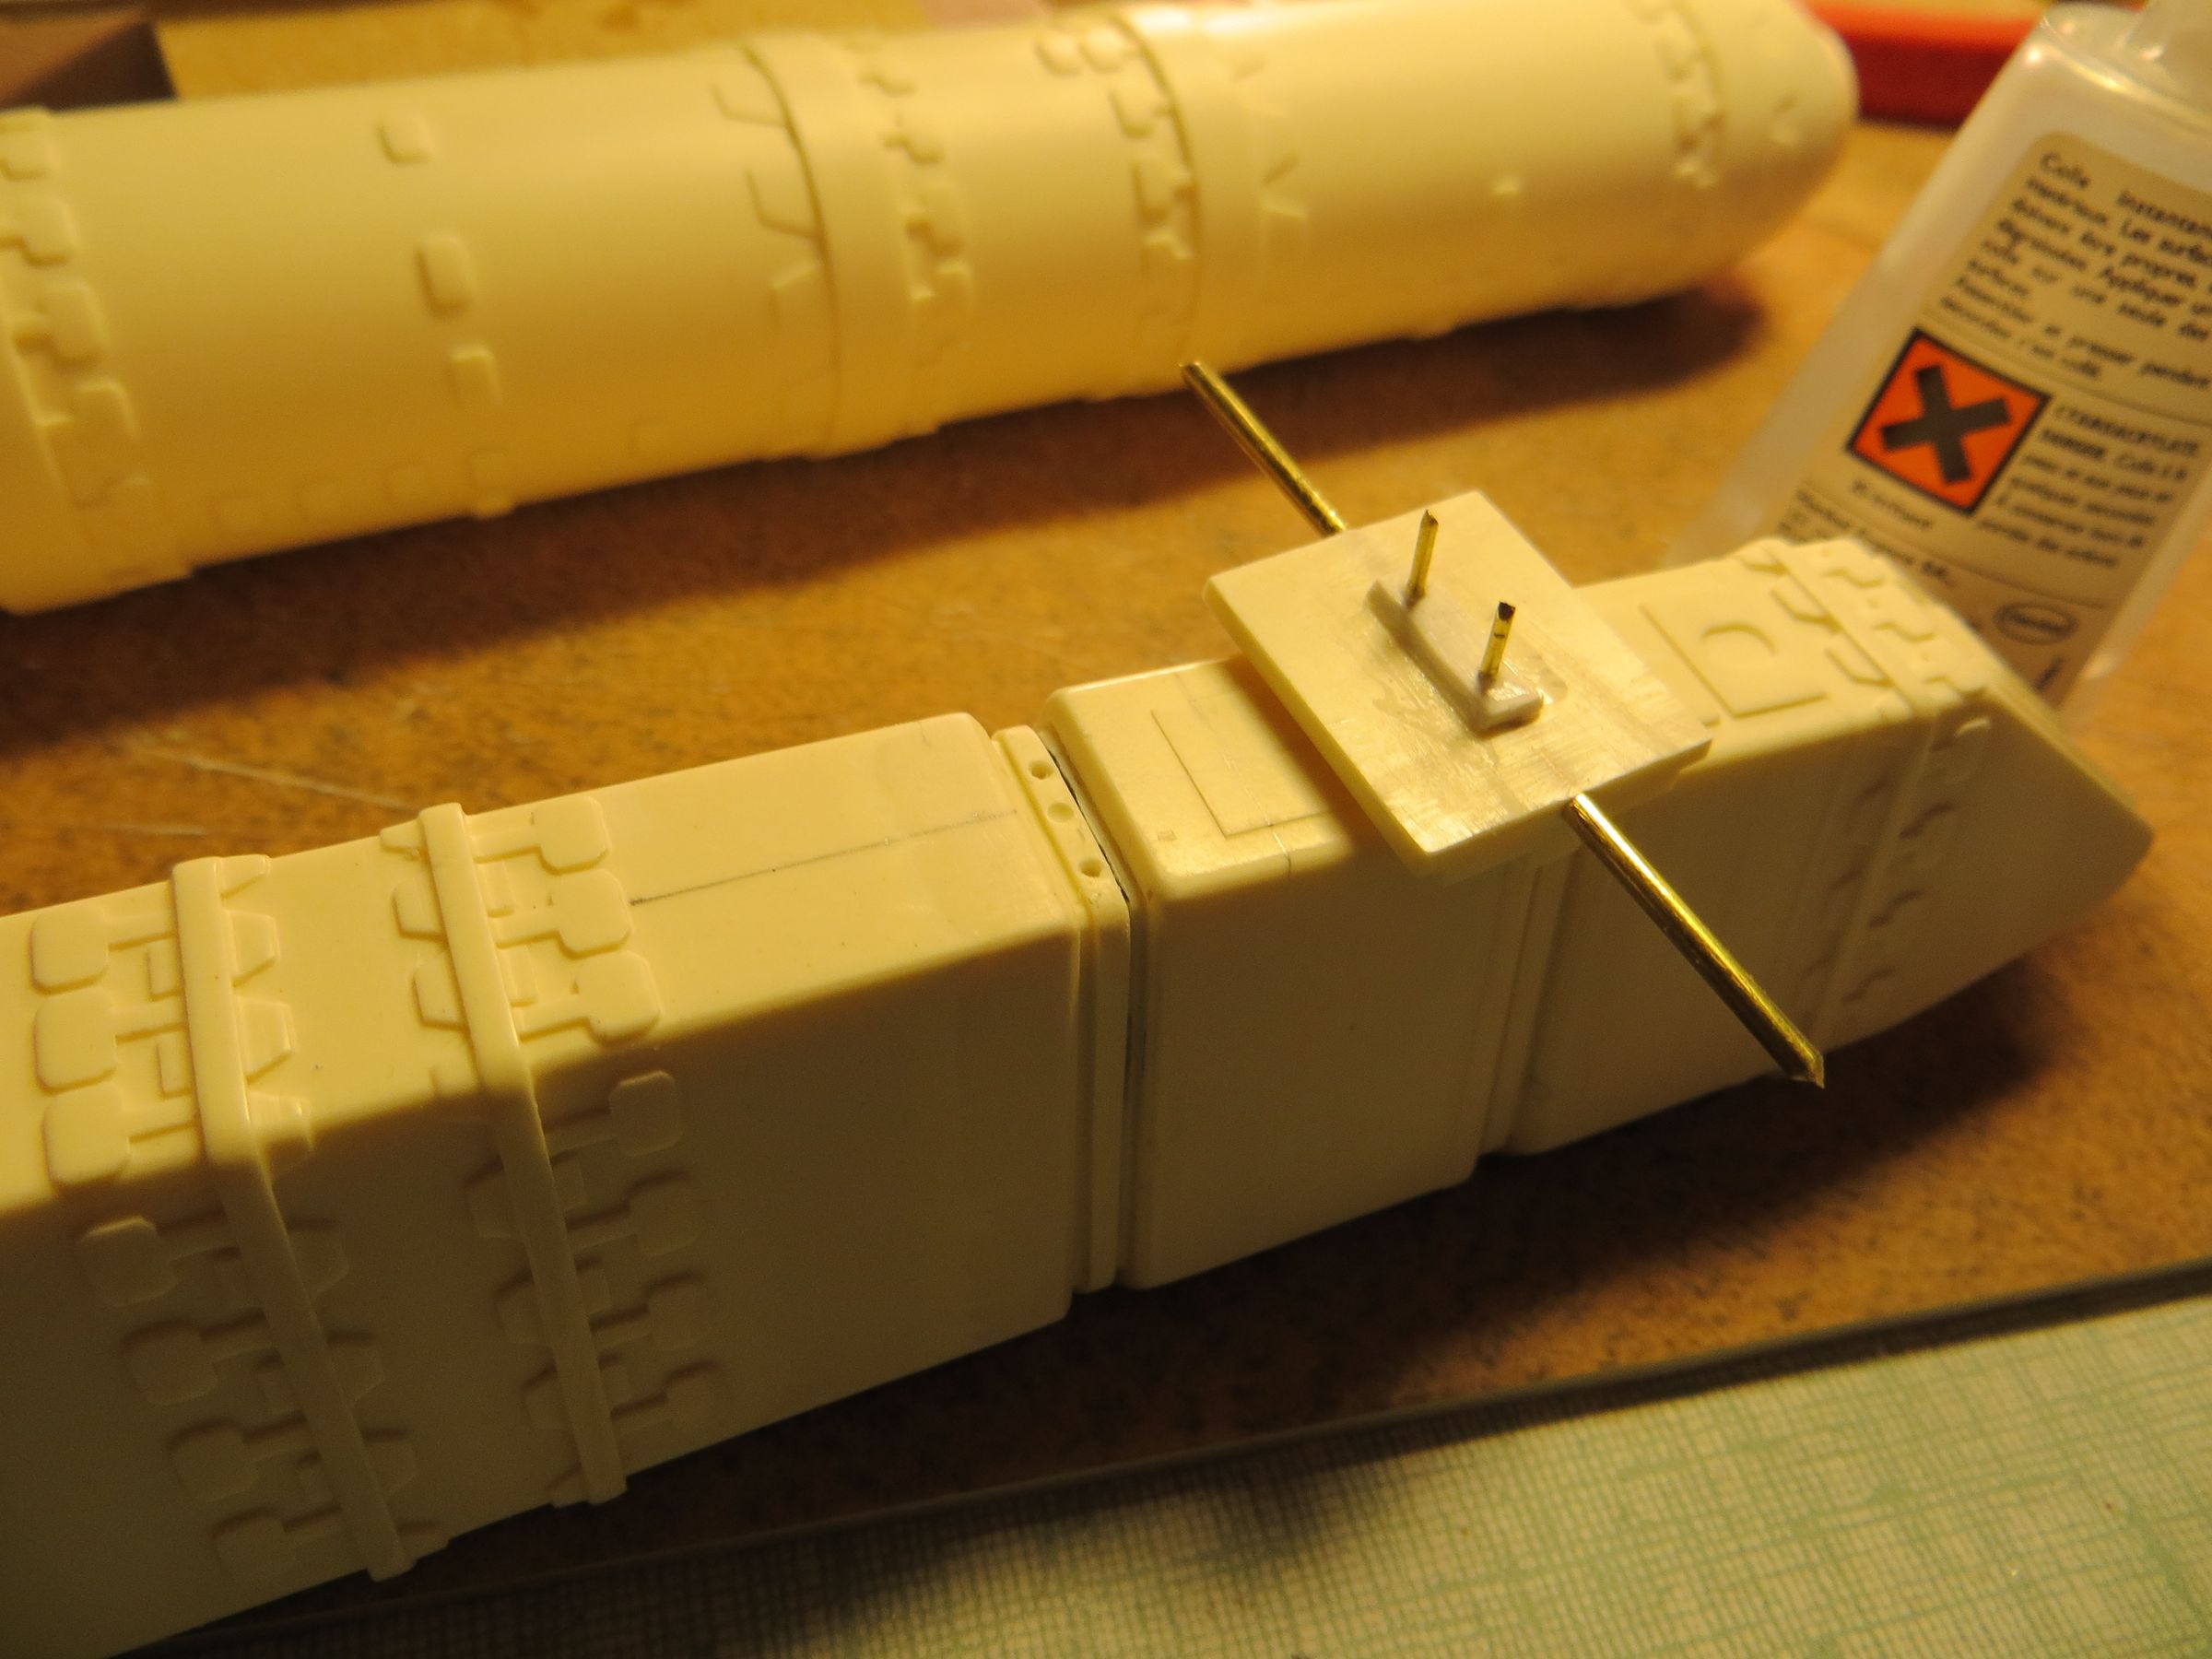
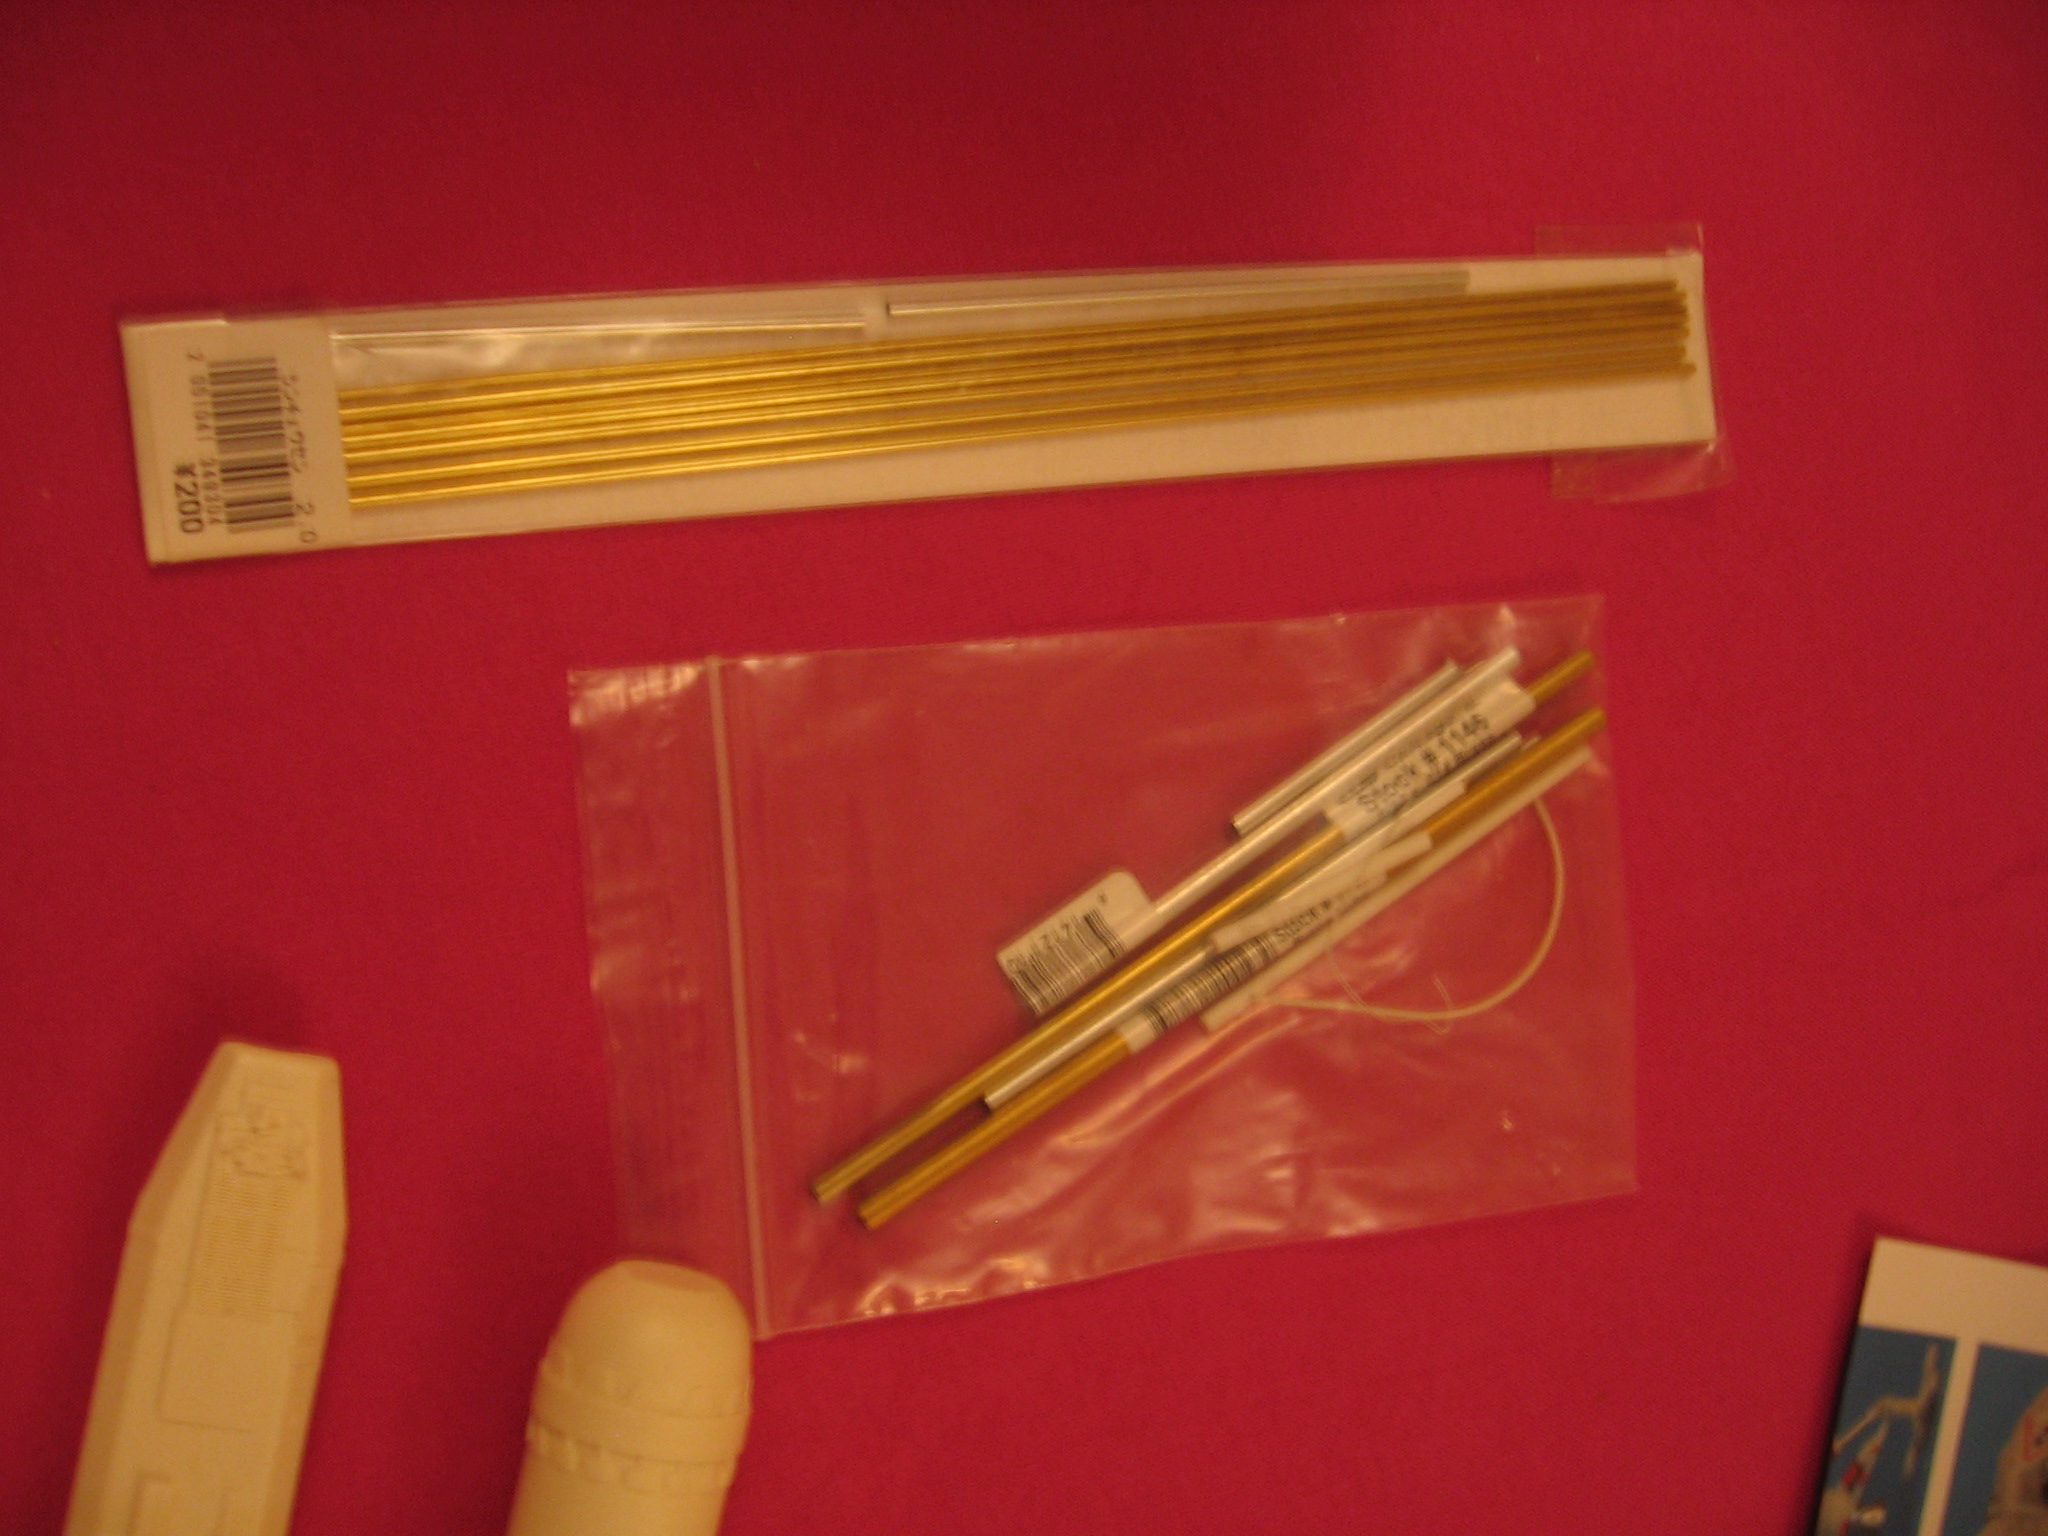
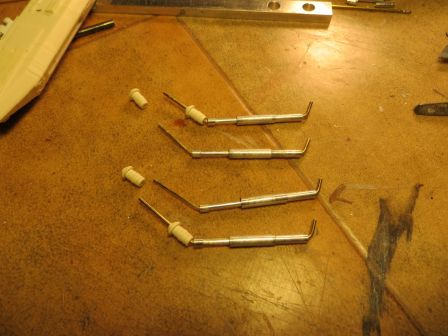
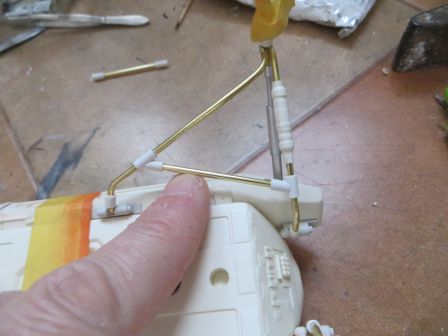
The hardest stage was done. It remained to add their struts brace, made of brass rods and plastic tubes. In this kit, they are only details, as the legs are clearly enough string to support the weight of the kit, without any reinforcement.
So I only prepared these parts and installed them after painting. In order to install the legs (which will therefore be also set after painting) I need to play with, and I'm afraid that these struts do not bear these twists.
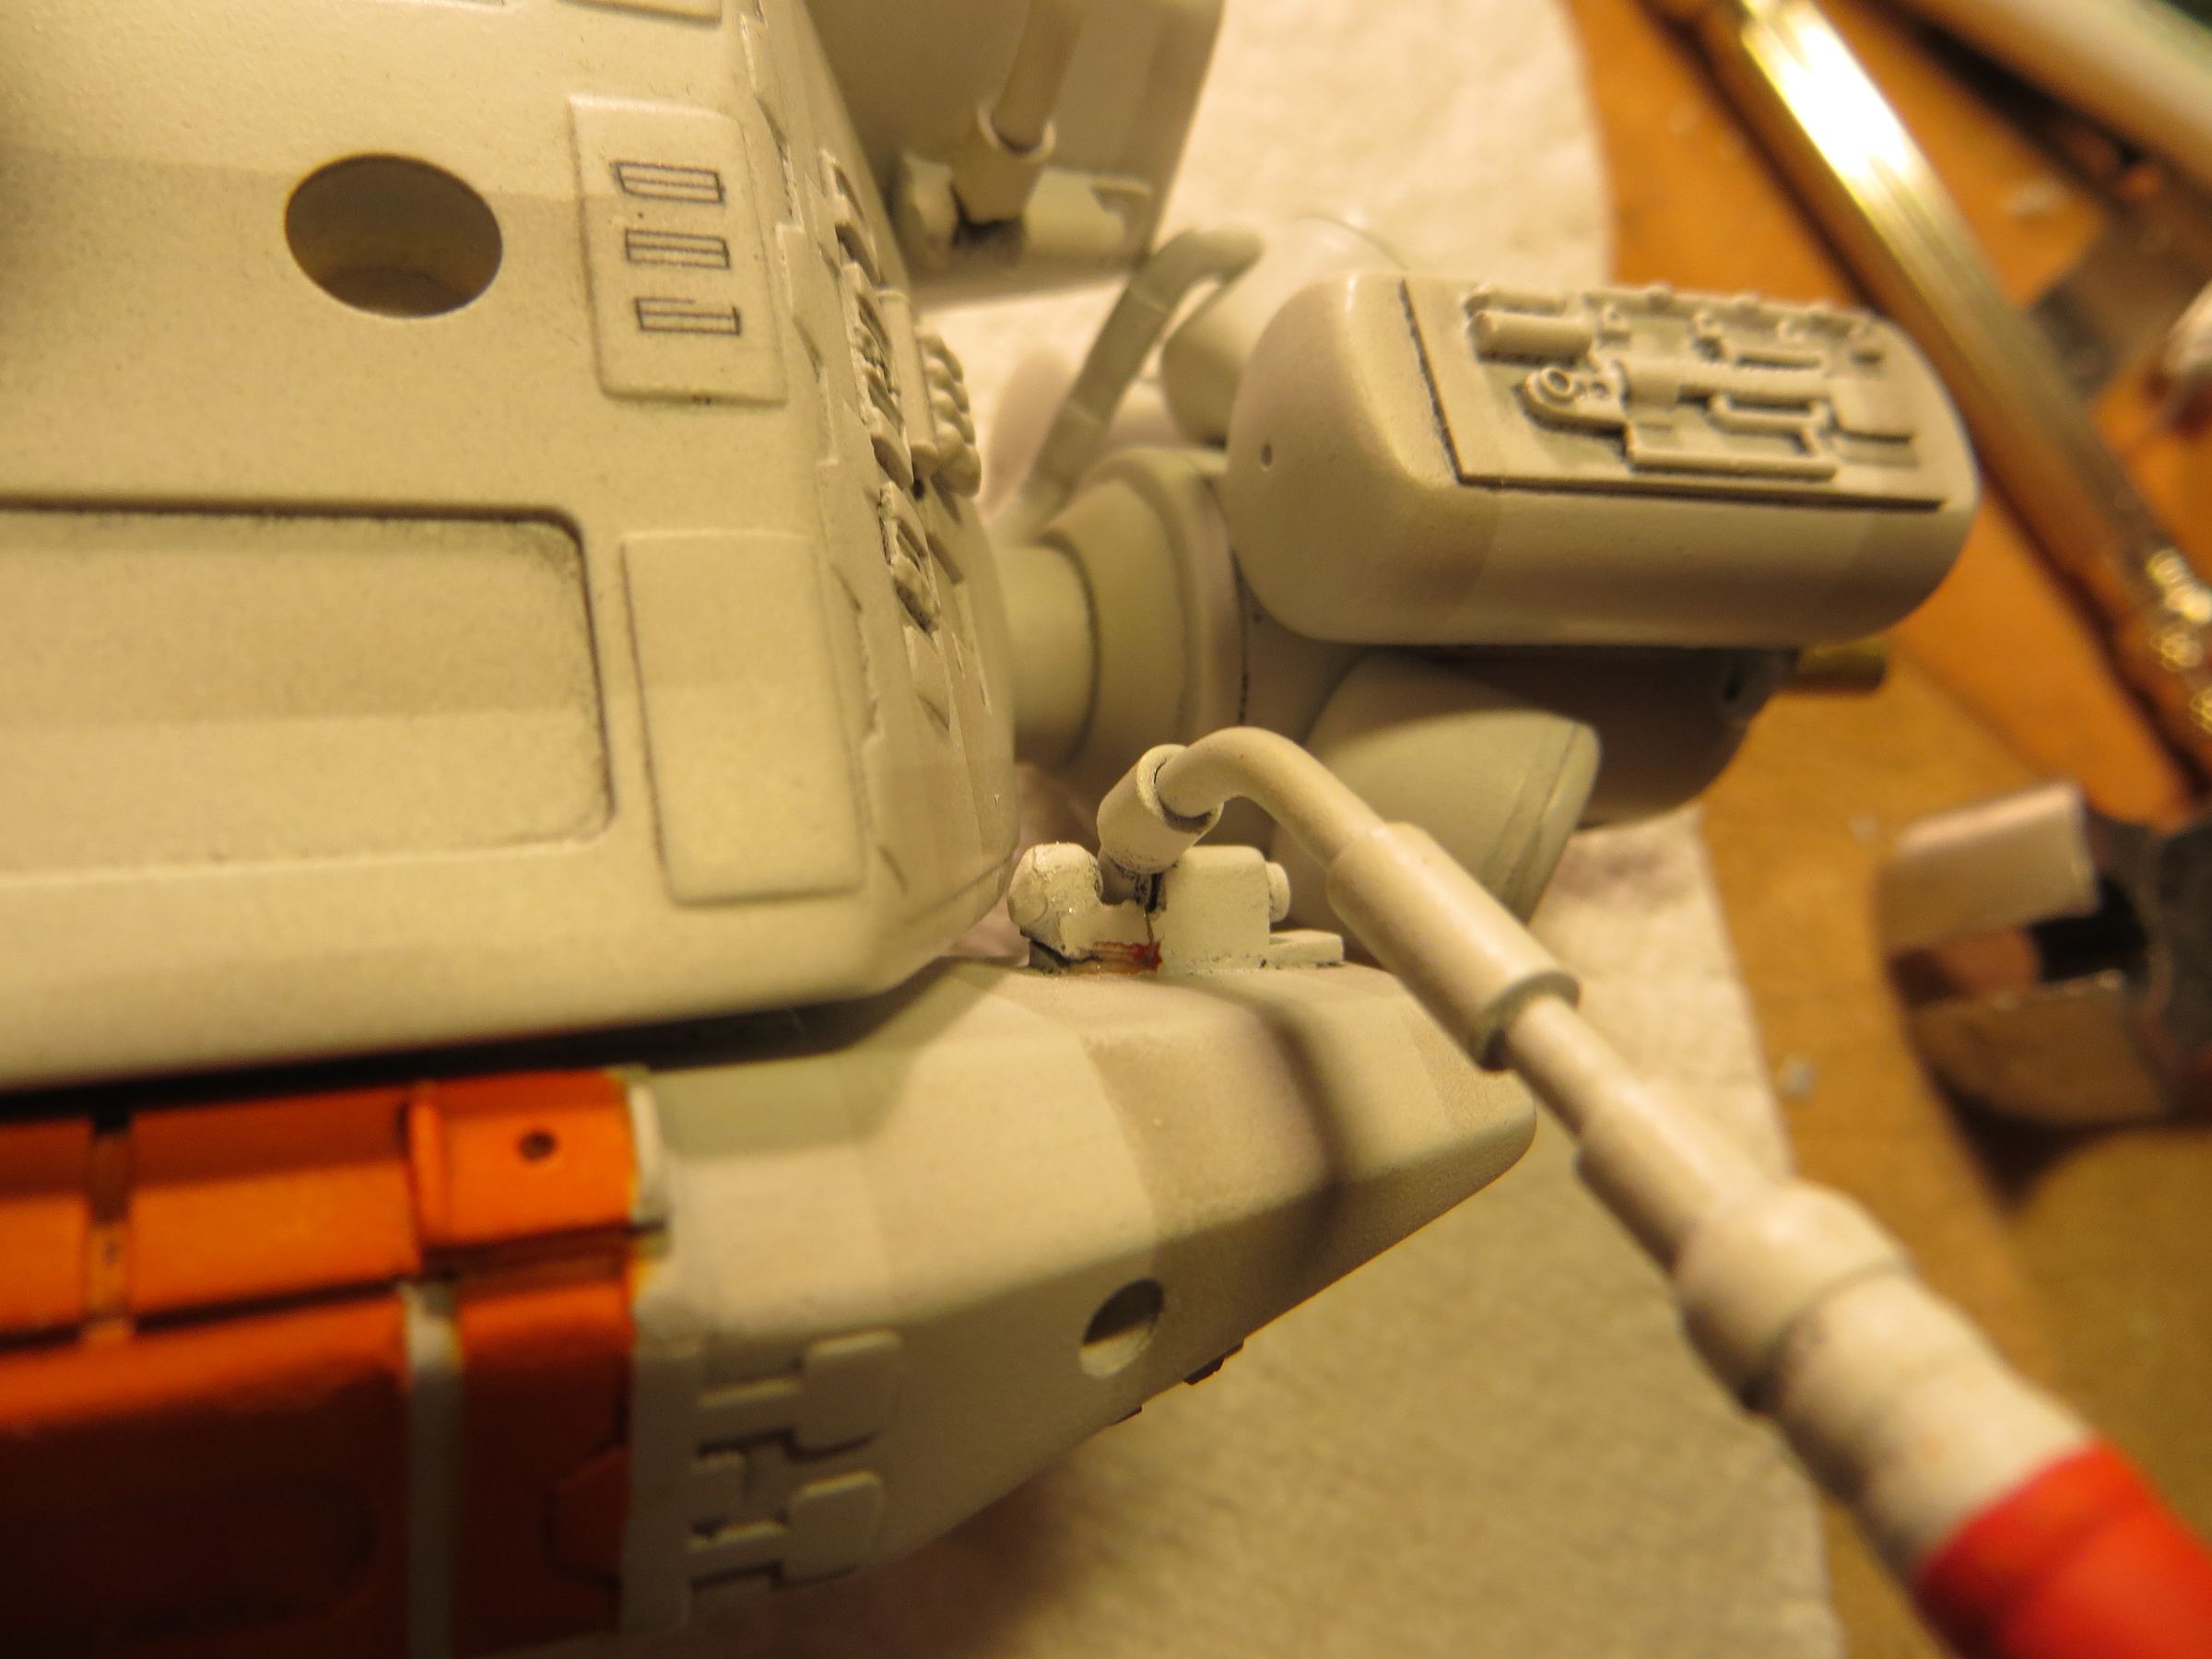
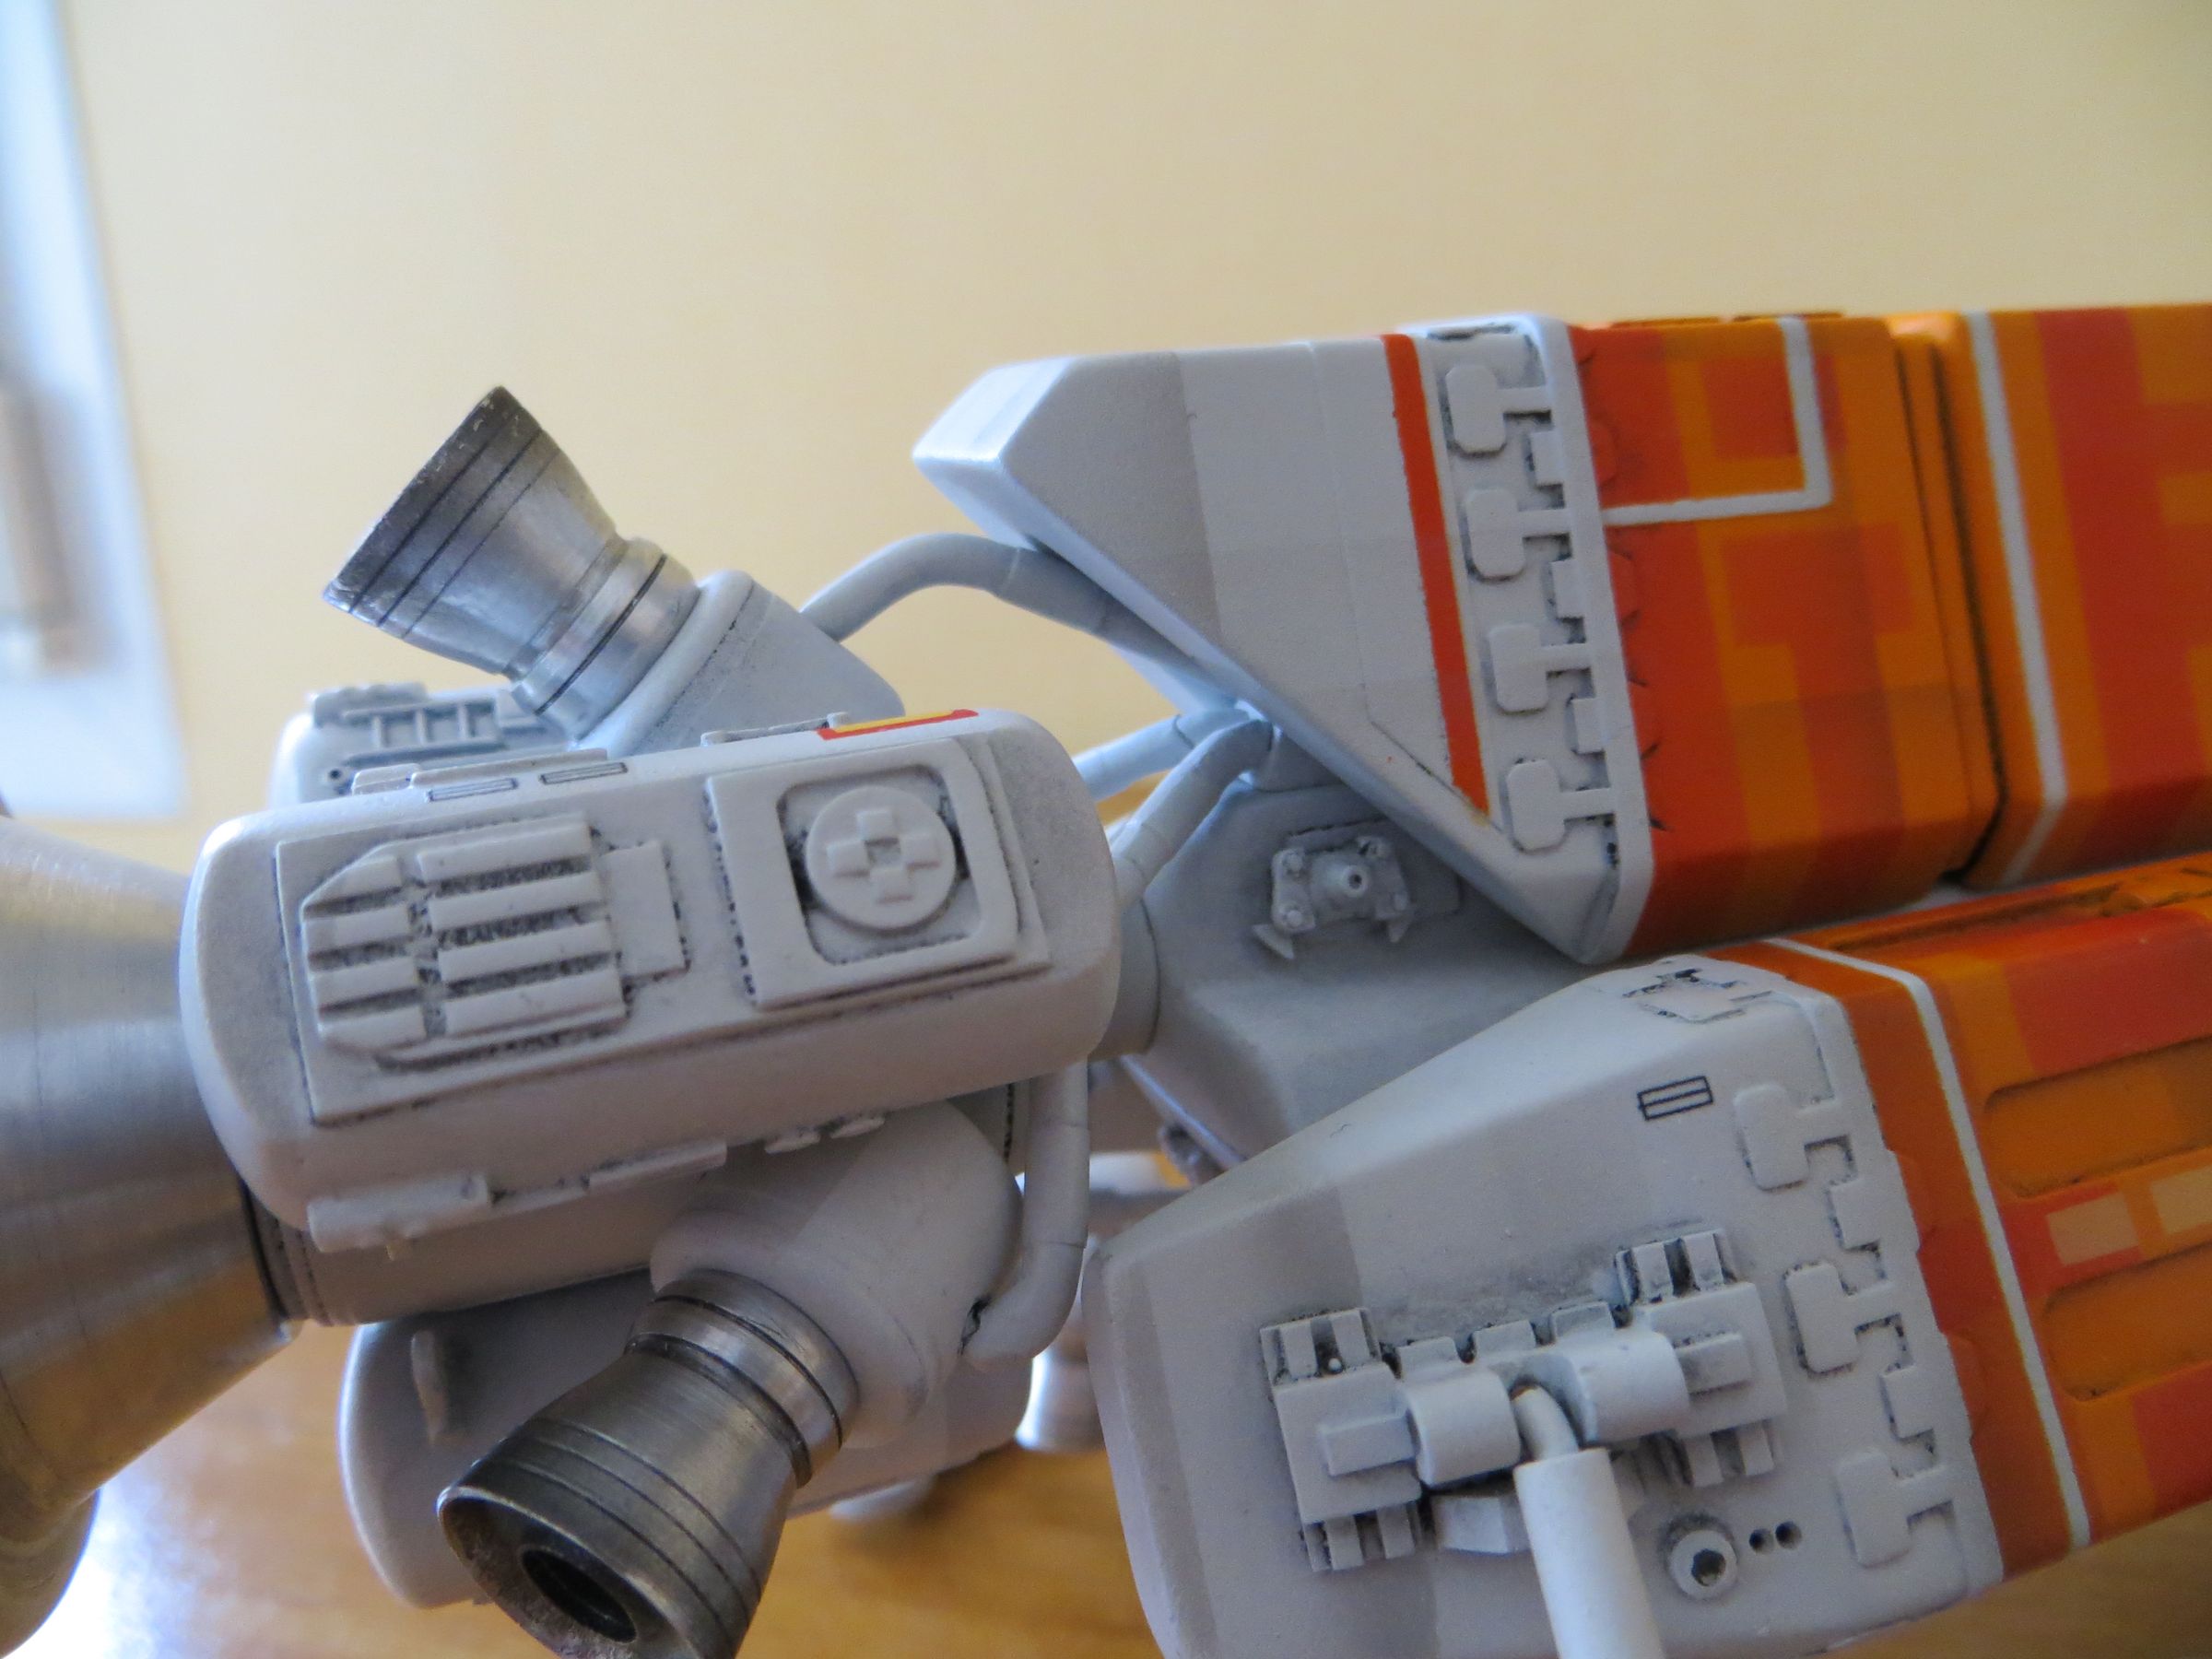
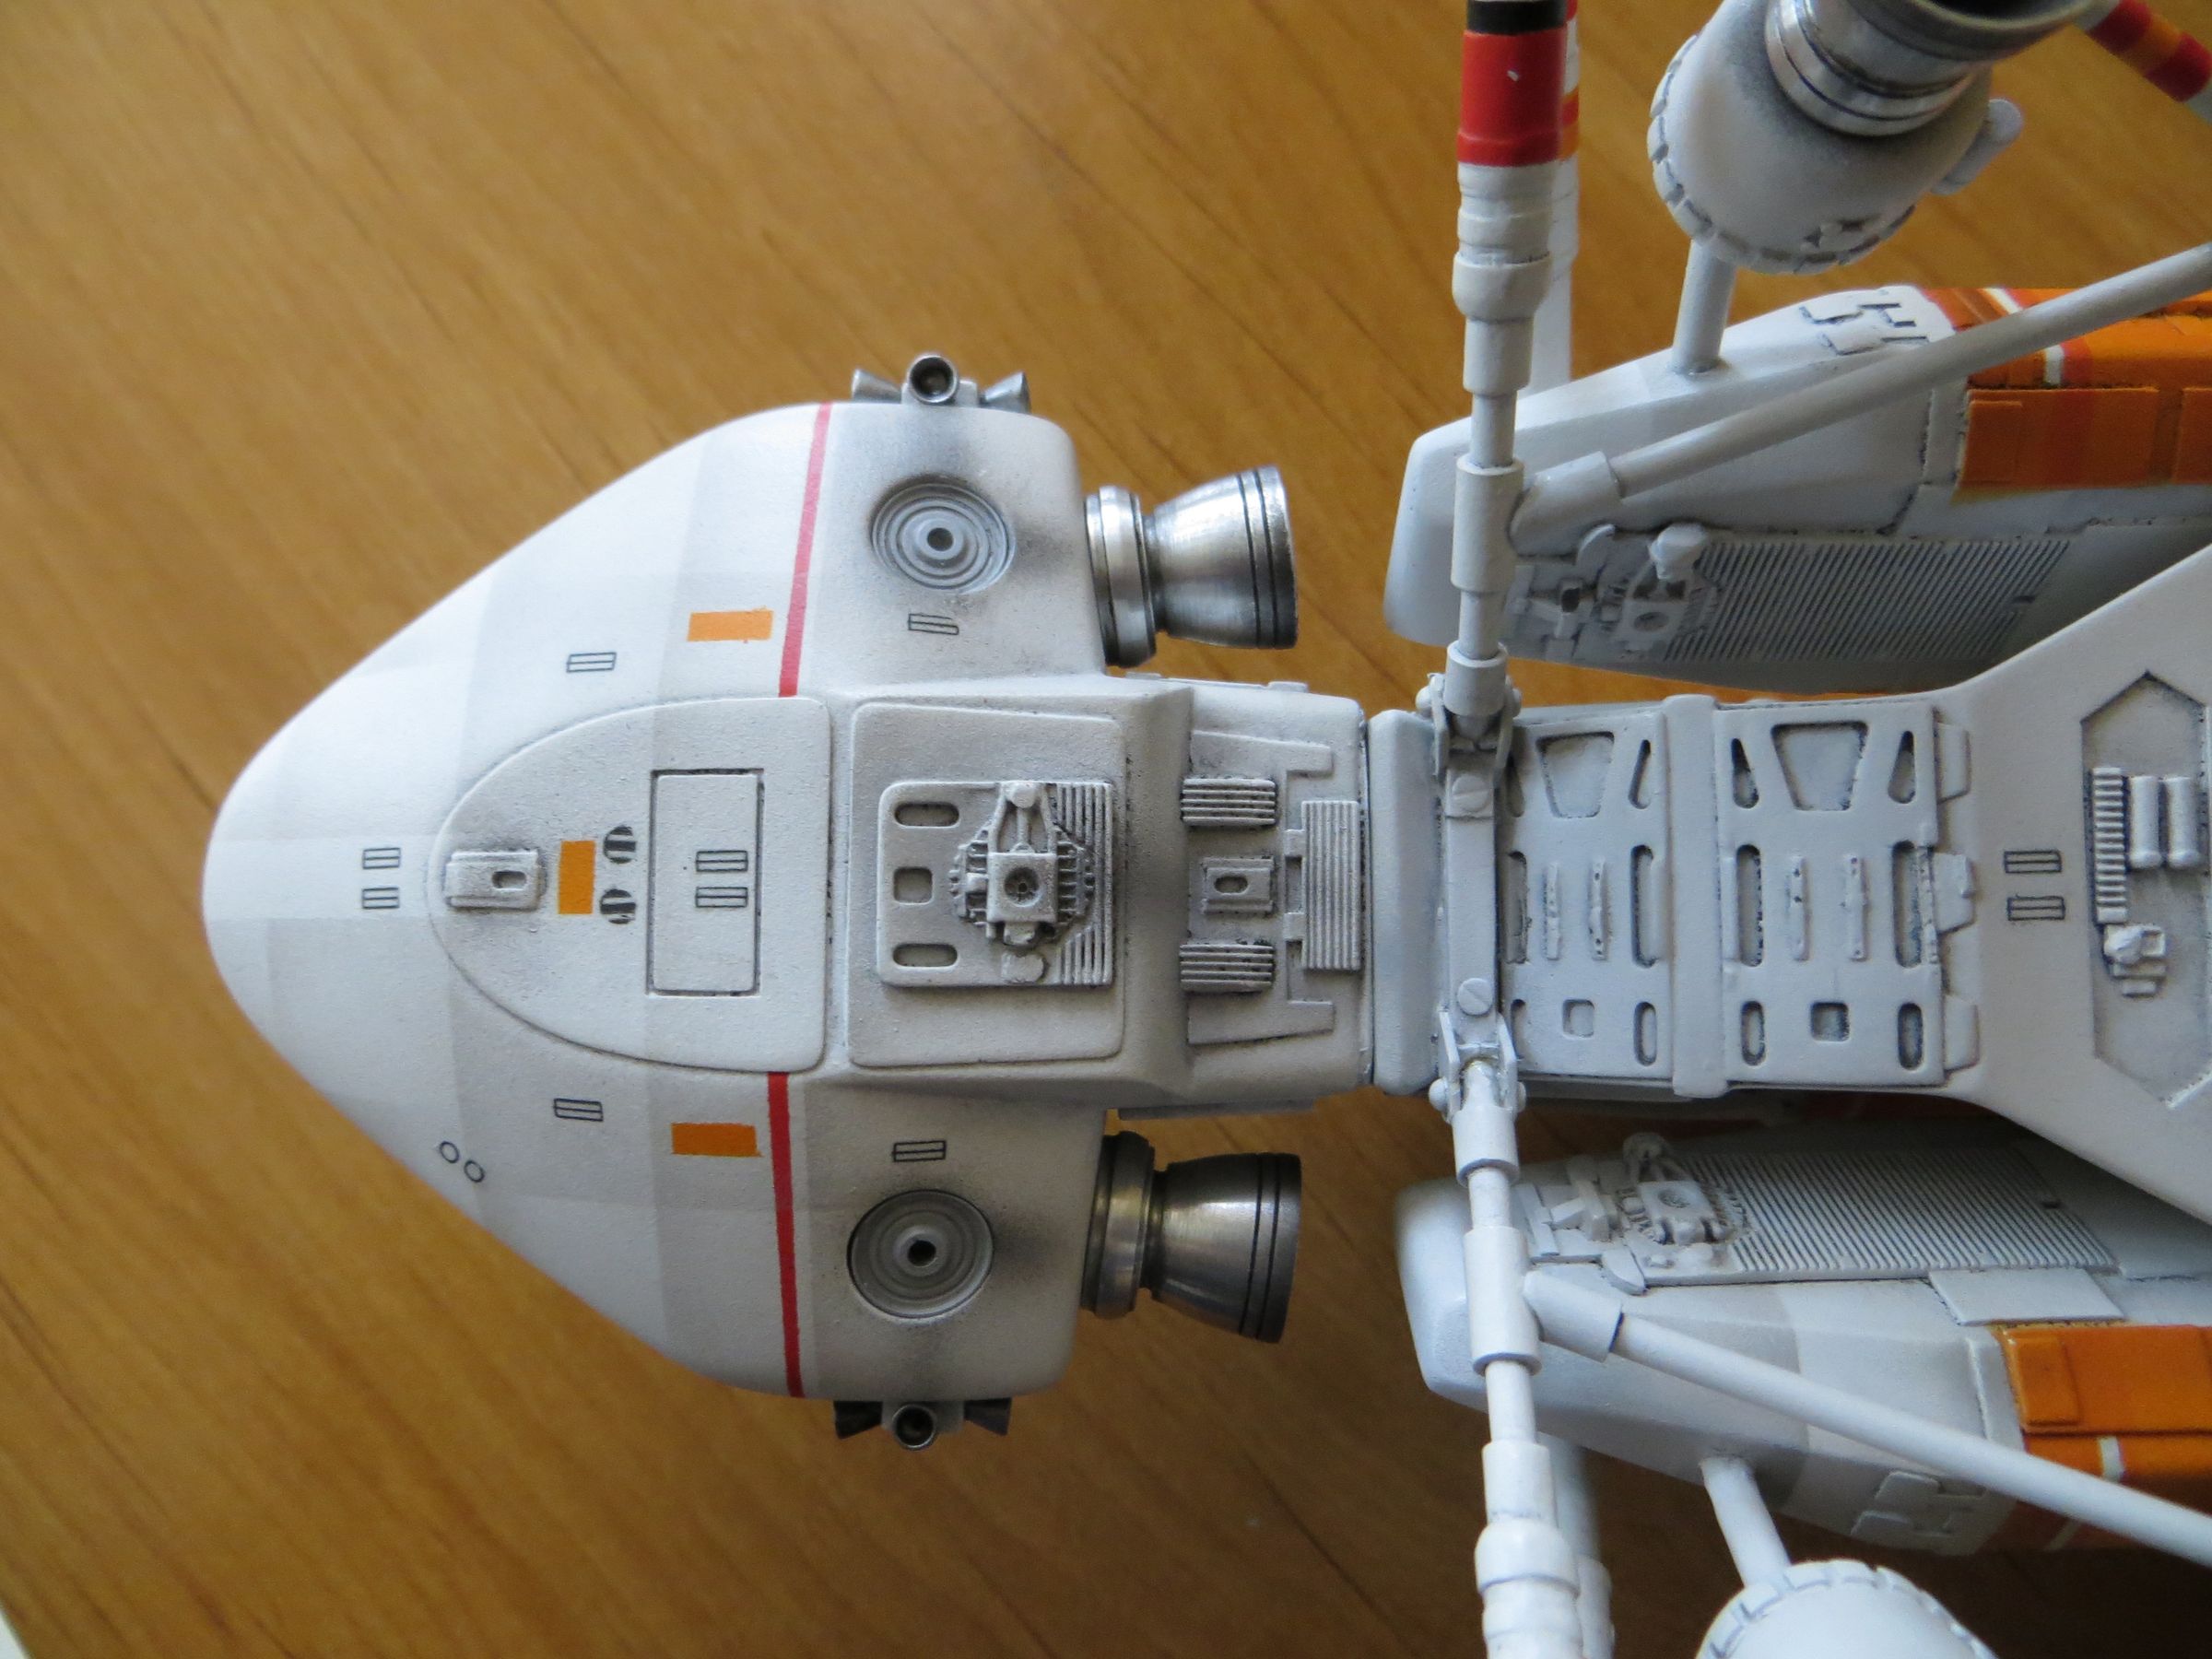
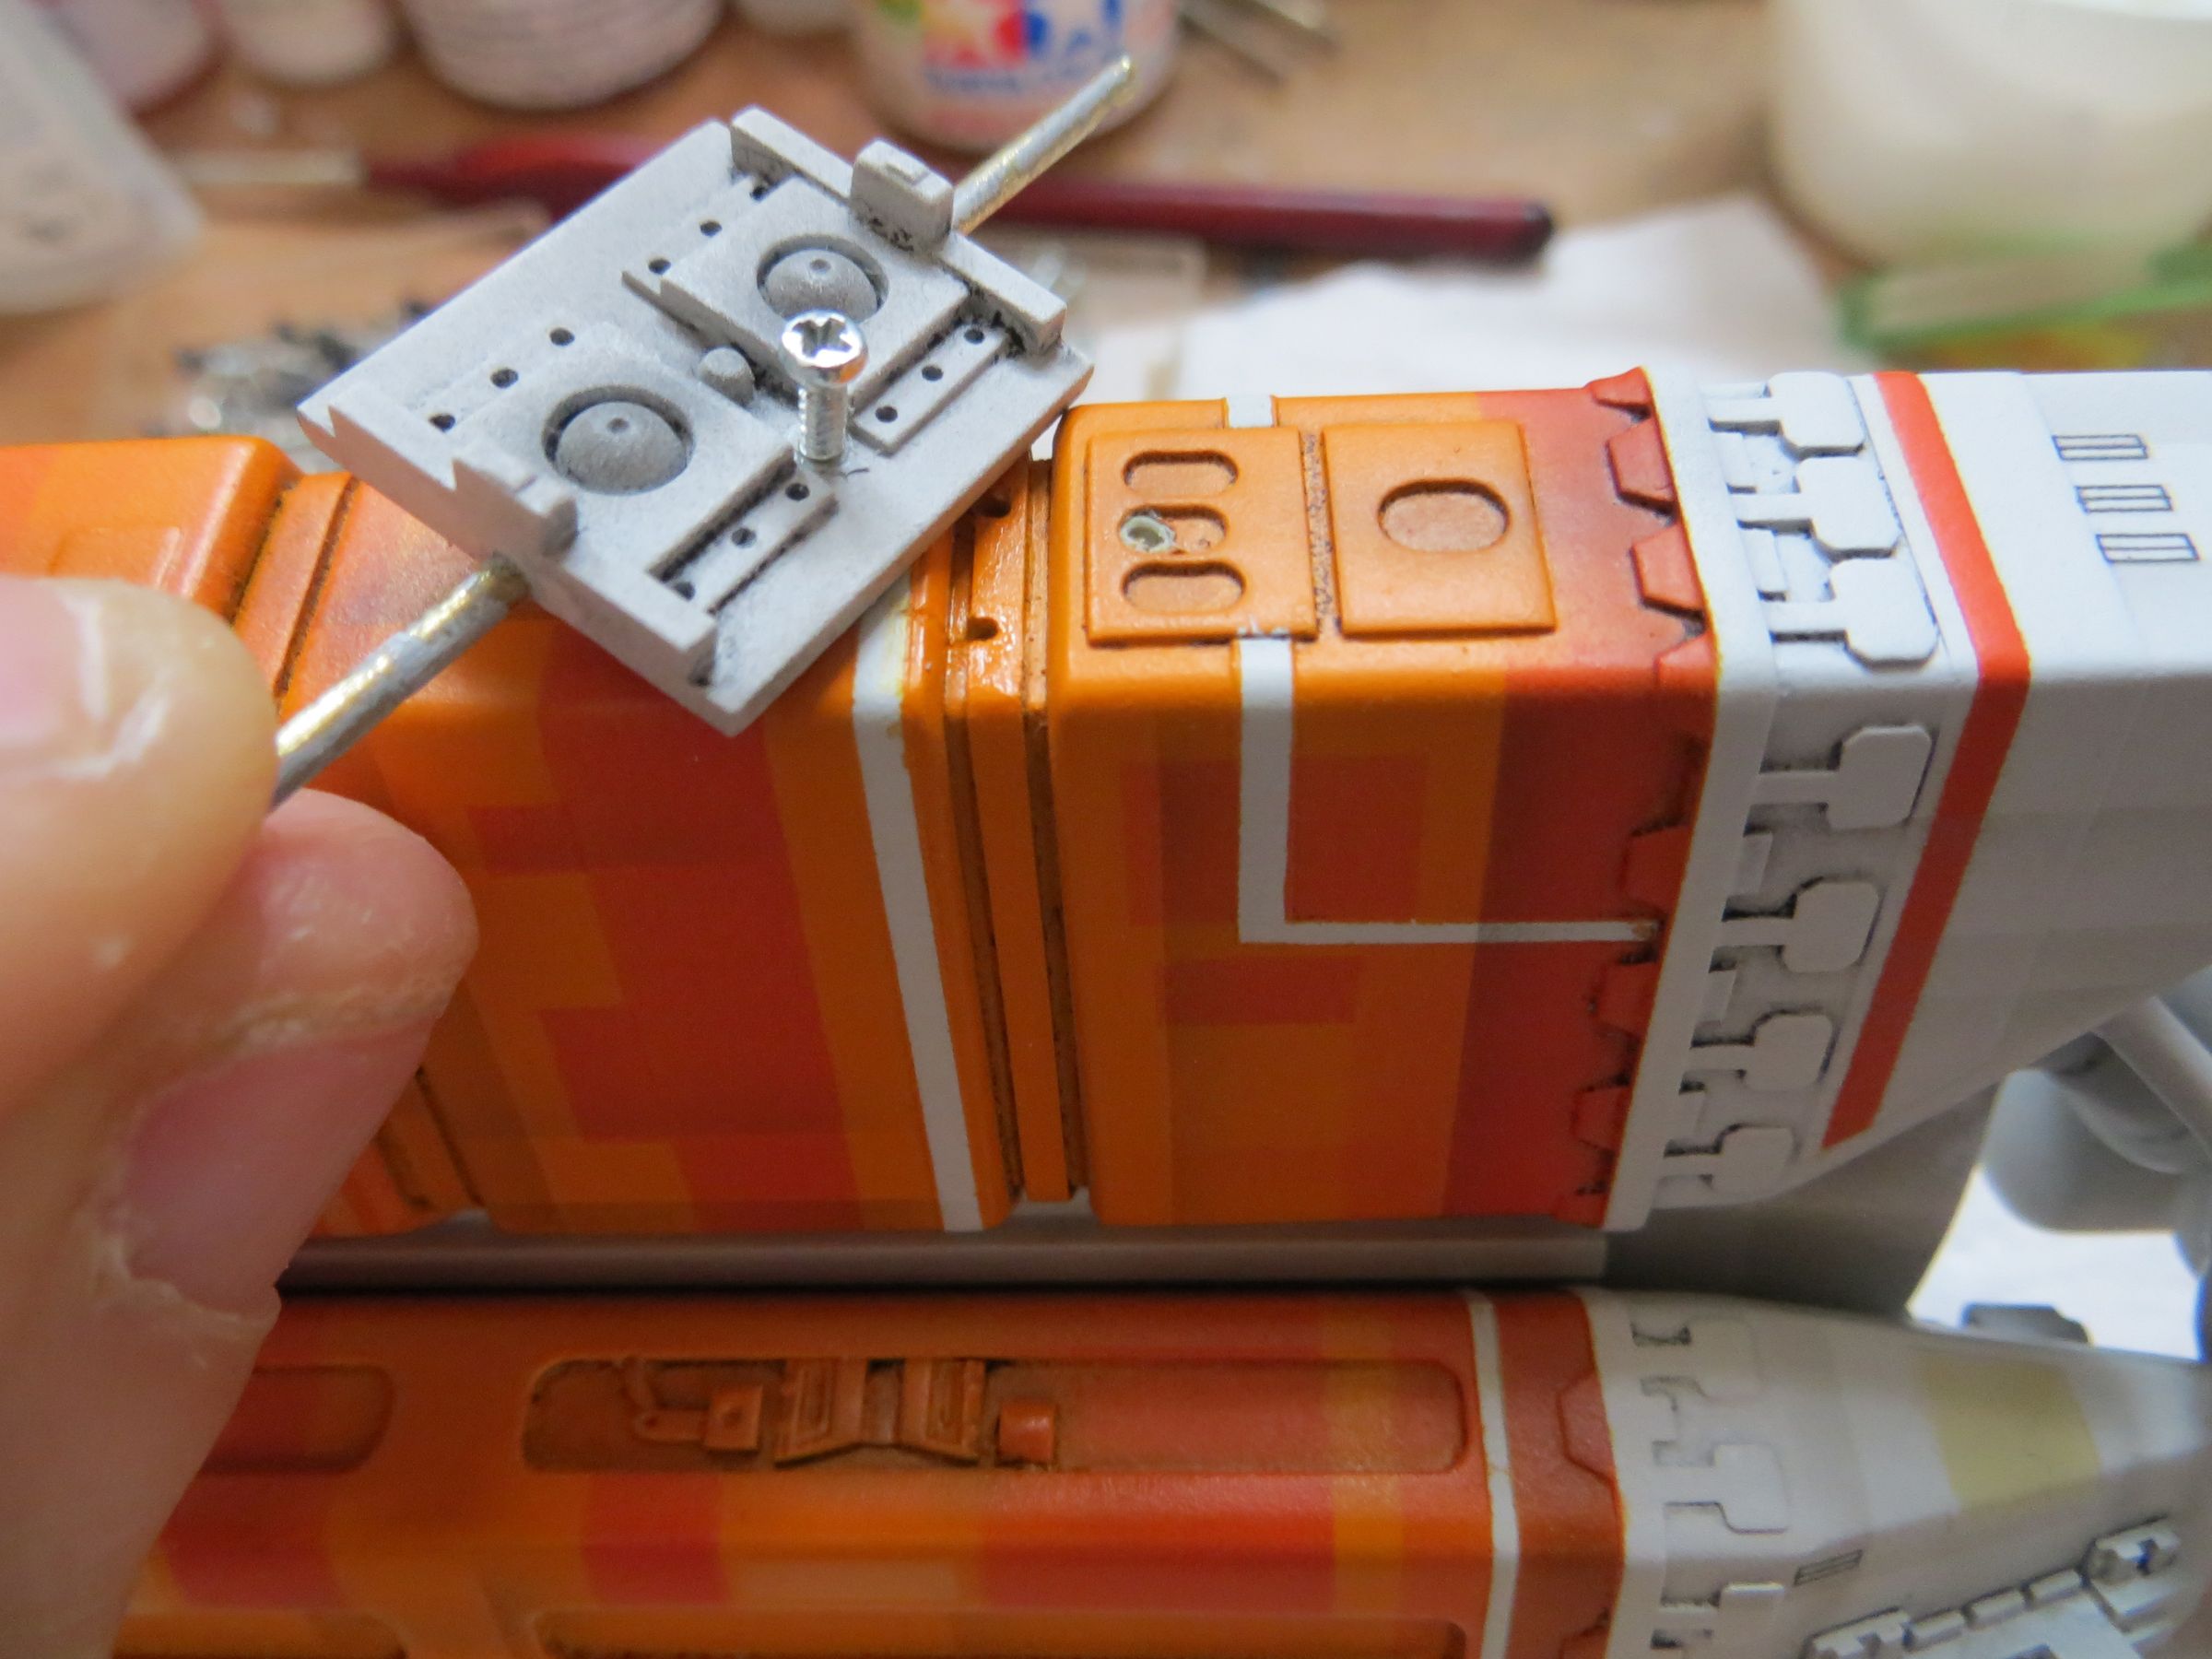
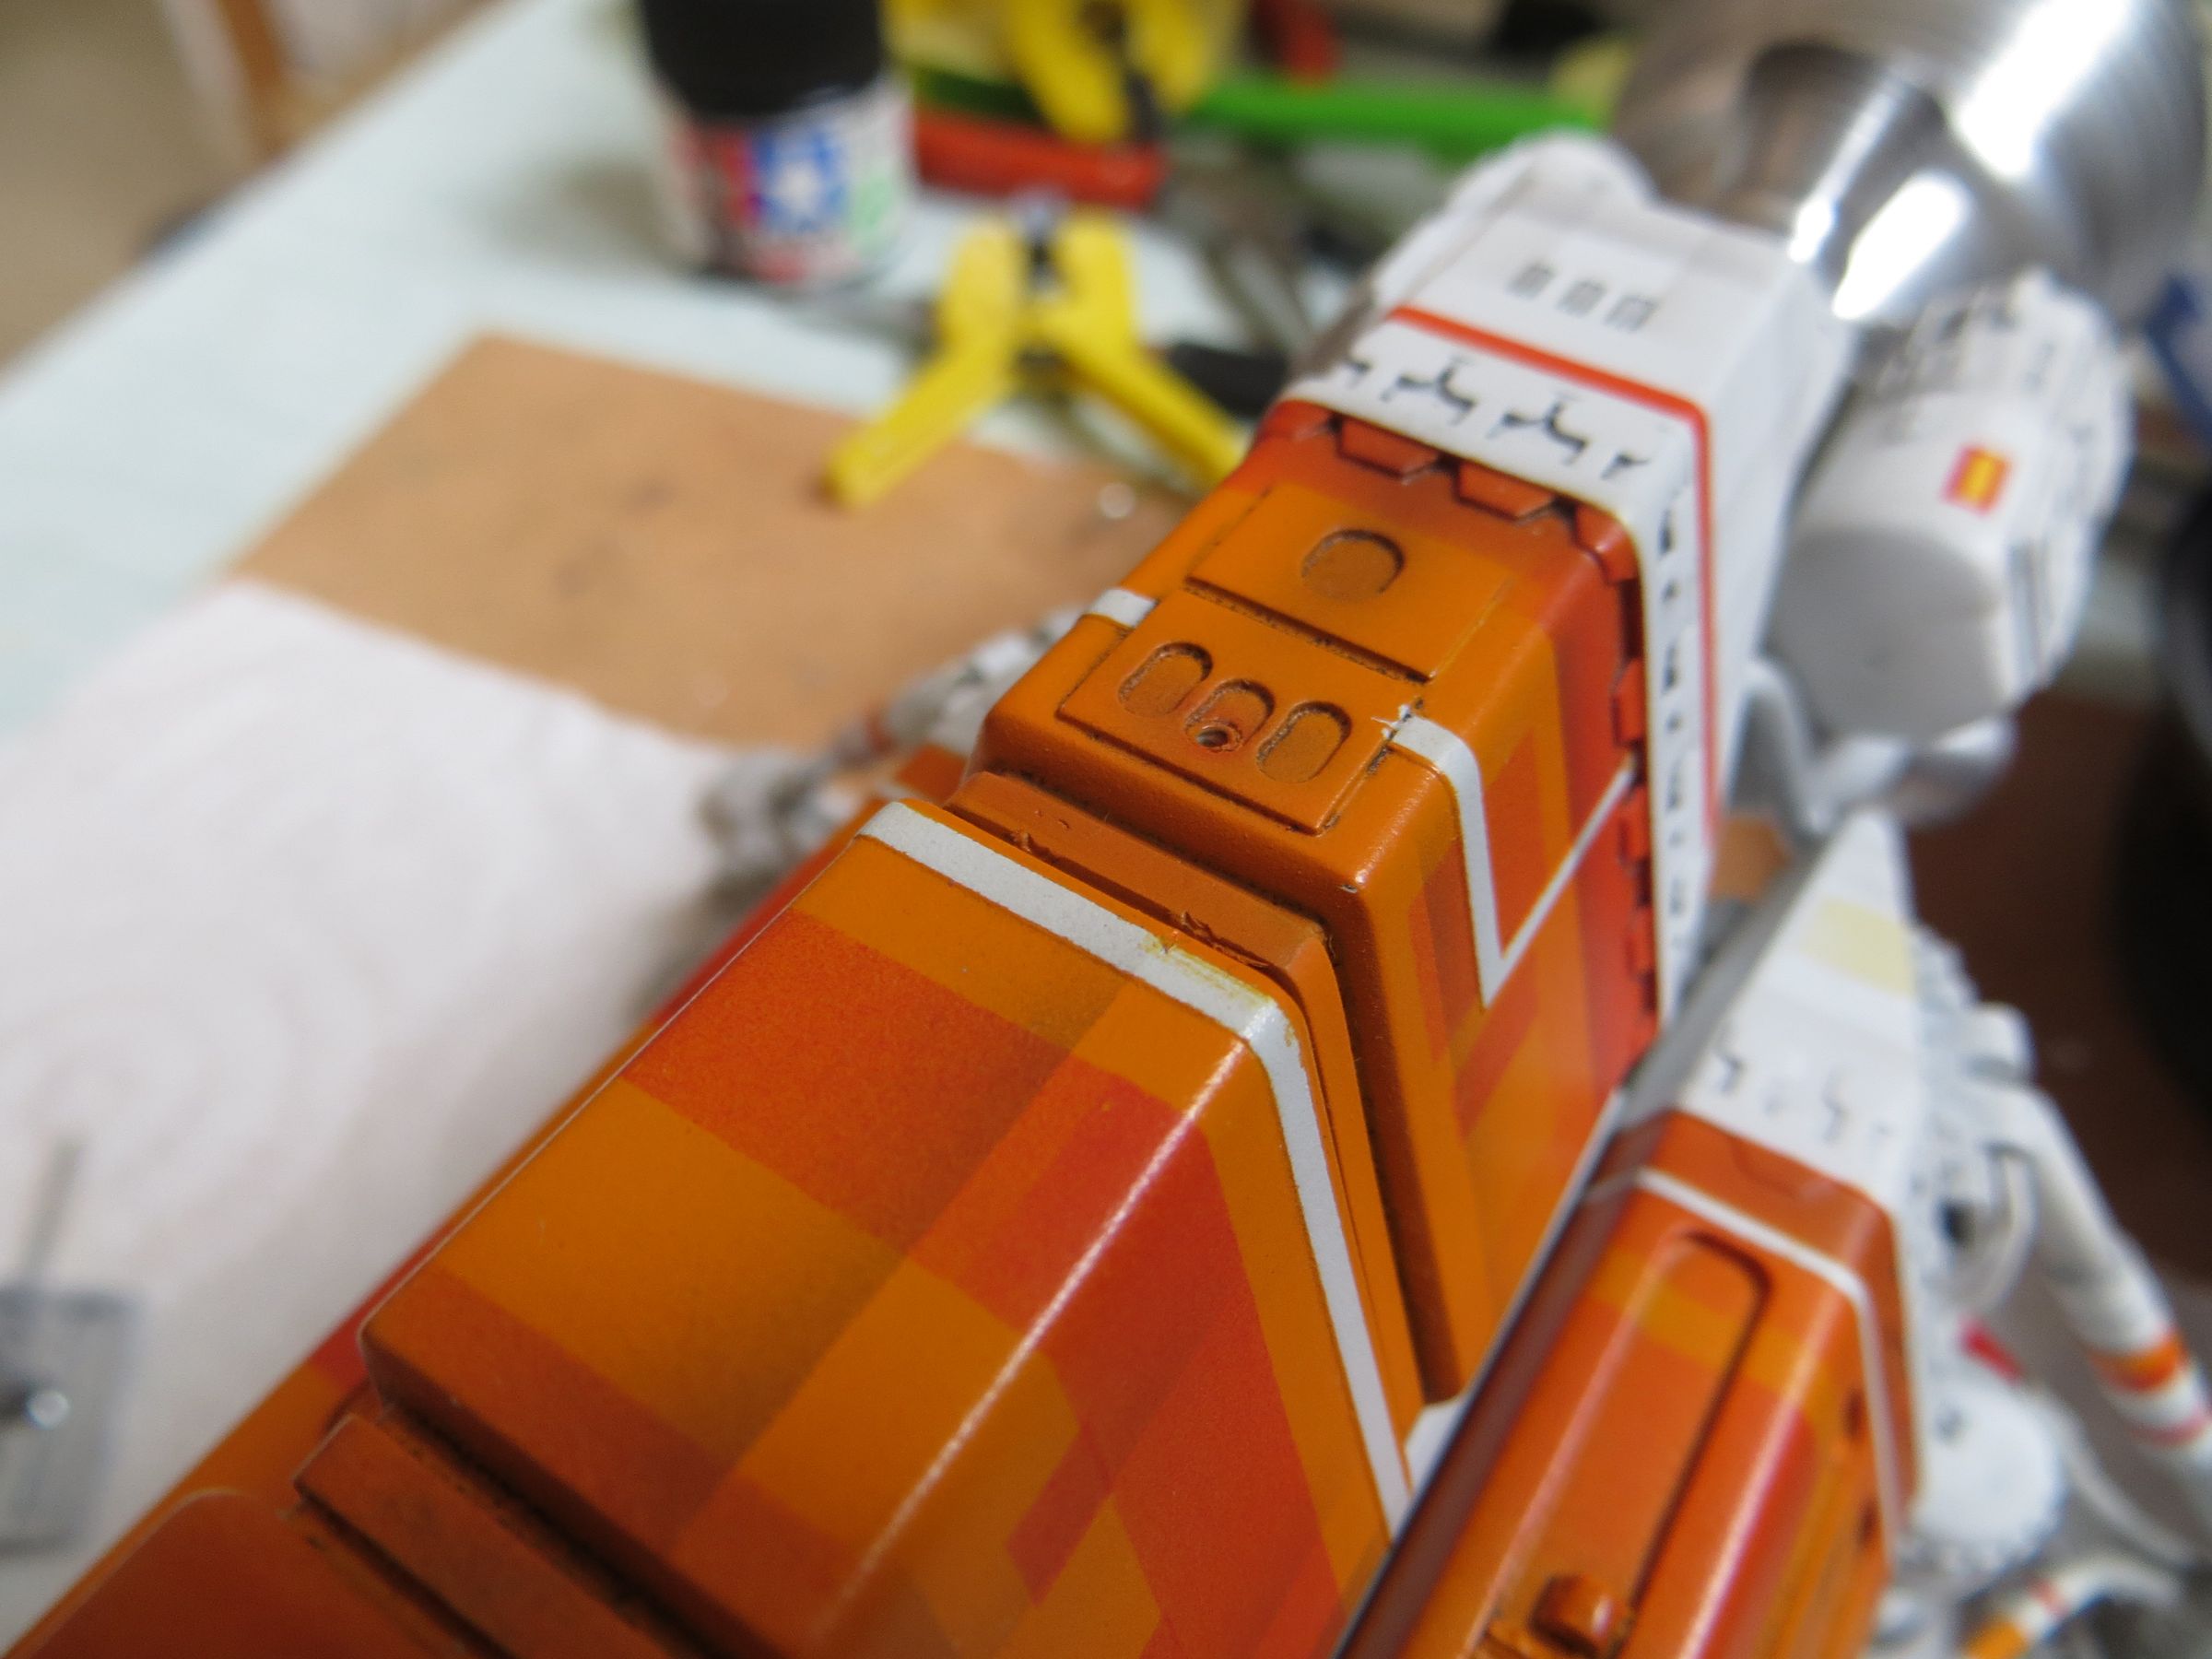
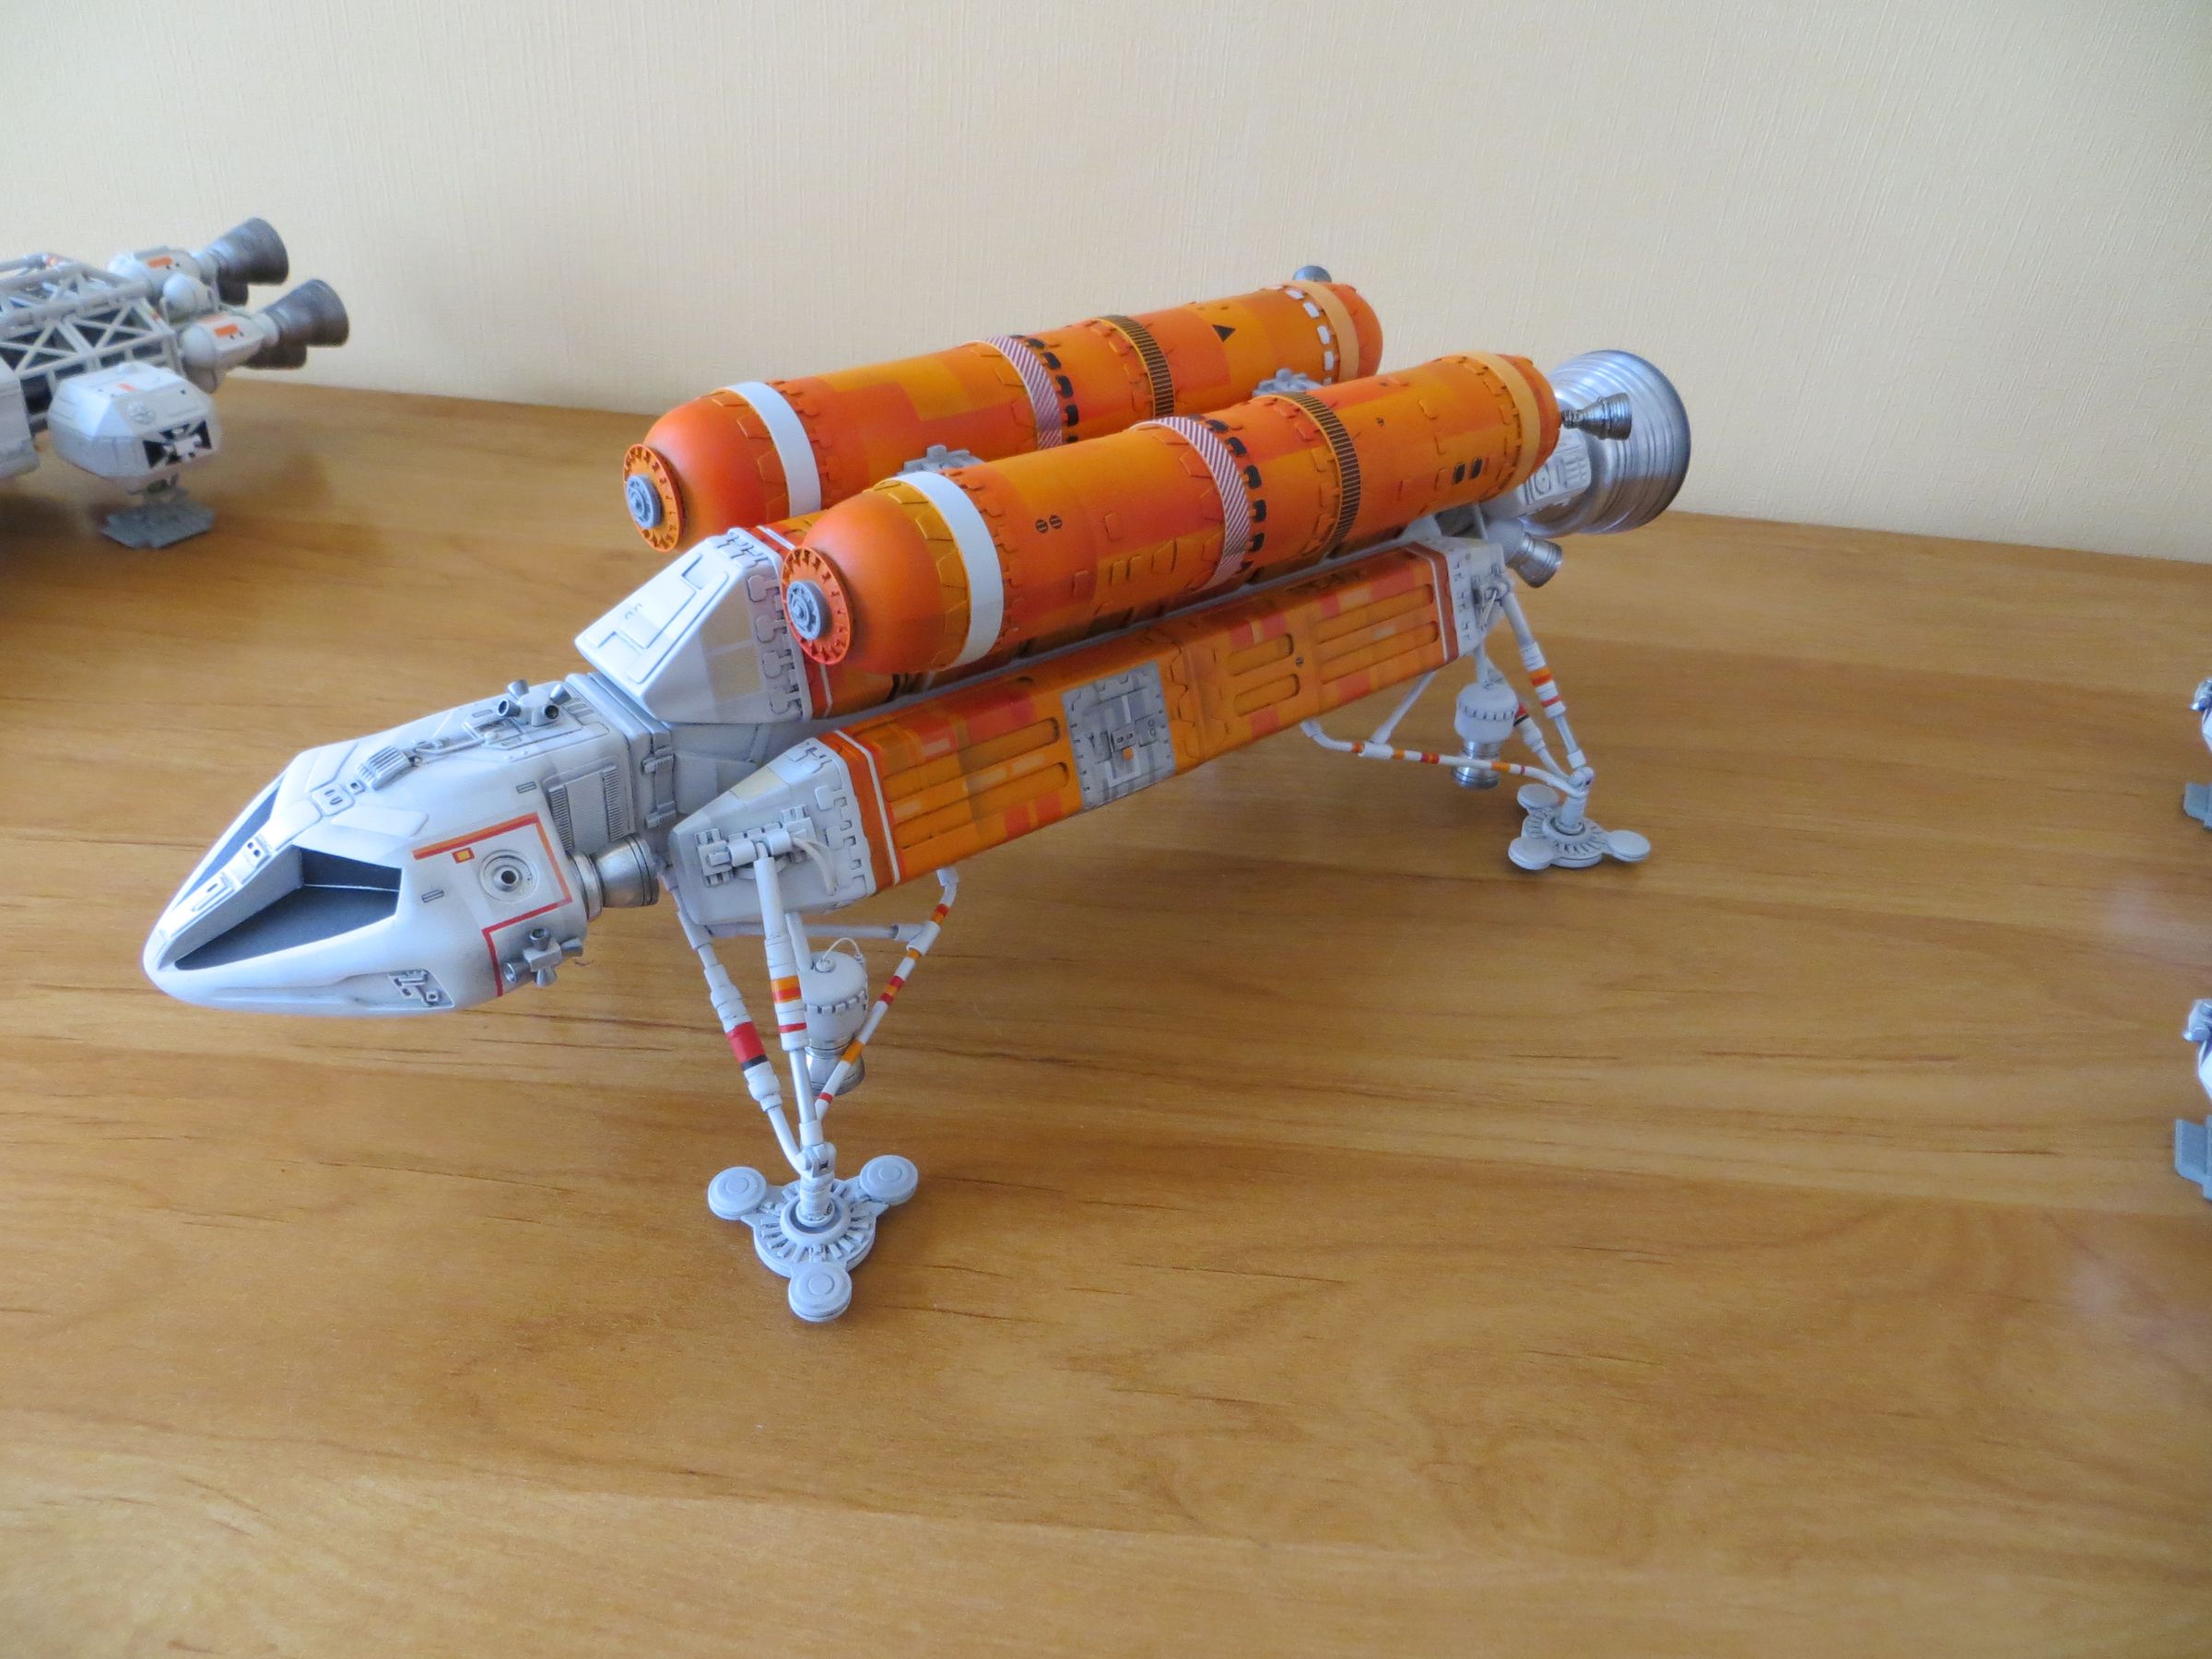
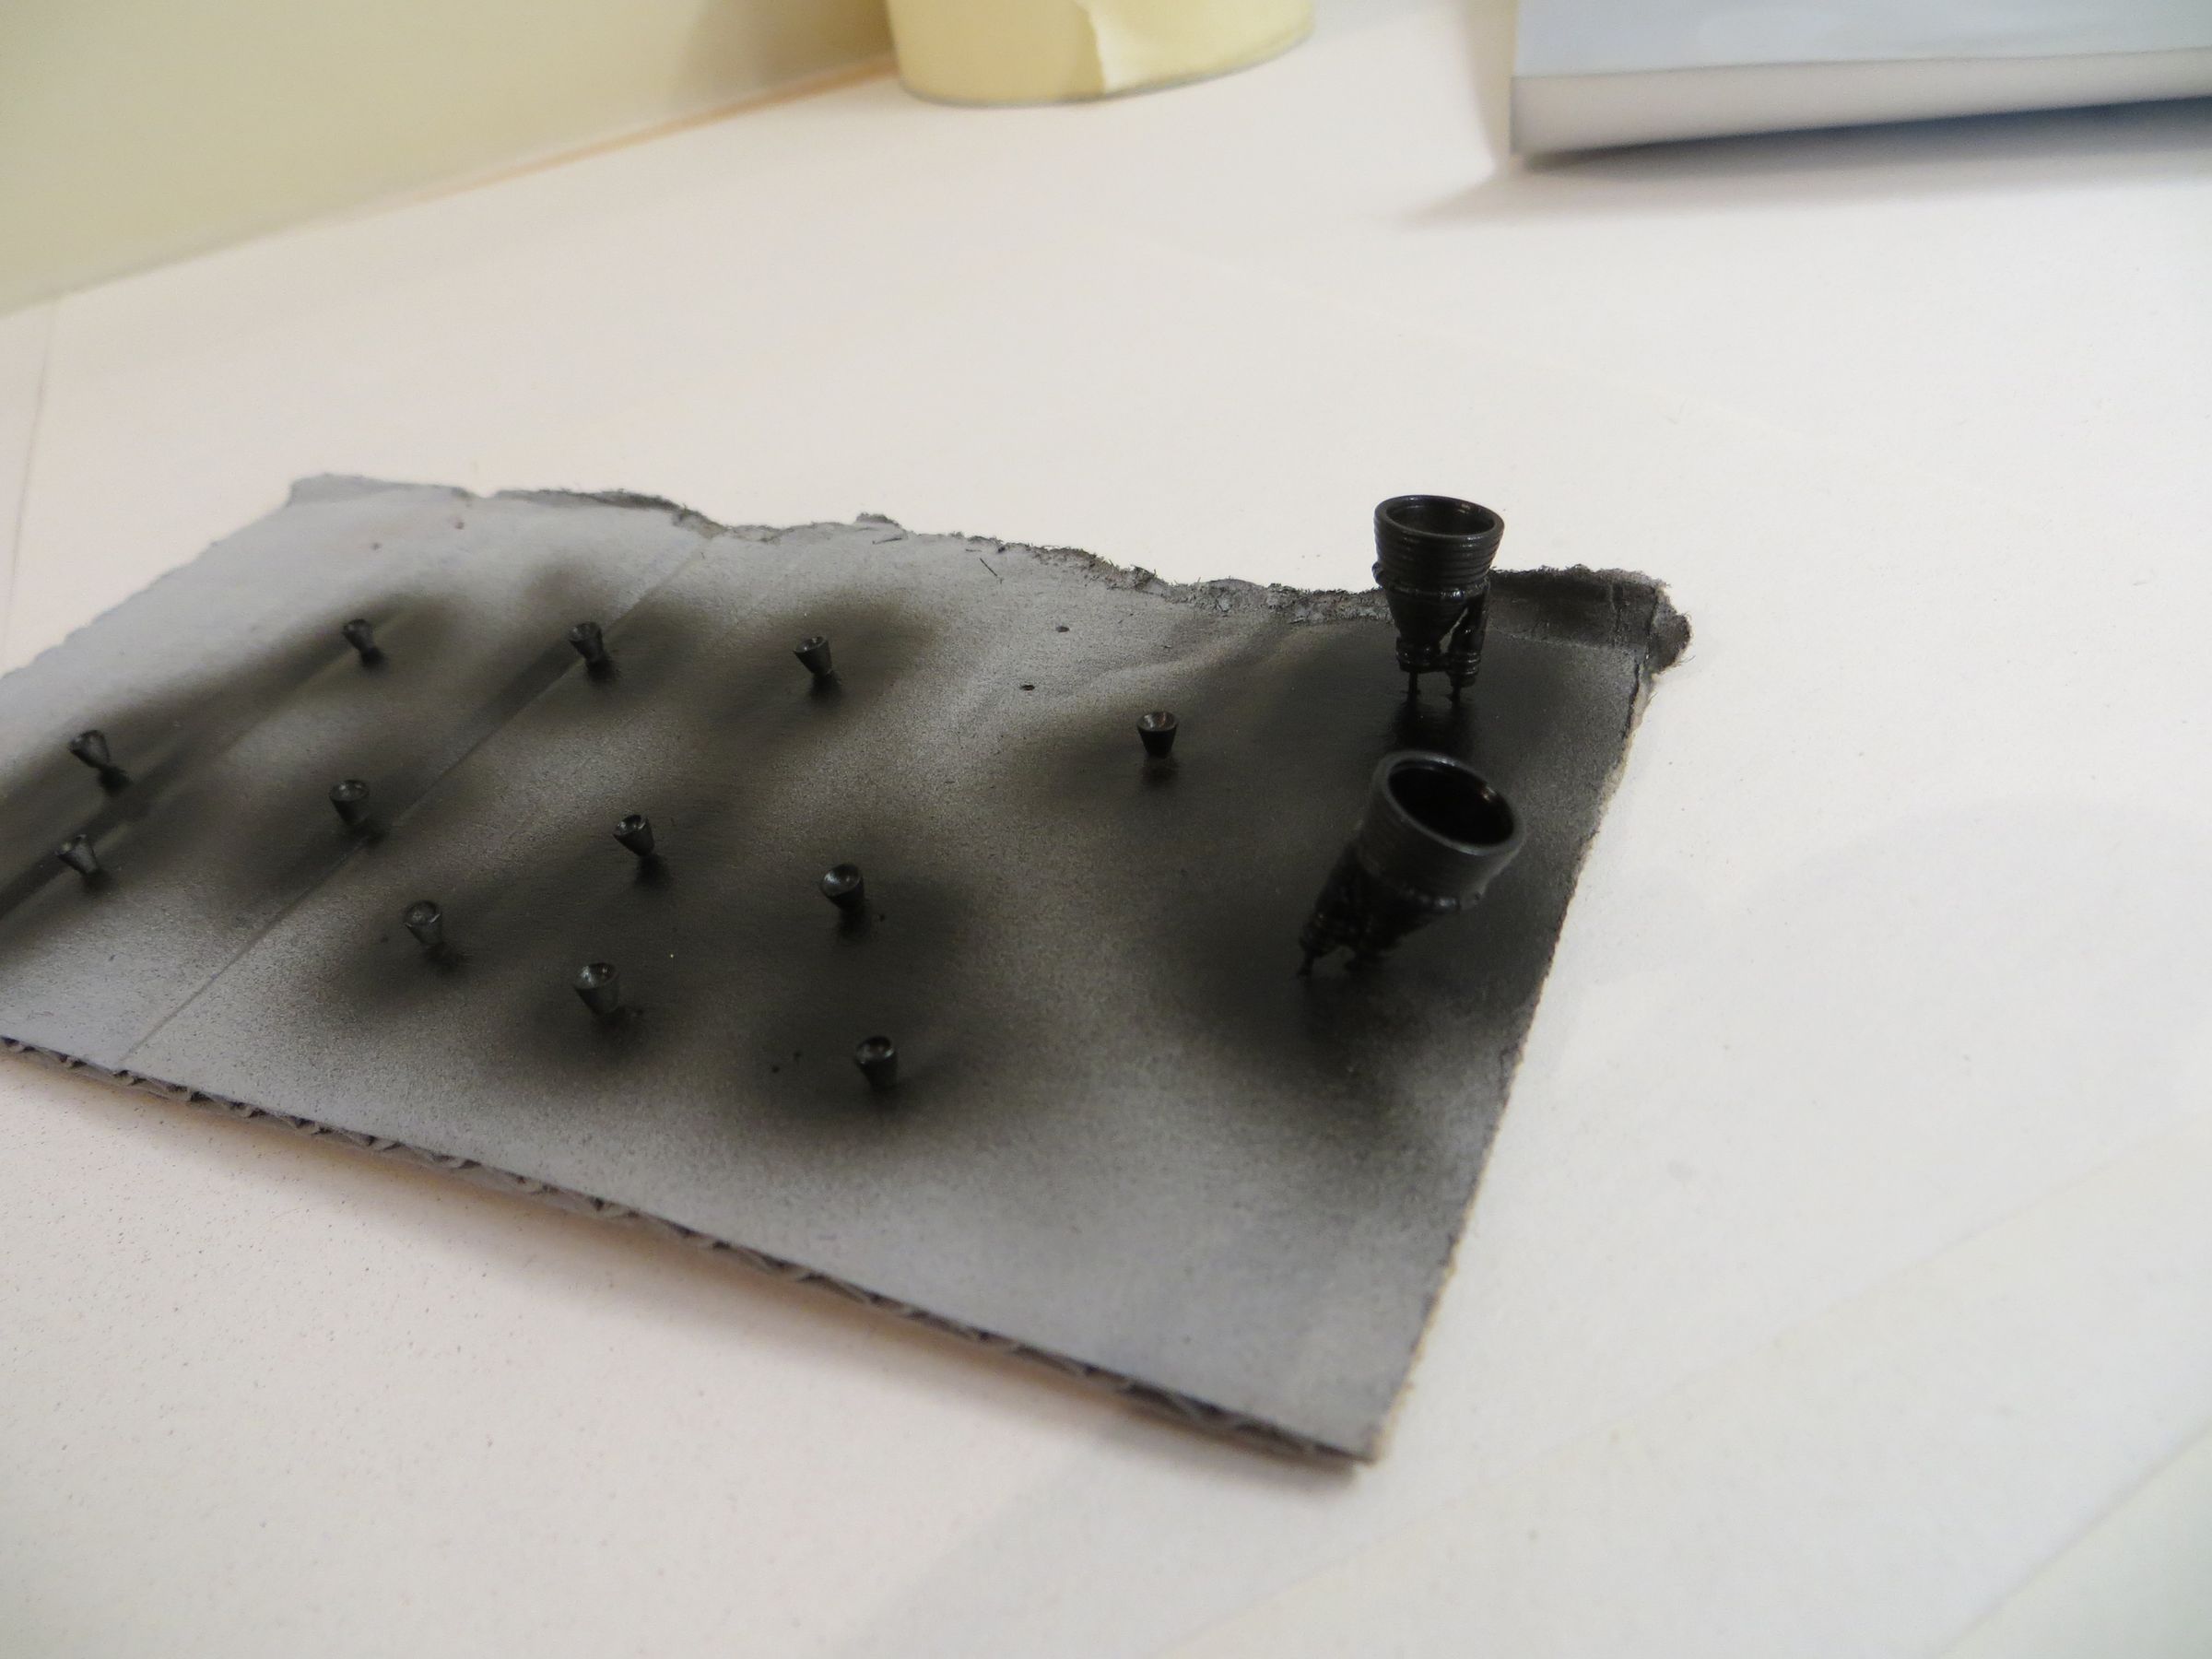
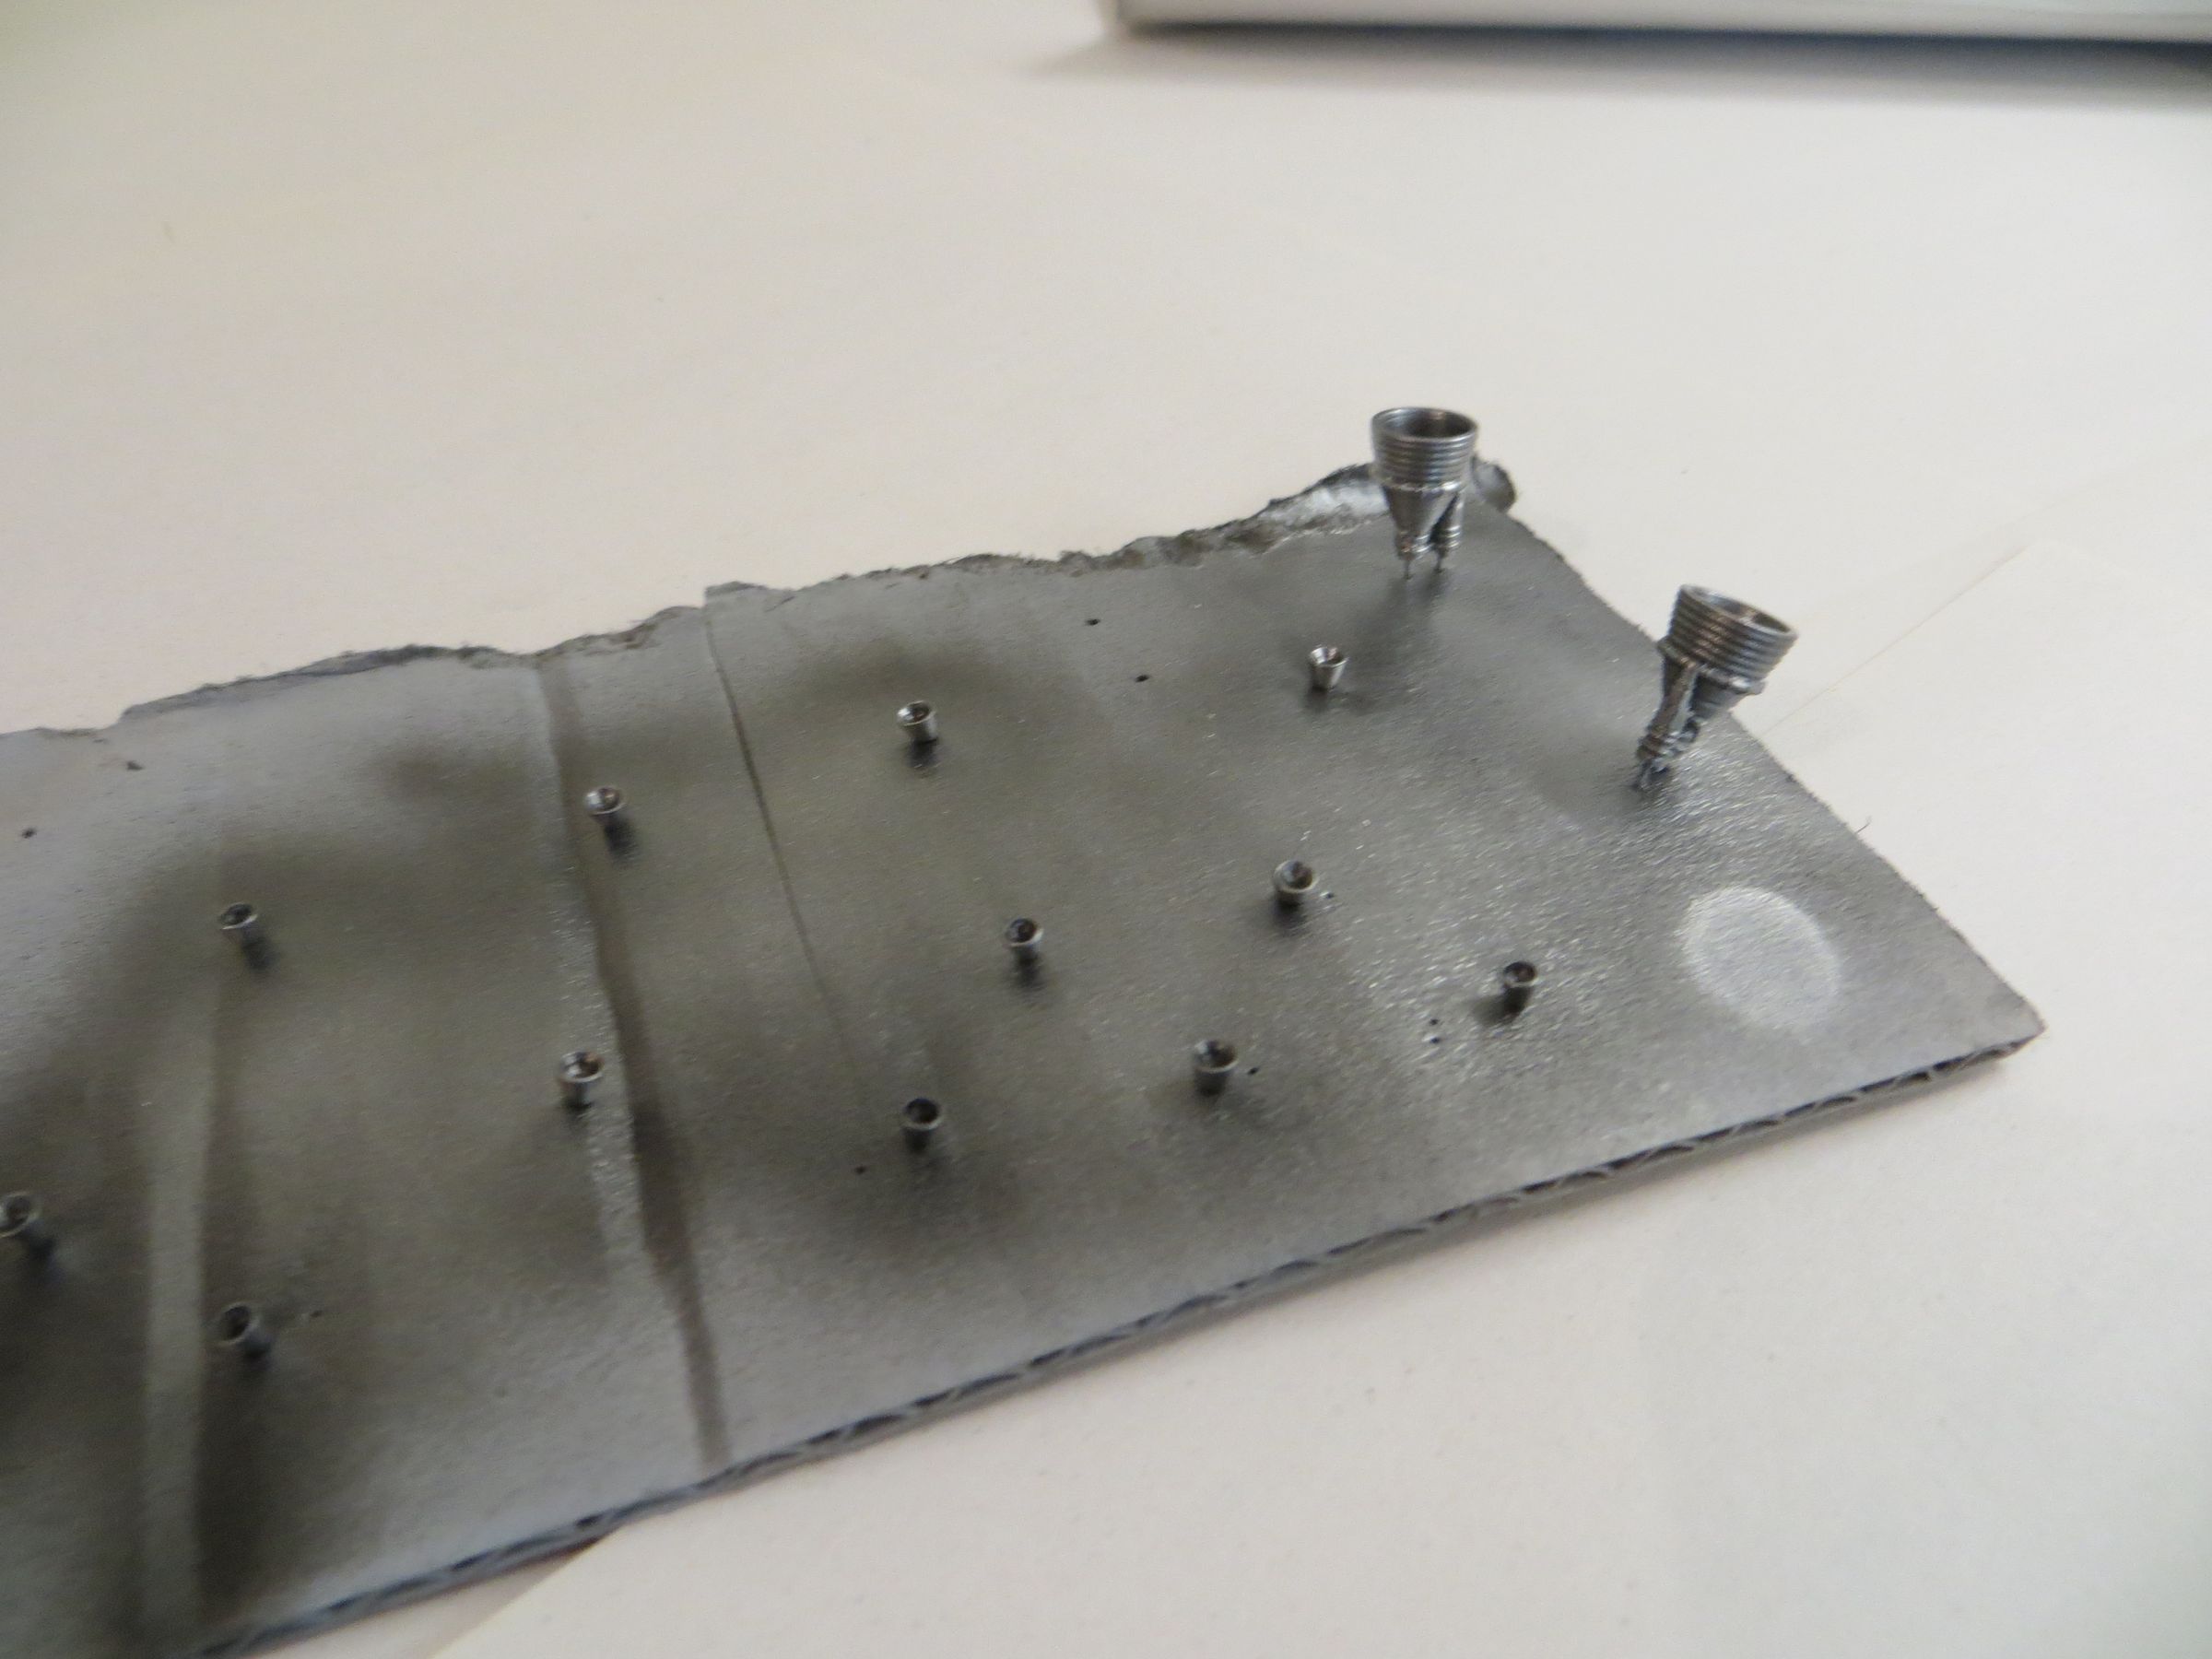
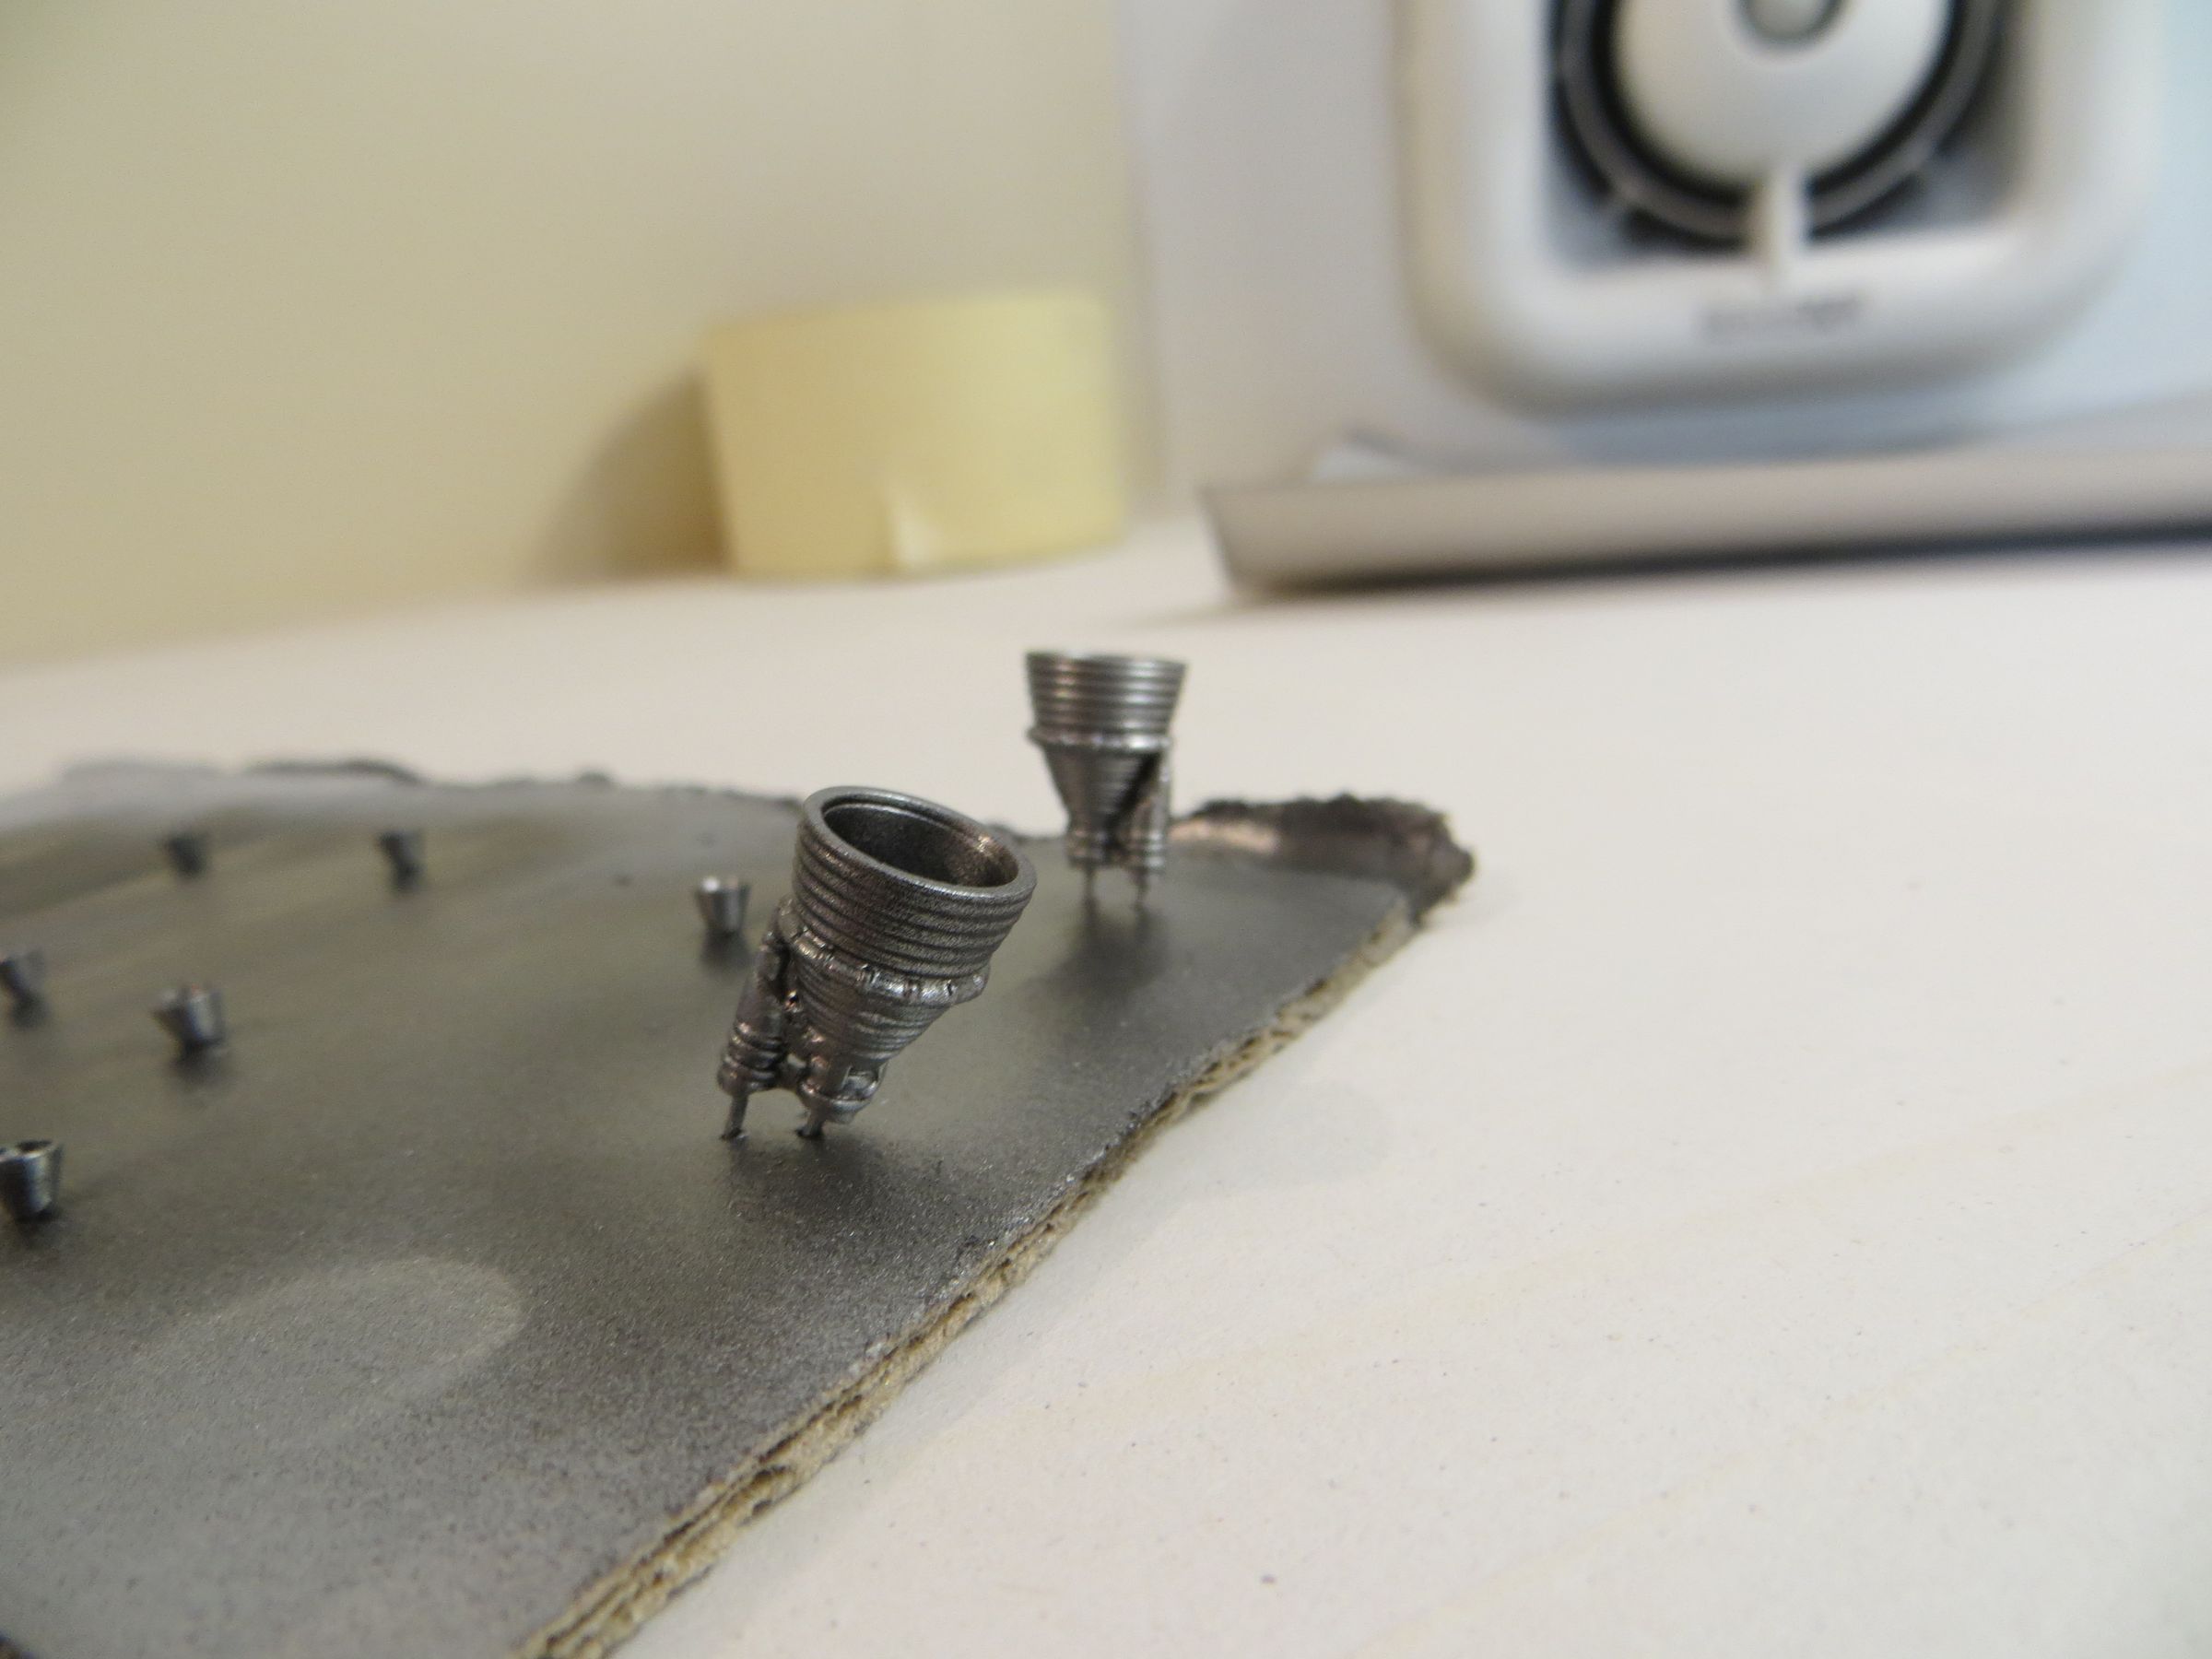
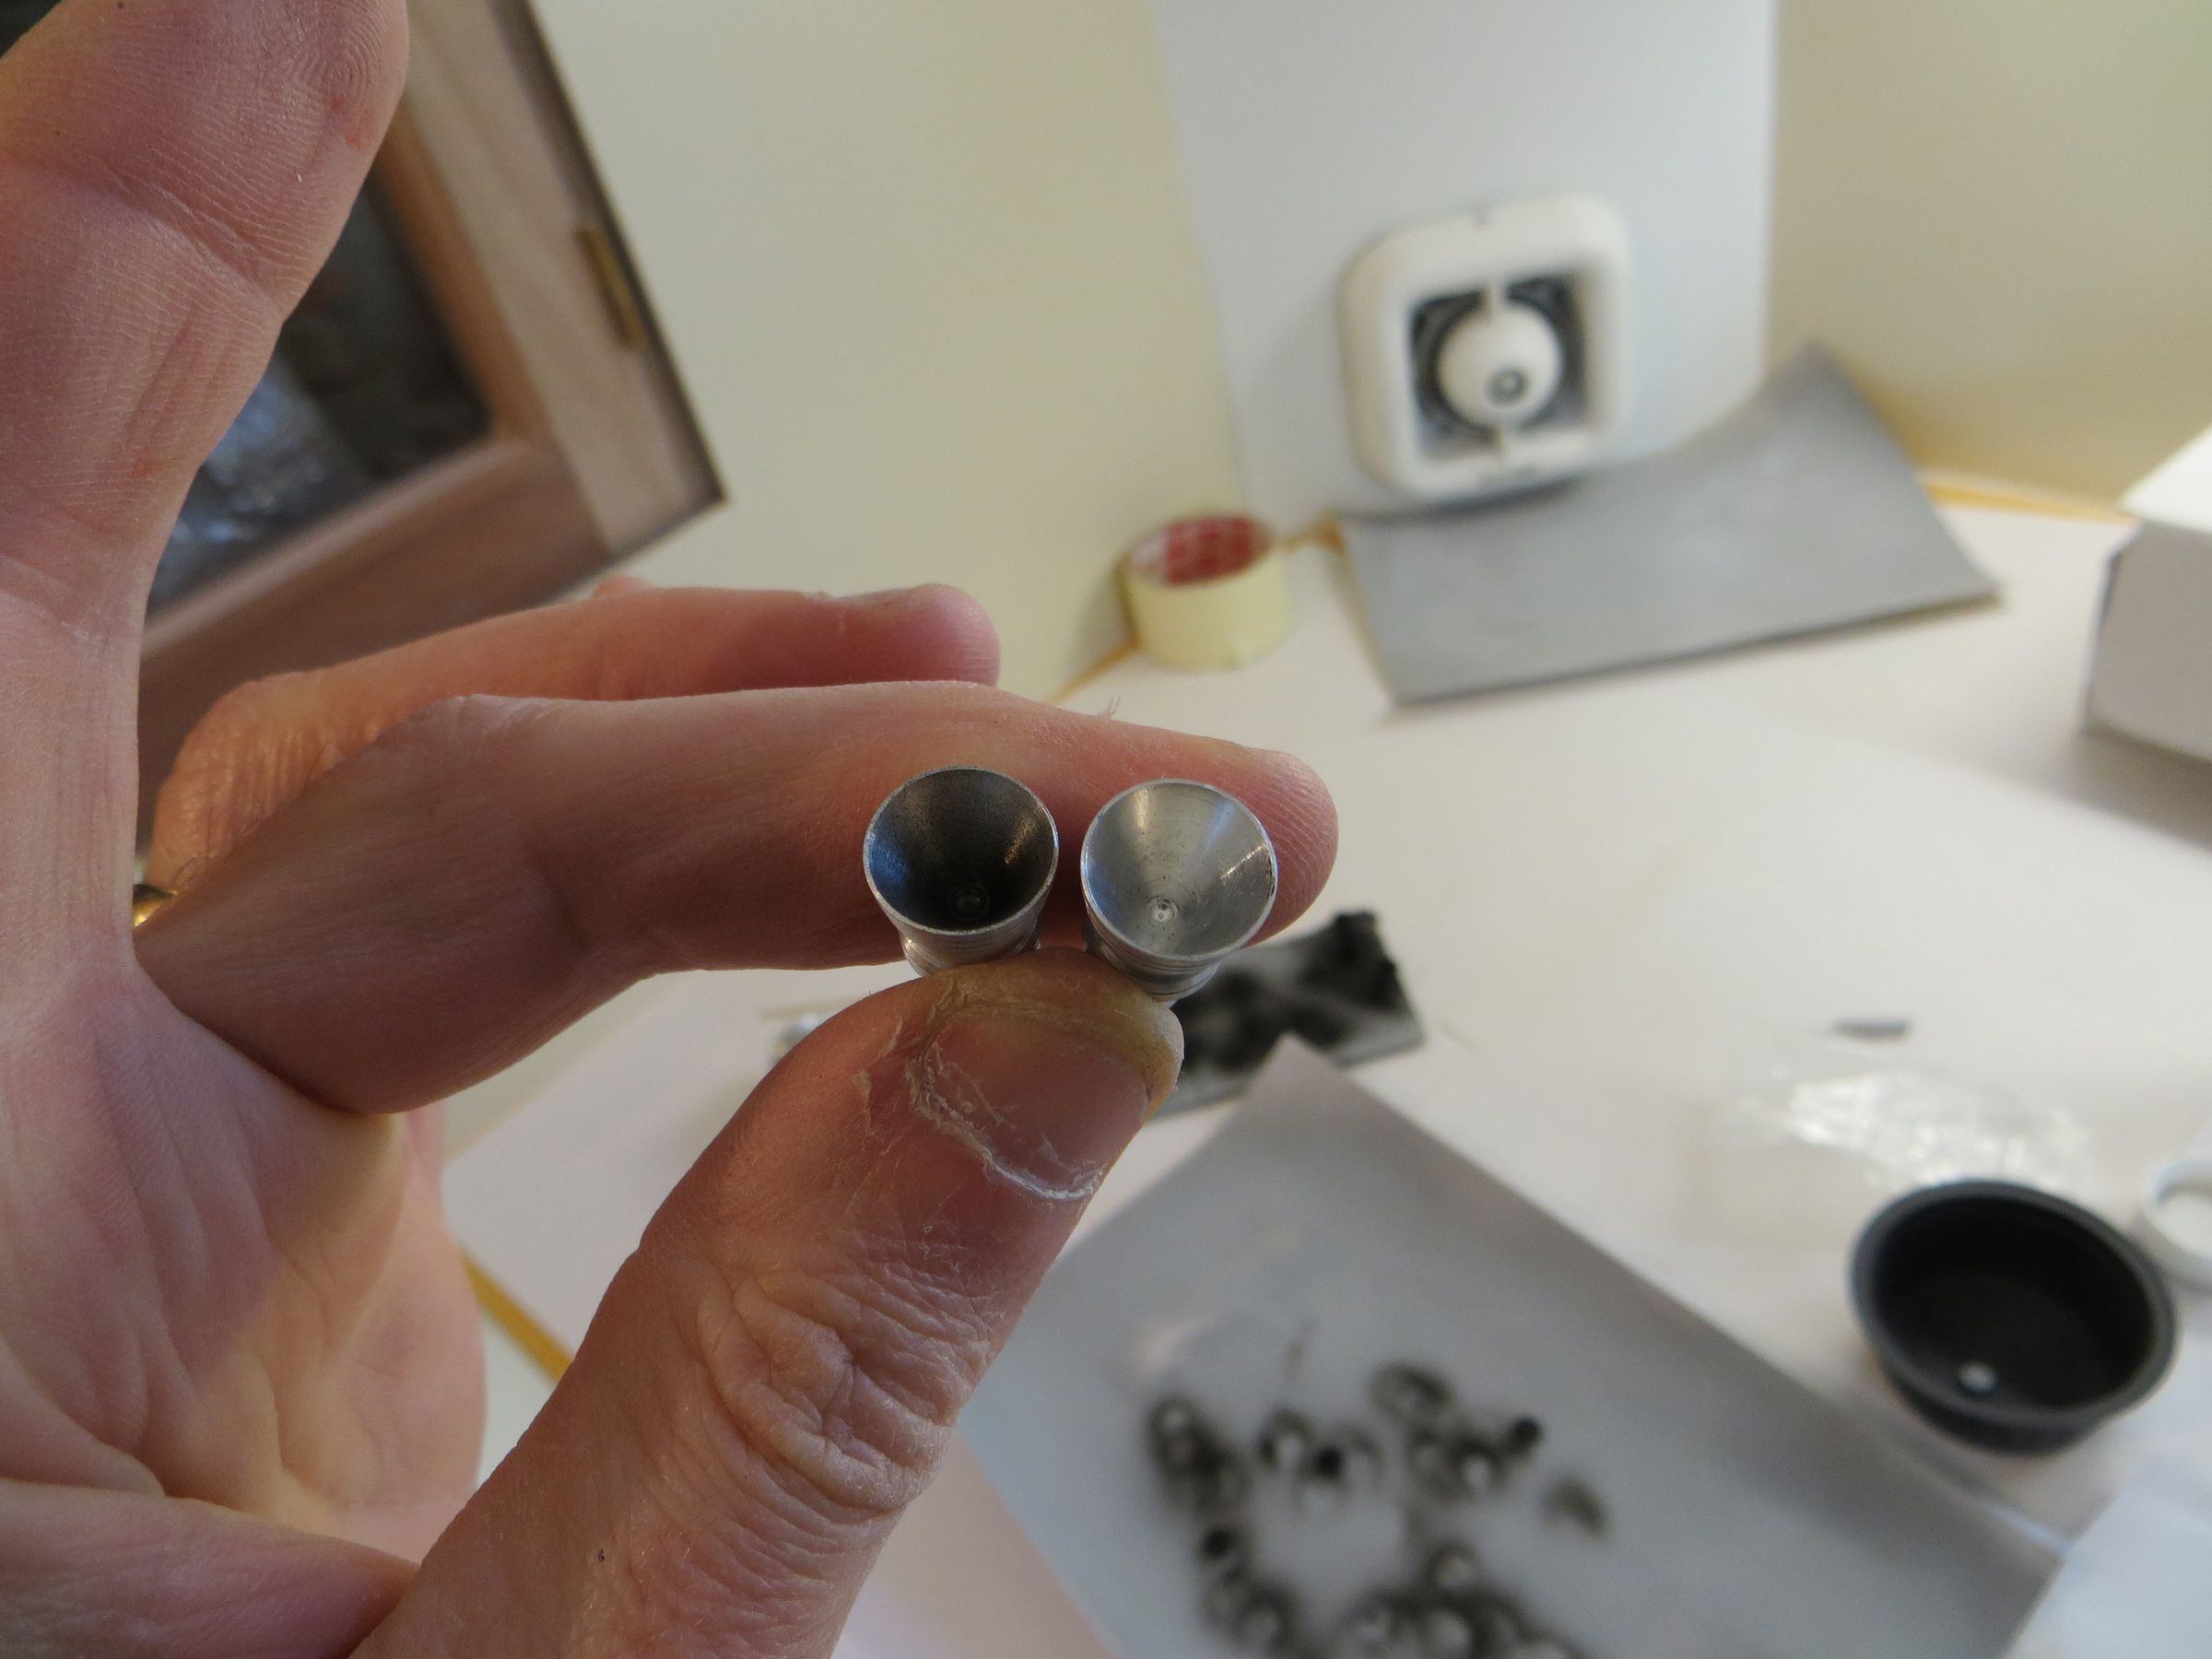
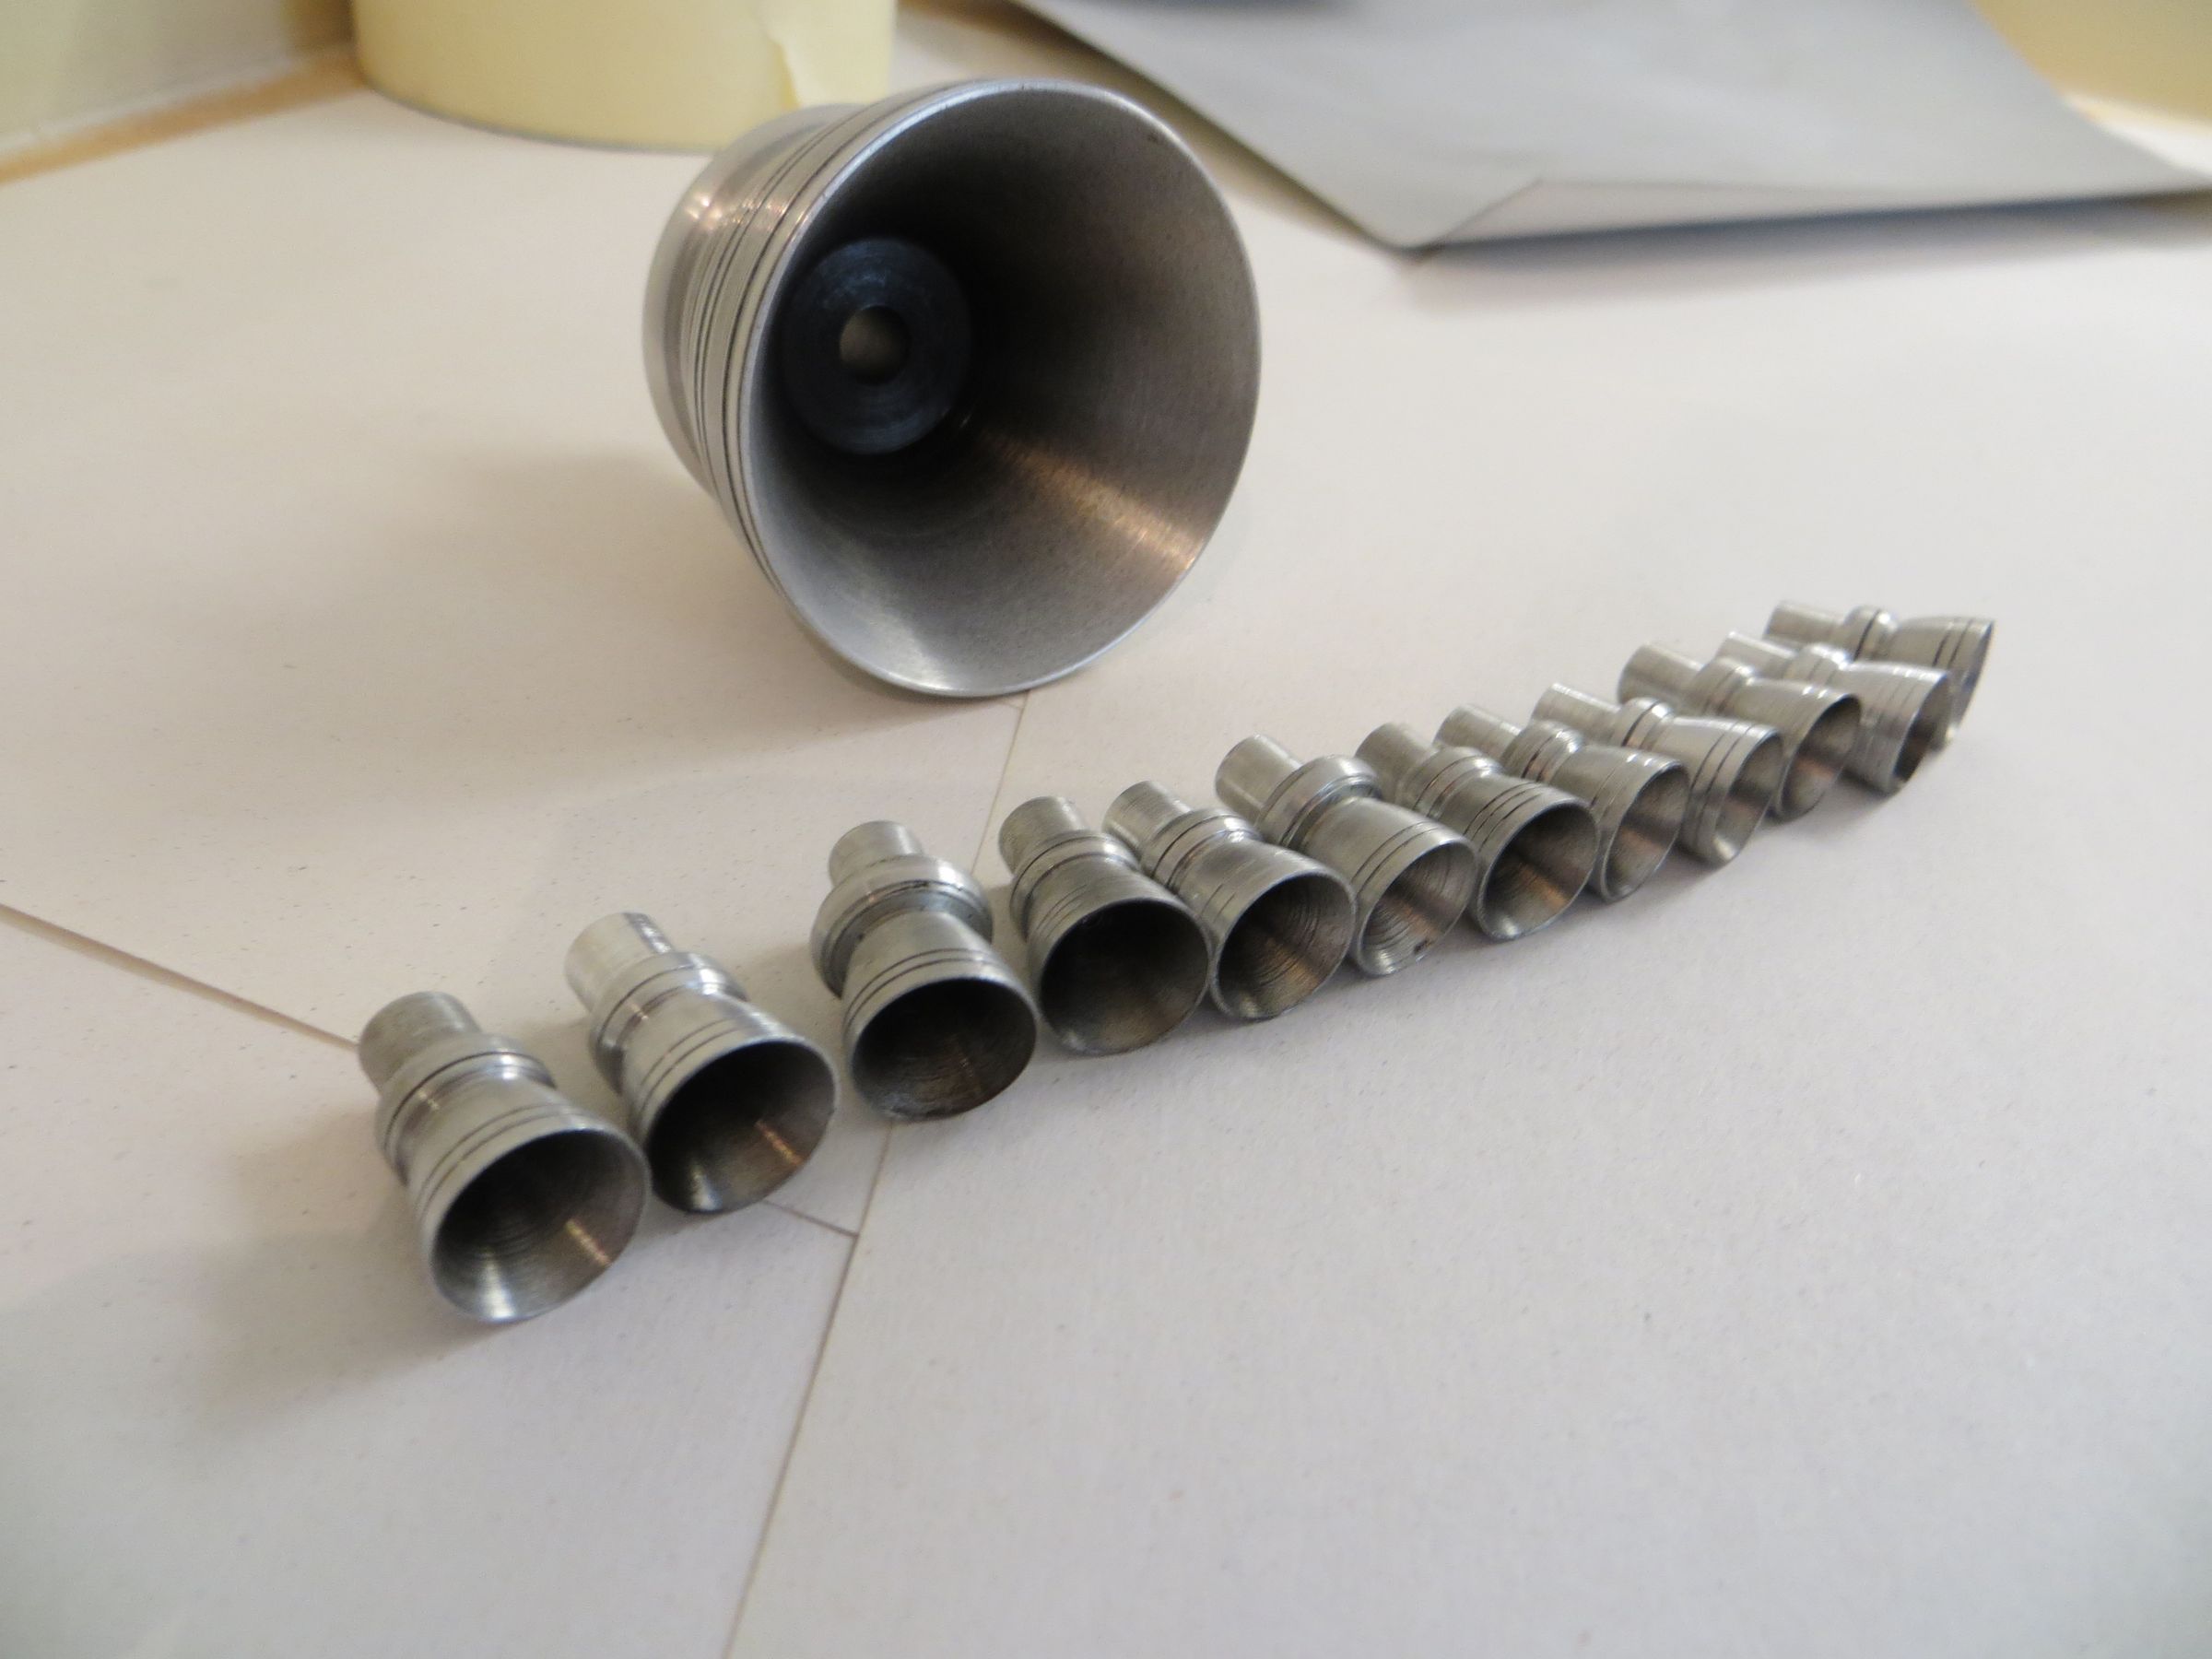
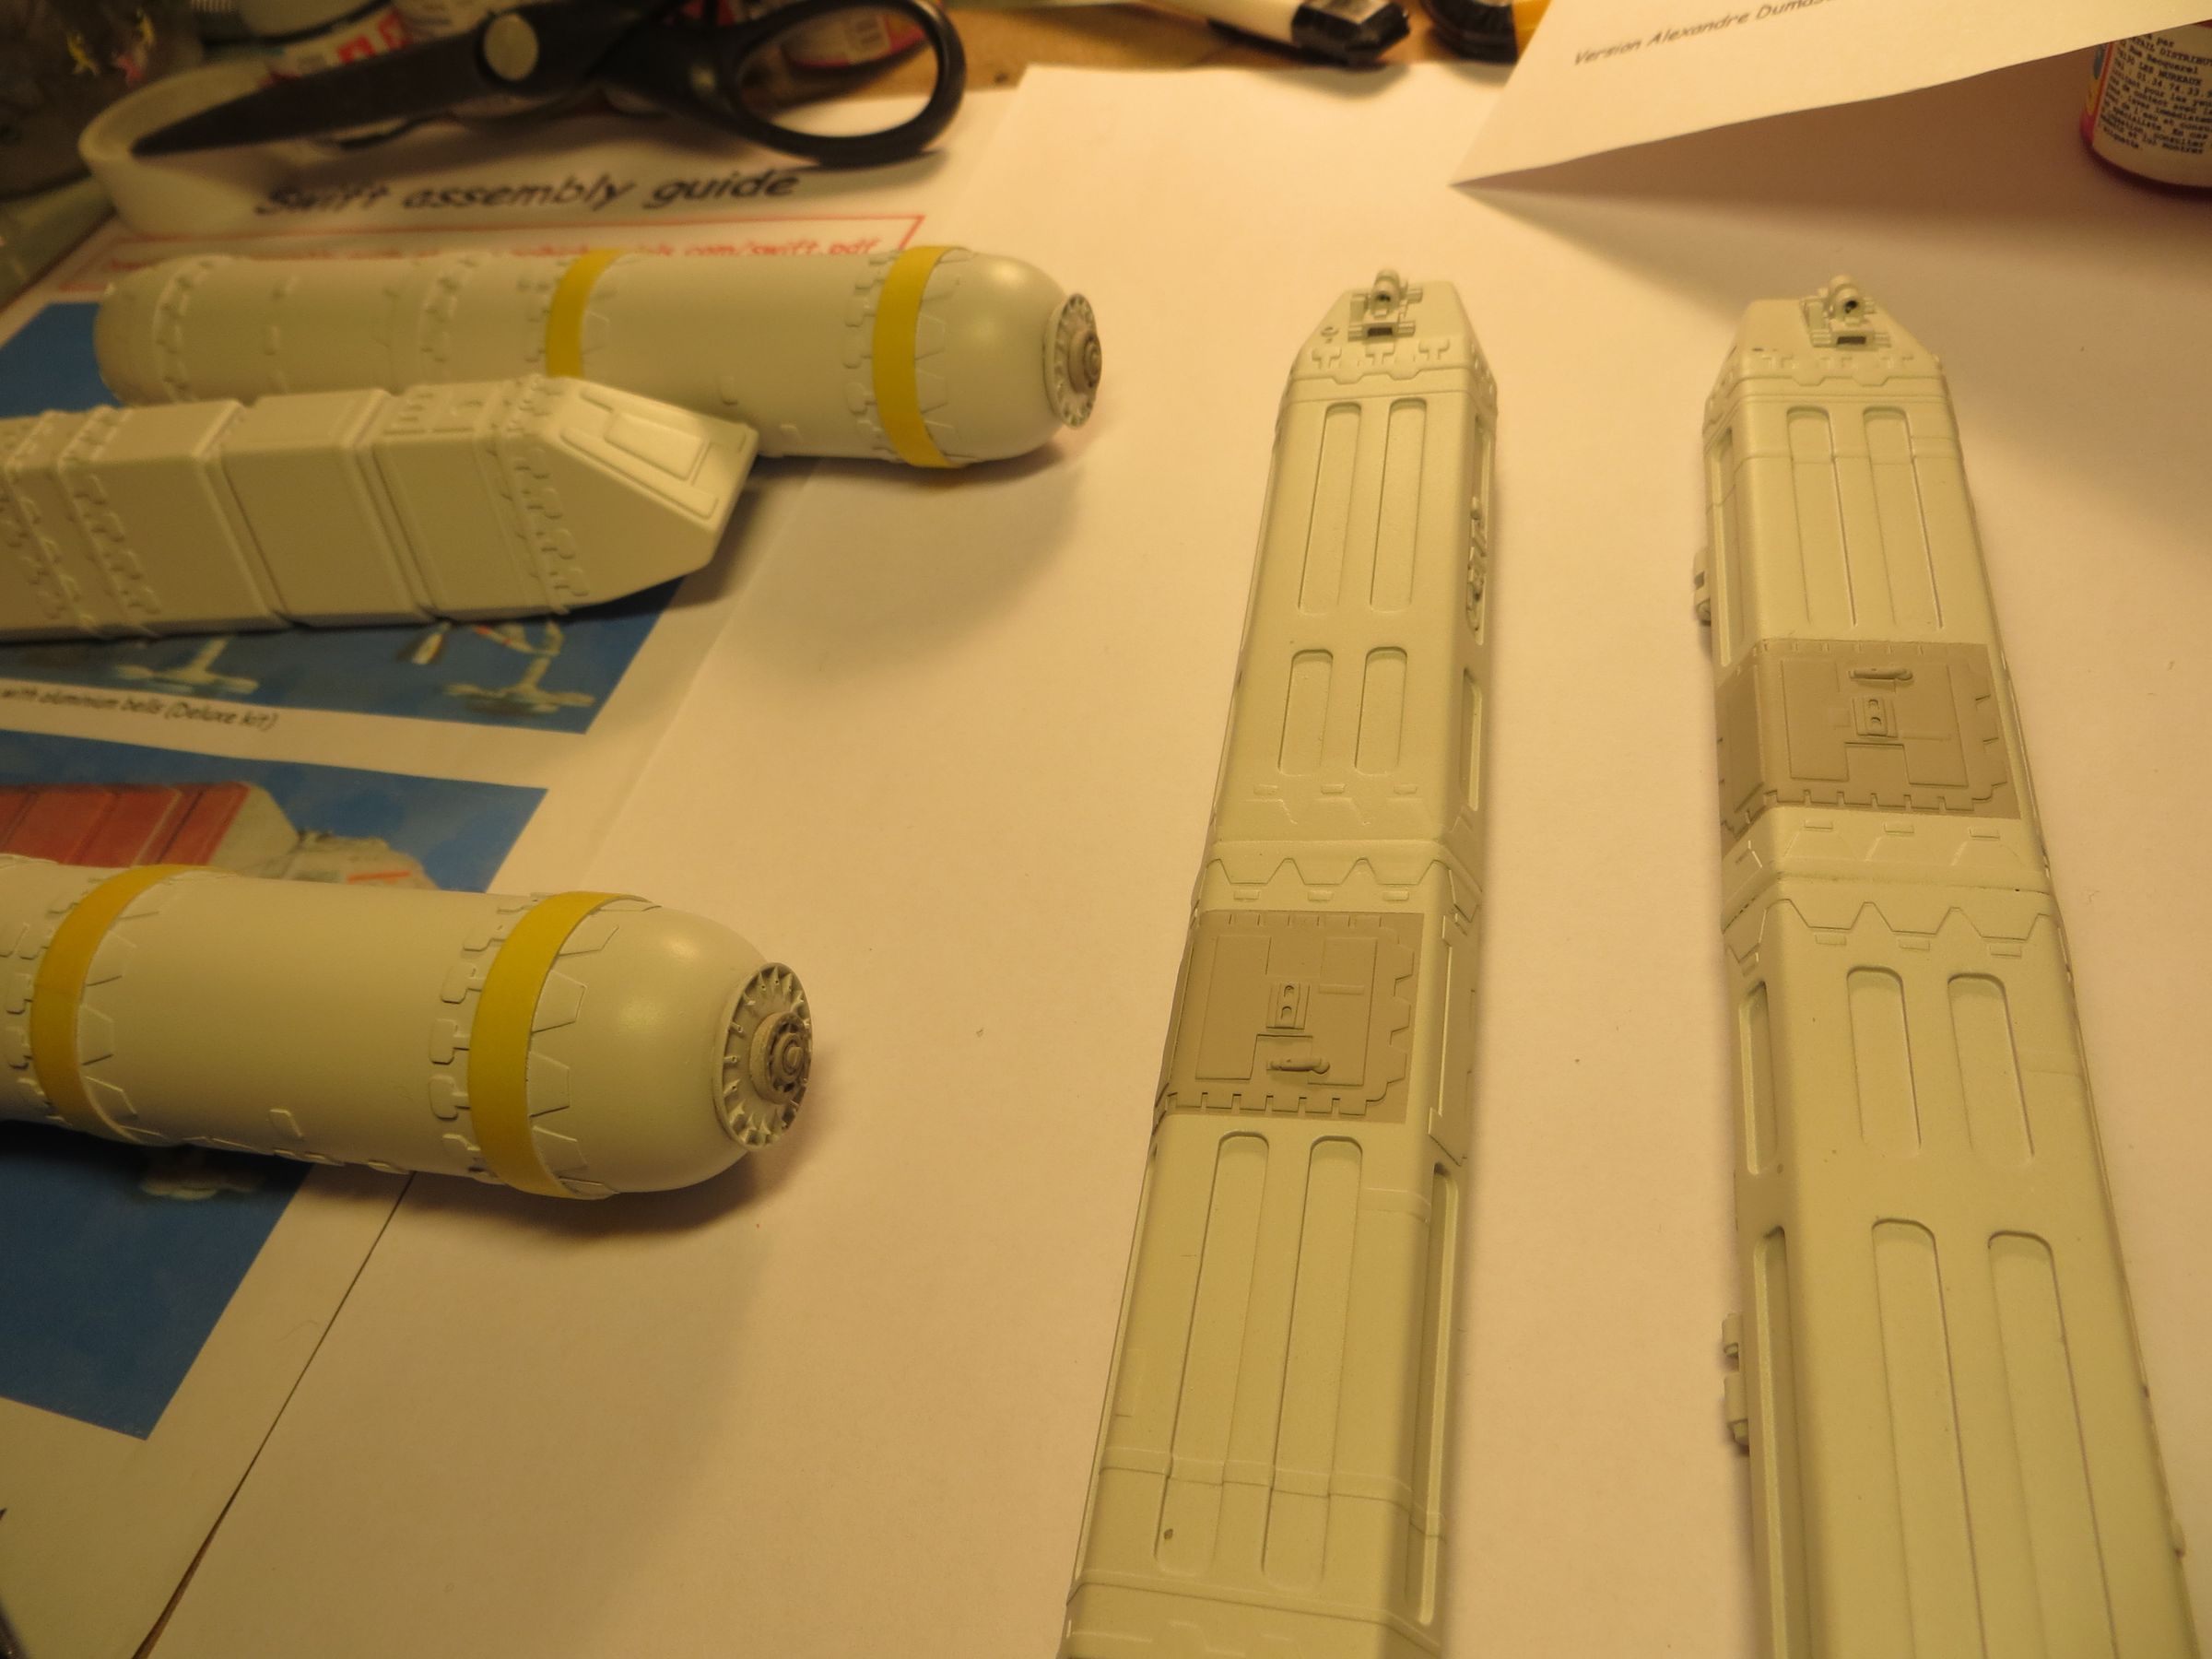
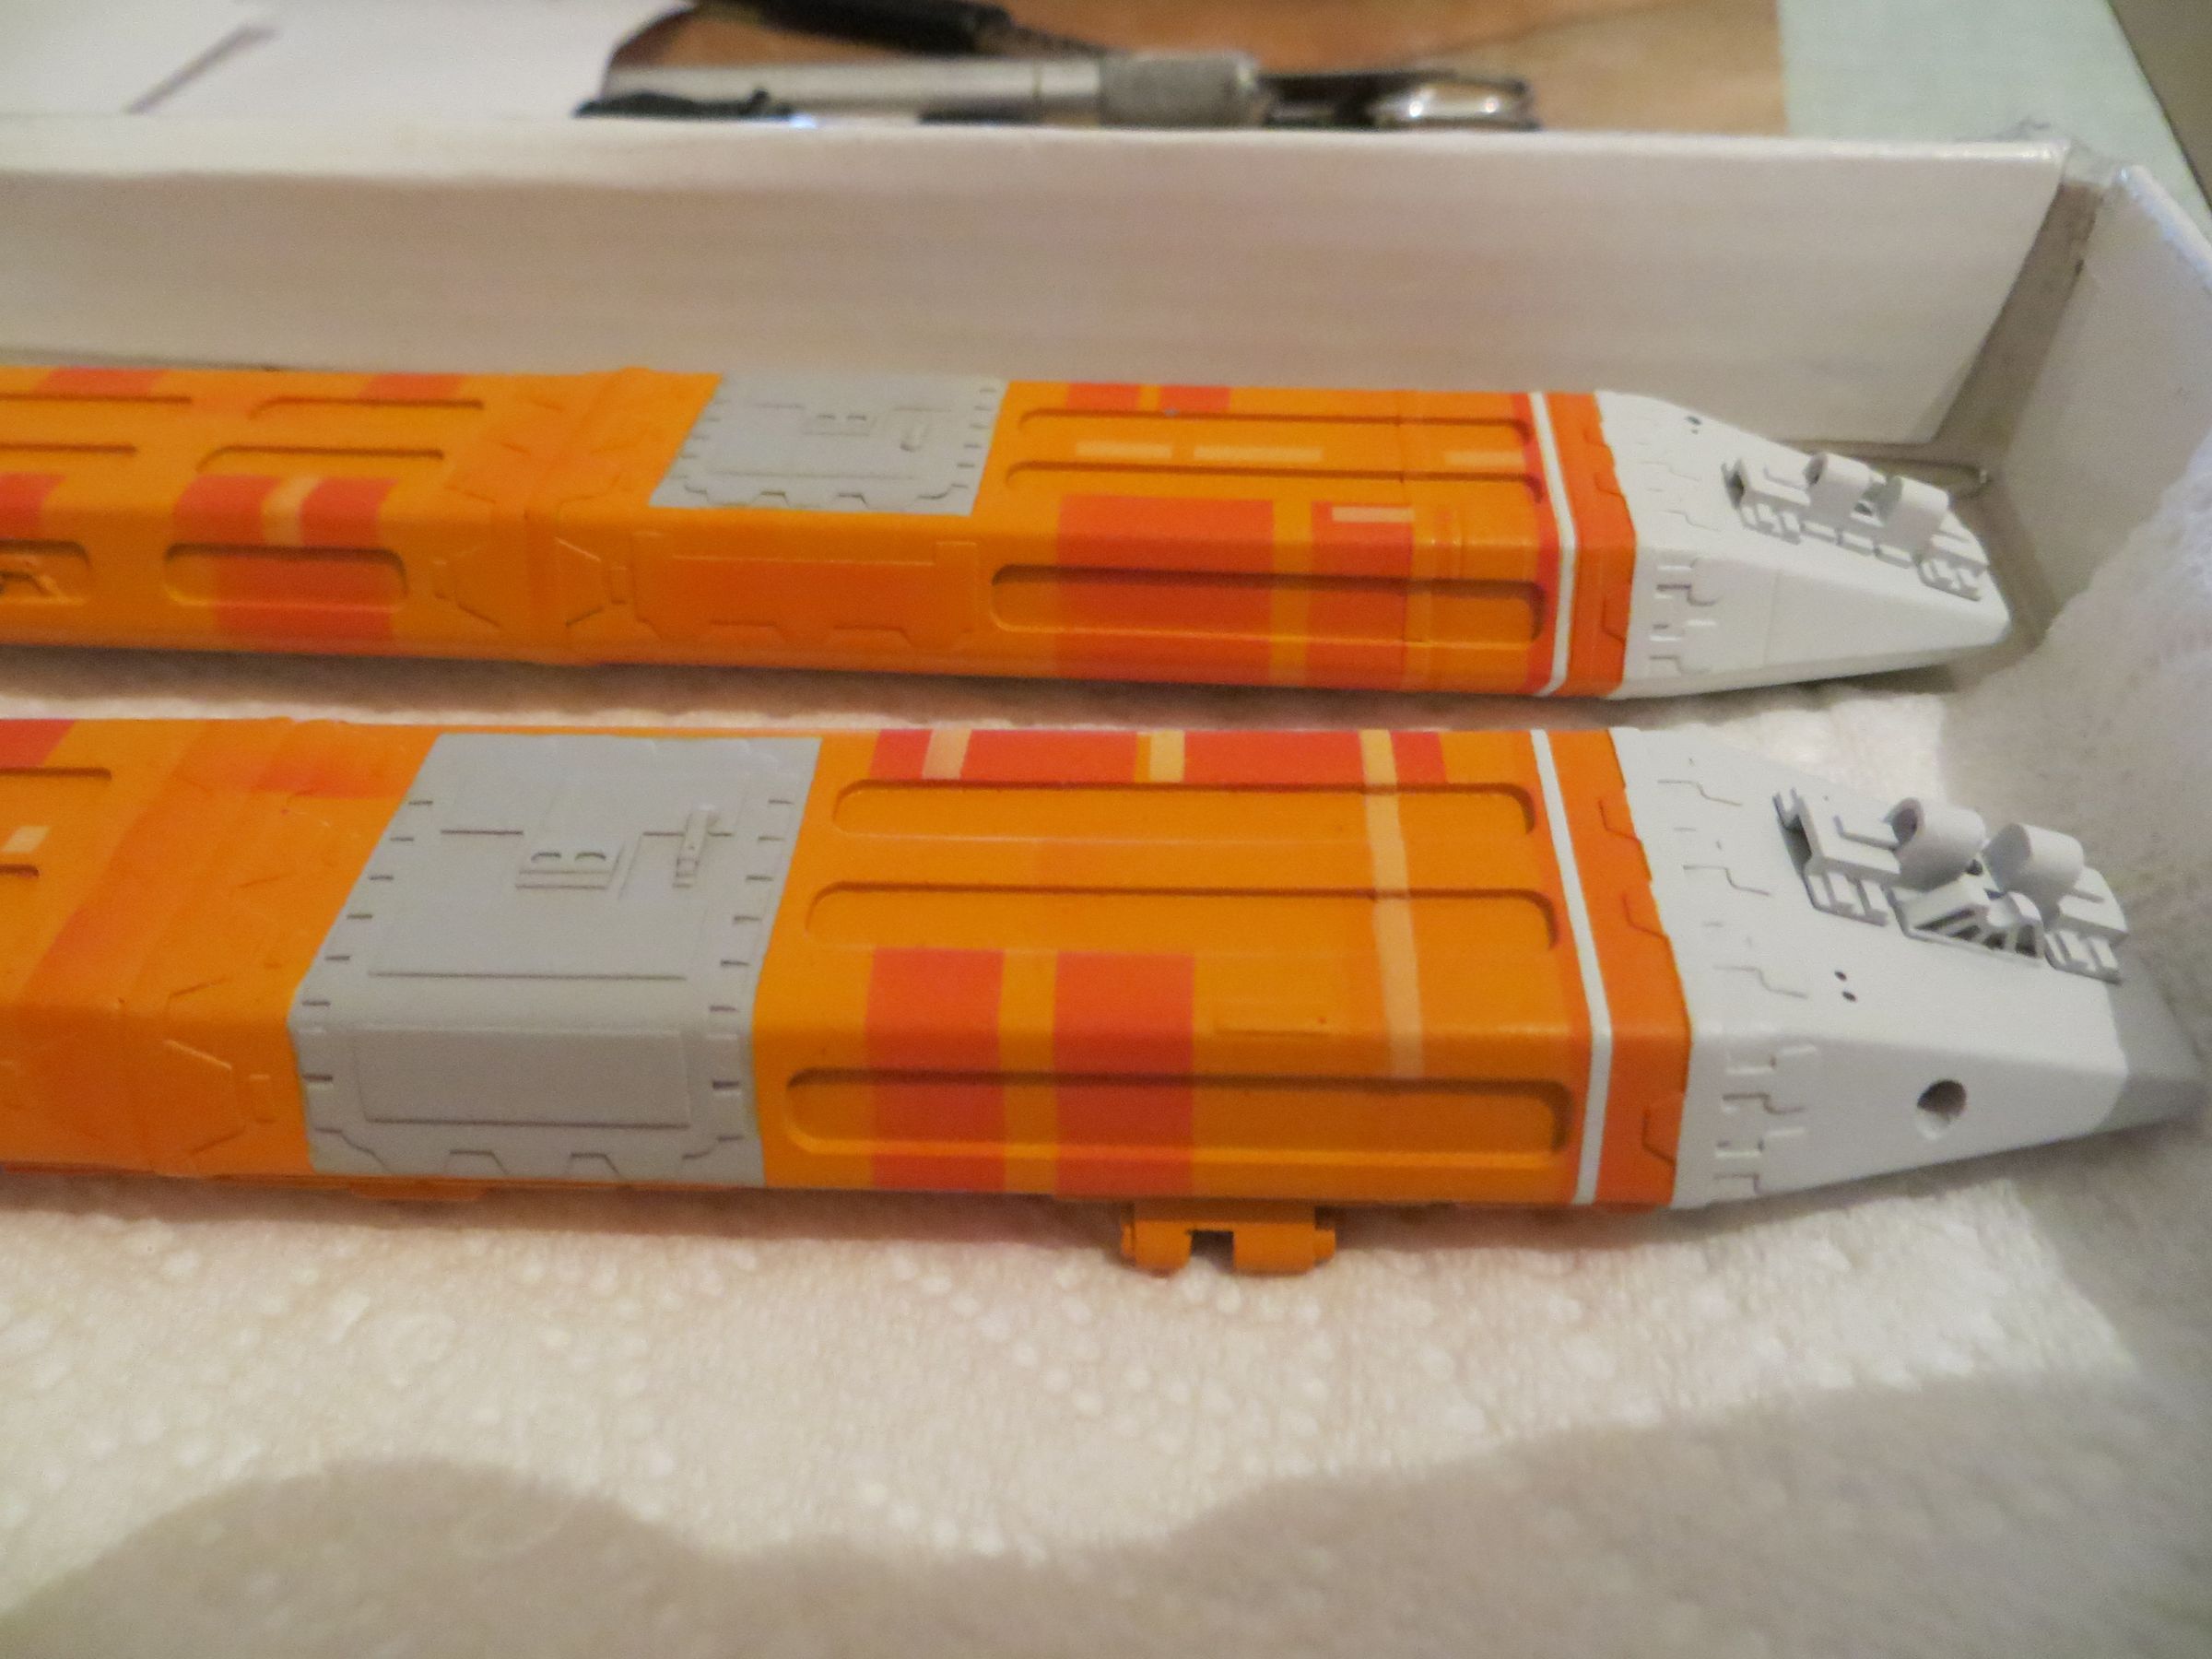
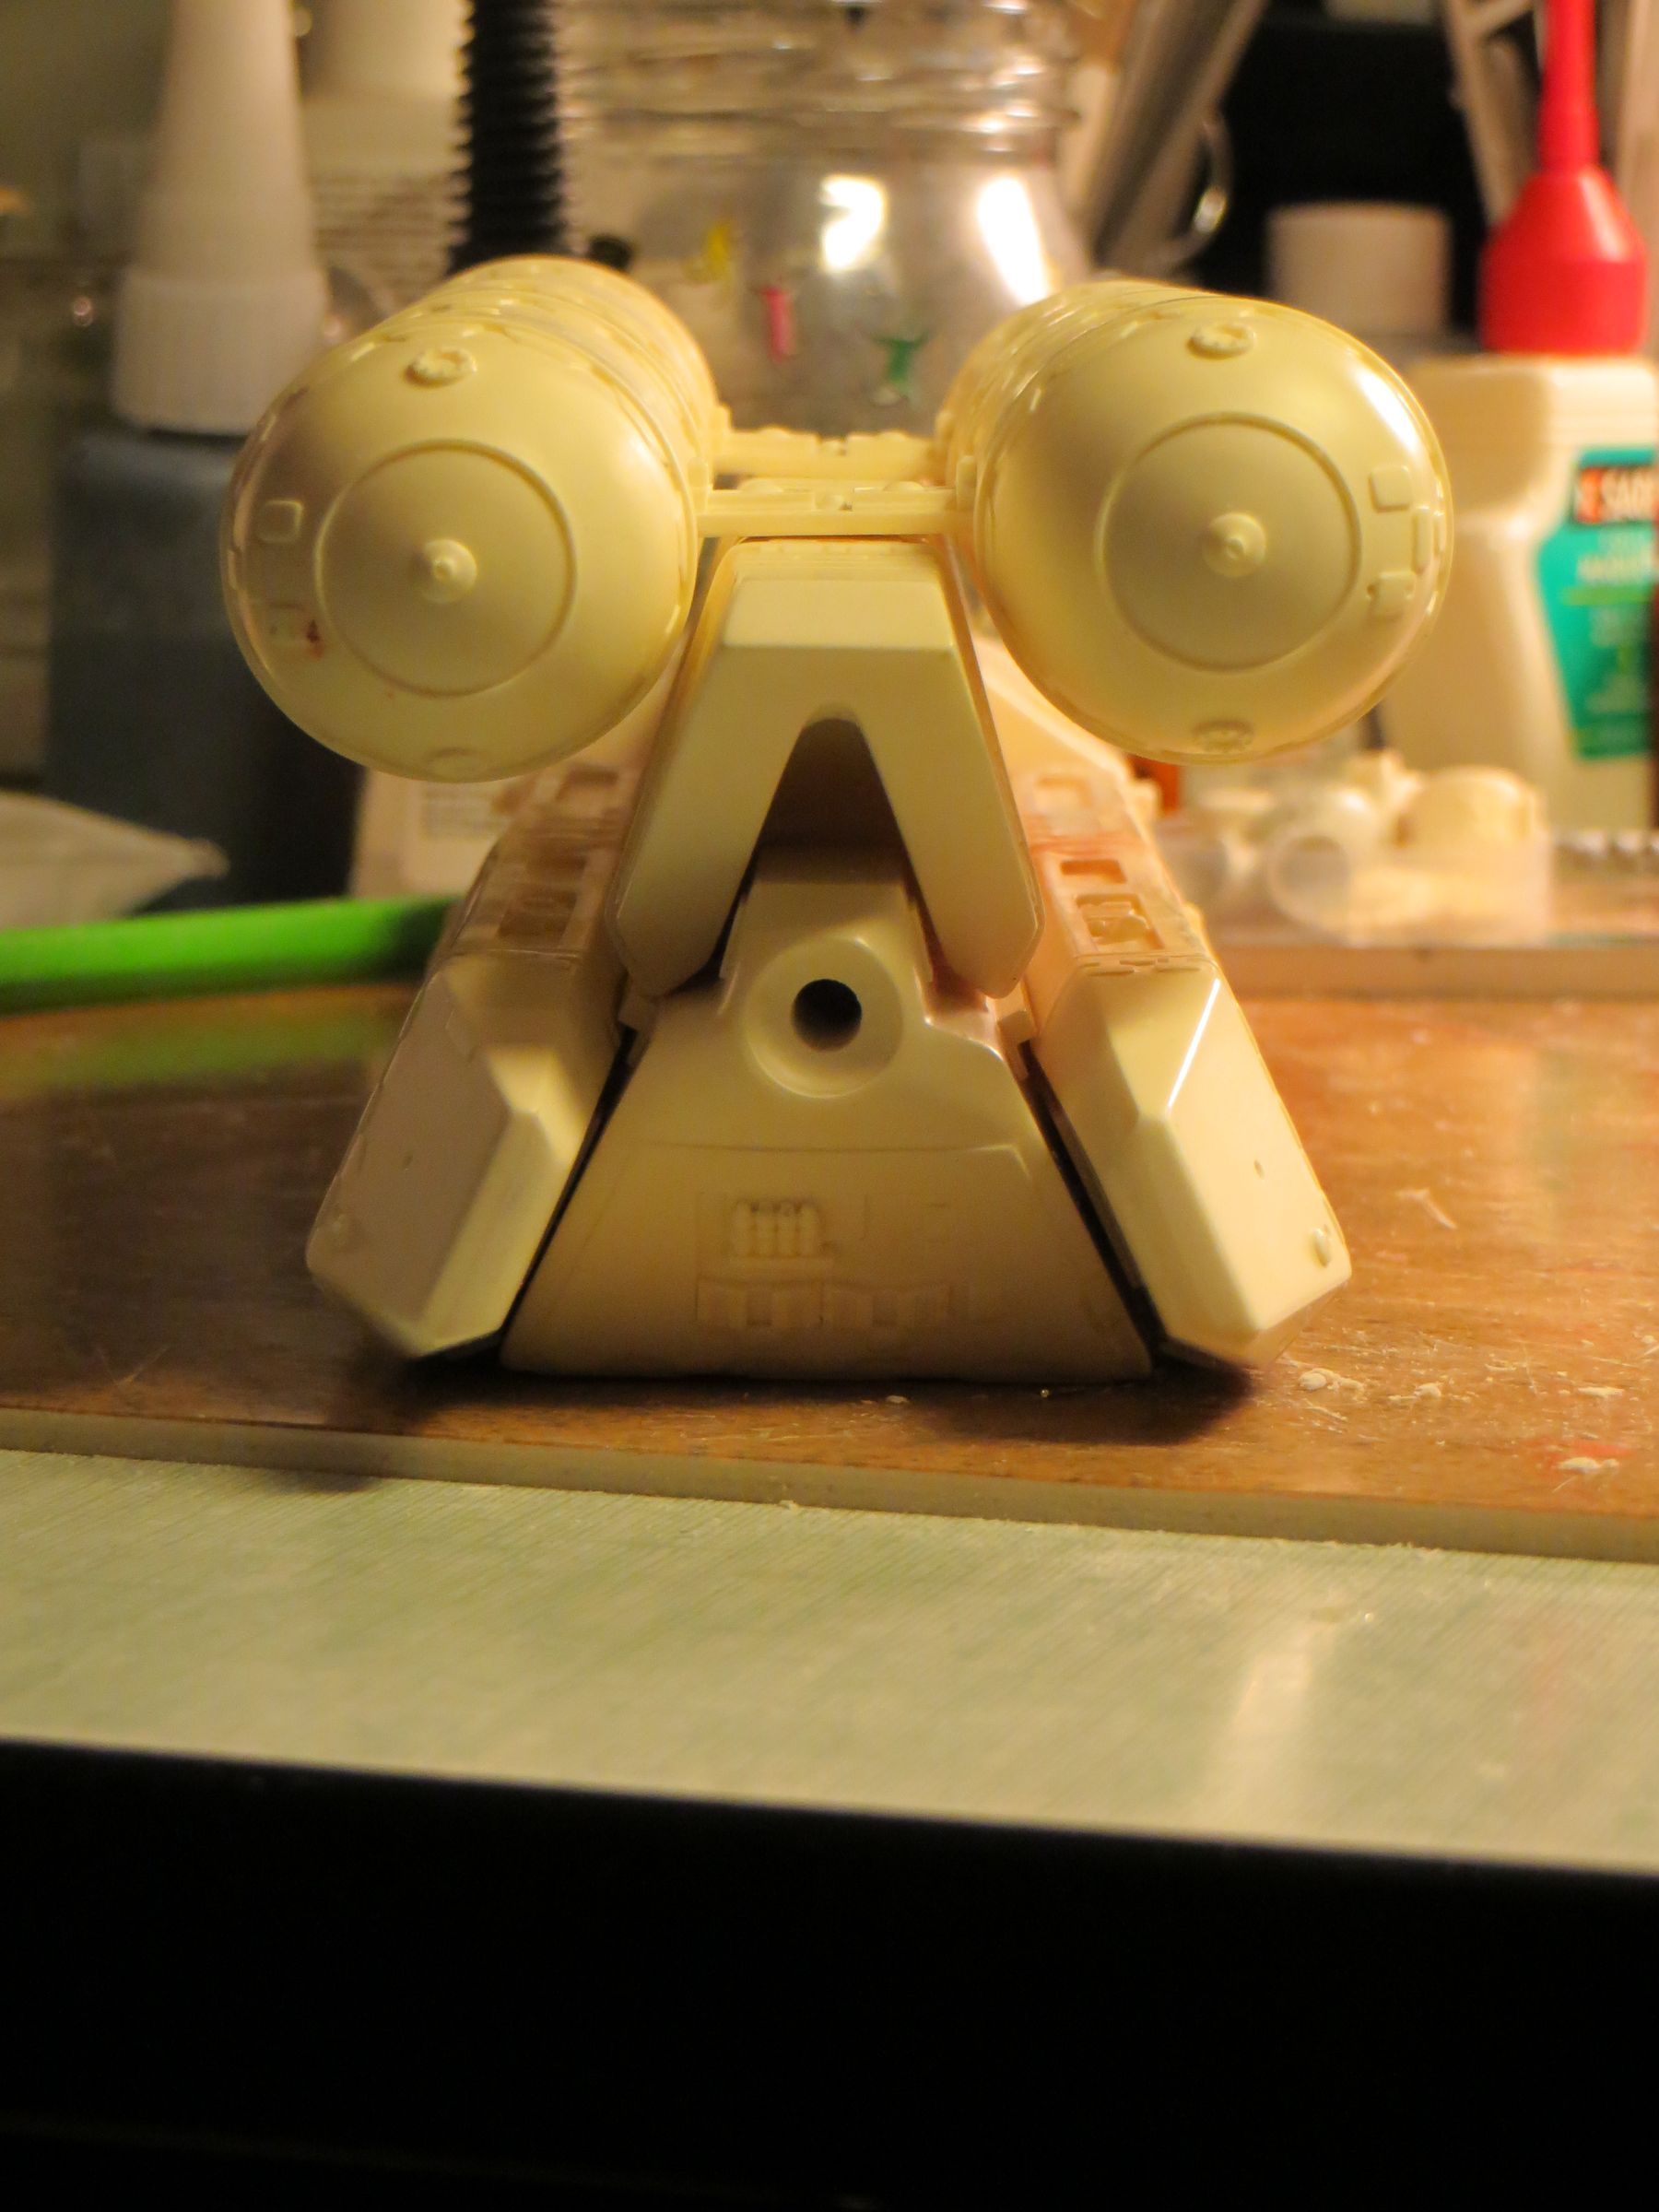
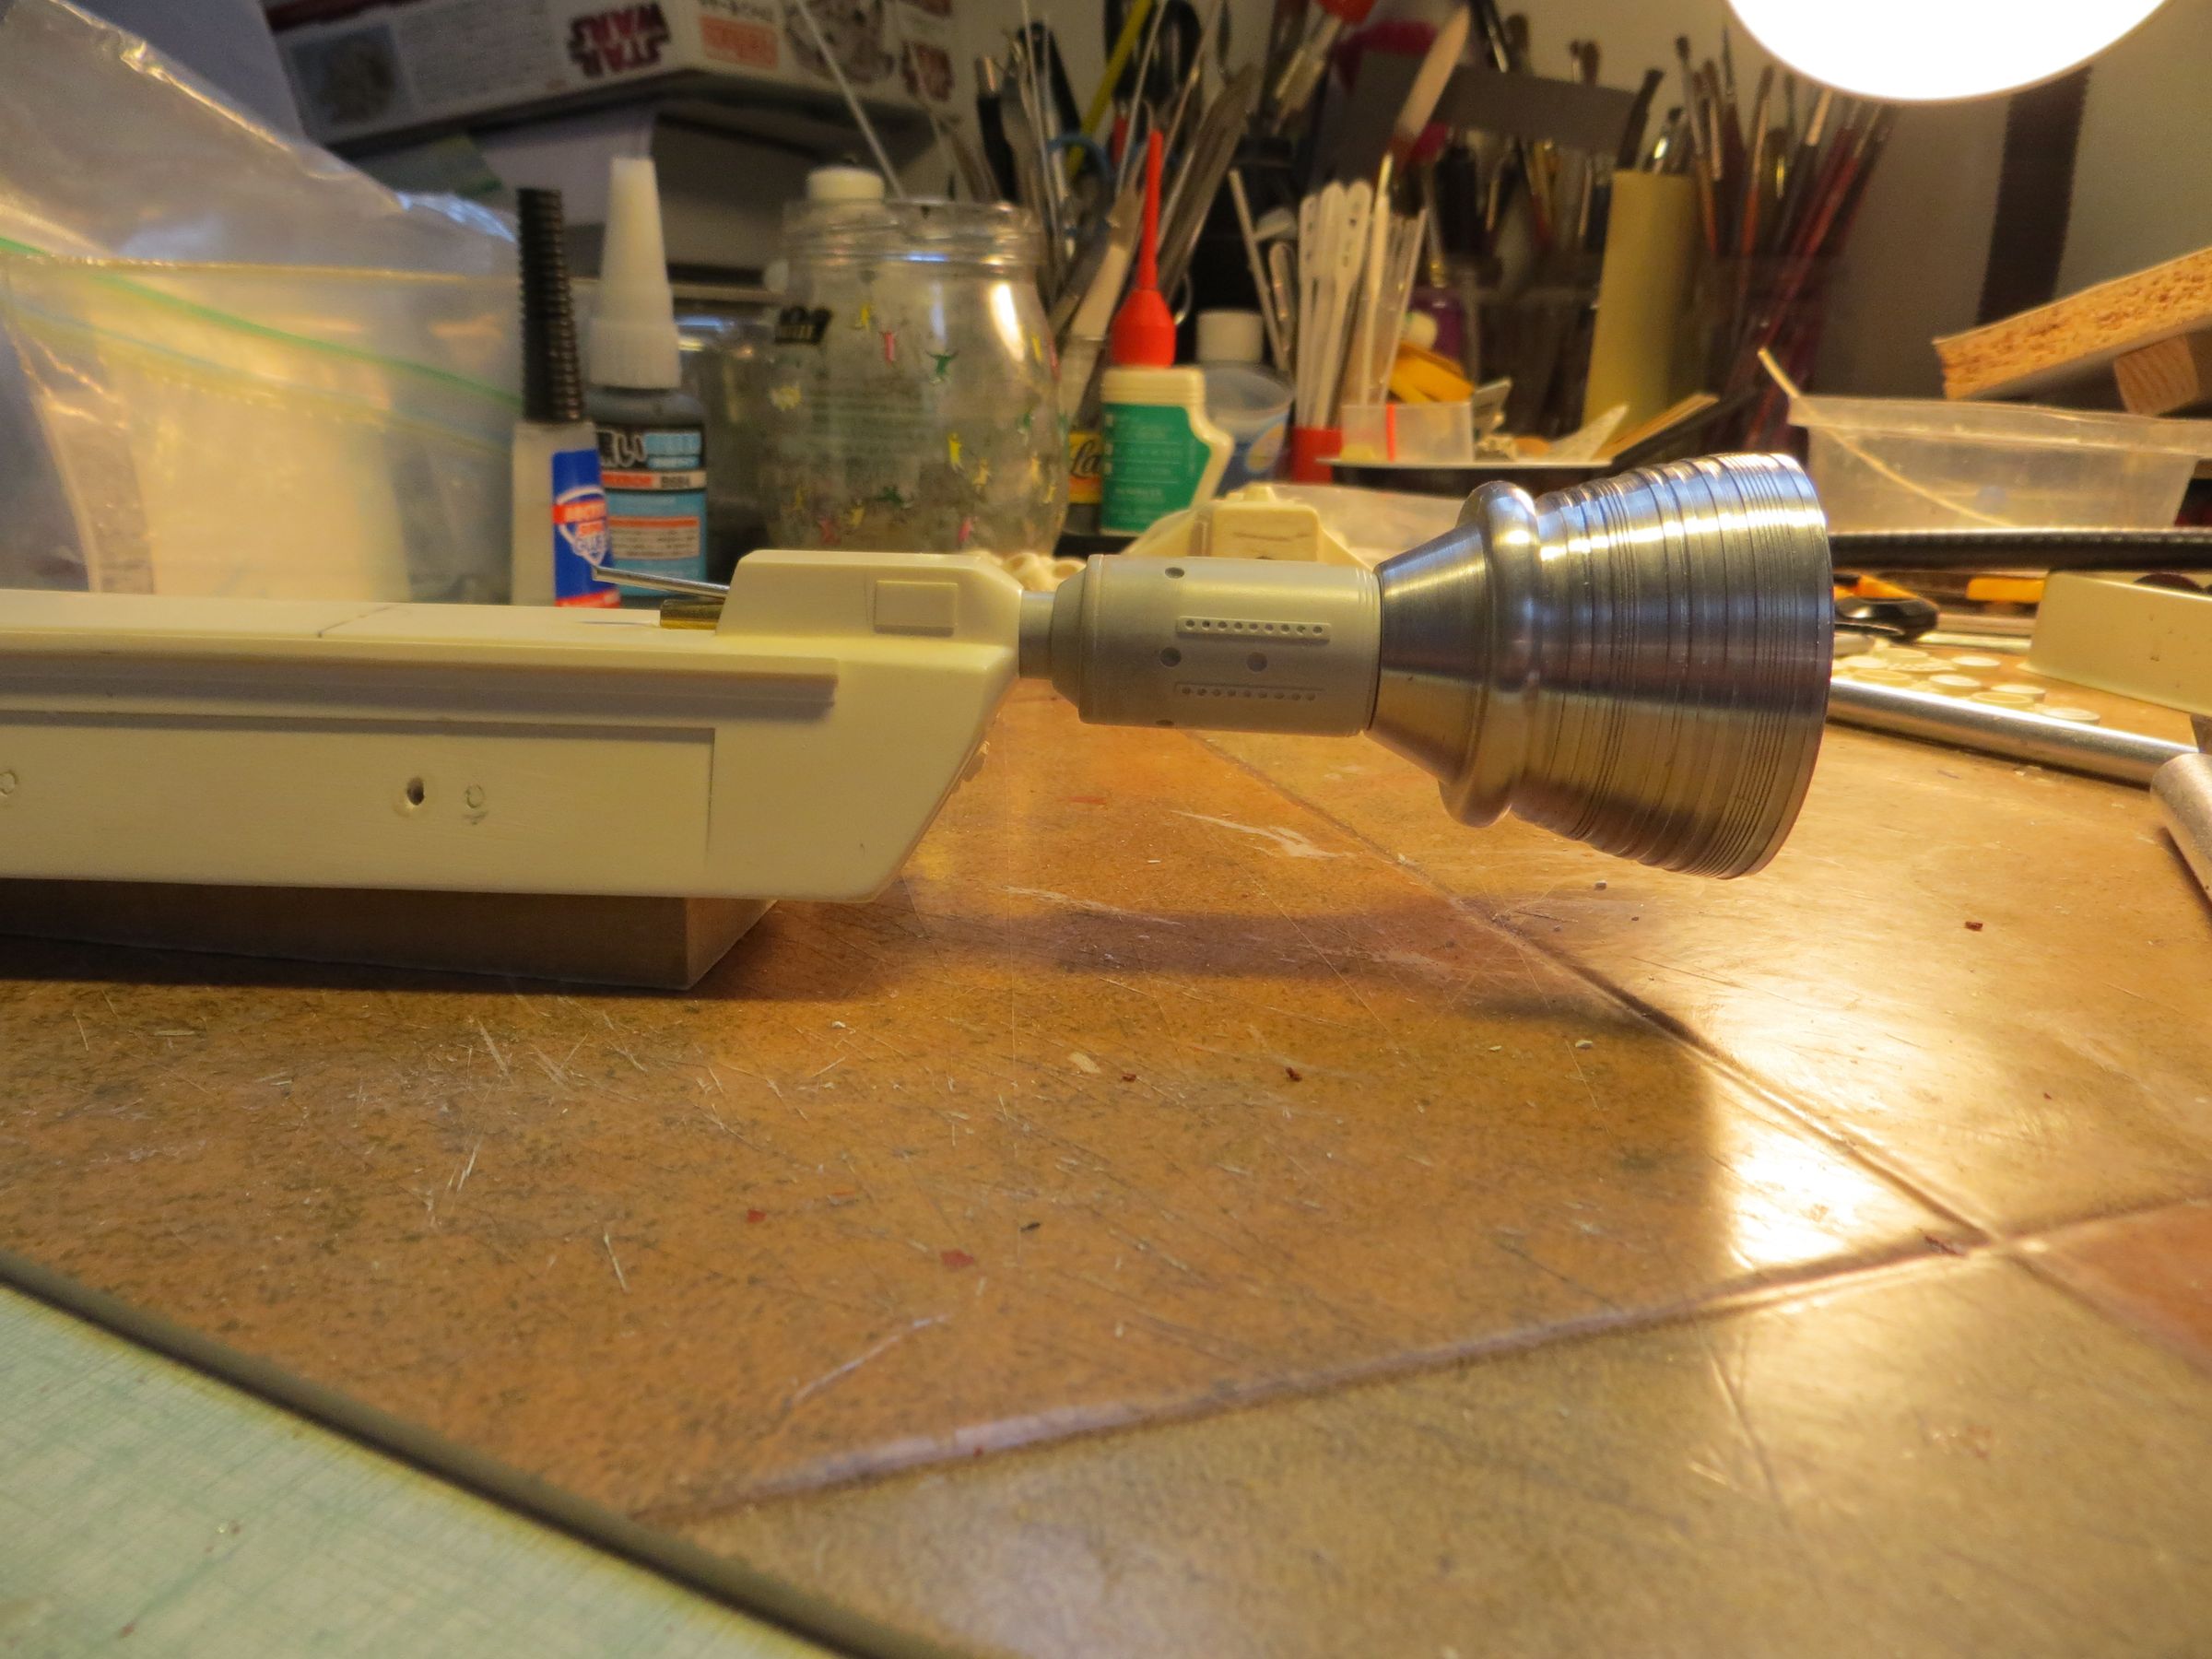
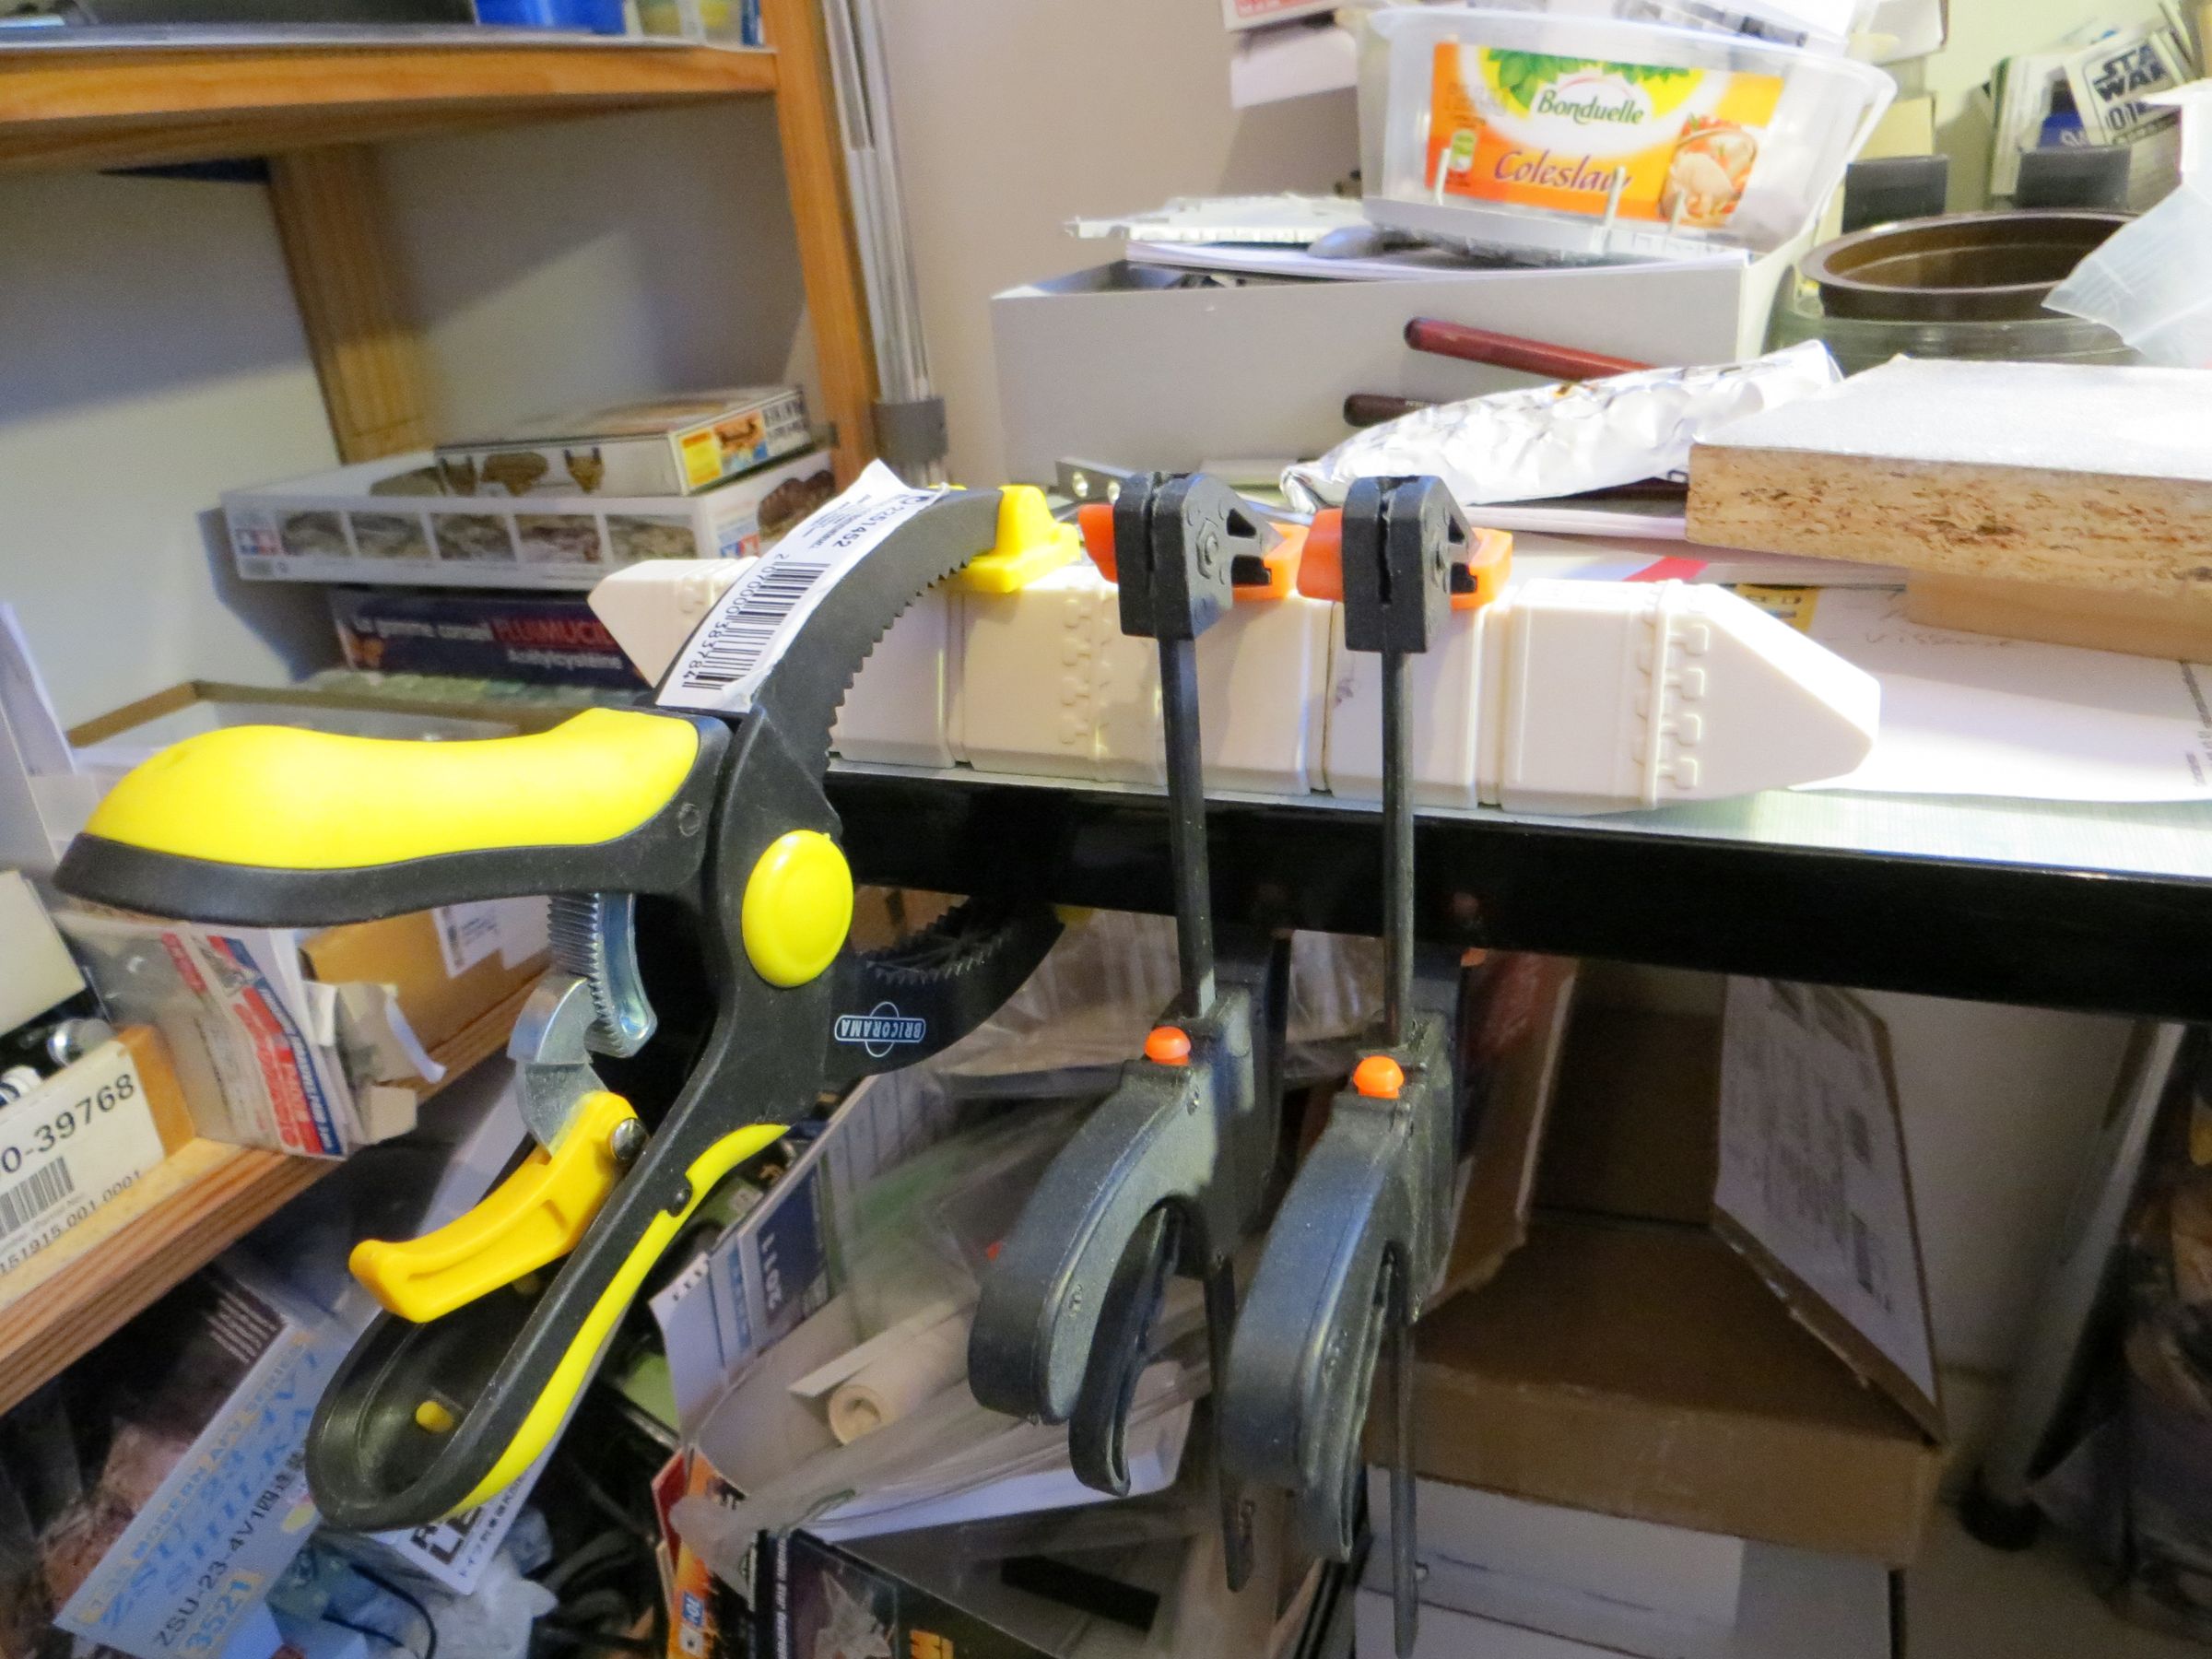
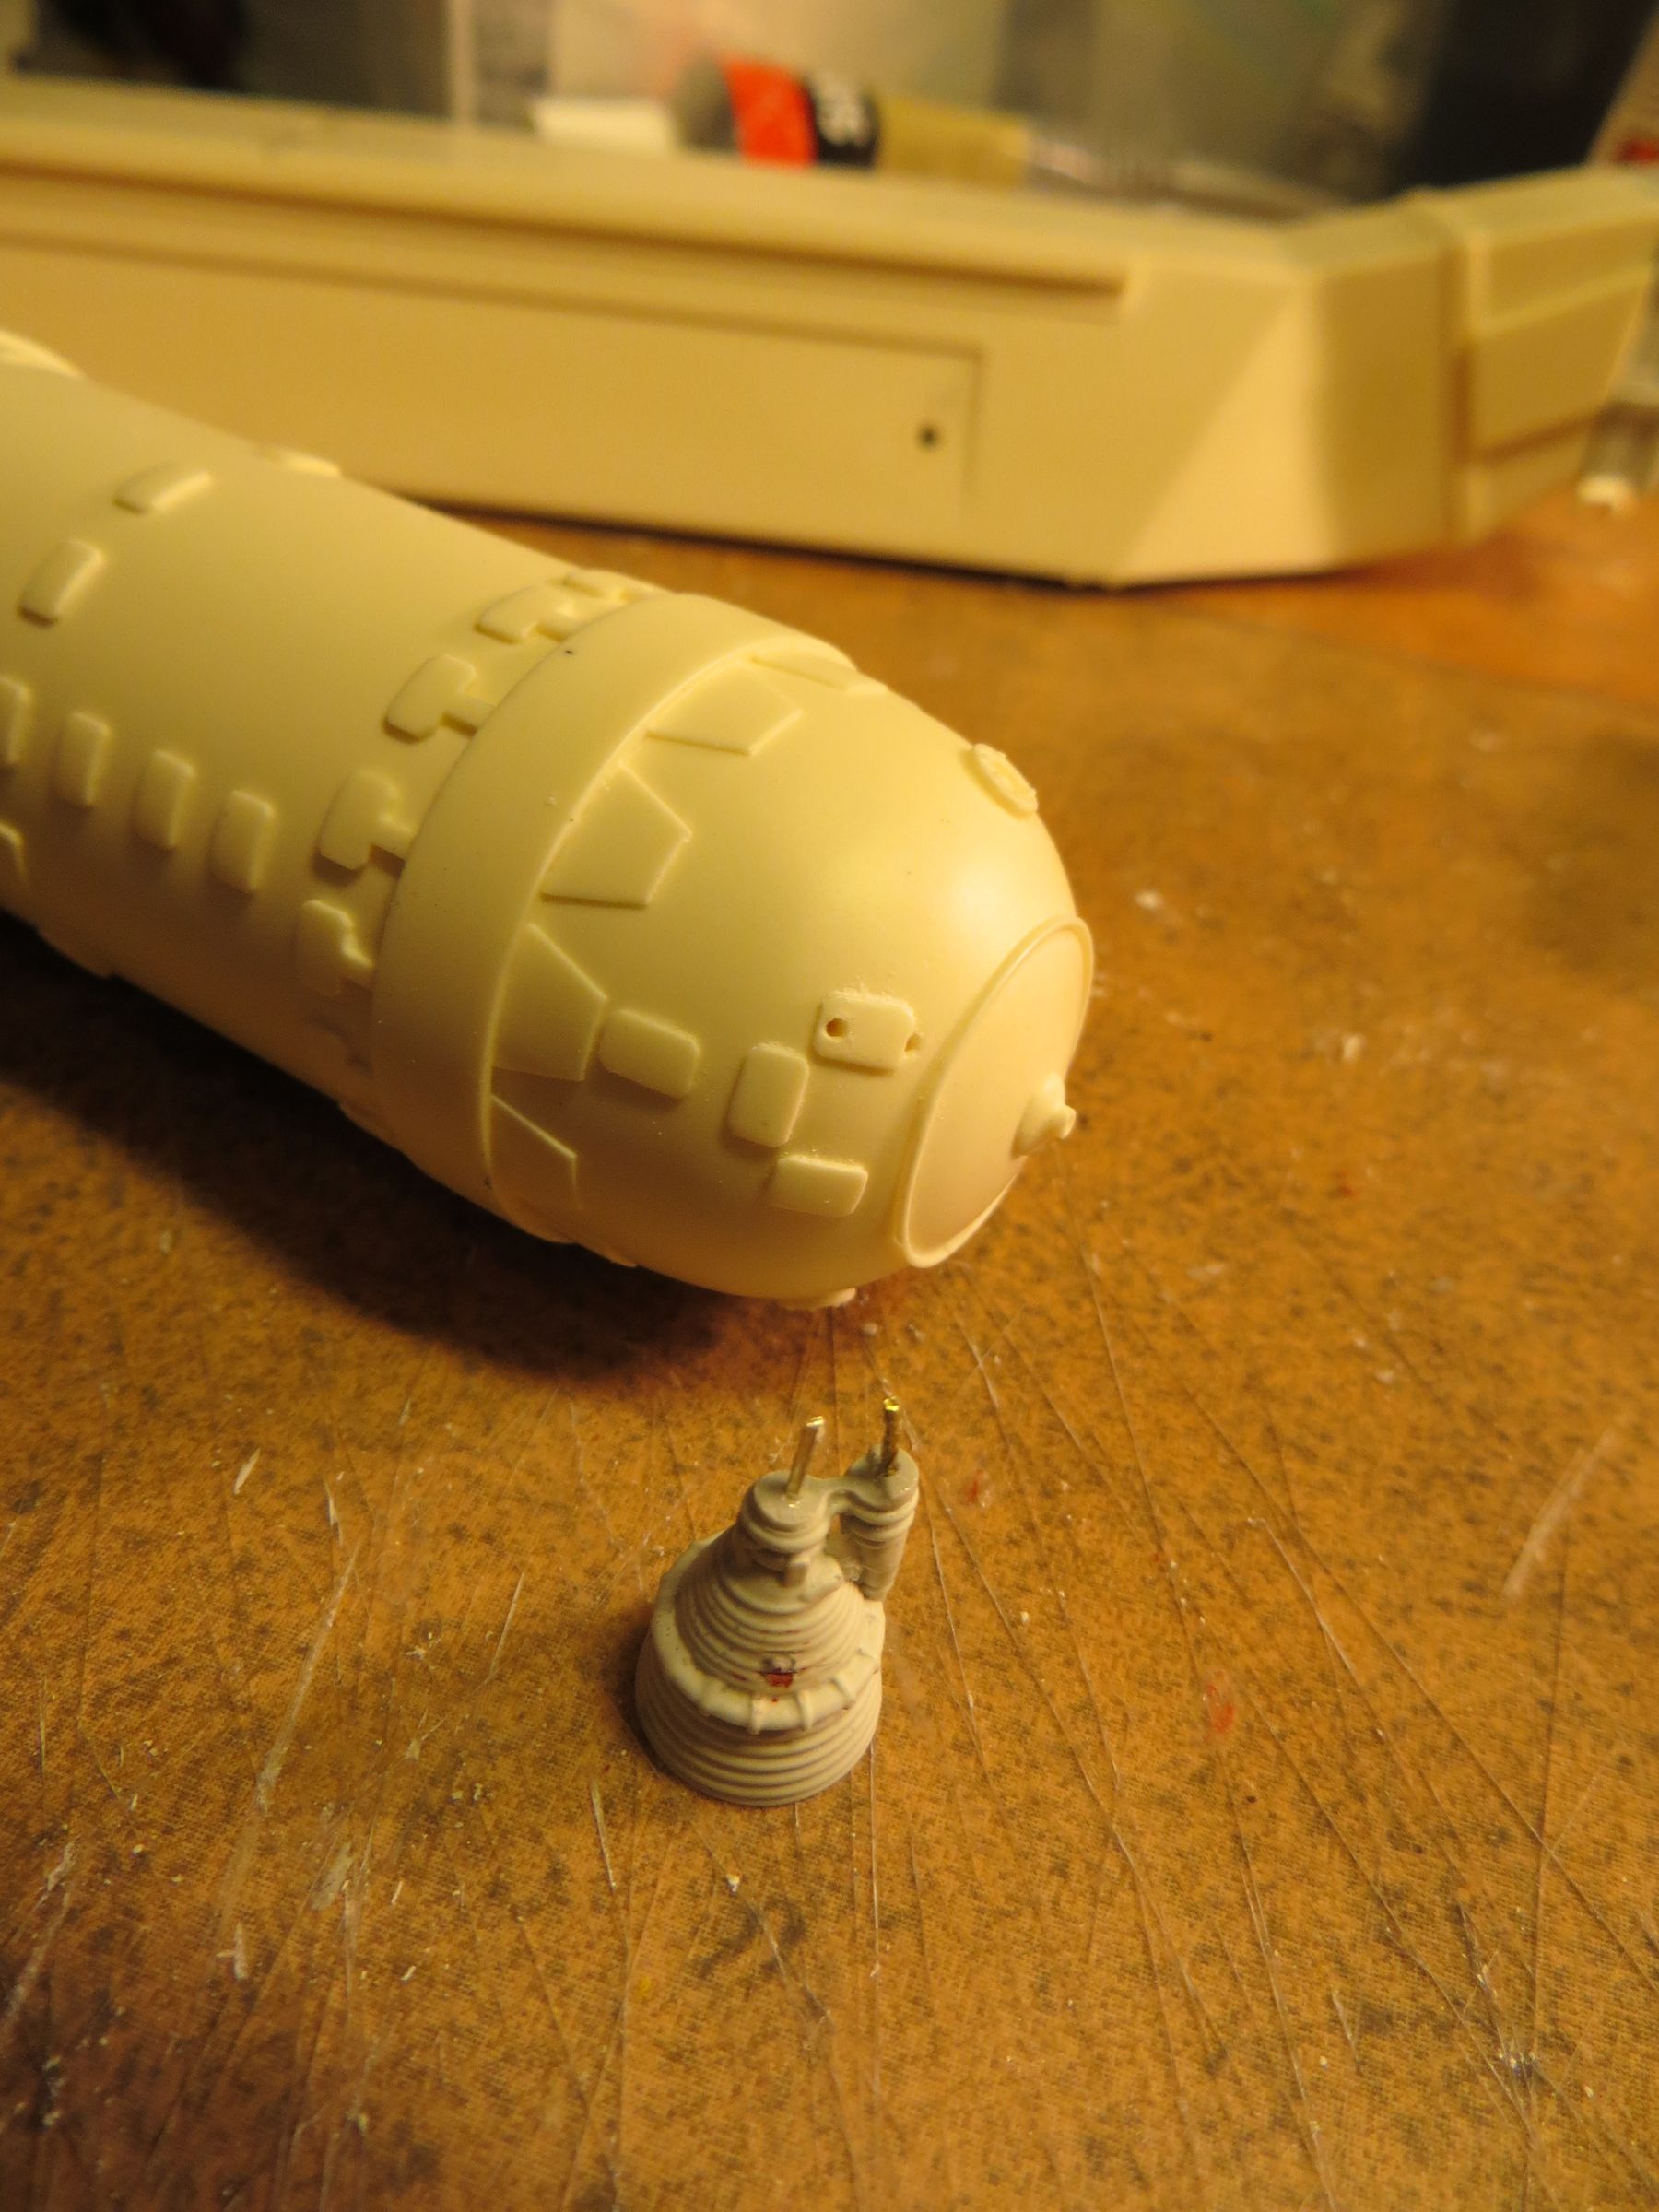
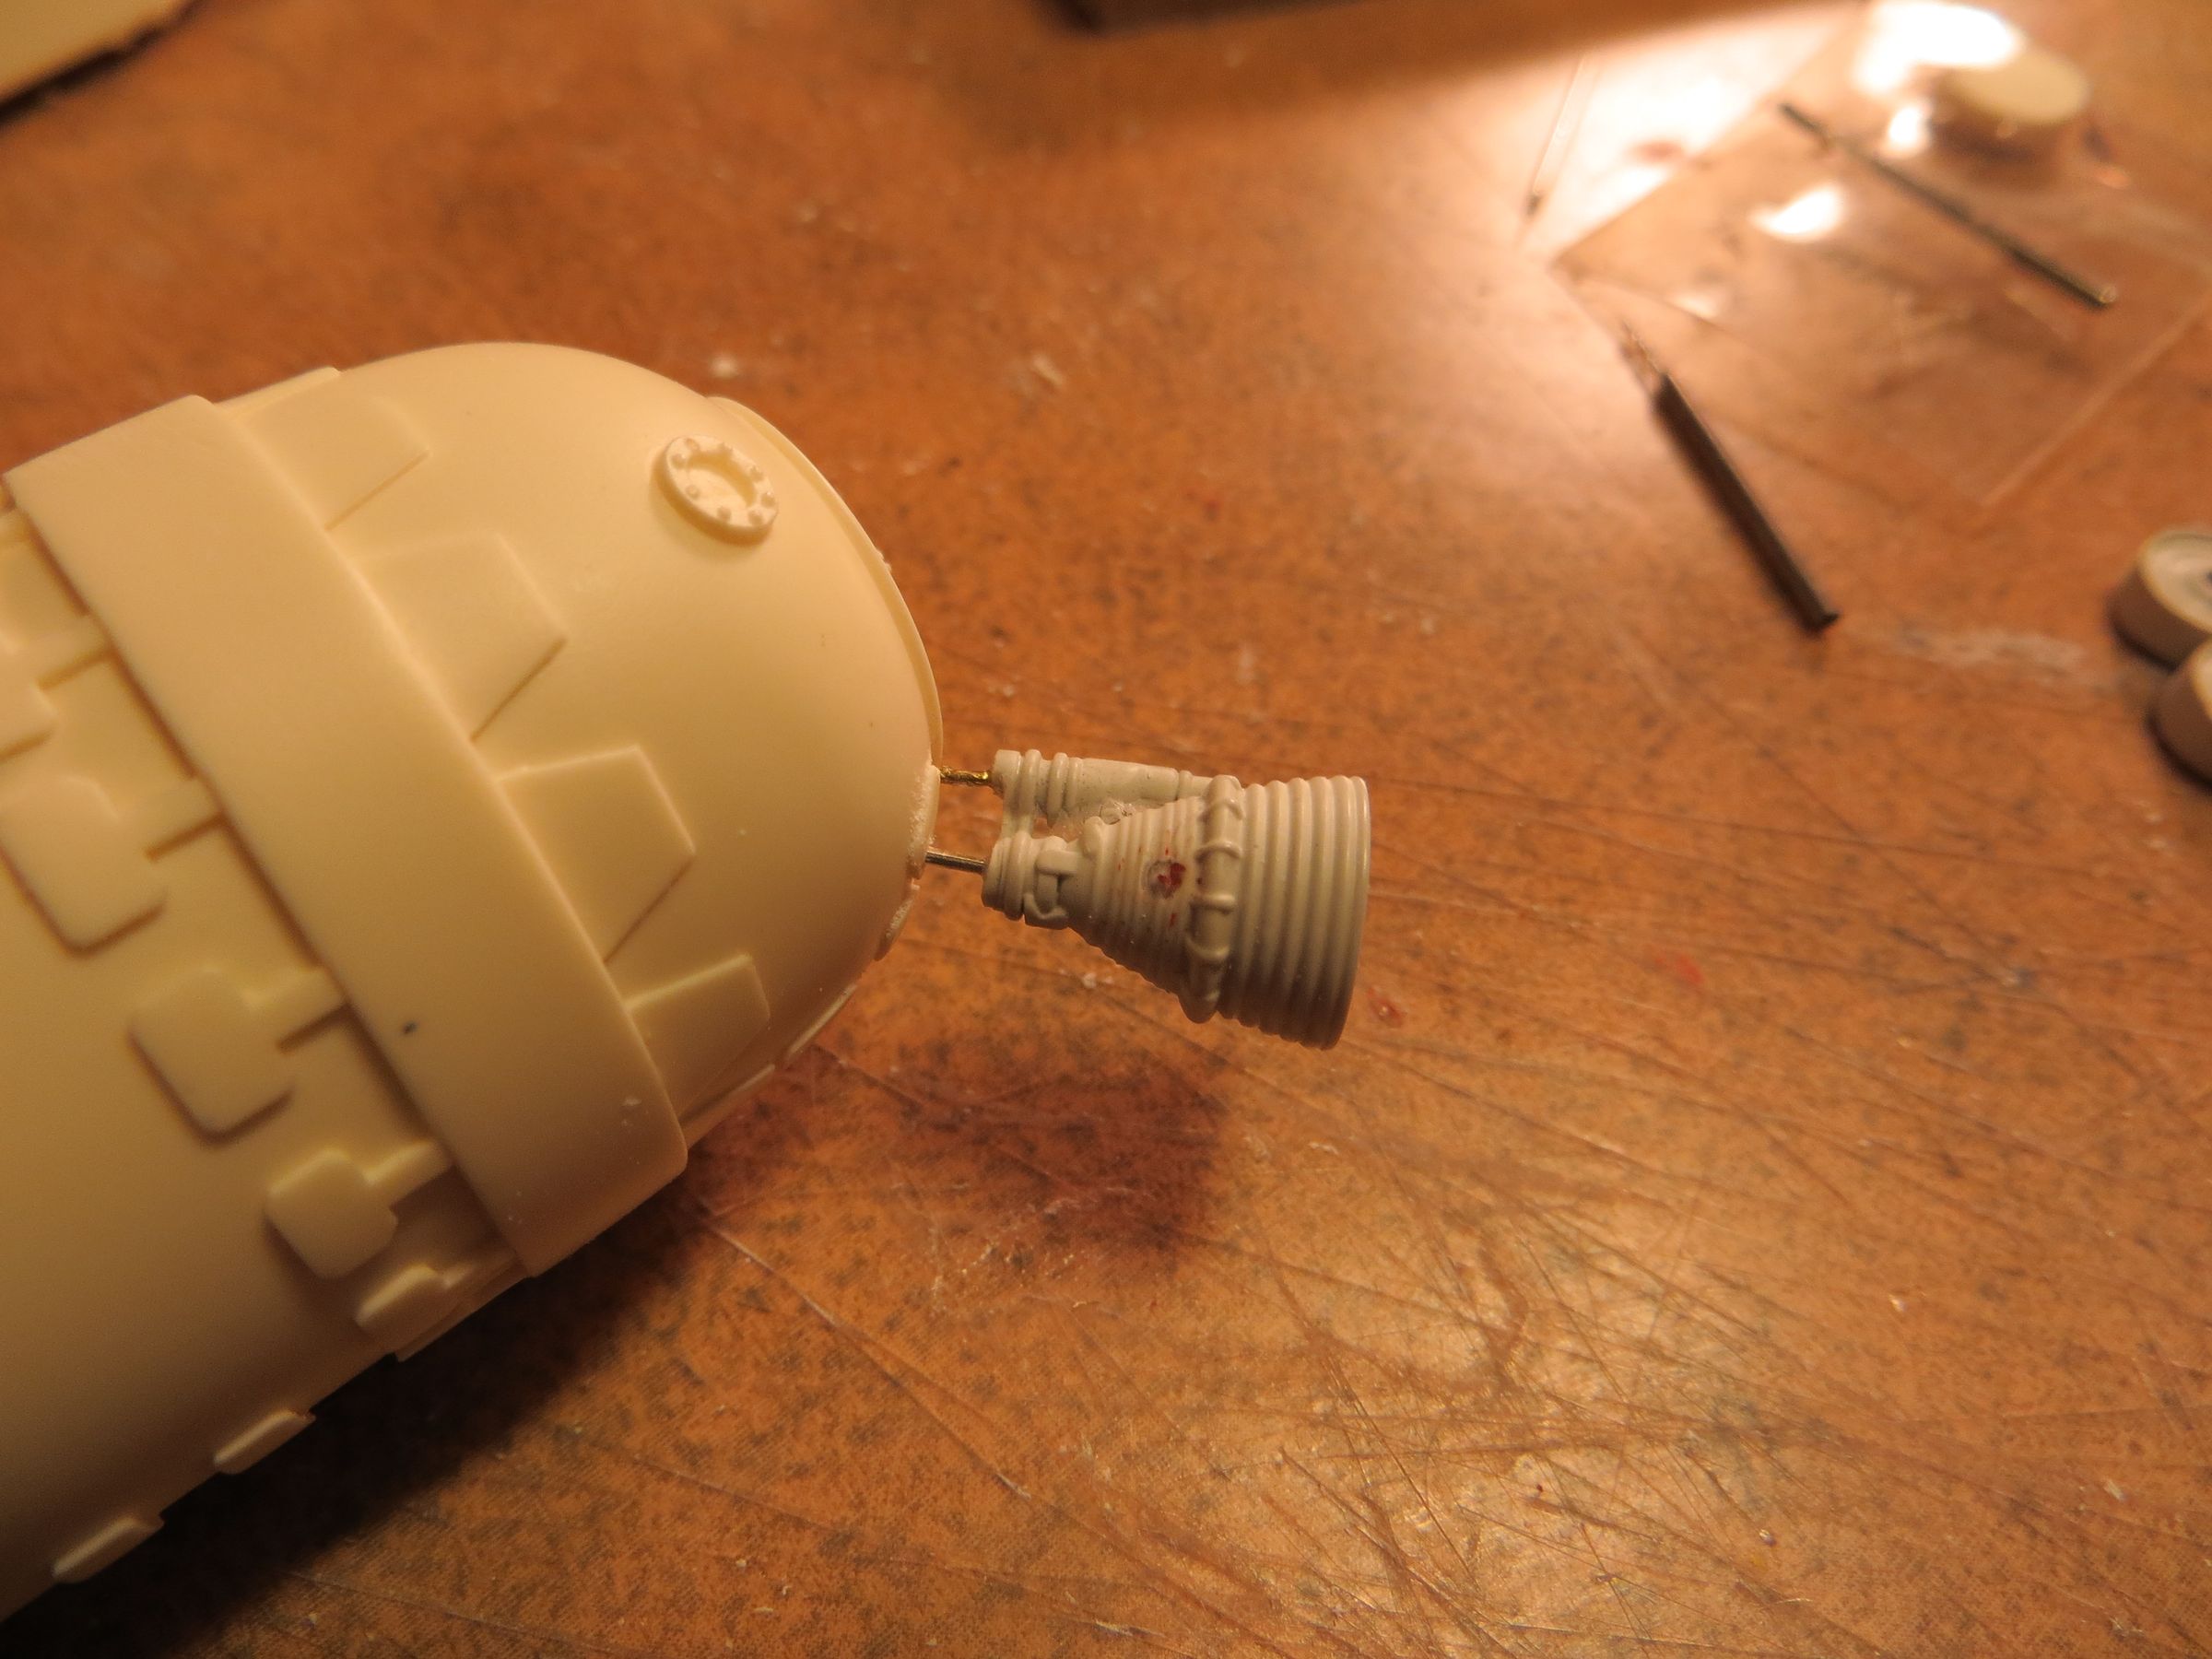
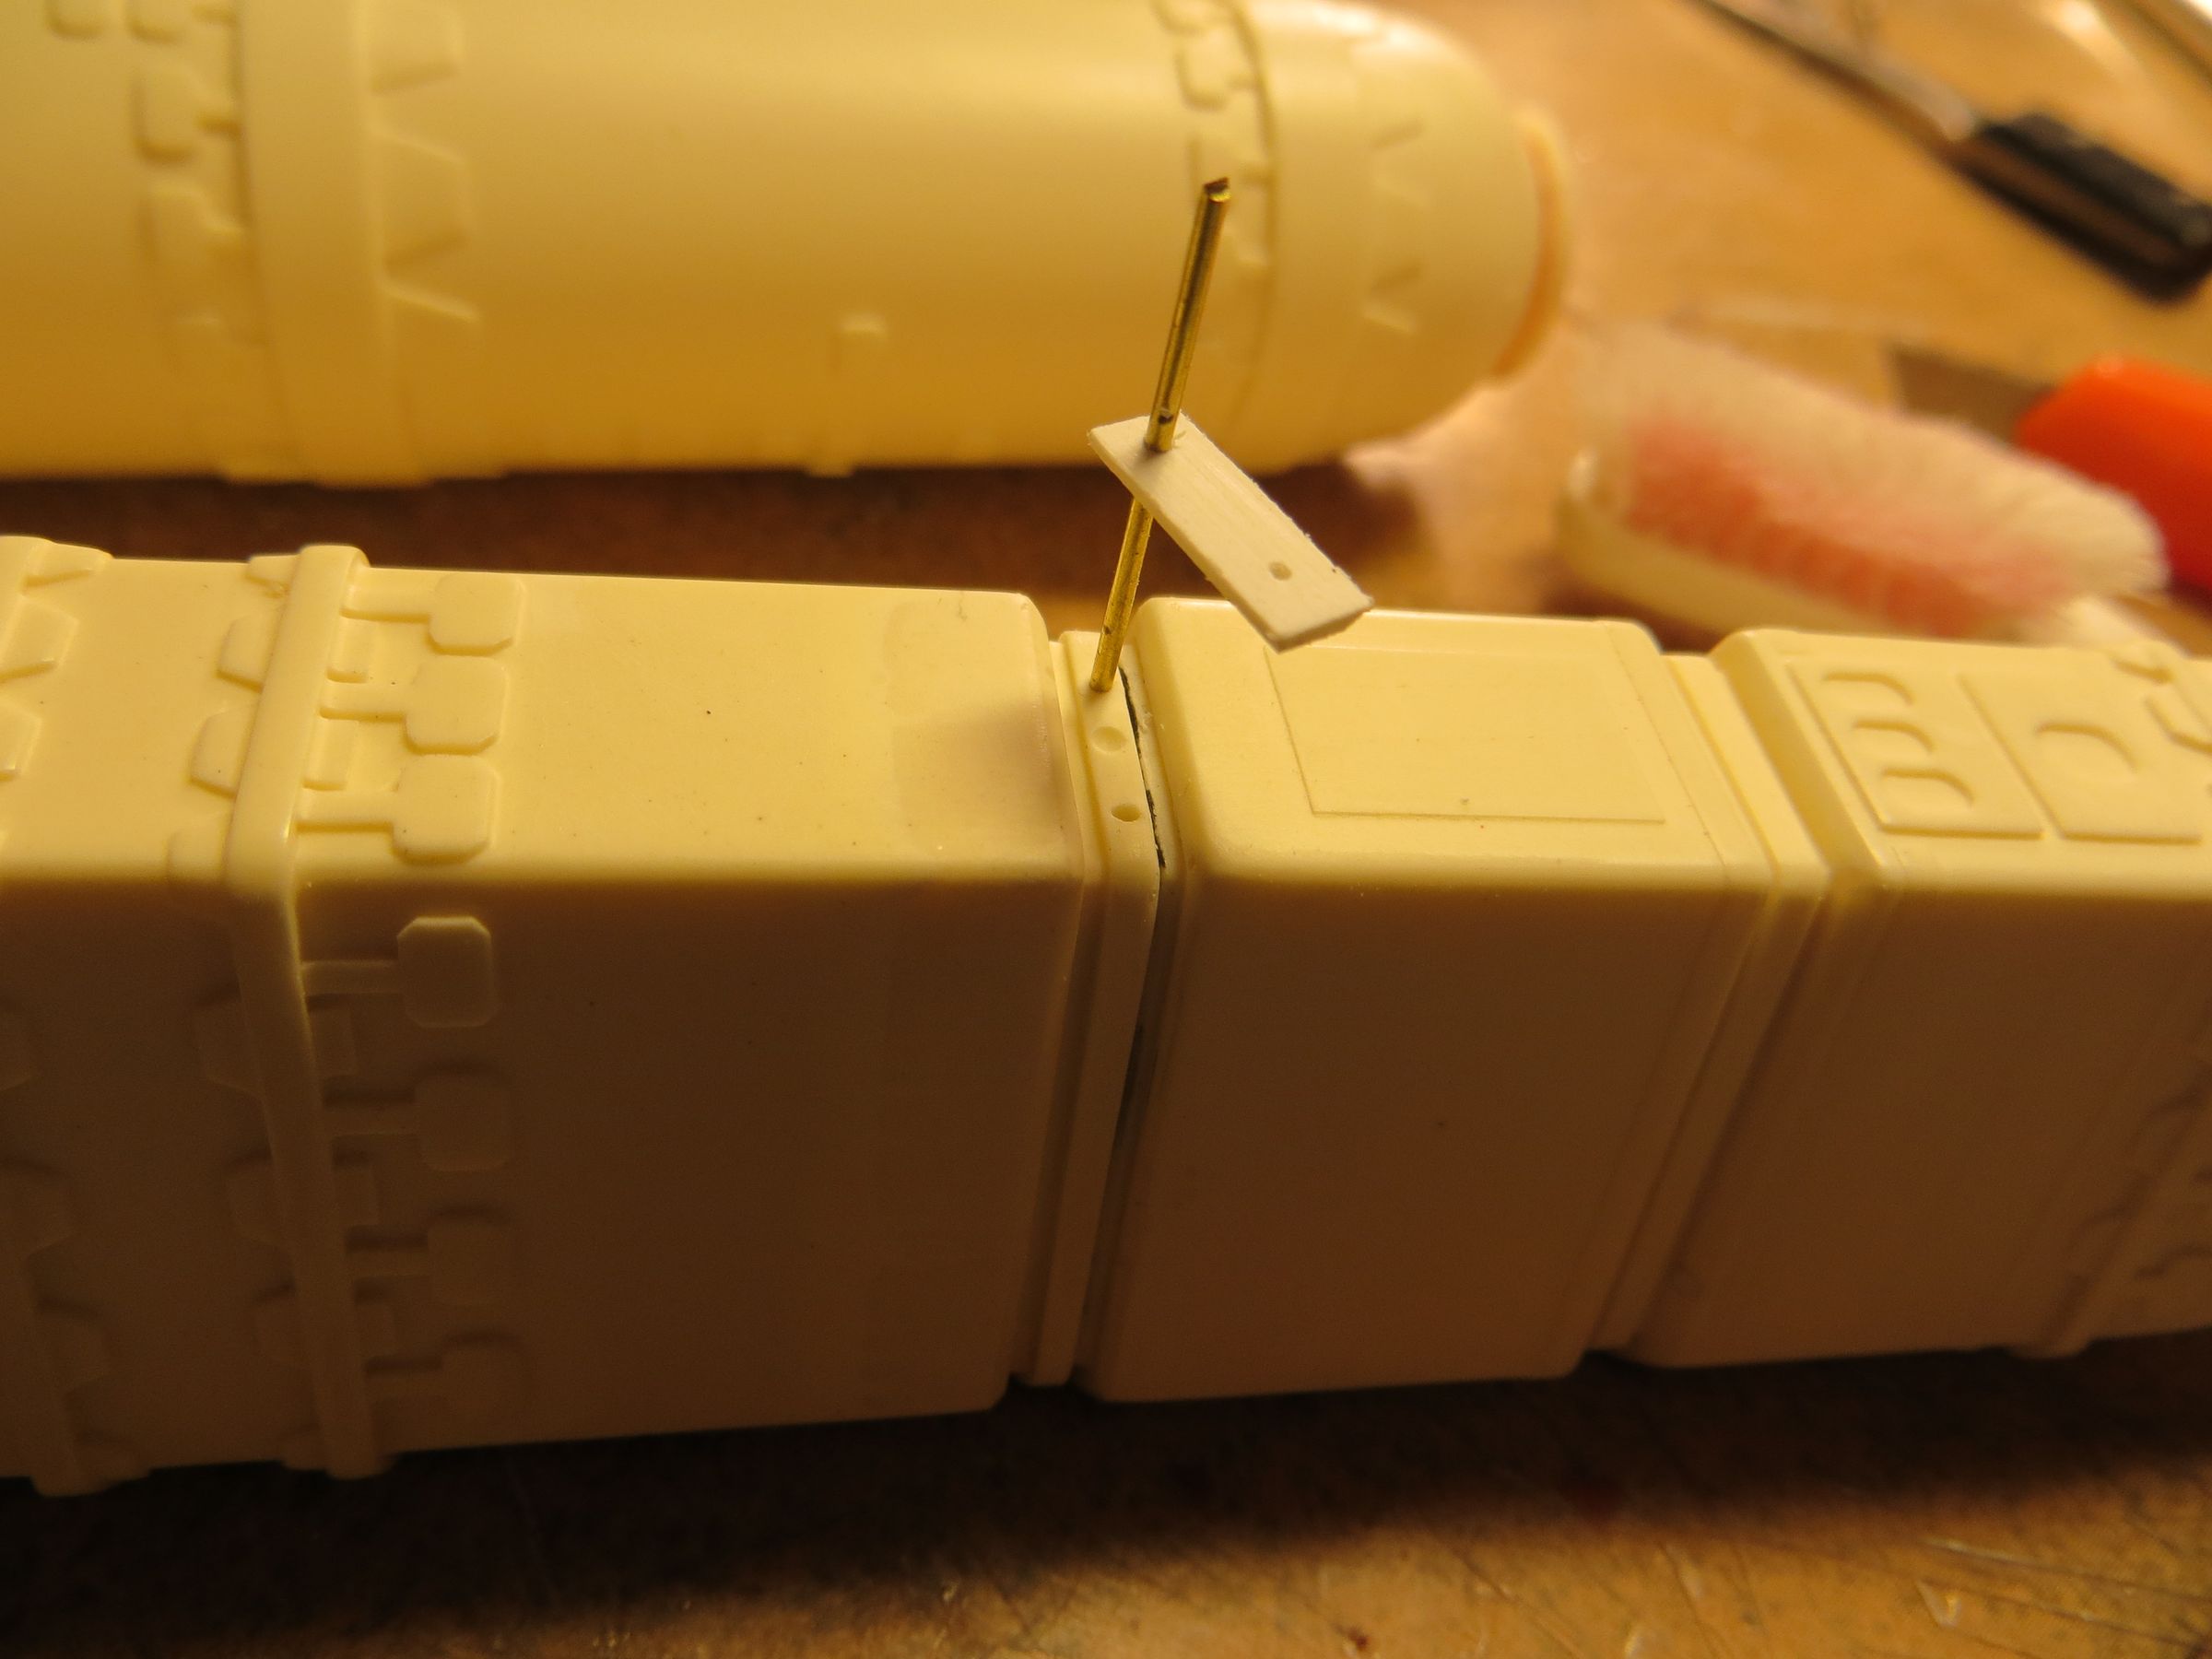
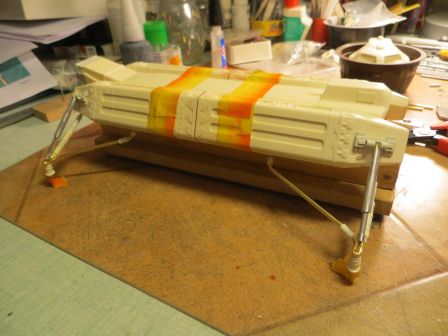
Beforehand, I take care of the VTOL engines to avoid a conflict with these struts, as they are really near to each others. As they are attached to the side modules, the angle of the rods needed care when drilling holes, and especially in the engine, as they are all different, and their positioning are different from front and back ones.
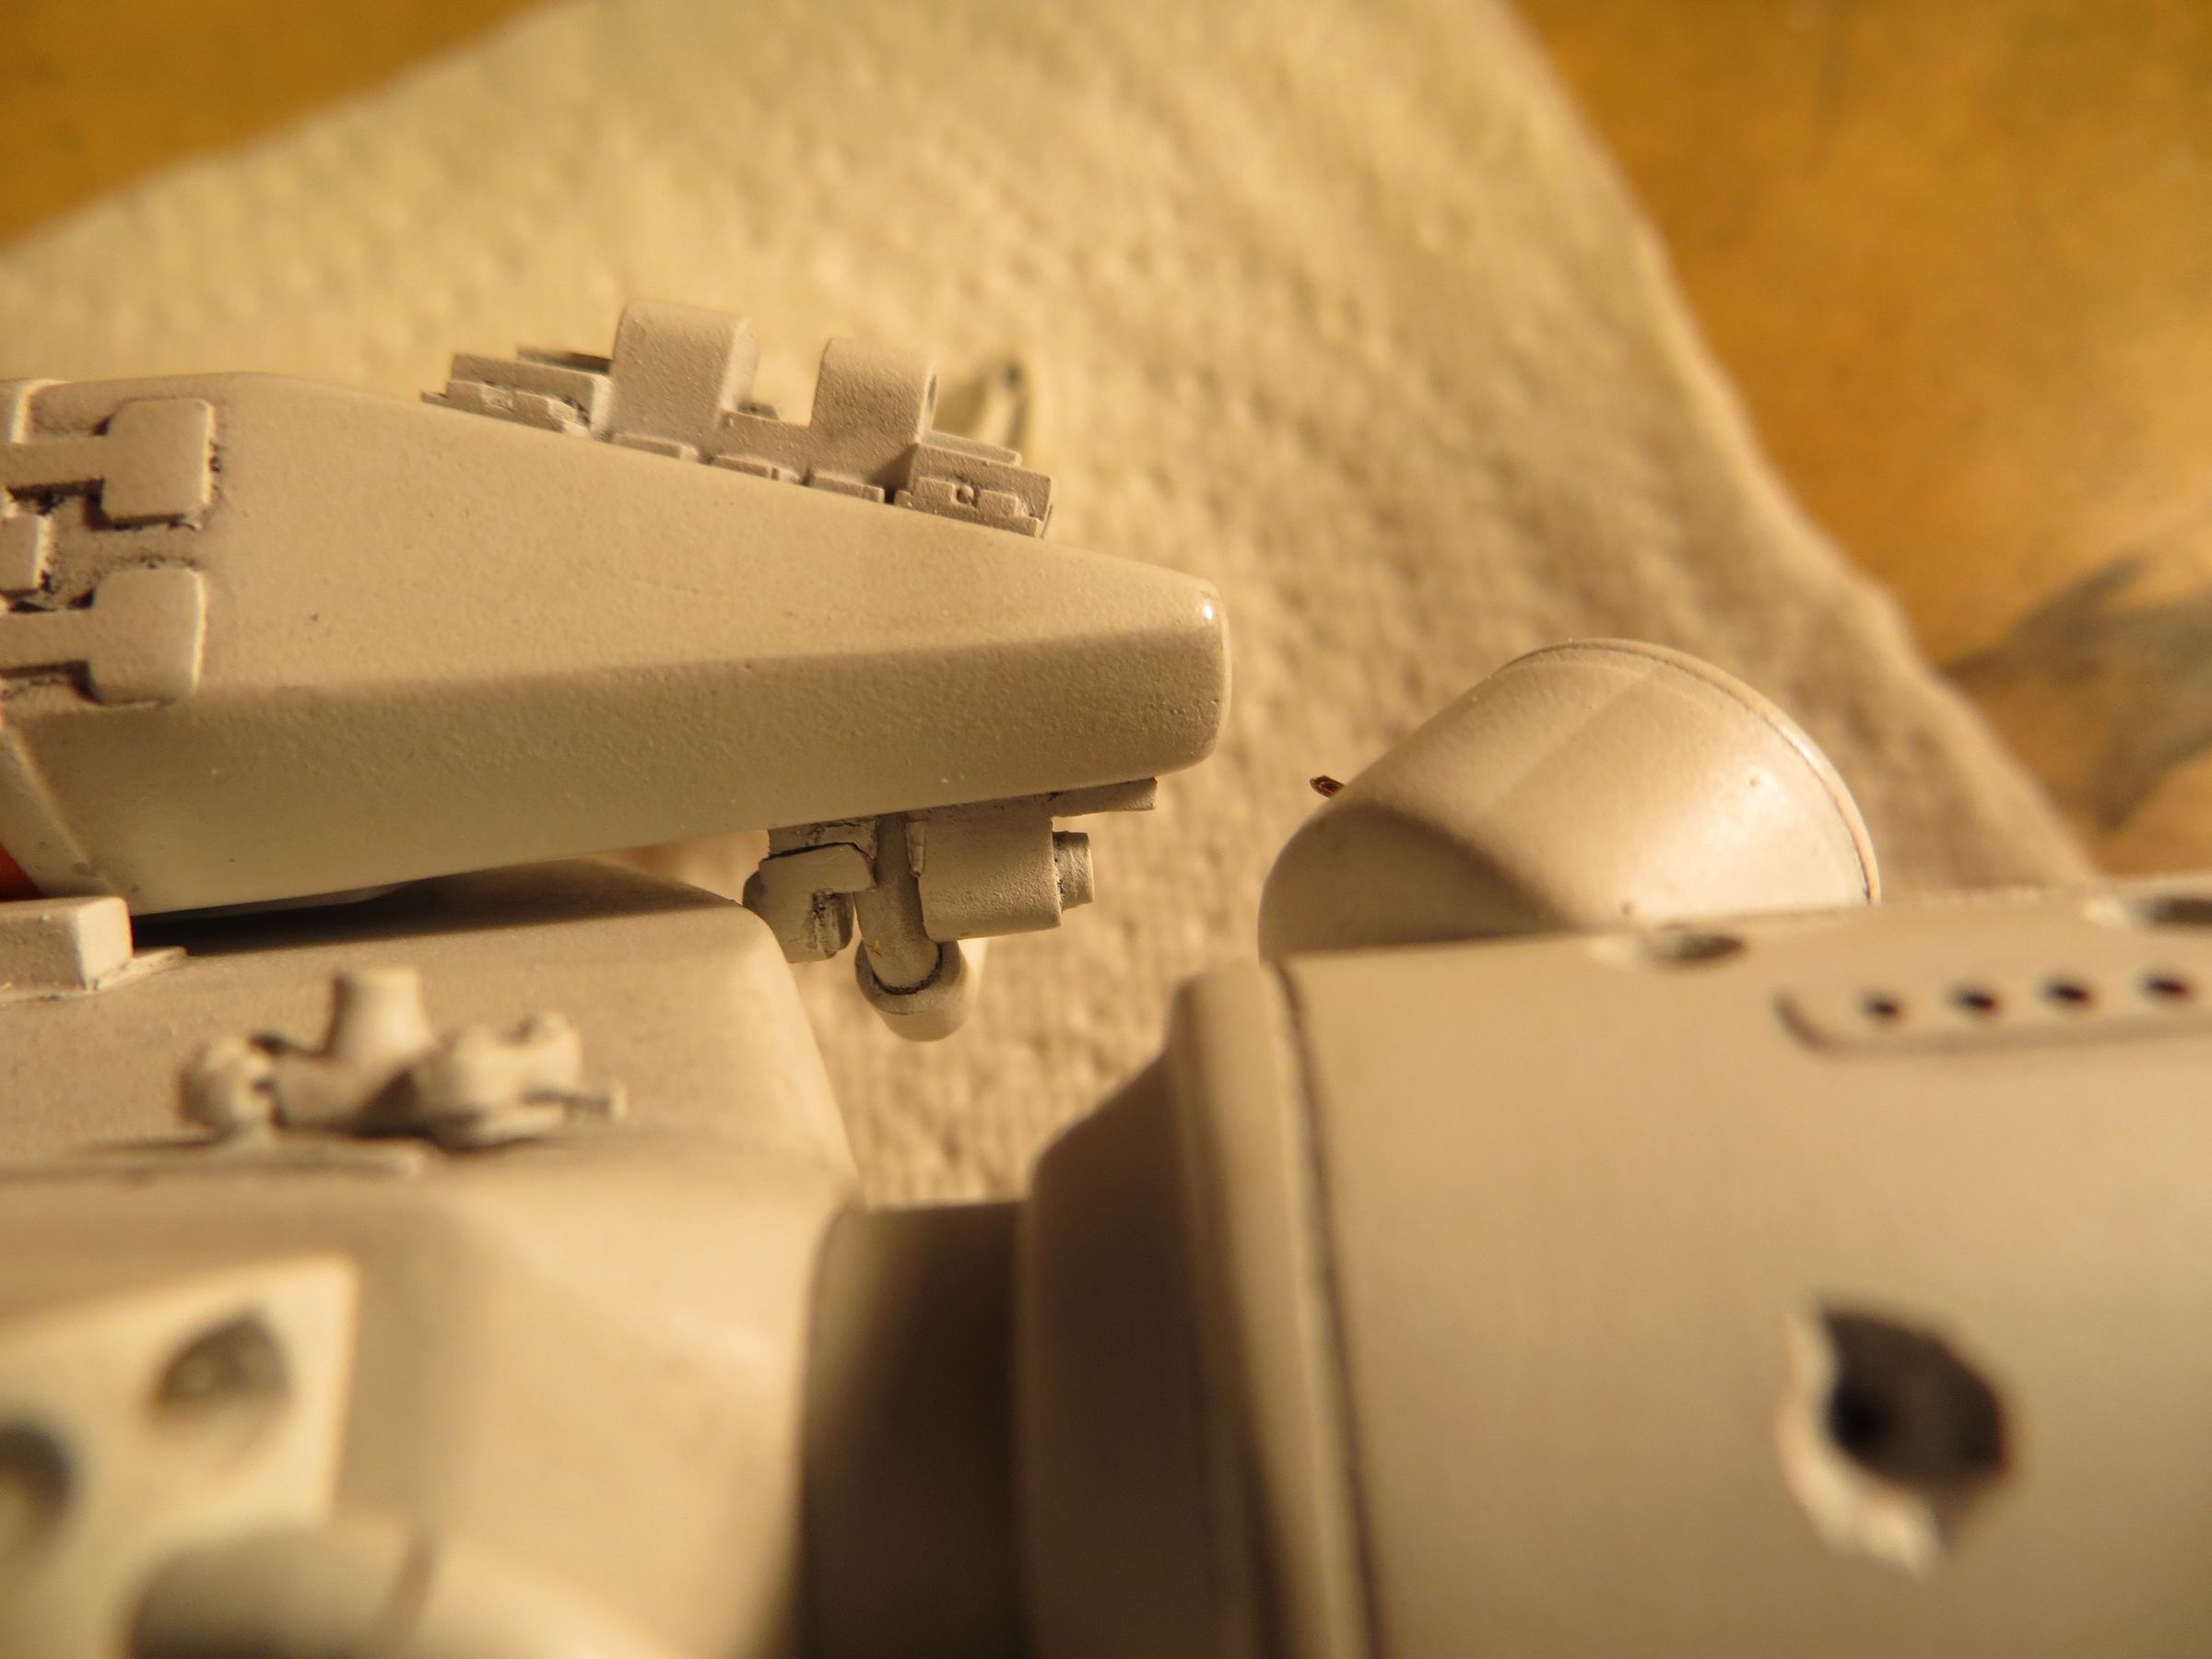
Here, they are still not properly adjusted:

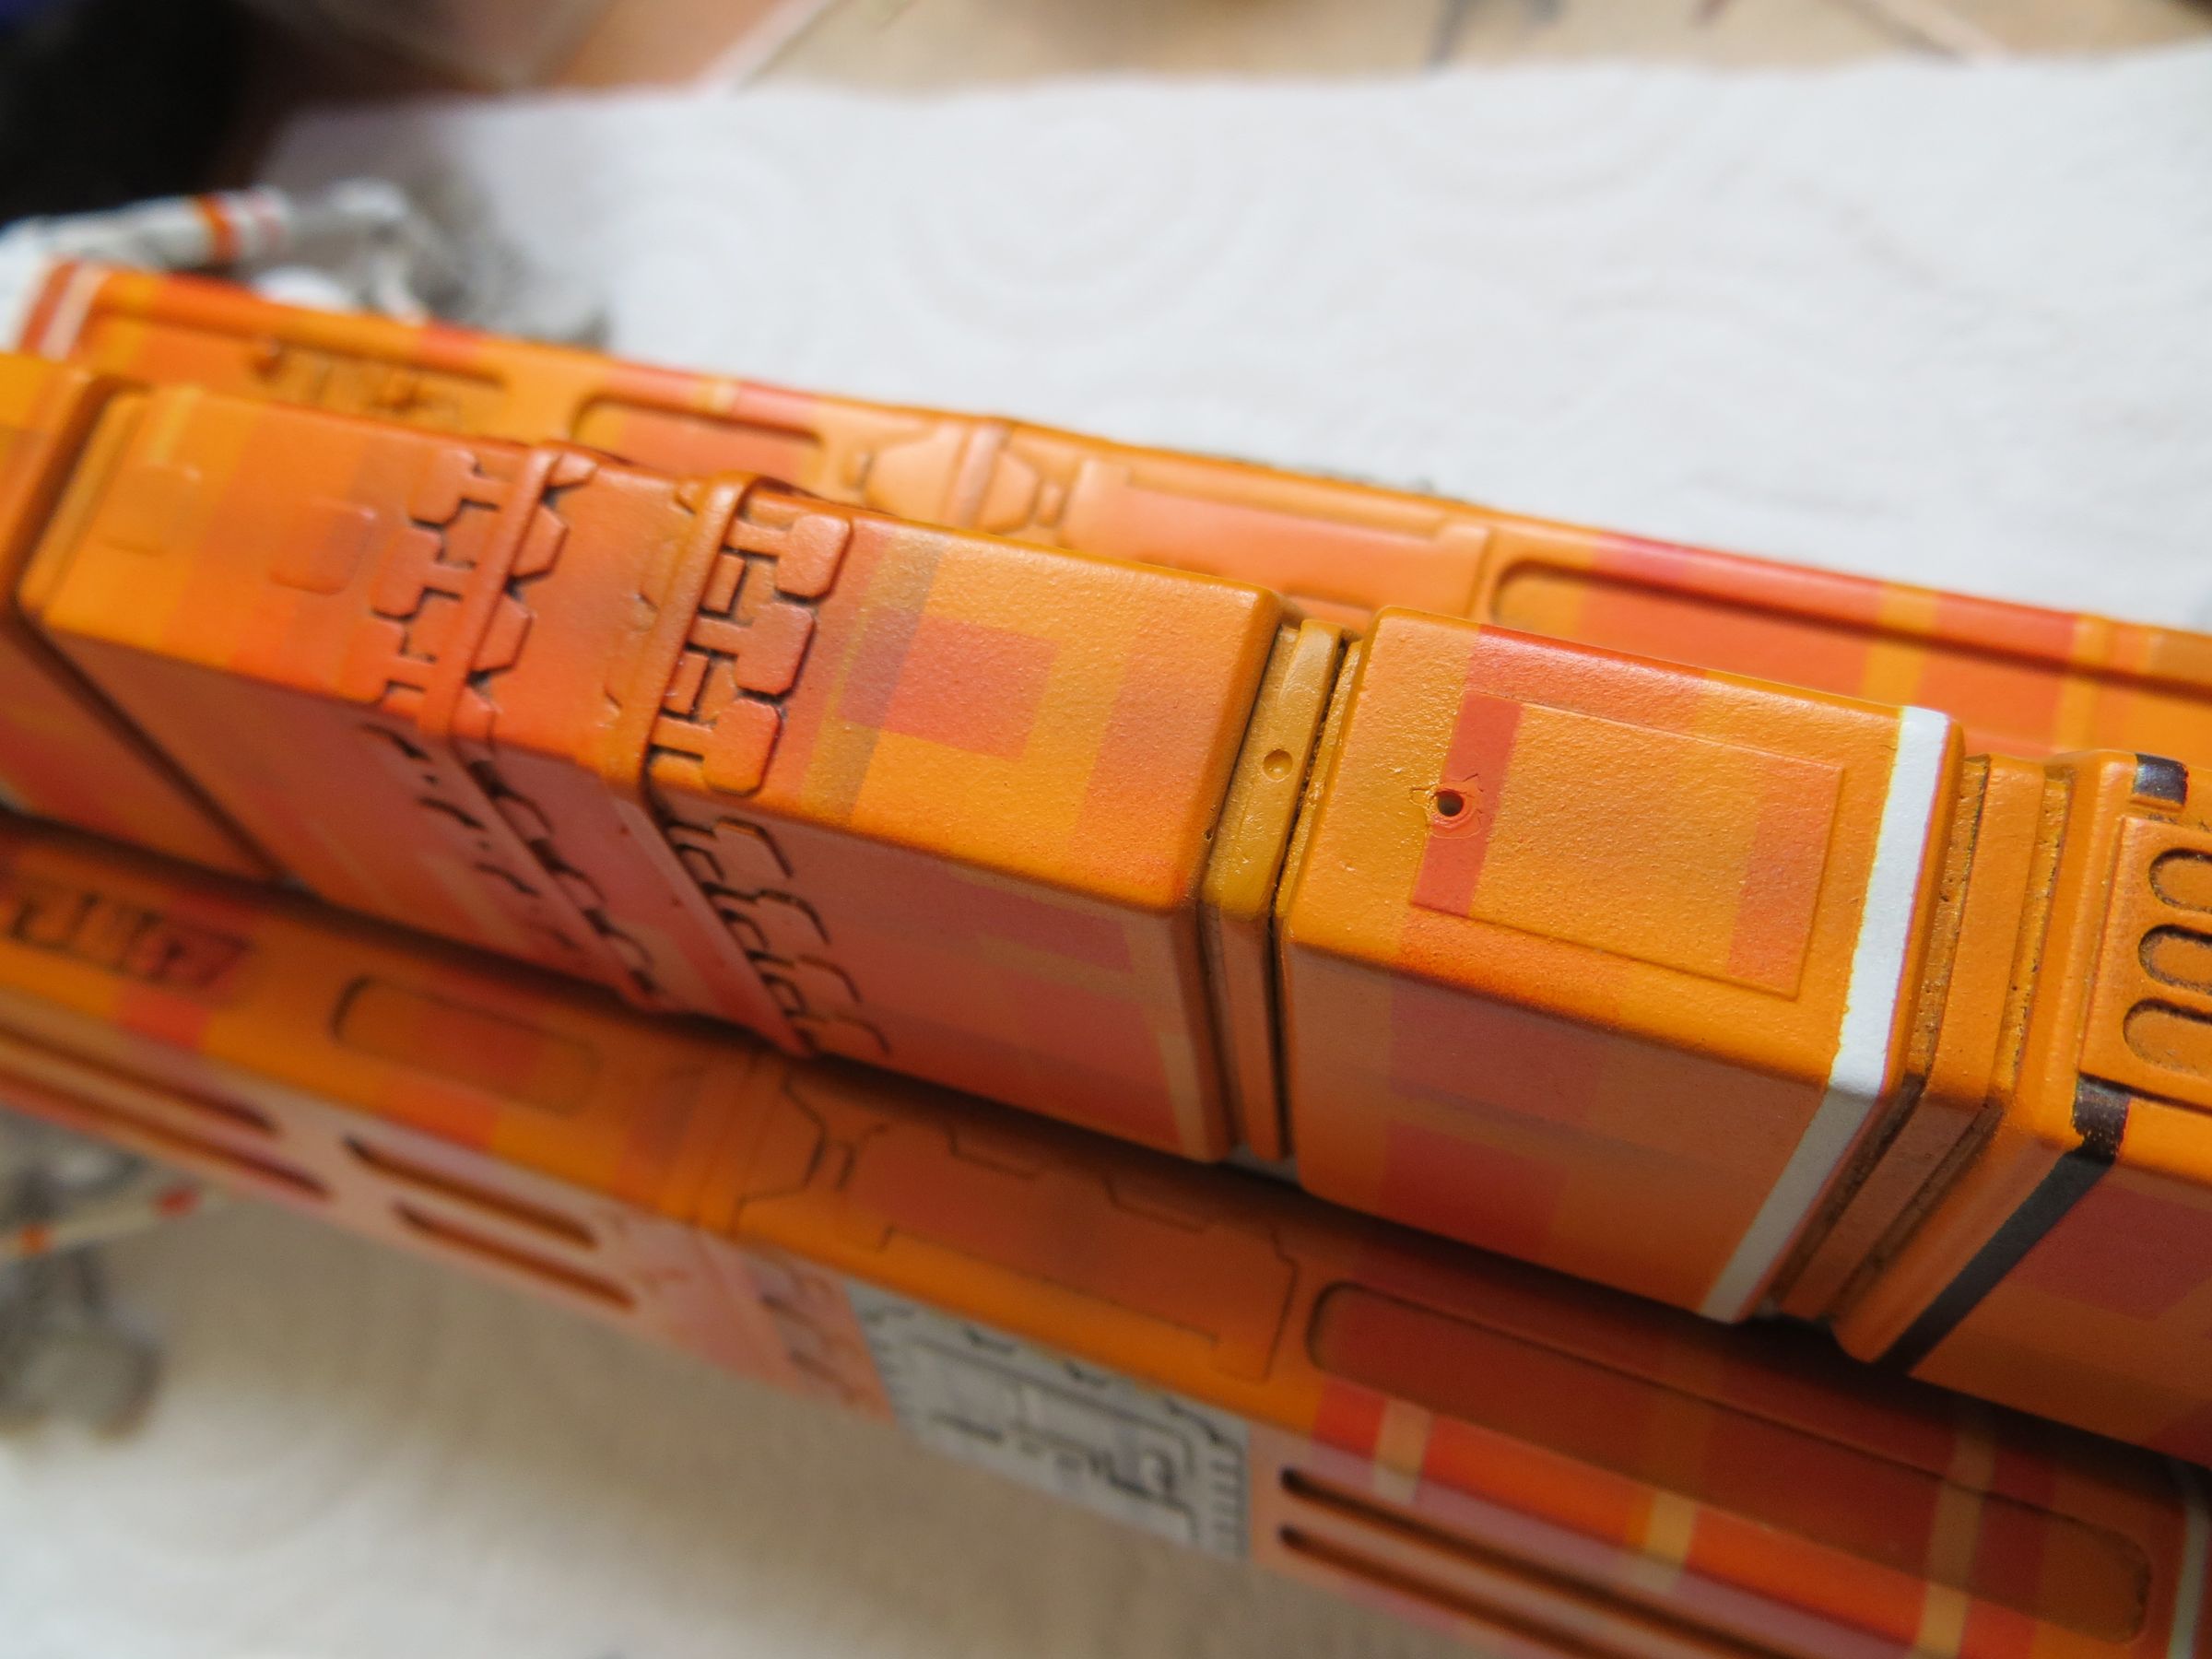
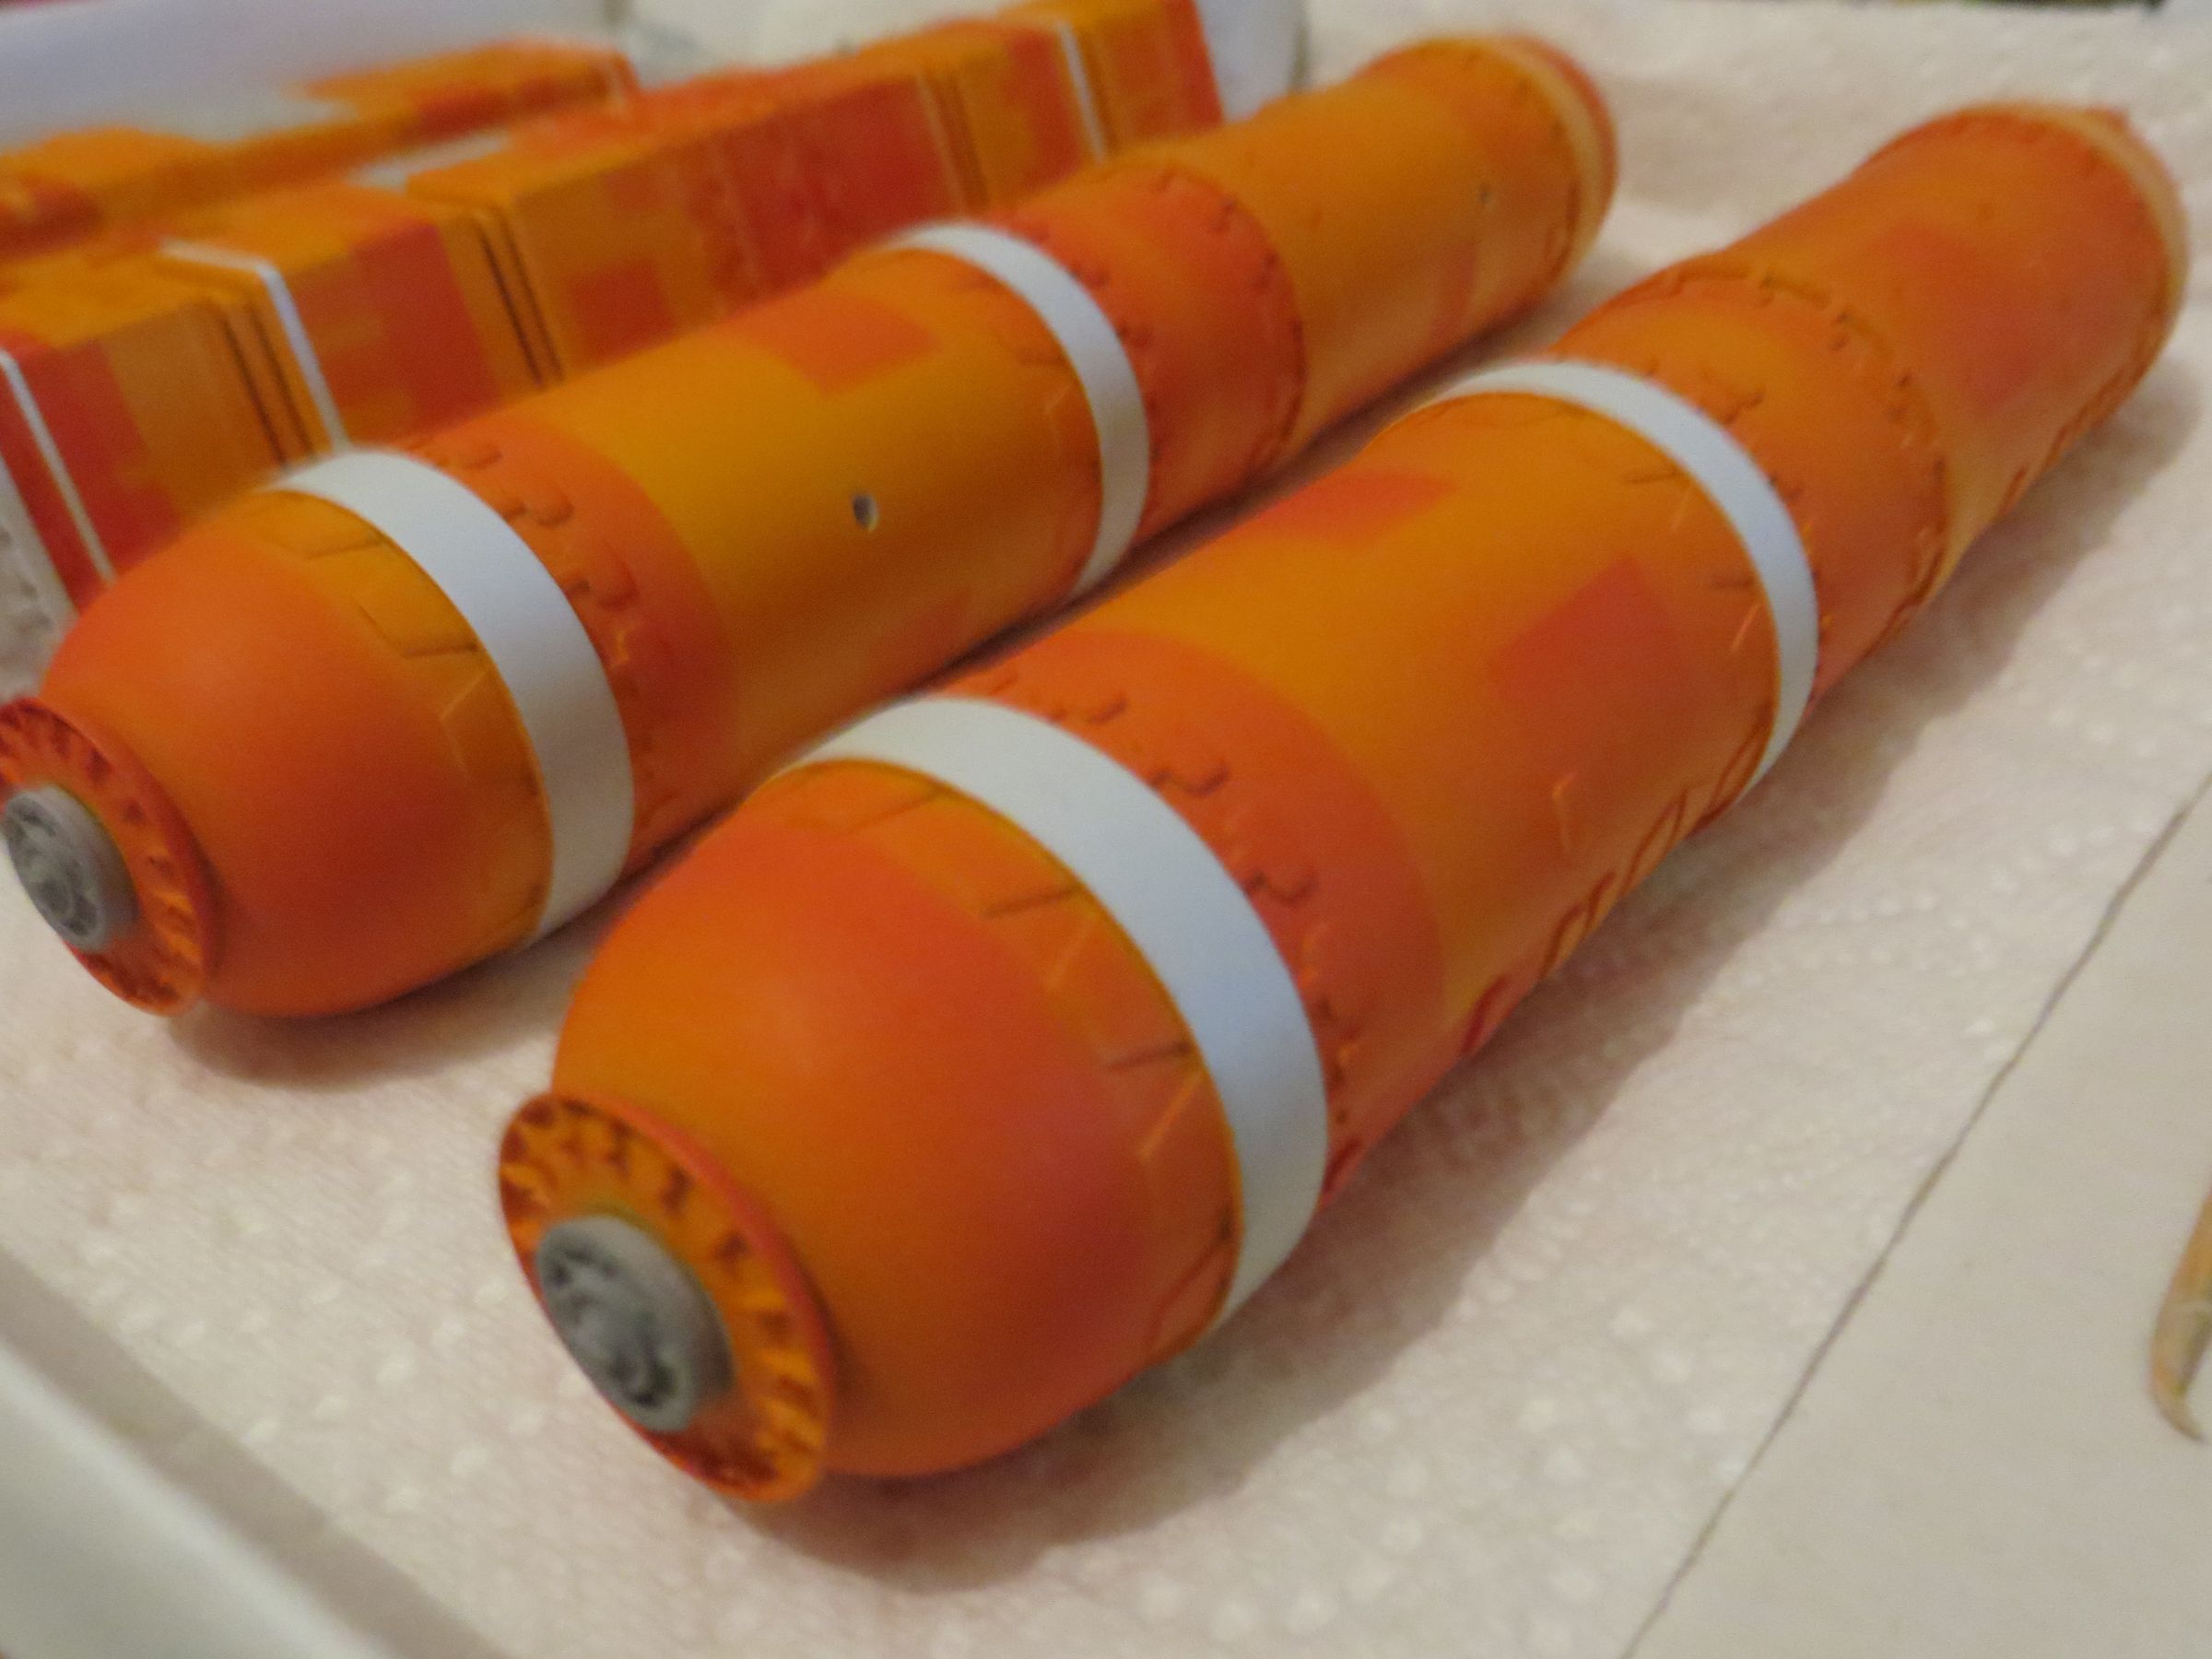
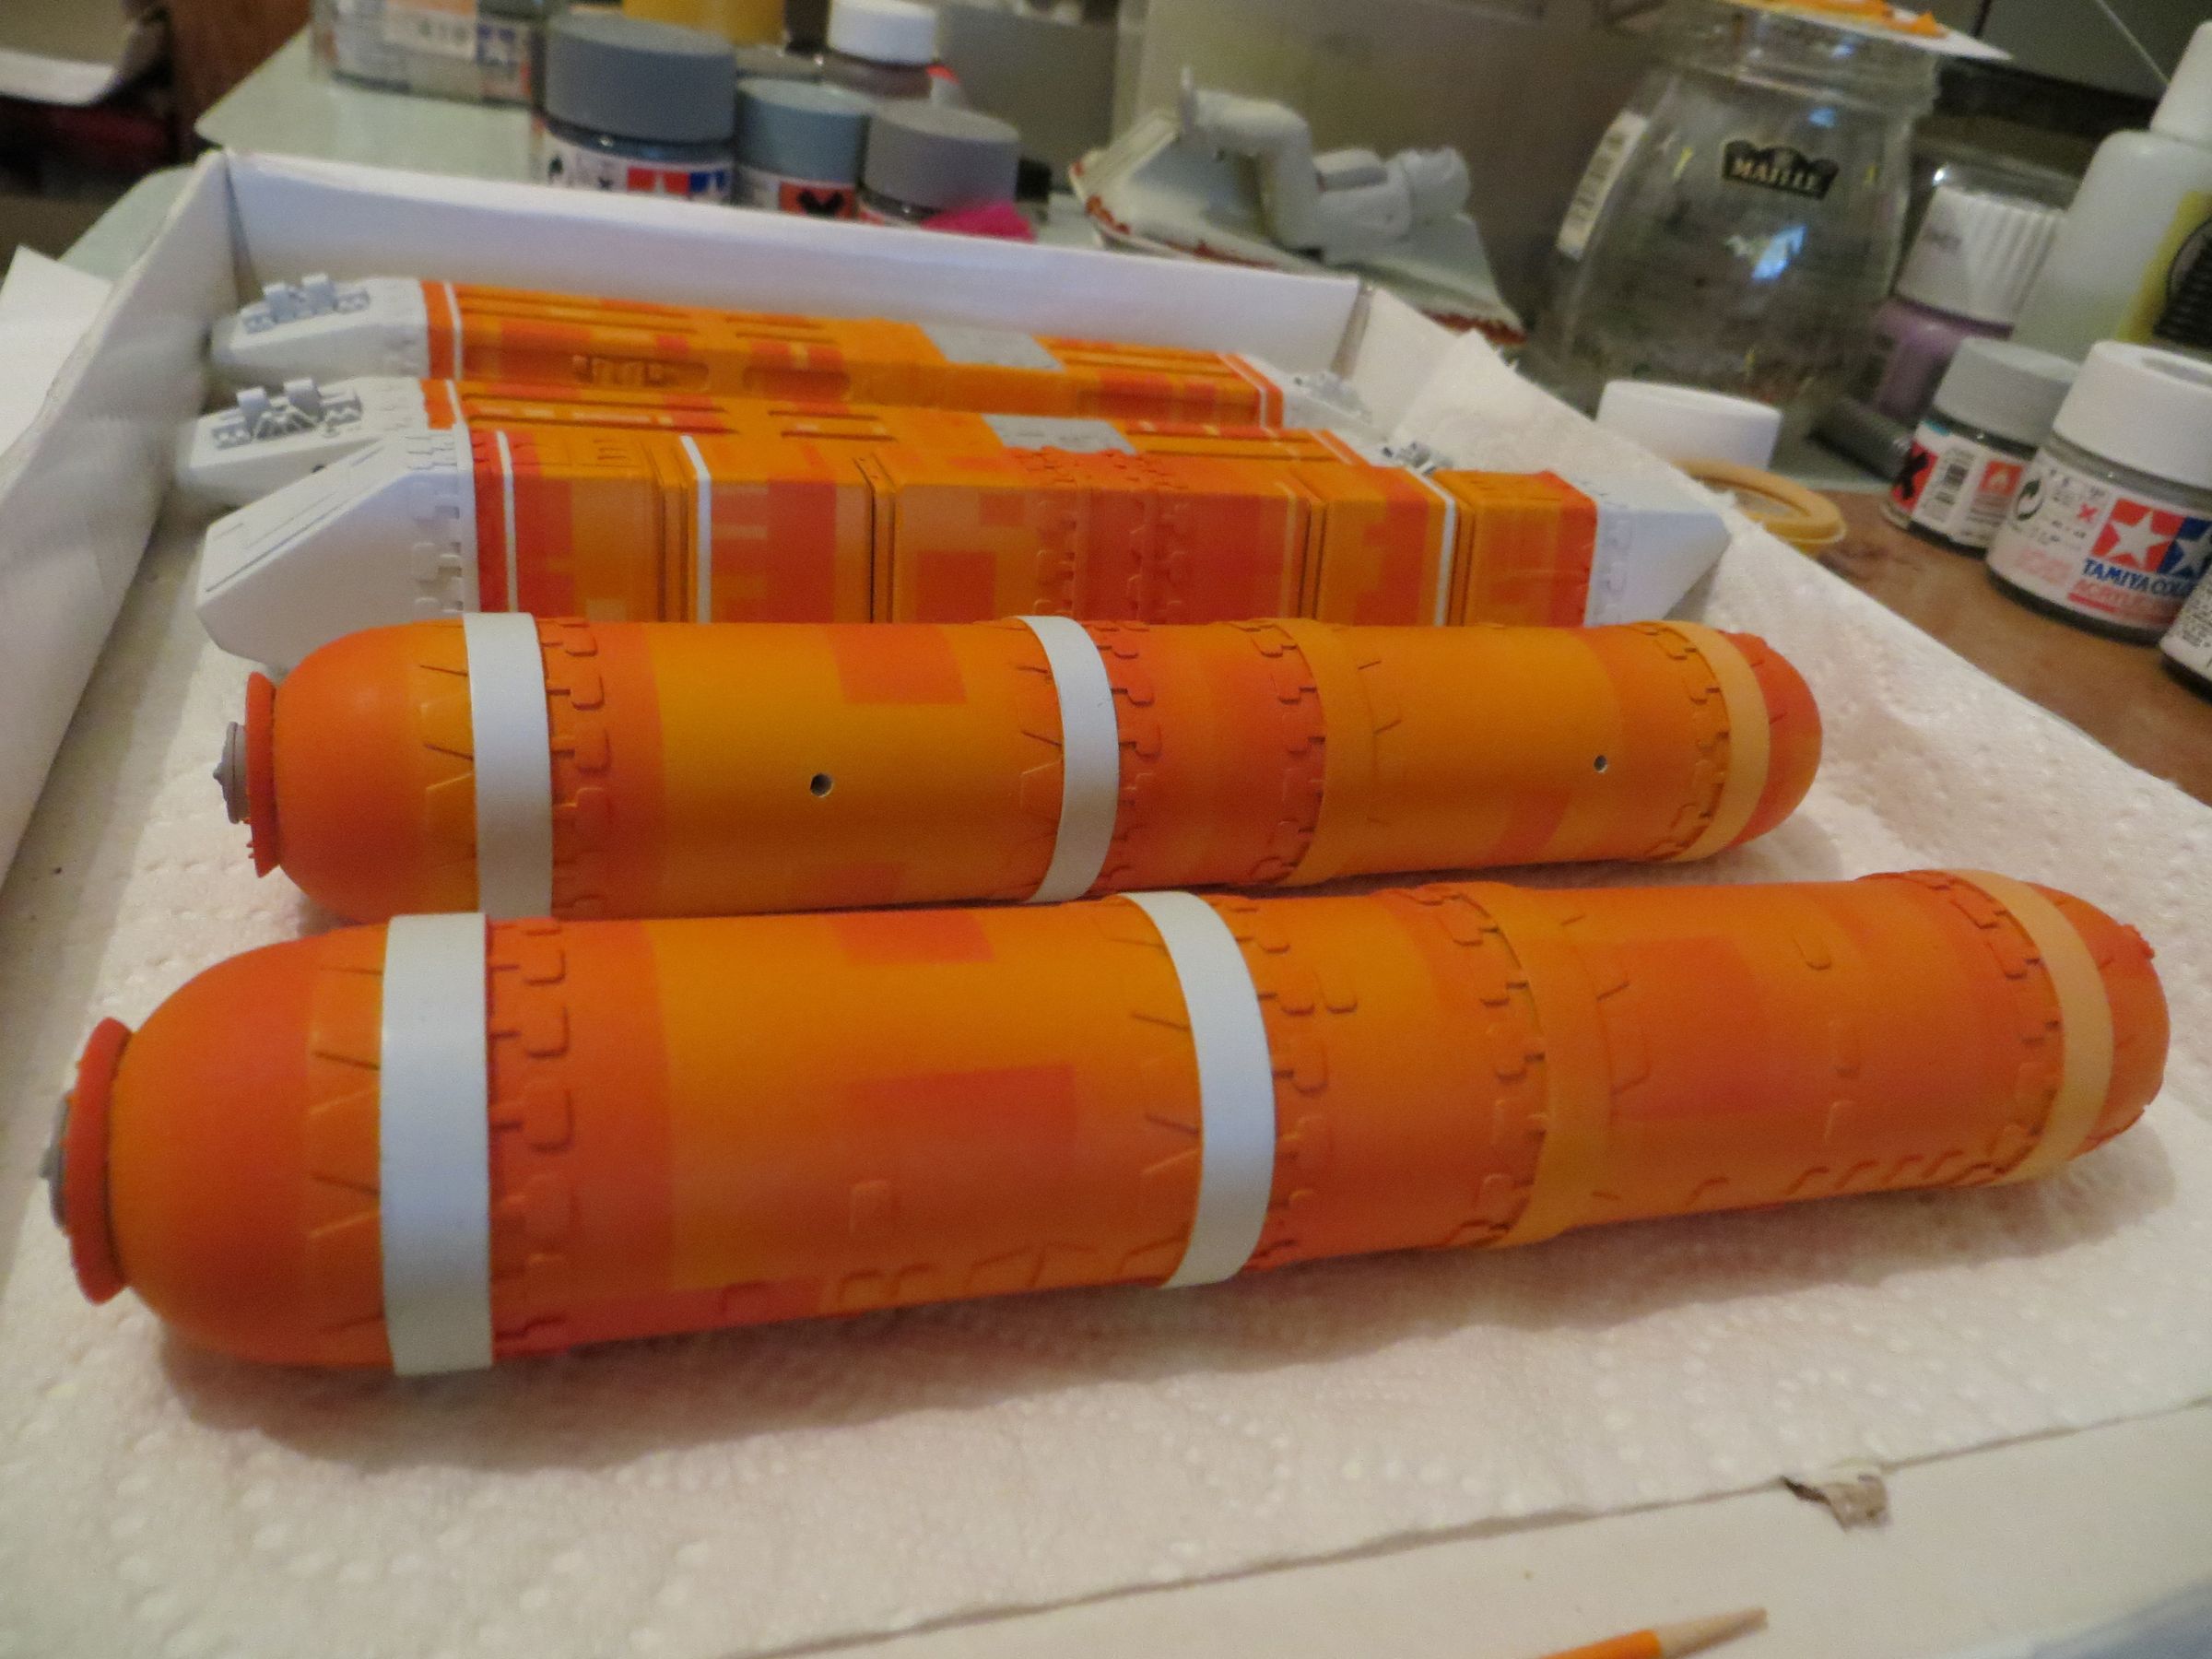
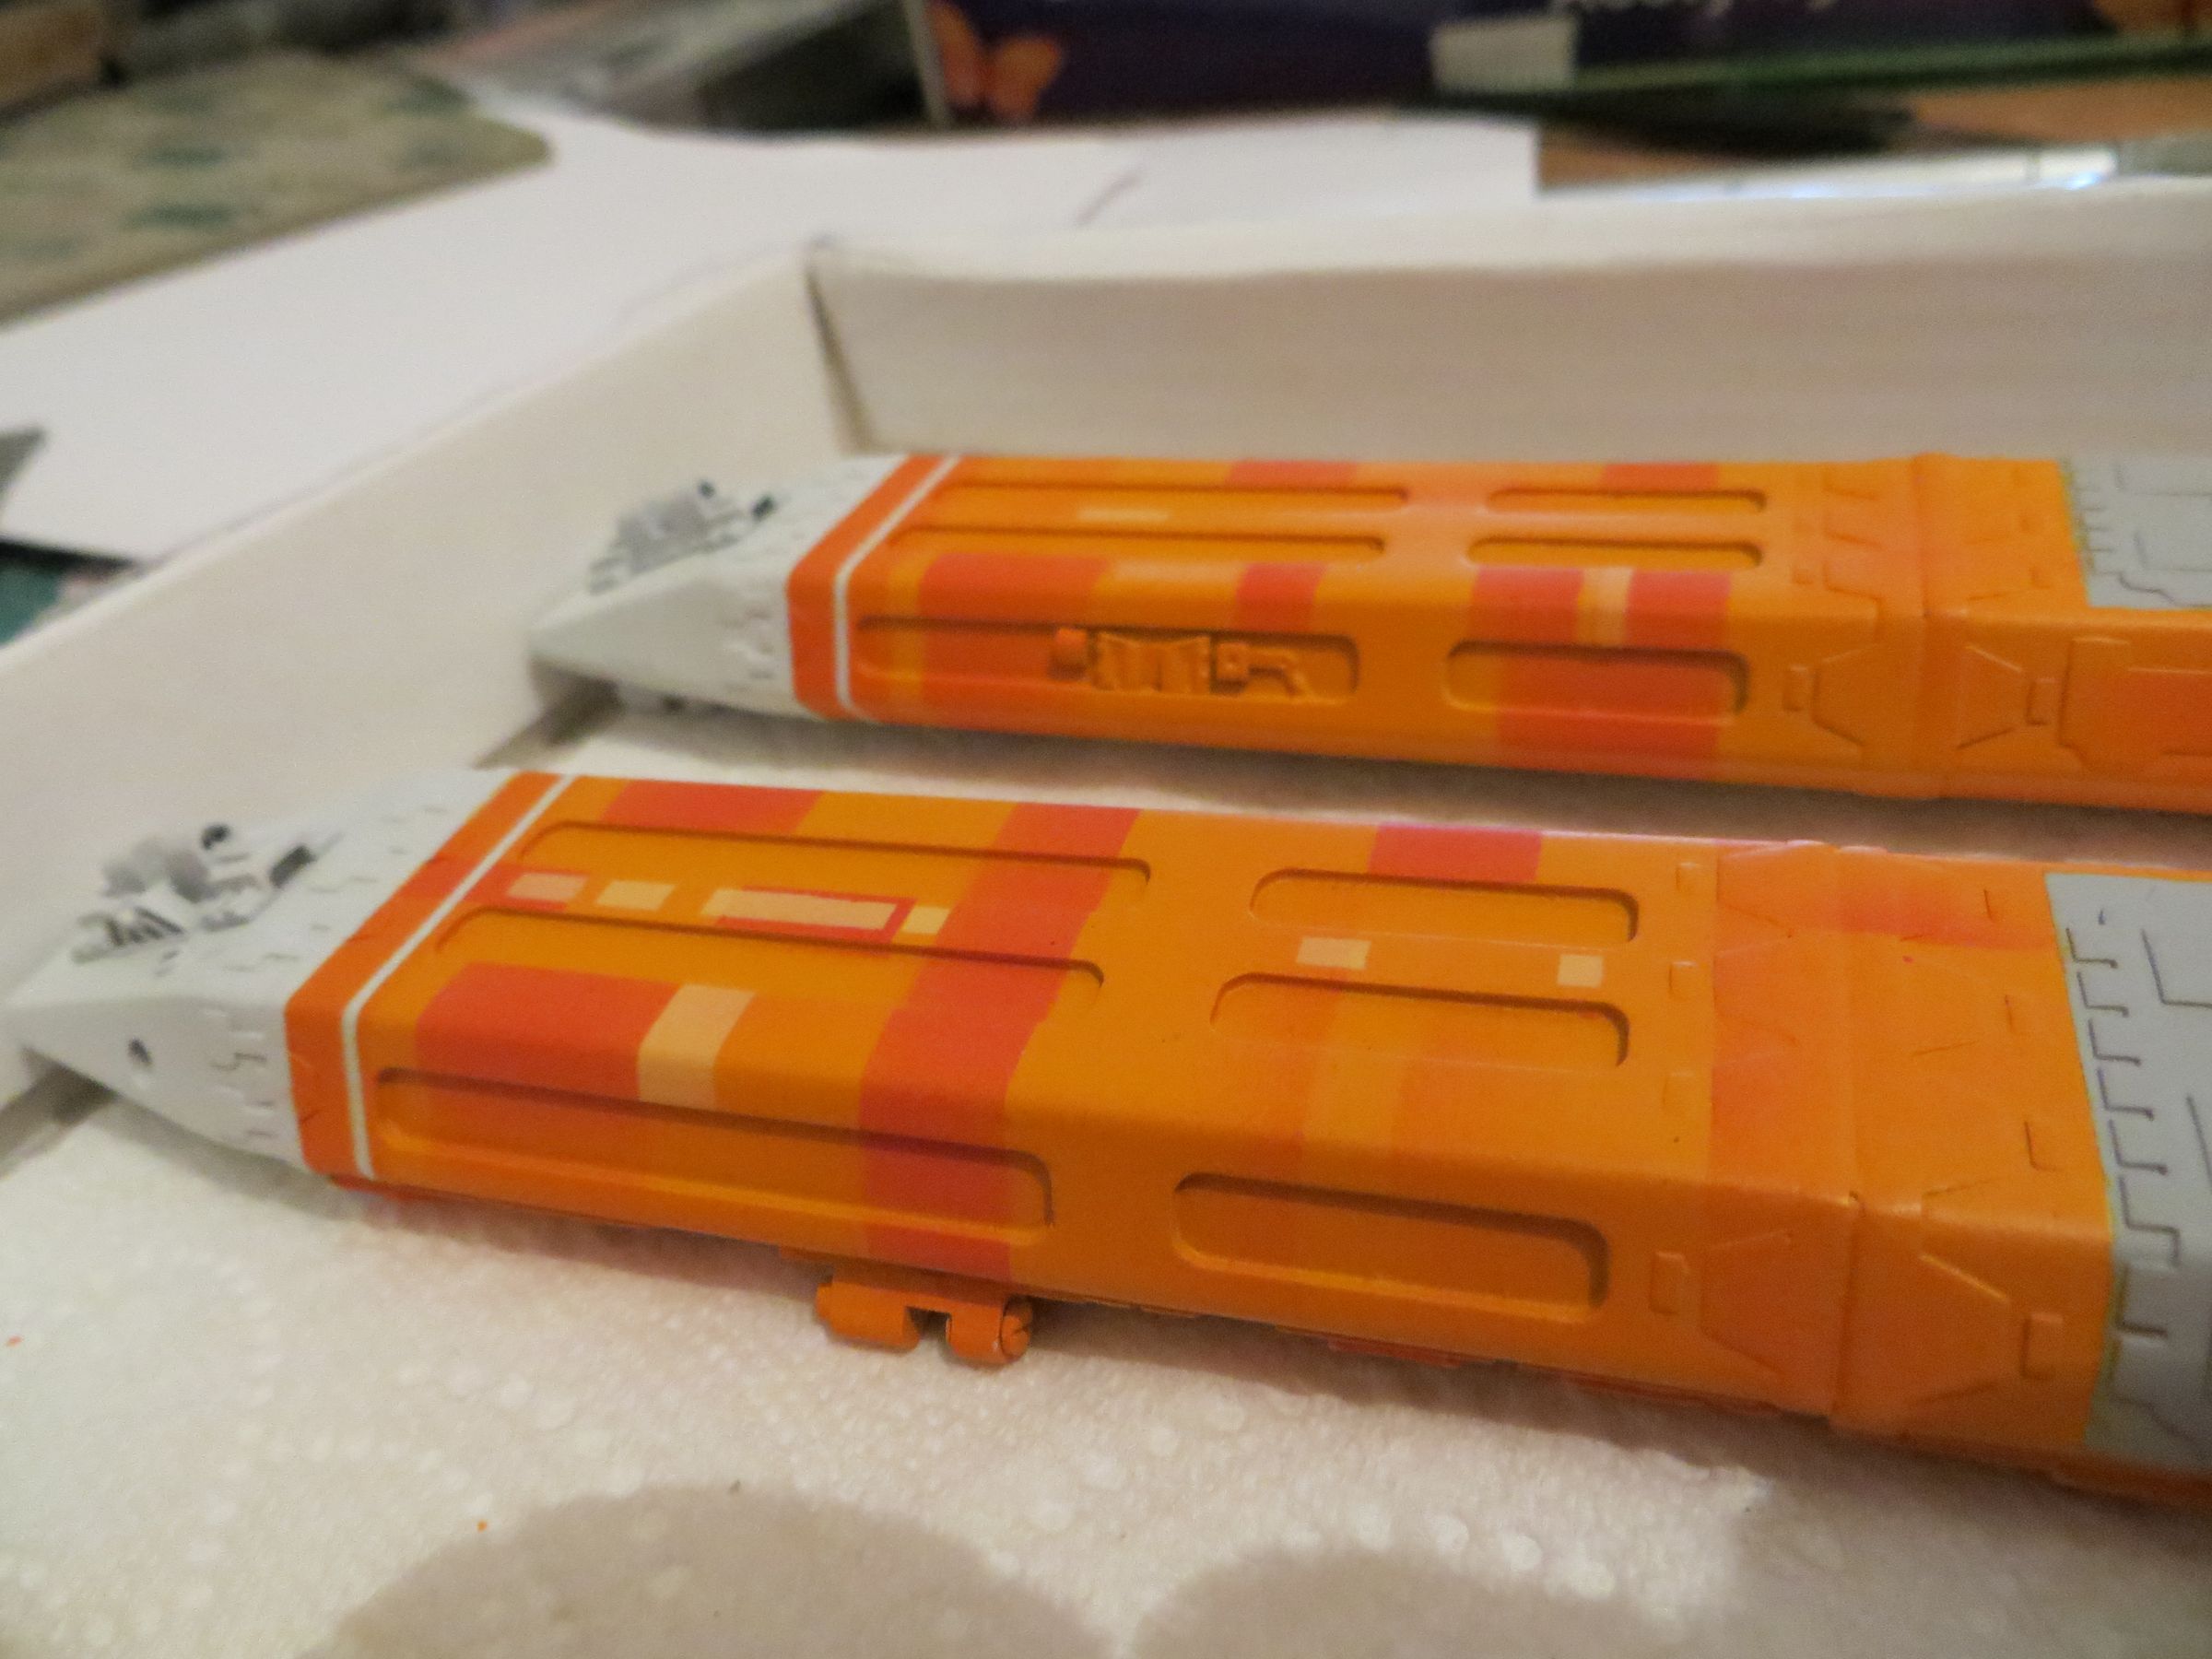
For the length of the struts, it is better to directly measure the length on the dry build legs rather than stay on the instruction measures, as how the legs are installed directly affects these measures. And here, an error of 2 mm does not forgive.


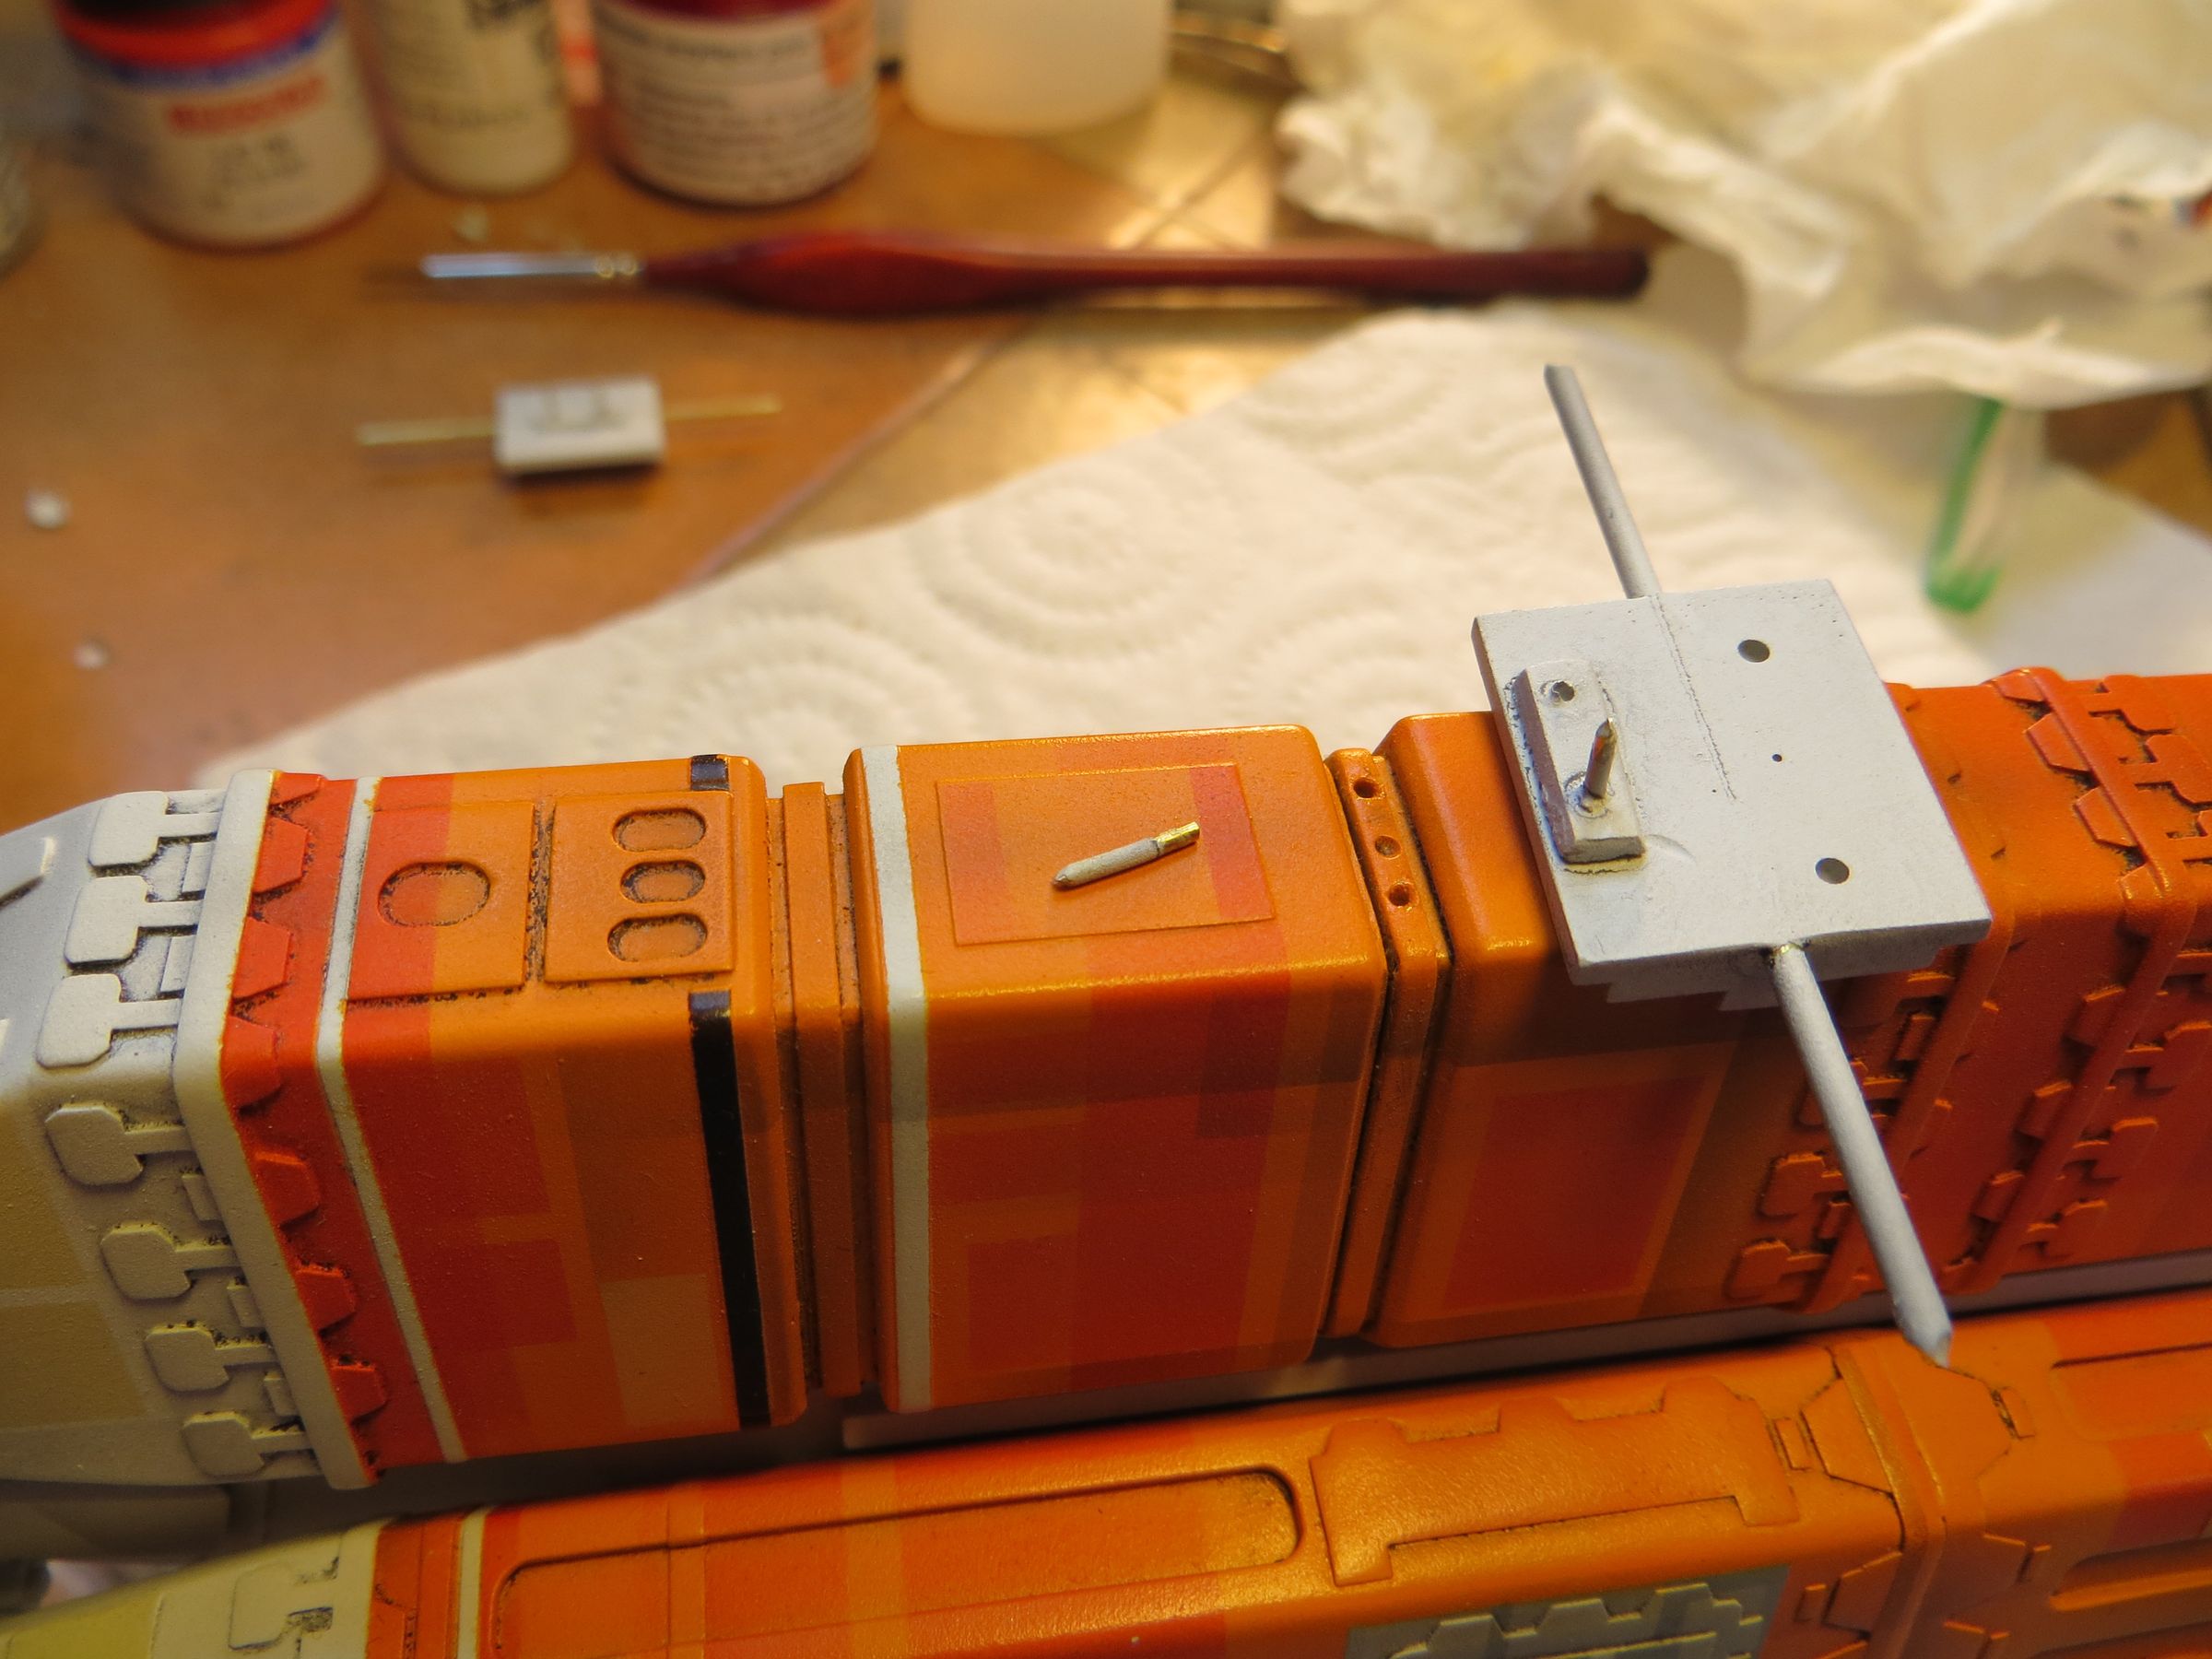
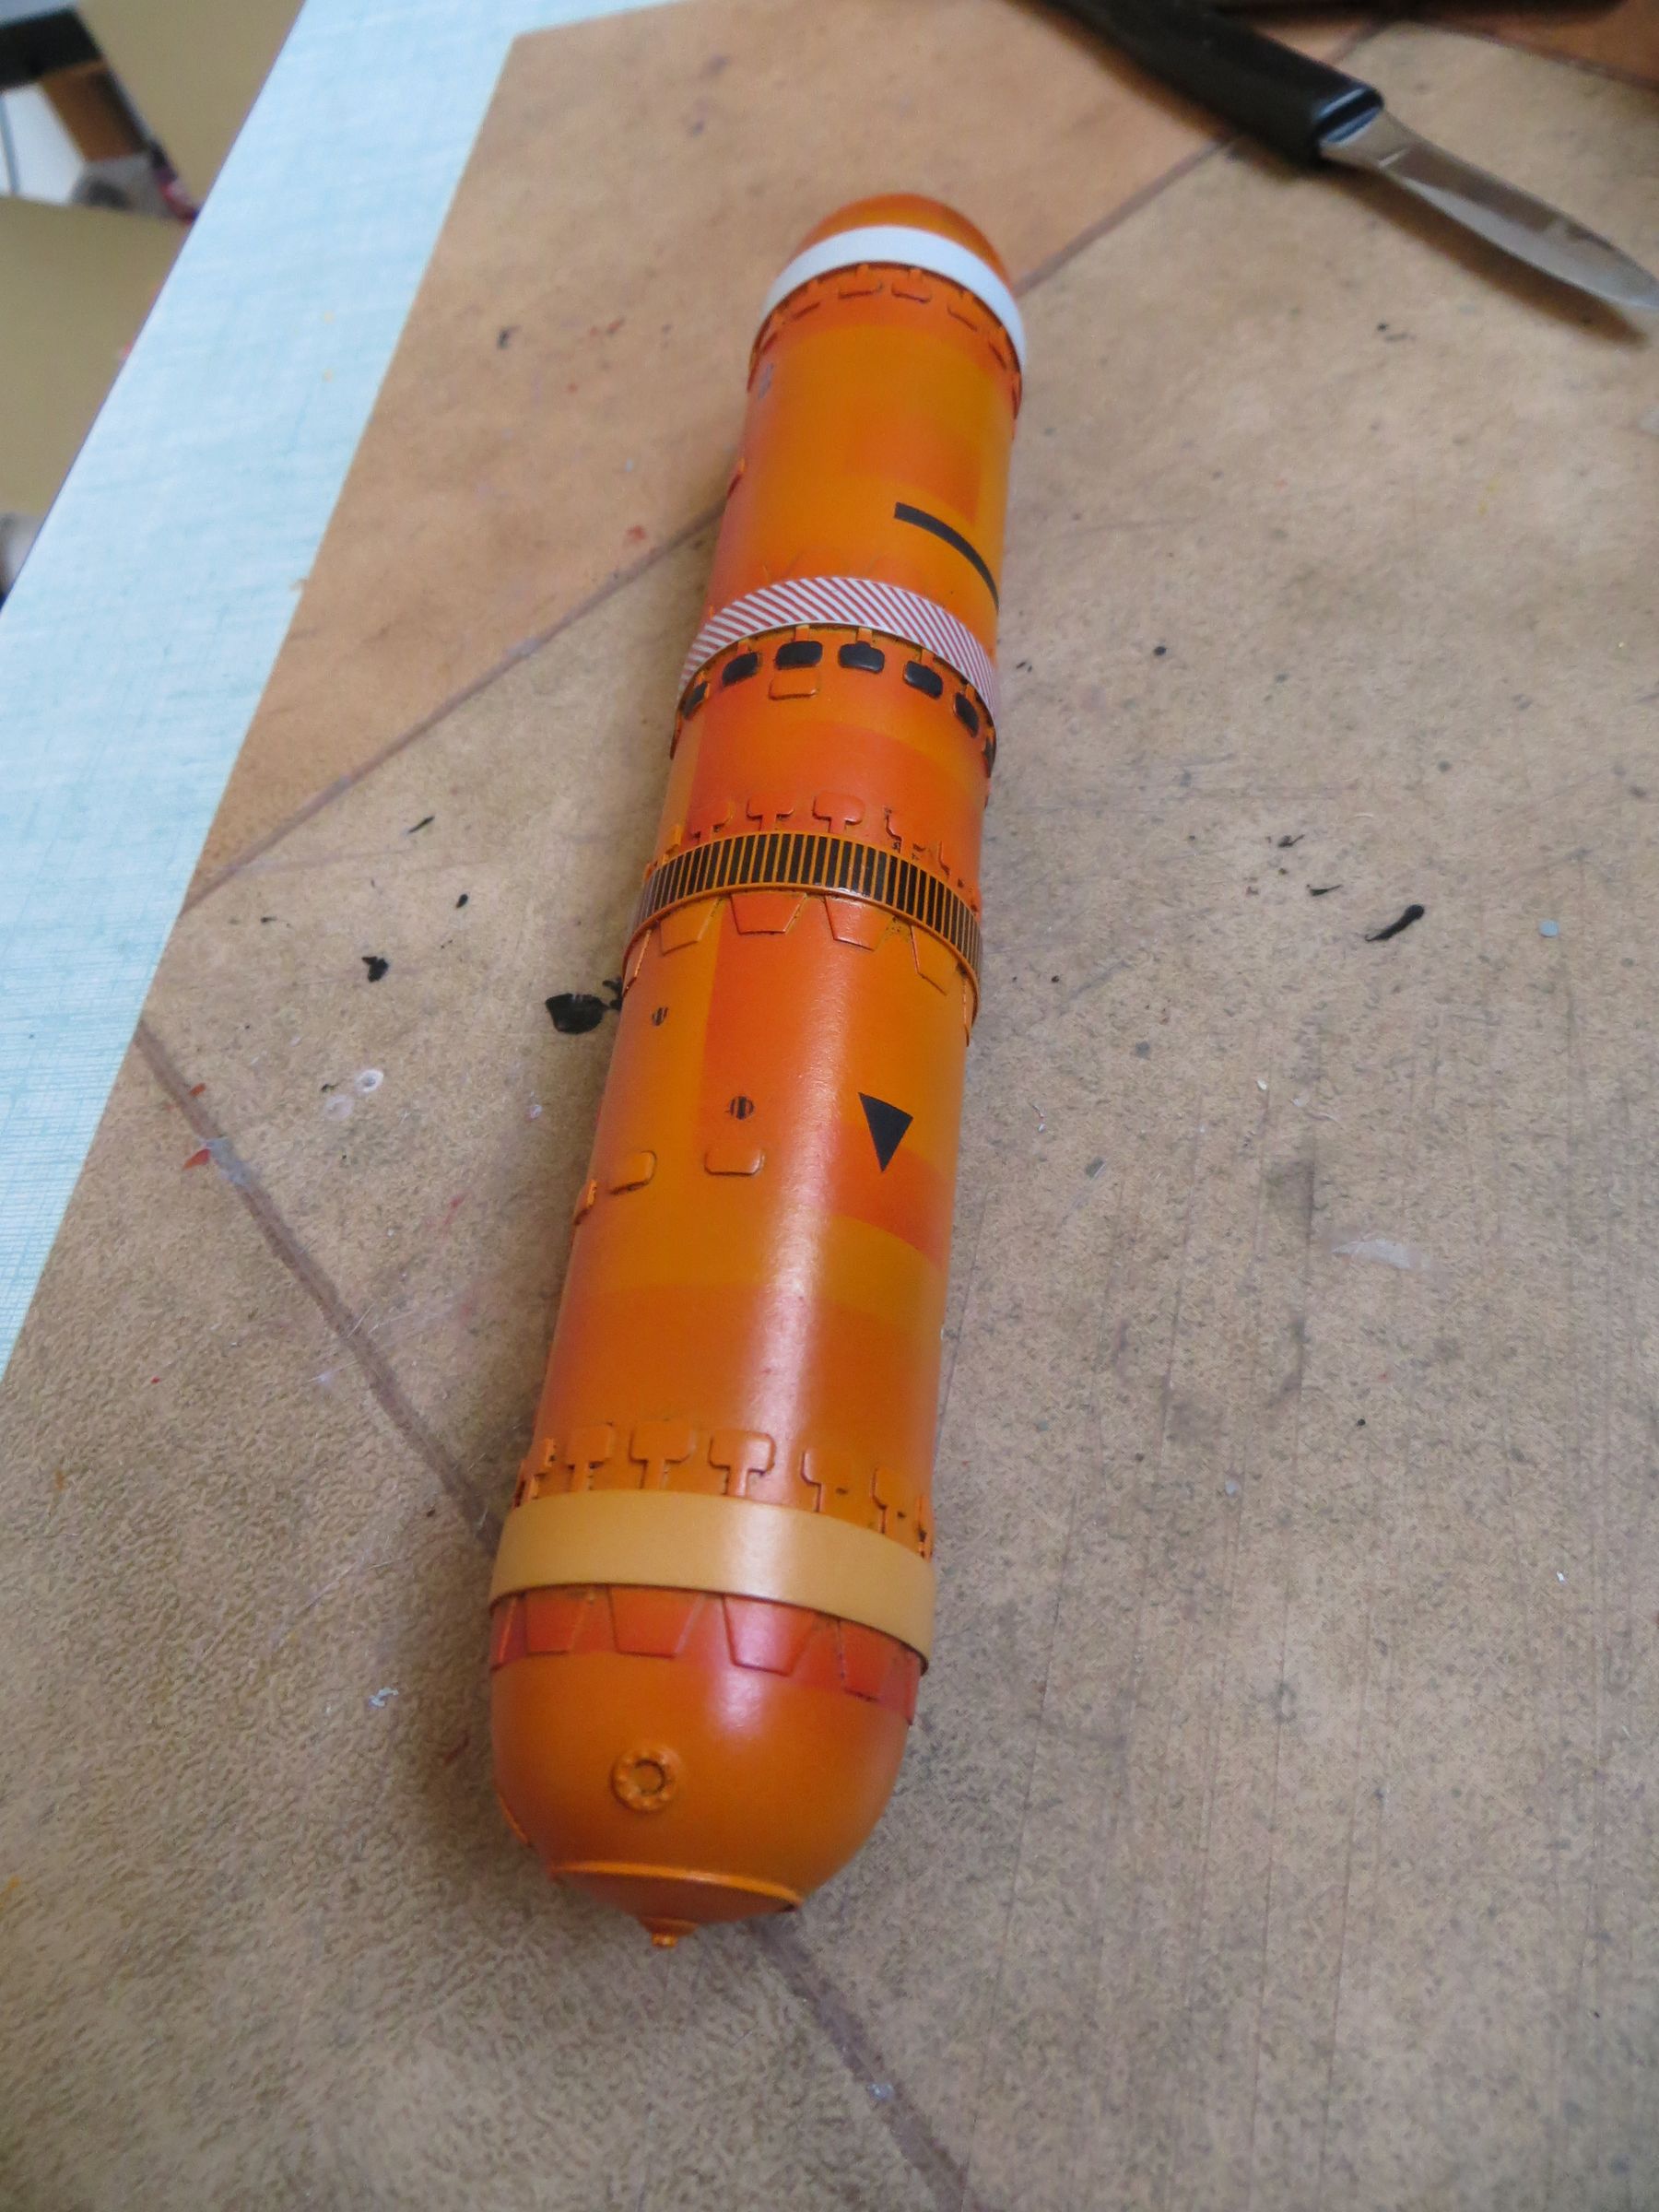
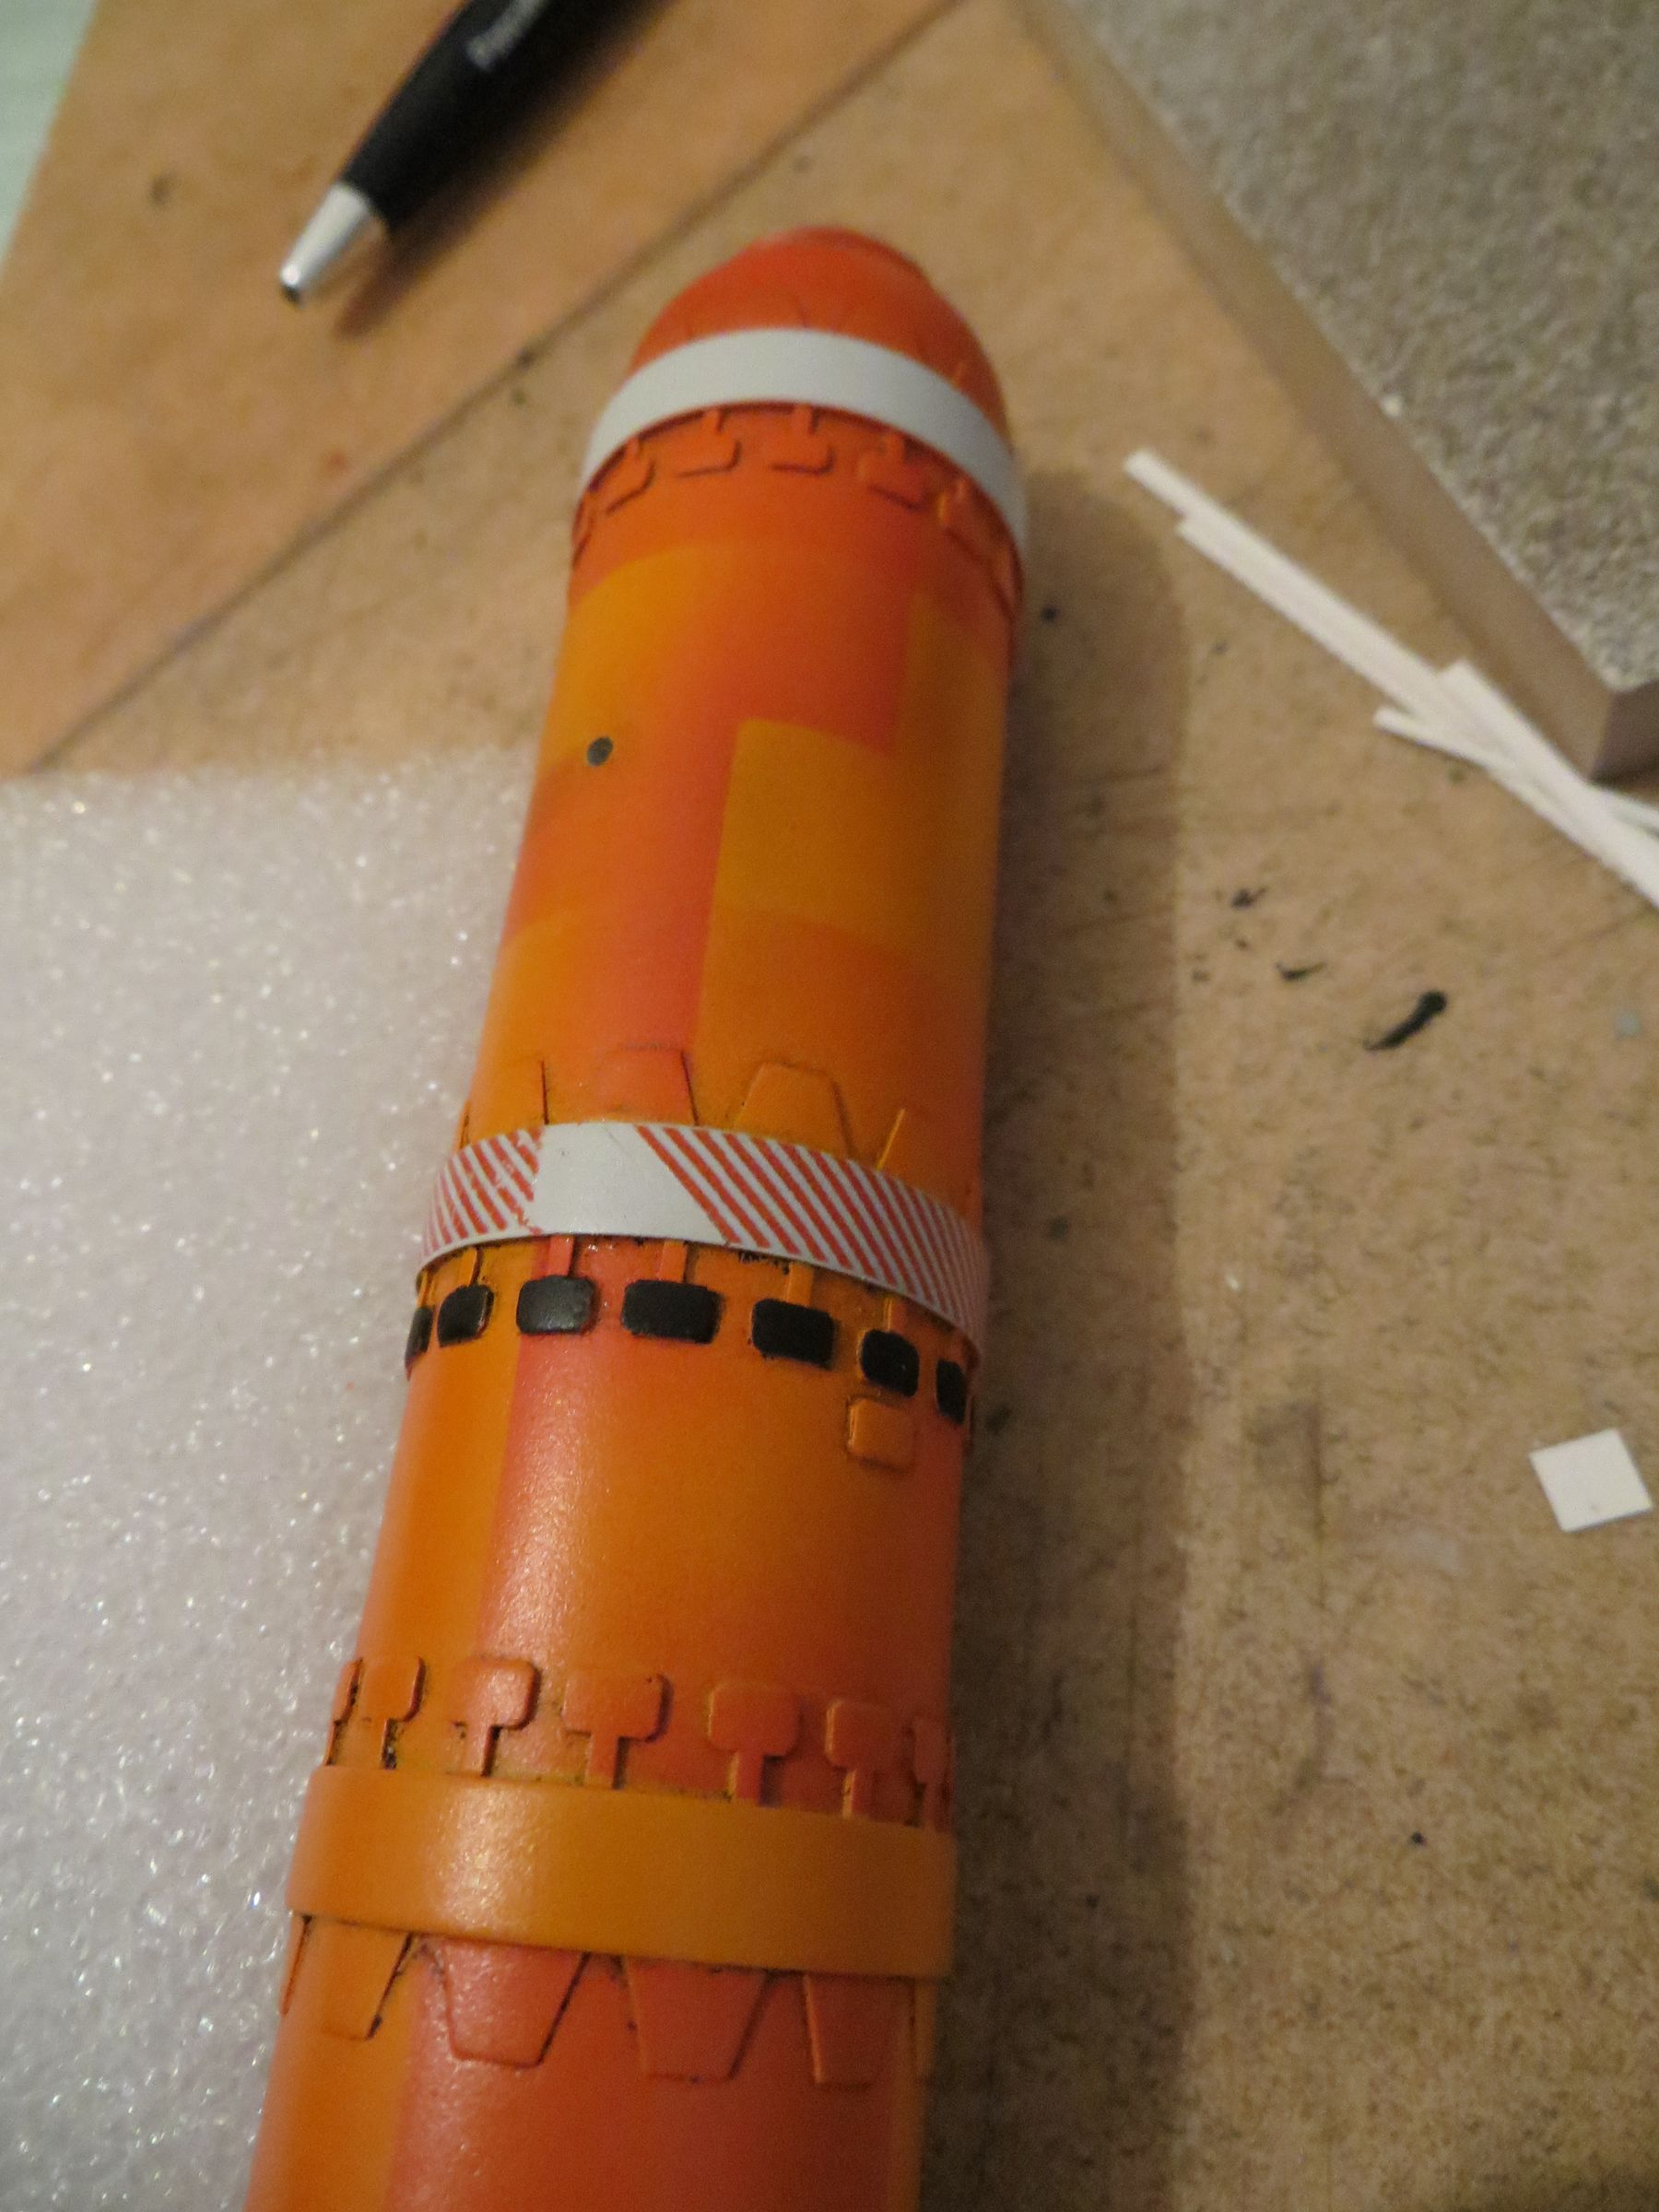
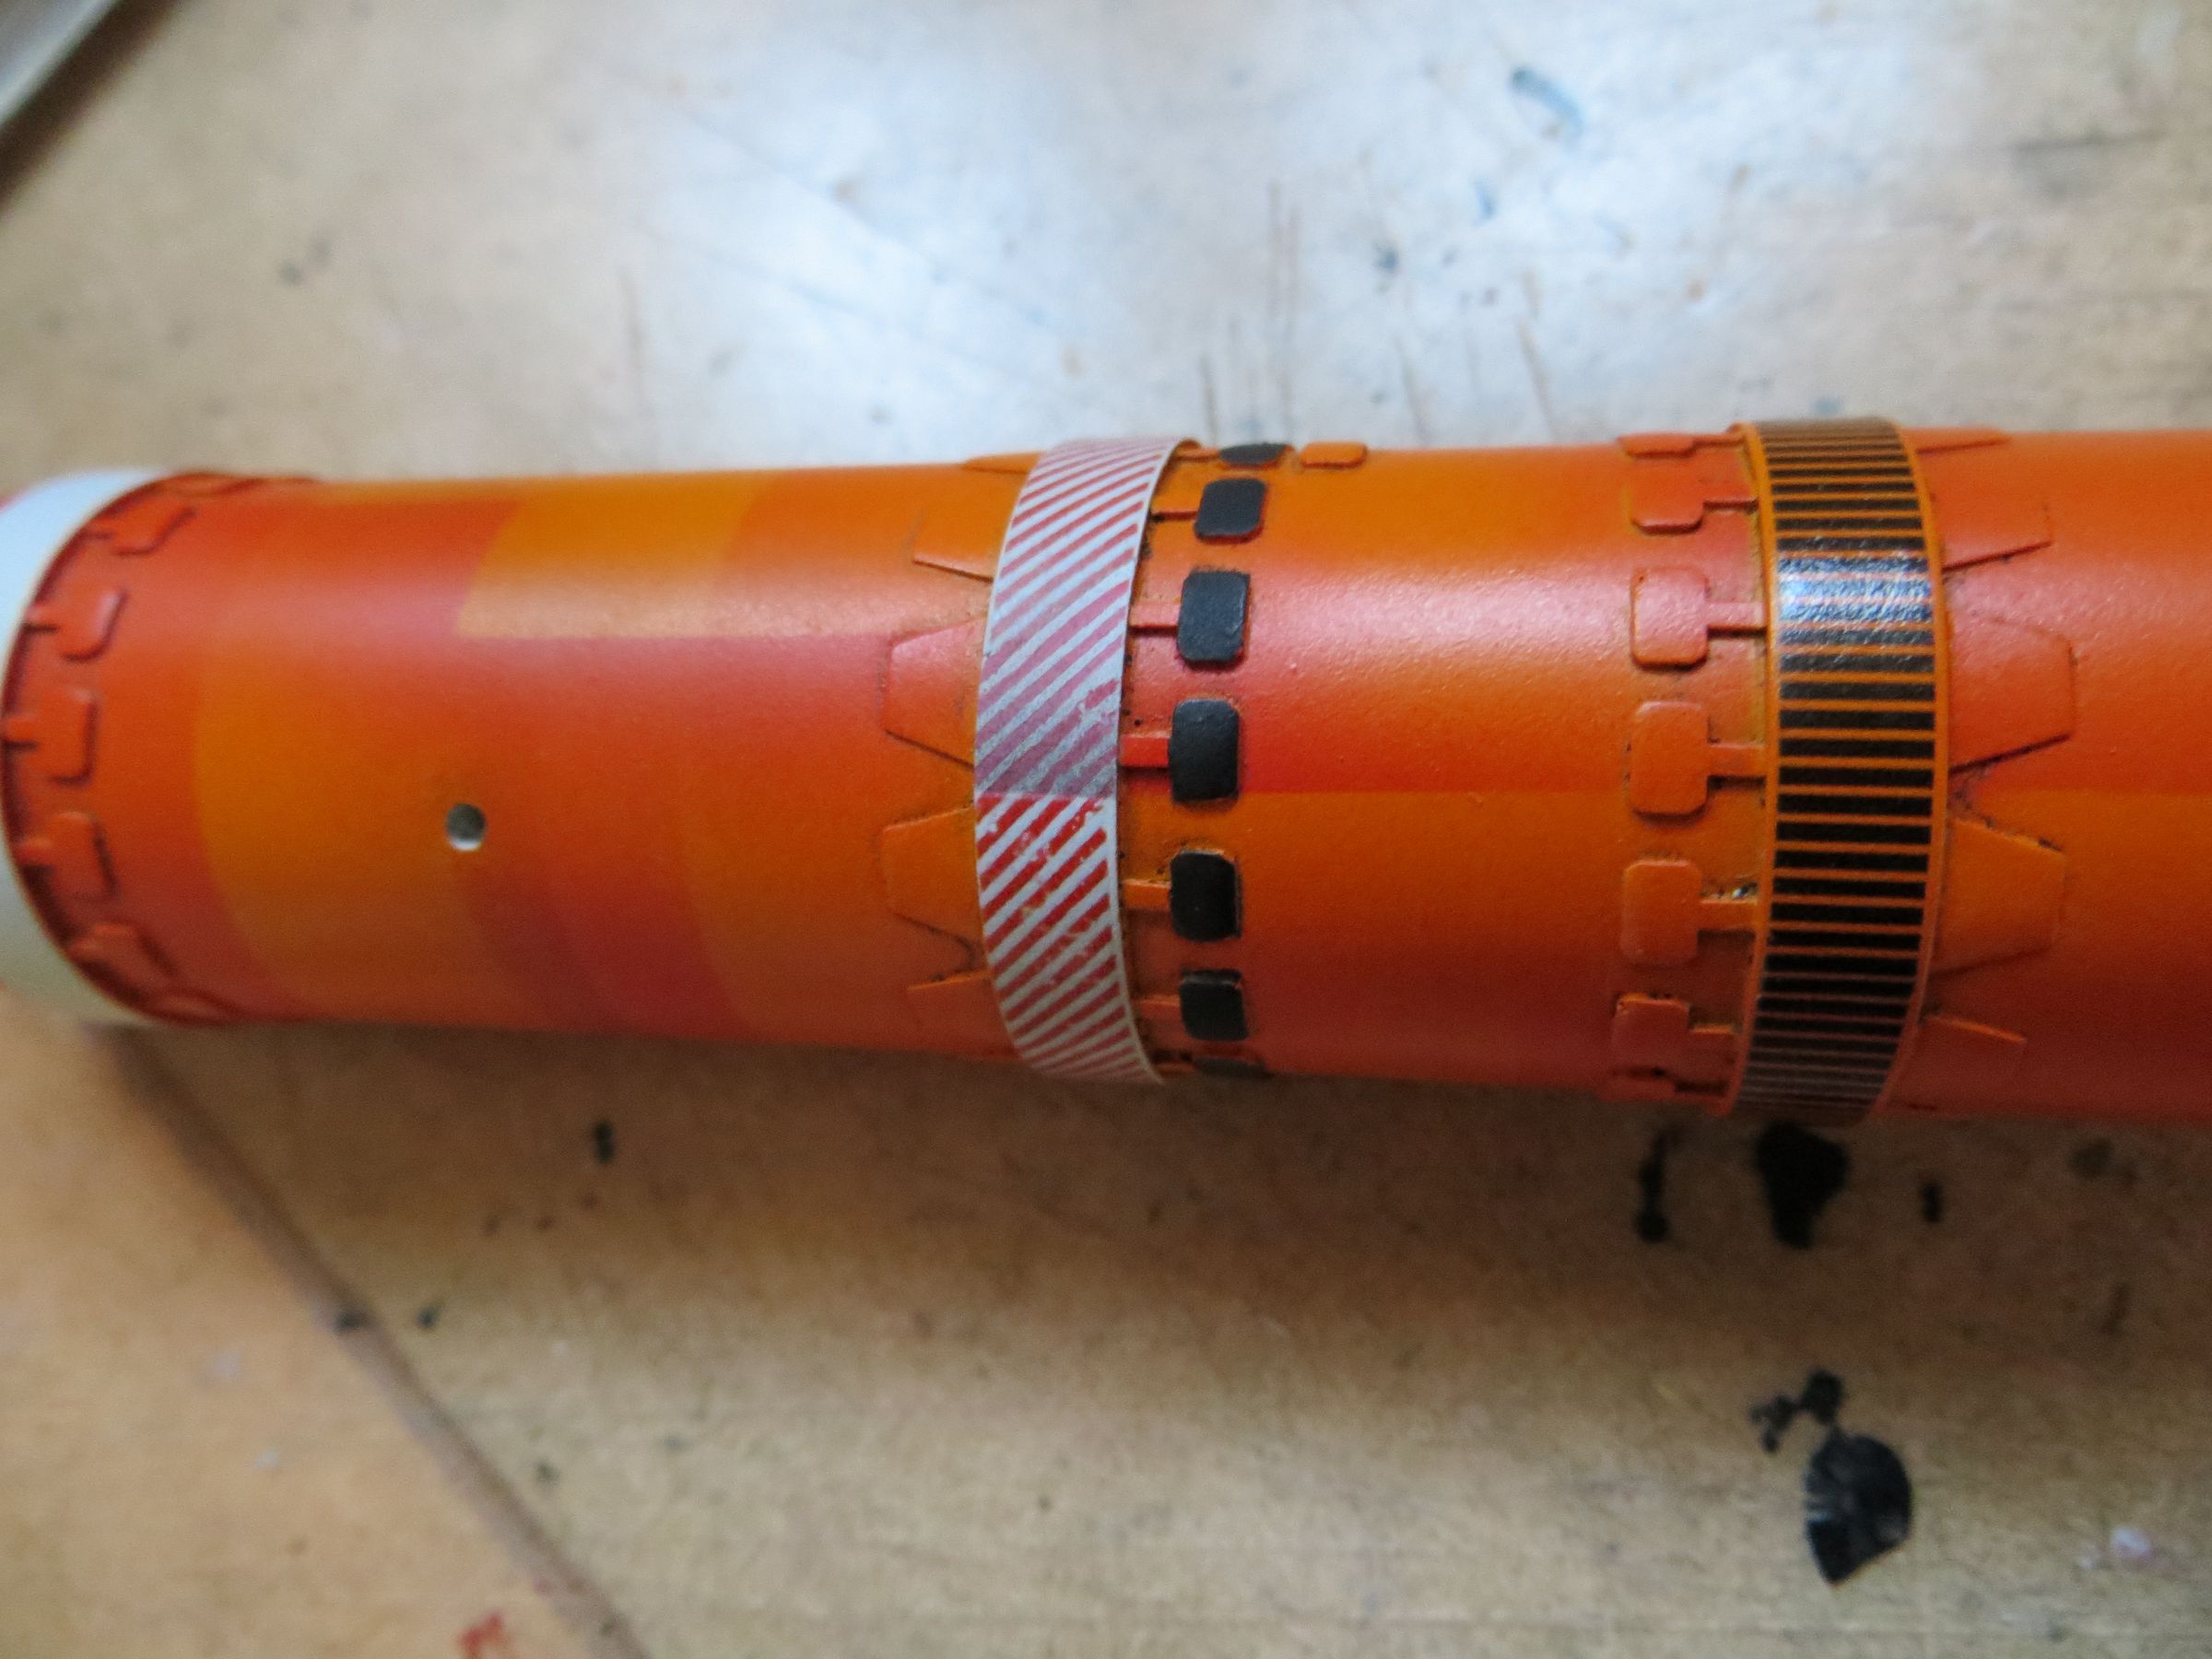
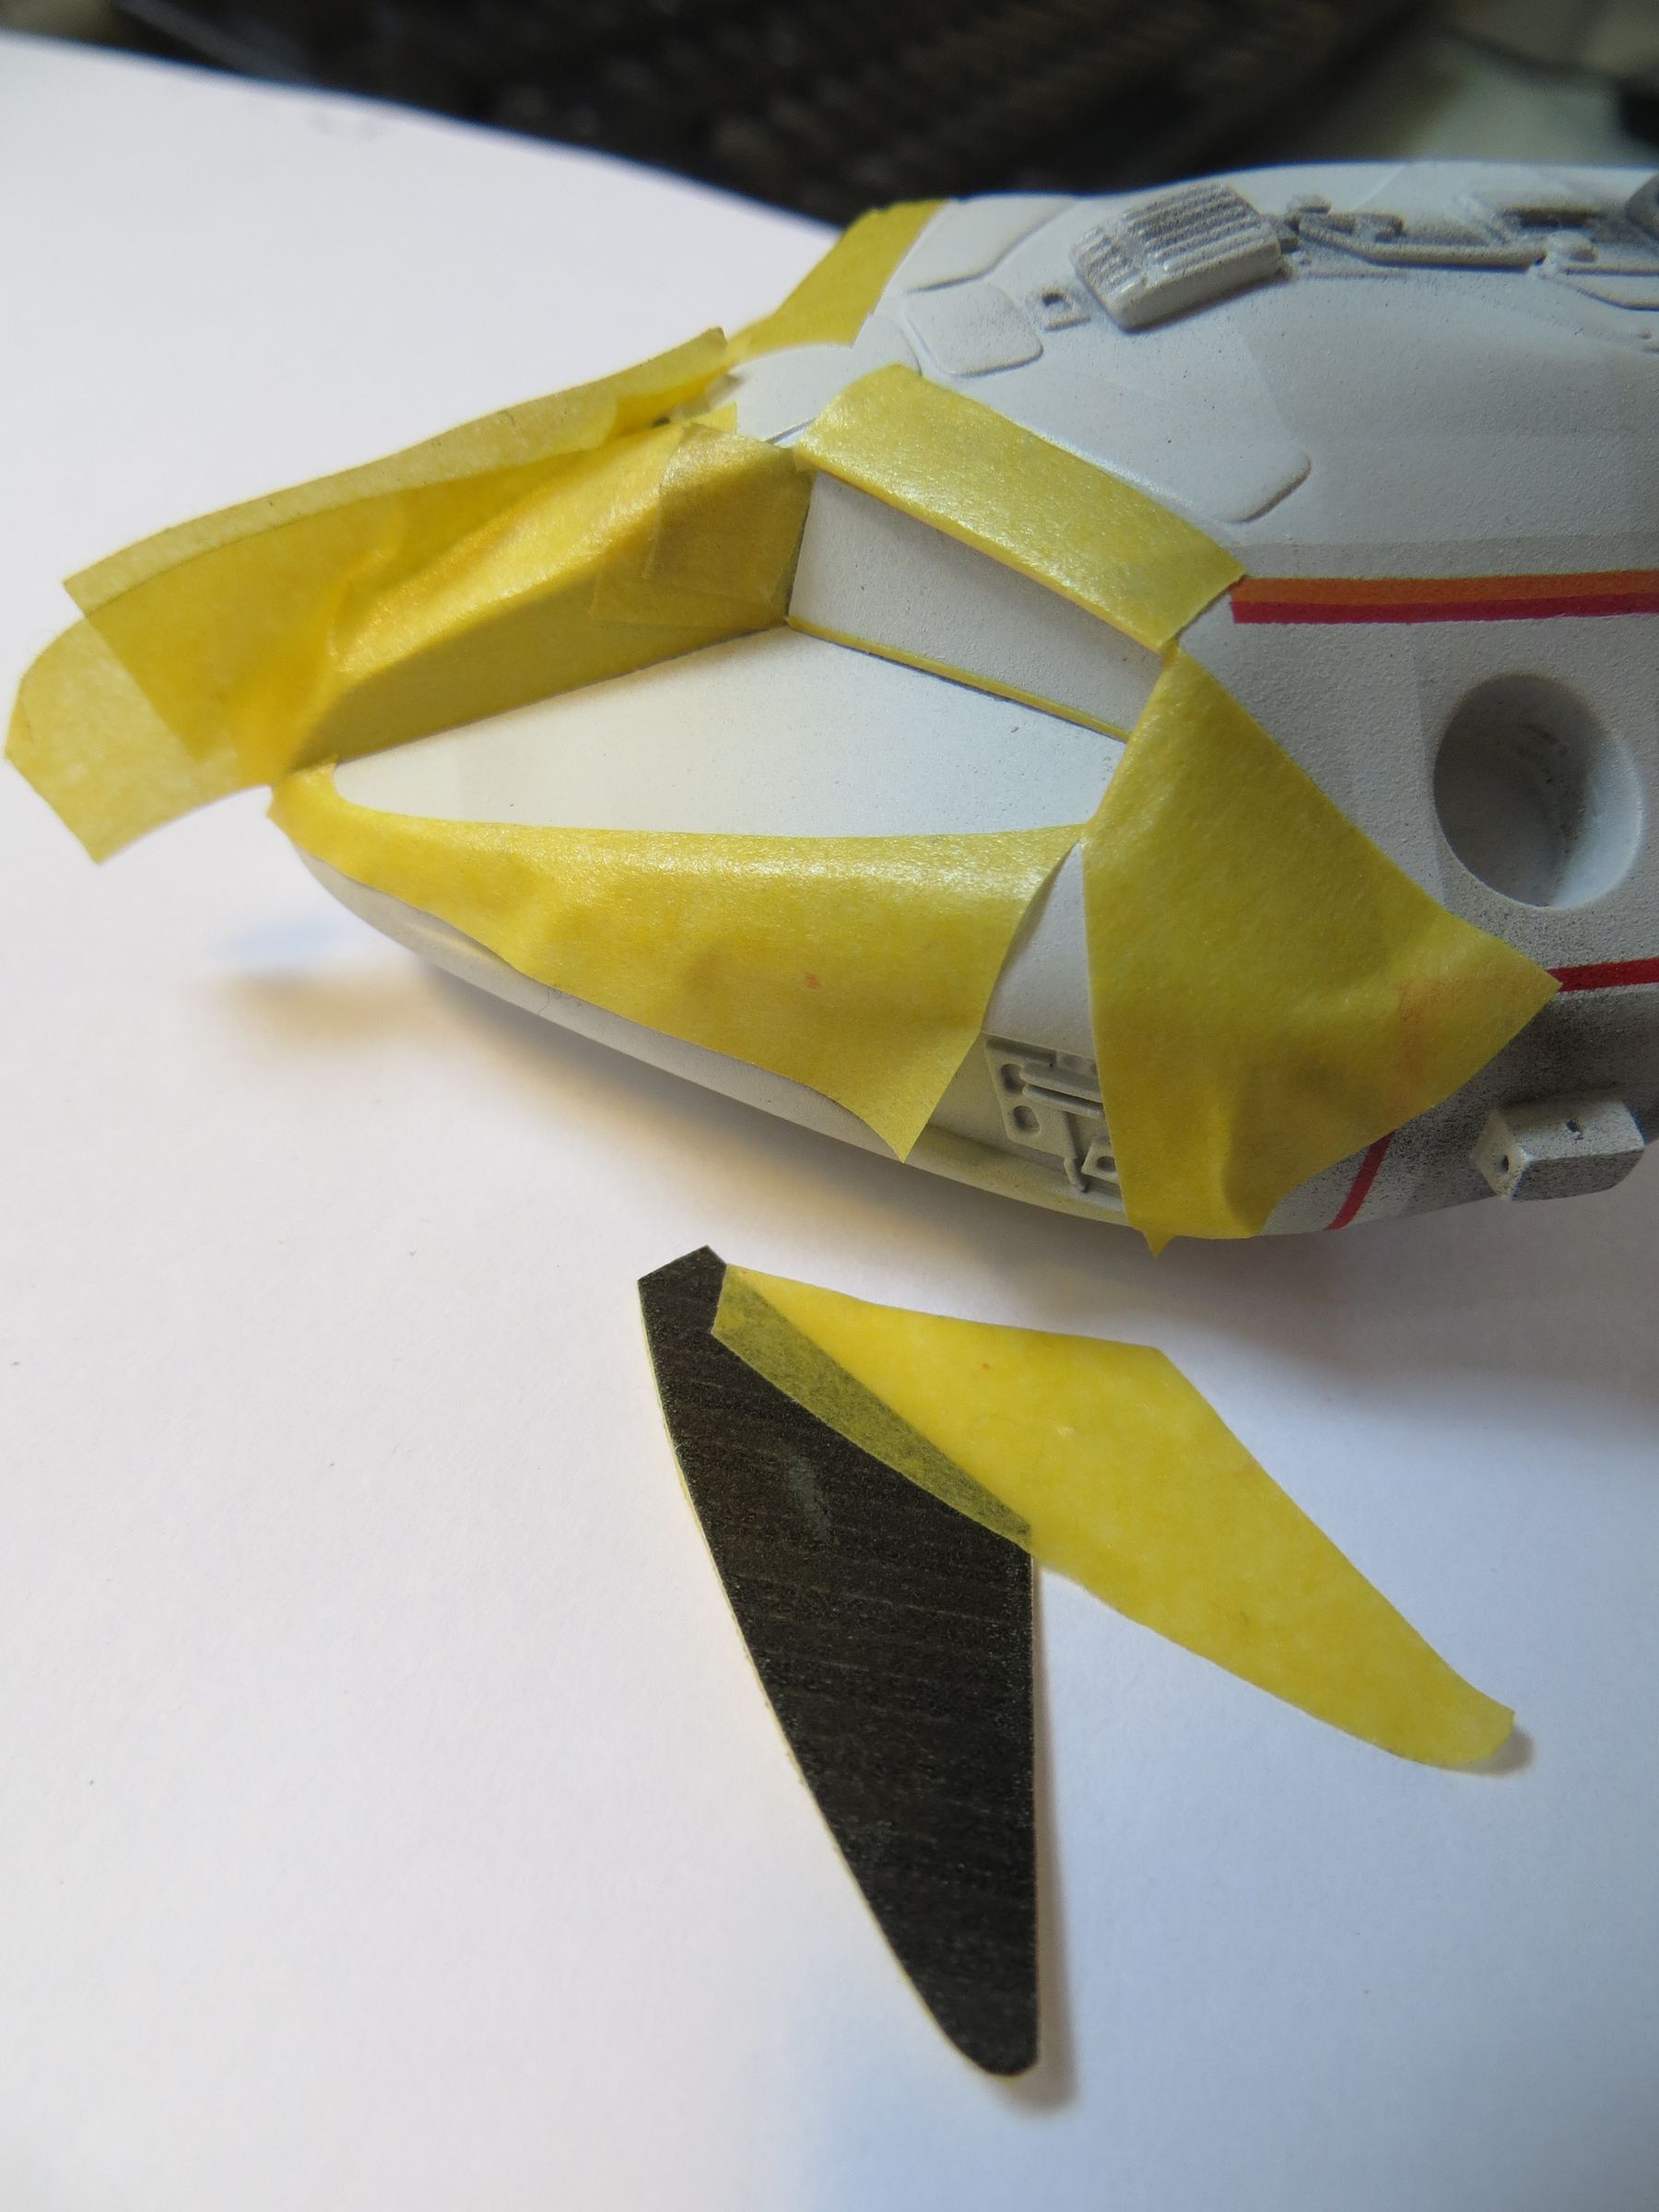
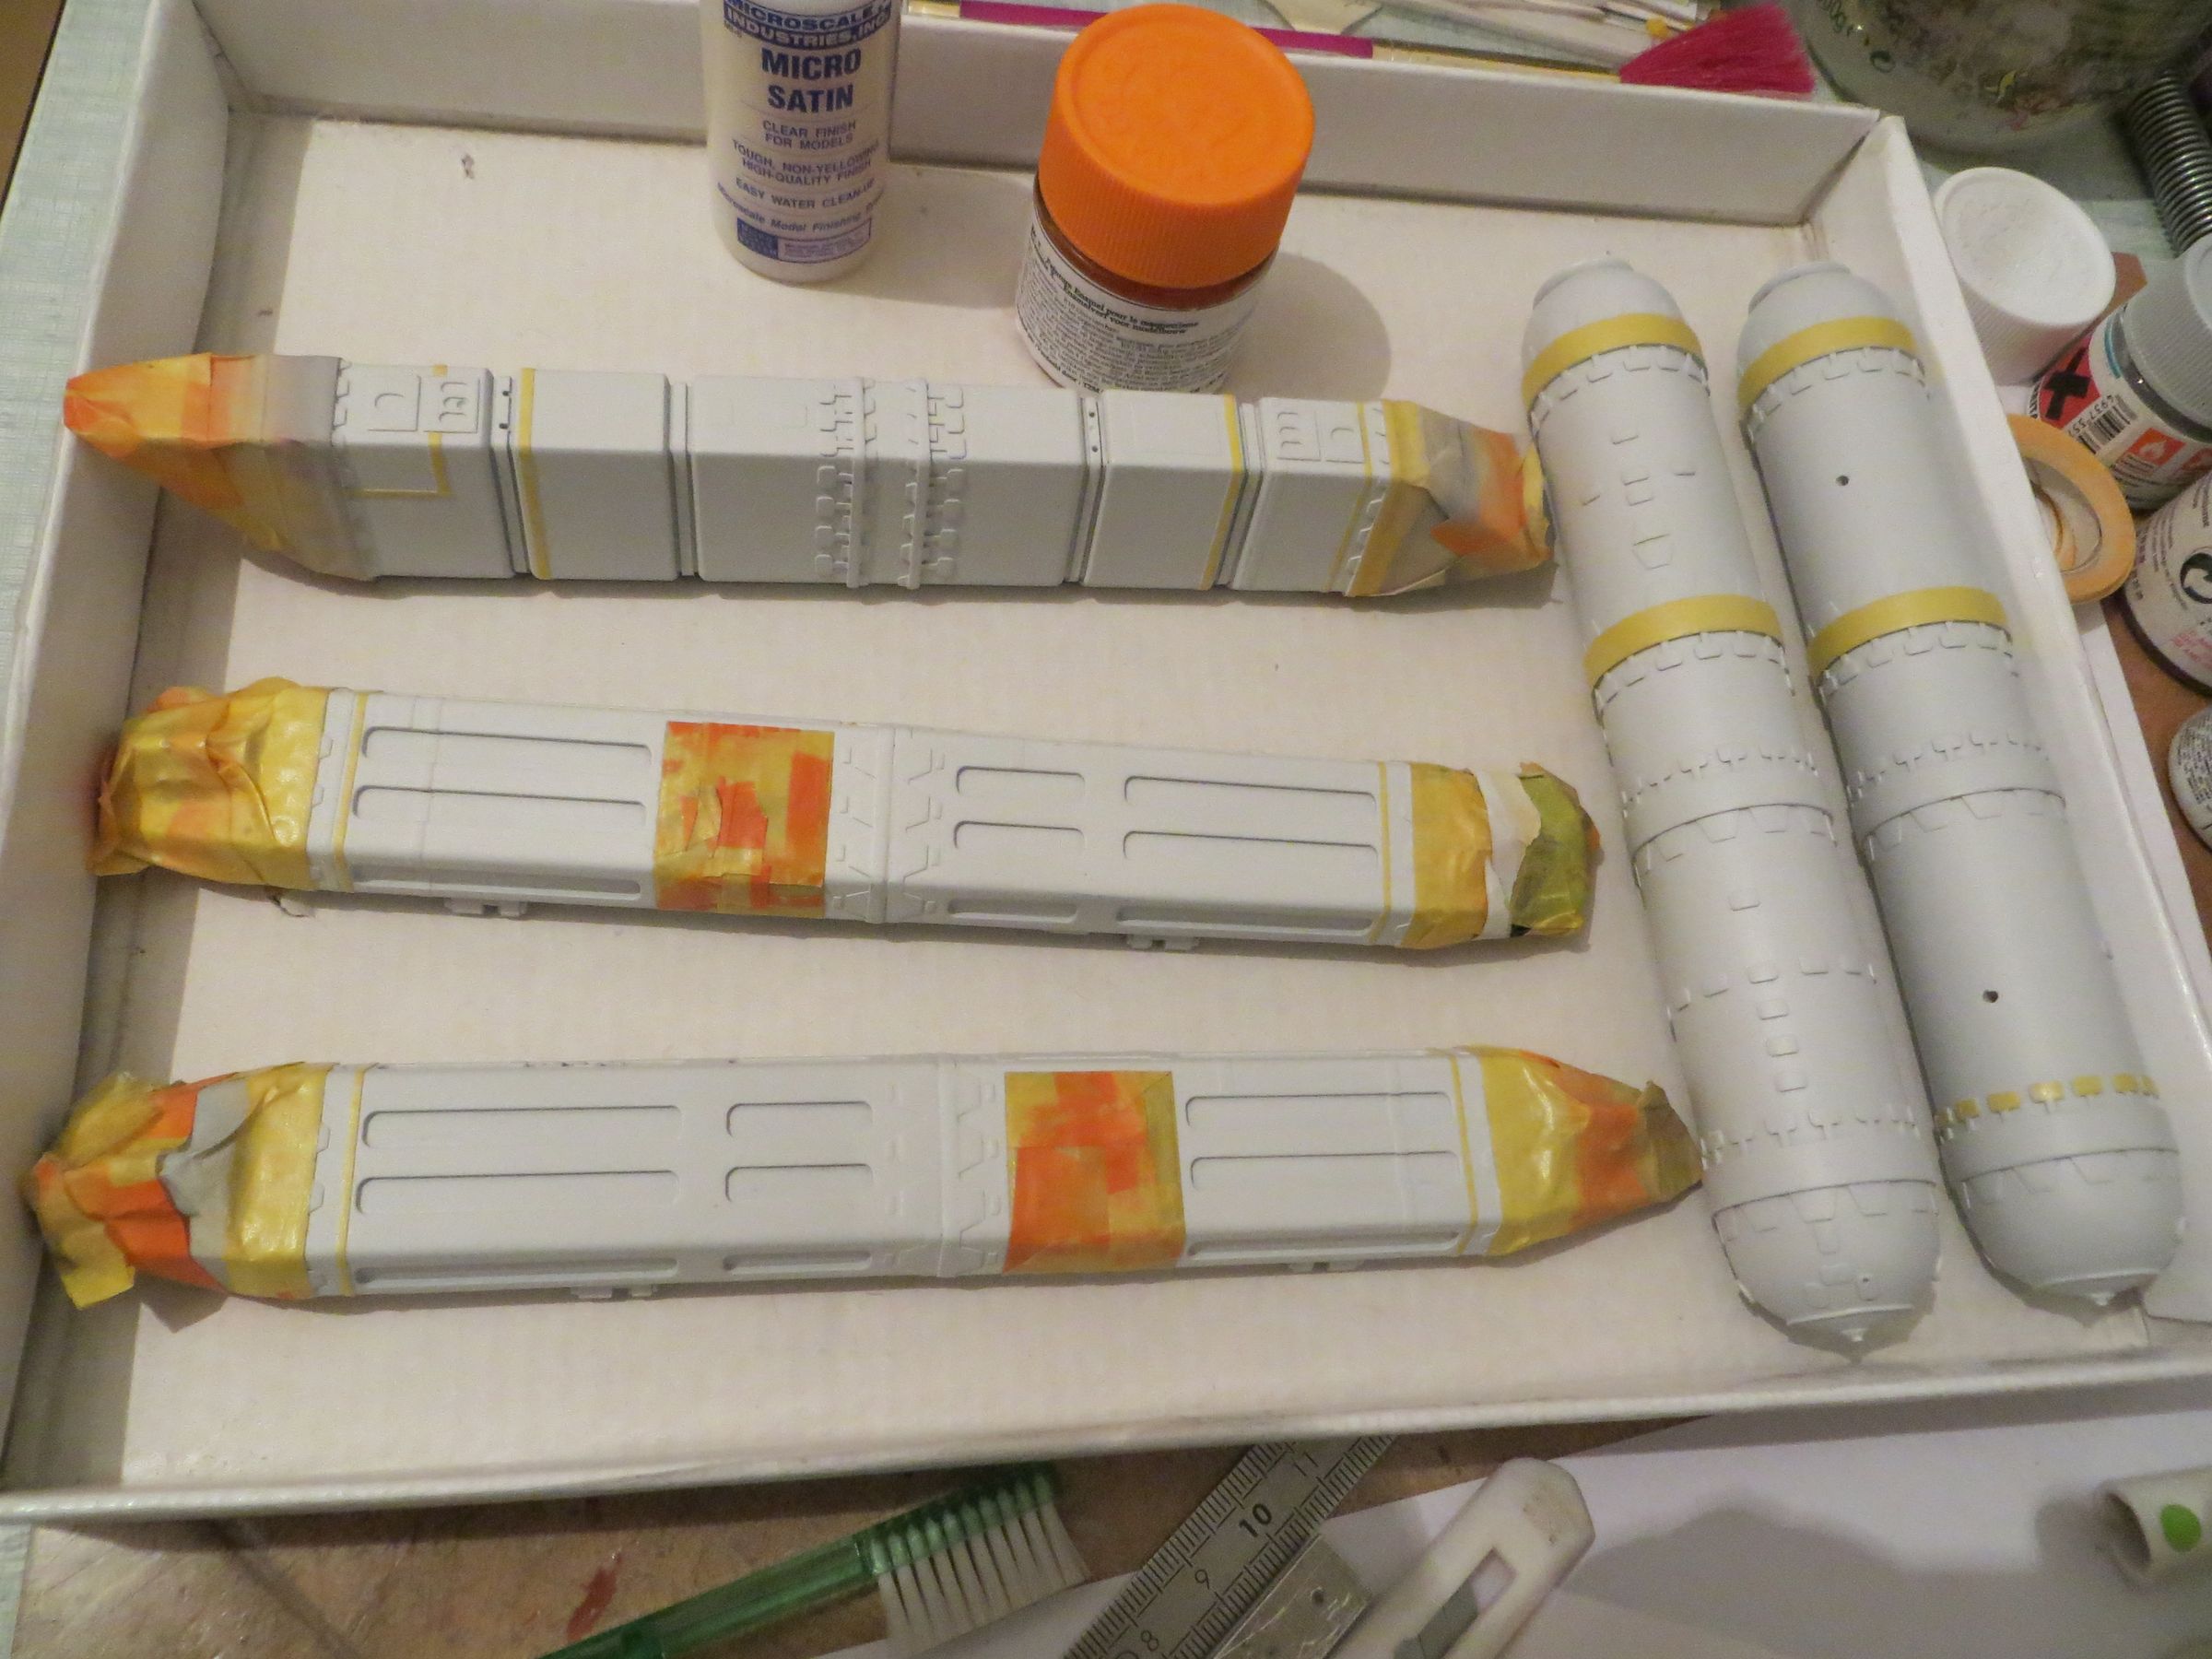
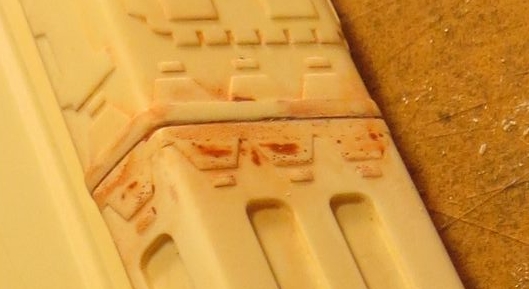
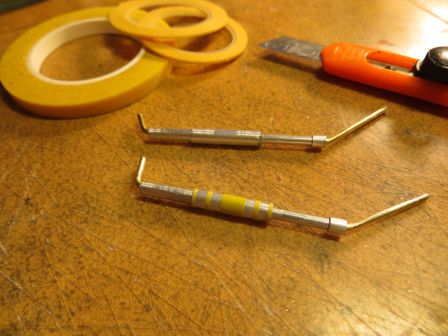
The detail of the shock absorbers have to be done with the provided gray tape, but I was not able to get my hand on them again... and that was good because I replaced it by masking tapes (Tamyia, Micron) I had and of the appropriate width, thus saving me on cutting.
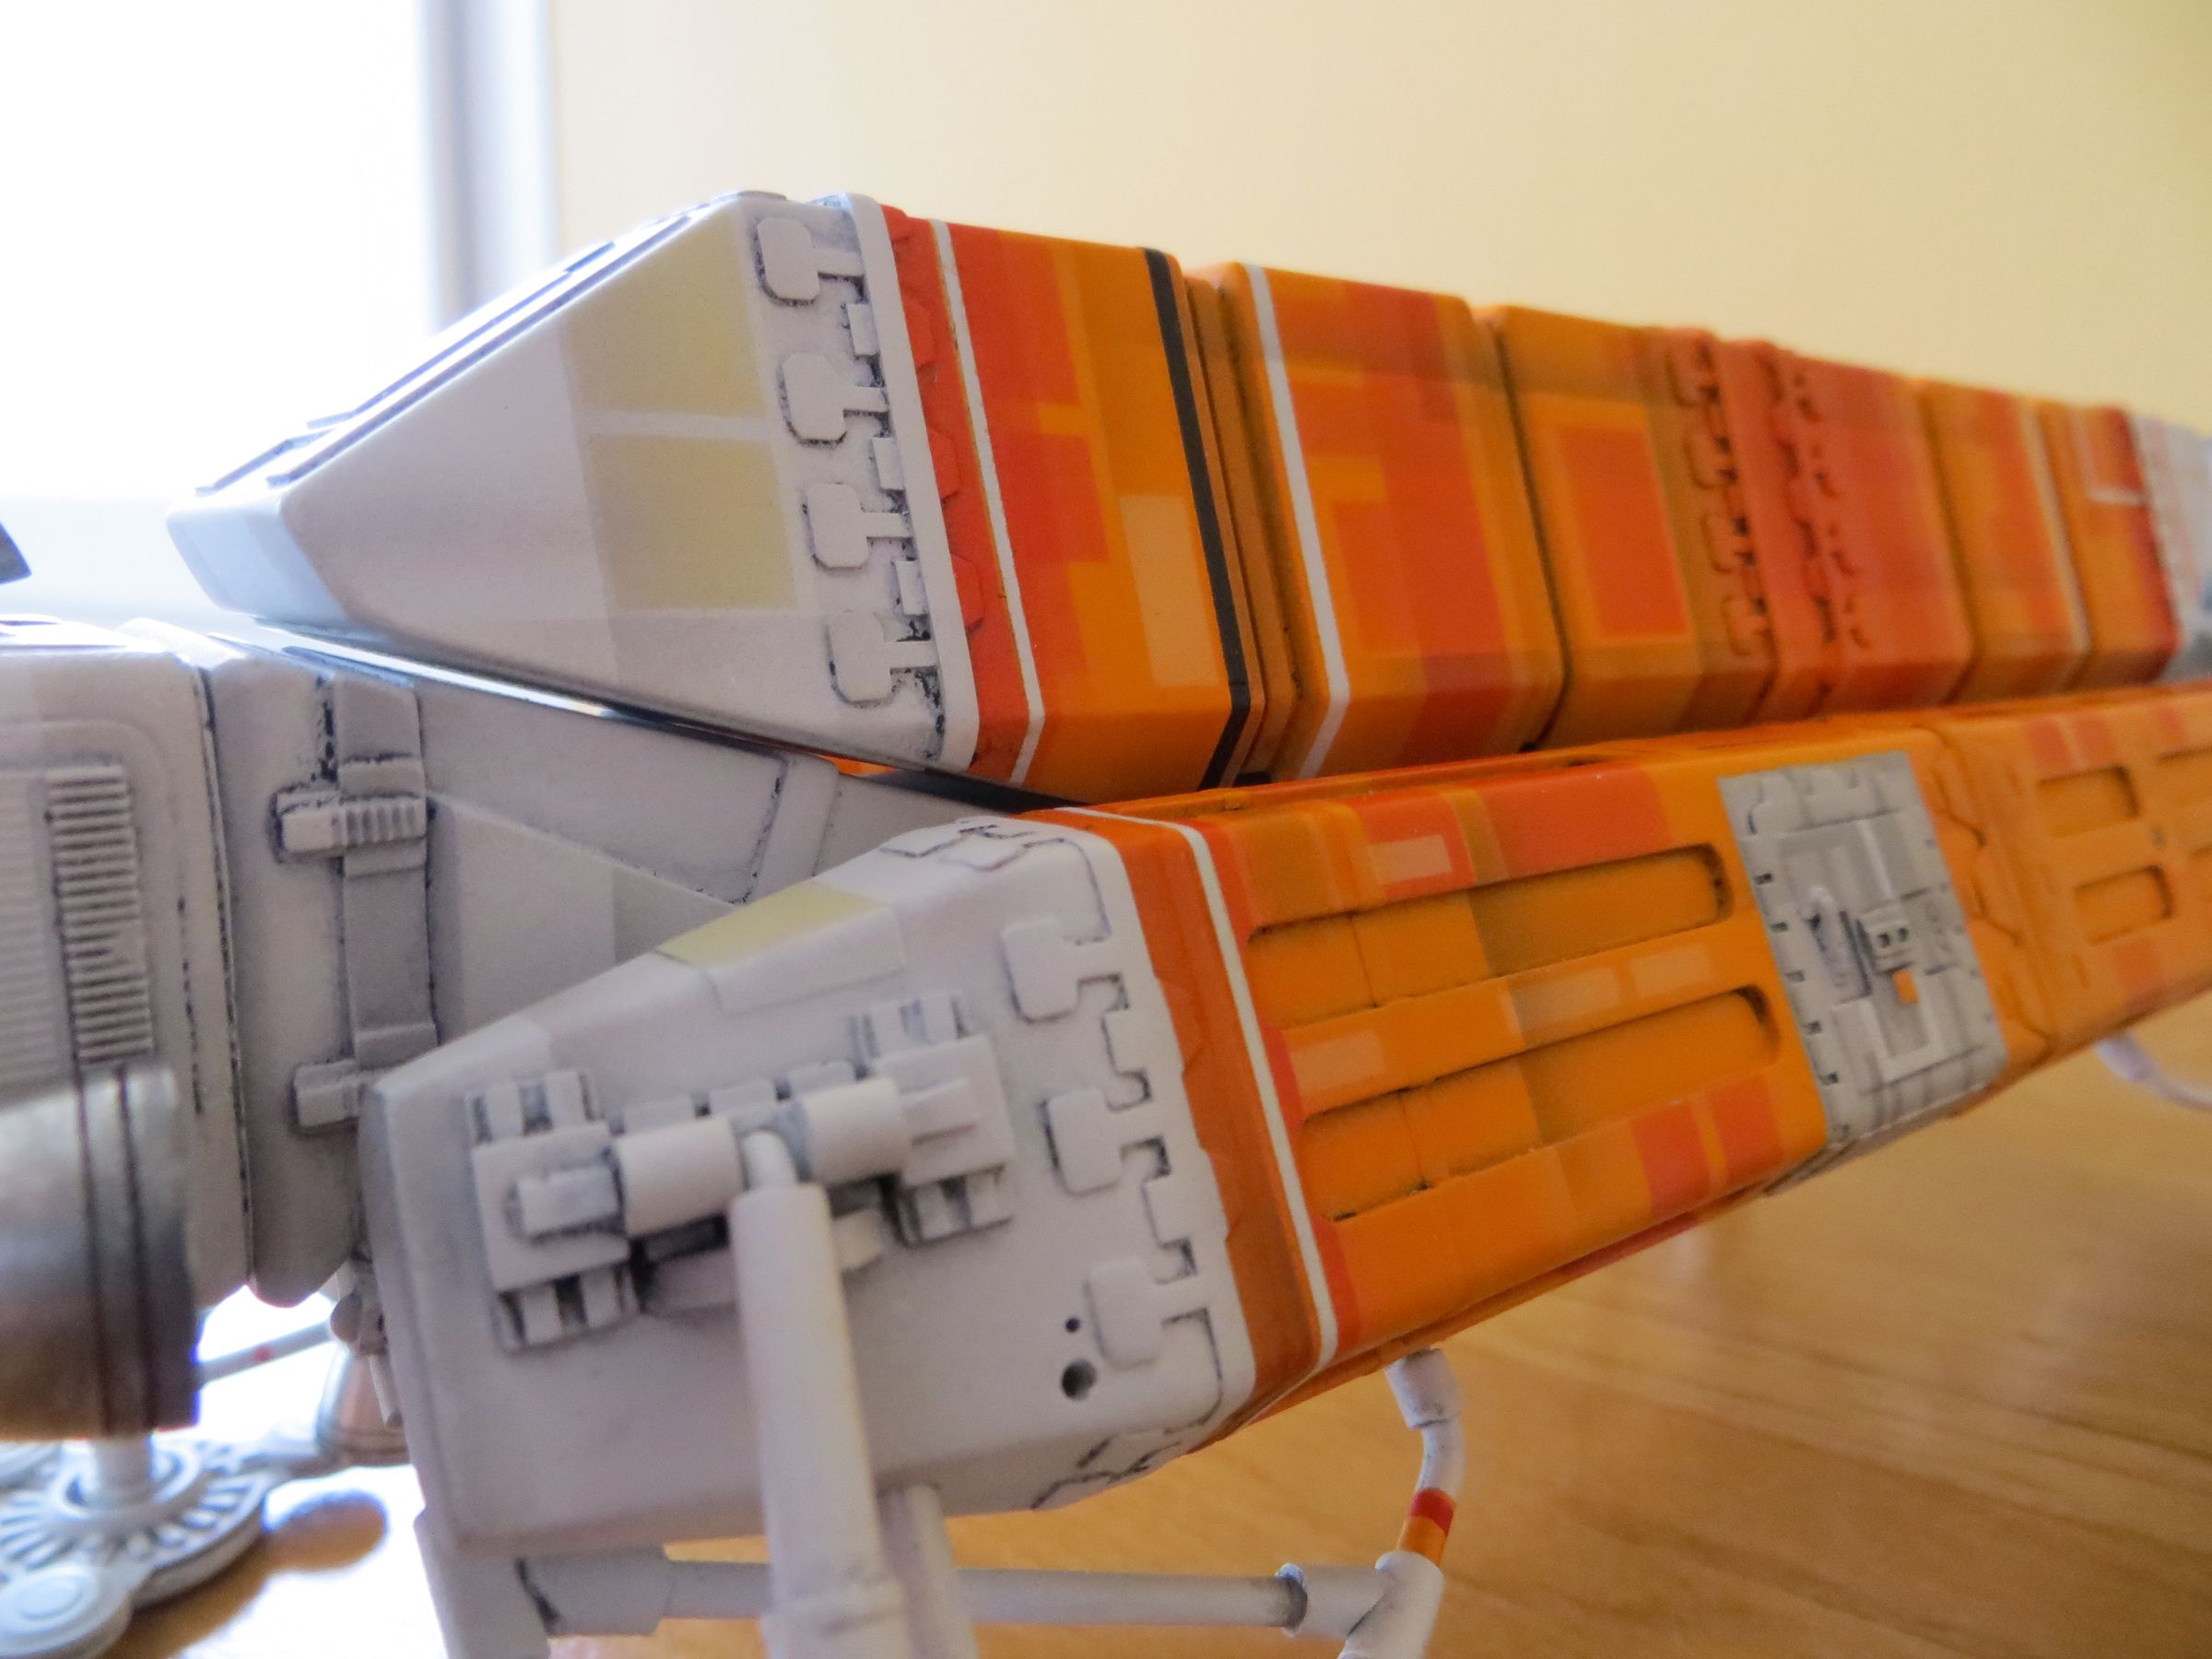
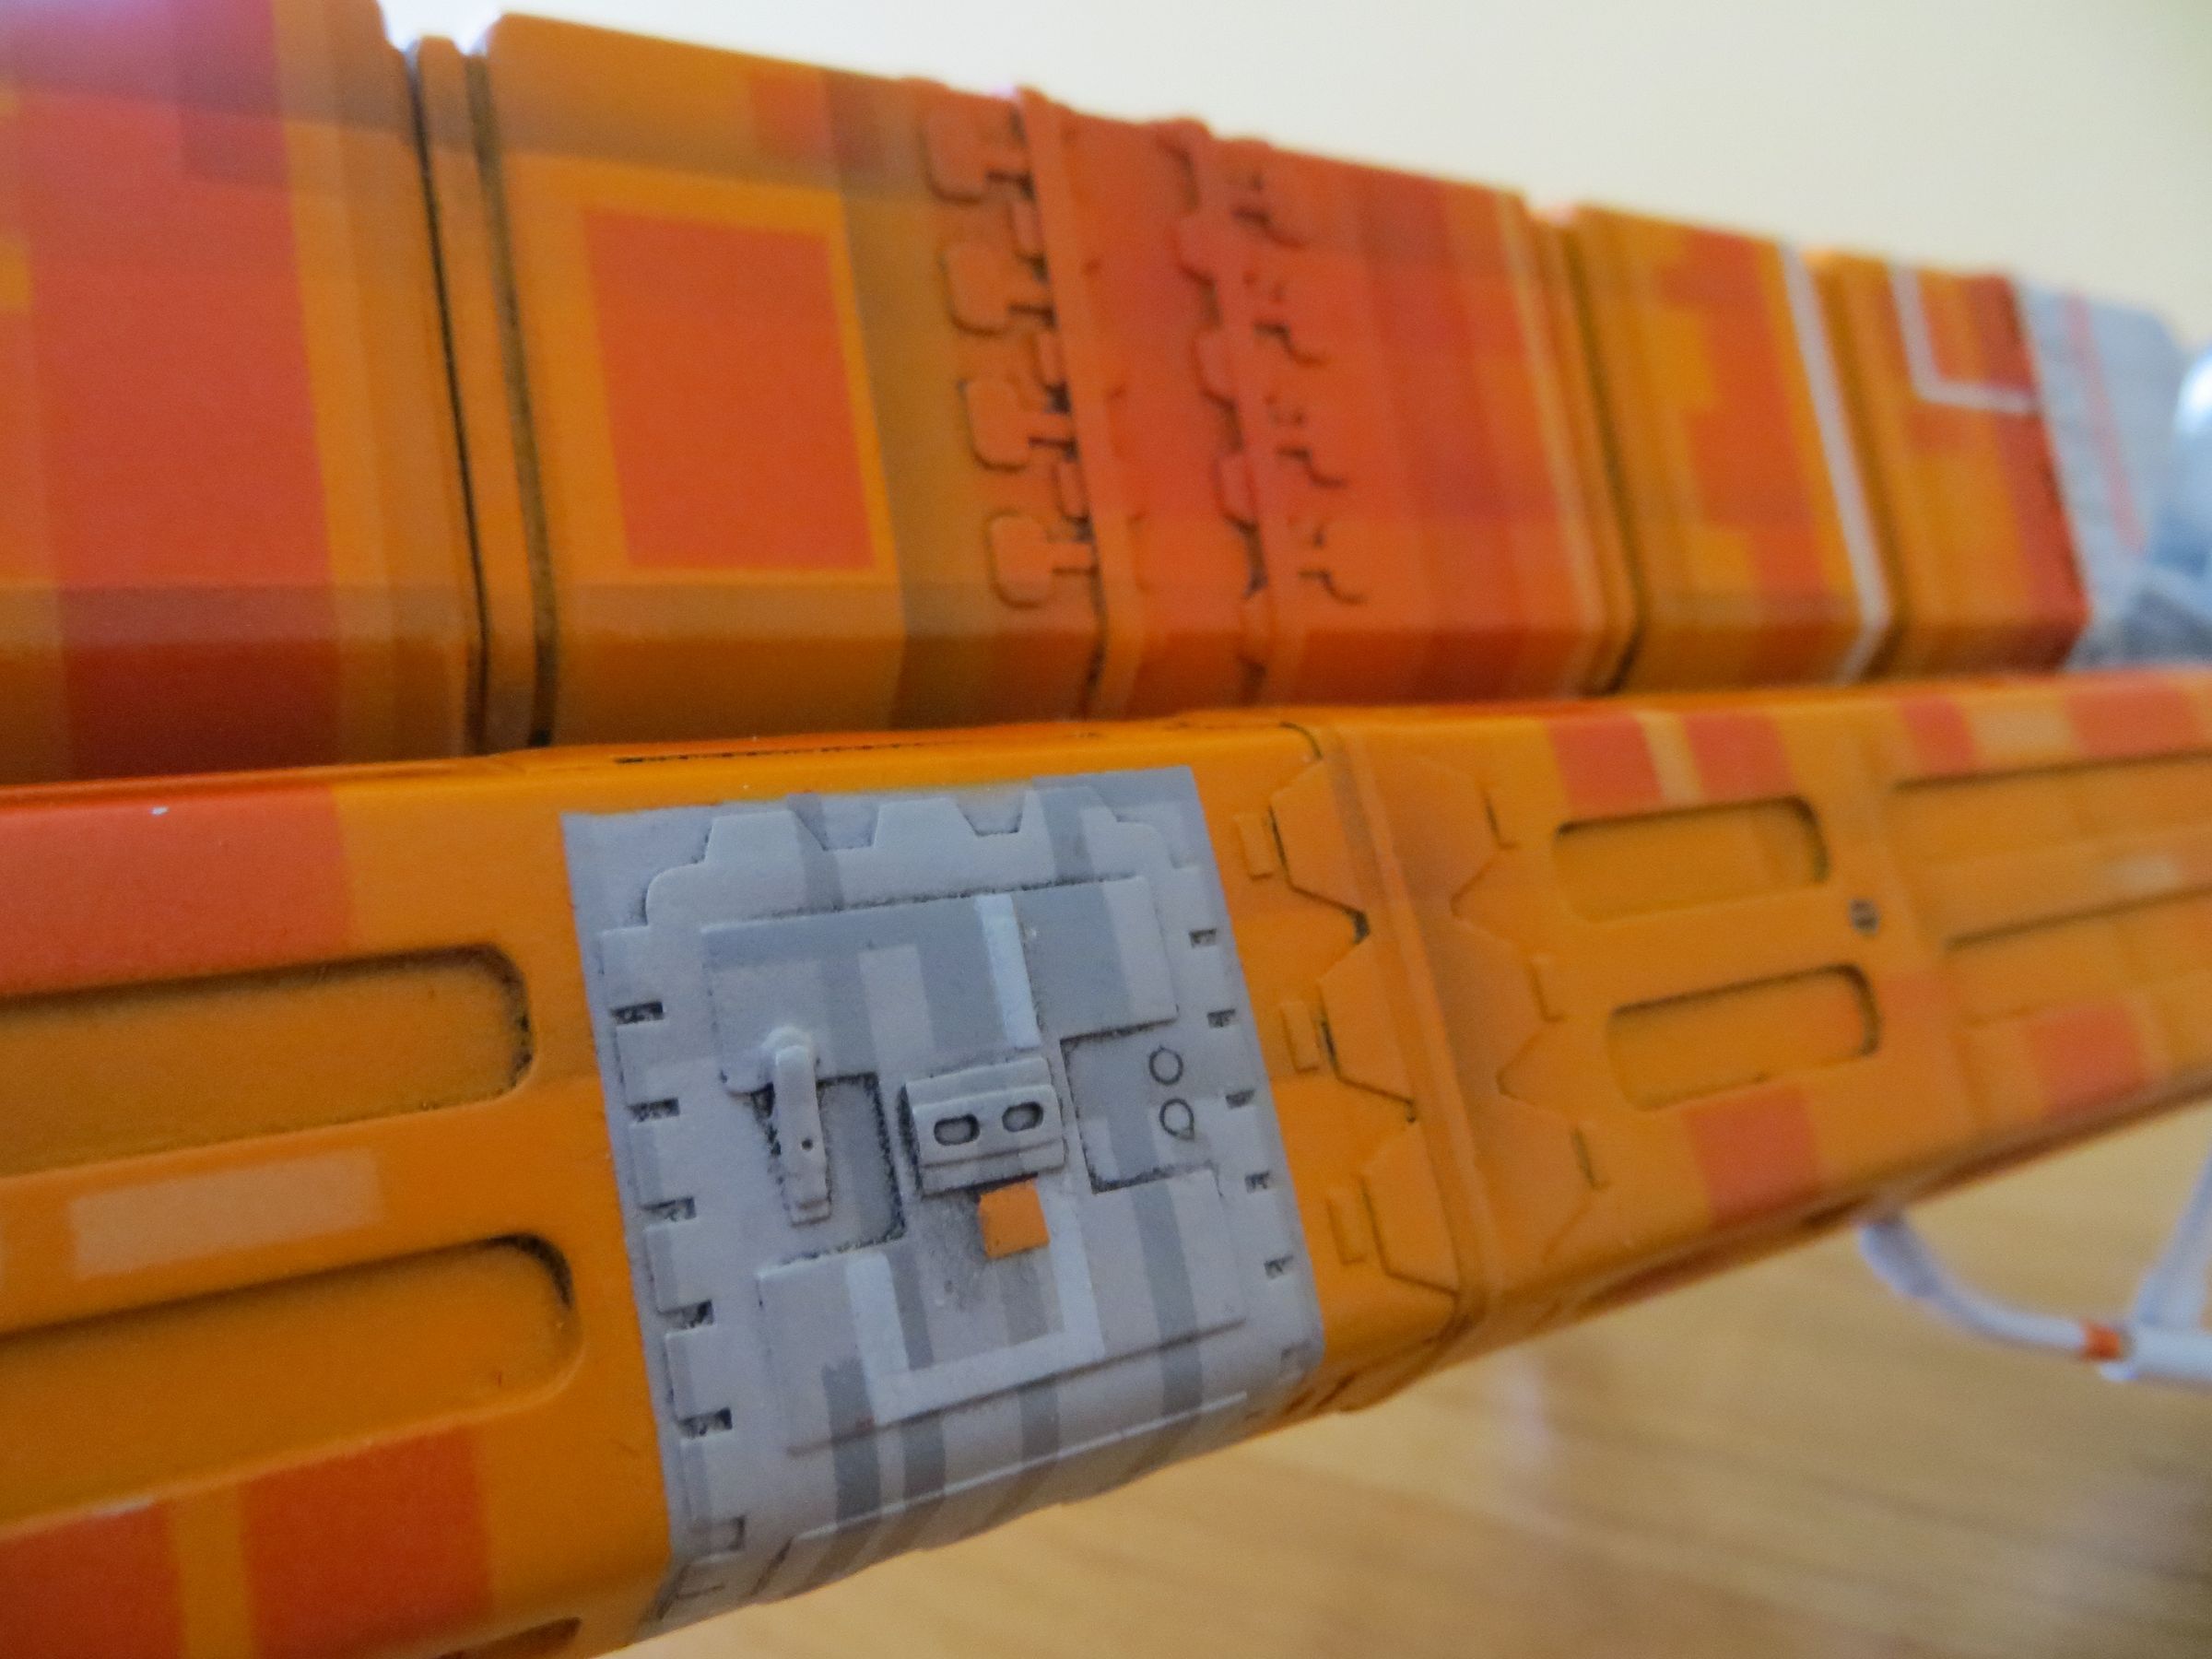
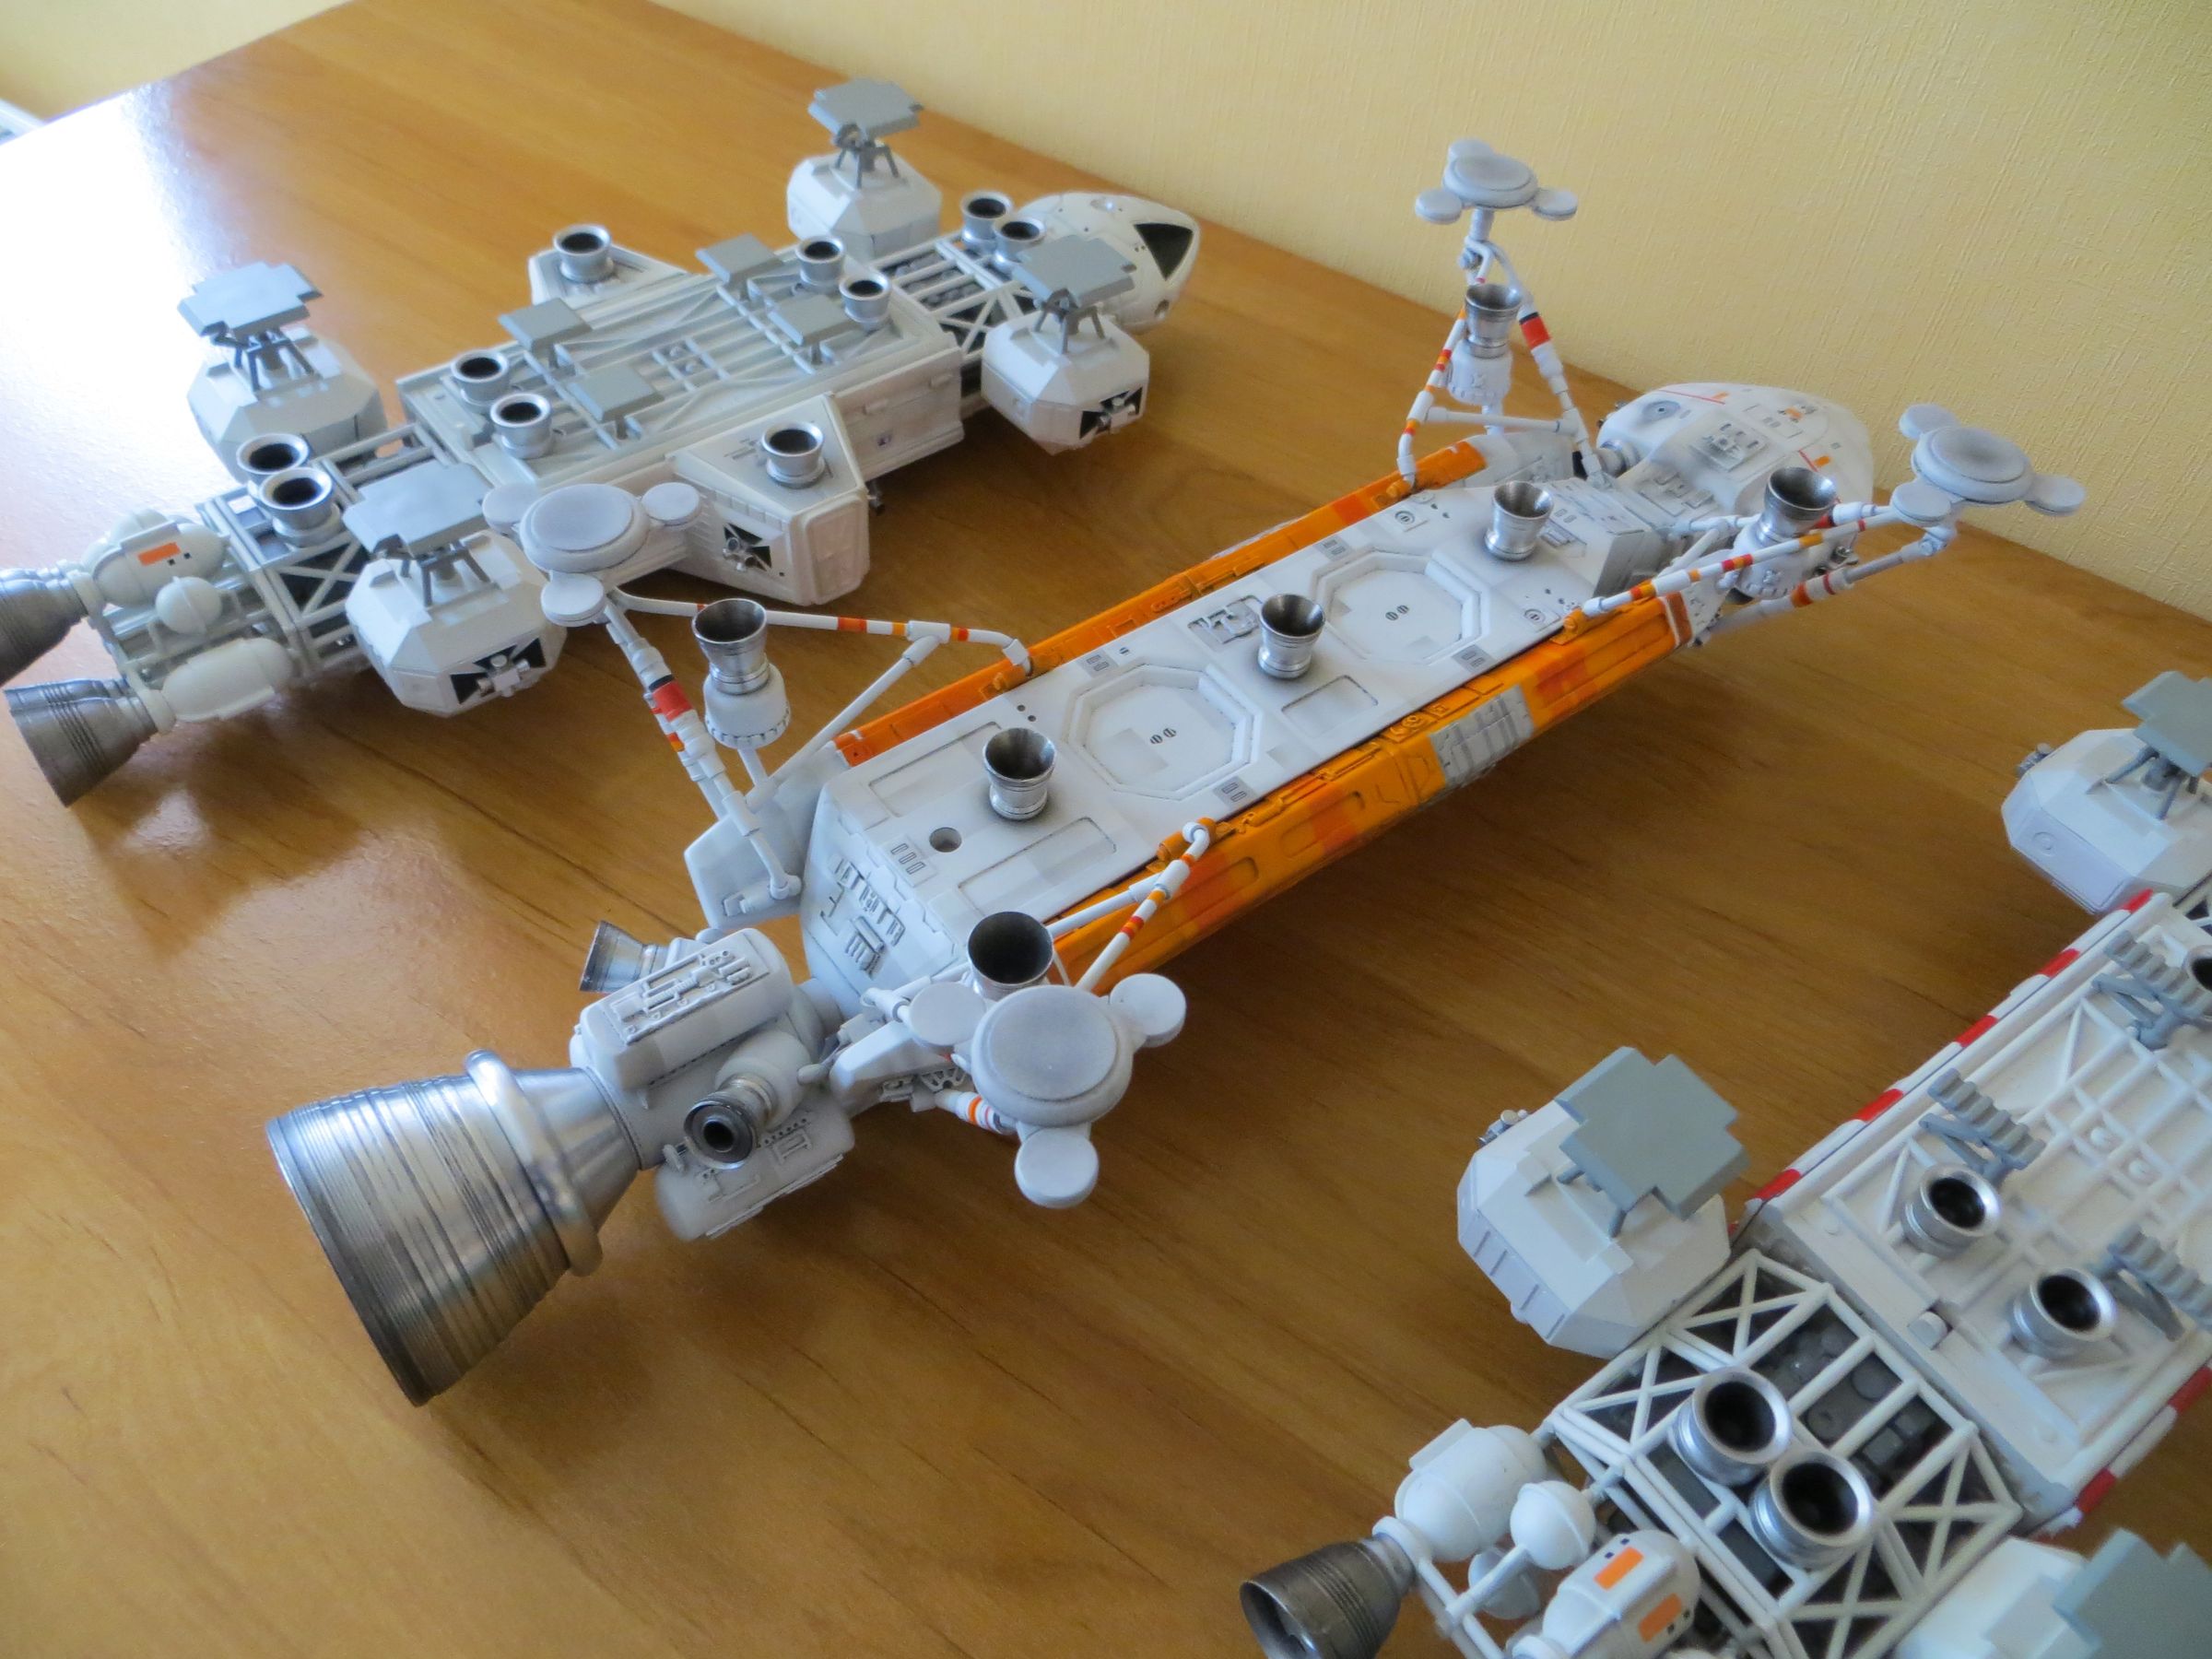
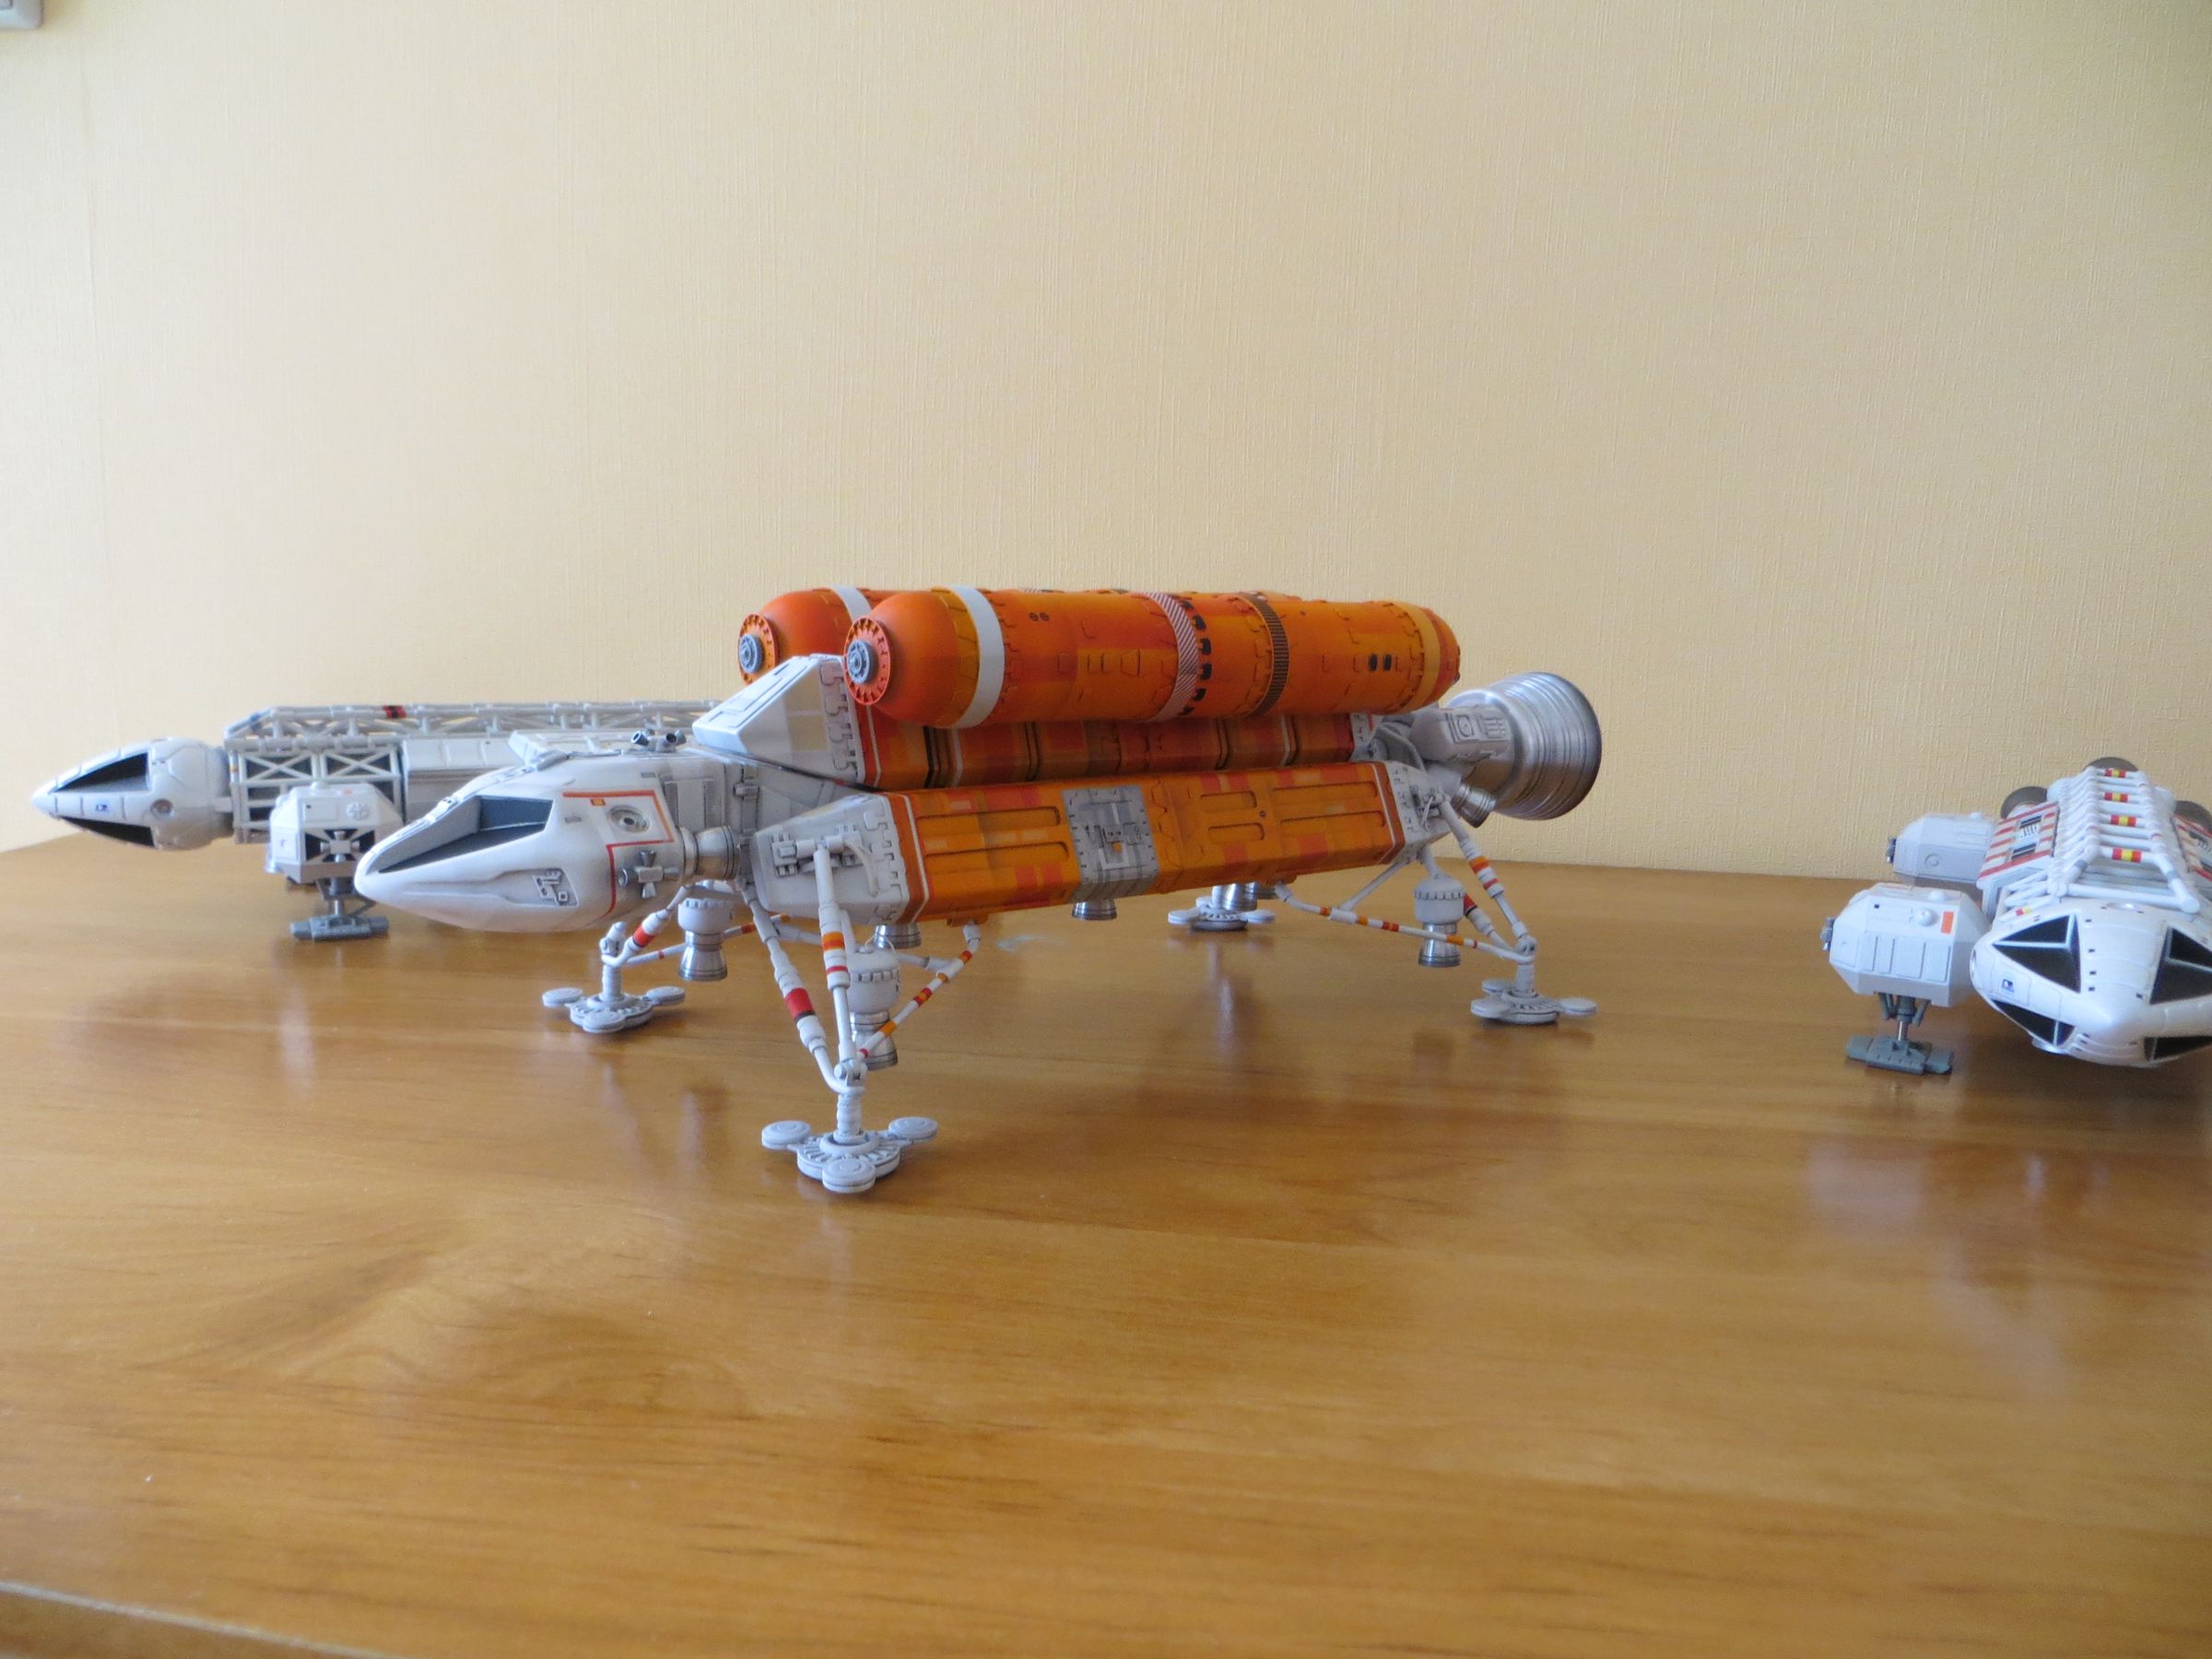
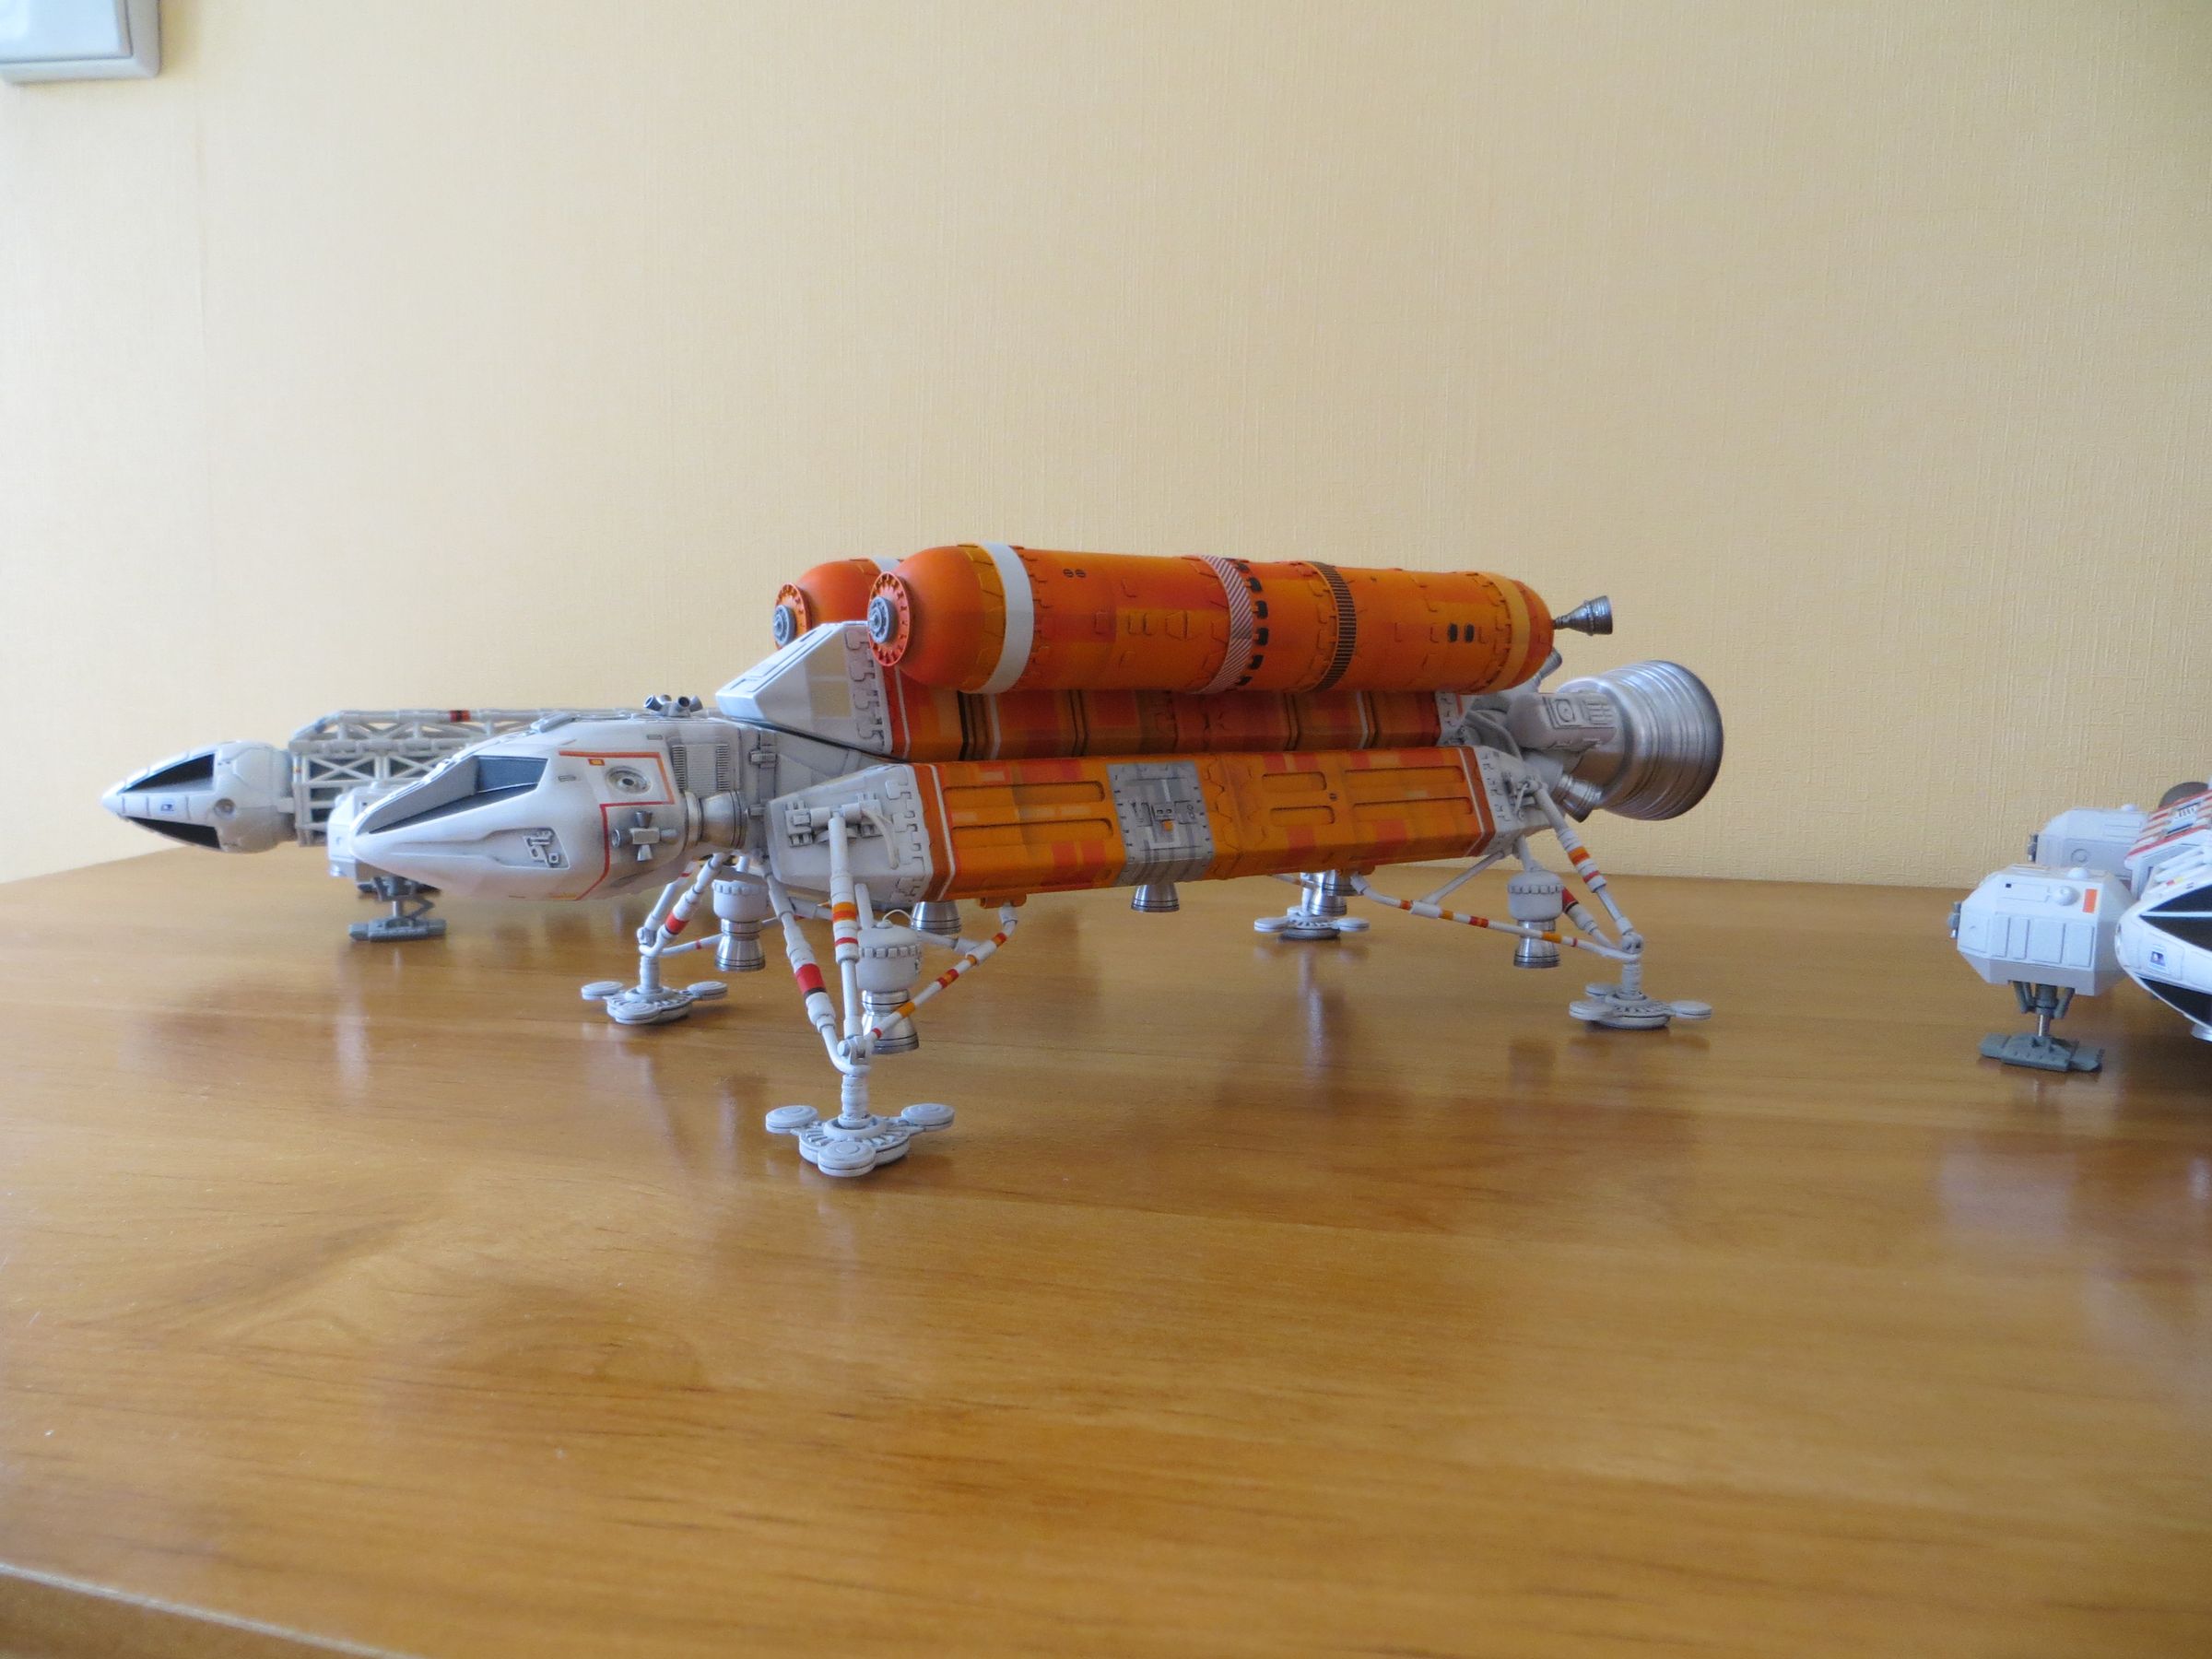
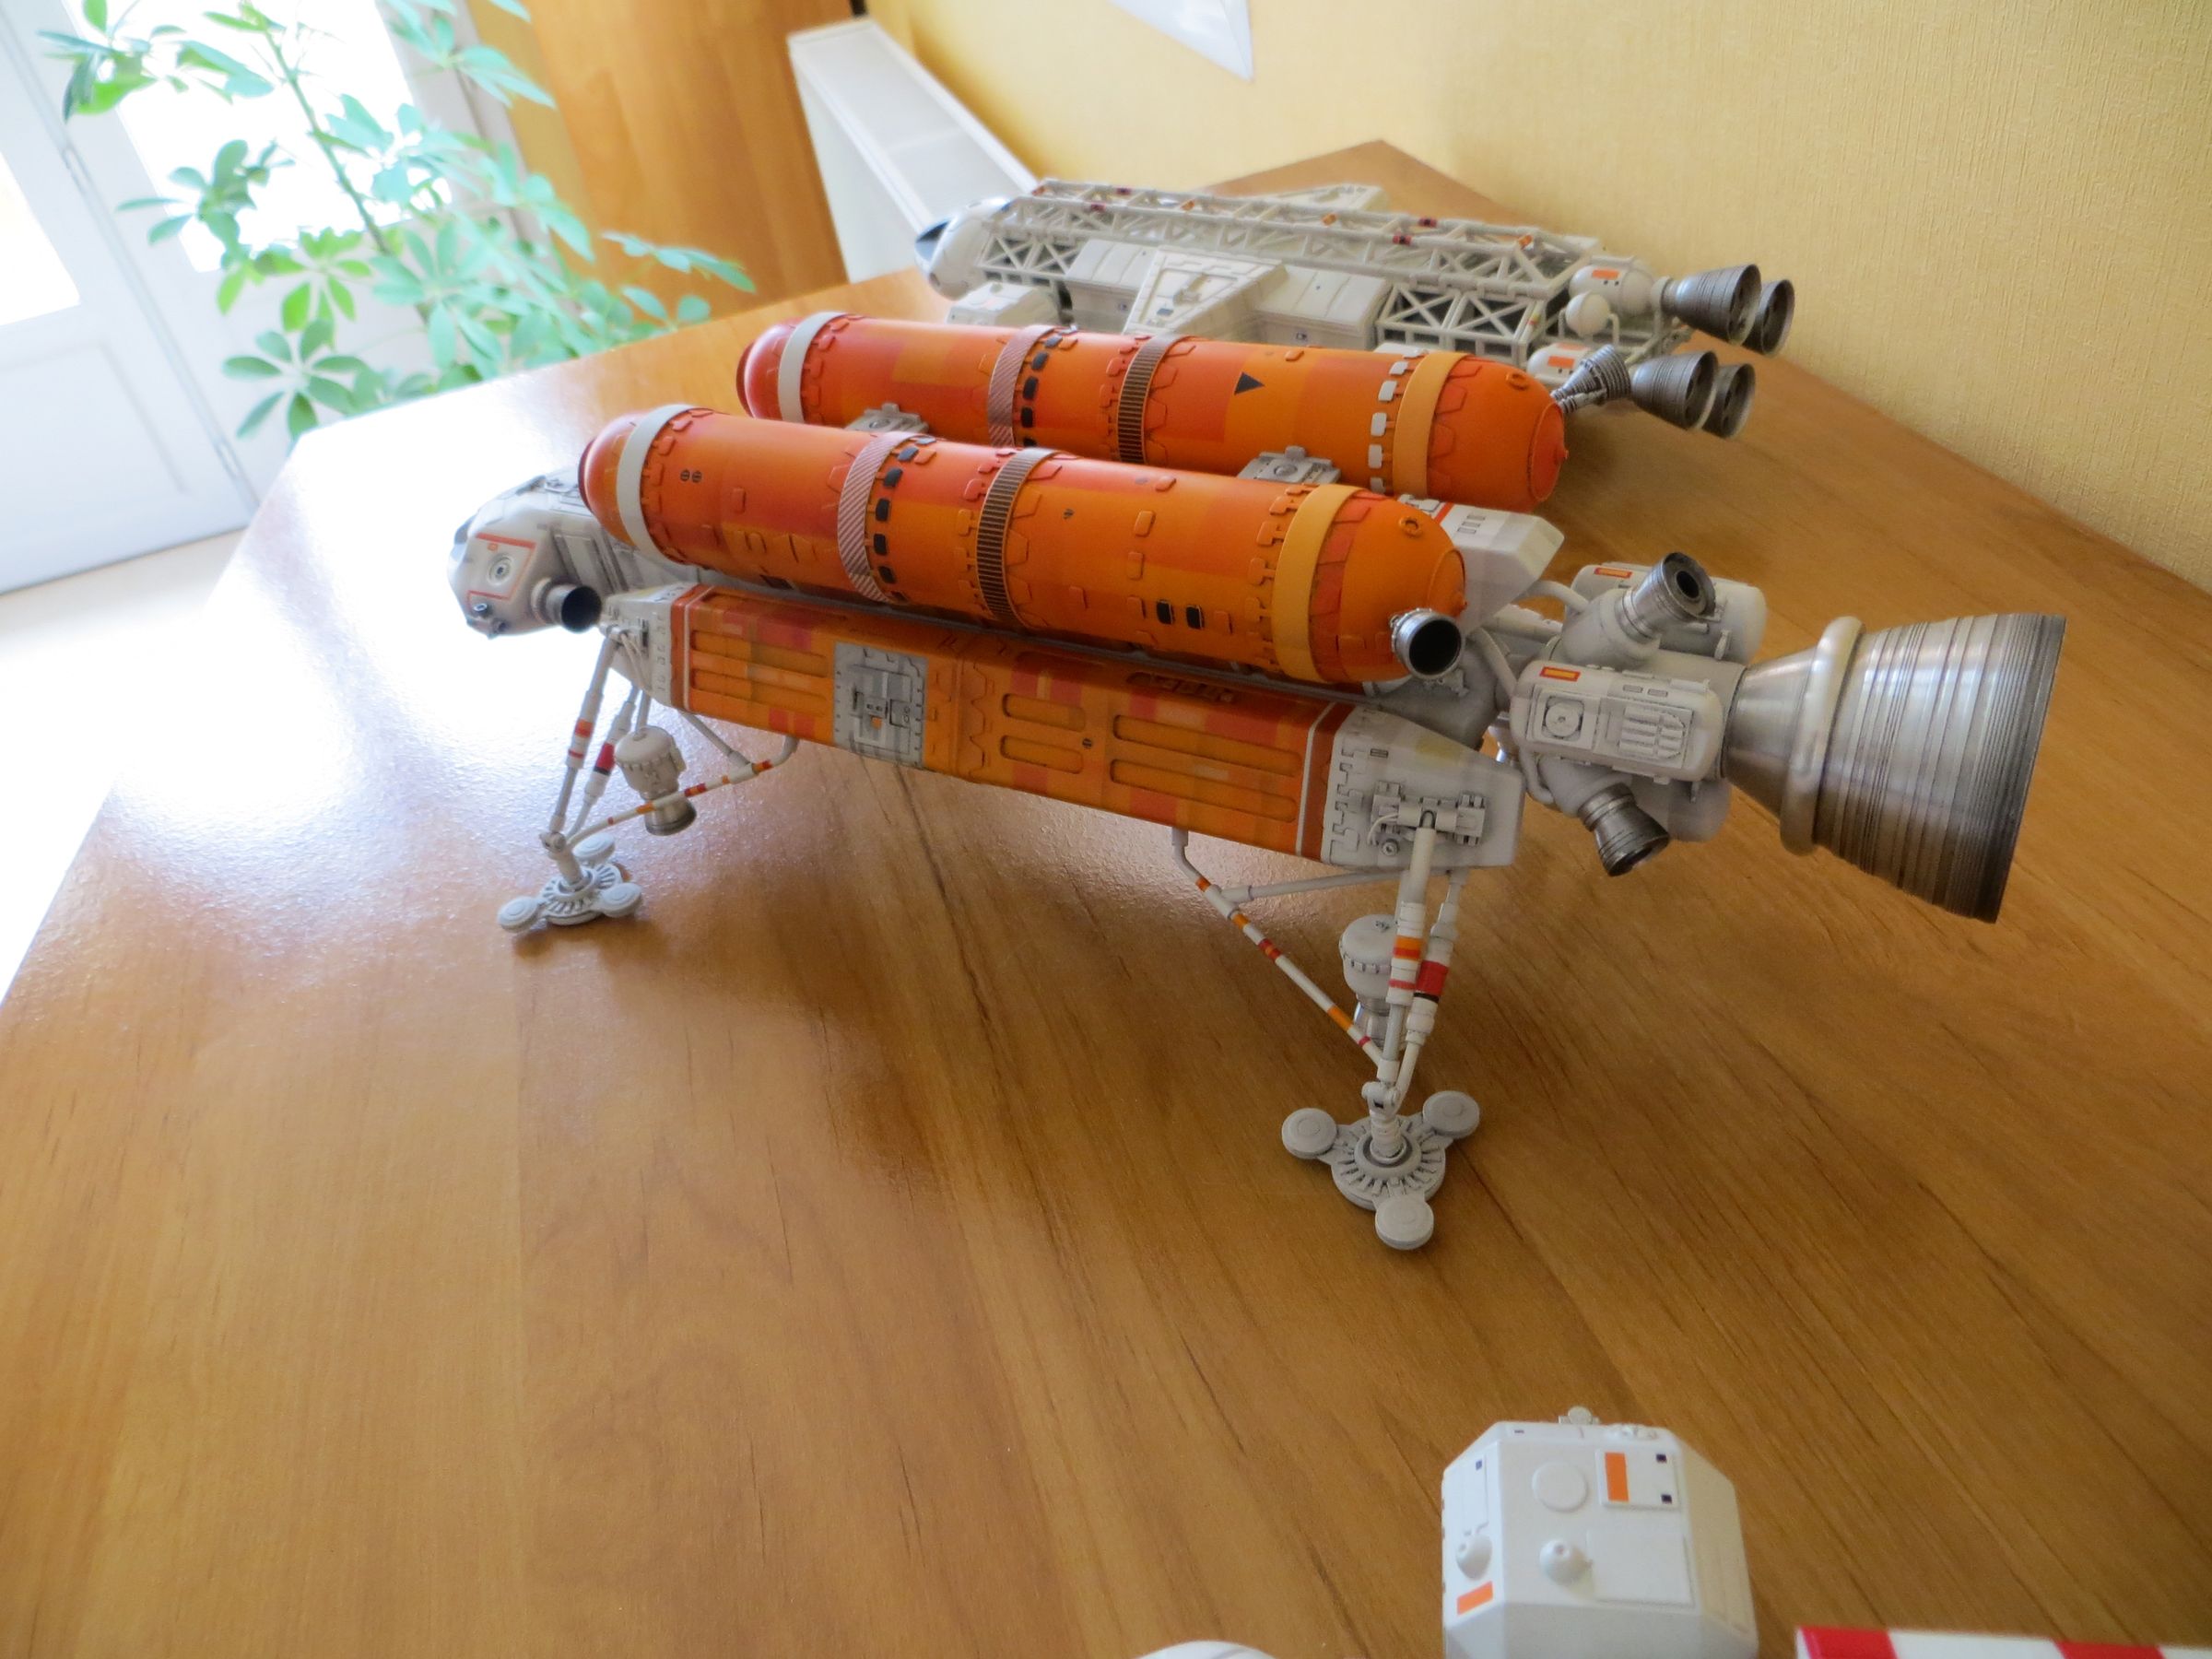
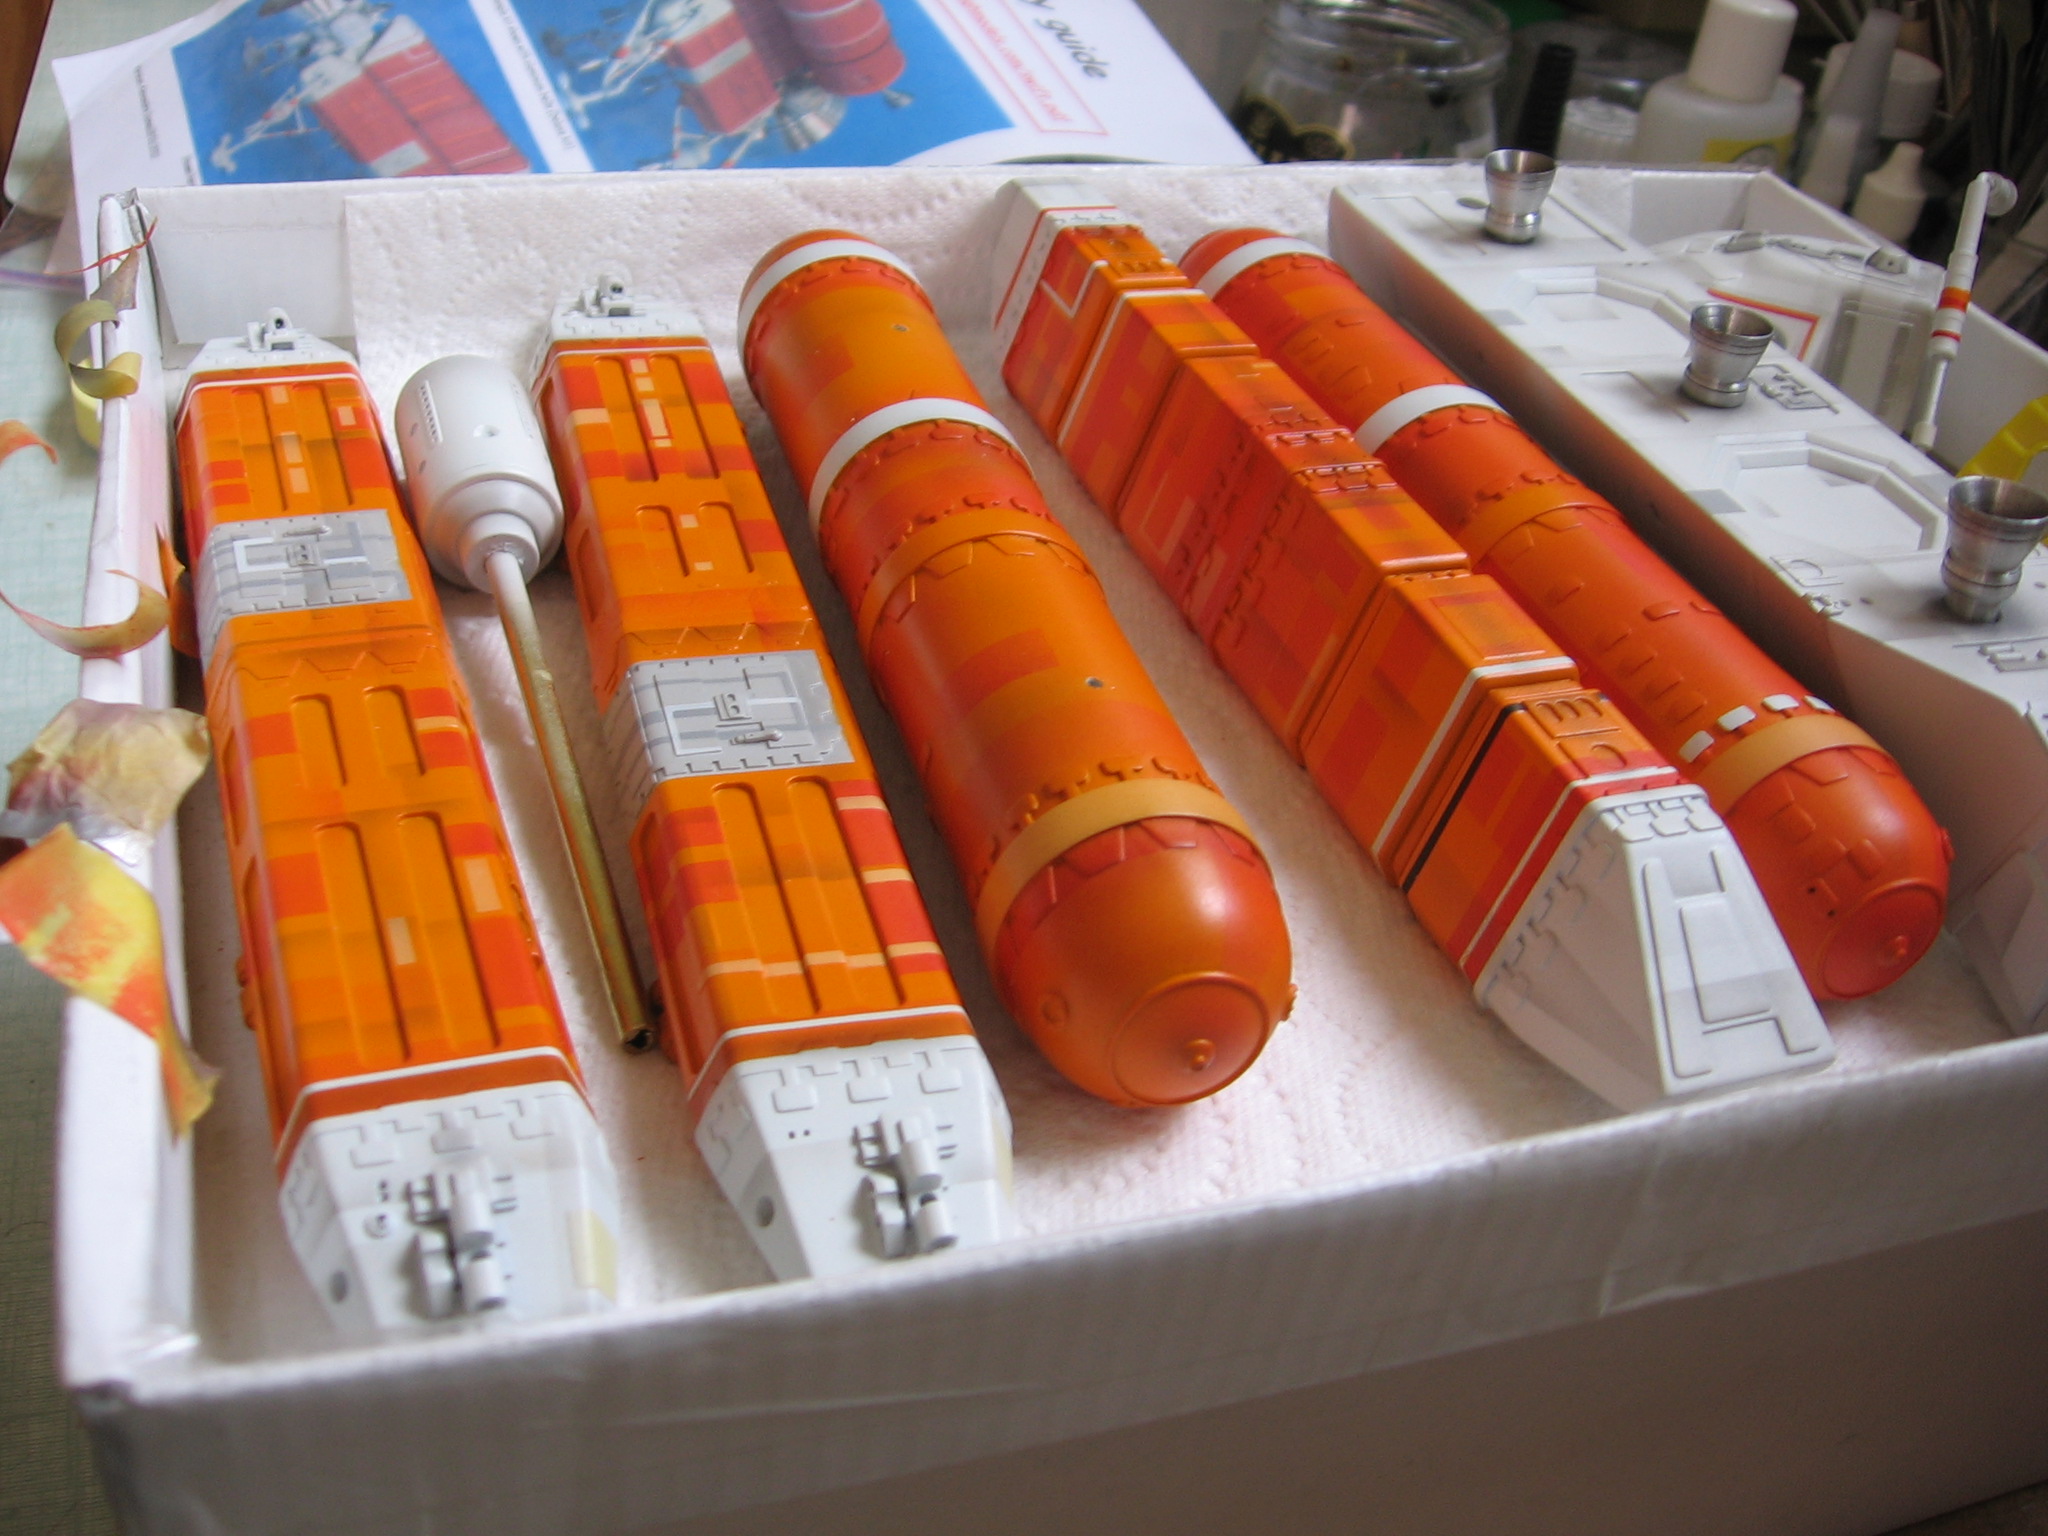
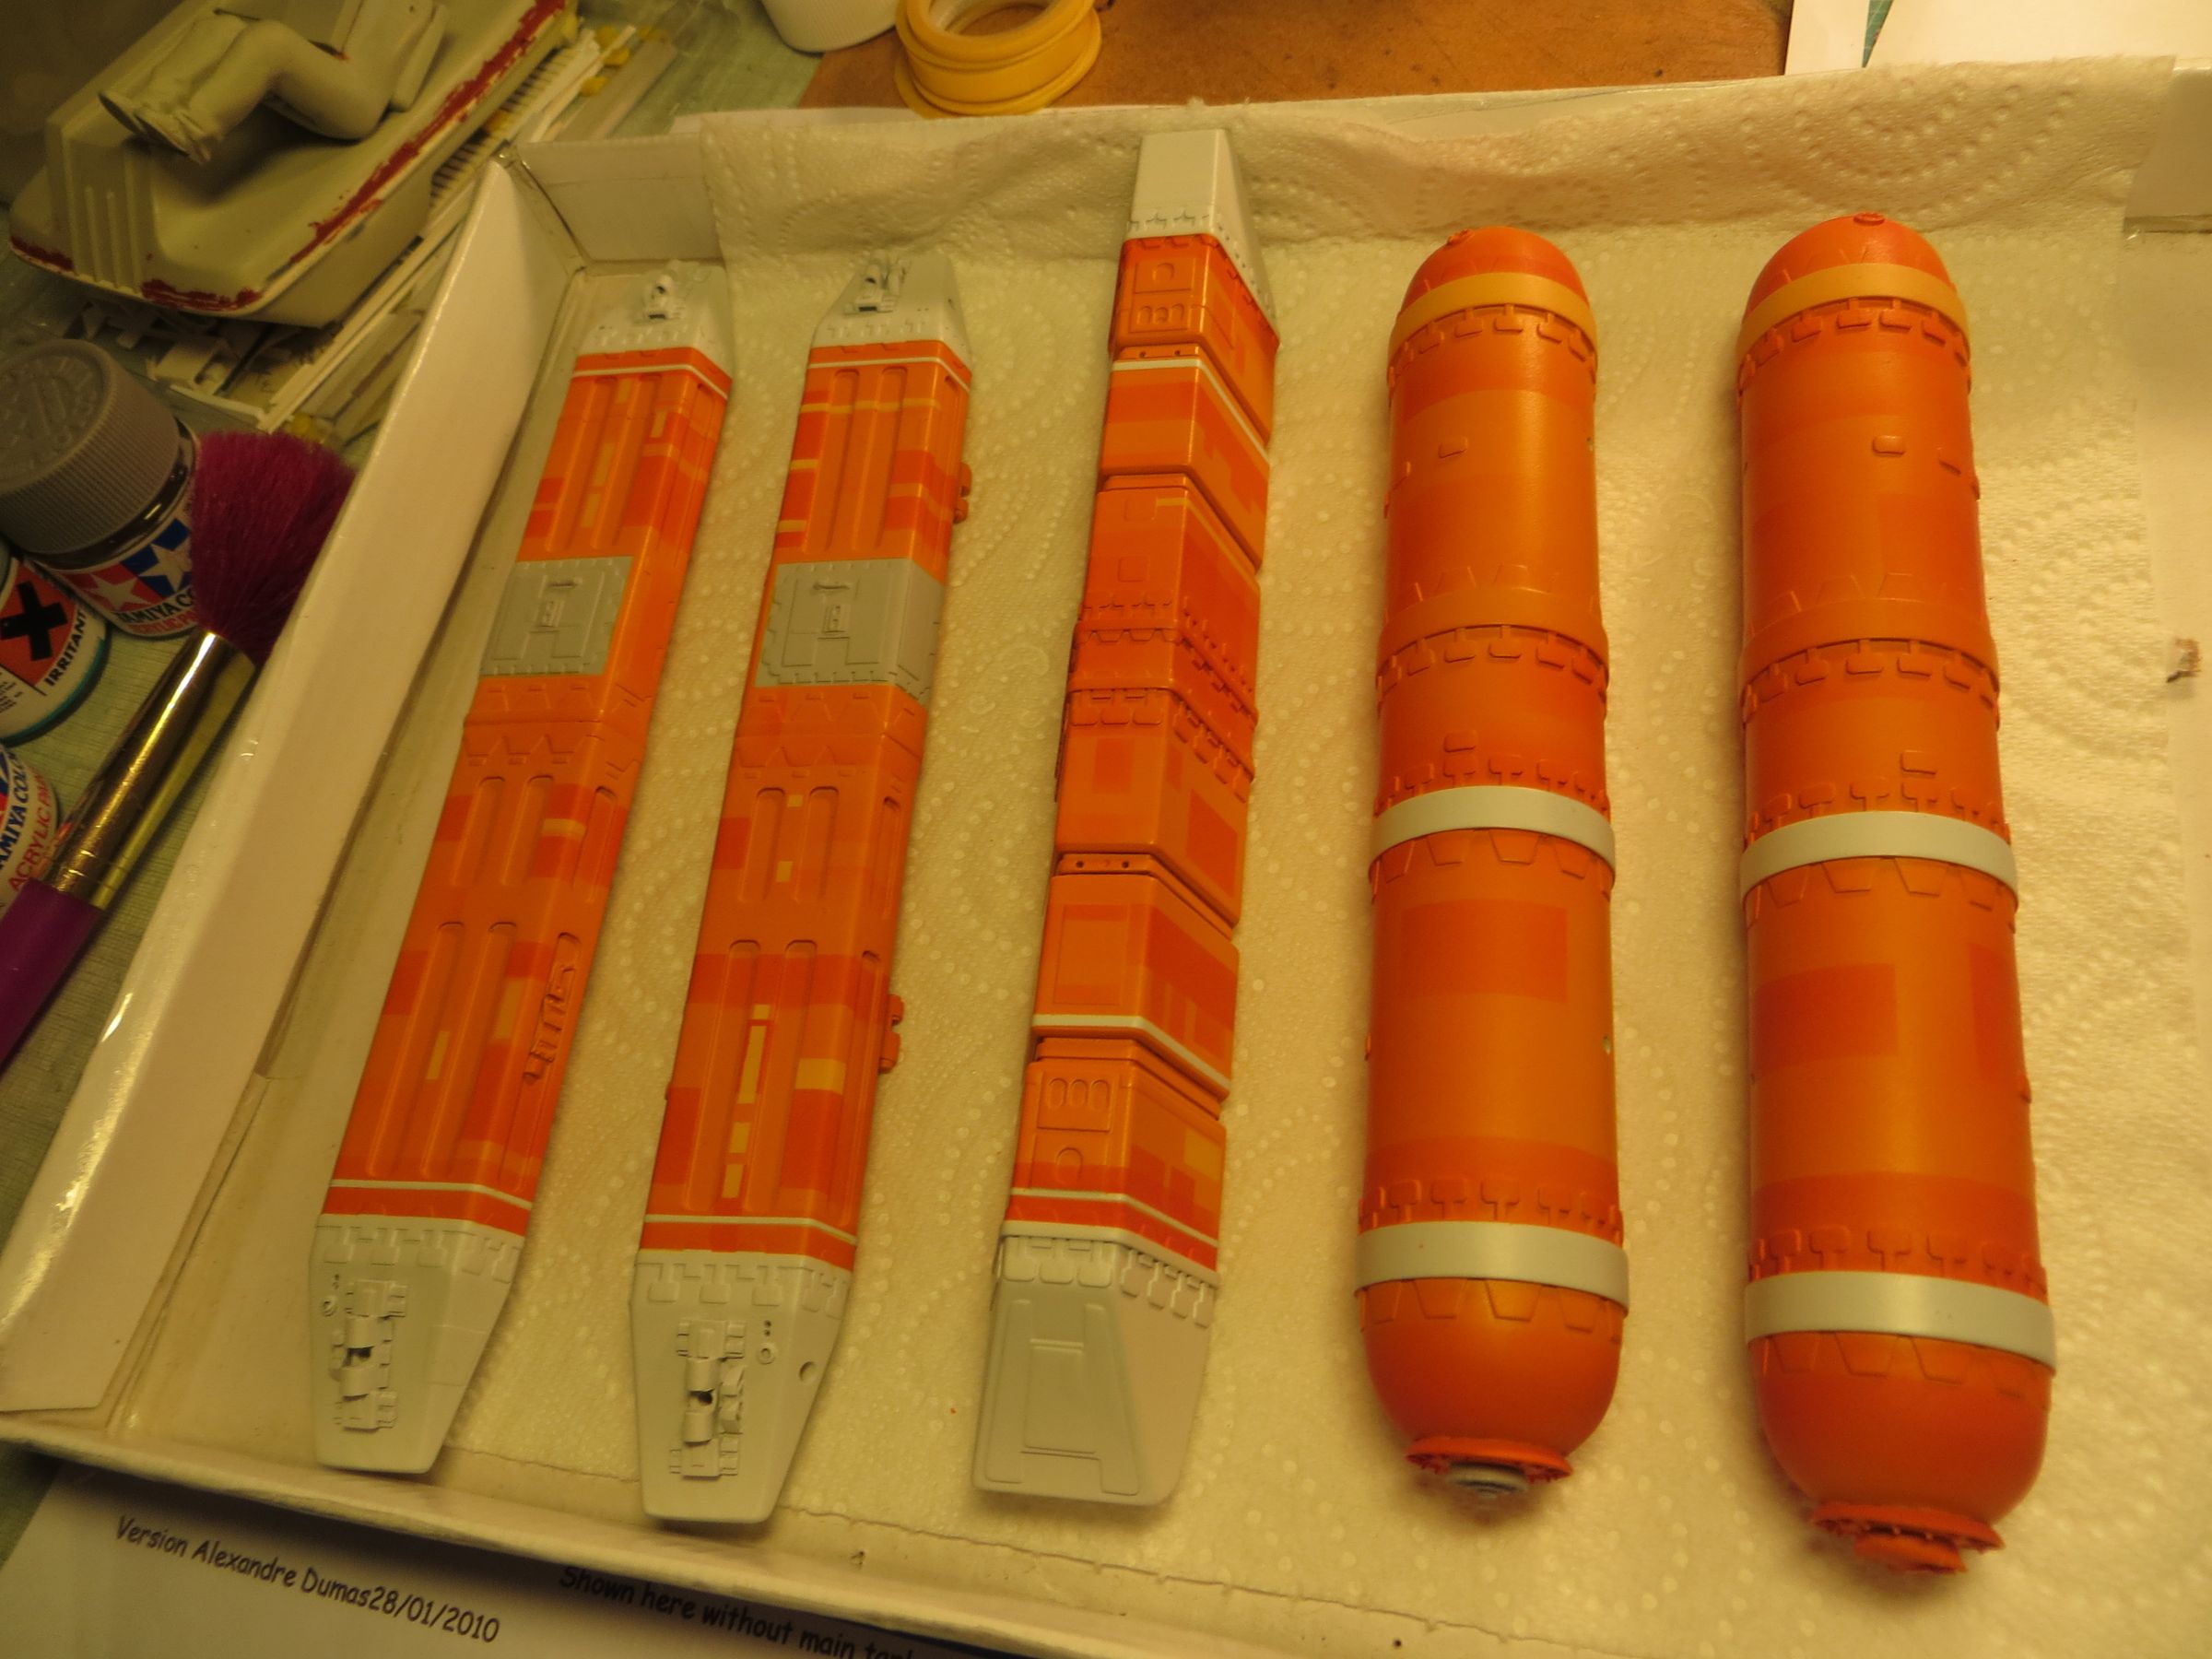
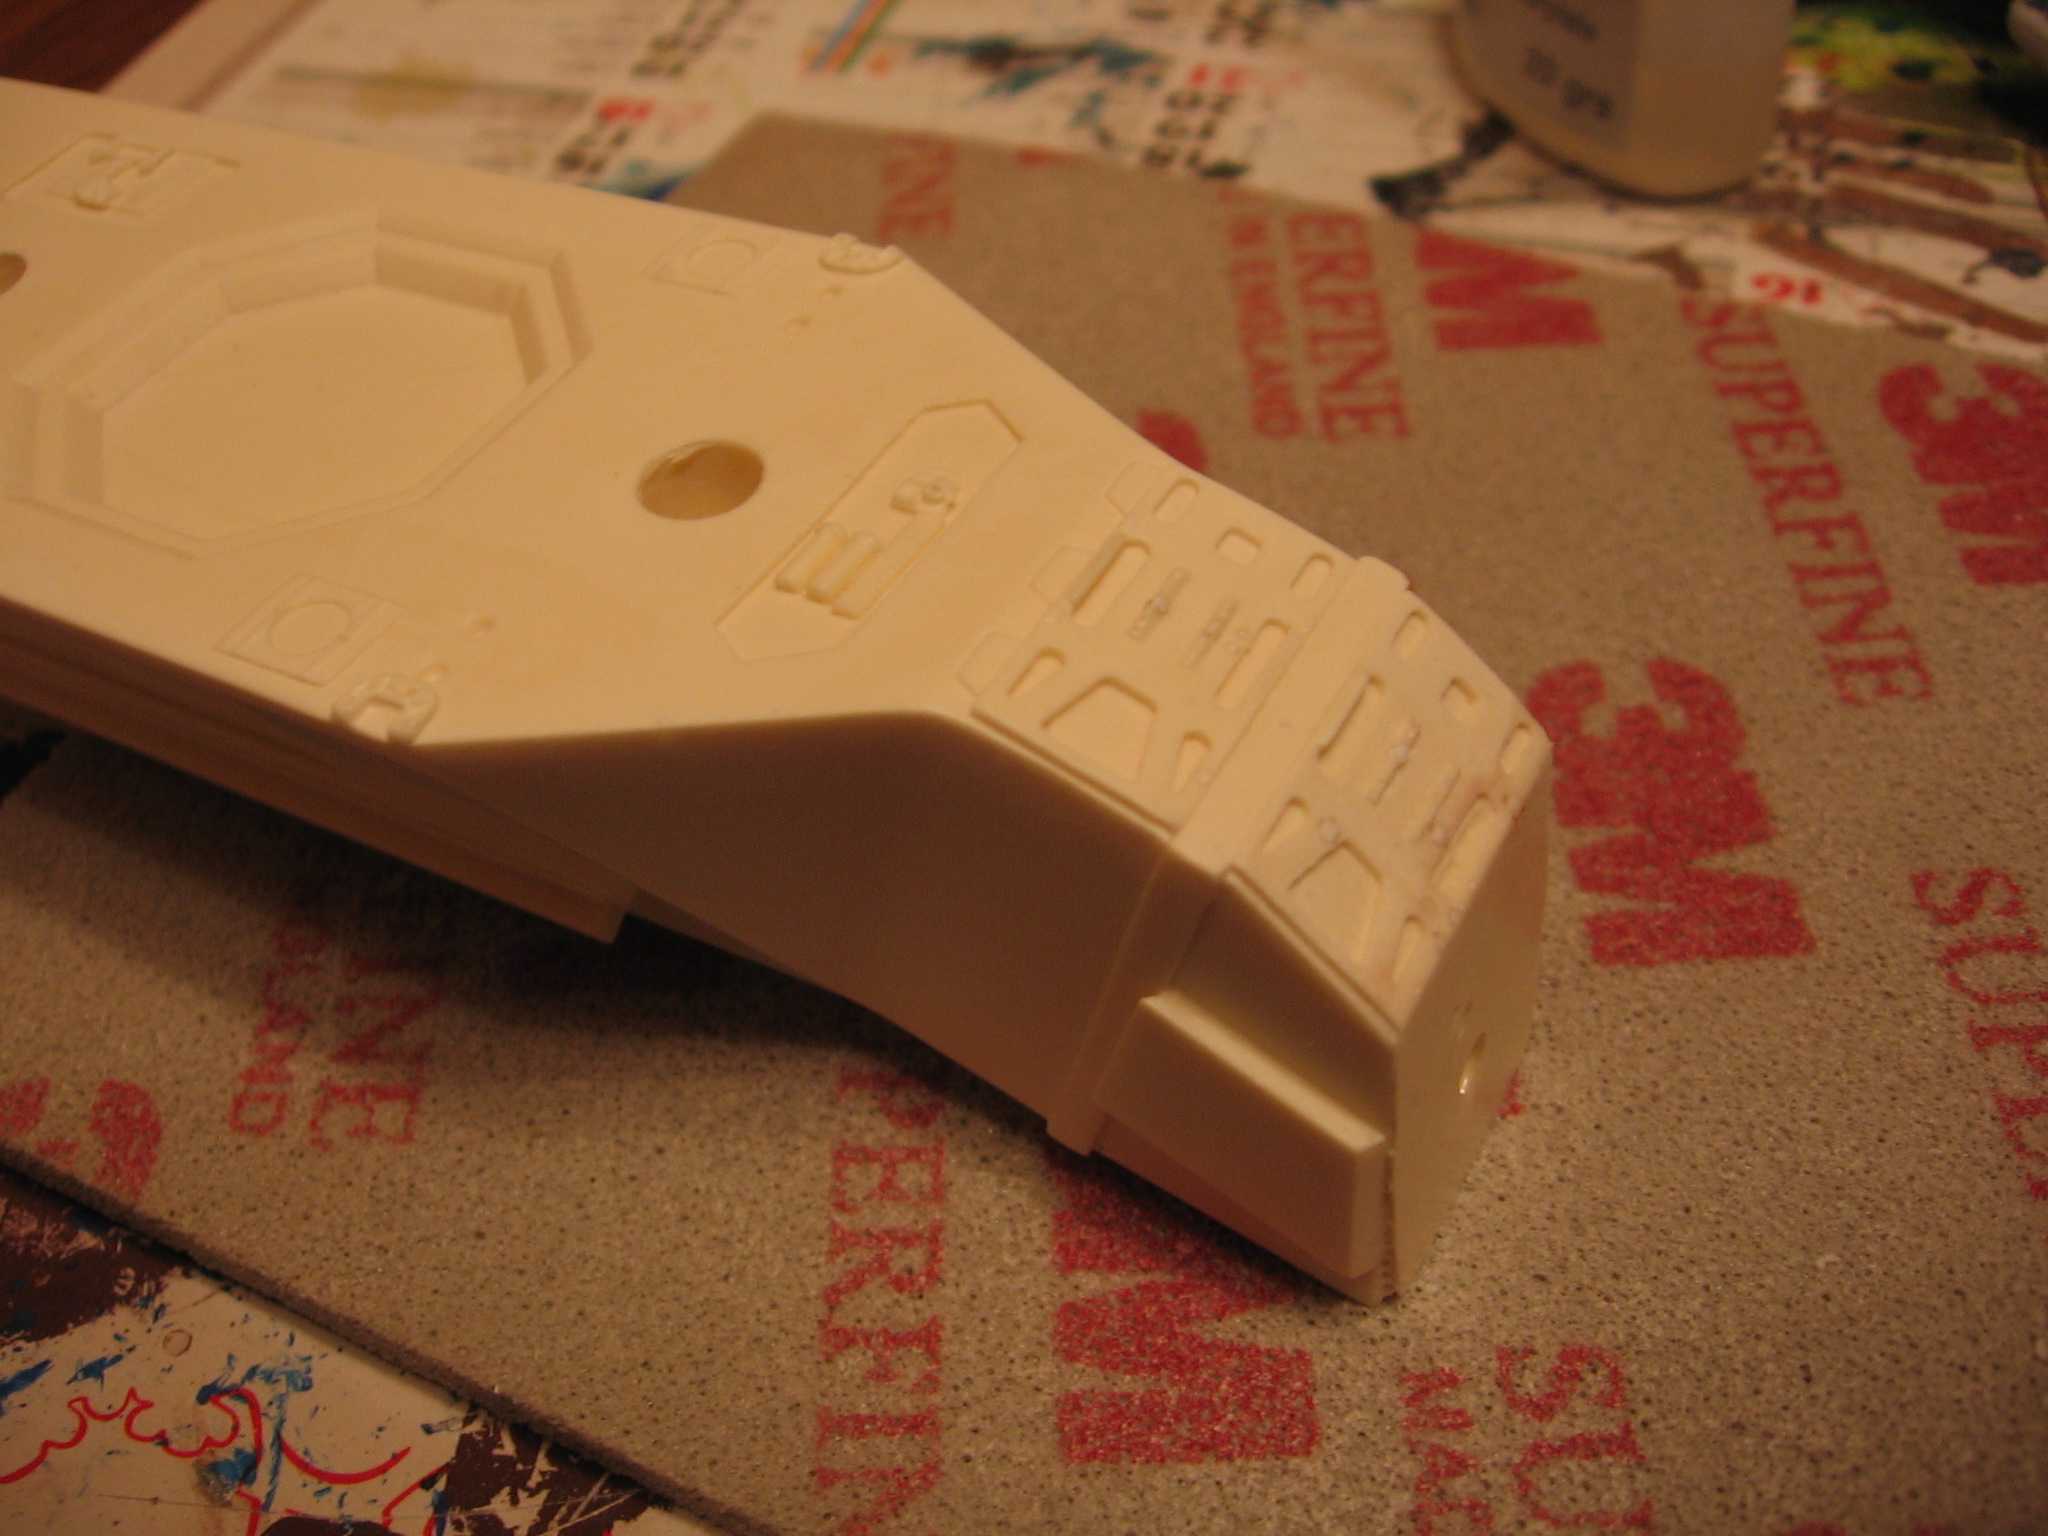
Final stages of the building :
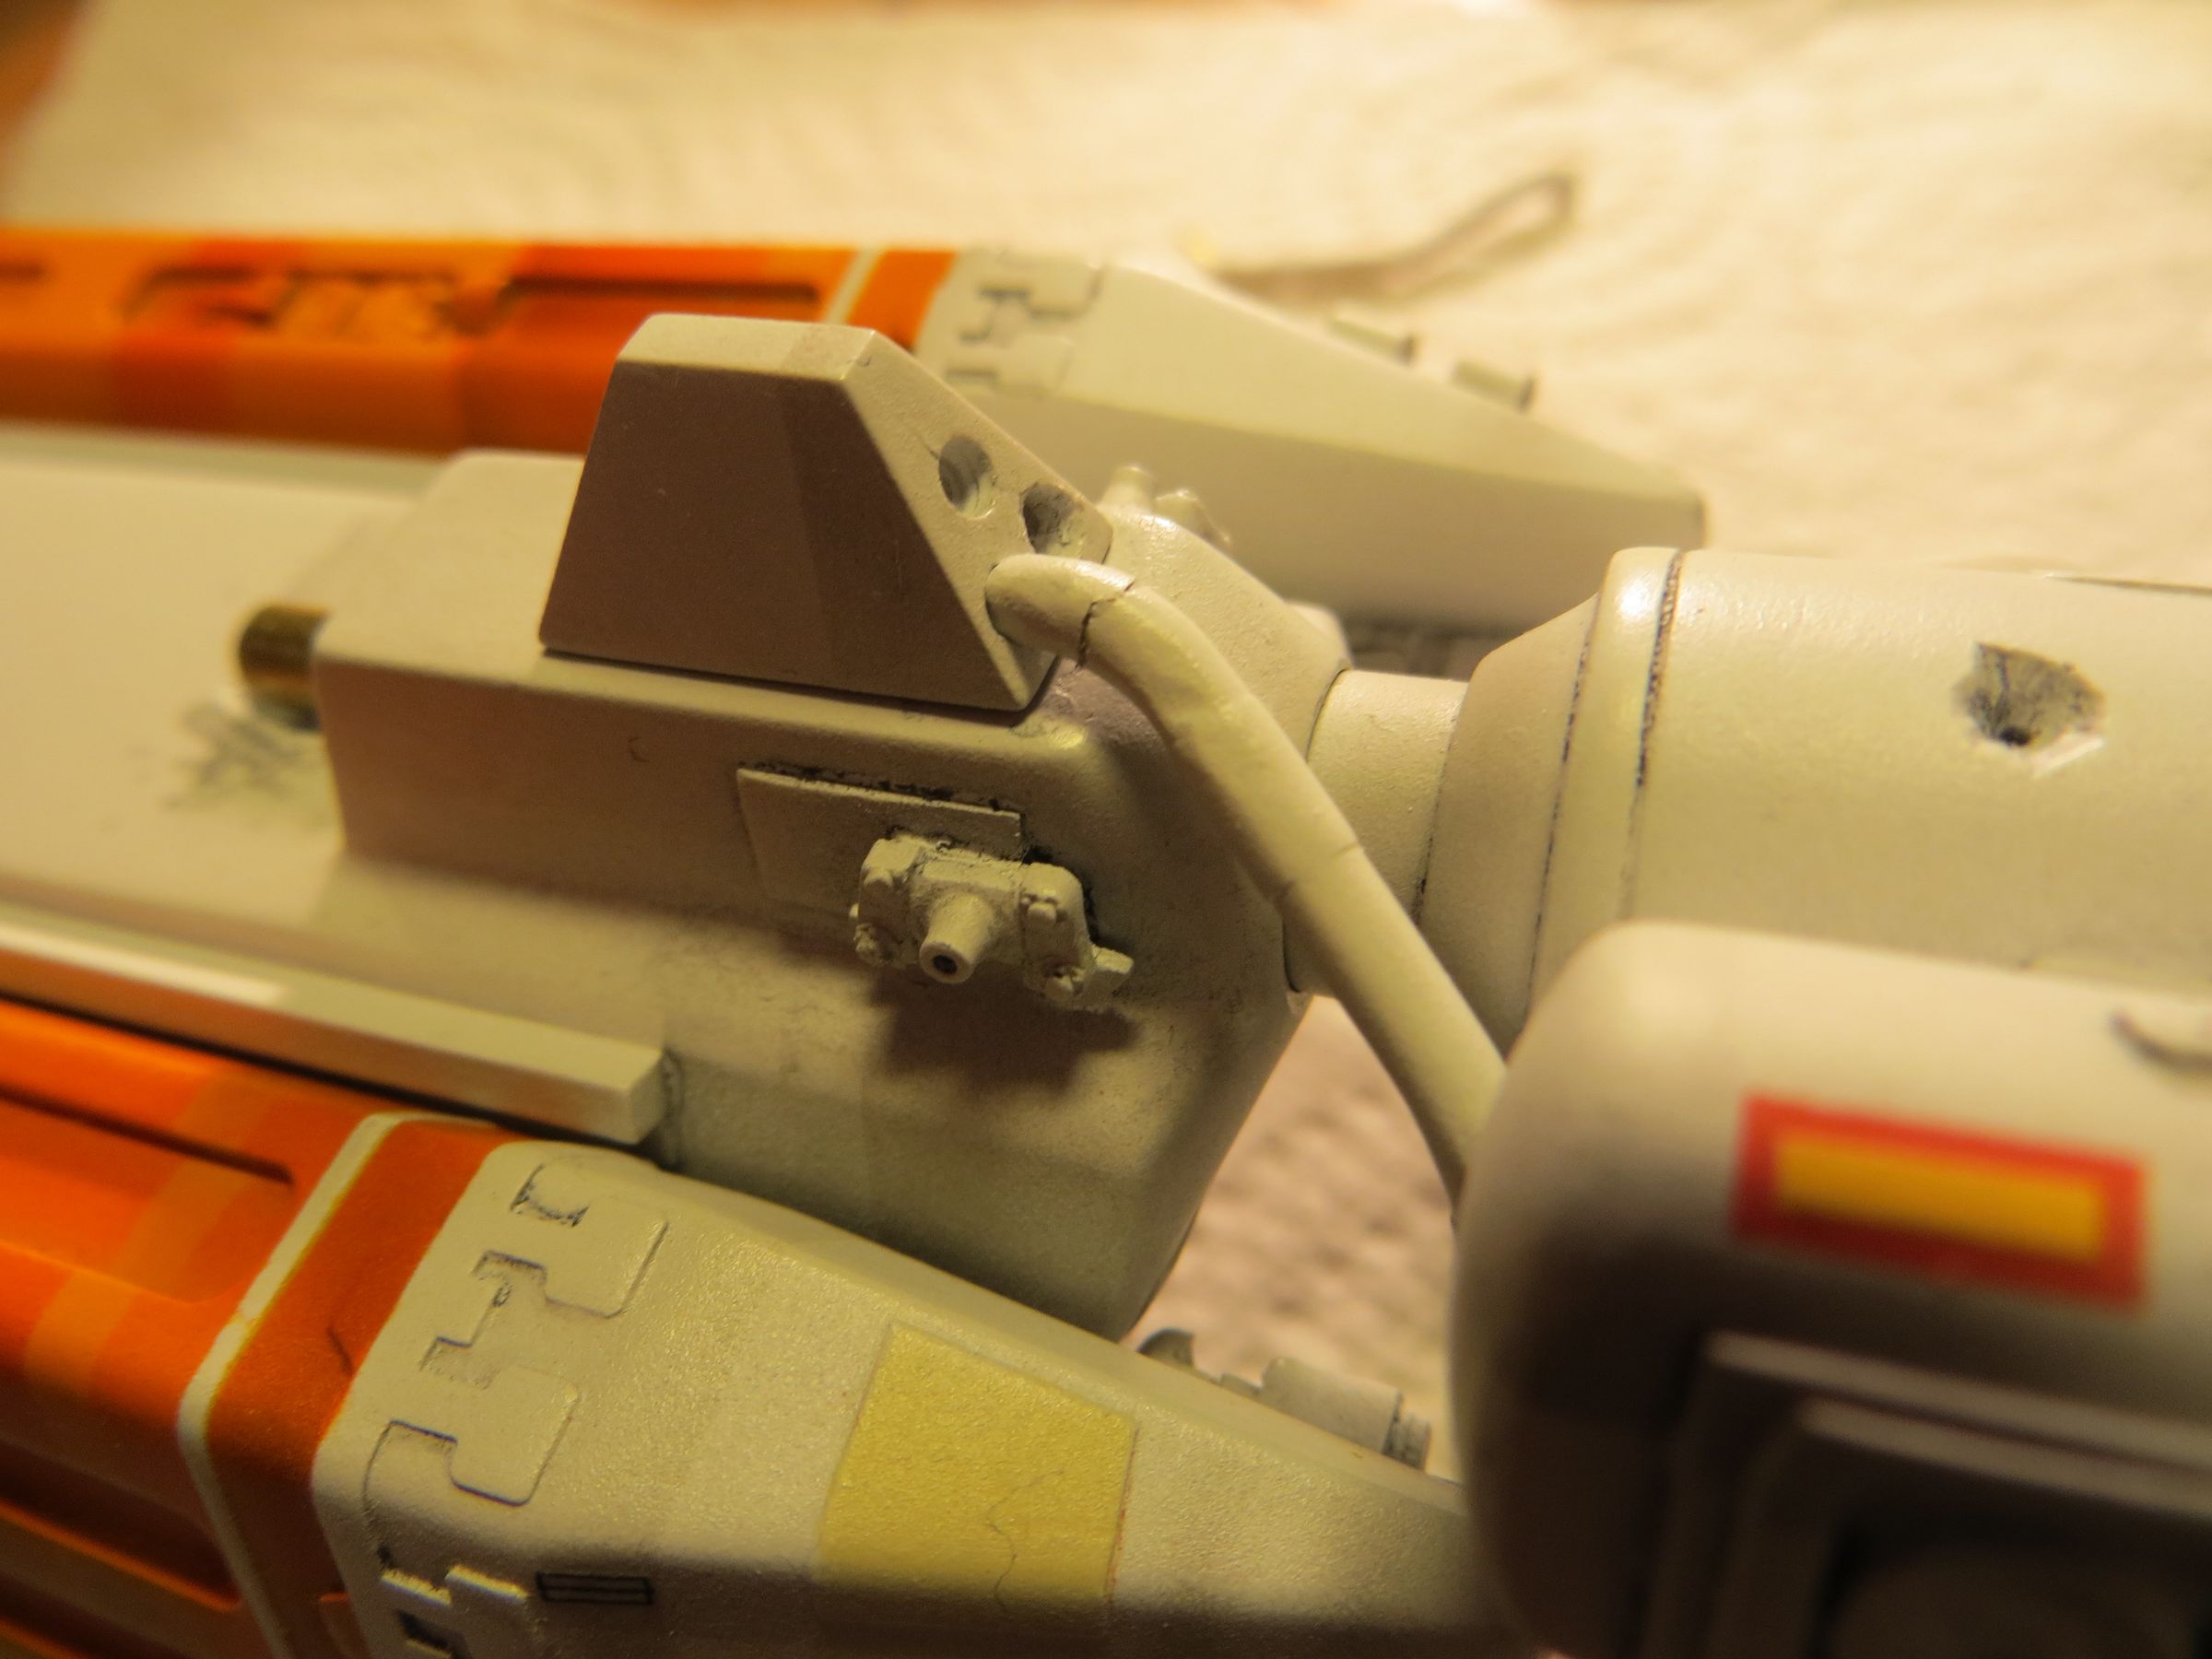
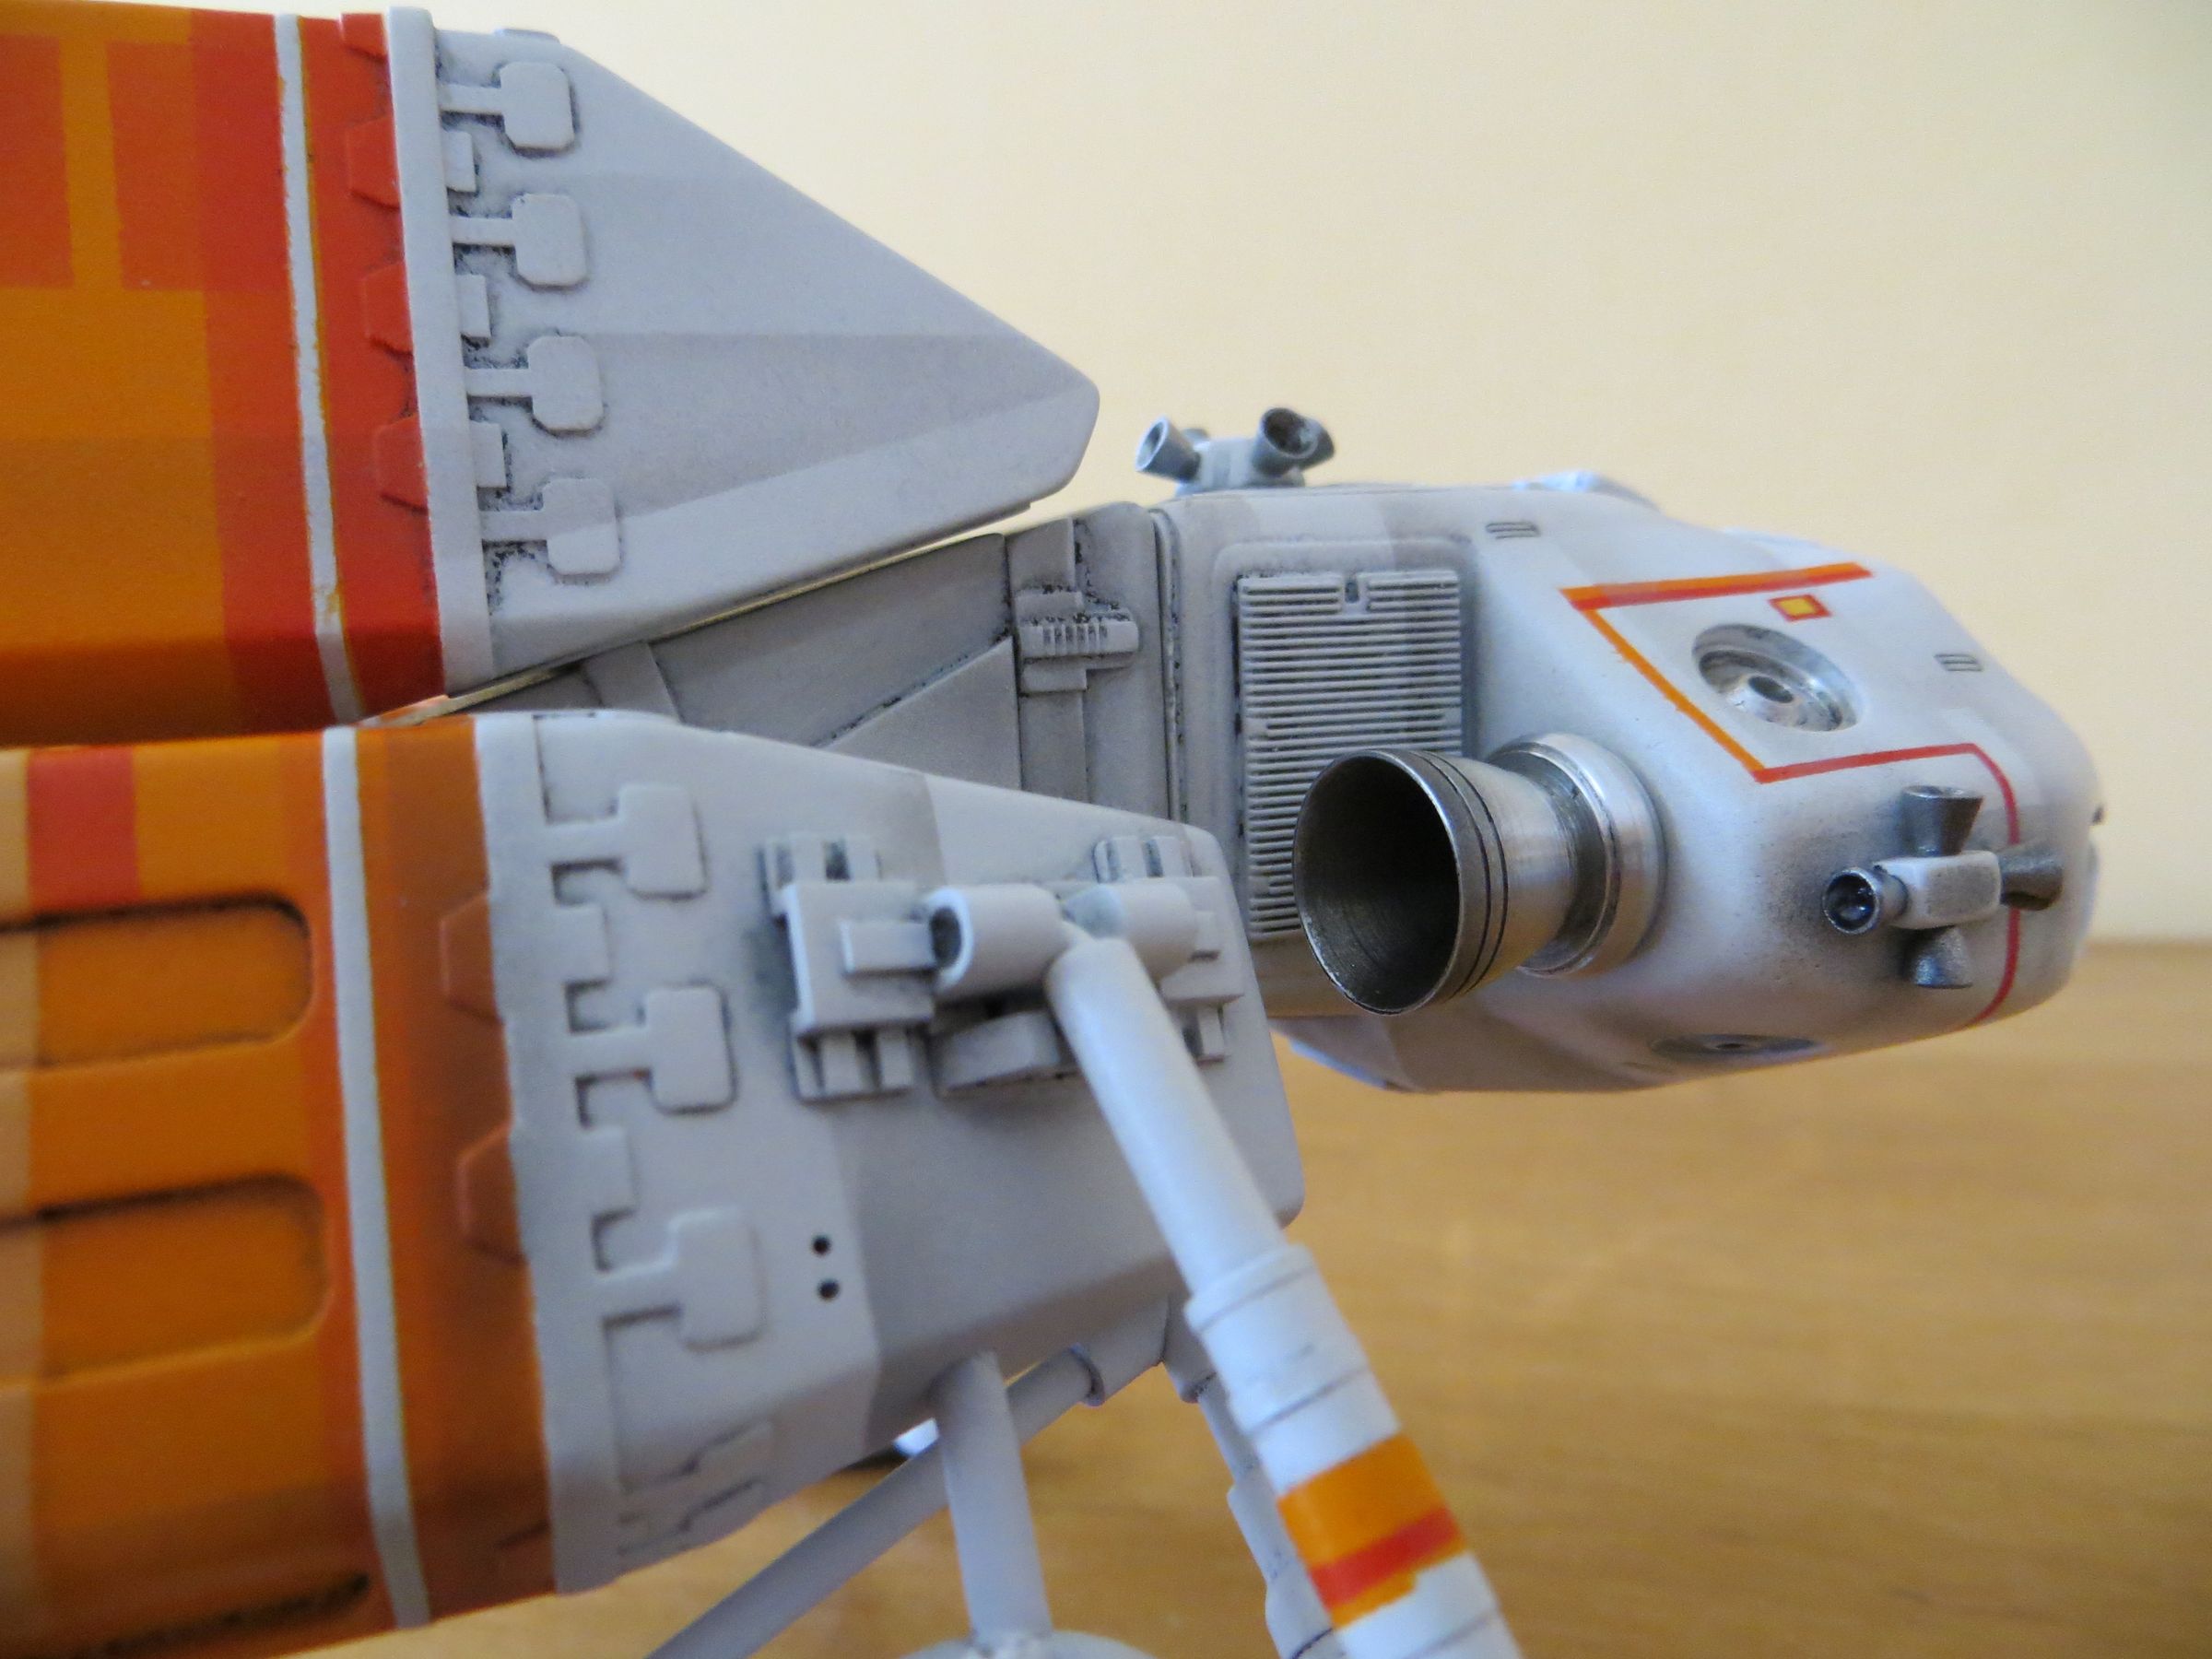
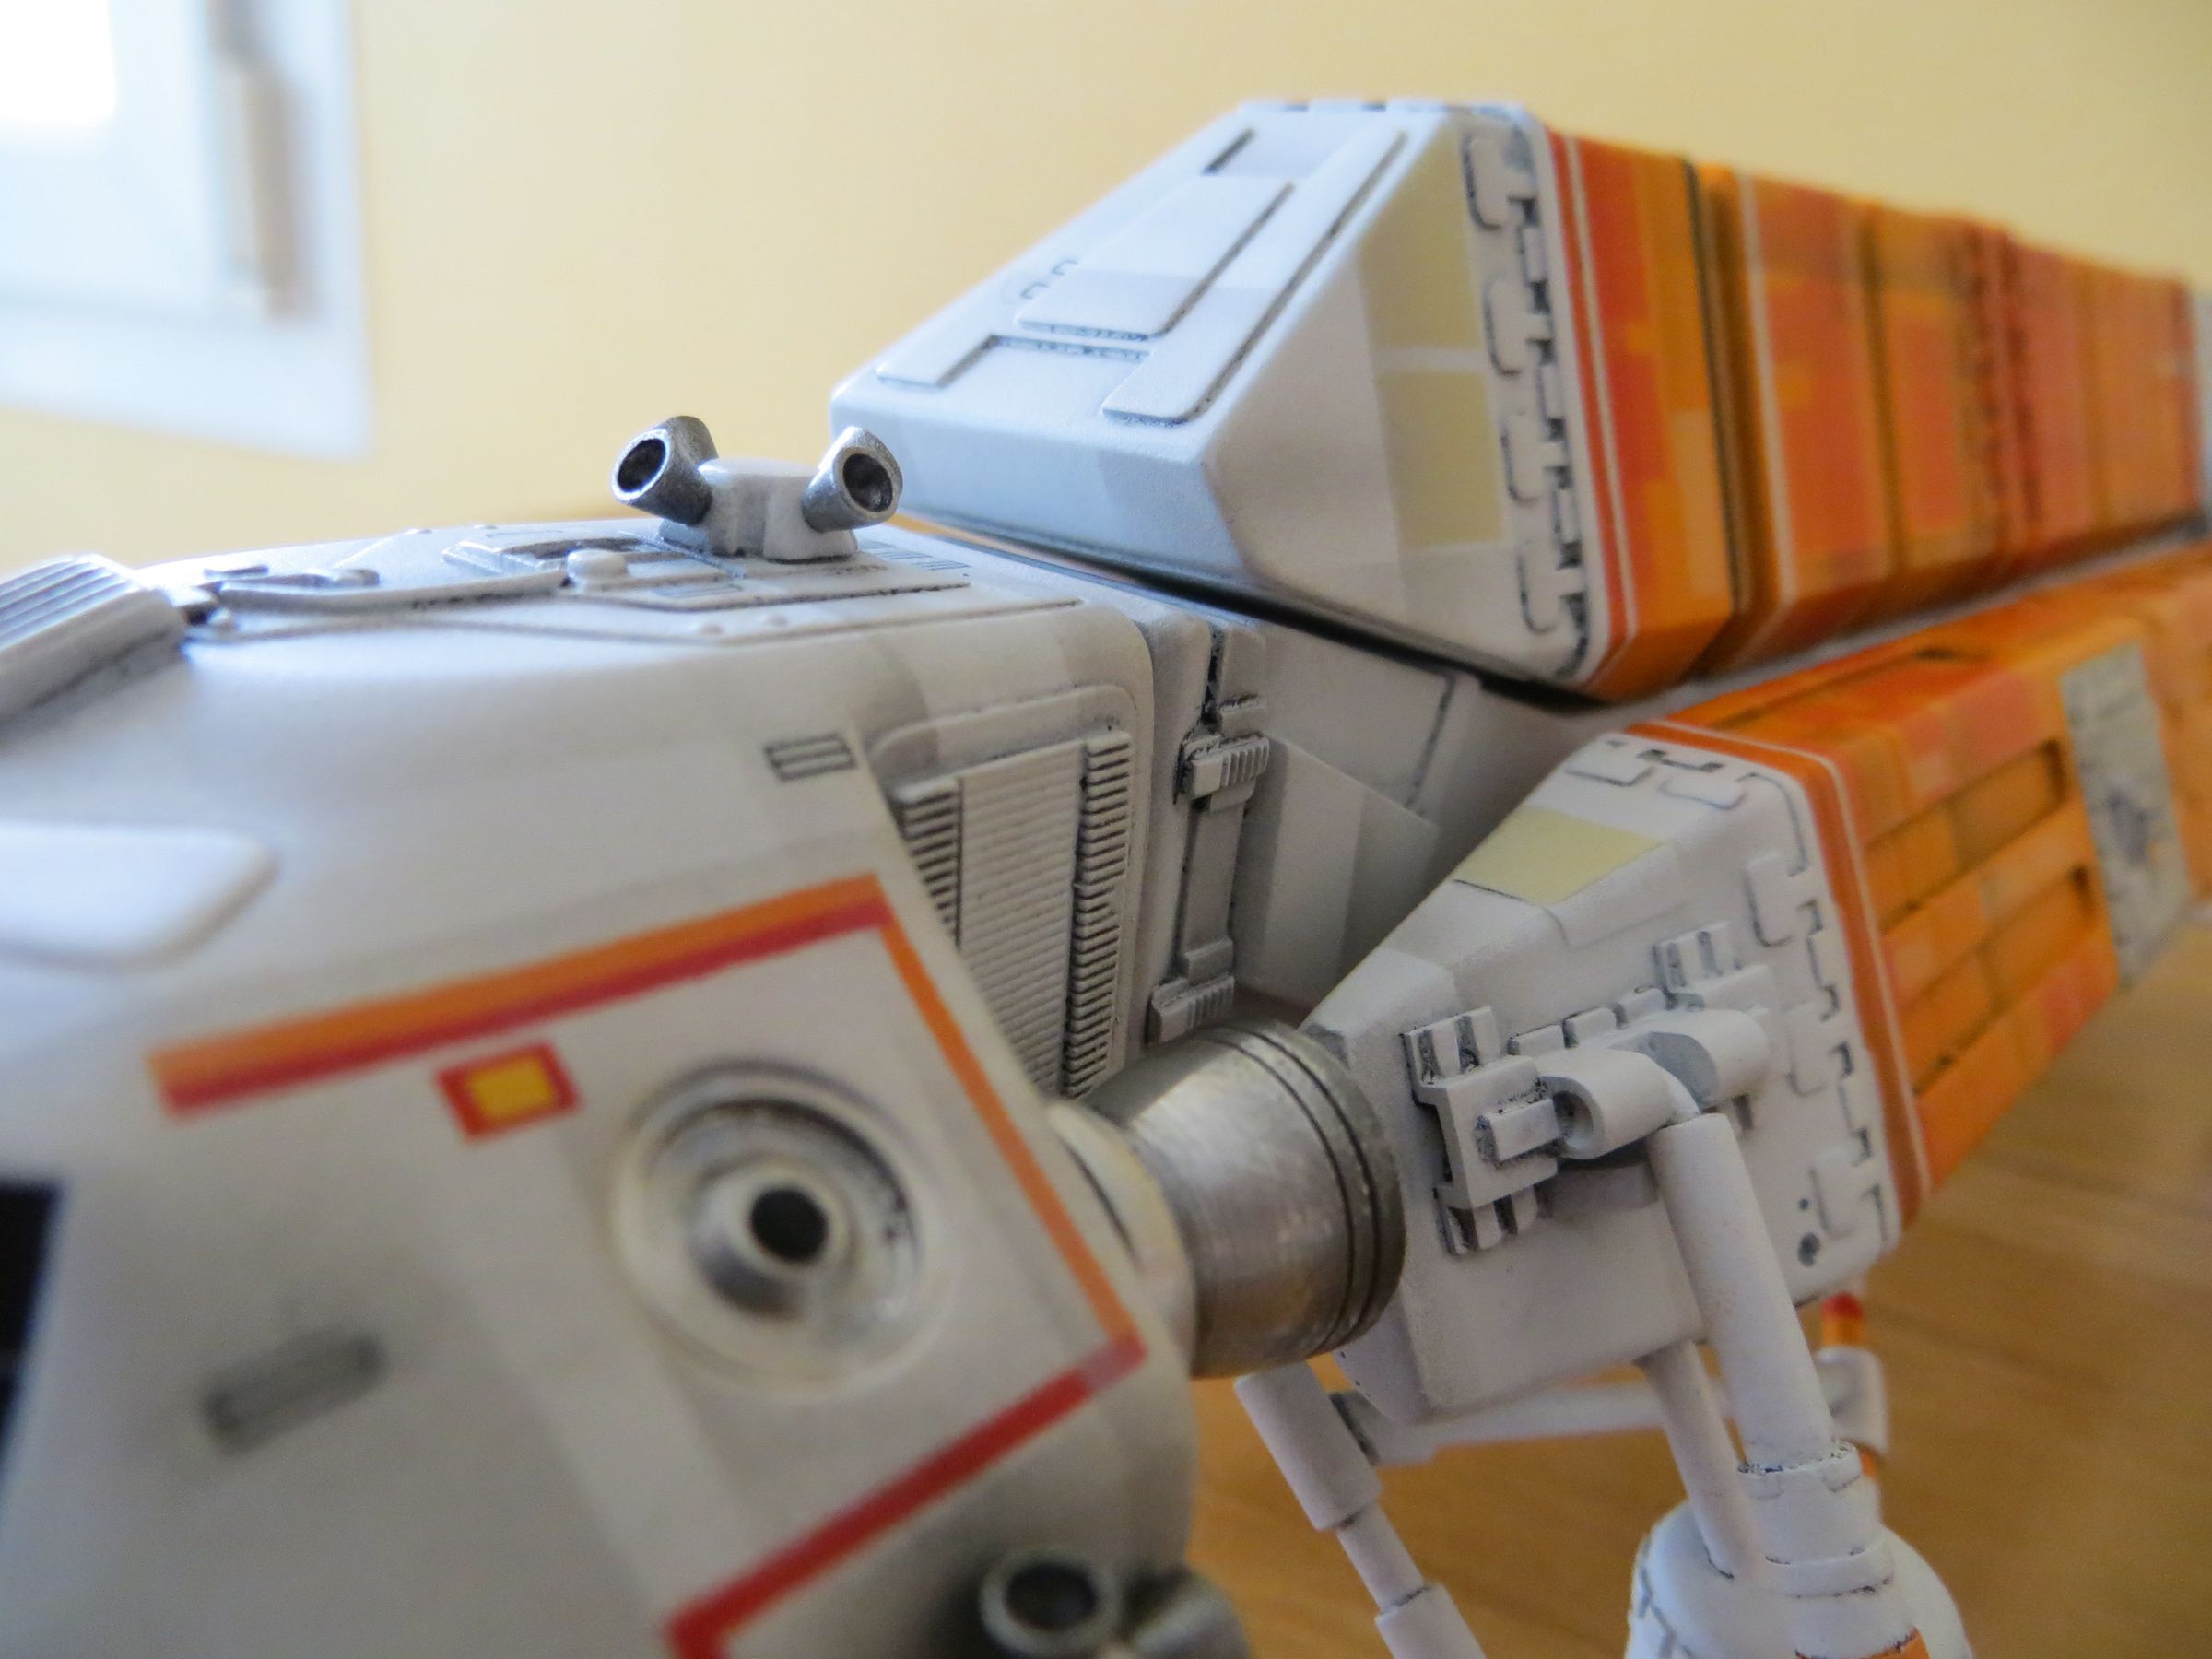
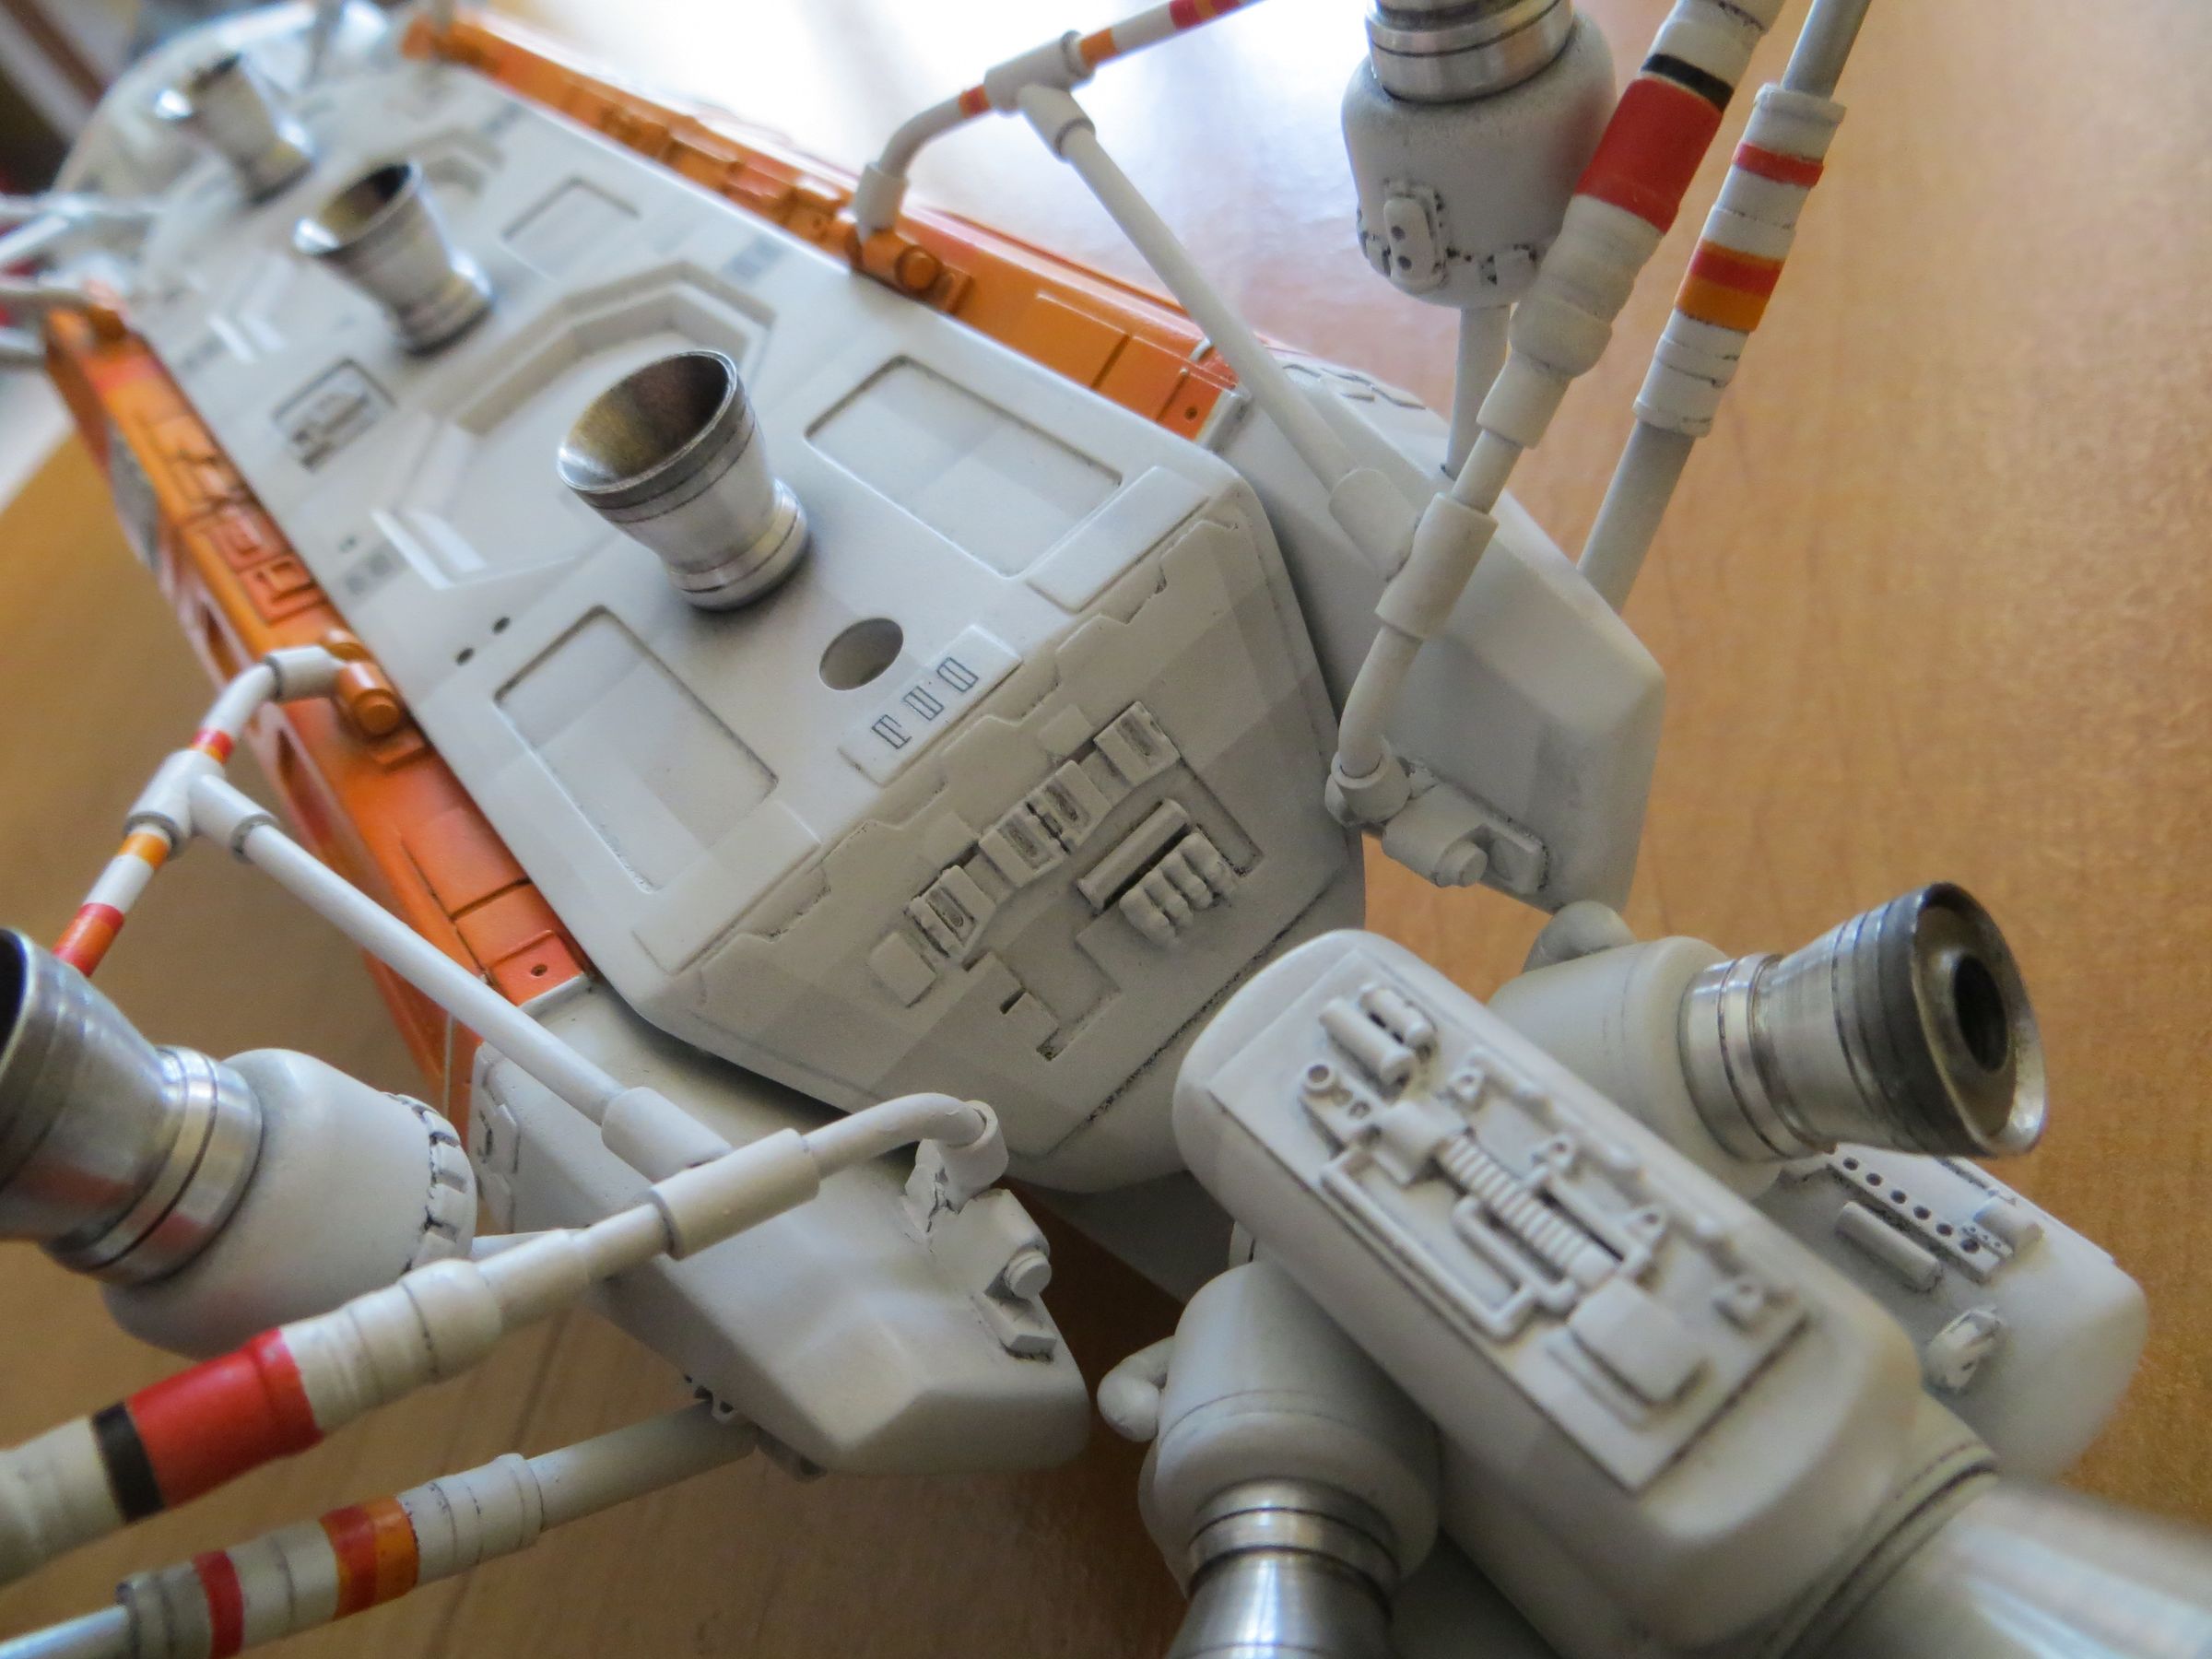
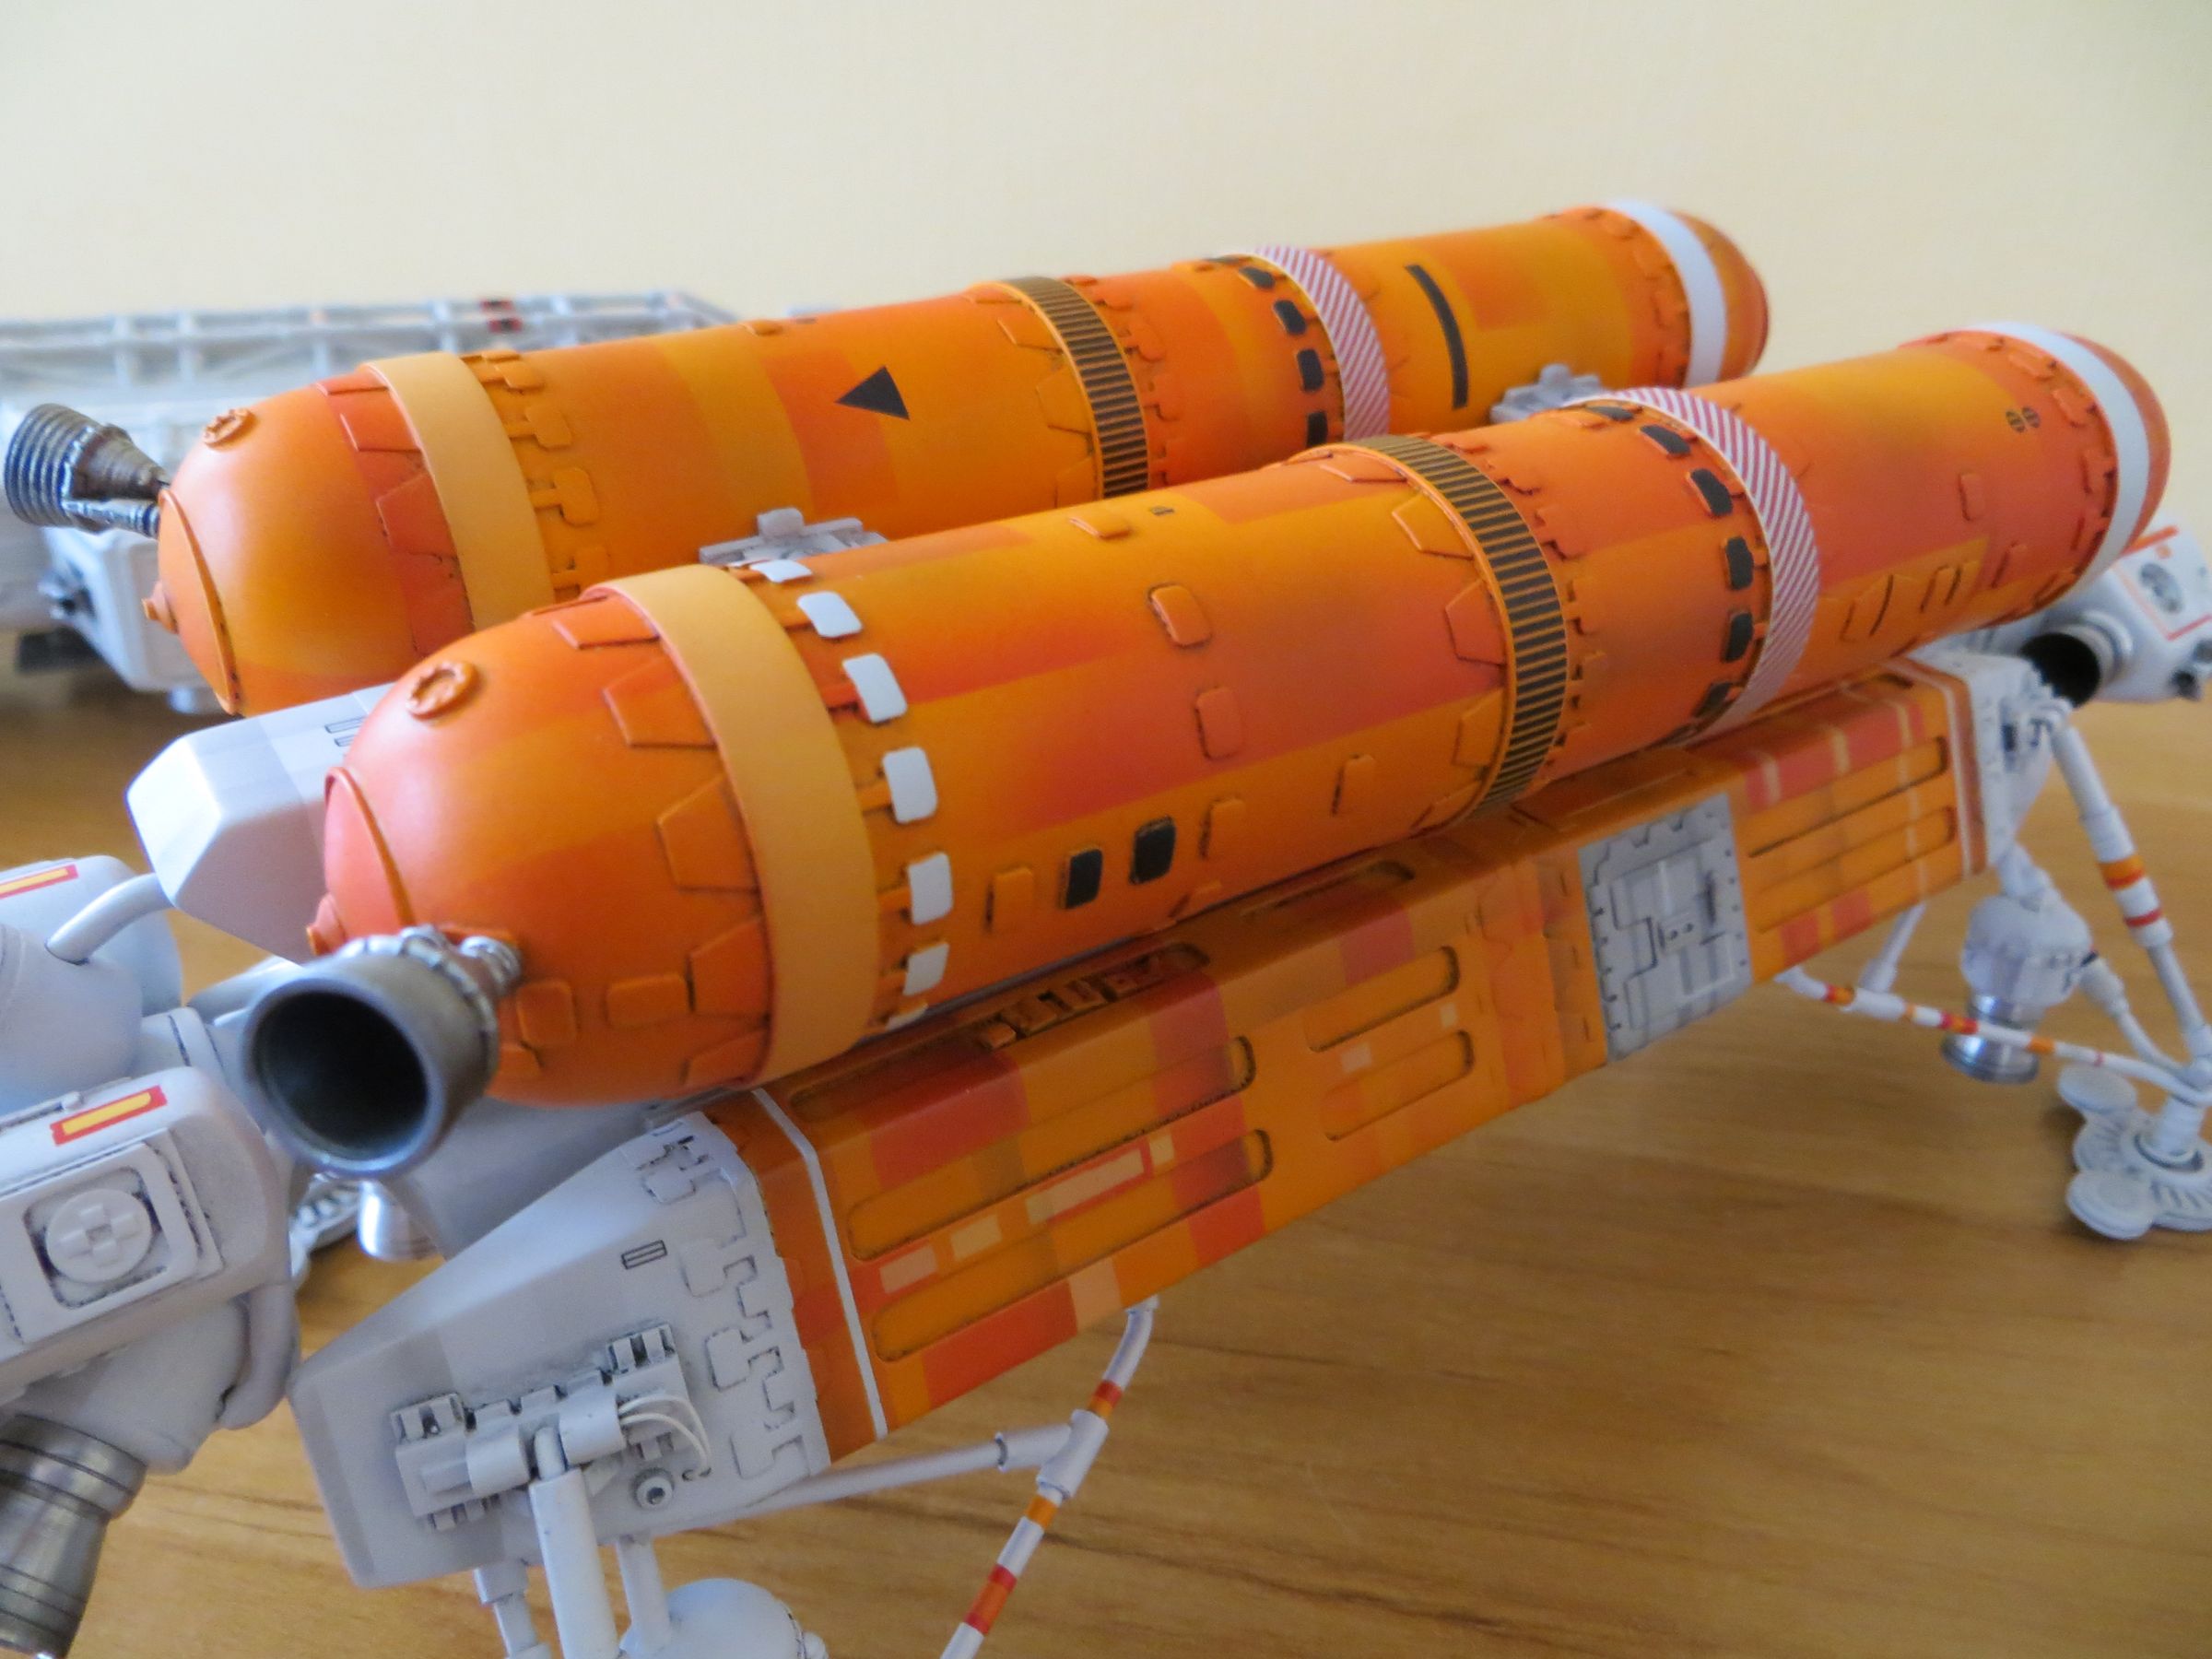
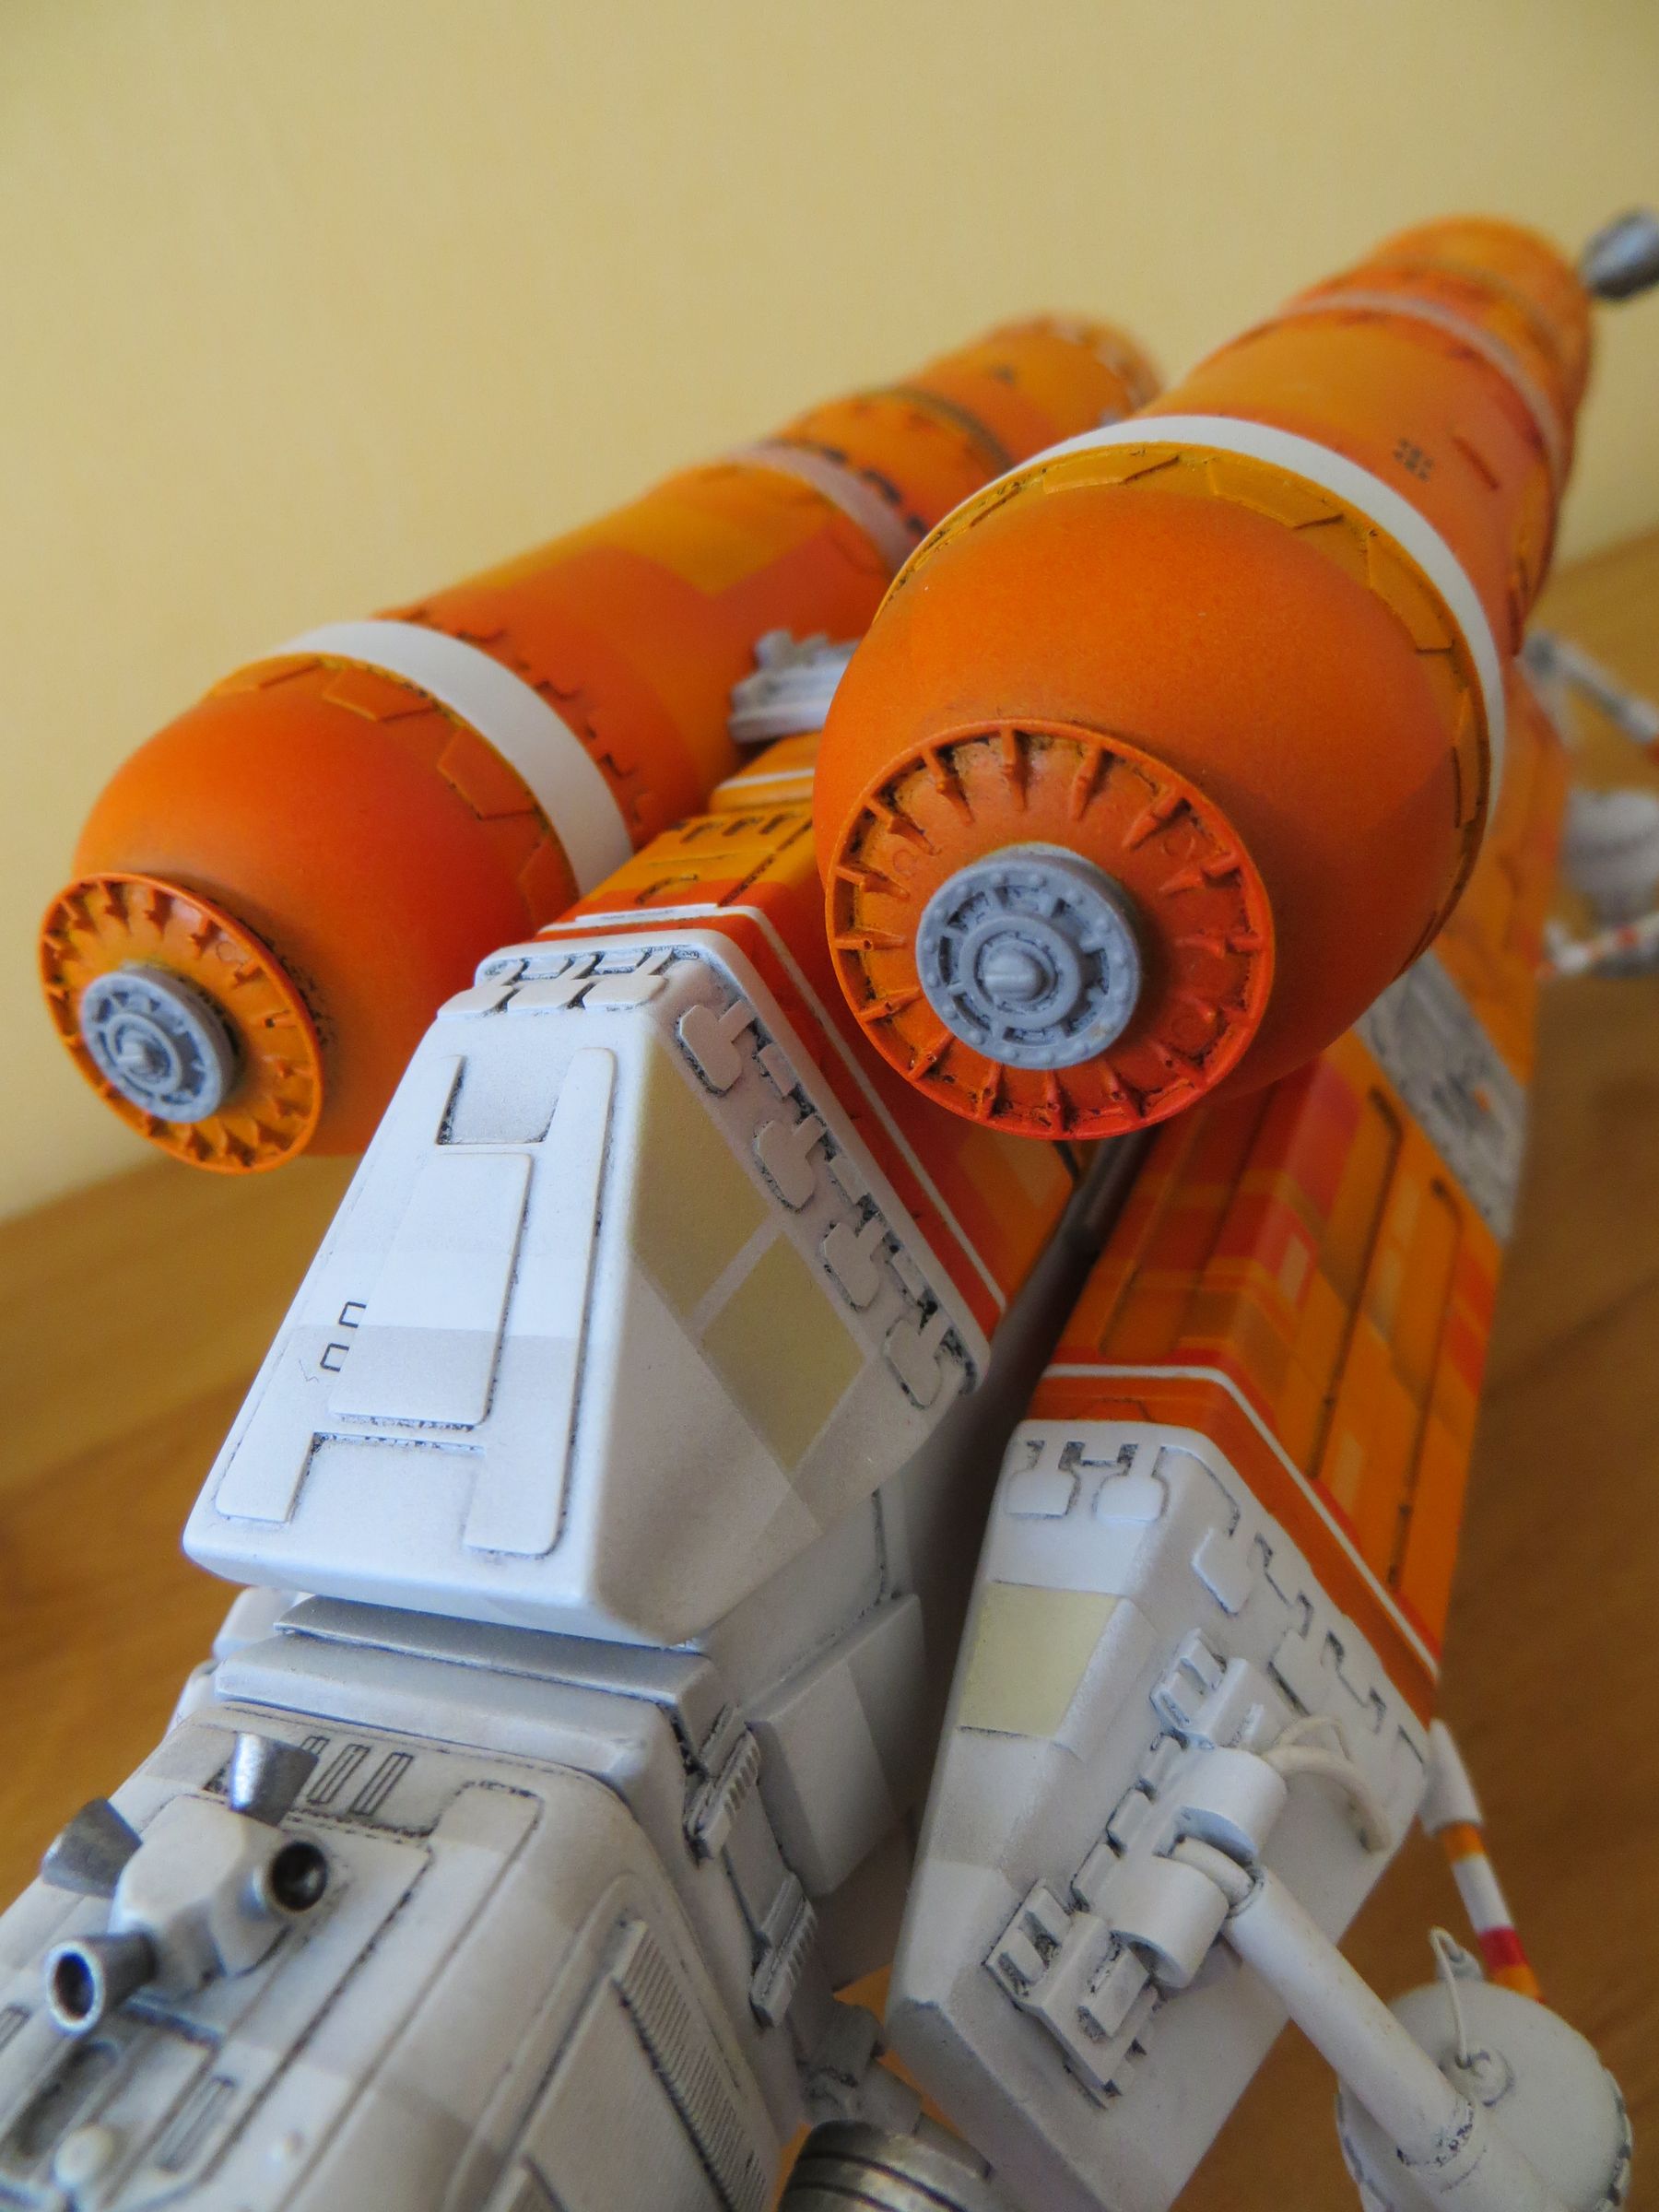
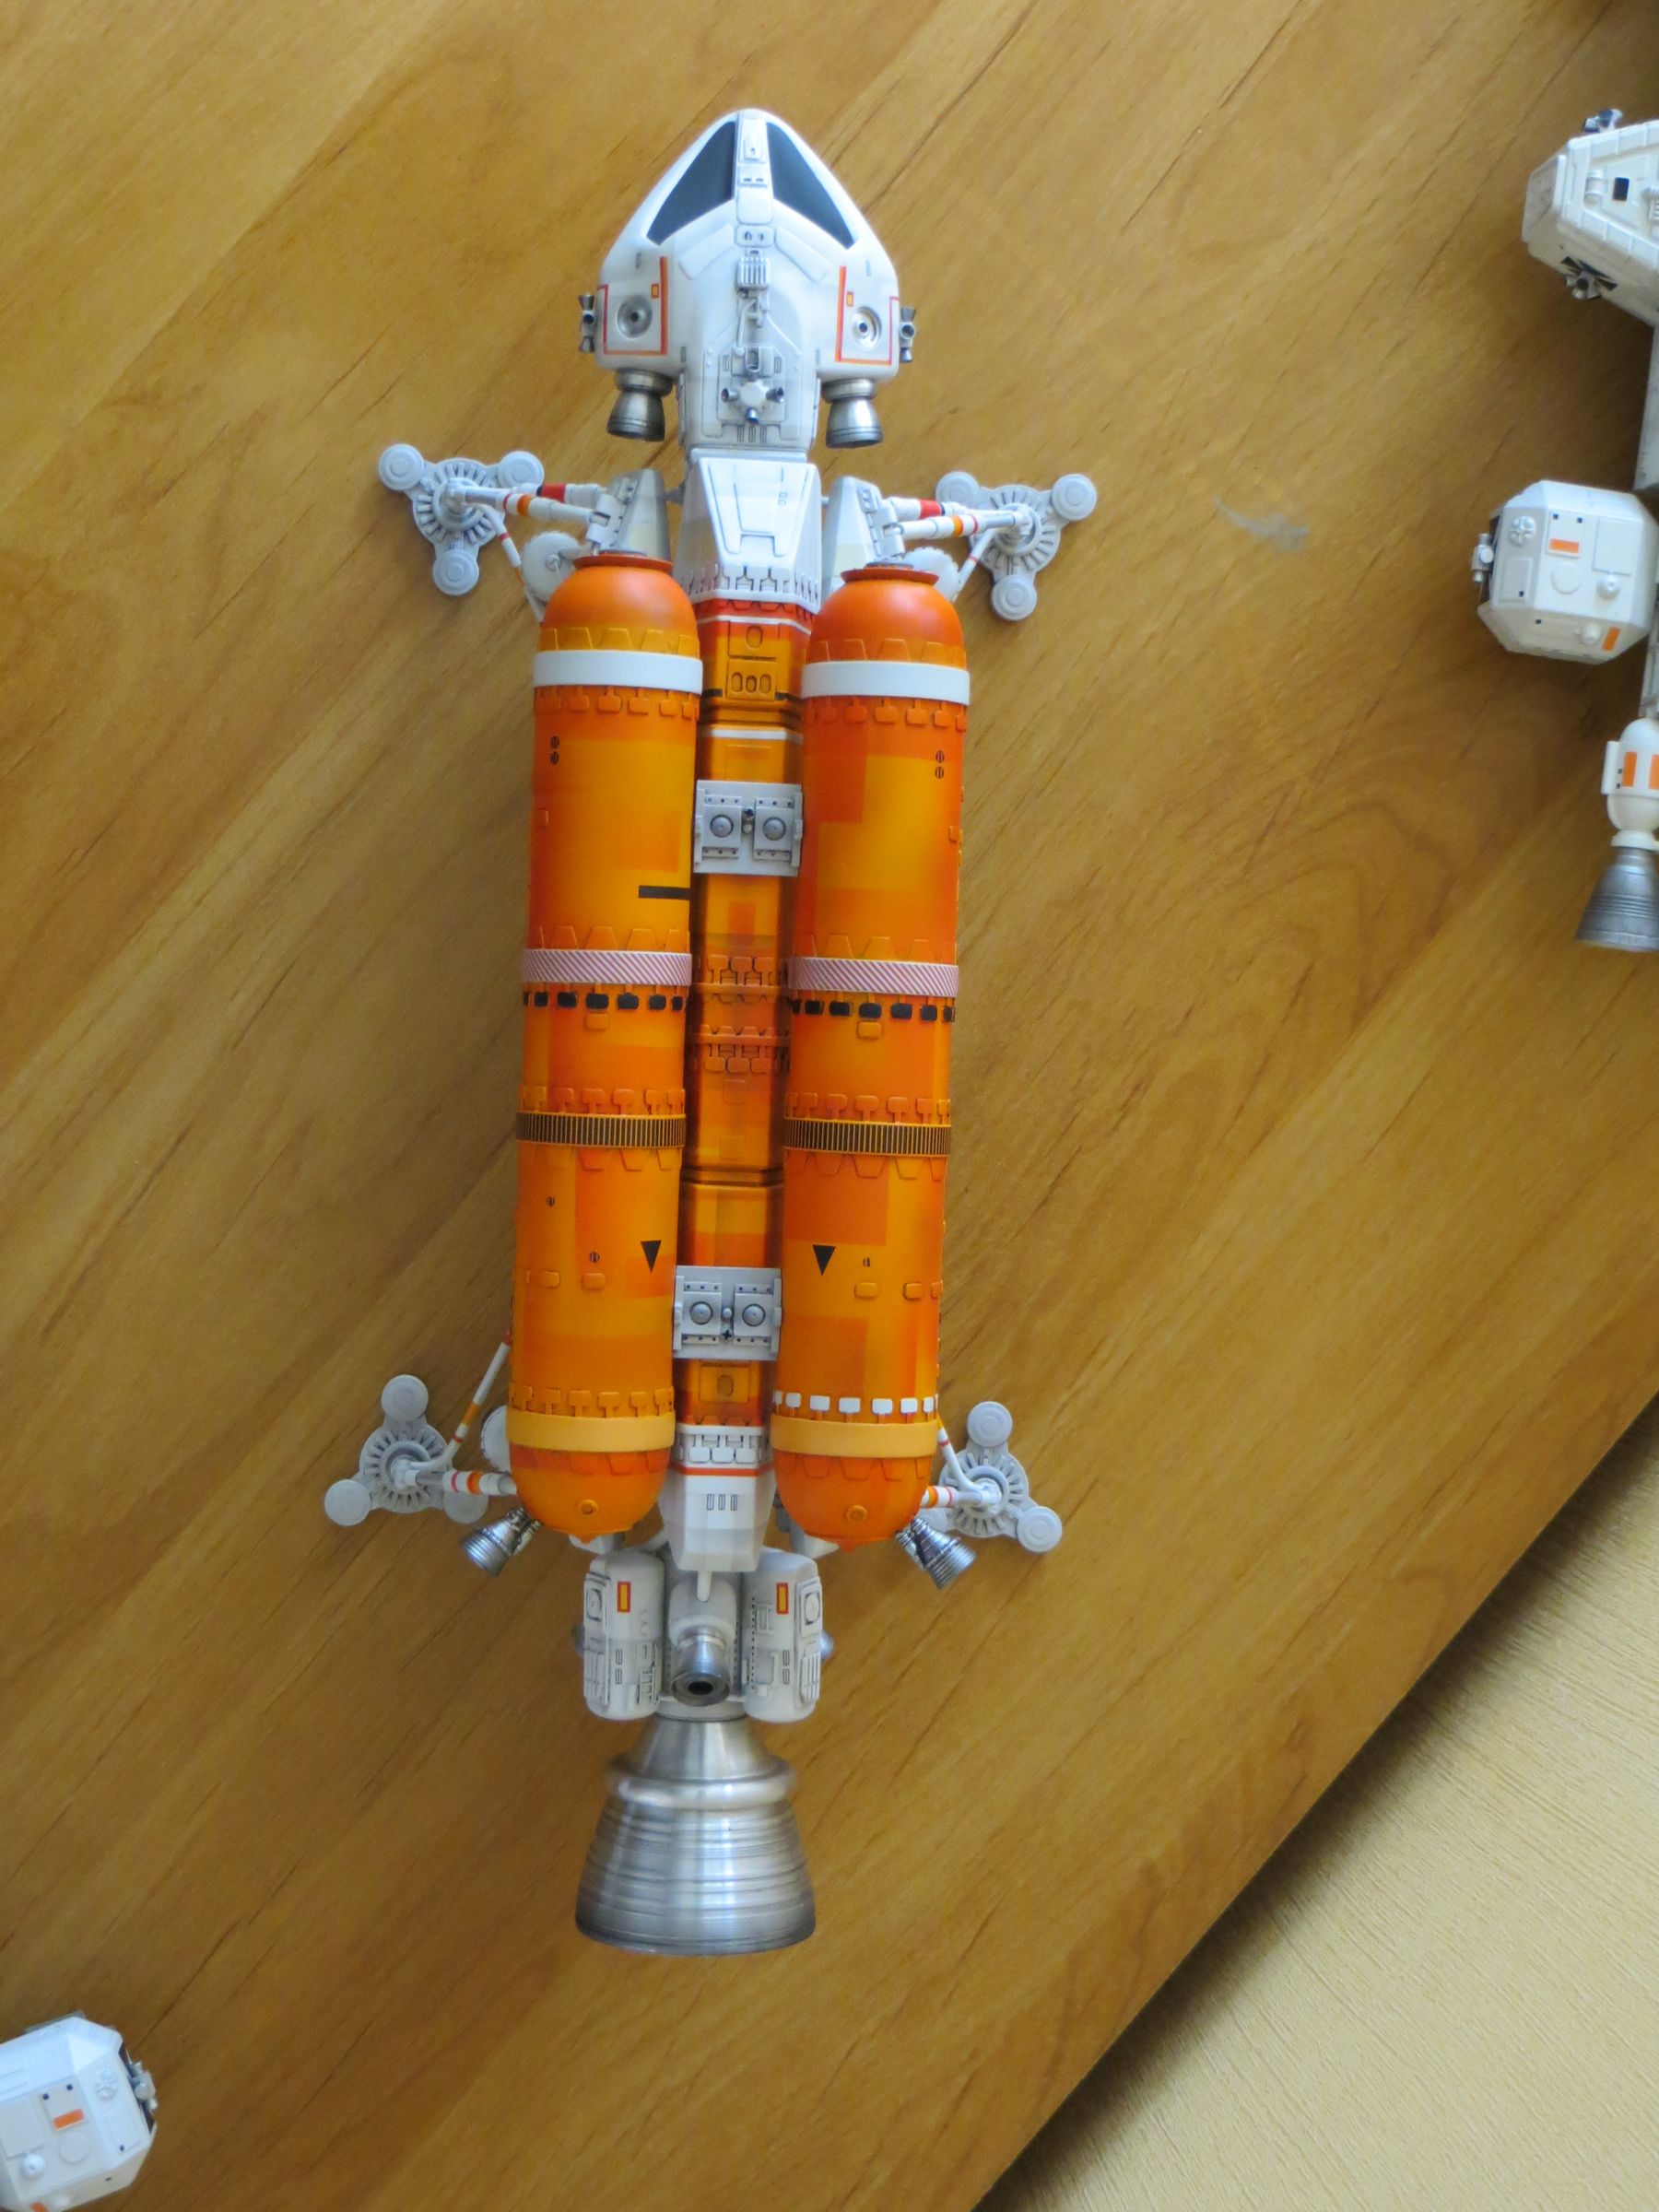
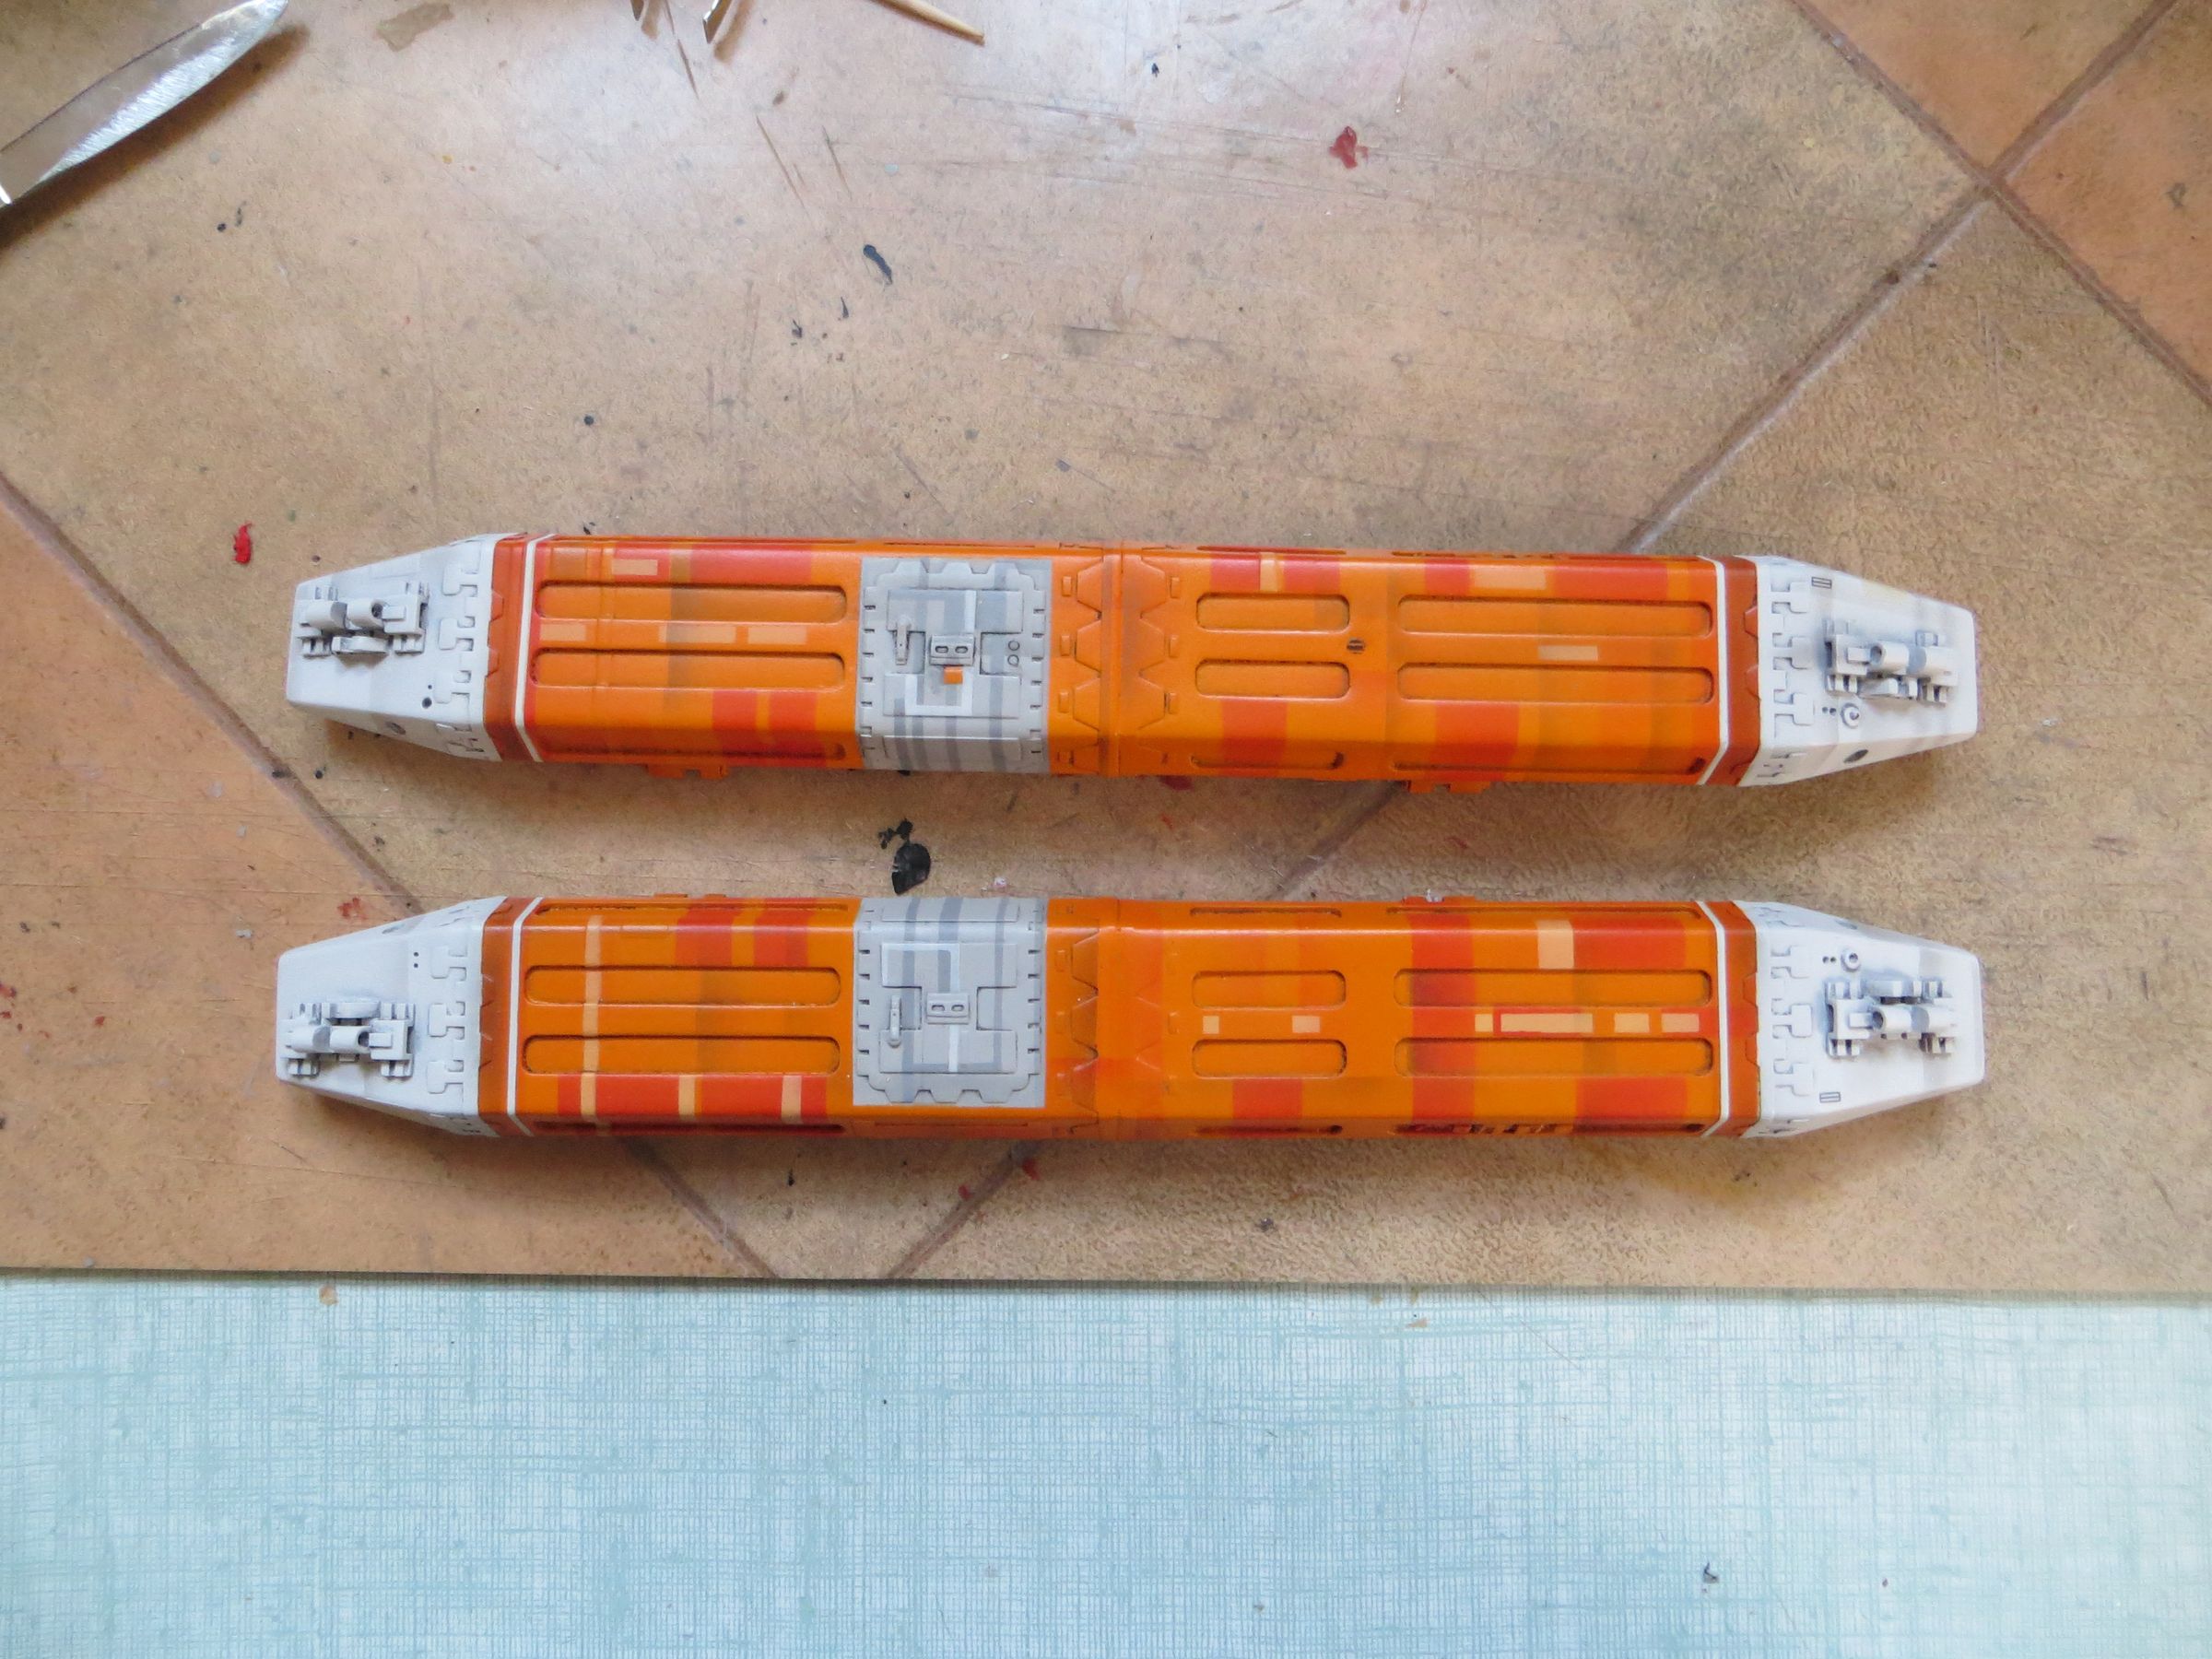
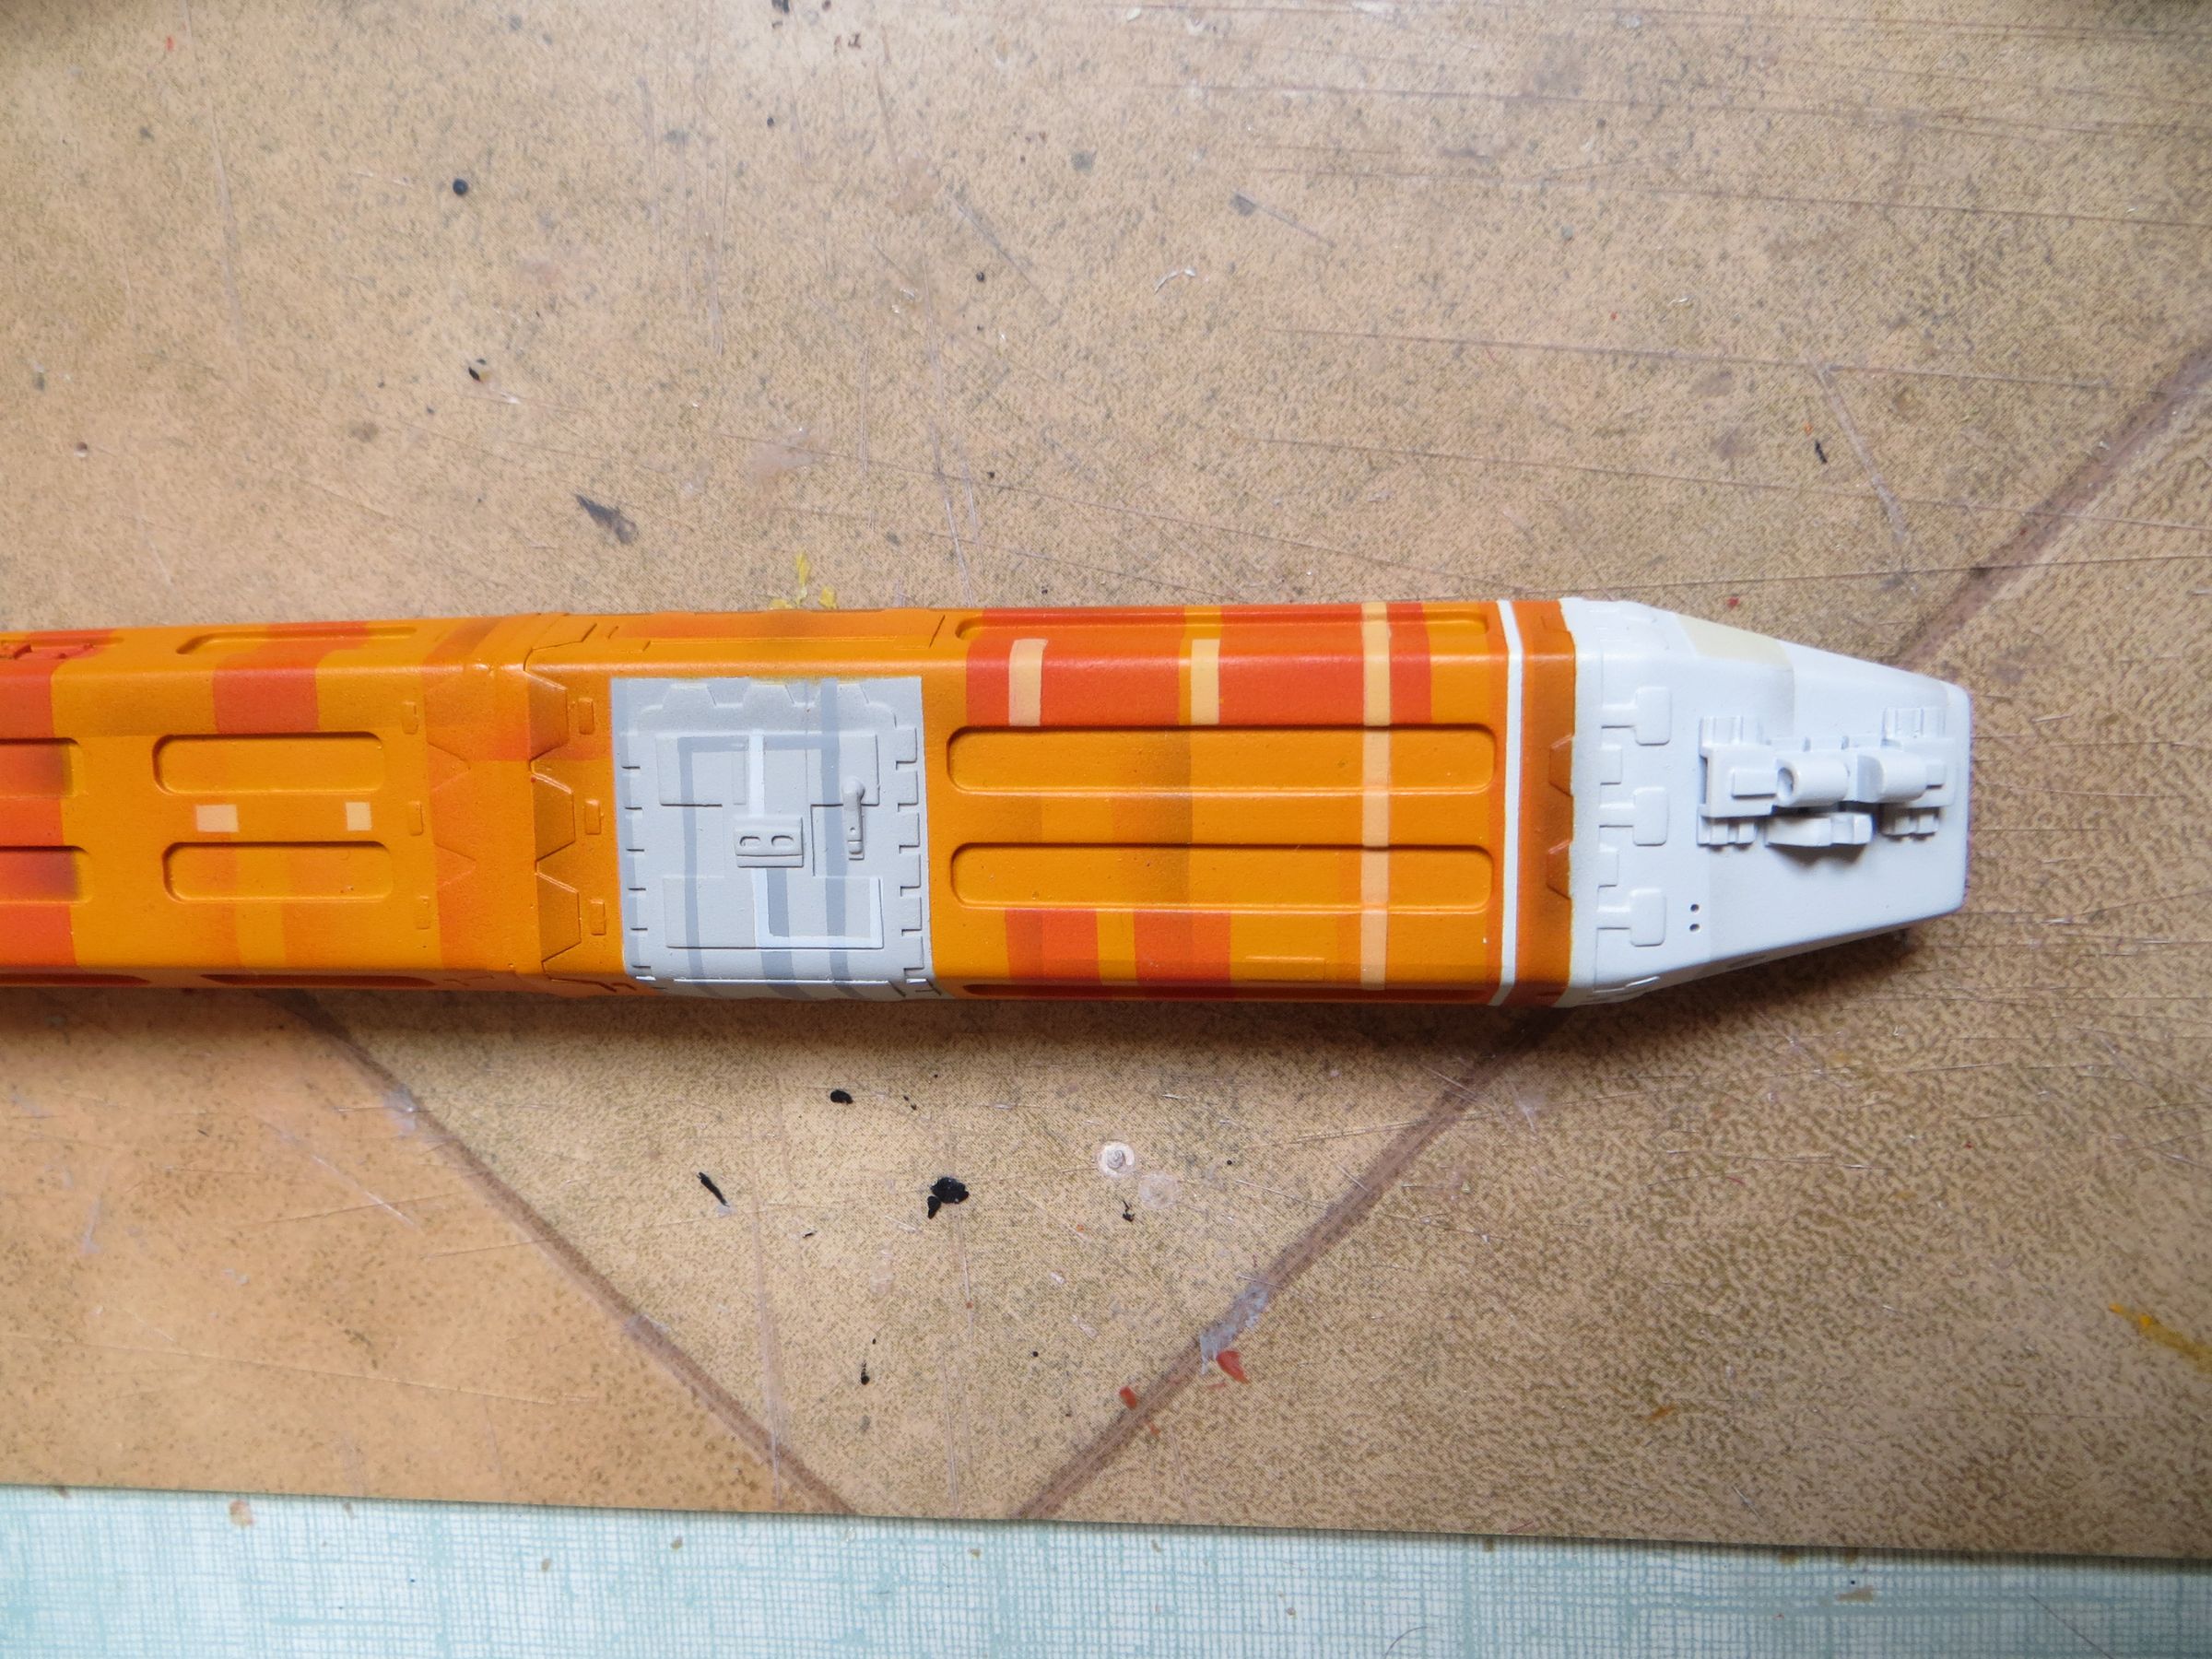
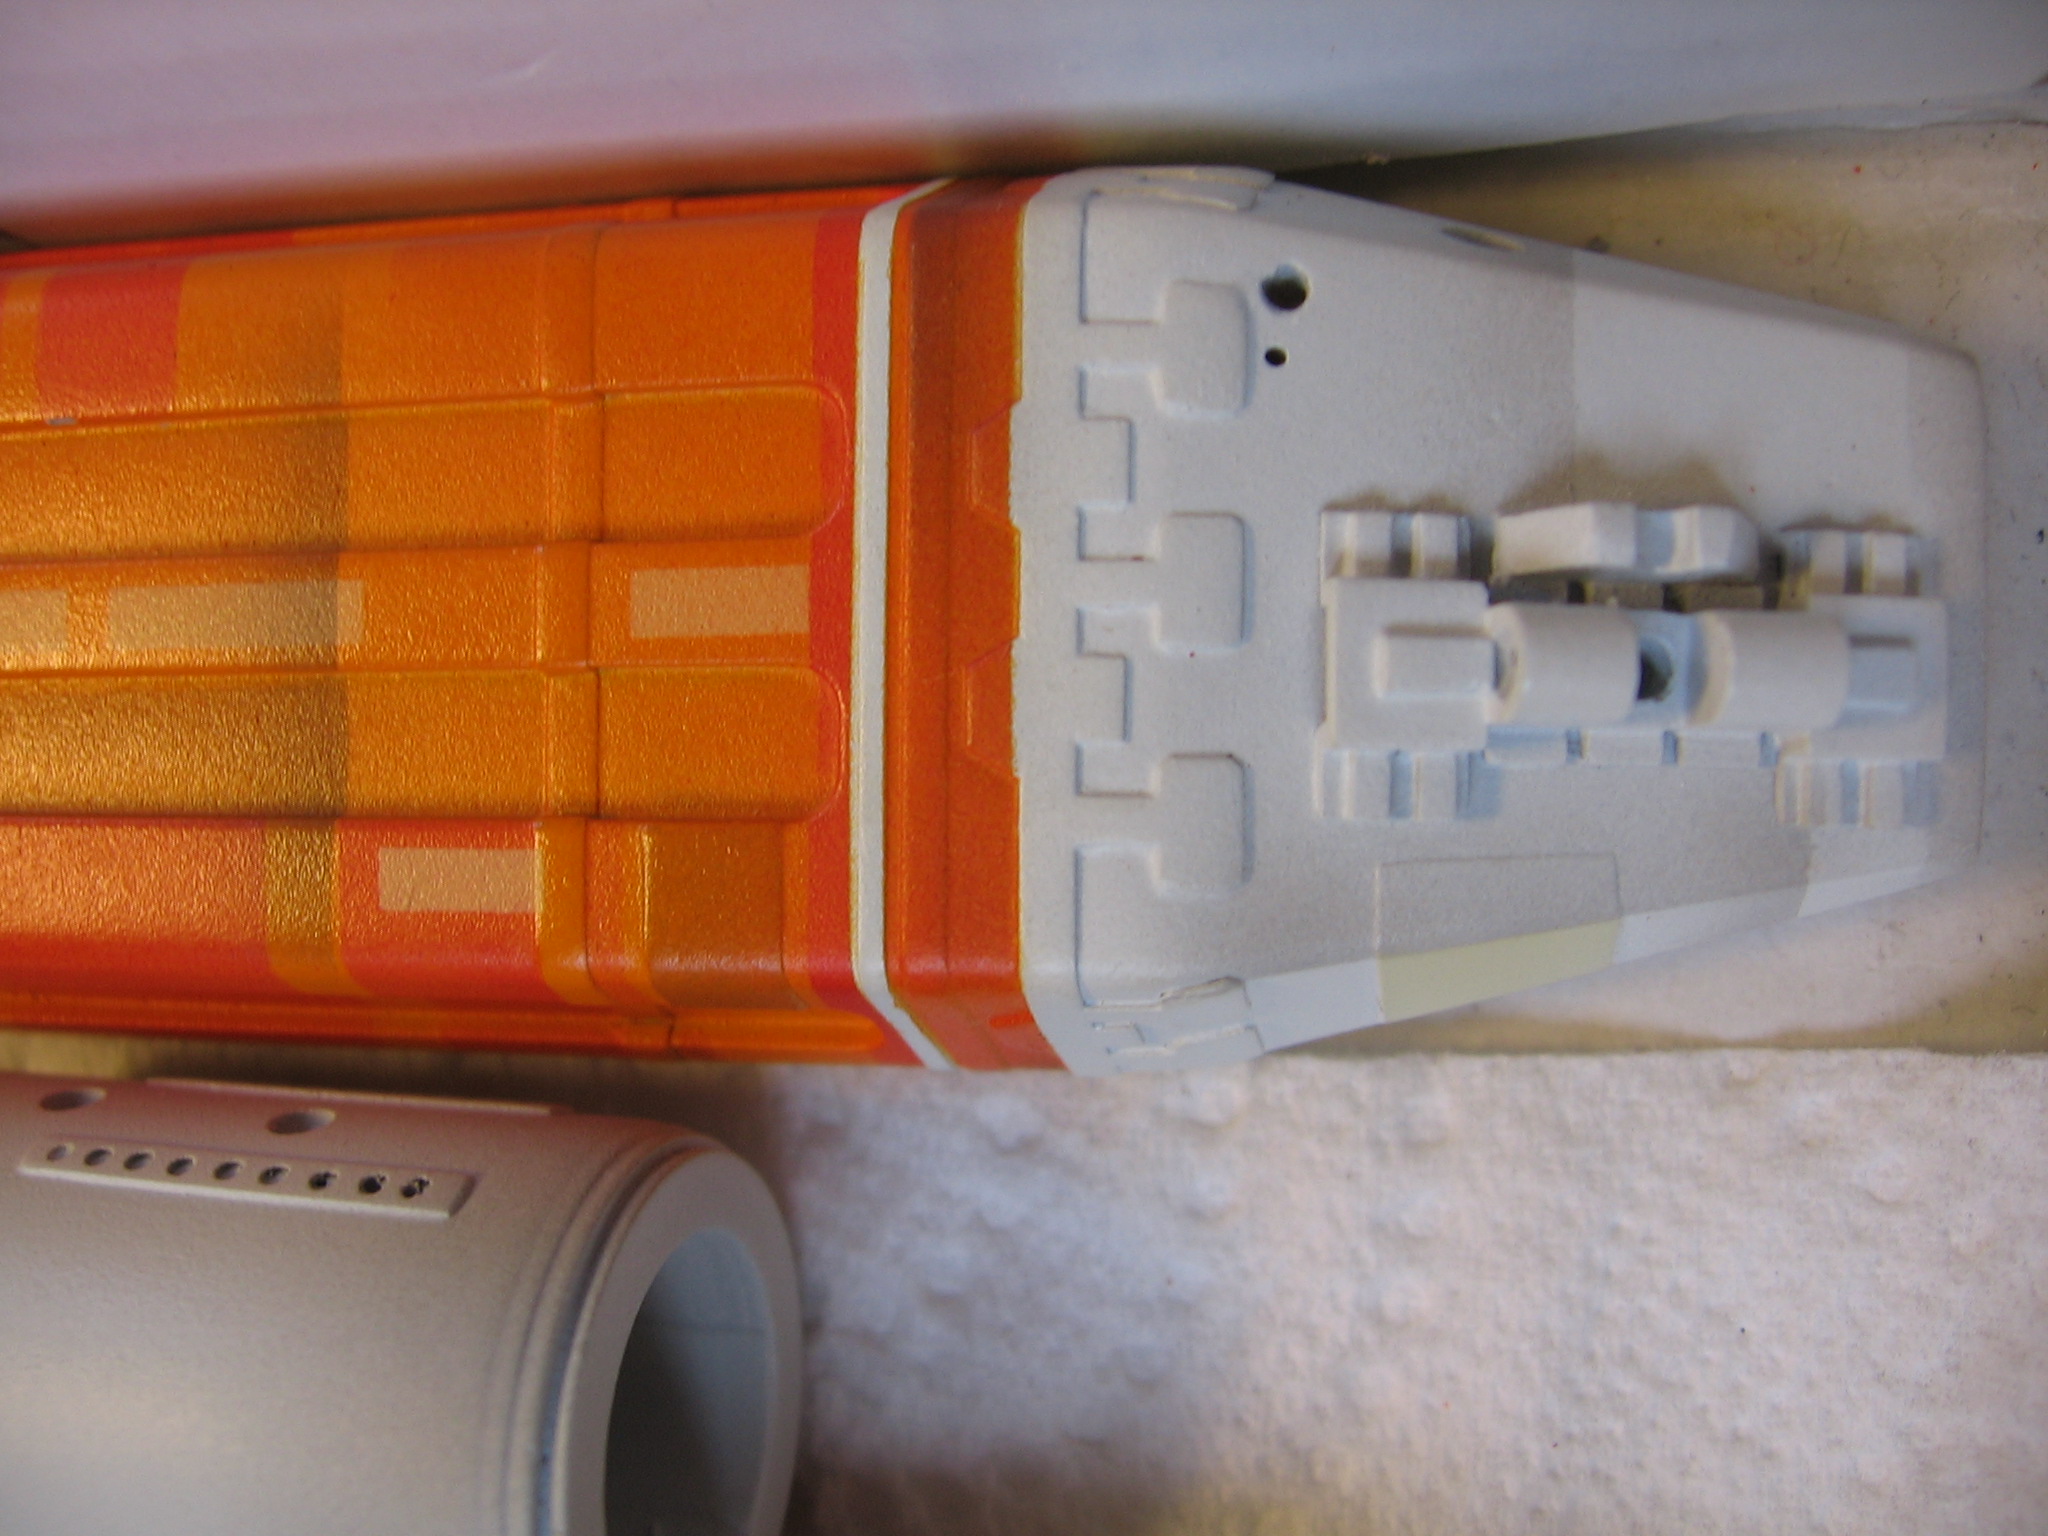
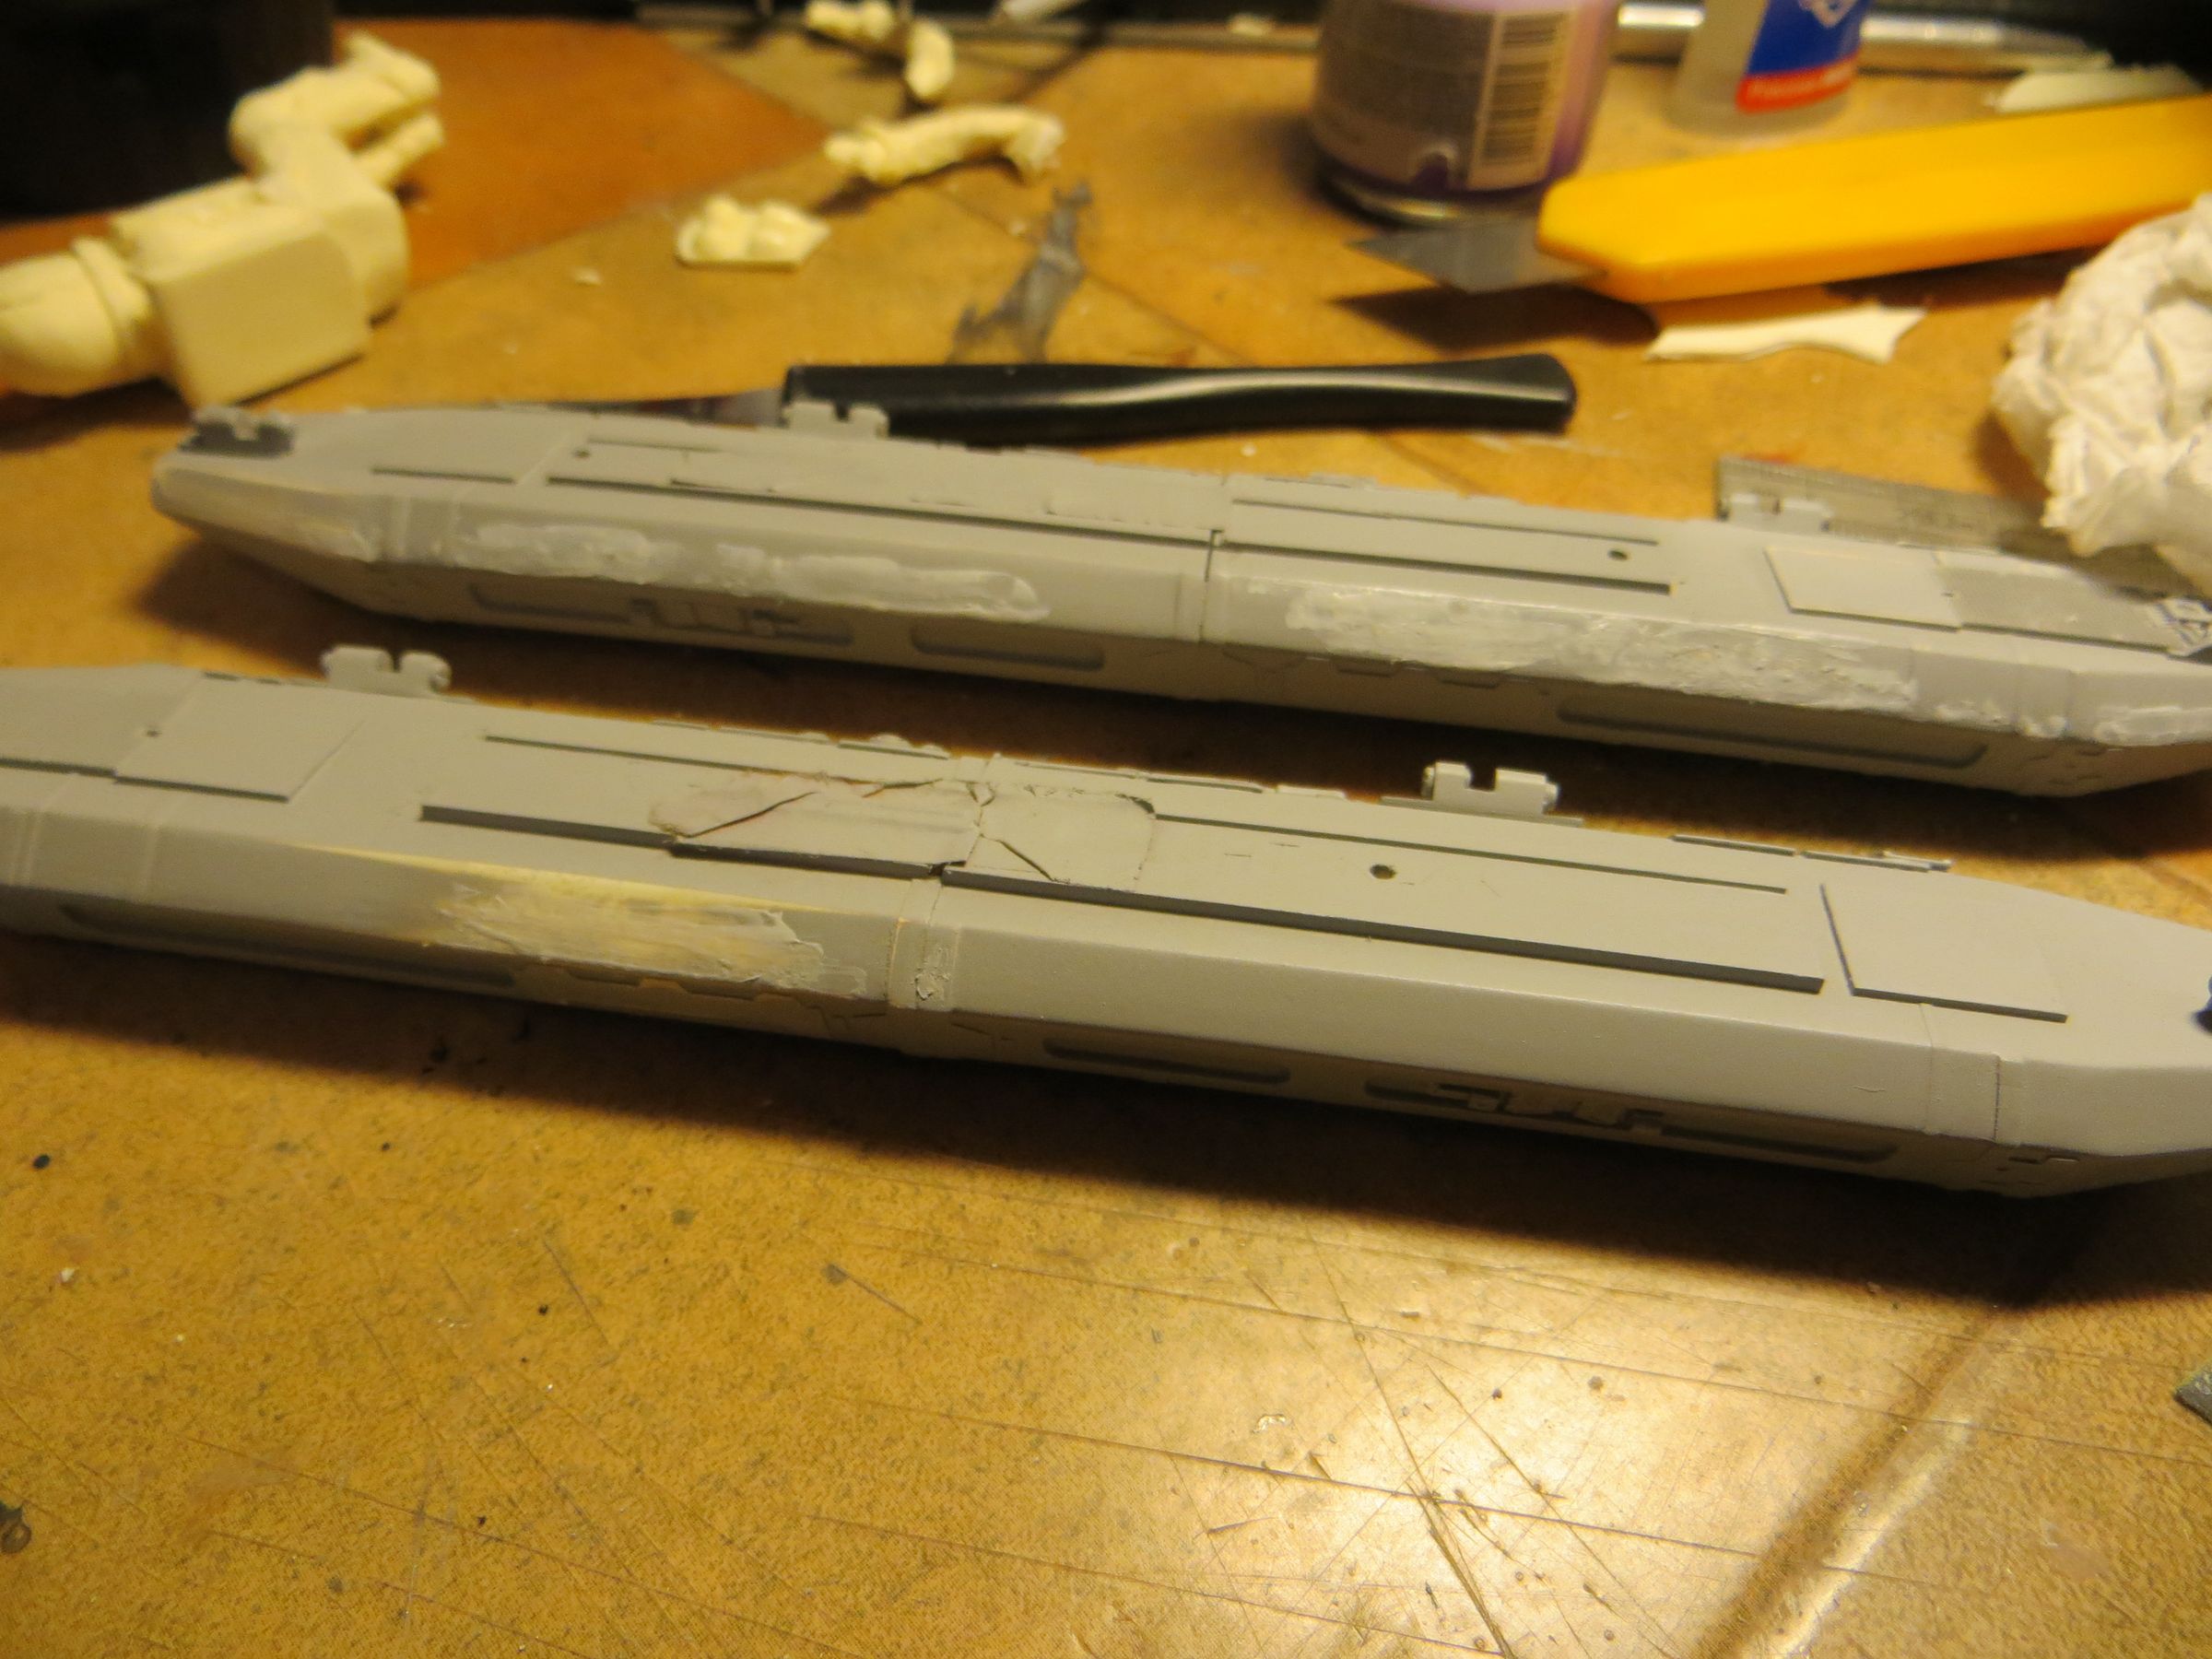
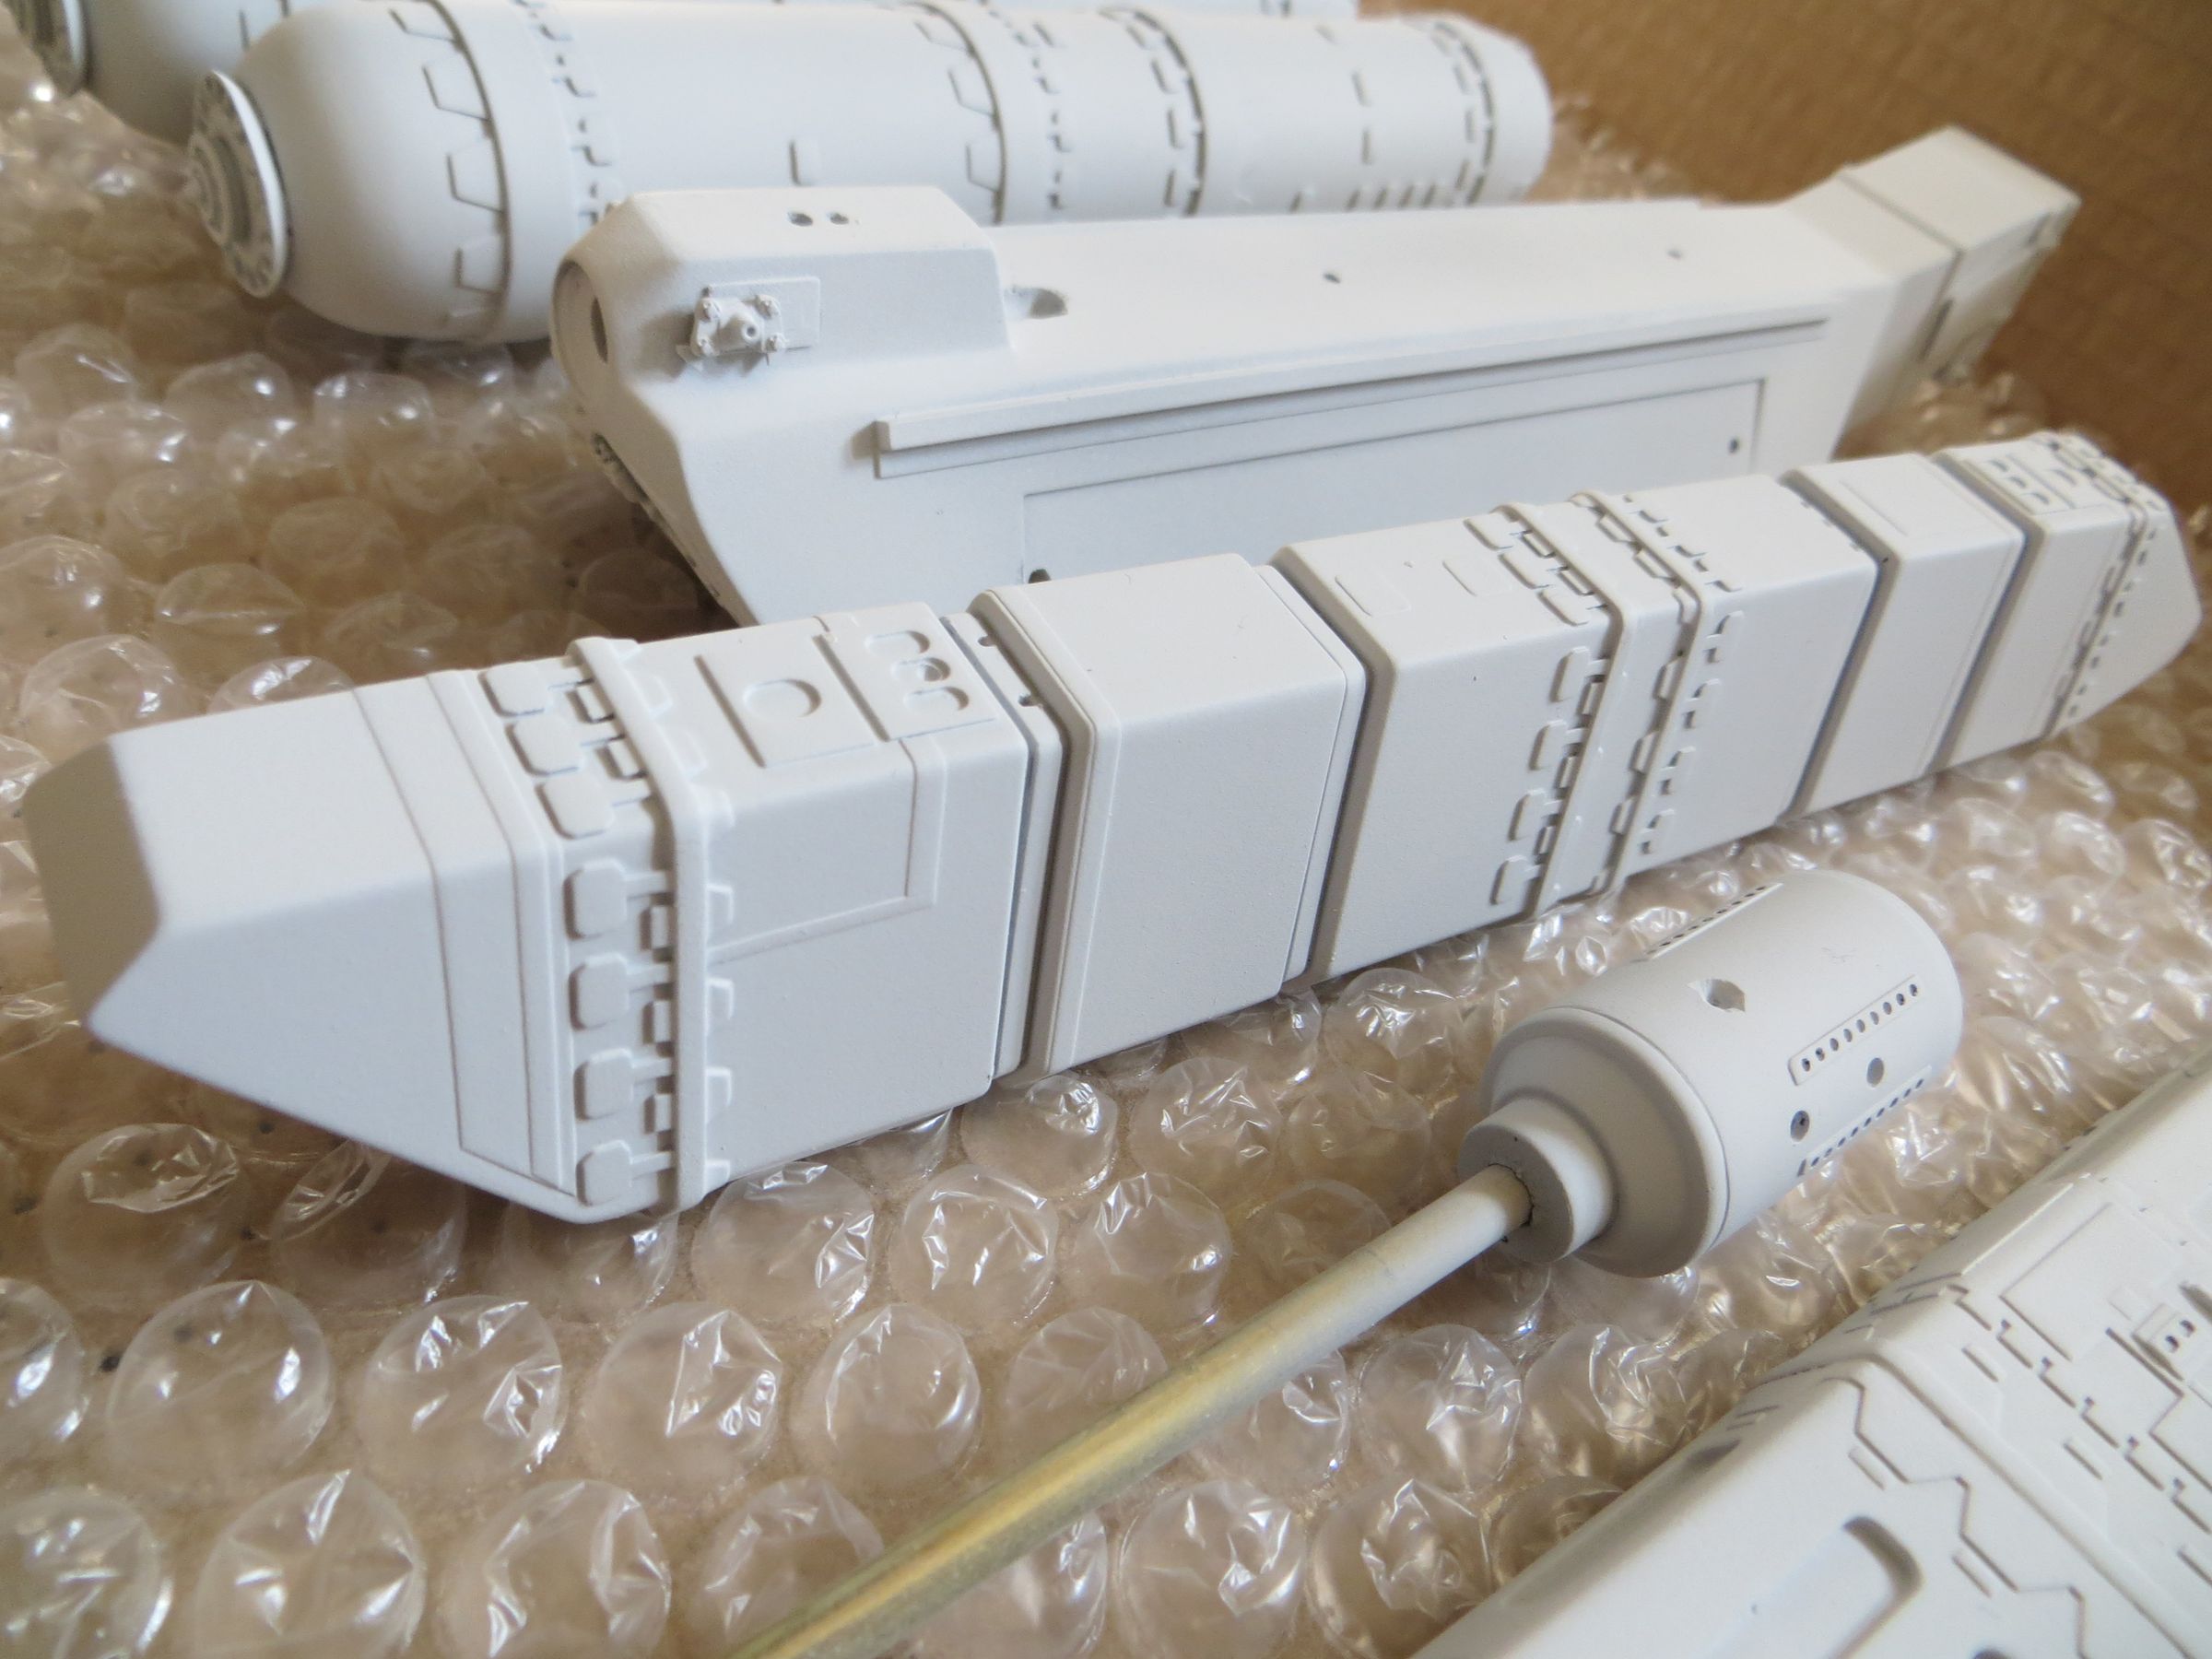
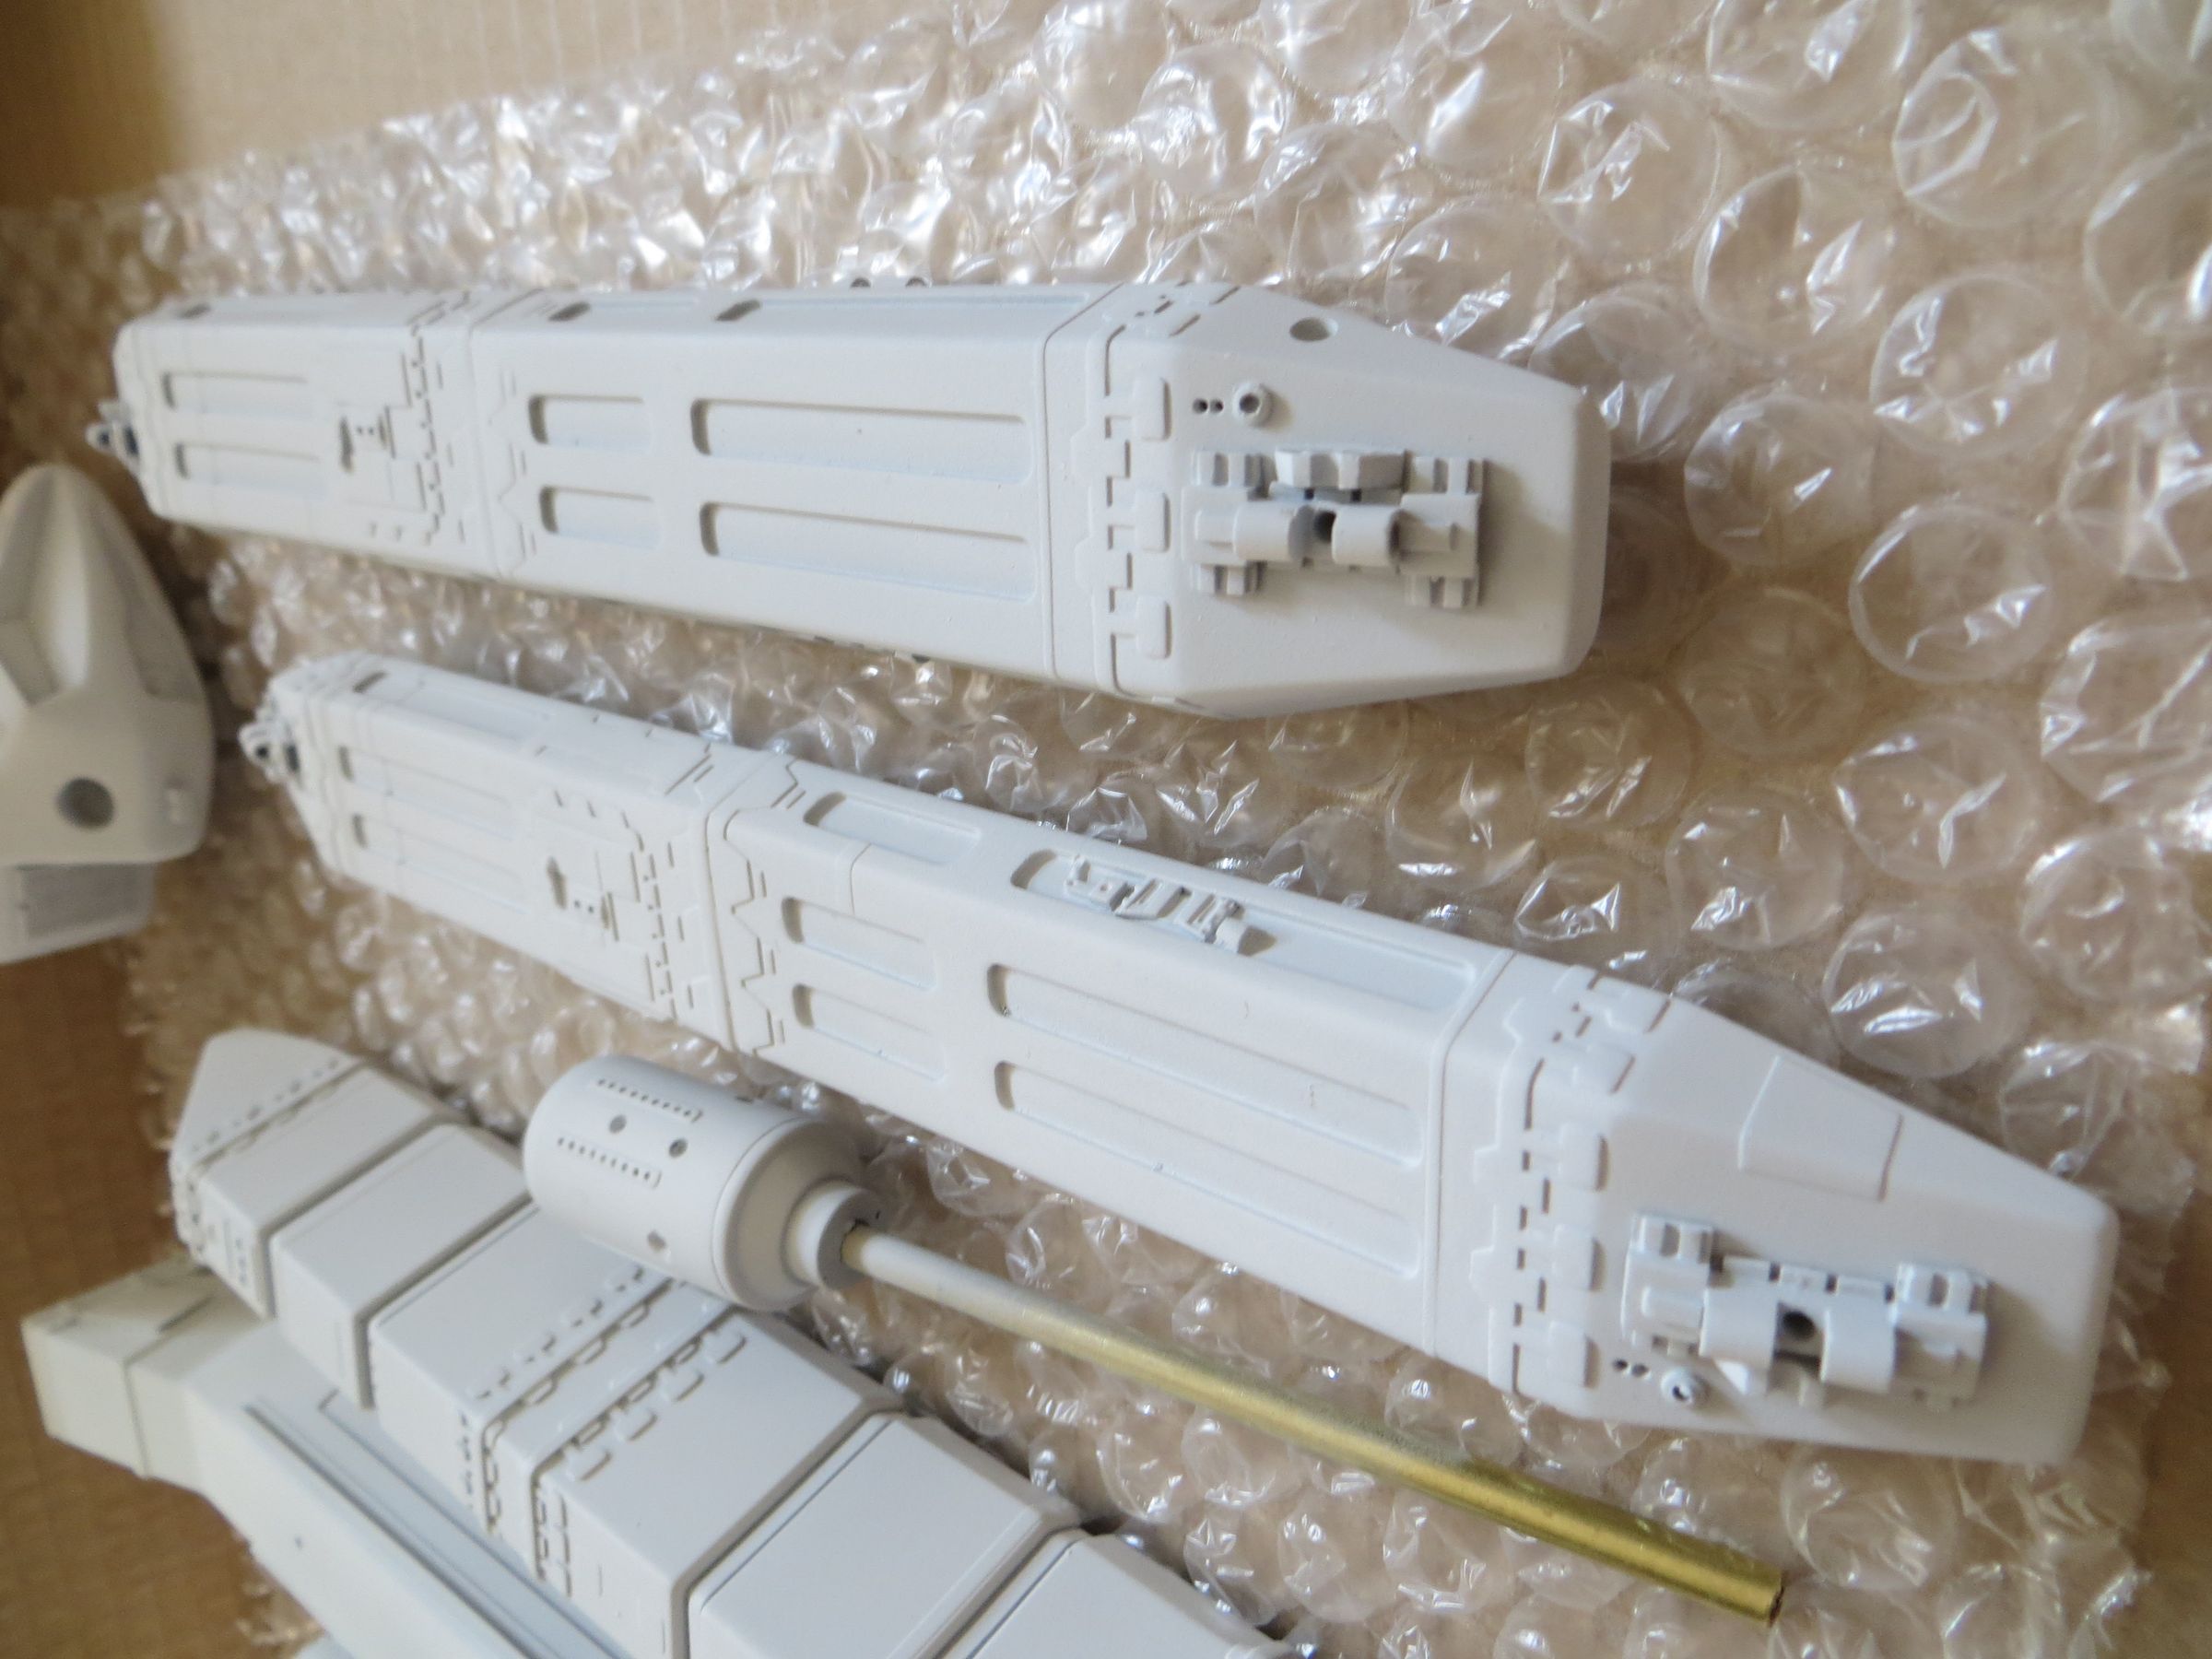
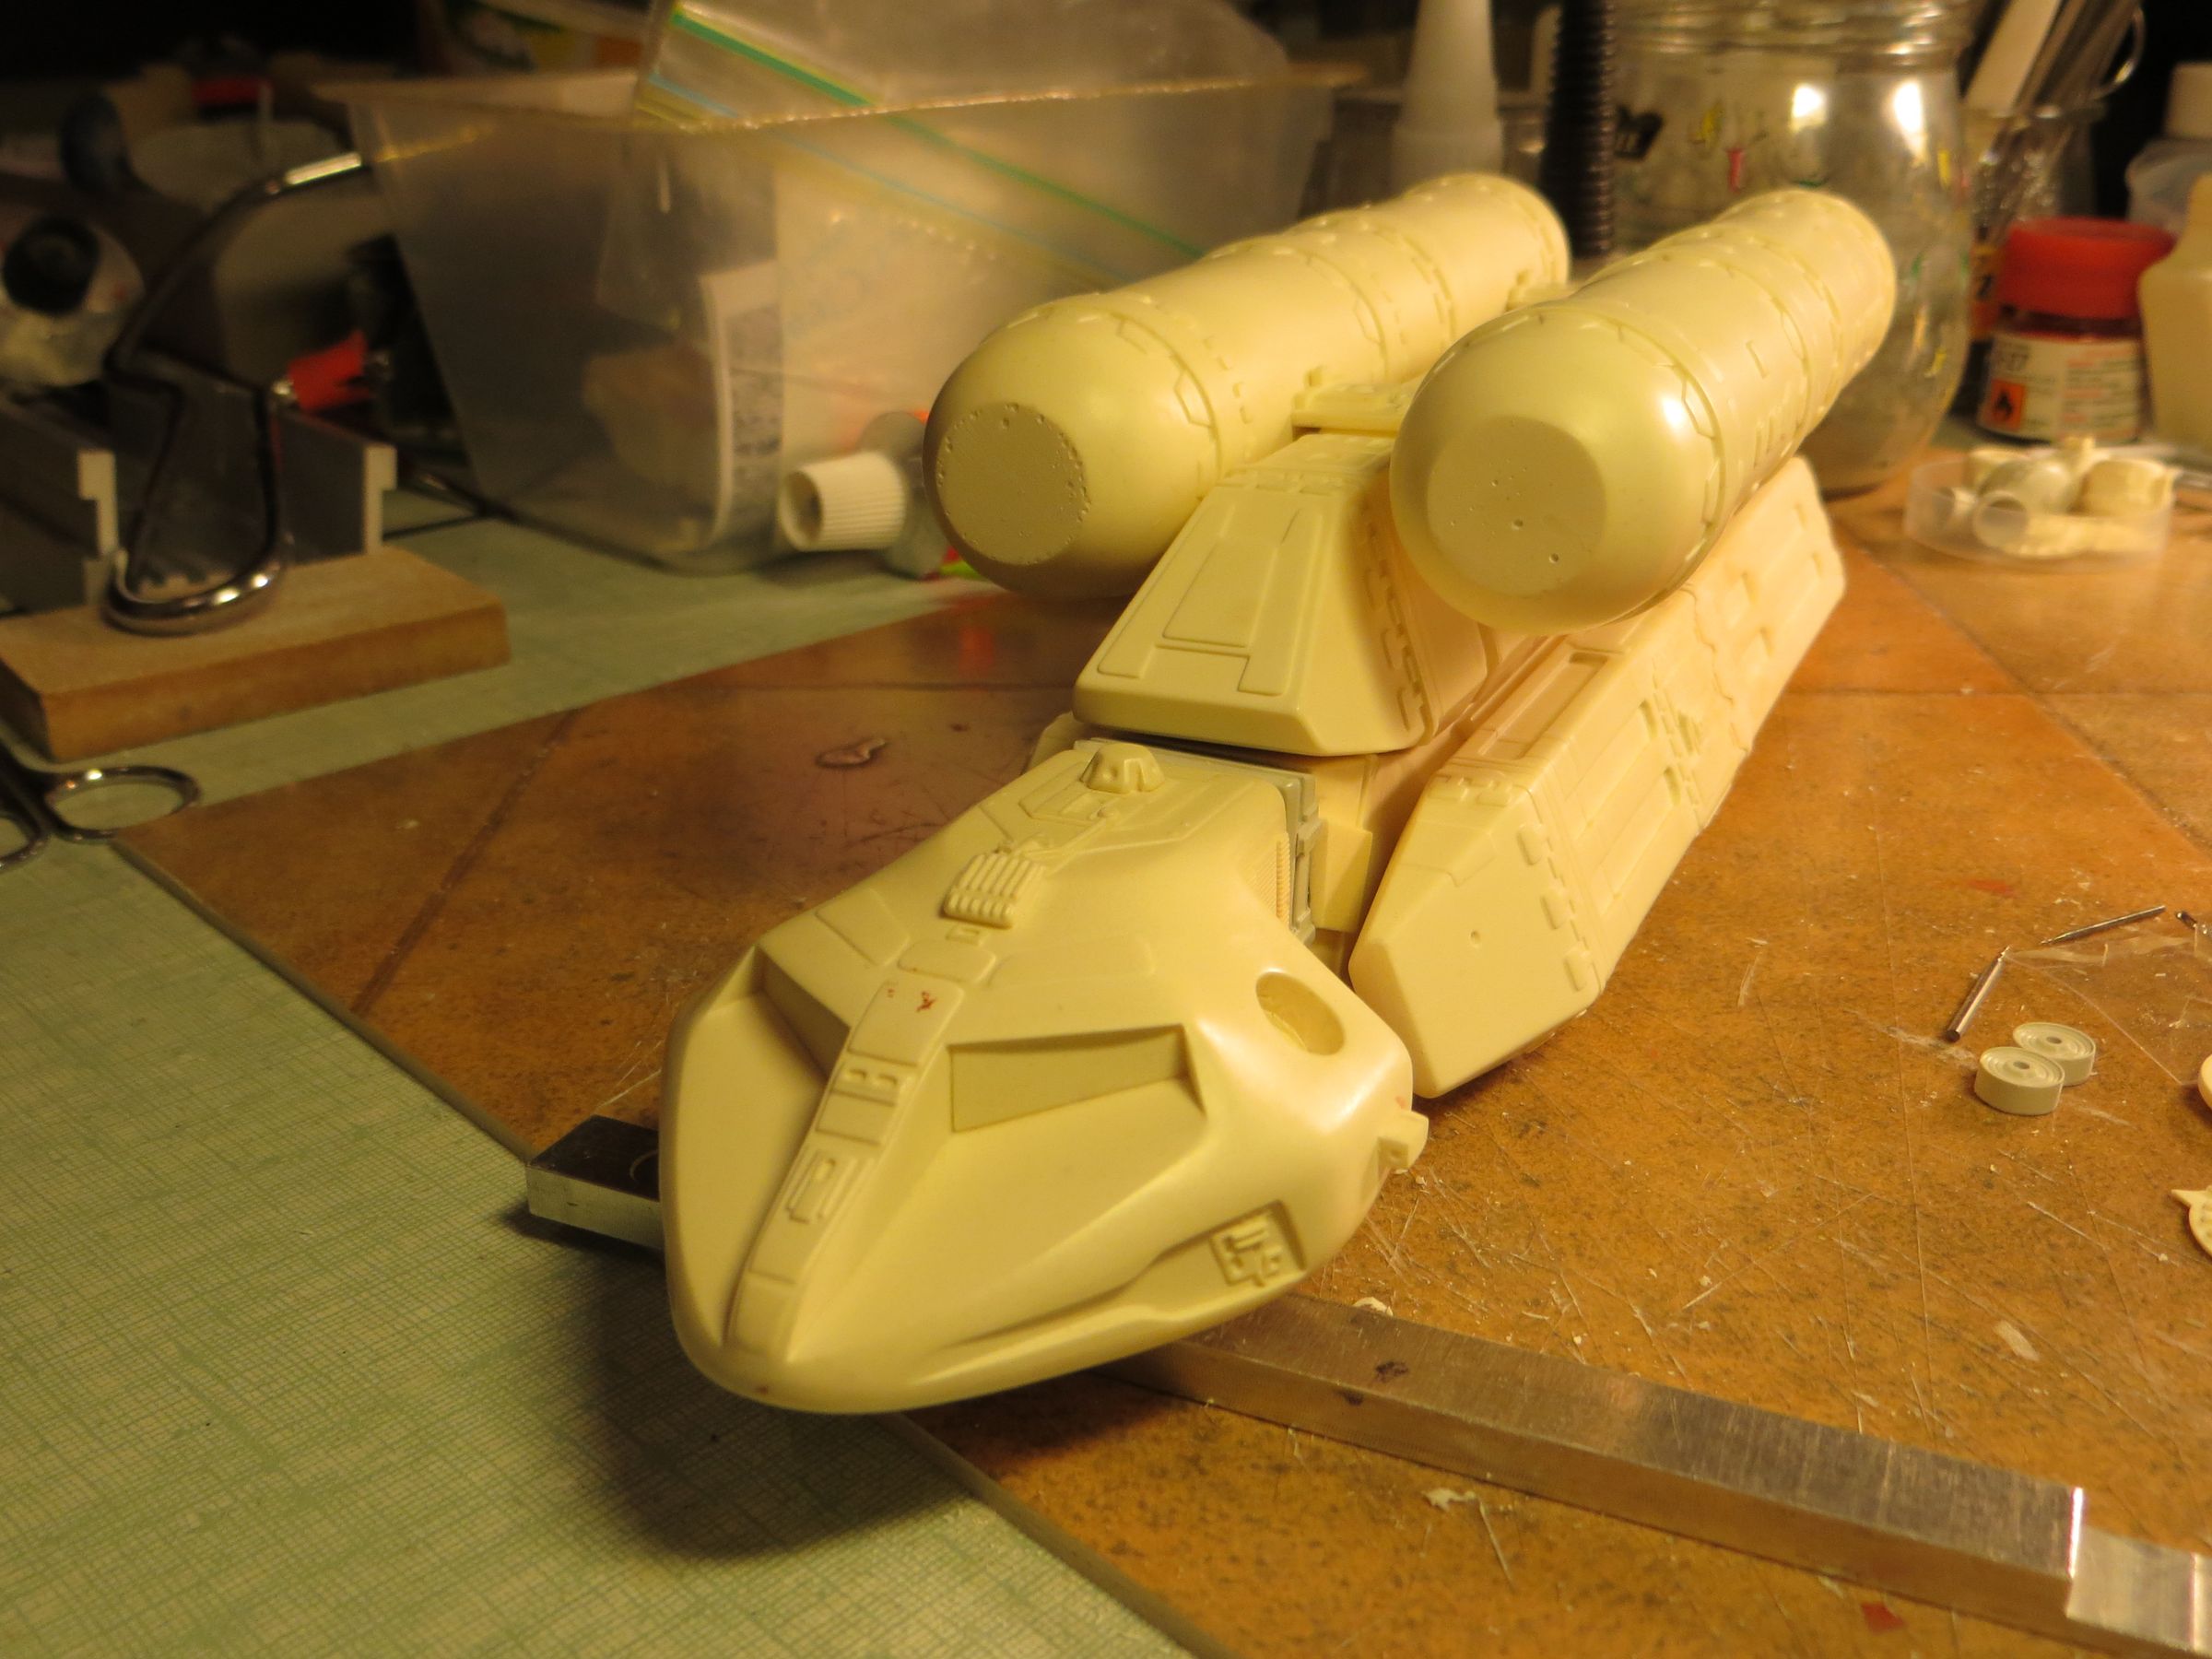
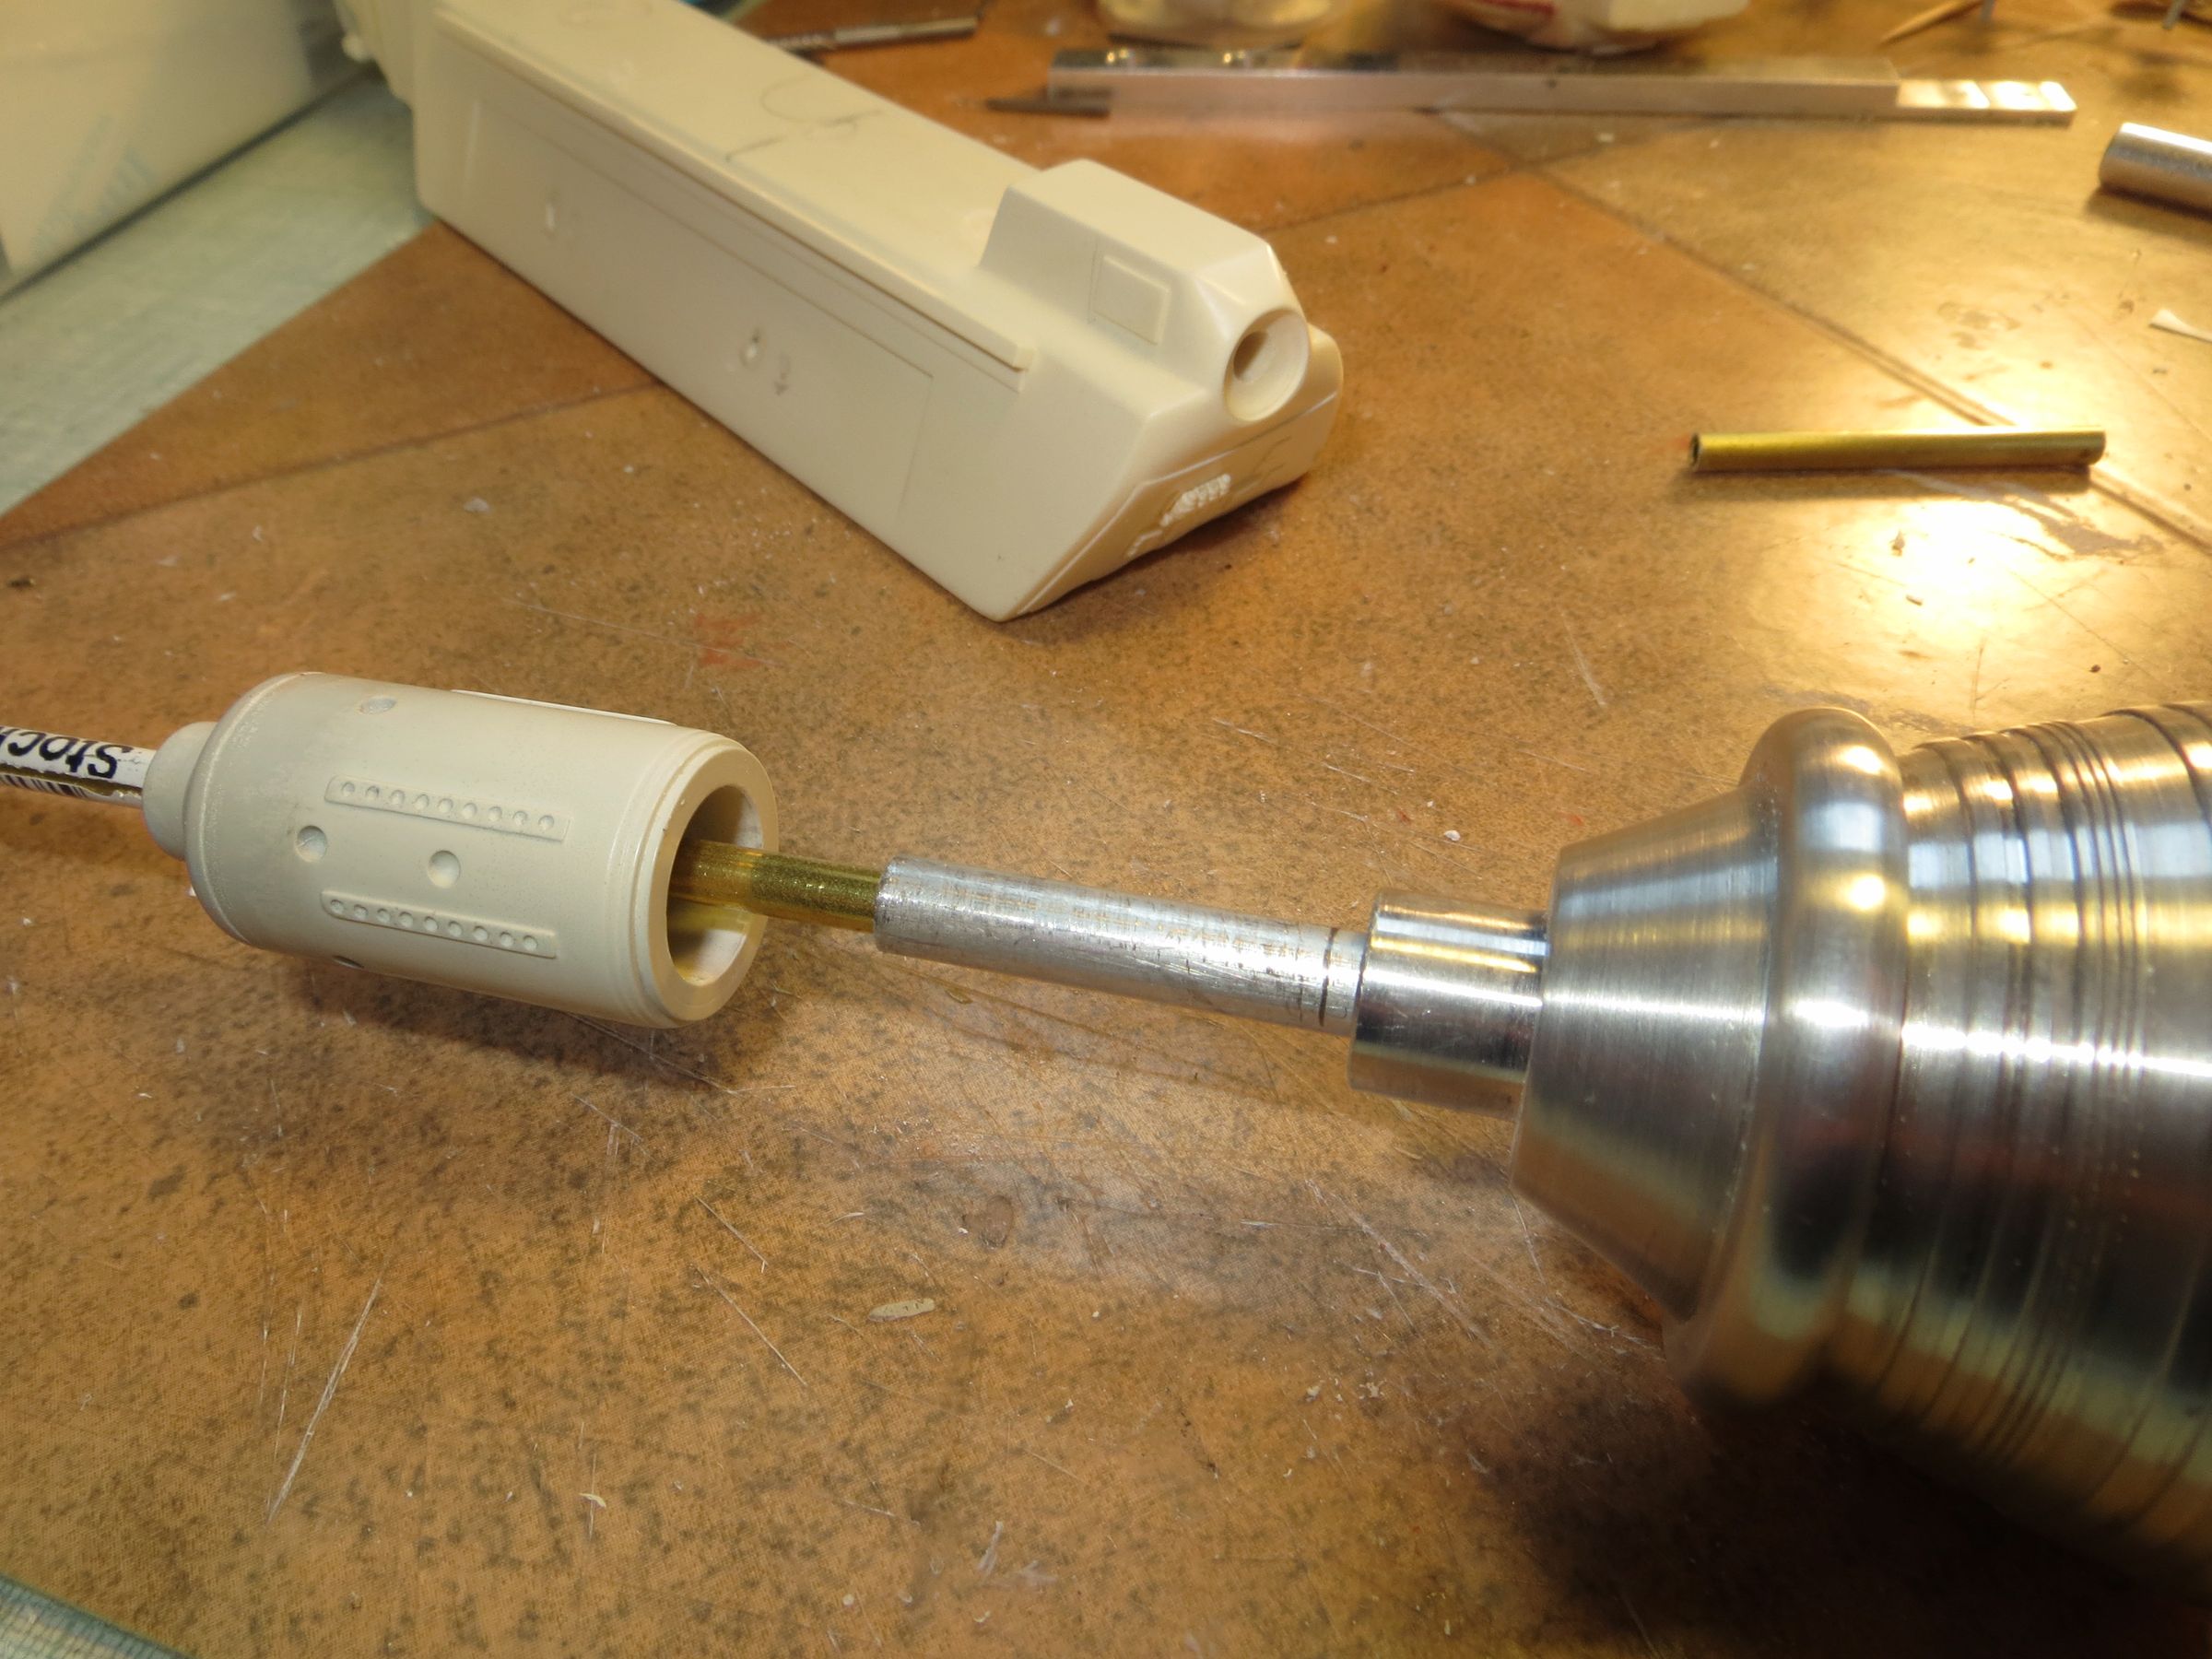
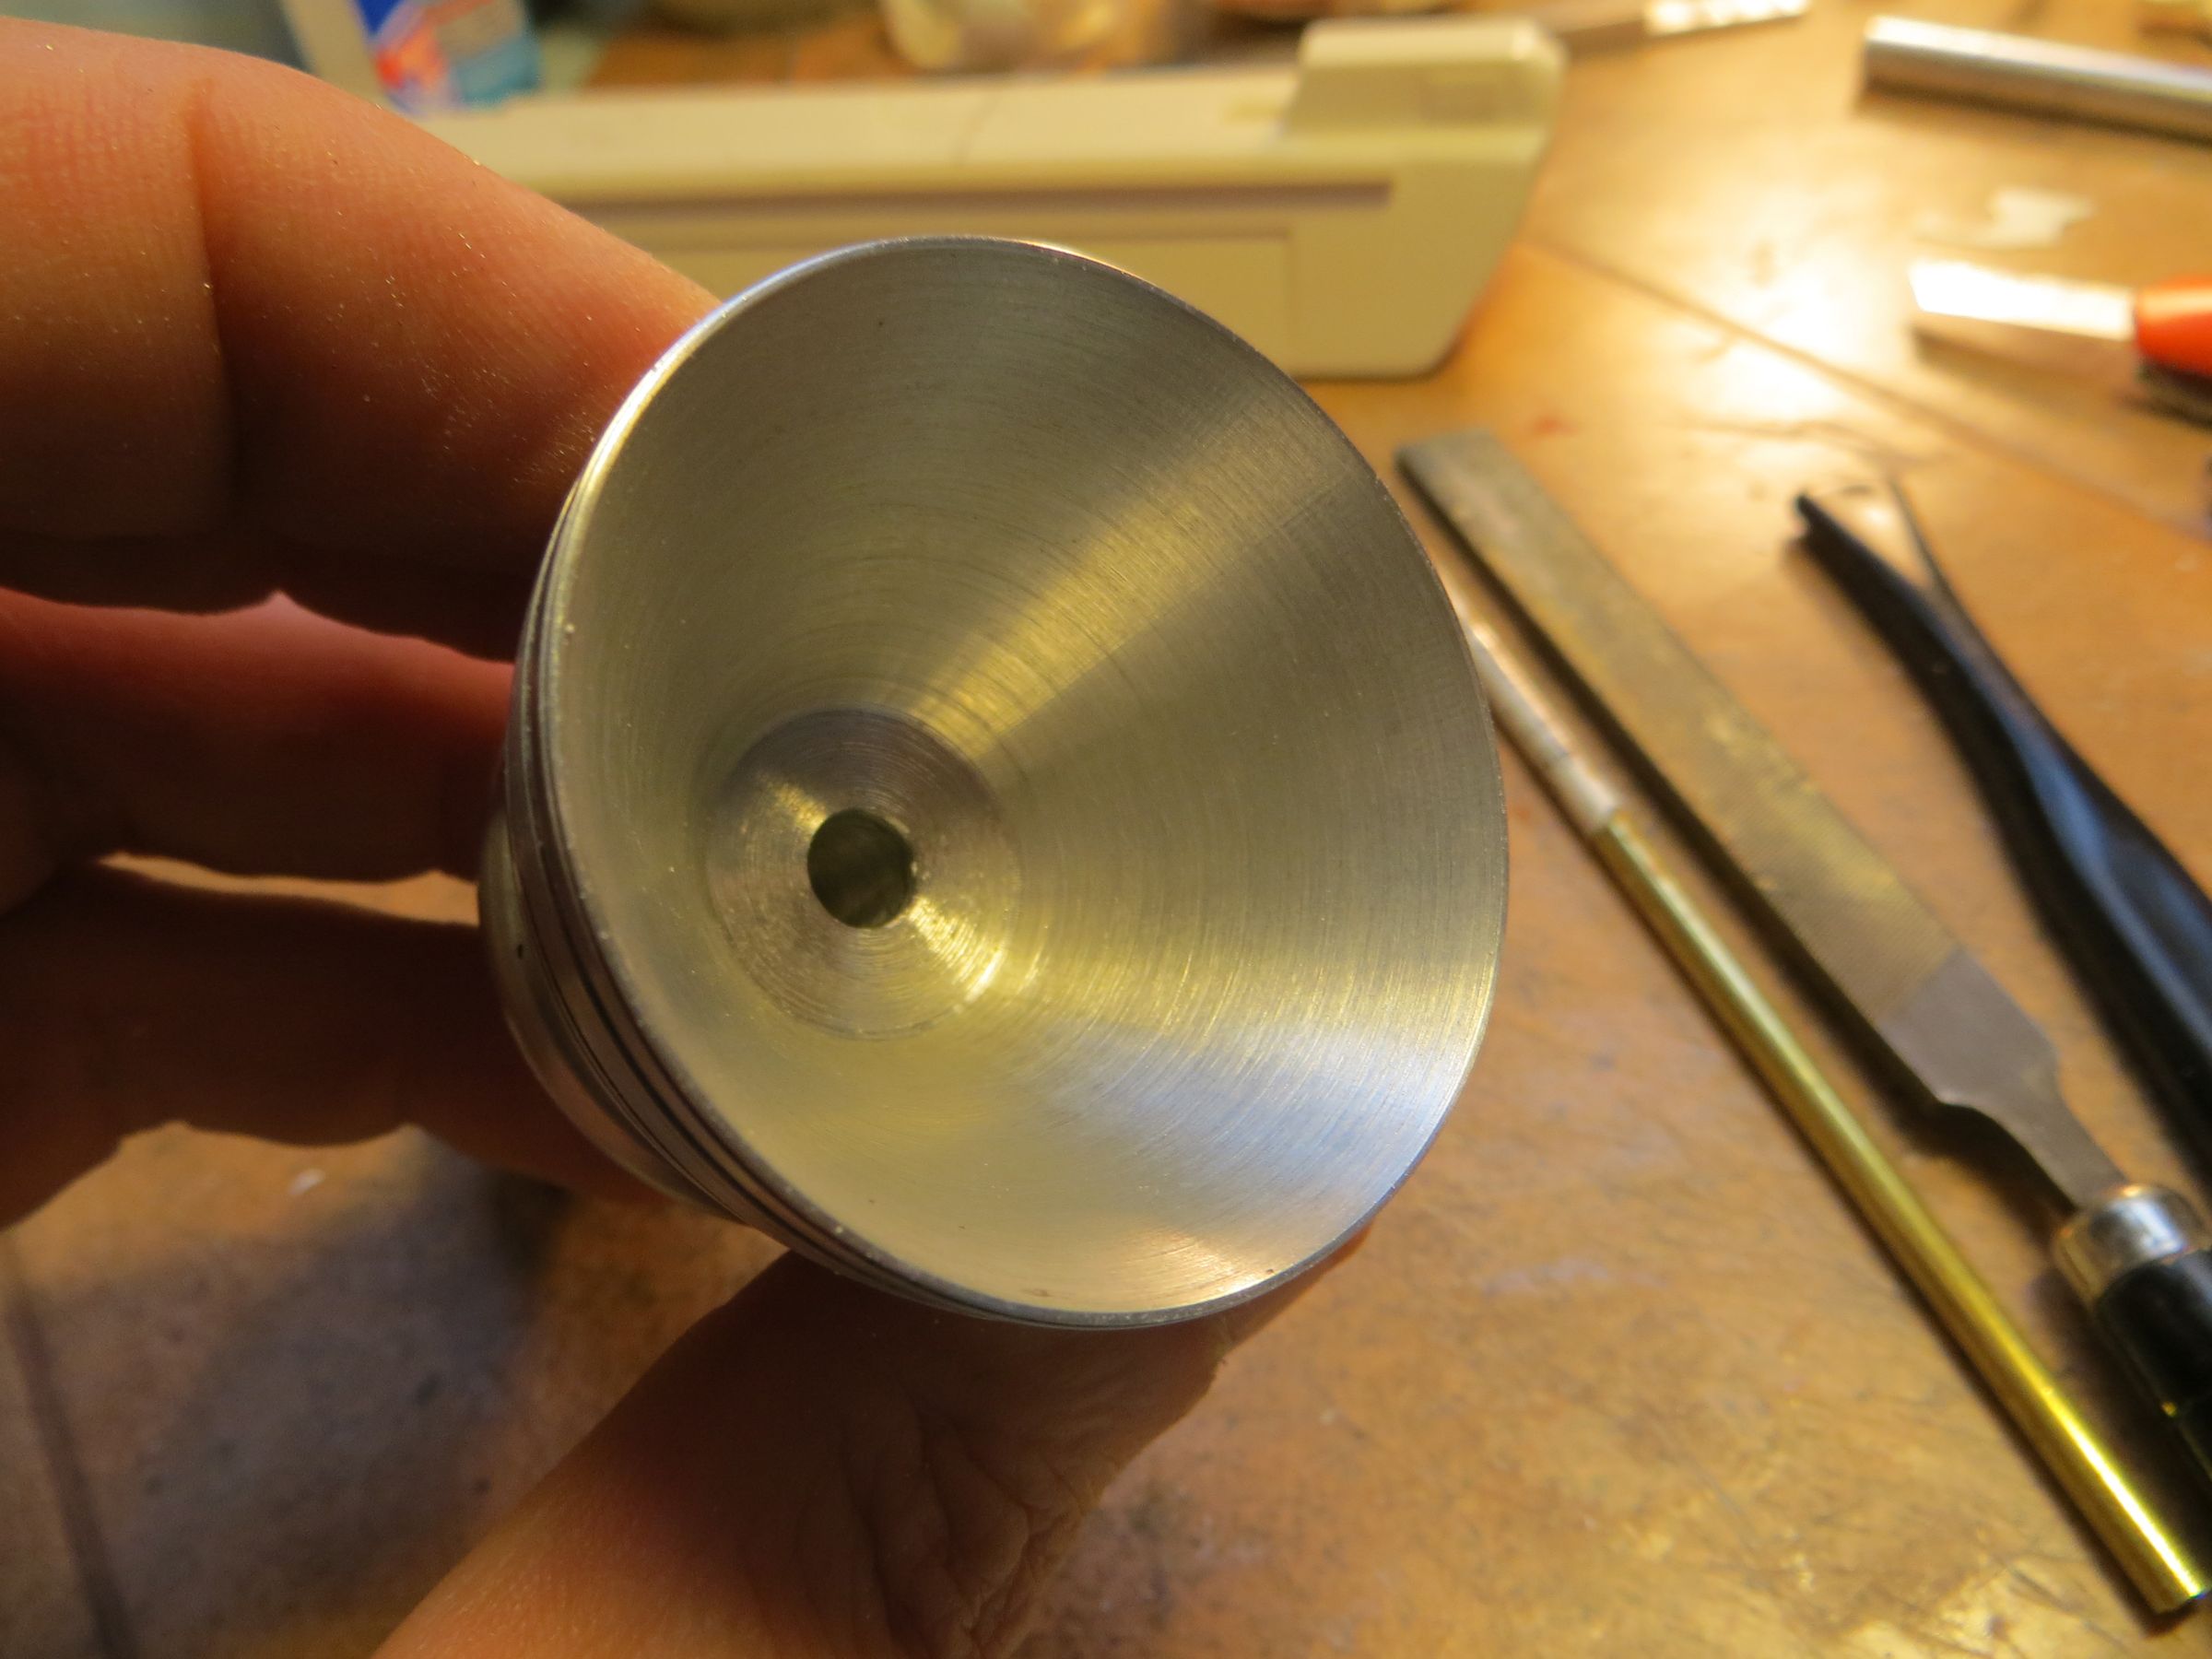
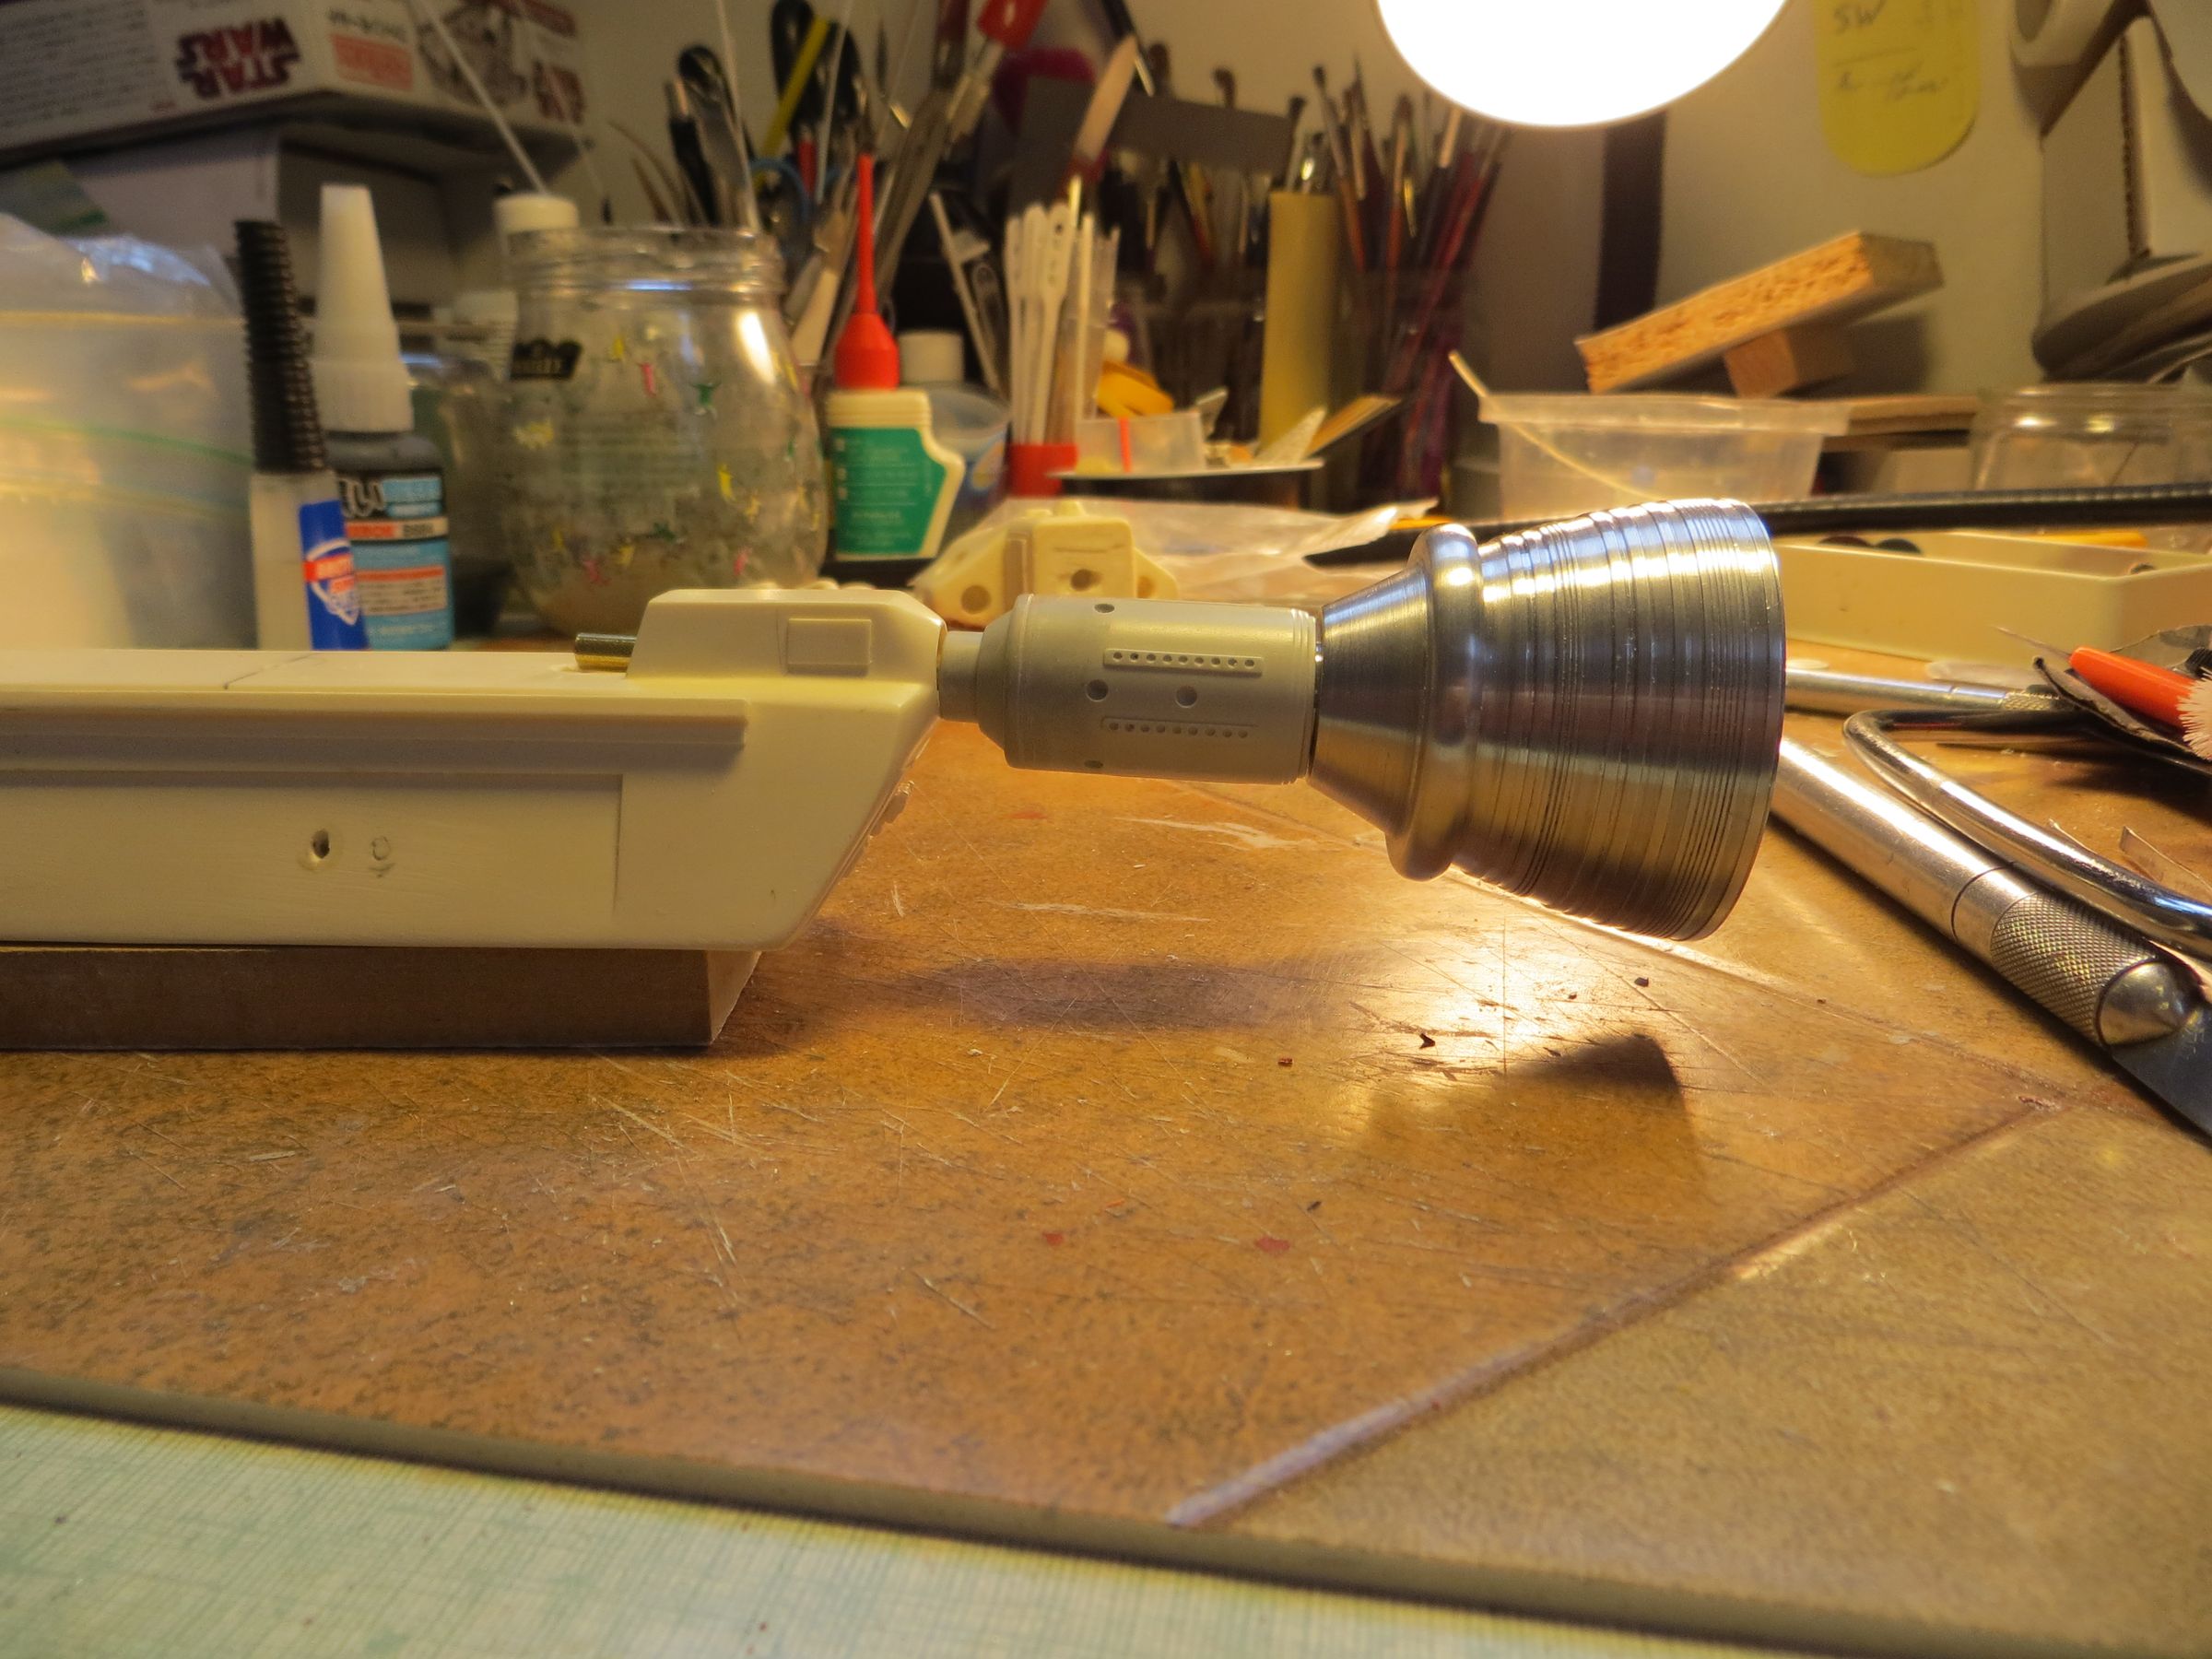
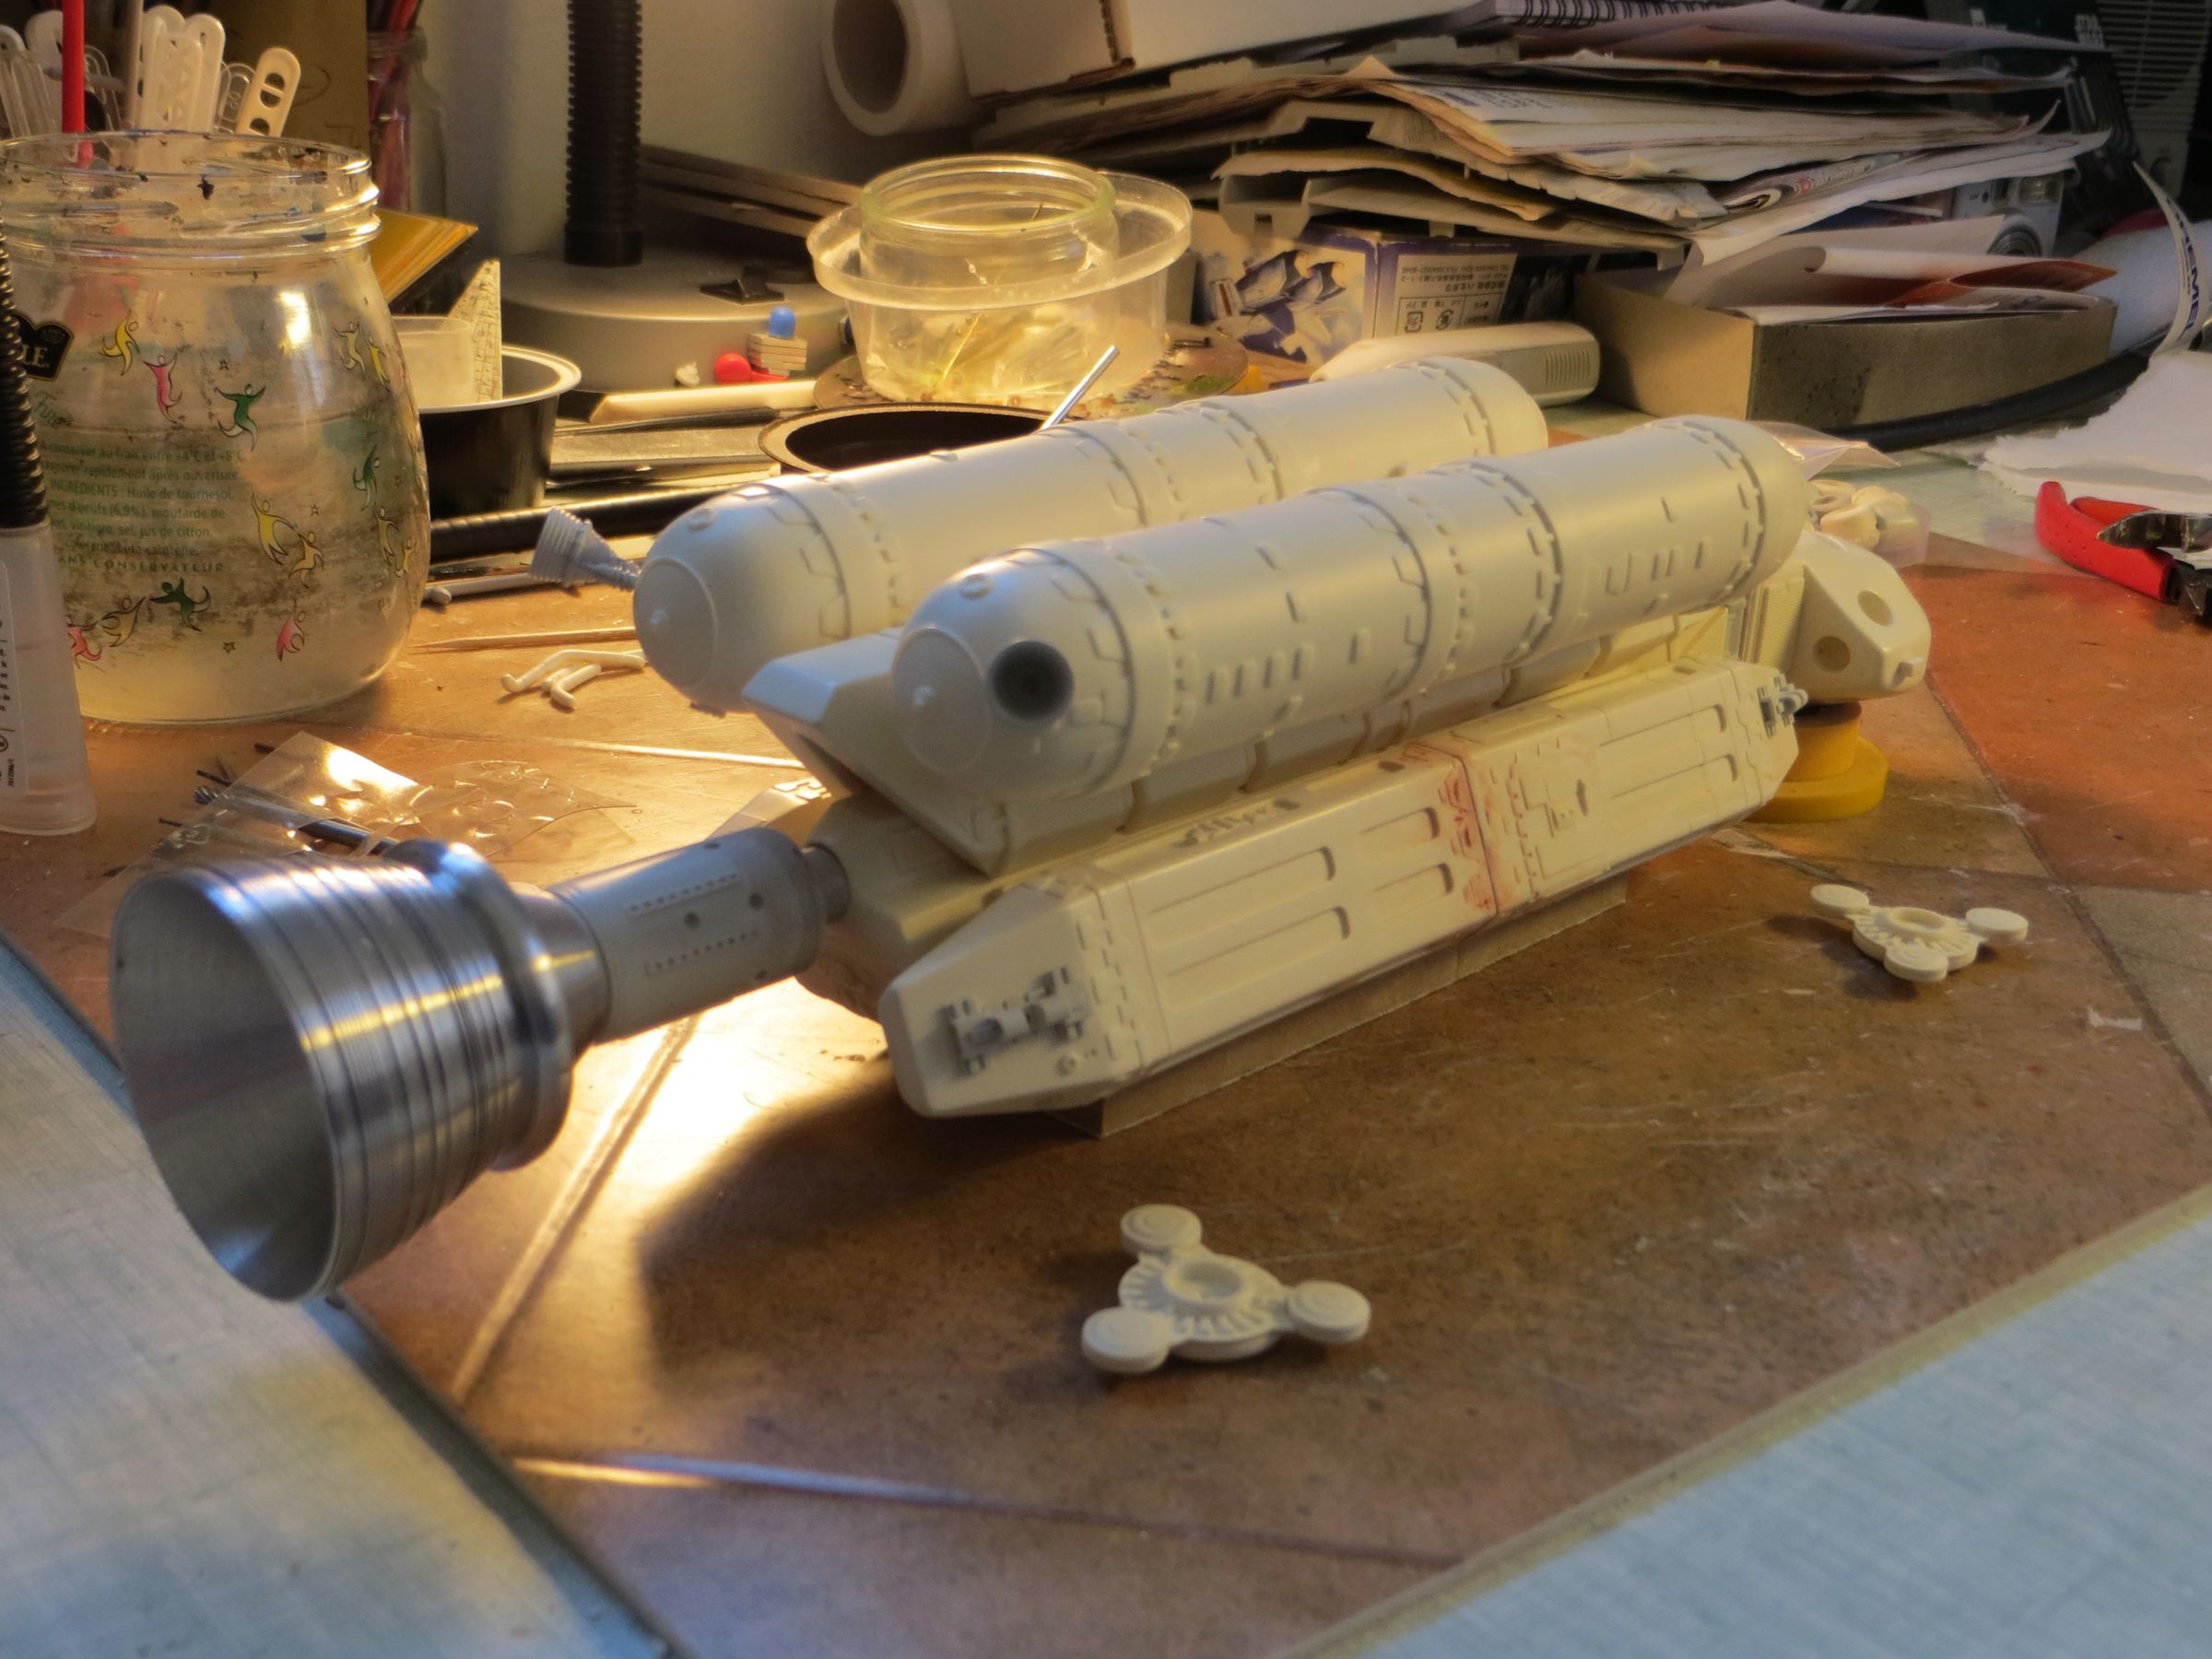
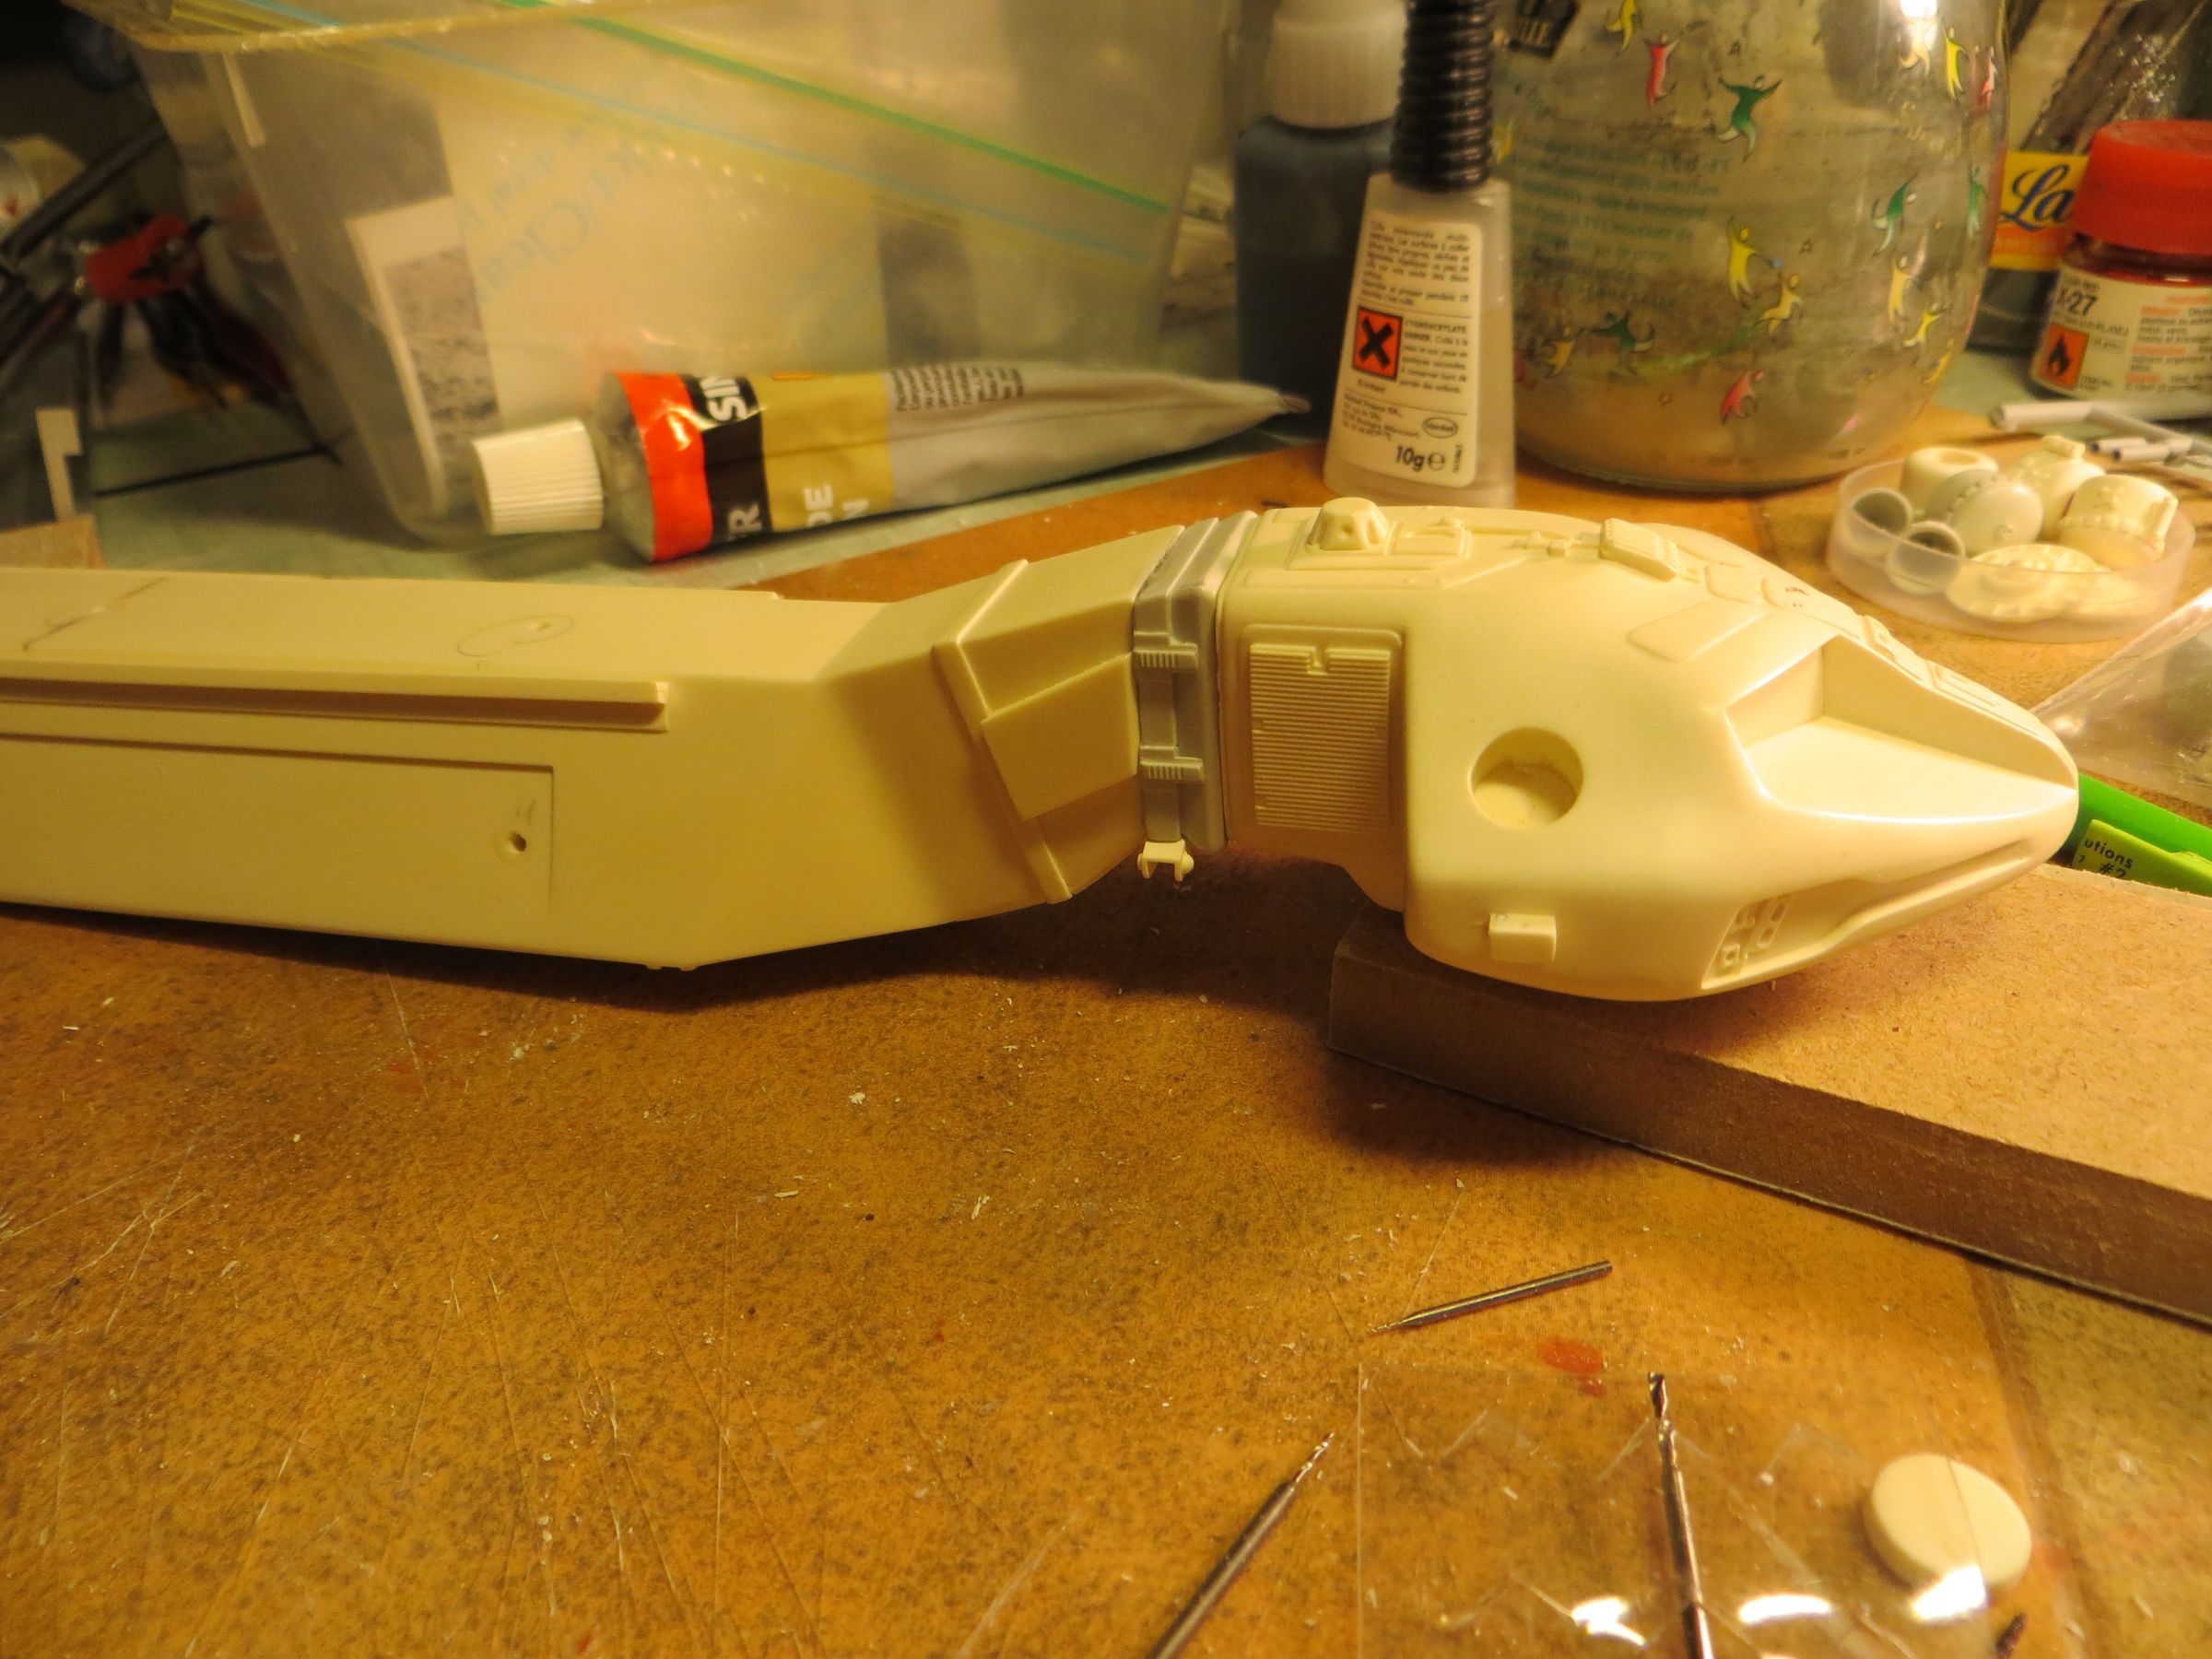
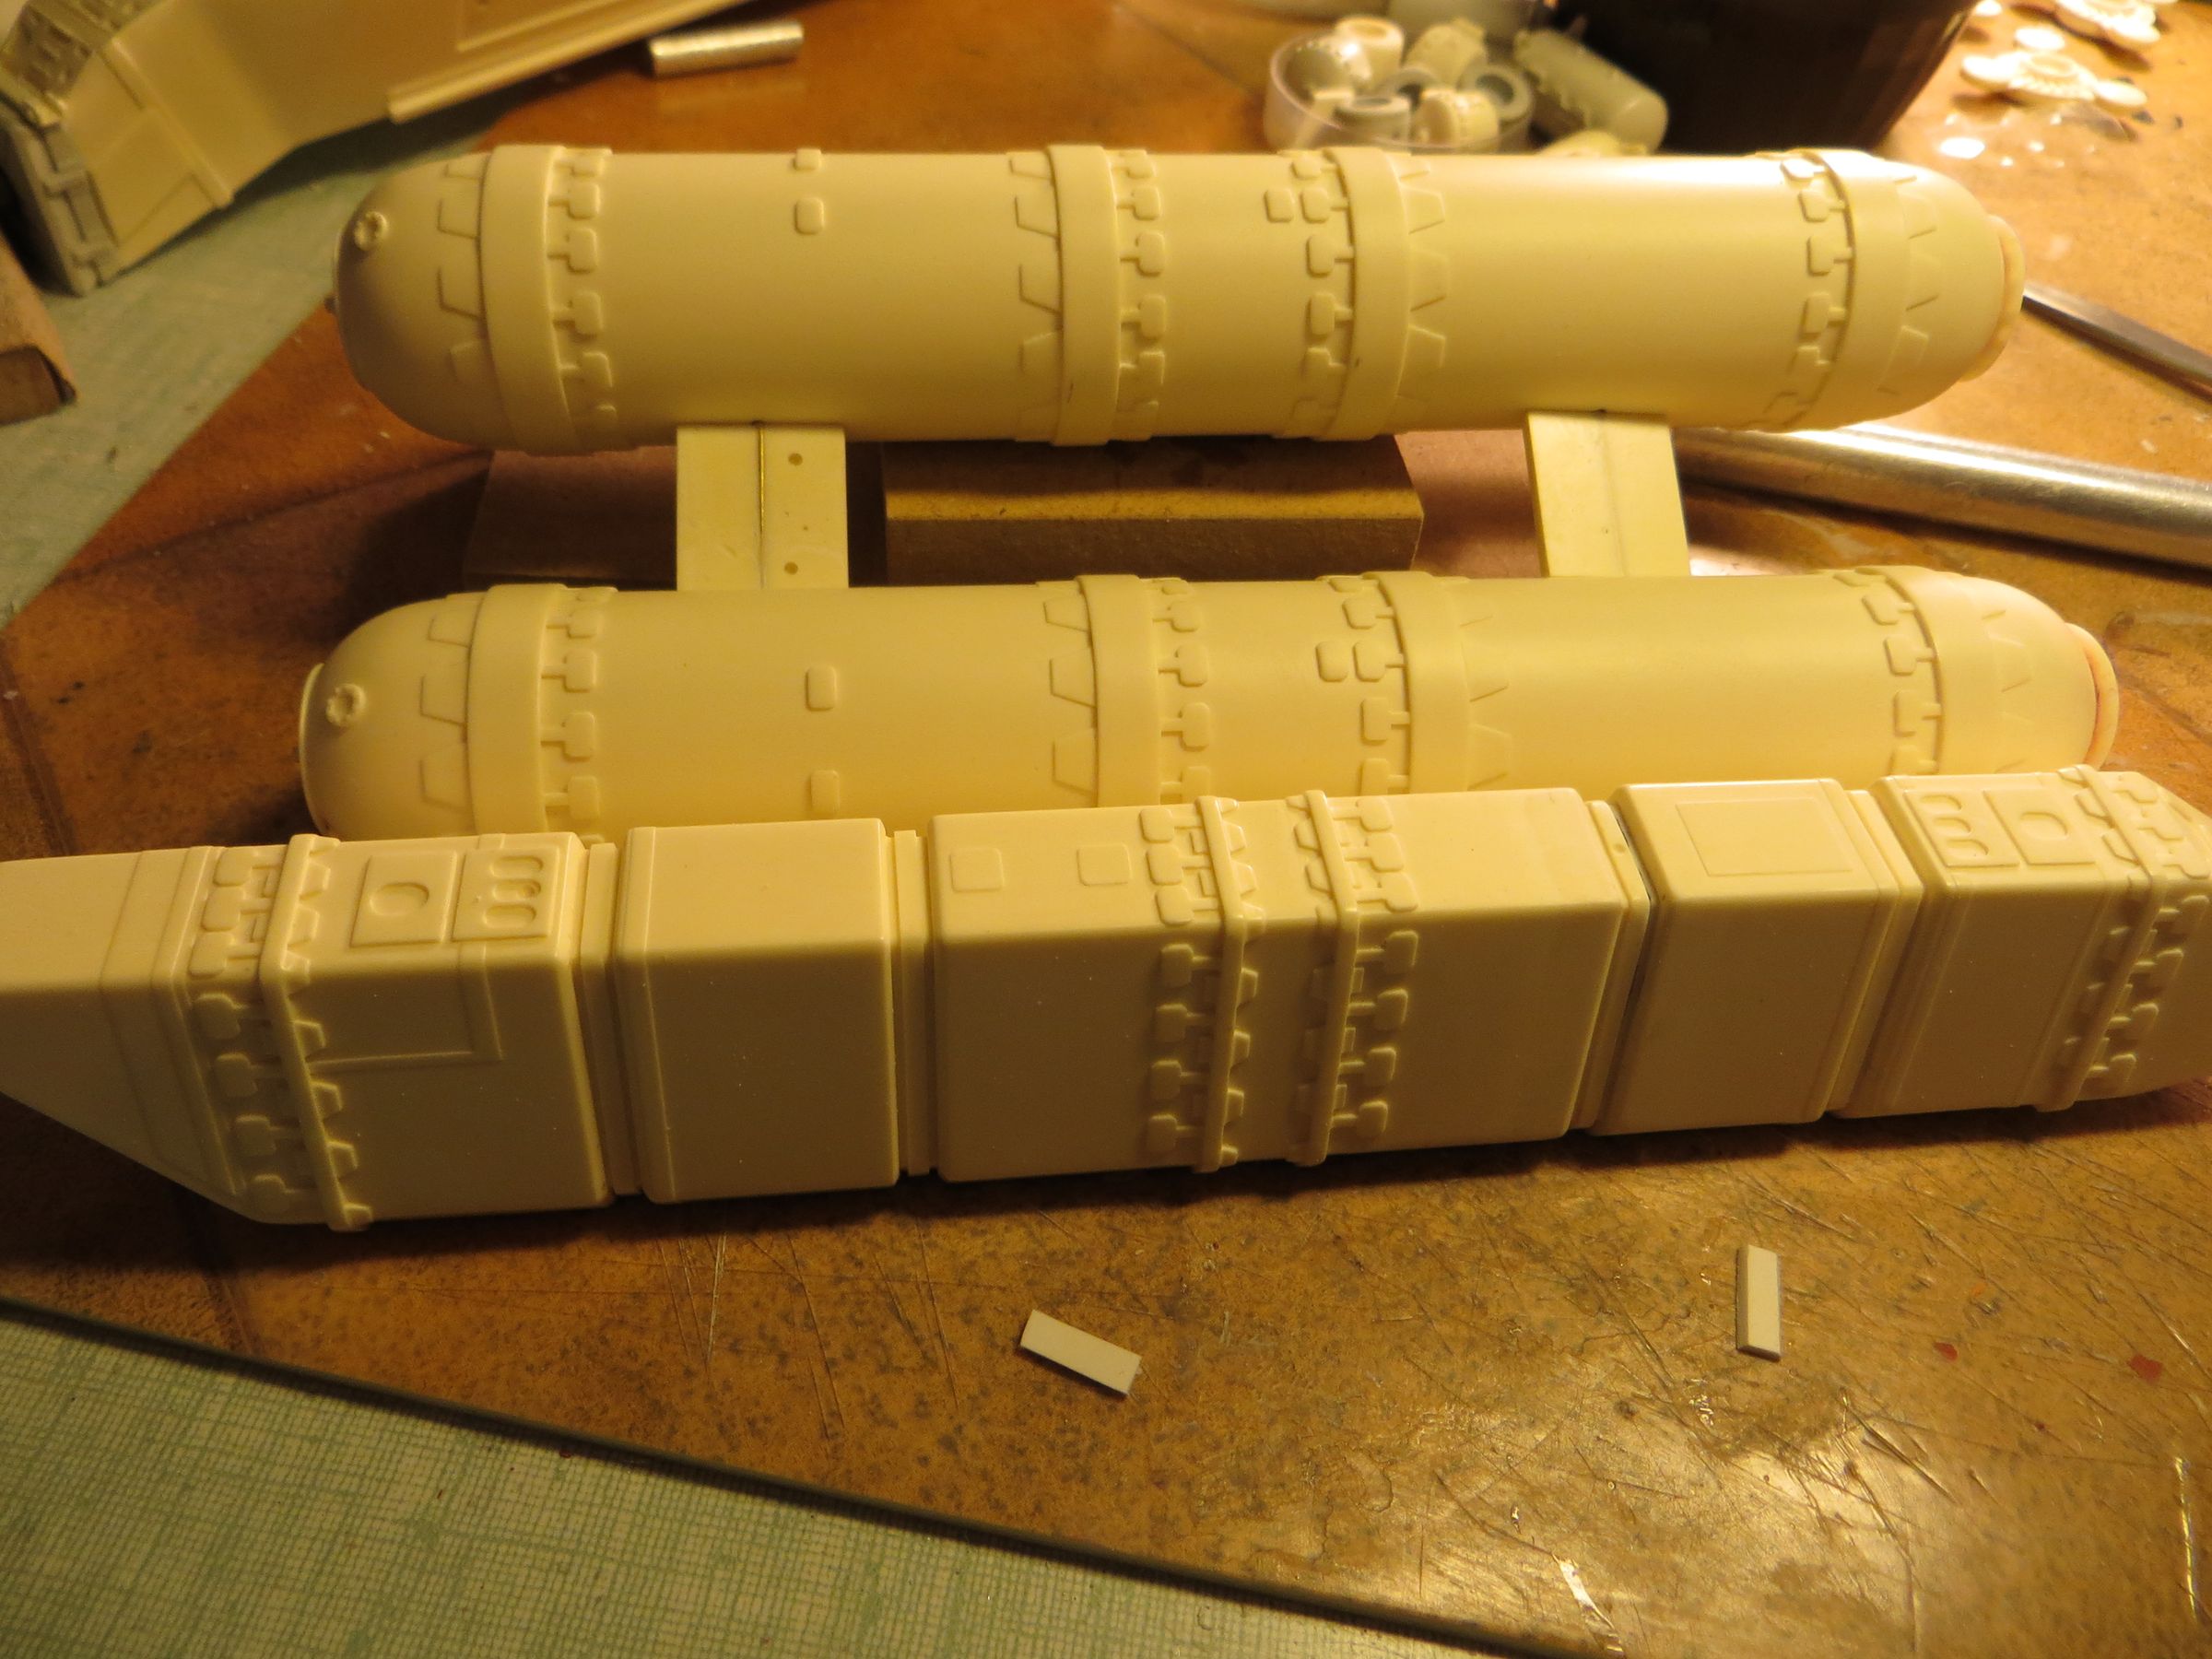
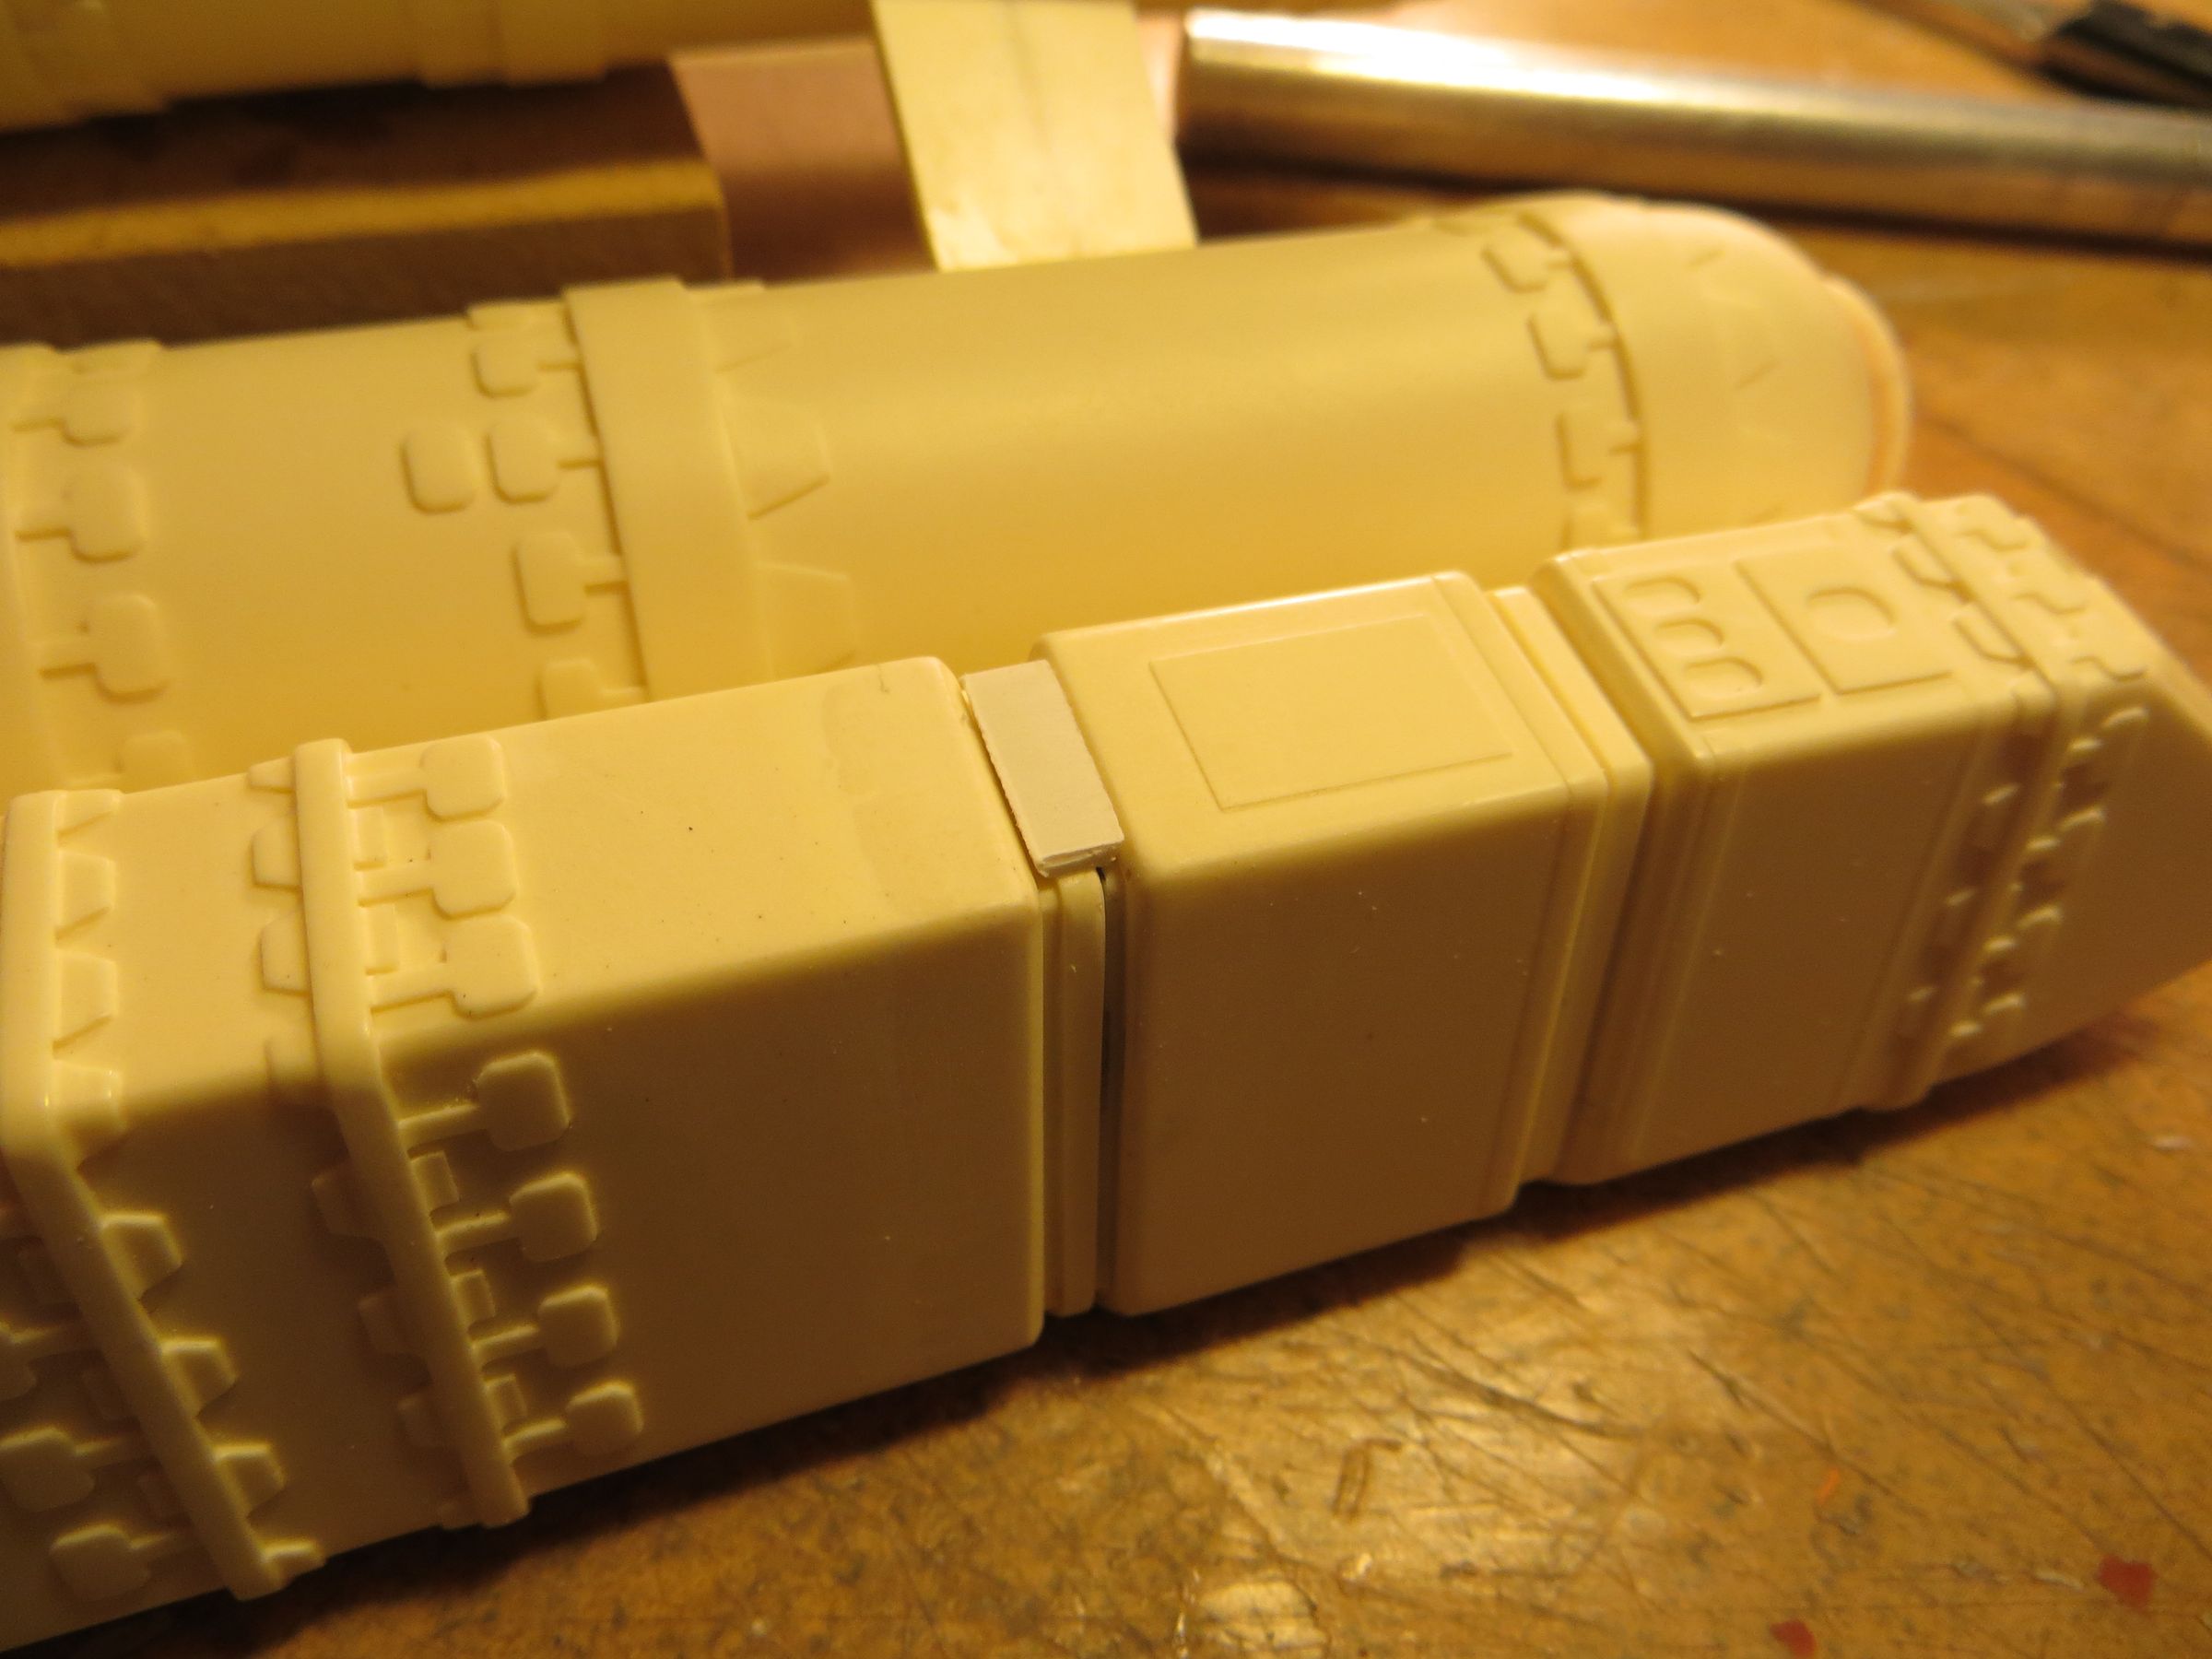
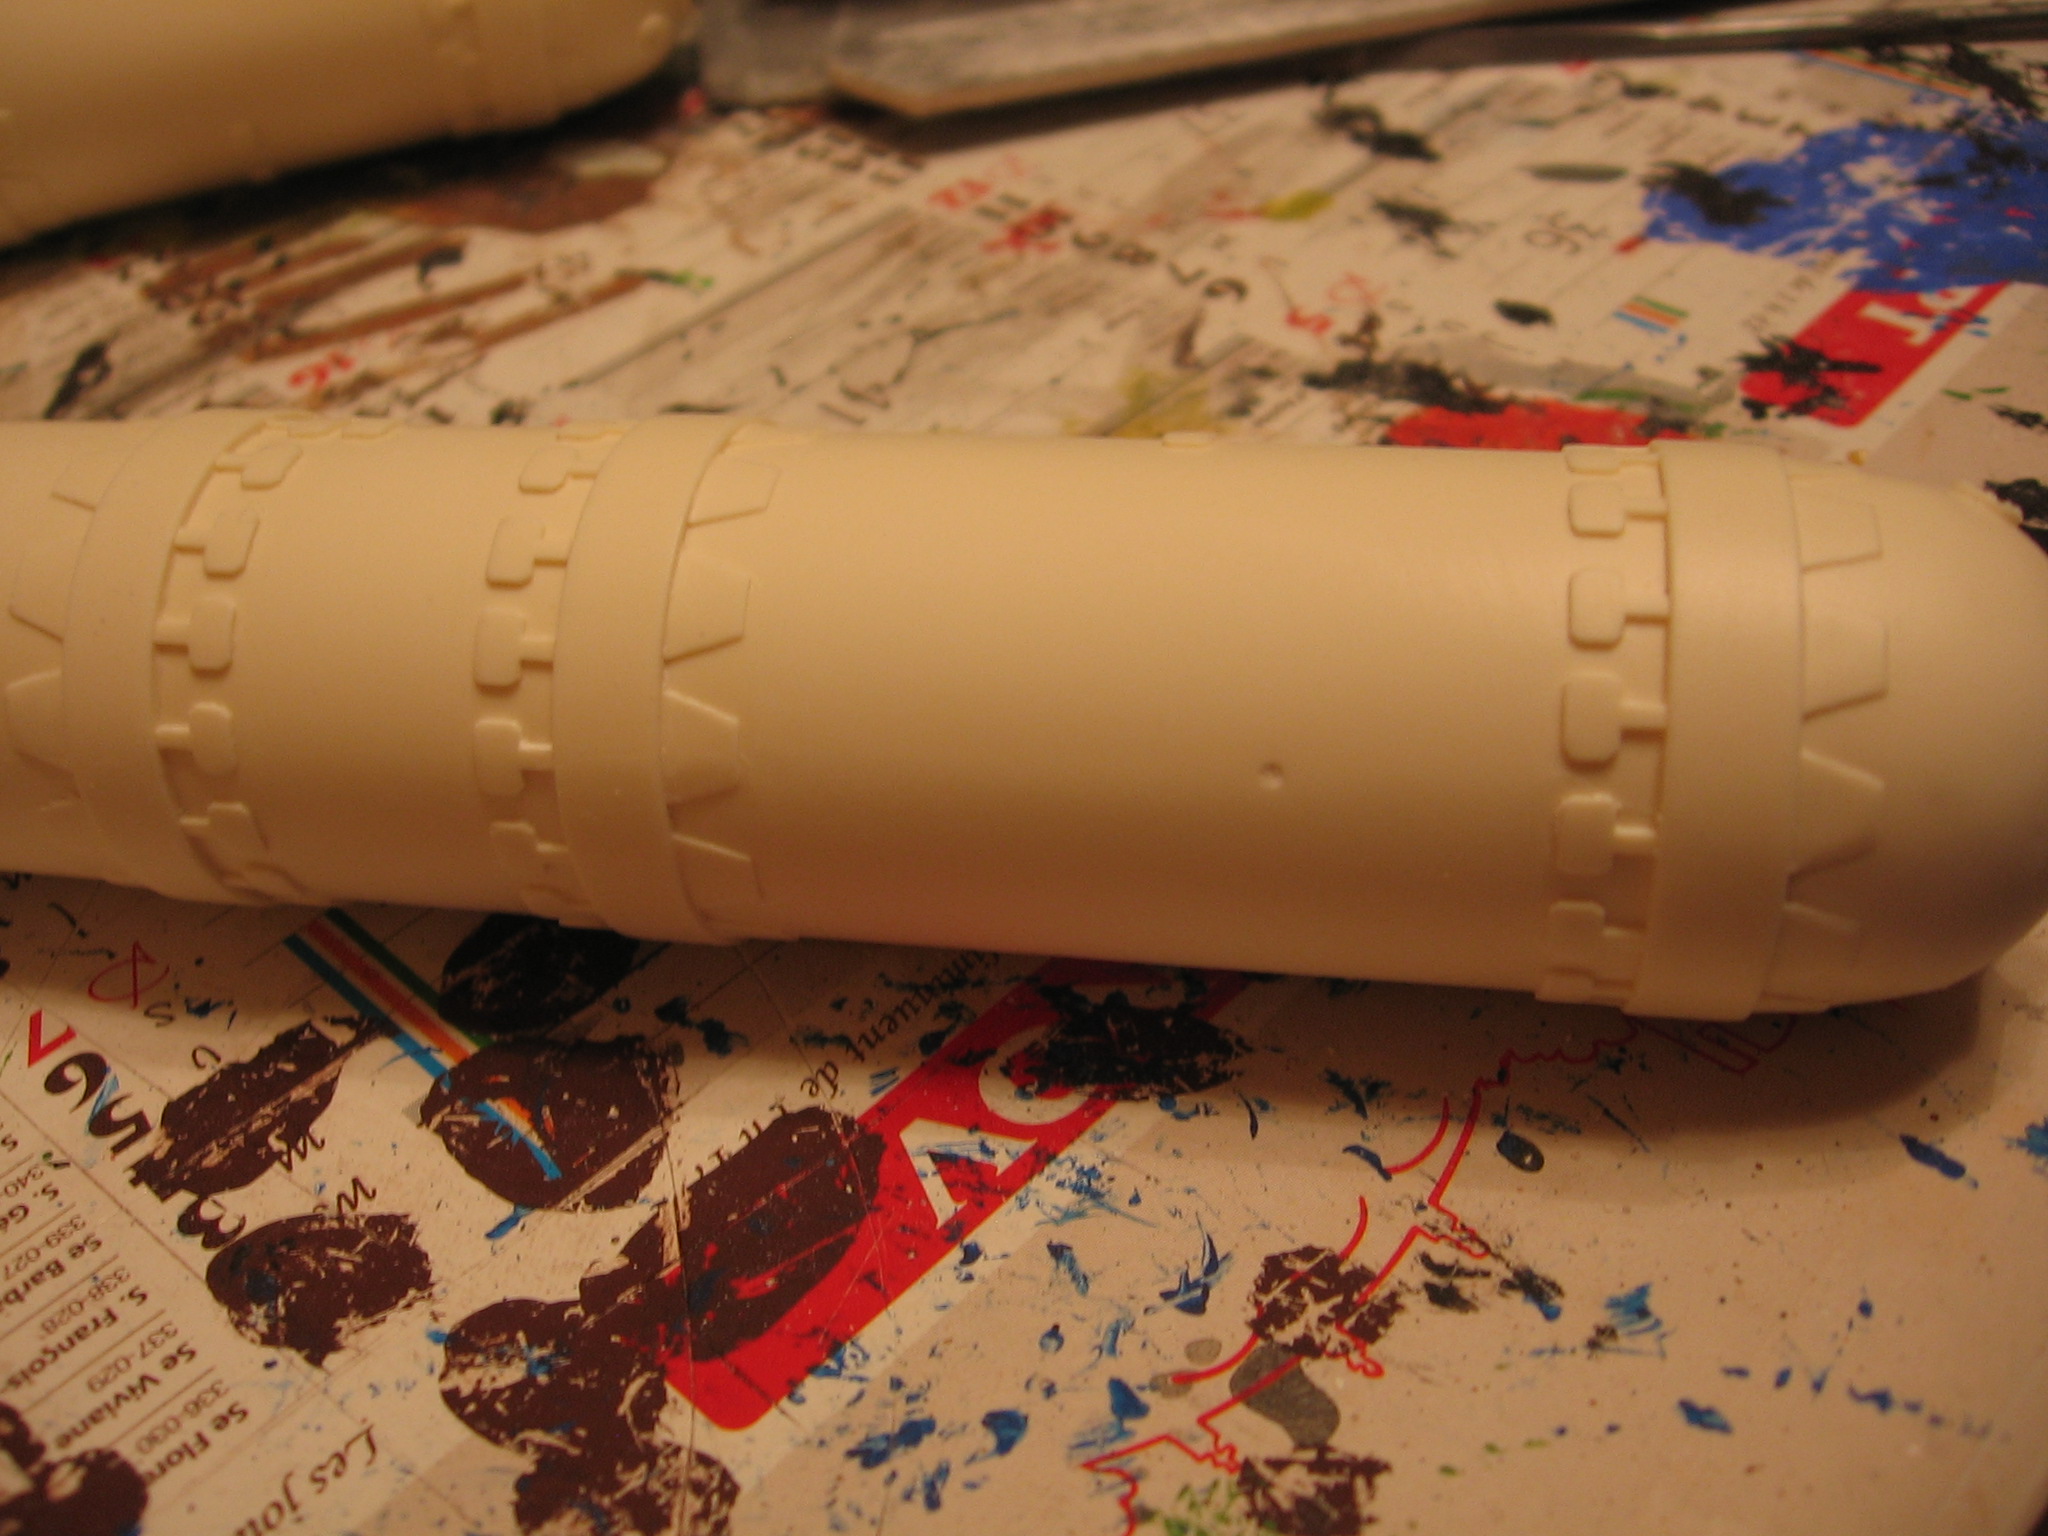
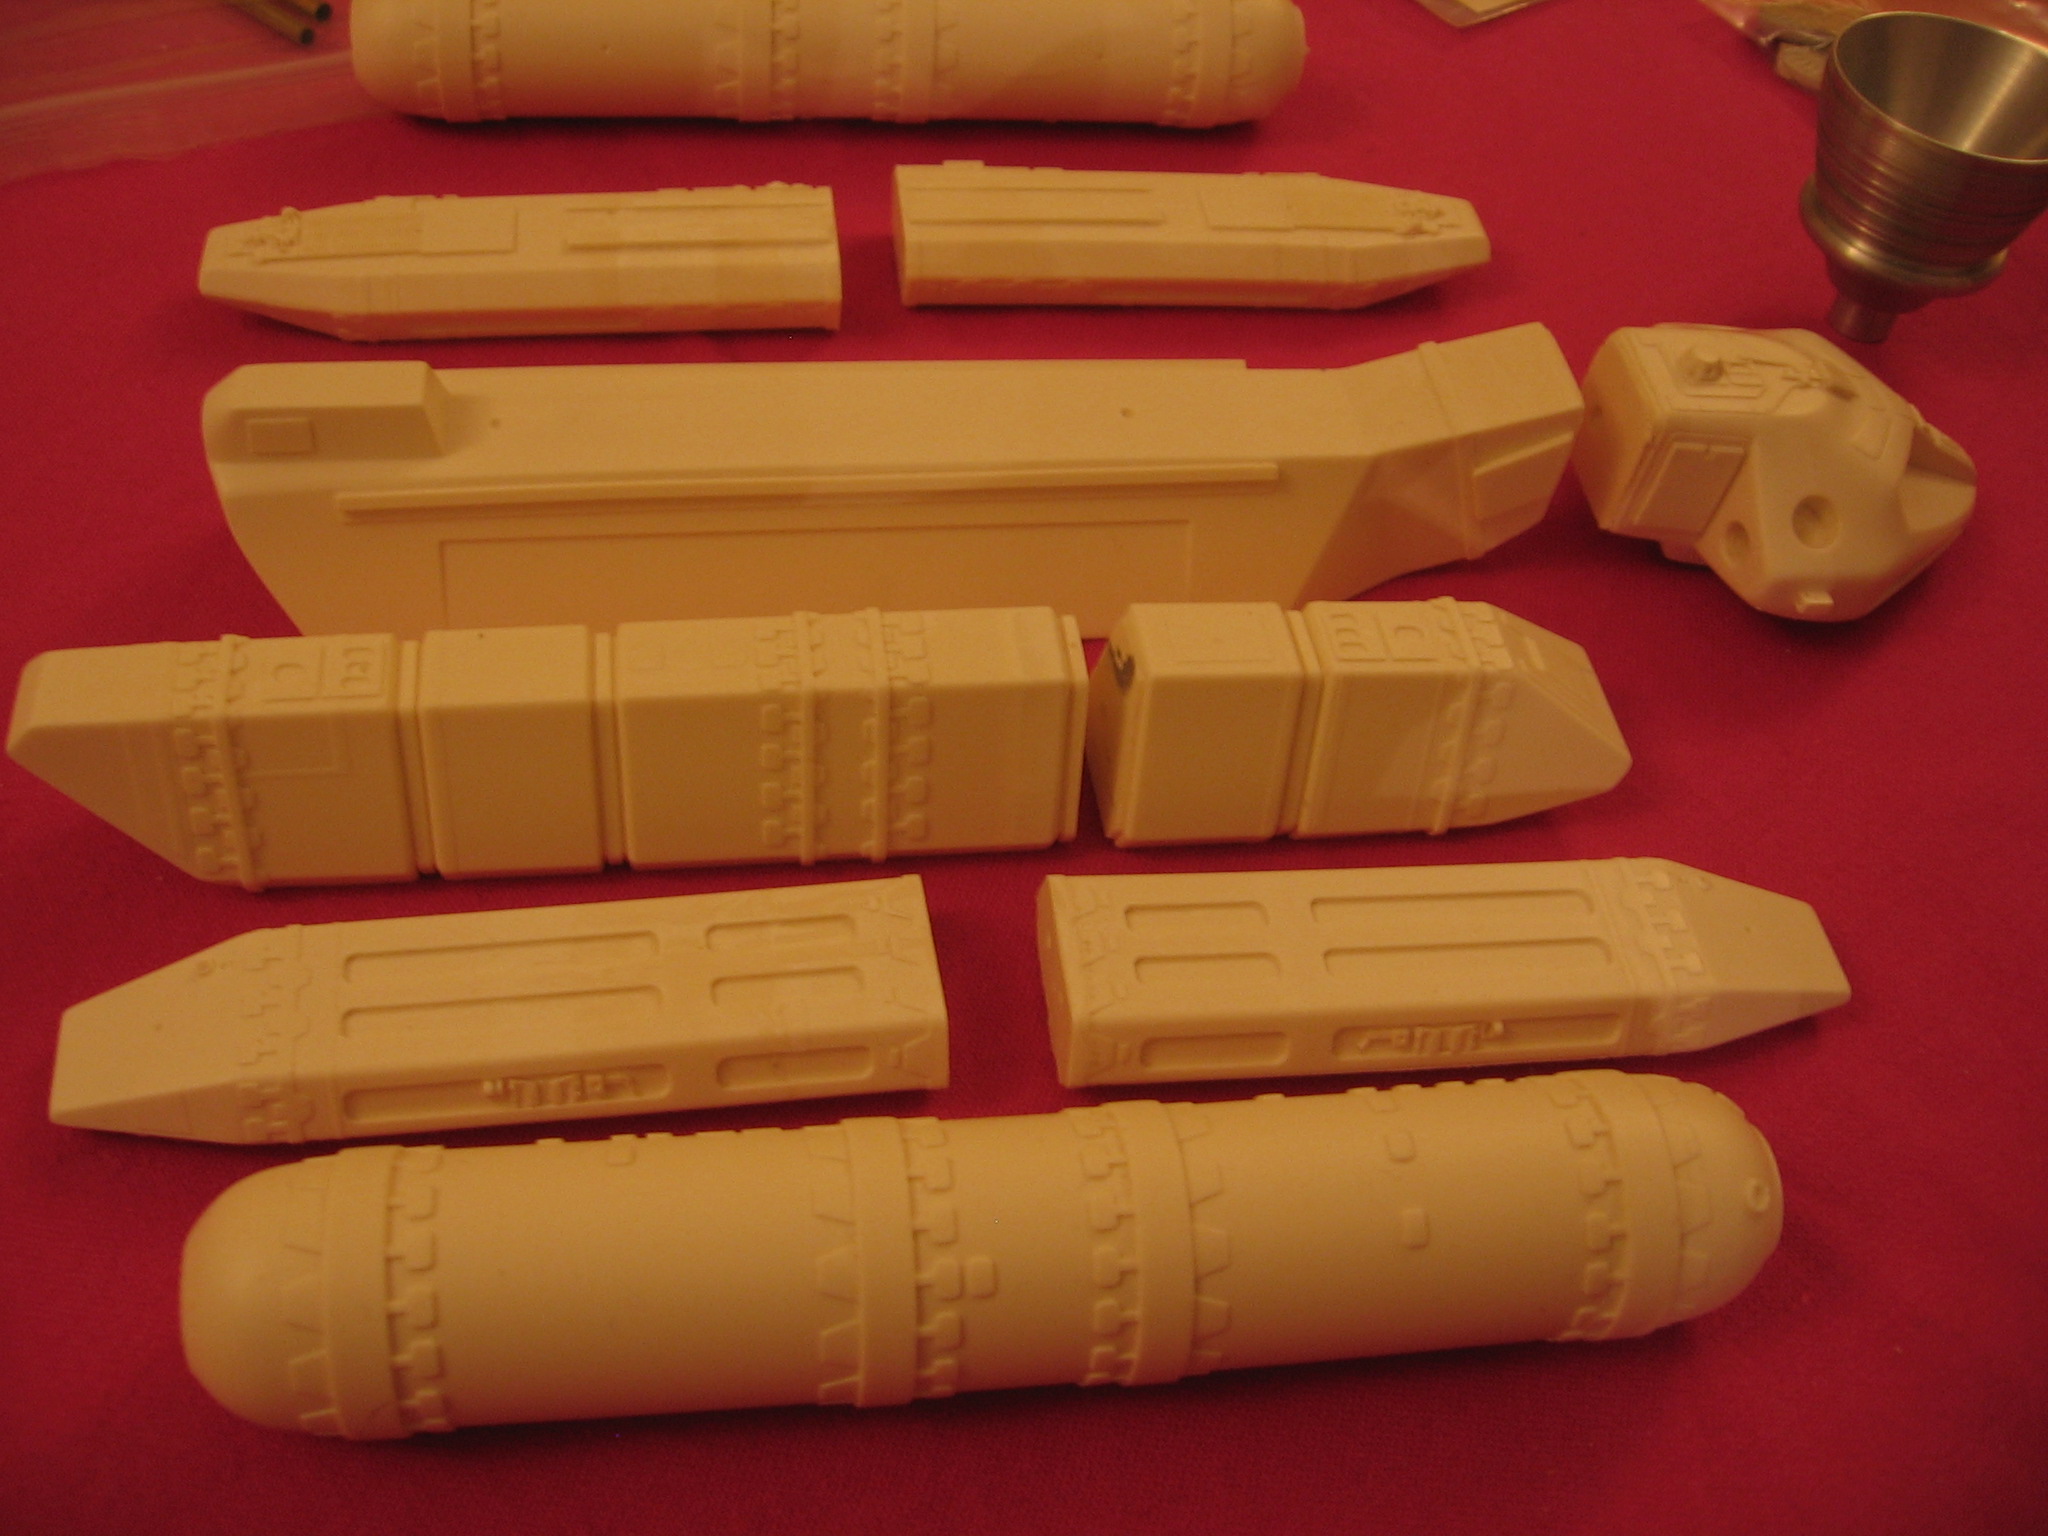
- The engine module is made of parts related to its central cylinder. There are lugs for alignment. Again, drill and small brass rods reinforce the assembly.
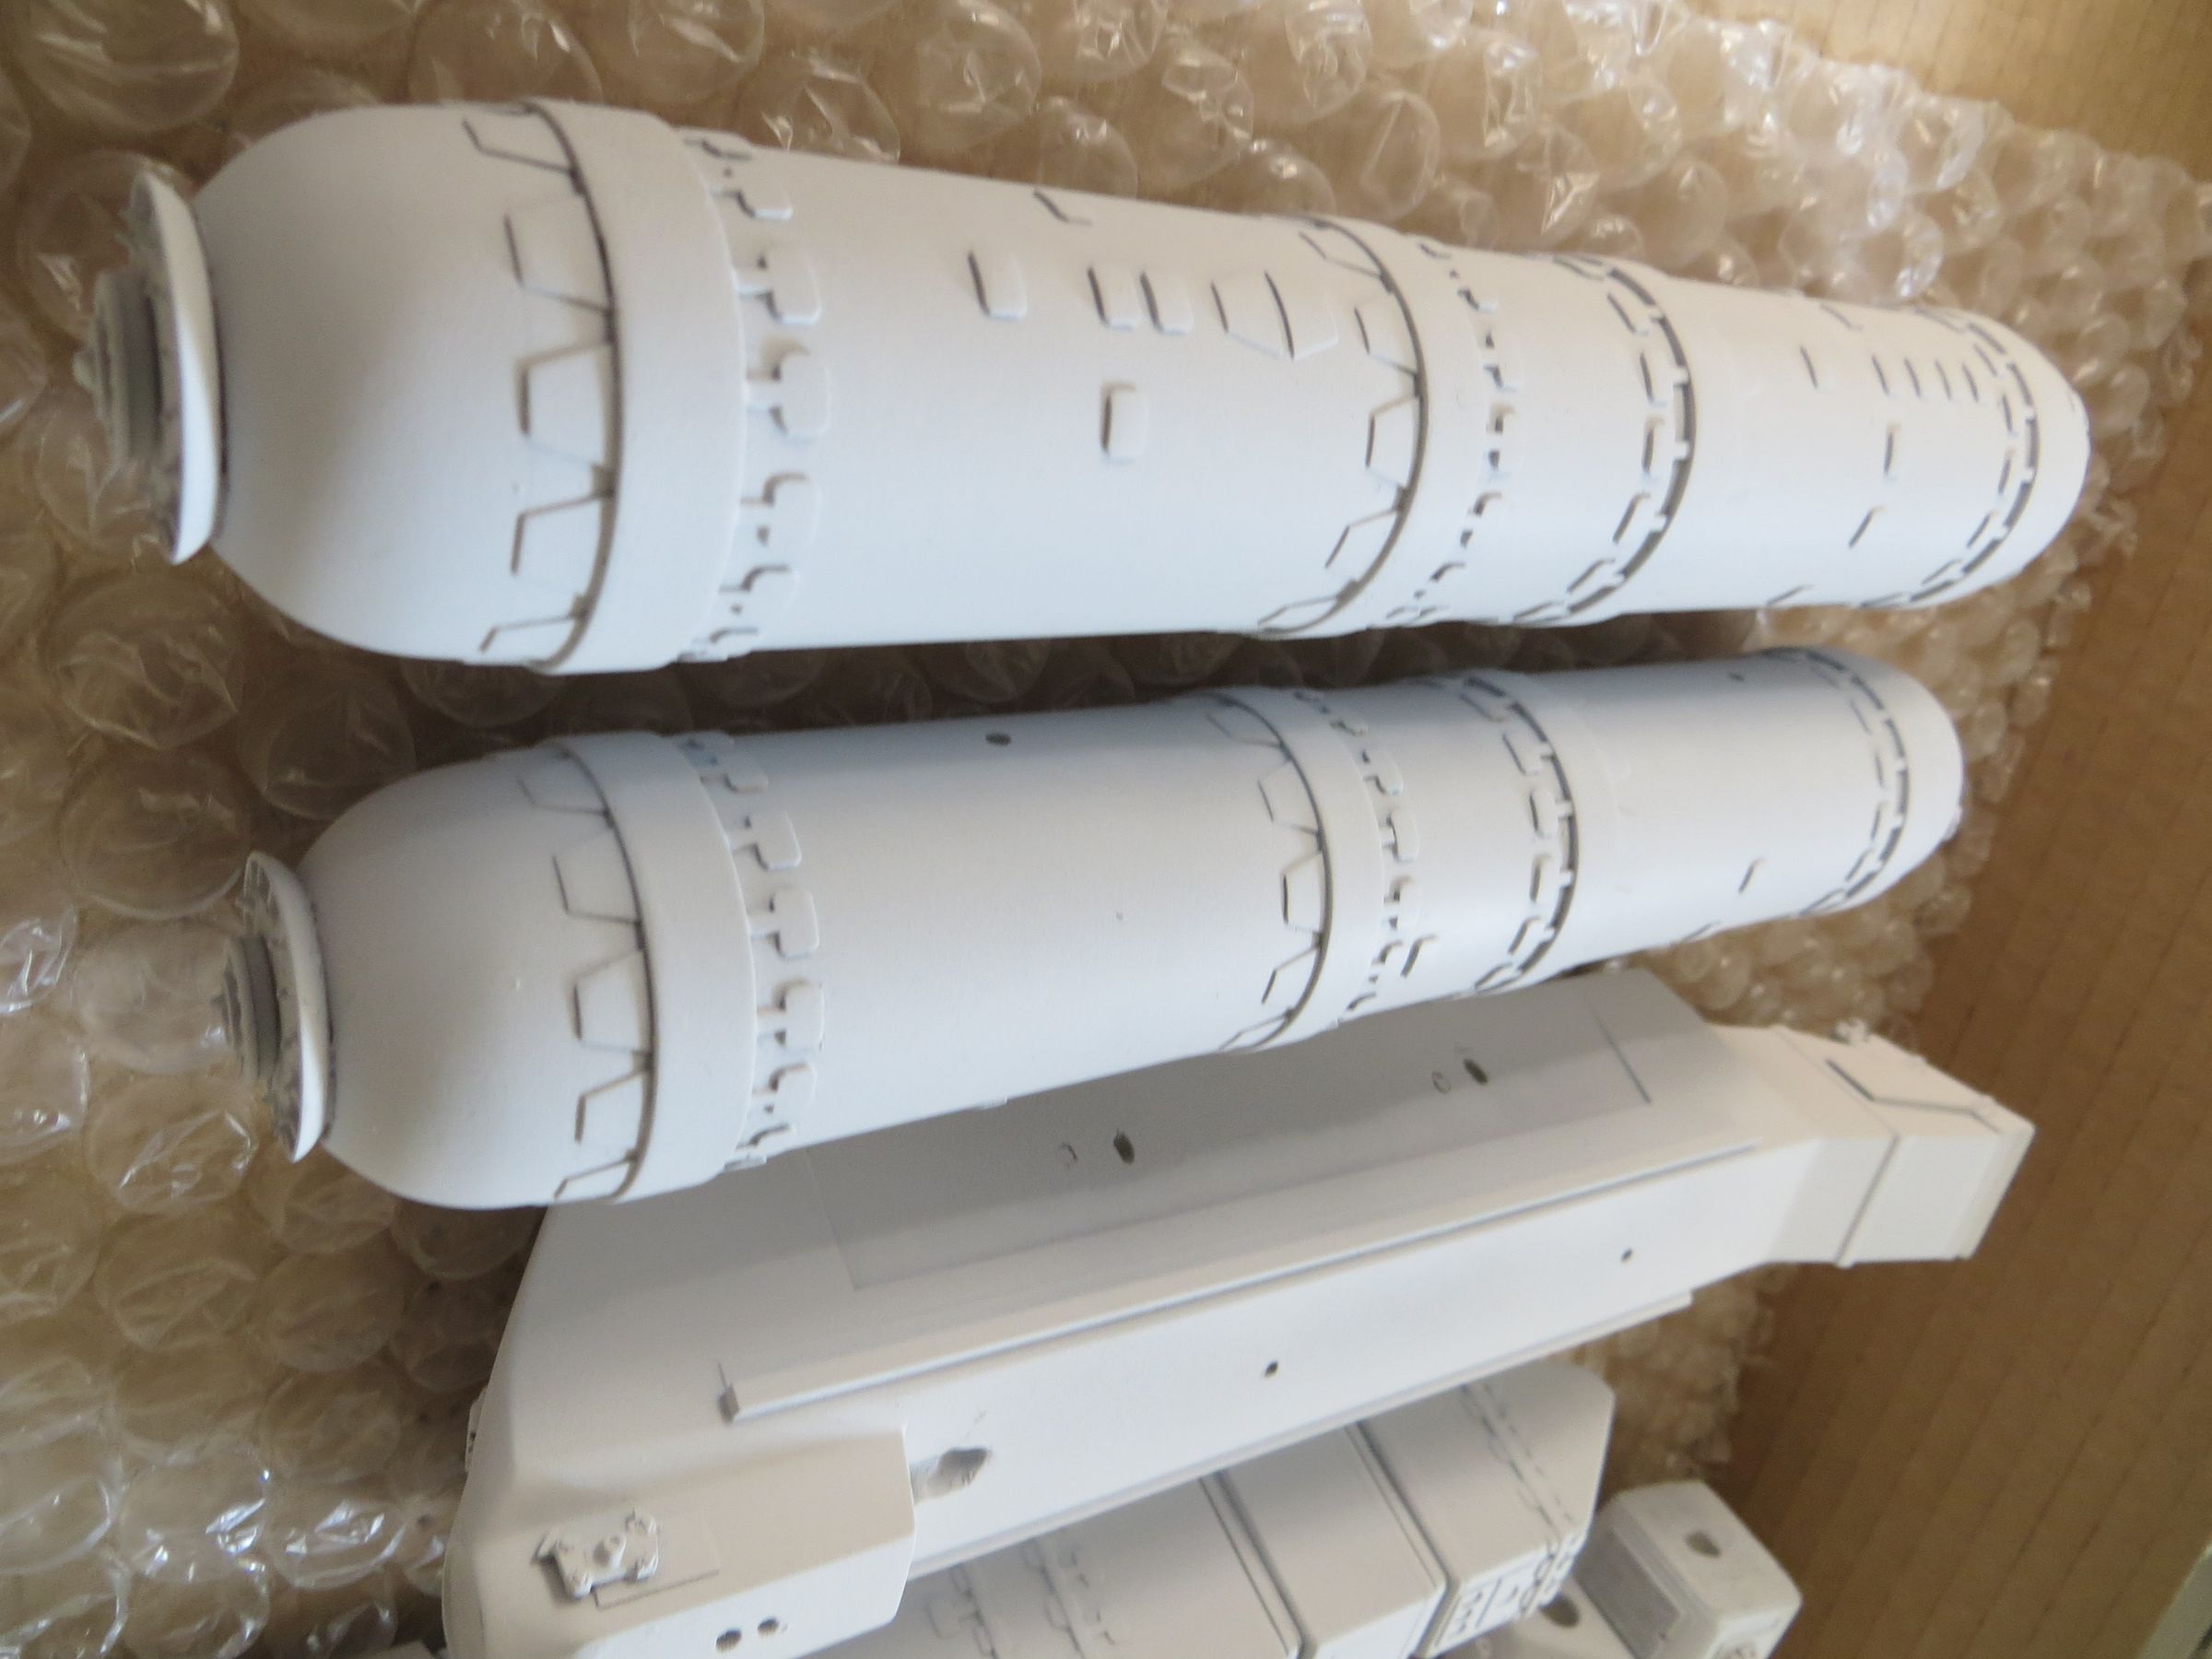
- The pipes connecting the secondary engines to the main body gave me a hard time because I had misjudged their locations and angles.
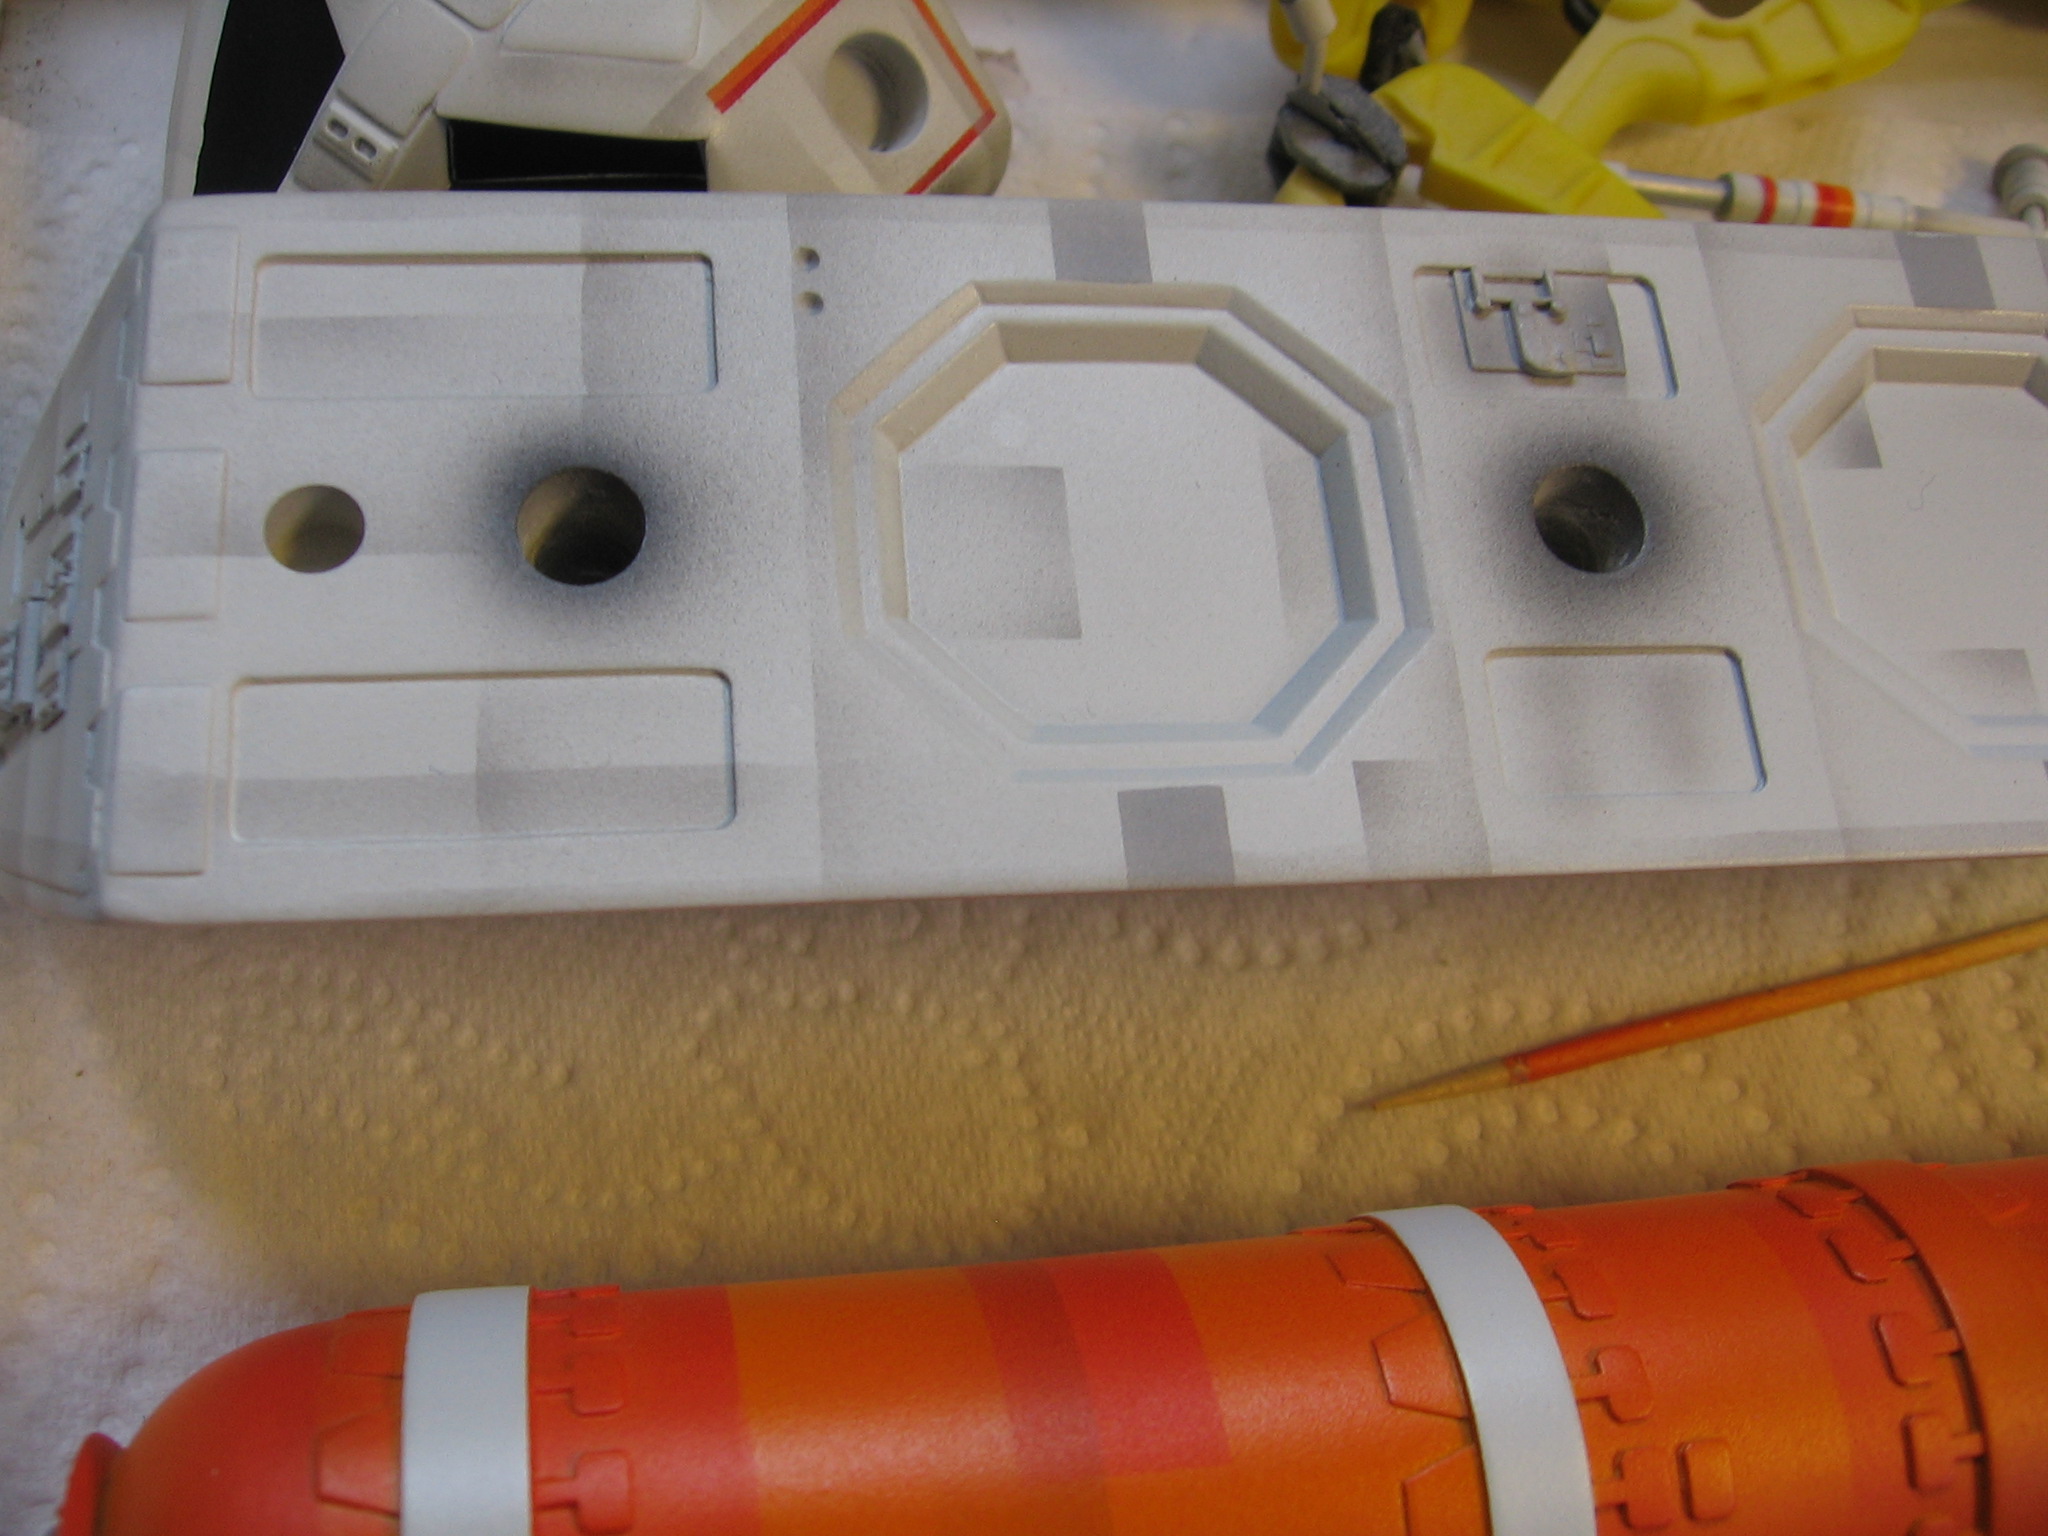
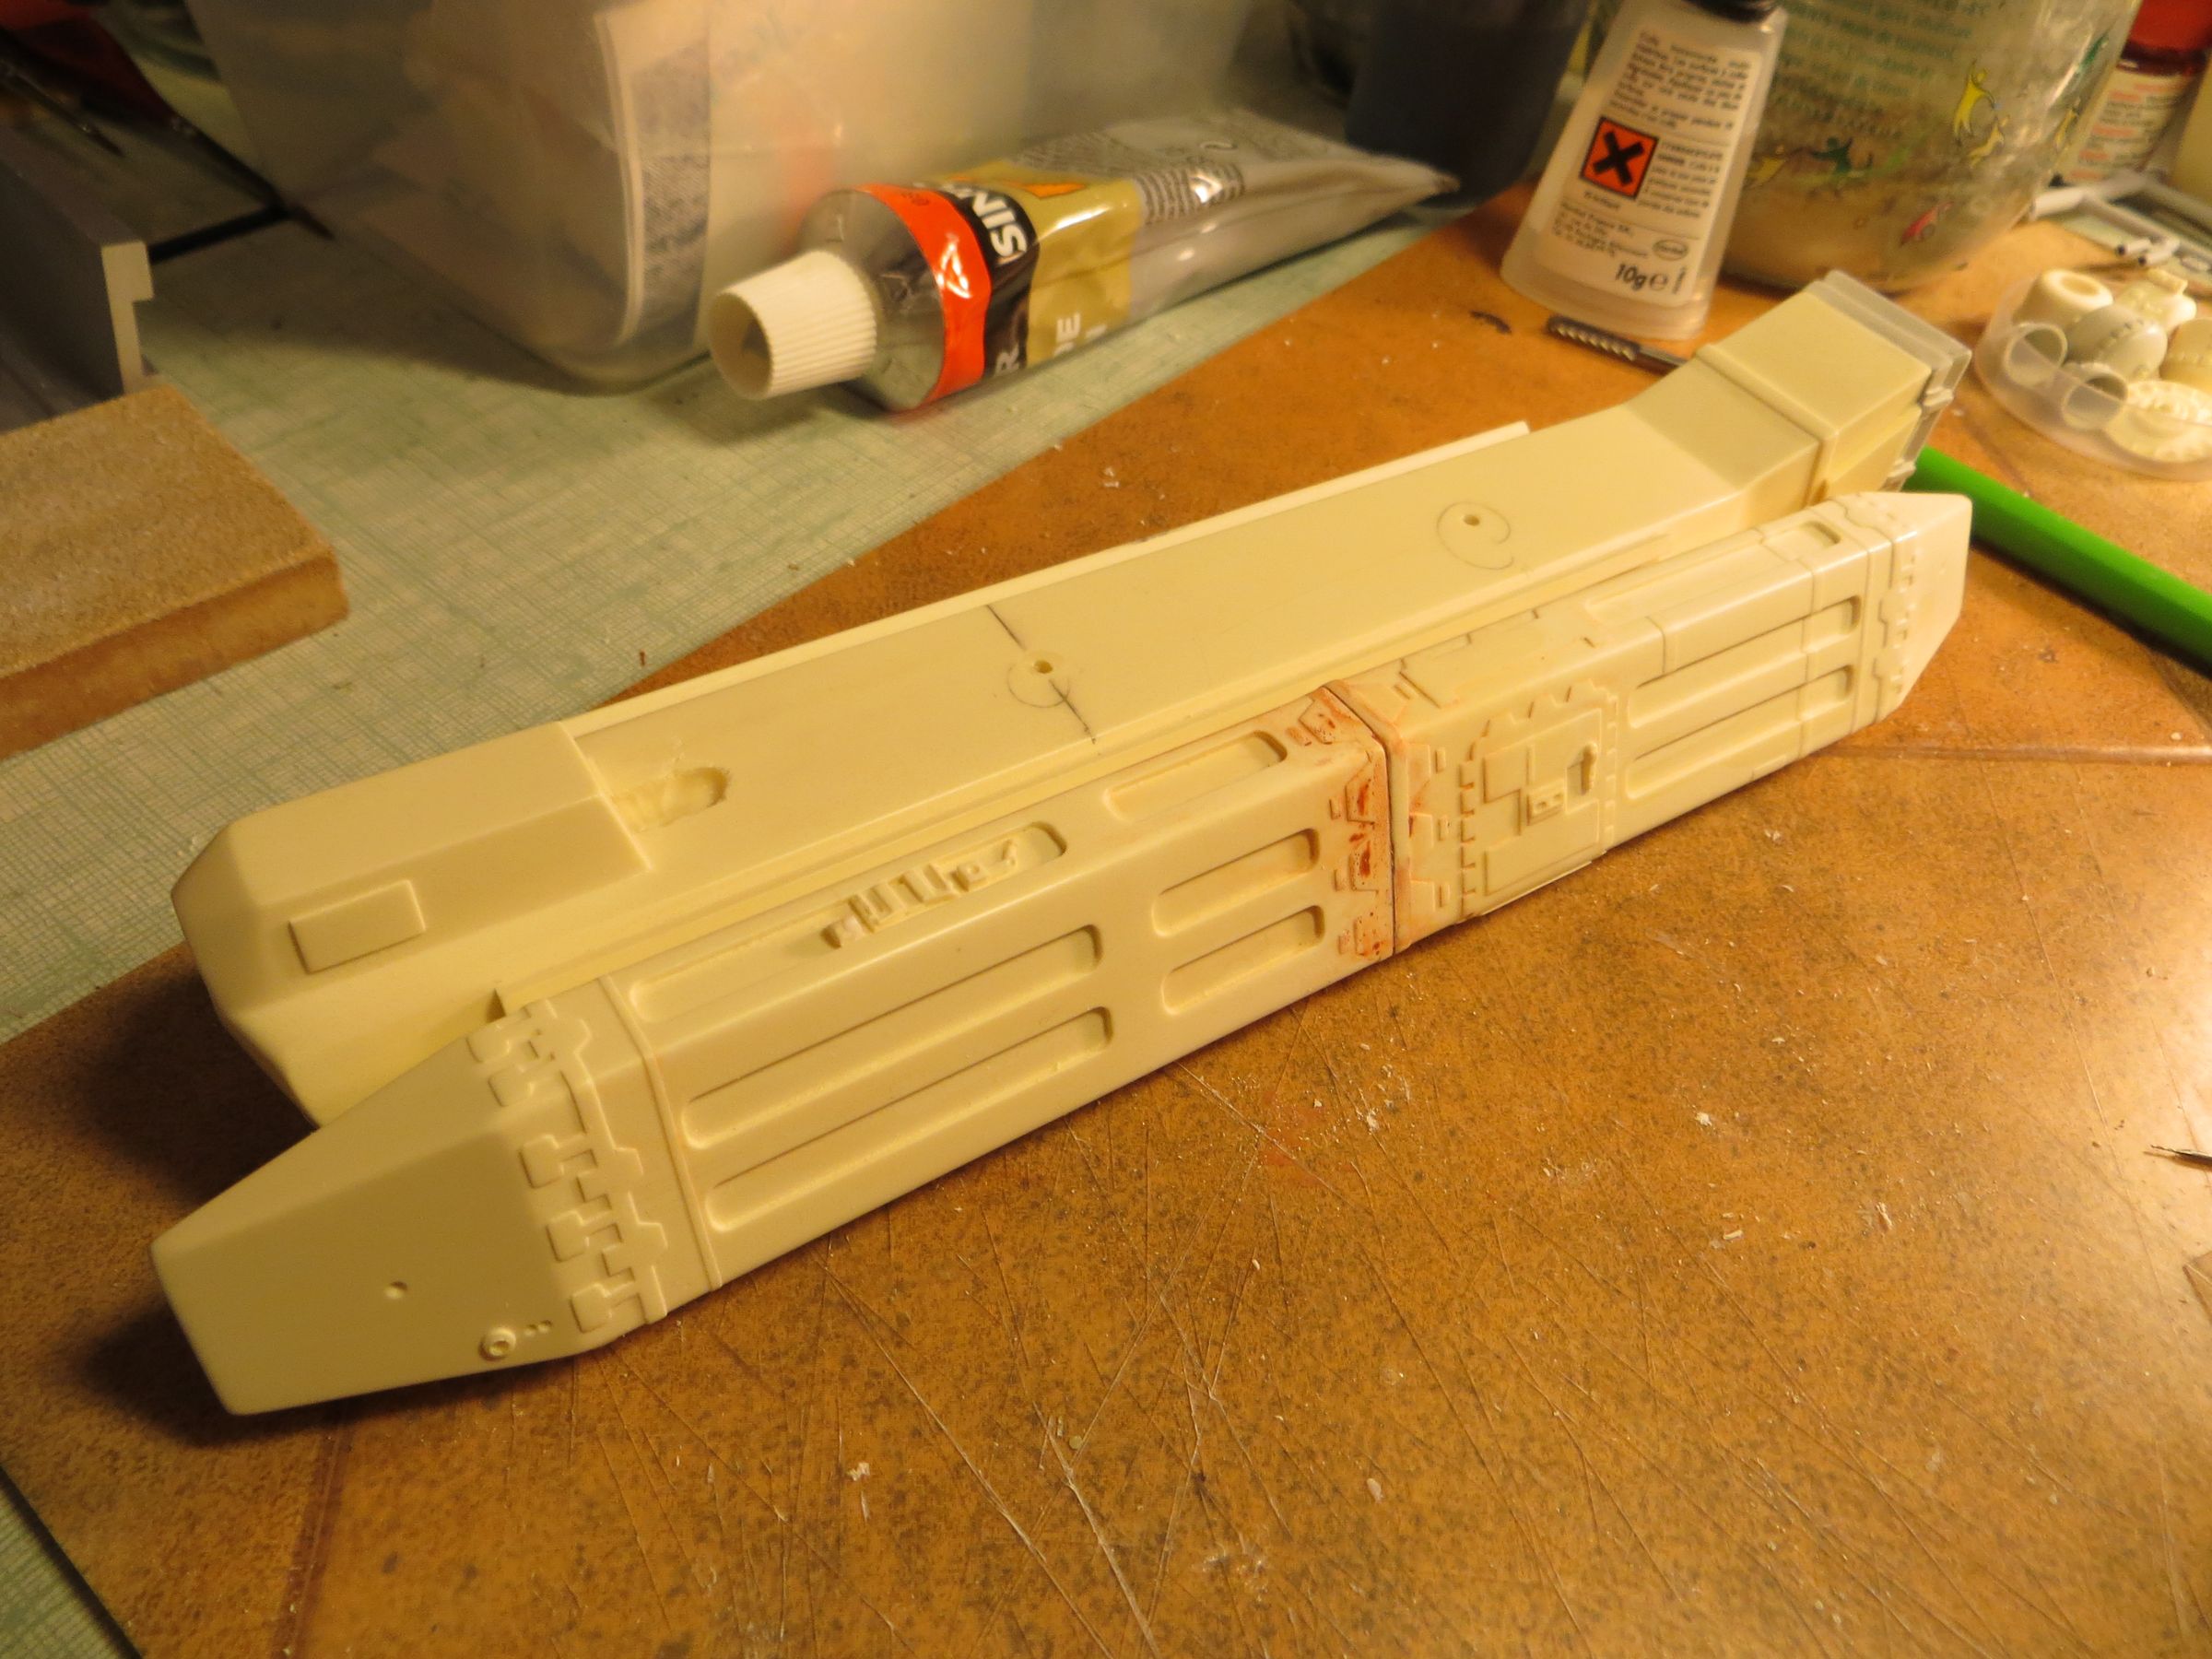
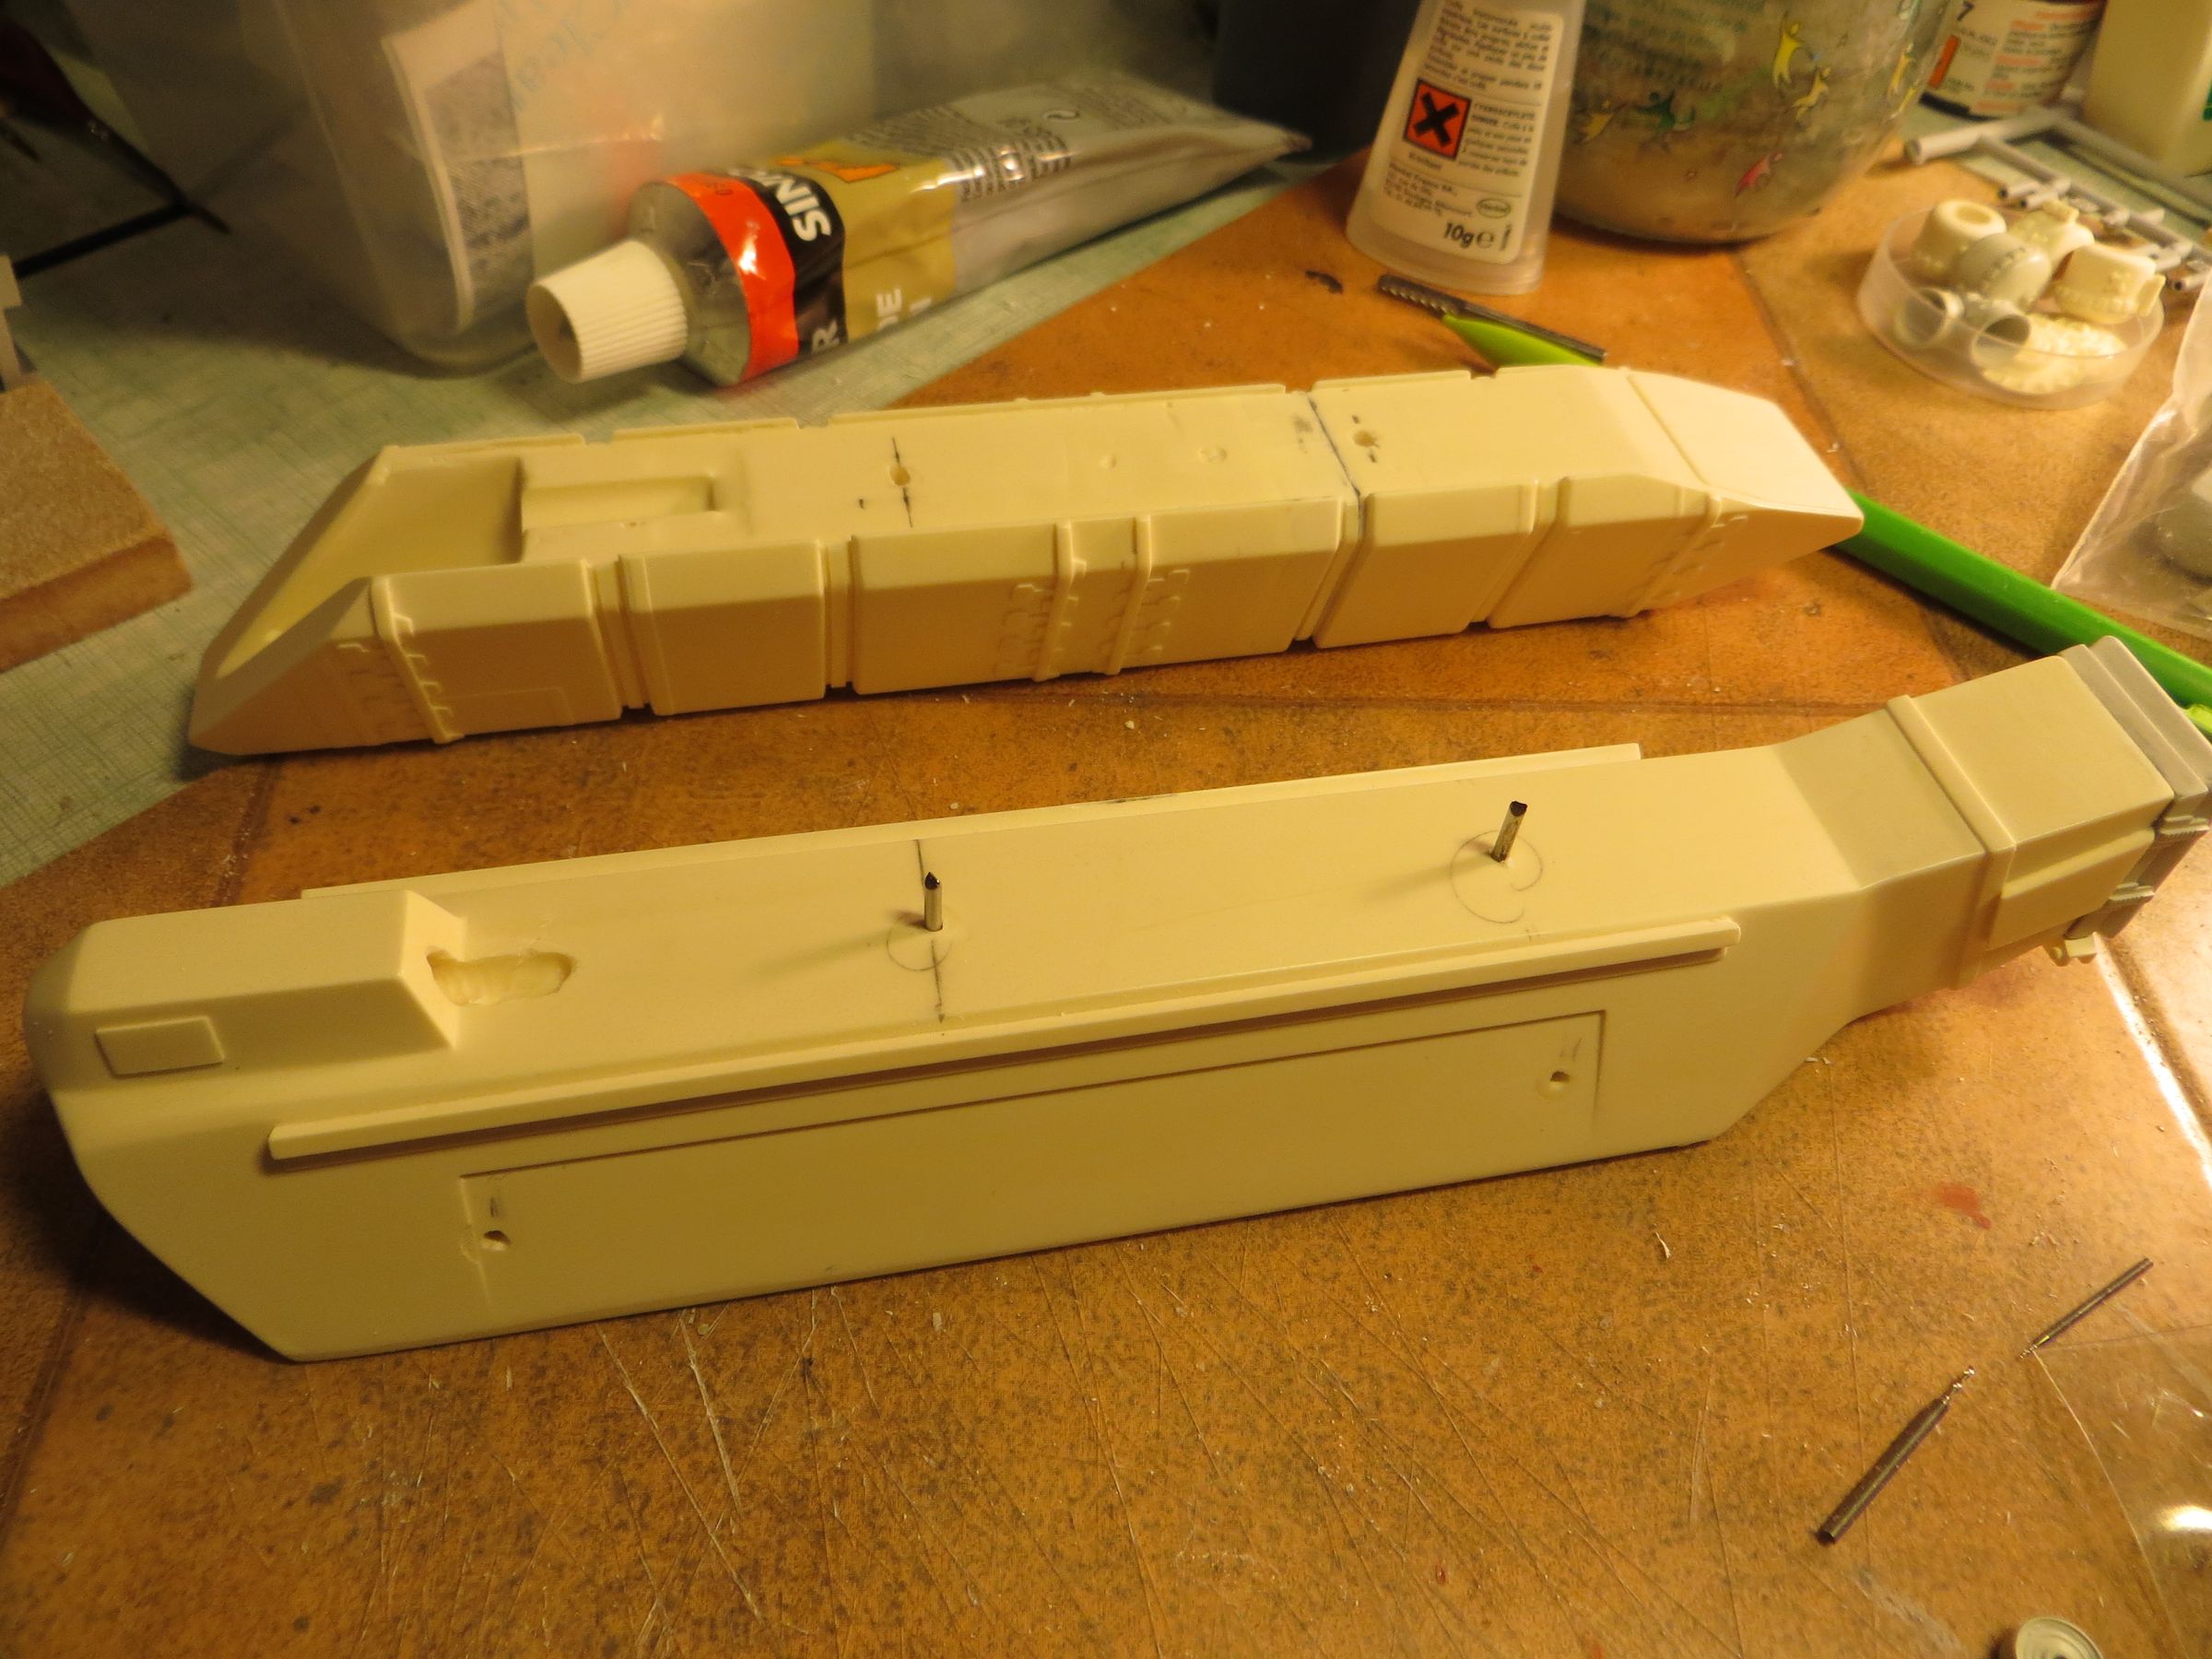
- Holes in the feet to fit the end of the legs. They will also be glued after painting.
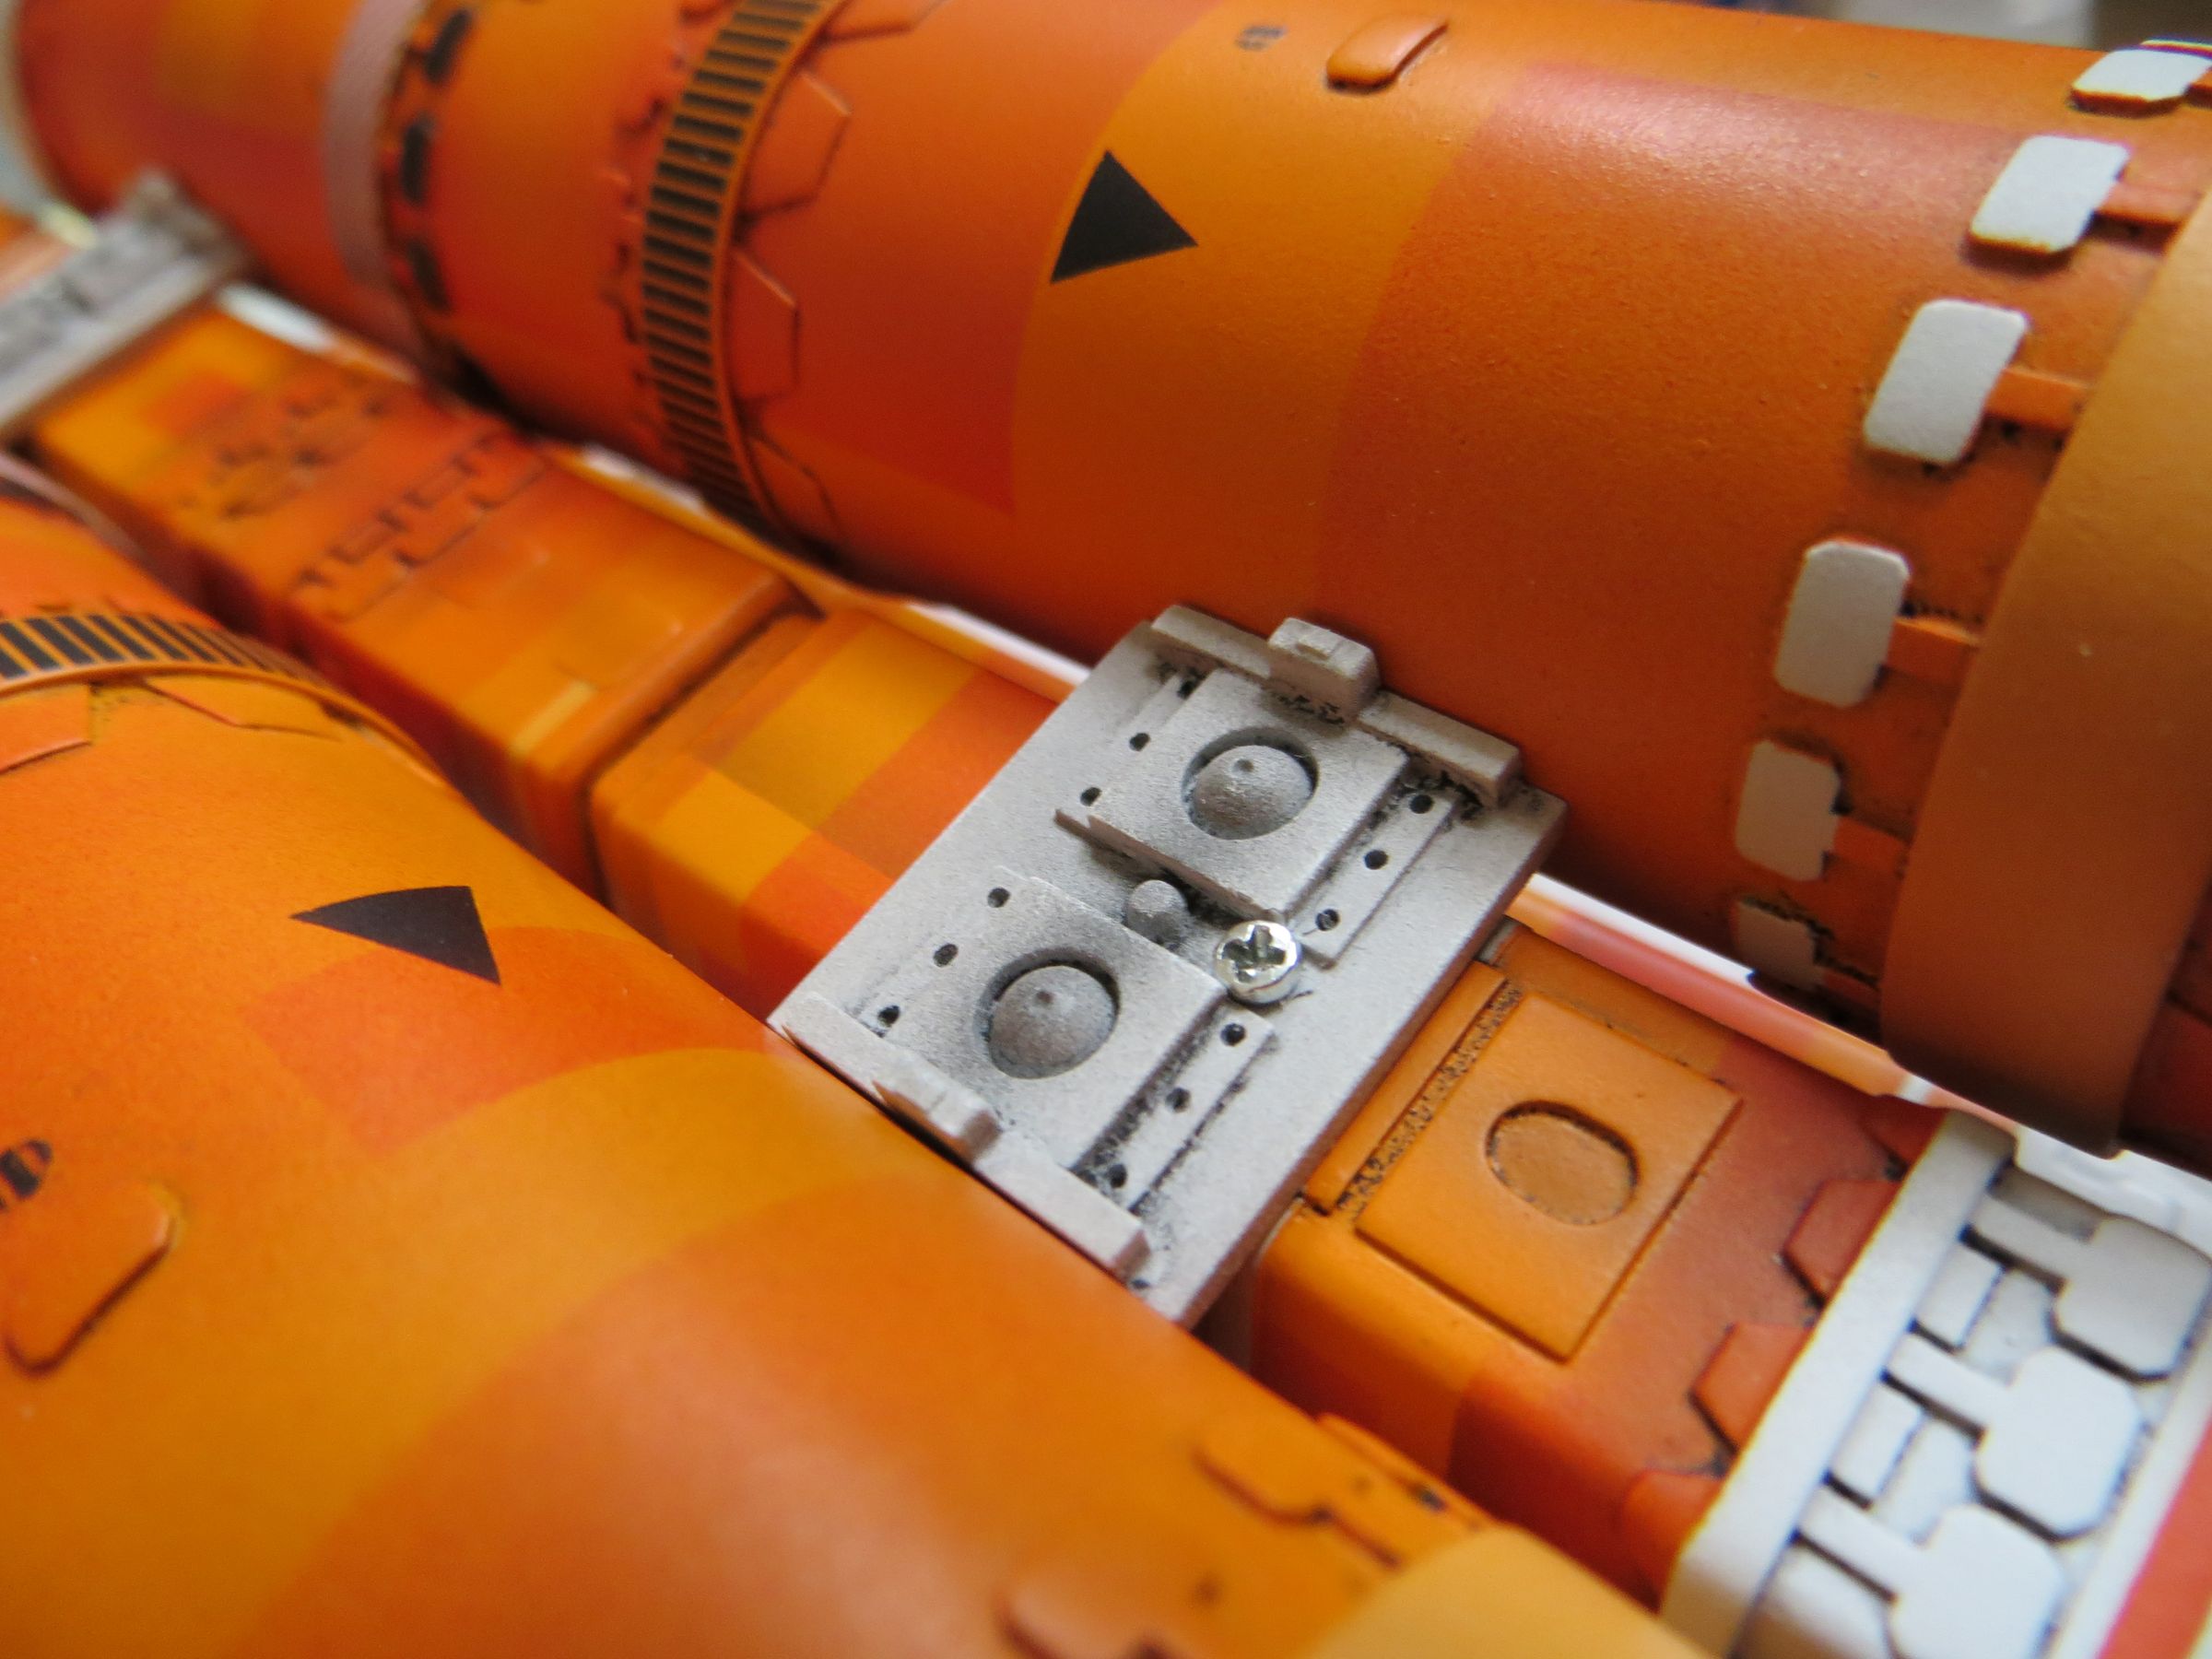
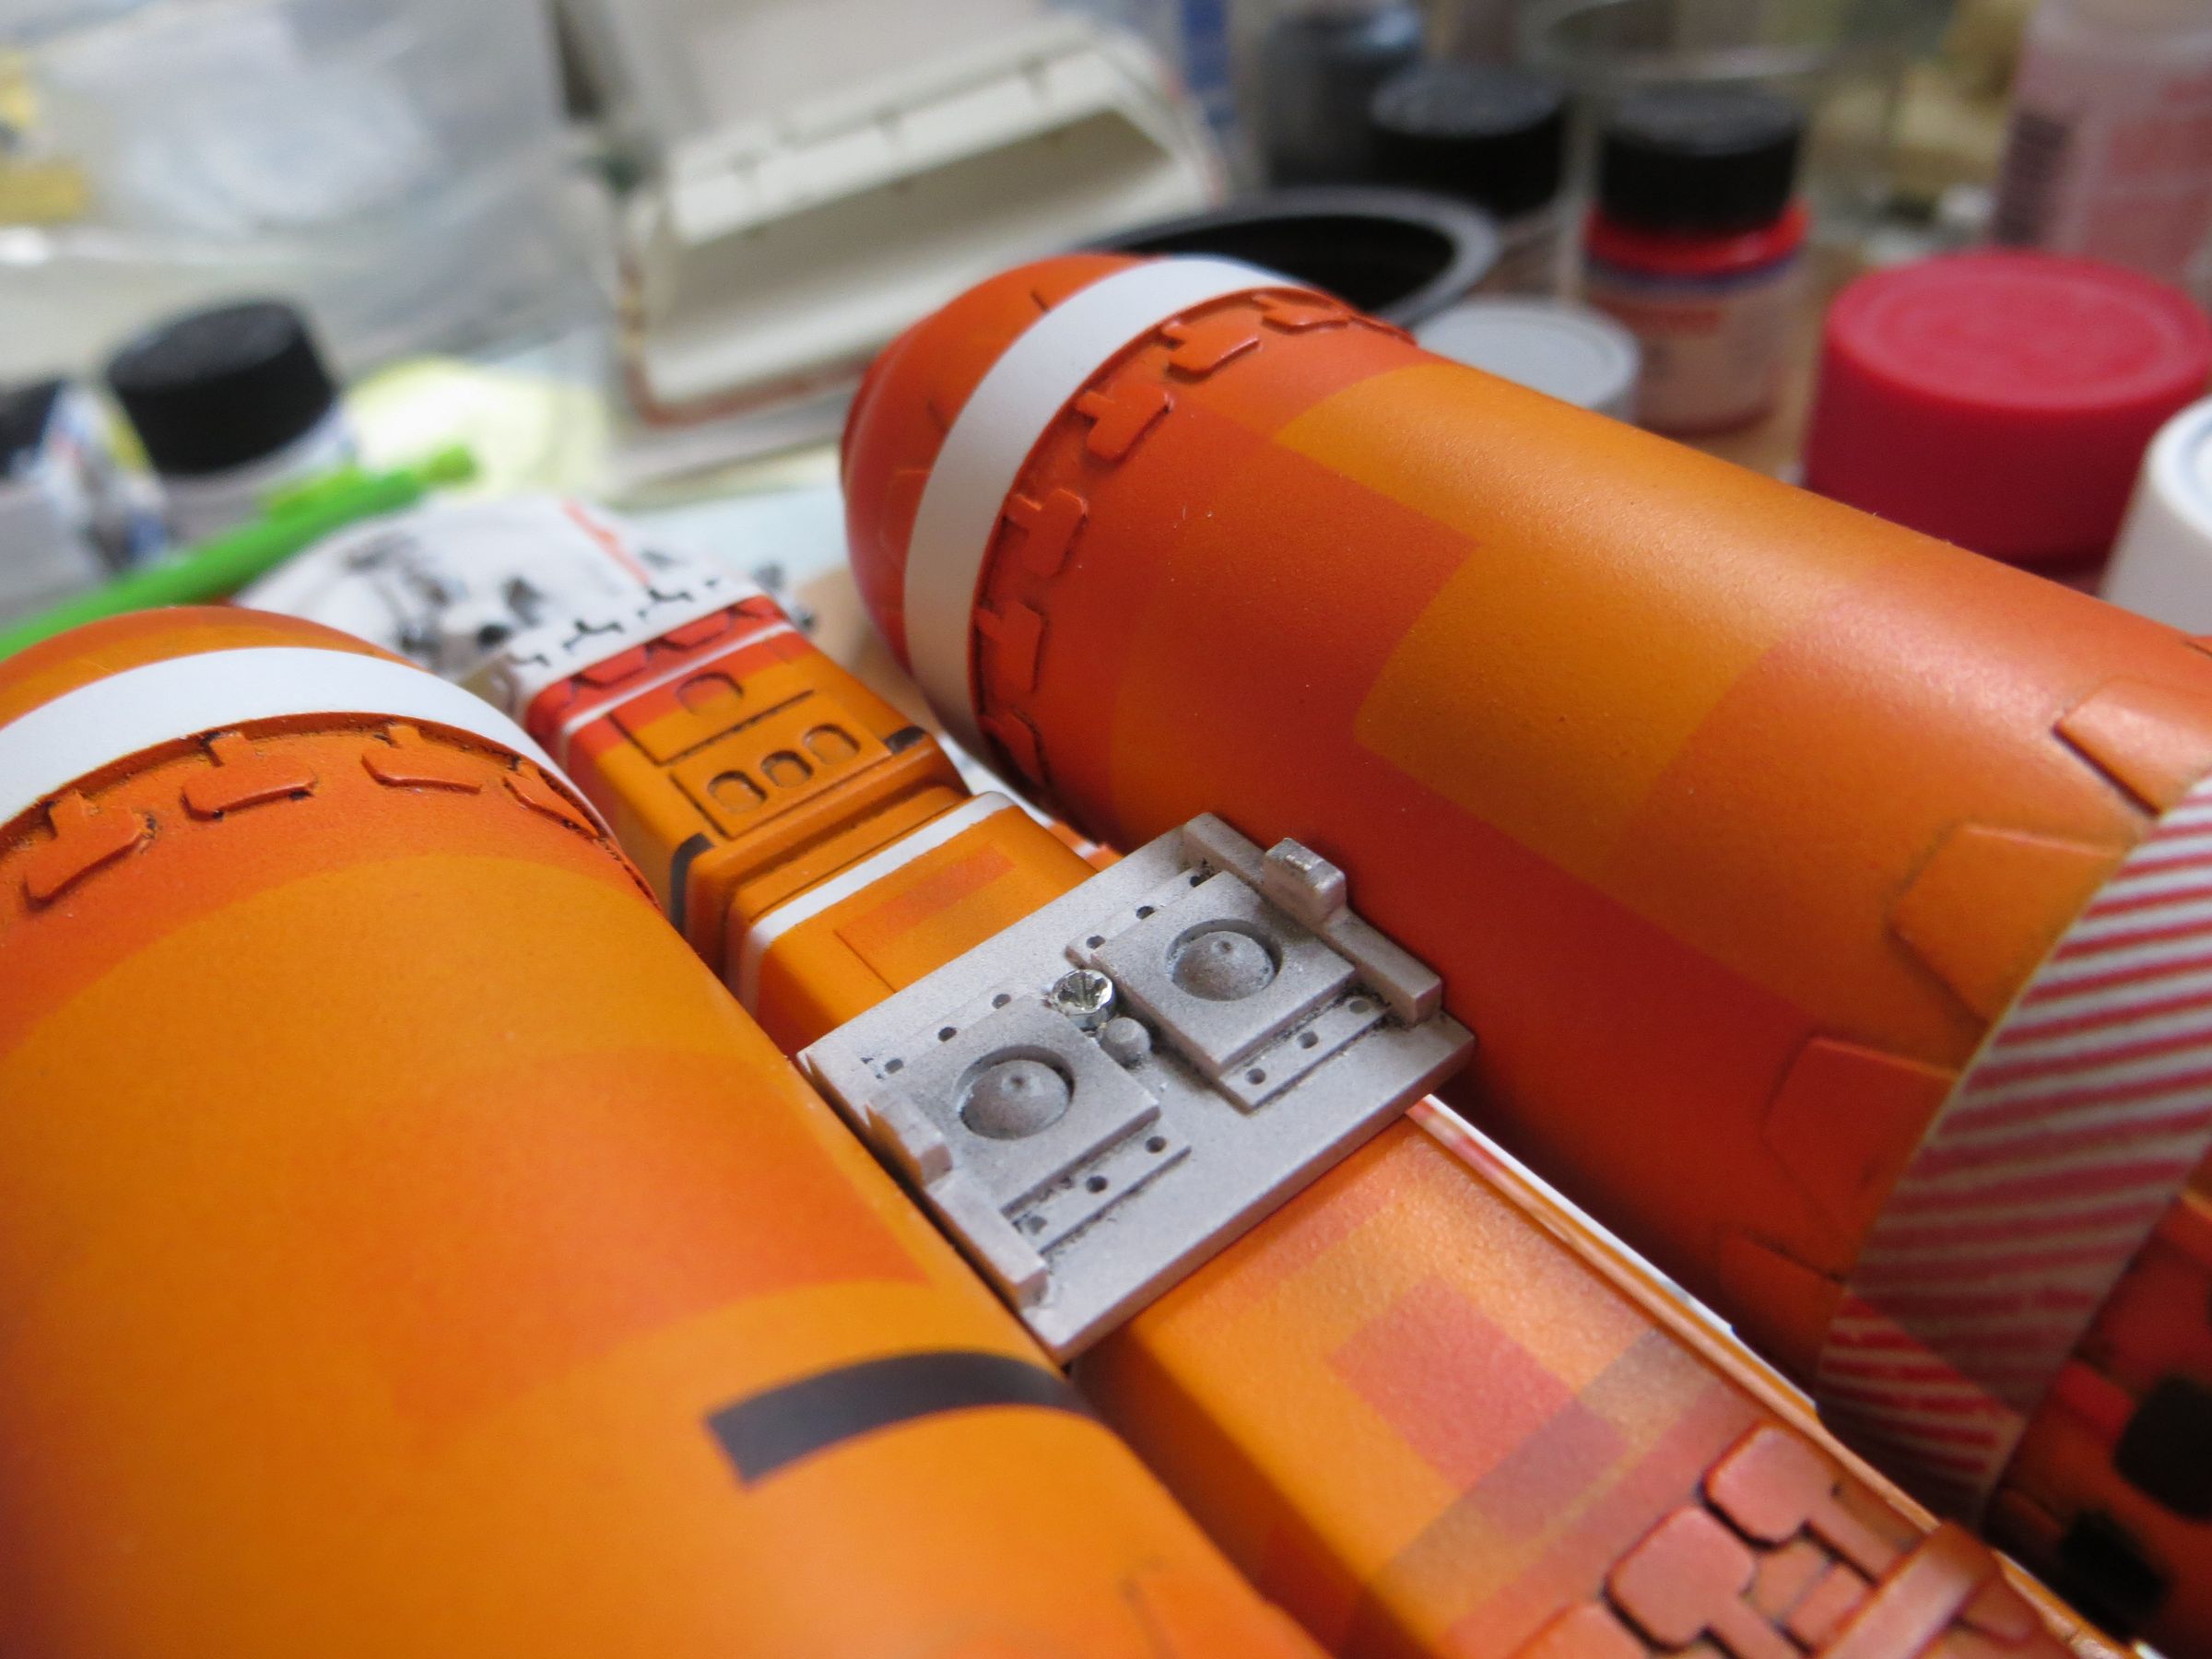
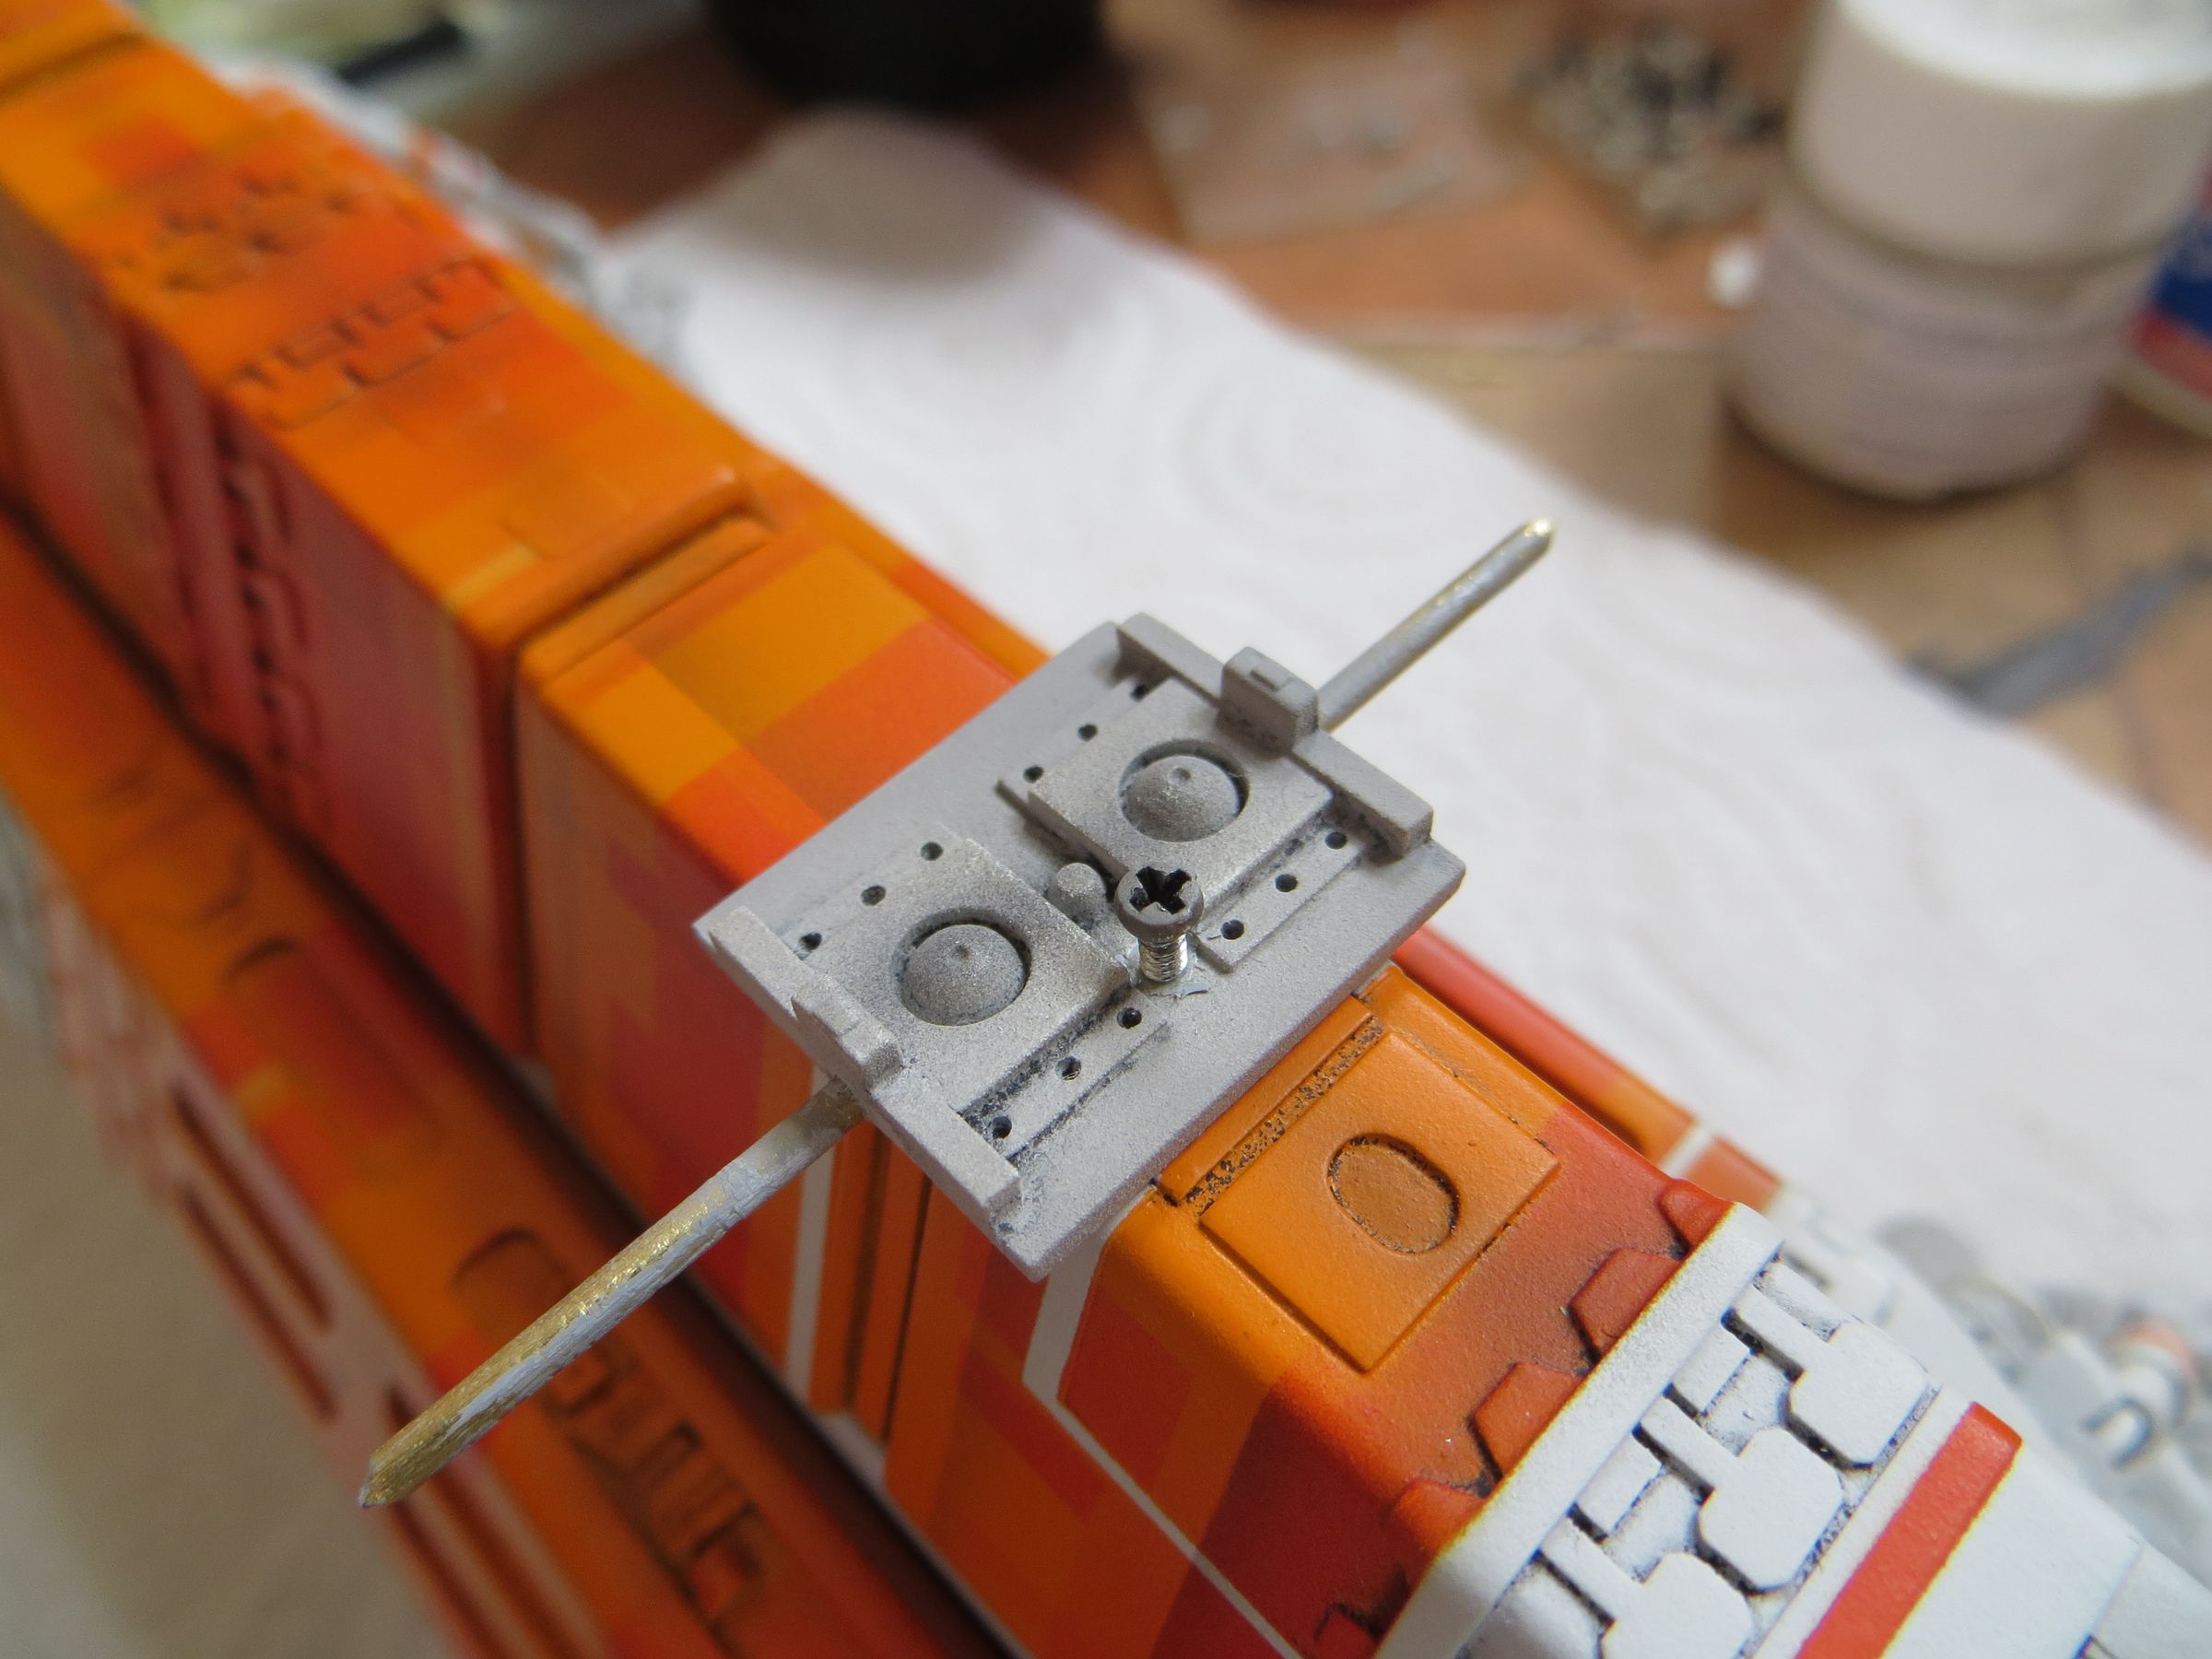
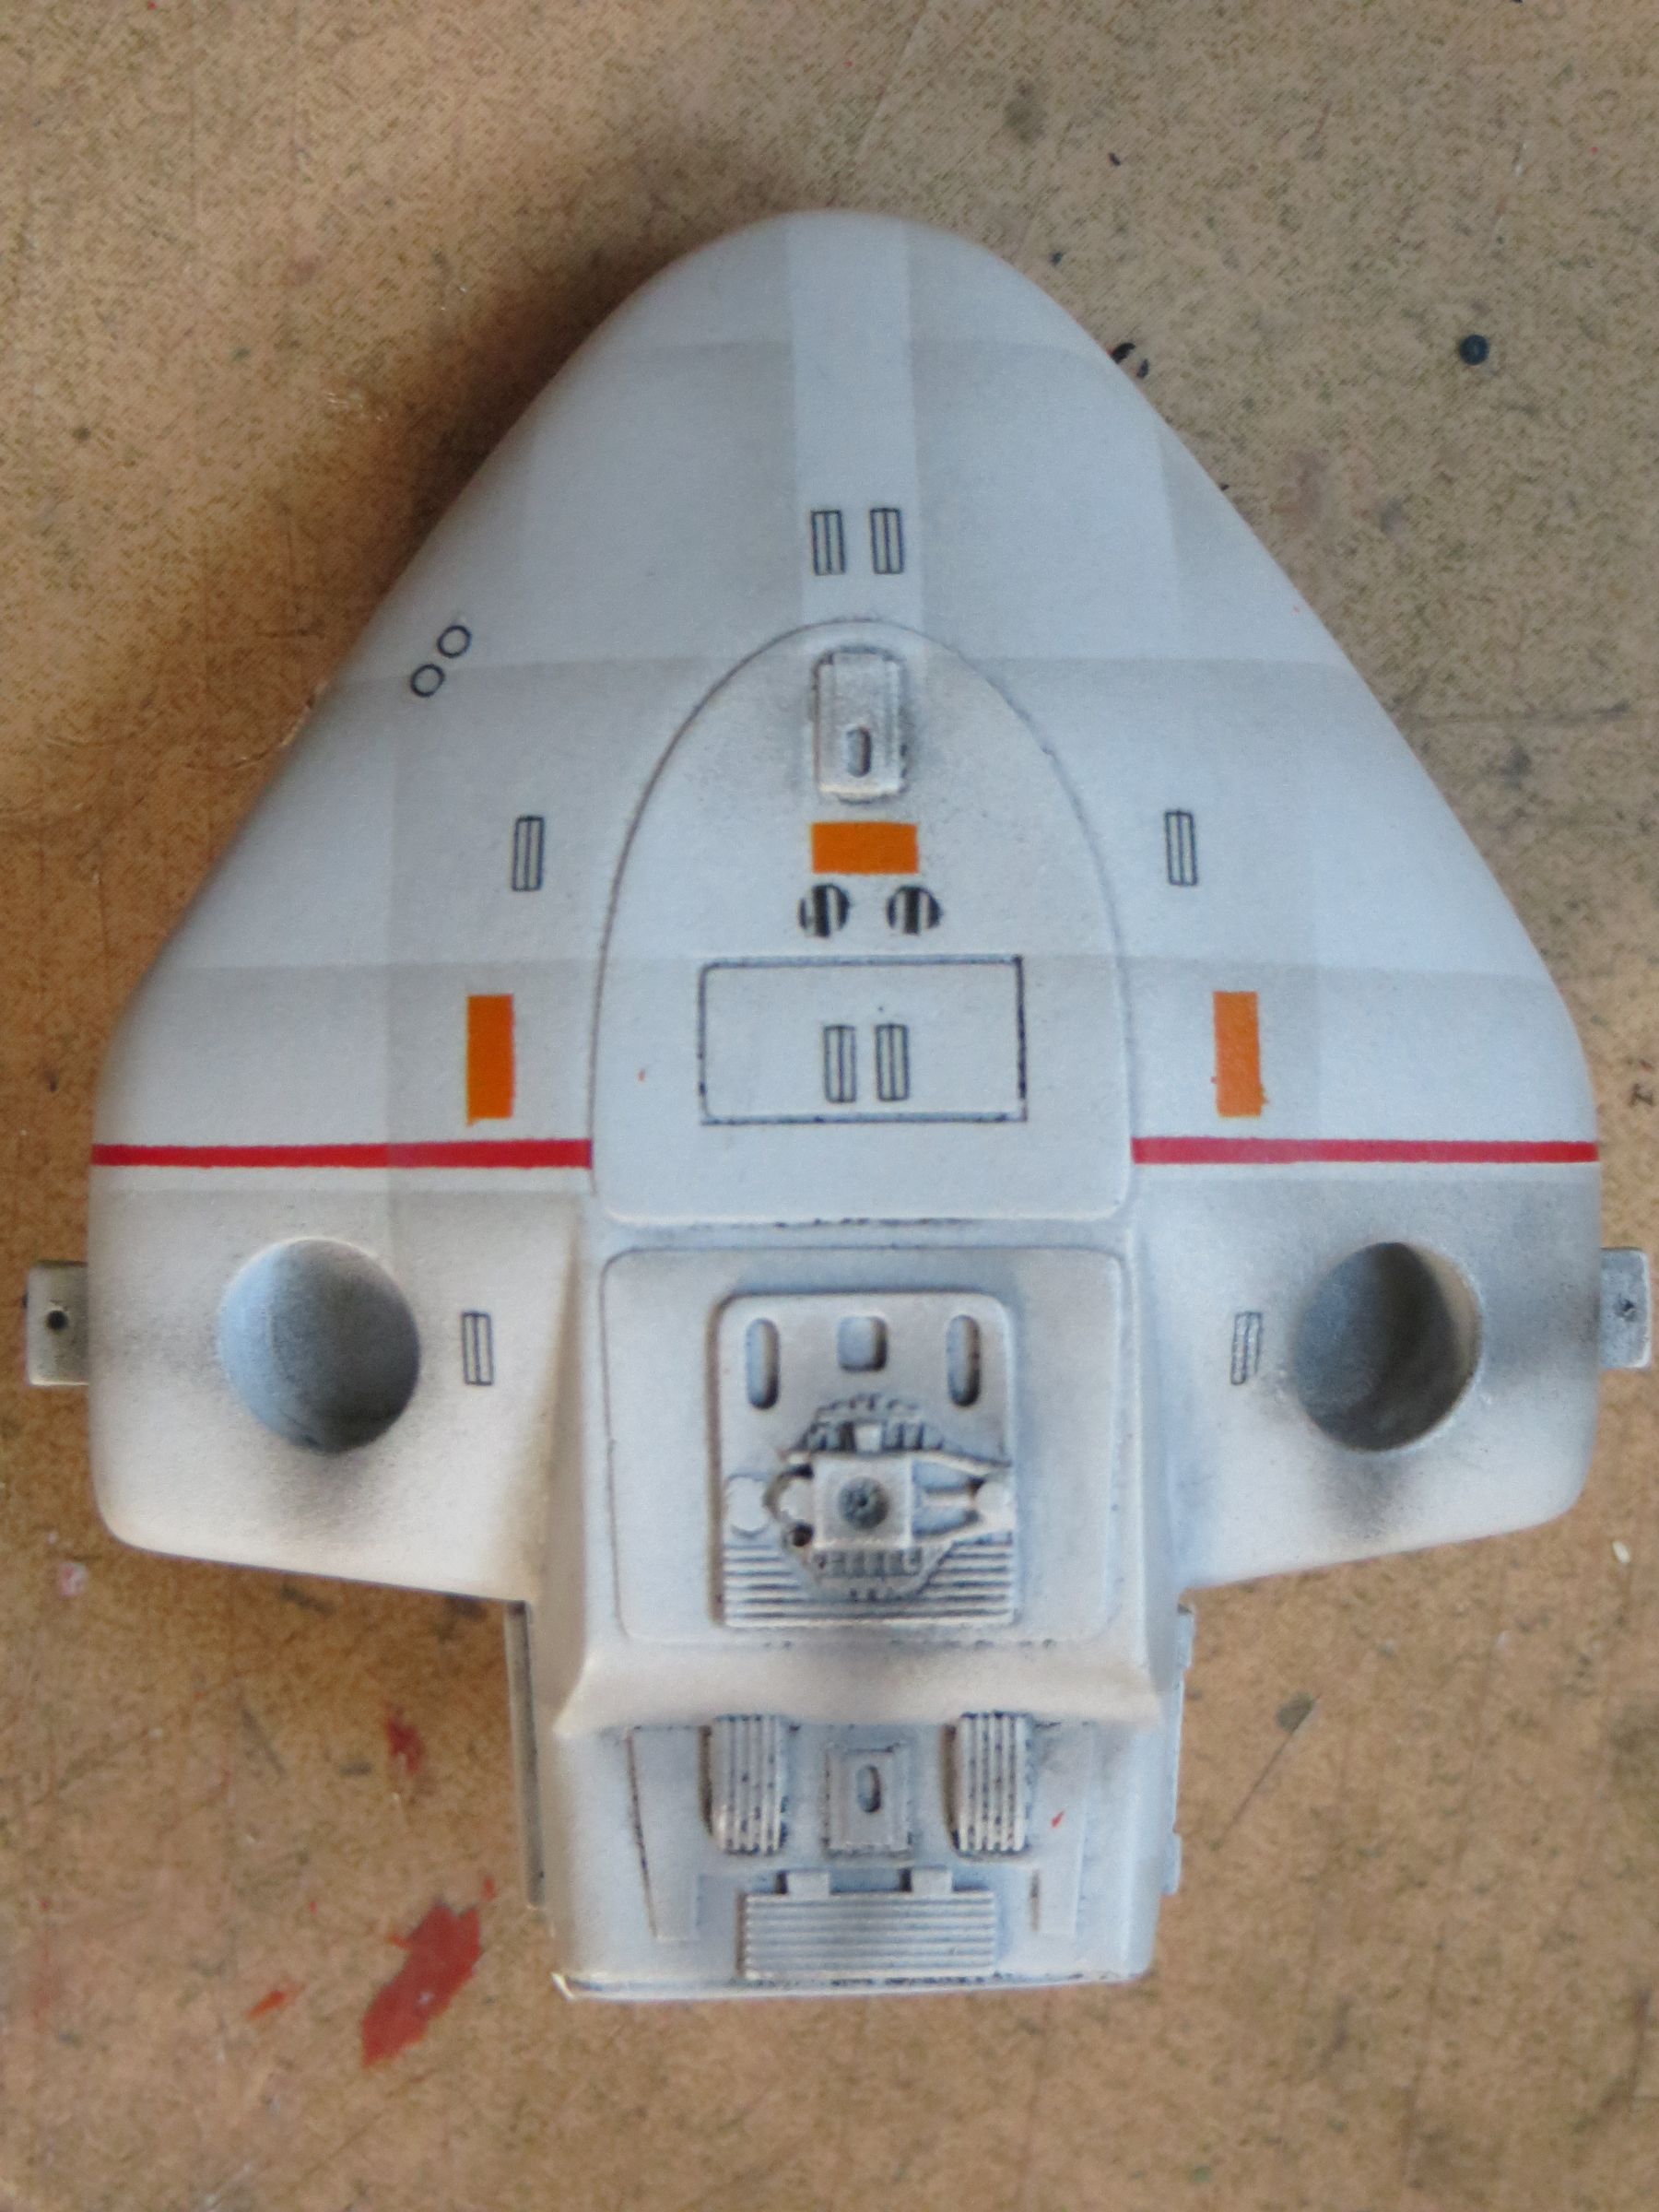
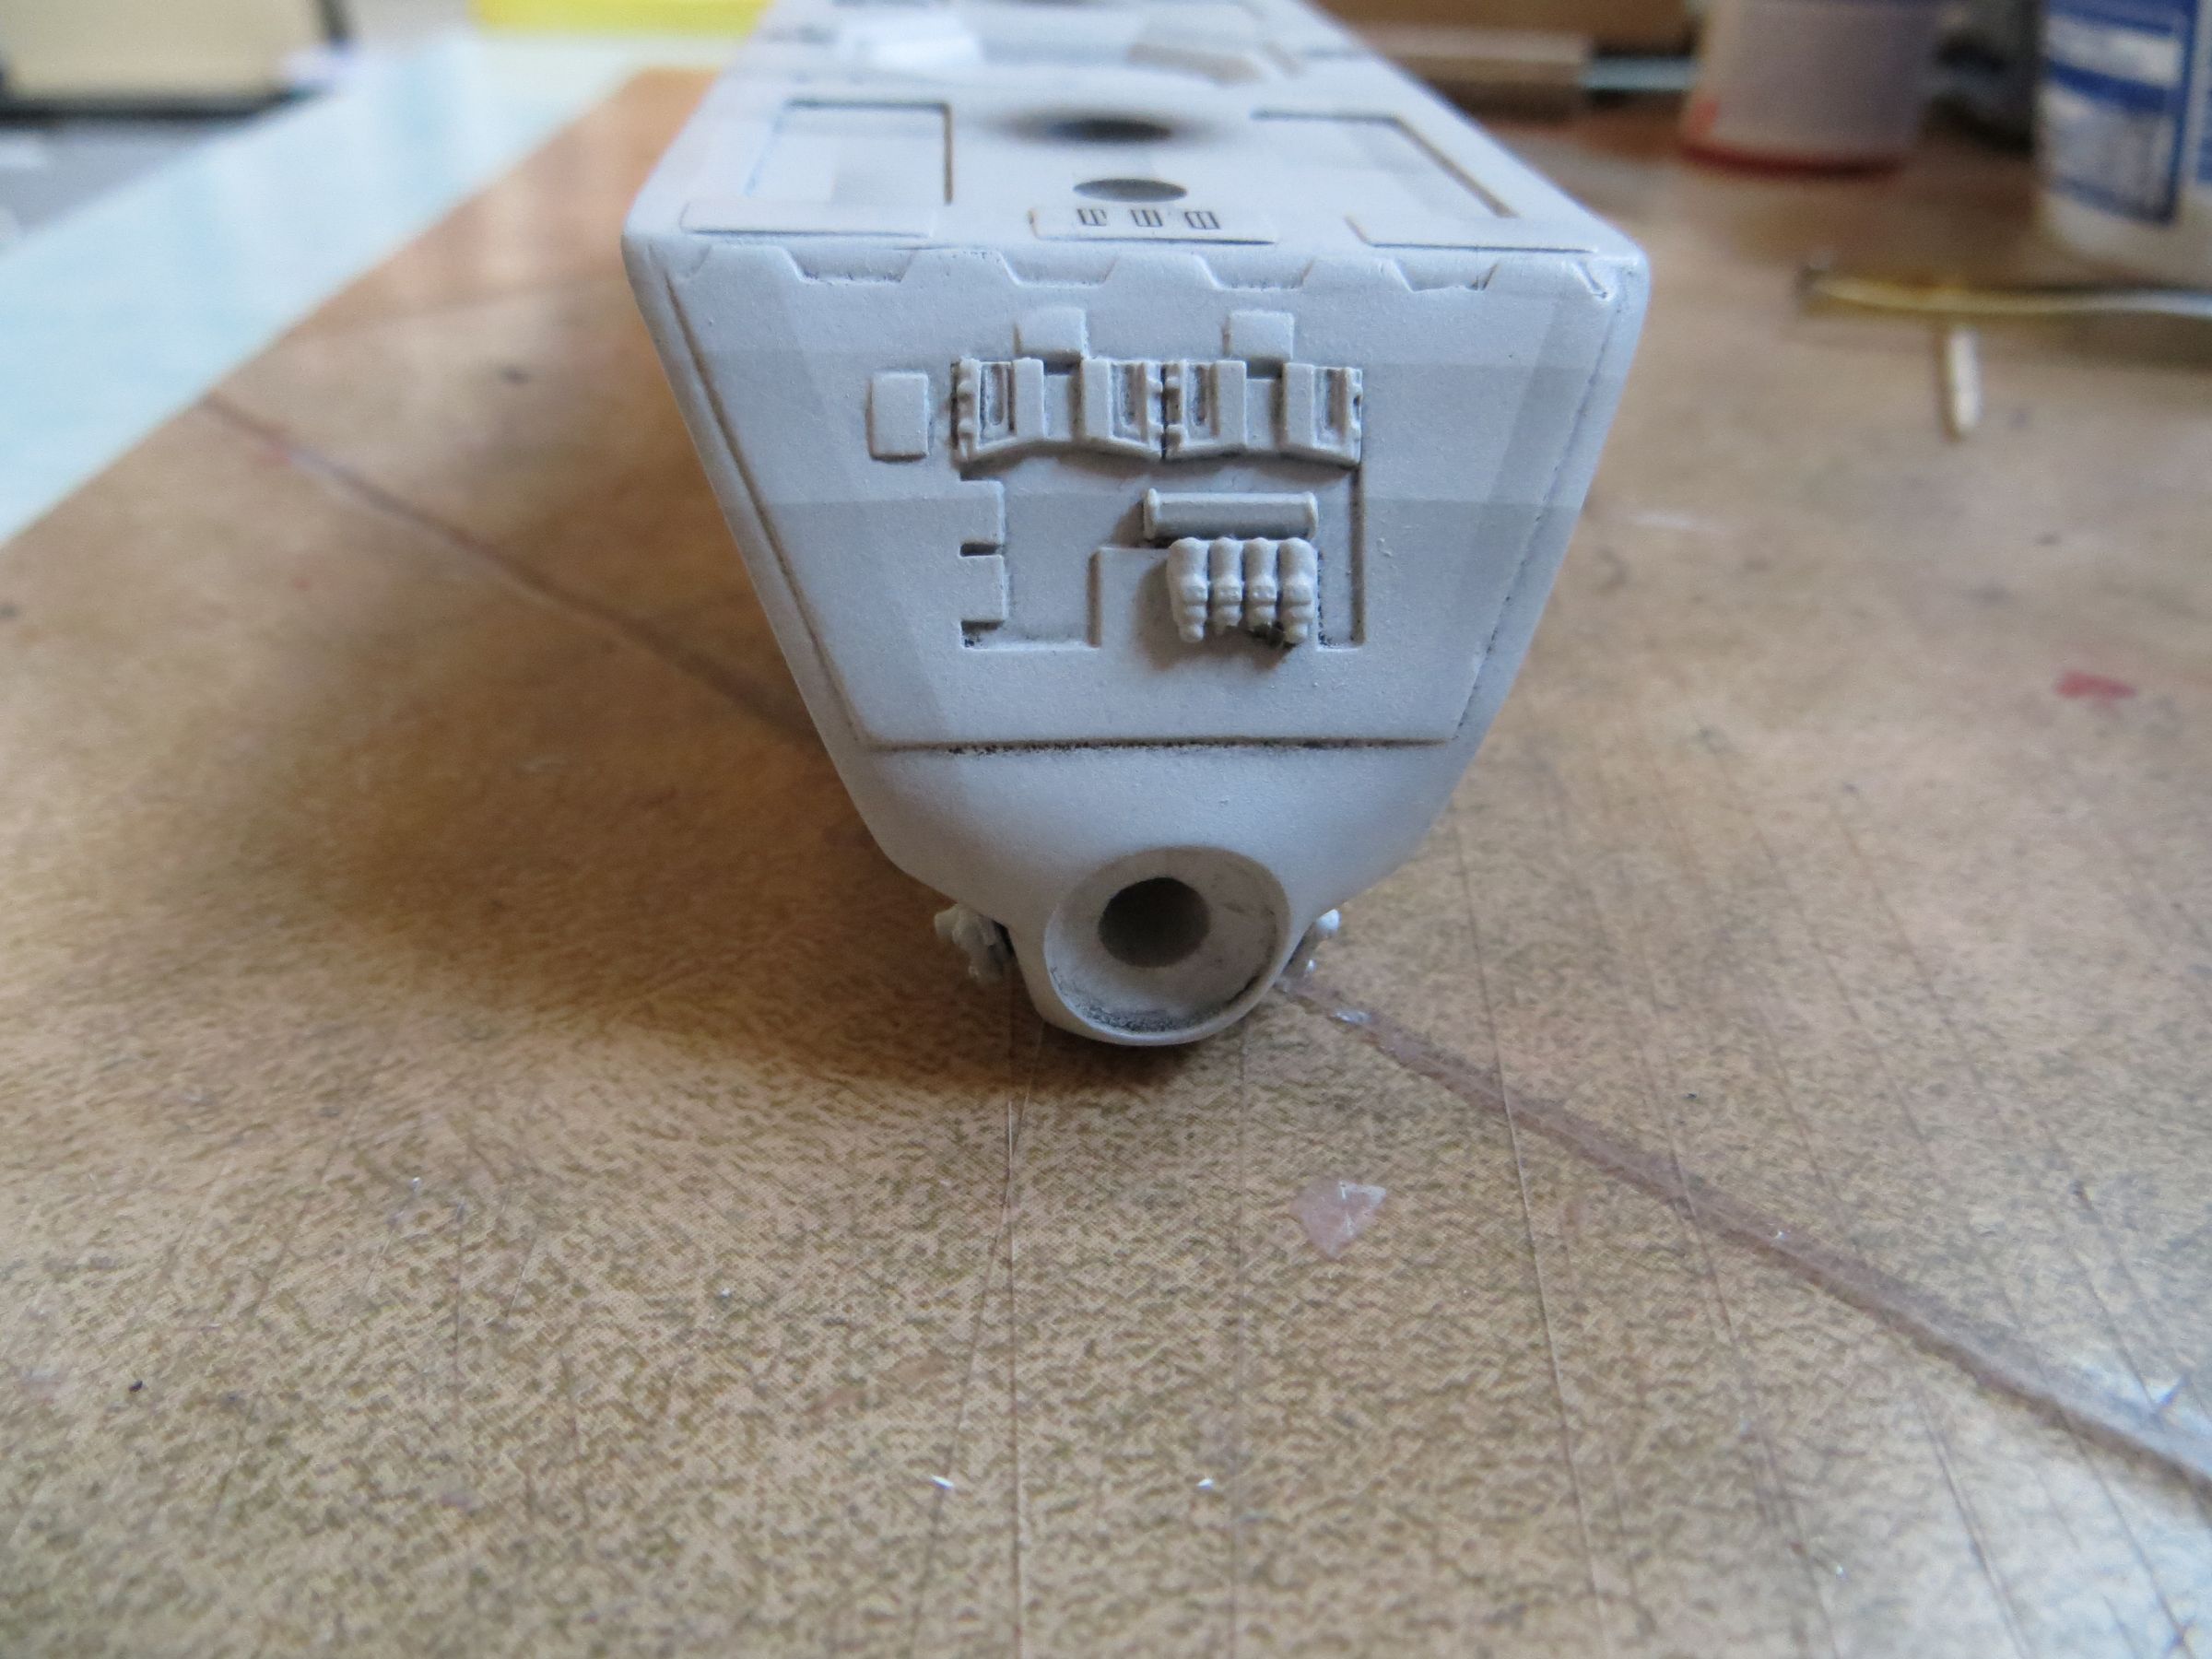
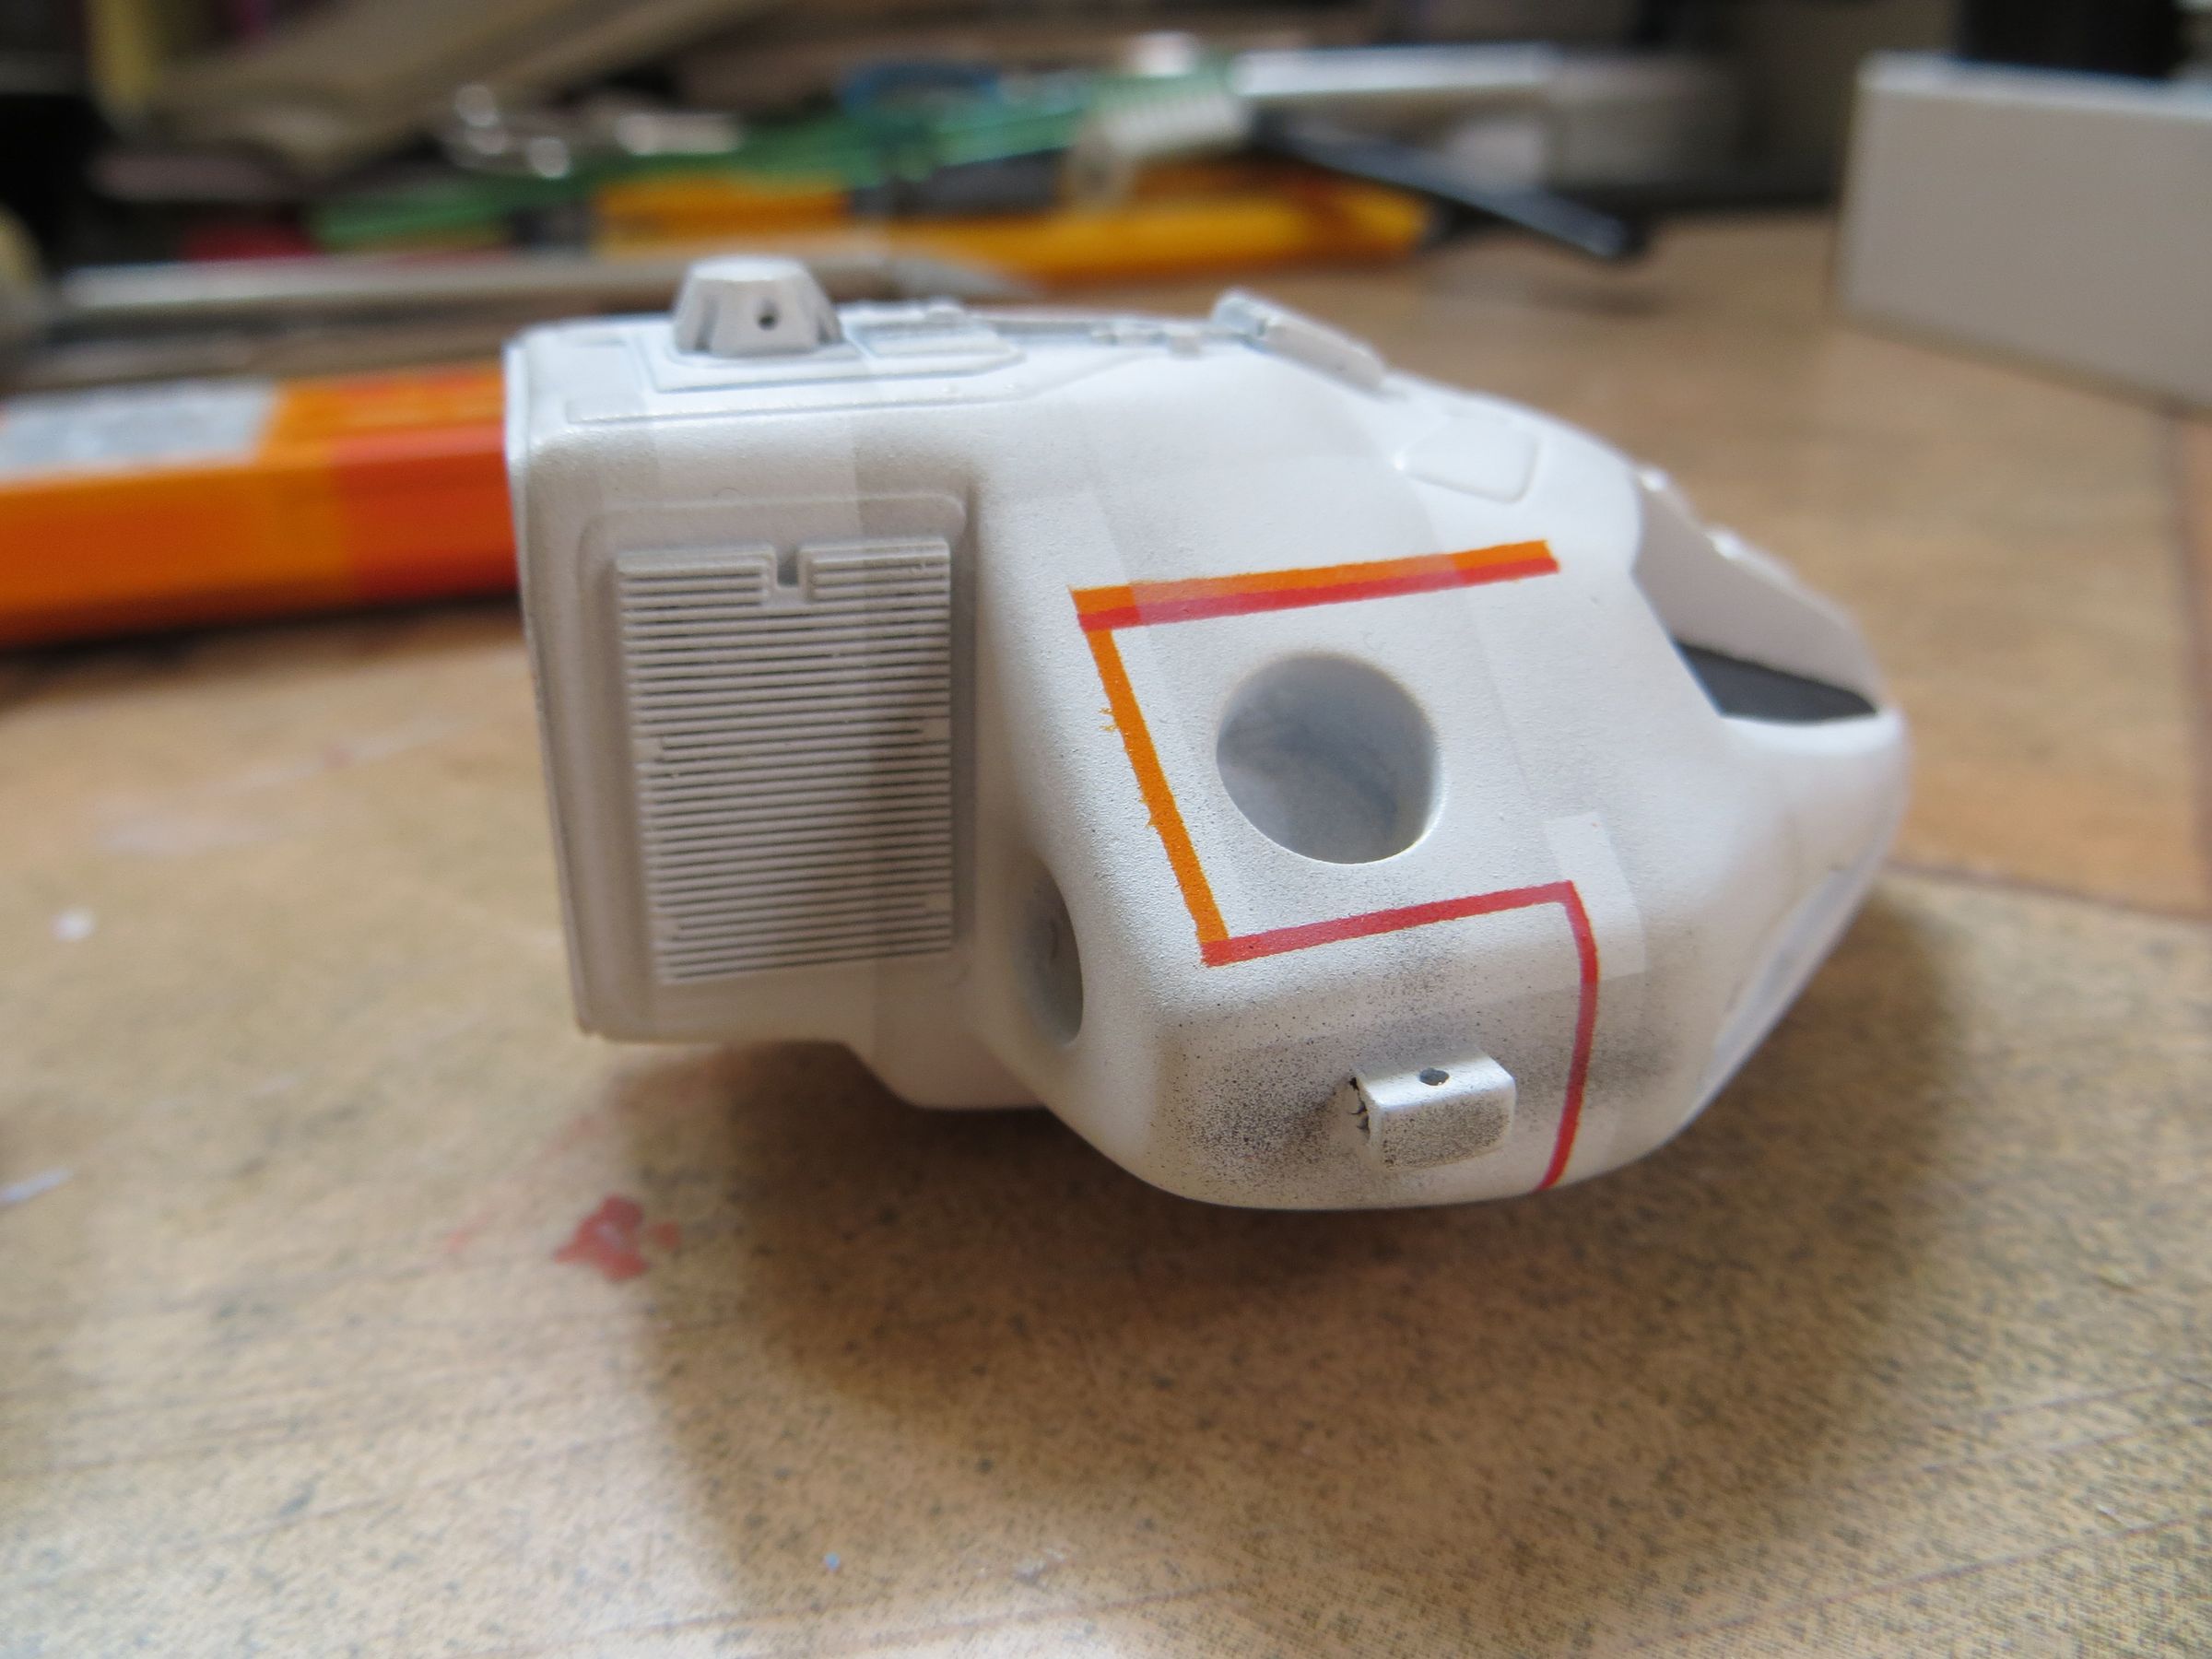
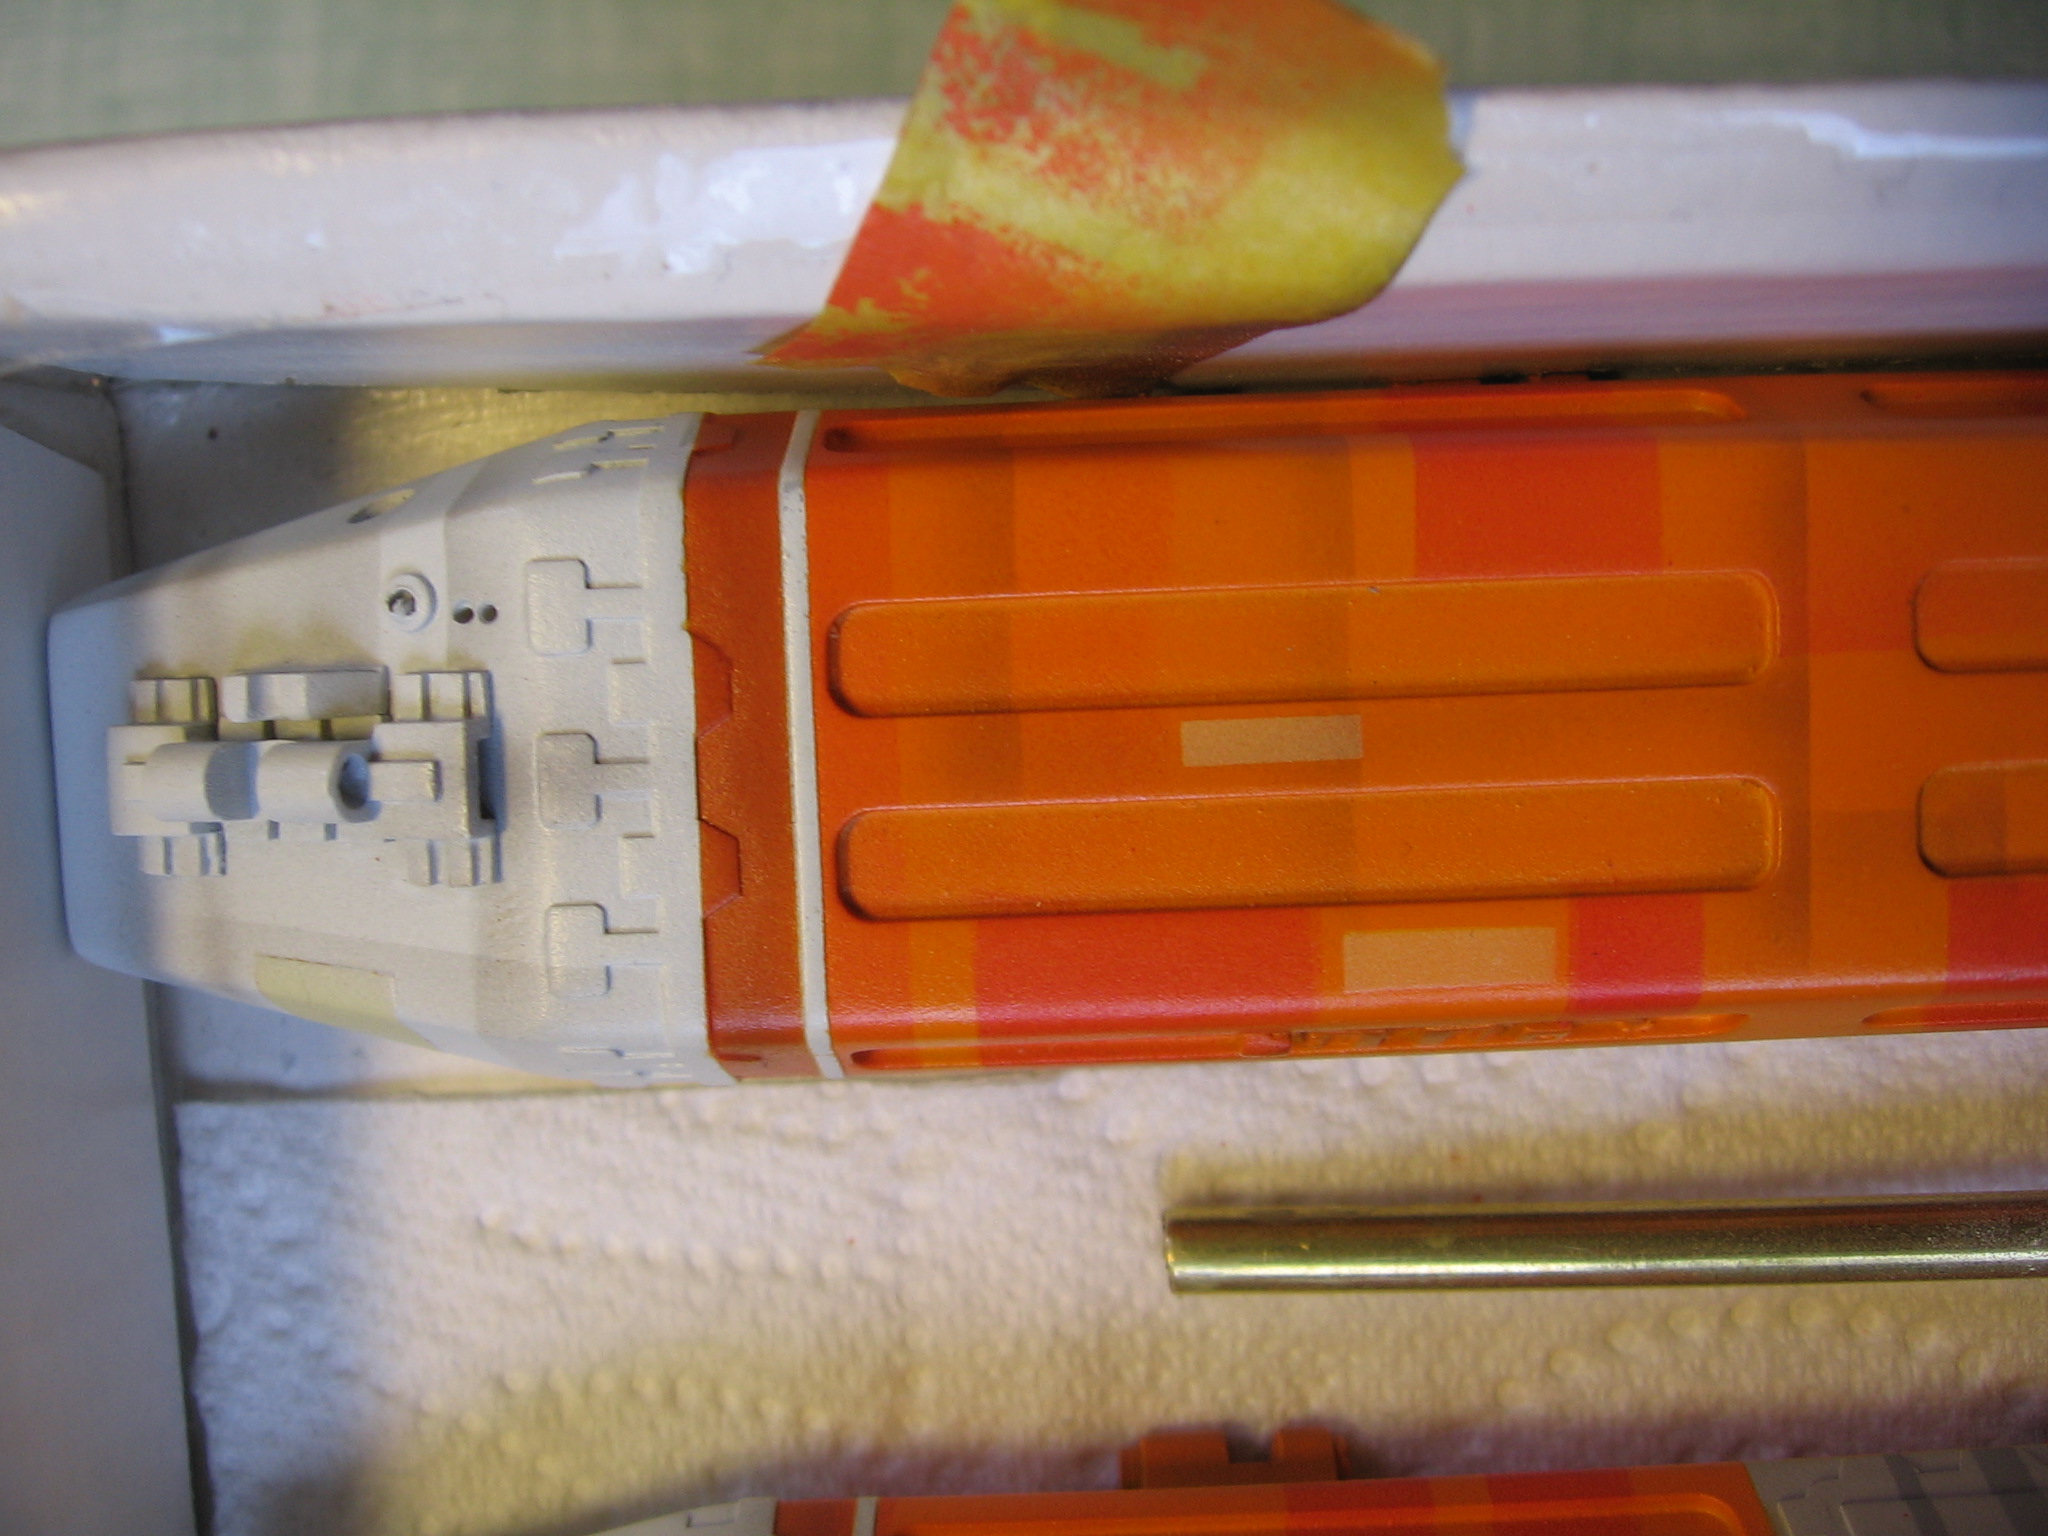
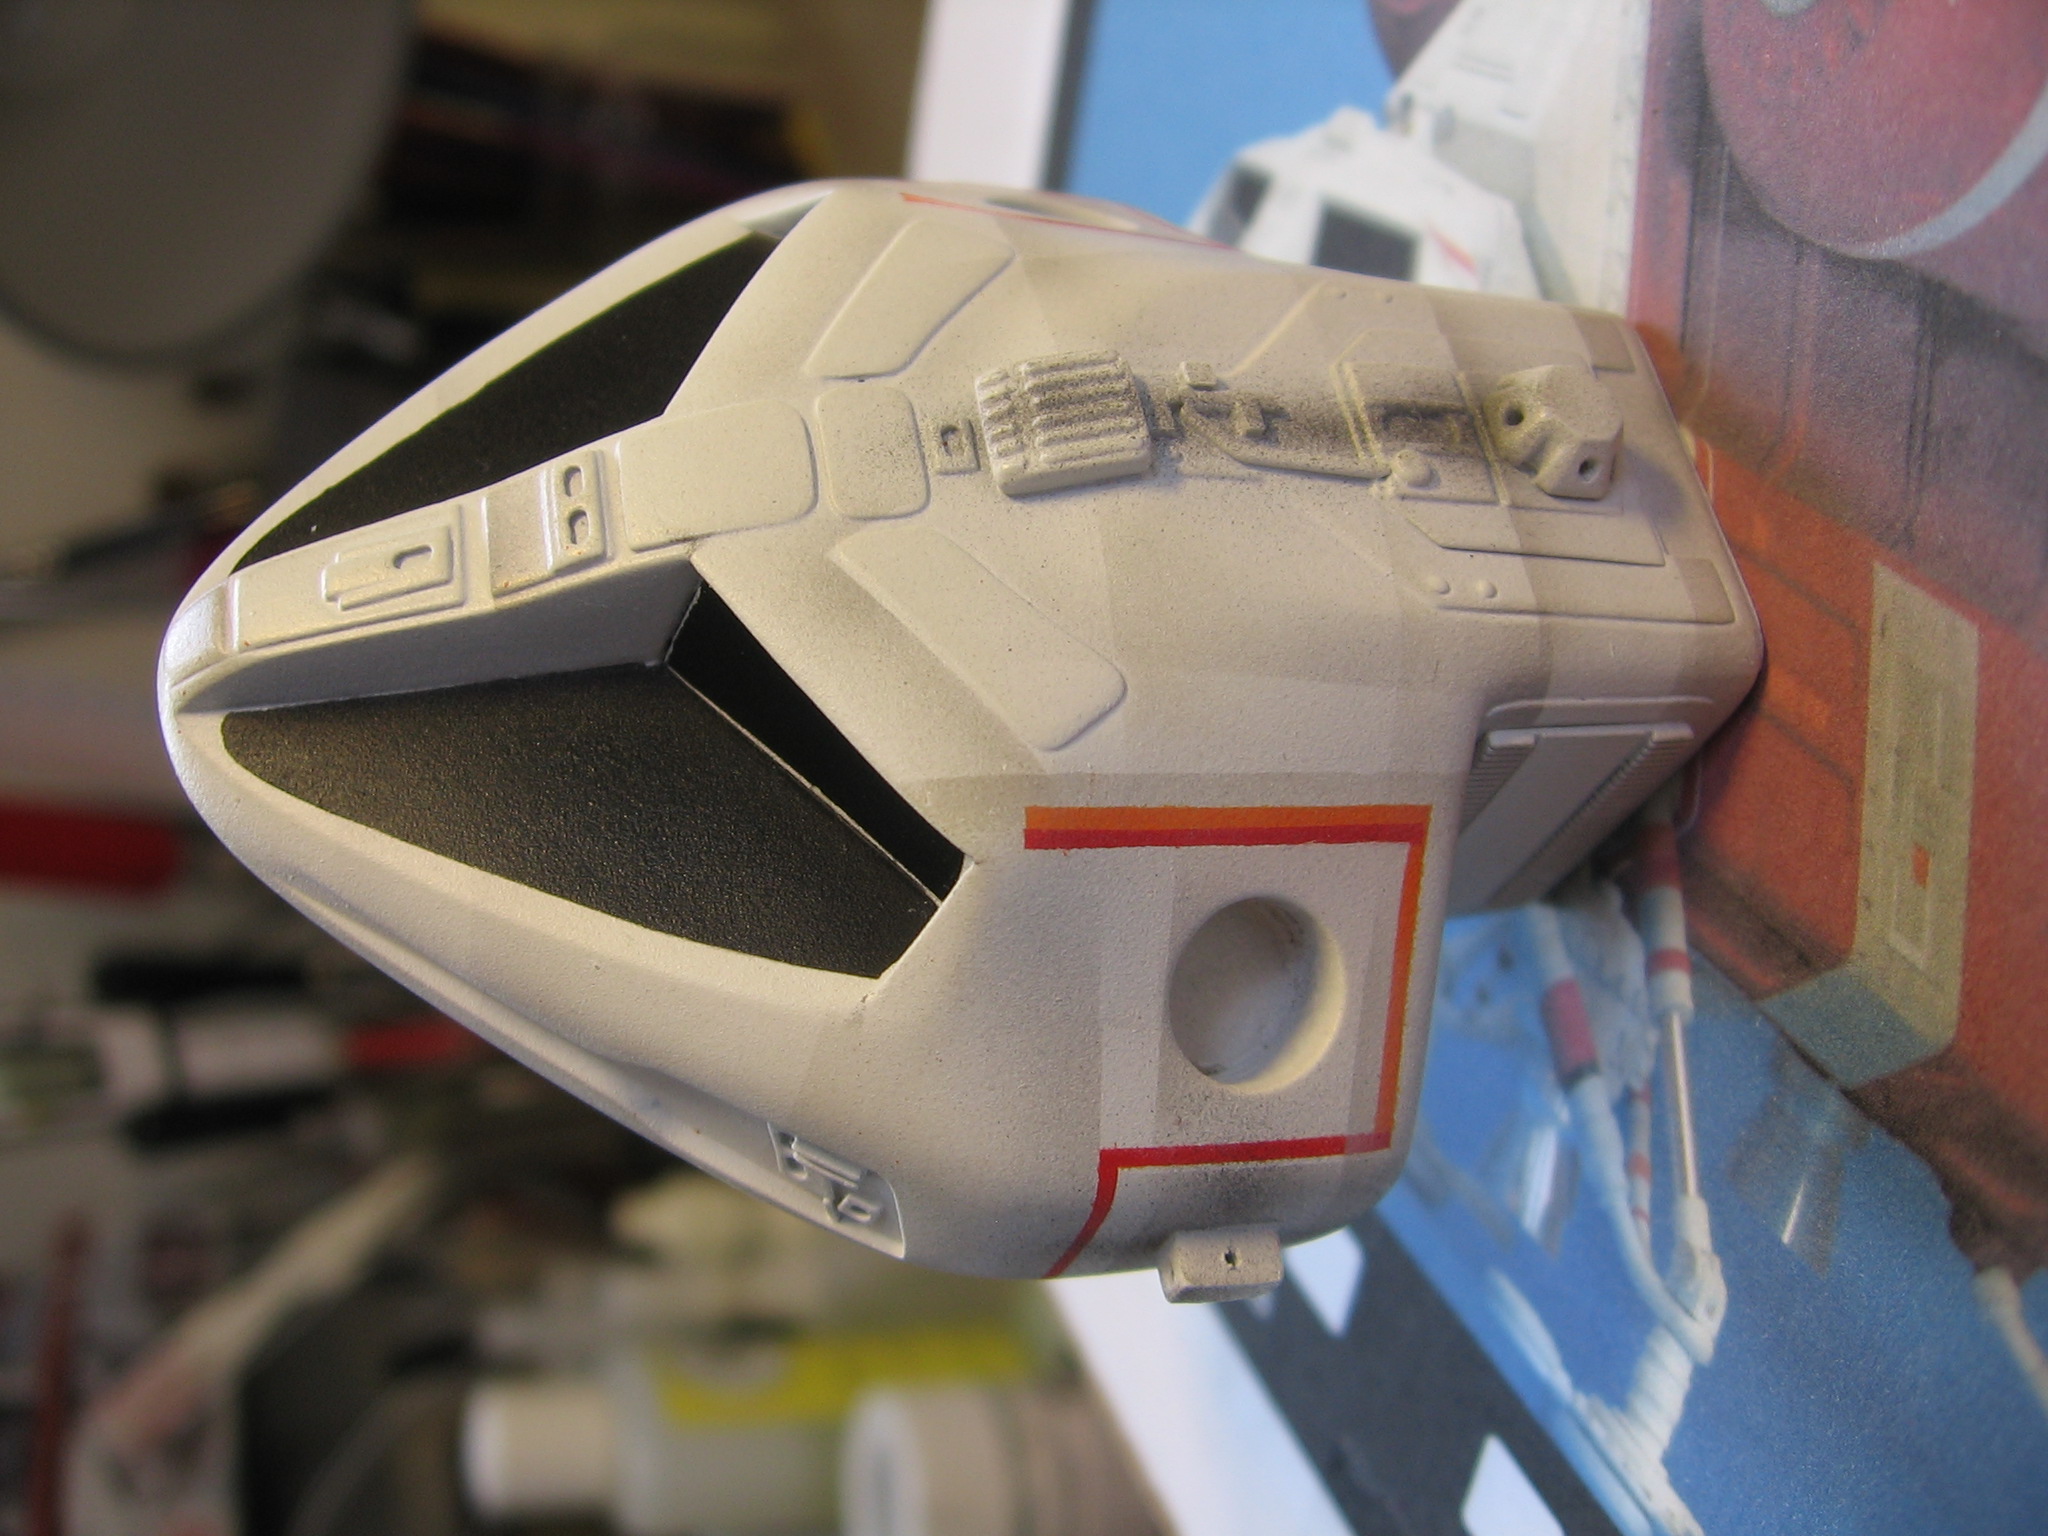
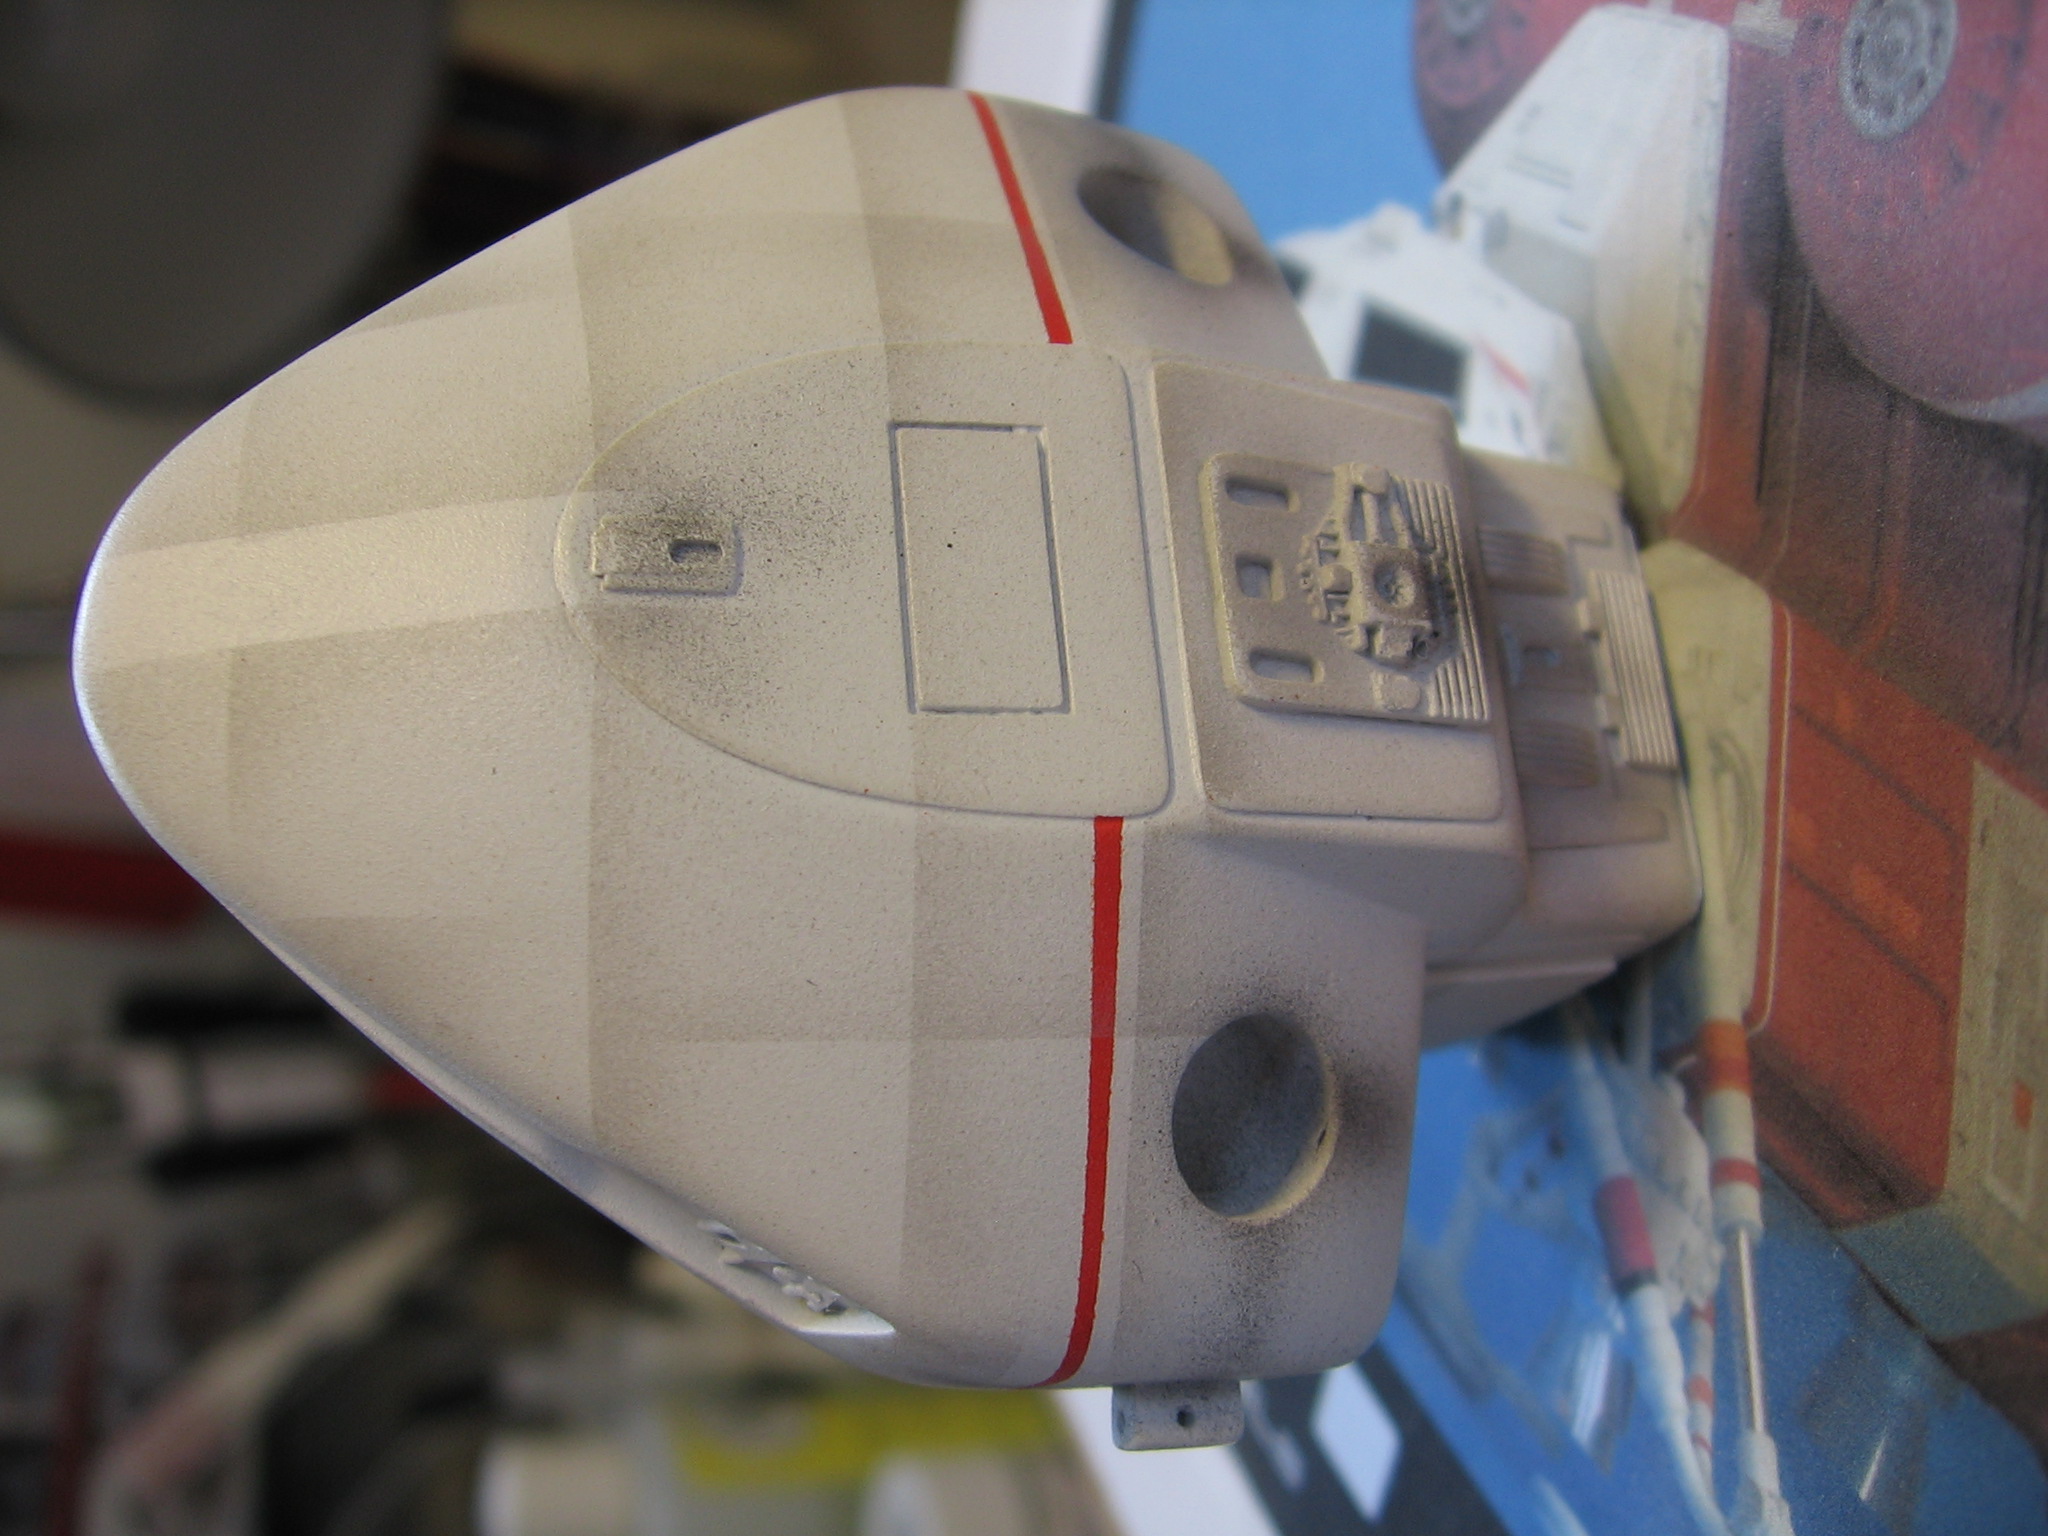
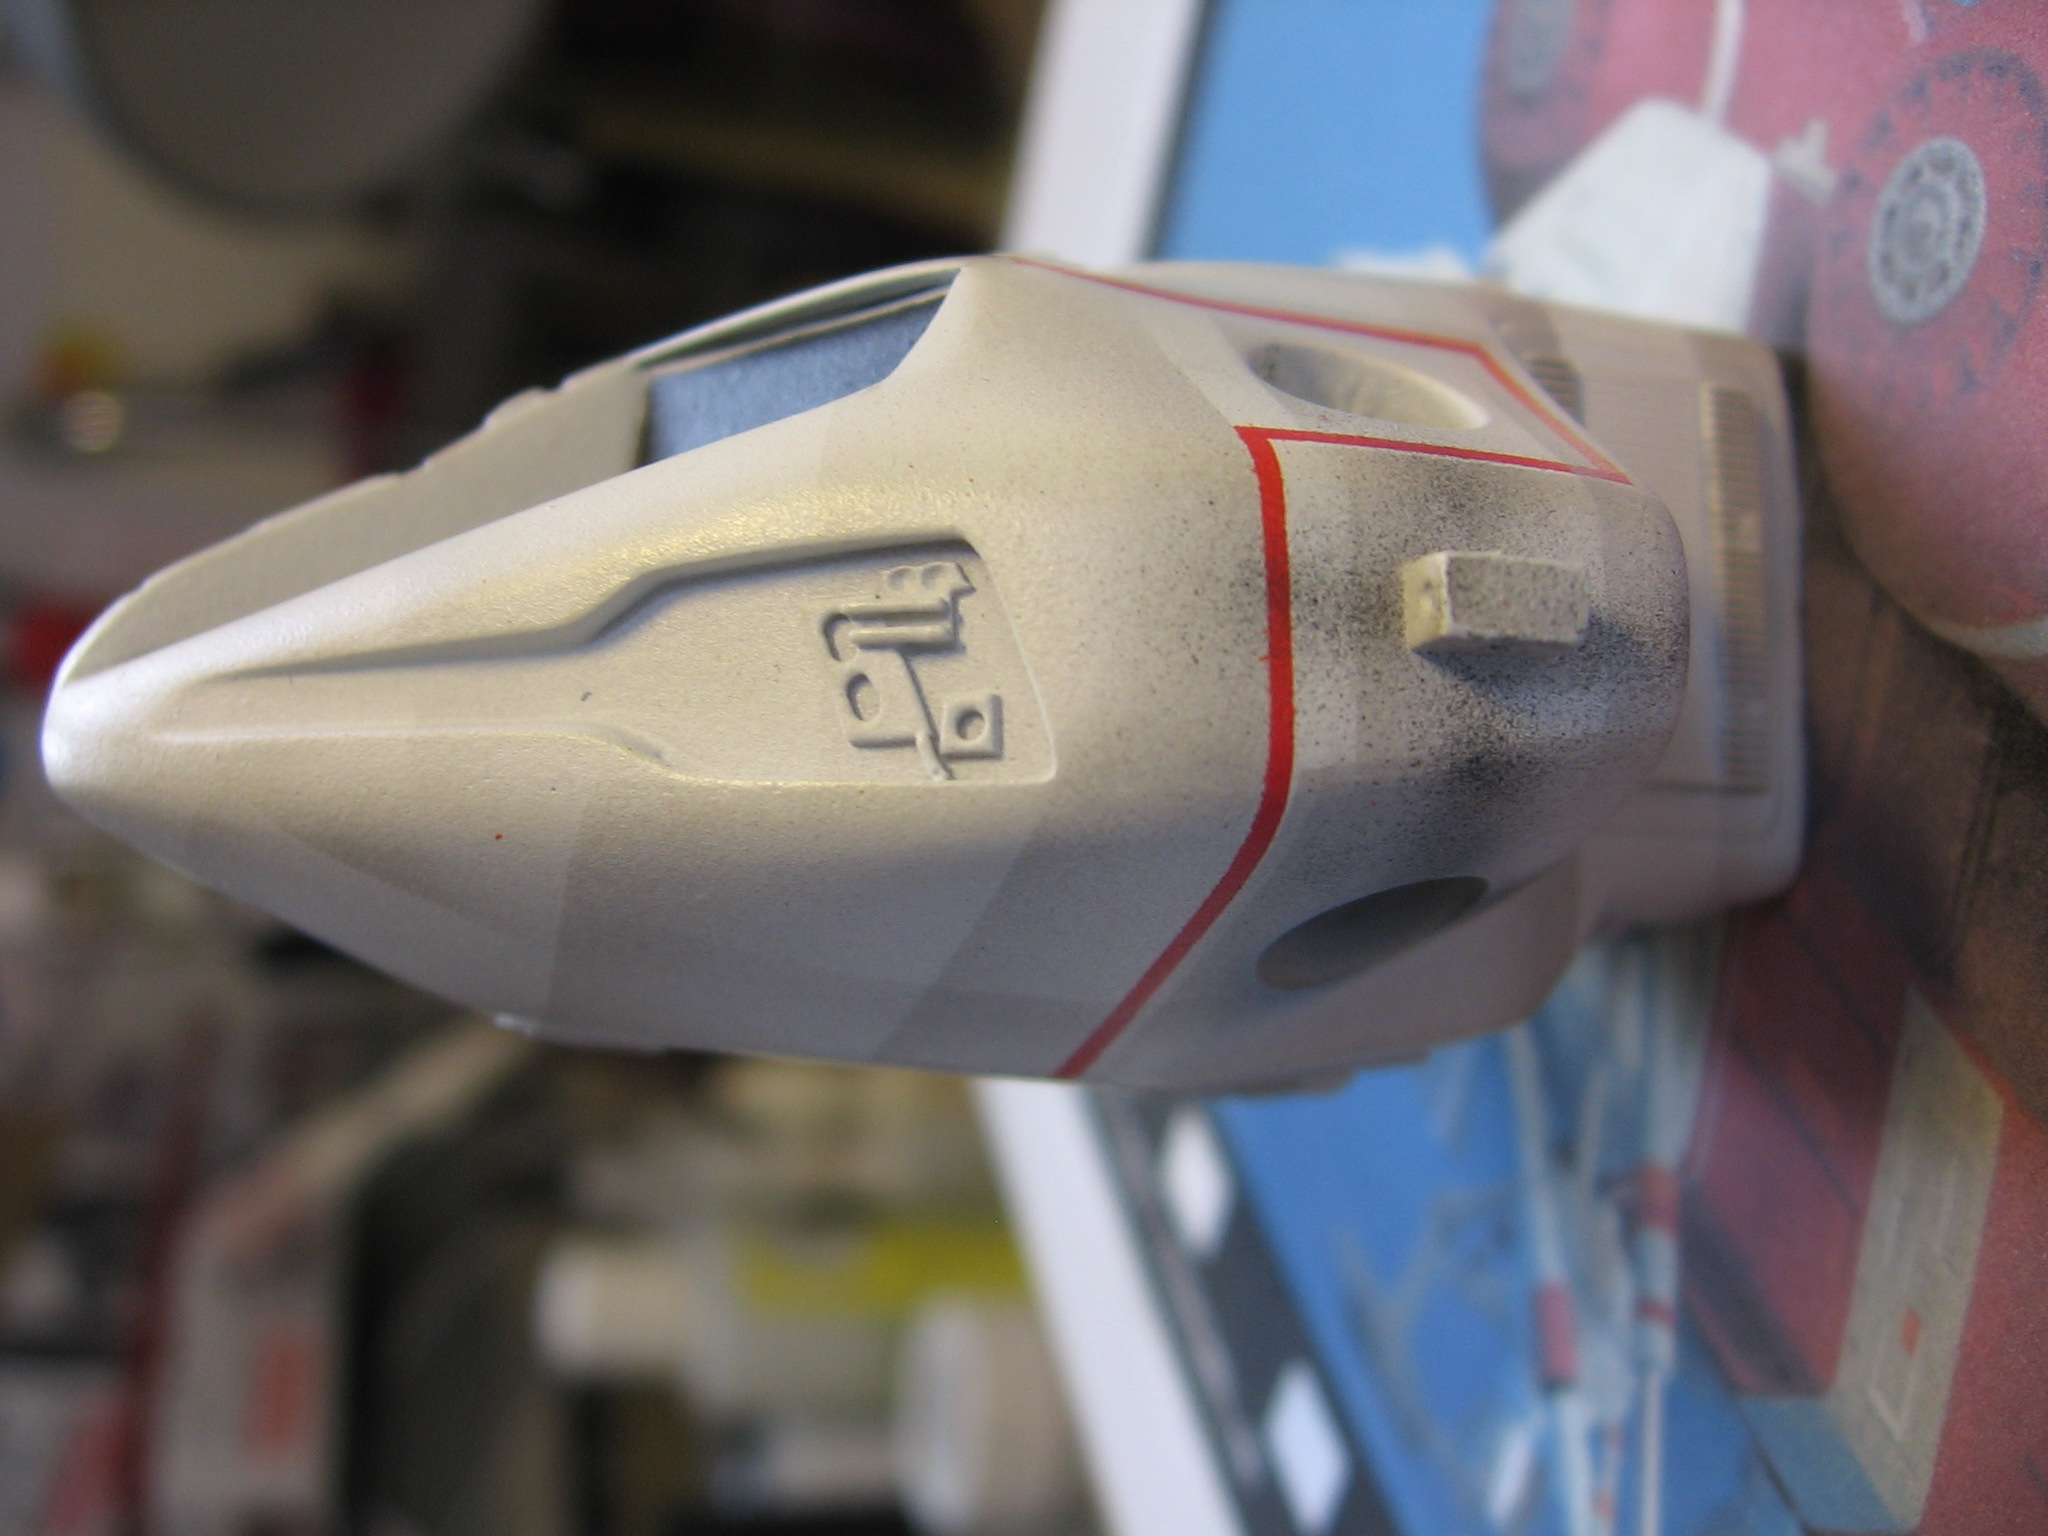
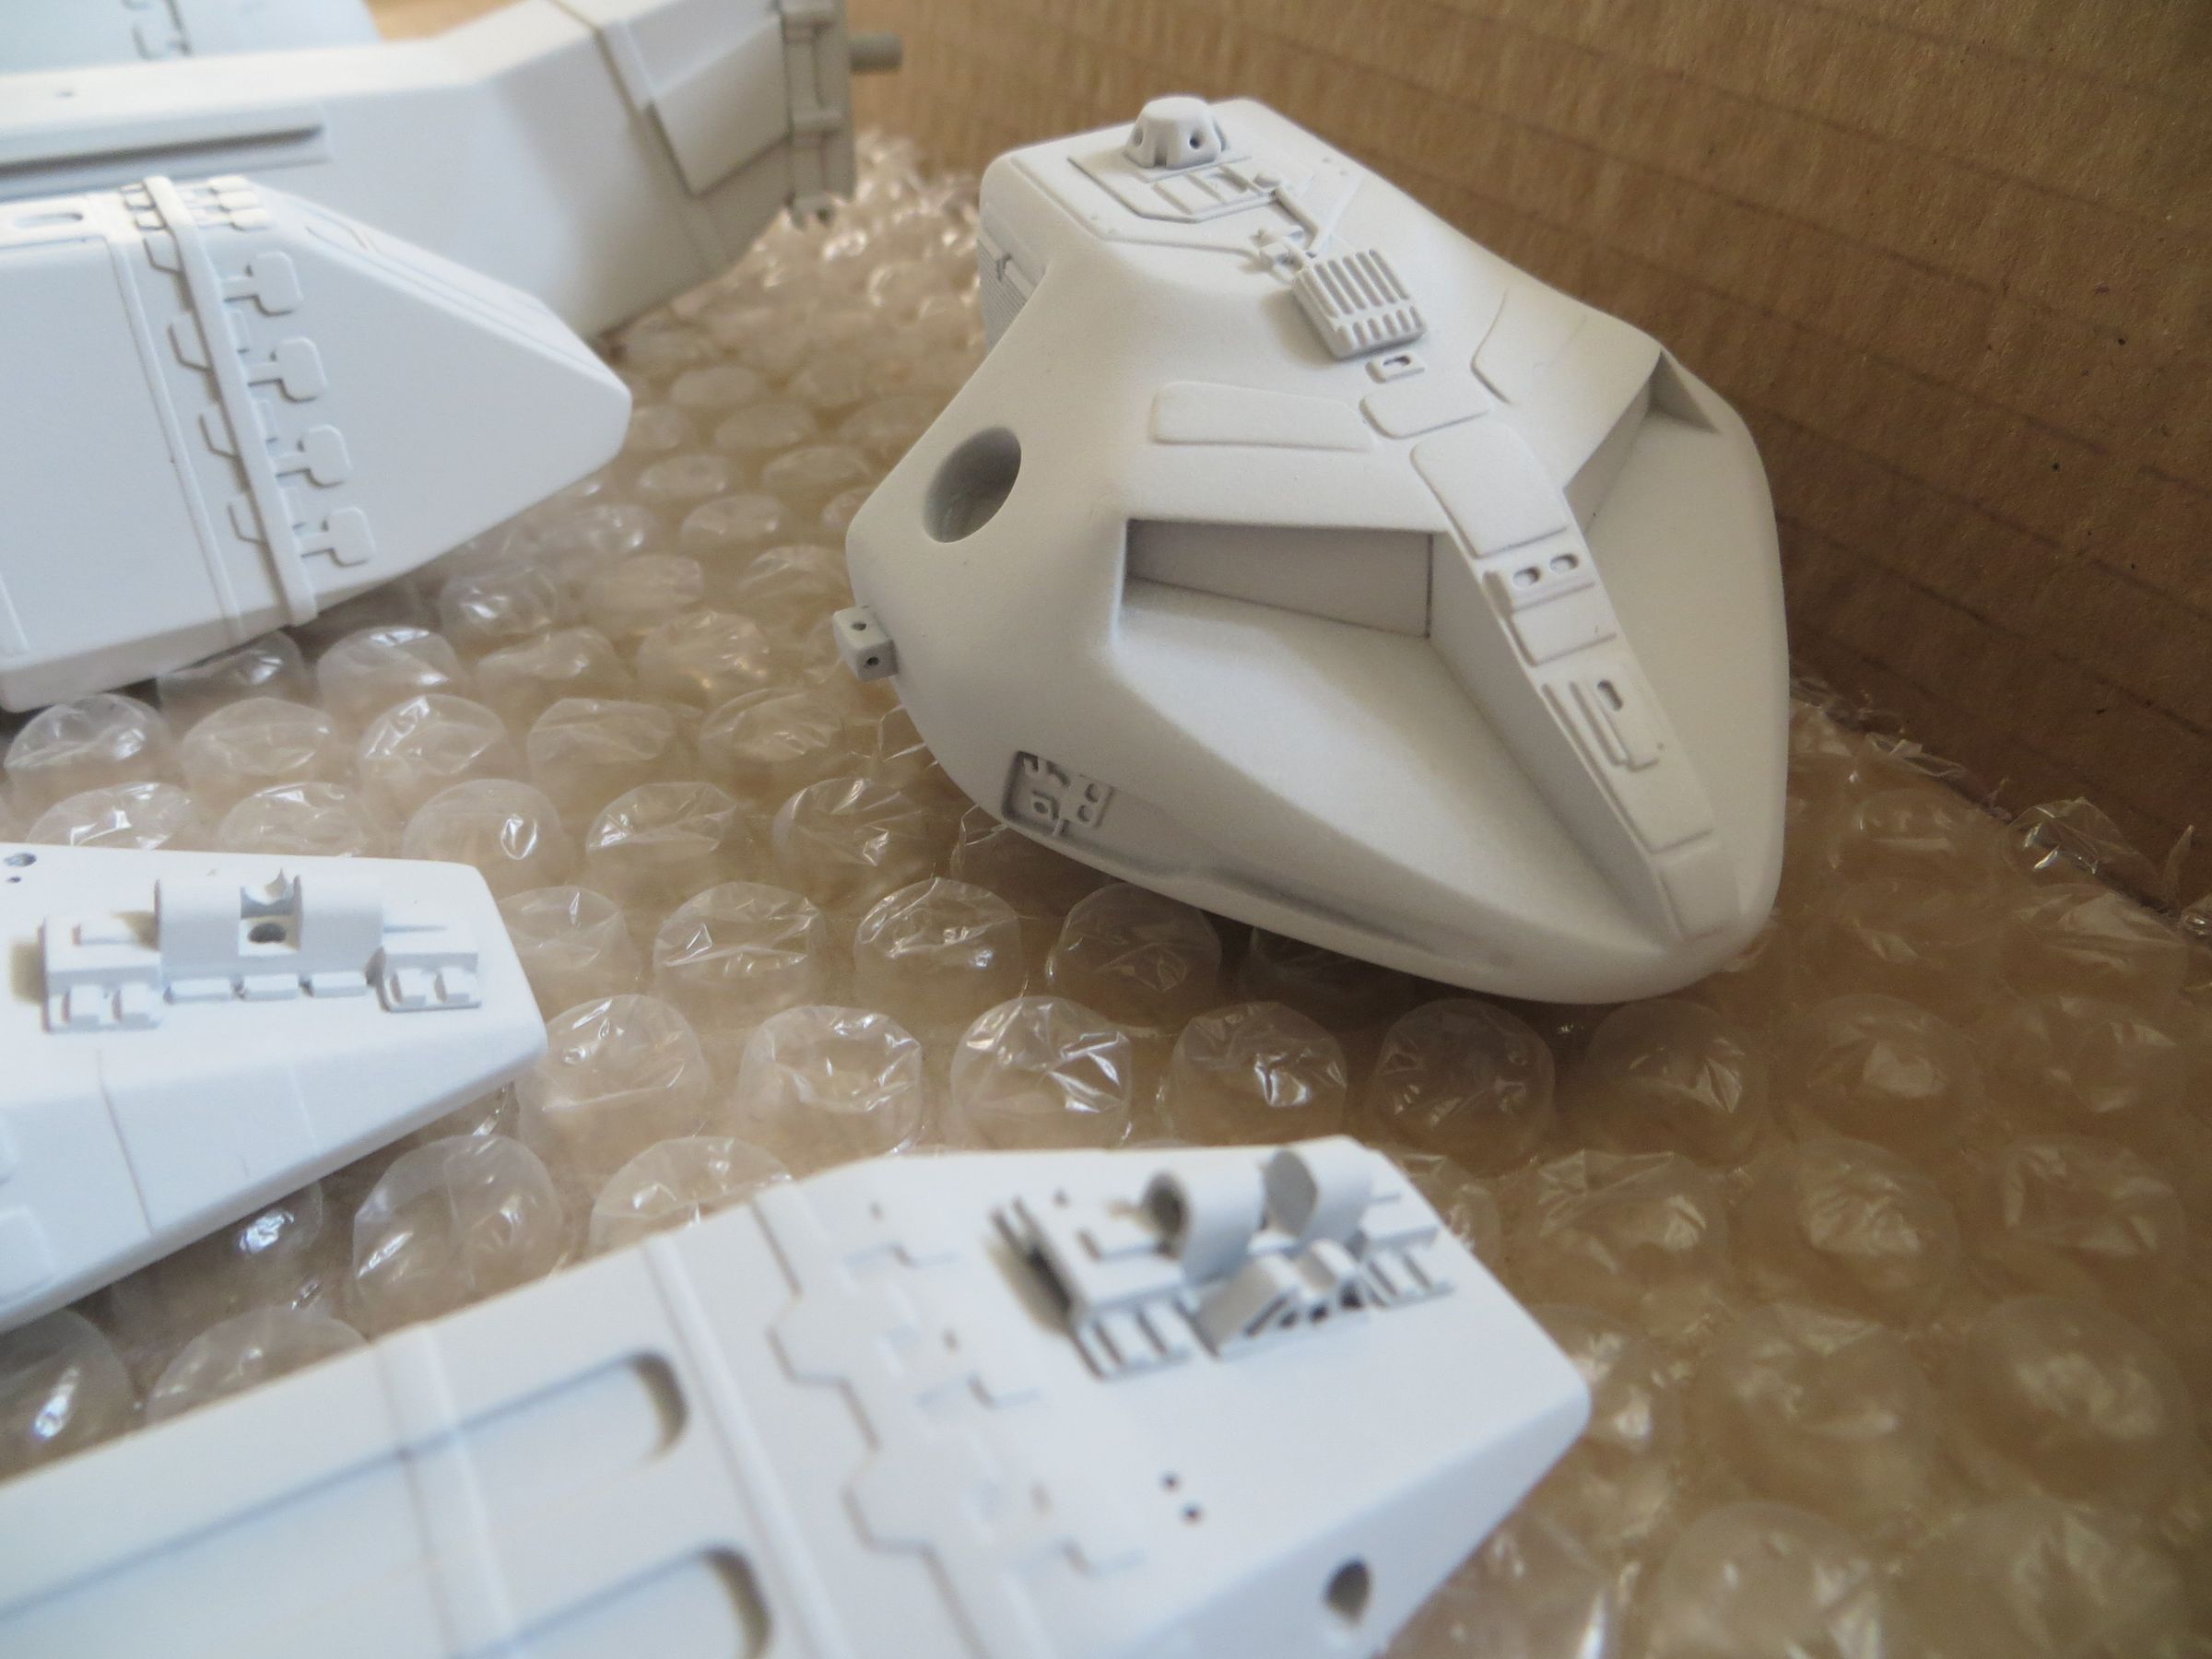
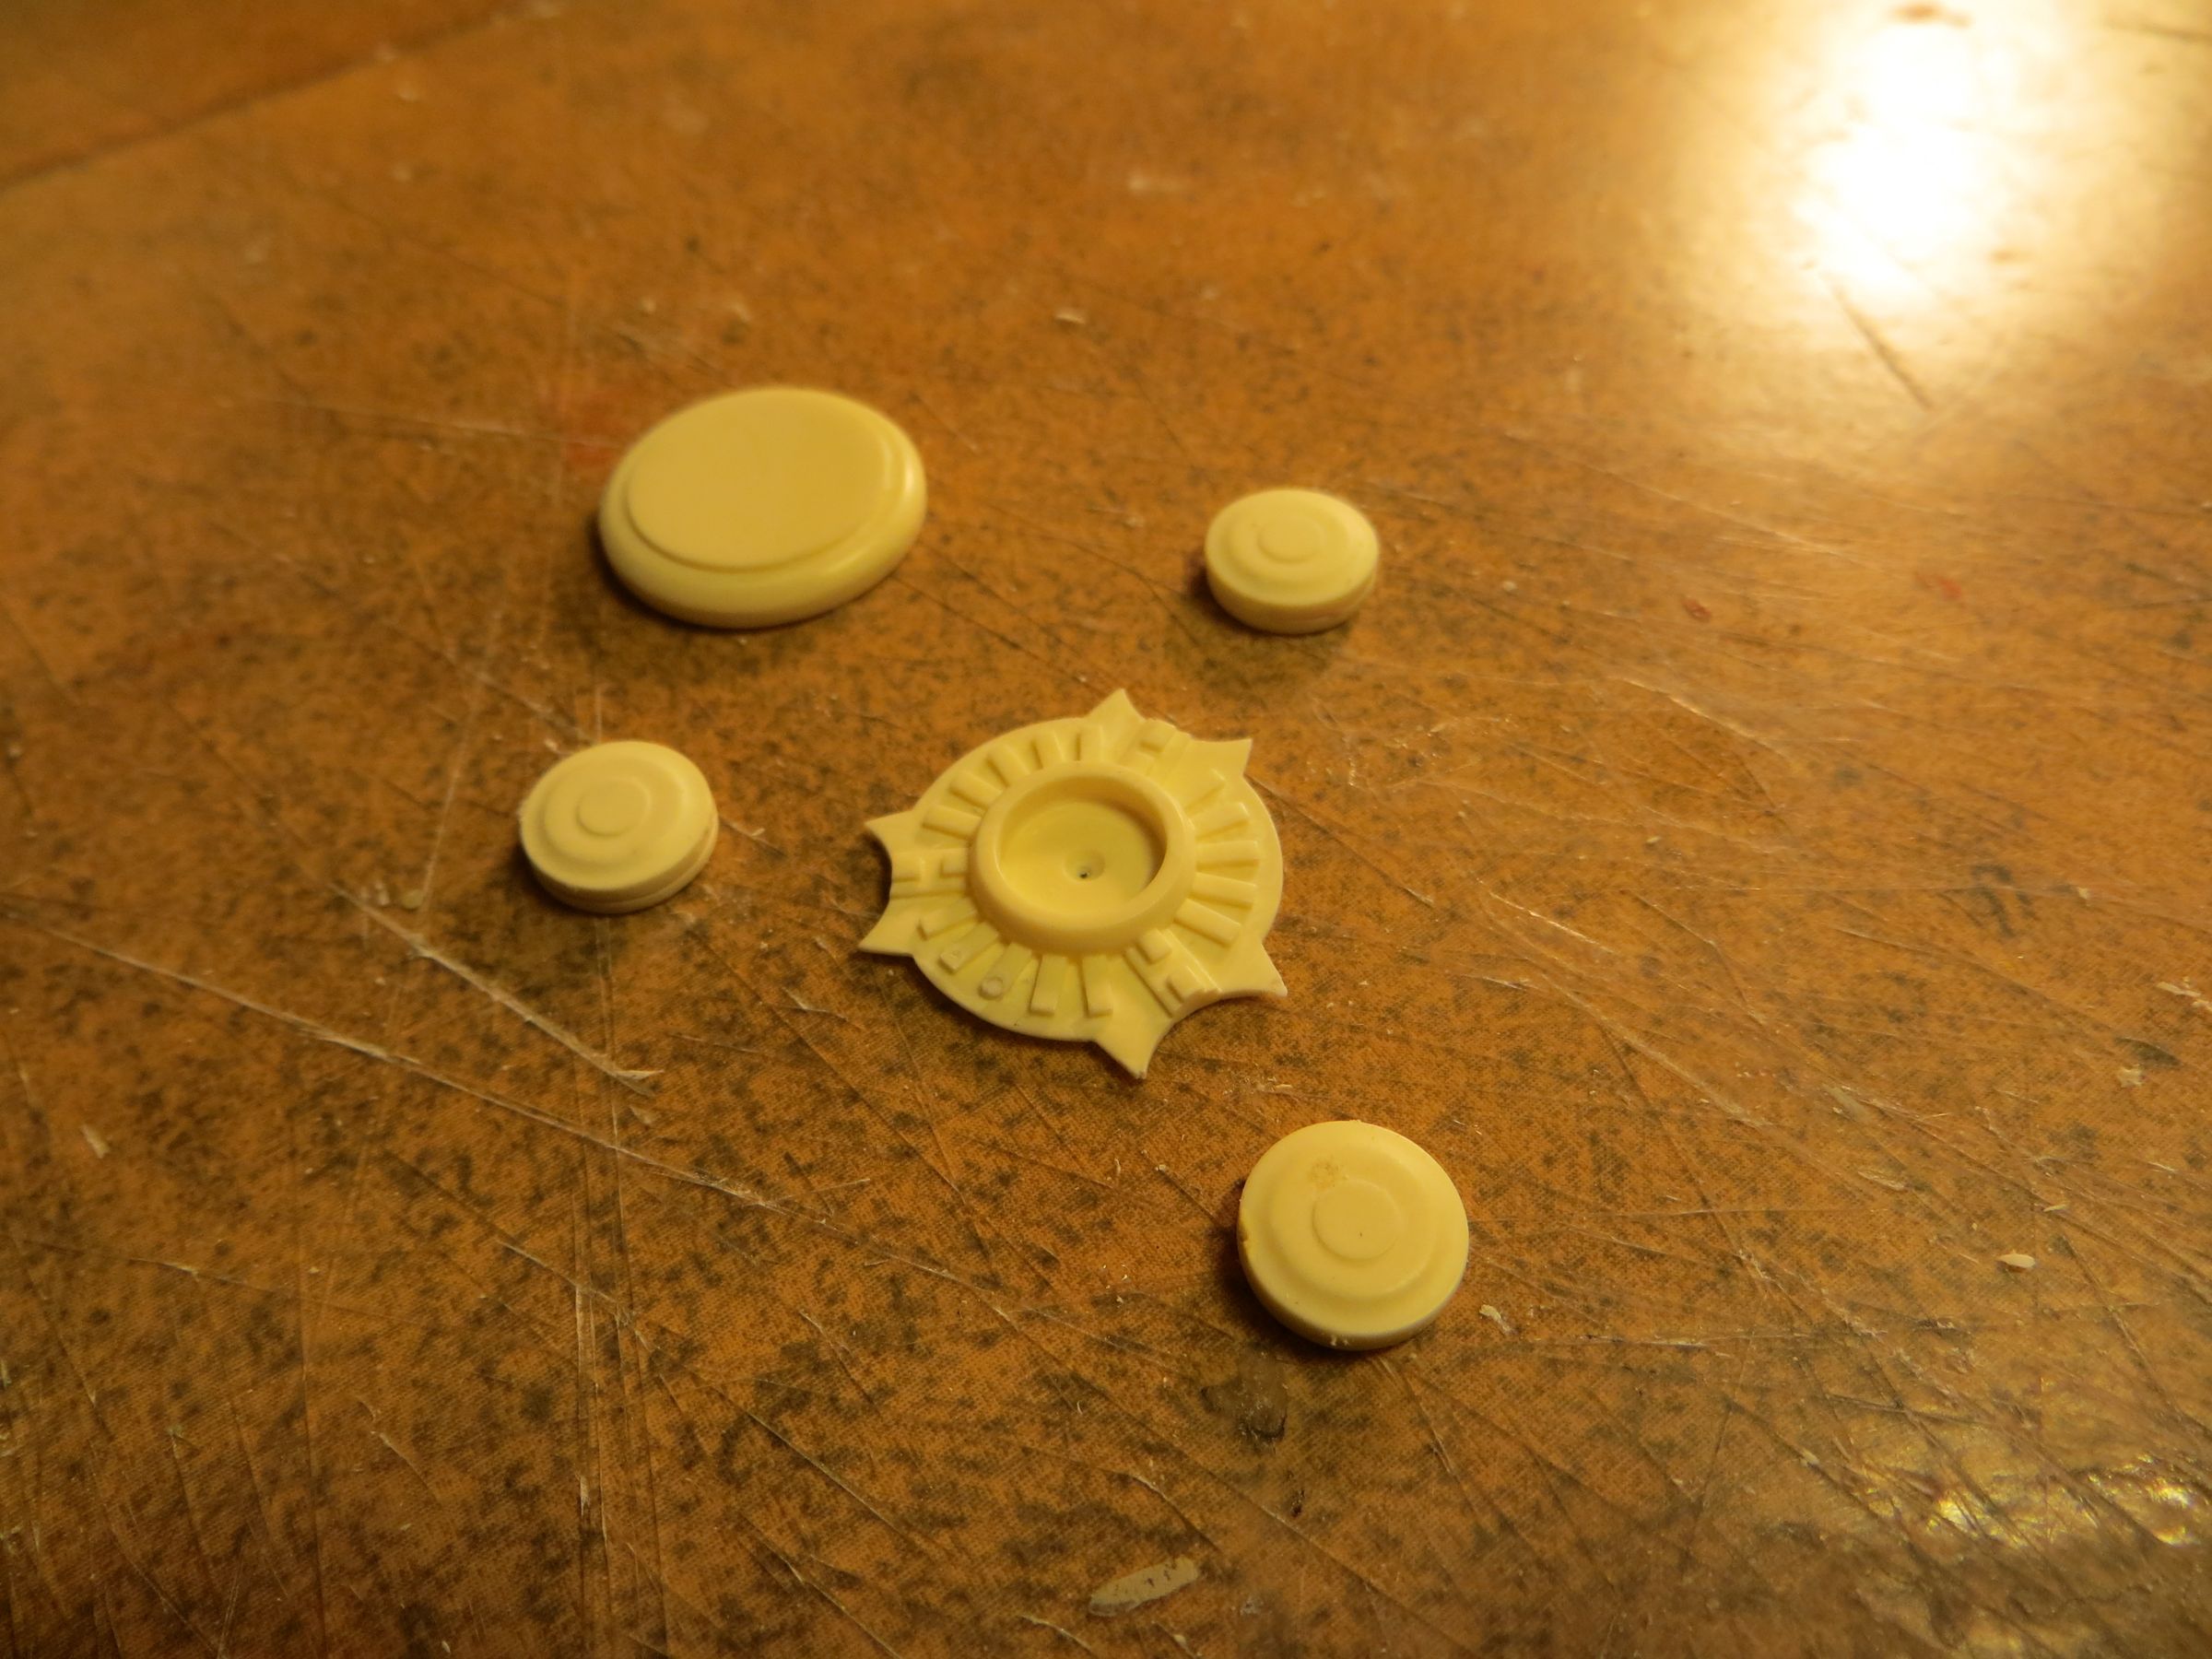
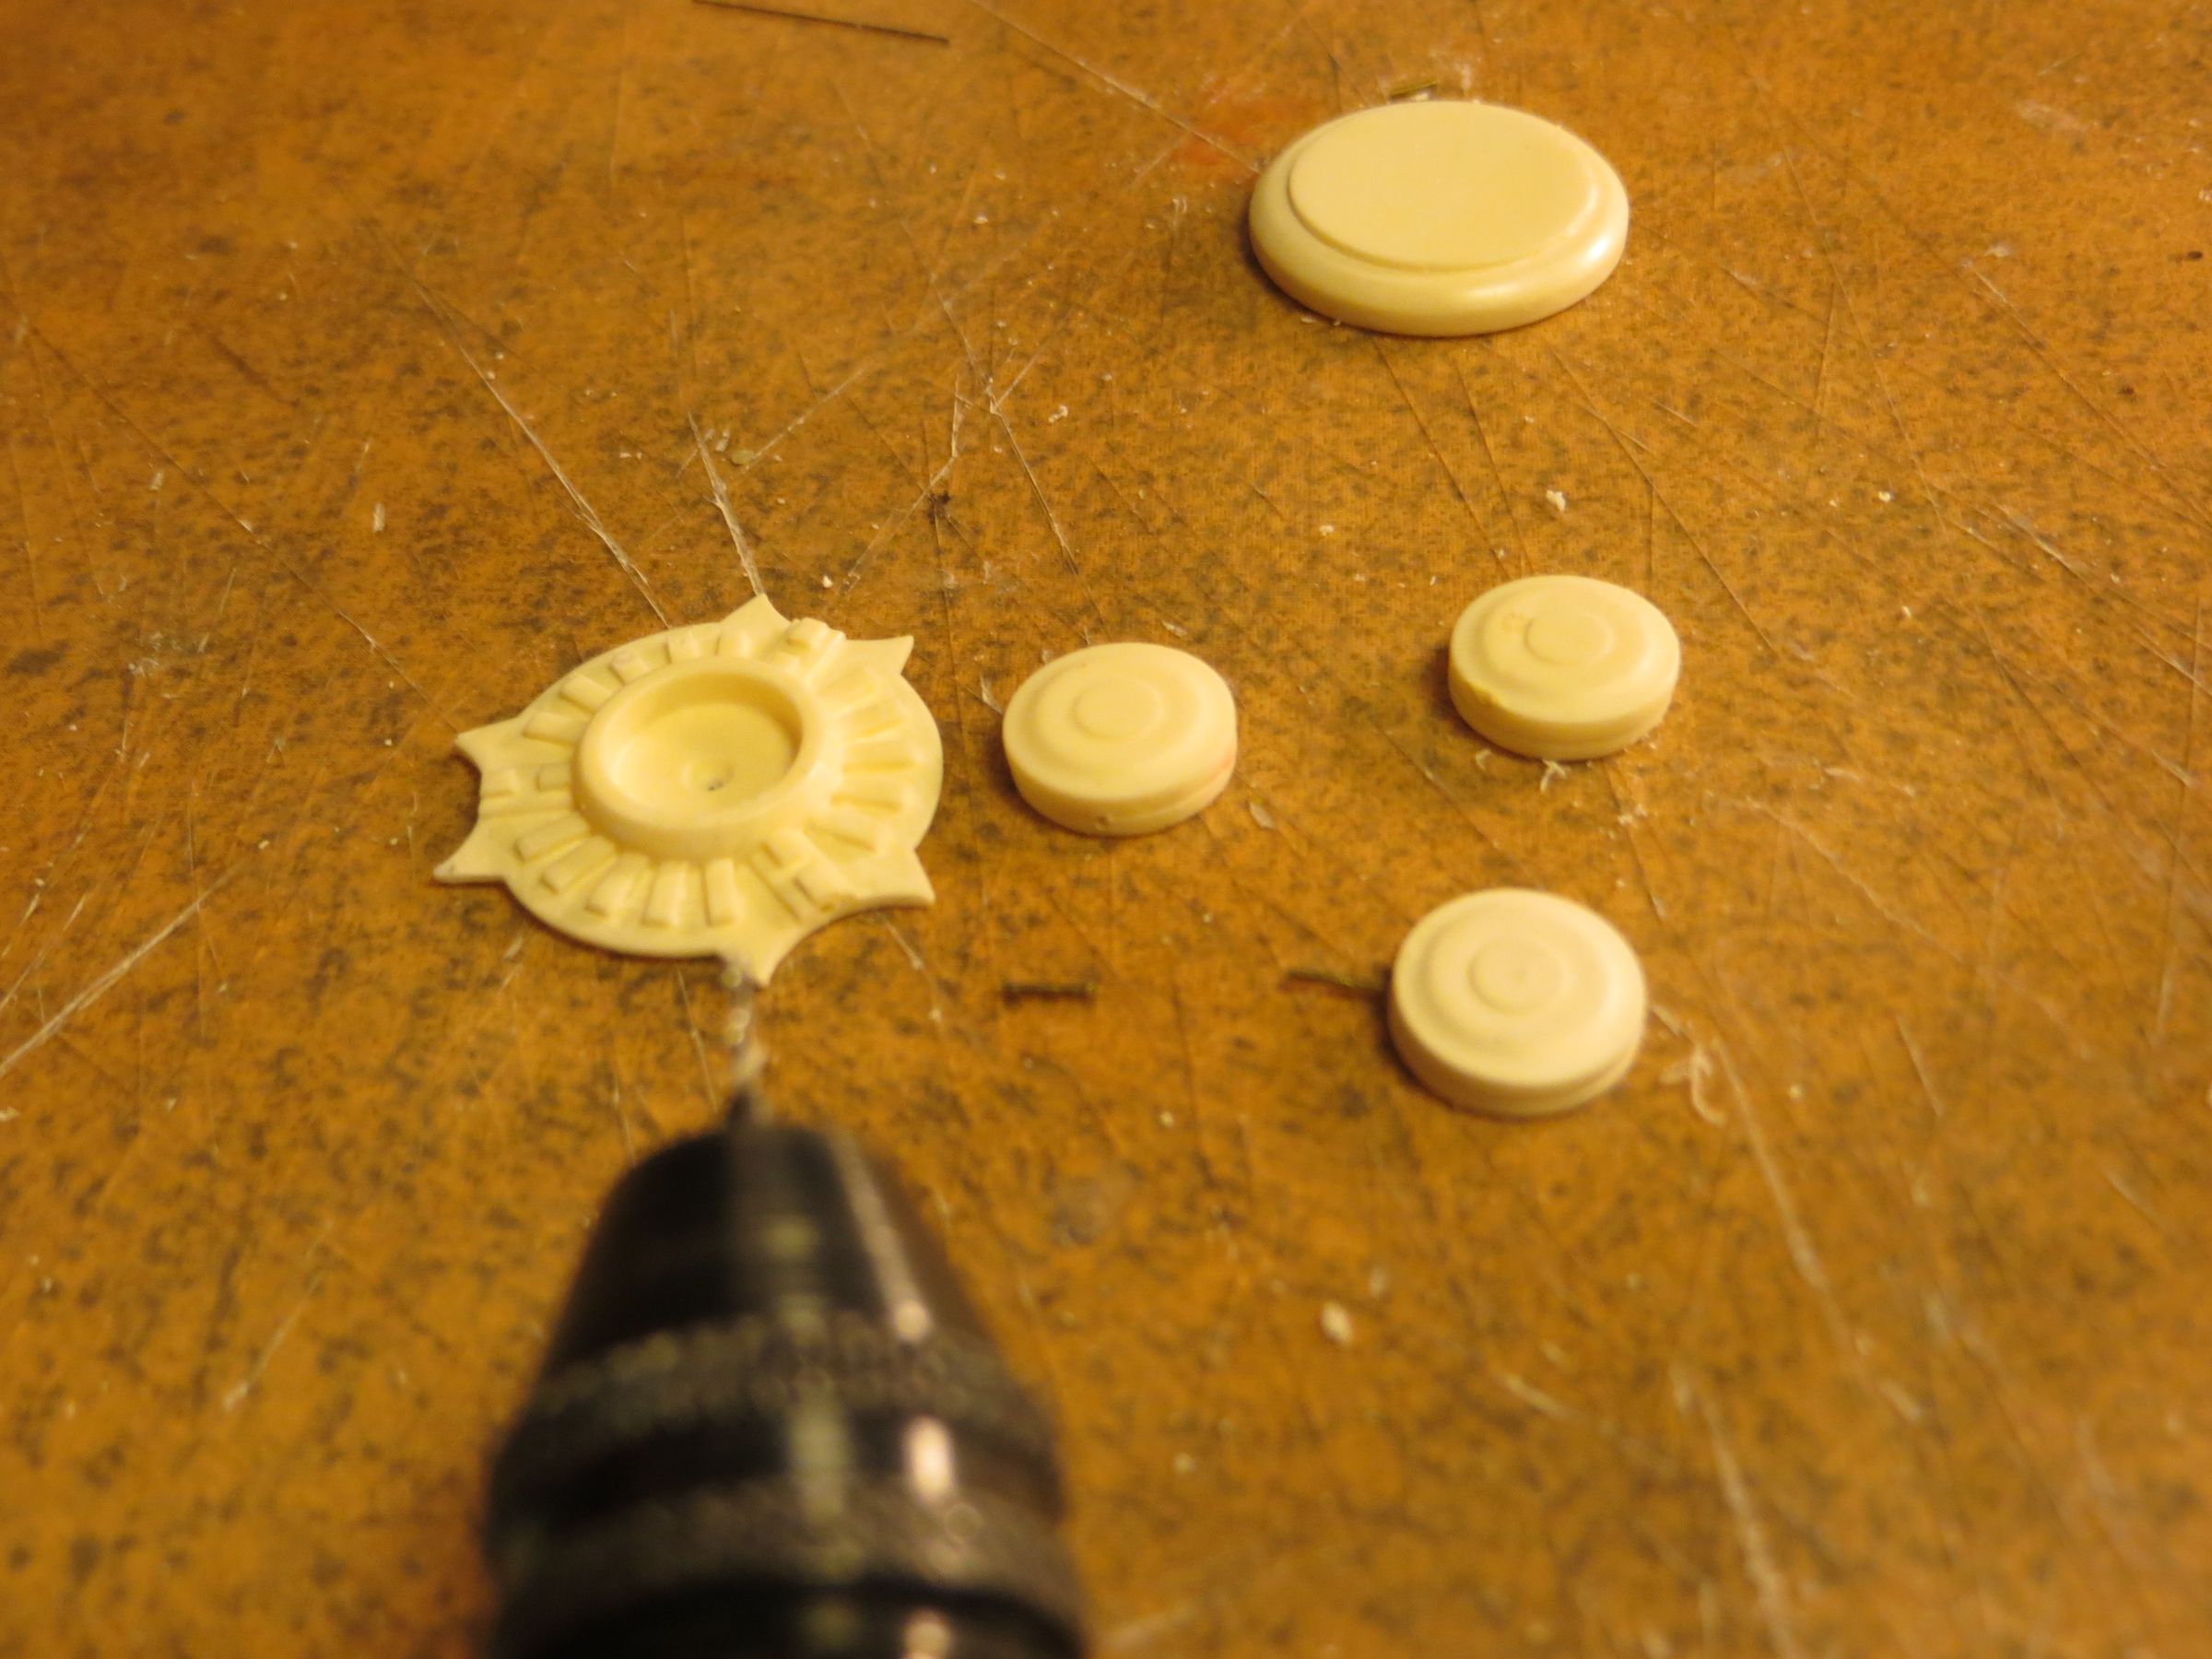
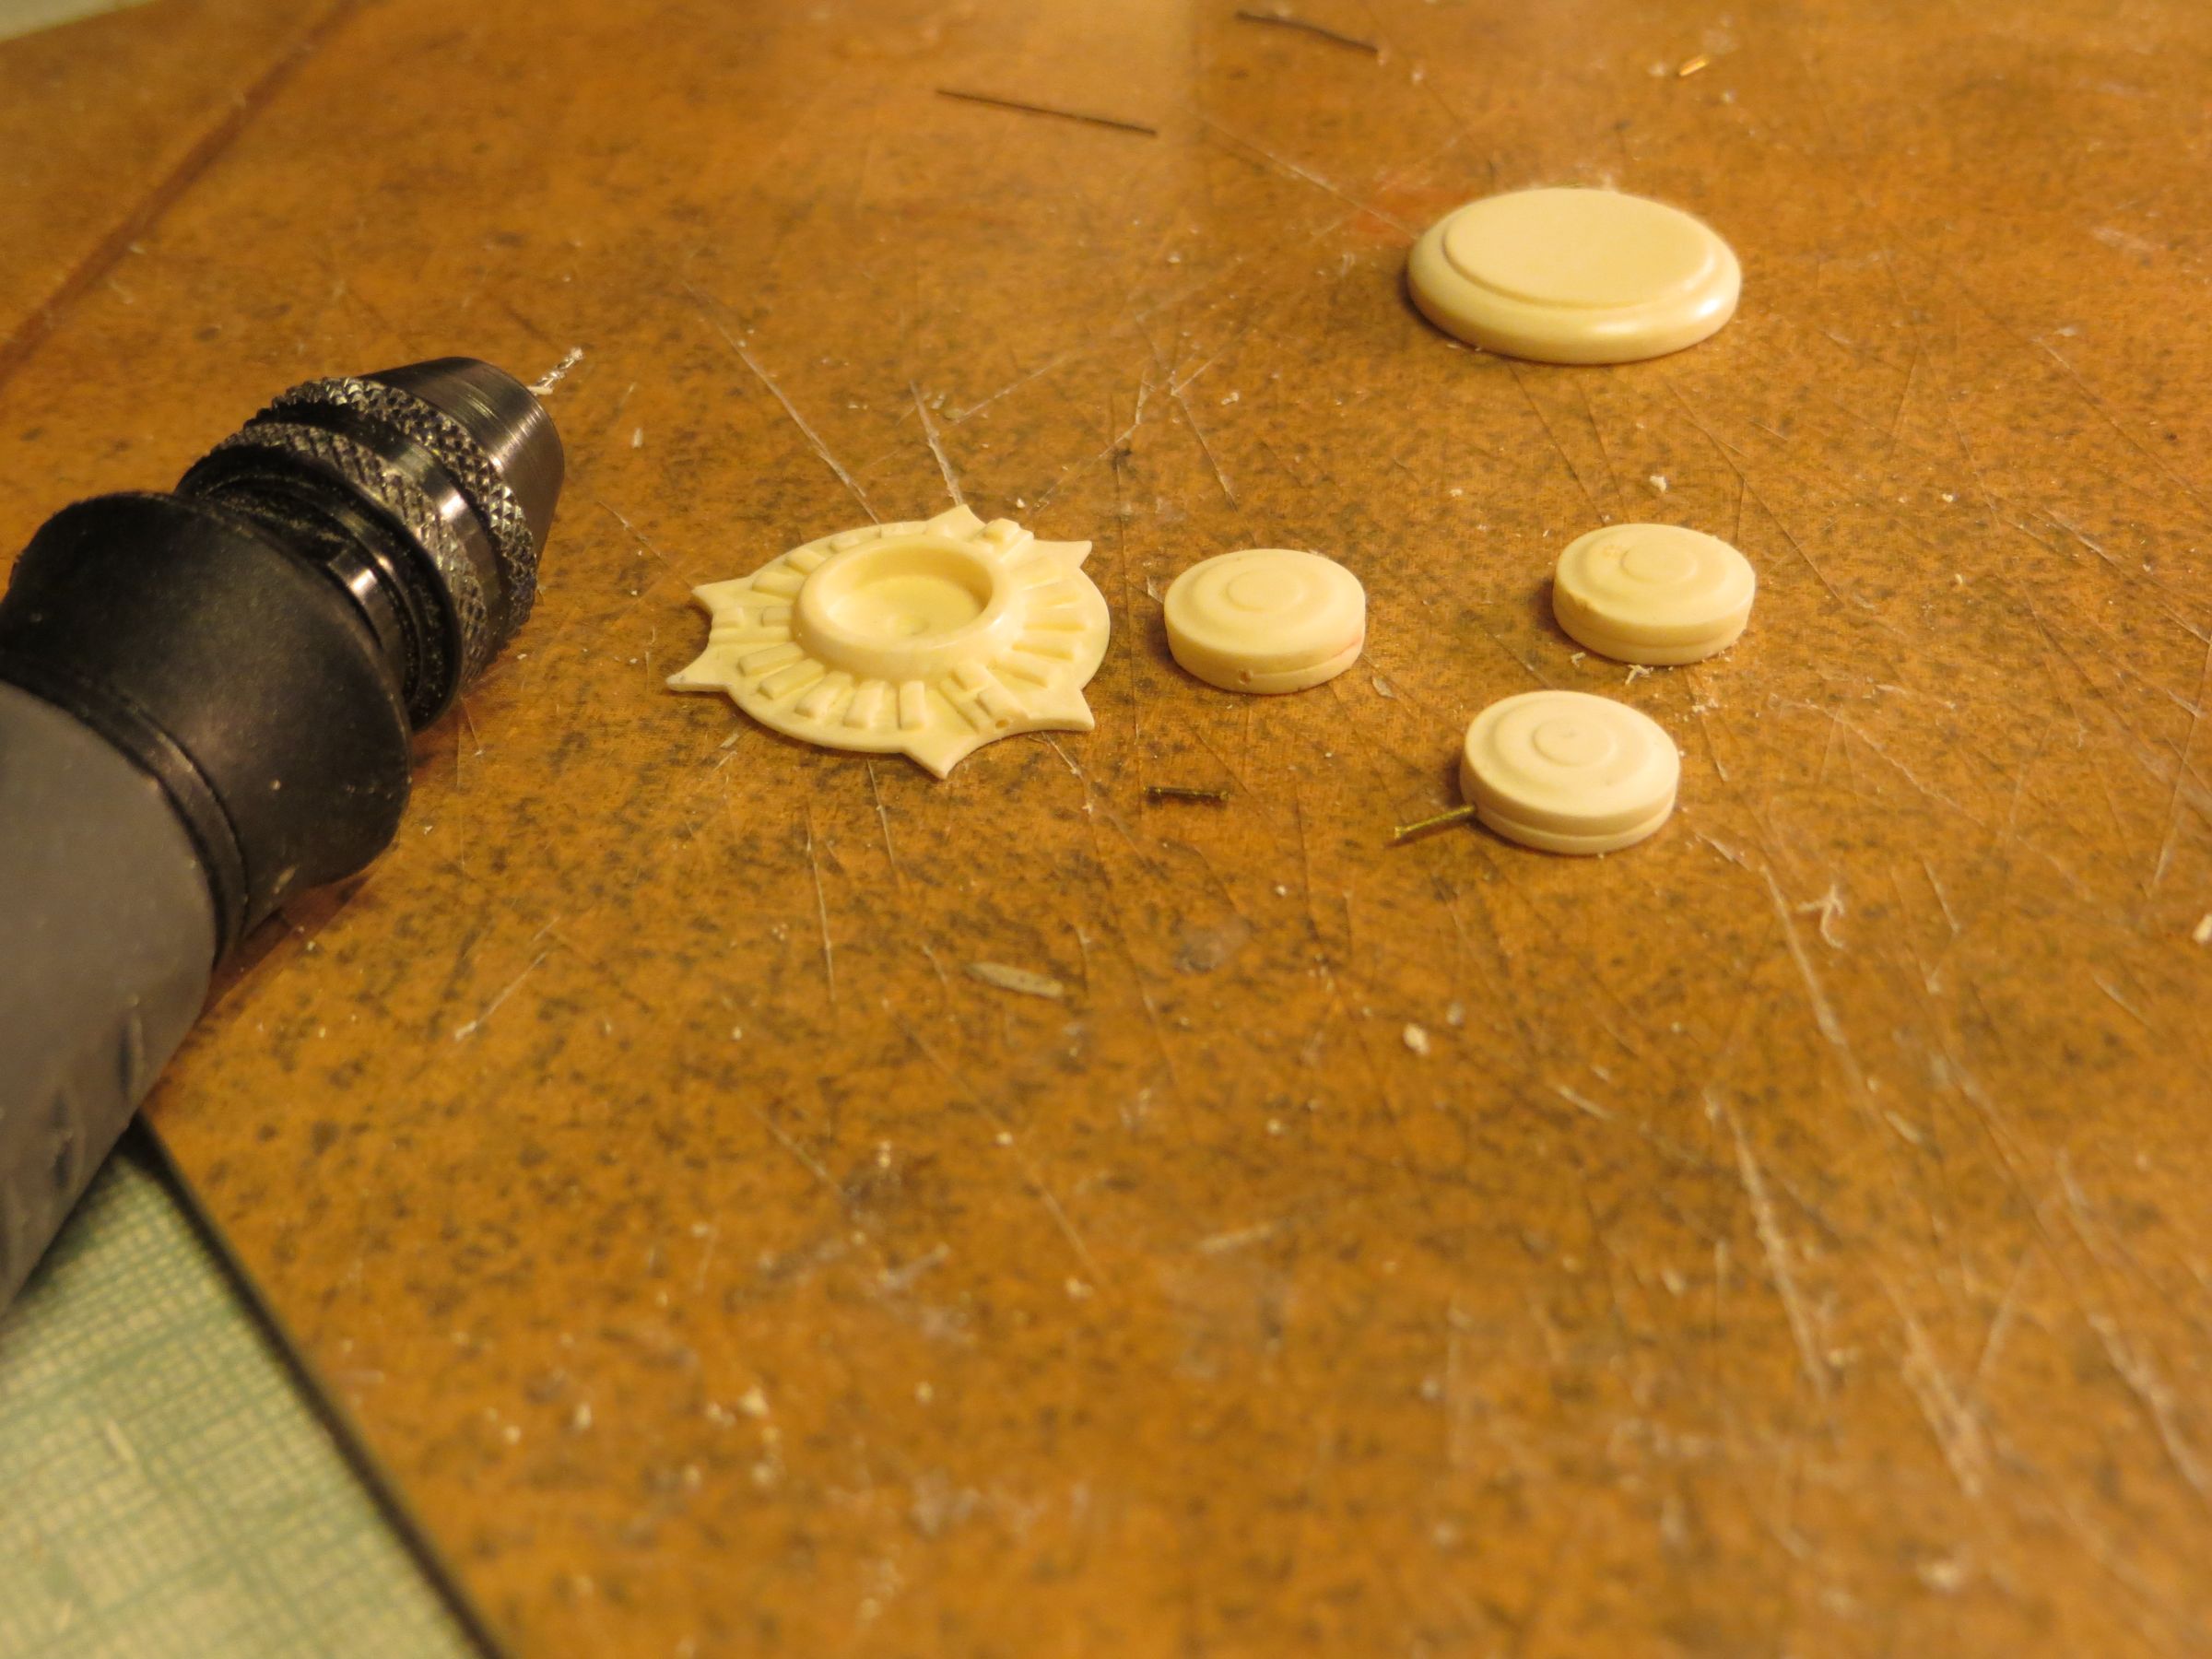
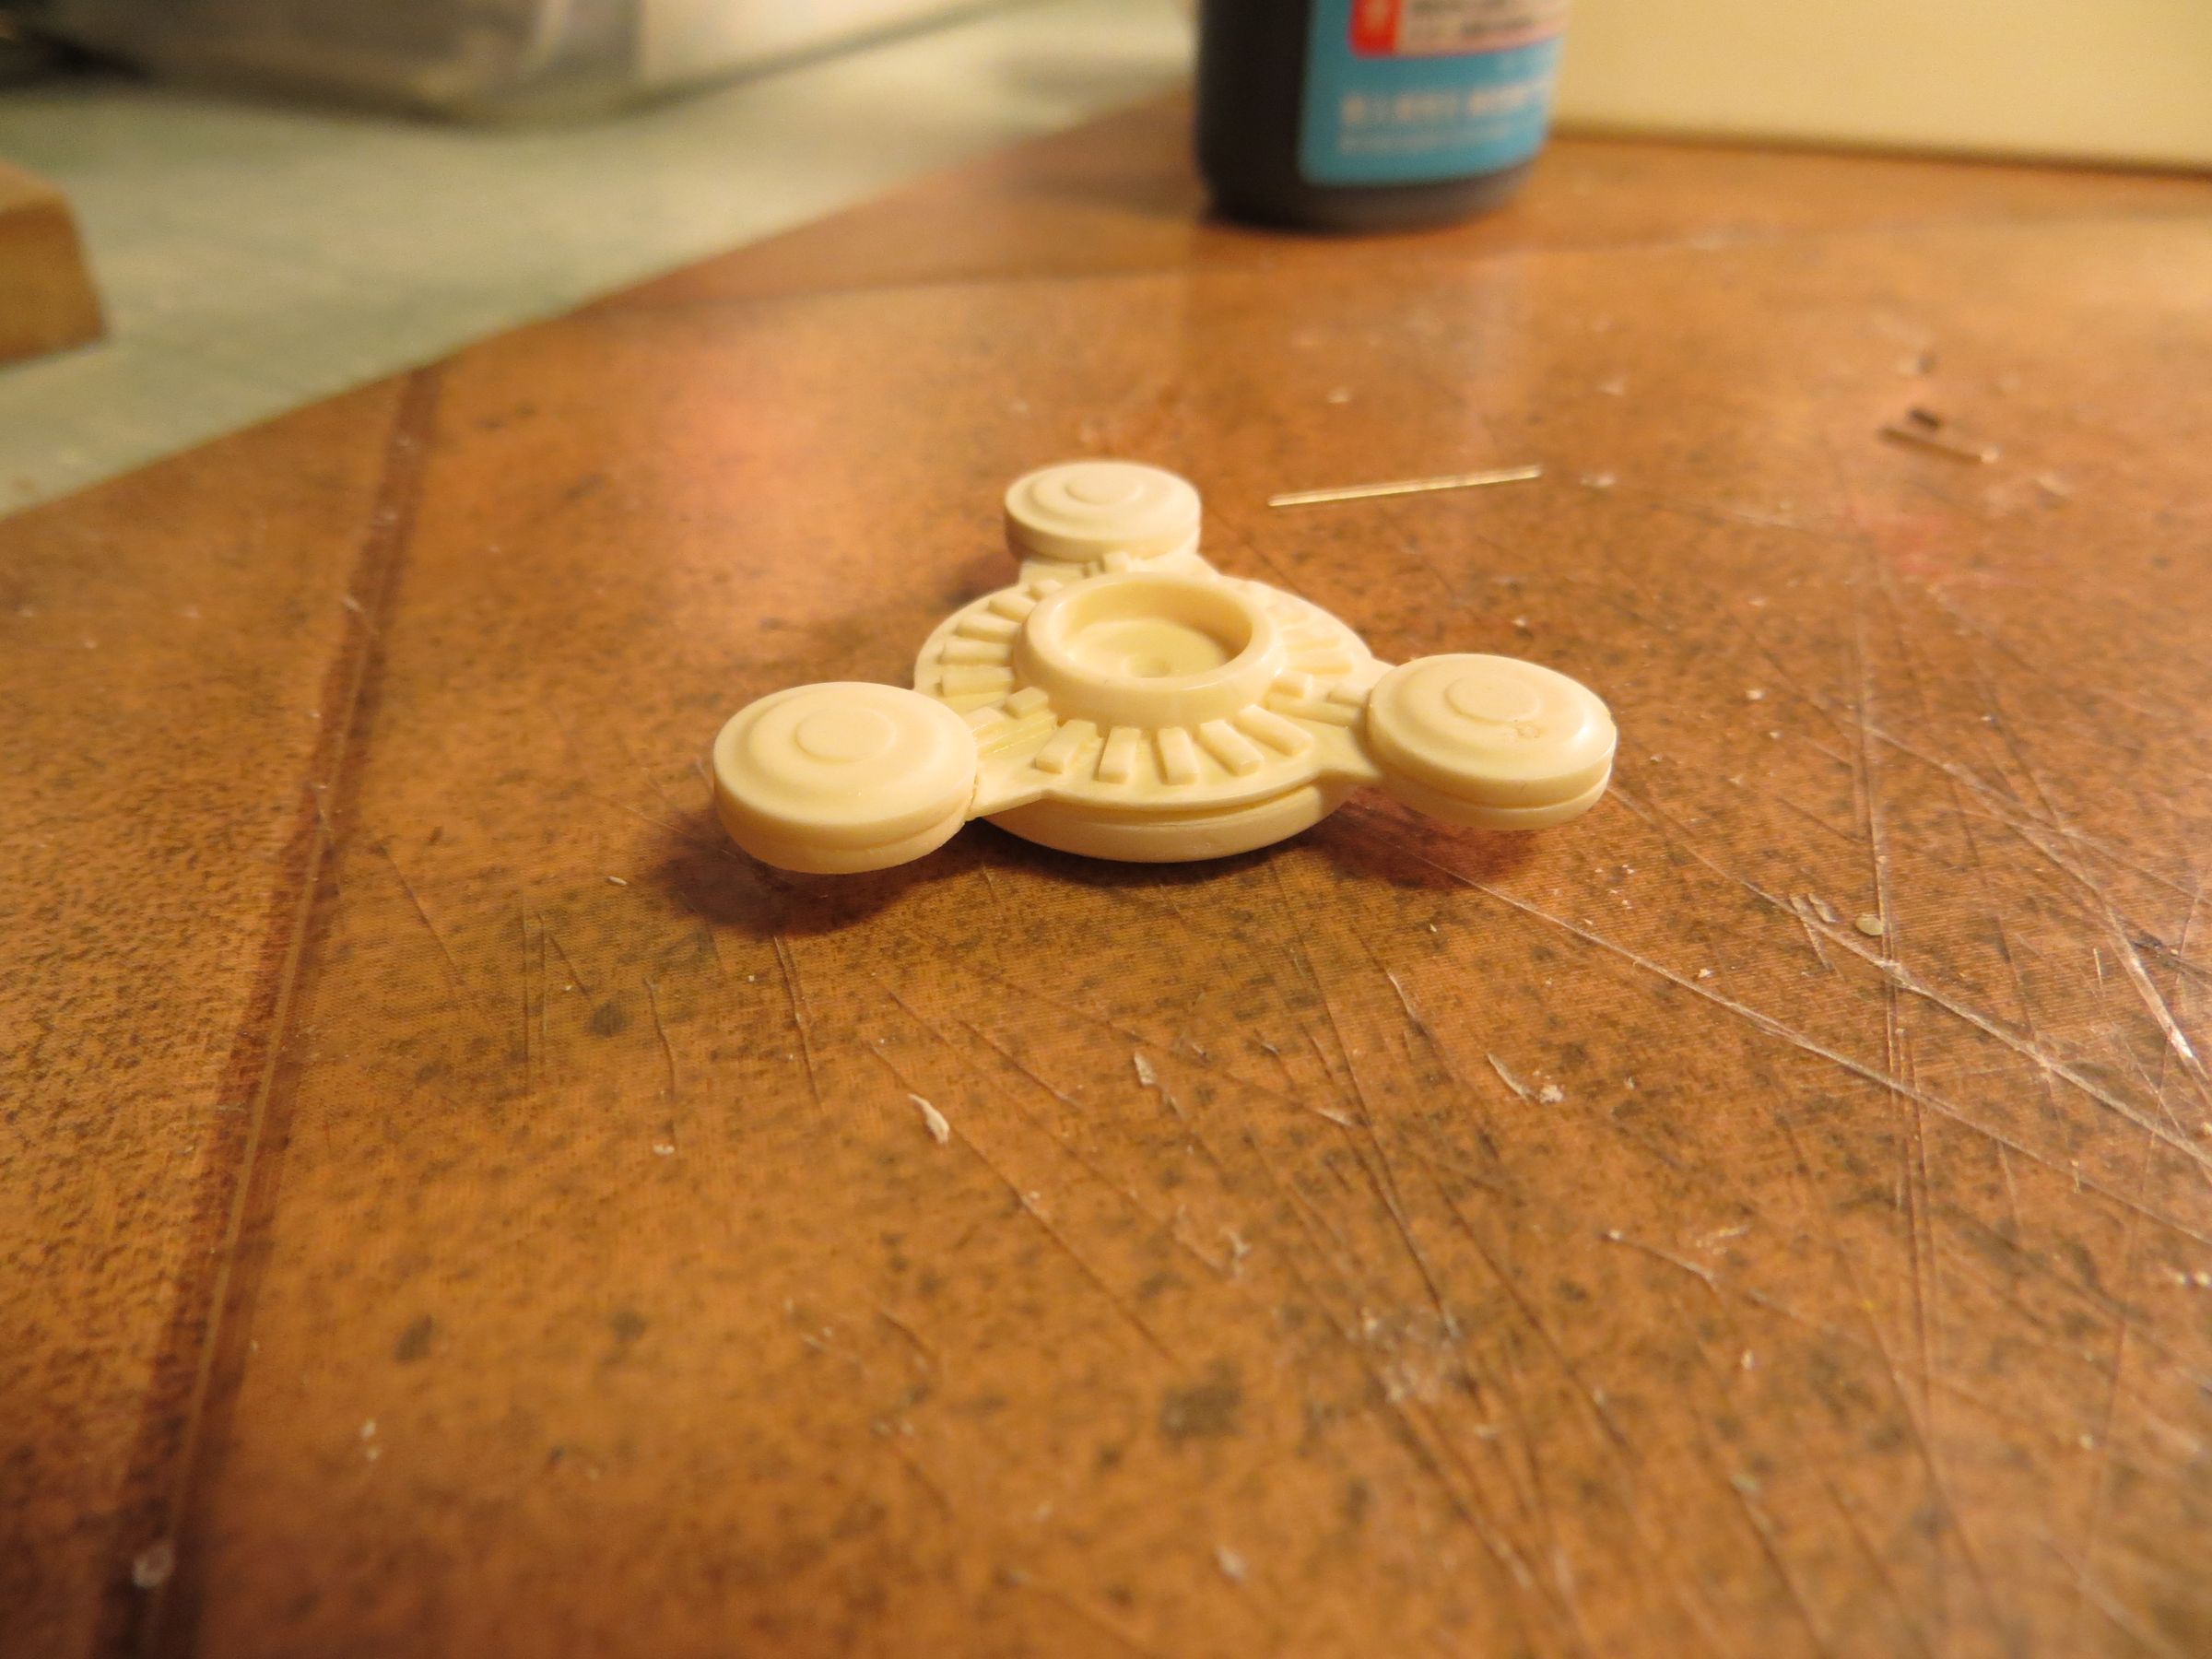
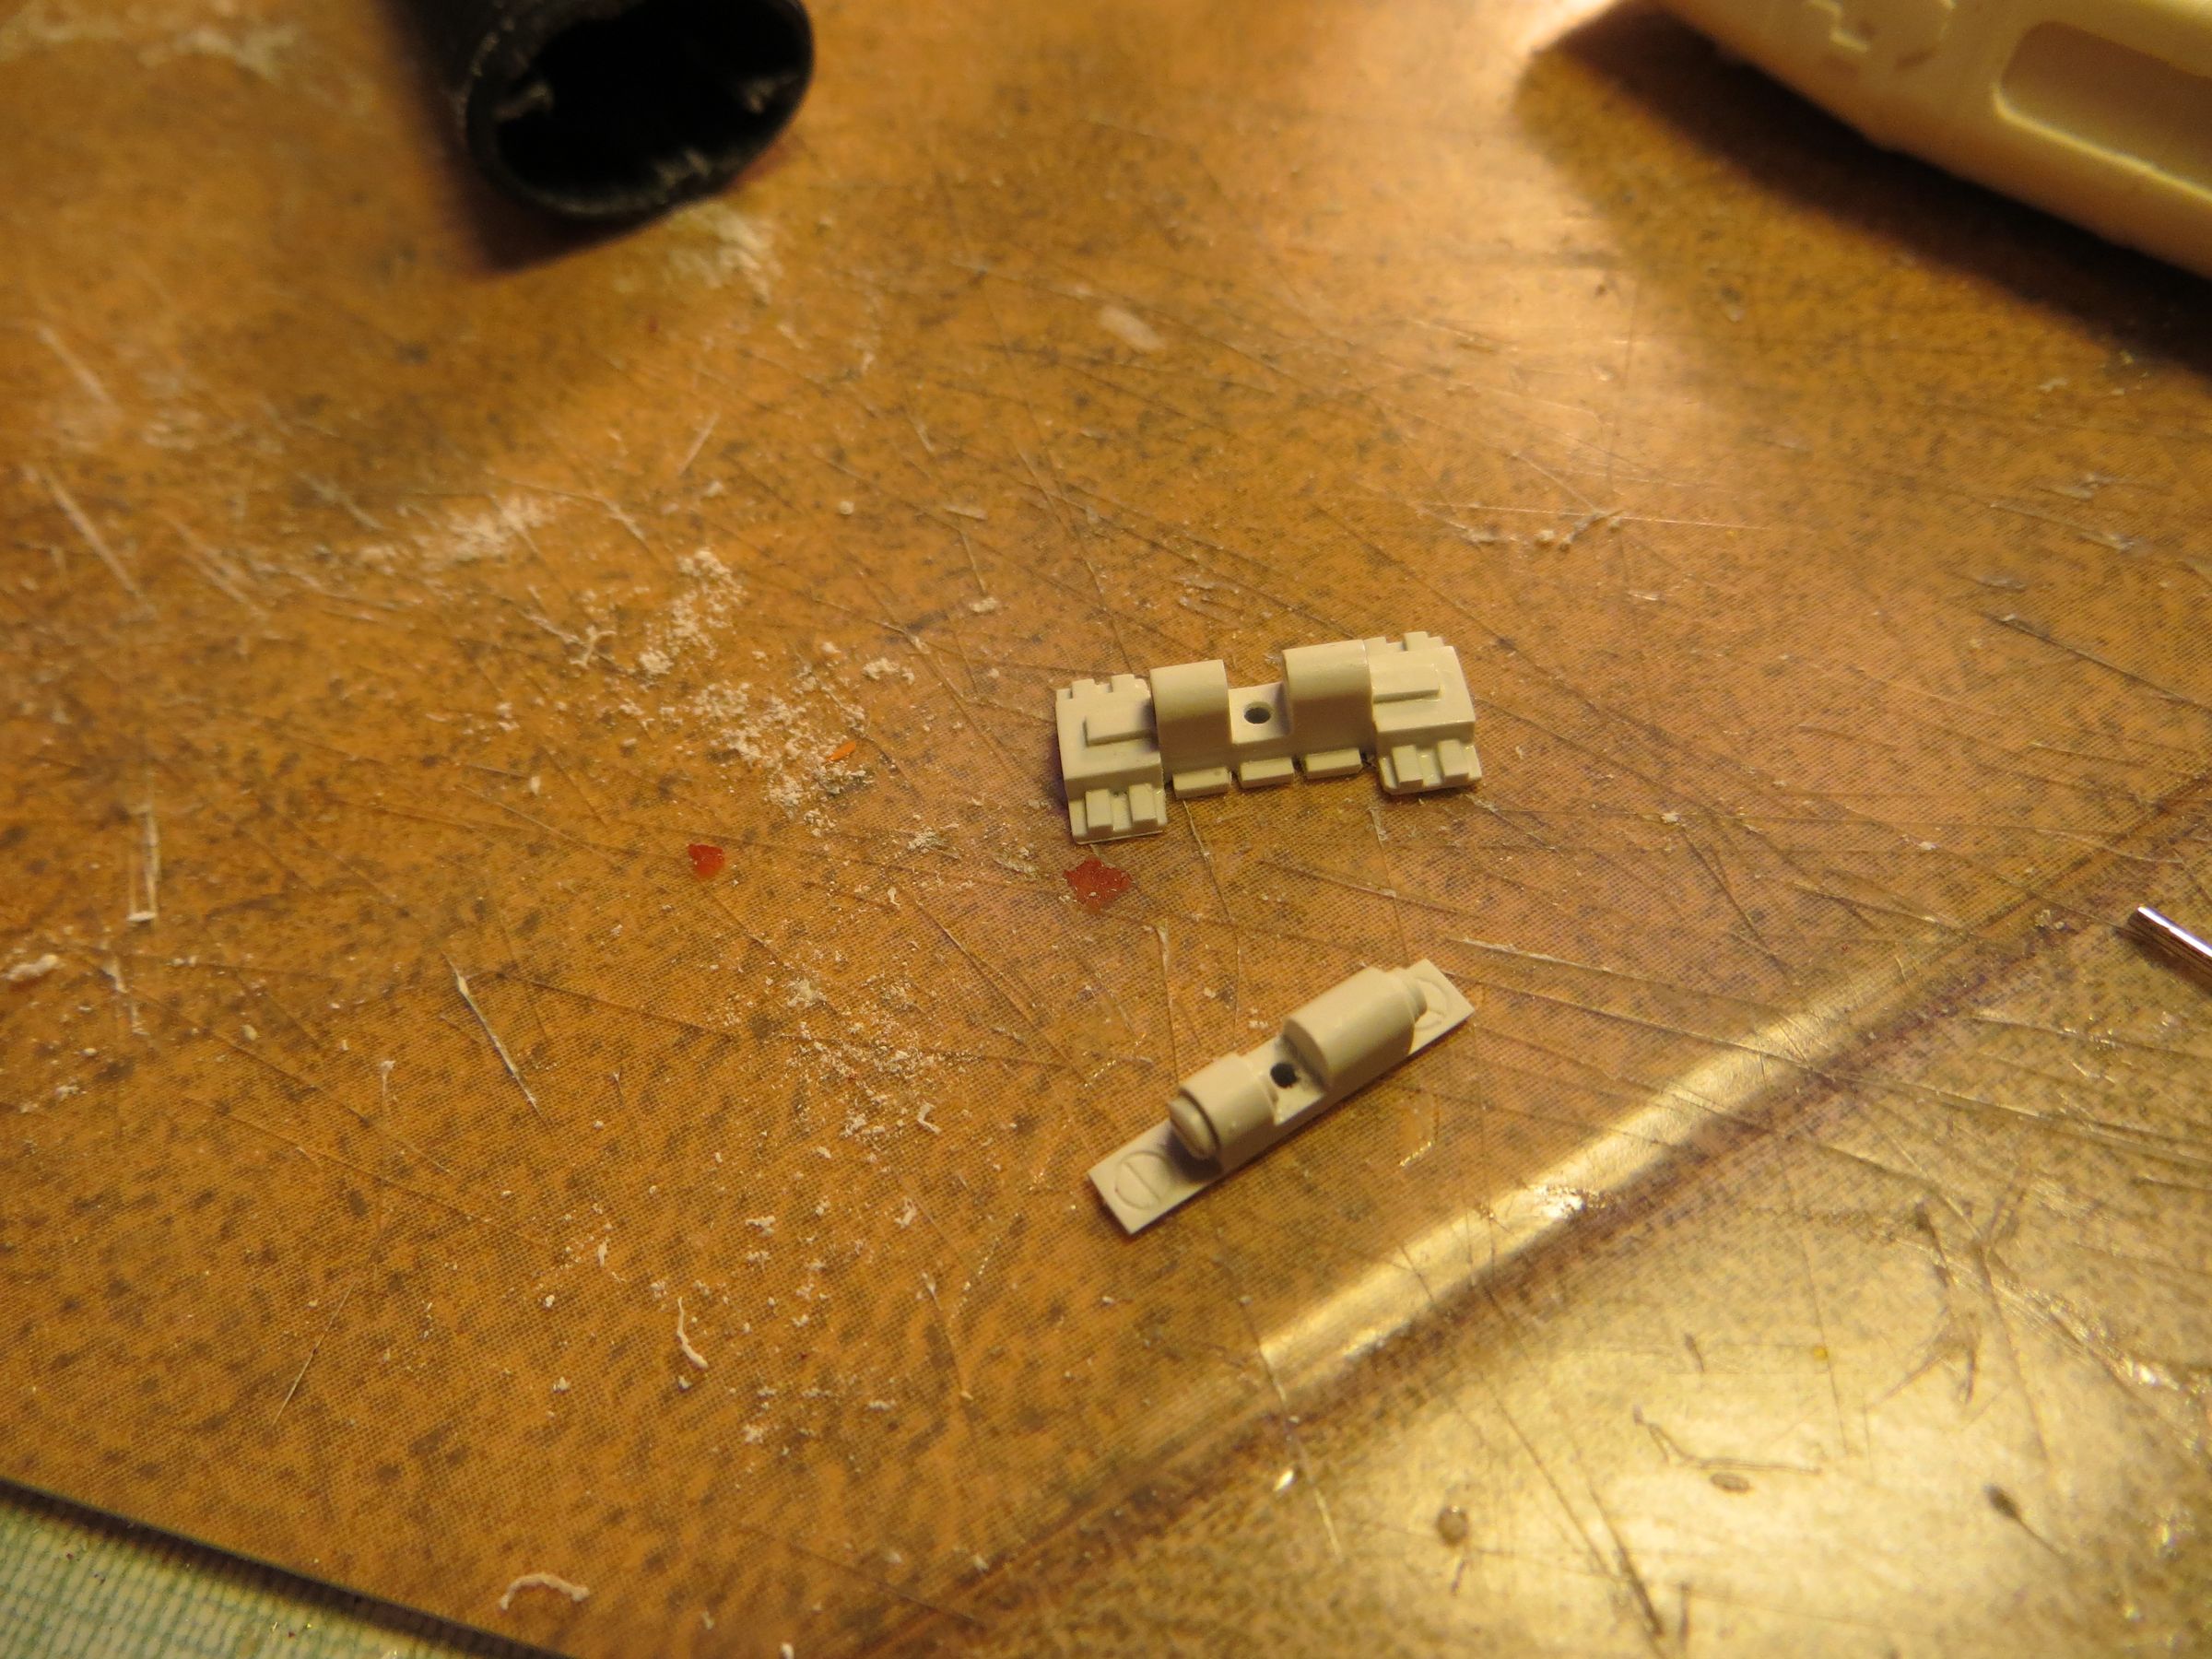
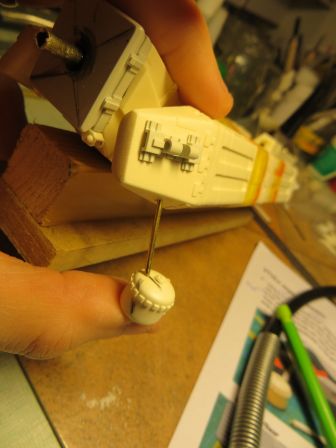
- Preparation of small verniers on the head.
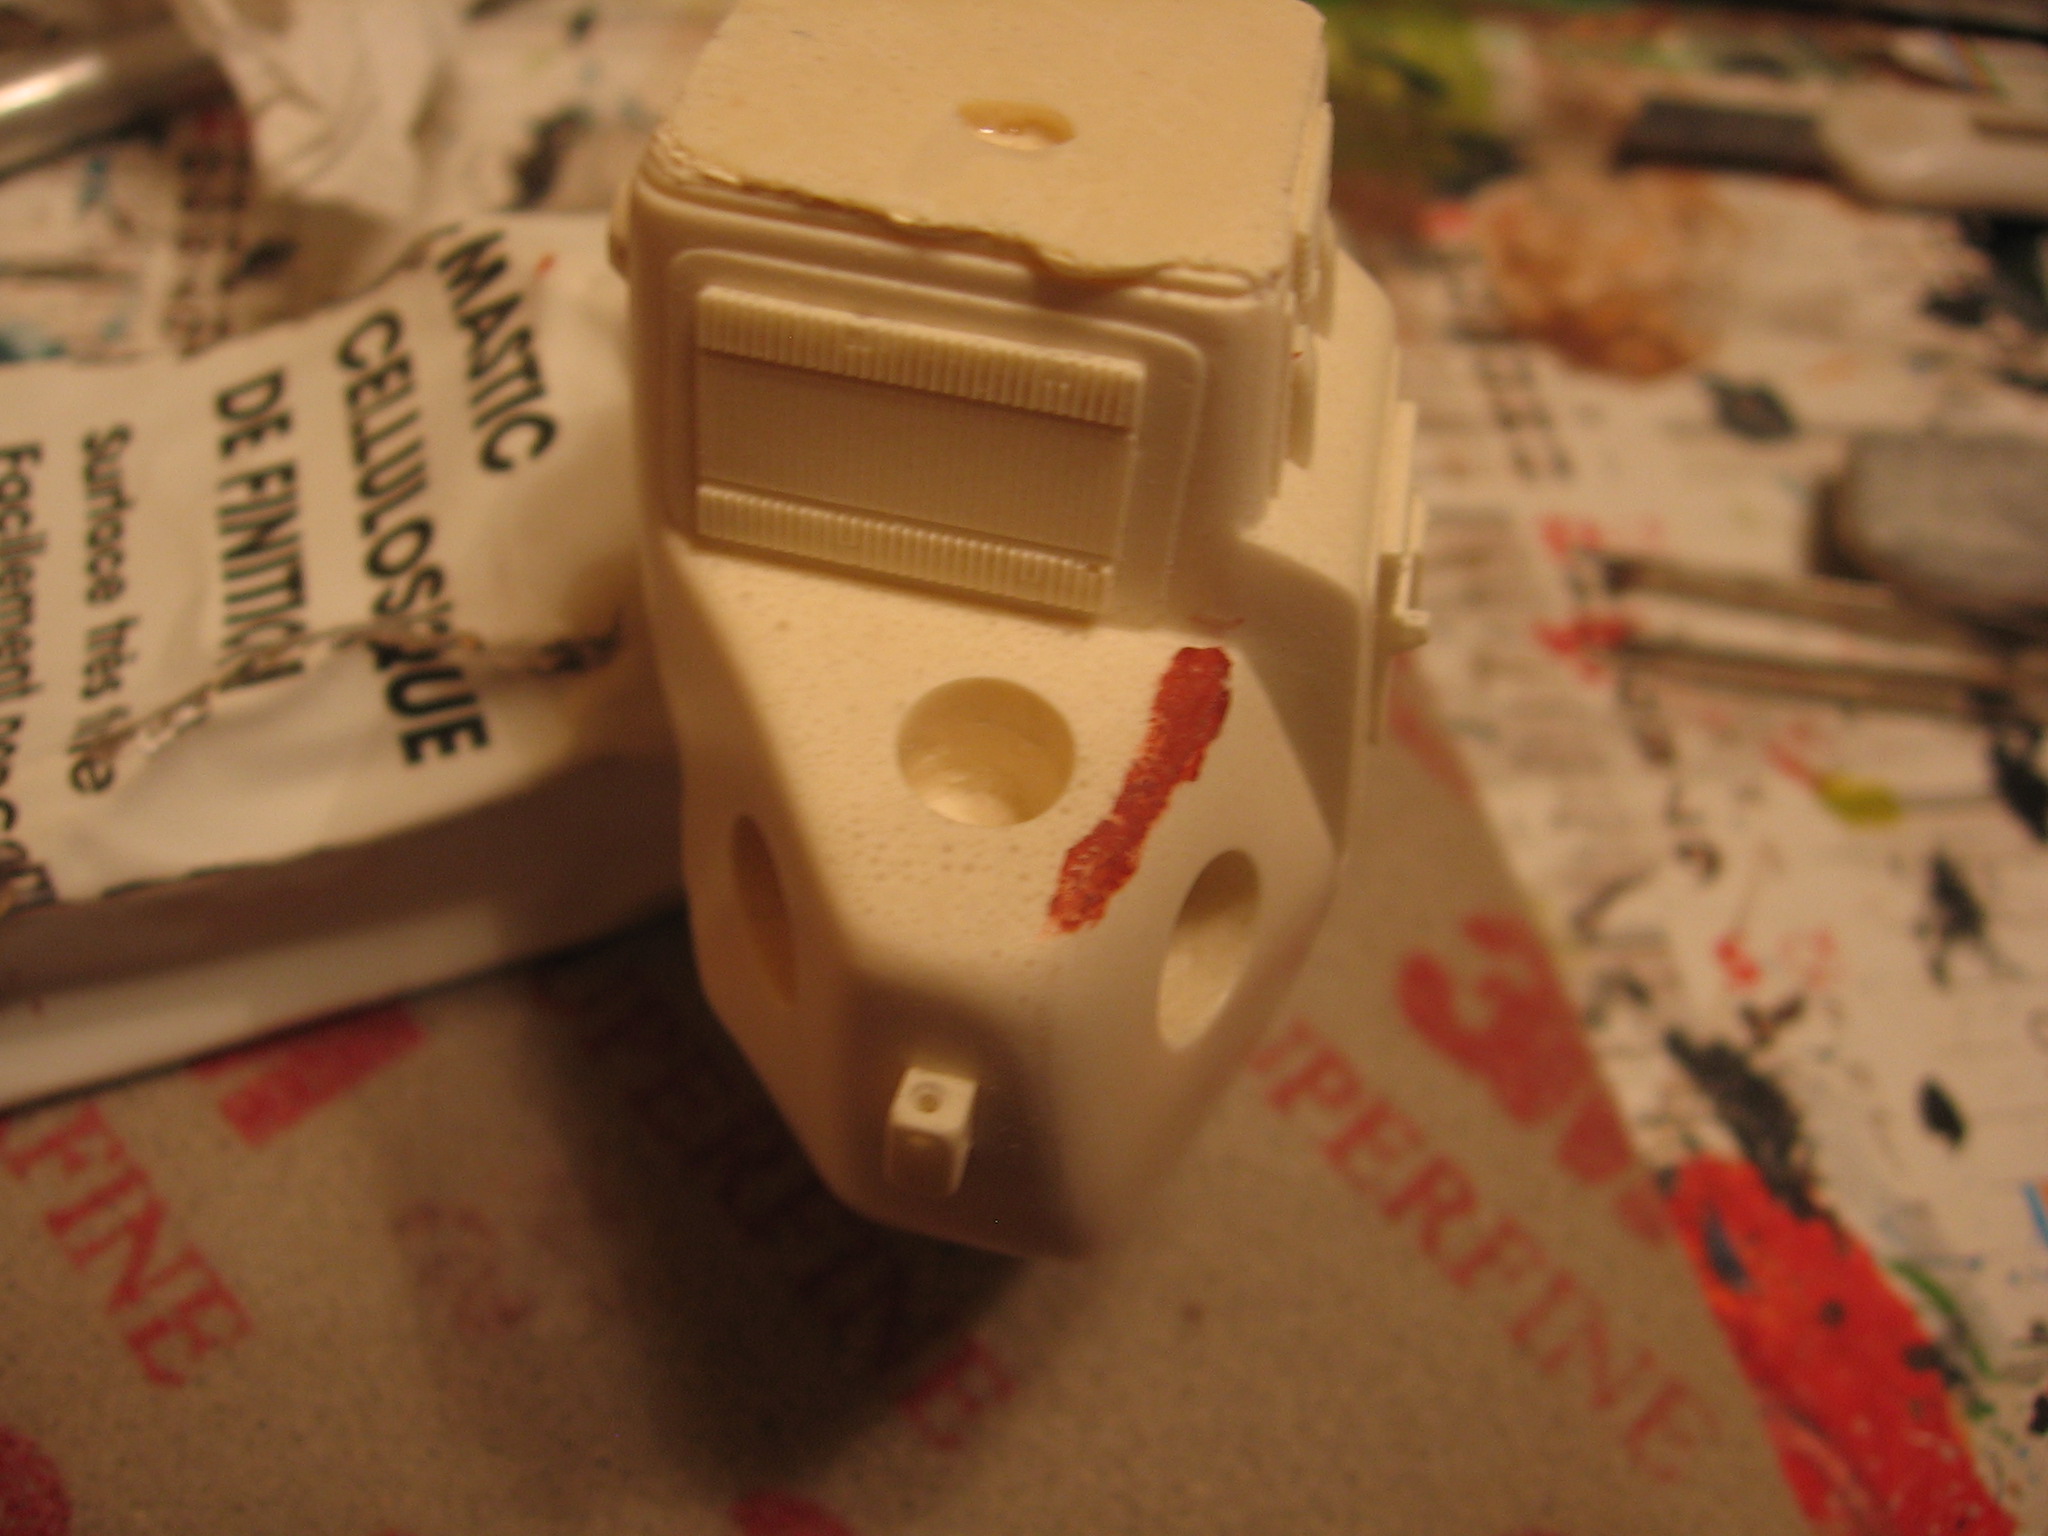
Again, setting up small rods to strengthen the assembly.
(Sorry, no photos here)
That 's all for now on the assembly, it met a whole skygrapper of kits waiting for paints ... but with a priority pass