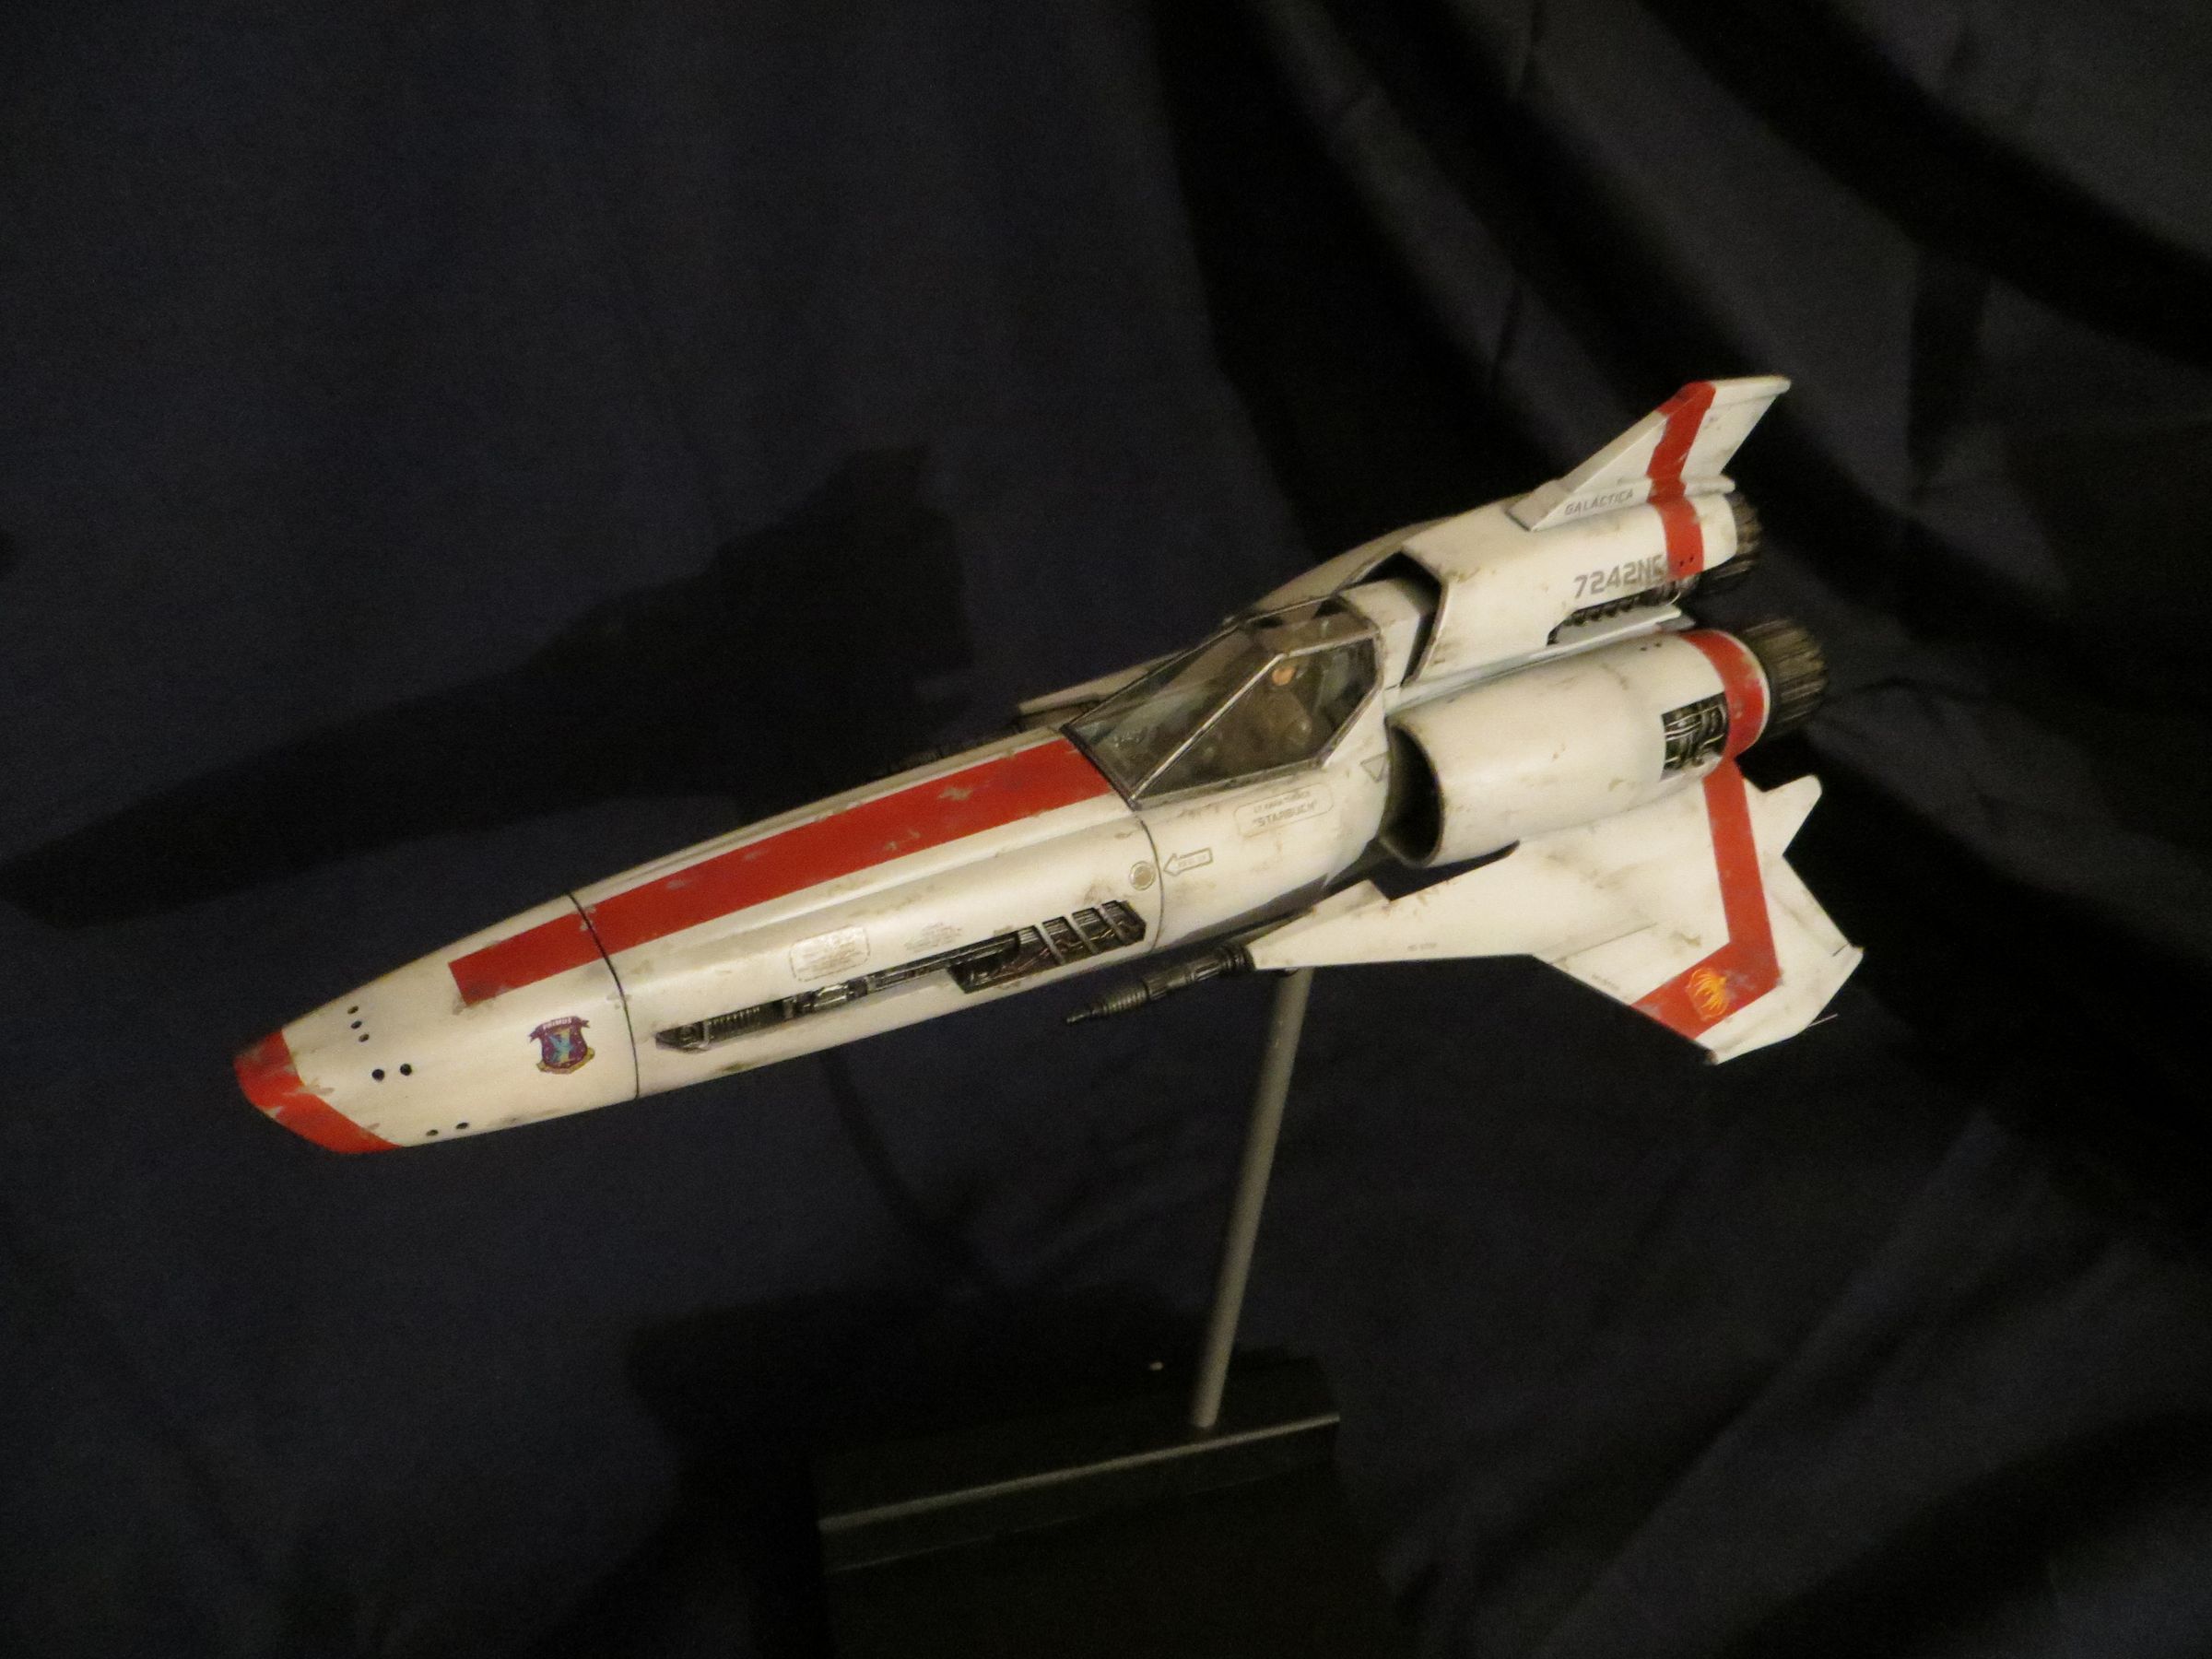
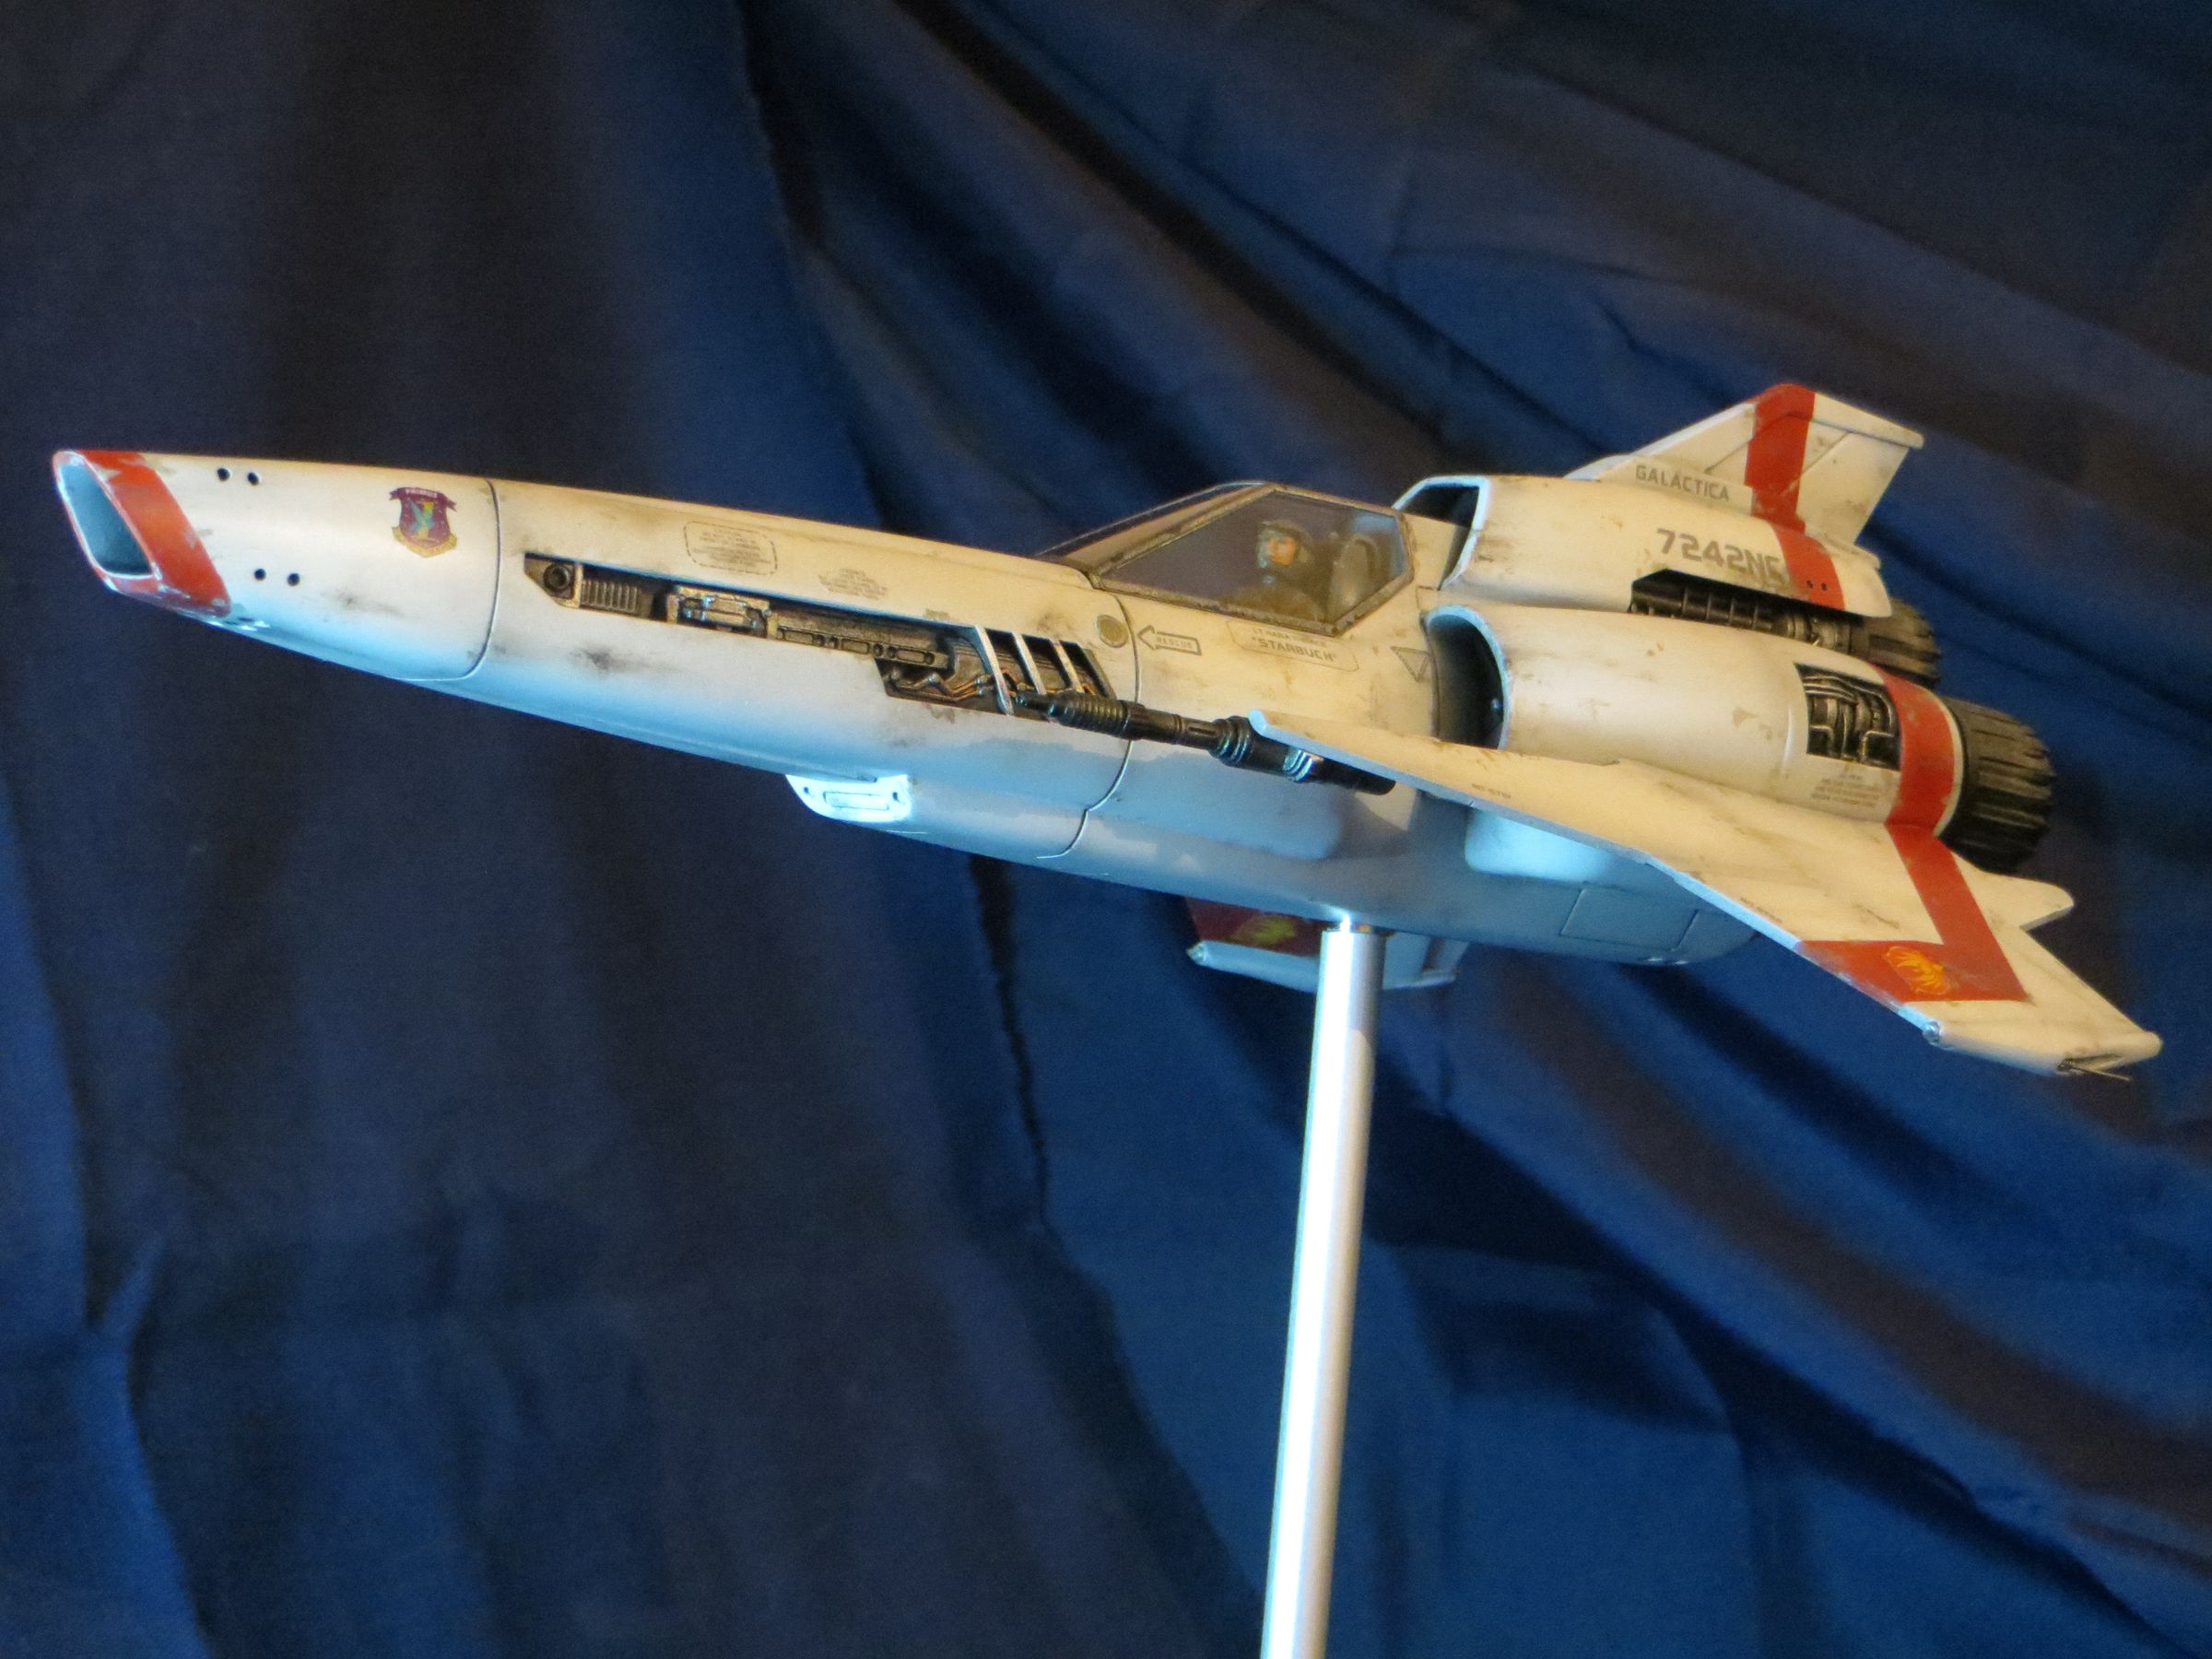
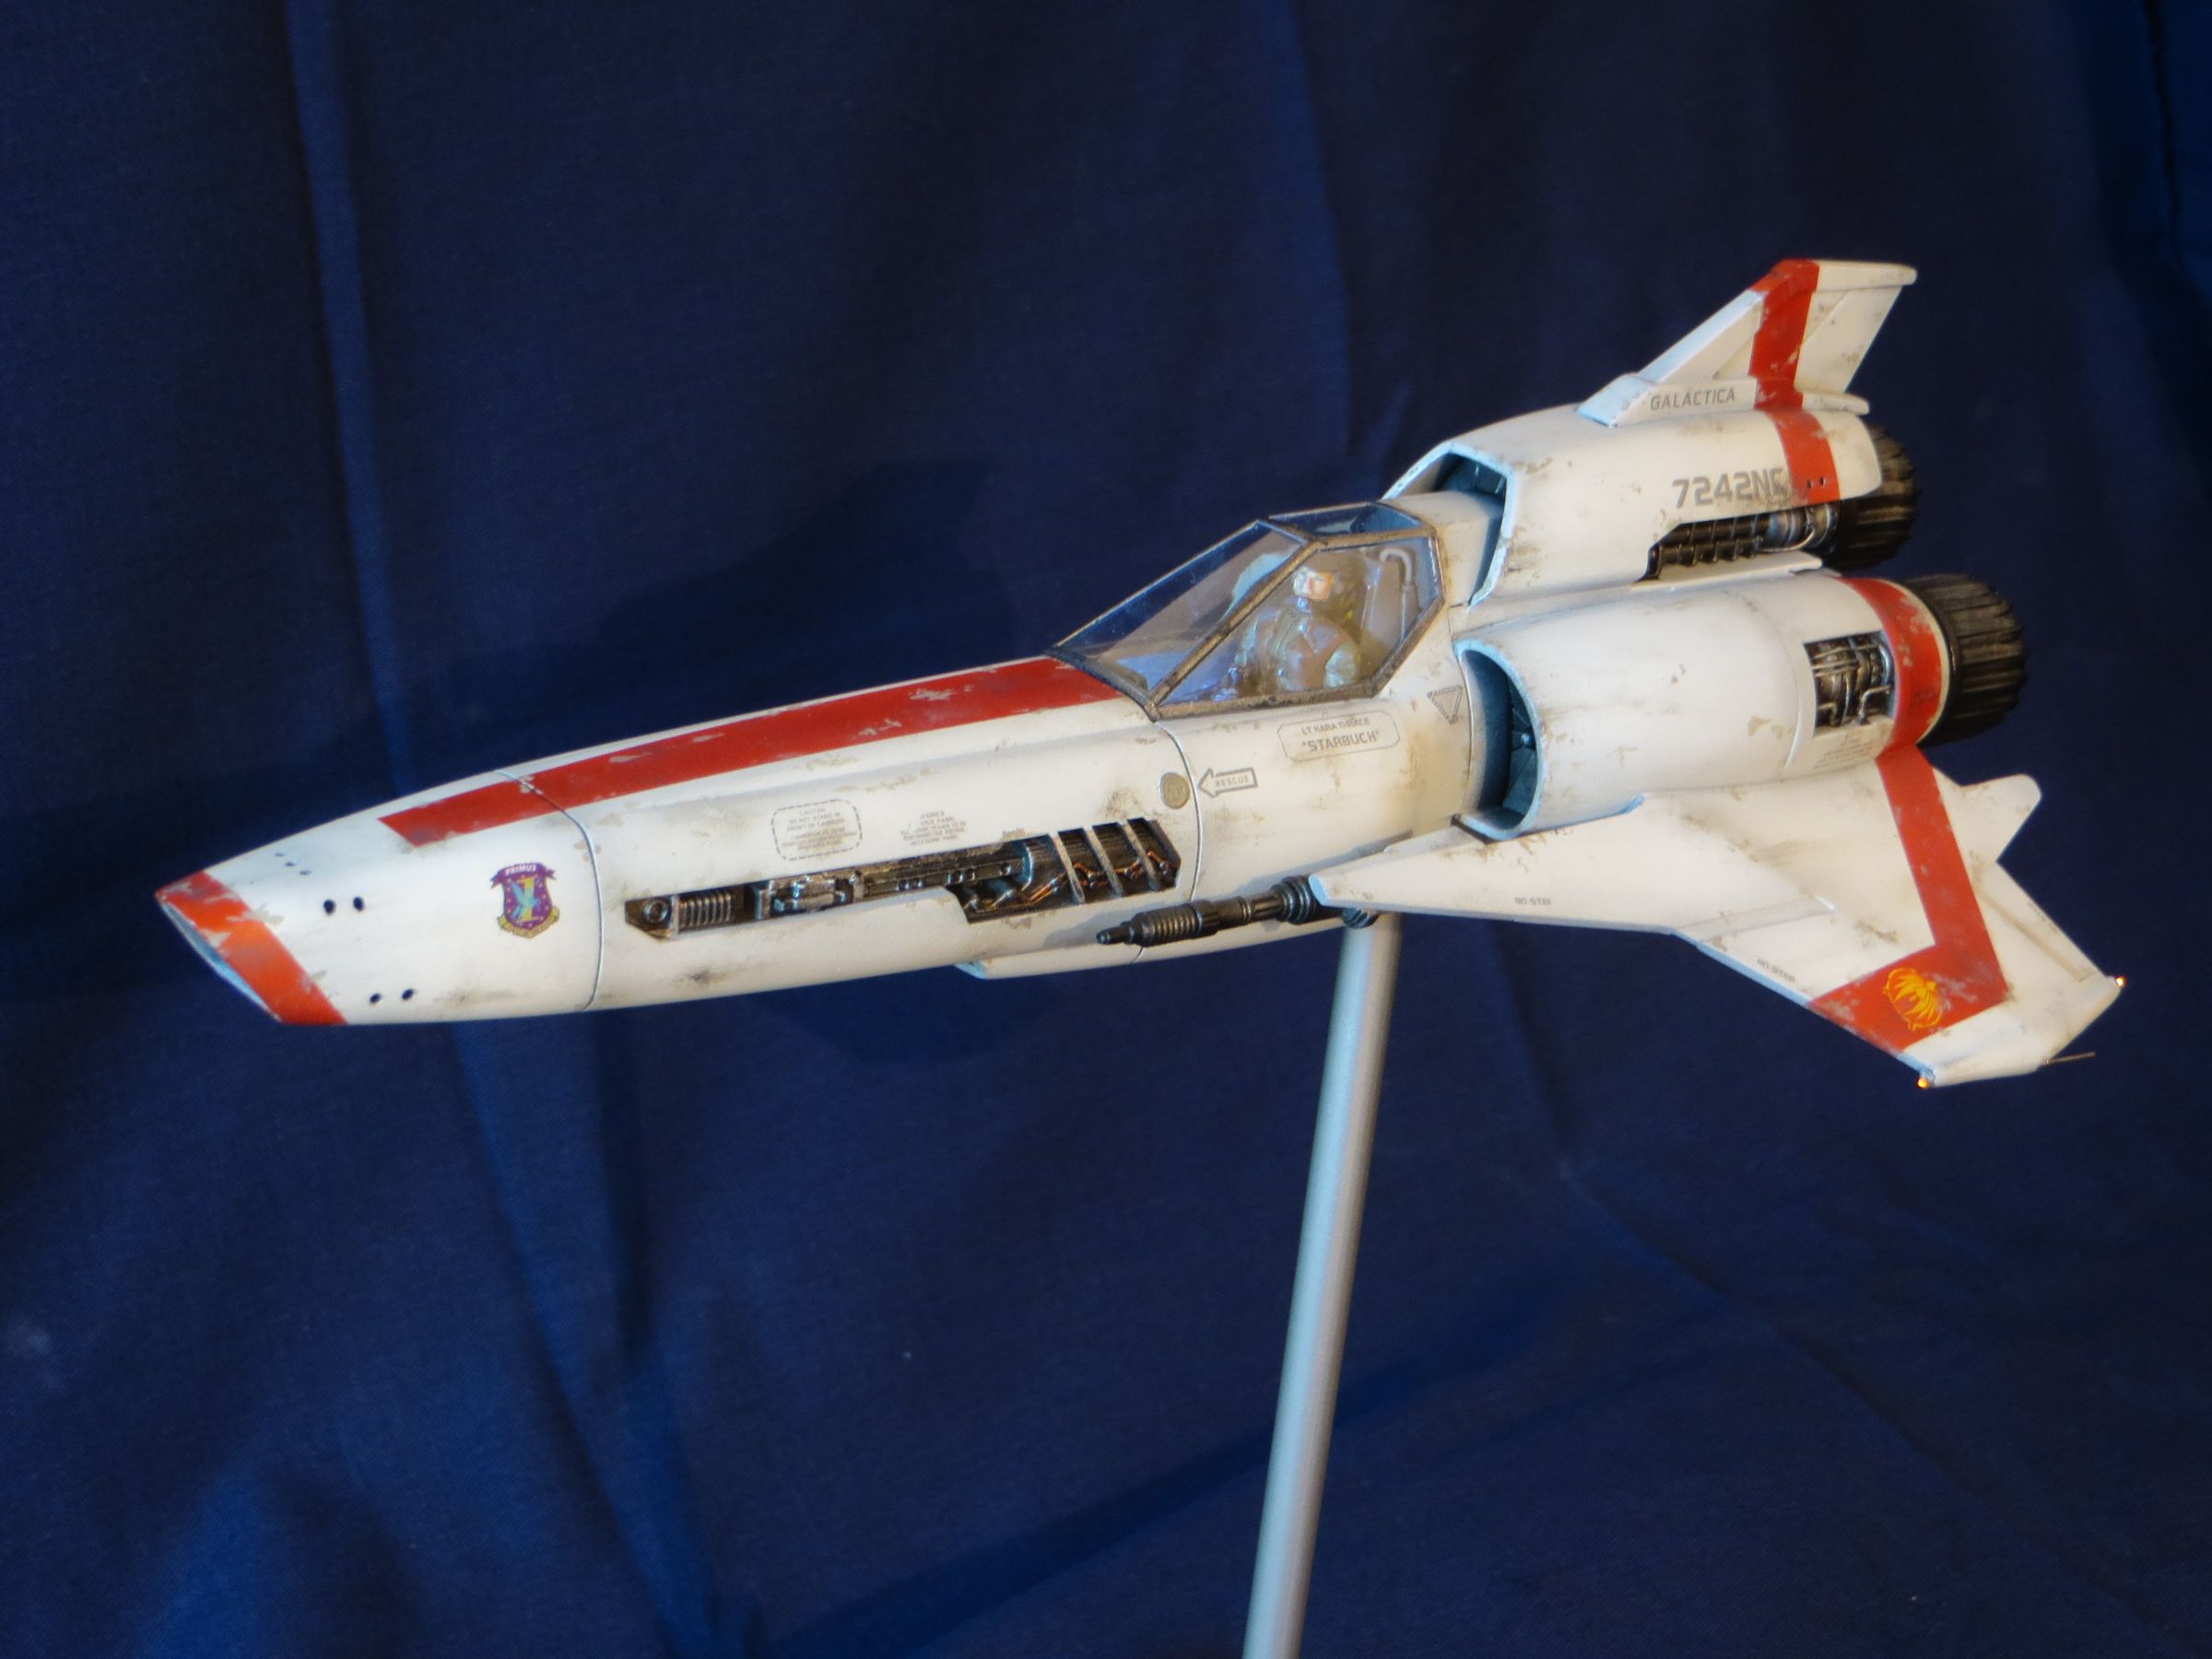
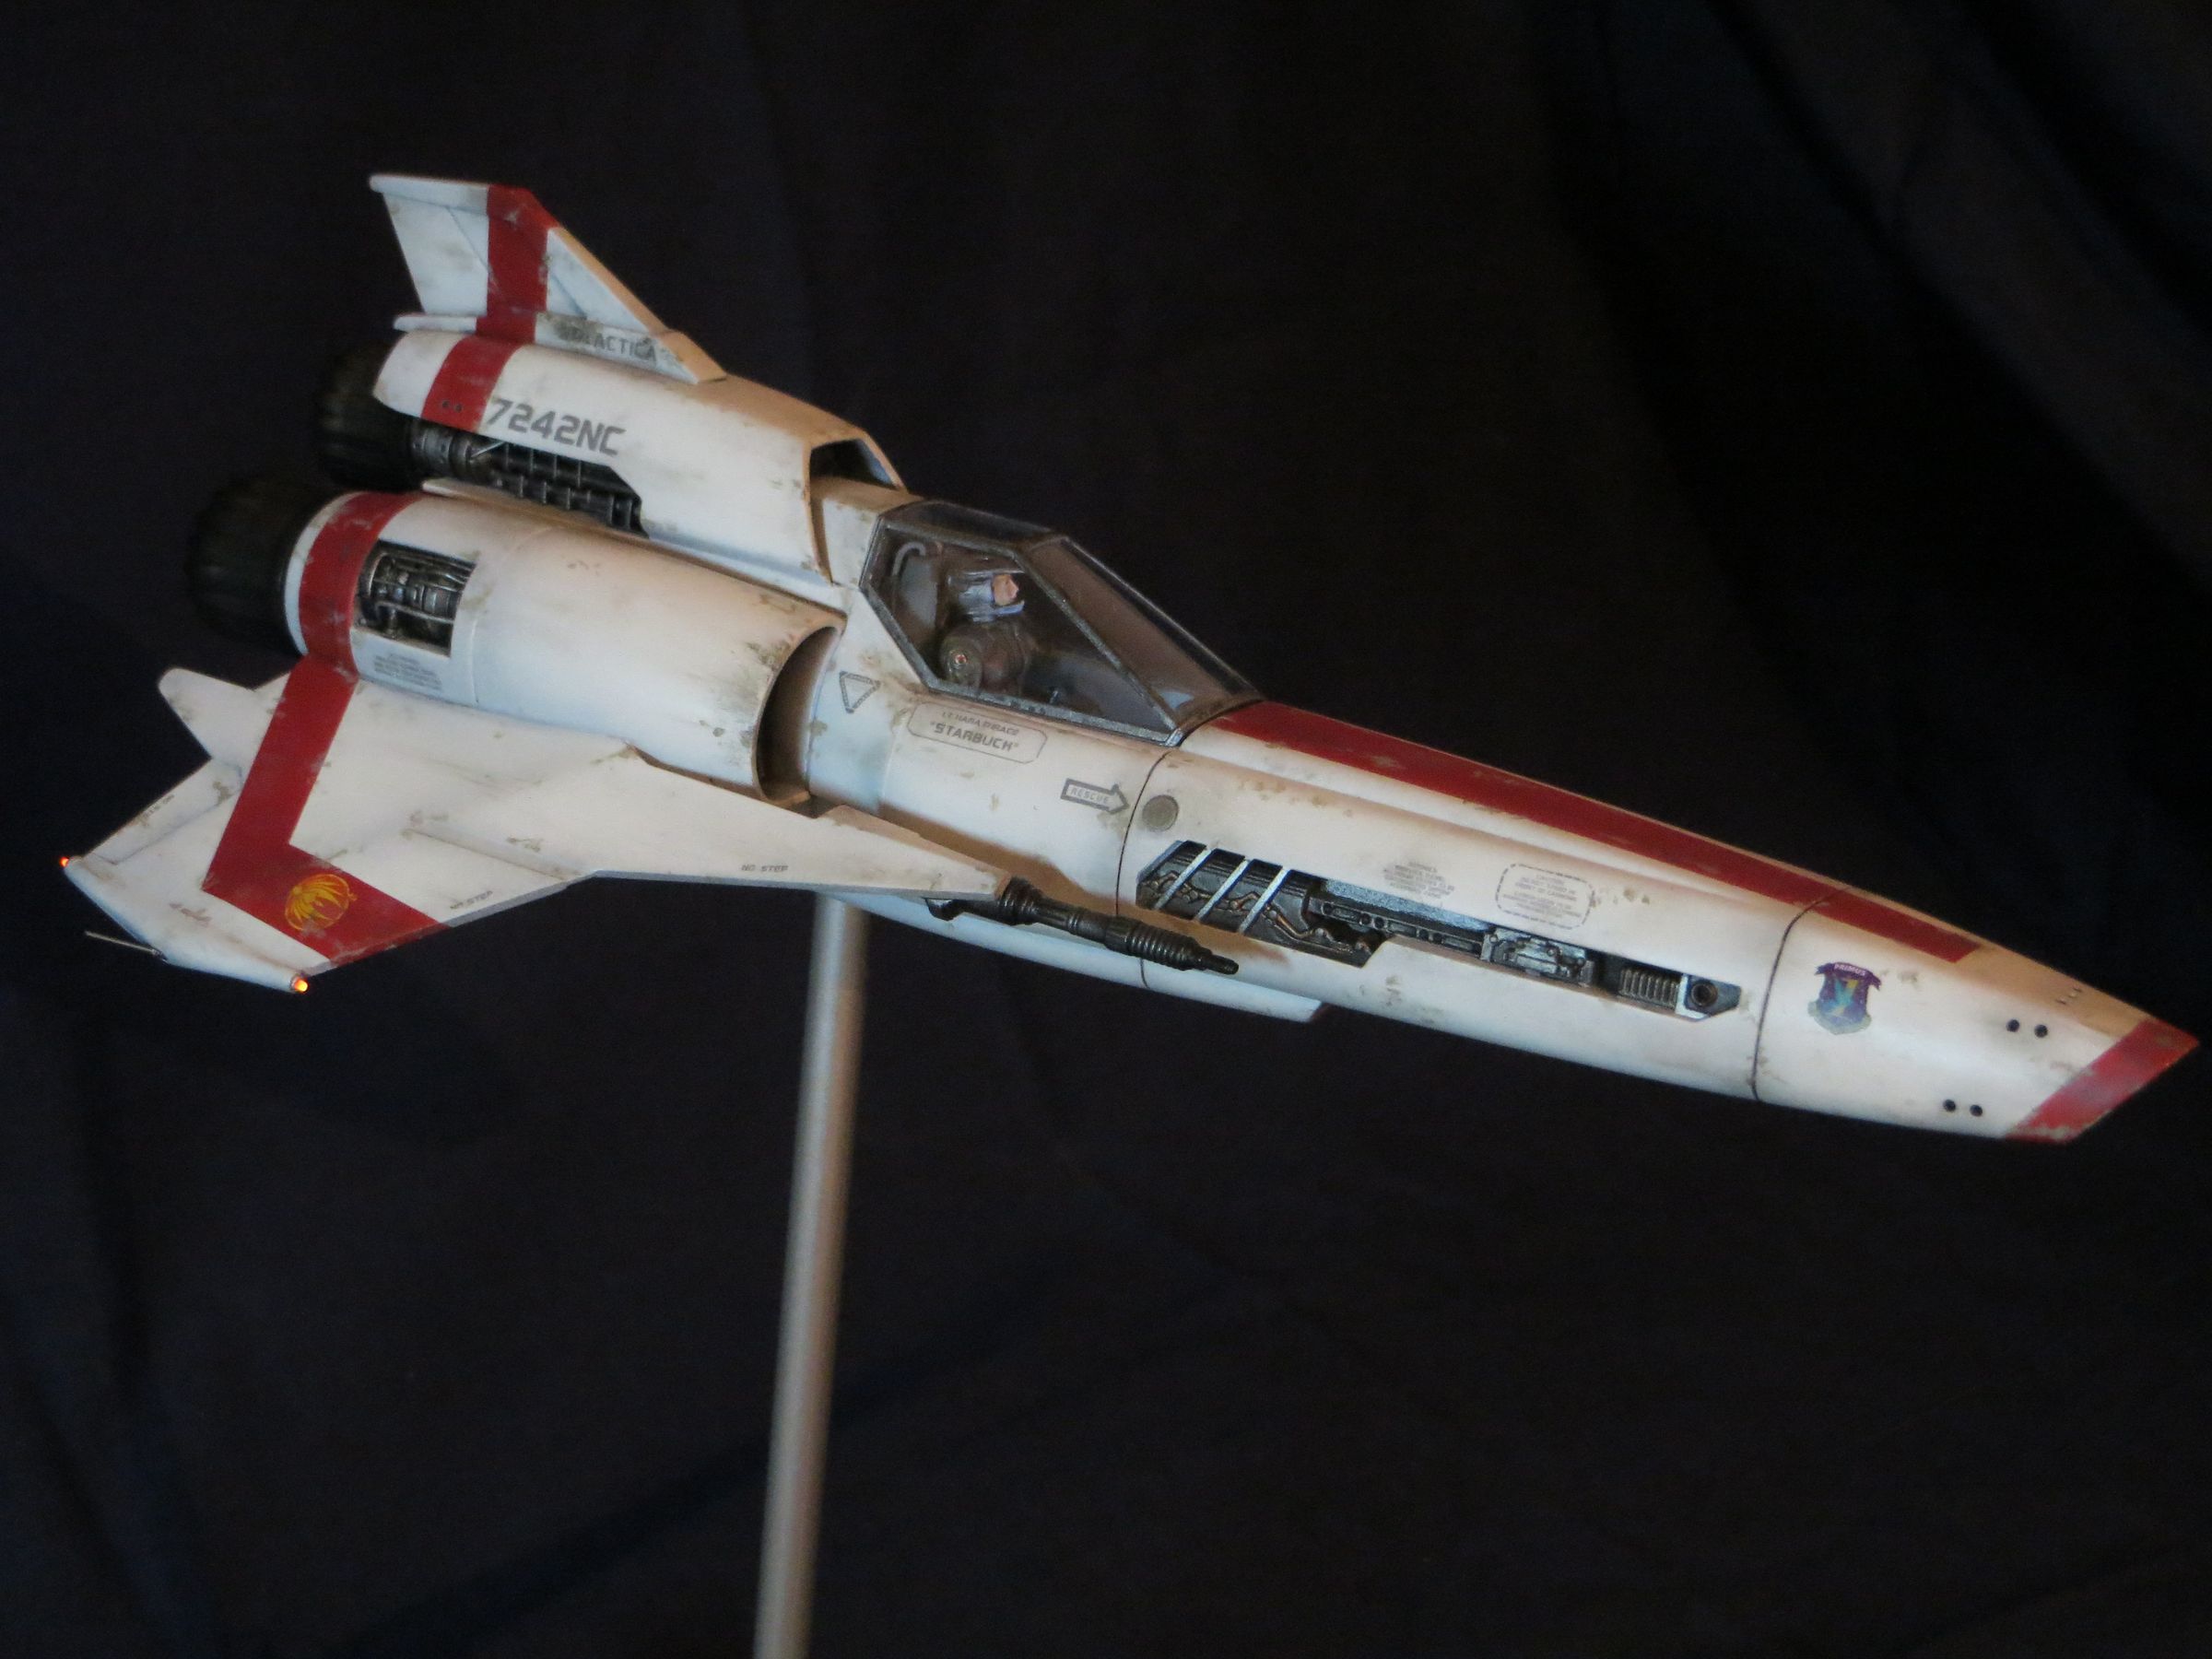
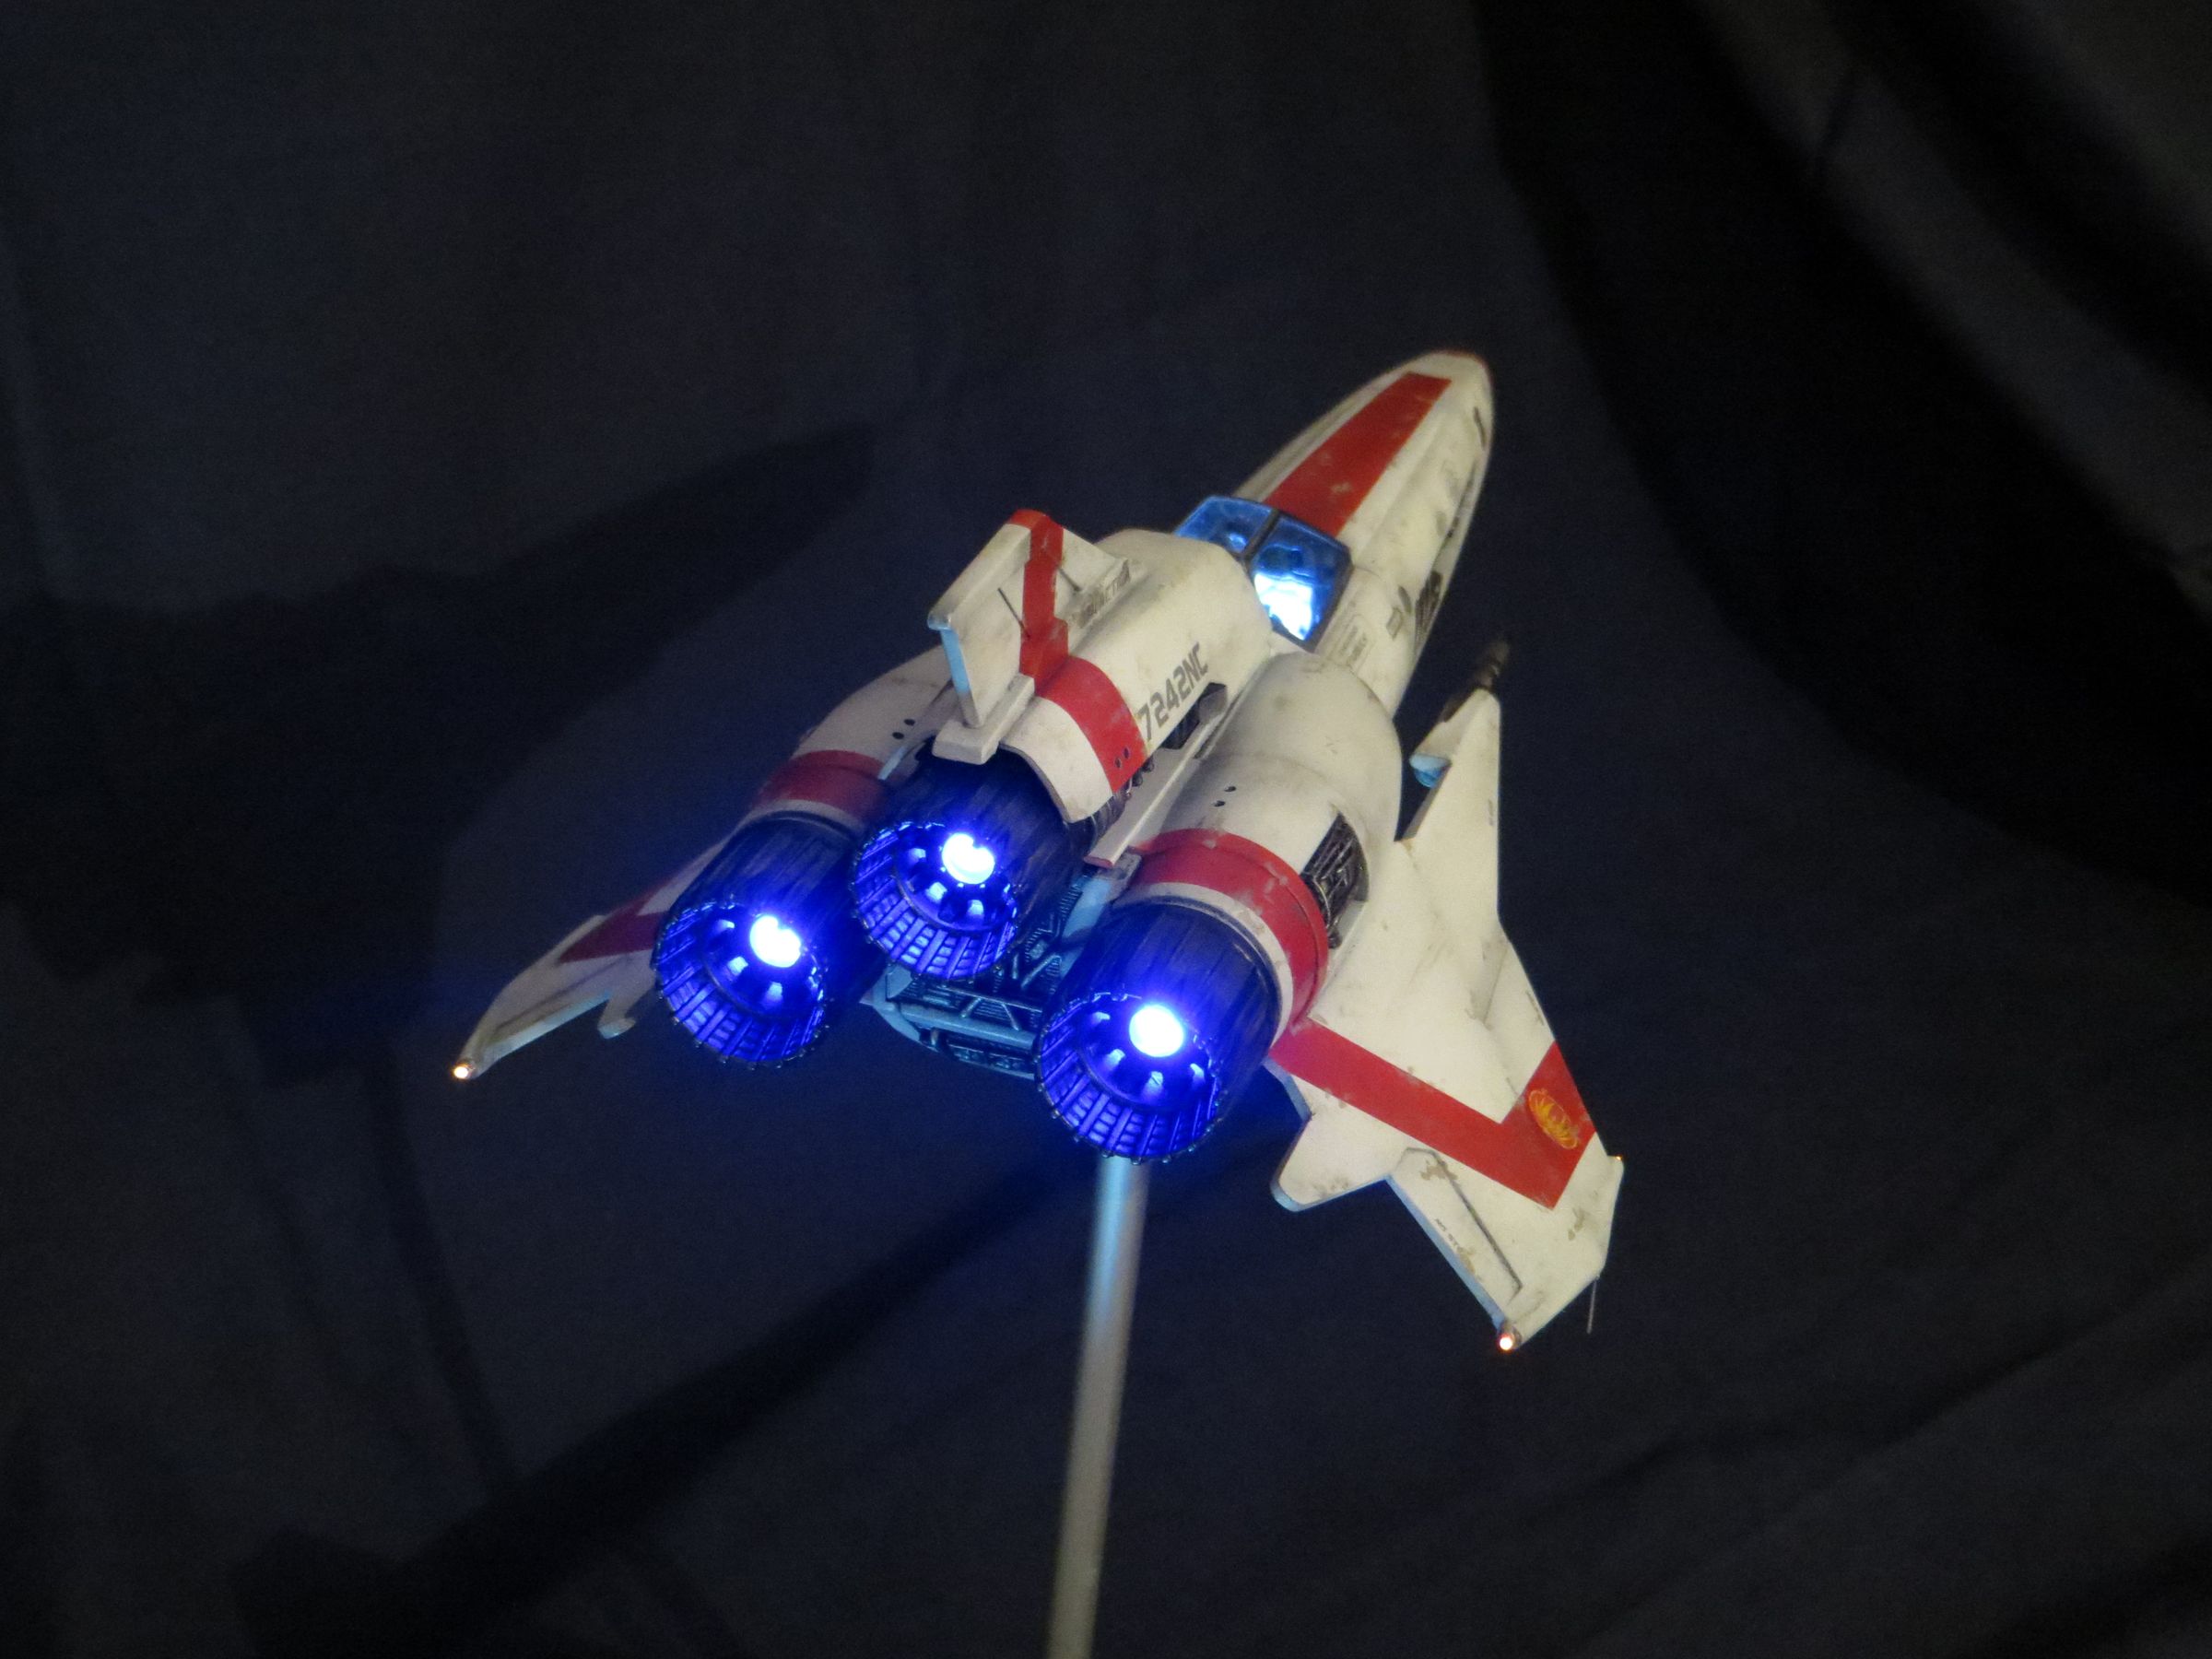
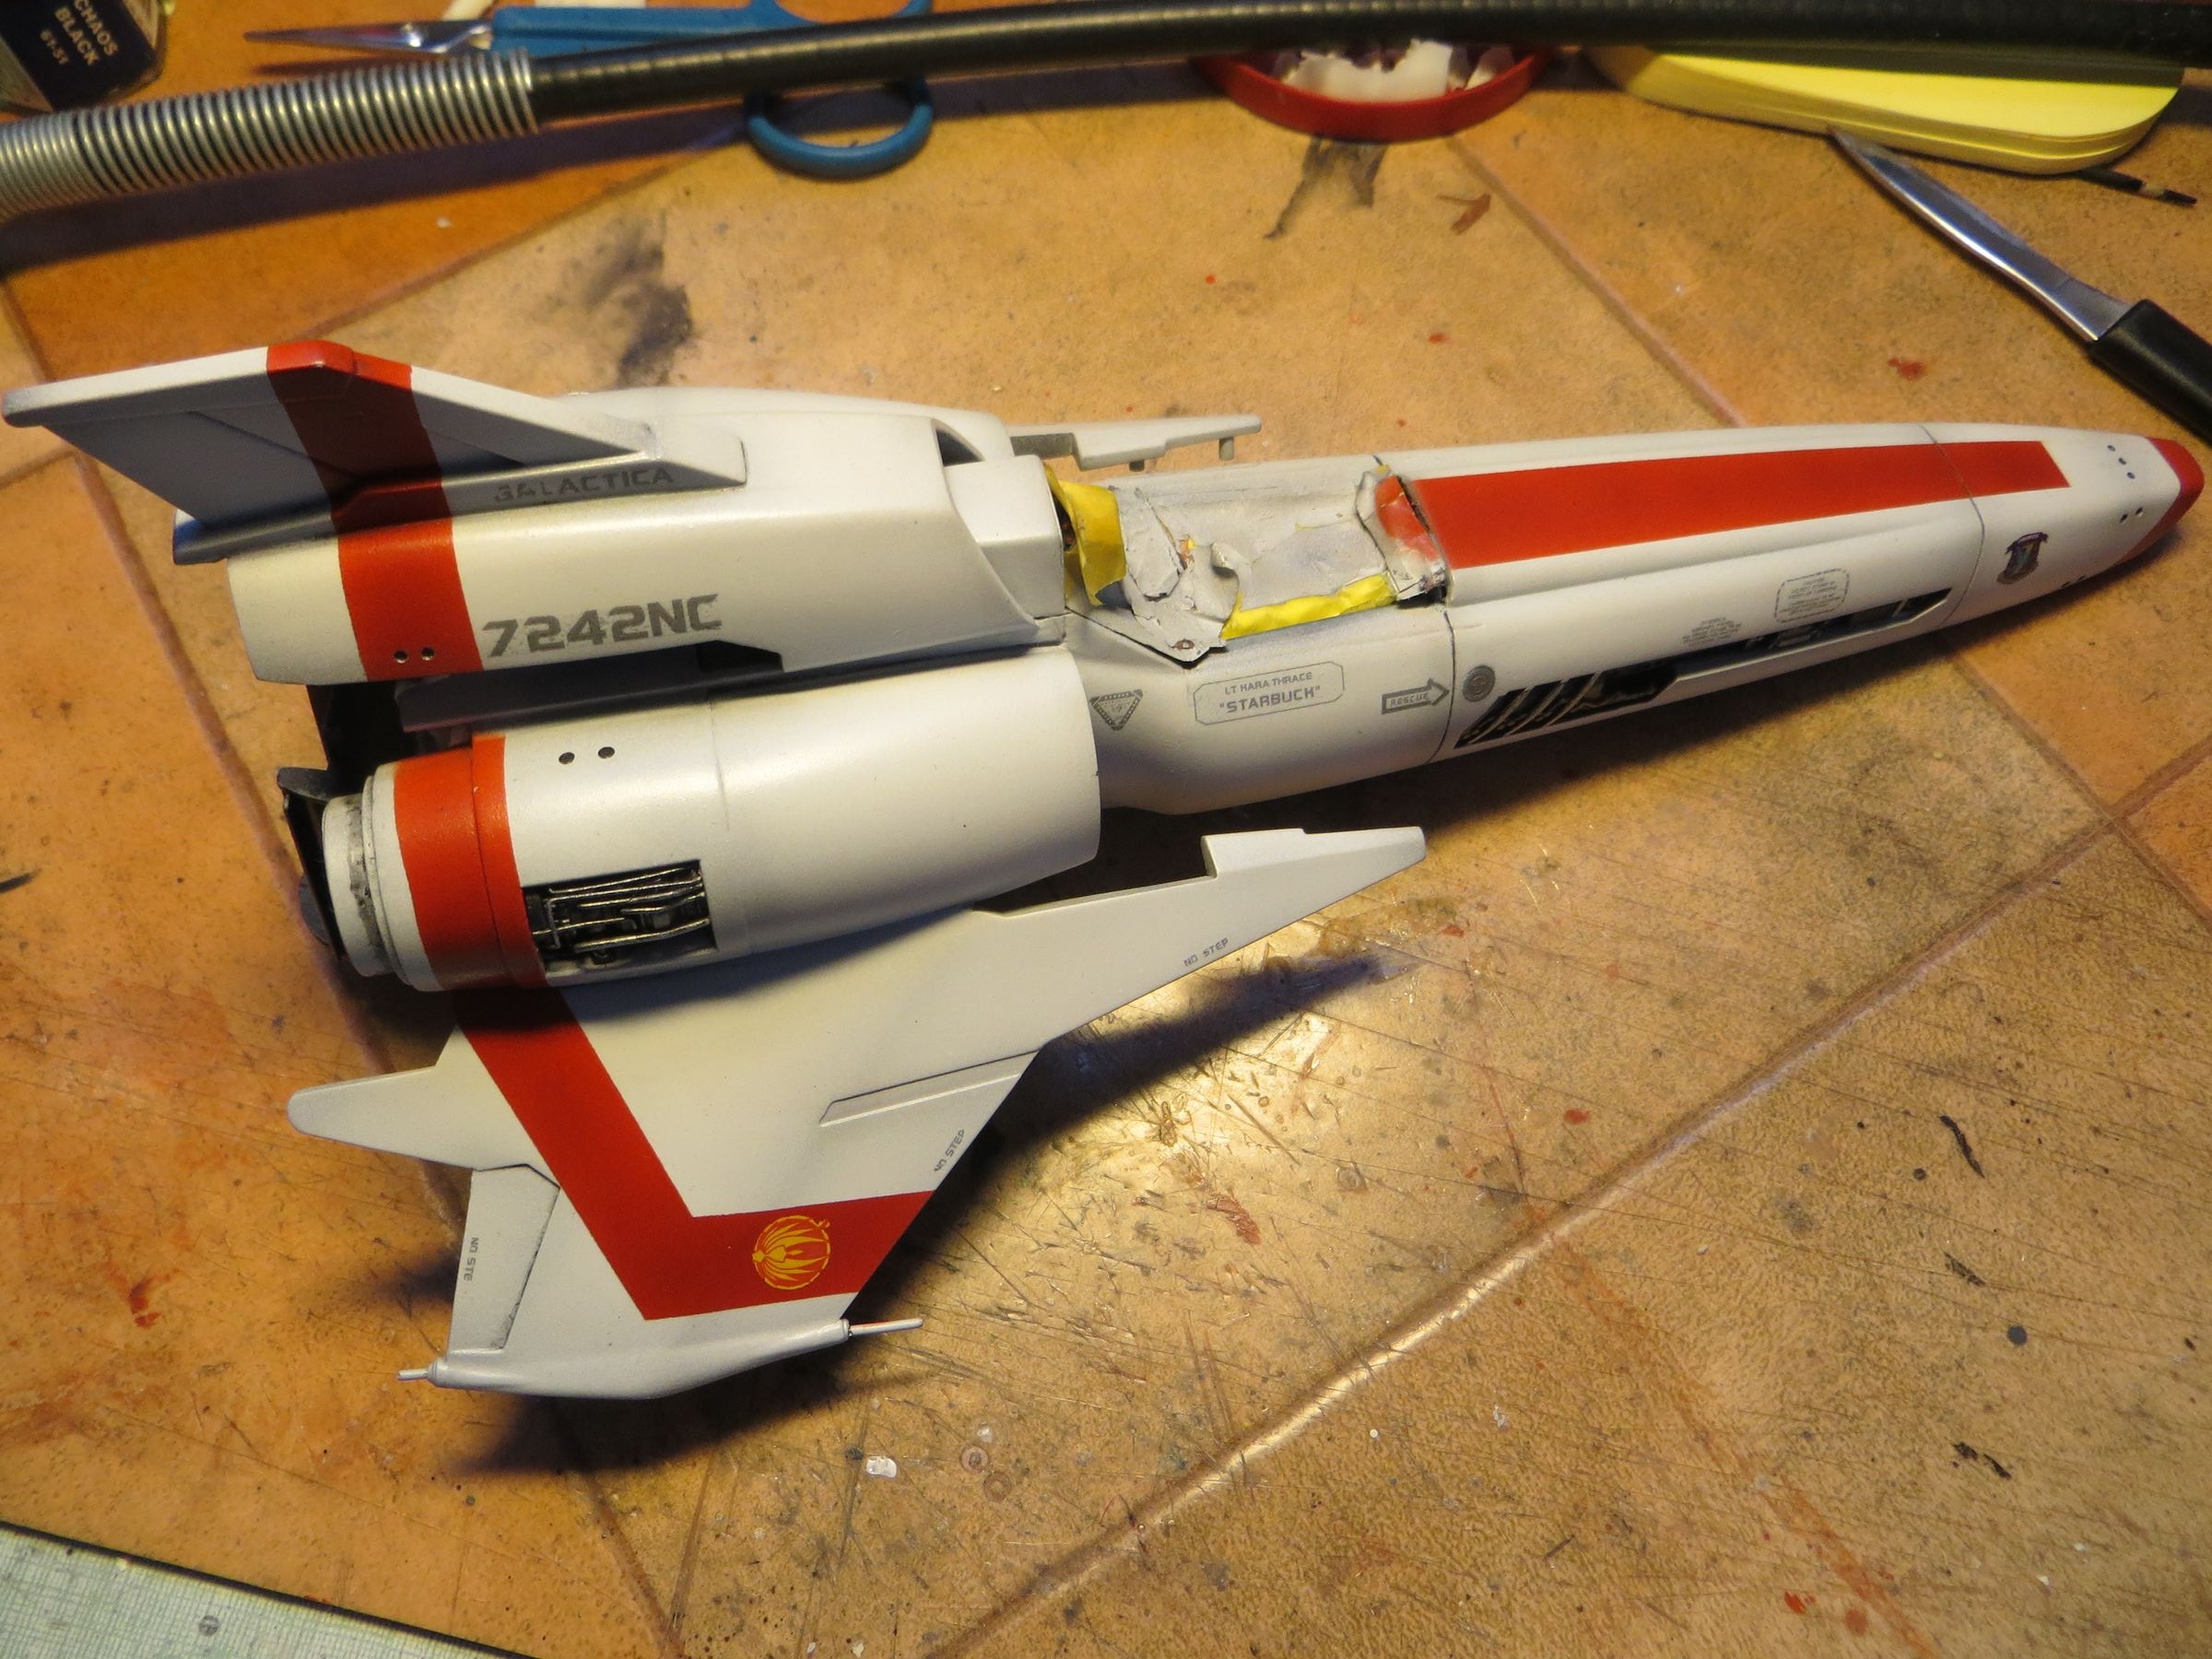
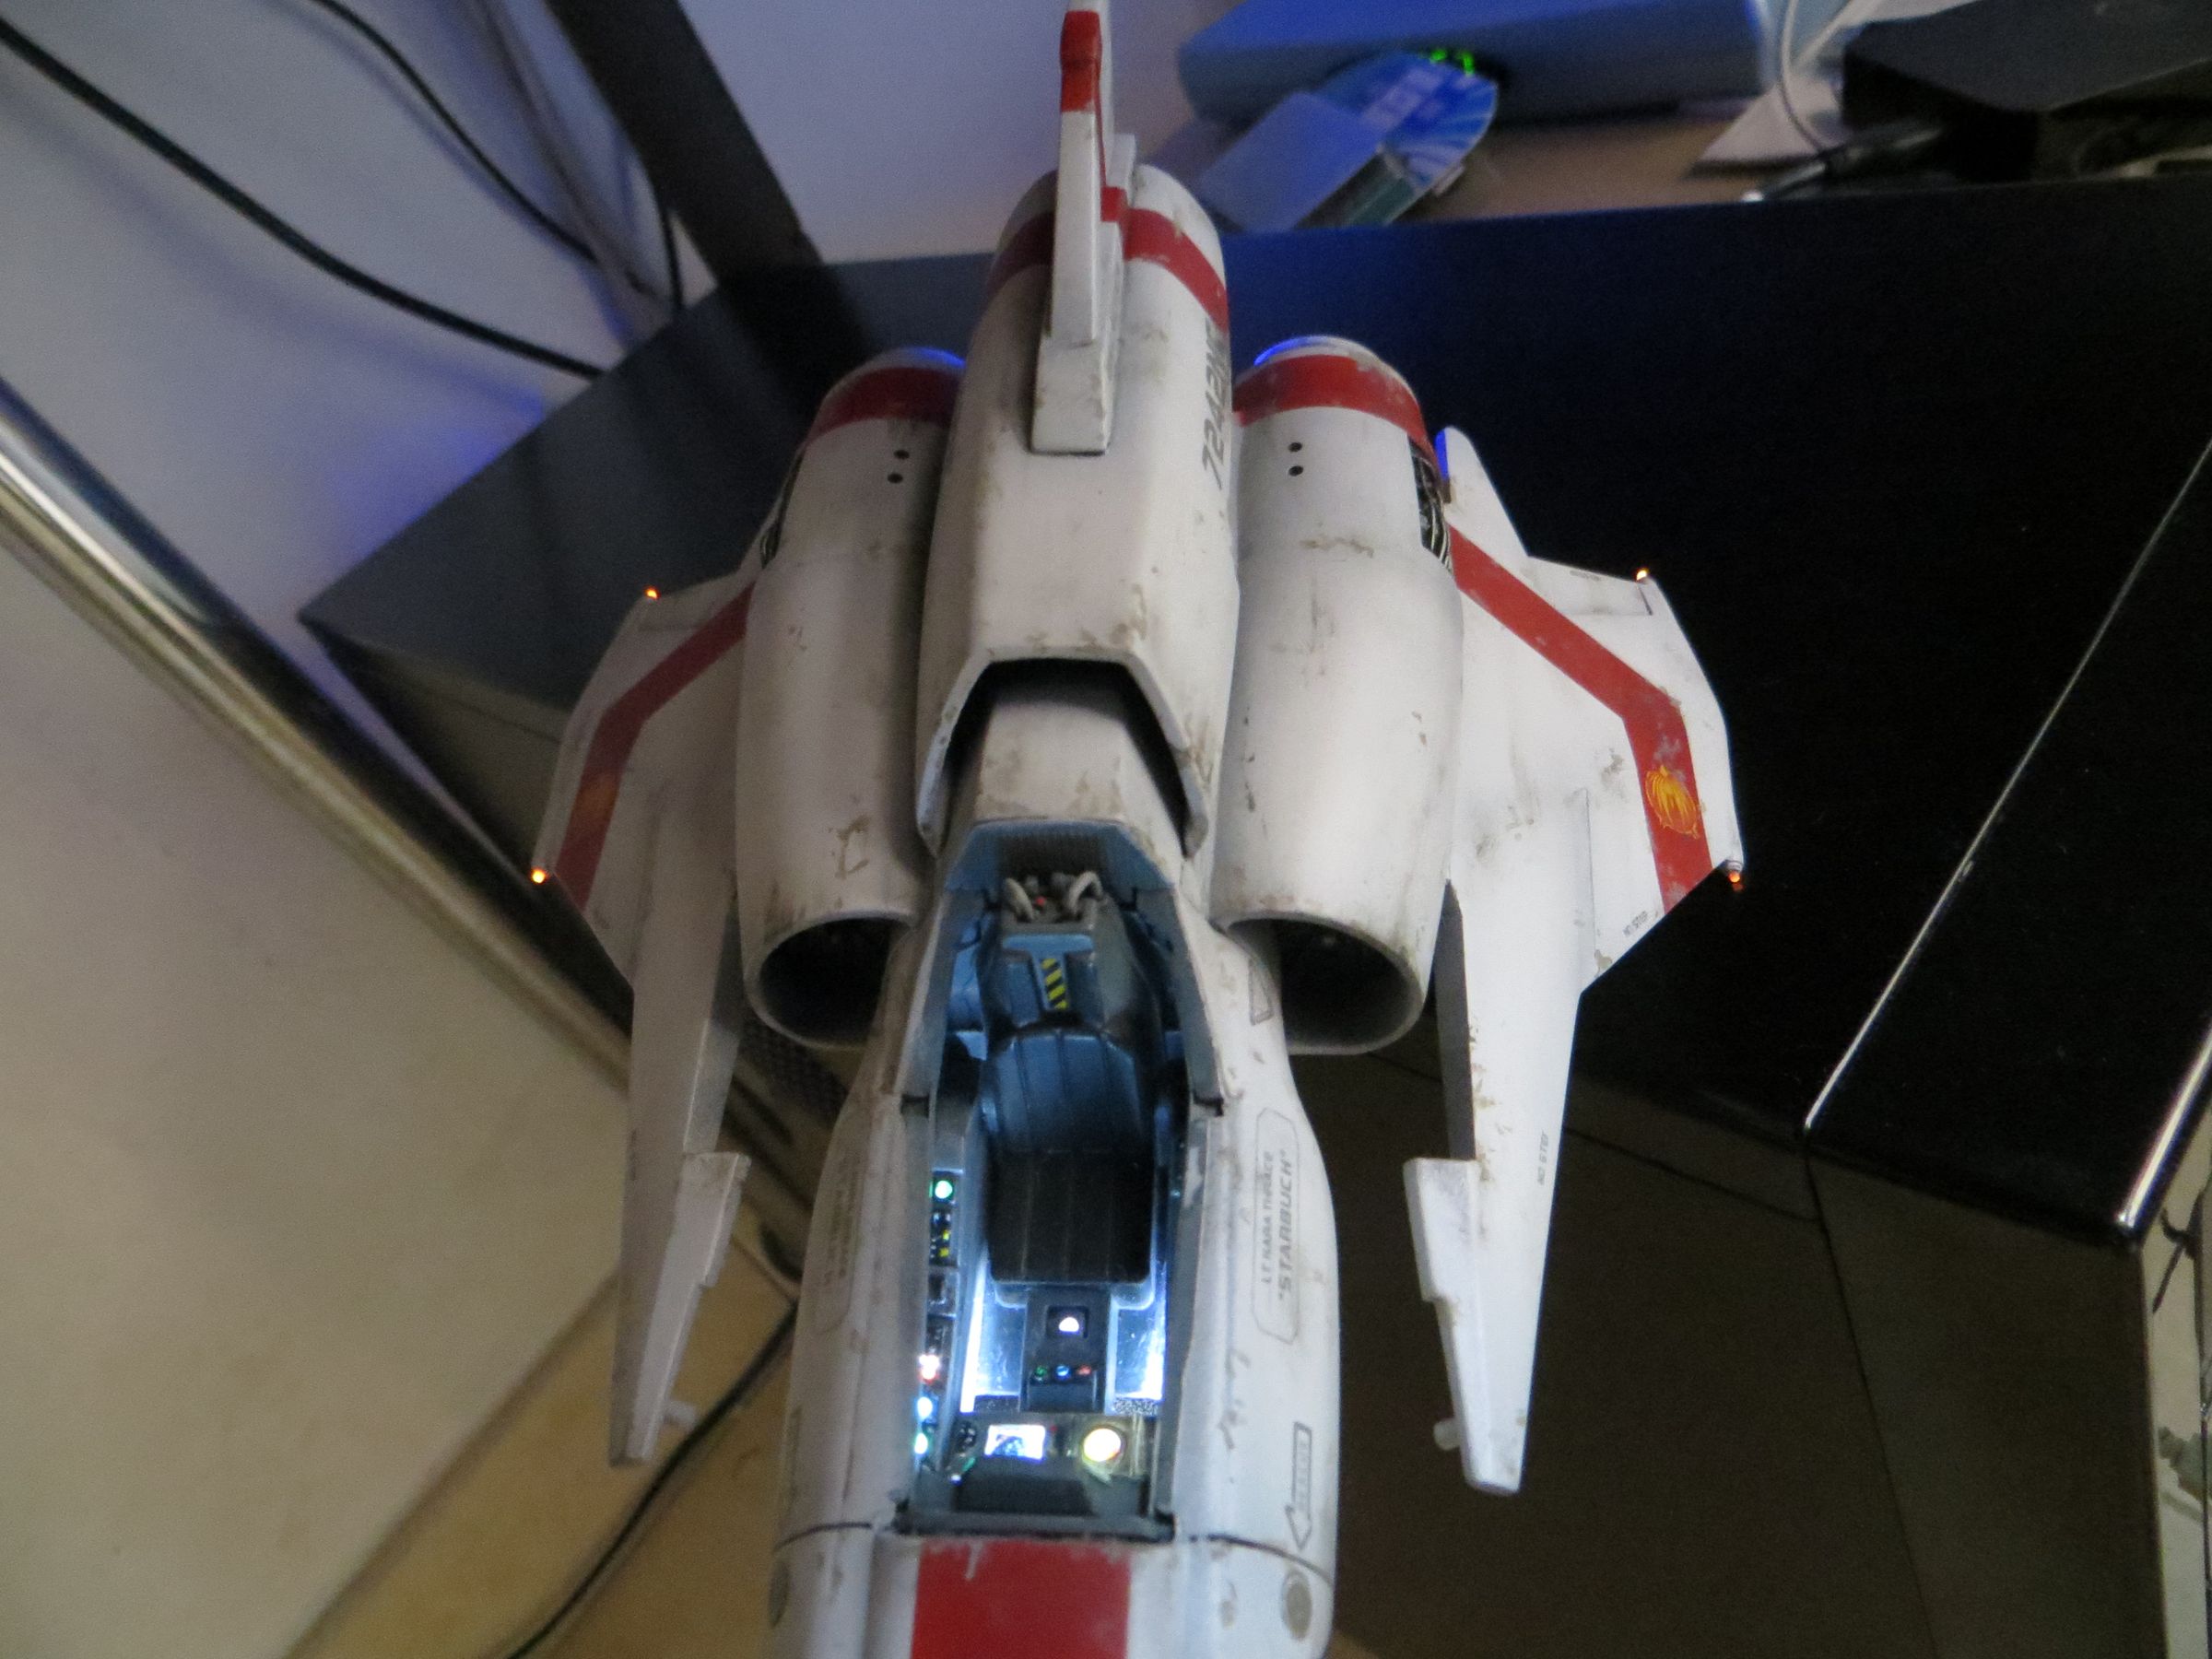
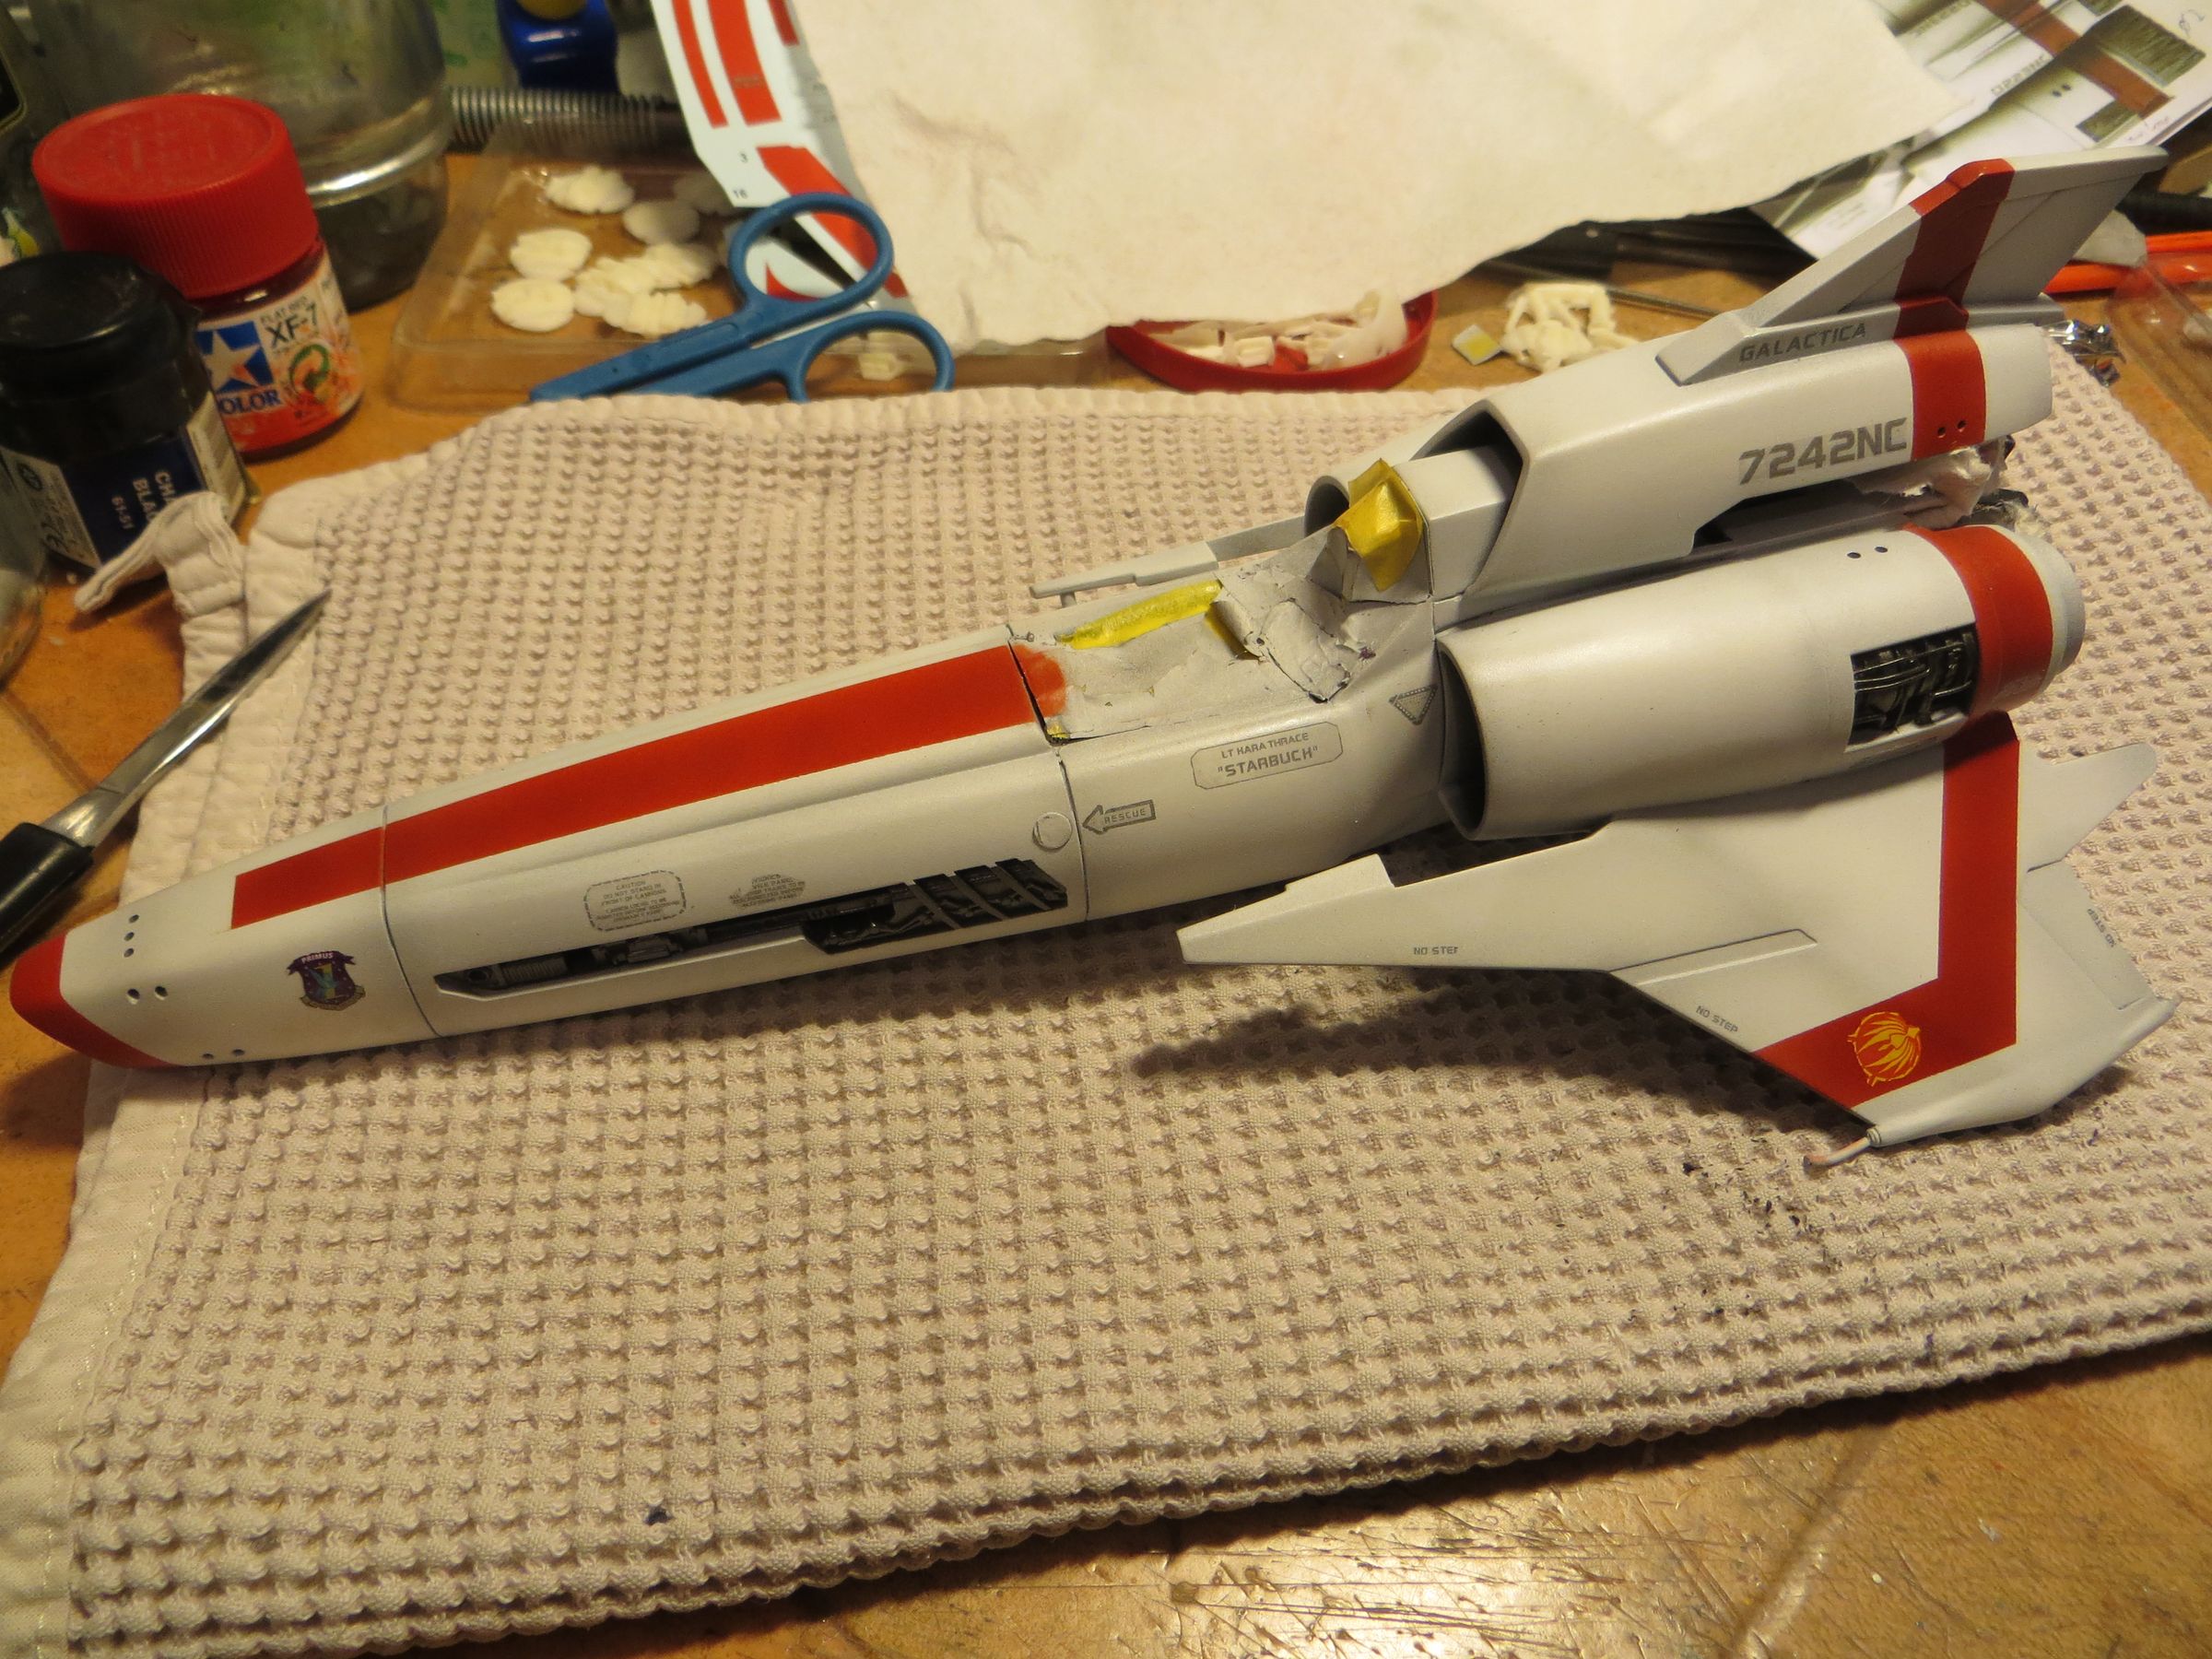
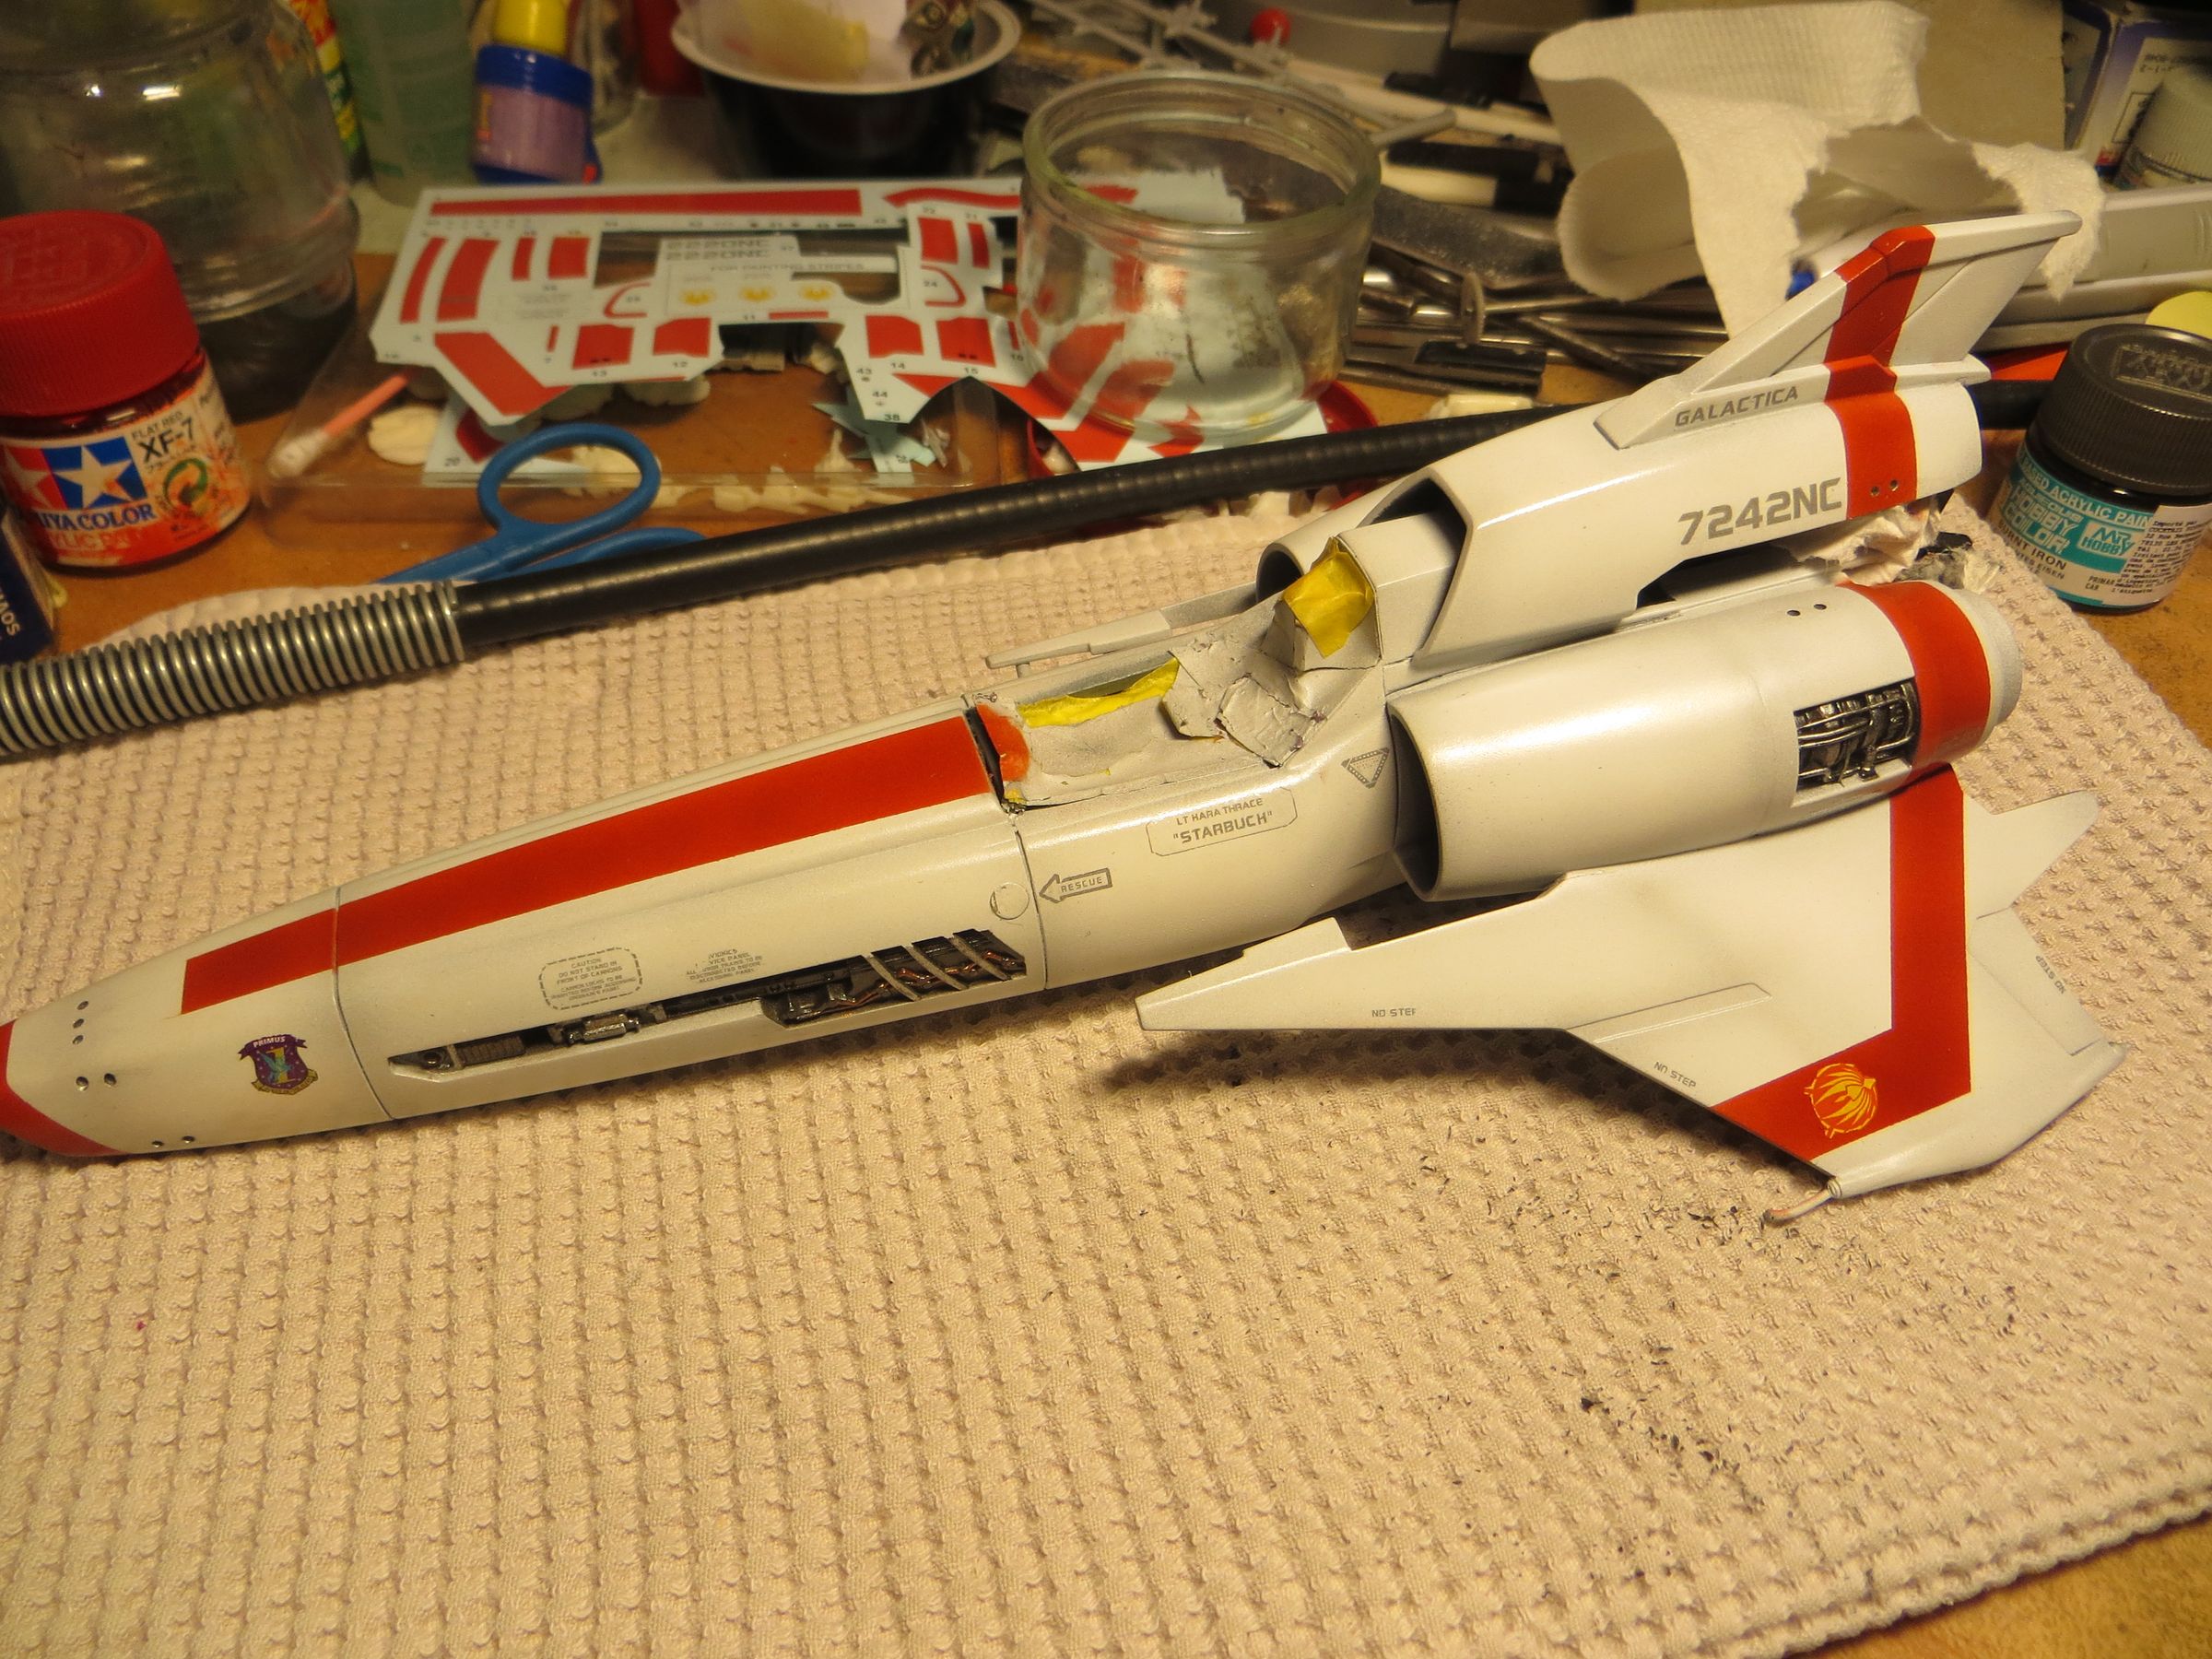
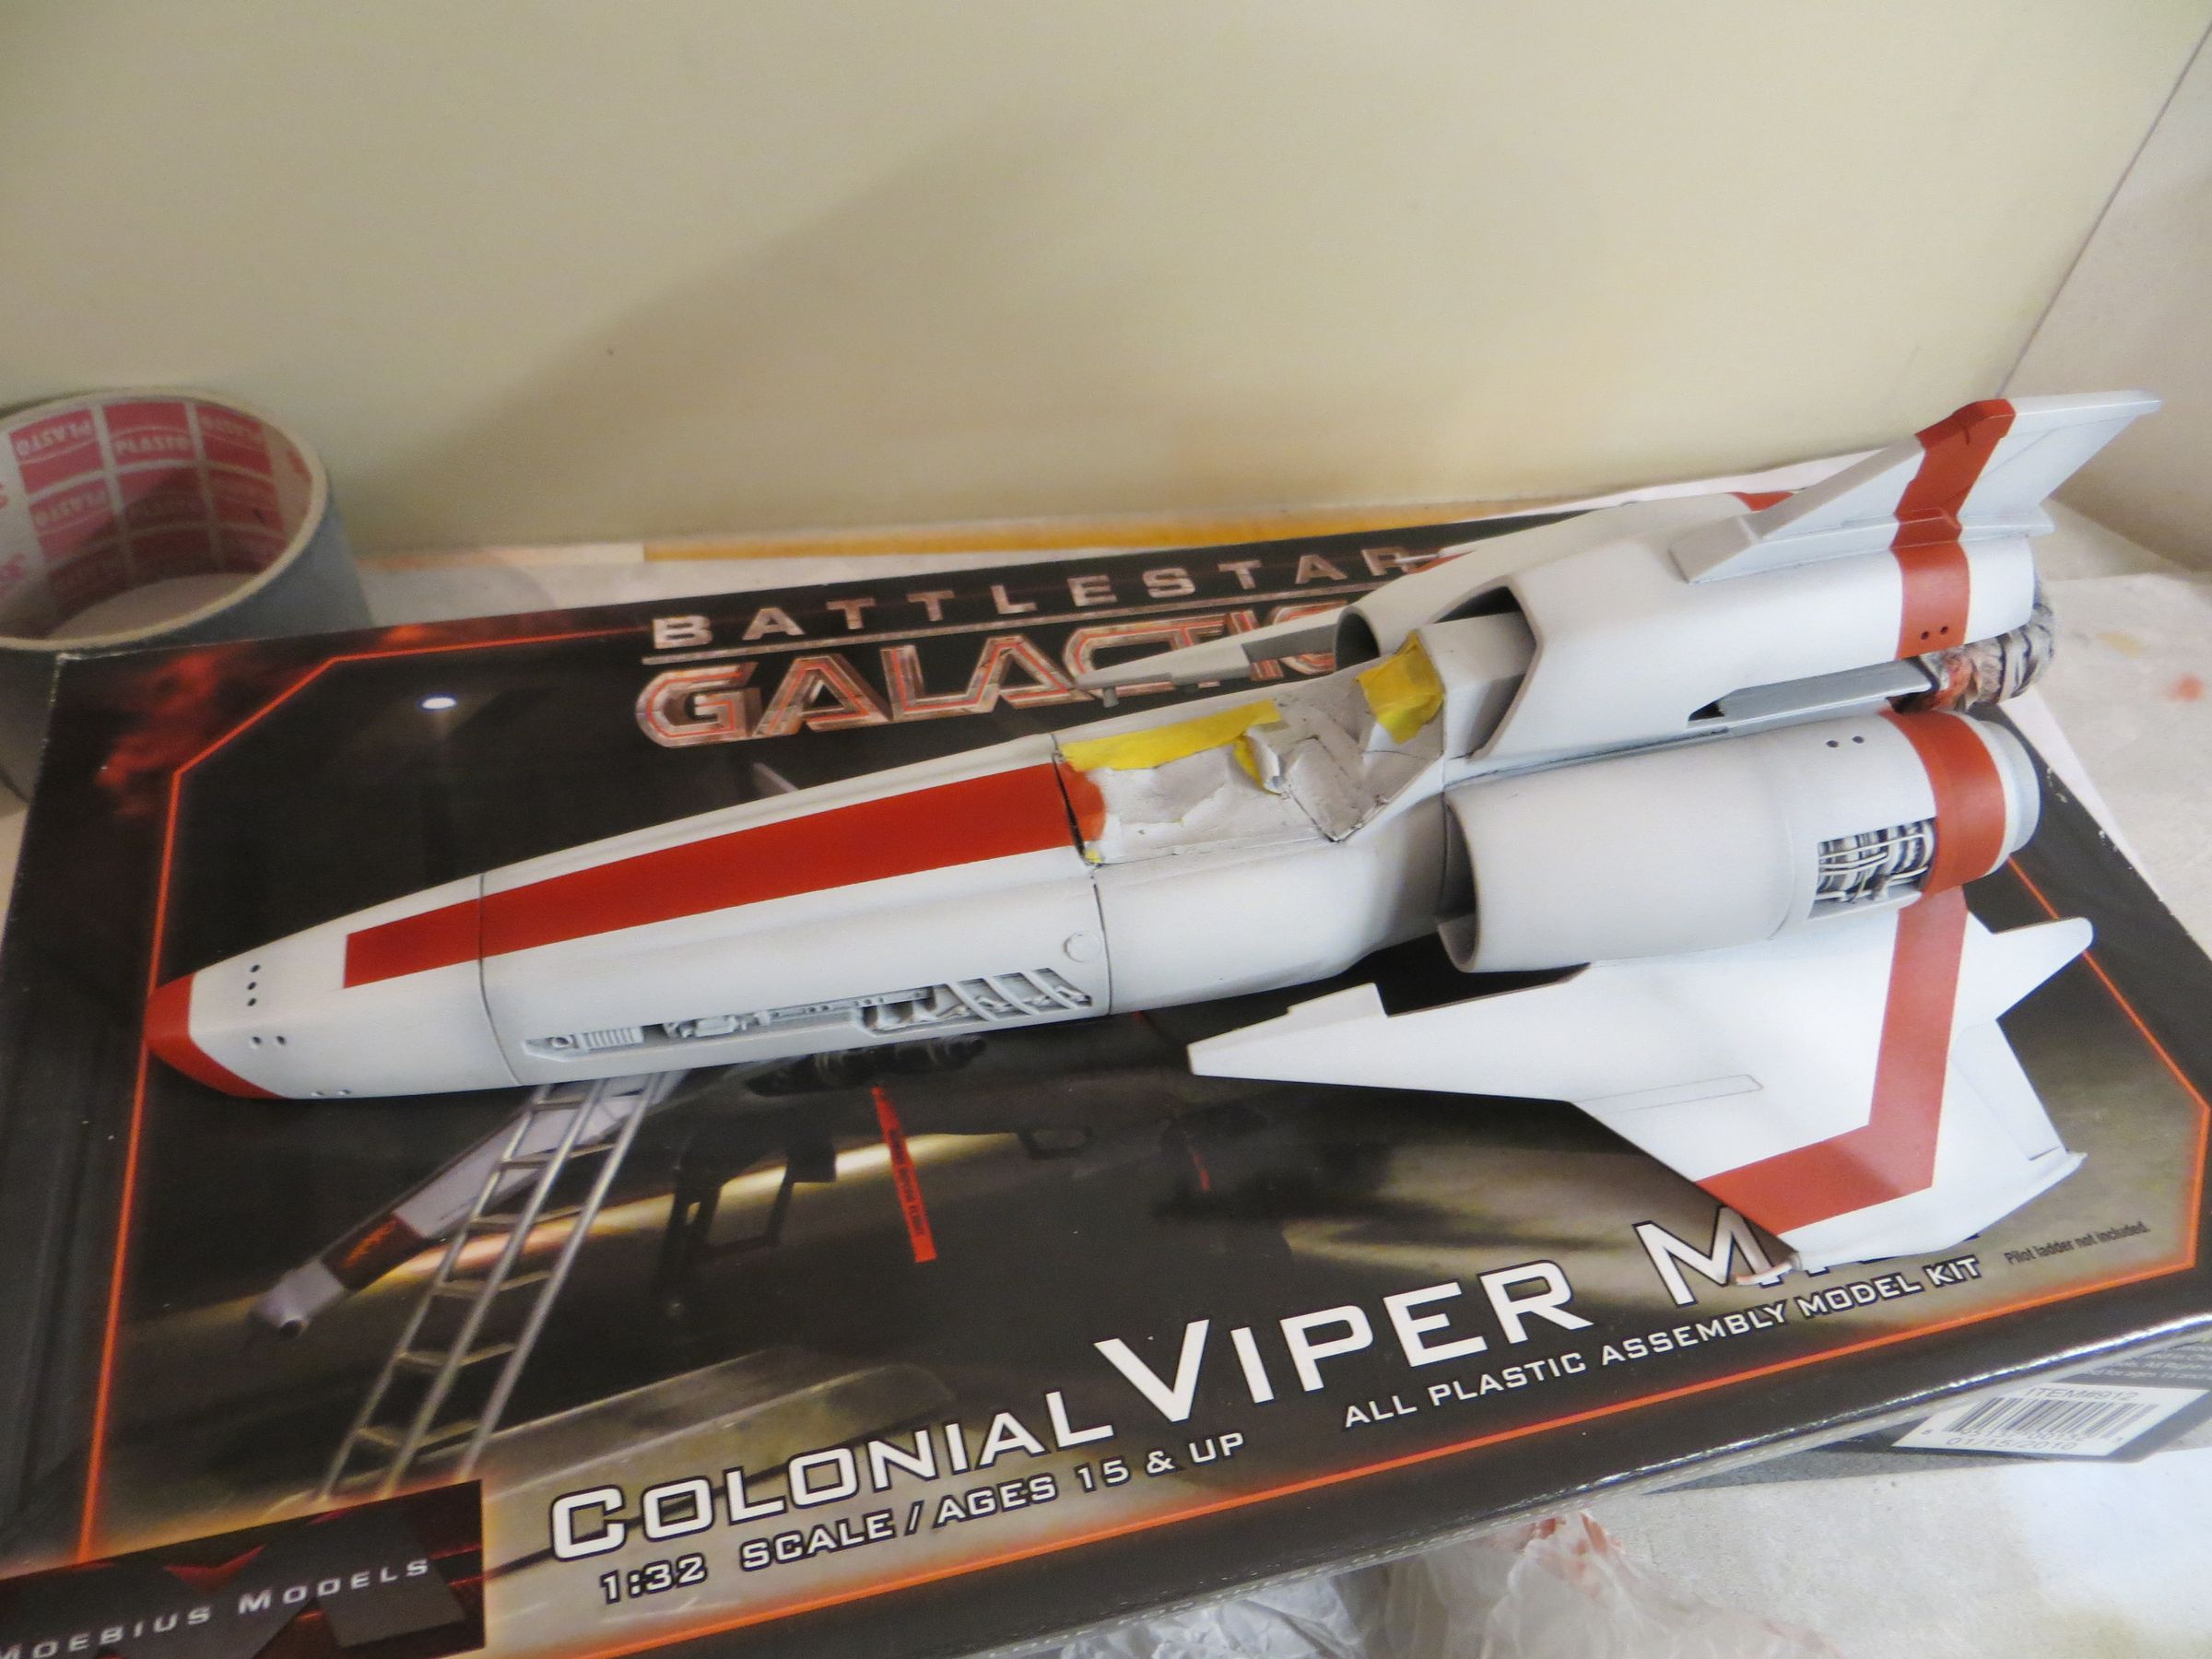
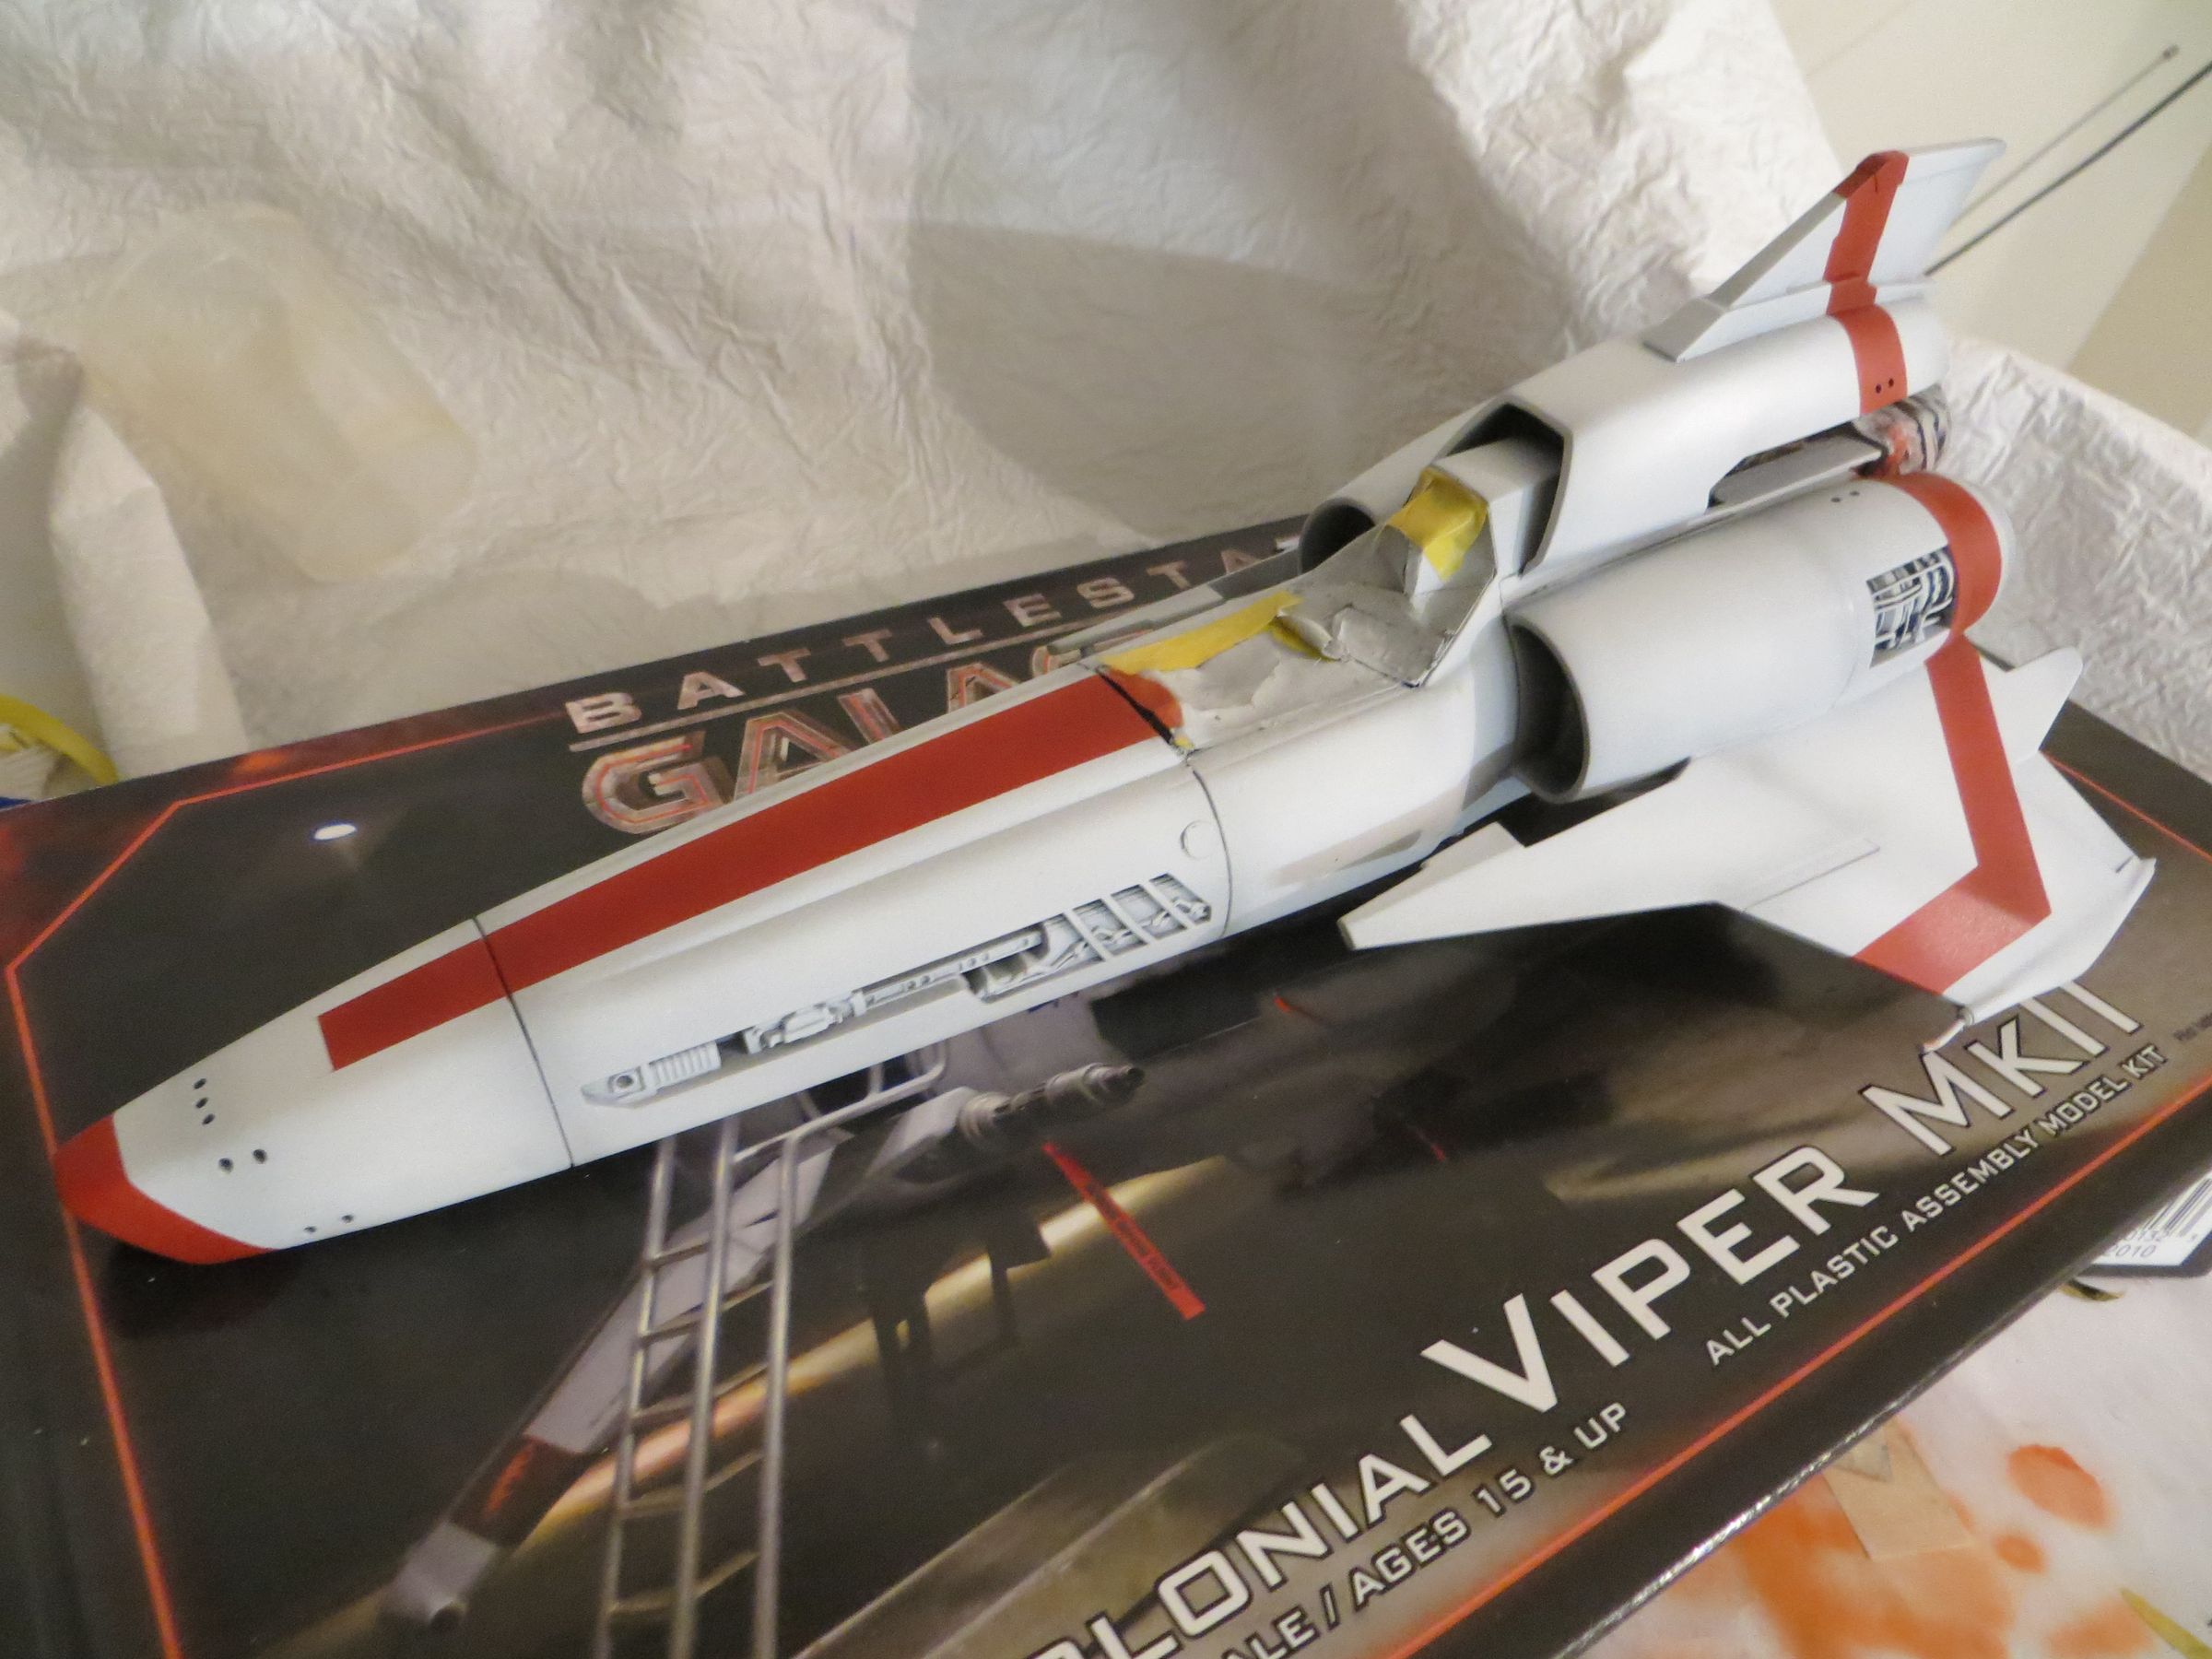
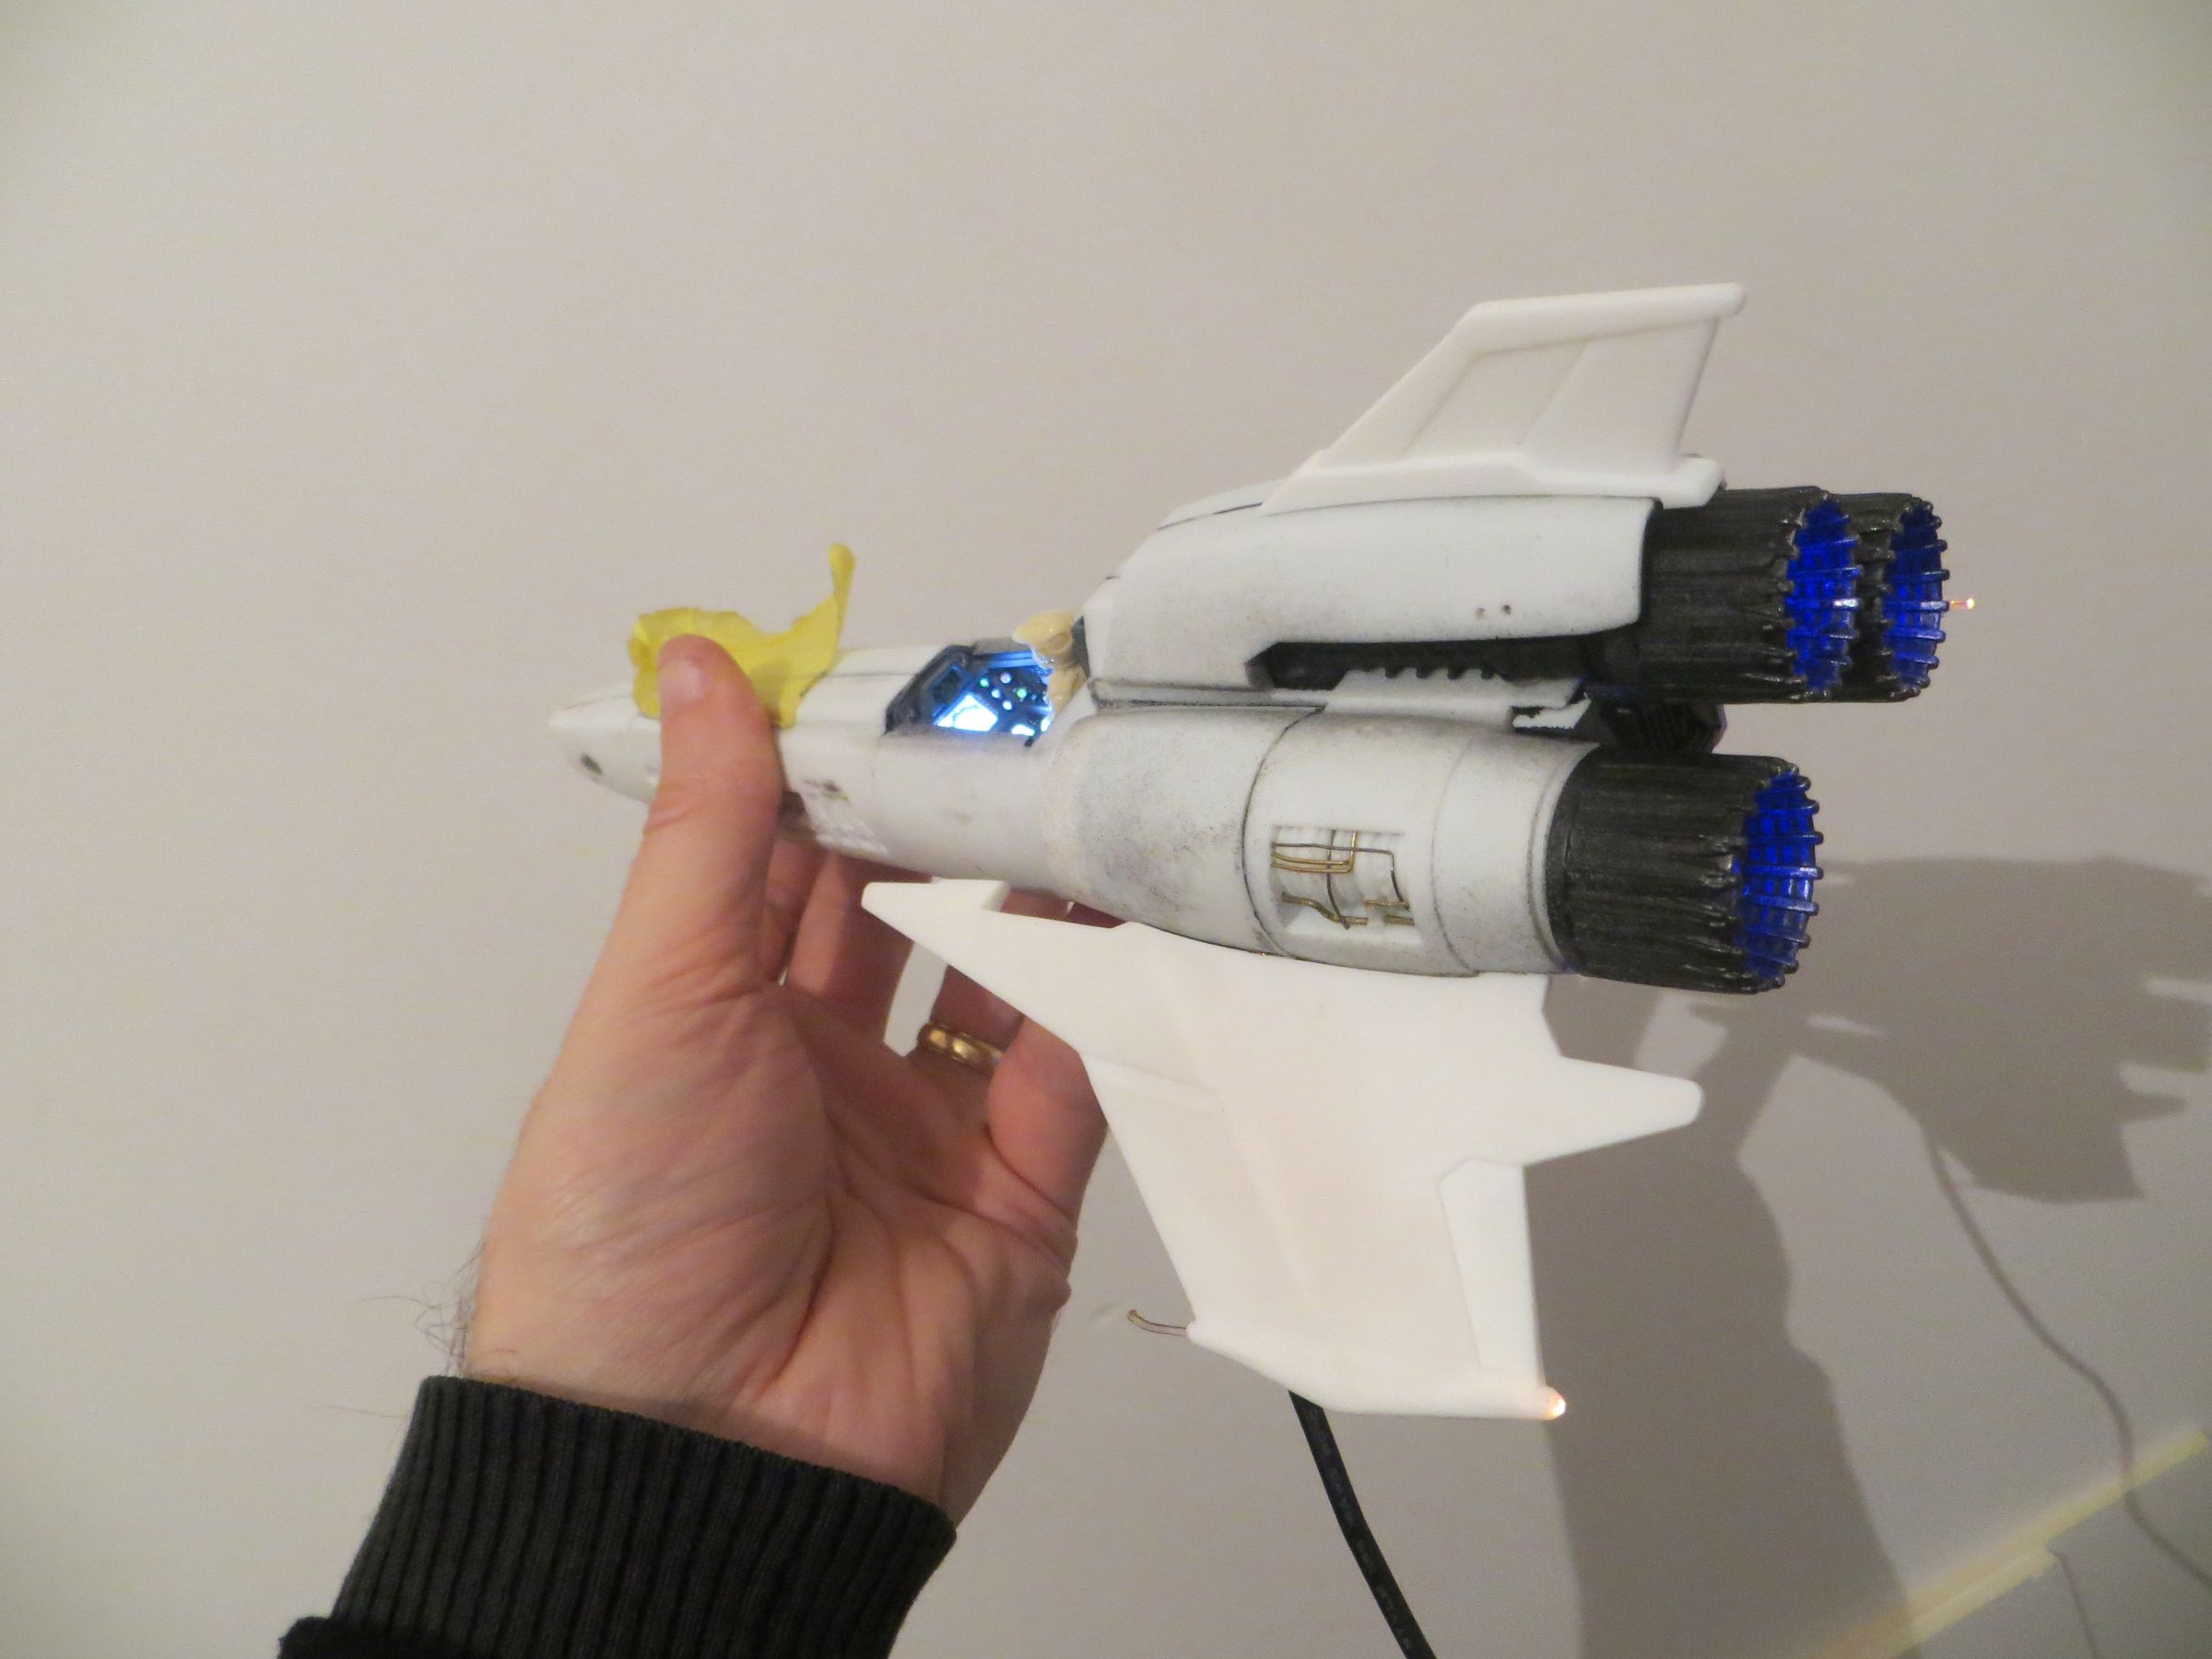
And here is a Viper ready to go on a mission to knock out the Cylons.
in the daylight

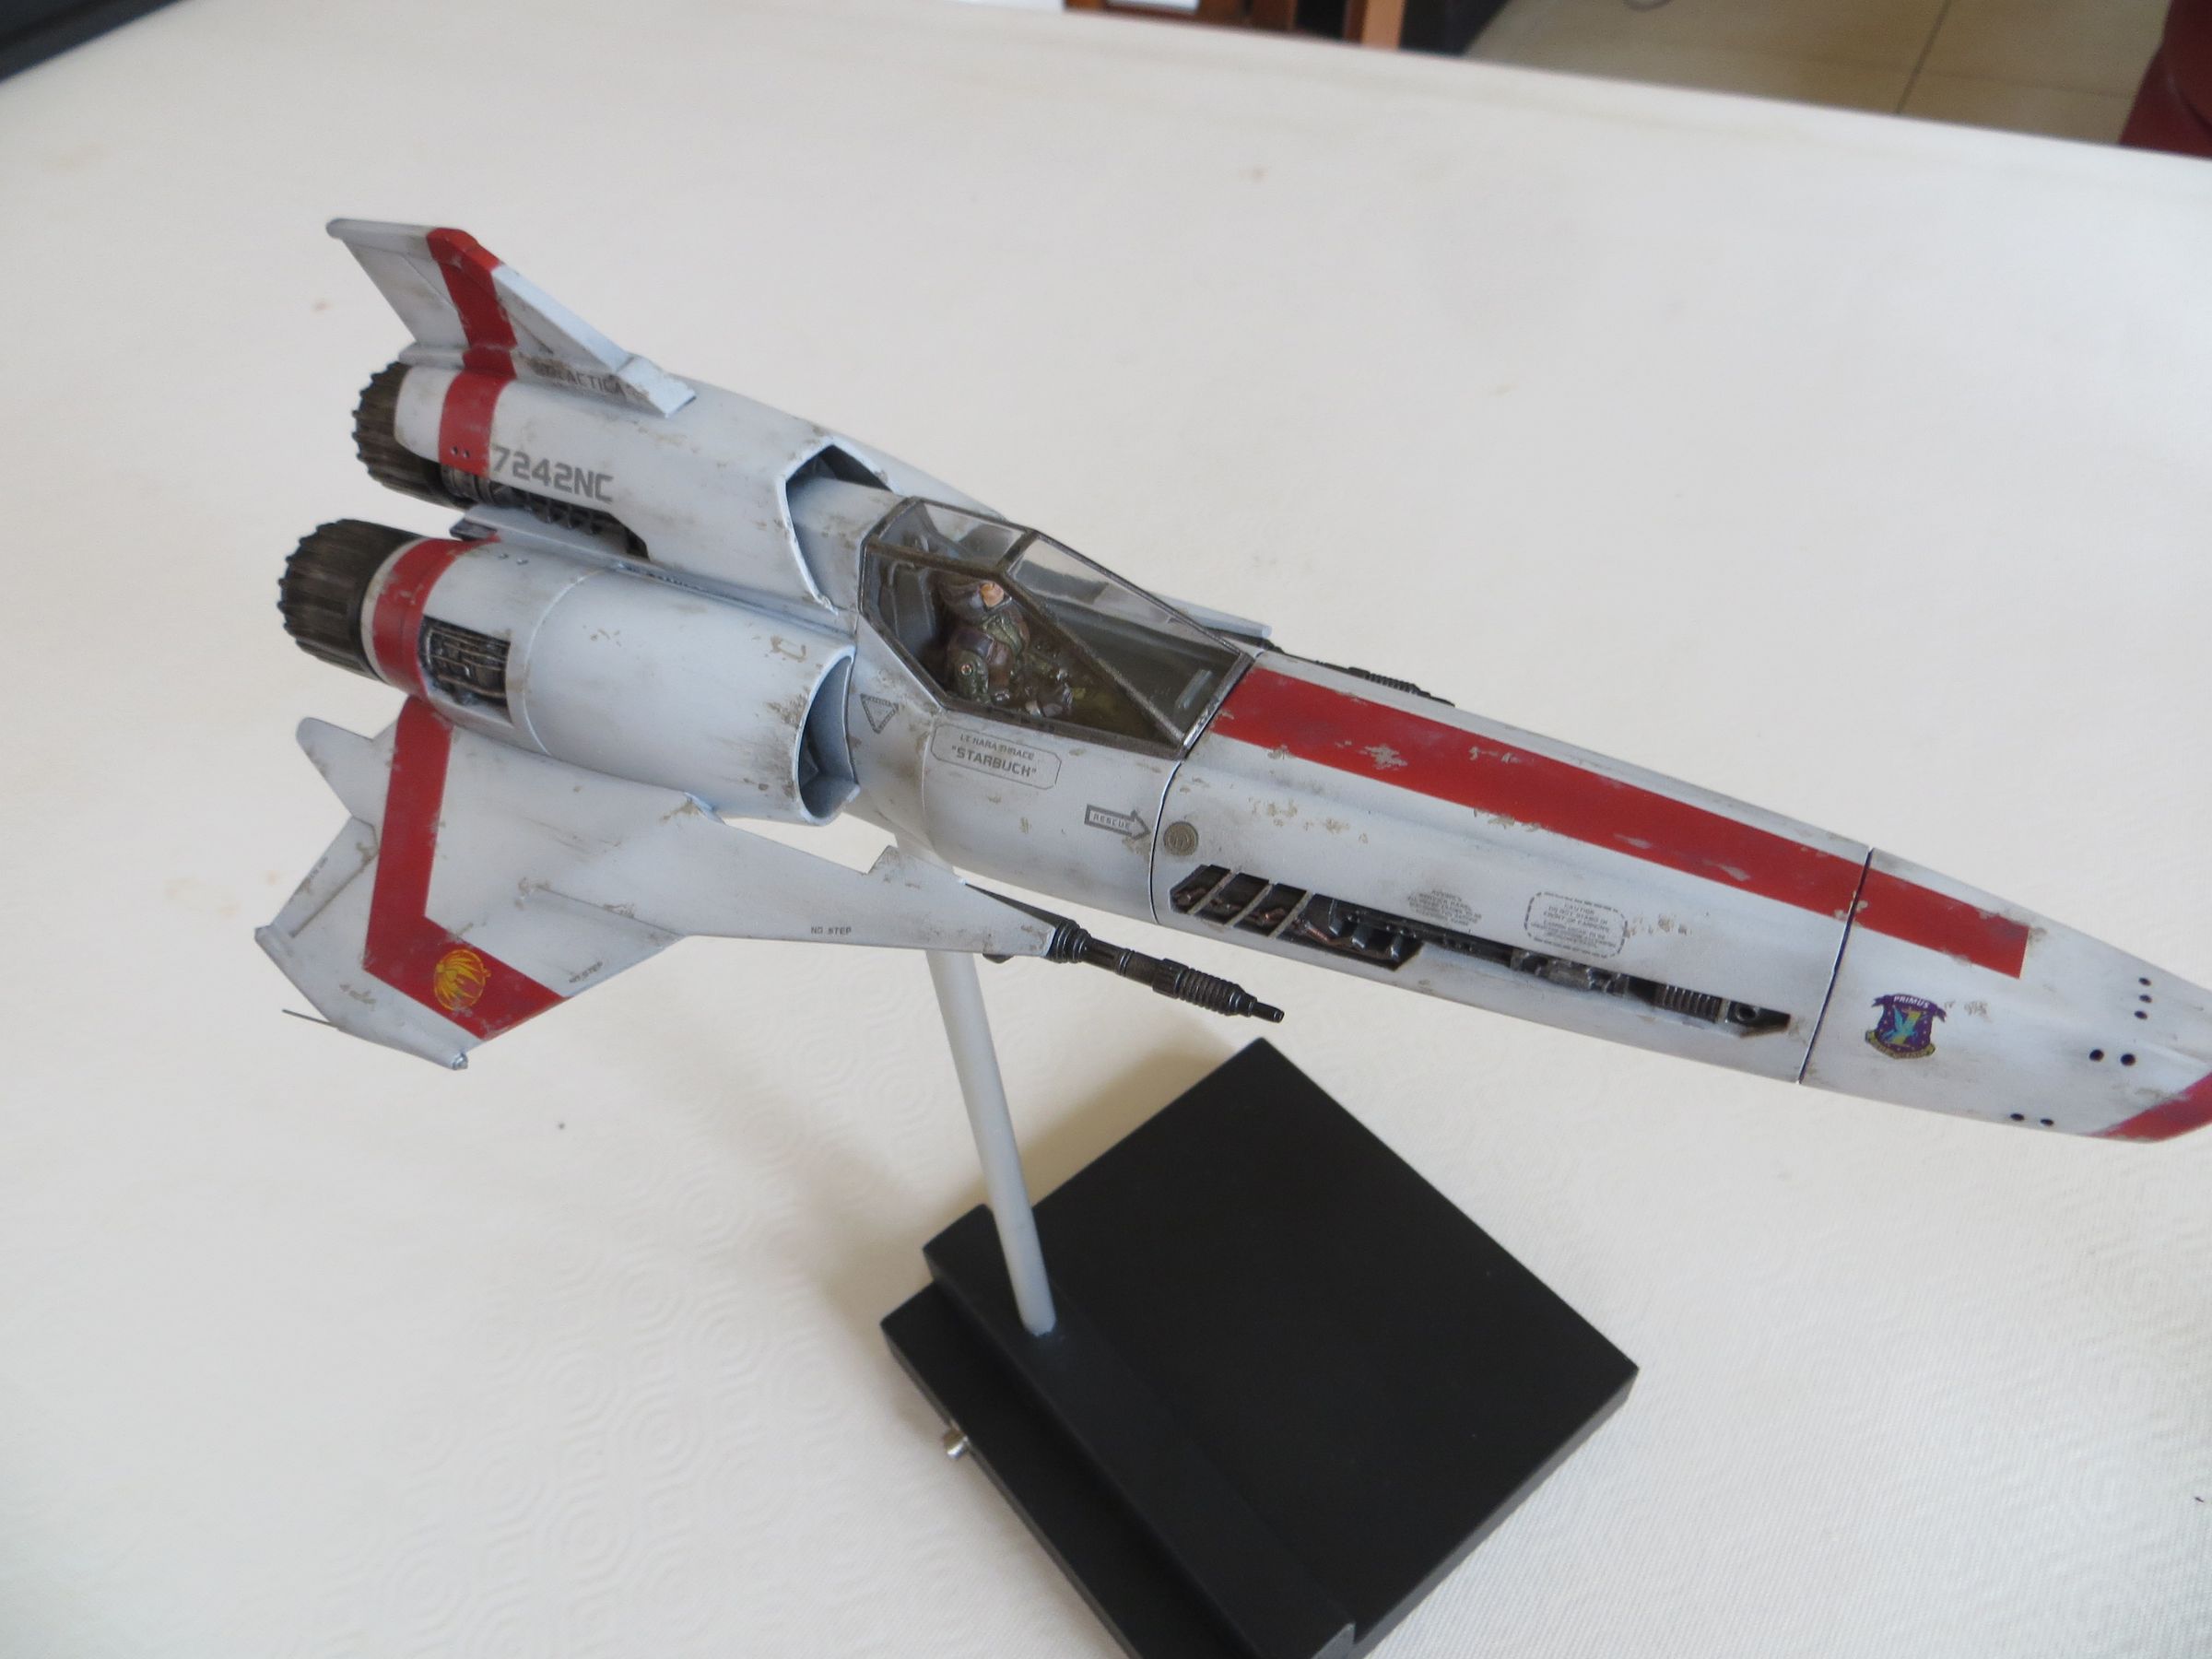

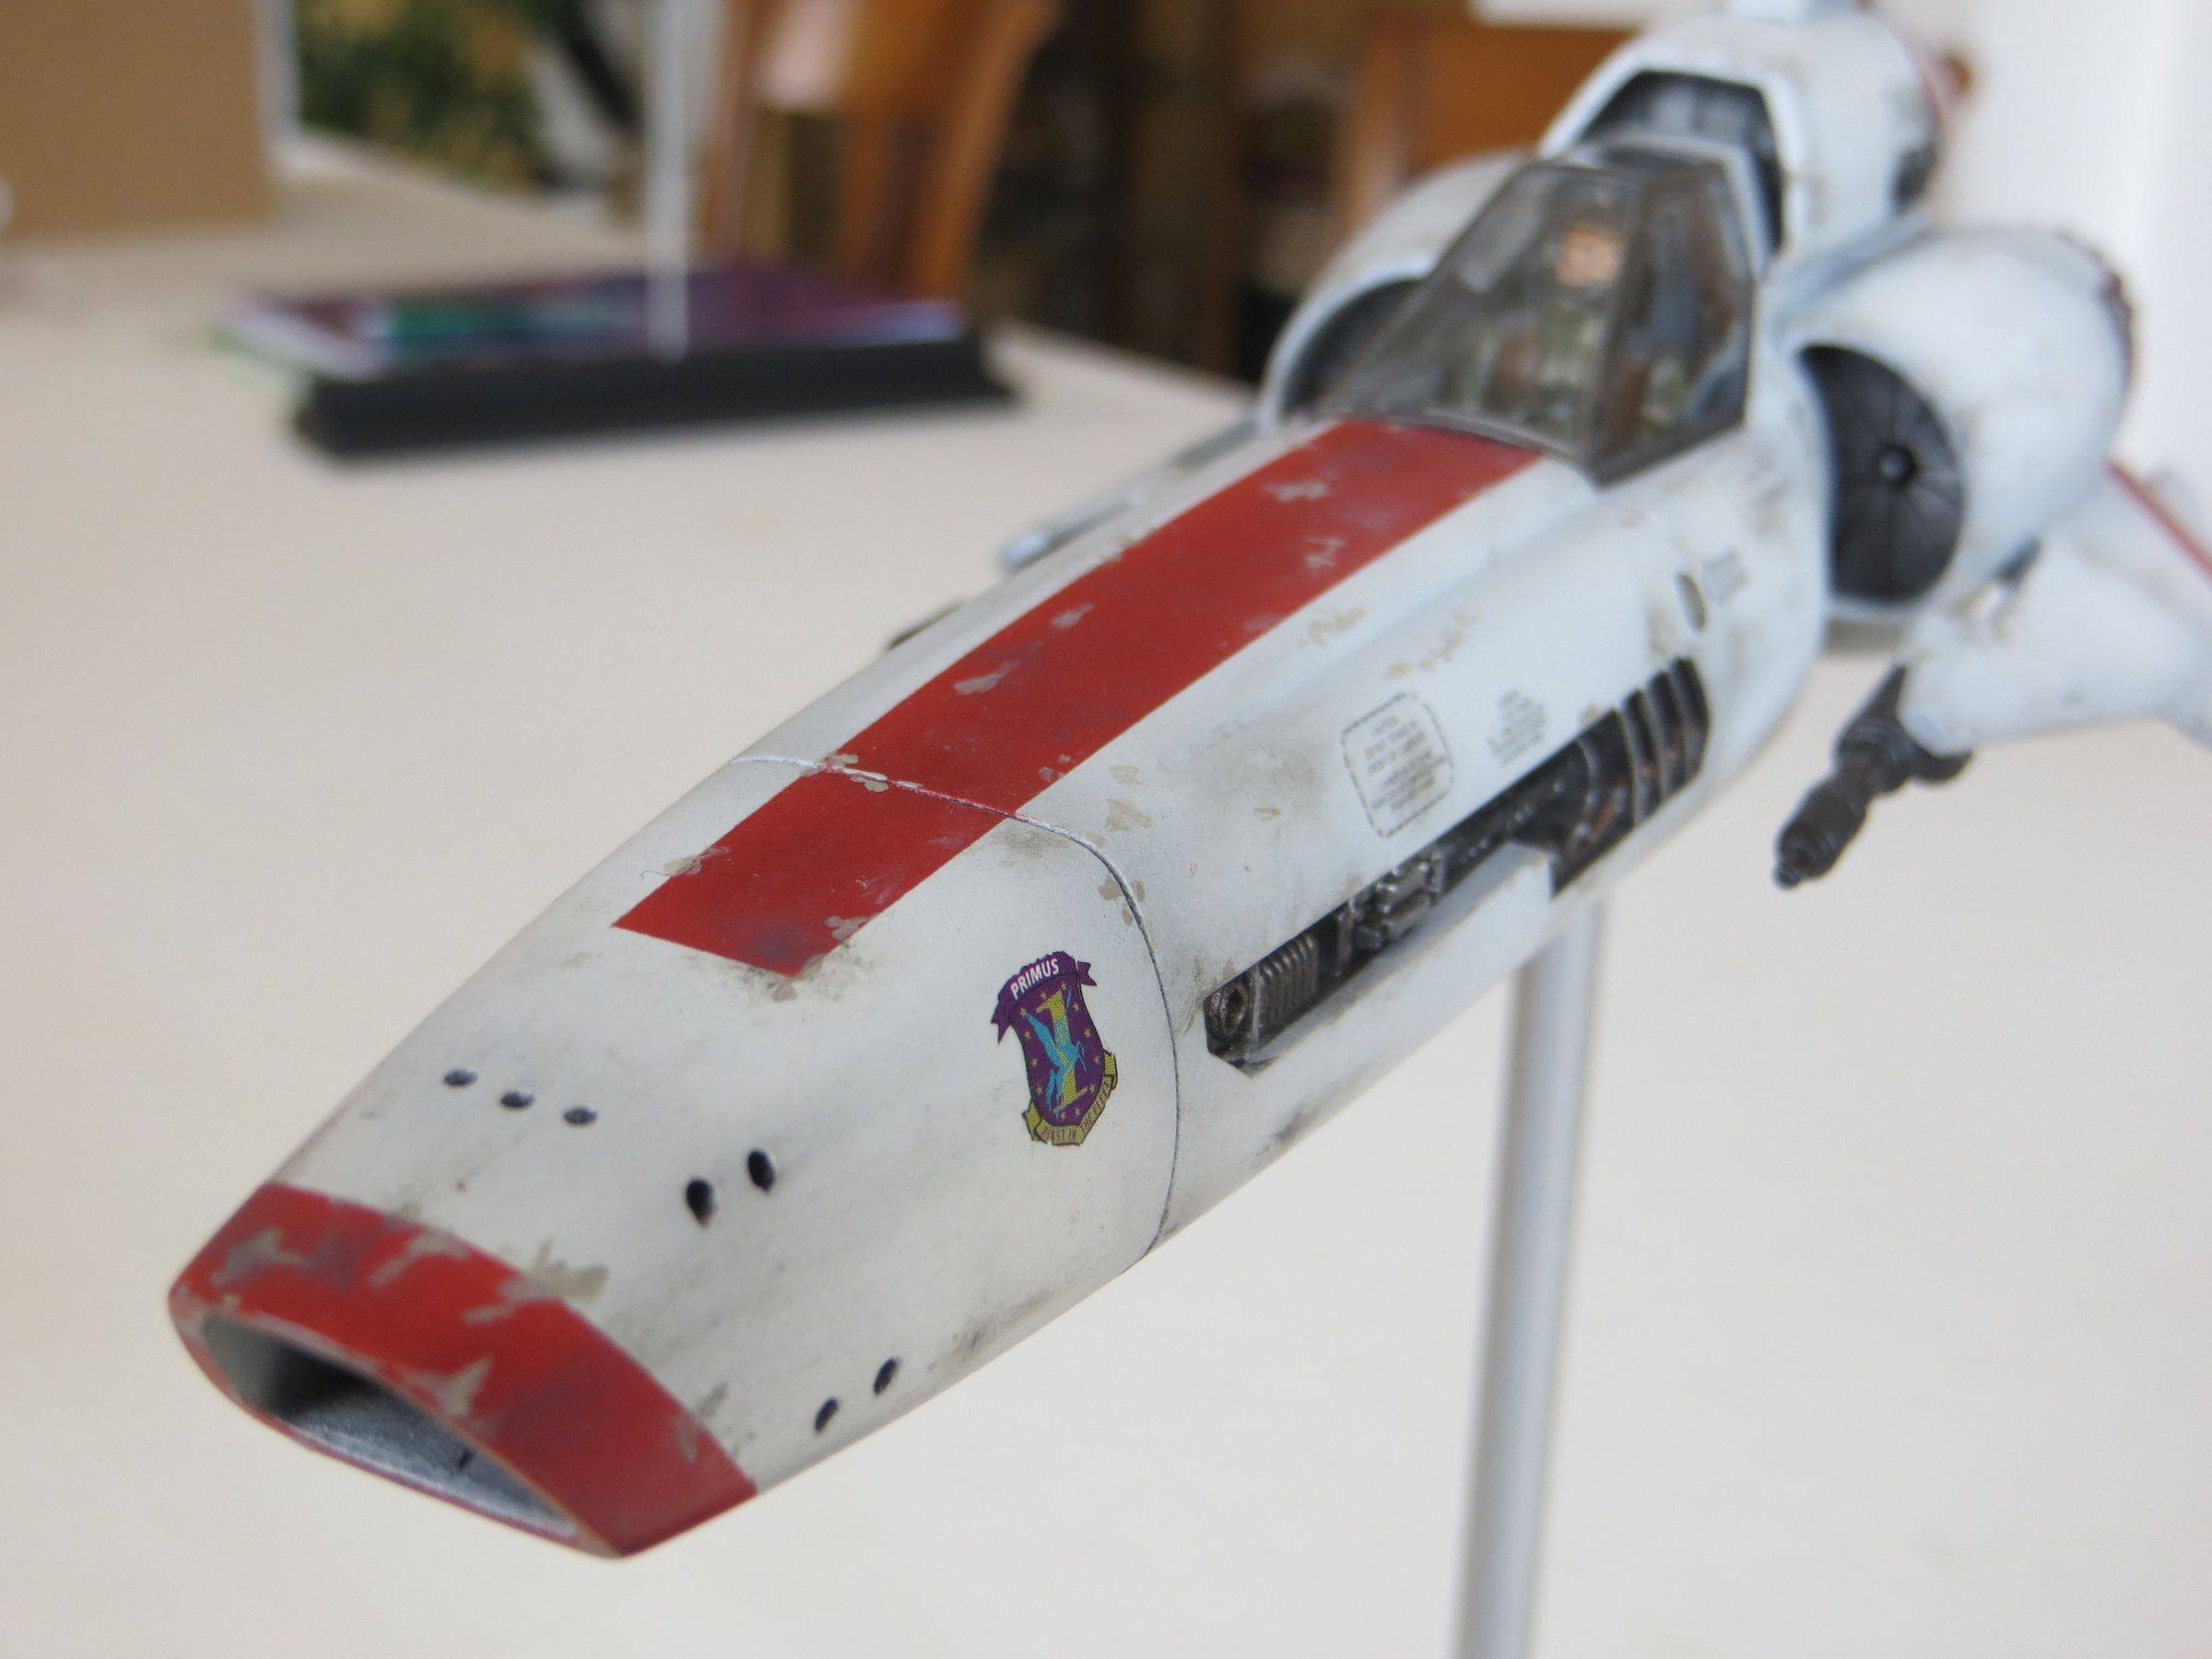
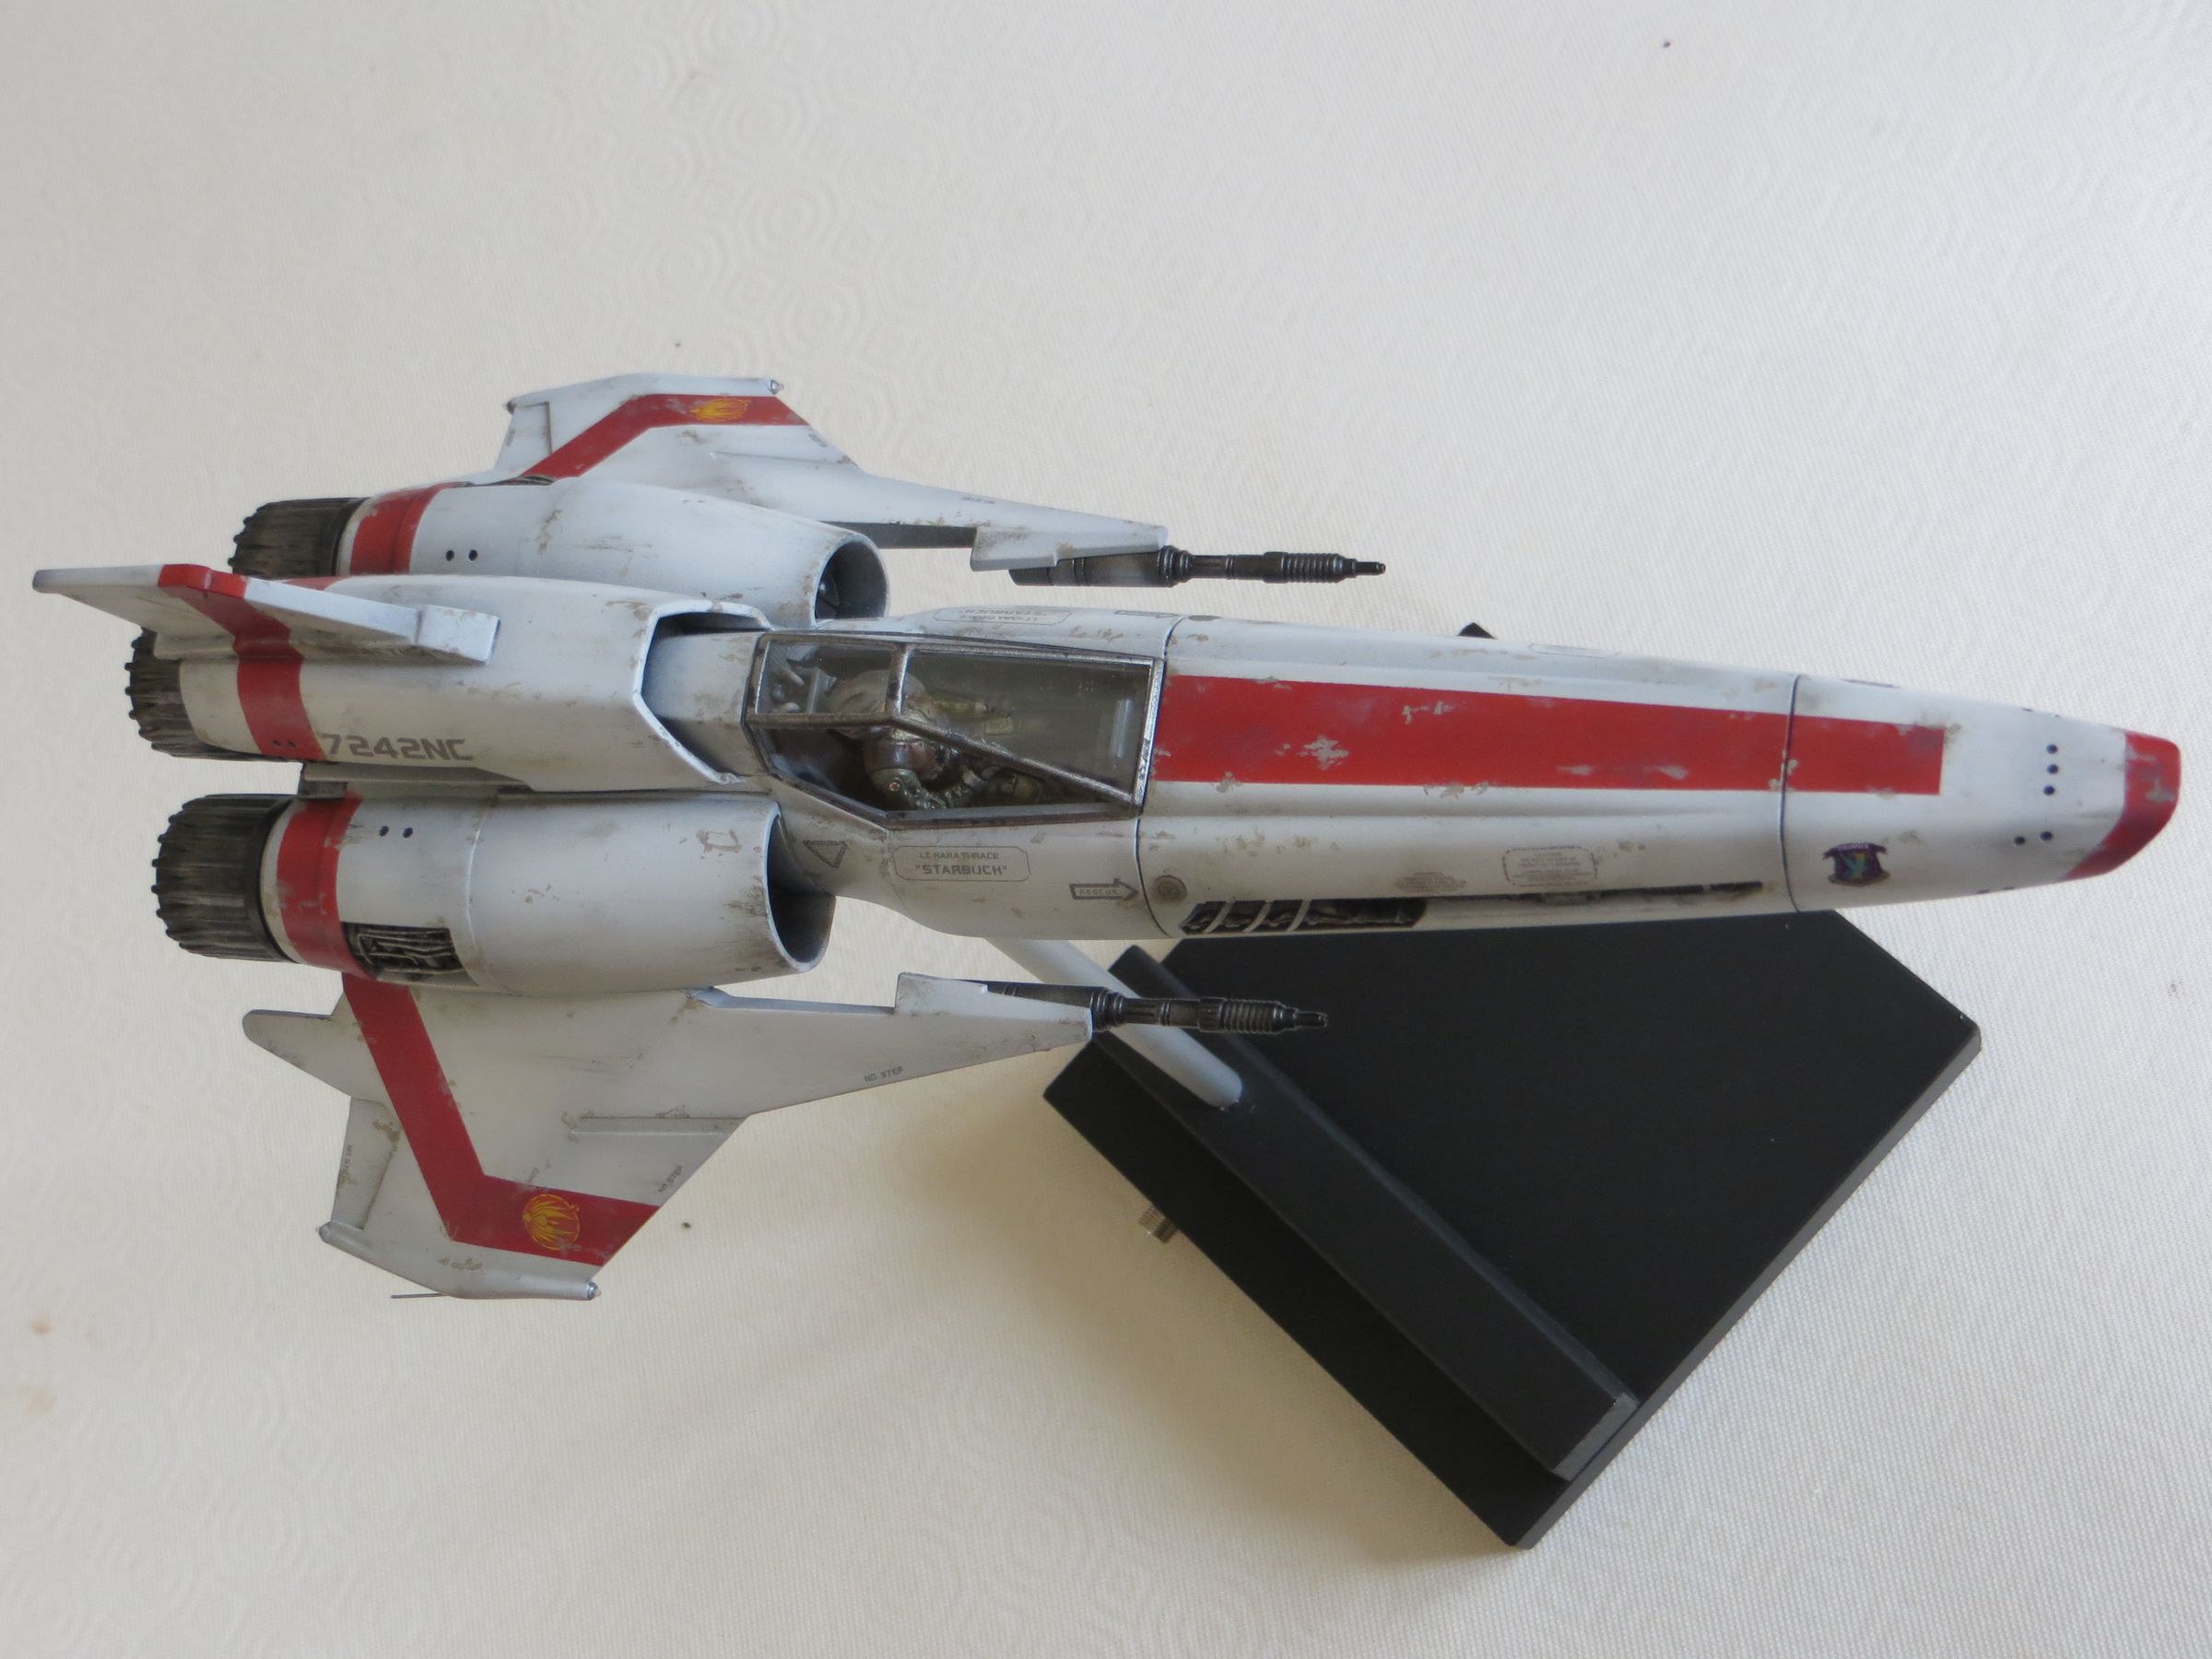
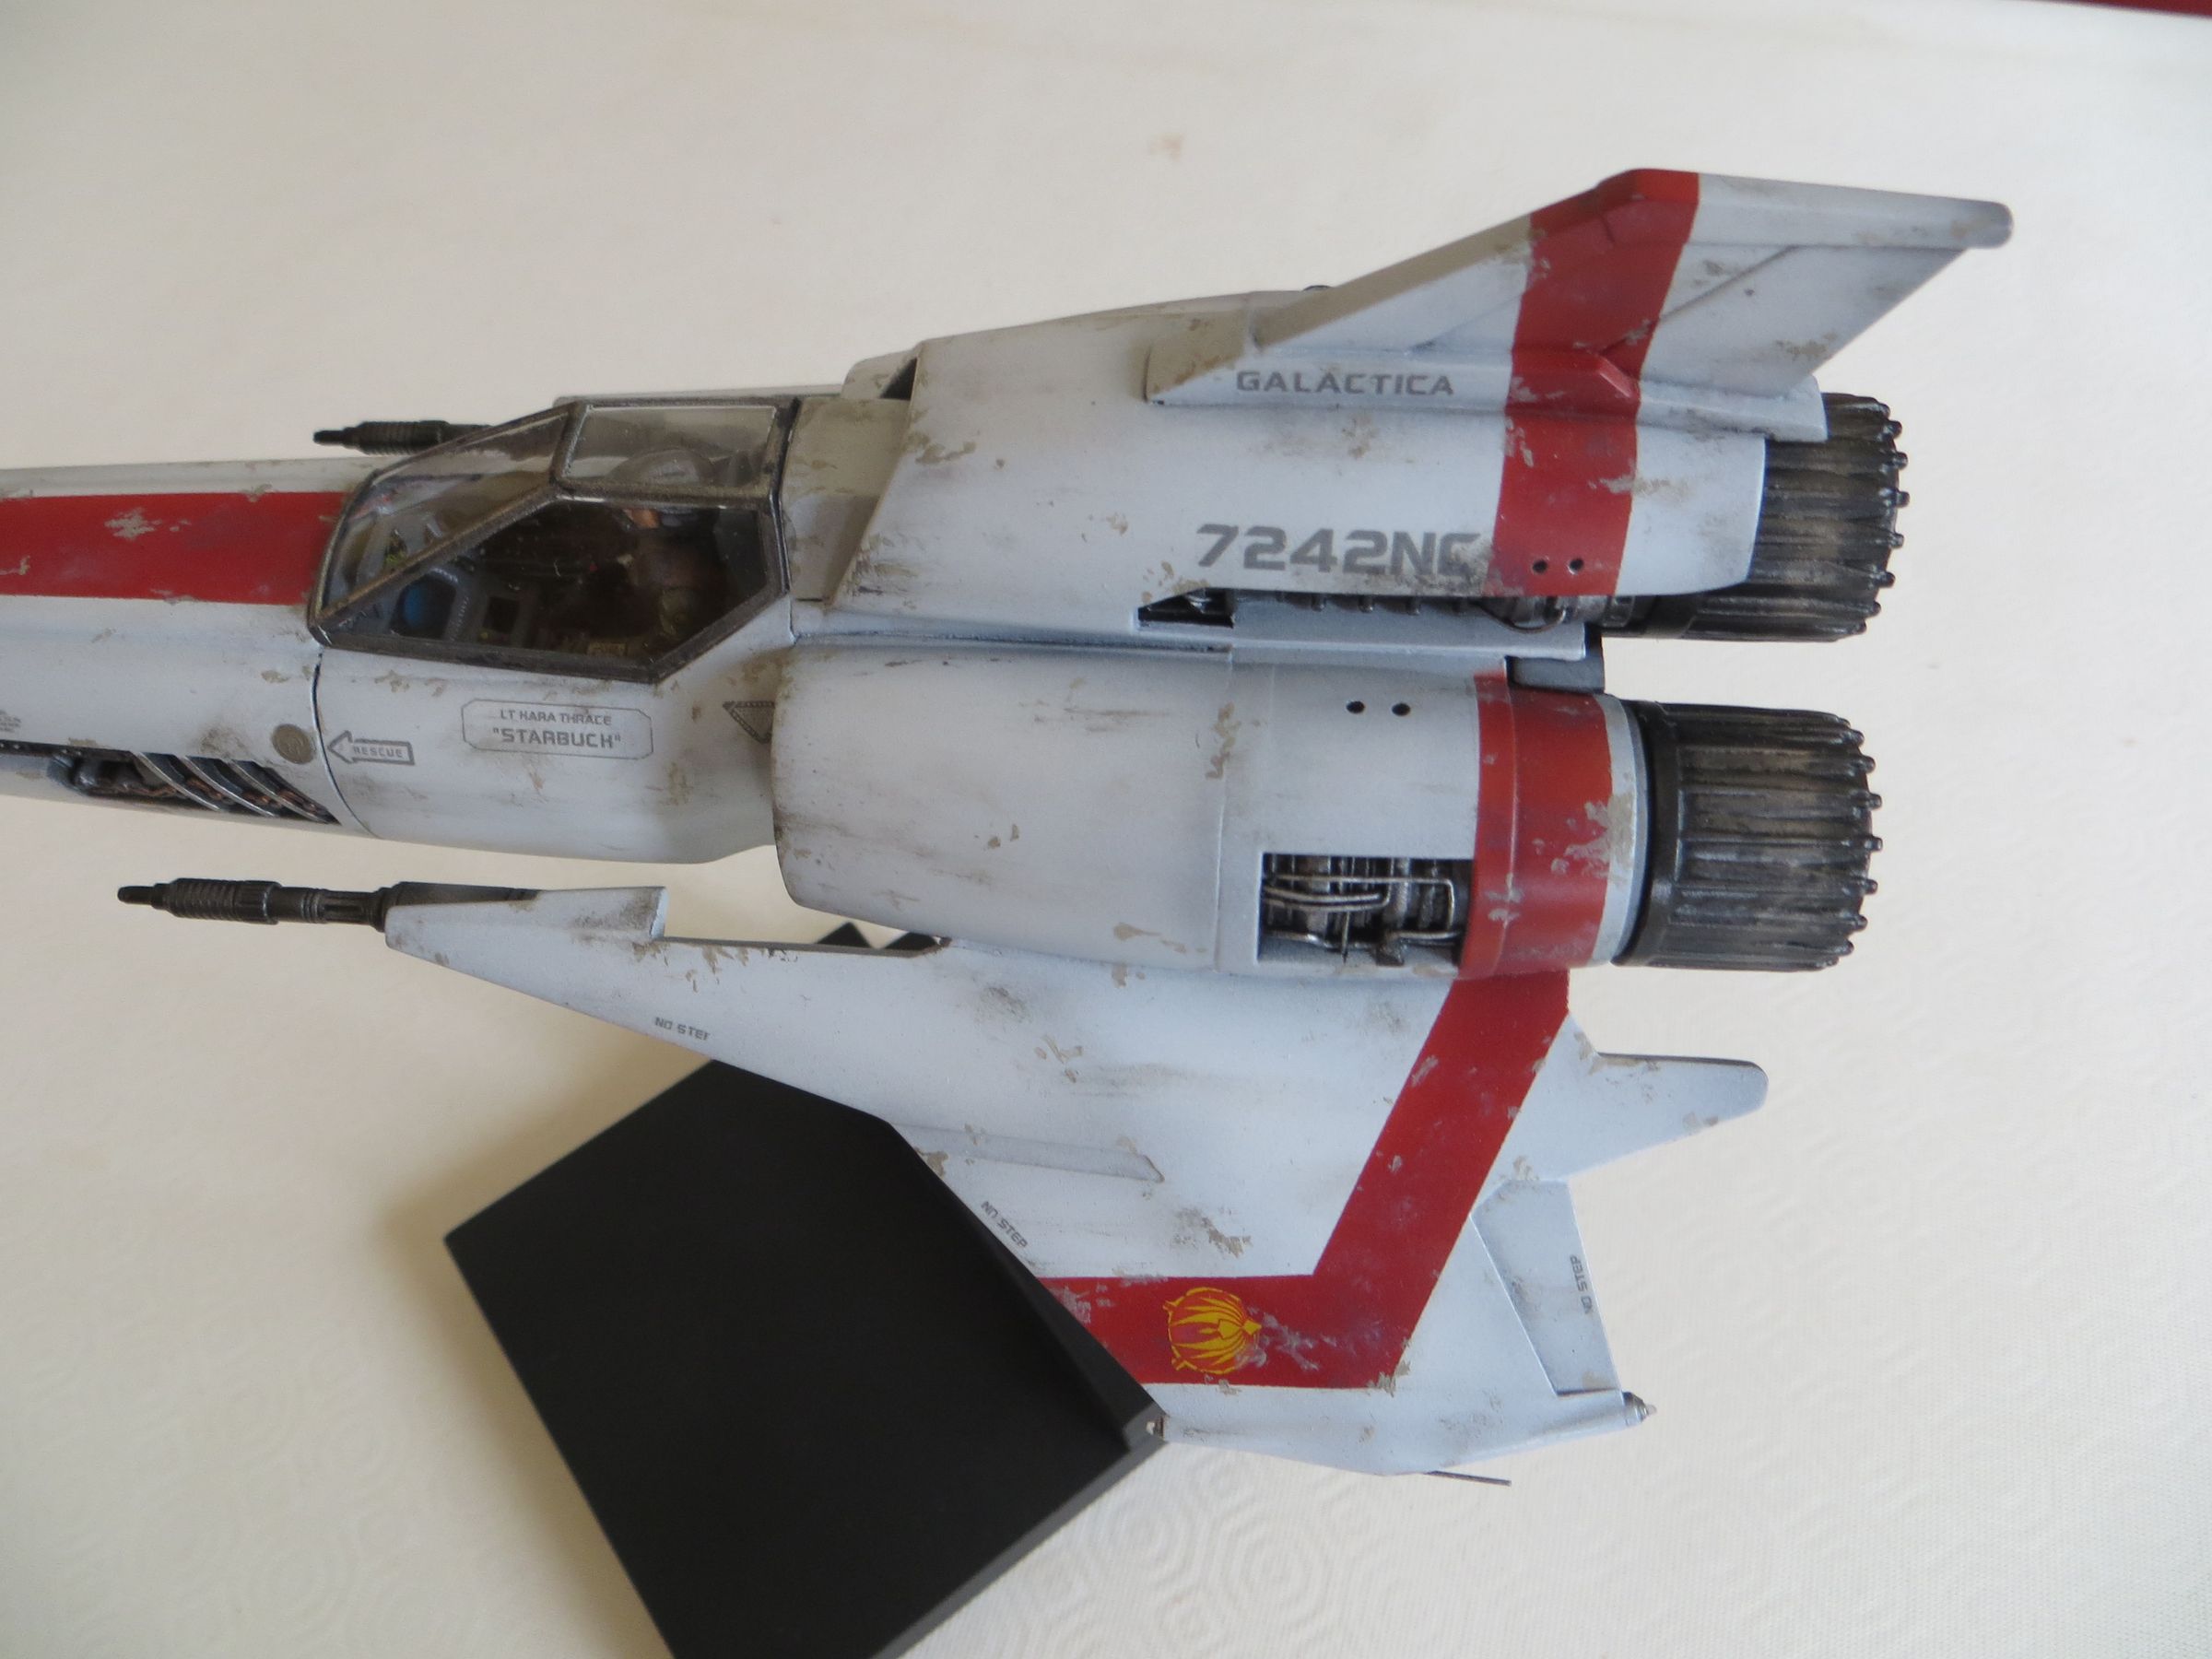

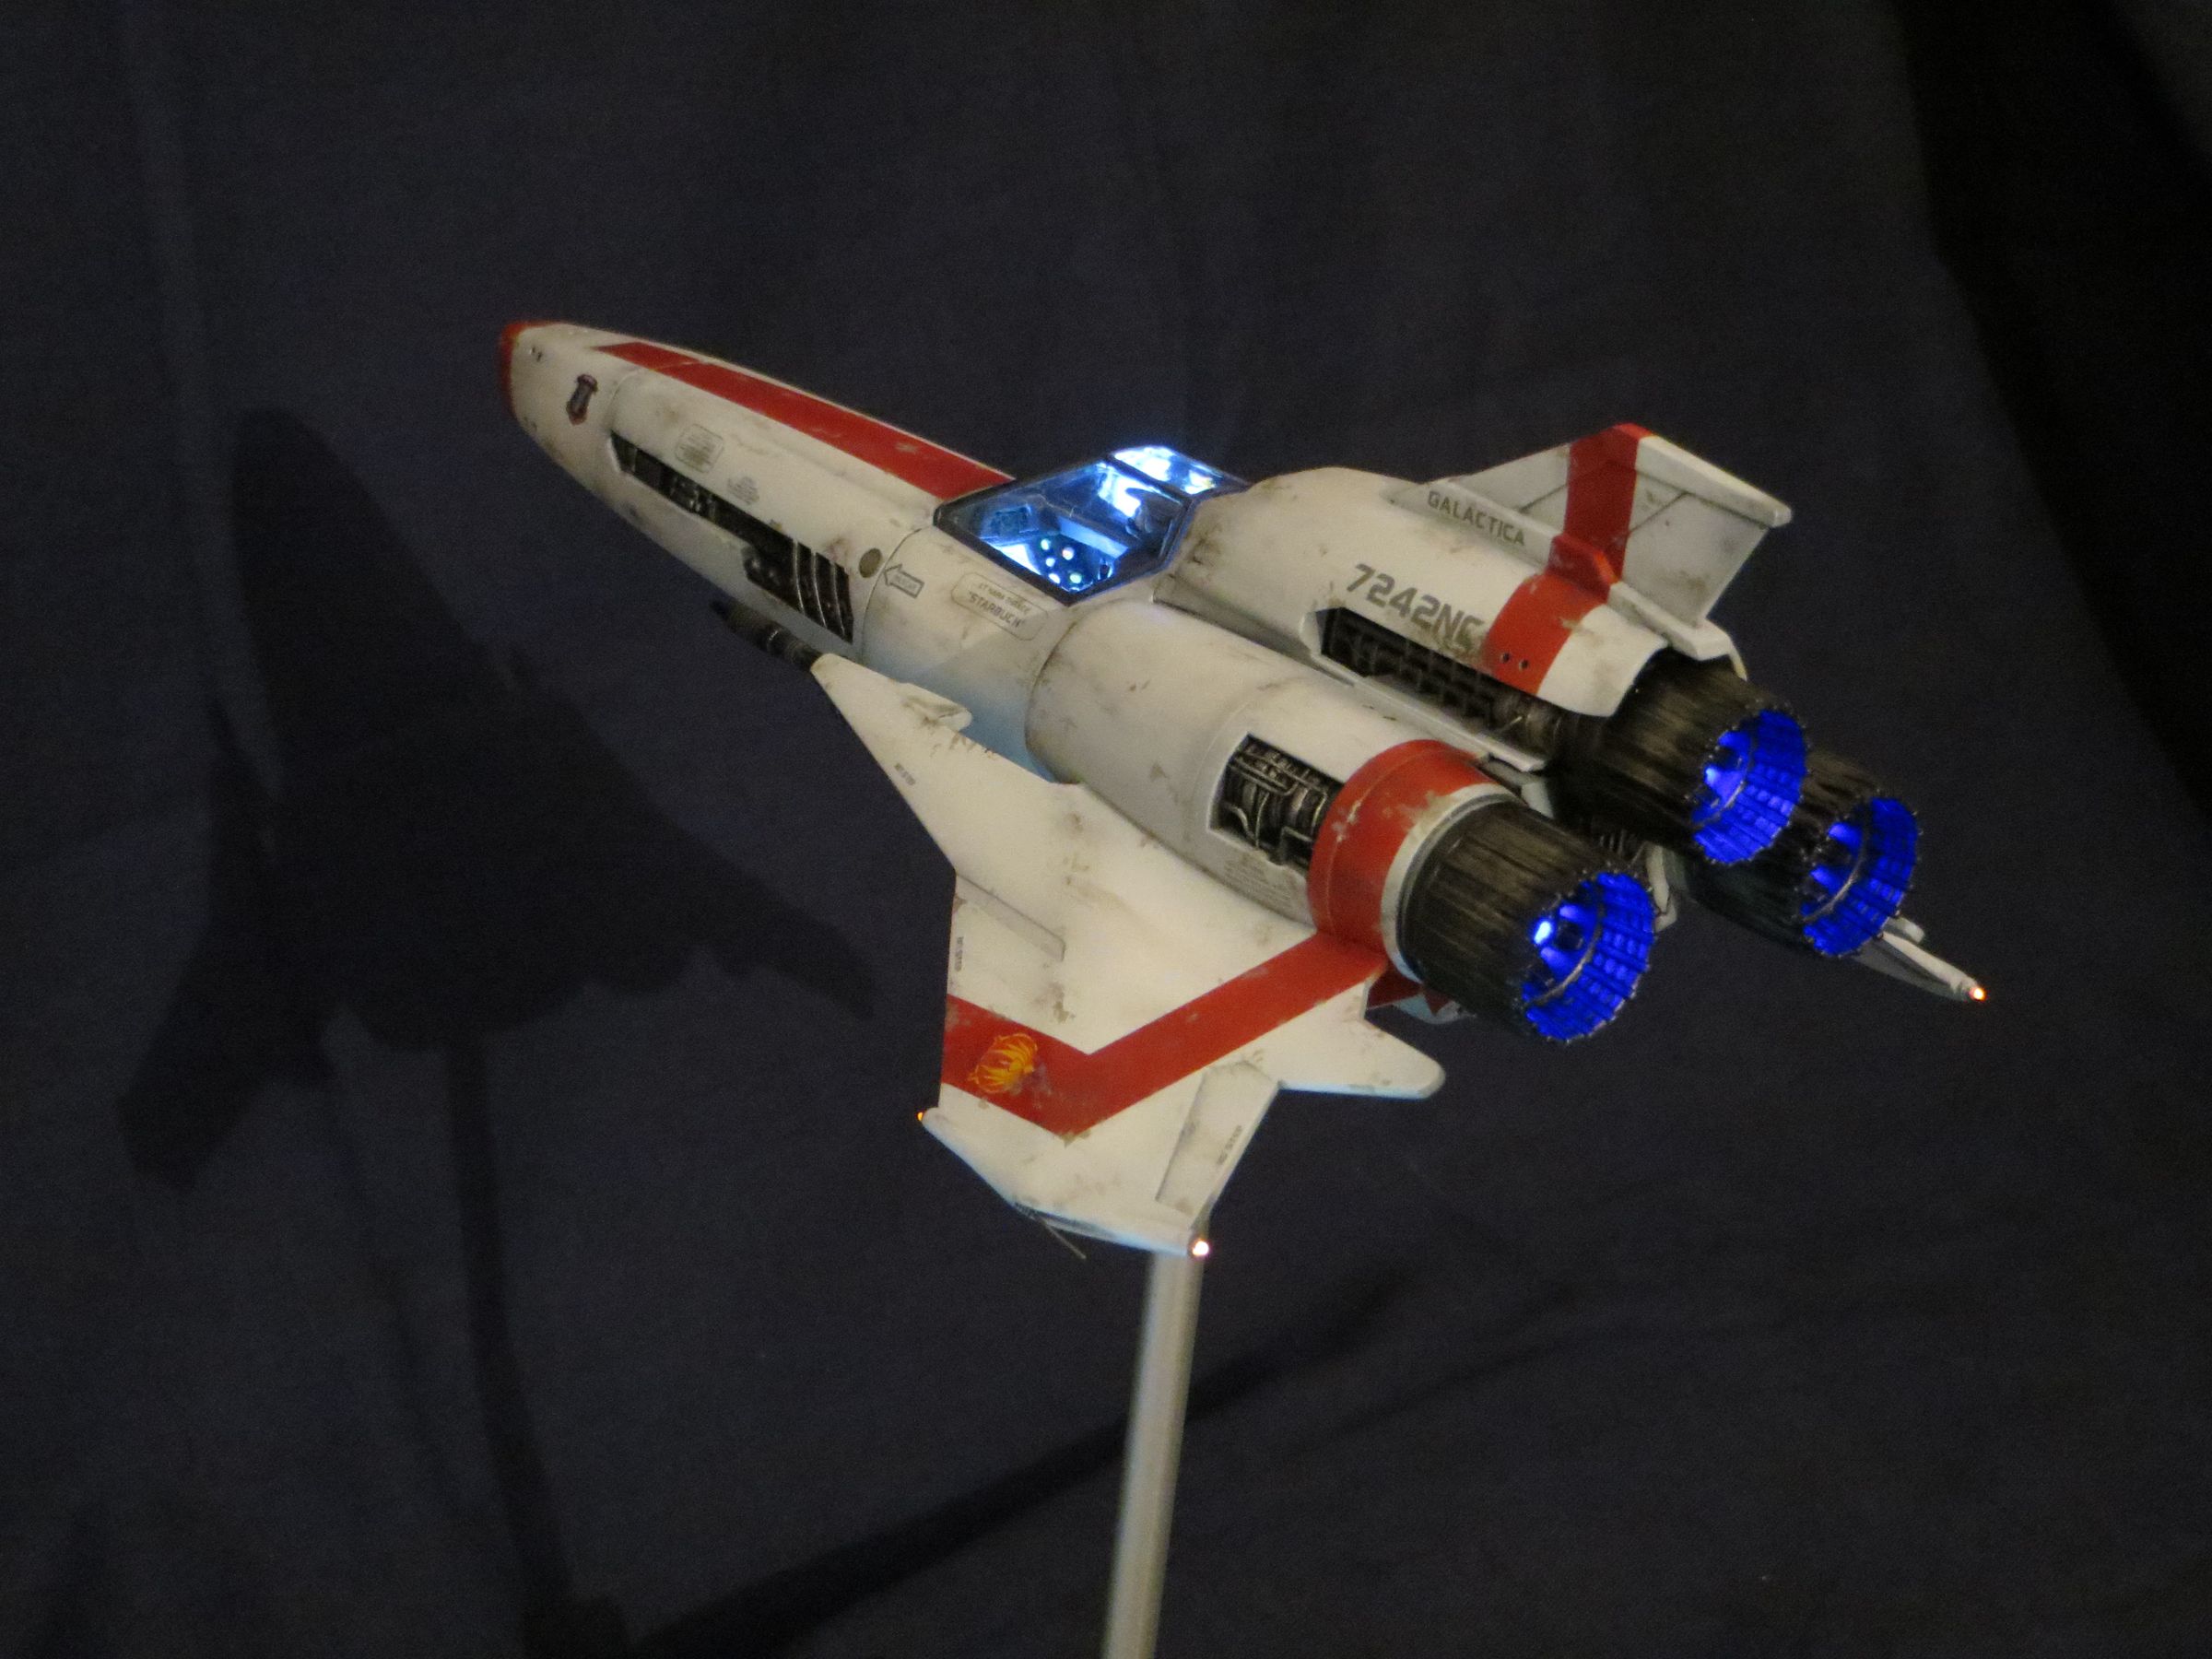
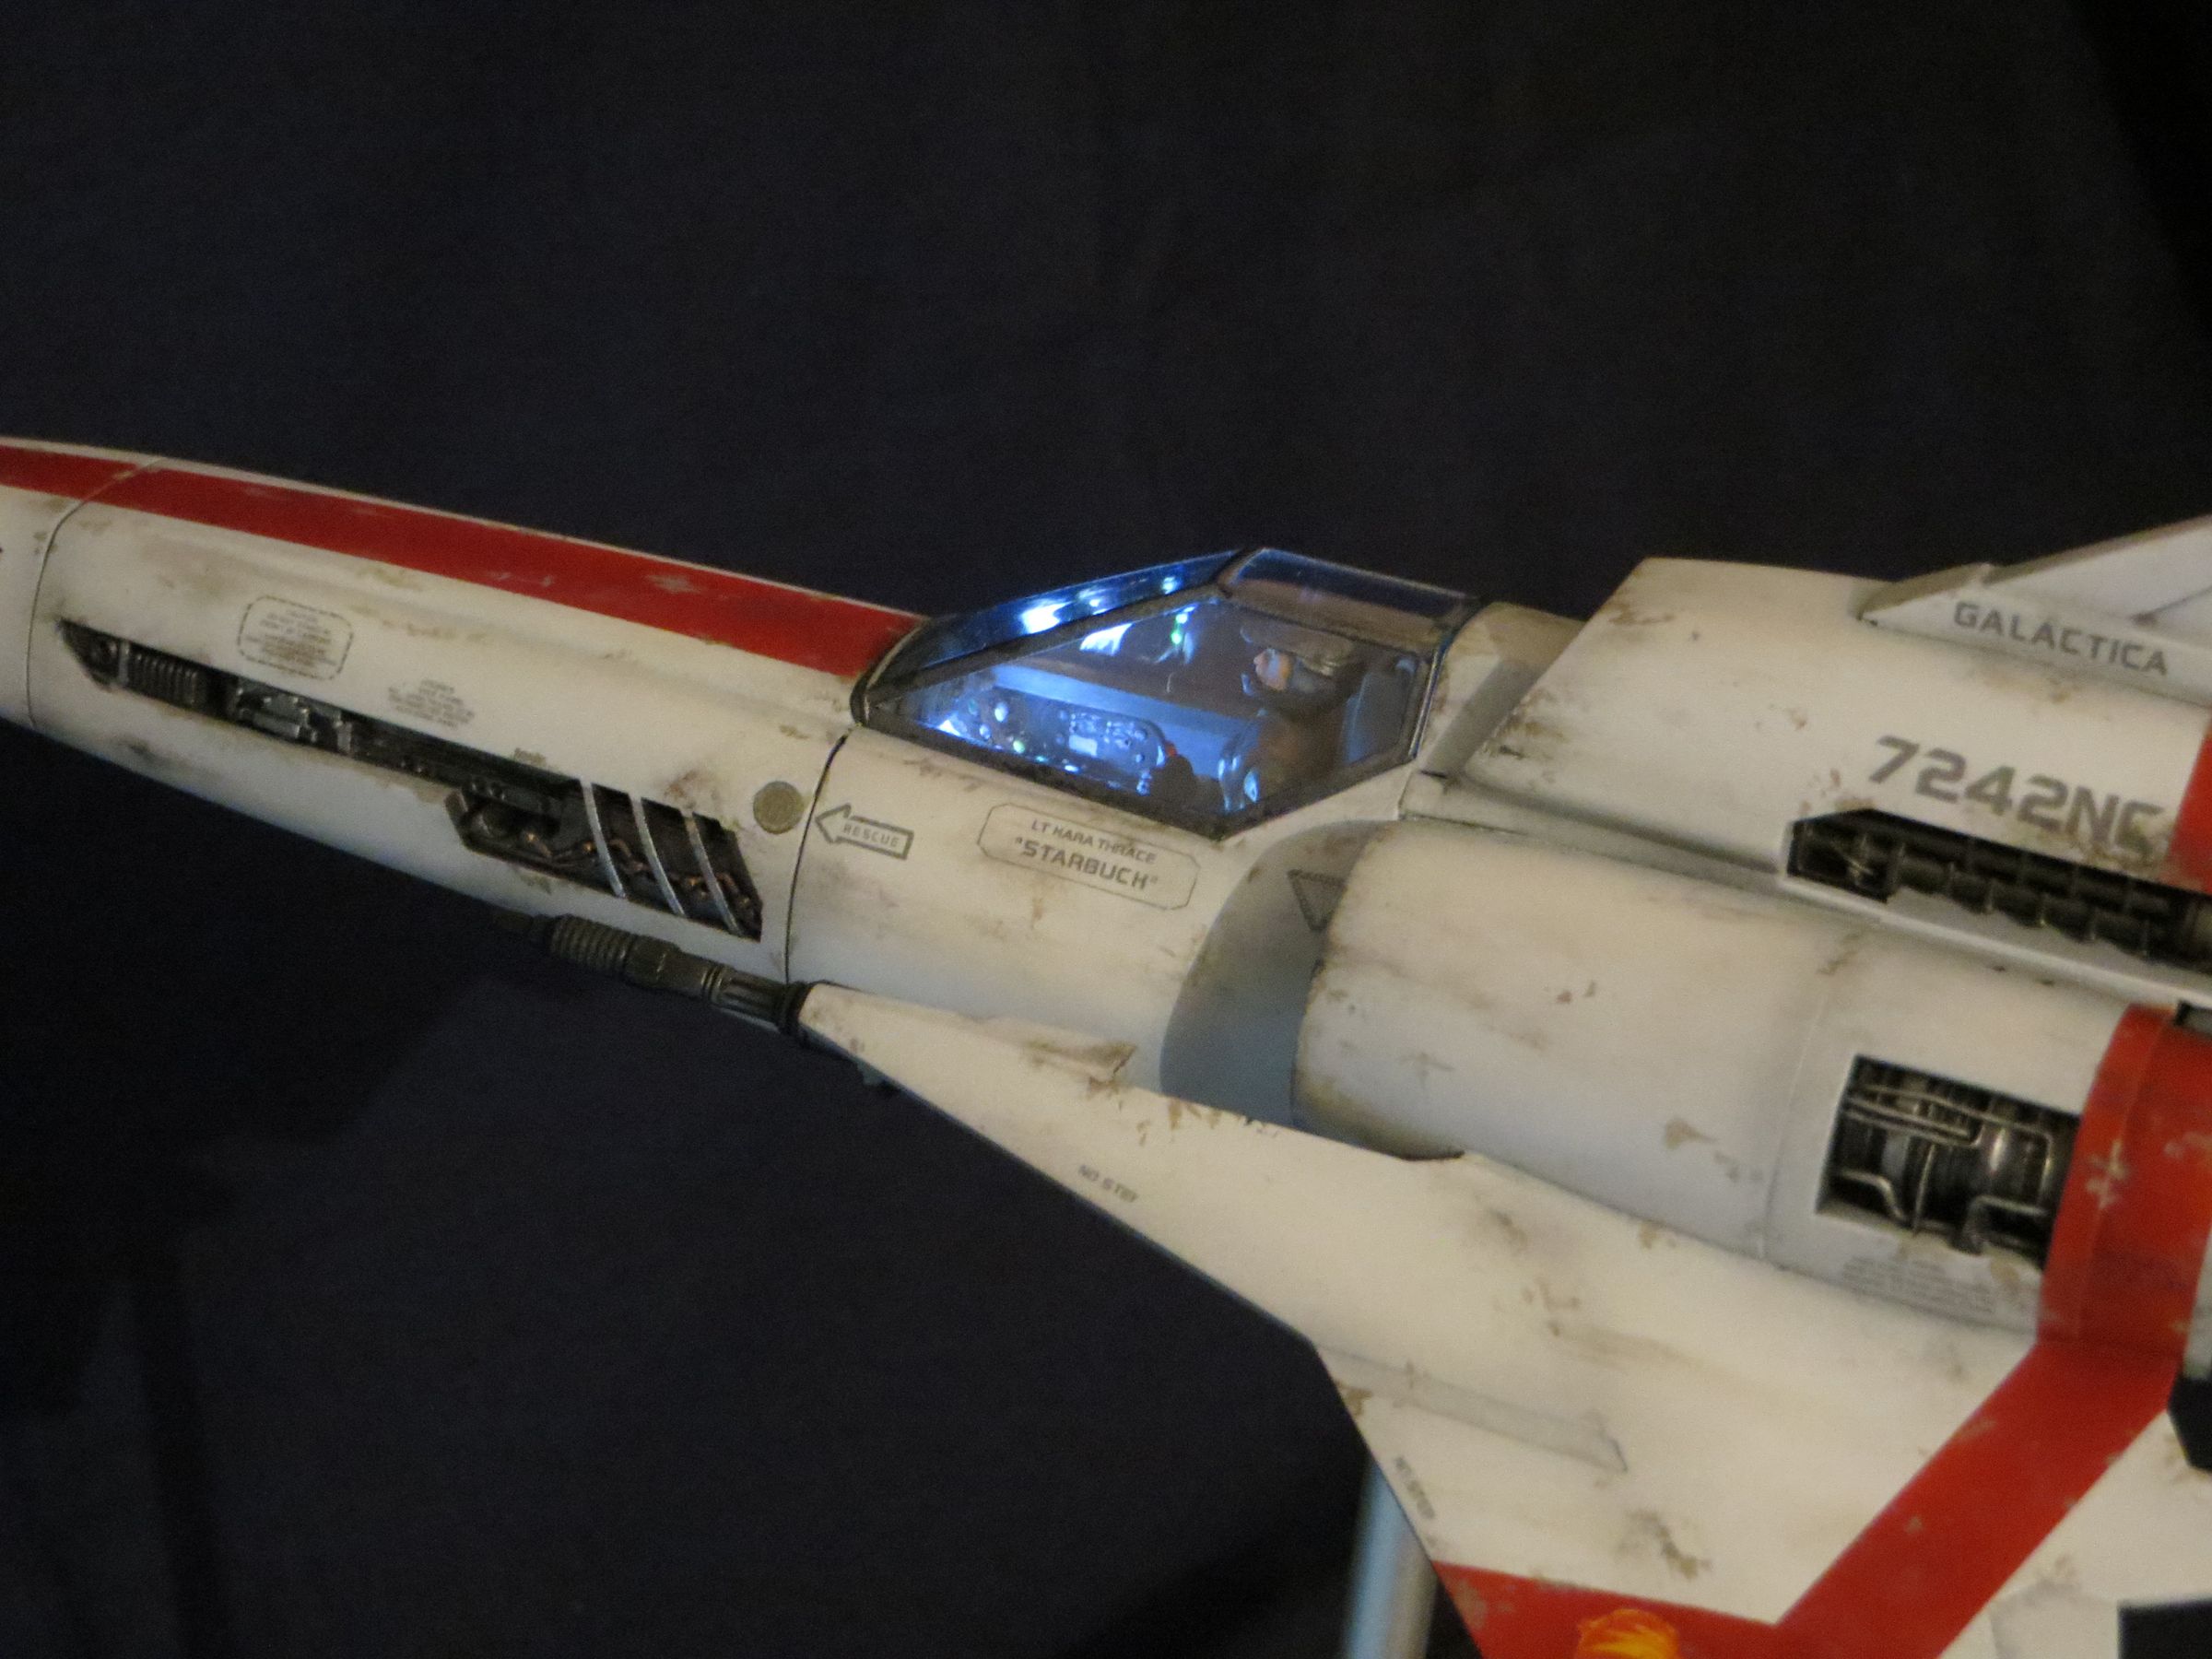
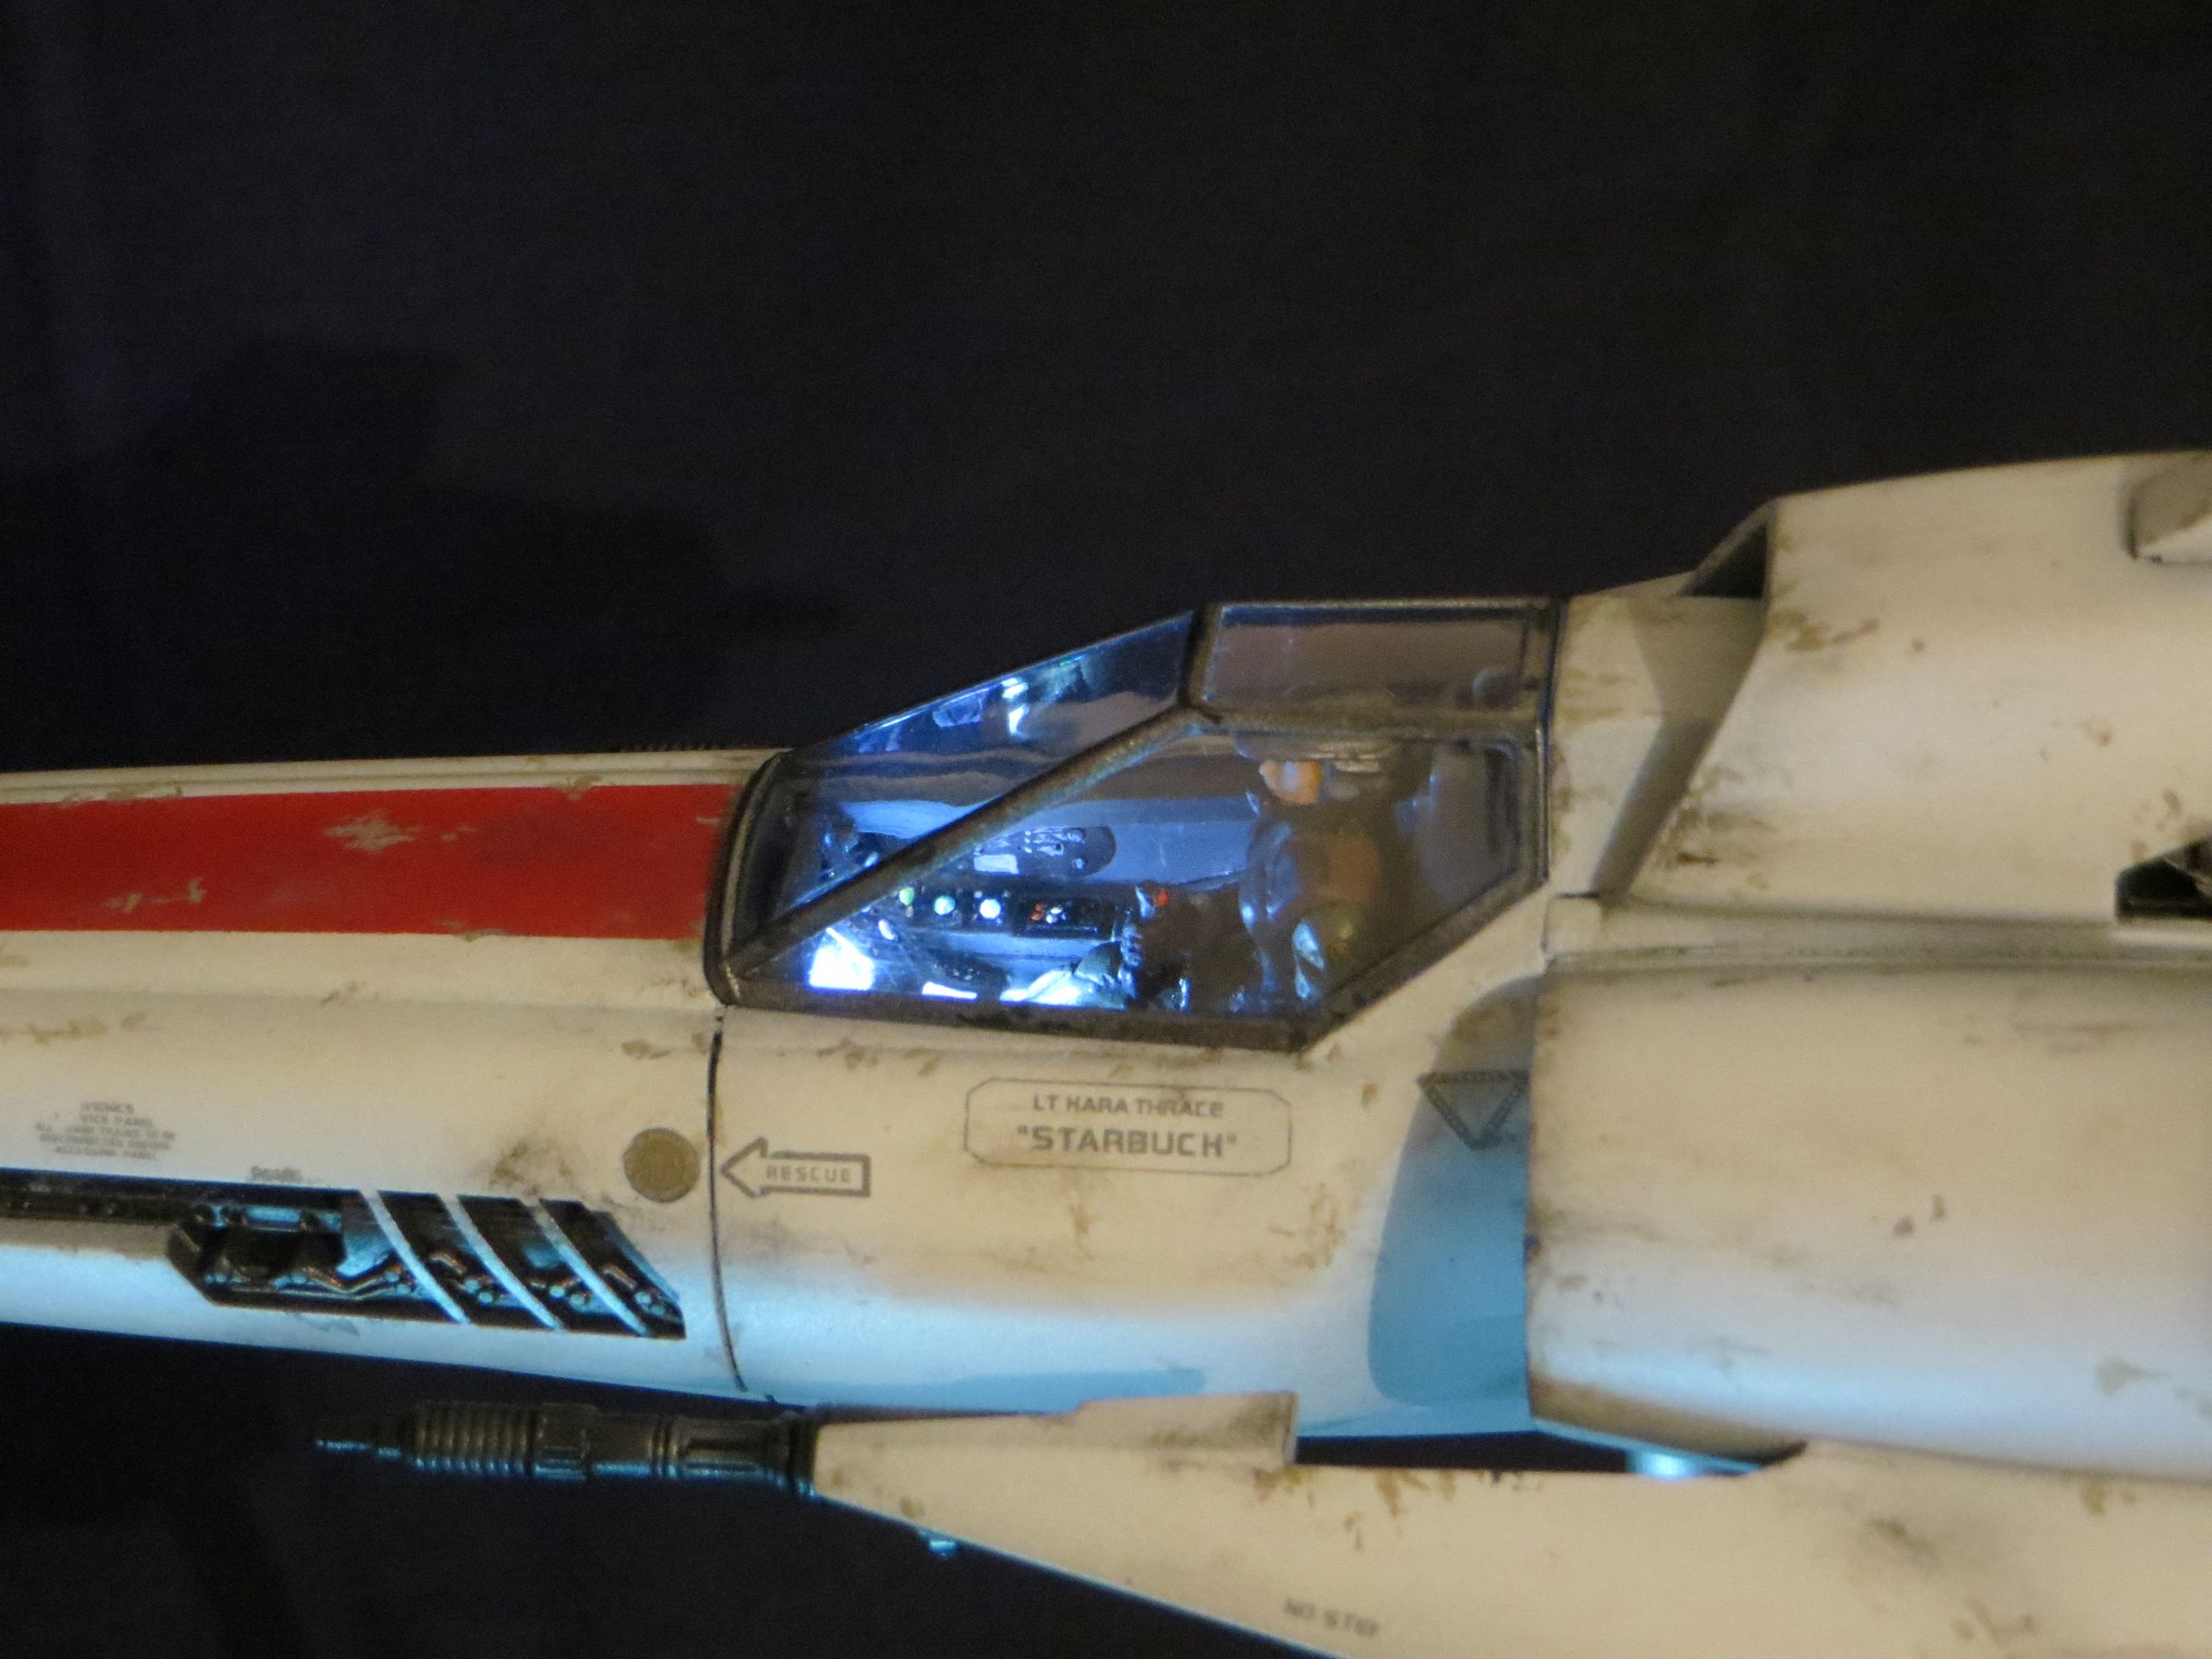
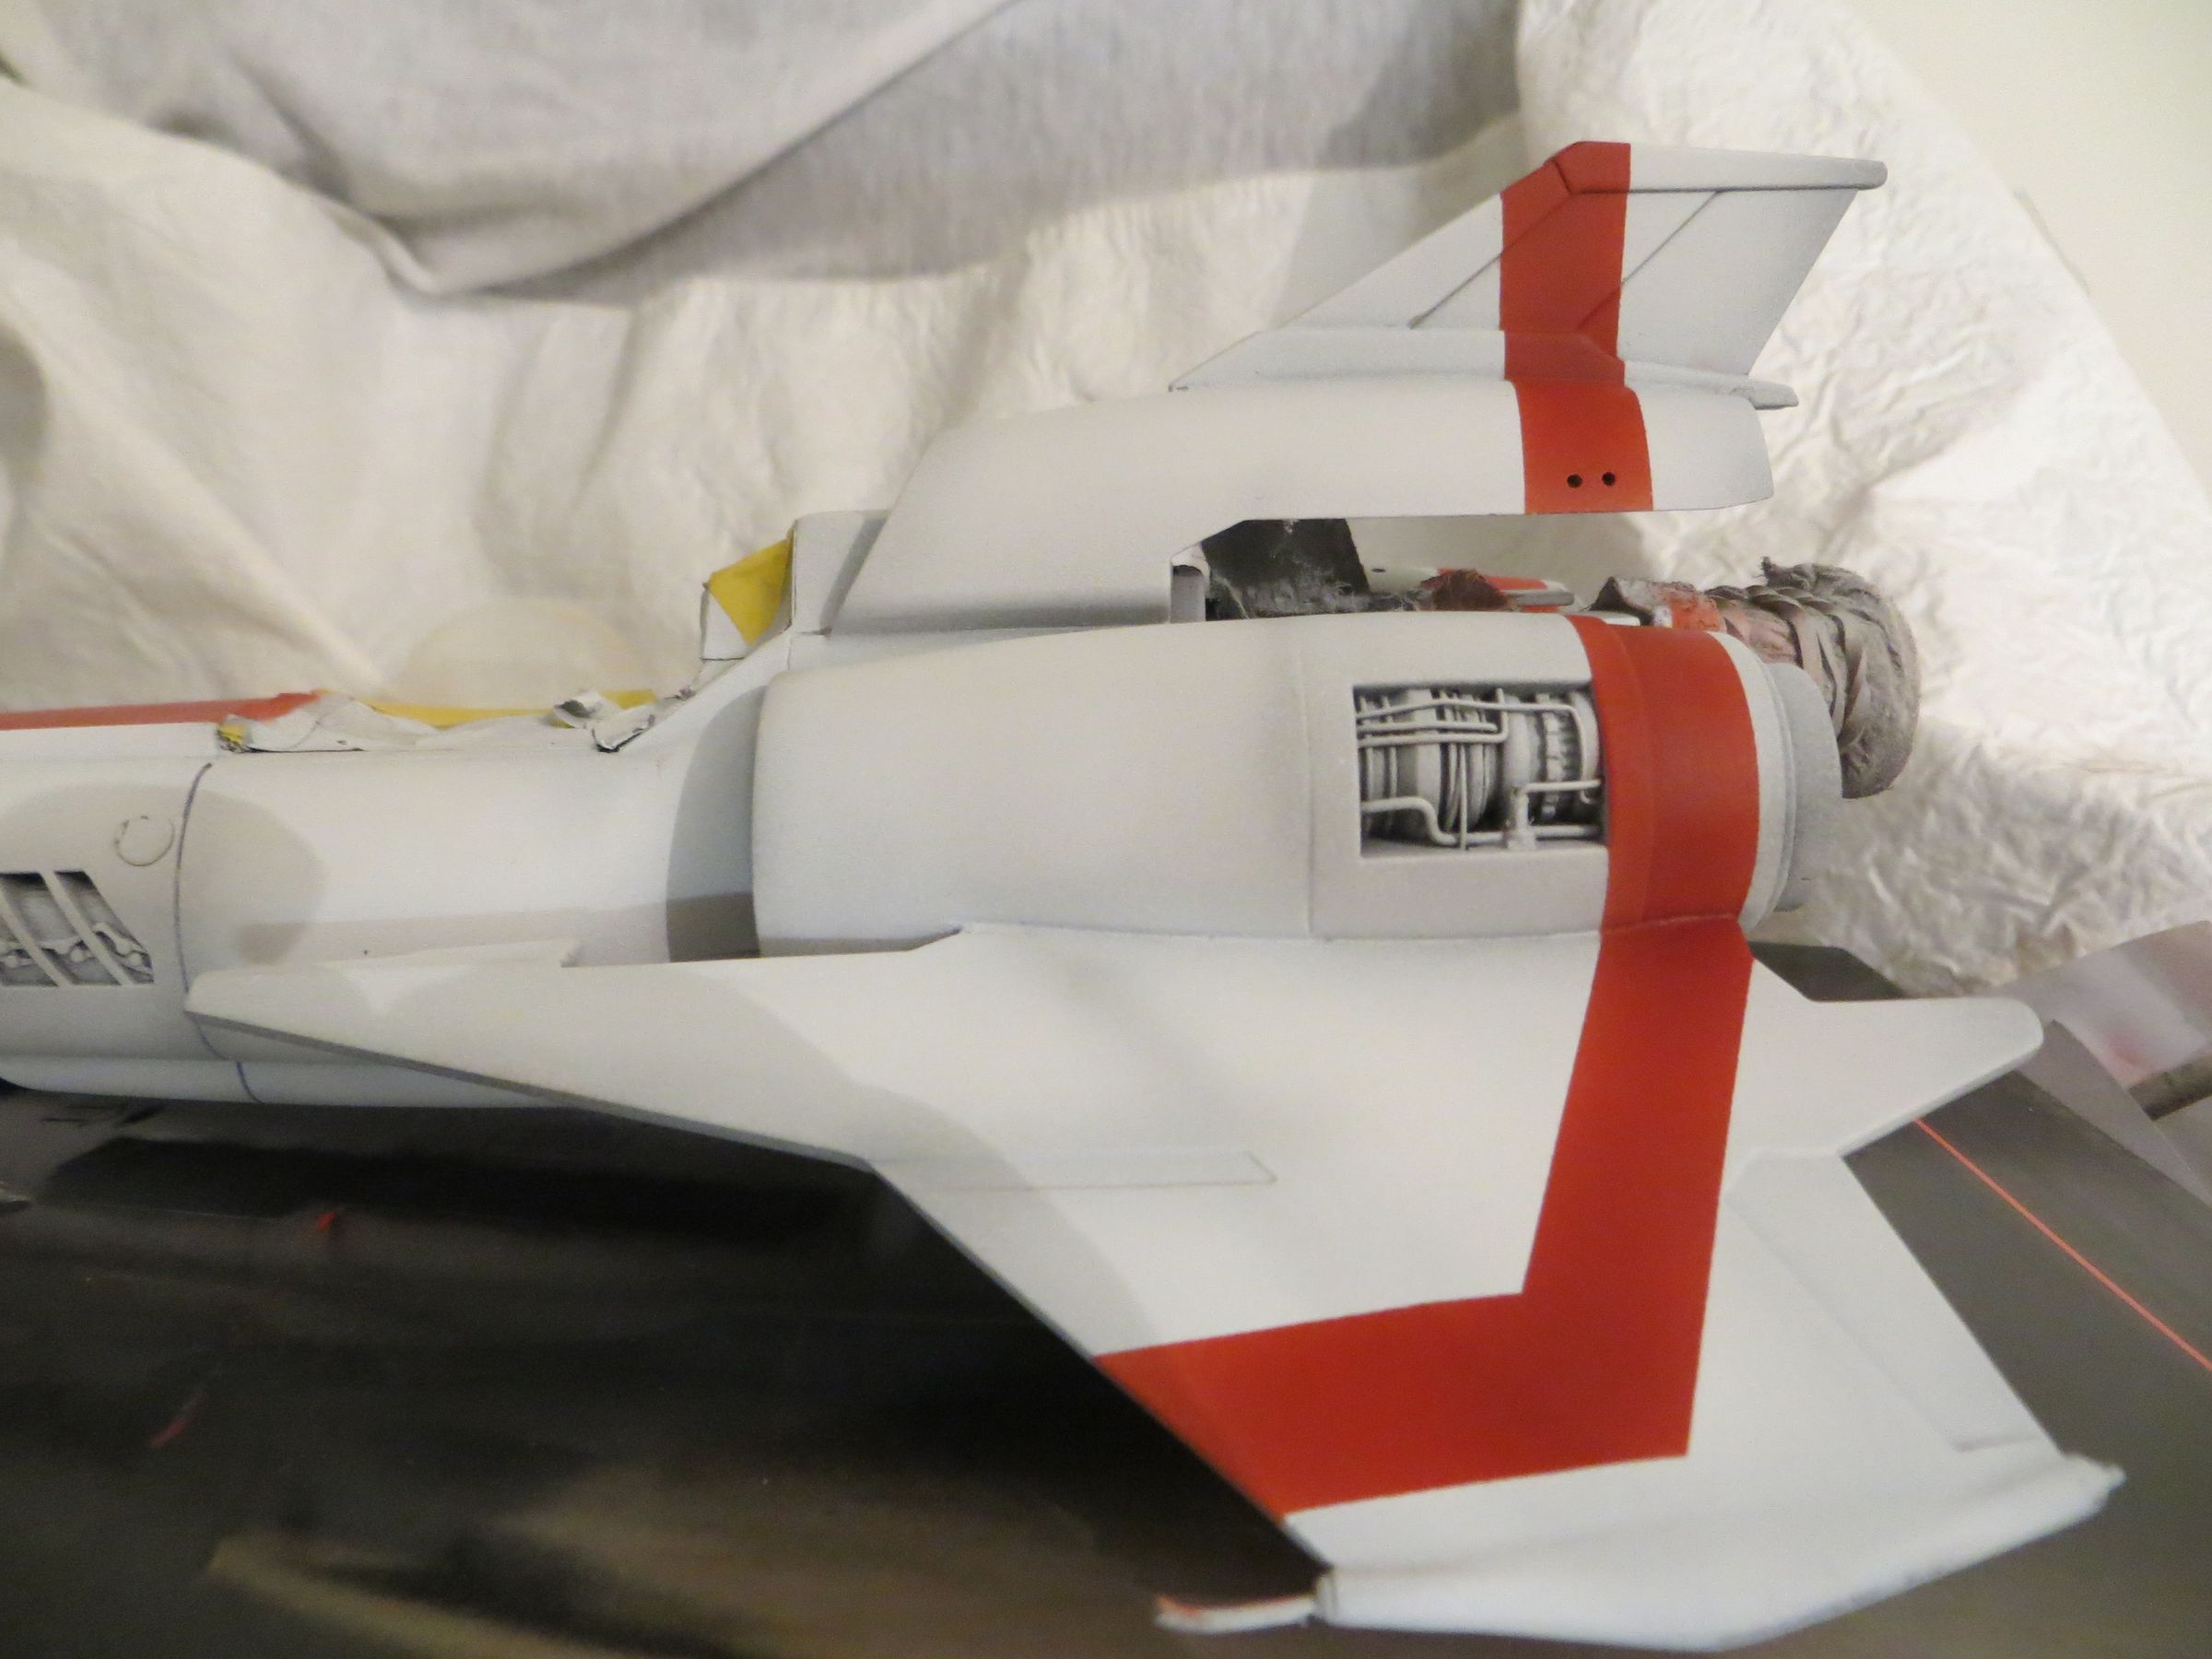
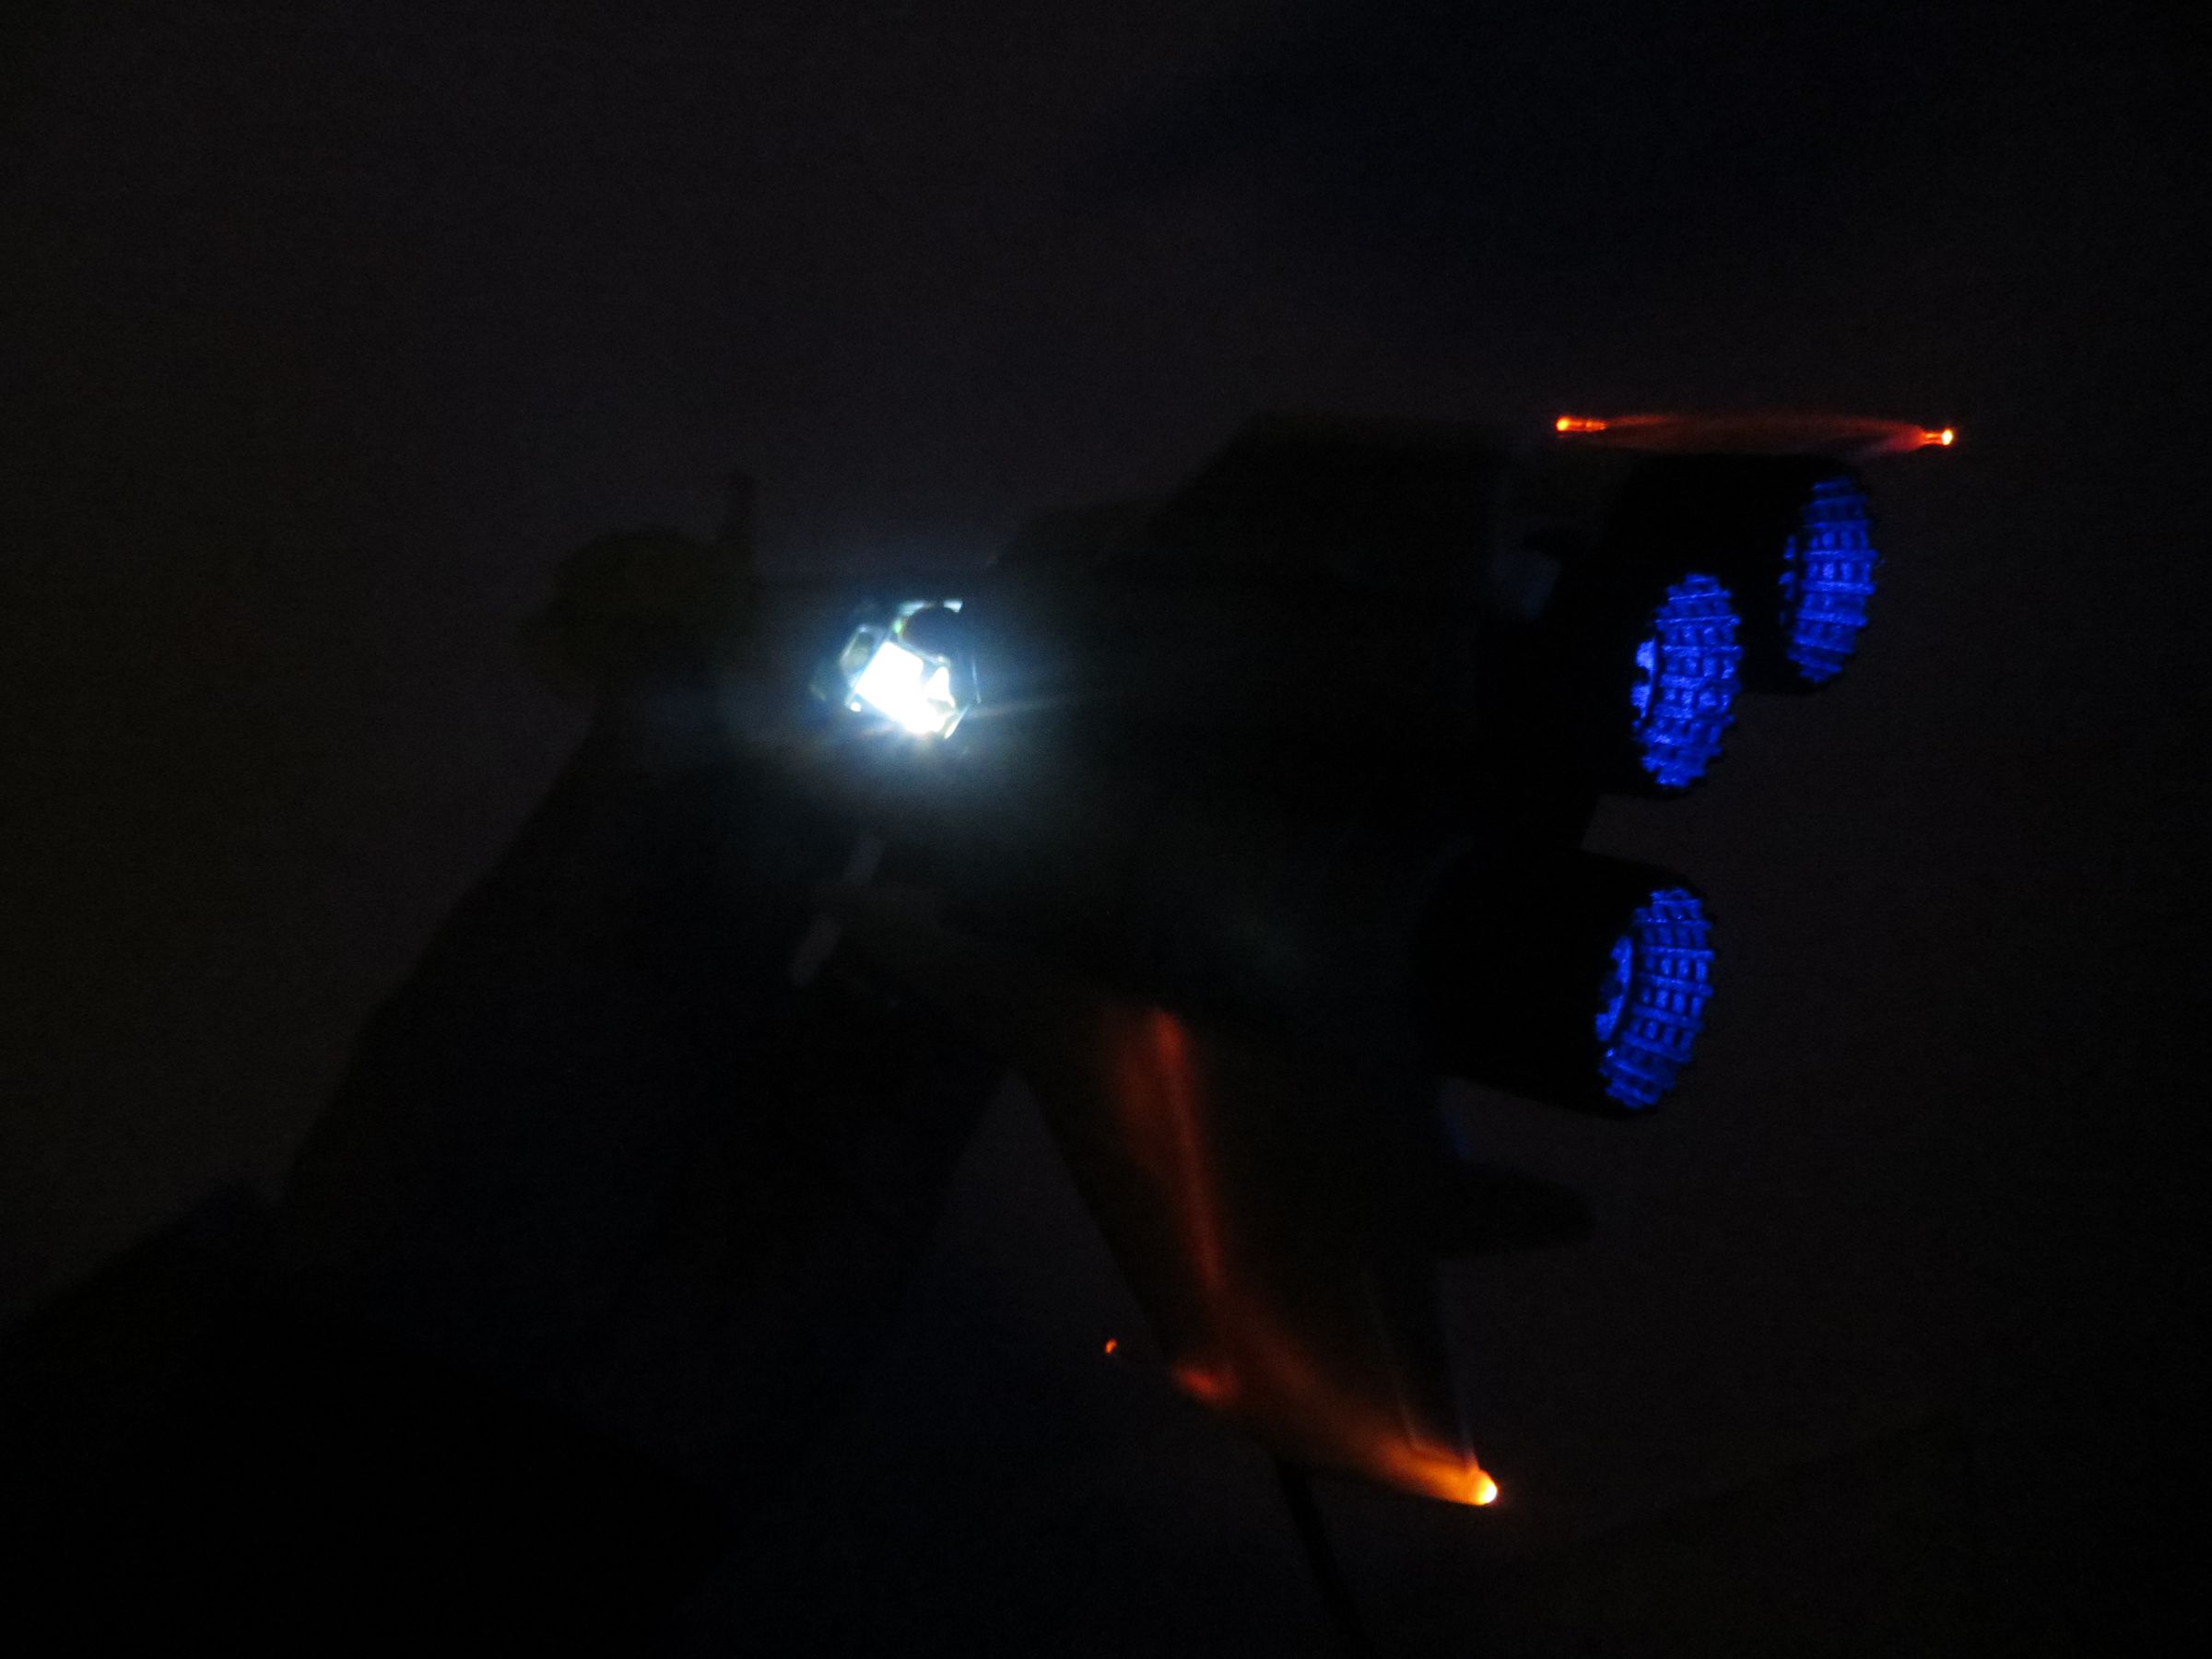
In front of a dark background, with artificial lights.

Aller au contenu | Aller au menu | Aller à la recherche
vendredi, 14 mars 2014
Par olcabour le vendredi, 14 mars 2014, 22:44
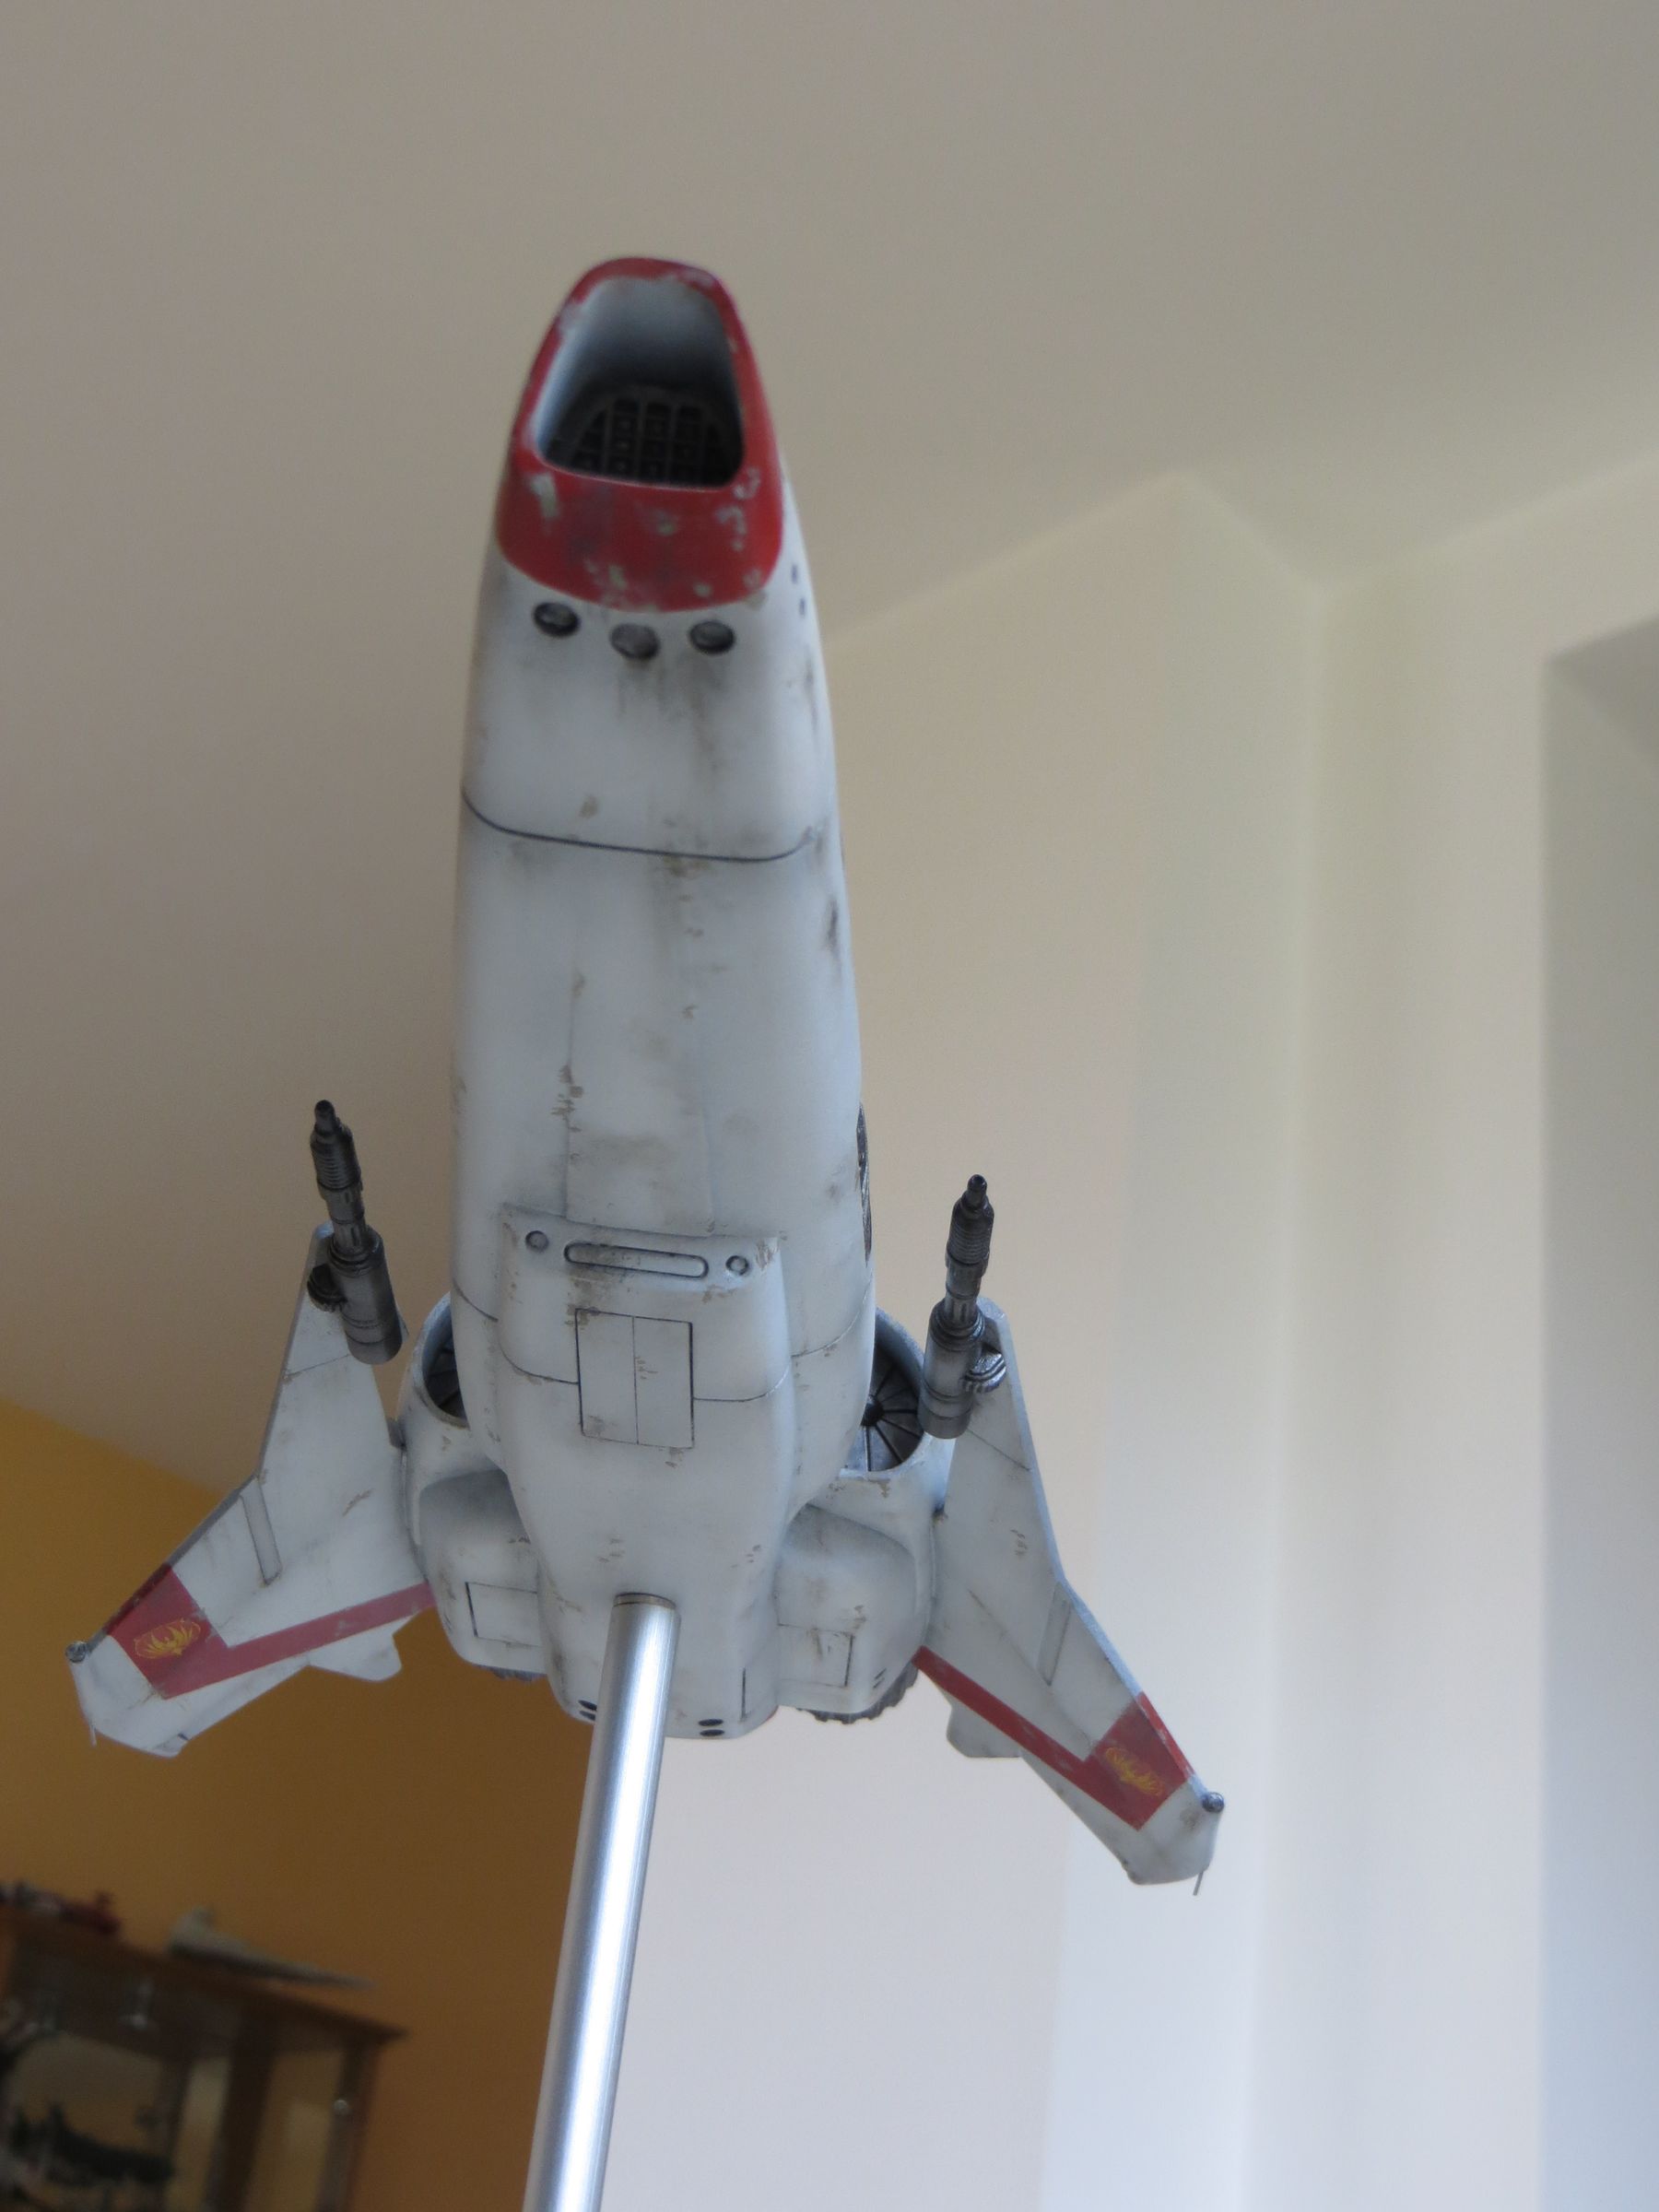
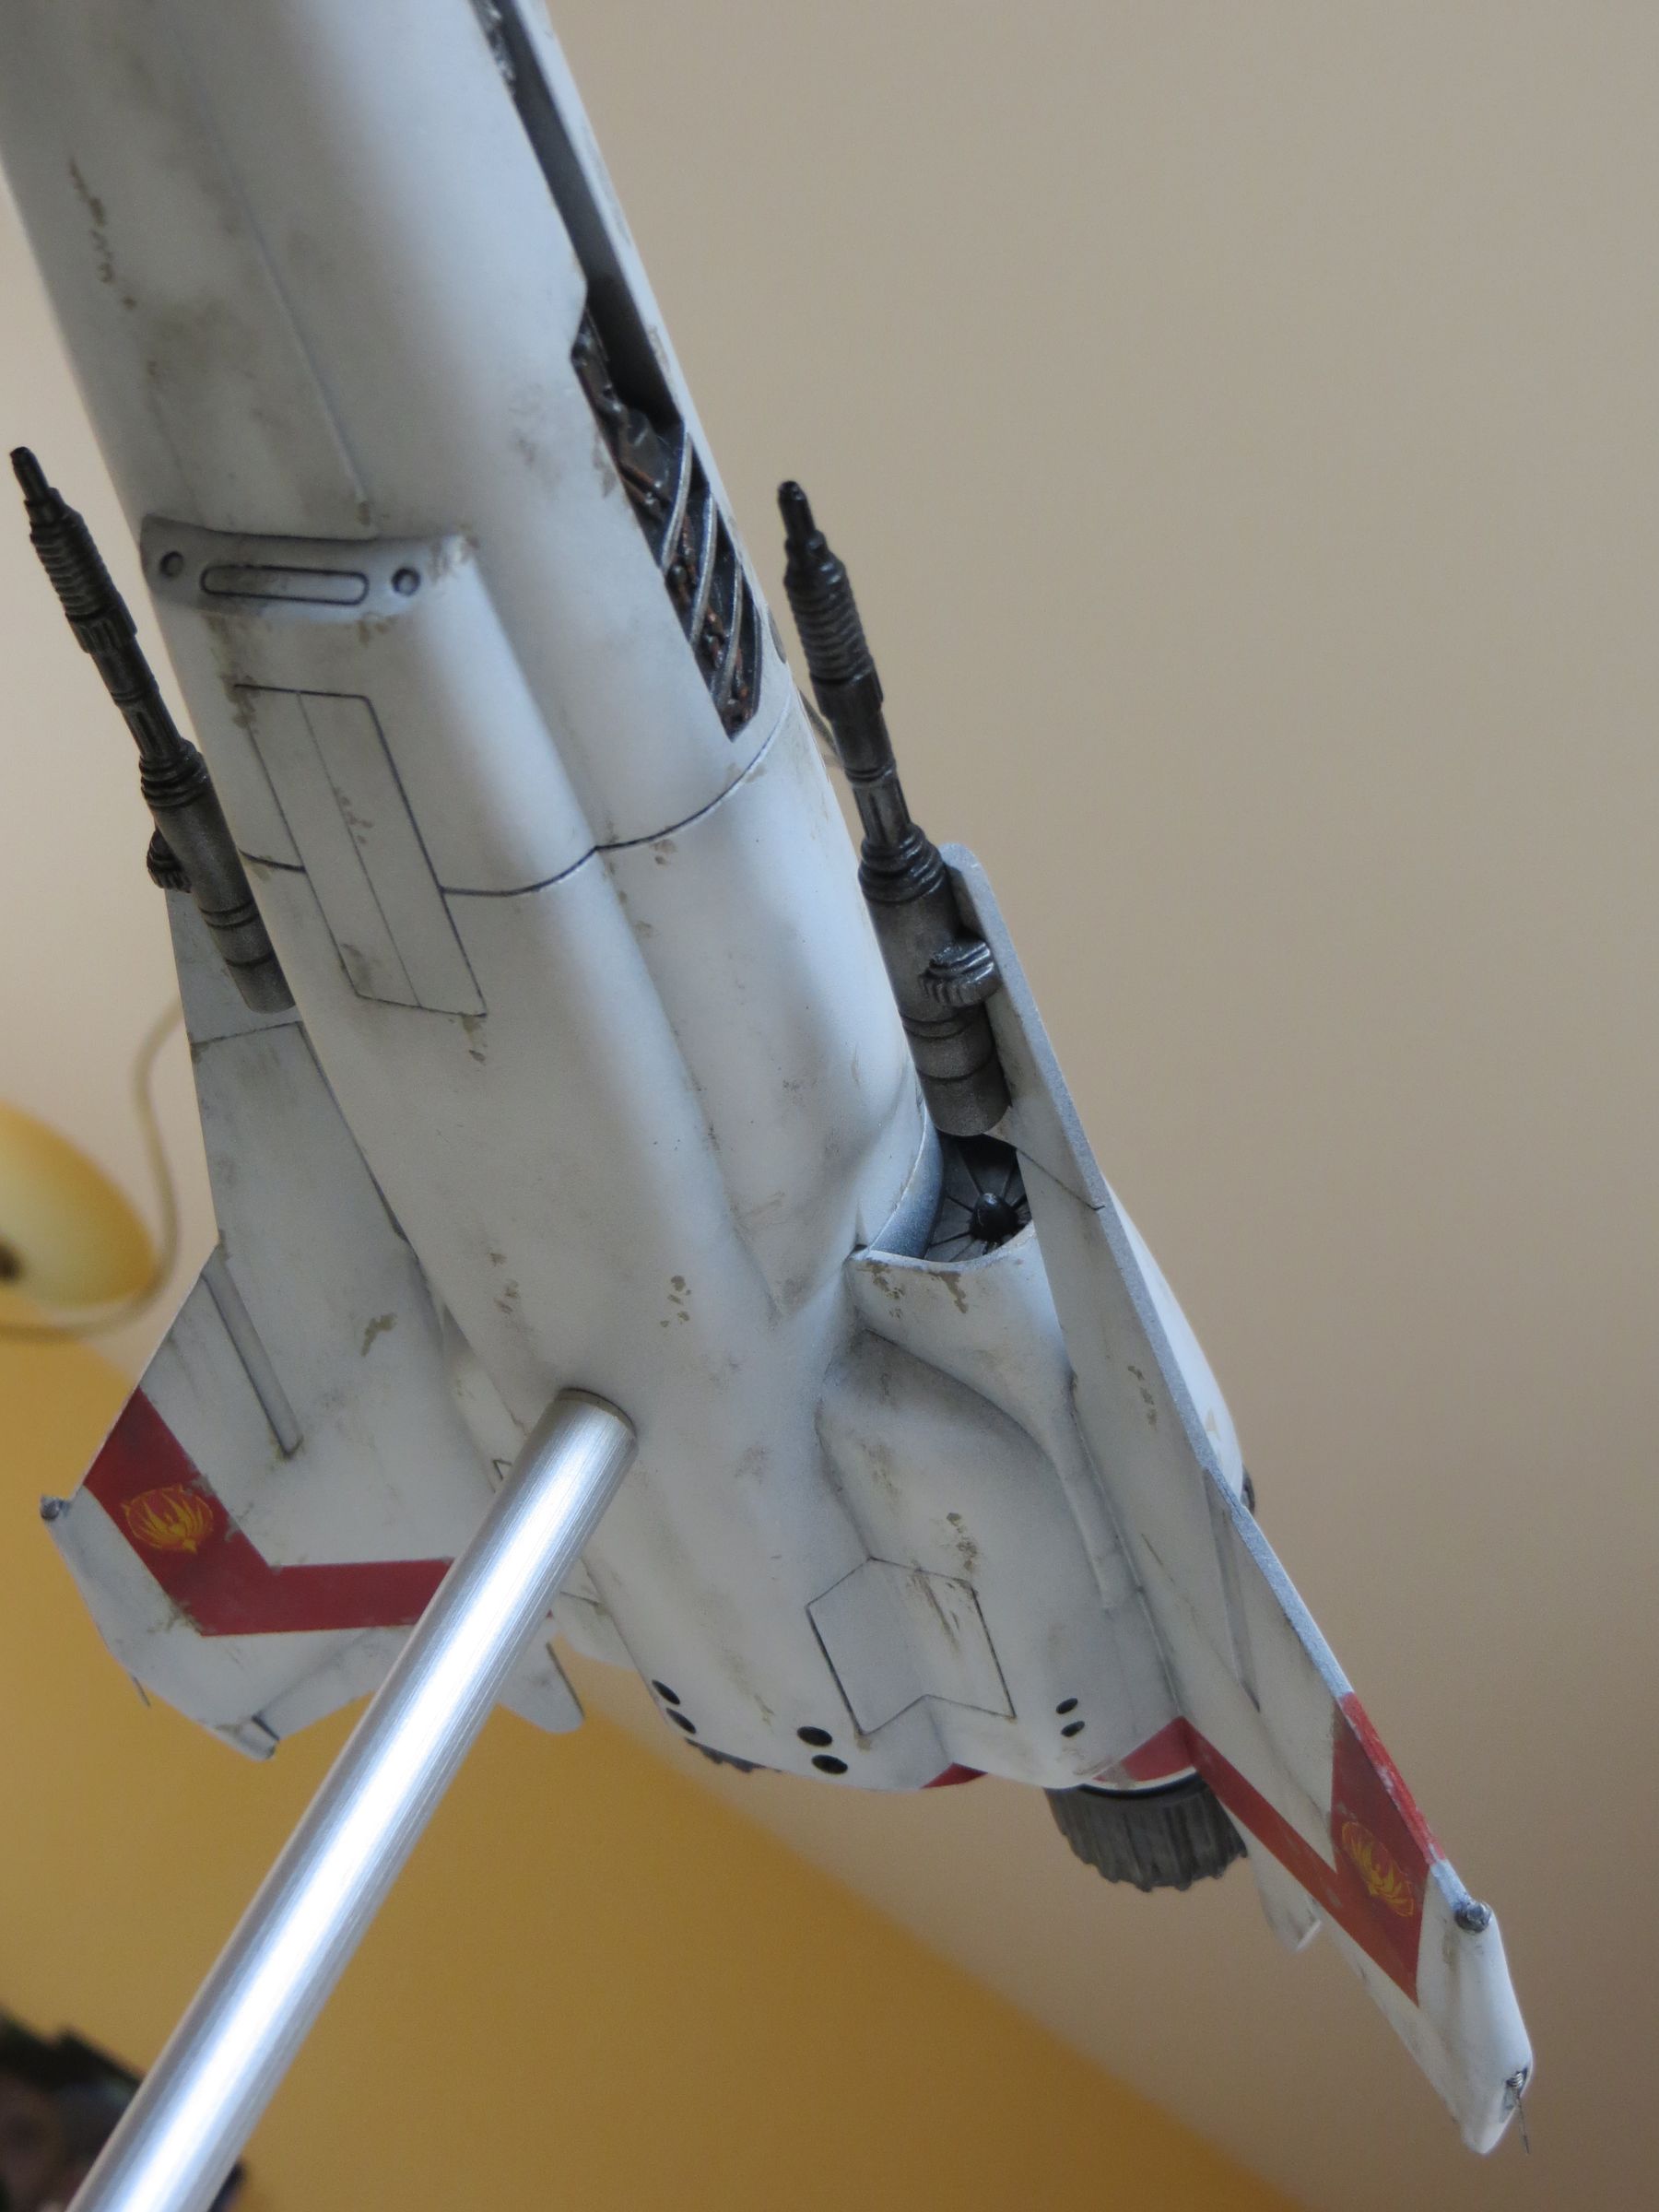
And here is a Viper ready to go on a mission to knock out the Cylons.
in the daylight
In front of a dark background, with artificial lights.
Par olcabour le vendredi, 14 mars 2014, 22:42
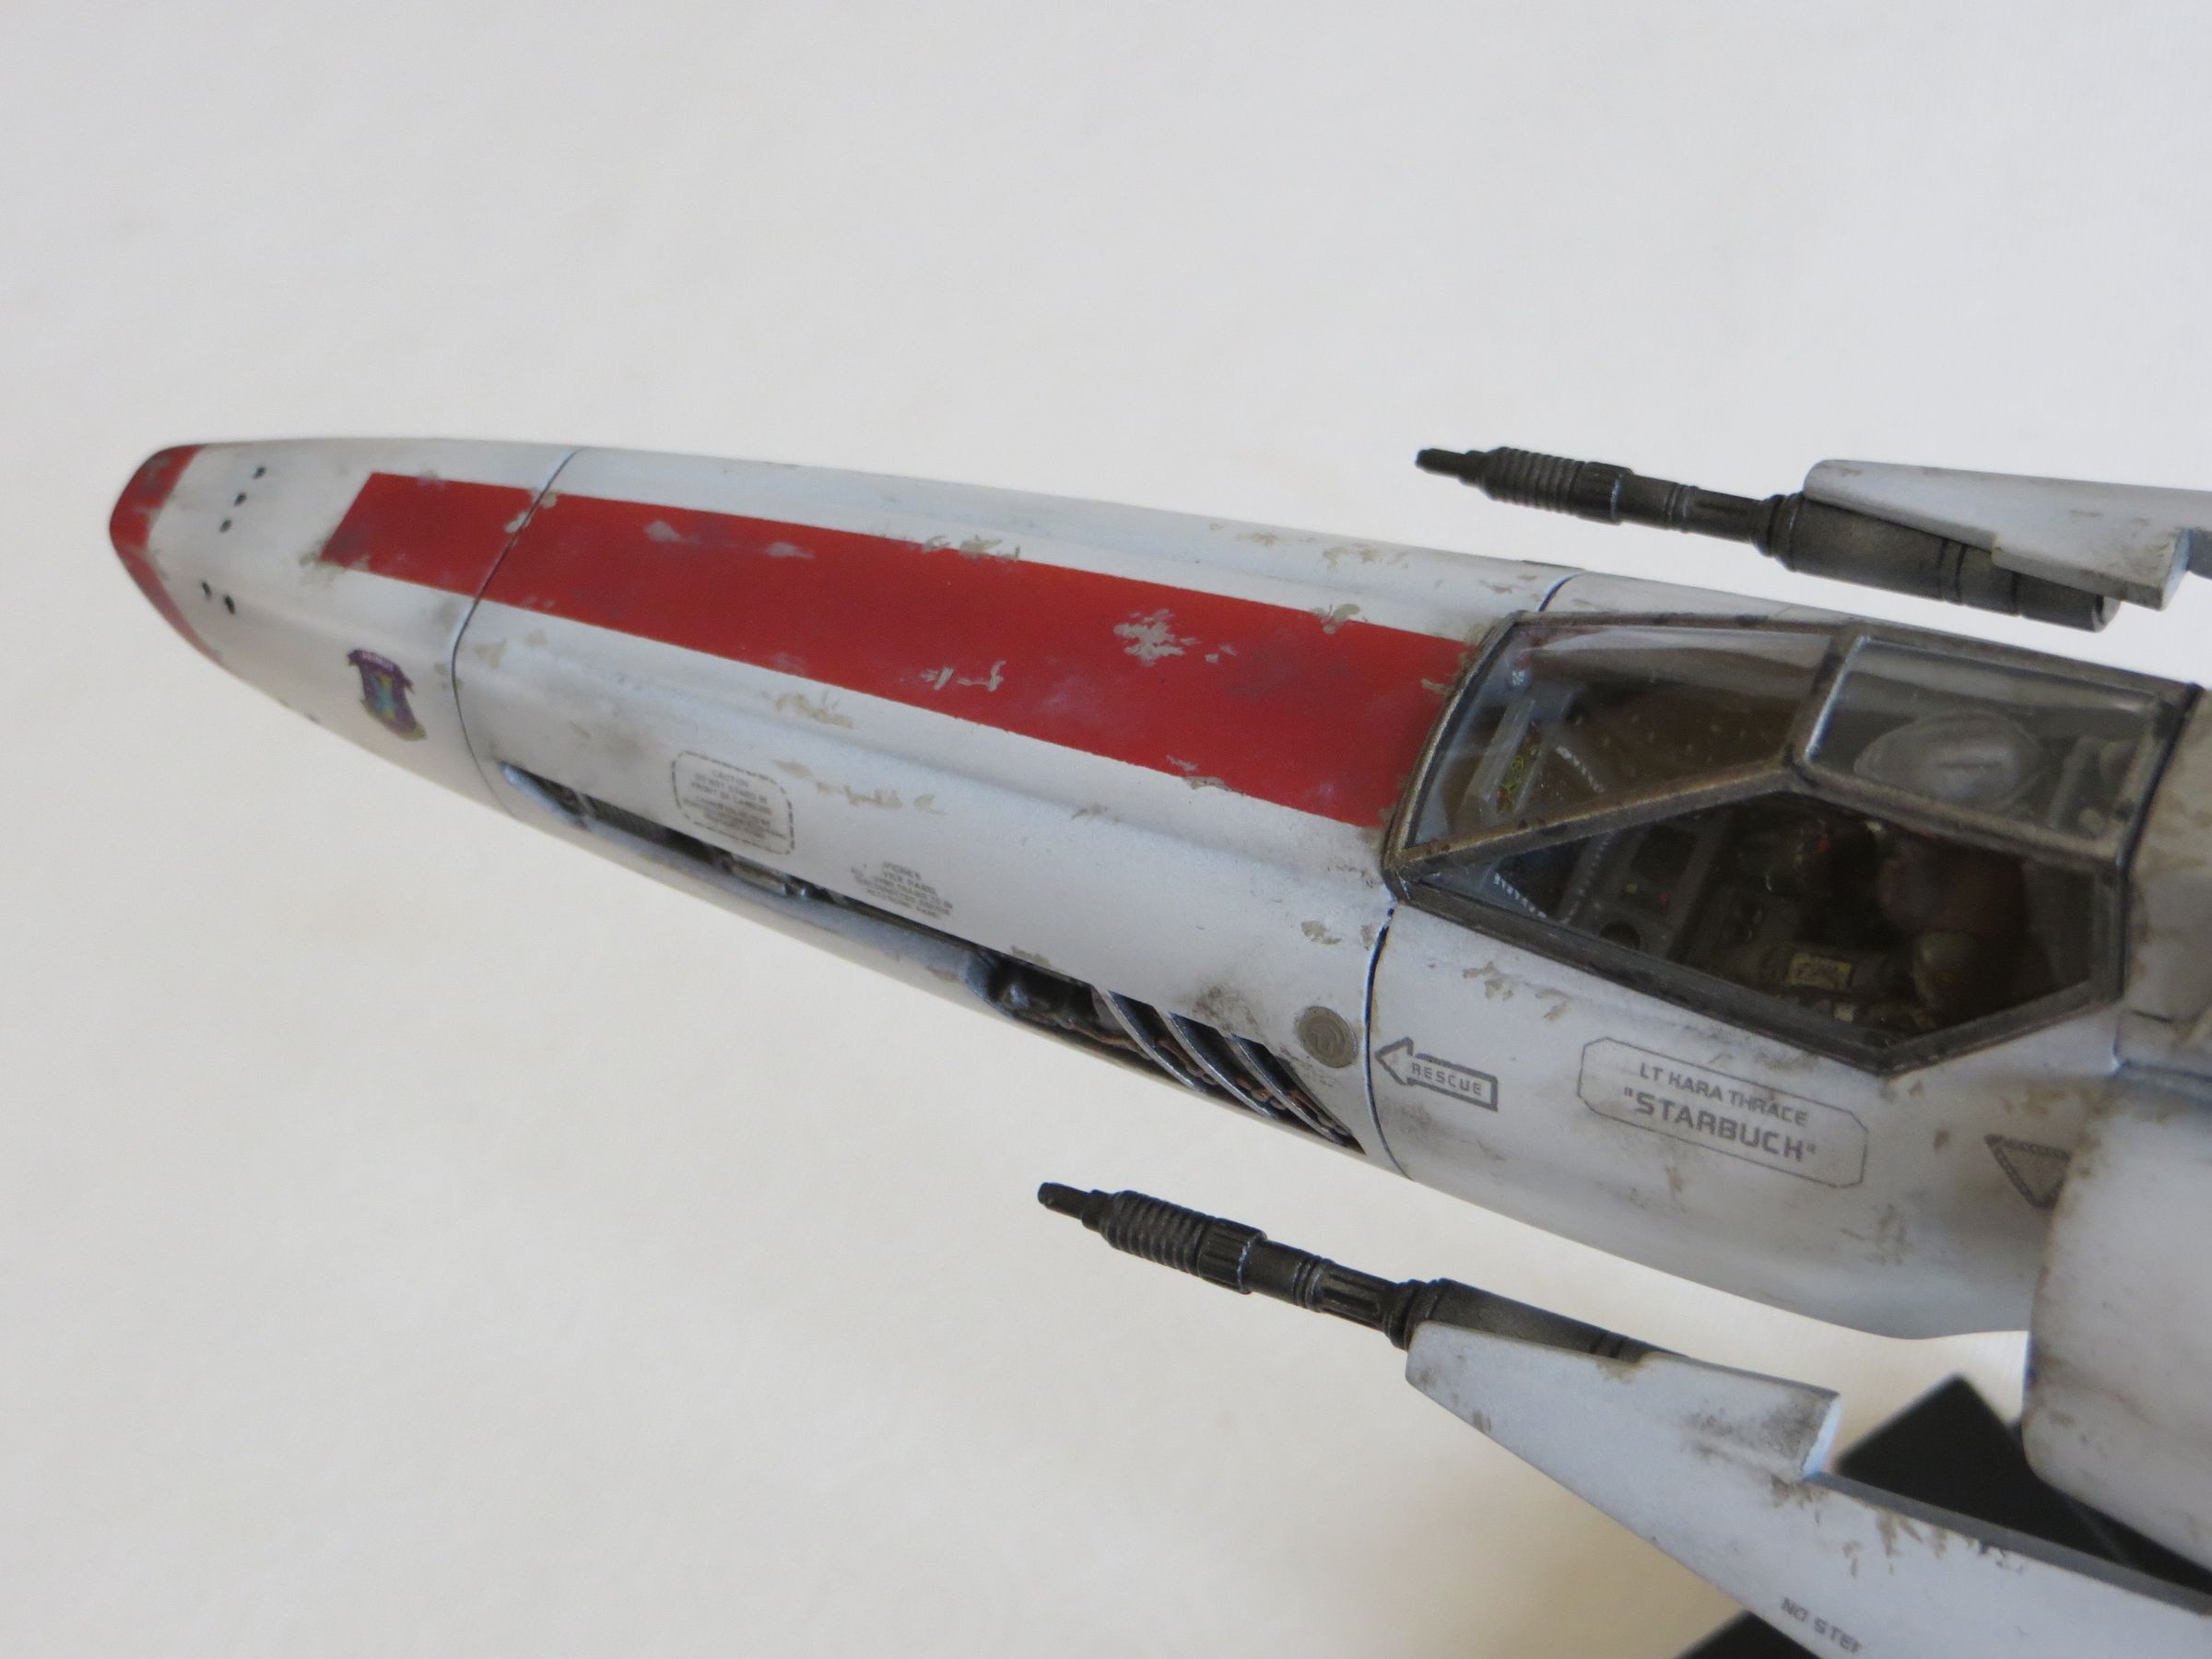
Viper pilots spacesuits are in a quite a special texture, with a green iridescent metallic sheen.
Rather than paint them in metallic and shade the folds with plain color, I did the opposite: - base of tamiya xf73 dark green

- folds are in a darker green (an old Lifecolor)
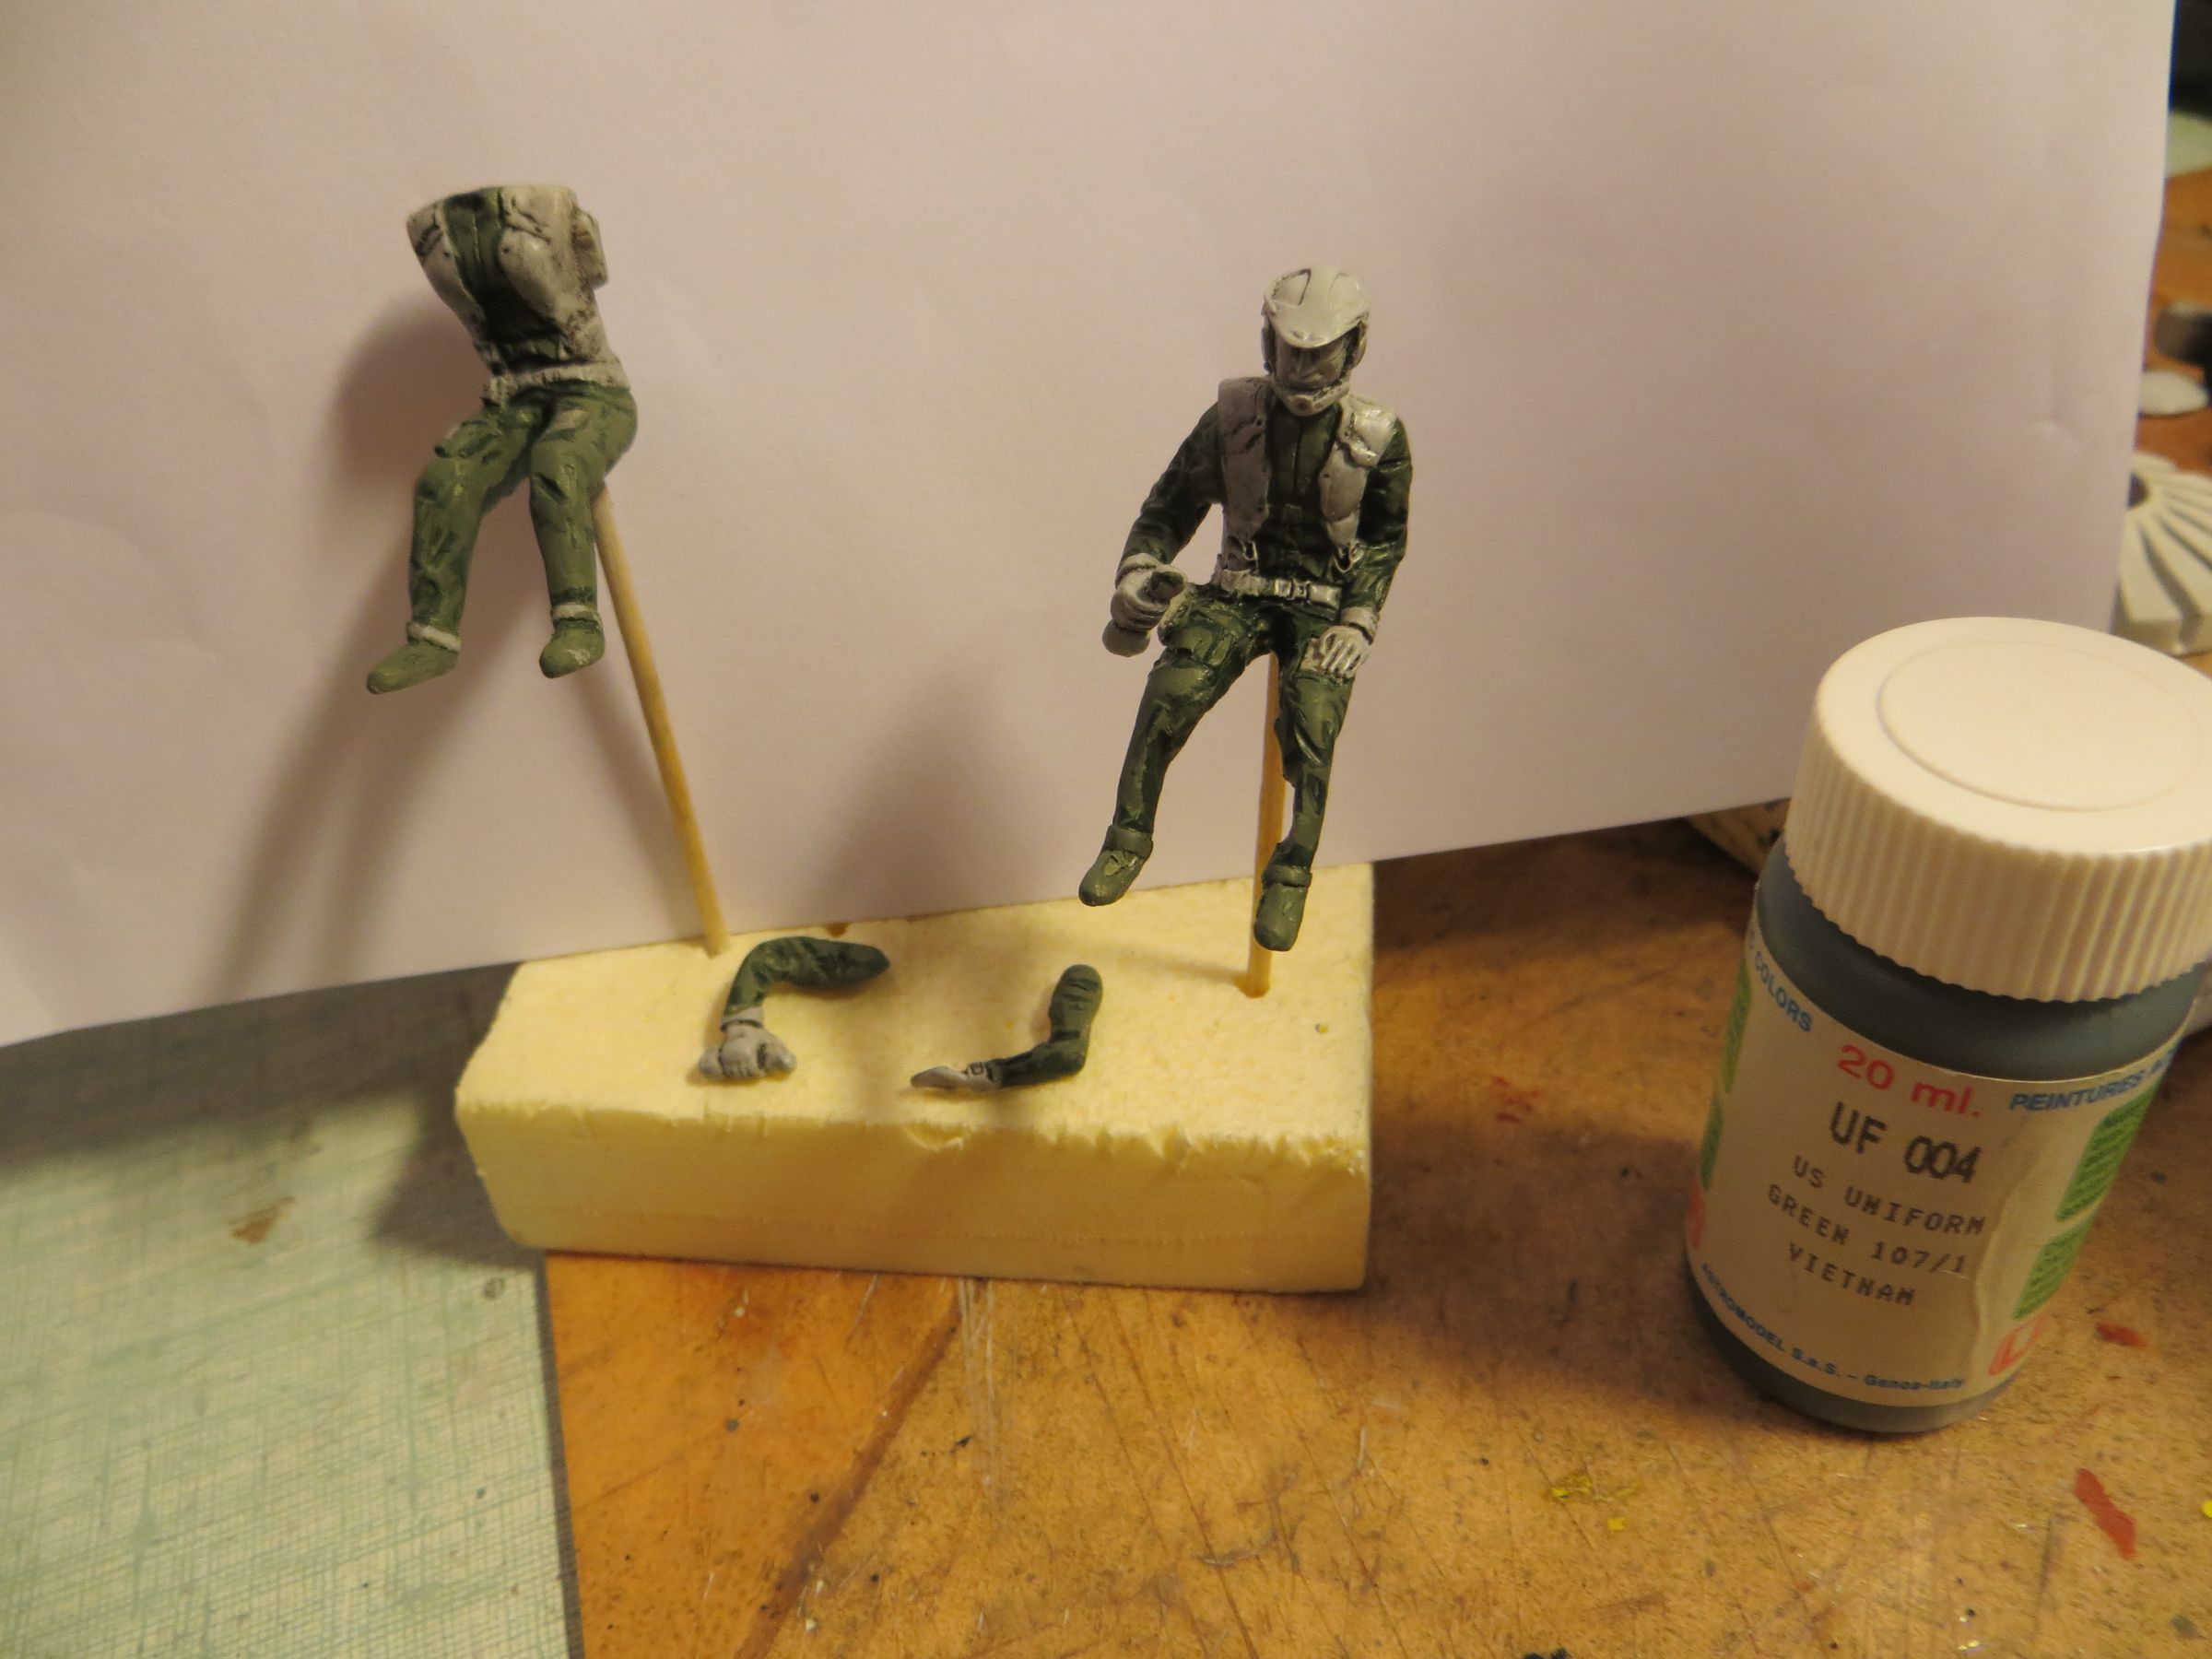
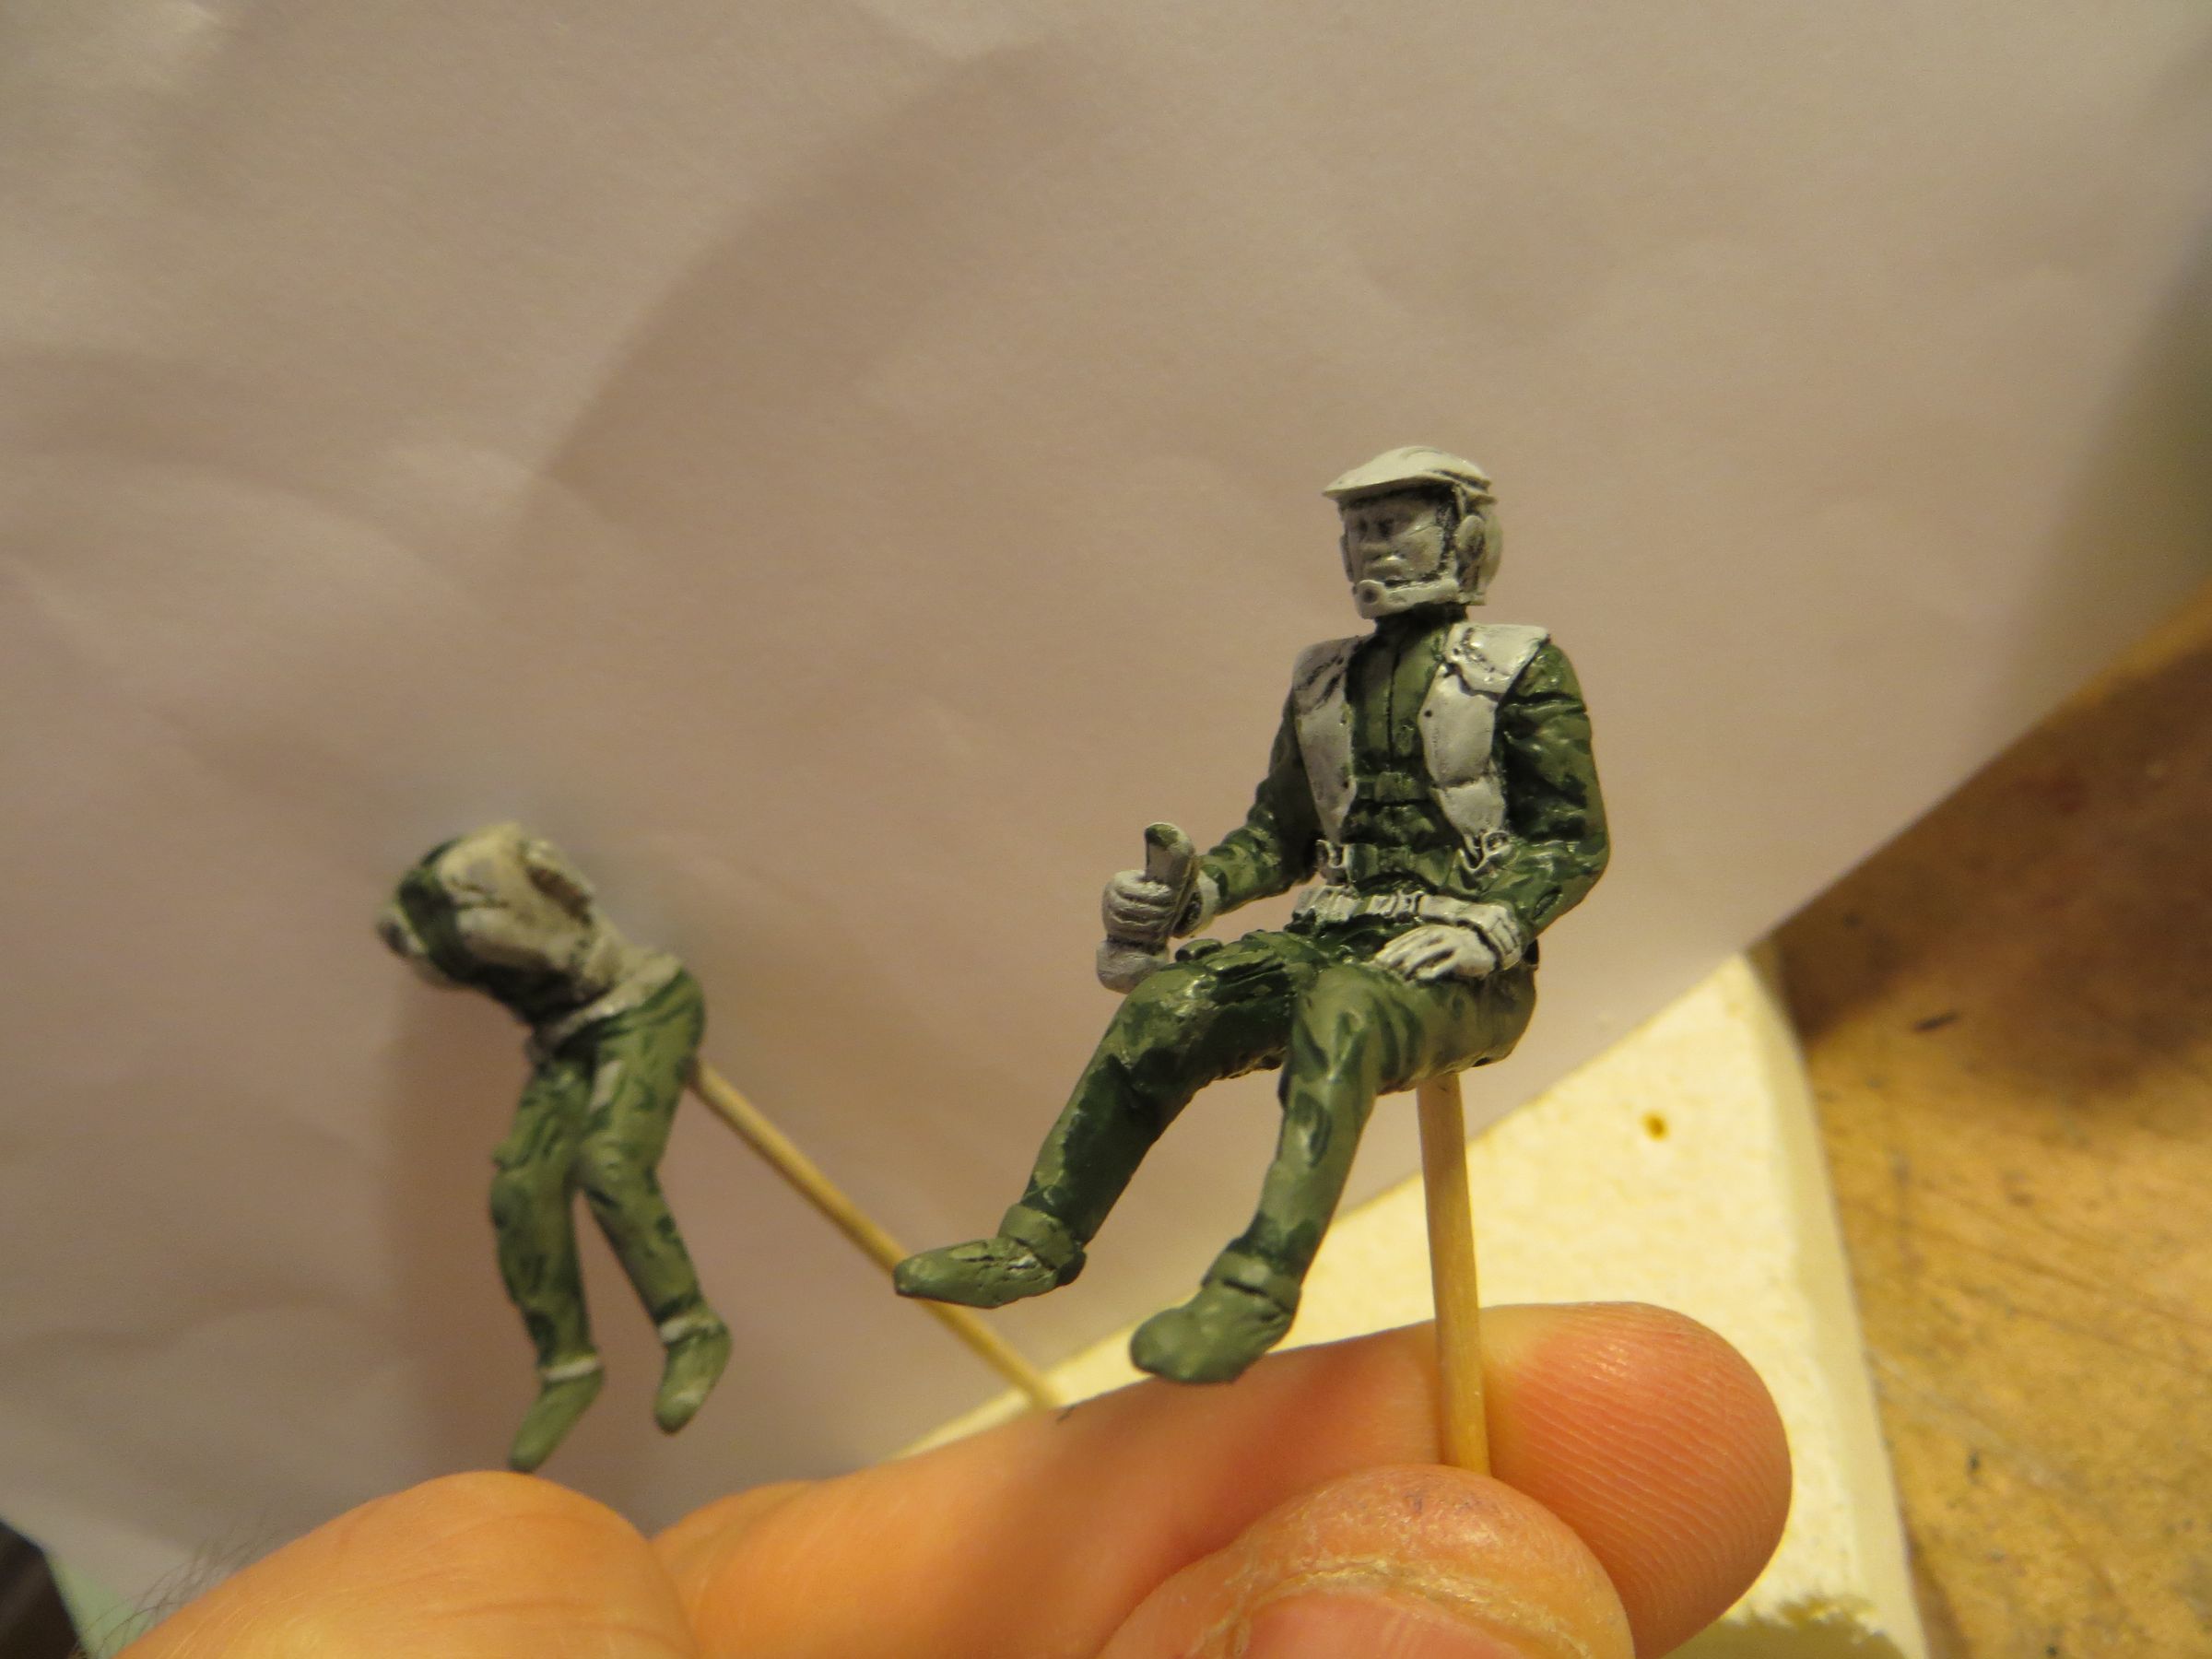
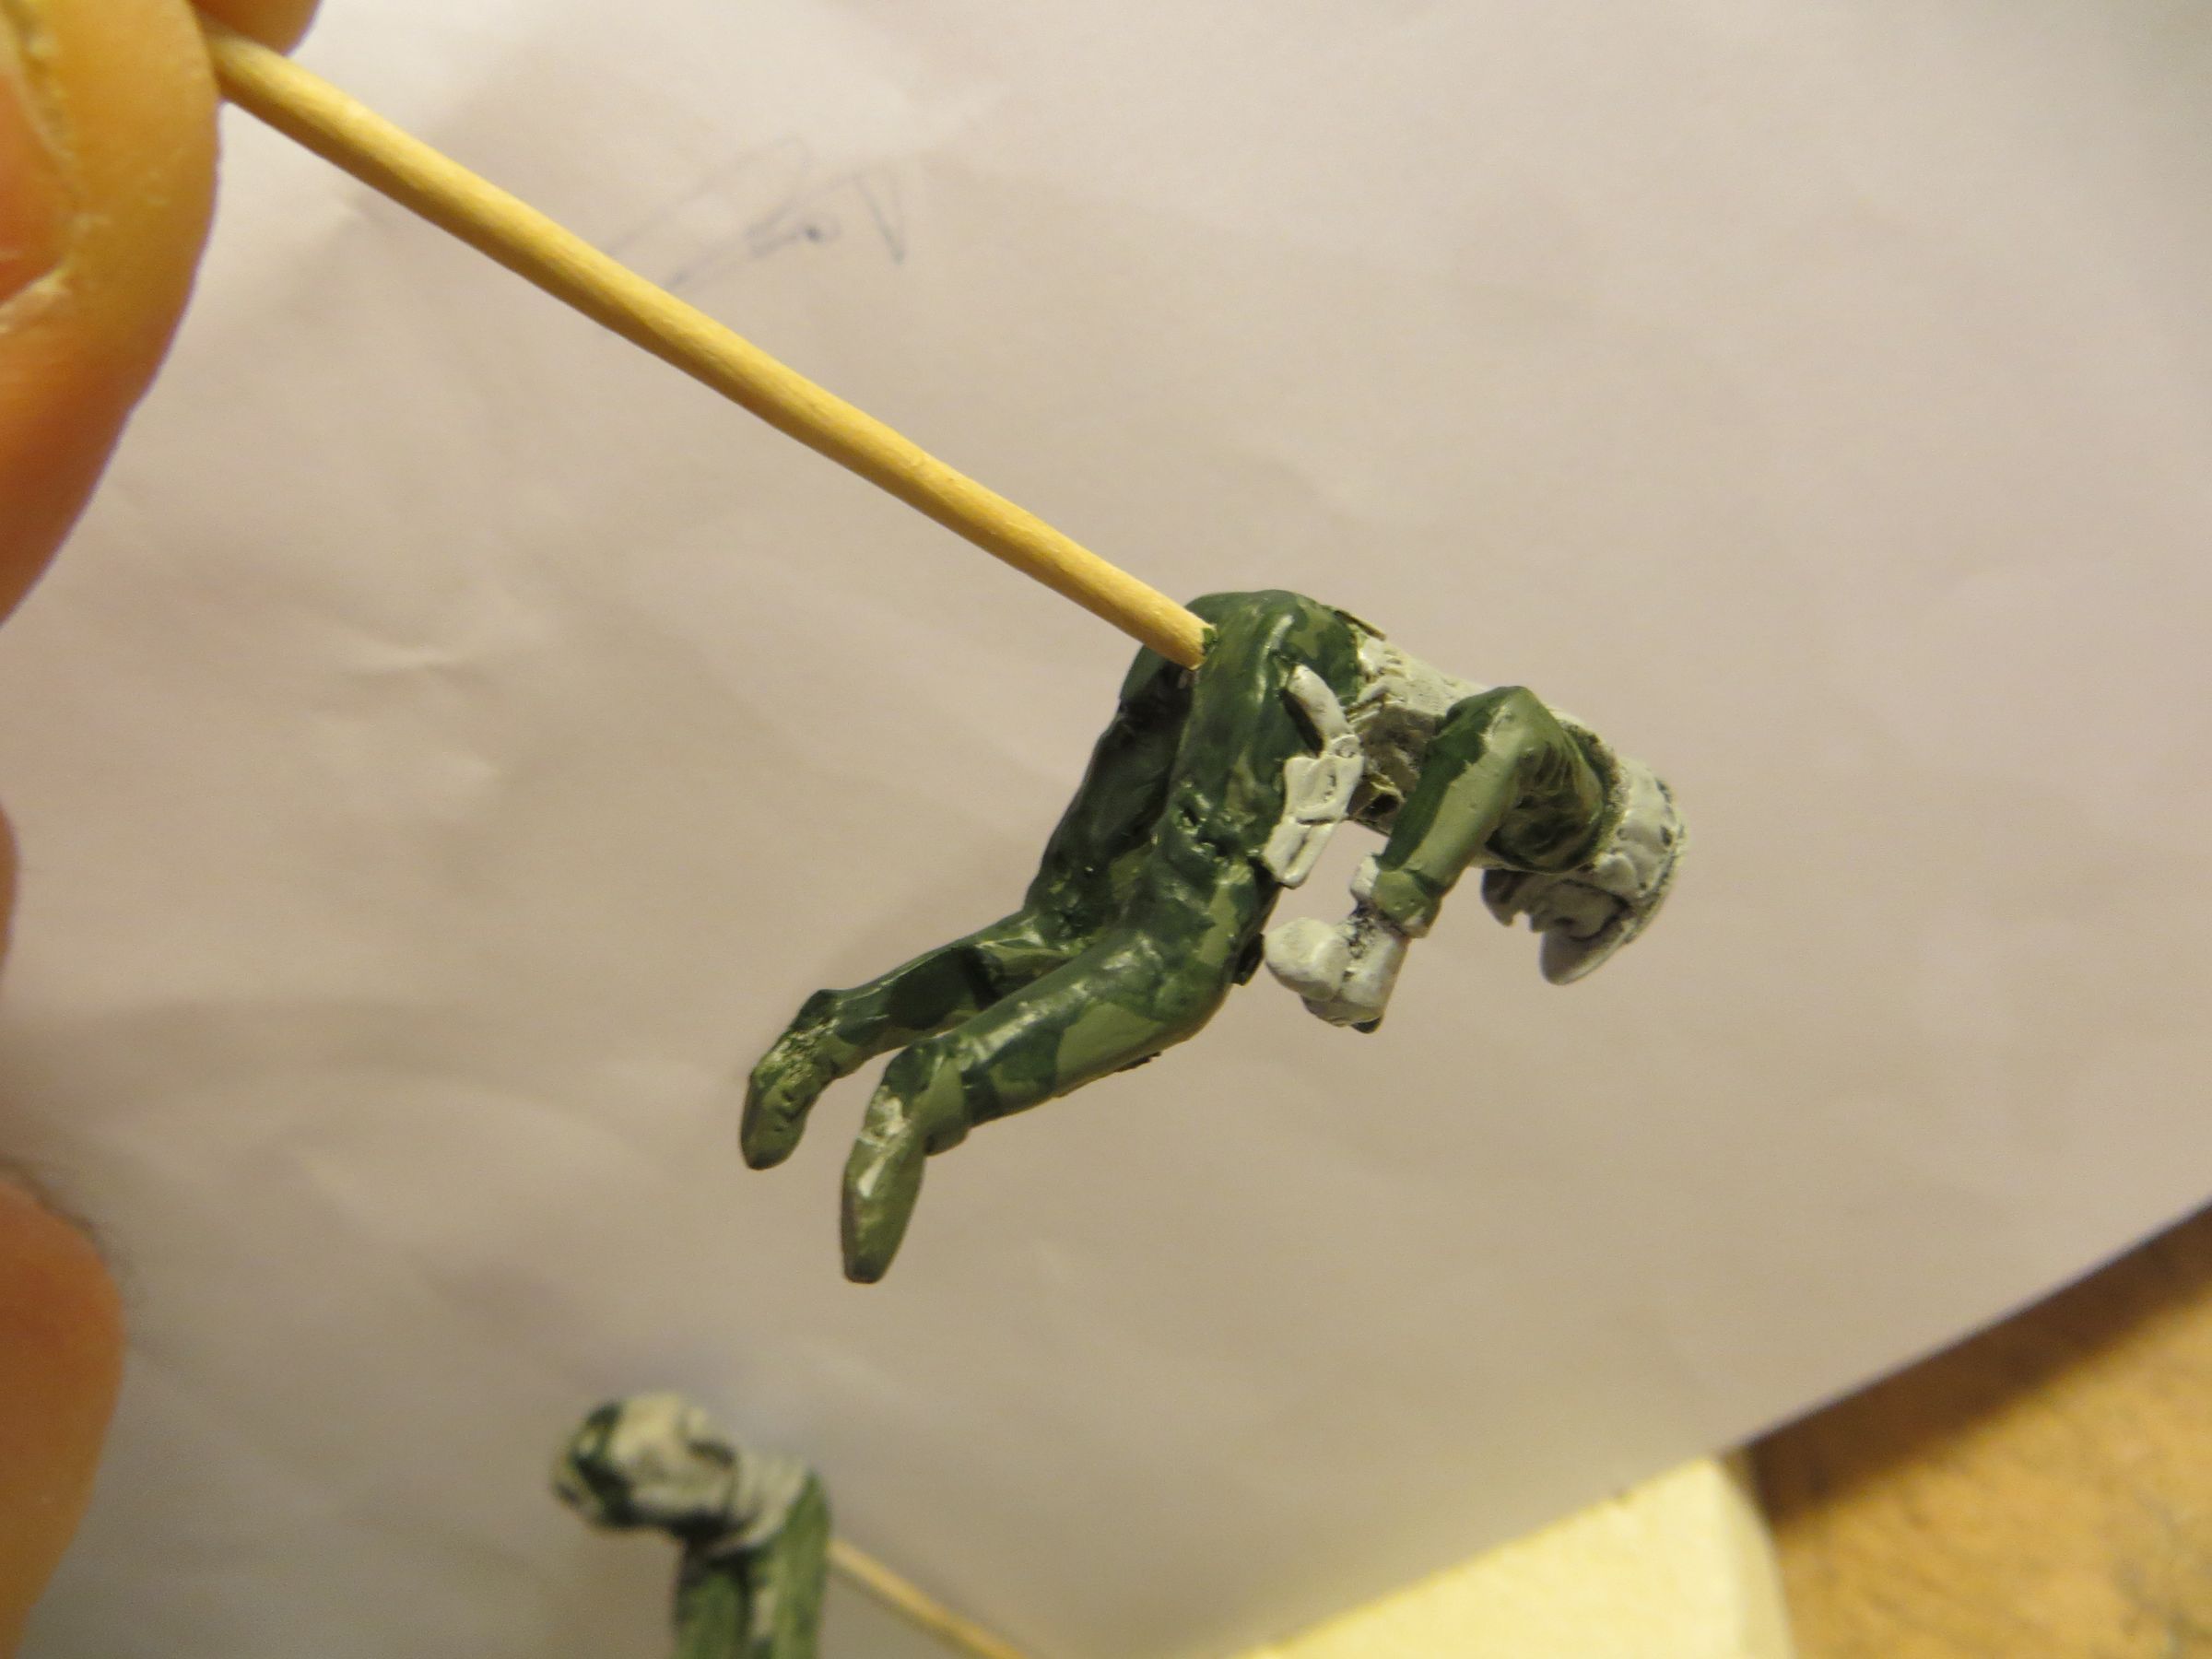
- then a veil of alclad pale gold (with the airbrush) I think it does the trick nicely.
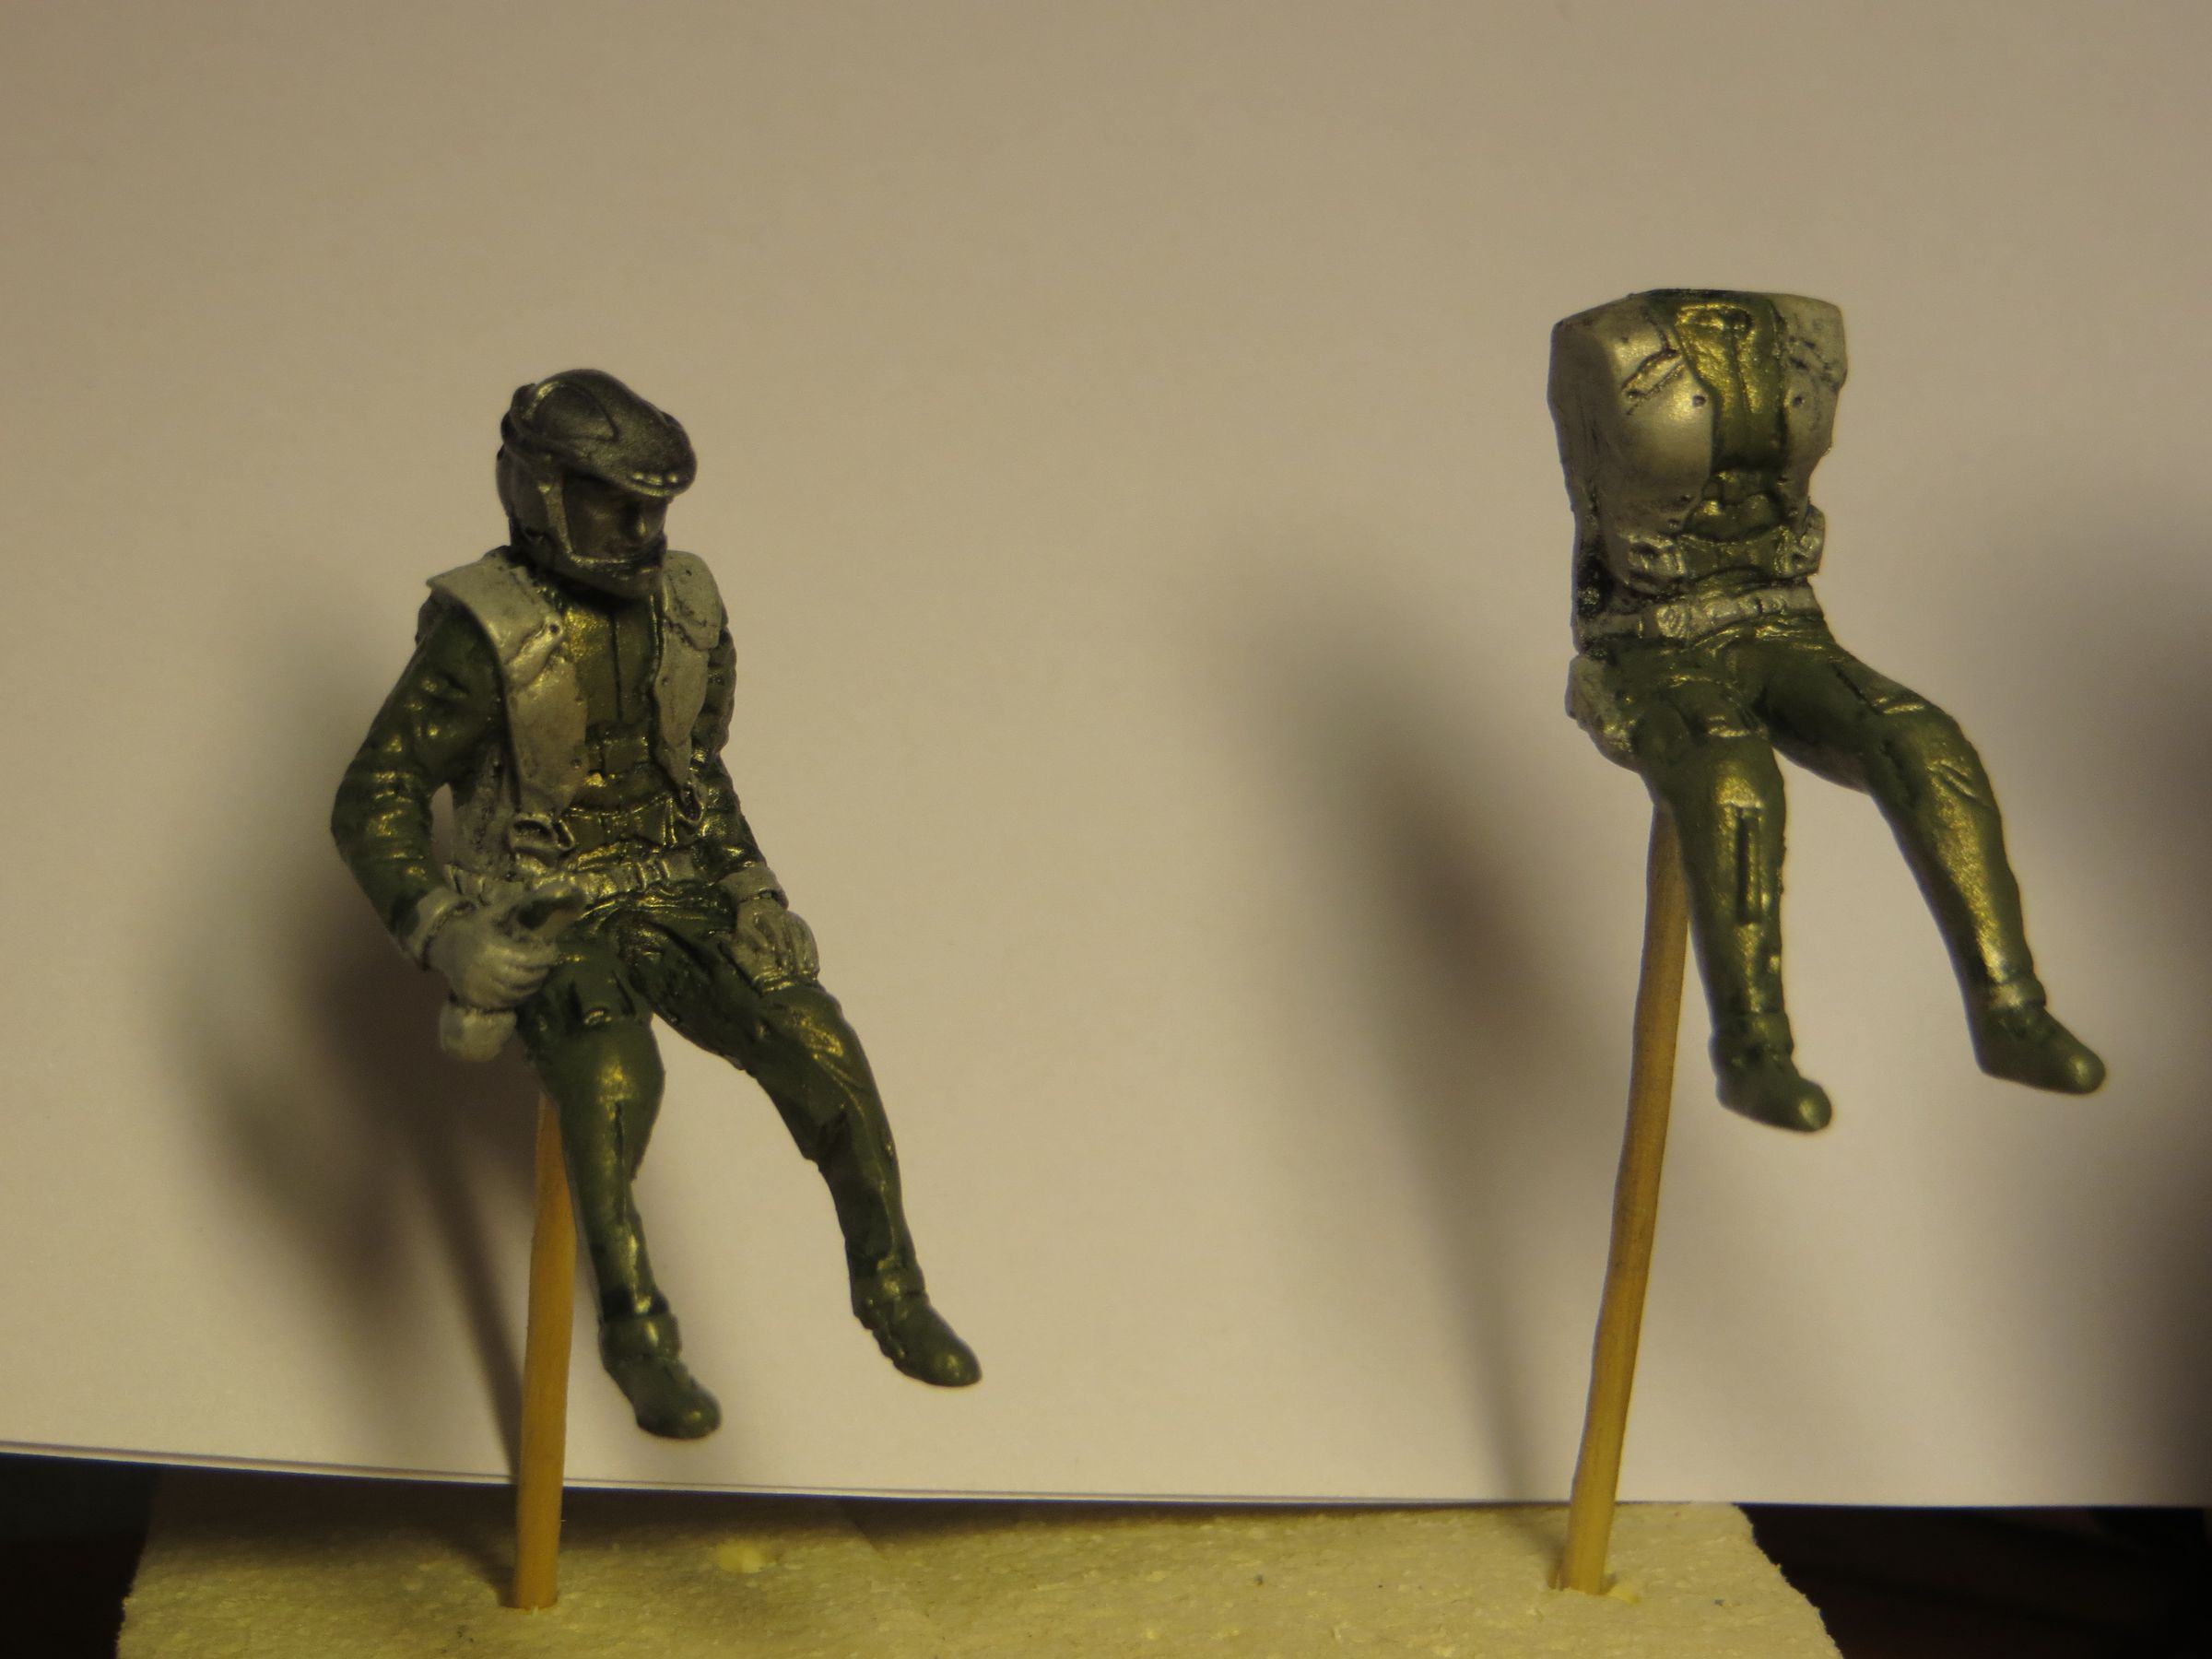

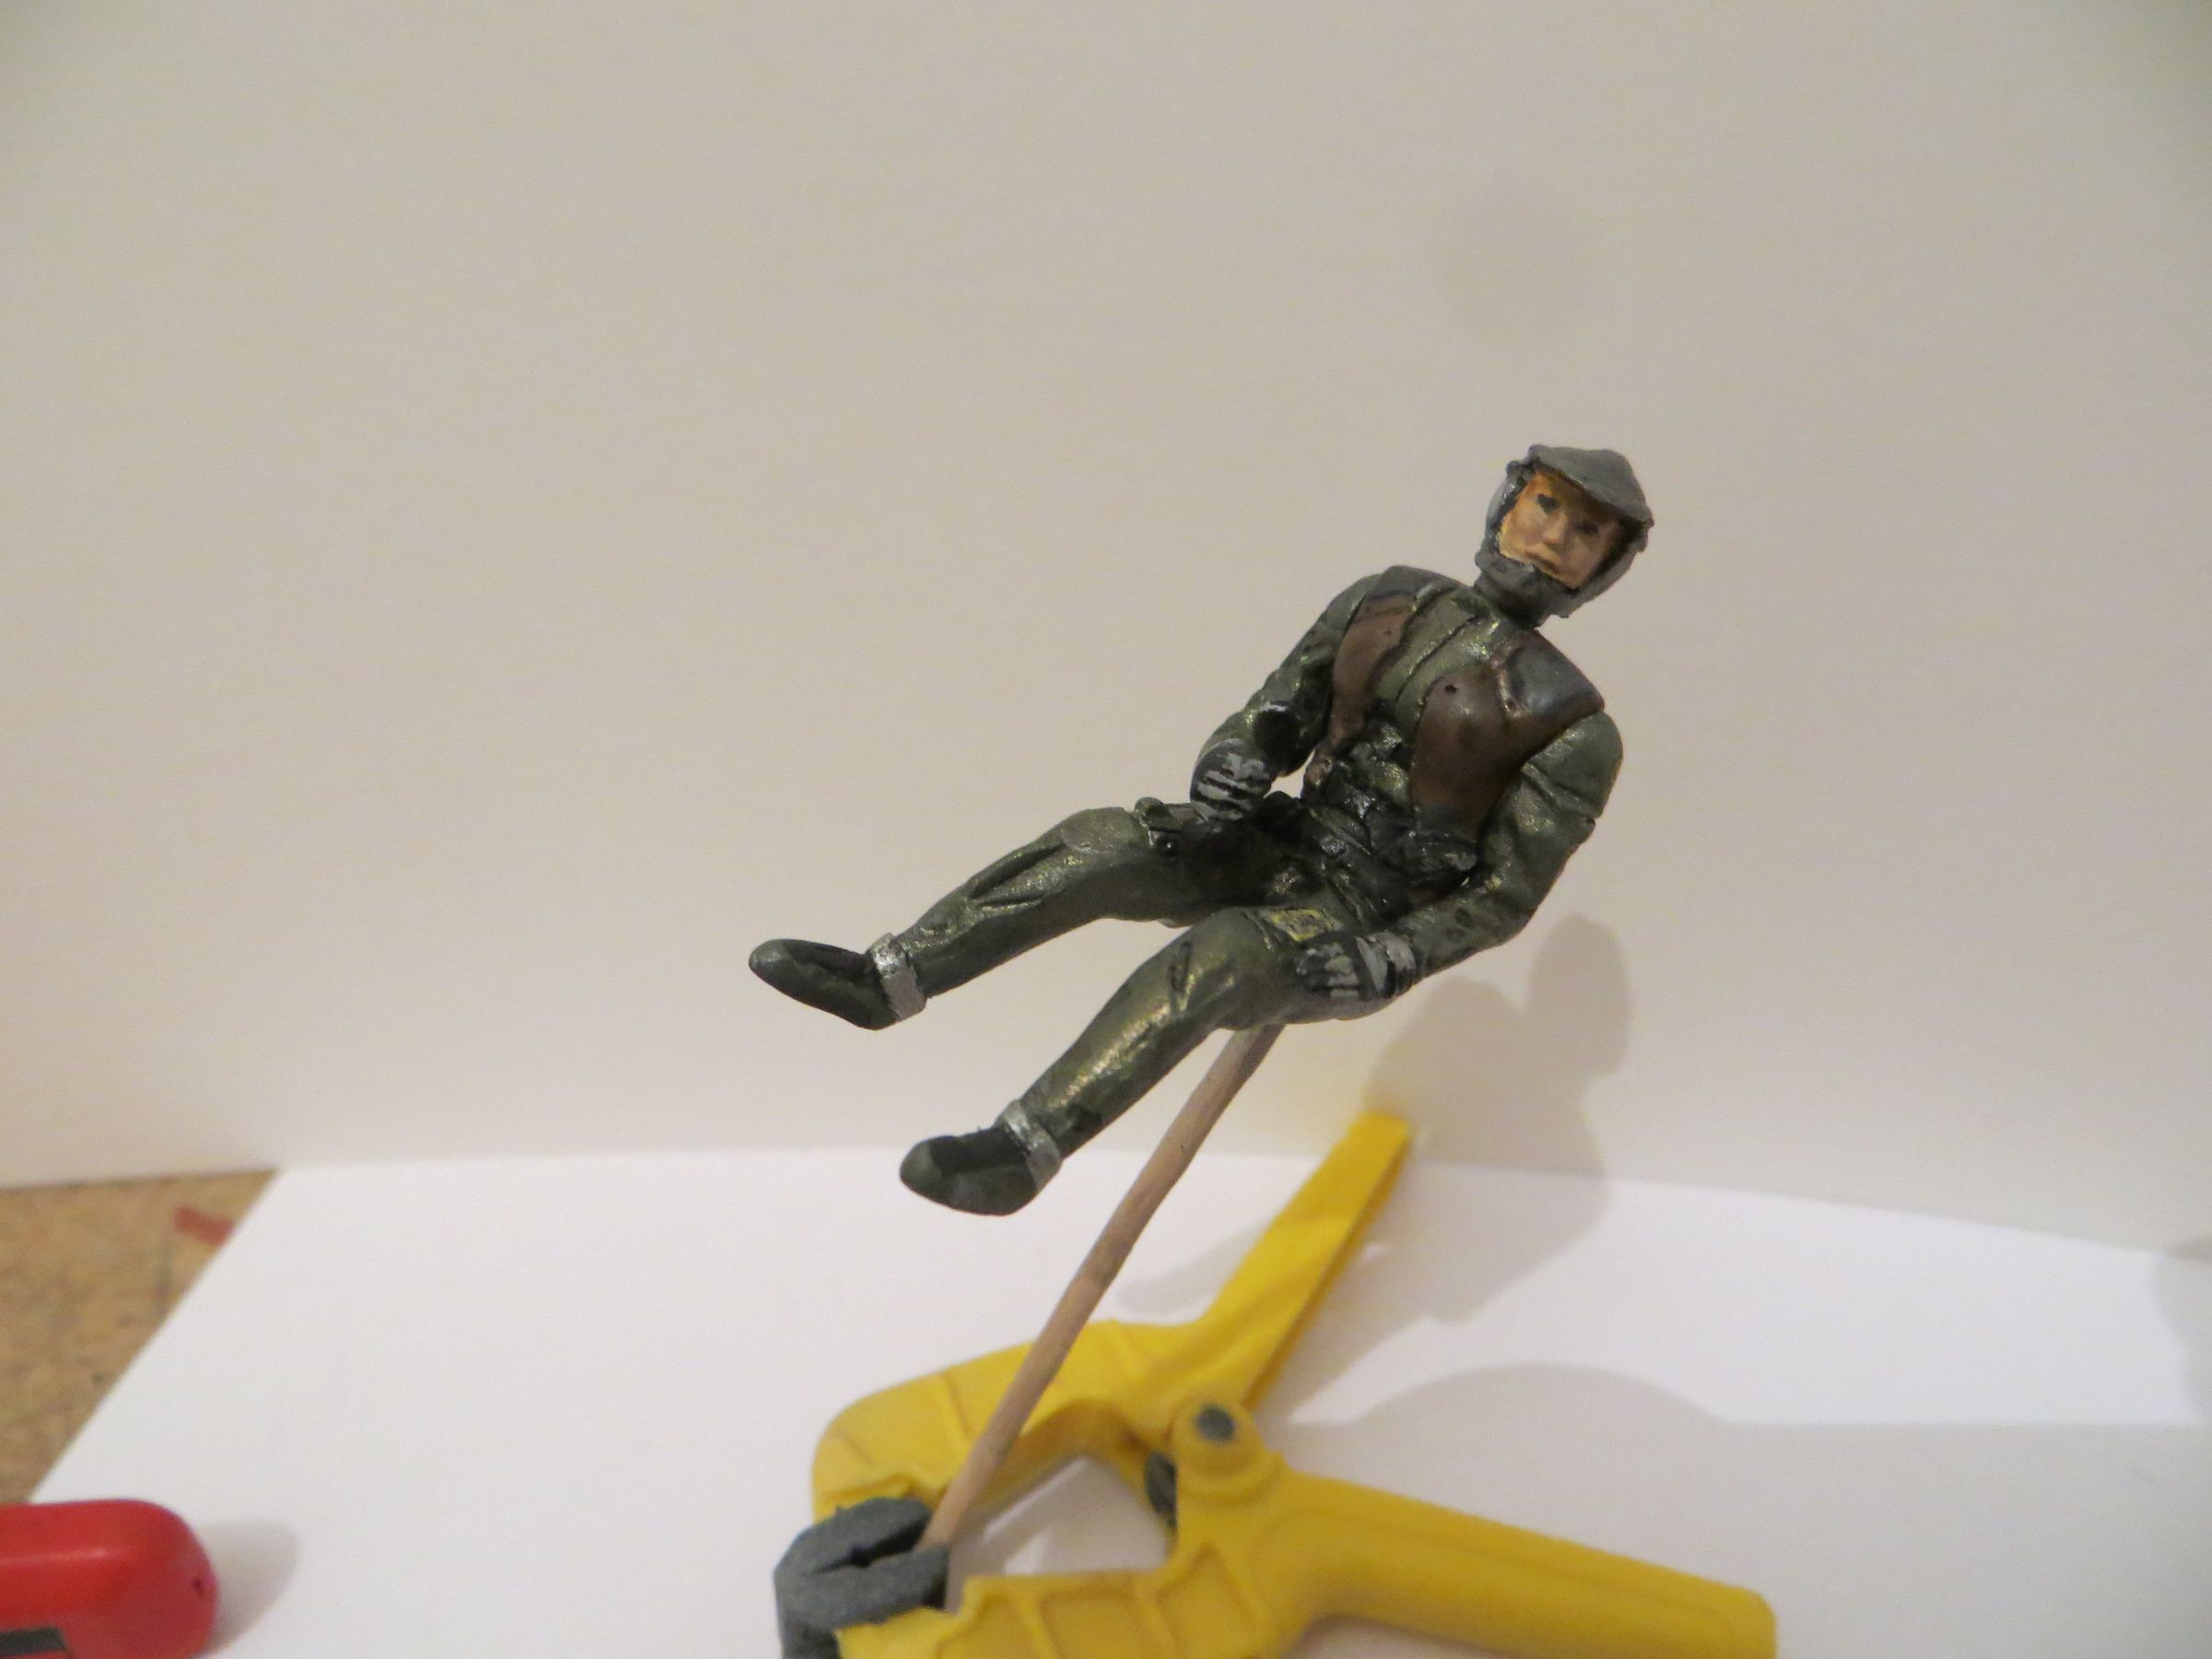
The pilot is then finished conventionally with brush paint. AI applied some little orange yellow the the face border for Starbuck/Kara blond hairs.


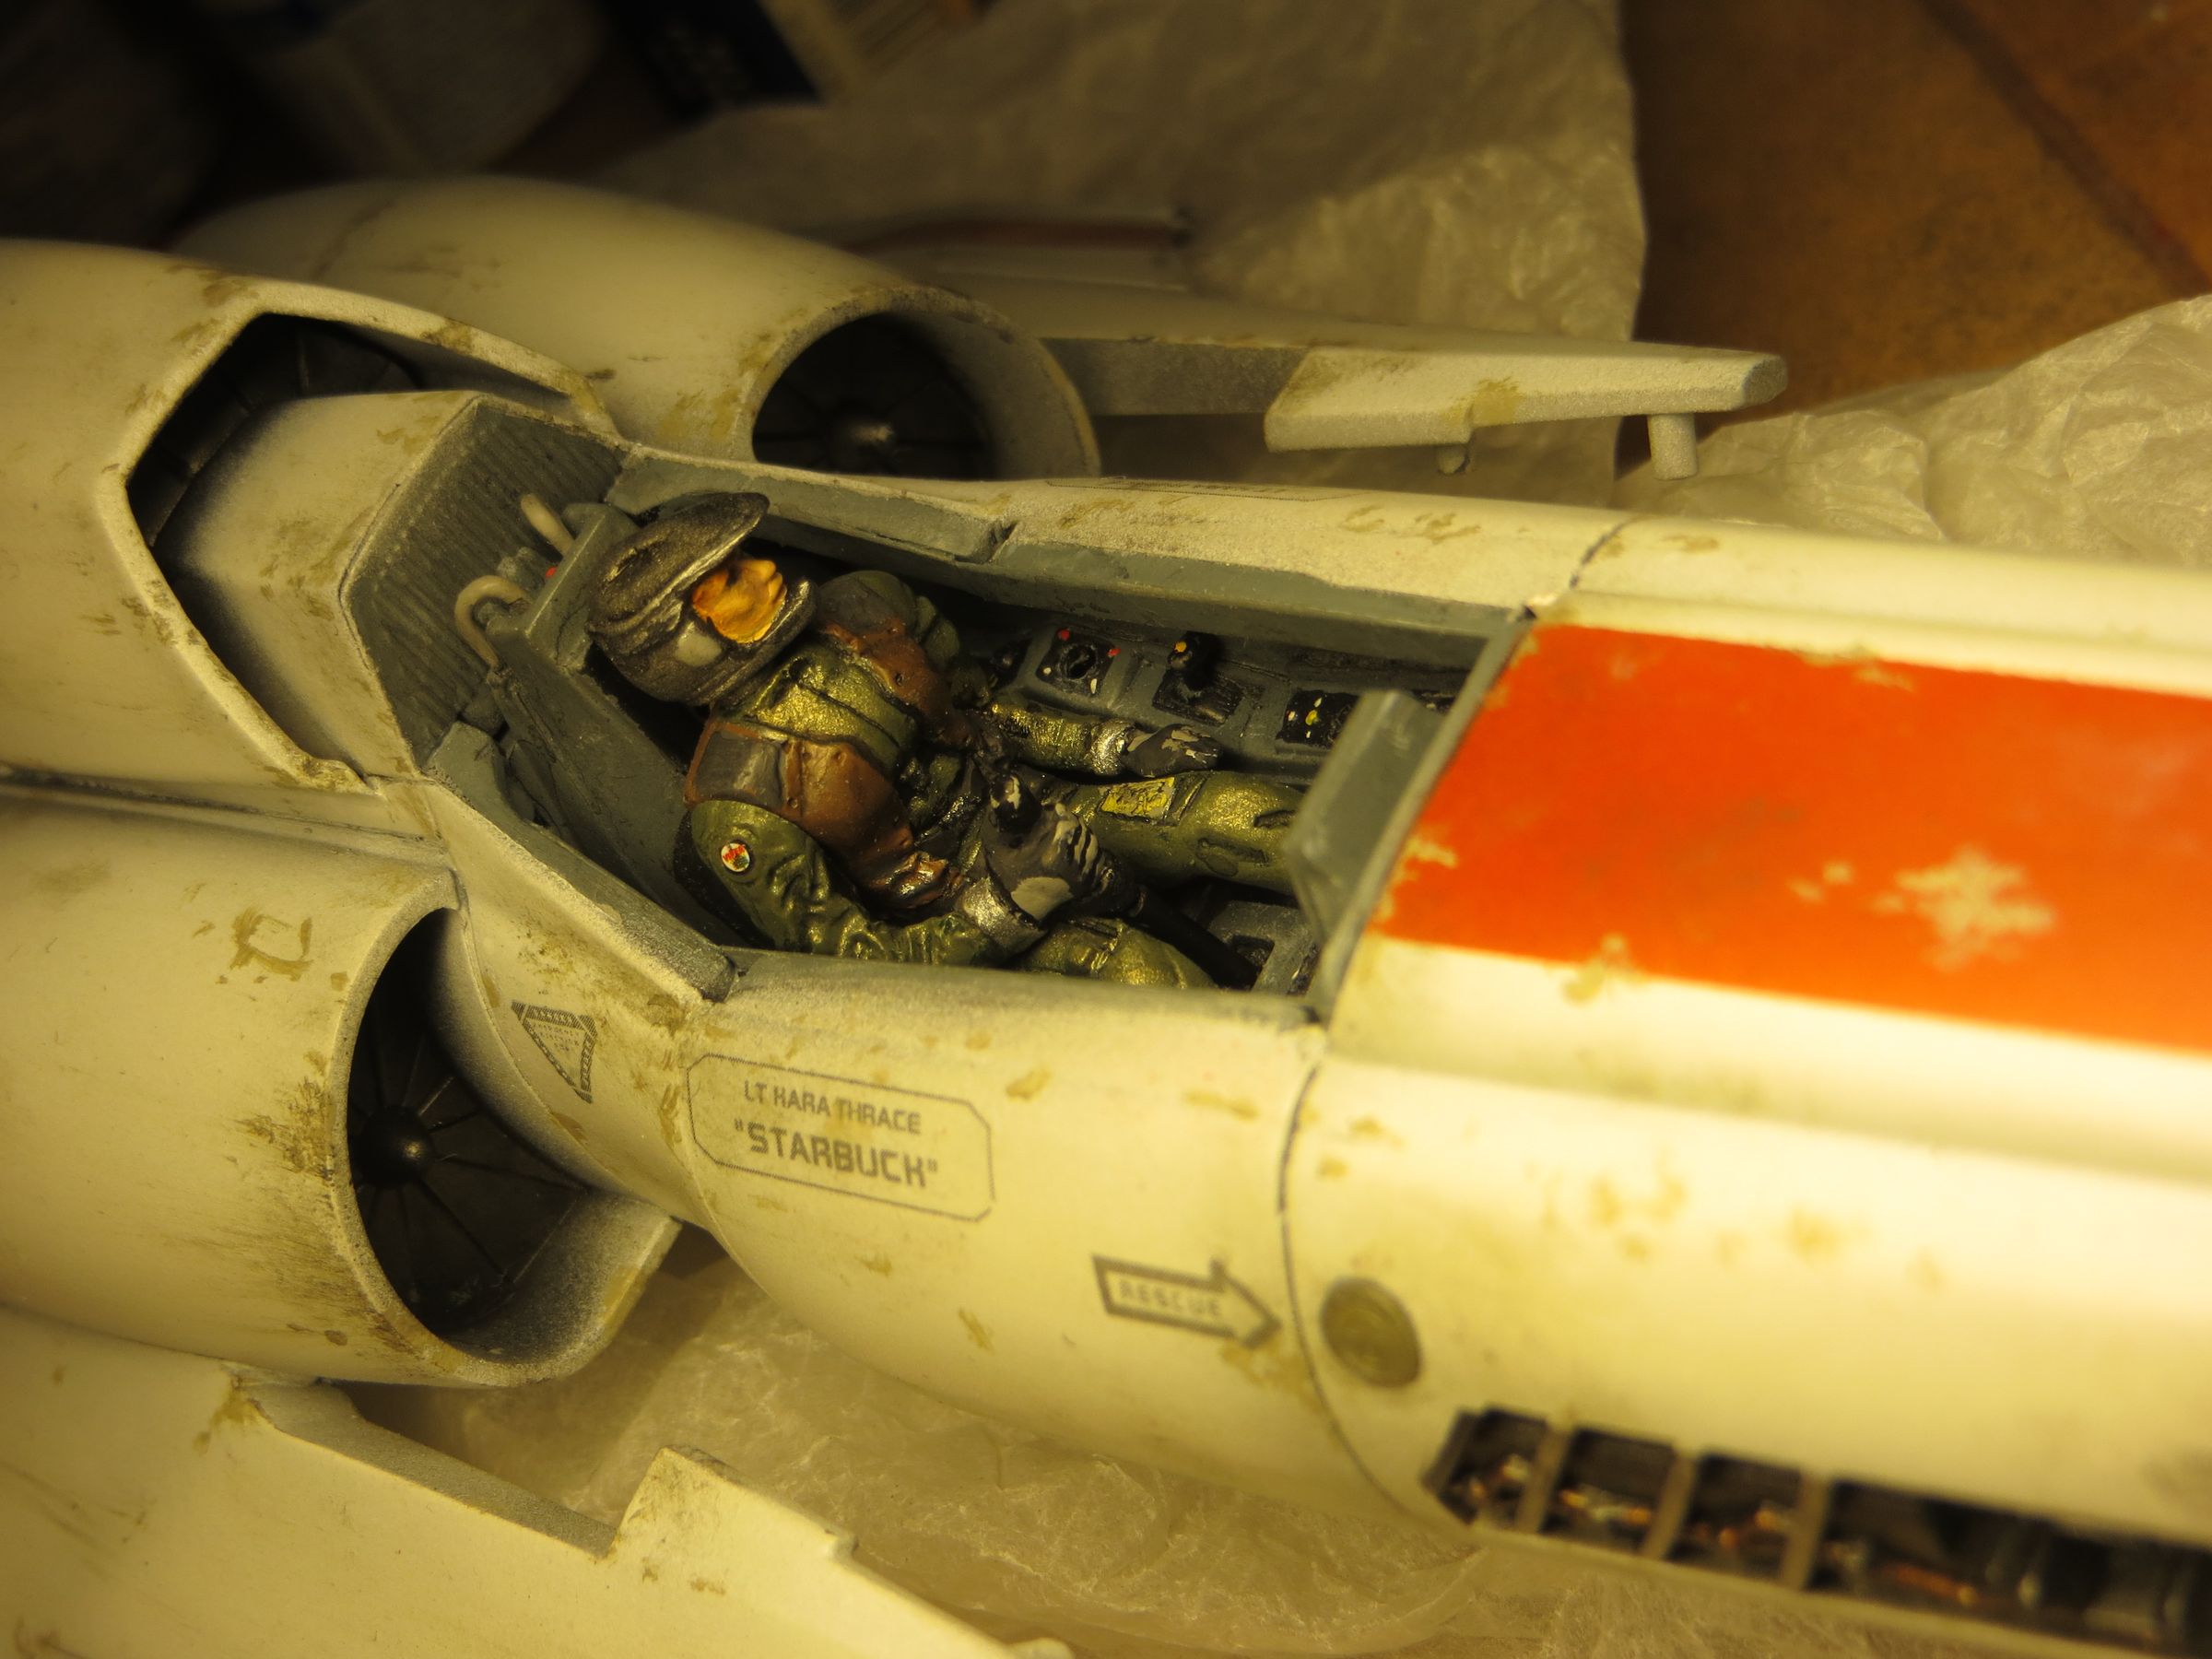
Once in the cockpit, the joystick is lying on nothing, so it had to be completed (although it will not be accurate).


A first try with the joystick from kit, not convincing.

So I simply used an evergren rod.
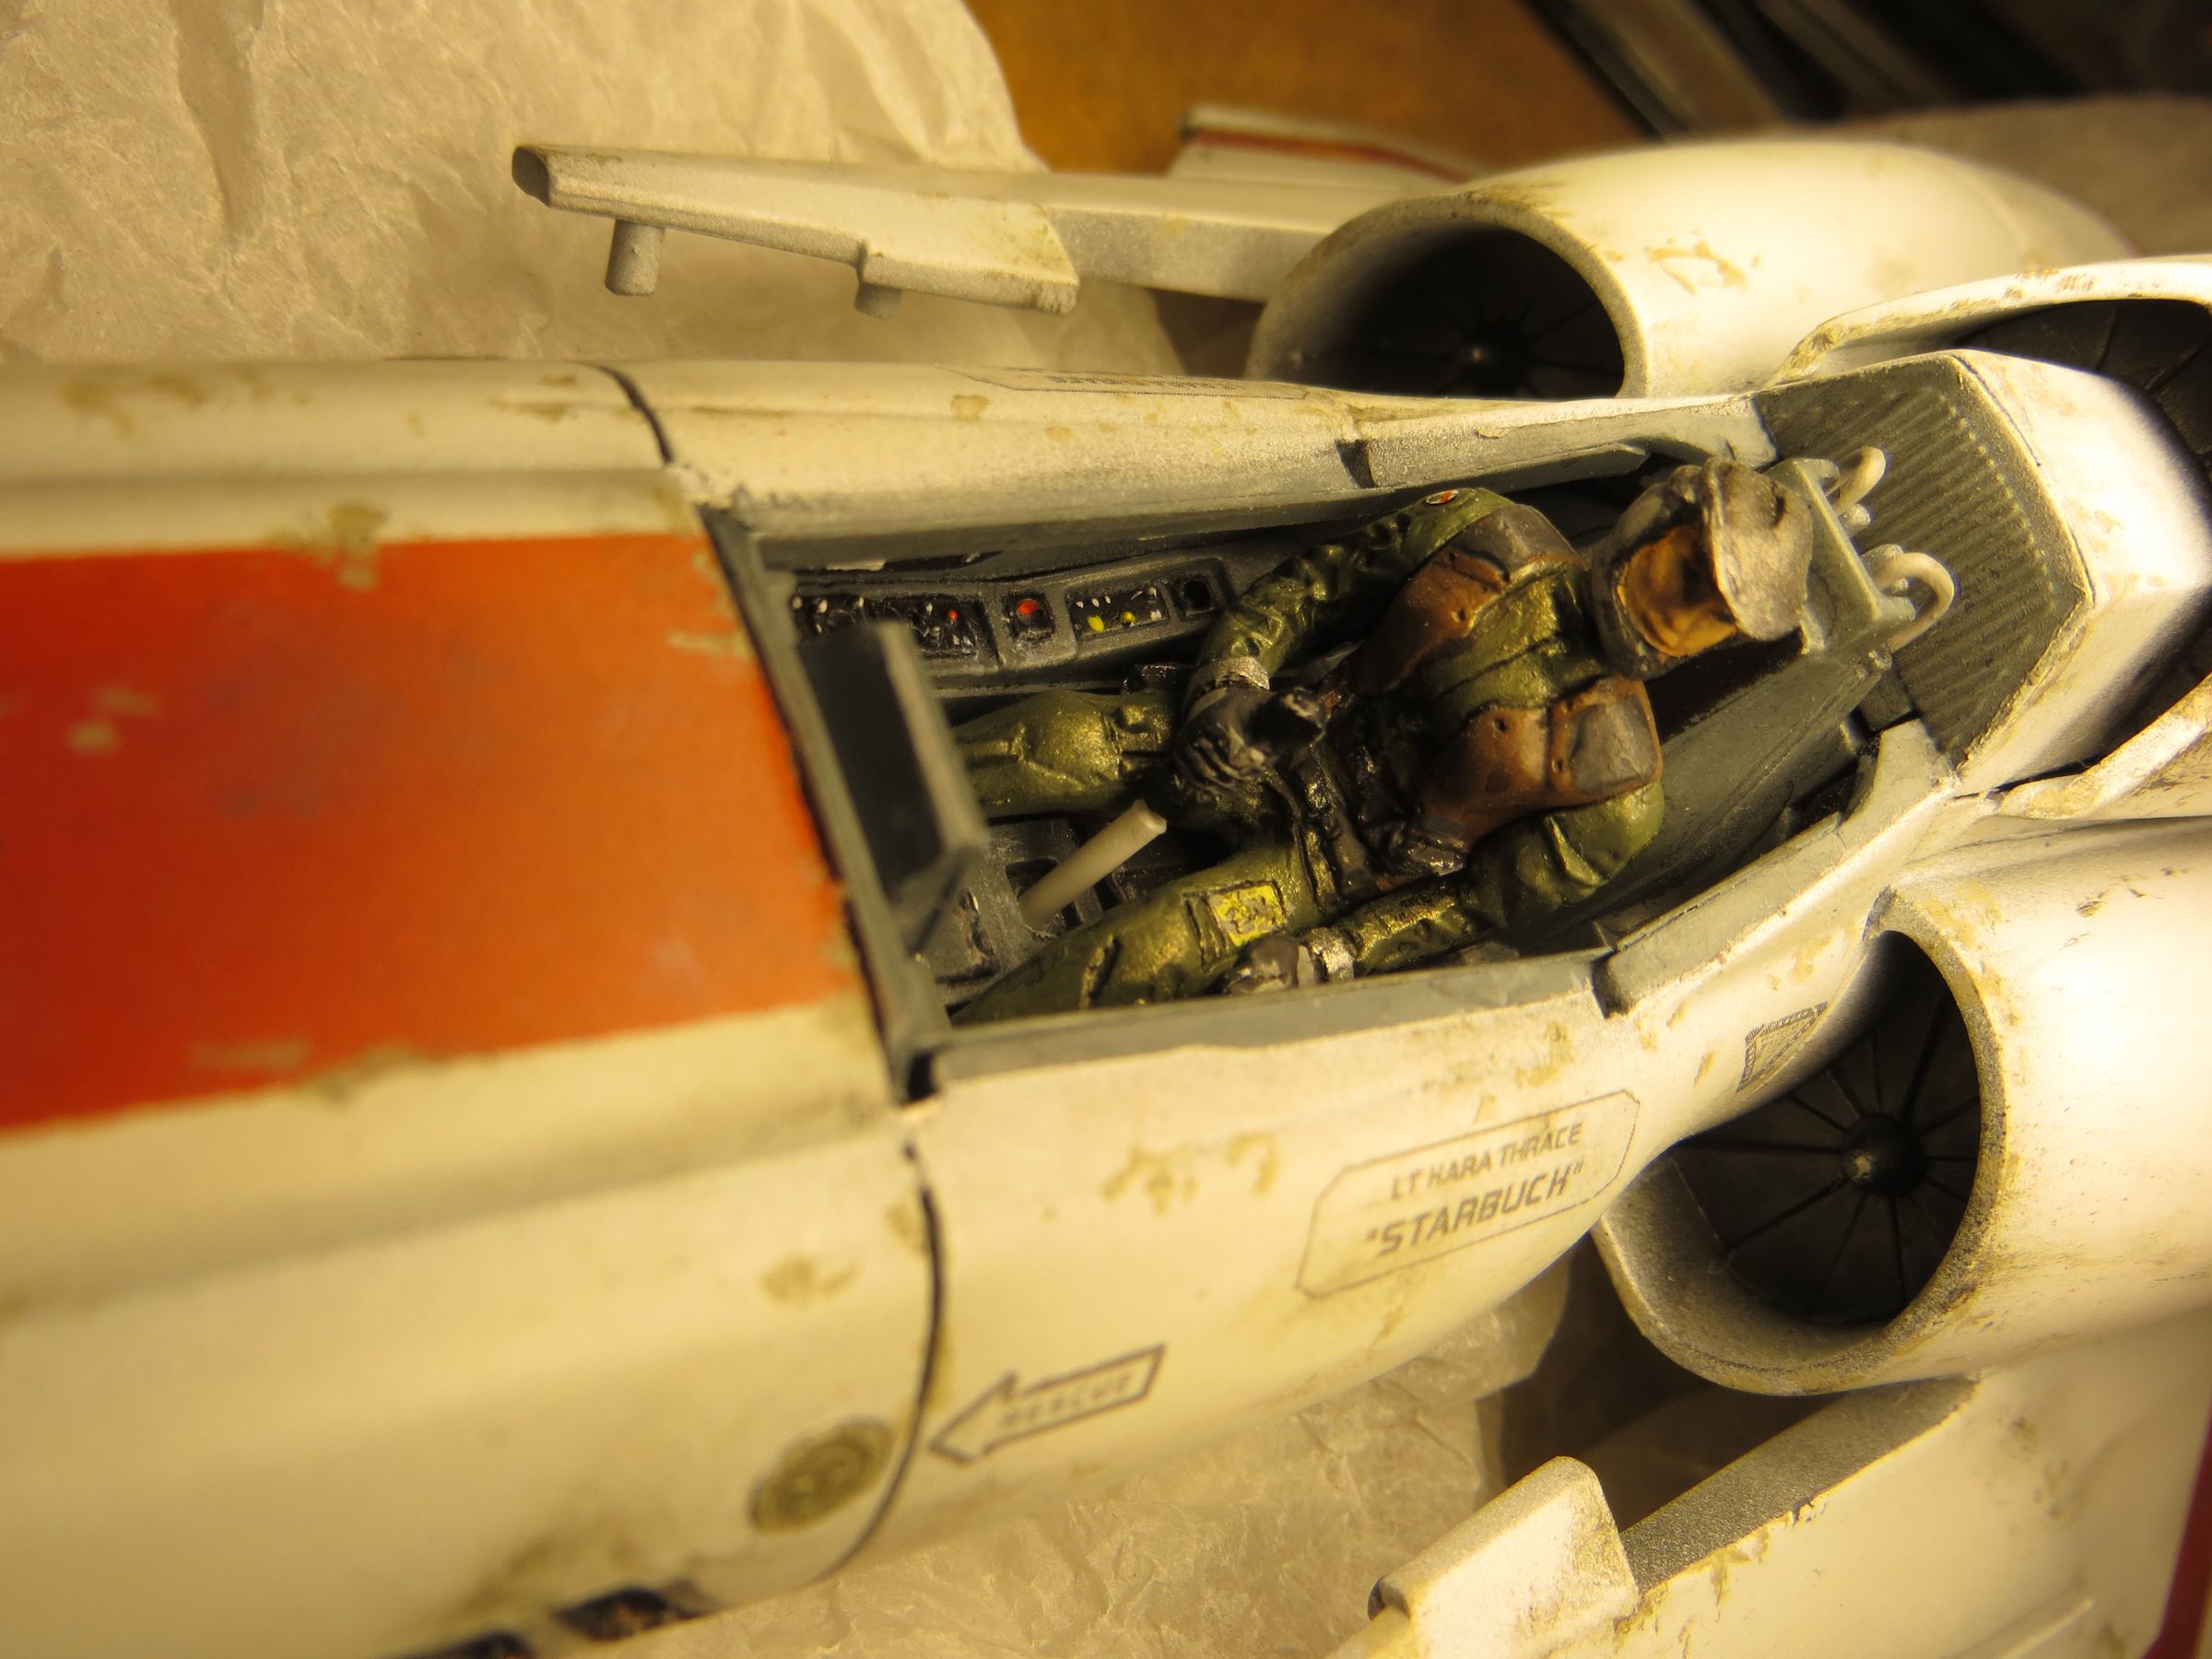
And once painted, it does the trick.
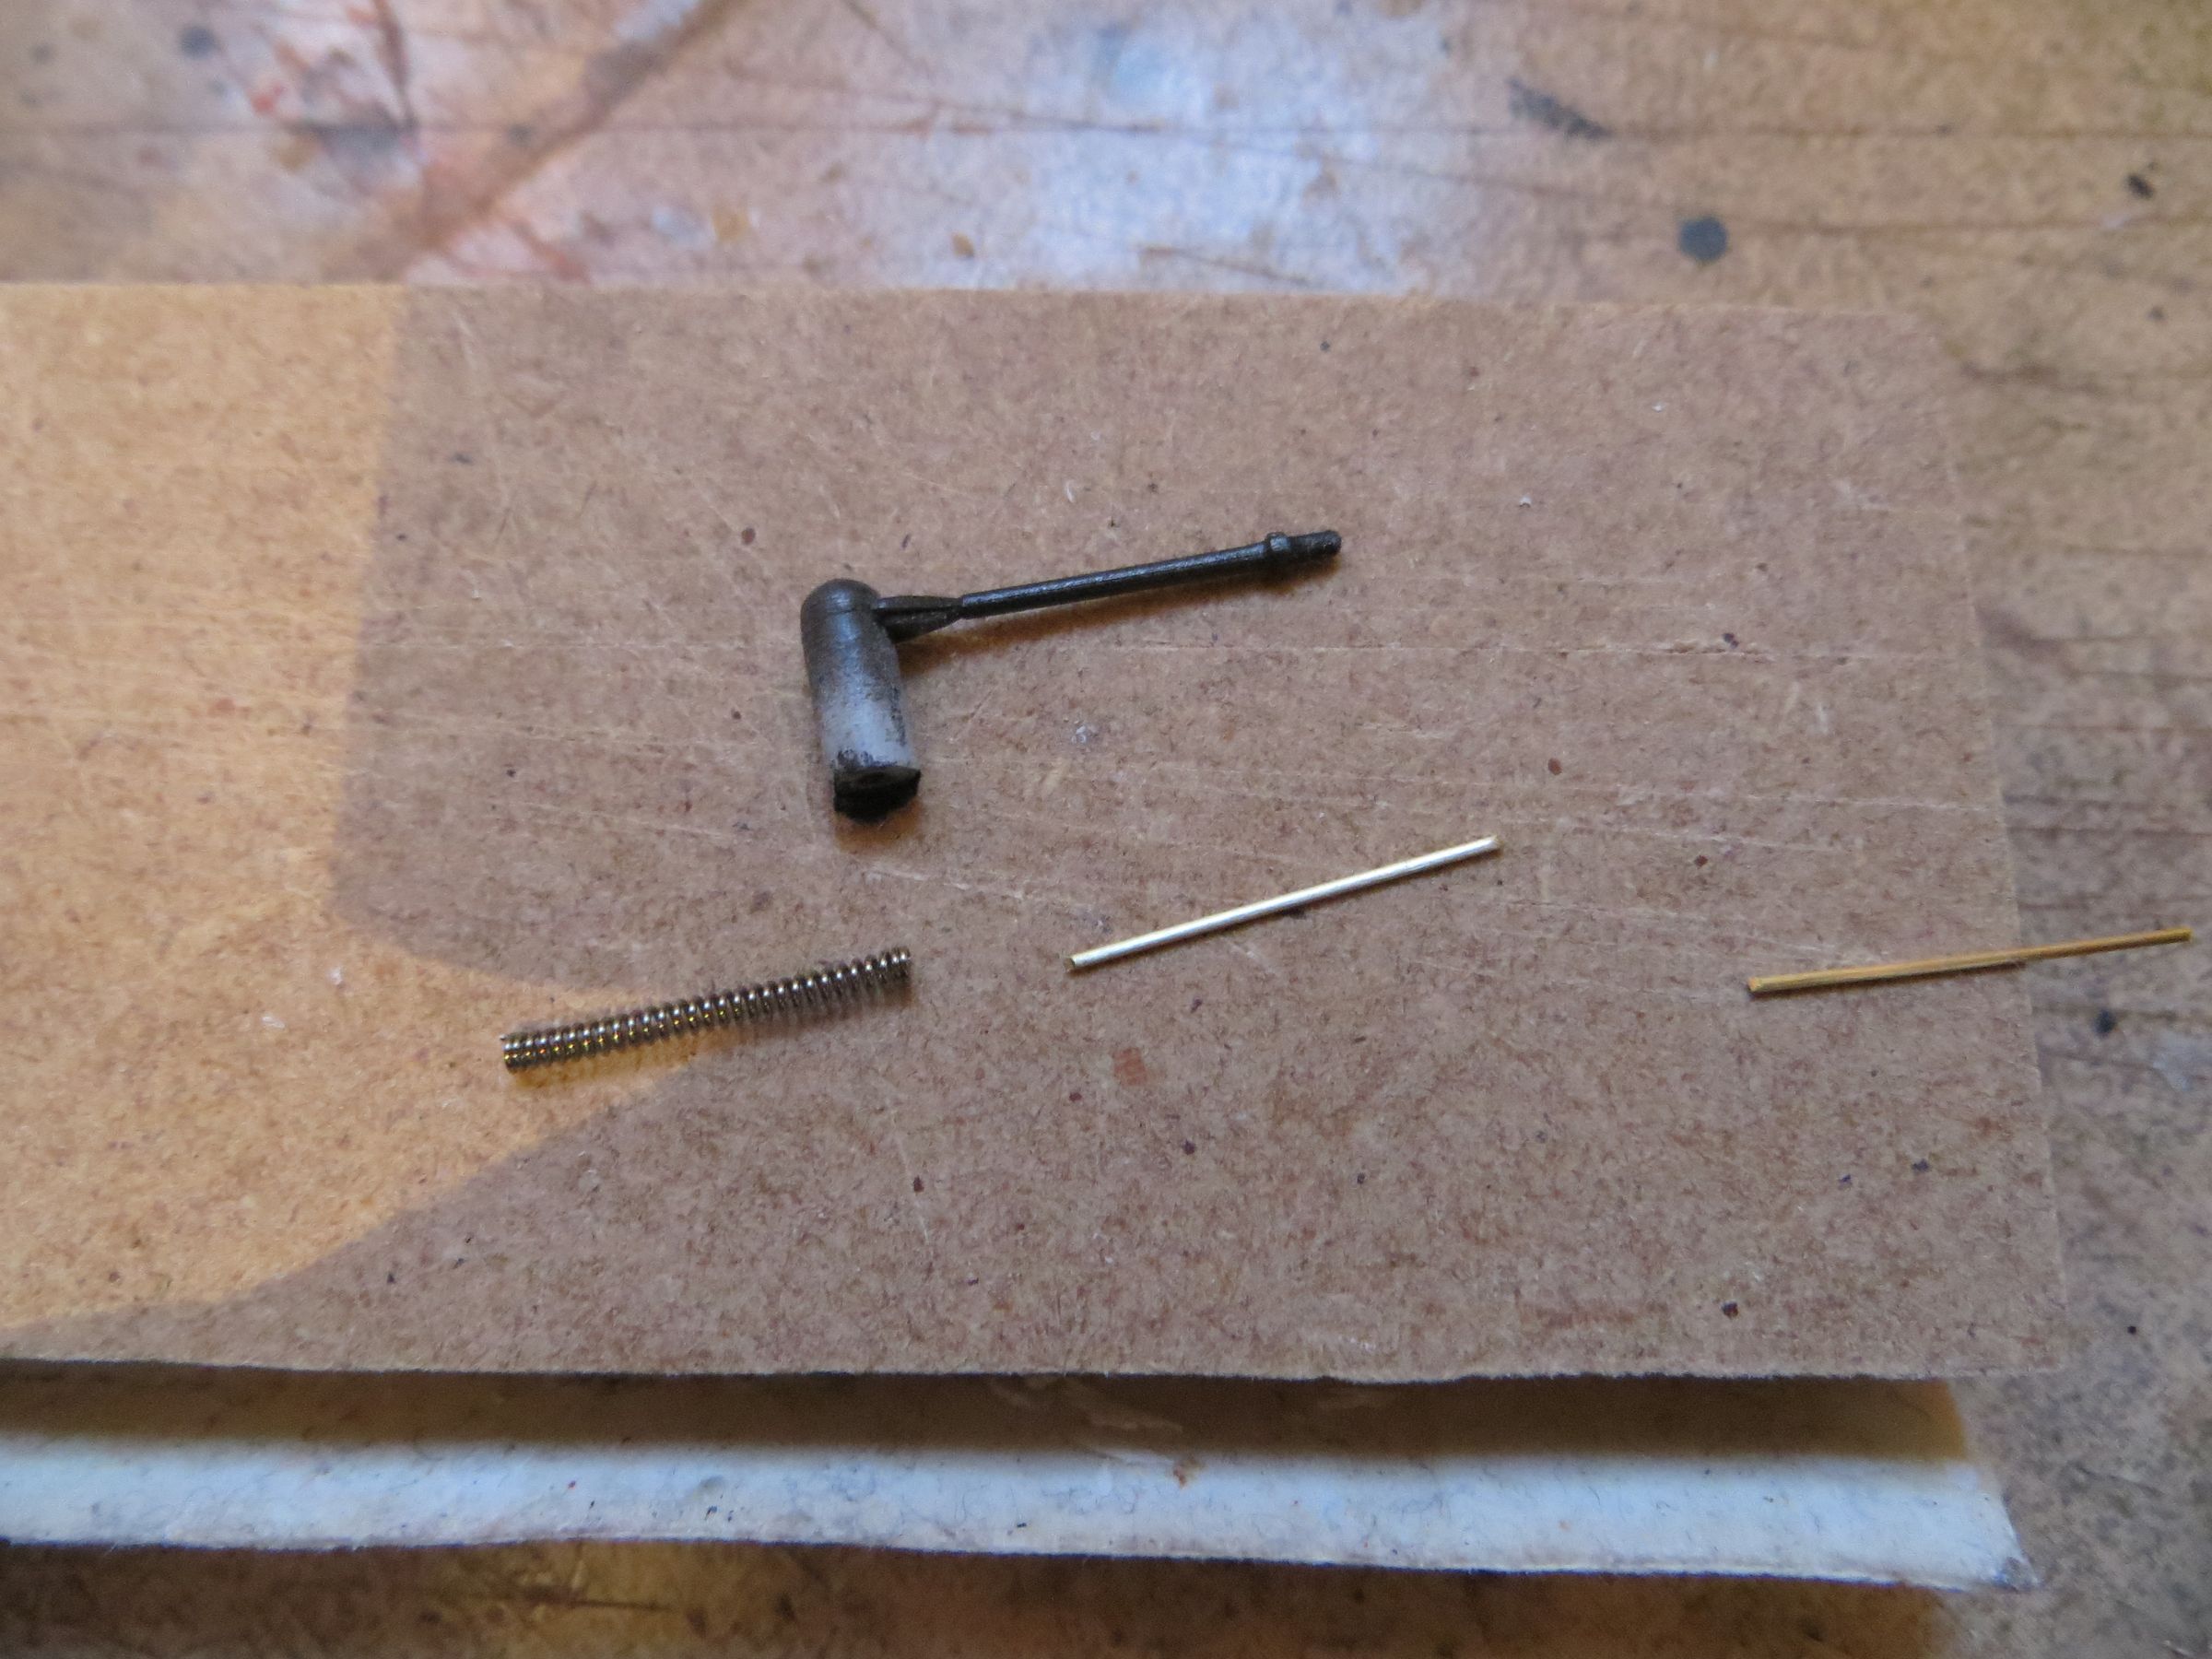
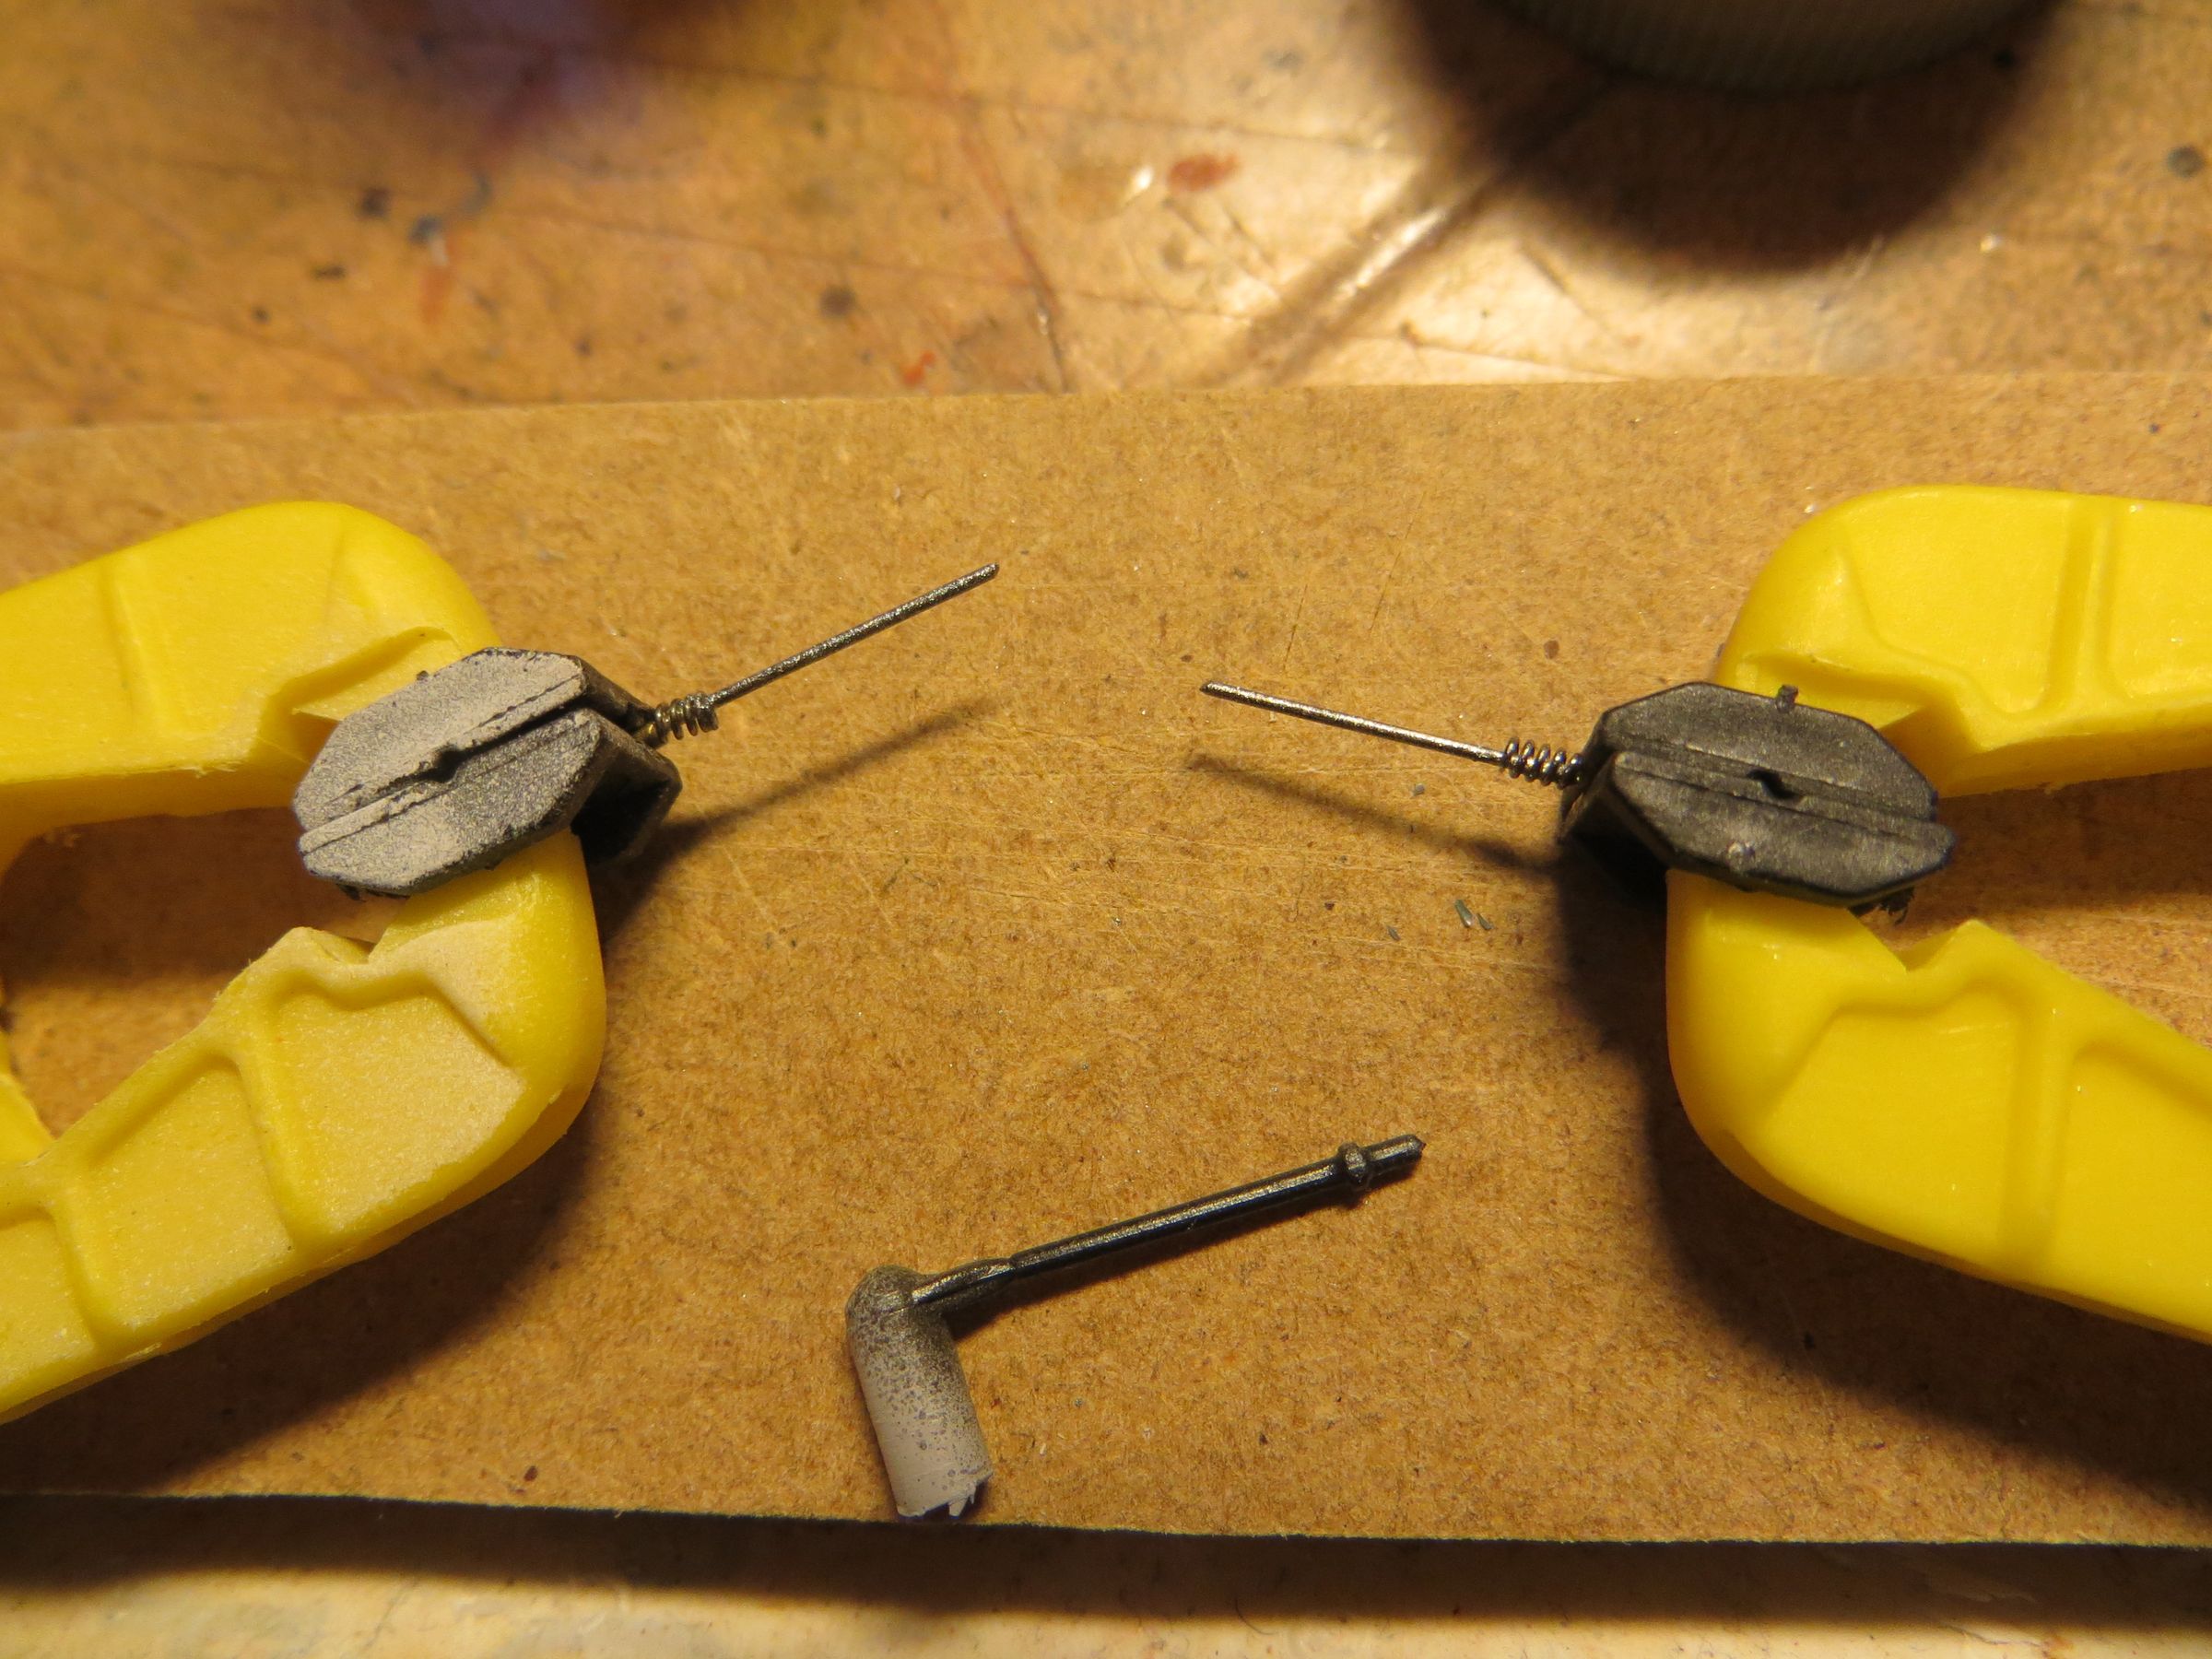
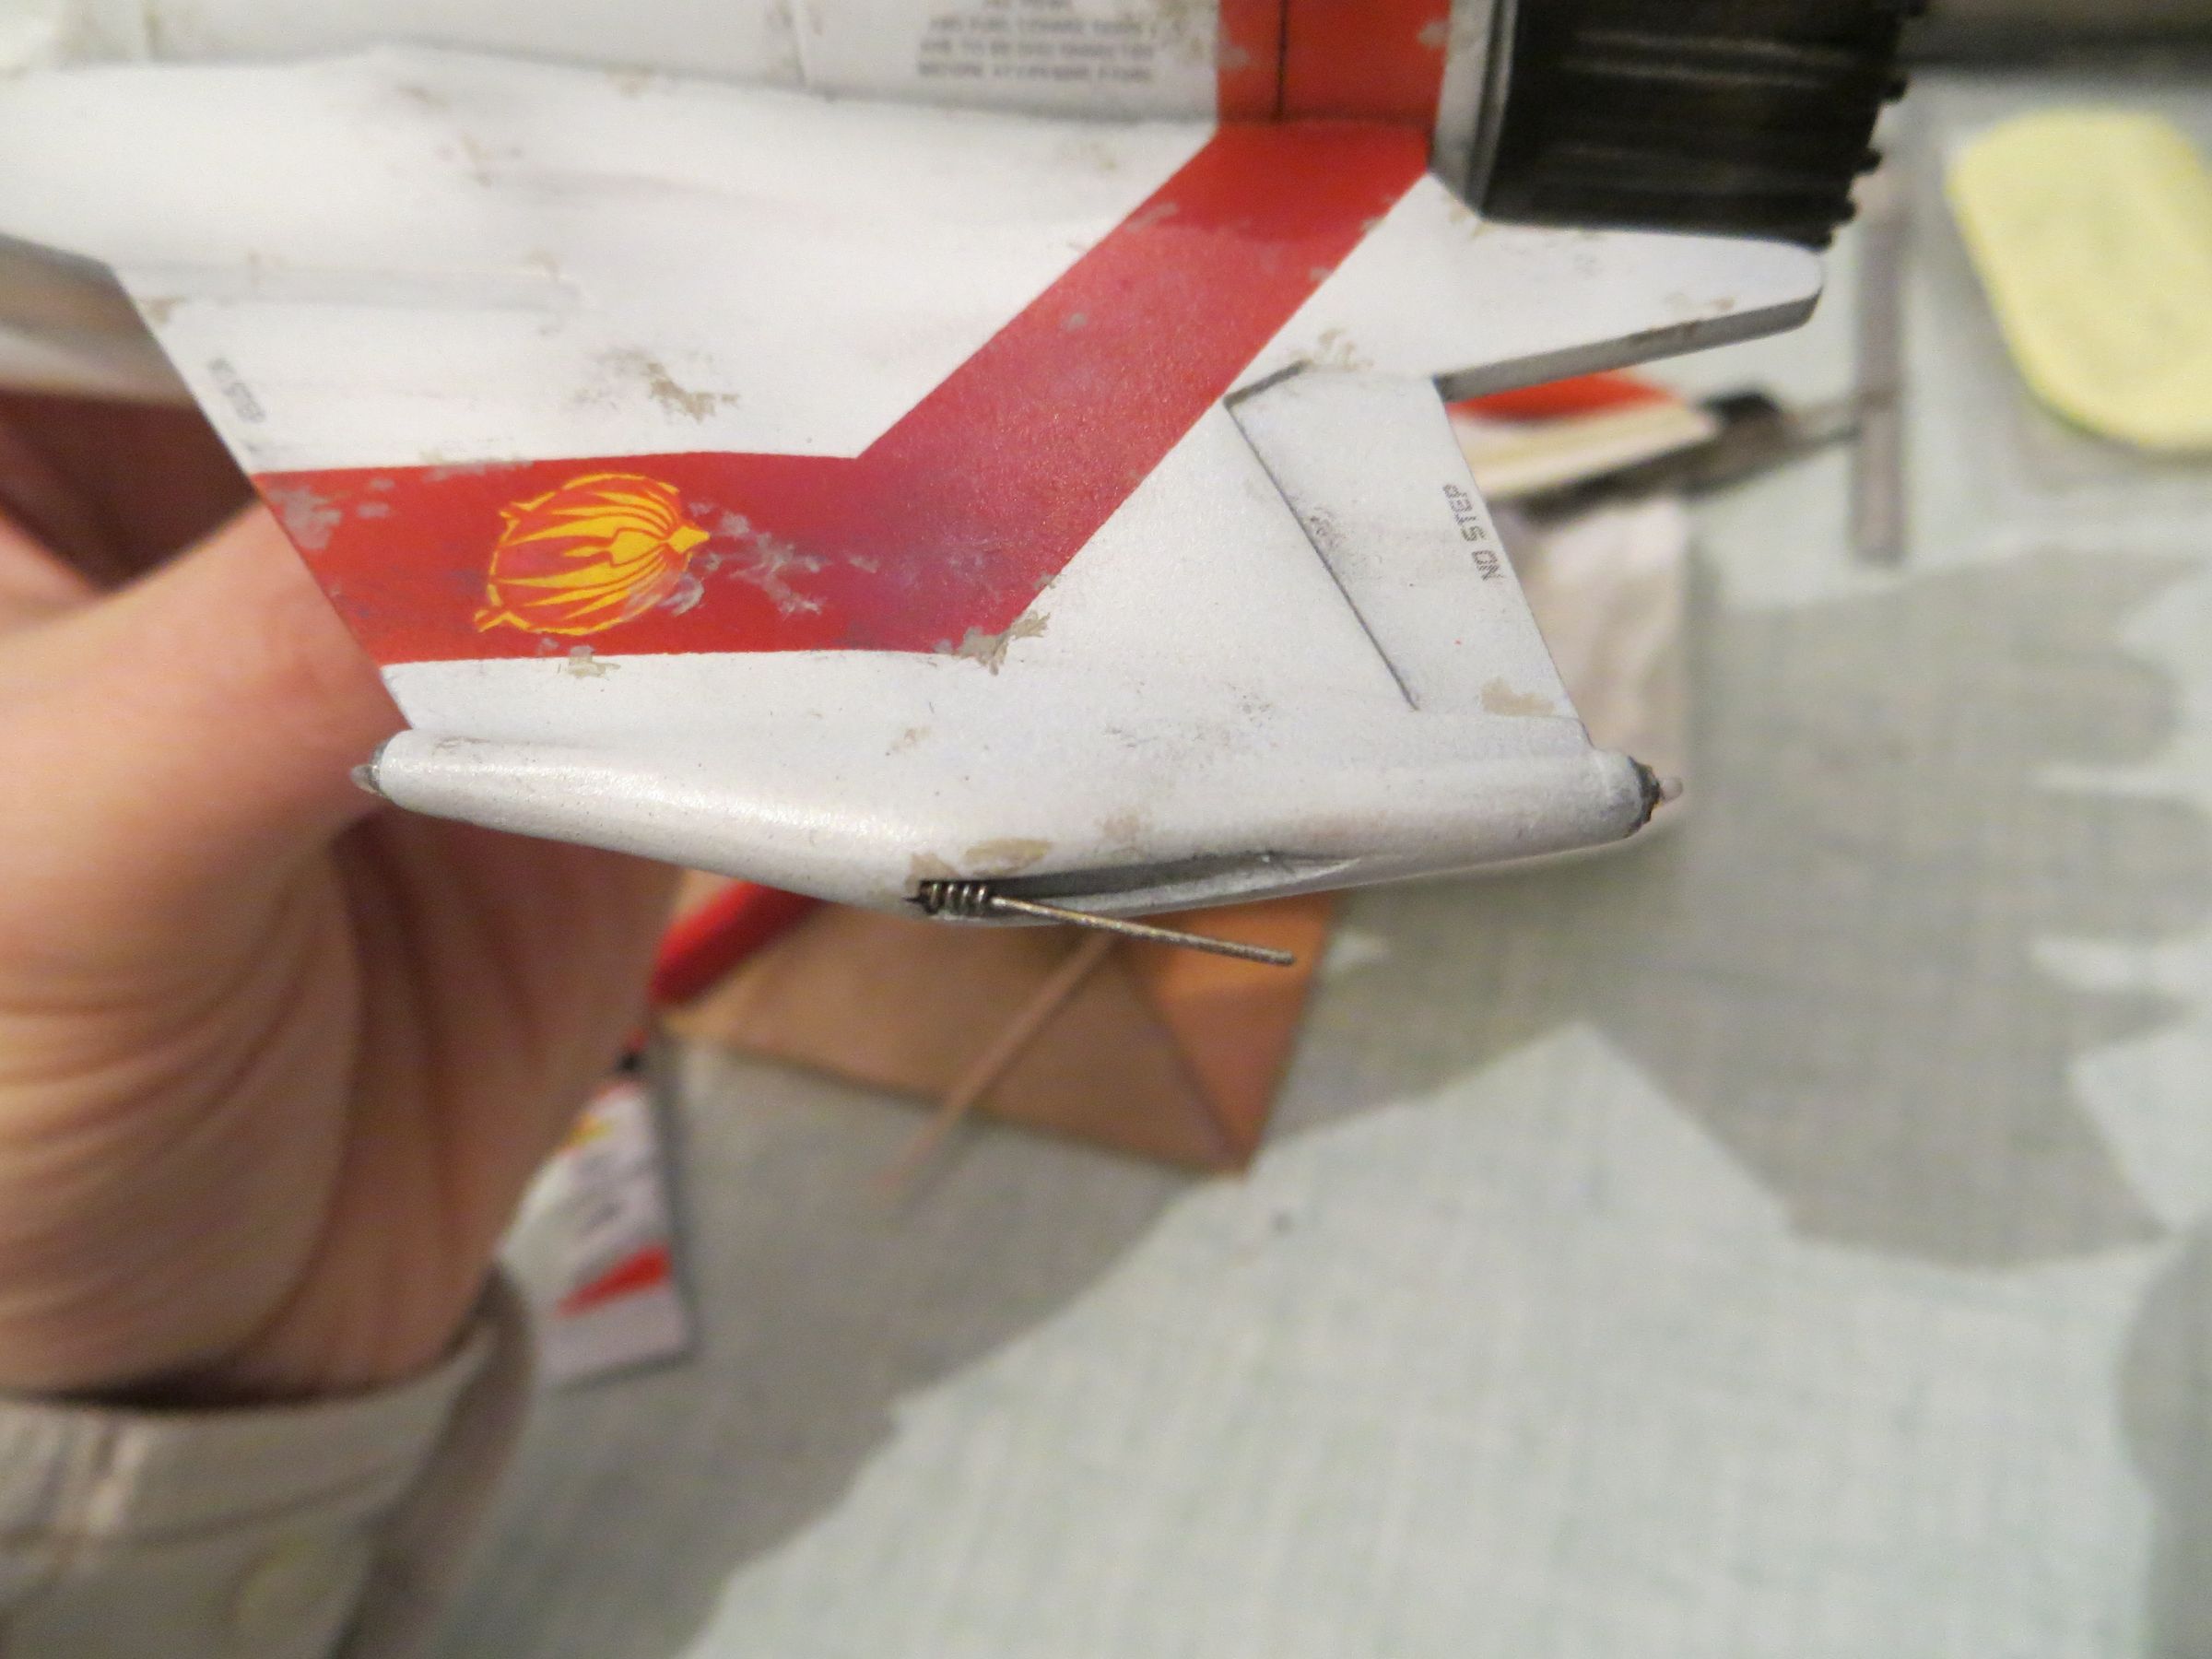
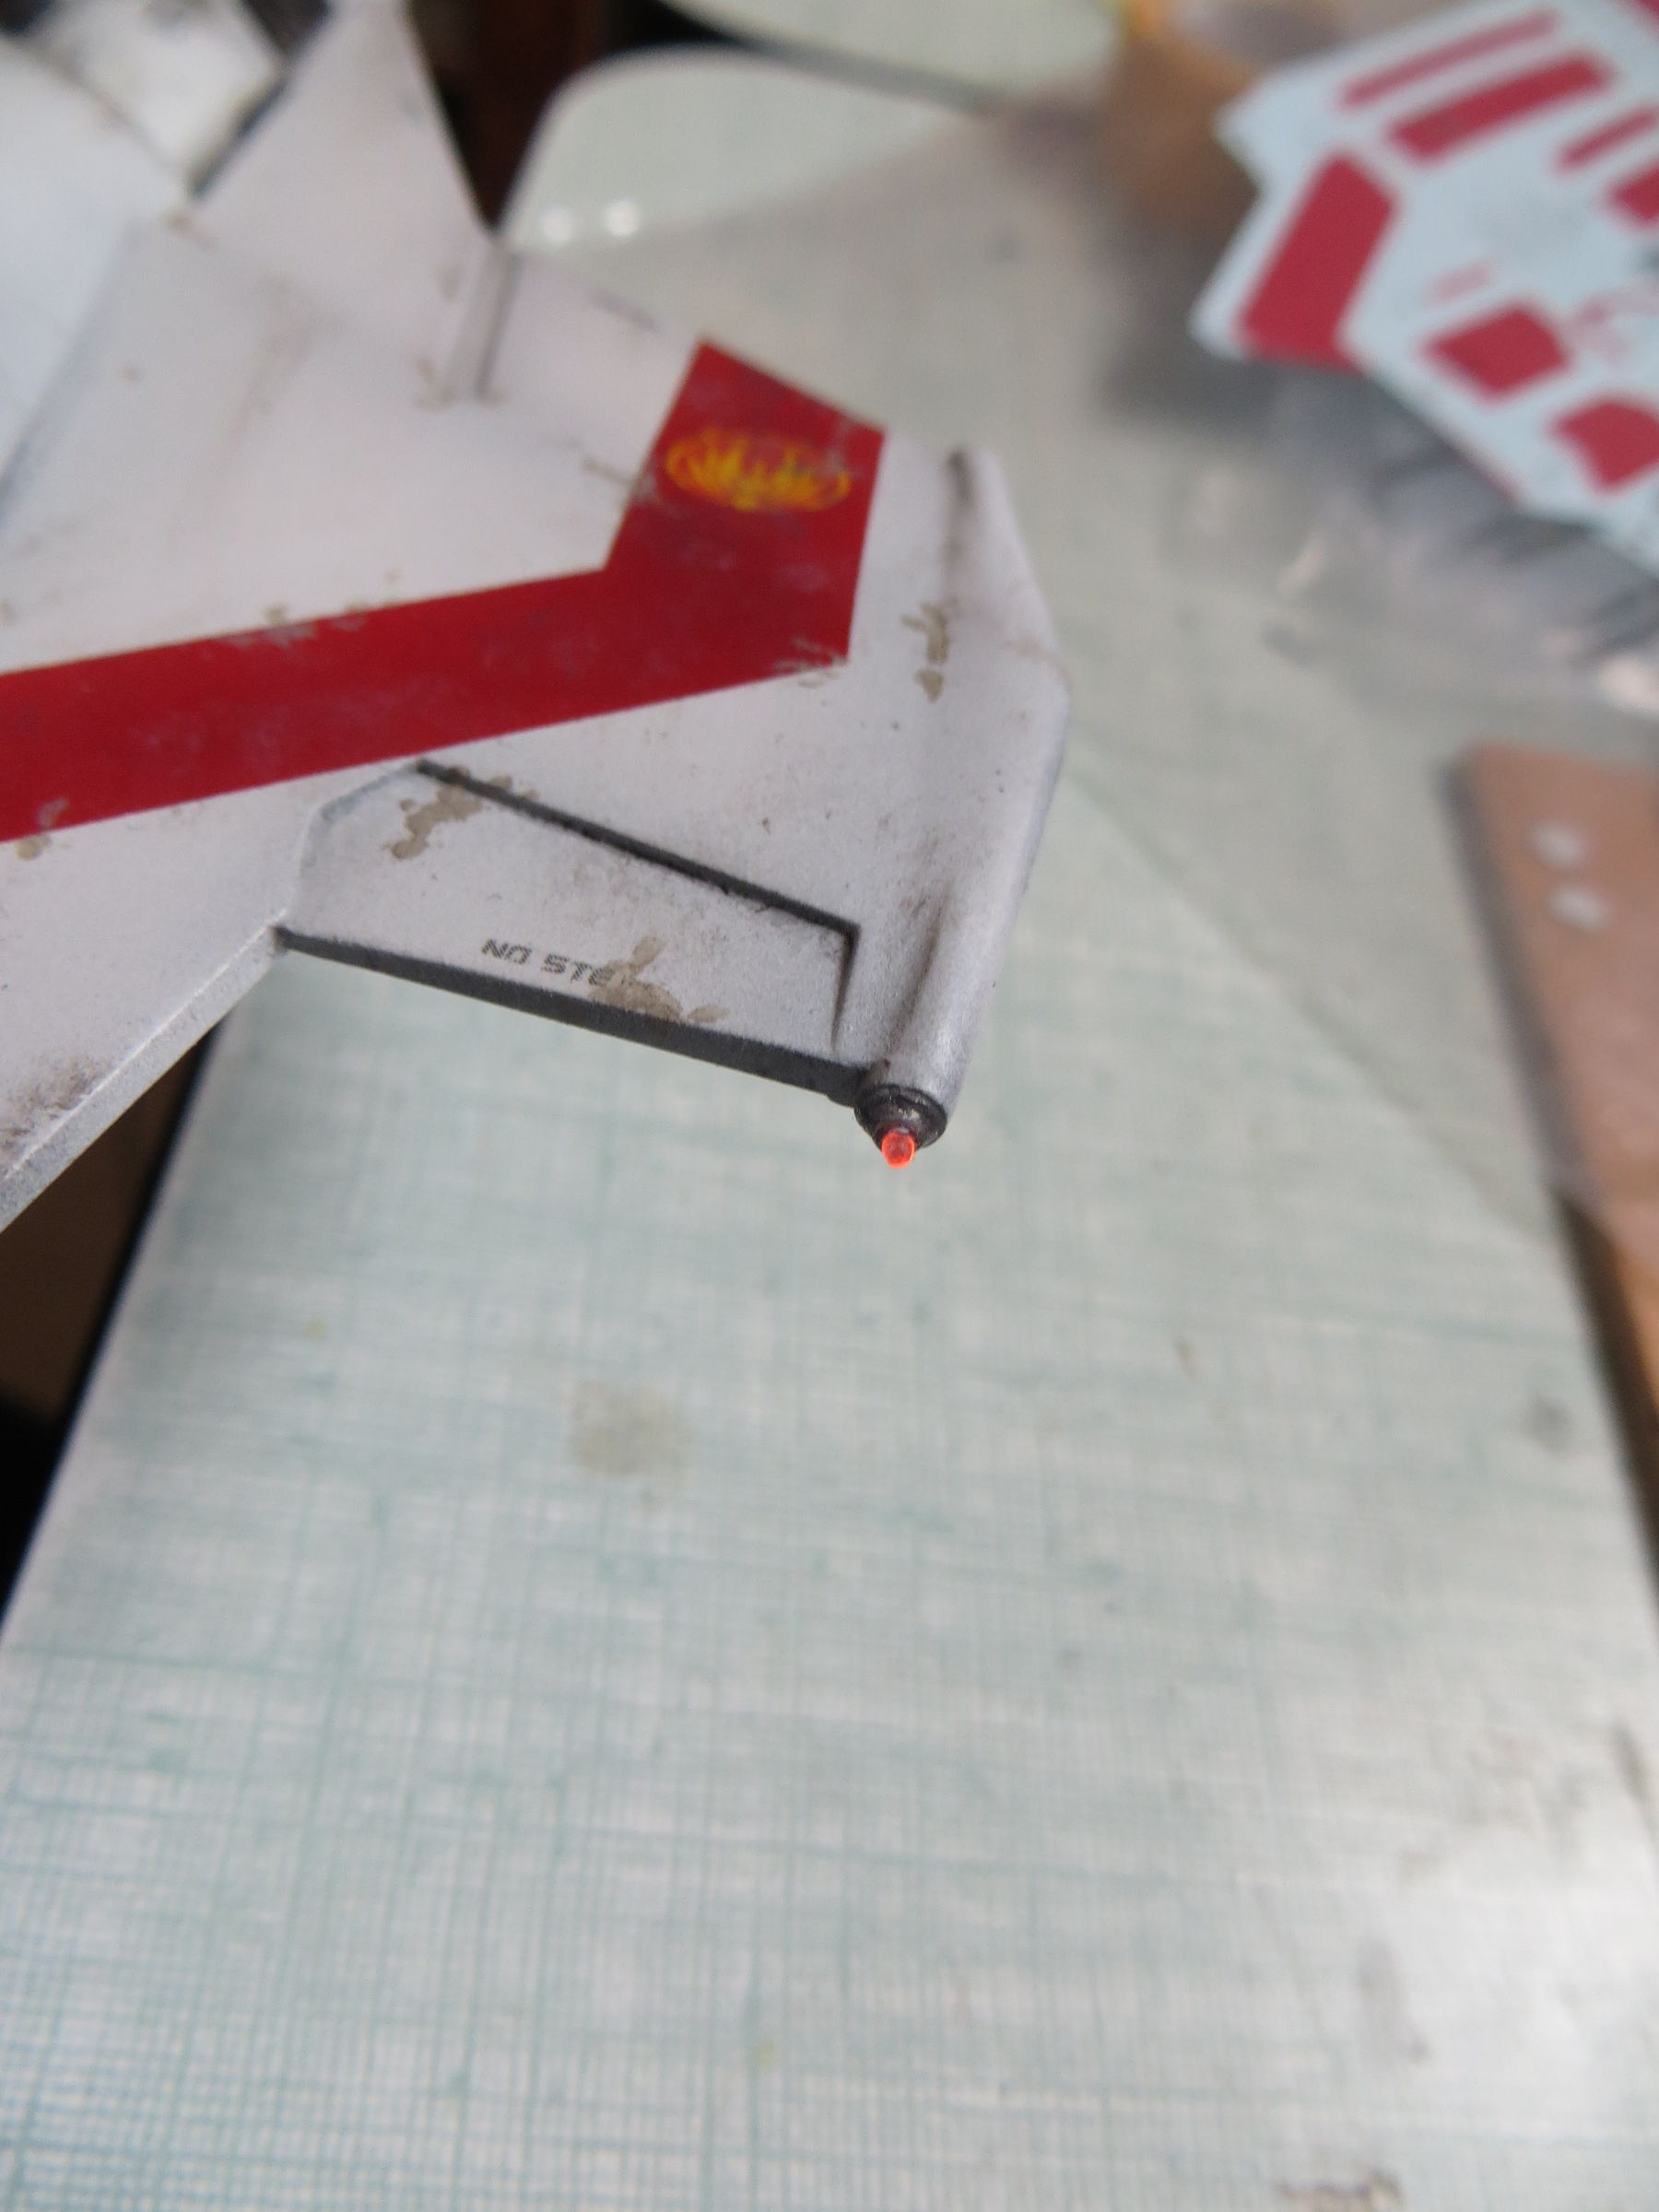
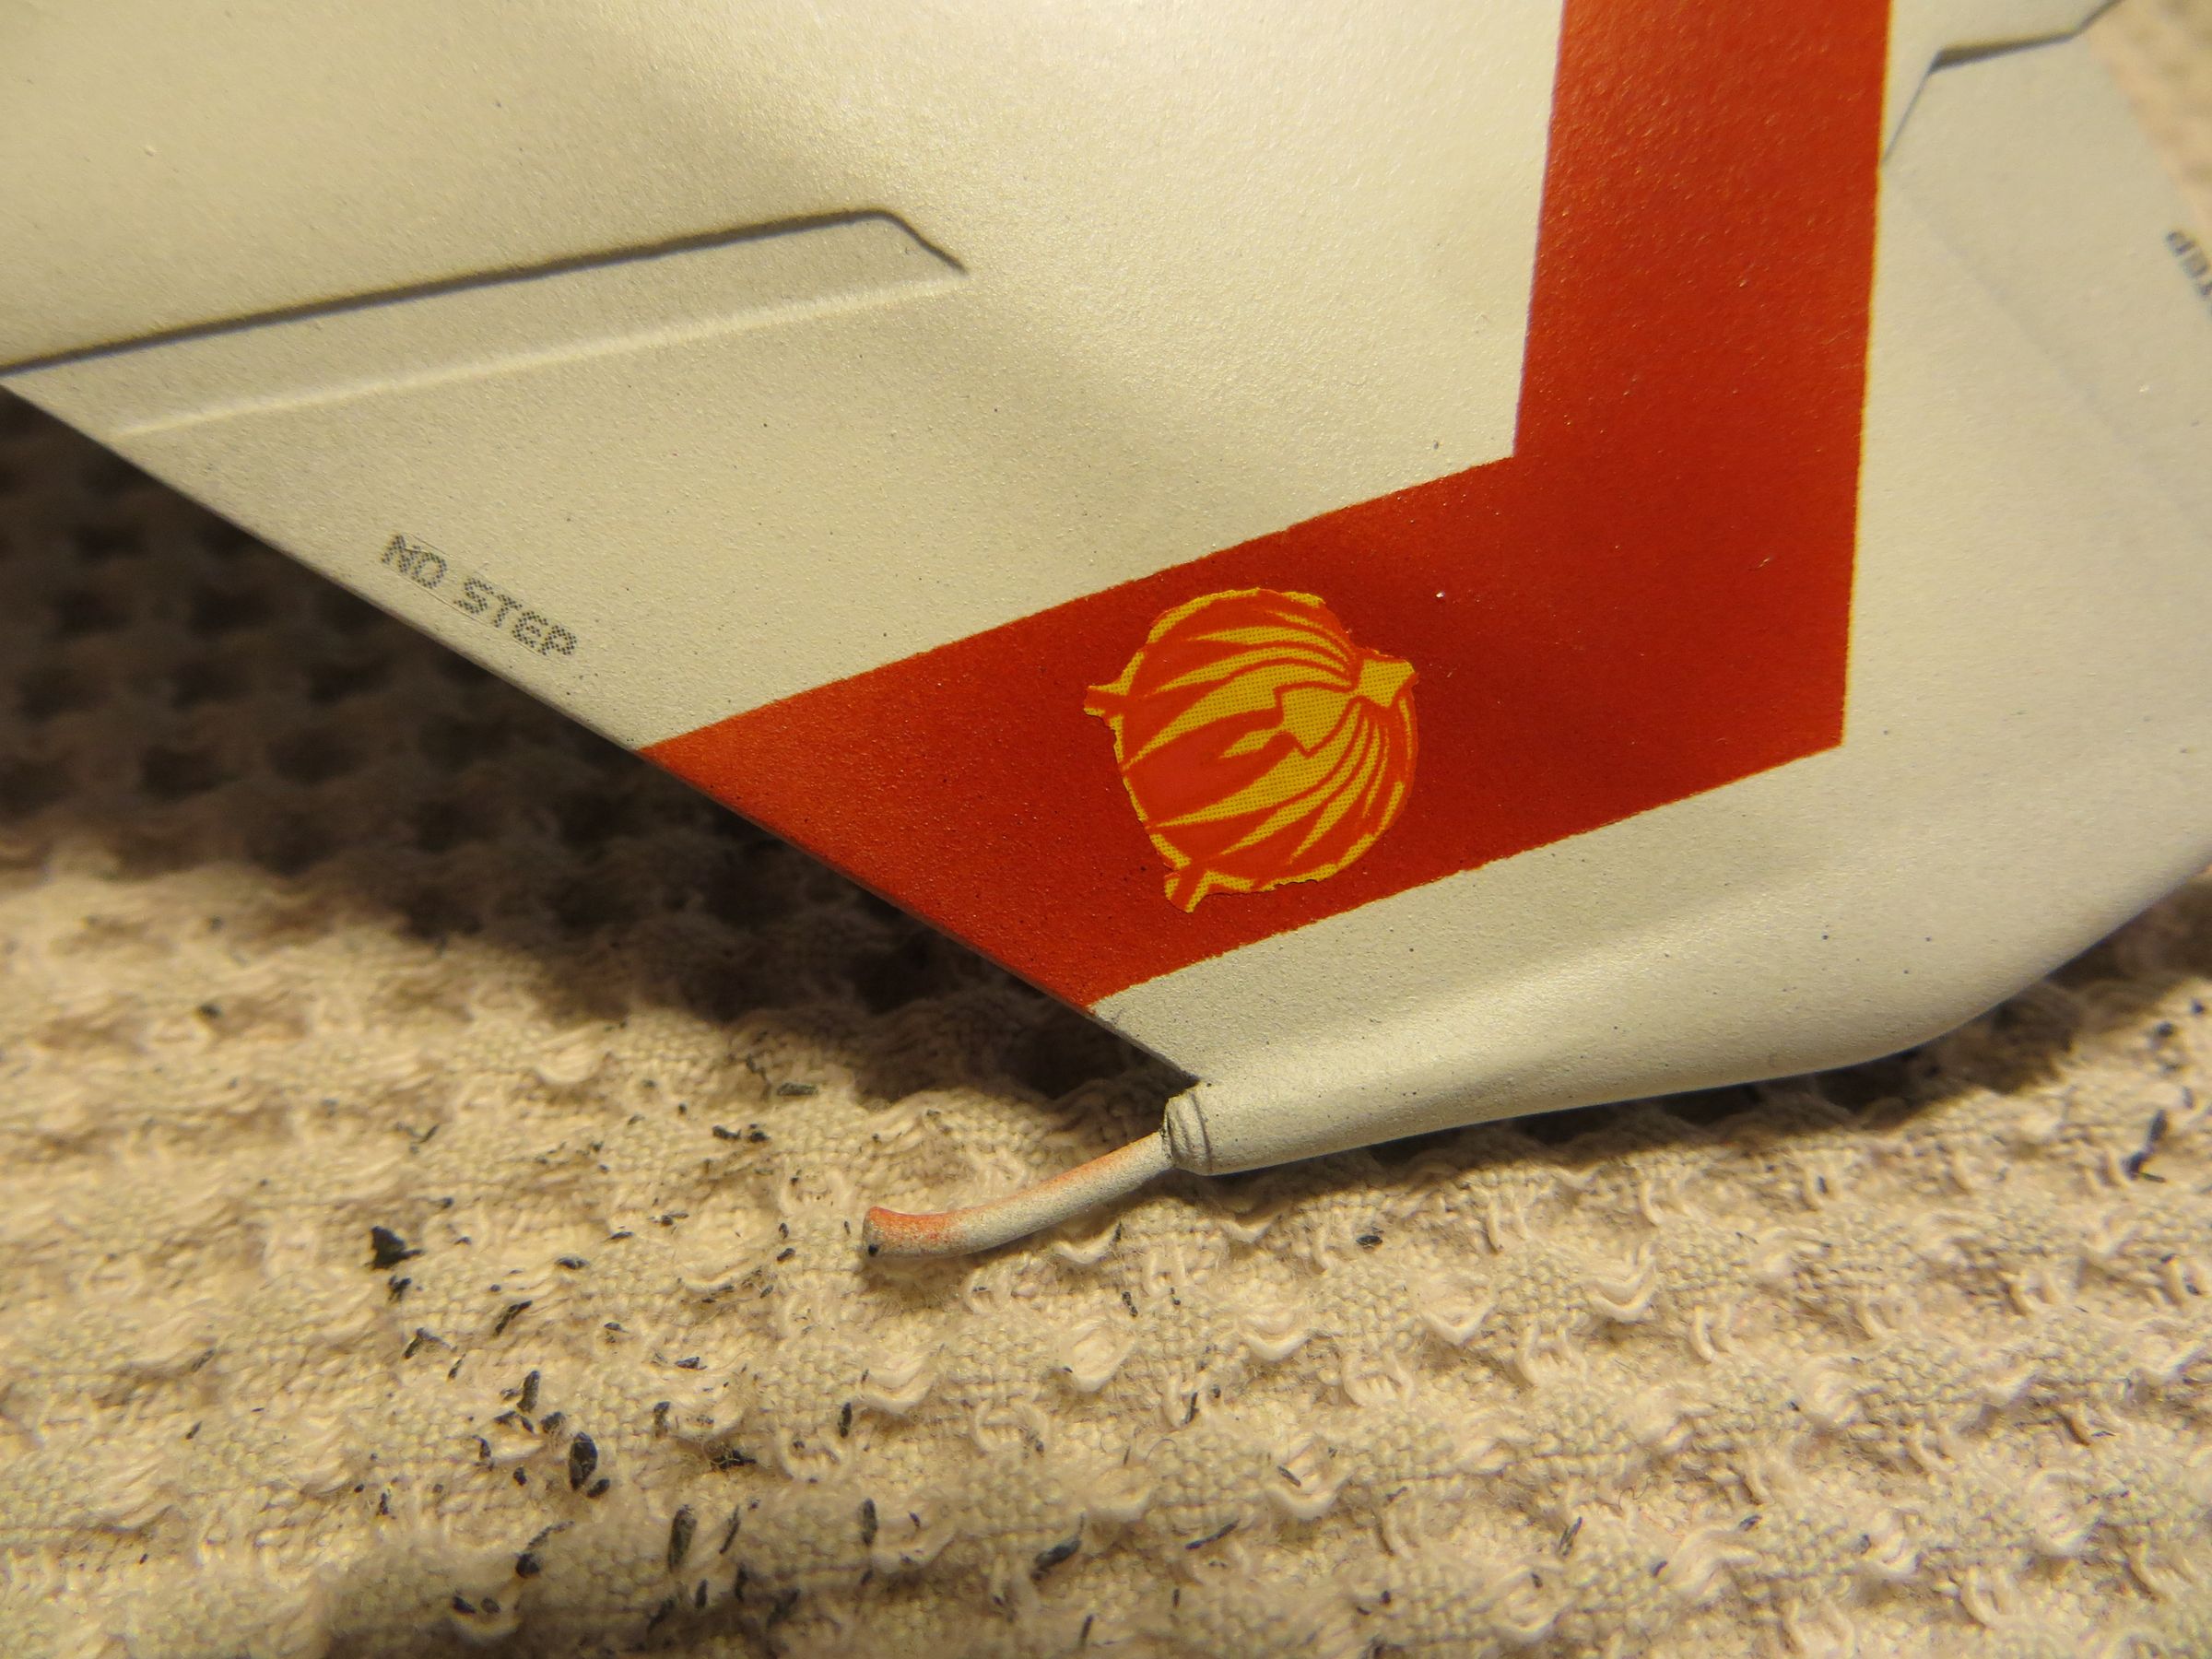
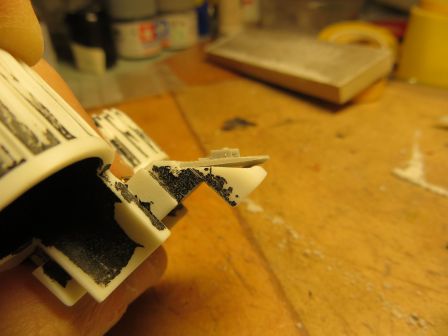
I still had to improve one last detail, the antennas on the wingtips. I used thin metal rods and small pieces for a tiny spring, glued together with white glue.
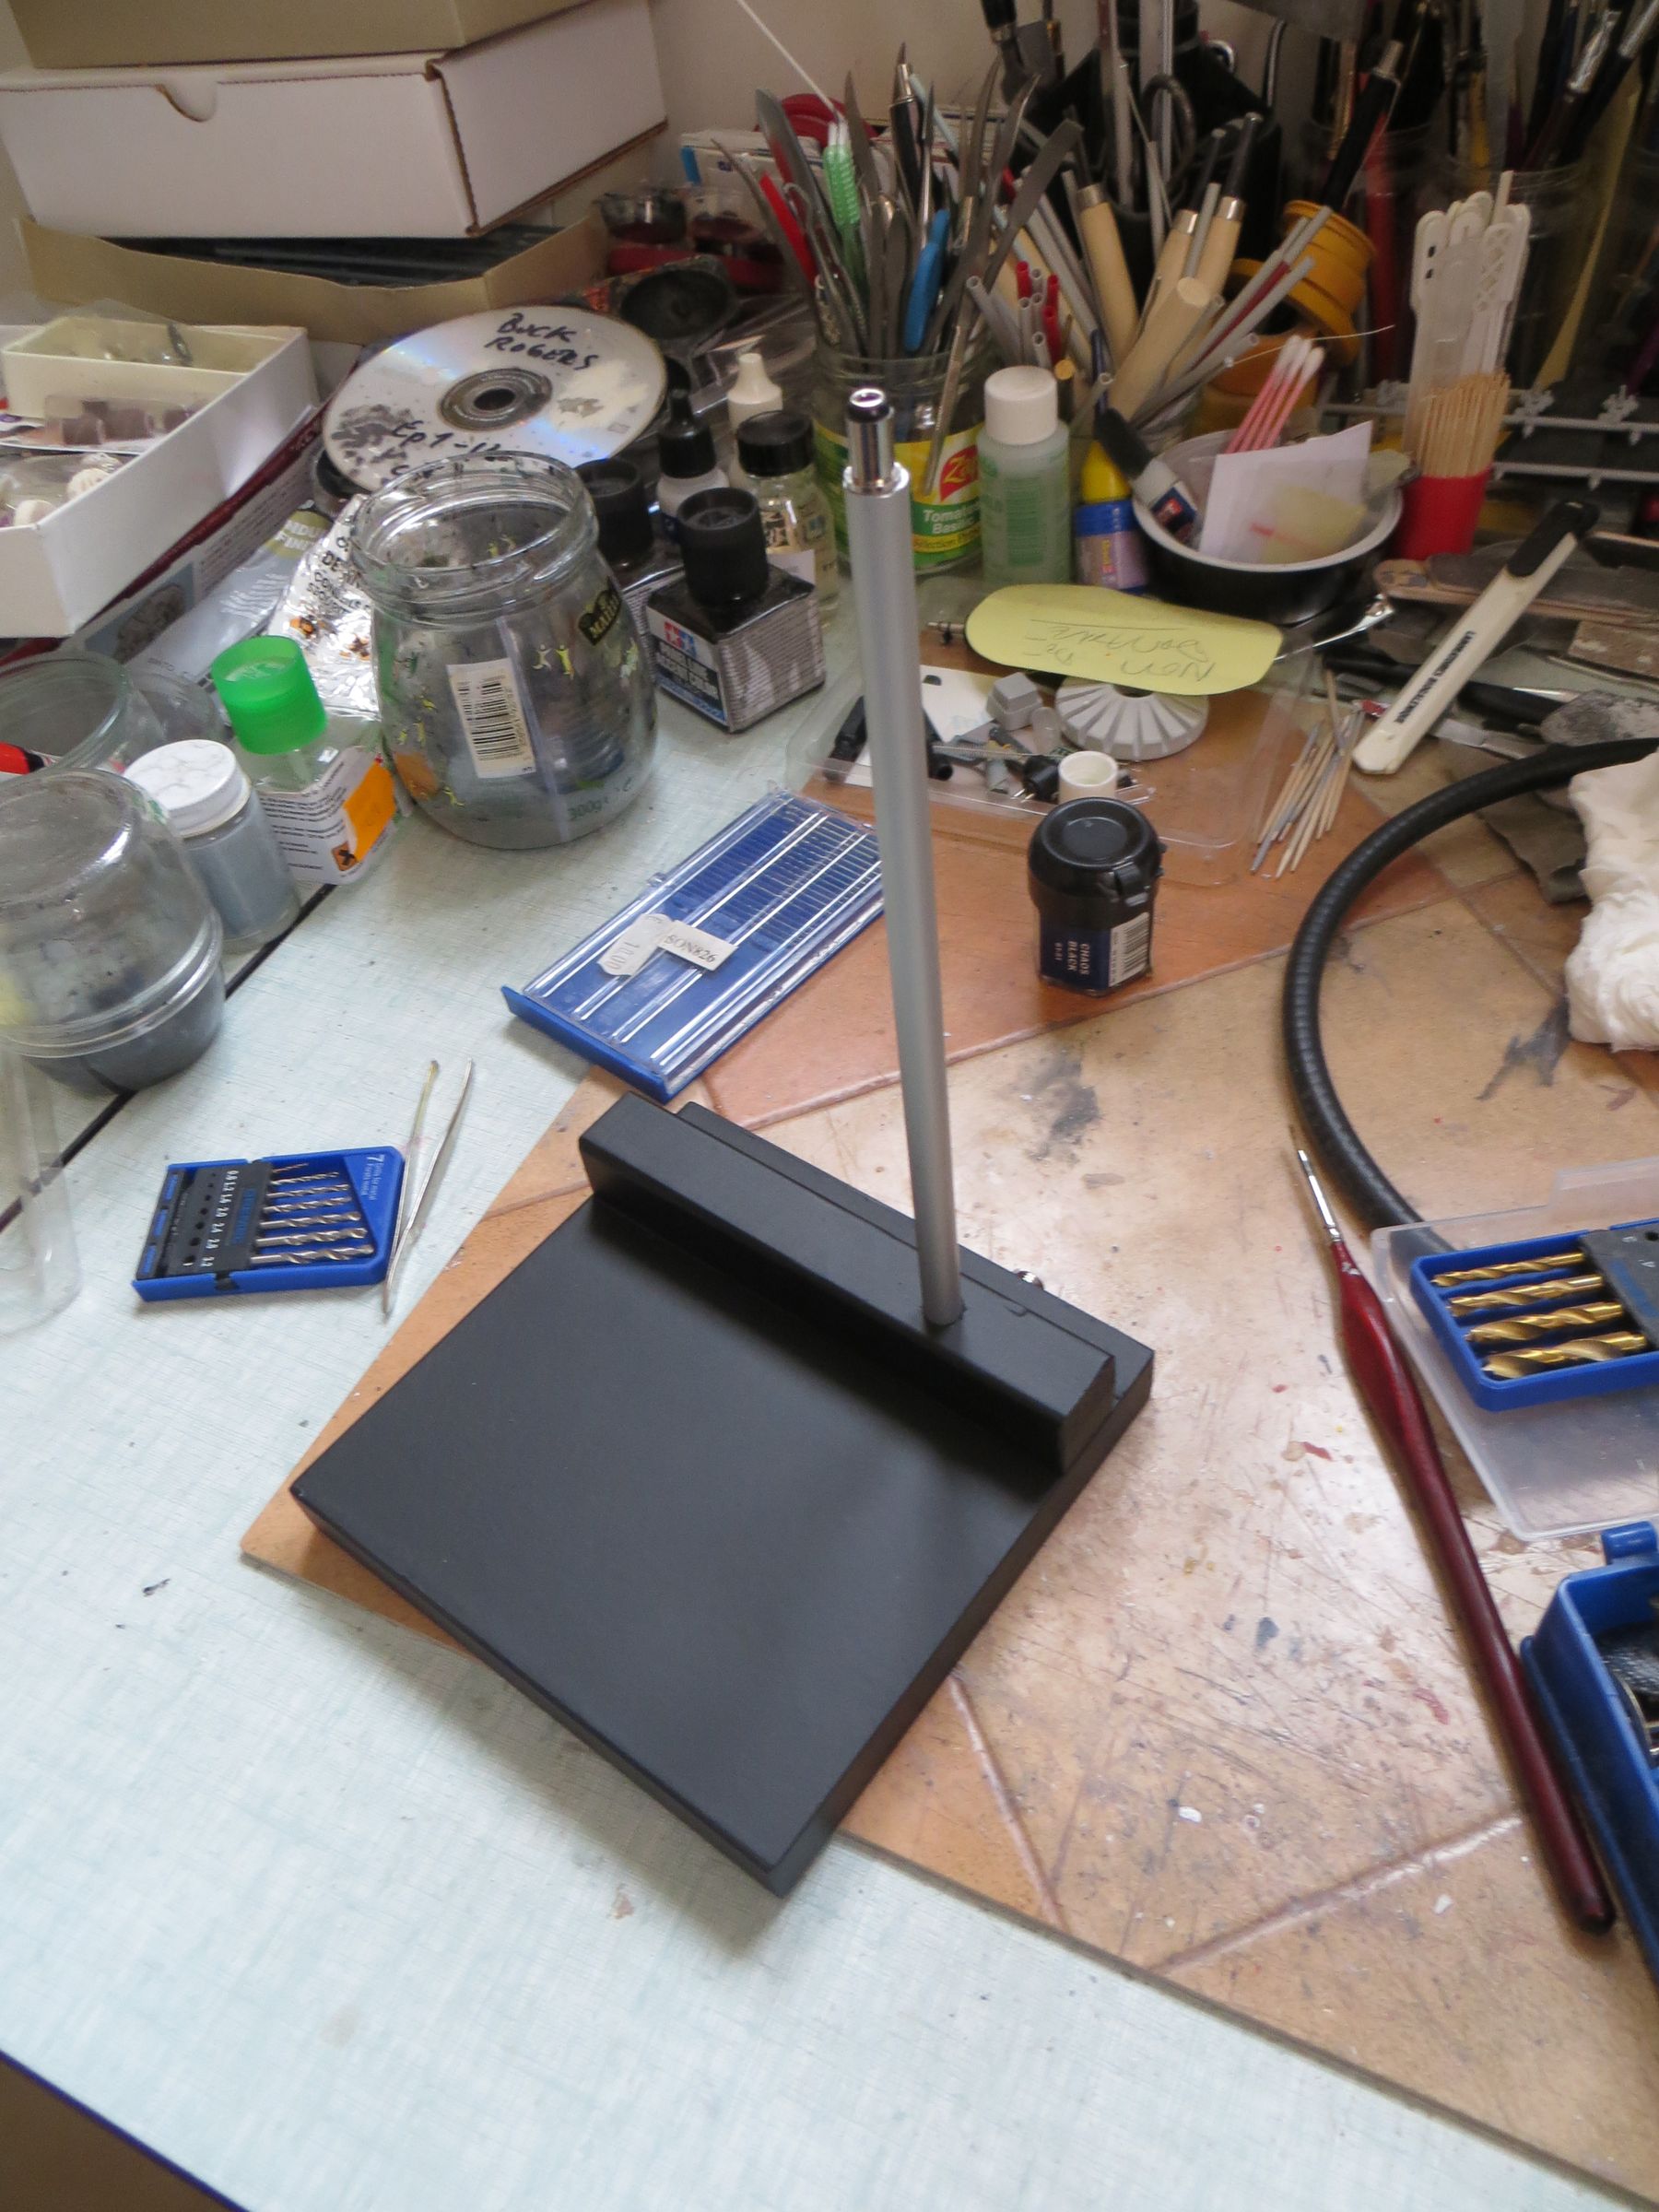
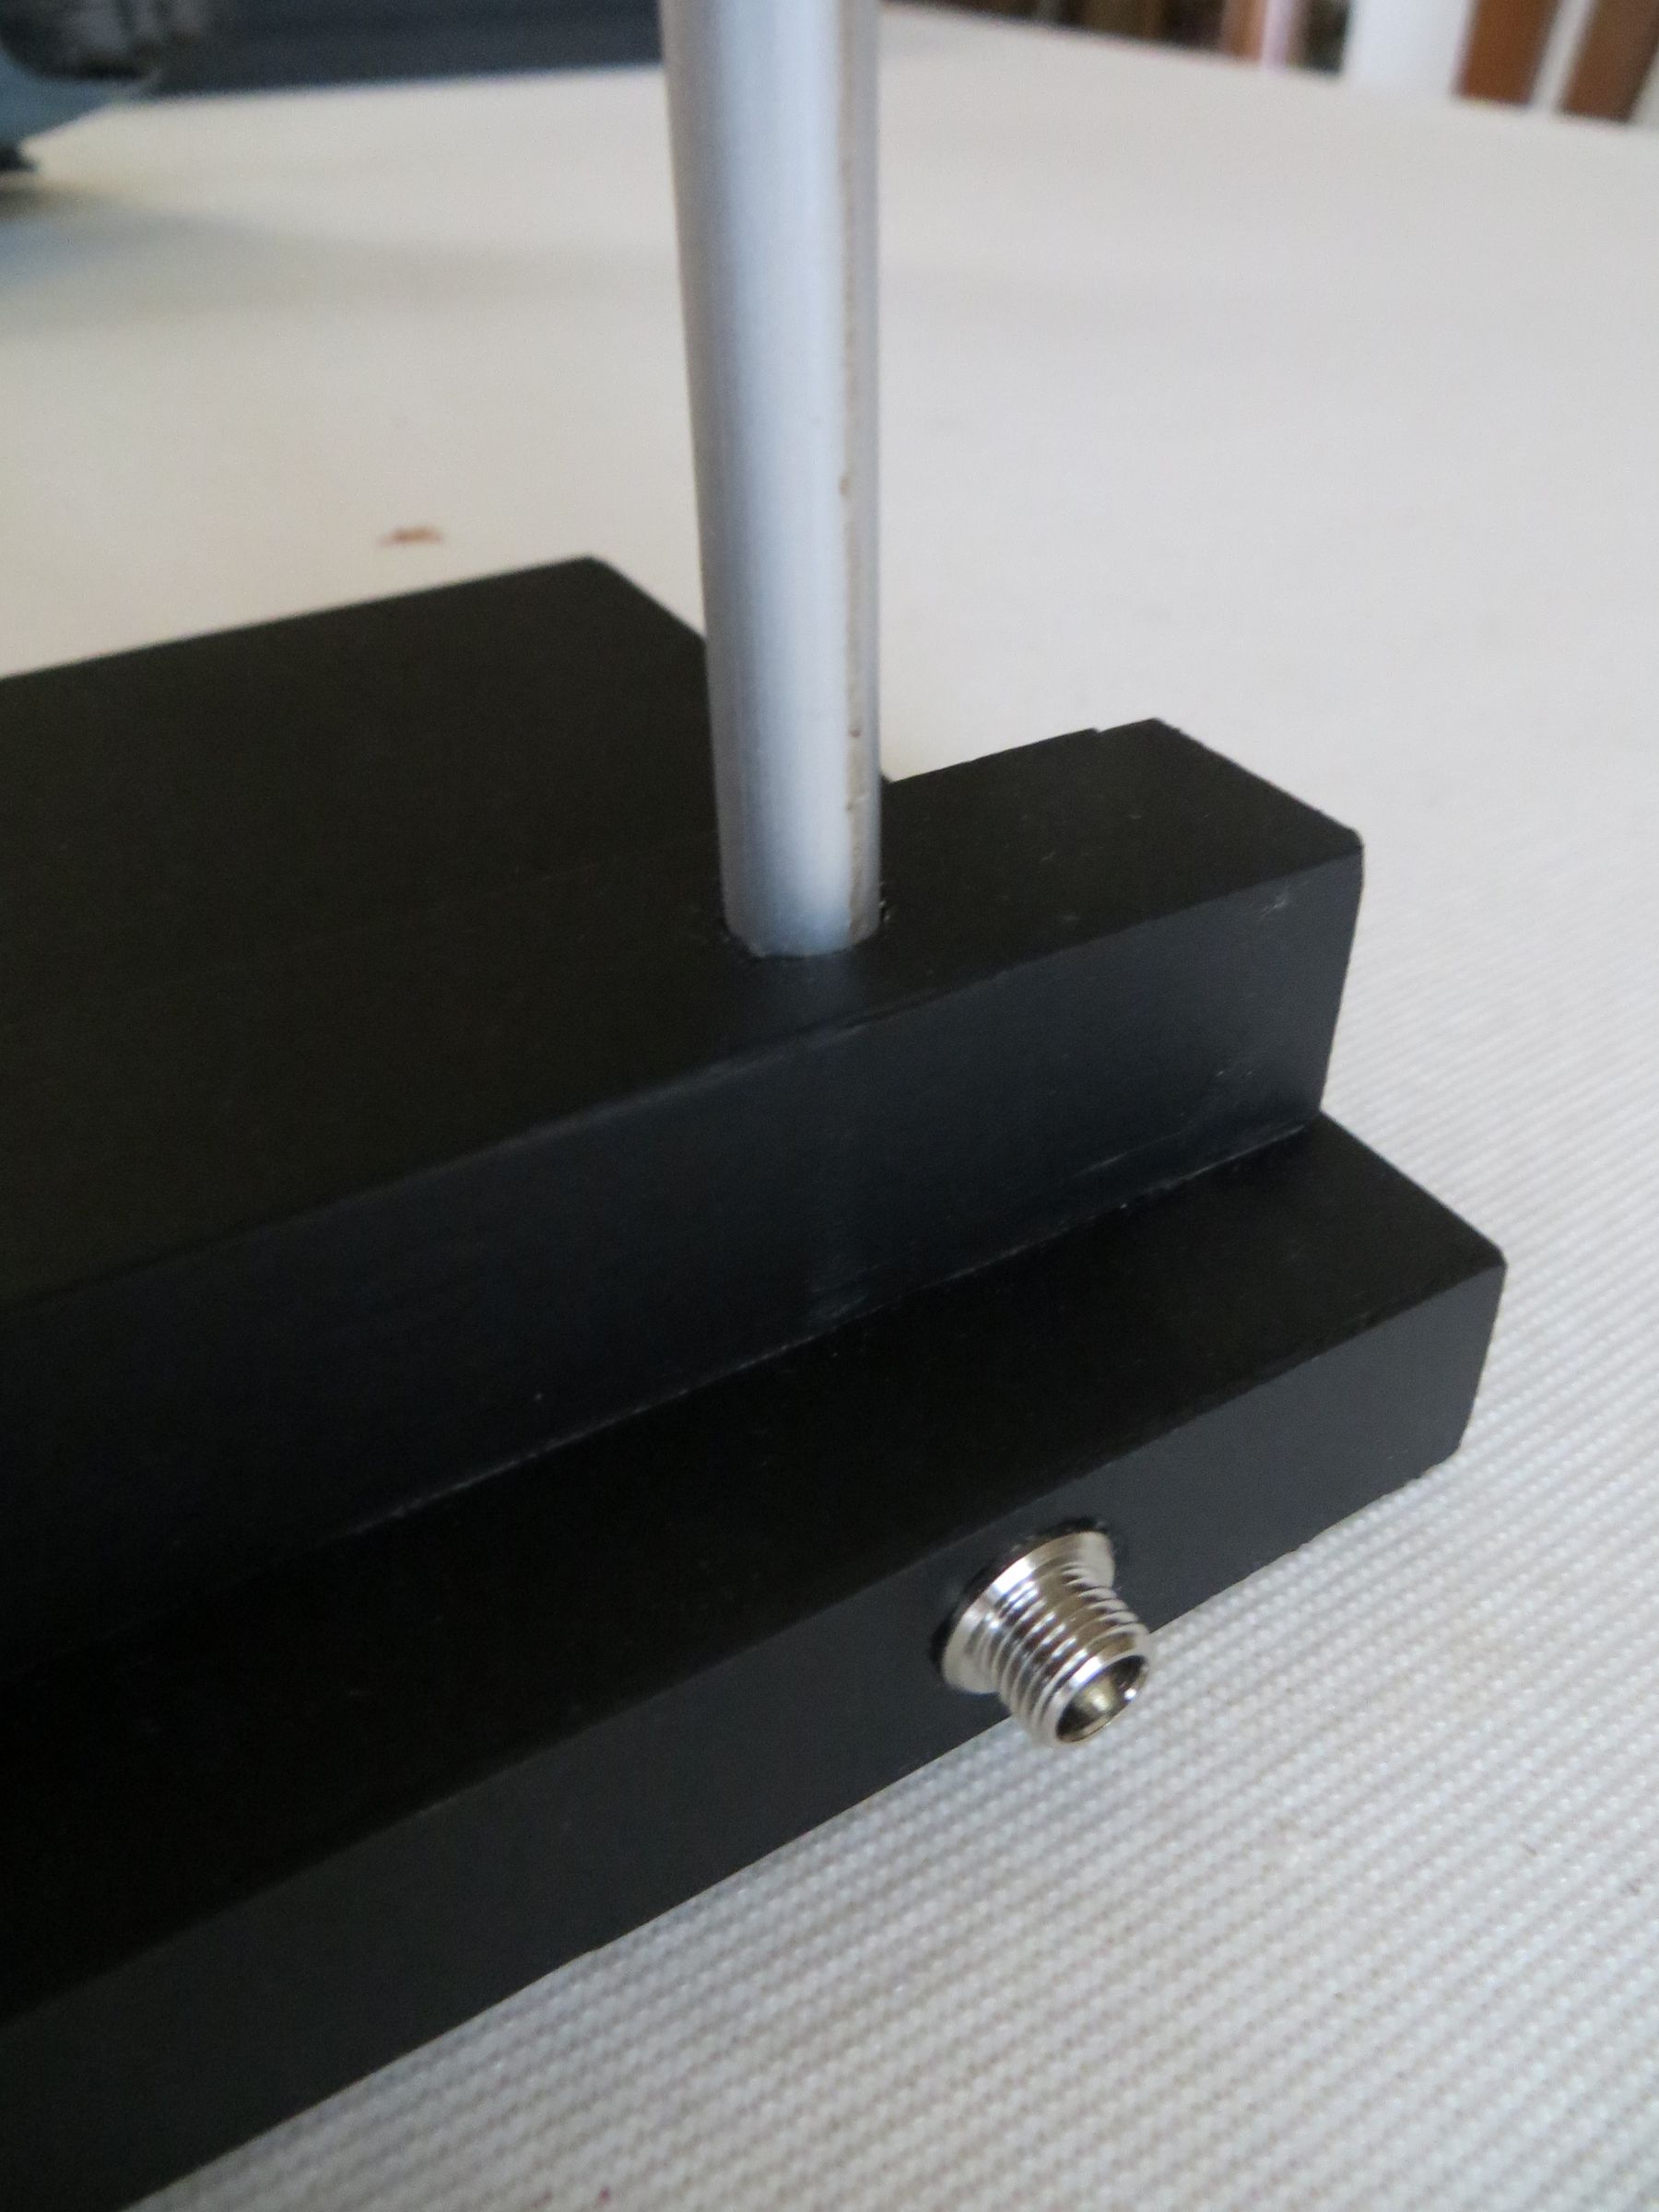
The support is made of an aluminum tube, a plate and a cleat. The male connector in which the Viper will plug is installed at the end of the tube, and the wires are runnning to a socket on the rear edge of the base.

Final assembly :
nozzles don't need glue, as they hold as is.
By cons, MicroScale repositionable glue is used for the guns, the pilot and the canopy.
samedi, 8 mars 2014
Par olcabour le samedi, 8 mars 2014, 23:03
Before the weathering, I applied a layer of satin varnish.
Paint chips are made with an old Pale Prey miniature paint (which have a beige tint). It is a water-based paint, which can be corrected, or removed easily (that is not possible with Gunze, Tamiya or Lifecolor paints).
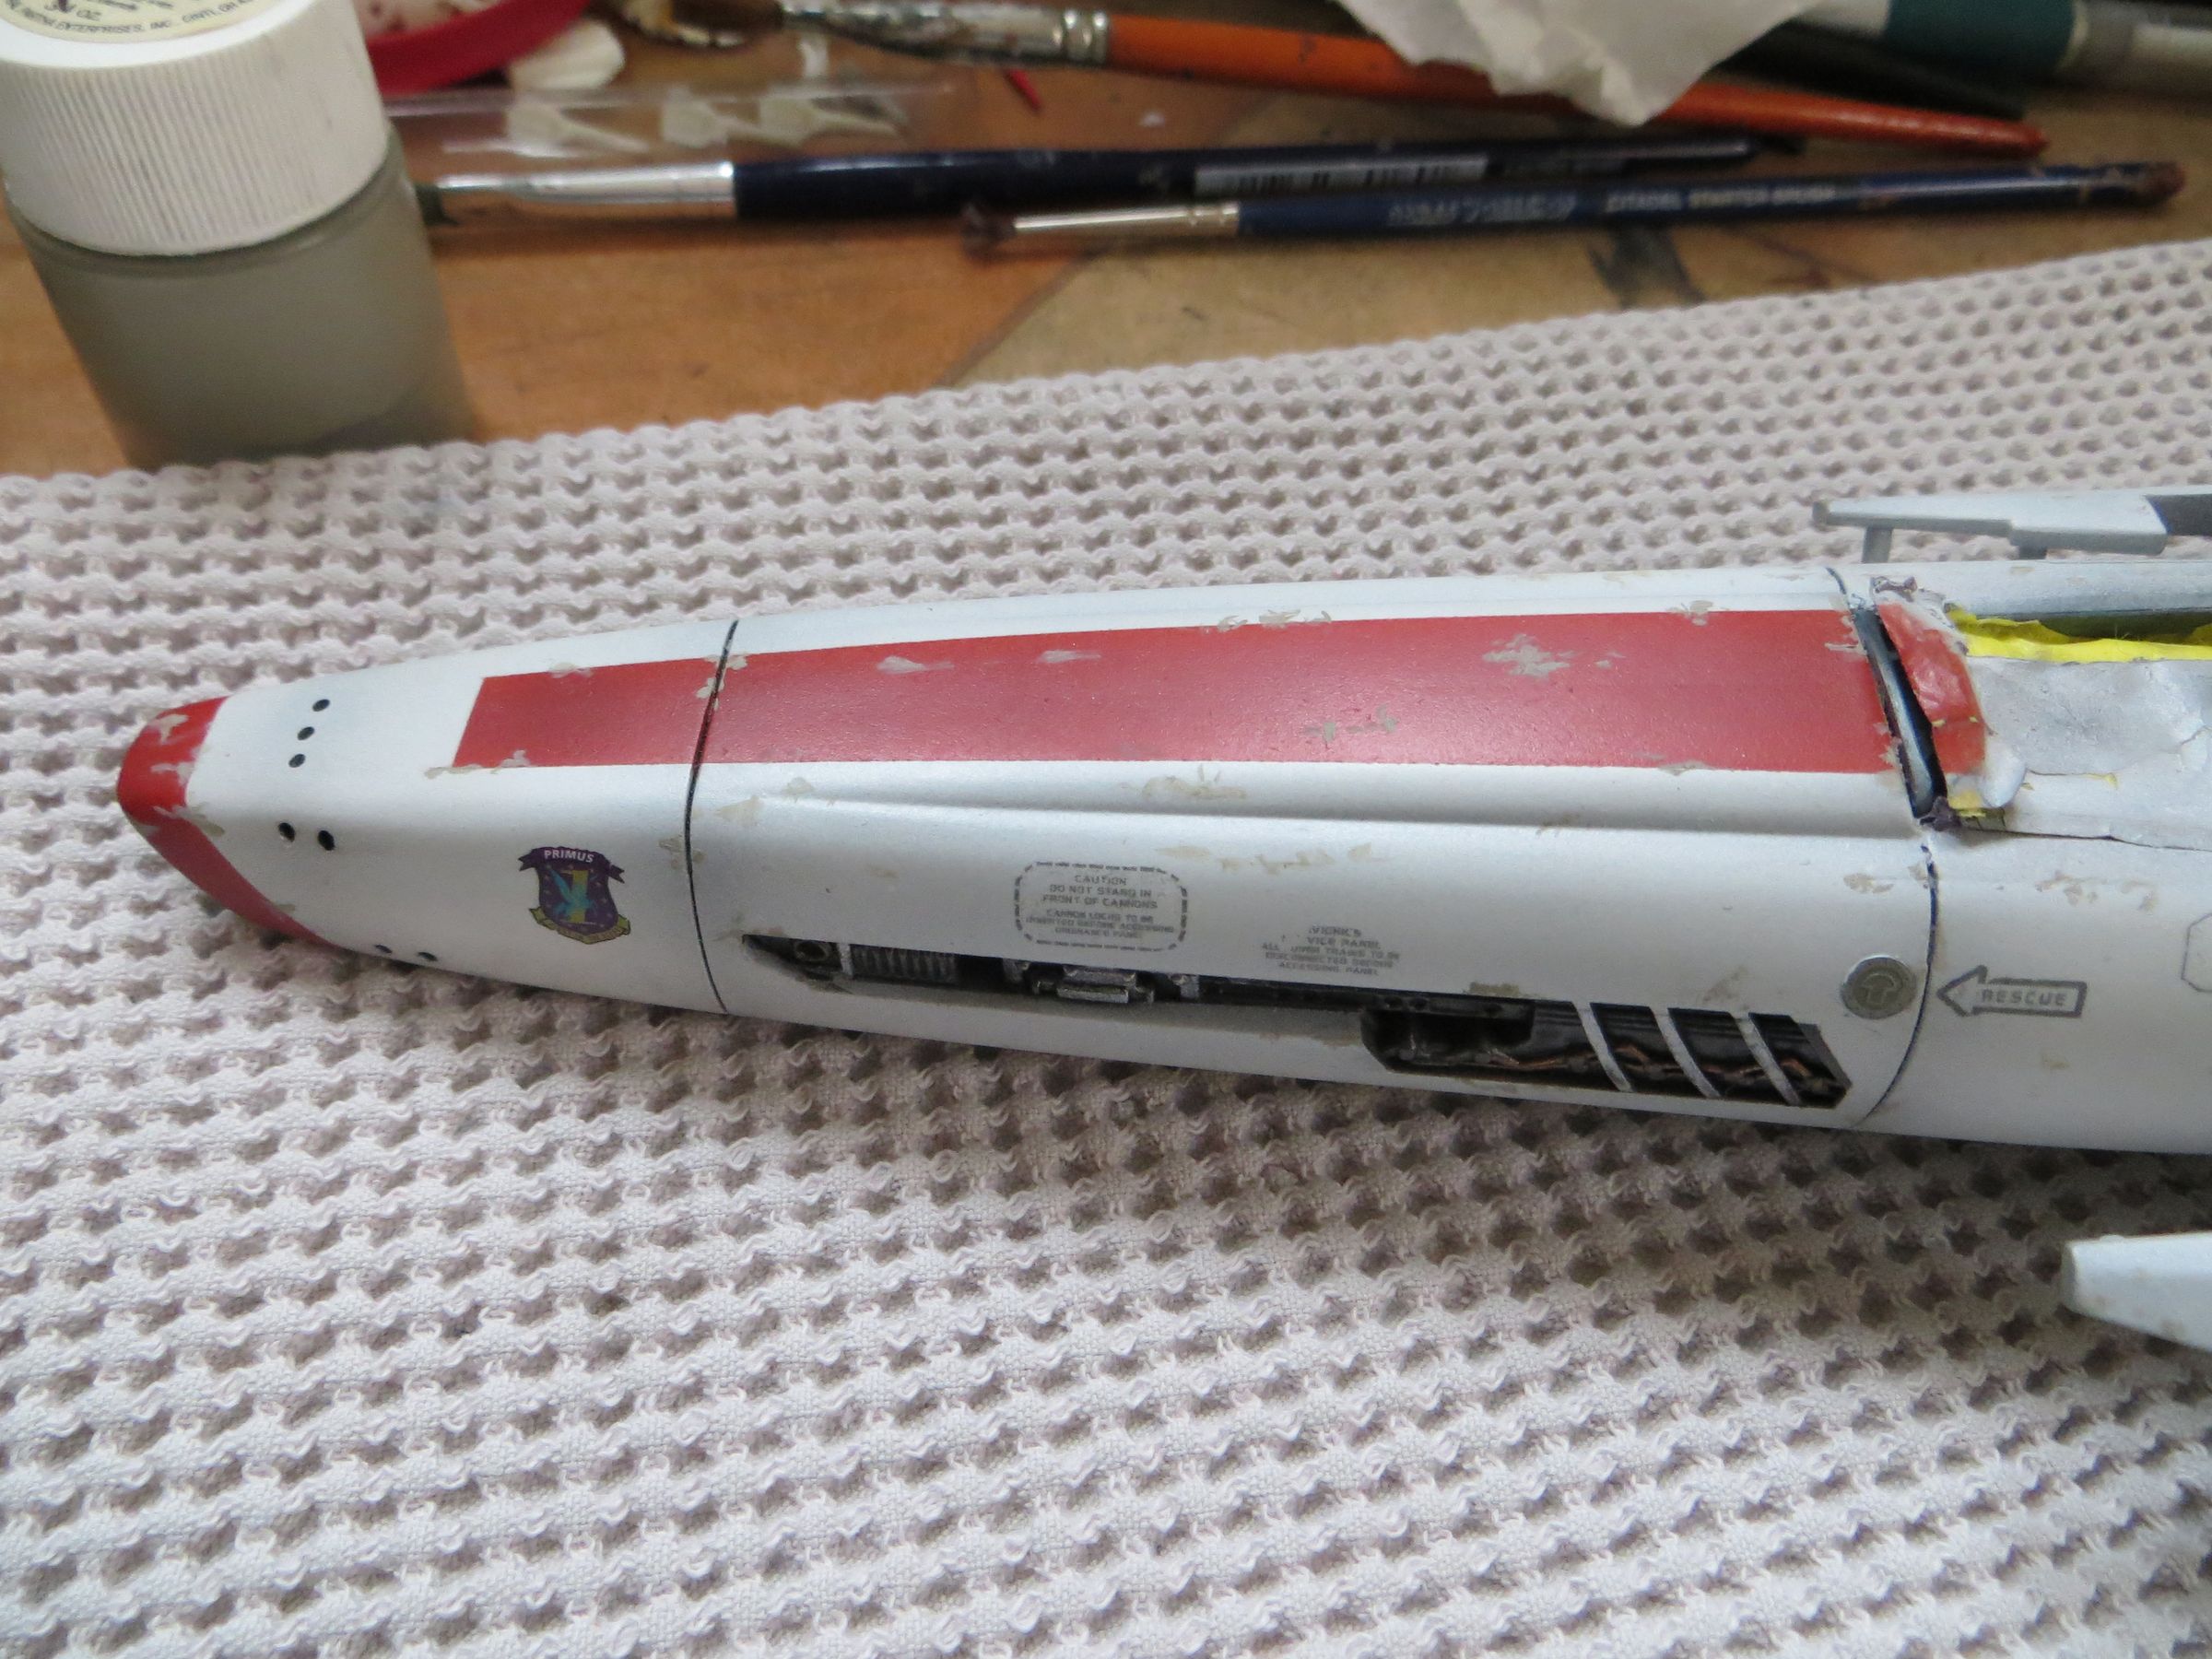
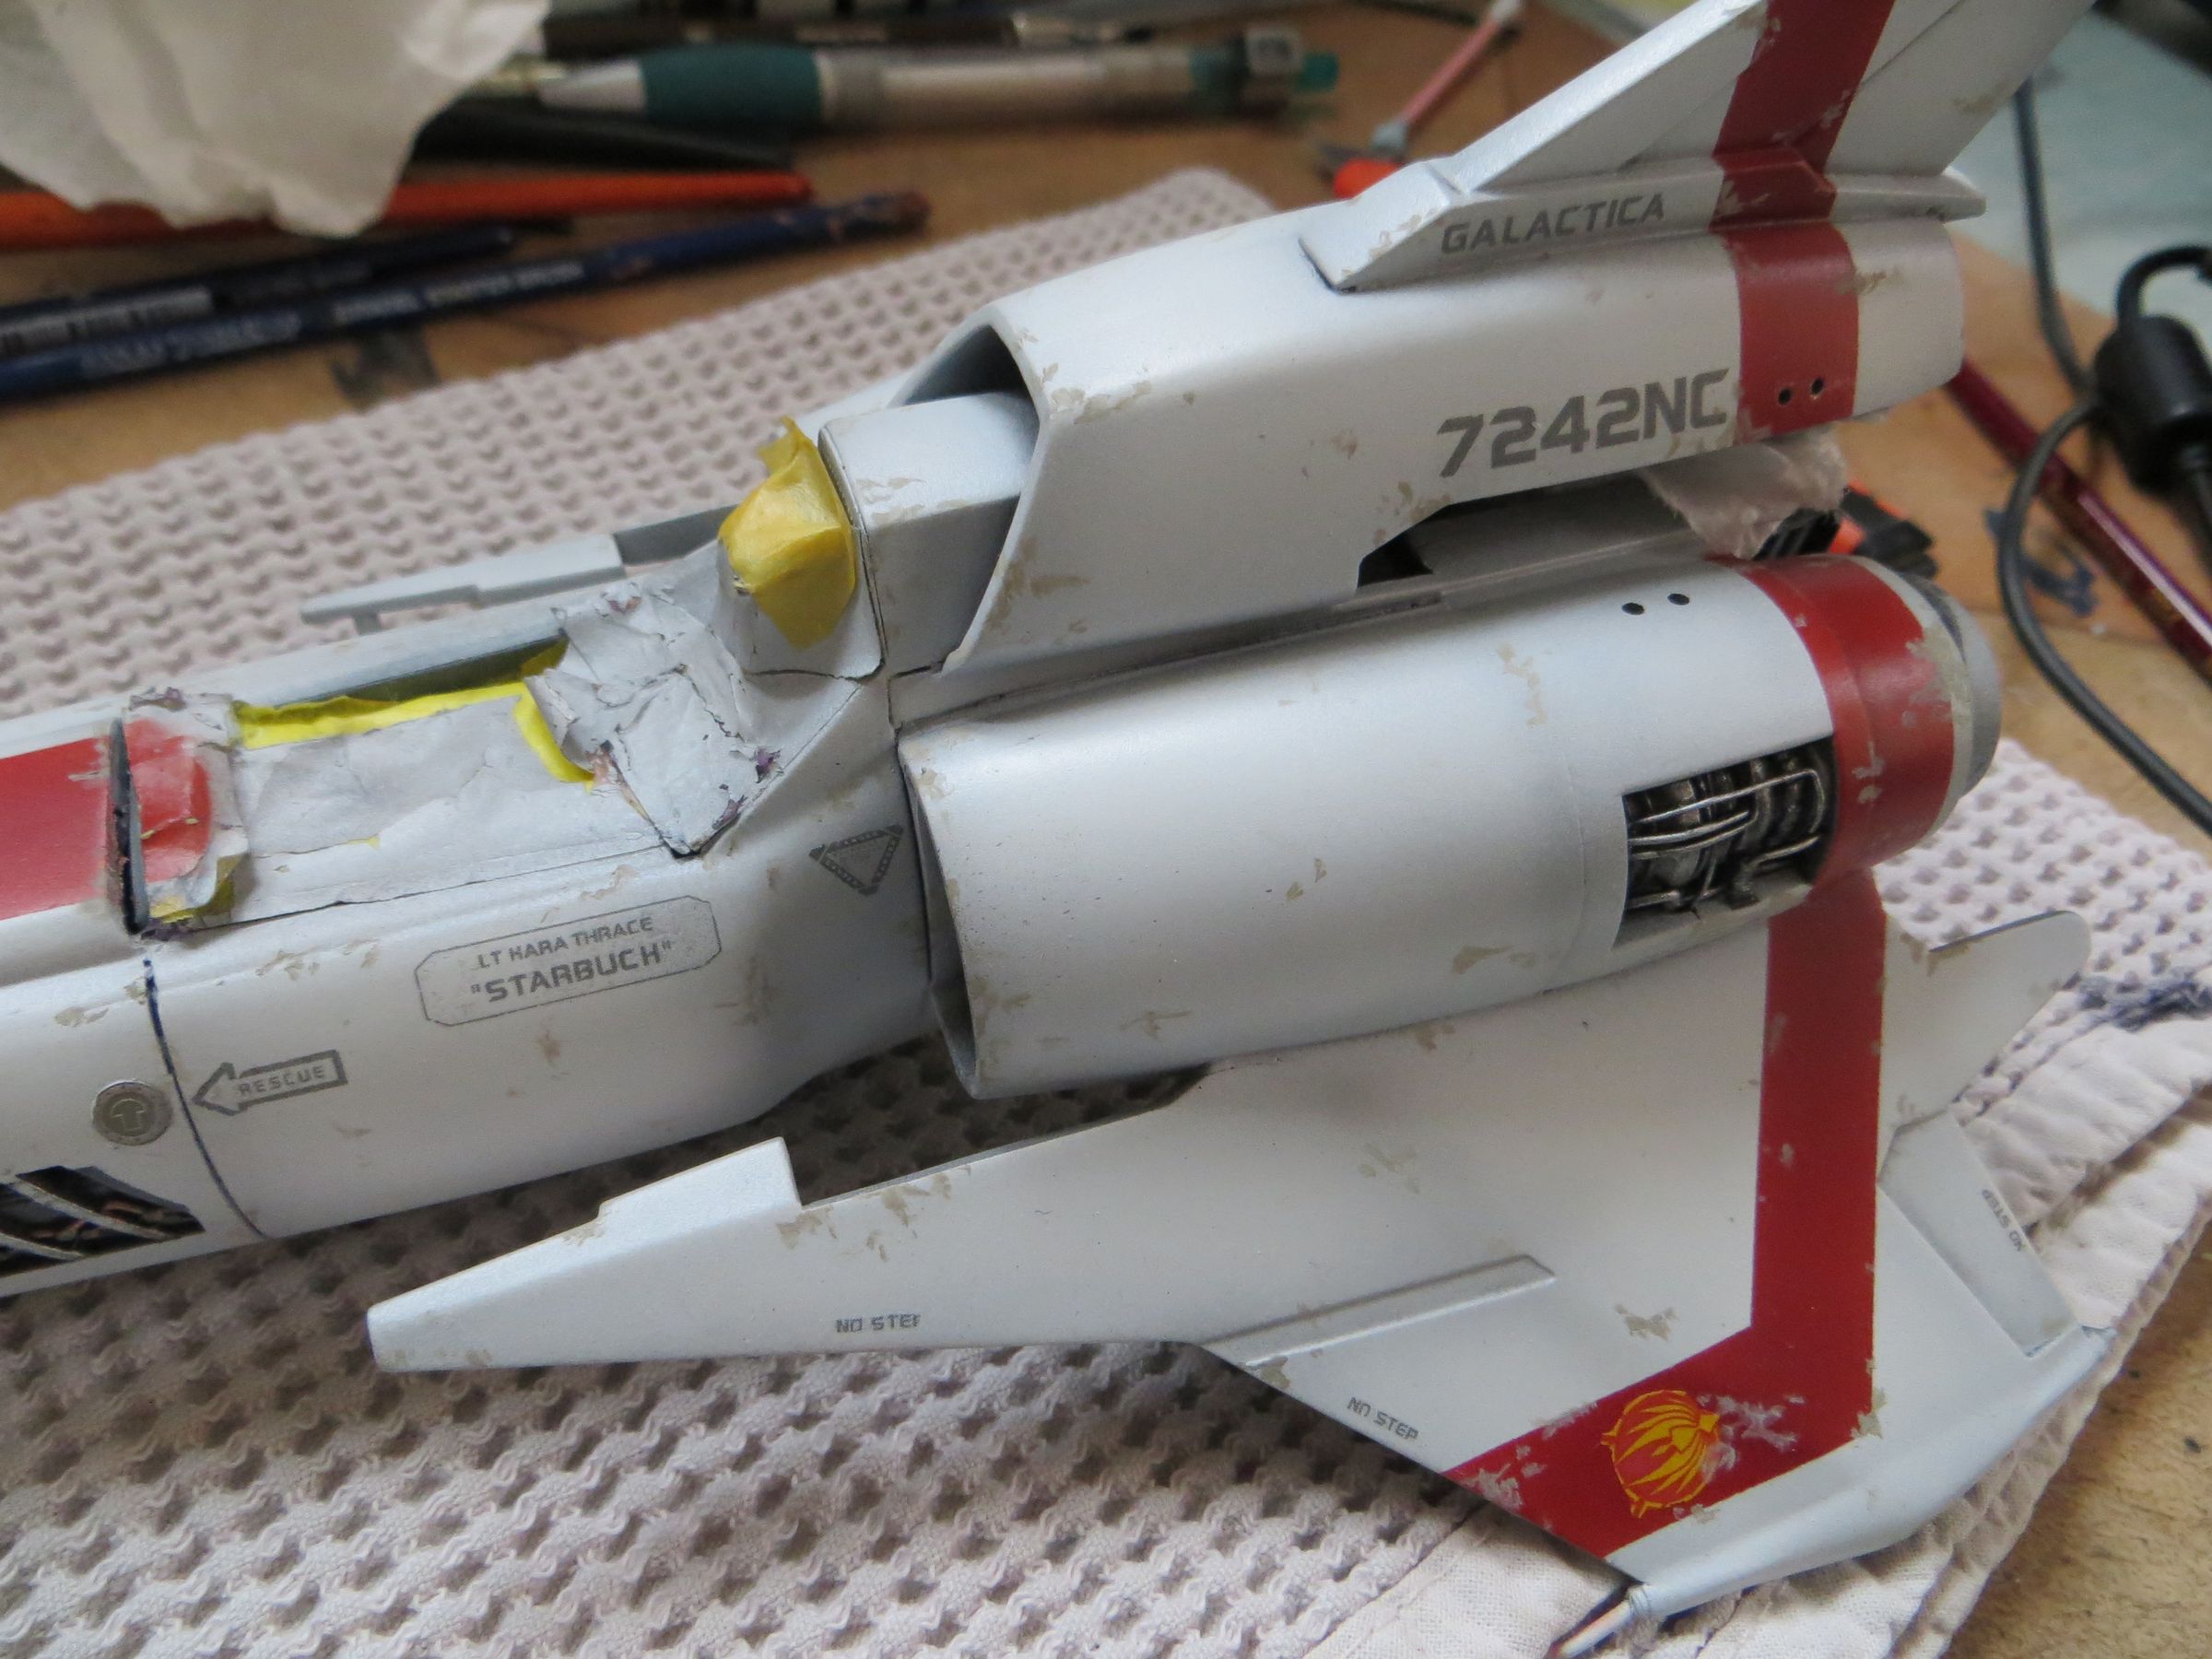

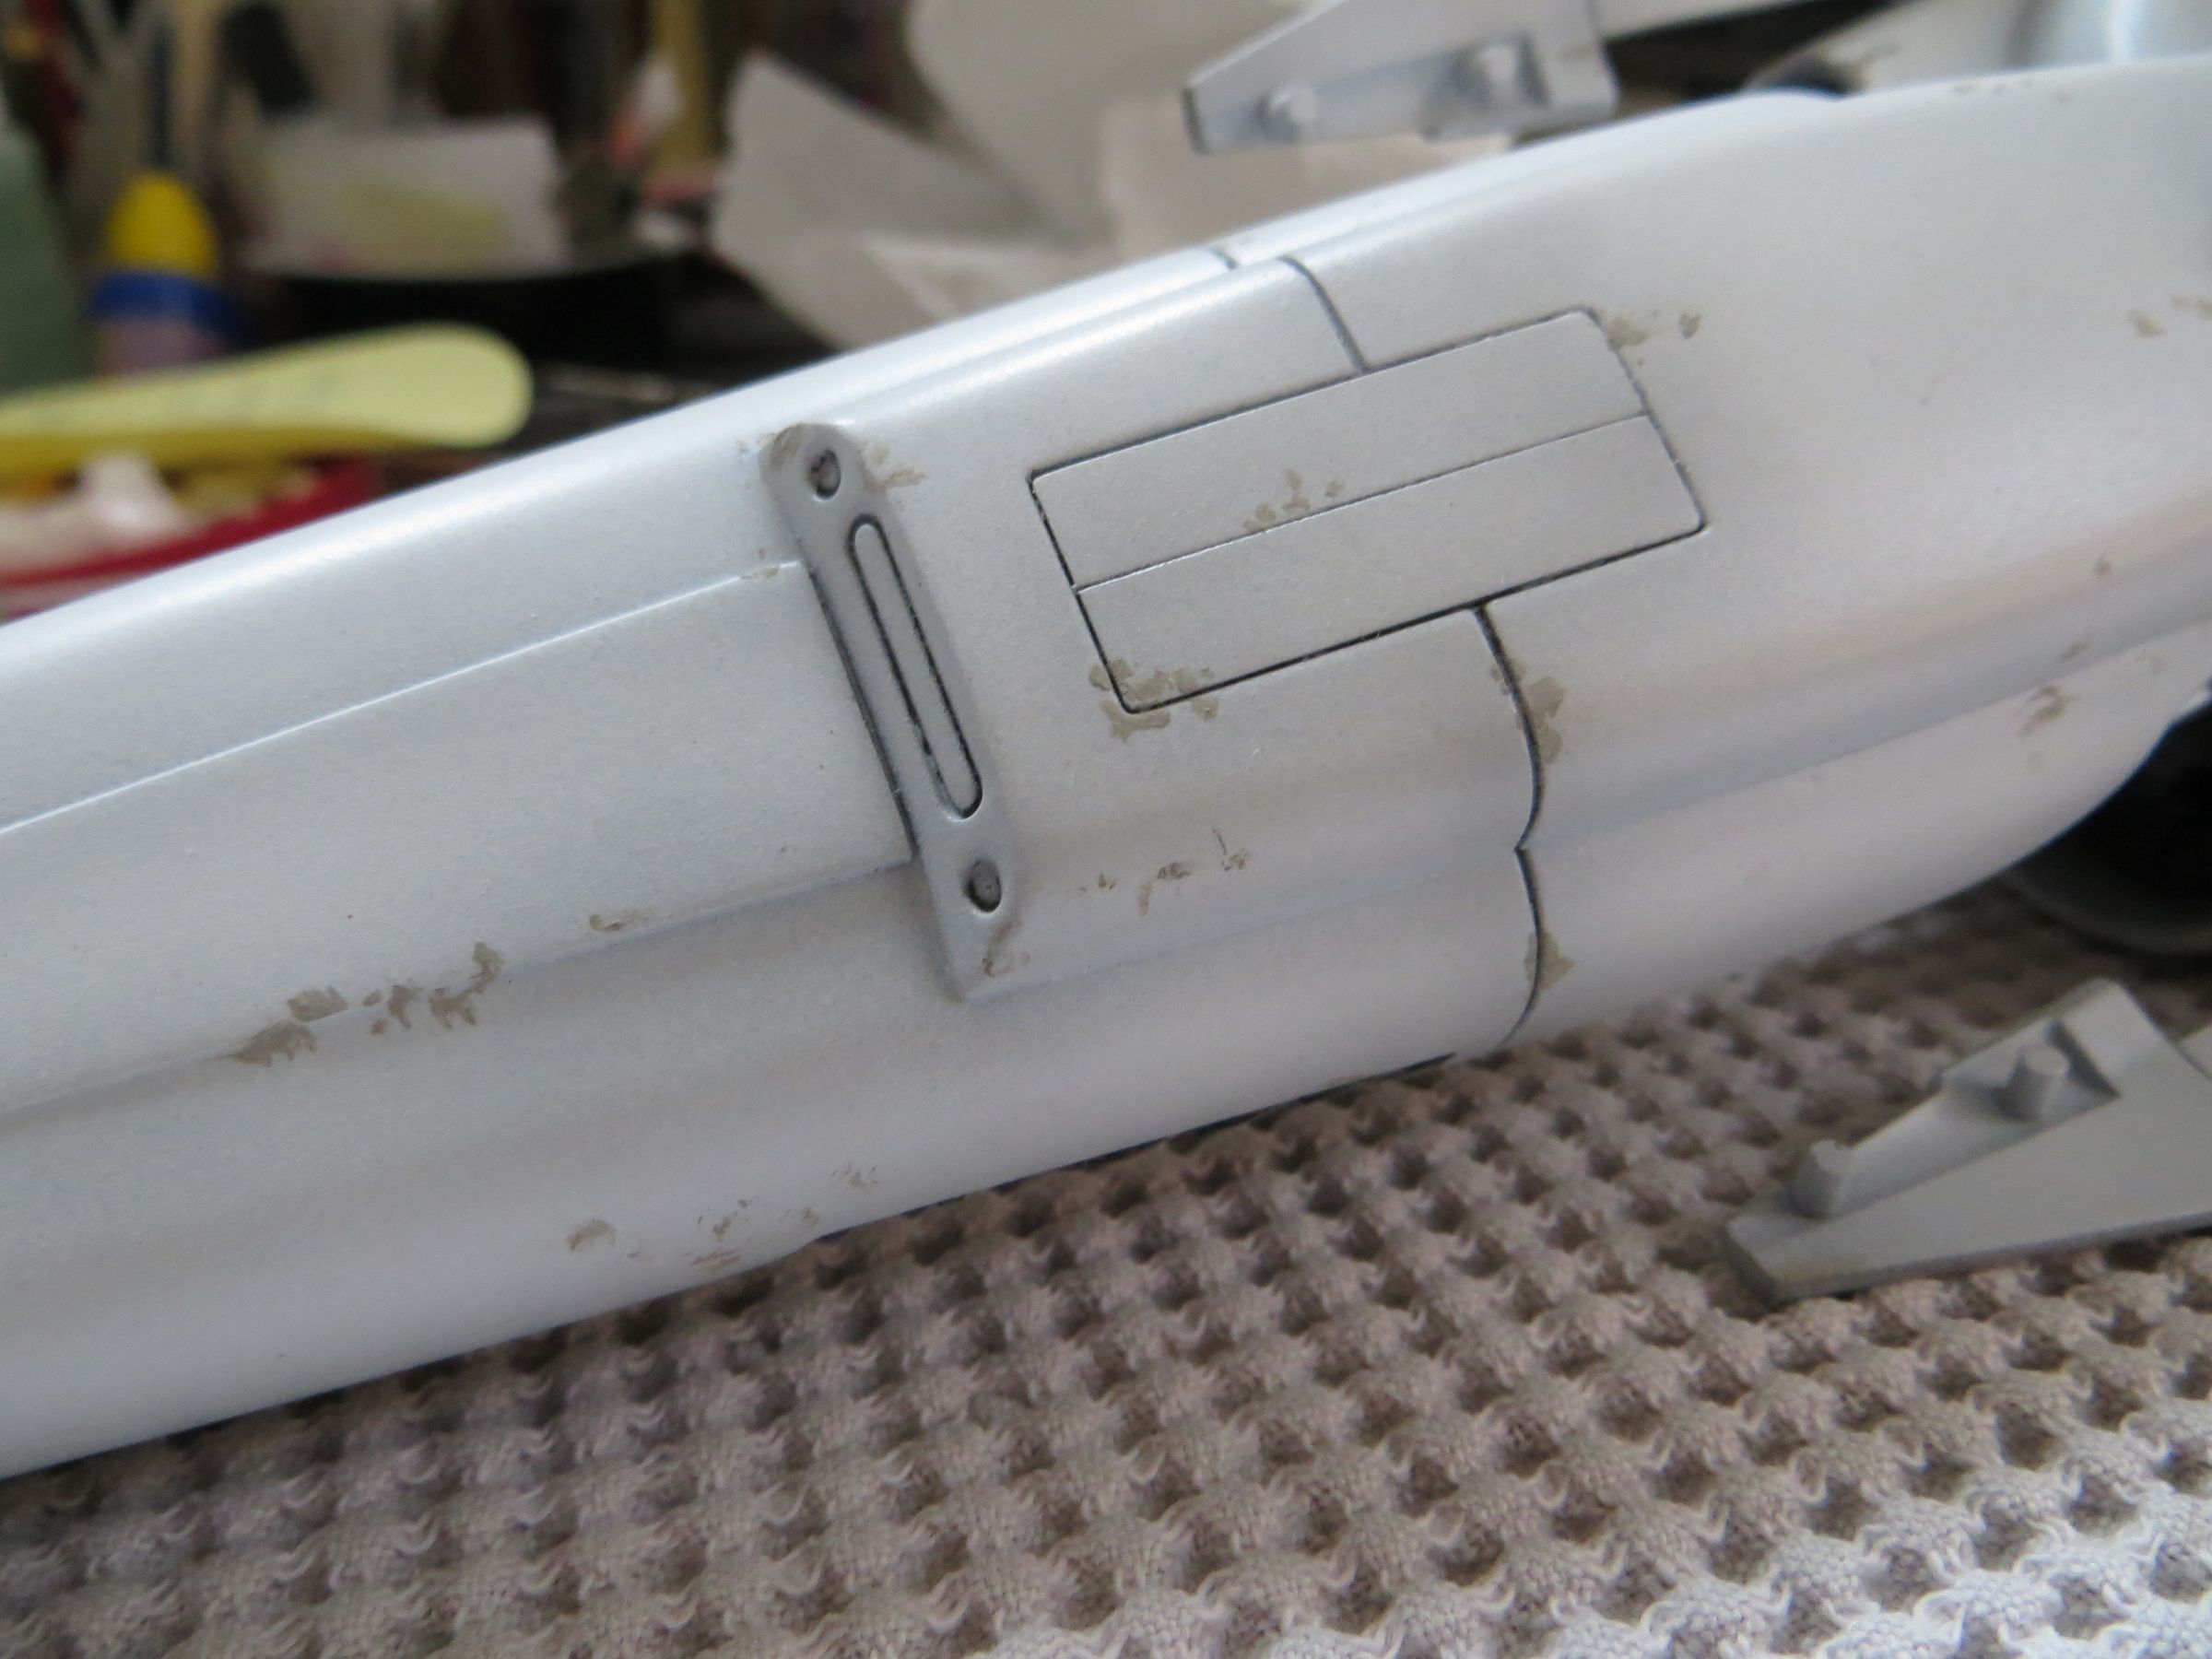
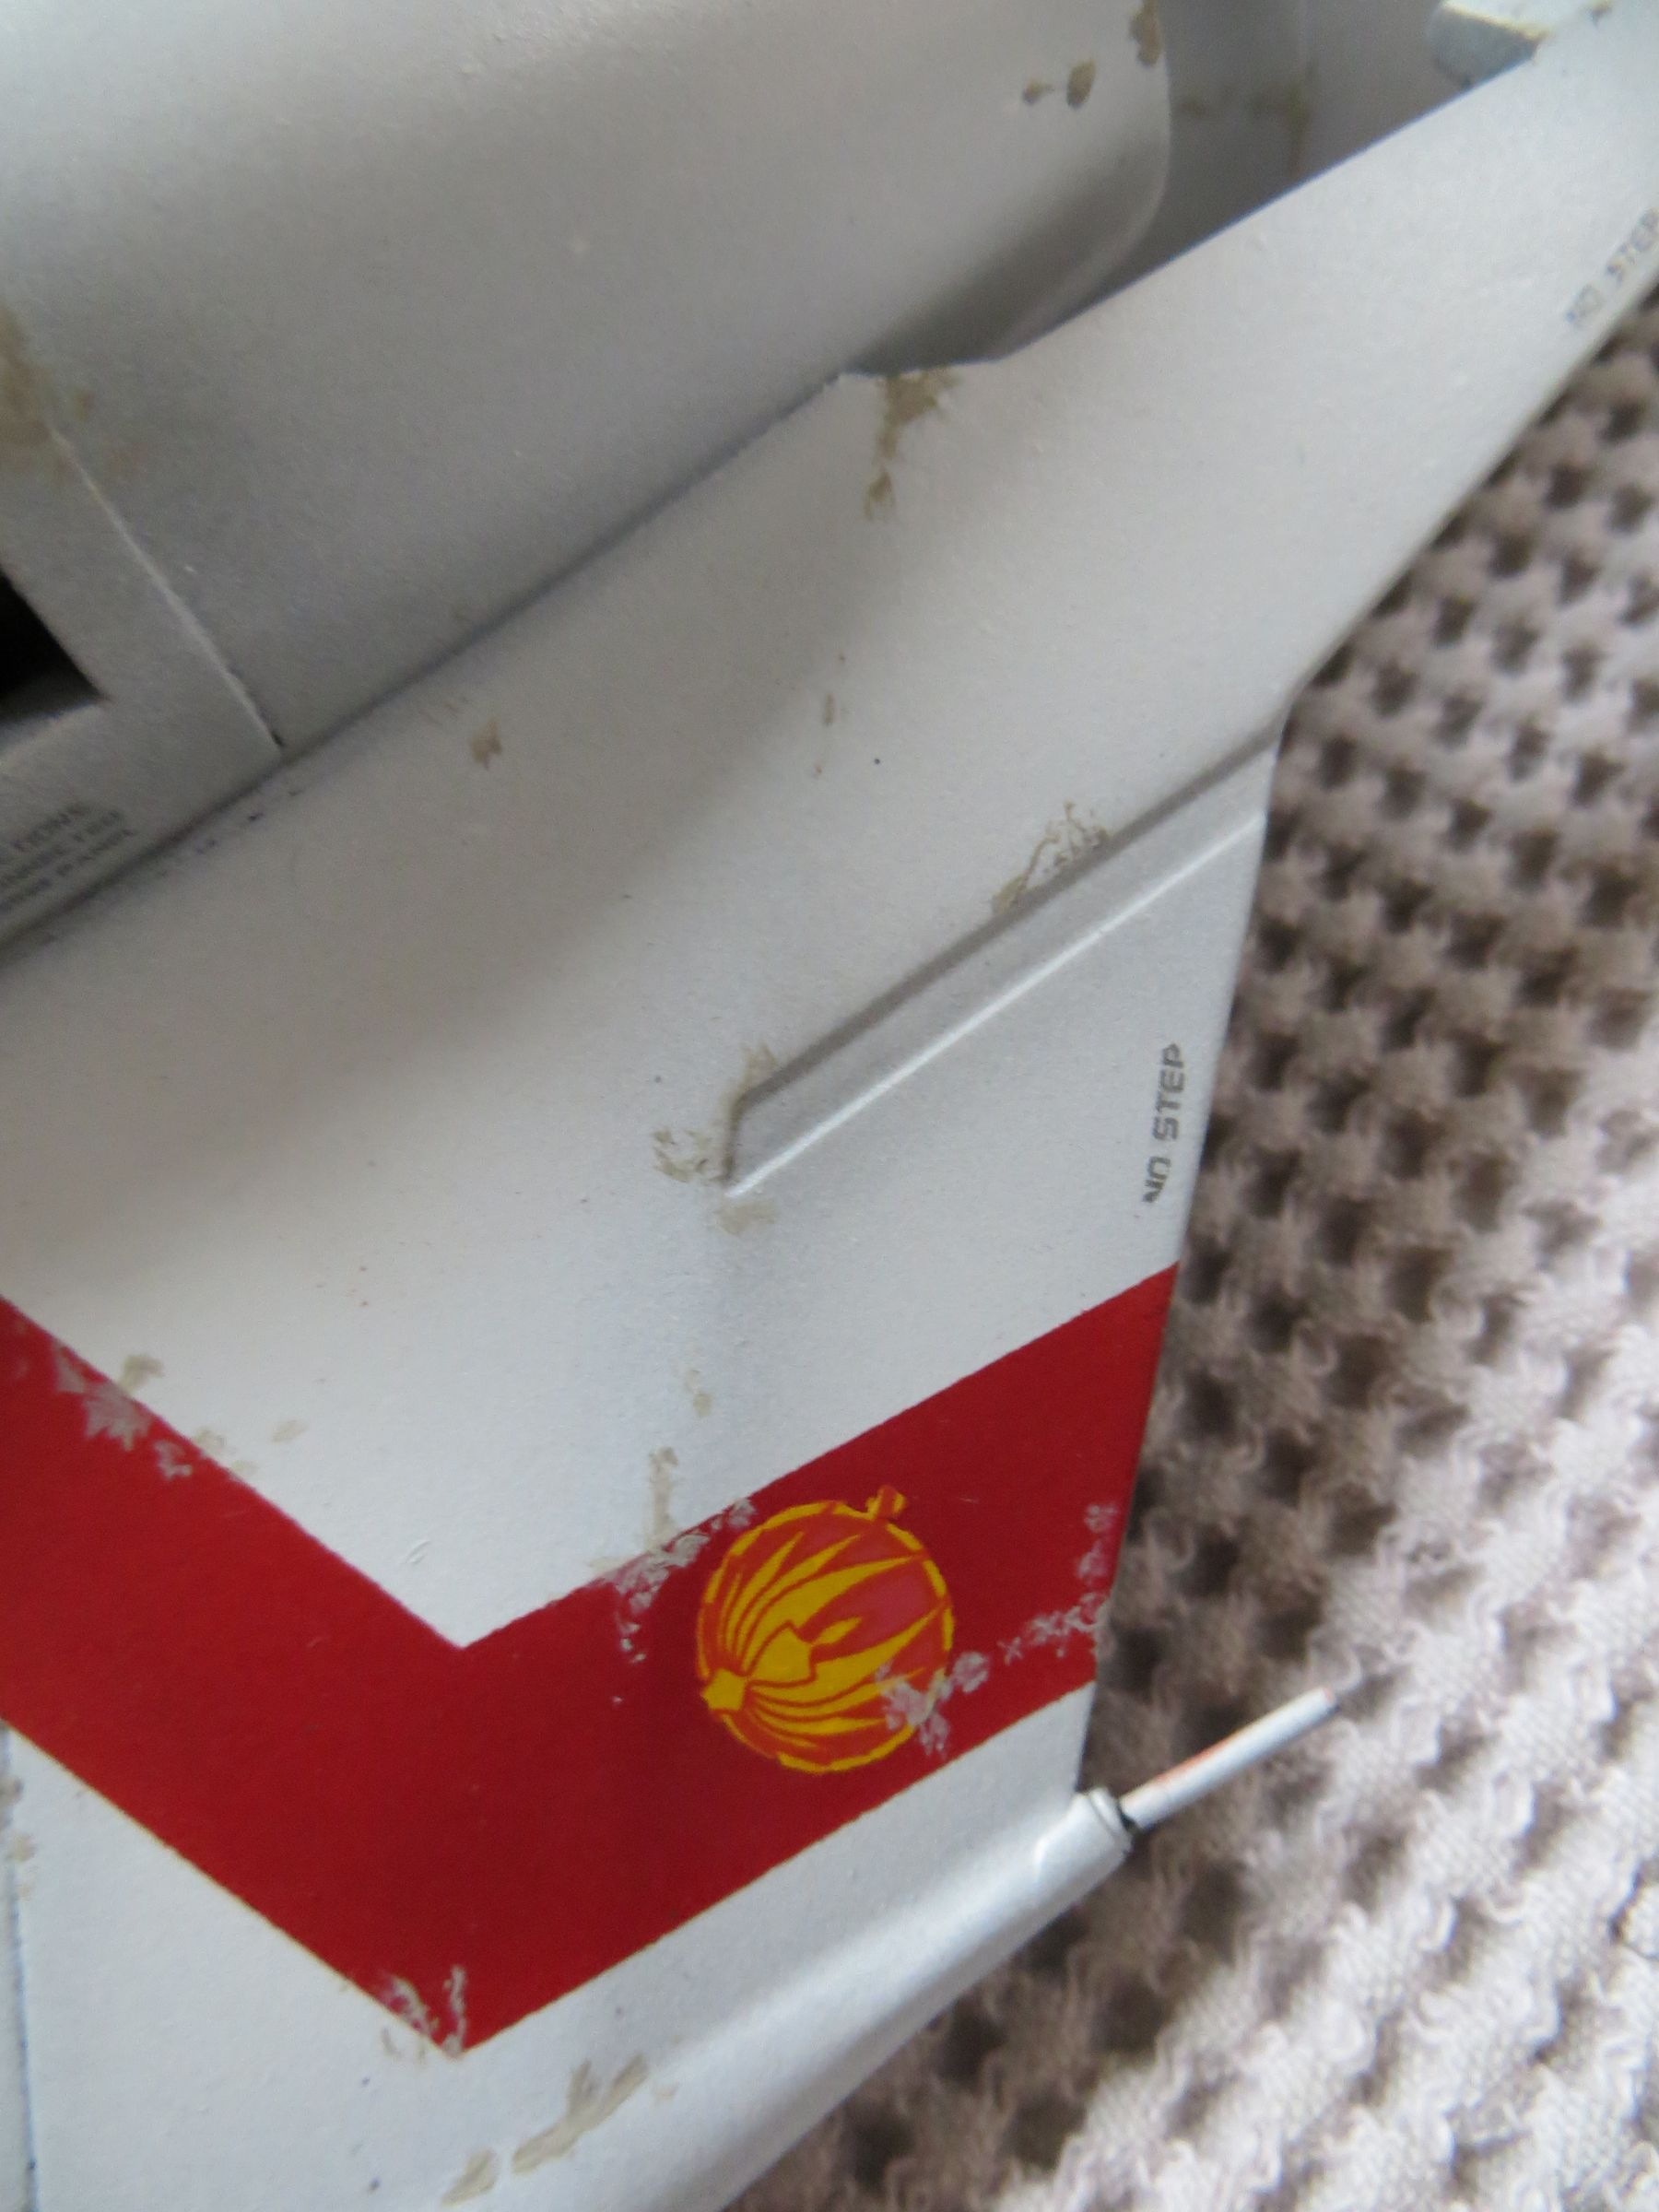
A new coat of satin varnish to protect them, then dirt and streaks are made of with a medium gray oil paint. Over the white, it looks dark, almost black.
Then a final layer of satin varnish.
The canopy is masked.
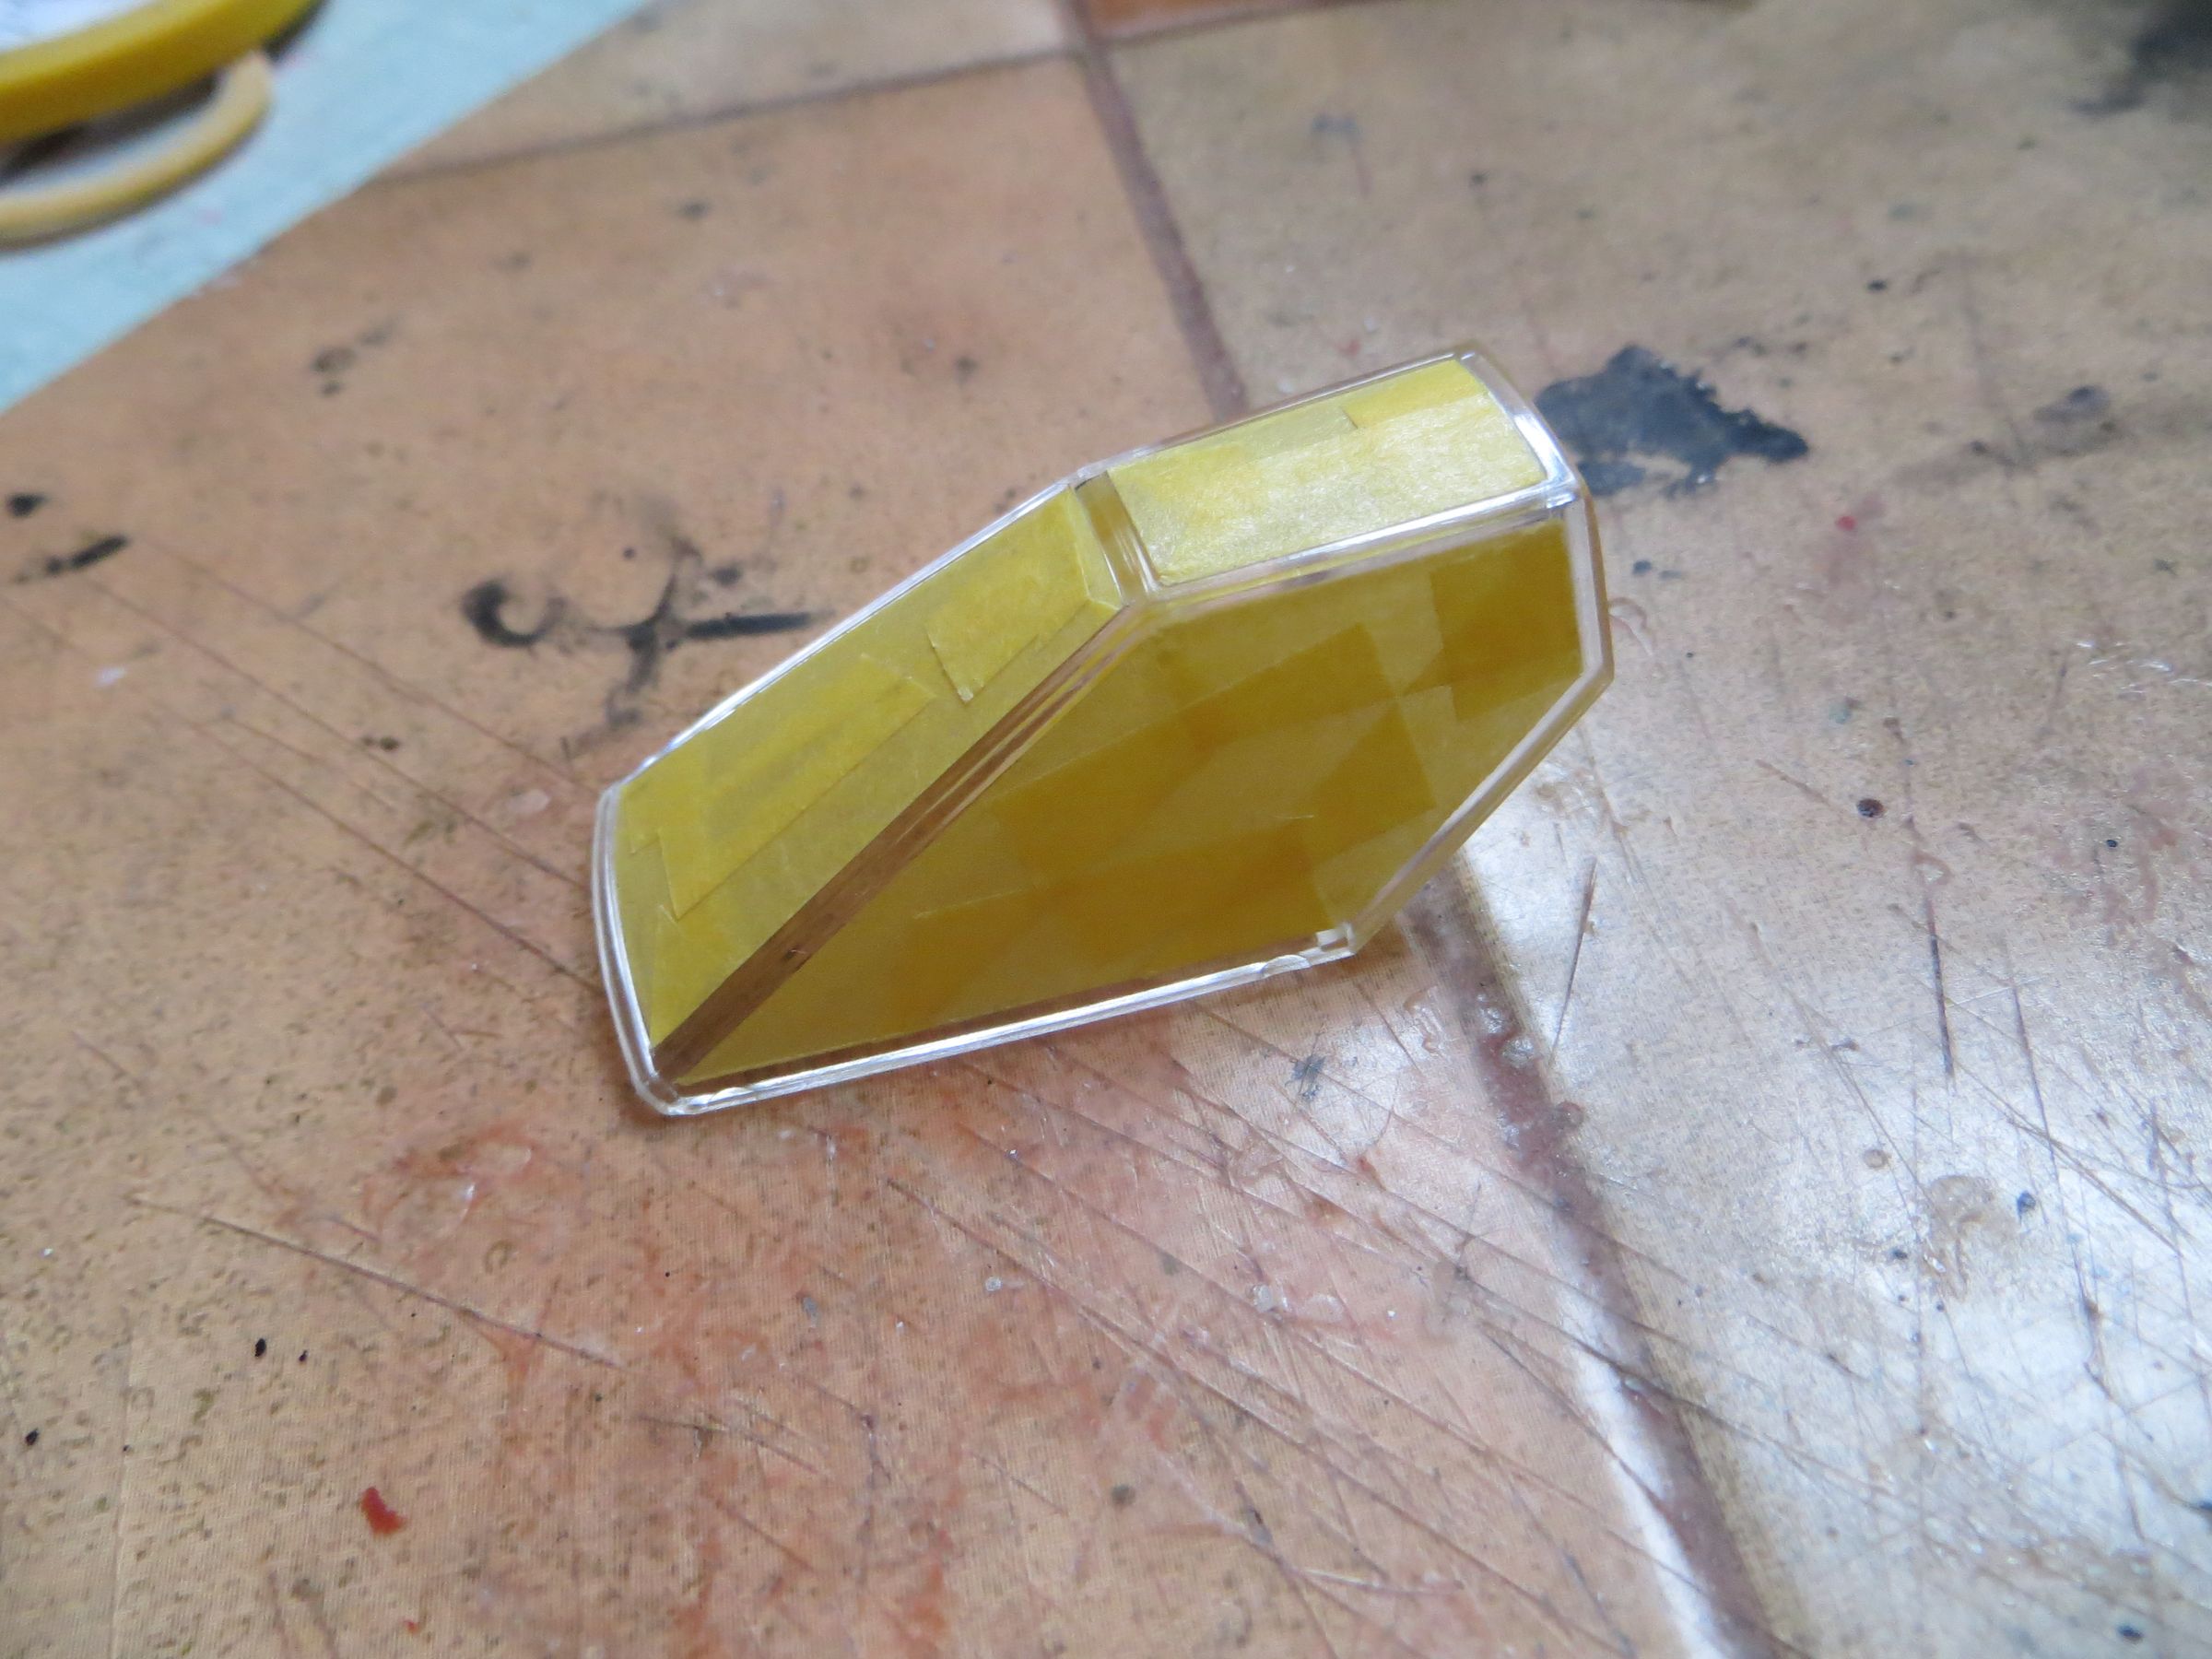
It then received a thin coat of primer, followed by black to give texture.
Then it is covered with Alclad stainless steel
Then dirtied with dark gray.
I had to use some wax polish here and there to remove some alclad stains, who had managed to go under the tapes (which can be seen in the previous picture).
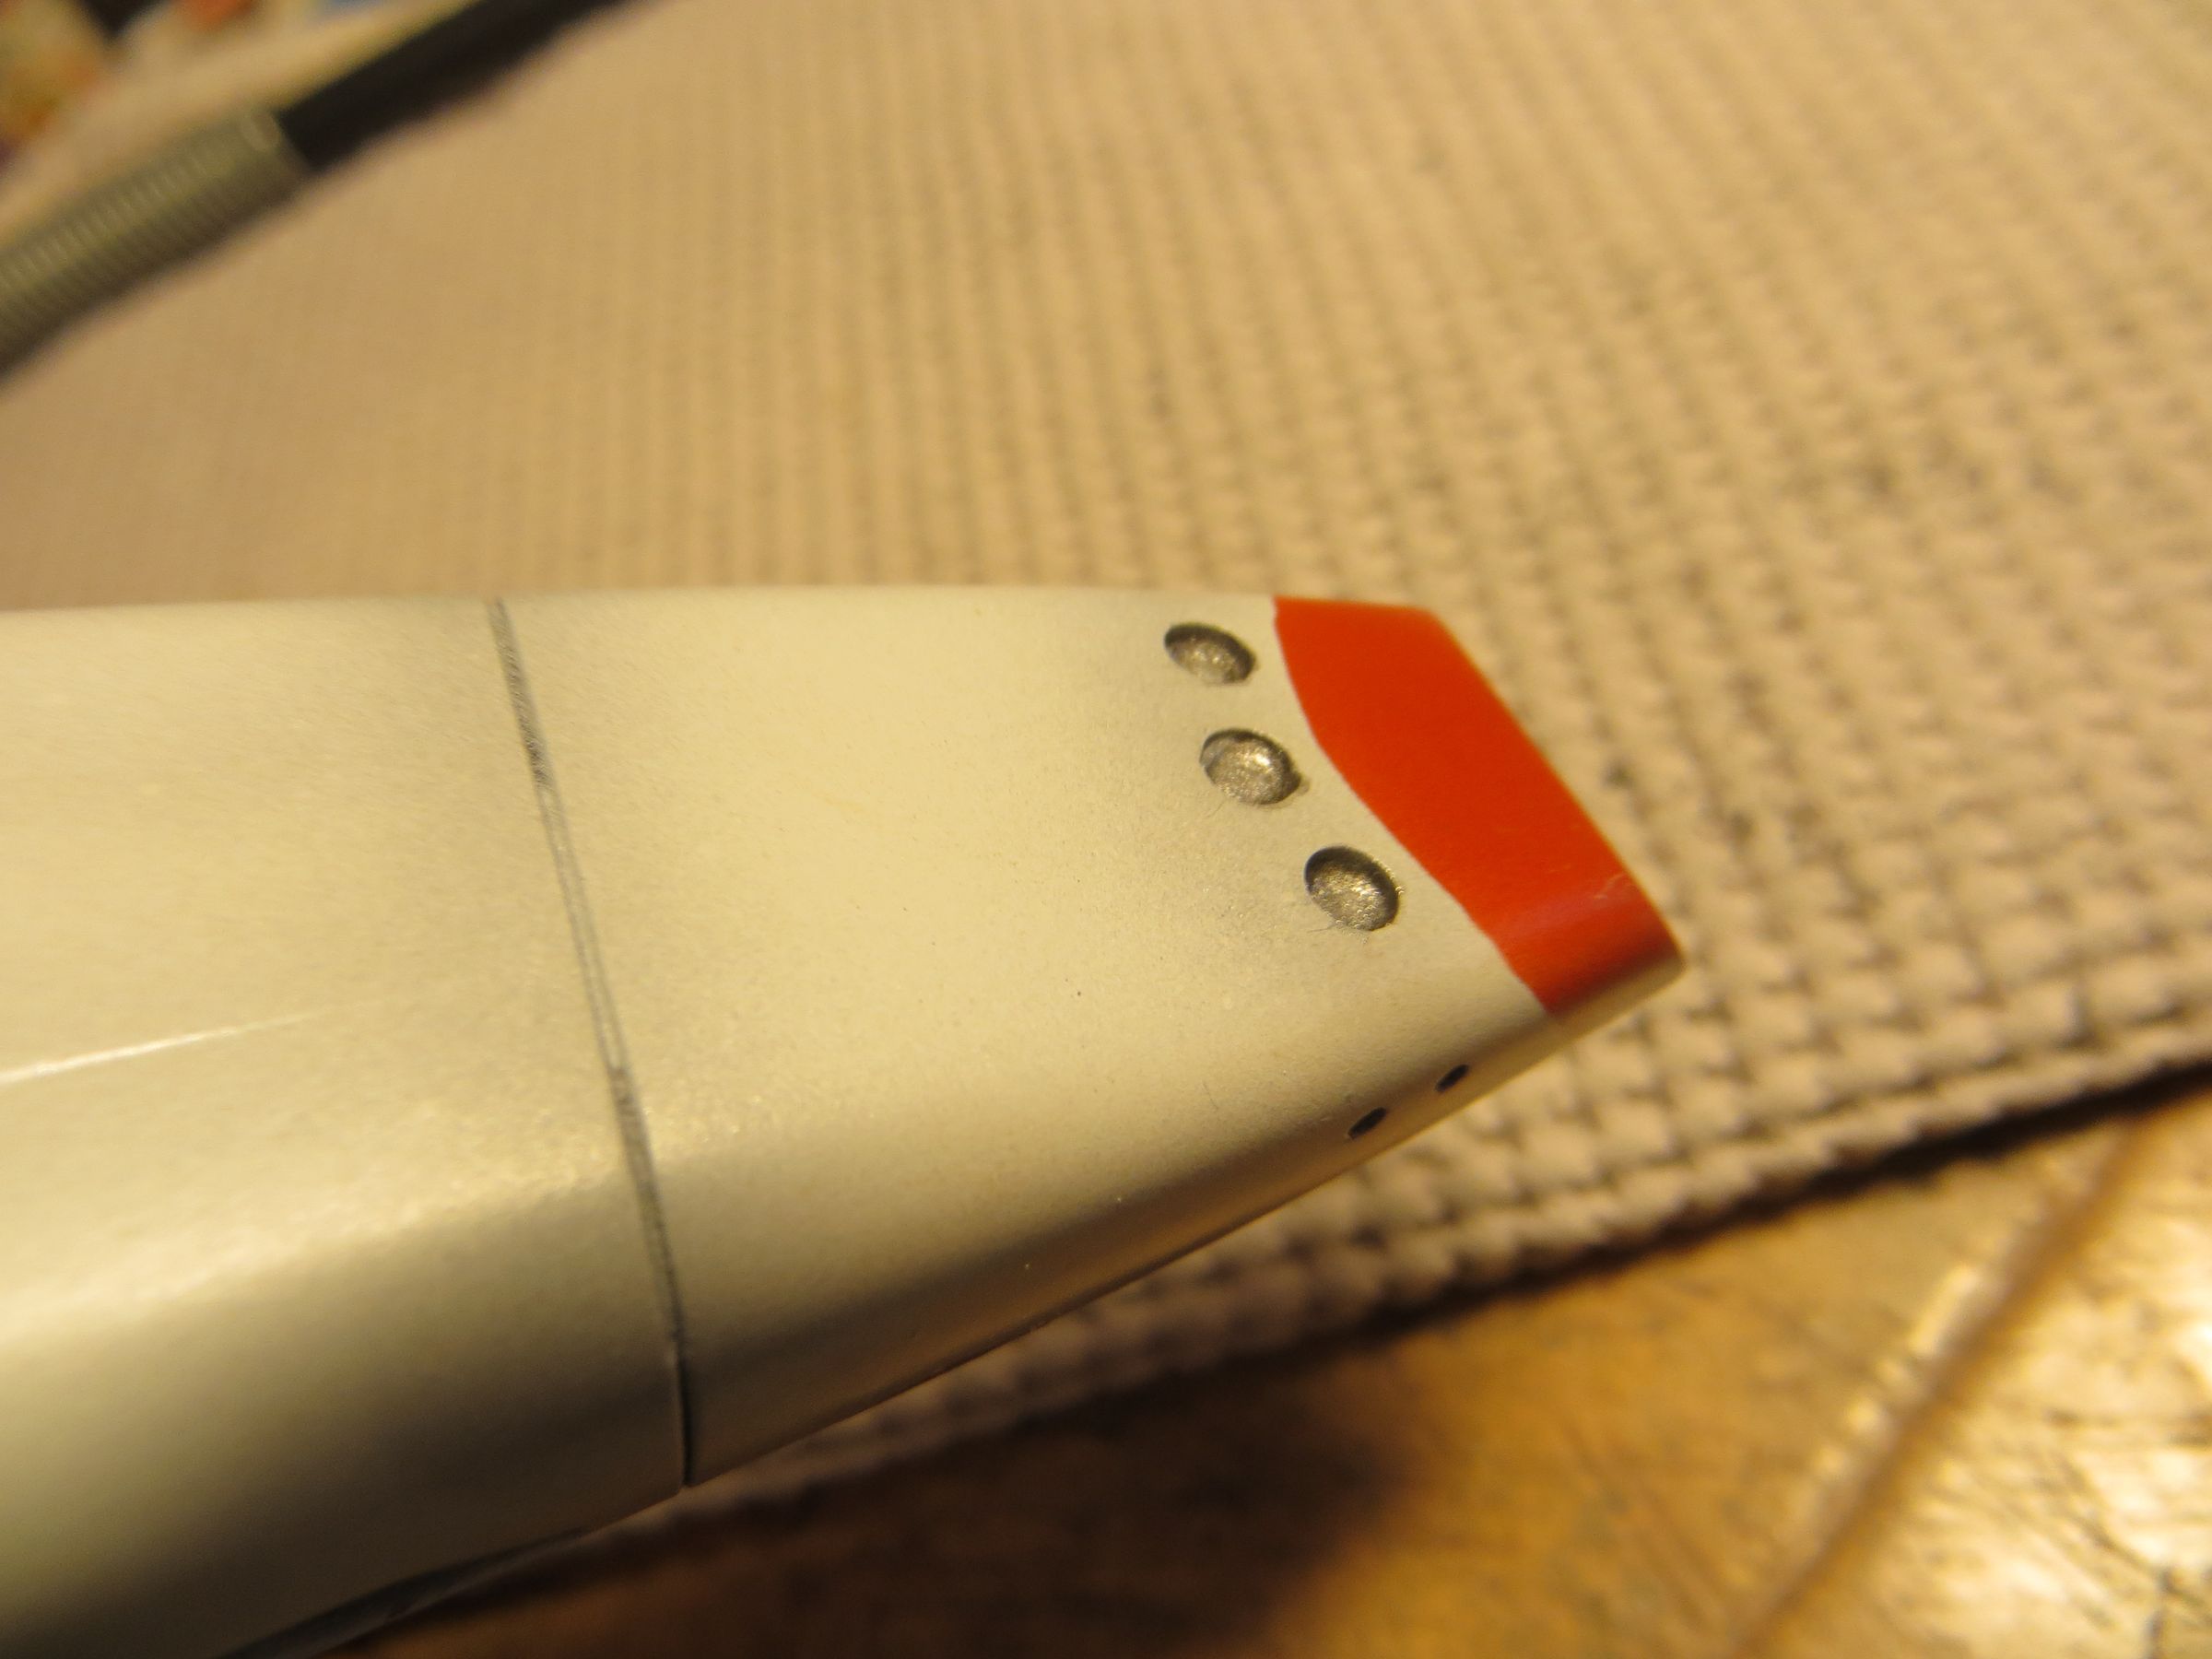
The navigation lights are finished, with sanding of the optical fiber bits.
Then the base is painted Steel.
vendredi, 7 mars 2014
Par olcabour le vendredi, 7 mars 2014, 23:26
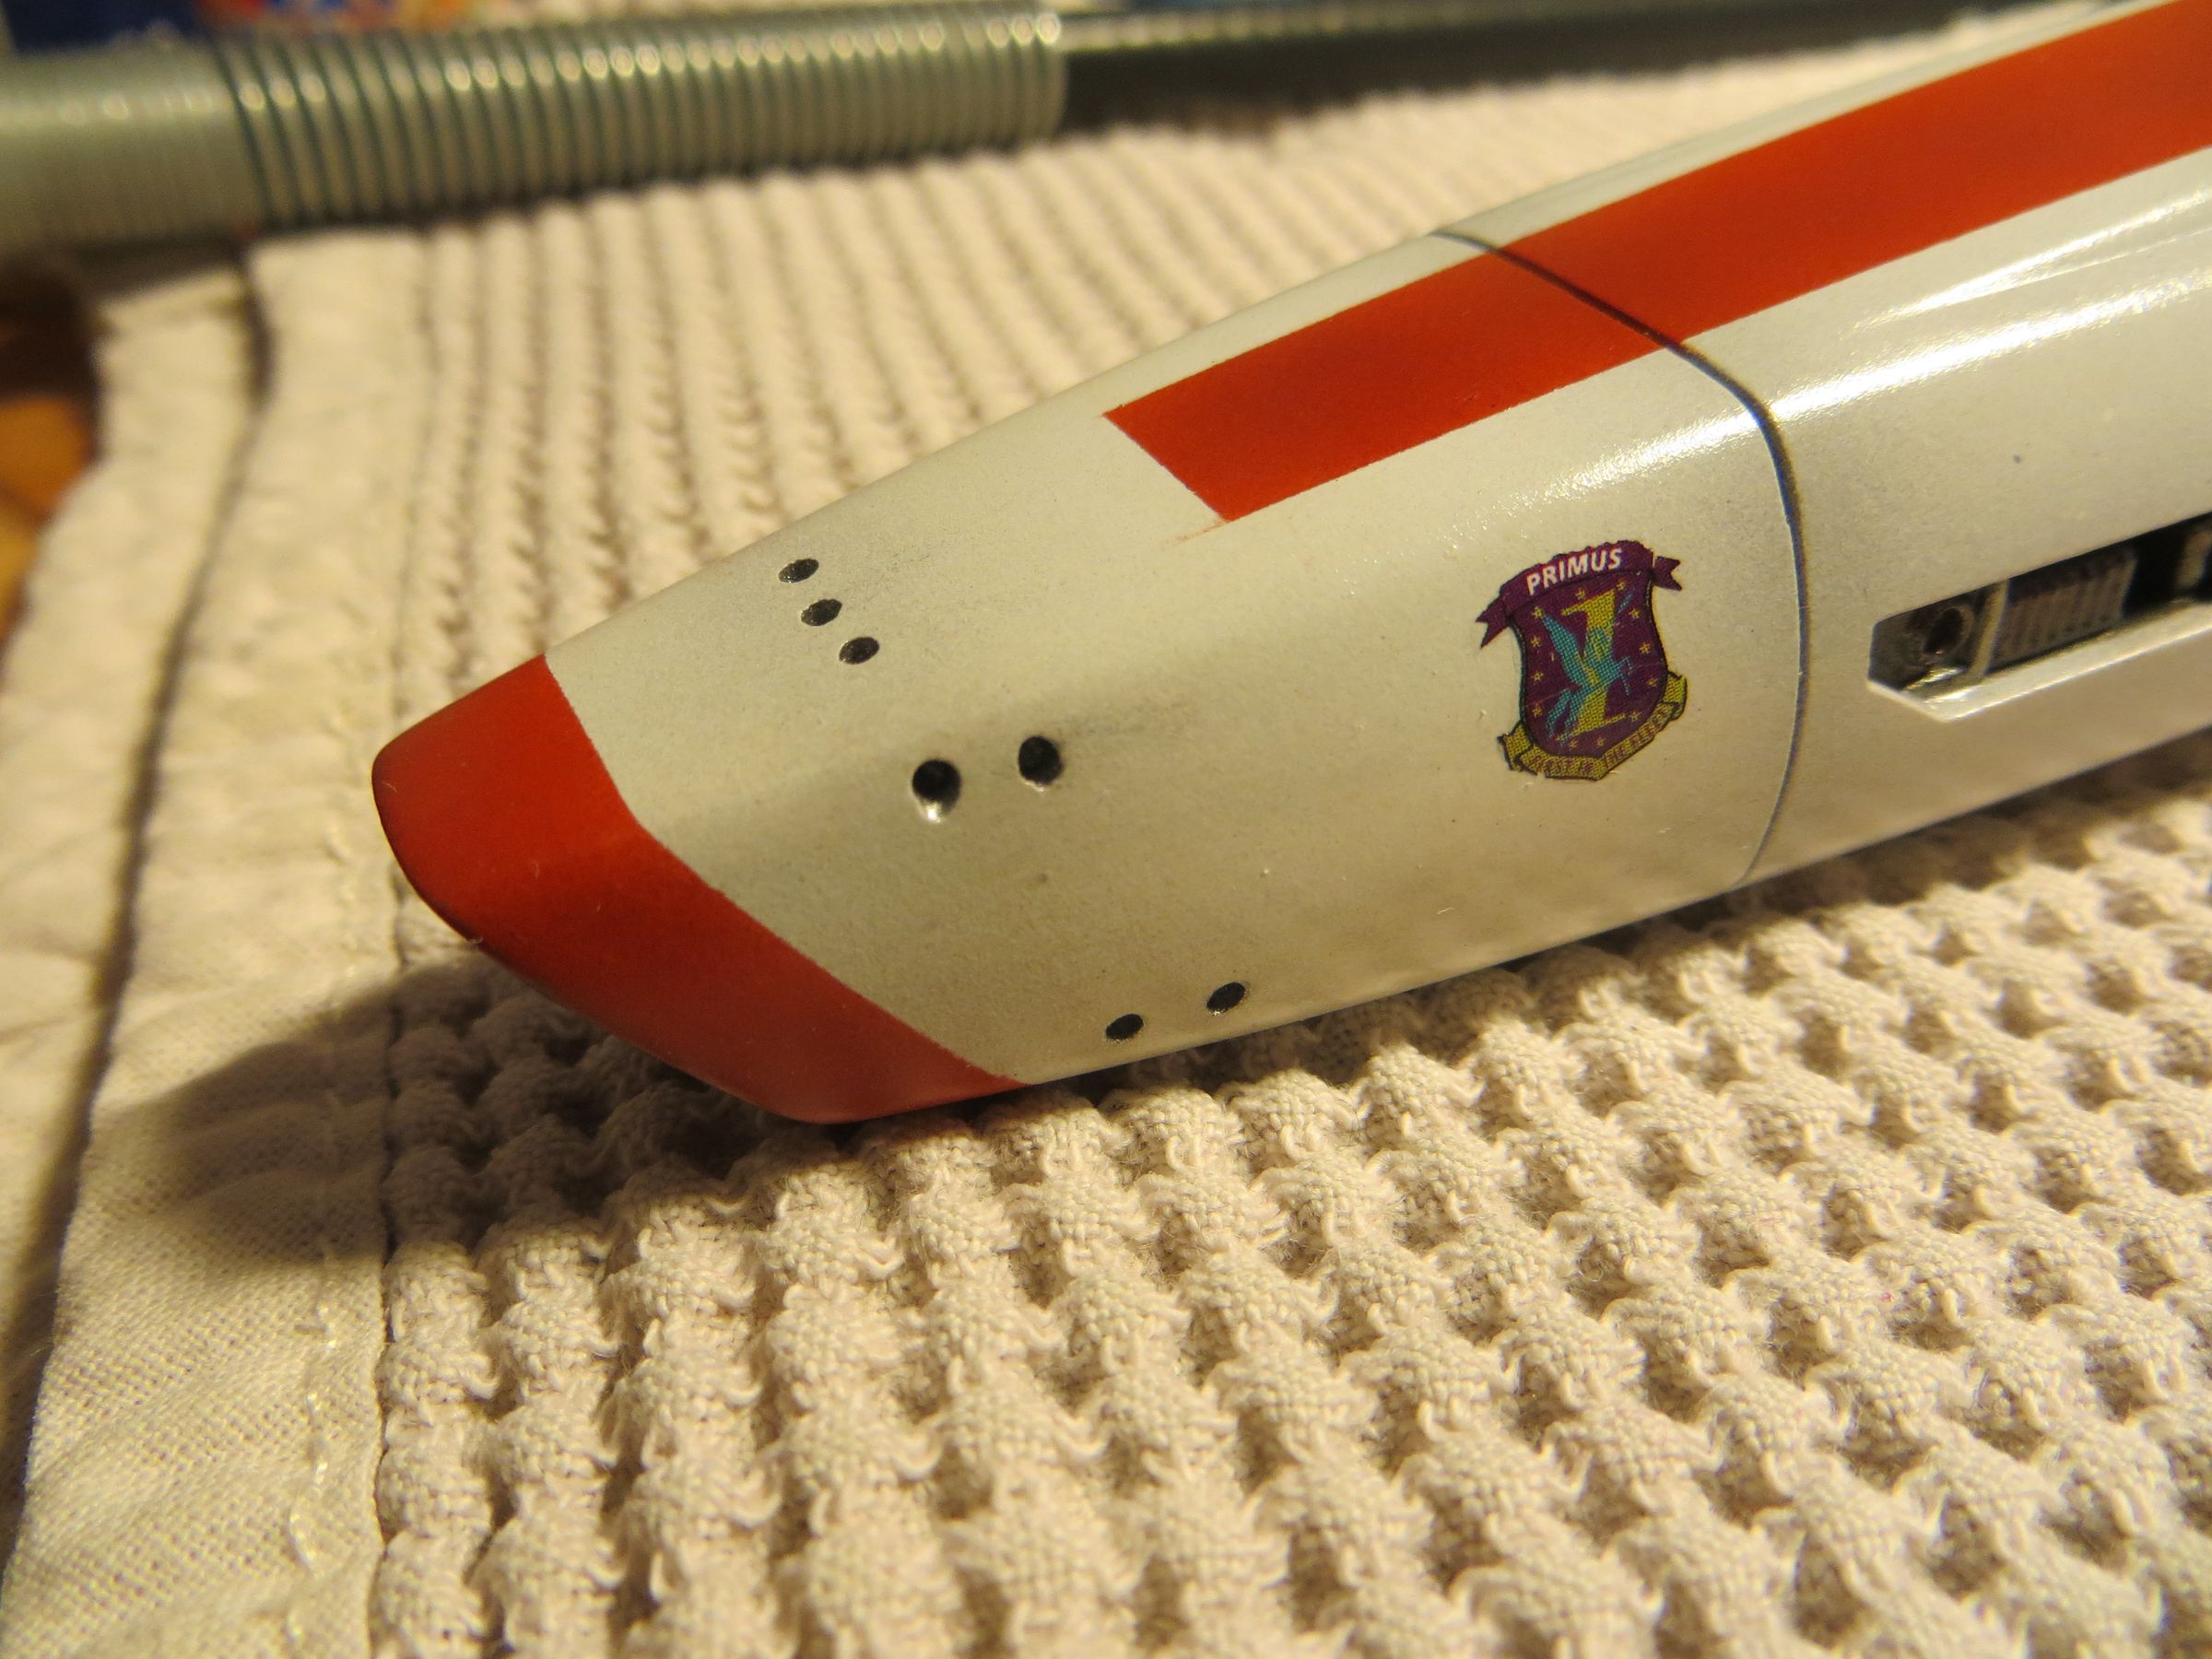
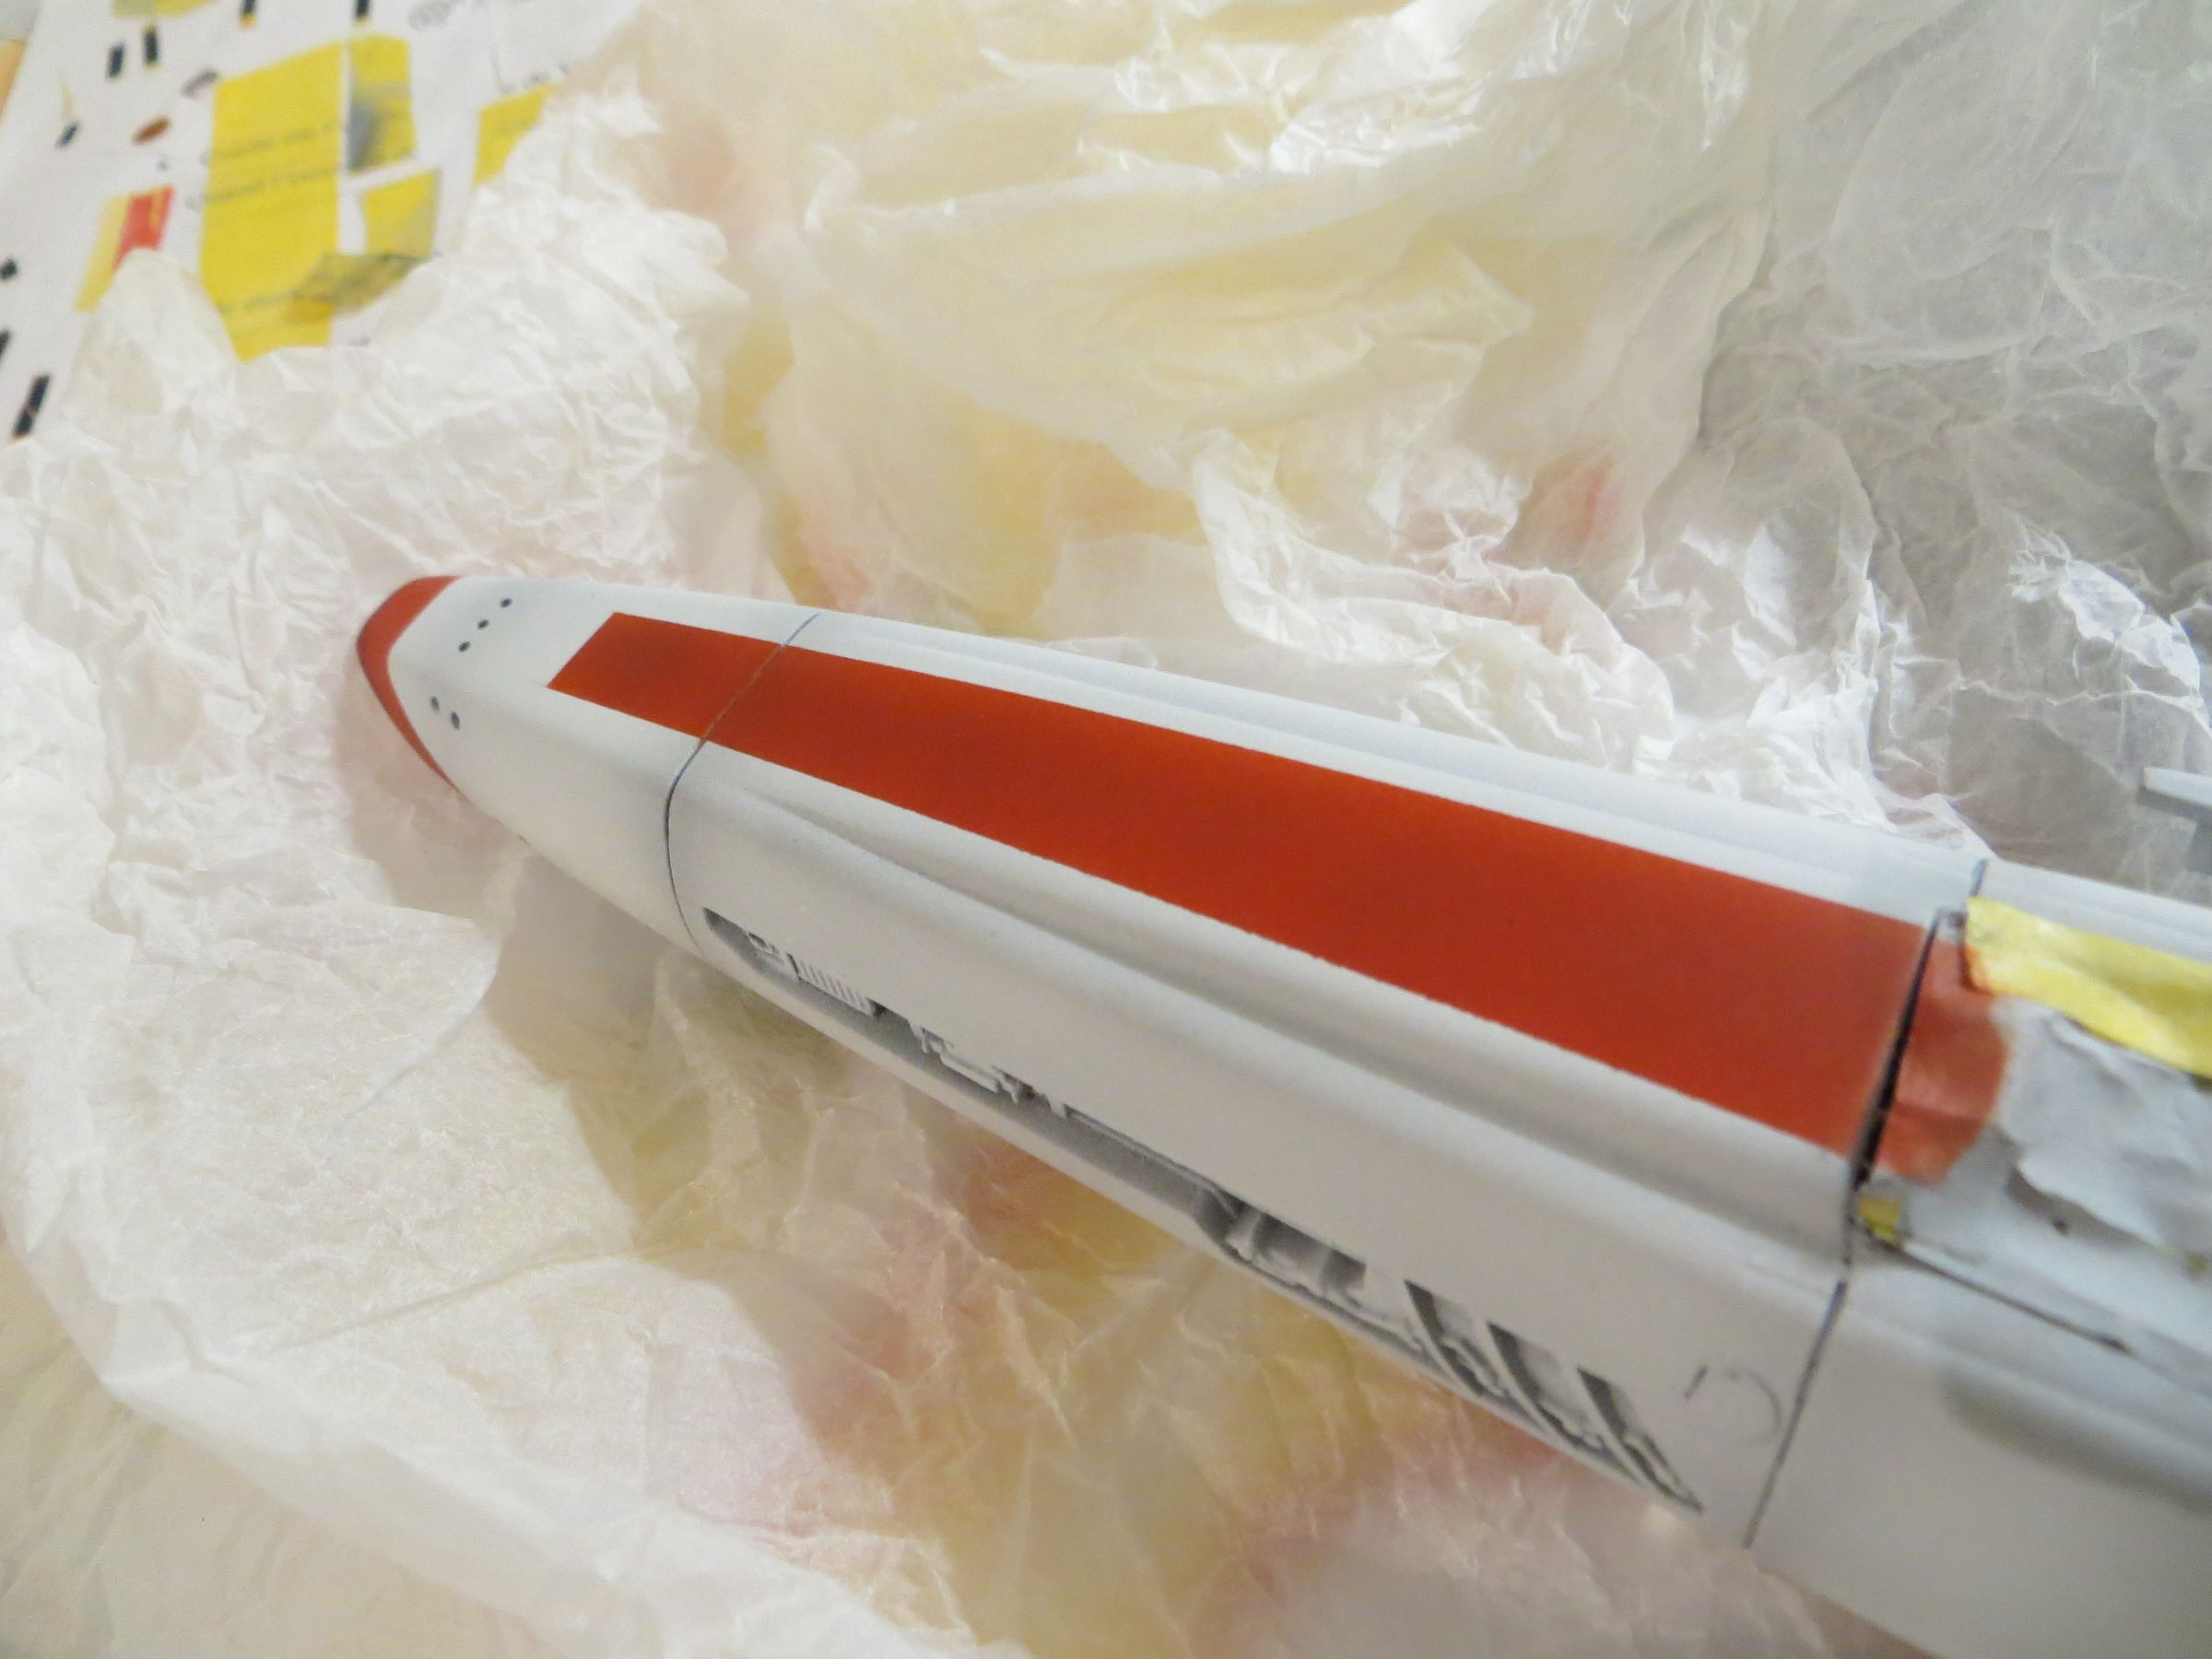
The decals are applied.
They are very fragile, some have broken just in the handling !
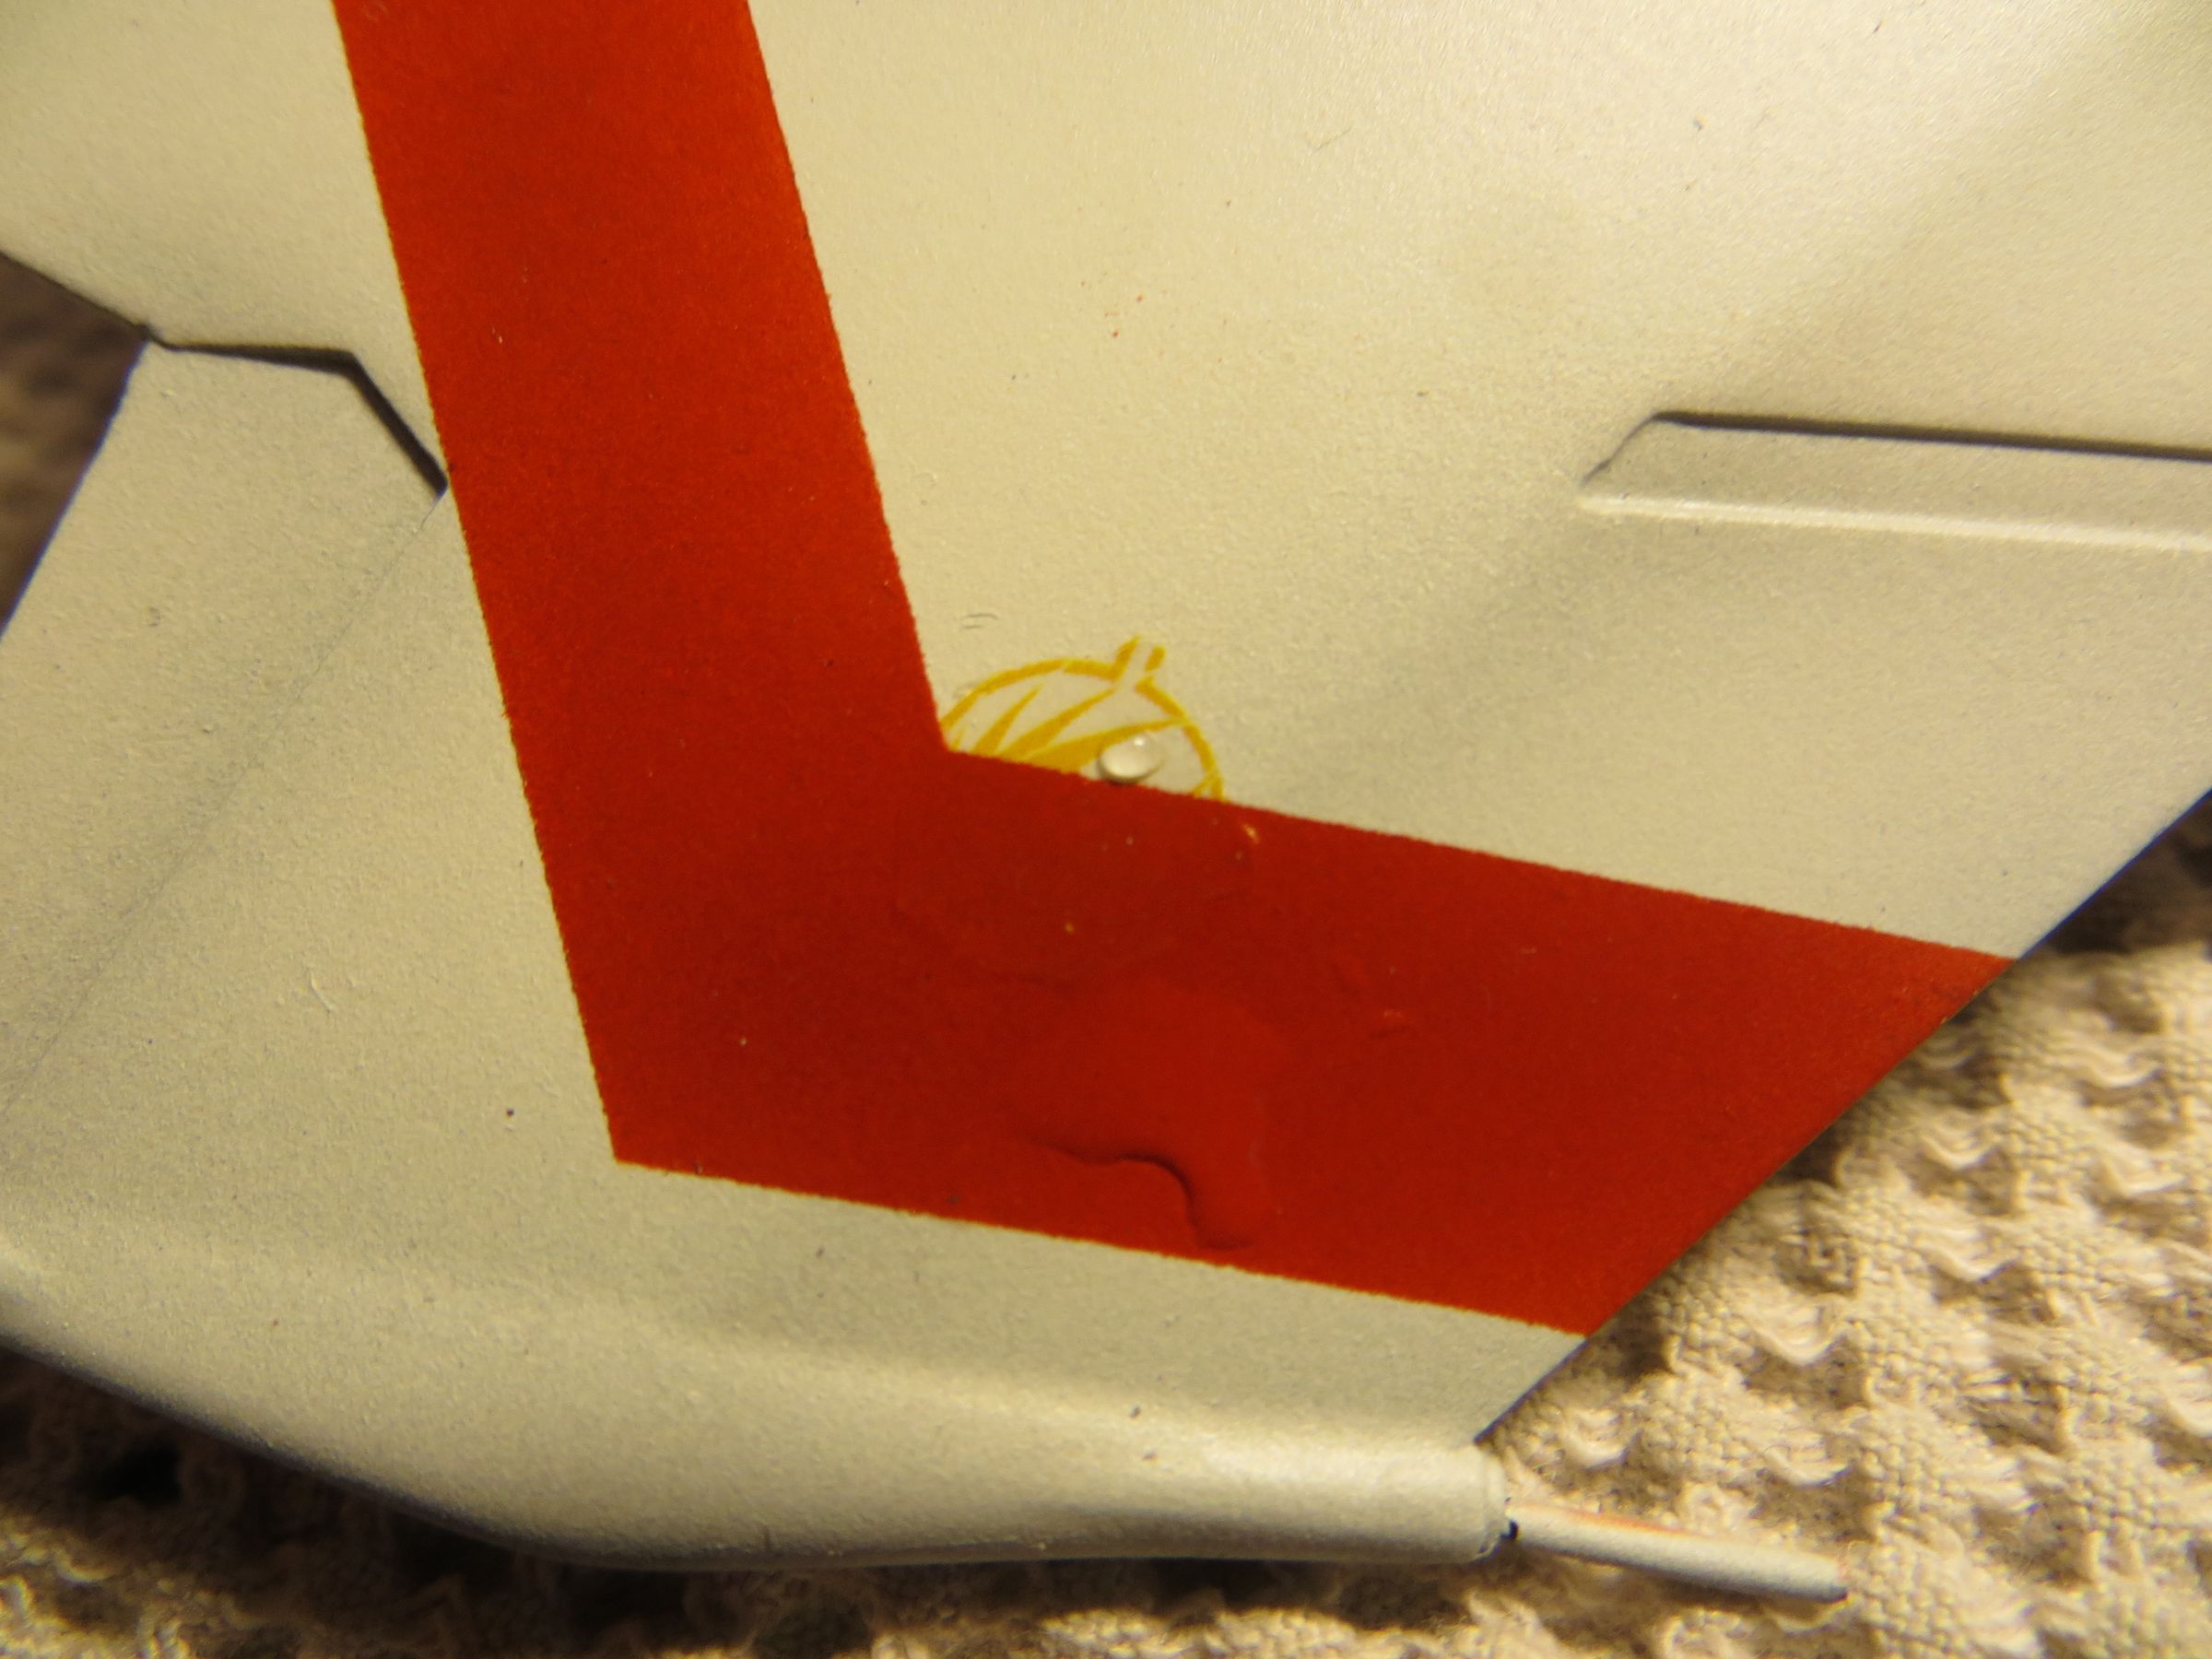
Yellow roundels decals provided for the "I paint myself my red strips" choice can not be seen once applied !
It is therefore necessary to get those included in the complete red stripes decals.
Obviously, the red color is not the same. Too bad, I hope that playing with the weathering will reduce the difference.
The decals are then protected with a new coat of Klir/Futture
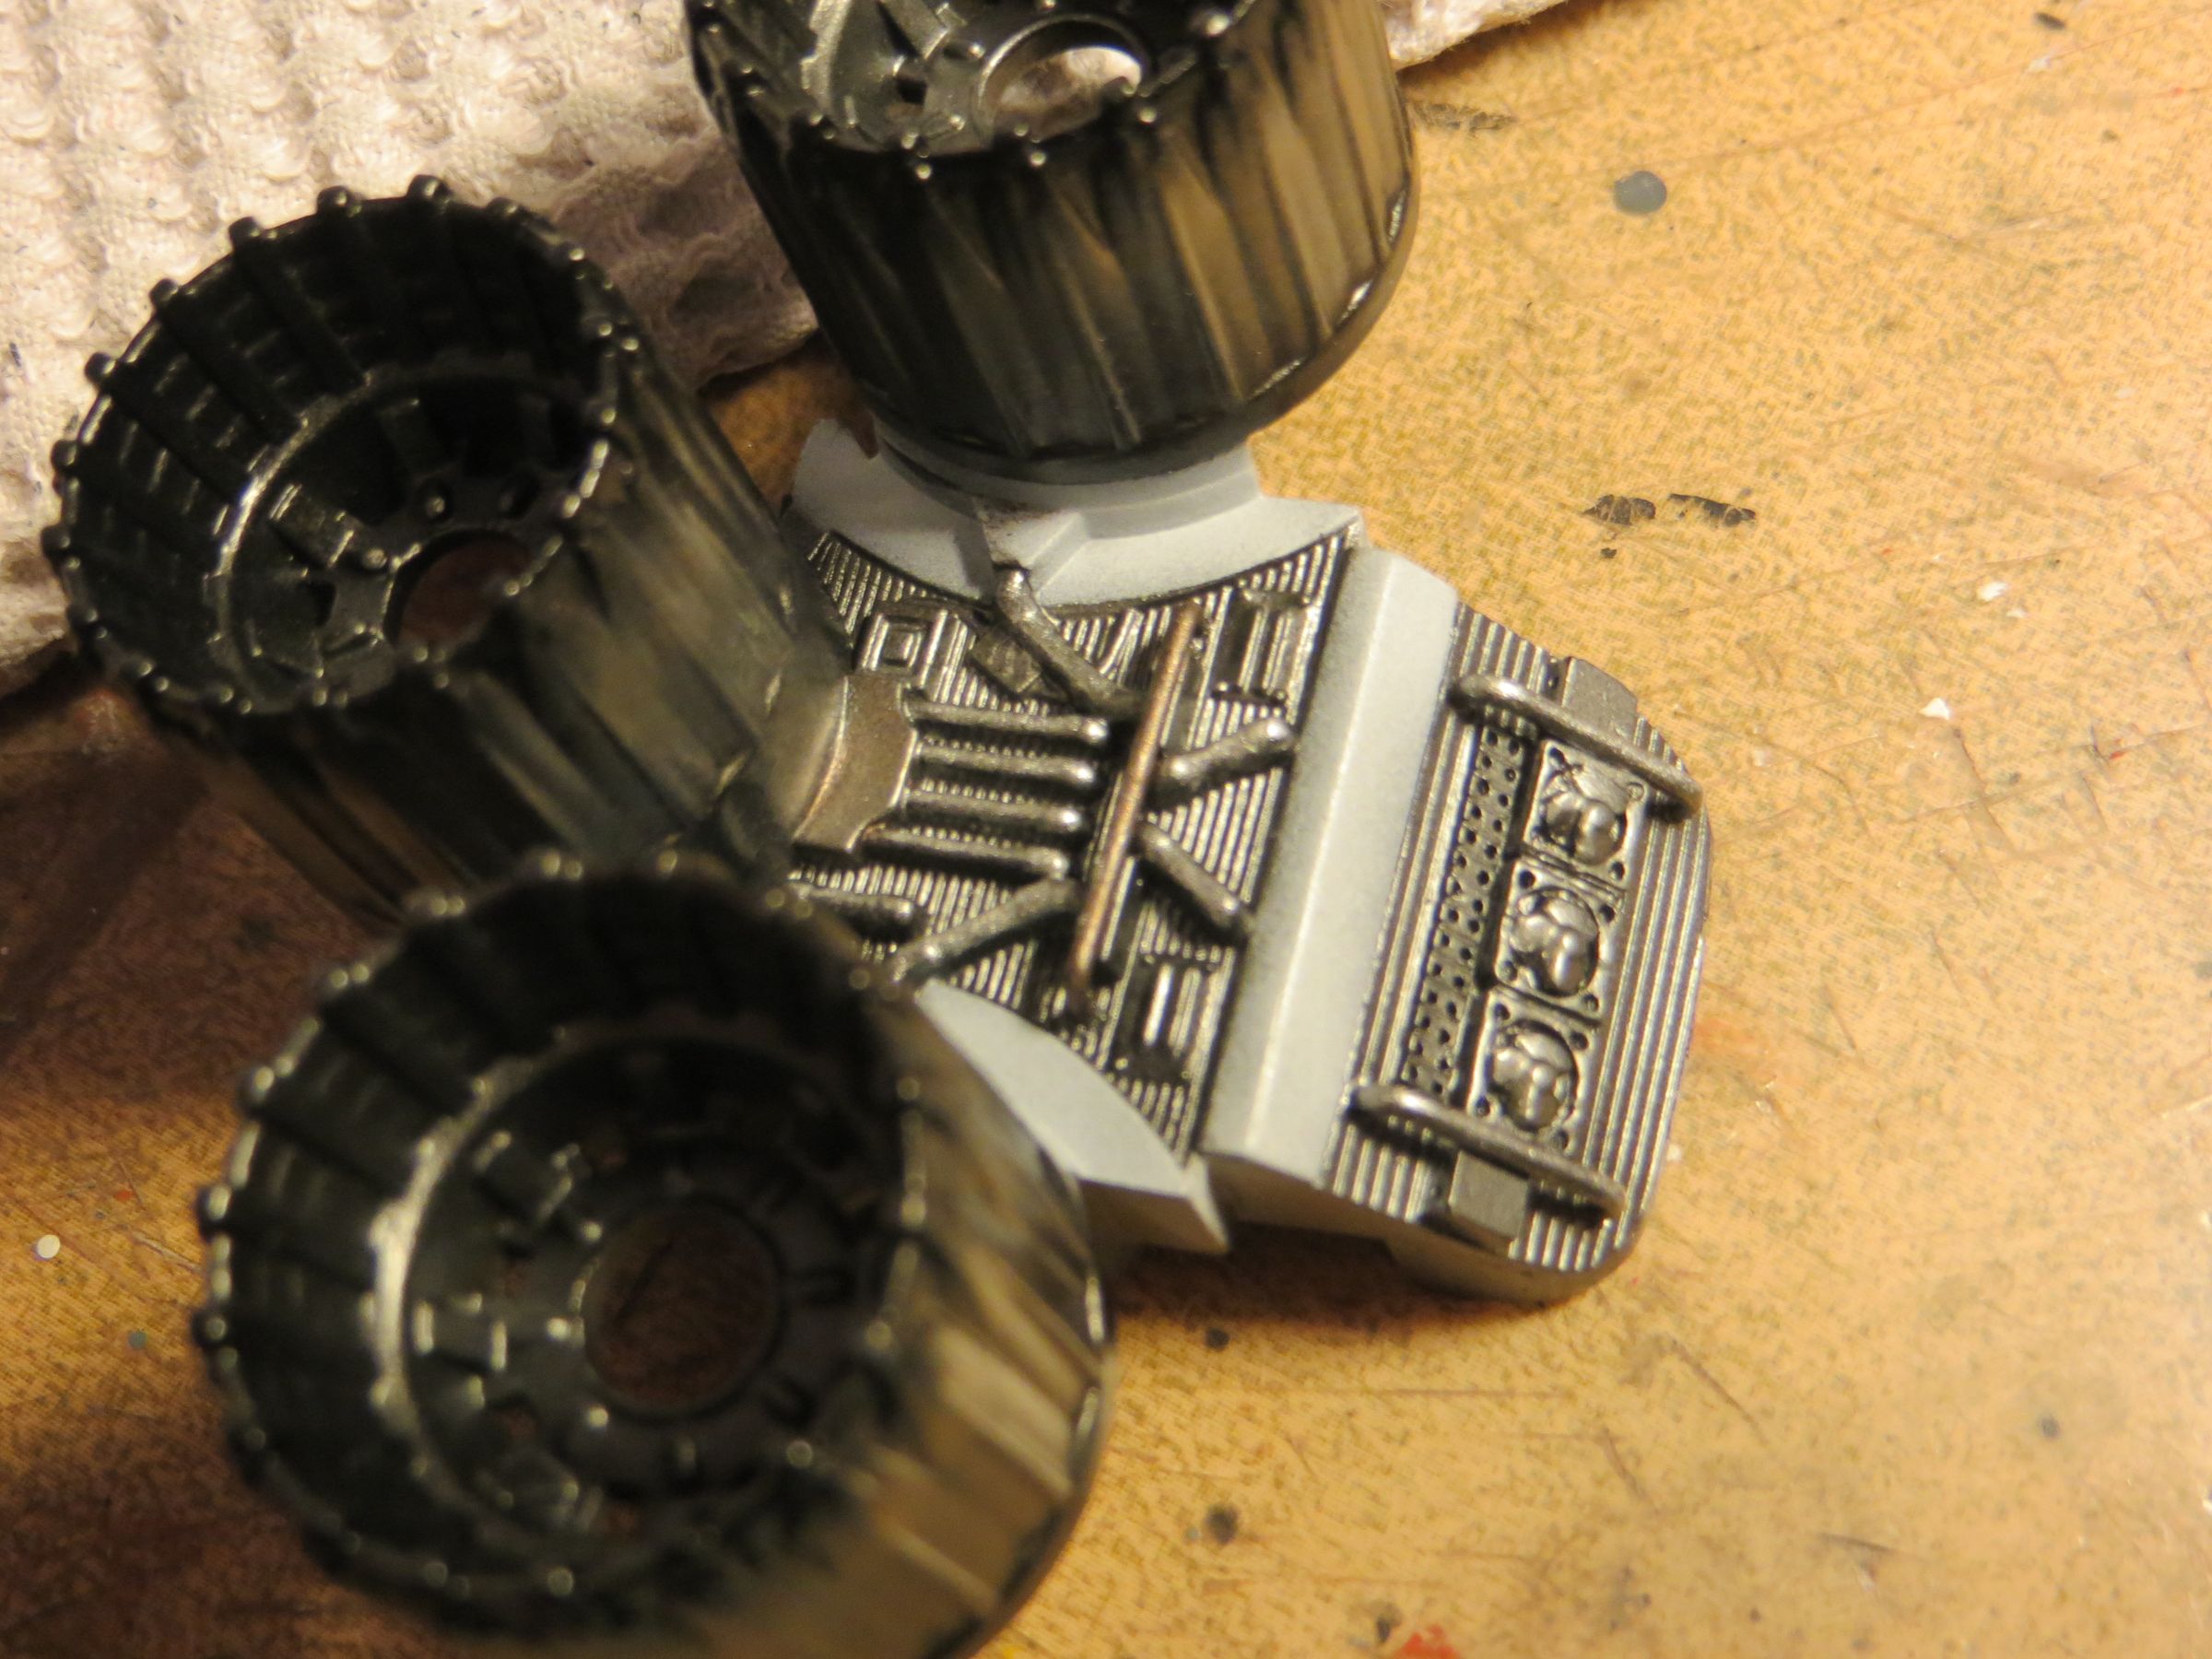
I forgot to work the opened technical areas. Pipes and panels are painted in copper and silver. And verniers are aluminum.
Klir/Future again, then black juice in panel lines and recessed areas.

Par olcabour le vendredi, 7 mars 2014, 01:10
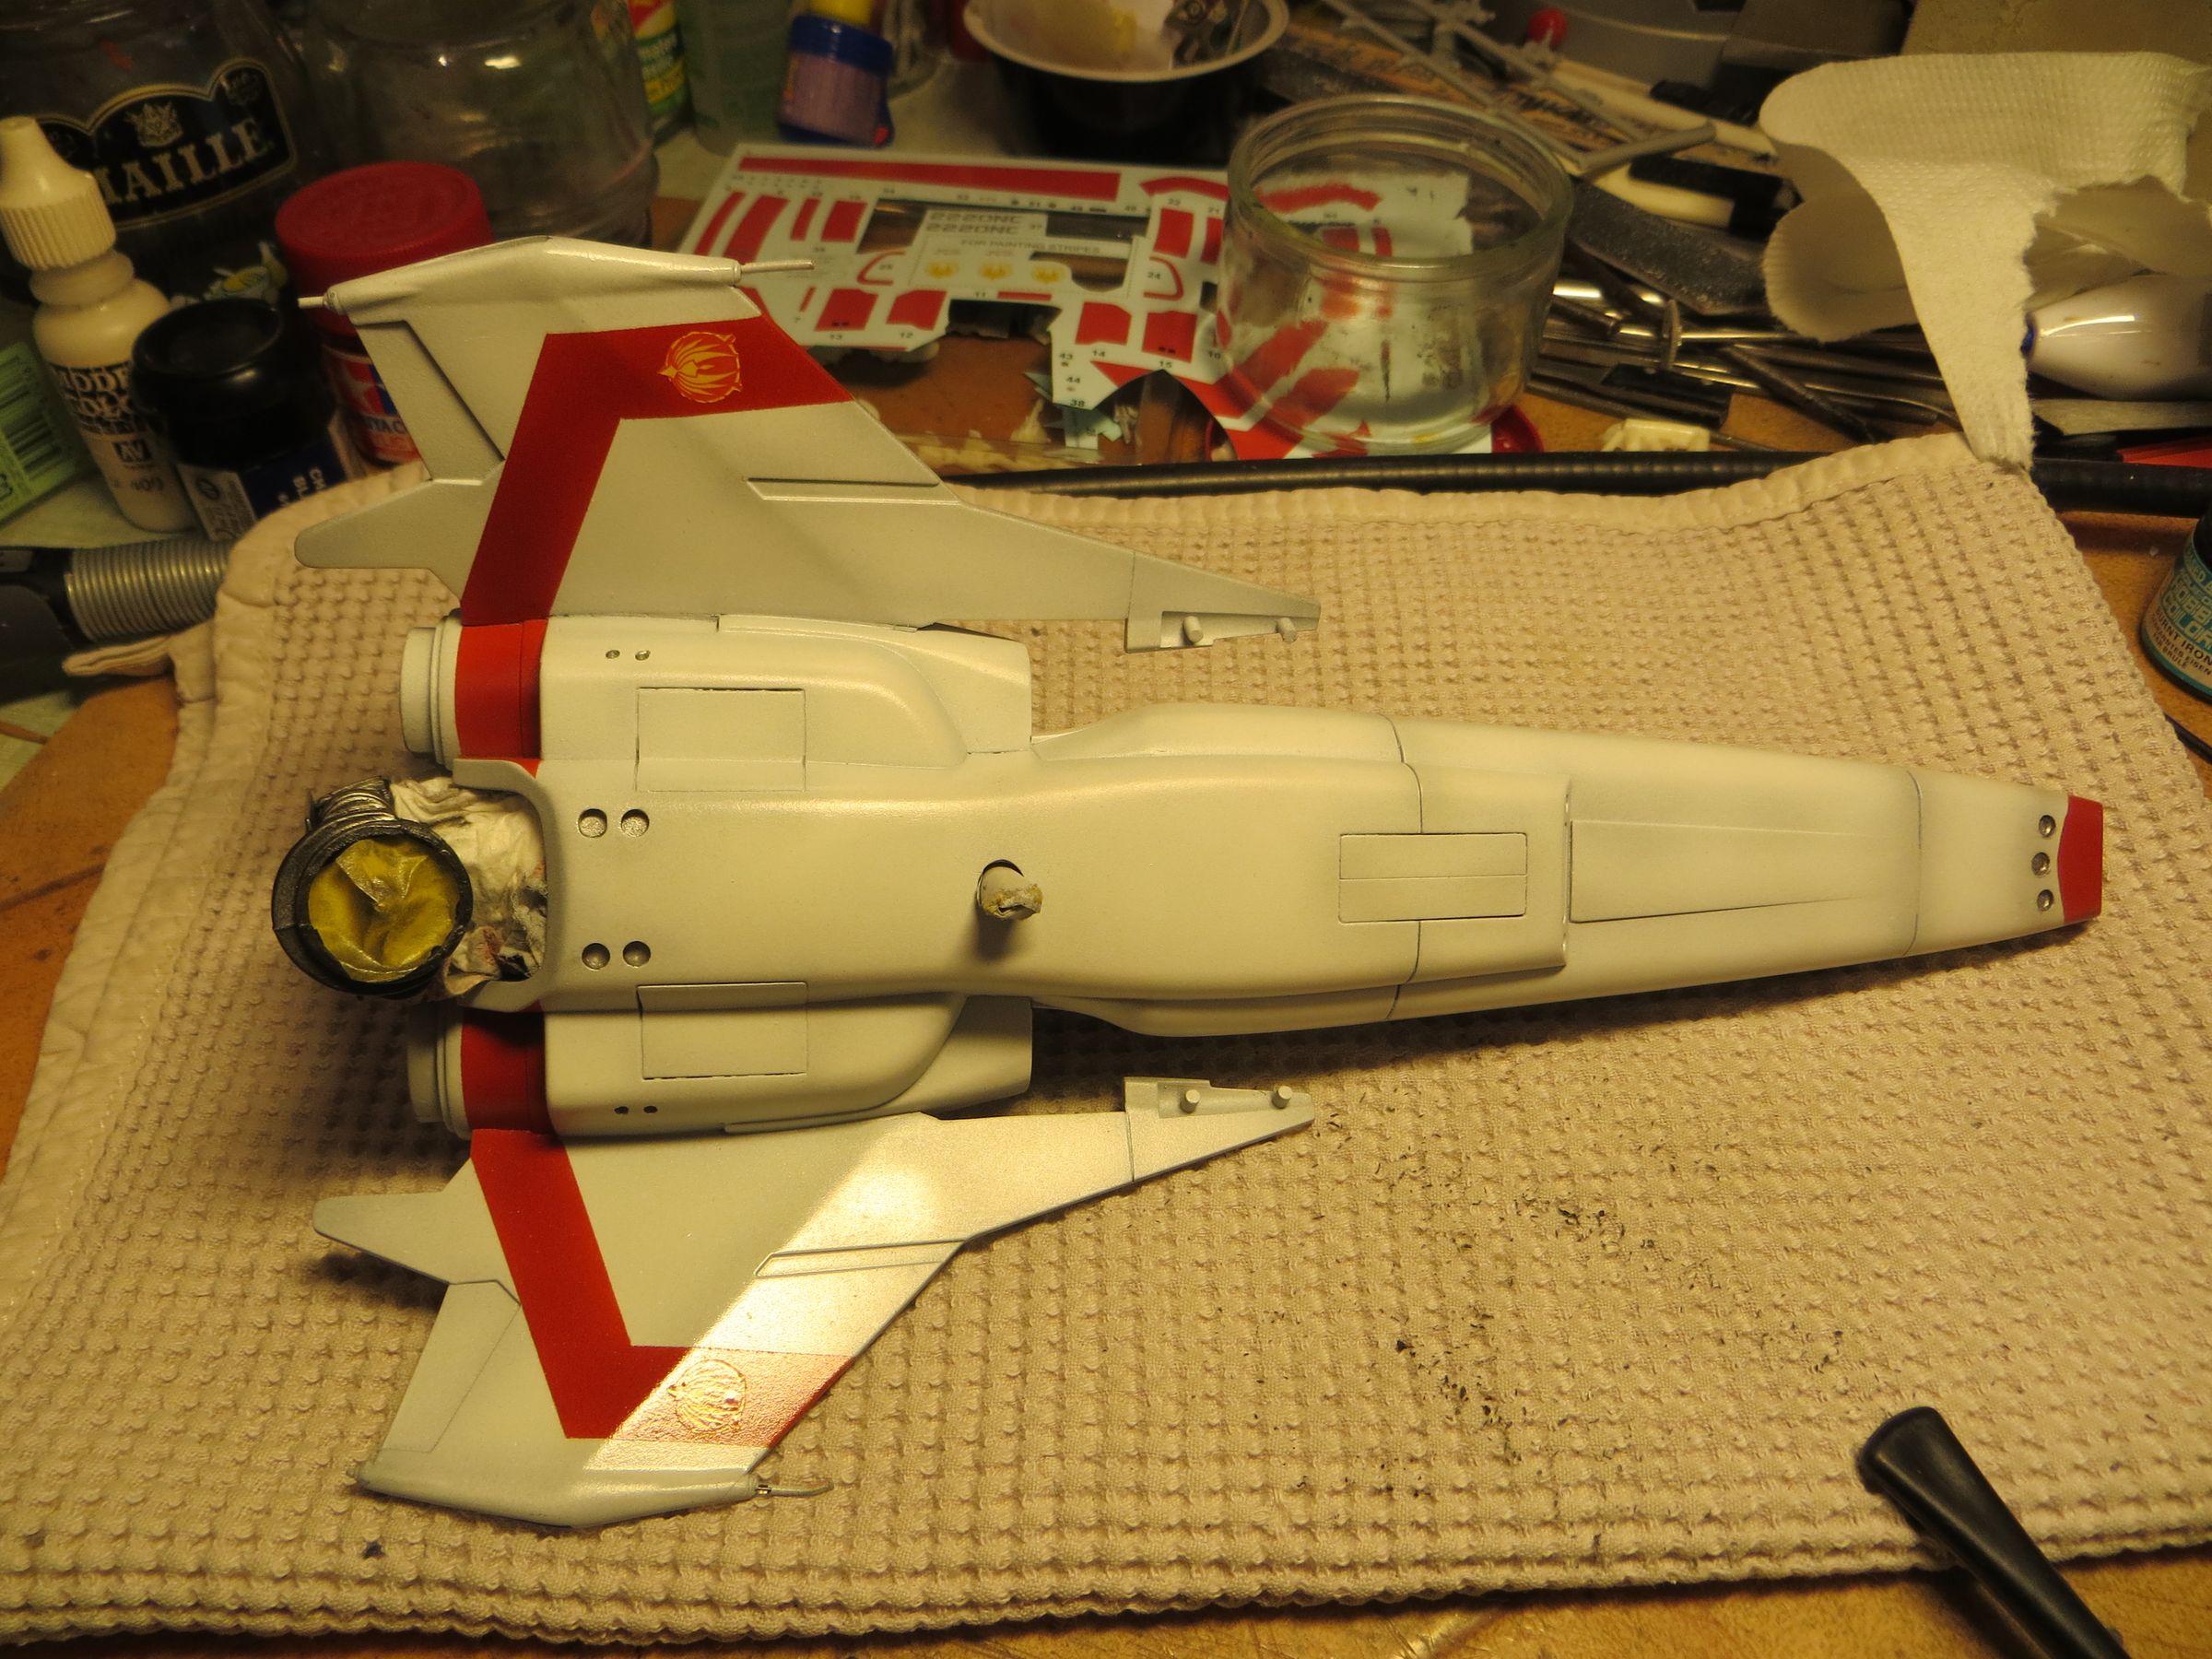
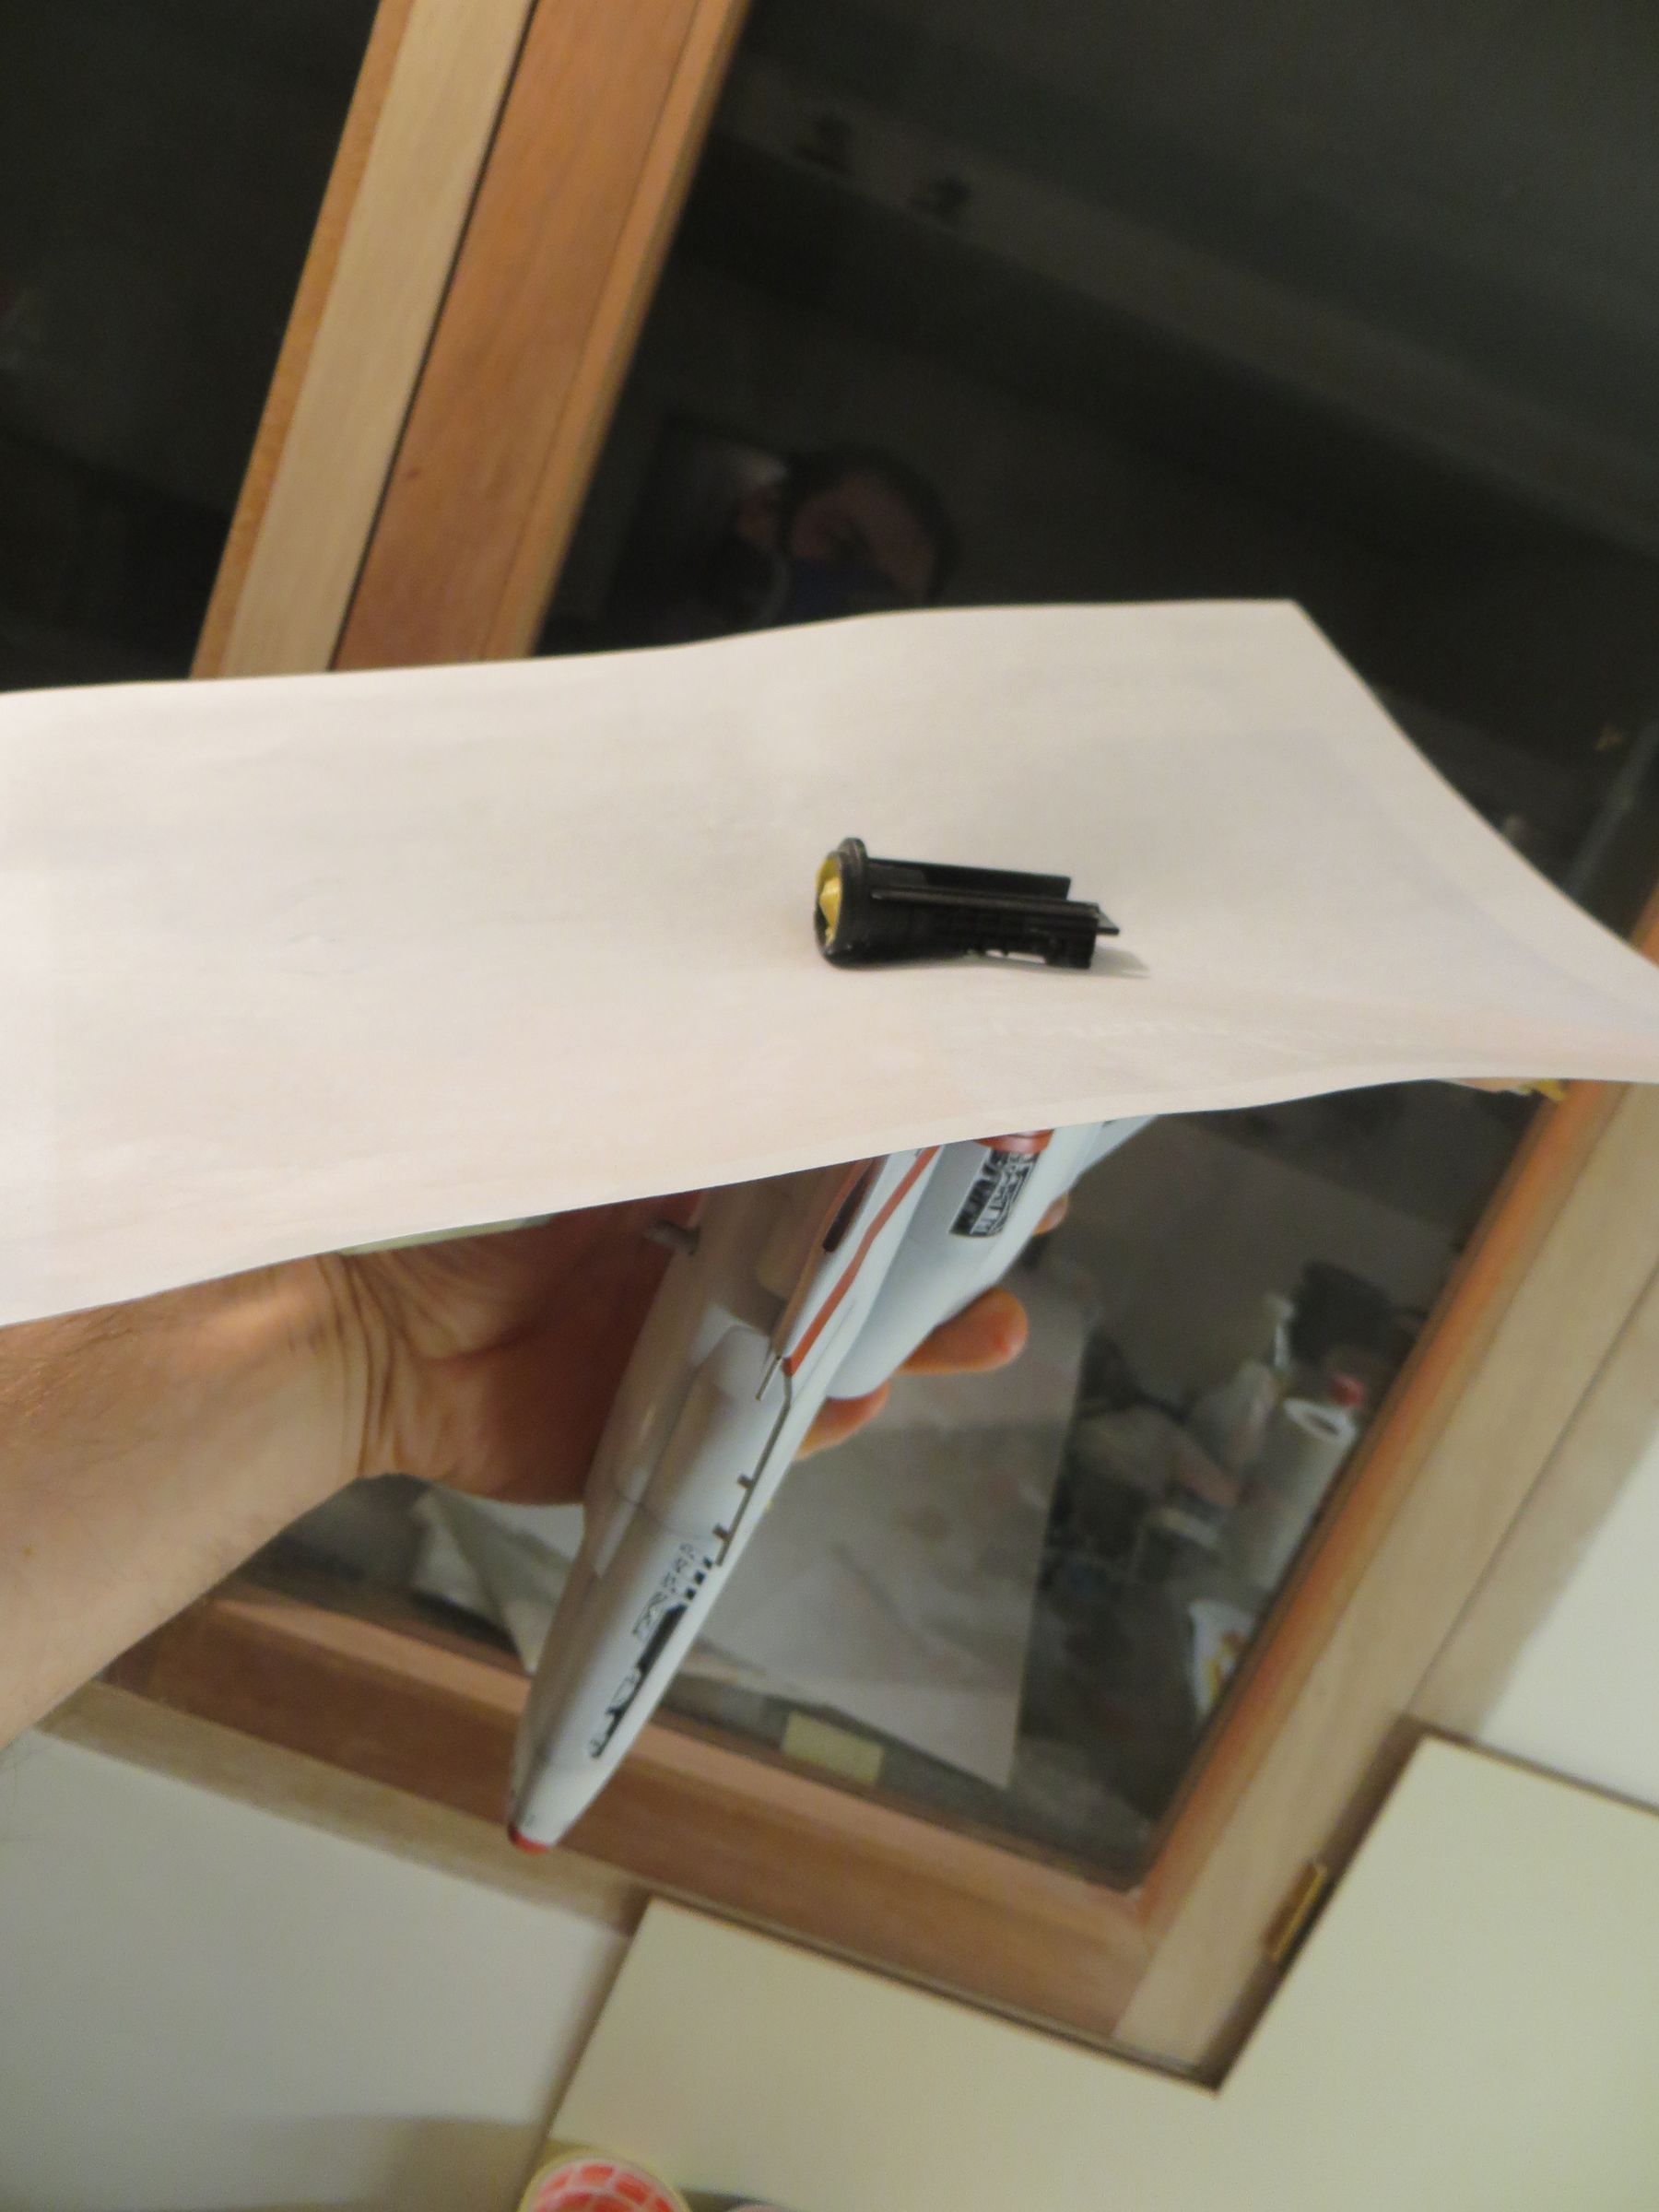
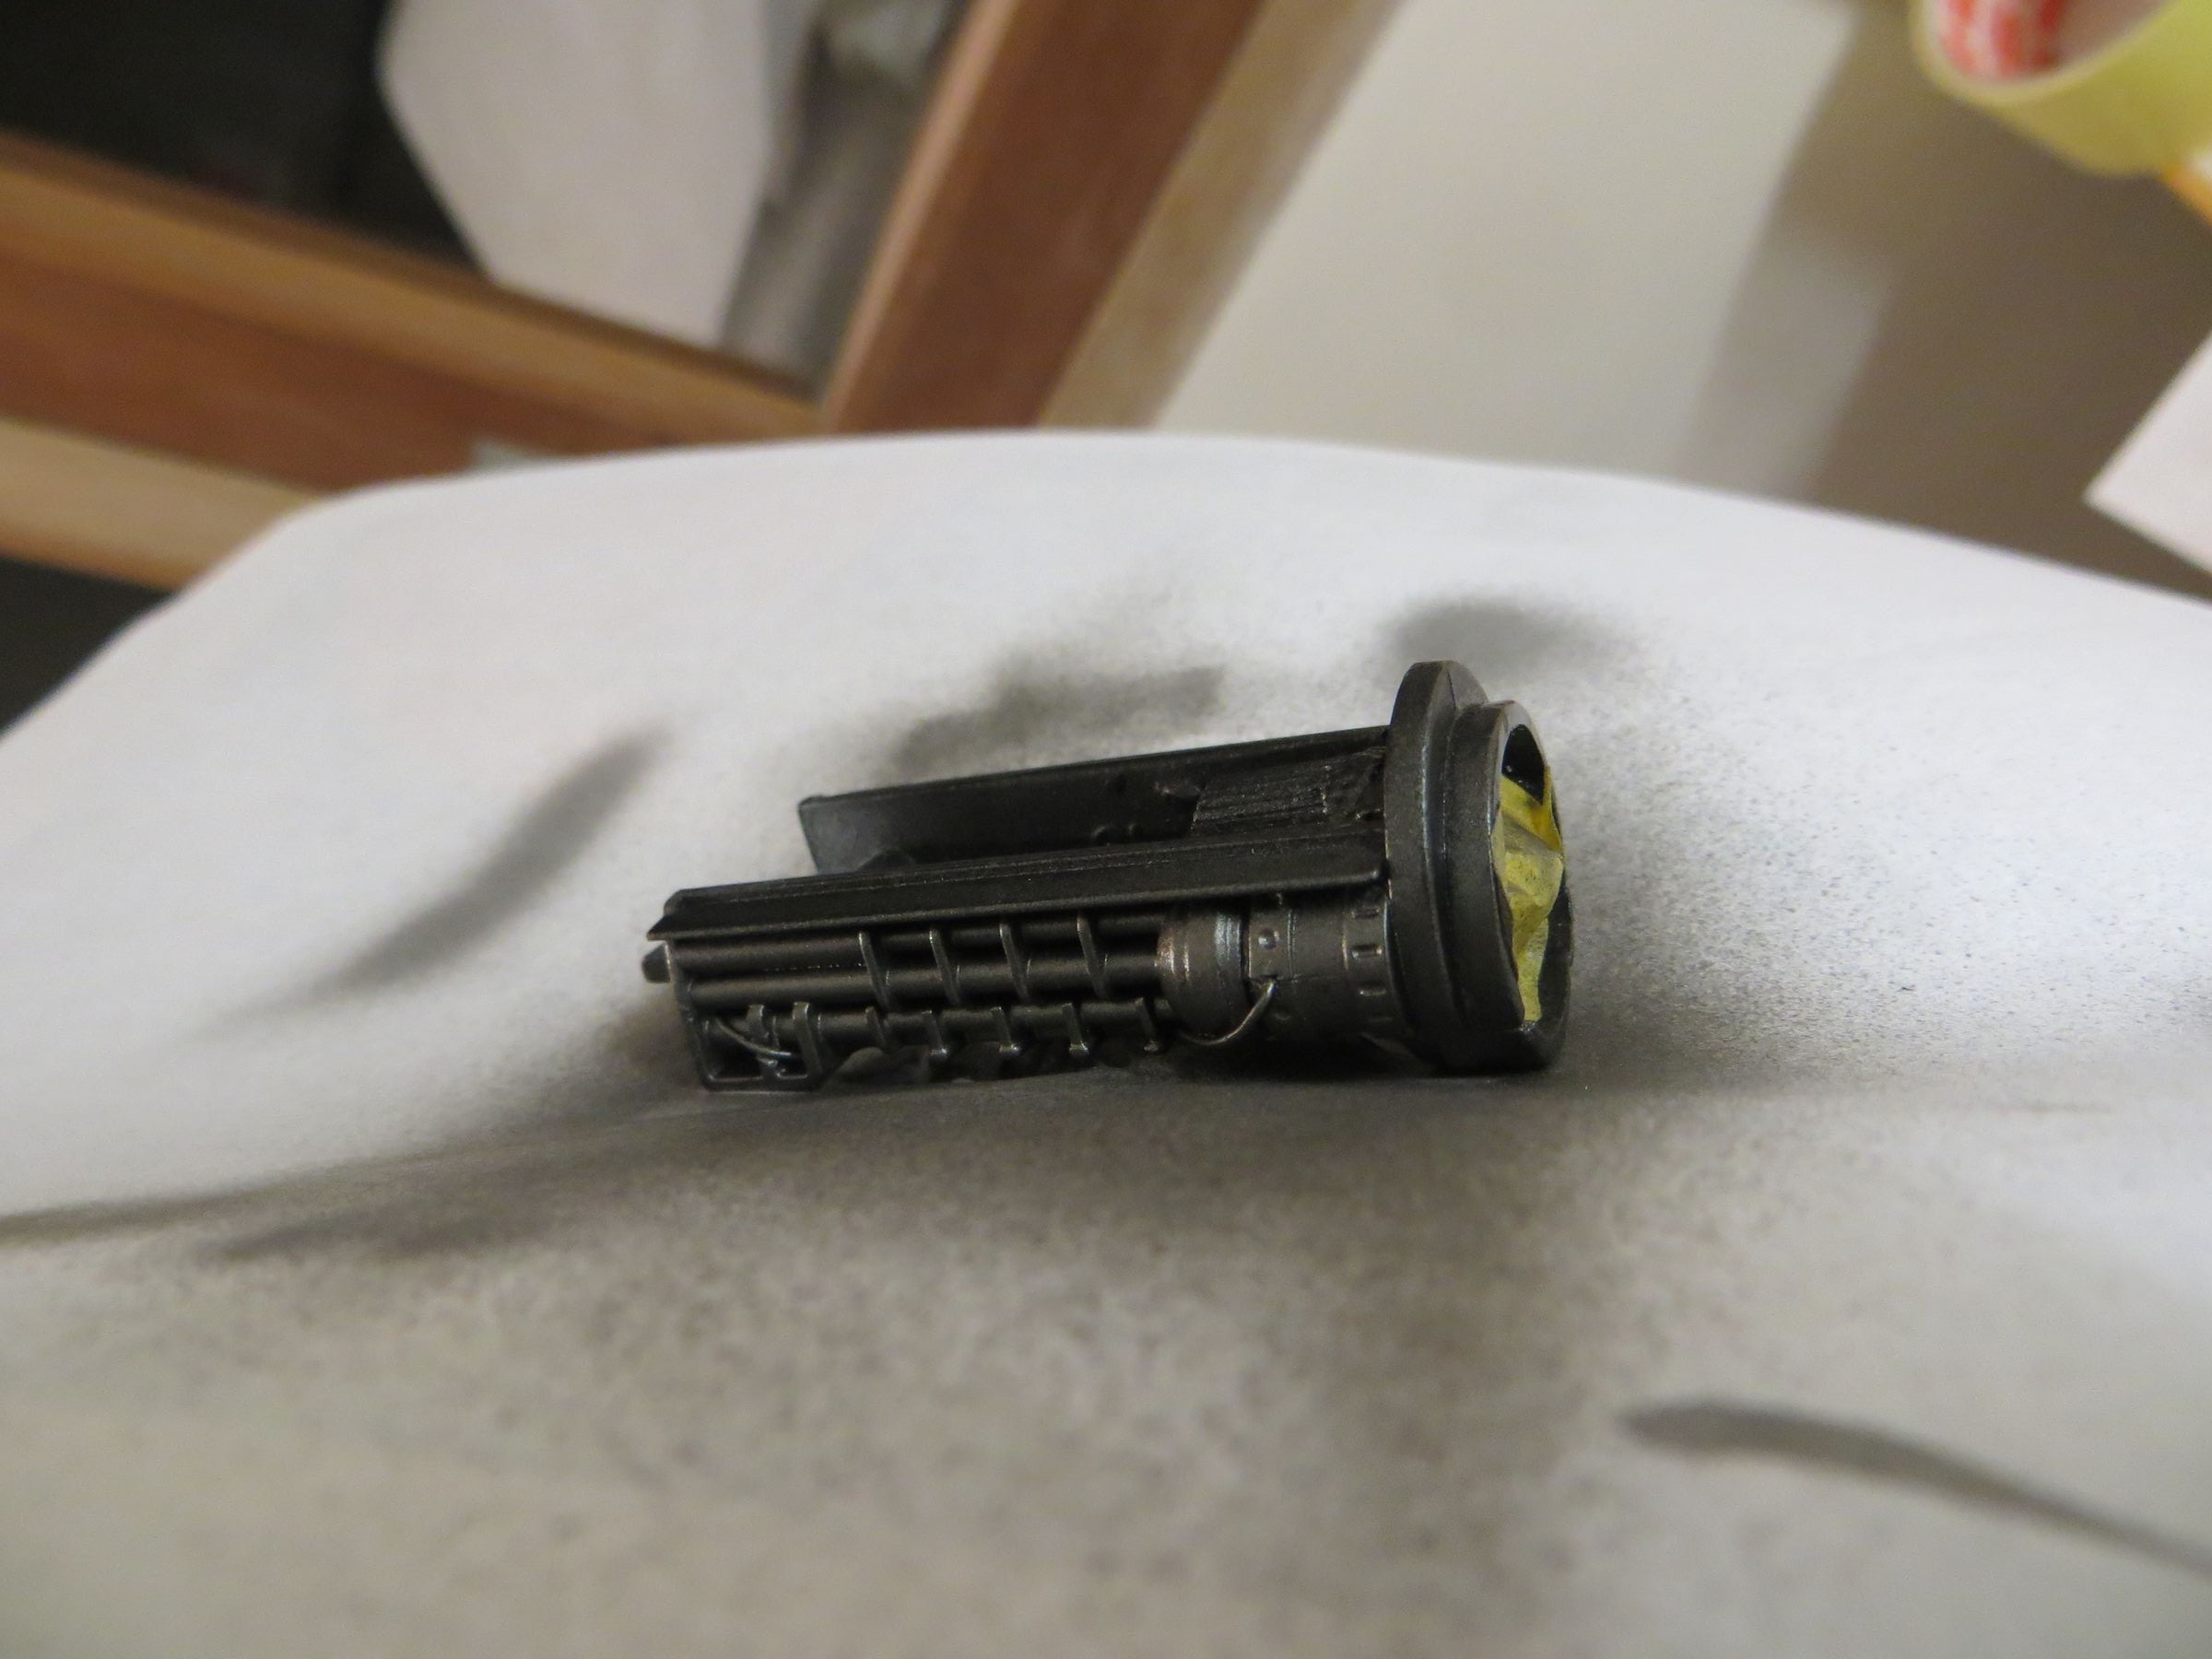
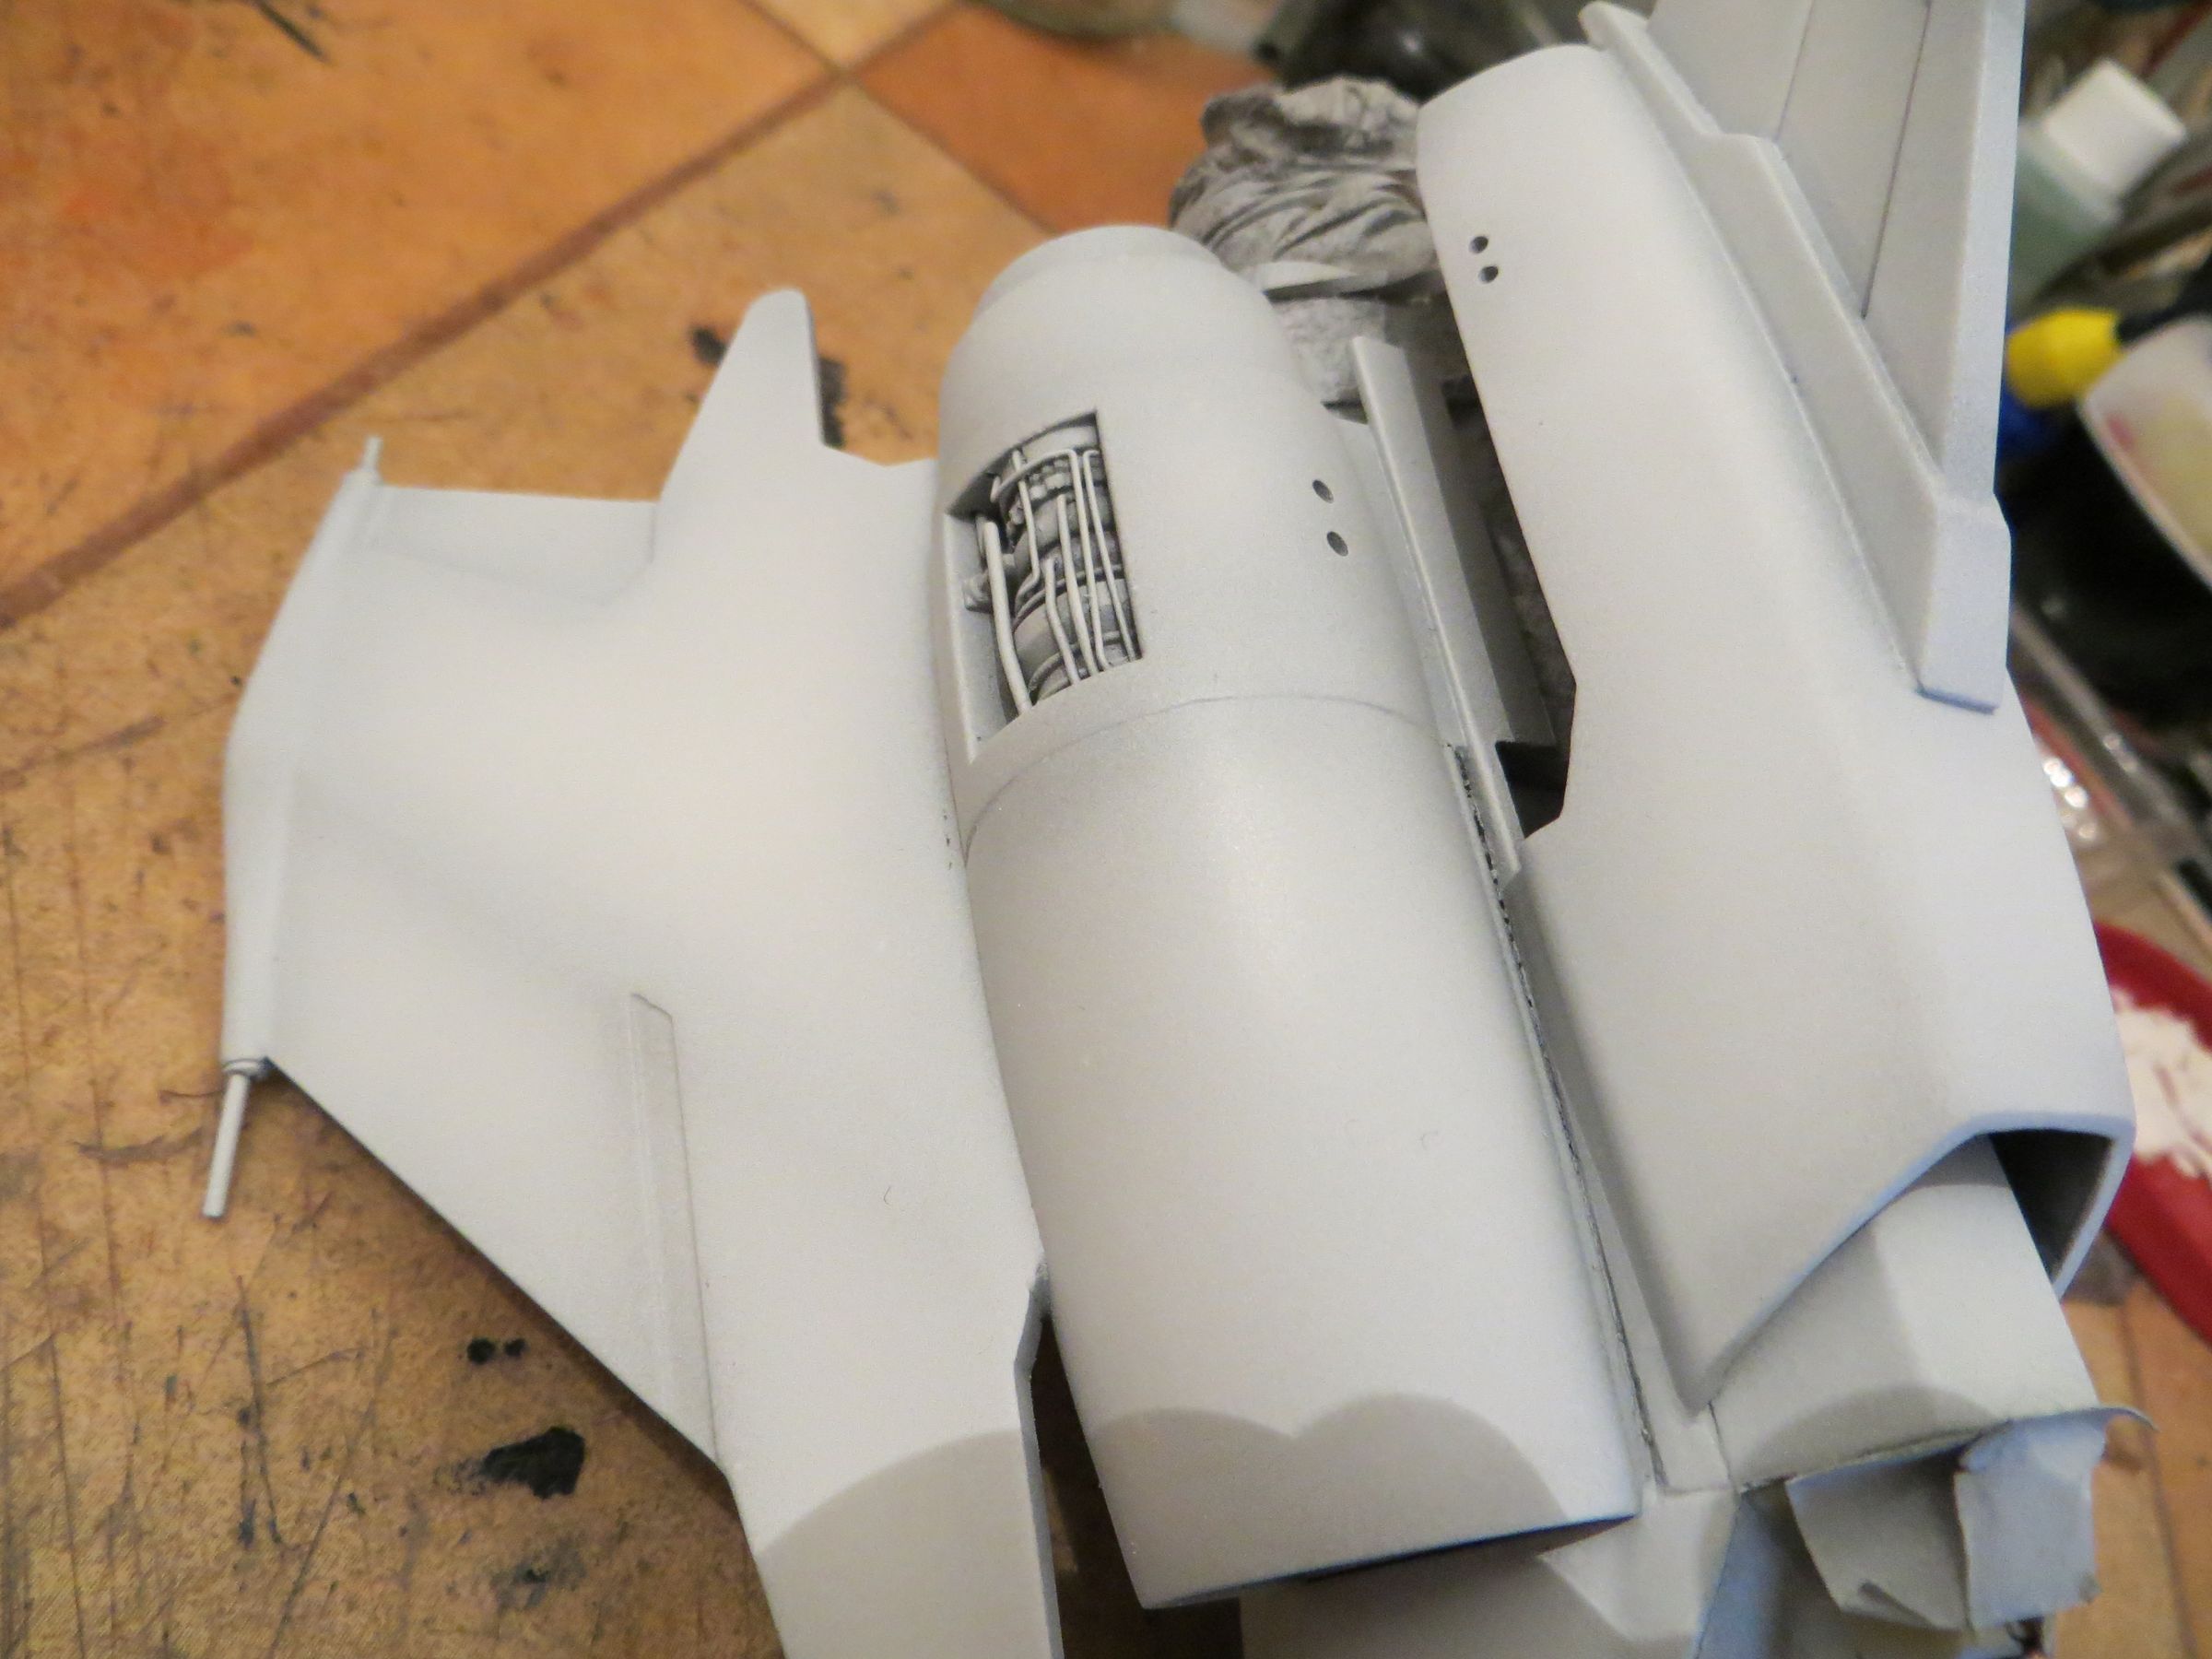
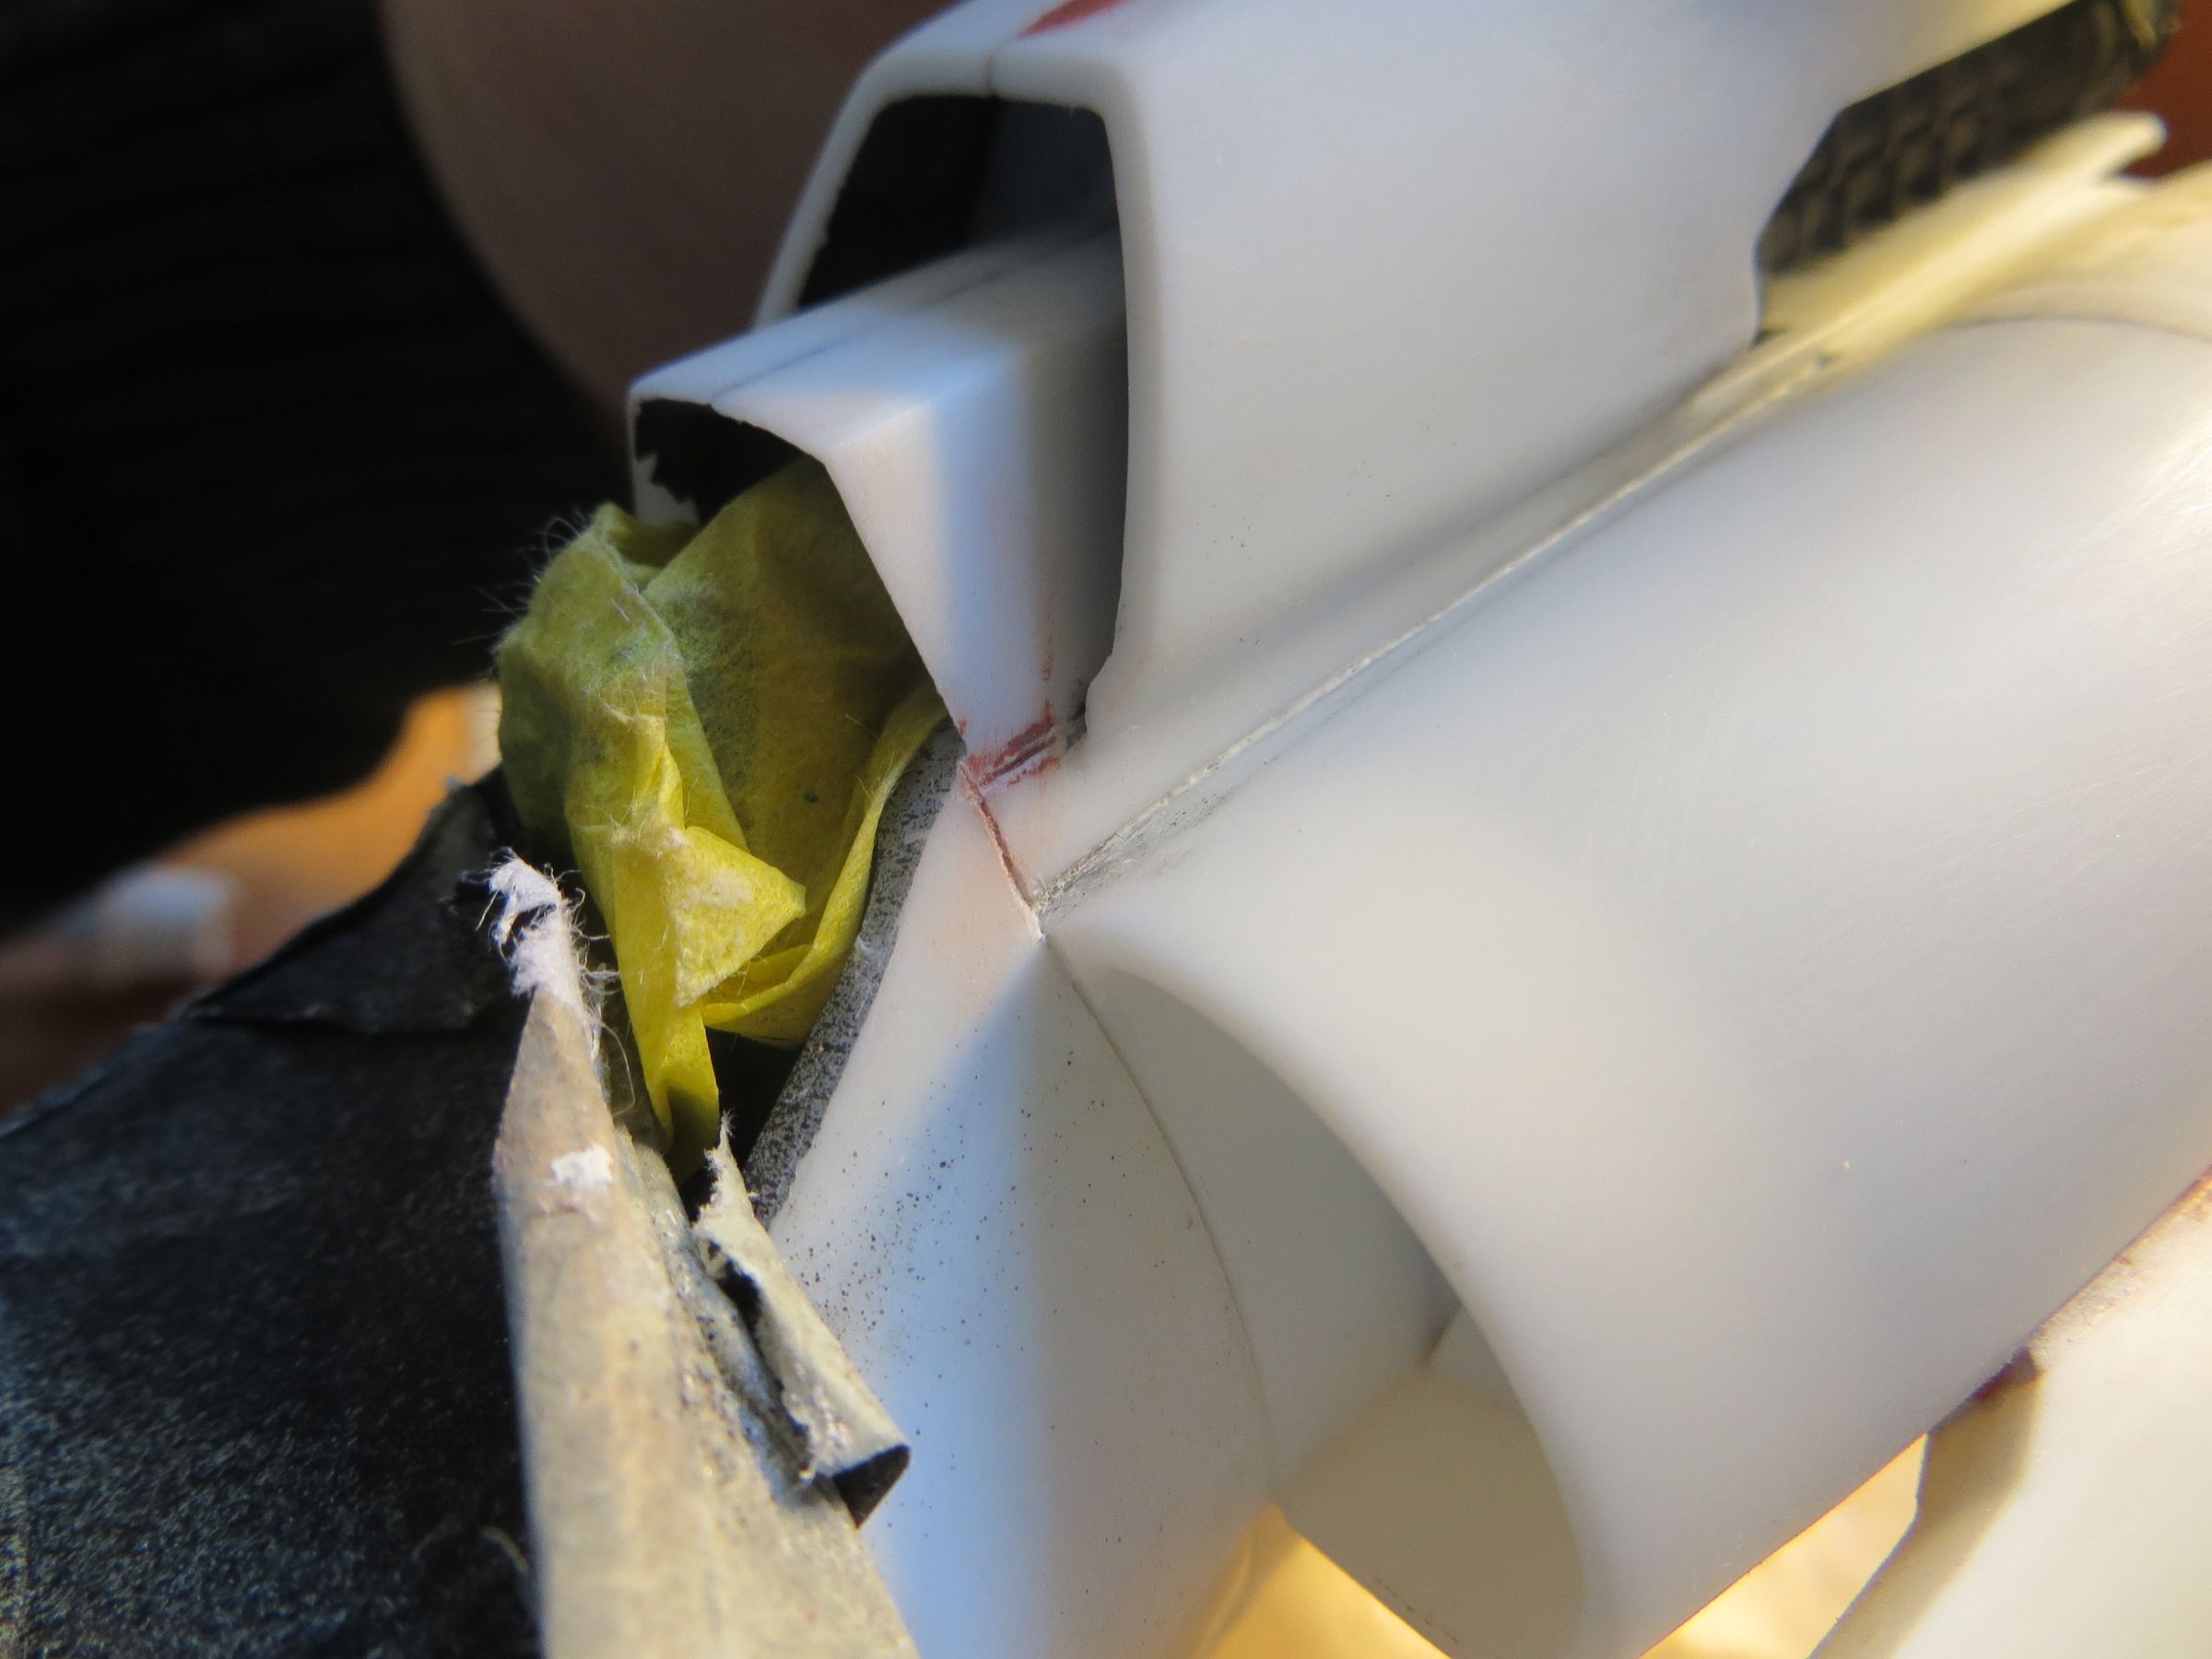
The upper engine is isolated from the cabin with a single sheet of paper, technical openings are masked, and a glossy black is applied.
 .JPG]
.JPG]
 .JPG]
.JPG]
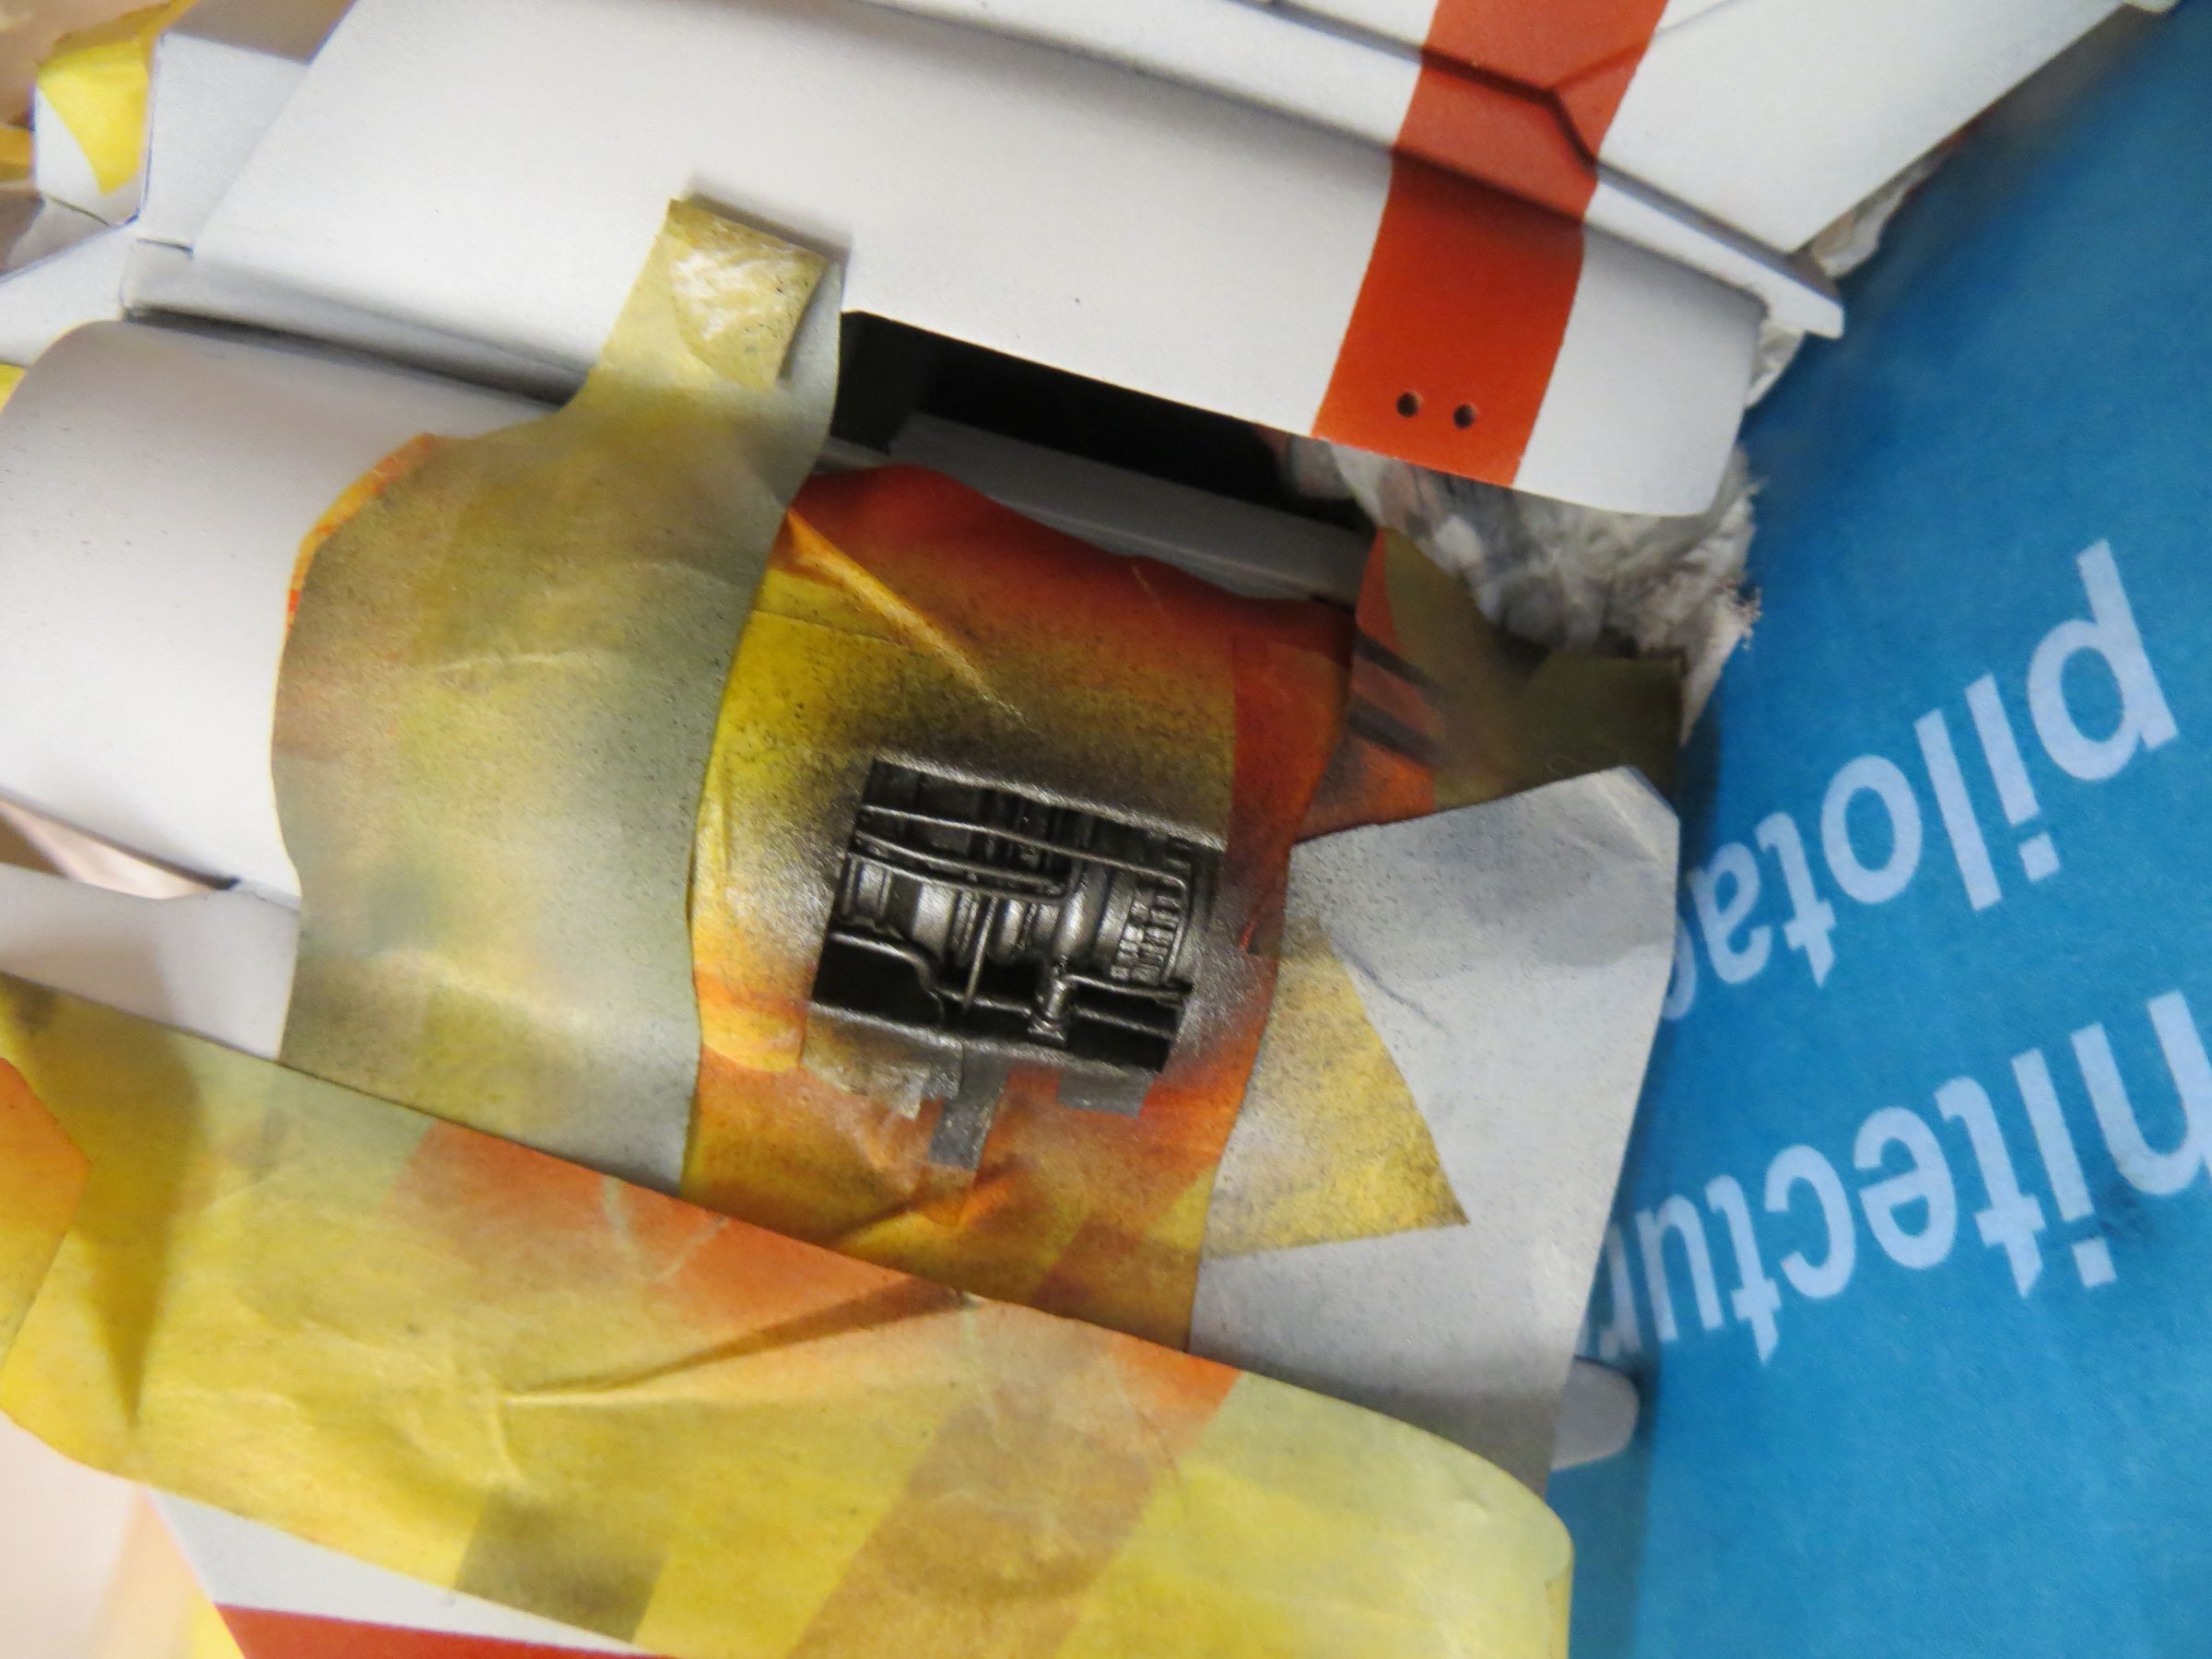
Then a coat of Alclad steel.
 .JPG]
.JPG]
 .JPG]
.JPG]
 .JPG]
.JPG]
 .JPG]
.JPG]
 .JPG]
.JPG]
 .JPG]
.JPG]
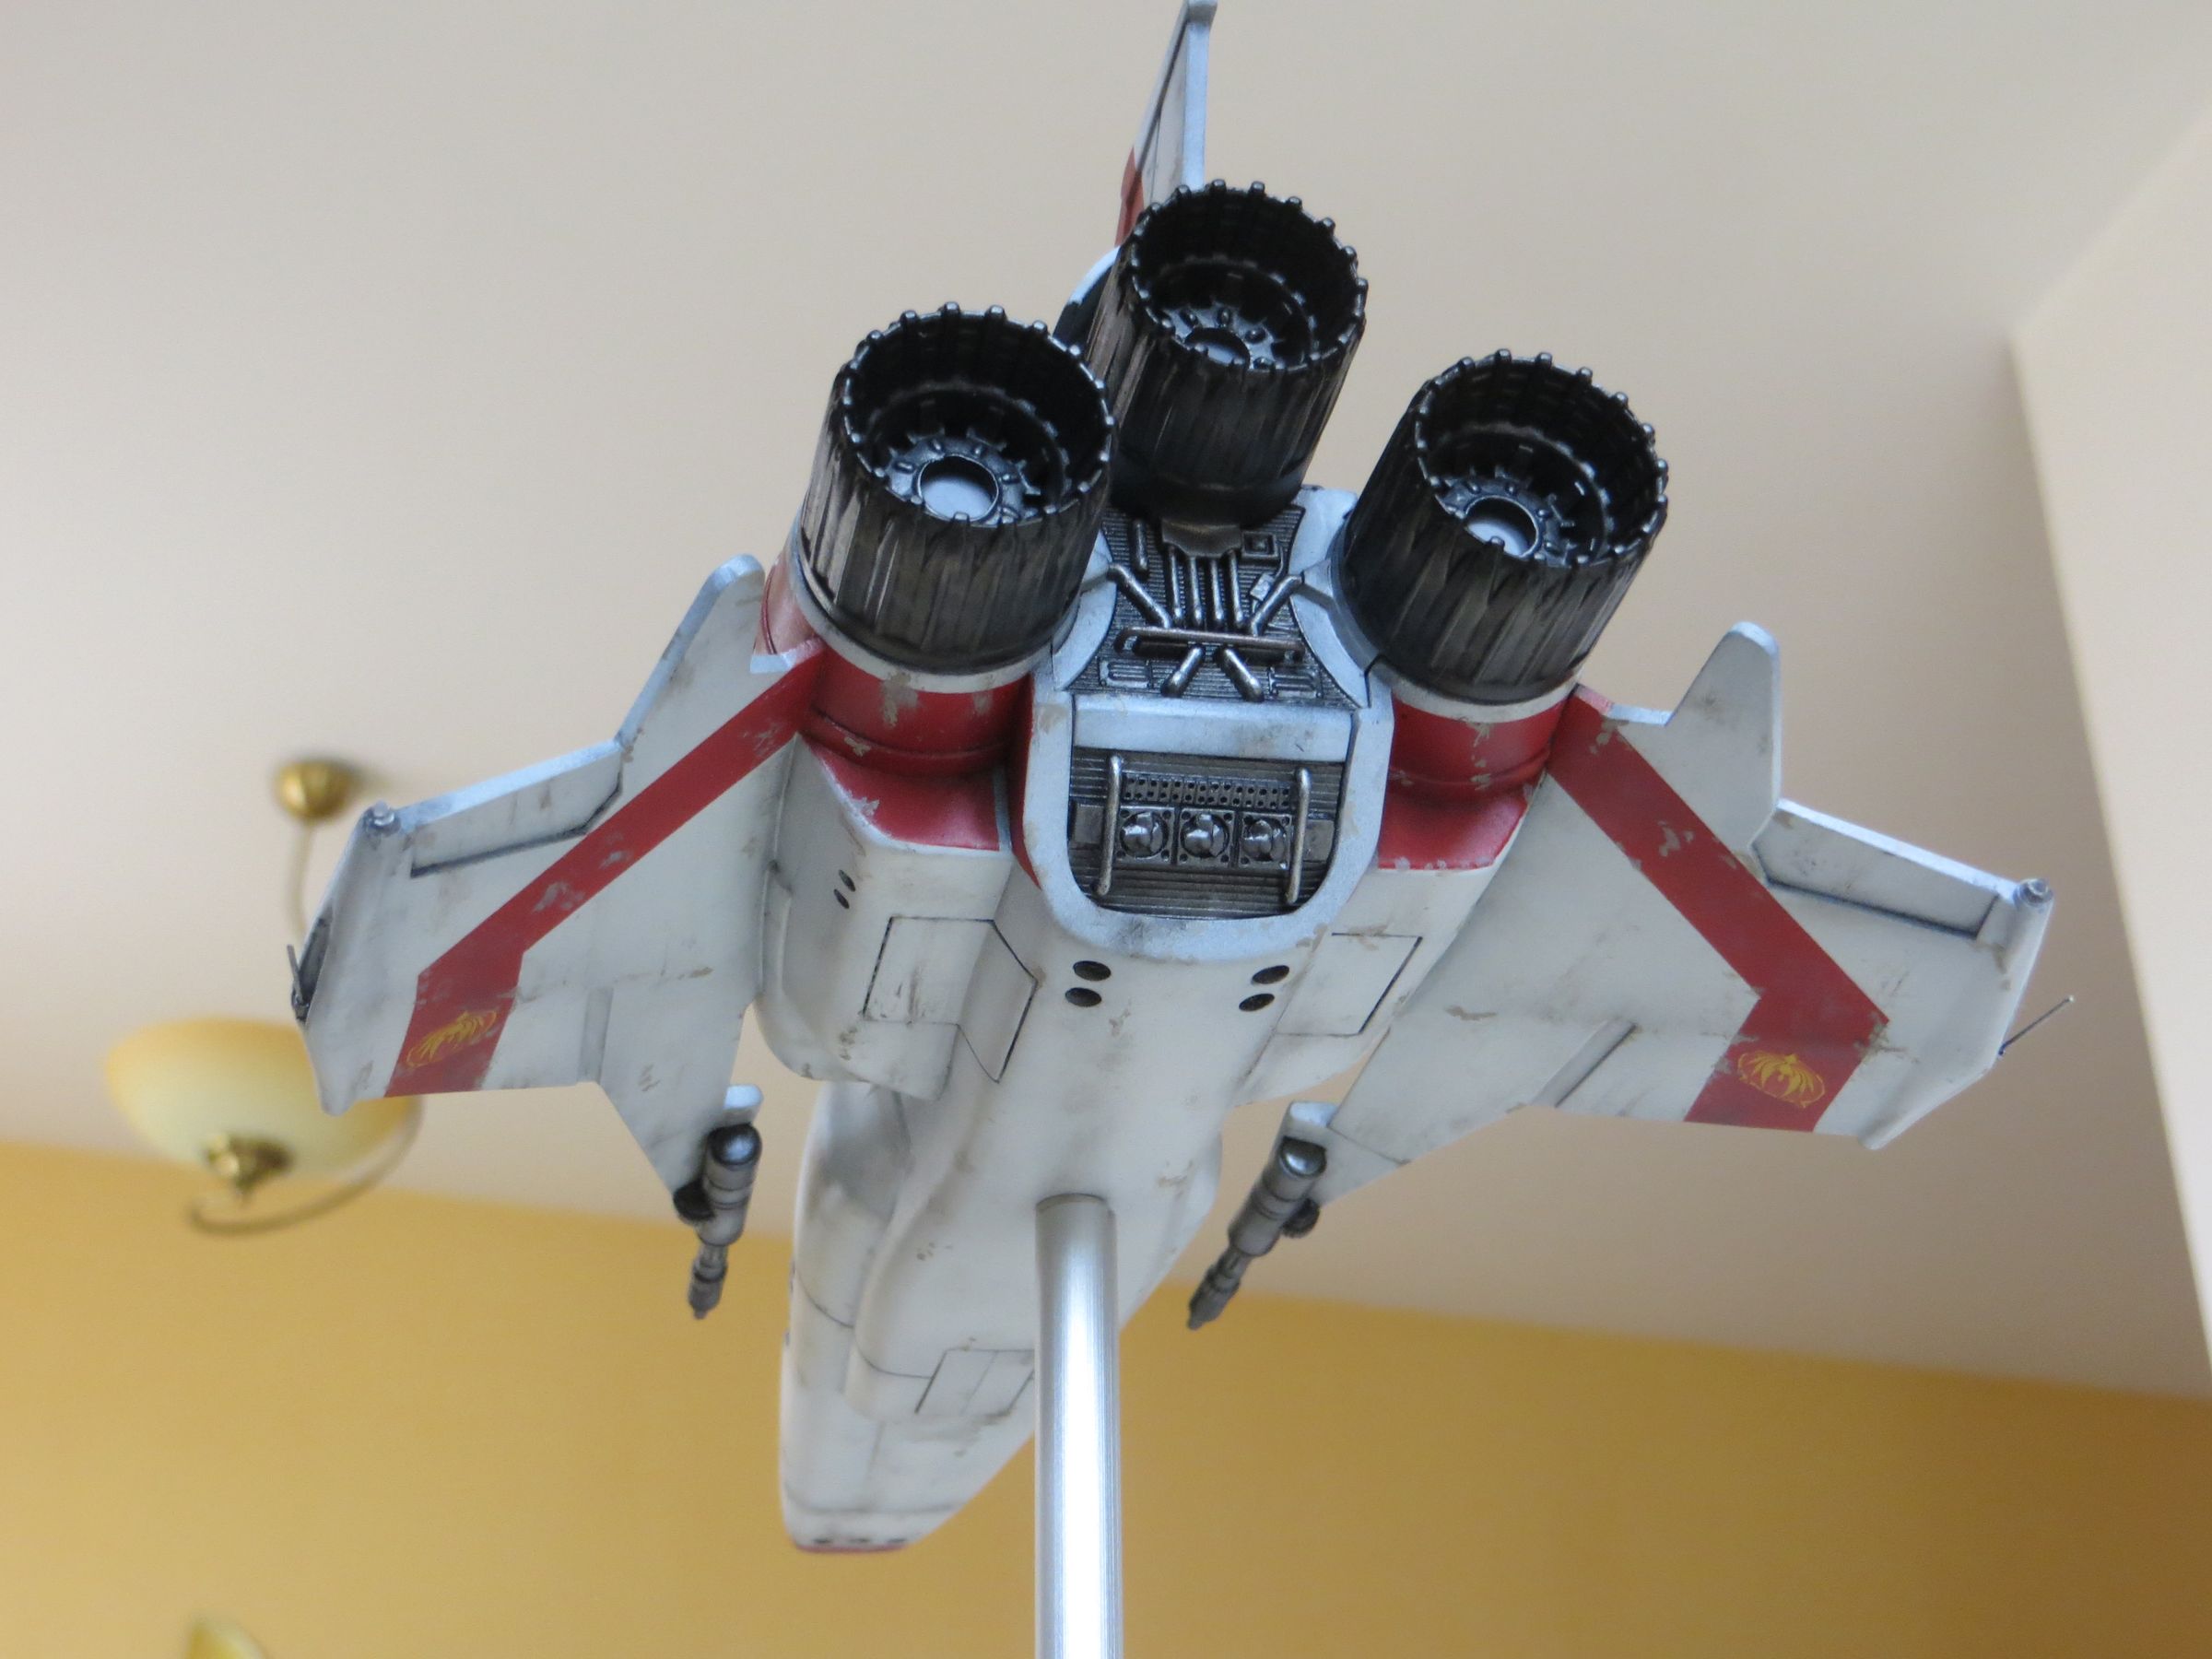
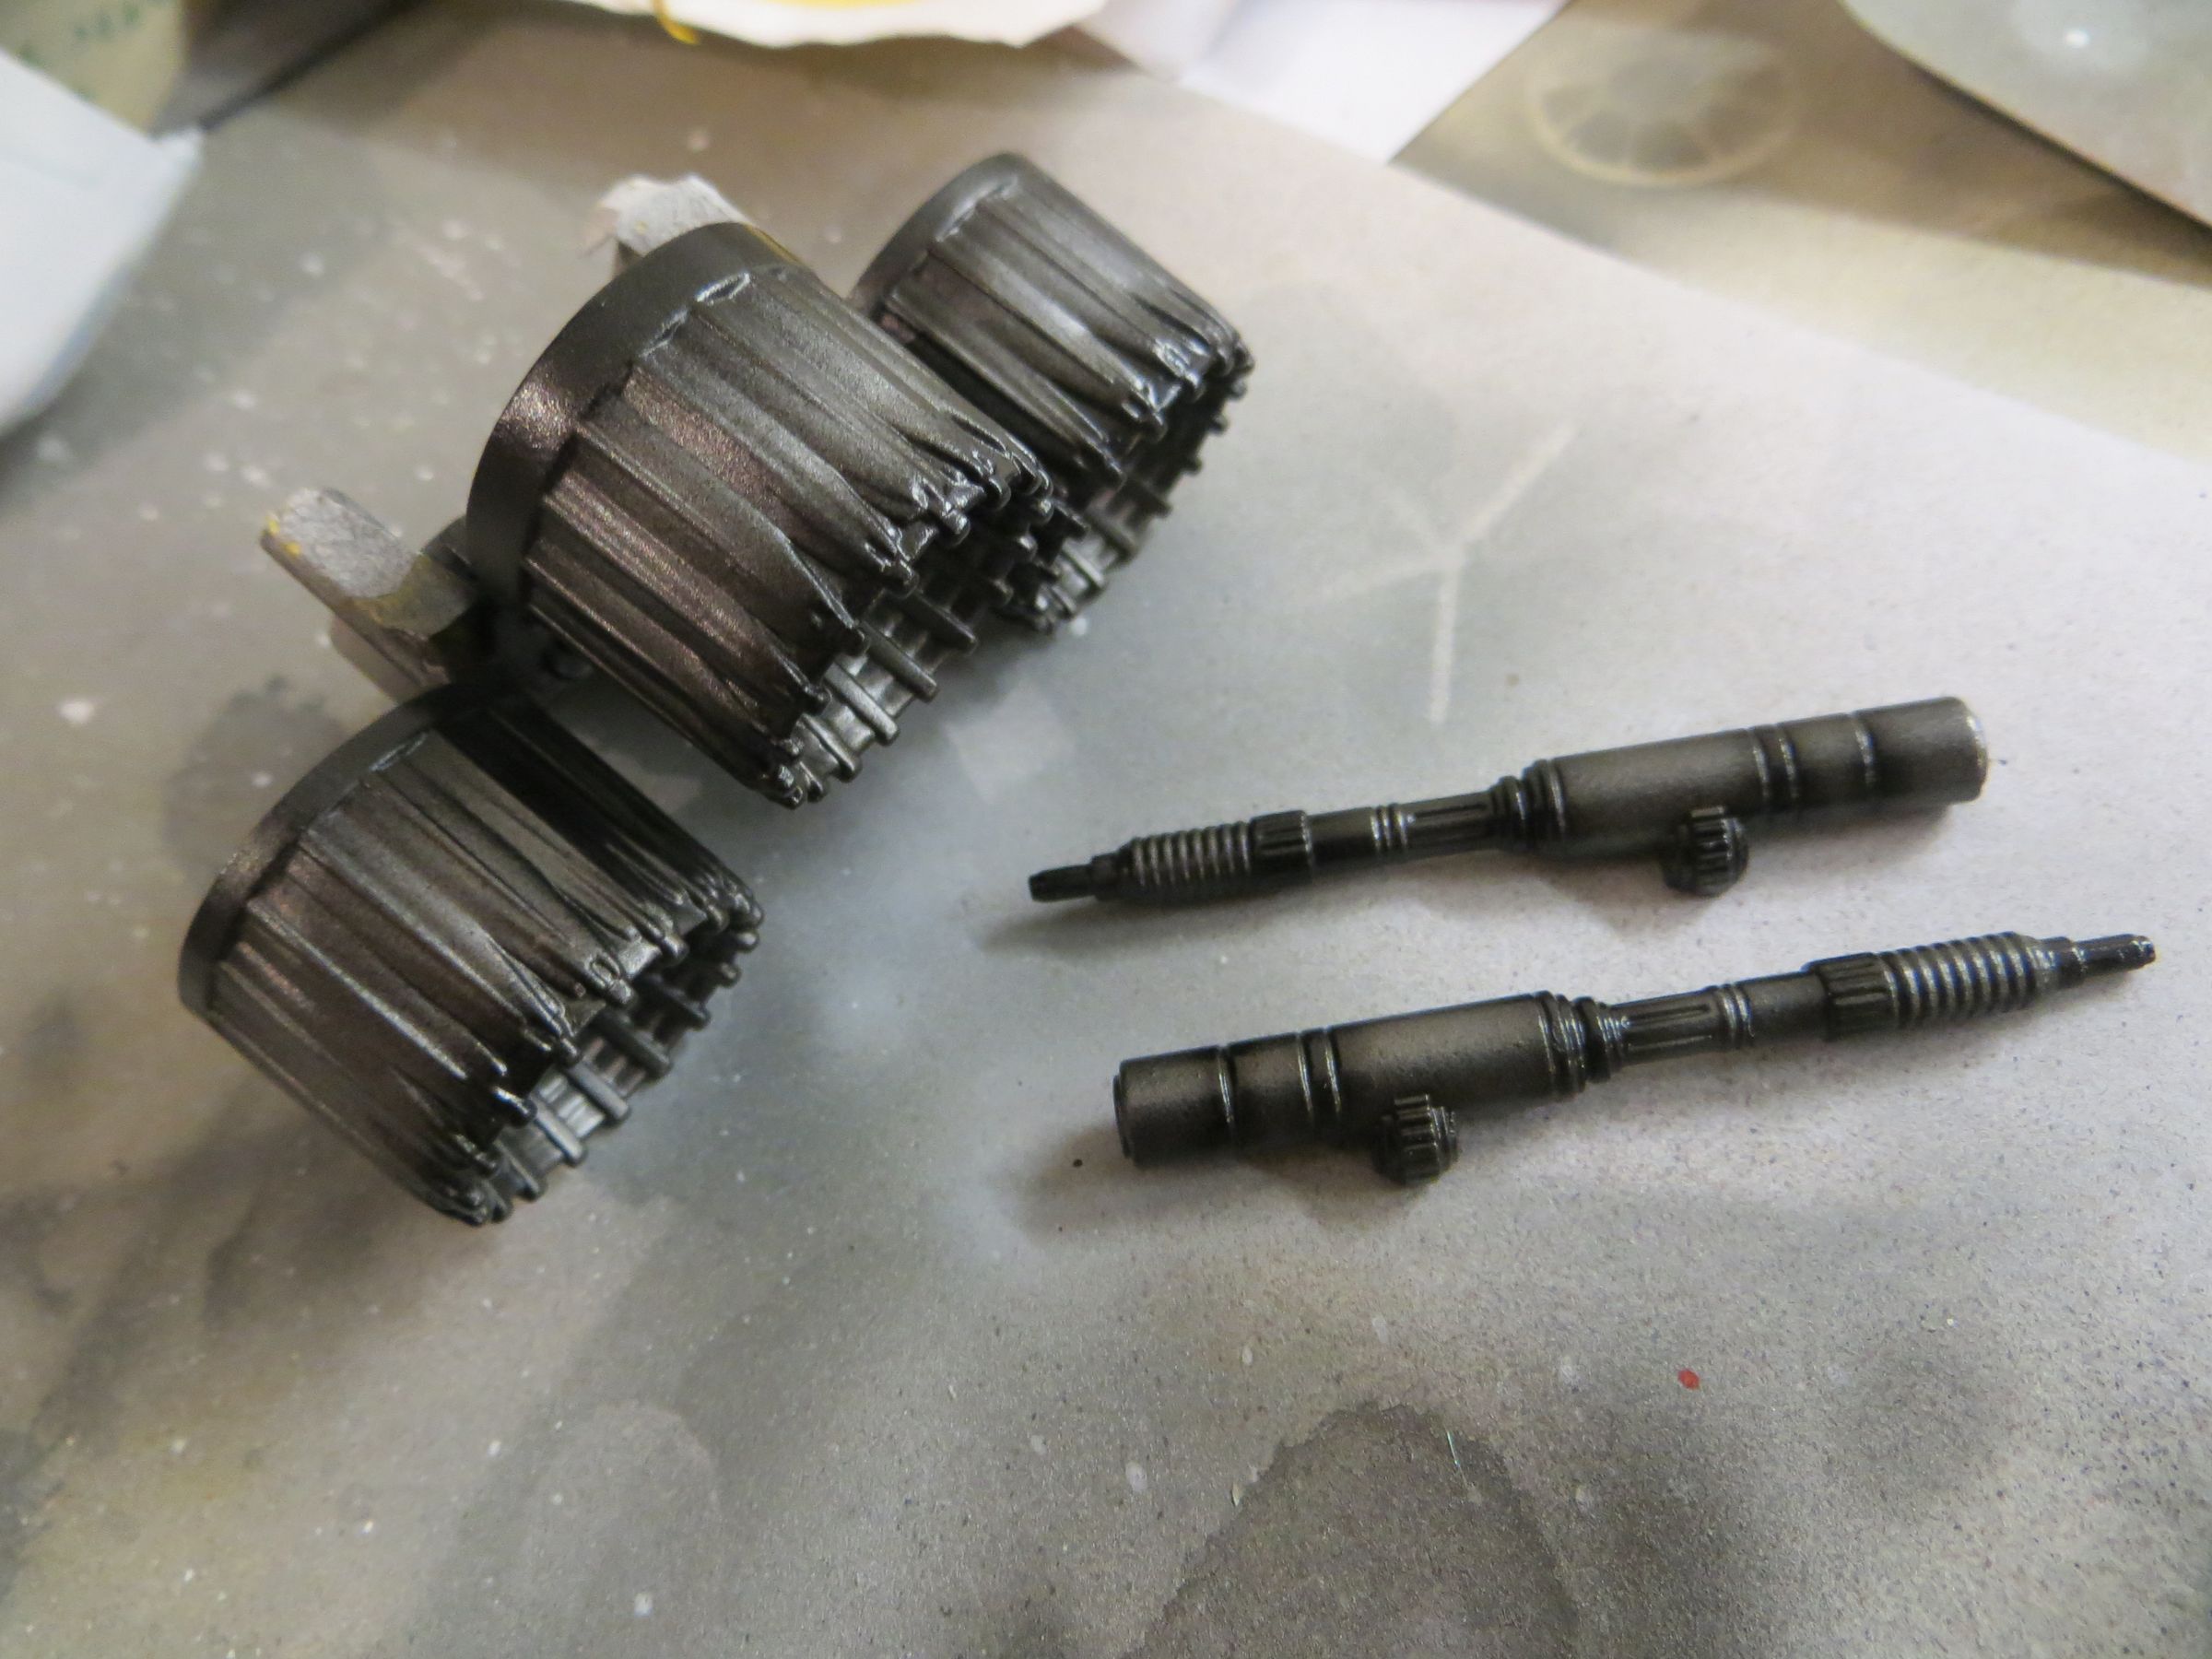
The engines then received Alclad jet exhaust.
A burnt metal effect is done with pale burnt Alclad.
The guns are also painted steel, and shaded with jet exhaust.
 .JPG]
.JPG]
 .JPG]
.JPG]
The guns were a bit dark and will be lighted with Alclad aluminum (no picture)
vendredi, 28 février 2014
Par olcabour le vendredi, 28 février 2014, 18:50
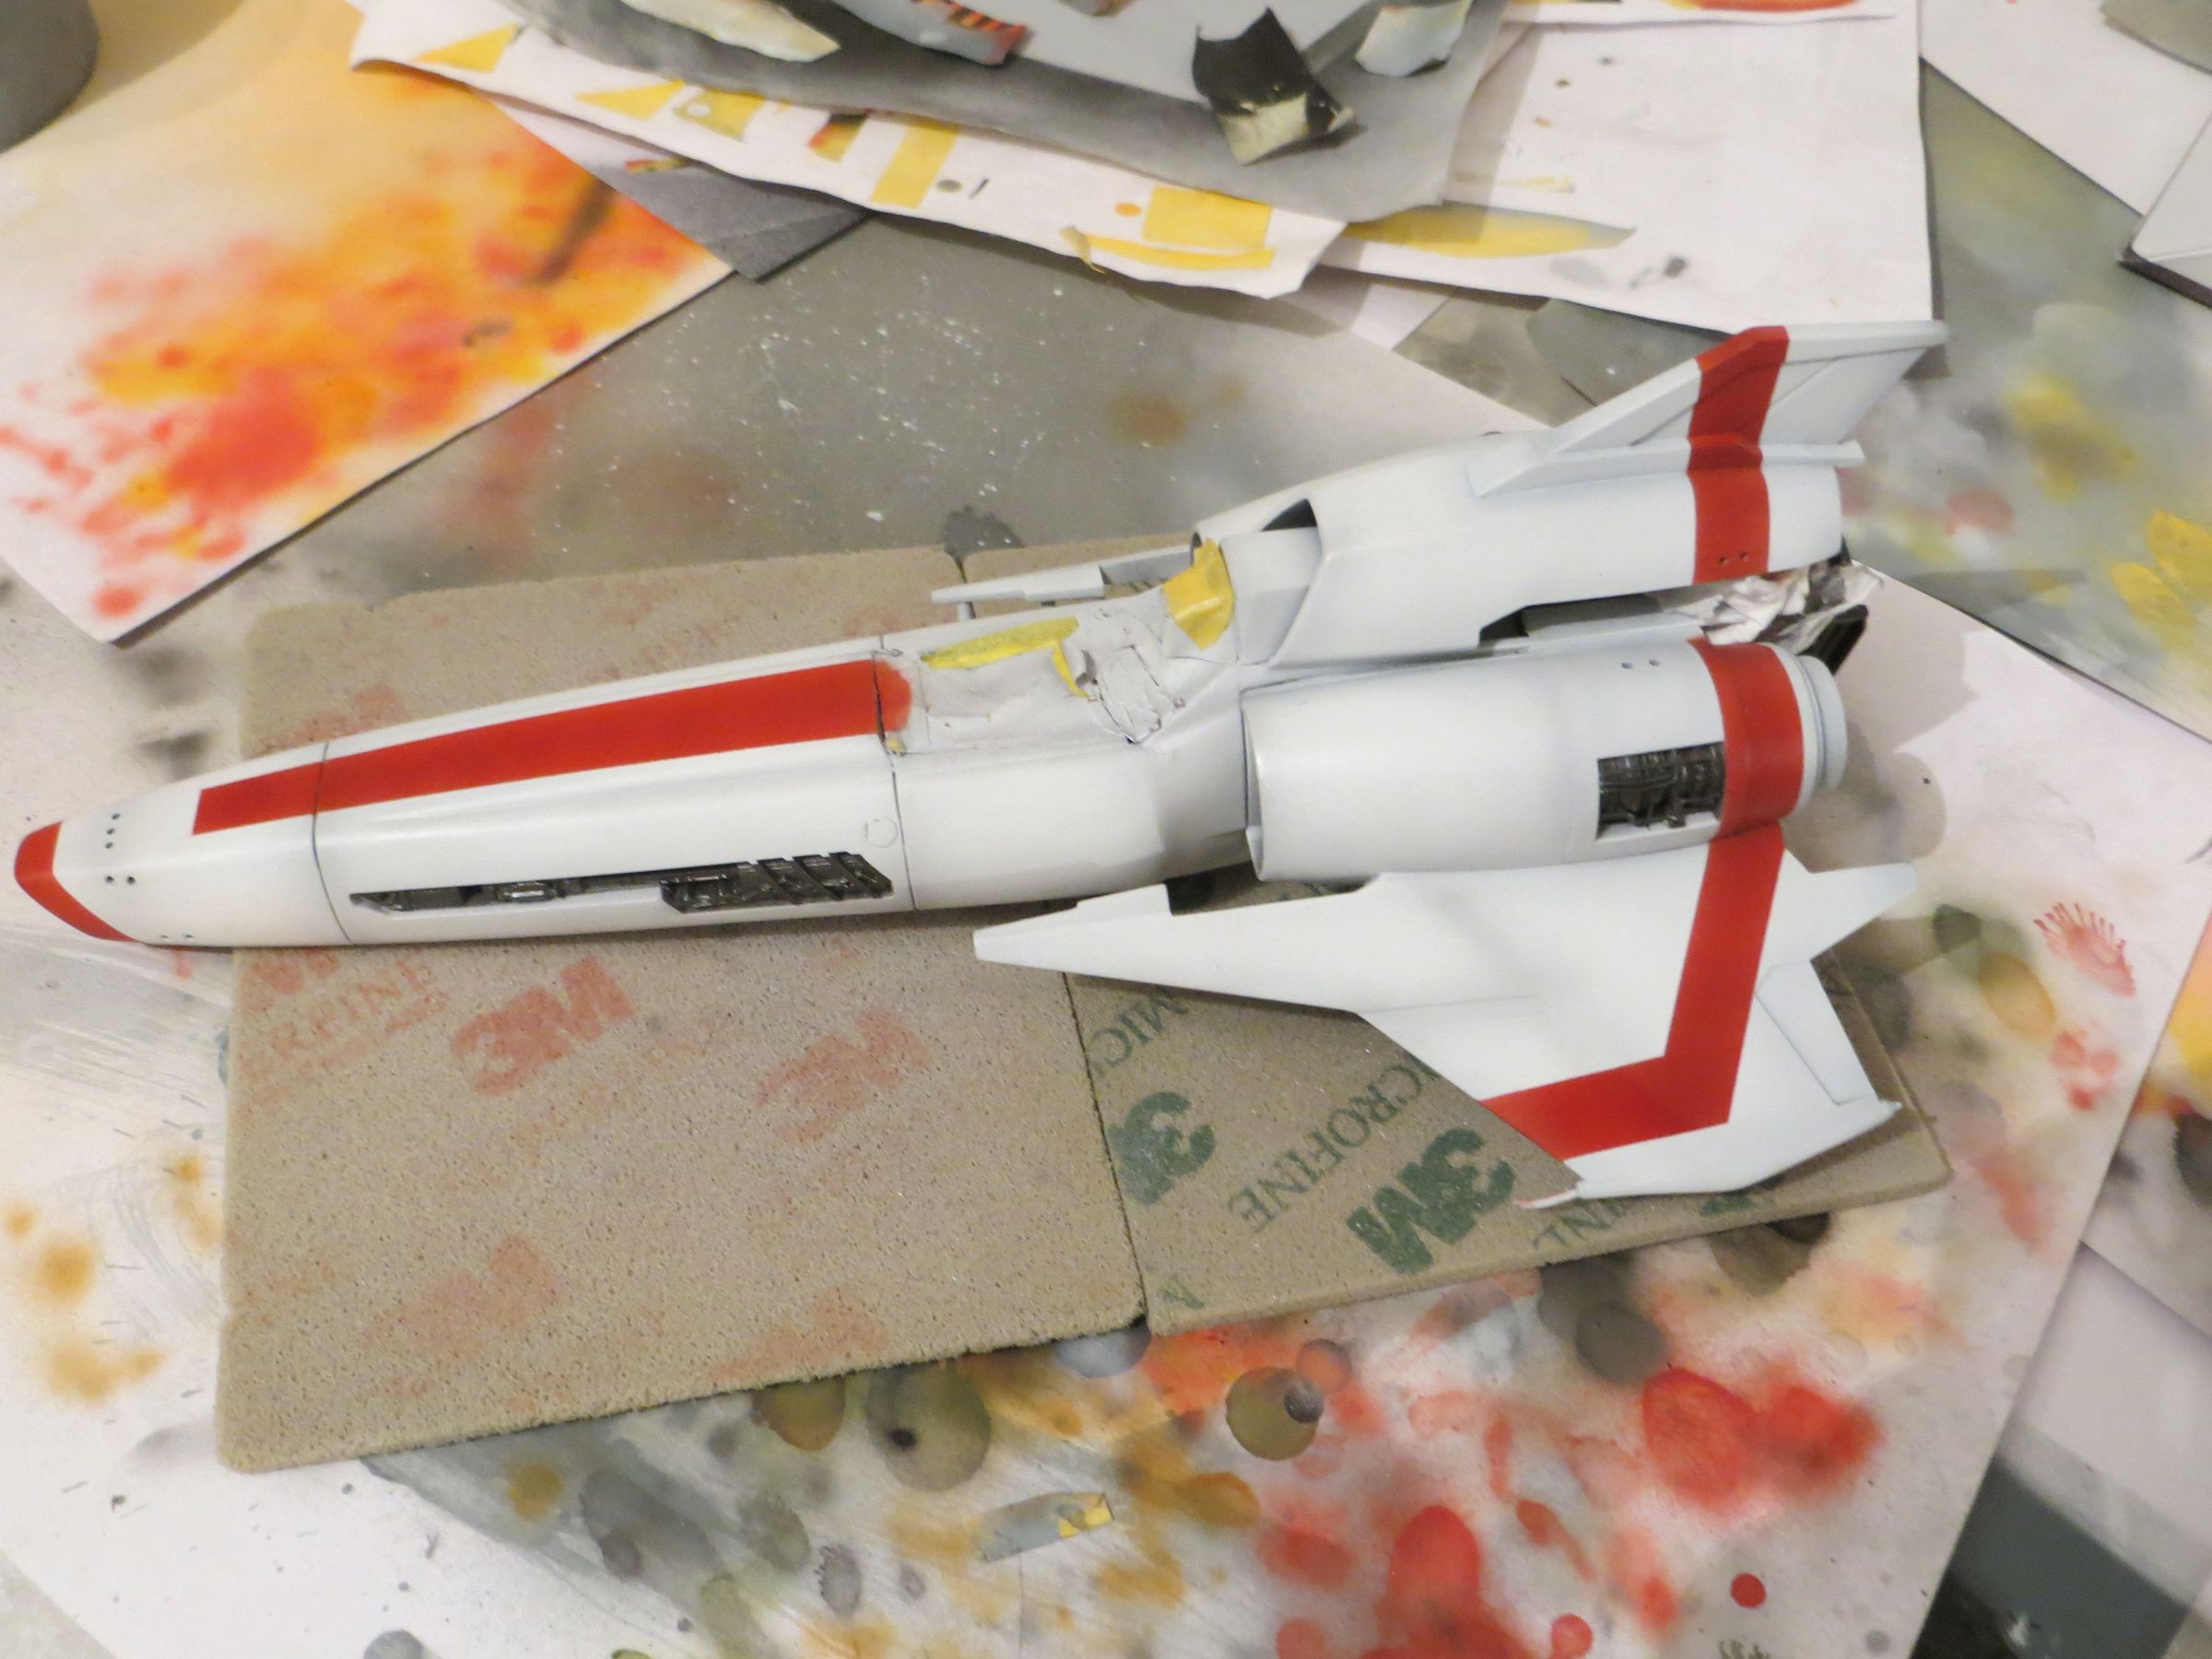
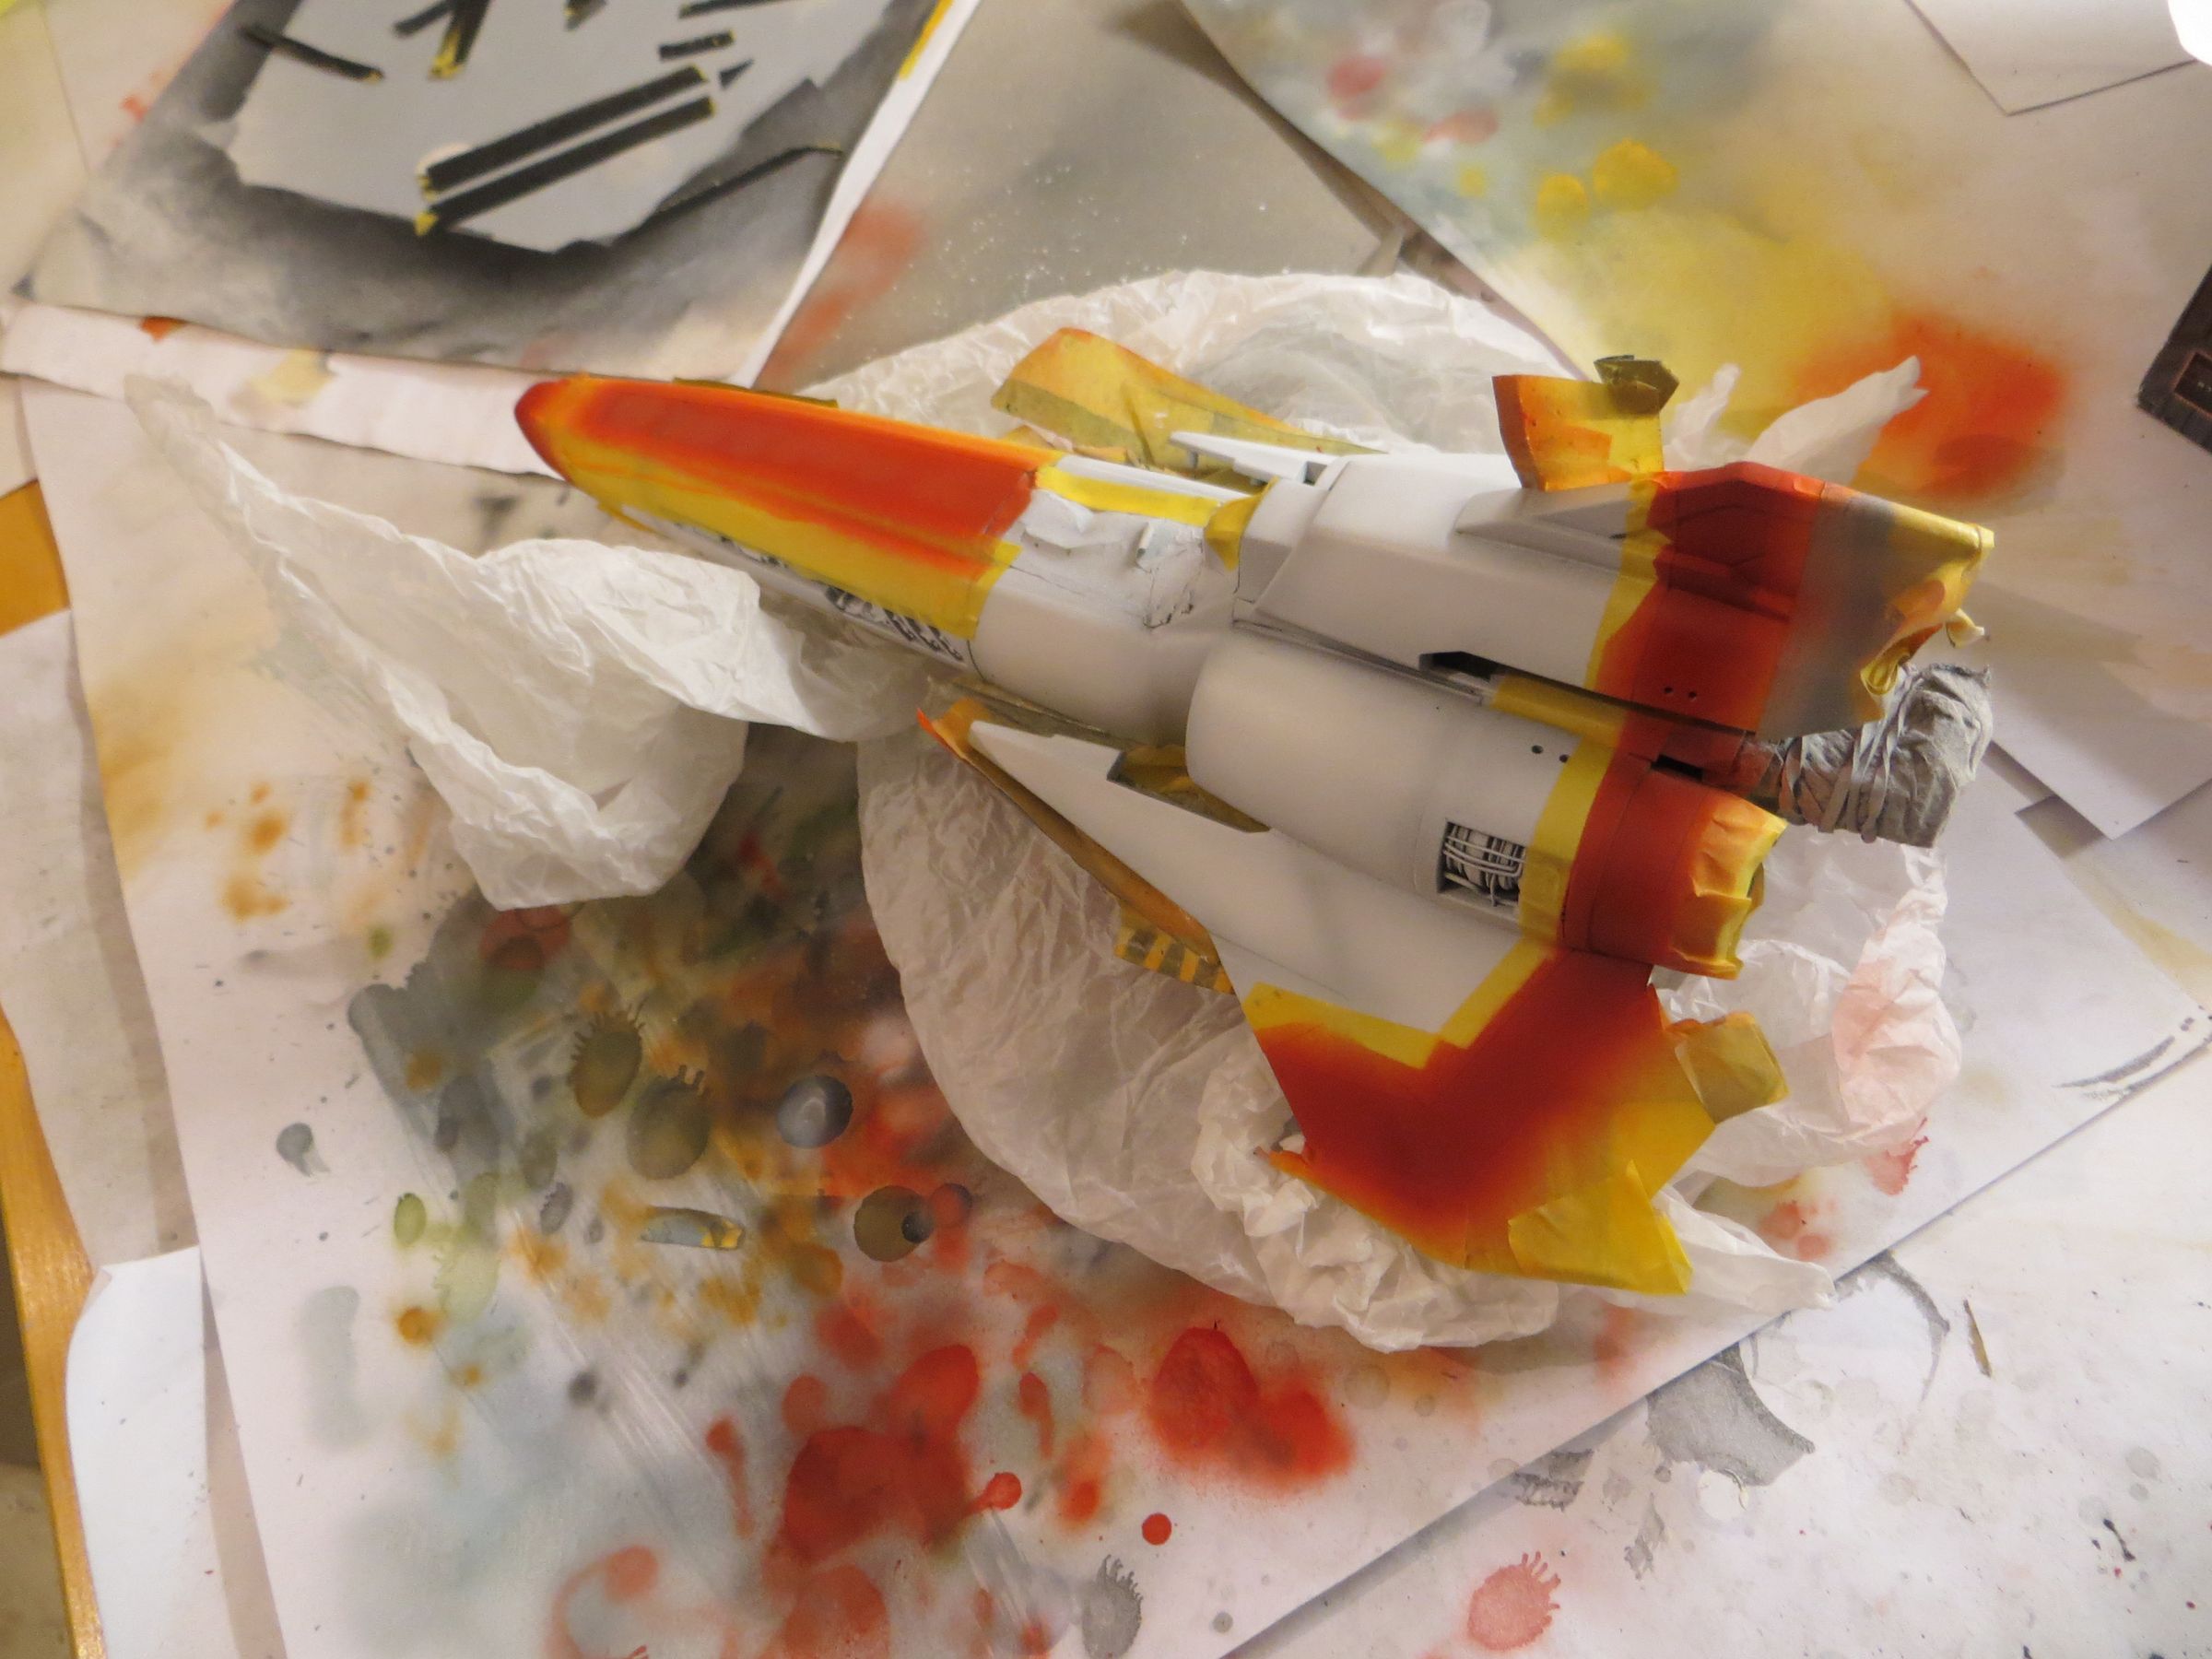
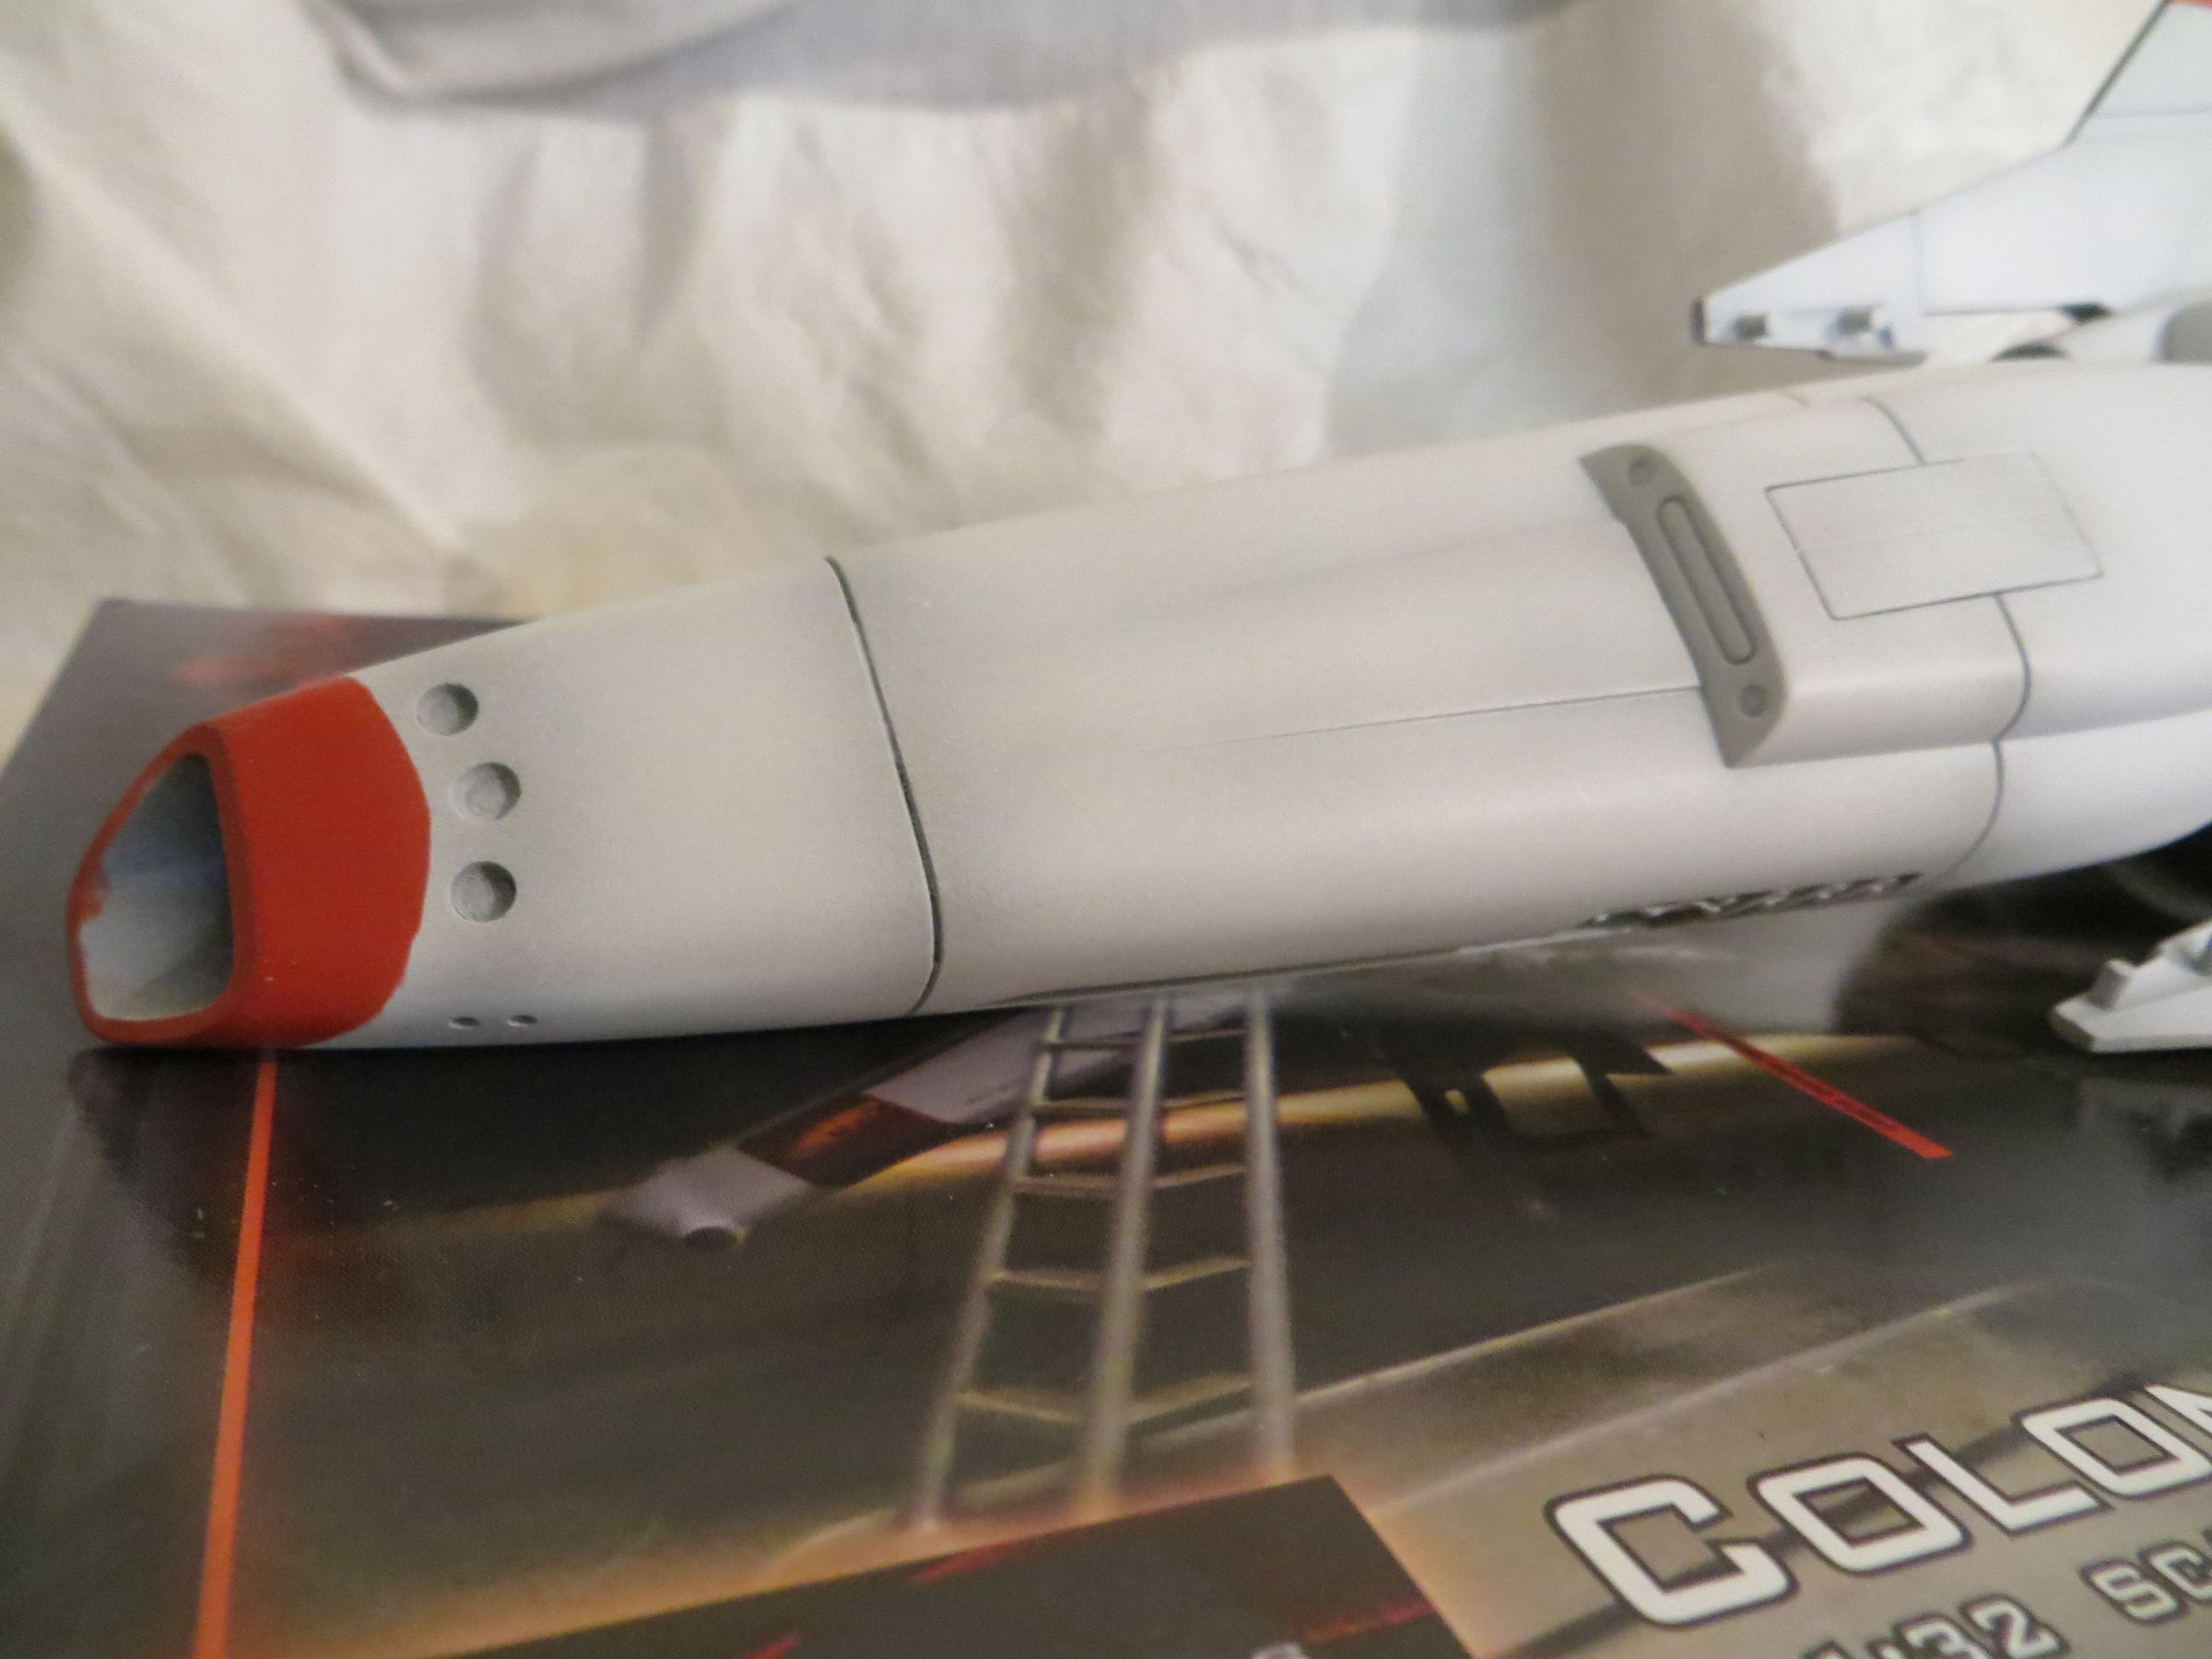
I moved on the painting of this bird.
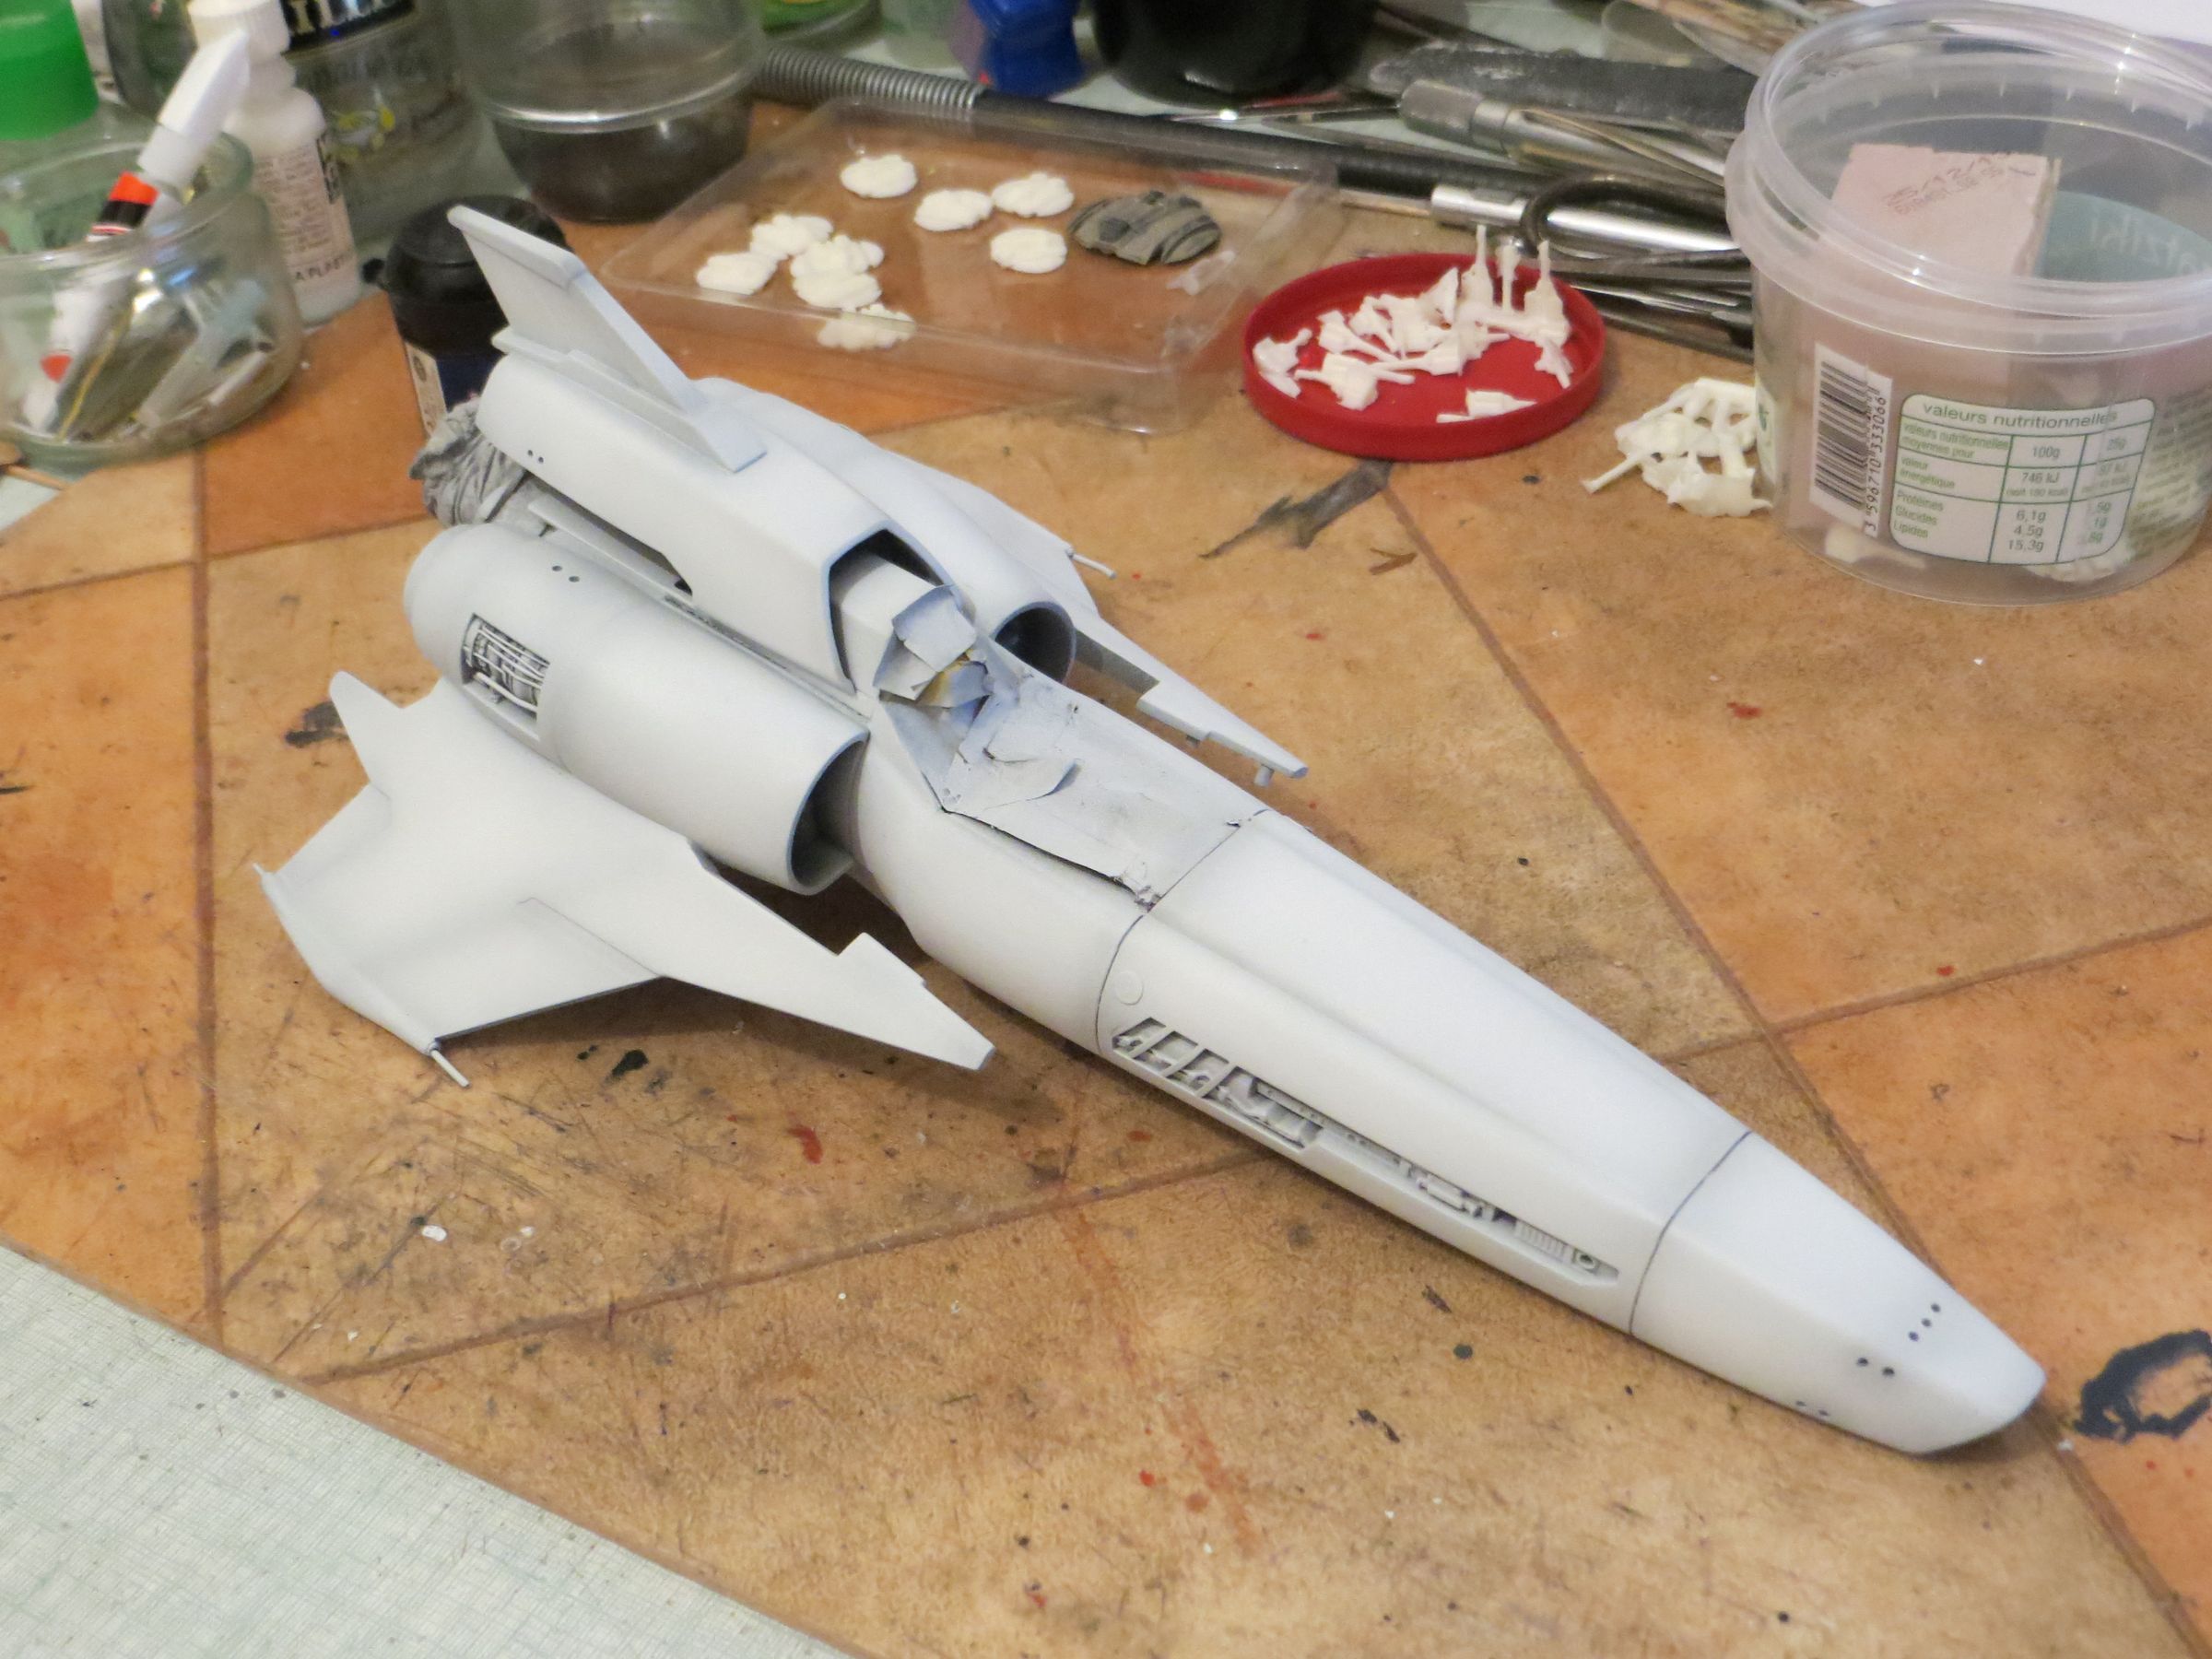
First, a layer of primer (Tamiya spray can)
Black preshading
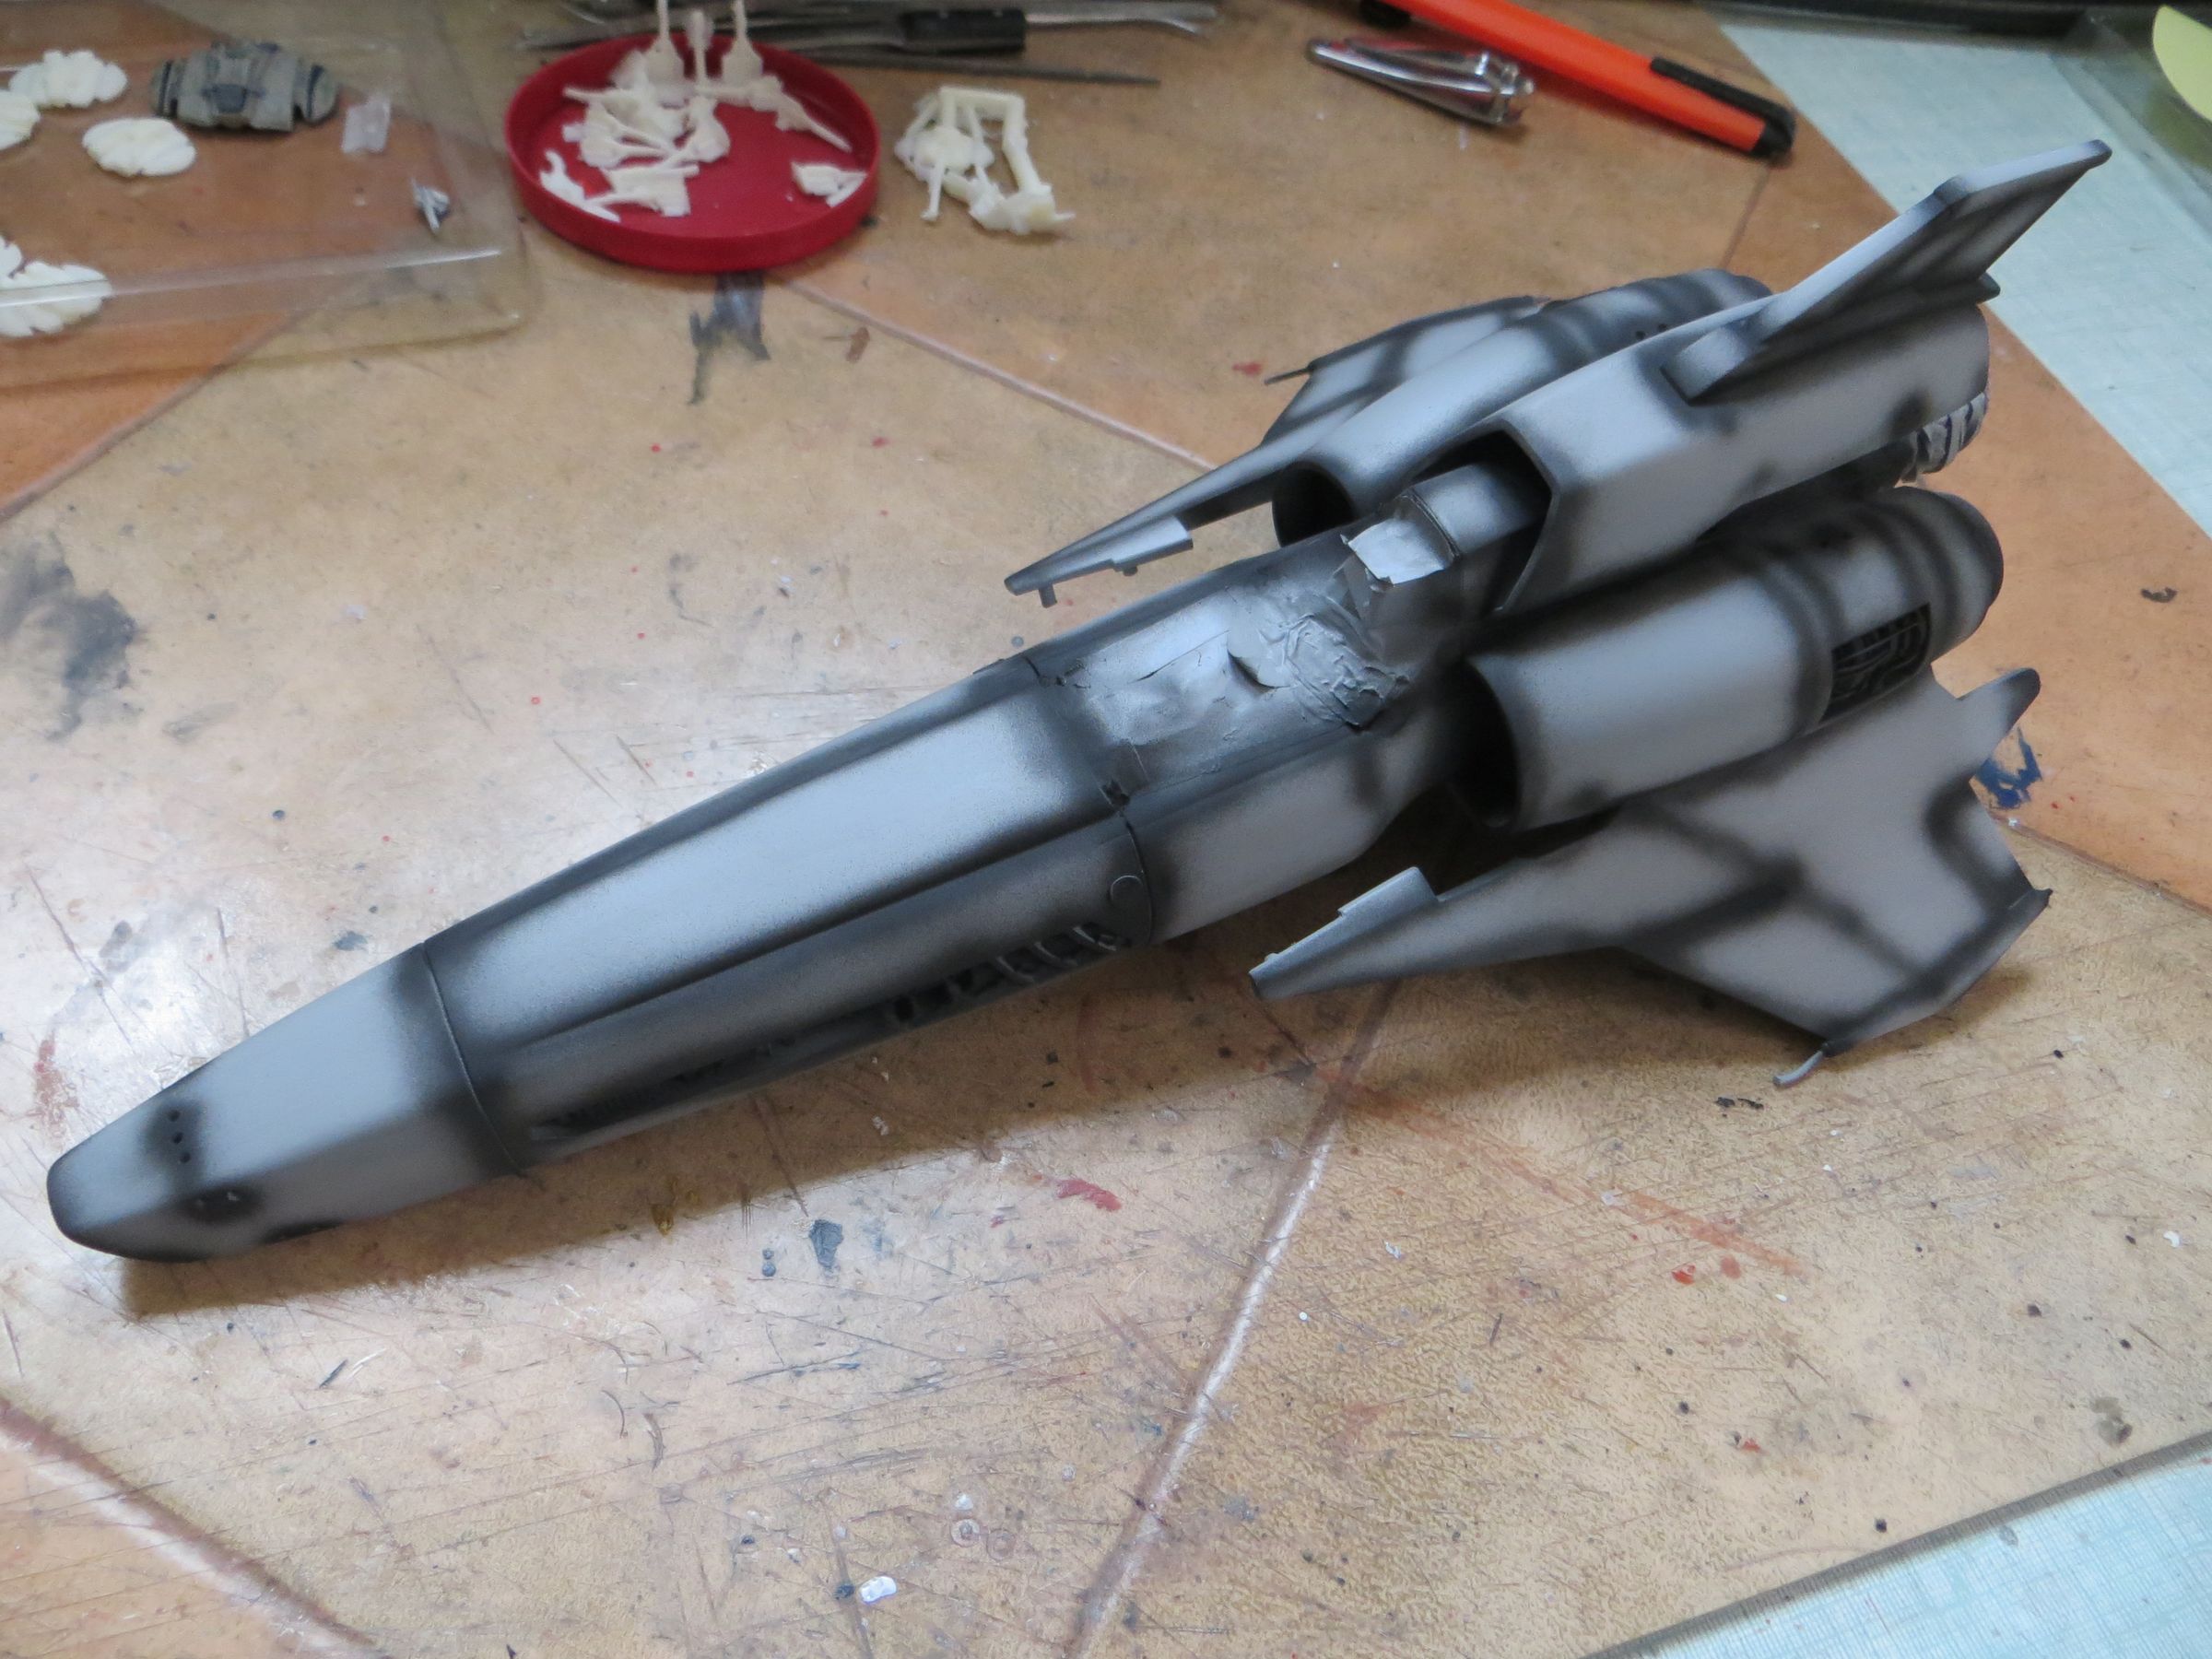
And base in tamiya flat white I had a bit too pressed here and there, so I had to redo the preshading here and there with a mixture of white and gray sky

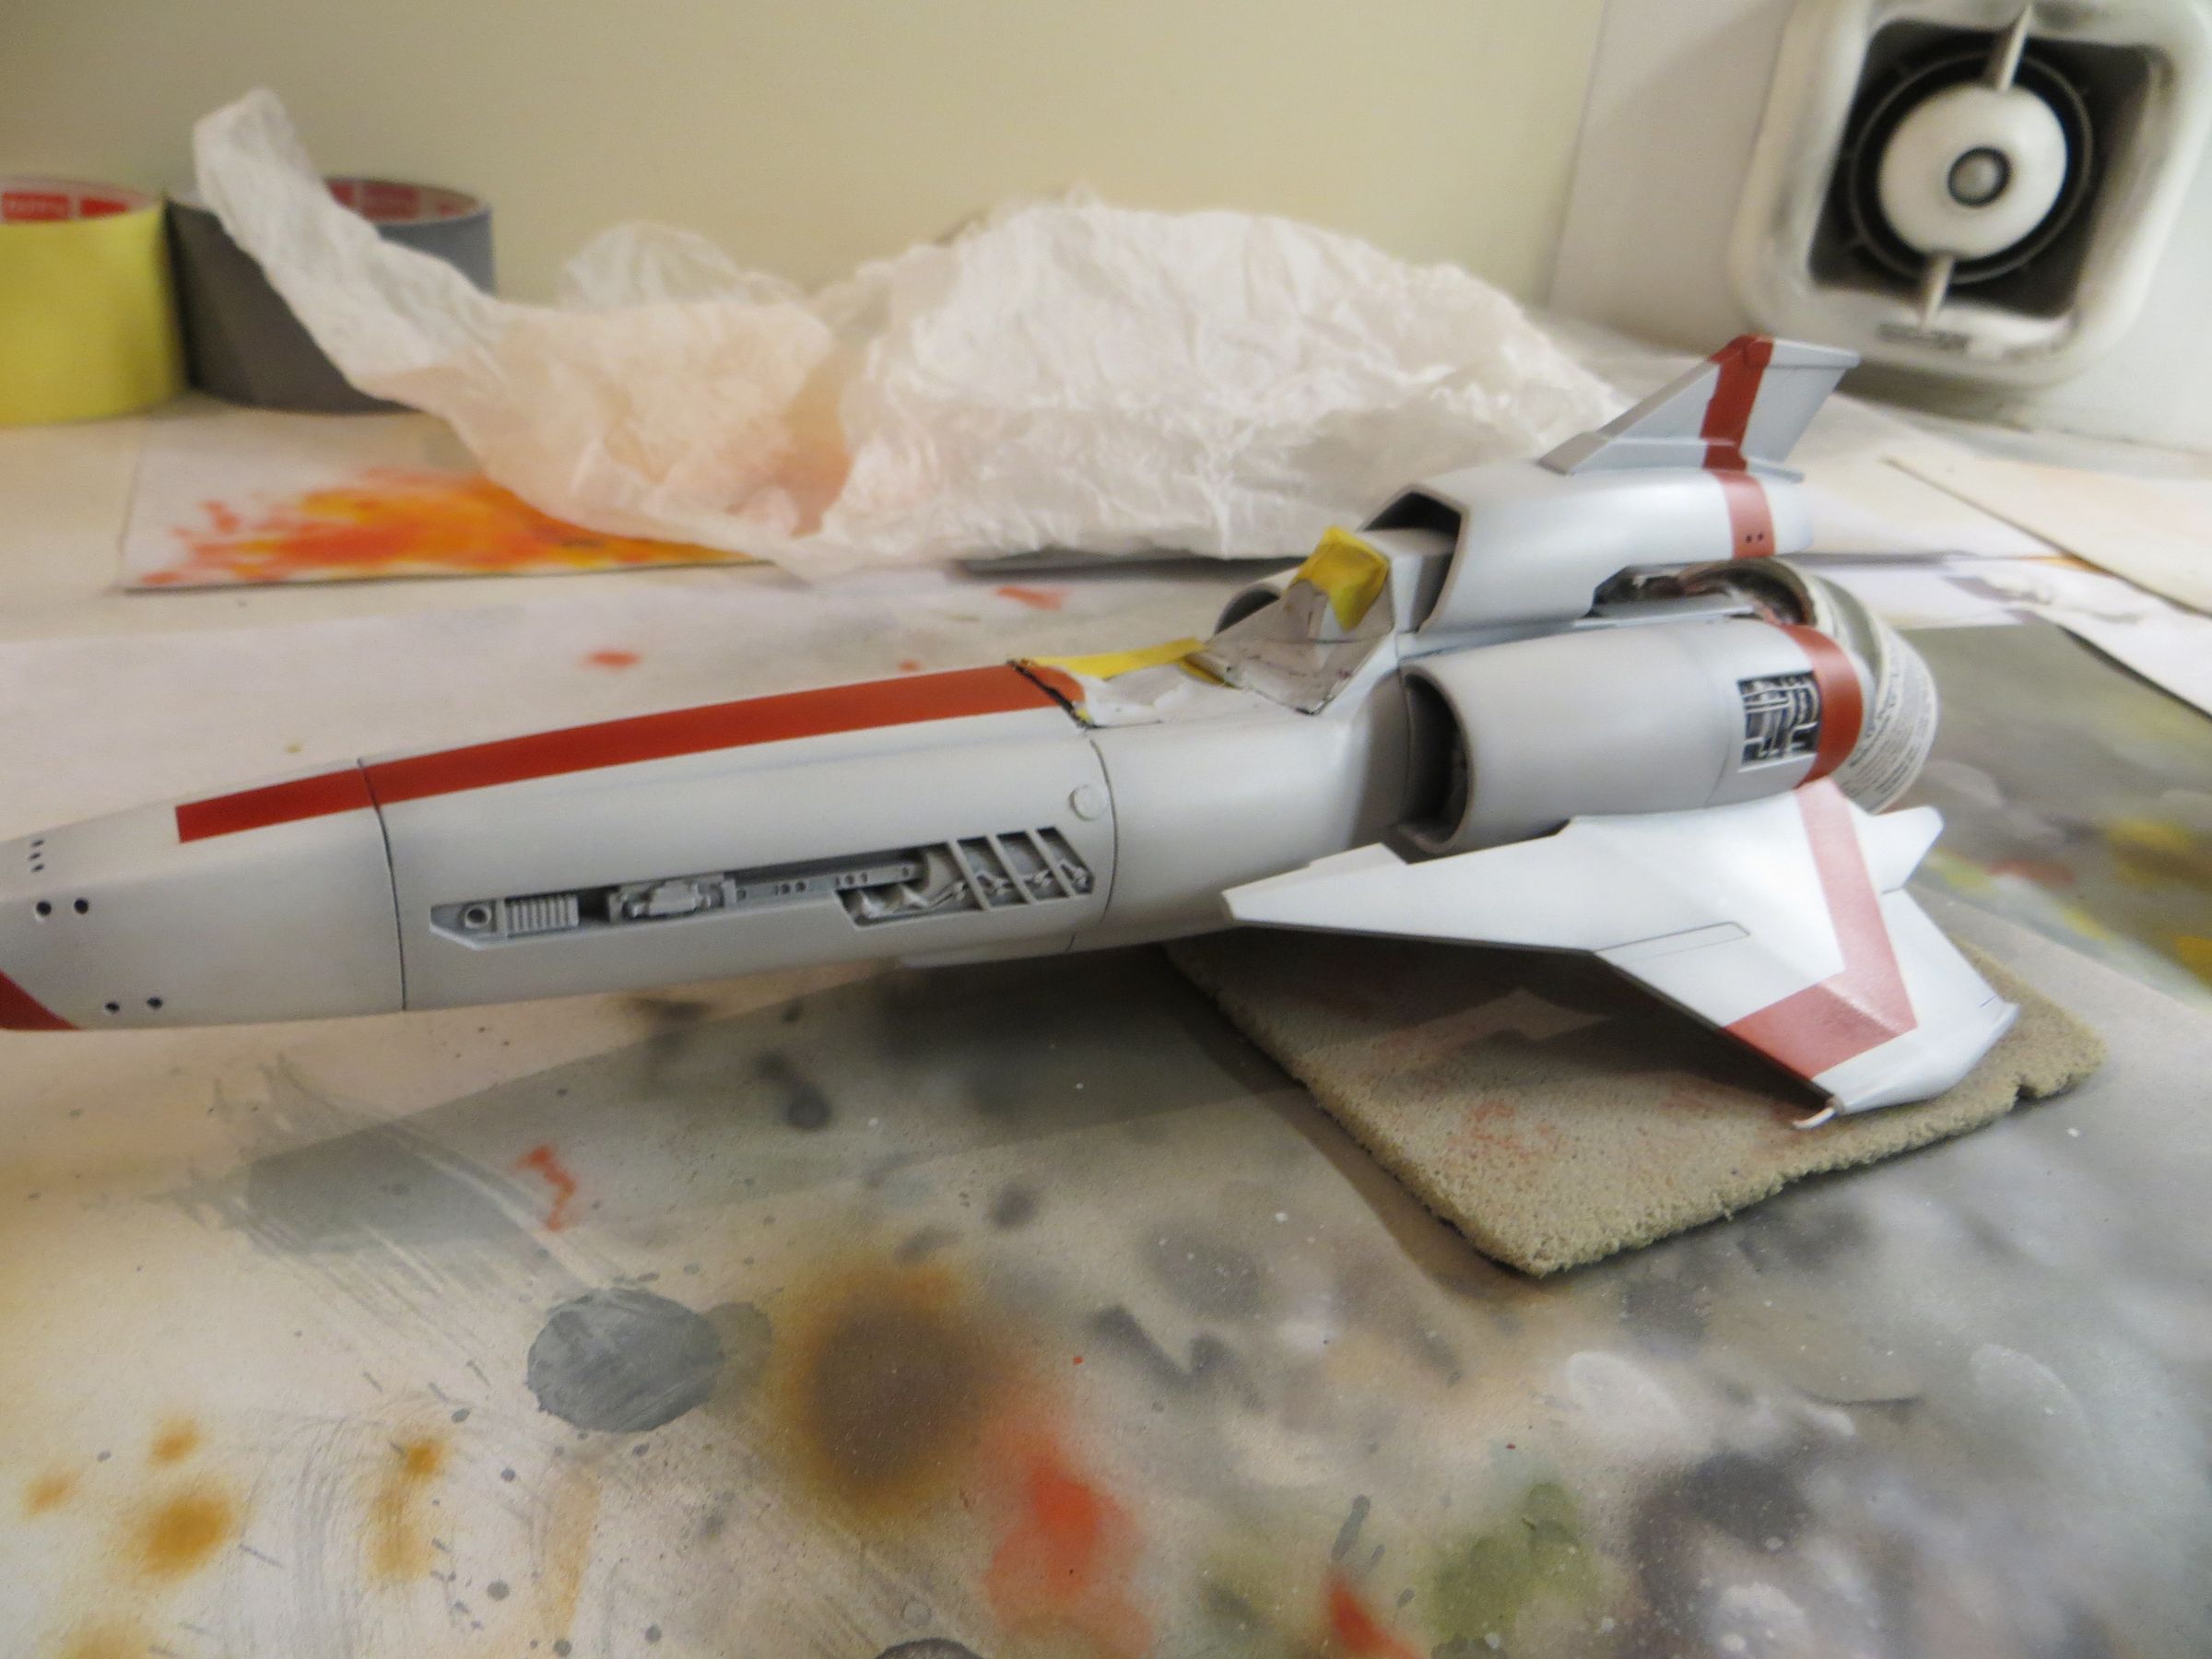
I apply a light coat of Klir over the white to protect it from the next manipulations (masking tapes).

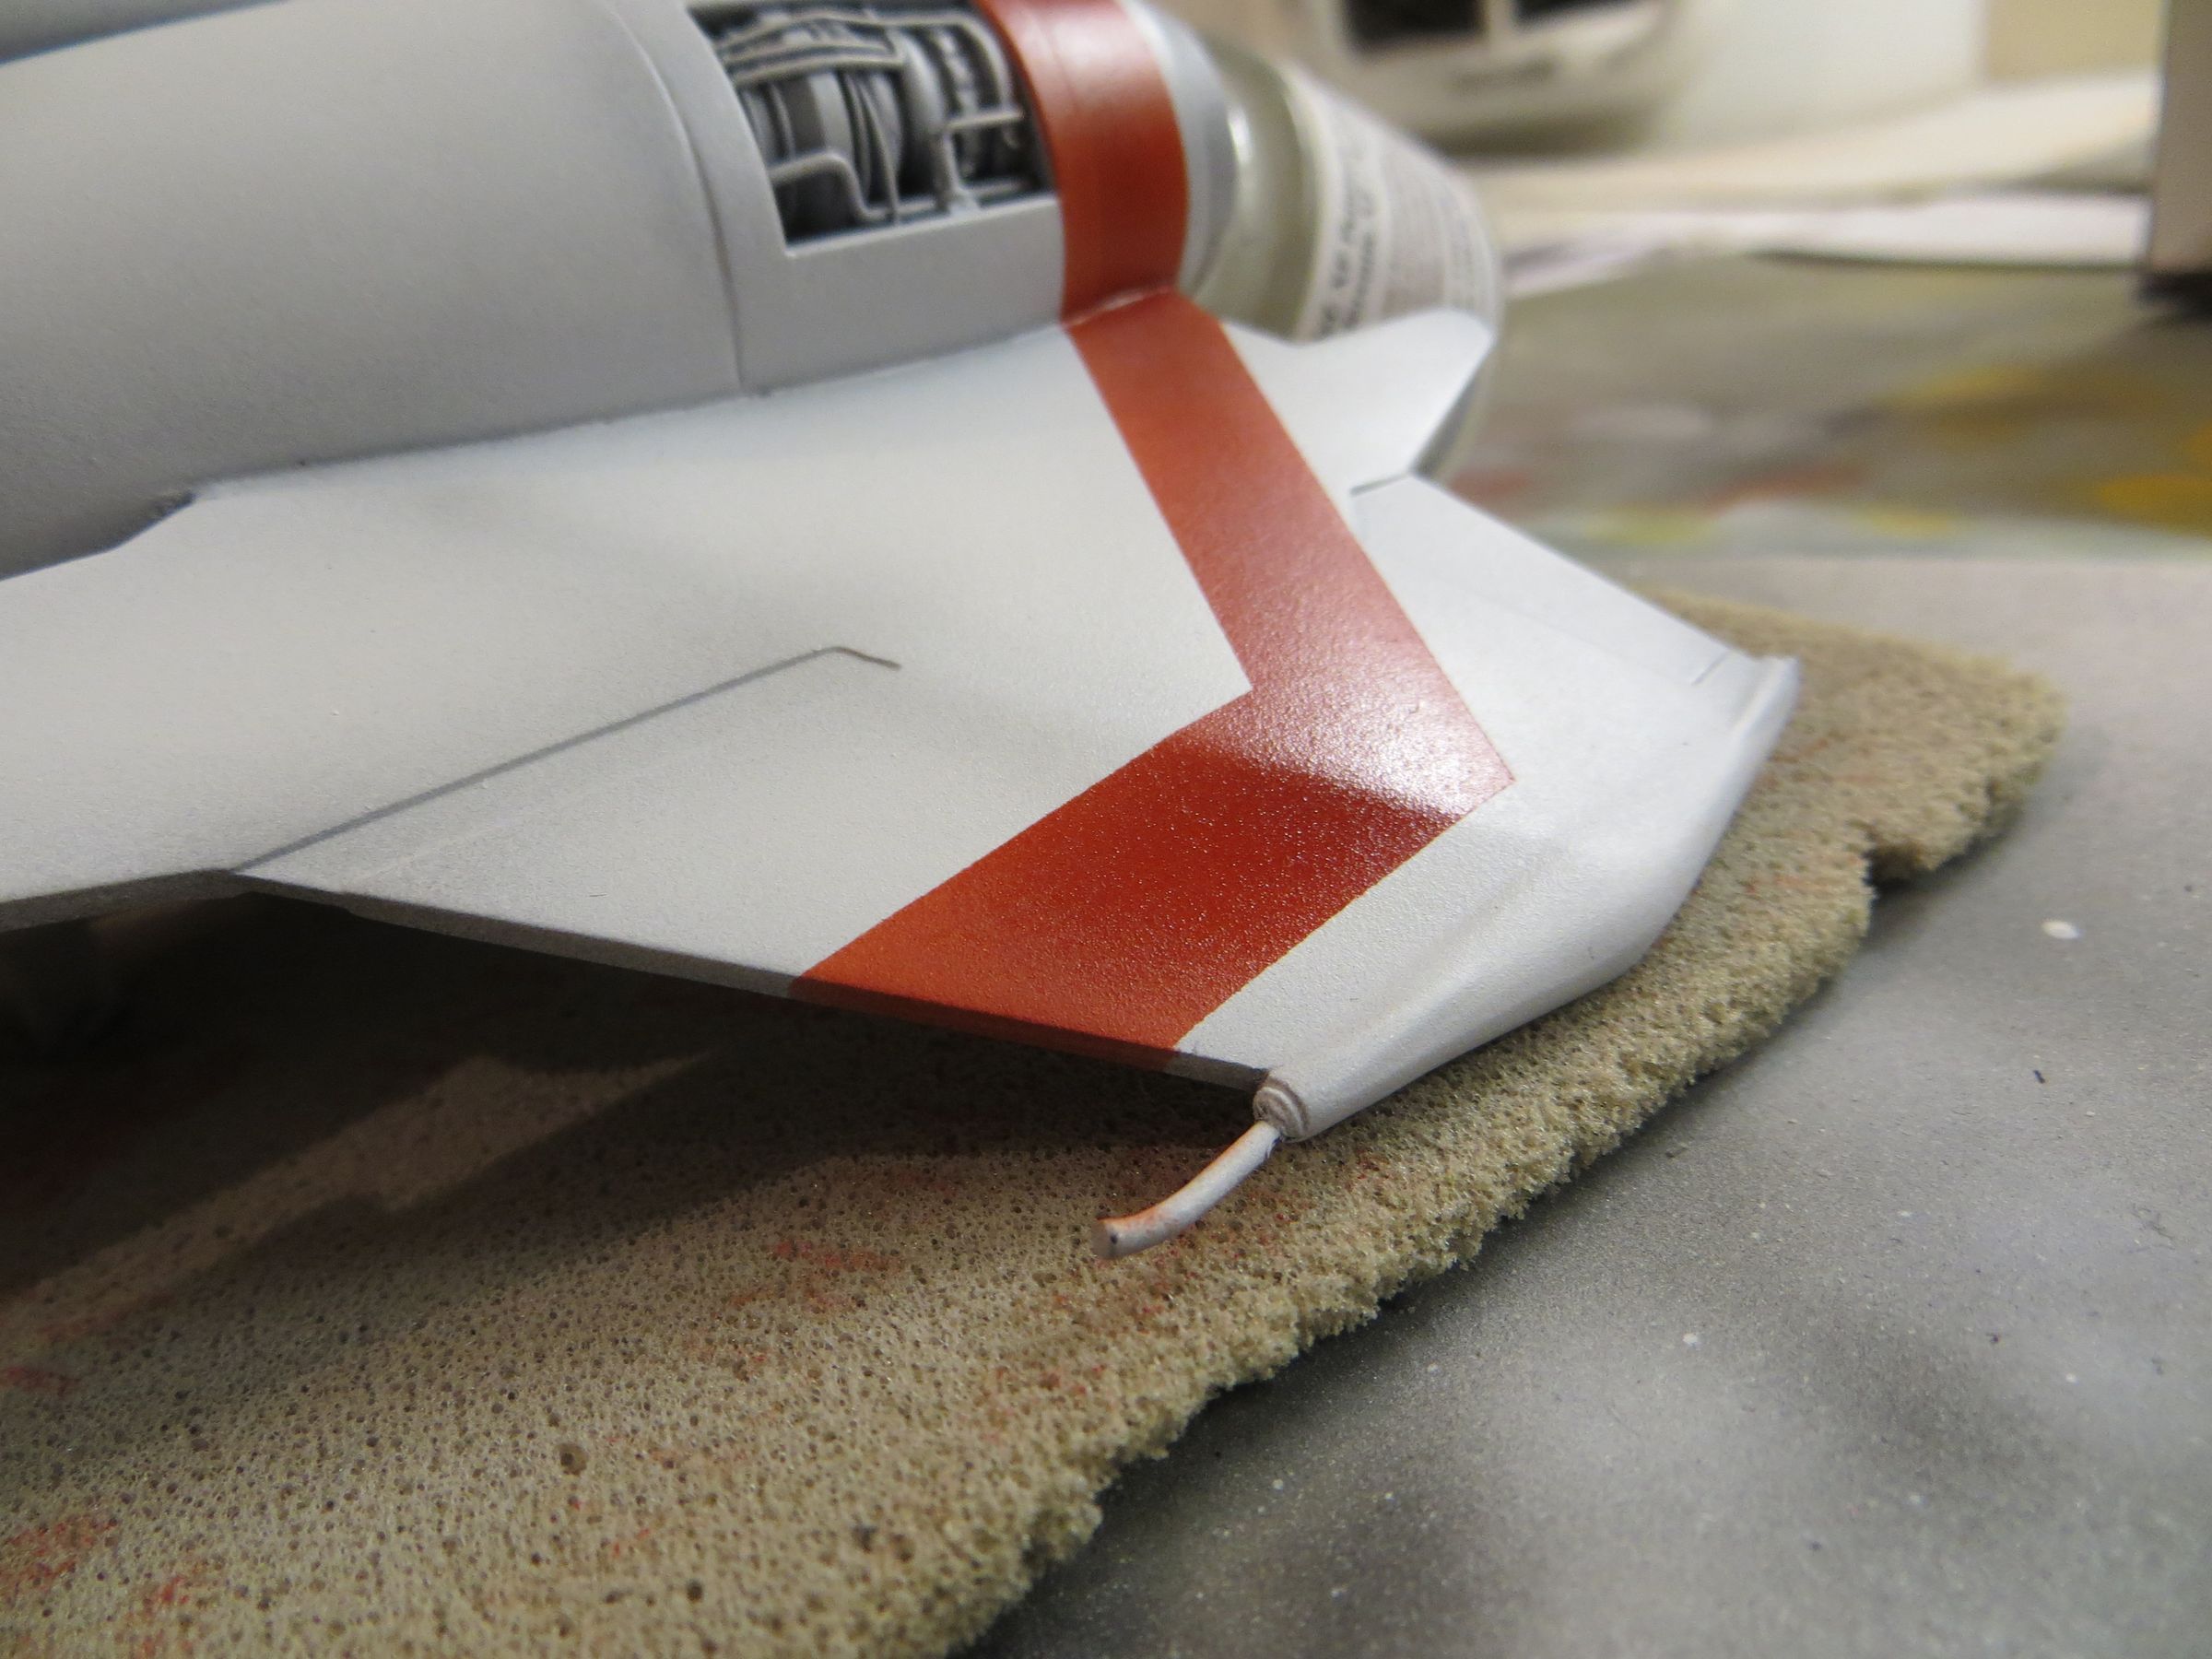
The stripes are in flat red, darkened with few drops of black.
As I have a bit too much diluted the paint, and it gave me some white rings.
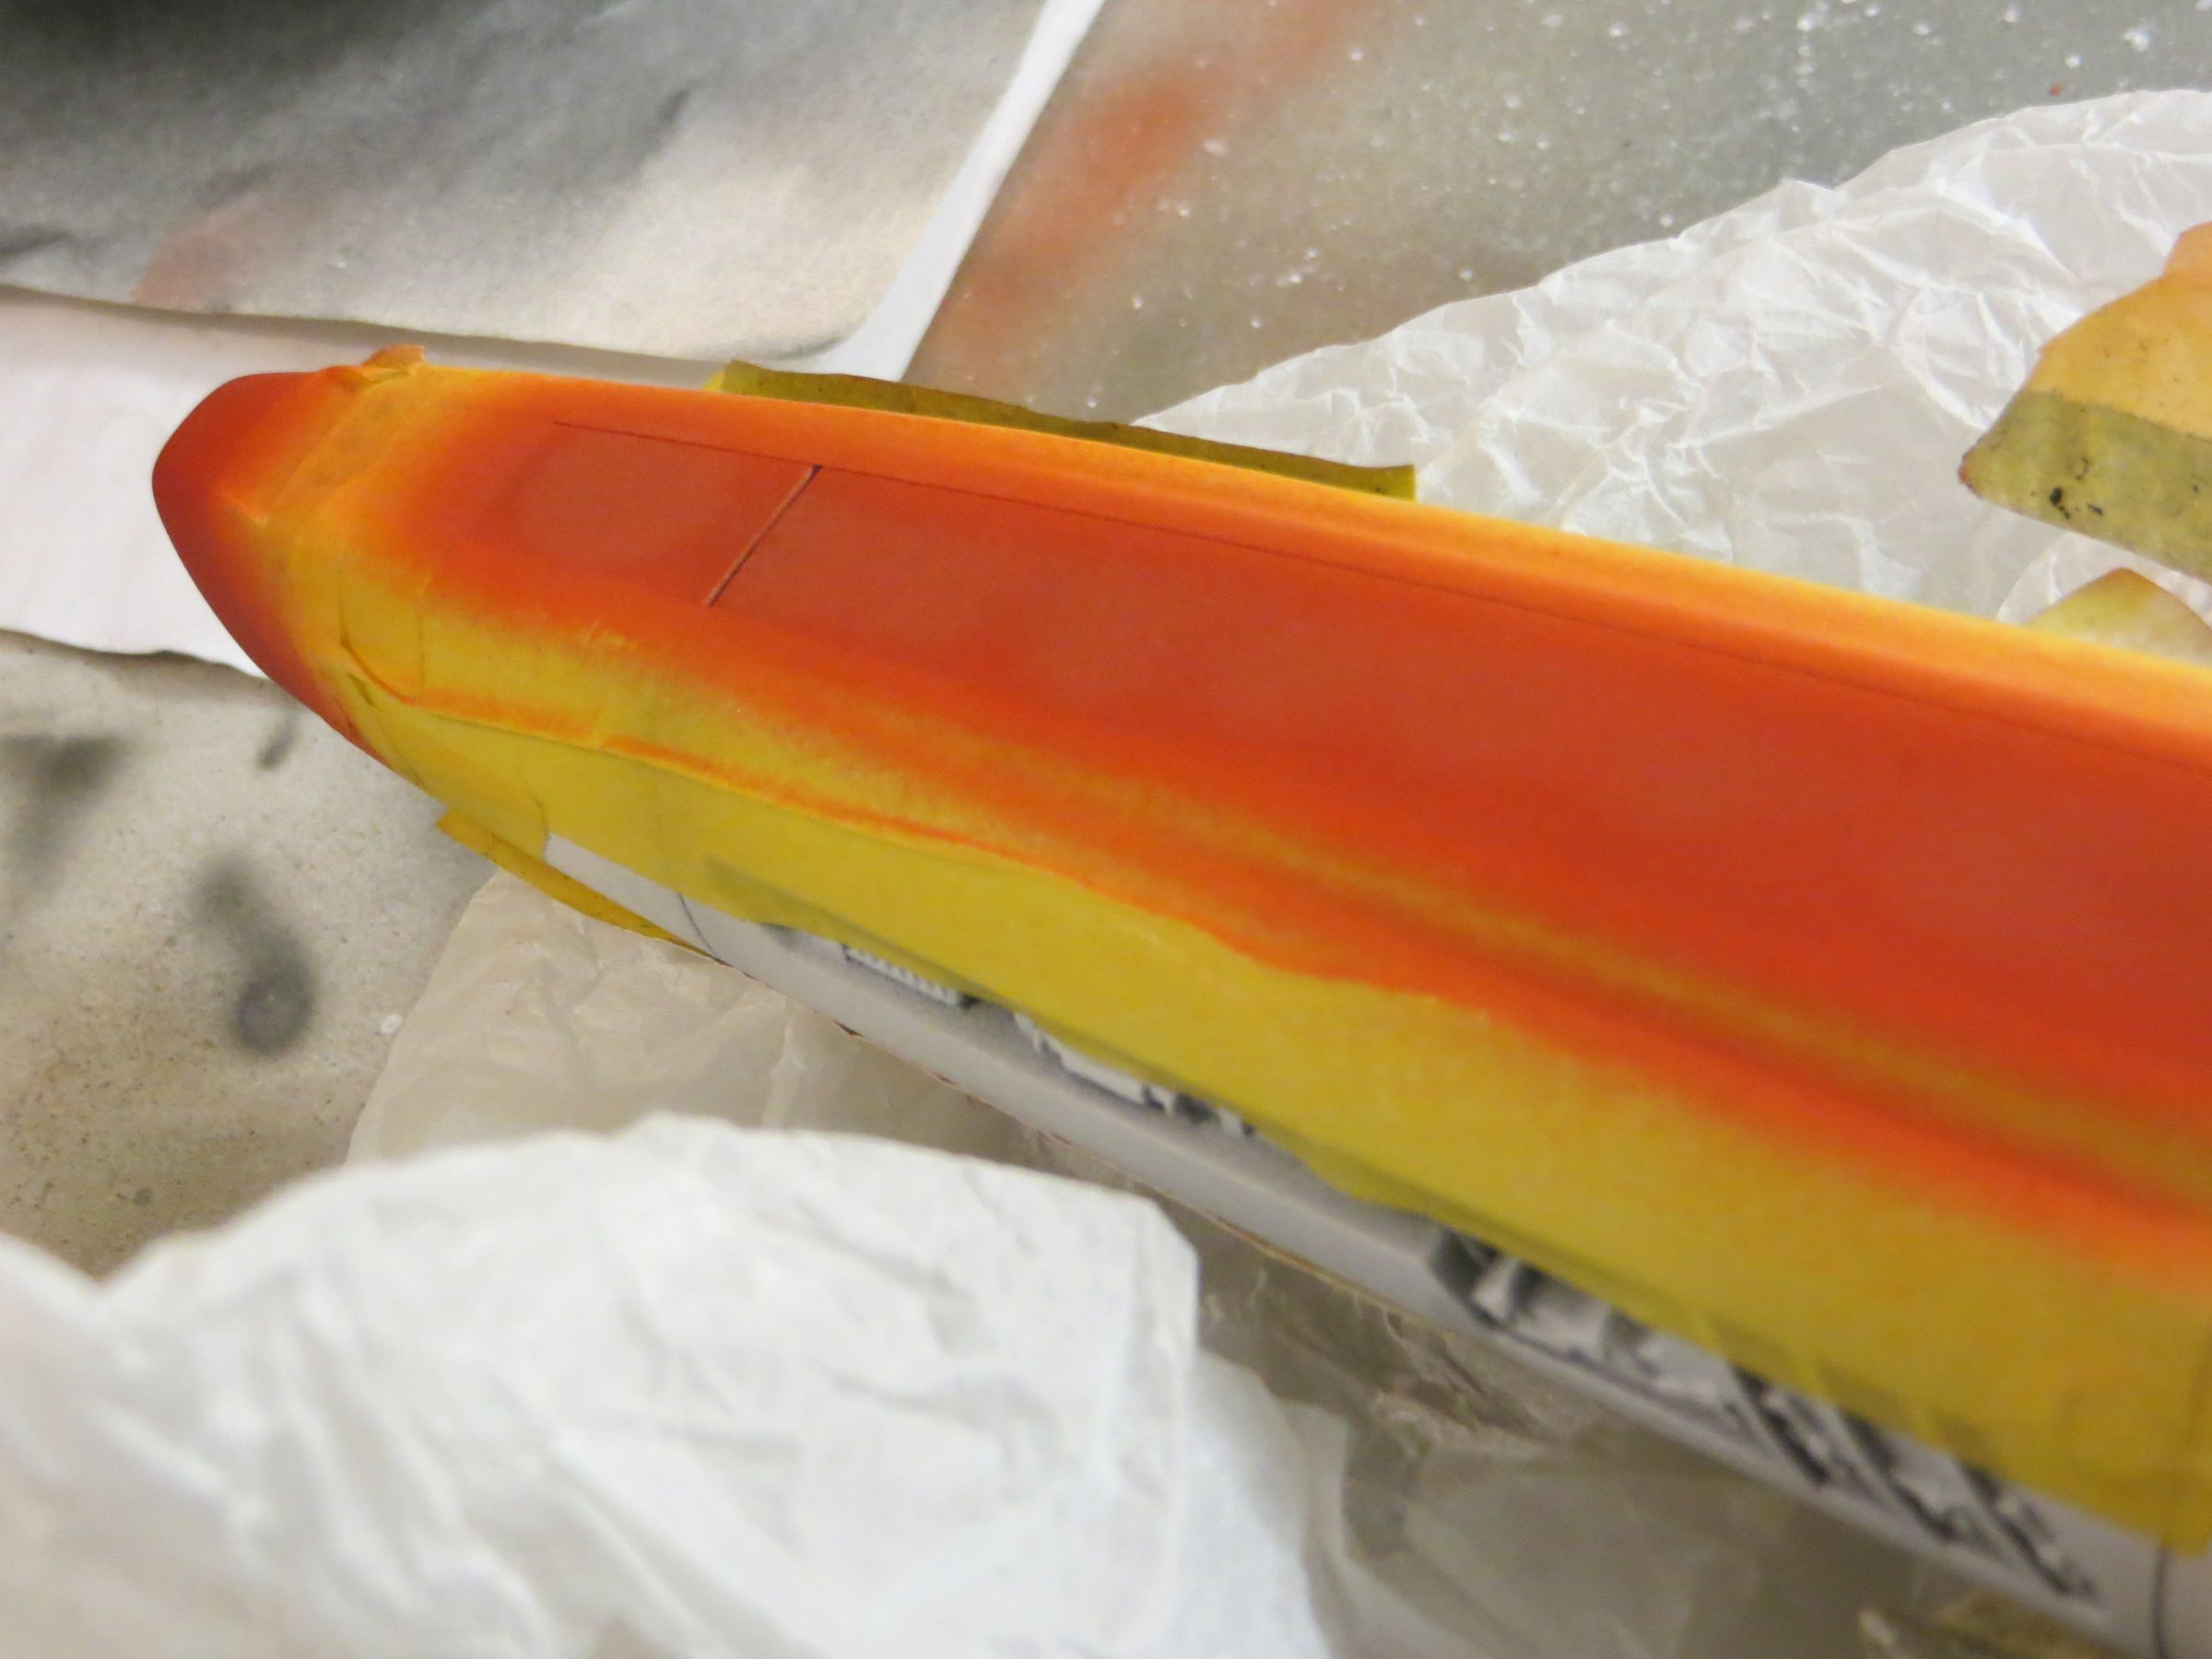
So I applied Klir again, and they disappeared.


All the cabin is also protected with Klir.
jeudi, 16 janvier 2014
Par olcabour le jeudi, 16 janvier 2014, 23:54
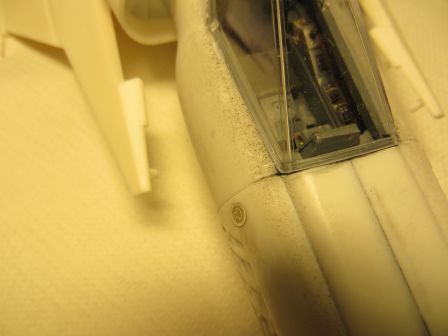
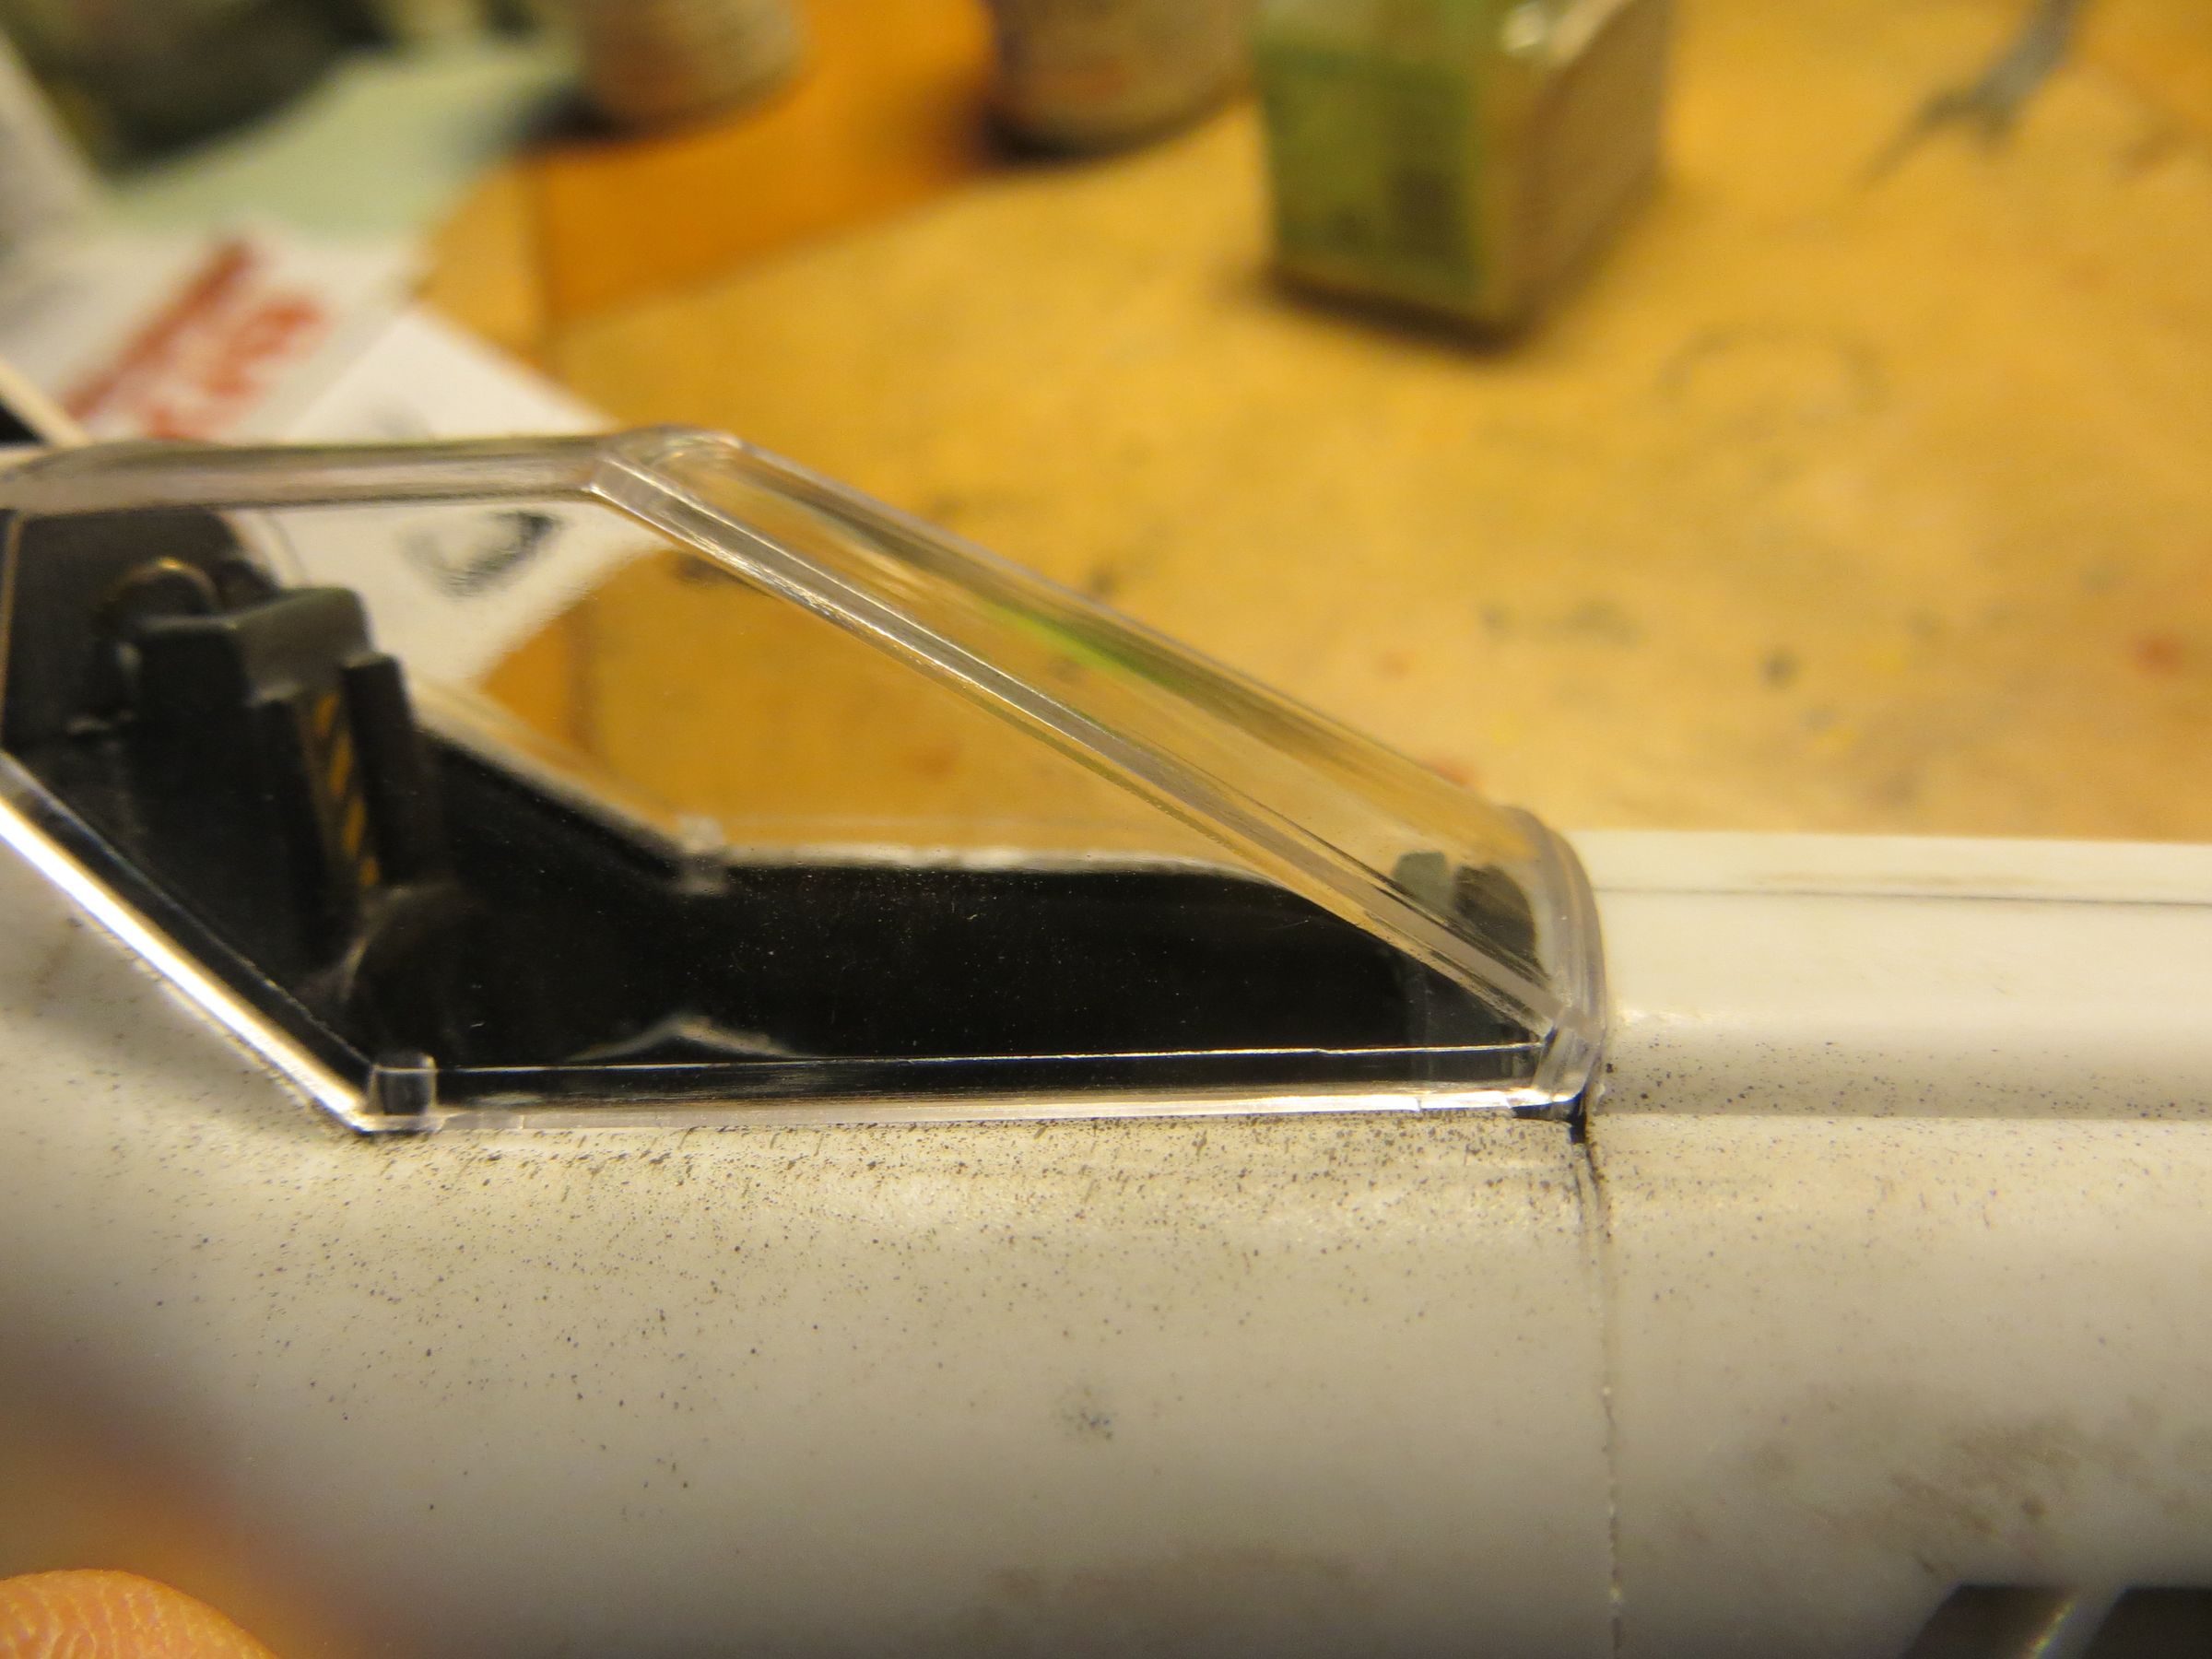
The inner side walls of the cockpit does fit properly to the cabin near the headrest. They are glued with the help of tweezers.
The slice is not pretty with 2 layers, so they are covered with a thin strip of Plastic, then painted.
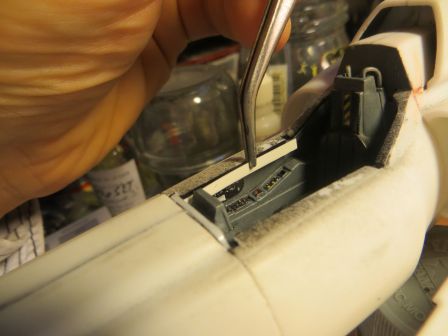
There will be later some decals to apply here (before the final bonding of the canopy).
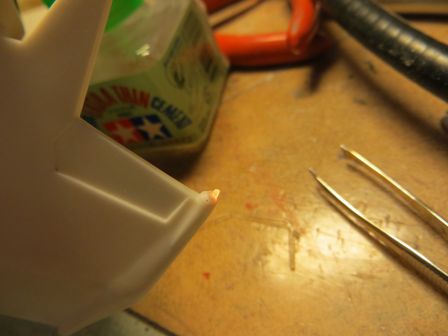
On the wing, the broken navigation light is repaired with a bit of fiber optic shaping and glued with the model glue. It was a test, and to my surprise, after a night of drying, this works !
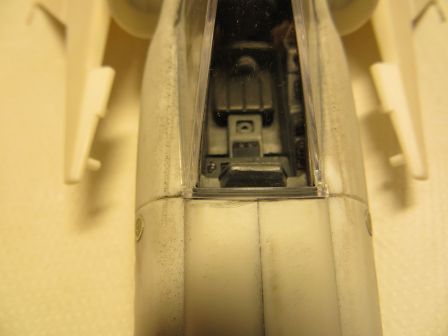
Two holes in the front of the cockpit are partly visible when the canopy is installed. Since they do not correspond to any pin, they are filled with plastic bits.
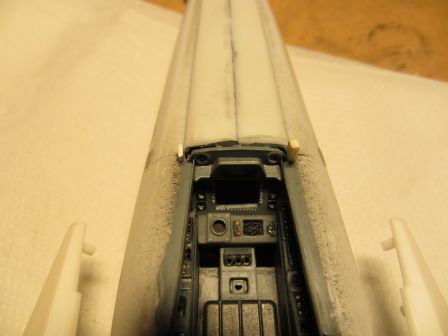
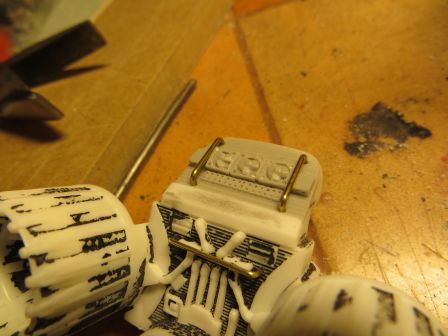
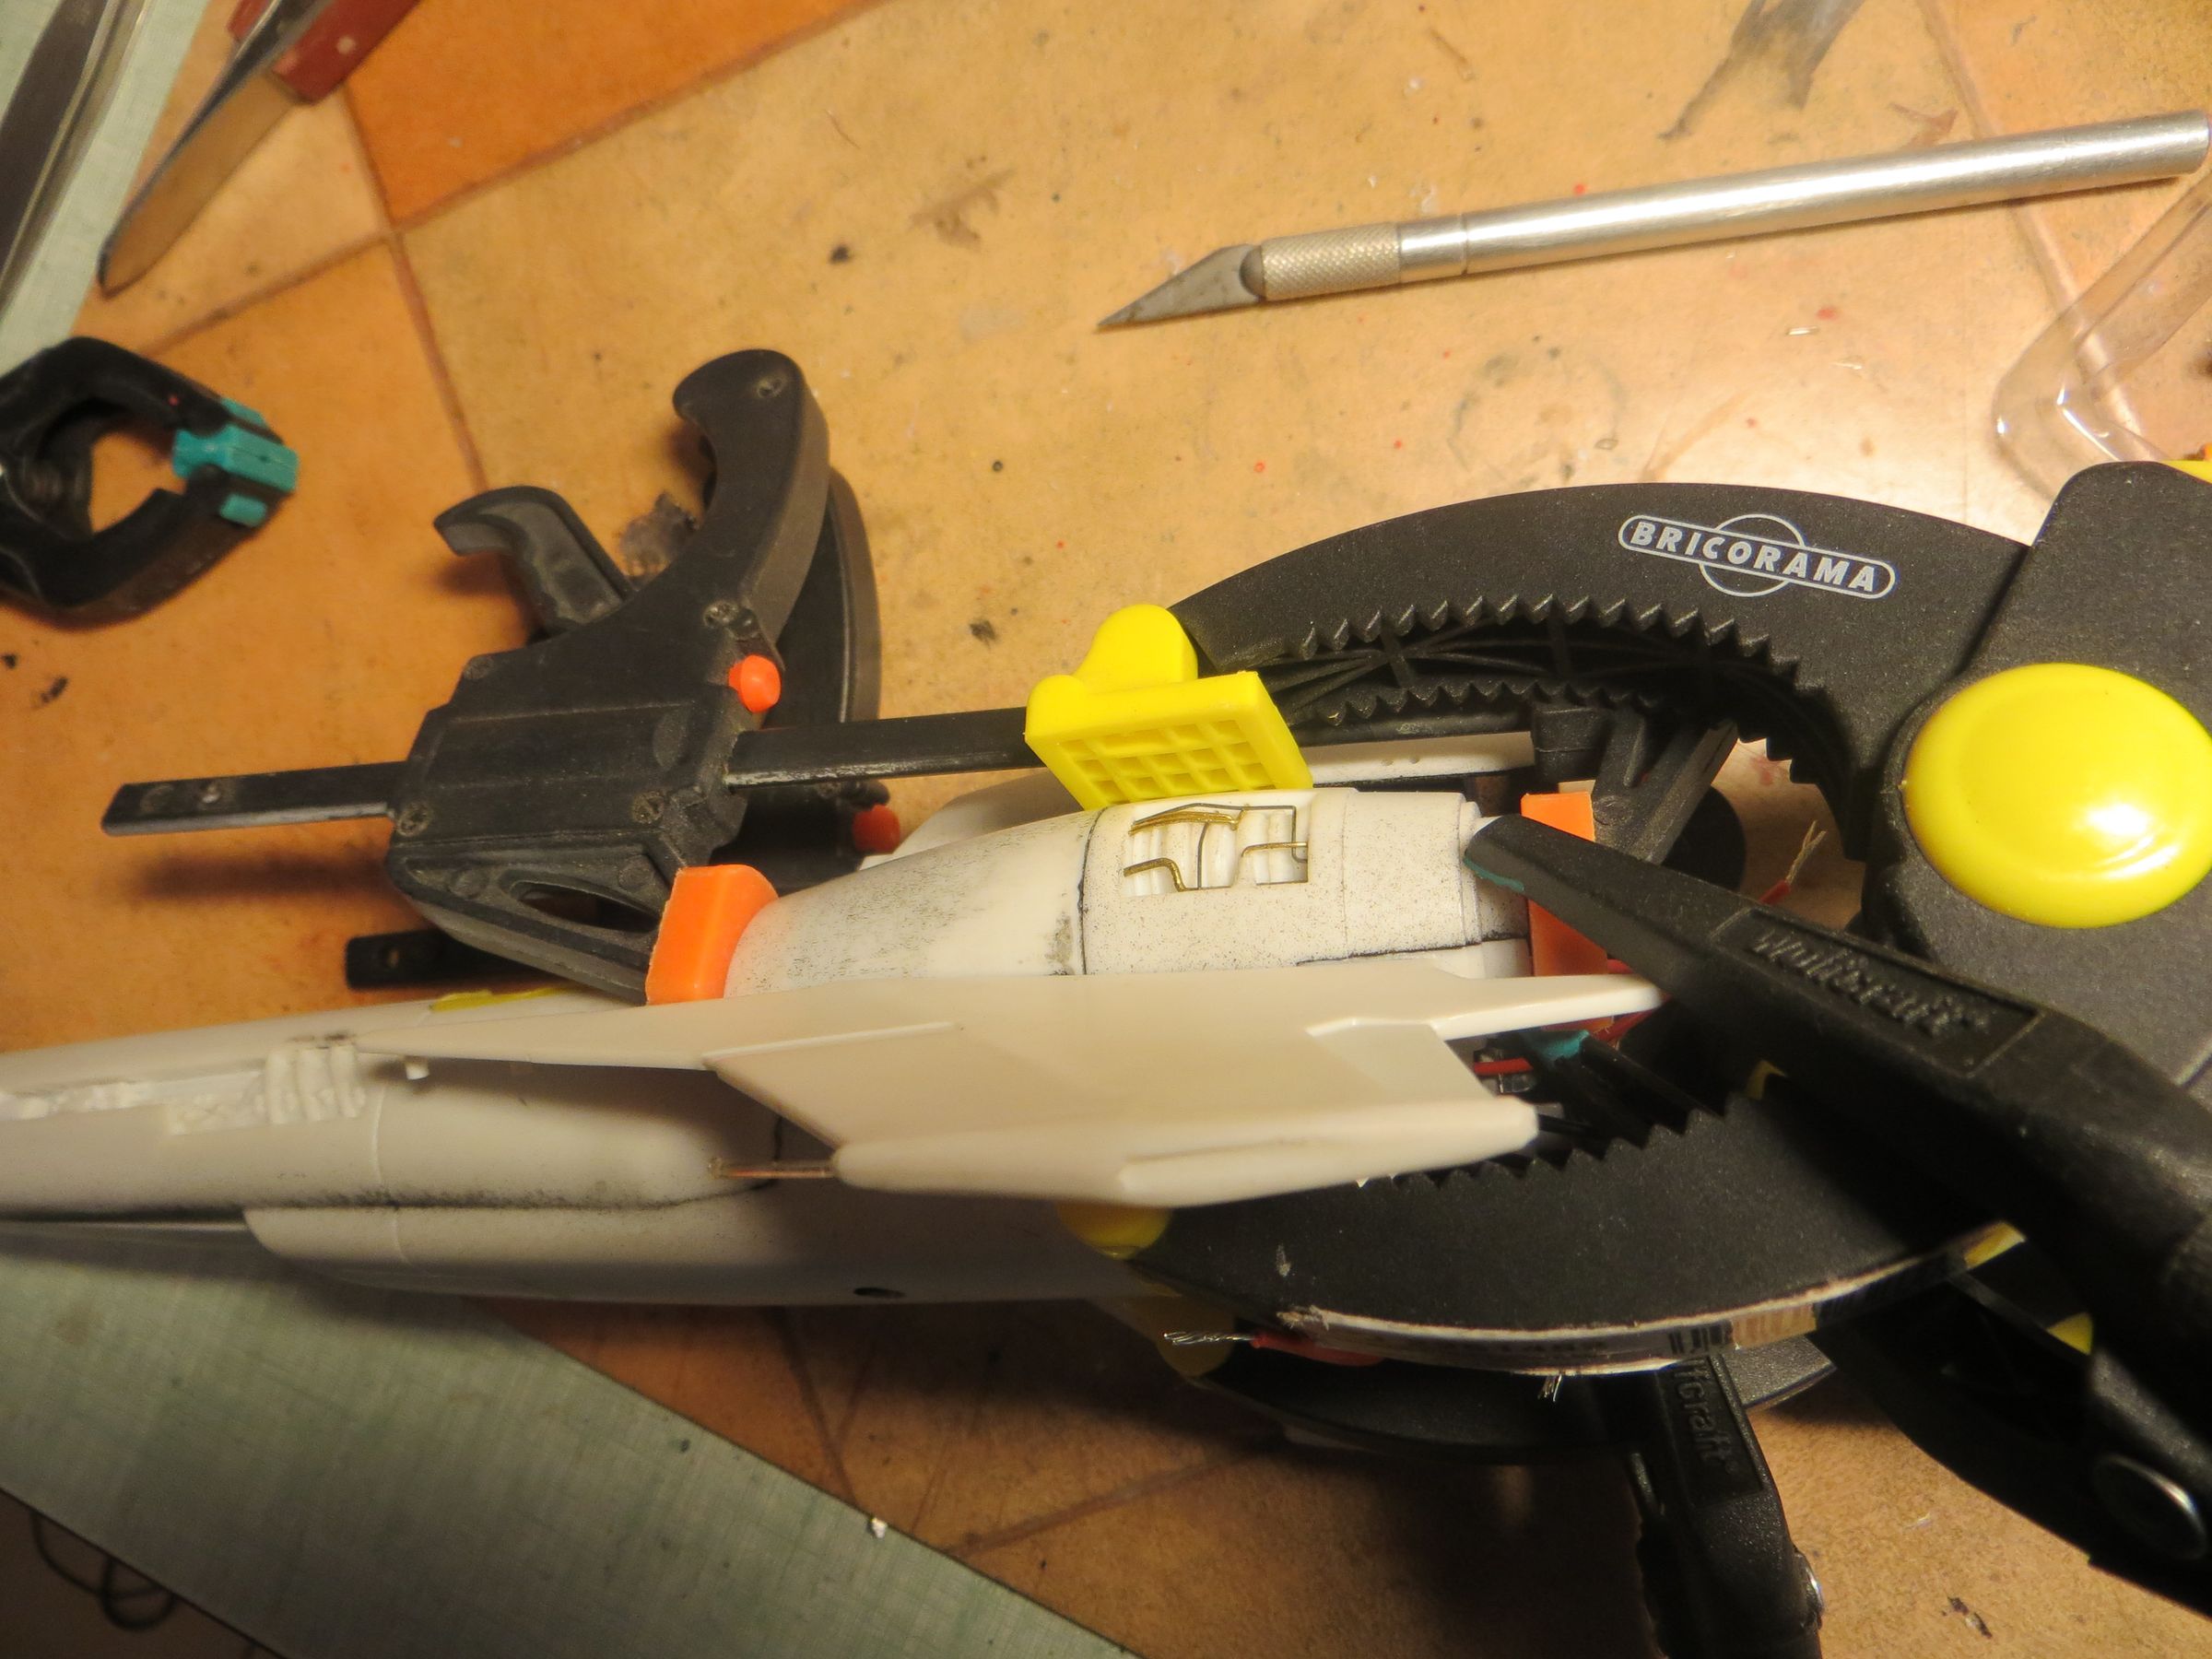
I got a upgrade kit from a friend (thank you Marc) that includes a more detail bottom back panel, and 2 photoetched ejector handles. The resin parts are nice and very well casted, and the photoetched ejector handles are superb. In my opinion, it will be better to switch the two resin pipes to some metal rods so they do not inadvertently break.
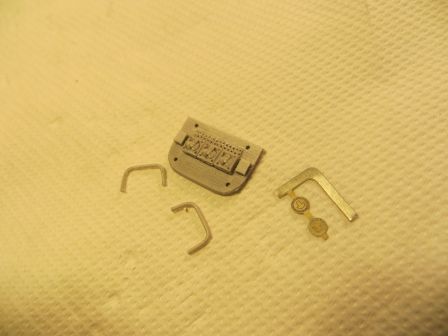
The ejection photoetched handles are quickly installed. they are bent a little to allow a tight fit on the curve of the cabin.
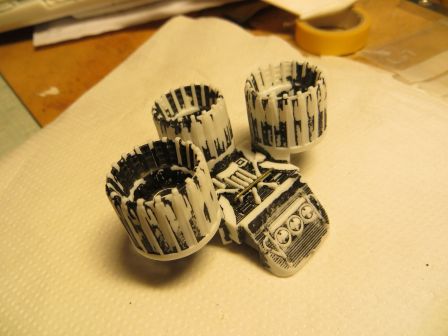
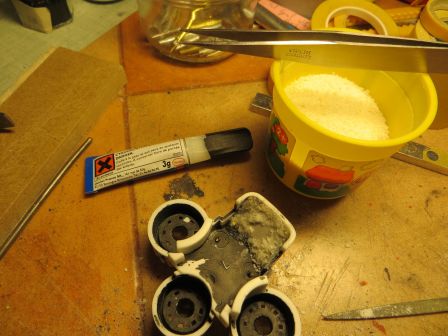
I thought I would not use the resin plate on this assembly, as I feared it breaks with the handling of the nozzles parts (which will remain removable). But after starting masking the nozzles, the black paint started to come off (it seems I forget to wash this part, and some releasing agent is still there)
So as I have the strip the paint, an idea came to me to install the detailed resin part white the rigidity of the nozzles part.
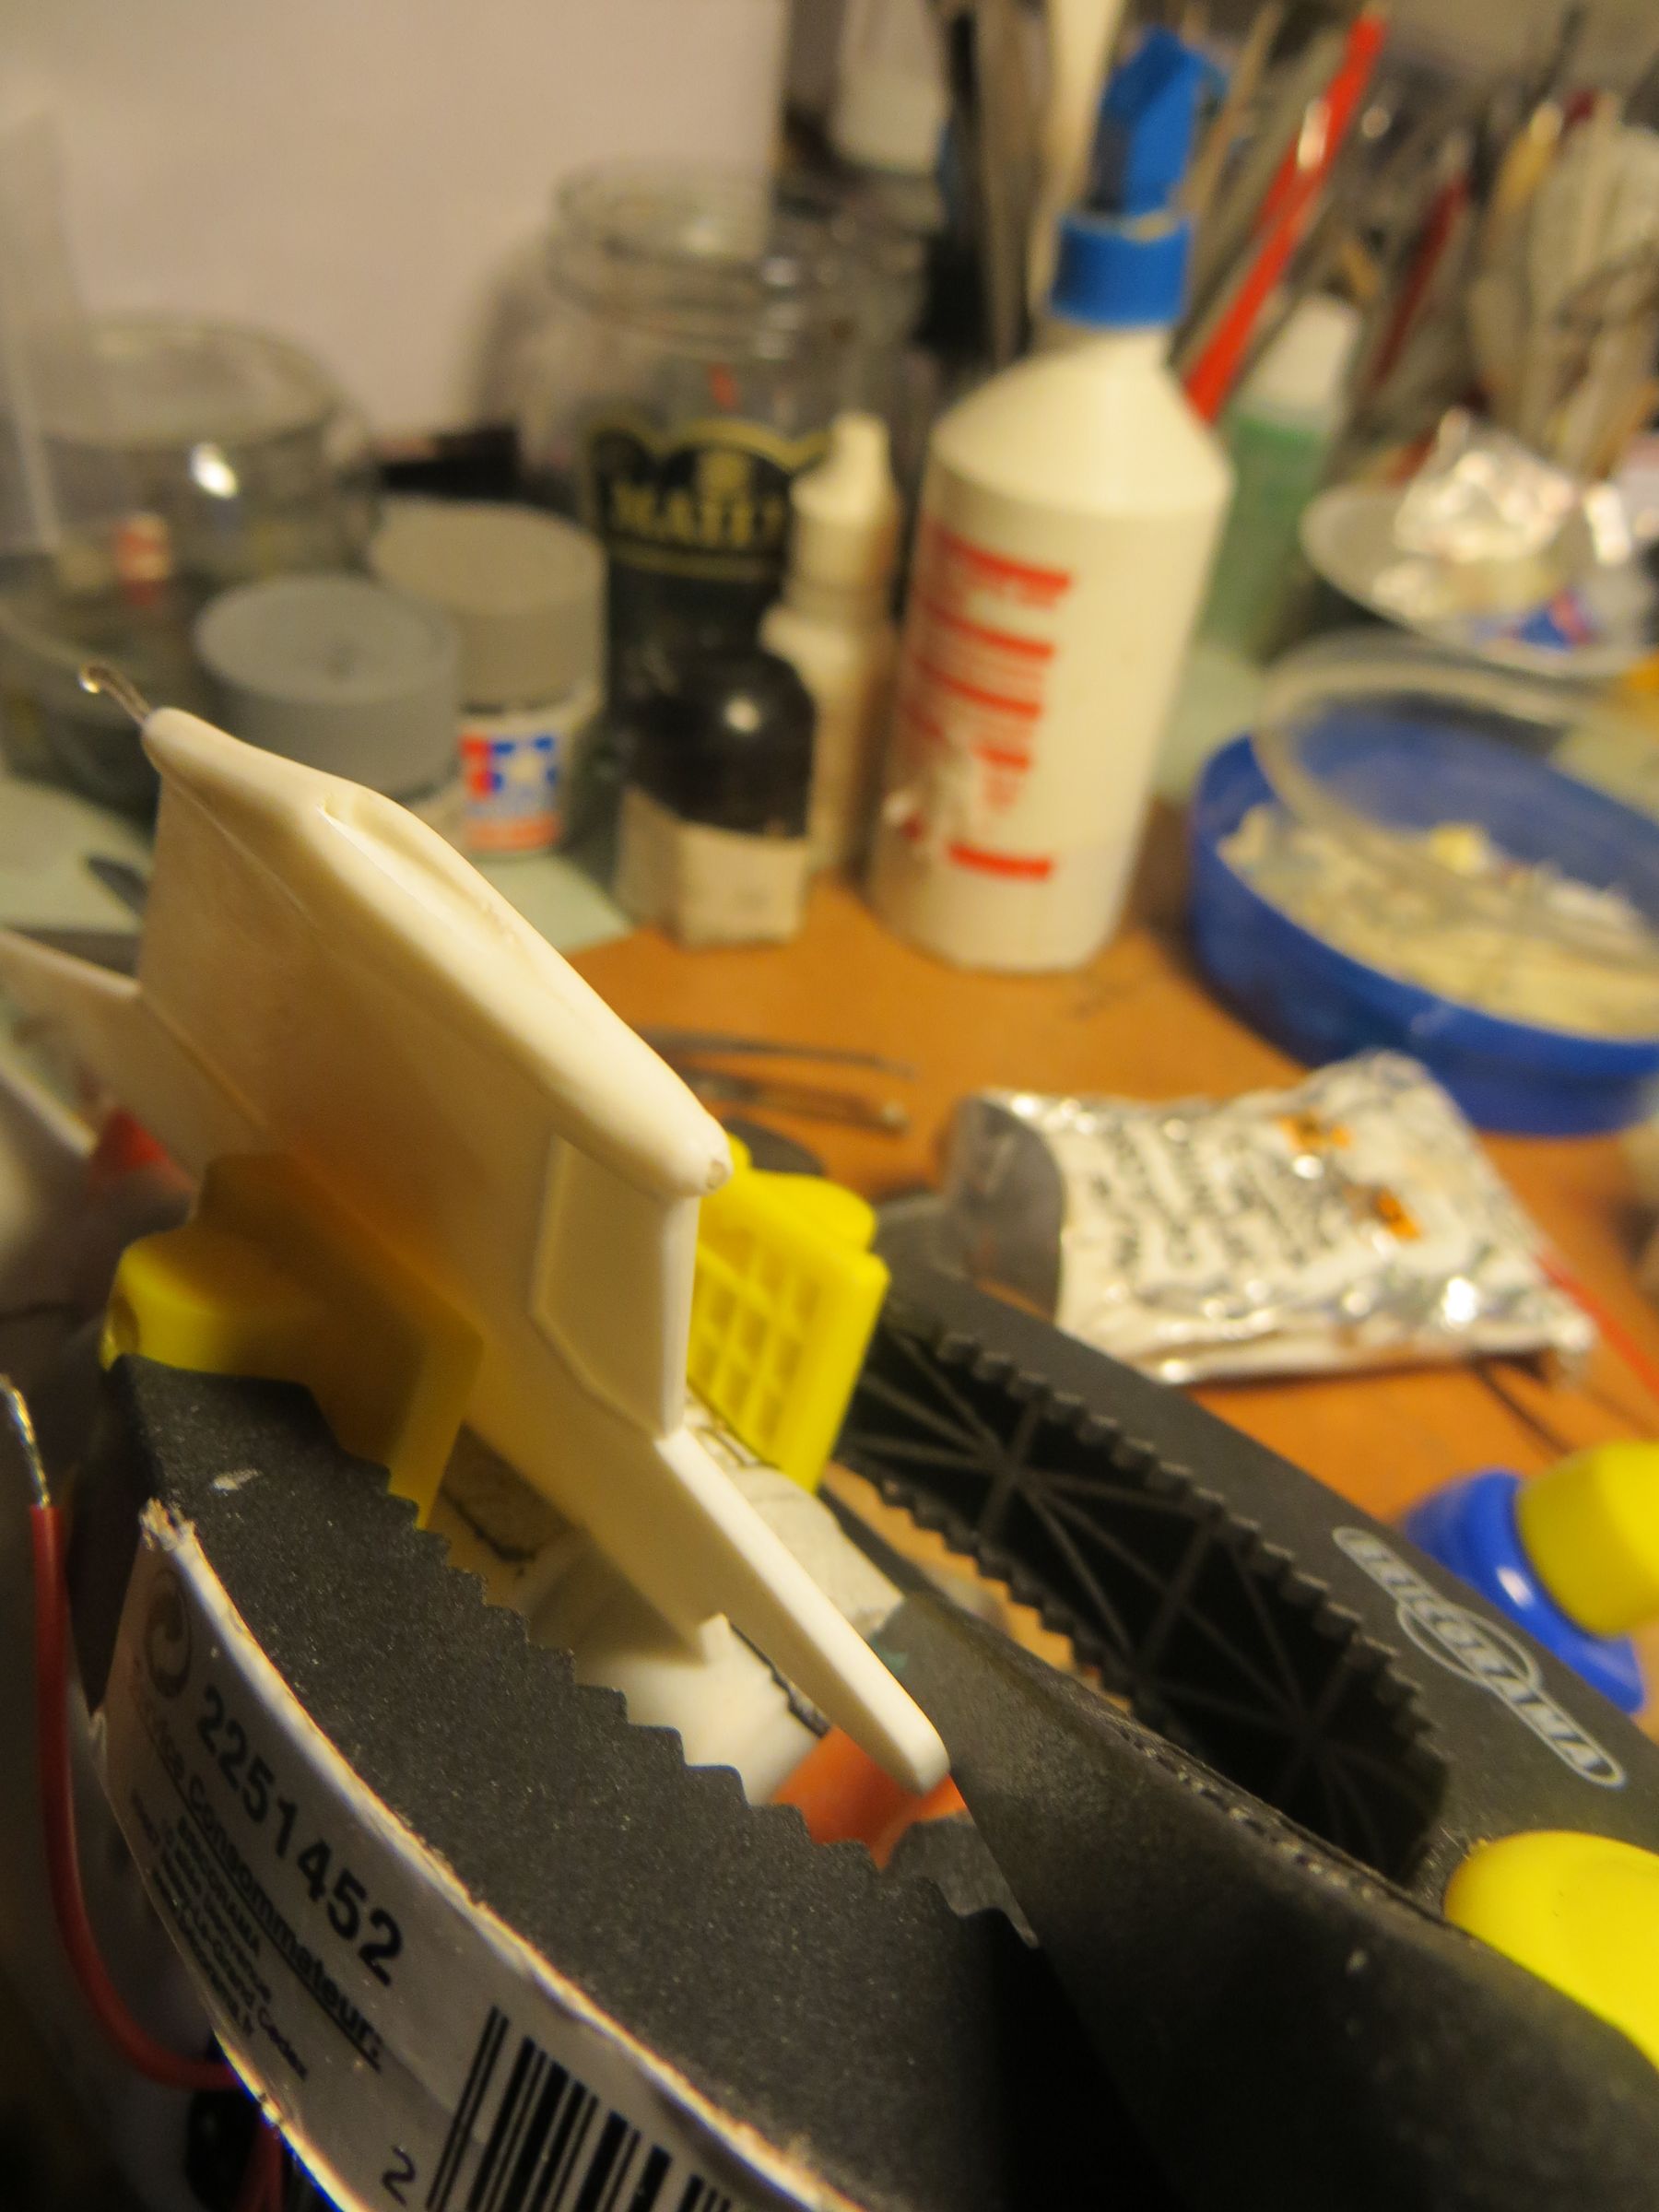
The paint stripped off.
The original part is hollowed.
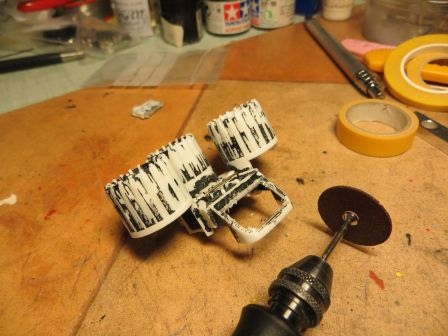
Then sanded along the edges to reduce the thickness. To avoid to too much sand the frame, I also sanded the back of the resin part along the sides.
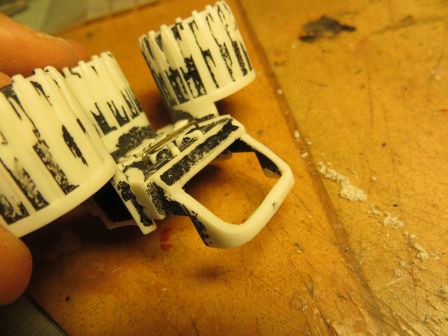
The part is a little too long, so I had to sand about 1 mm at the top and bottom, taking care that the holes for the pipes are still usable.
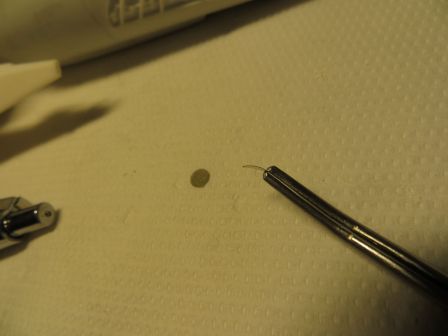
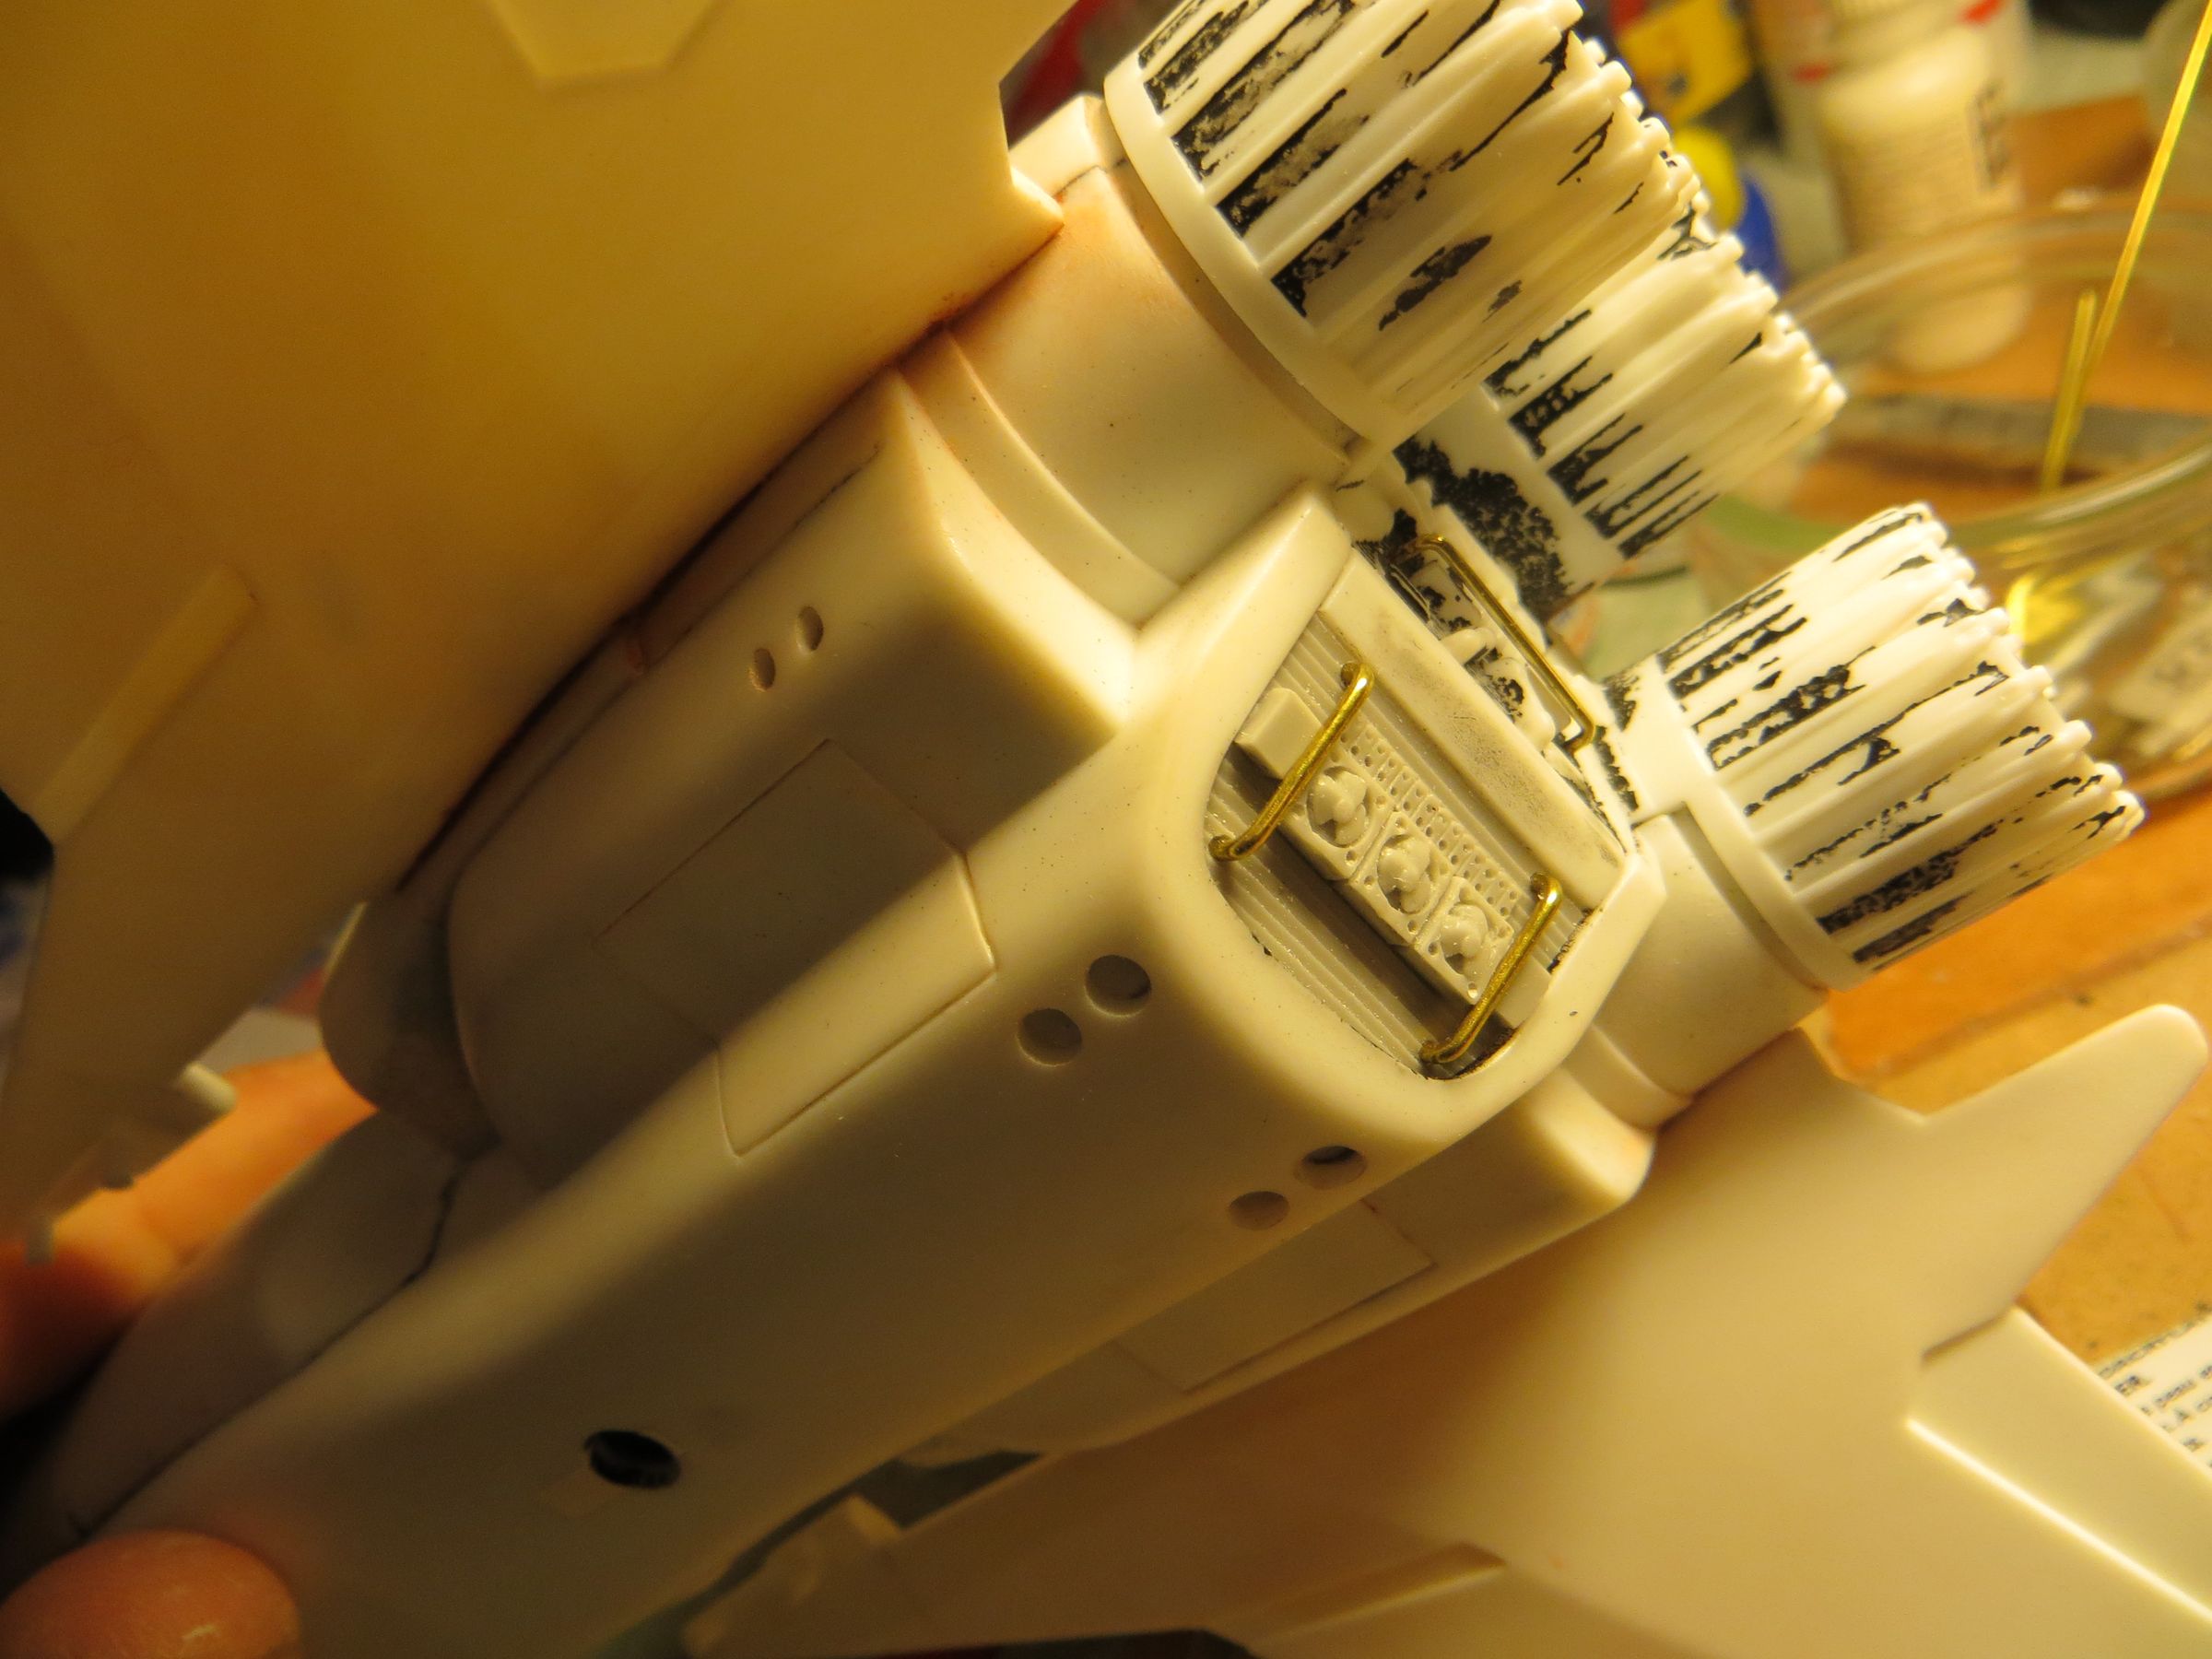
And with metal rods
The bonding is reinforced from behind with a heavy dose of cyano charged with resin dust. This makes a big block, ugly but super tough. And like that requires a good dose of cyano, ca heater for a few seconds during the taking!
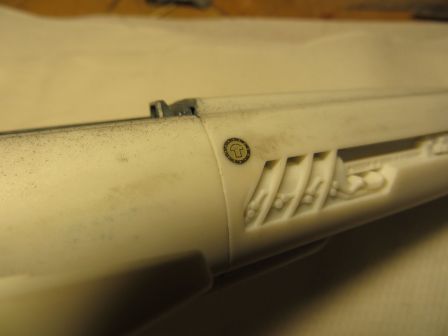
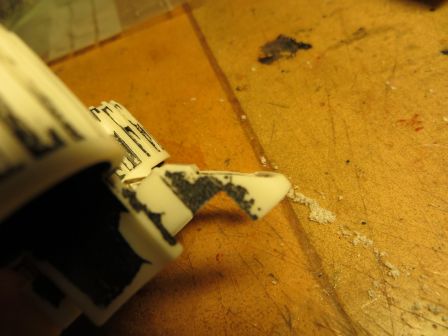
This is installed. The operation took just over one hour (without paint stripping).
Par olcabour le jeudi, 16 janvier 2014, 23:45
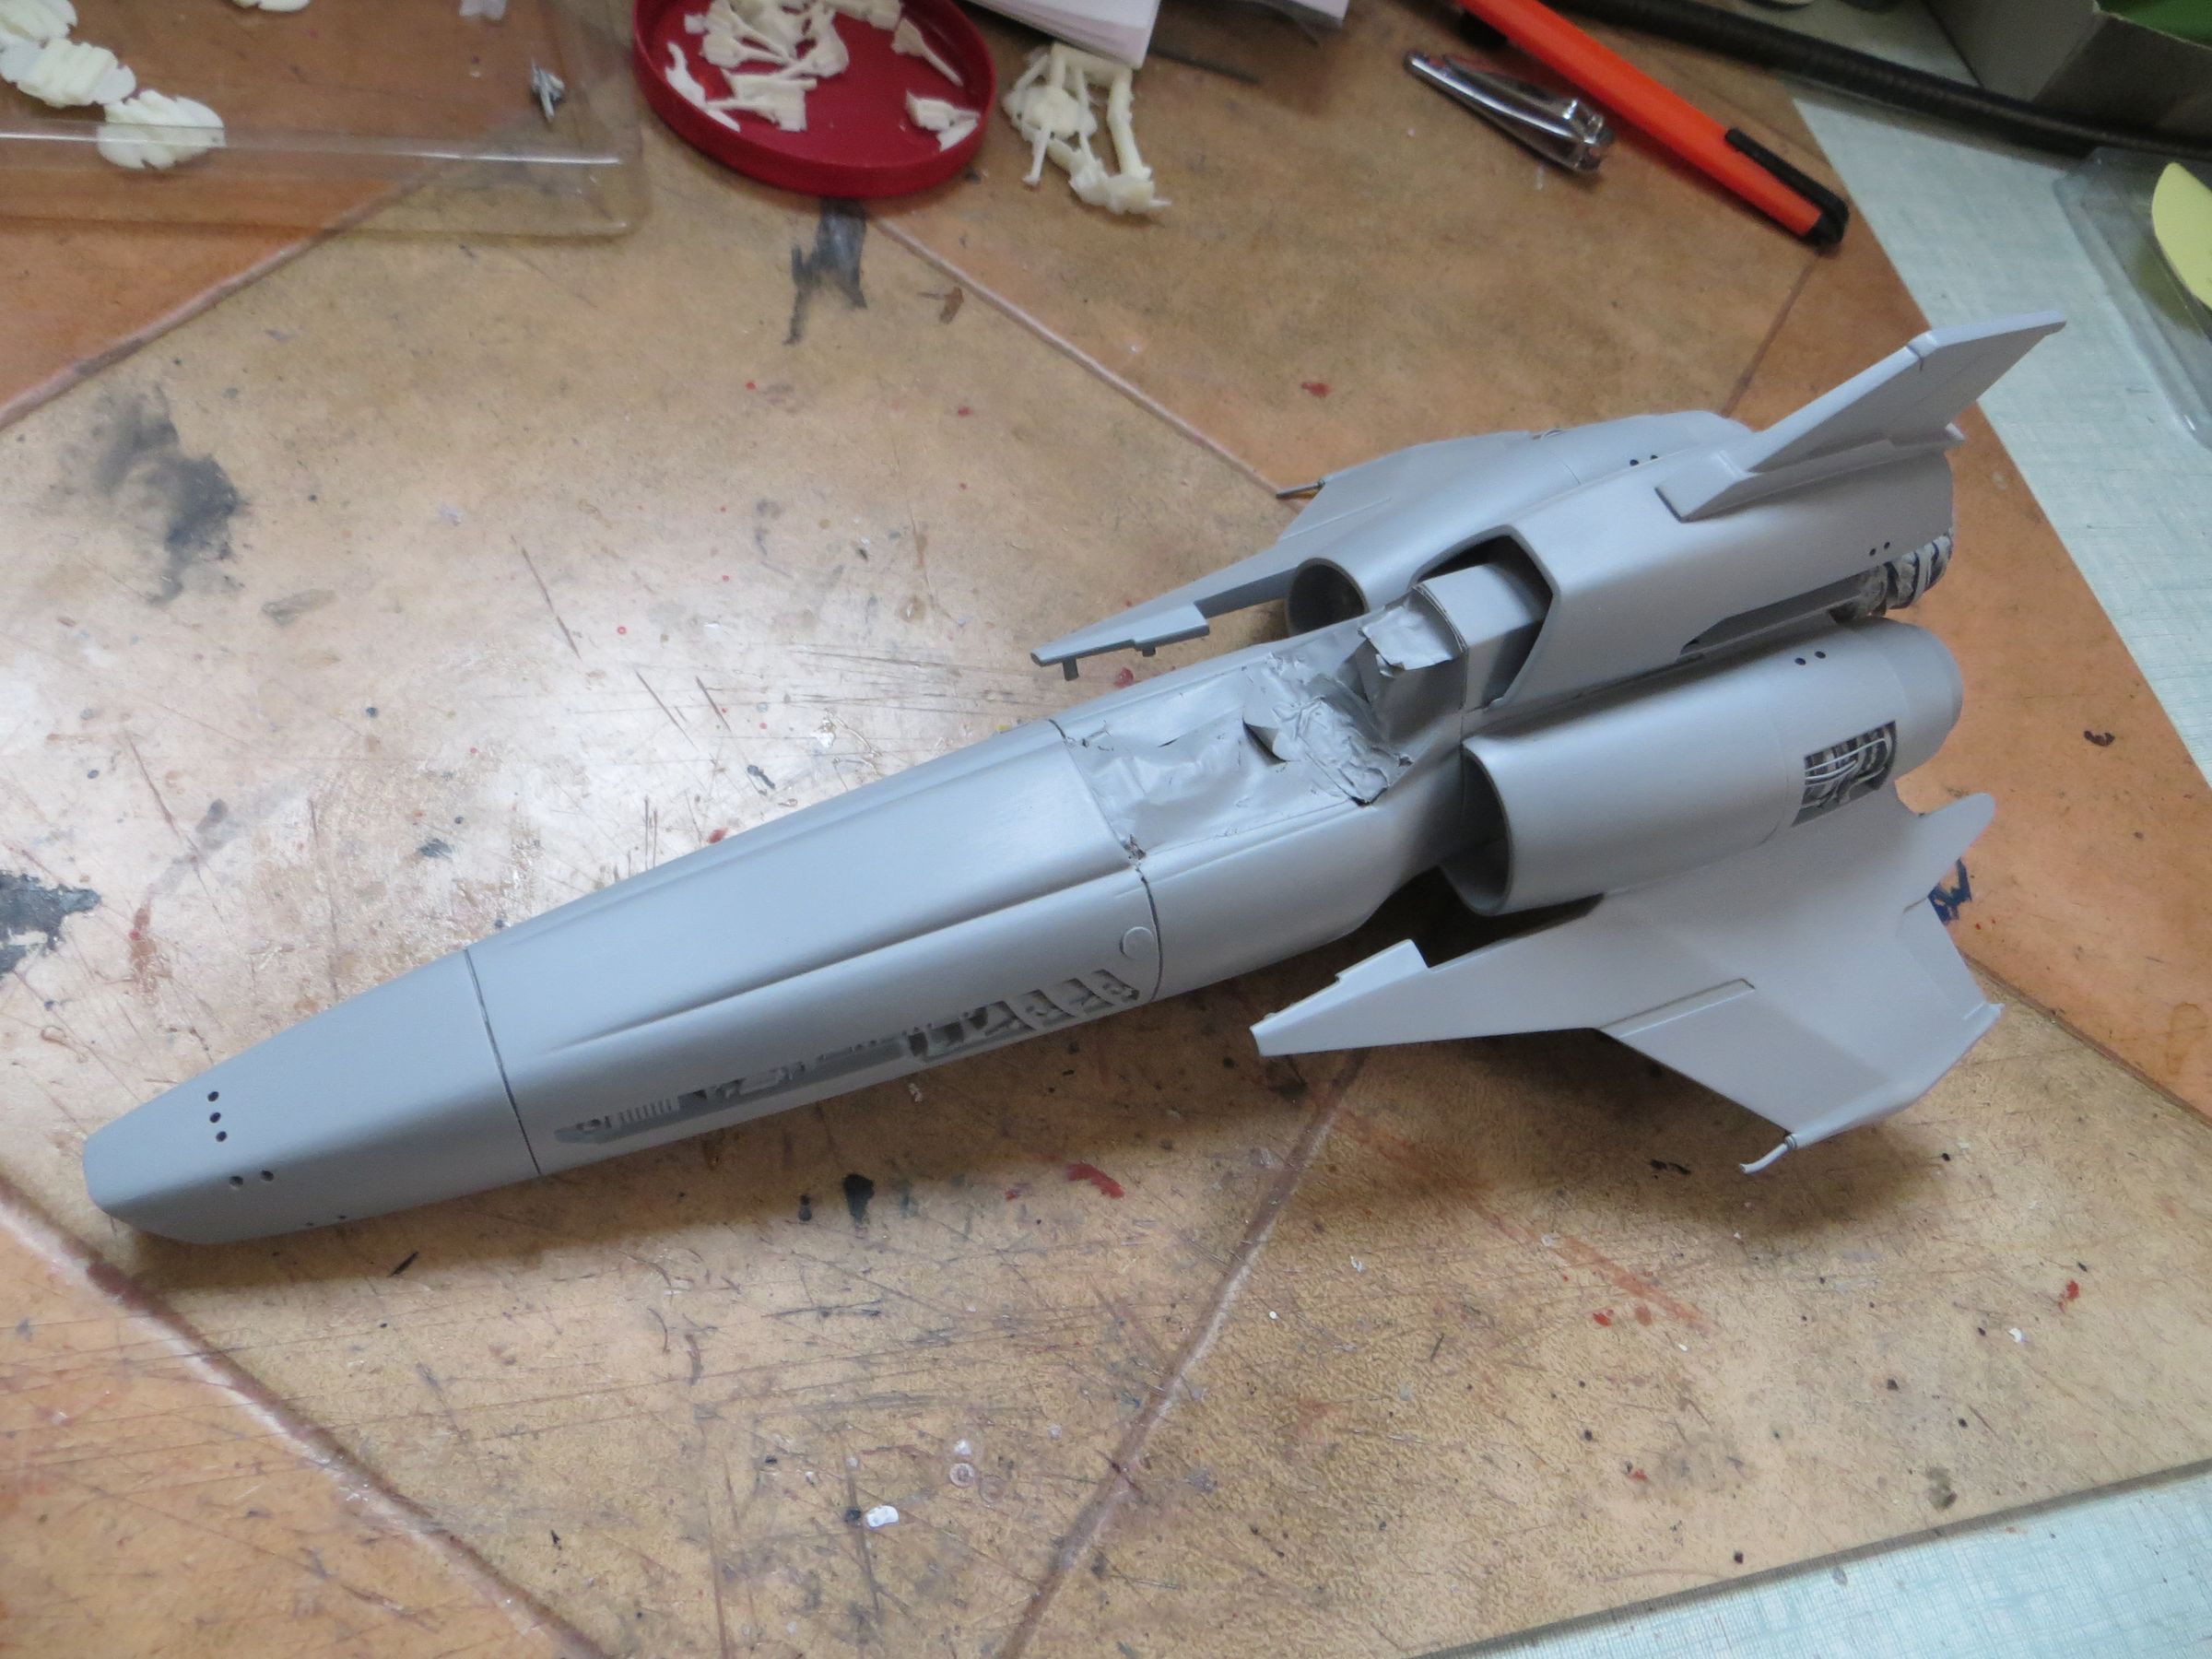
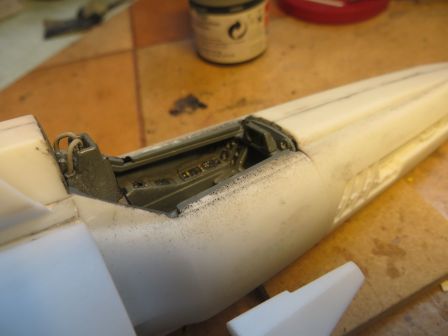
Some final details of construction are worked :
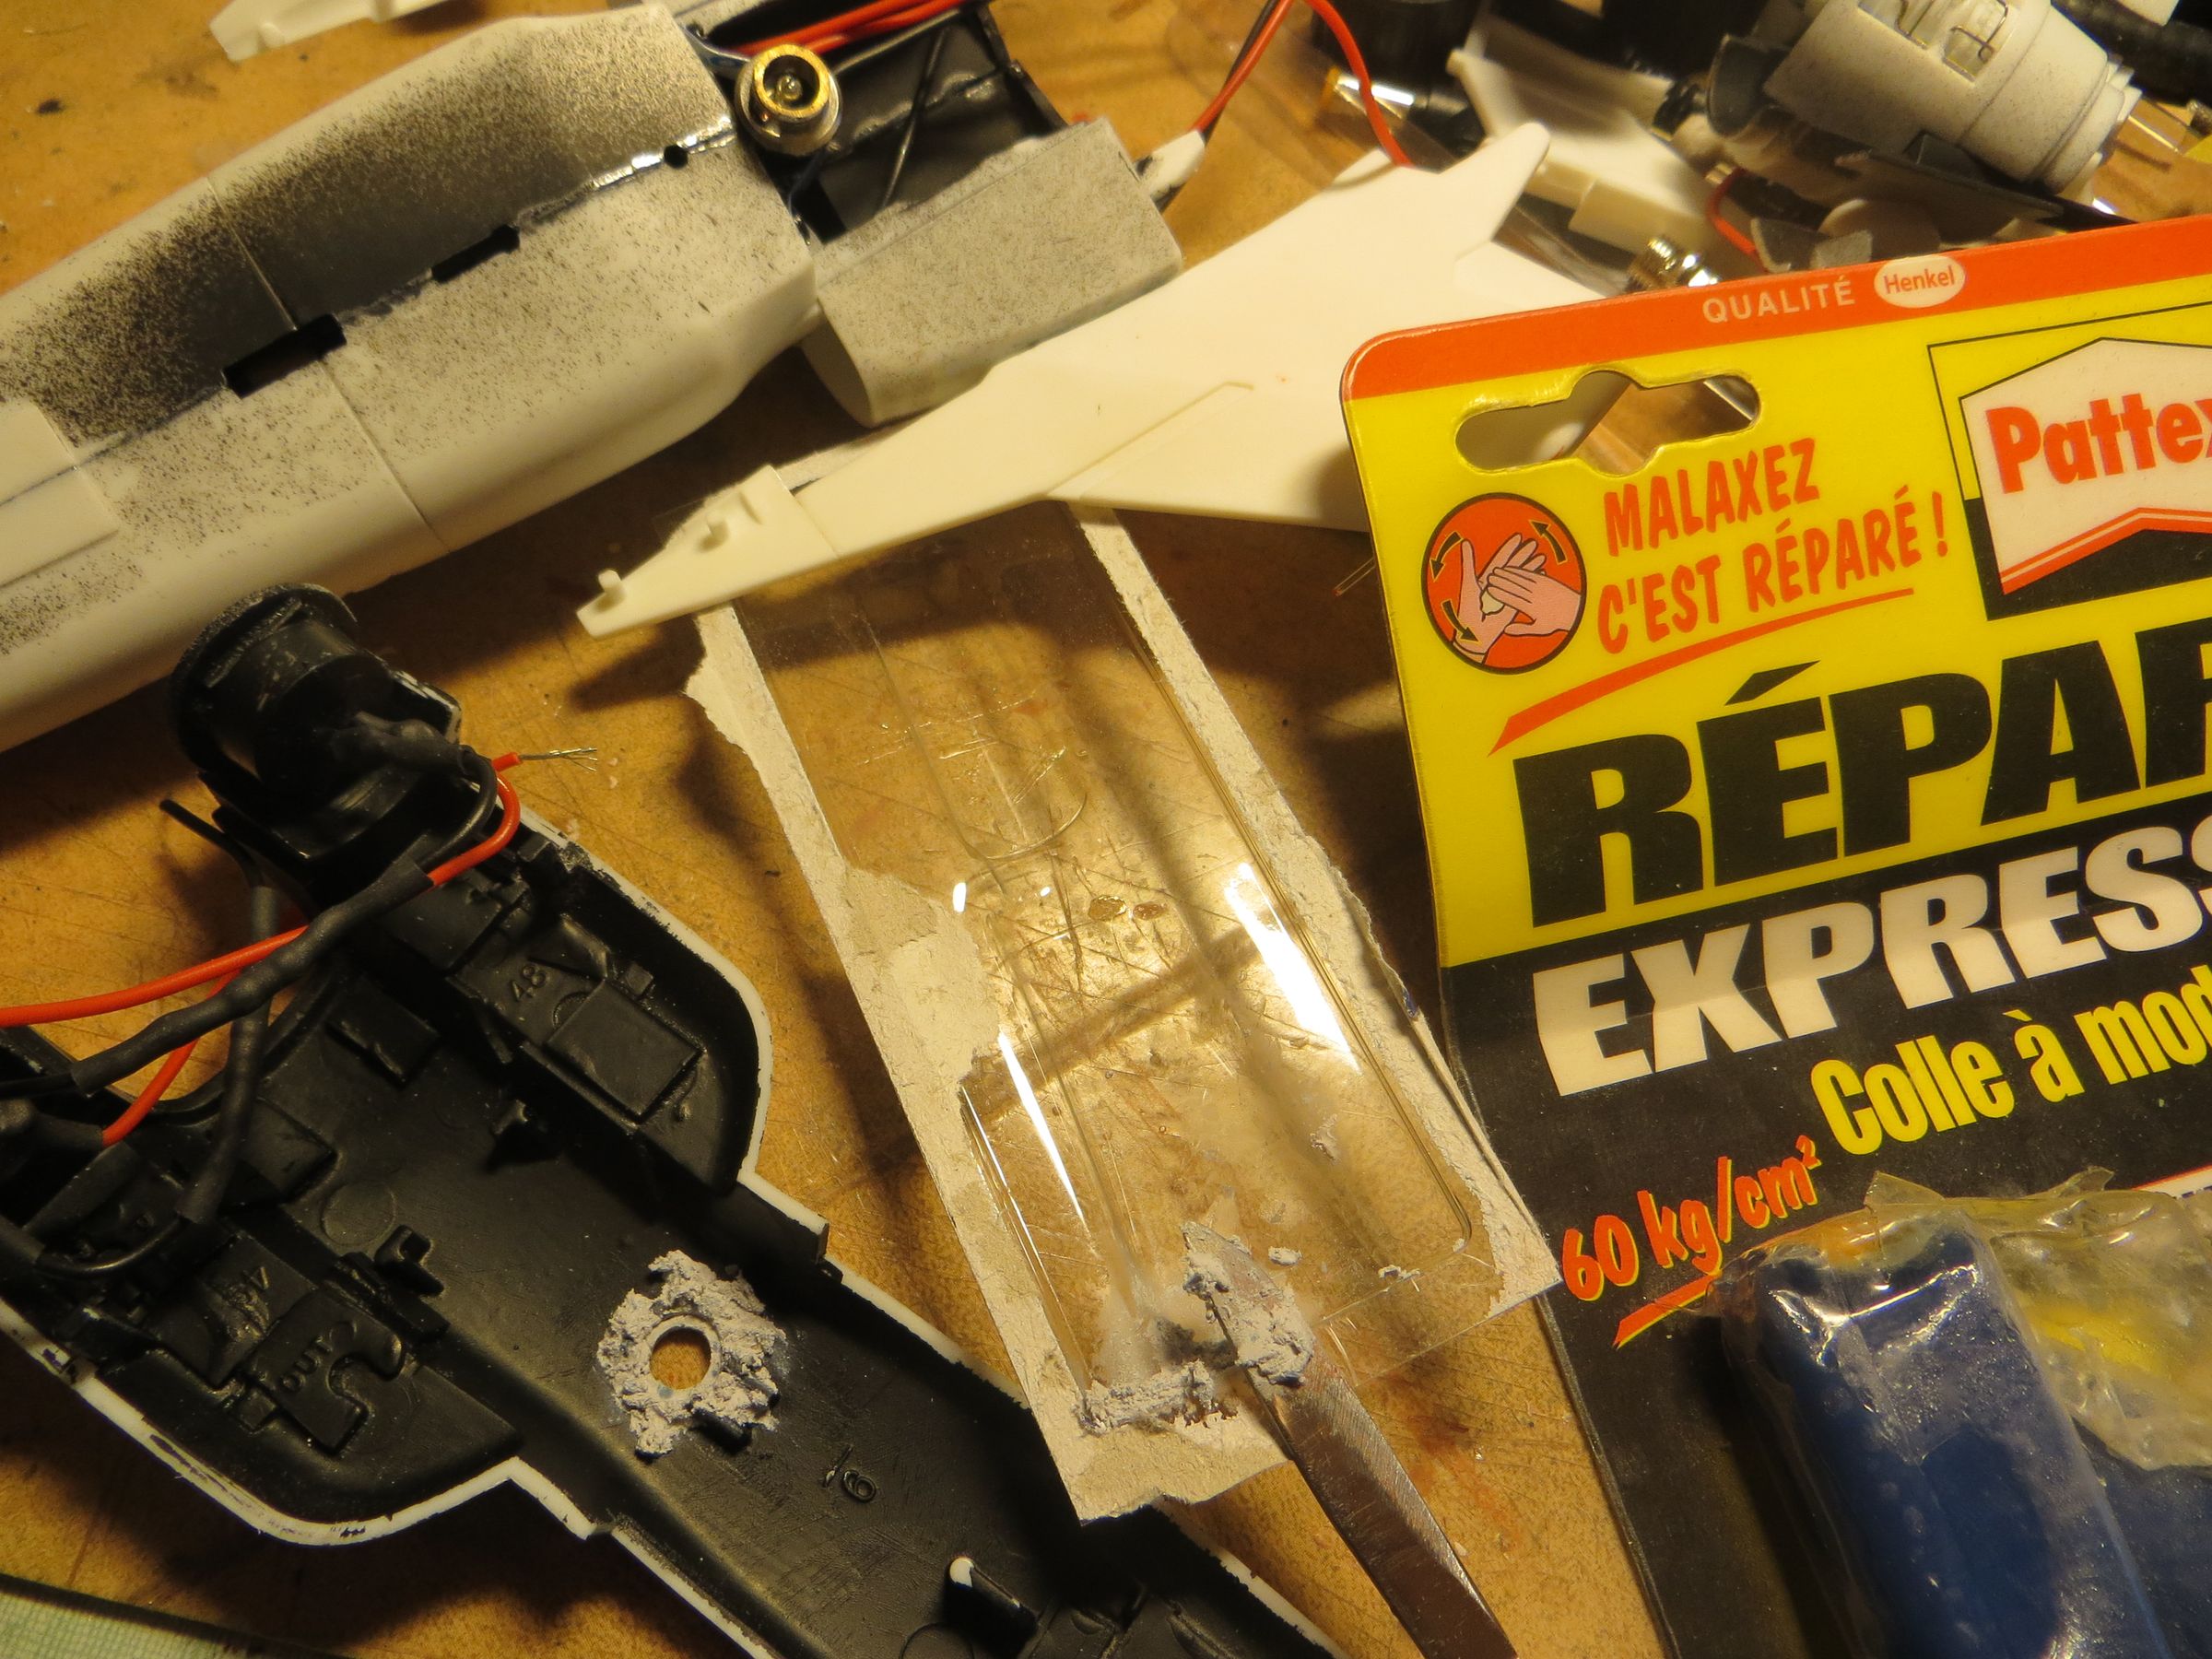
It is filled again to two-component modeling glue, and after with thinner putty to fill the last defects.
before
after

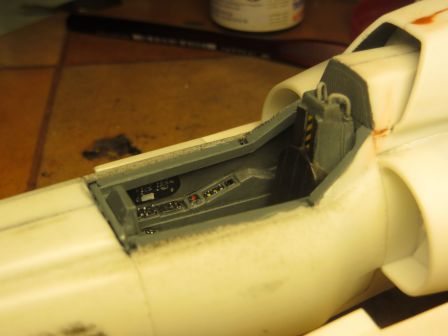
Returning to the cockpit for:
before

after
Par olcabour le jeudi, 16 janvier 2014, 23:40
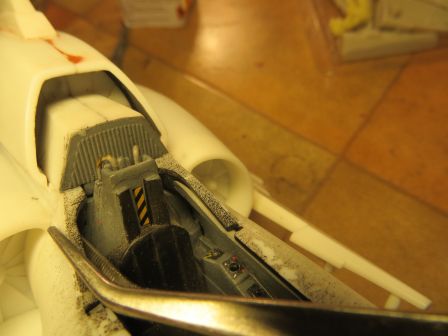
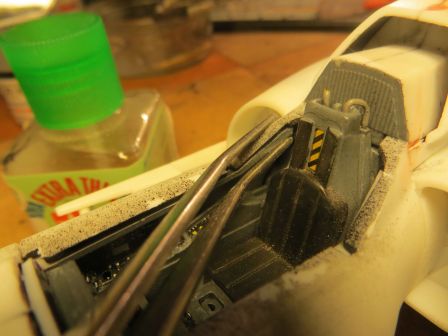
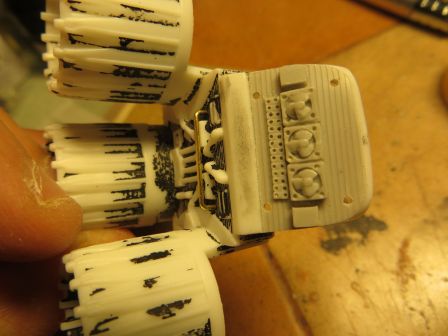
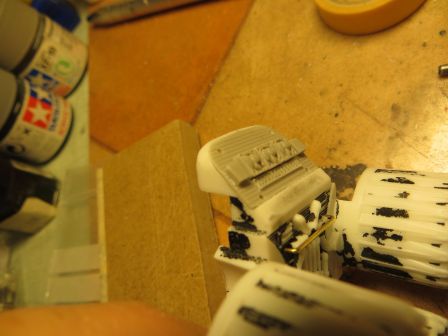
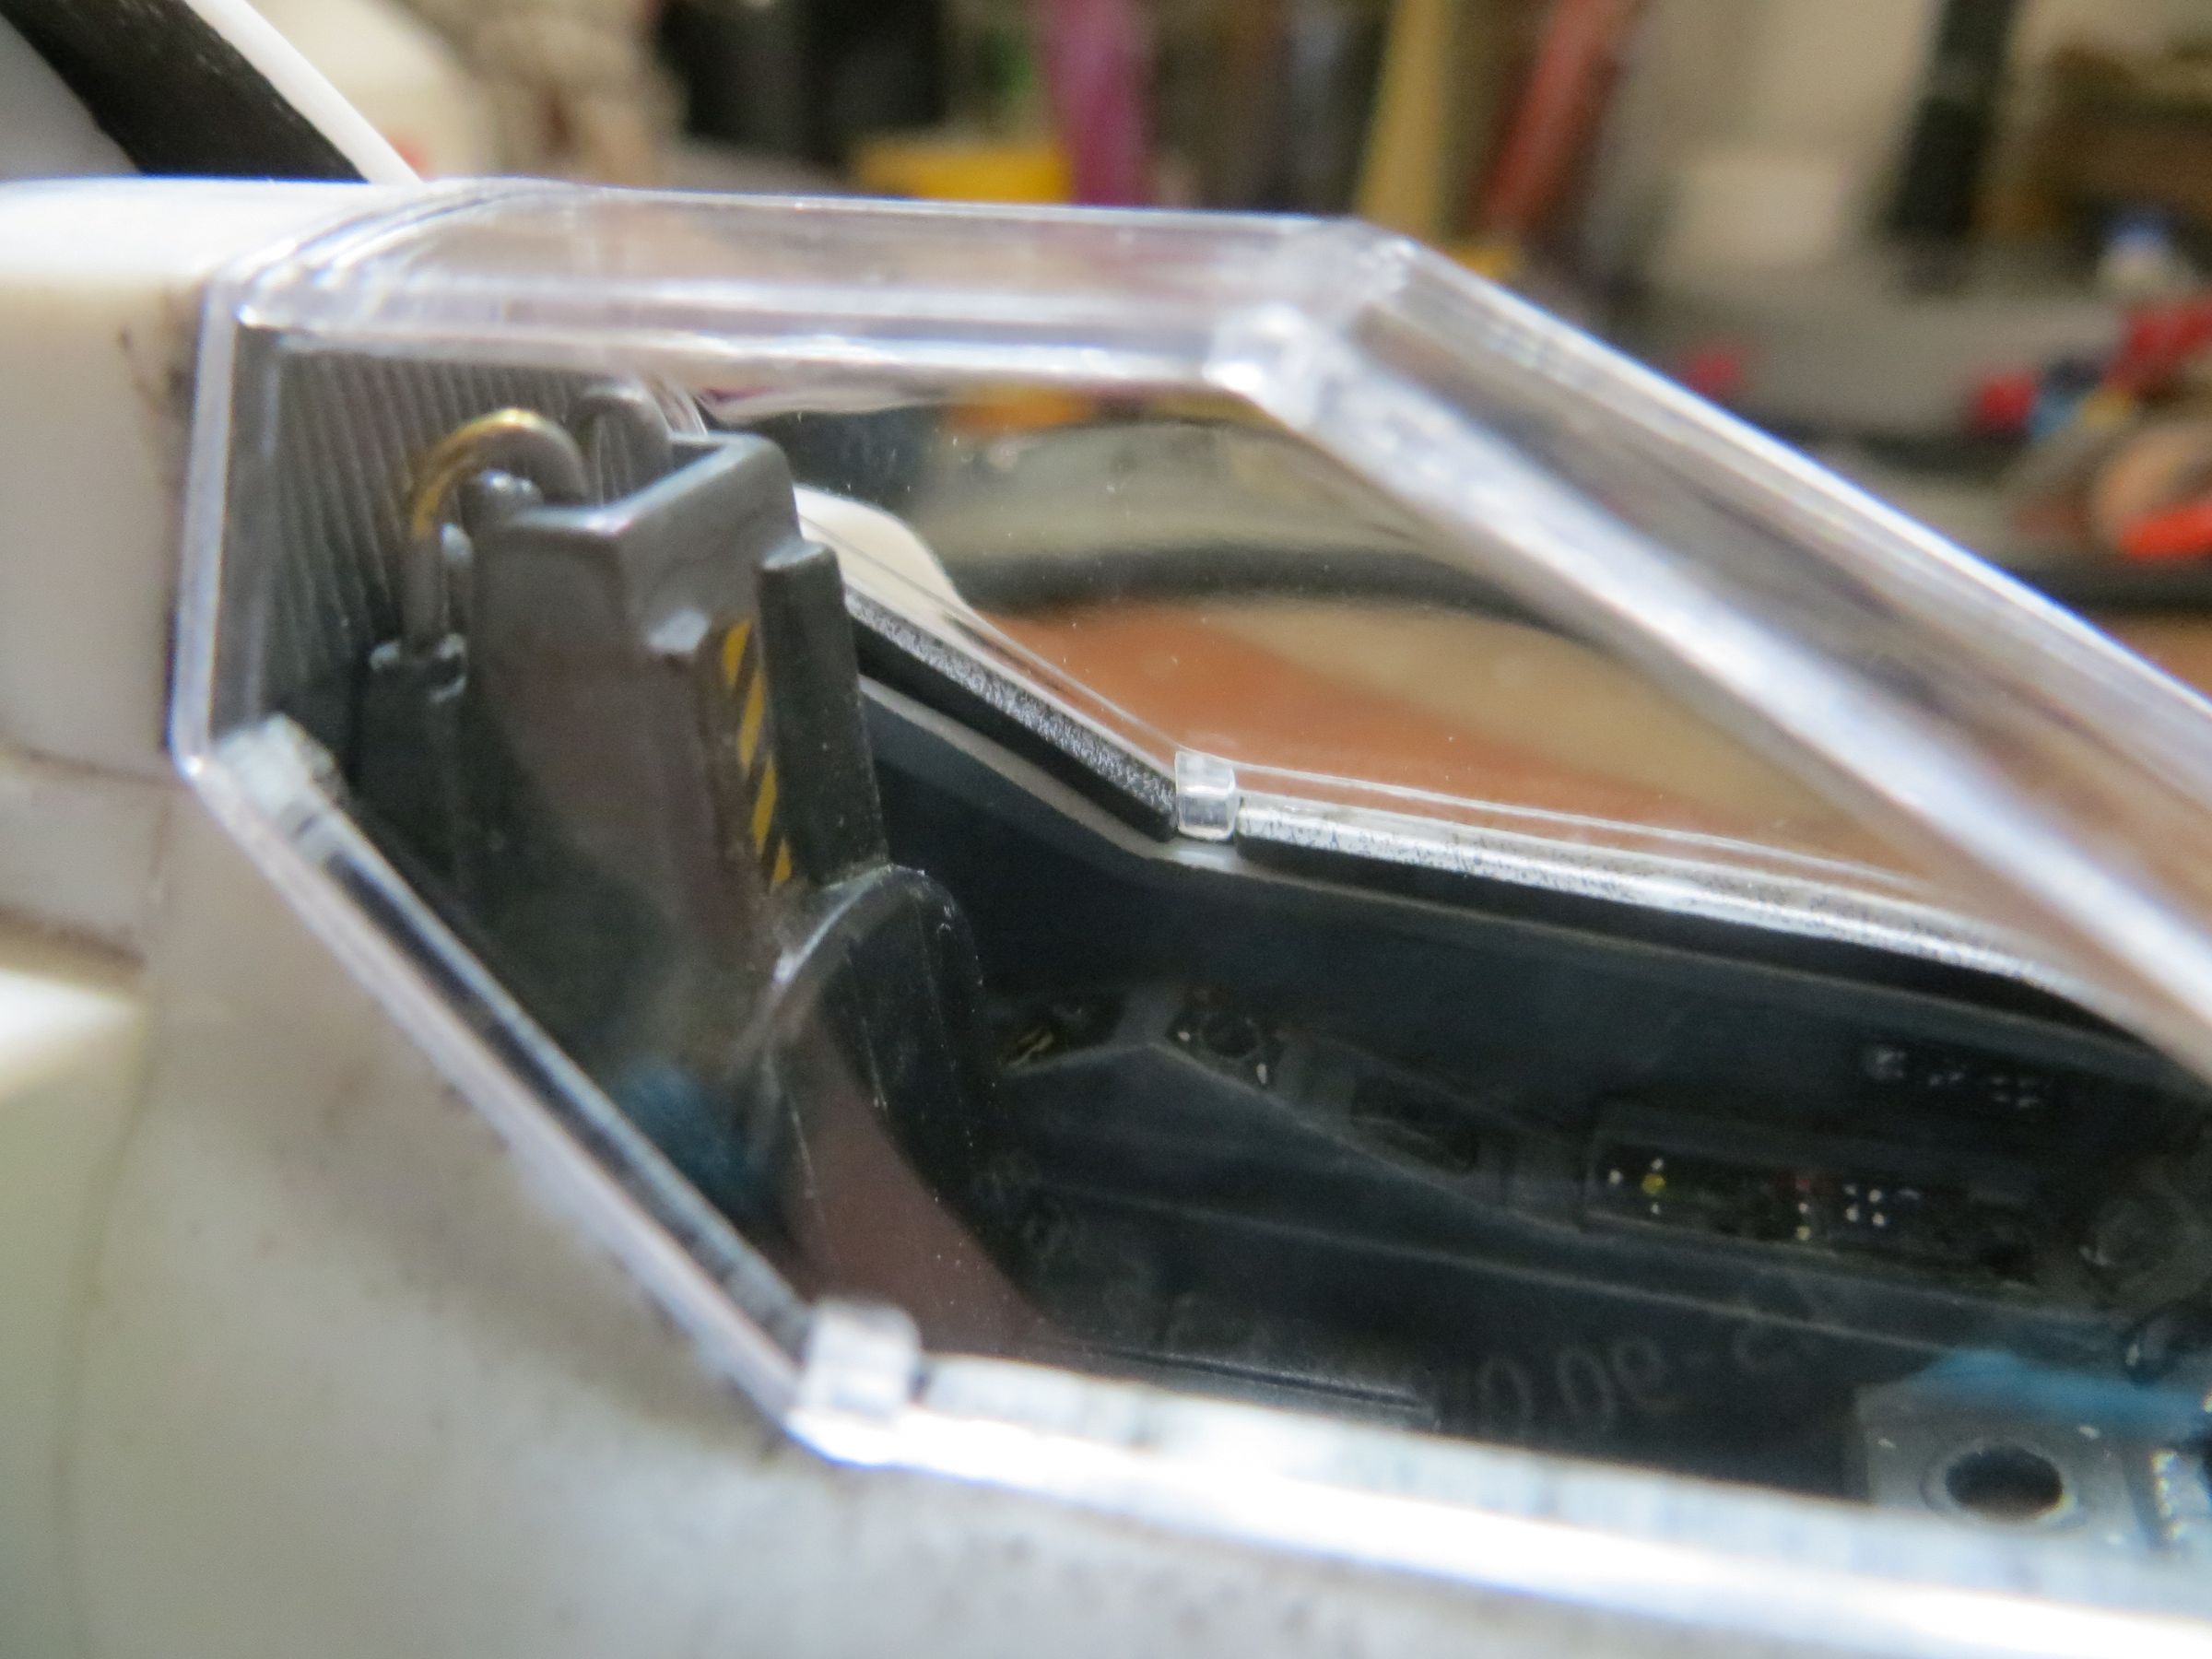
The technical parts of the upper reactor are painted black (citadel spray can), then it is installed in the slot without gluing.

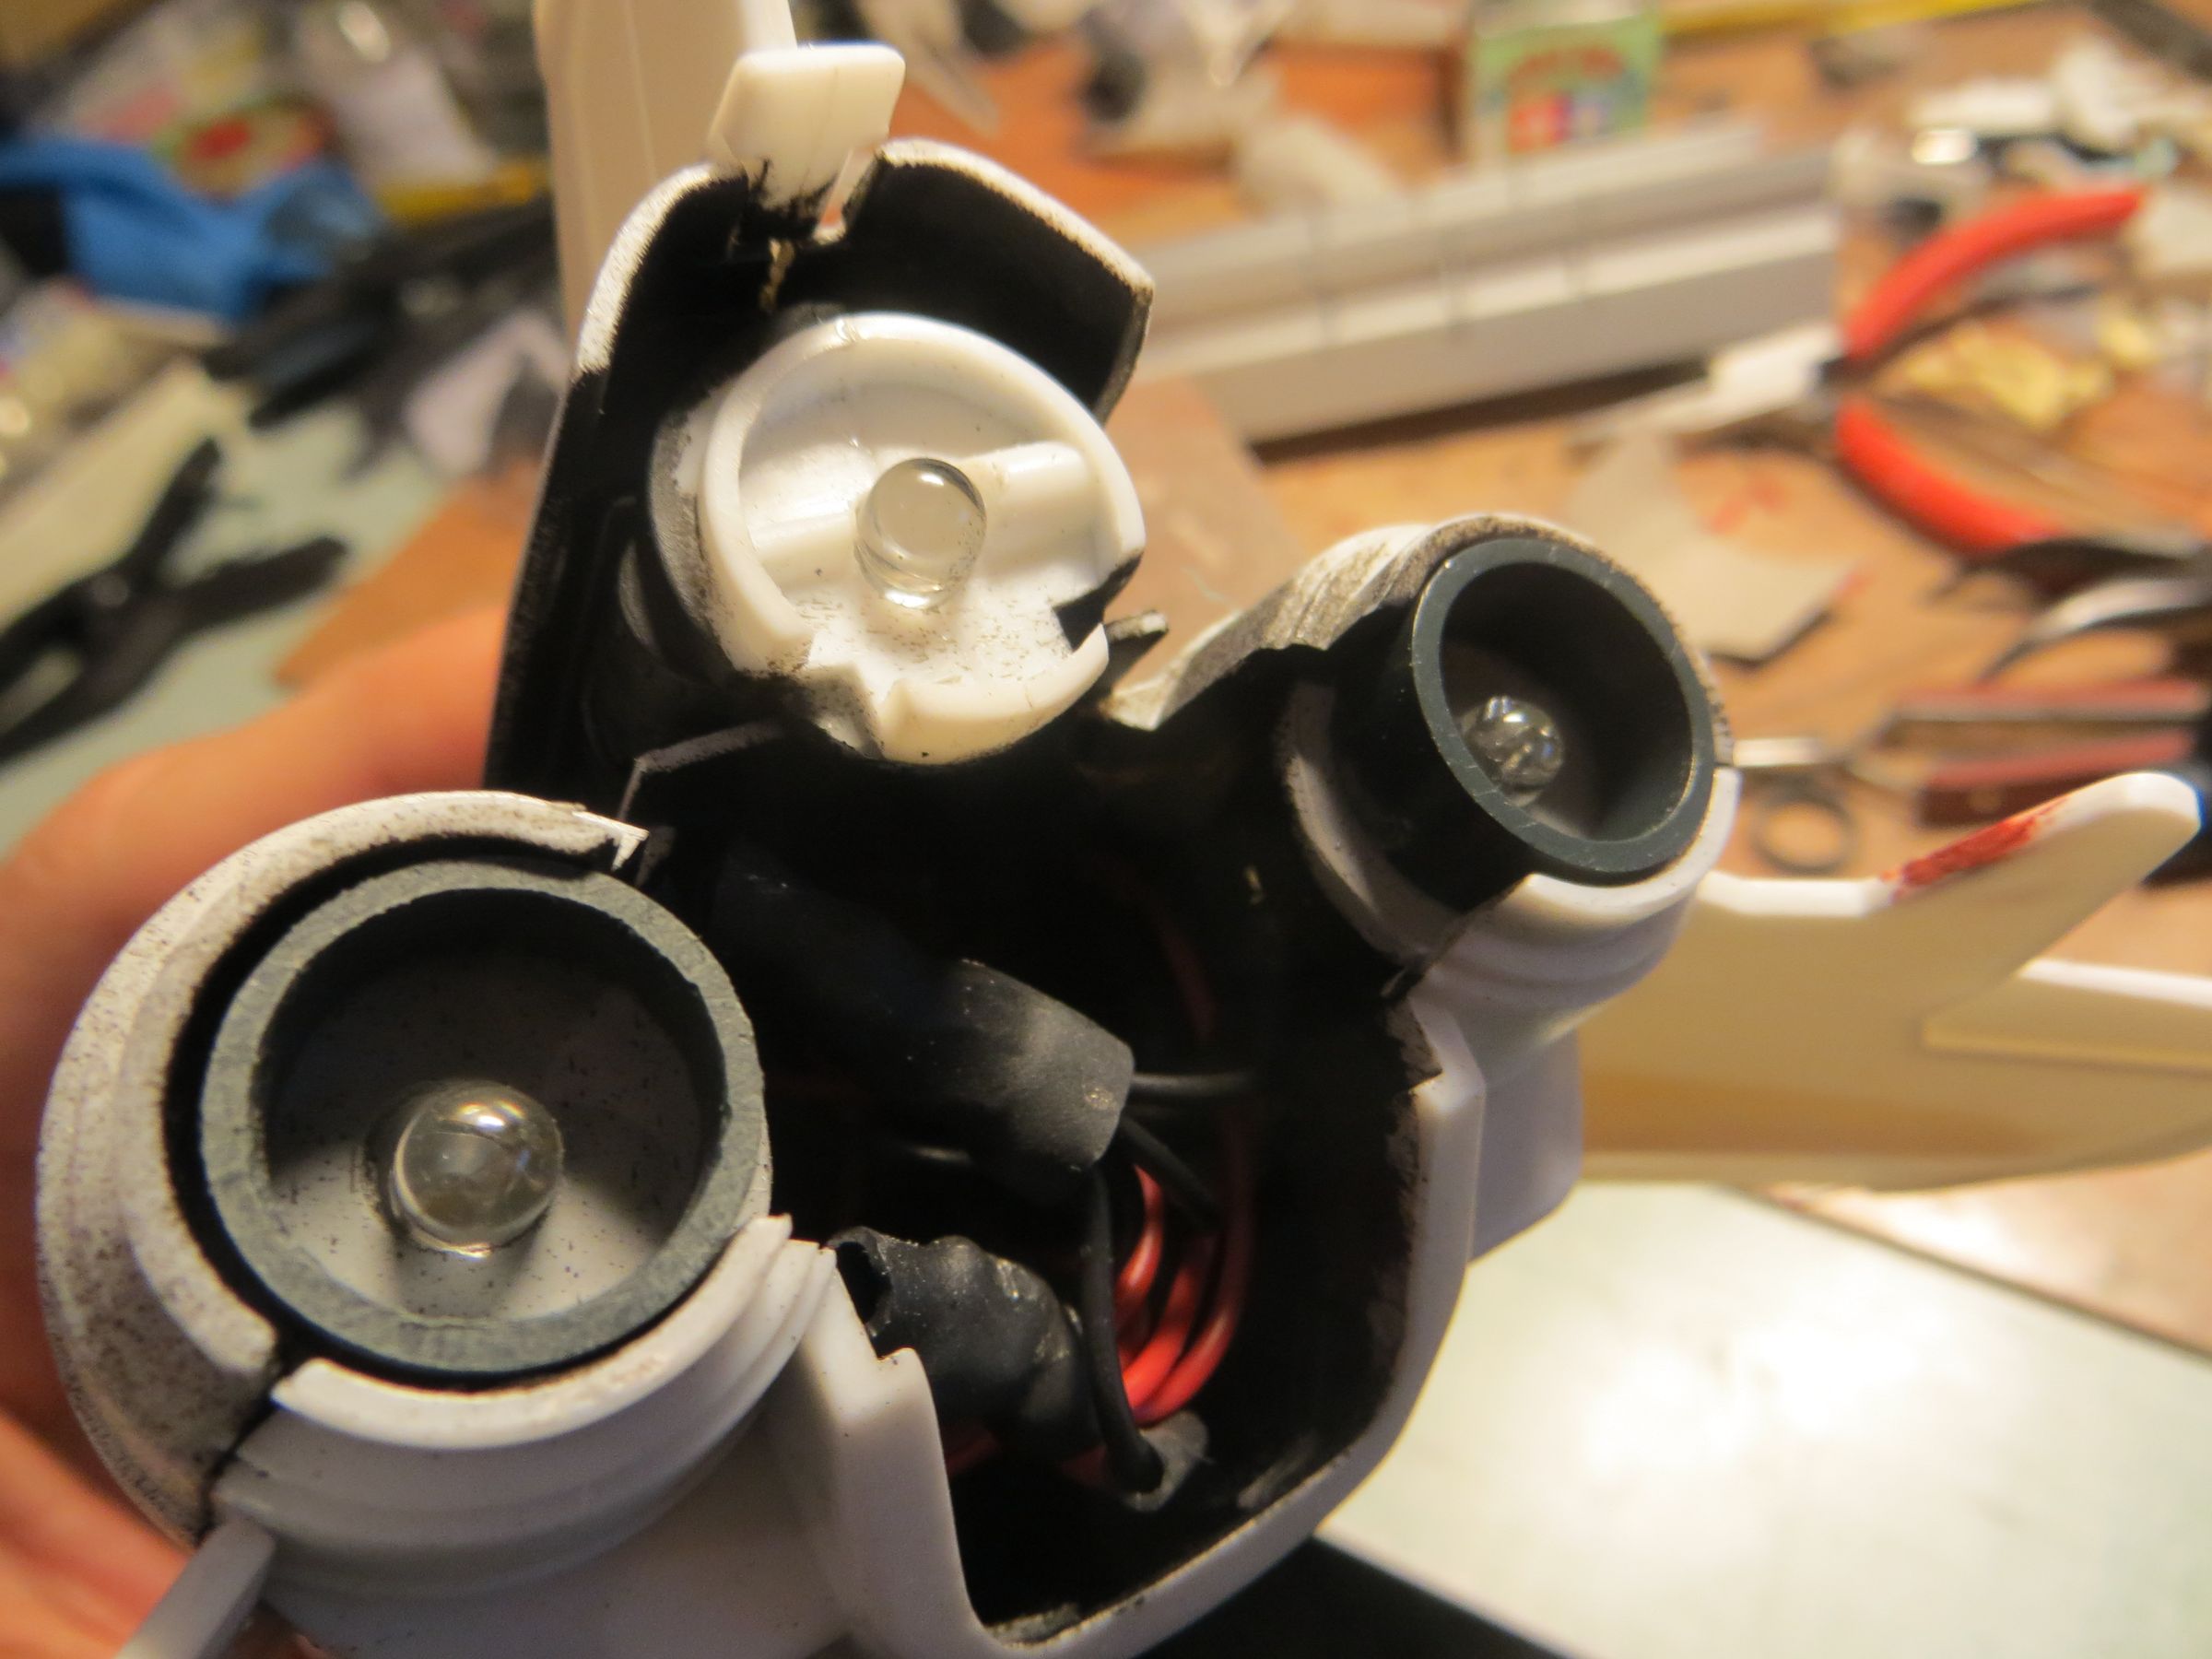
all the wires are all soldered together. Luckily there is a lot of room inside the model to fit the big spaghetti plate !
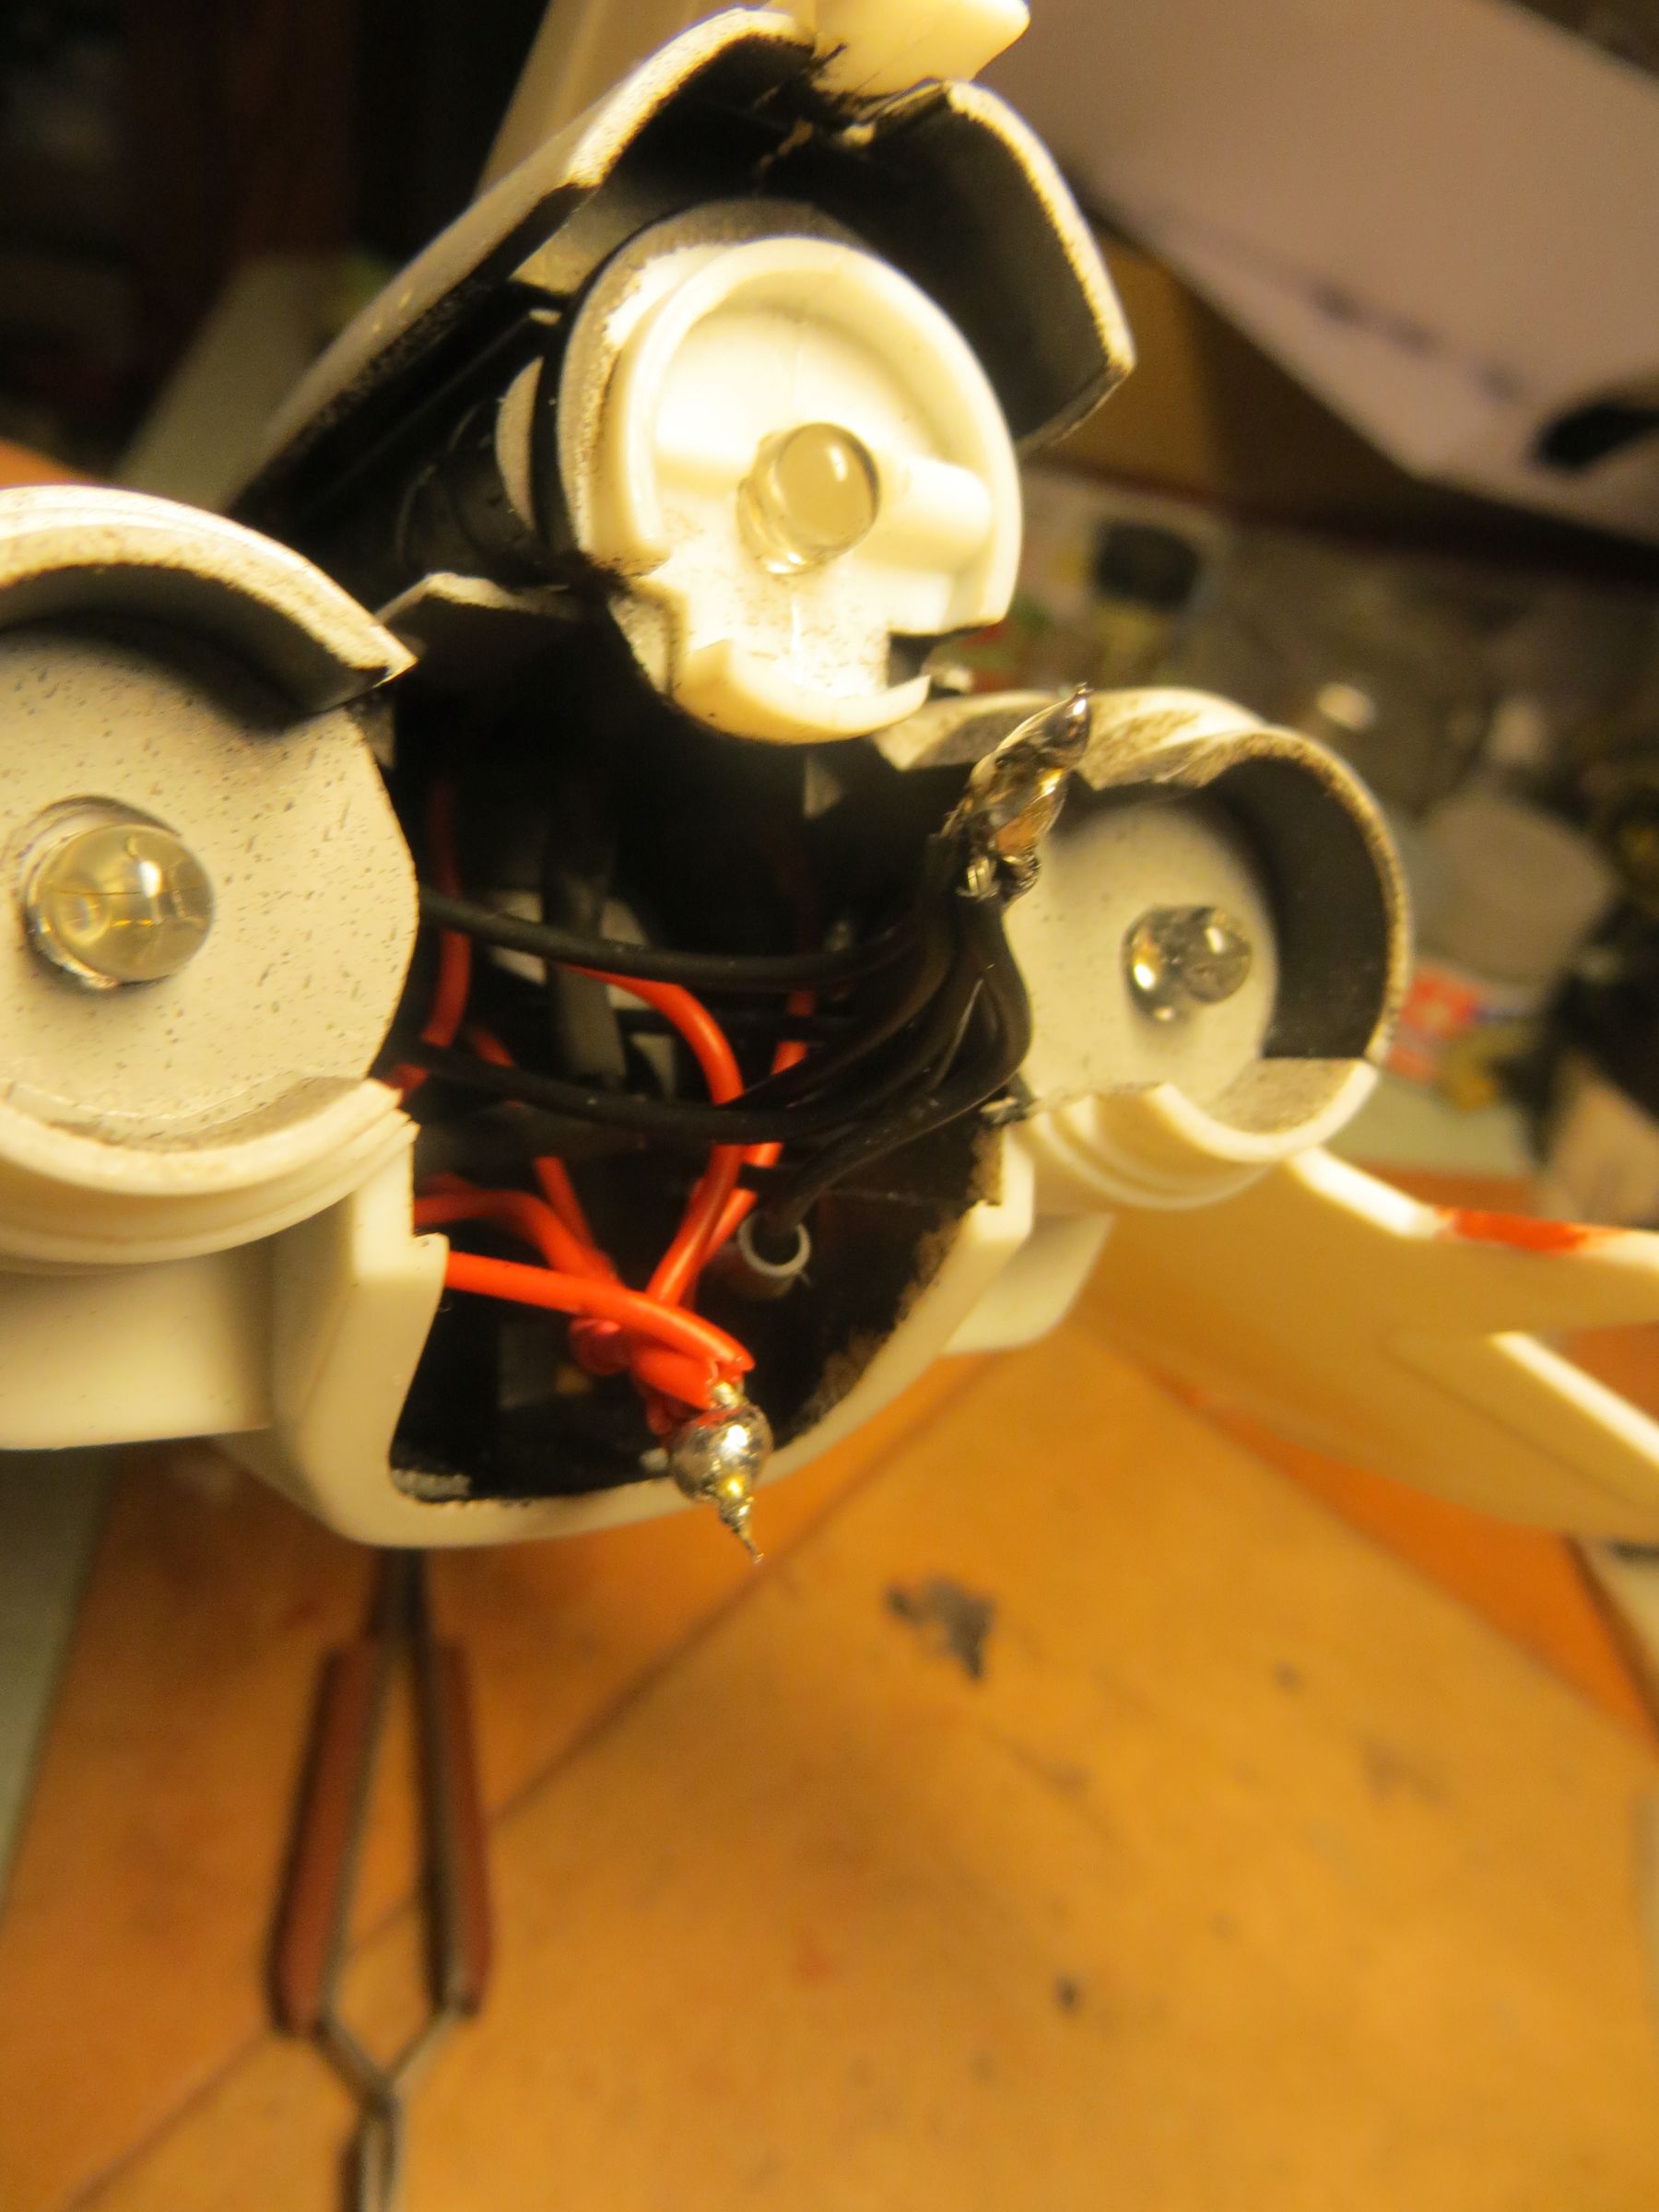
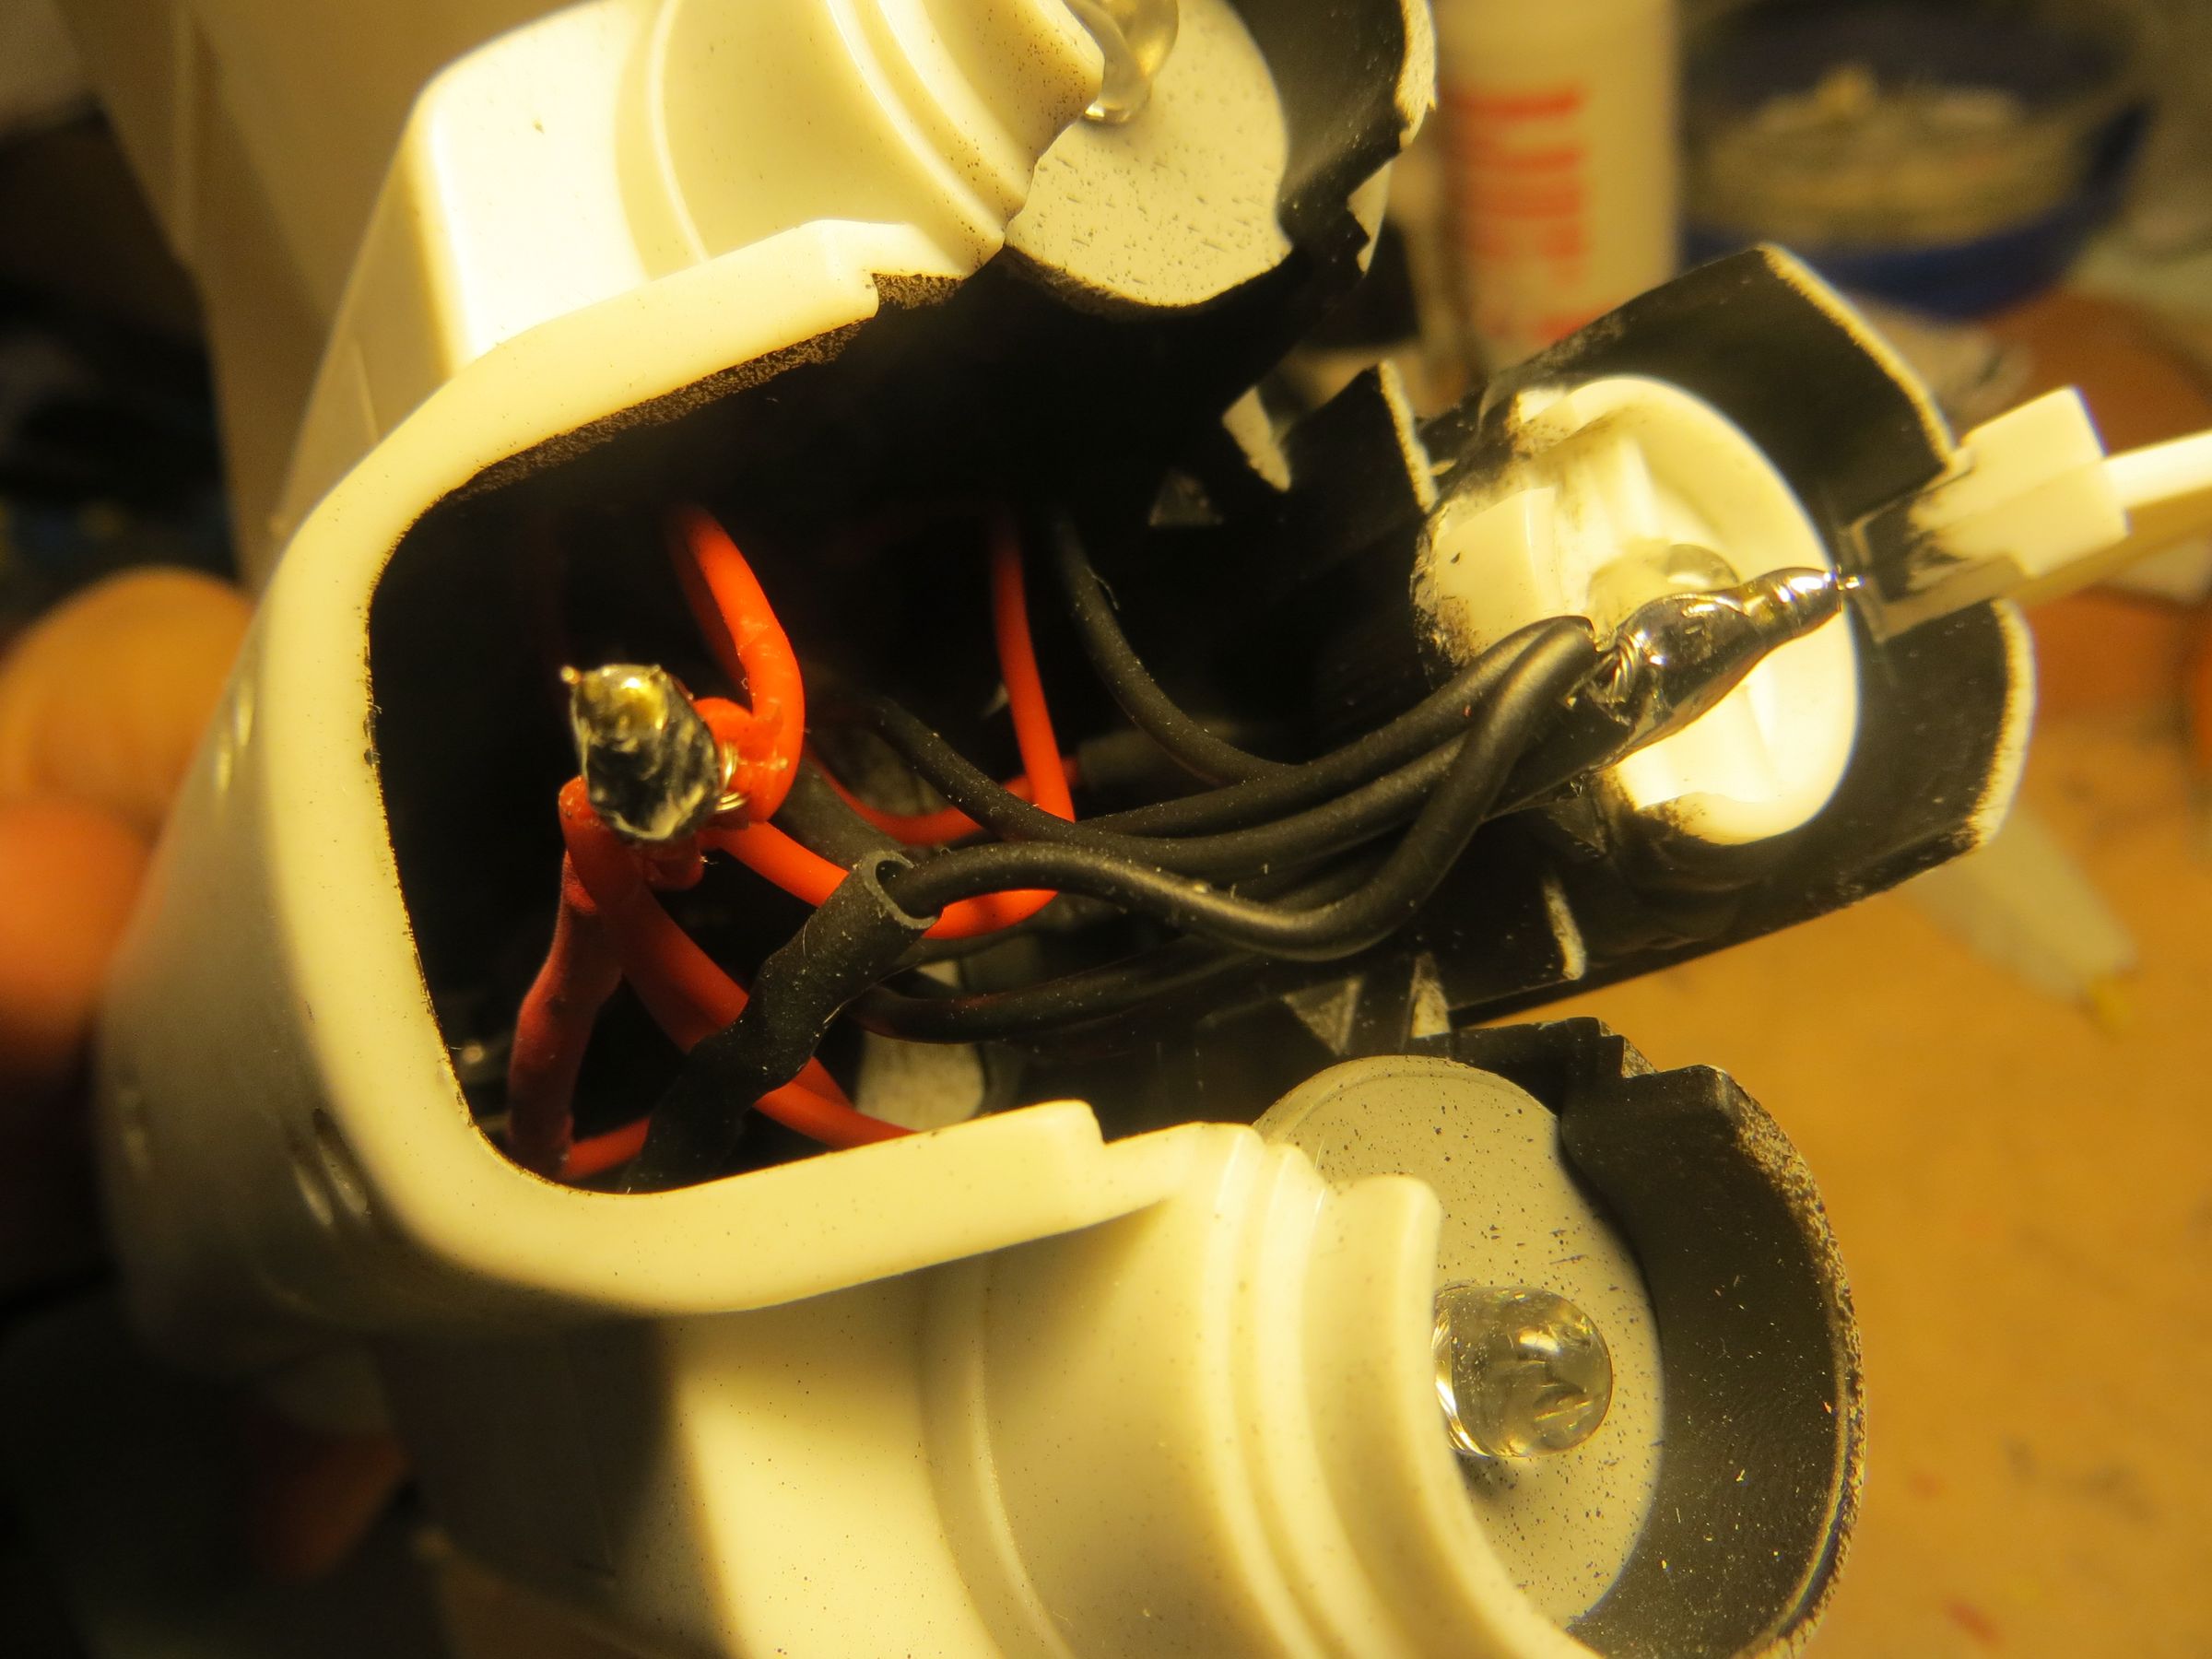
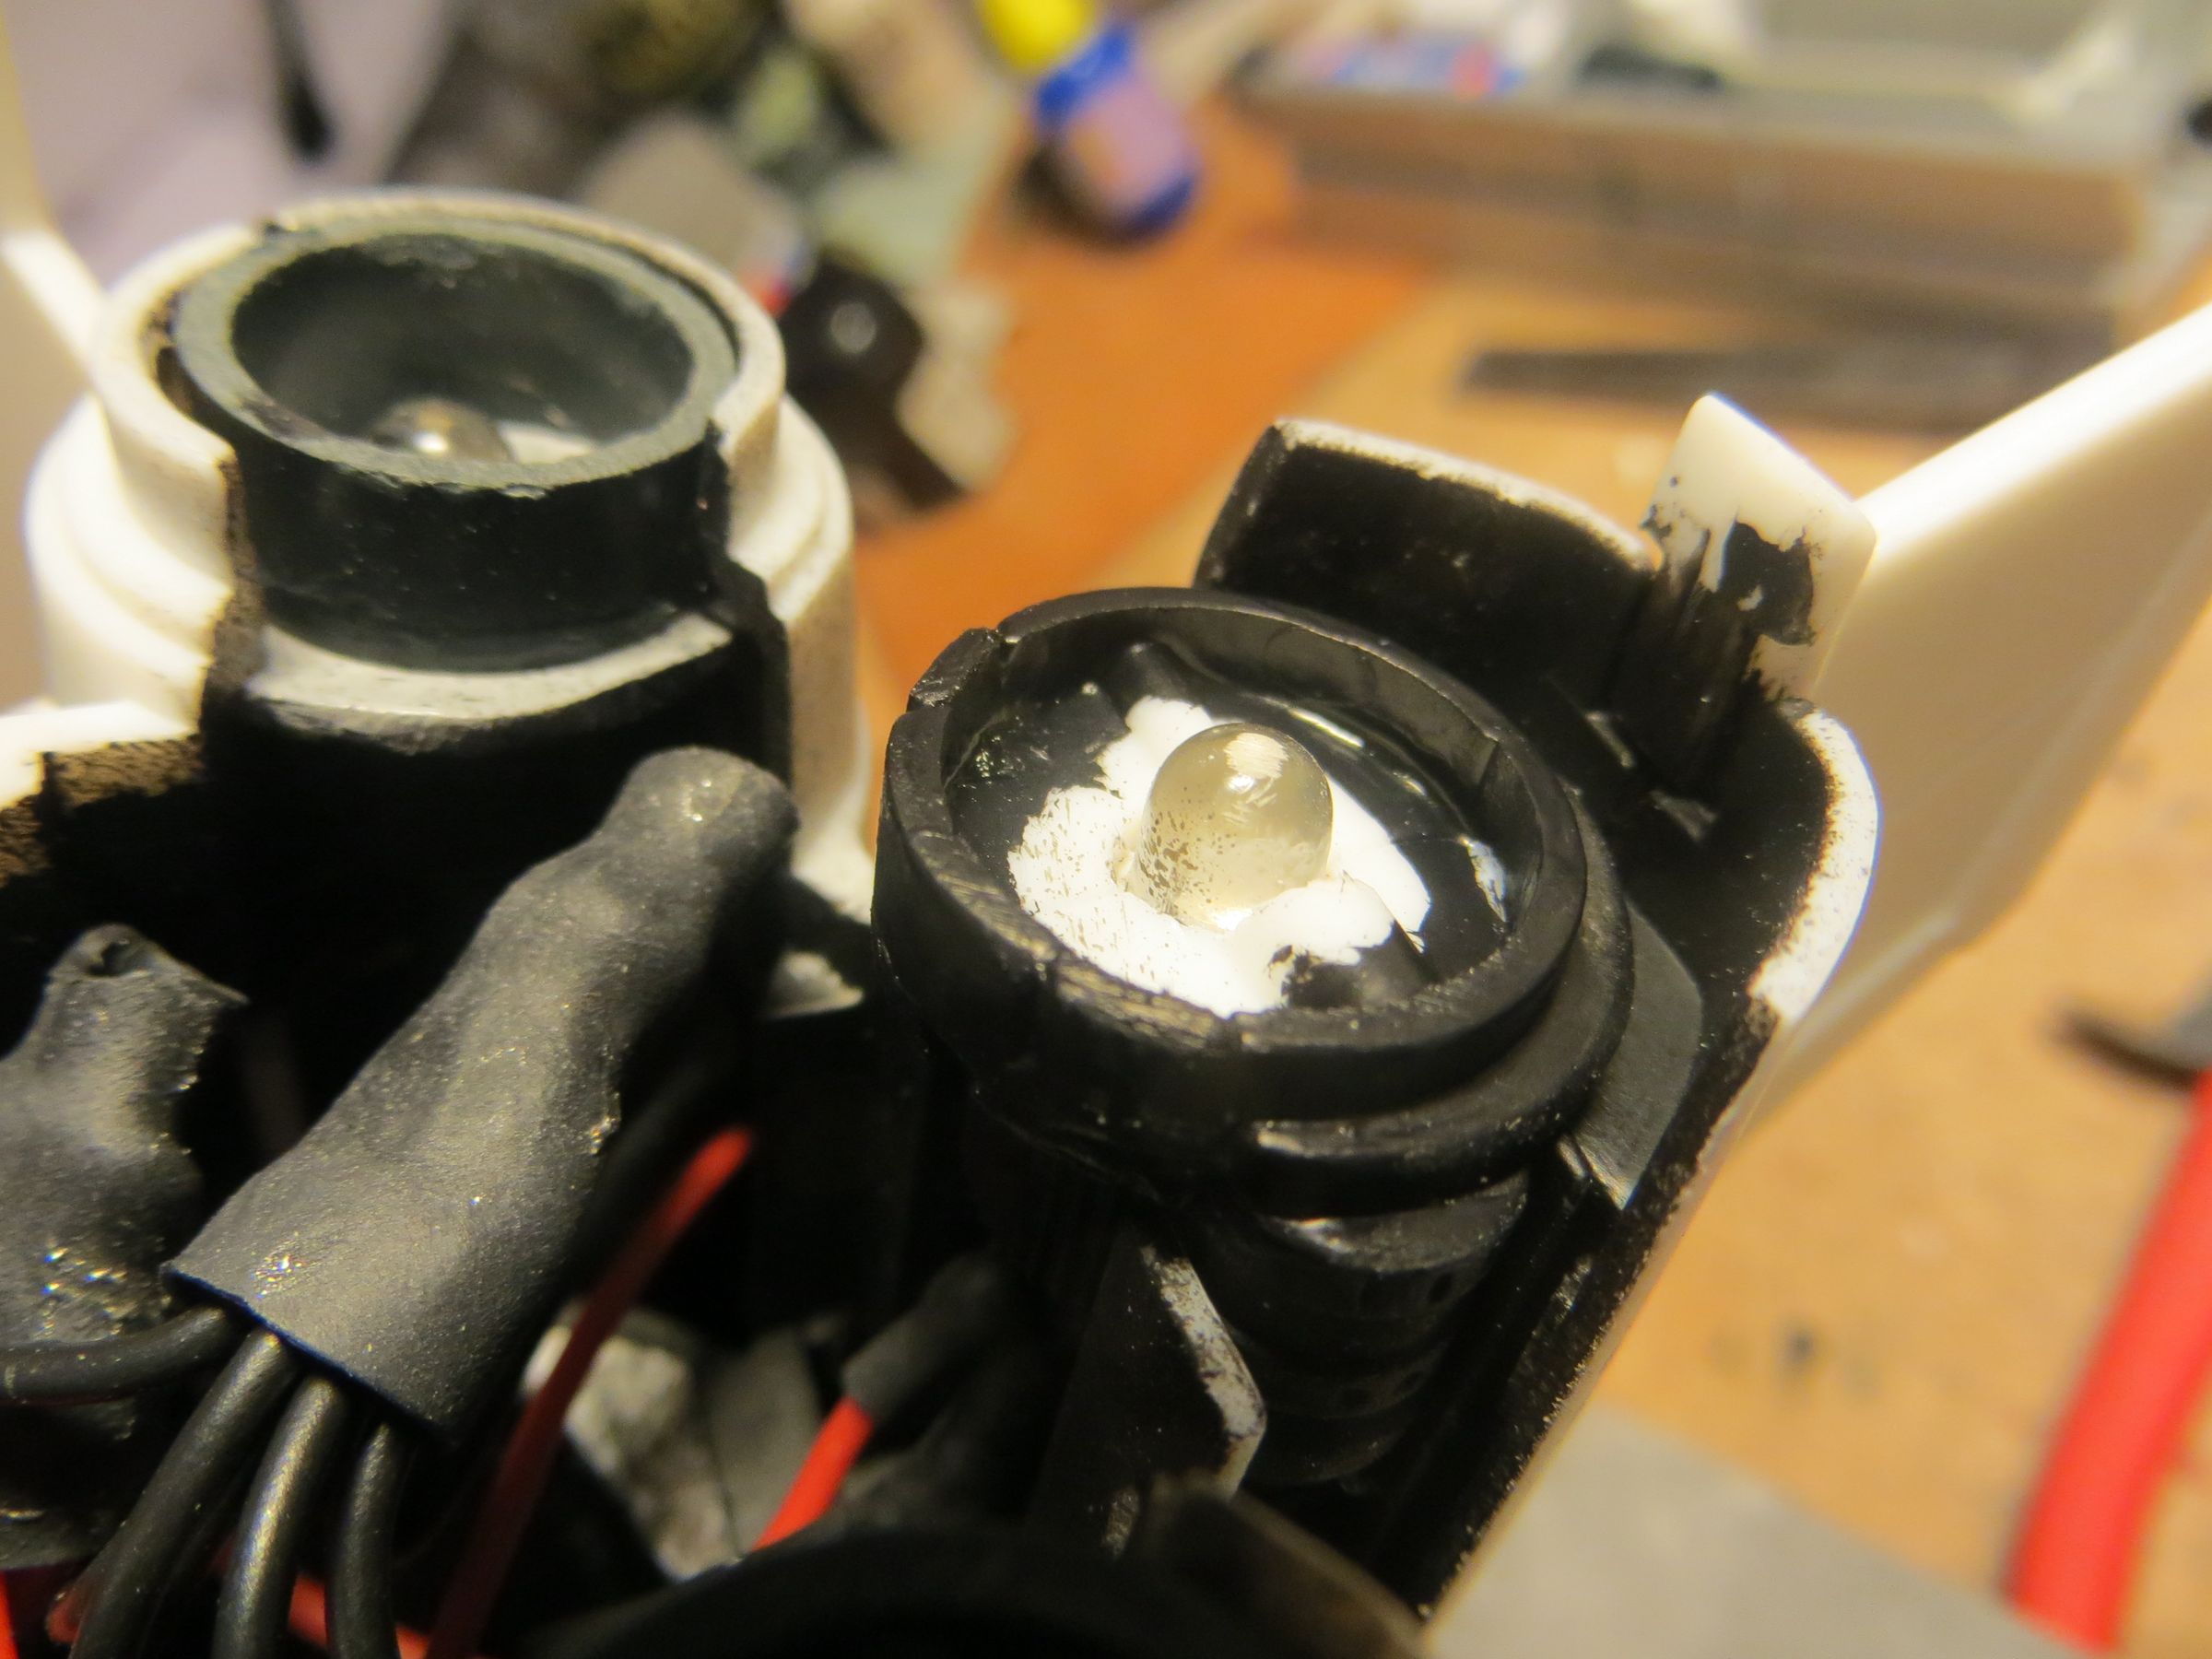
 You can see that an optical fiber had broke during these manipulations. I hope it will still light correctly with a transparent plastic cap glued on...
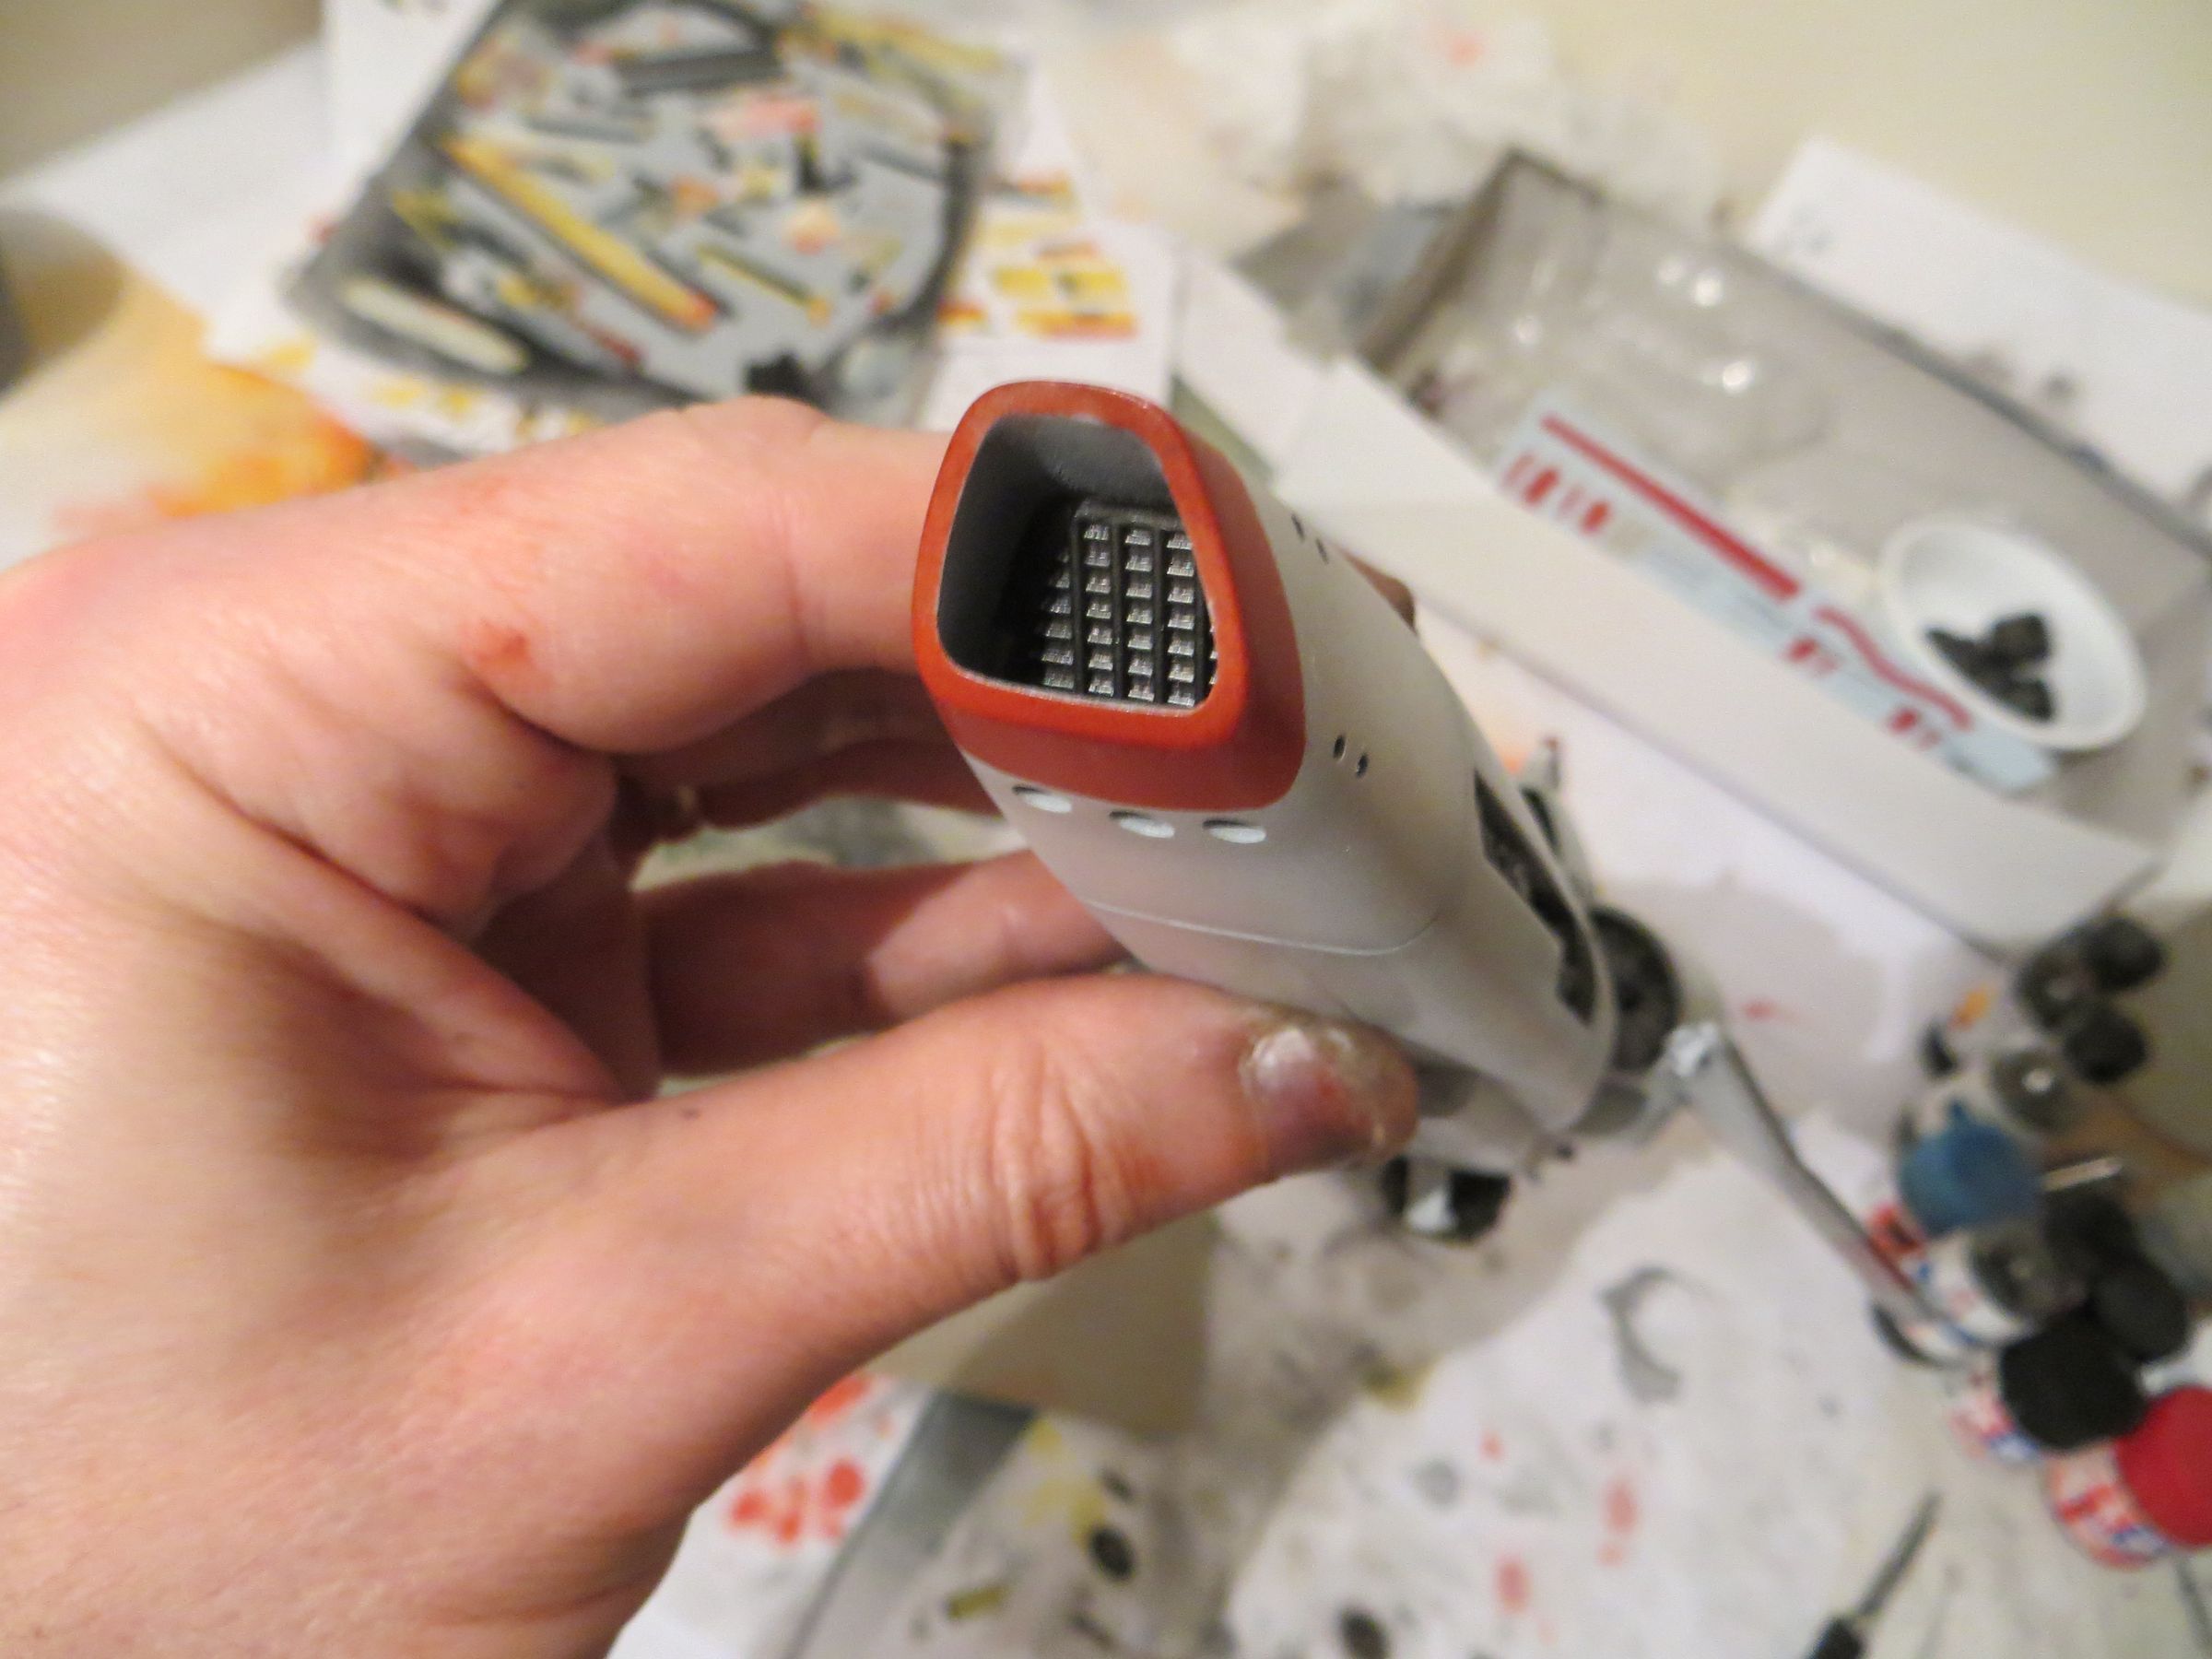
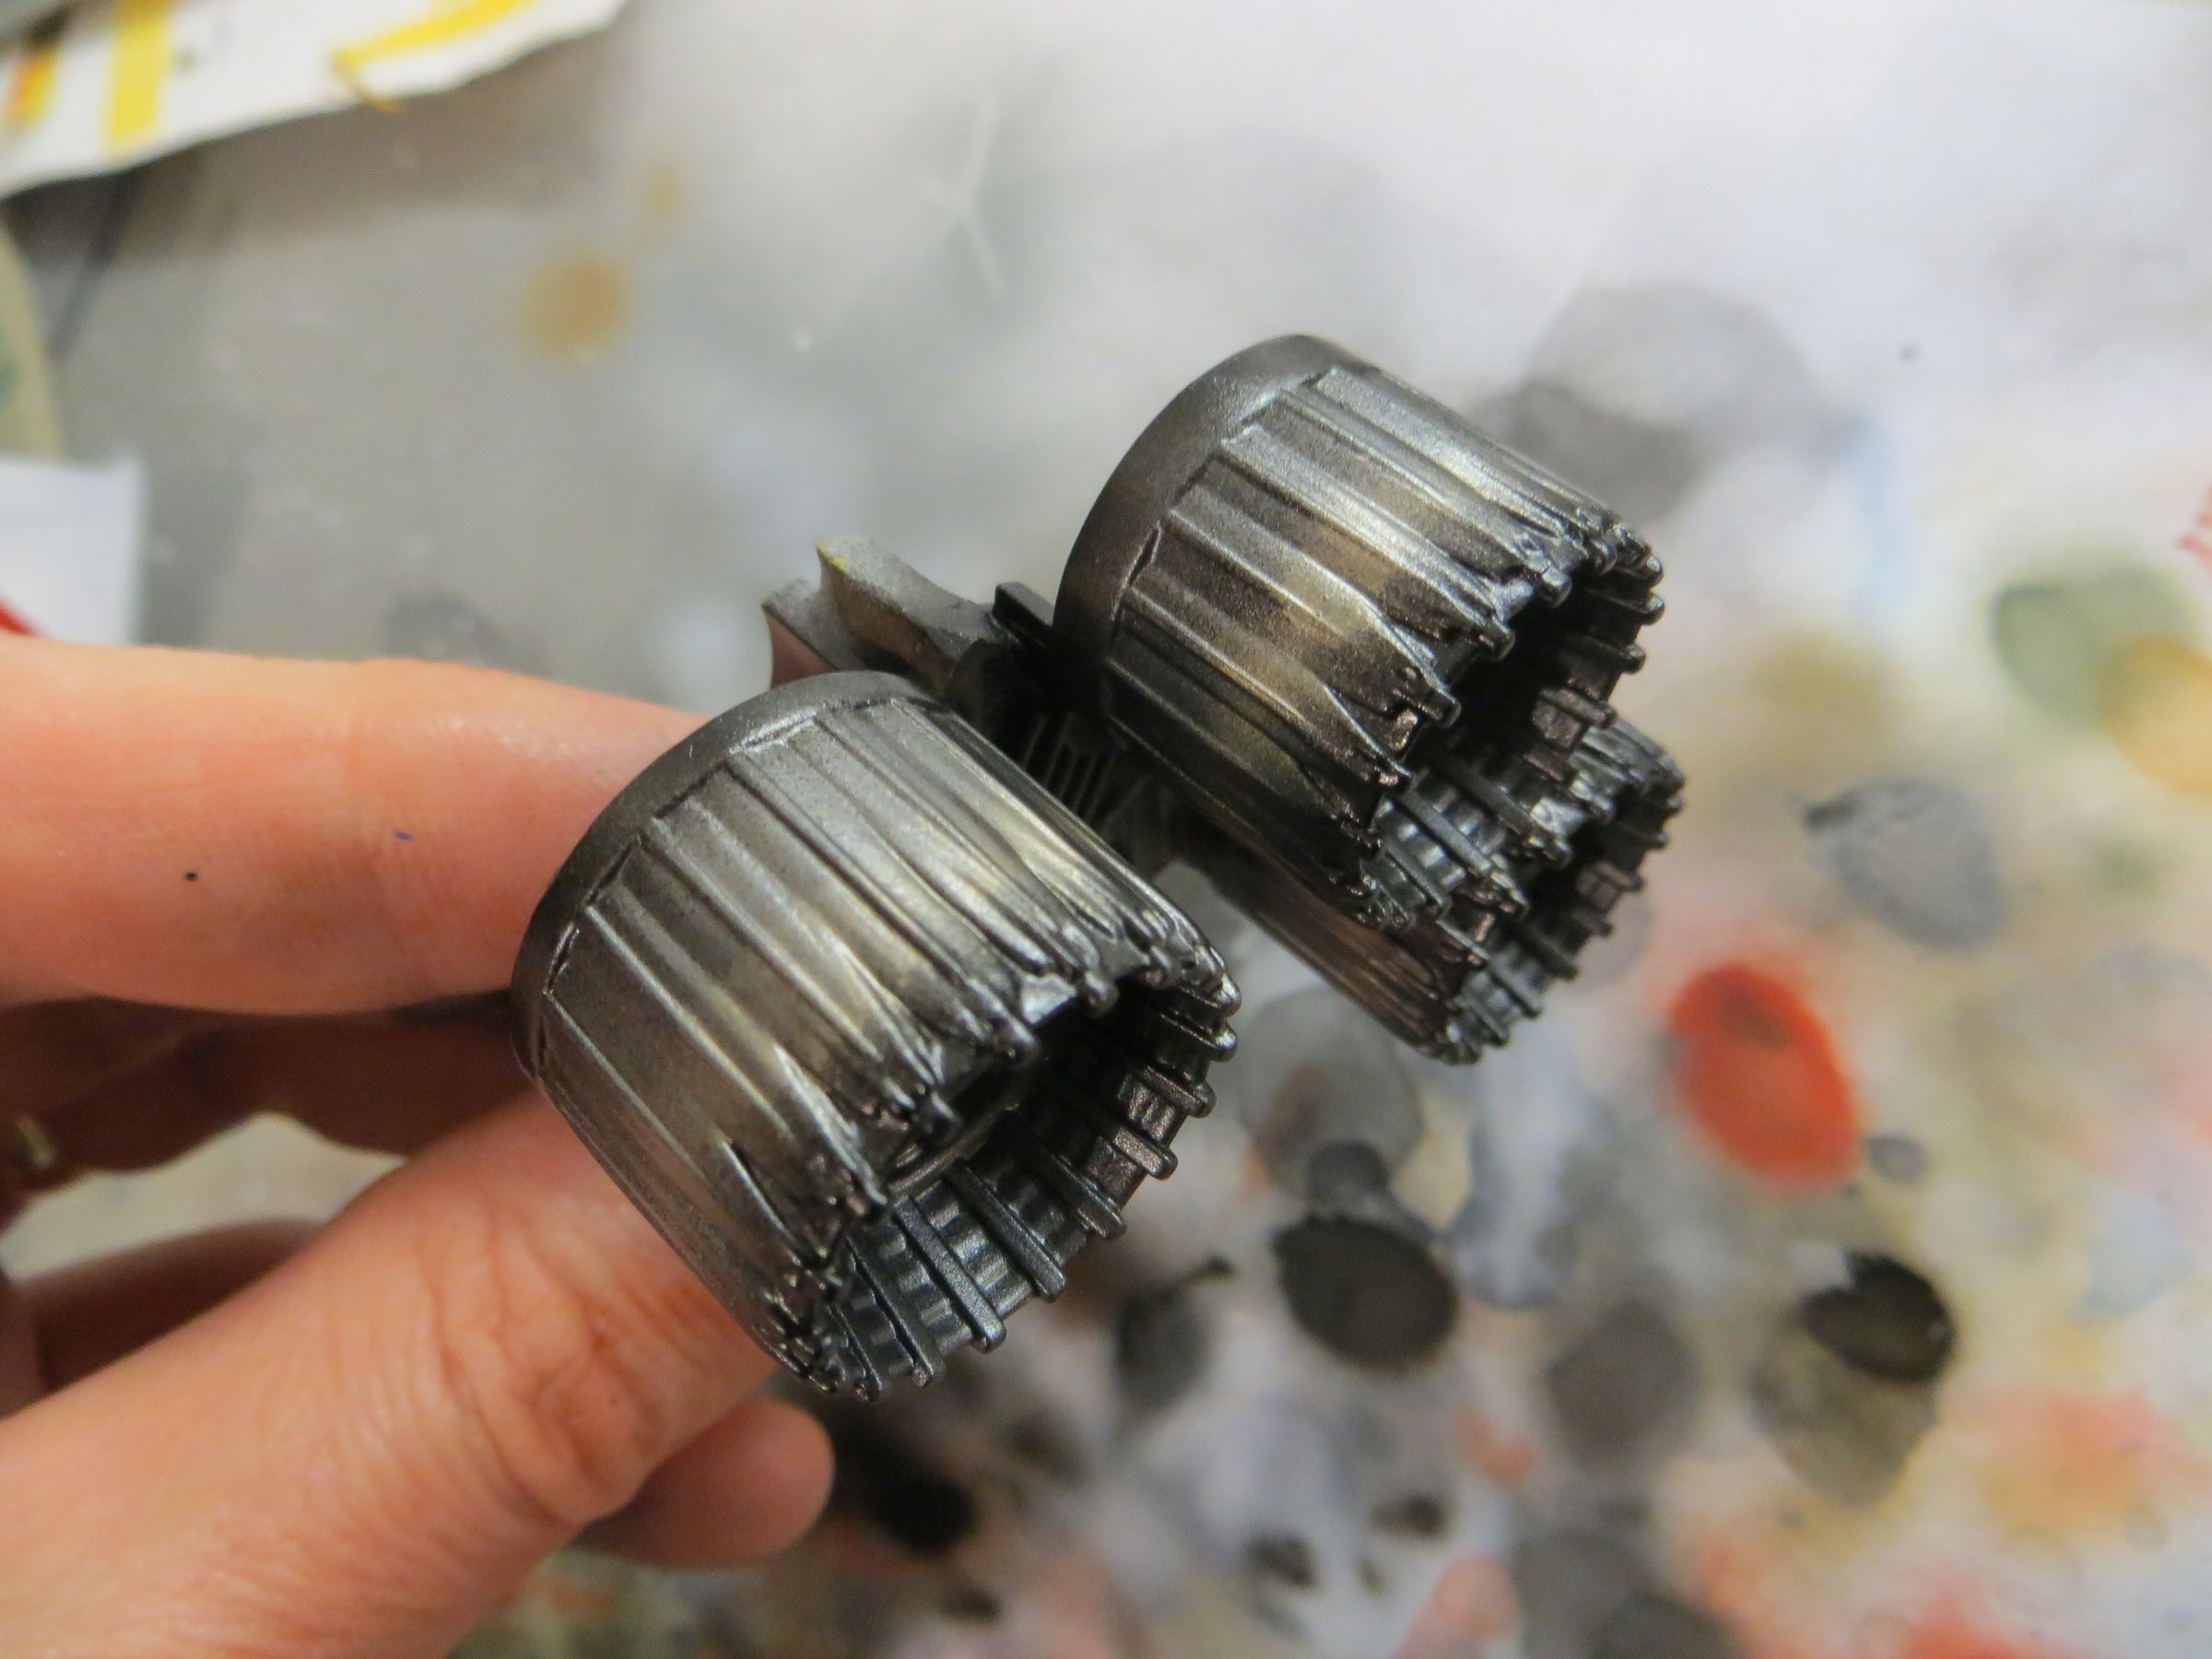
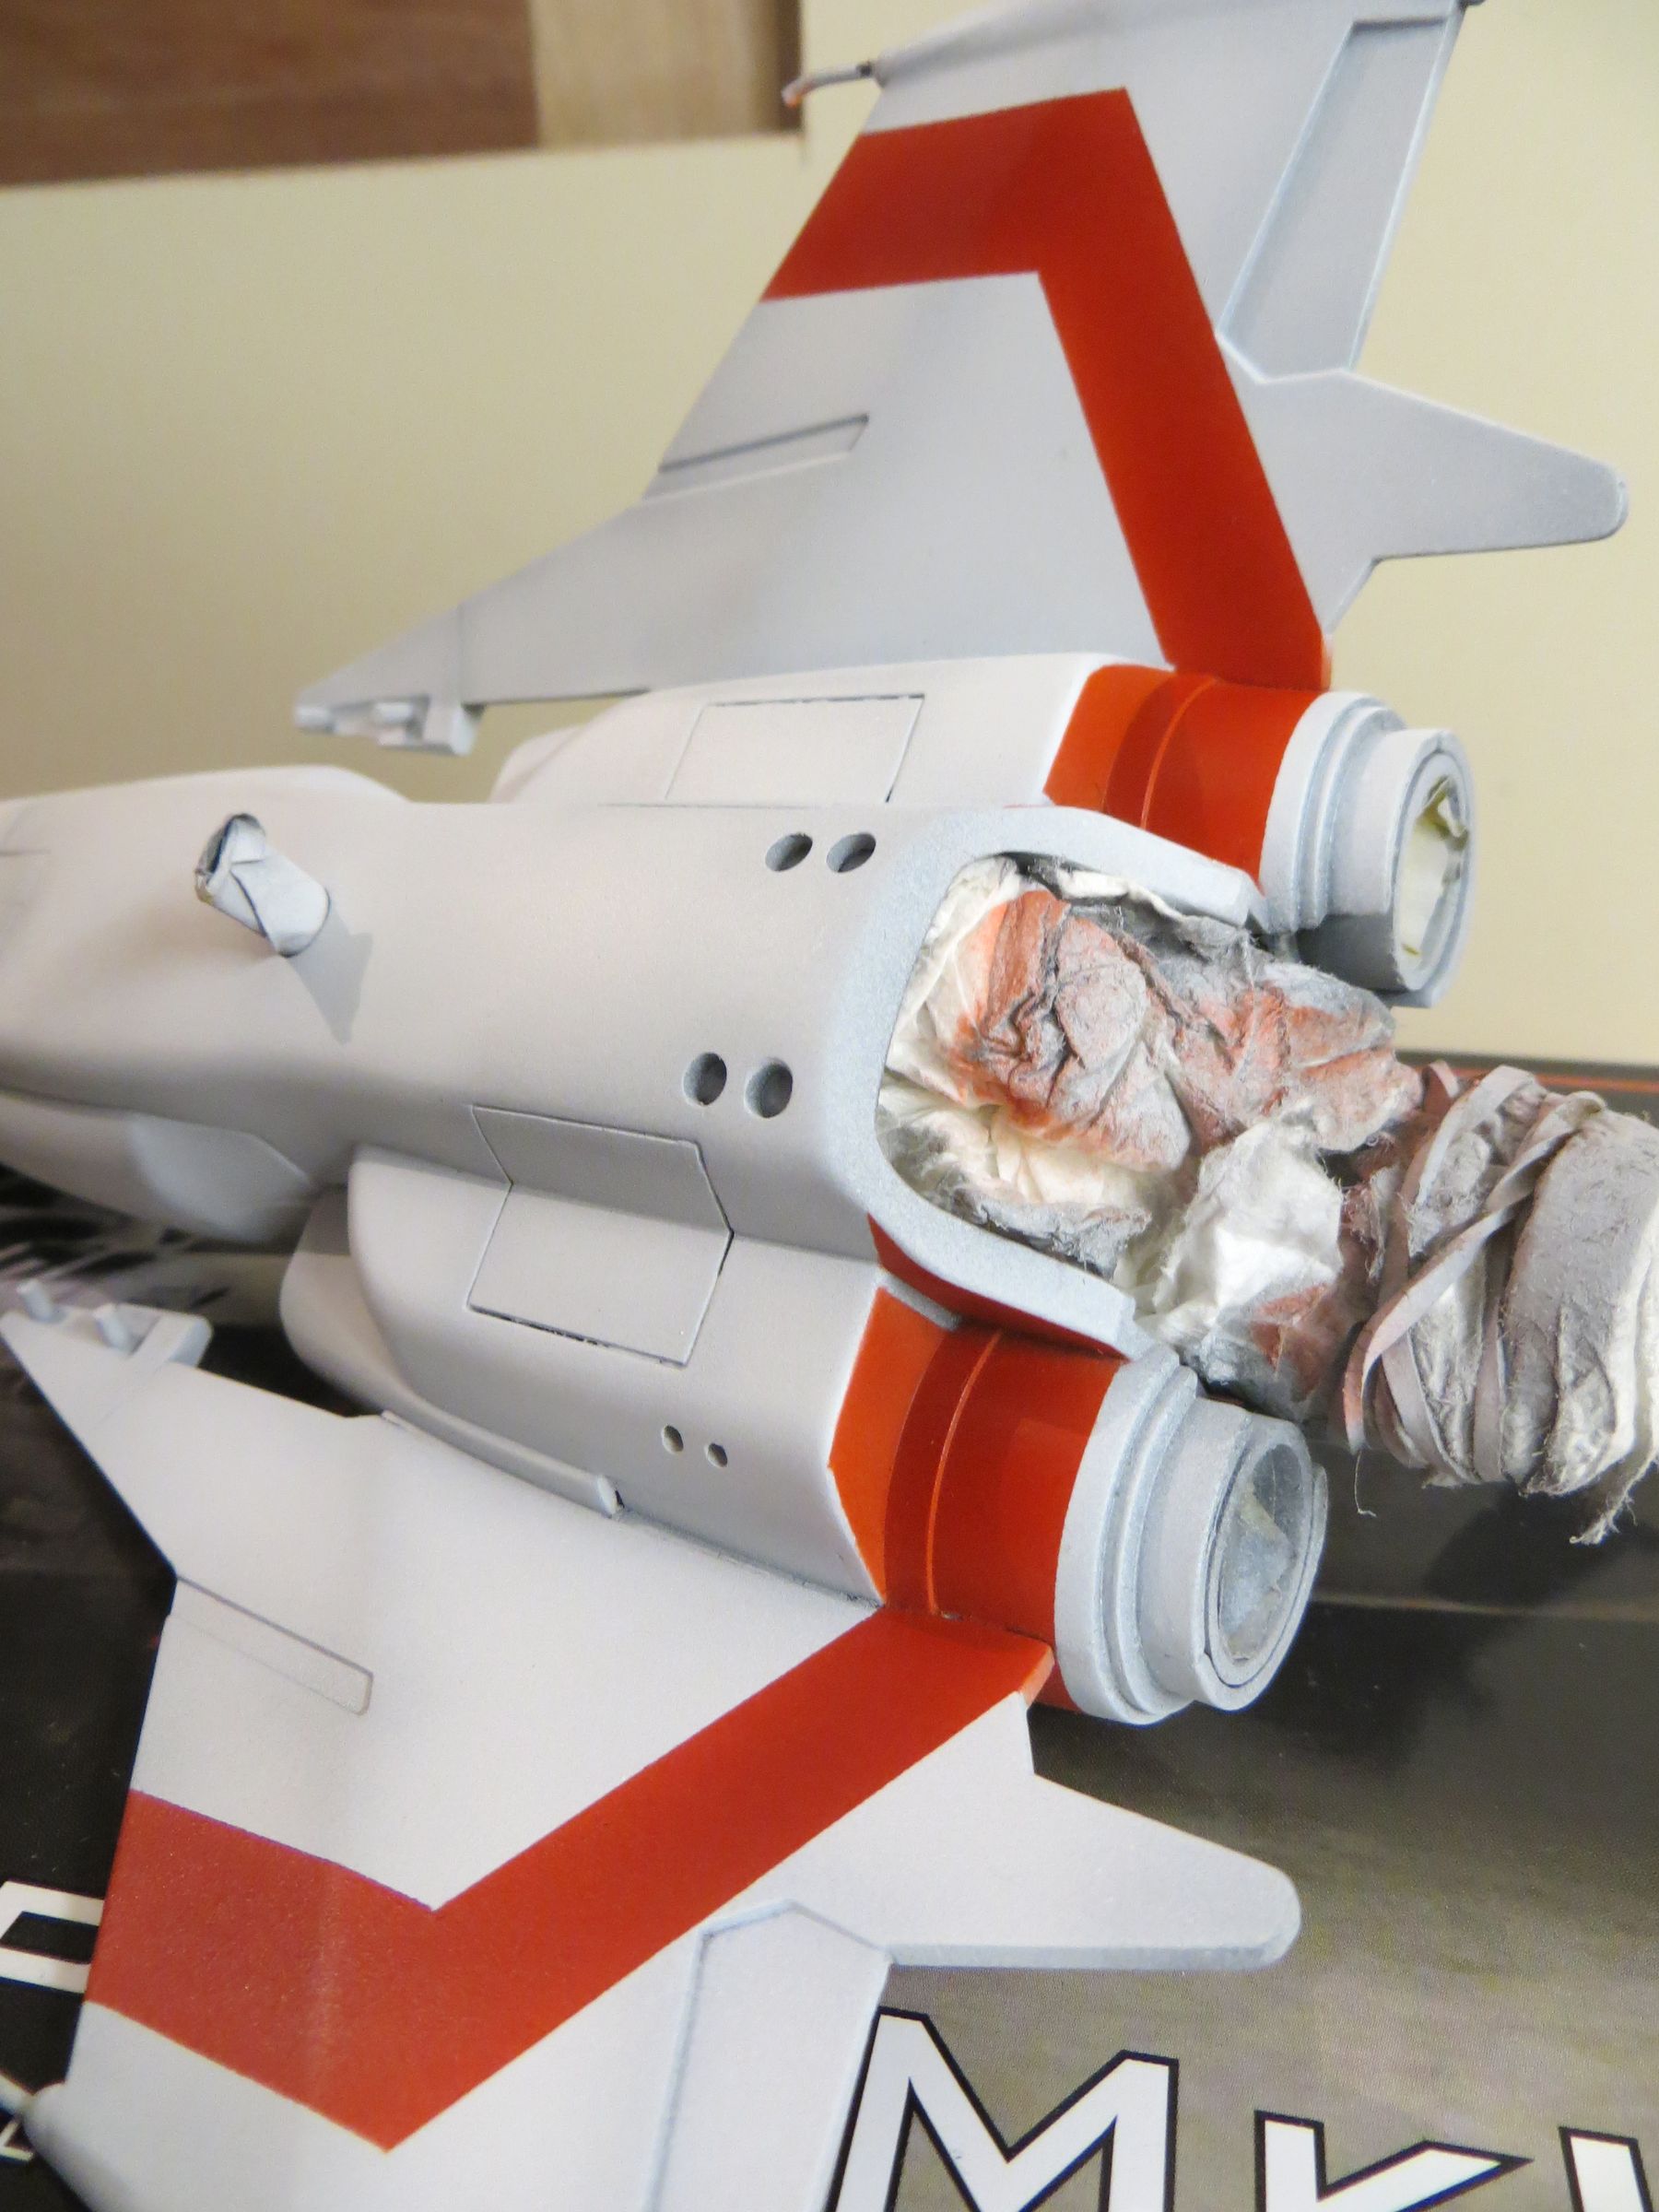
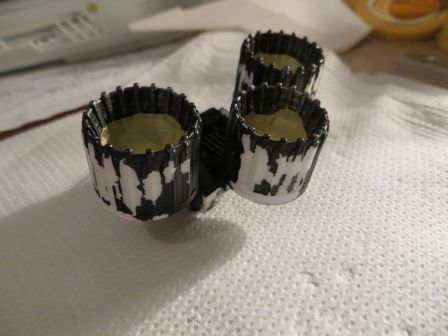
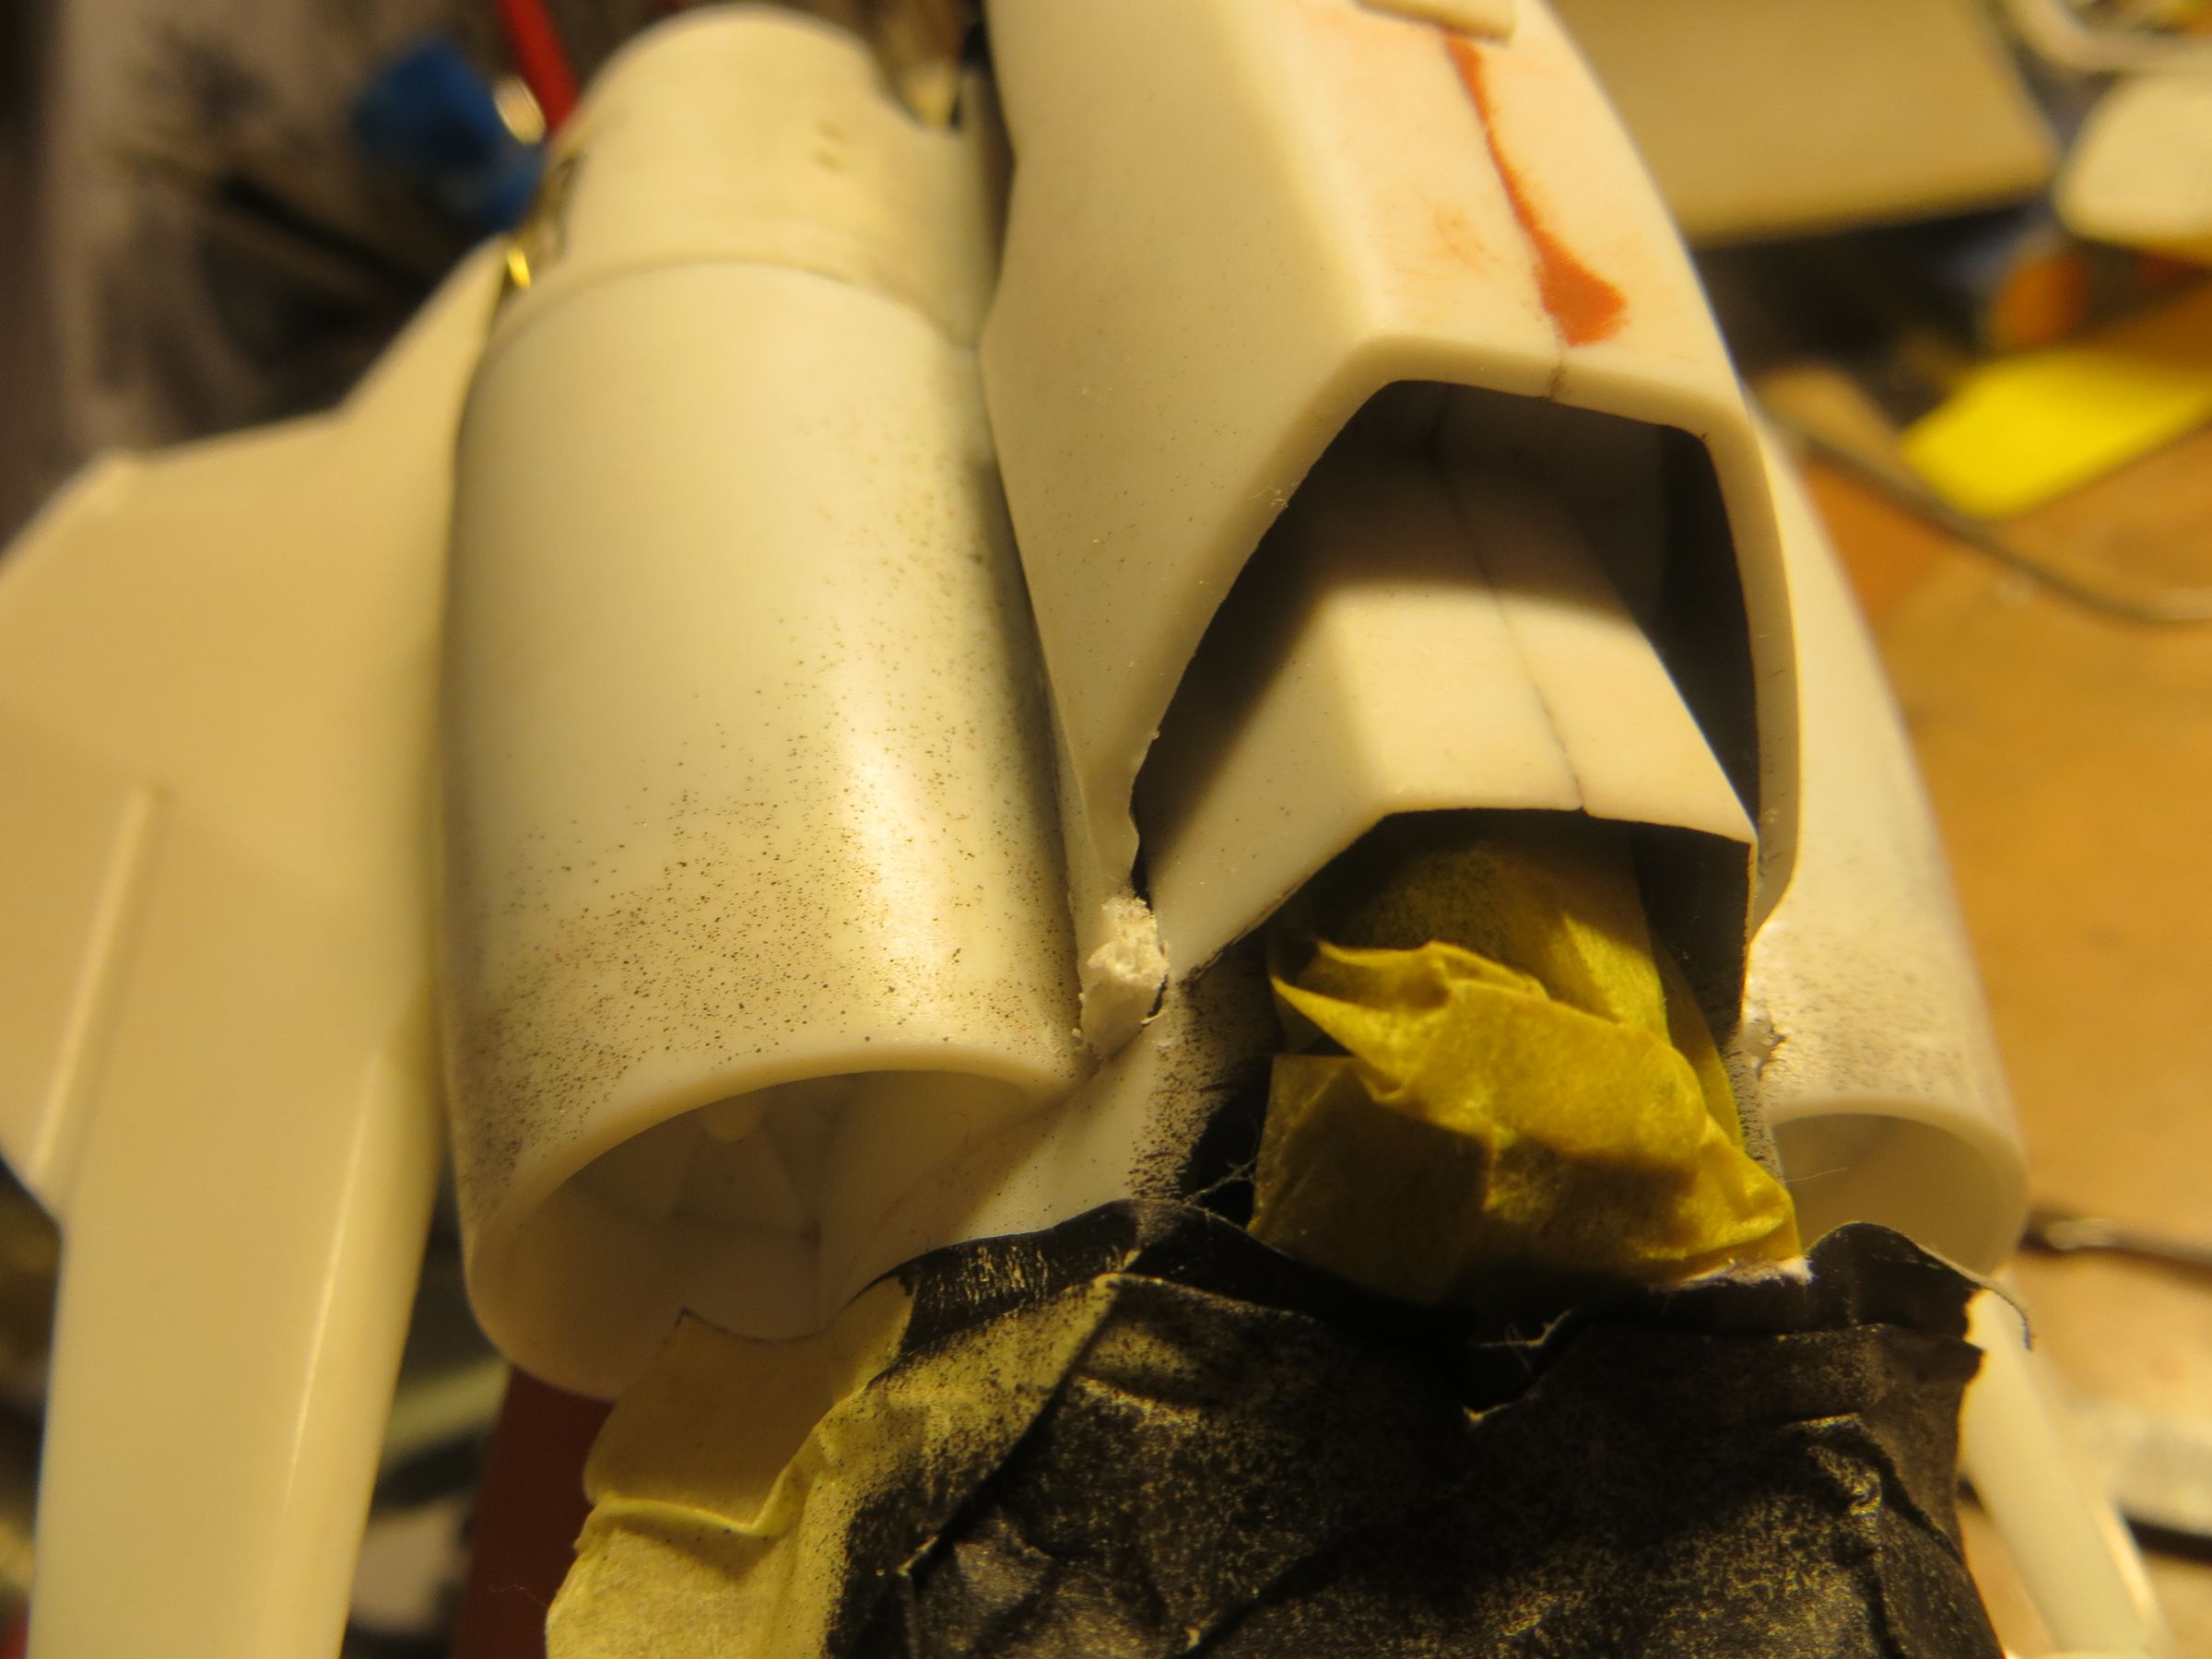
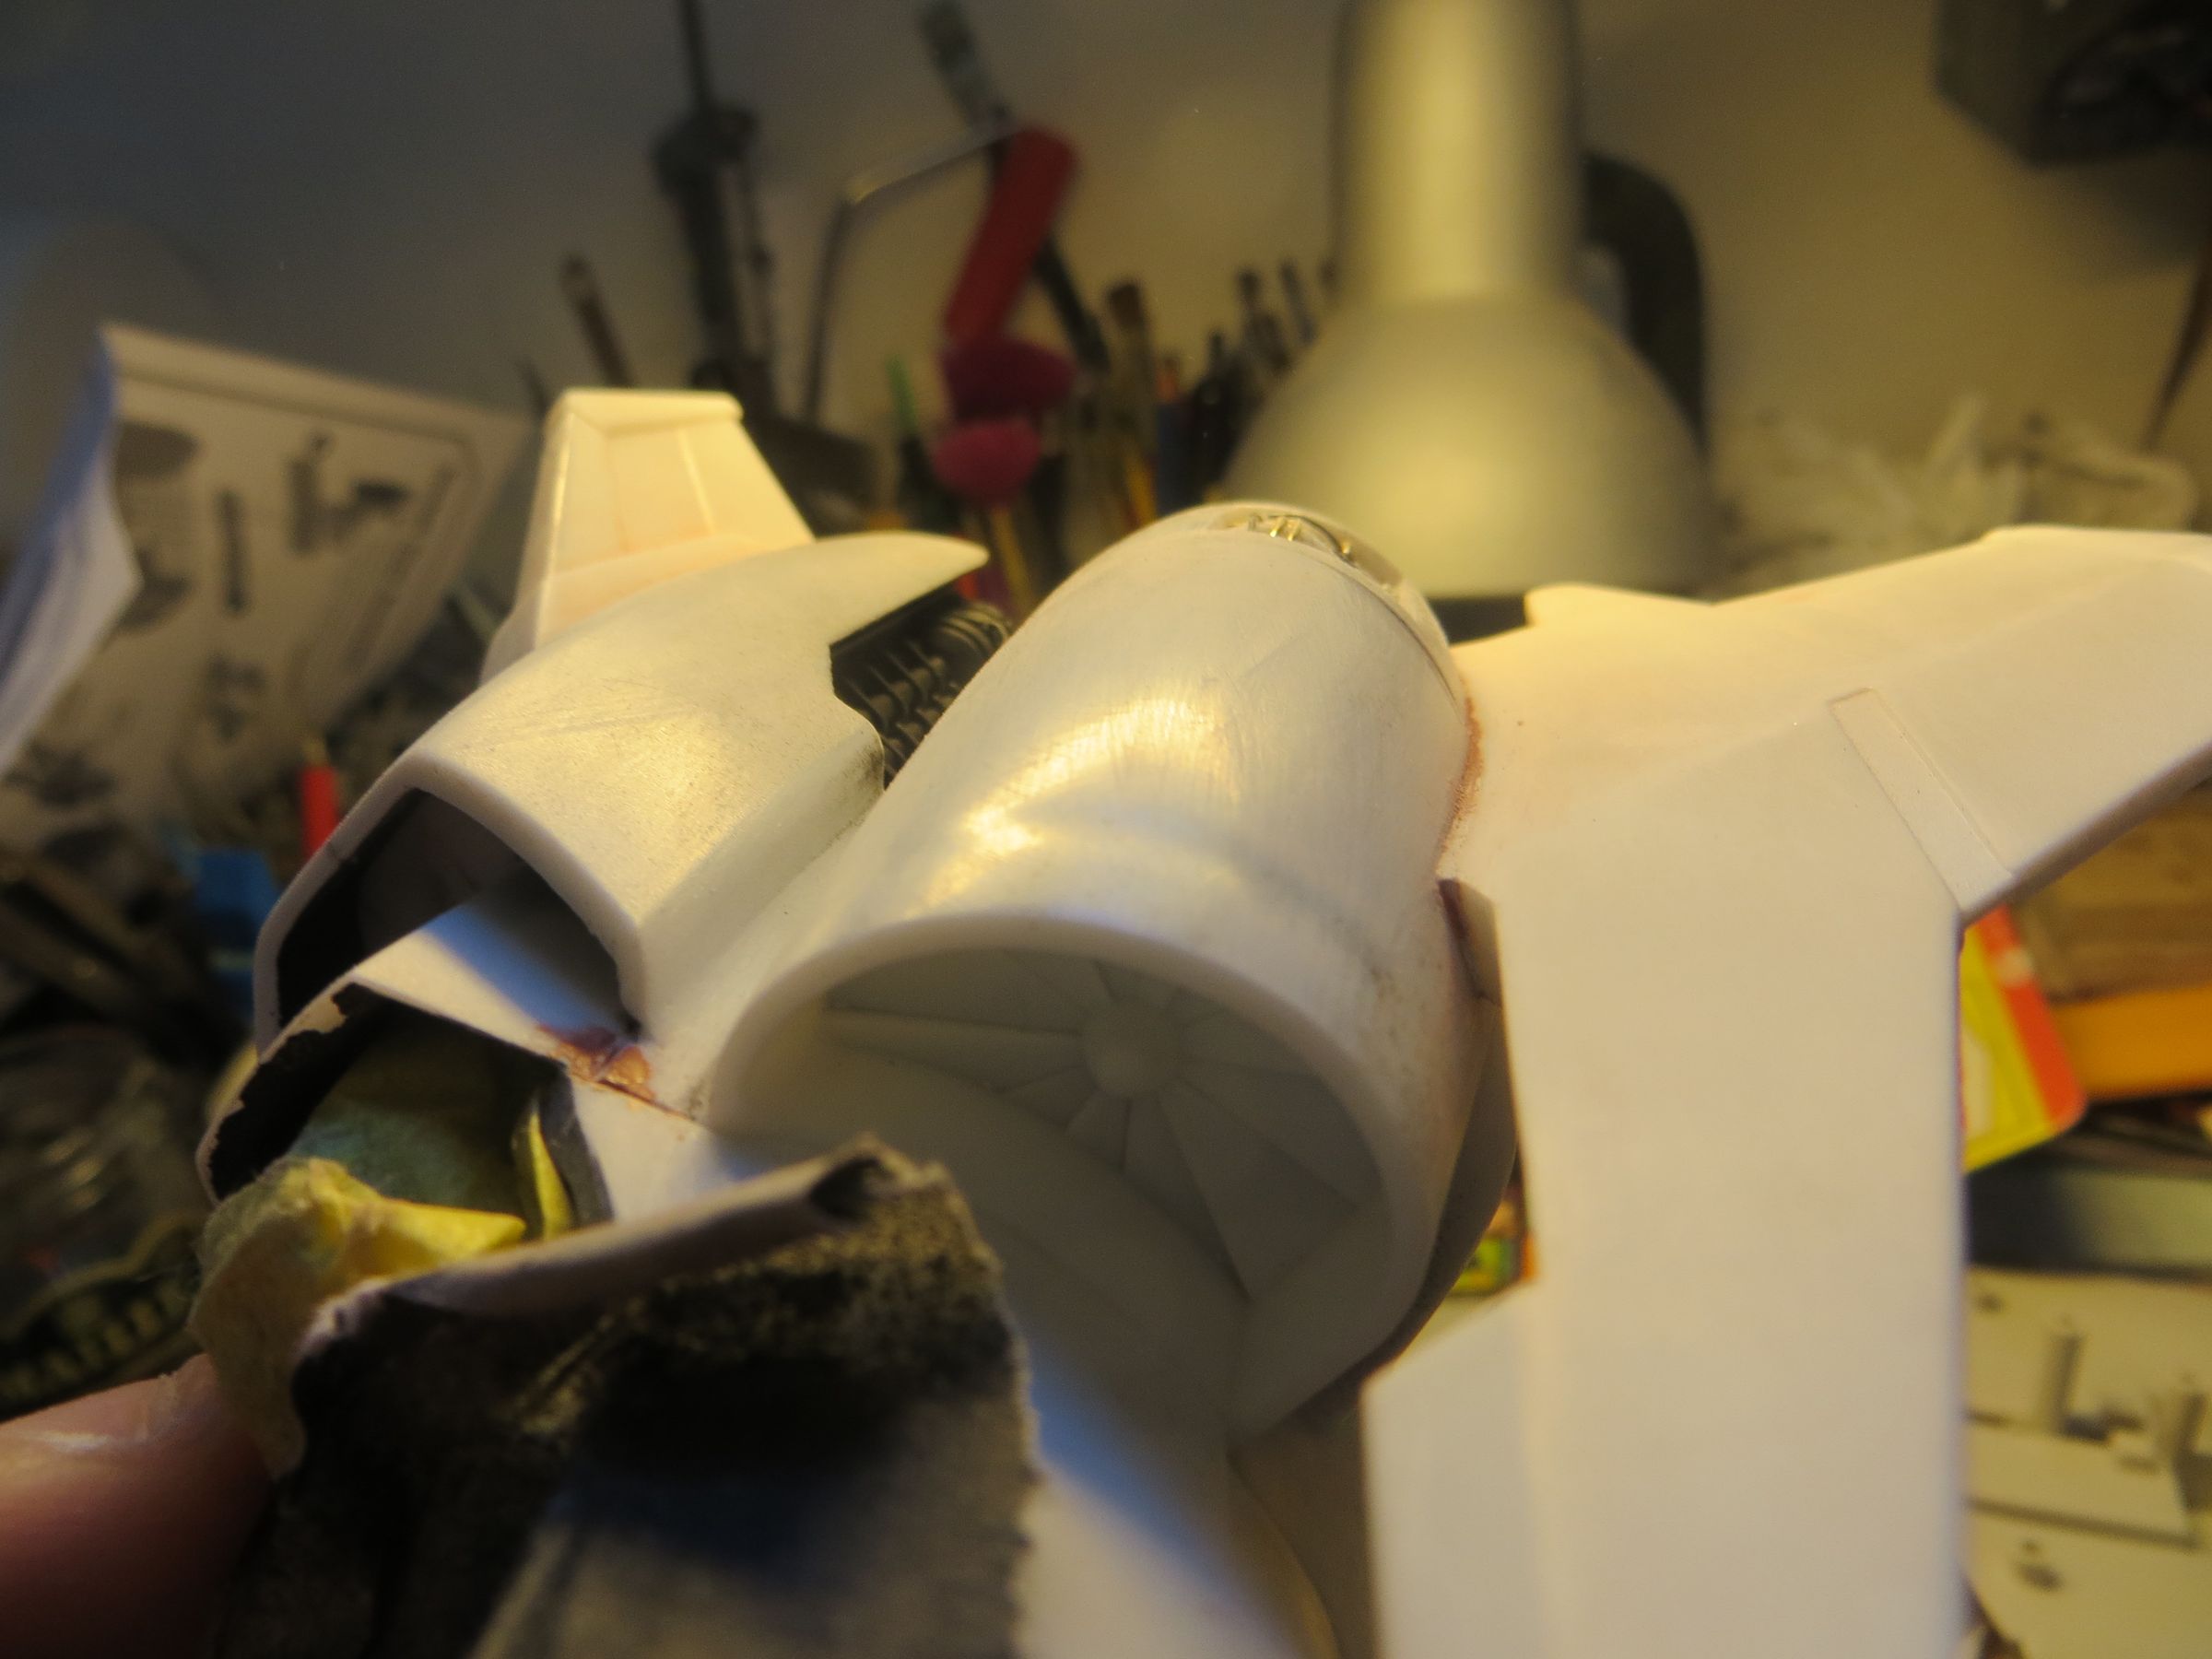
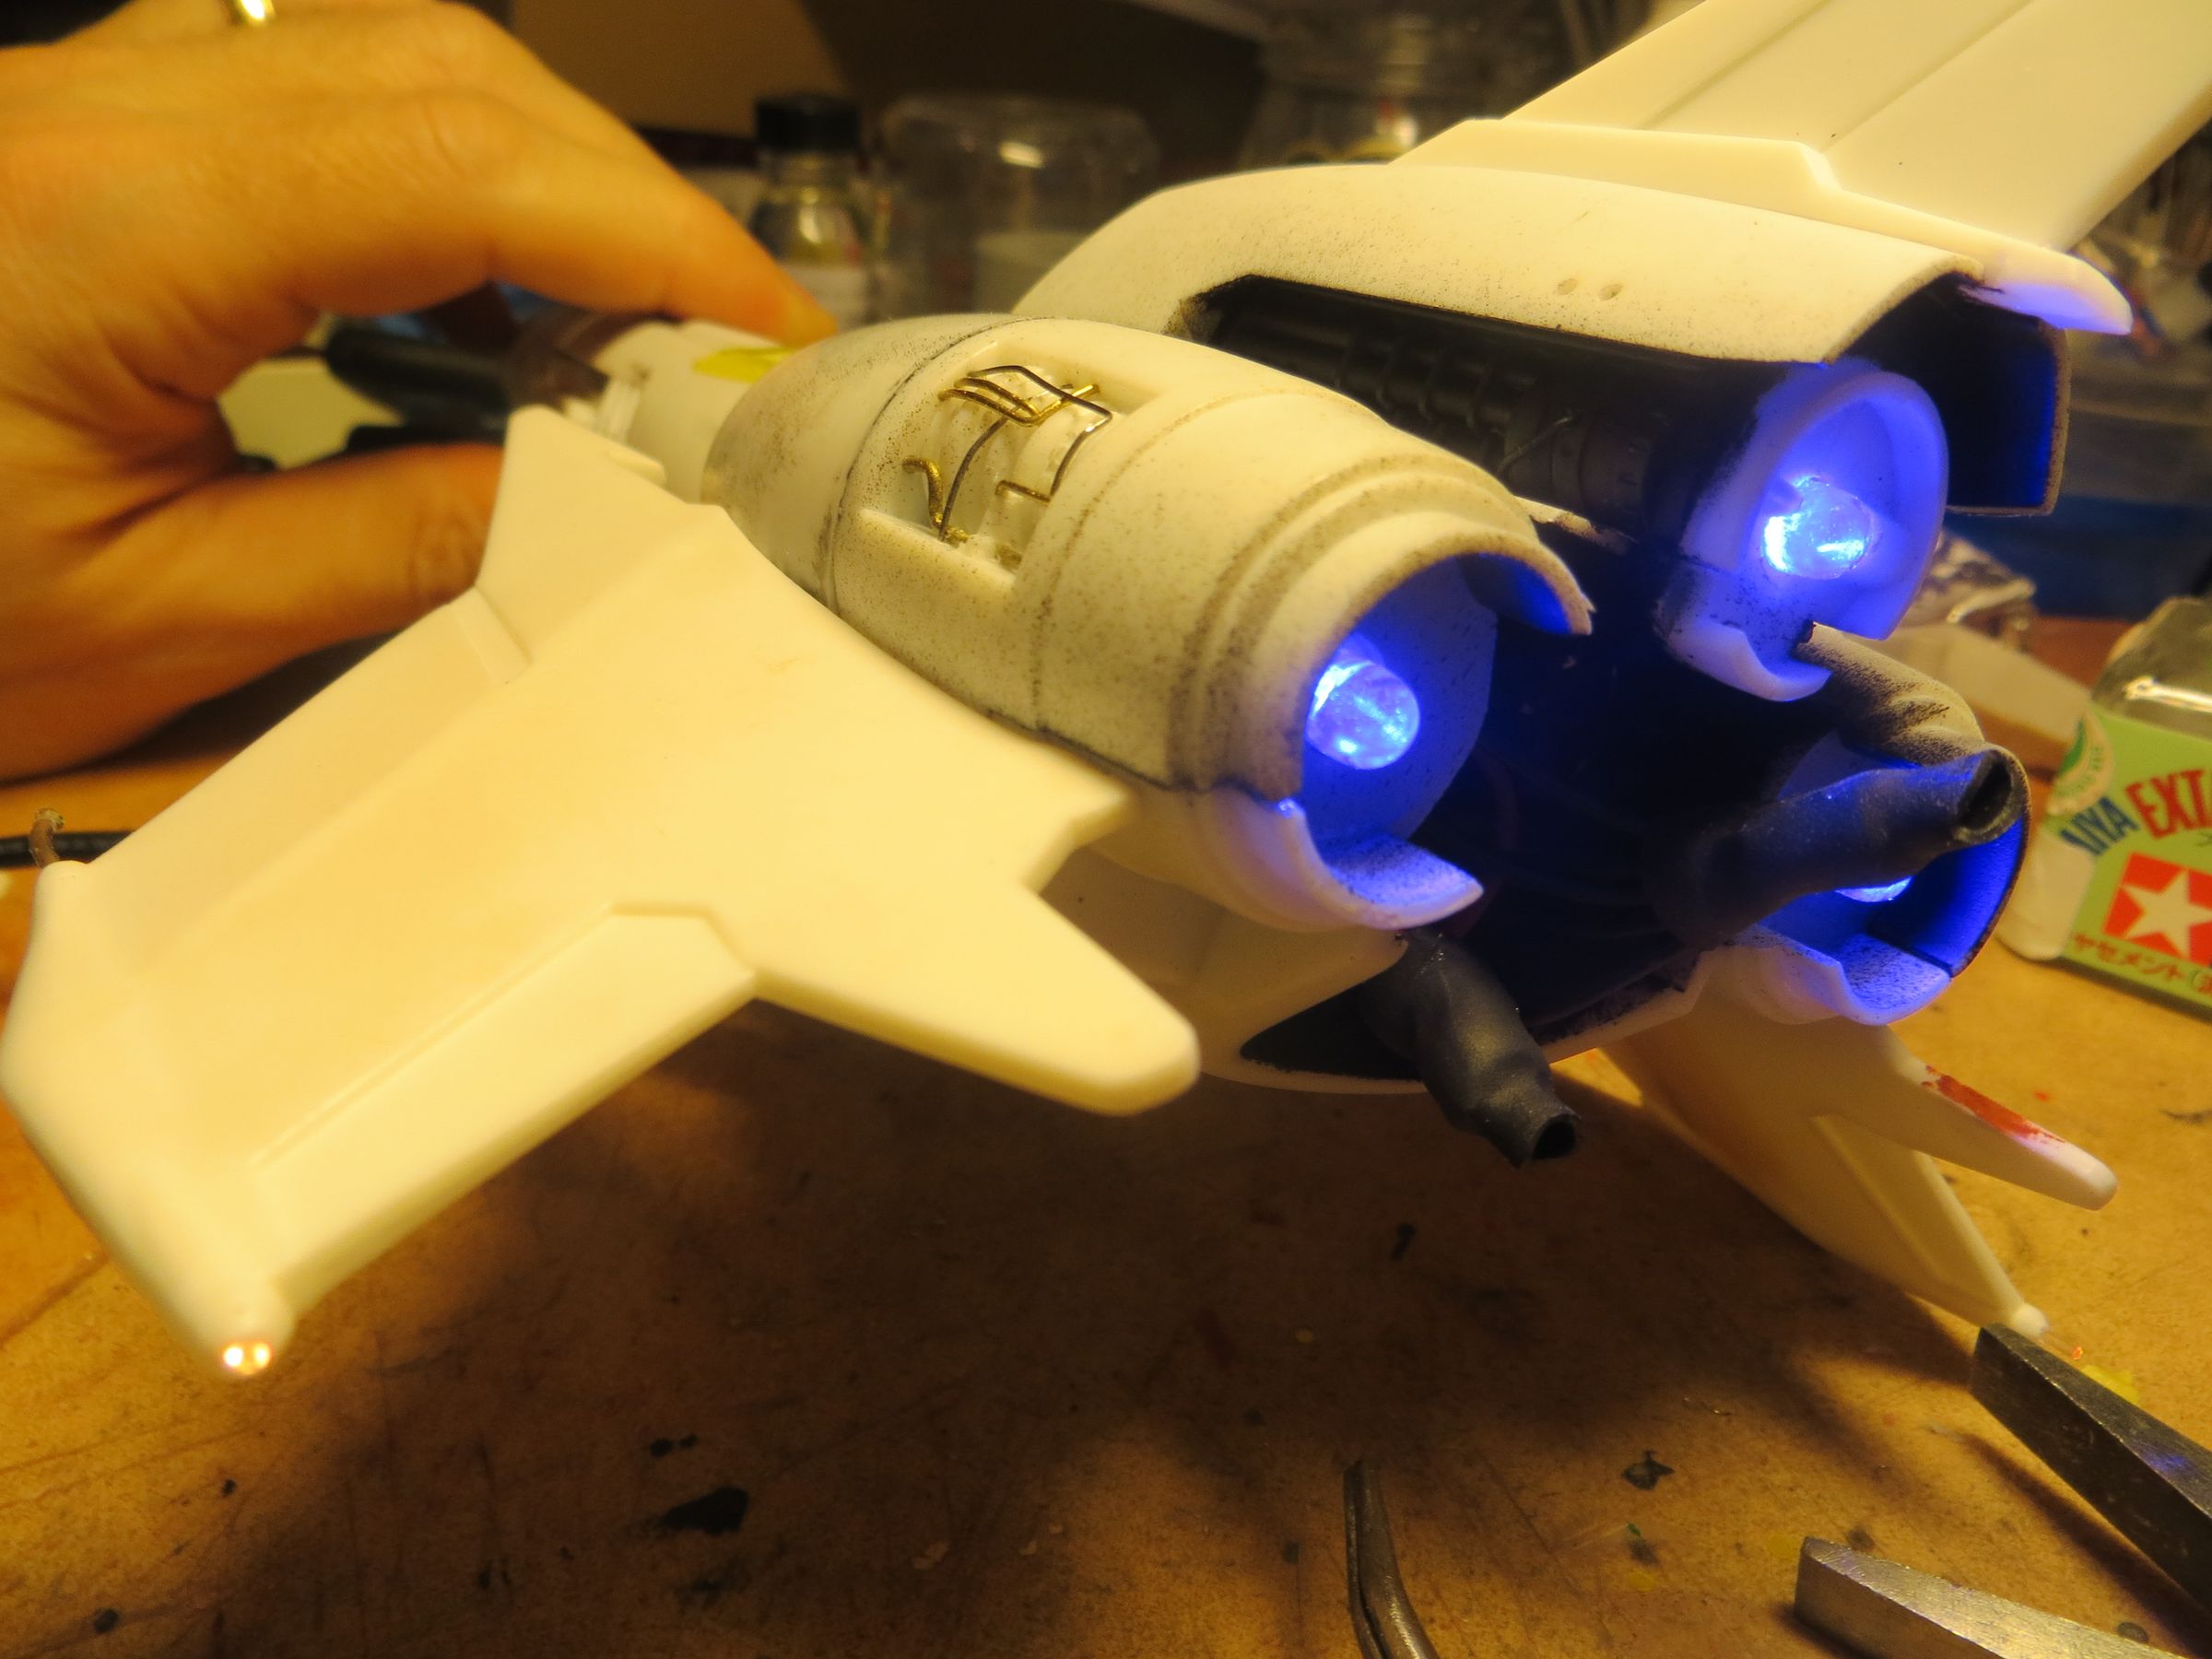
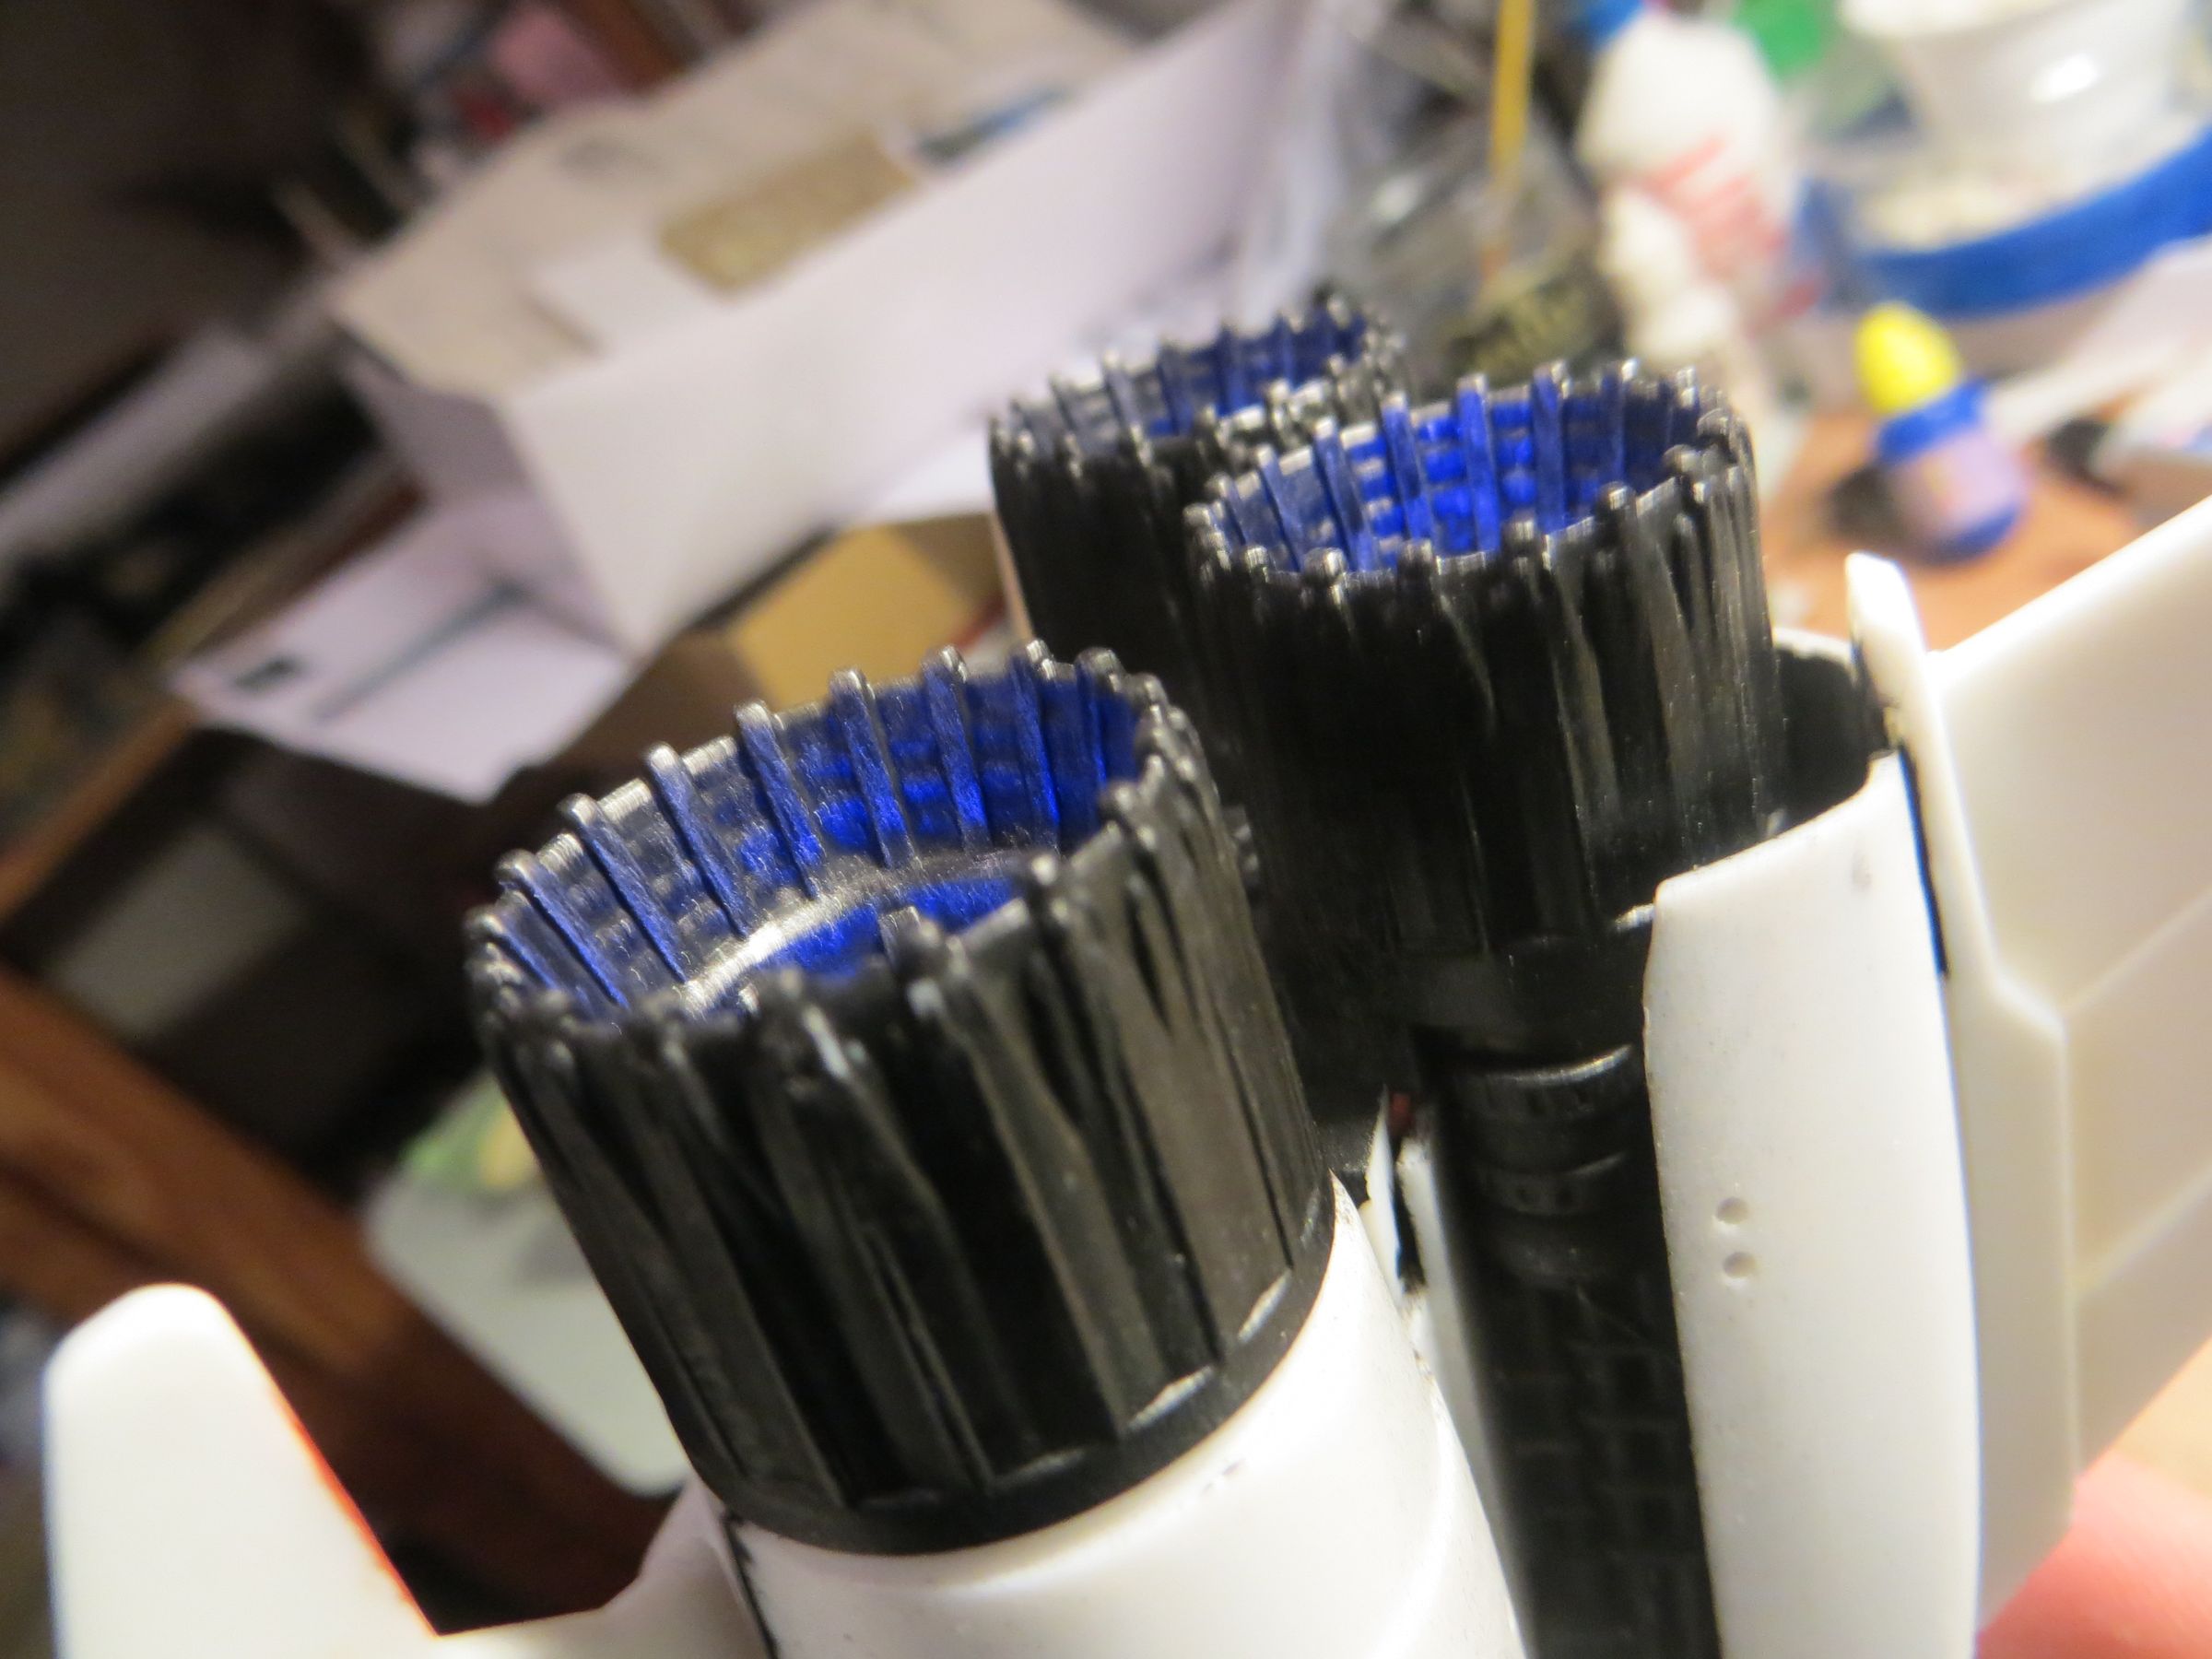
Little tests with the nozzles dry installed
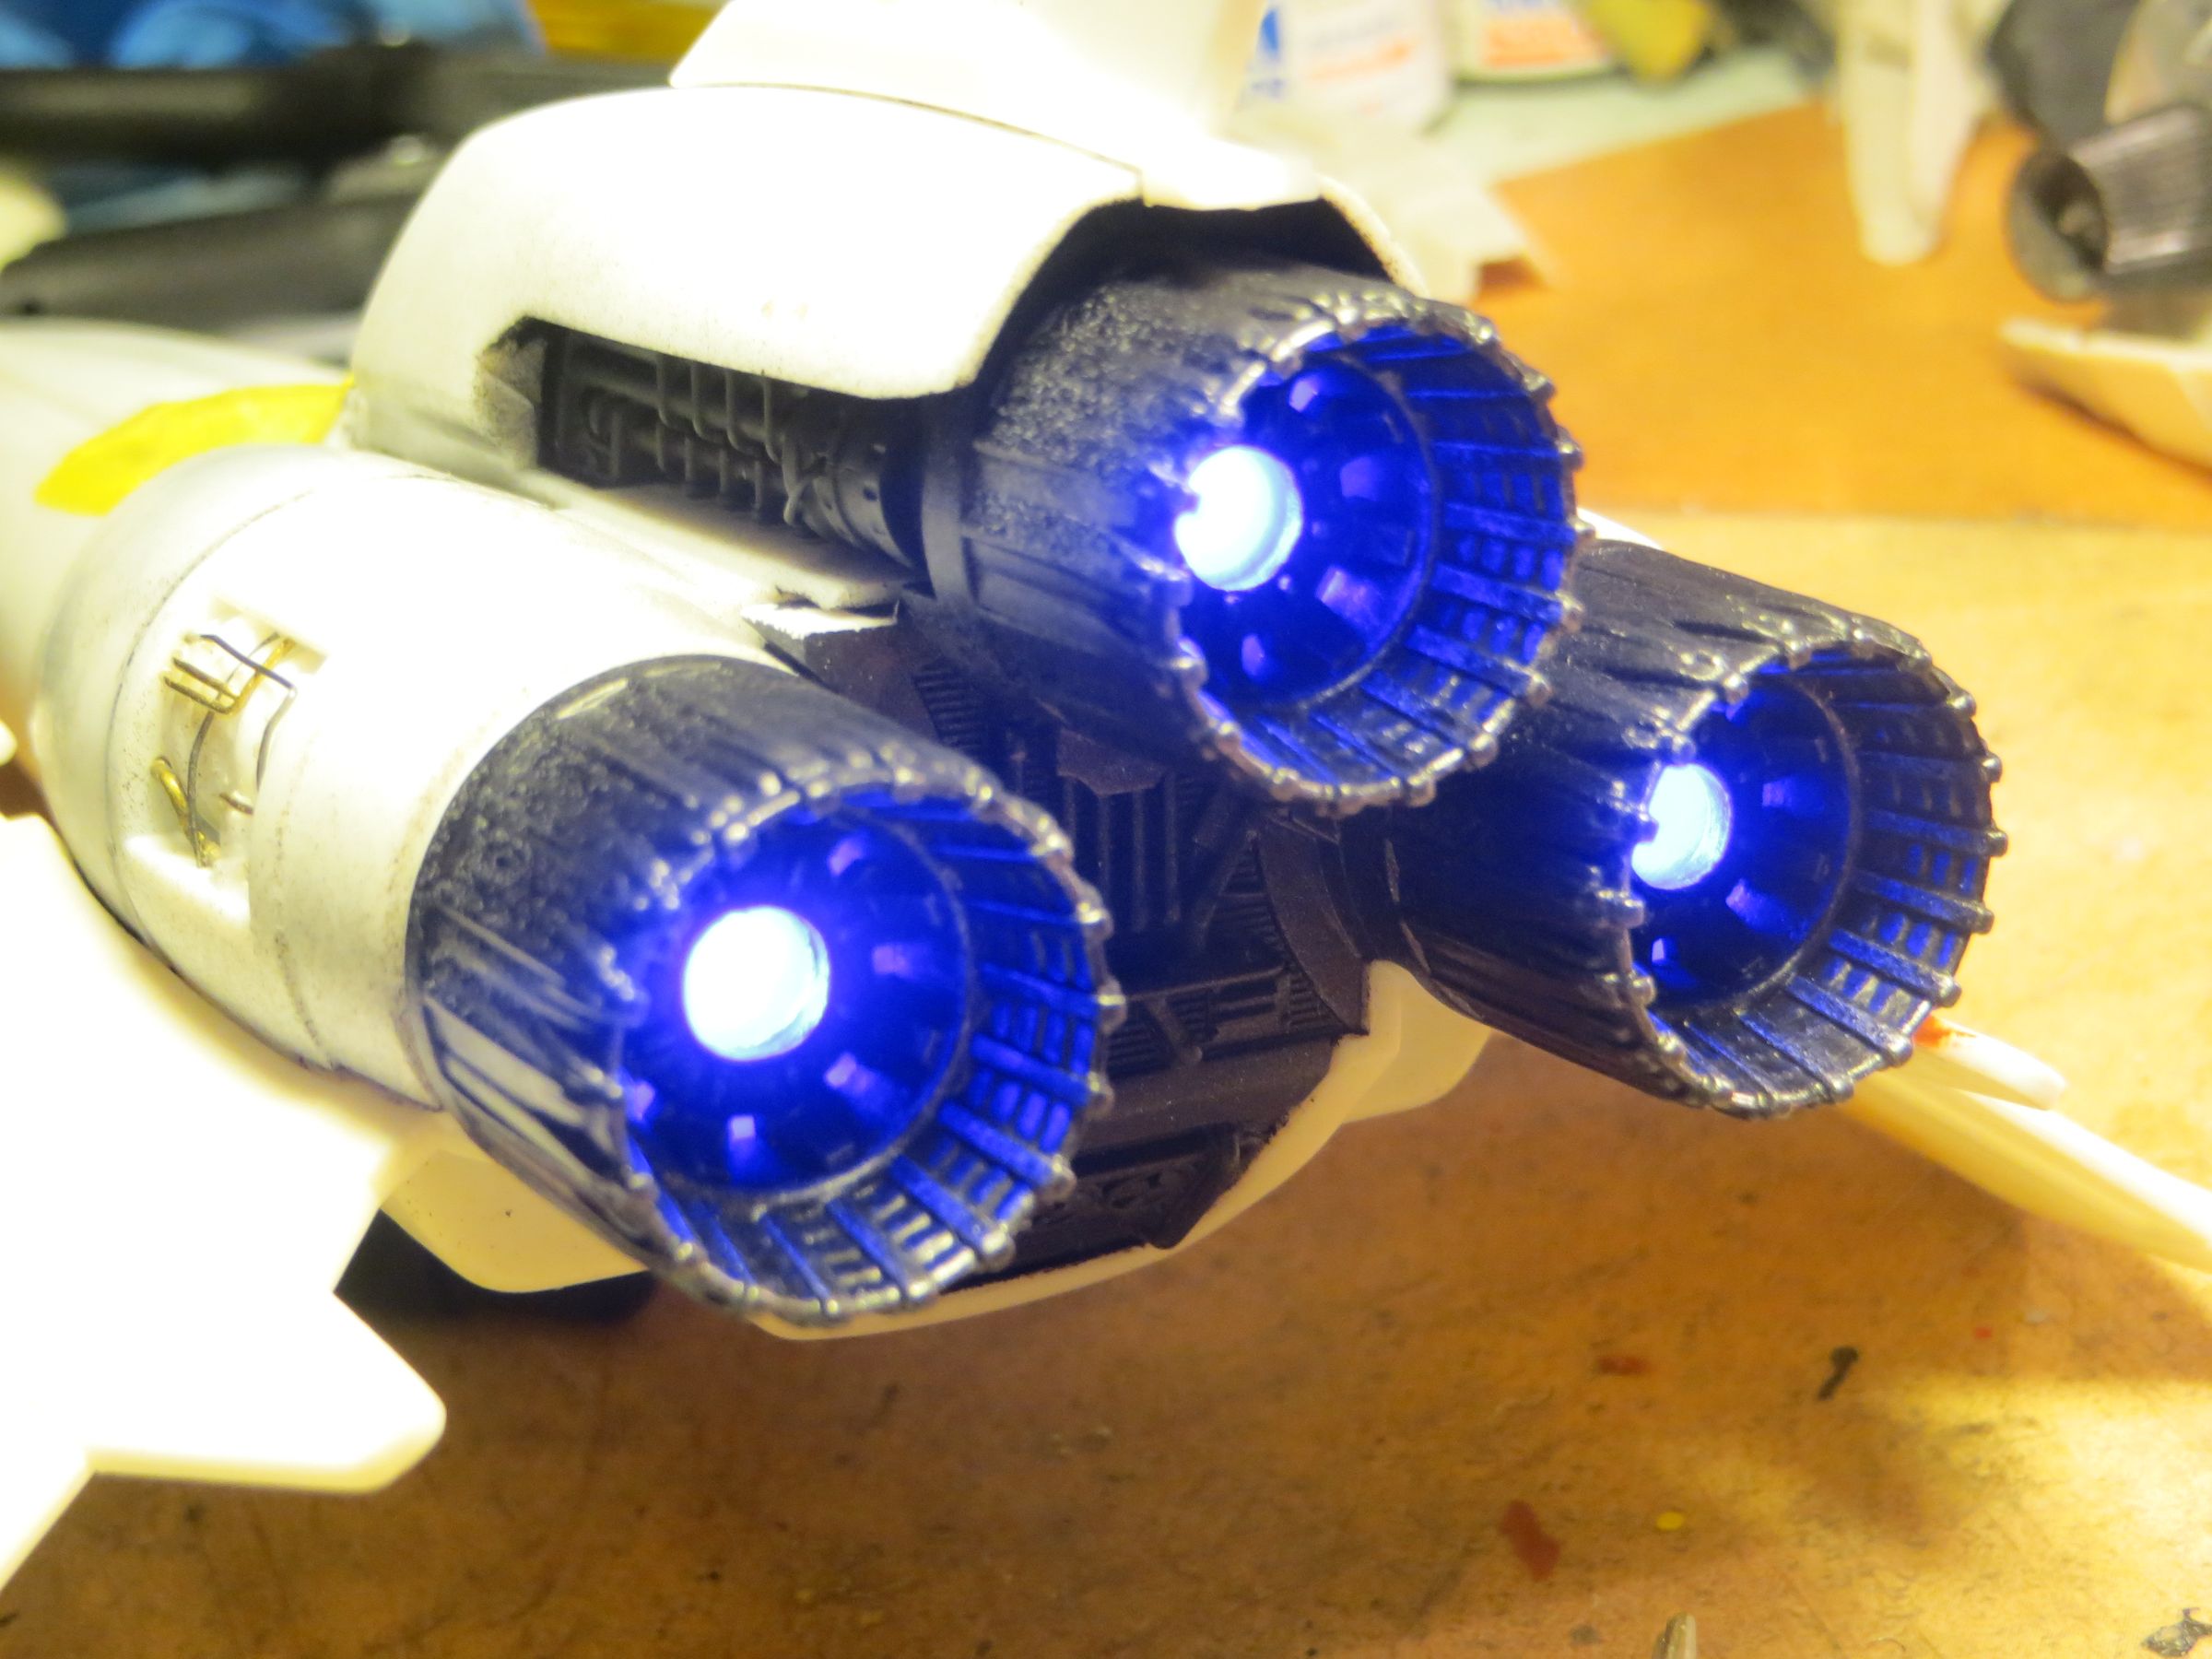

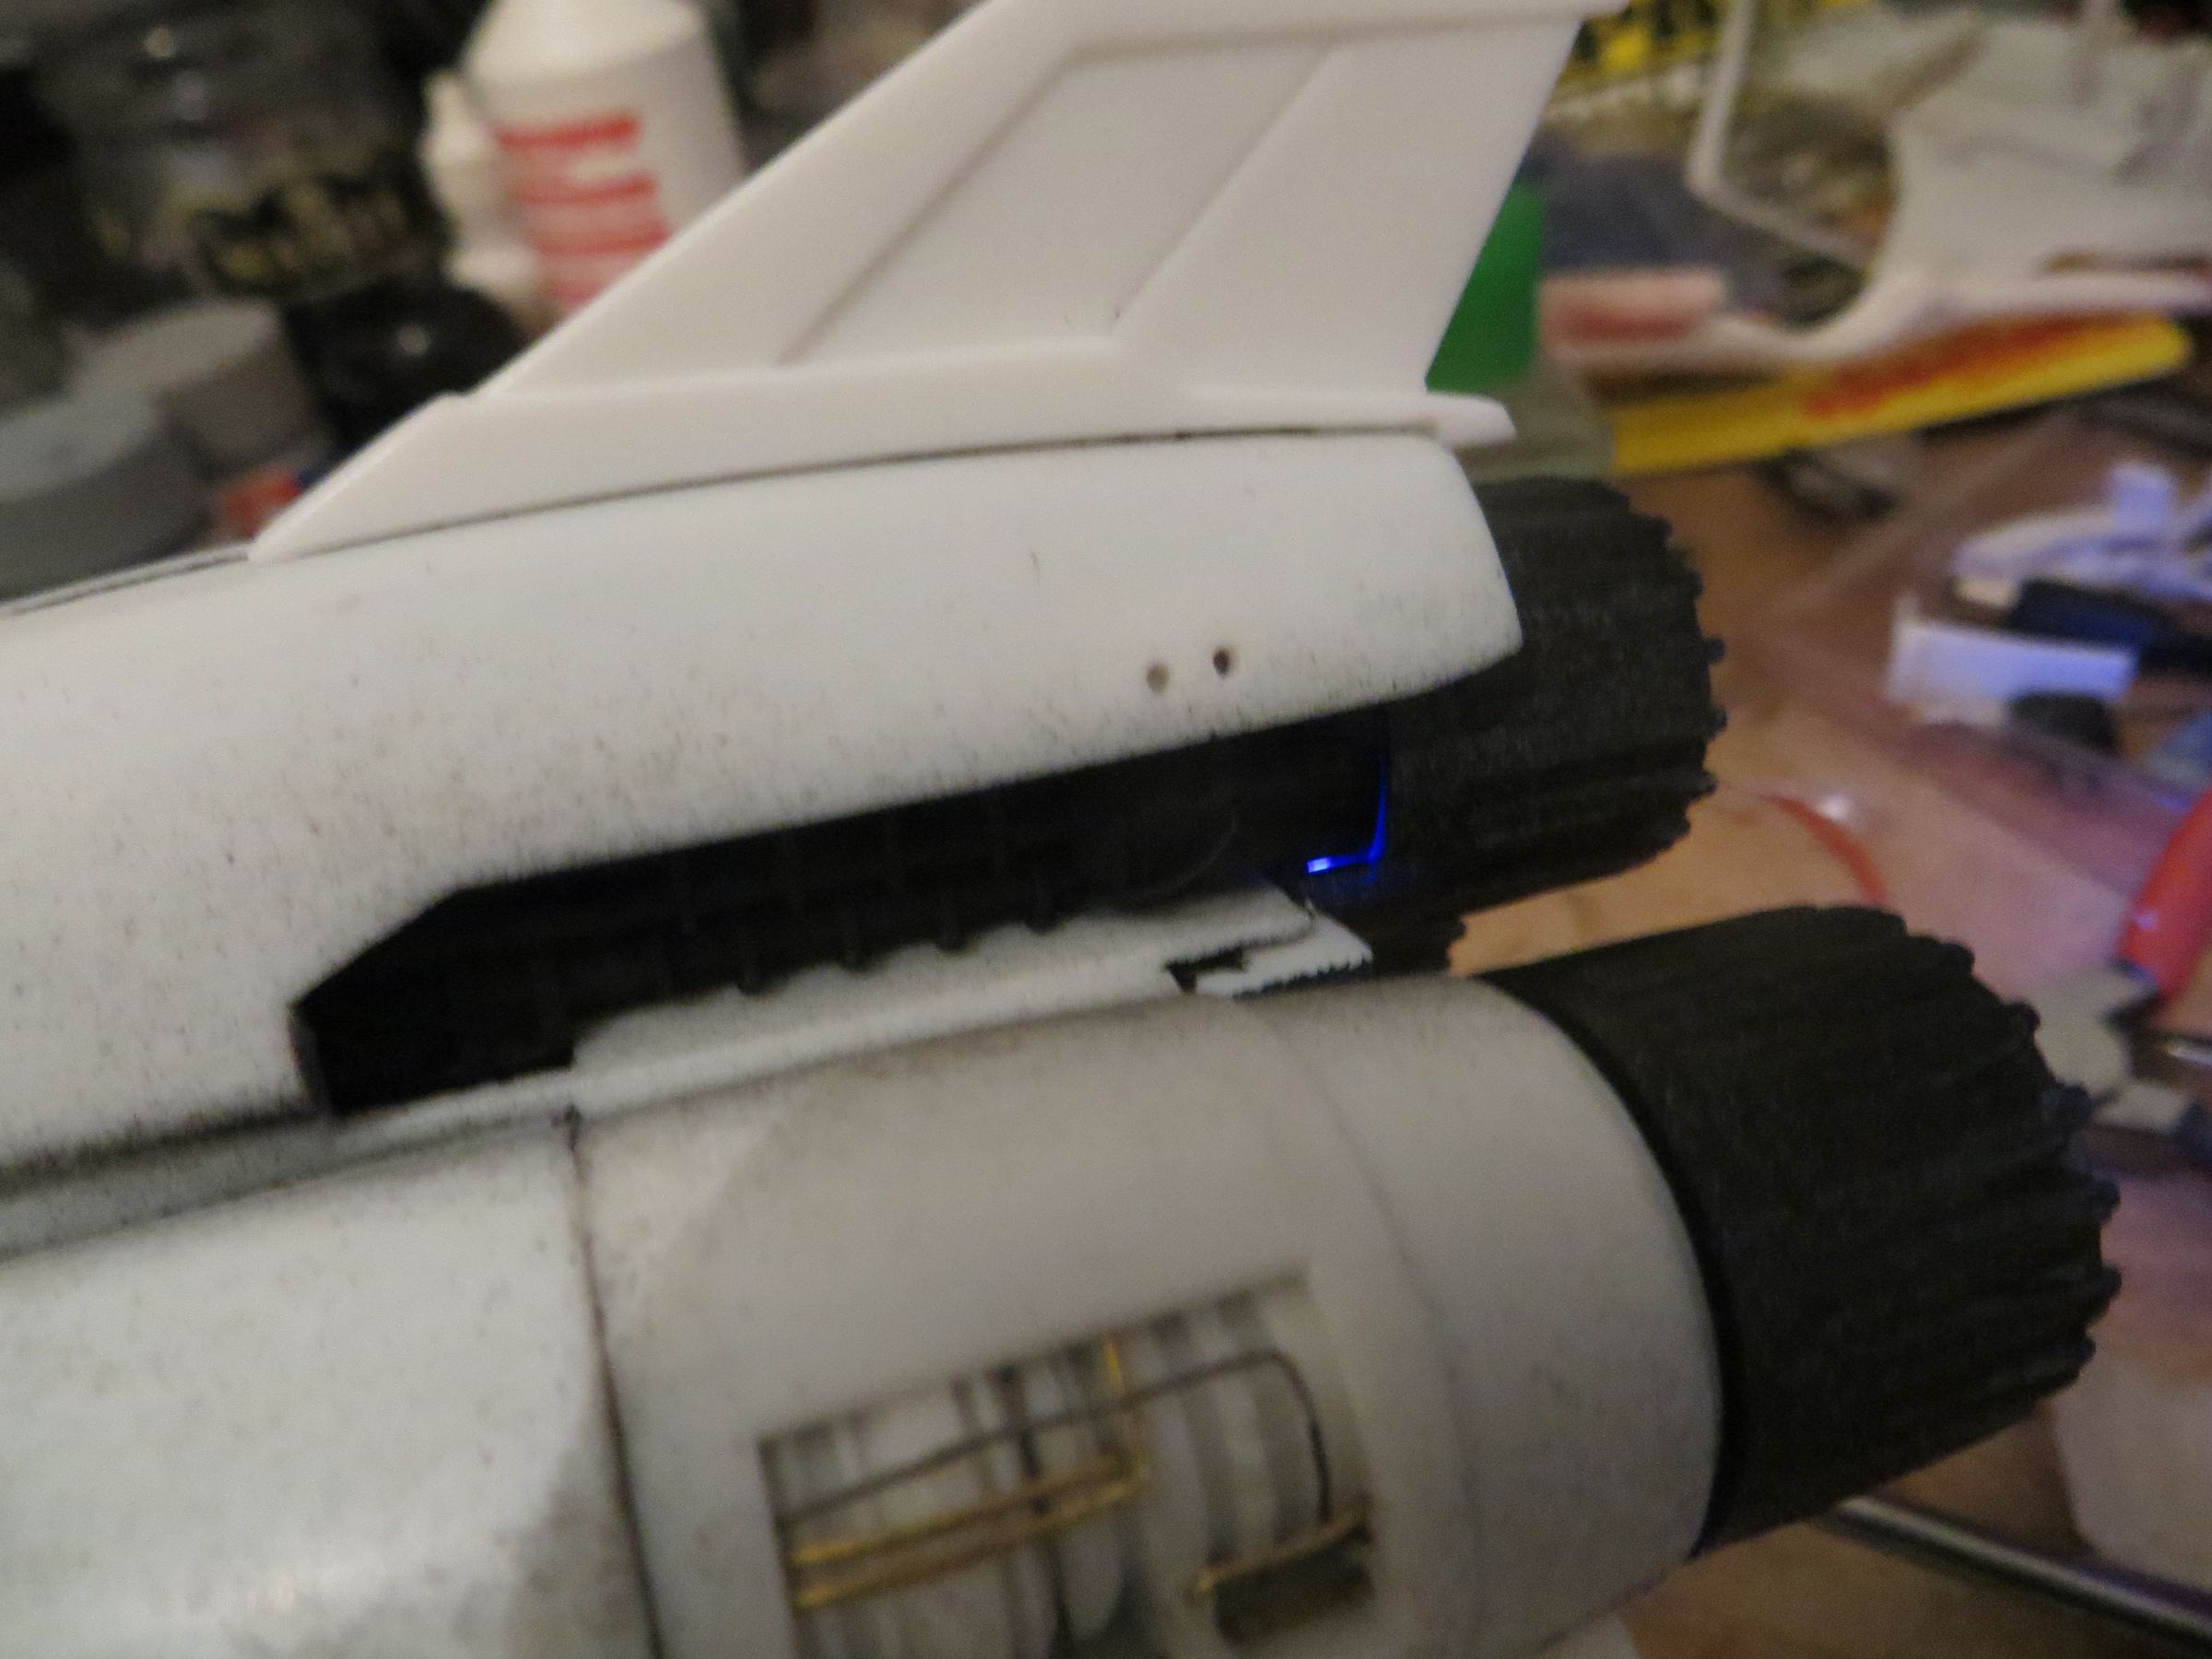
Given the poor seams, I expected to have lot's of light leakage, and luckily, it is far less serious than I thought, and only focused on the round nozzles bases.

For 2 below nozzles, a spare tube is added, and this completely solves the problem at this level (even without gluing the nozzles)
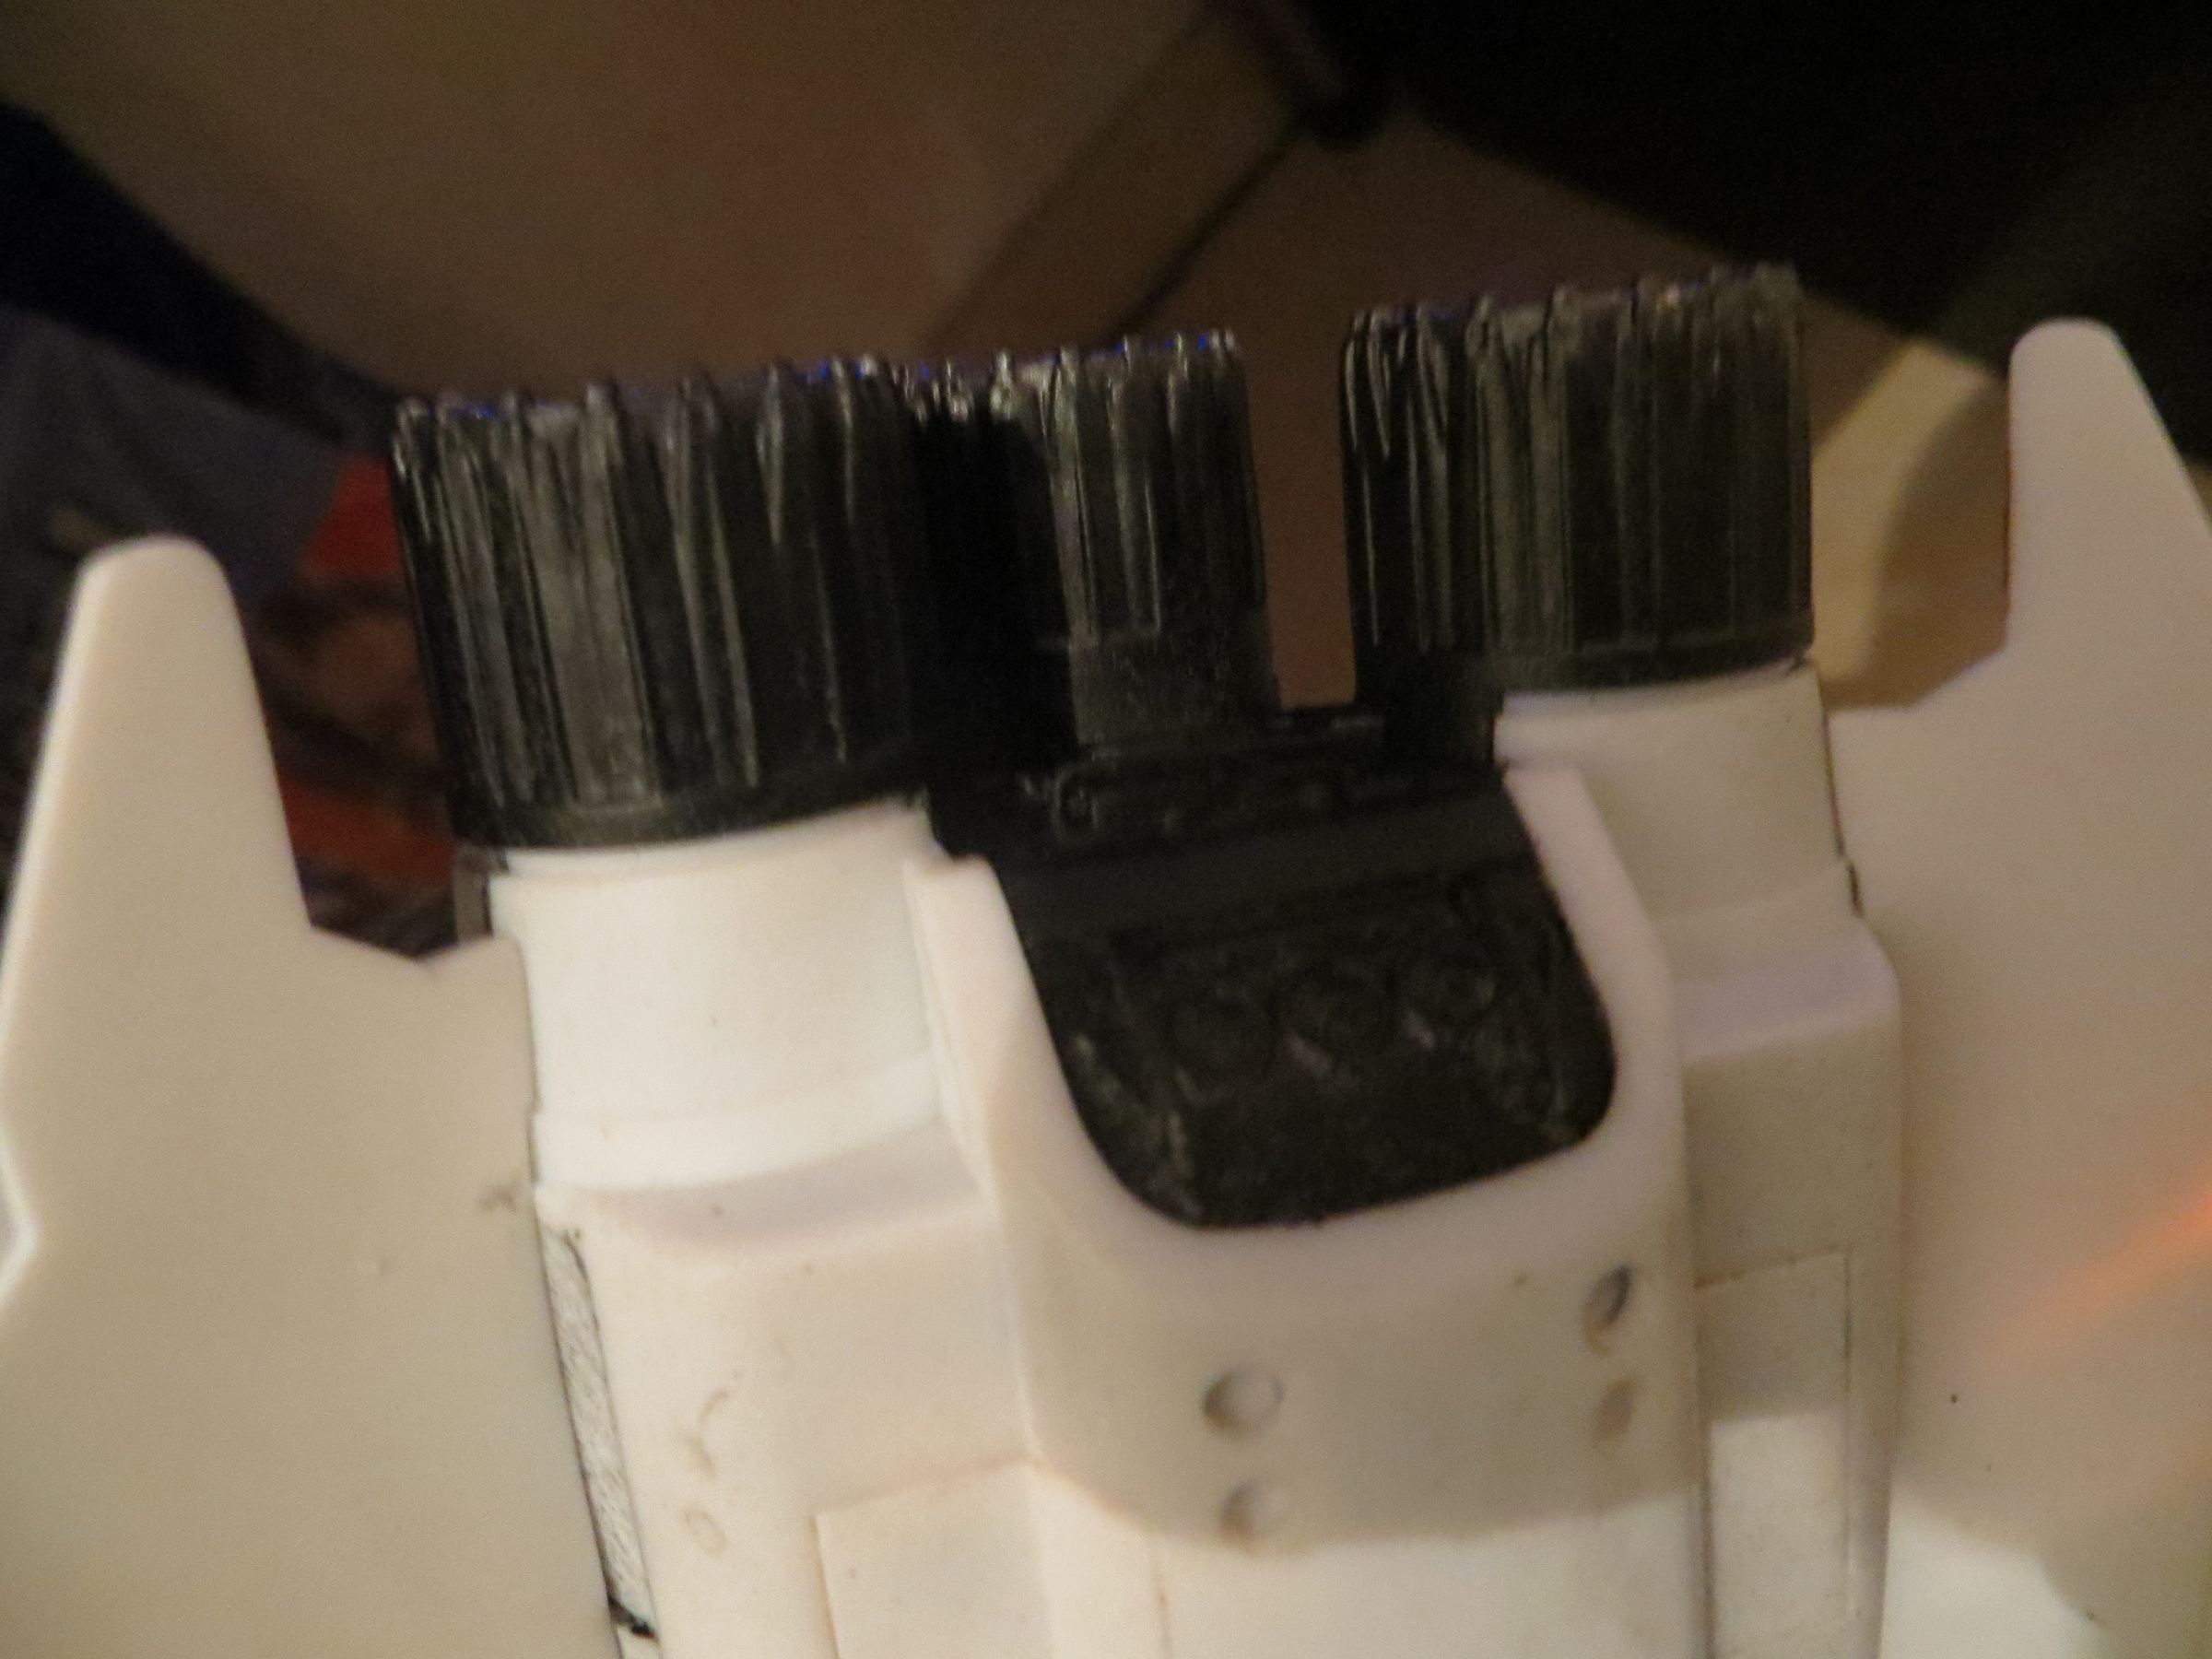
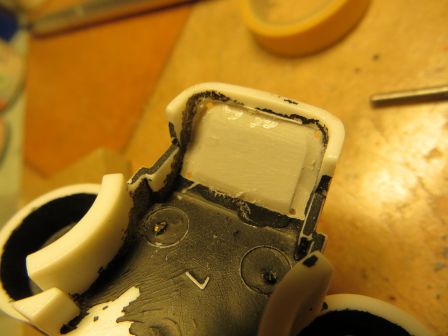
For the top one, the back disk and the flange are completed and then covered with black paint.
These tips are sufficient to solve the problem of light leaks, so I will finally not glue these two parts (upper engine and nozzles), in case I need to have hand in the future.
Some seams will then stay as is but should remain little viewable in the end (I think the eye will ignore them).
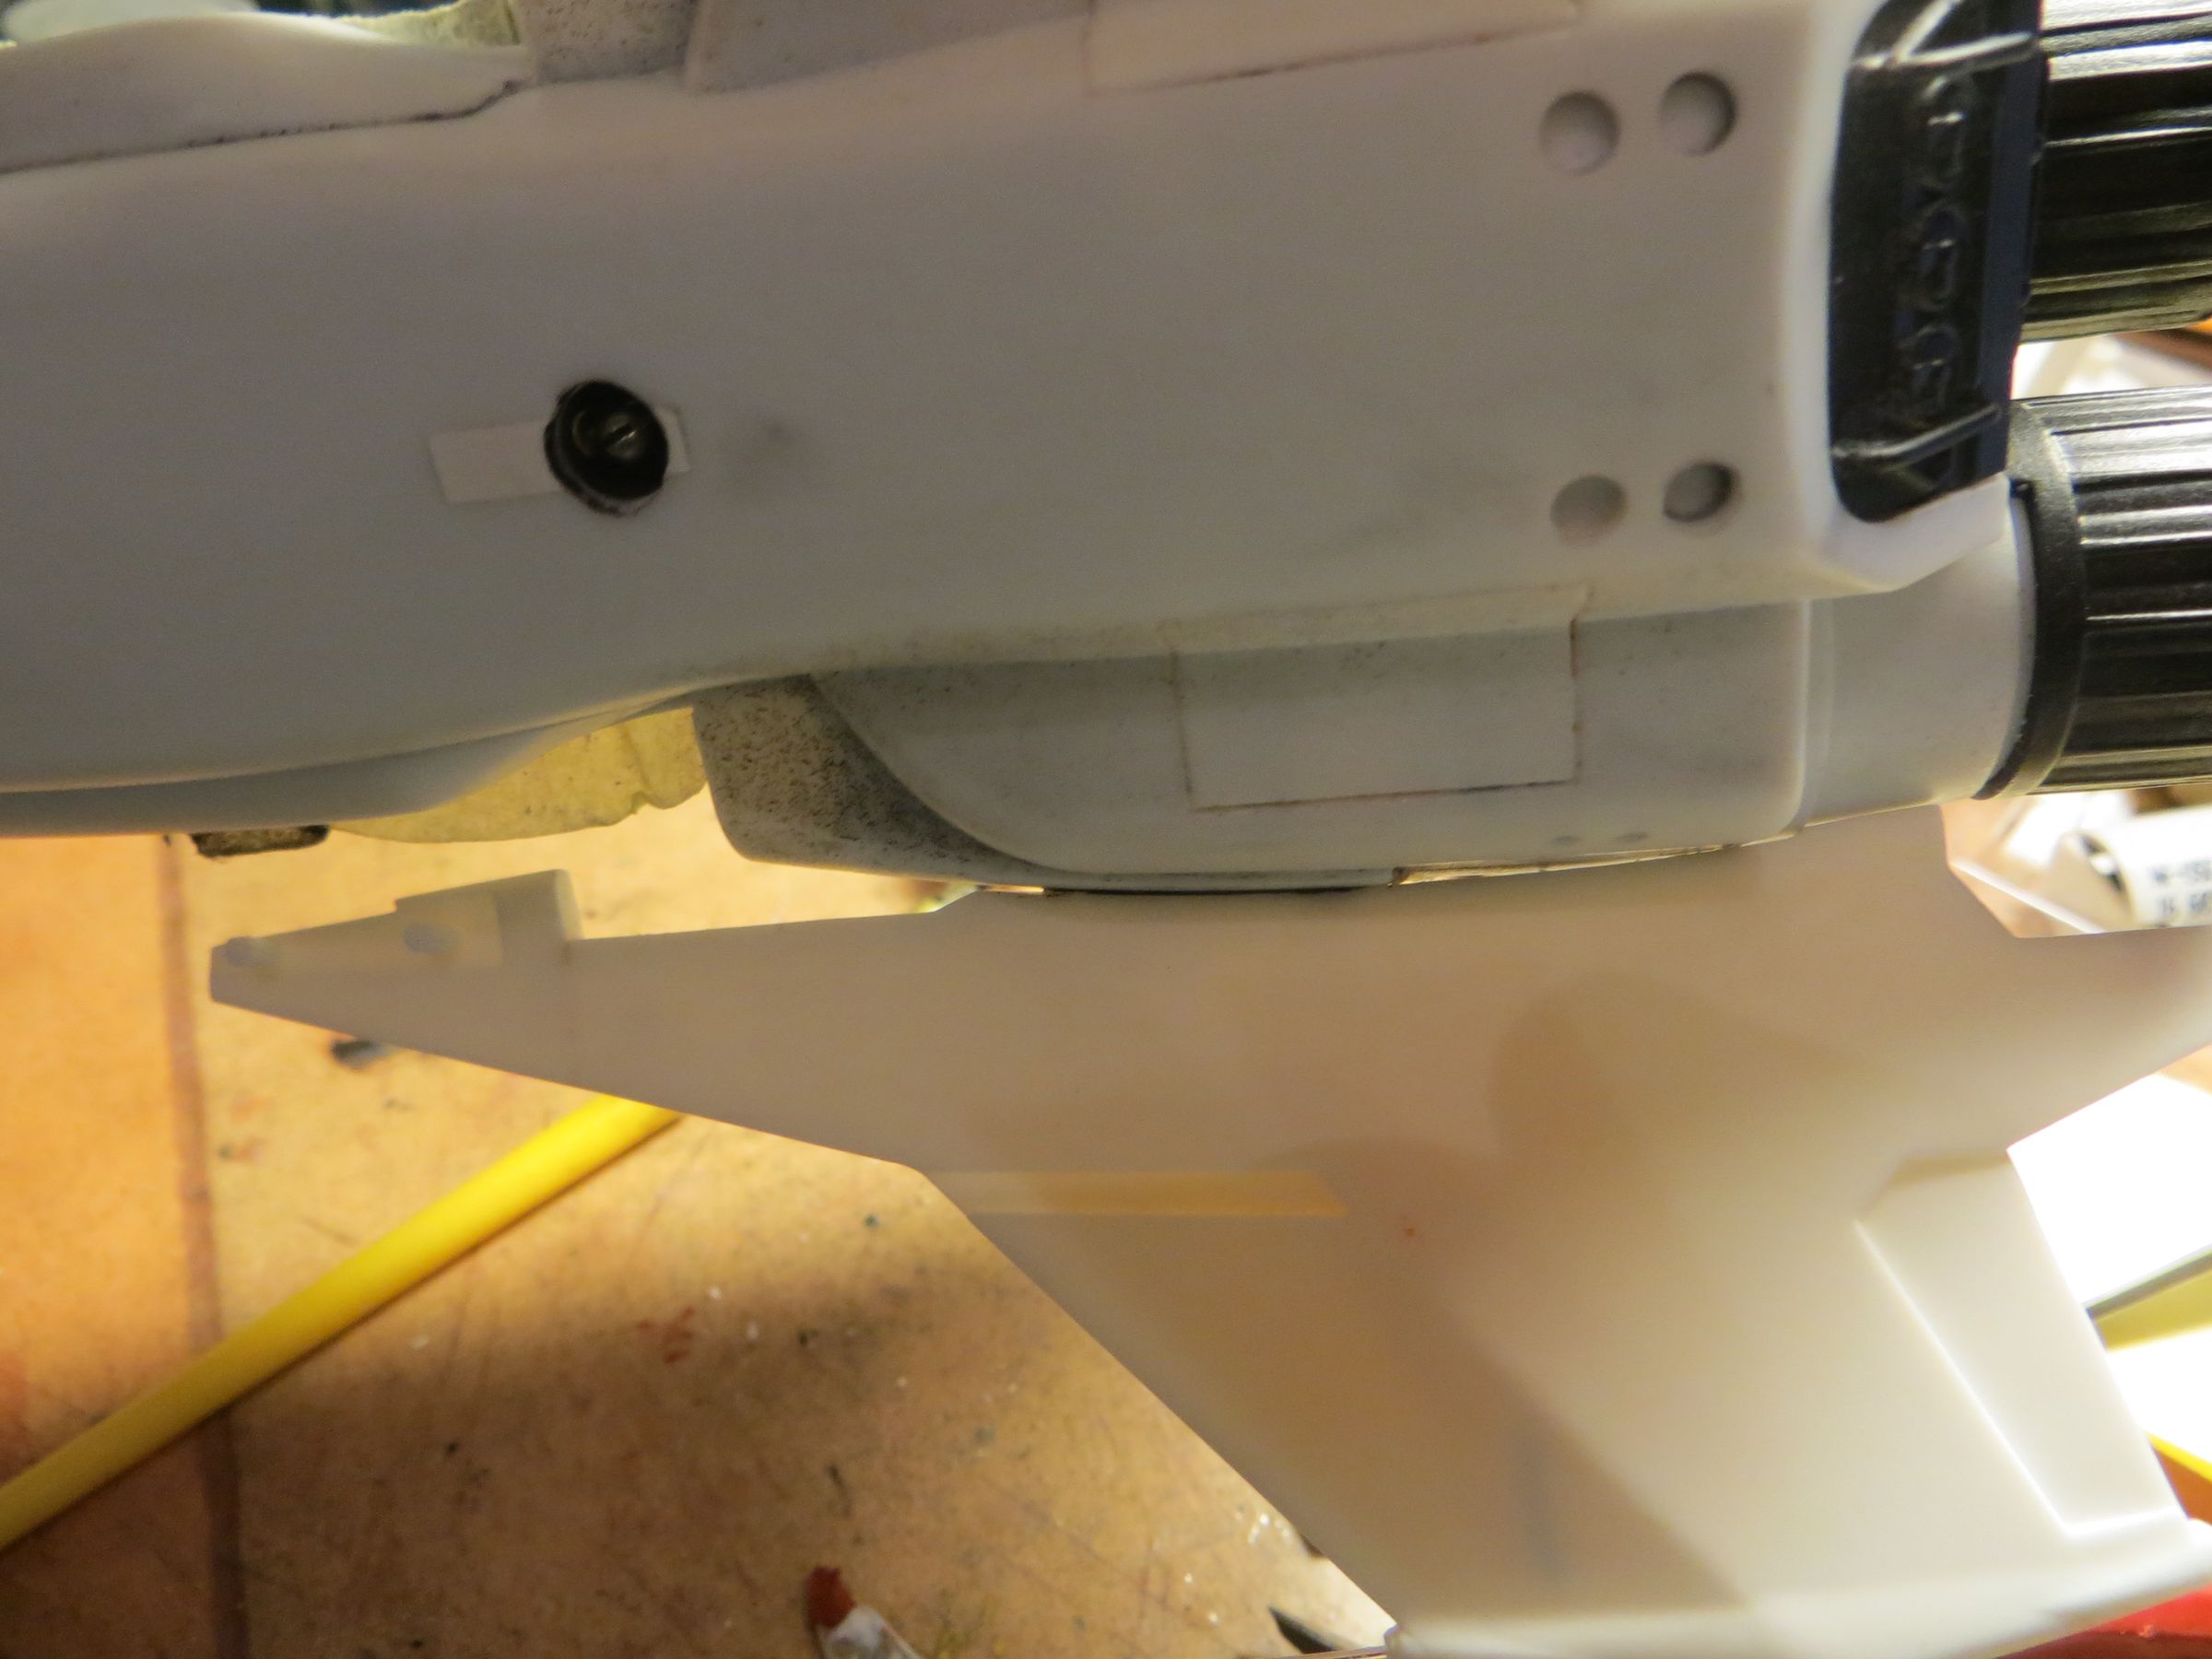
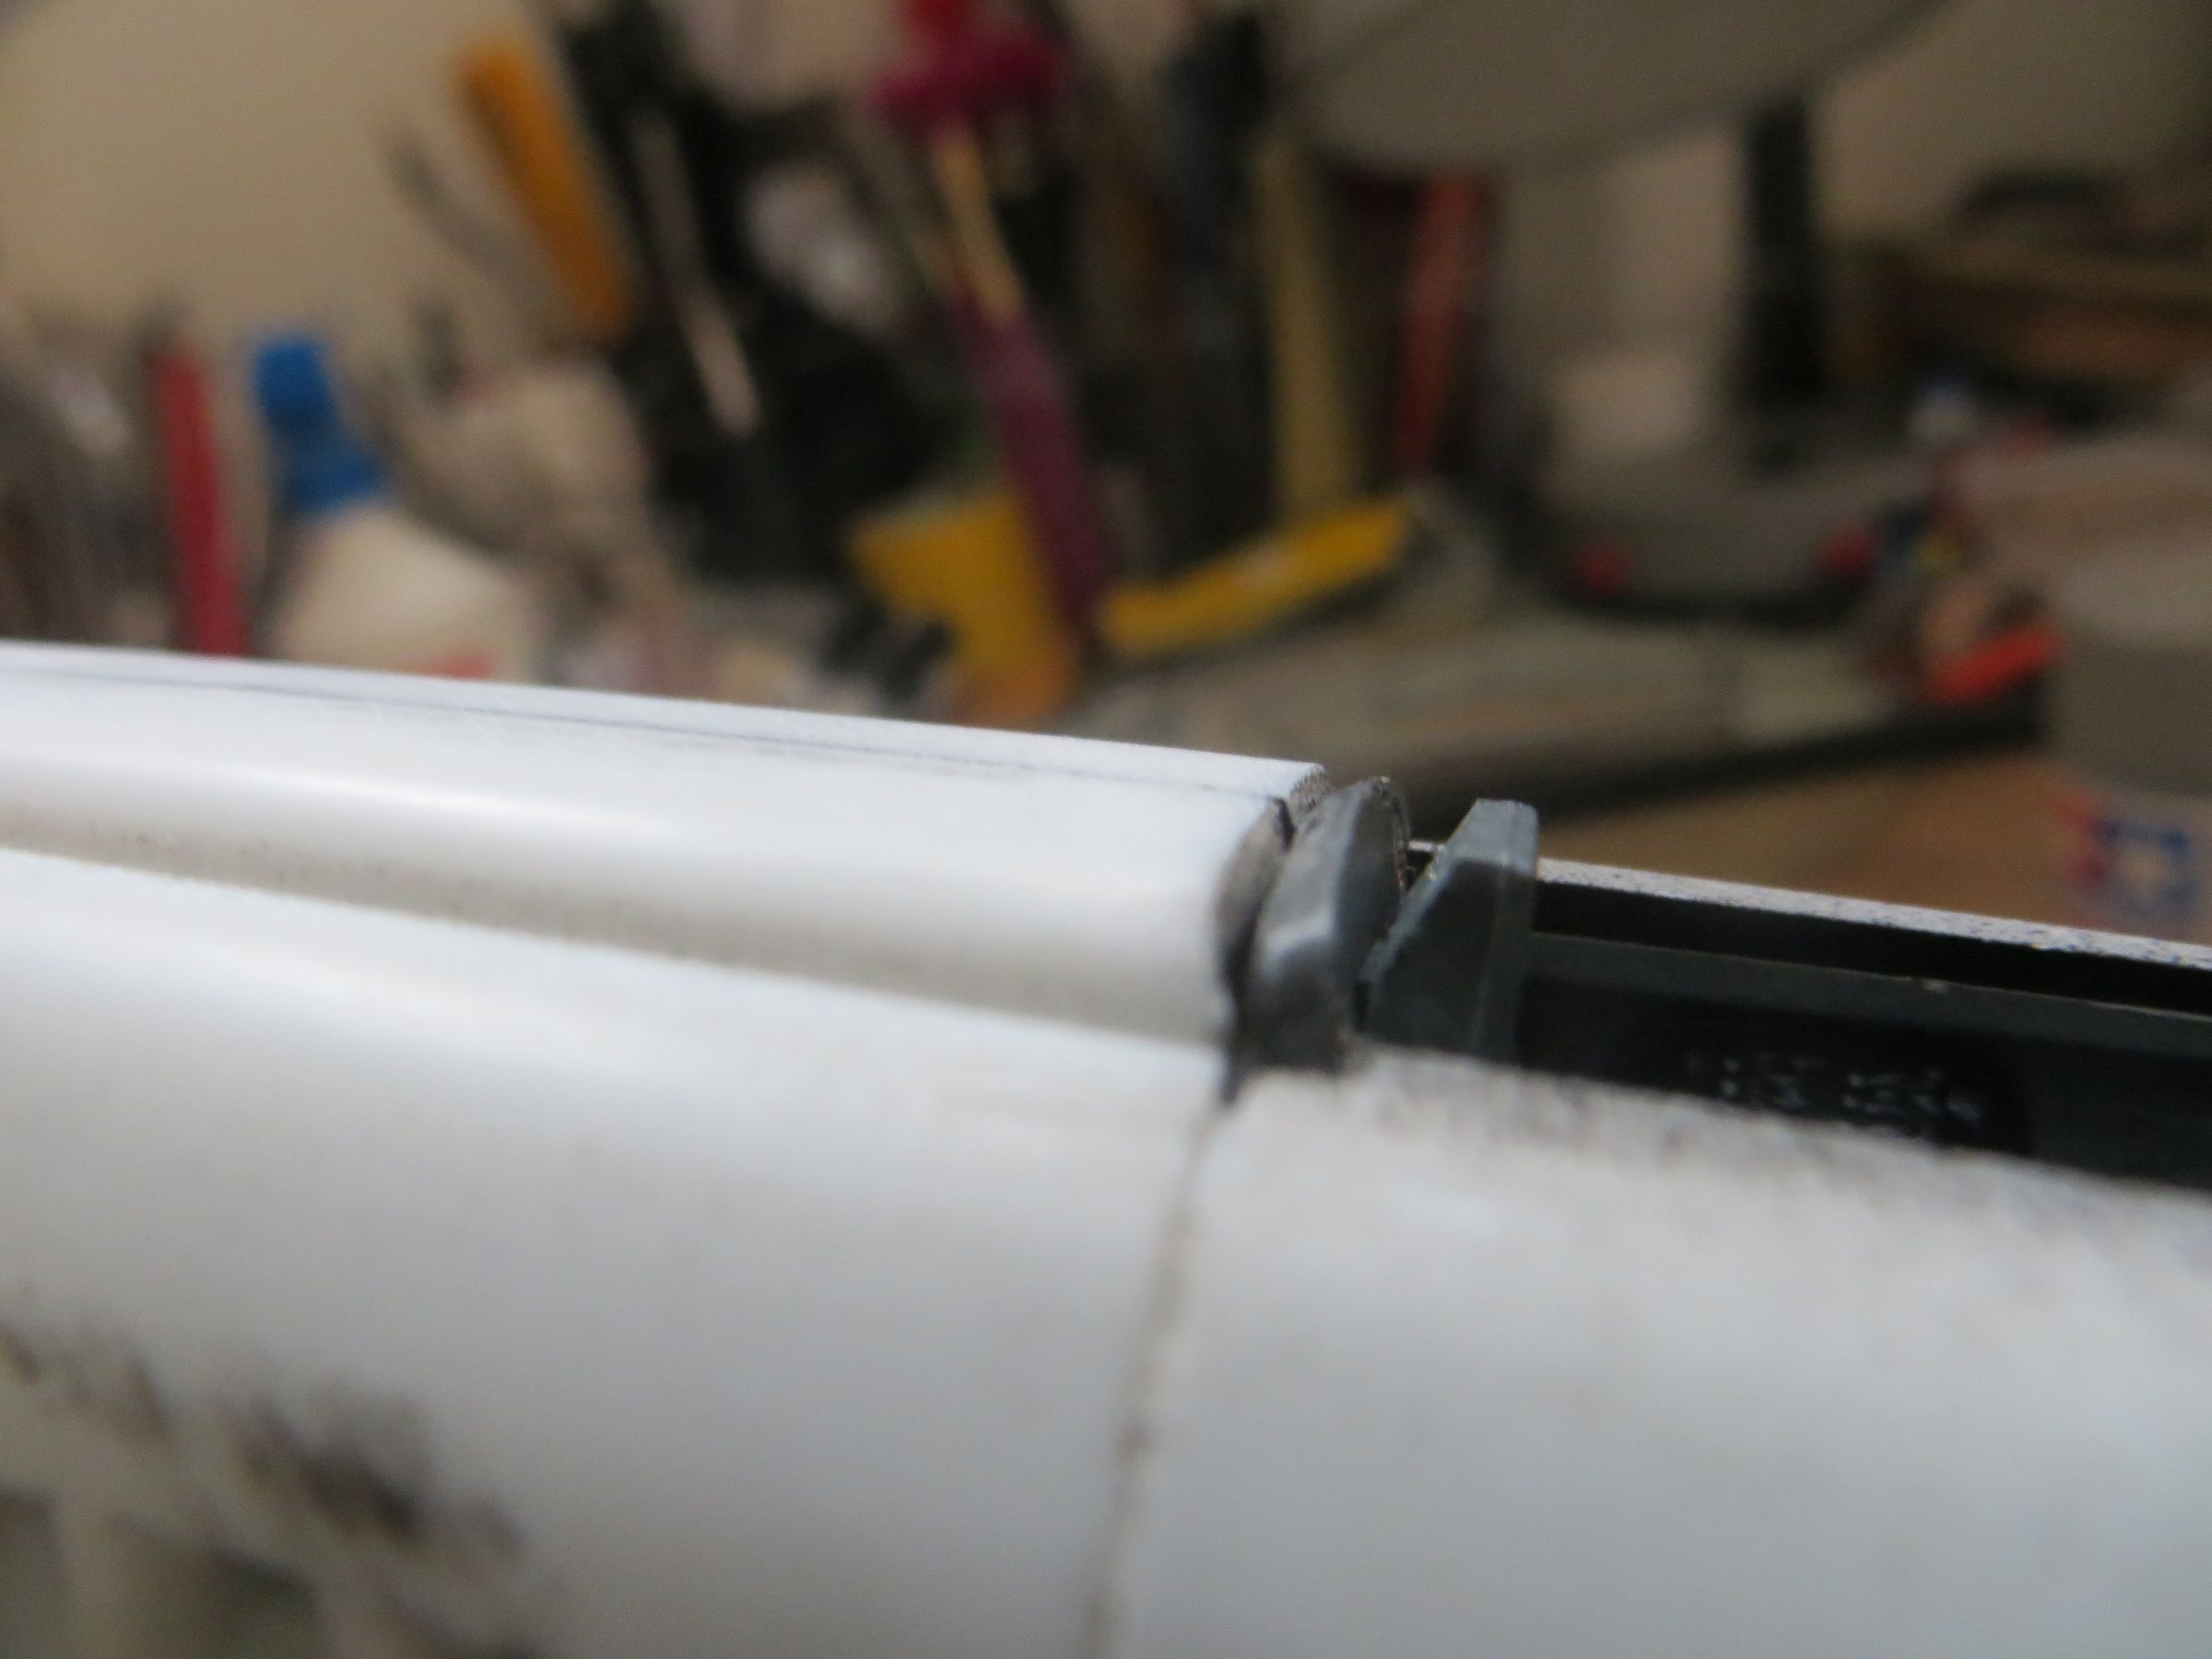
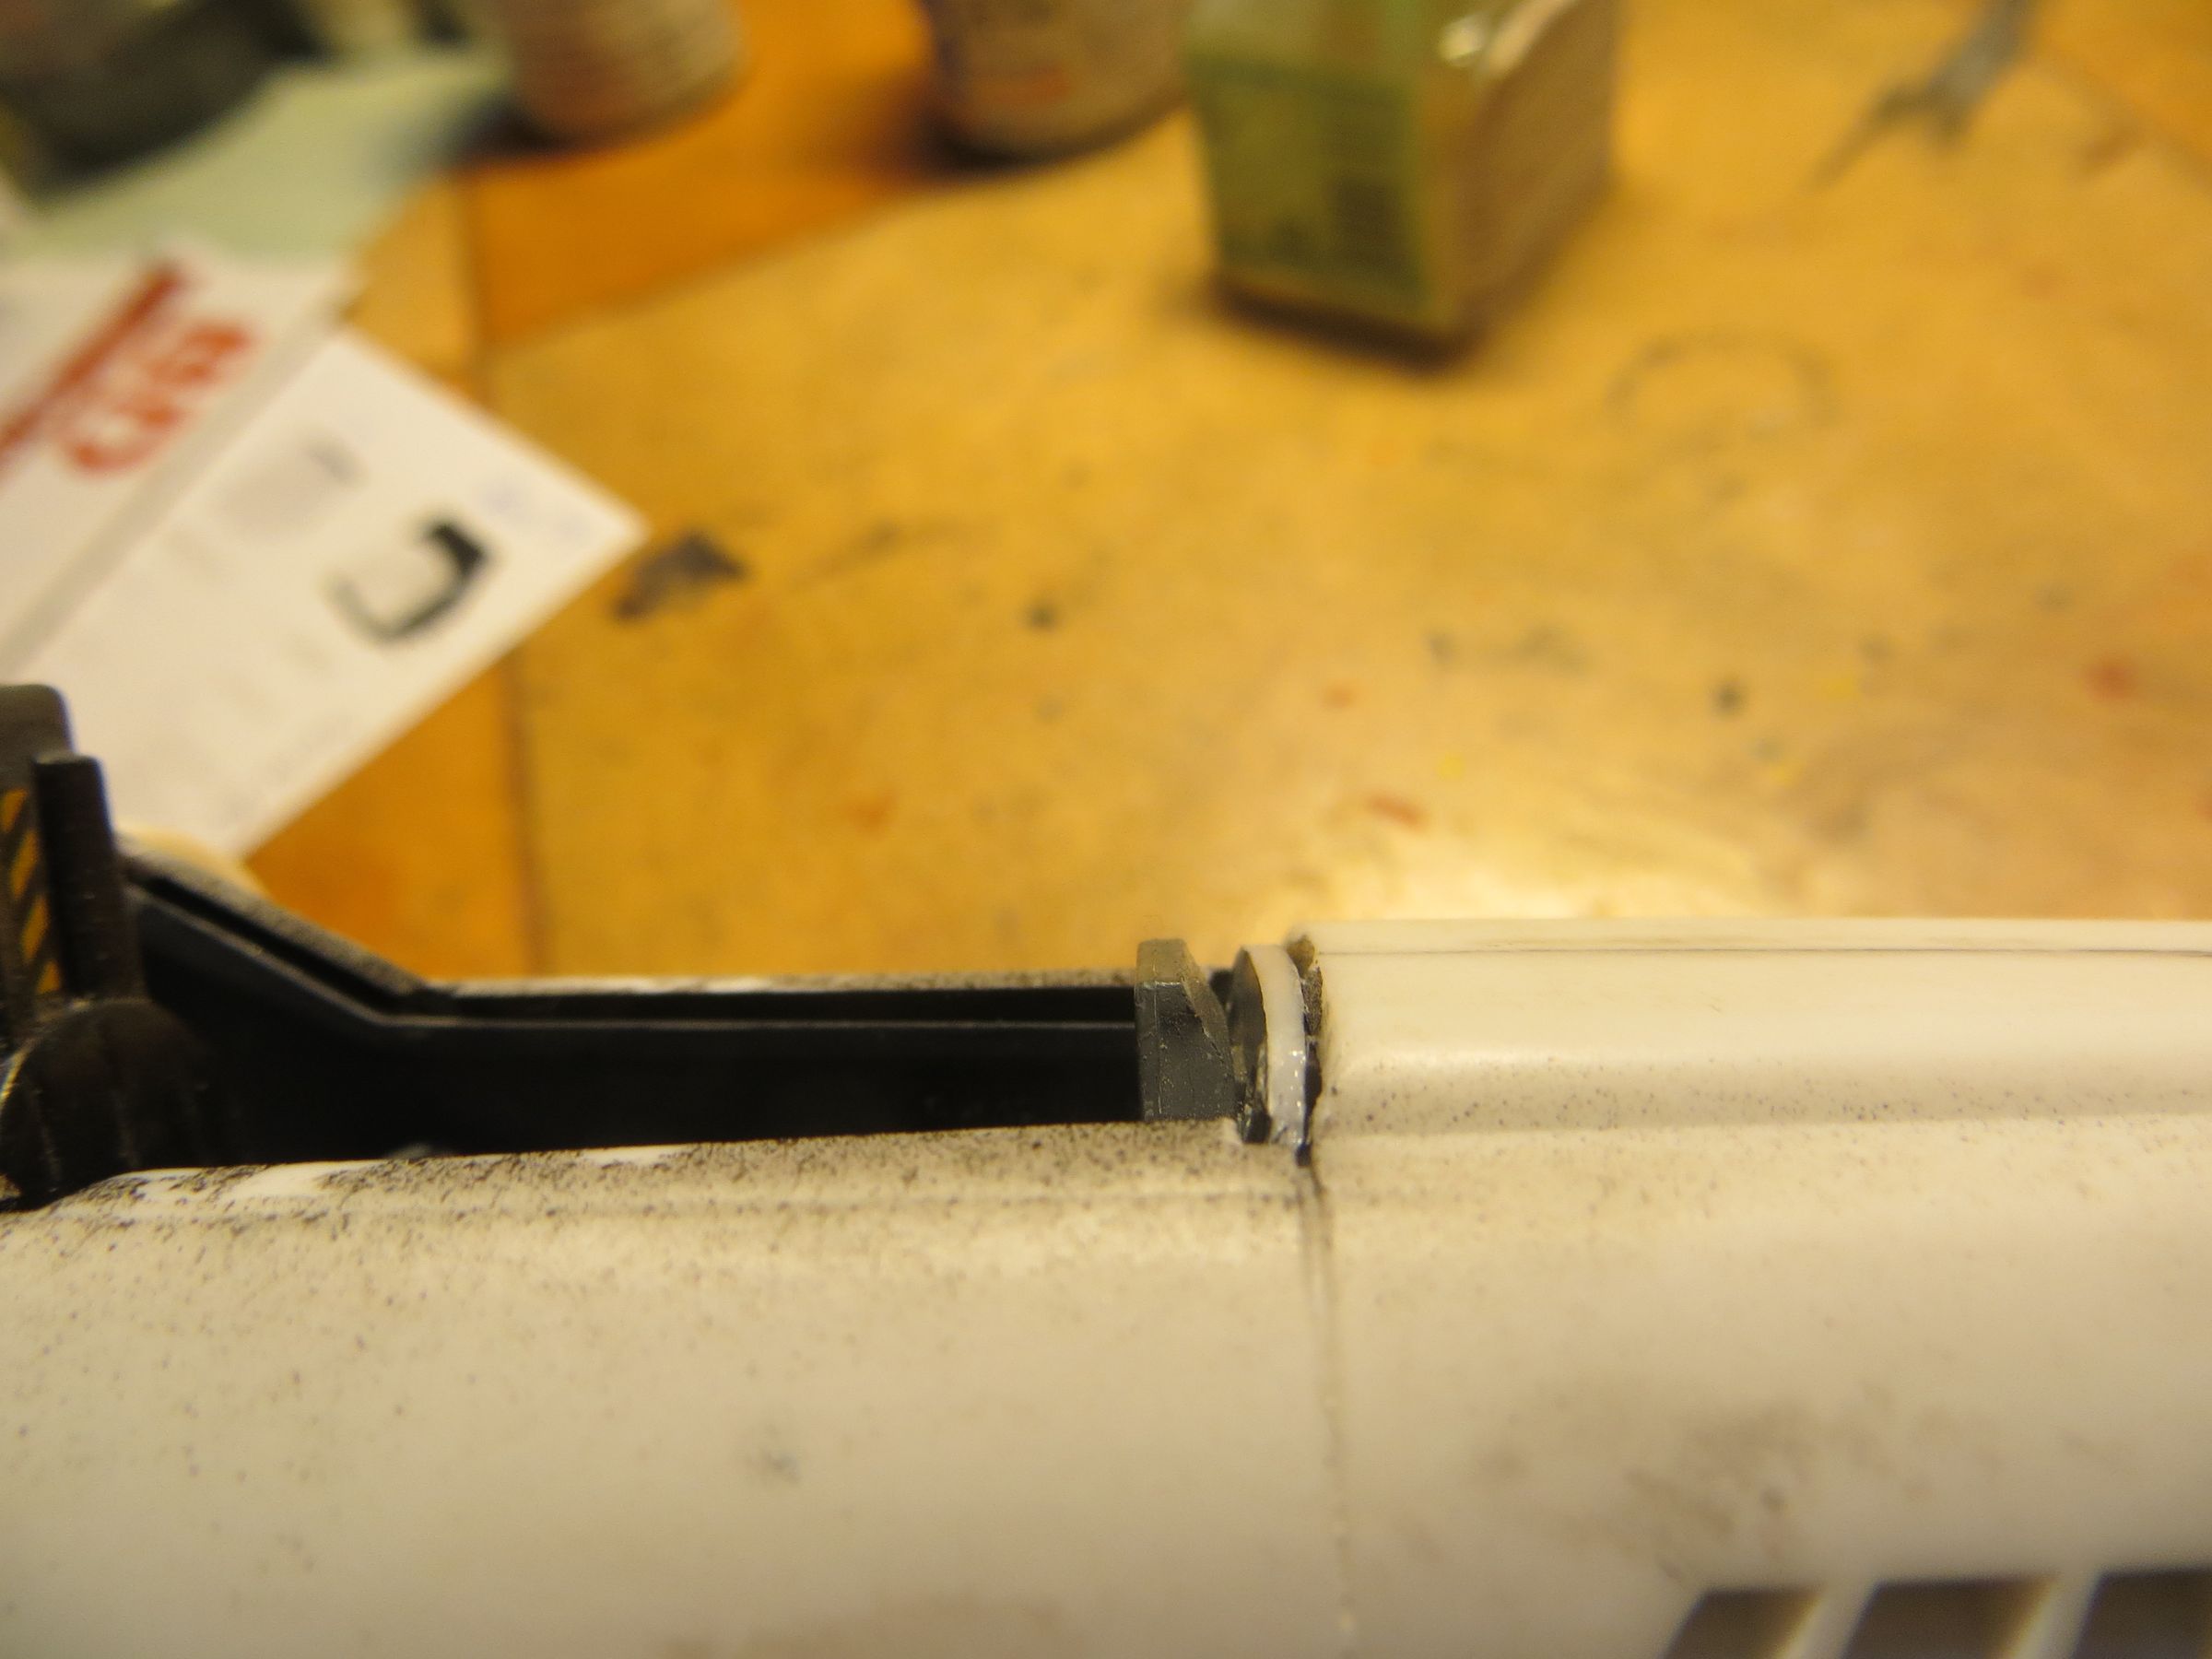
The plug is more firm as I expected and perfectly fulfill its second office : support. Even upside down, it works 

Par olcabour le jeudi, 16 janvier 2014, 23:33
To secure the wings gluing (they moved a little in their homes), I simply add some small wedges. (sorry, no photos)
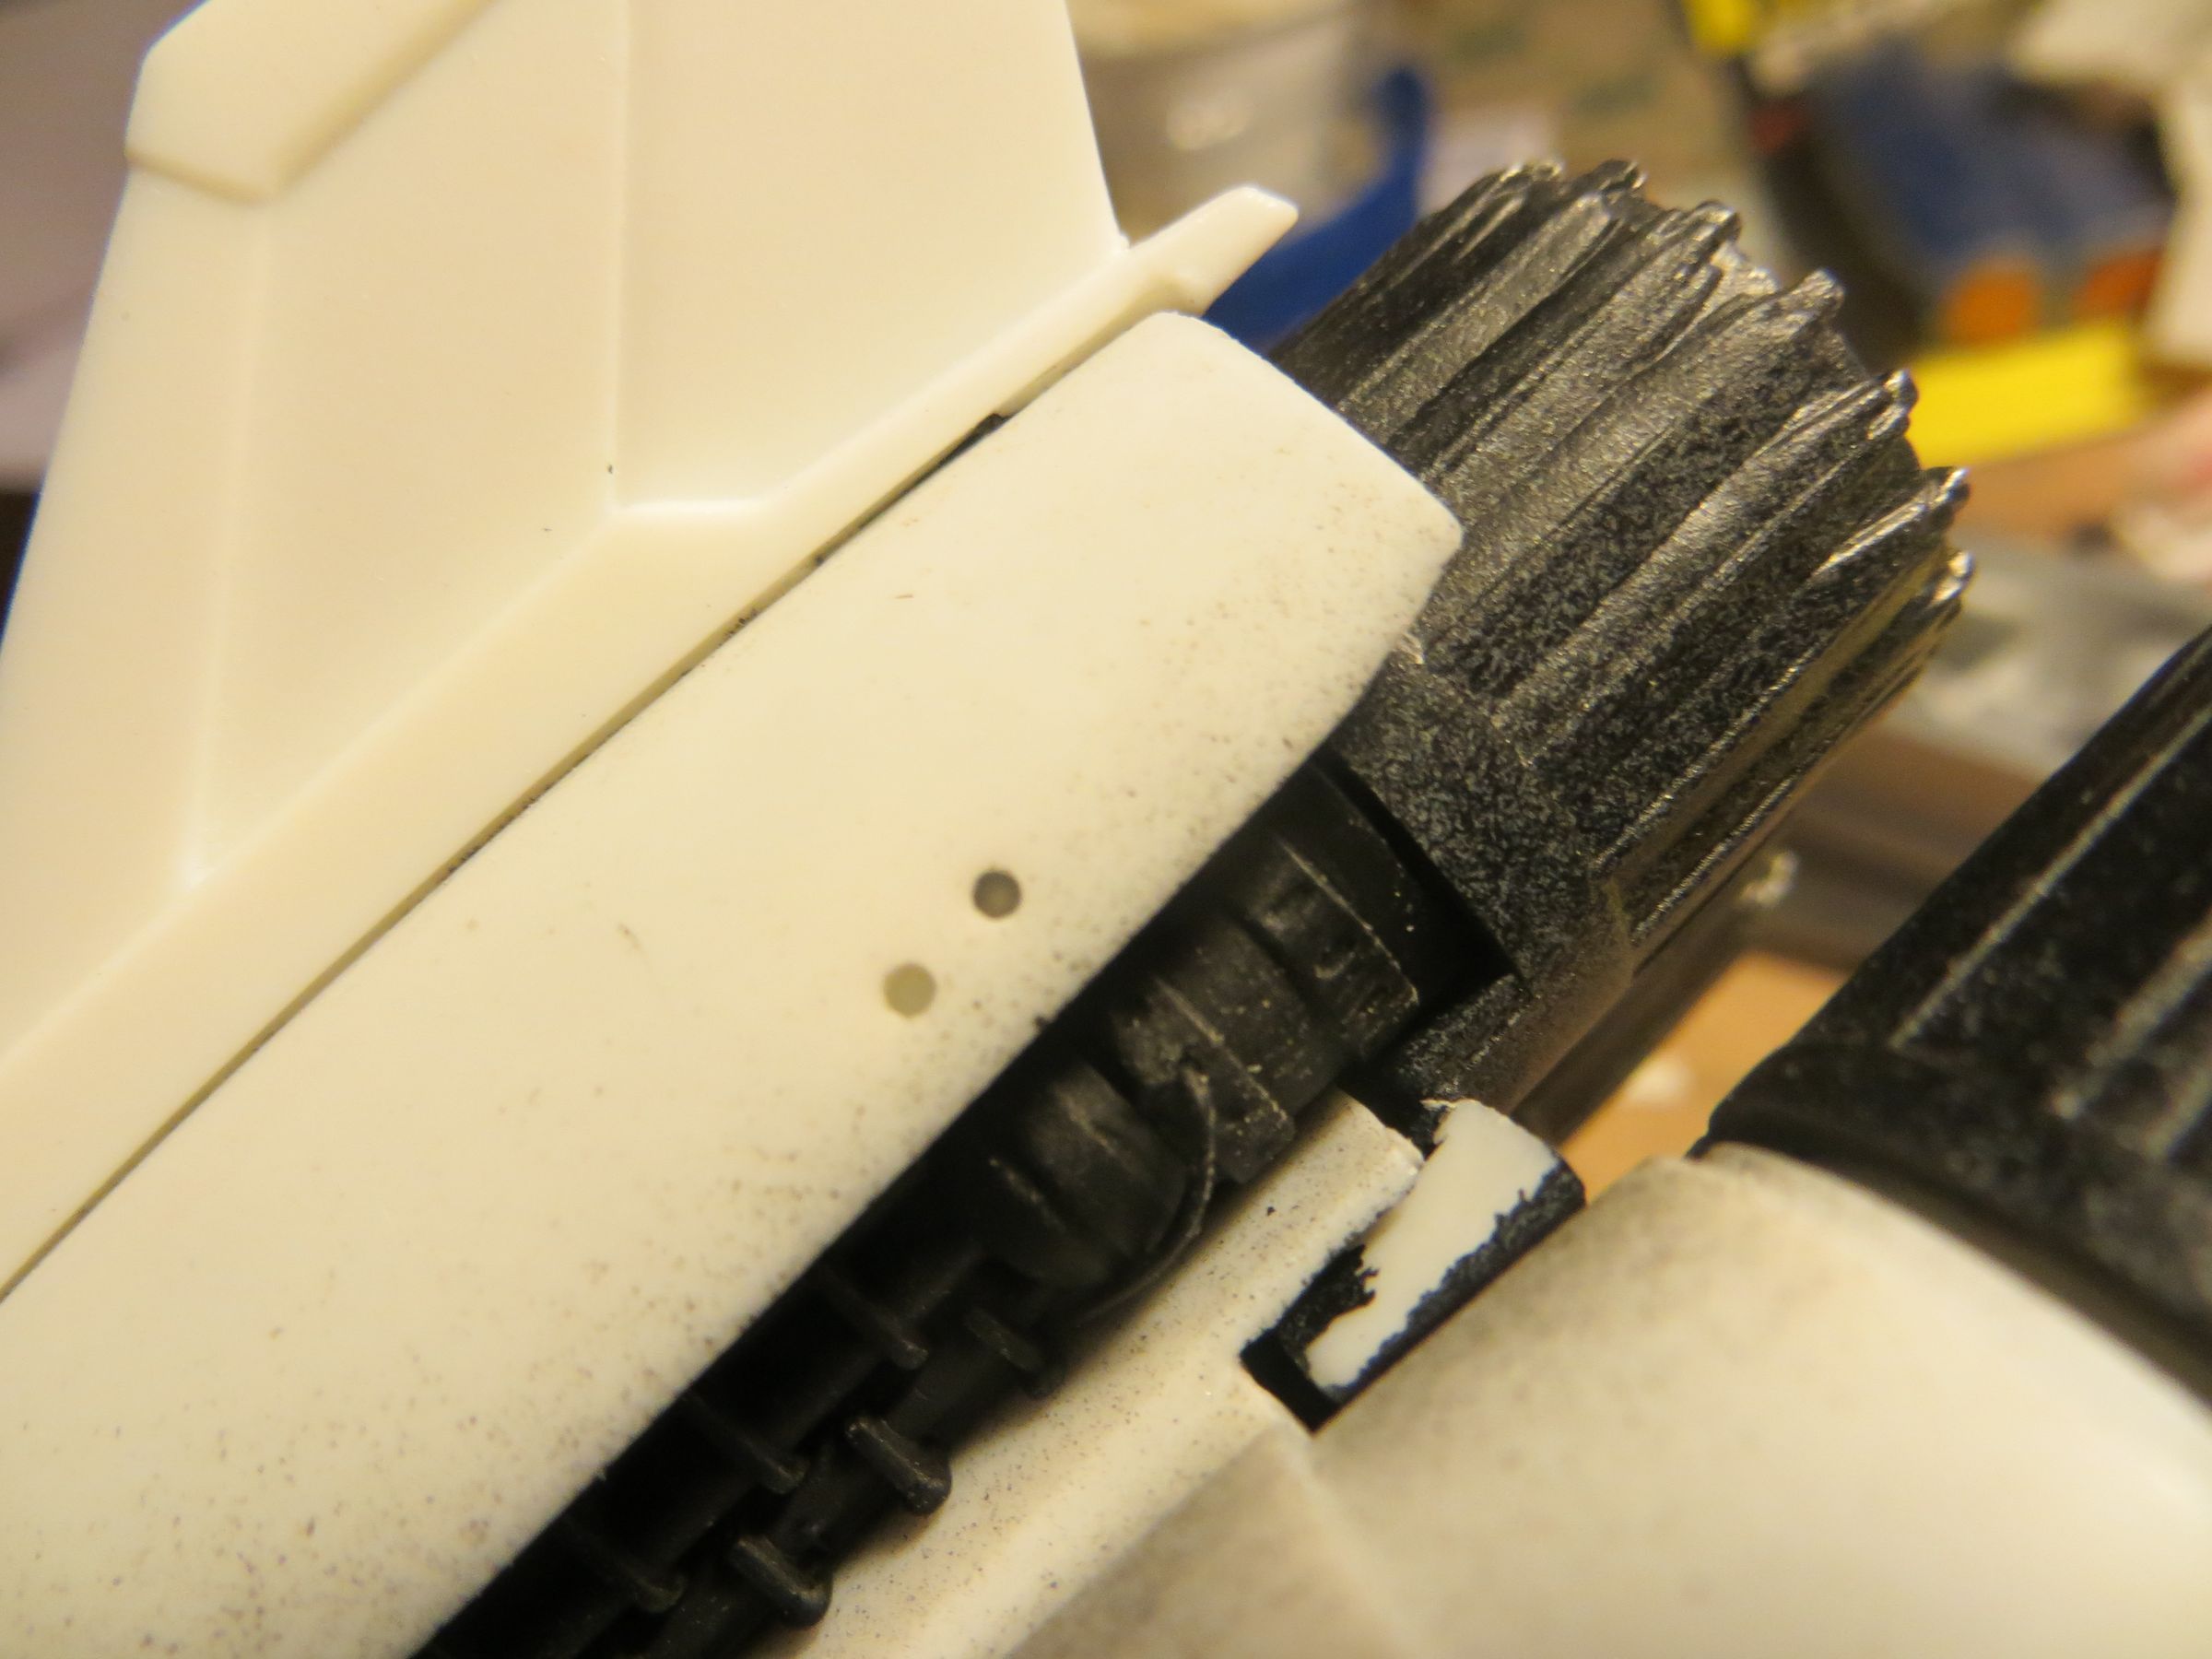
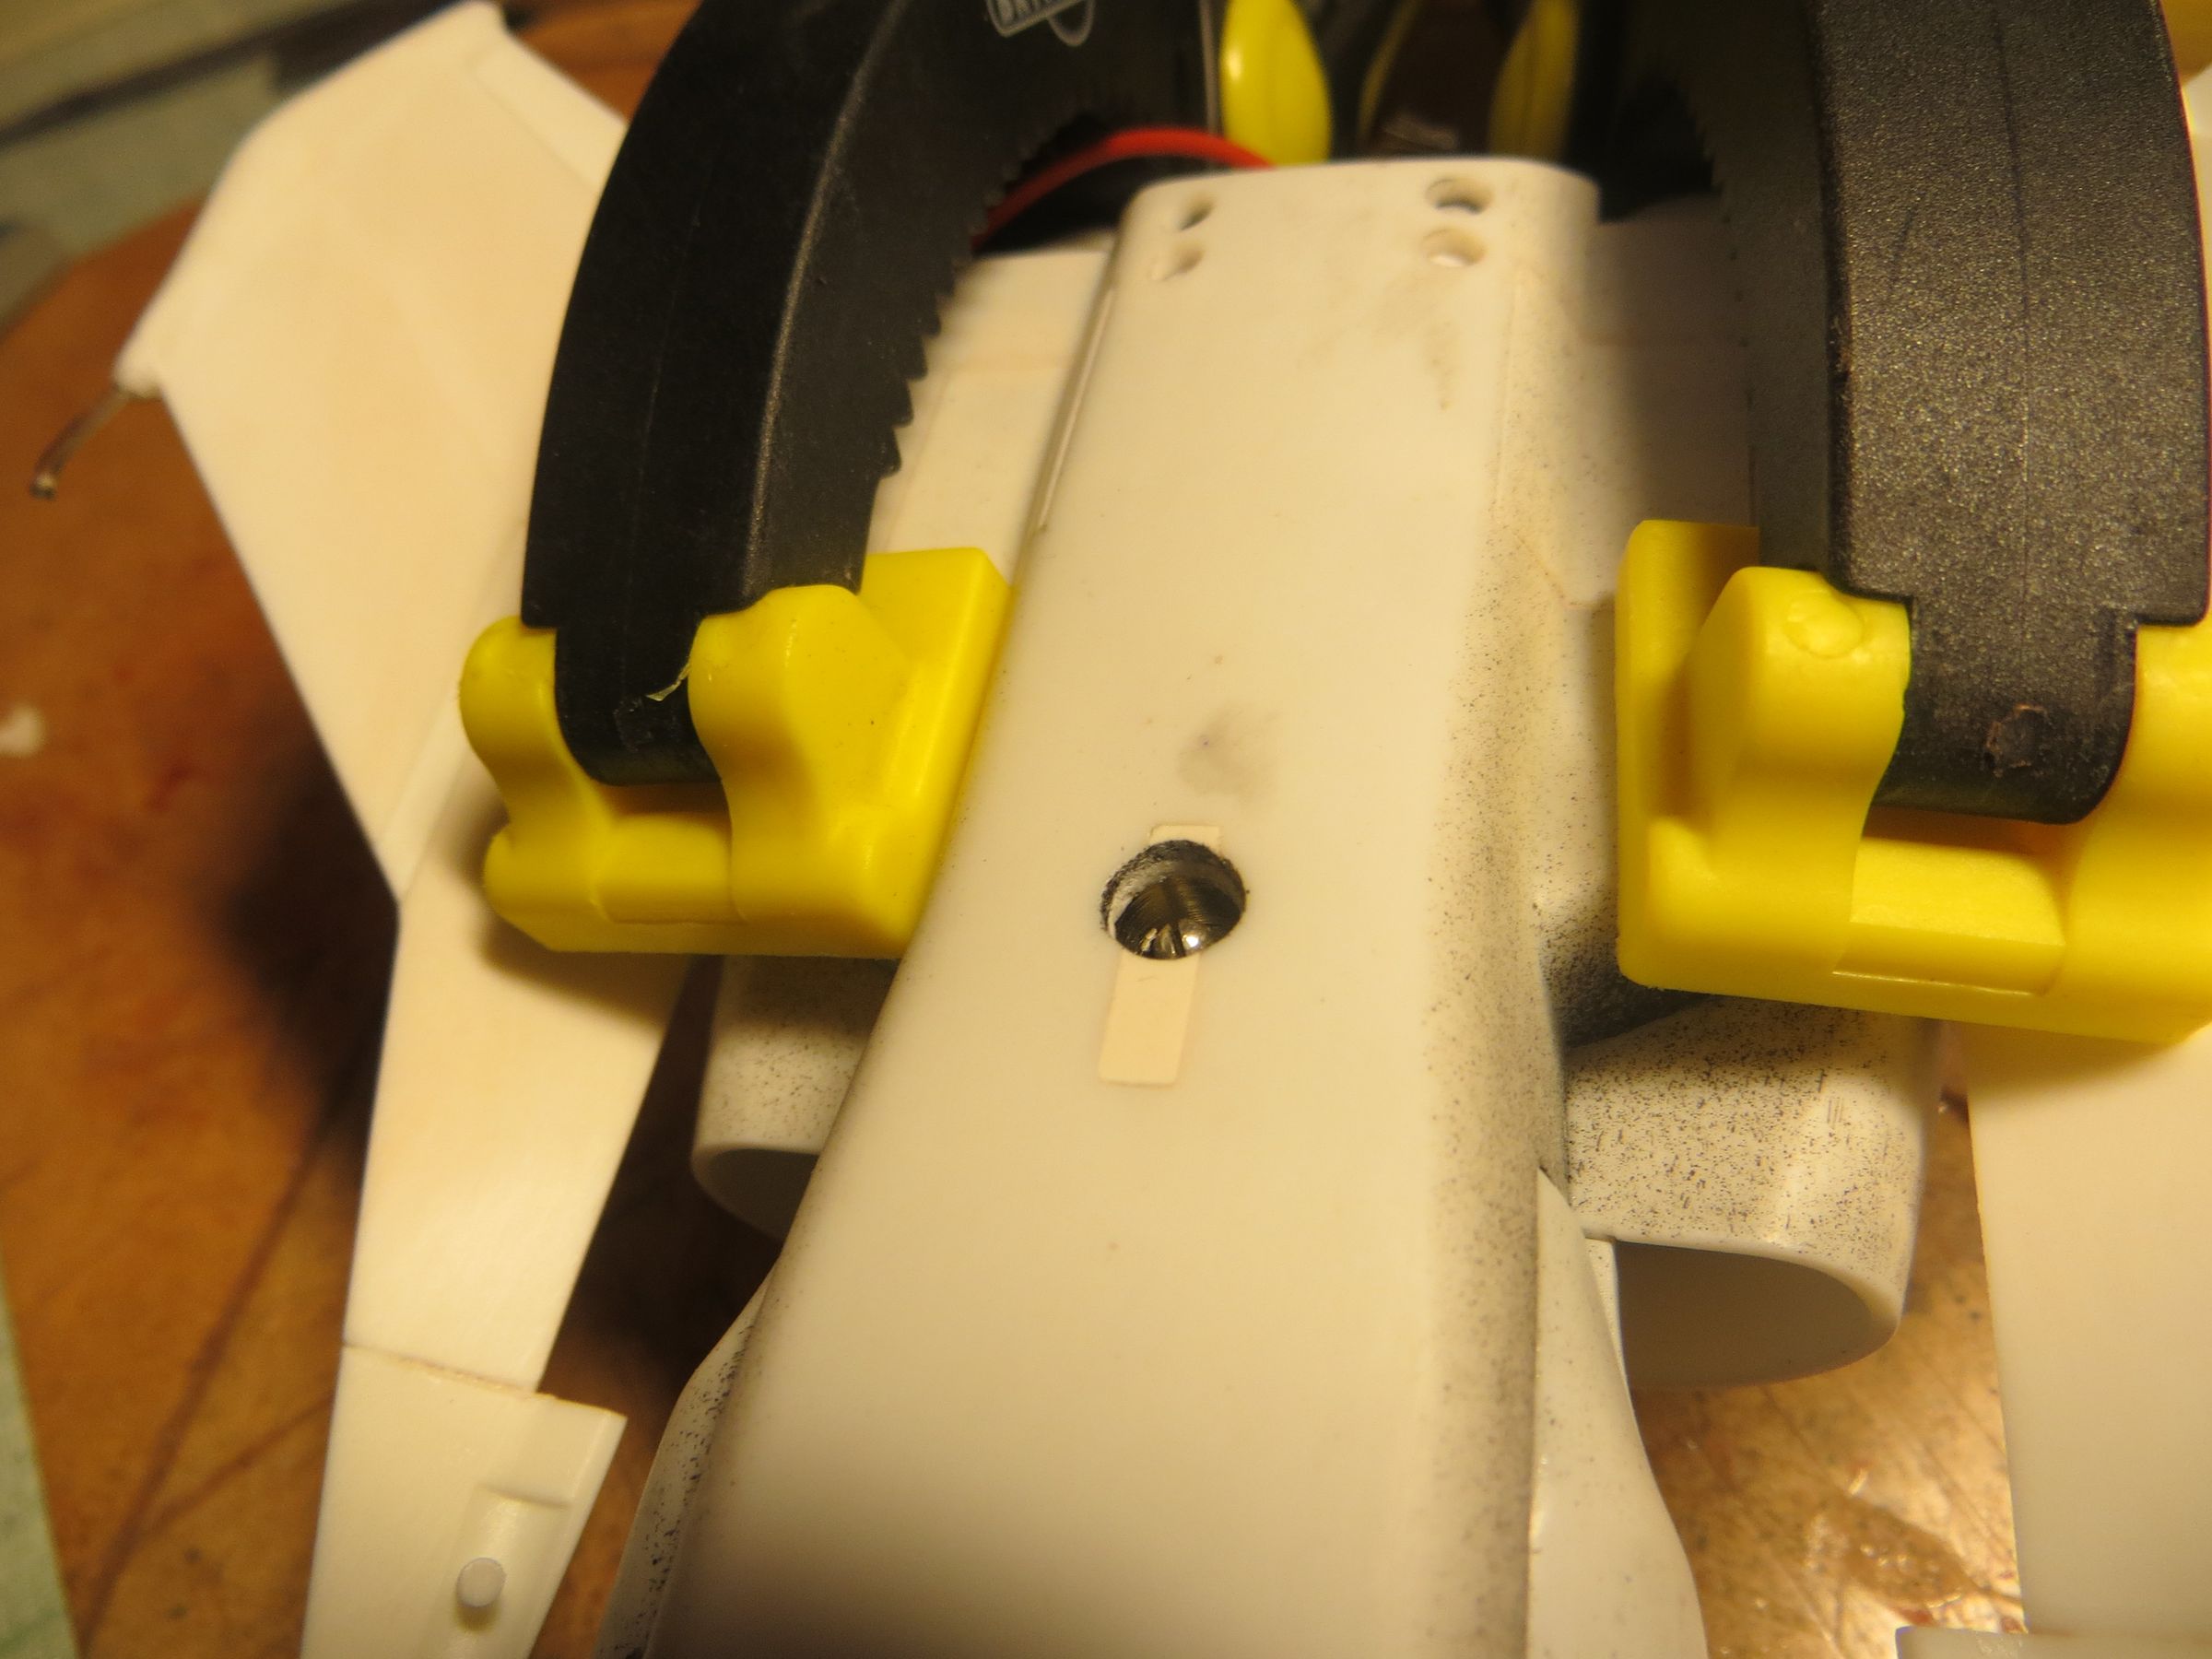
The electrical socket is held in place with a Dymo strip screwed on the cabin.
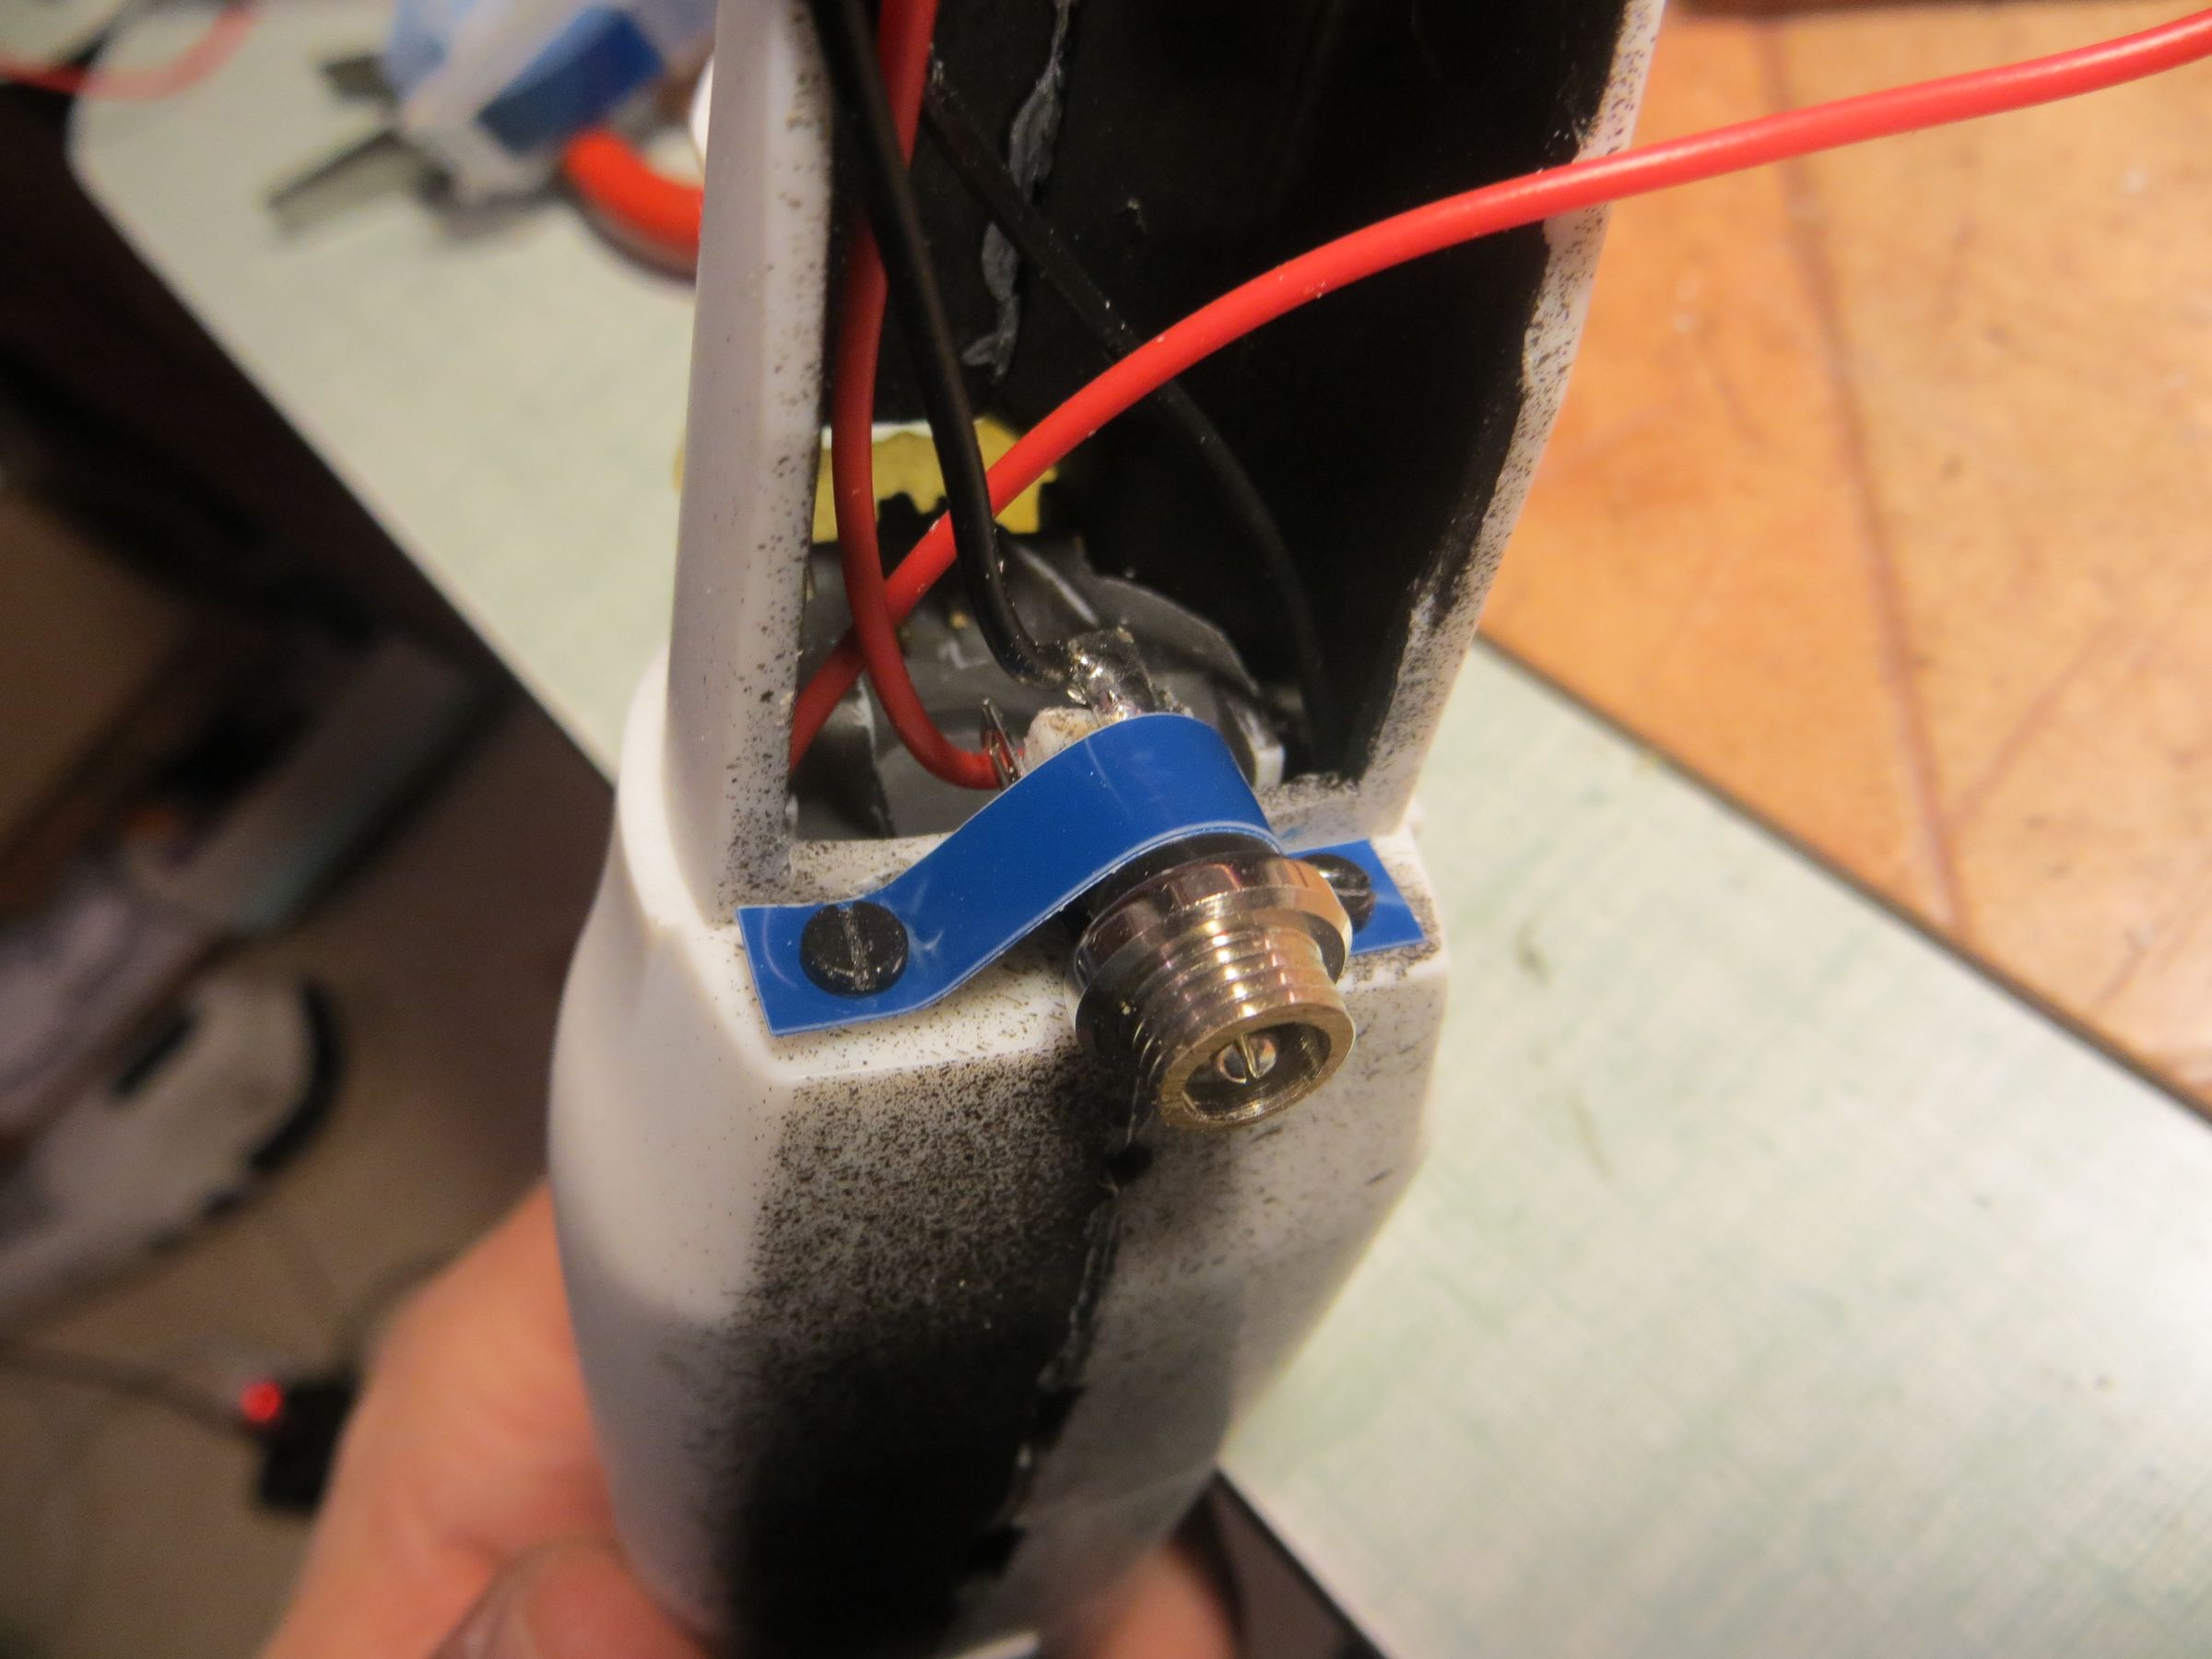
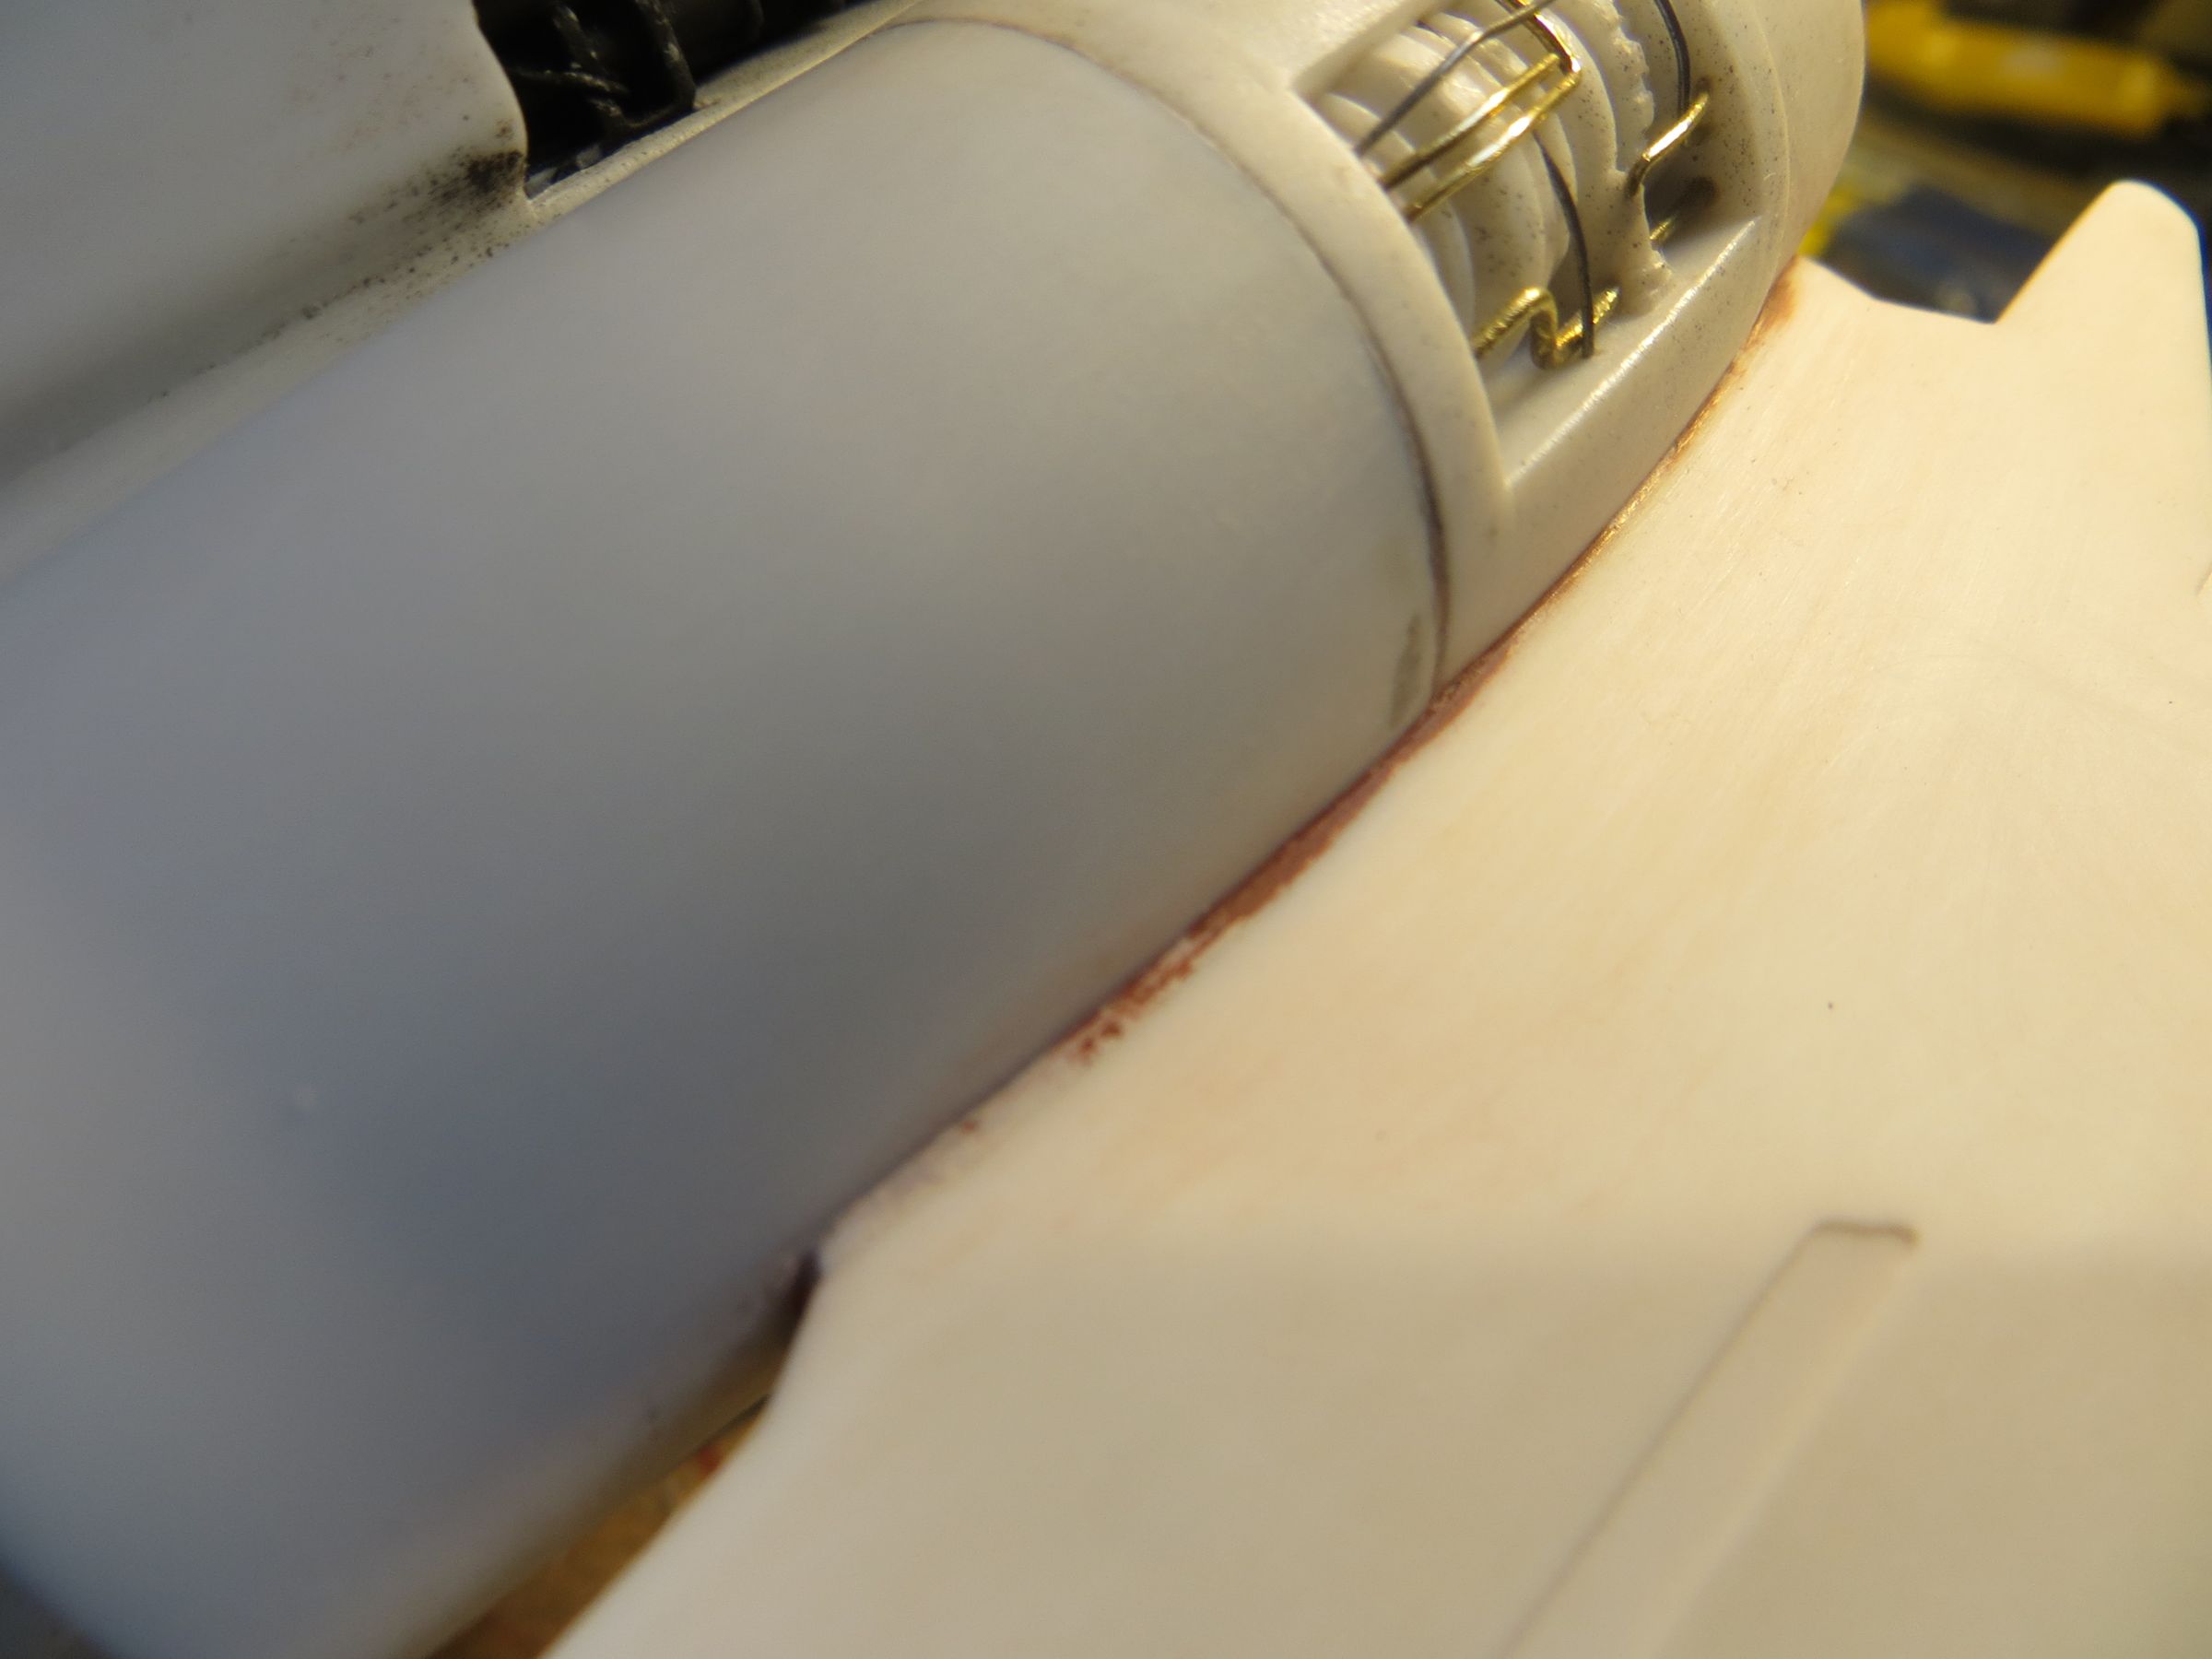
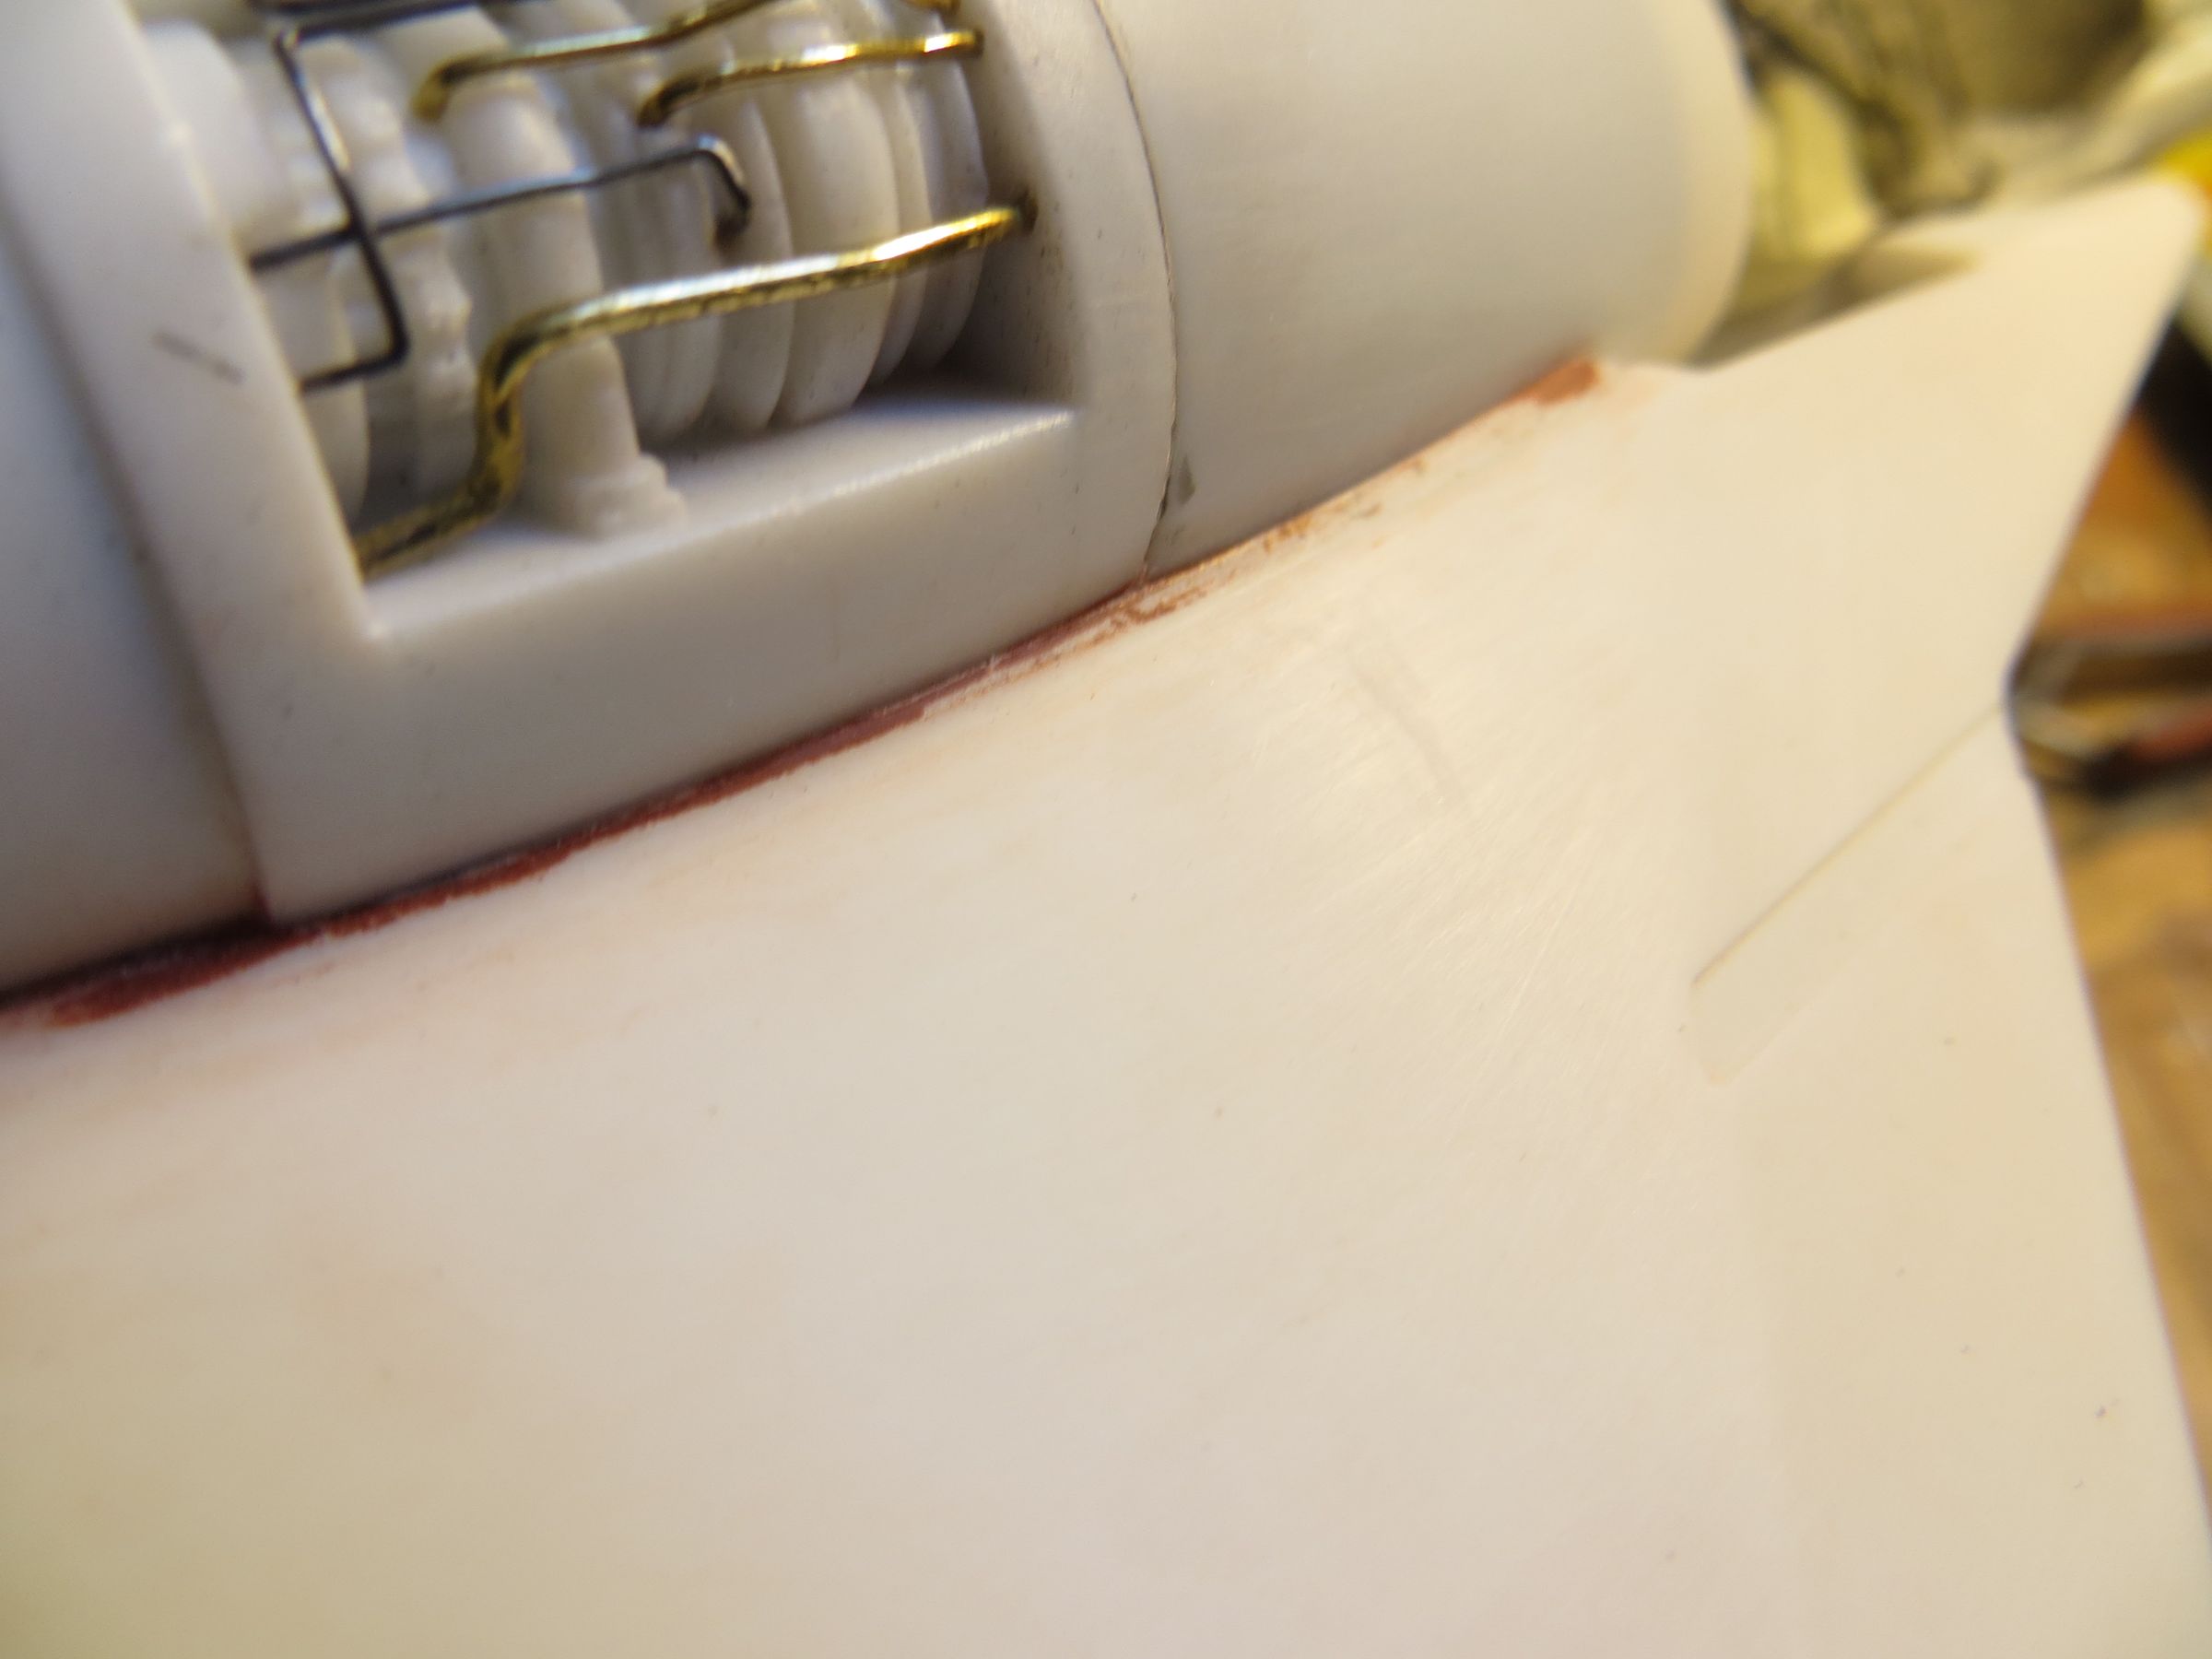
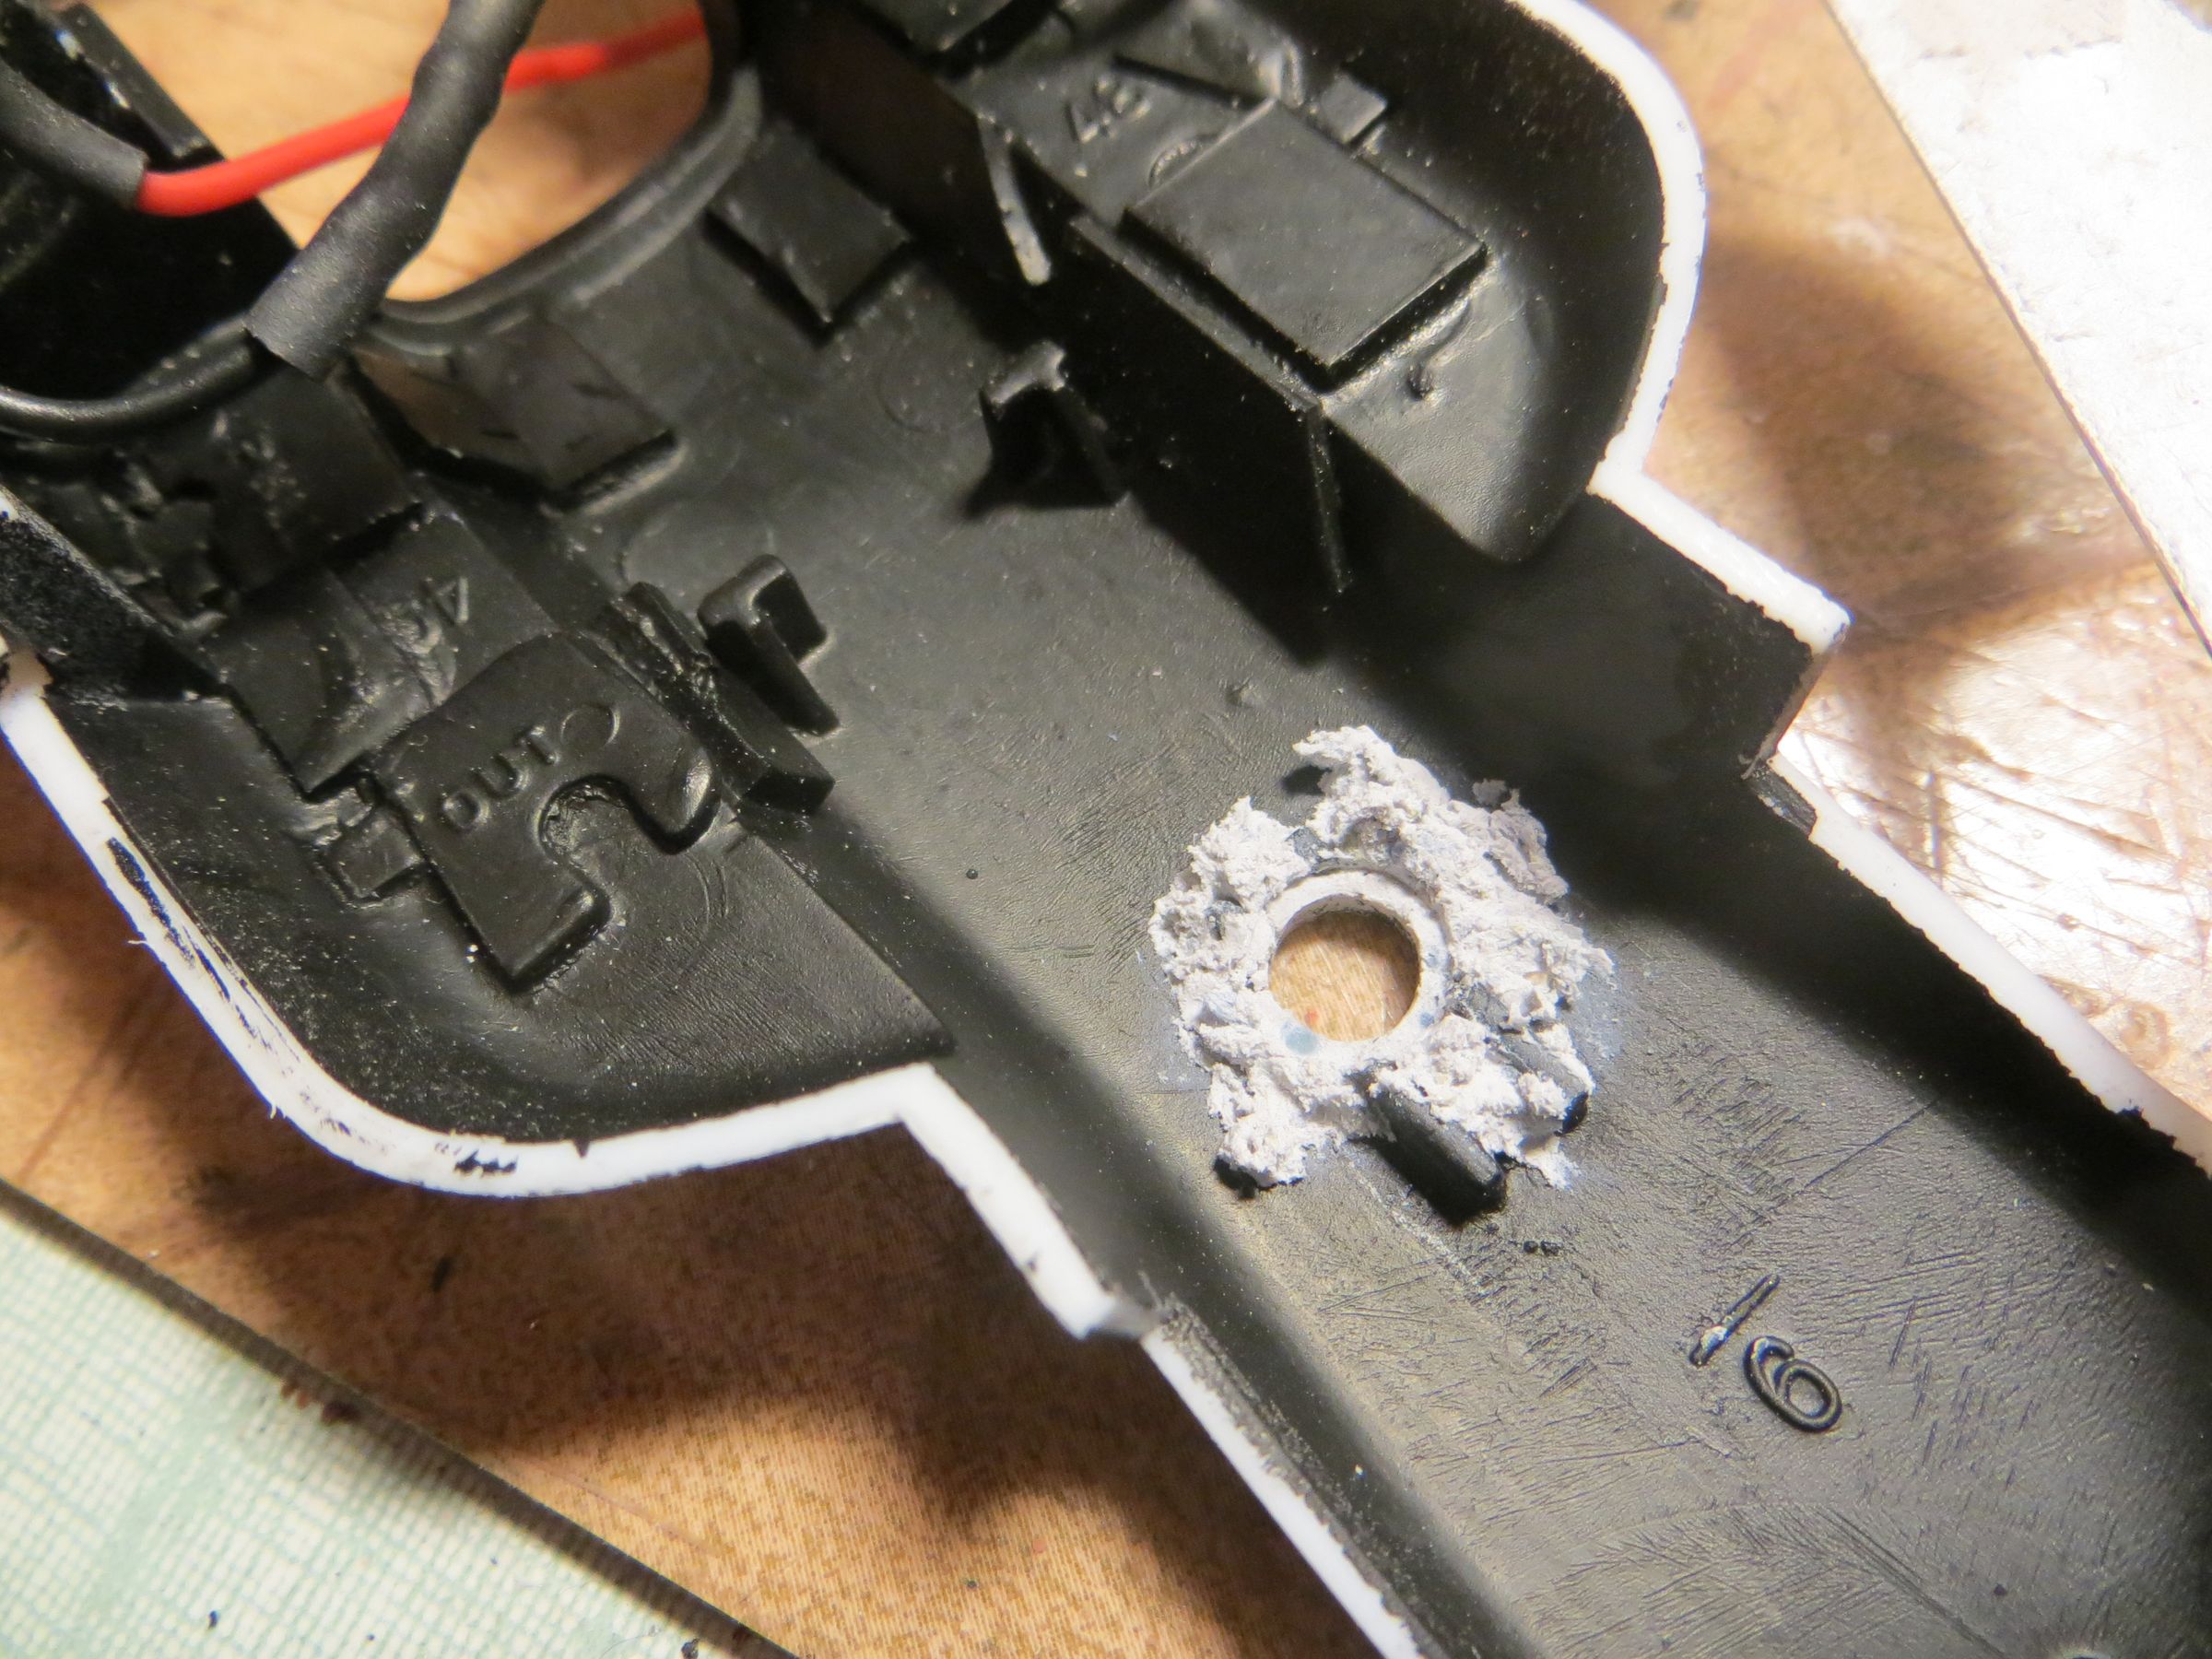
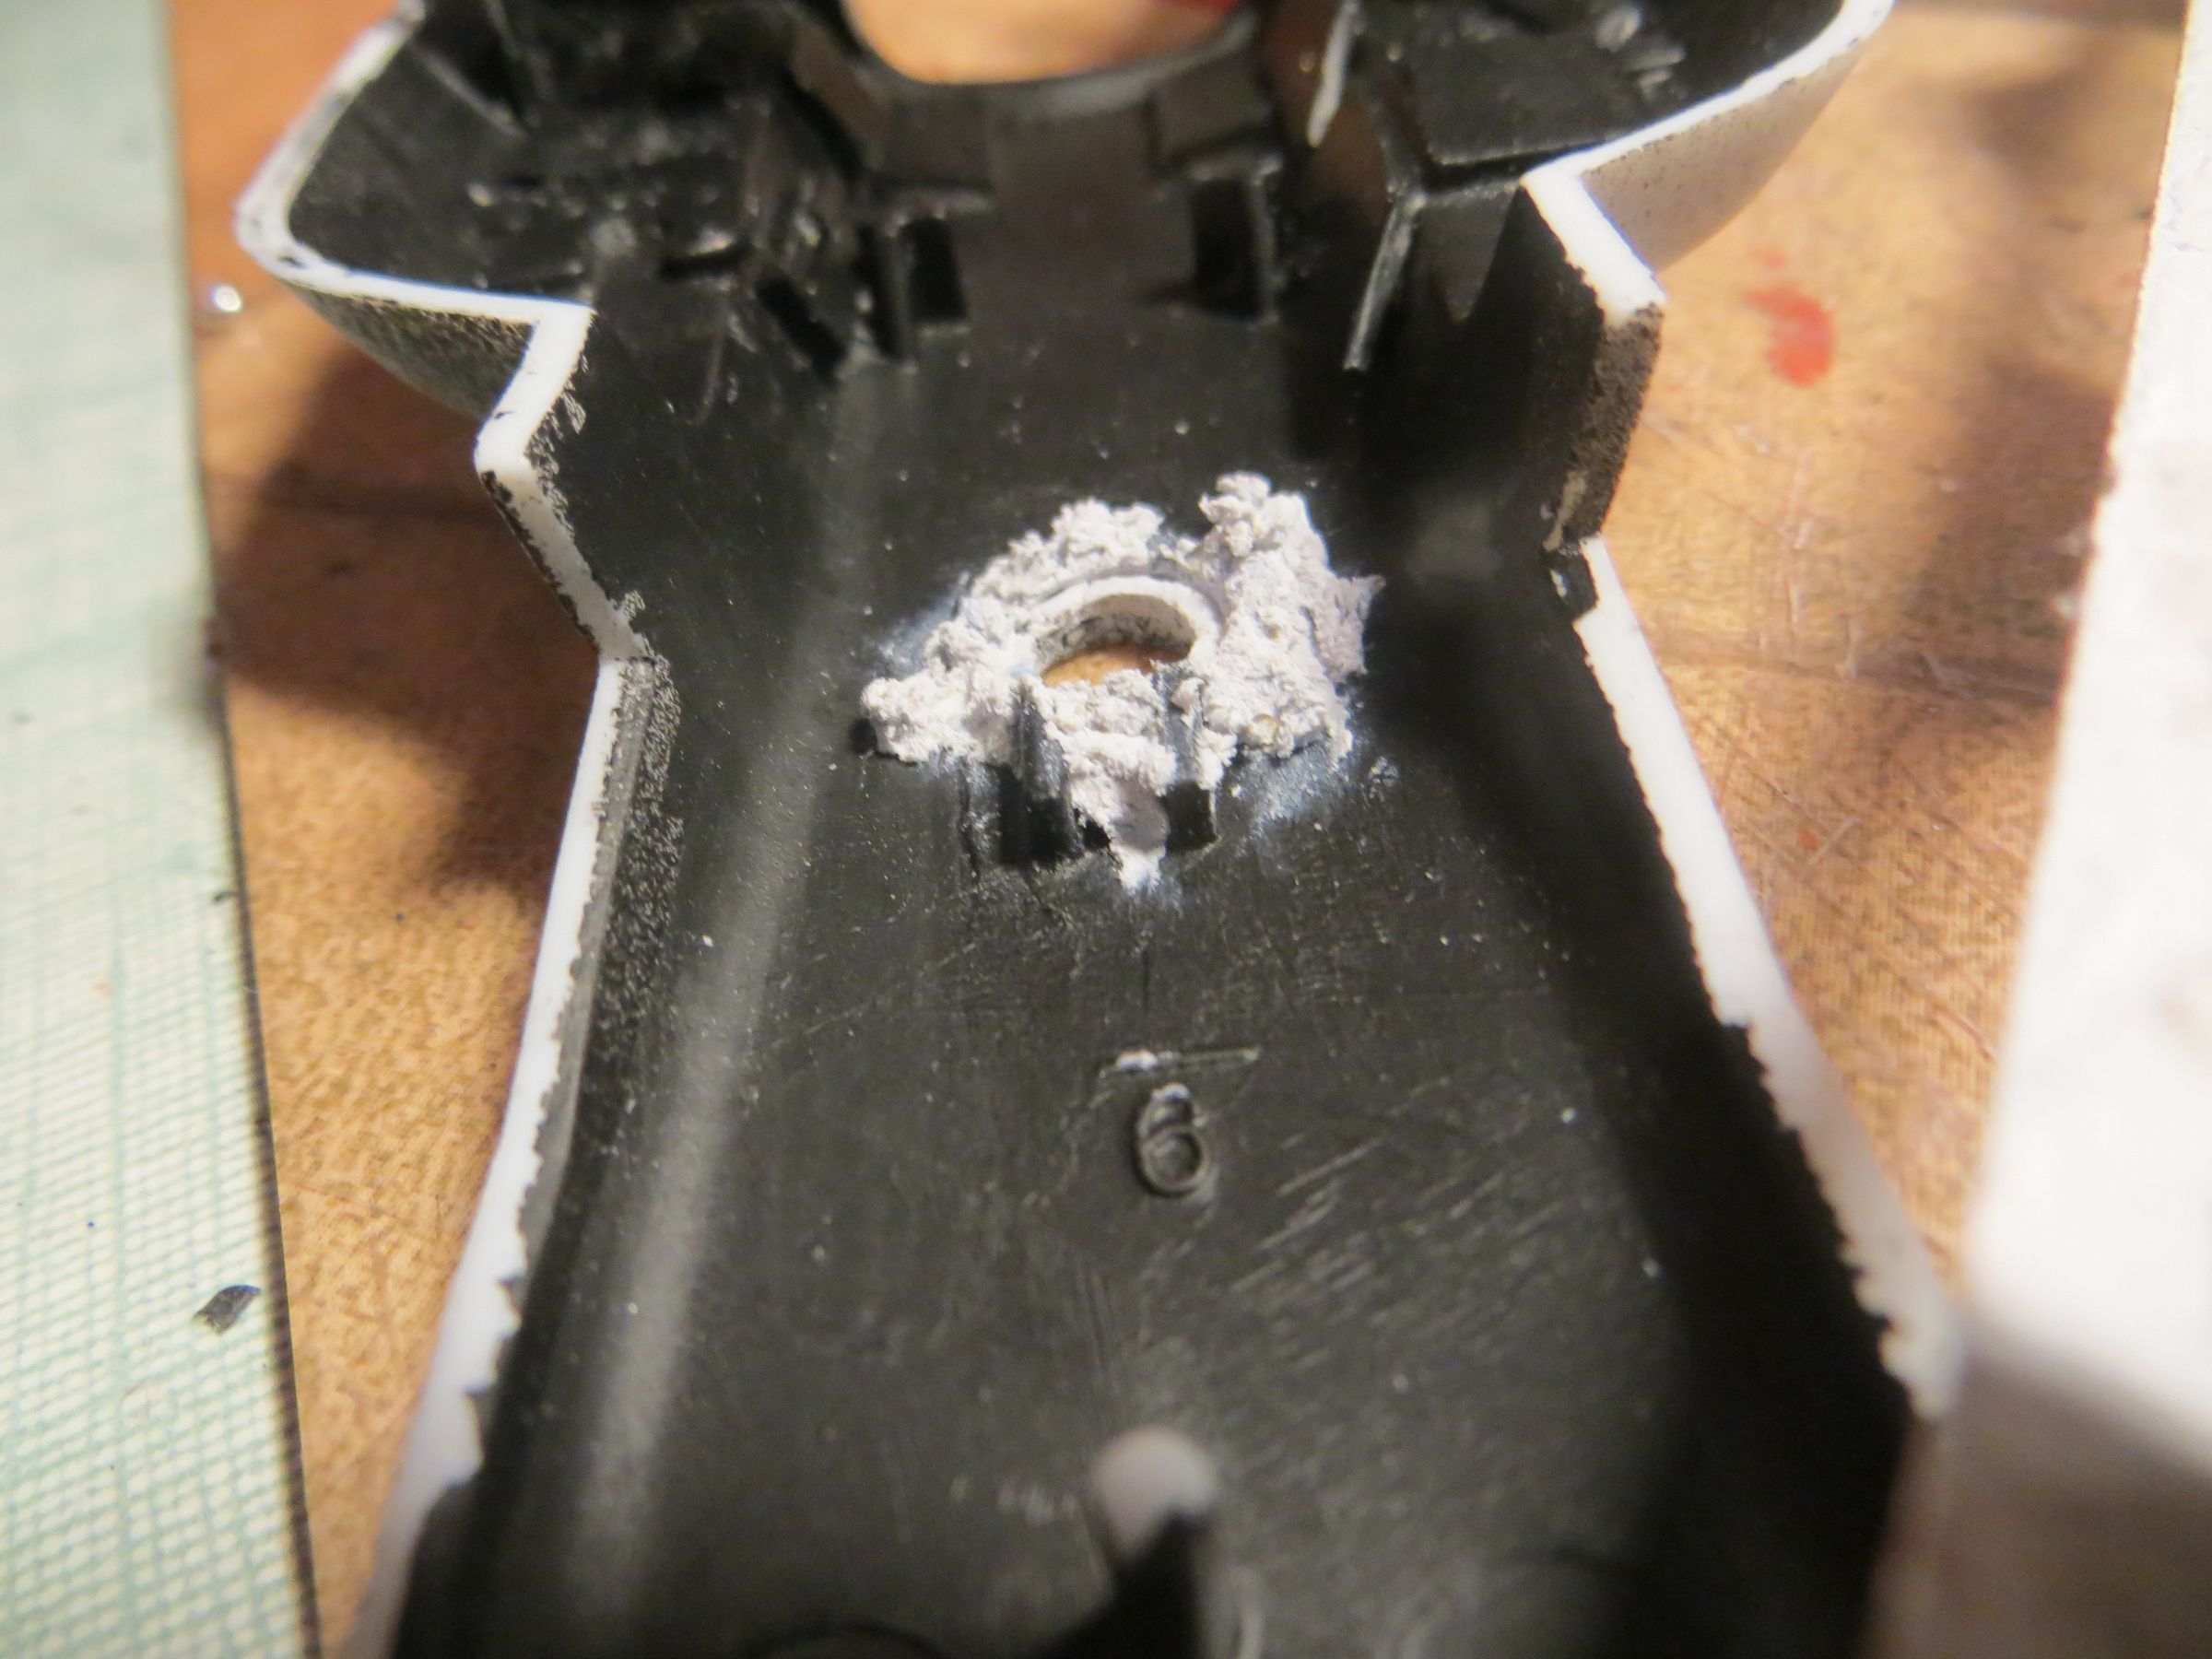
A beam of a 2-parts modeling glue is placed around the support hole to fill the seam. A first test made the print in the still "wet" beam, then cyano strengthens the bonding inside the cabin.
The bottom is then glued with the help of clamps to hold everything in place.
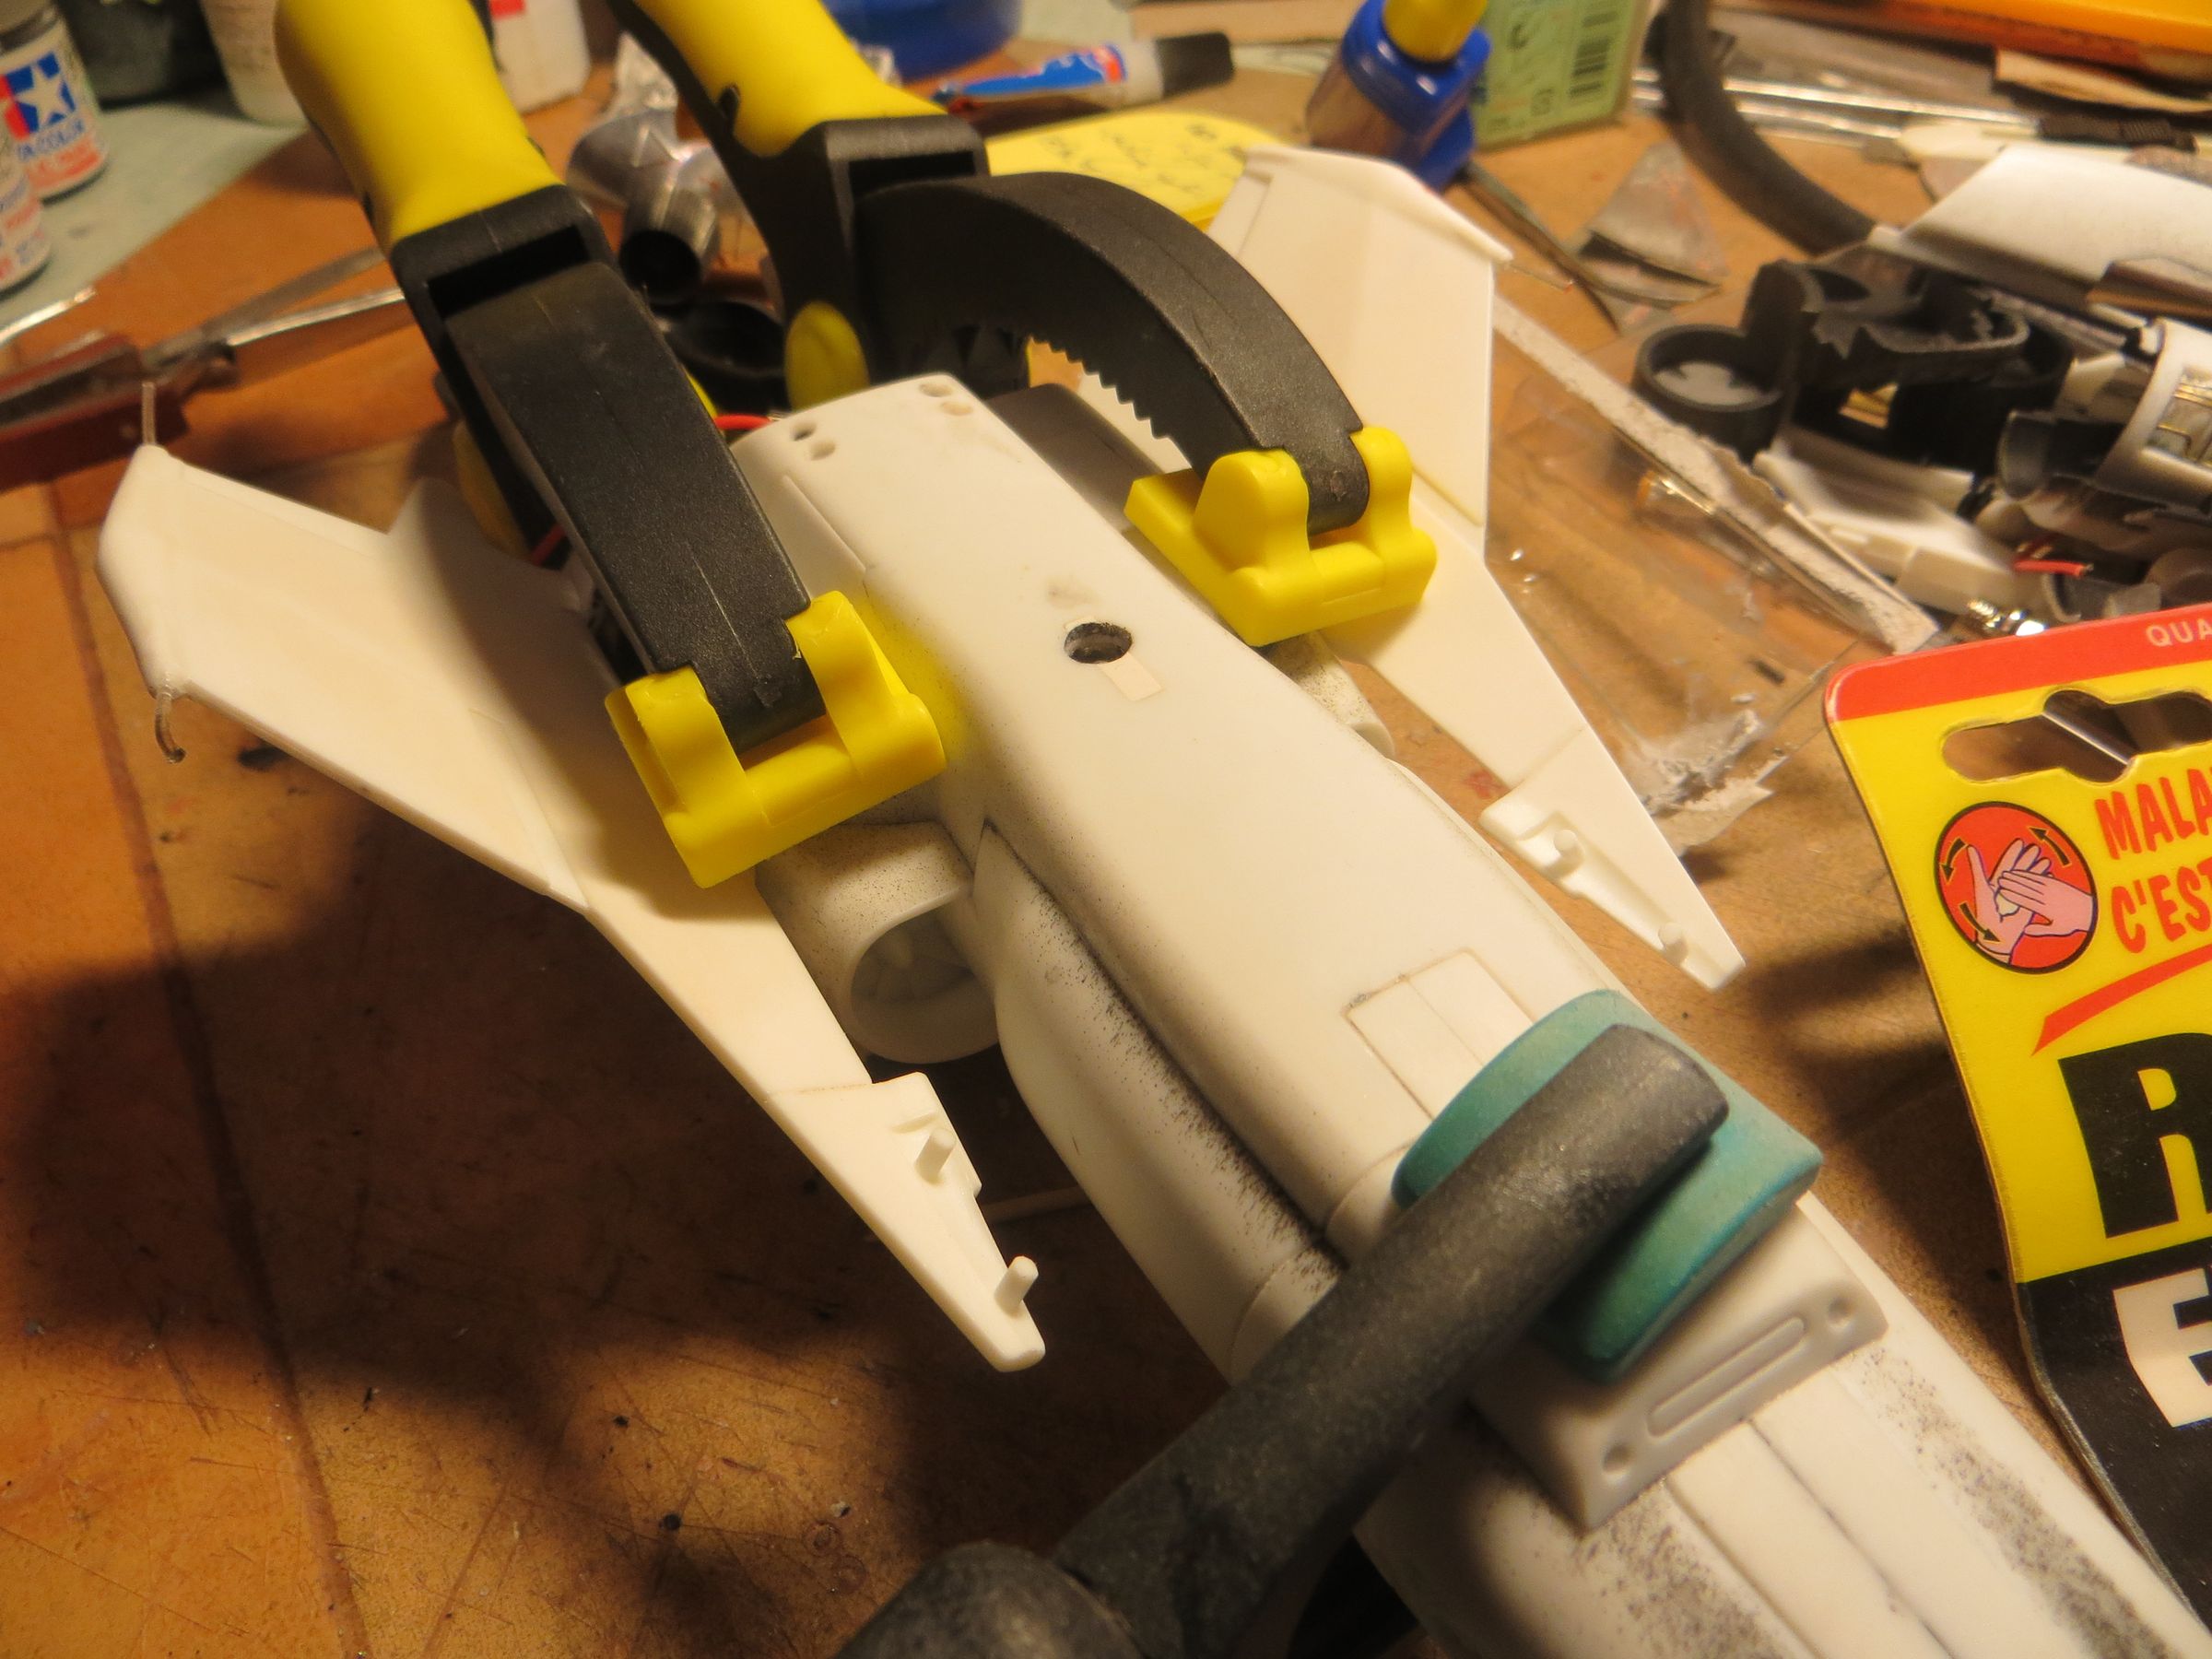
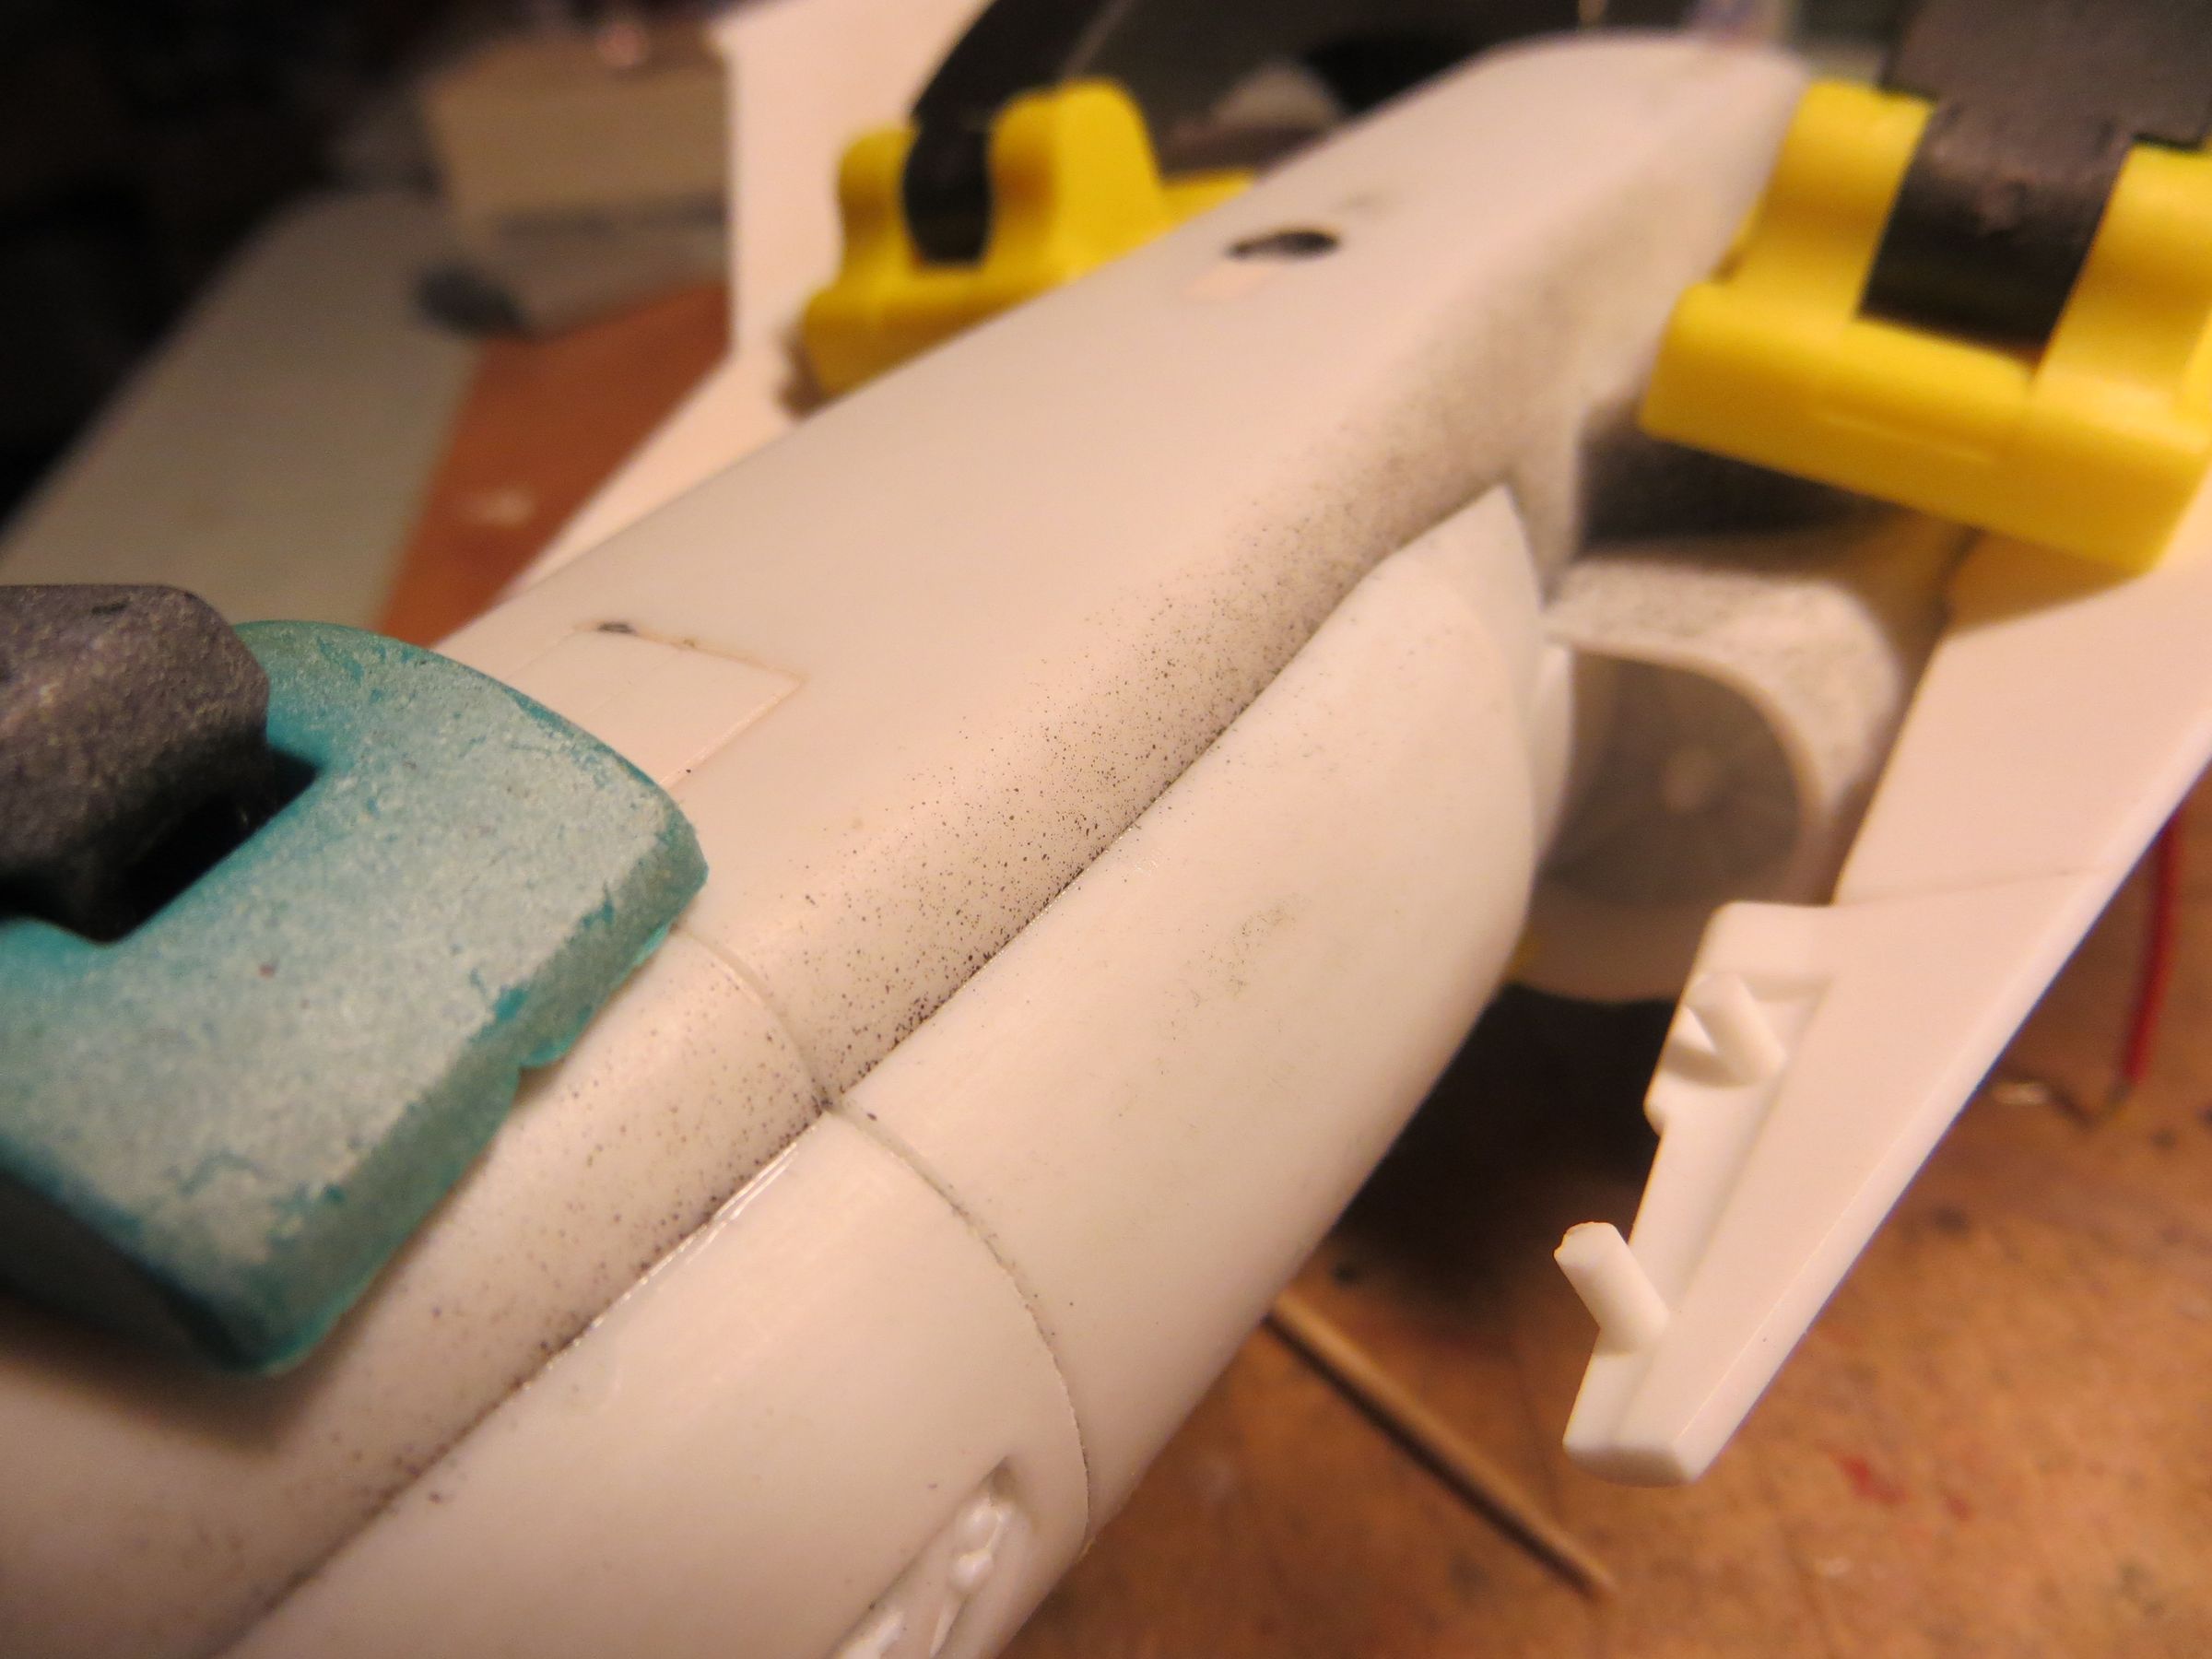
Then comes the 2 top covers, again secured with clamps.
I let it dry a good week to be sure that the solvents evaporate well.
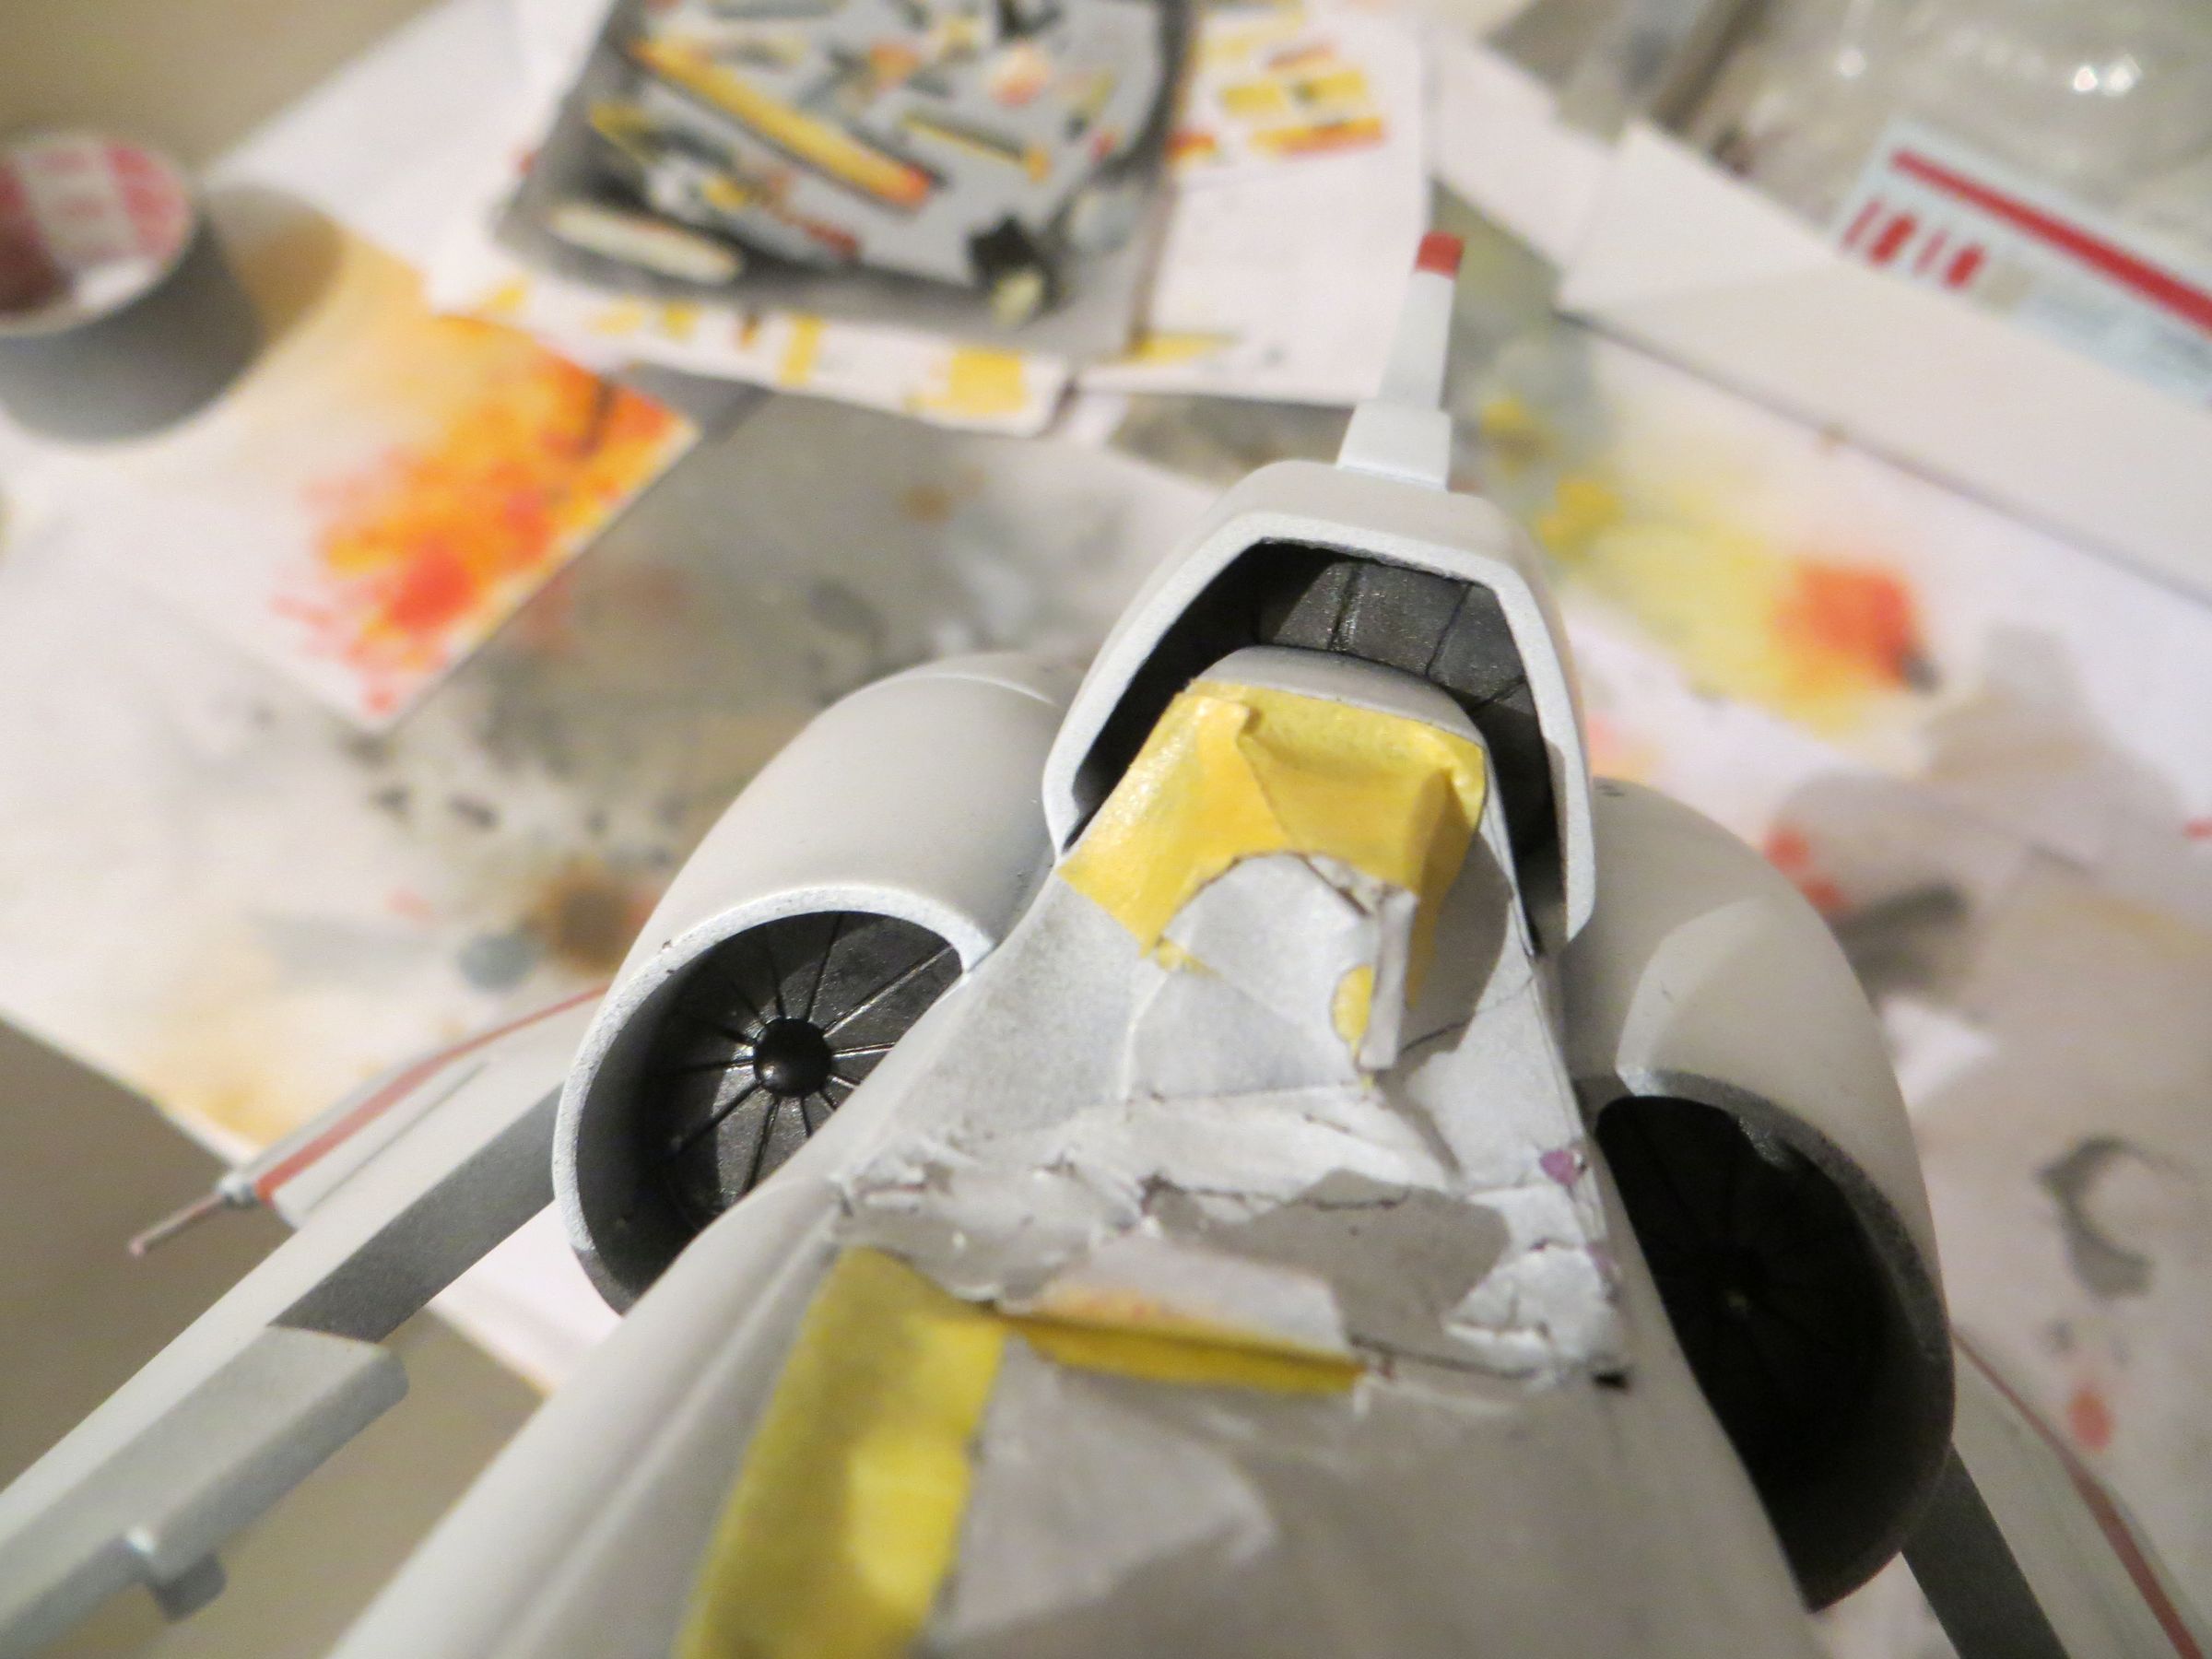
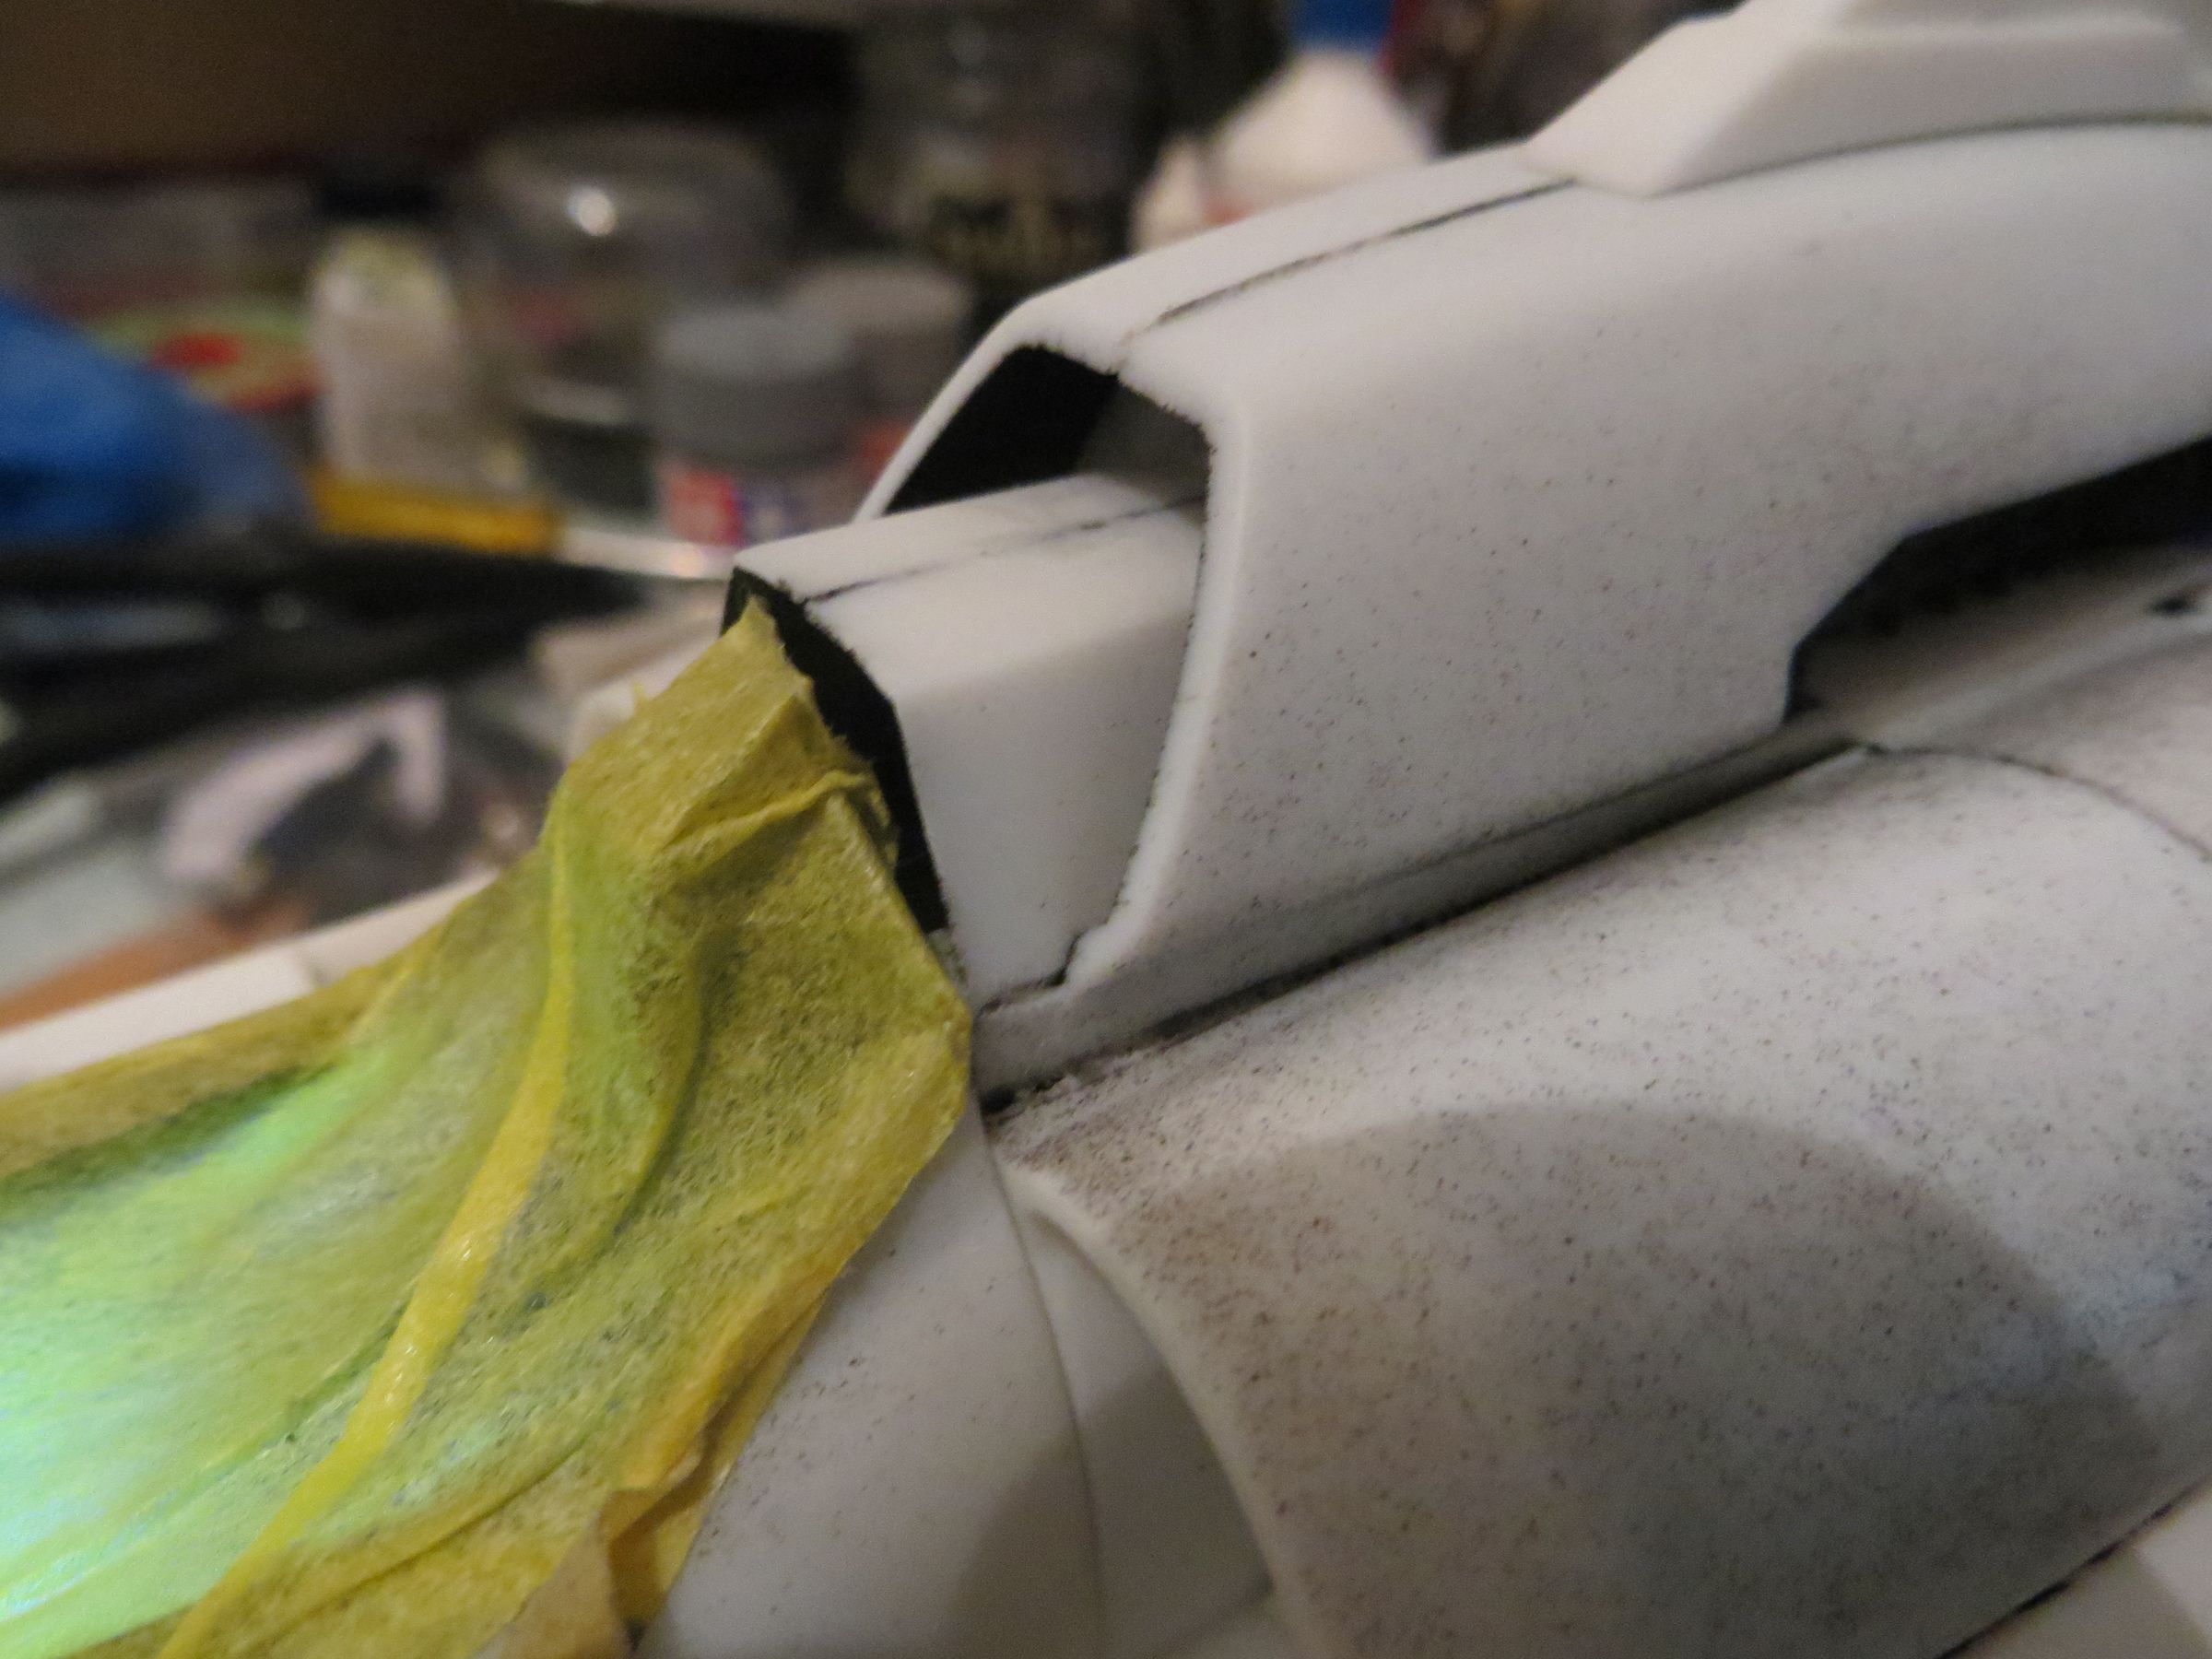
Seams of the air inlet behind the canopy will require some work.
« billets précédents - page 1 de 2