Decals : Some are a little too big, so I have taken only a tiny part.
Another klir layer to protect them.
Followed by a dark gray wash.
And a few extra brown and rust streaks.

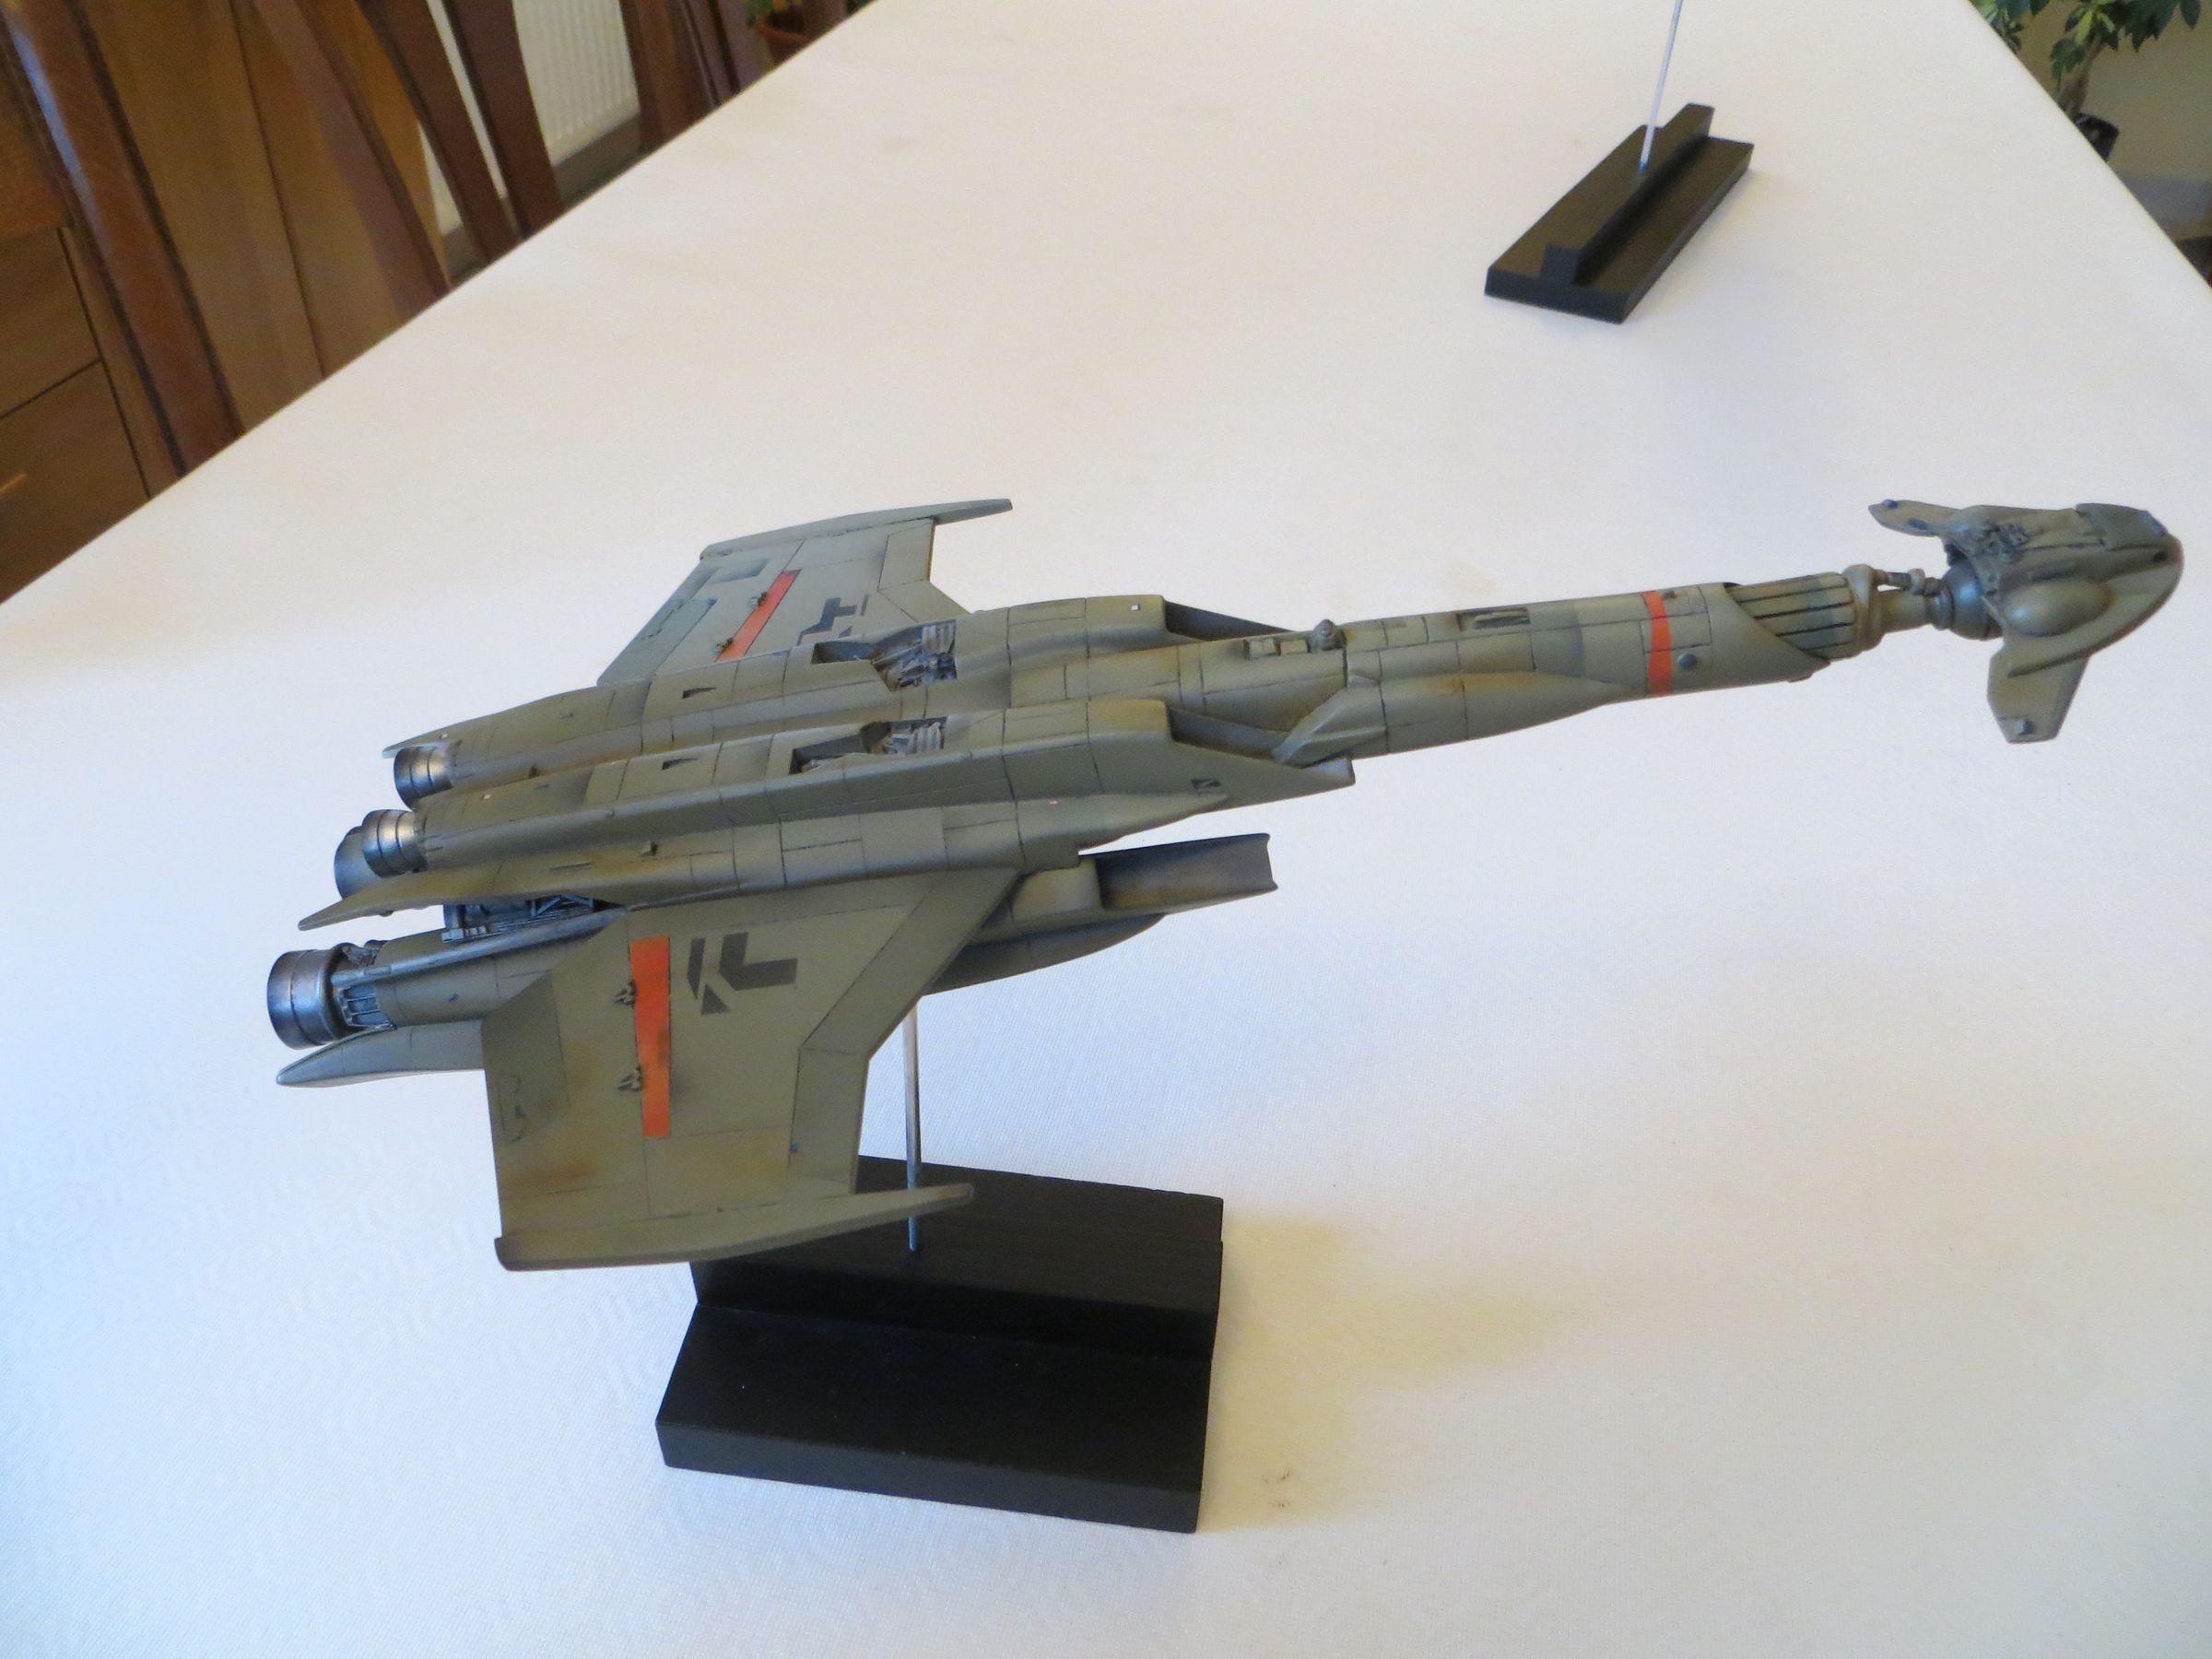
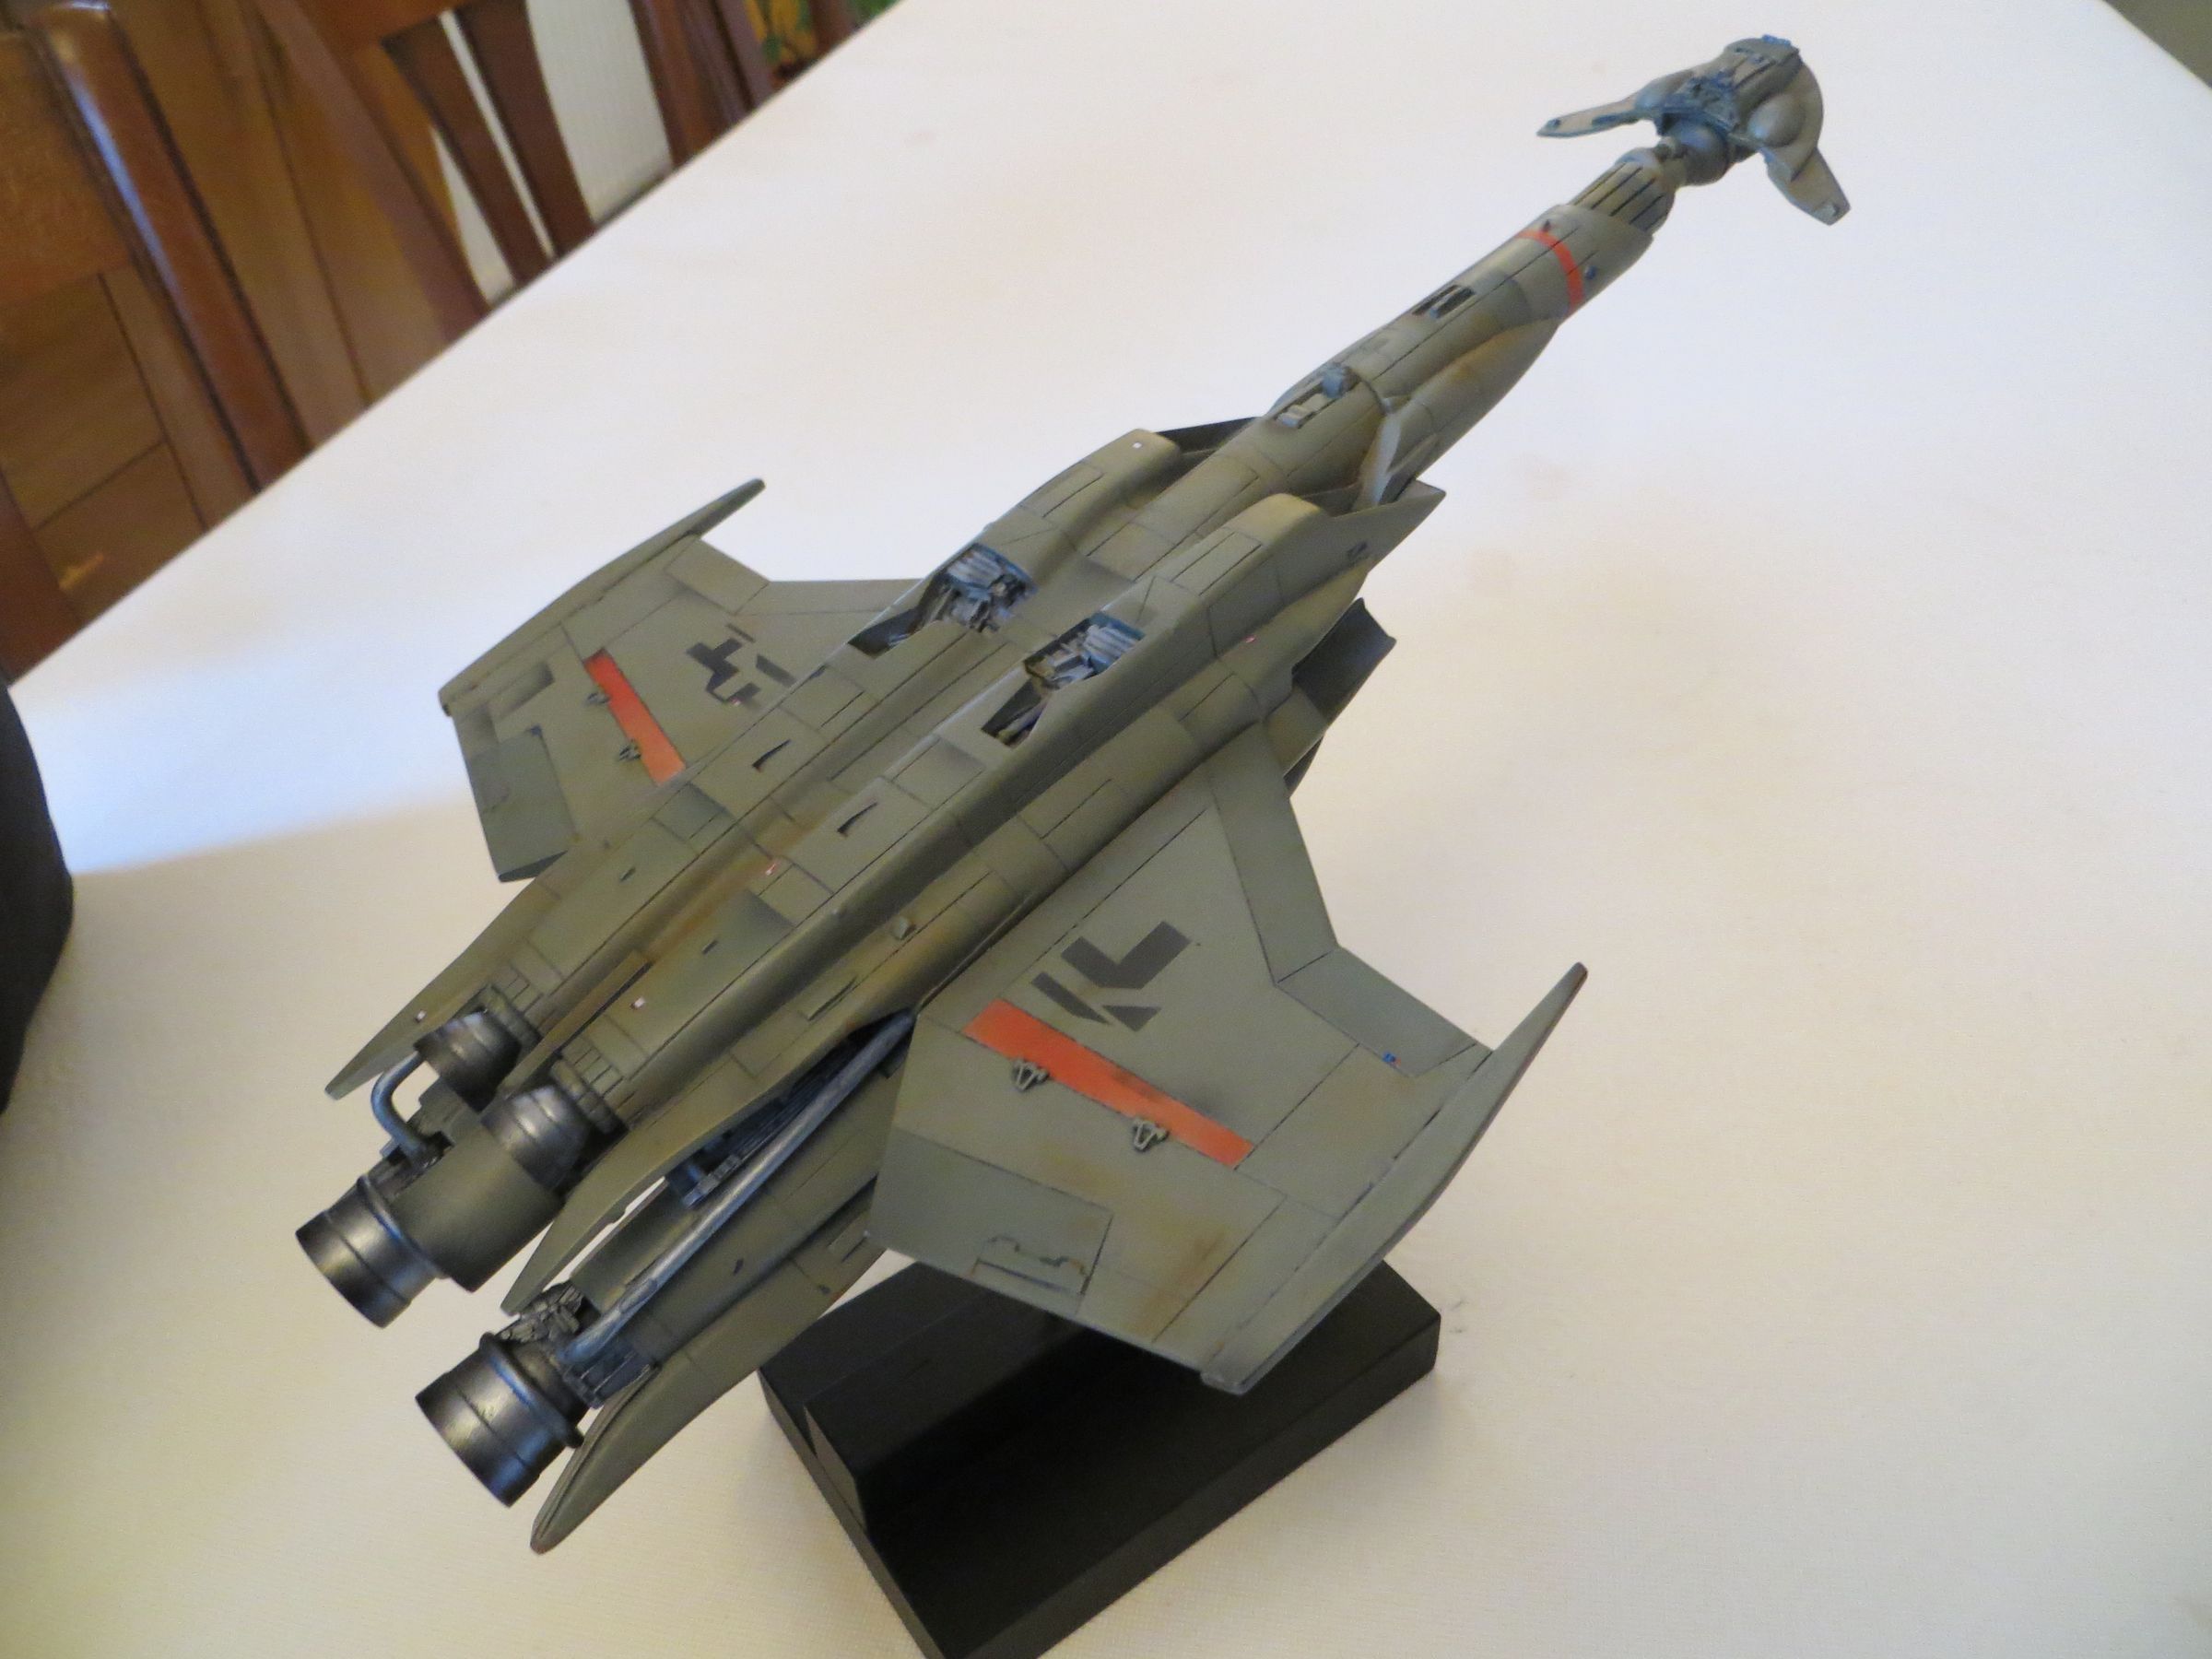
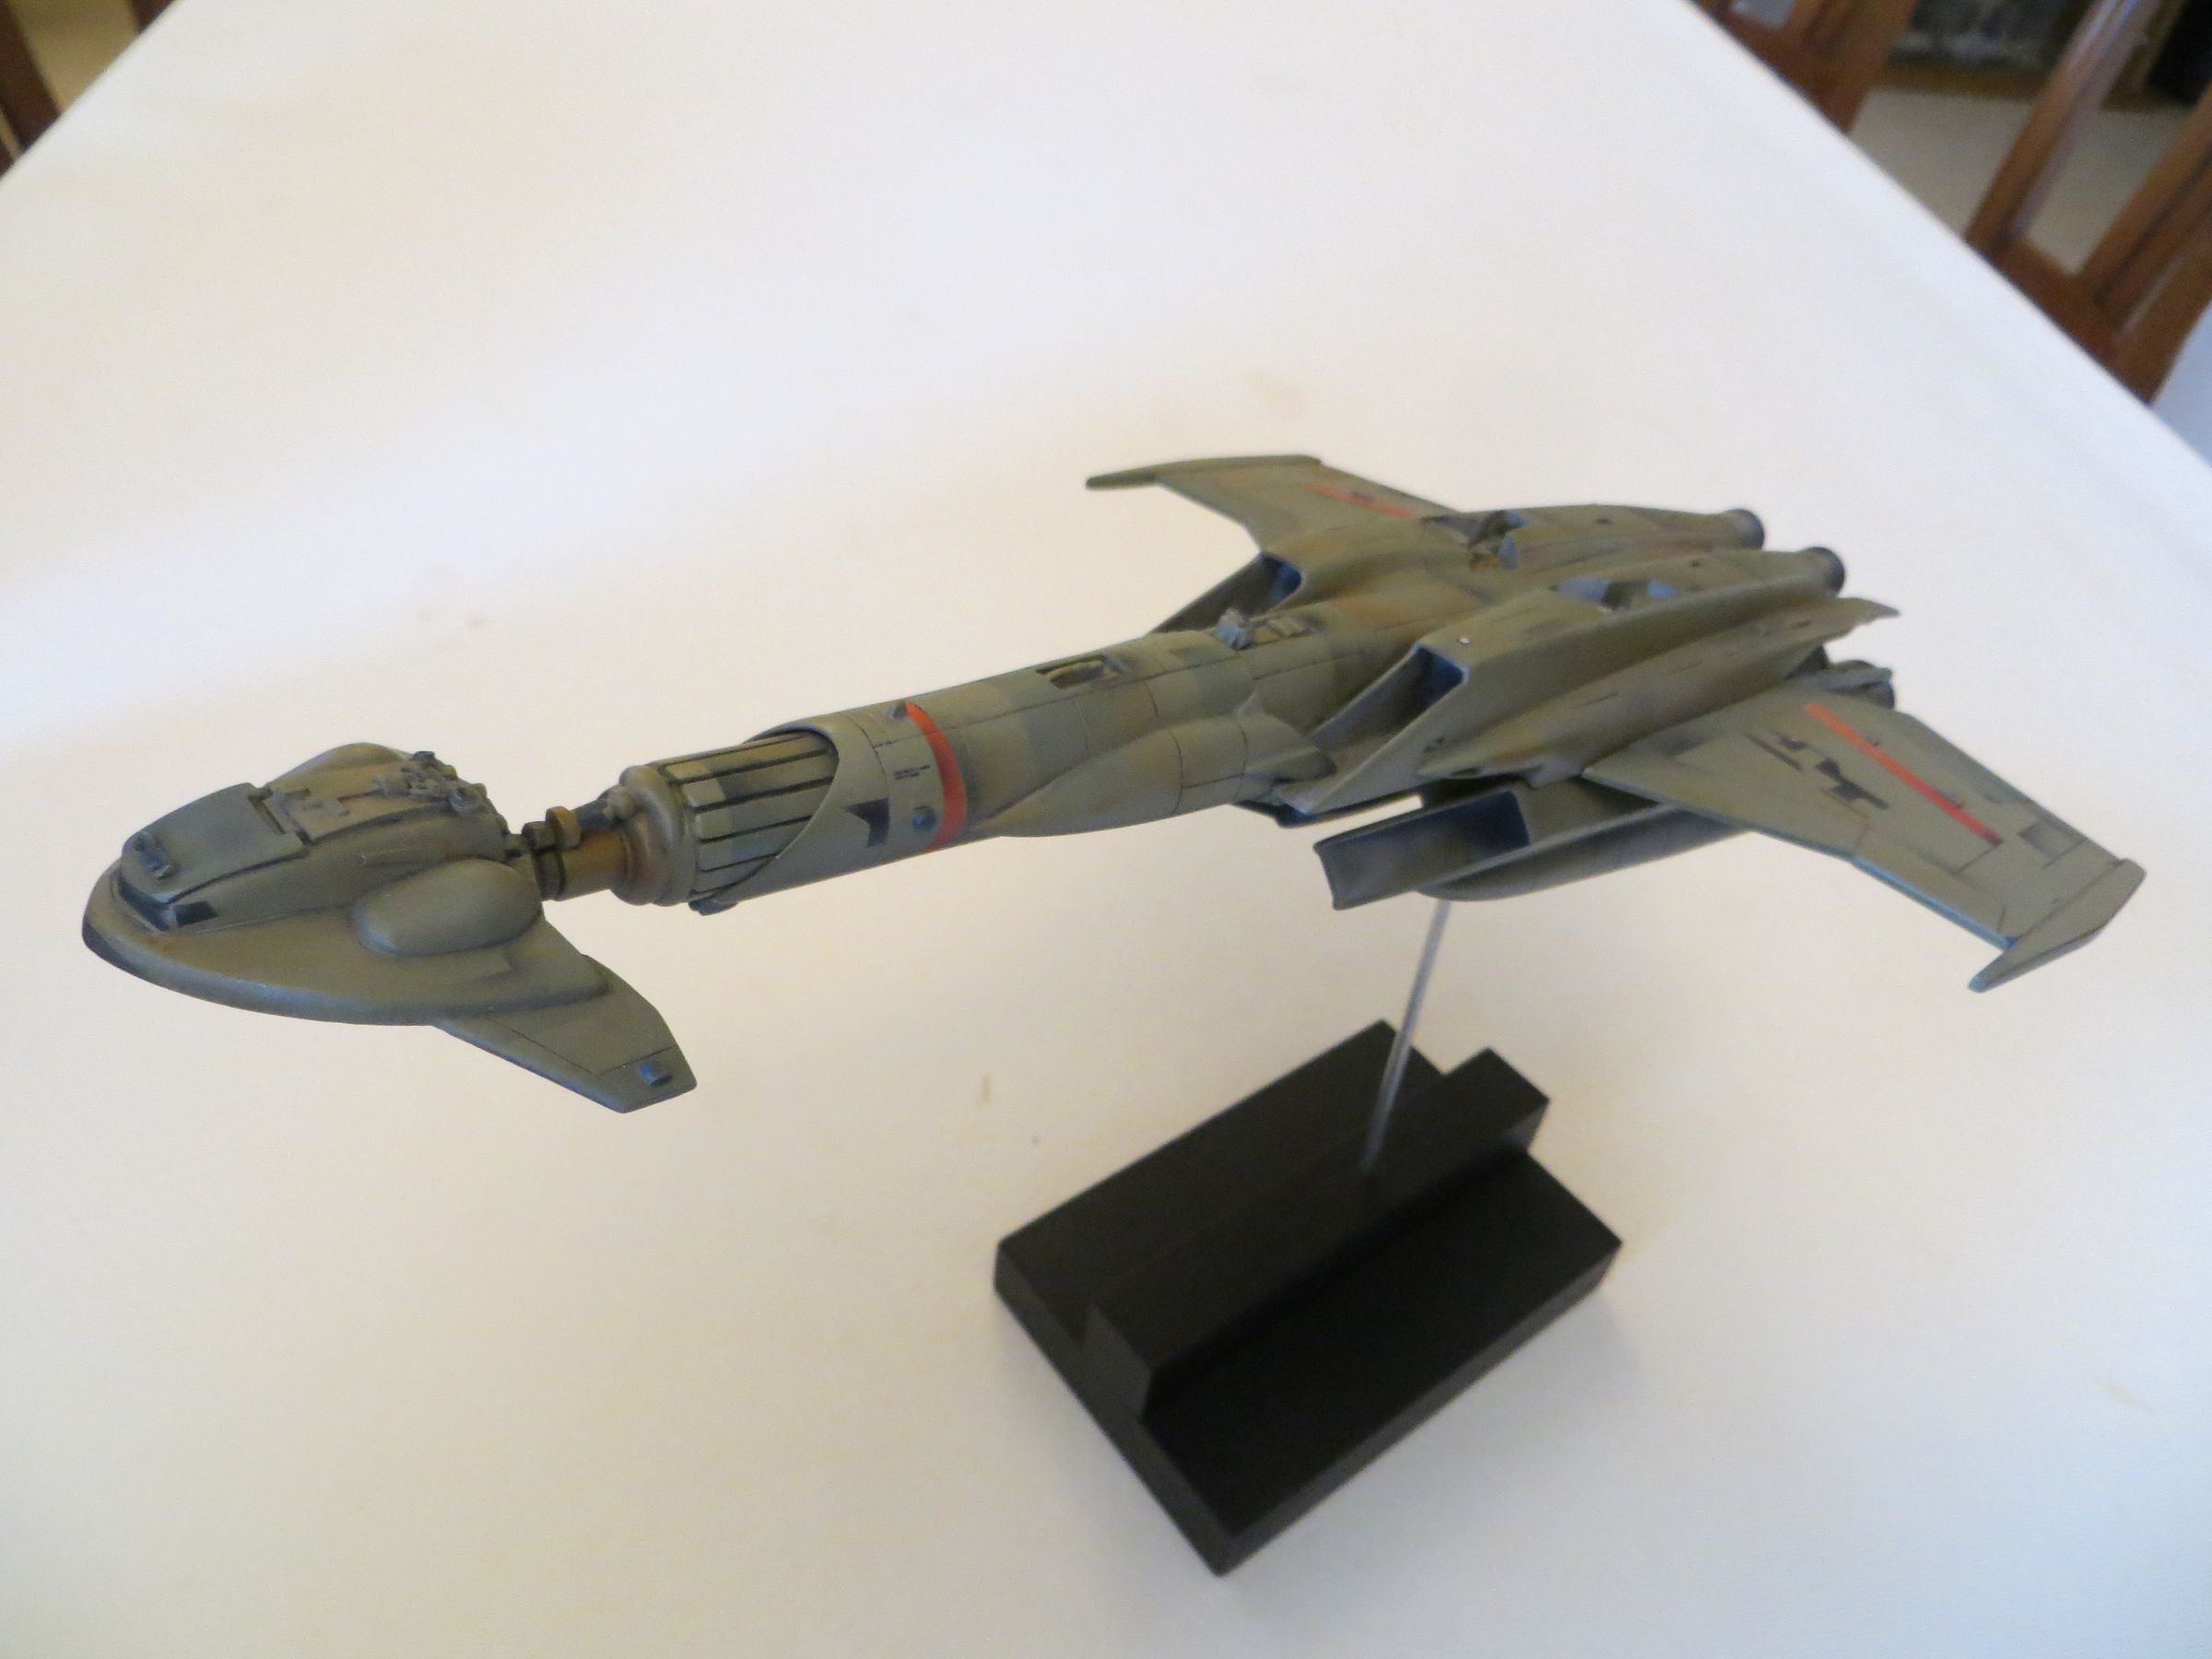
A layer of matte varnish and final assembly :


Aller au contenu | Aller au menu | Aller à la recherche
mardi, 27 mai 2014
Par olcabour le mardi, 27 mai 2014, 23:50
Decals : Some are a little too big, so I have taken only a tiny part.
Another klir layer to protect them.
Followed by a dark gray wash.
And a few extra brown and rust streaks.
A layer of matte varnish and final assembly :
lundi, 26 mai 2014
Par olcabour le lundi, 26 mai 2014, 19:16
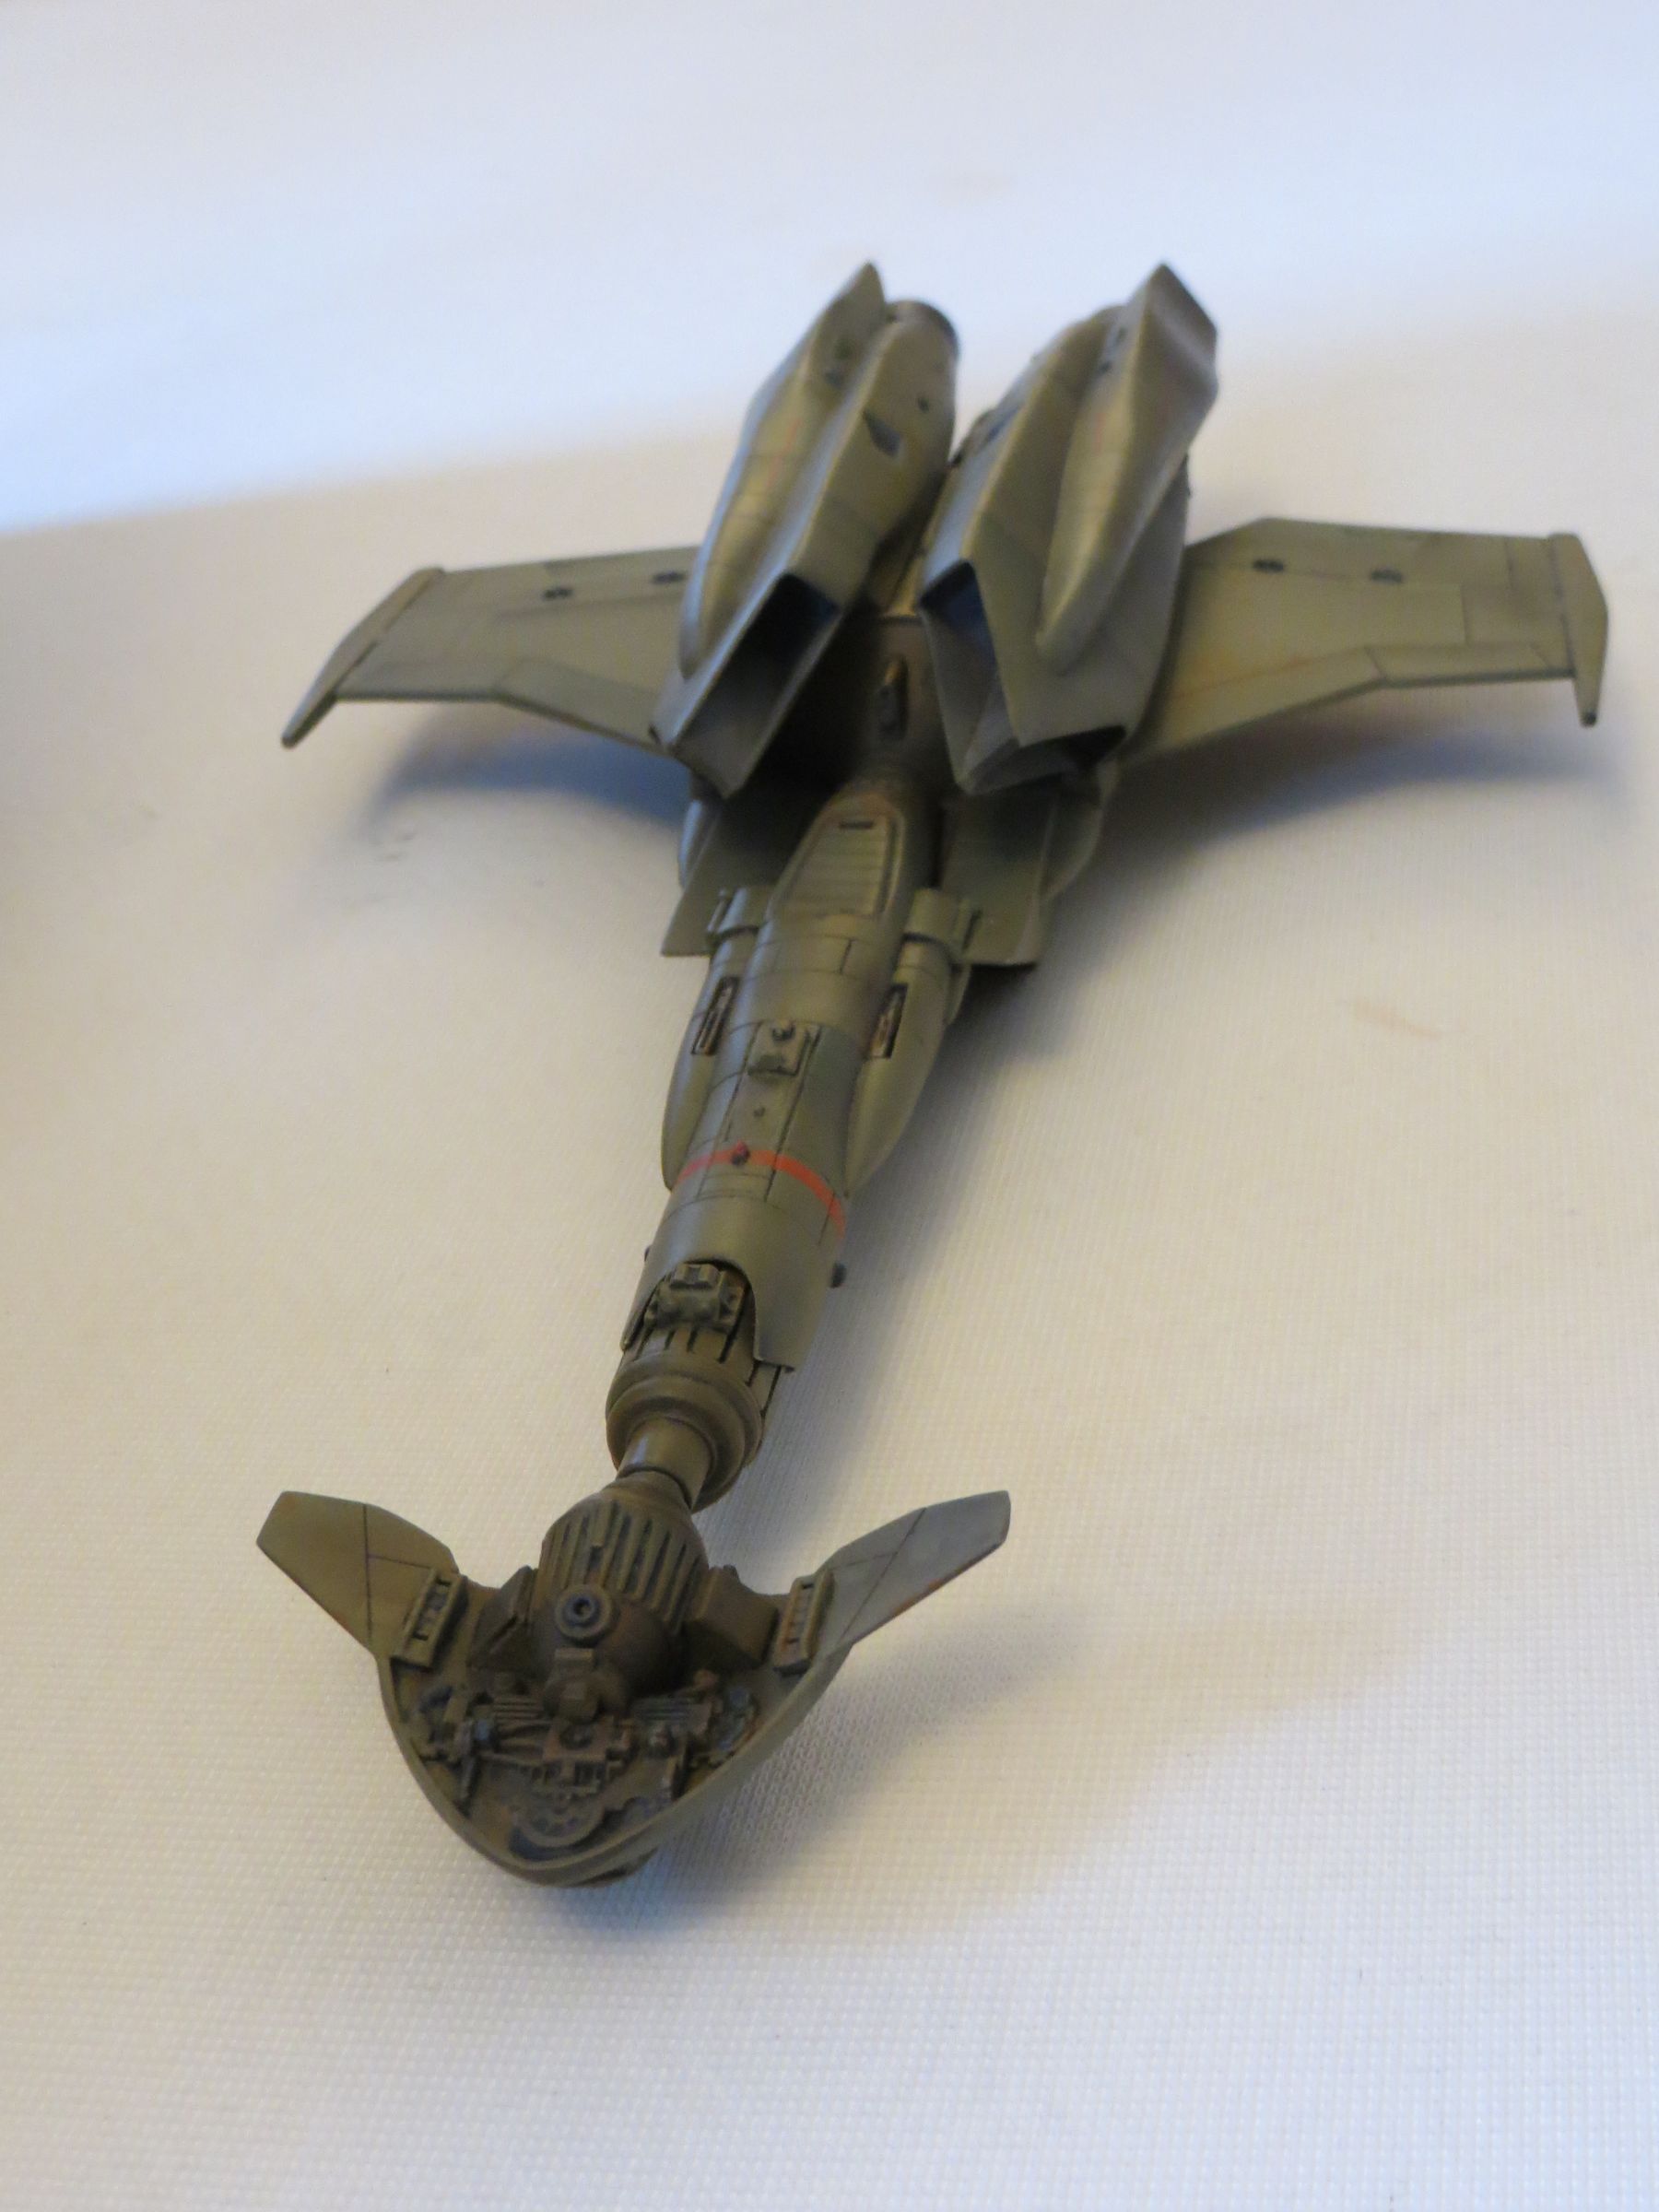
A paneling is made with very thinned black.

The markings on the wings and neck are supplied as decals, but I preferred to achieve them with the airbrush. The windshield is made in the same time.


The following painting steps are again made to follow paint to the maximum the studio model :
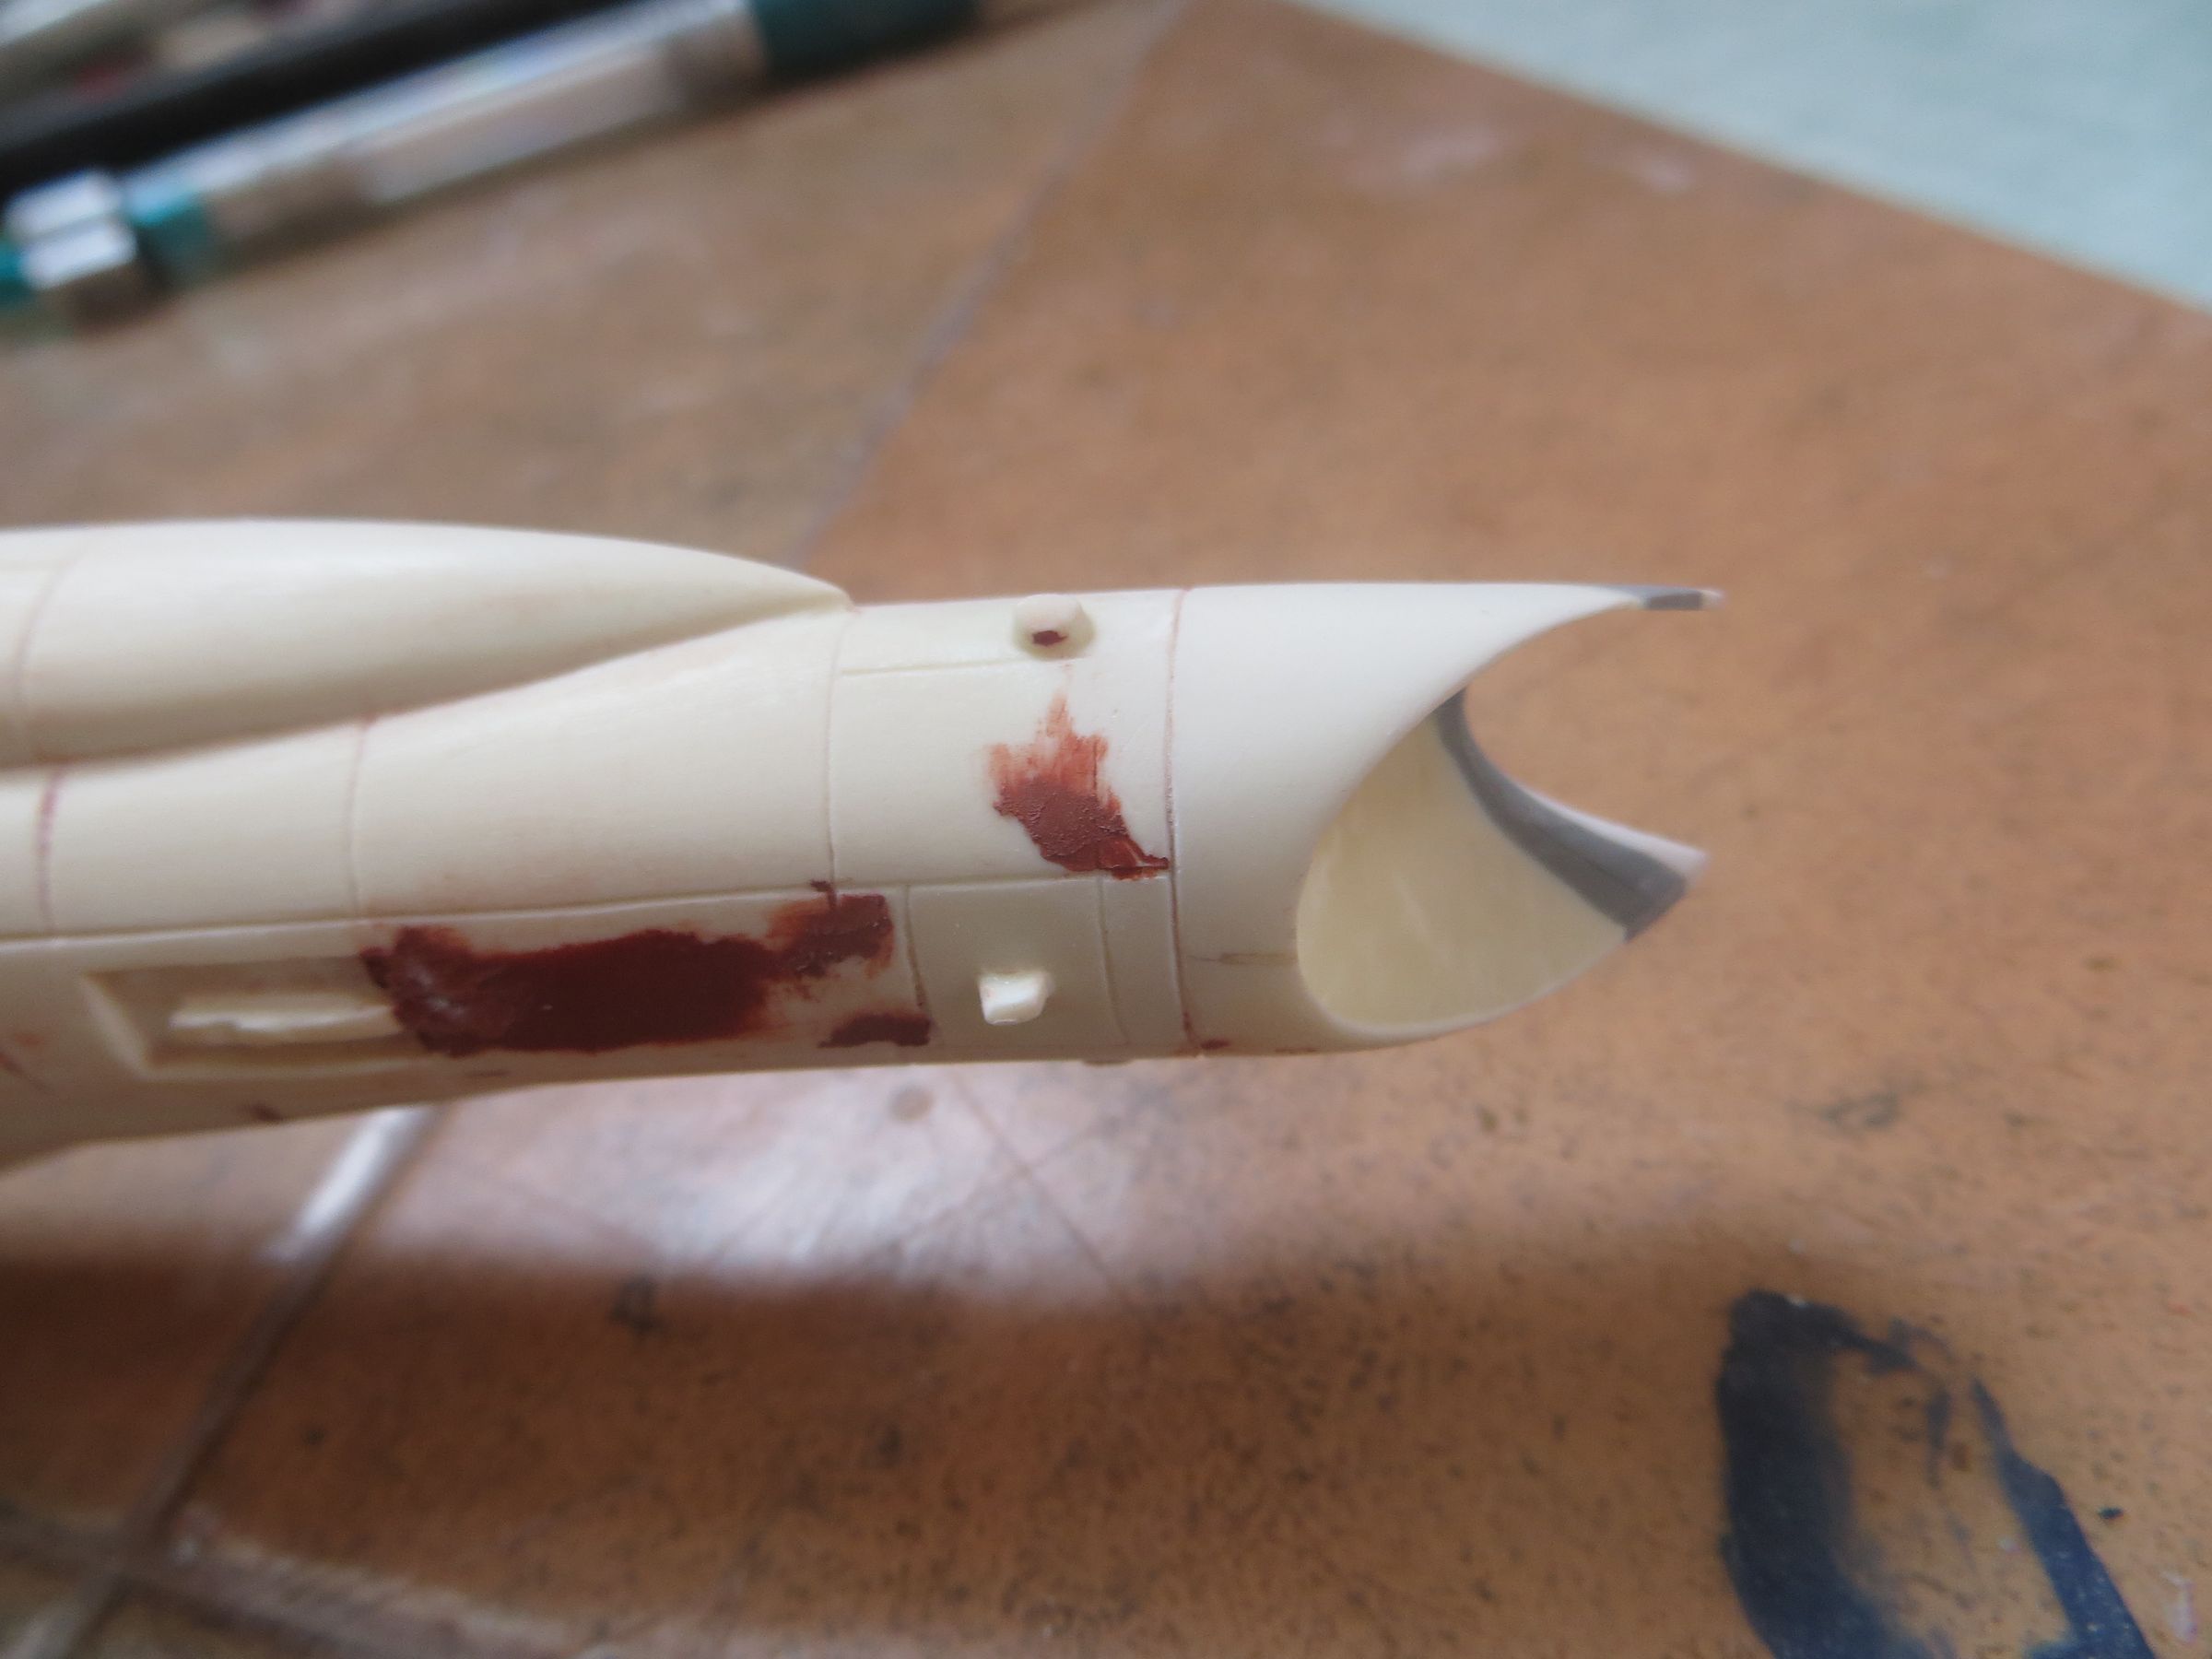
The khaki surface are broken with brown rust

With the brush this time, paint chips and stains ara made with dark gray and rust.
A layer of Klir seals everything.
samedi, 24 mai 2014
Par olcabour le samedi, 24 mai 2014, 22:41
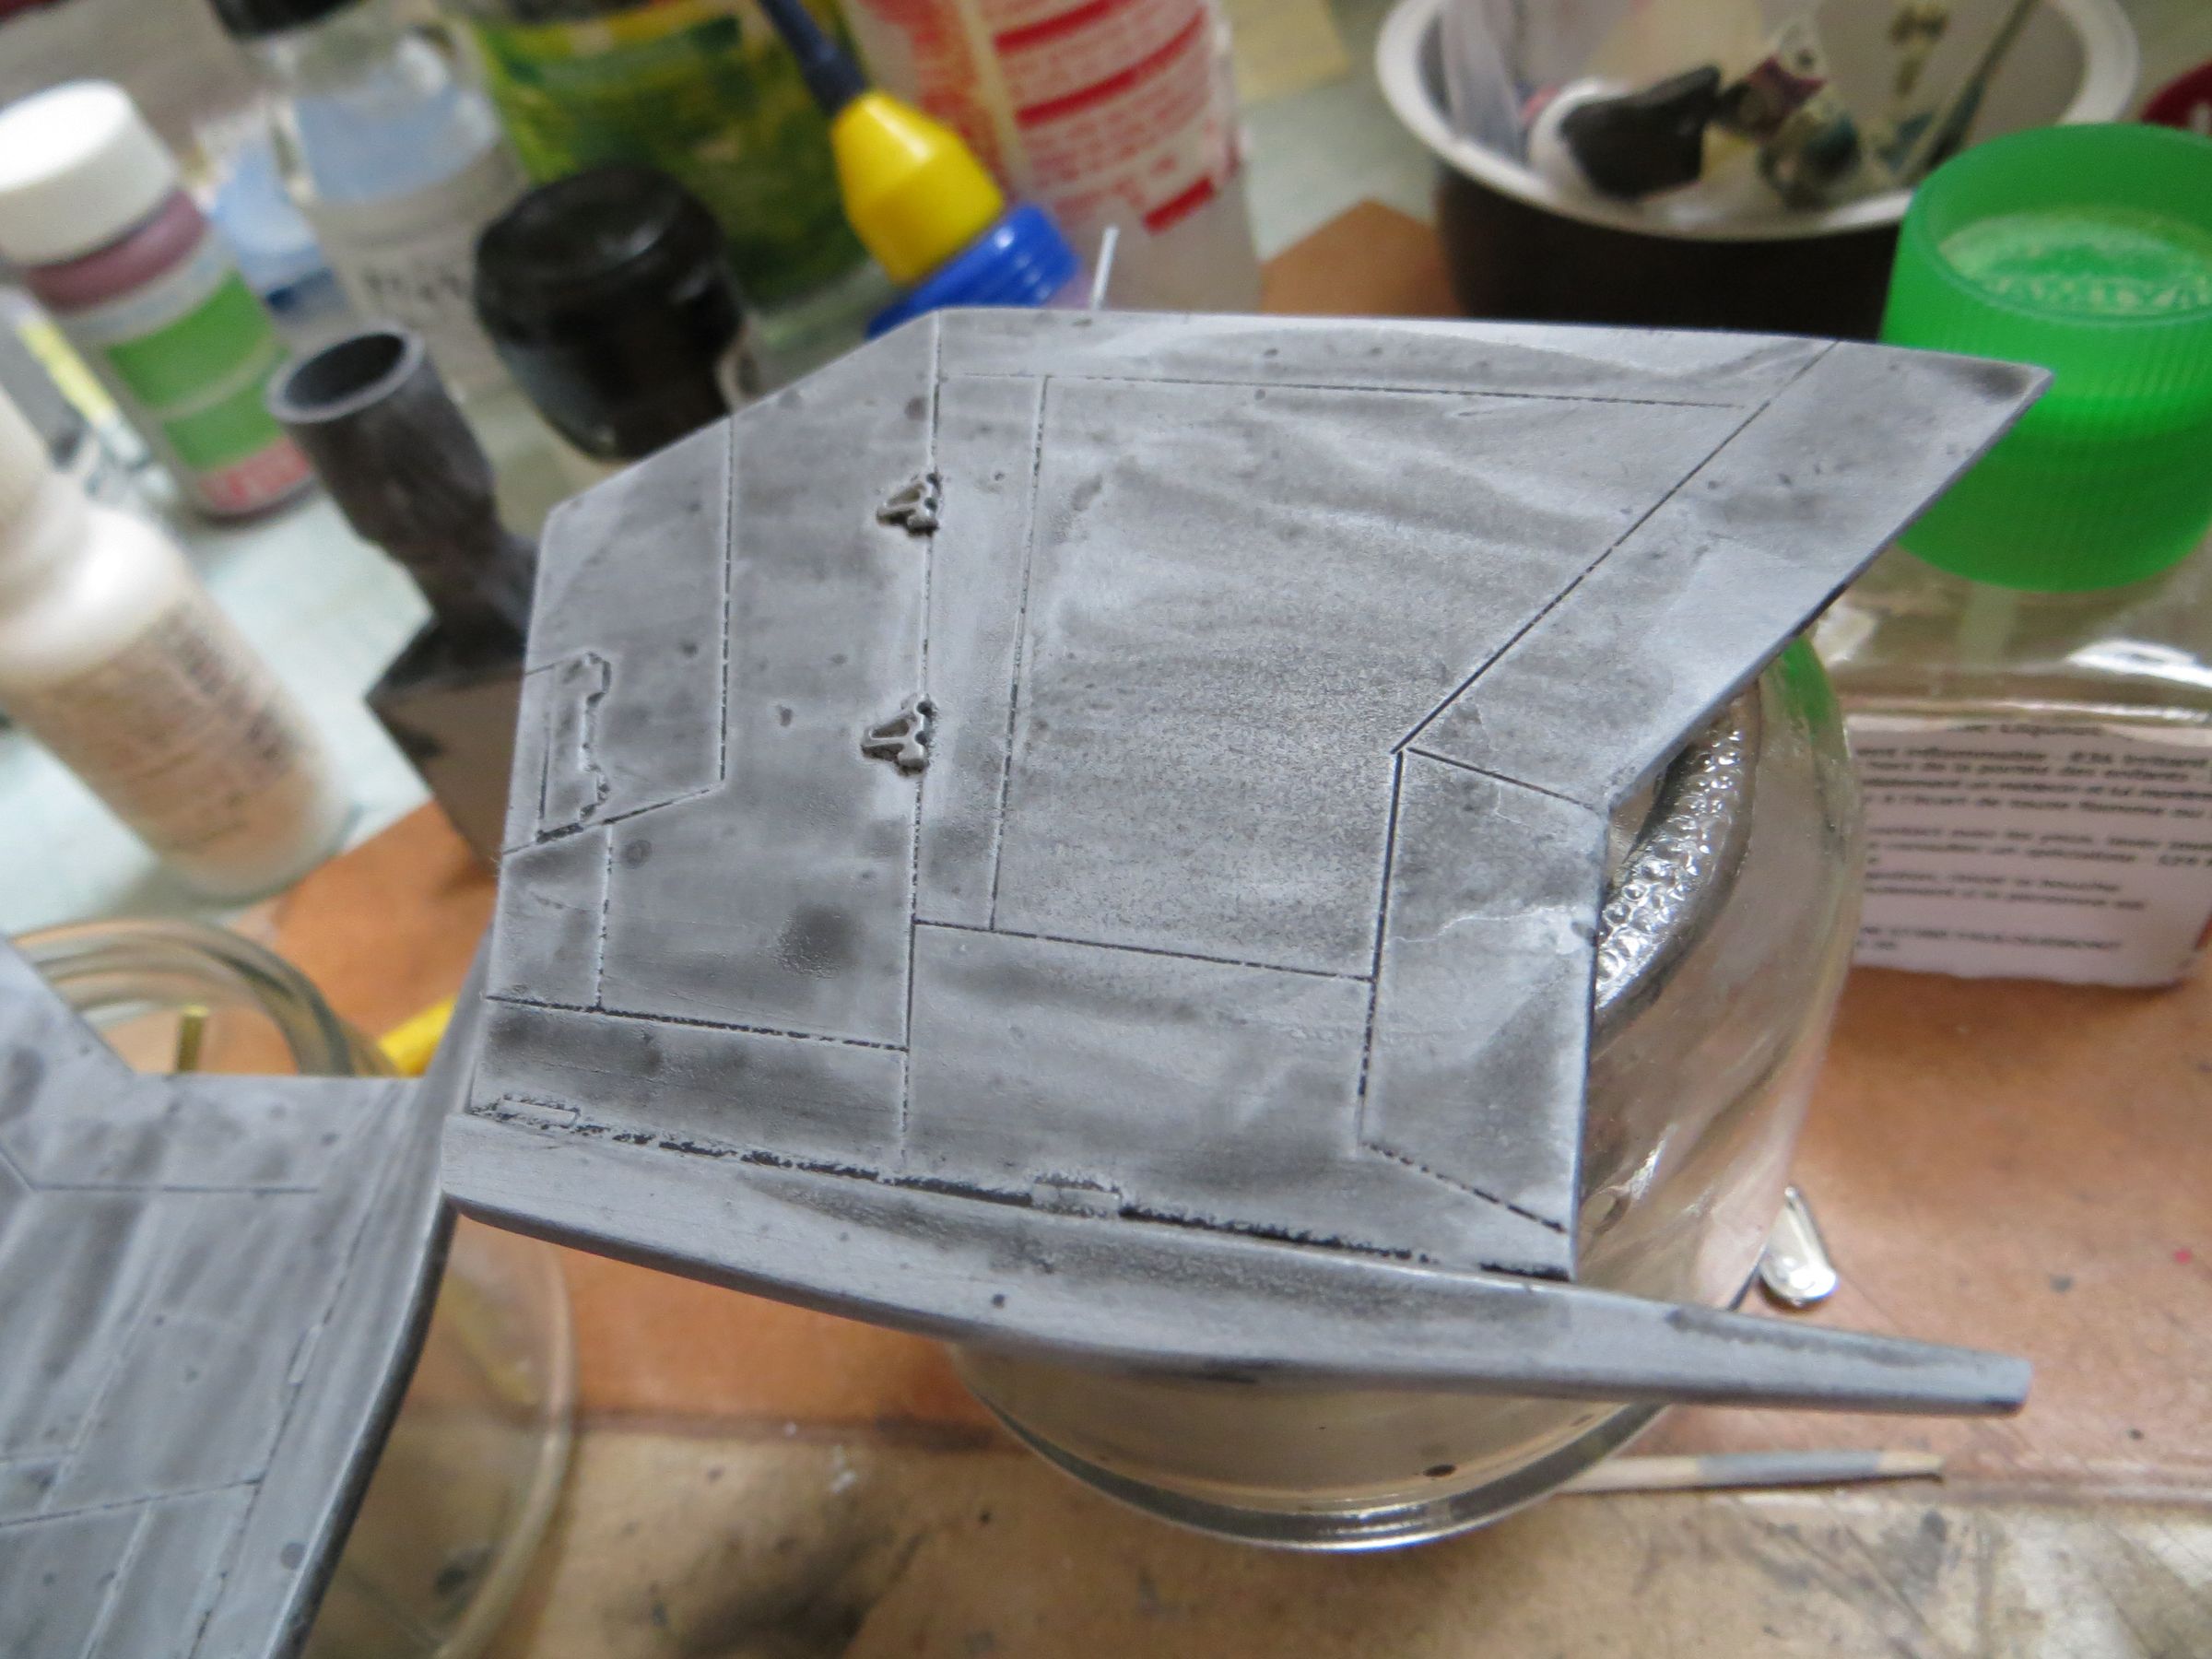
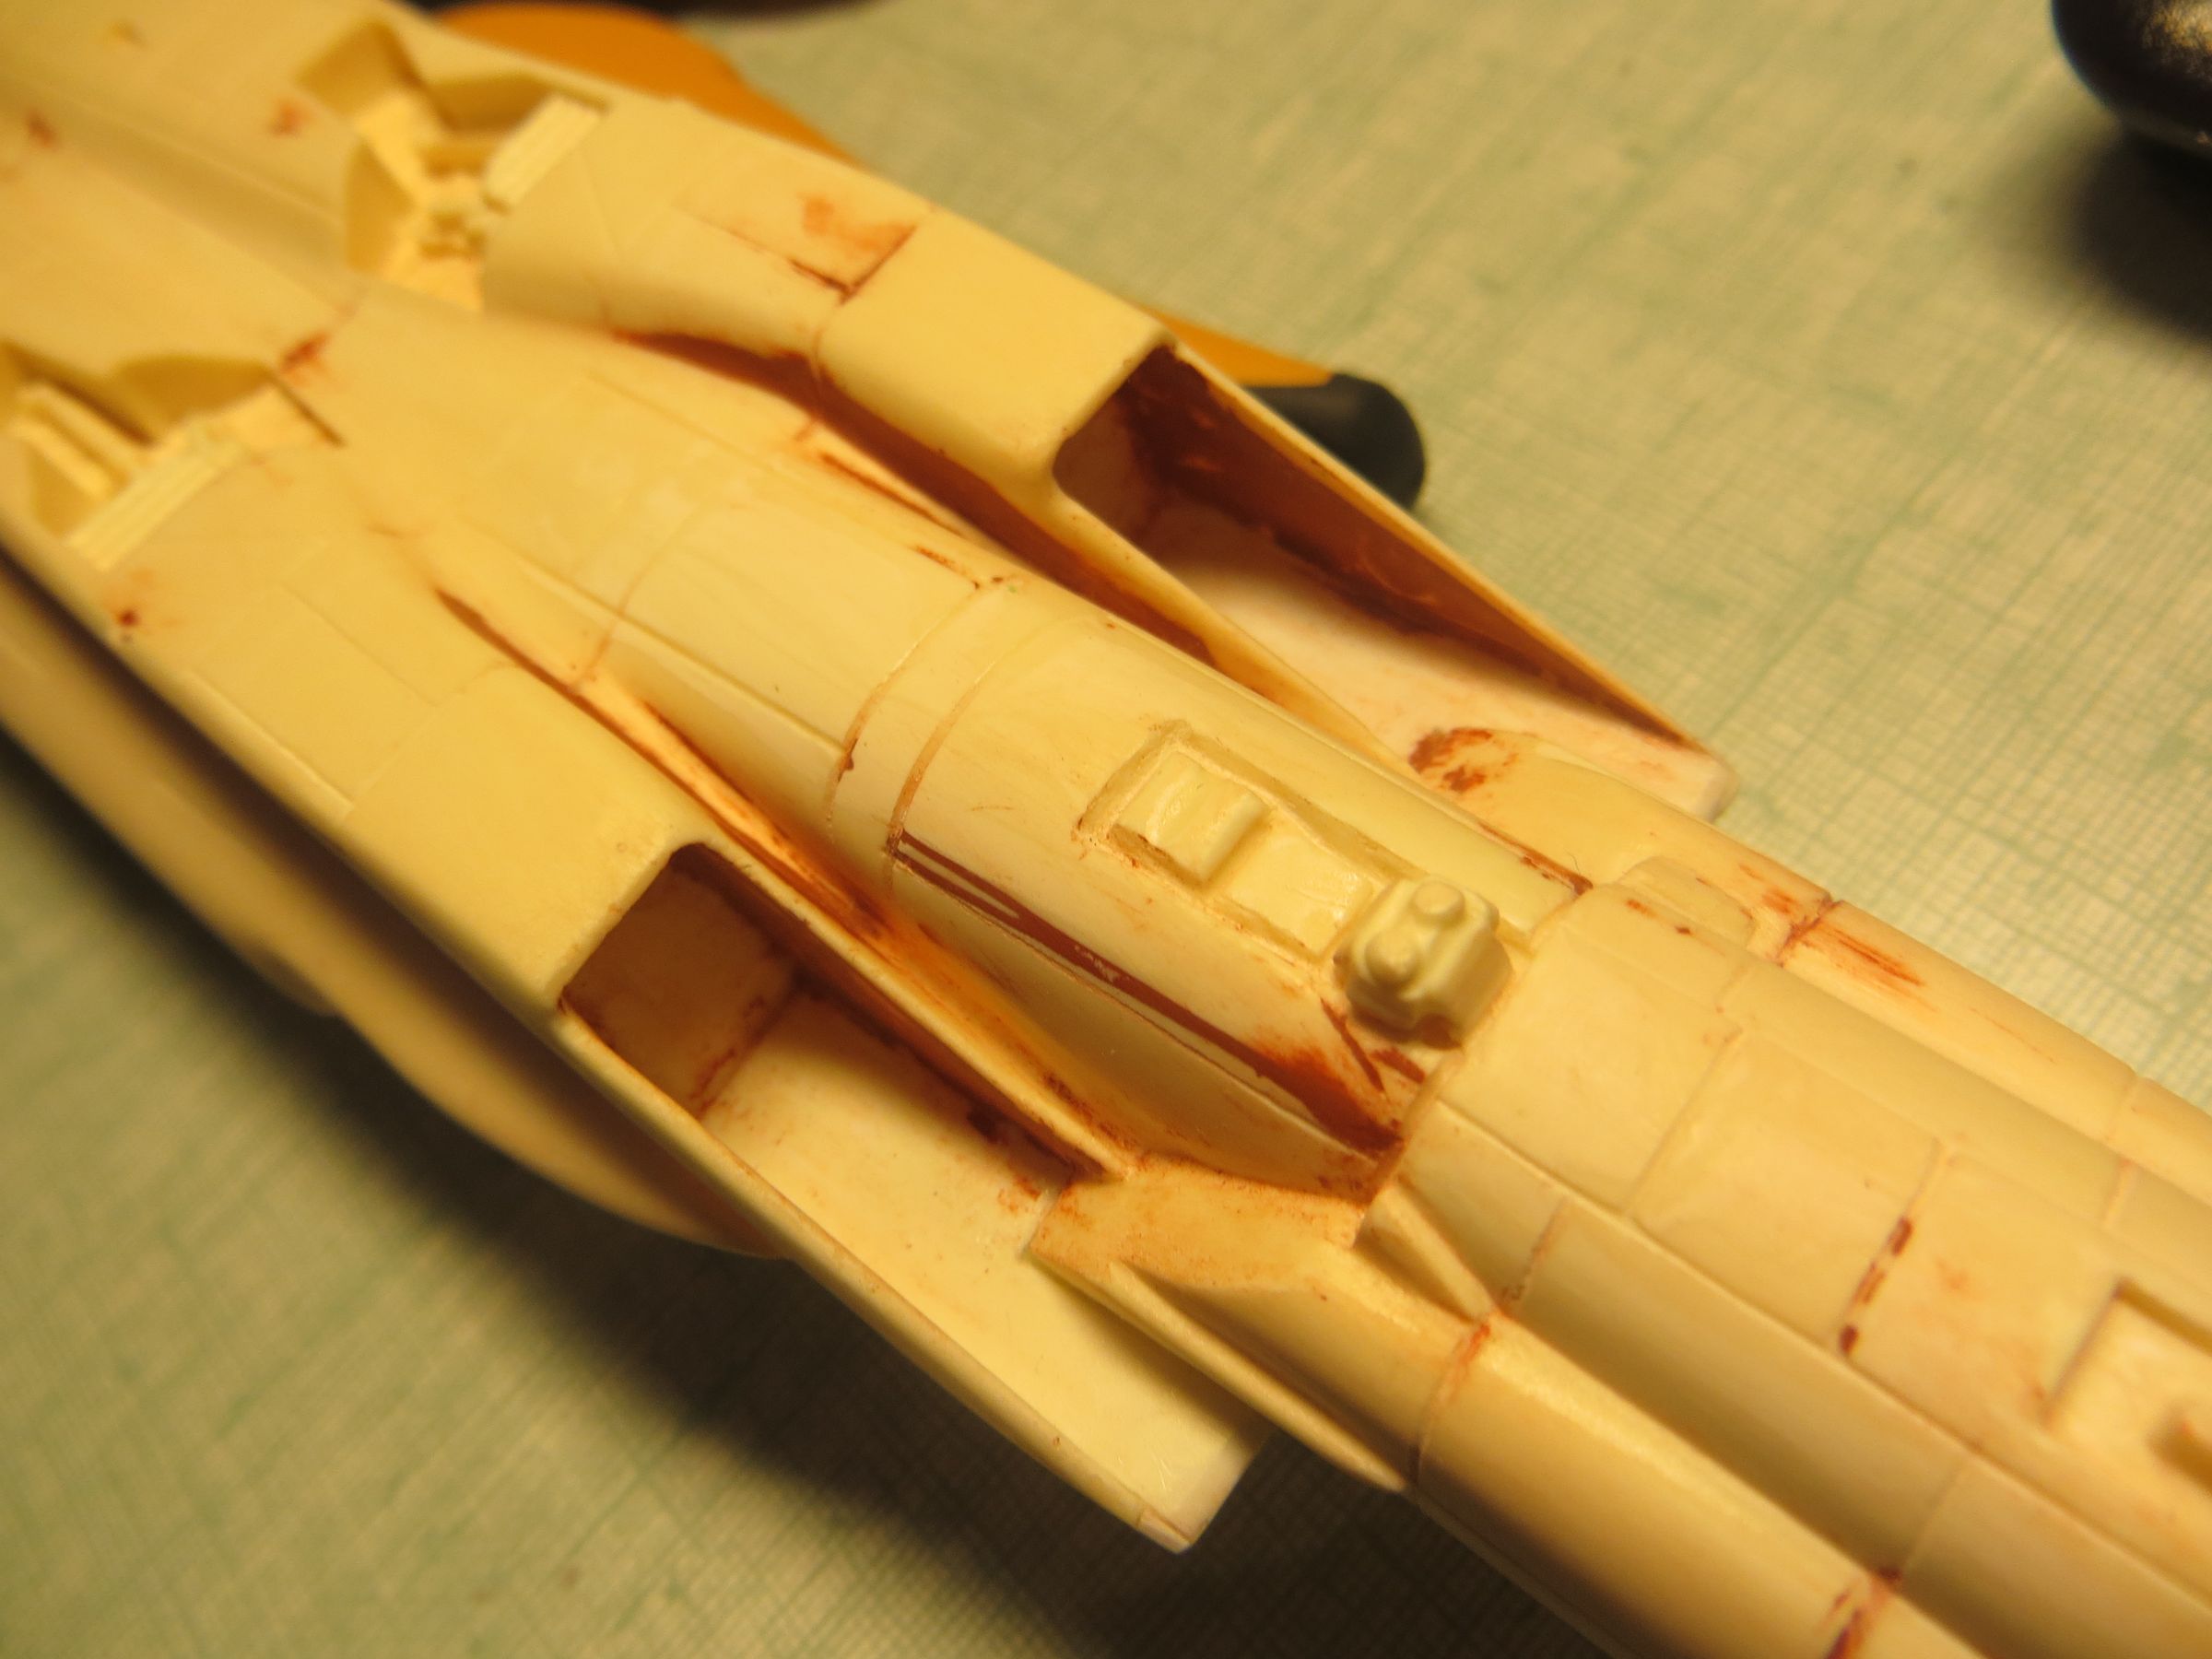
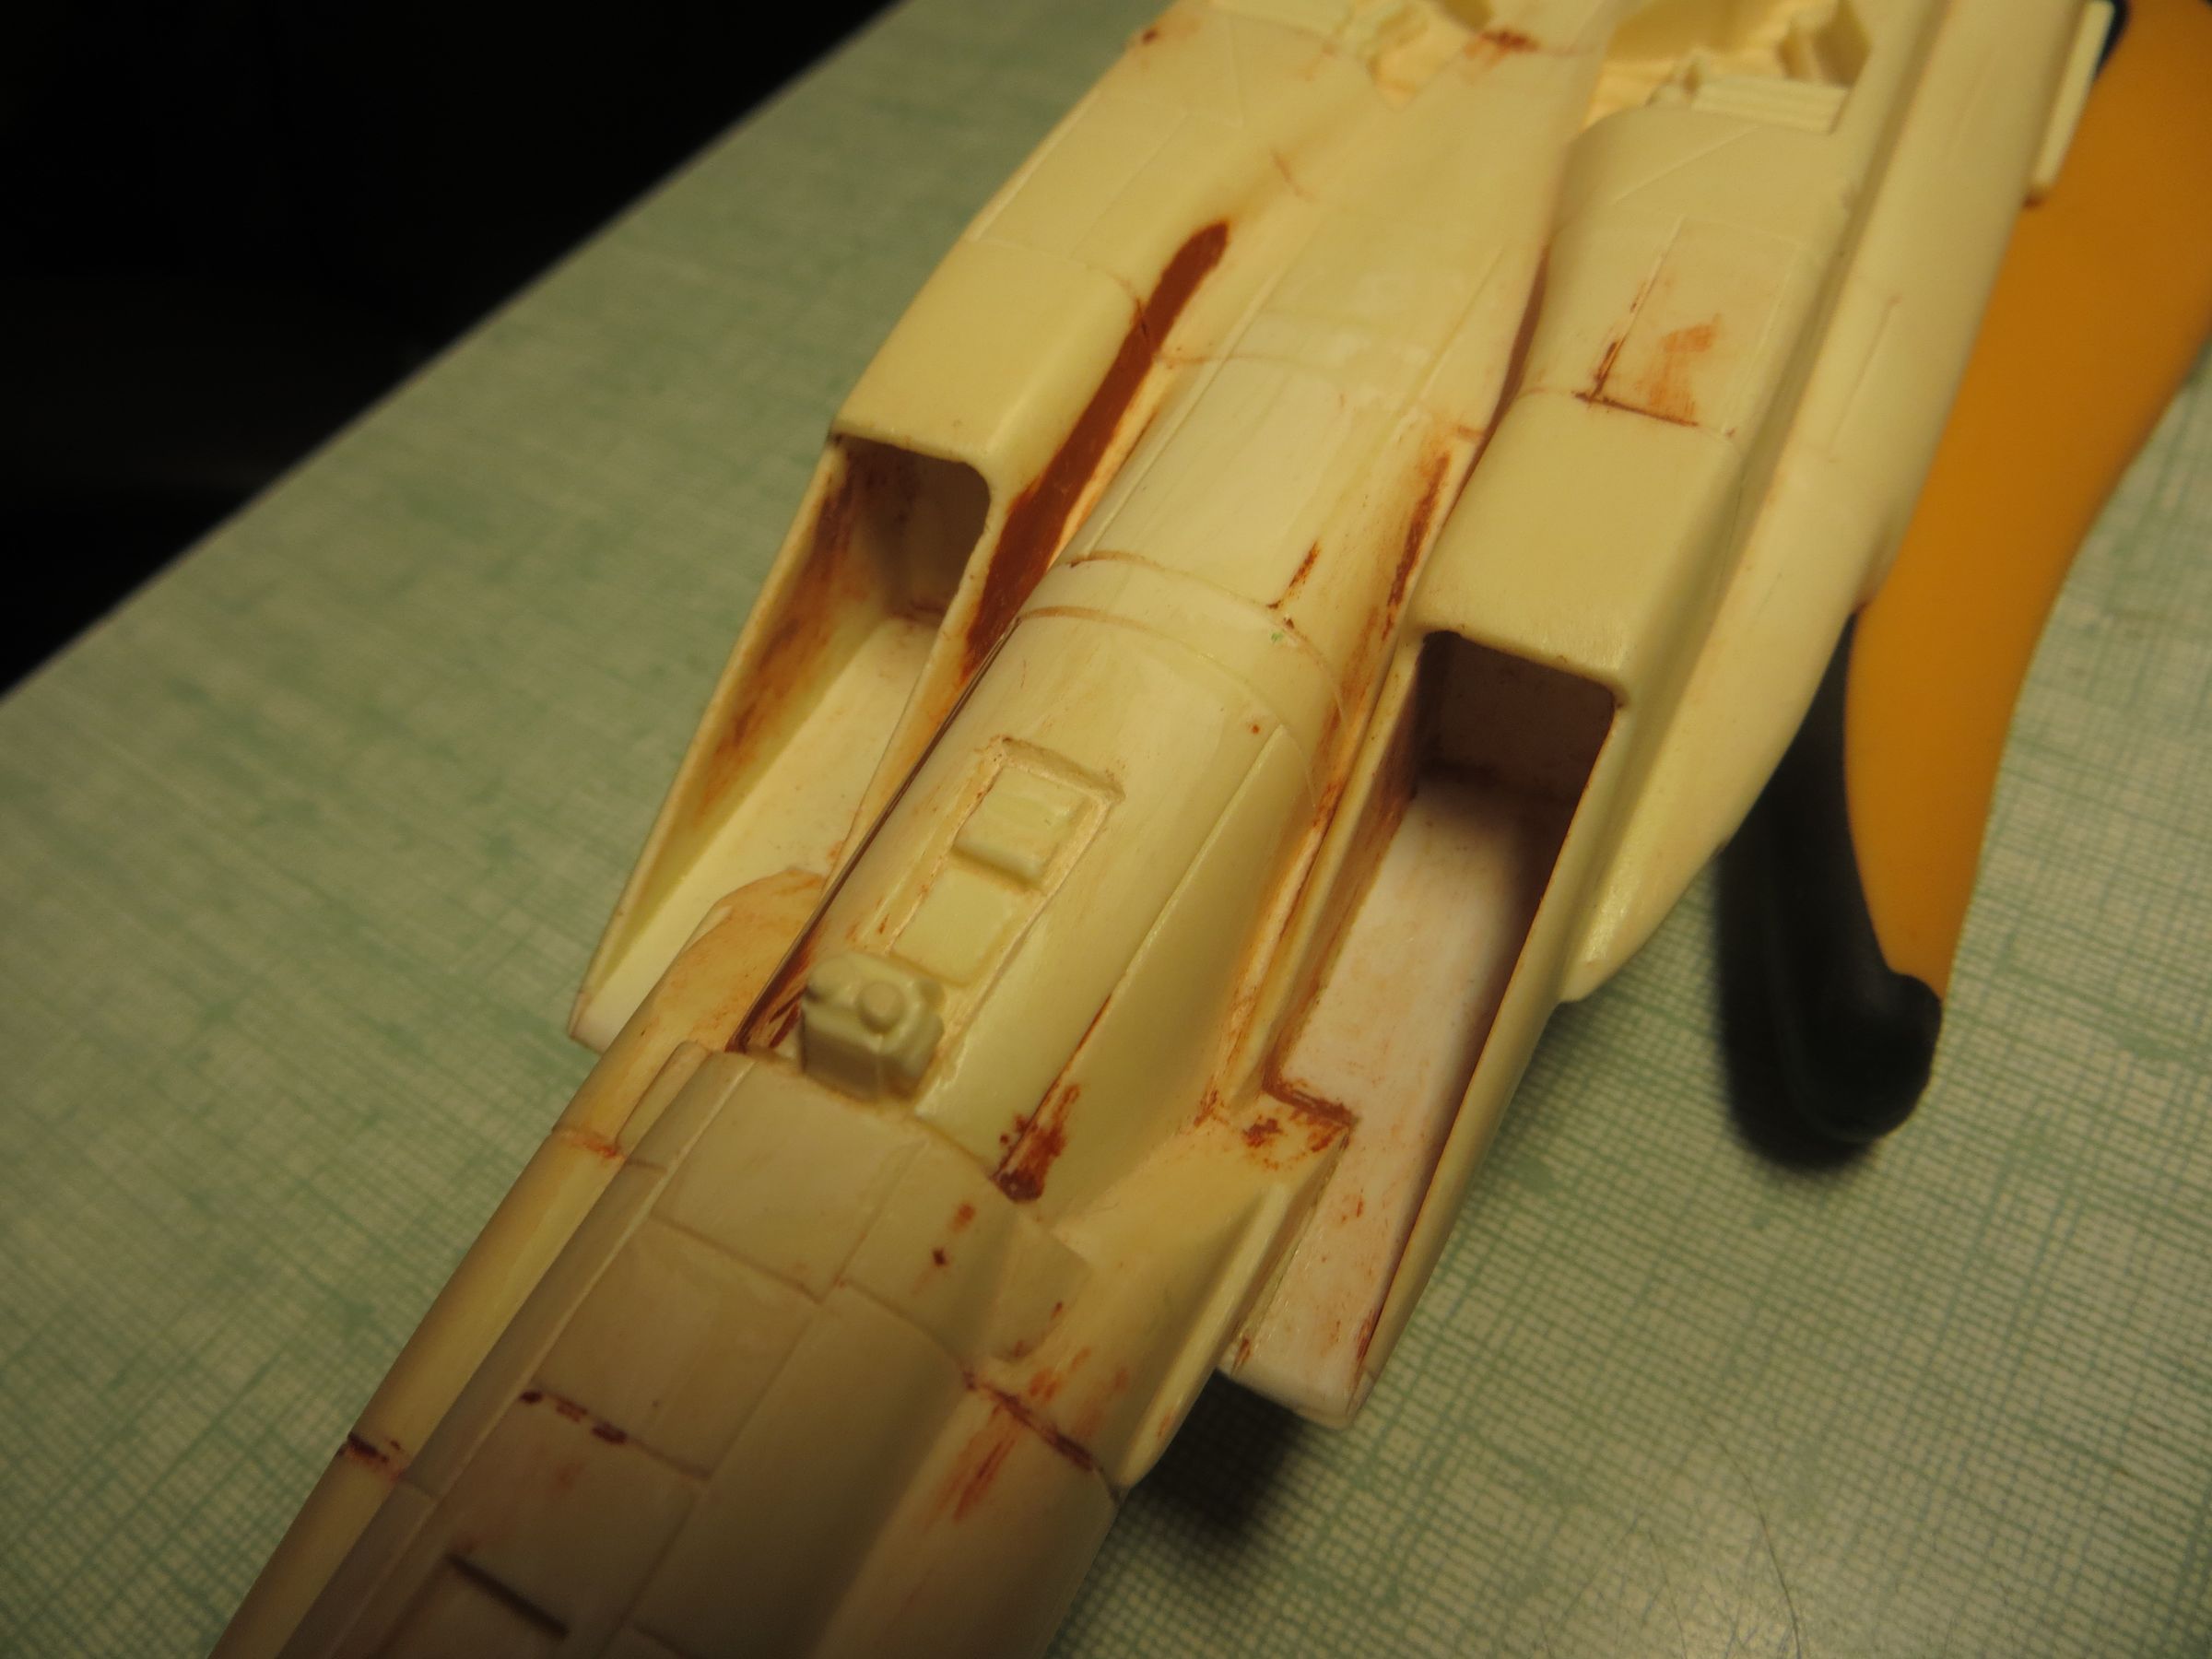
He received a coat of primer (tamiya spray can), which reveals an forgotten putty spot near the neck that need sanding.


Then an heavy black wash for preshade lines, gaps and create marks on the surfaces.
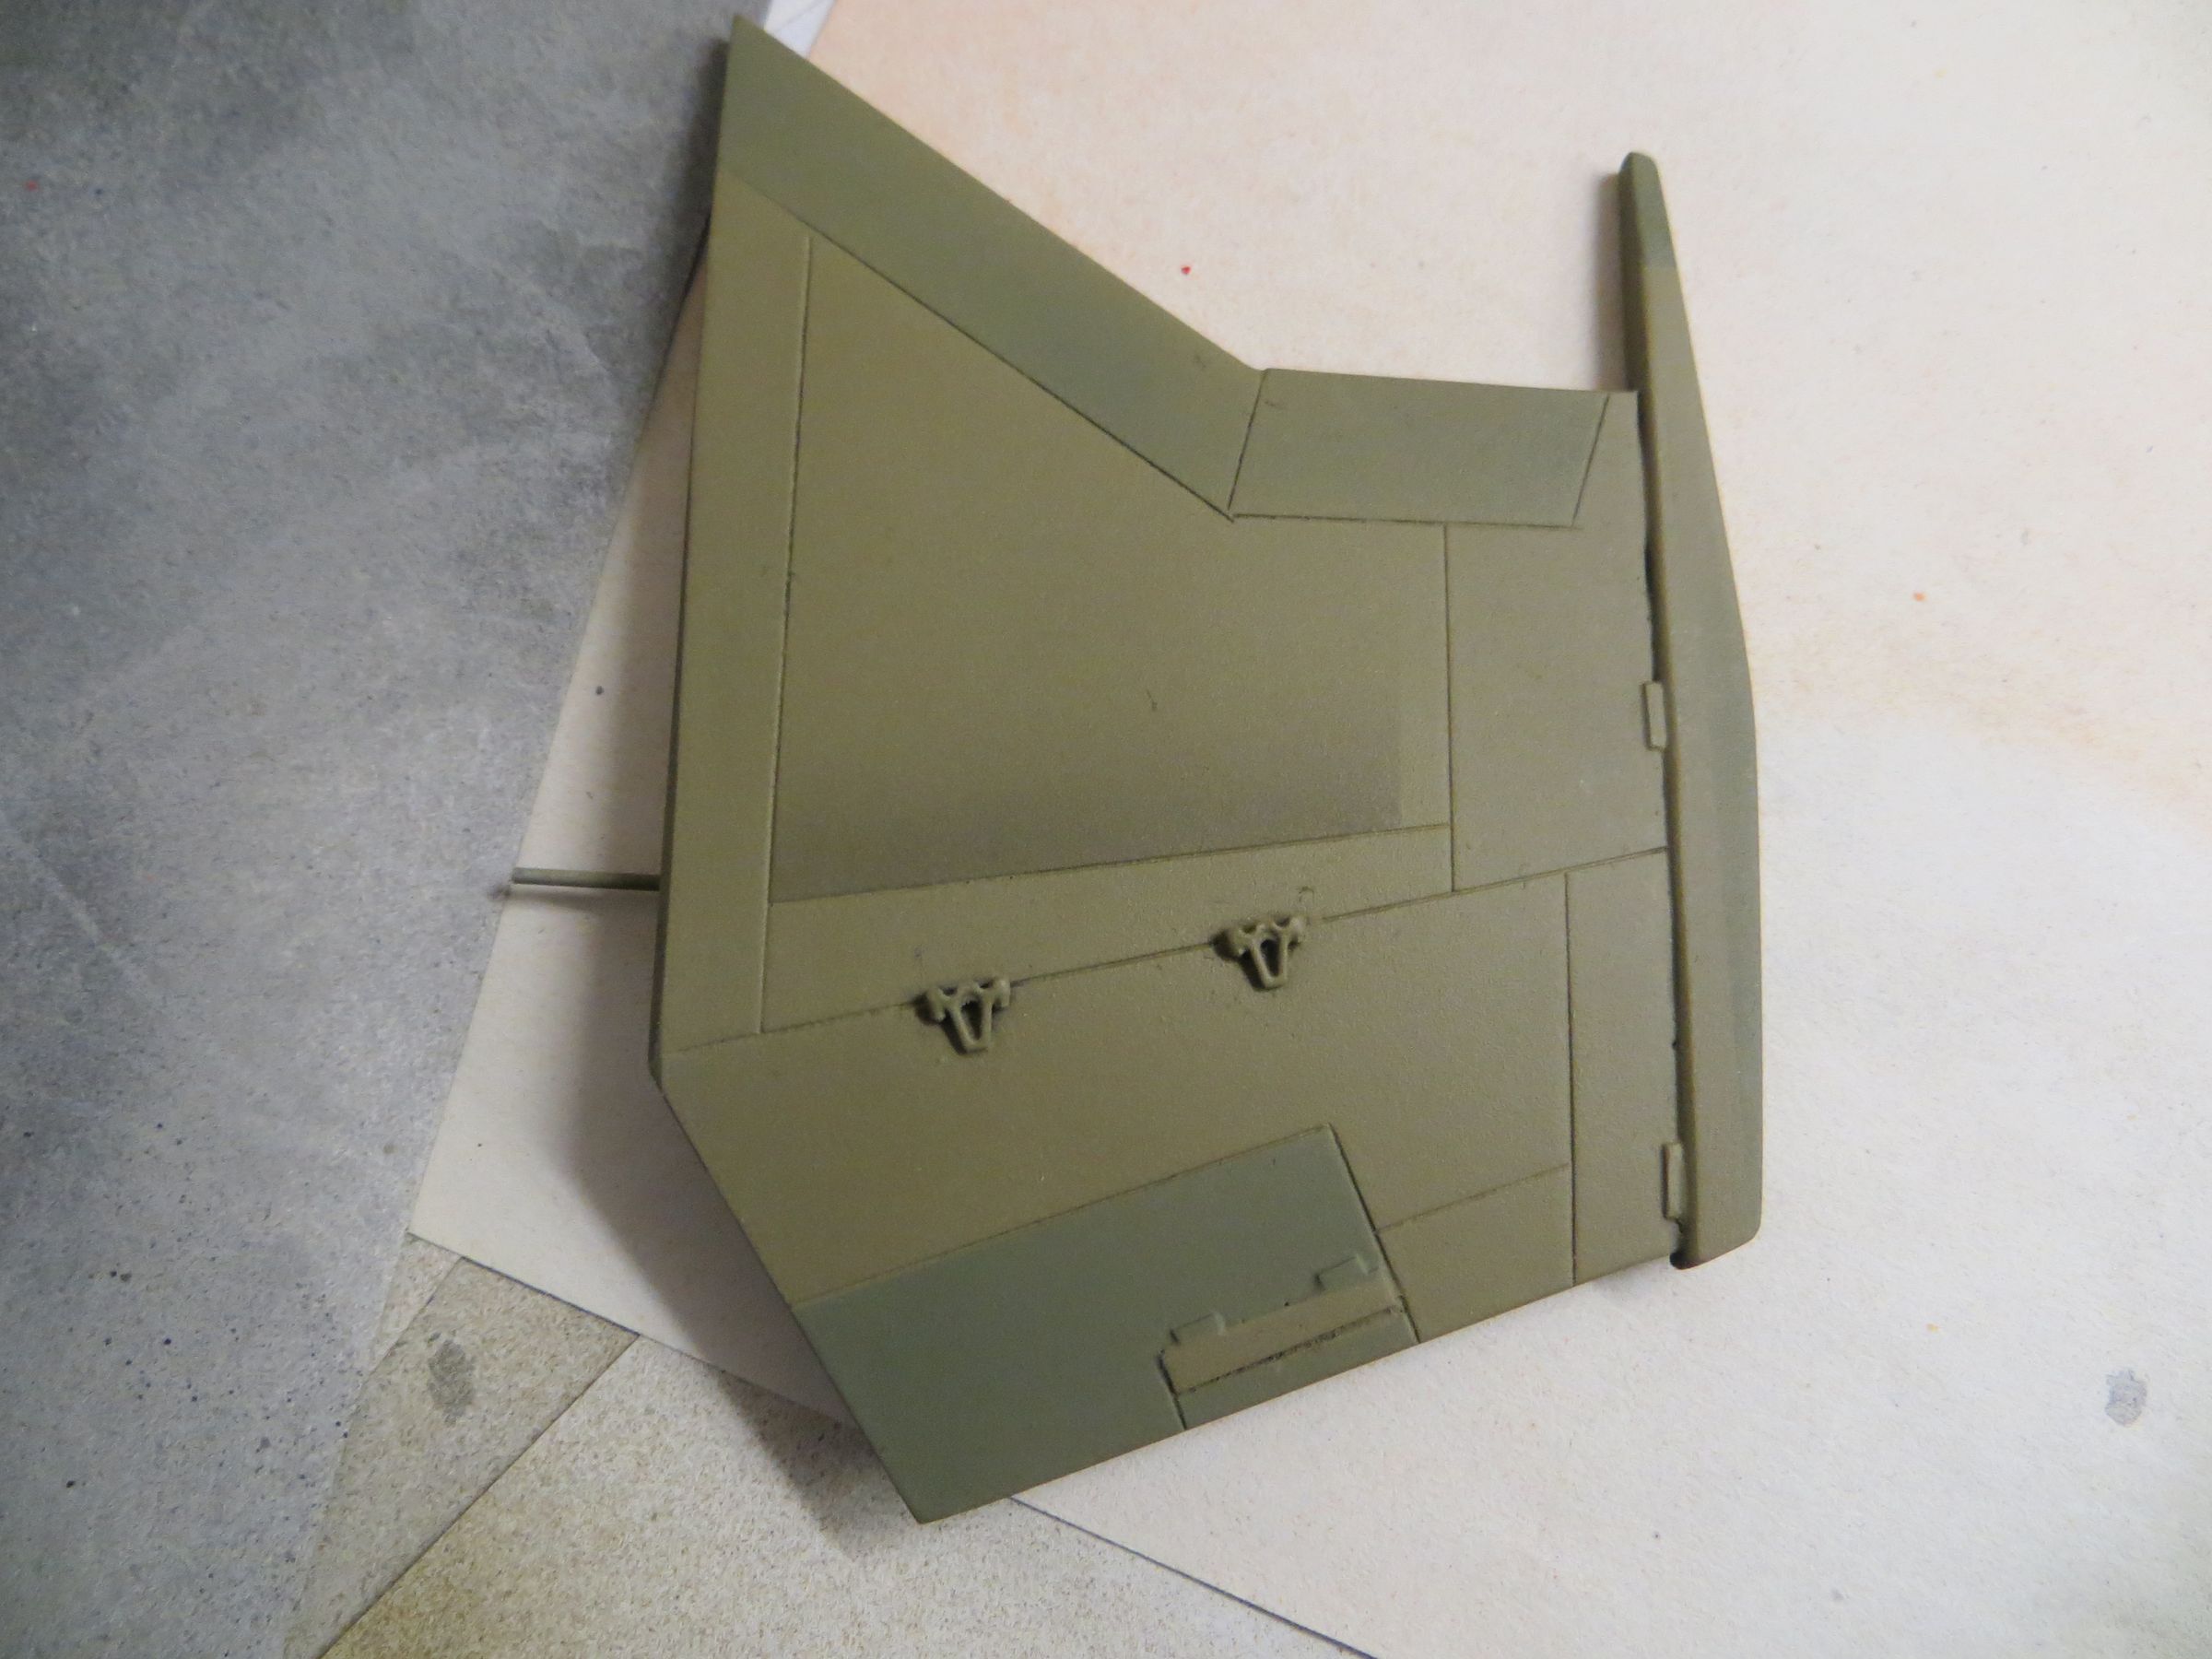
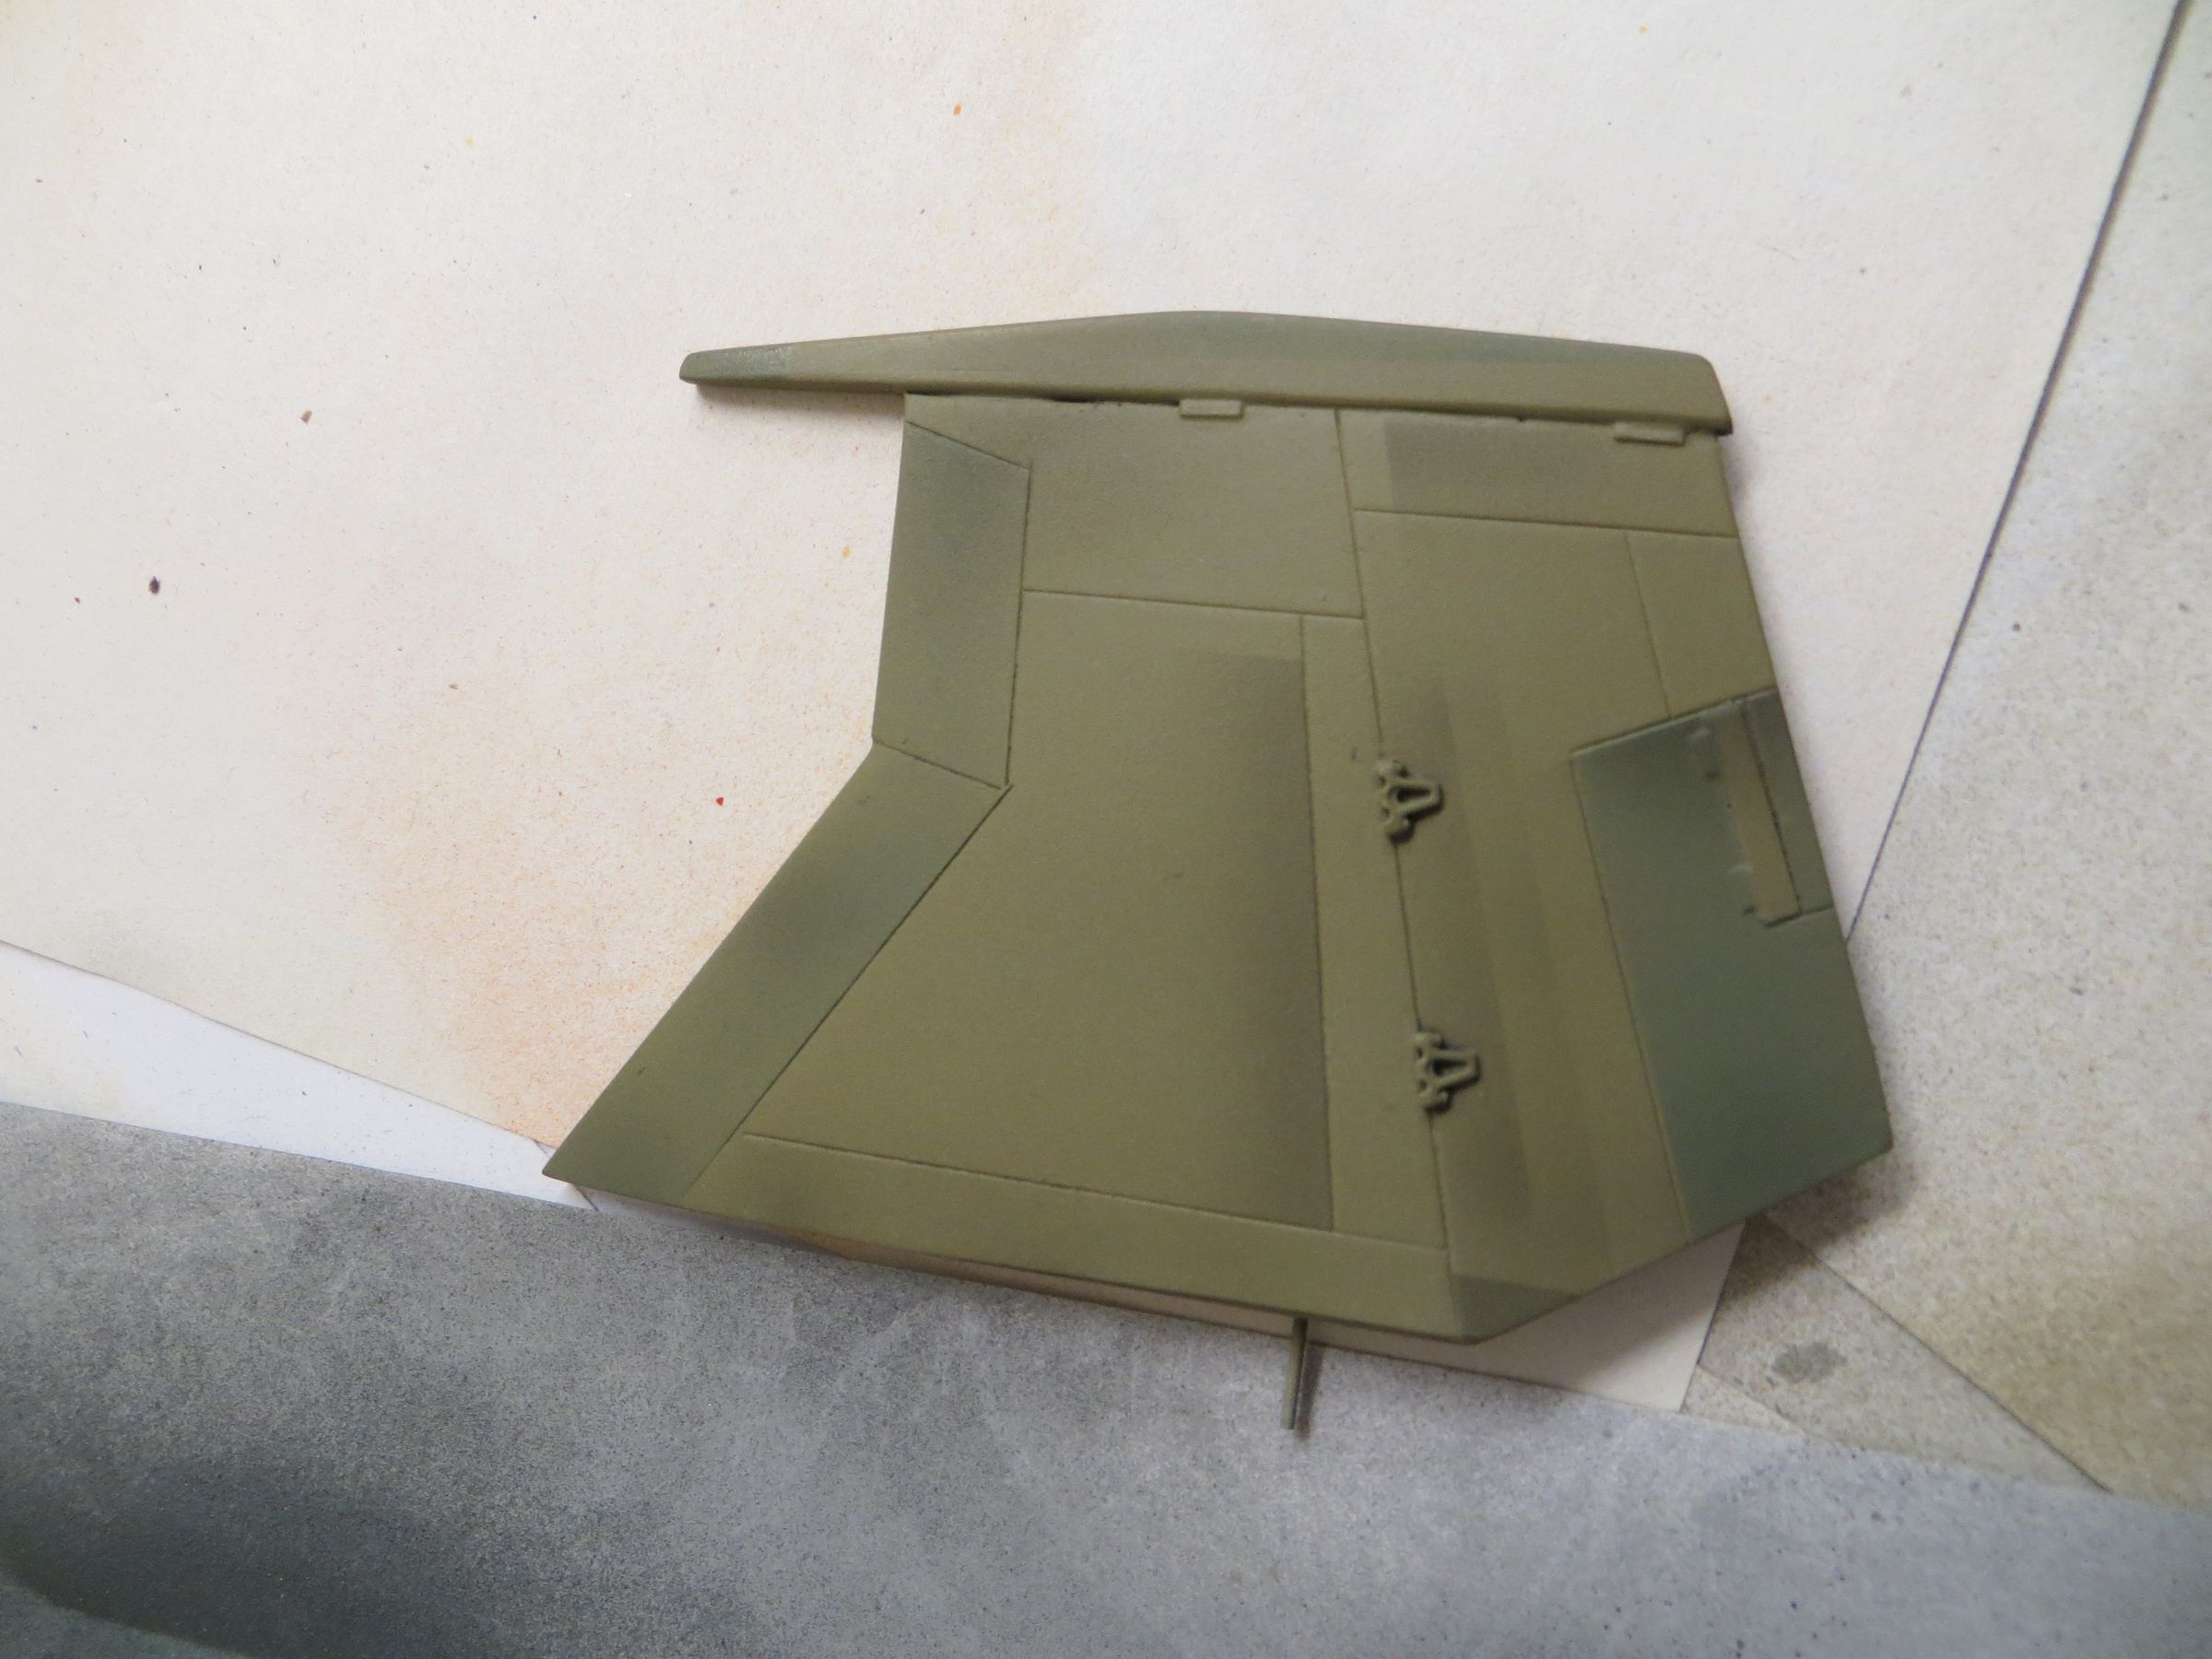
The base color of this bird is SAC bomber, the Tamiya xf-49 khaki seems close enough.
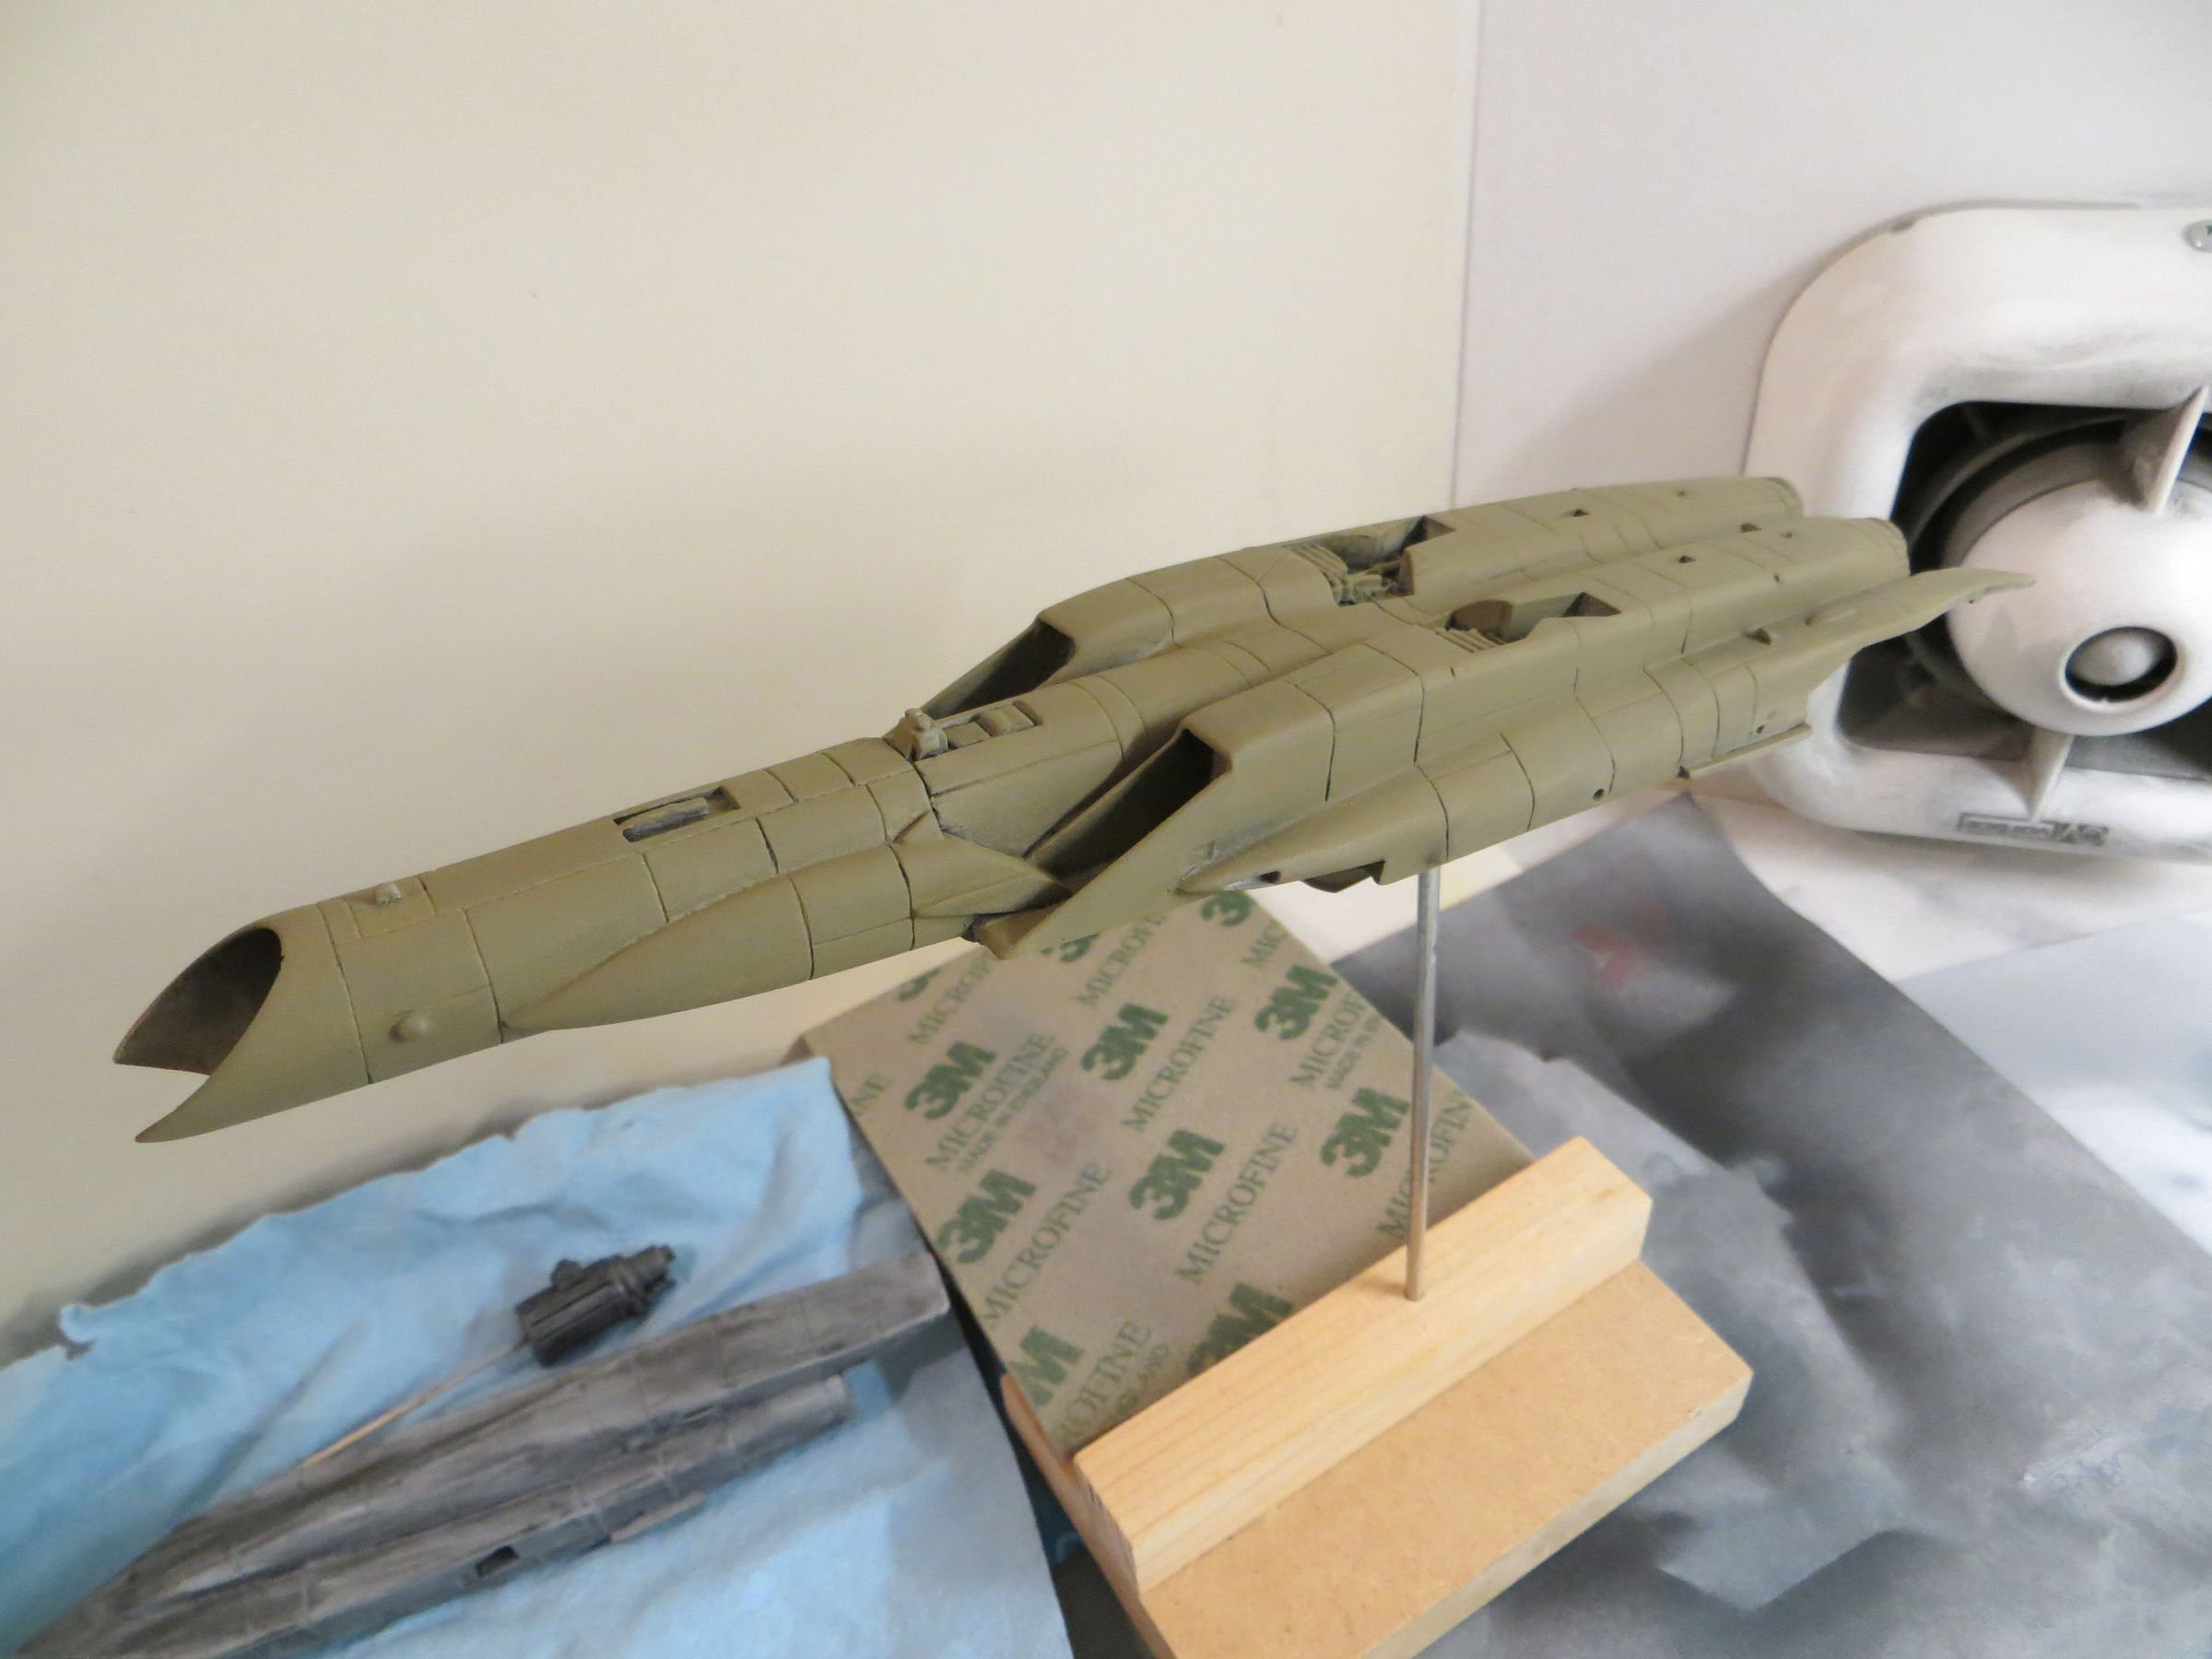

I found it too dark, so I tried a veil over it, mixing it with white, but the result did not please me.
Finally, I covered with a shade between the two, which suits me much better.
With these layers, the pre-shading disappeared !
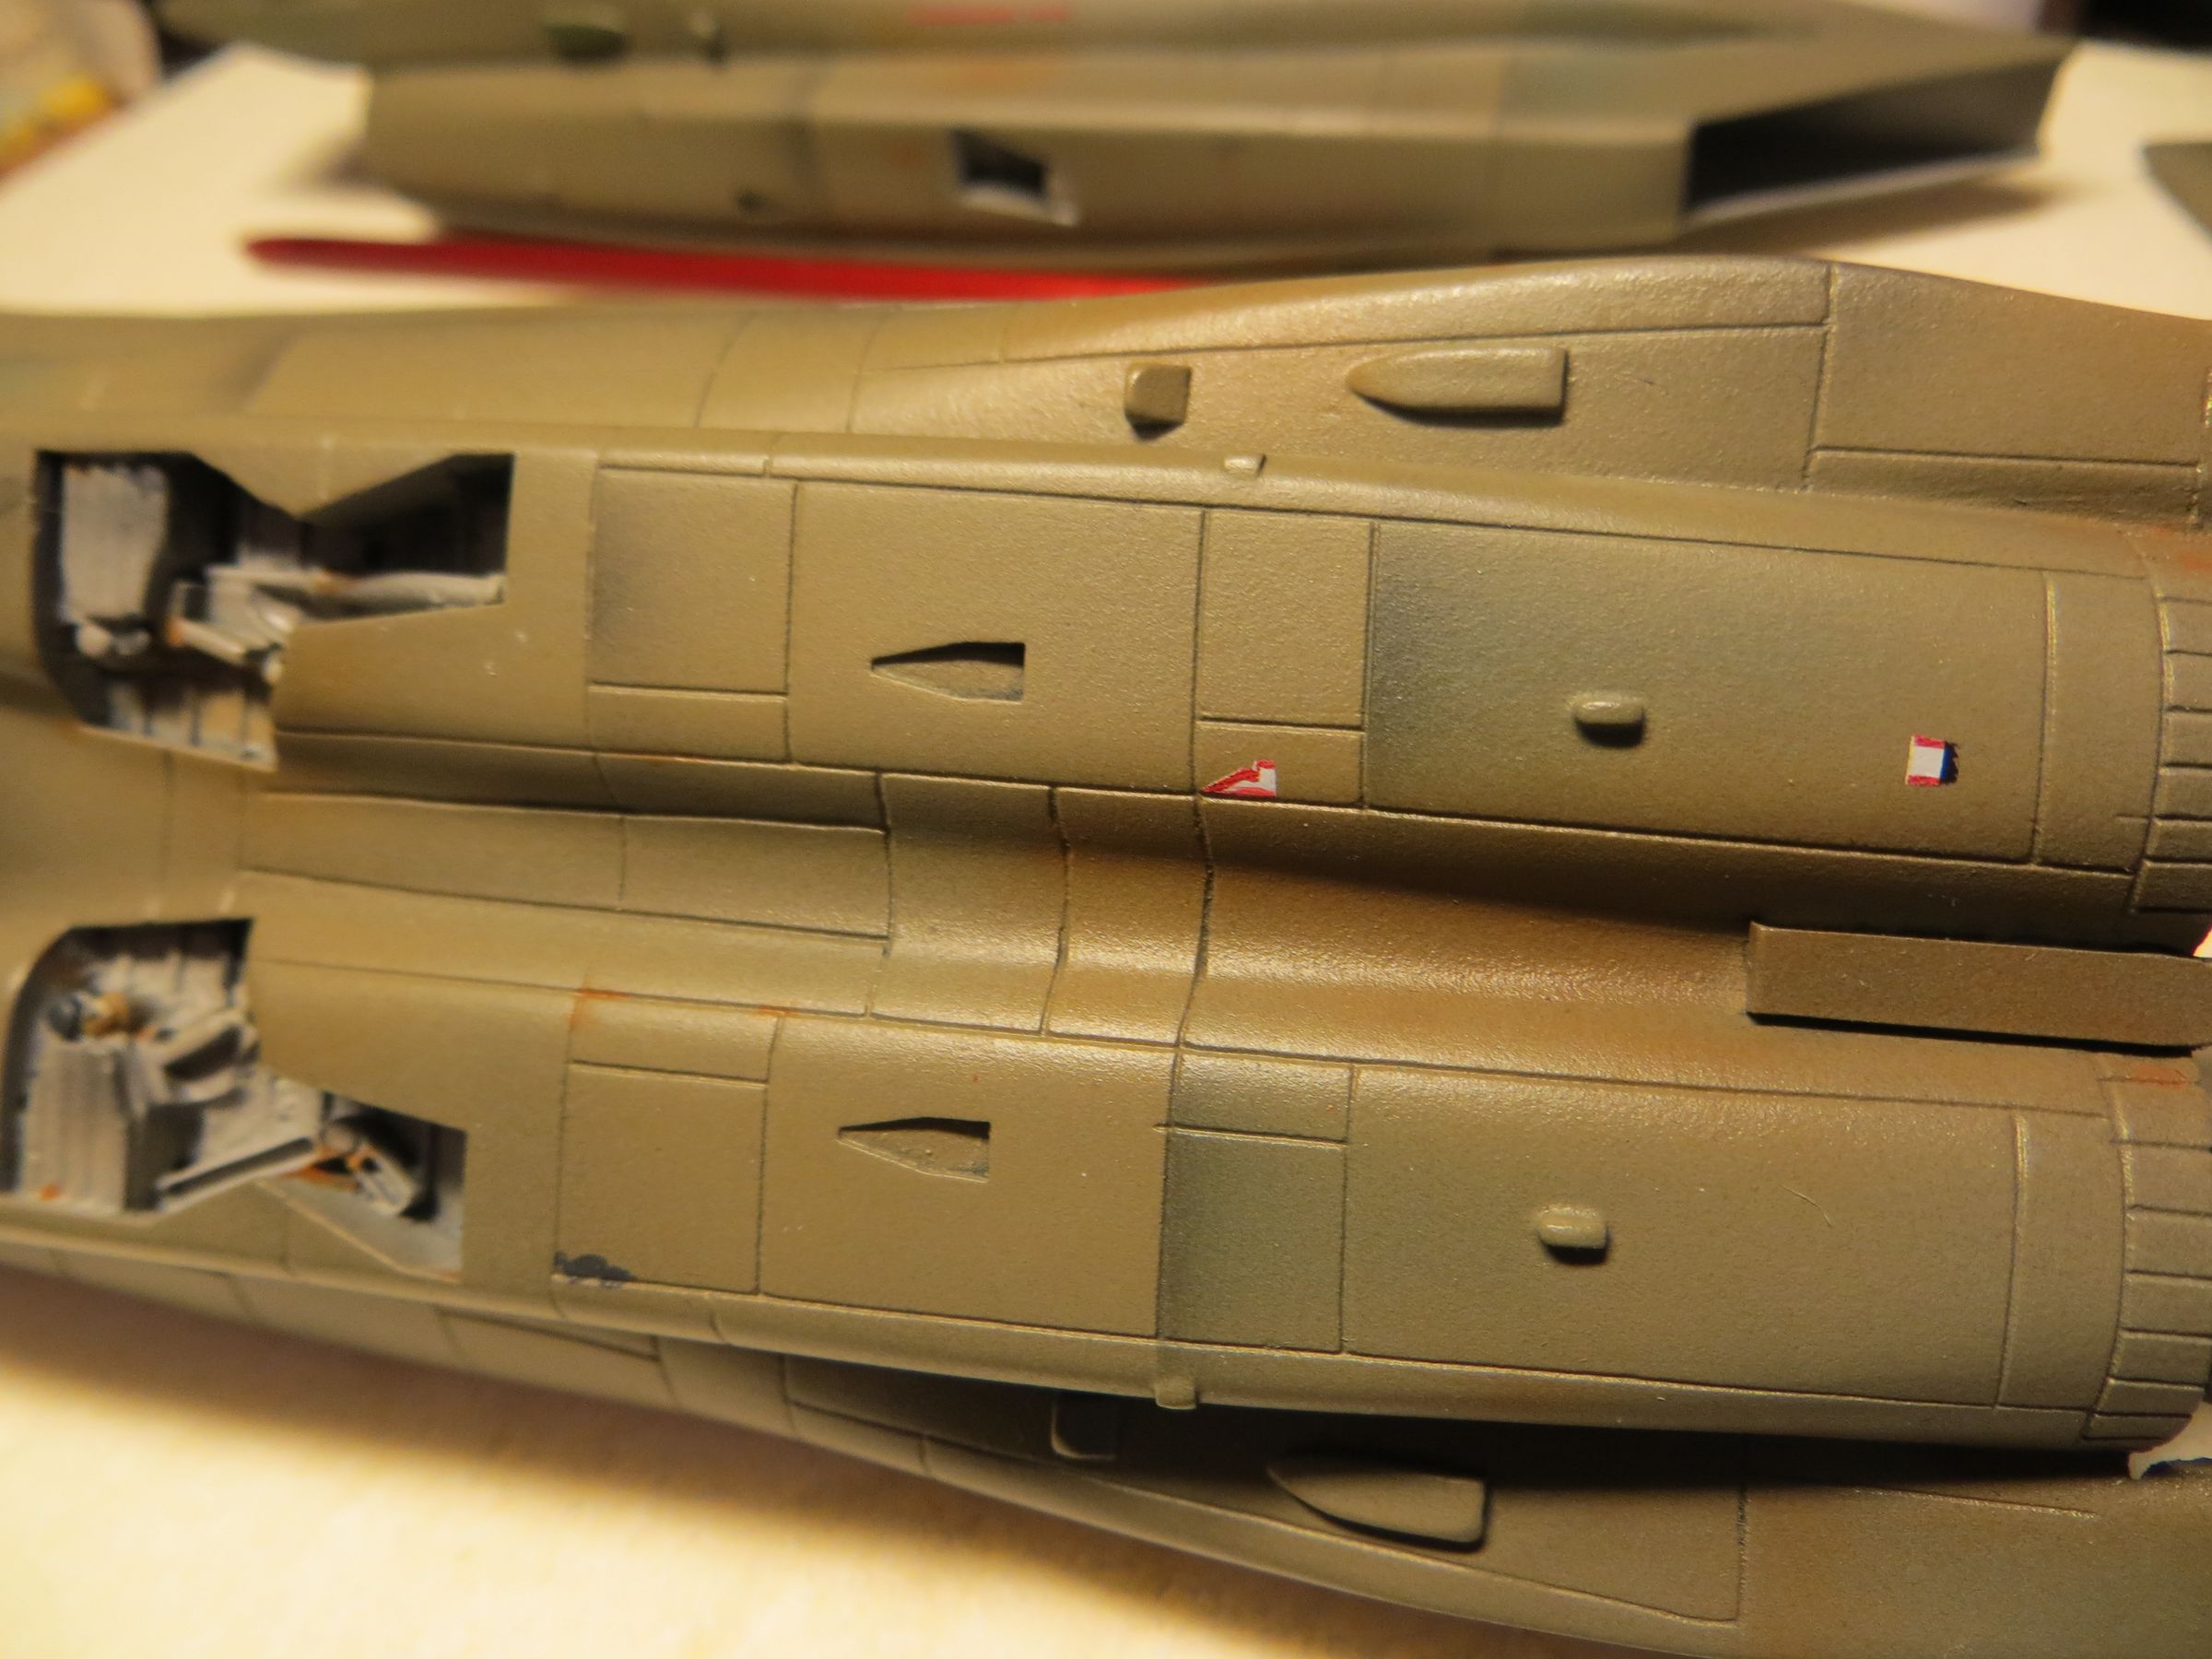
In the meanwhile, I had covered the vents, technical openings with xf19 gray sky. This is a slightly beige gray, which blends perfectly with the overall khaki.
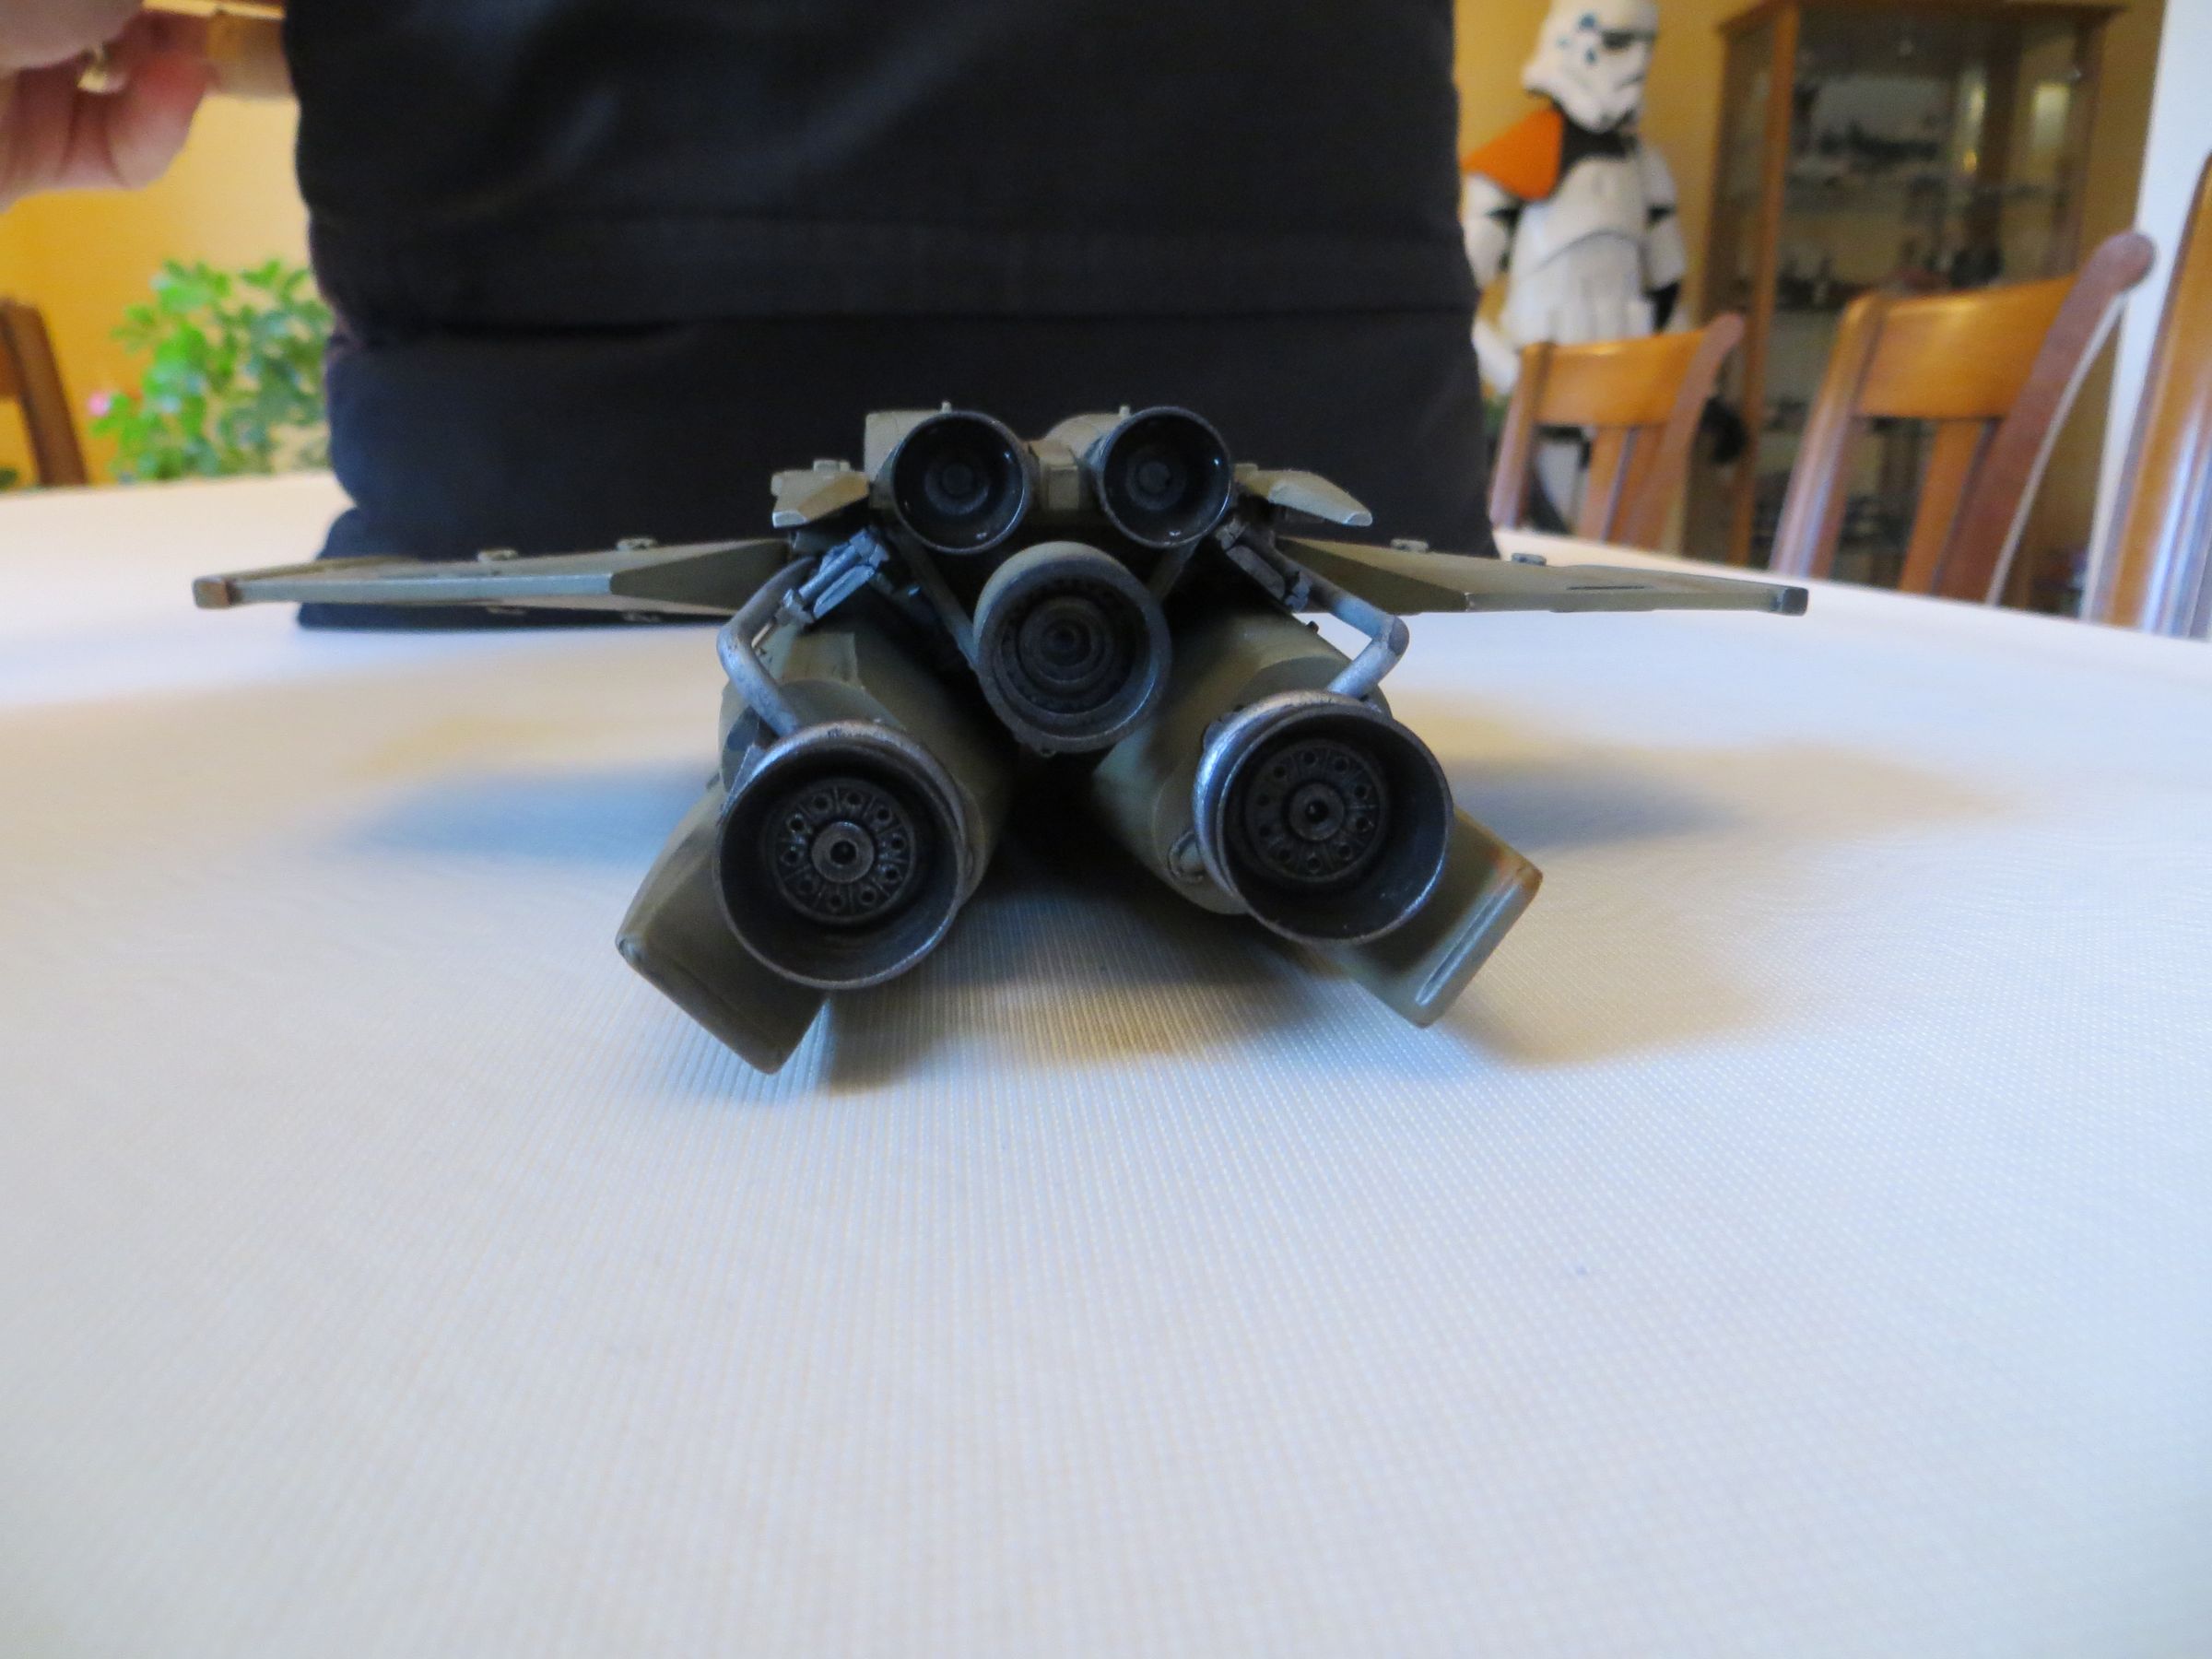
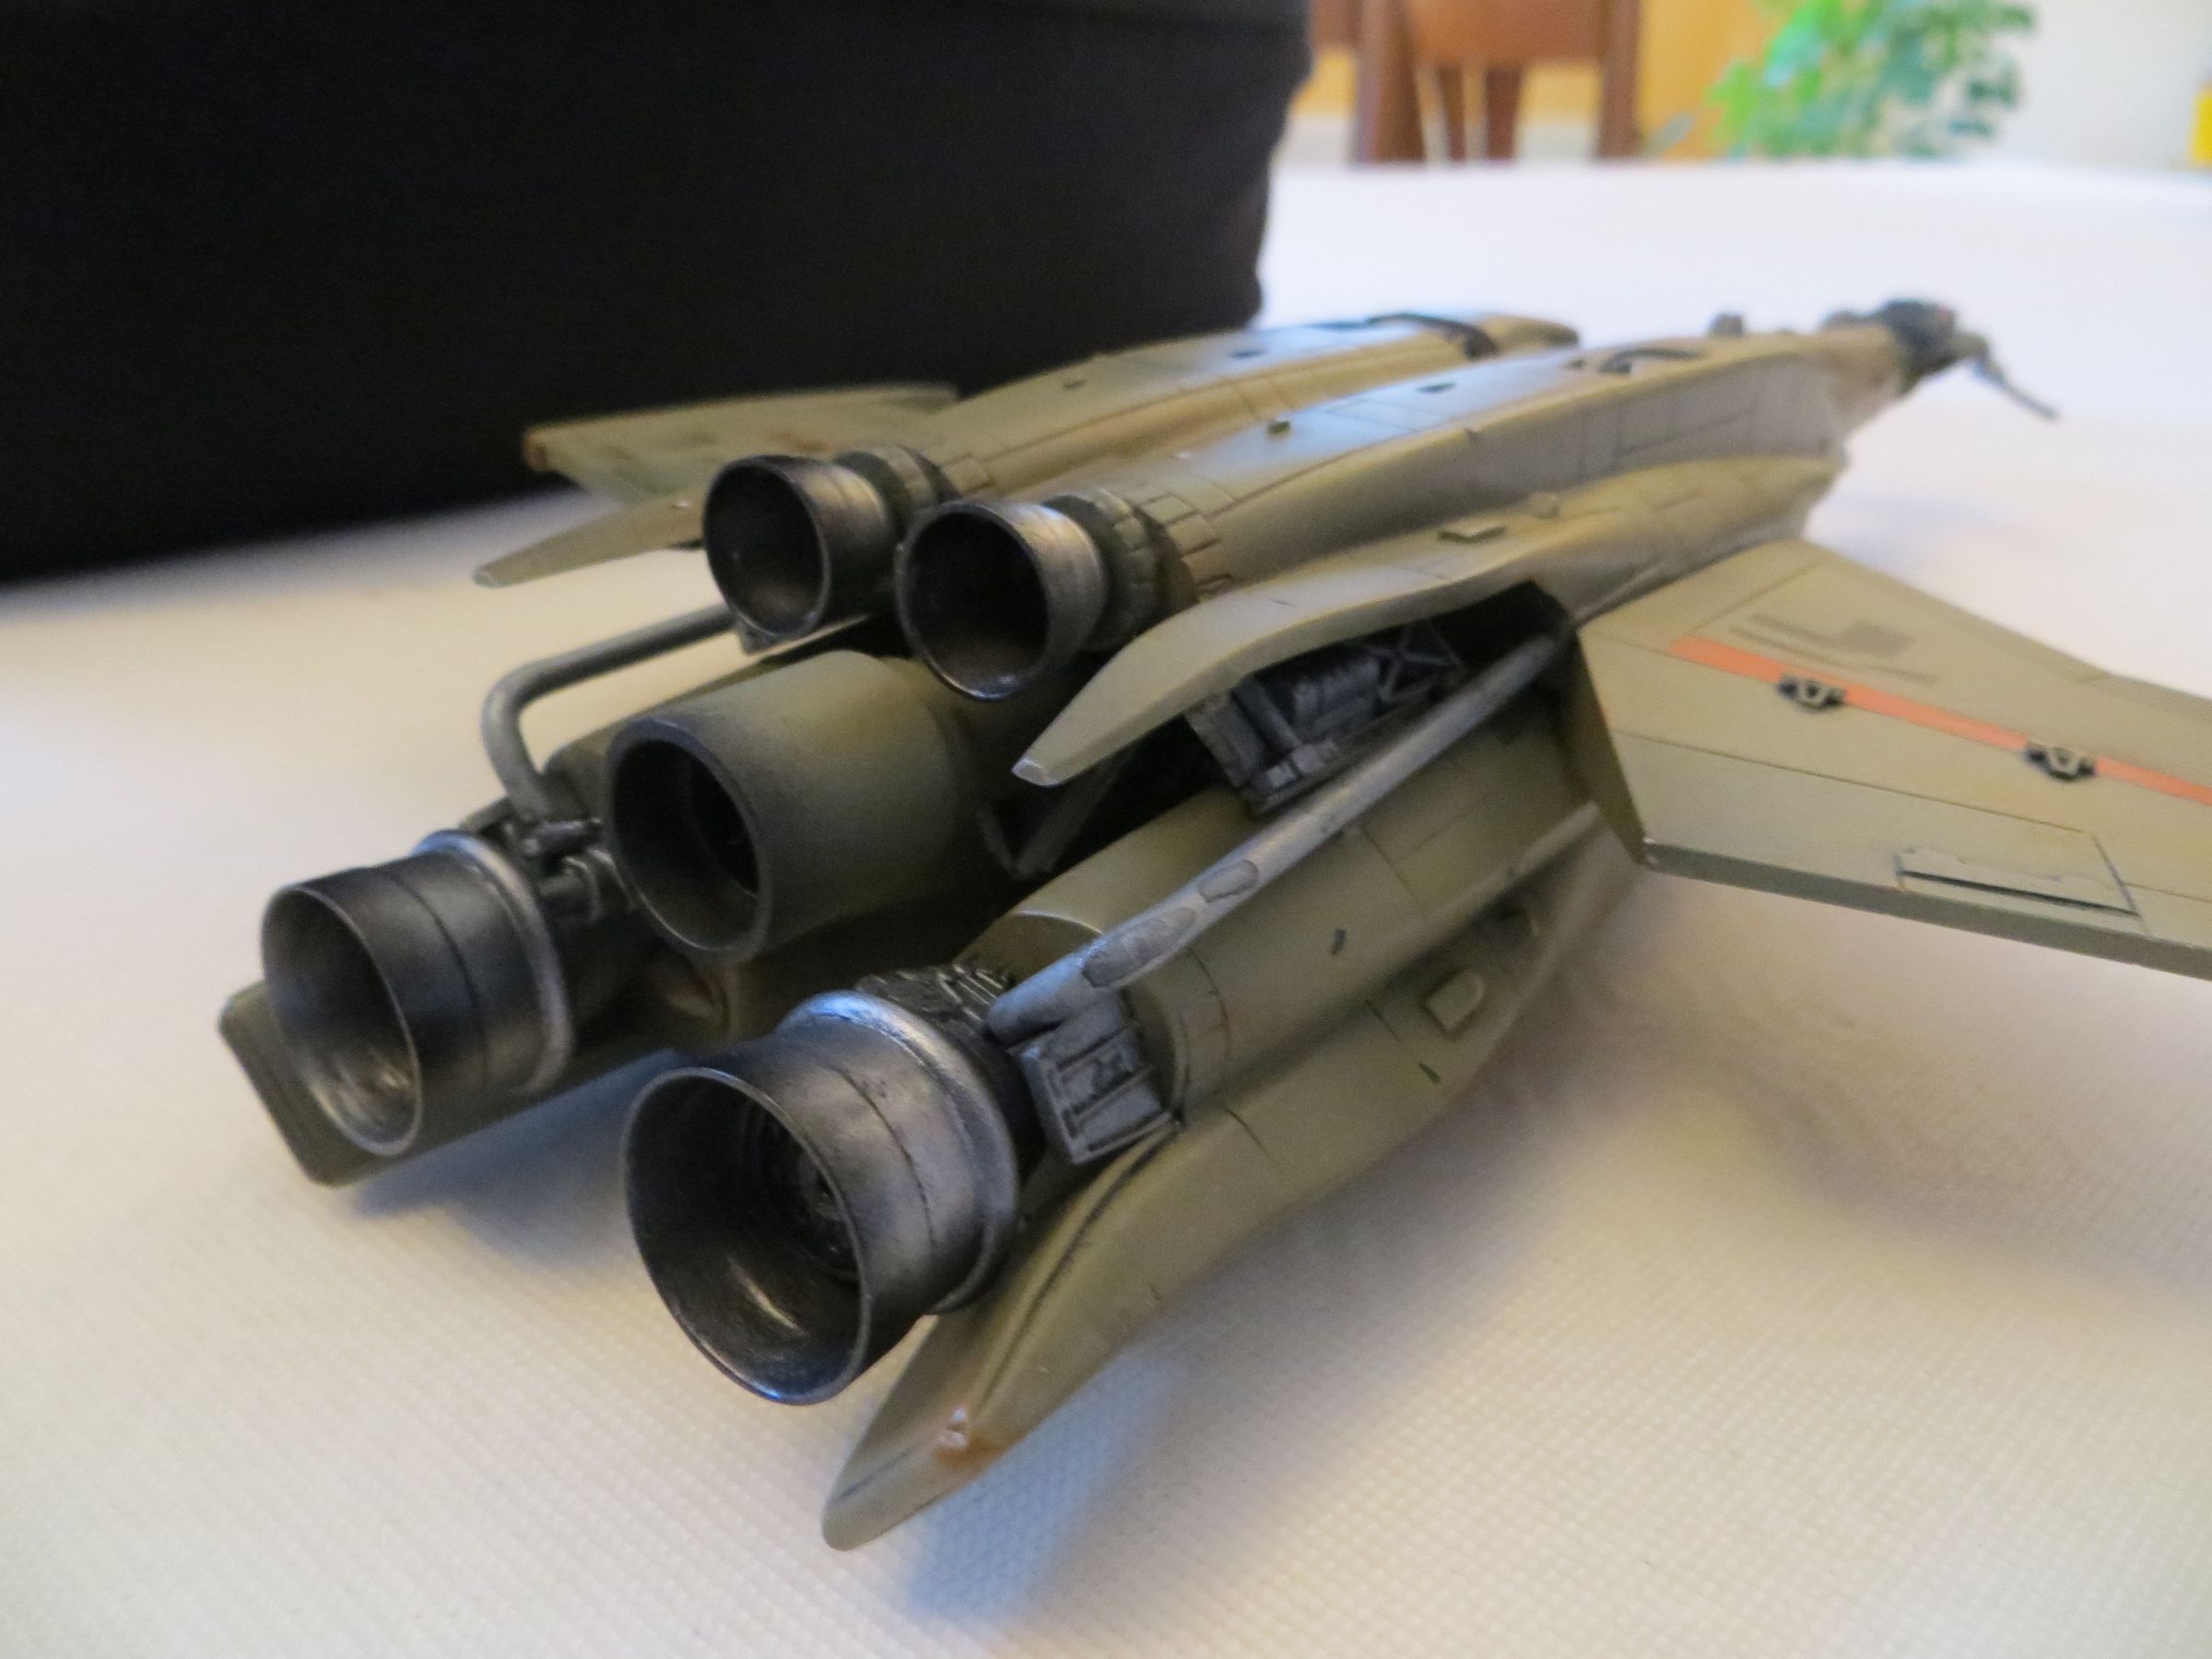
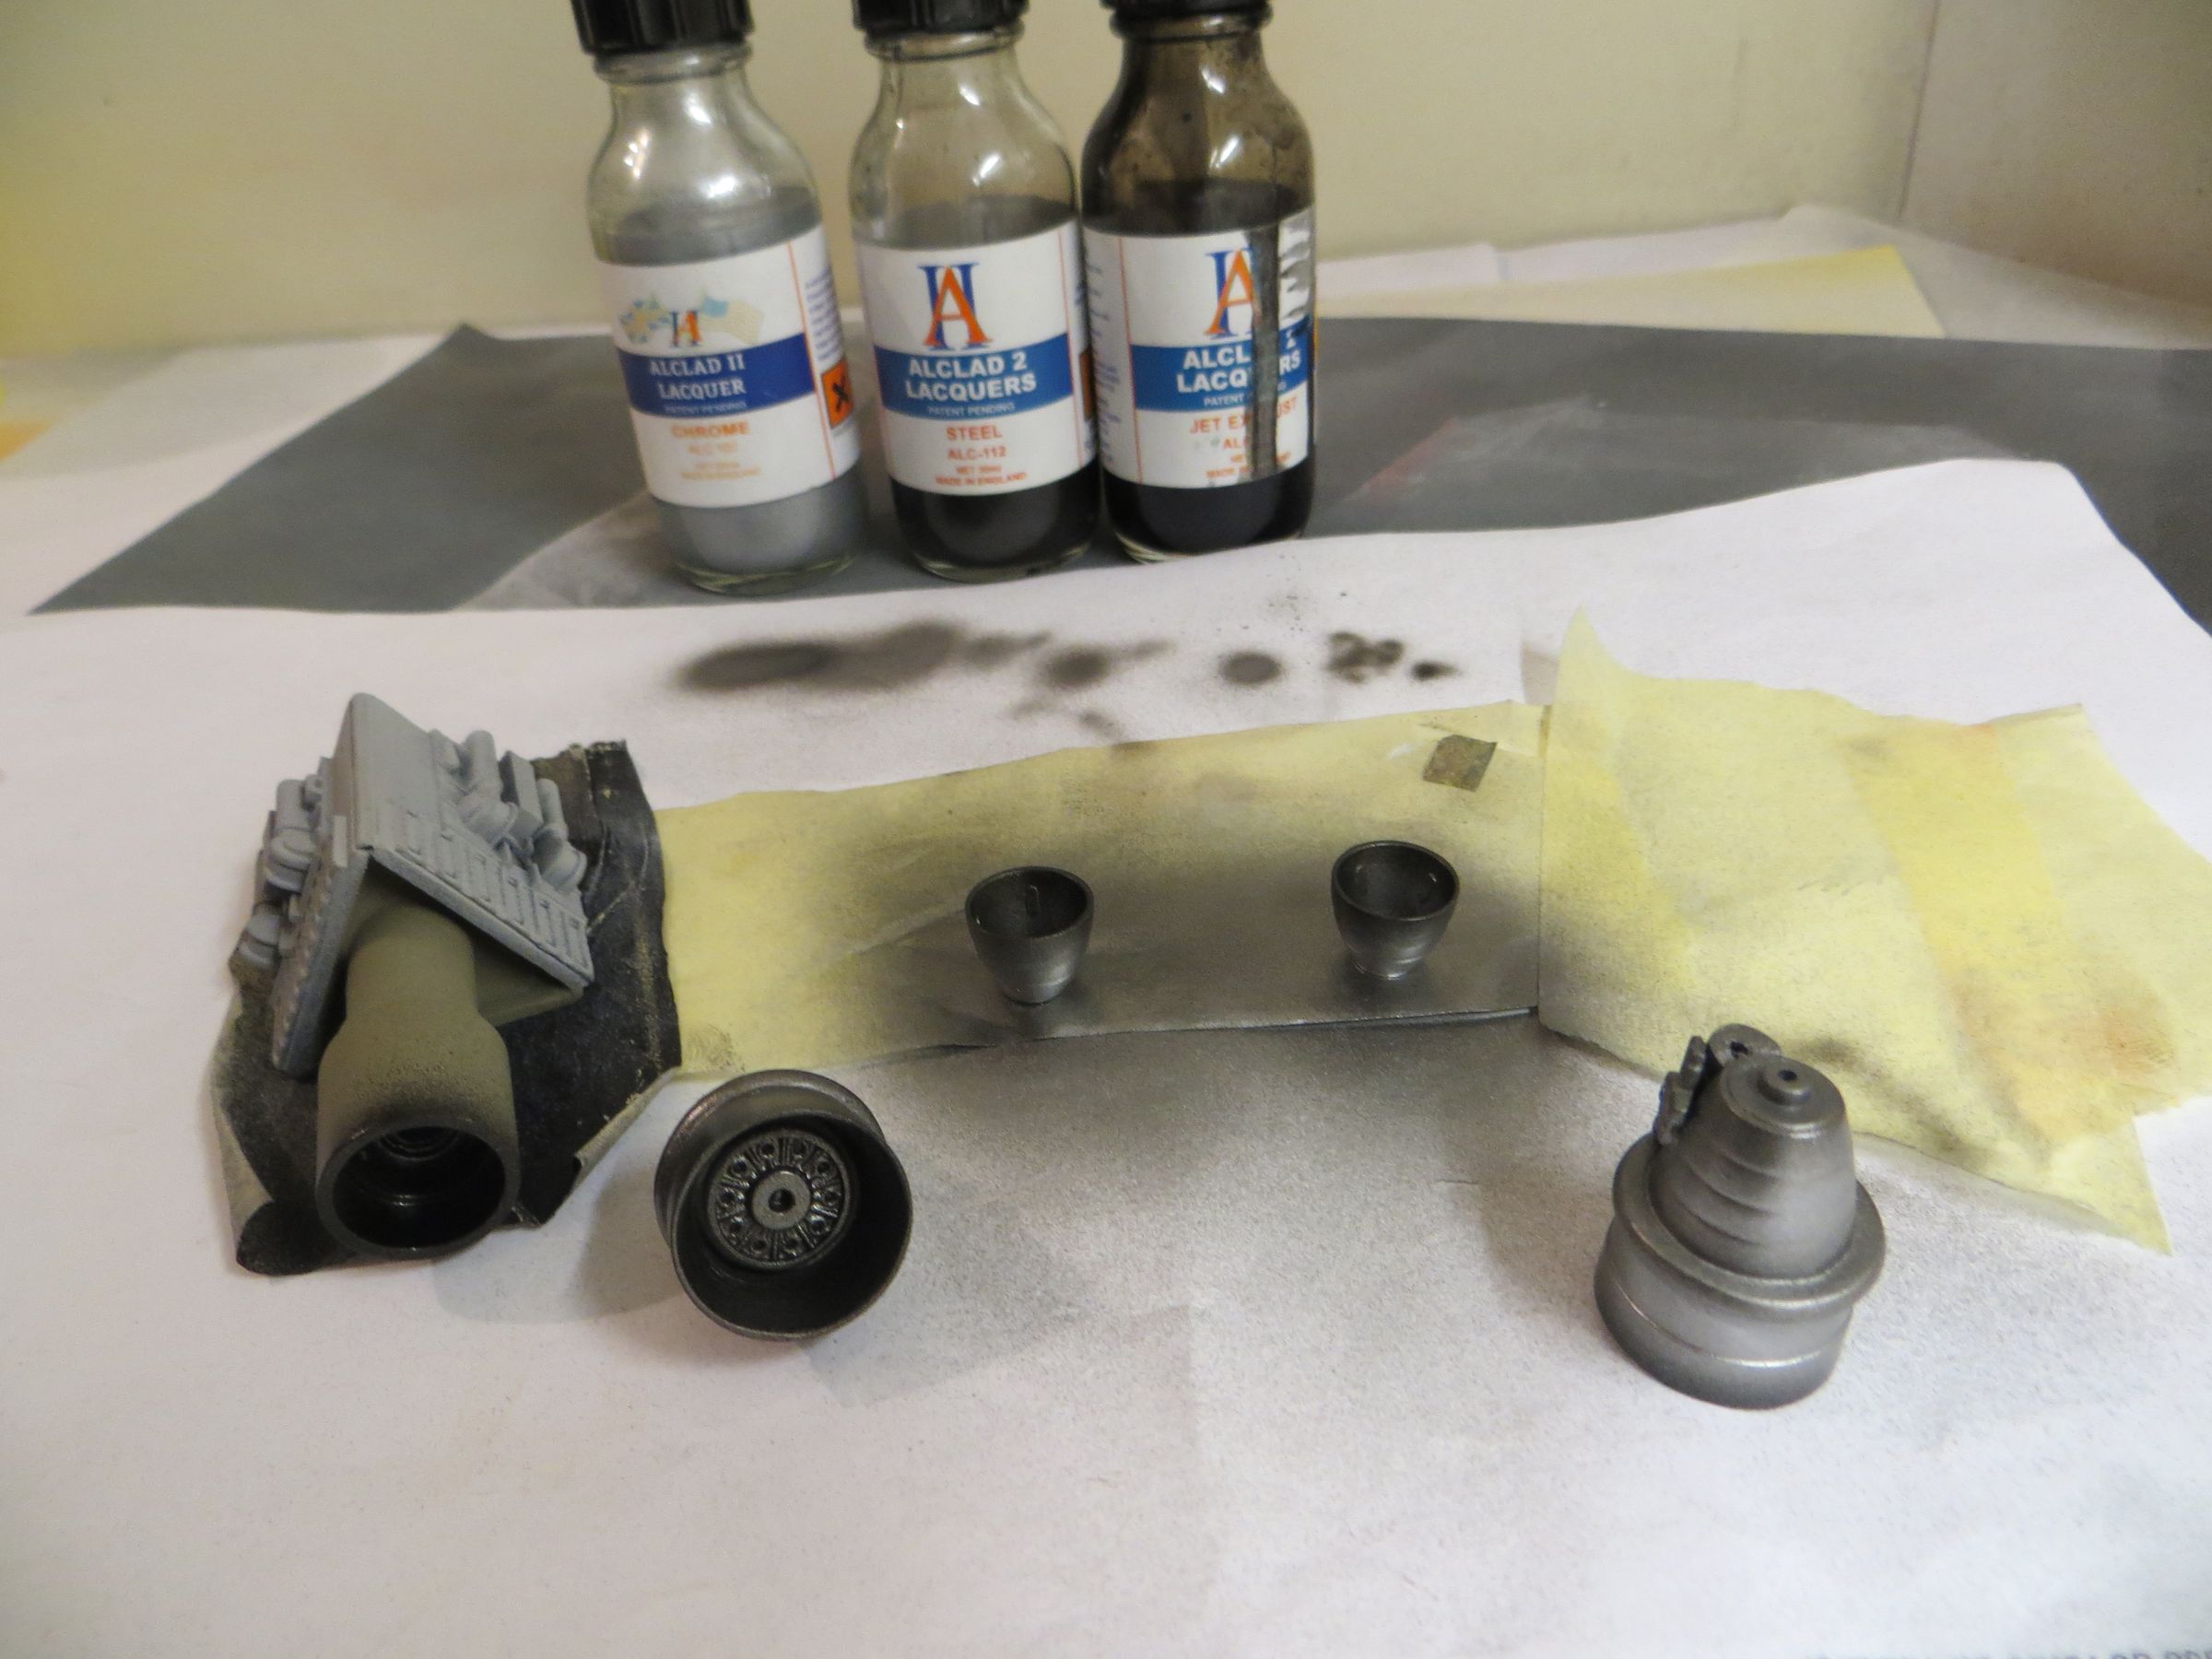
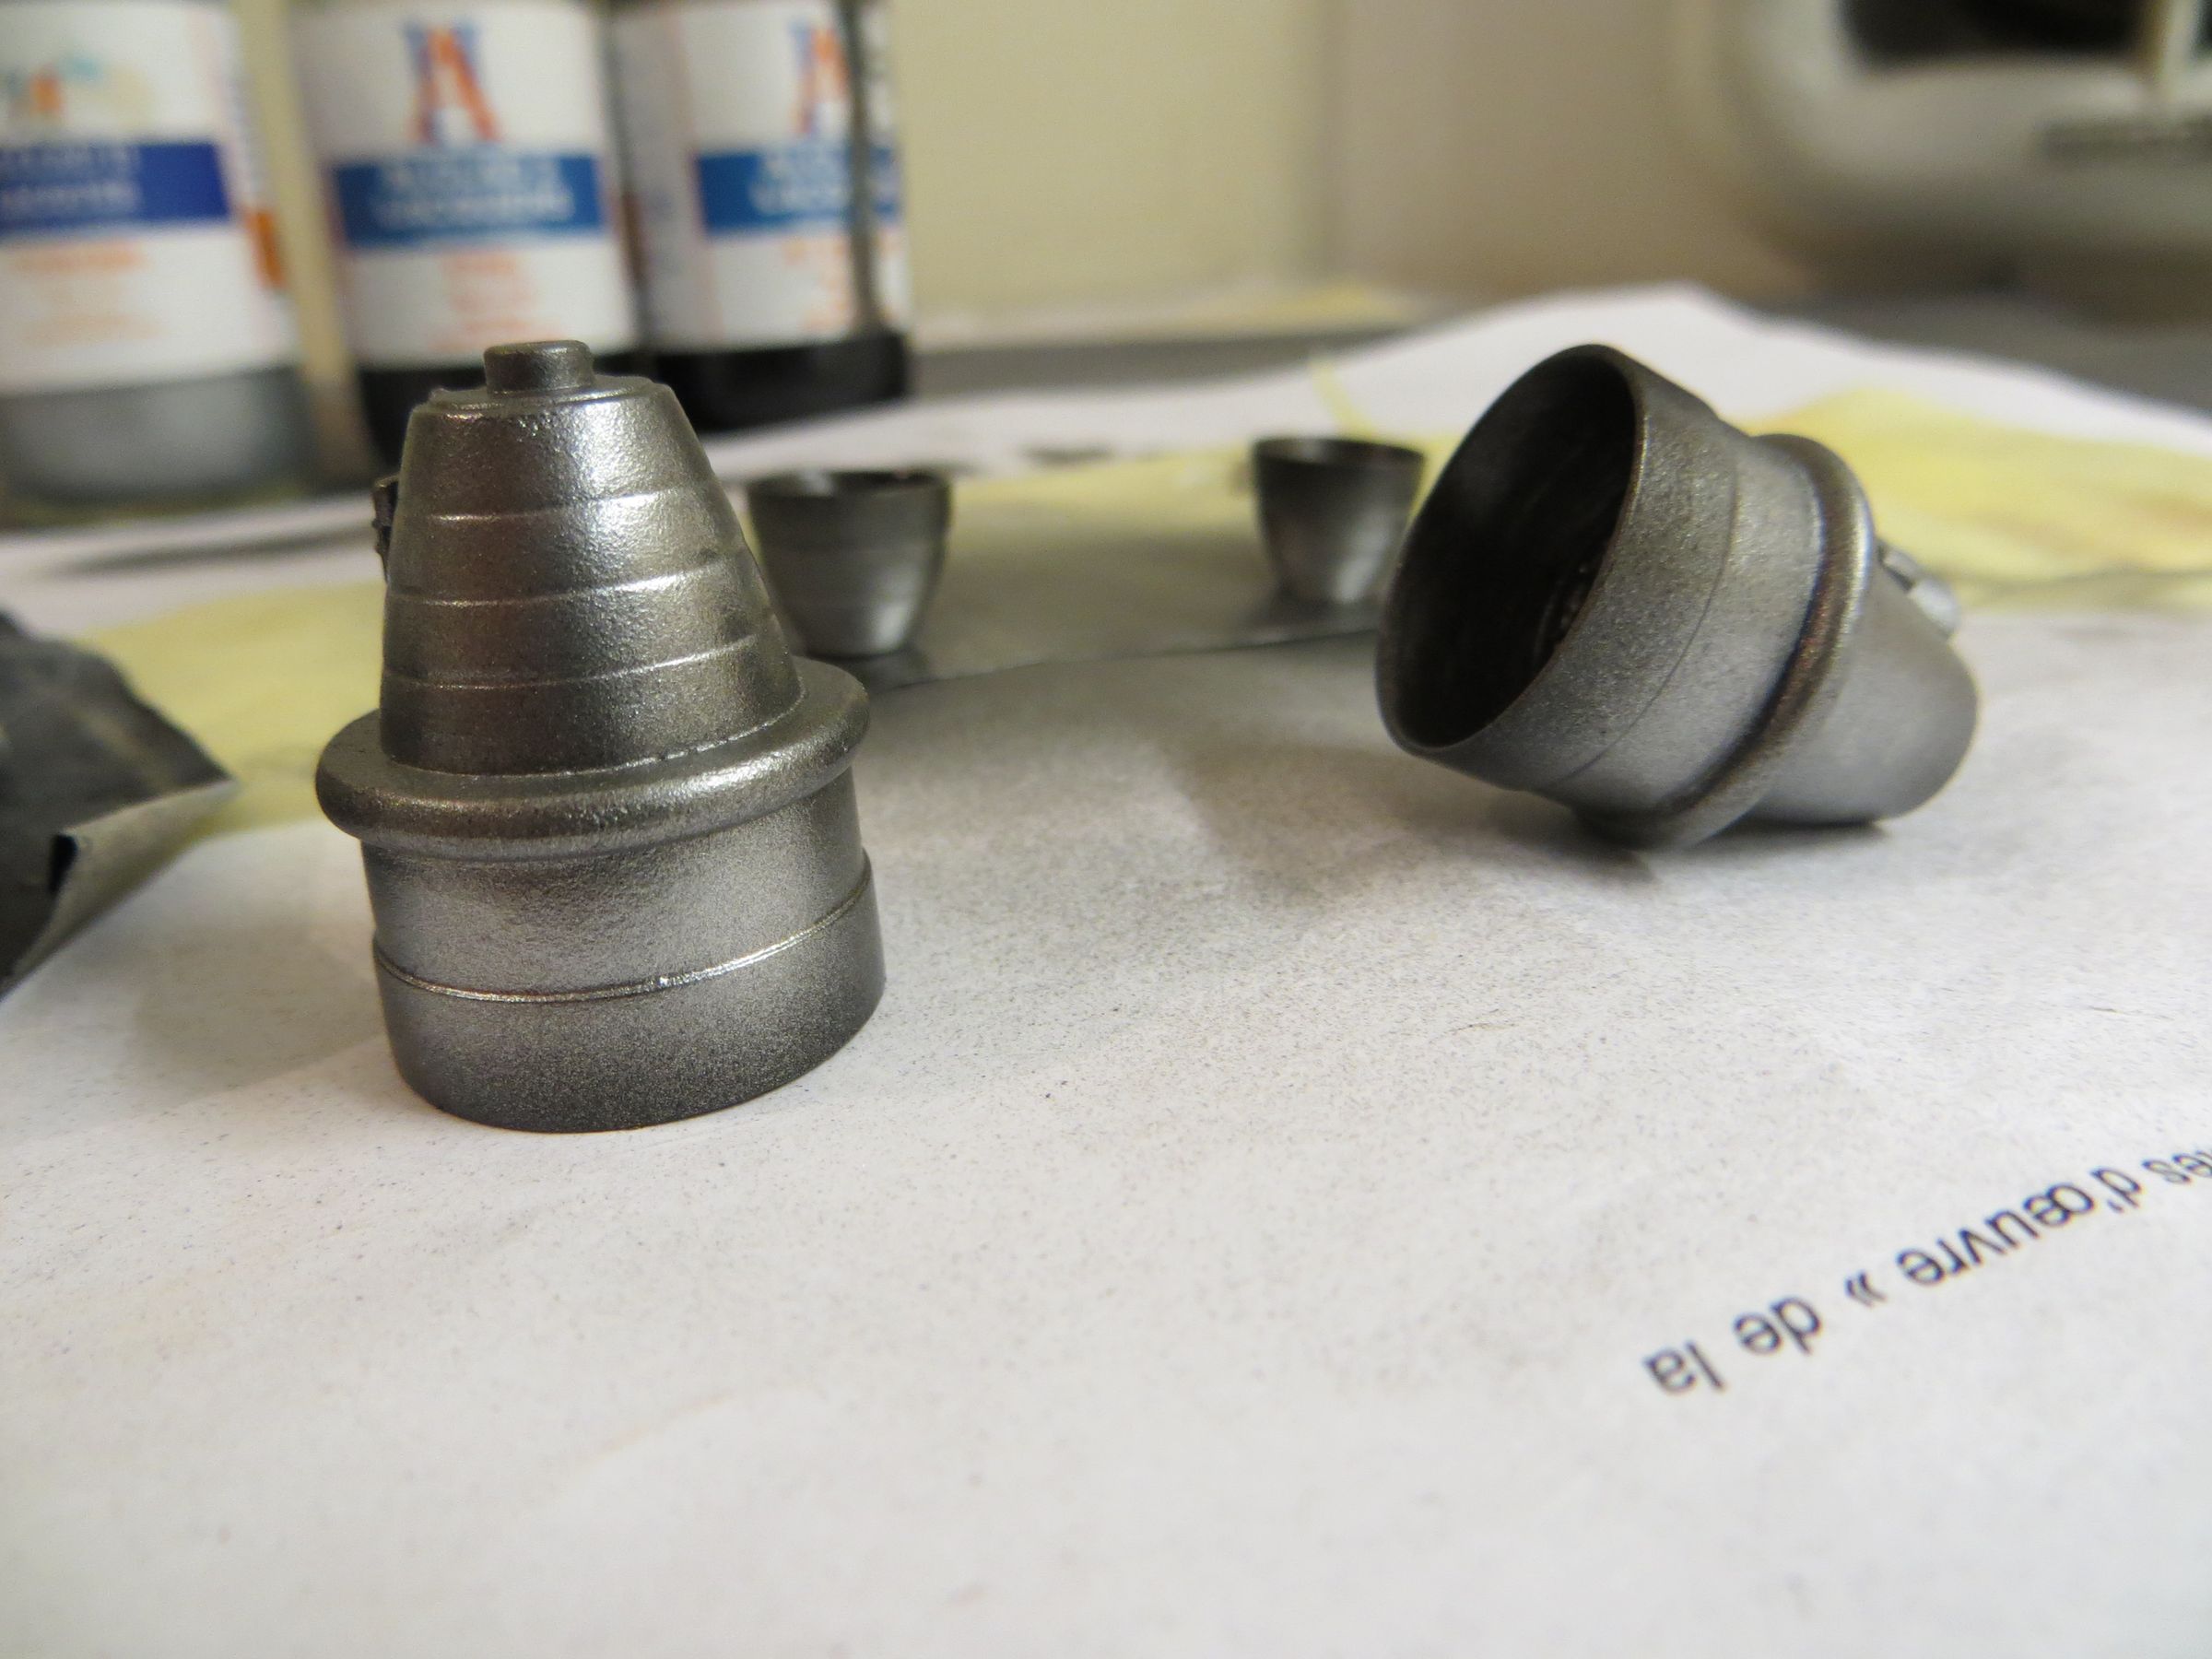
This sky gray is also apply on the nozzles and the engine detail elements, then slightly covered with metallic grey.
For nozzles, at first I followed the instructions with metallic gray and silver (like on the studio model), but it's really not convincing.
So I get back with Alclad : Steel , Jet Exhaust and Chrome. And this it much better.
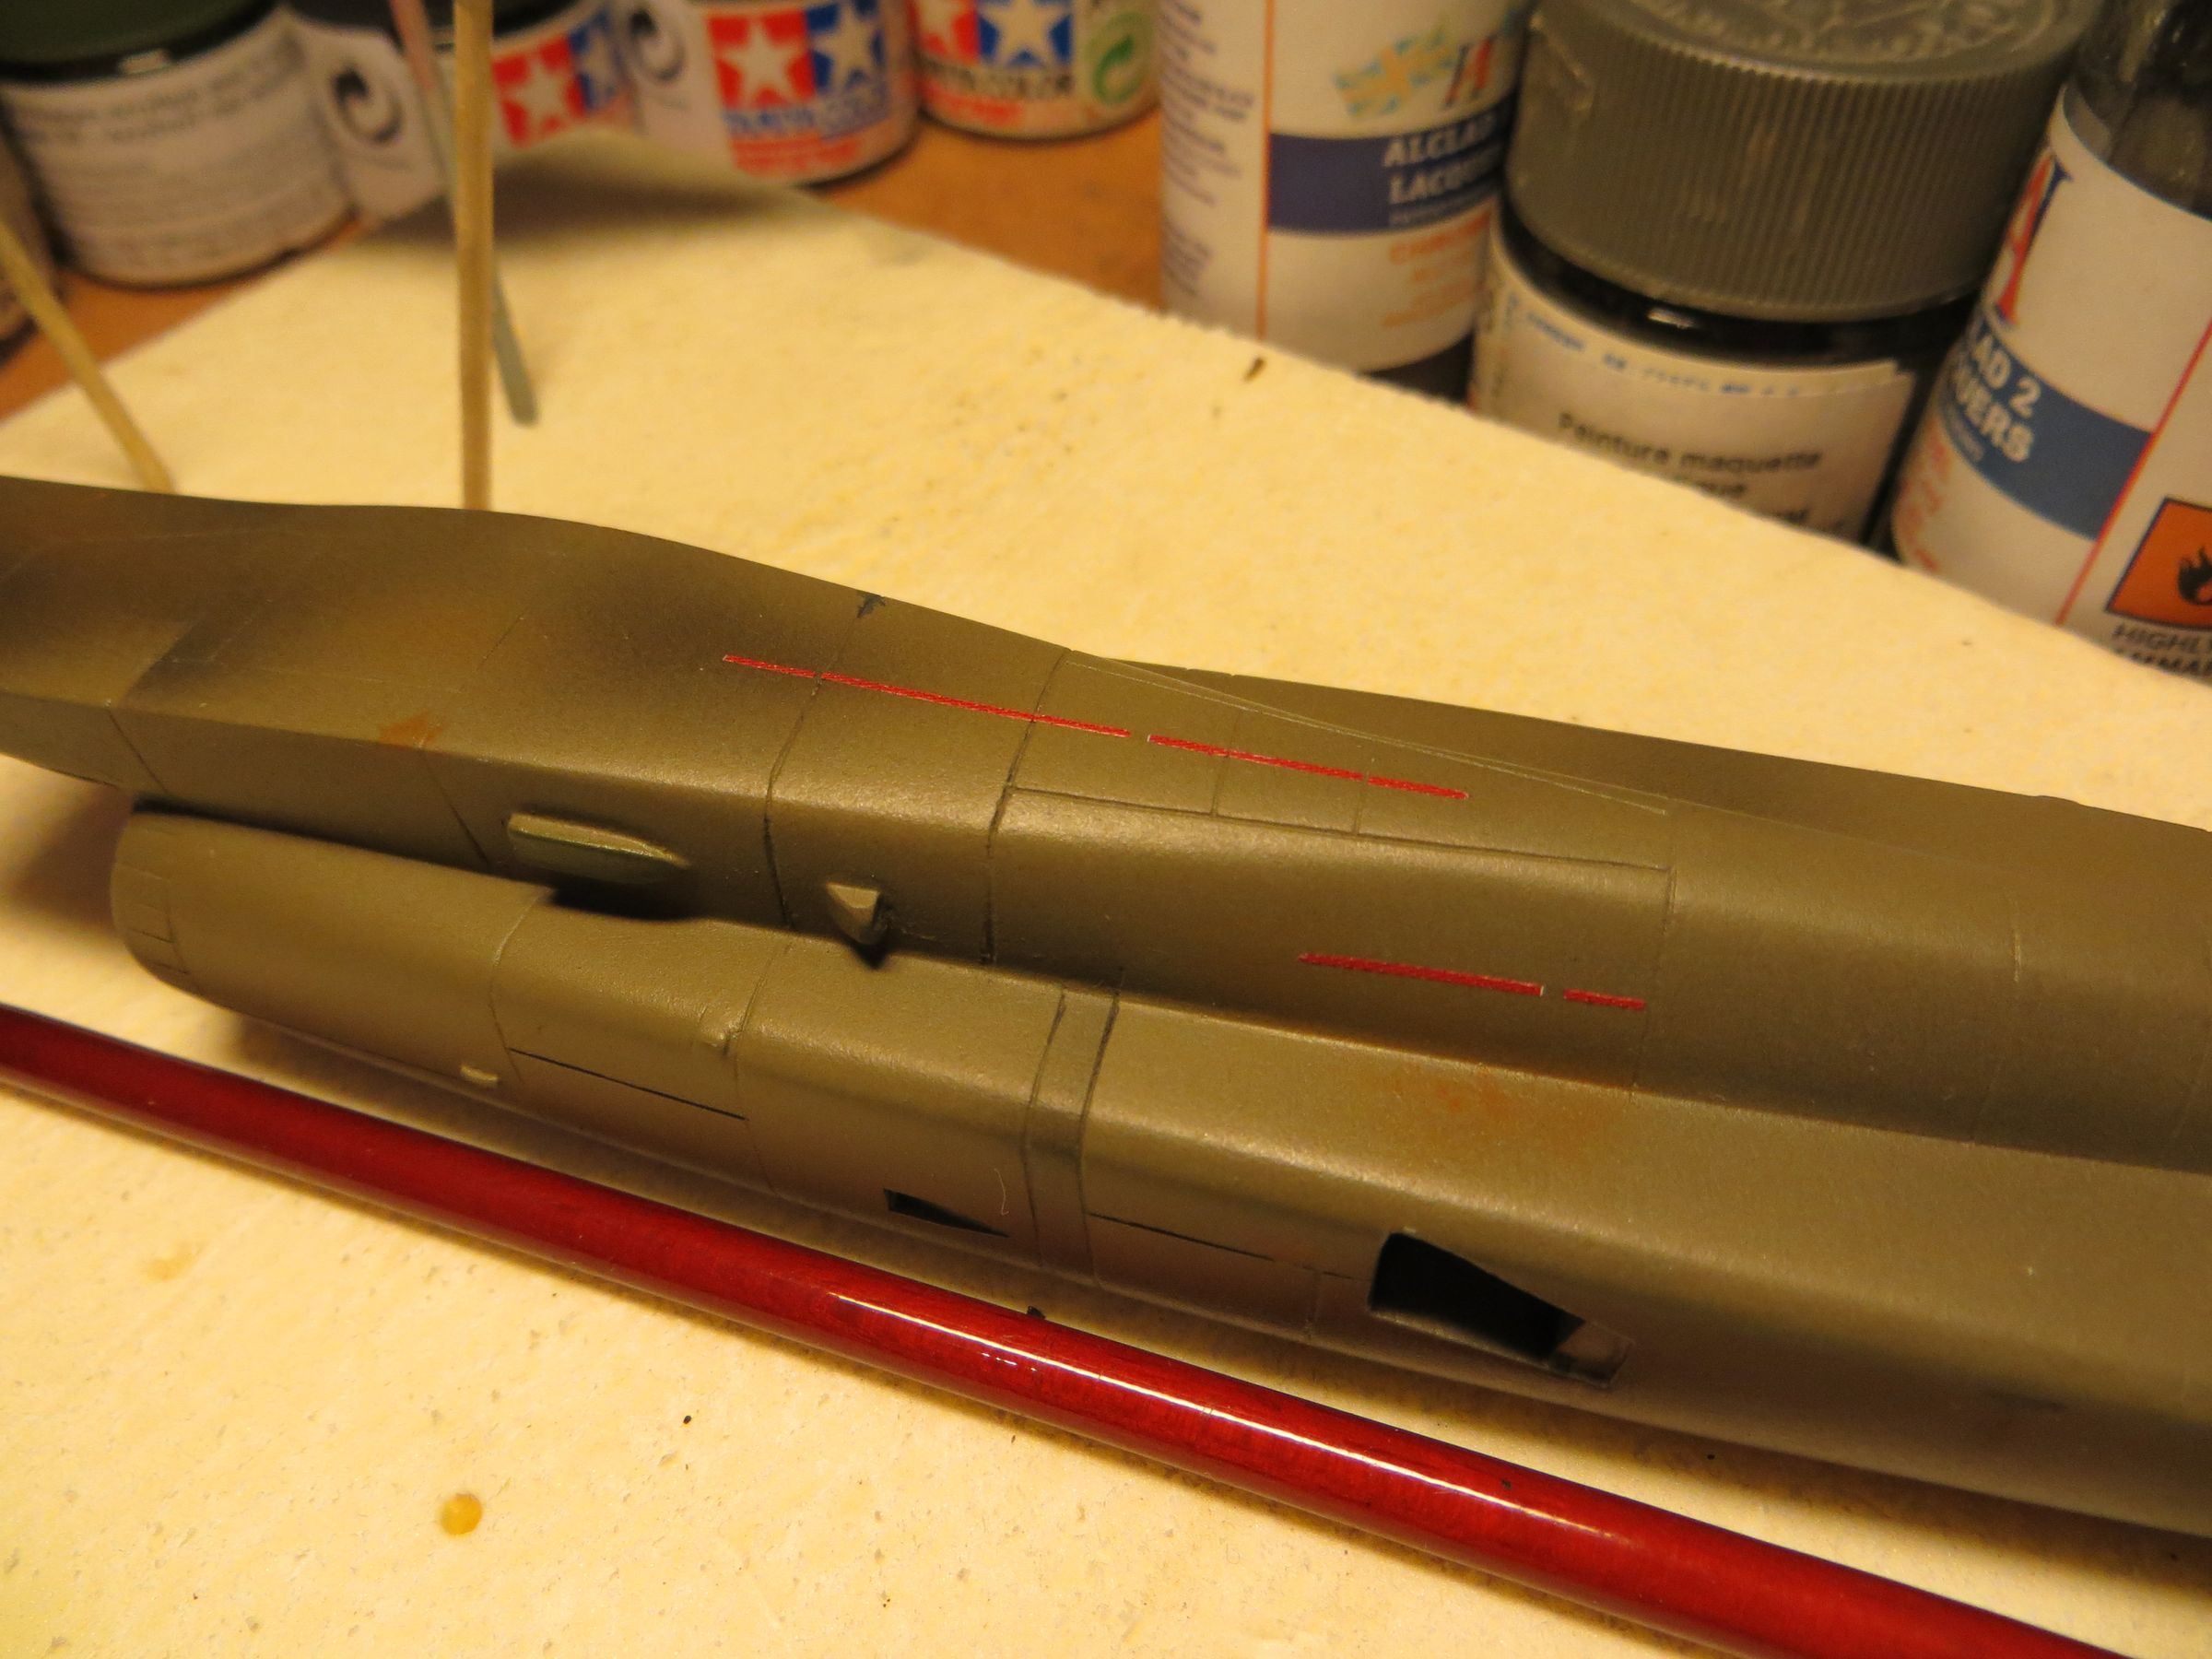
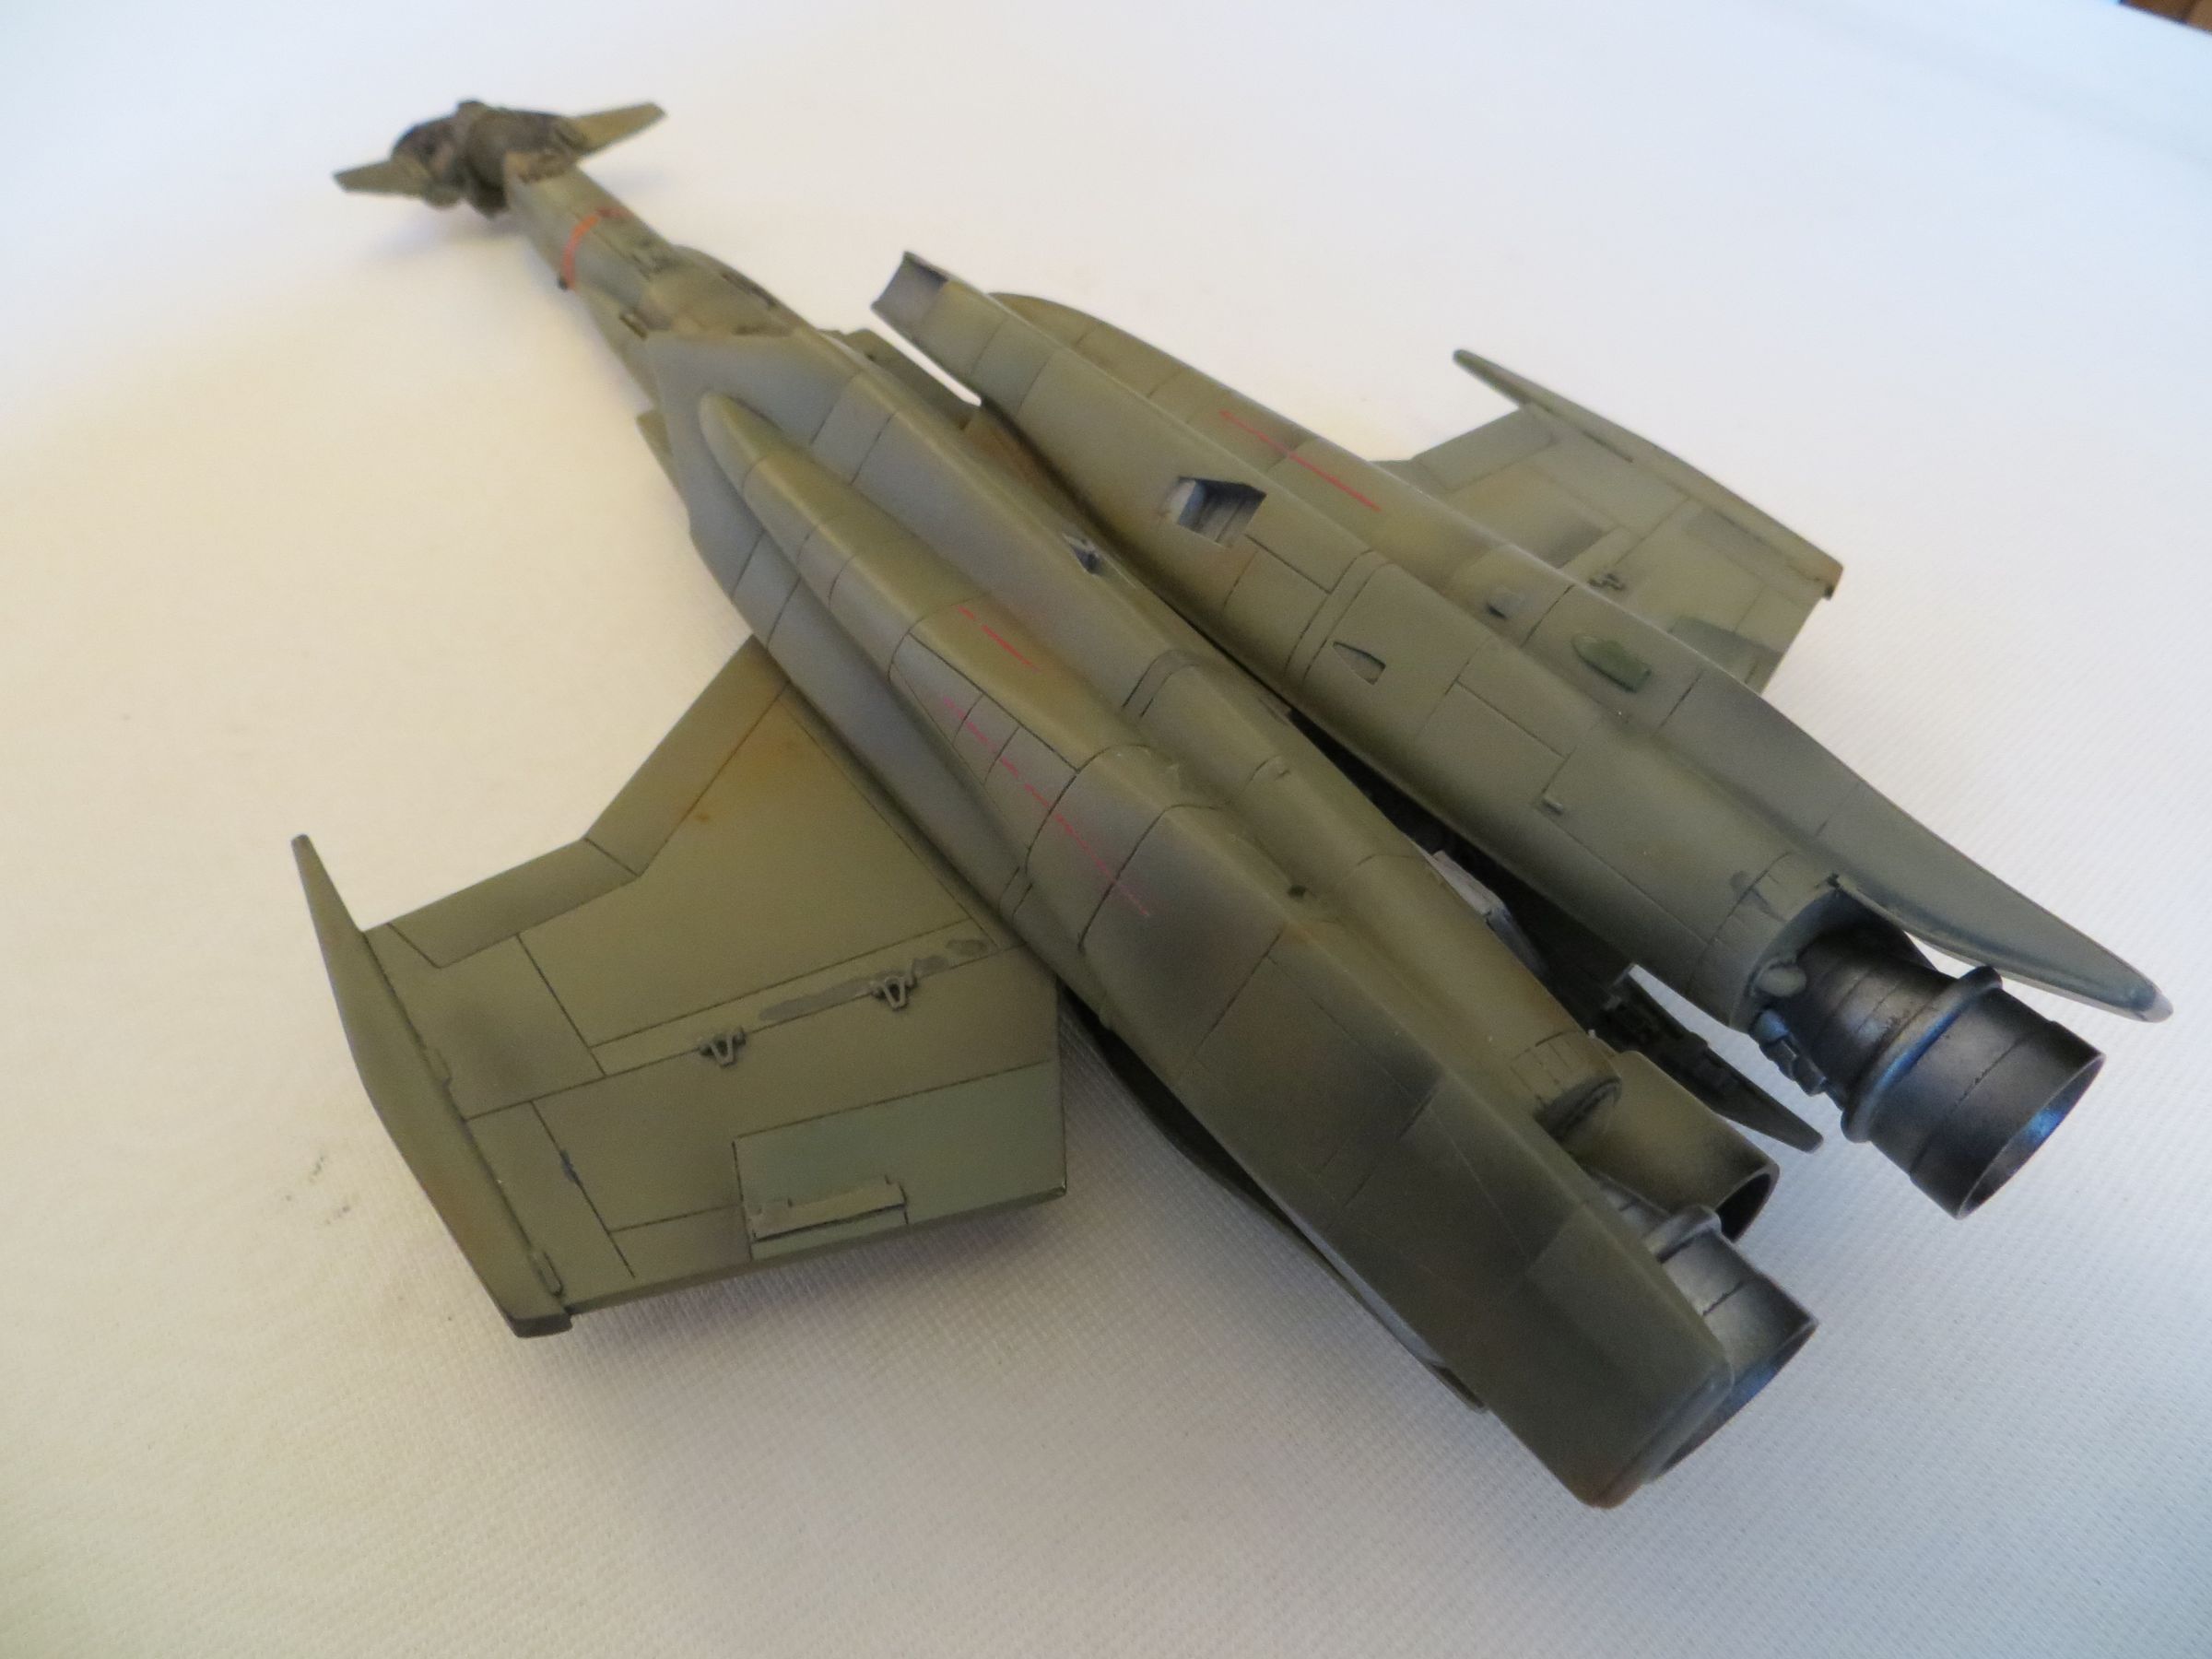
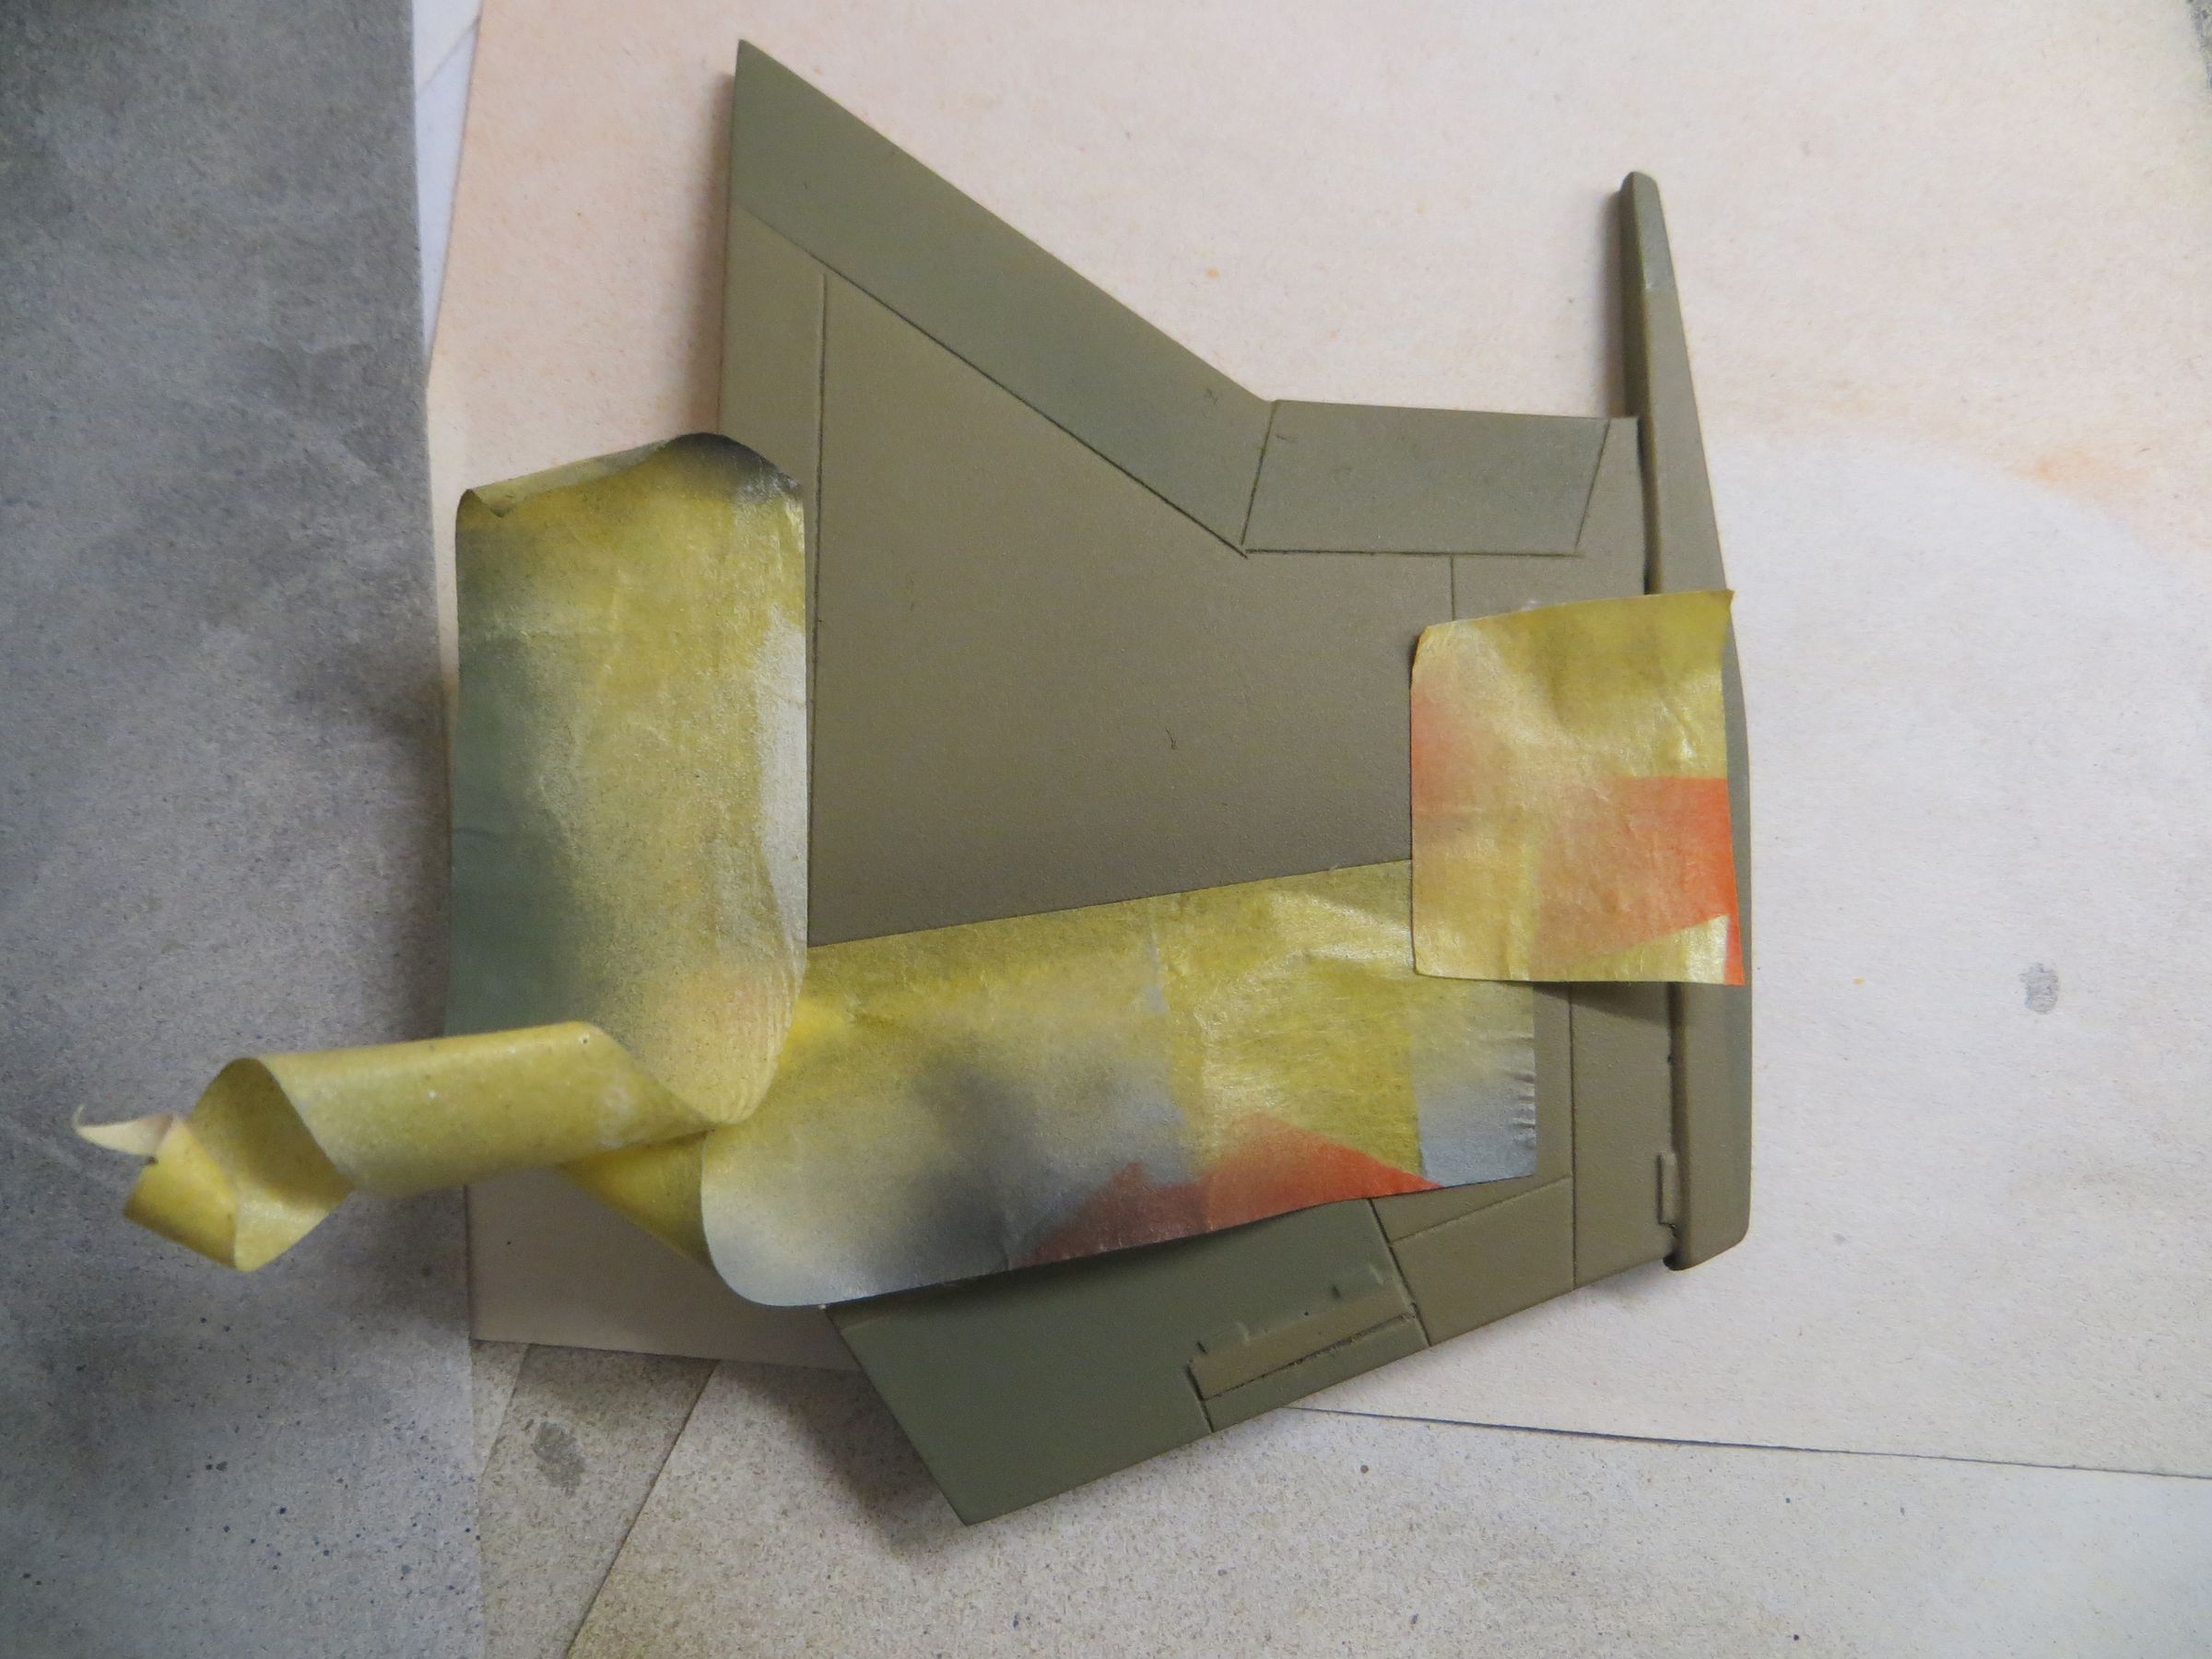
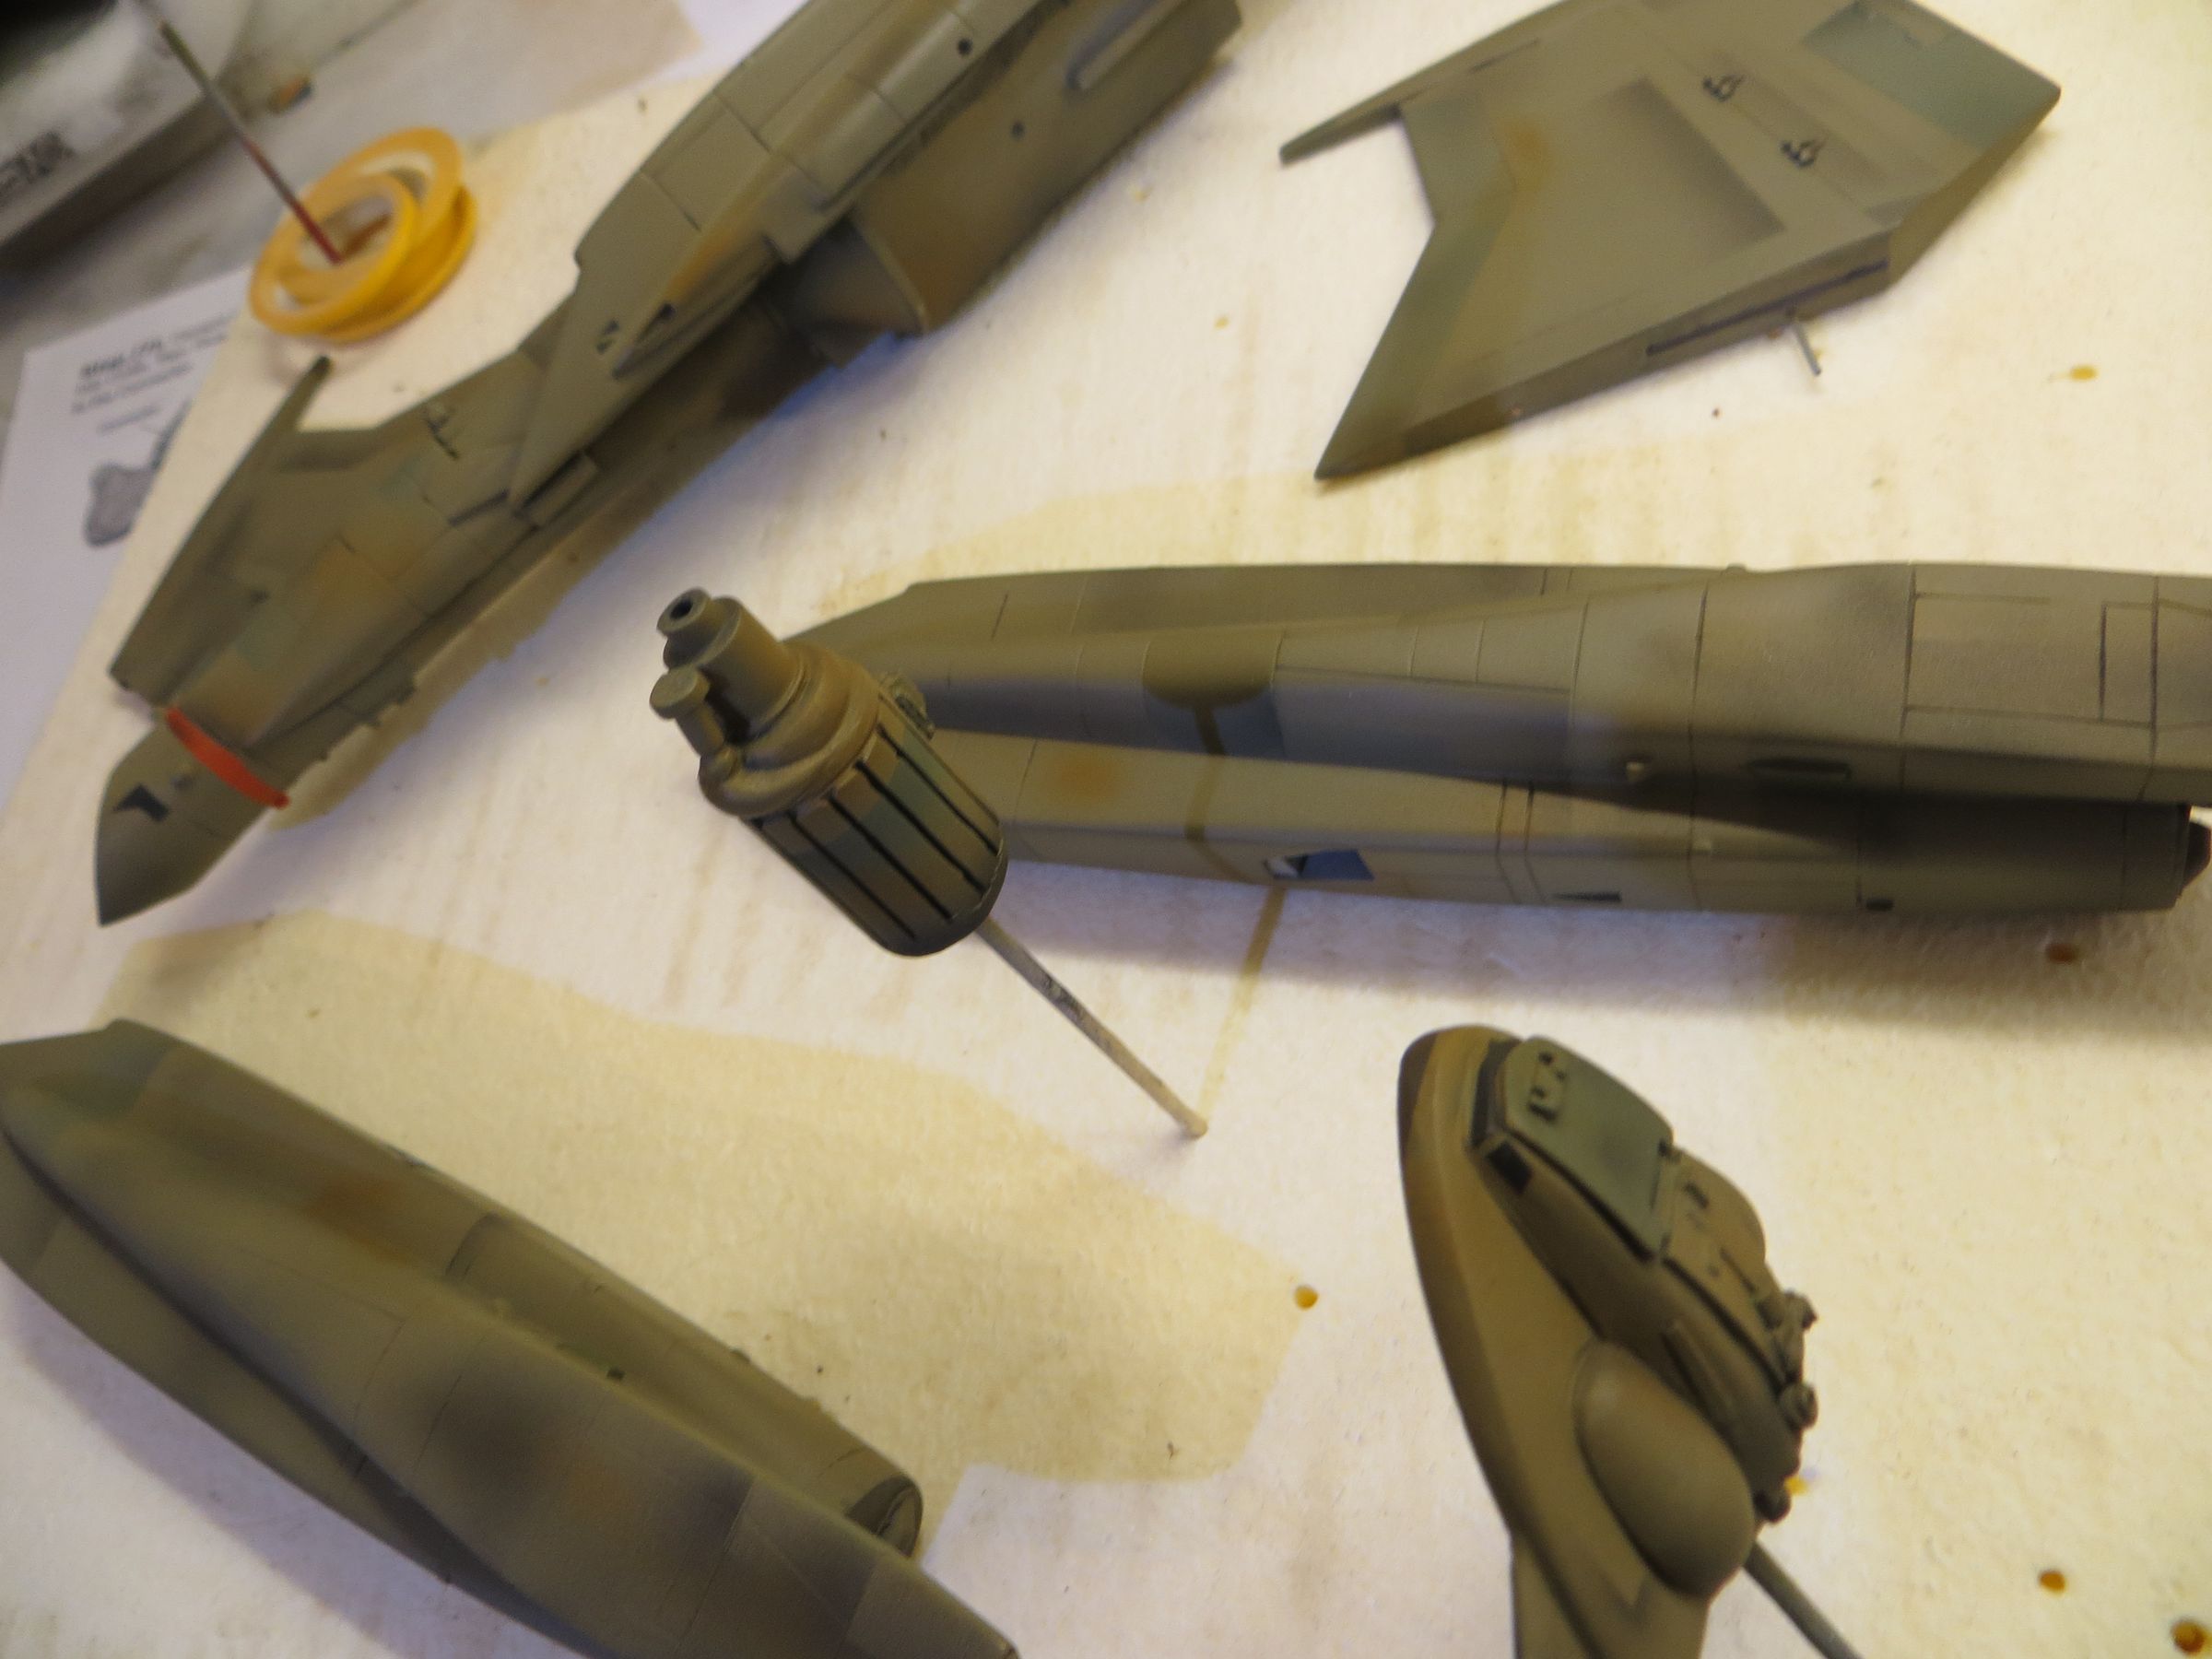
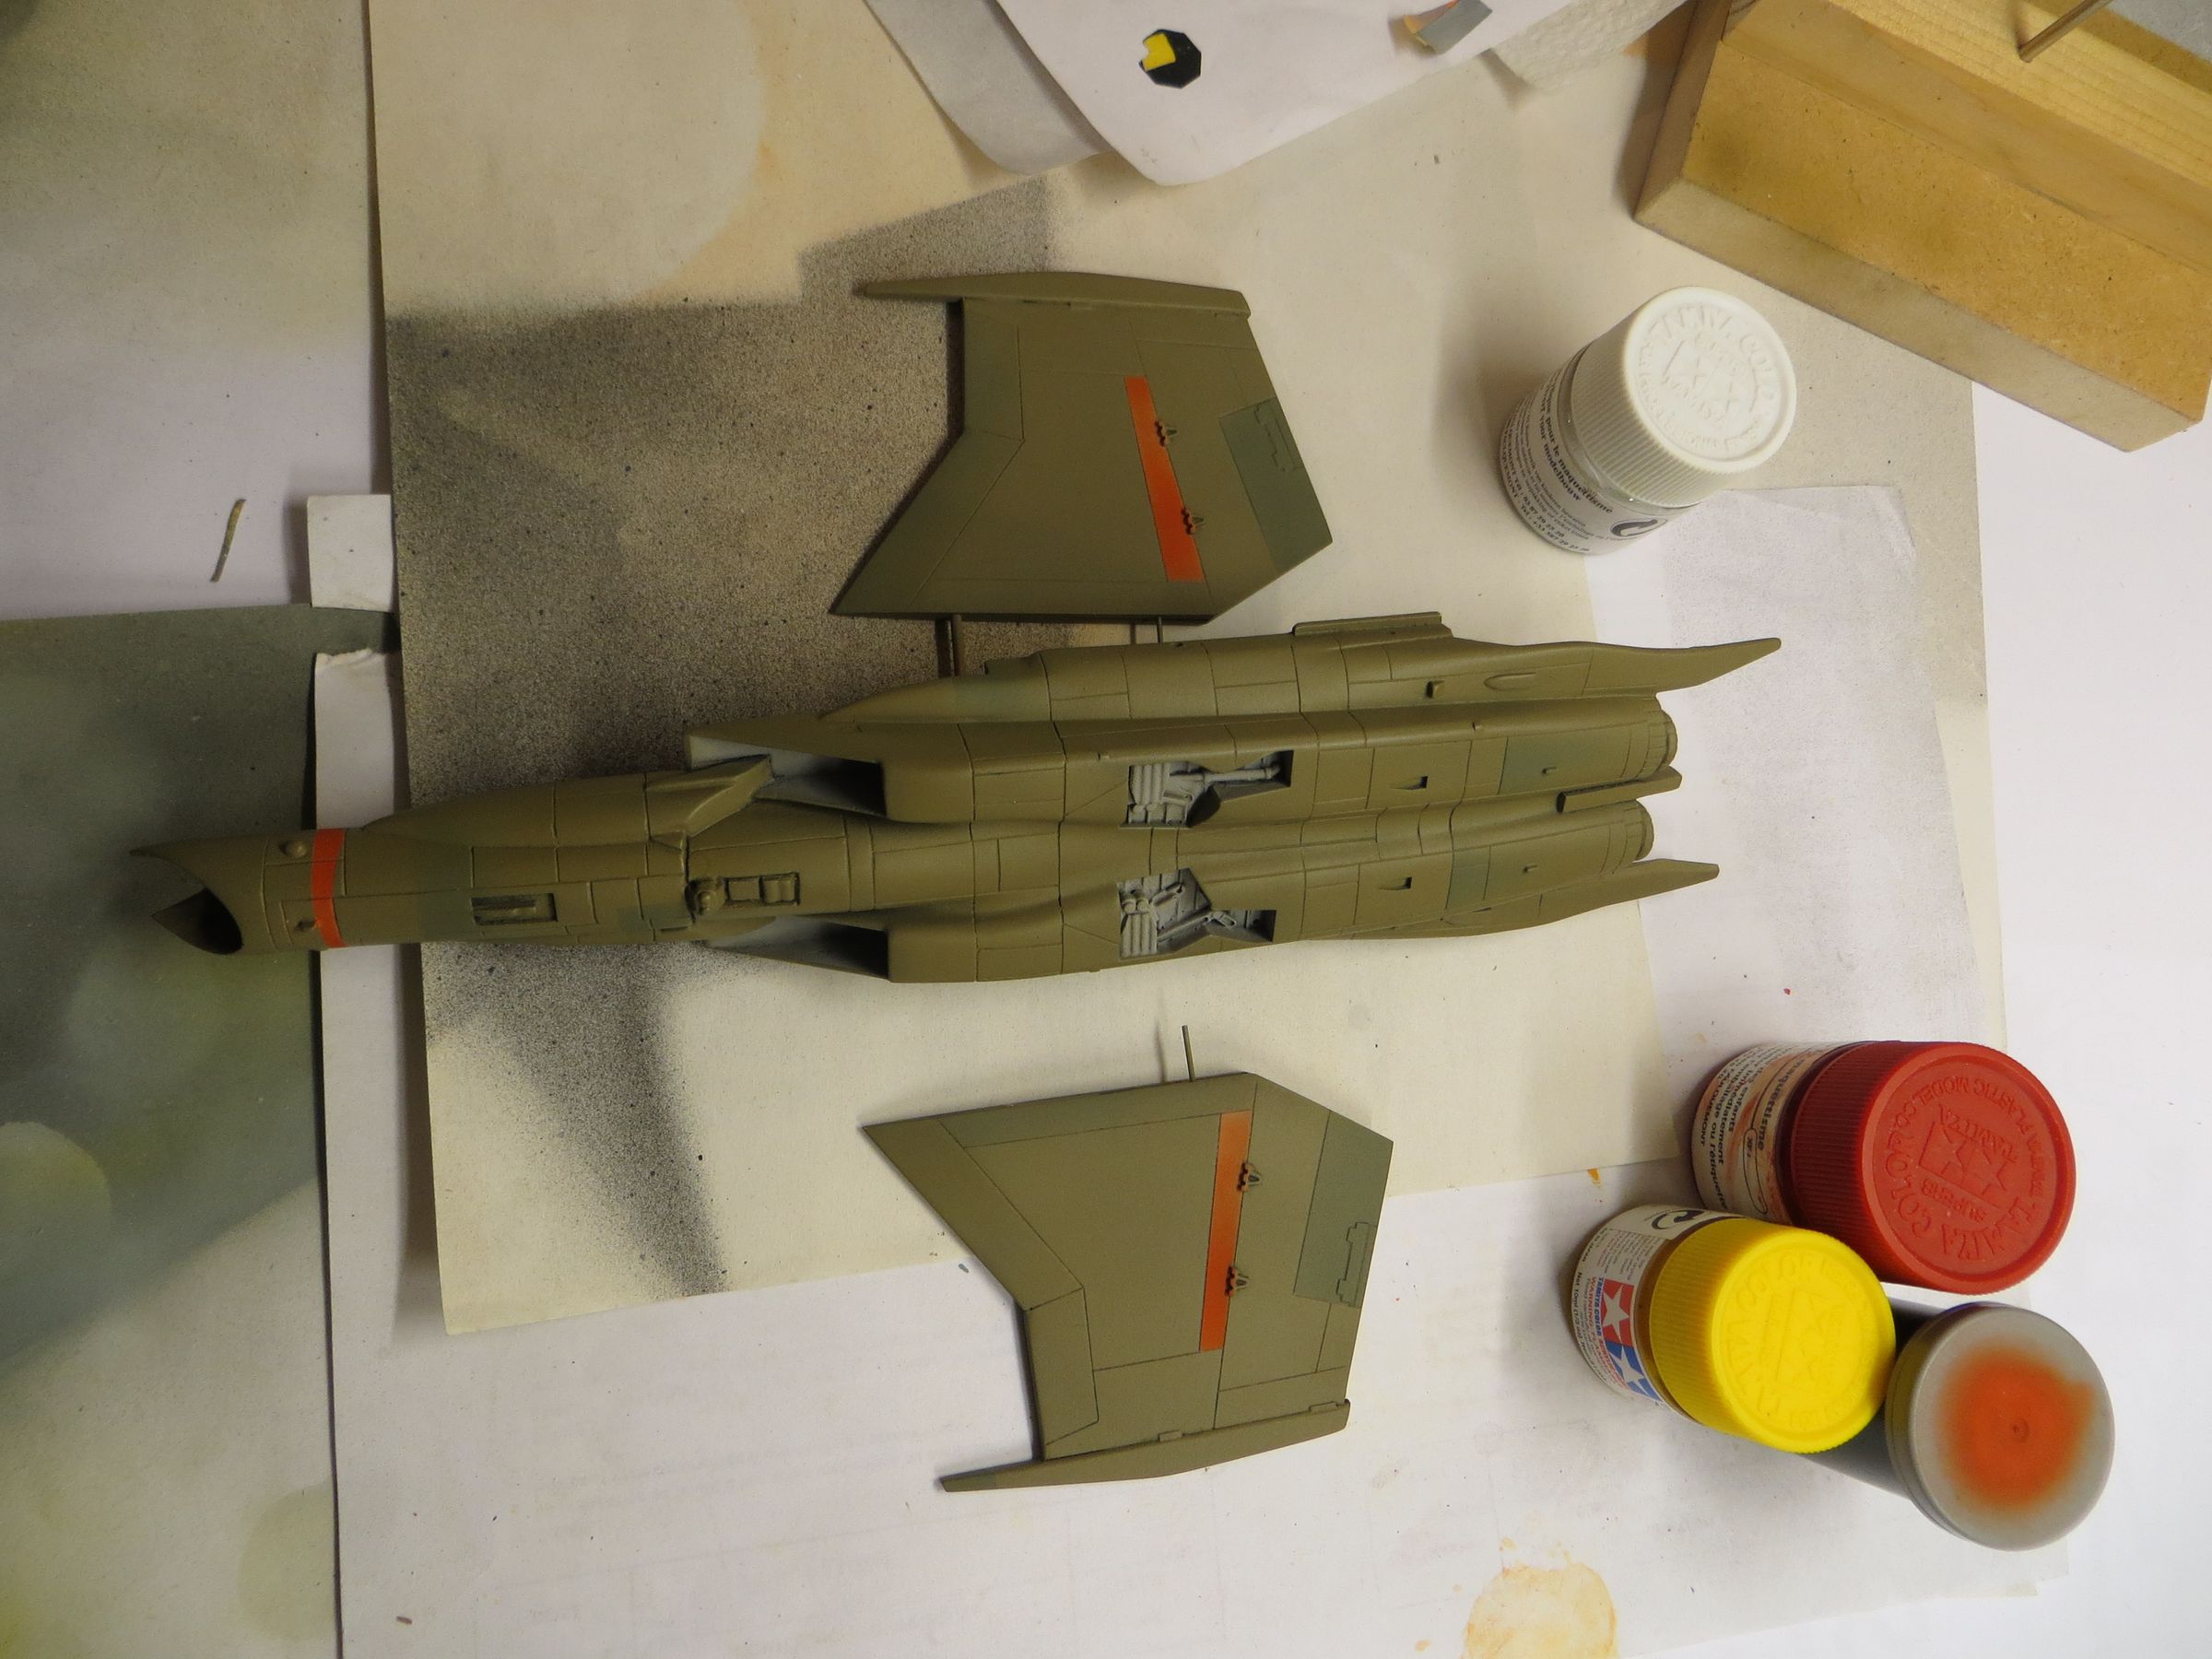
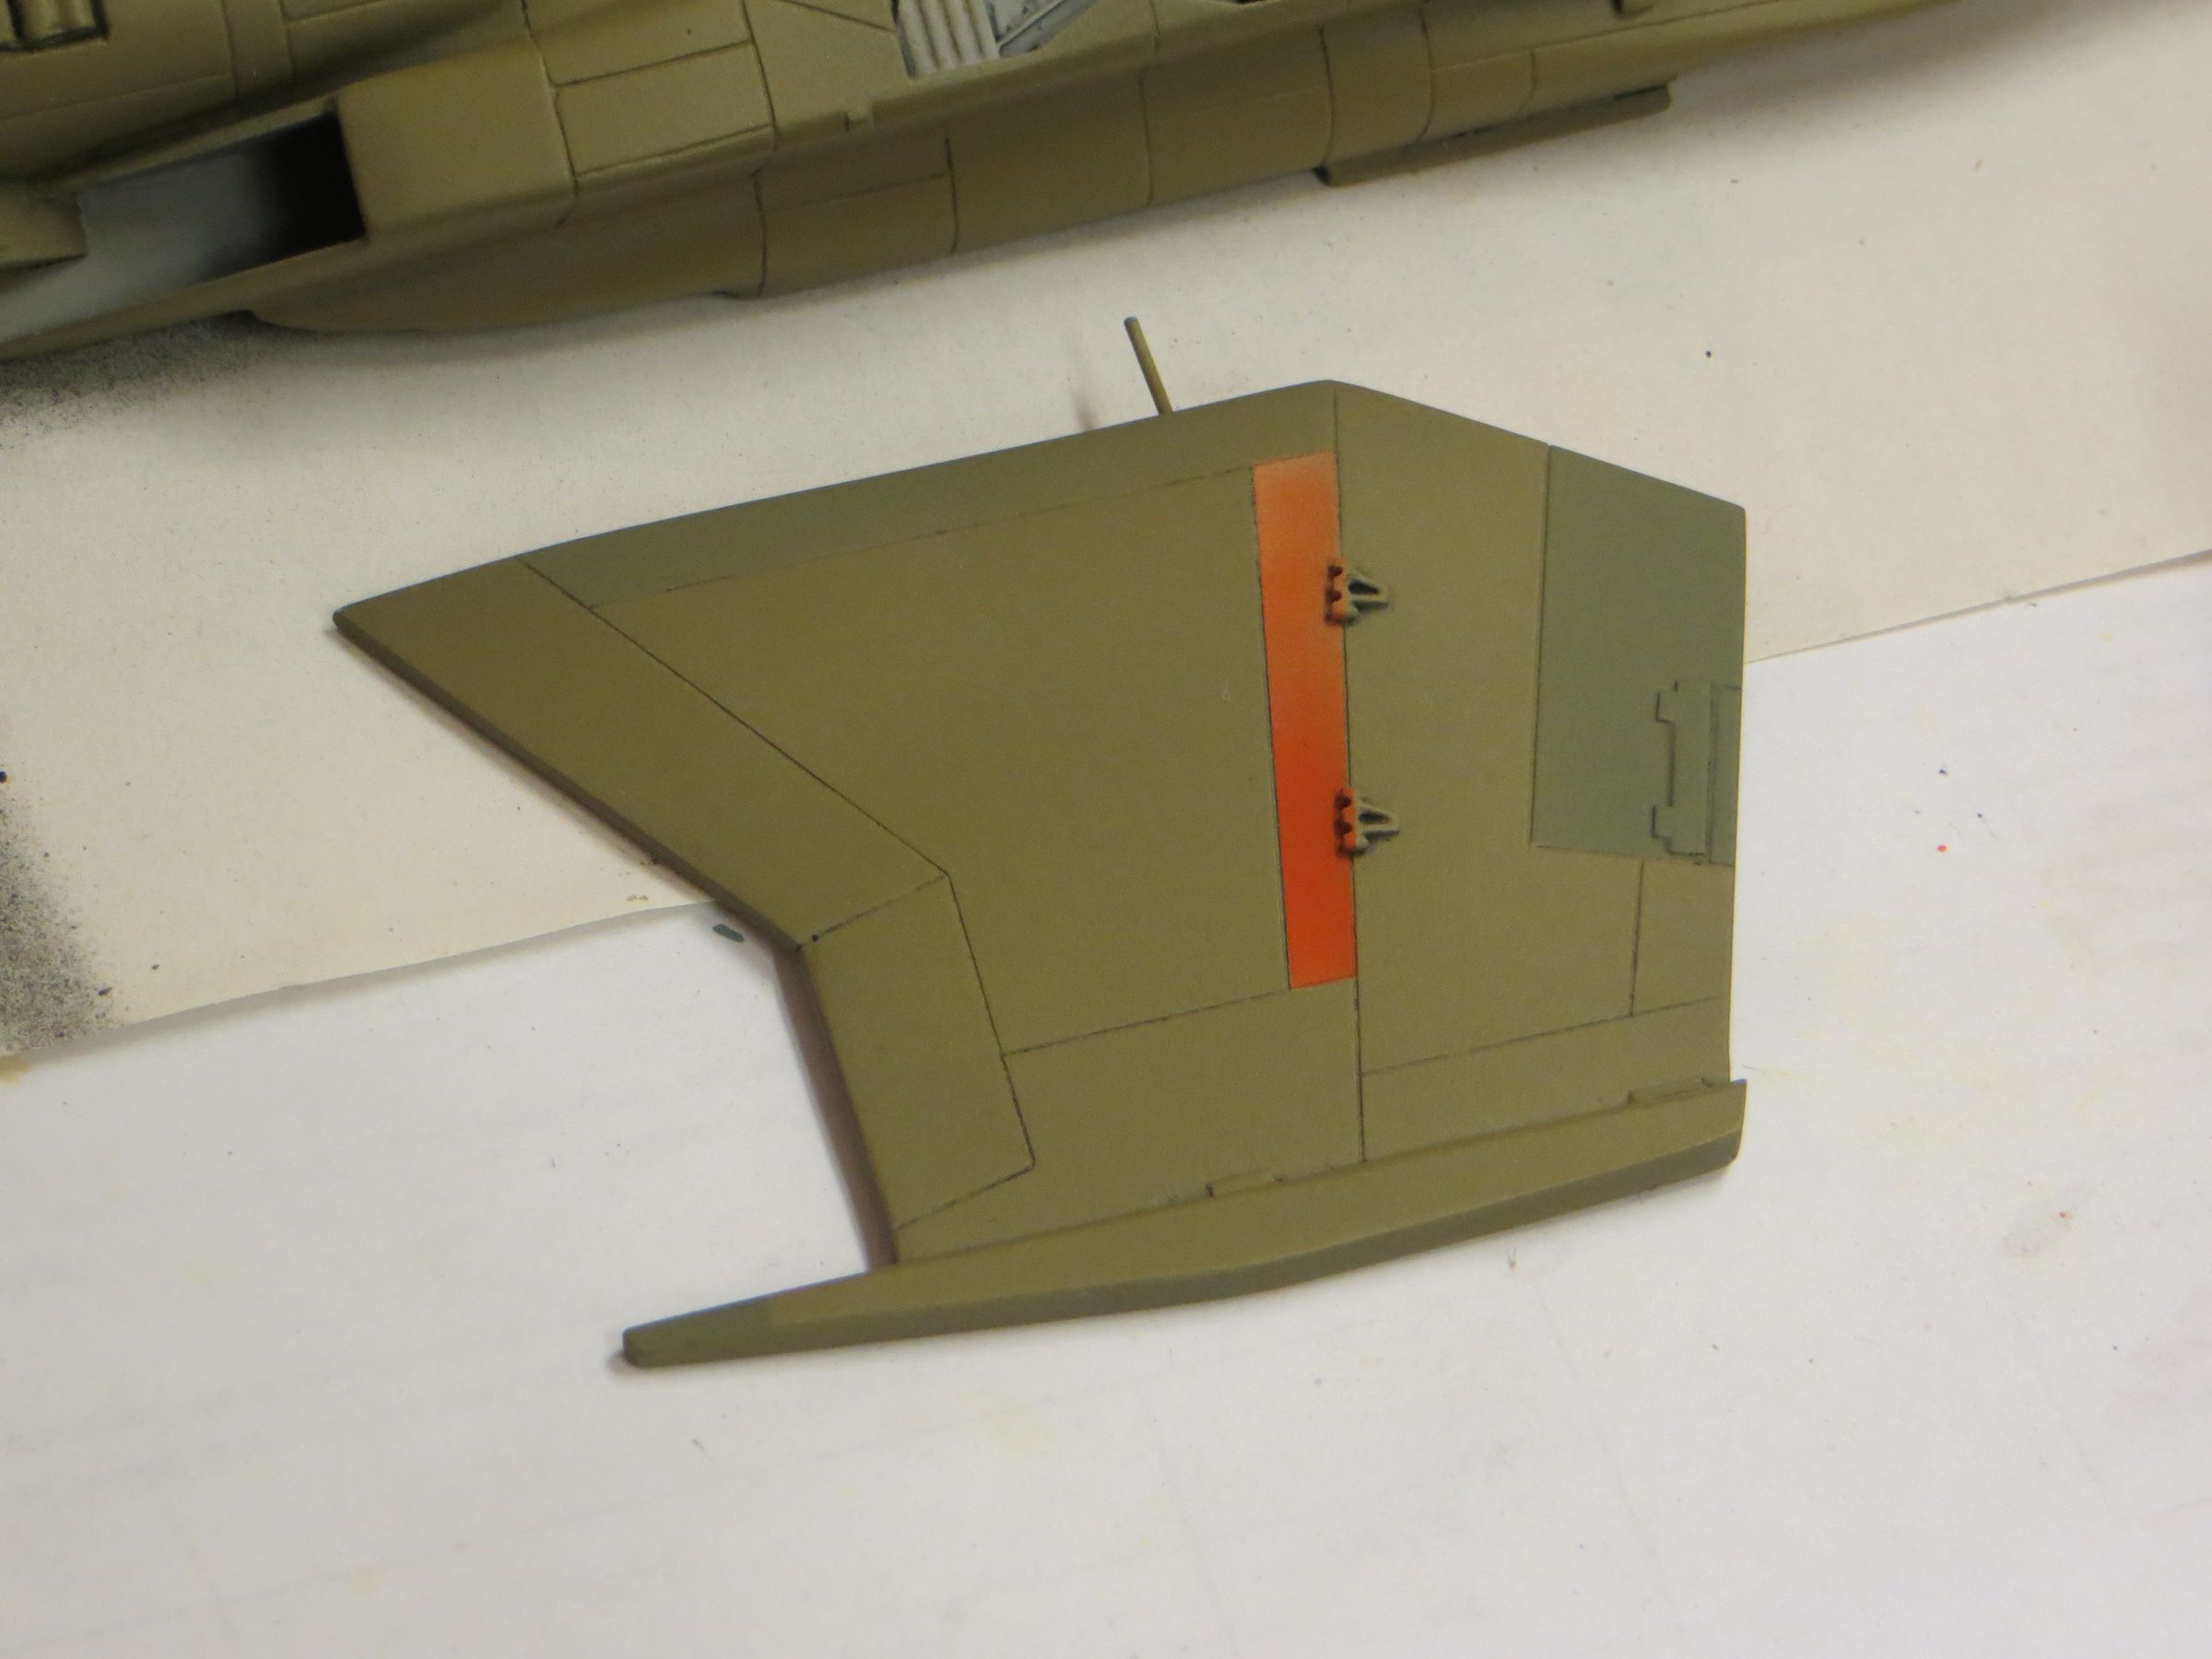
A first light medium green paneling is done by trying to stick as best as I could to the original model.


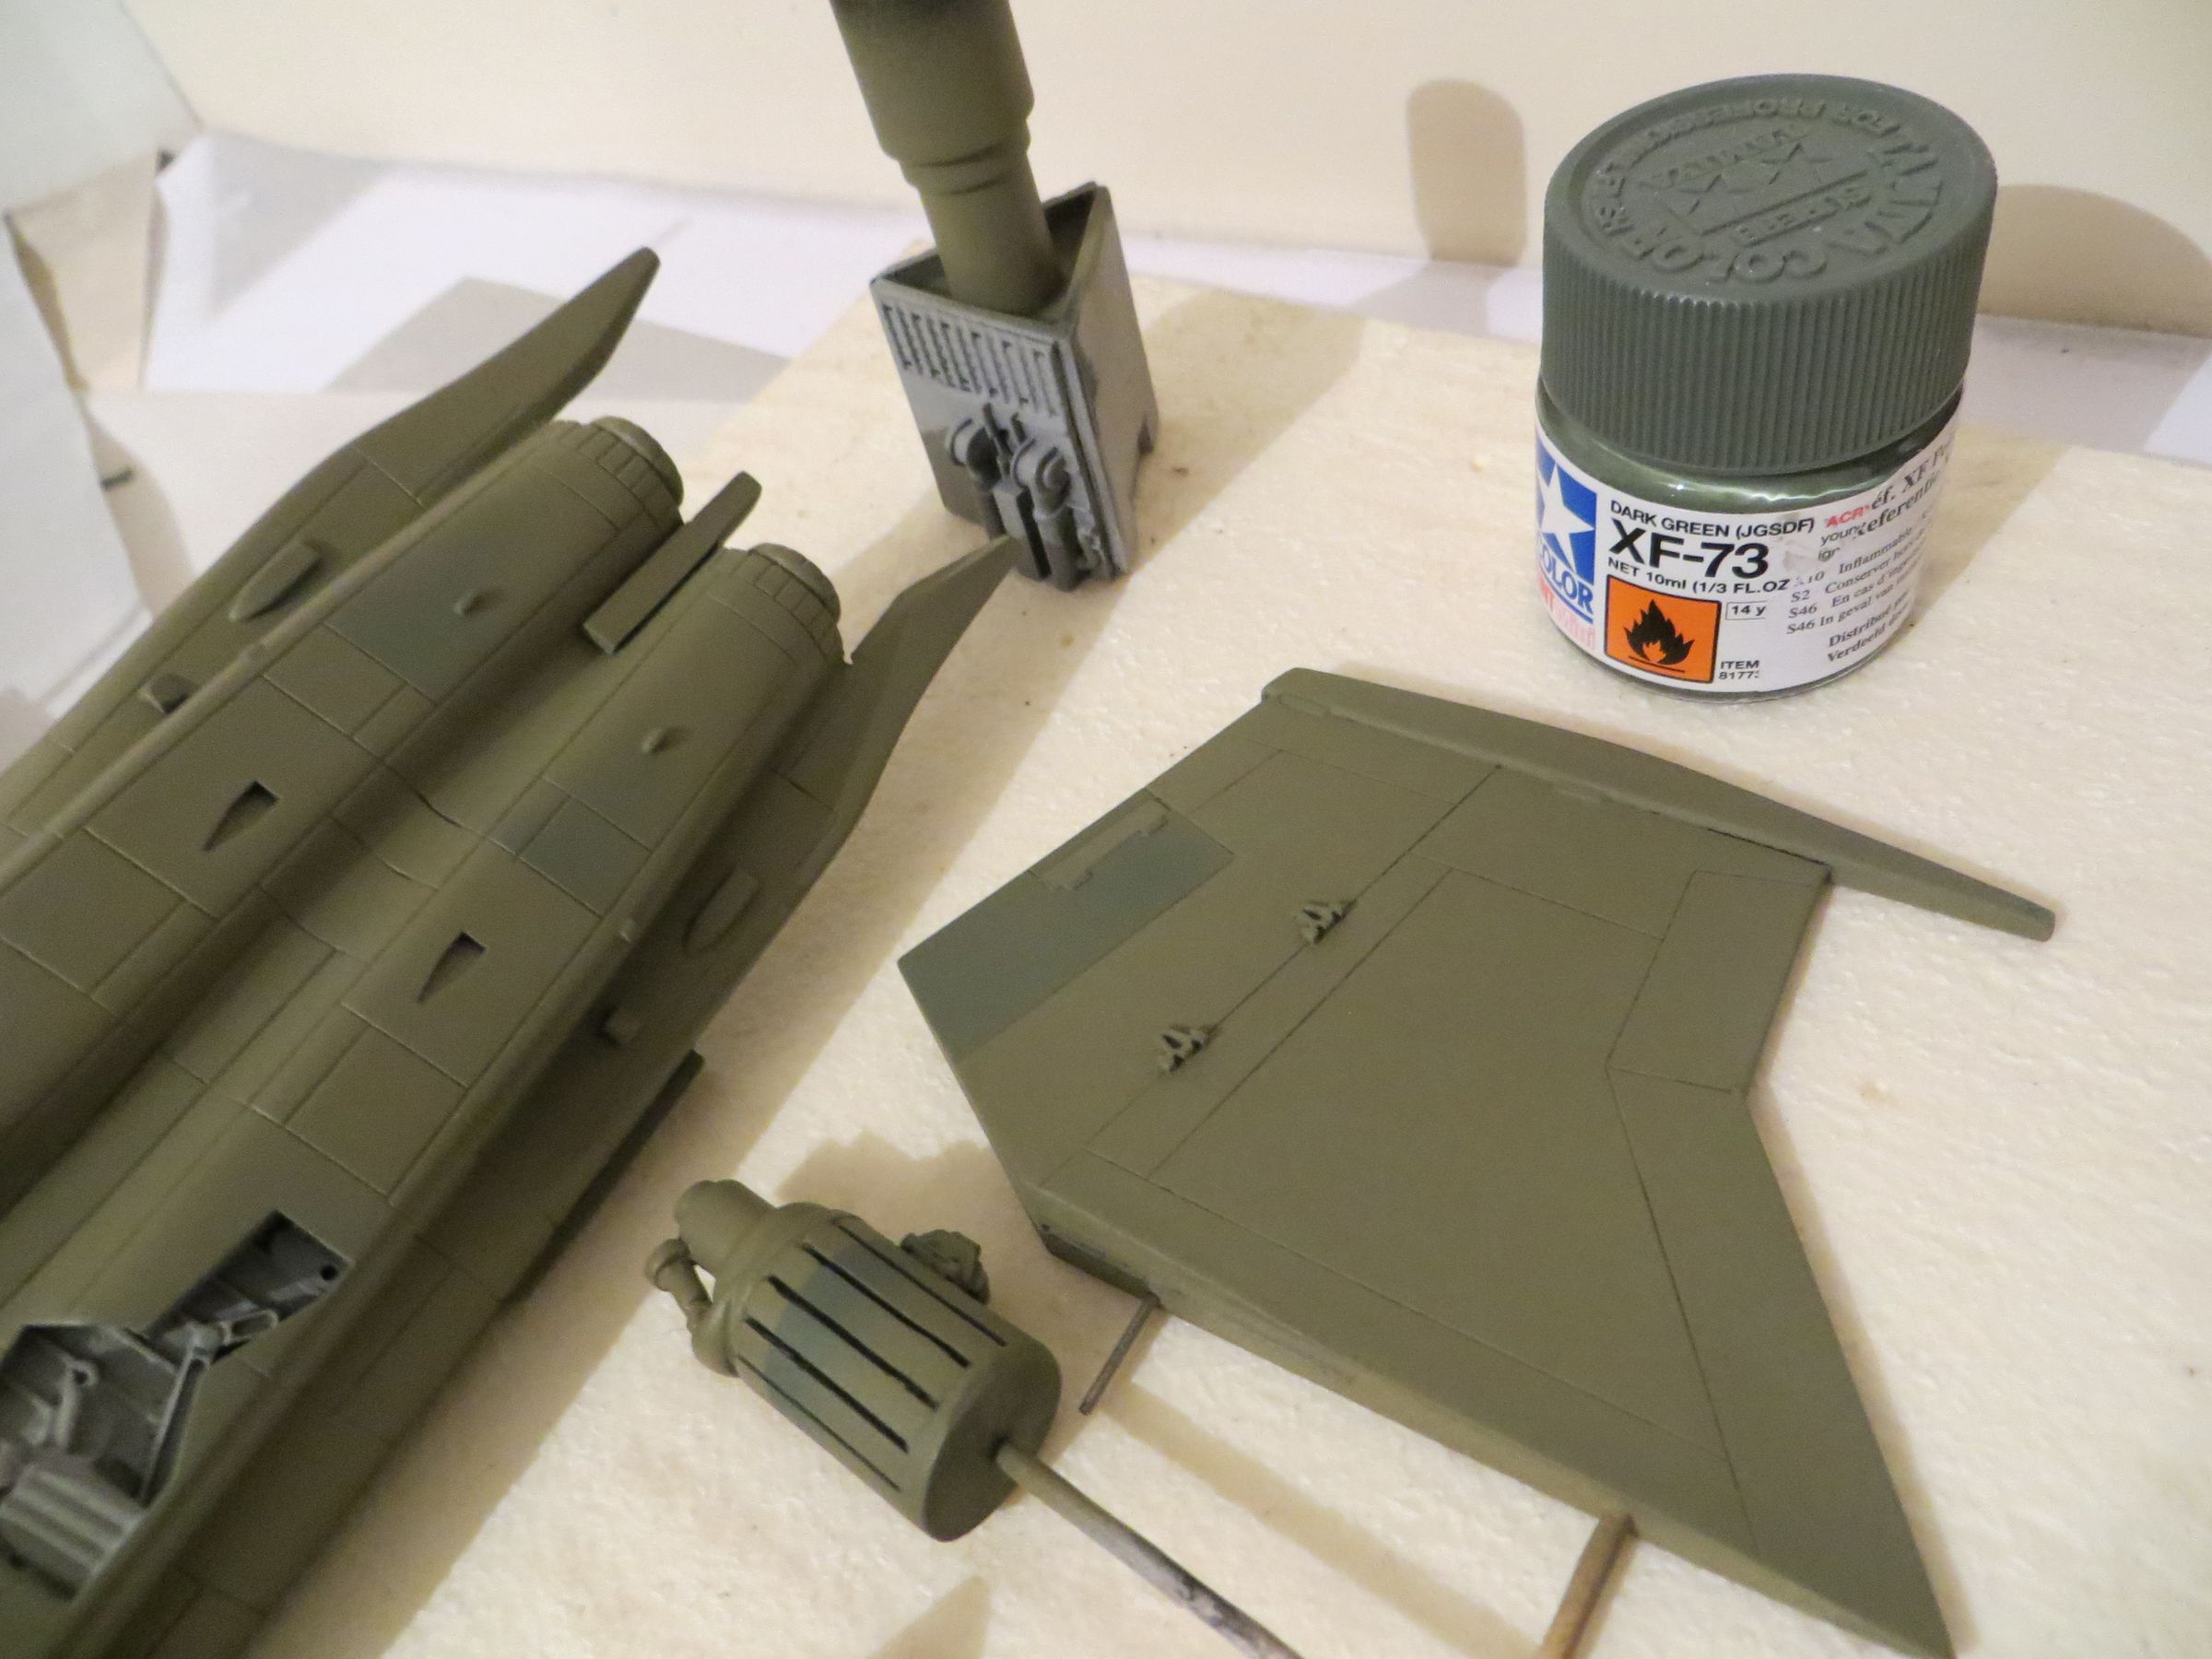

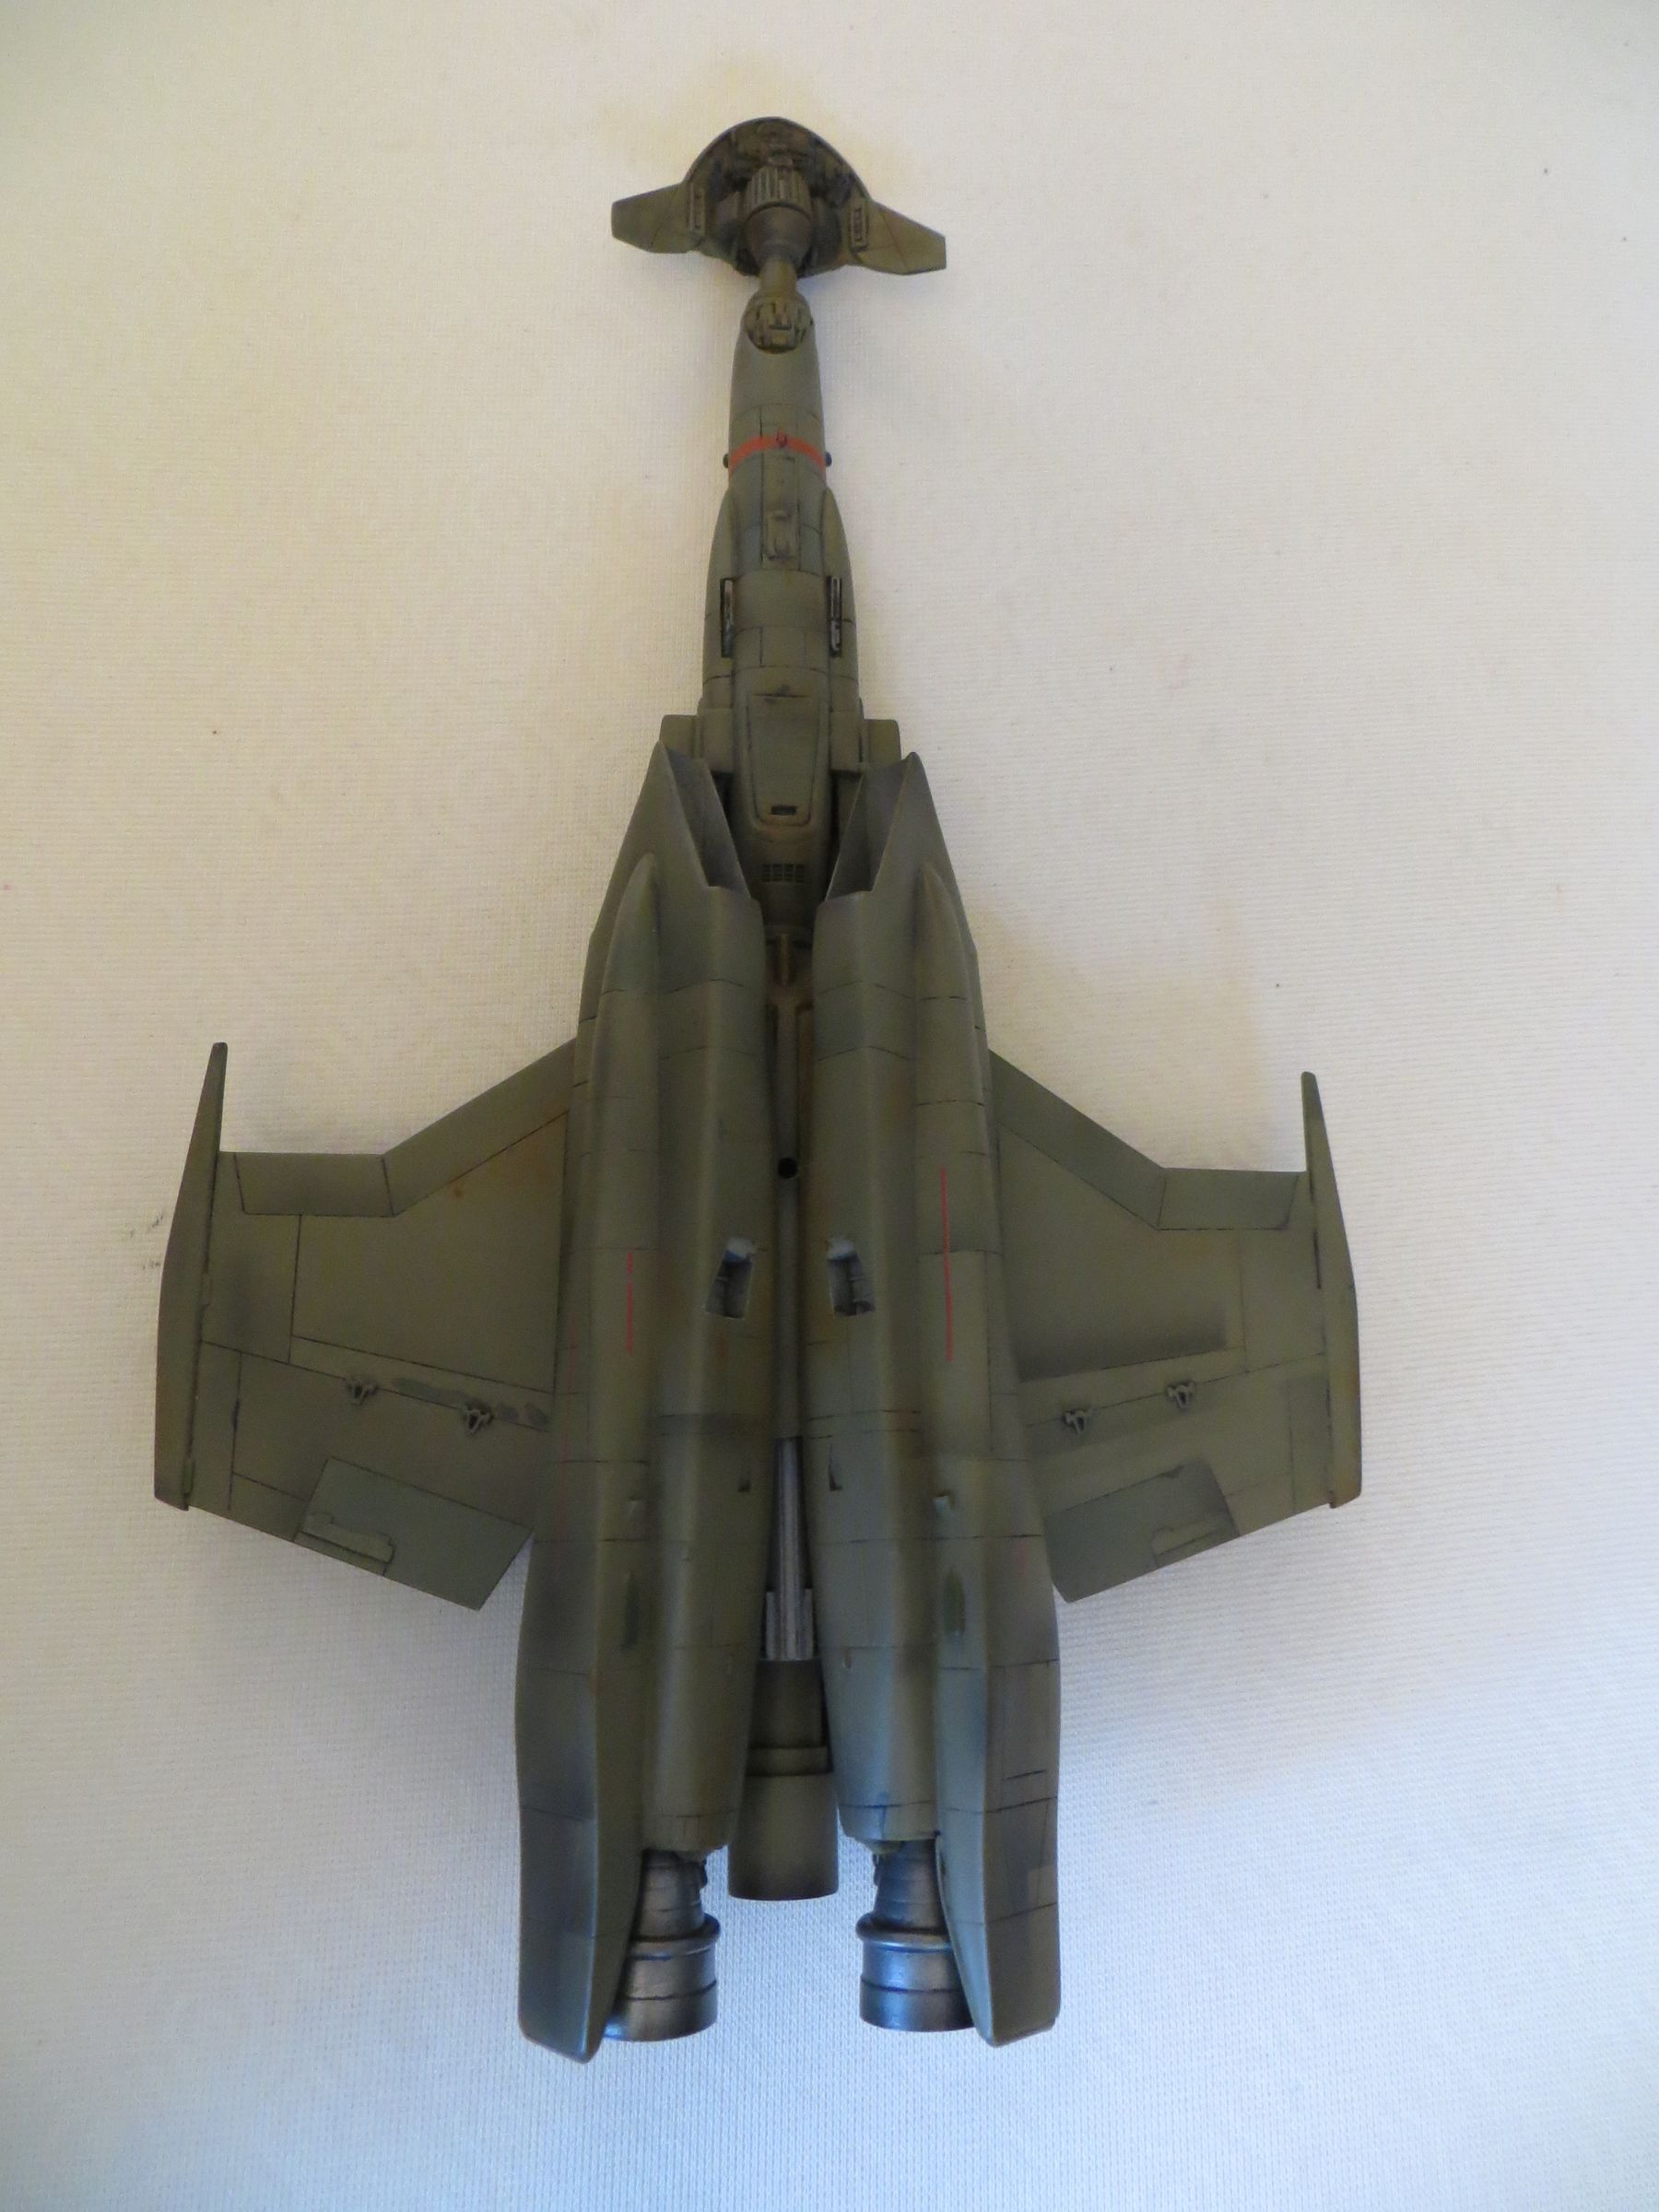
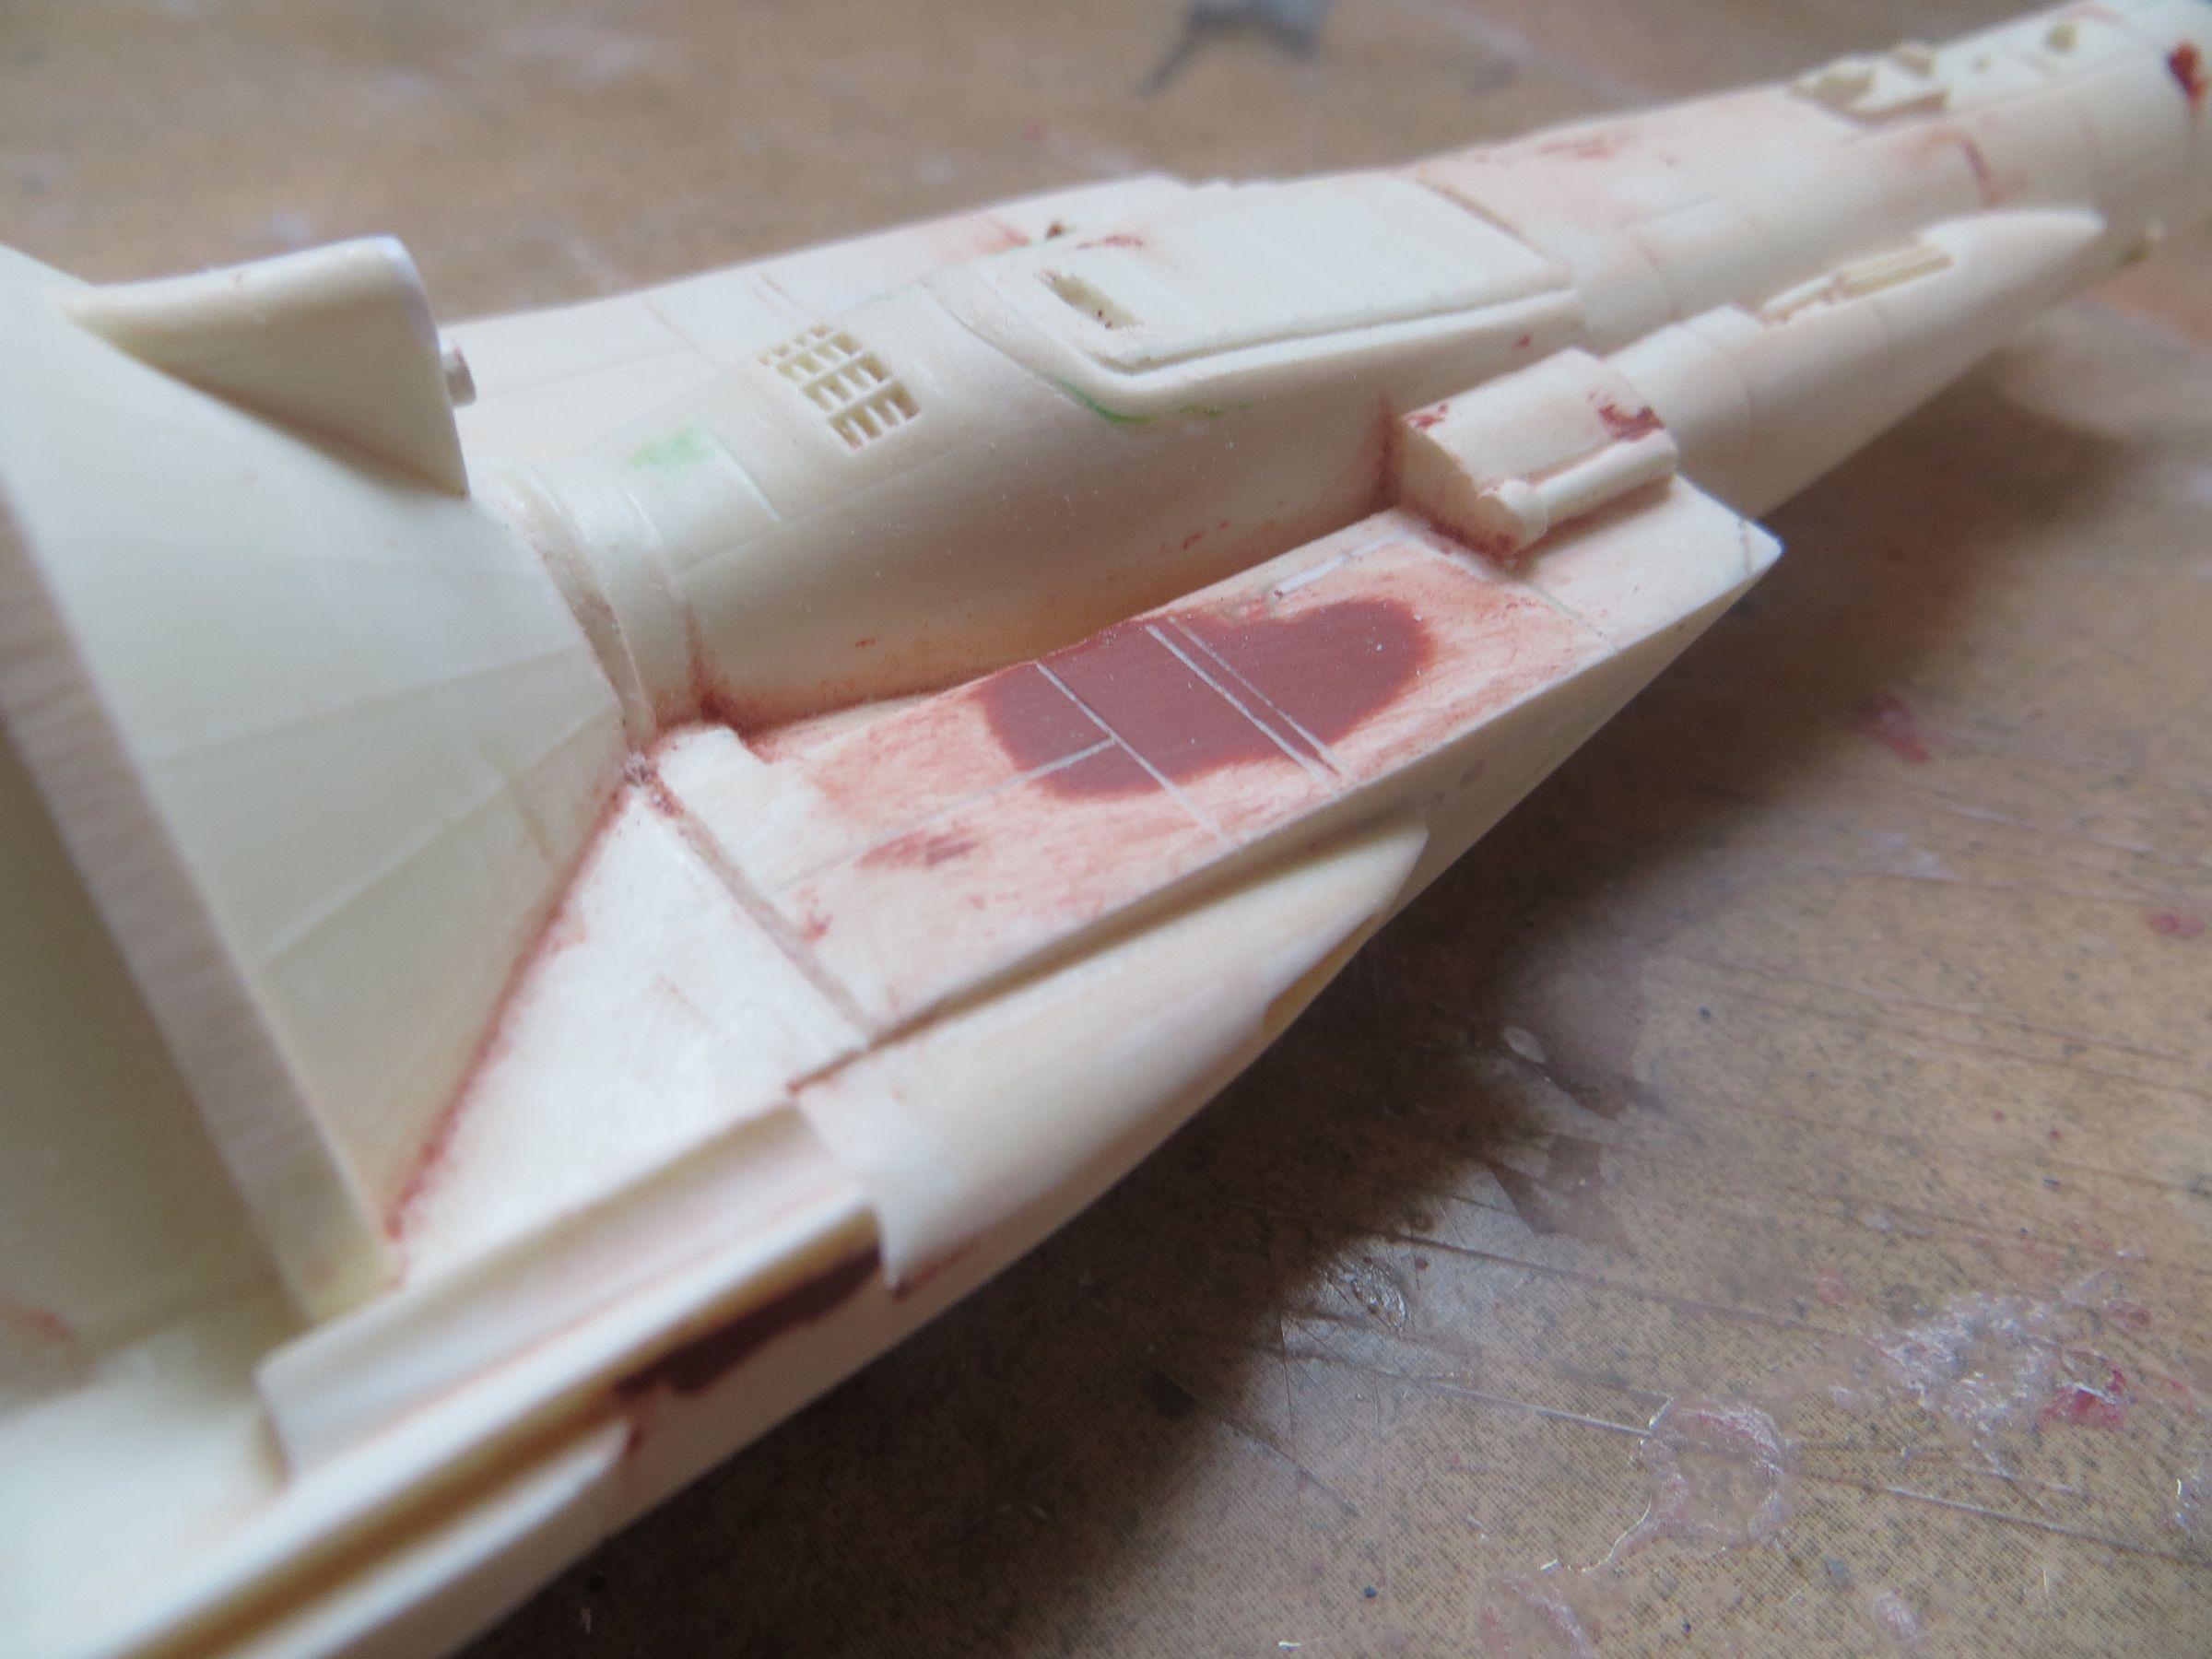
To achieve the 3 red stripes, I first aiurbrushed a, willingly non-uniform, layer of flat white.
Then, rather than use a full red, I apply a red-orange (just a few drops of yellow in the red). On the final result, the eye assimilates this as a nice looking warm red.
It is also not applied uniformly to stick to the original model.
vendredi, 23 mai 2014
Par olcabour le vendredi, 23 mai 2014, 15:15
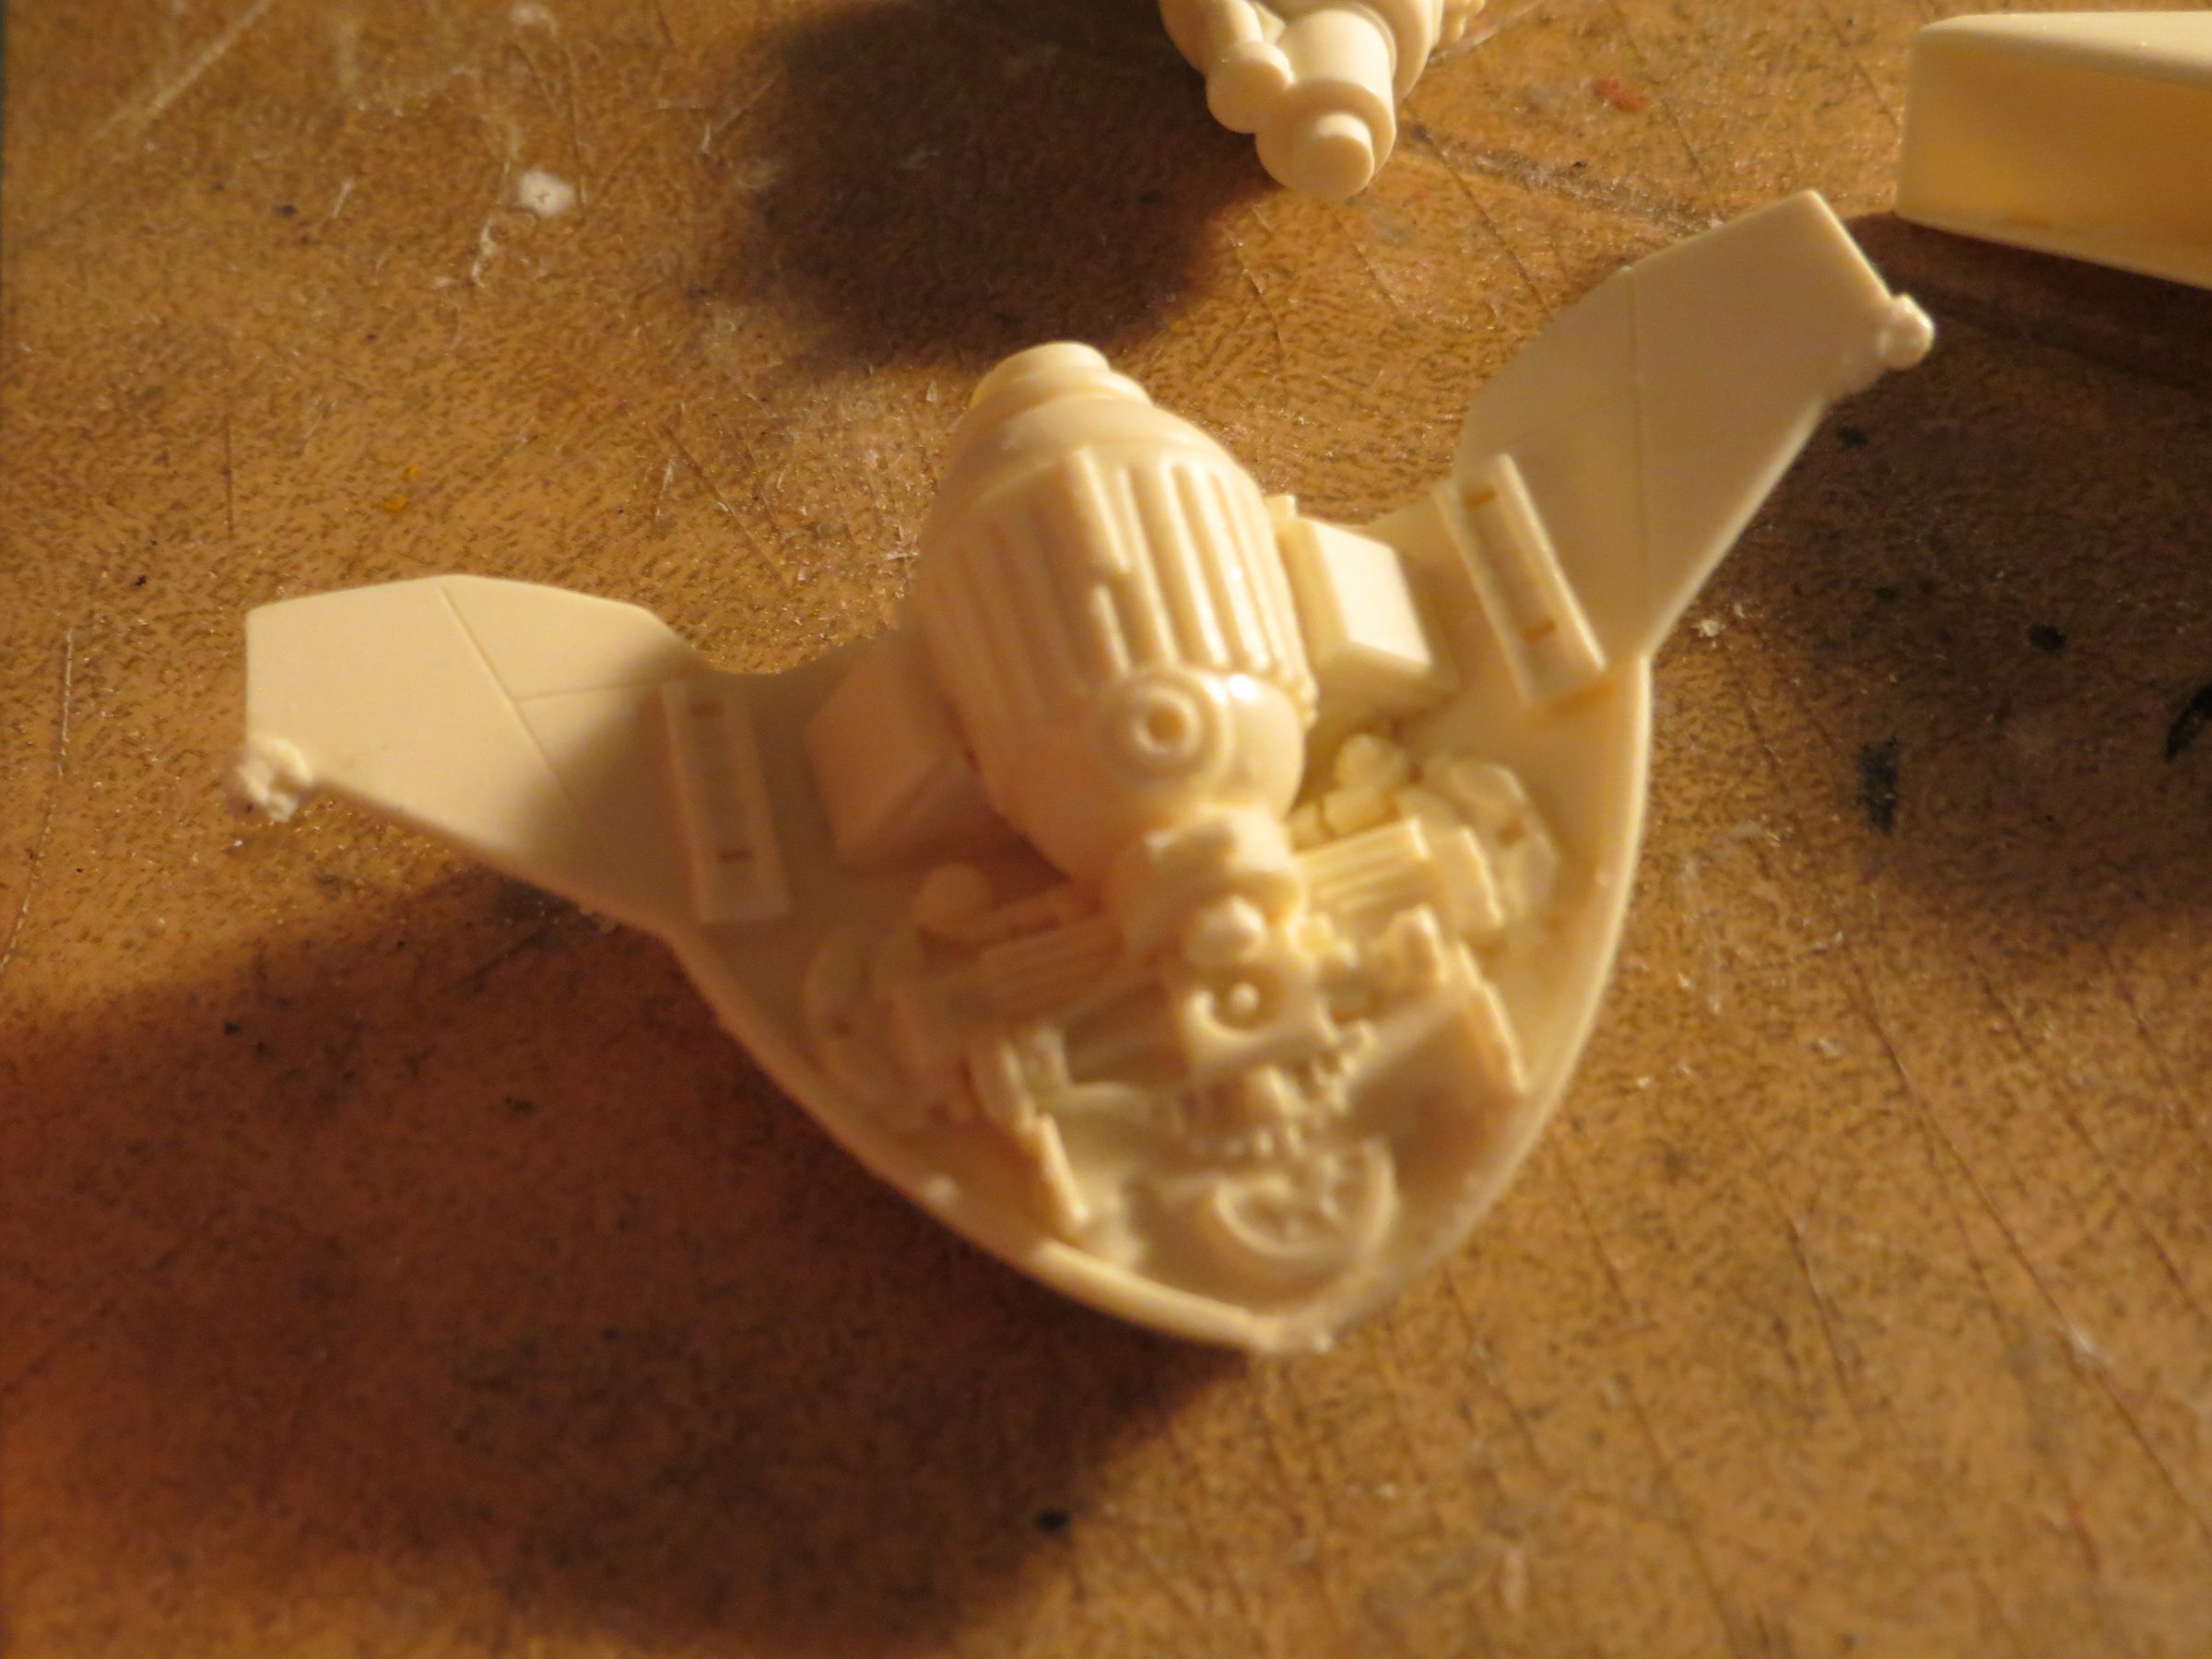
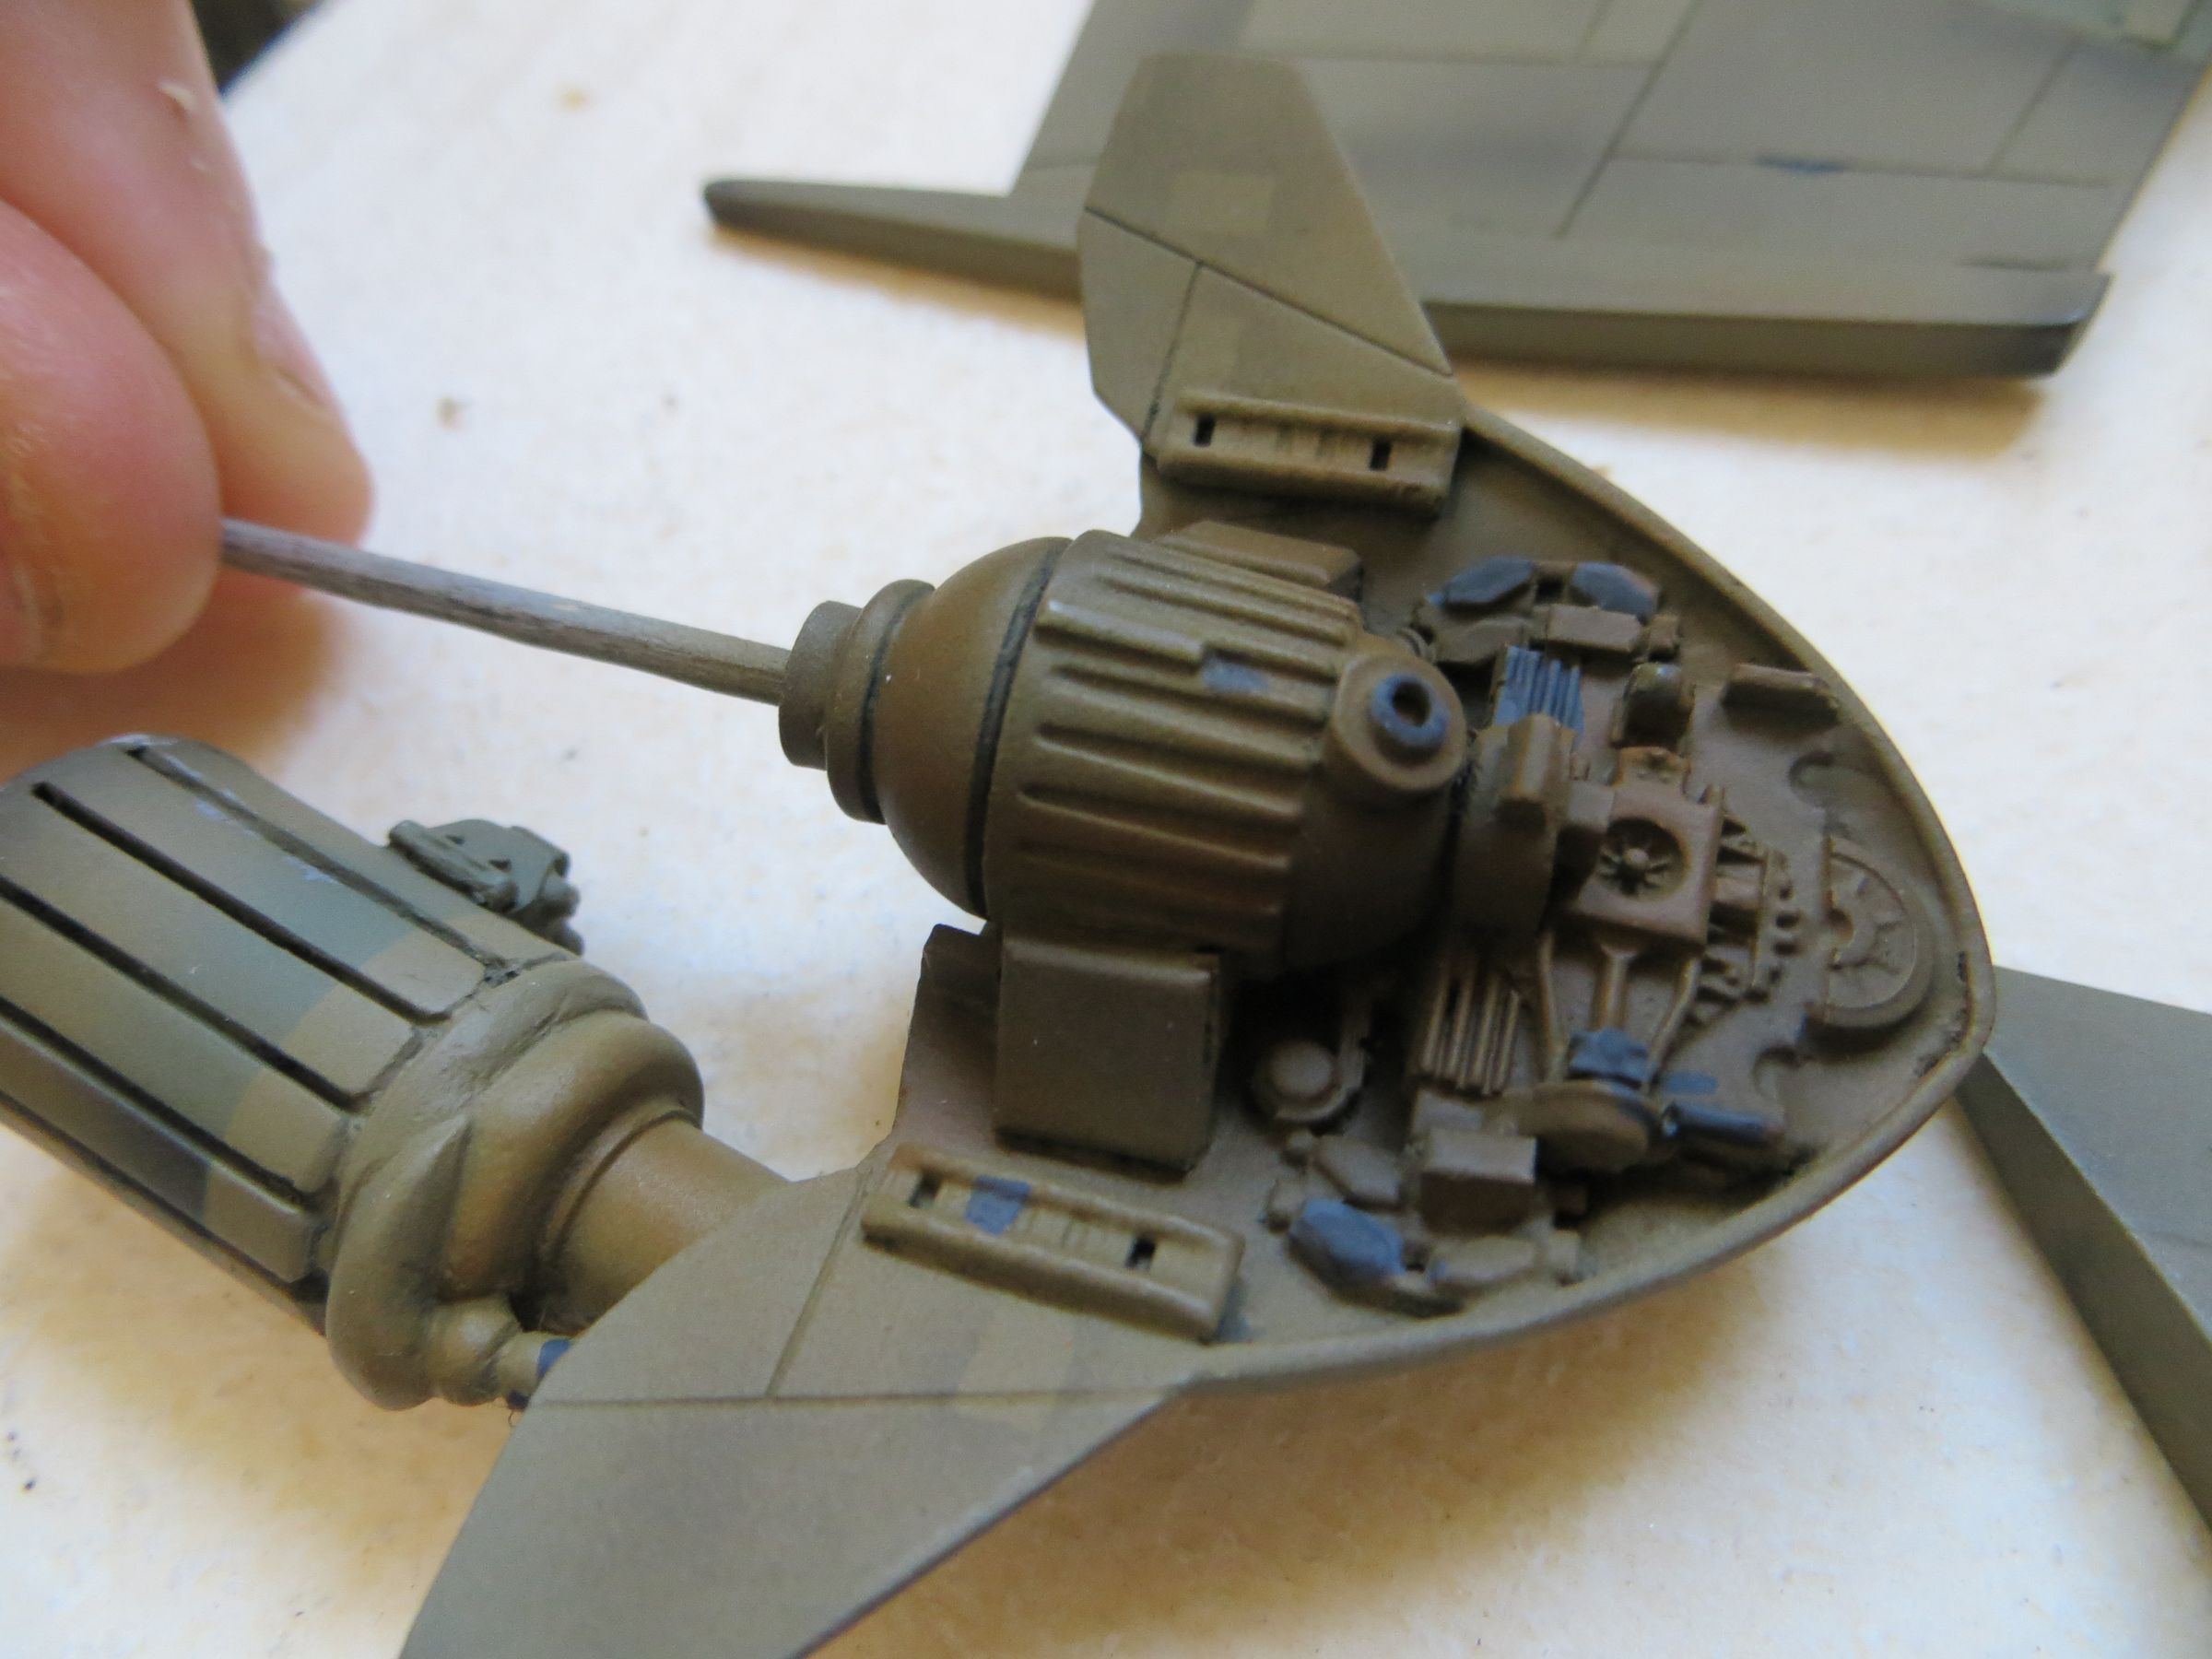
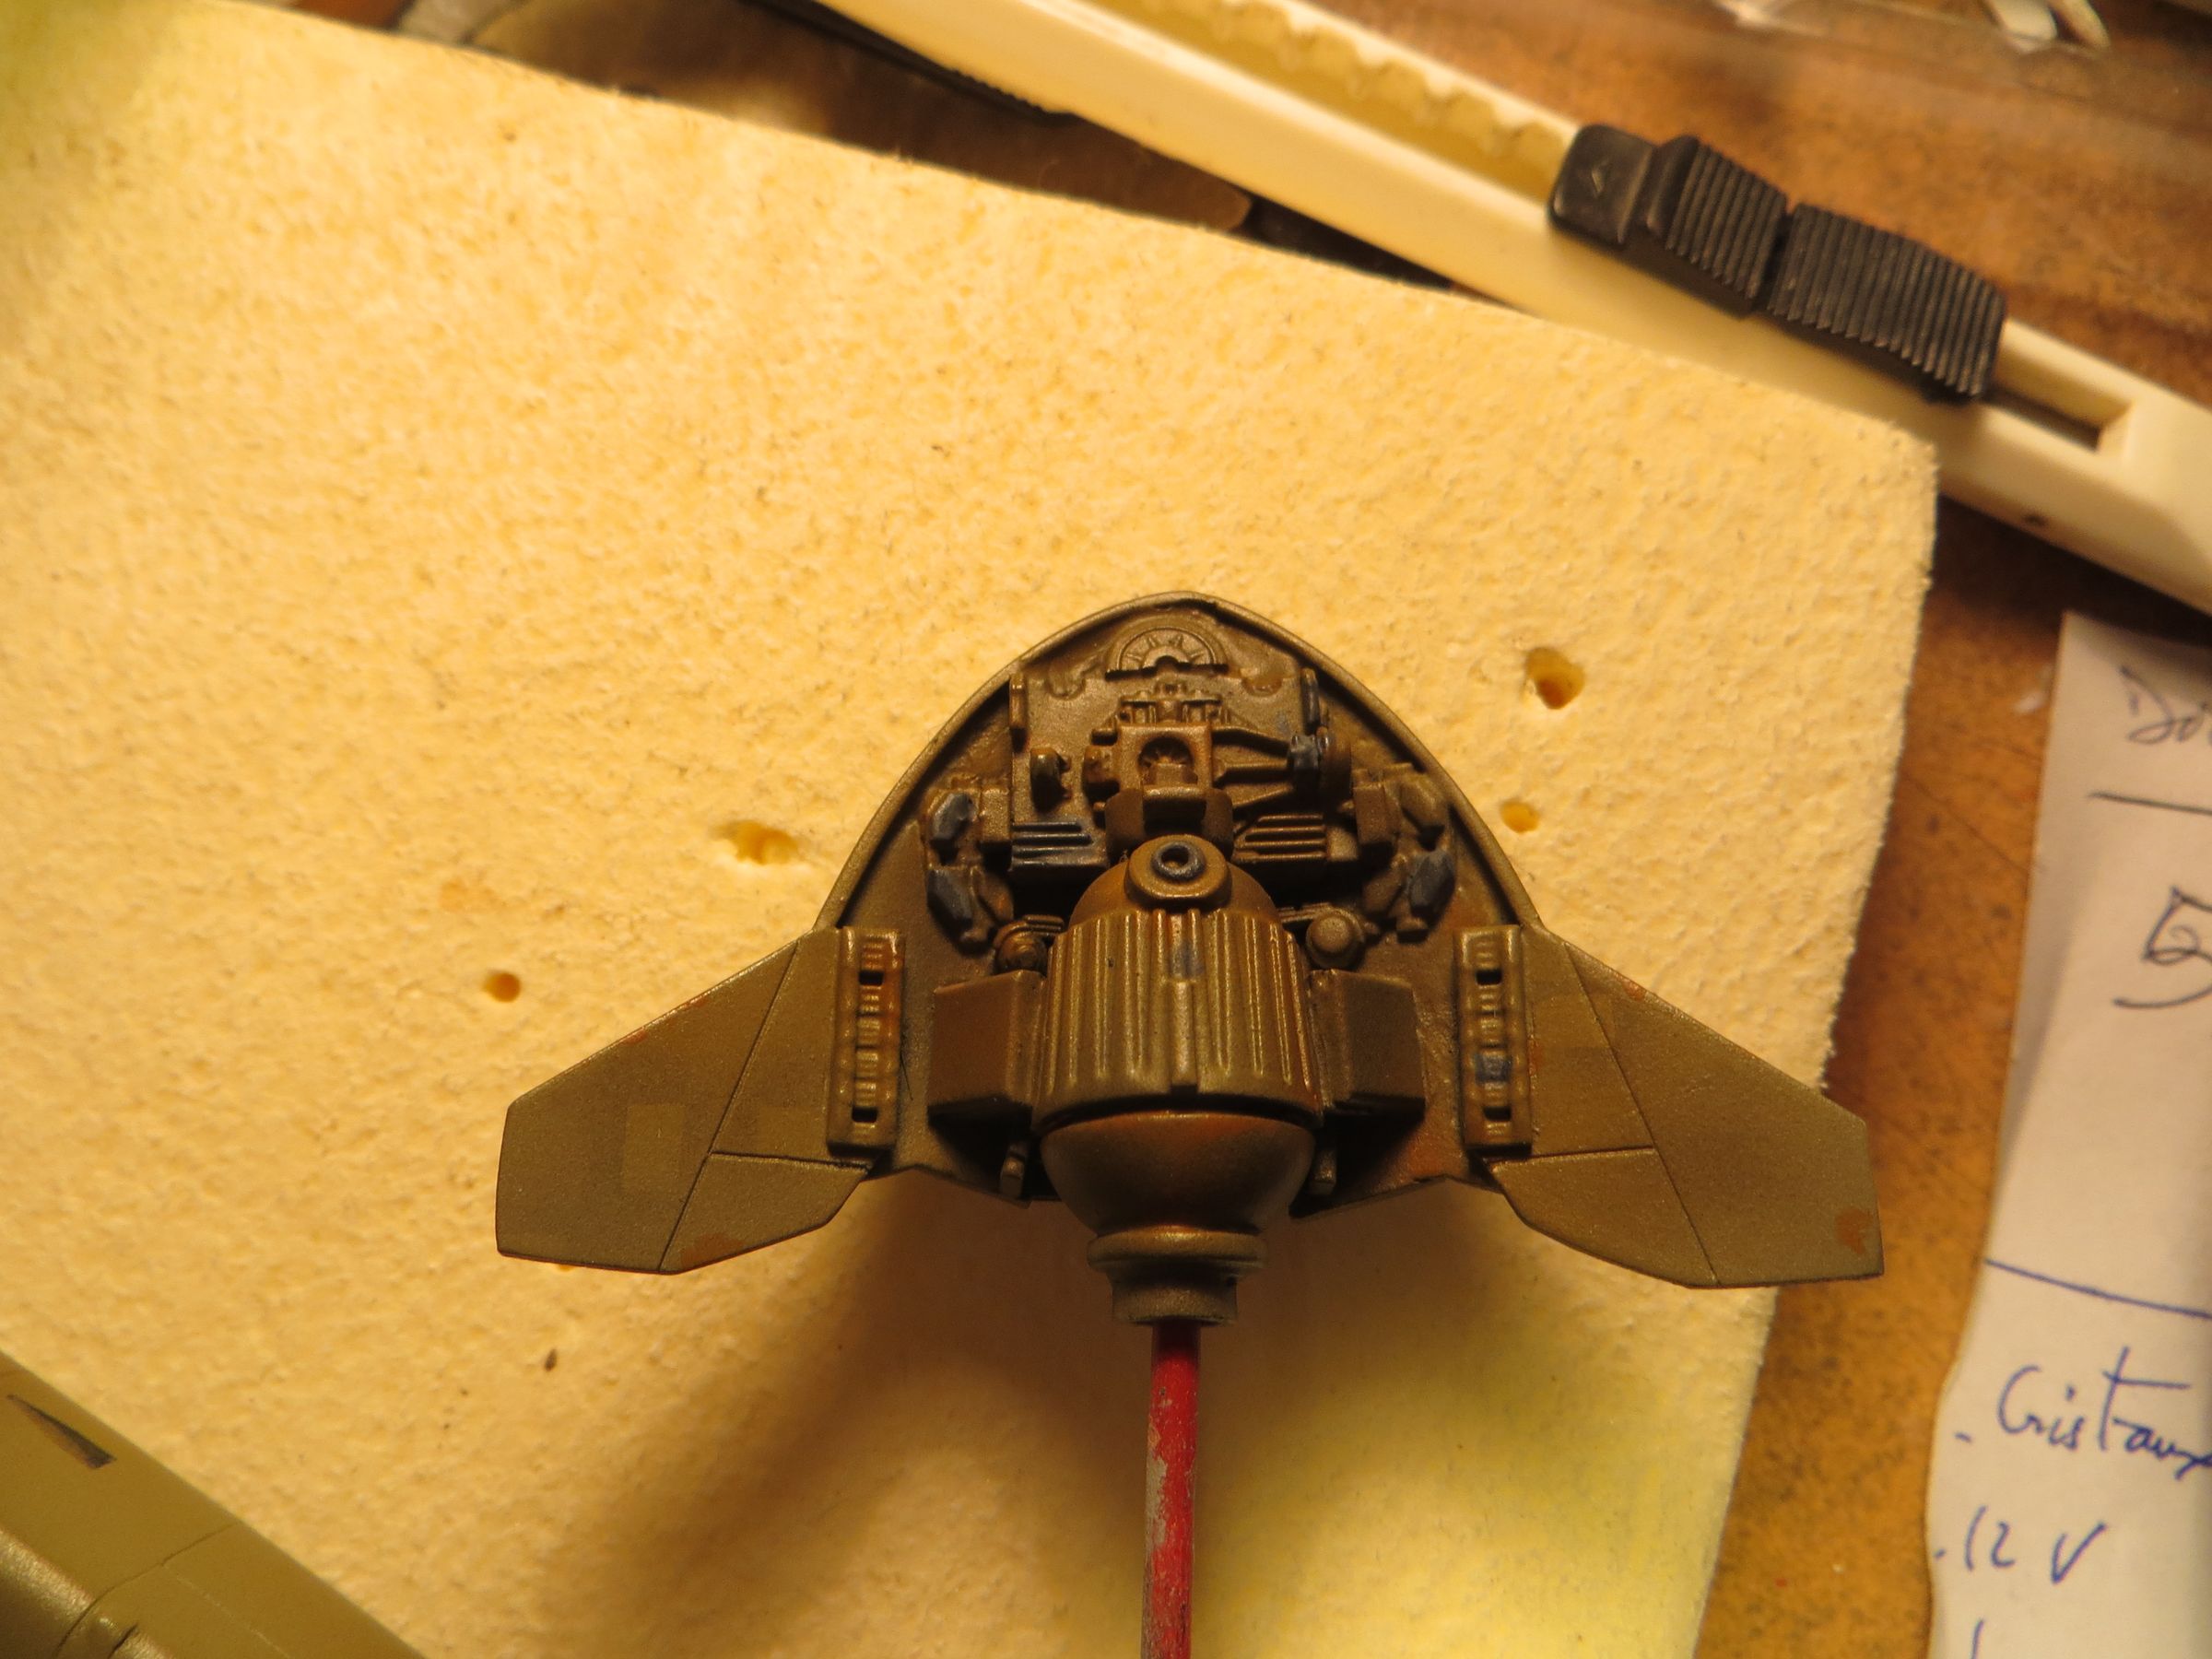
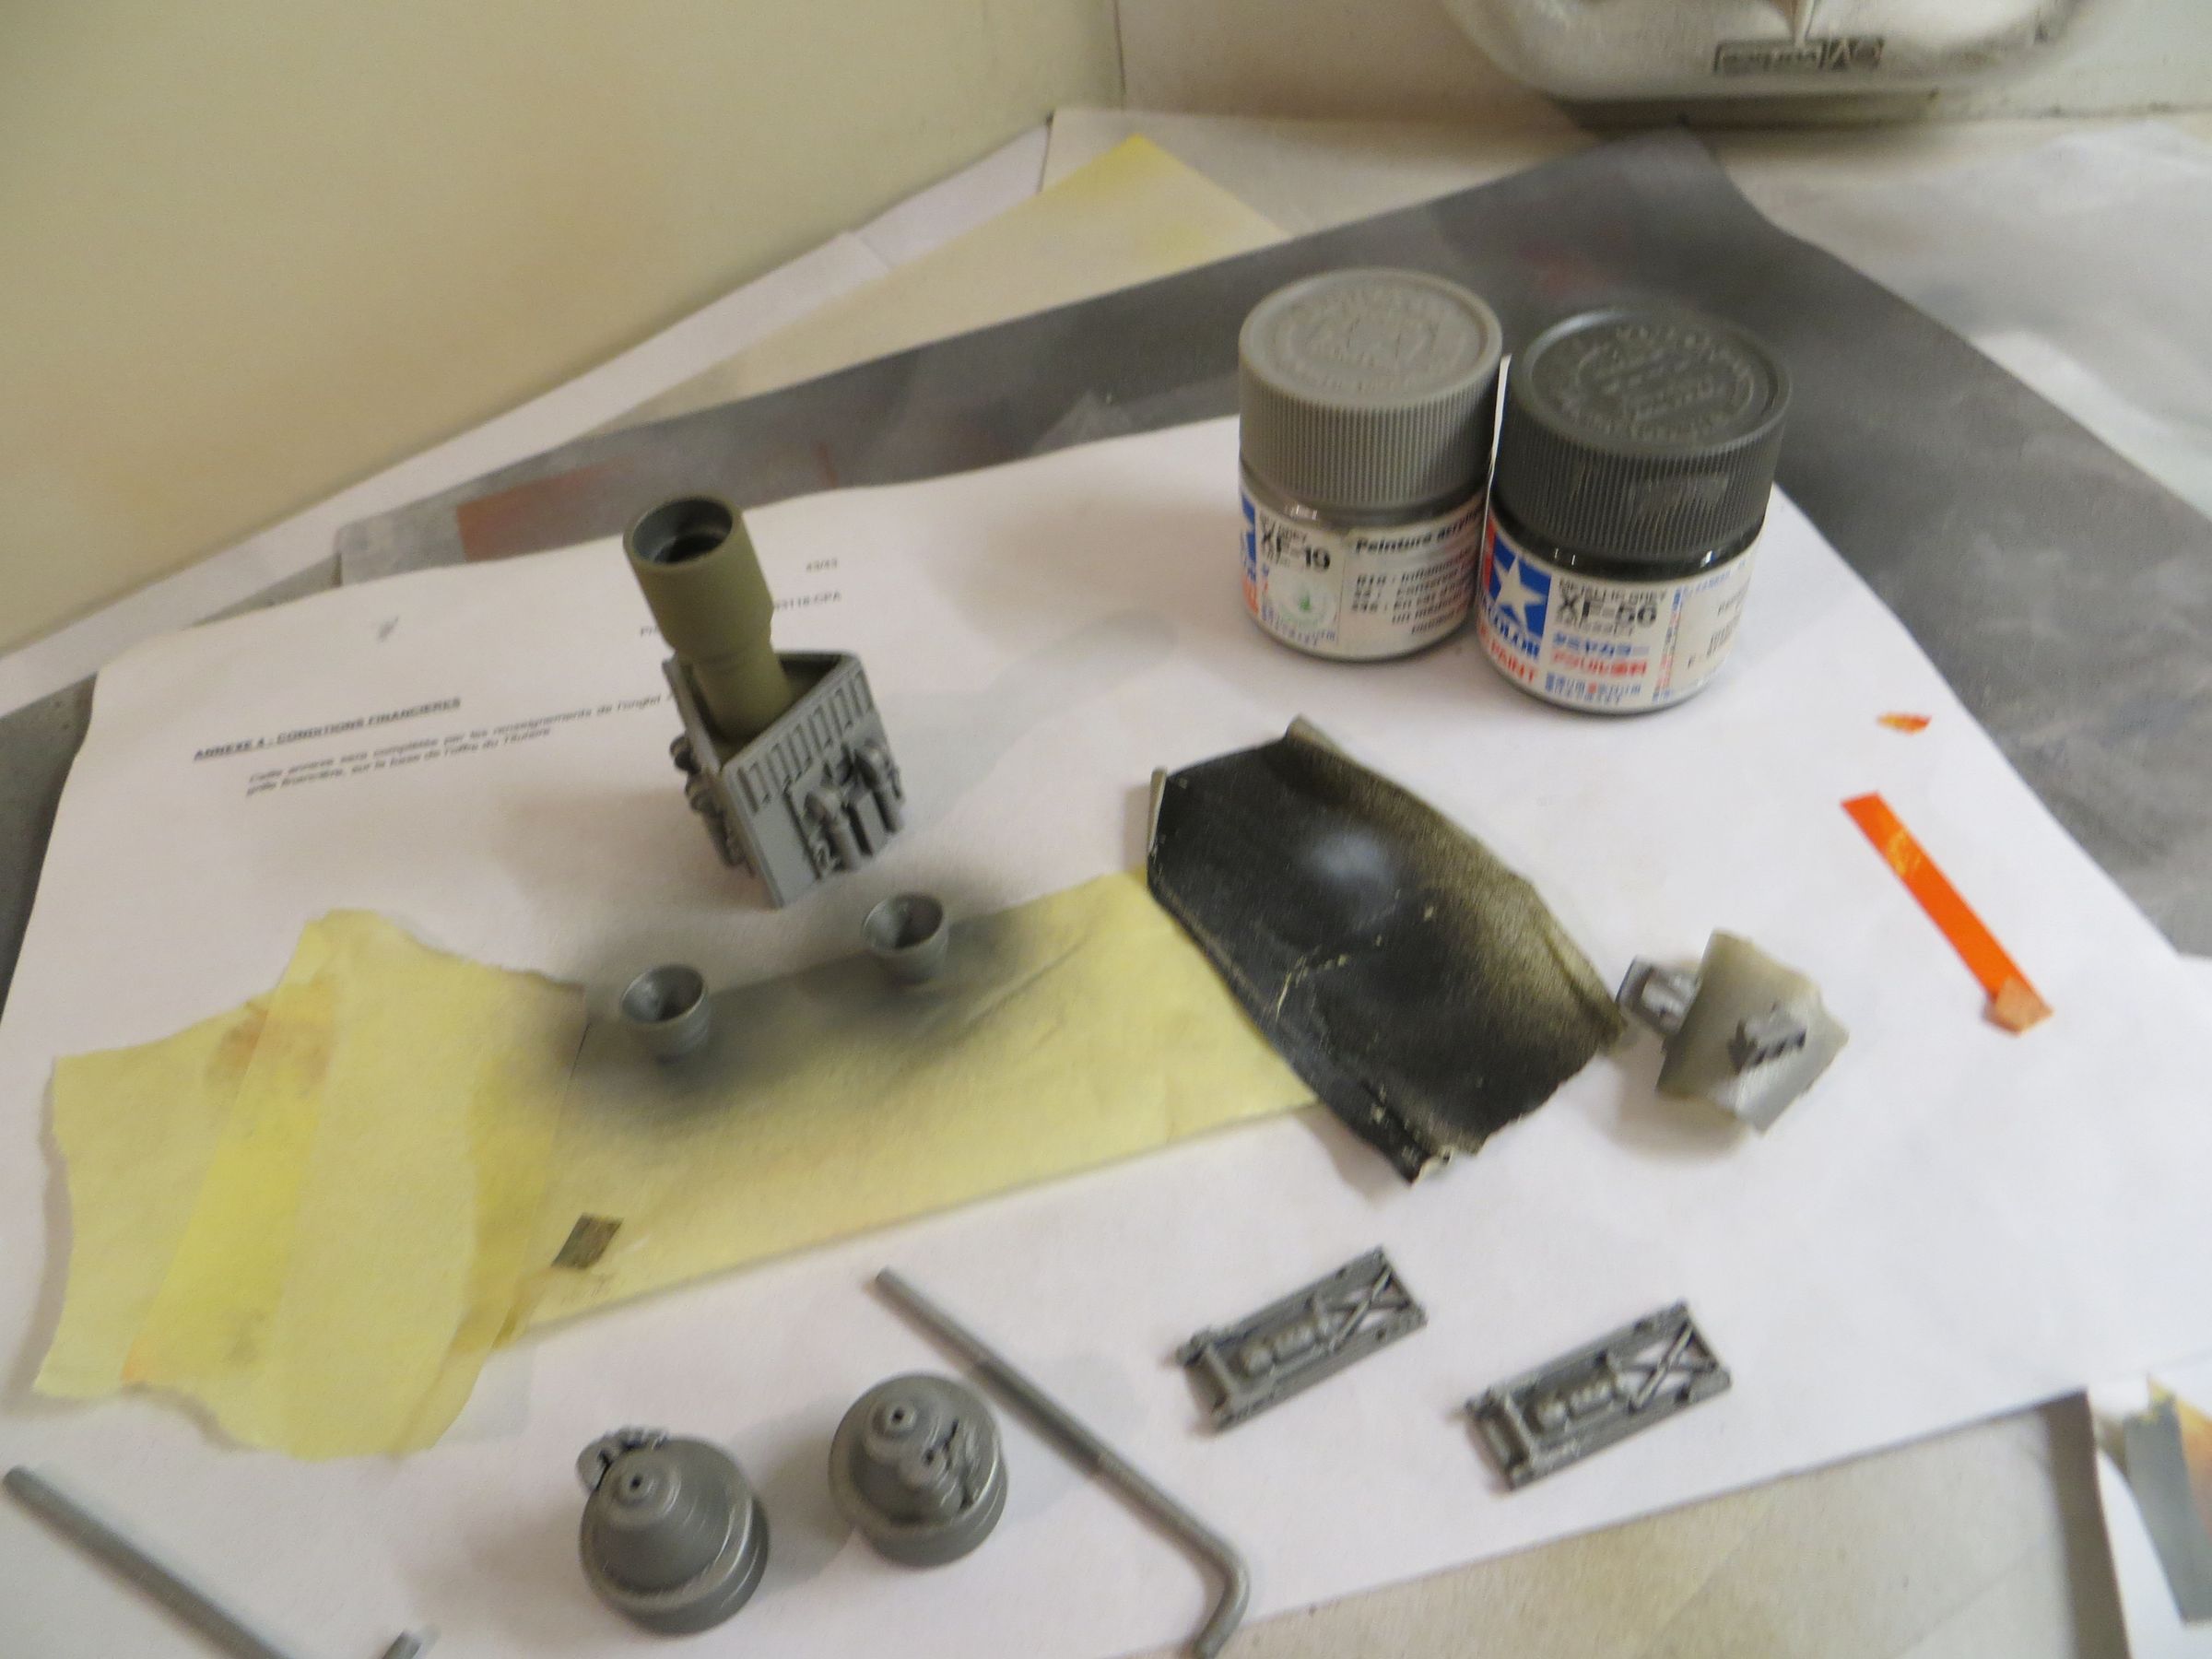
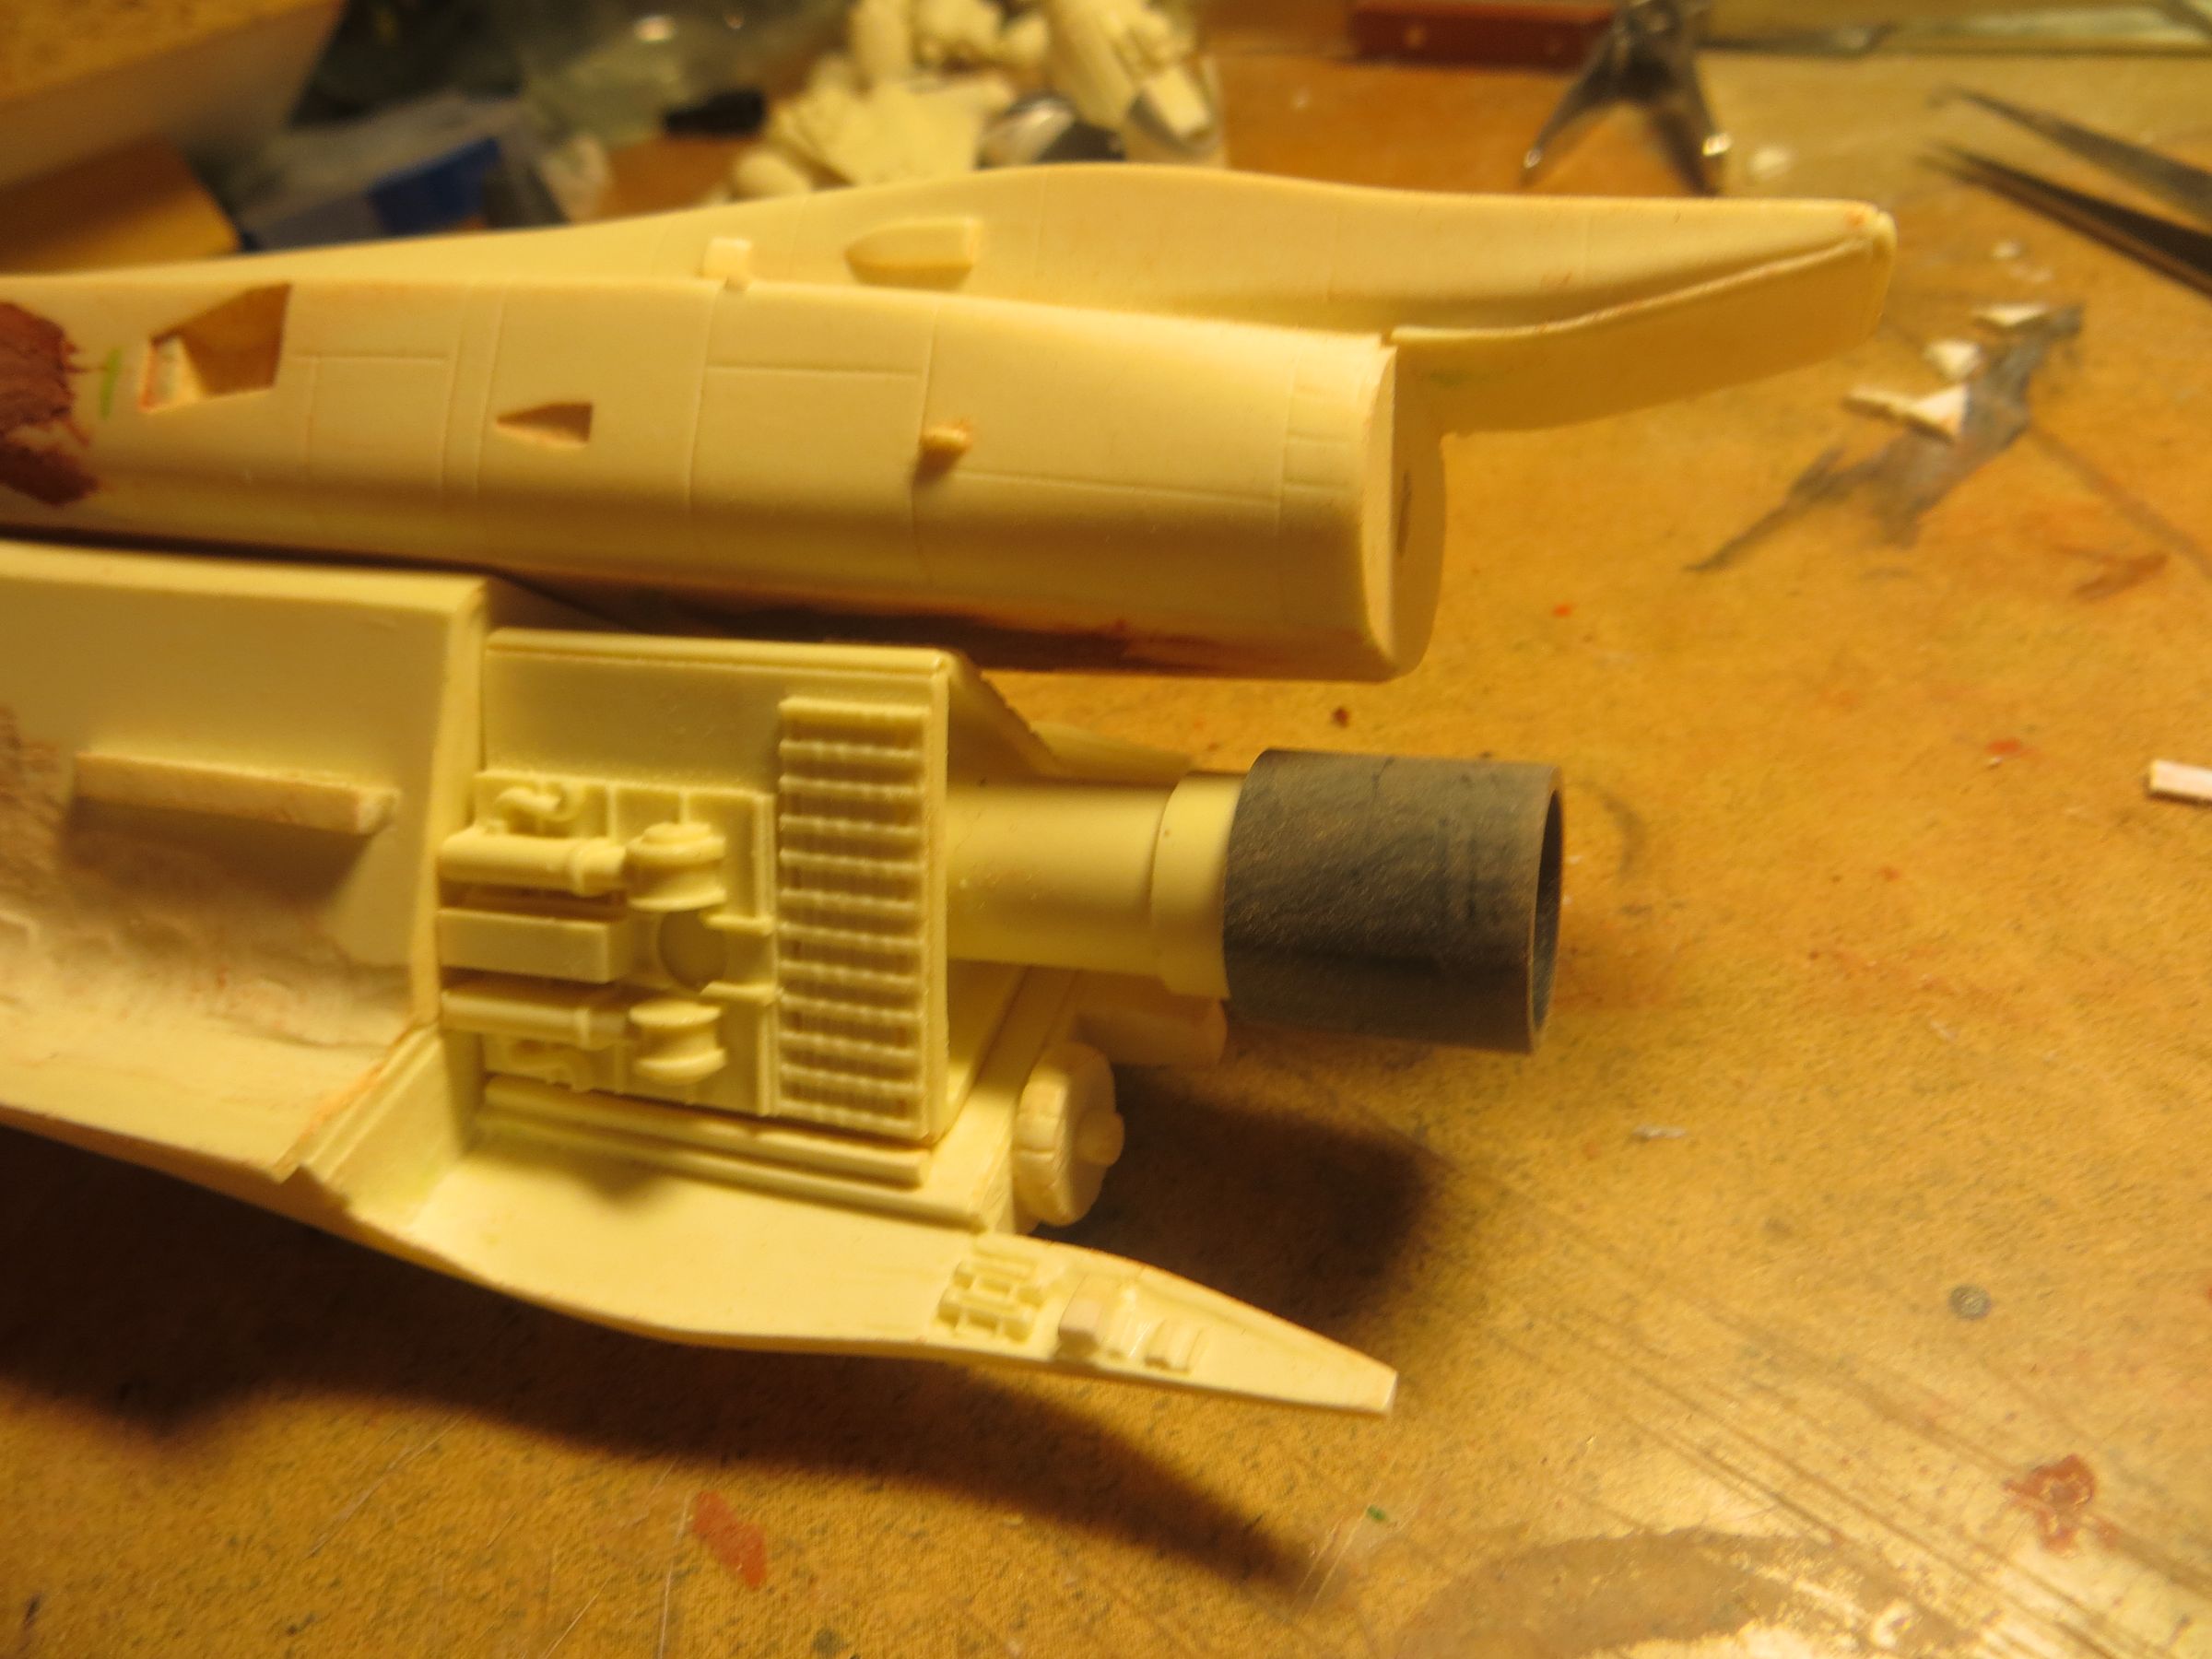
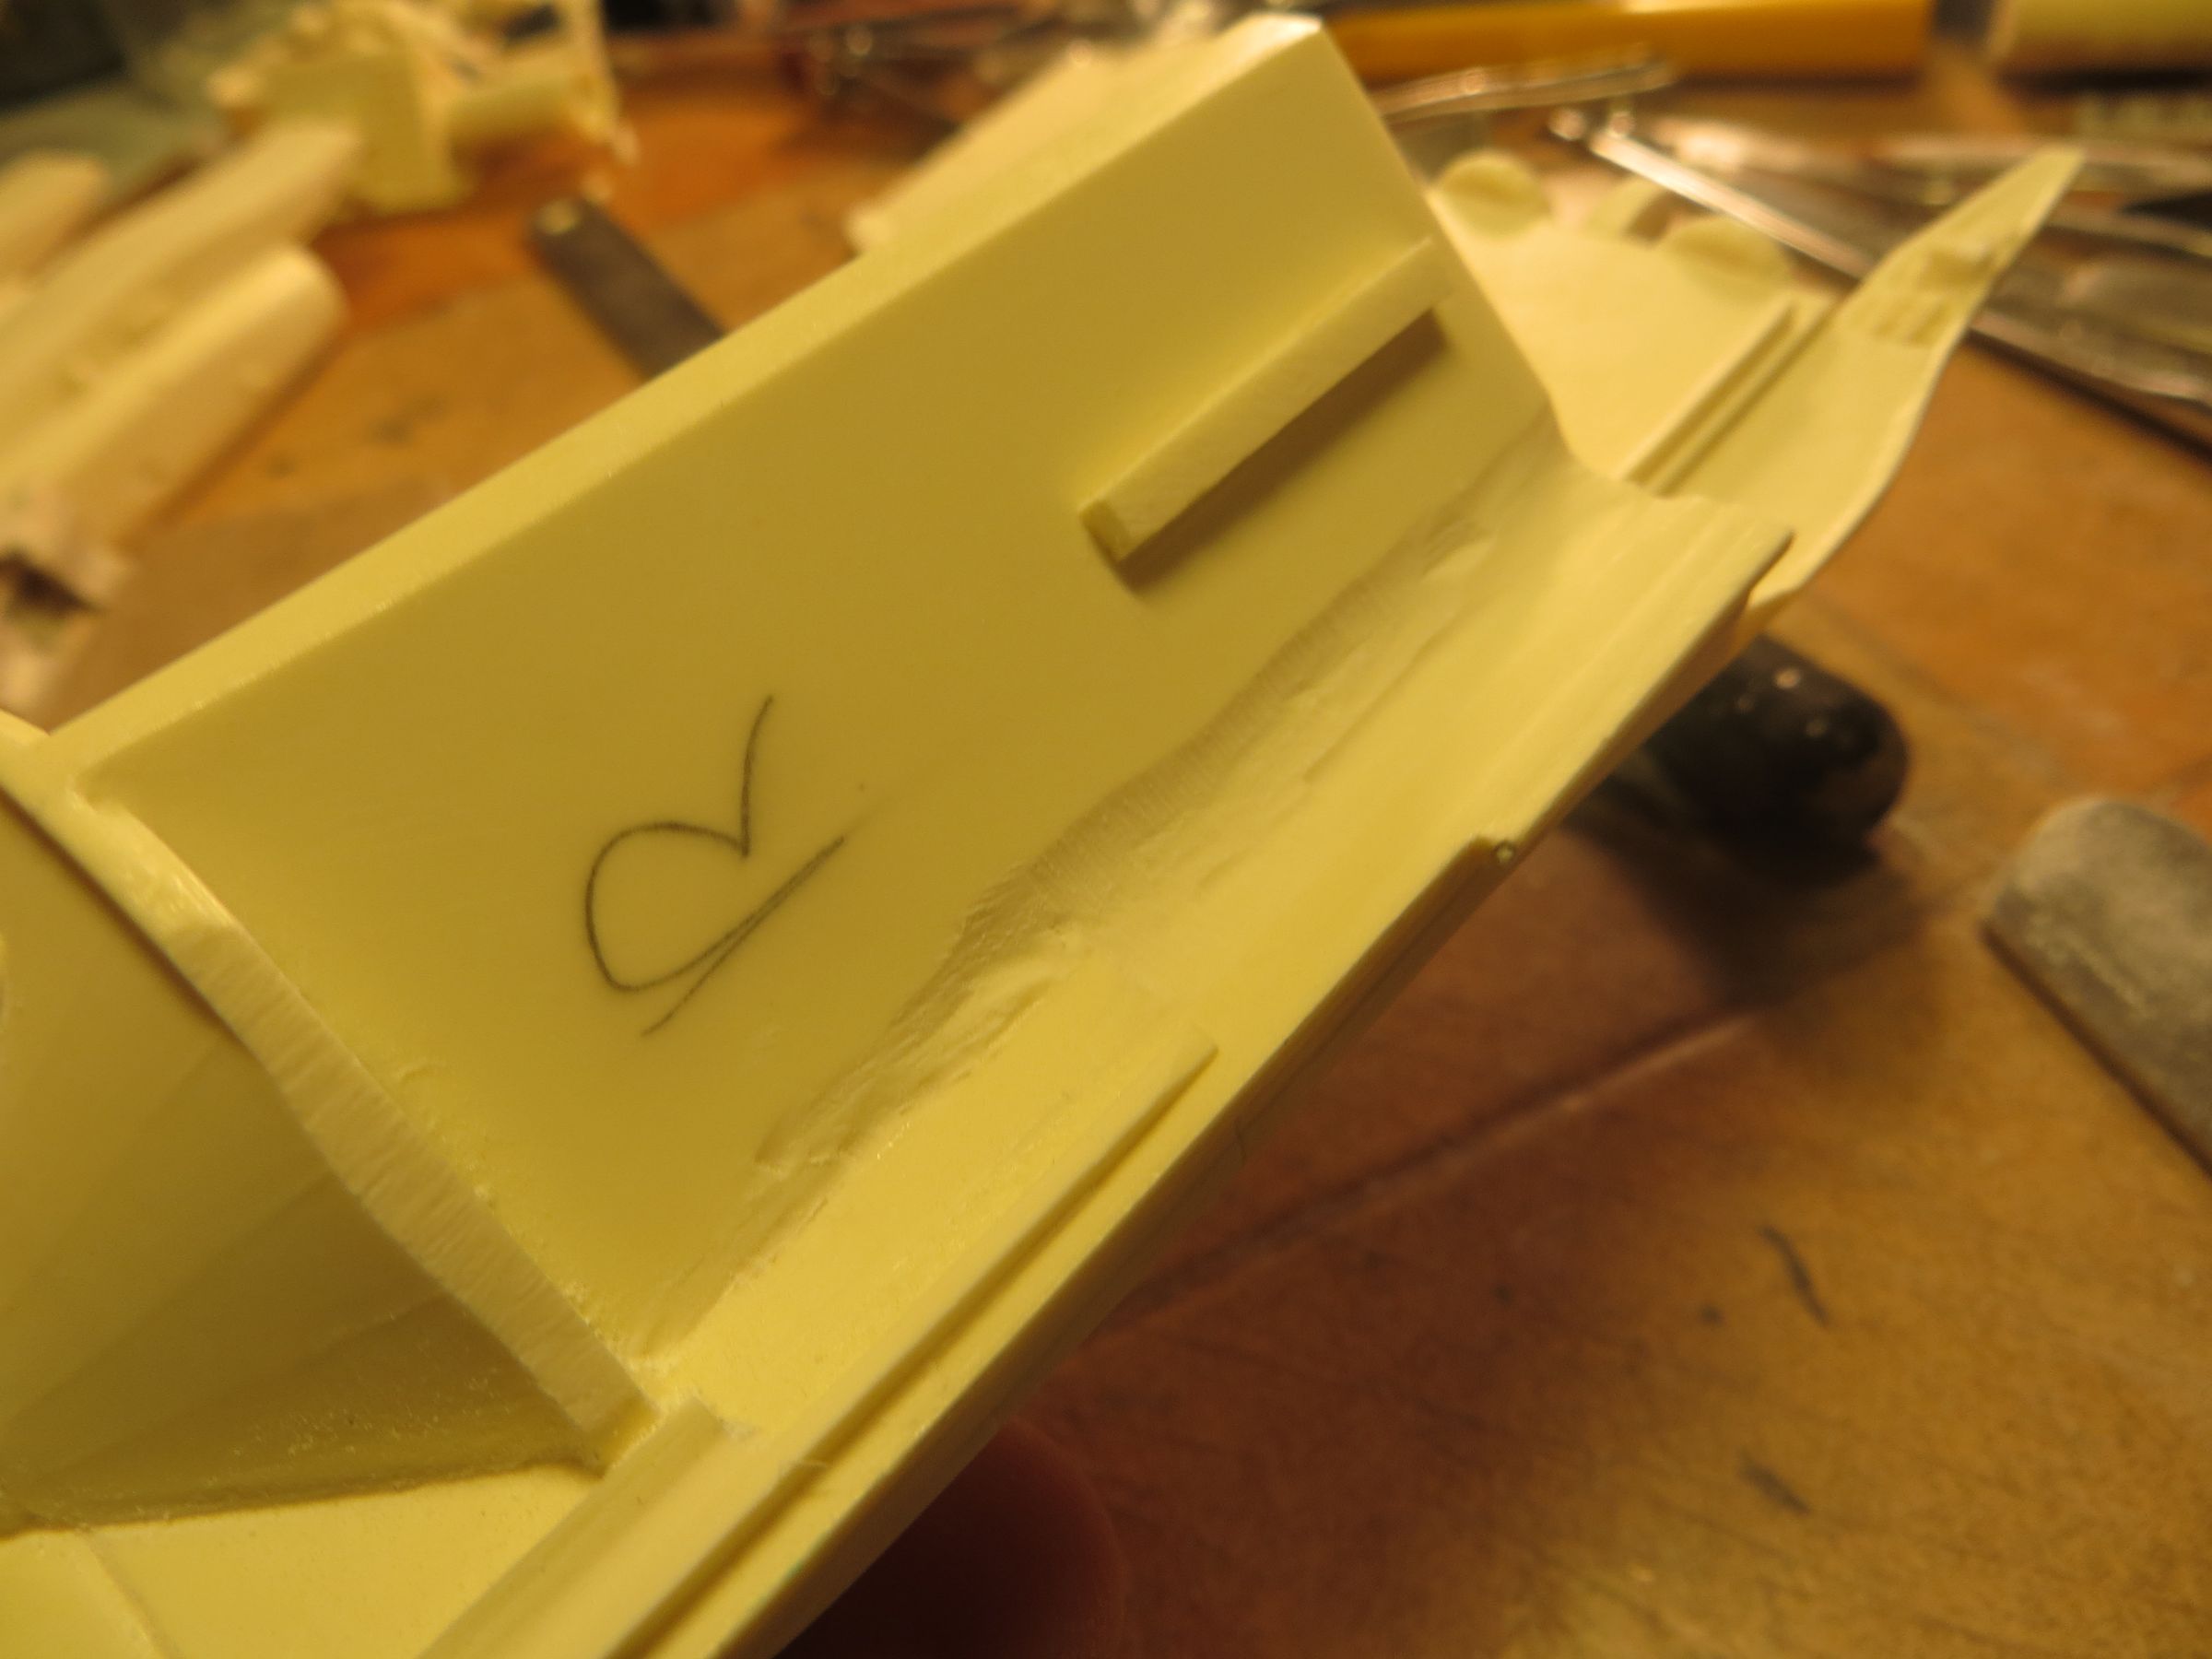
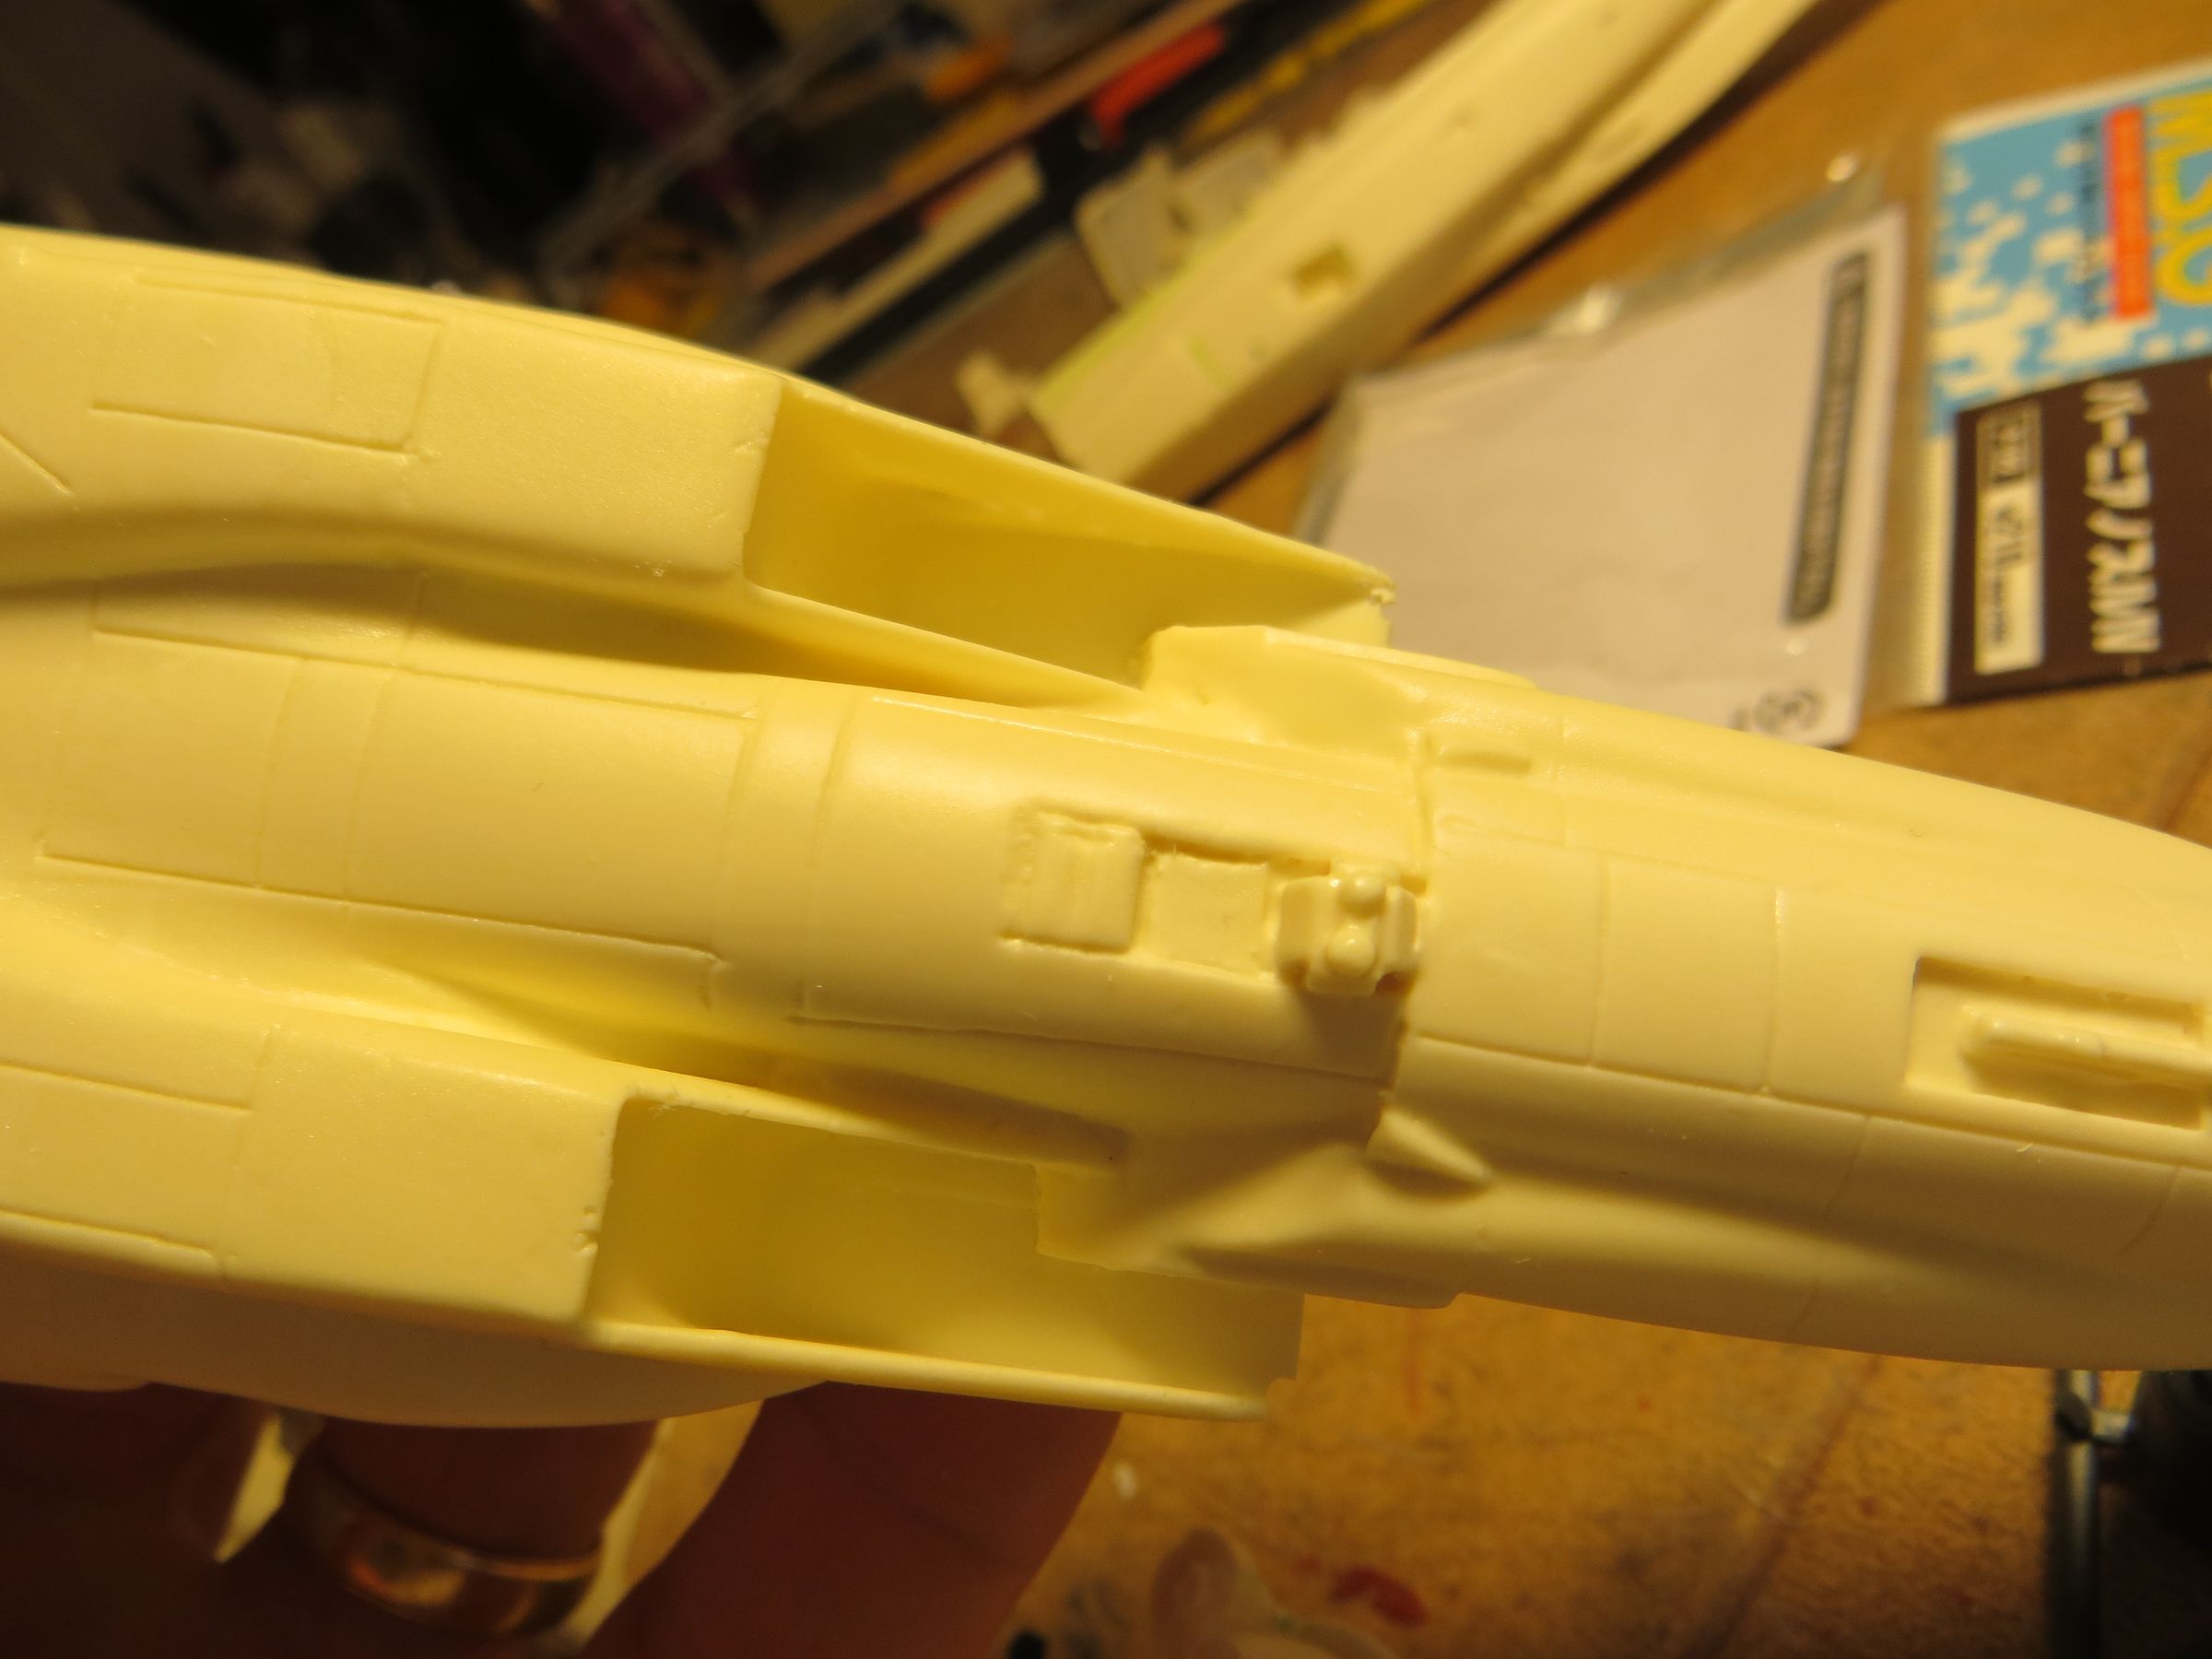
Between the reactor core and the side, there are two rectangles (vehicle chassis) packed with various details. Those provided in the kit are not accurates, too thick and too long.
I sanded them and recovered elements for details. The chassis is made with parts from the spare box (frames, strips...)
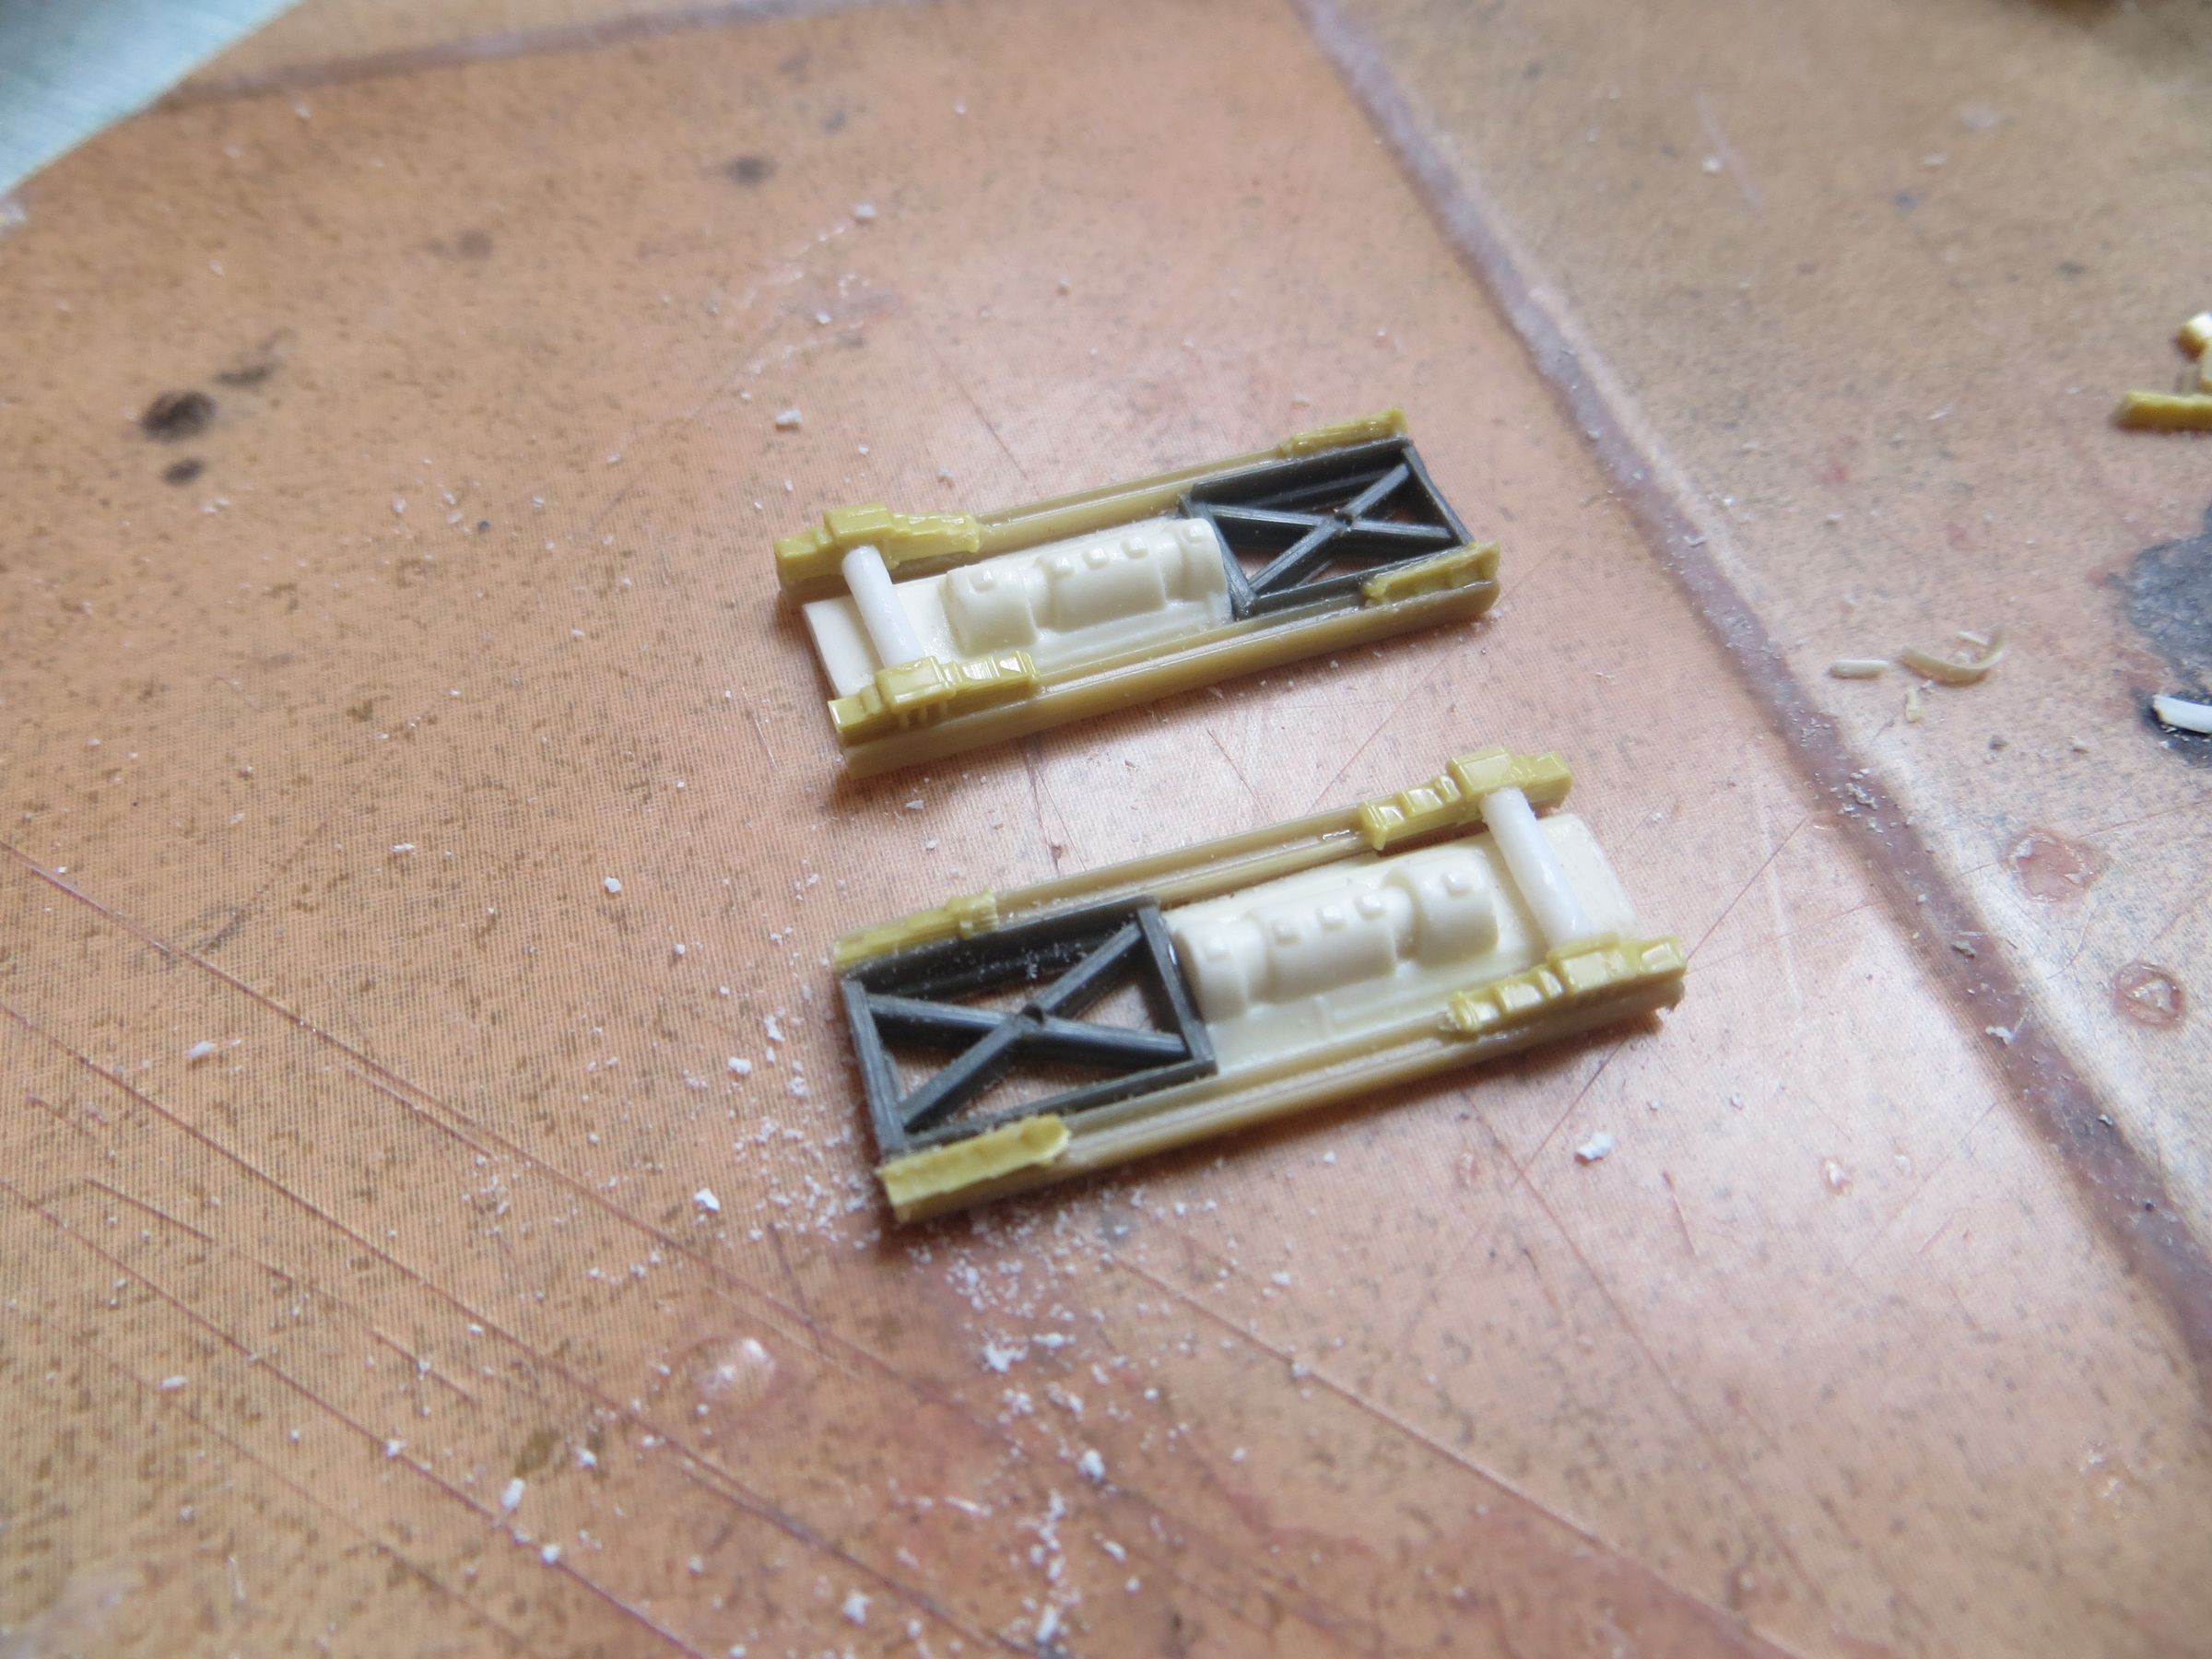
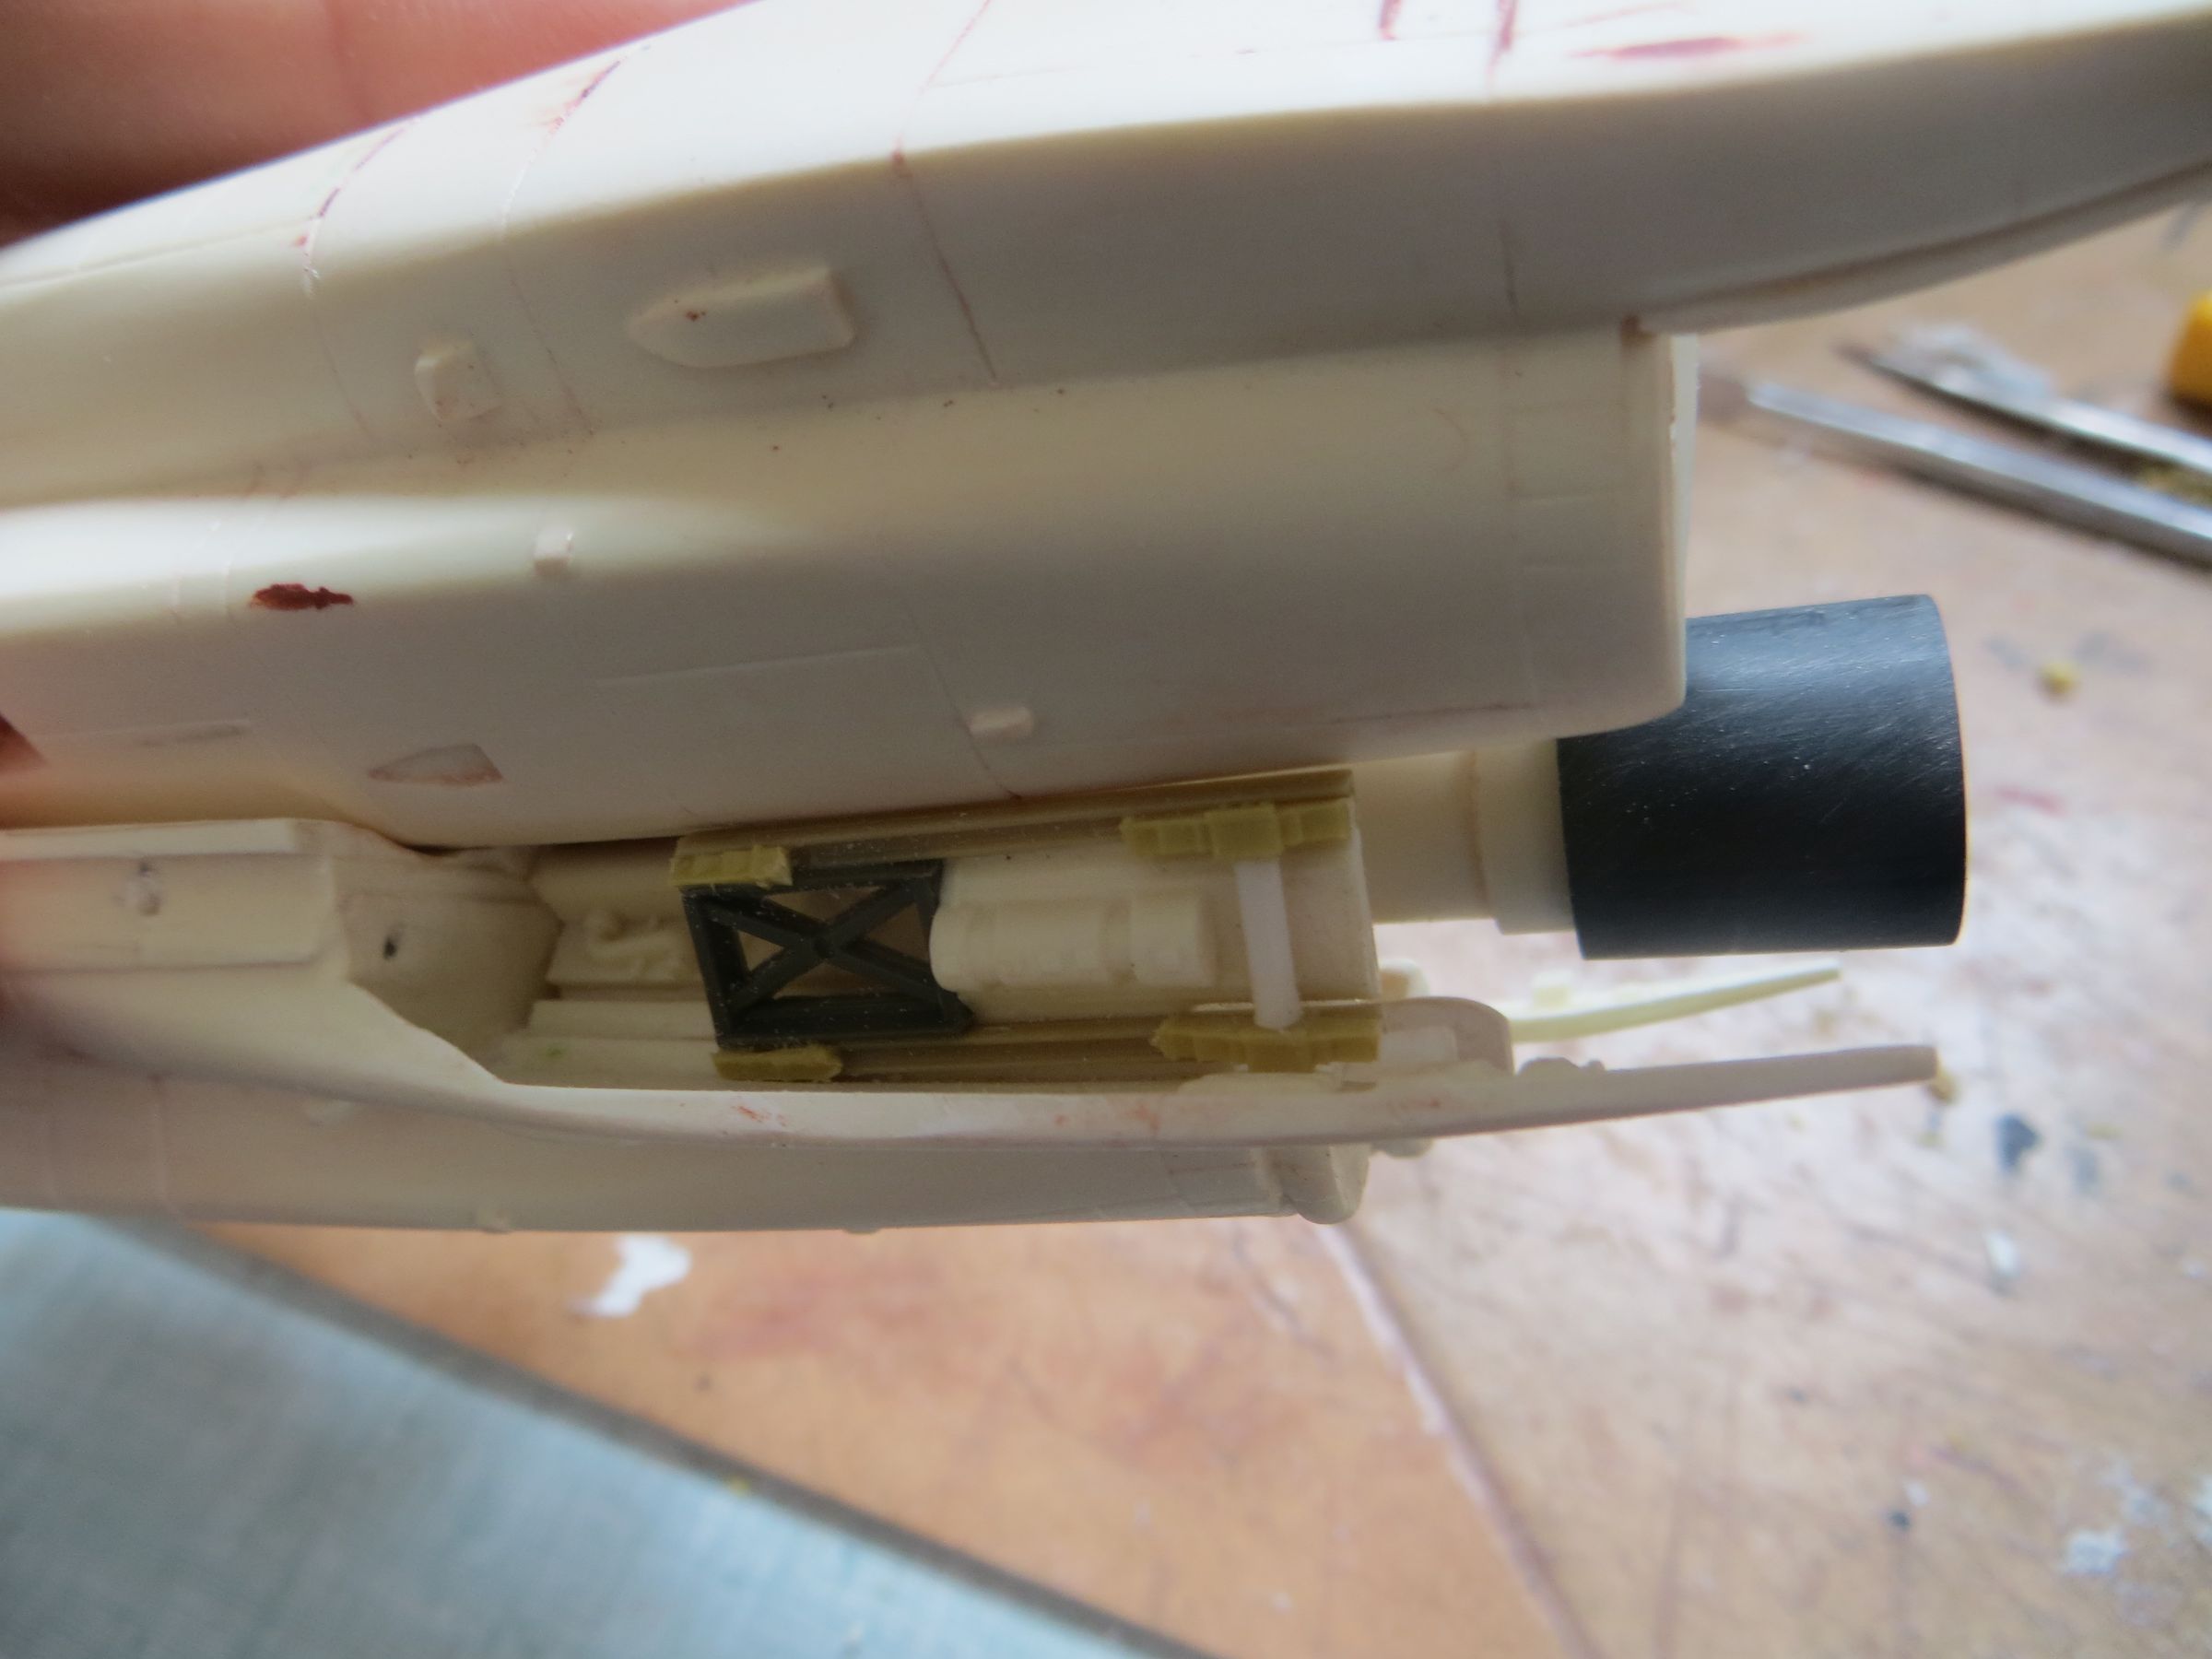
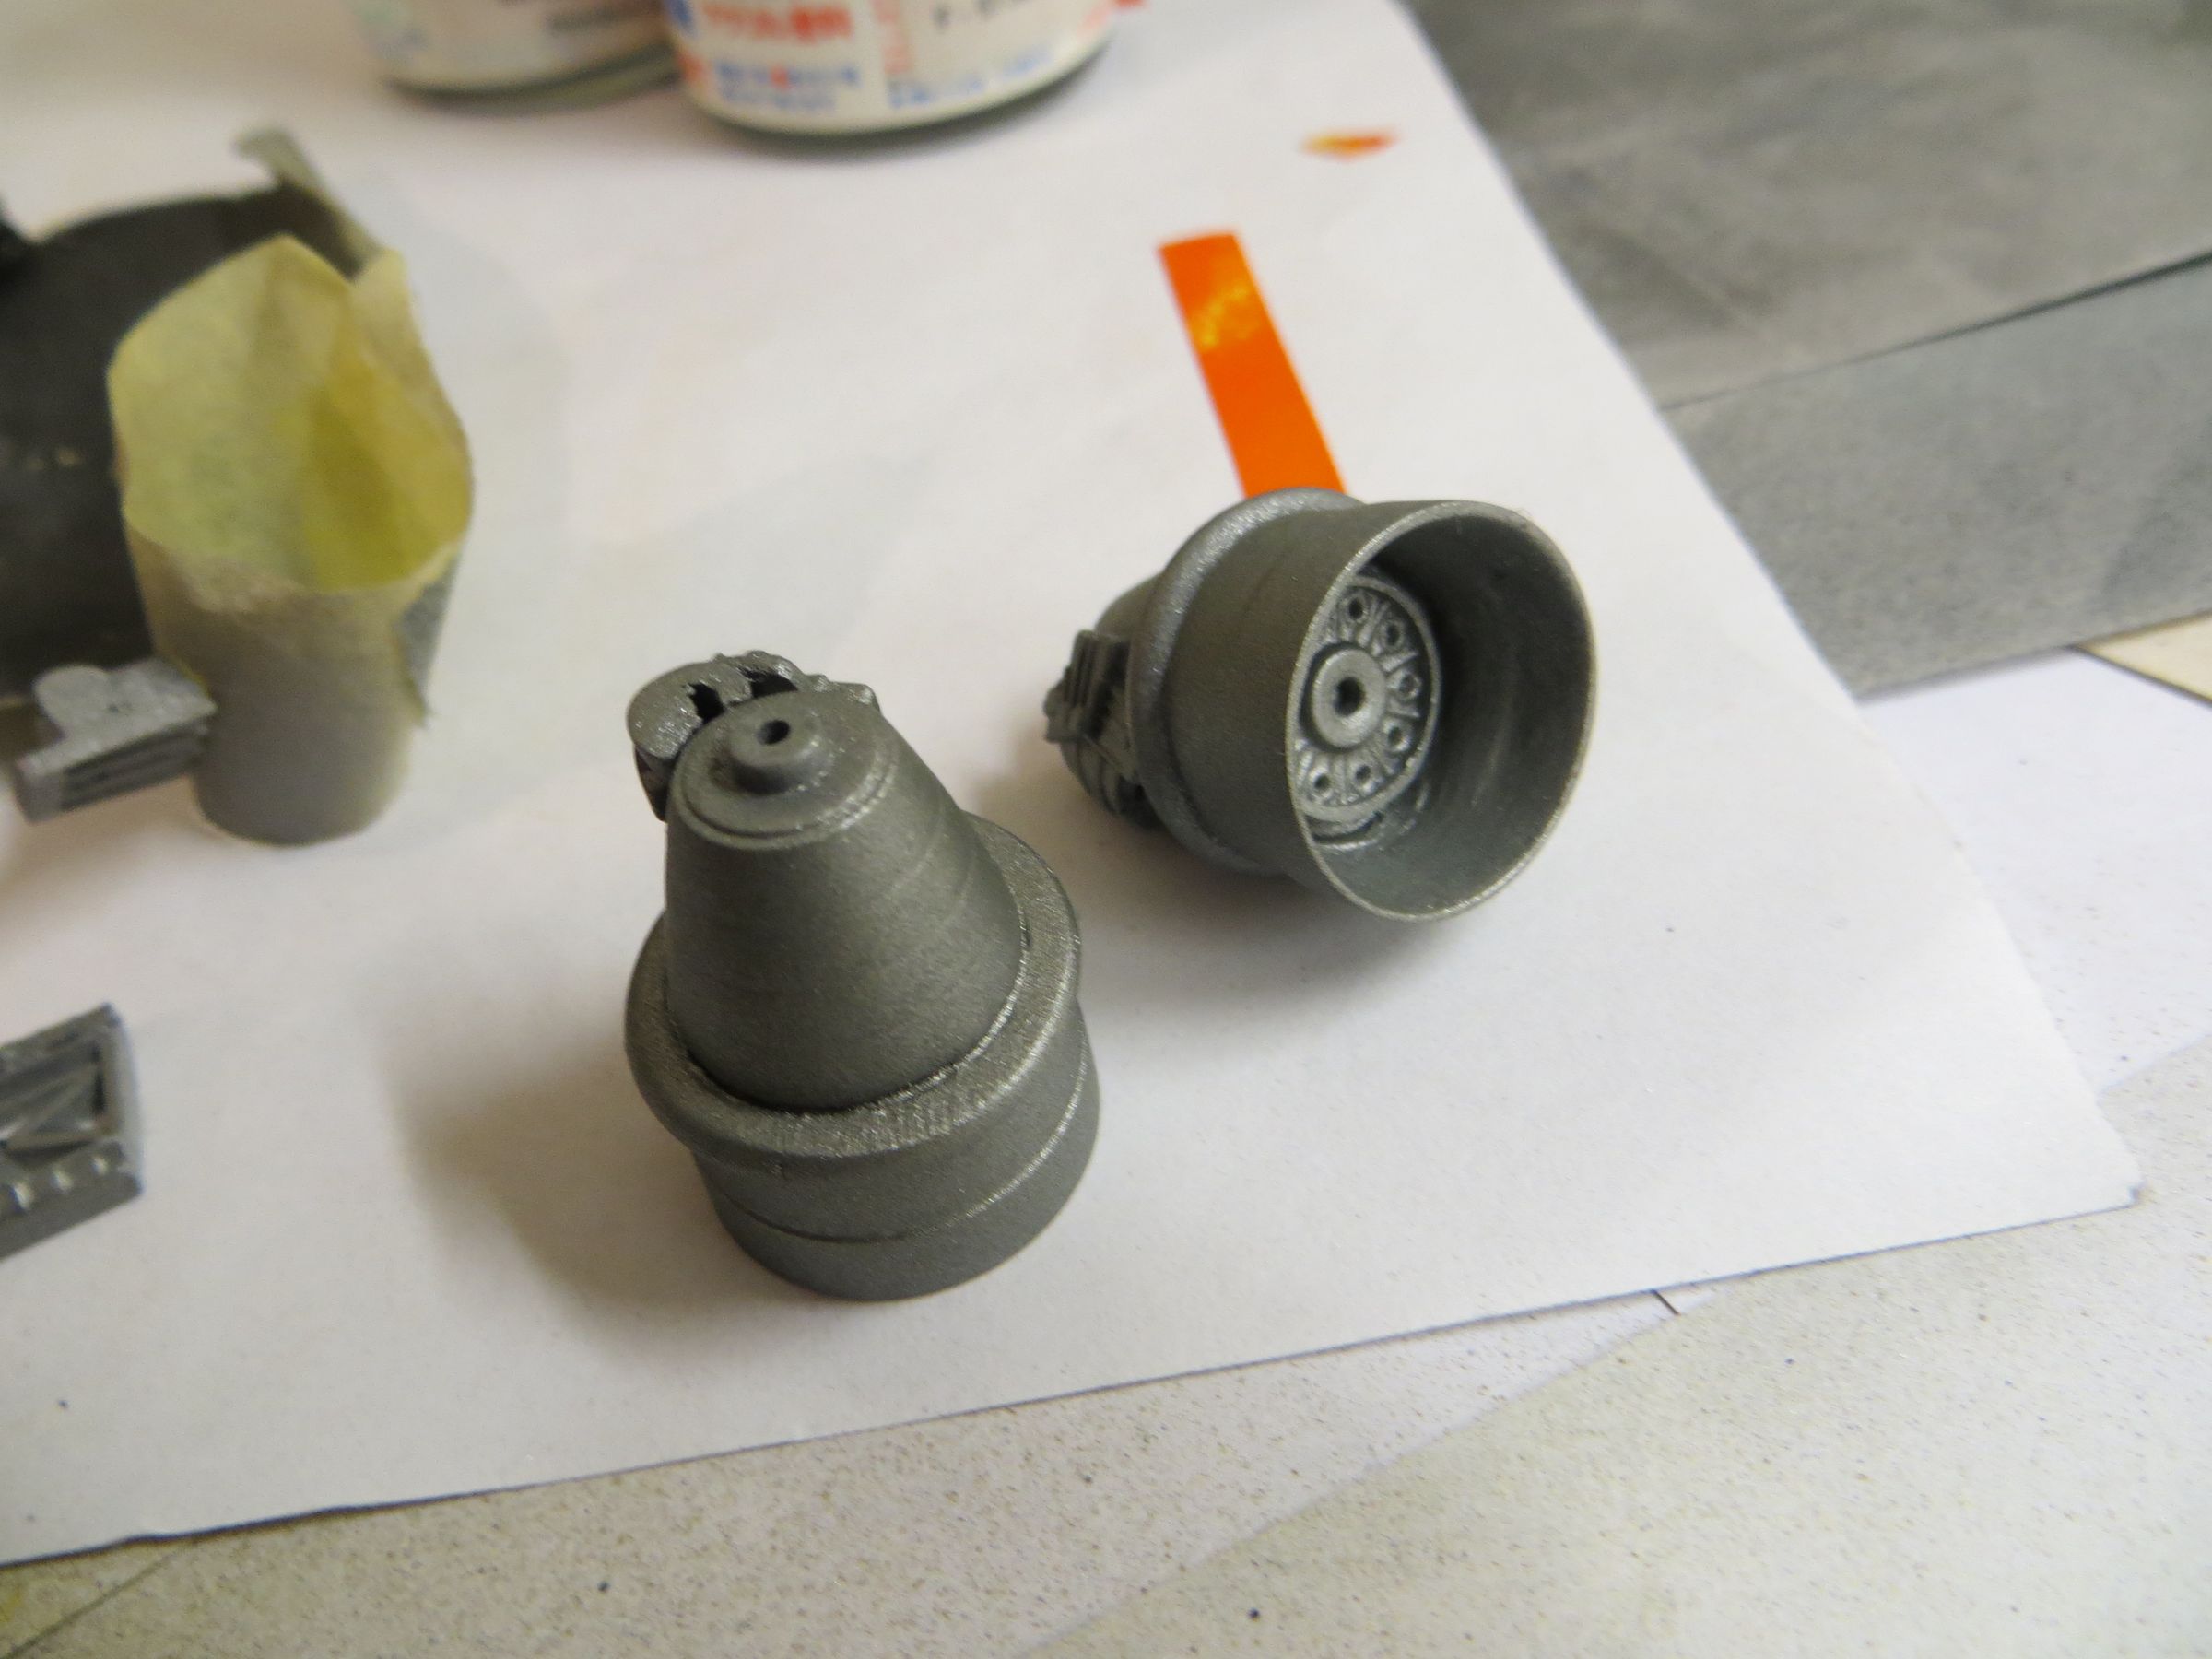
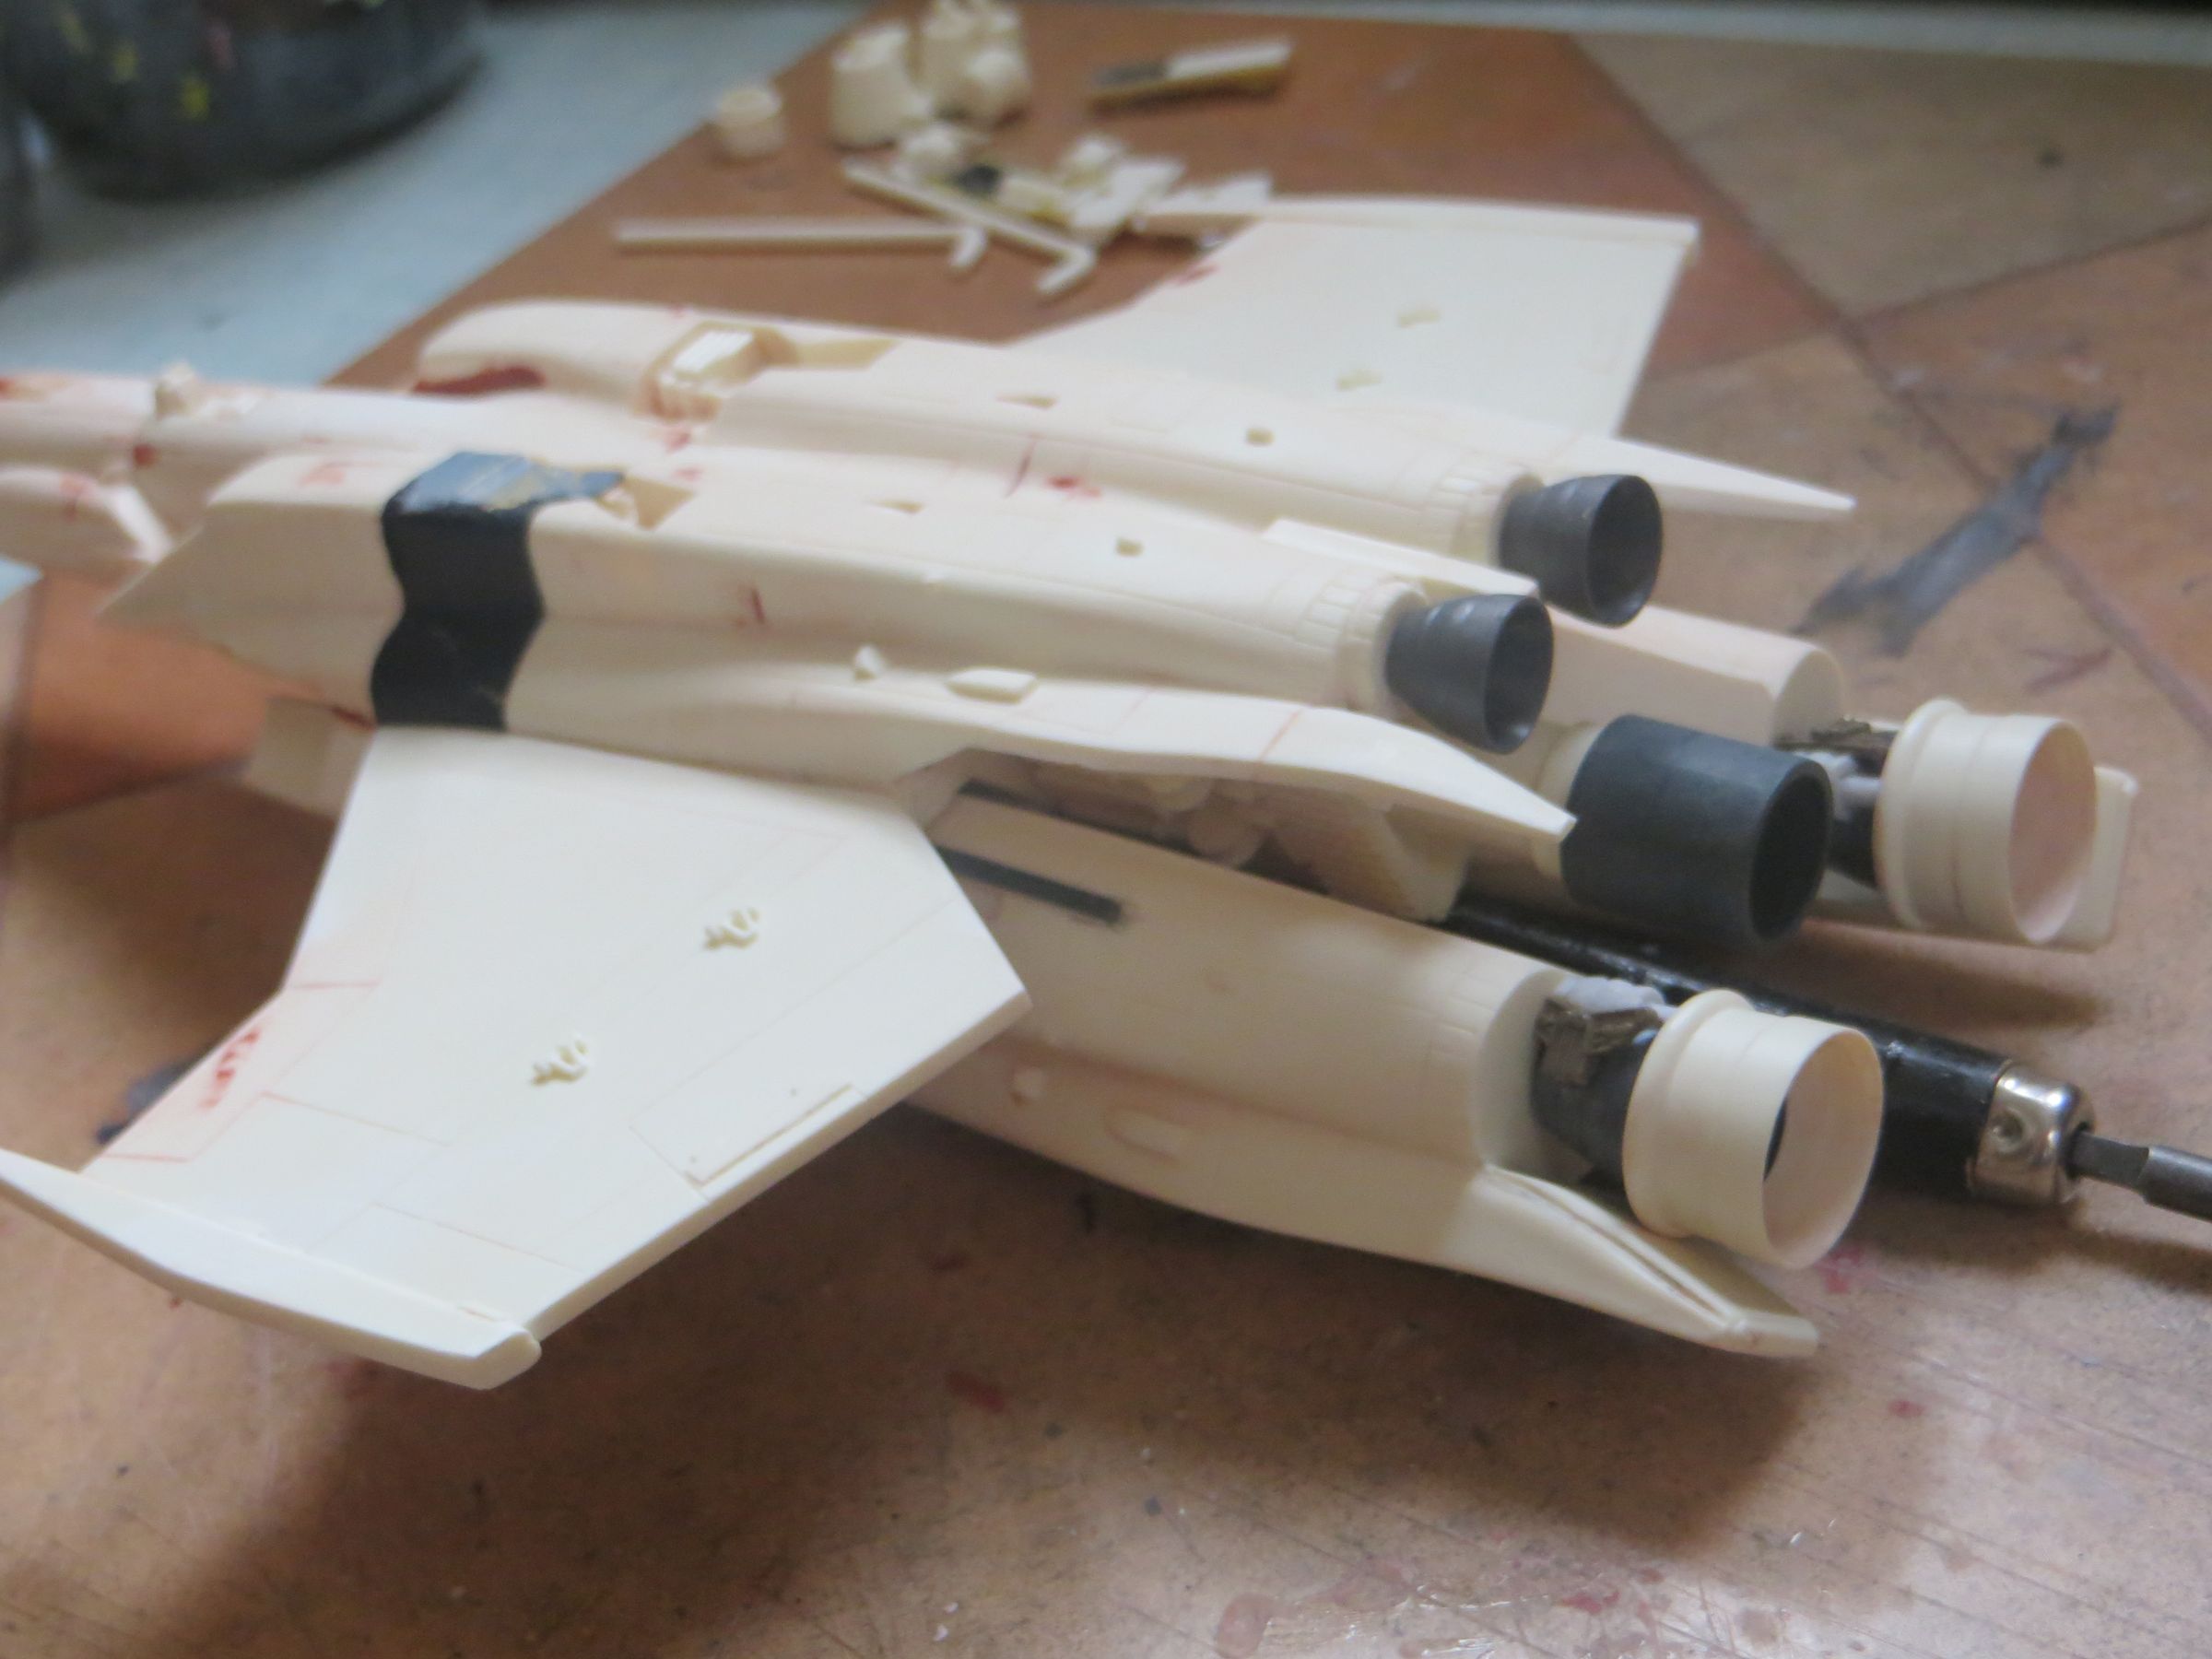
To complete the main nozzles (with the injection pipe on the side), again with spare parts (Bandai Macross vf -11 ankles) .
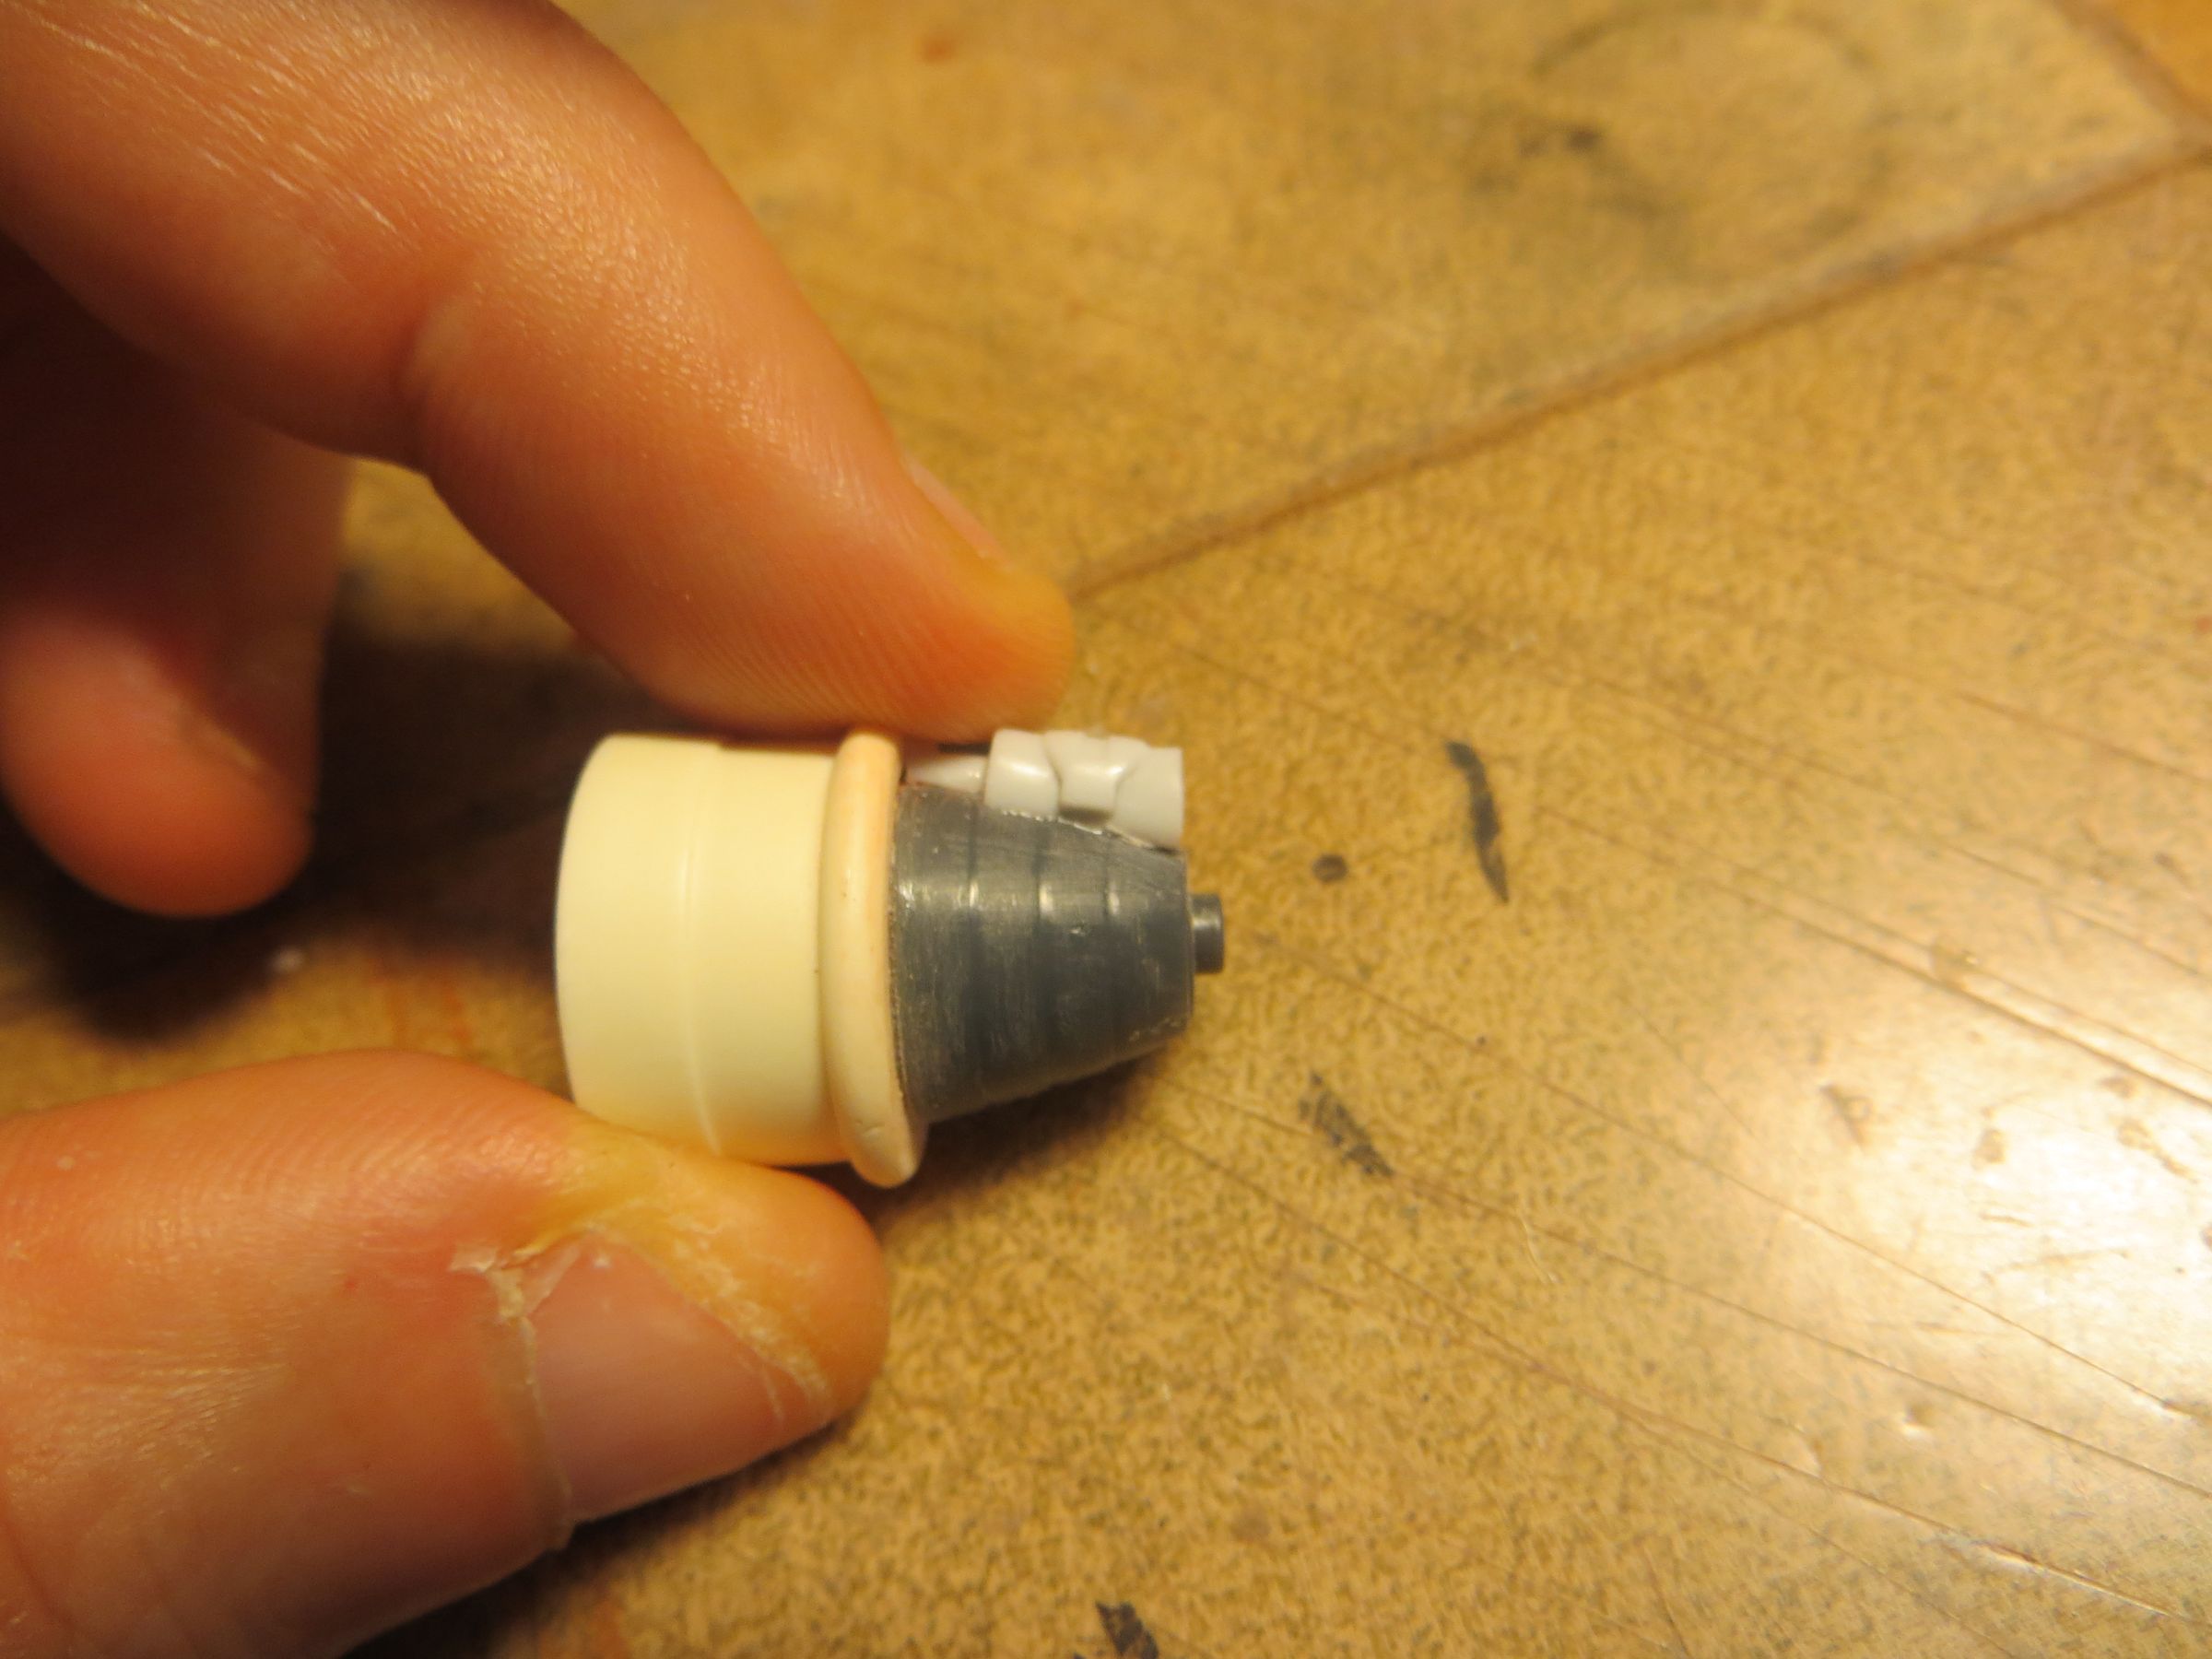
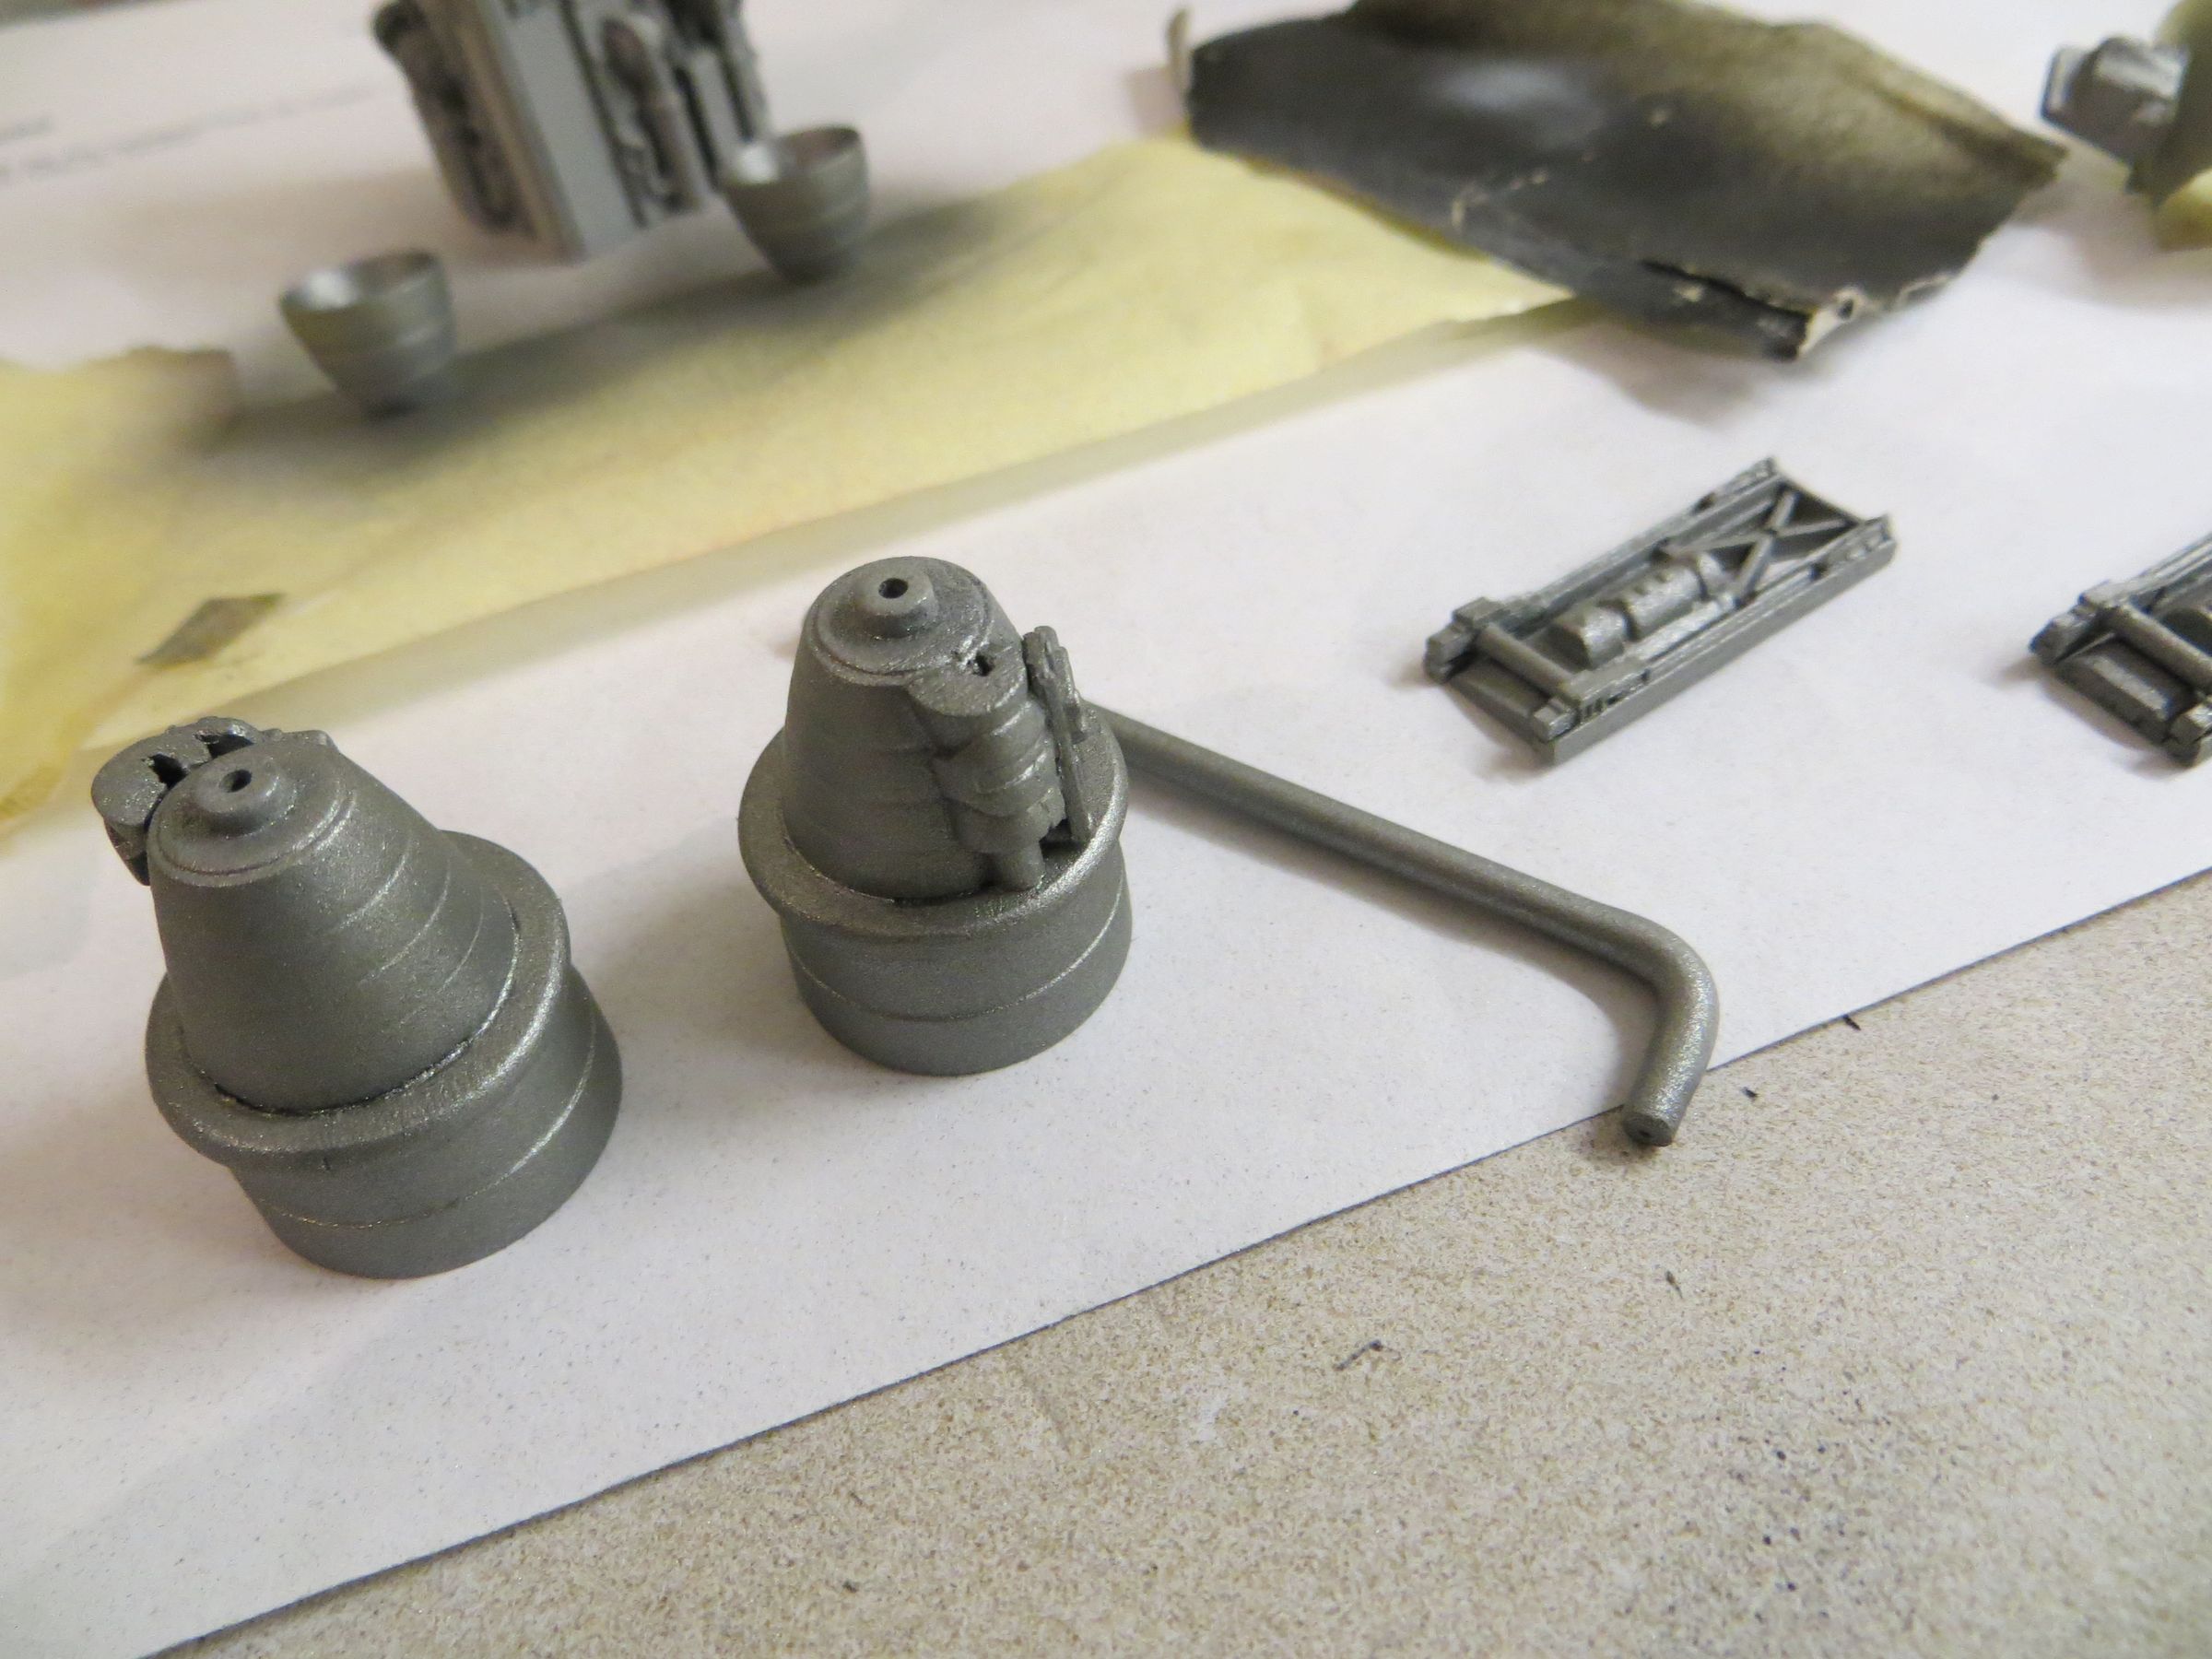
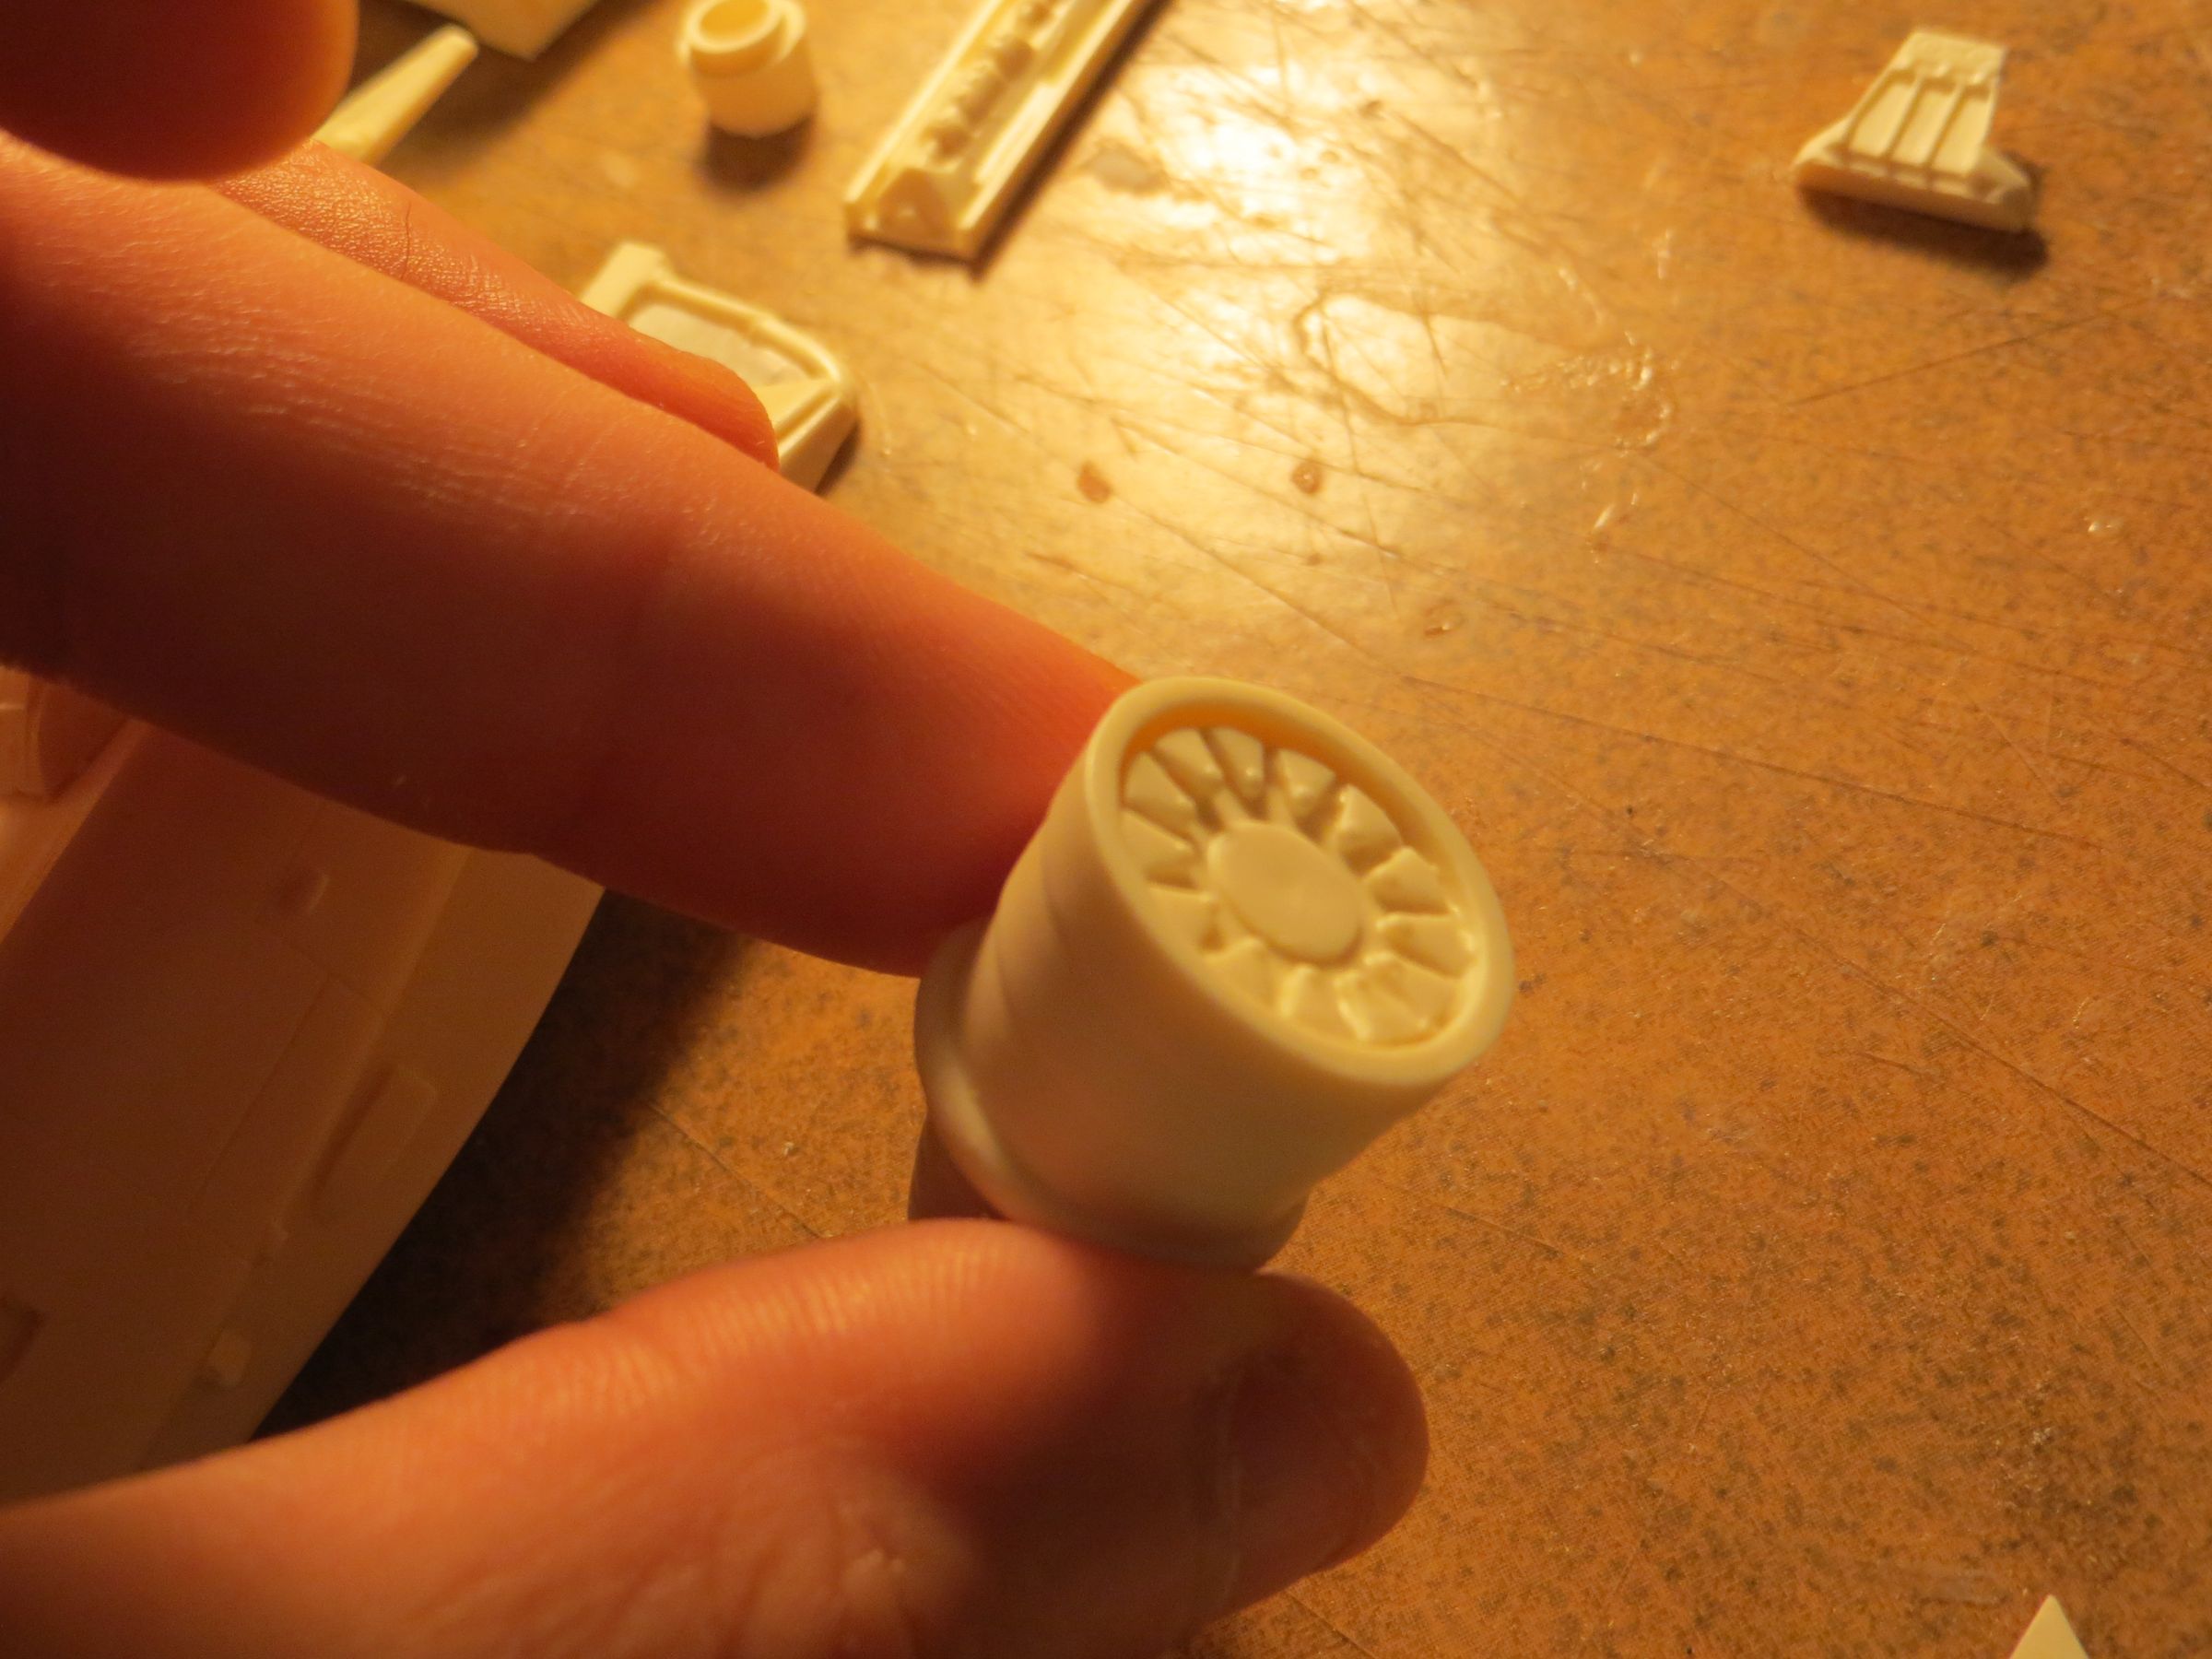
A tank wheel is set in the bottom of these nozzles to be more interesting.
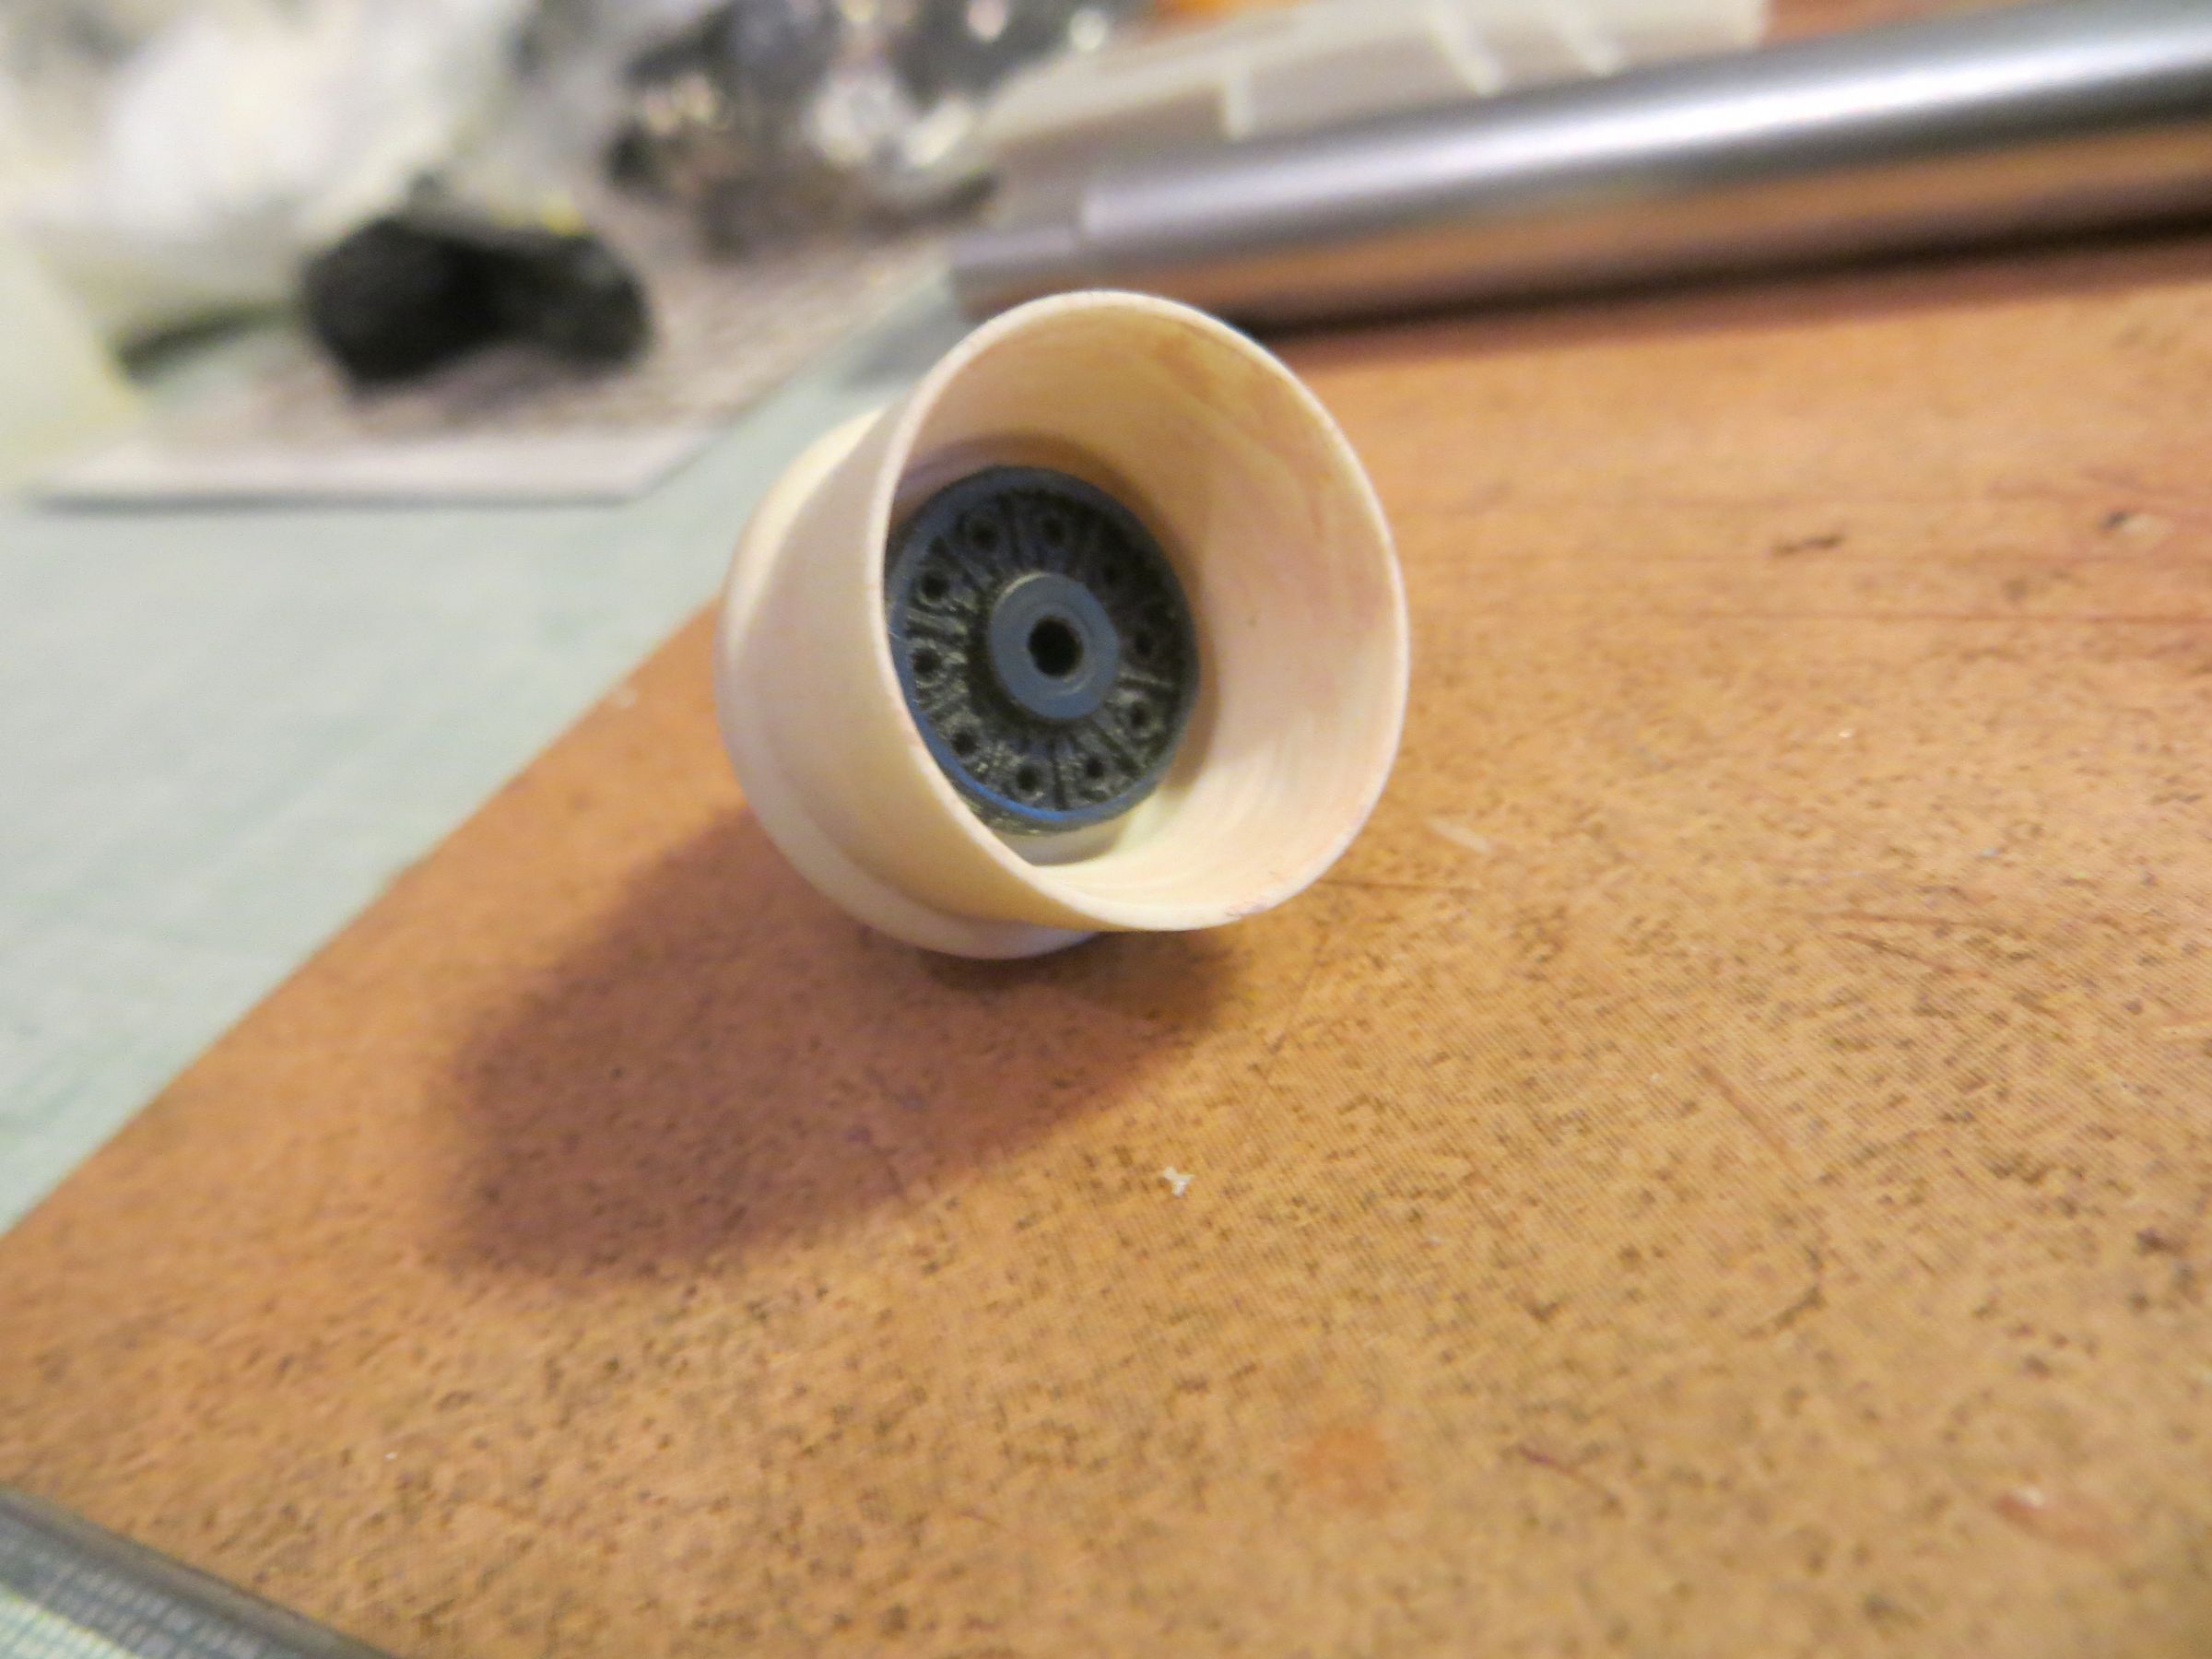
At the base of bells, there are some sherman tank axles.
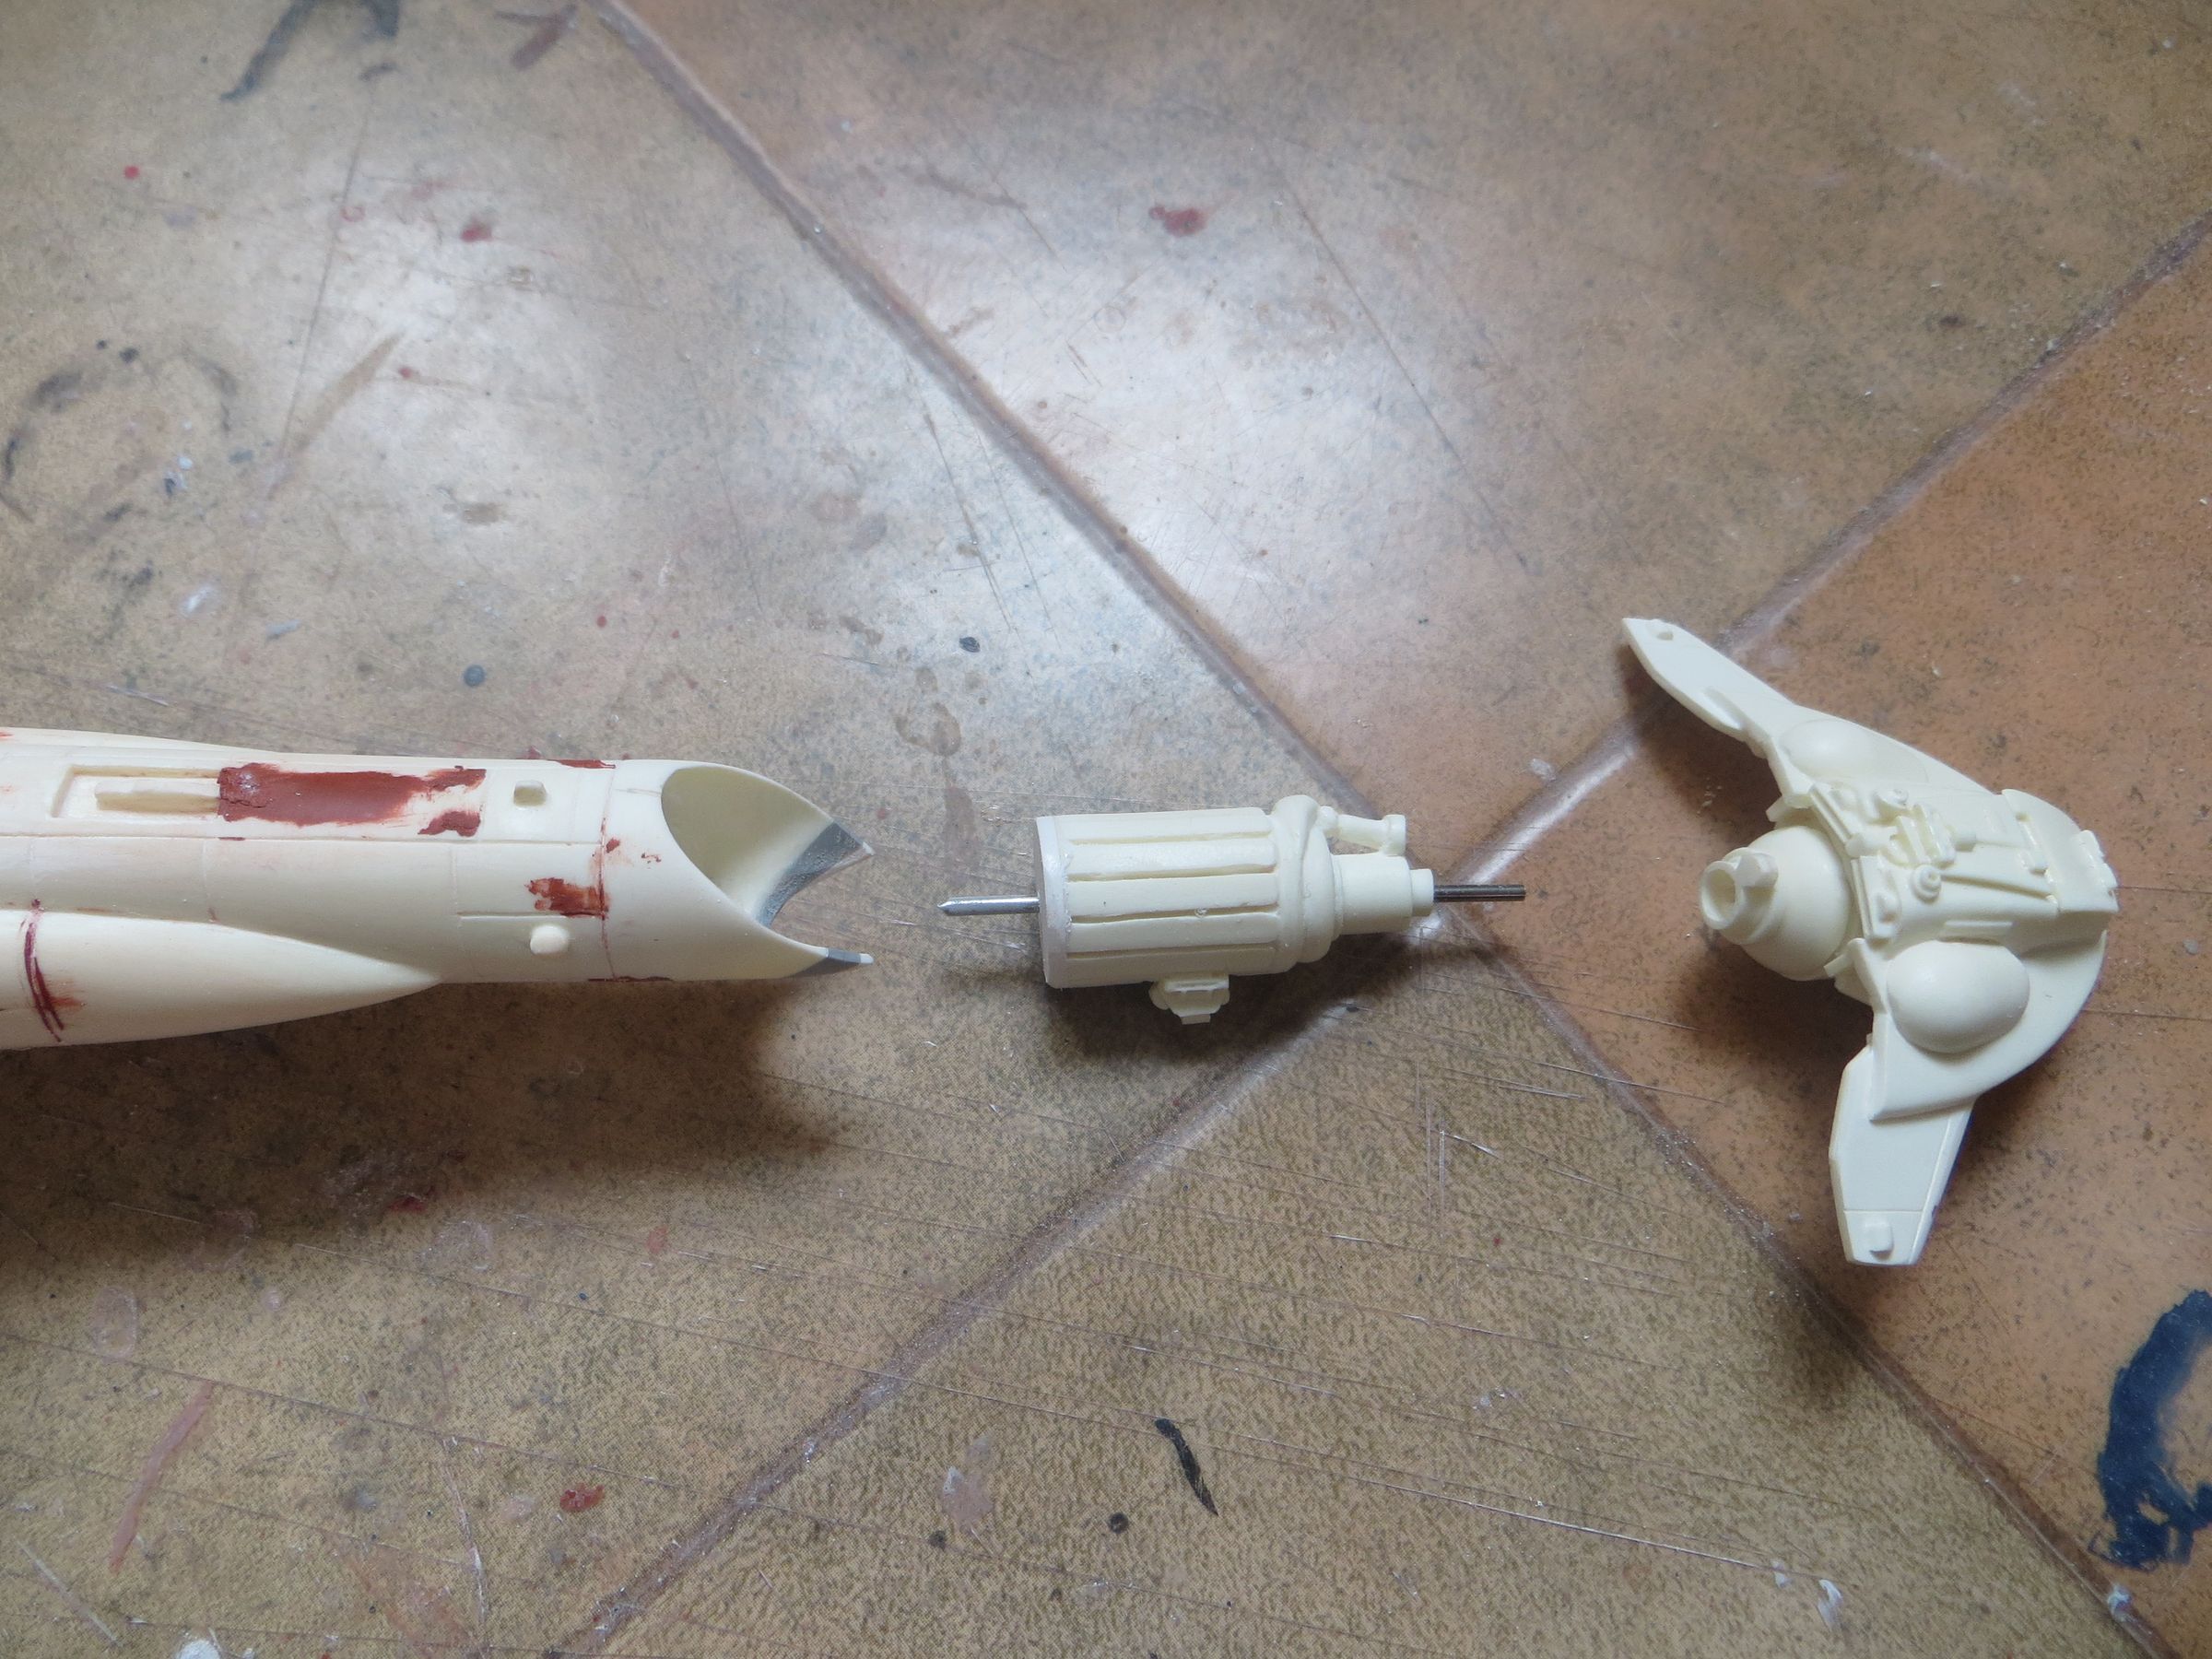
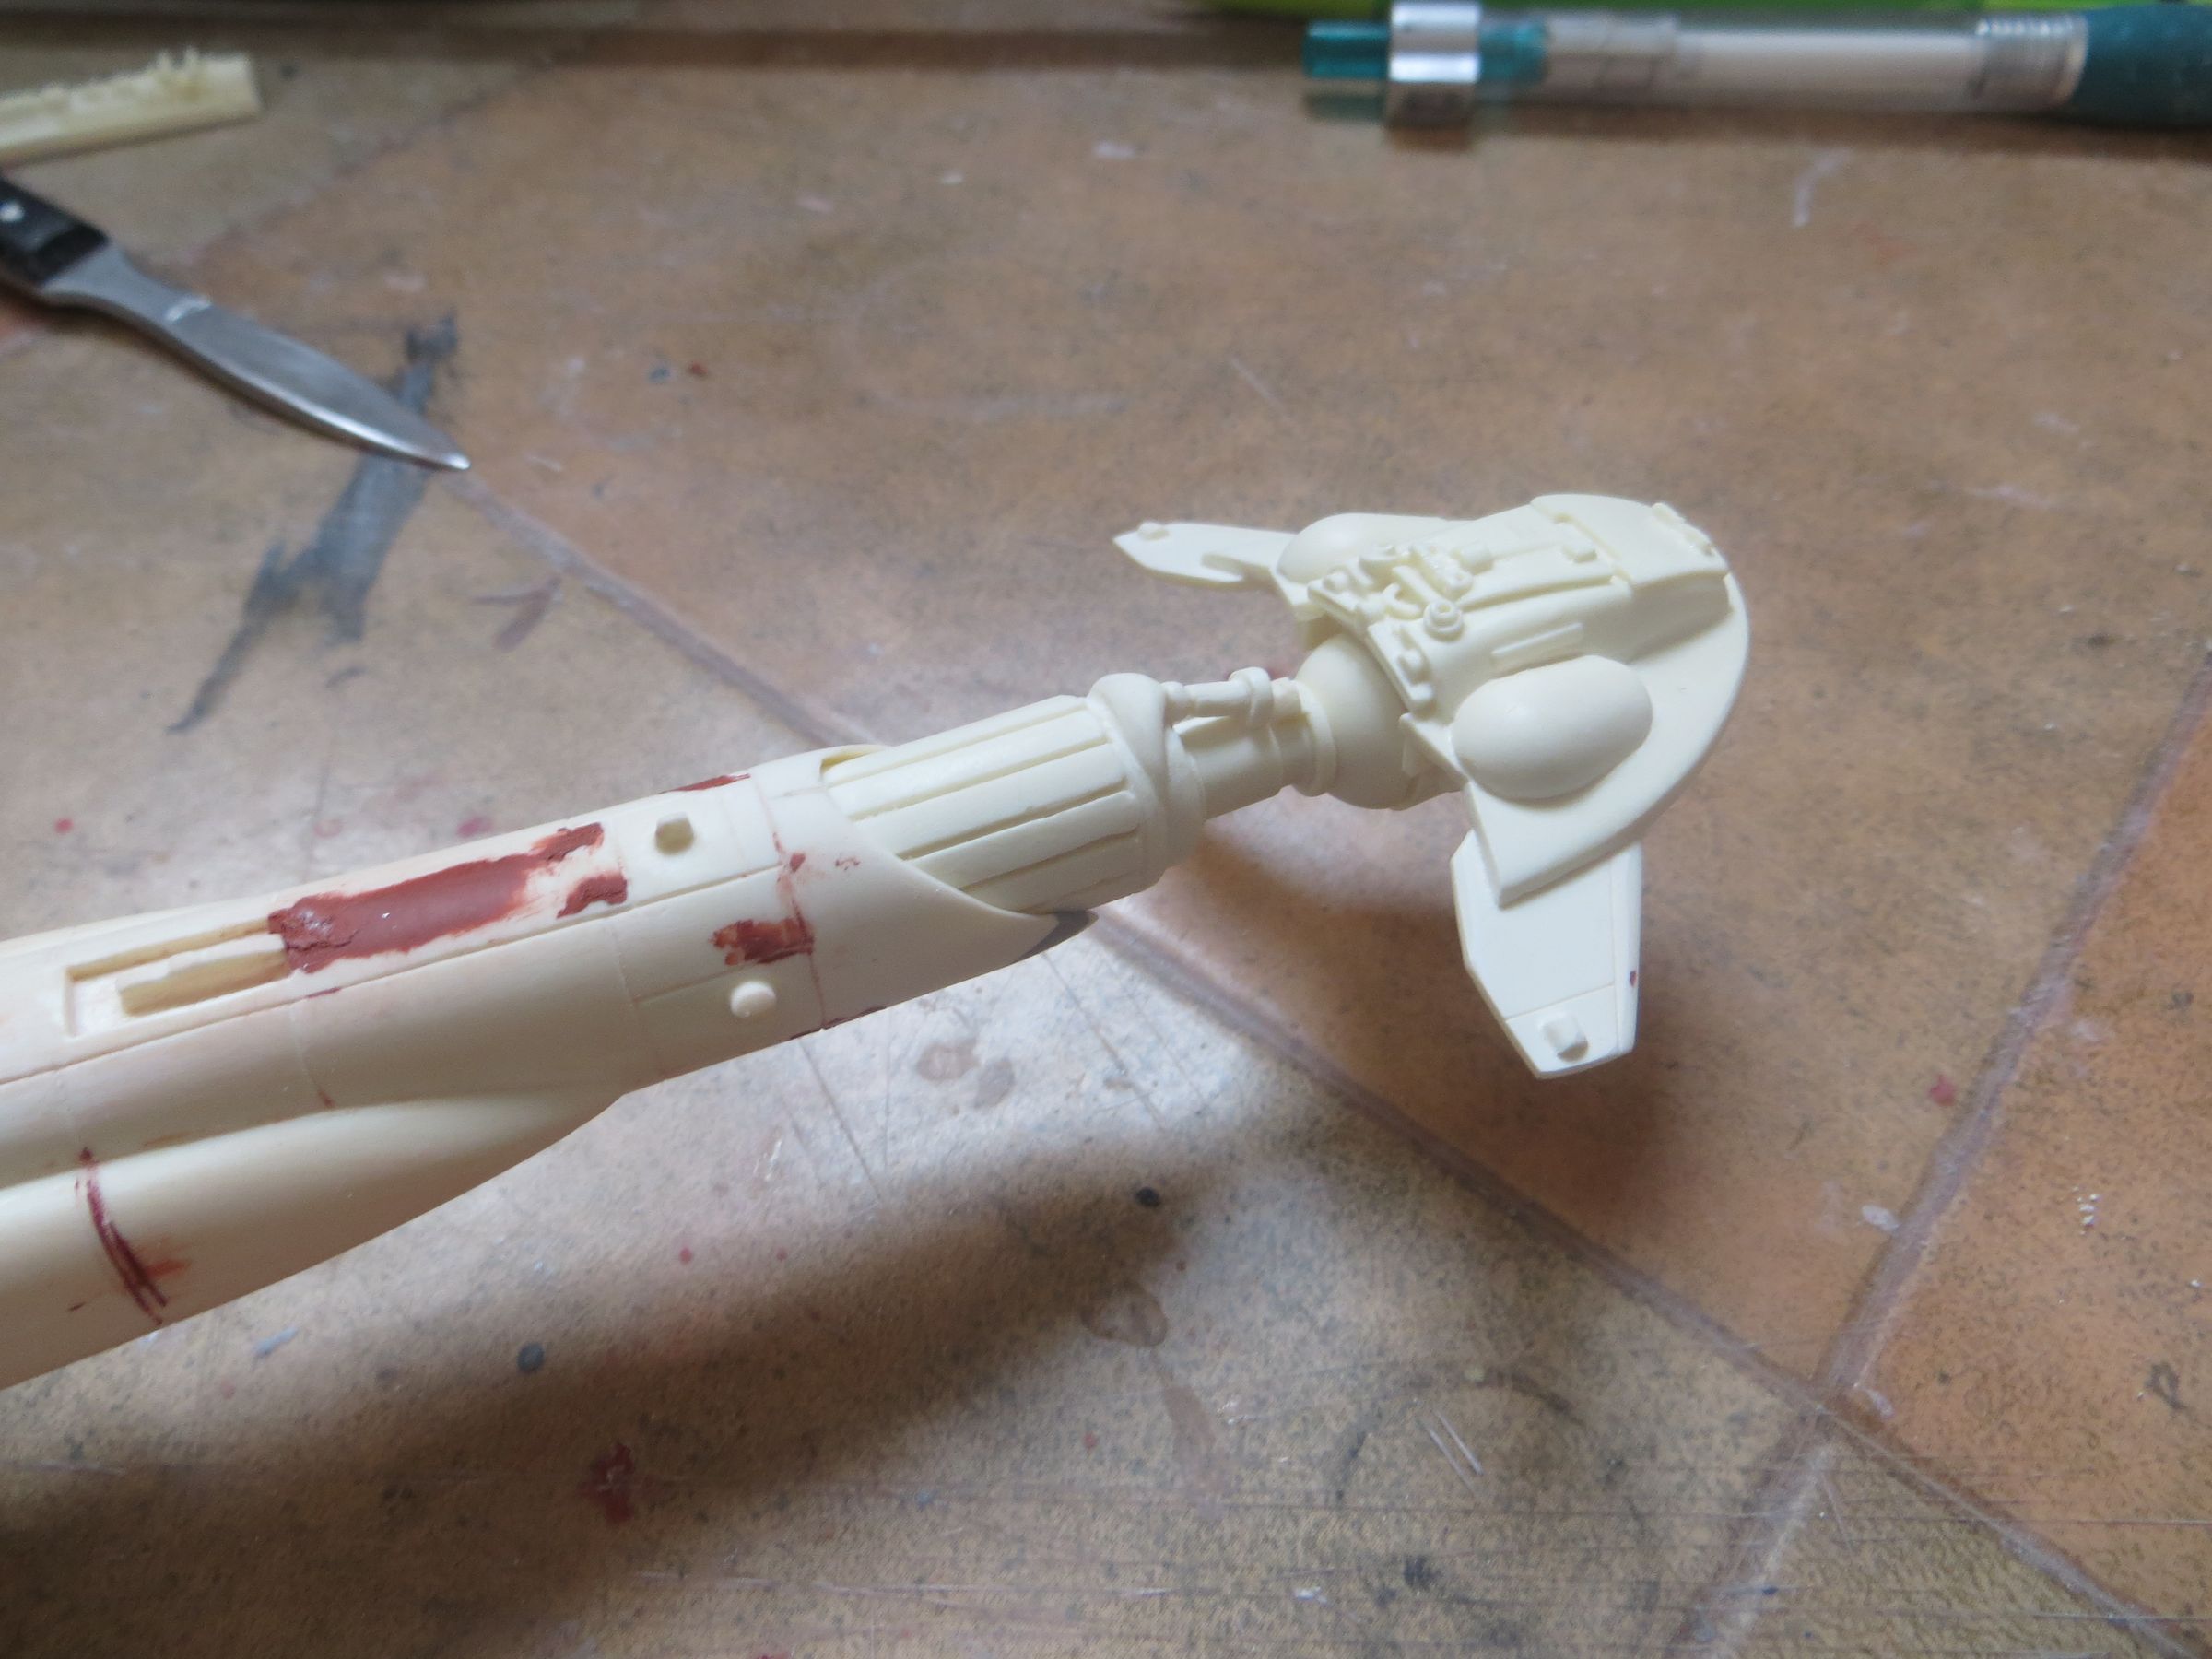
This part at the tail of the fuselage broke and had to be repaired
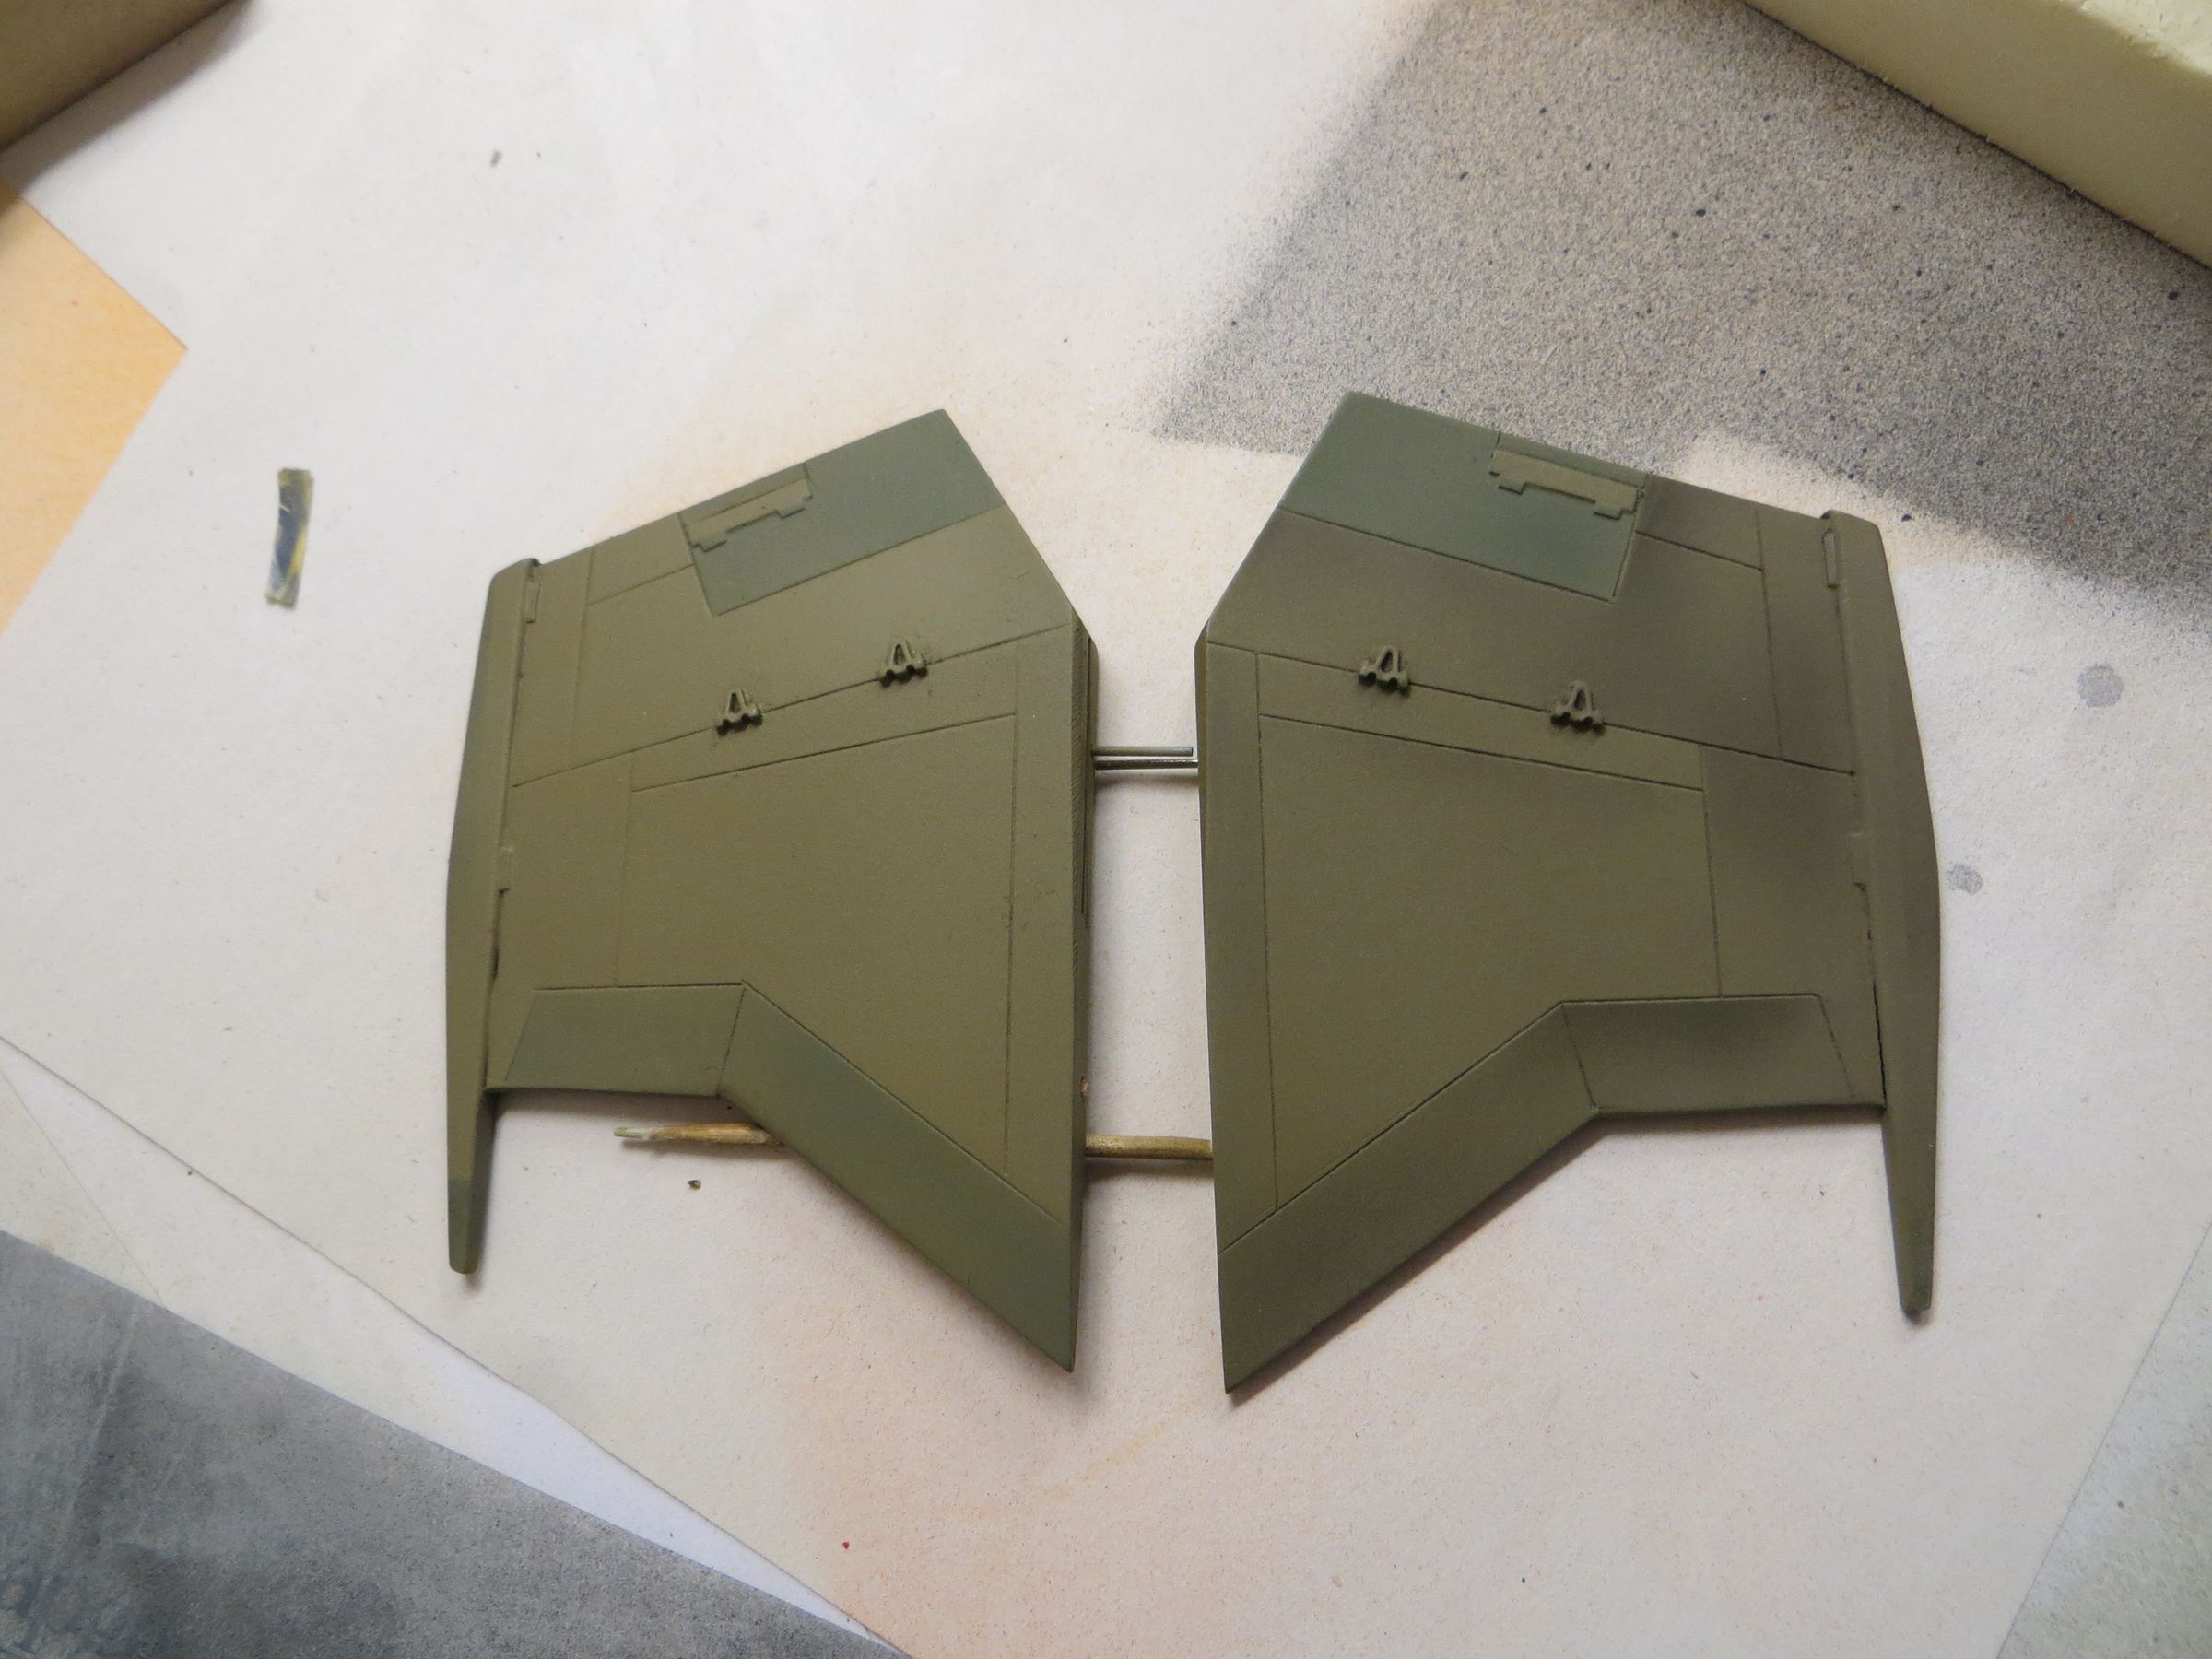
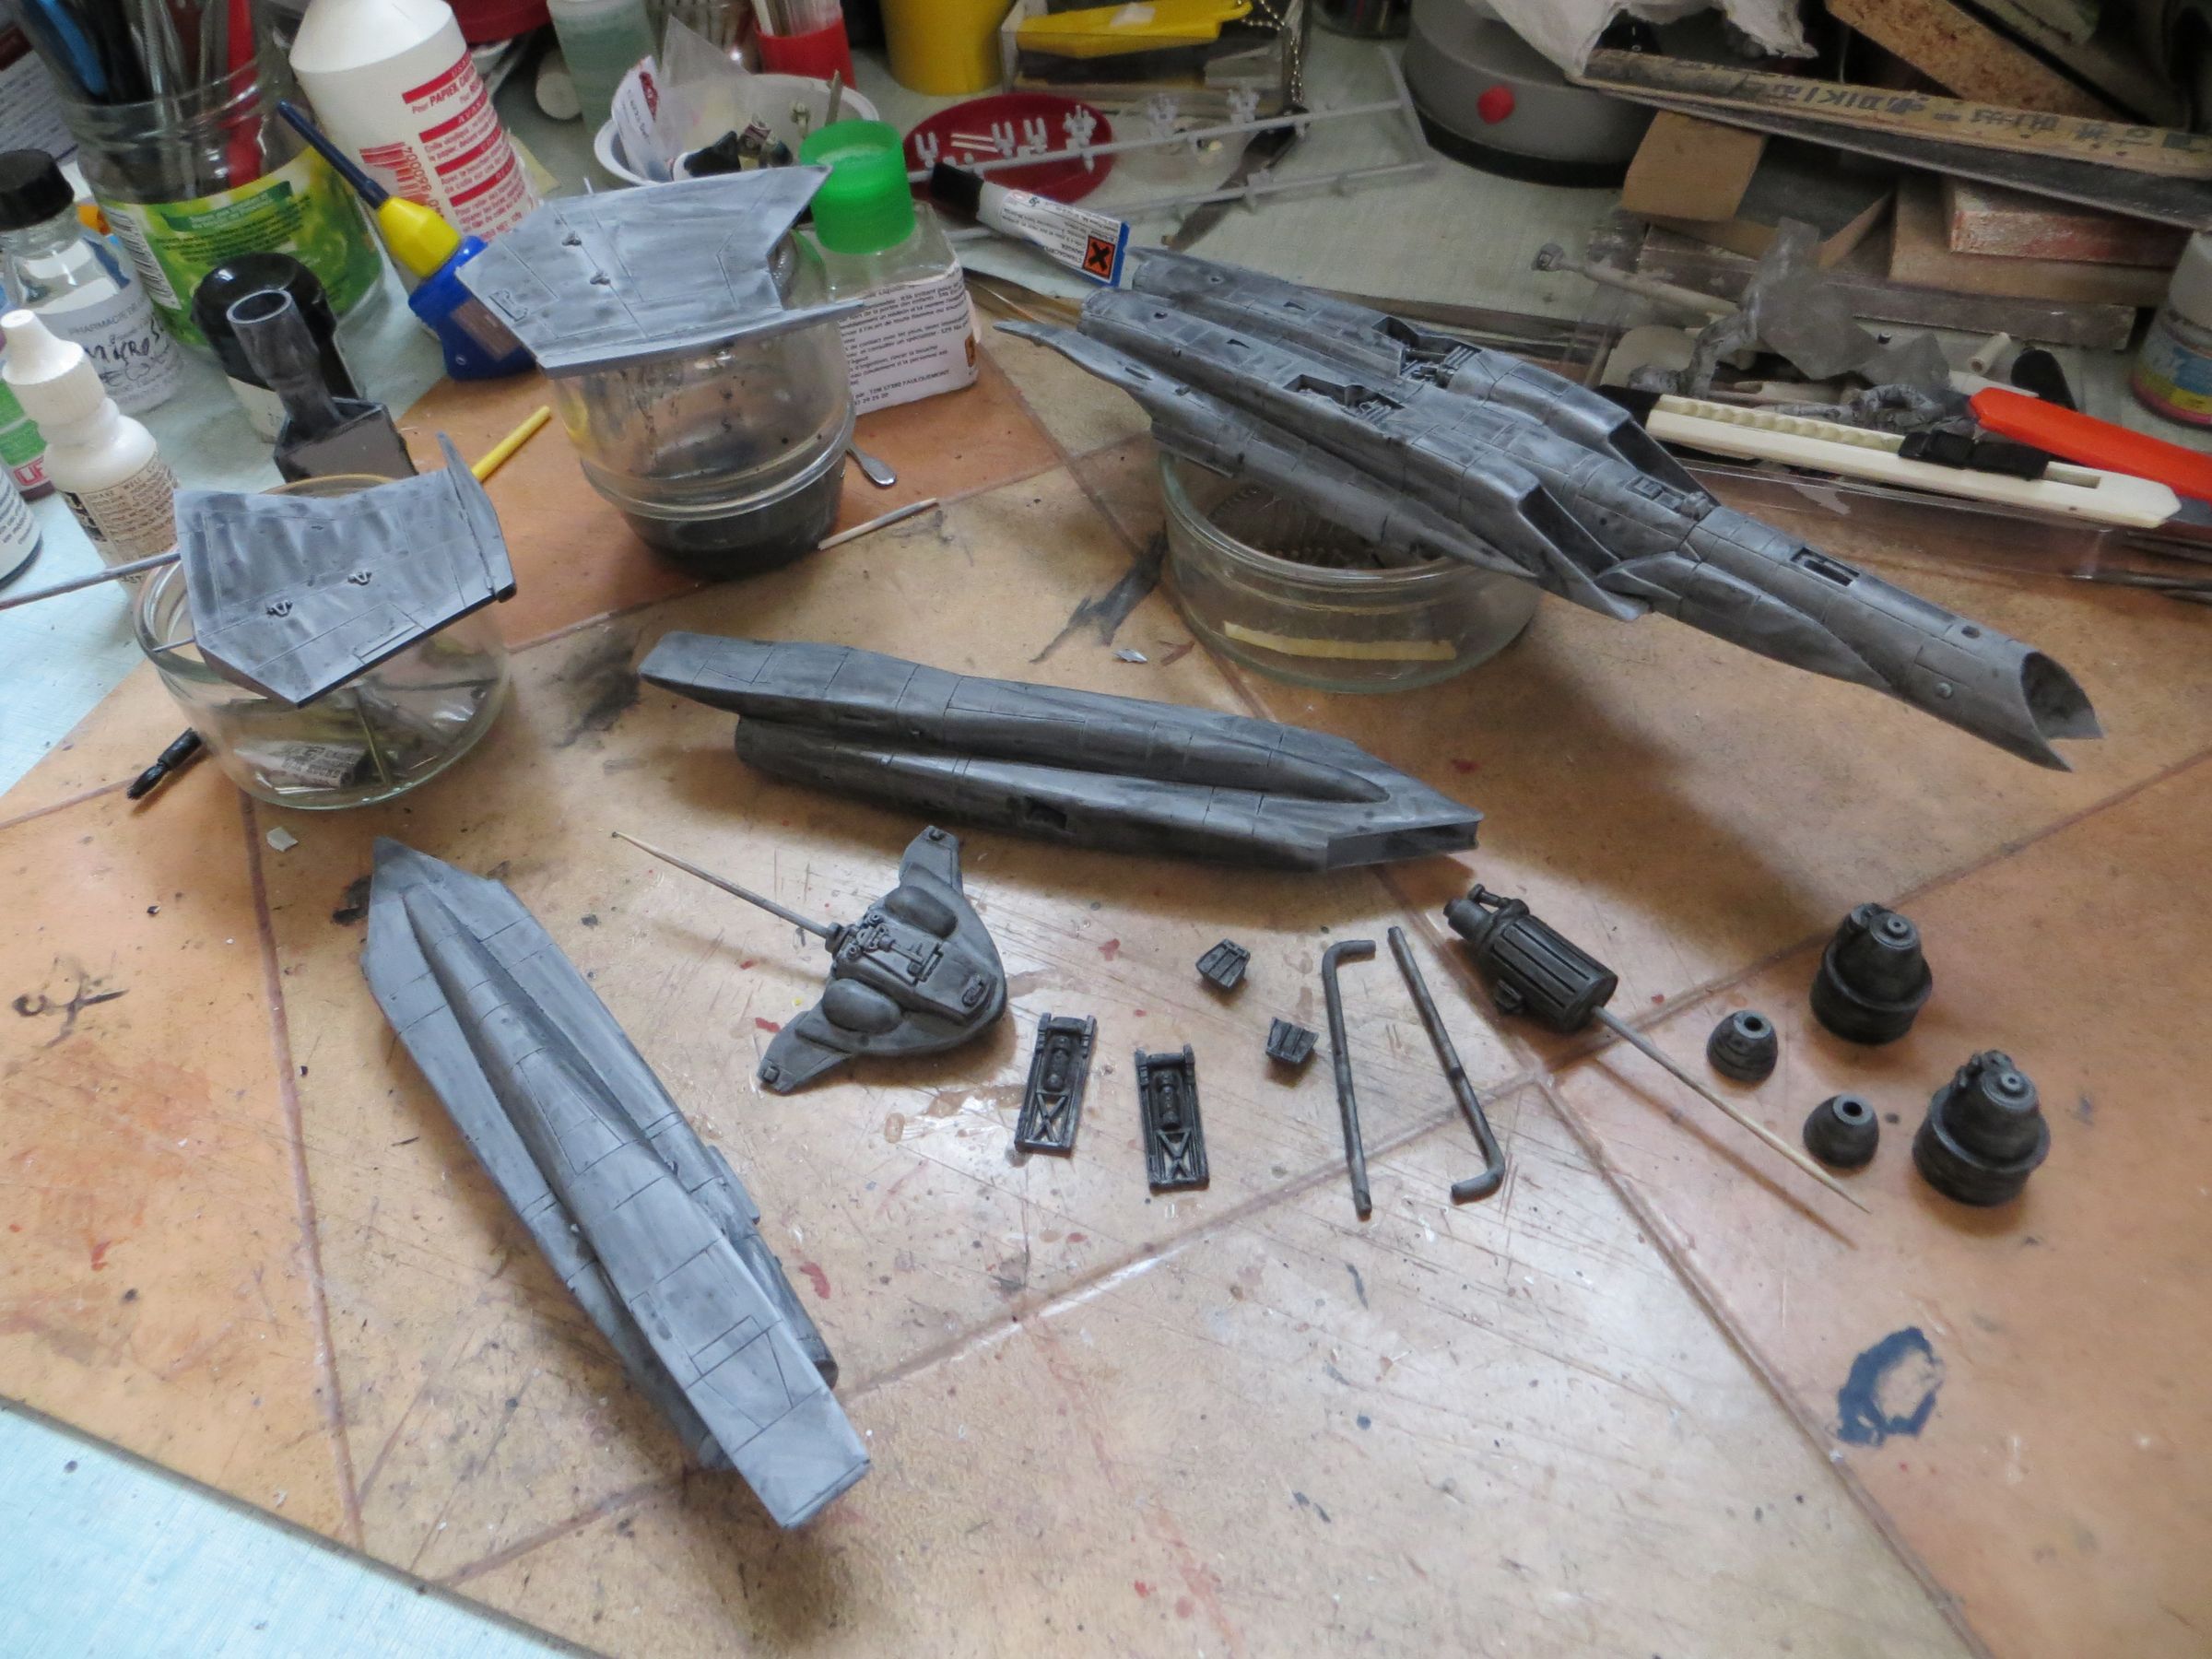
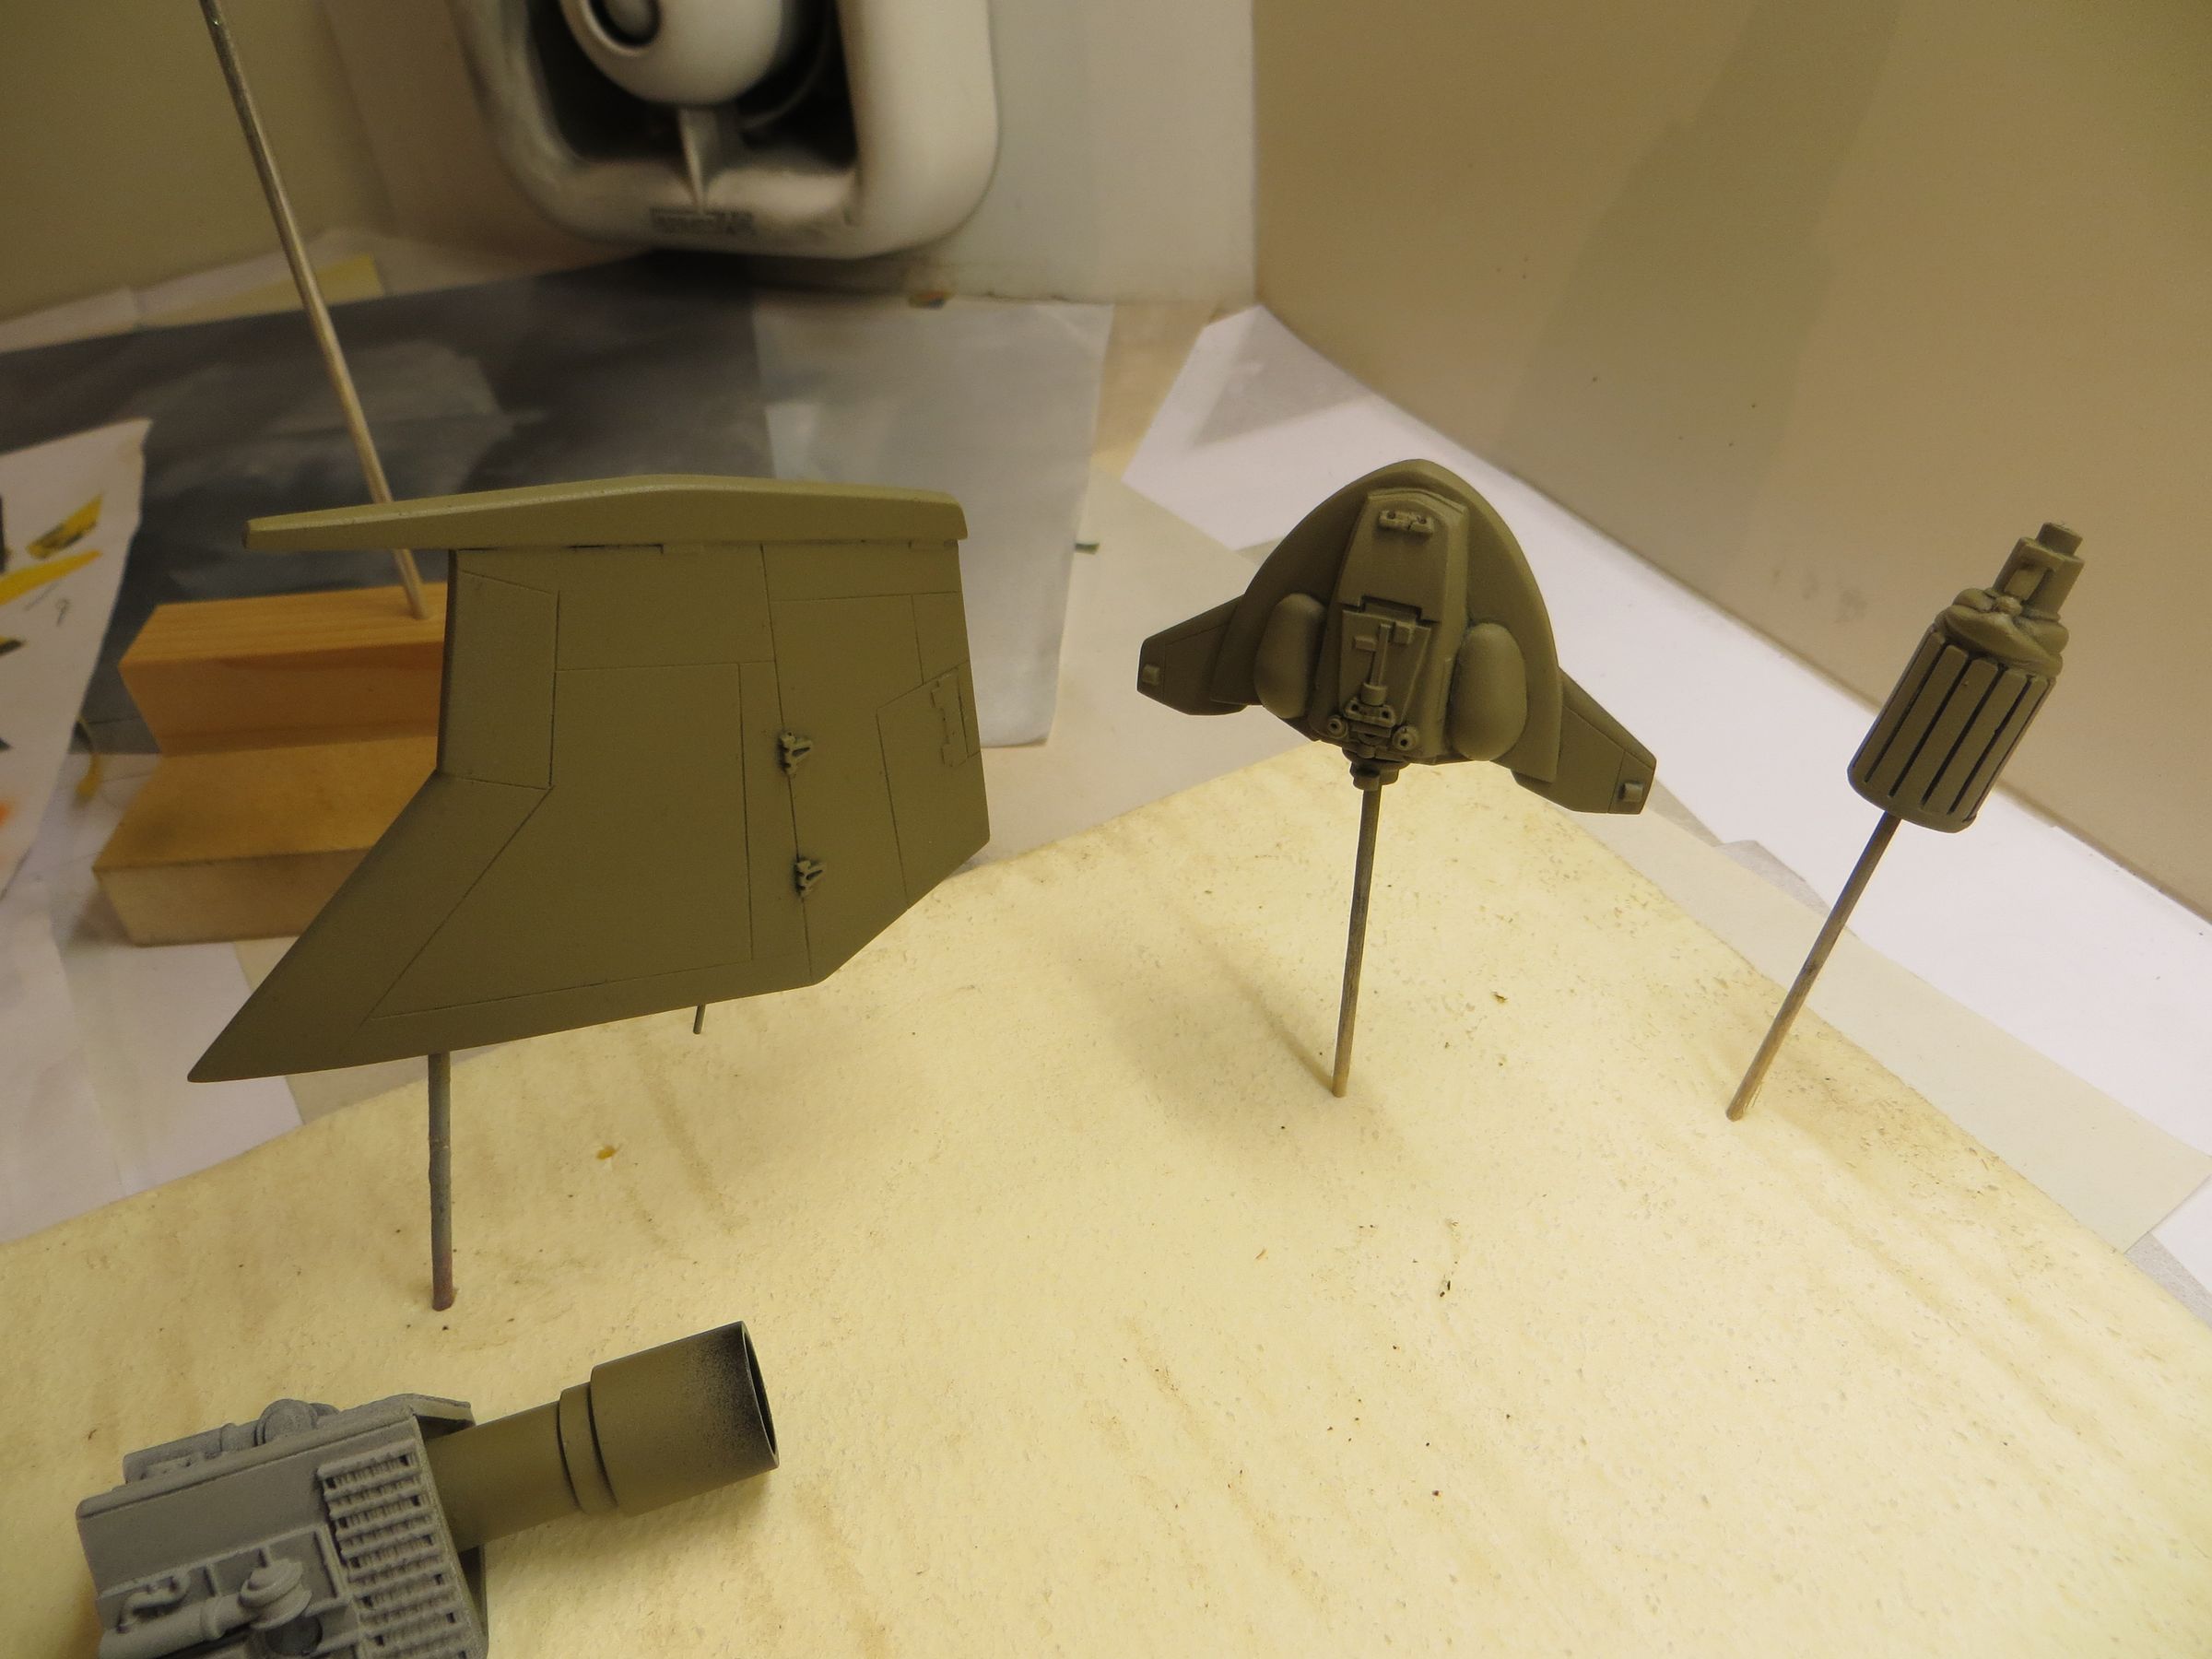
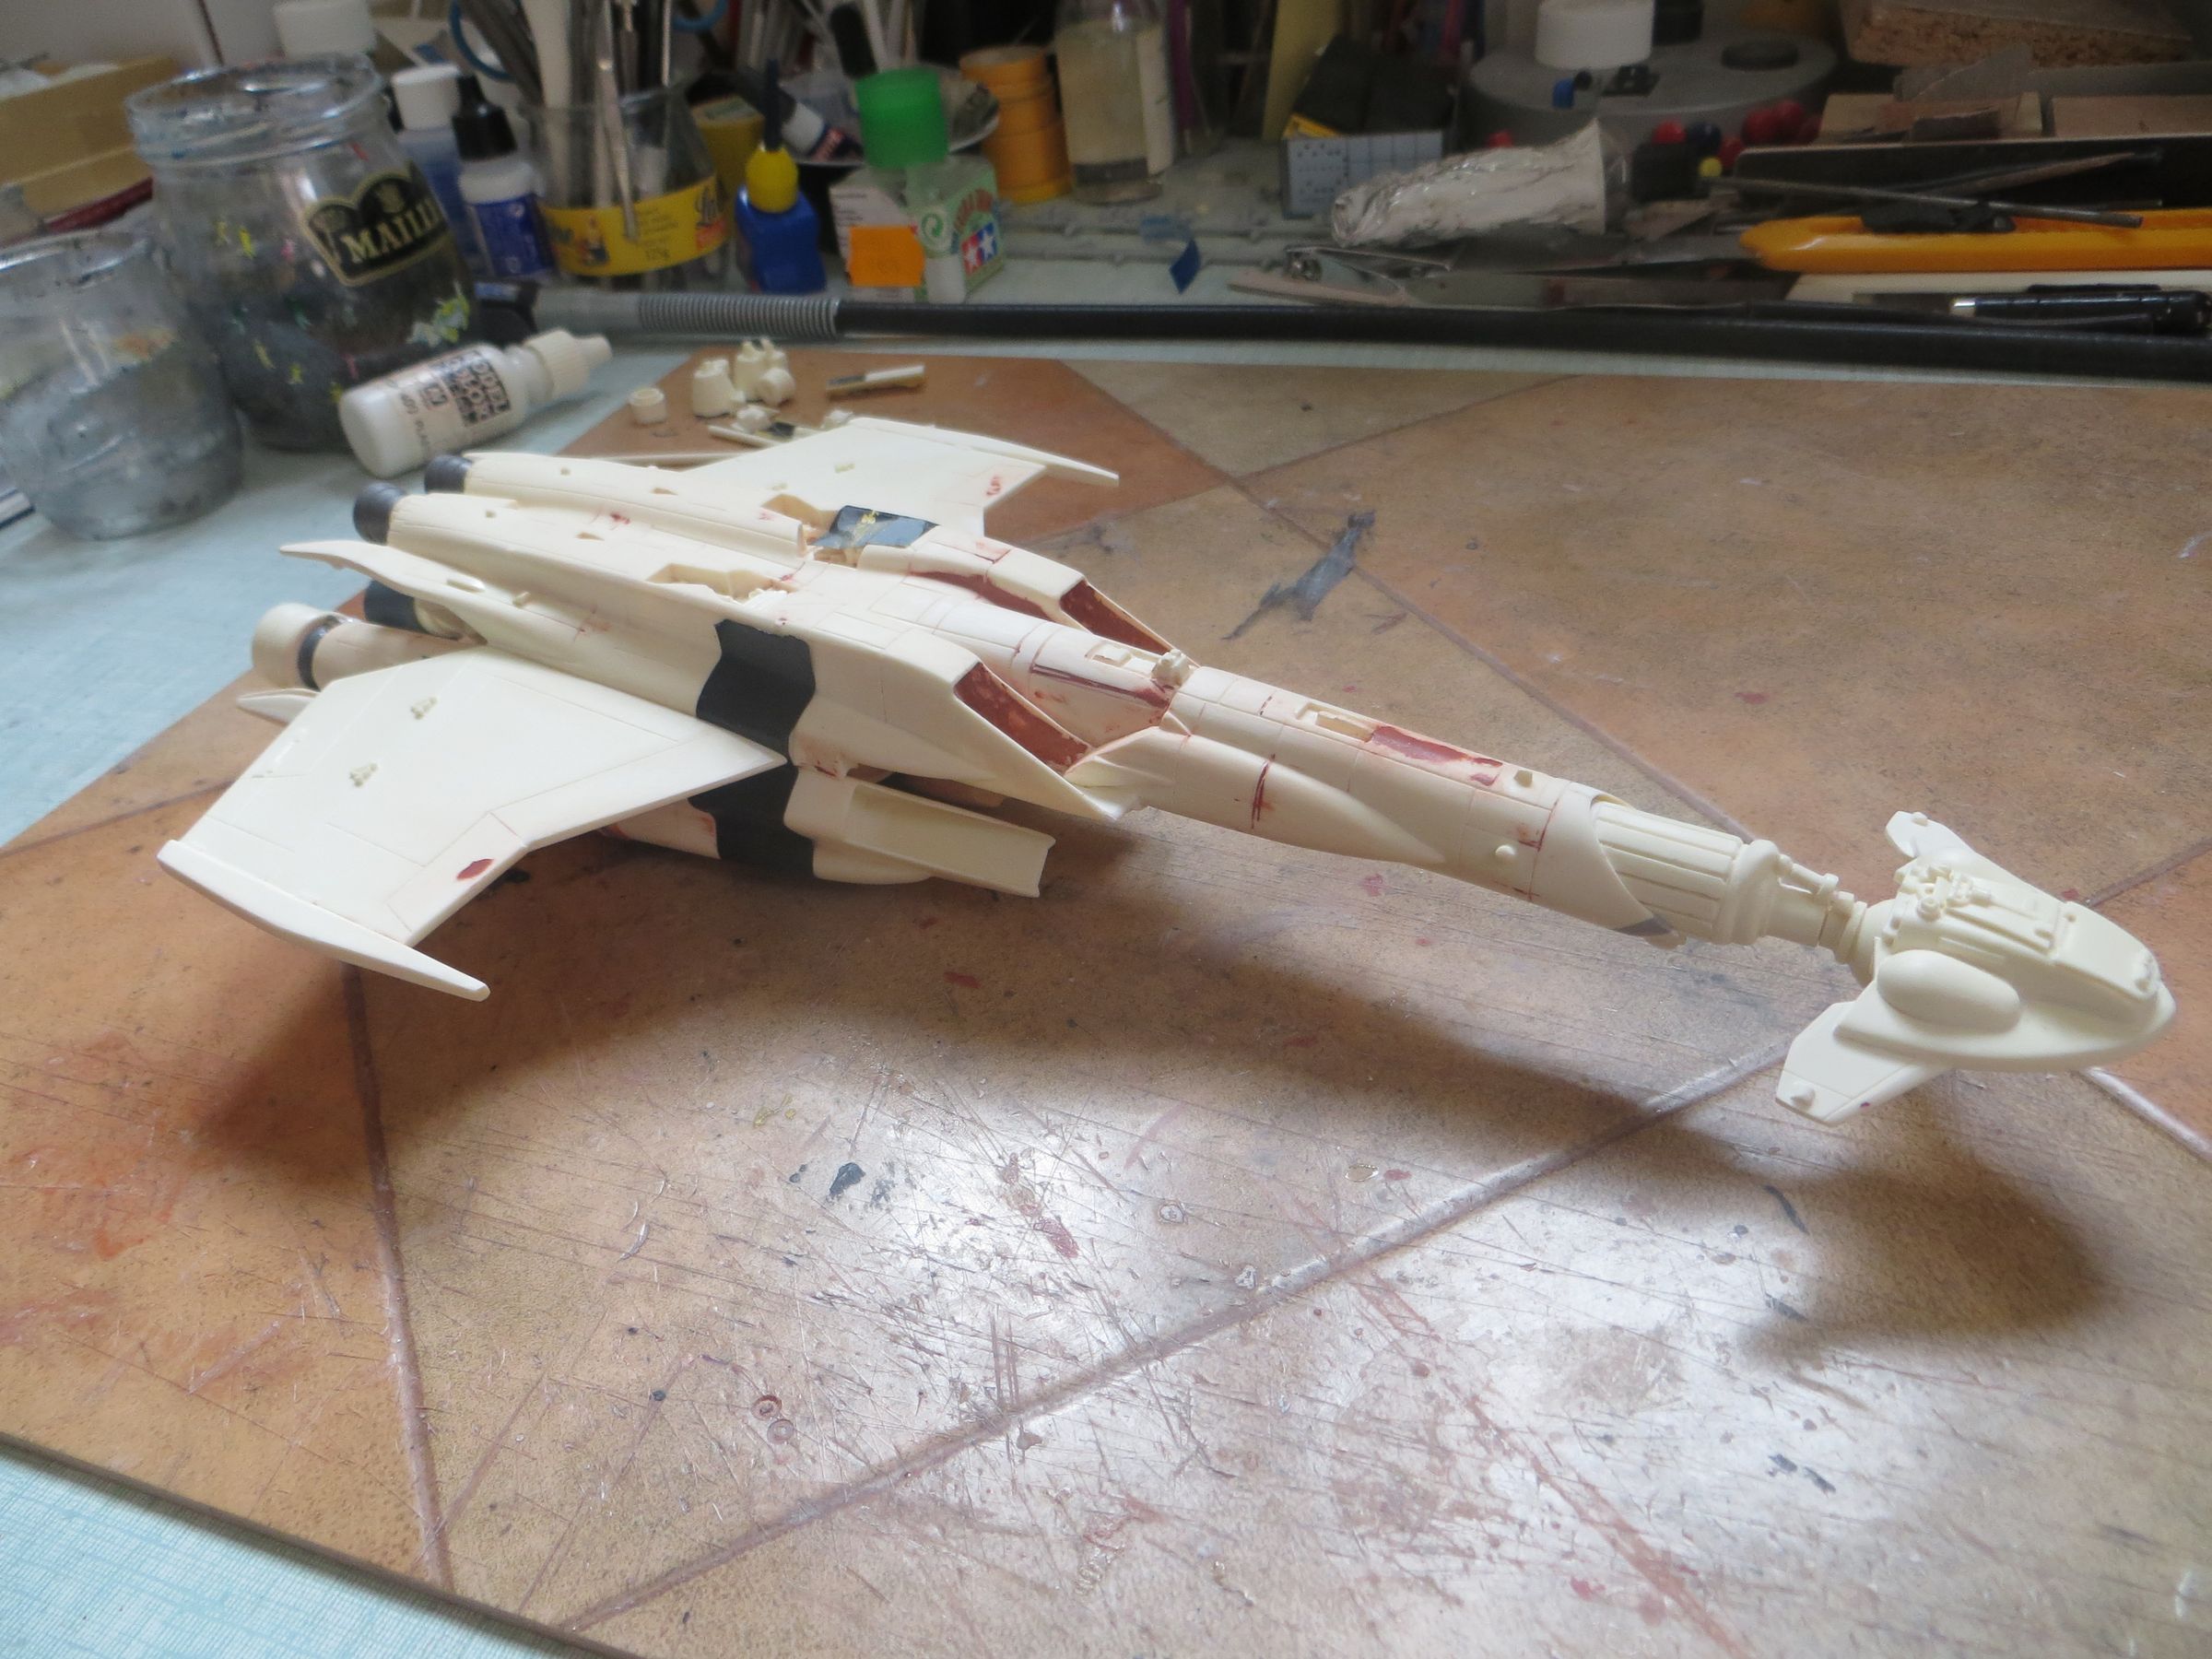
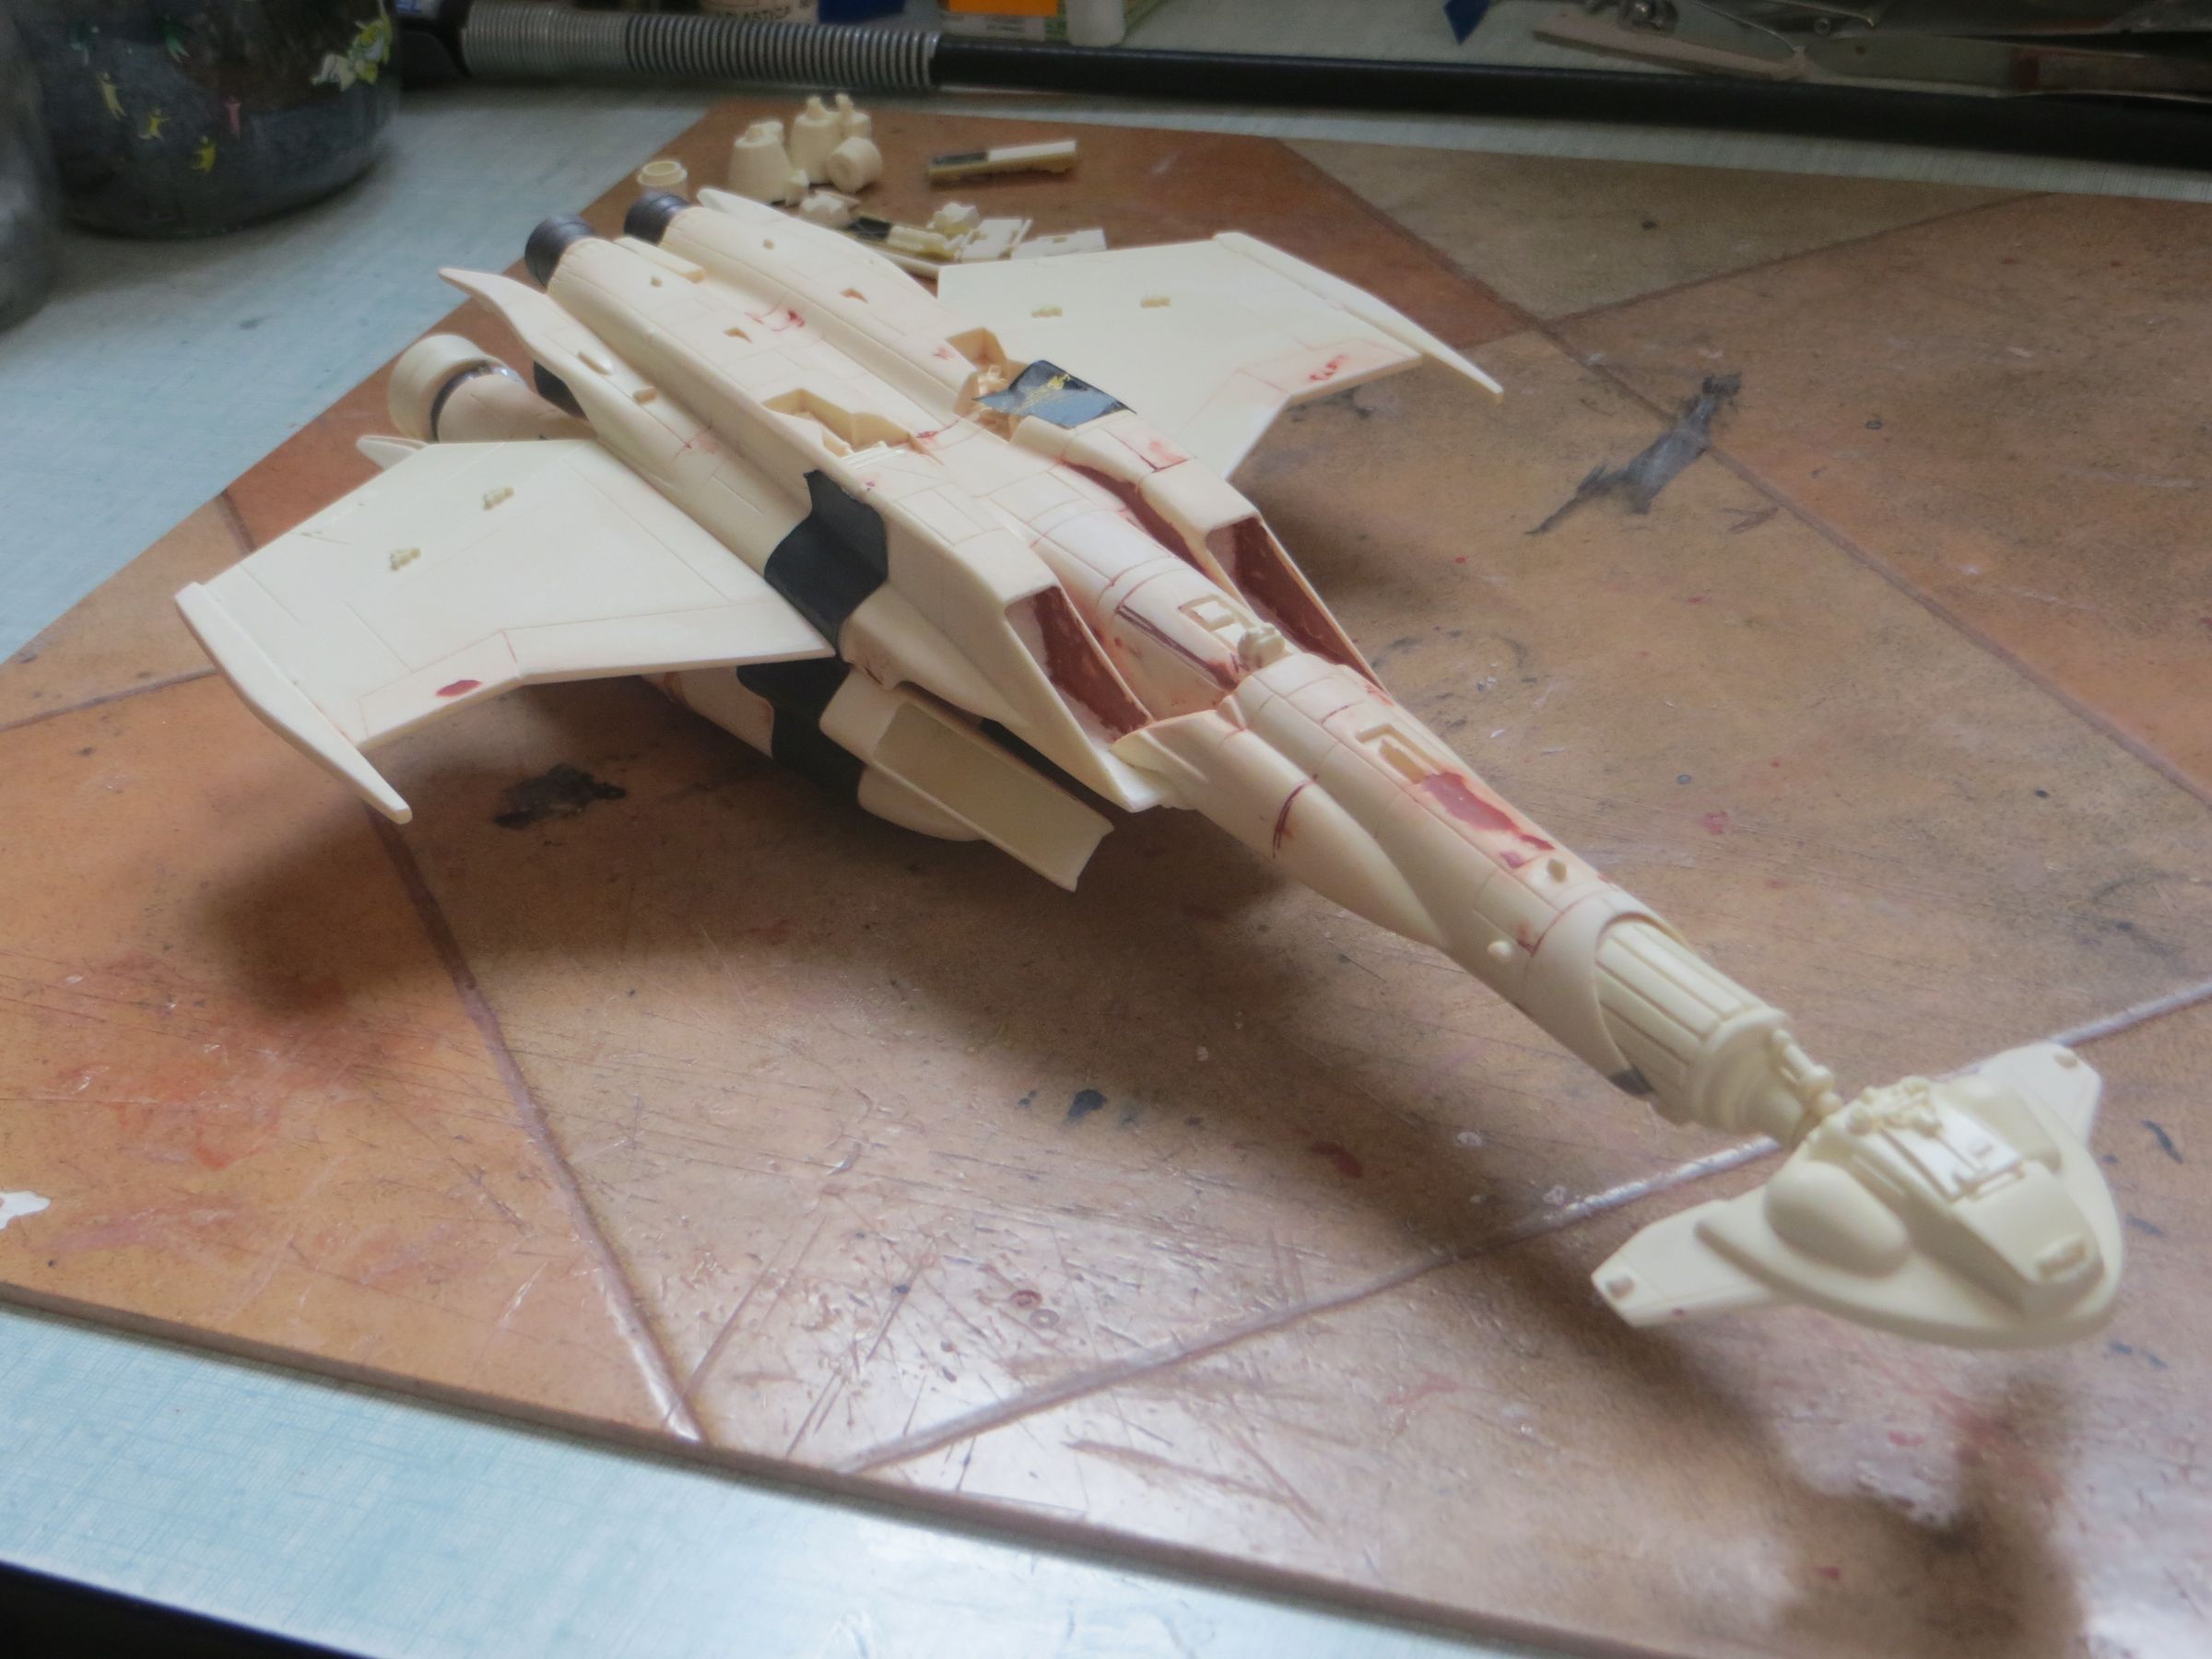
To keep all these resin parts together, they should be strengthened with metal rods : head, neck, engines, wings ...

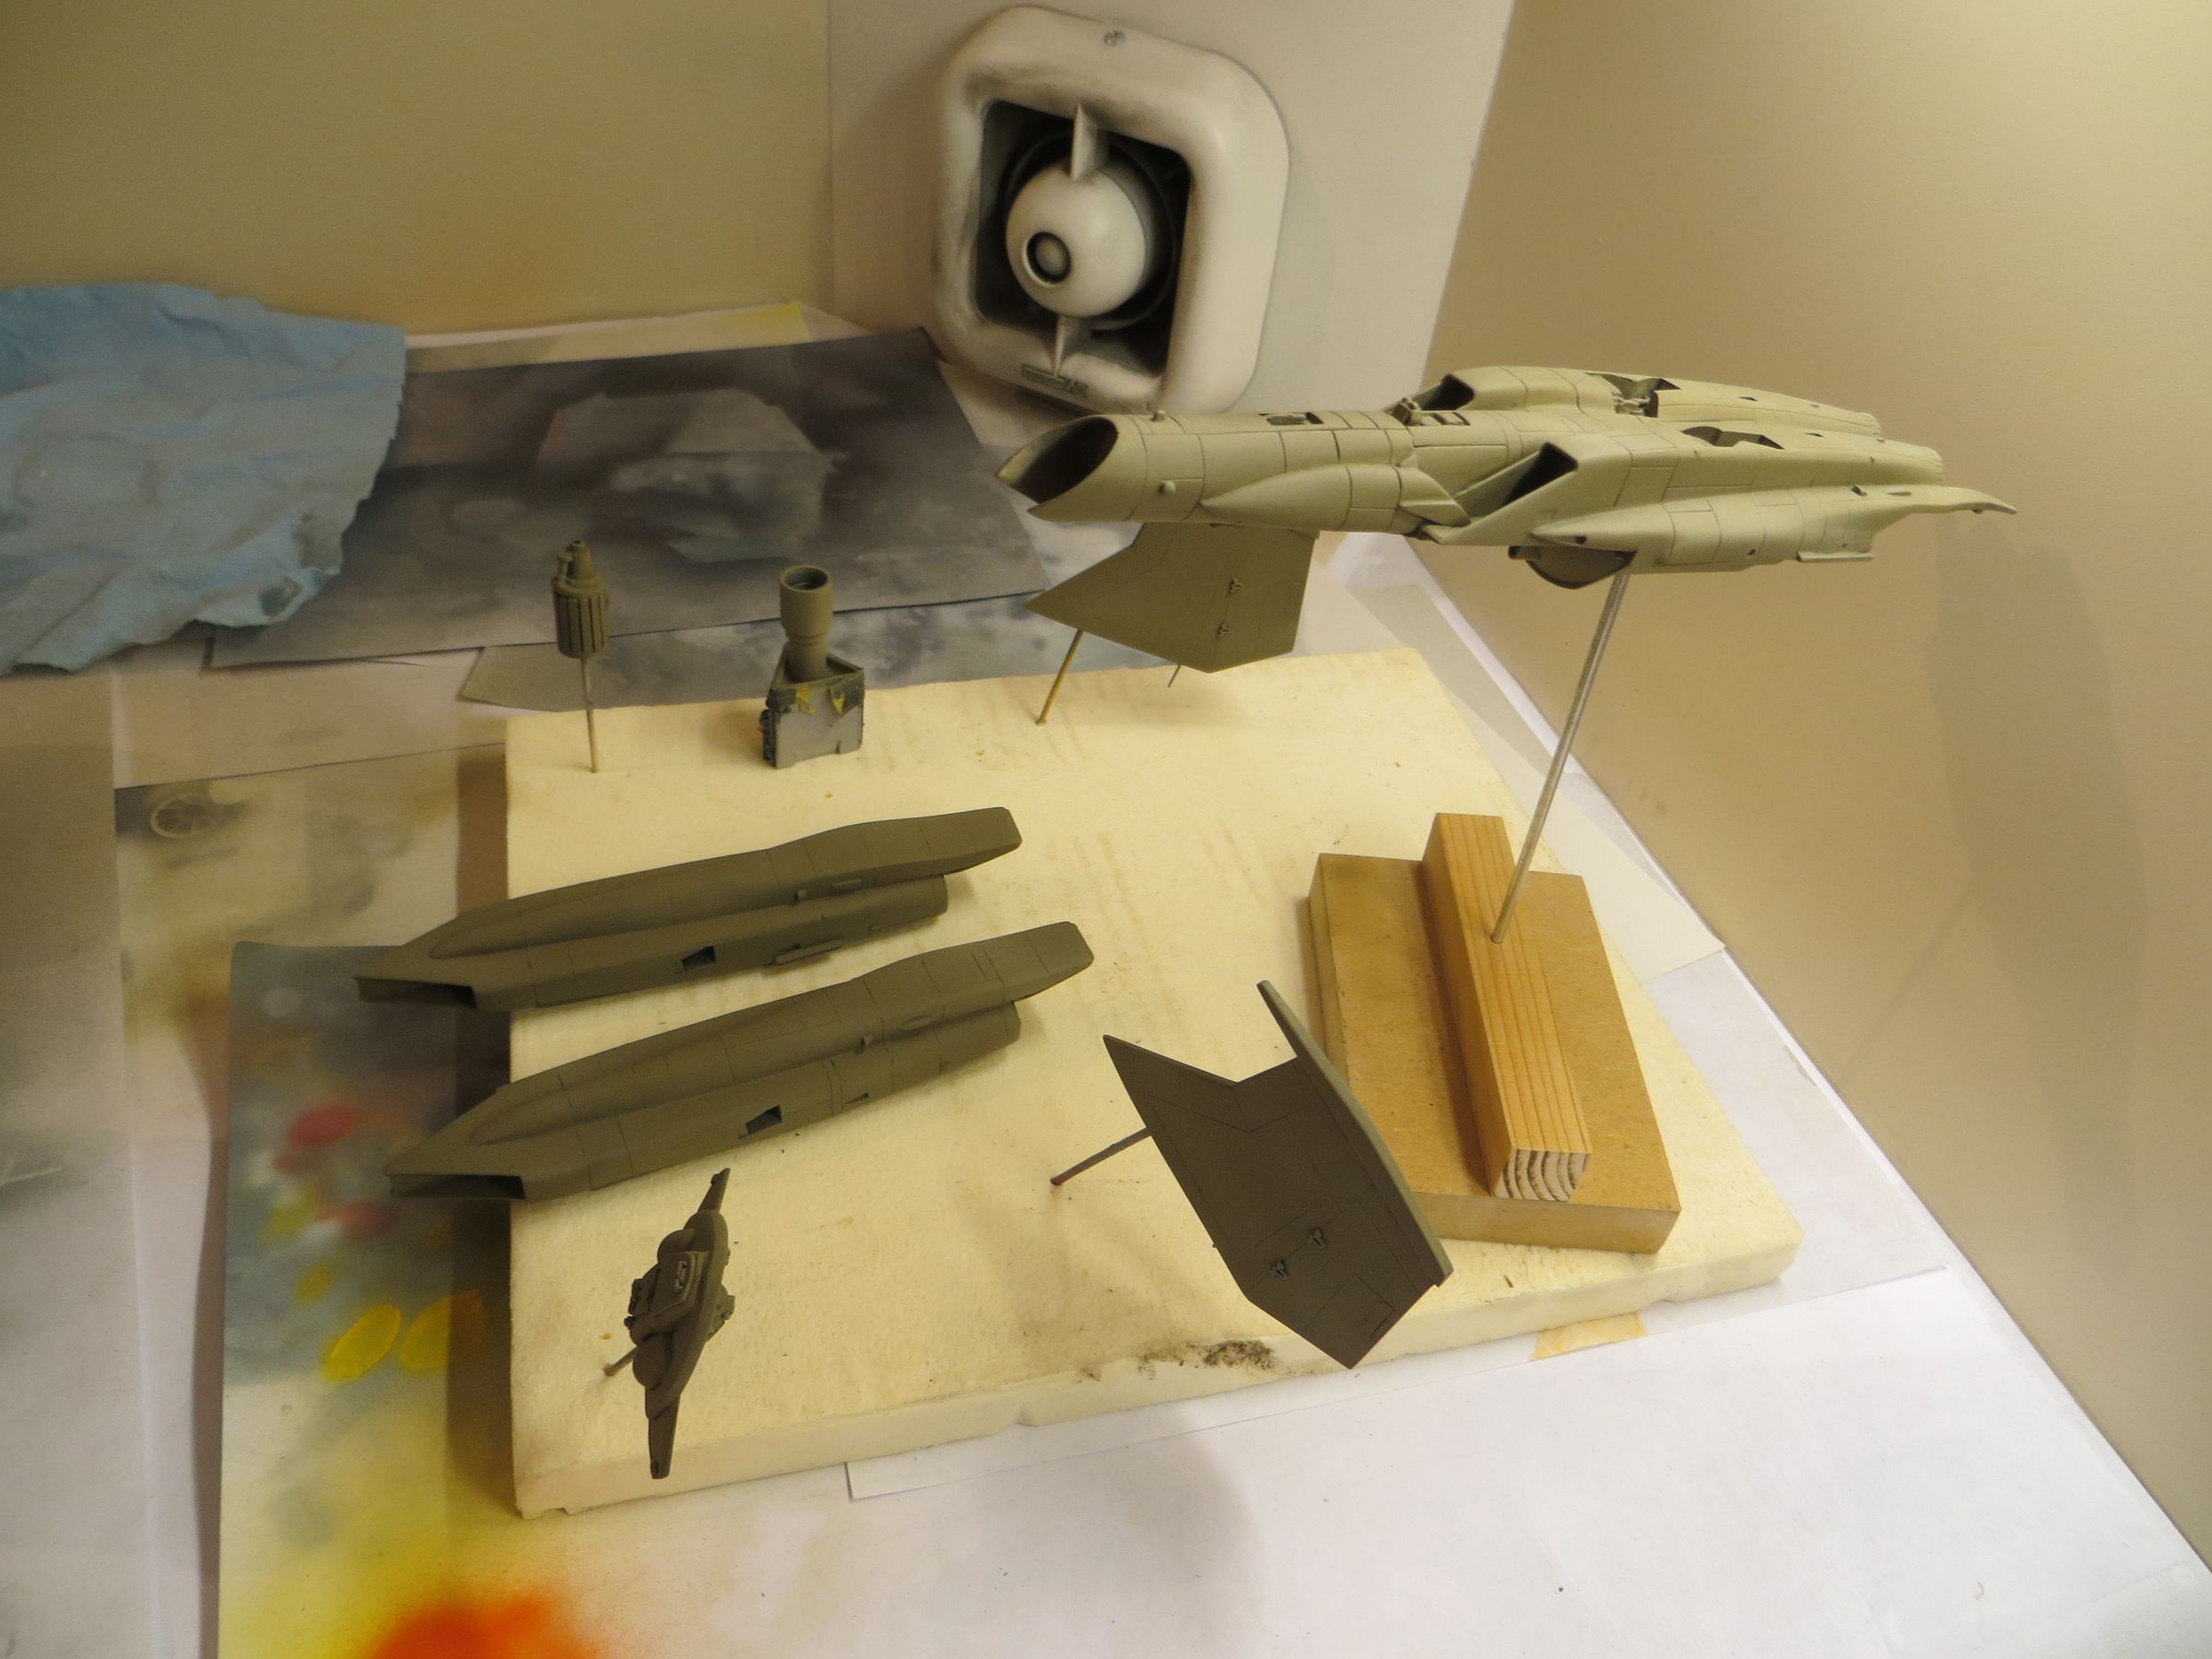
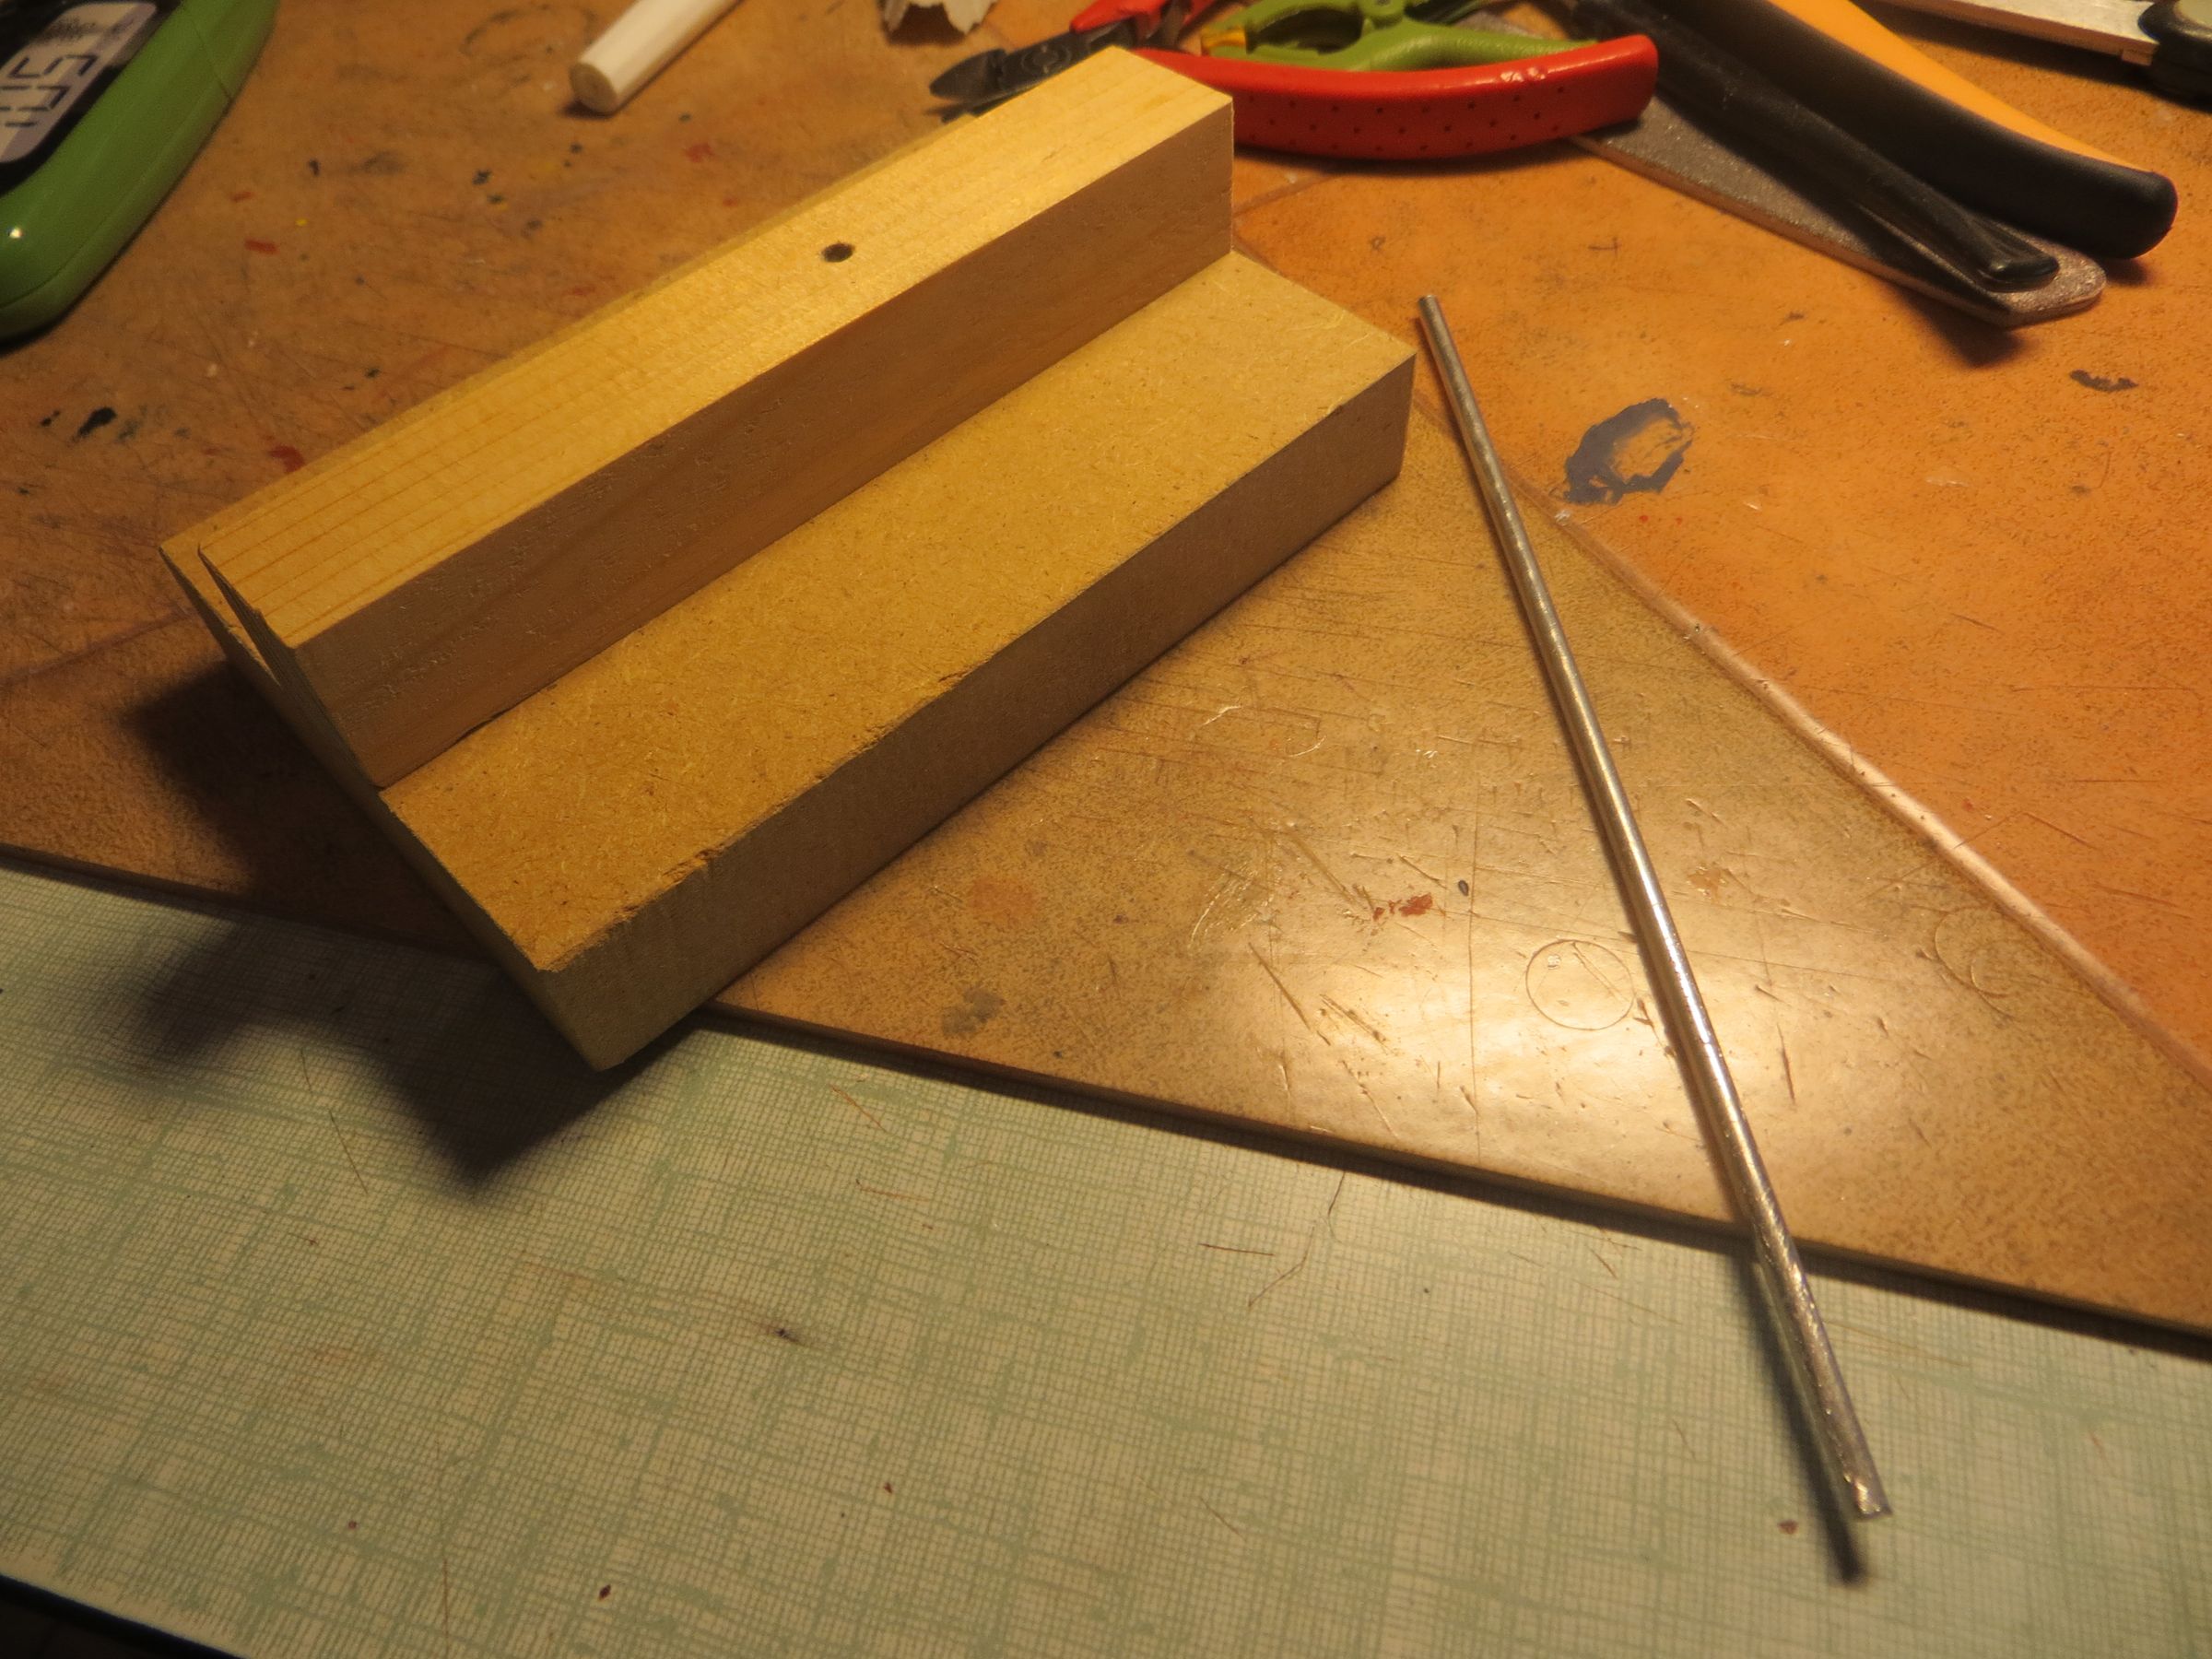
Making a wood stand :
dry tests before painting
dimanche, 11 mai 2014
Par olcabour le dimanche, 11 mai 2014, 22:16
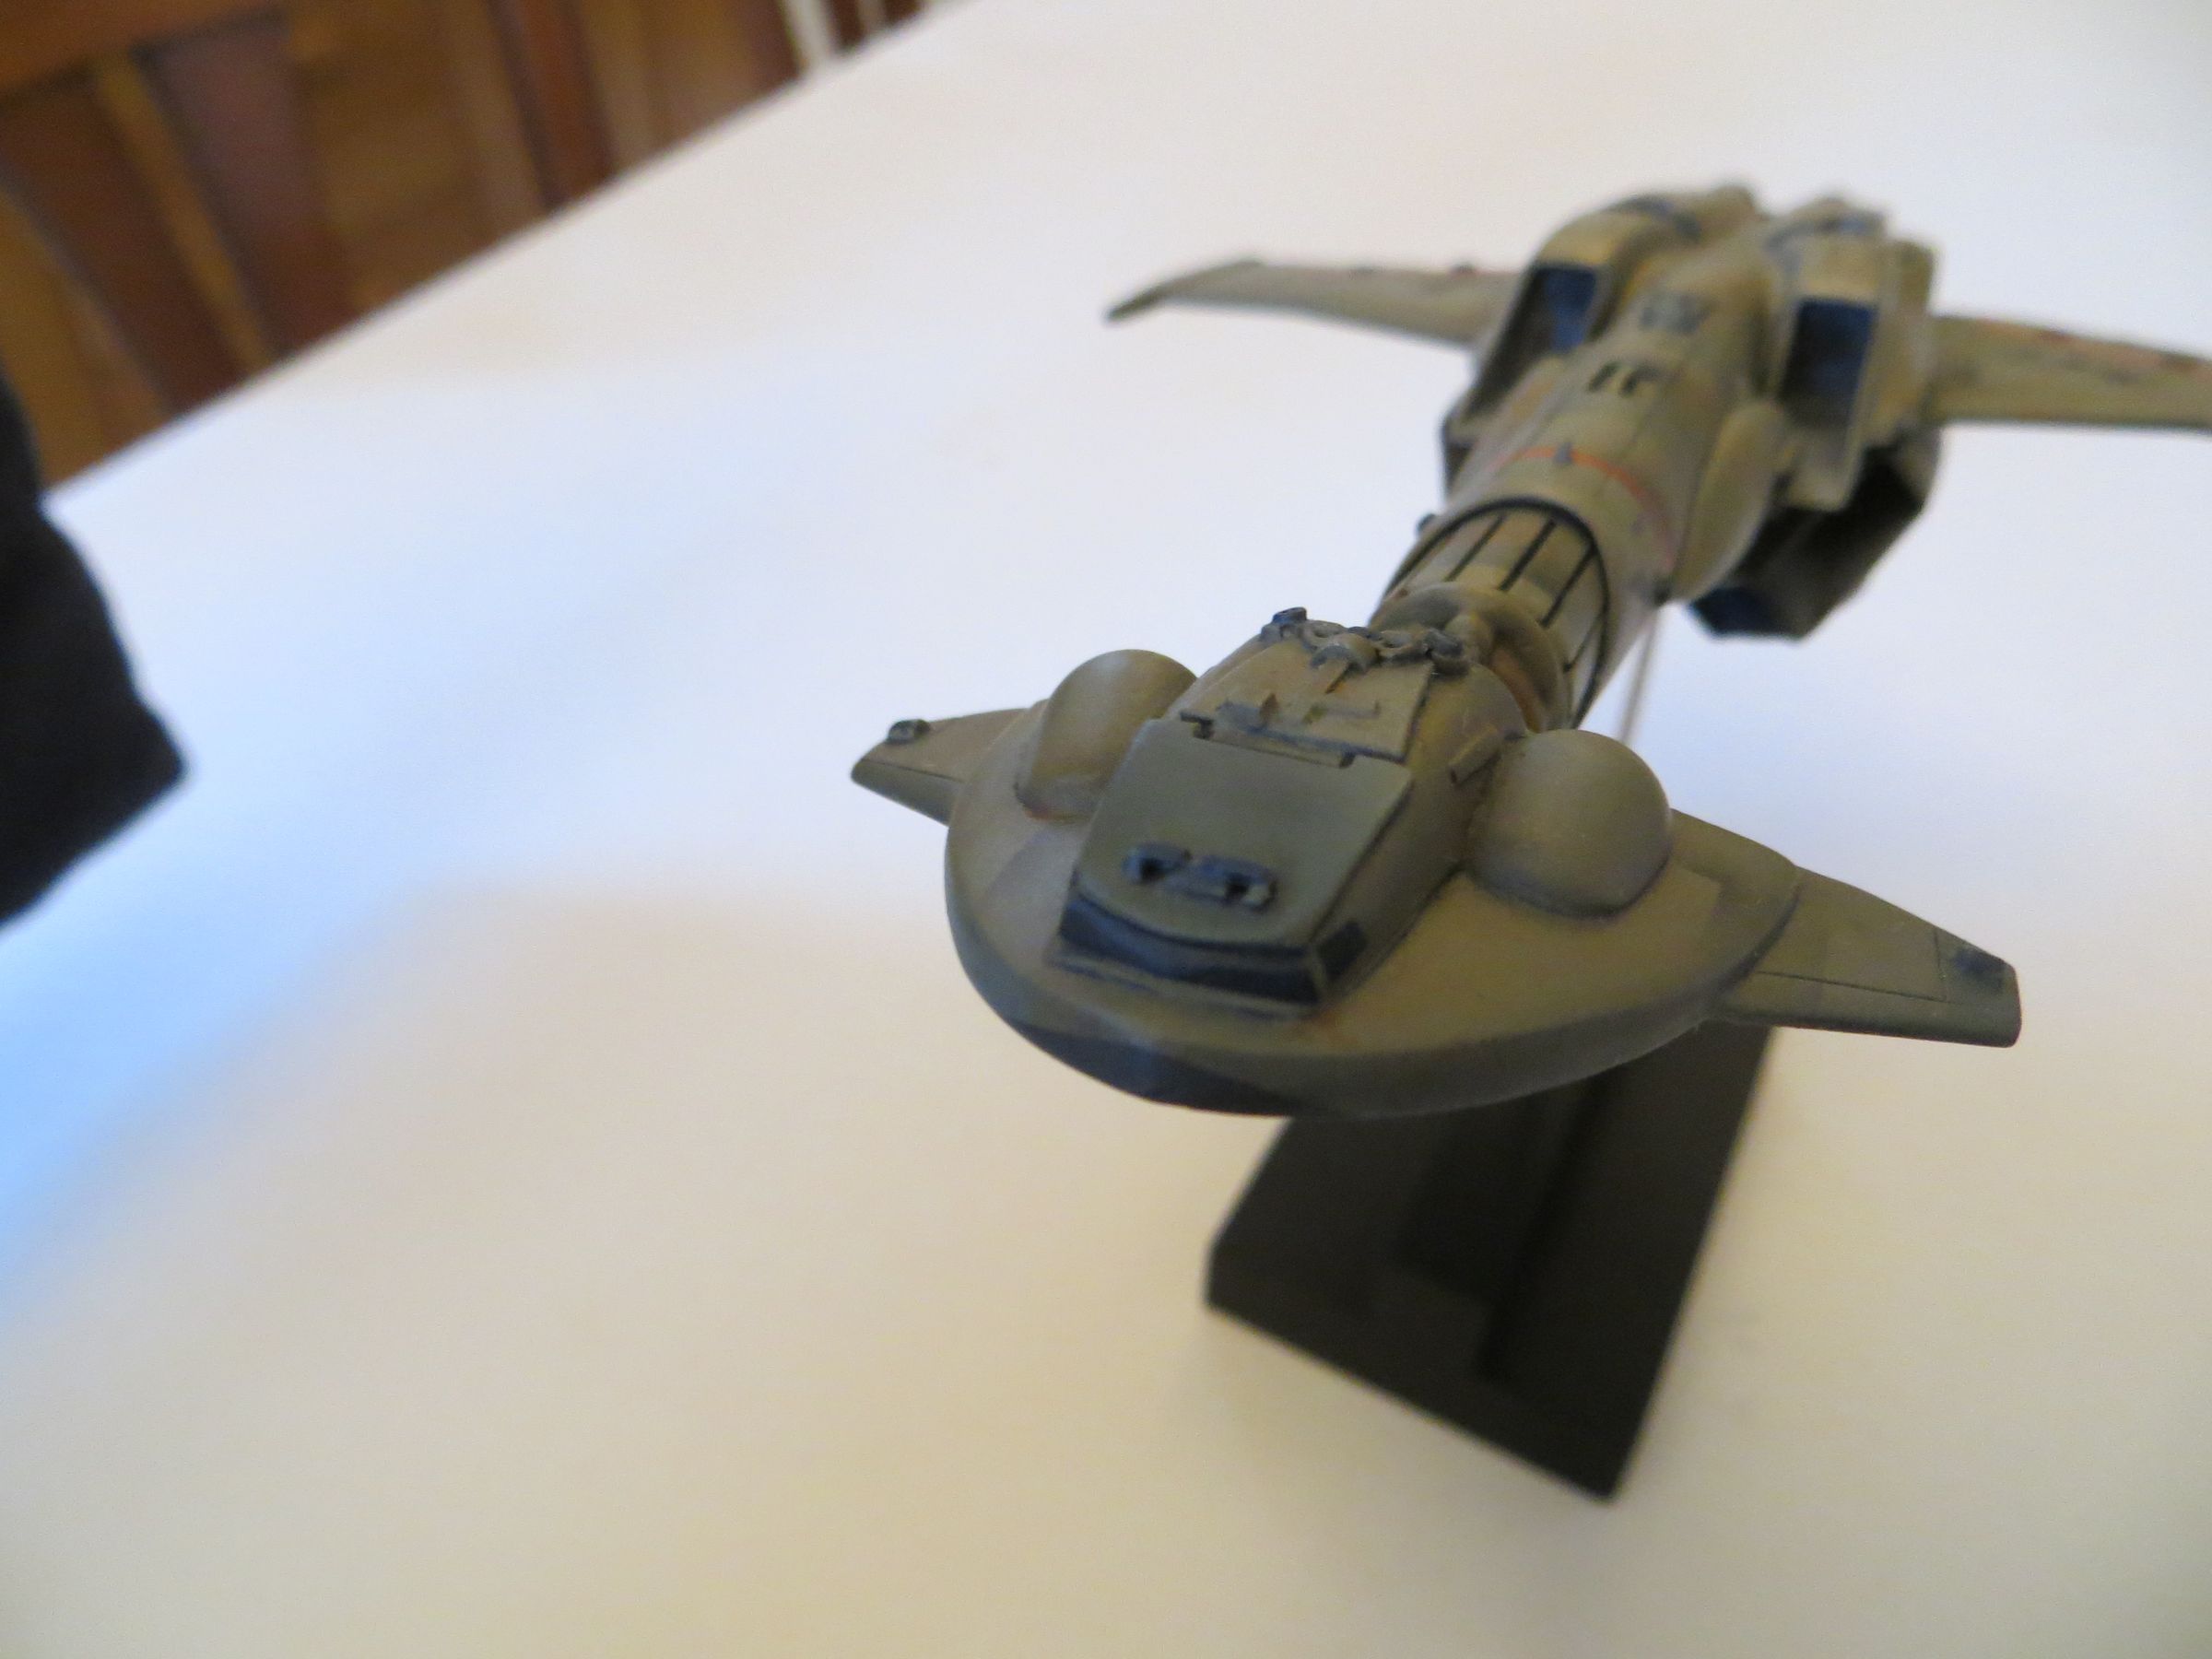
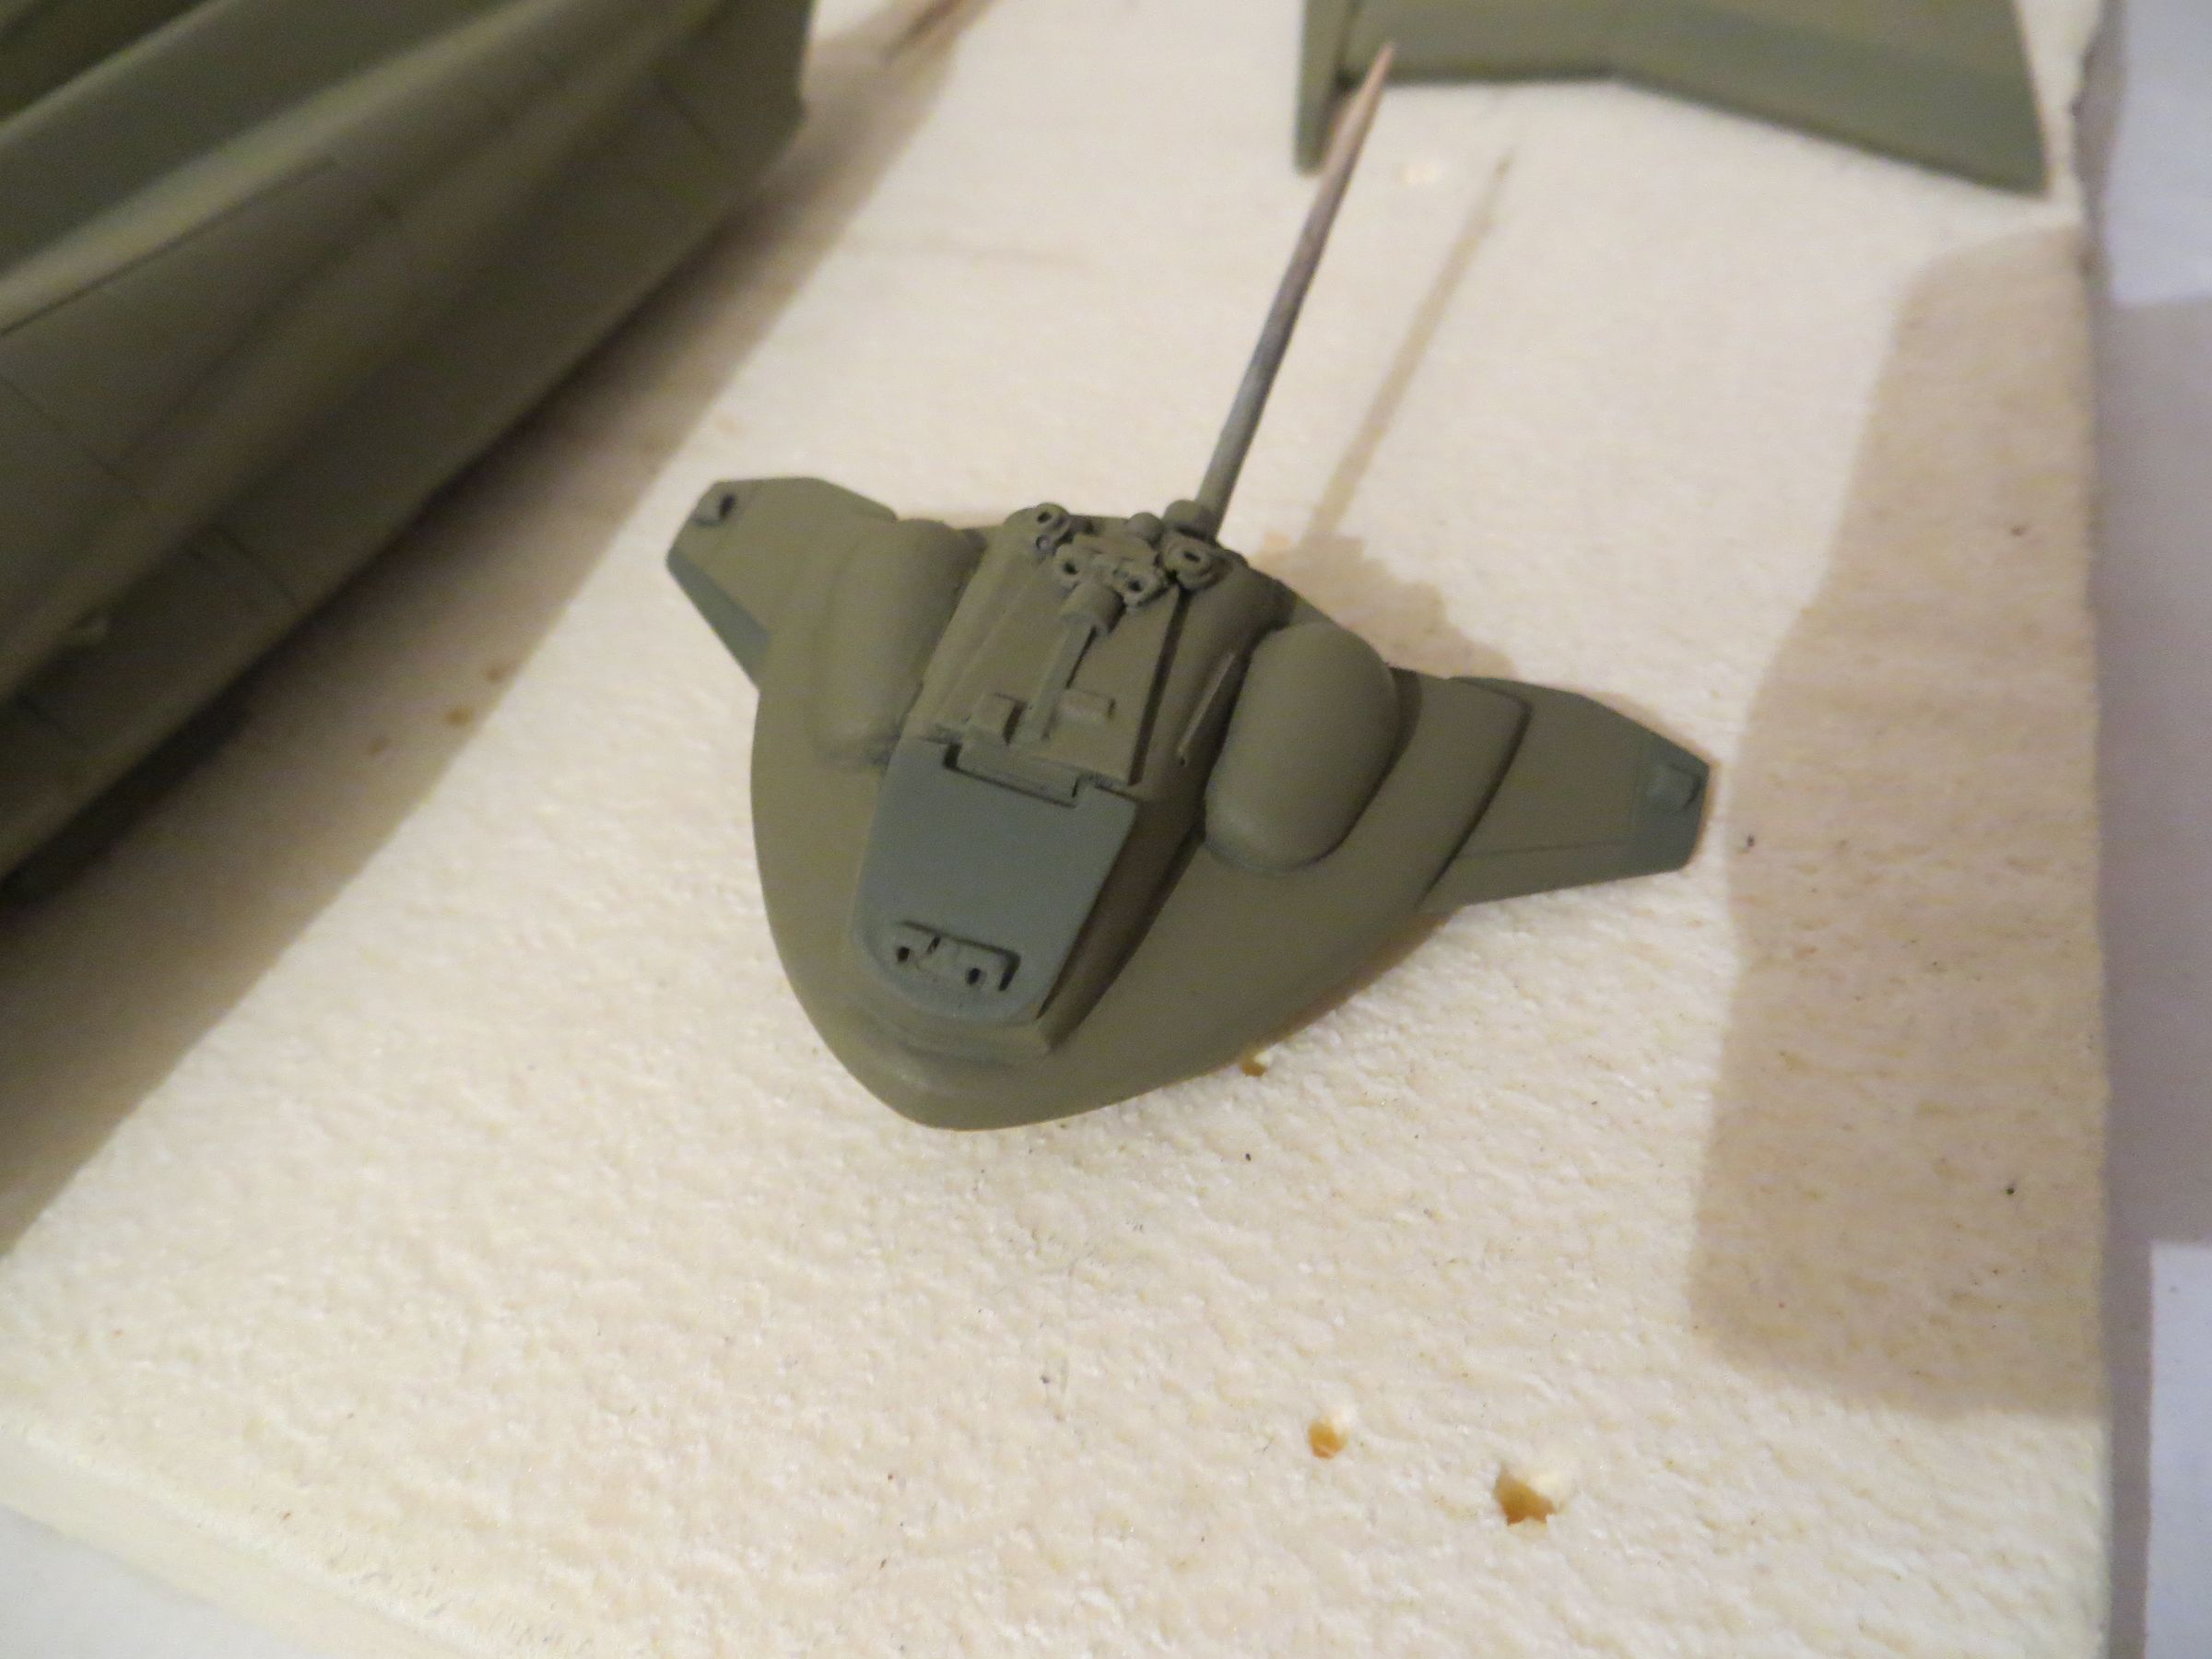
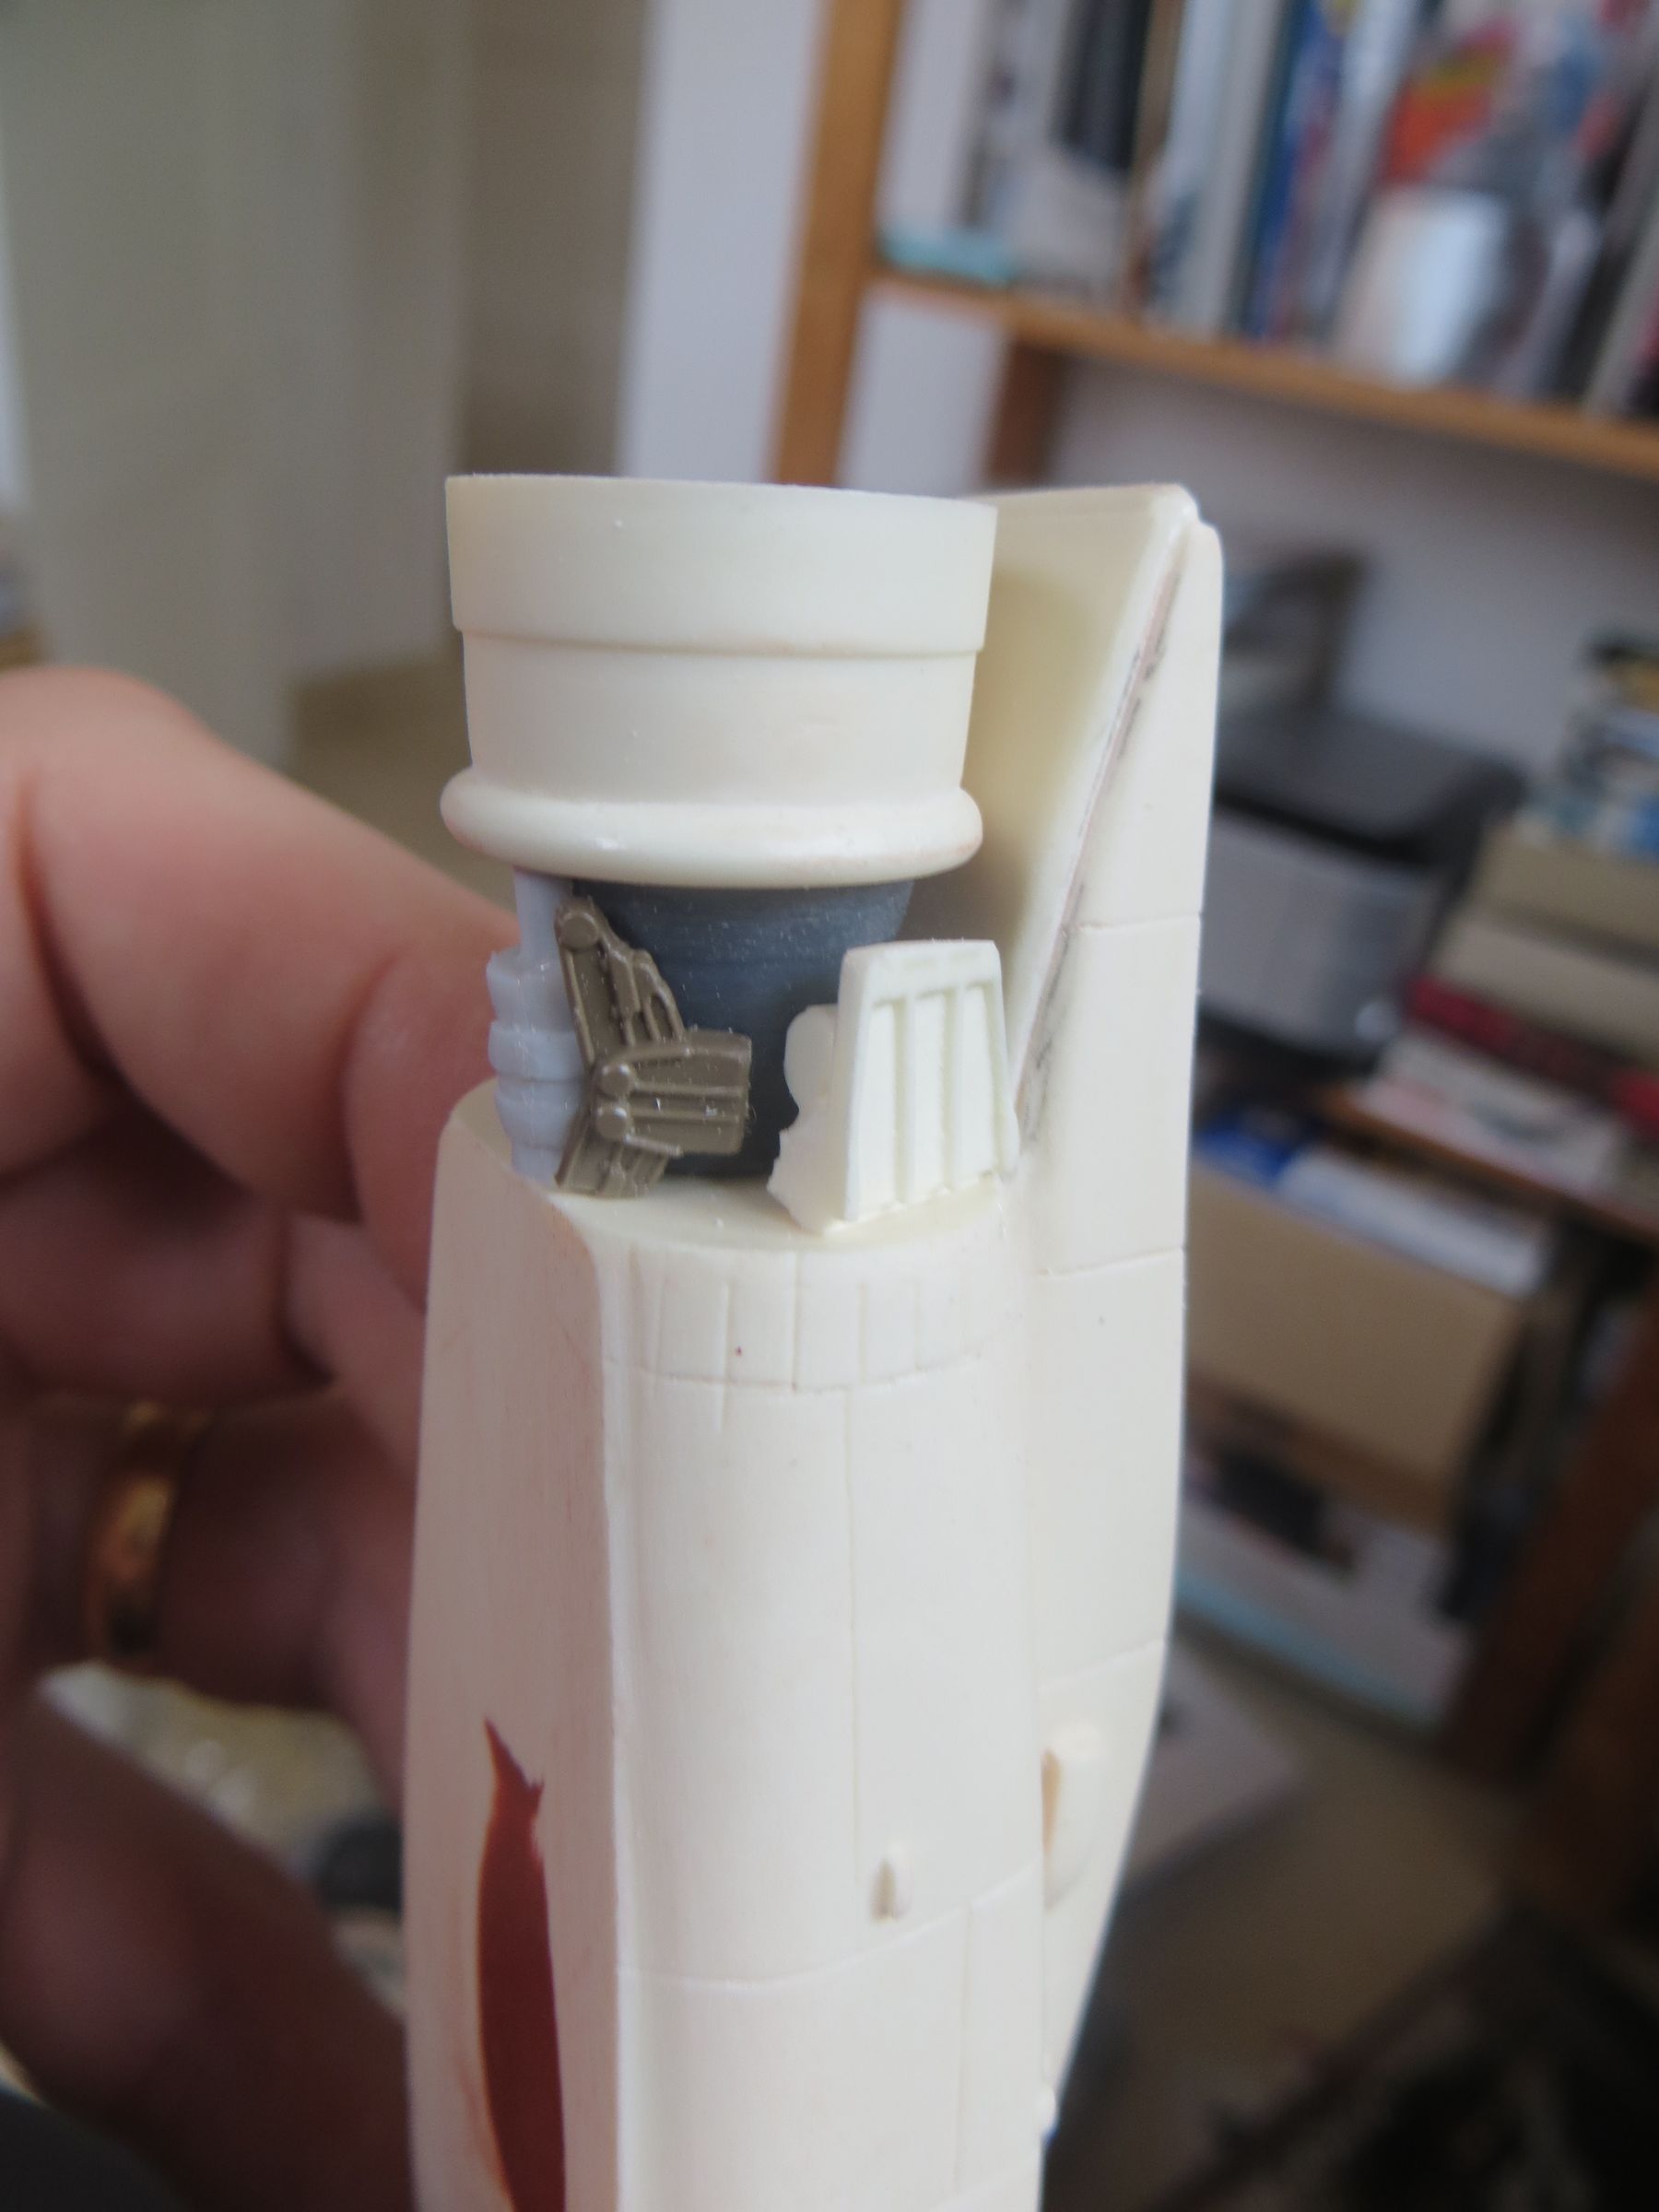
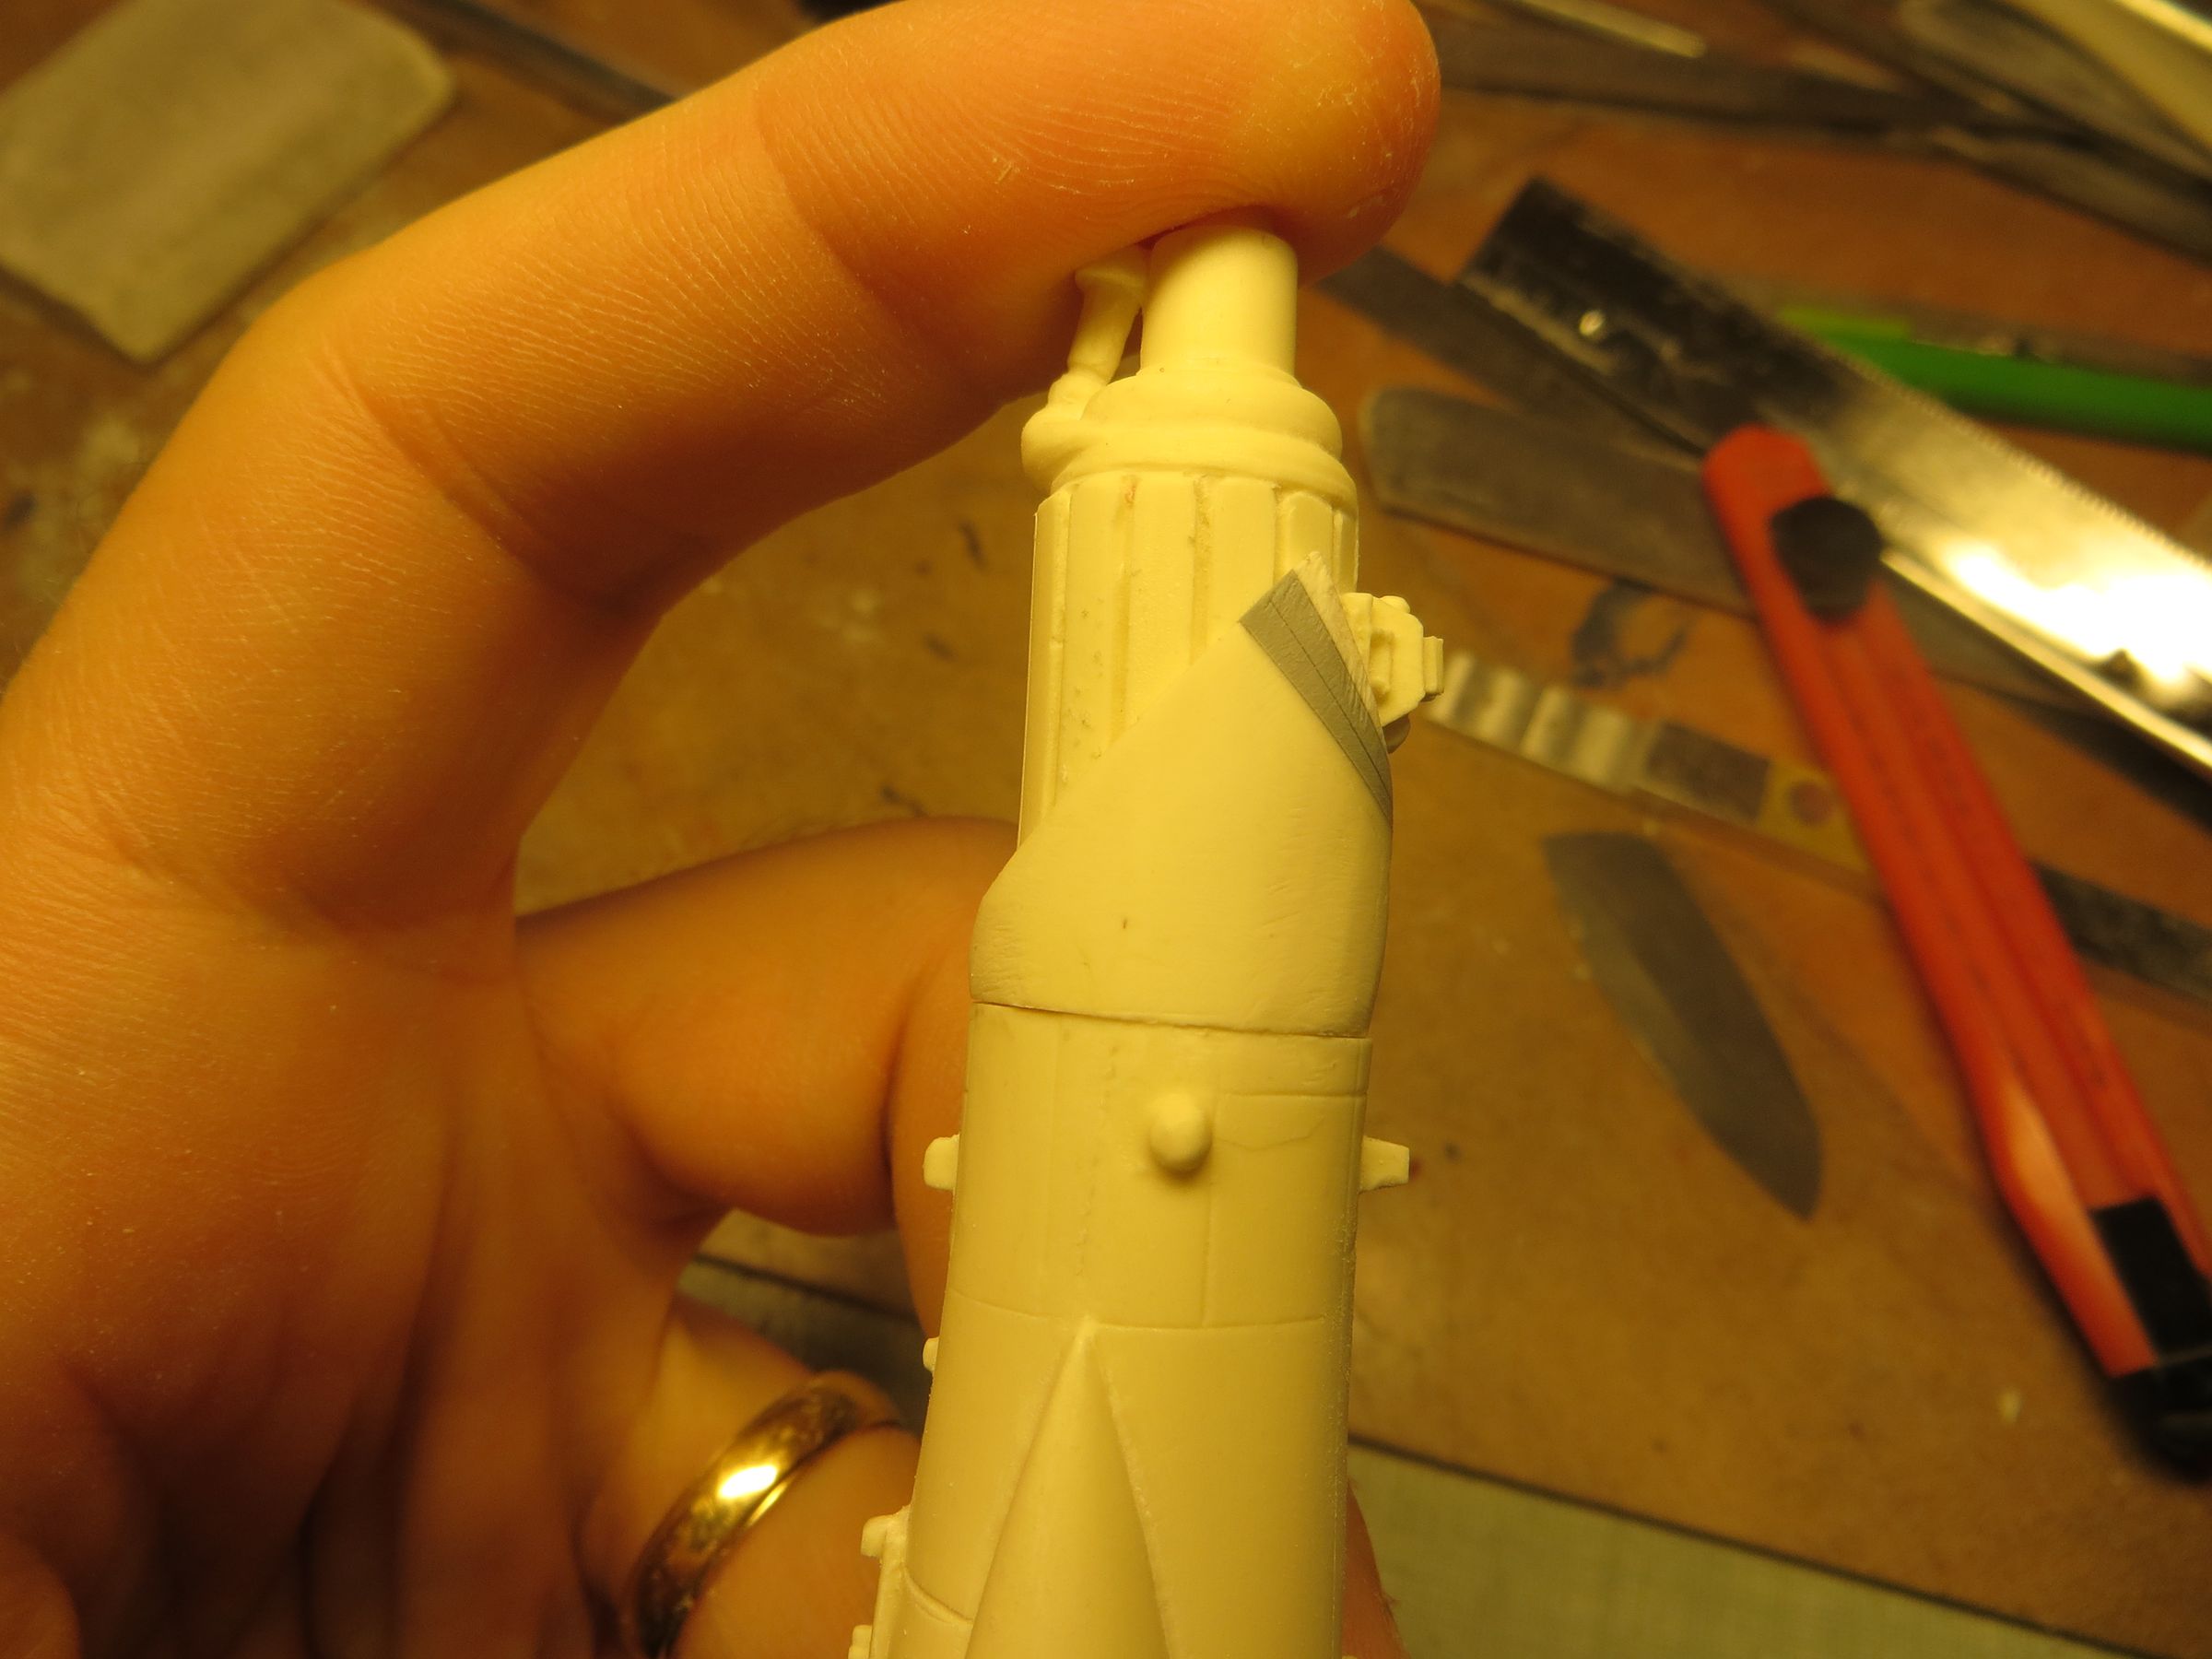
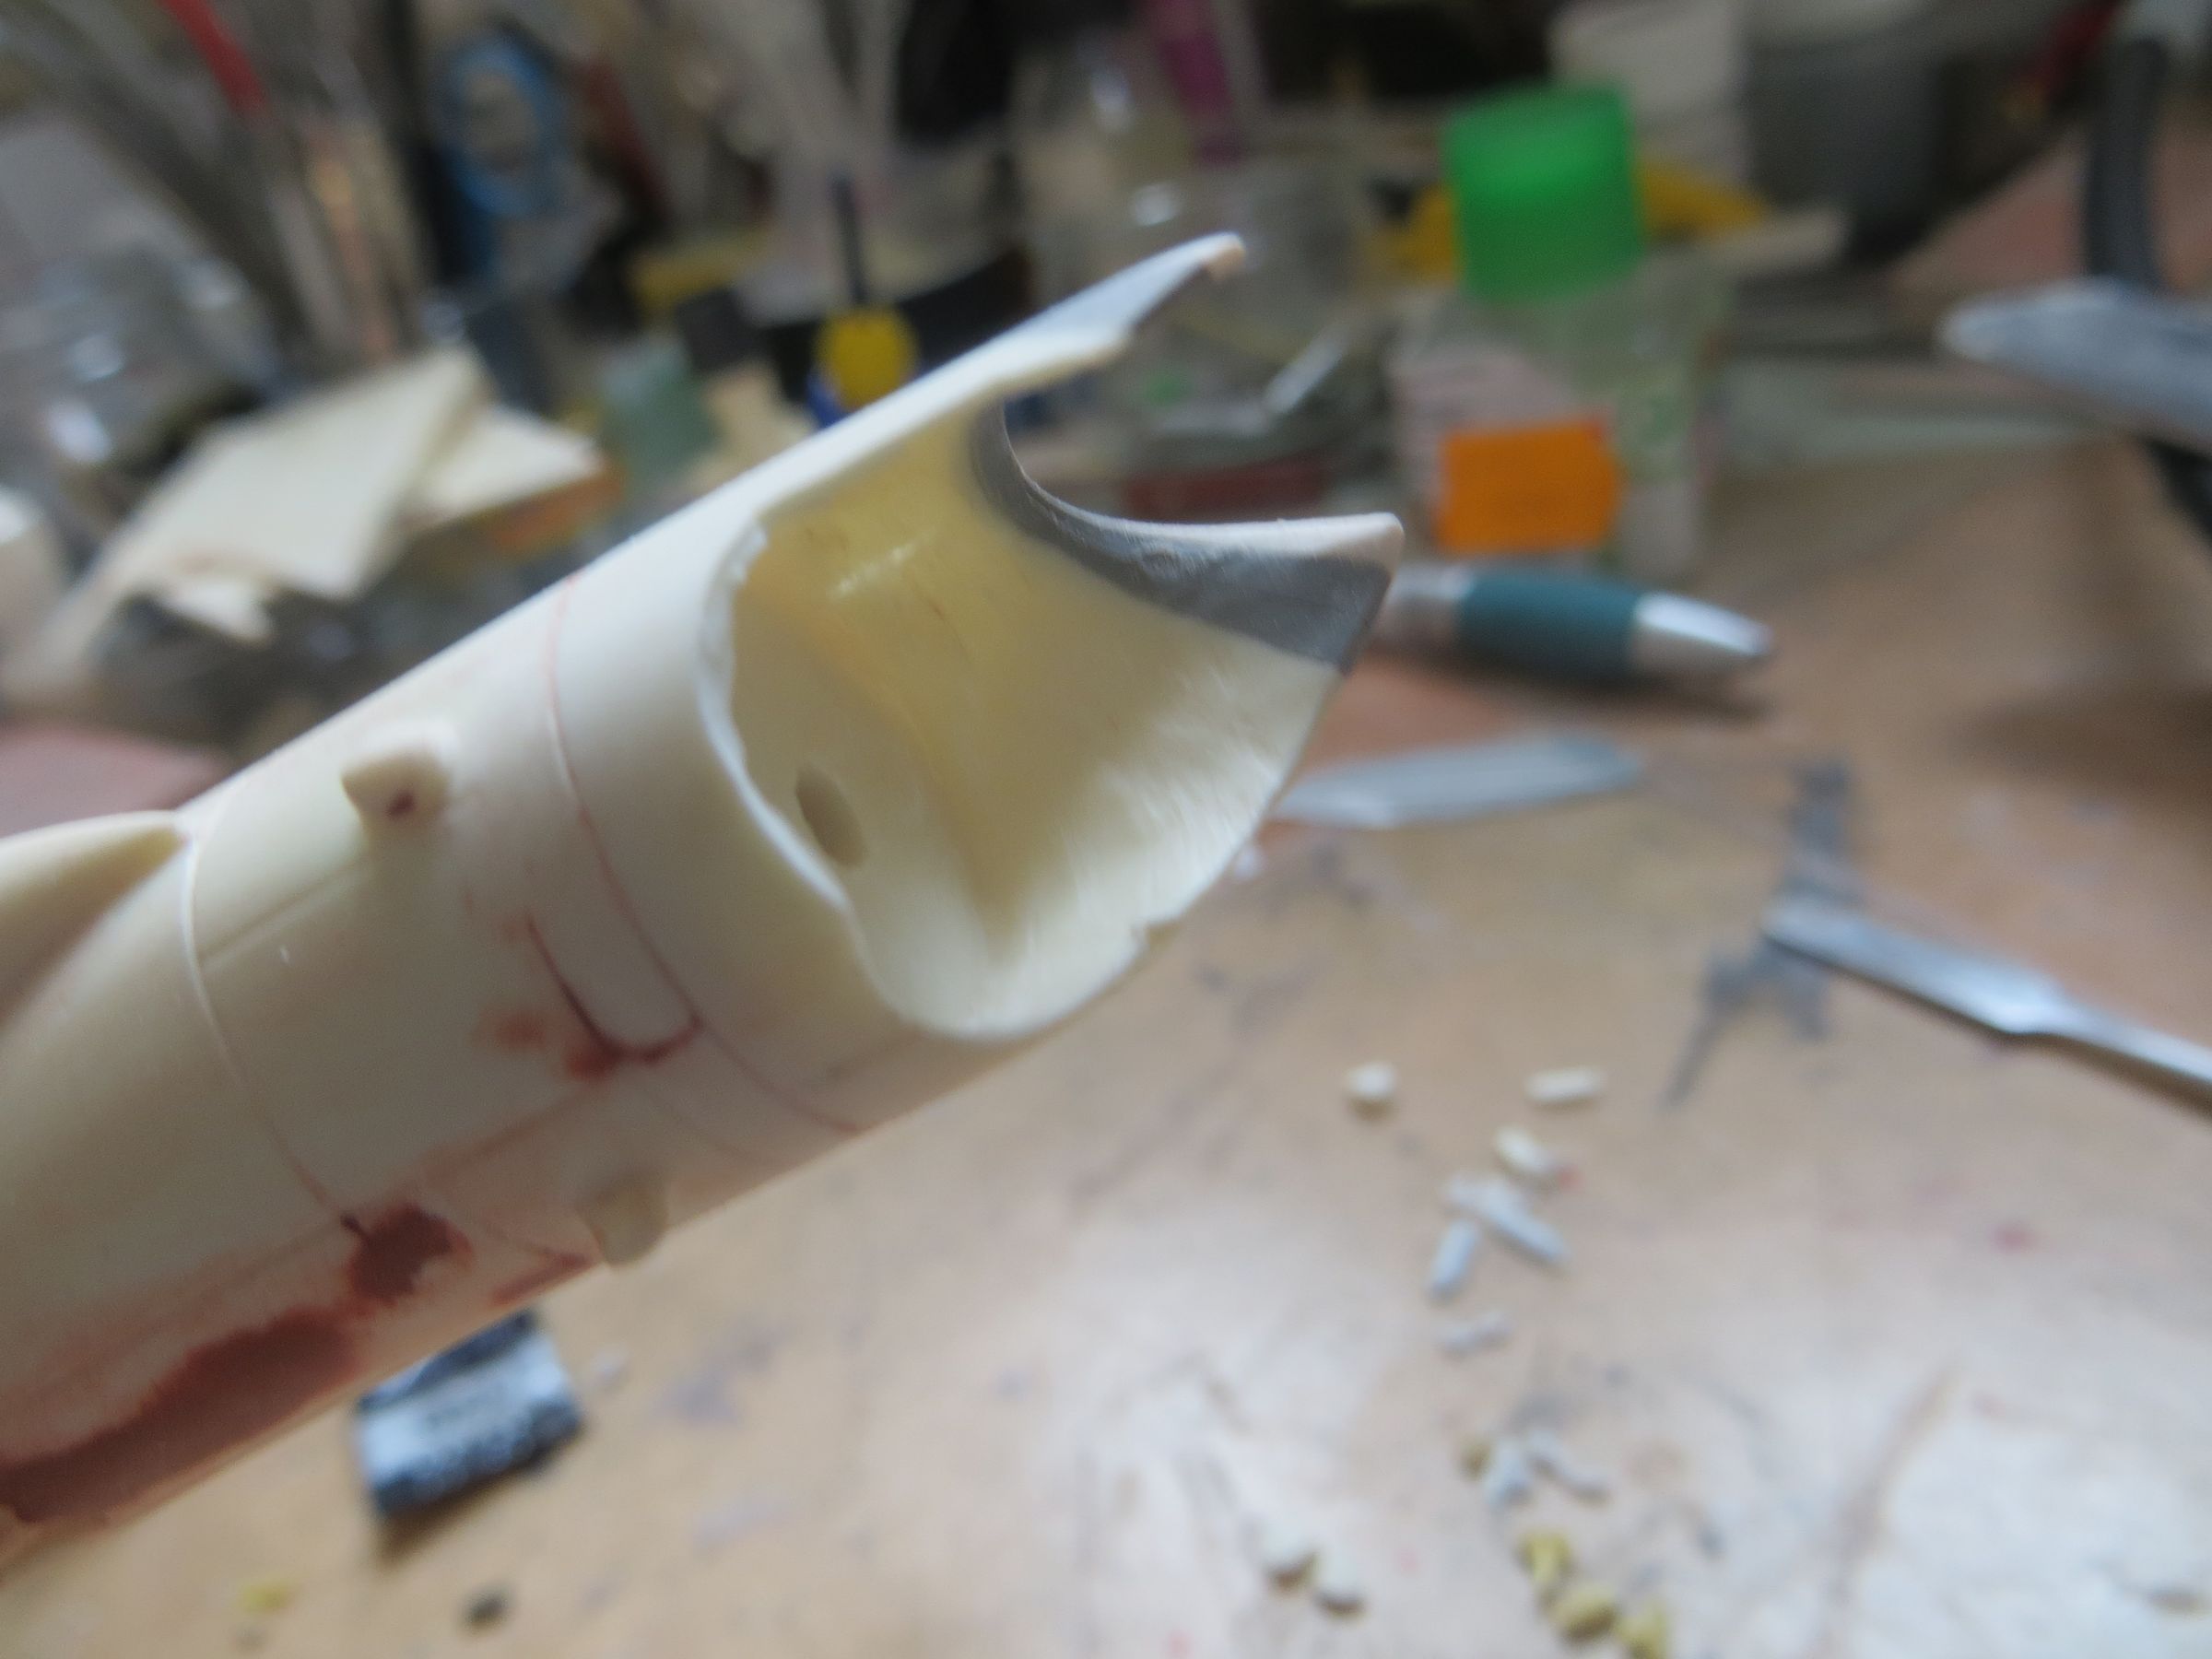
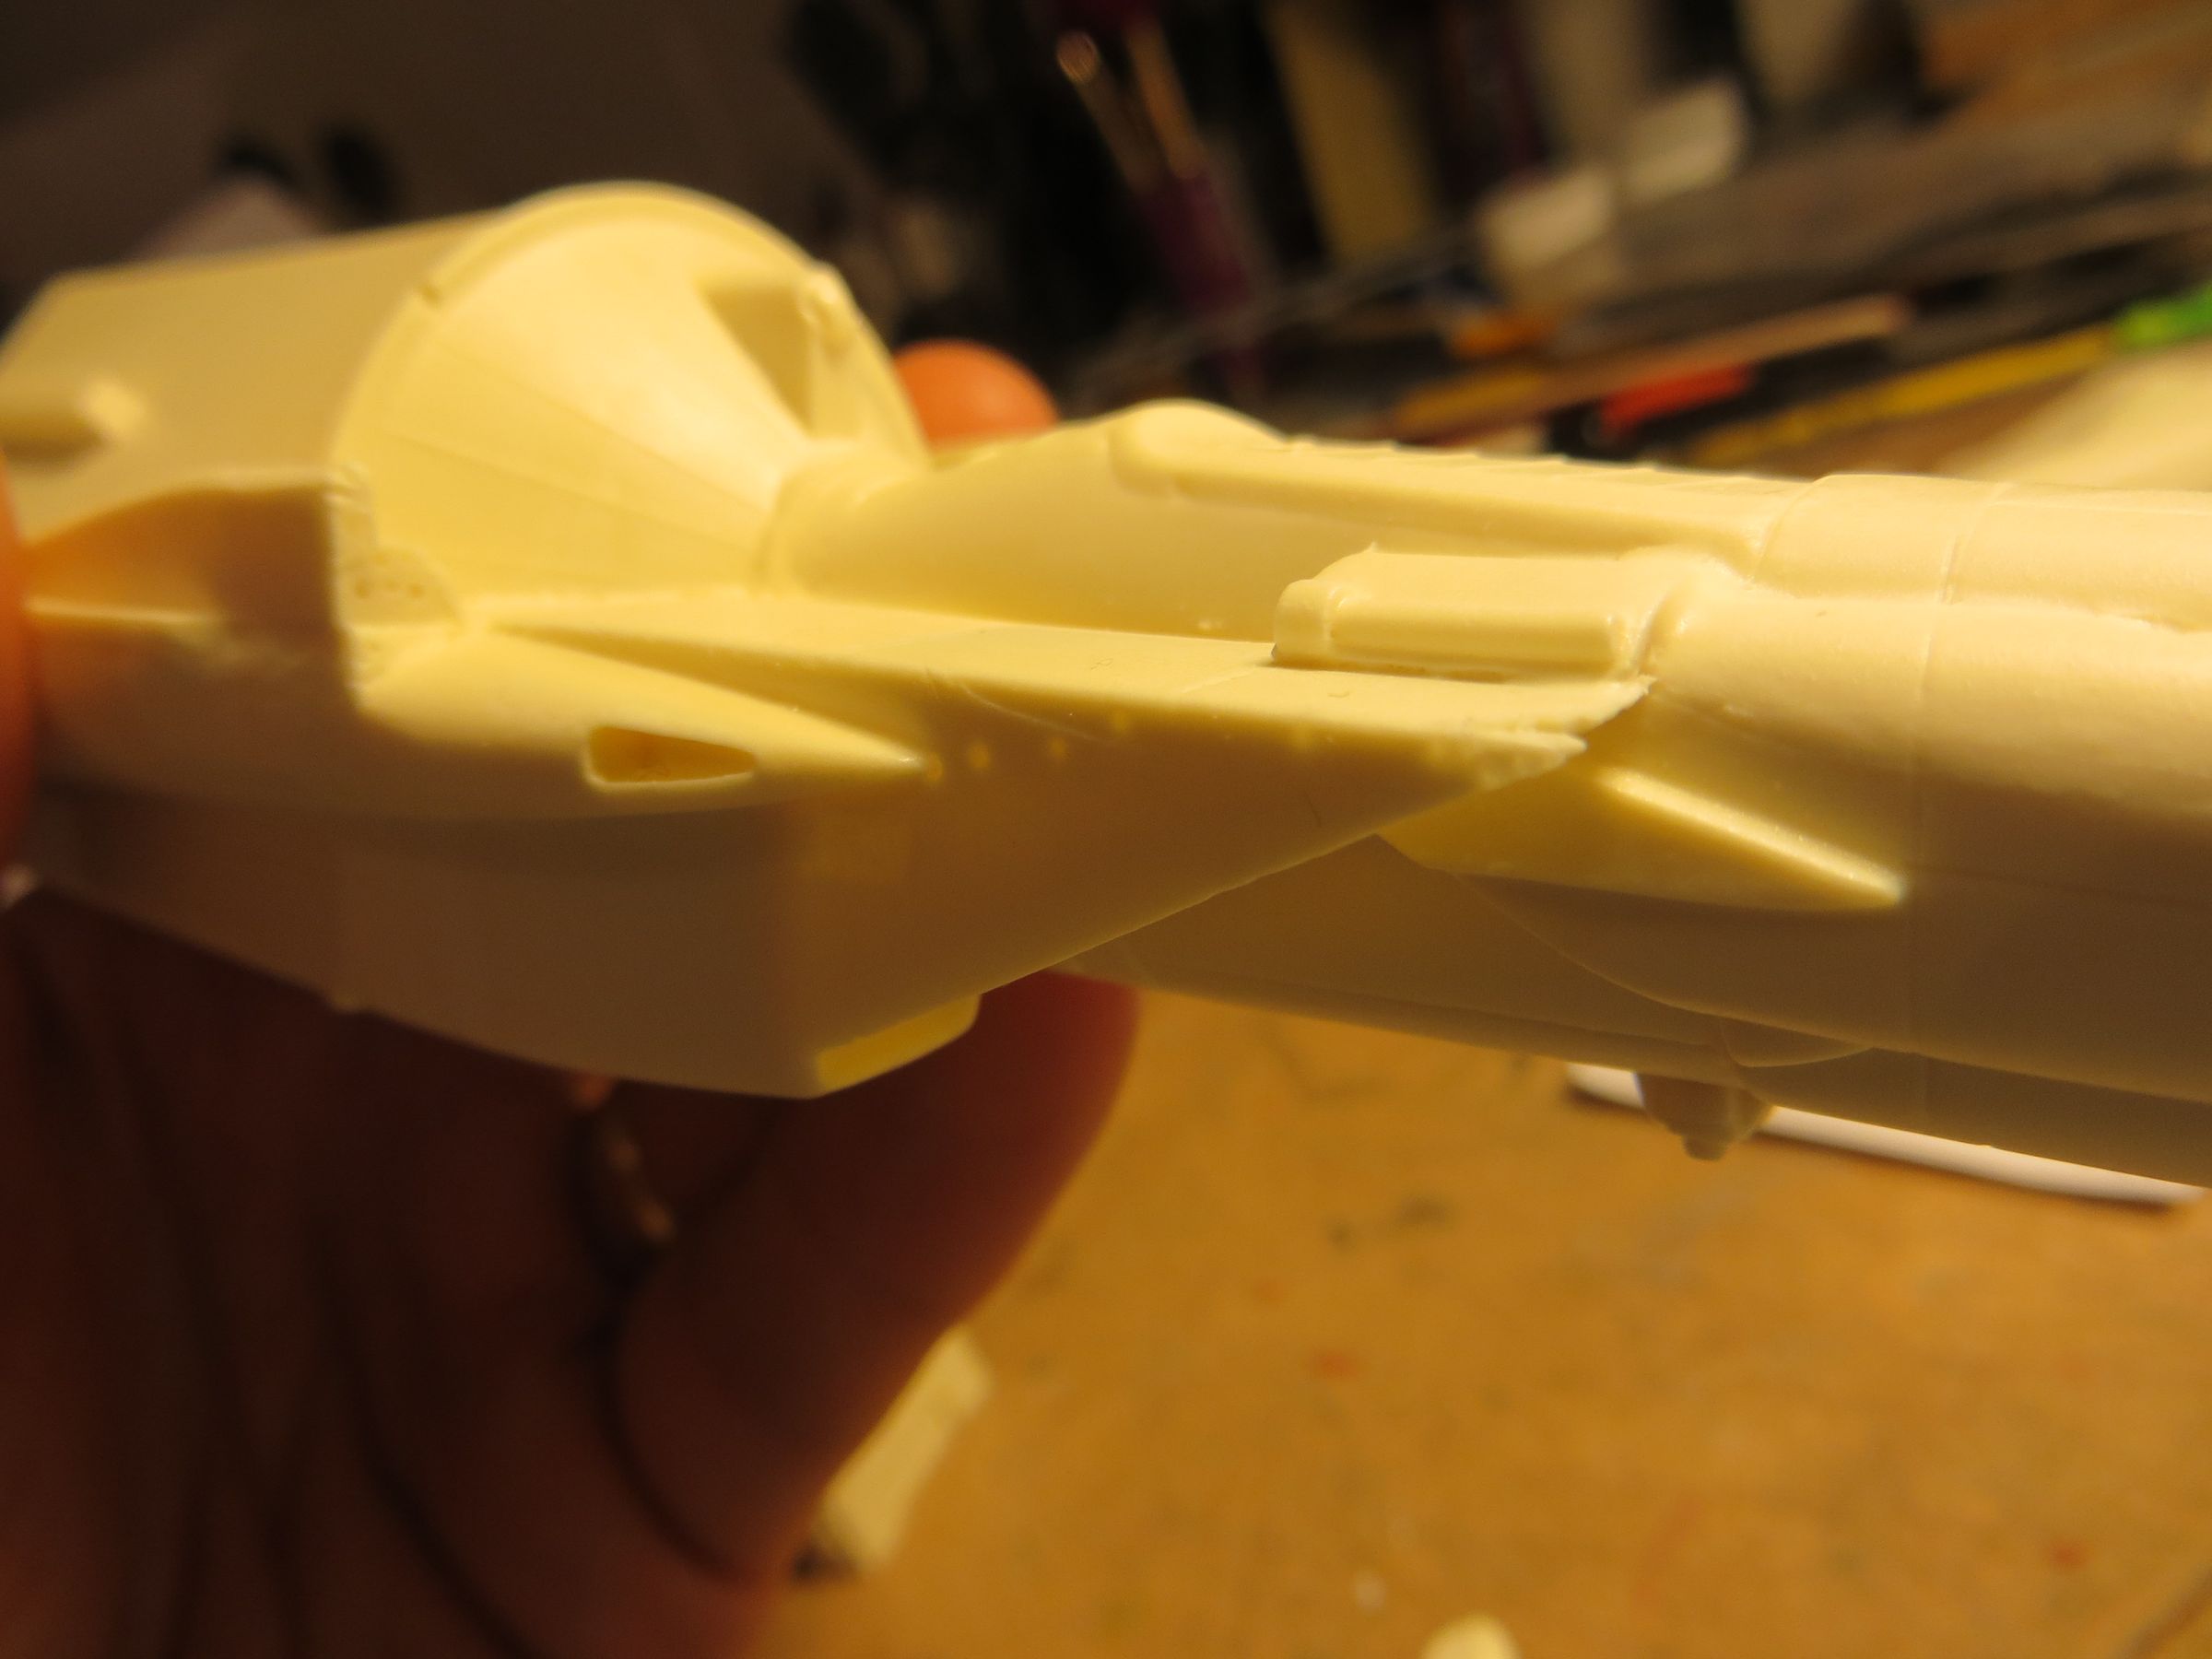
The neck has some errors.
The part is too large and there is a step with the cabin. If the neck is actually flare slightly (with a diameter slightly larger at the end), this is here too pronounced. Having no tube with and correct diamter I could work one, I had to continue with the kit one, seriously modifying it (No photos).
Then, the end cut of the neck is incorrect, being almost top/bottom symmetrical on the kit where it should be more wider at the top. The angle is also incorrect. So cut the top side and adding plastic card on the bottom side.
To reduce the flaring, I cut a notch, then dipped the part in hot water to soften the resin and tilt the two edges to close the opening.
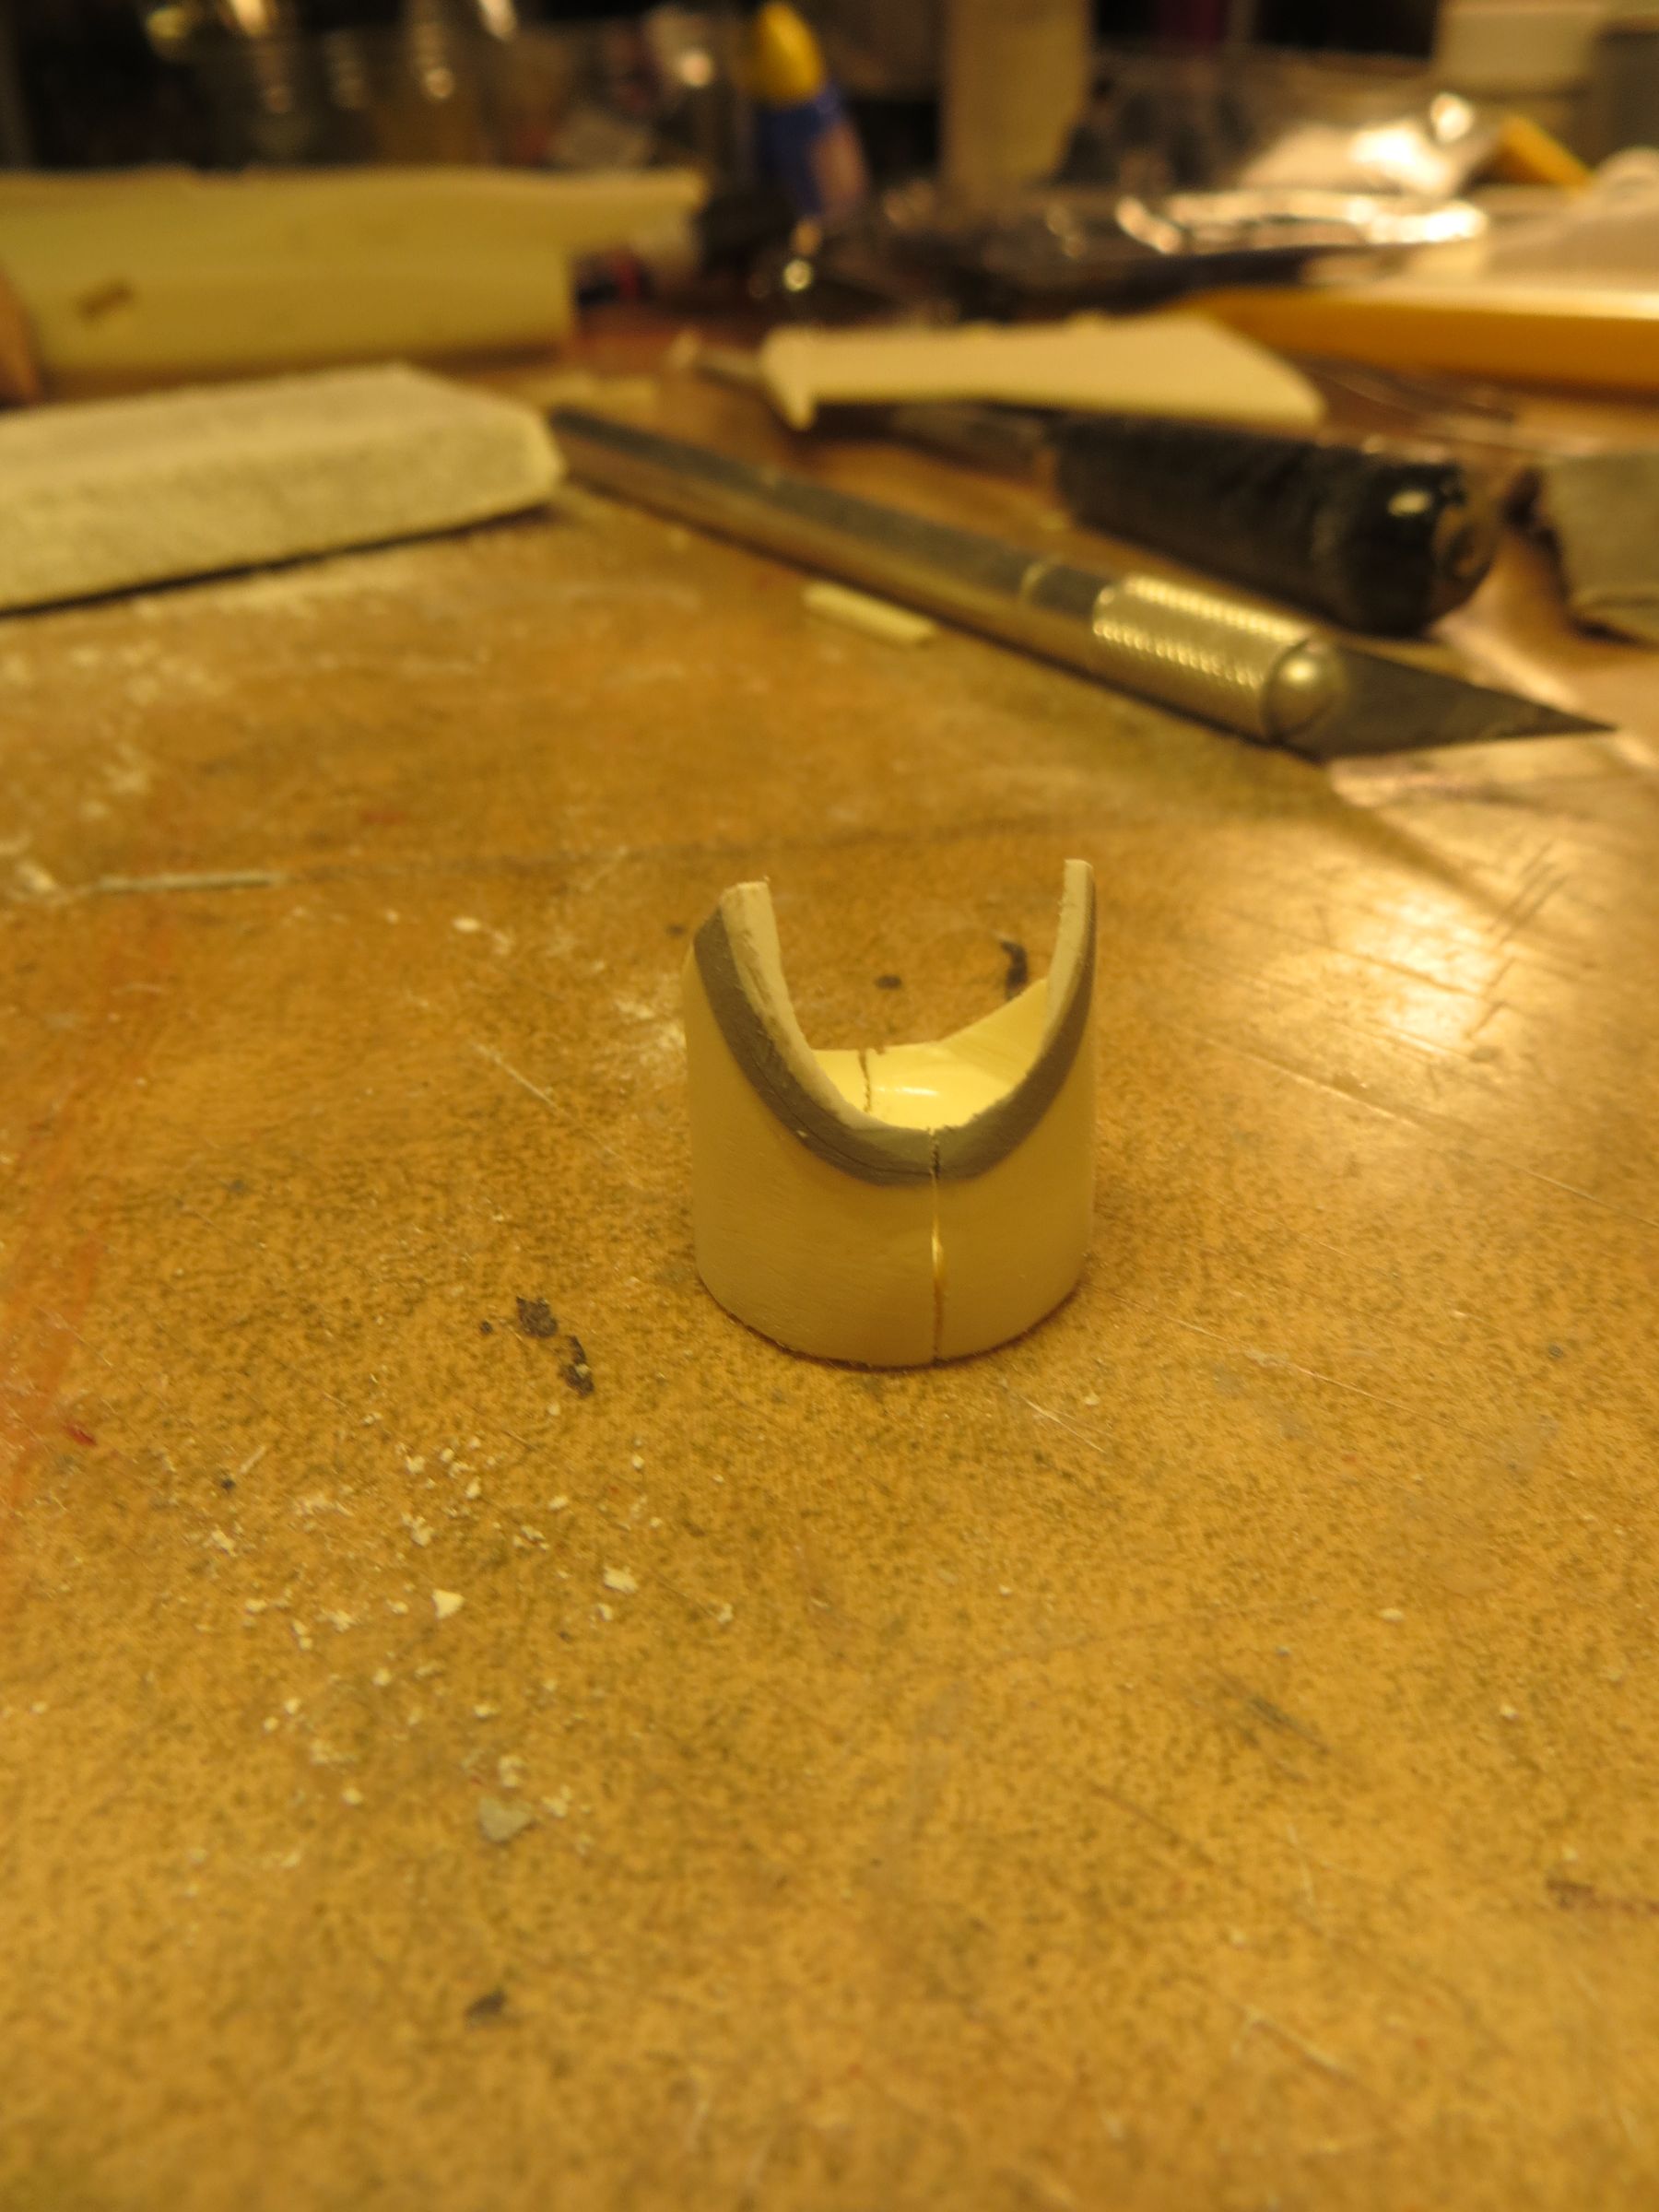
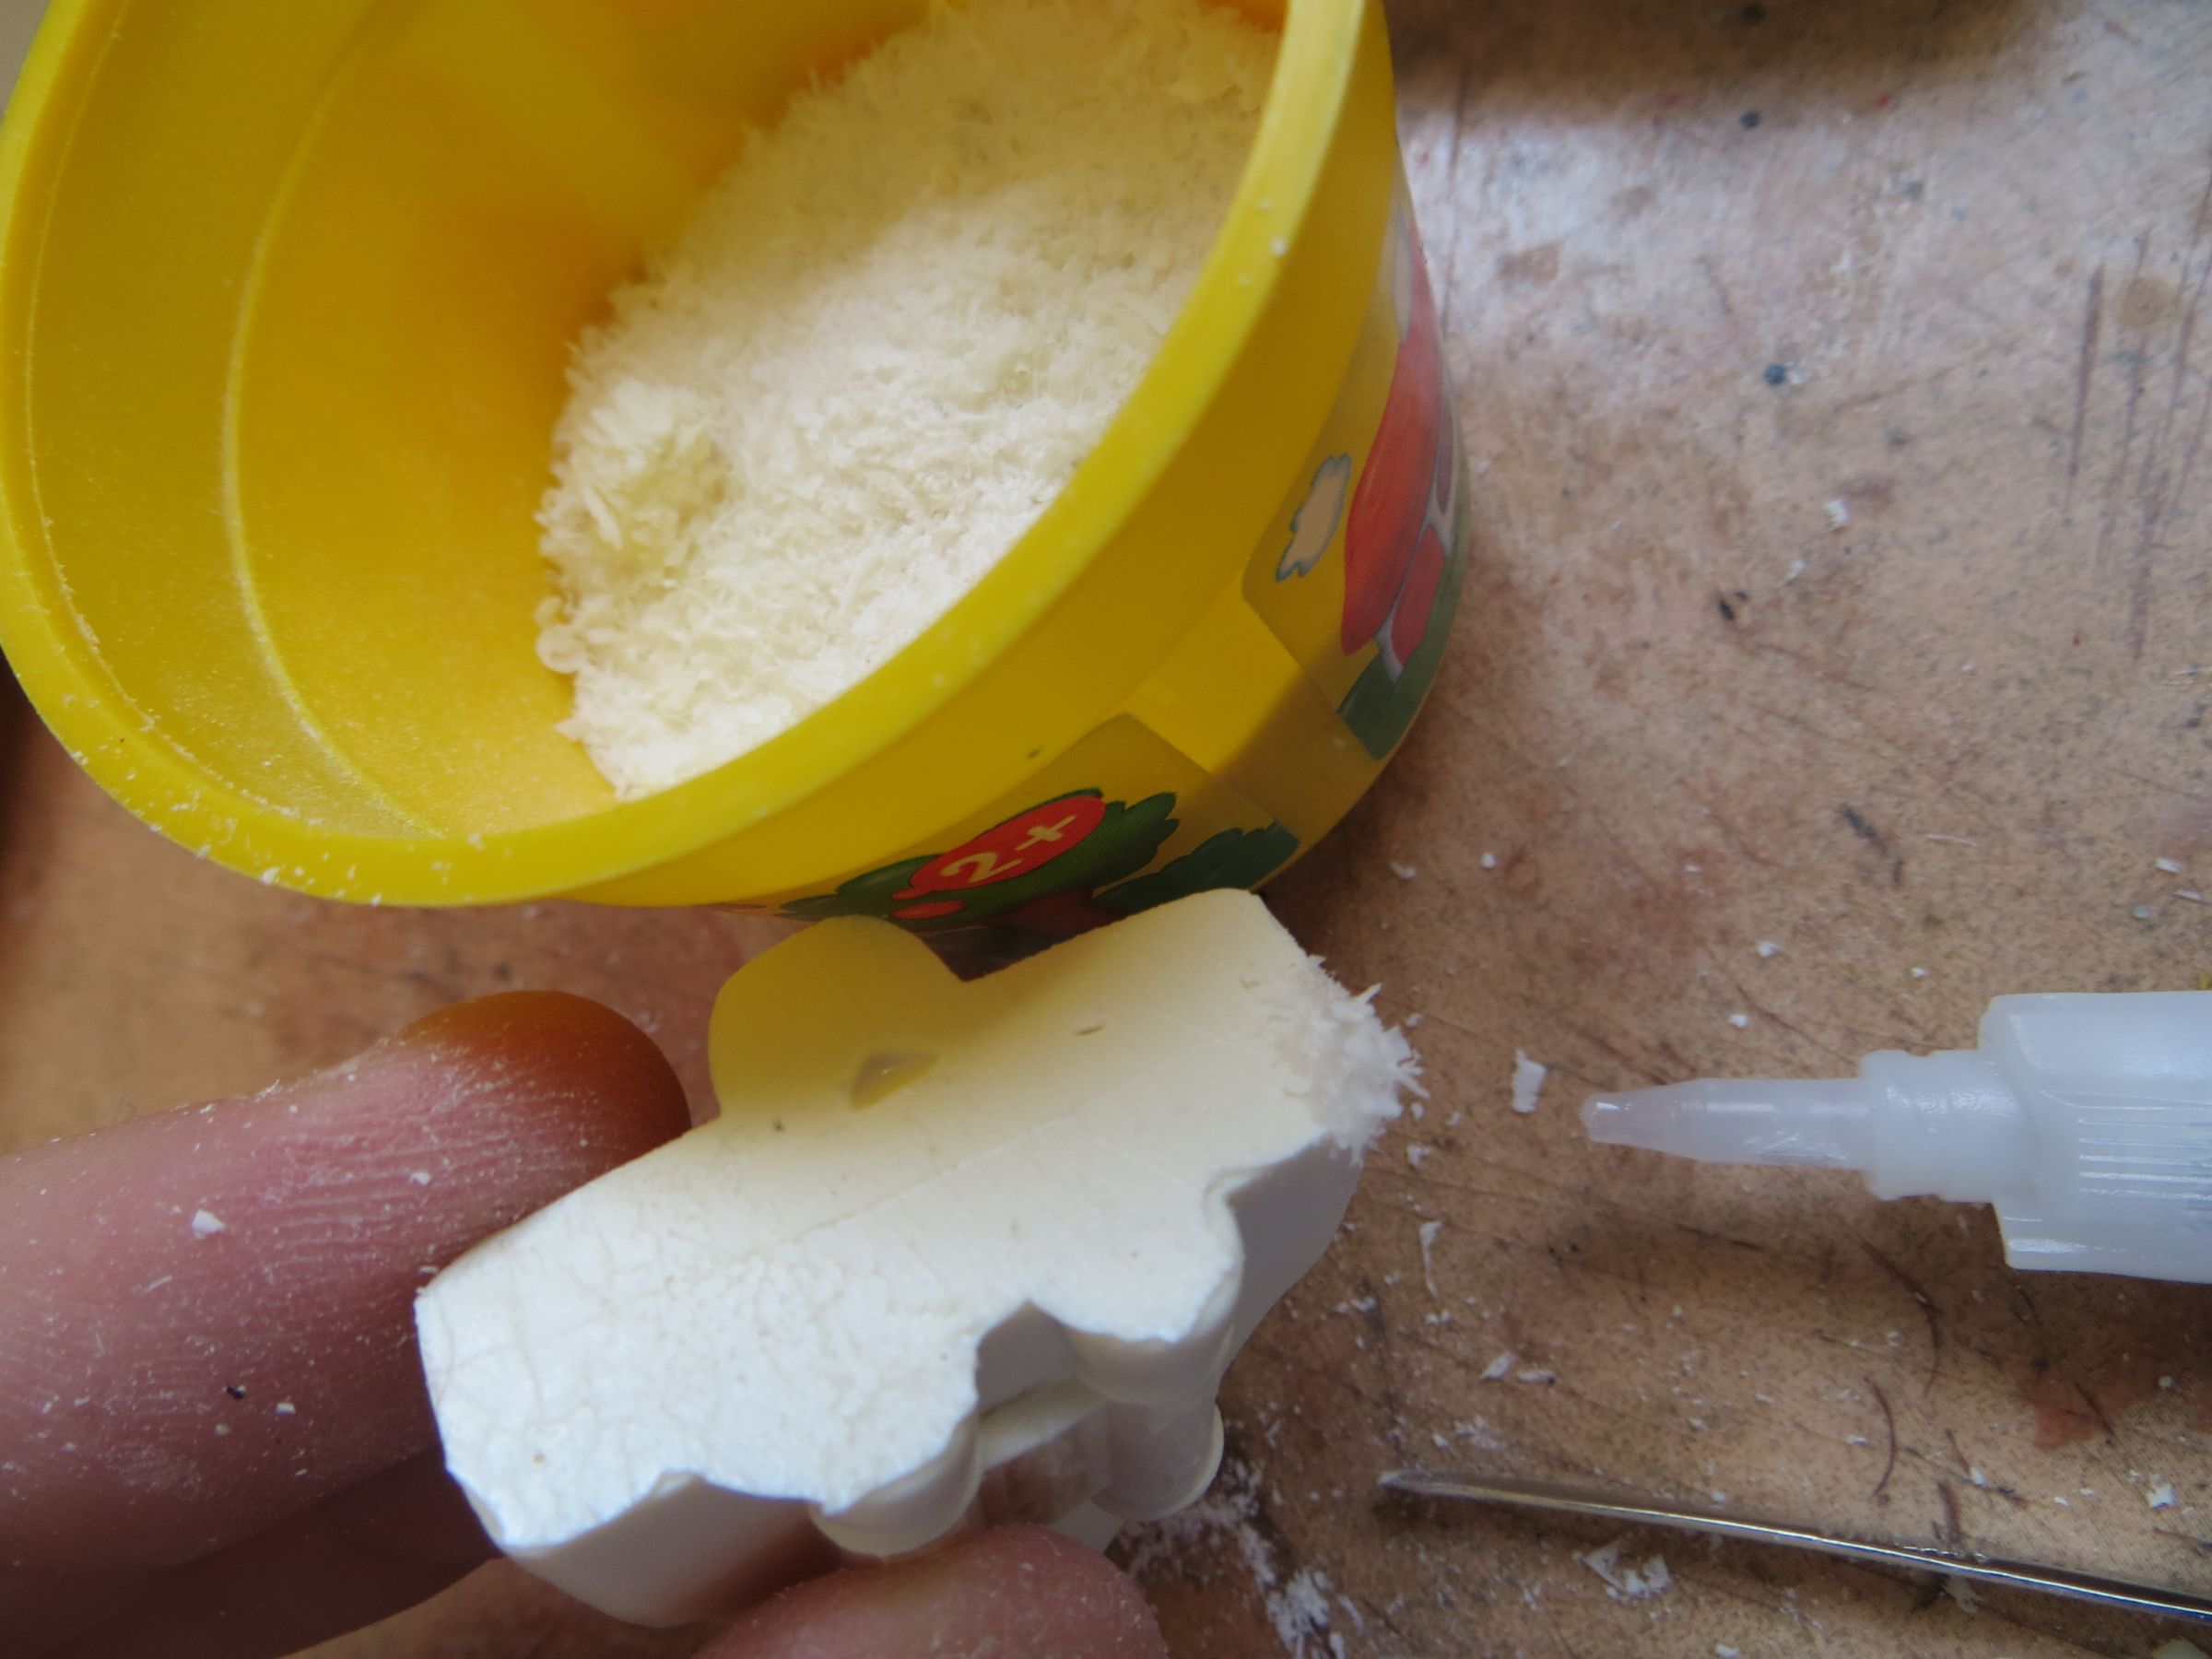
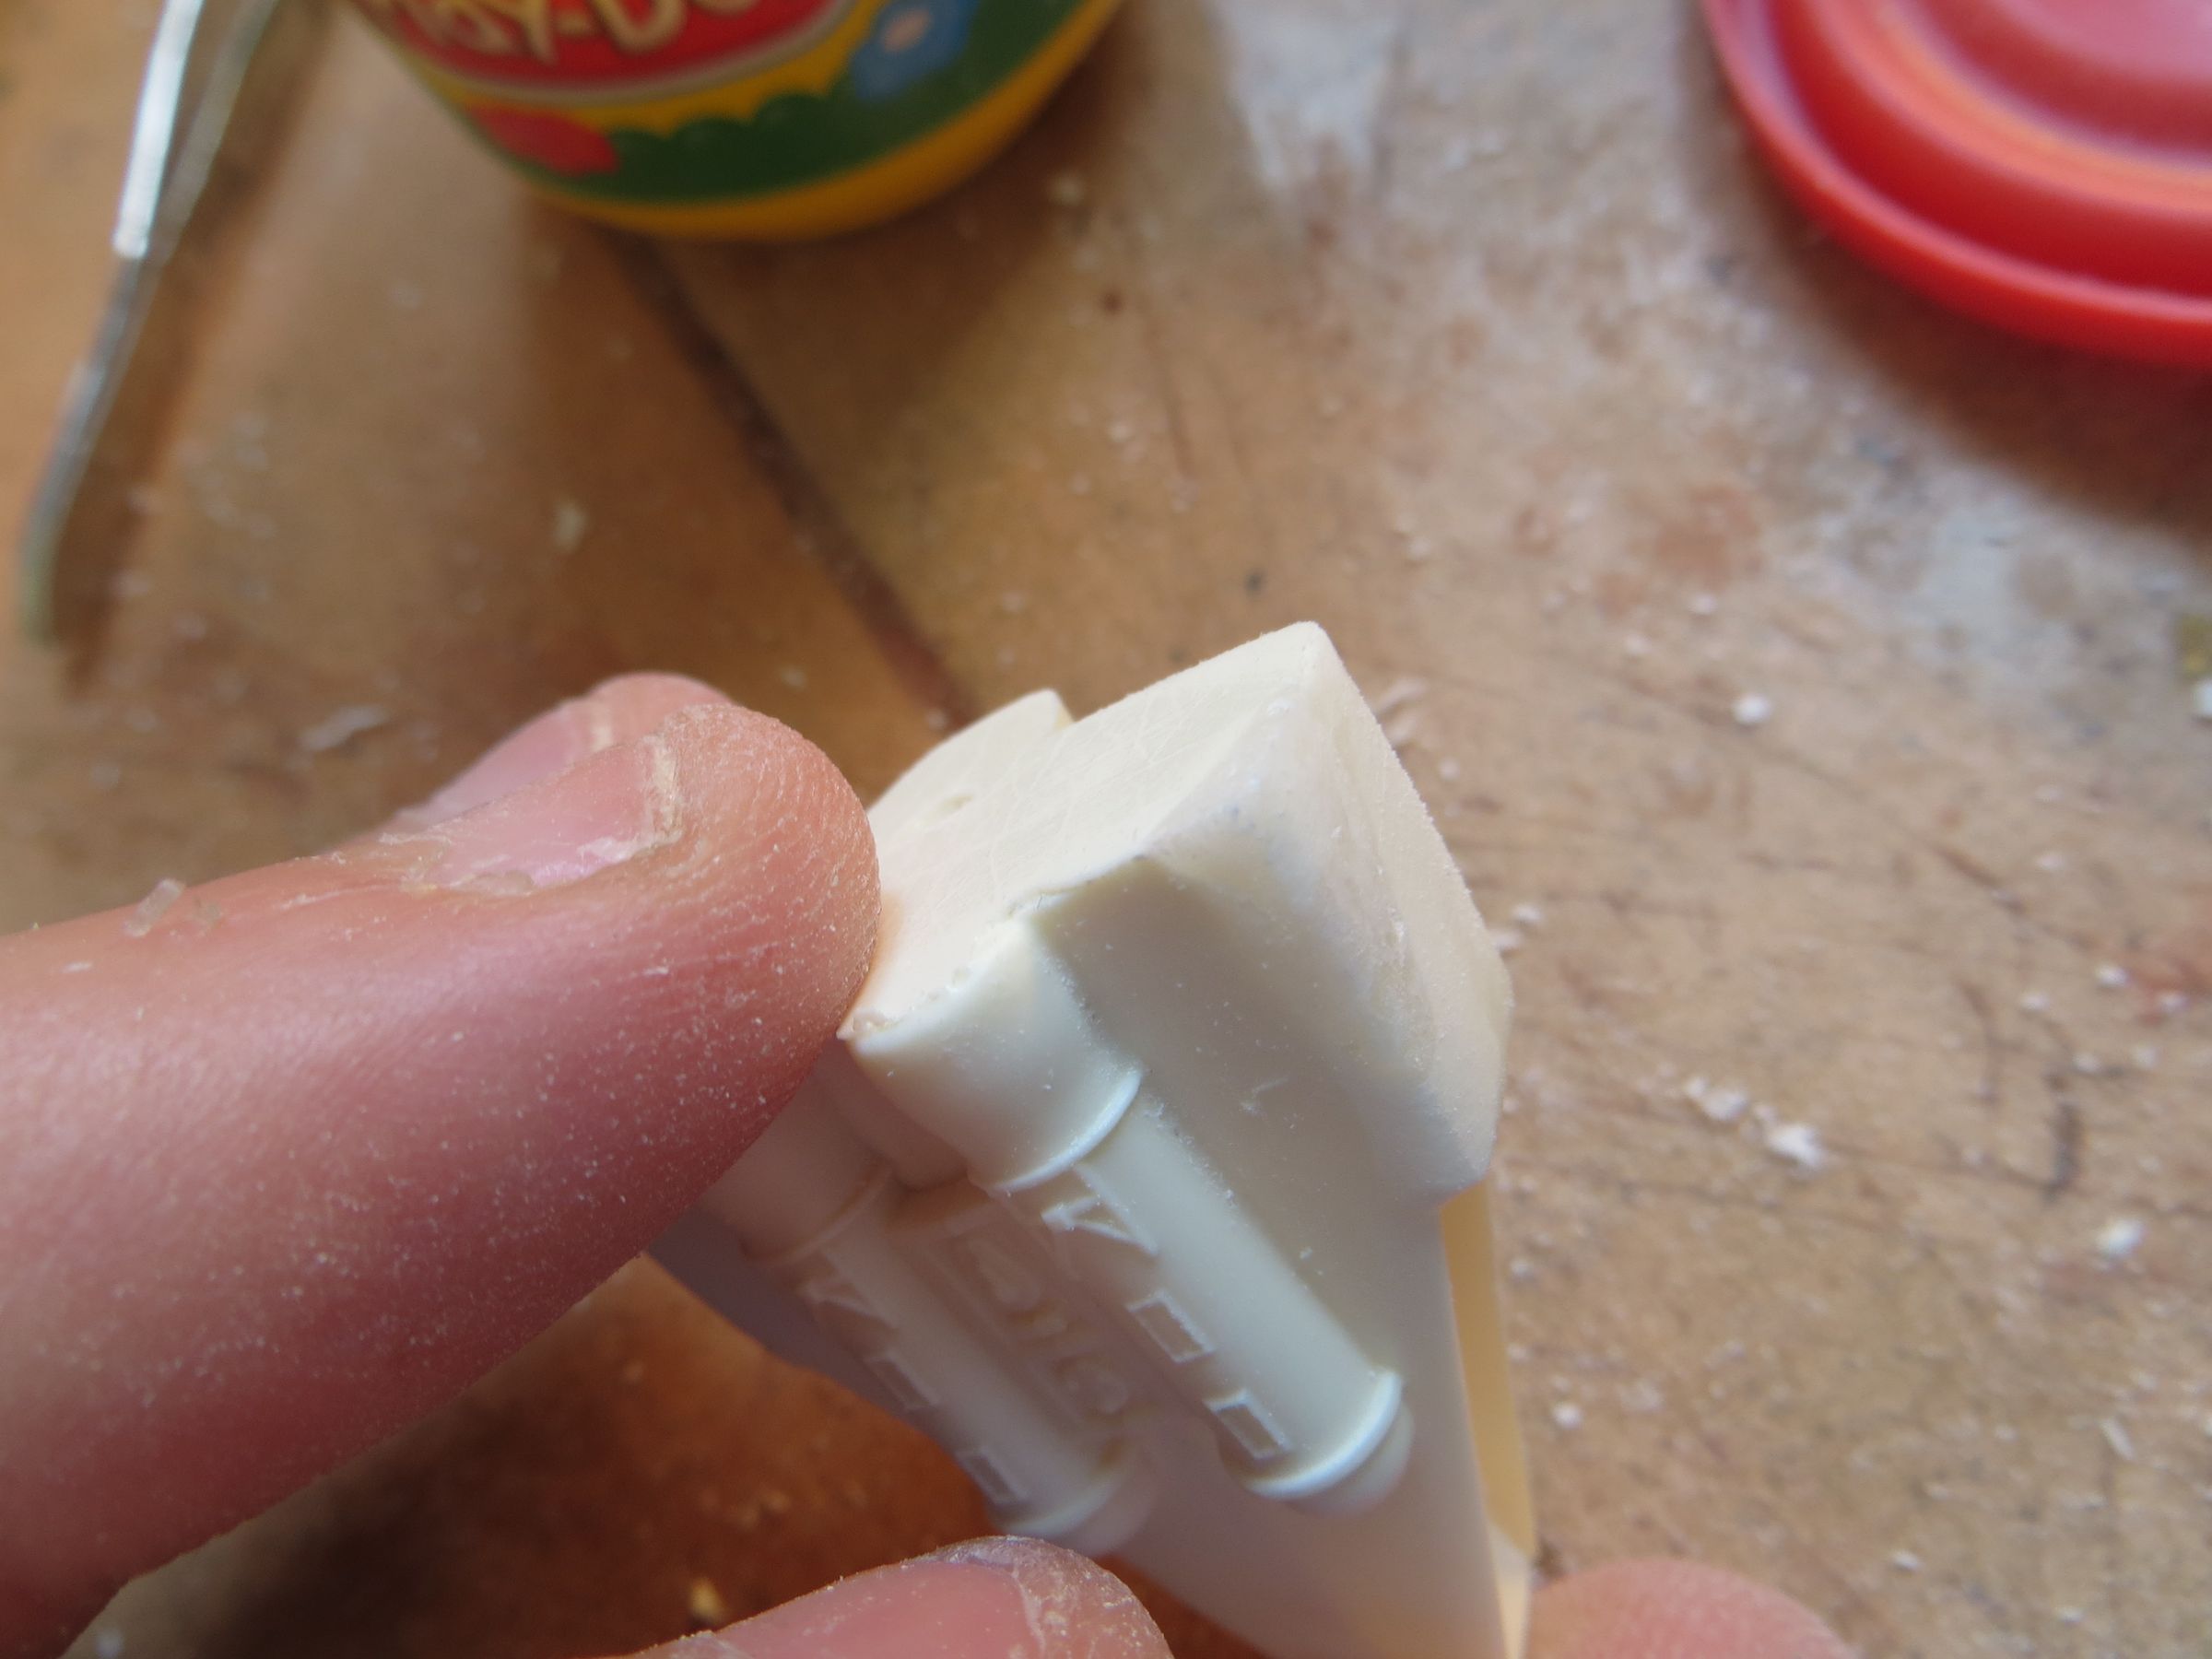
The bottom of the neck is rather round and the shuttle’s neck was not stable when inserted. So I milled inside to fix this. Then the neck became not enough long, so I added an 1.5 mm thick plastic card.
With these operations, the part became quite thin and fragile. Moreover, it will break a little later, to be repaired (after a search of the broken parts on the workbench).
vendredi, 9 mai 2014
Par olcabour le vendredi, 9 mai 2014, 11:33
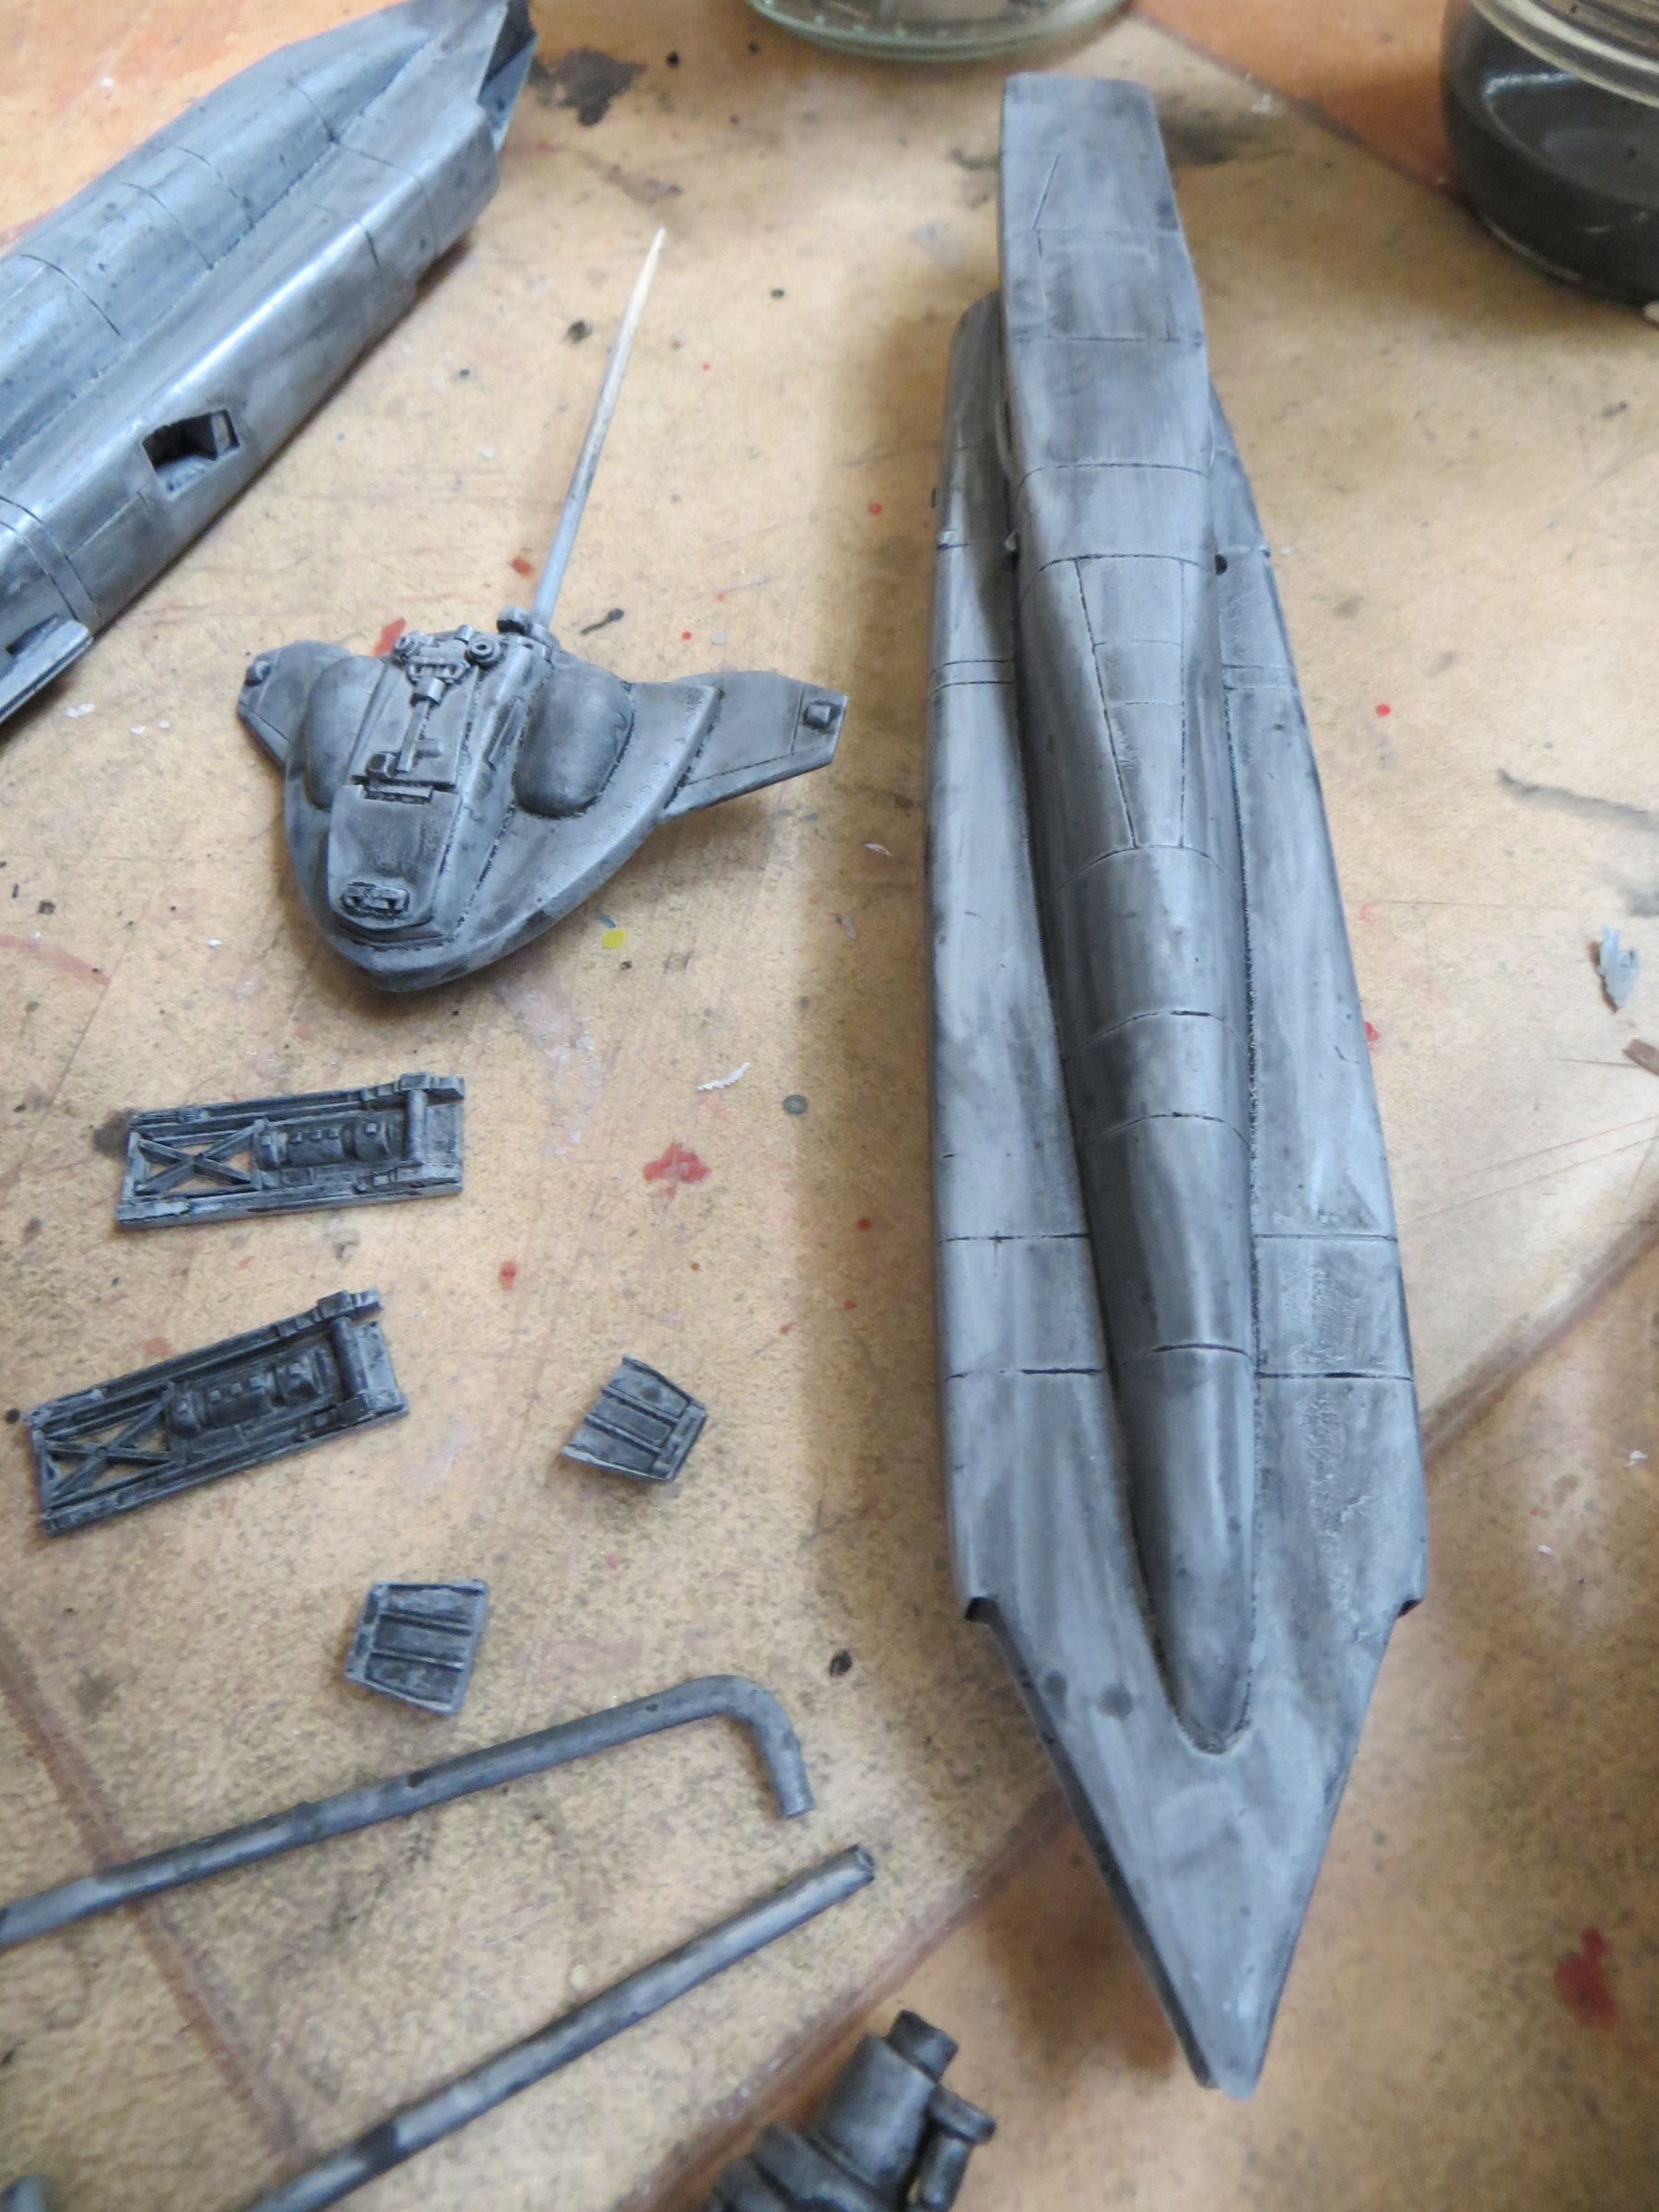
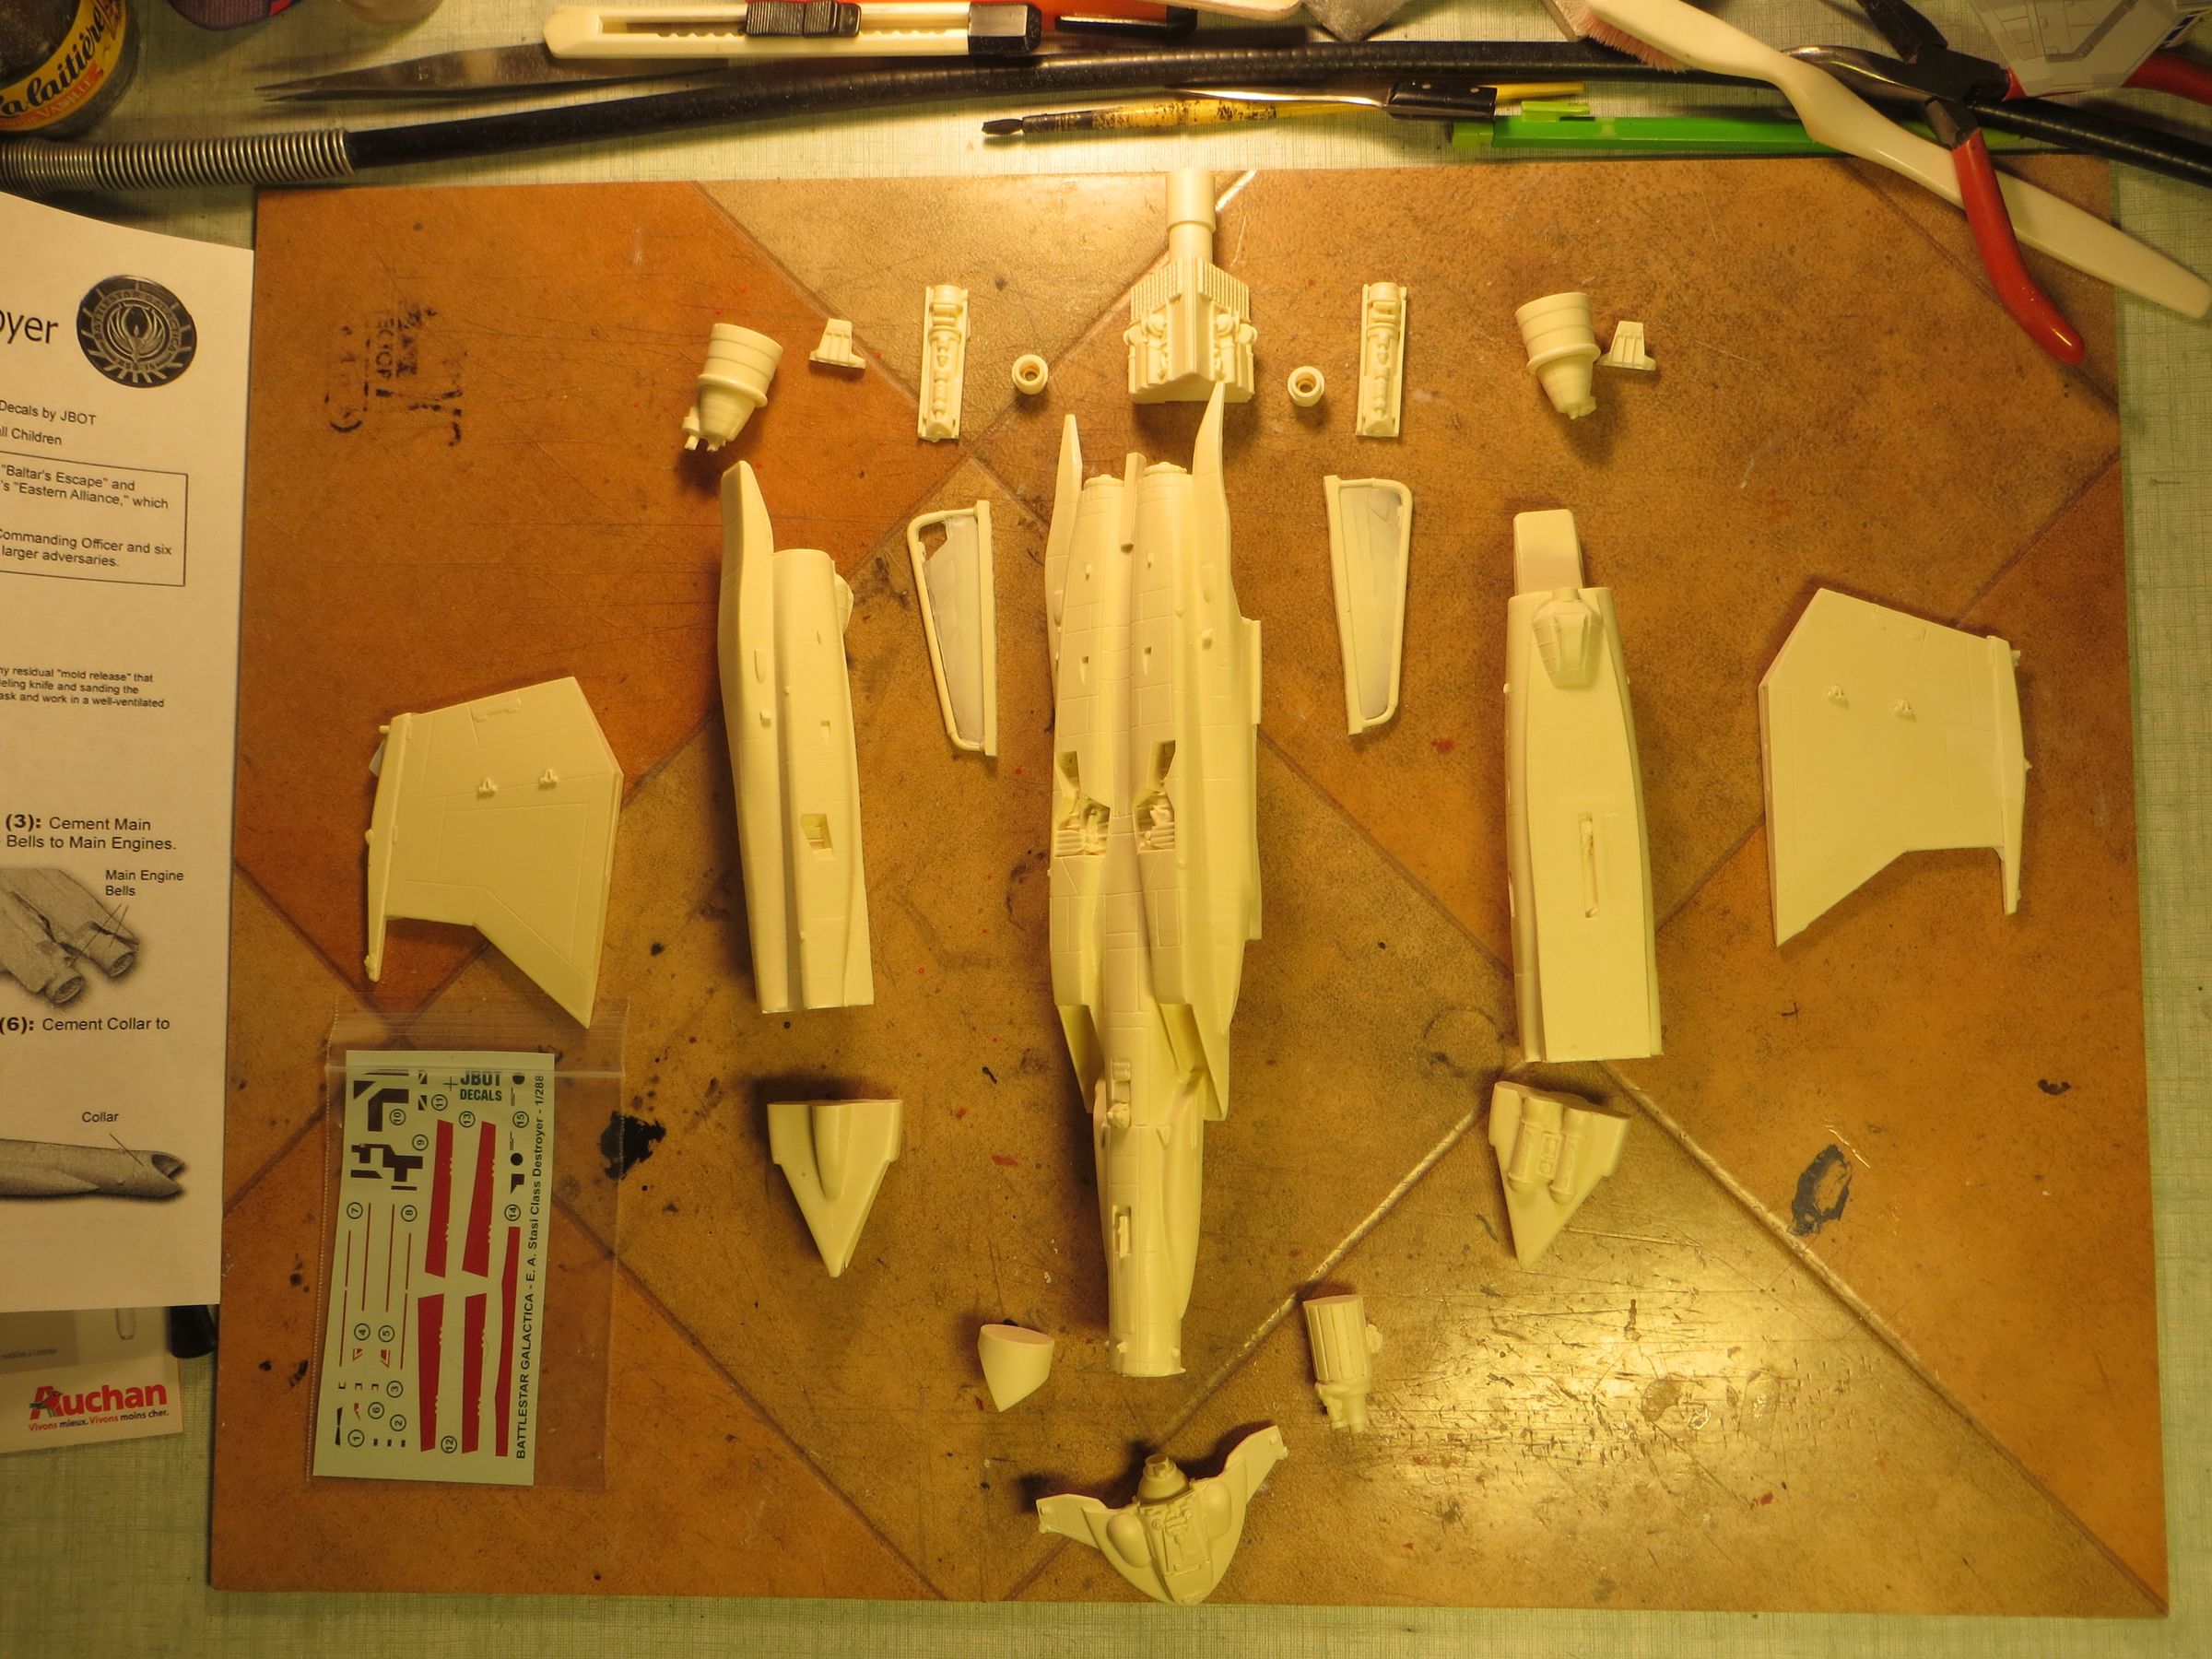
After brushing the kit parts in warm soapy water to remove mold releasing agent, the first job is to prepare all the parts :
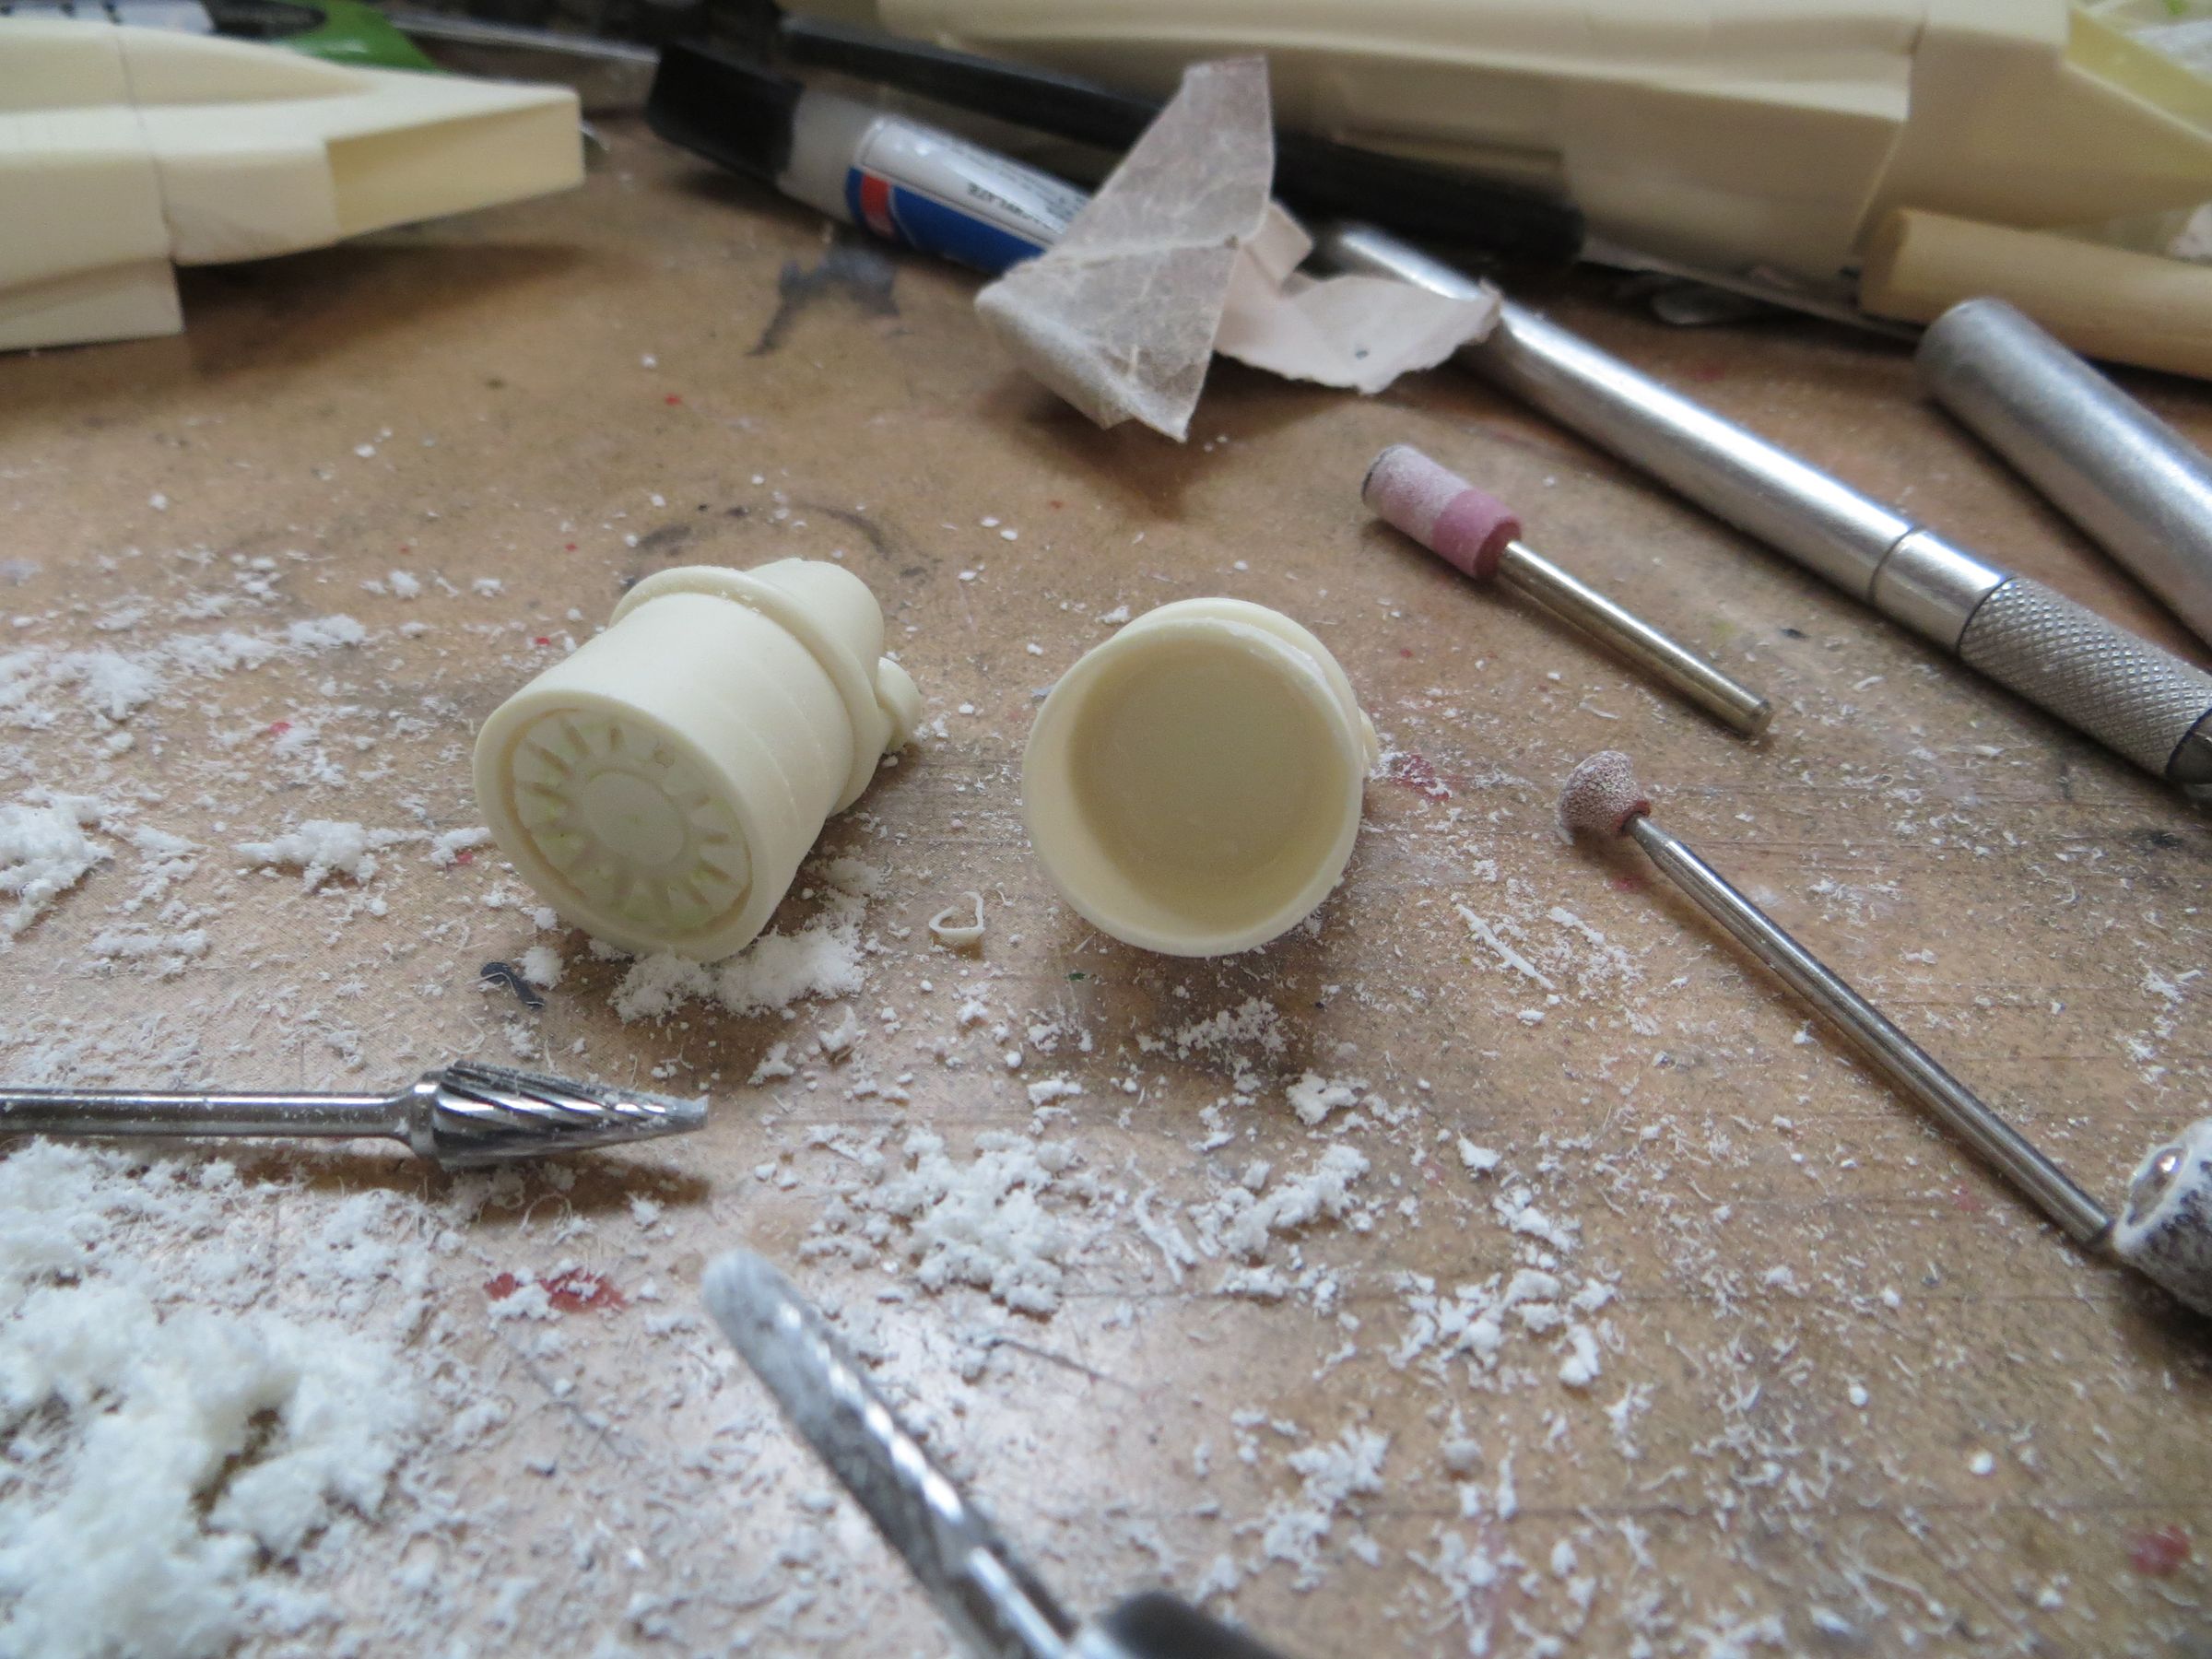
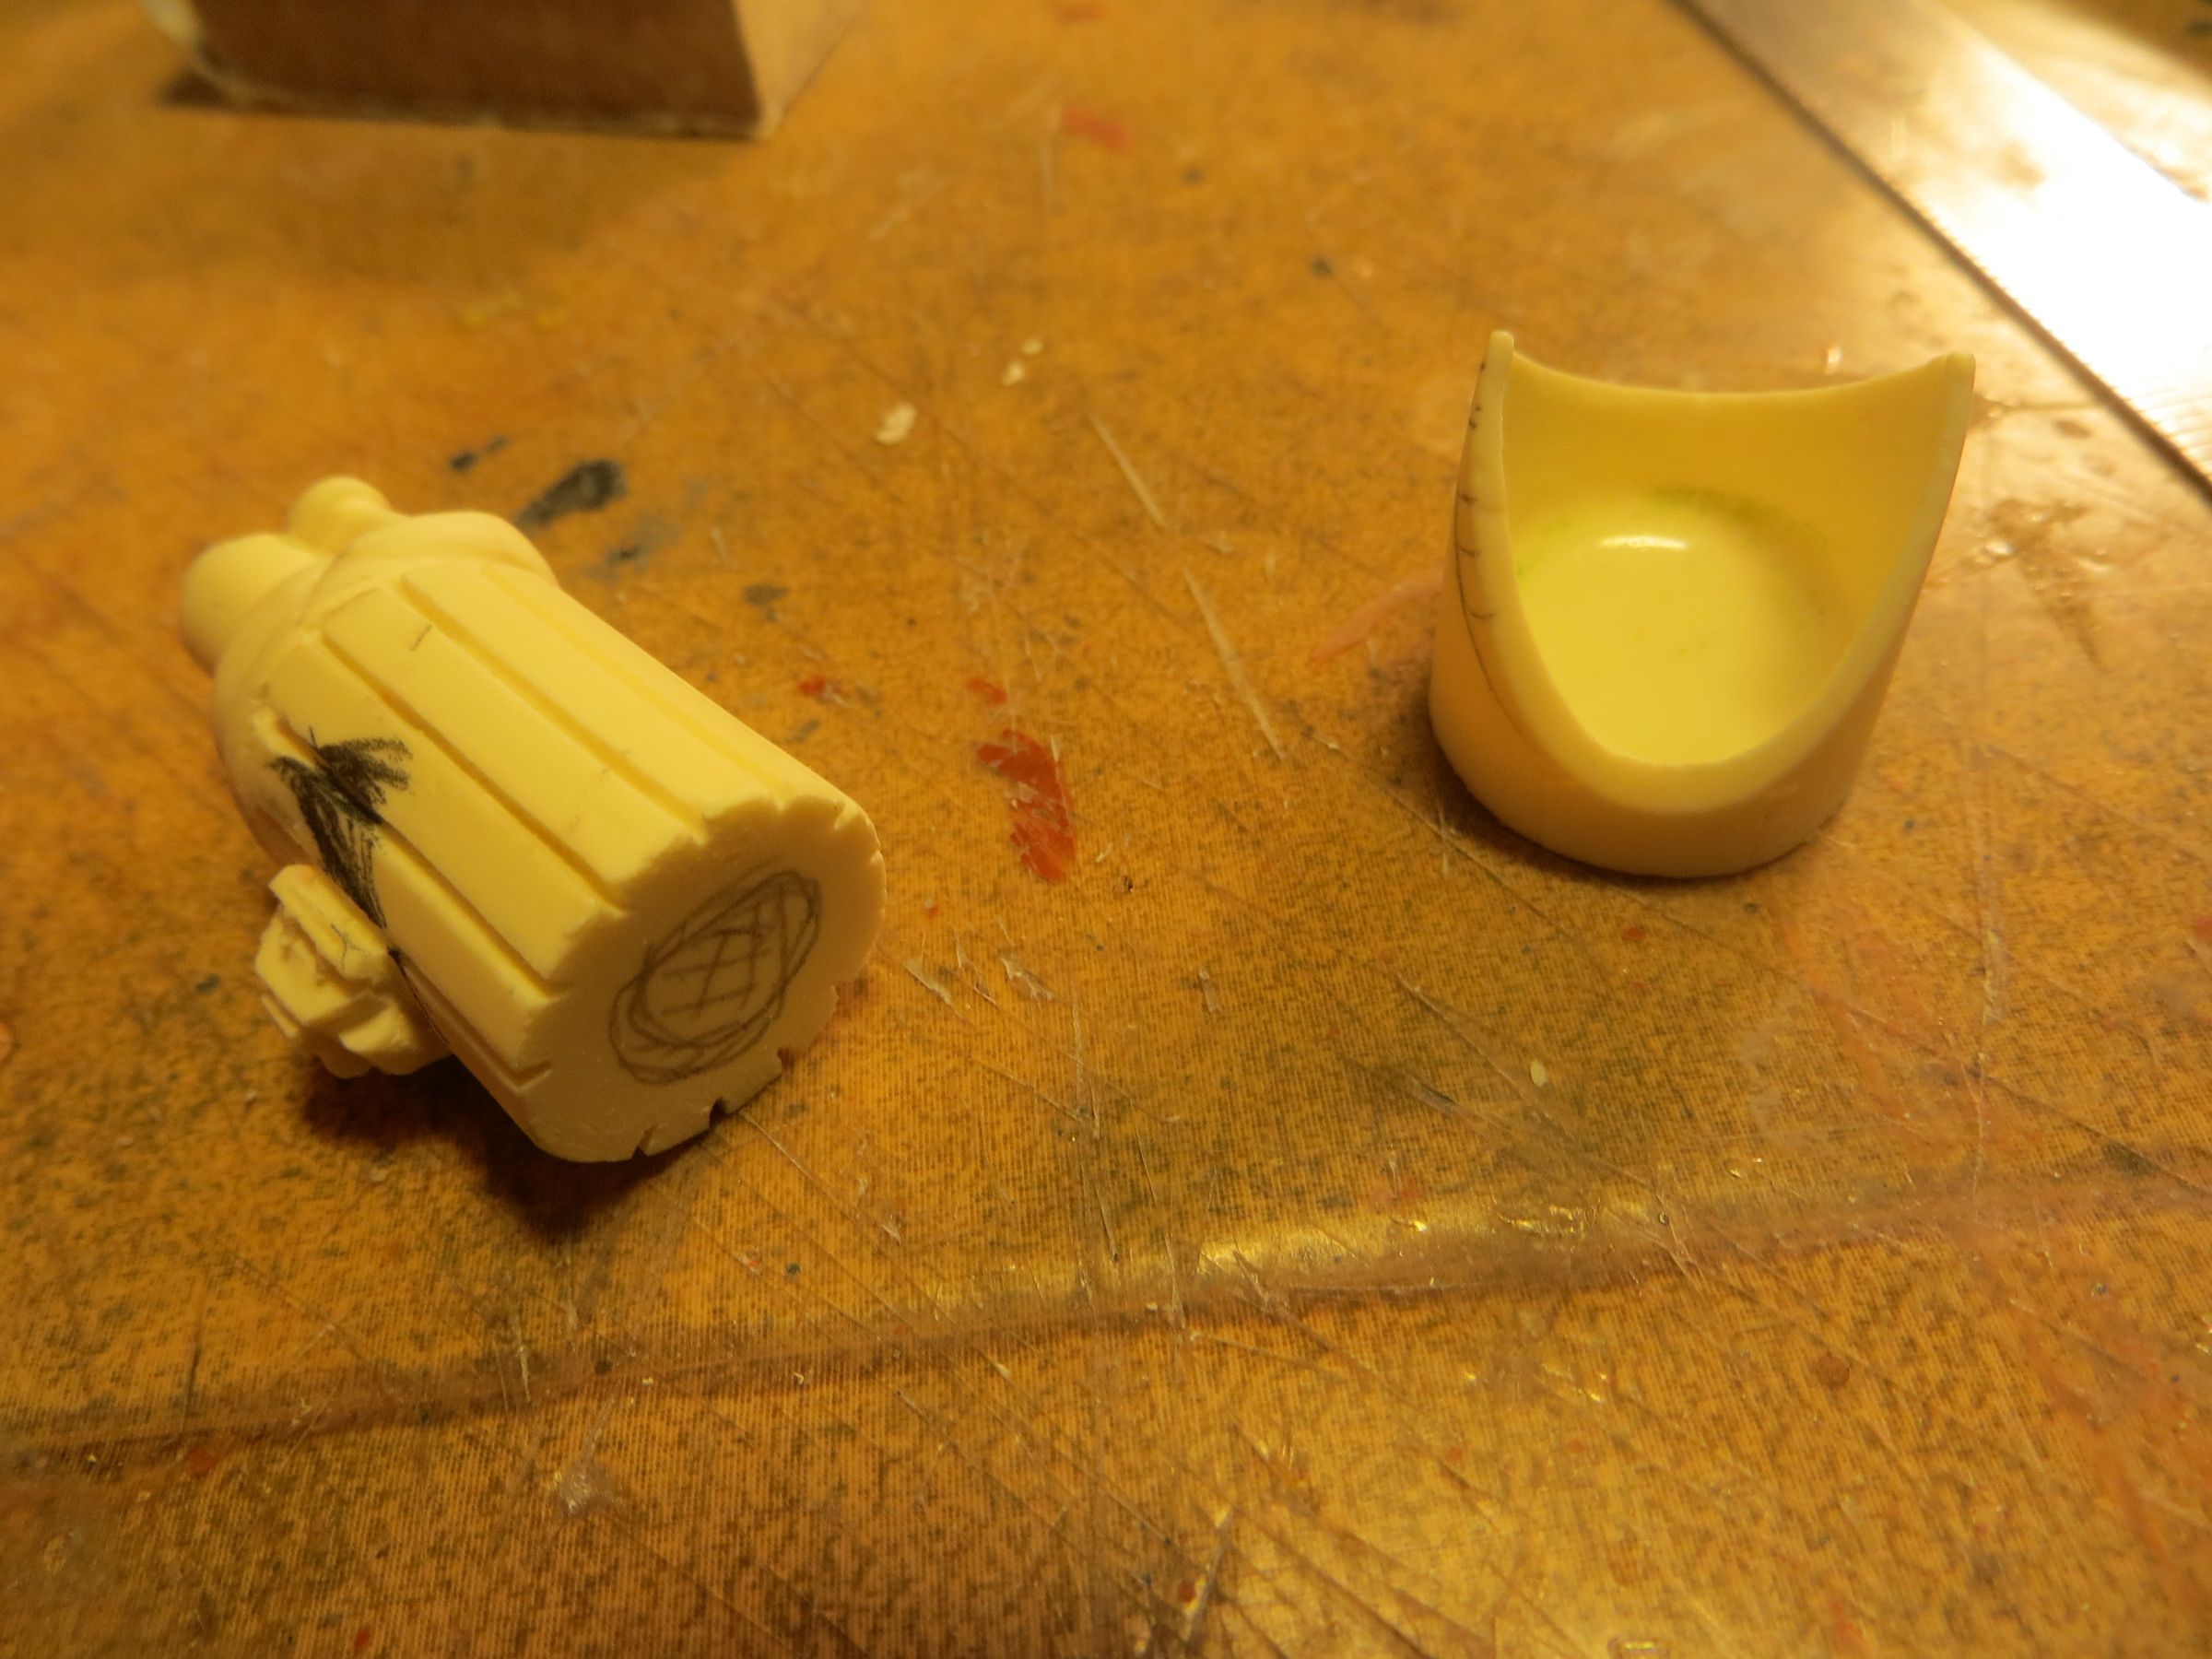
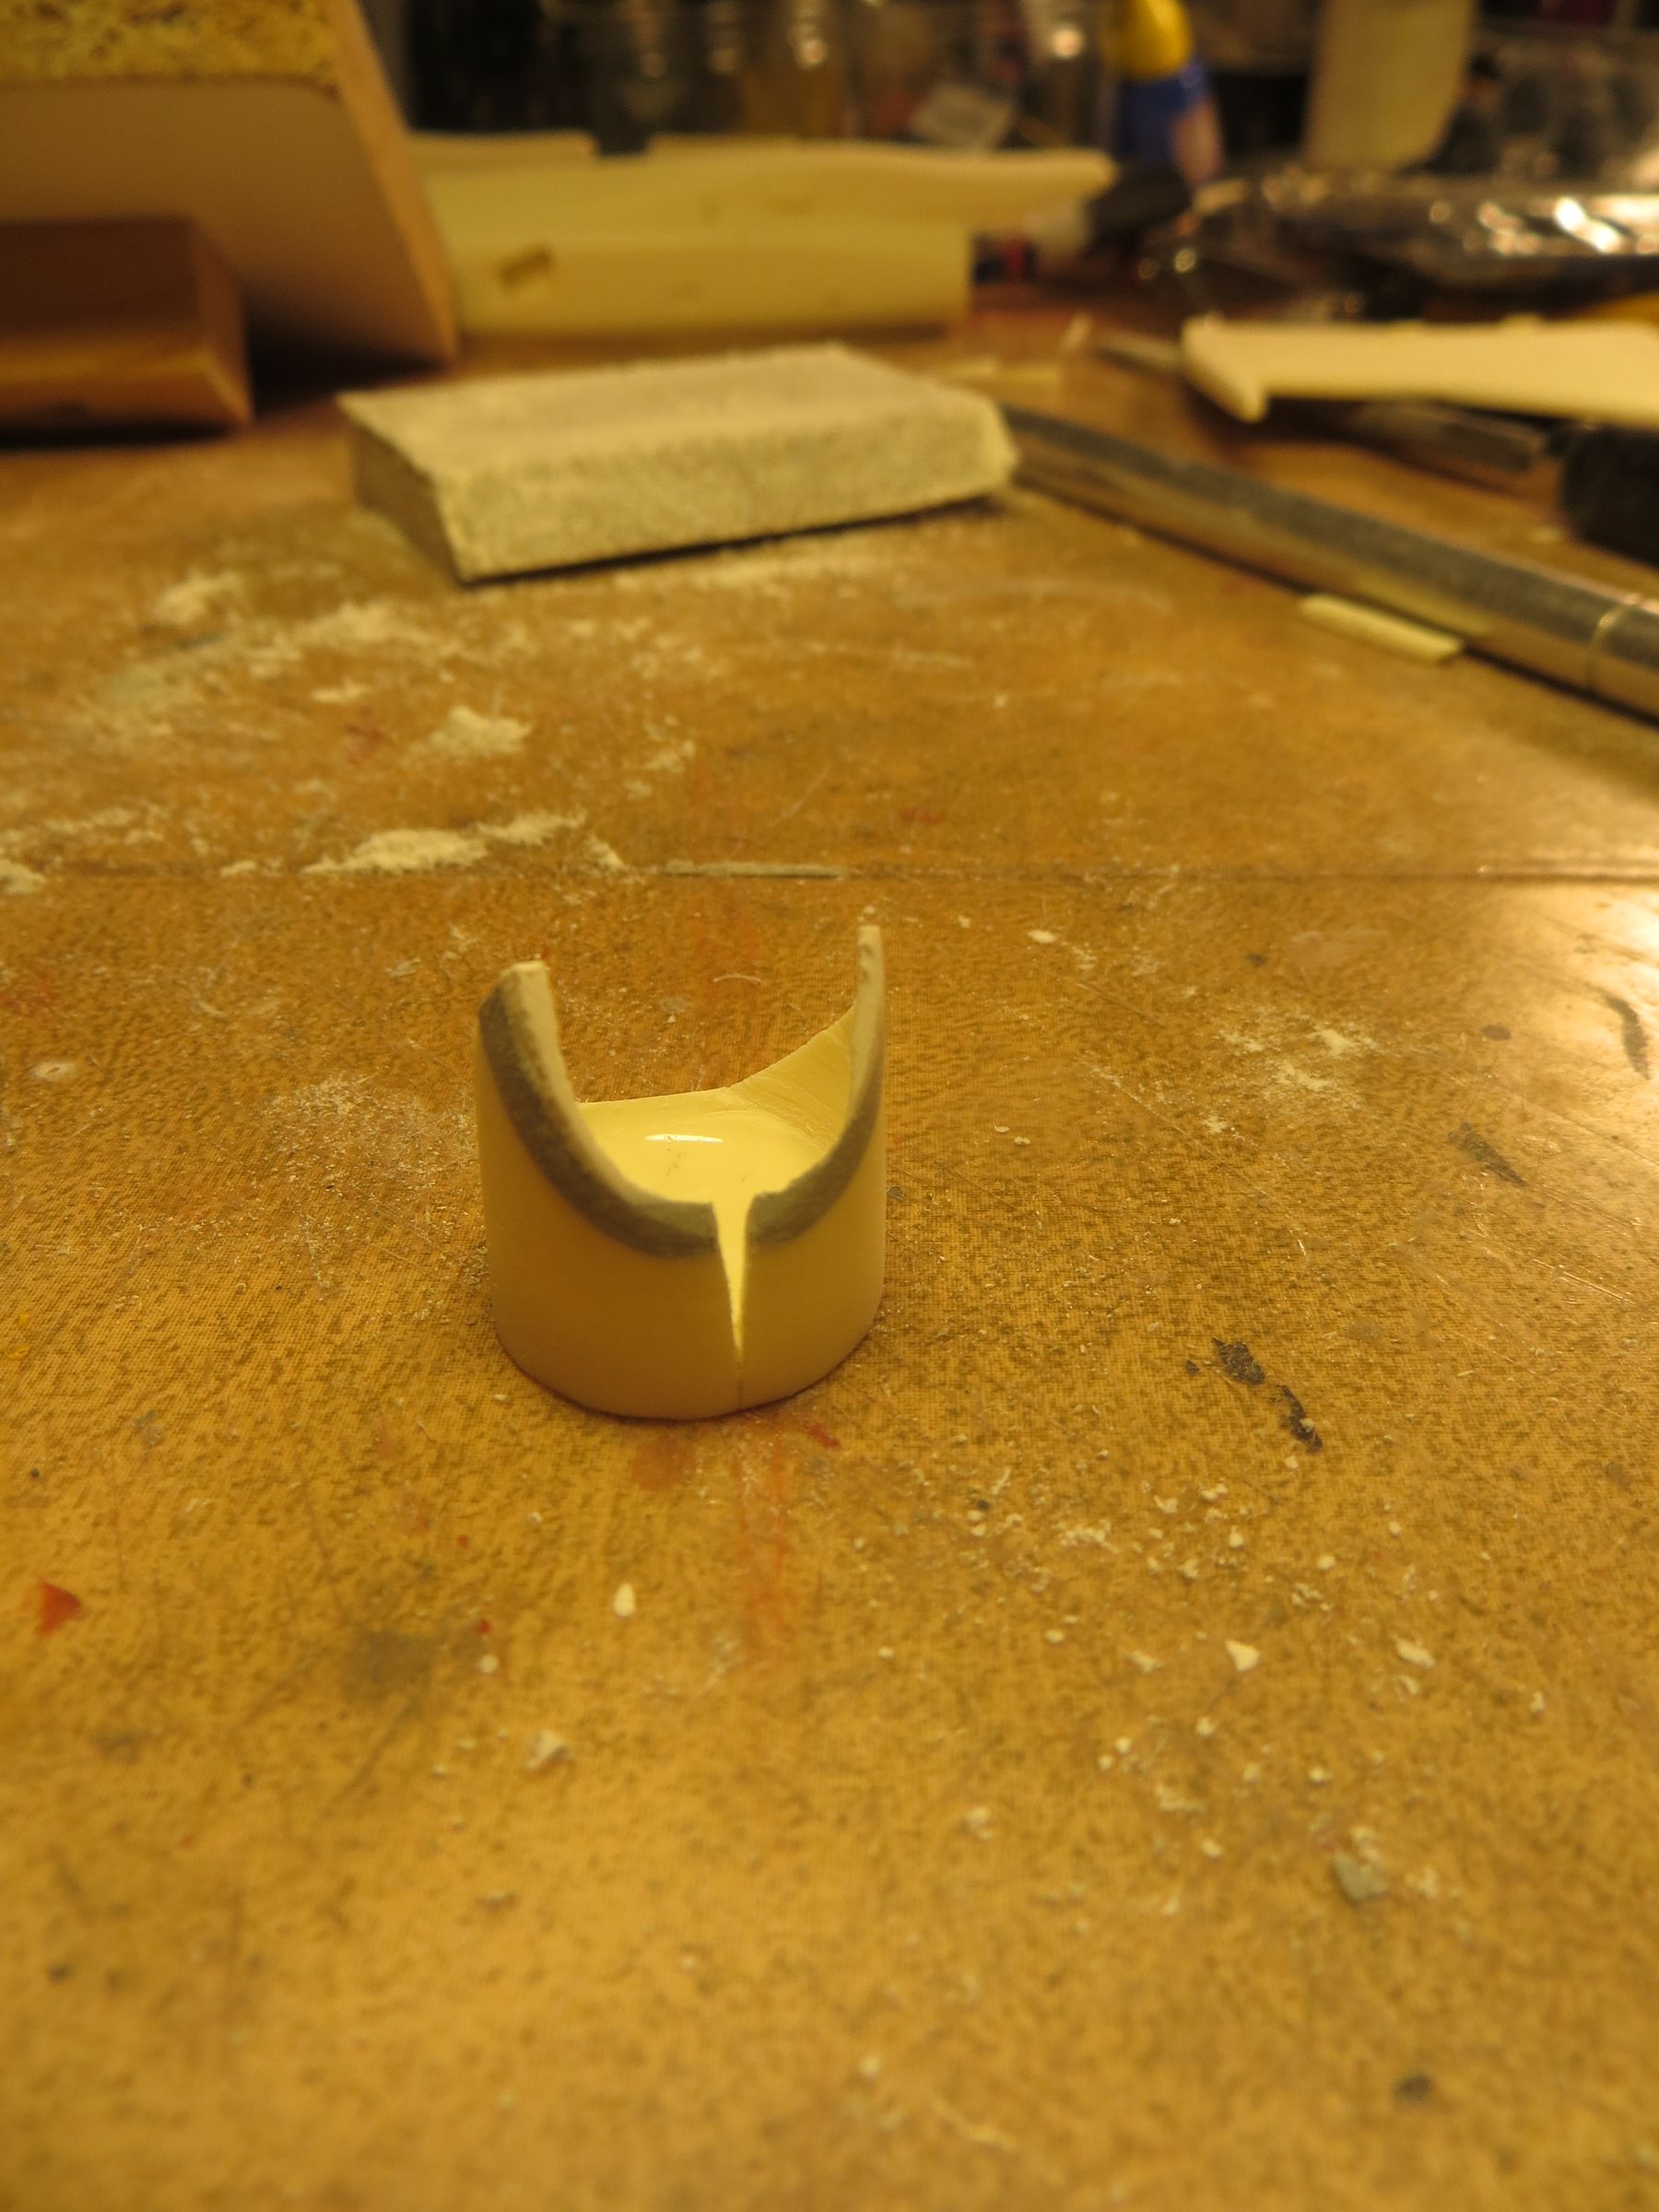
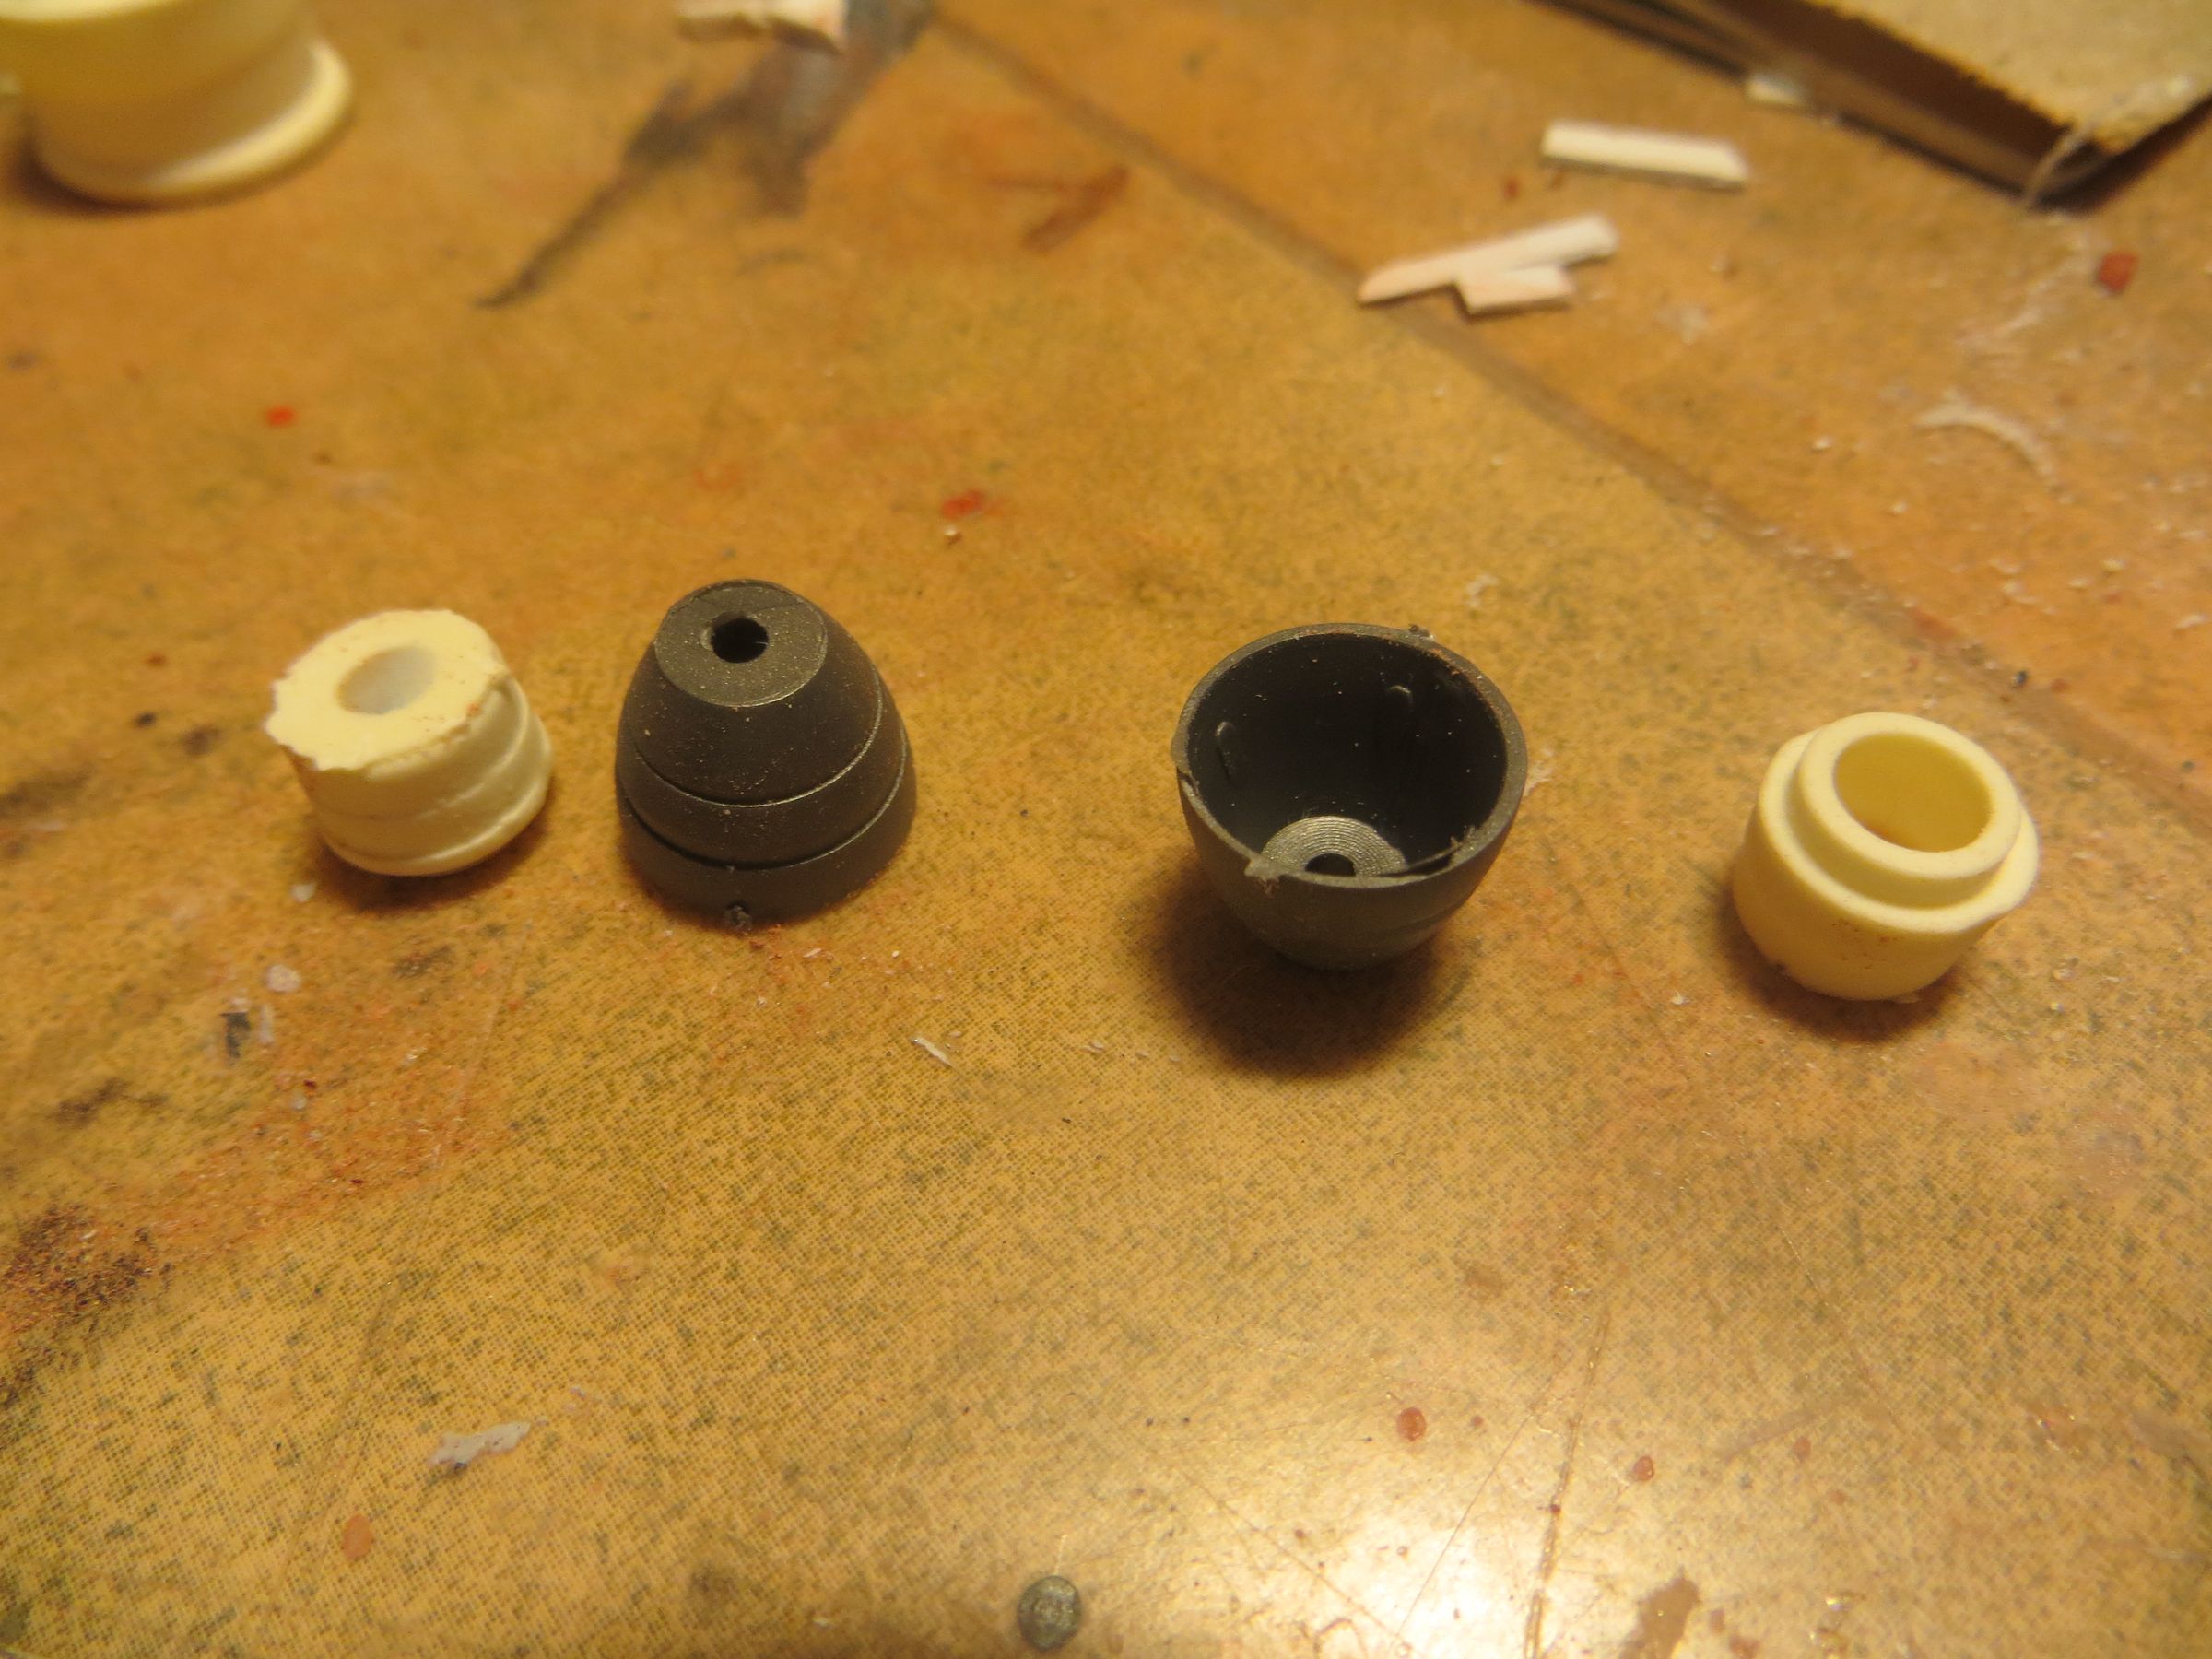
The base of the bells, with shifted casting, are removed using a small photoetched saw. As they are too long, I cut to the end ,so I 'll have to re-dig again the bells.
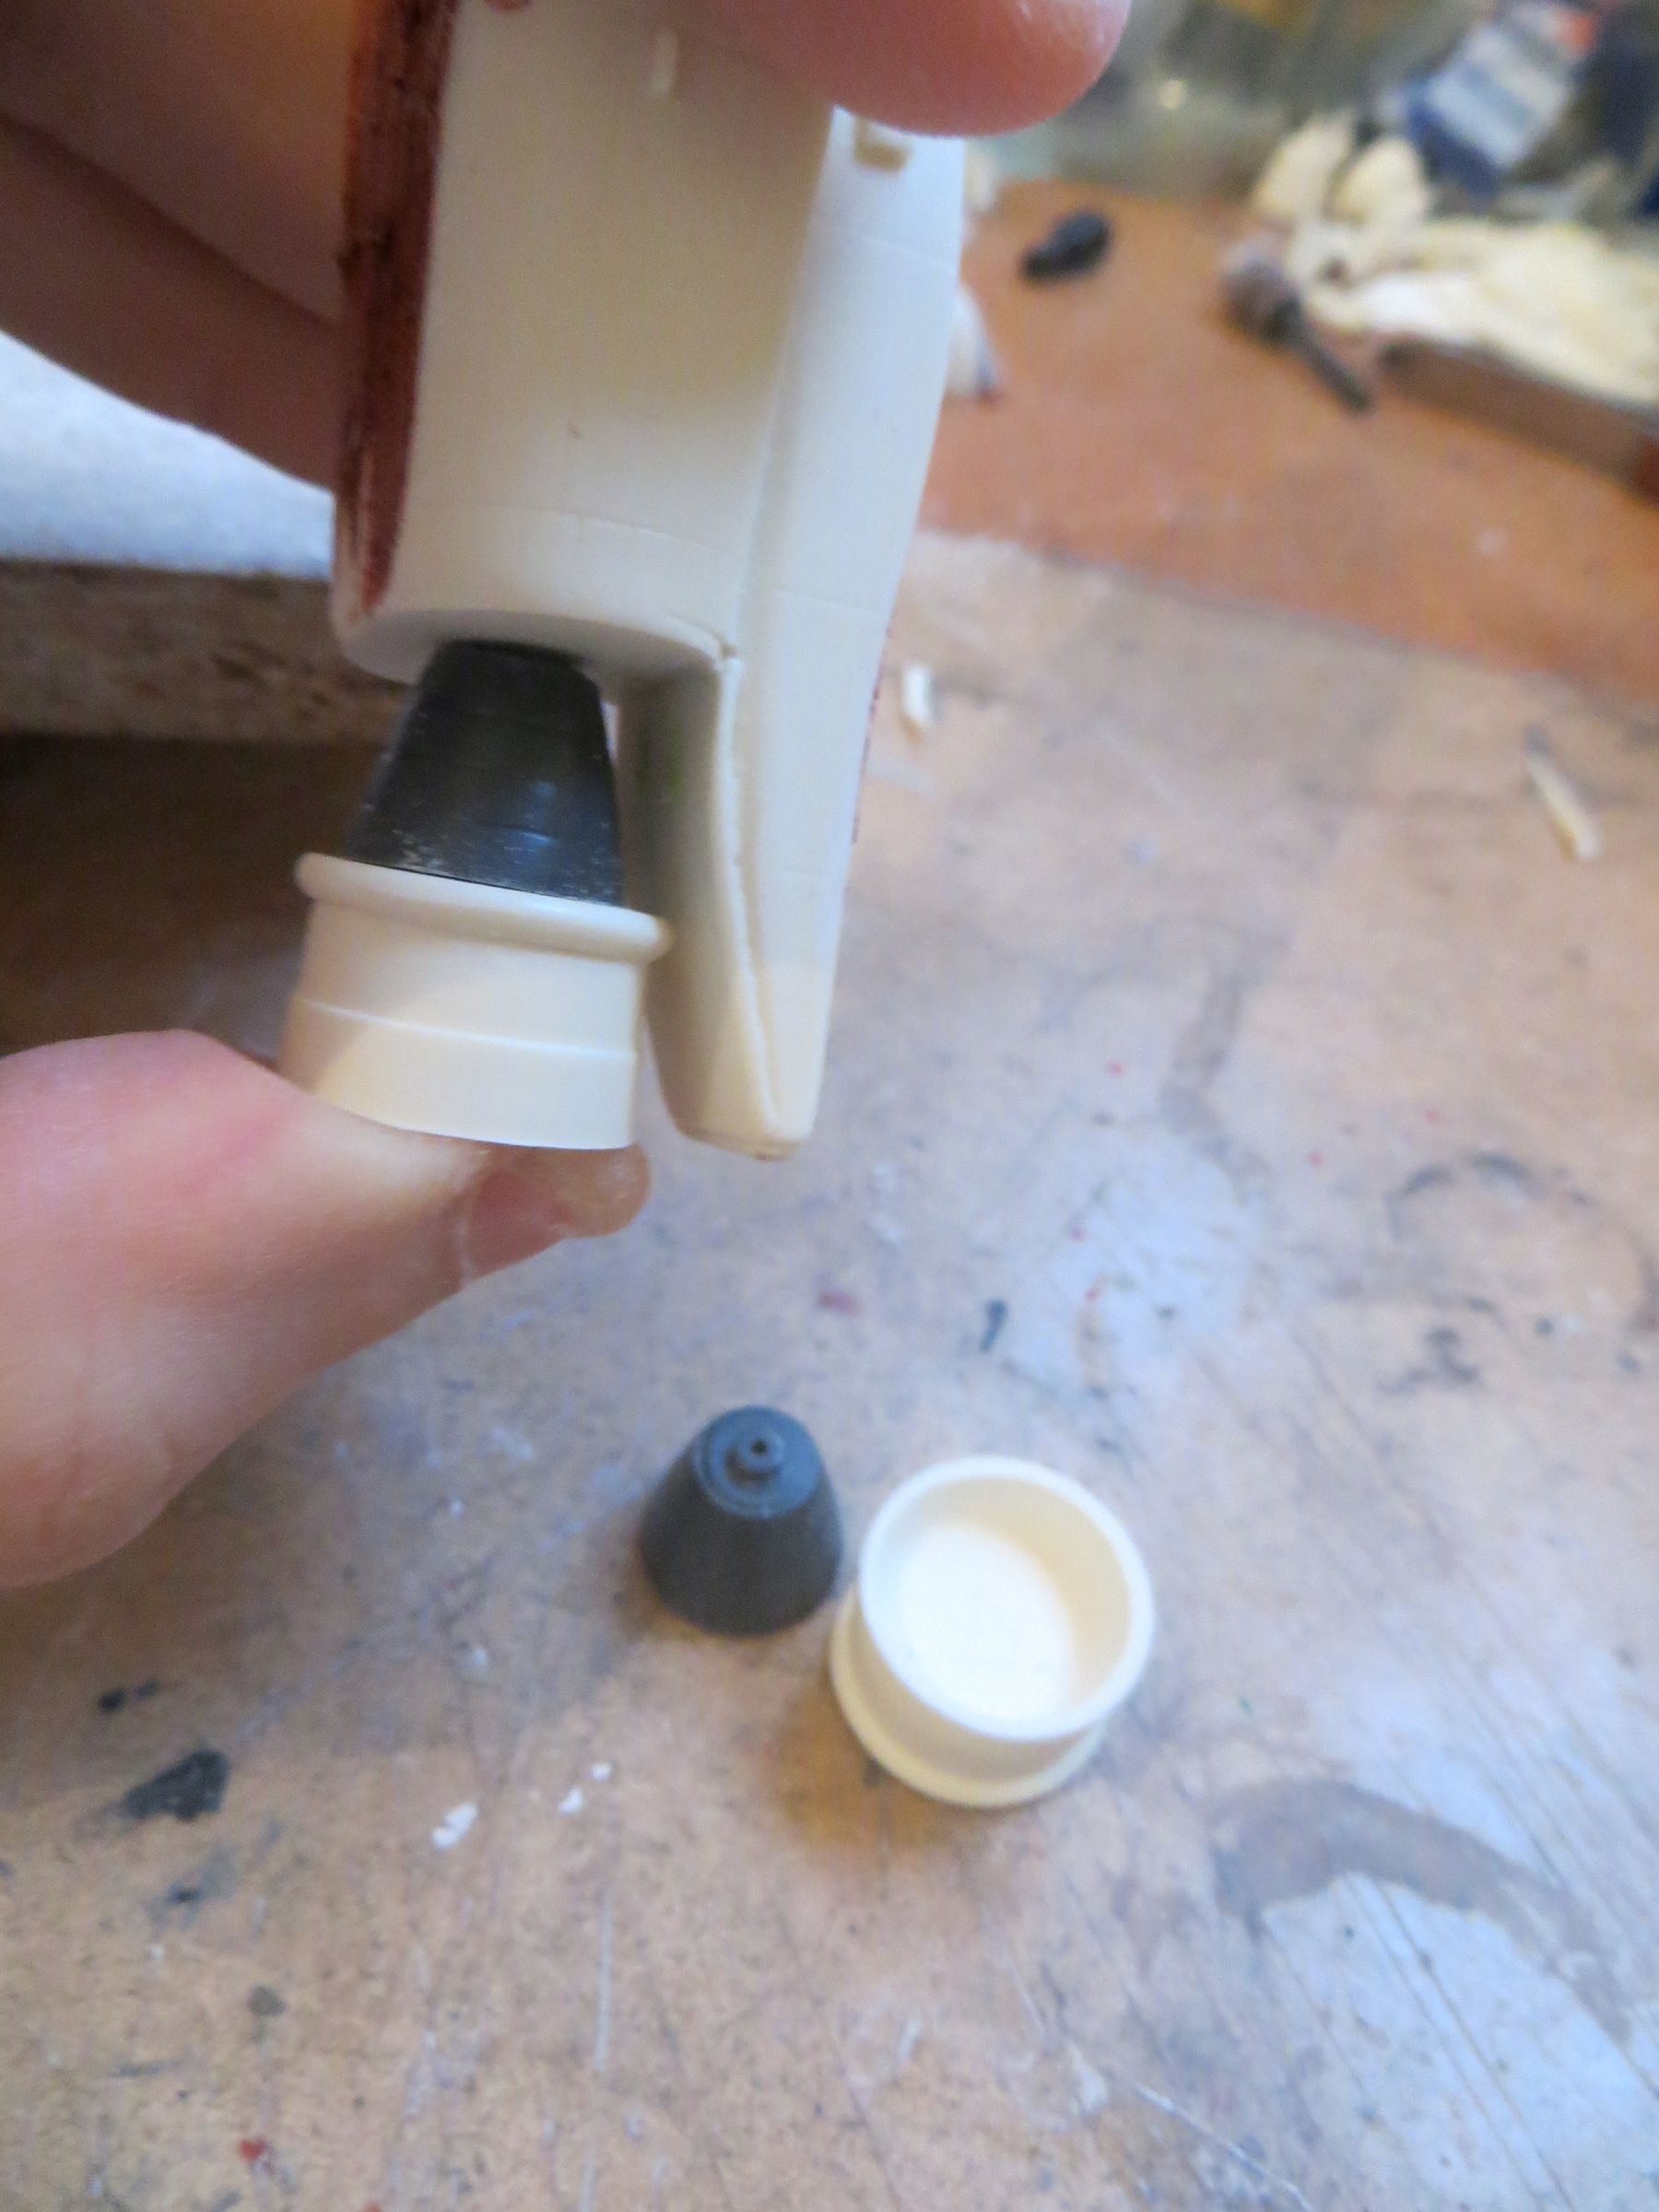
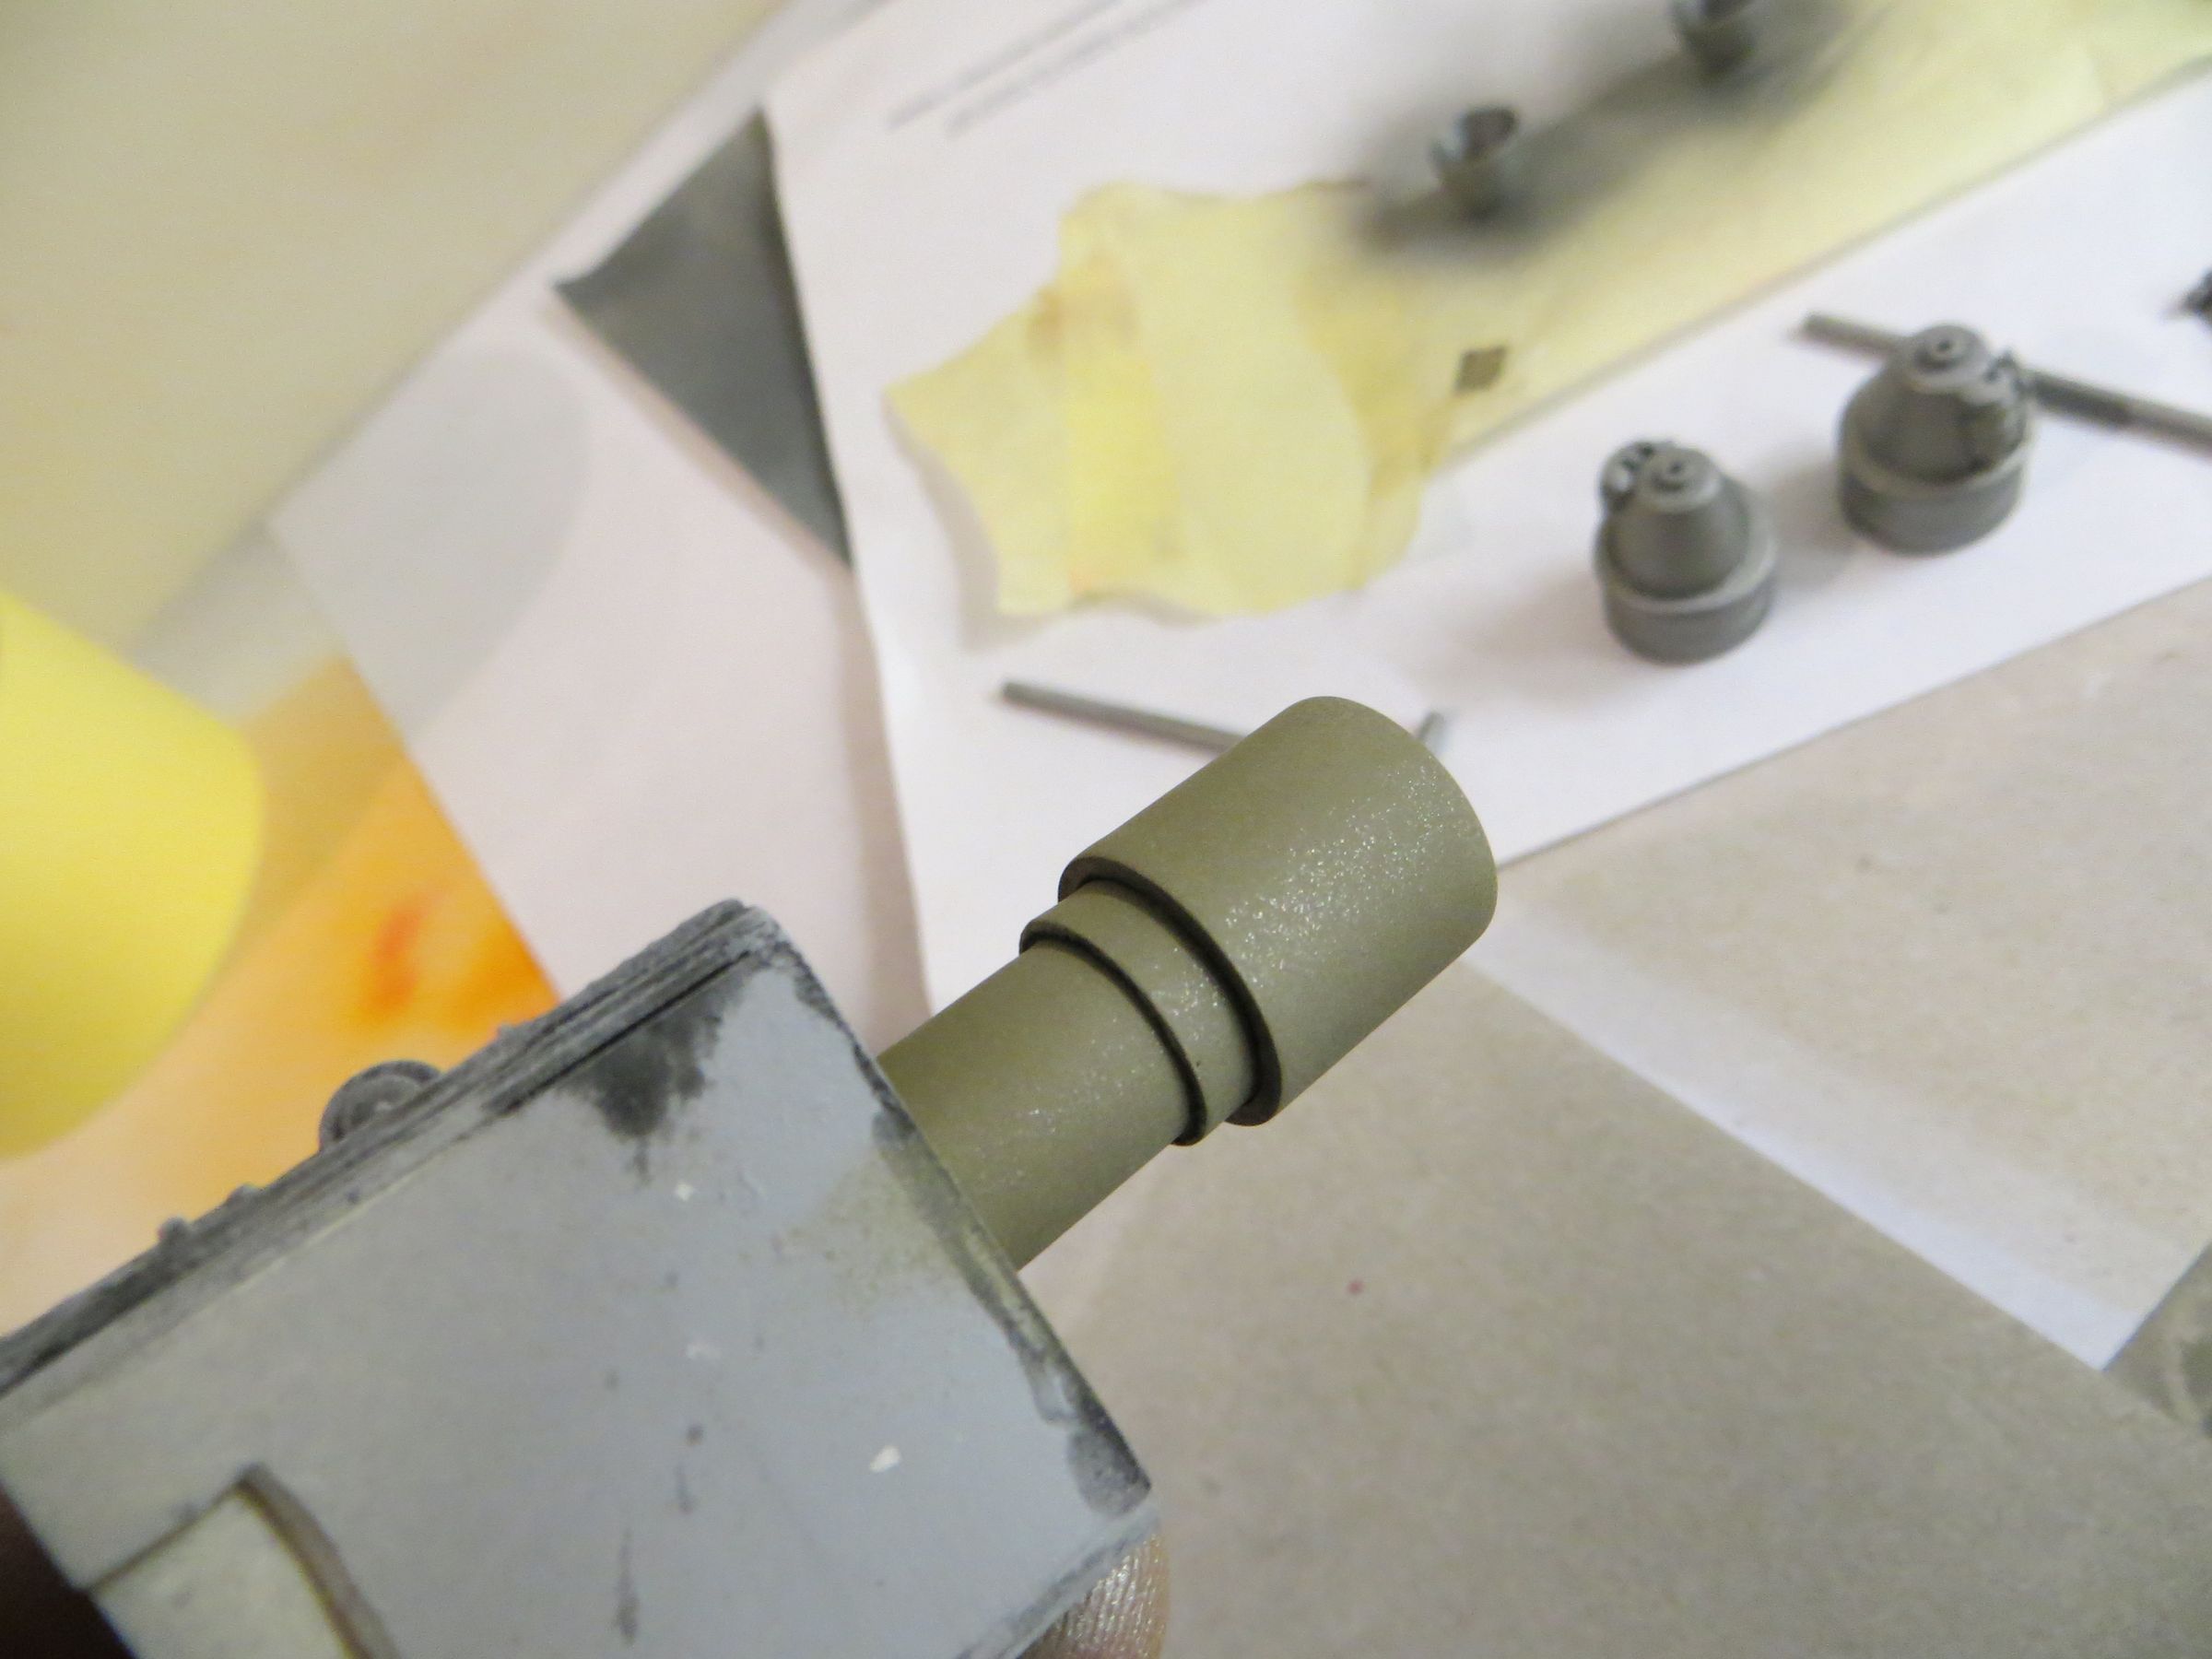
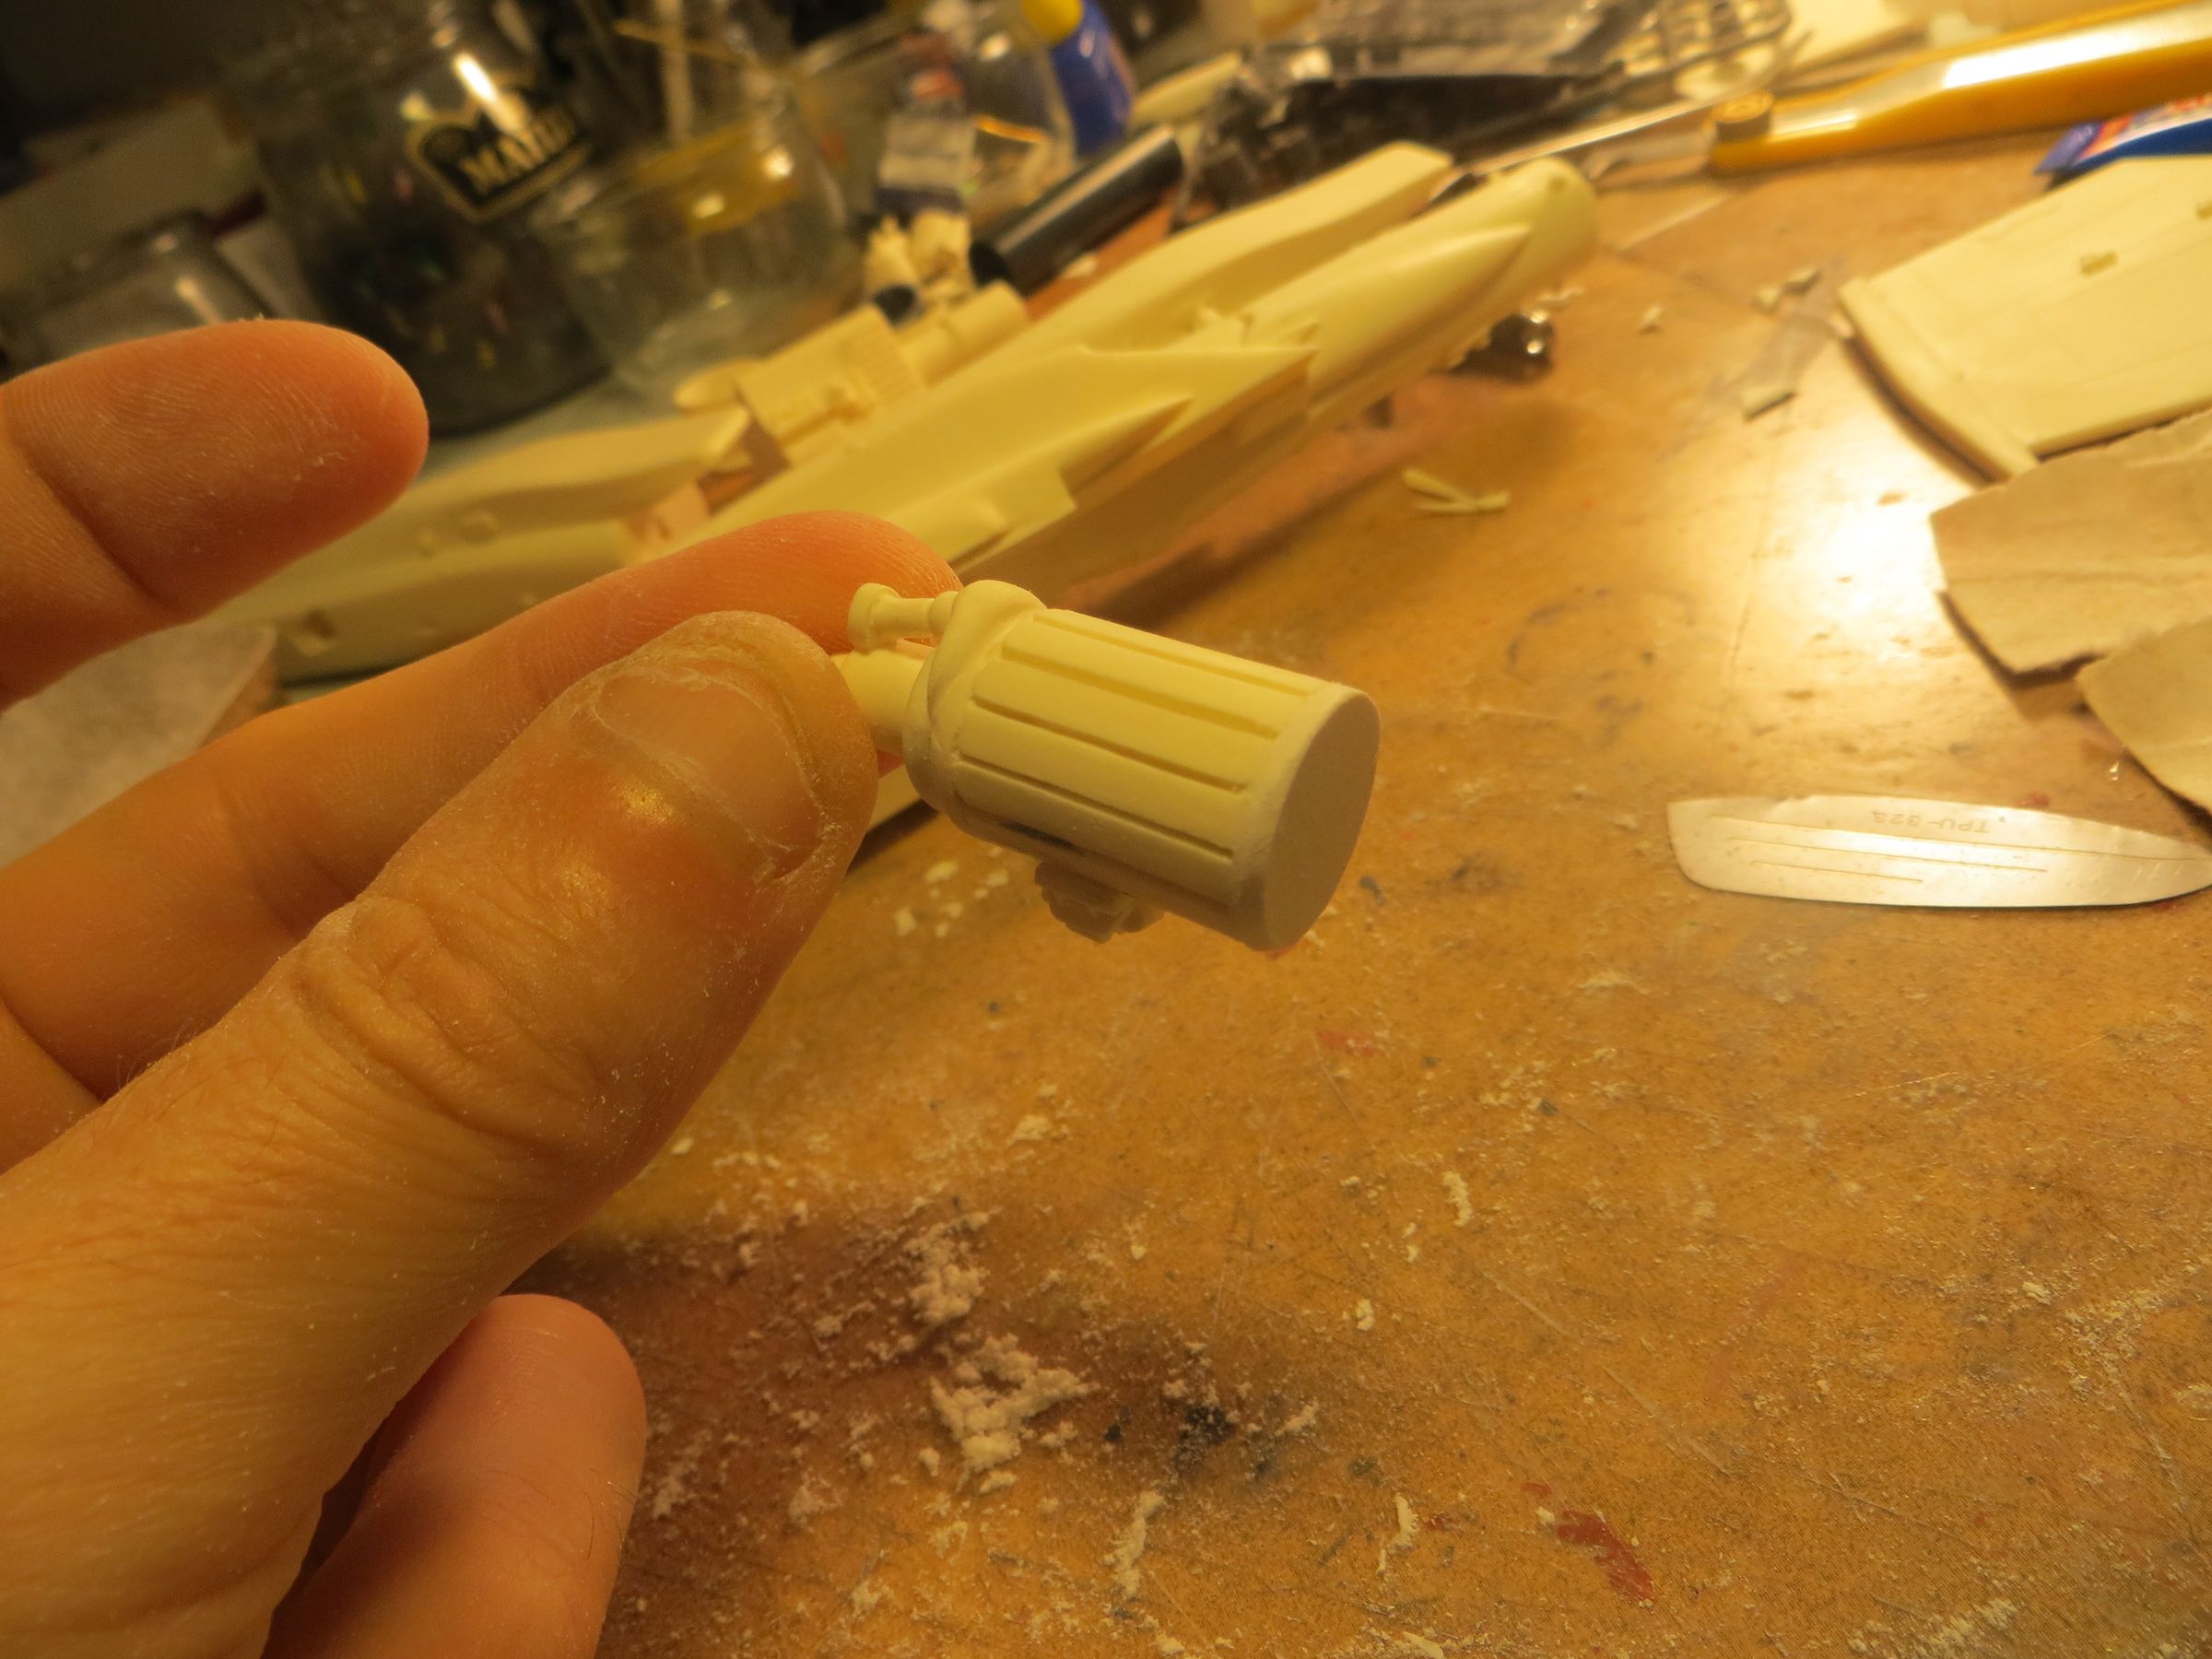
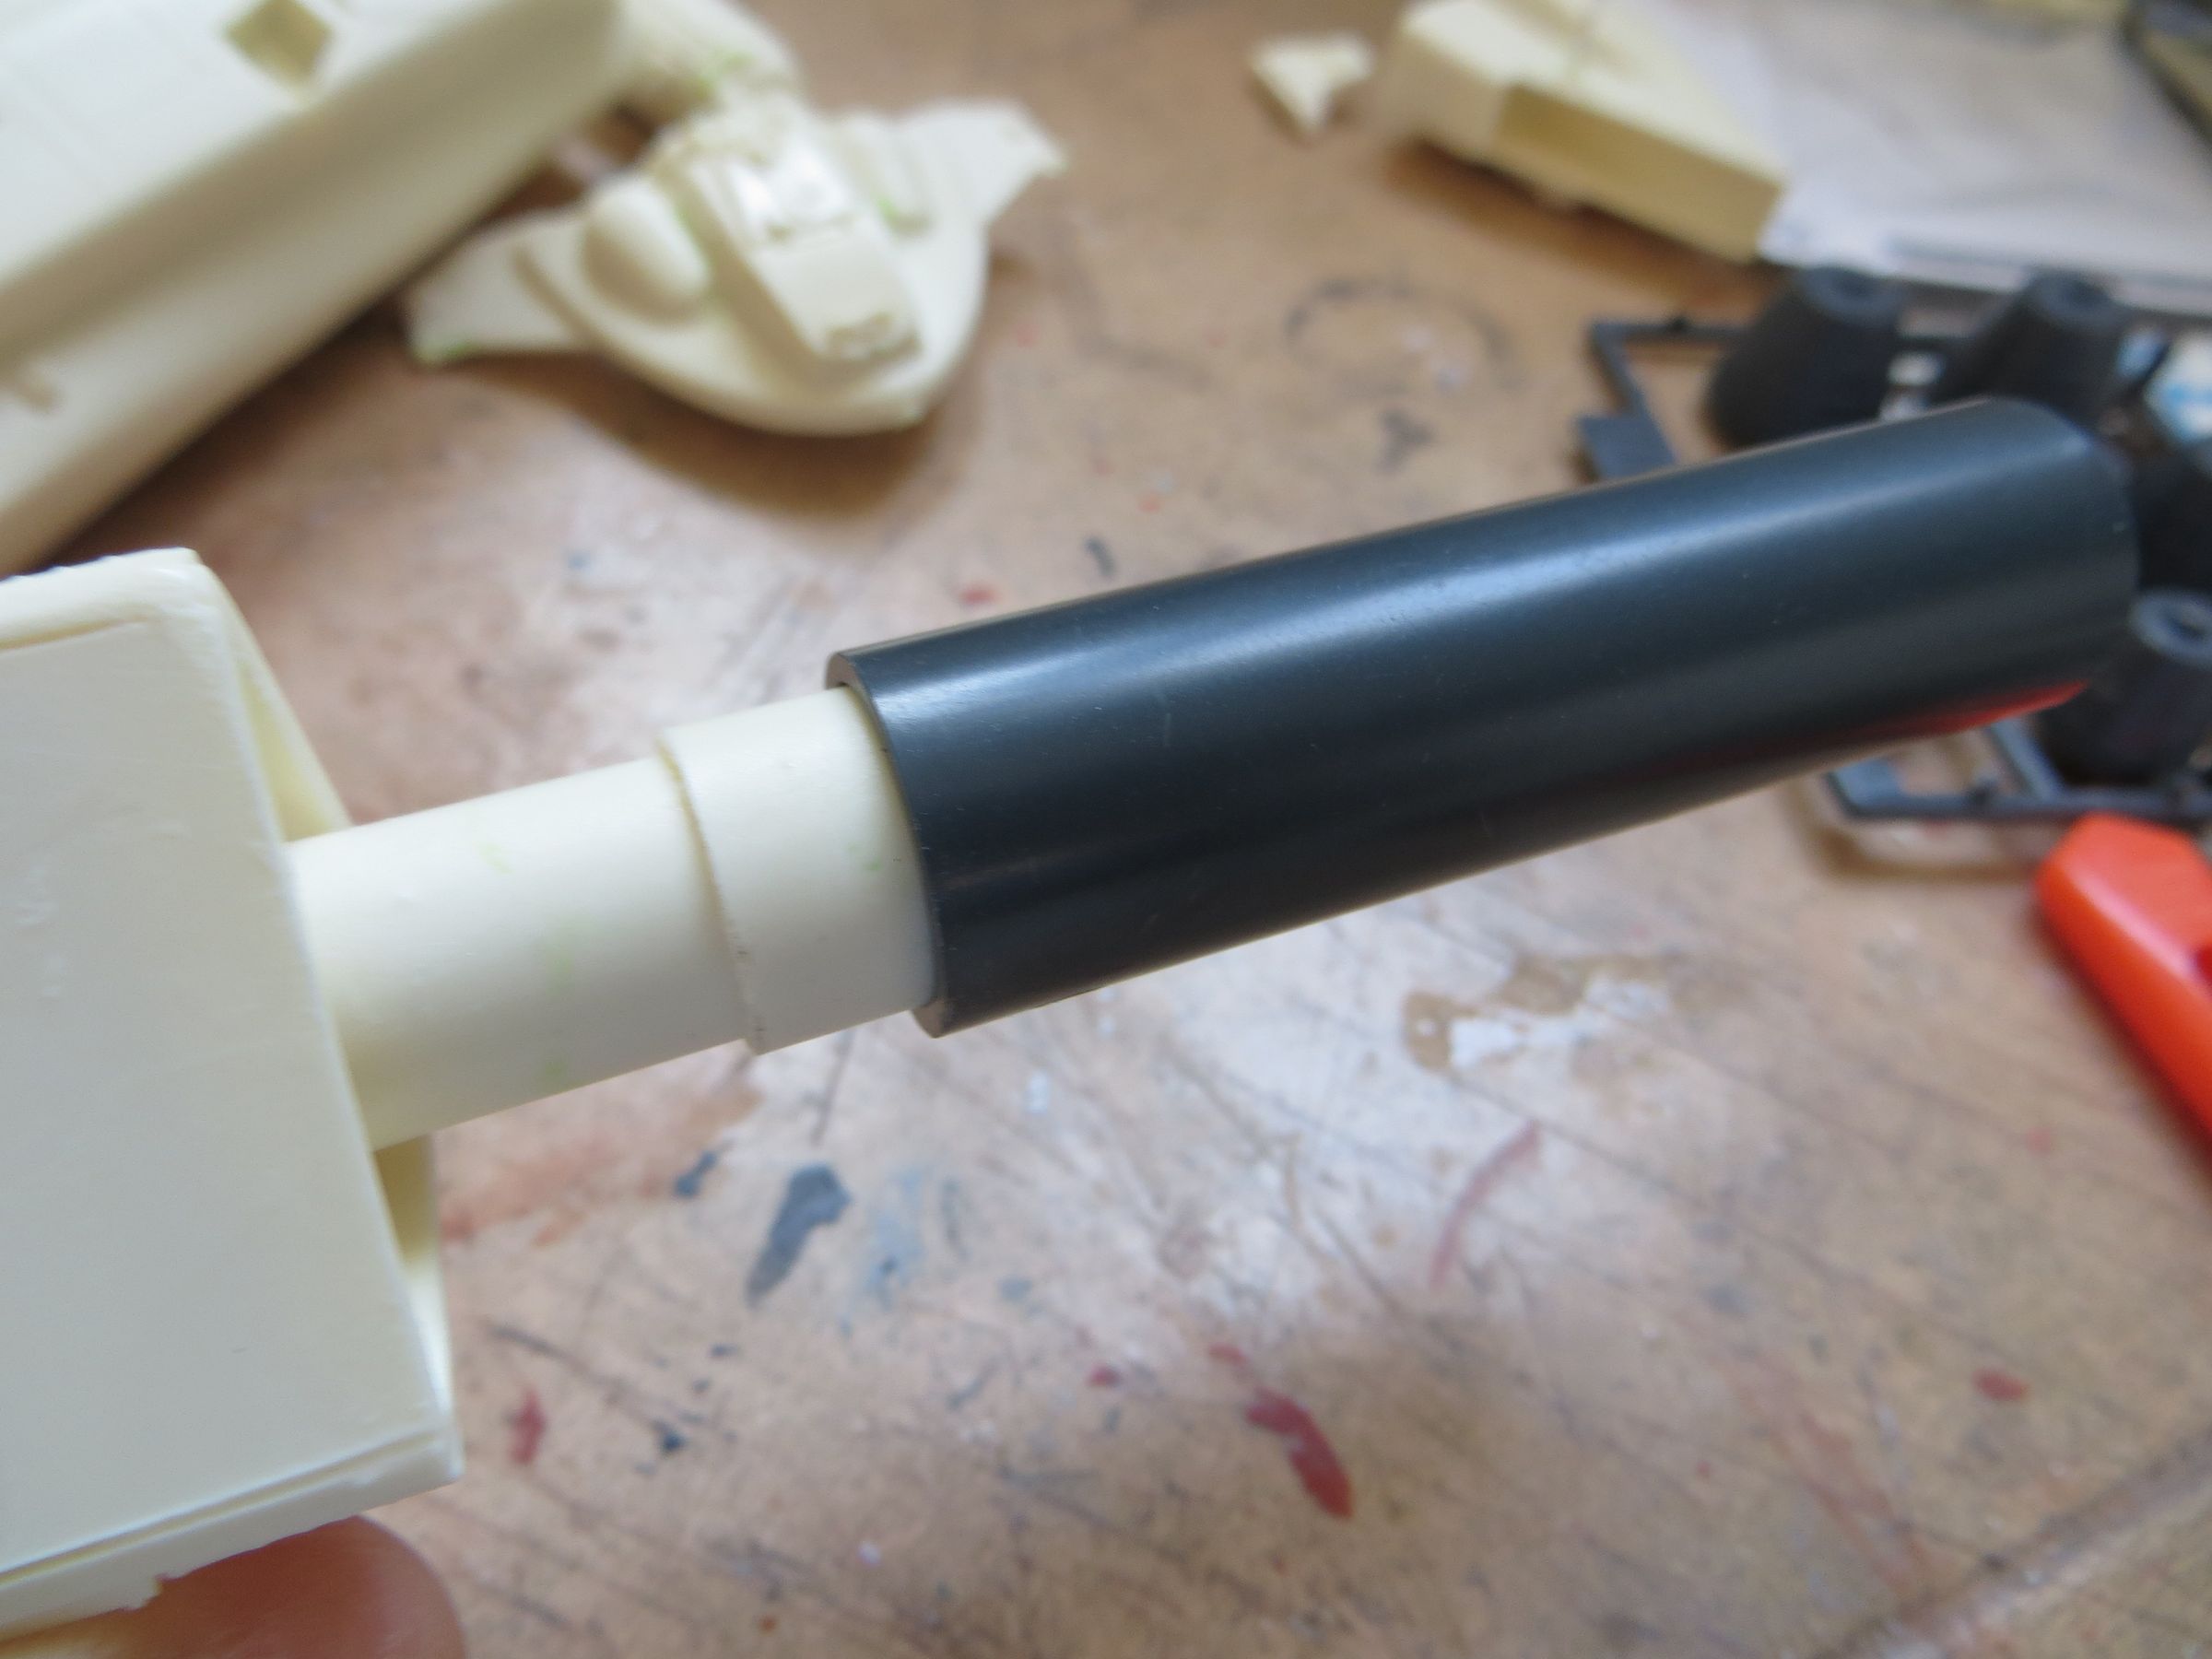
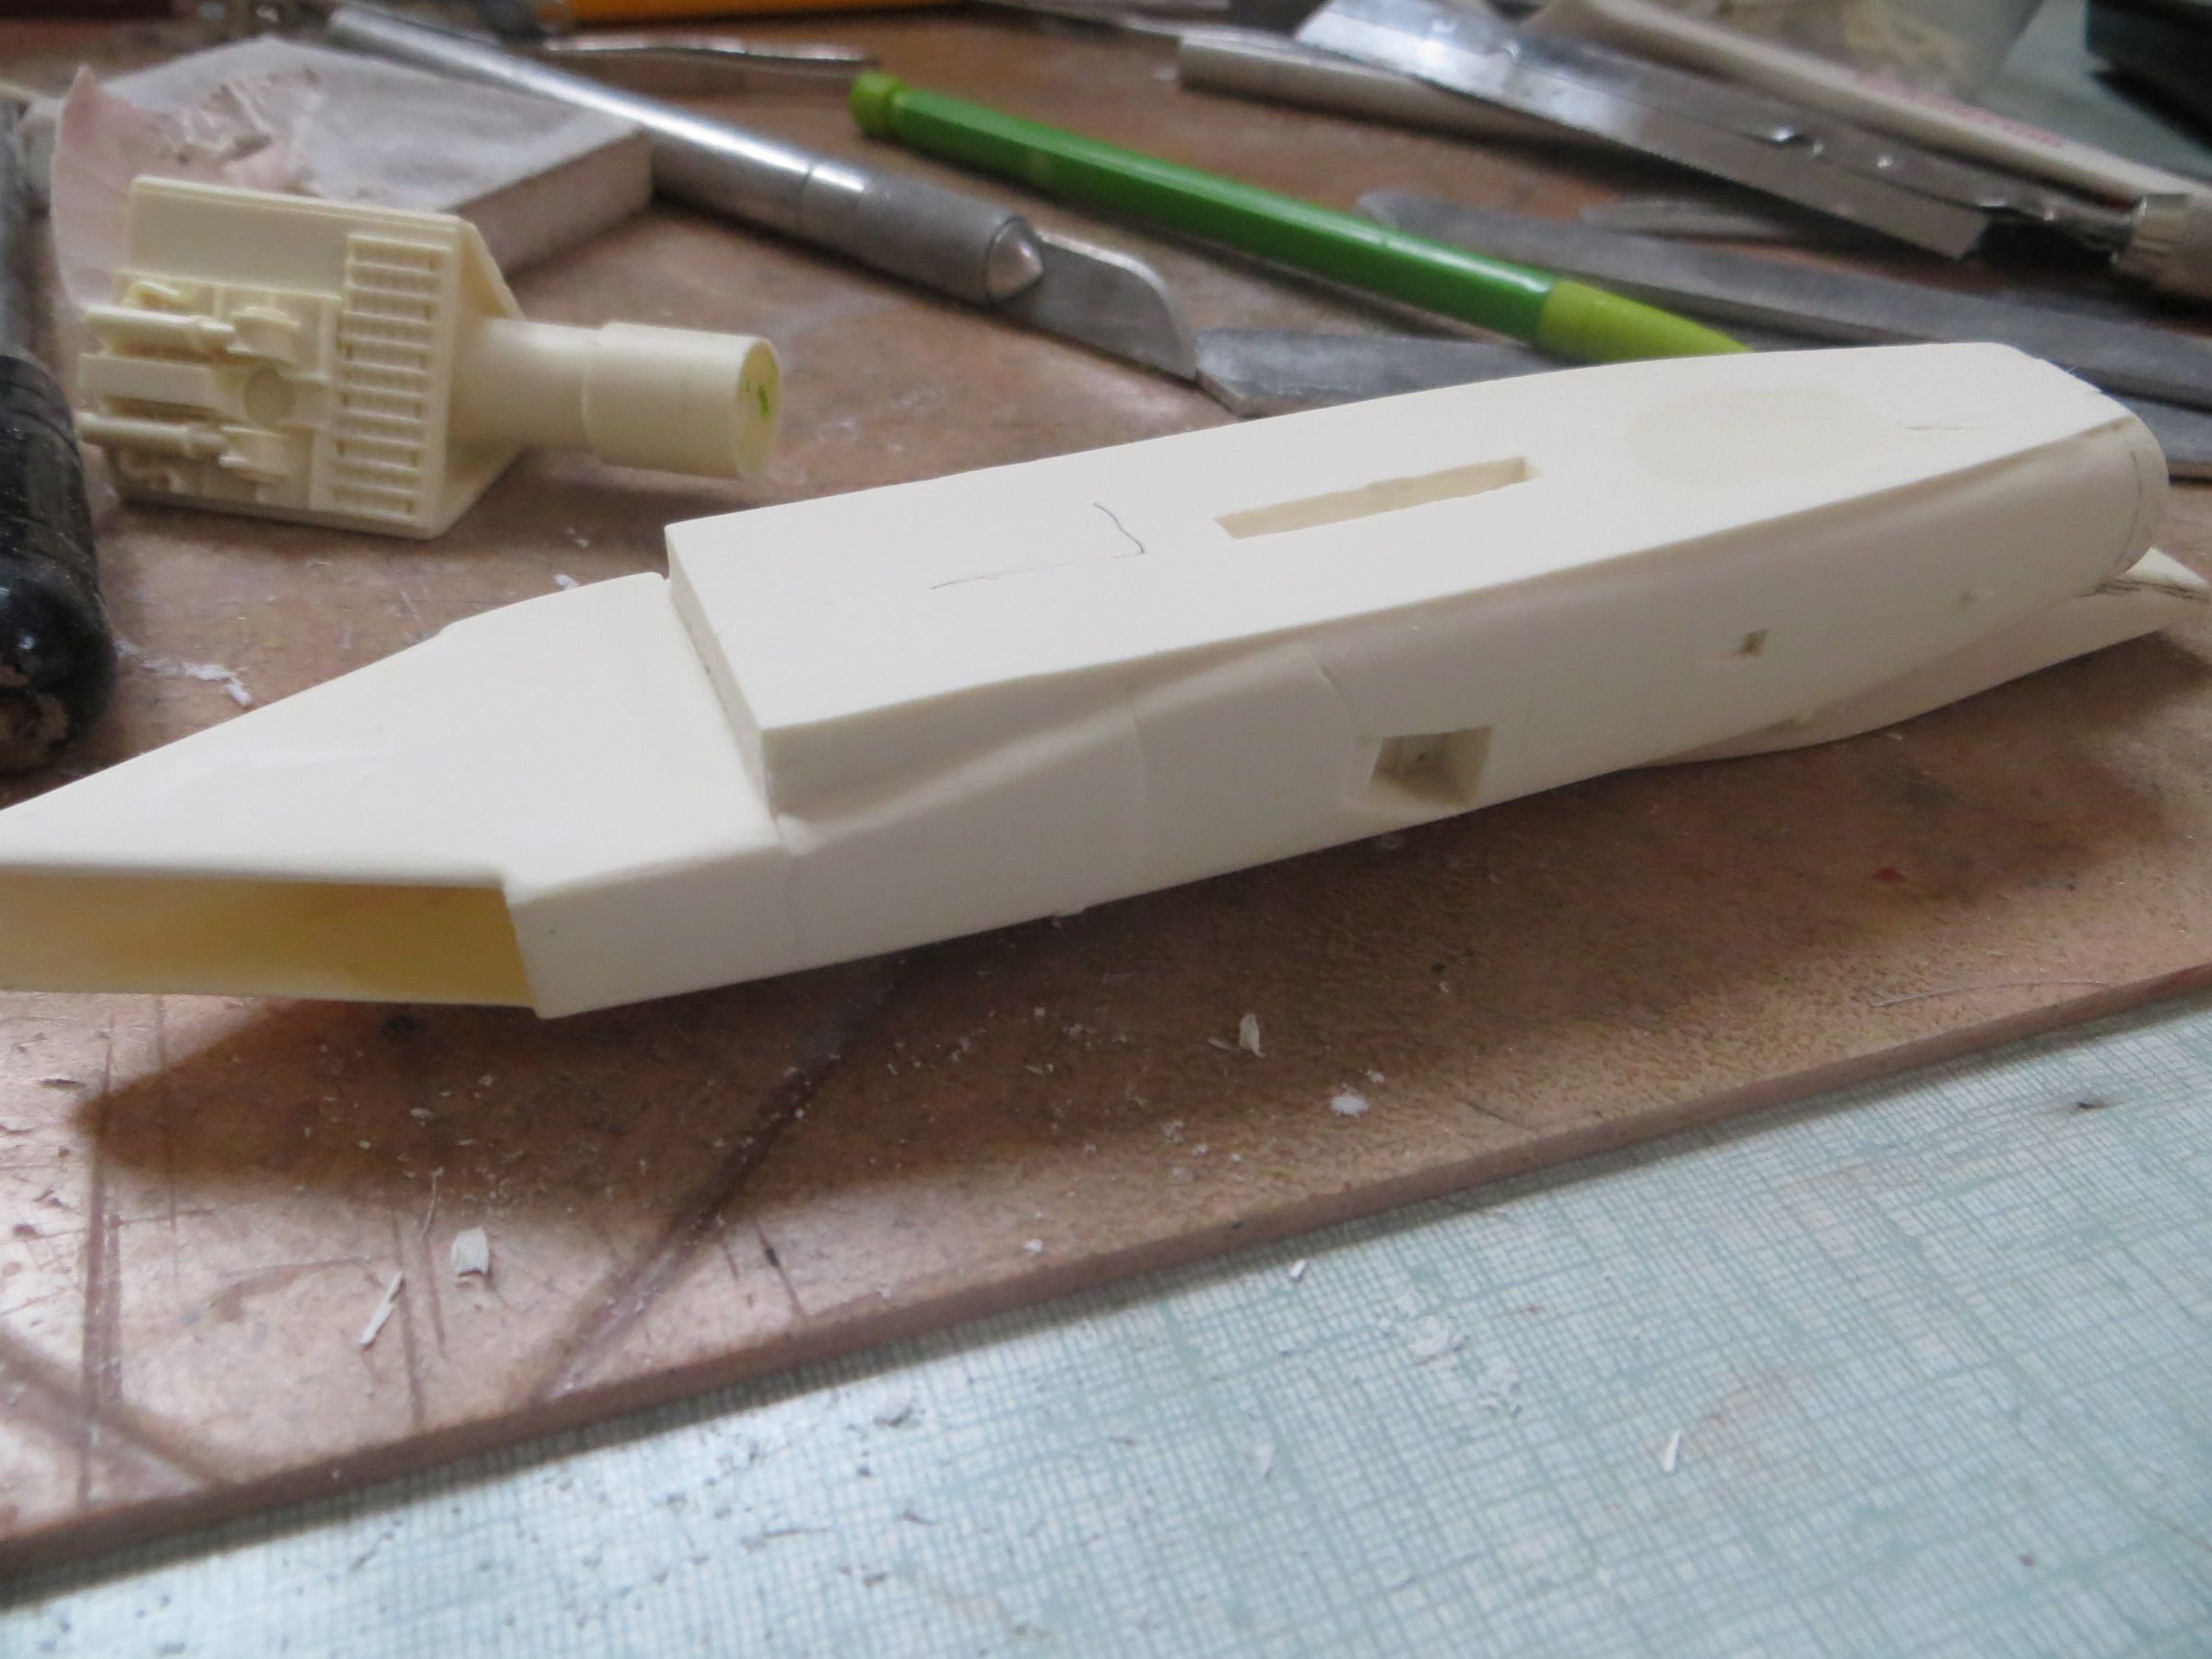
I was able to find in my spare box a plastic tube of the right diameter, and in which I can embedded the main cylindrical nozzle. I just needed to cut it to the correct length.
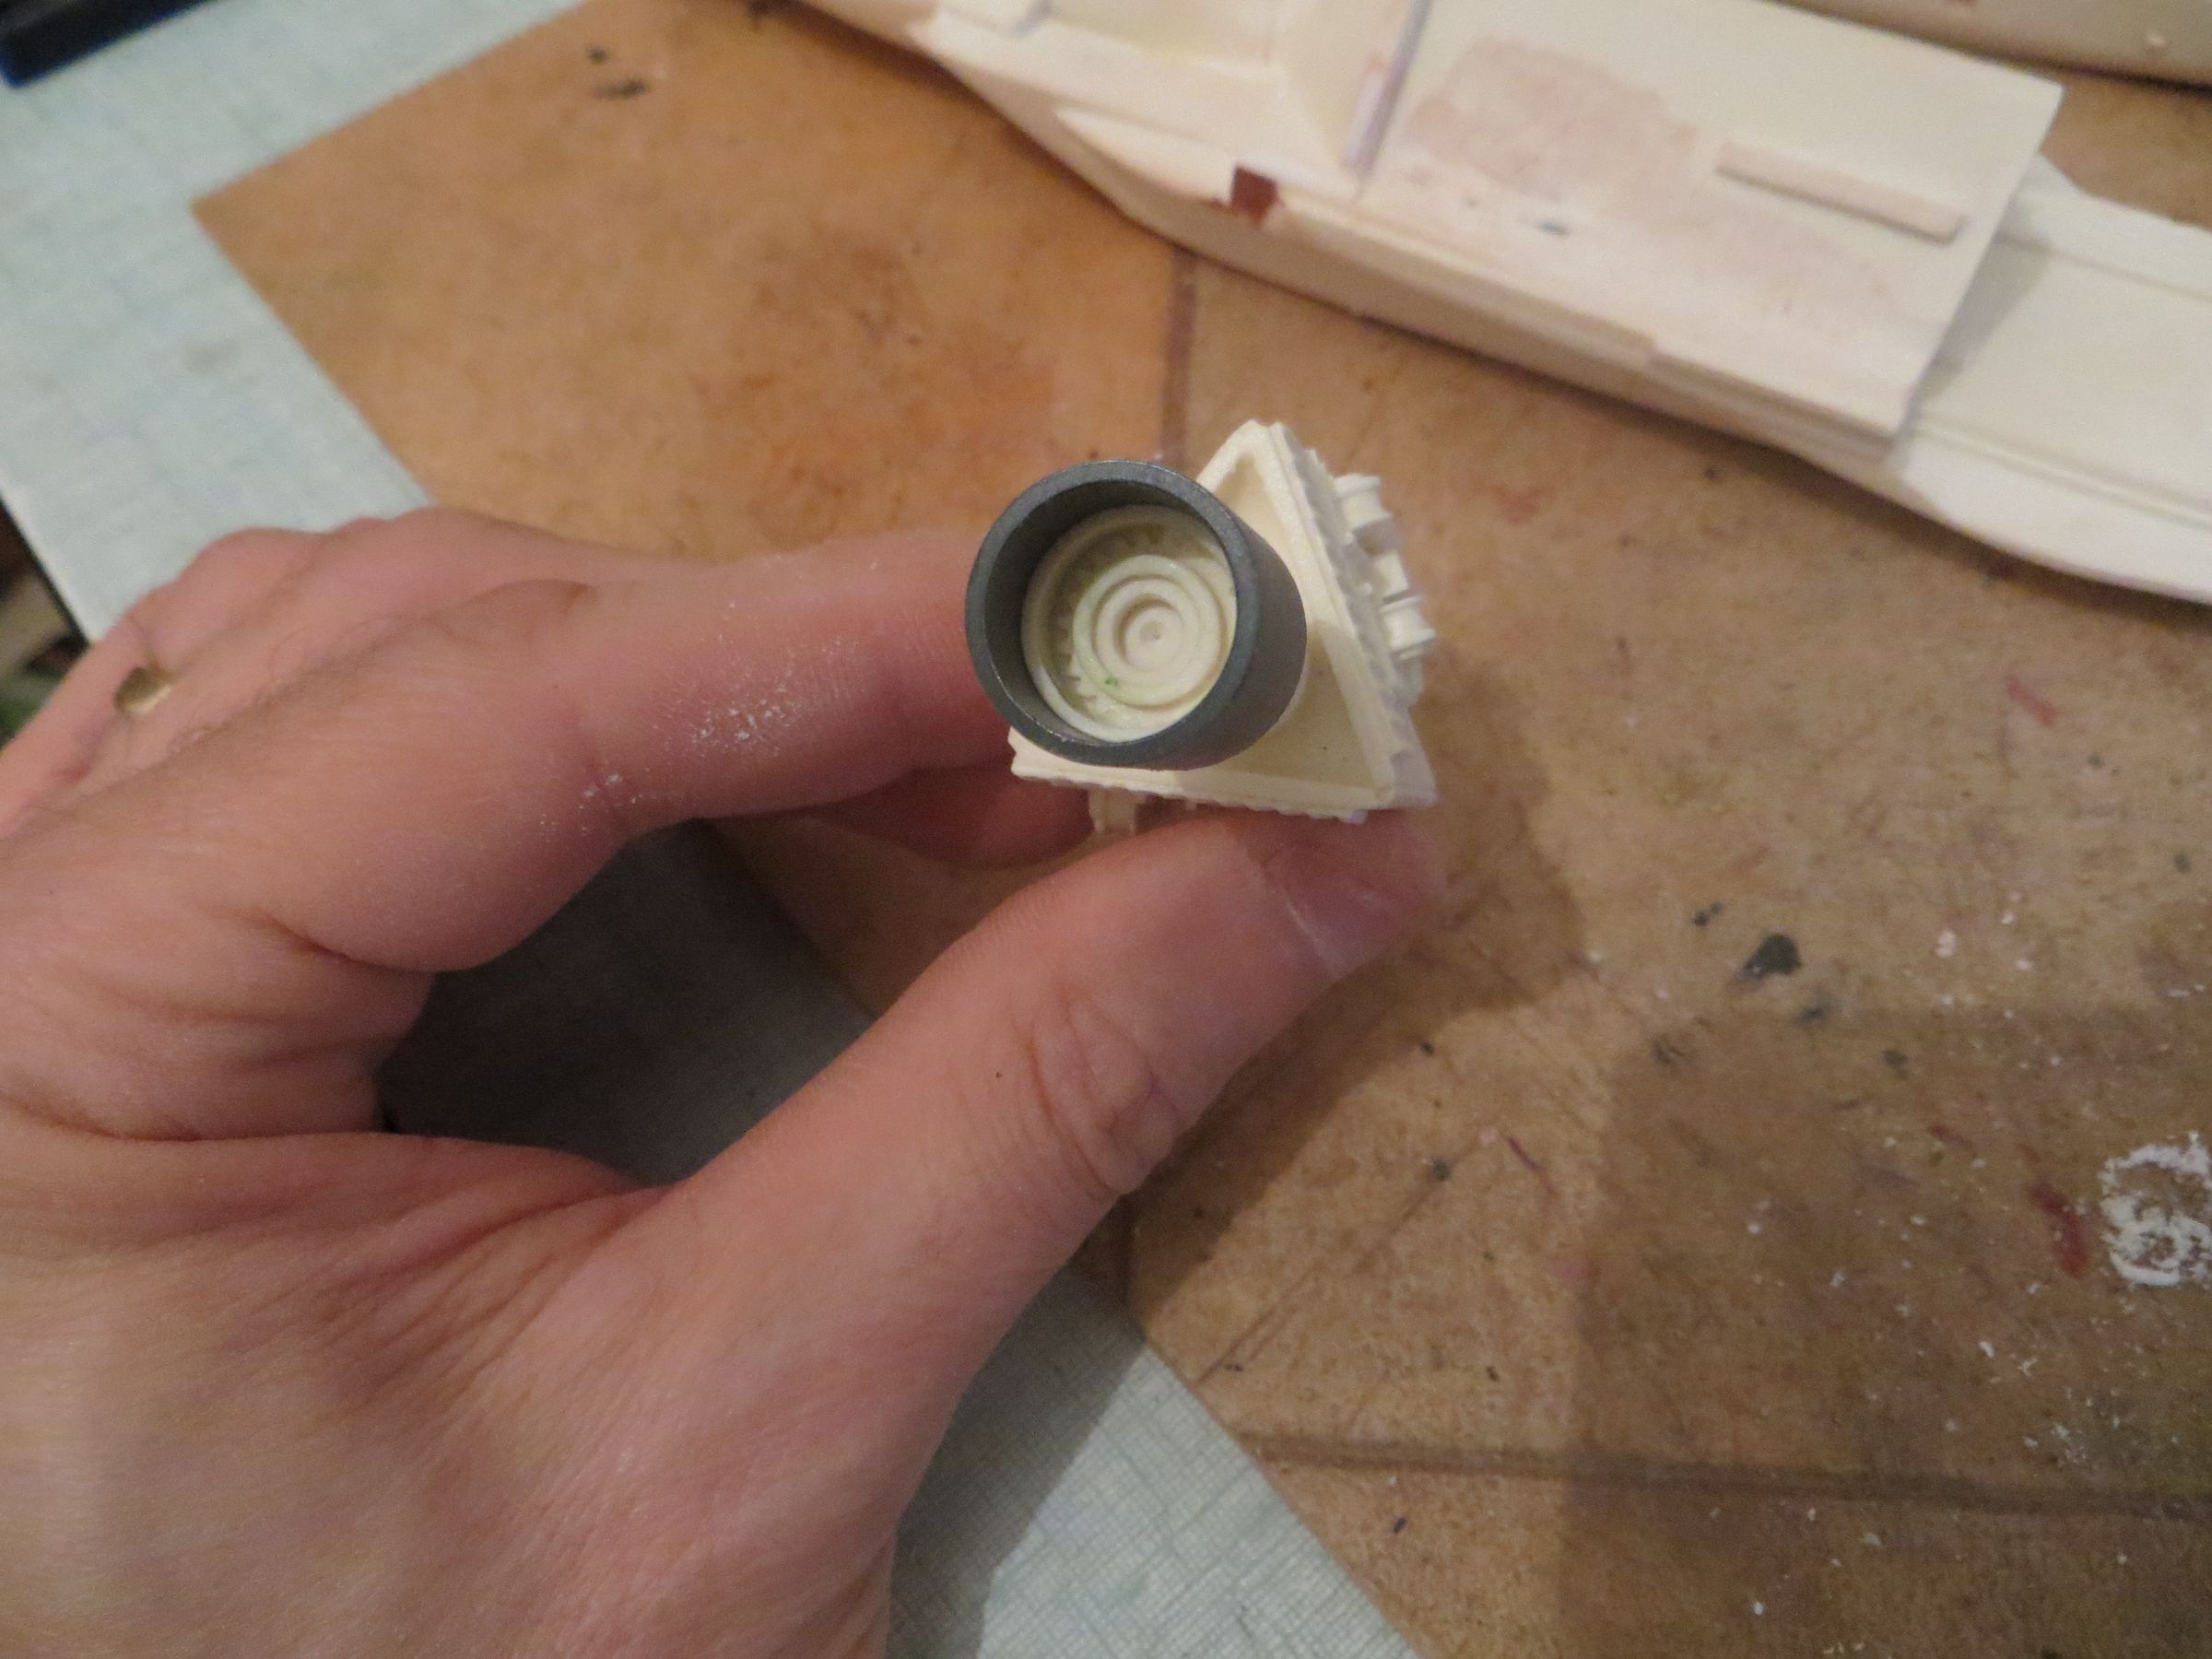
The small nozzles are replaced by a new set of bells from an upgrade kit (Kotobukiya).
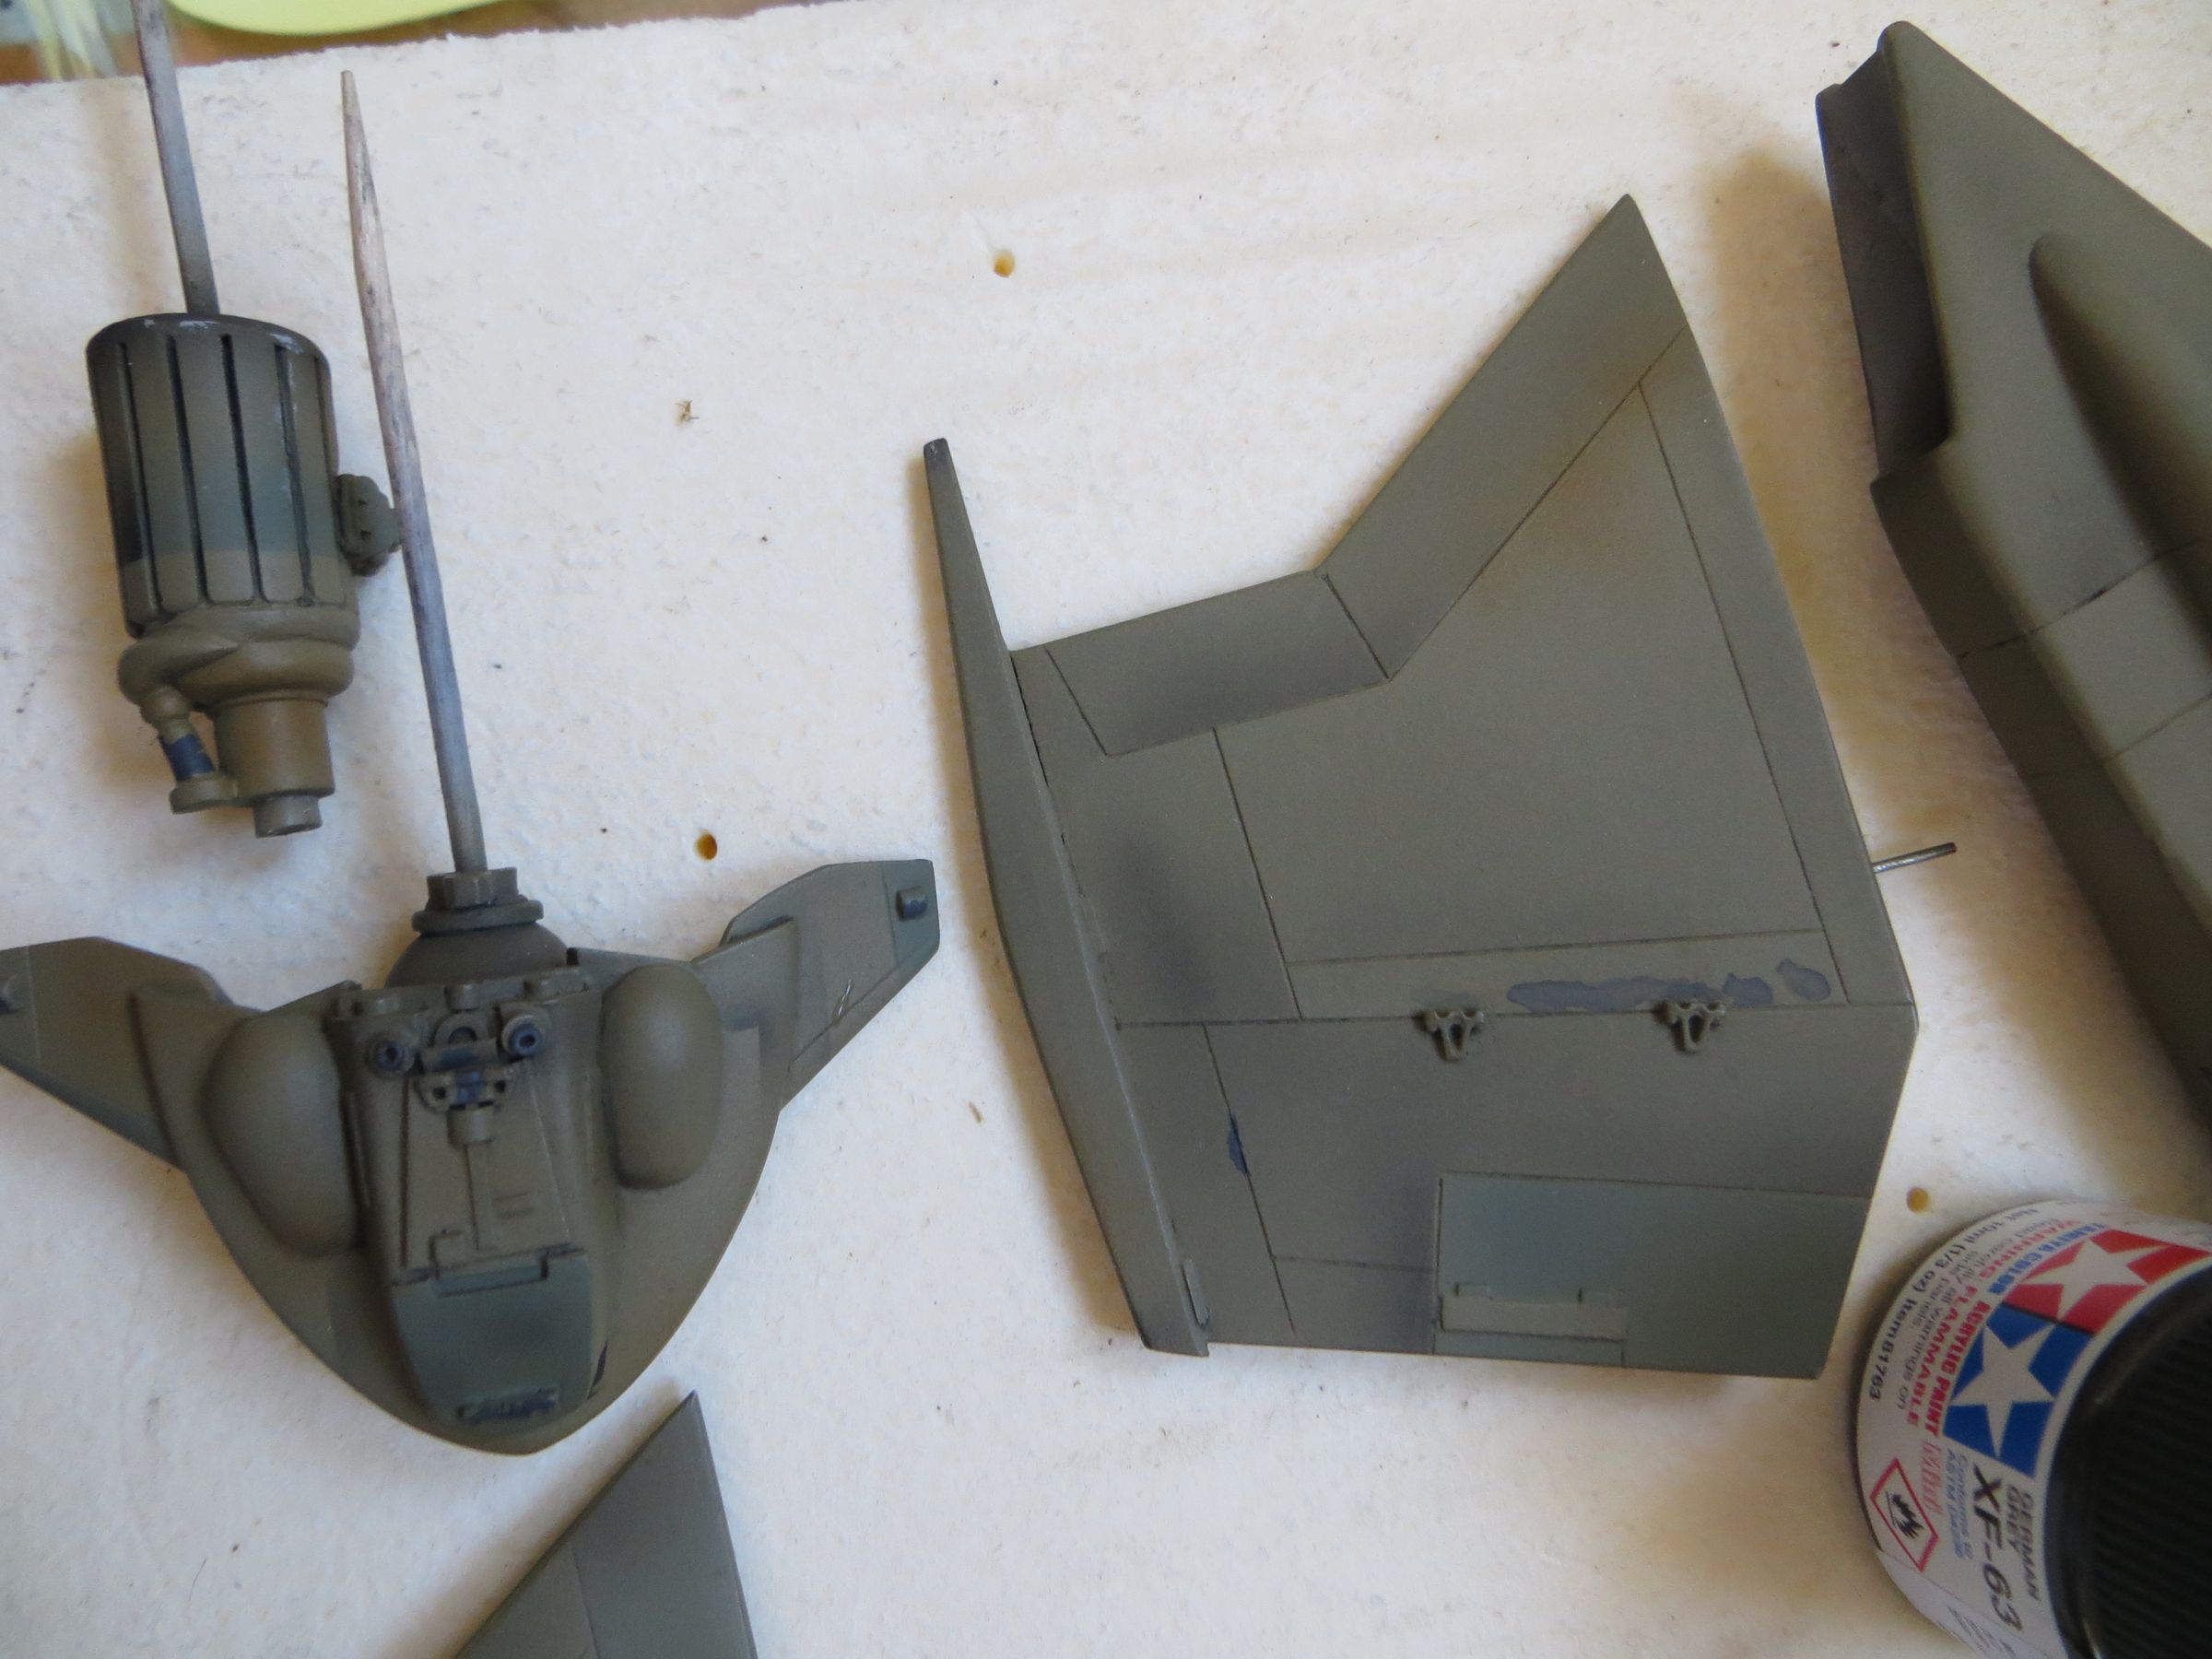
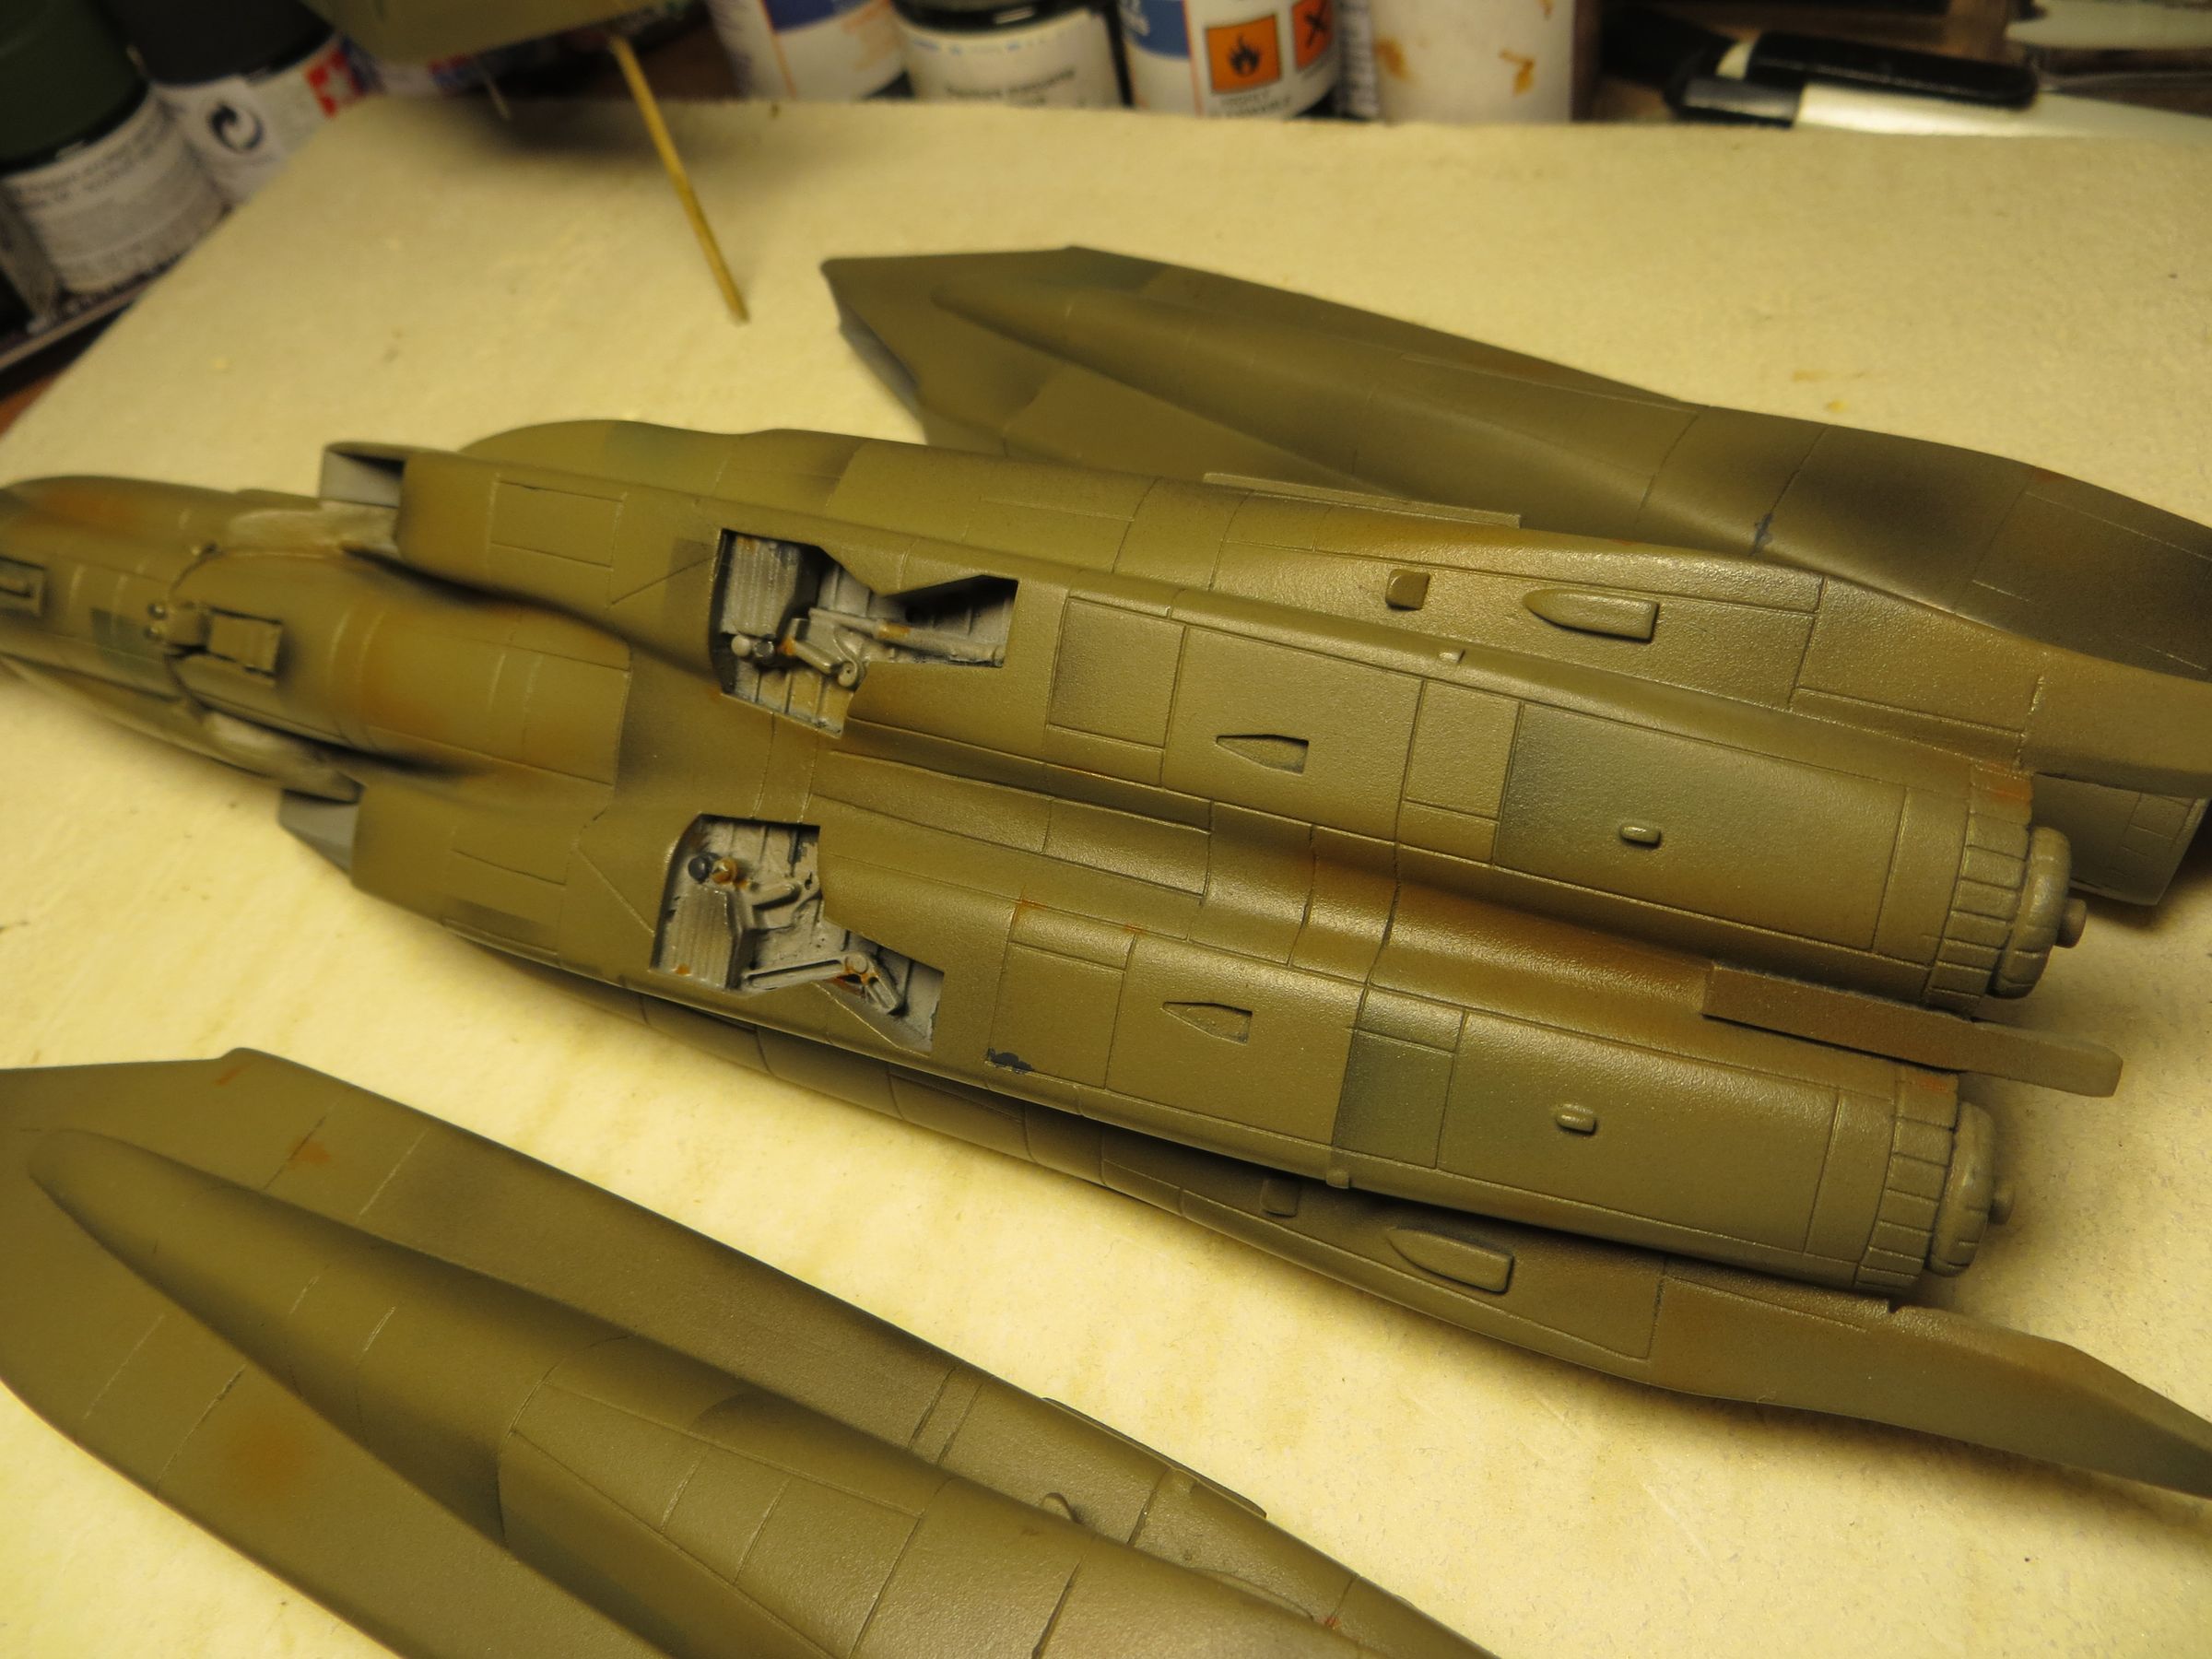
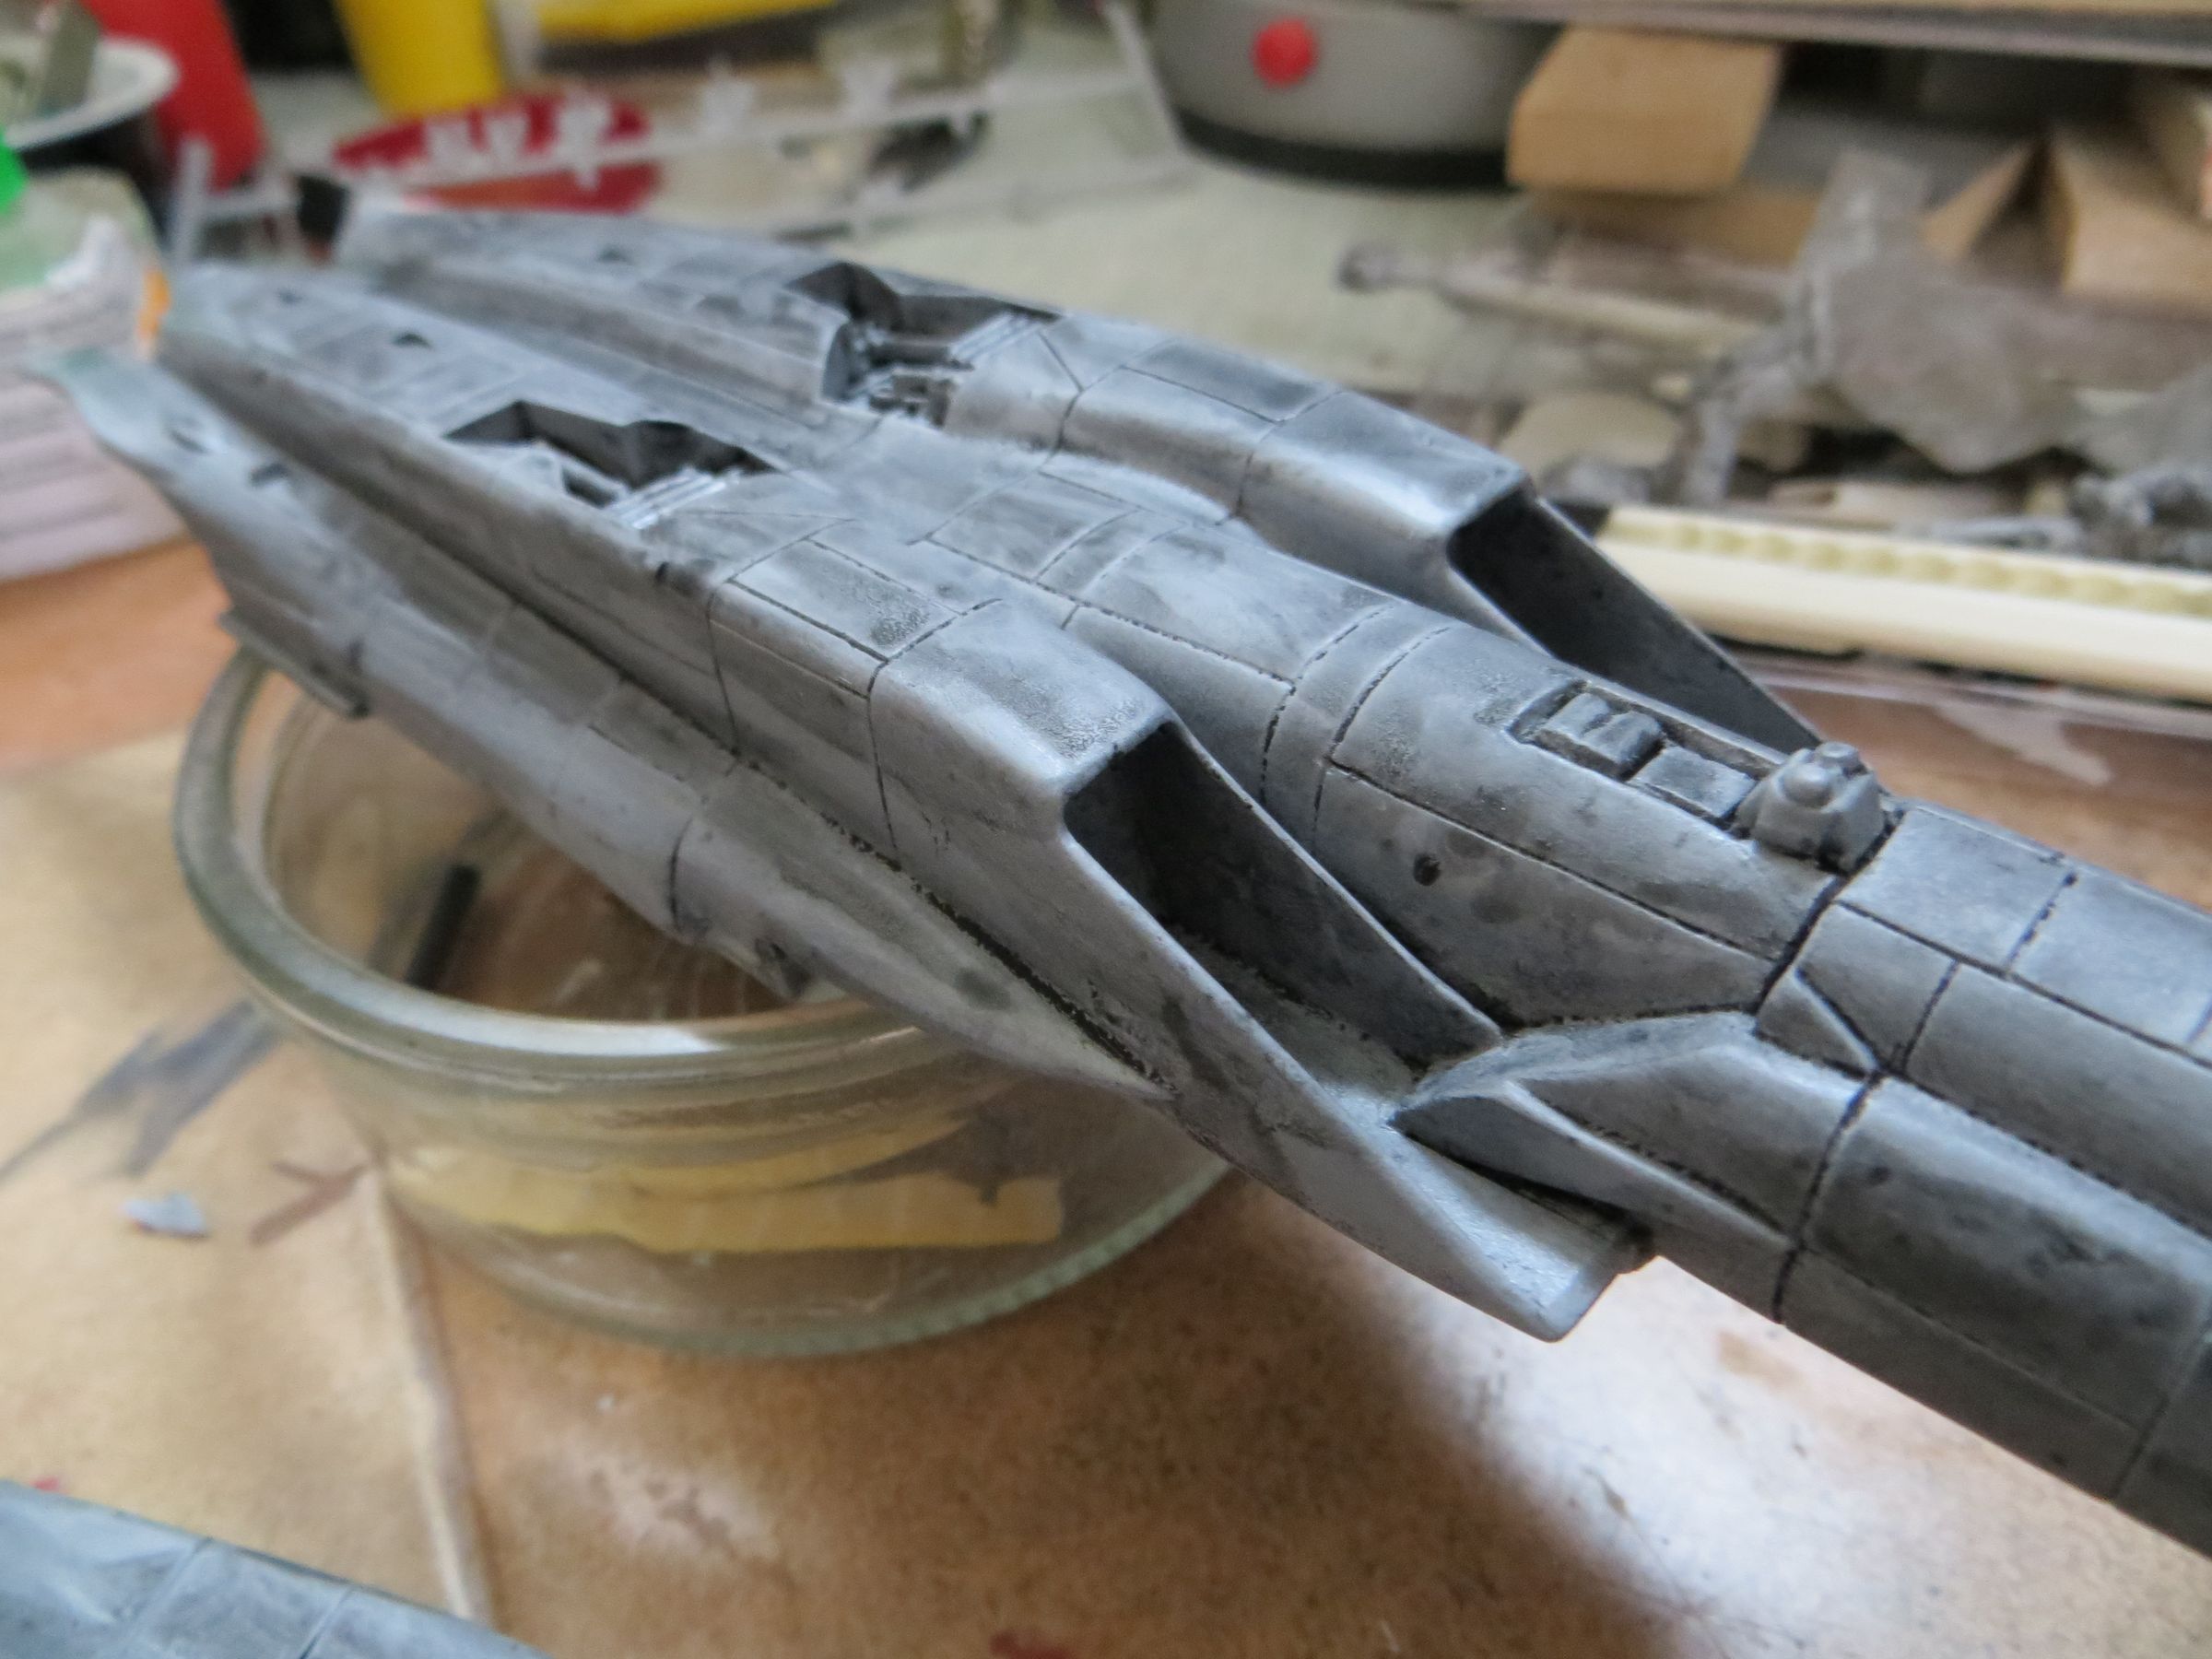
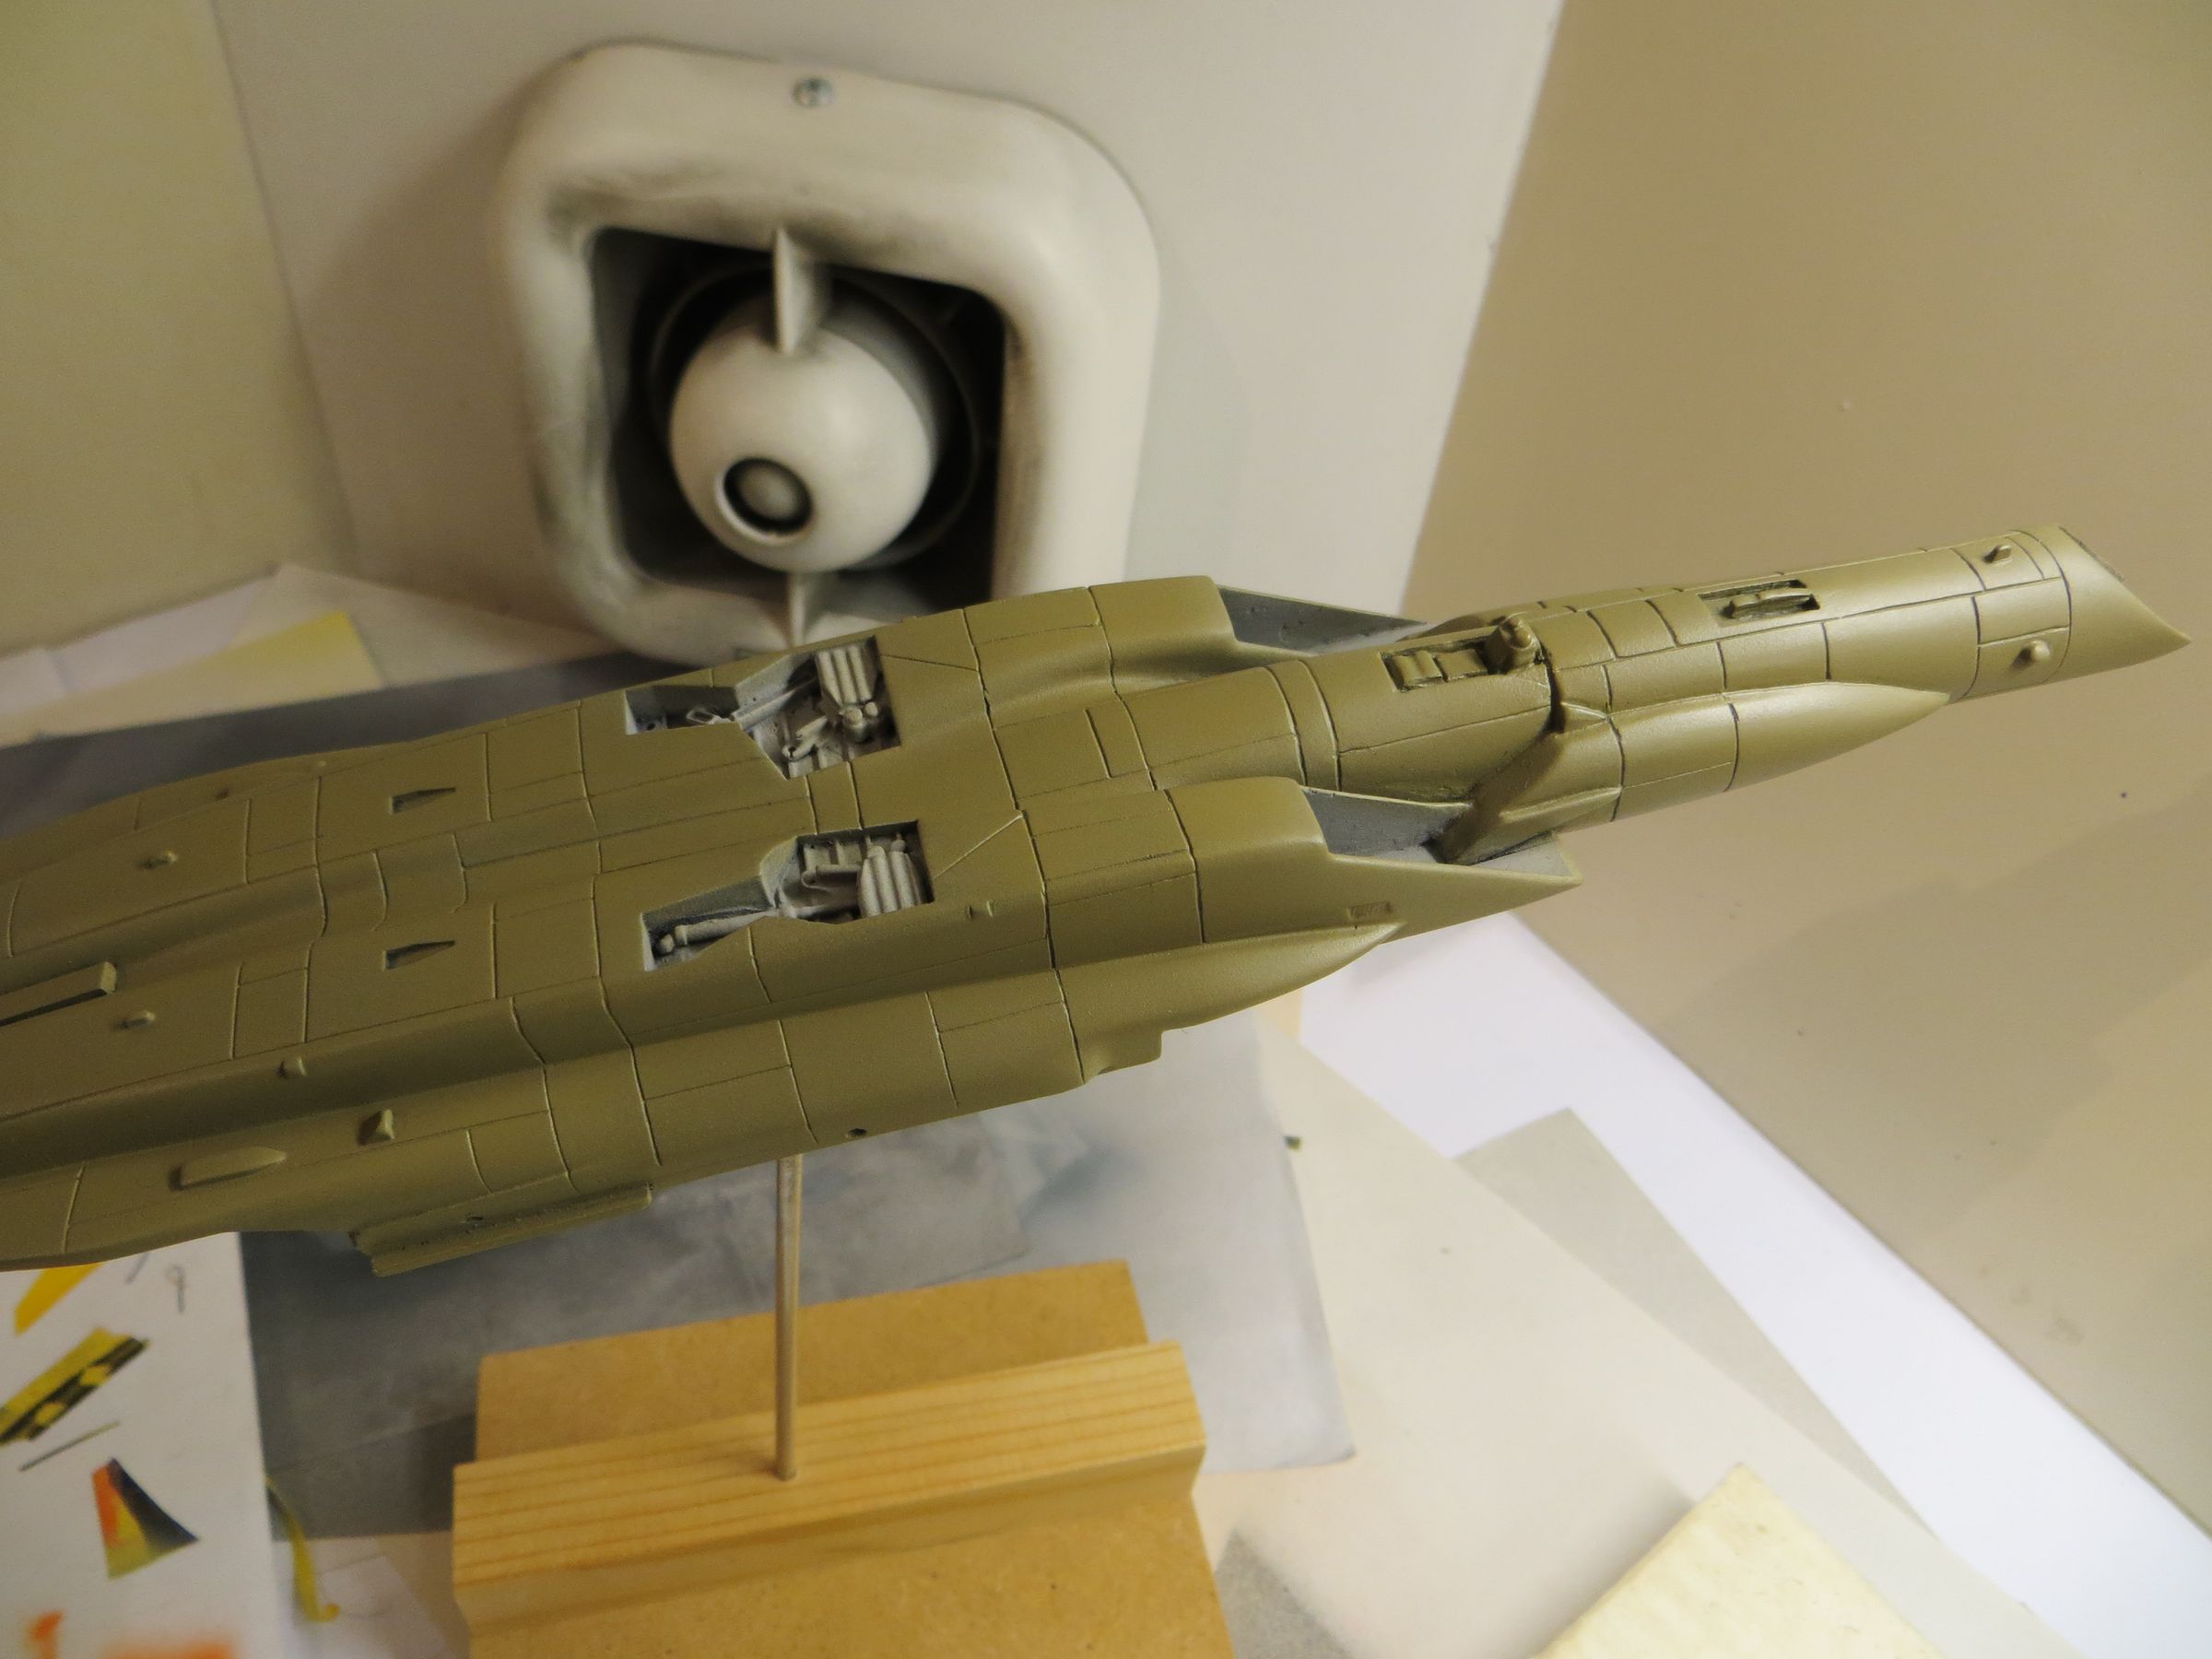
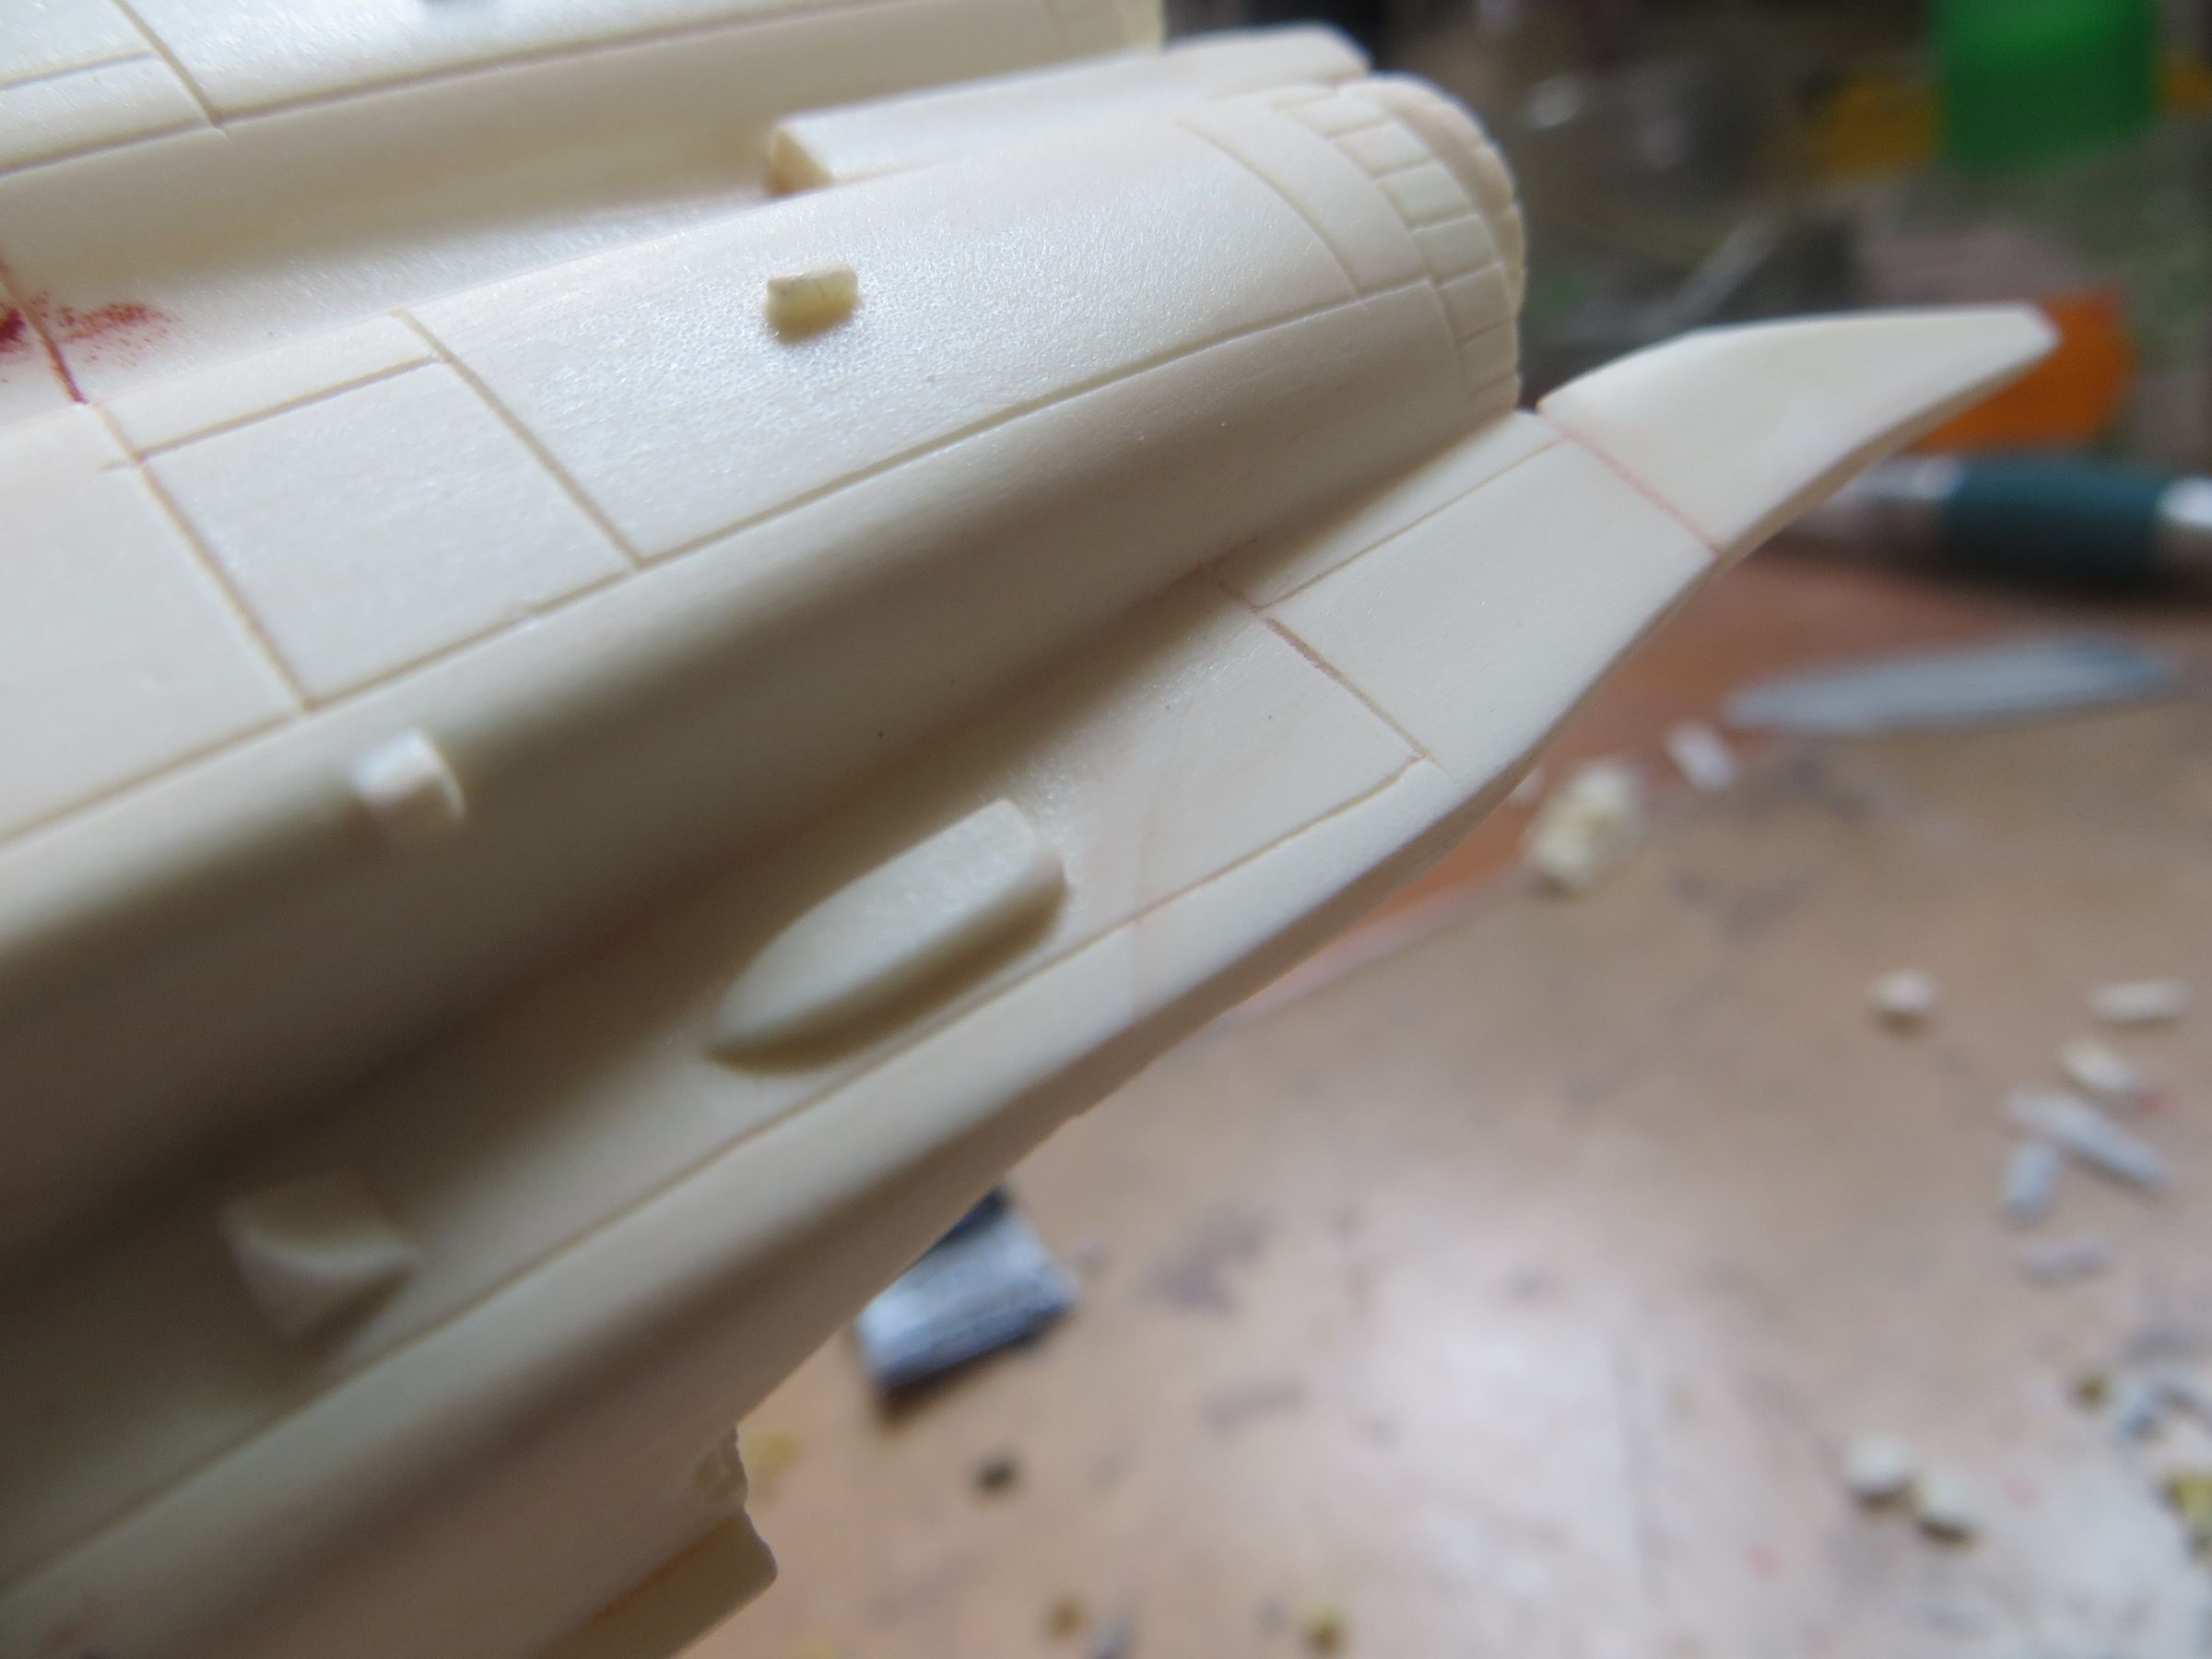
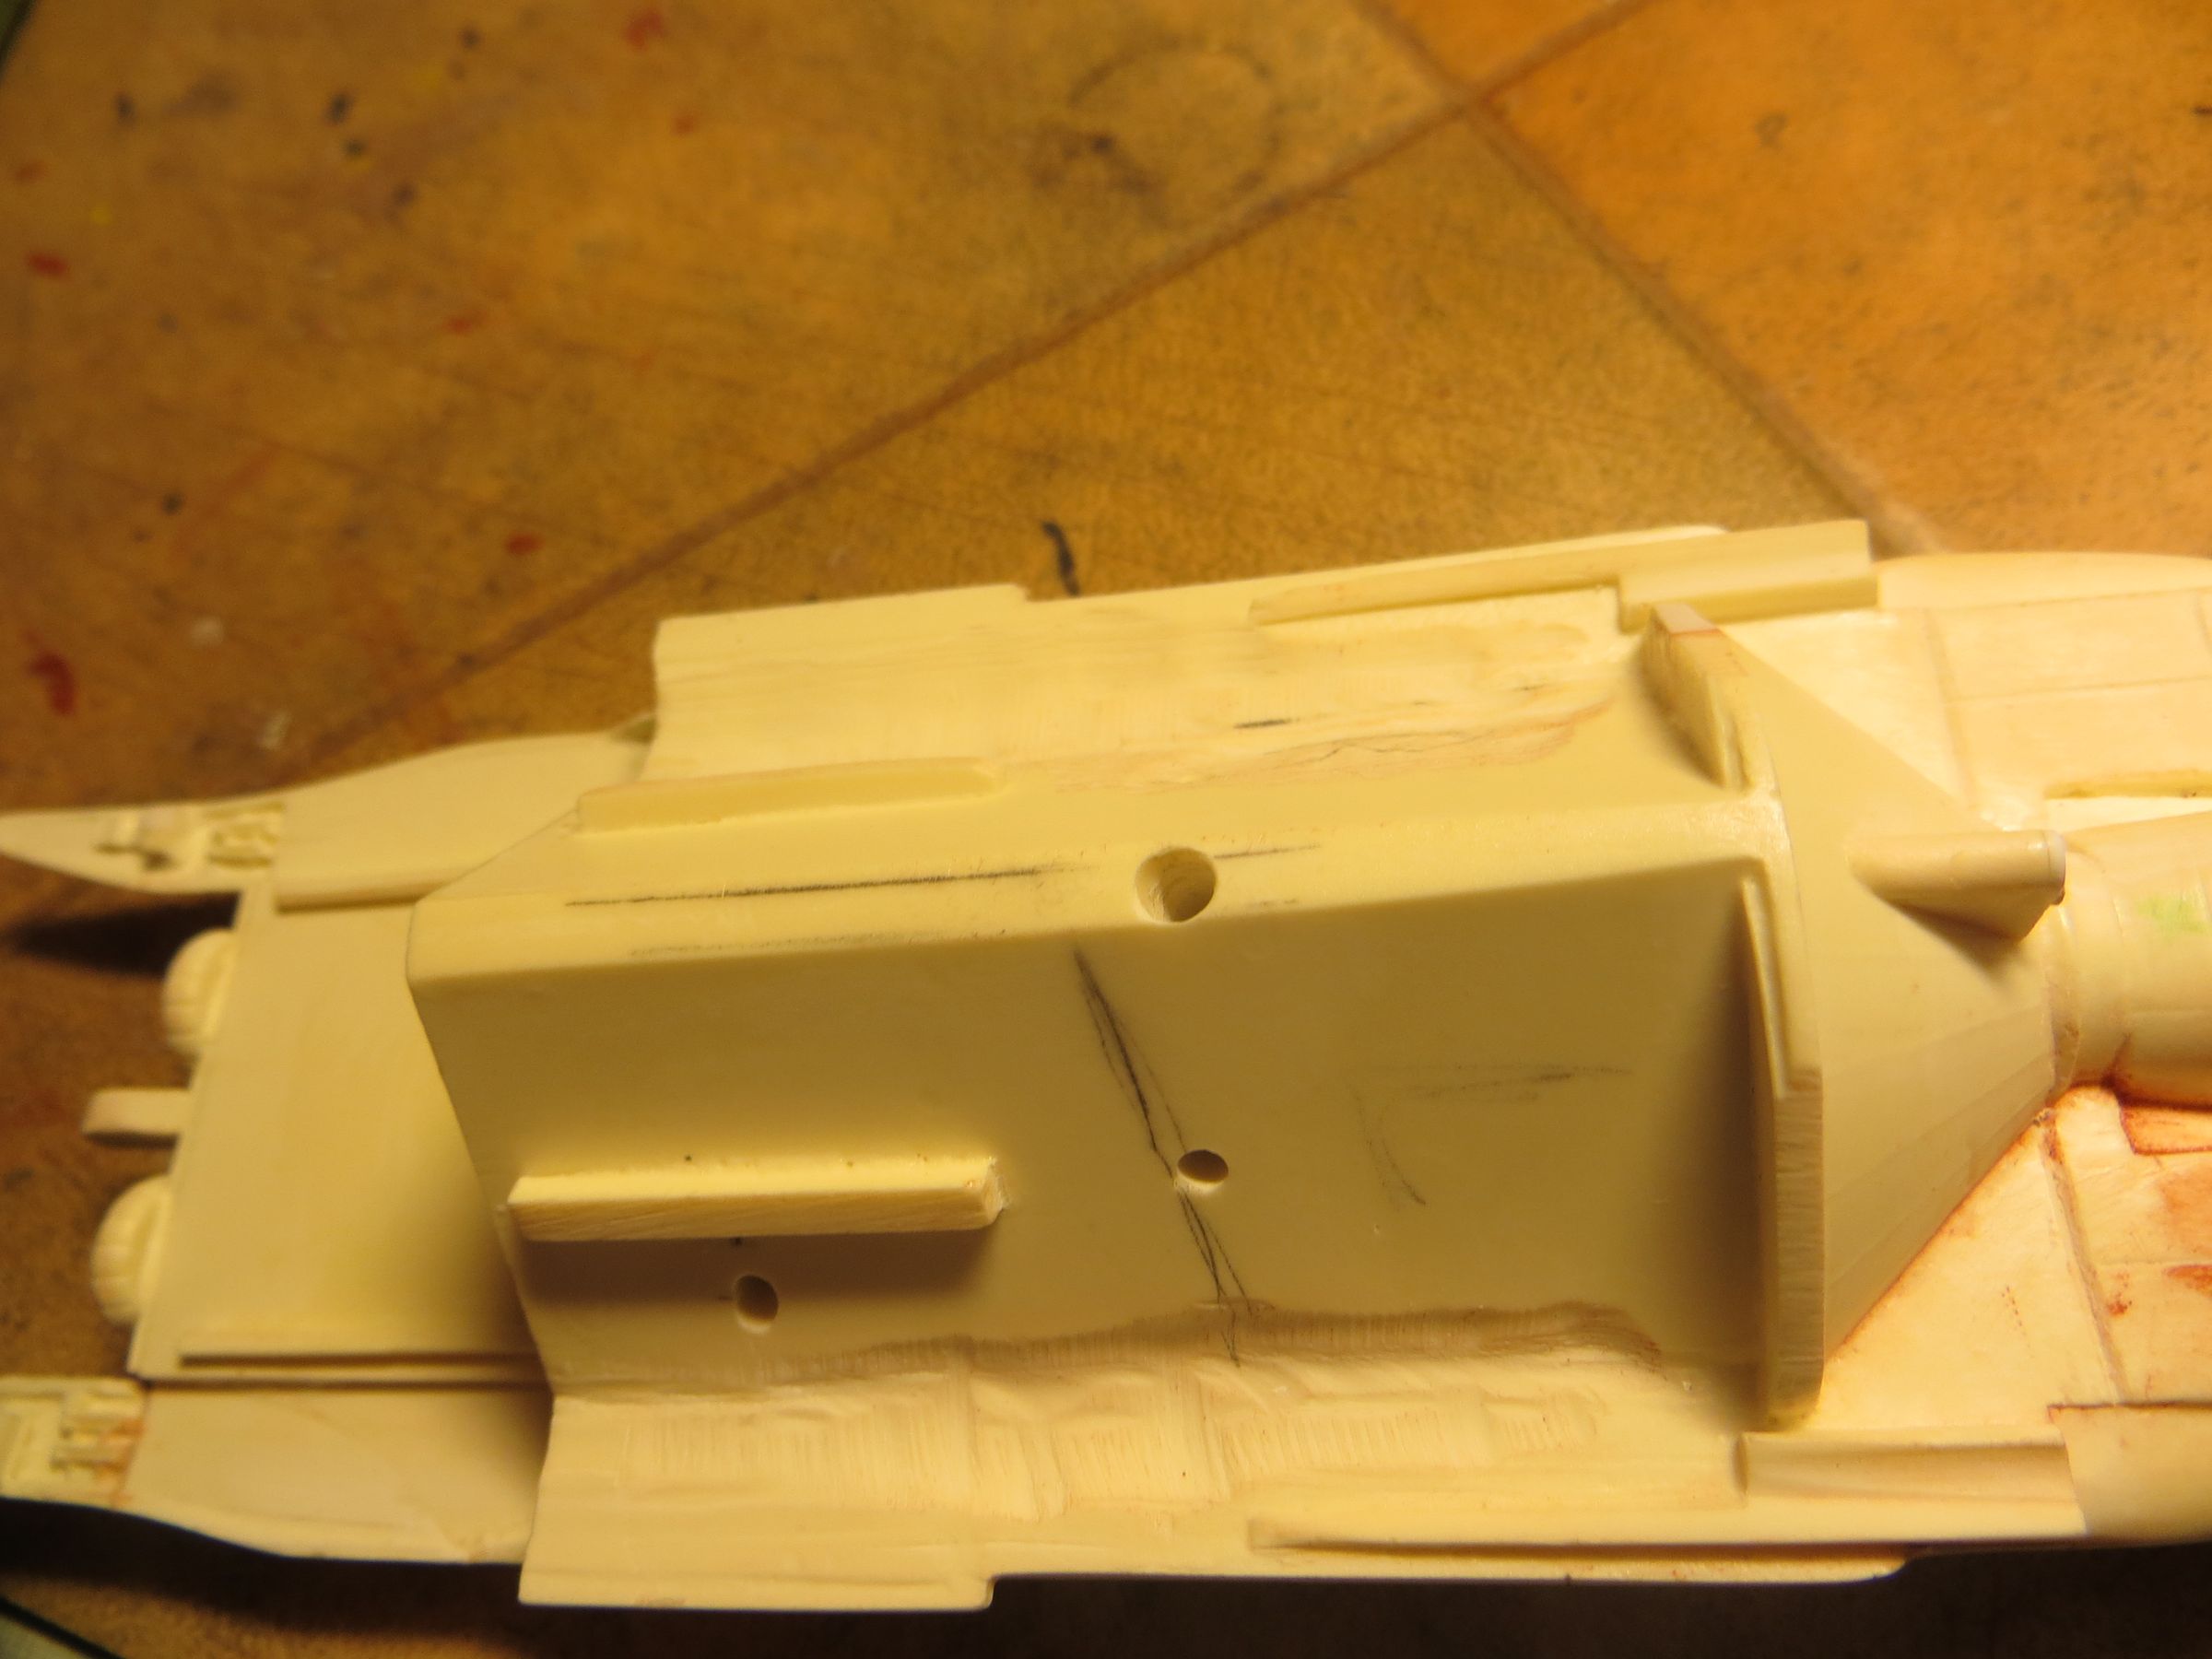
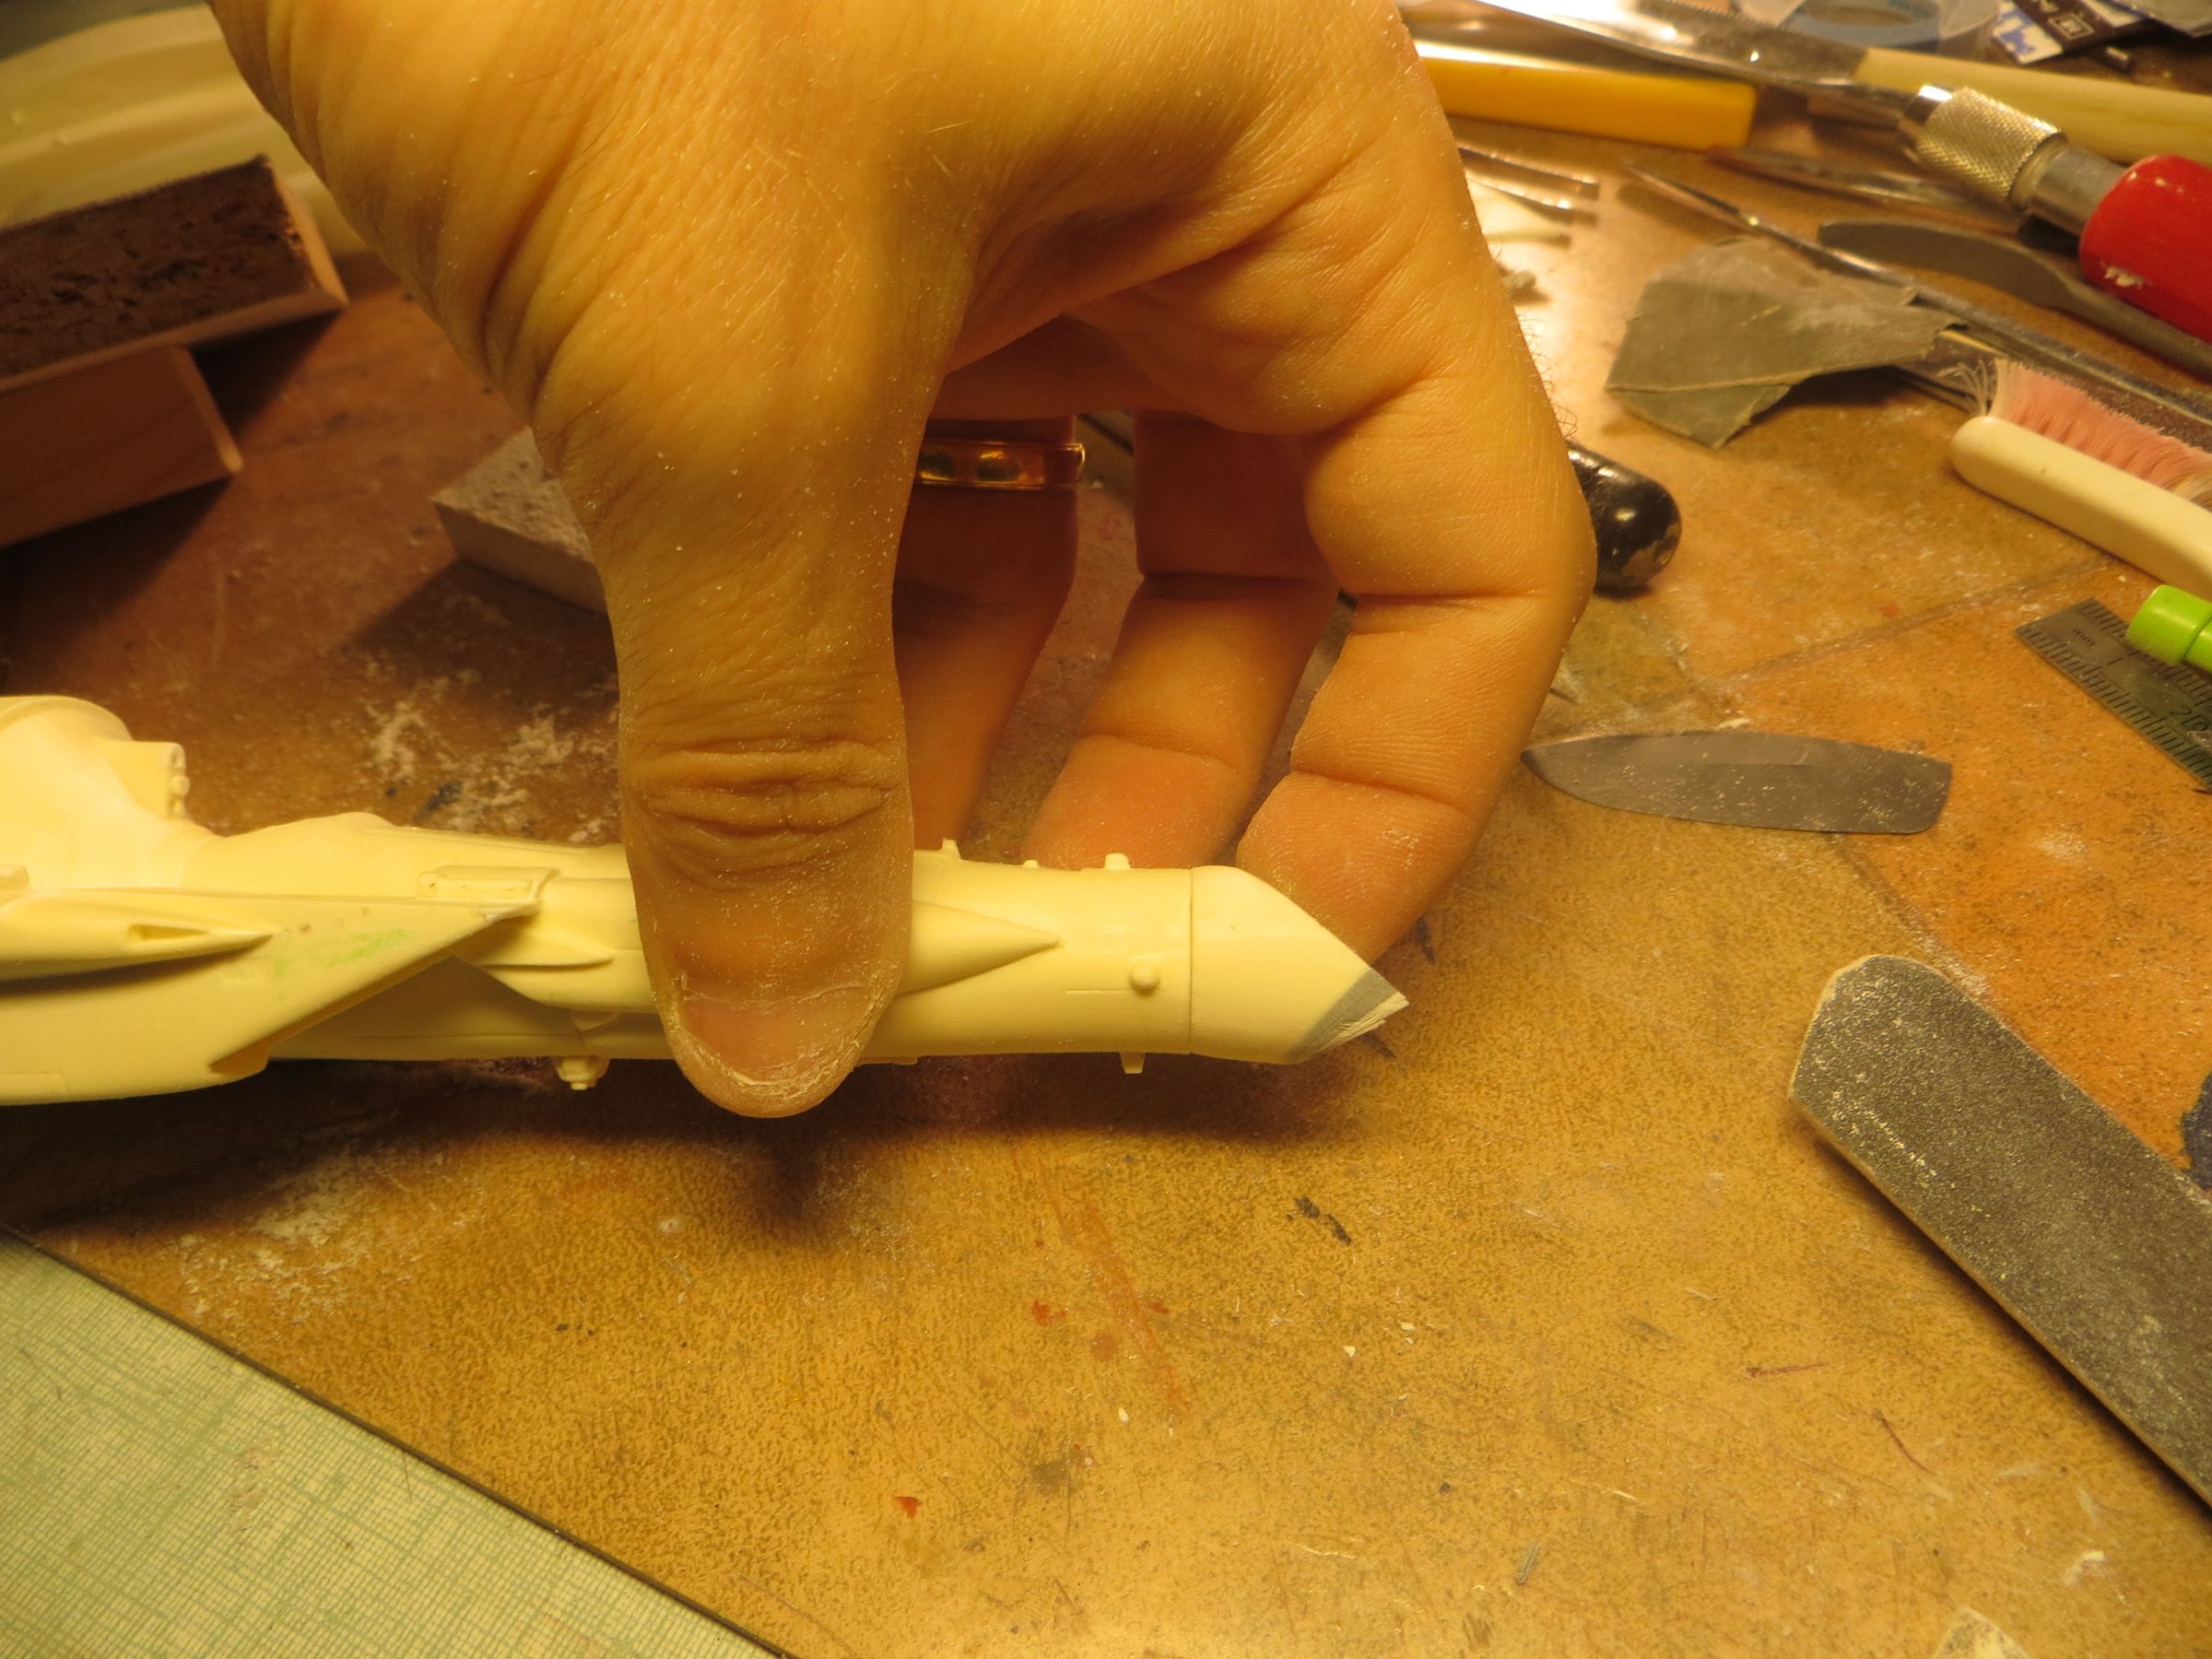
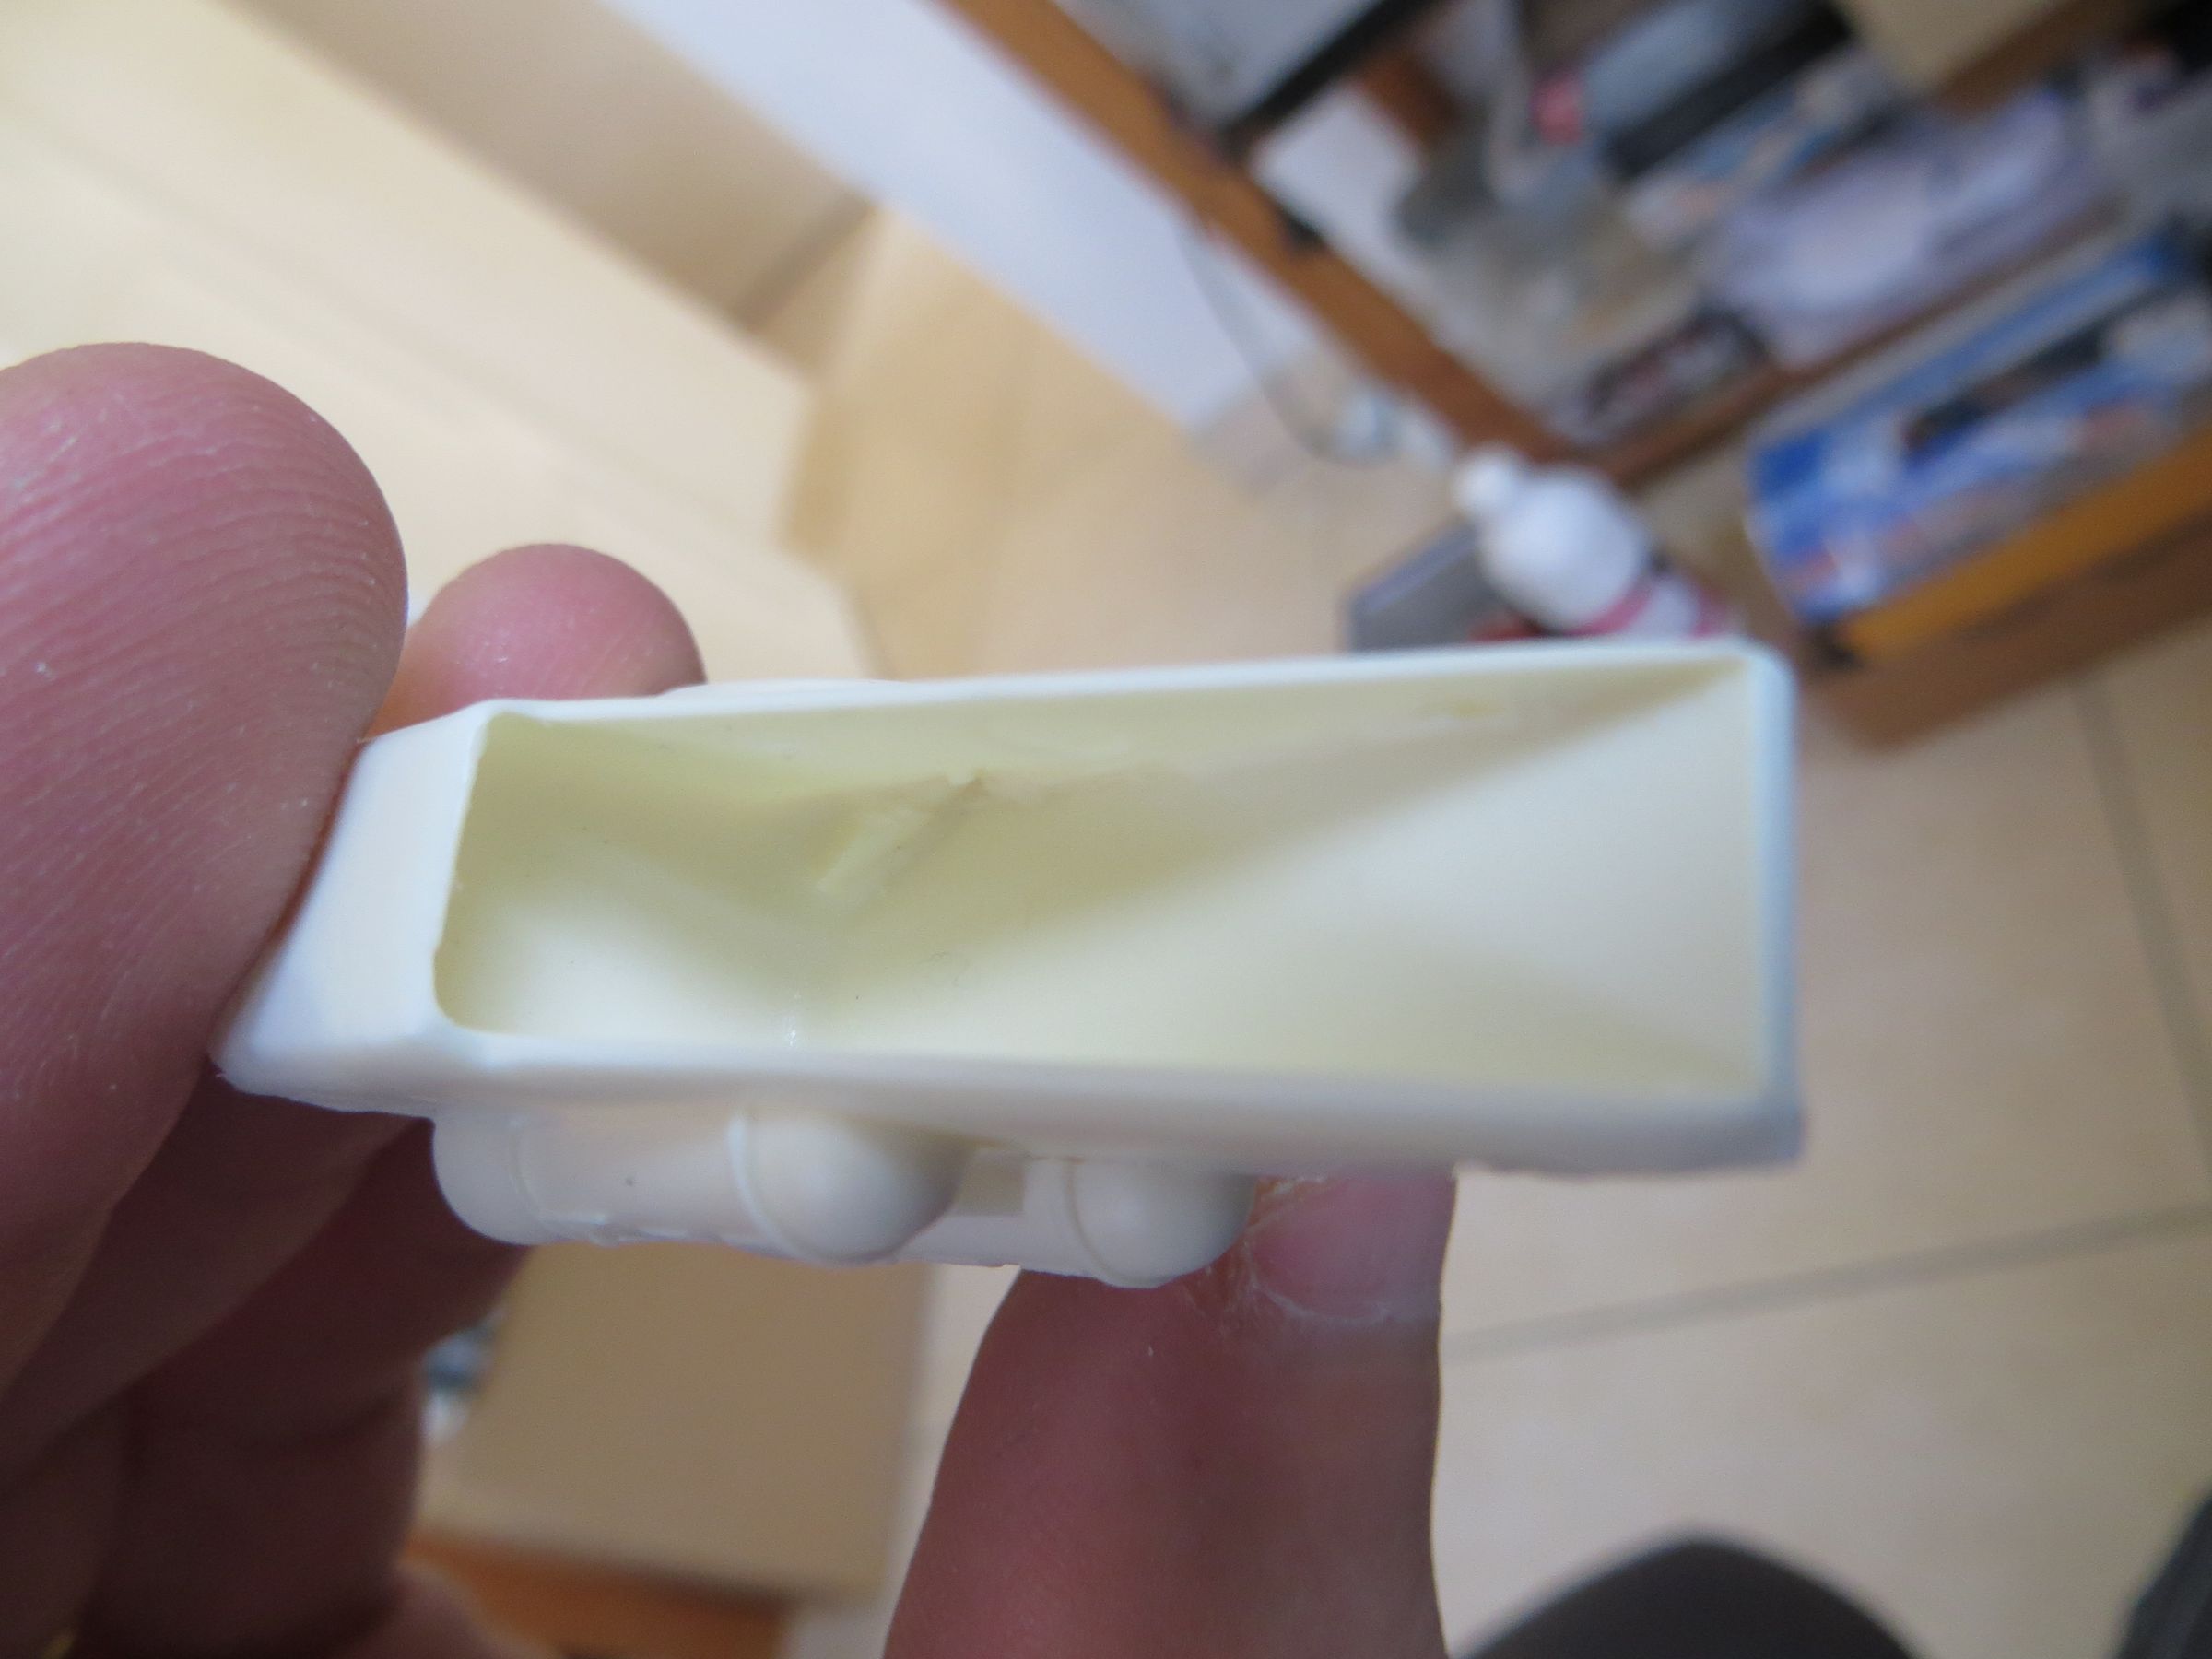
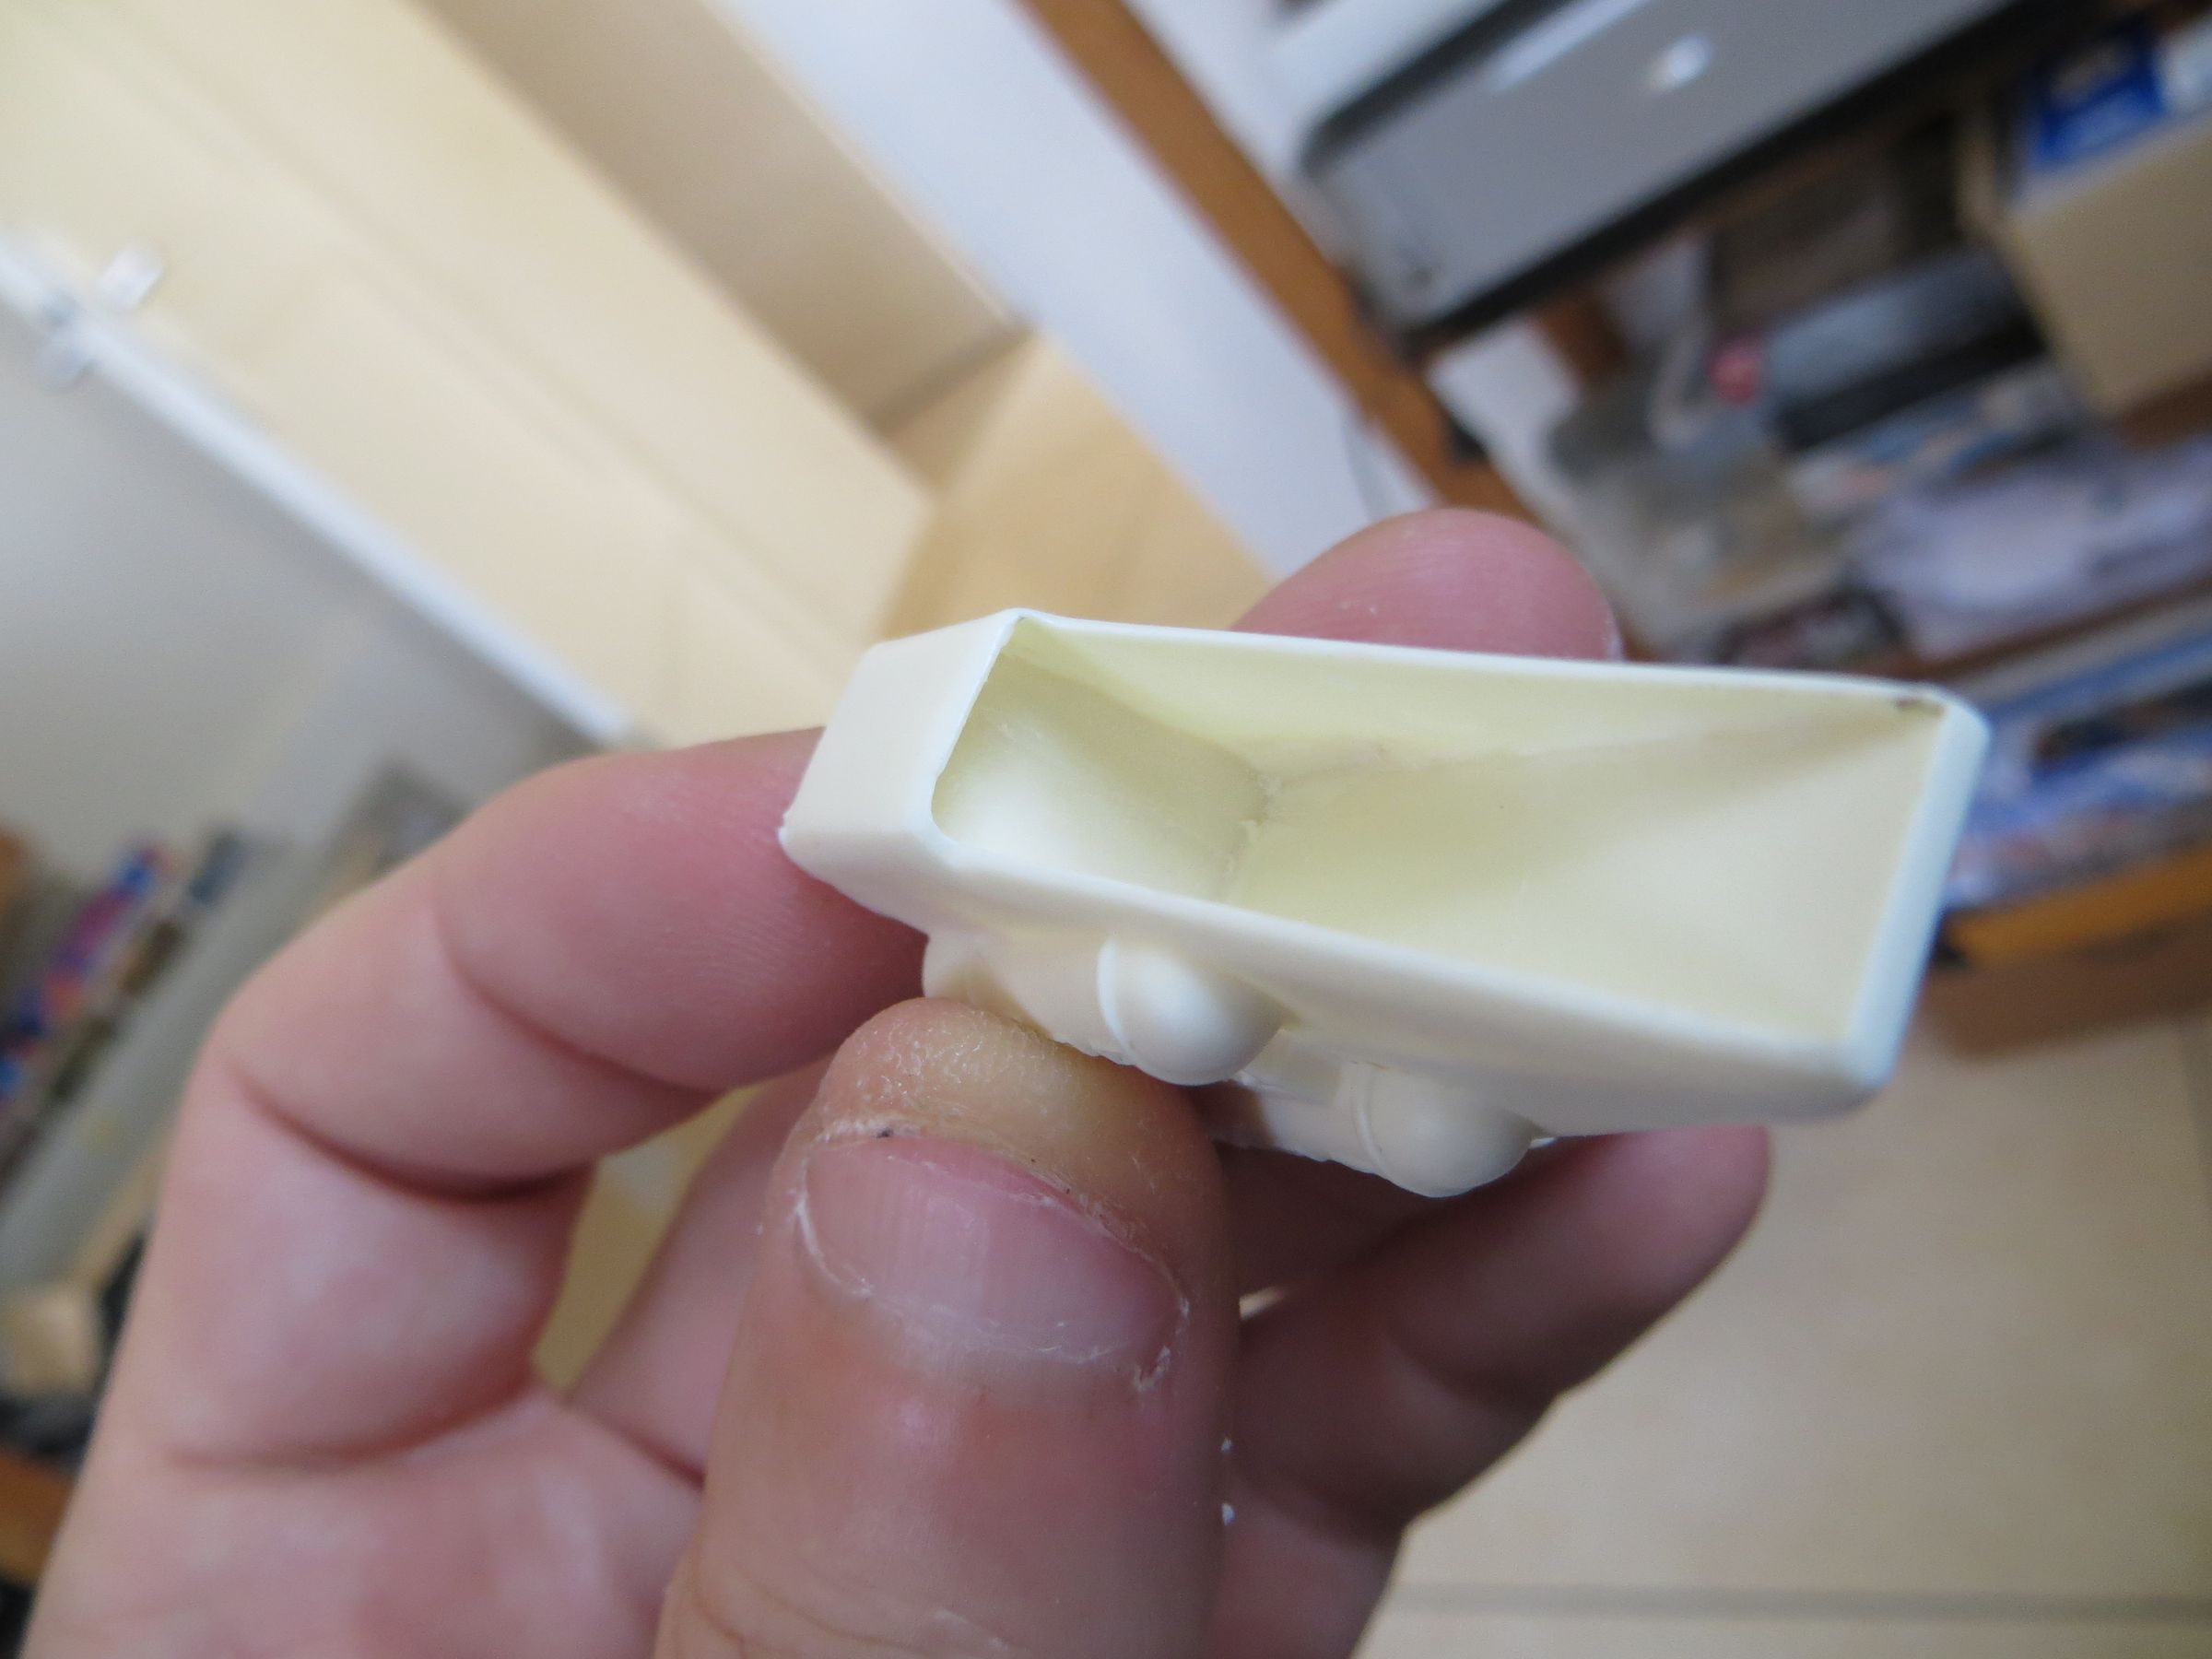
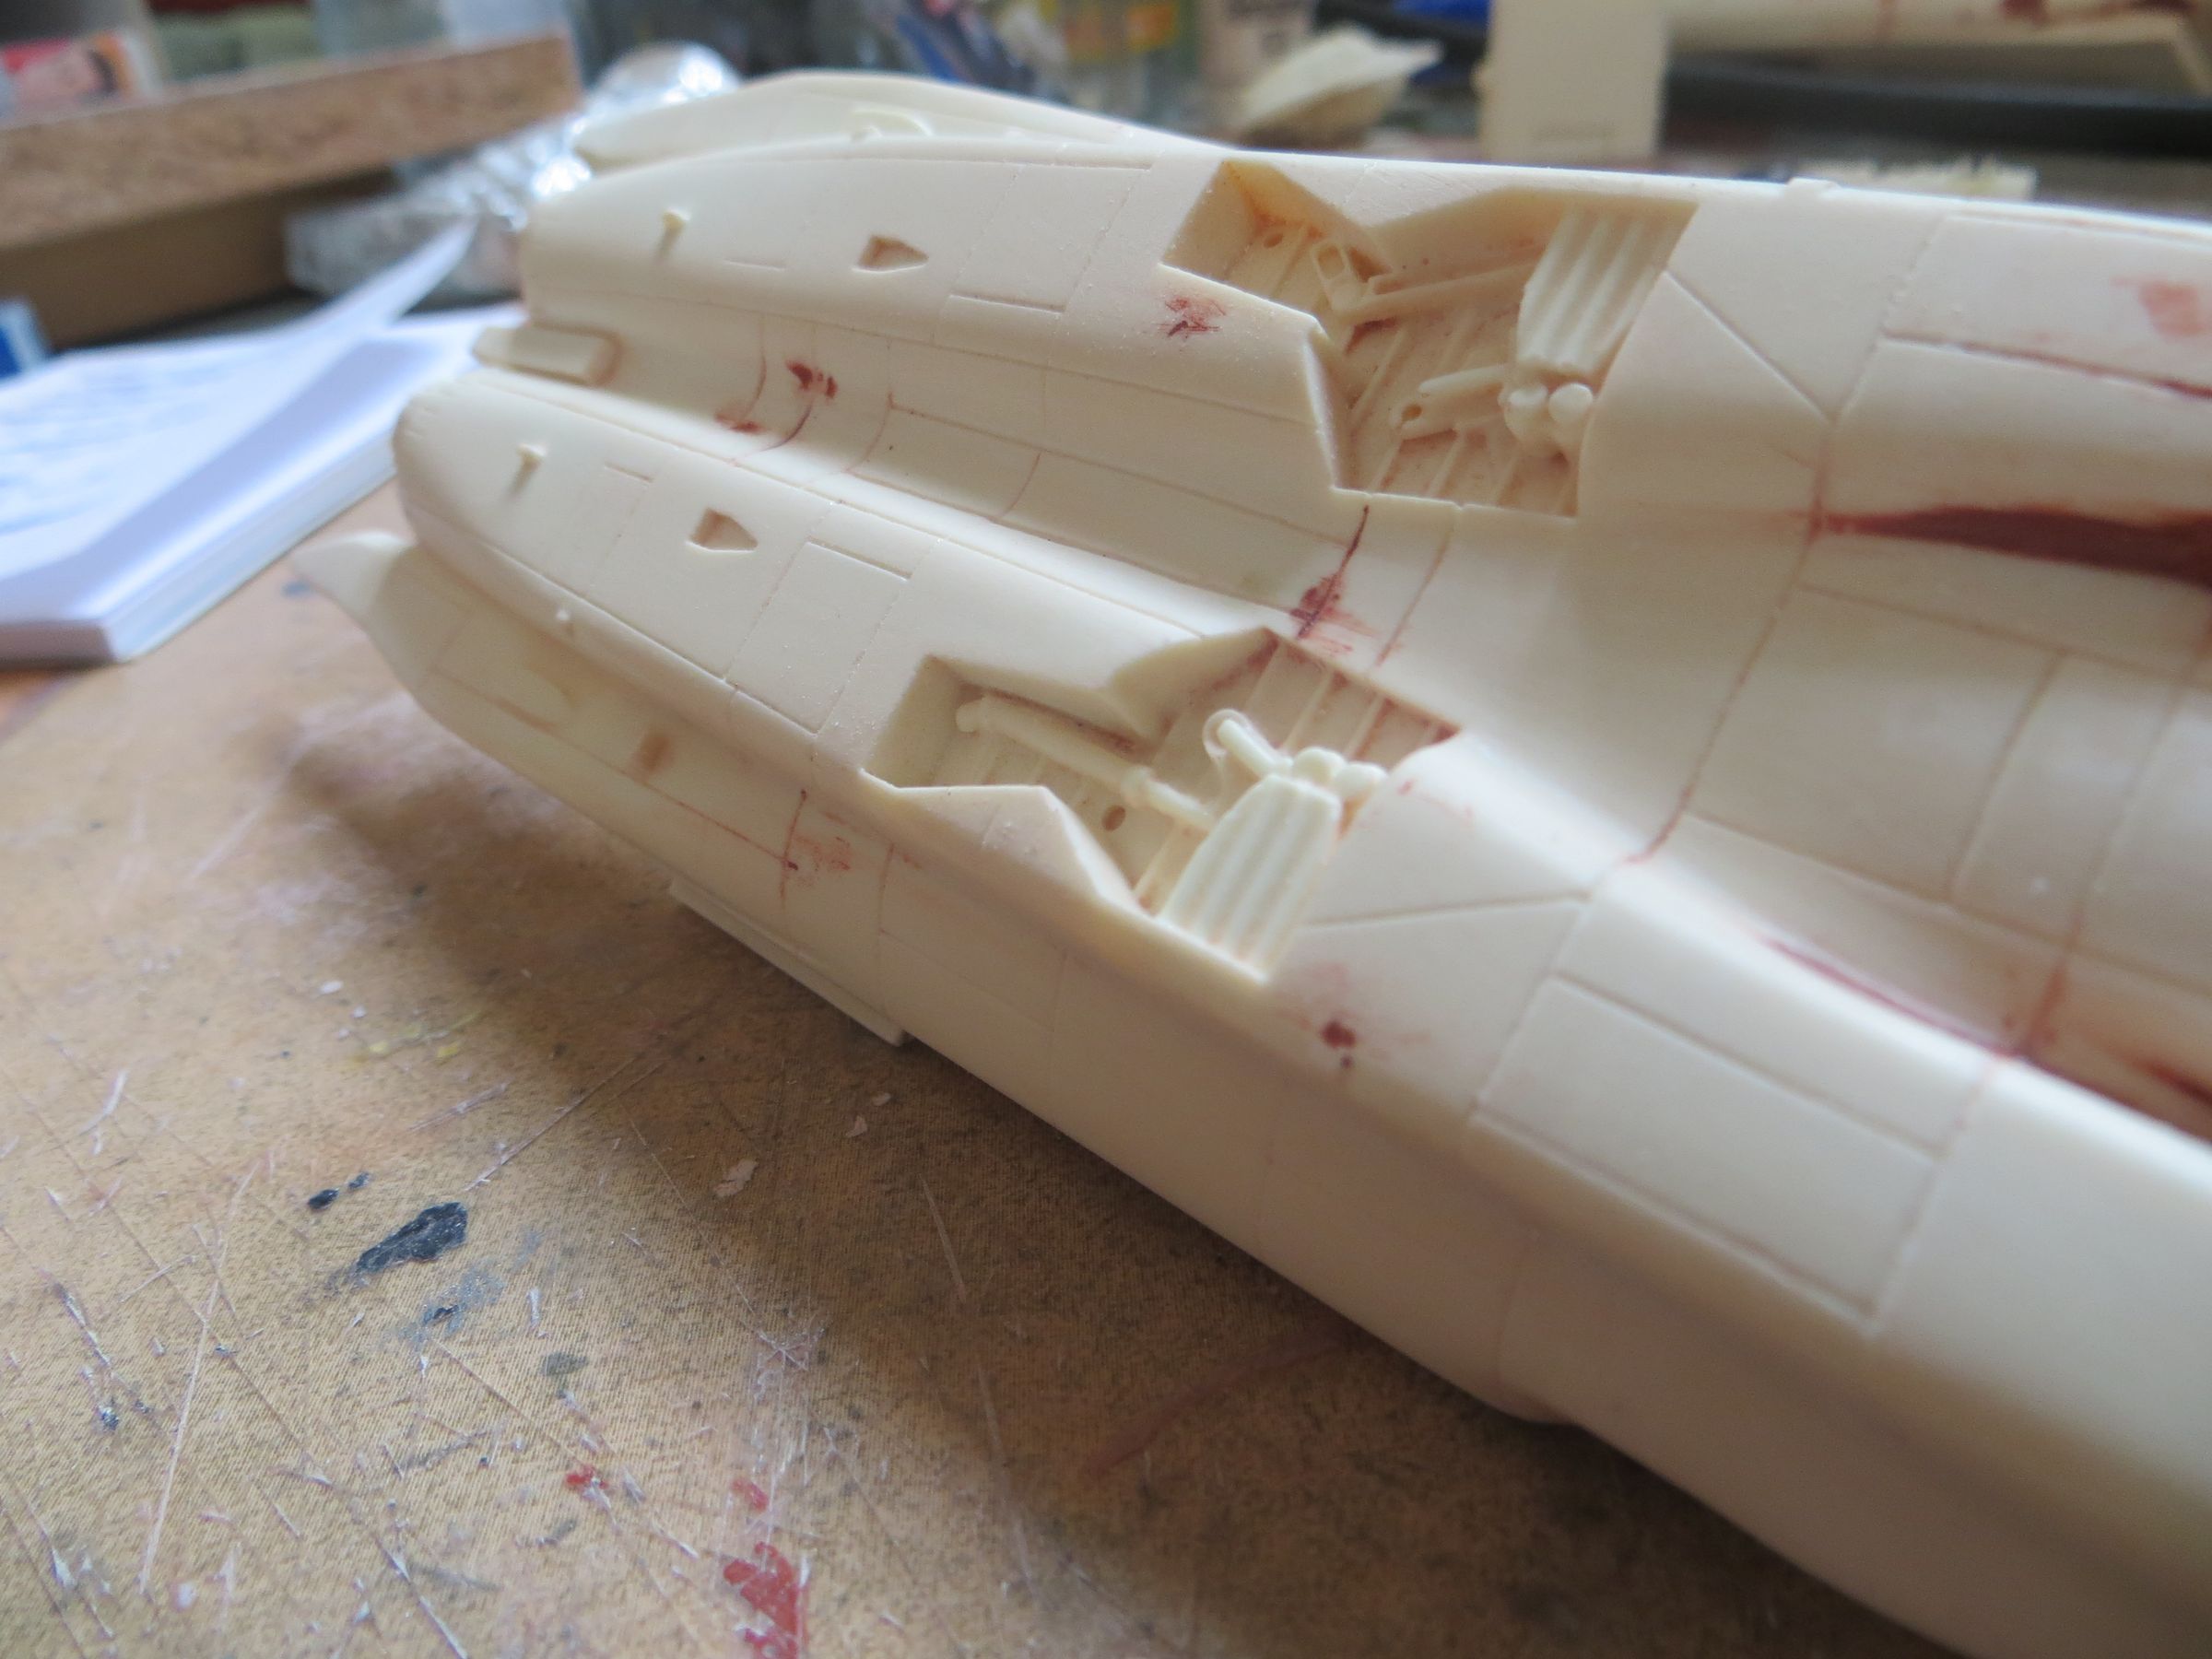
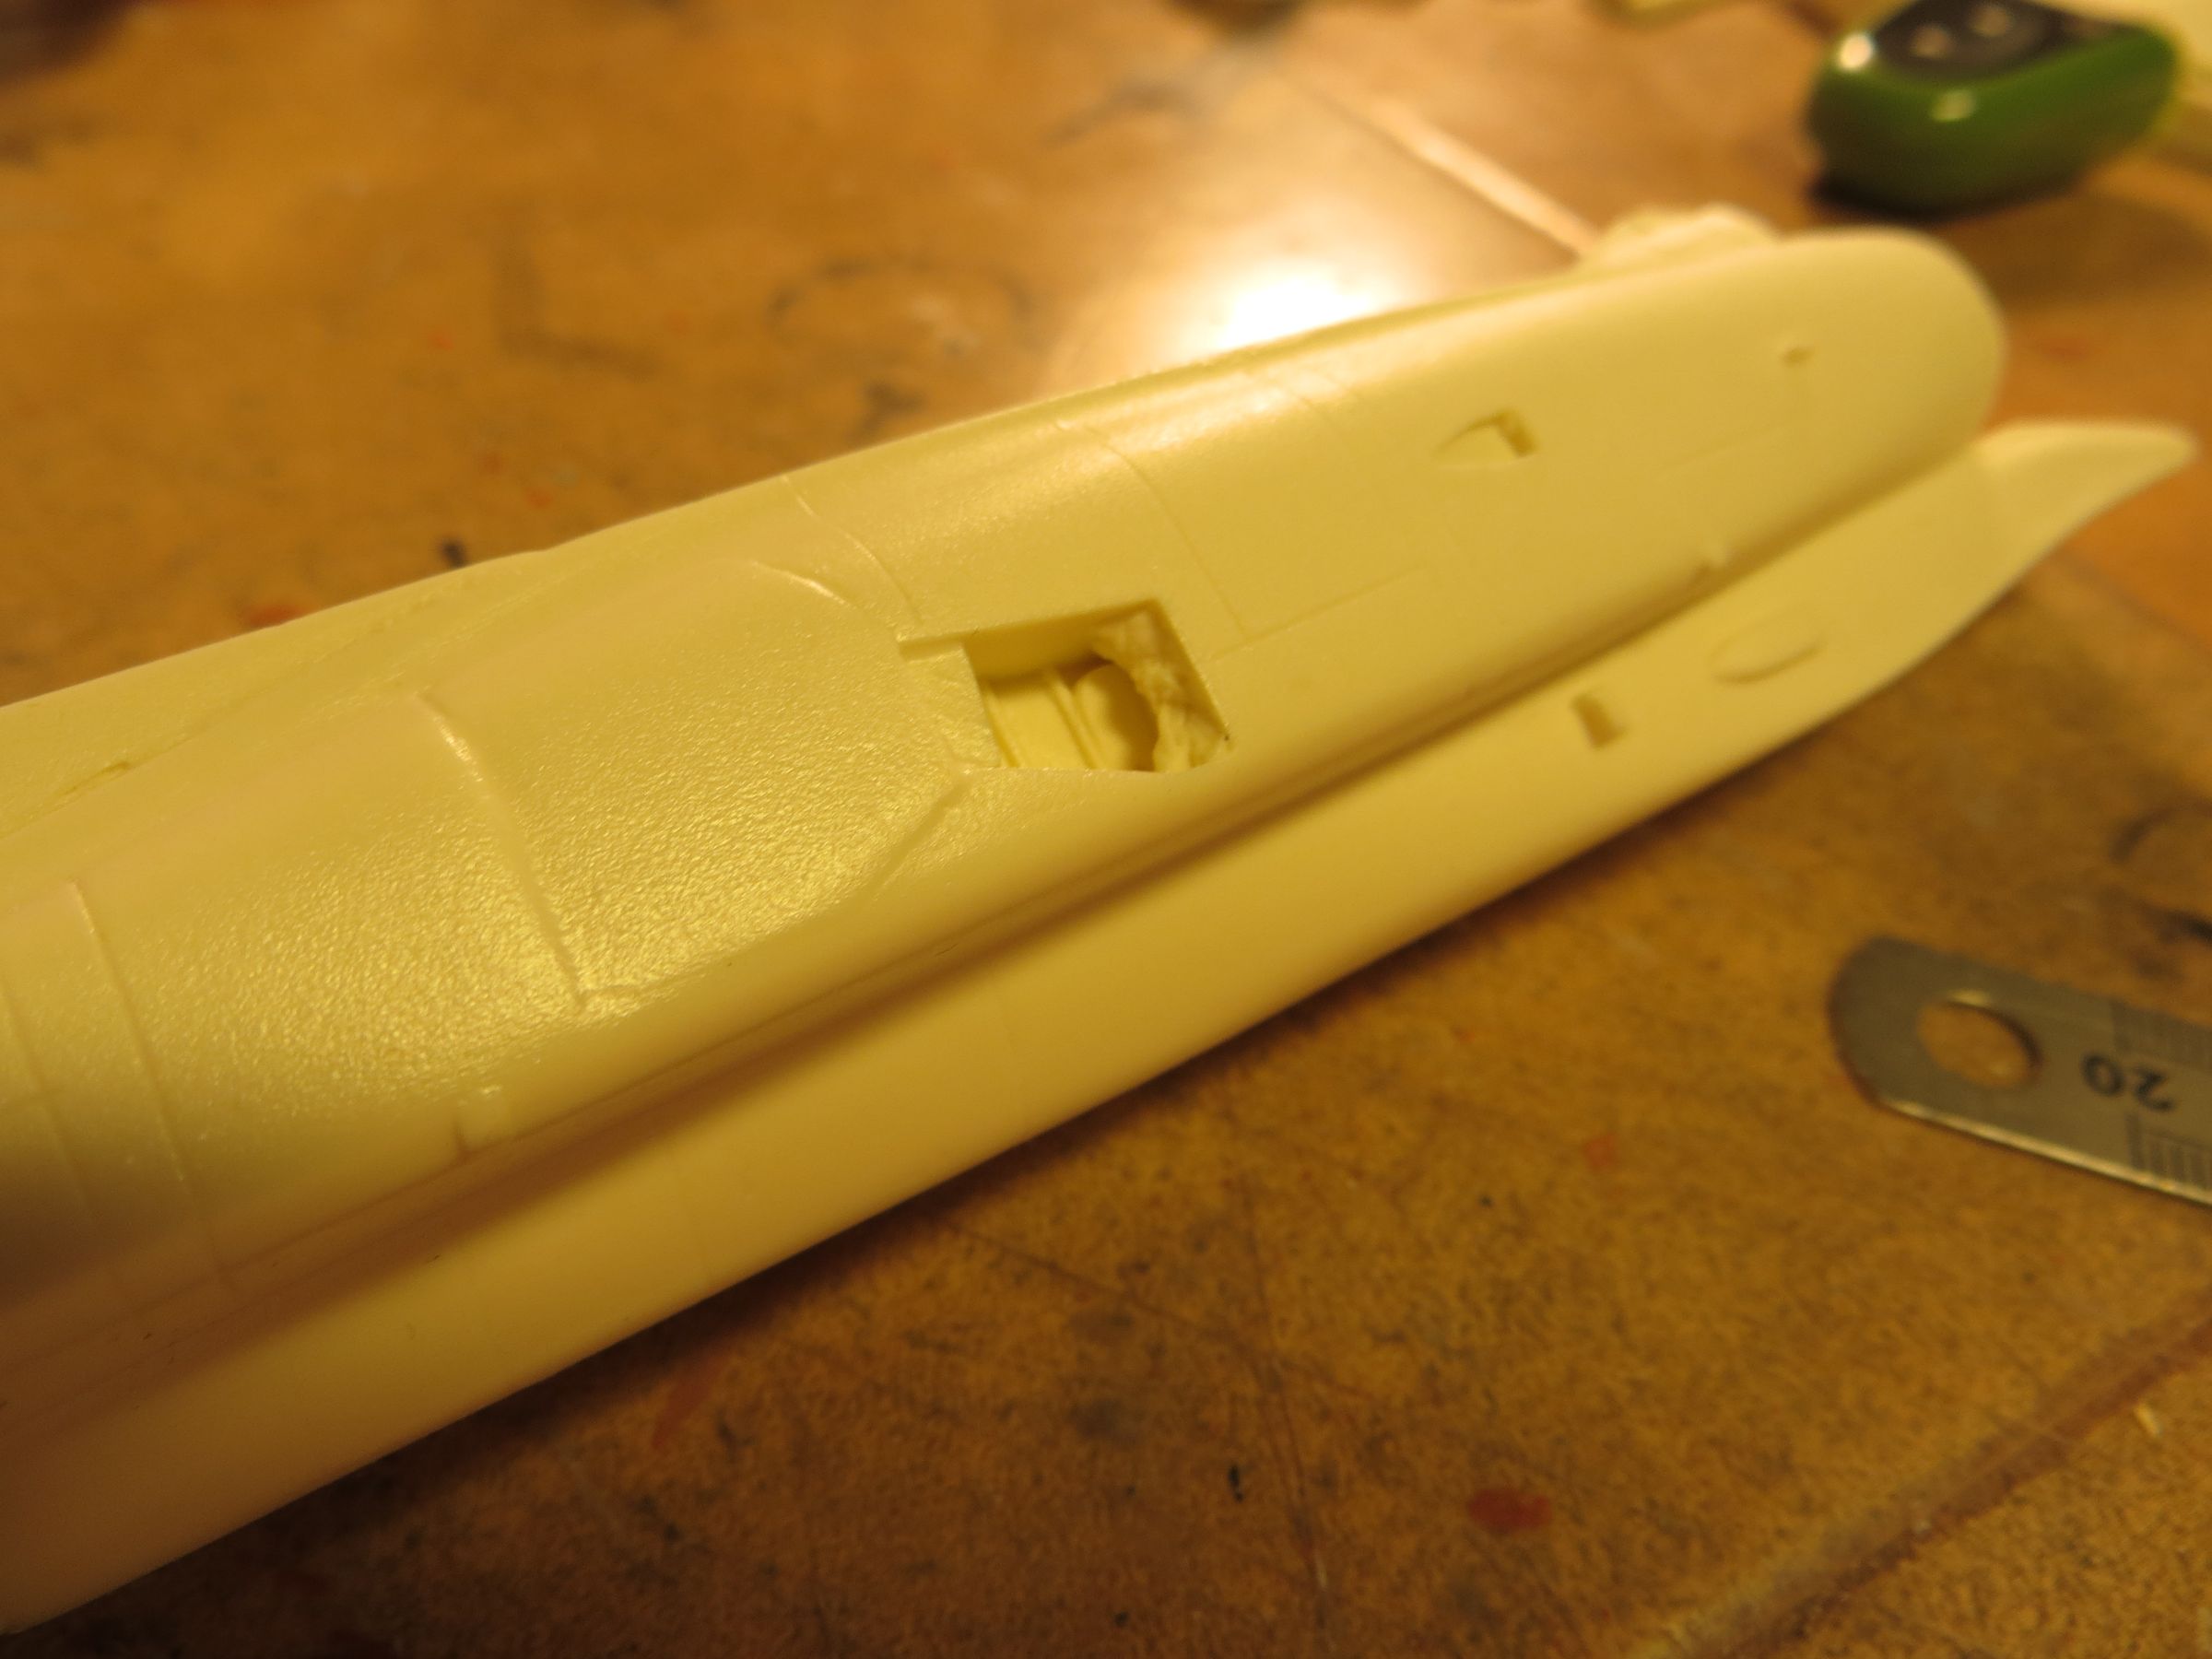
Intakes bottoms (main cabin and side modules) were note depth enough to my taste and poorly finished (rounded edges). They are dug and improved with scrapers and dremel.
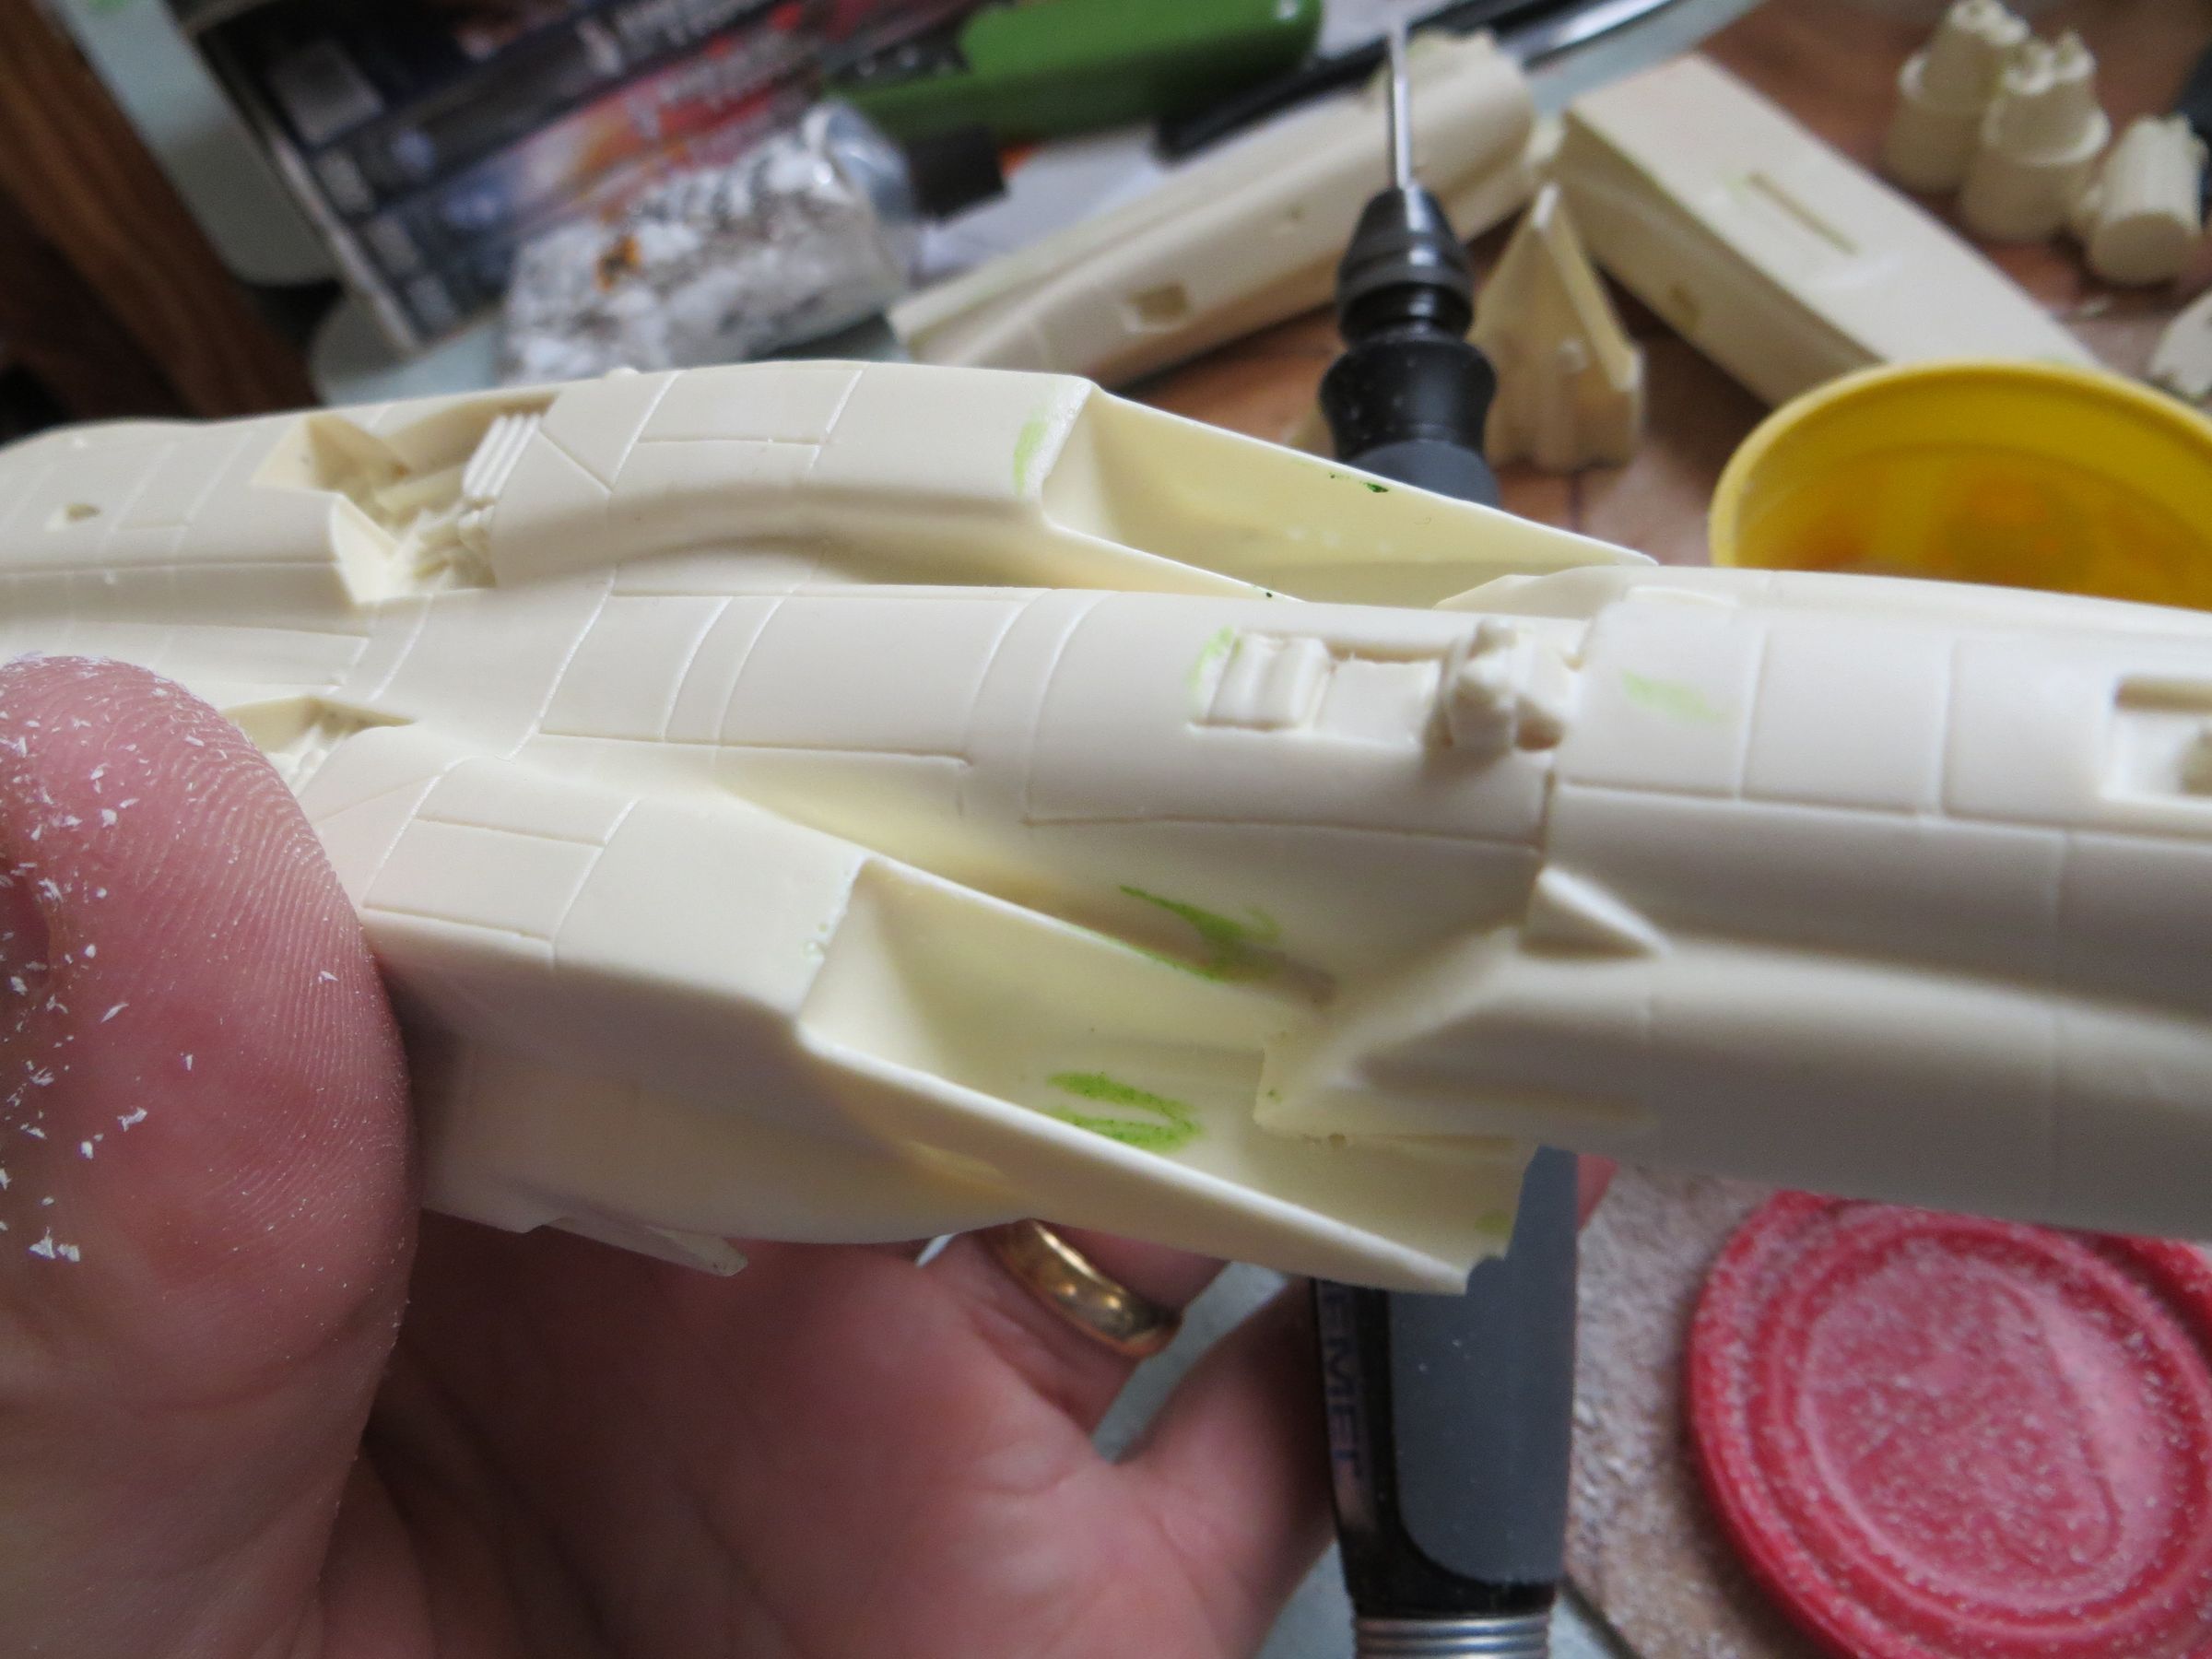
The air intakes are then pasted on the side modules, strengthening them with metal rods. The seams are then sanded.
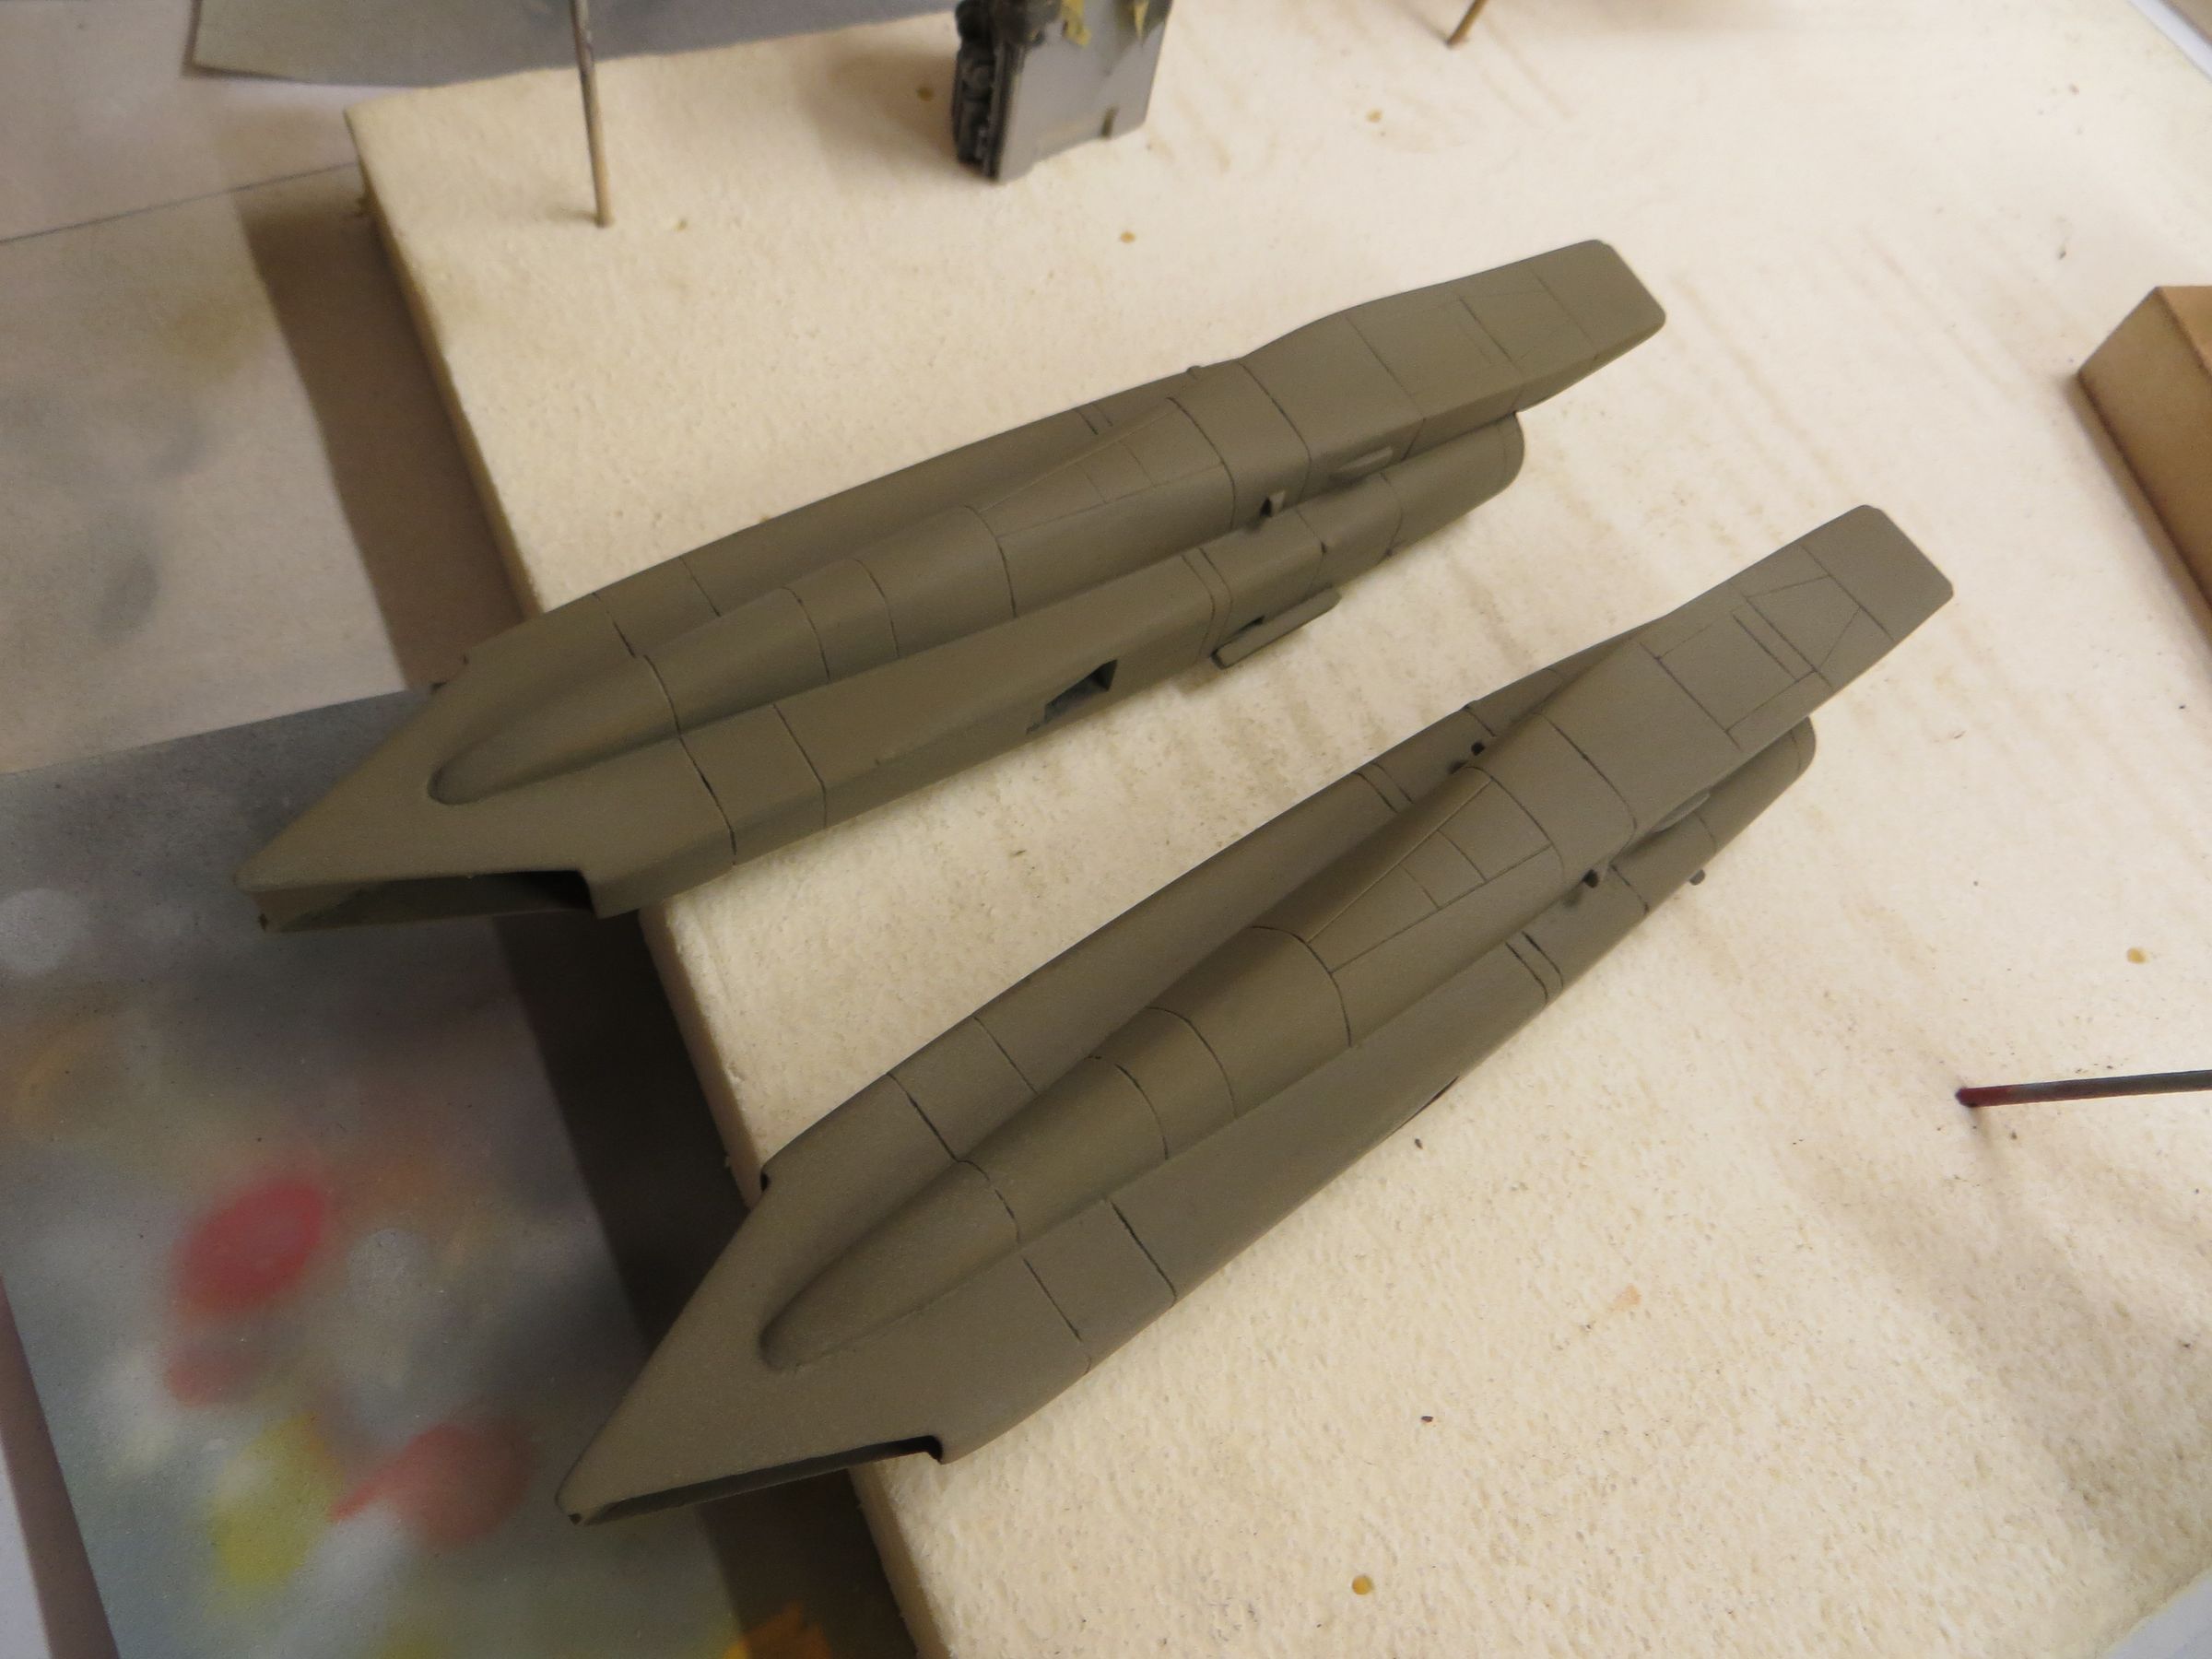
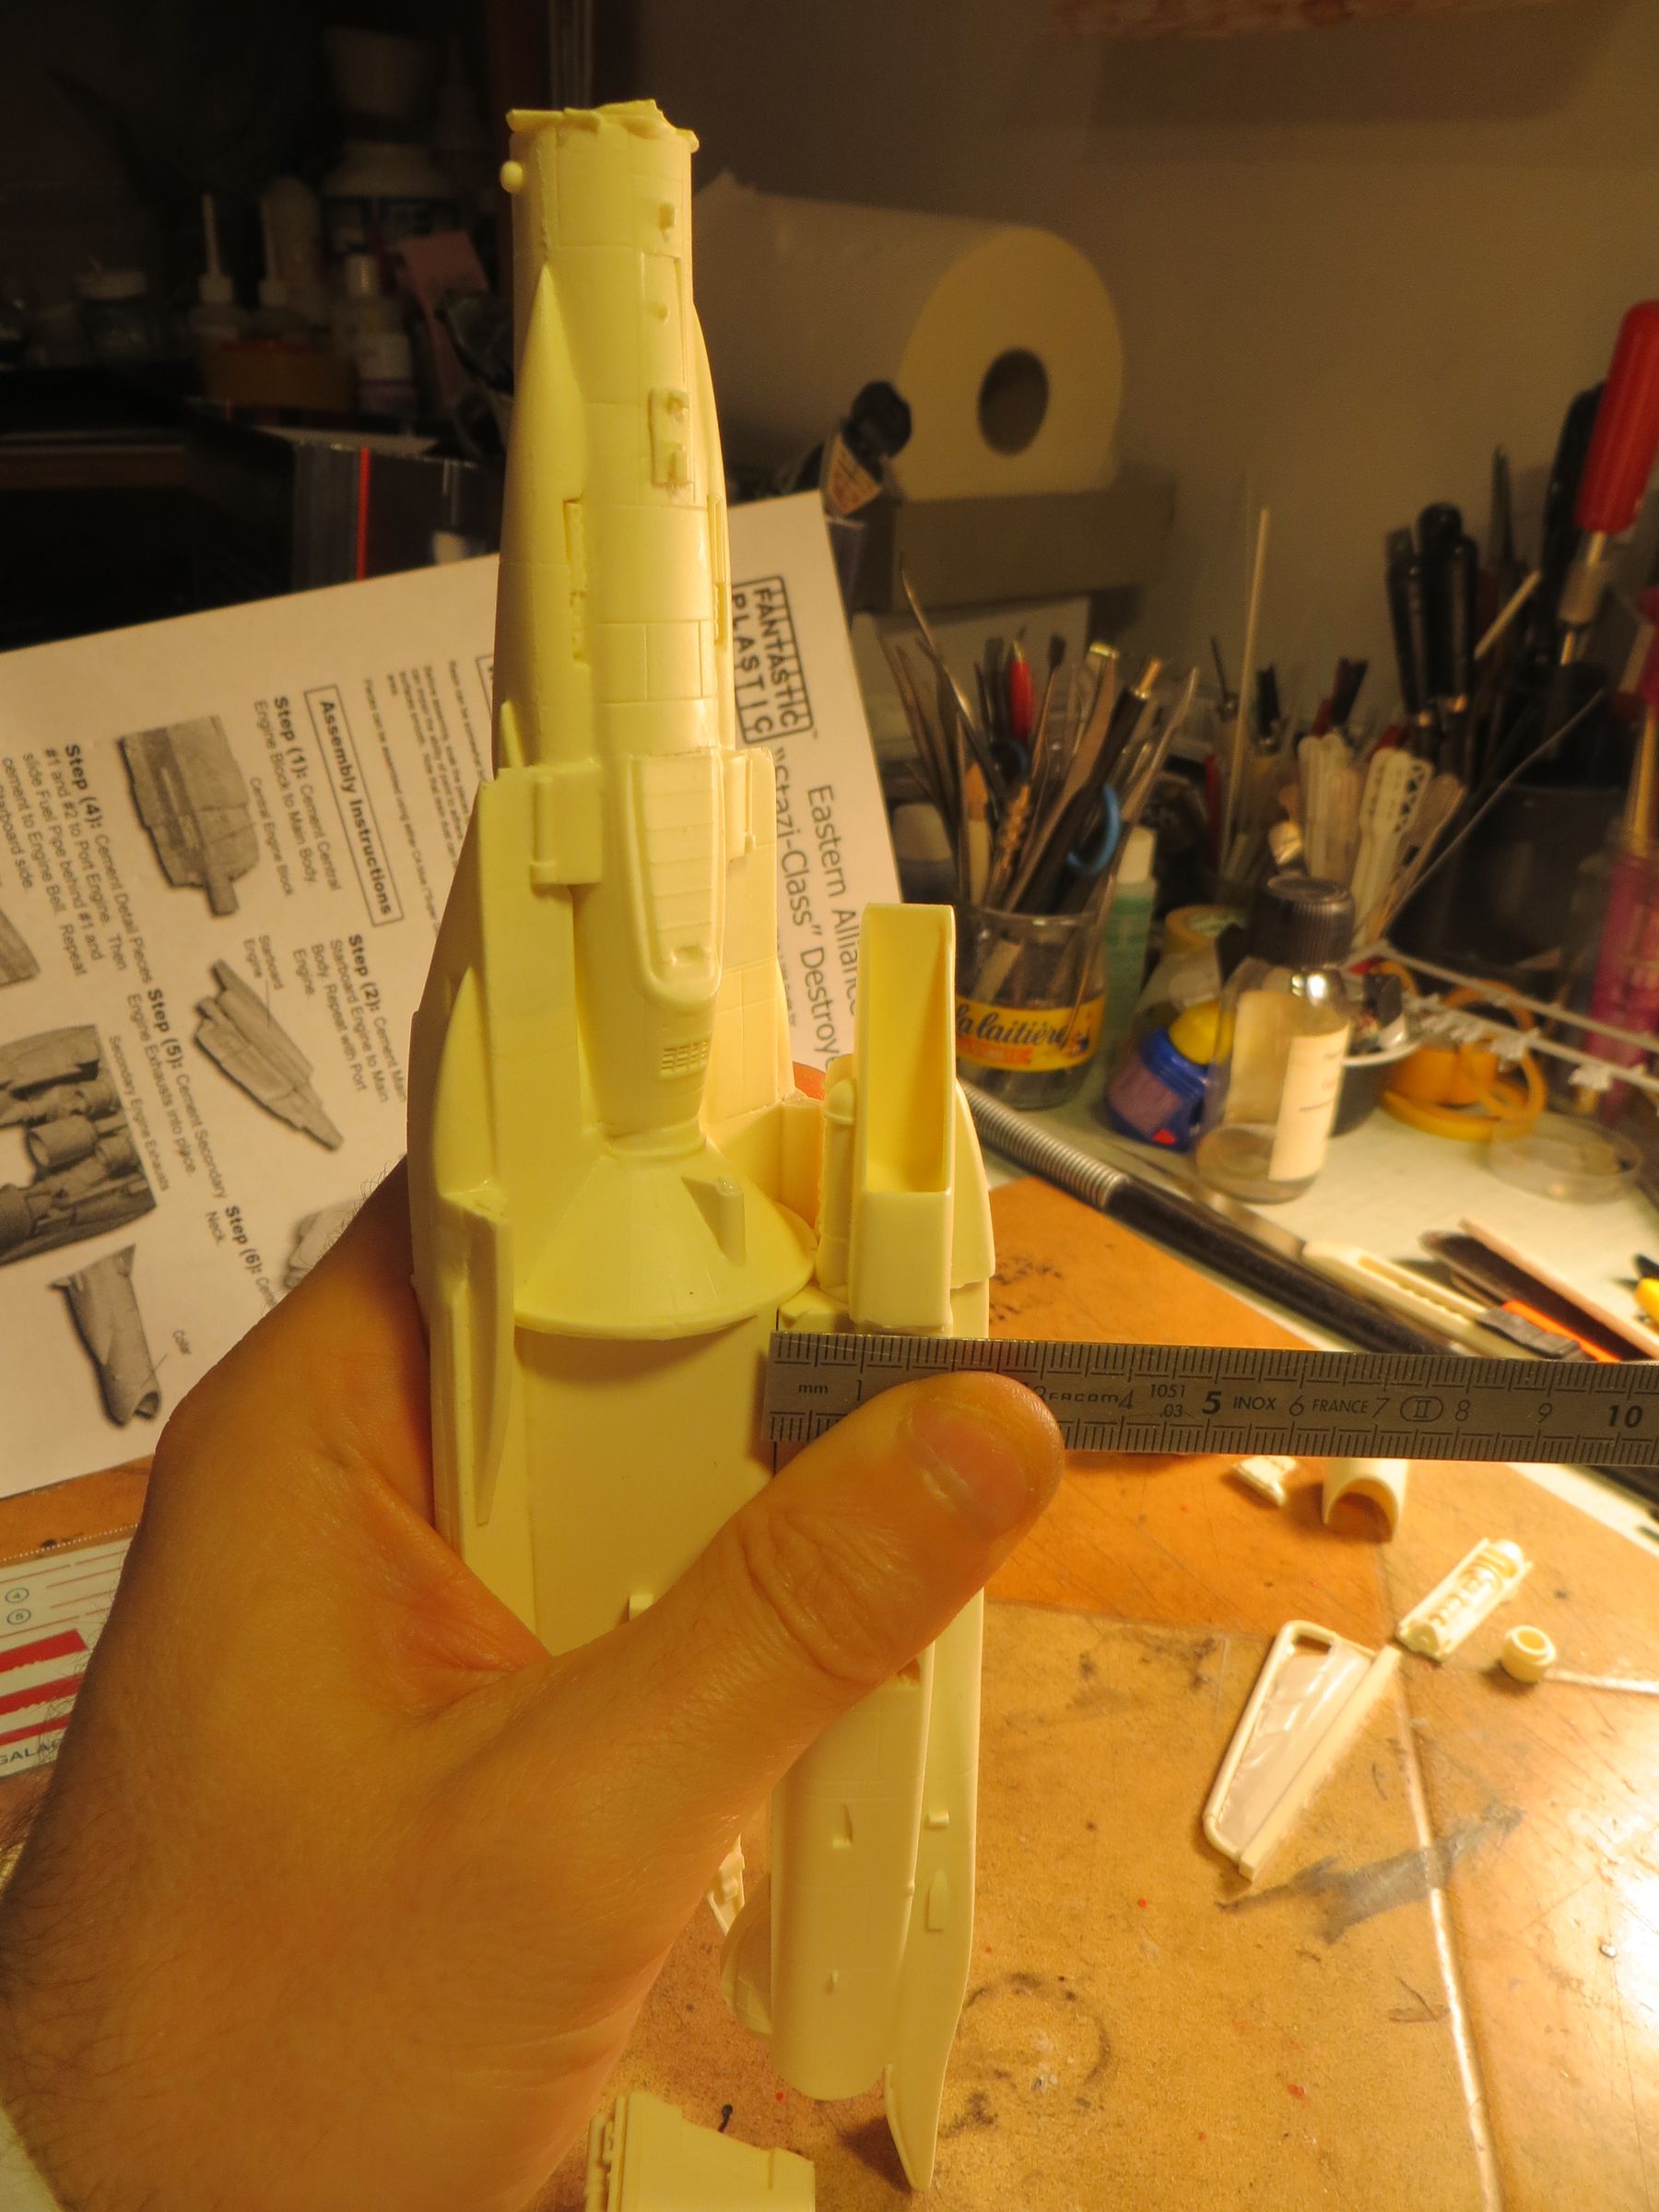
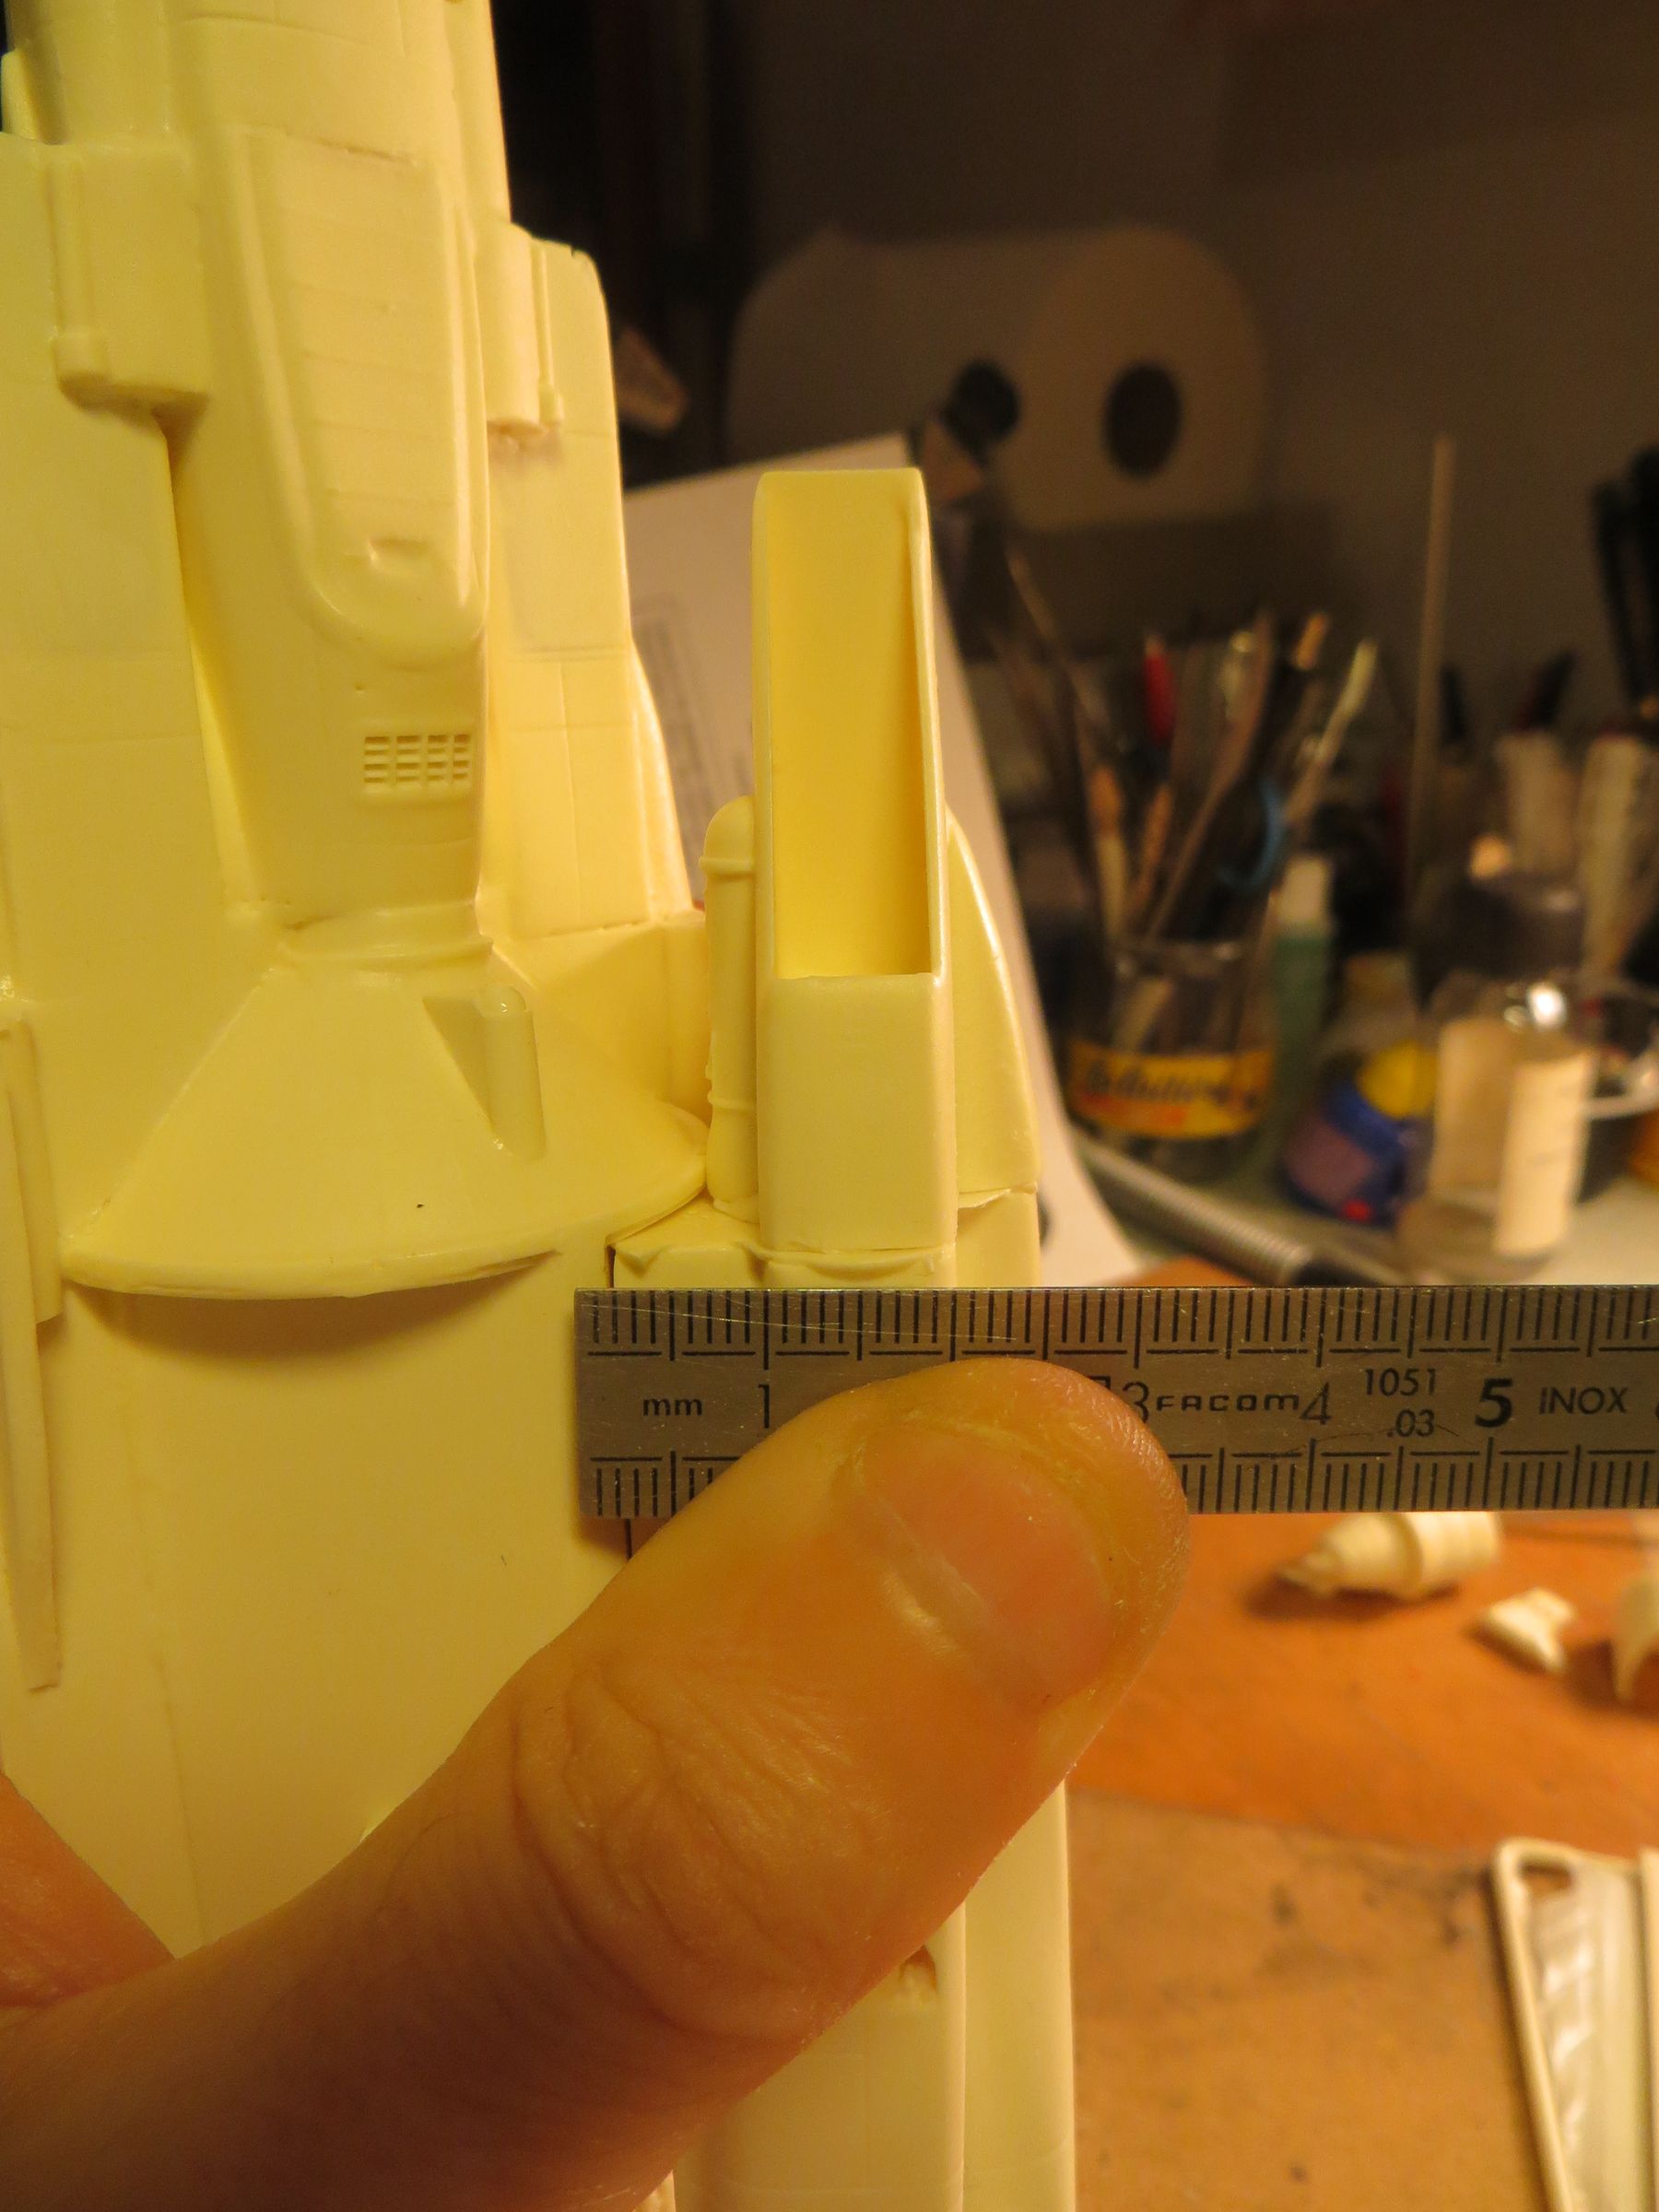
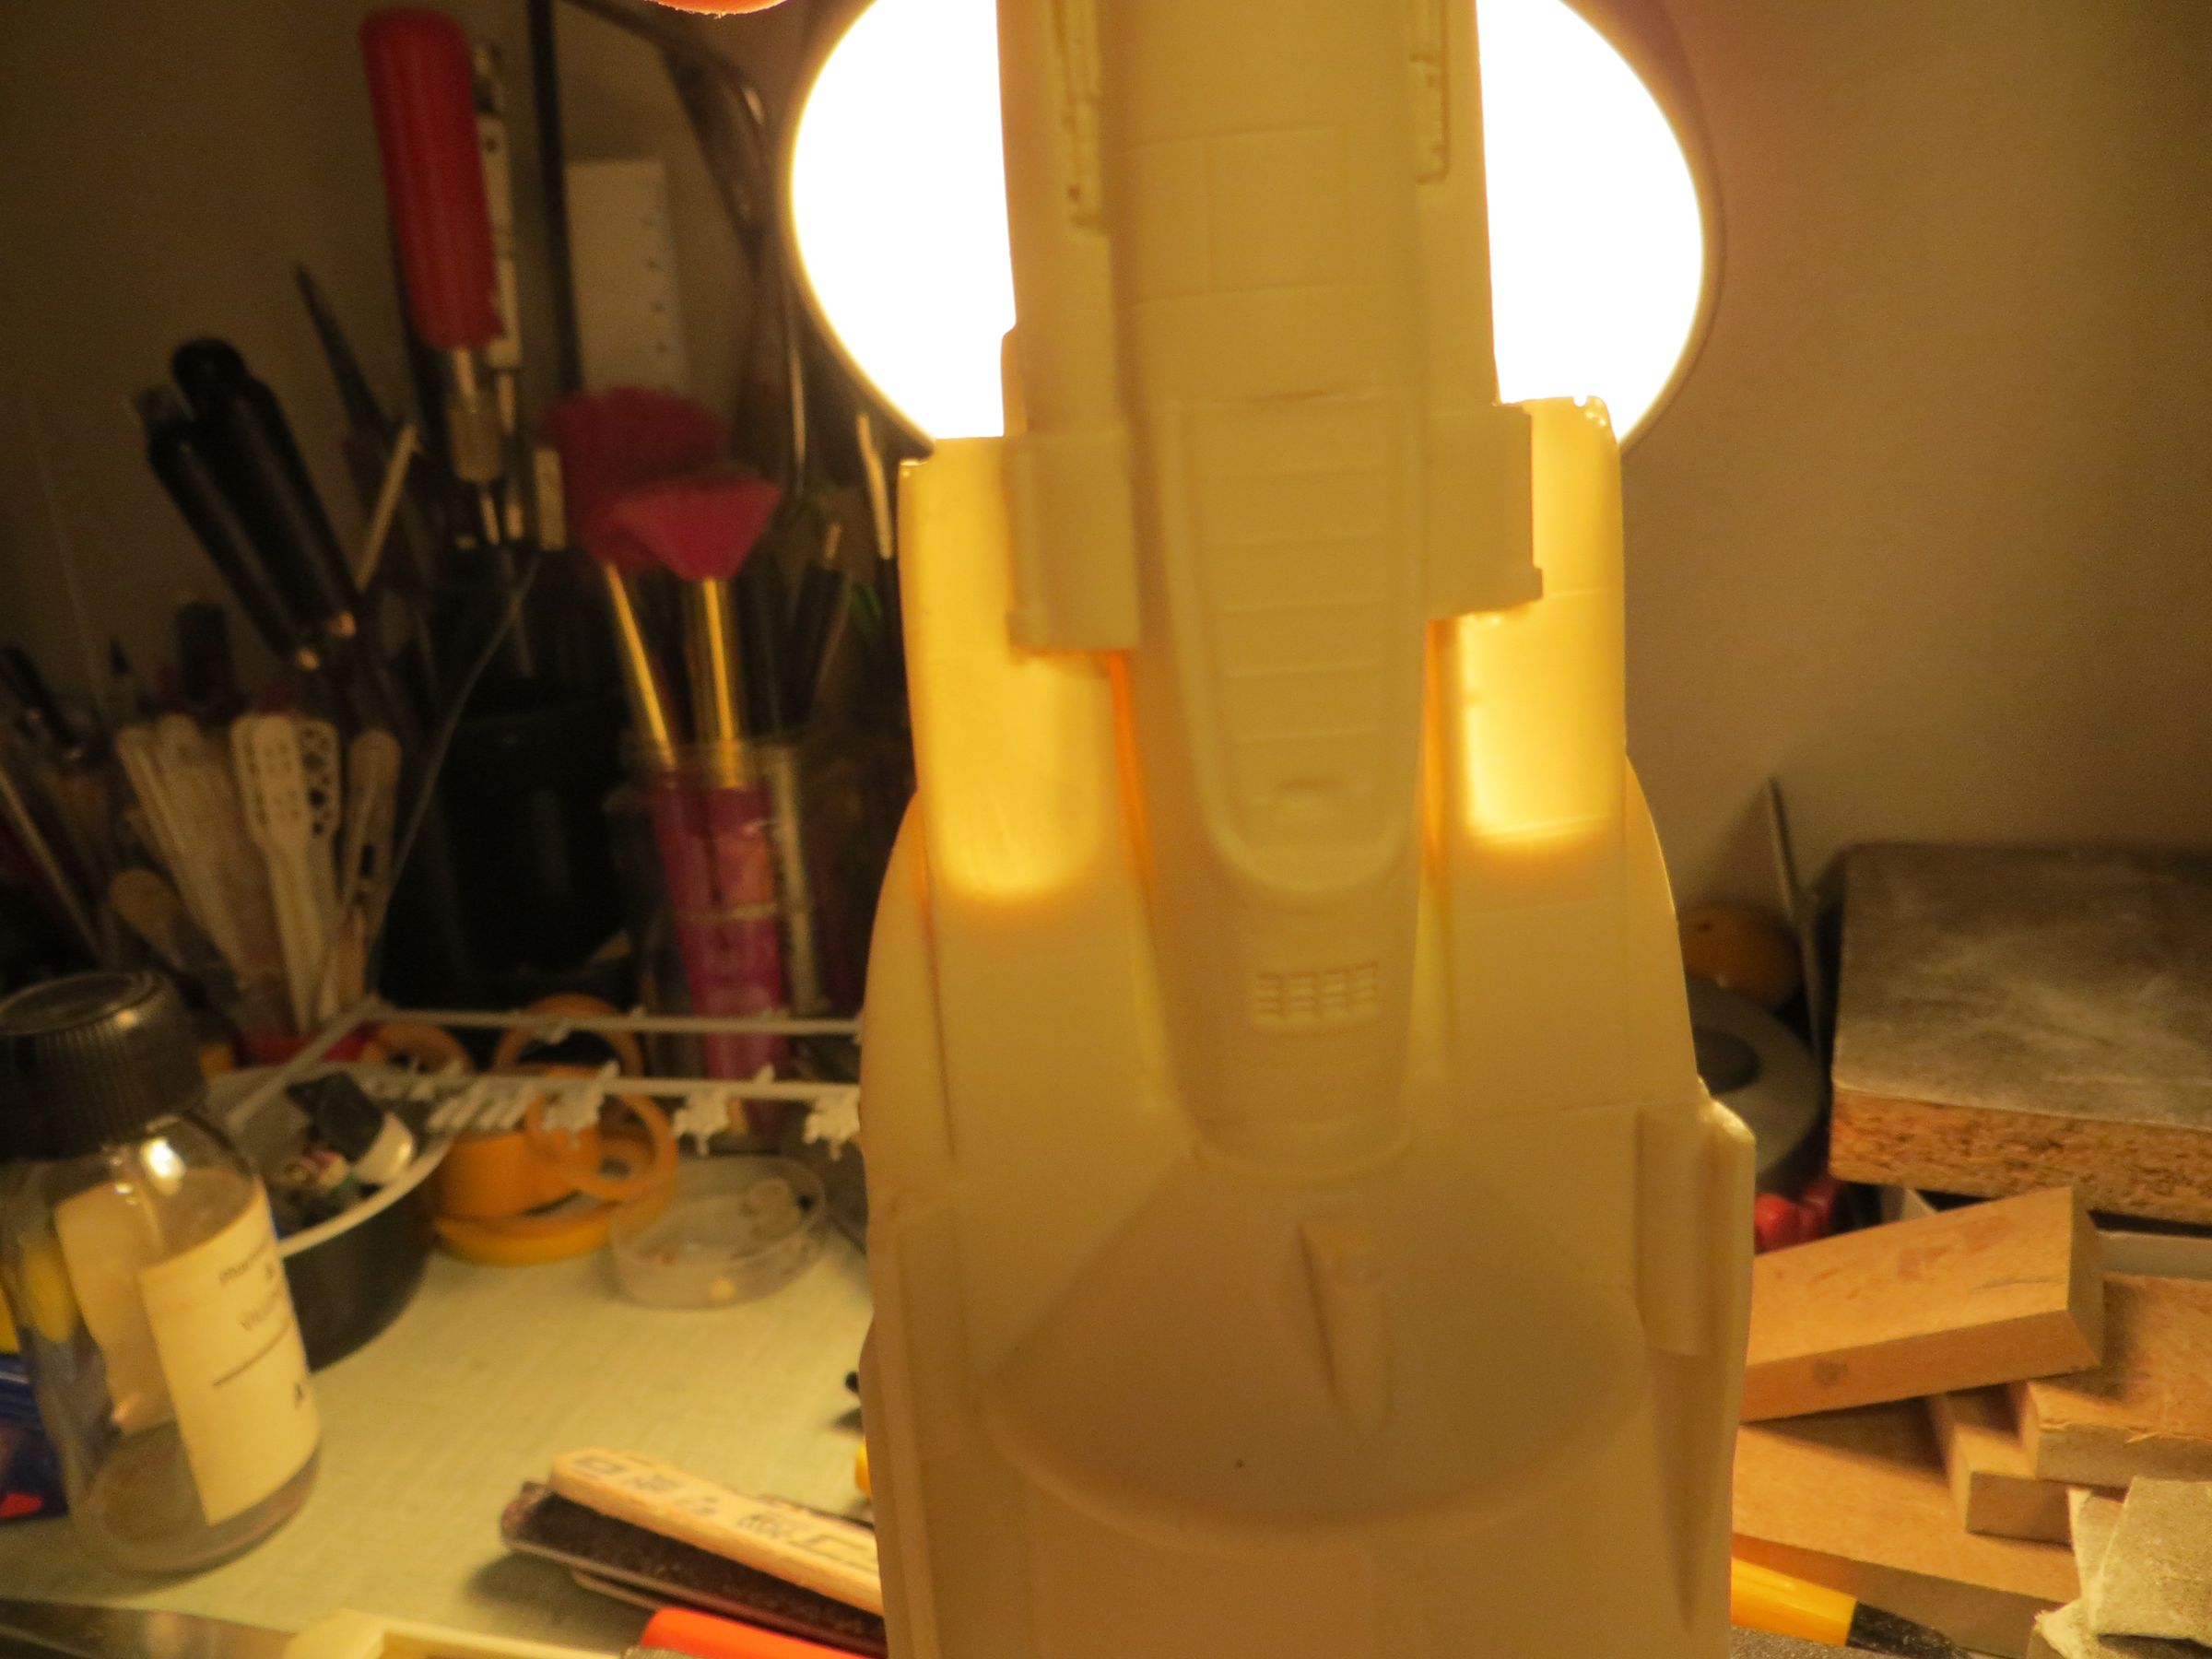
Then comes a serious run on the sanding belt machine to remove the excess material of the foot.
In this picture, even if the sanding is done, I positioned the two modules to show the height difference before/after sanding.
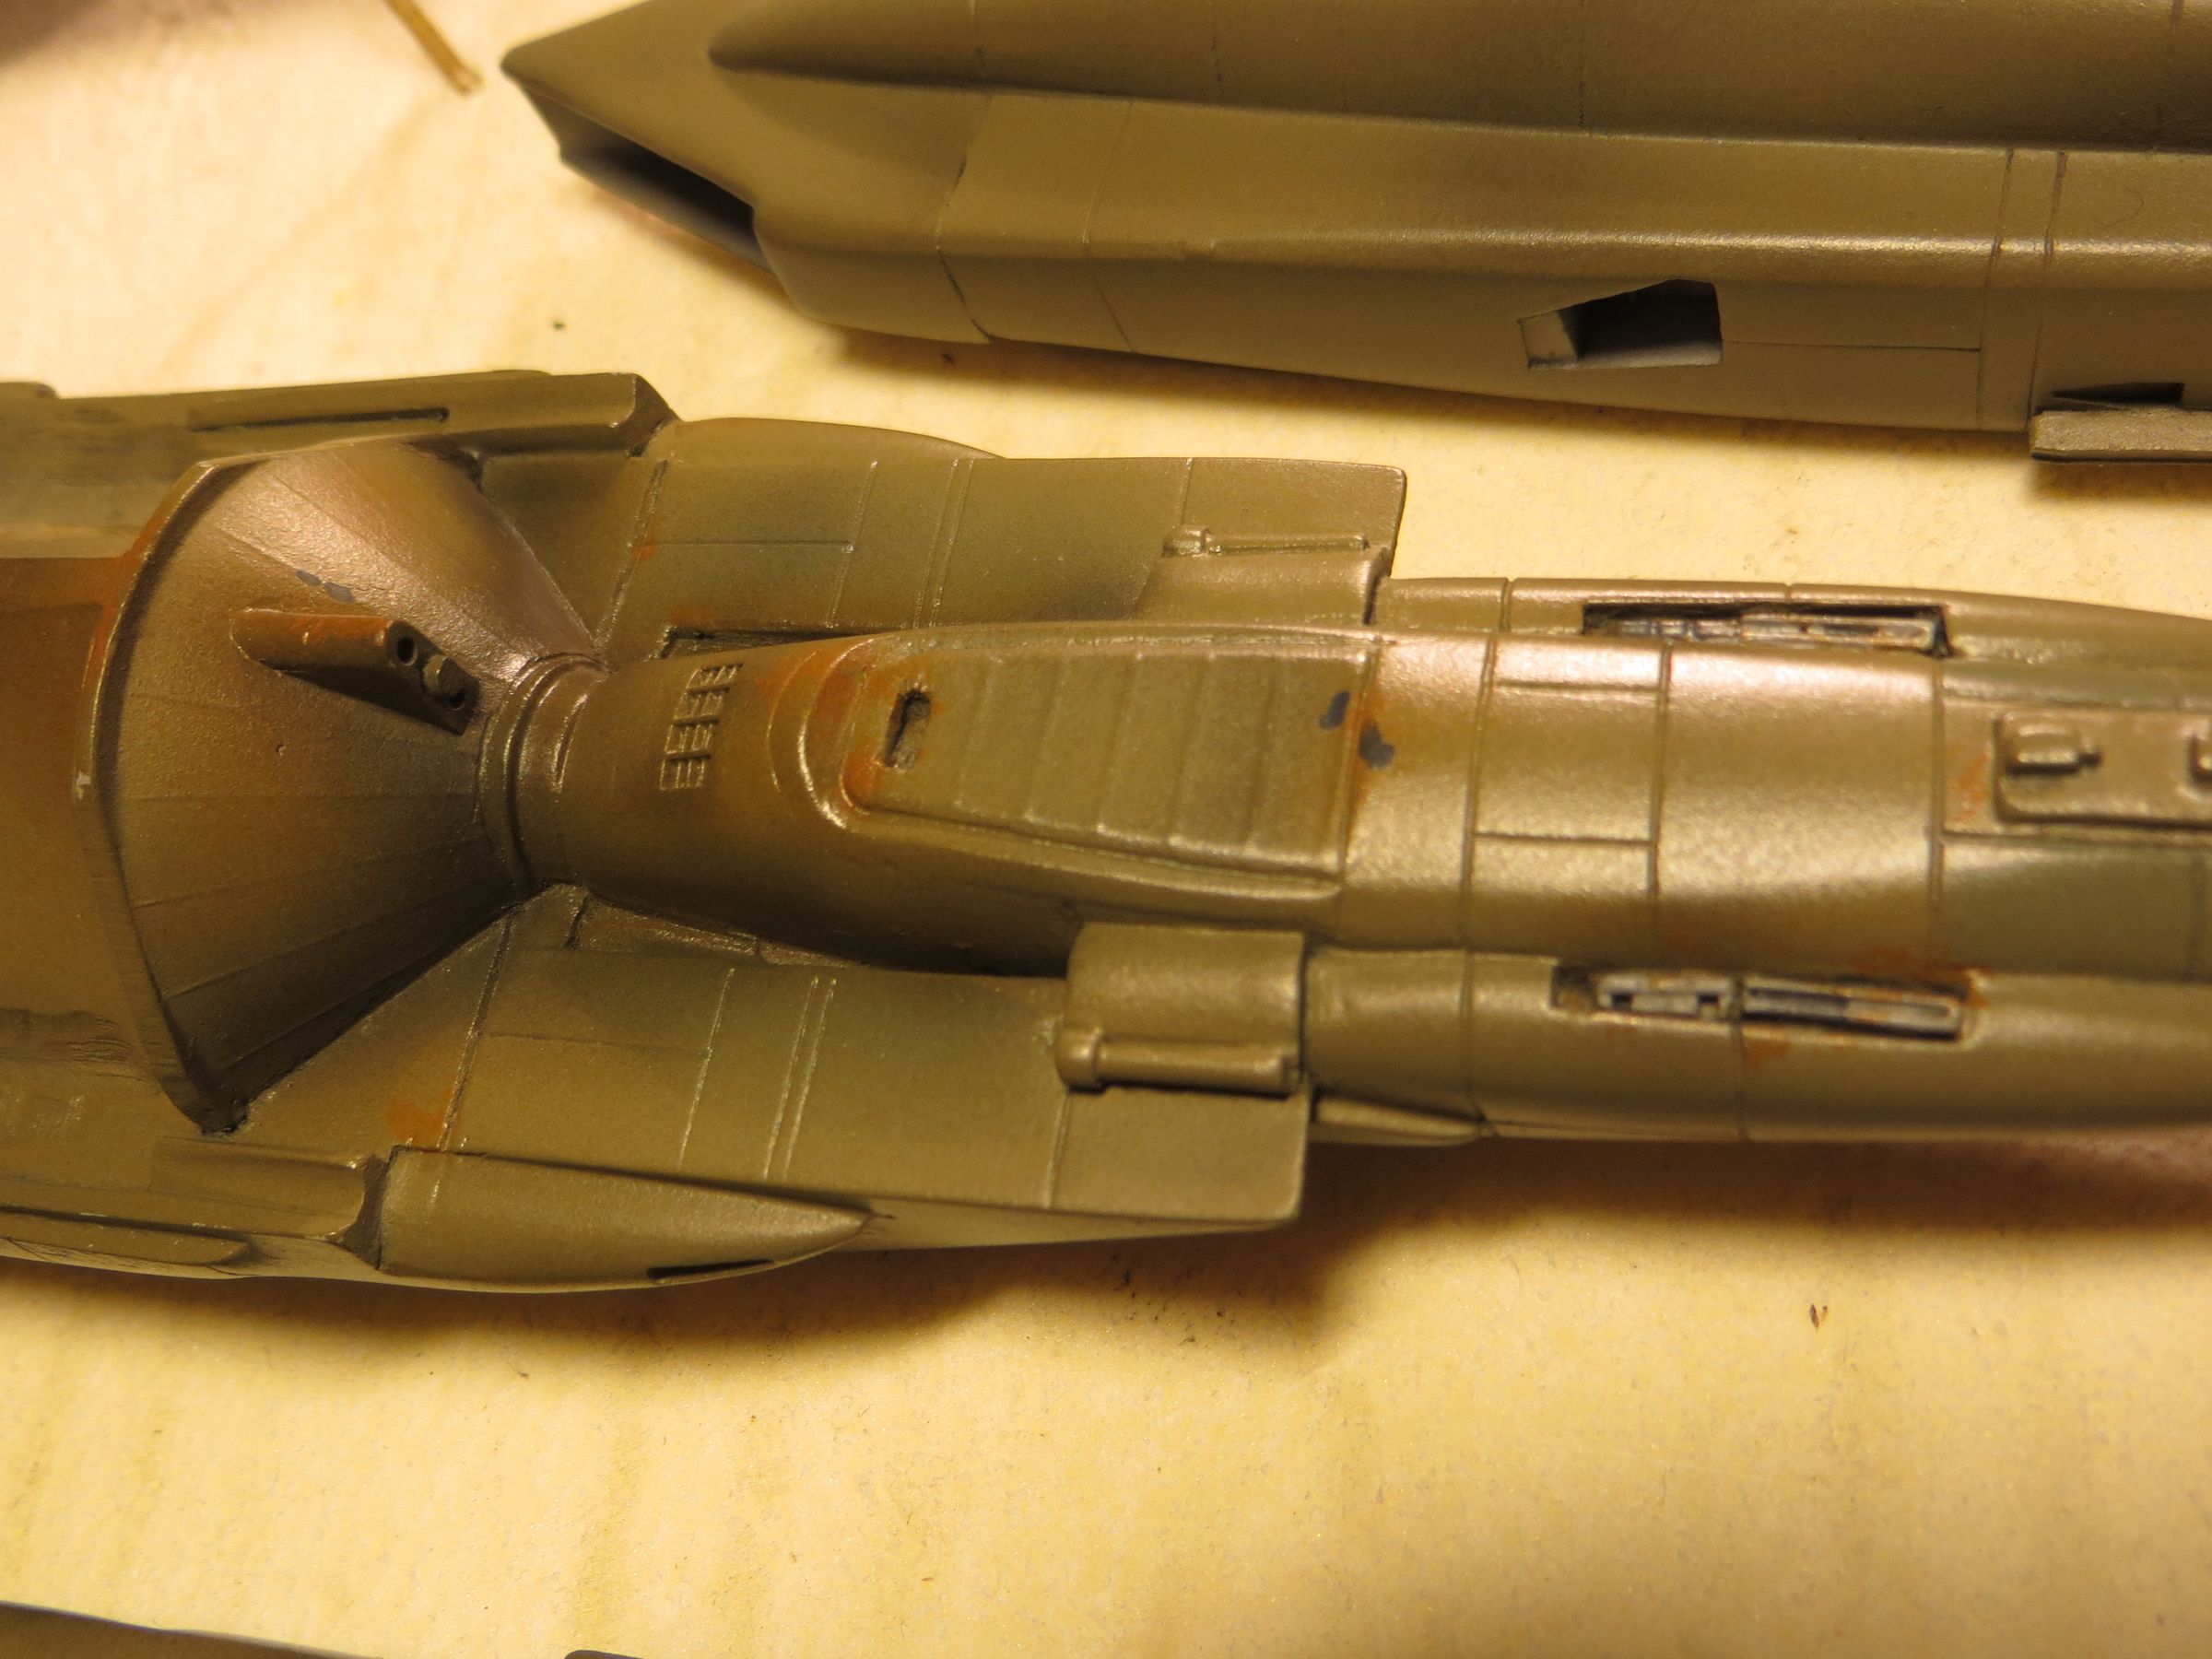
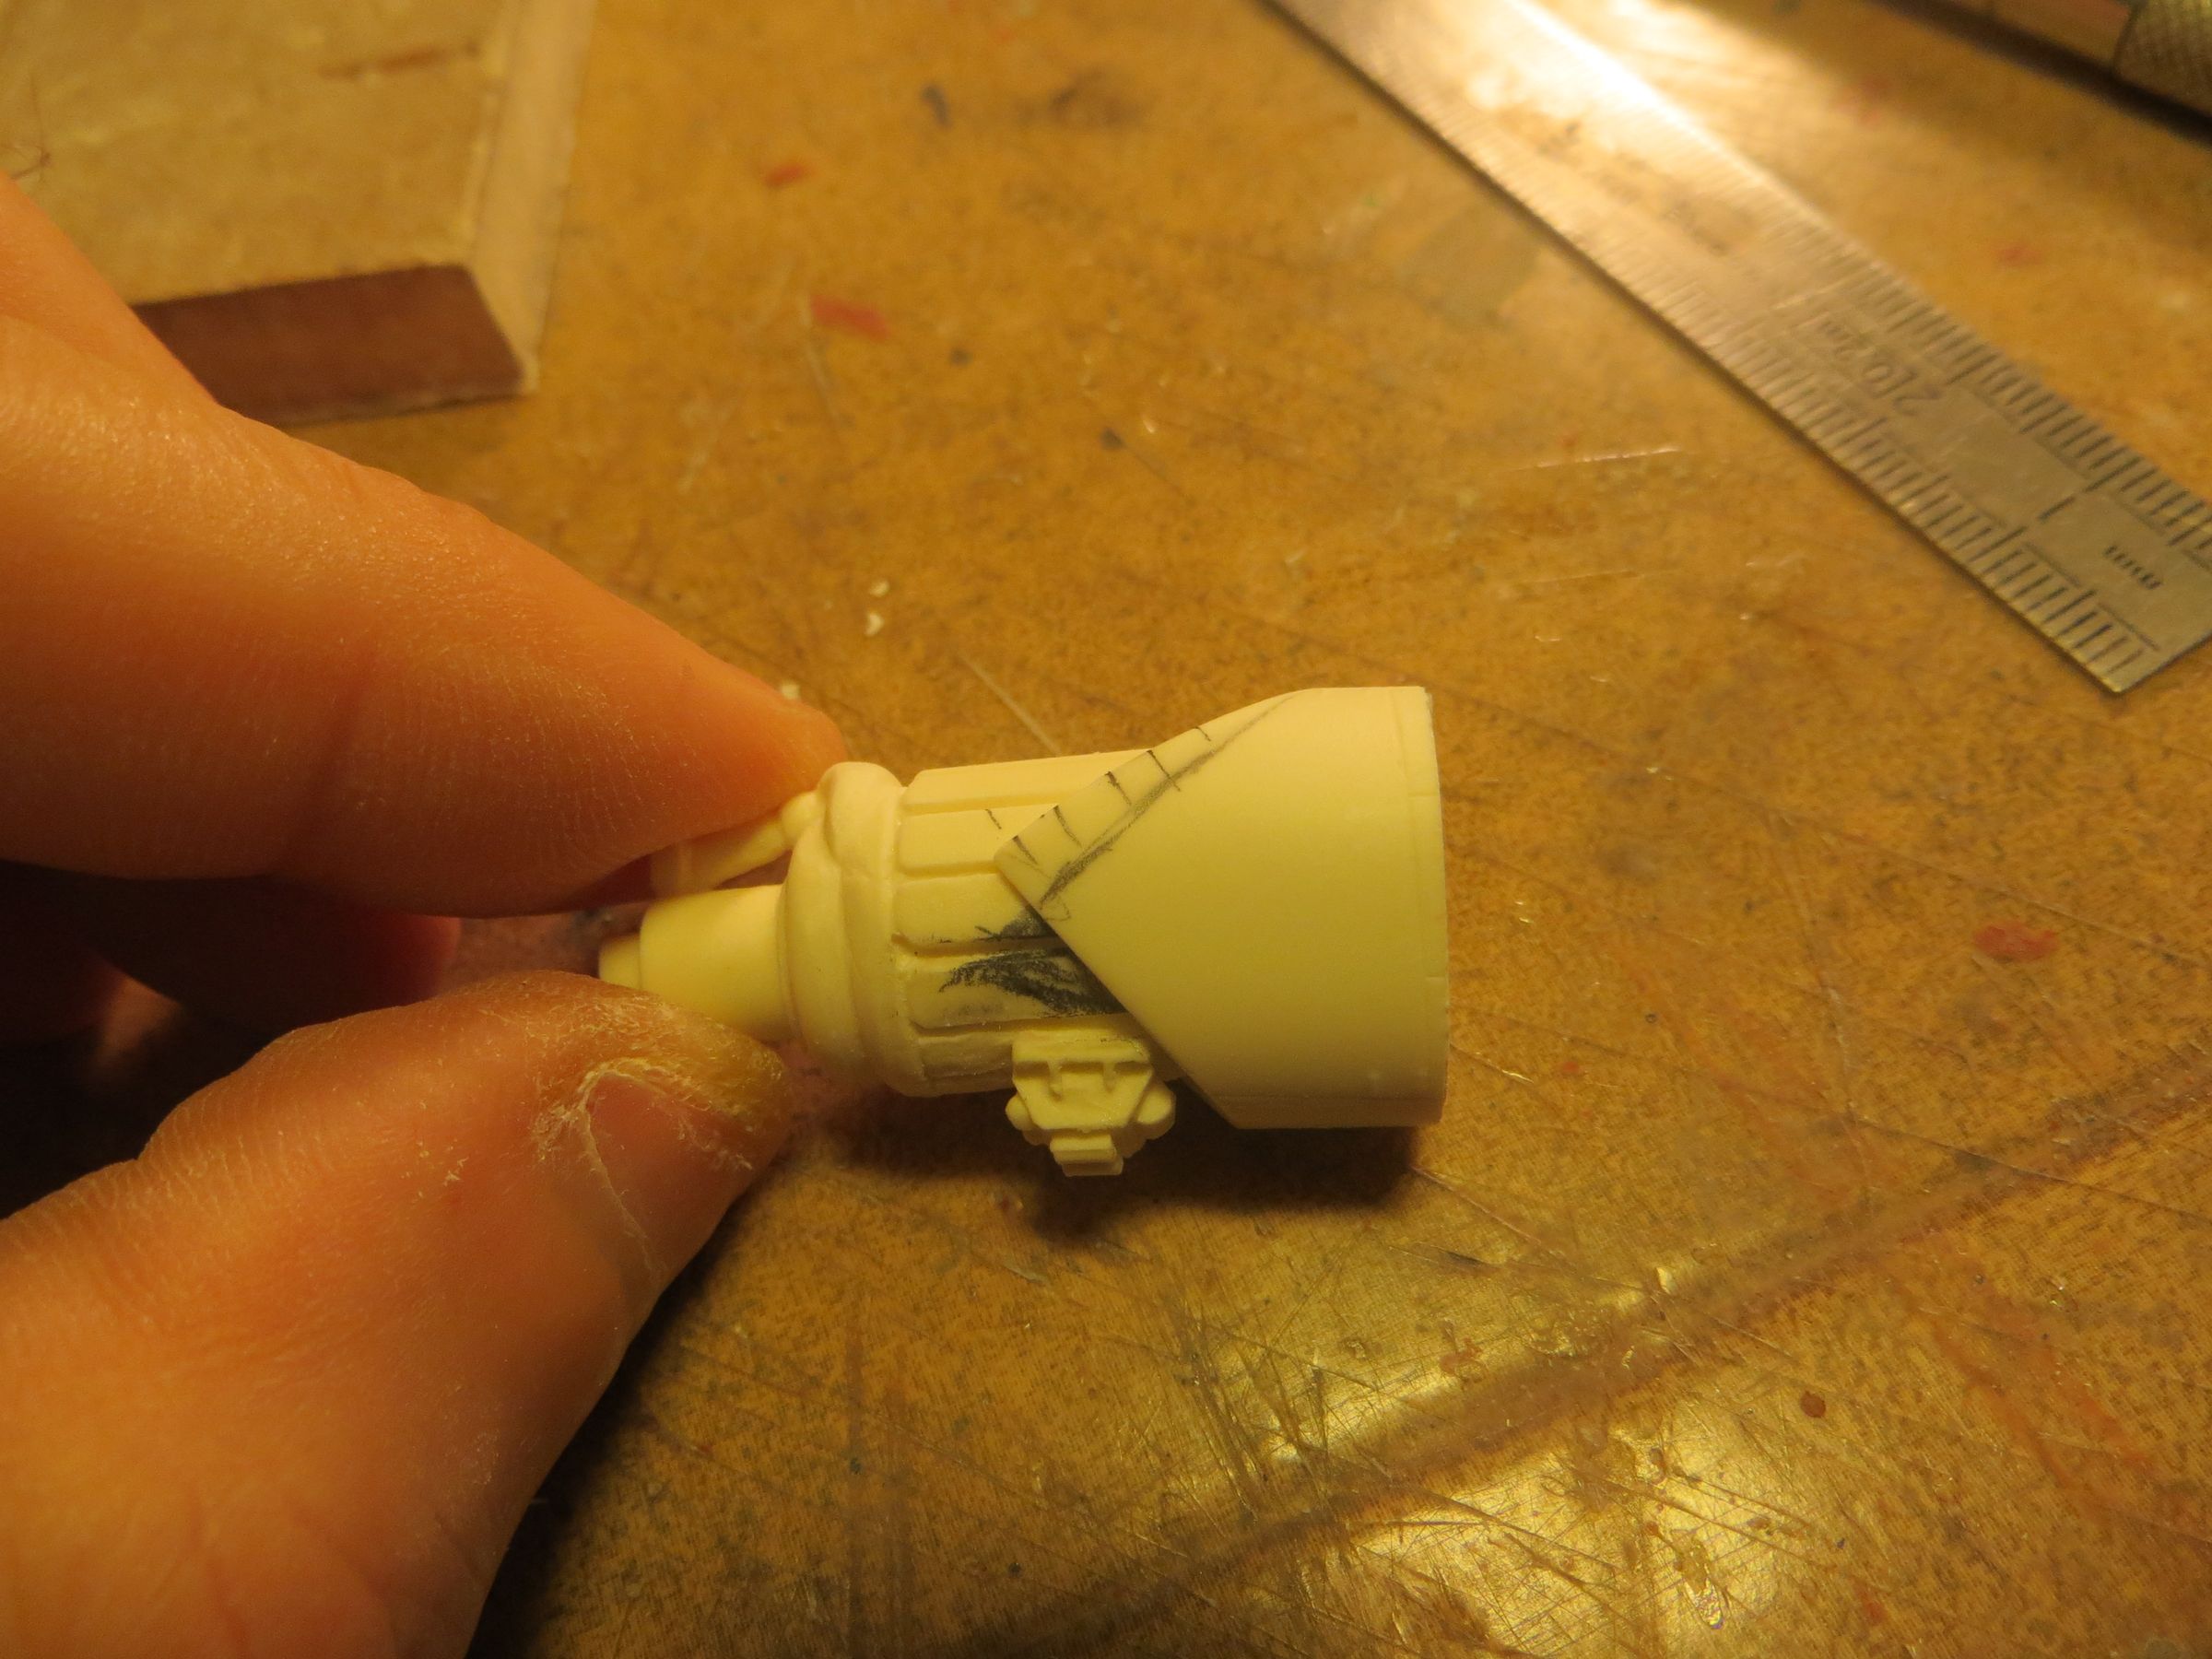
The Saturn 5 cone needs also some triming.
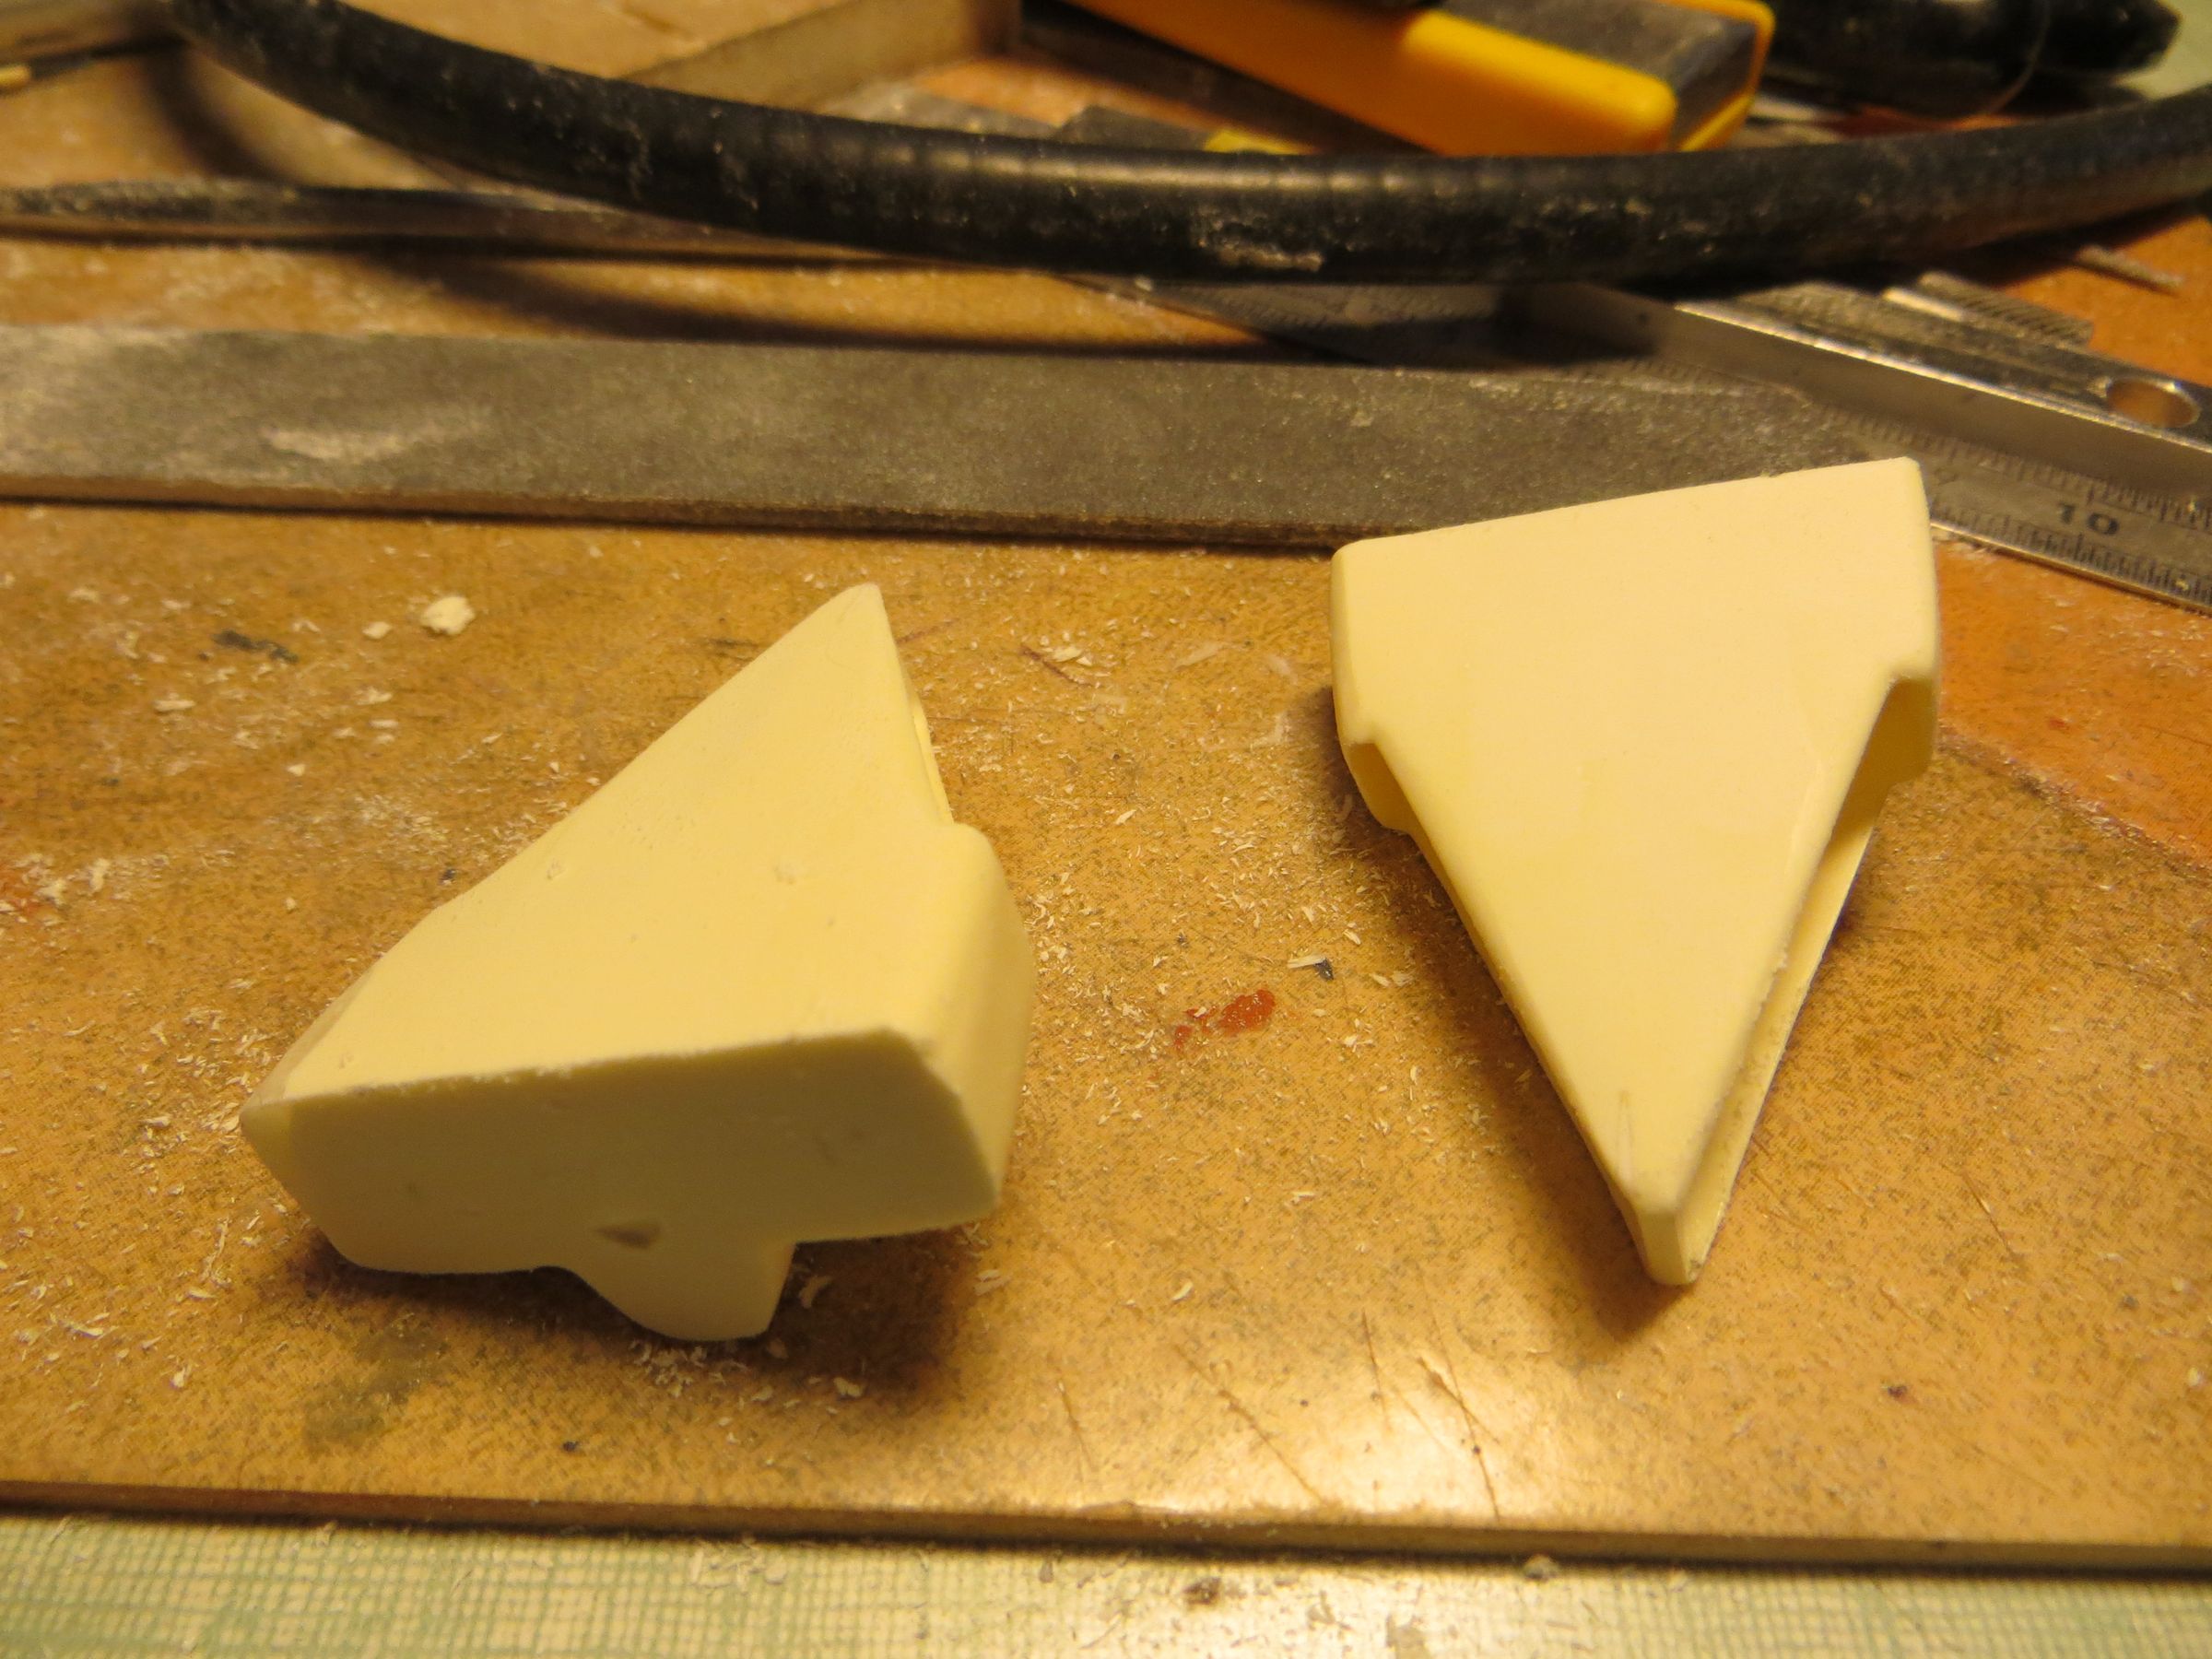
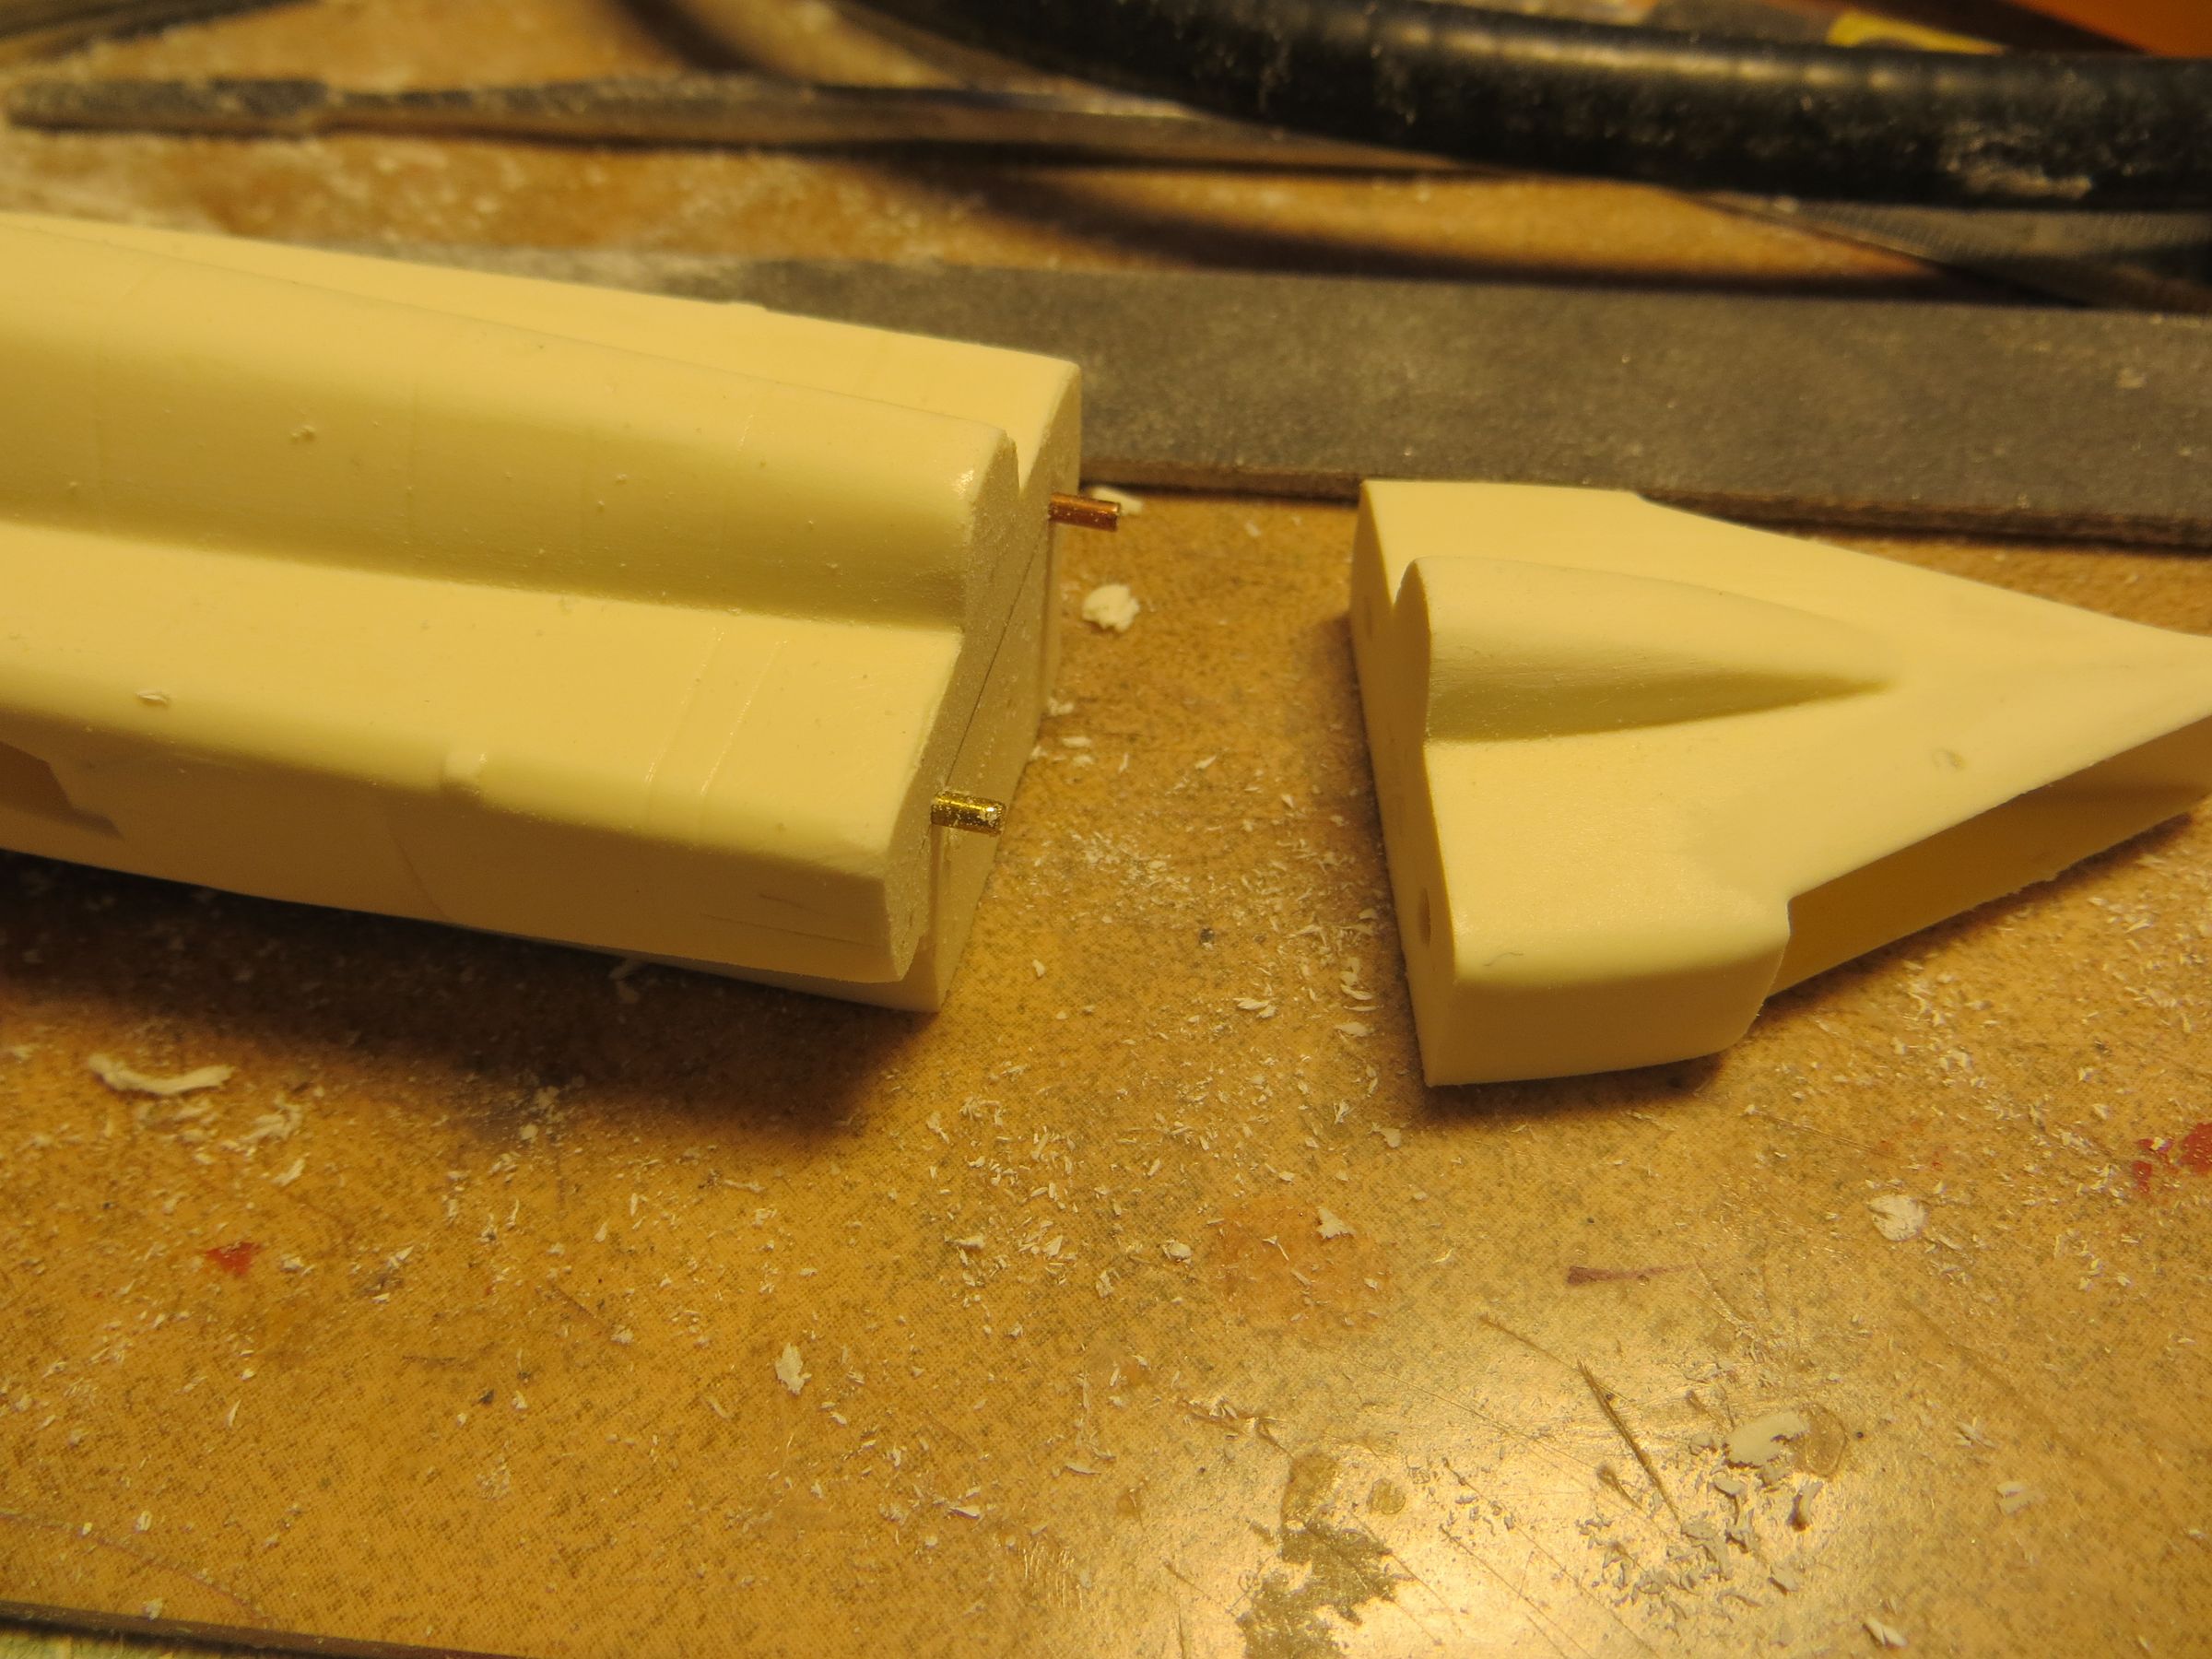


Similarly, to fit well with the main cabin, it is necessary to trim here and there, adjusting this with many dry tests.
Air intake on the main cabin were thickened and strengthened with plastic card.
Gaps are filled with mastic to correct some defects and alignments, followed by a regraving the paneling.
Par olcabour le vendredi, 9 mai 2014, 10:38
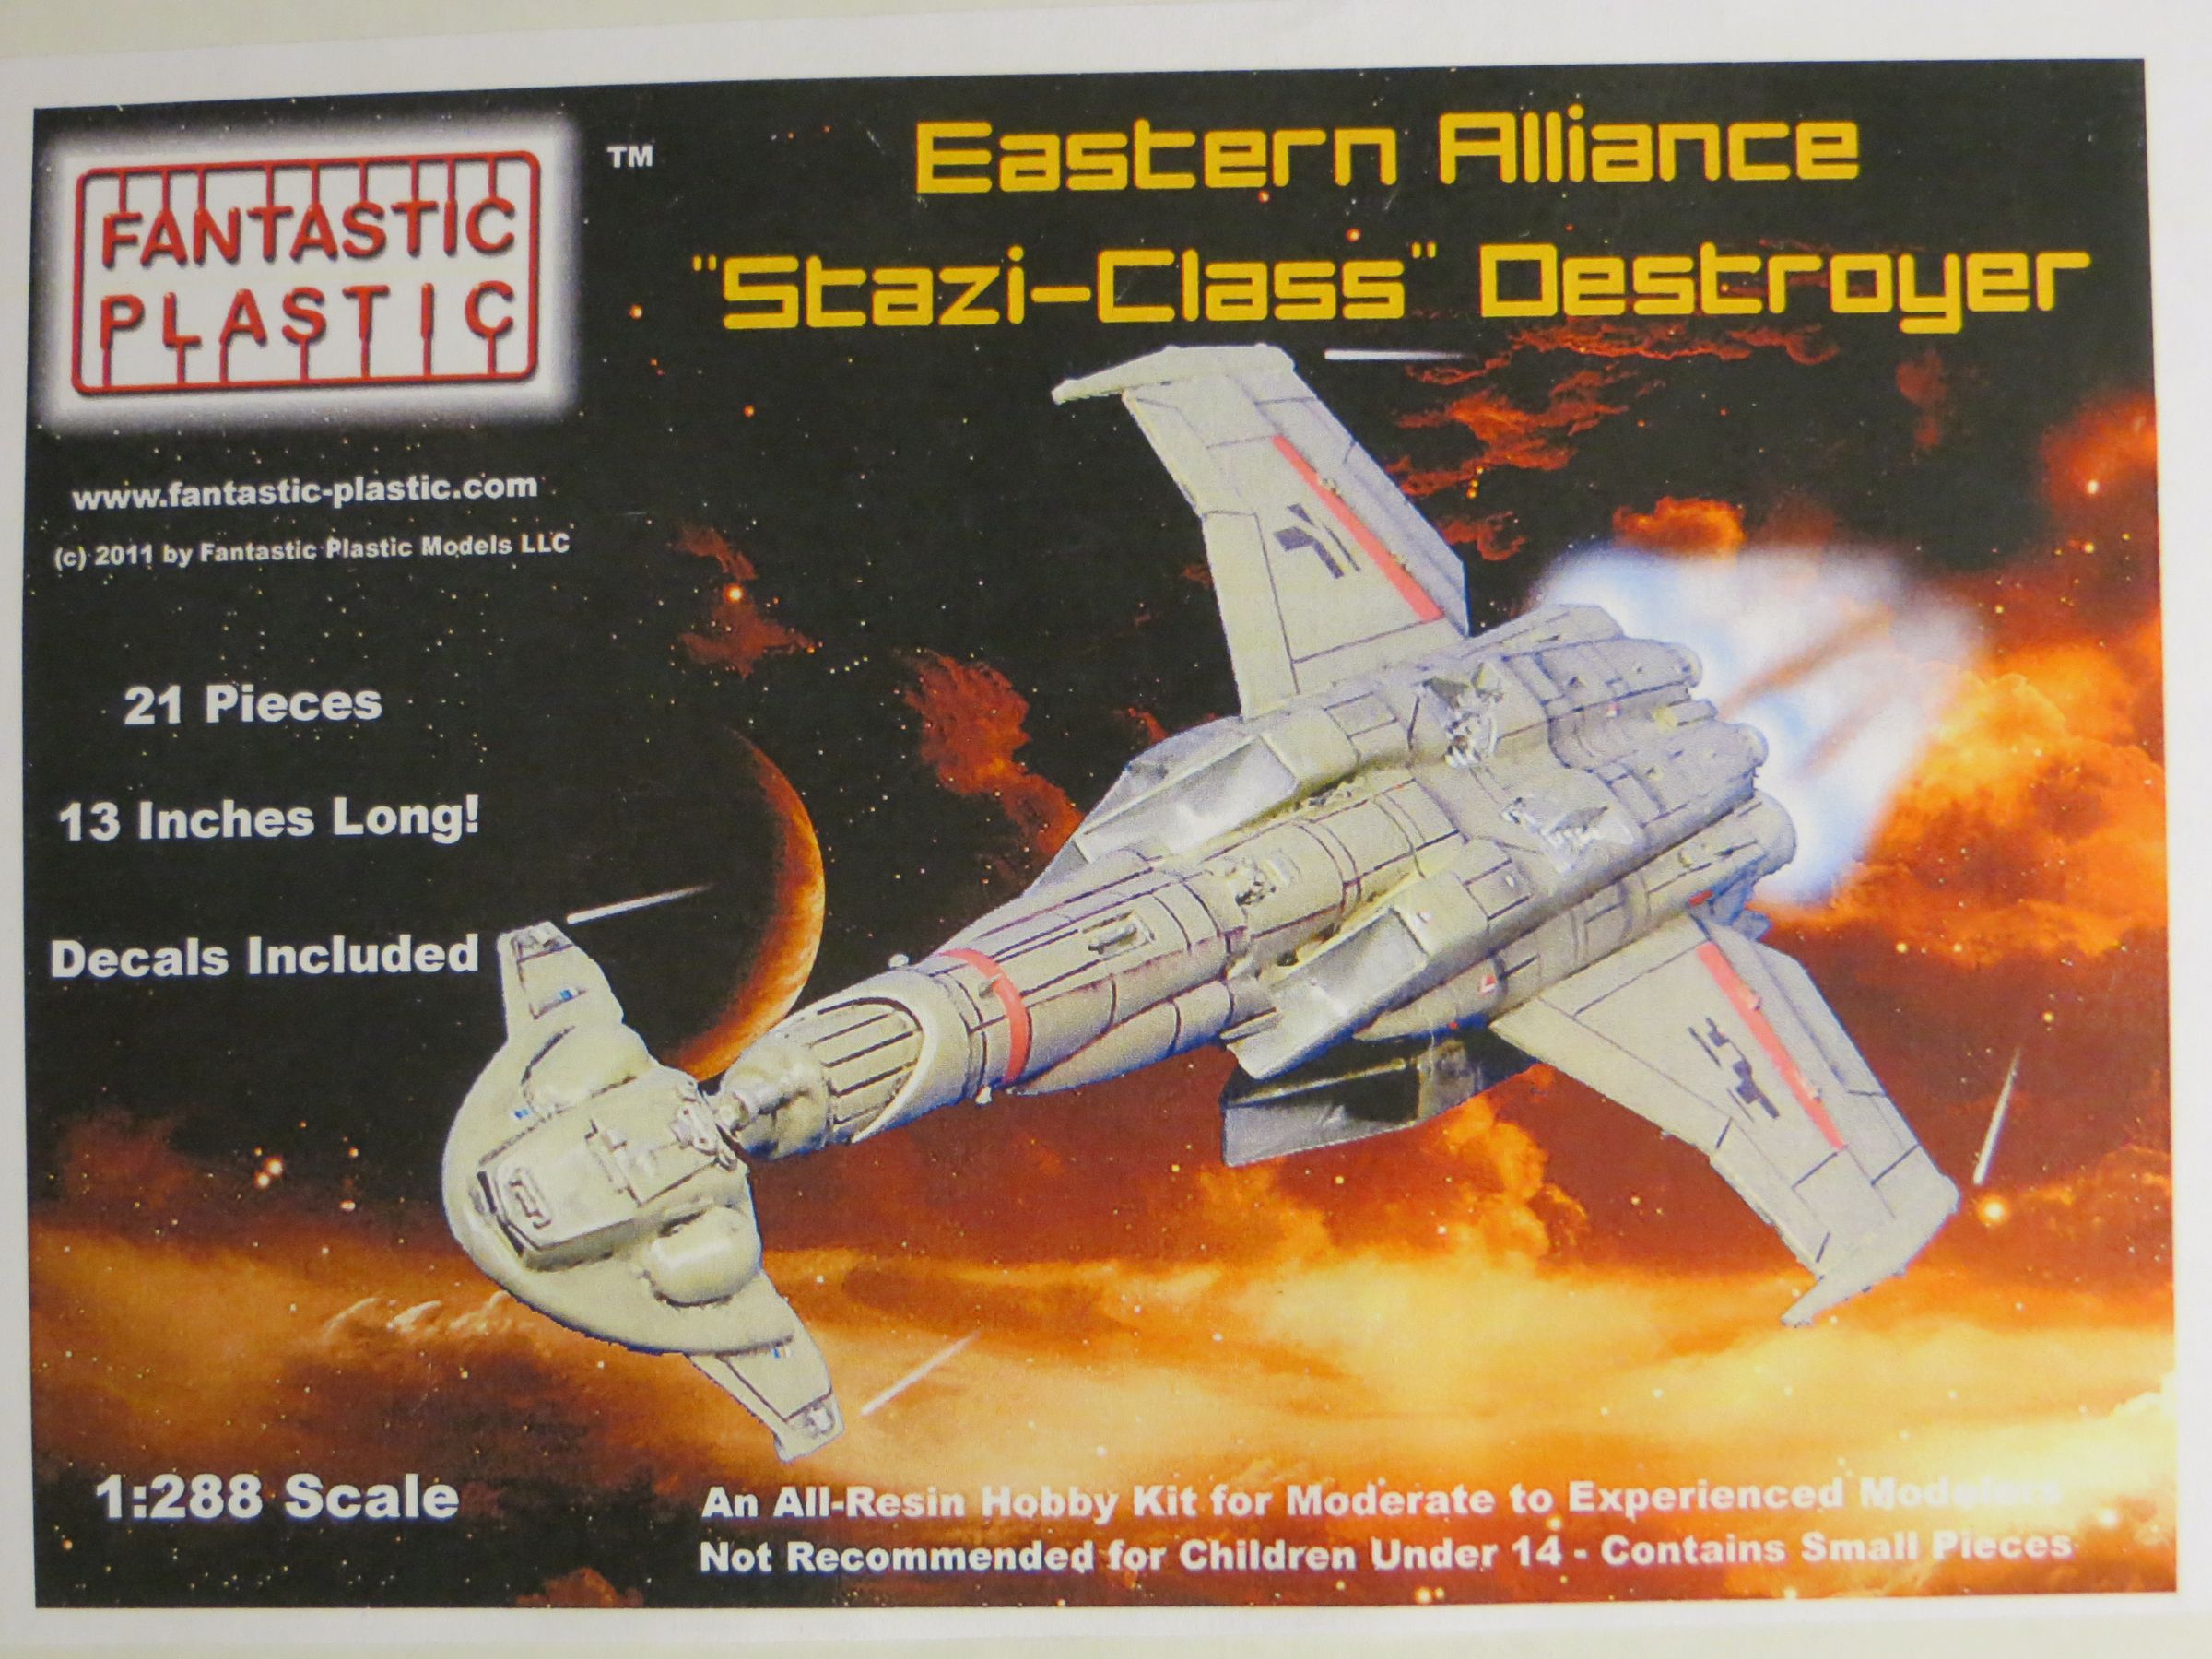
In their search for Earth, the fleet of the survivors finally outruns the Cylons, and they find themselves in a space conflict between two powers (a subject totally inspired by the Cold War, which was contemporary of the show), but technologically less advanced than the Colonies (spaceflight are done in hibernation).
This ship a destroyer spaceship of the Eastern Alliance, a clearly dictatorial power. The crew are even dressed like Nazis.
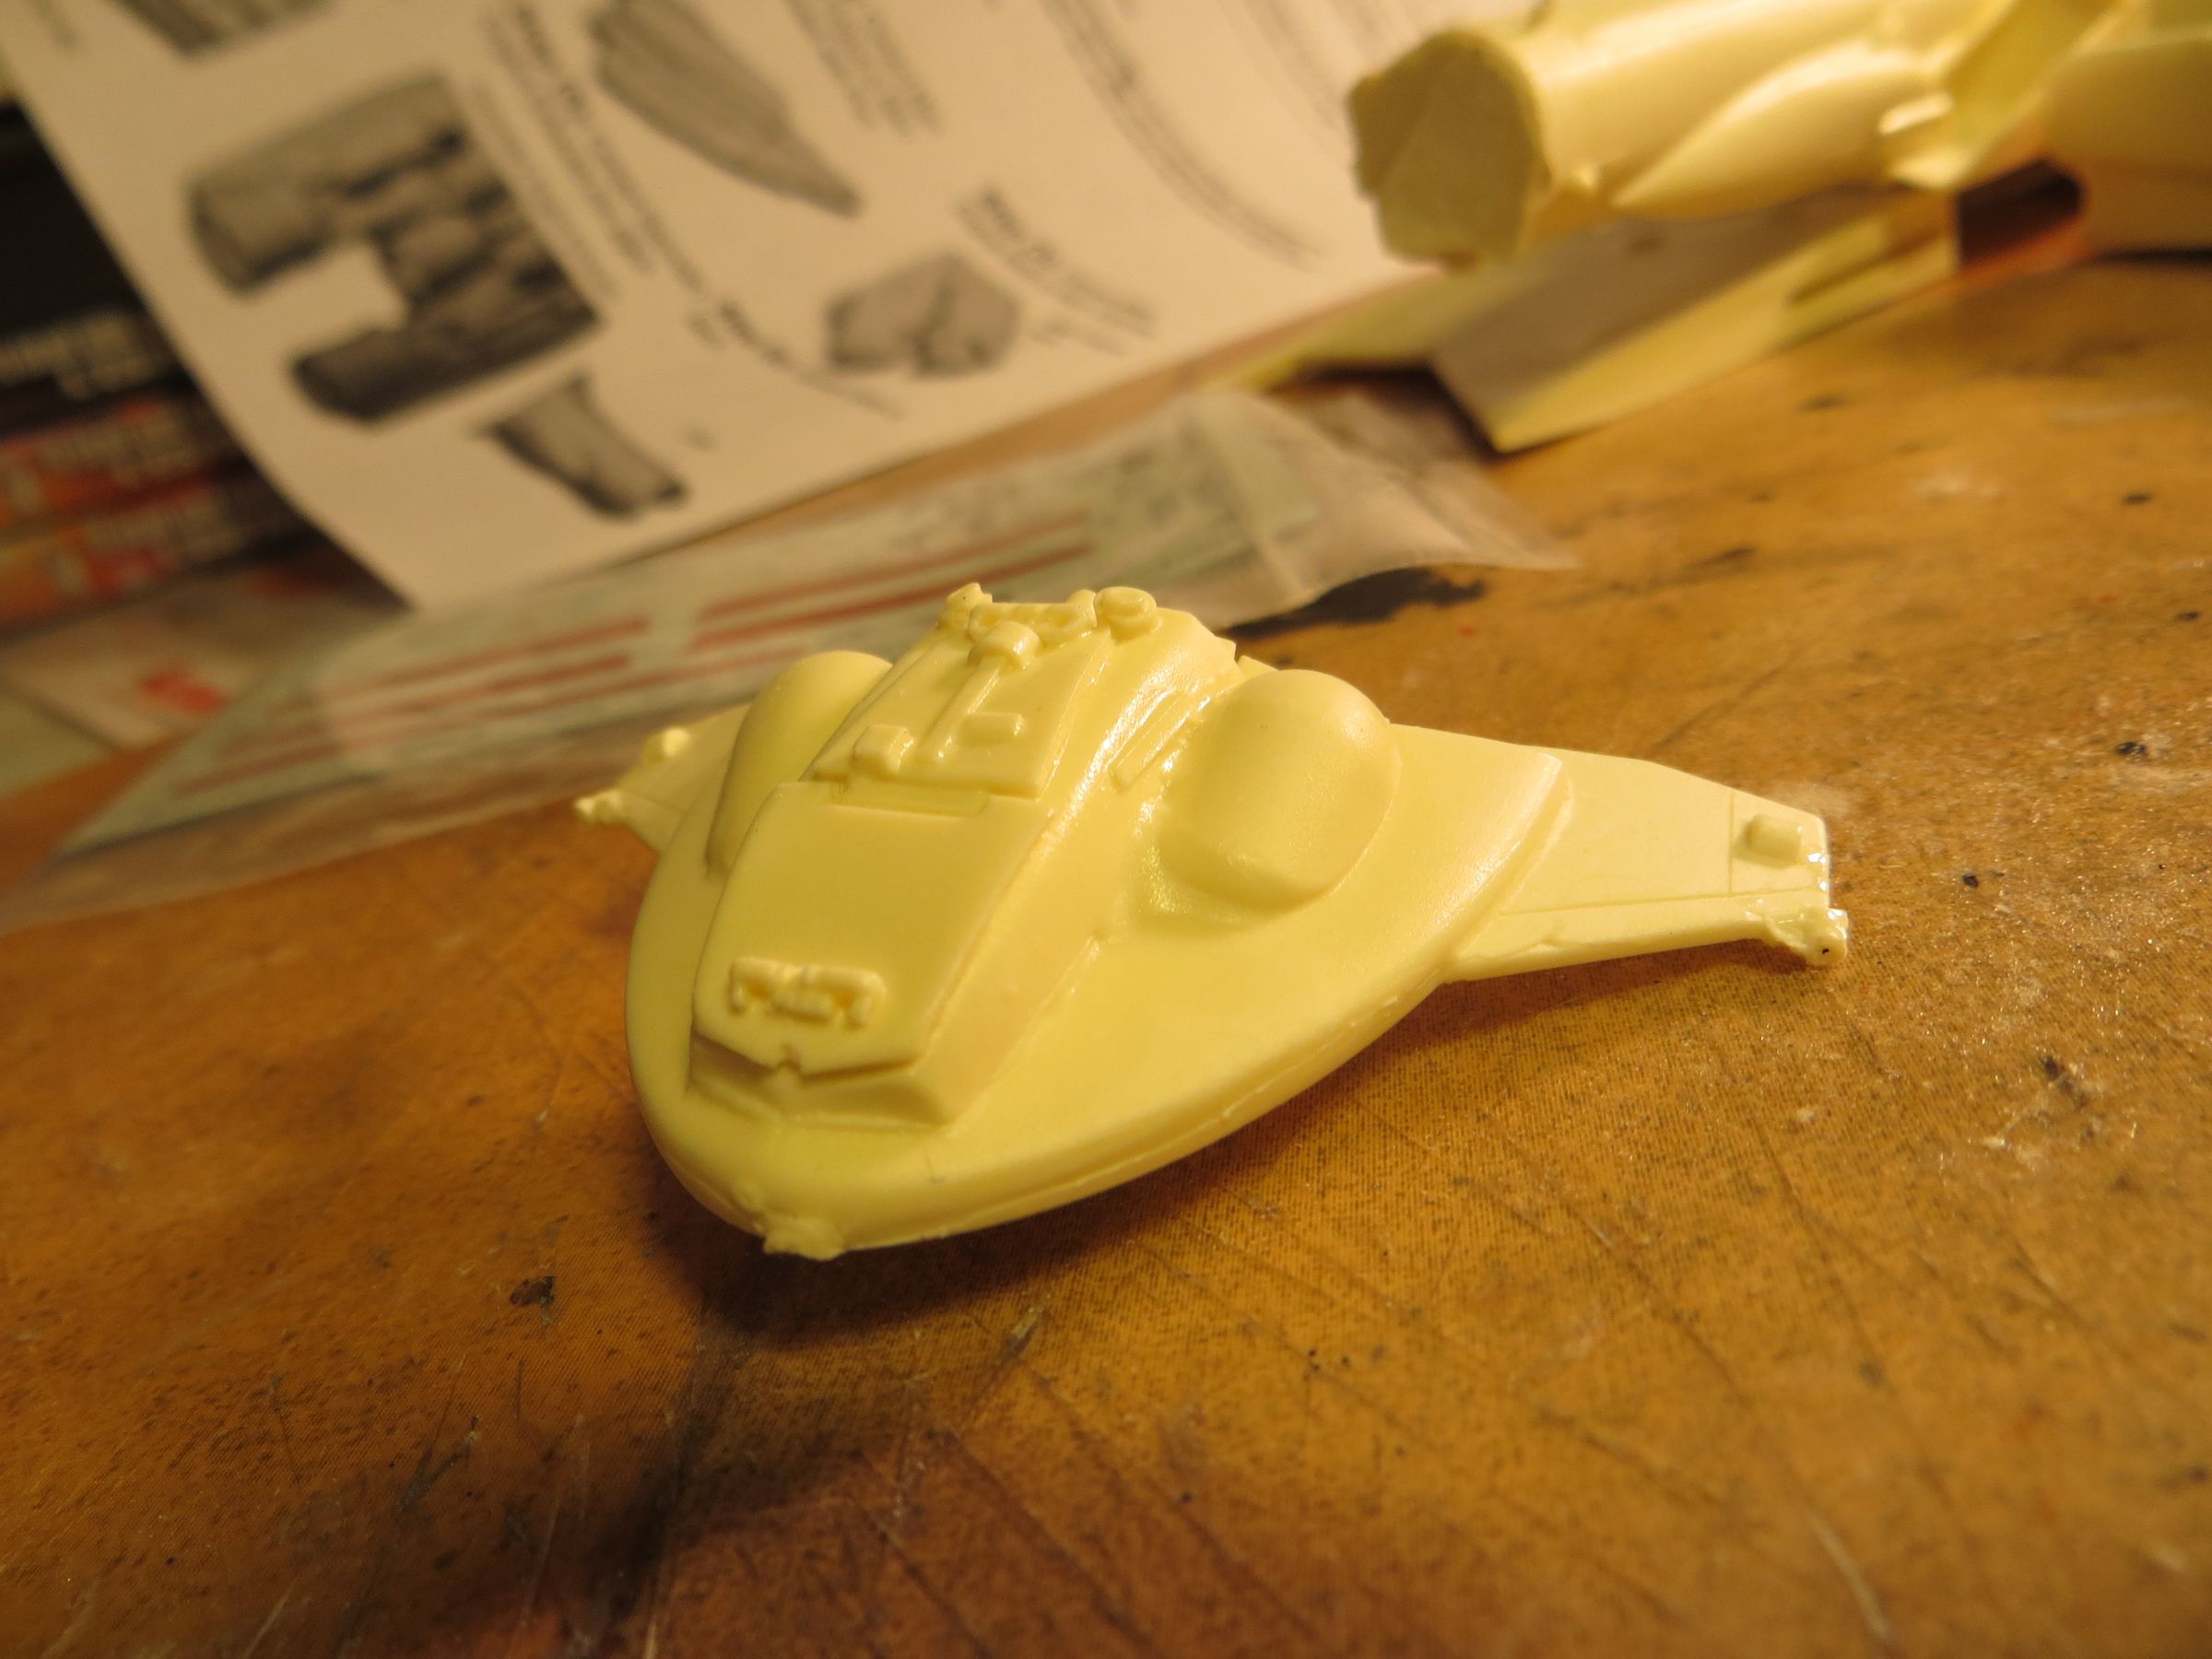
This is not a big ship as it can land into the huge Galactica hangar.
To realize the studio model of the Destroyer, the shows model shop seriously modified one ship of the rag tag fleet.
The resin kit is produced by Fantastic Plastic, on a master by Alfred Wong.
If it has several problems accuracy (accuracy with the subject, adjustment of parts) that require serious sanding, the kit is finally a good base. So it needs to “tap hard into the material" : belt sanding machine, dremel…
There are some bubbles and lack of material, but nothing too difficult.

The engraving is very inaccurate , and obviously done freehand. It's a shame because it does not require much more time to achieve with rulers, Dymo tapes... By cons, to fix, it's a pain.

Details are impasted (molding trouble ? too much primer before molding ?)
Here again, this is not in current standards...
There is a full photoscope of the studio model on modeler's magic website. This is useful for identifying errors to correct the kit.
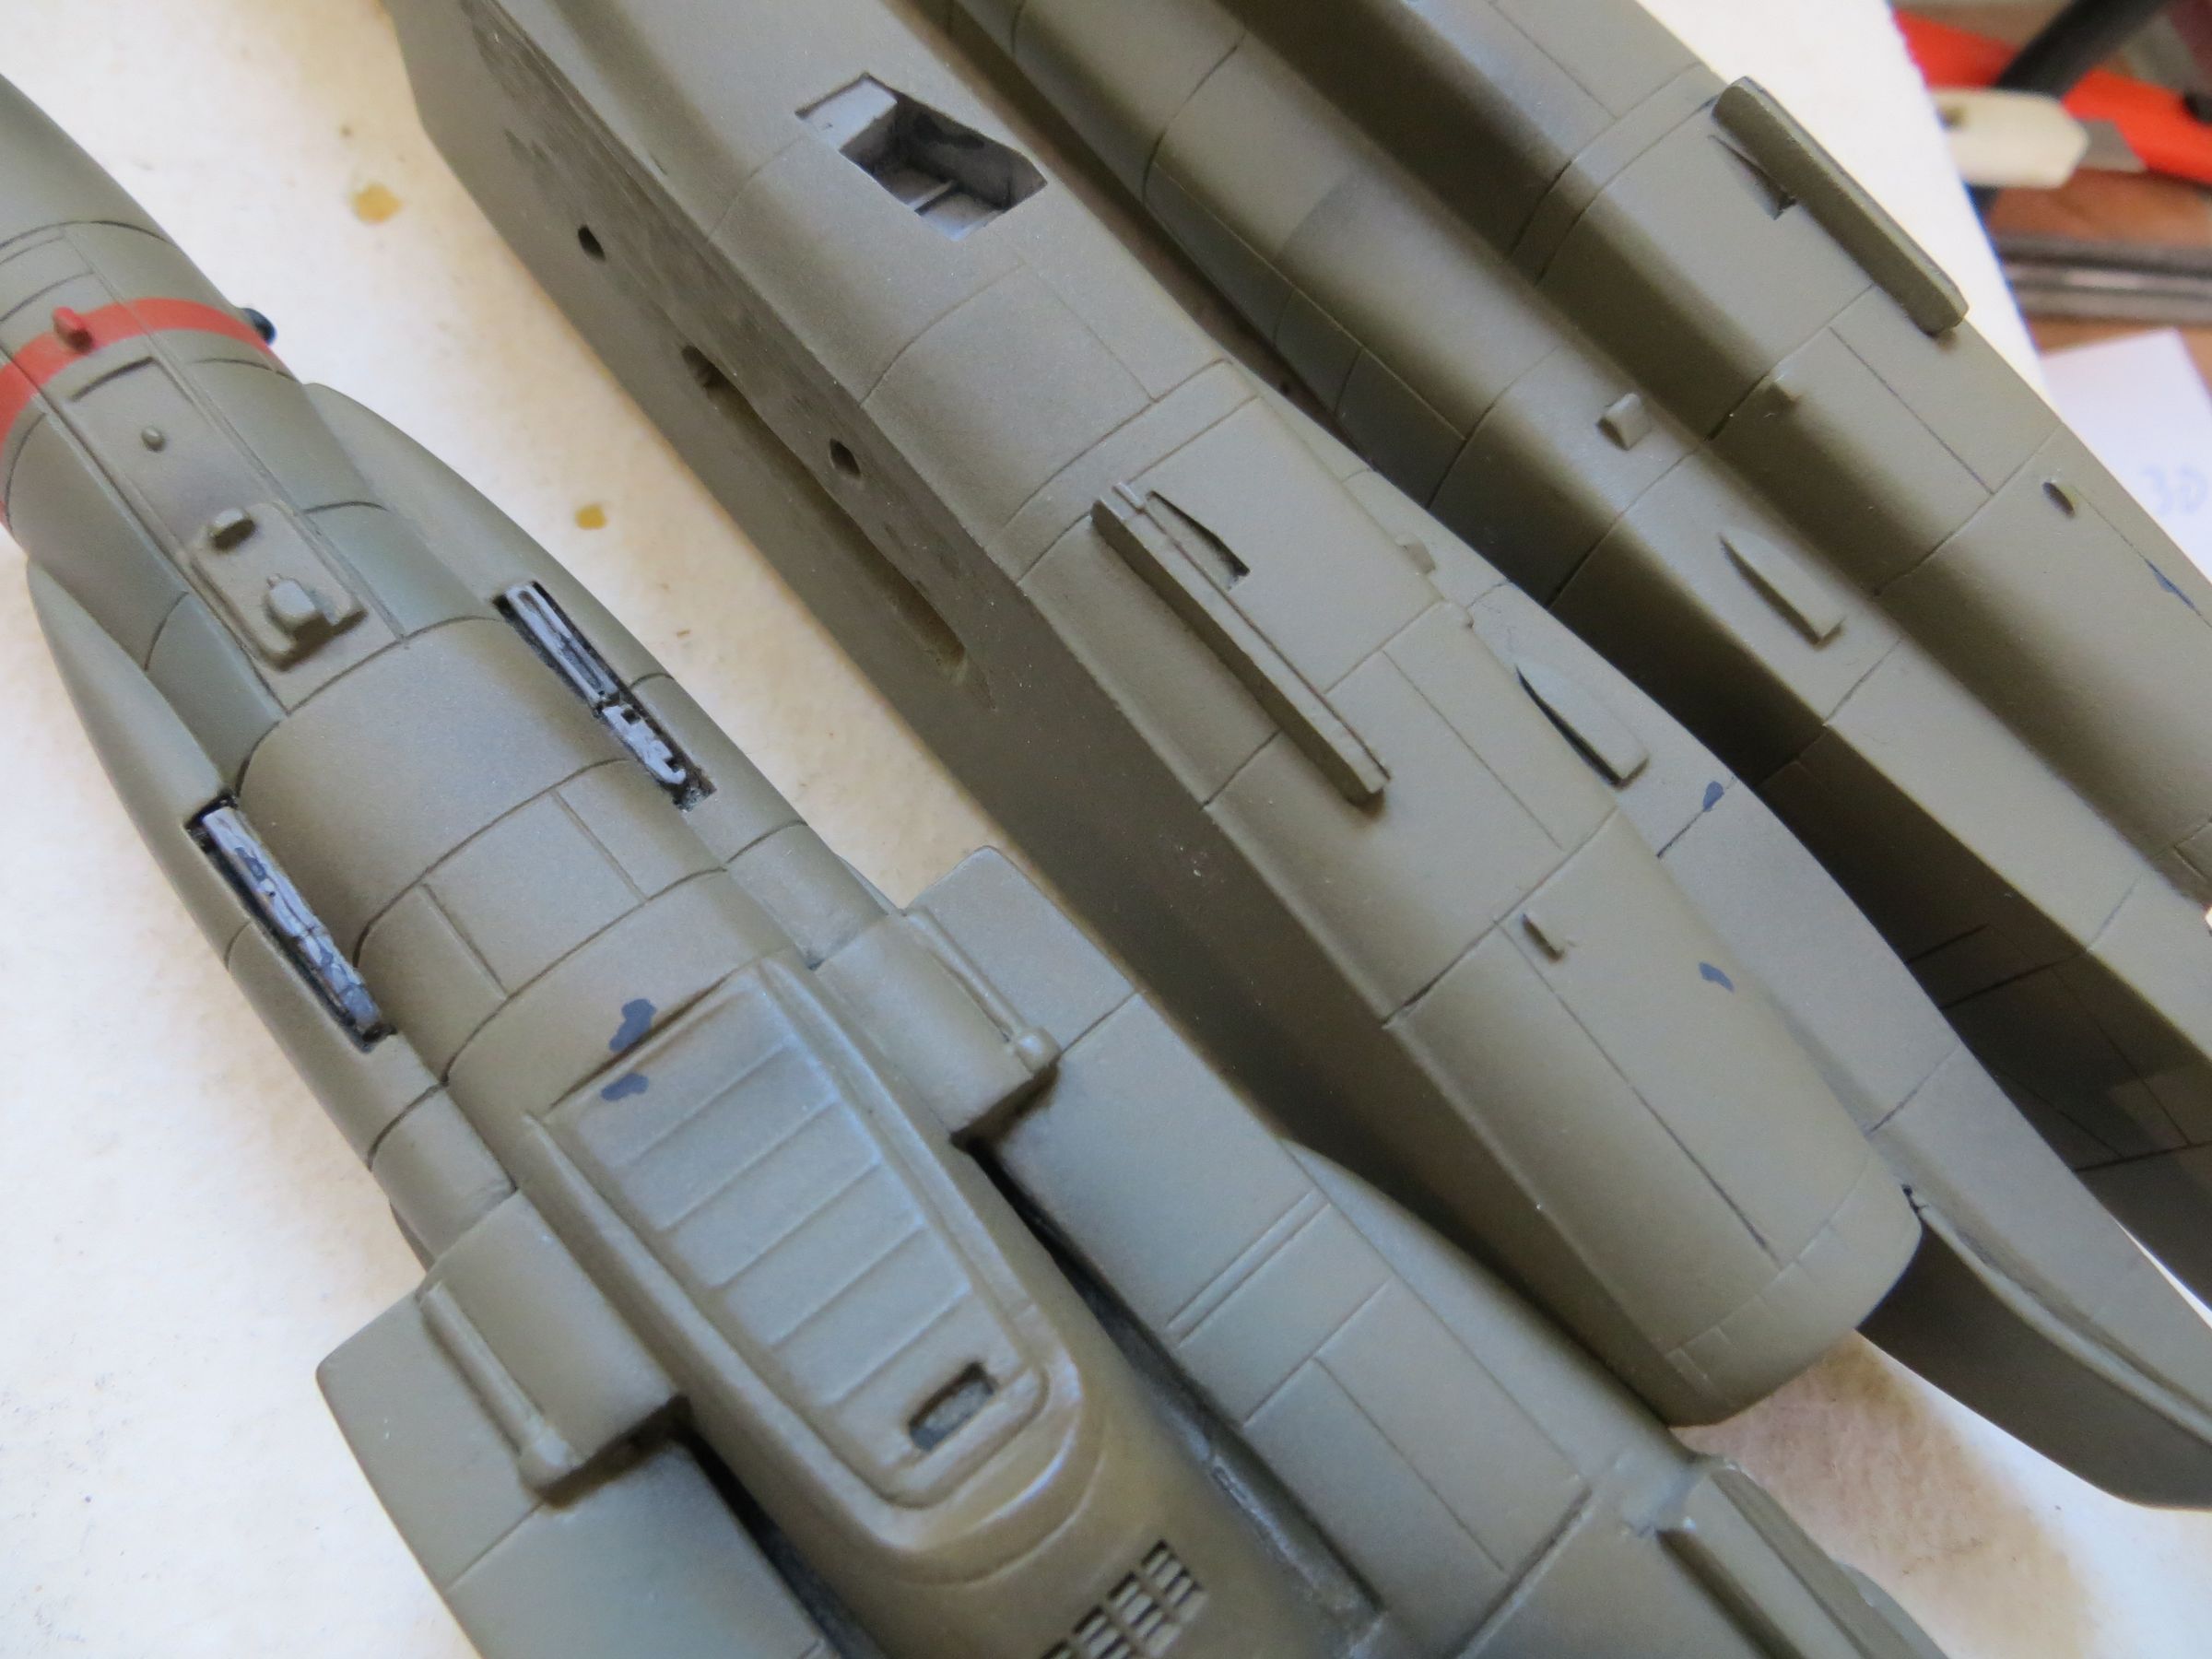
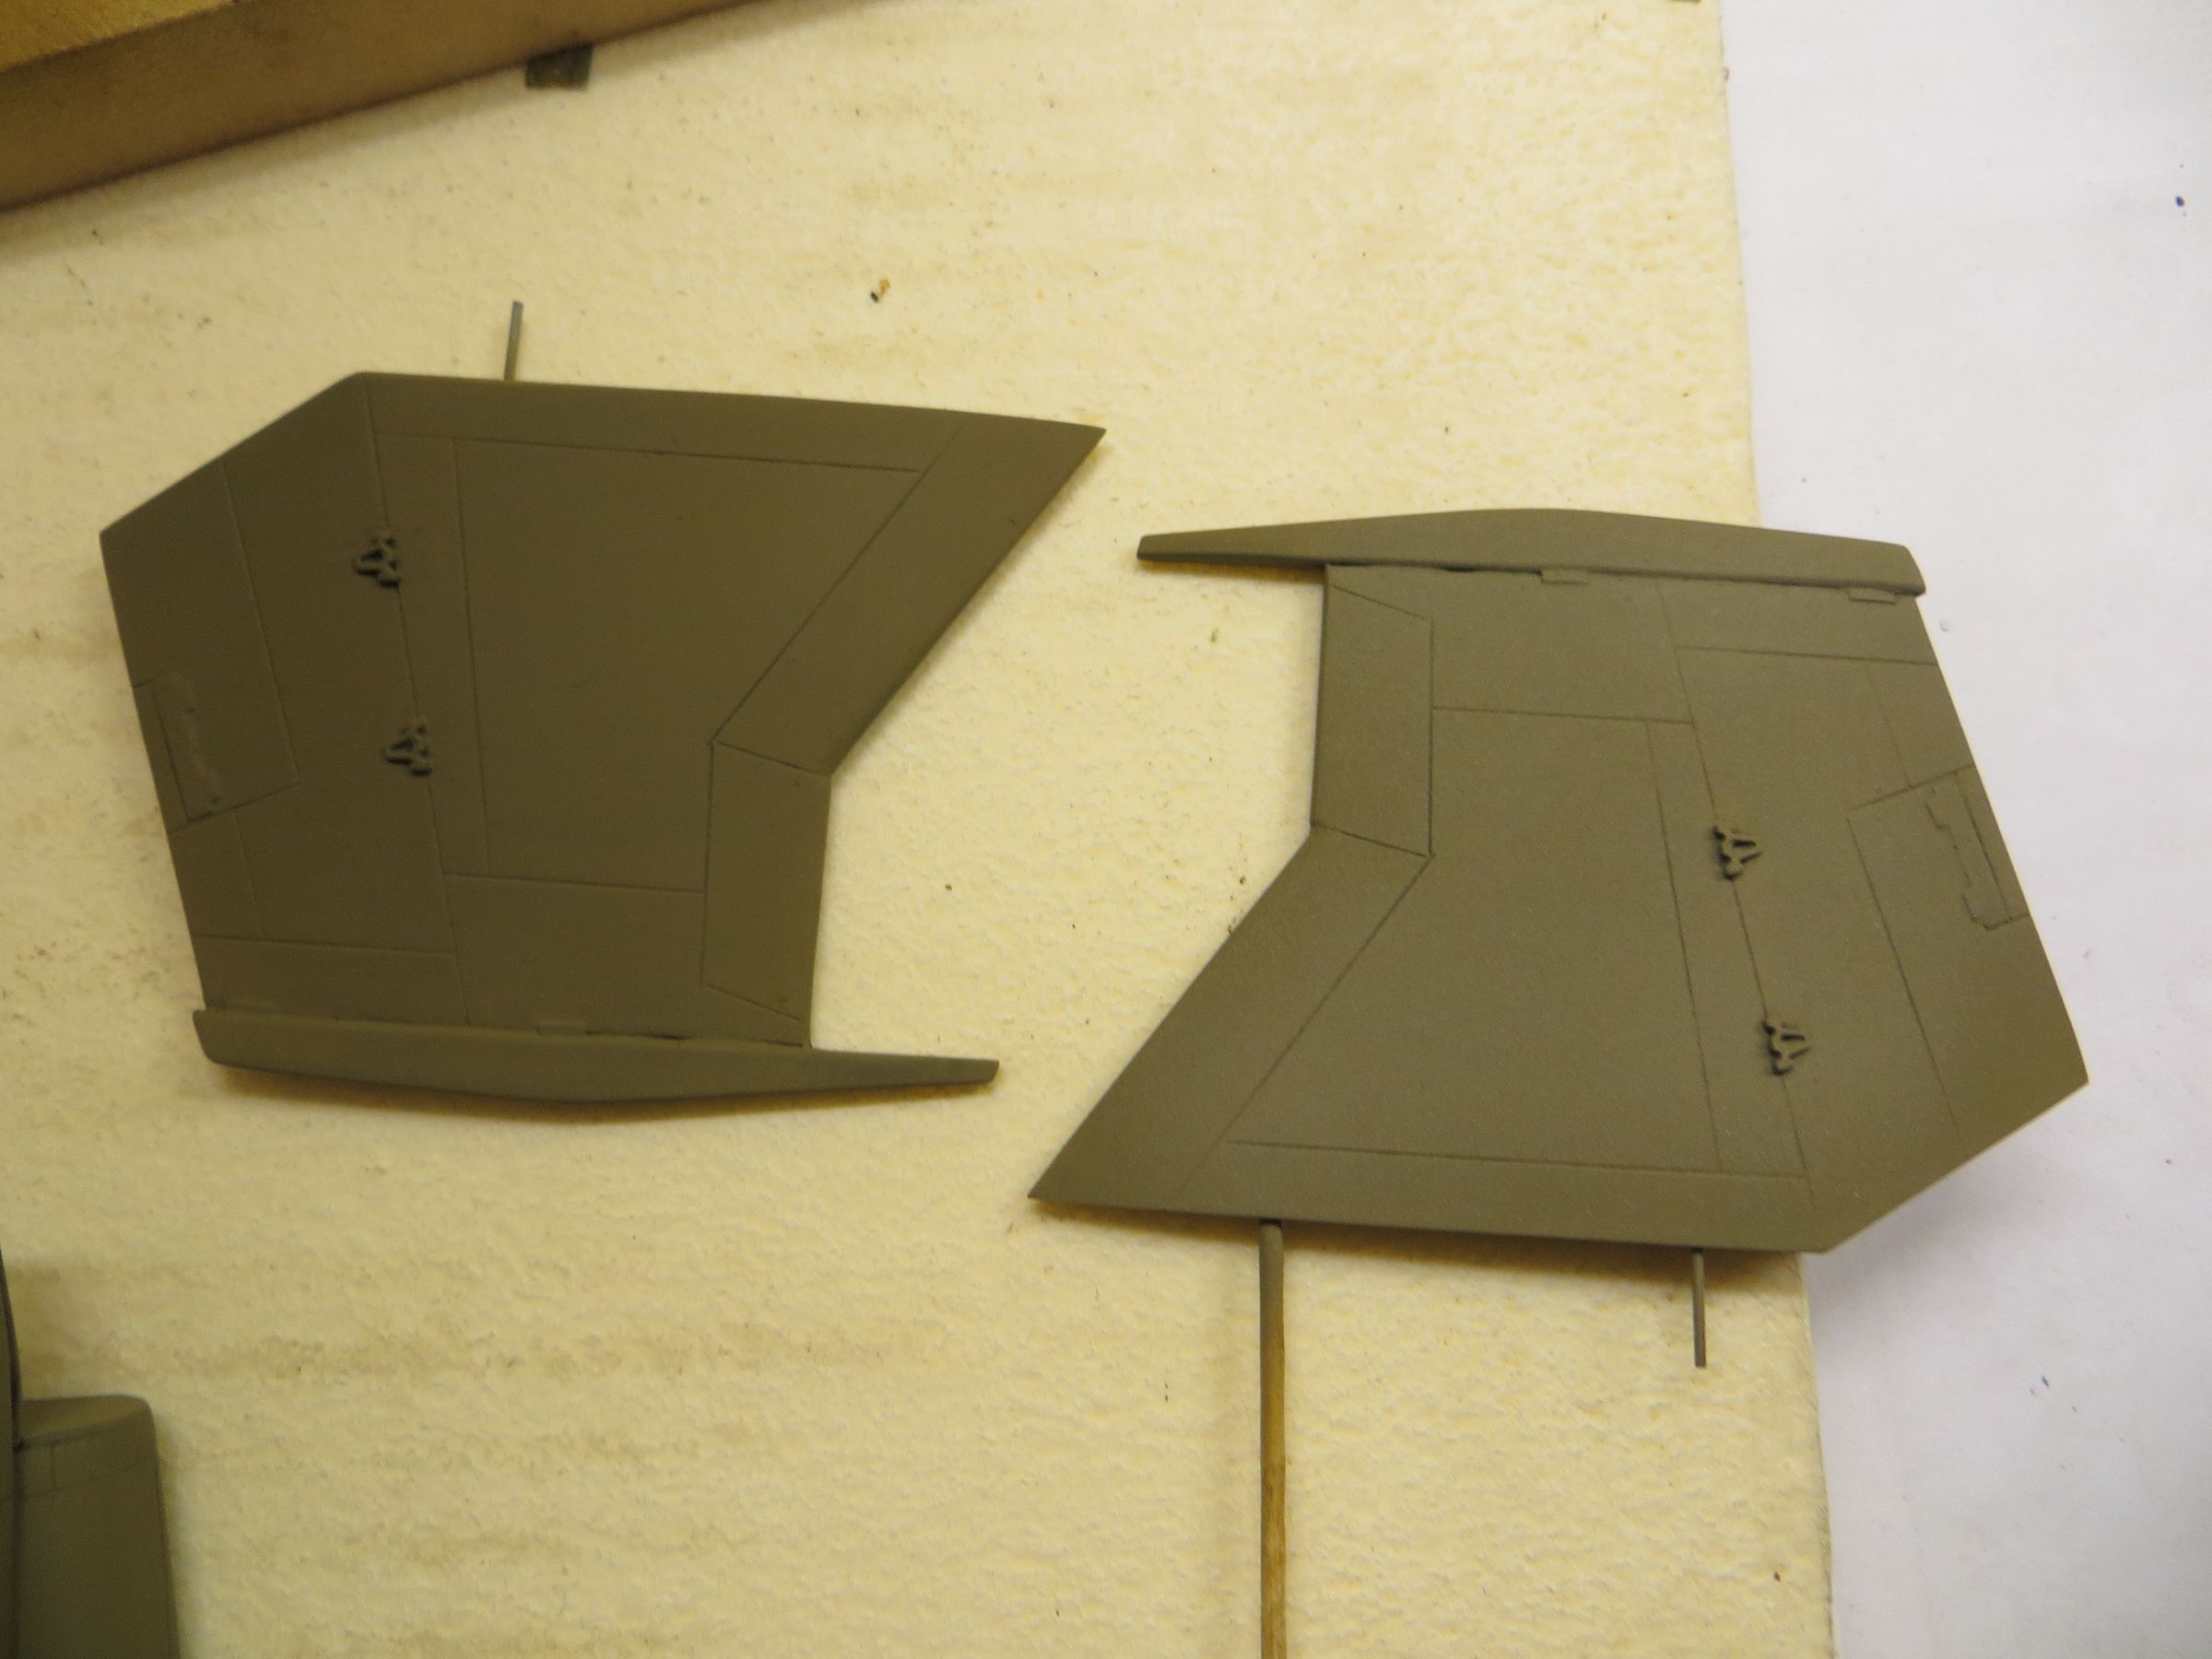
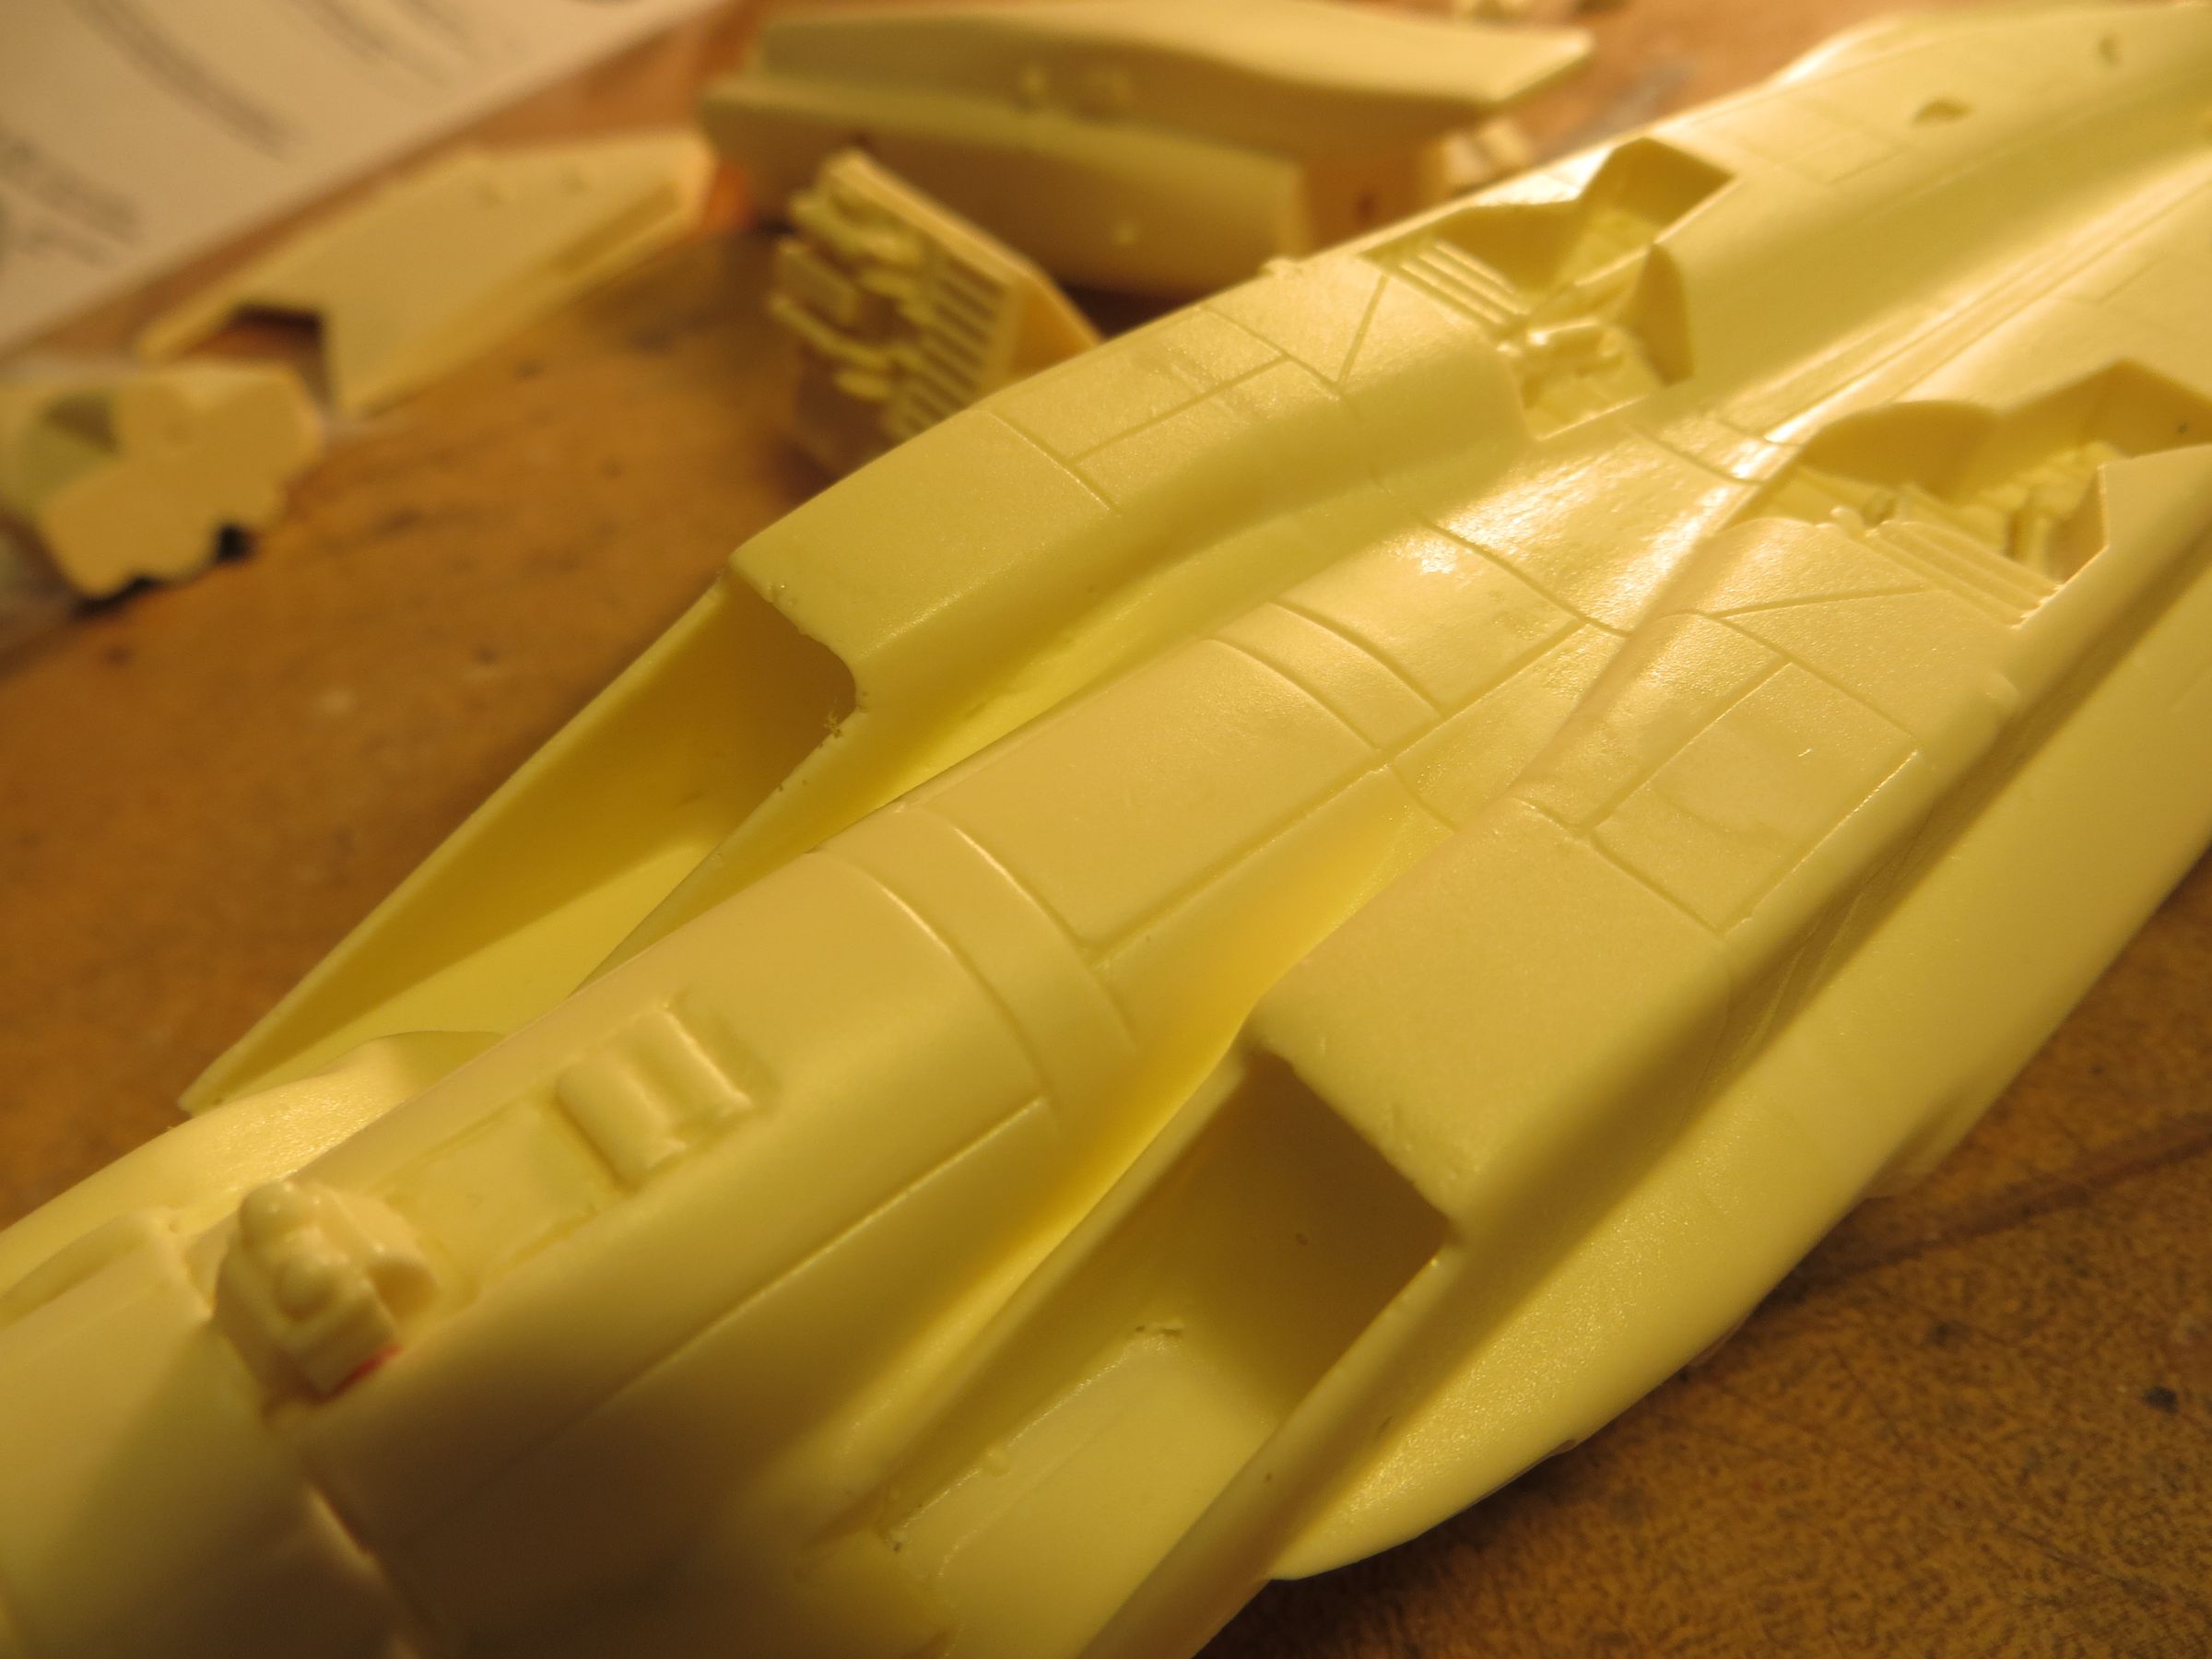
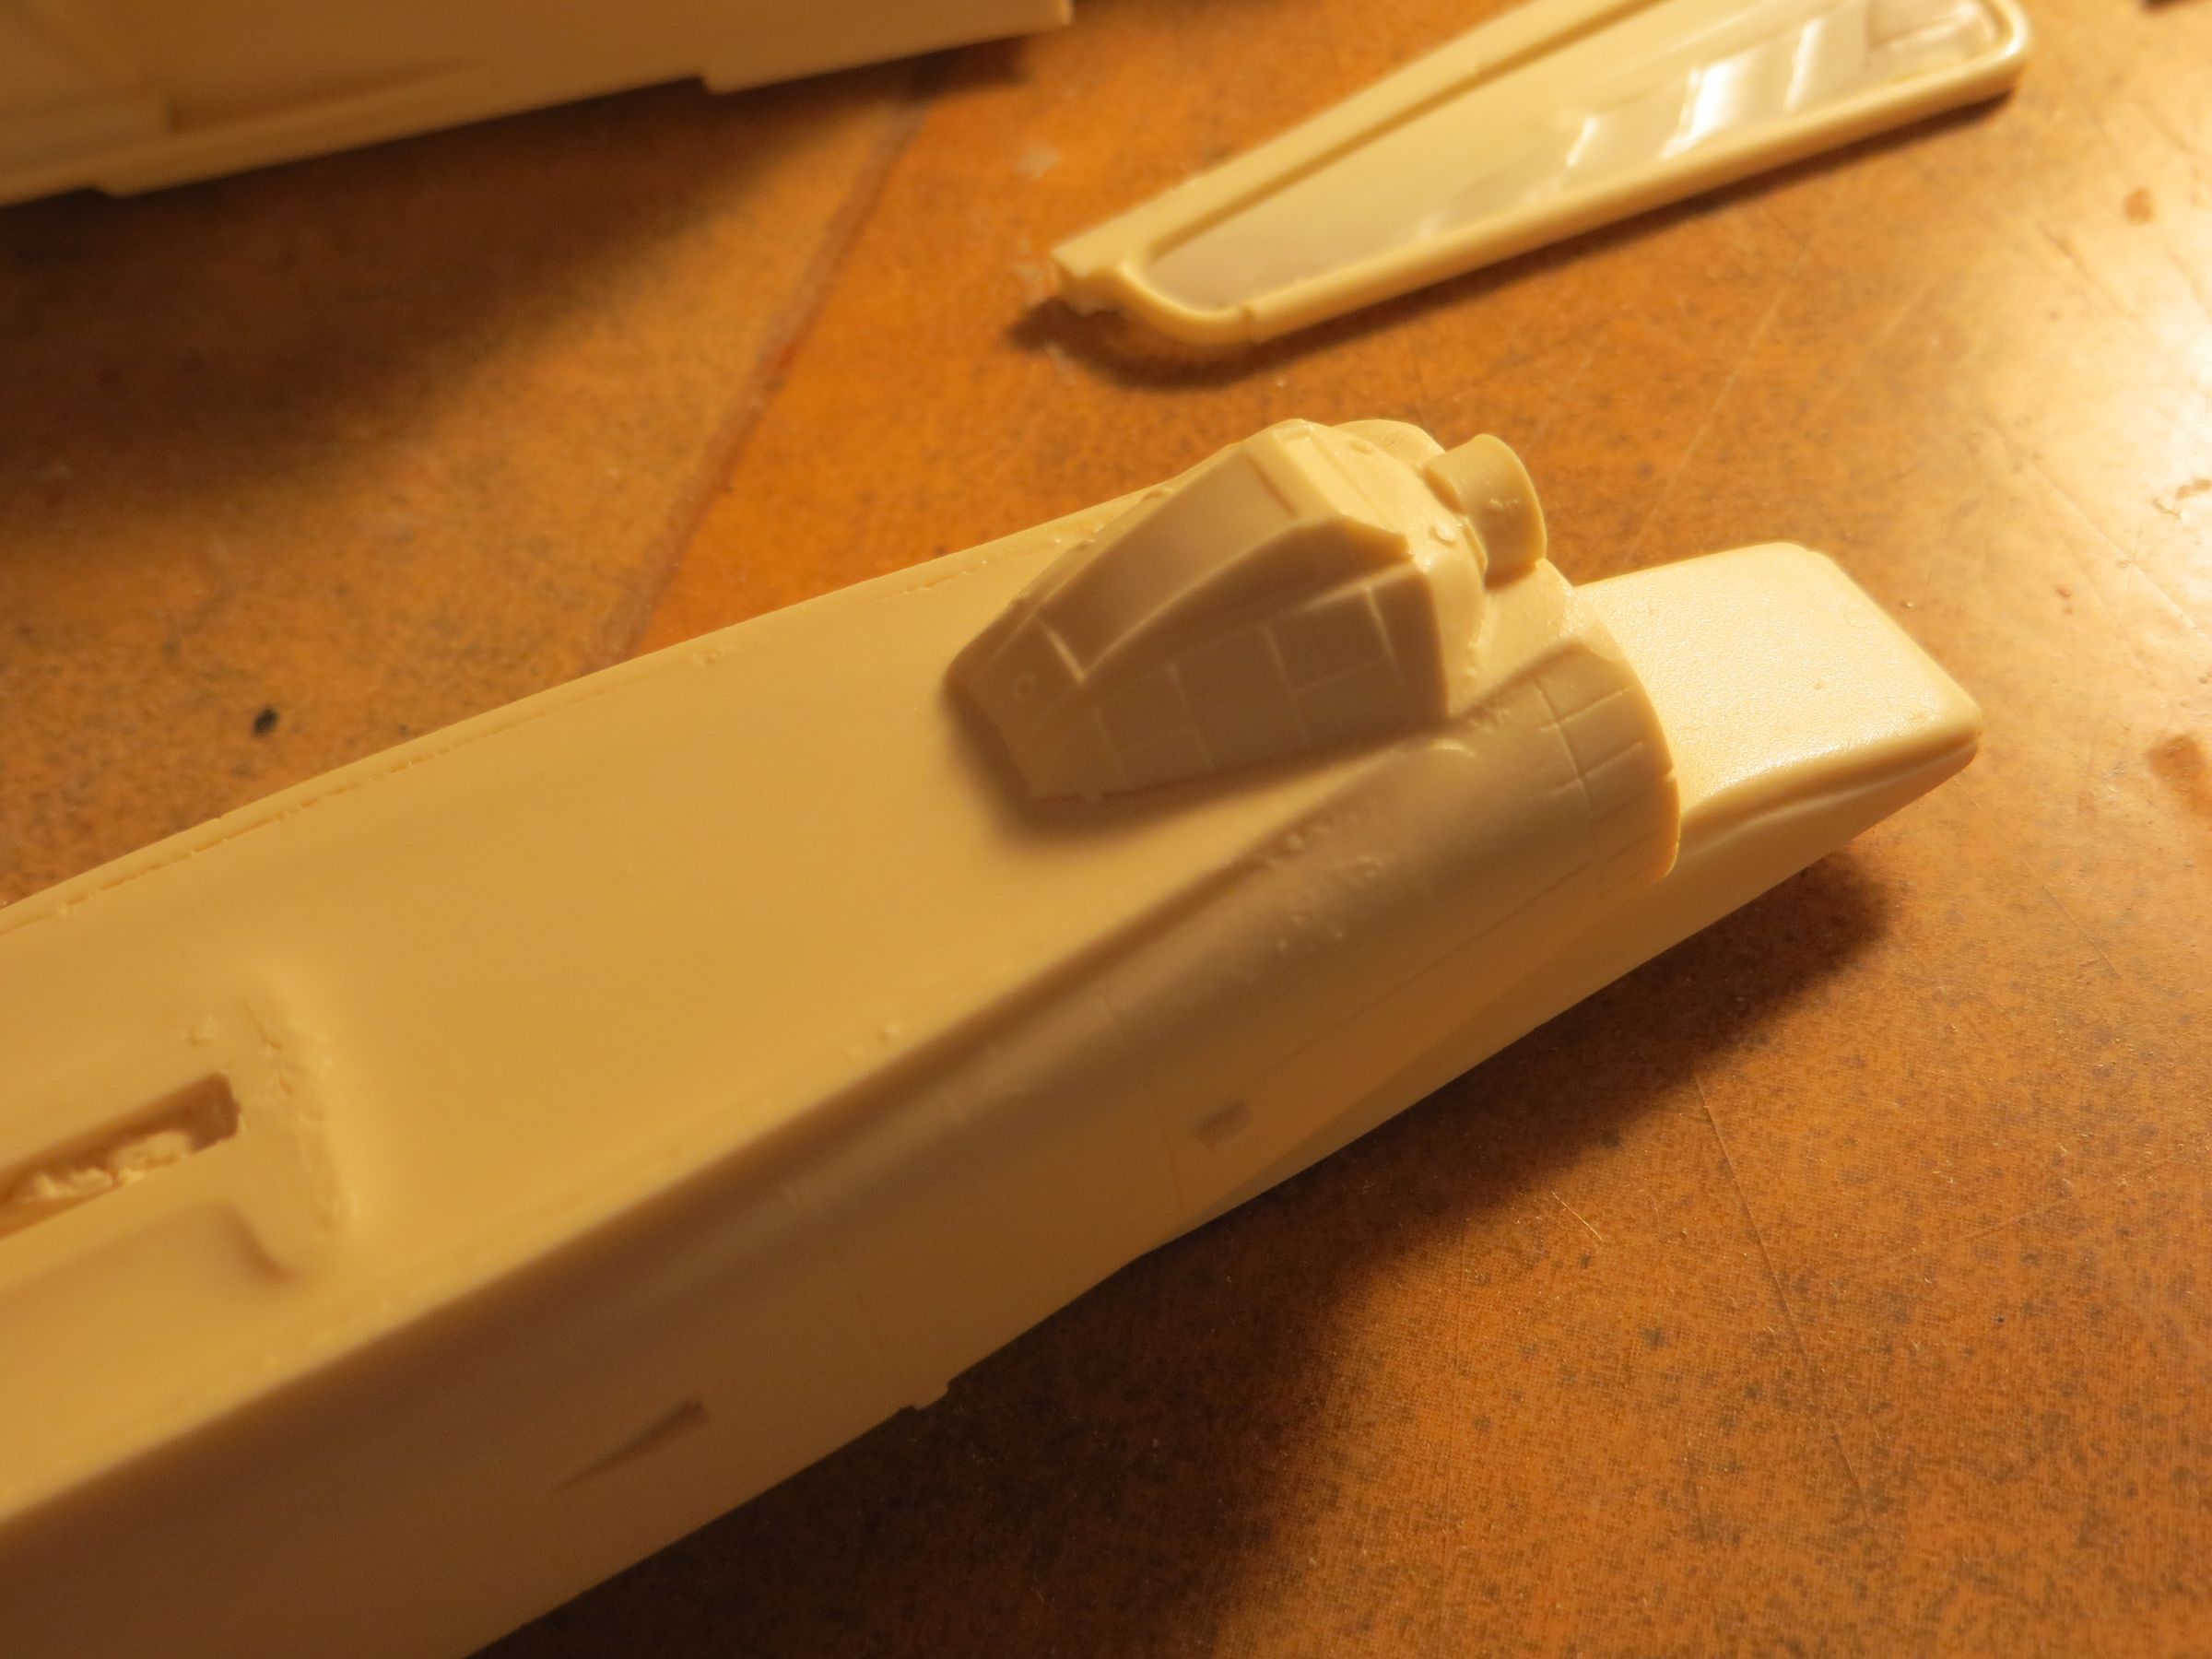
The two side engines modules are positioned too low, there is a bunch of material to remove.
These curious details on these engines modules, from small Y -Wing kit hangar on Hoth, have nothing to do there. These areas must be flat.

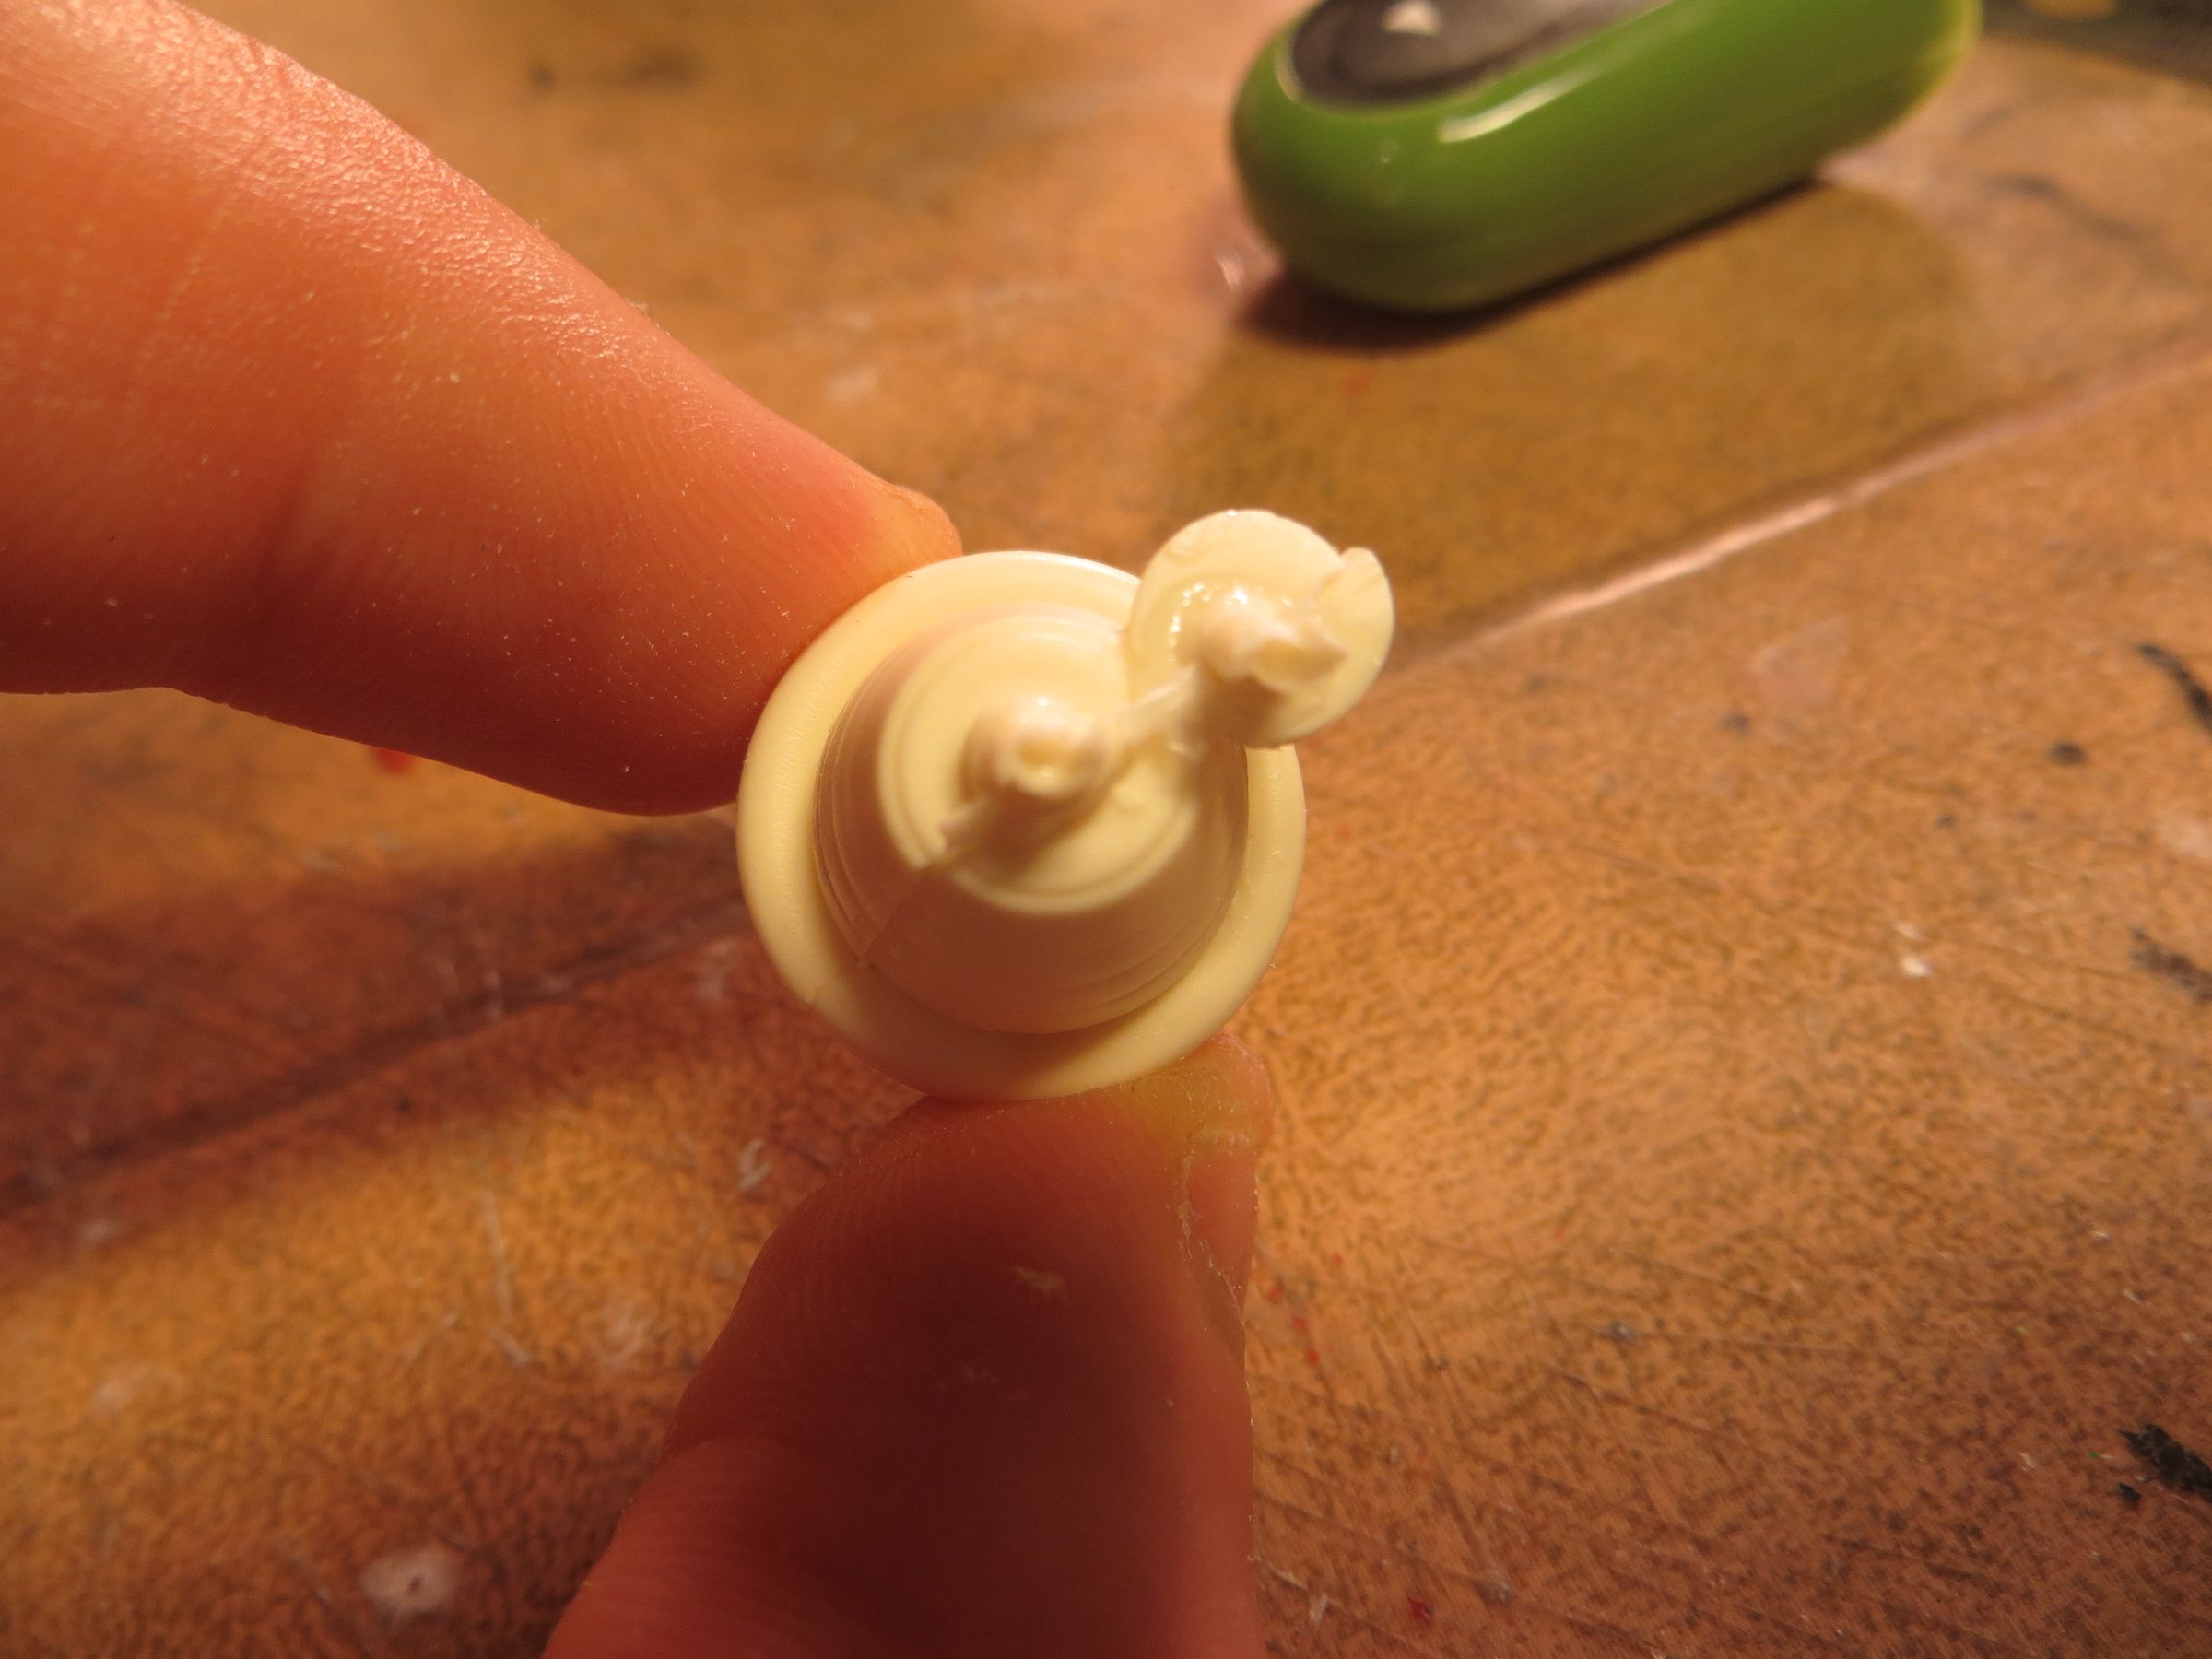
The main nozzles are full, and the casting is not great with mold shifting. They are also too long.
Fortunately, I was able to identify the base of the bell from a Kotobukiya upgrade kit, so I can easily change that with minimal effort.
The original part on the studio model is a 1/144 Saturn 5 engine.
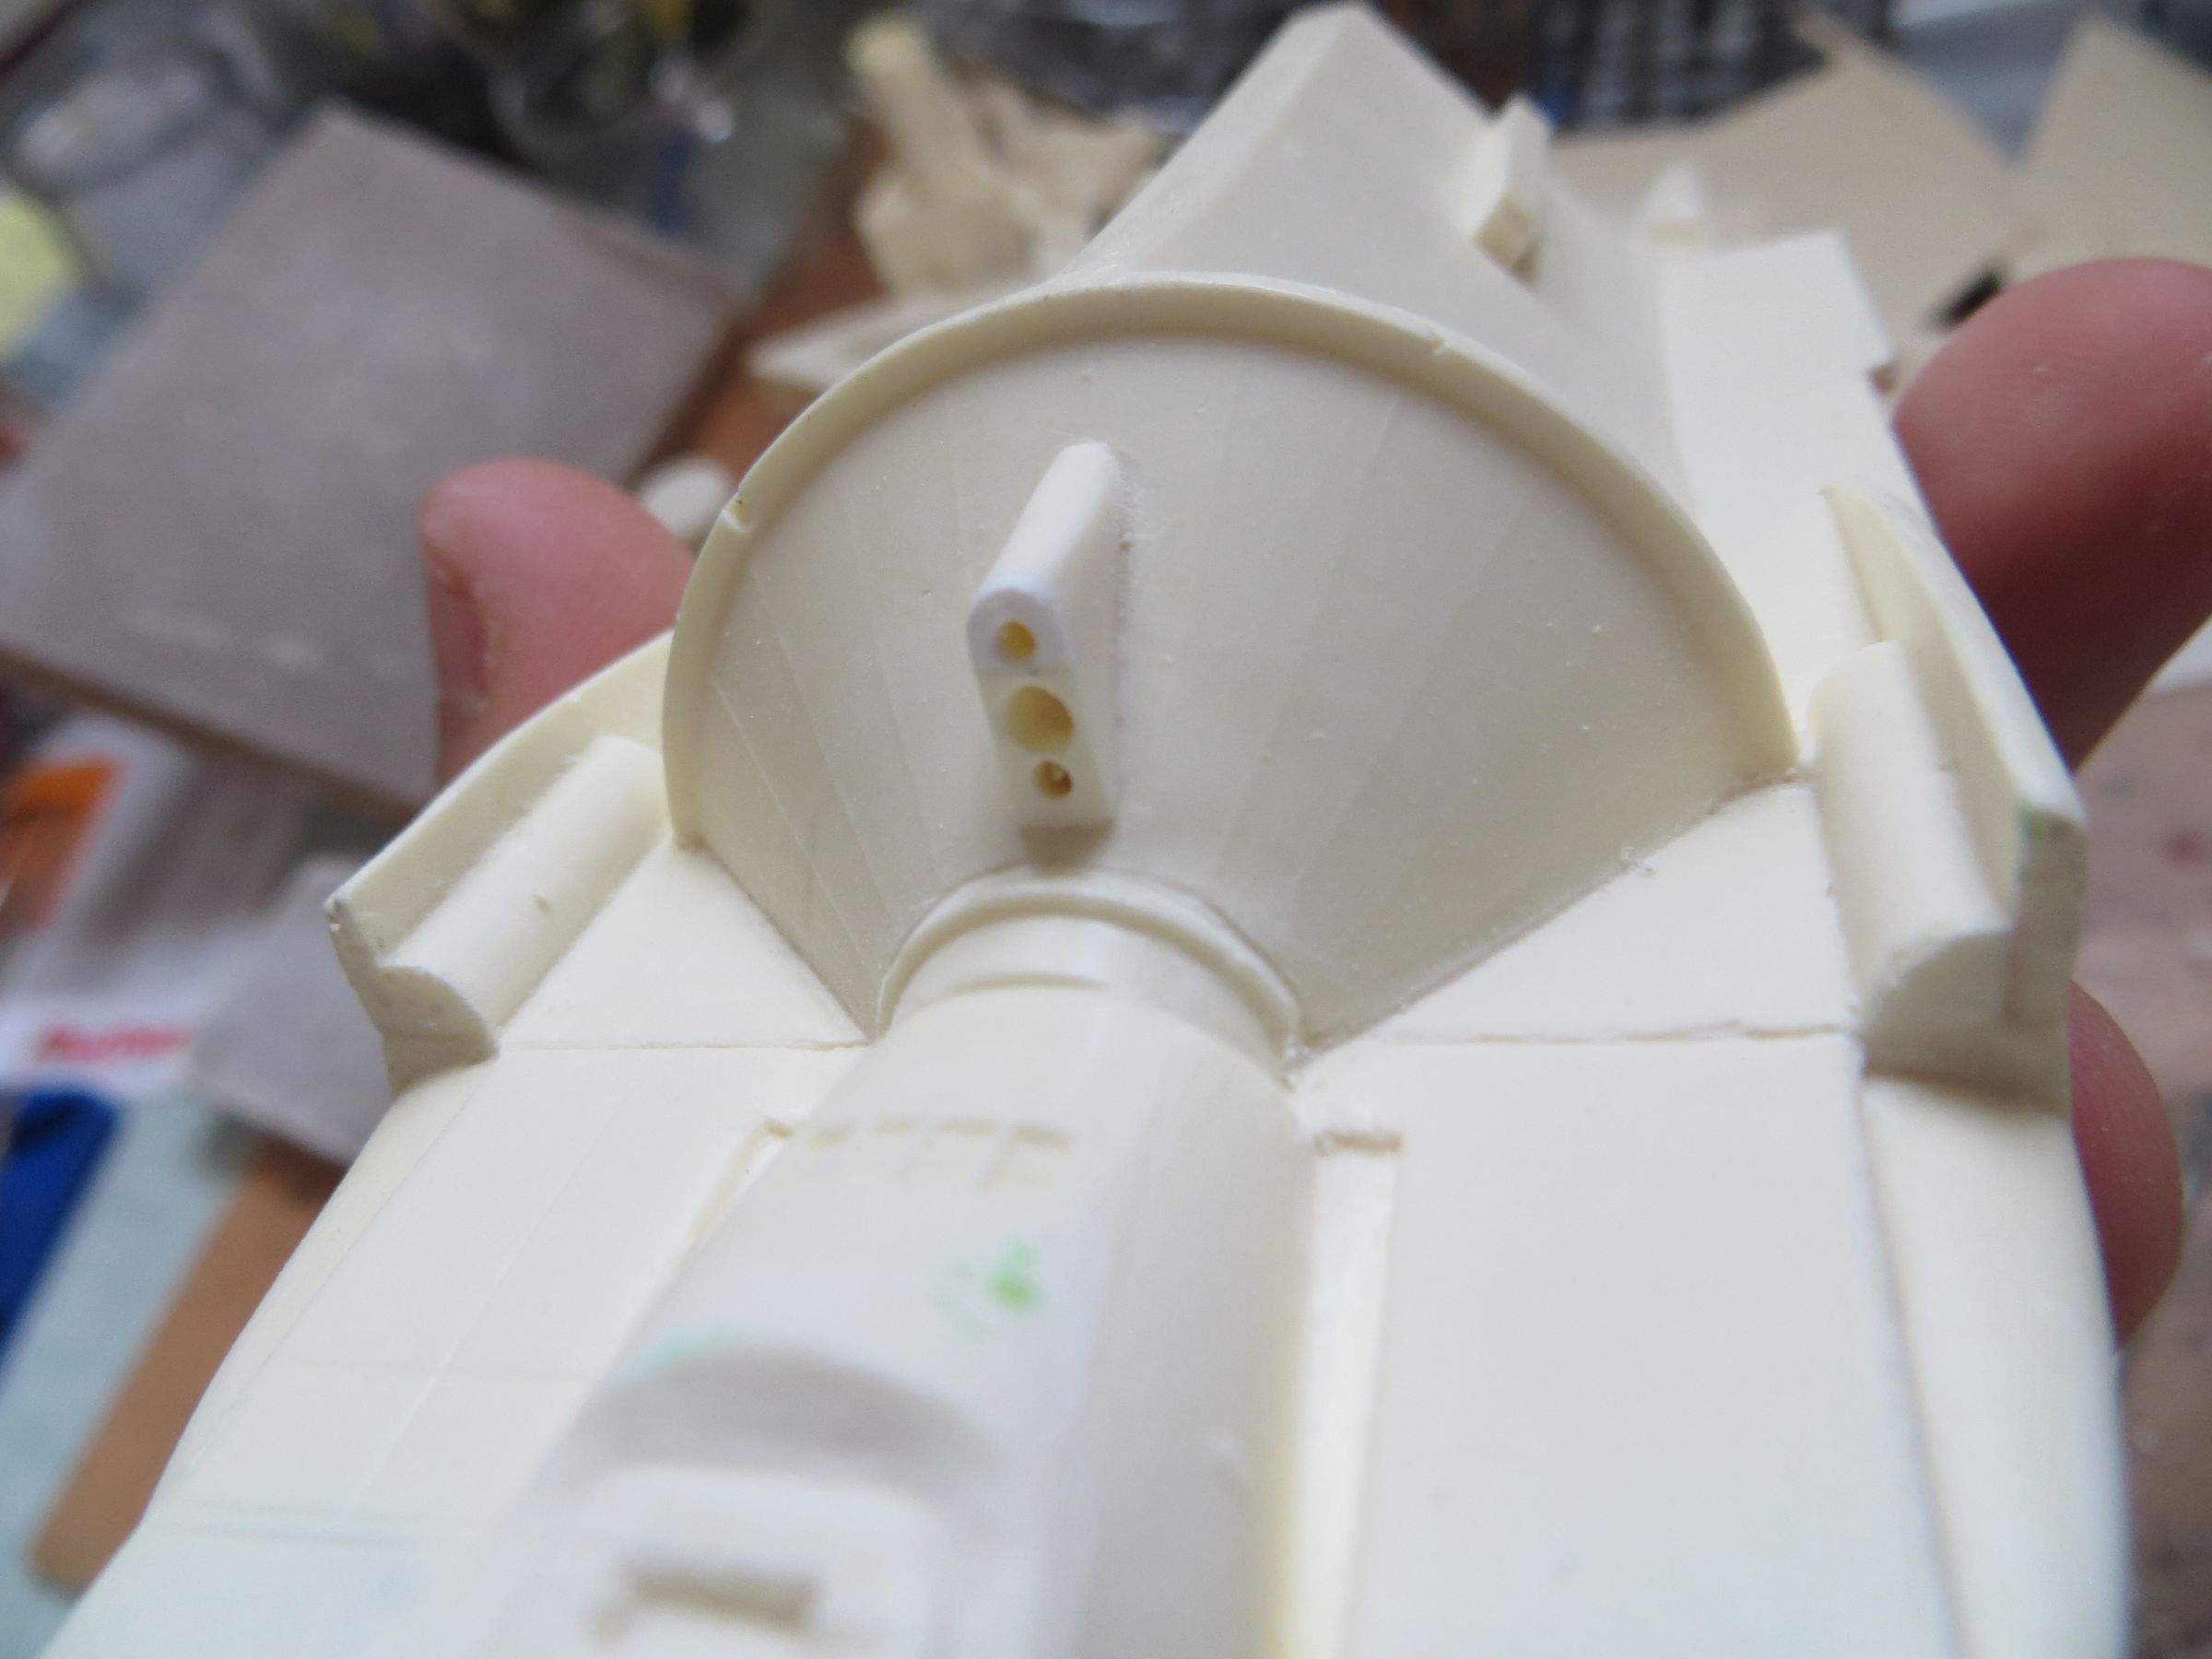
The central cylindrical nozzle is too short and not wide enough.

The upper small nozzles look like to nothing (not even a bell-shaped), and I intend to replace them.

The air intakes need digging a bit, as they lack some depth. The cabin at this location is thin and fragile, it will need to be strengthened
The diameter of the neck is too large. I still do not really know at that time of the WIP what the solution I would use (sorry, no photo).
On the studio model, besides the Saturn 5 engines already noted, some 1/48 F-5 cabins can be recognized, and also the Hawk engine from the Airfix Space 1999. The wings were later copied on Buck Rogers Thunder fighter (who, if I remember correctly, was based on rejected concept of the Y-Wing or may be the Viper) .