OlCabour's Hangar

Aller au contenu | Aller au menu | Aller à la recherche

Battlestar Galactica › Battlestar Galactica - Assembling and detailing the Moebius kit

Fil des billets

vendredi, 10 juin 2011

Decals and final assembly

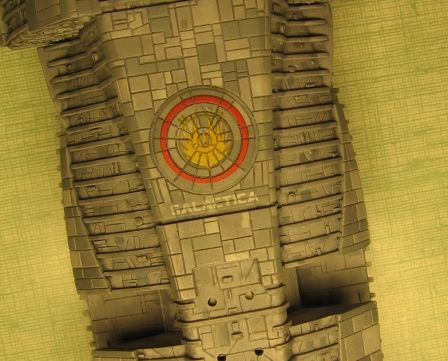
The decals have required many layers of Microset to stick well, and to be able to gradually push them into the grooves. It needs two days for the result here. They are then sealed with another coat of Klir.

IMG_8111

A layer of matt varnish Air Prince August followed. To avoid white marks caused by the varnish while soraying via airbrush, do not dilute it with alcohol, but simply with the Tamiya thinner. It is generally necessary to apply several layers to get the desired finish.

There upon, I applied a last and very light black wash overall without wiping to let ligth marks on all the painted panels.

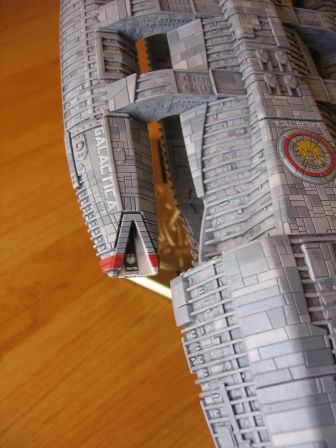
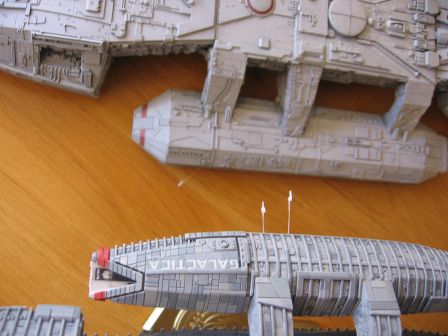
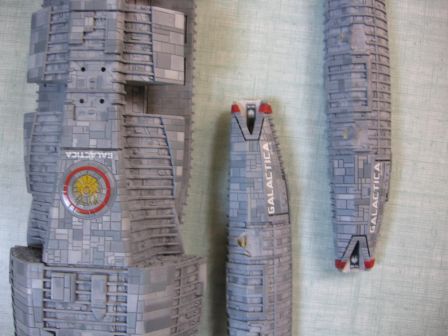
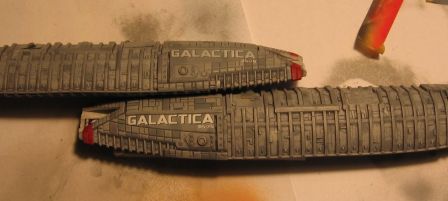
I found that the markings "Galactica" was too obvious, and after verifIcation, they are supposed to be gray rather than white. I have therefore covered with a veil of gray, then again matt varnish and a final black wash still very light.

   bottom (before) / top (after)

IMG_8114-2

IMG_8115-2

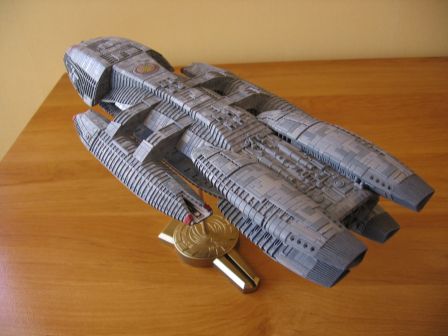
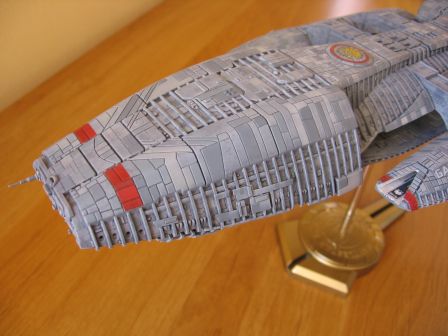
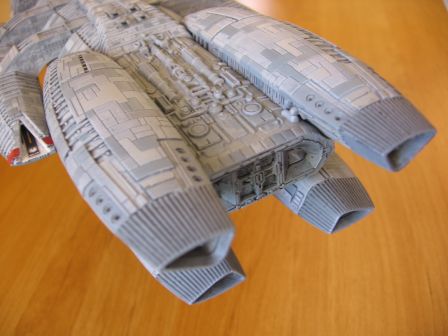
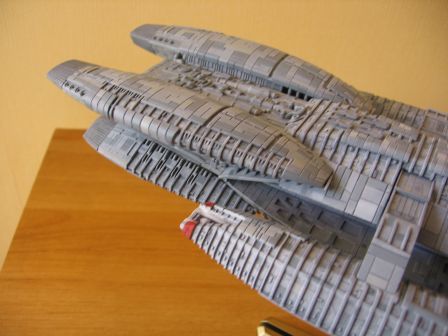
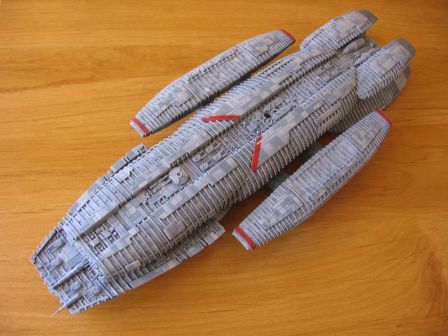
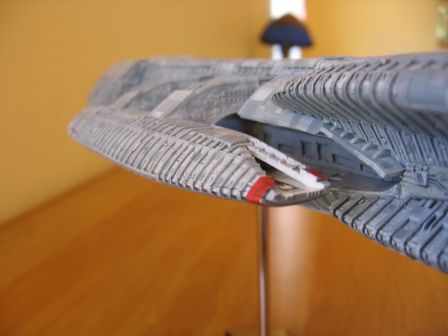
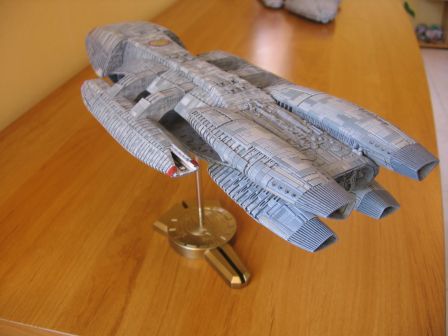
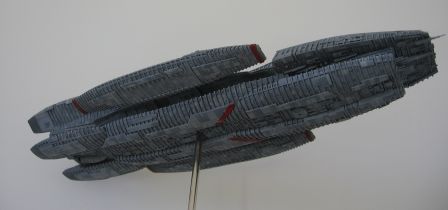
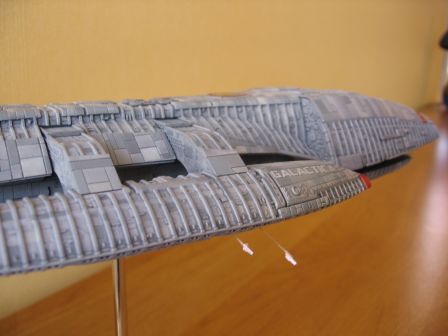
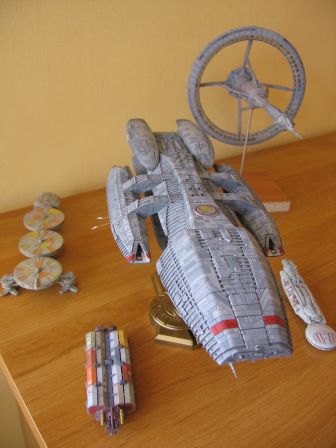
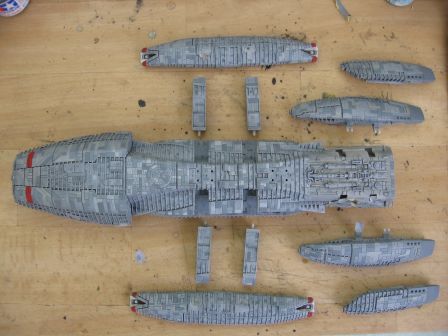
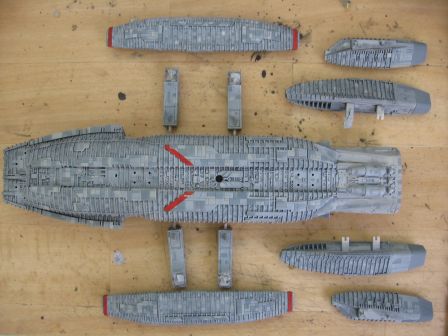
And now the Galactica after final assembly. IMG_8122 IMG_8139 IMG_8140 IMG_8141 IMG_8142 IMG_8143 IMG_8144 IMG_8130 IMG_8134.JPG IMG_8136

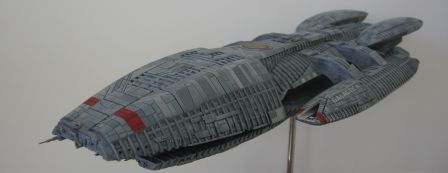
With a white background, to better appreciate the weathering. IMG_8154-2 IMG_8156-2 IMG_8157-2

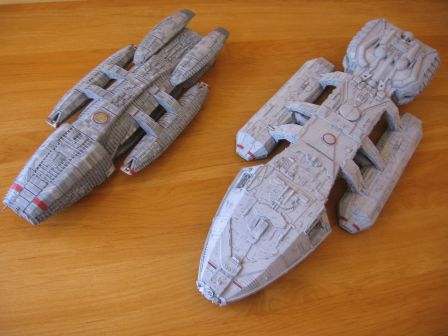
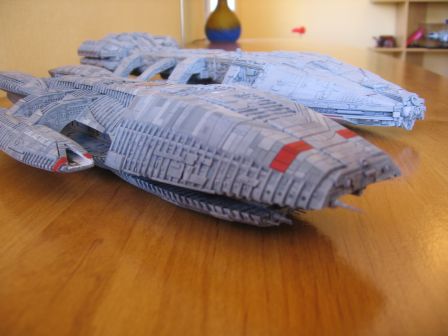
With her big sister (sorry, photos are a bit blurry) IMG_8132 IMG_8133

Ejecting a few Vipers, paper and mounted on the end of an optical fiber (thanks Denis) IMG_8145 IMG_8148

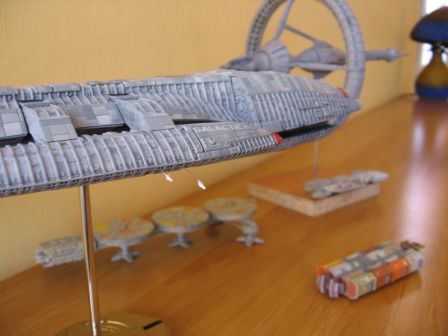
Quick display with a few ships of the rag tag fleet IMG_8149 IMG_8150

It now remains for me to change the diorama of the fleet of survivors to swap it at will with the original Galactica.

That's all folks!

lundi, 23 mai 2011

Pannels painting

  • The Galactica was covered with a light gray rather diluted to let appeared the underside preshading.

I want to reach a finish as it appears in the pilot of the serie. If it has not yet been attacked on all sides by the Cylons, it should nevertheless not look brand new, as it was its last flight before being retired. So it needs a very worn look. At the end of season 4, the Galactica is so messed up that it becomed a flying wreck (with a half-burnt armor) !

         Before | After

8072


This is not really easy to distinguish on the photos below, but the preshading is there.

8076 8077 8078

Then, the least interesting part of the painting stage : achieve lot's of panels in different shades of gray, using tens (hundreds ?) of small masks of tape tamiya, used and reused many times.

8093


* First color : dark gray mixed with the base color.

8079 8081 8082 8083 8084 8085


Between the ribs and into the sides, I used stencils, made from plastic card. 8087 8088

The stencils 8097


The central engine module is not in the same color as the main body. It received a very light gray sand filter. Before (left) | After (right)

8091


* Second tone on the panels: a slightly bluish medium gray mixed with the base color as well.

8094 8095 8096

Also on engines, there are a few sand gray panels.


* And the third tone of gray, brighter this time. 8098 8099 8100

Phew, having handle small pieces of masking tape for more than a week, this is now starting to feel the end.

The red stripes are quickly realized. The gray panels acting themselves as preshading, and give me various shades of red panels (red paint is a poor covering color). 8101 8102 8103

After let it drying for 24 hours, the Galactica has just received a light coat of klir, and a heaver one in the 3 areas that will receive decals.

mercredi, 11 mai 2011

Second heavy wash

Did not have much time to spent on this project recently, so it is a very tiny update this time.

As supposed, the Galactica needed a second heavy wash :

IMG_8049-2.JPG

IMG_8046-2.JPG

IMG_8047.JPG

It is now ready for the painting.

mardi, 3 mai 2011

Preshading wash

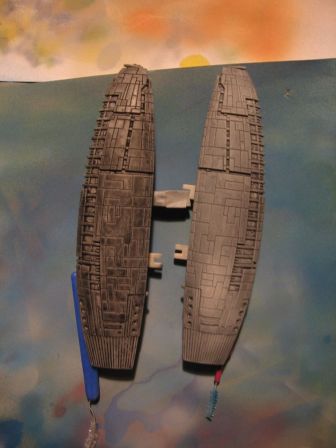
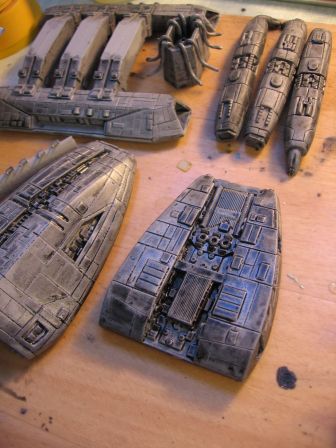
After applying the primer, I apply a very heavy black wash, that I let it dry as is (so without wiping it). I use this technique for some time on large ships such as this one to hide any lack of undercoat primer, particularly in the corners. In parallel, this creates a nonuniform preshading on every surfaces.

As a consequence, given the volume applied, I have to let it dry for several days before I am able to manupilate the parts safely.

Here you can see it applied simultaneously on the 1/9600 Pegasus from Fantastic Plastic (by the way, I don't really recommend this kit, it is of poor quality, the parts are pasted, load of bubbles, most are not symmetrical, and all the recessed panel lines have to be redone)

IMG_8017 IMG_8019 IMG_8016

It is quite possible that I make a second layer of wash on Galactica, because the result does not seem to be enough pronounced. In comparison, the one on the Pegasus is sufficient.

IMG_8018

vendredi, 29 avril 2011

Primer applied

Little update this time, after having apply grey primer (Tamiya spray can). I am rather pleased by the results, and did not found any imperfection to correct.

IMG_7903 IMG_7905 IMG_7903 IMG_7907-2 IMG_7898 IMG_7902 IMG_7899

Side panels, turrets flight decks and gluing of the main parts

The assembly went slowly in the past days:

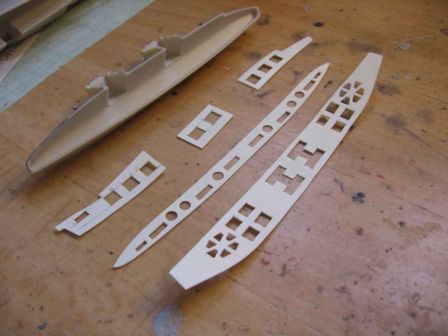
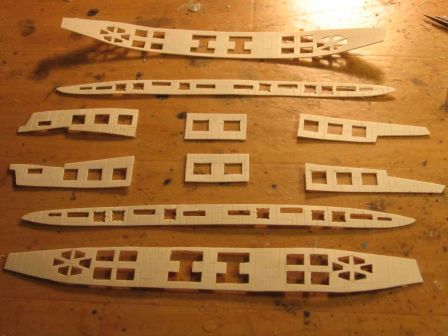
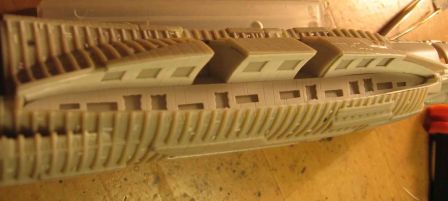
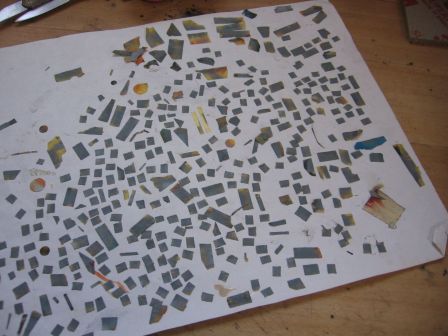
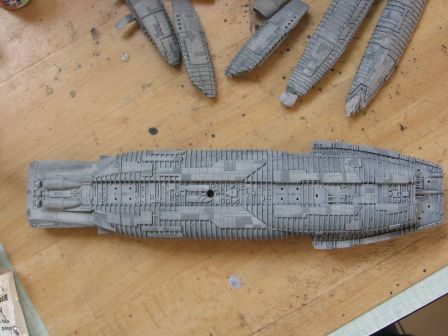
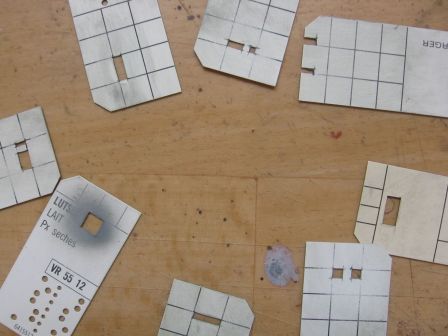
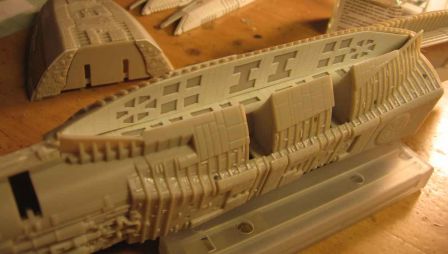
  • To detail the recessed sides of the main body, I started last time to prepare paper templates, in order to cut and work on these pieces without having to access inside the recessed sides. My first attempts were unsuccessful, because I used too thin plastic sheet, it was ultimately not possible to engrave properly, and cutting all the geometric figures resulted in far too fragile parts. After two failed attempts, I moved to of 0.5 mm thick plastic sheet. I feared it woul be too thick, but ultimately, once in place, it goes very well. By cons, it is less manageable and so fits less easily.

Parts, and cuts in "lace" IMG_7861-2 IMG_7862-2
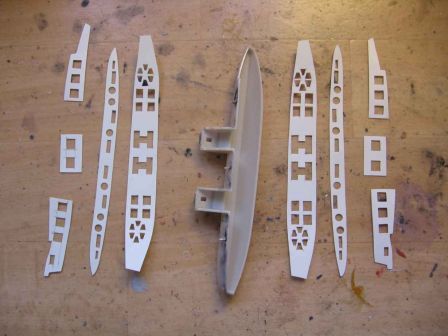
Then after an engraving session : IMG_7863-2

A dry test : IMG_7864-2 IMG_7865-2

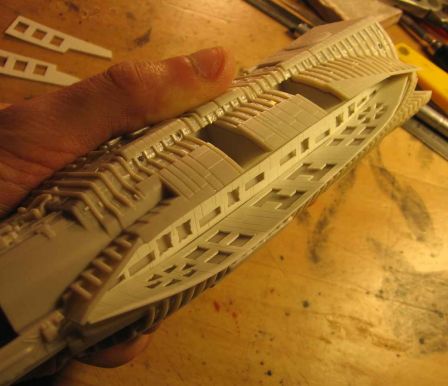
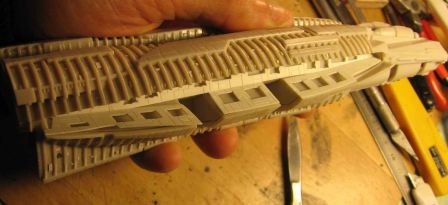
Then, after assembling of the body (see below), they are glued in place : IMG_7875-2 IMG_7876-2
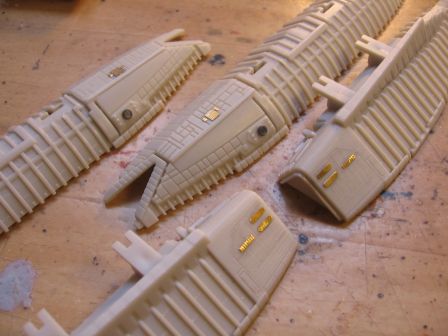
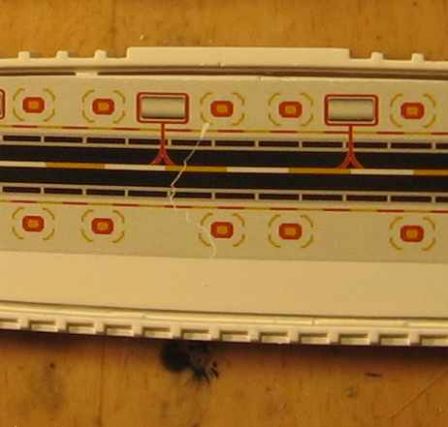
  • The landing bays are making a little "comeback". After a painting of the inside in mat white (with a Tamiya primer spray can), the markings decals are applied, and then covered with mat varnish, as they are really gloss as is.
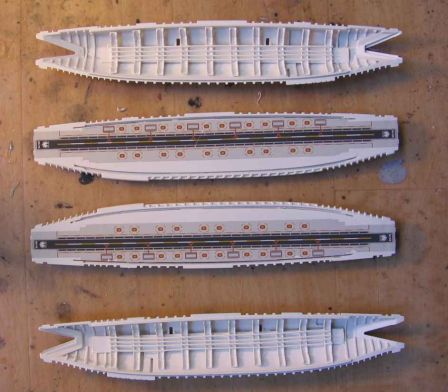
IMG_7877-2.JPG

Take care, this decals are brittle (as can be see on one of the runway) IMG_7866-2.JPG
After assembling the half-shell by two, there is a remaining side to detail on each of these bays (which I deliberately left out because of the sanding that would coming here) : IMG_7880-2
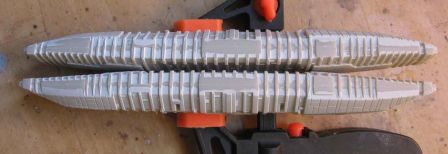
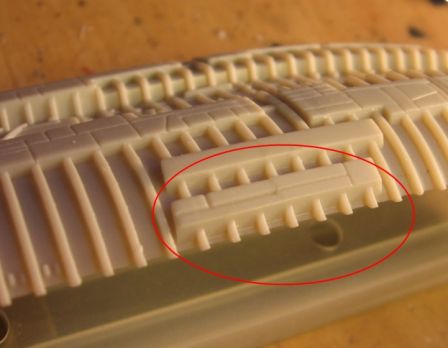
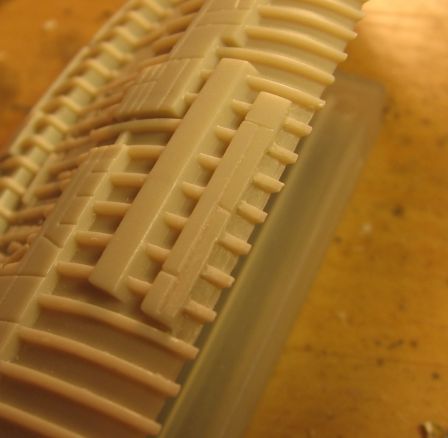
Then engraving and gluing small rectangles of plastic strips : IMG_7883-2

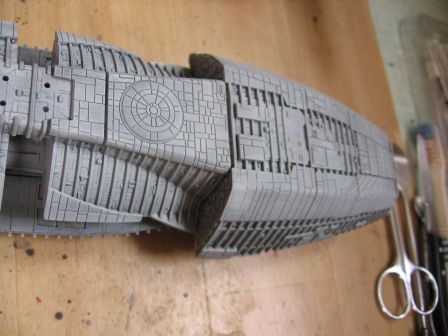
  • I can finally start assembling the main body of this beast:
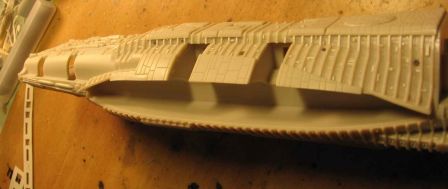
IMG_7867-2

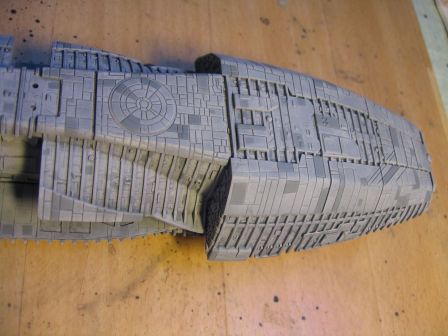
The bottom of the head is then glued, in making sure to have a perfect alignment of the underside armor plate. IMG_7868-2
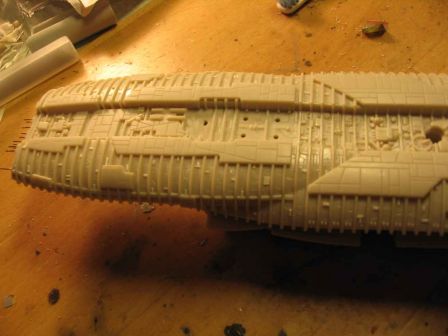
  • And surprise, a final dry test of the middle and upper parts of the head showed that I still have a small millimeter too height to align the top of the head with the top of the main body.
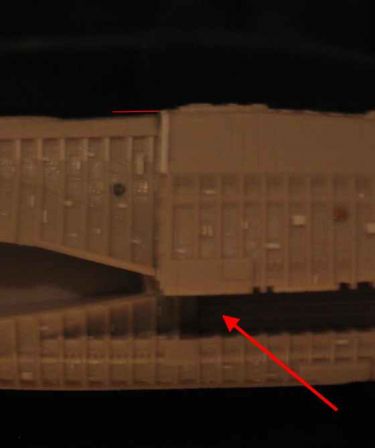
IMG_7871-2

By sanding a little more the middle part of the head, the trouble is quickly solved. IMG_7874-2
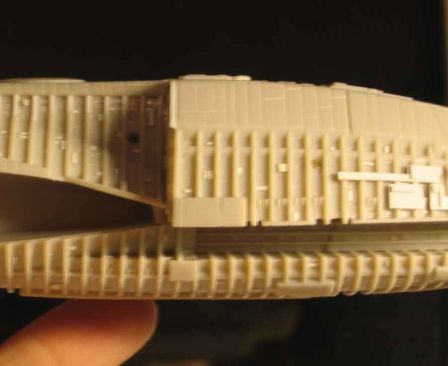
  • I added a small section of plastic strip to align this step at the right level
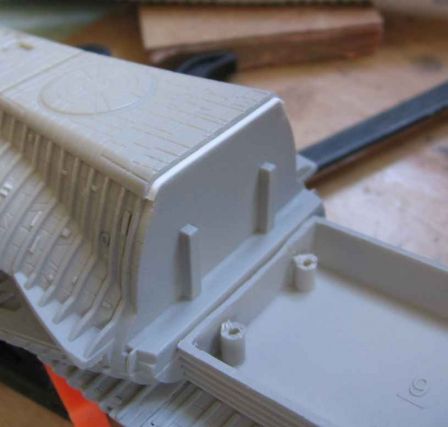
IMG_7881-2

And final gluing of the upper head part after a first coat of Tamiya primer (spray can) in this area that will be then less accessible : IMG_7884-2 IMG_7885-2 IMG_7886-2
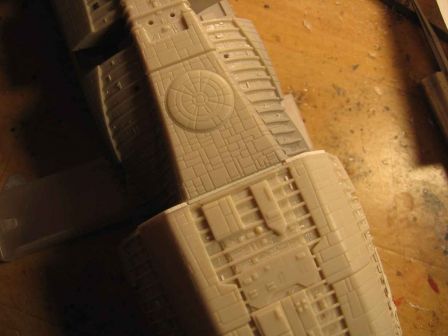
  • Before tidy up the plastic strips, some additional details are quickly added to the nose of the engine modules :
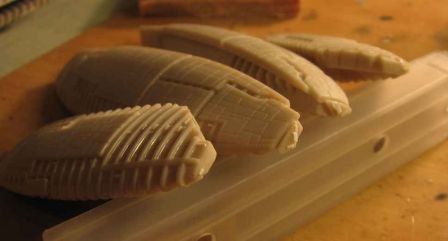
IMG_7882-2

  • The 24 turrets also require some attention. As is, they are not really appealing.

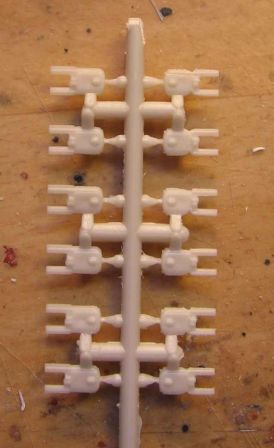
Two different detailing kits exists for the moment on this subject (both available via StarshipModeler). The first one is a photoetched sheet rather well detailed, but the result is downright flat and slightly undersized. The second kit, in resin and from Timeslip Creations, seems much more accurate in size and shape. Finally, I just reworked a little the turrets' kit. The cannons are slightly sharpened, and two notches are performed with a triangular section file. The result is not totally "accurate", but this small operation gives them a better flavor compared to the original ones, and that is enough for me.

Before | After IMG_7878-2 2 small tabs on the pin of each tower have to be removed, as they would be are on a hair-high relative to the fuselage if let as is.
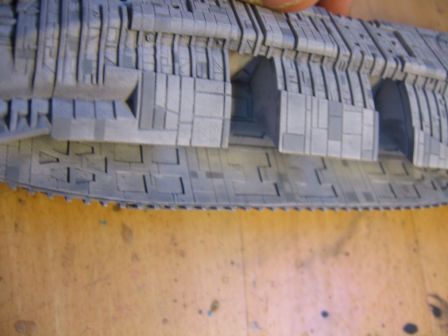
  • There is a last point to correct: adding a wedge under each arm, with very fine strip, in order to align them perfectly, and that would otherwise tend to collapse, if a space would have been left. The thickness of this wedge would depend on how your recessed side parts have been glued to the body.
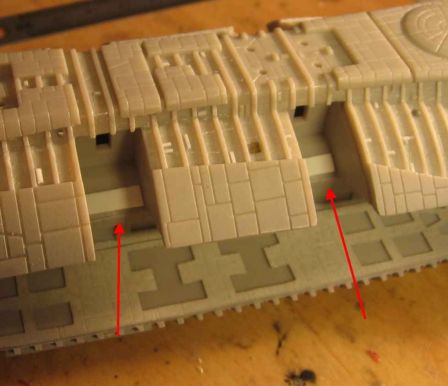
IMG_7887-2

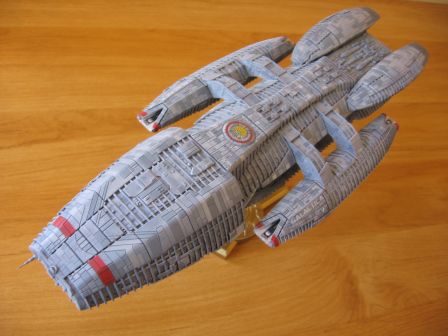
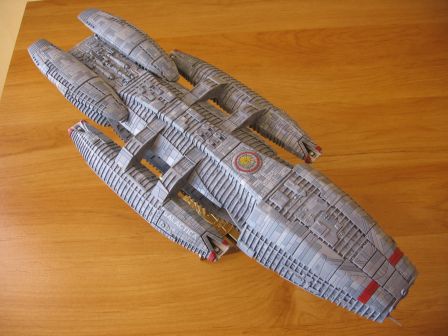
This completes the first part of this building, devoted to assembly and detailing. The painting stage will now follow.
vendredi, 8 avril 2011

Detailling engines, engraving again and again...
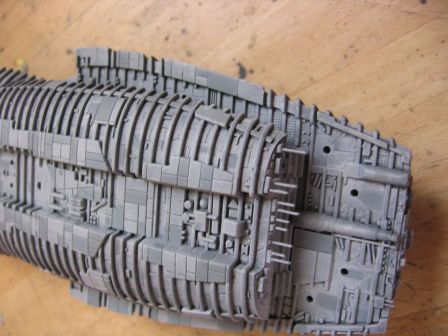
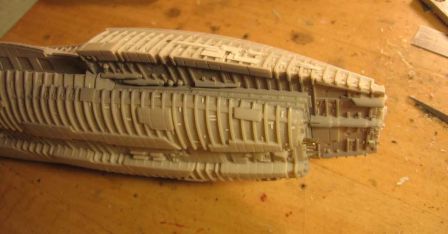
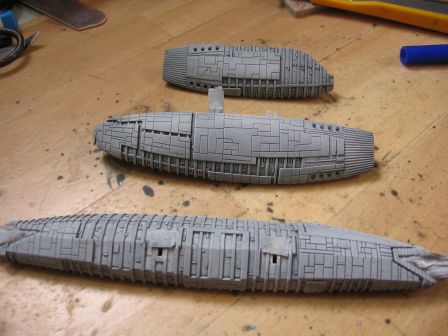
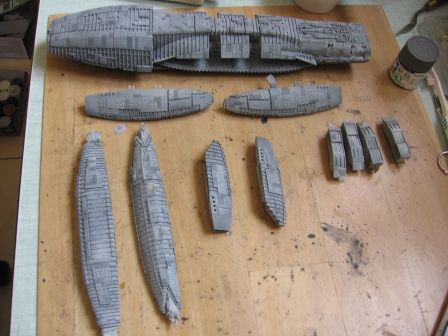
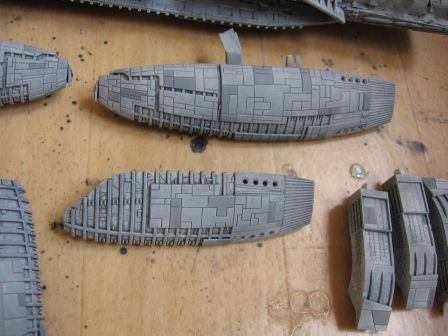
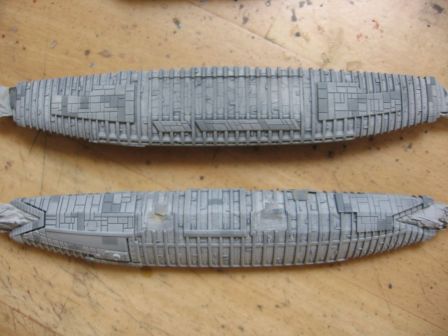
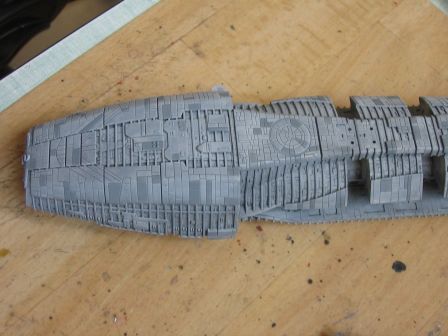
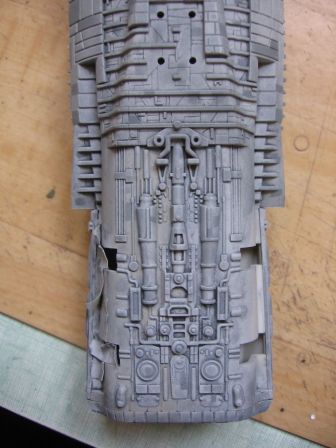
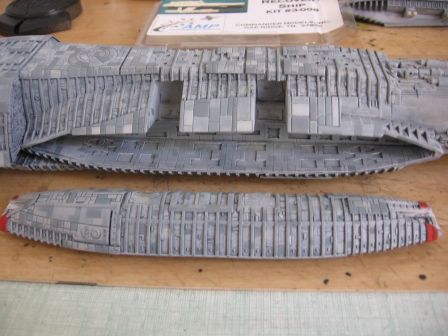
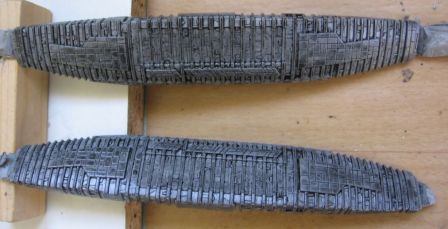
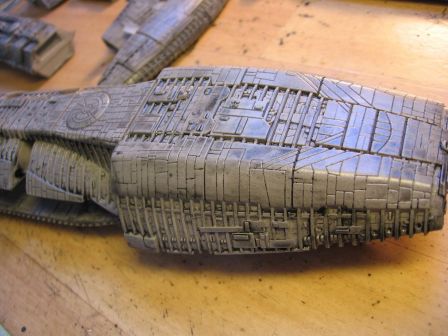
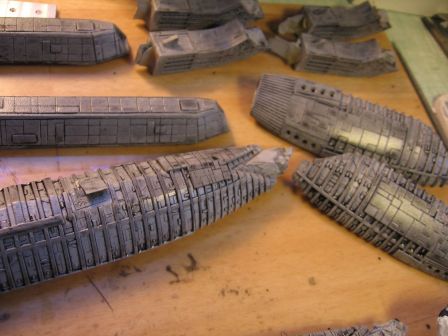
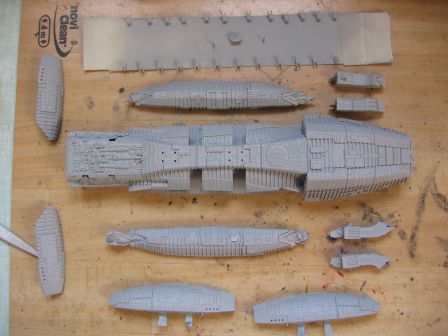
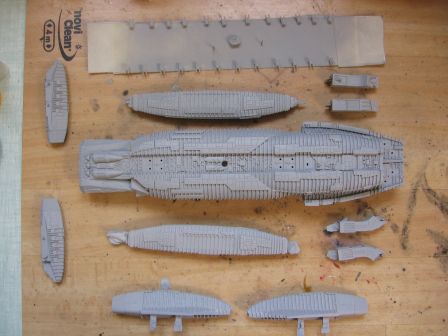
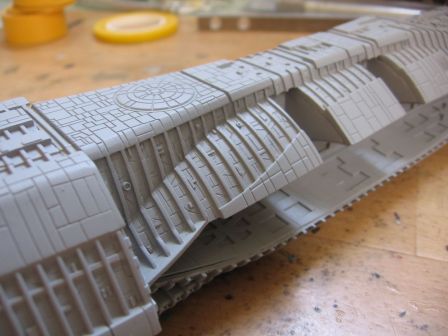
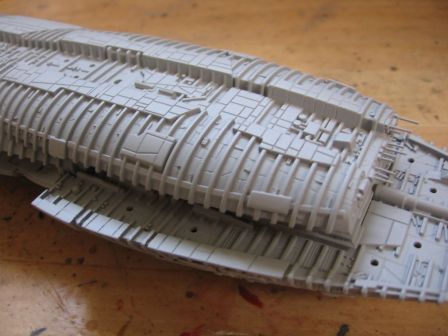
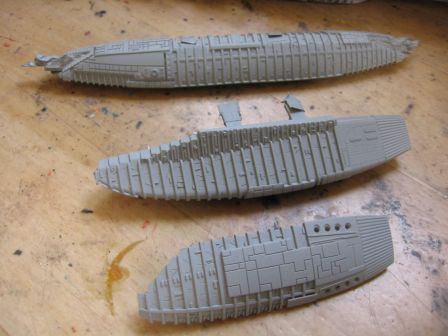
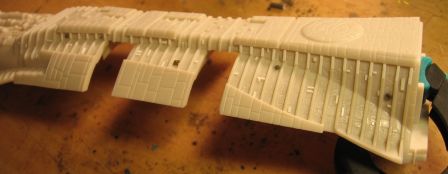
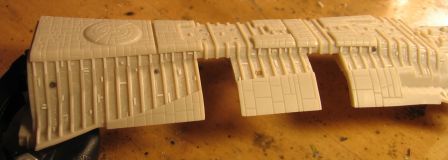
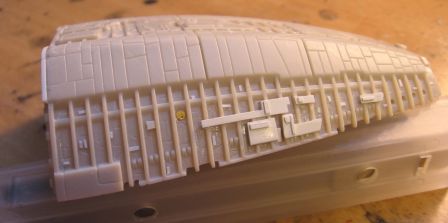
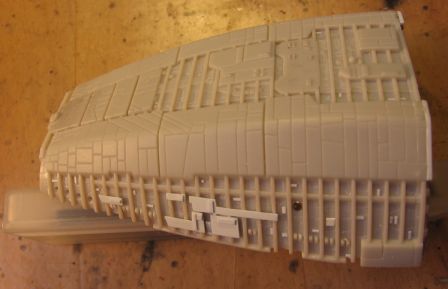
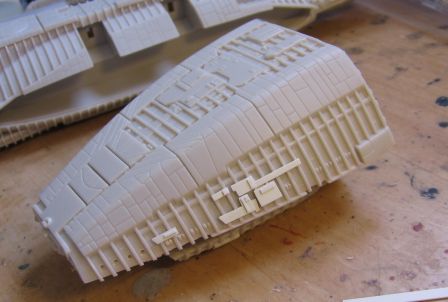
Here is the result of 2 long weeks to engrave, scrape, sand and glue tiny bits of plastic :

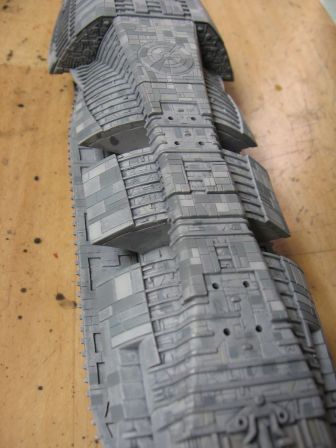
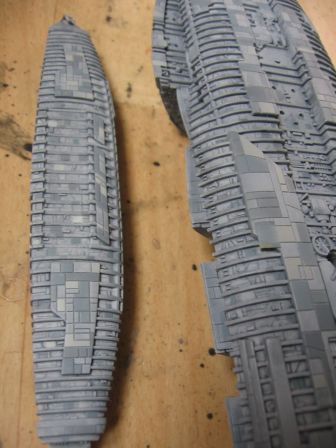
  • engraving between the ribs and throughout the ship is completed in the same style as the body previuosly presented.
  • A whole series of ribs, and detail is missing on the lower engines modules.

before

IMG_7830-2

Added ribs (section 0.5 x0,25mm)

IMG_7831-2

and details

IMG_7838-2

  • Incidentally, the head has also received missing recessed panel lines on the top

IMG_7833-2

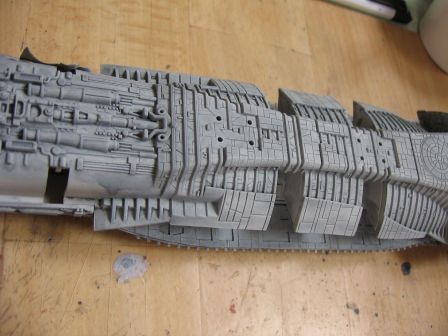
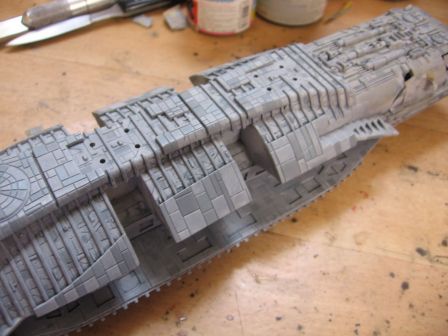
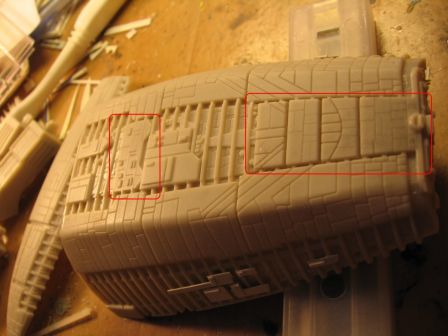
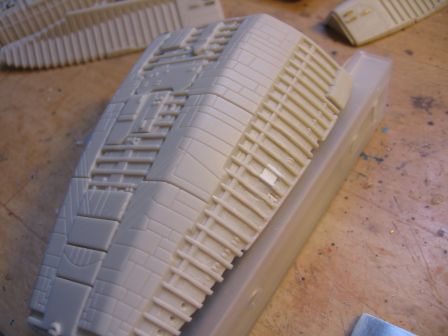
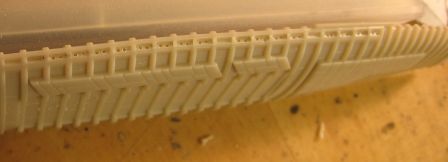
  • Then dozens (even hundreds) of small rectangles and squares of plastic were added between the ribs. Finally I added very few detailing spare box parts because they would have been disproportionate, stayed with plastic strips.

IMG_7839-2 IMG_7840-2 IMG_7841-2 IMG_7842-2 IMG_7843-2 IMG_7844-2 IMG_7845-2 IMG_7846-2 IMG_7847-2

Again on the head, the top side armor plates are completed at their end.

7850-2

This stage of heavy detailing now behind me, I begin to see the end of the tunnel...

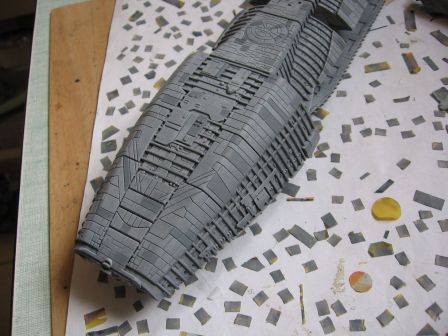
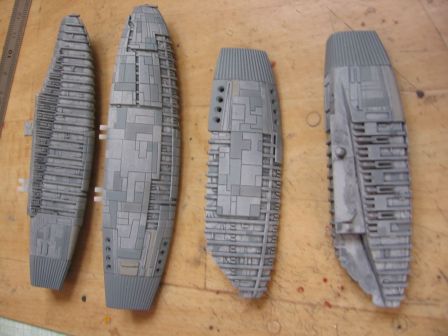
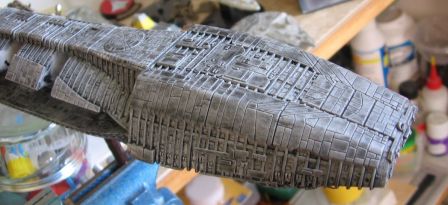
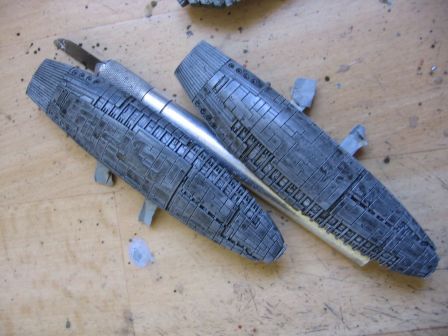
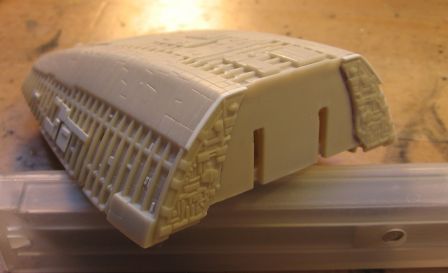
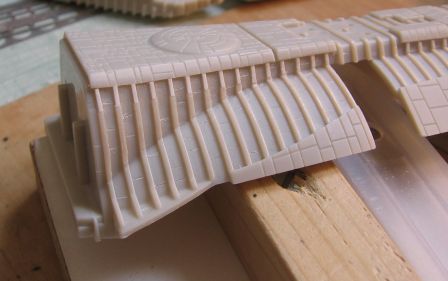
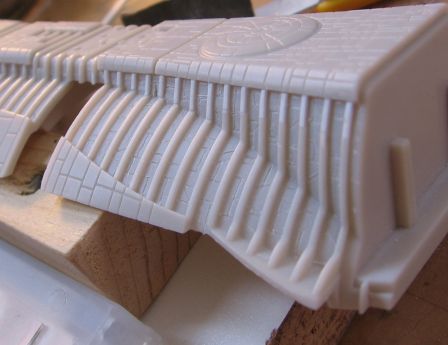
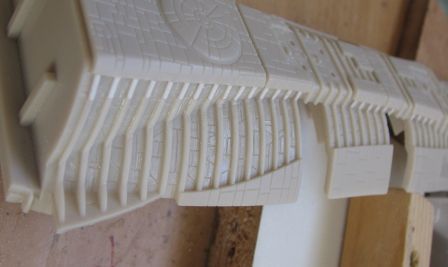
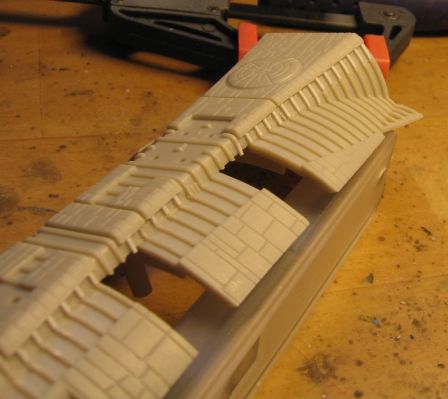
  • After gluing the sub-assemblies, it appears that the edges of the ribs are too sharp and and need to be seriously smoothed. This affects 6 sub-components: upper and lower parts of the head, and the four reactors.

before

IMG_7835-2

after

IMG_7837-2

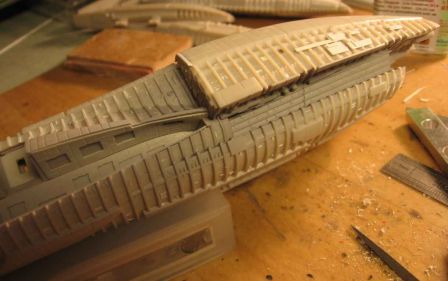
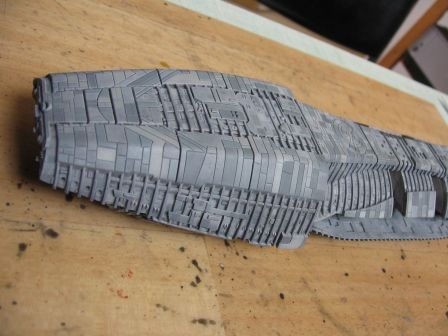
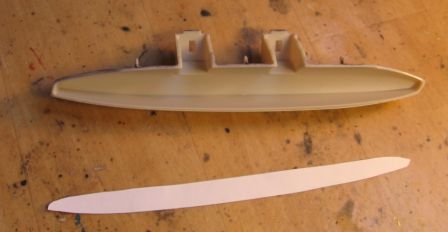
  • The last "big" stage can finally begin with the detailing of the sidewalls. The interior space is not easily accessible, so I intend to make plastic strips that I'll bring and tape inside. To do this, I prepare some paper templates.

IMG_7848 IMG_7849

Engraving again...

I thought the next step would be to add dozens of small rectangles of plastic between the ribs of the Galactica to improve details. Finally, this is pending because :

  • First, I completely forgot to fill the voids on the head, left by the removal of the unsightly armor plates.

IMG_7824-2

  • And then I recreate these plates with thin plastic card :

IMG_7825-2

  • Second, the first engraving between the ribs do not finally satisfied me, so I could not resist and started a second pass of engraving much further :

before

IMG_7826-2

after

IMG_7827-2

As the space between each ribs is rather short, it was not possible to use a plastic cutter, and working with a pin is unfortunately needed. Why "unfortunately", well if it digs, it also creates ridges on each side of the recessed line, that have to be sanded, scraped, etc. to remove it. And because space is limited, it is difficult to be effective. Finally, I used once again the screwdriver to scrape them, and then I applied another glazing, still using Tamiya extra fluid glue to remove residues that are still remaining (this step allows them to blend in).

IMG_7828-2

This image shows the result of the vitrification : before (right, white traces are plastic remnants of the graving process) and after (left, where the white streaks are visible mainly reflections of light as the glue acts as a gloss)

IMG_7829-2

Only the body is done for the moment, I still have to continue this second pass of engraving on all other parts of the beast in the same spirit (head, reactors, warehouses, arms).

Engraving, antennas, and viper tubes

This time, the work was concentrated on engraving and adding details.

  • Engraving between the ribs. While this is quite long and painful to realize, I wonder if I will not have to do make second run of engraving. I'll apply some little details, and see if is necessary.
  • Engraving the engines, which were really quite smooth

IMG_7819-2.jpg

  • The verniers are not deep enough for my taste (on the head and engines modules), I drilled and then sealed from behind with some plastic card.

IMG_7817-2.jpg

  • Back on the head: I fixed some details, including the support for the large antenna (on top part of the head) which is completed by a piece of tree, flatten in the length, adding support for a missing second large antenna on the lower part of the head, "piercing" in preparation to the many missing antennas.

IMG_7803-2.jpg IMG_7805-2.jpg IMG_7807-2.jpg

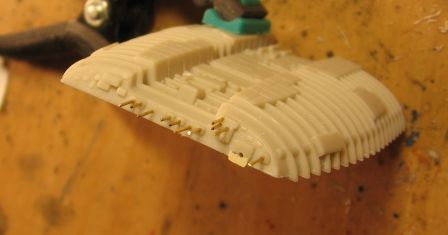
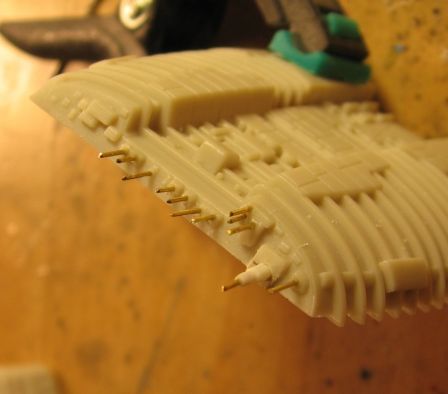
and therefore addition of antennas using brass rods.

IMG_7812-2.jpg IMG_7815-2.jpg

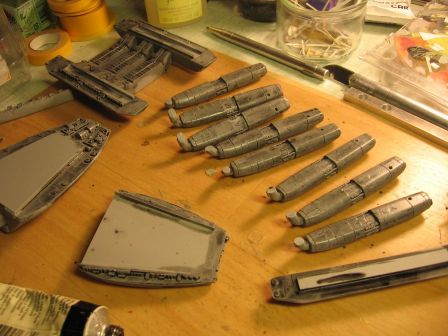
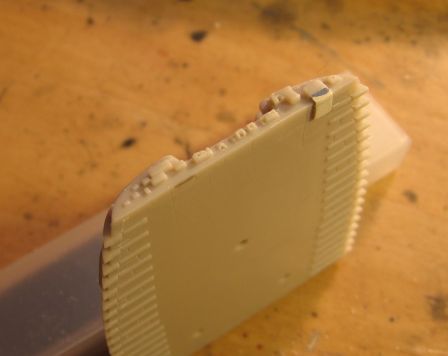
  • I drilled all the Viper ejection tubes on the sides of landing bays.

A first run with a small diameter drill

IMG_7804-2.jpg

Then a second run with a little bit wider drill

I prefer using this double run process, because larger is drill, bigger are the errors (spin, no correction possible). If there is a discrepancy, it is easy to correct the situation by being vigilant on the second run. The first run hole is using as a guide the second one, and finally, as each run is working on less material, it also prevents the plastic from overheating, melting, and/or deforming the part.

IMG_7810-2.jpg

As you can see, there are 2 tubes per ribs, in 5 rows of 4 rafters. As I was launched with my mini drill, I missed a space between two rows on the first hangar, well, despite informed, I have done it again and missed another free space on the second hangar bay...

  • Improvement of 2 armor plates on the belly of the animal by cutting into the plastic.

Before

IMG_7799-2.jpg

After

IMG_7801-2.jpg

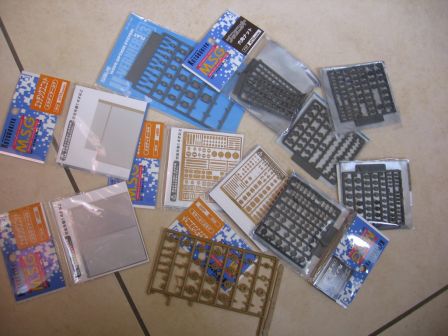
  • To improve the details, I will use parts of AFV and naval ships models, spare box, Evergreen strips, and detail sets (plastic parts or photoetched) from Wave and Kotobukiya:

IMG_7822-2.jpg

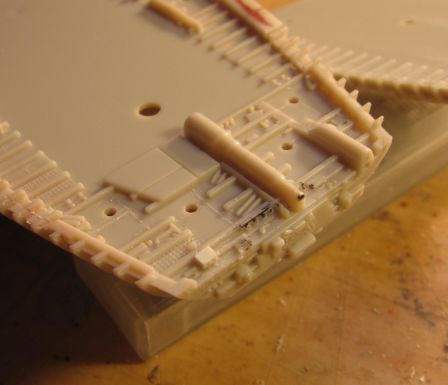
As an example, here are the first details added on the landing bays and engines modules

IMG_7823-2.jpg

jeudi, 7 avril 2011

Ribs and vitrification

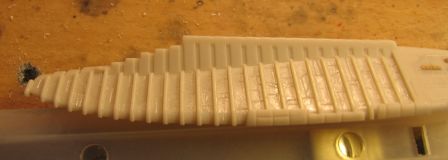
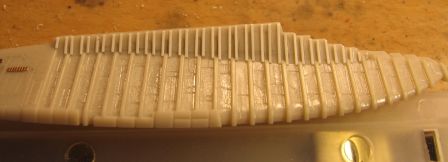
  • The ribs on the upper body section are completed with 0.5 mmx0, 75mm strips.

IMG_7795-2

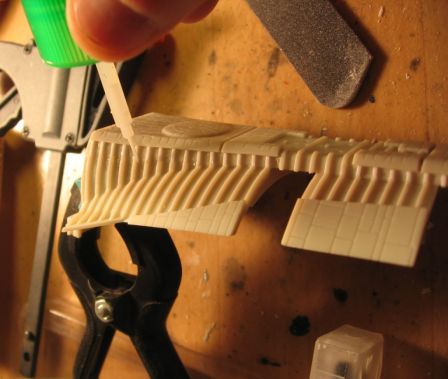
  • then a little bit of sanding to even the ribs, and i seal with ultra fluid glue (Tamiya) to eliminate micro-bumps (that are almost invisible but who would be revealed like magic when painting). Incidentally, that should strengthen the bonding of the strips themselves.

IMG_7797-2

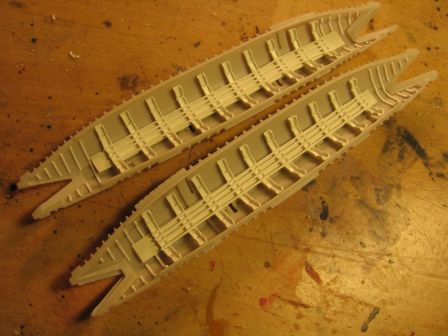
  • While the glazing is drying, and that these strips are still on the work bench, I completed the inner ends of the landings bays

IMG_7798

- page 1 de 2