OlCabour's Hangar

Aller au contenu | Aller au menu | Aller à la recherche

Space 1999 › Moonbuggy

Fil des billets

vendredi, 17 mai 2013

Space1999 - Moonbuggy 99% done

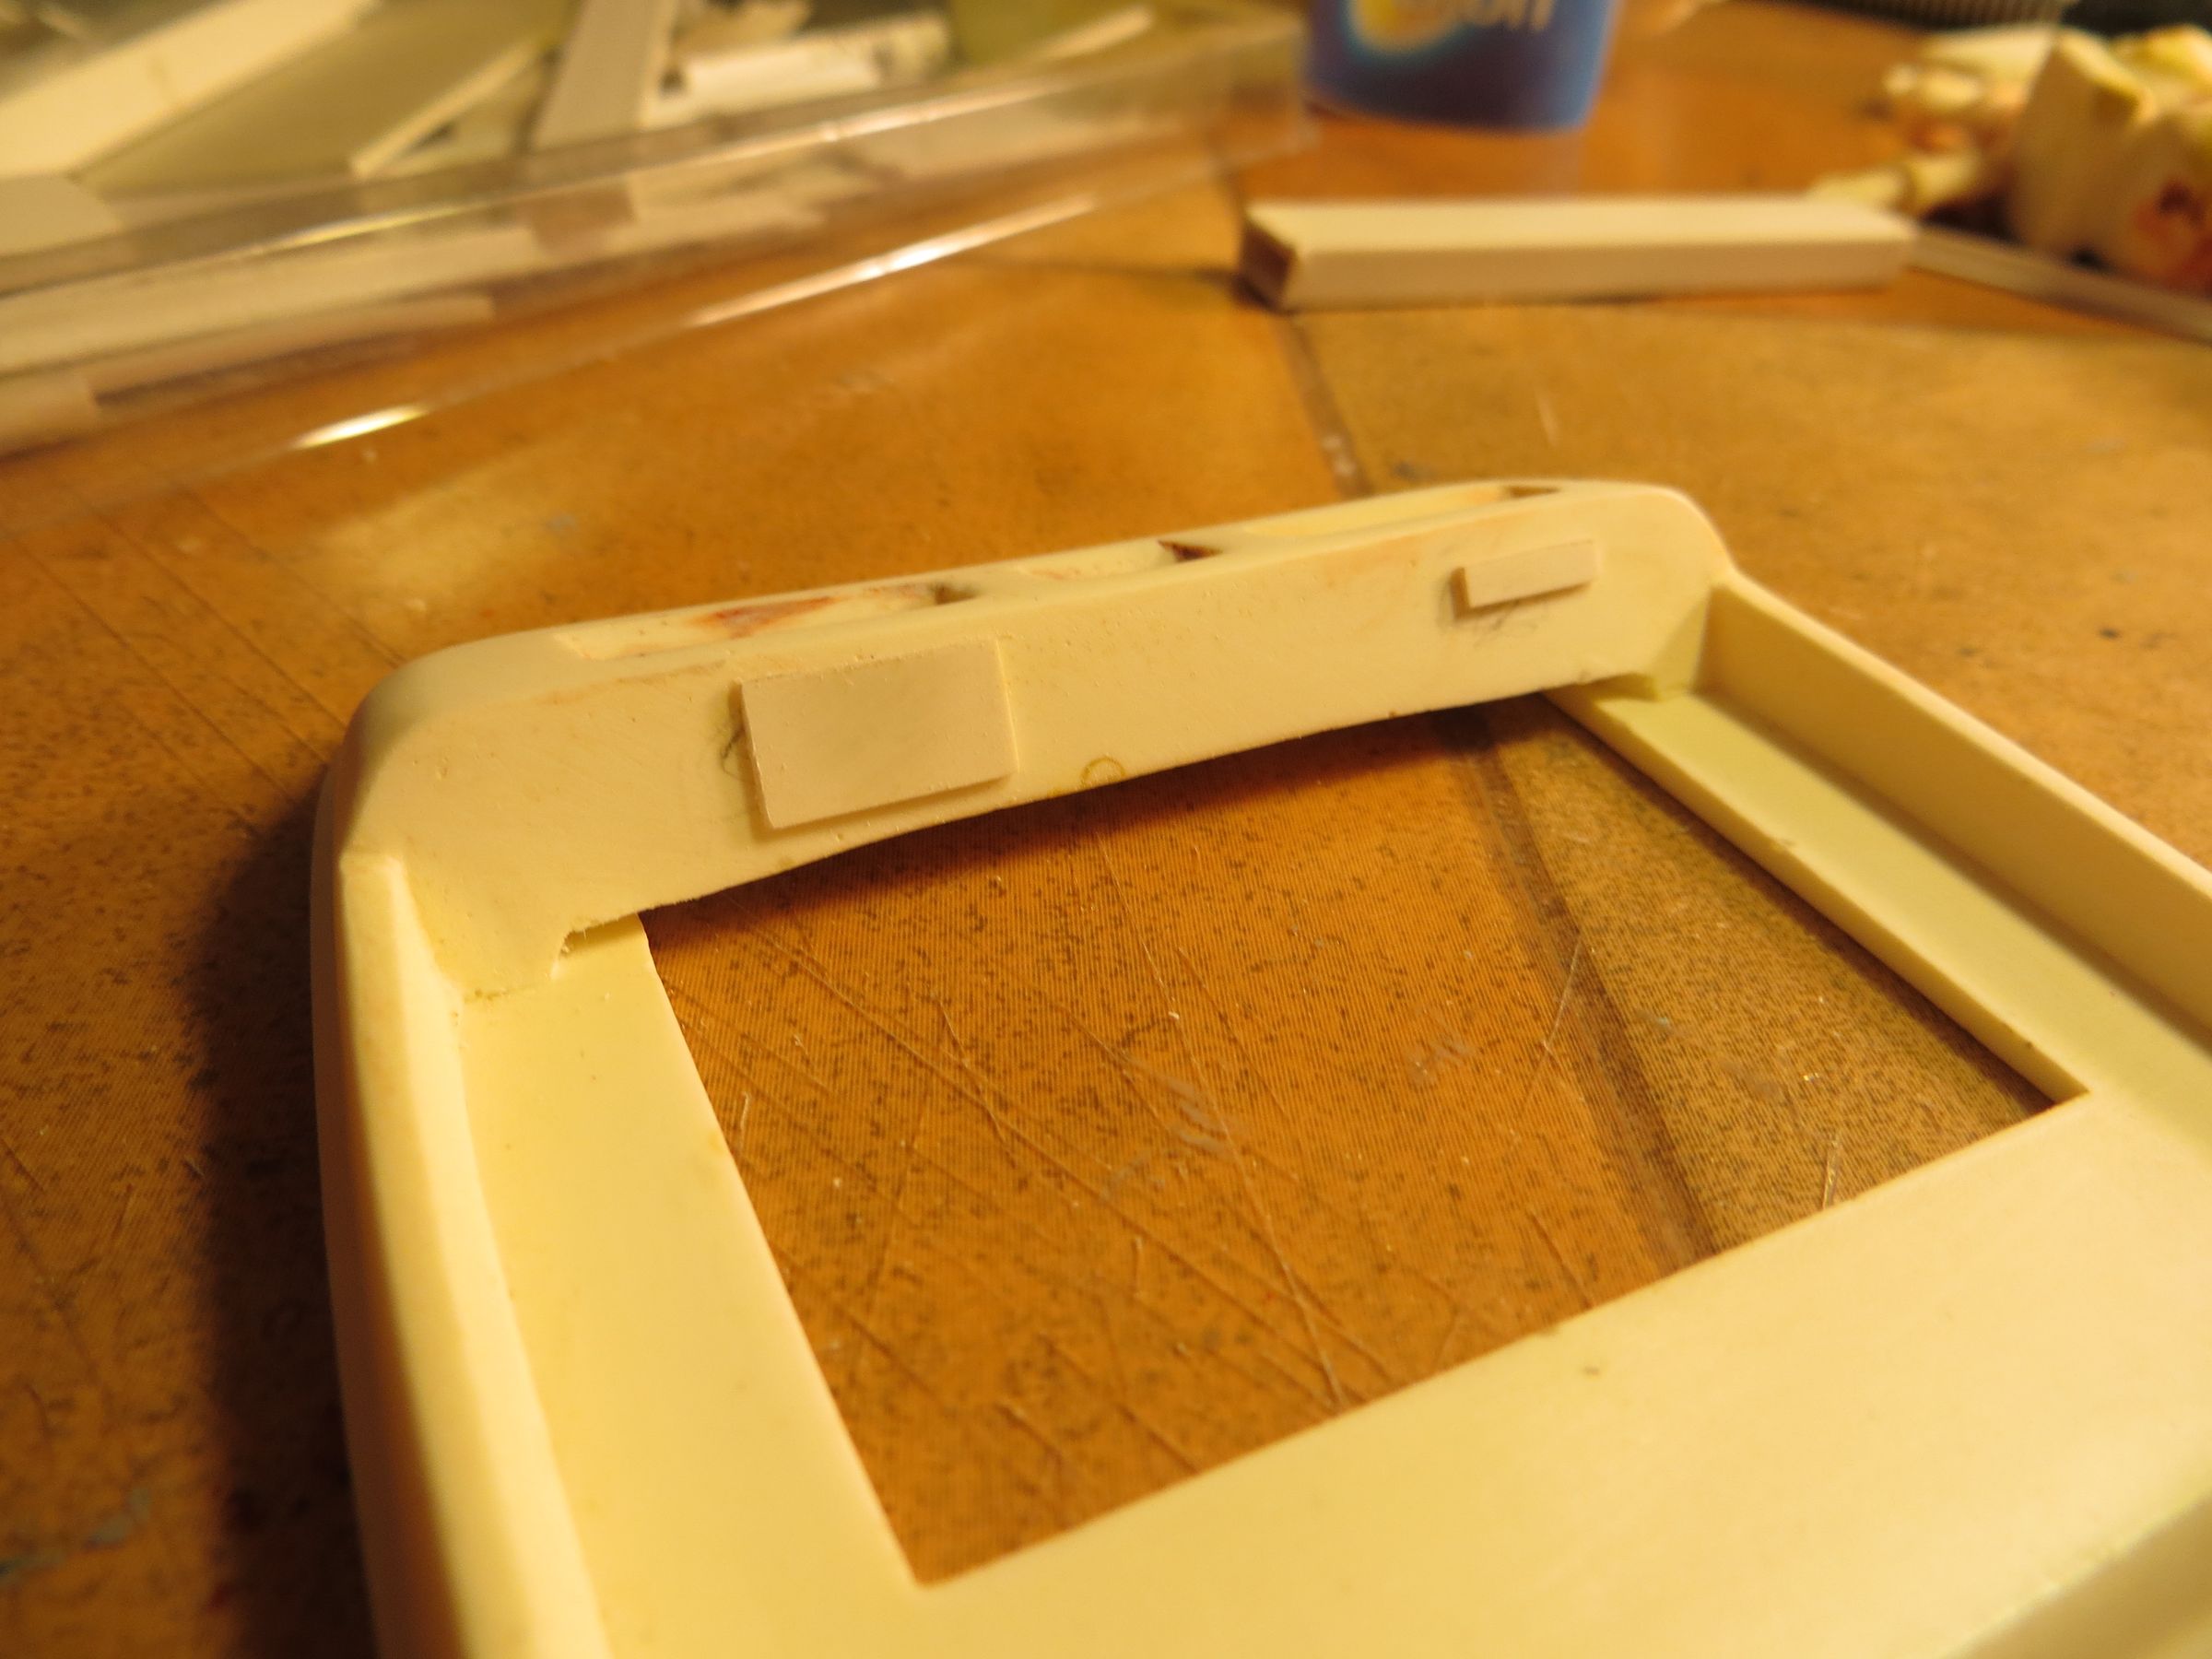
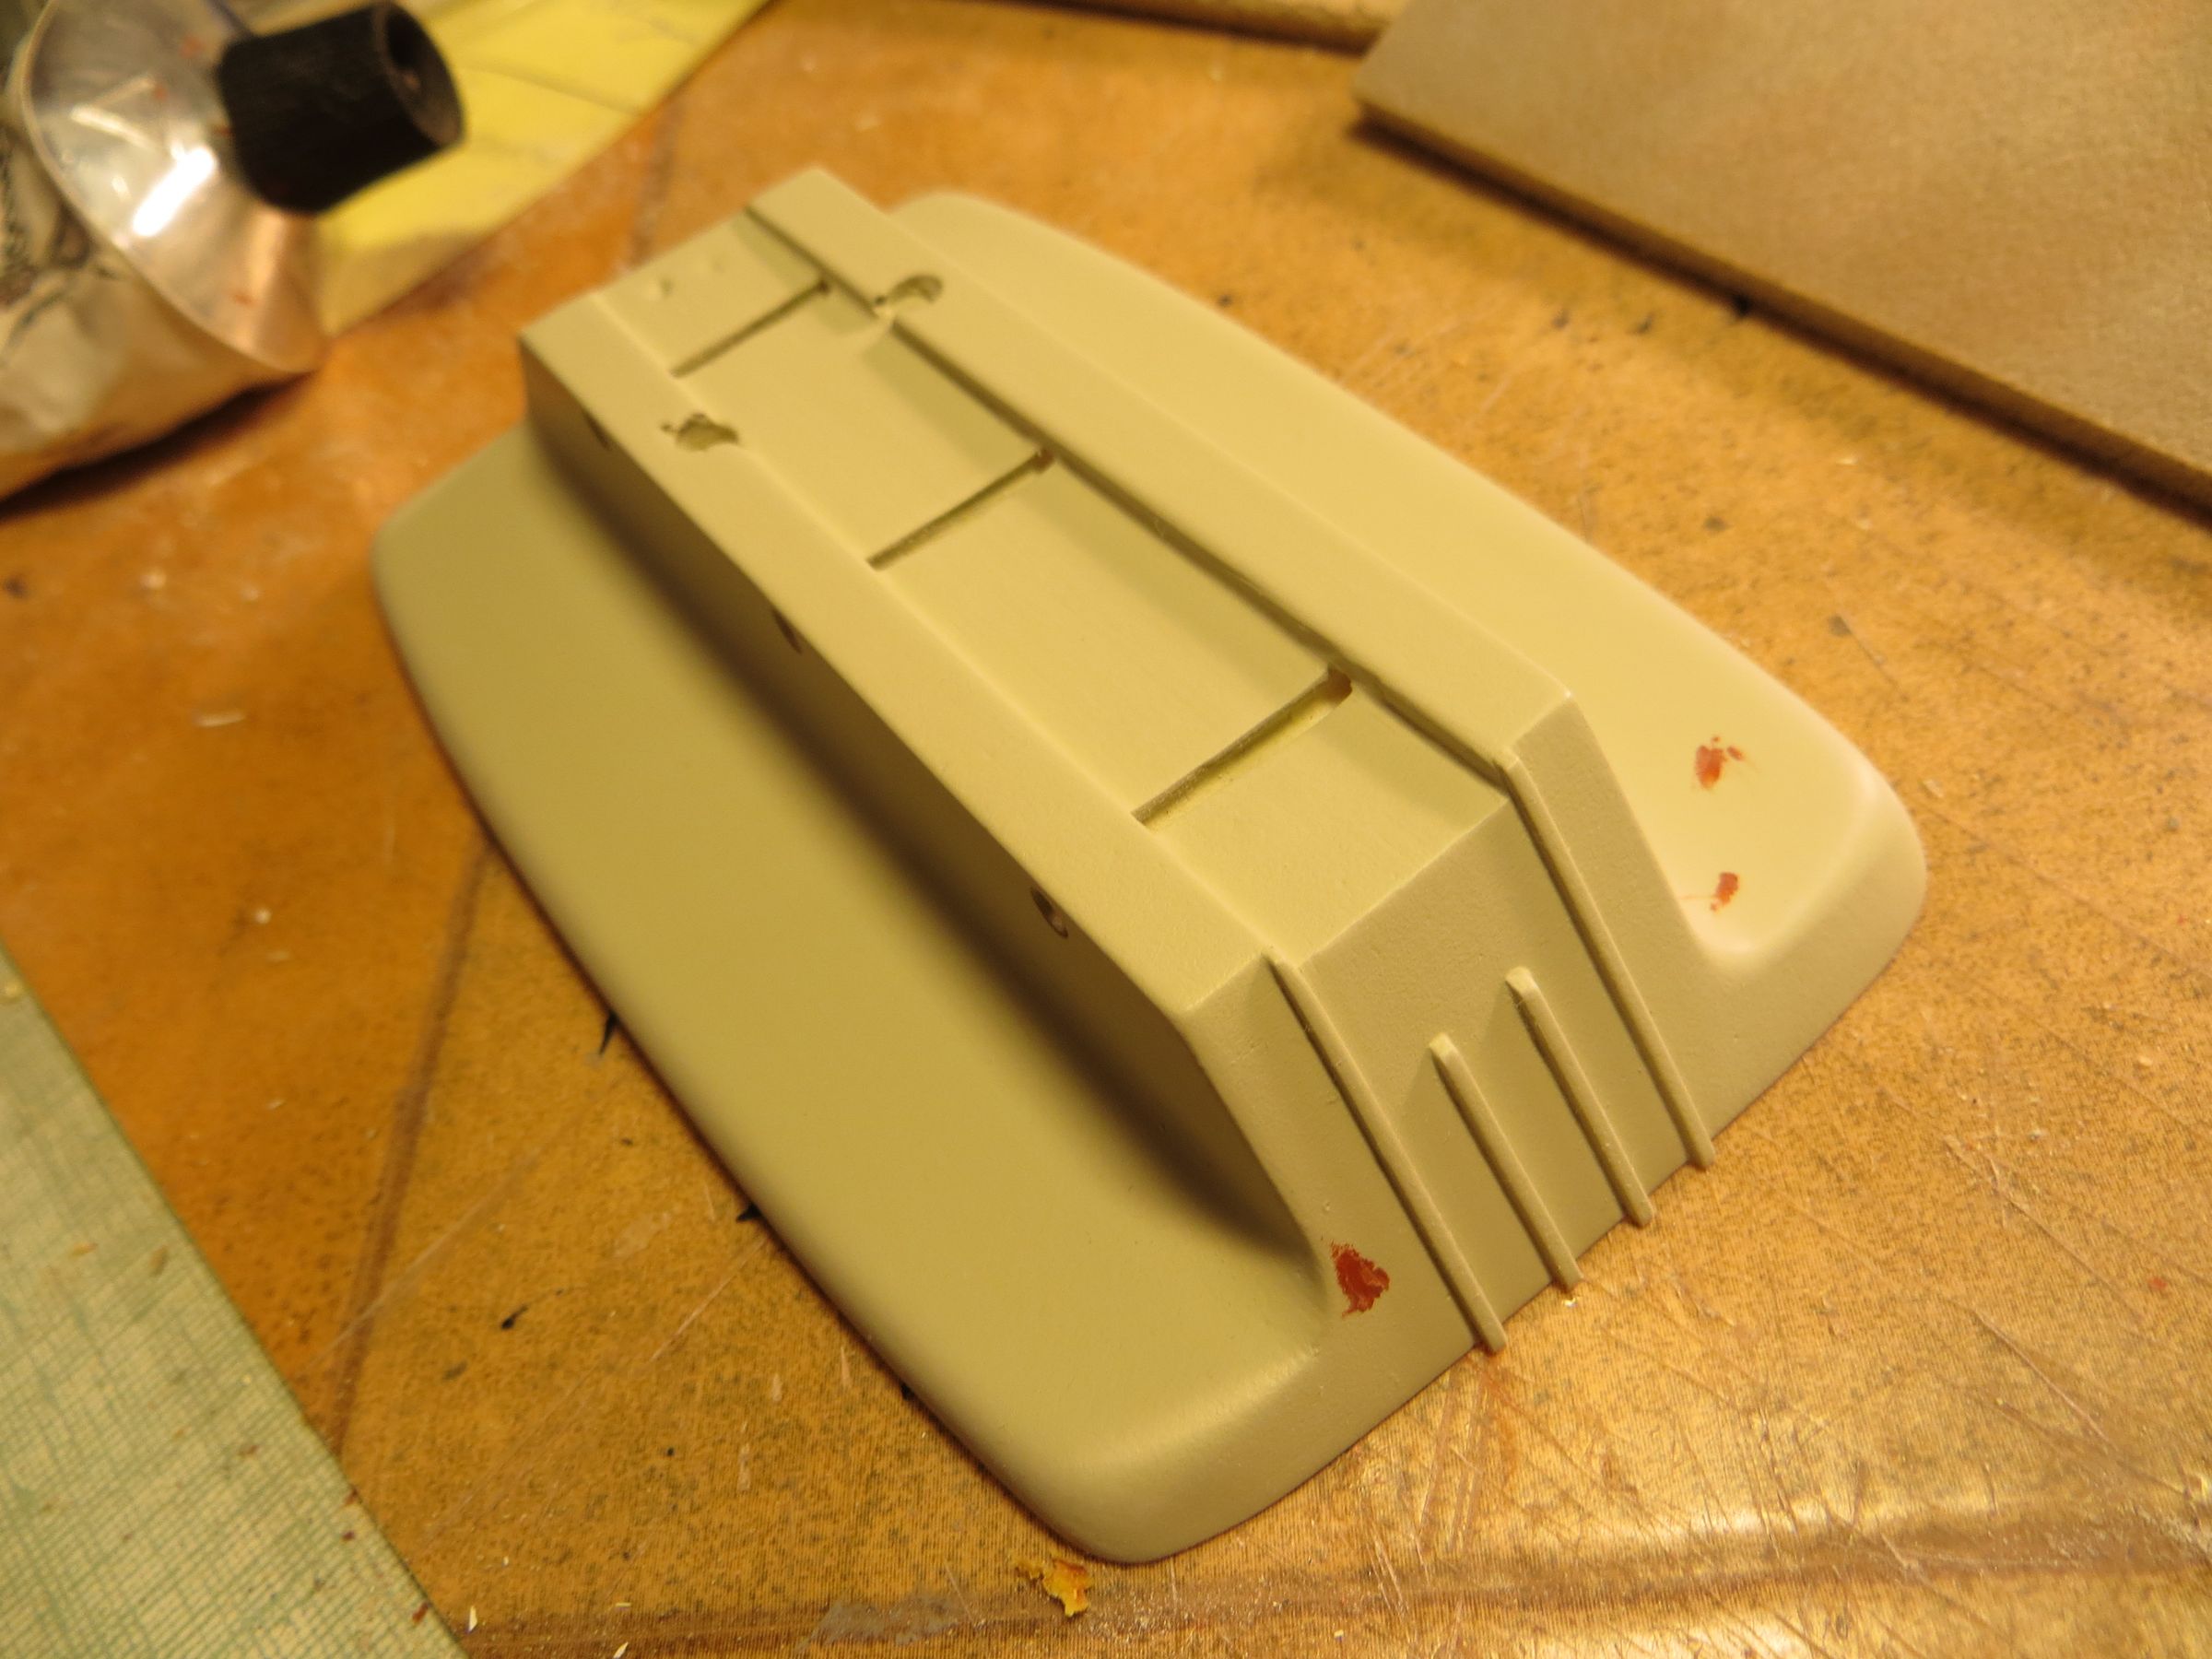
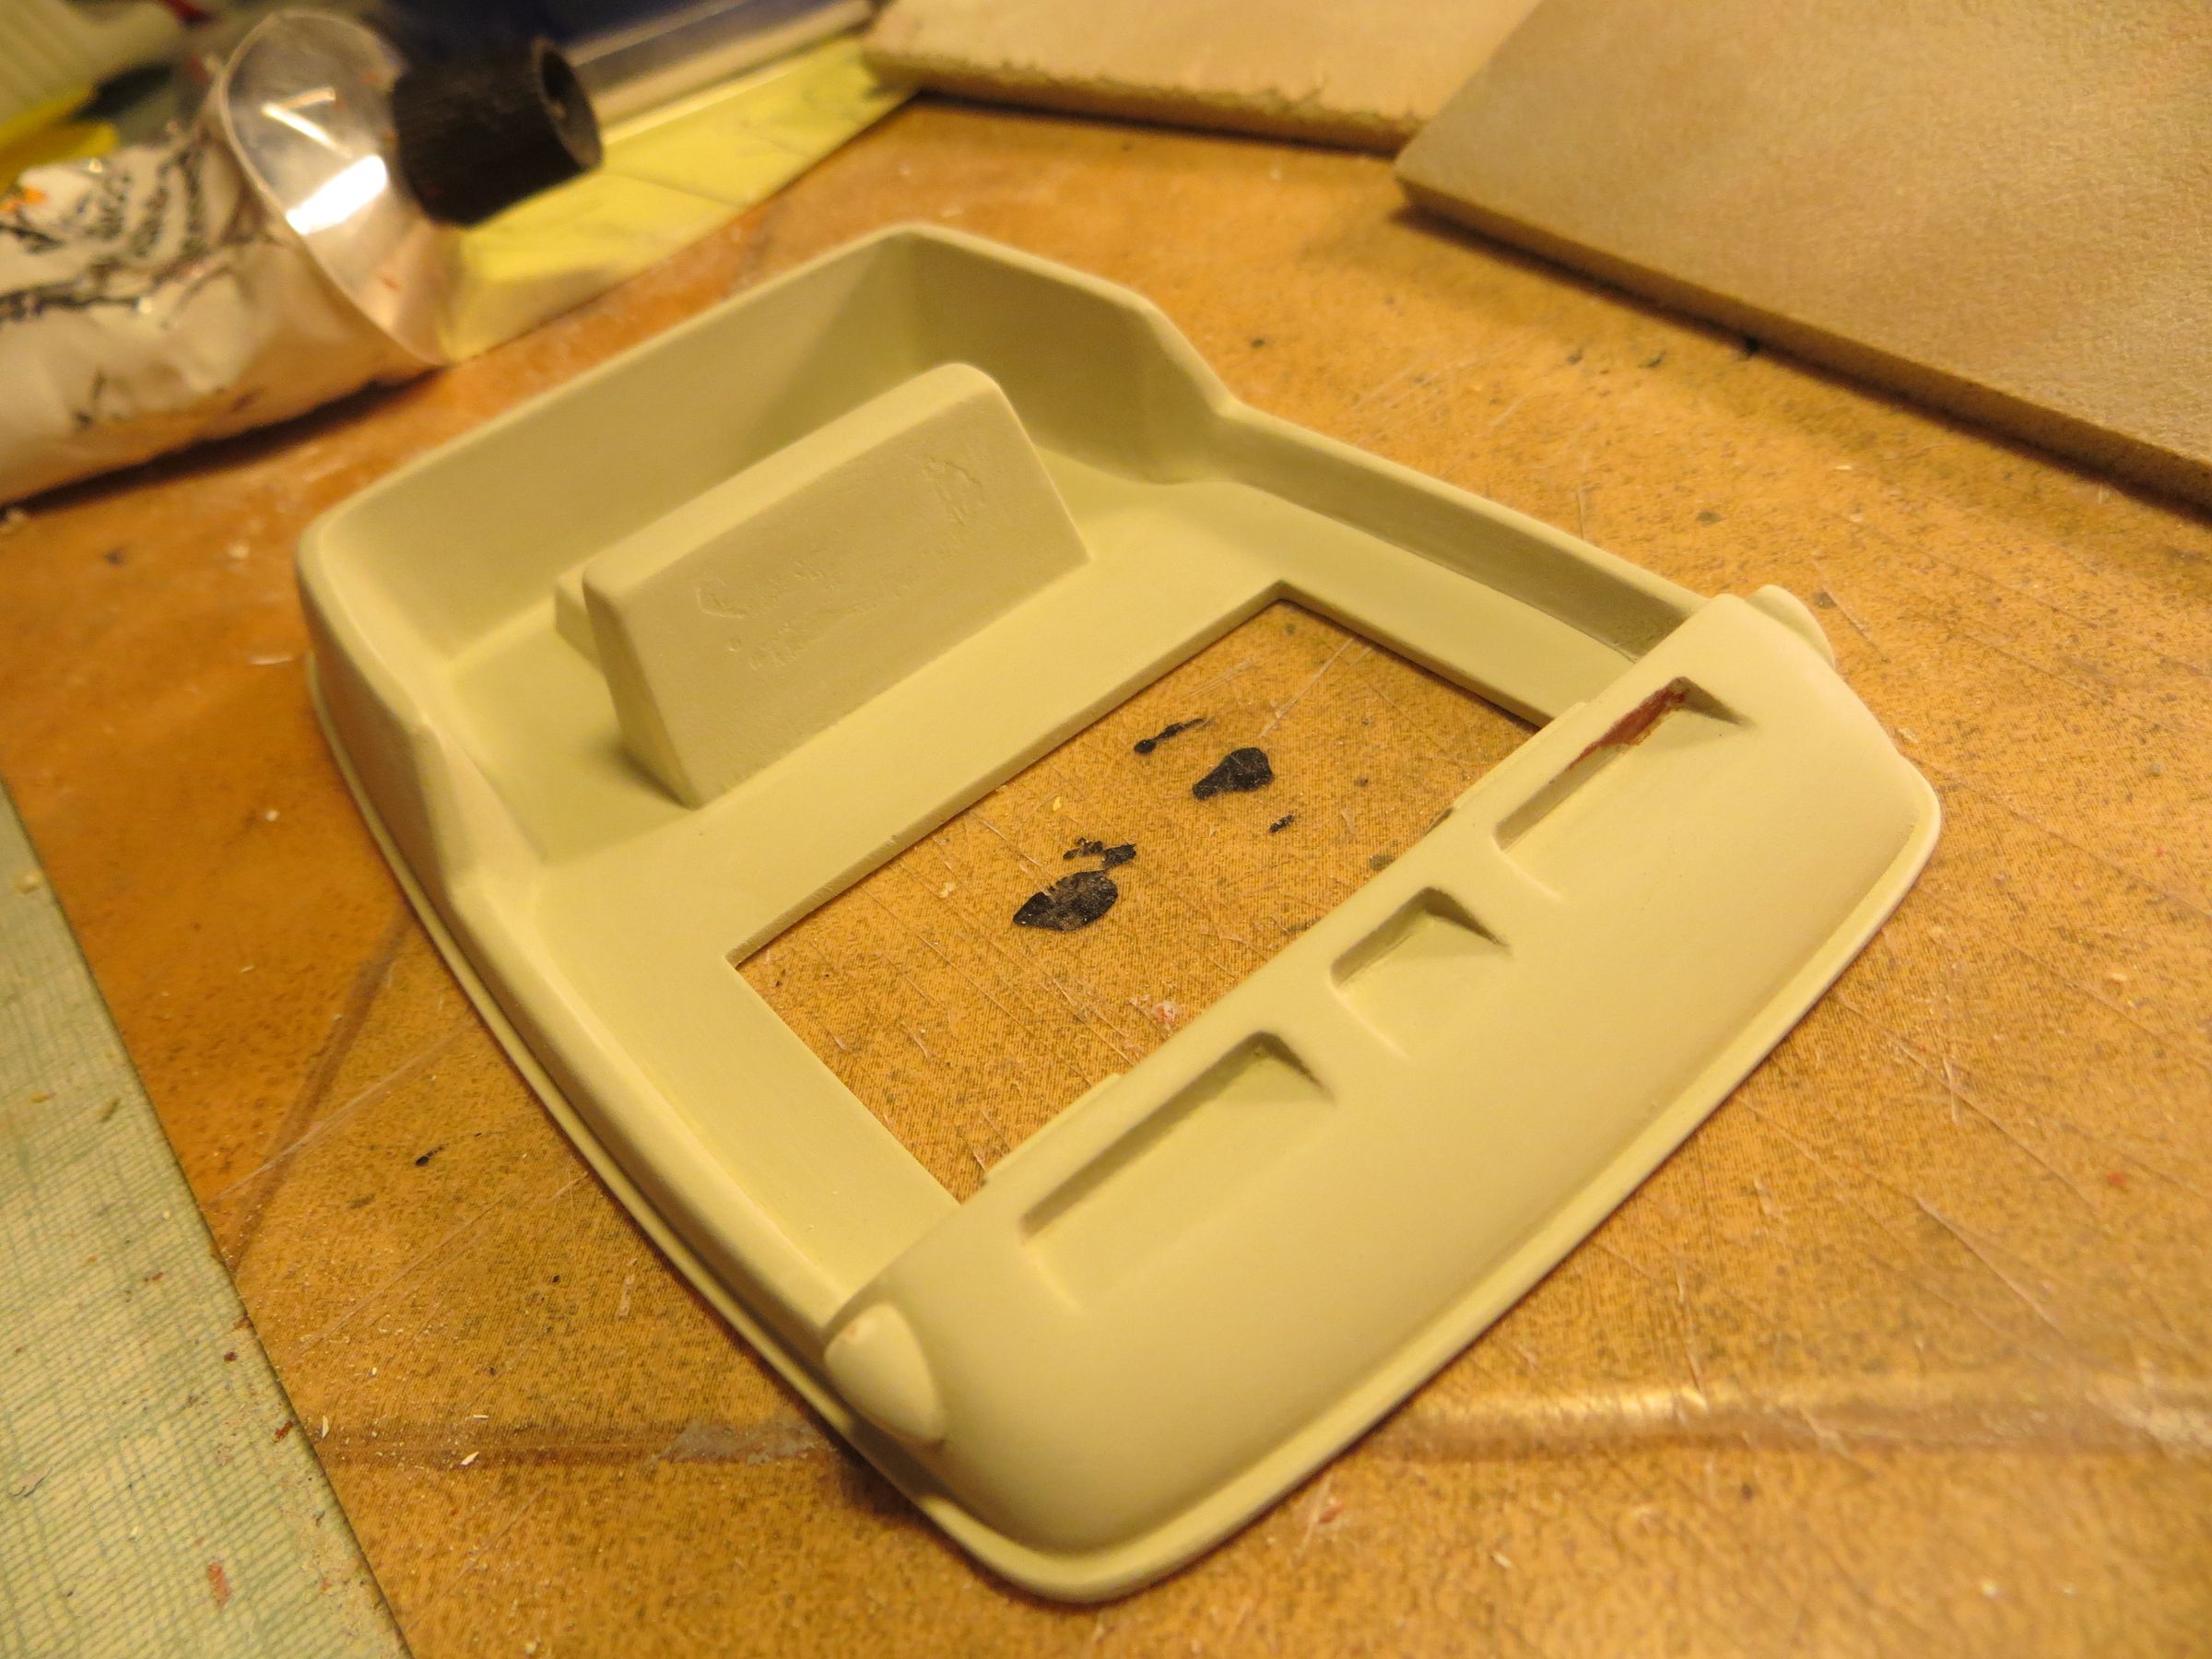
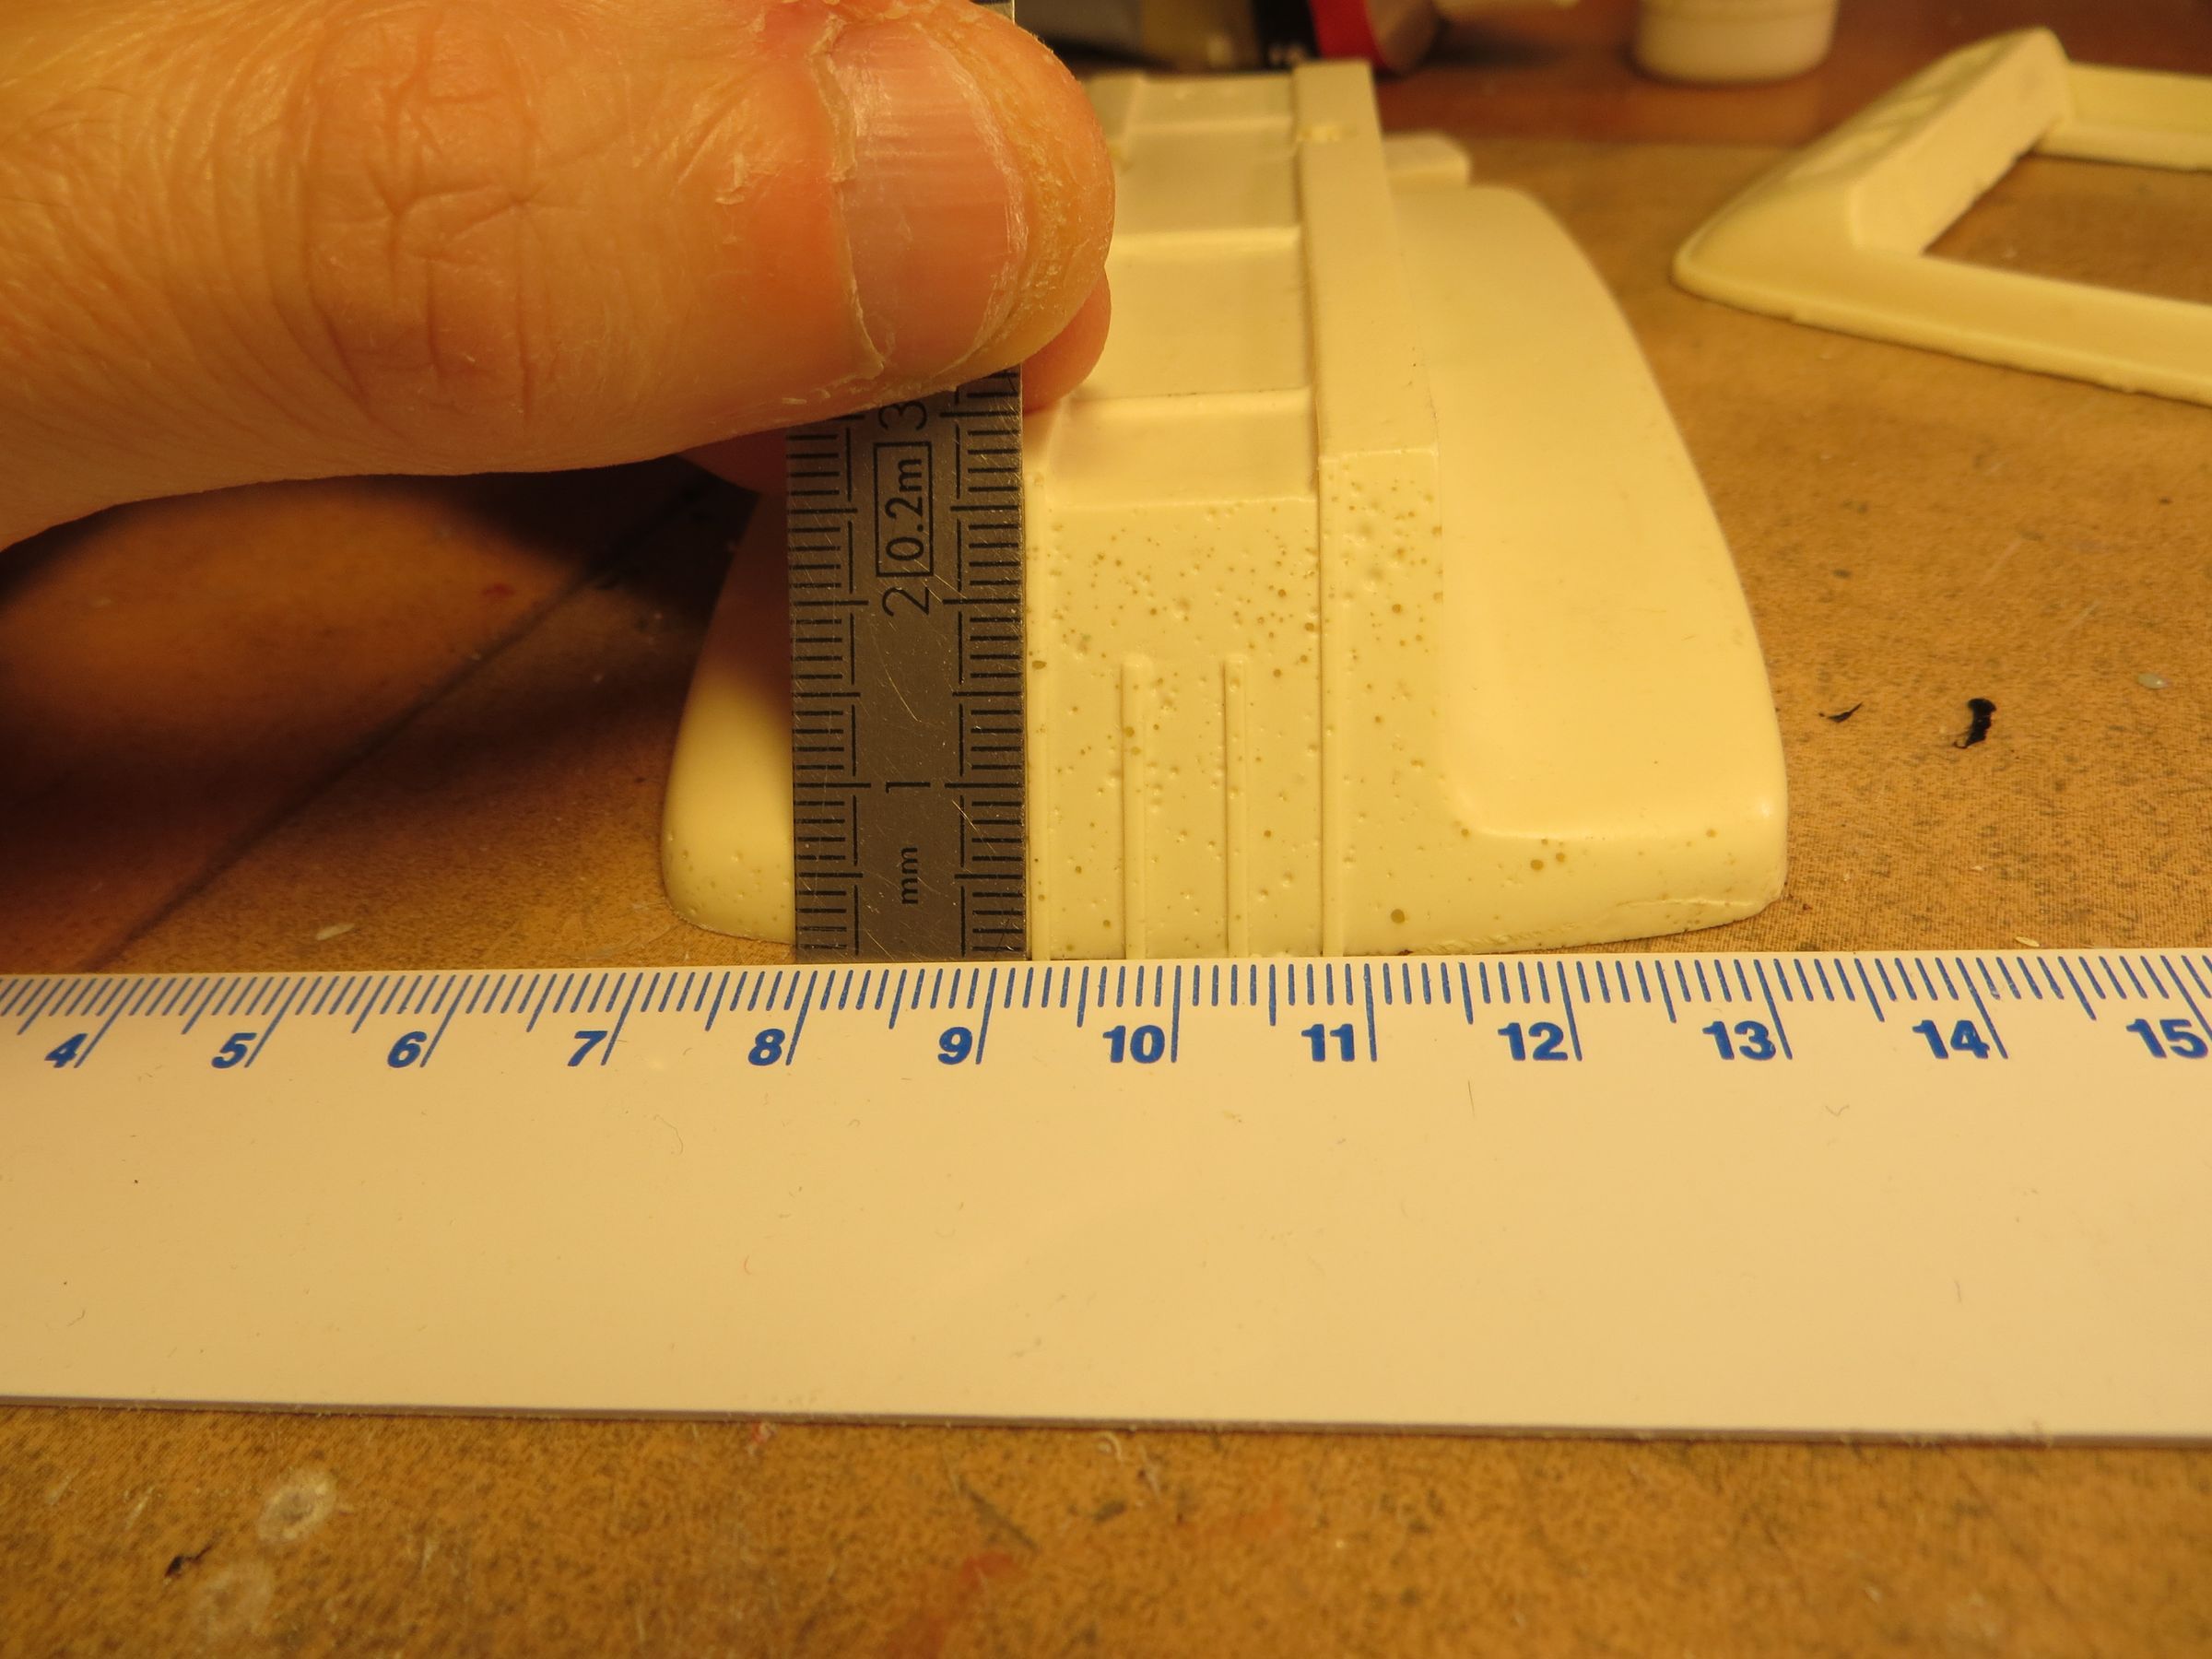
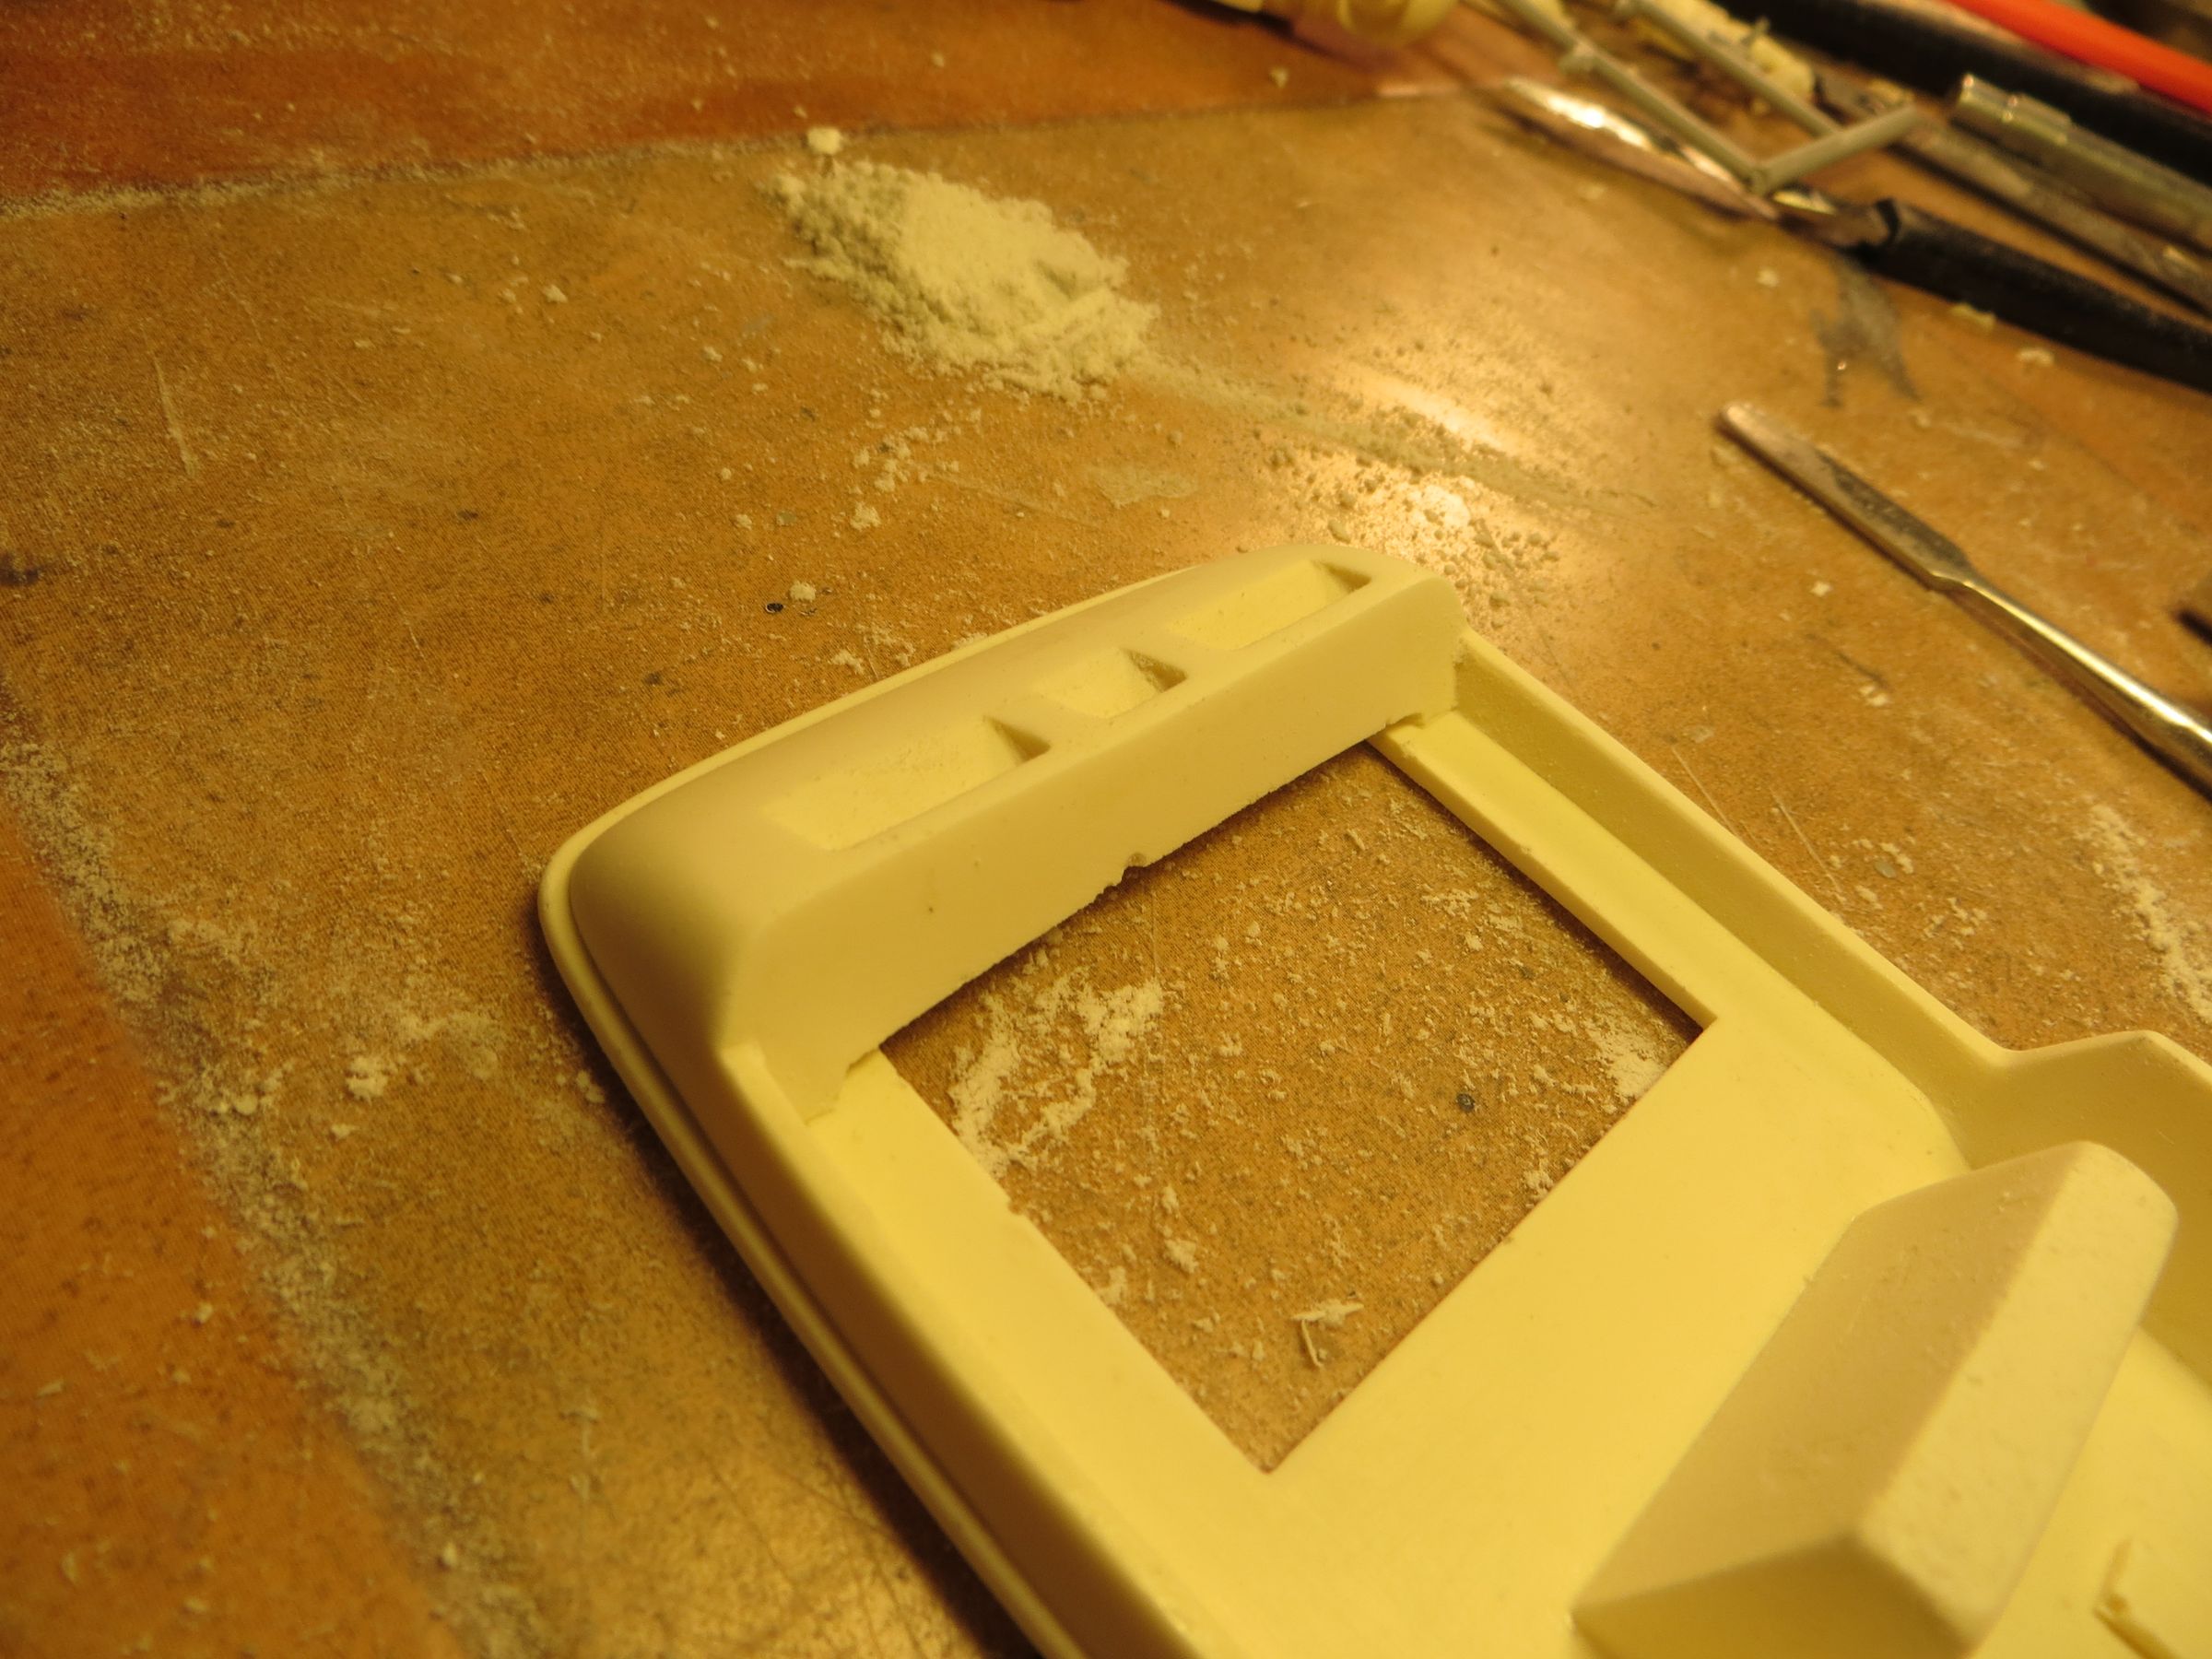
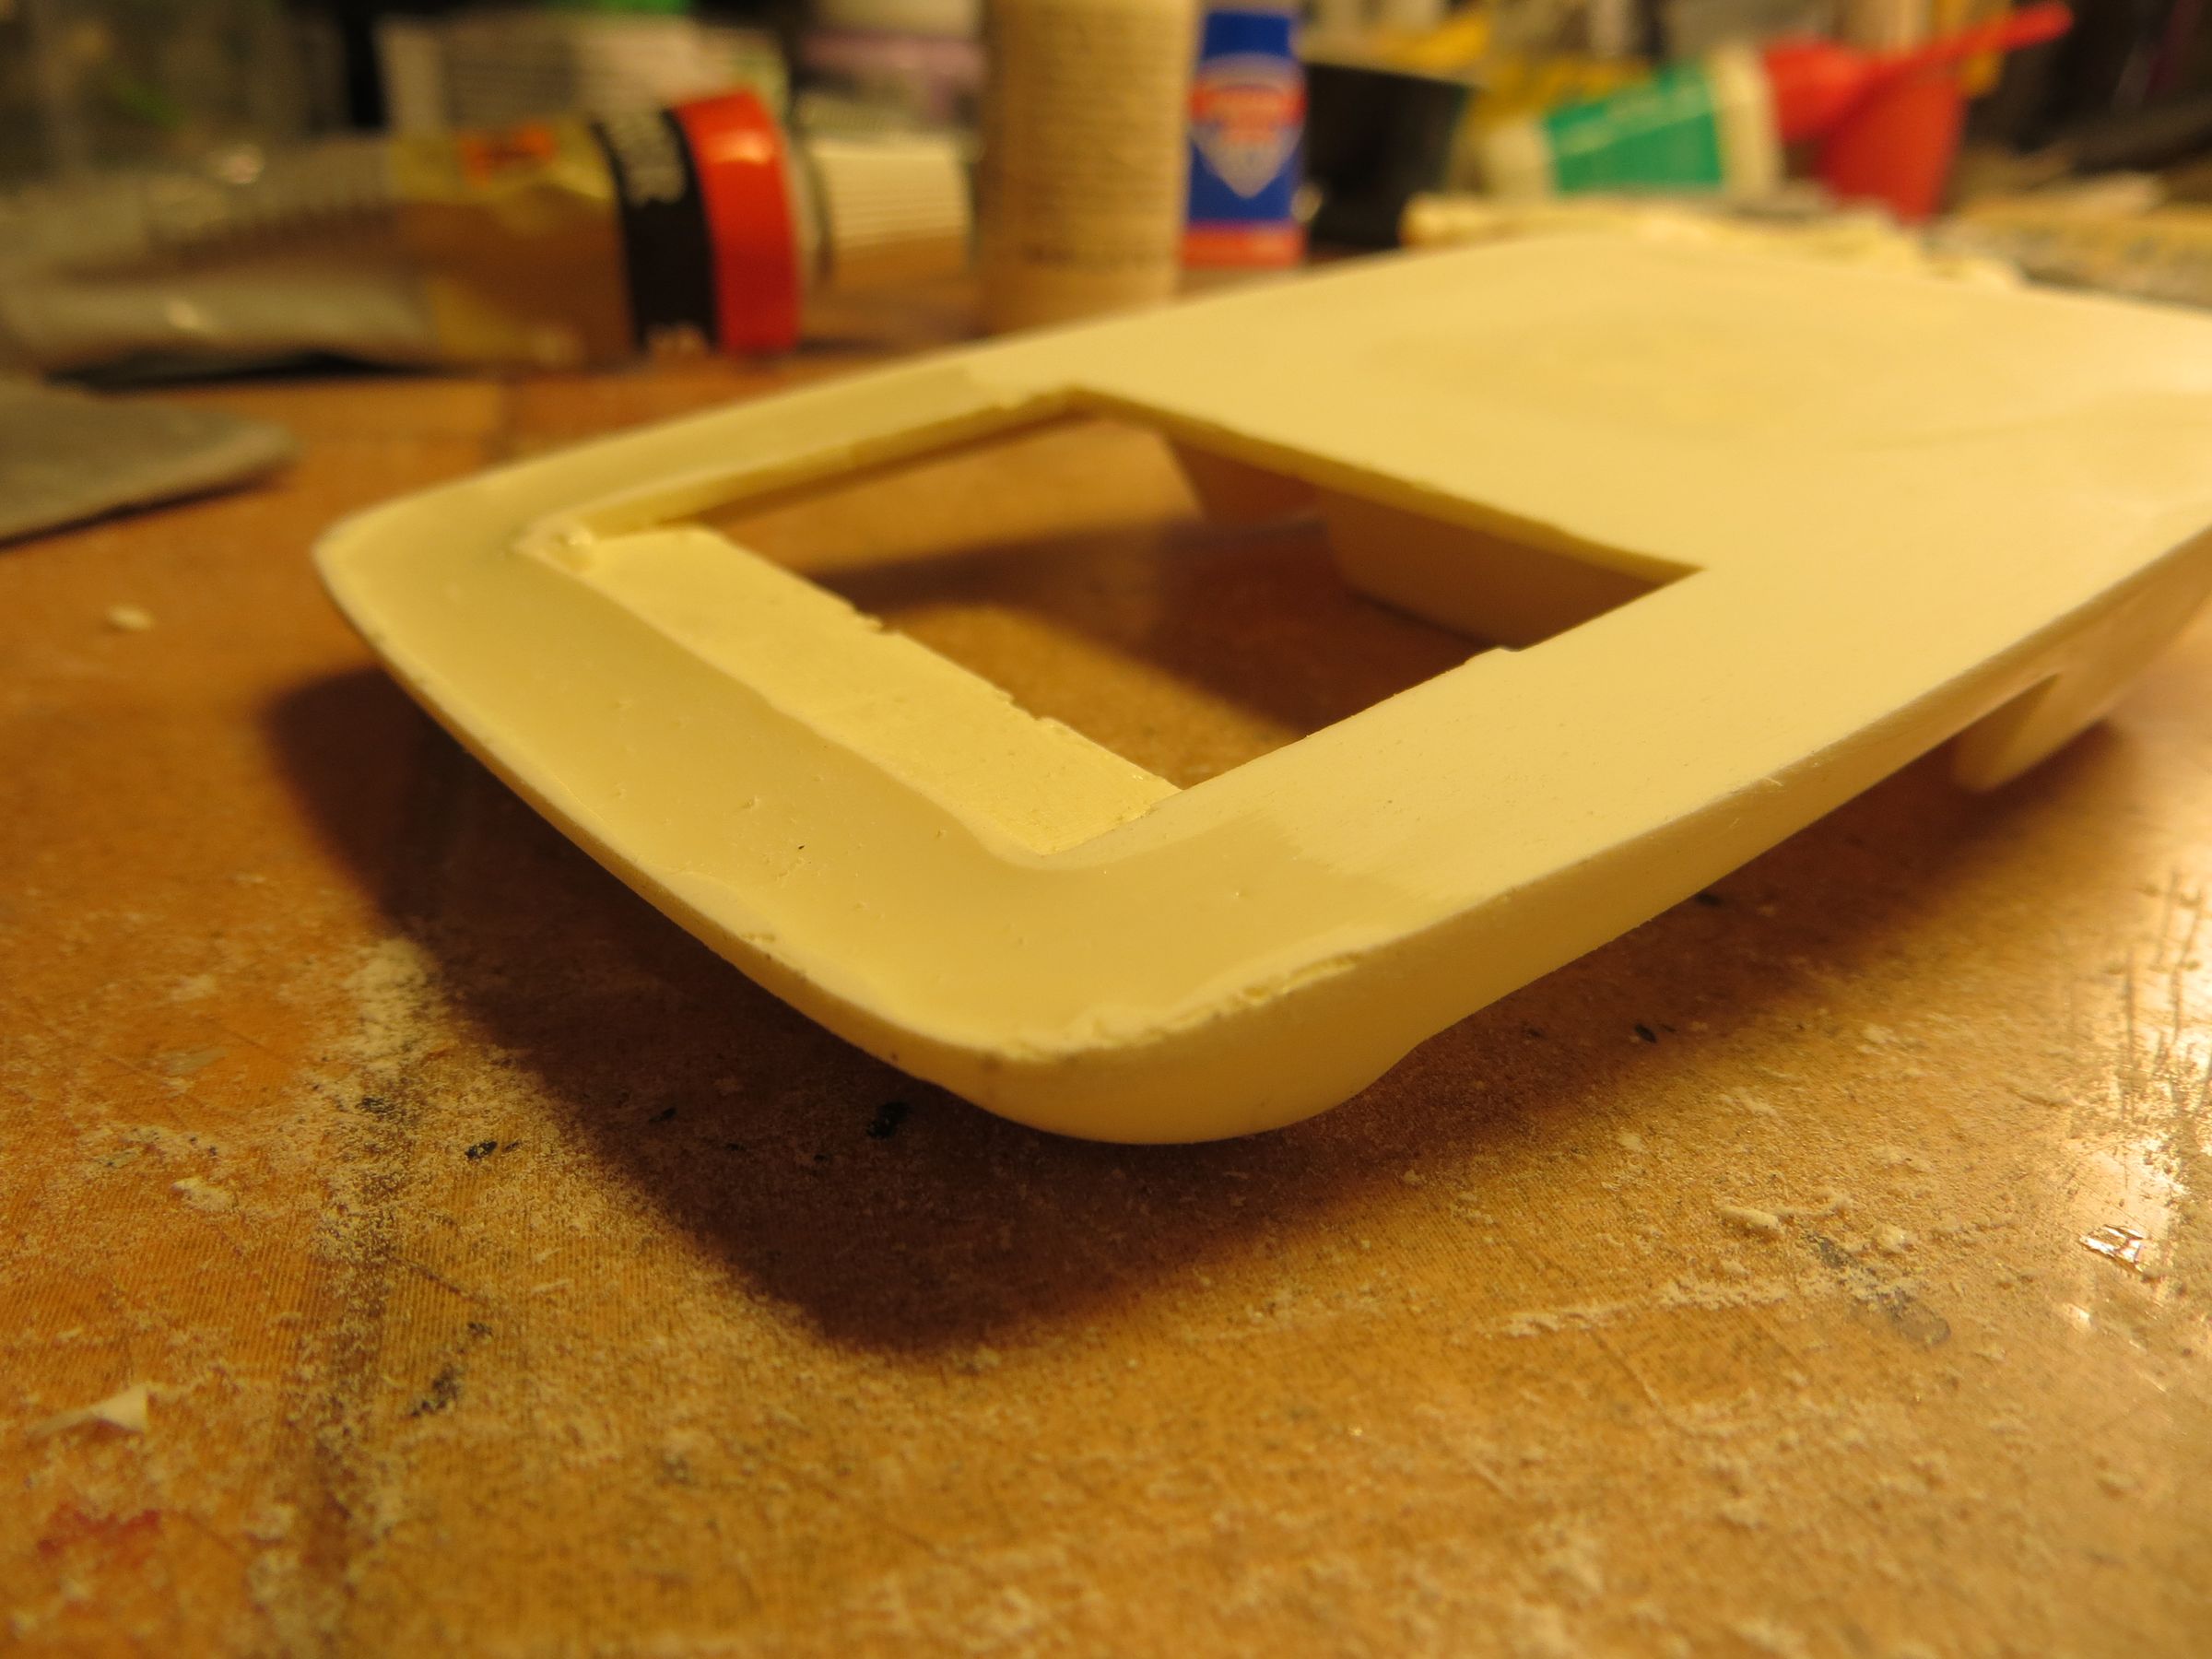
The upper and lower parts are glued together, and filled.

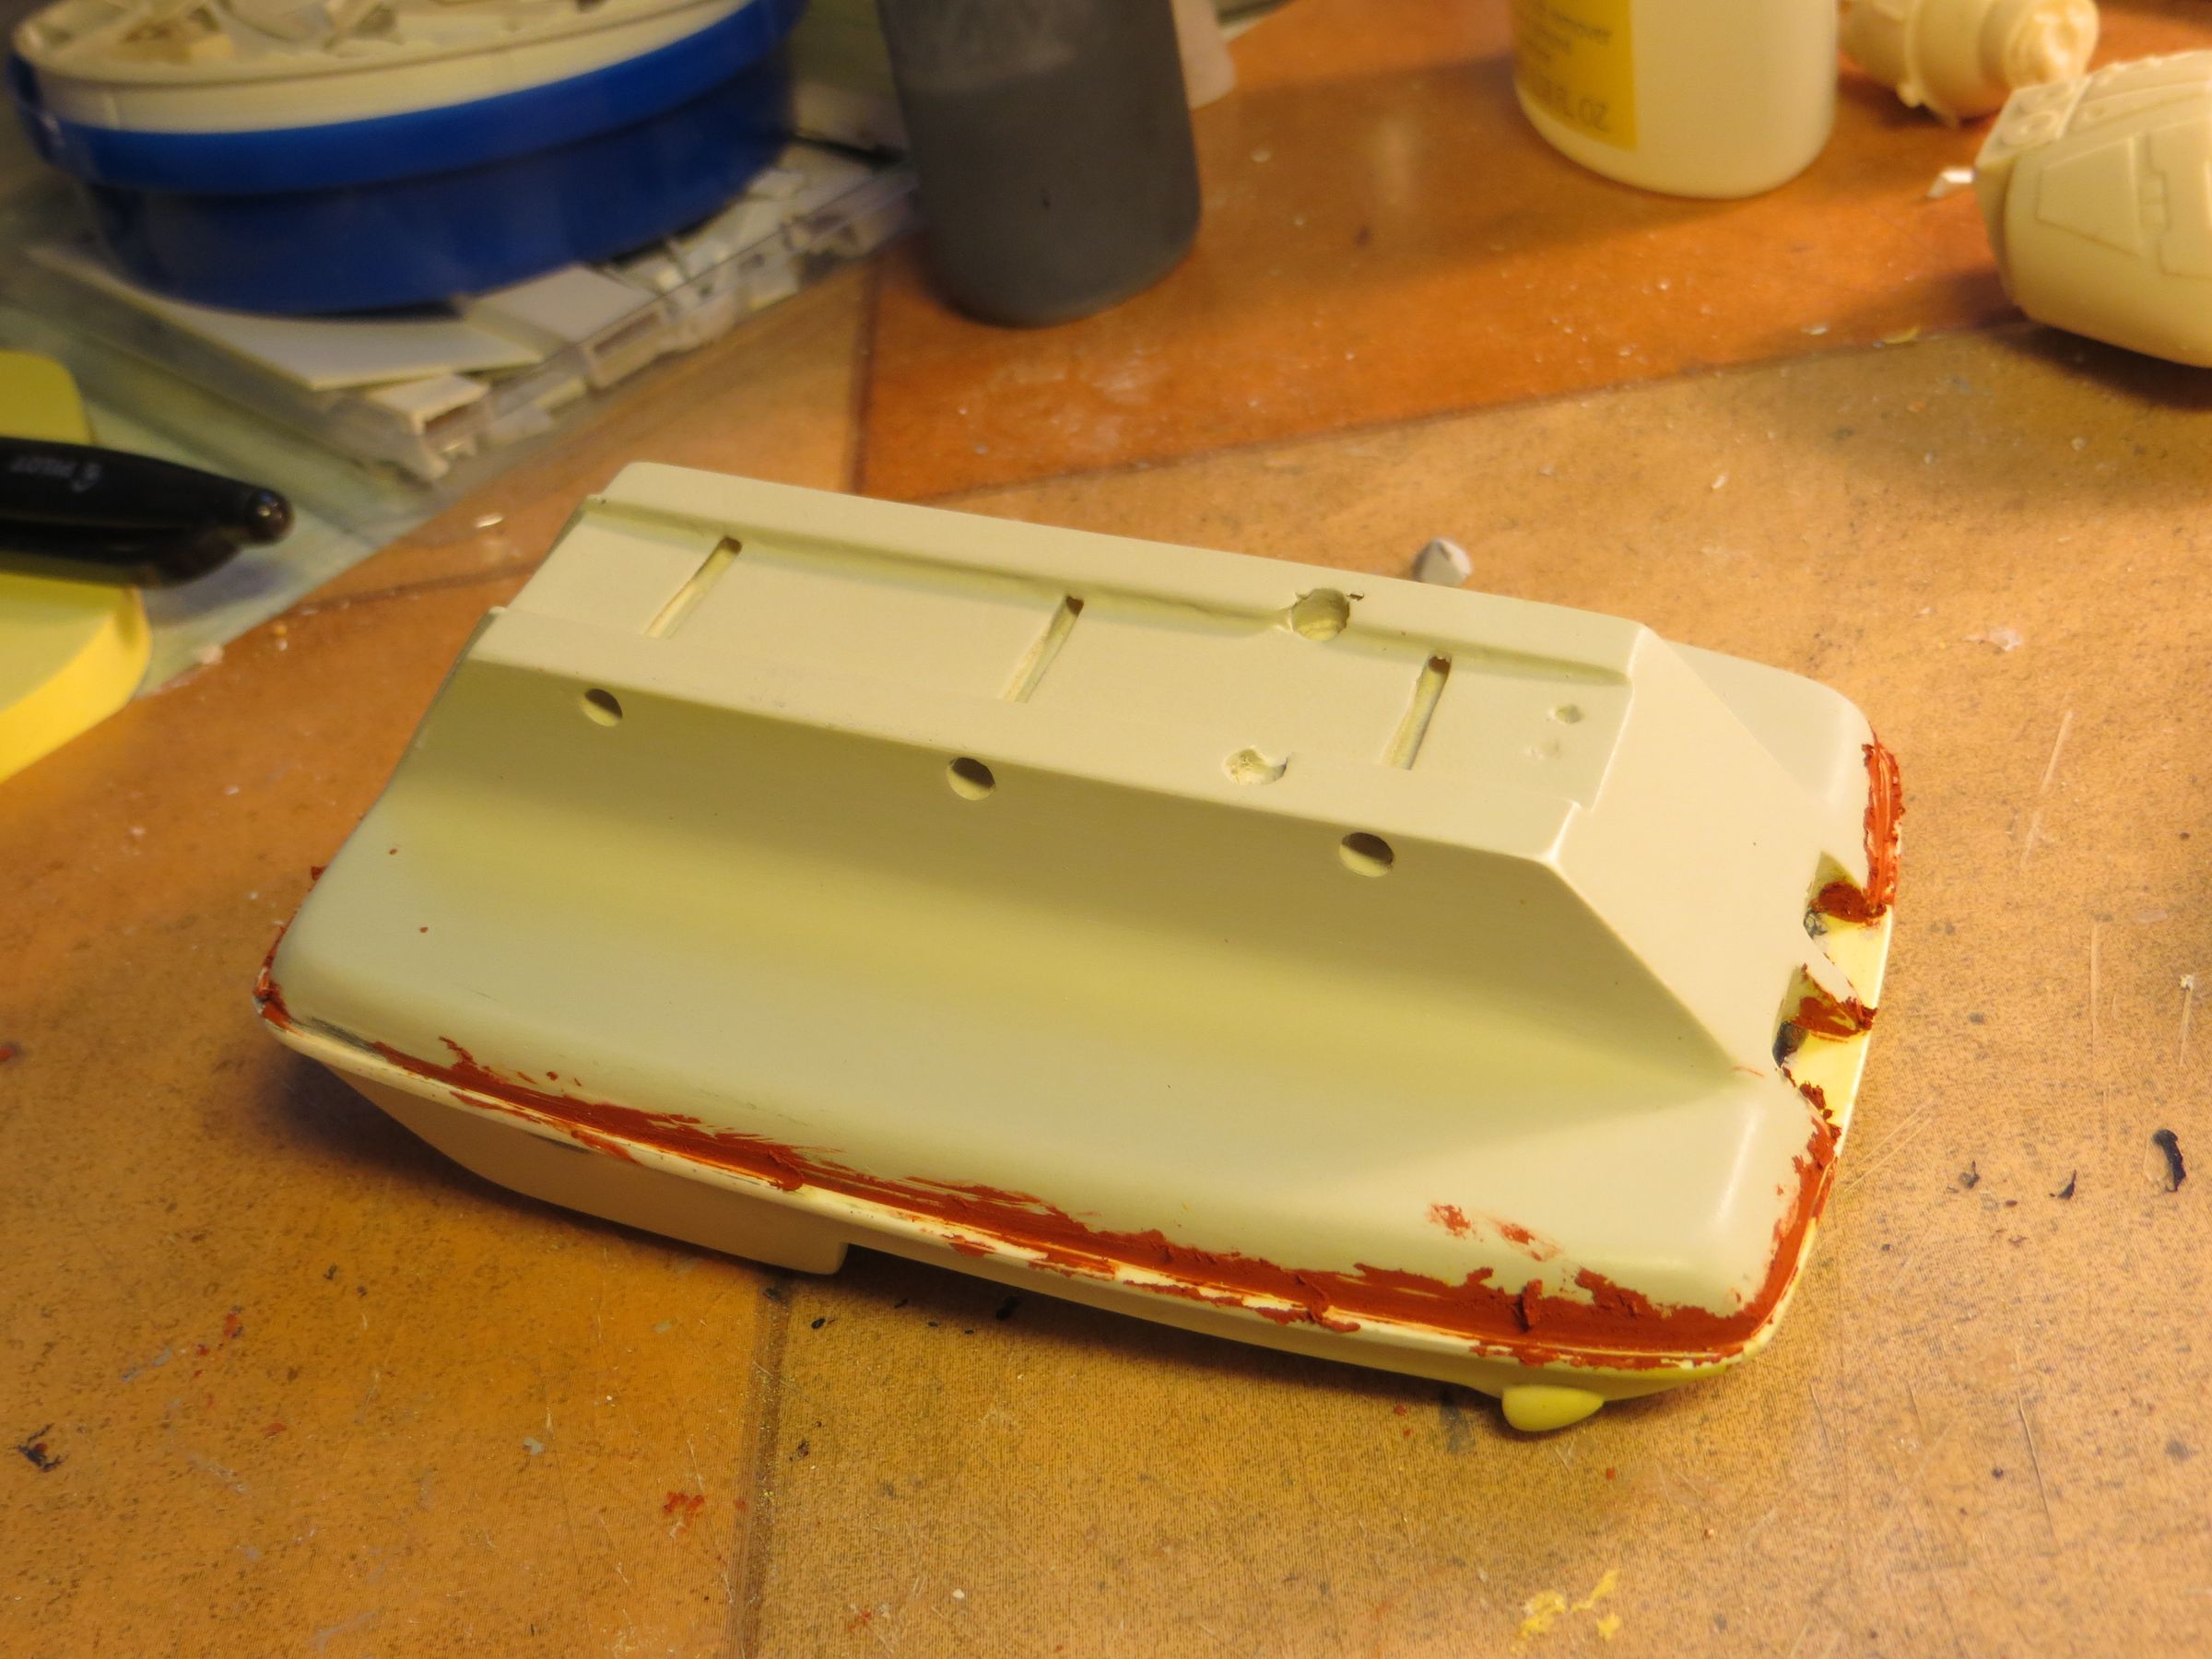
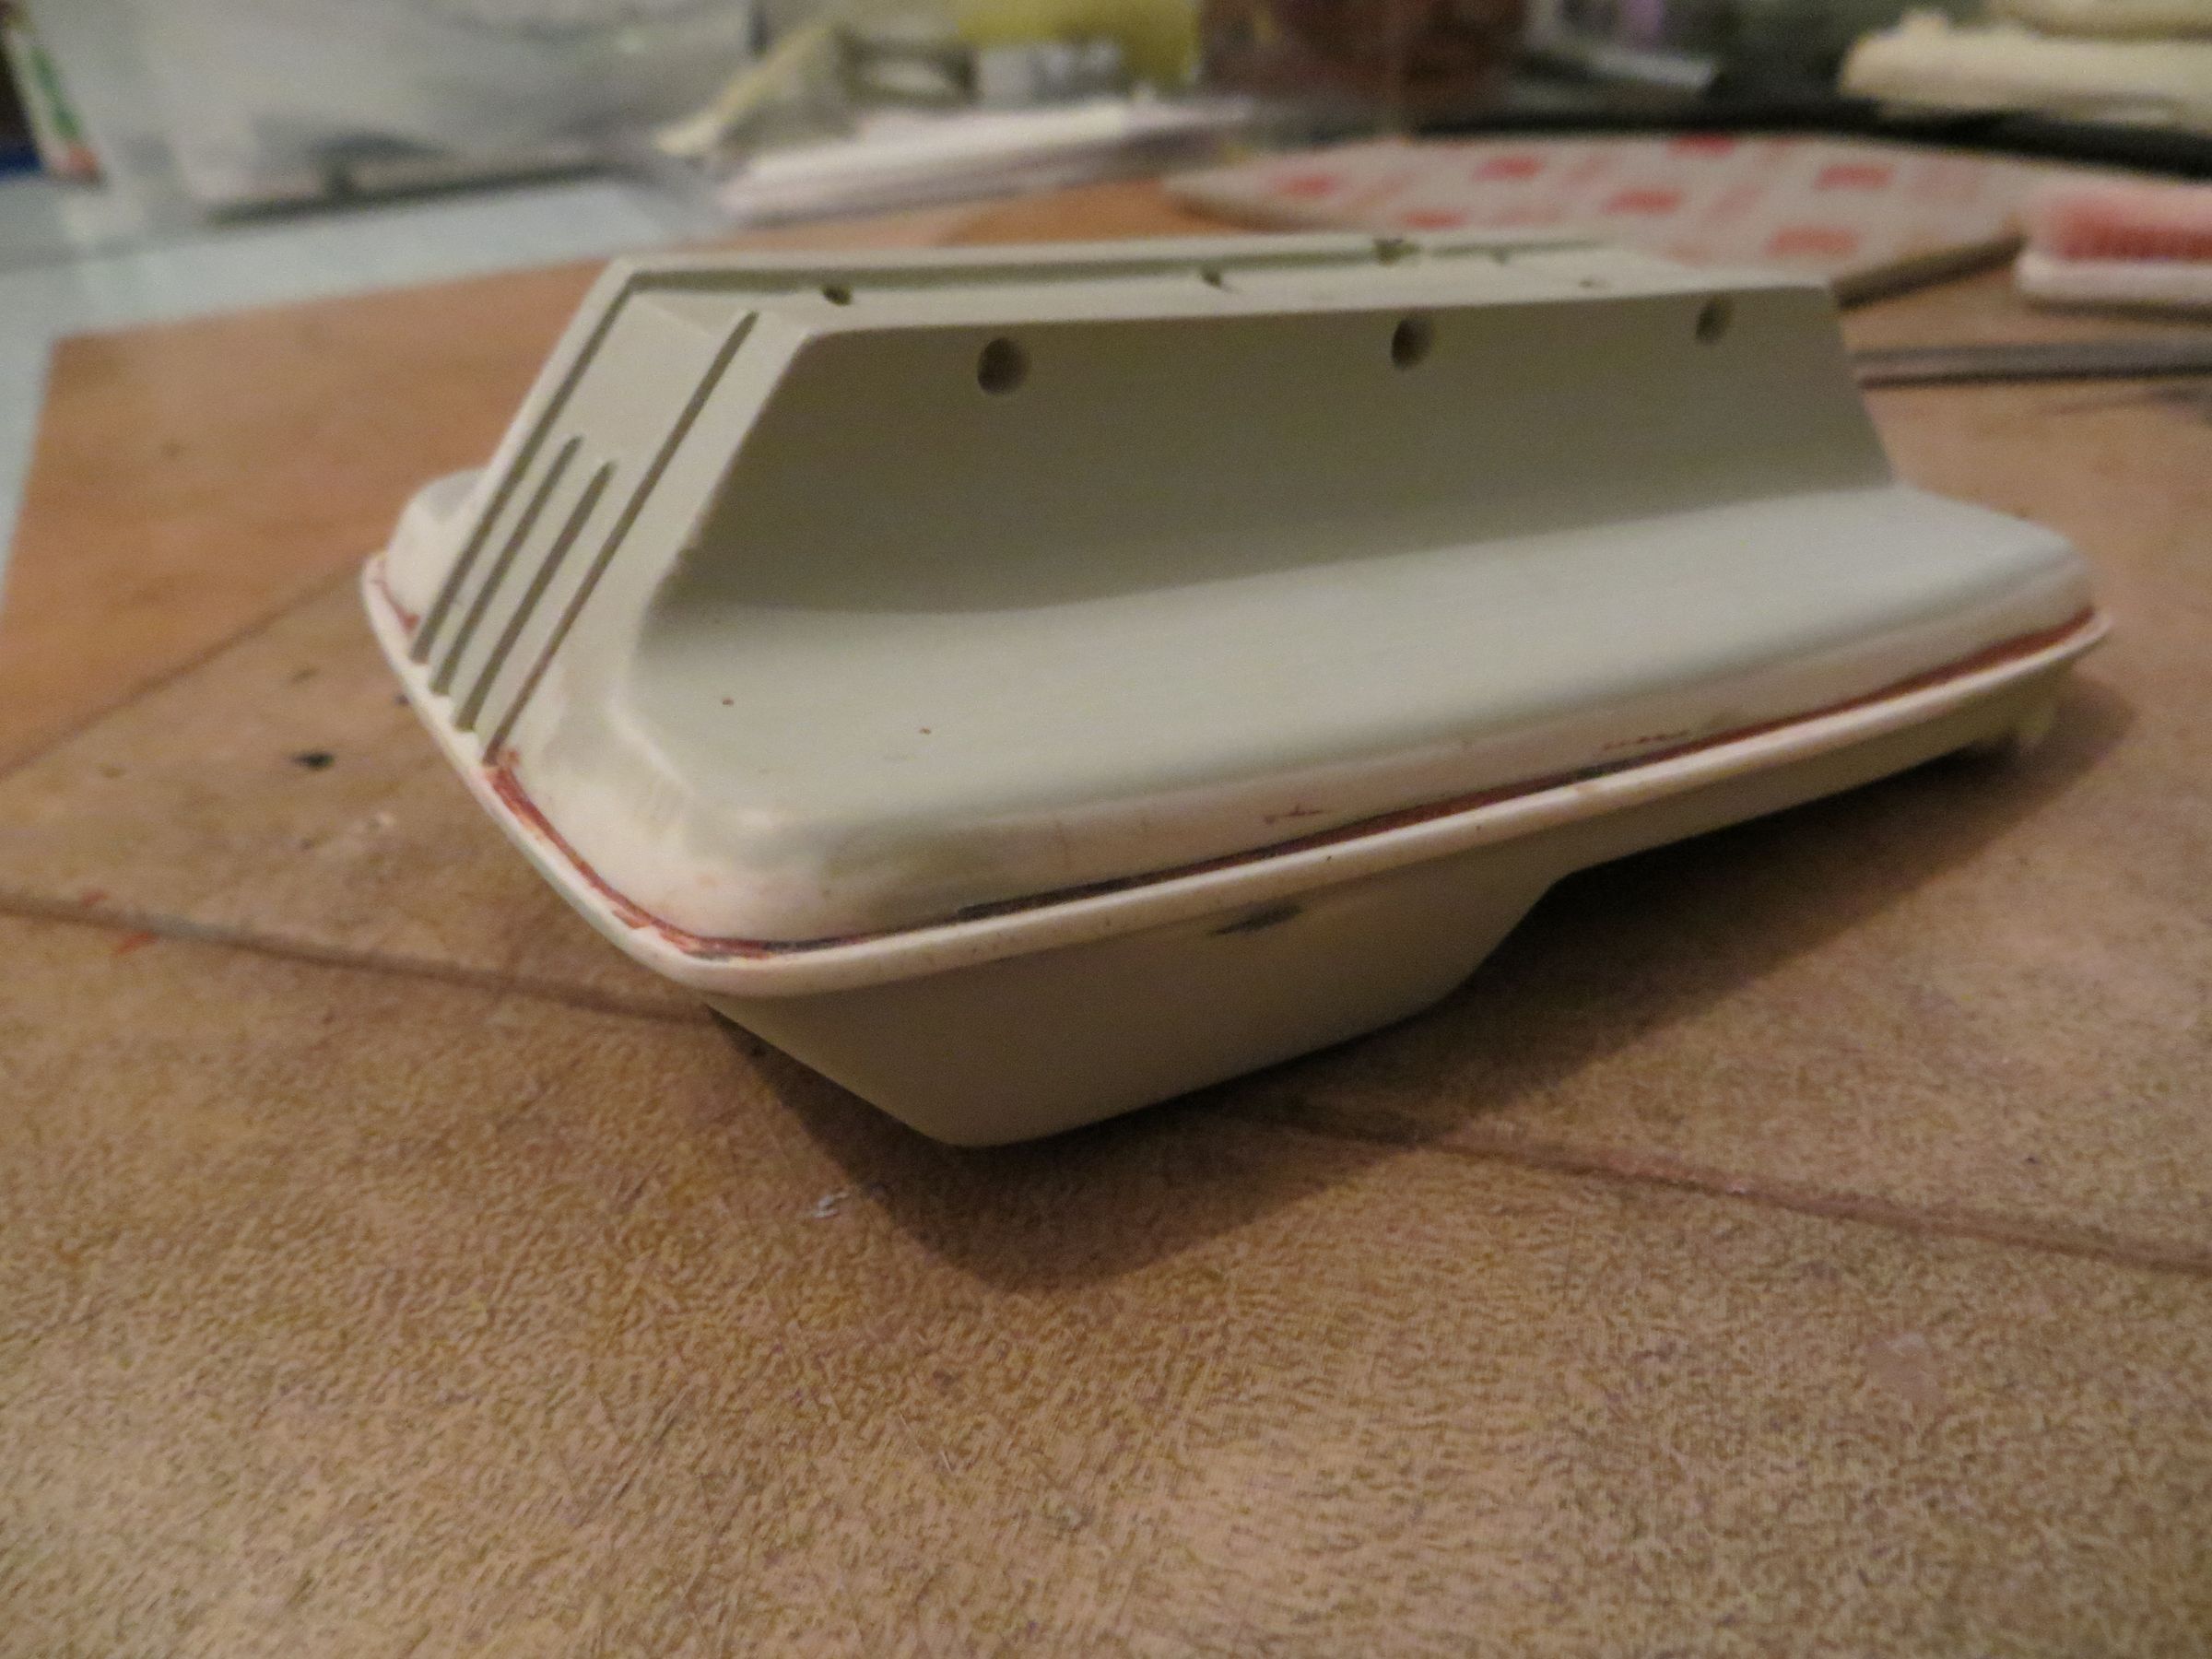
A quick run of spray primer to check everything.

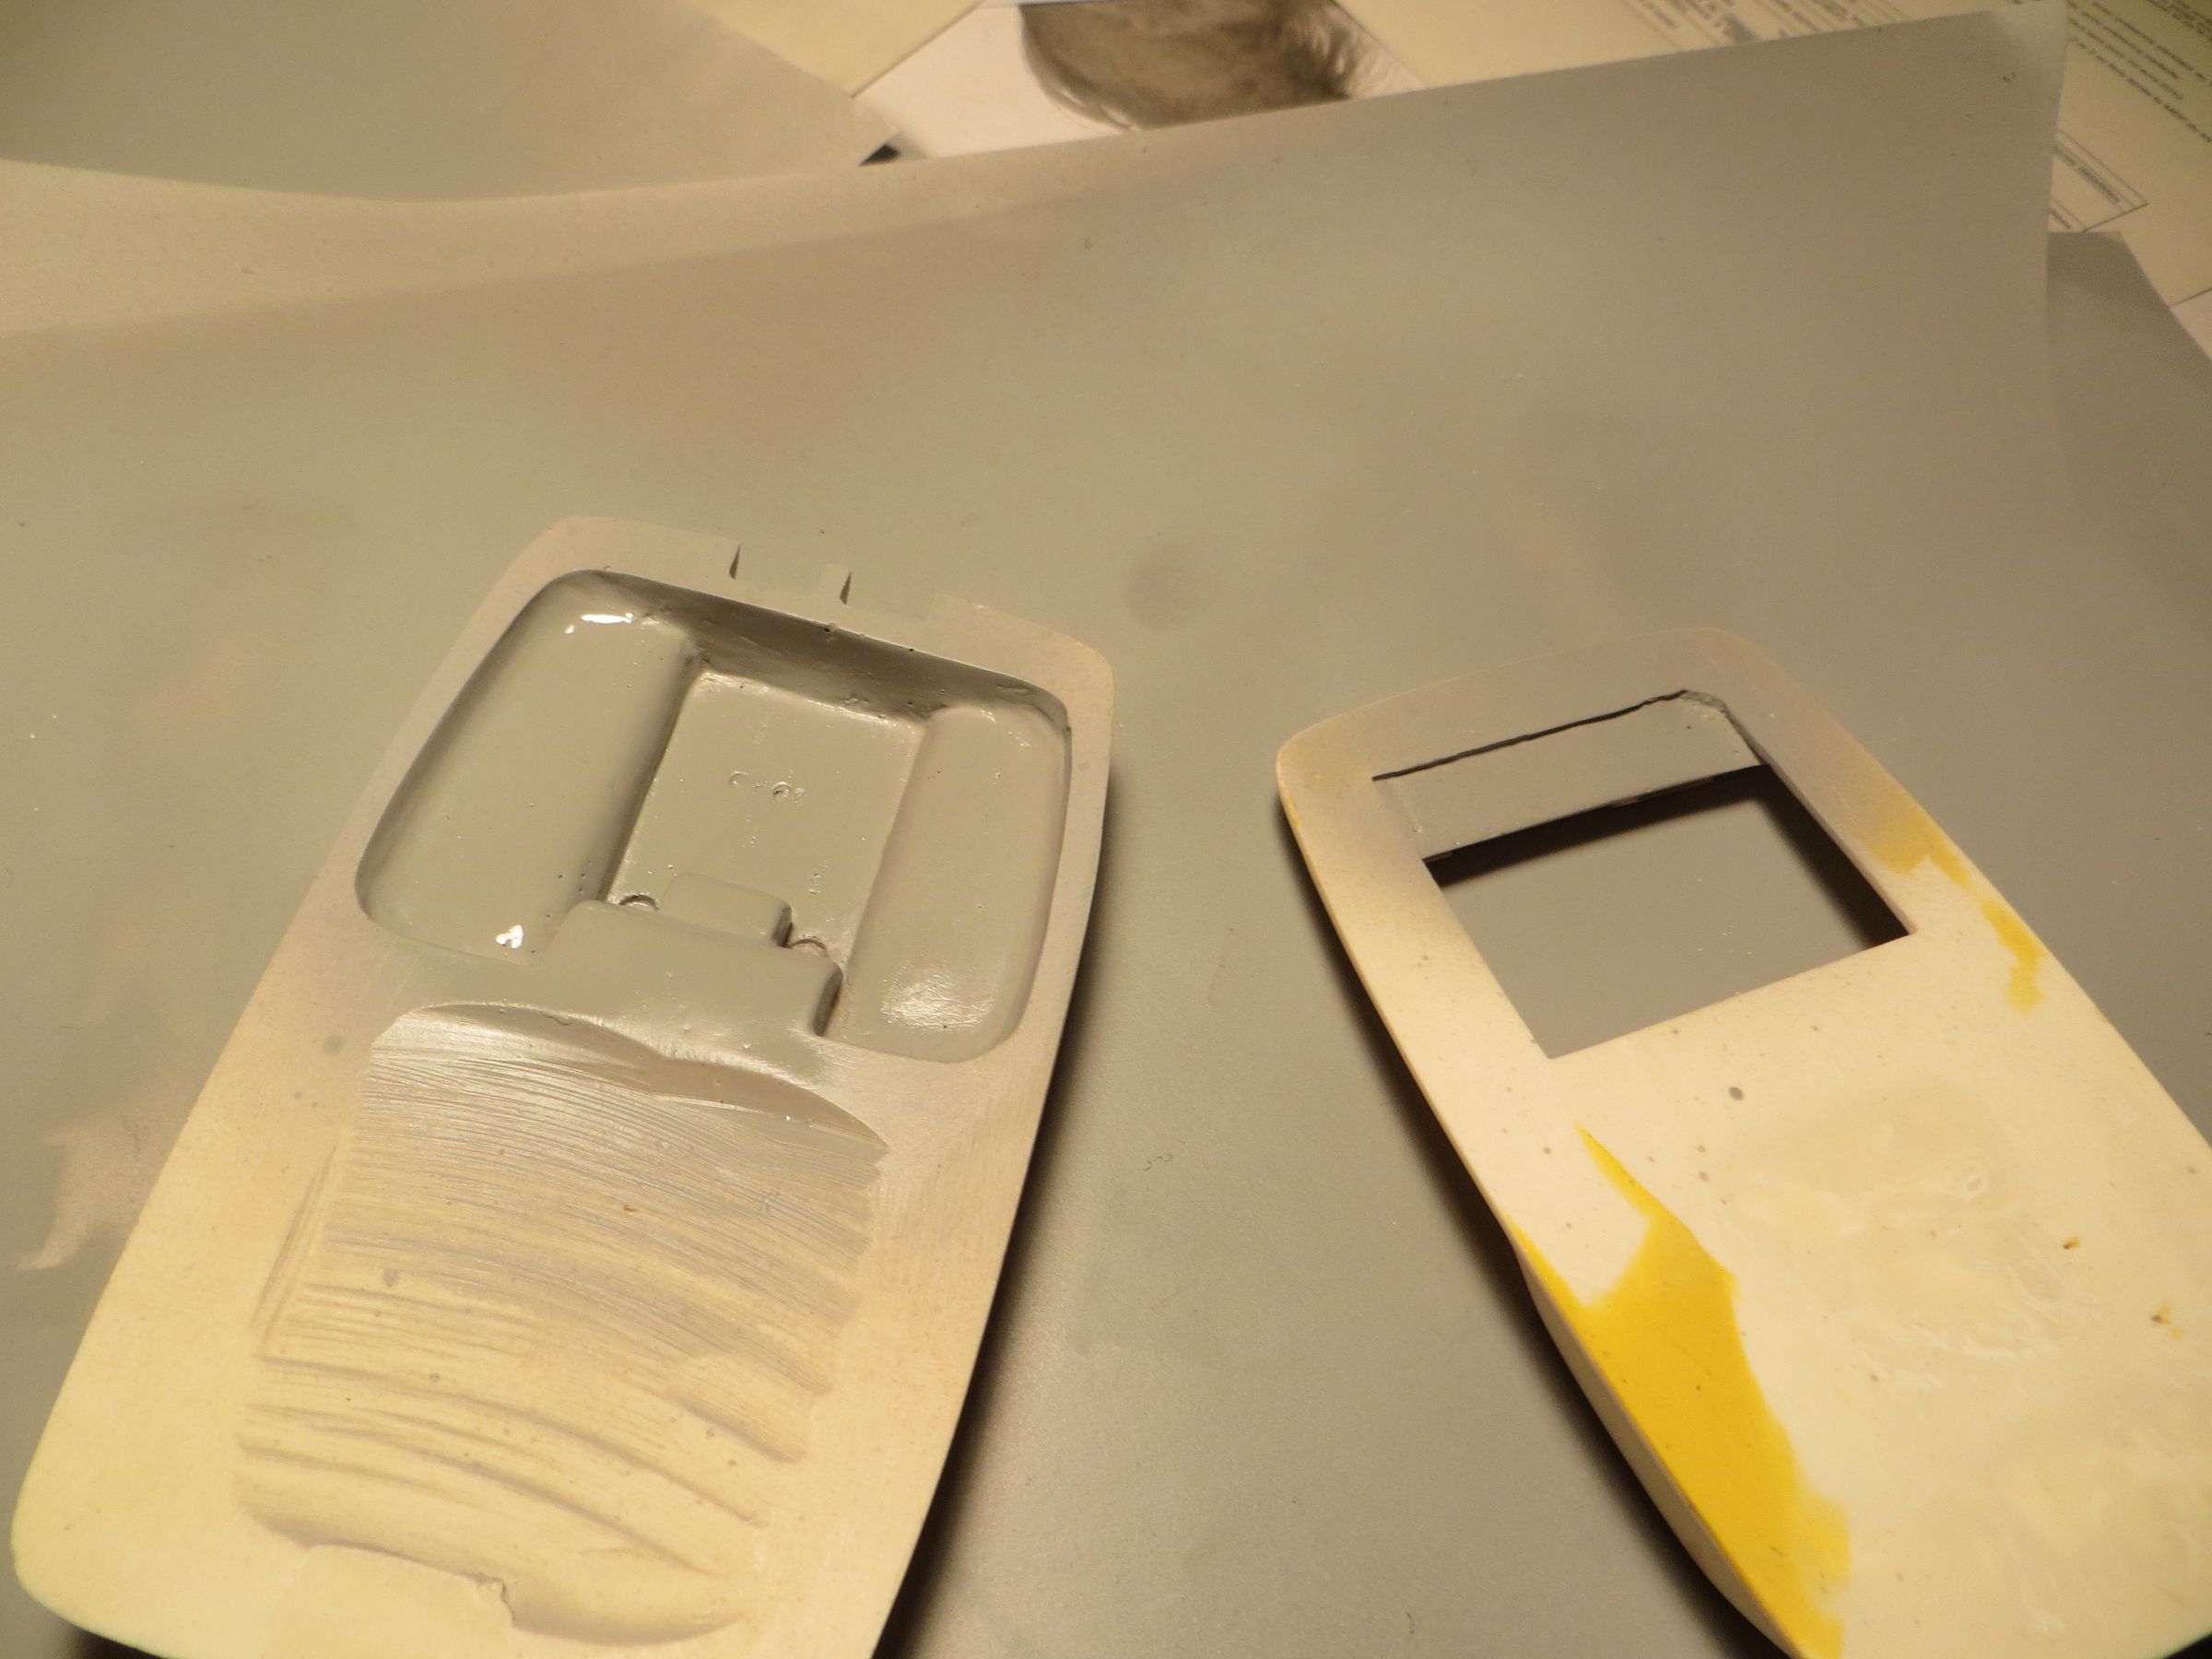
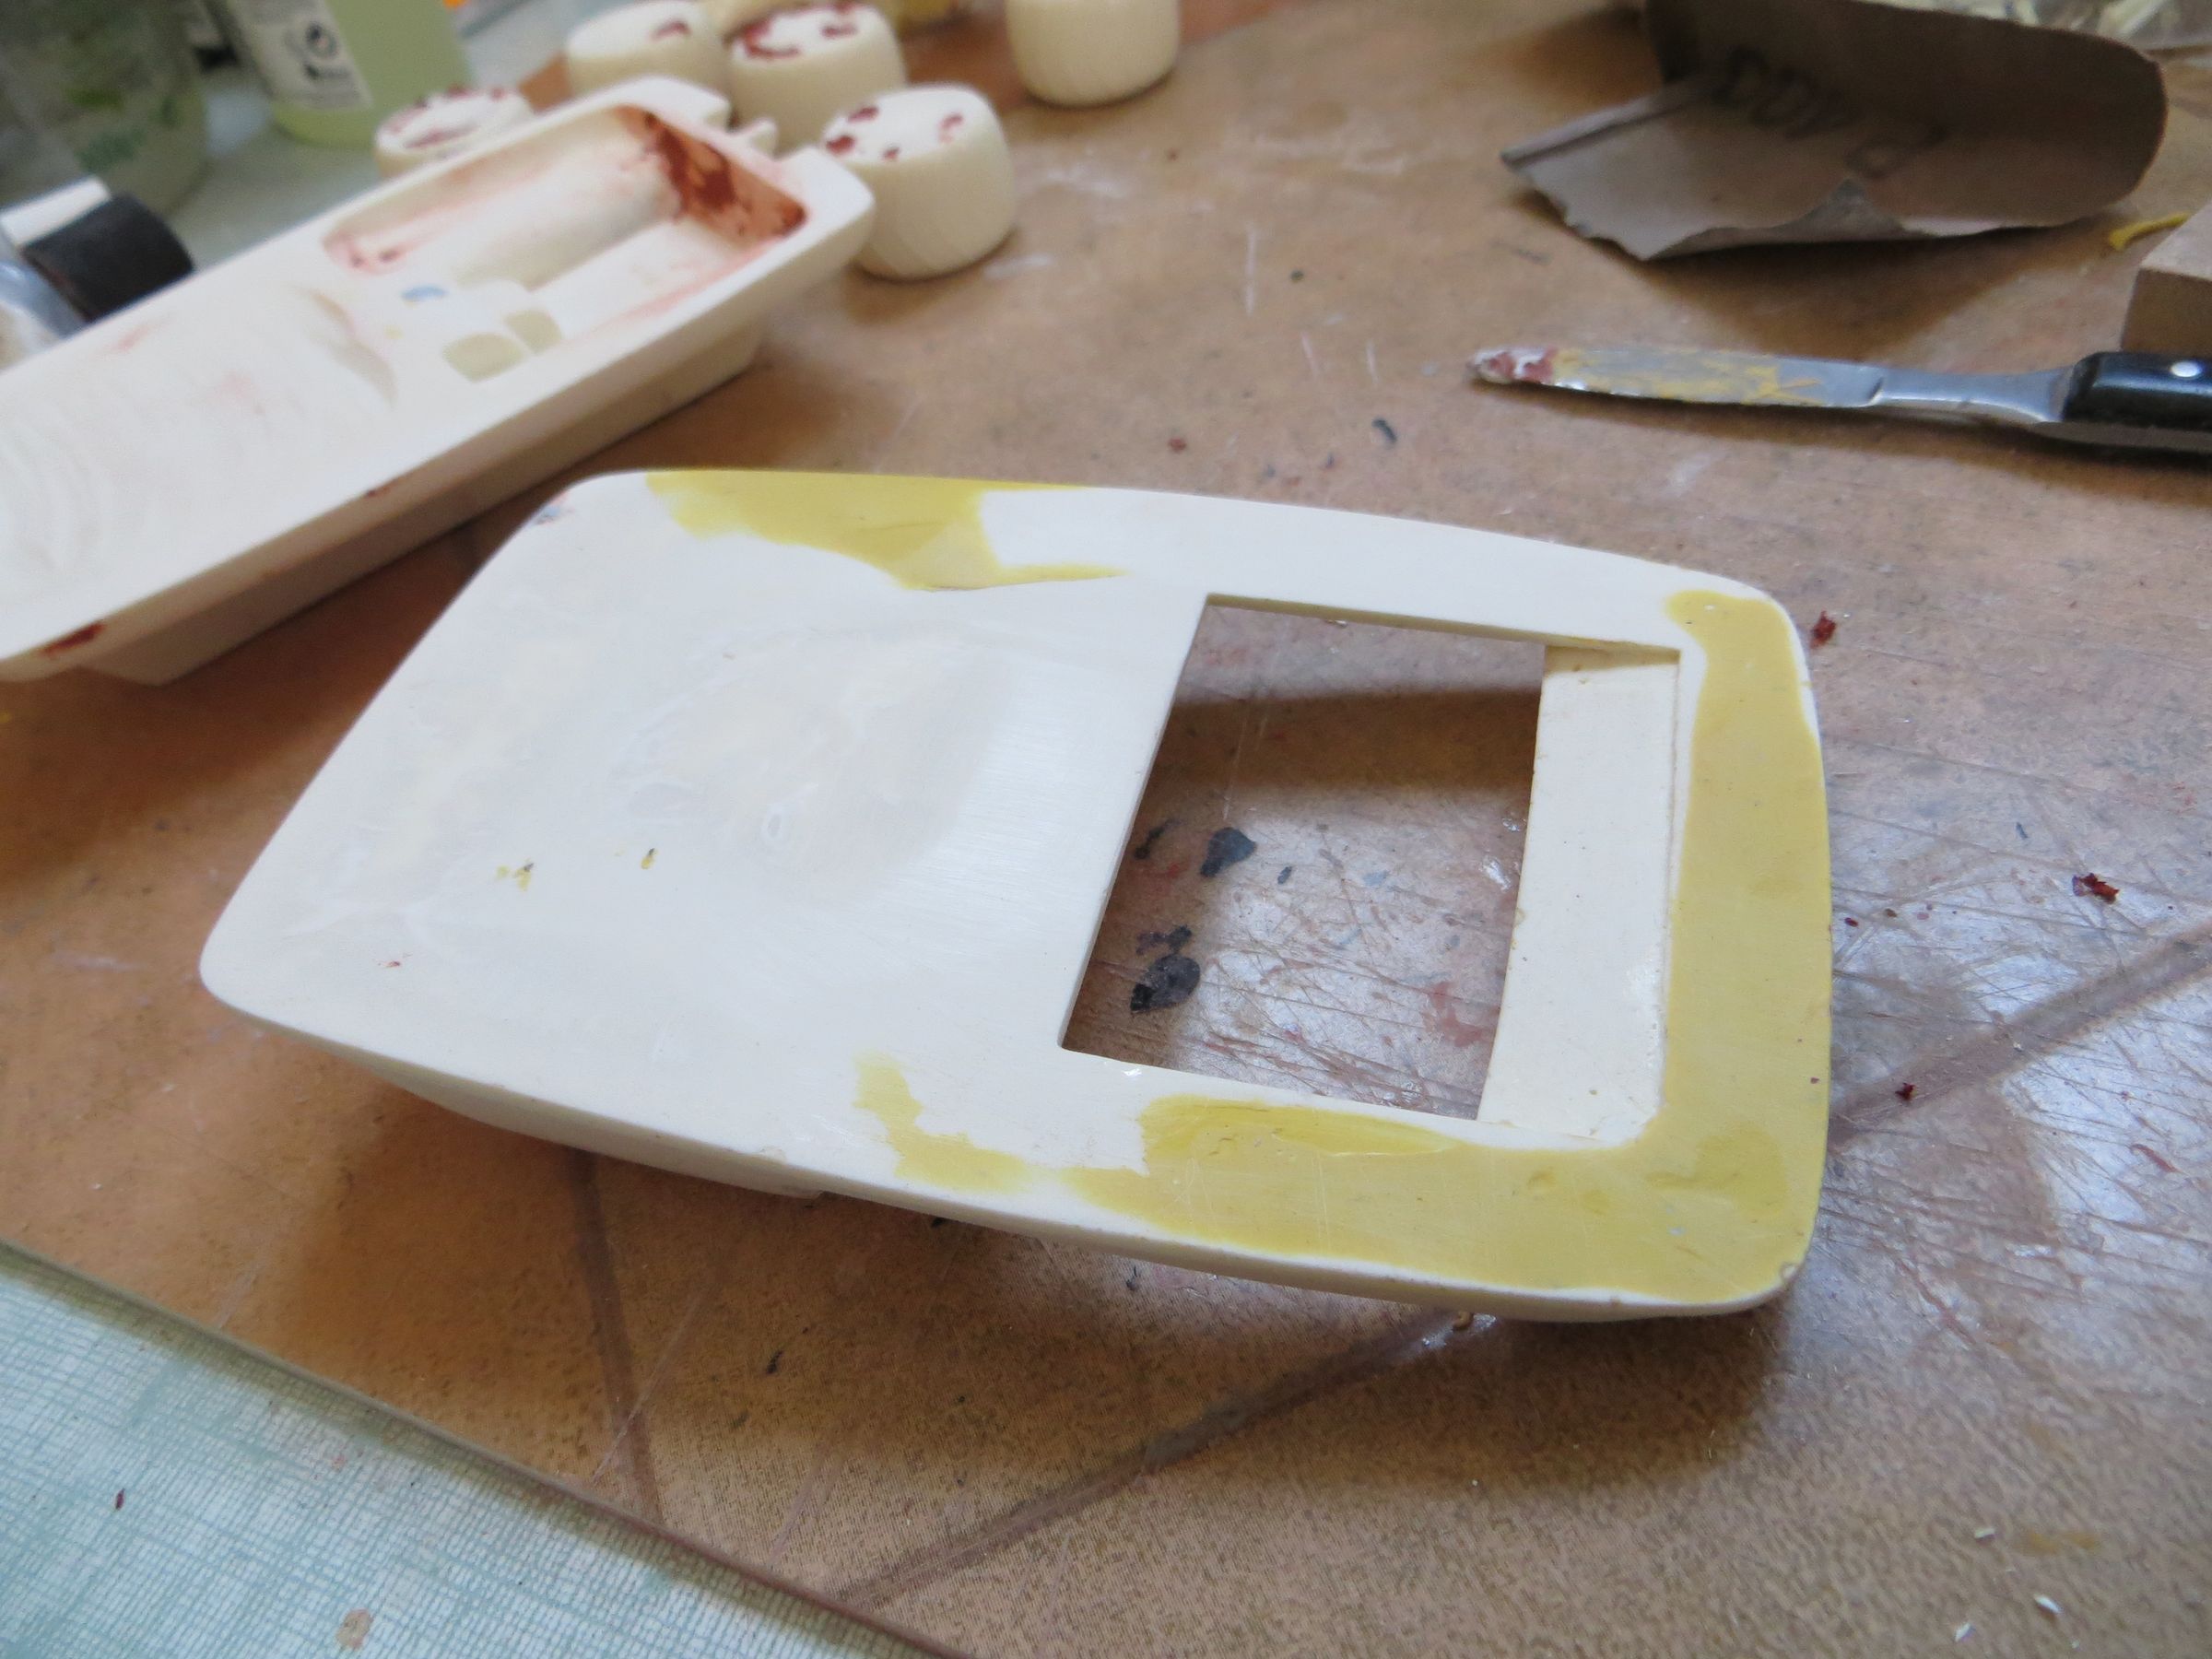
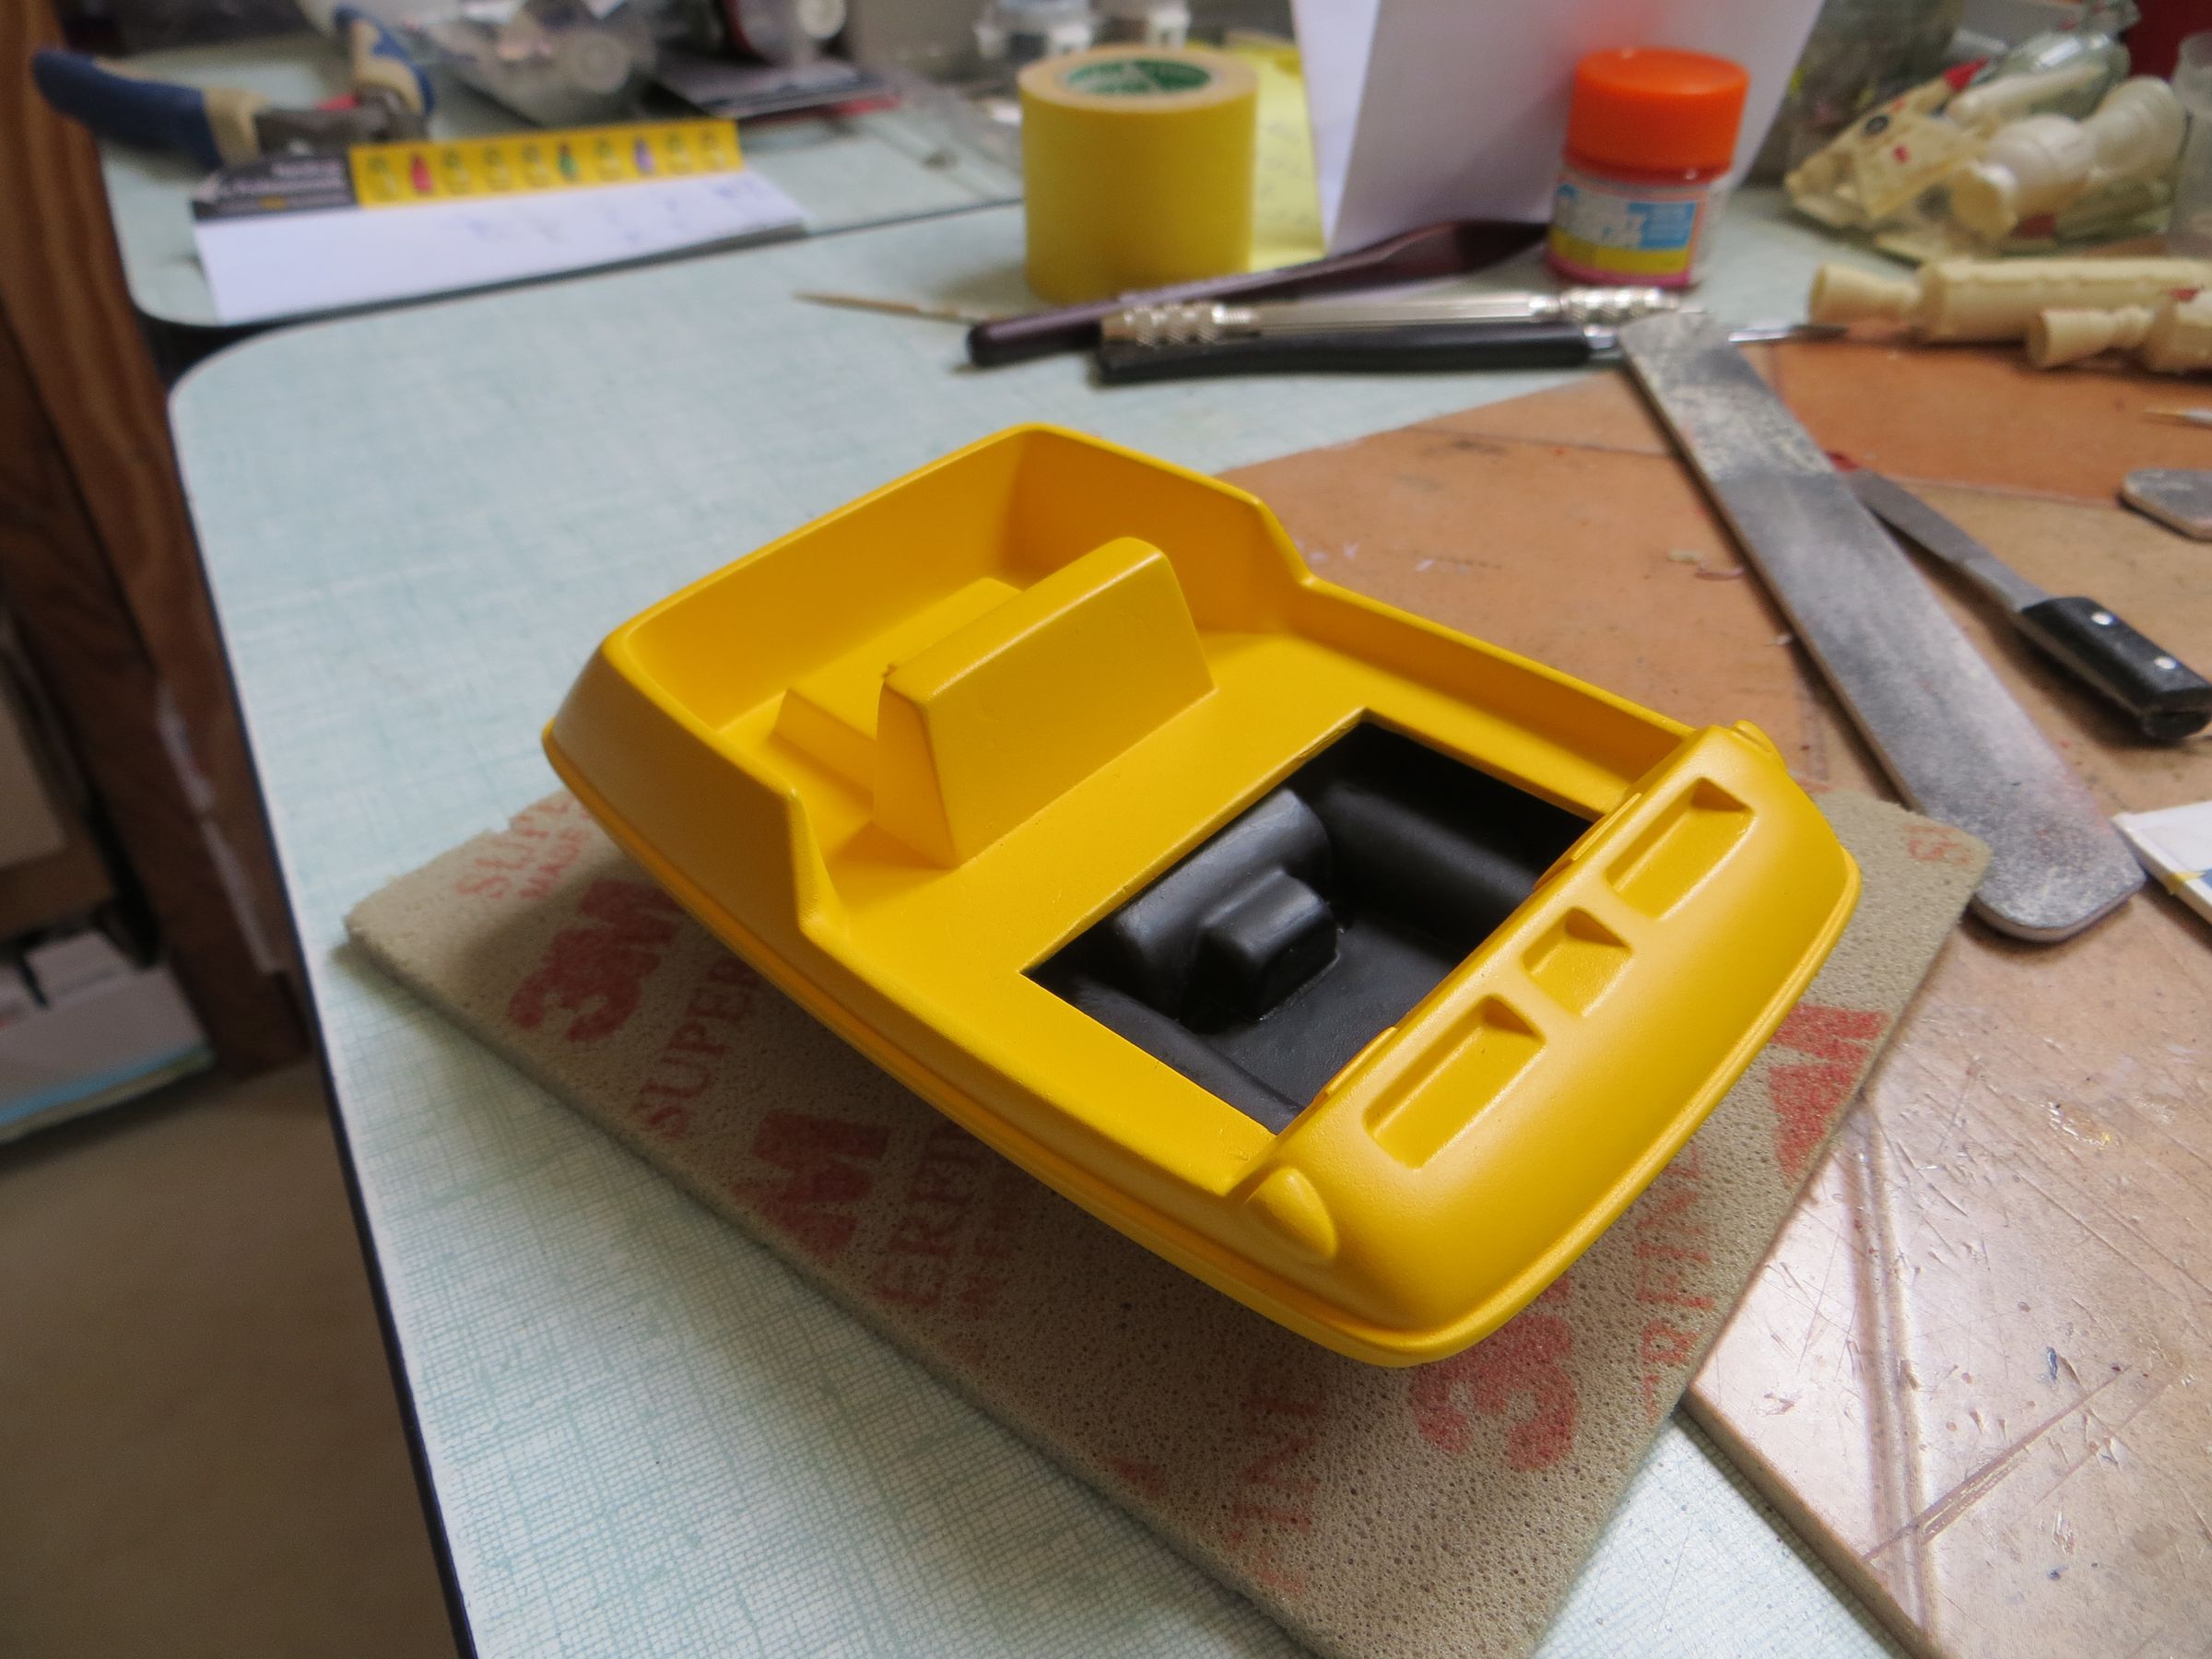
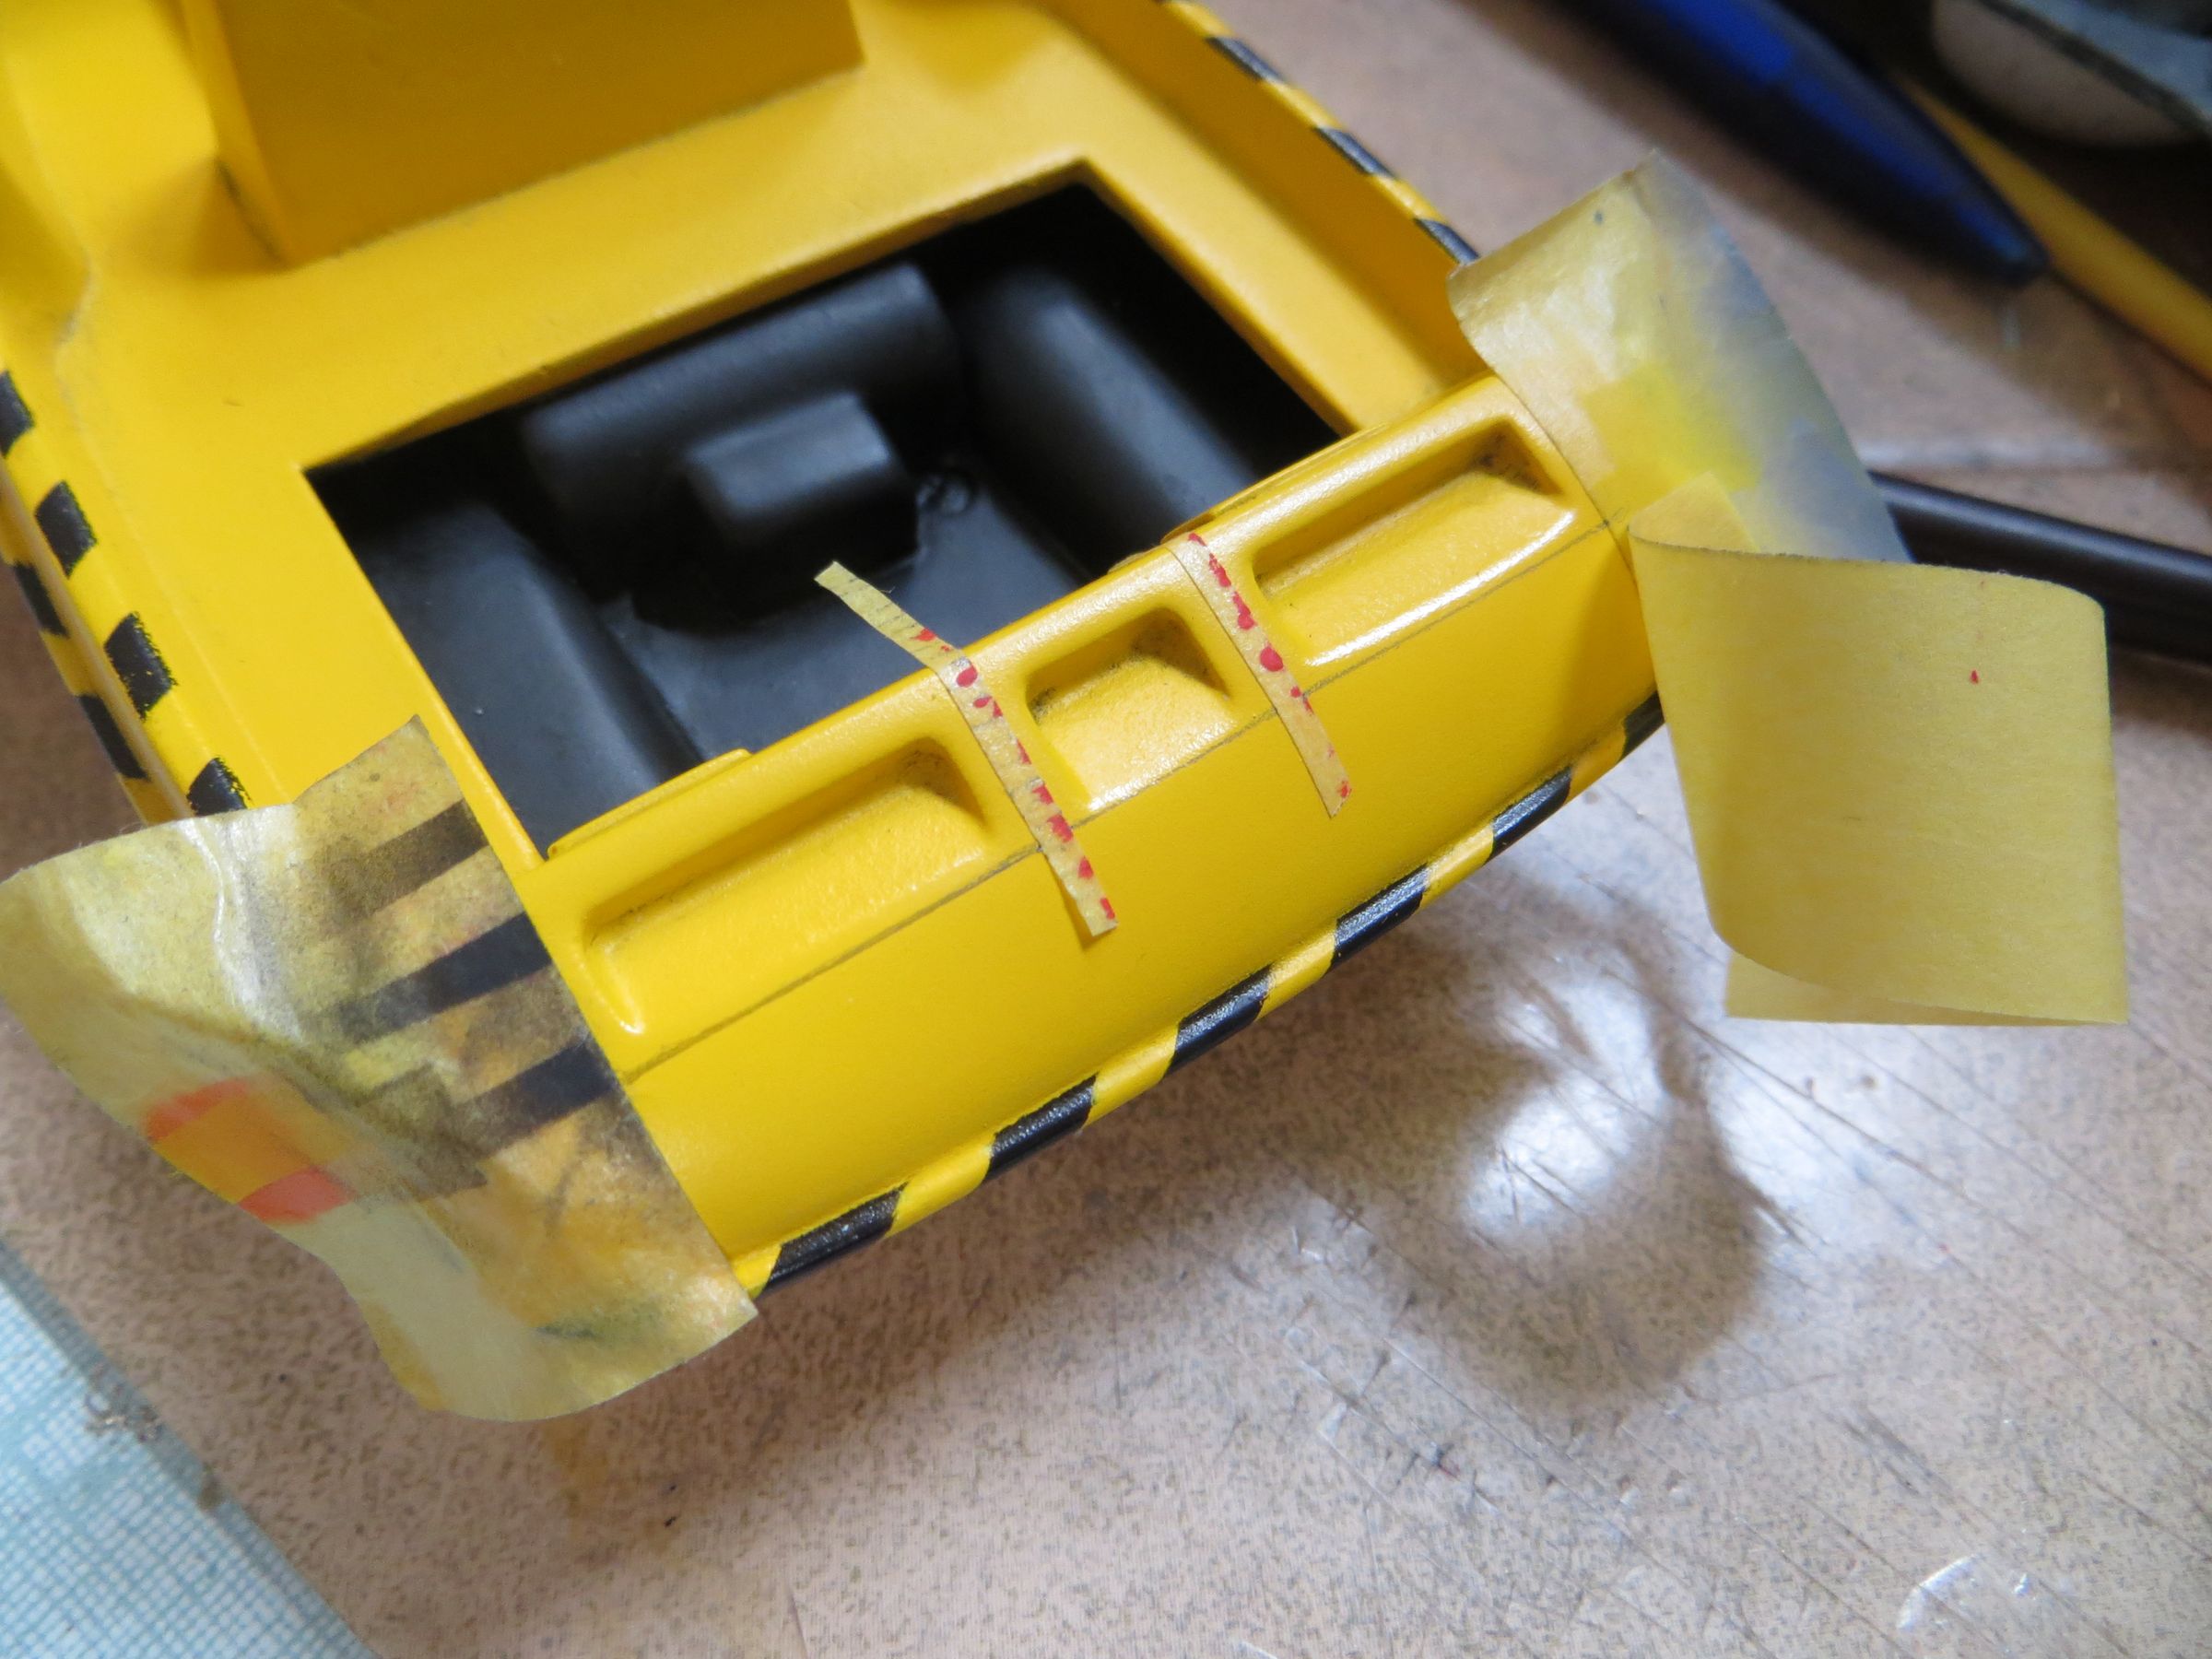
(I painted before the inside in white then yellow, and I realized after sealing that it should be black .... what is fortunately easier to correct in this order)

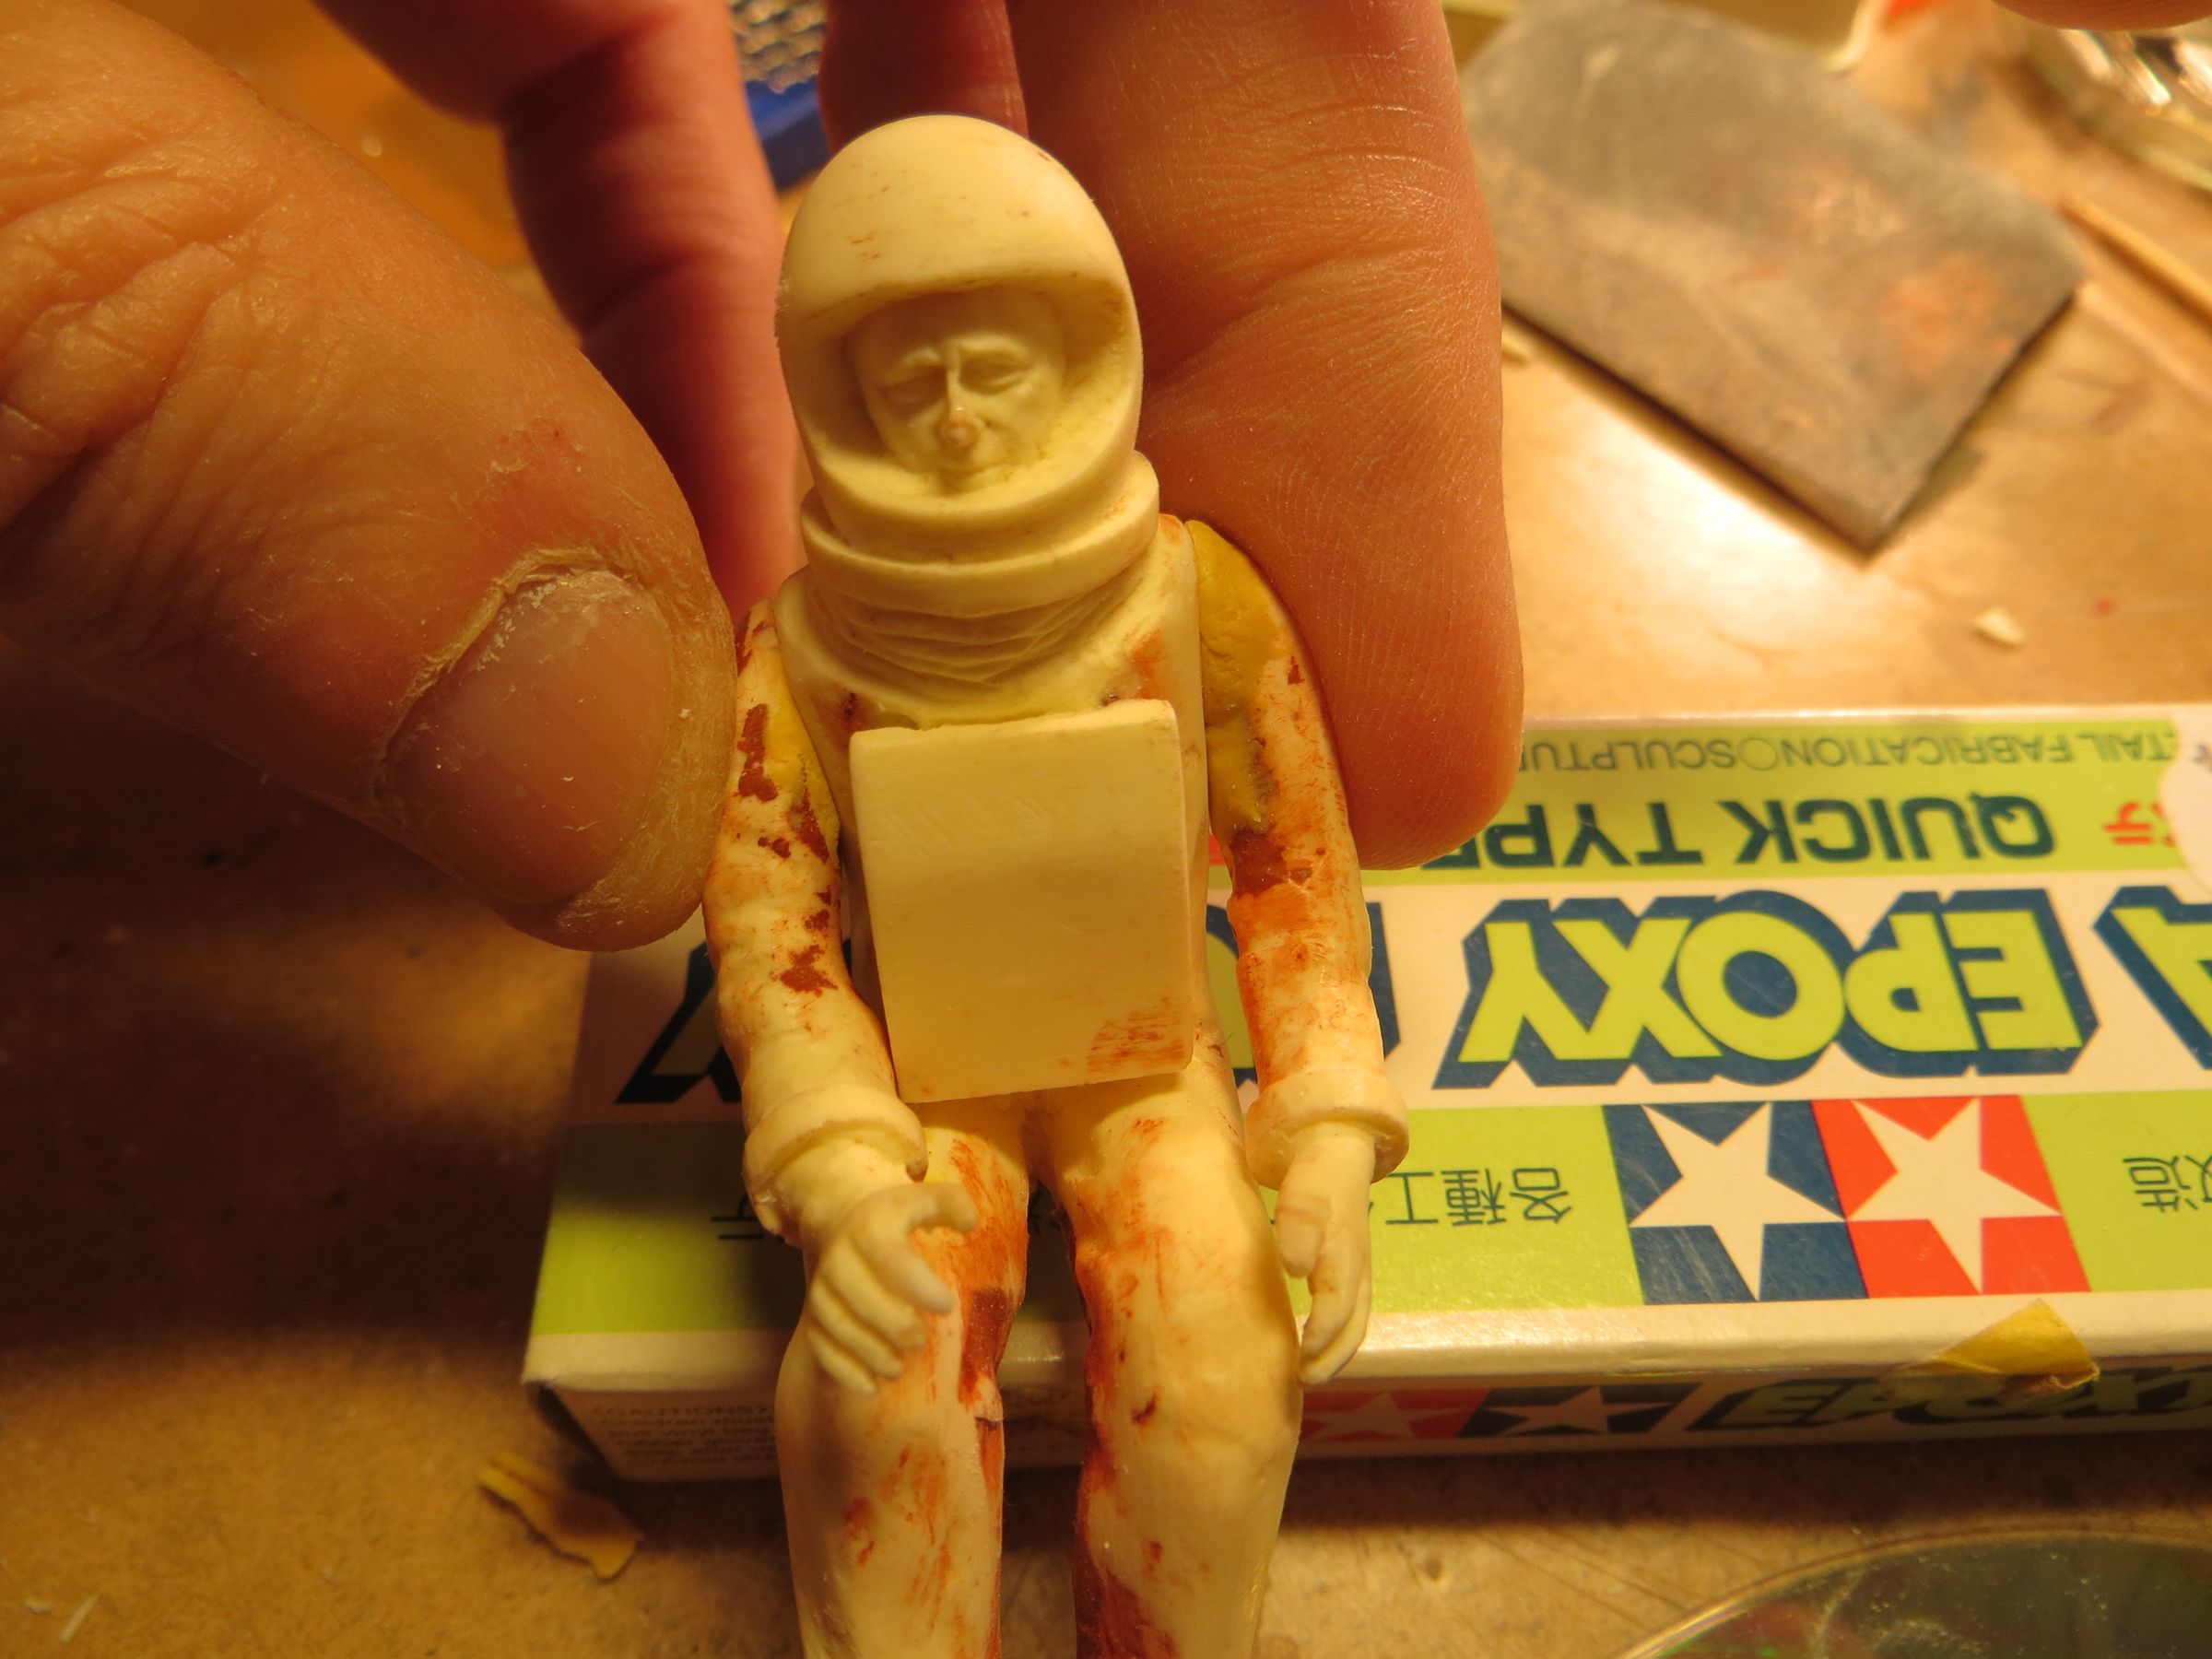
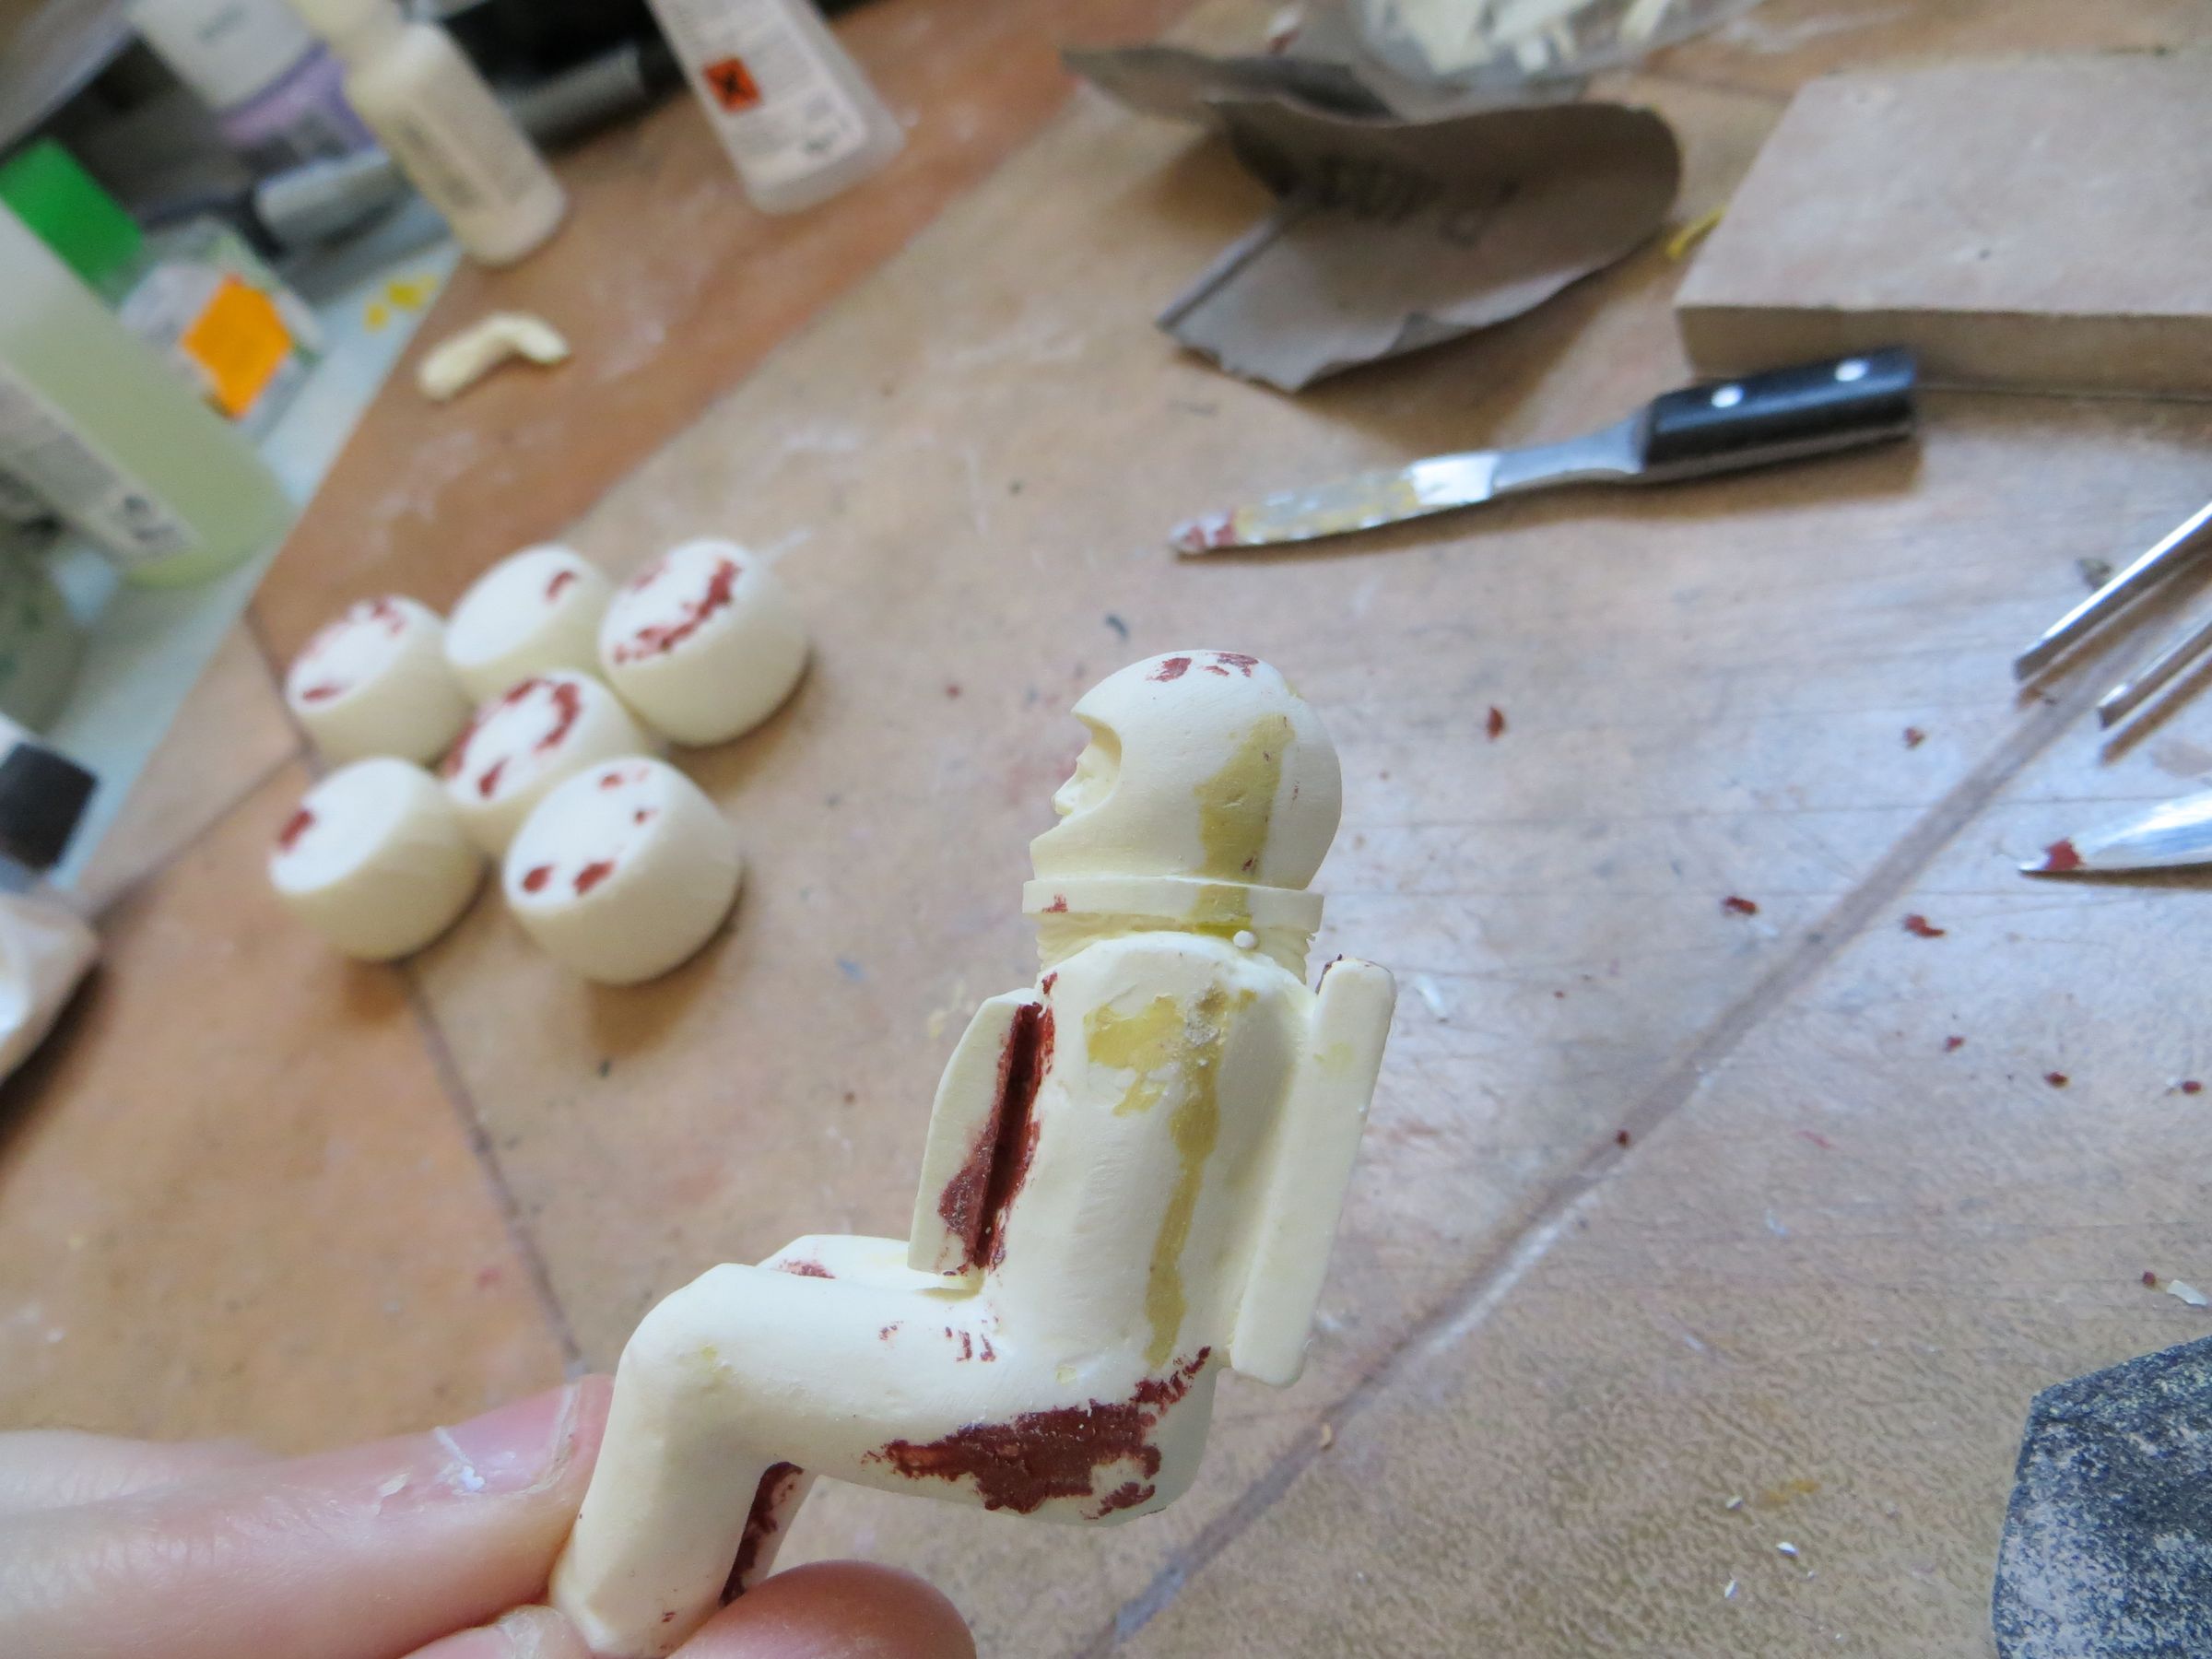
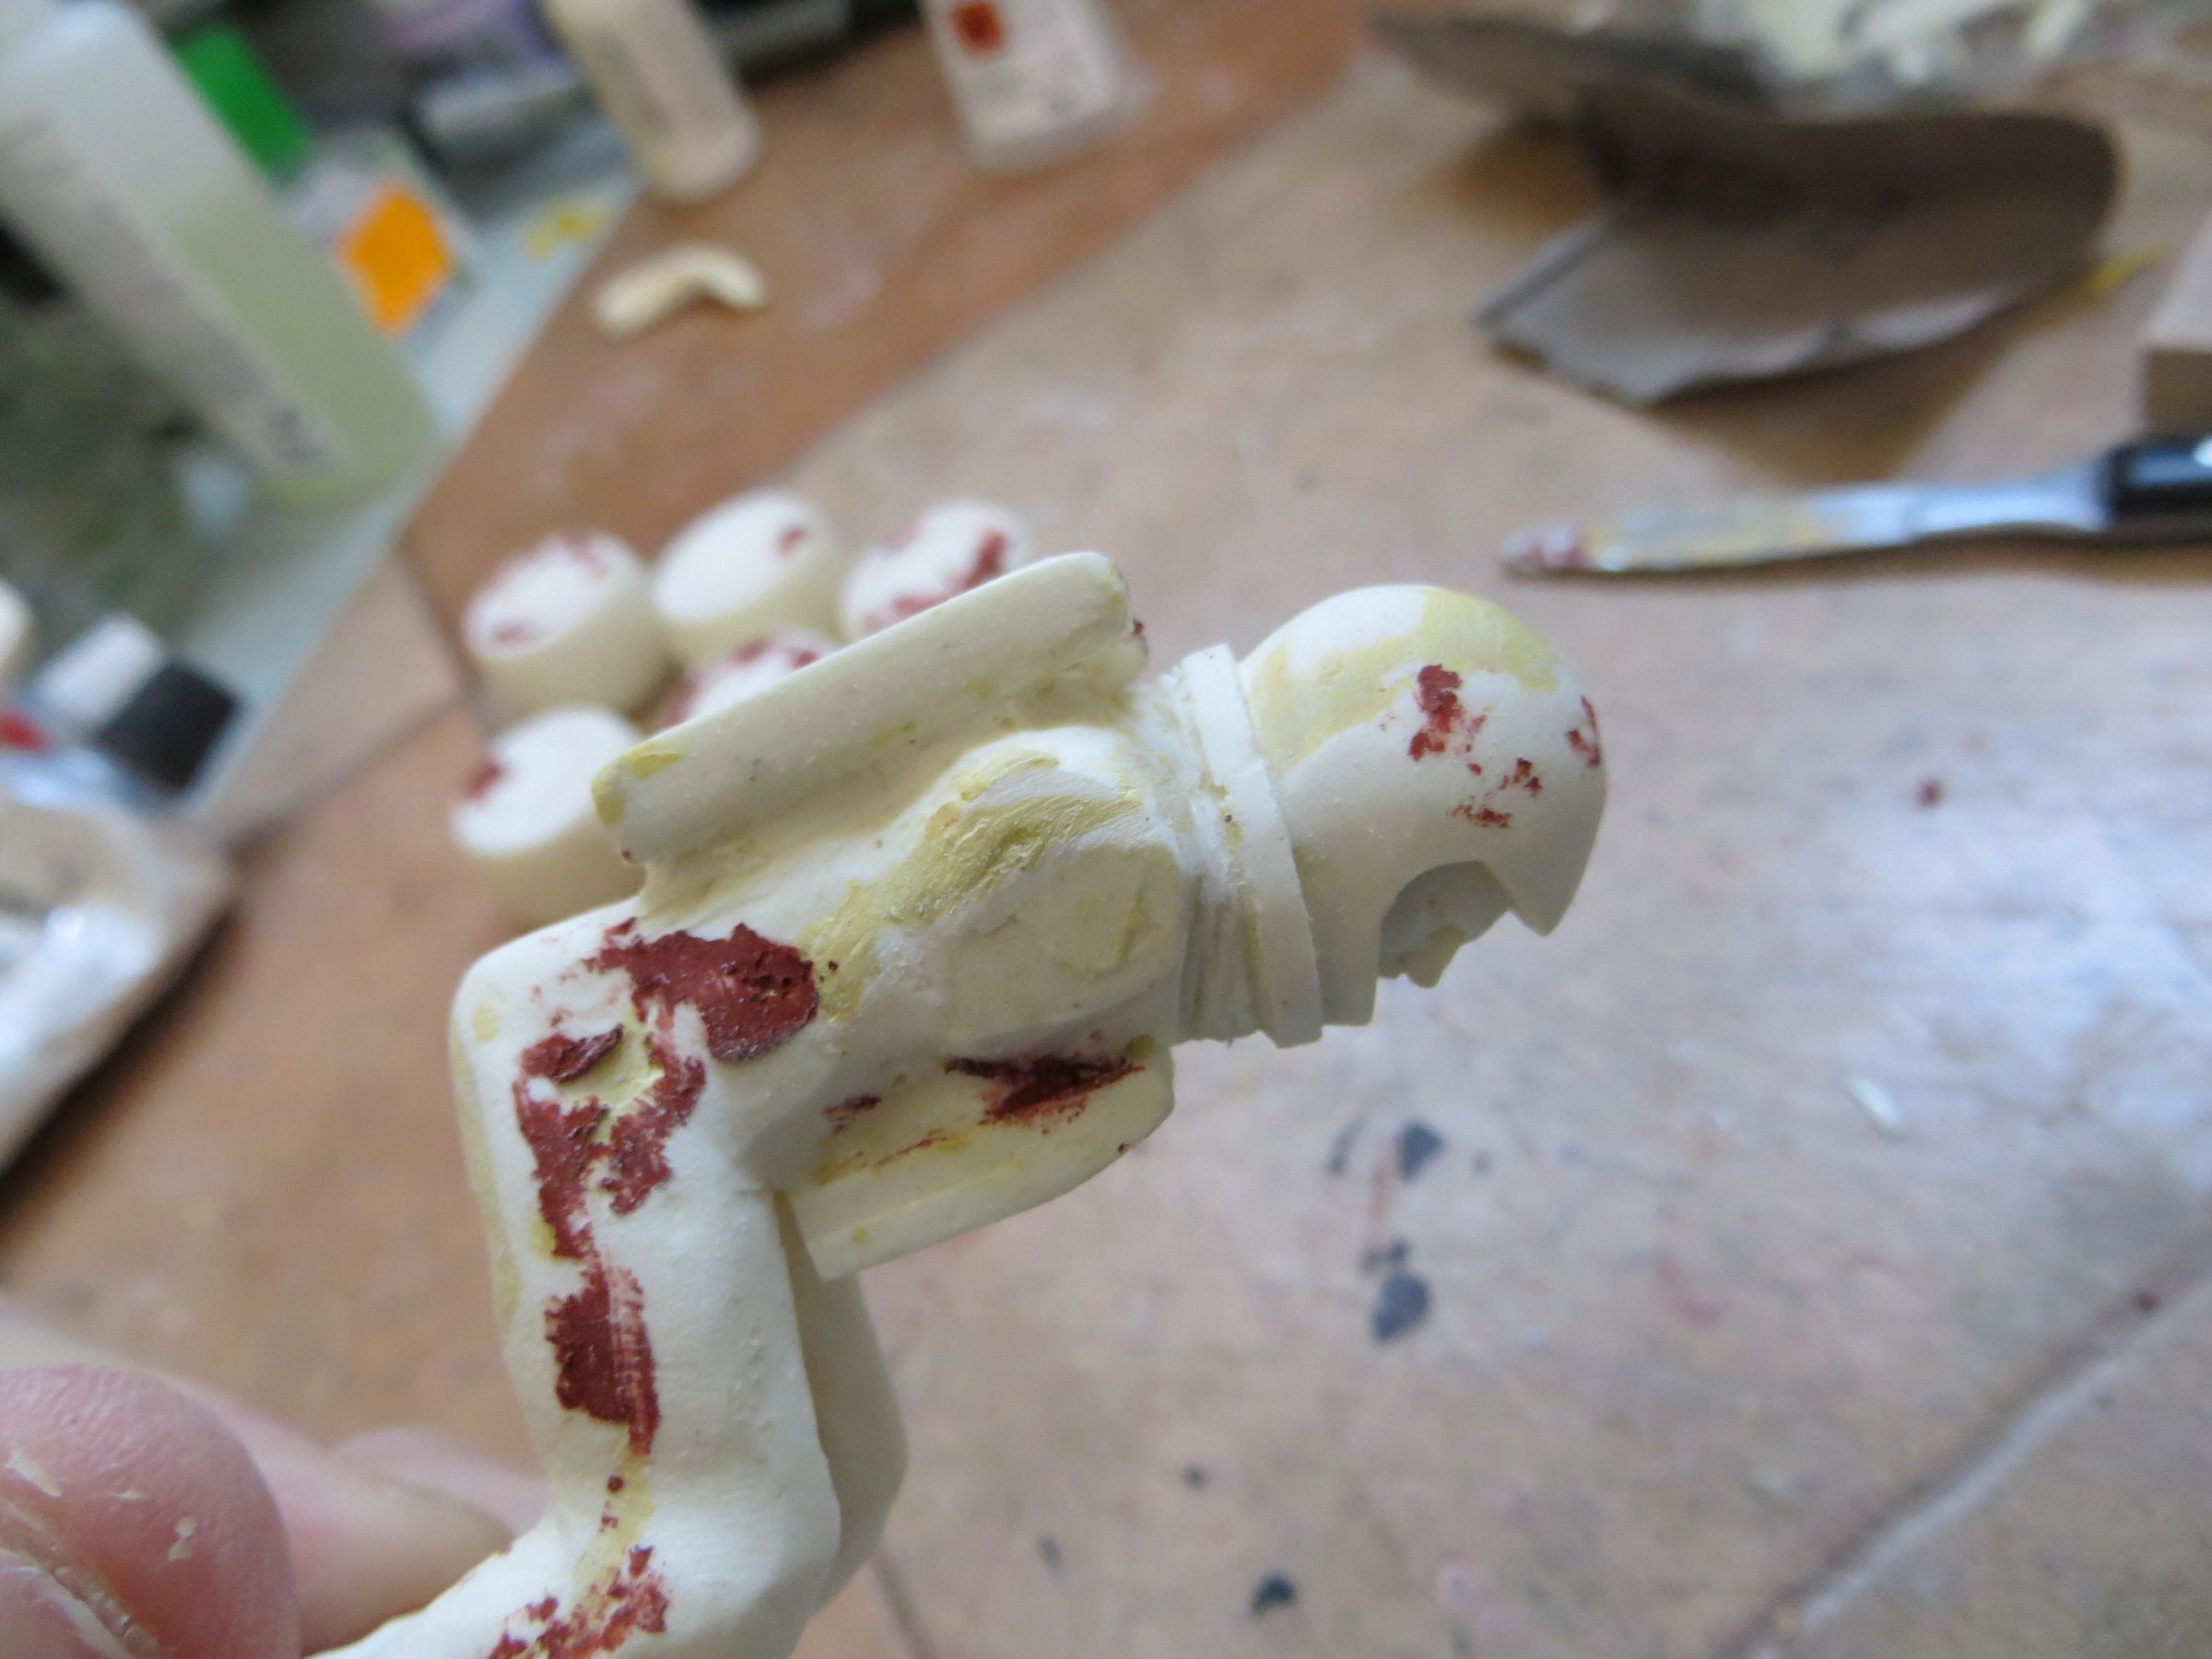
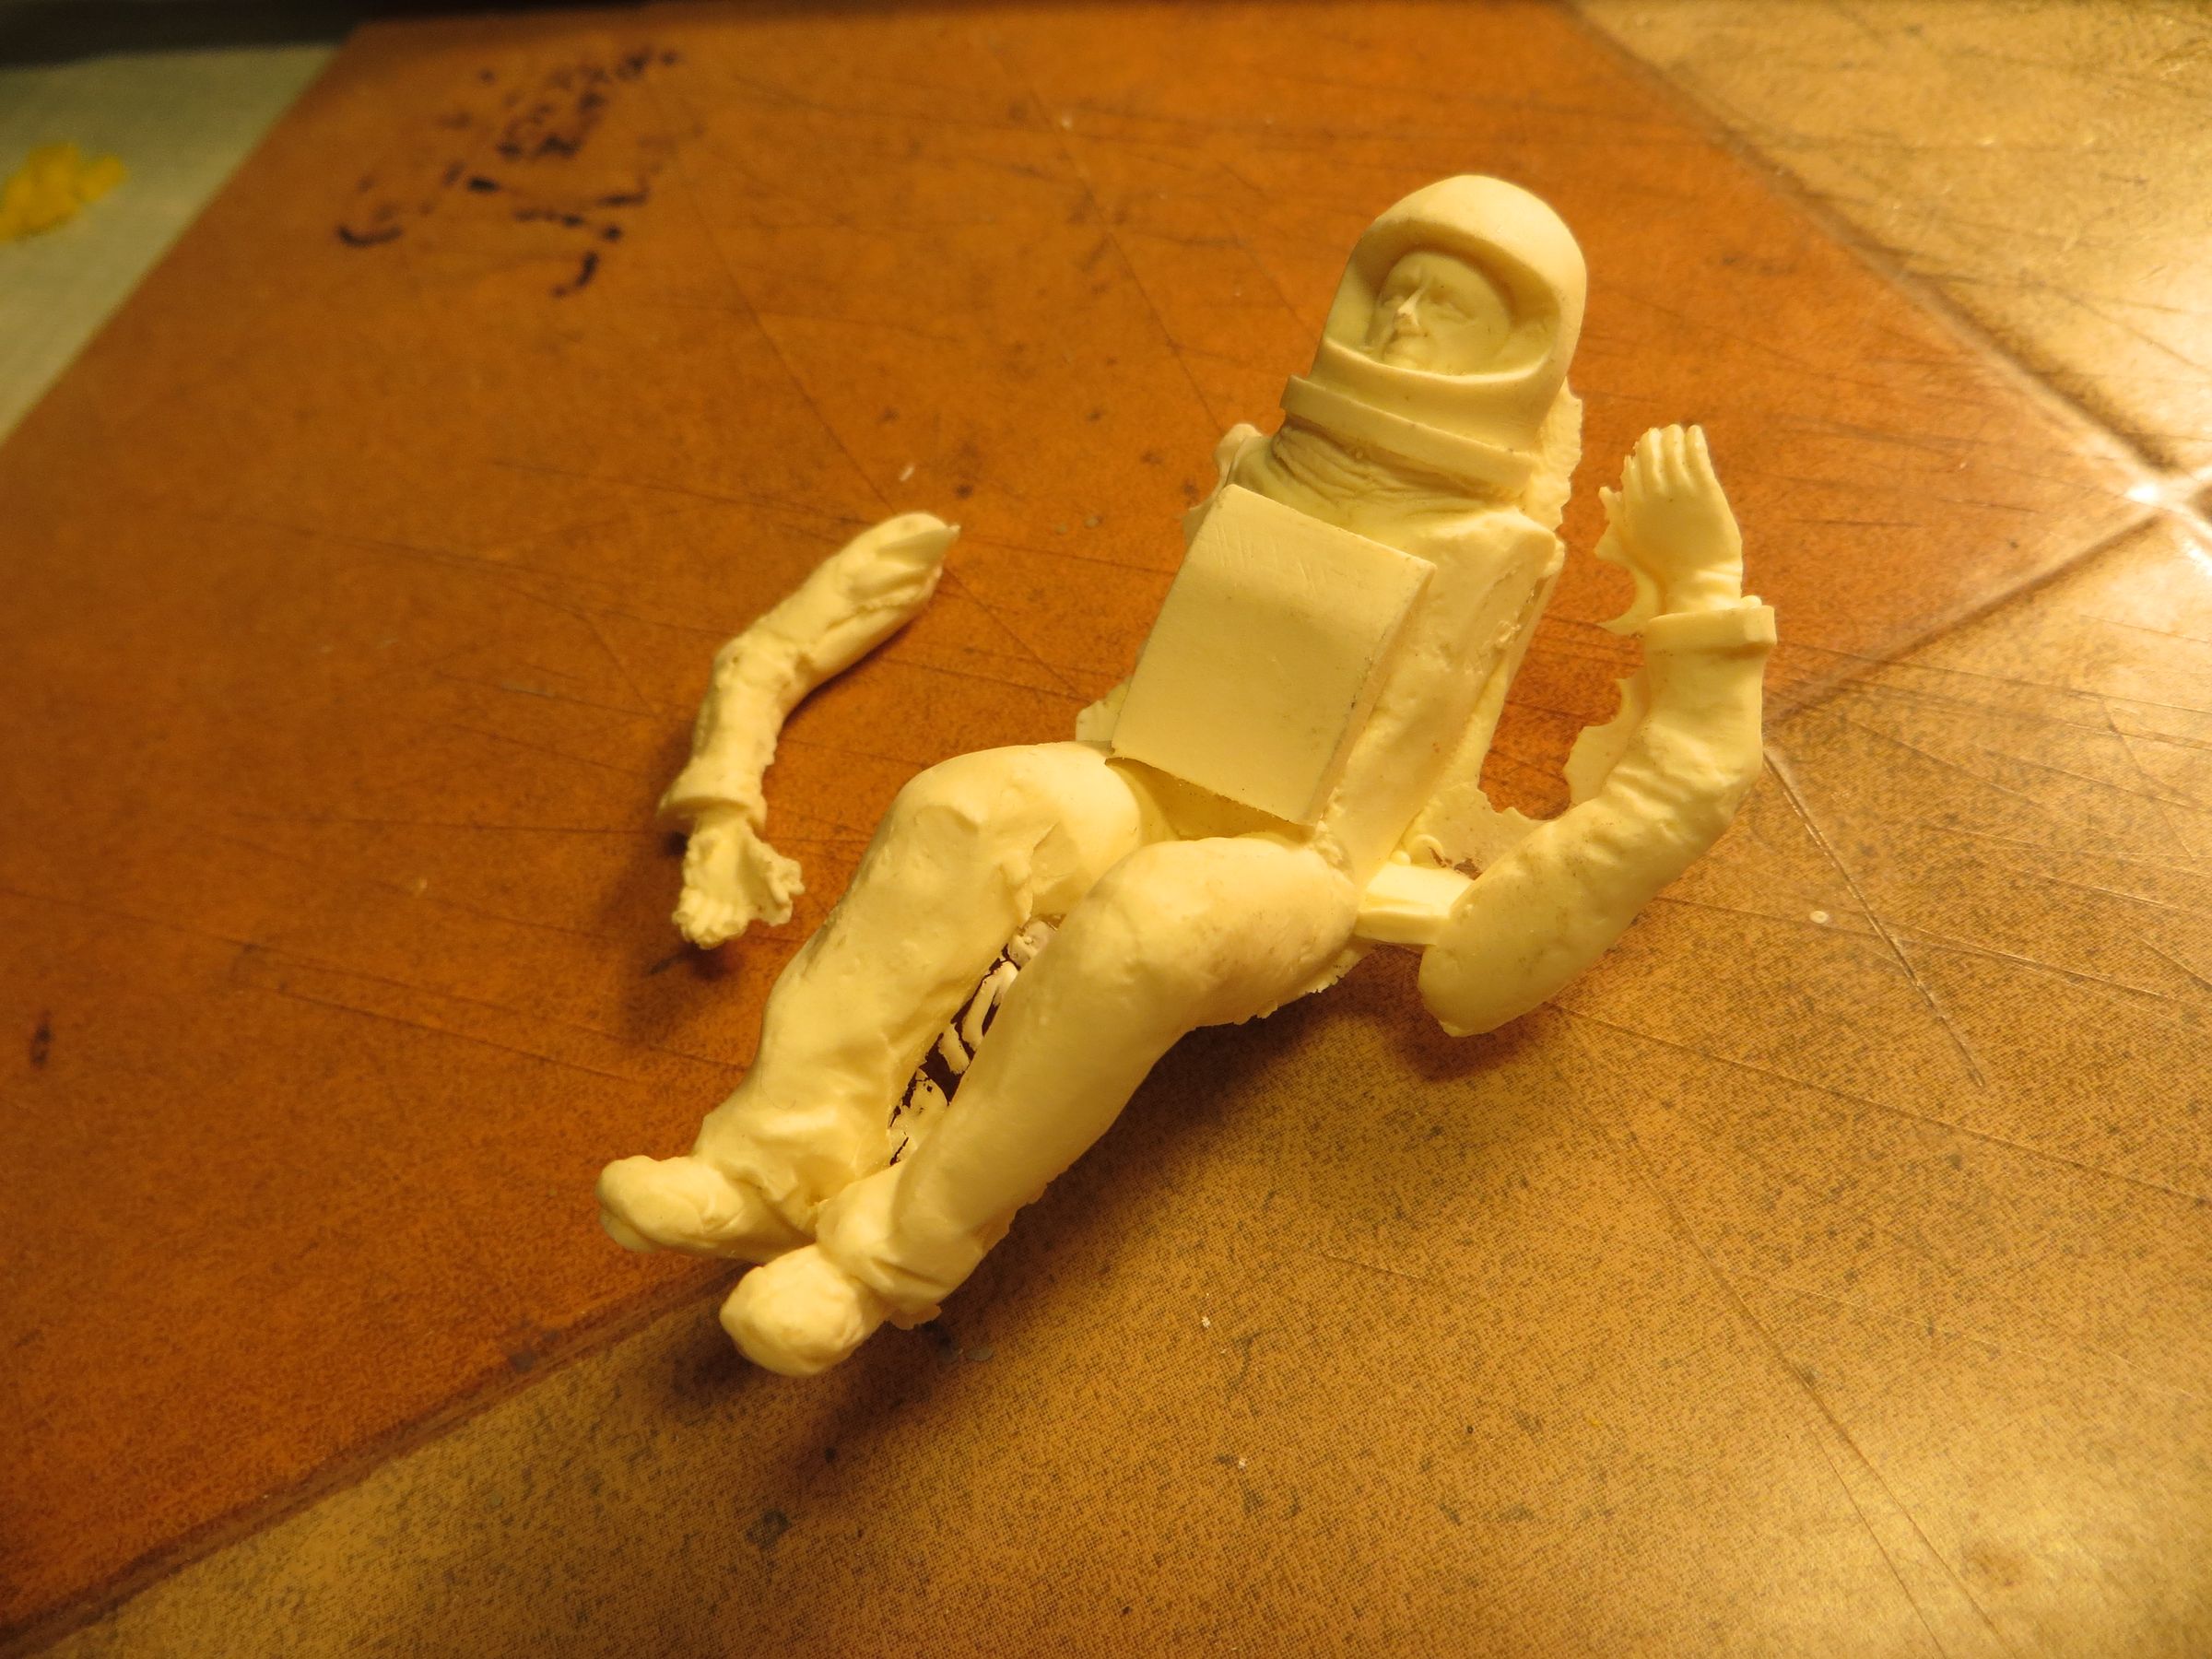
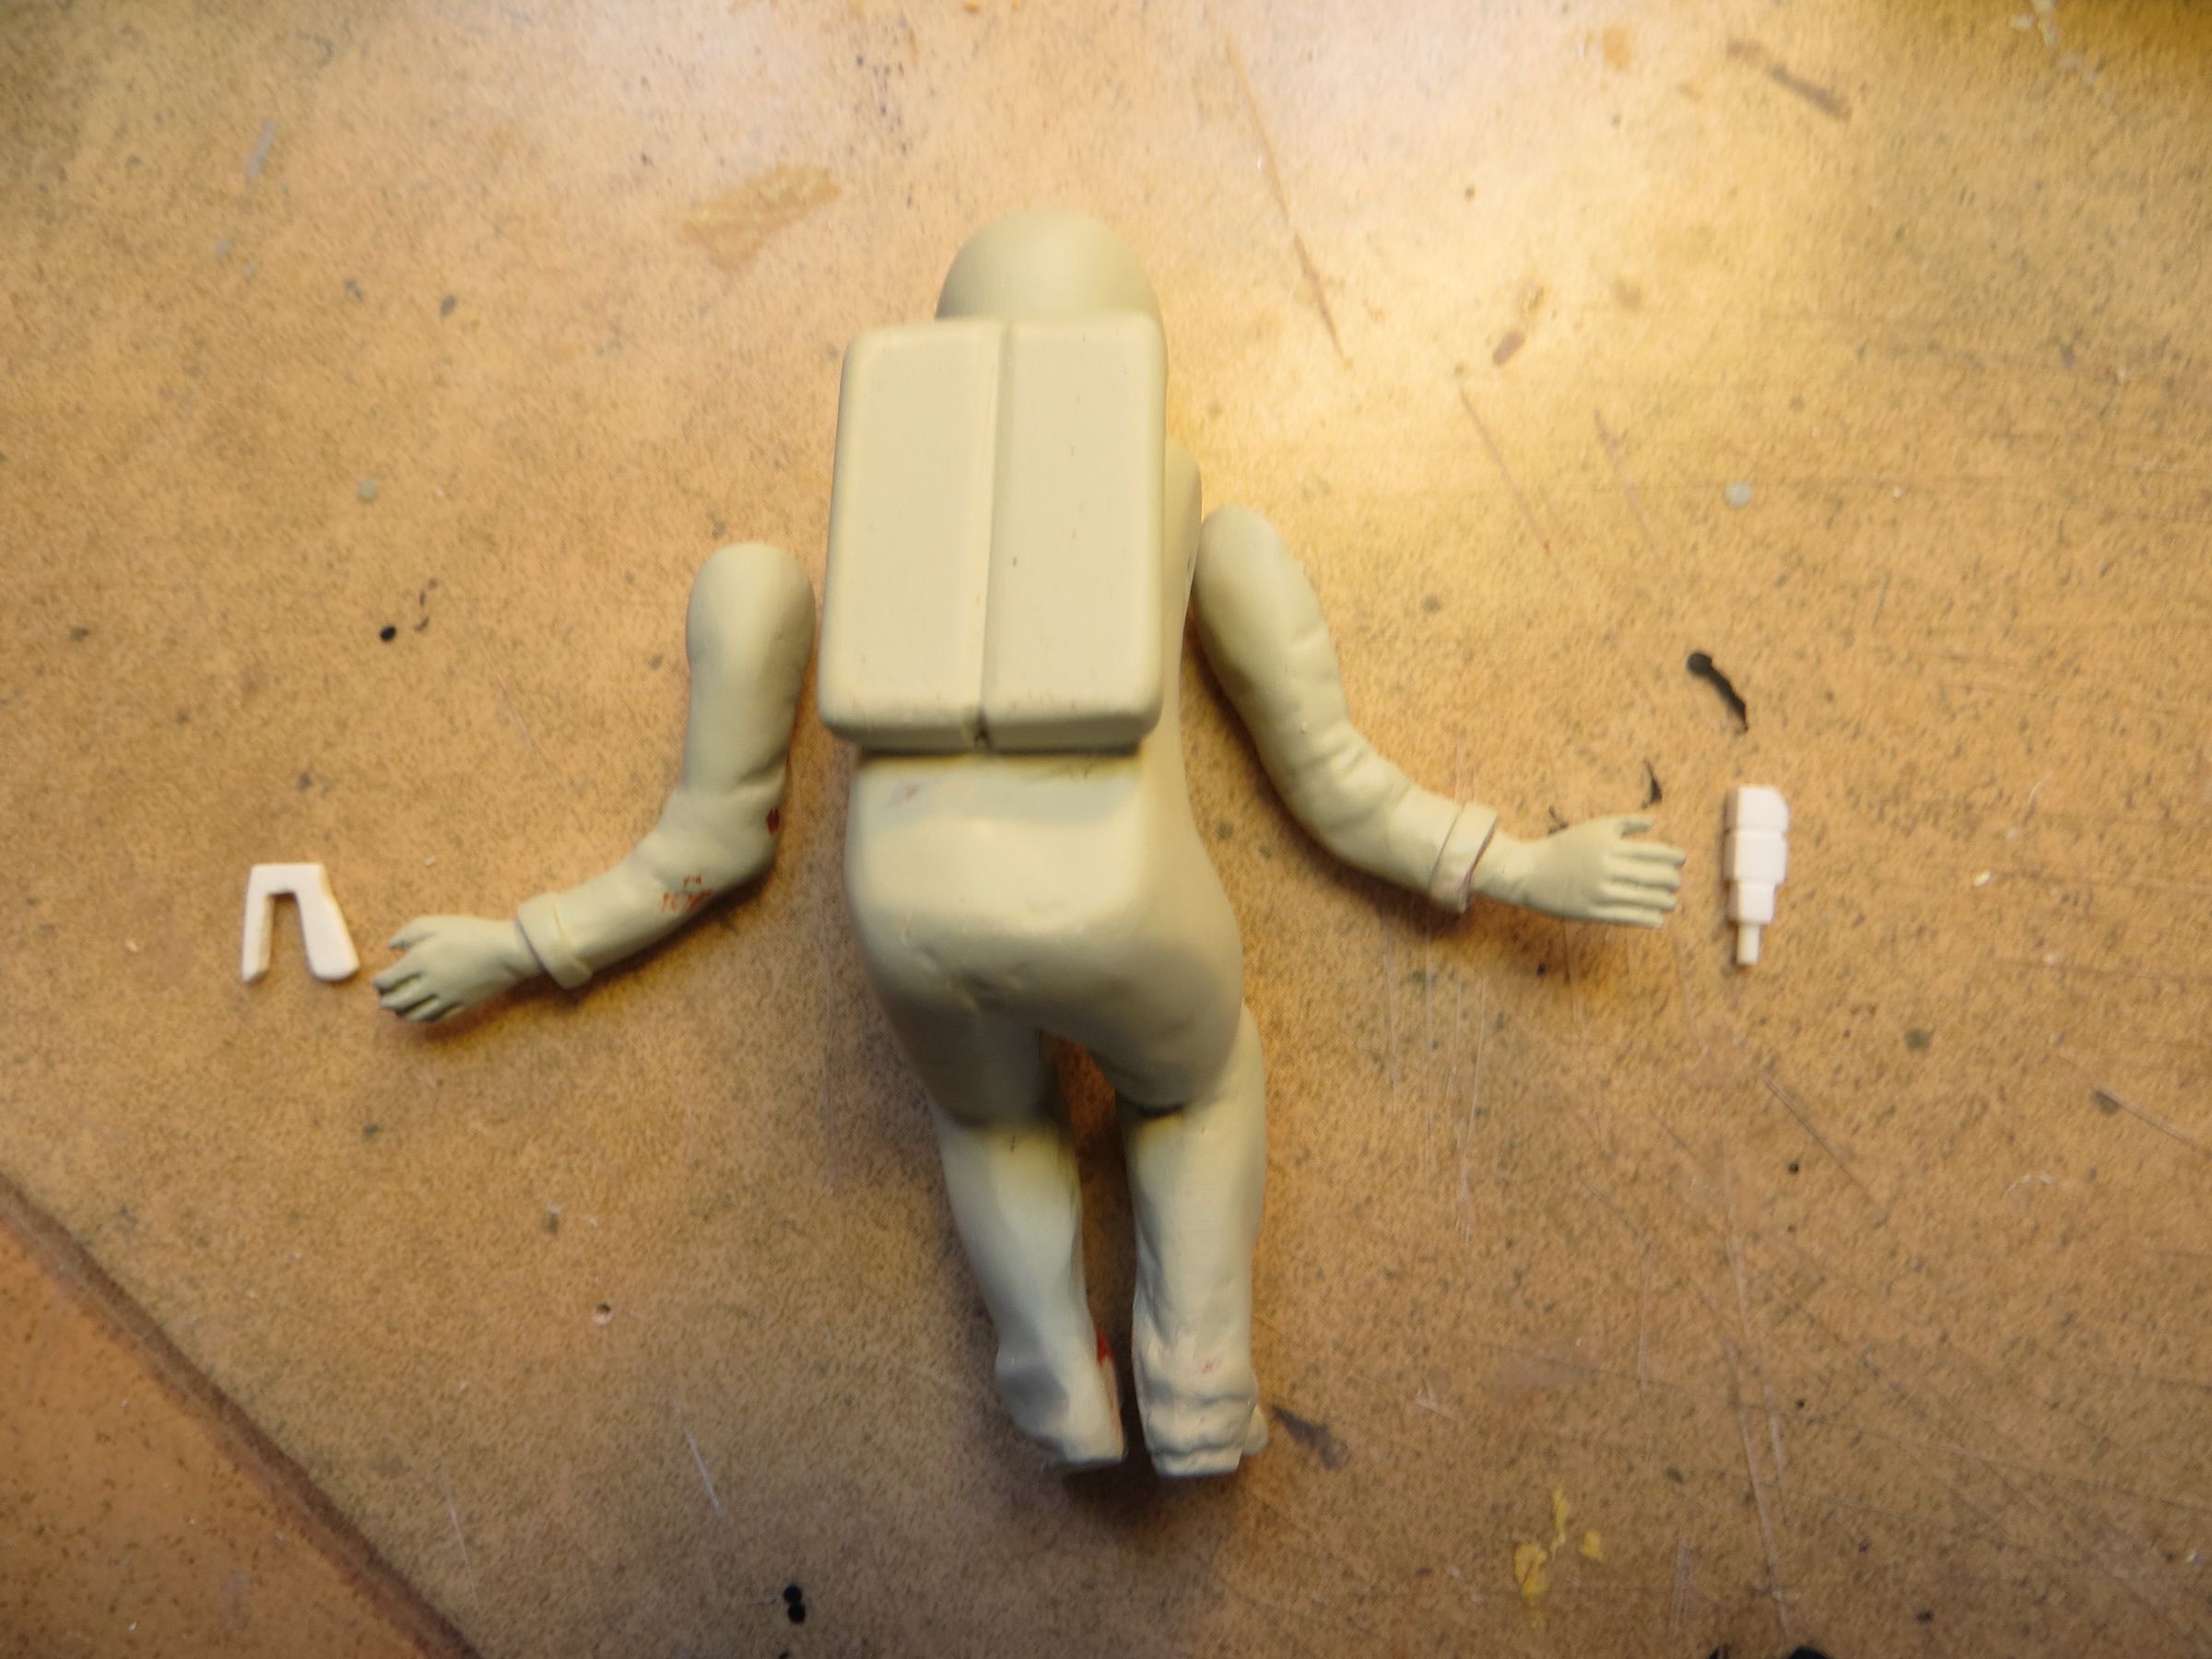
For fun, I scratched mini stun gun and comlock to the character.

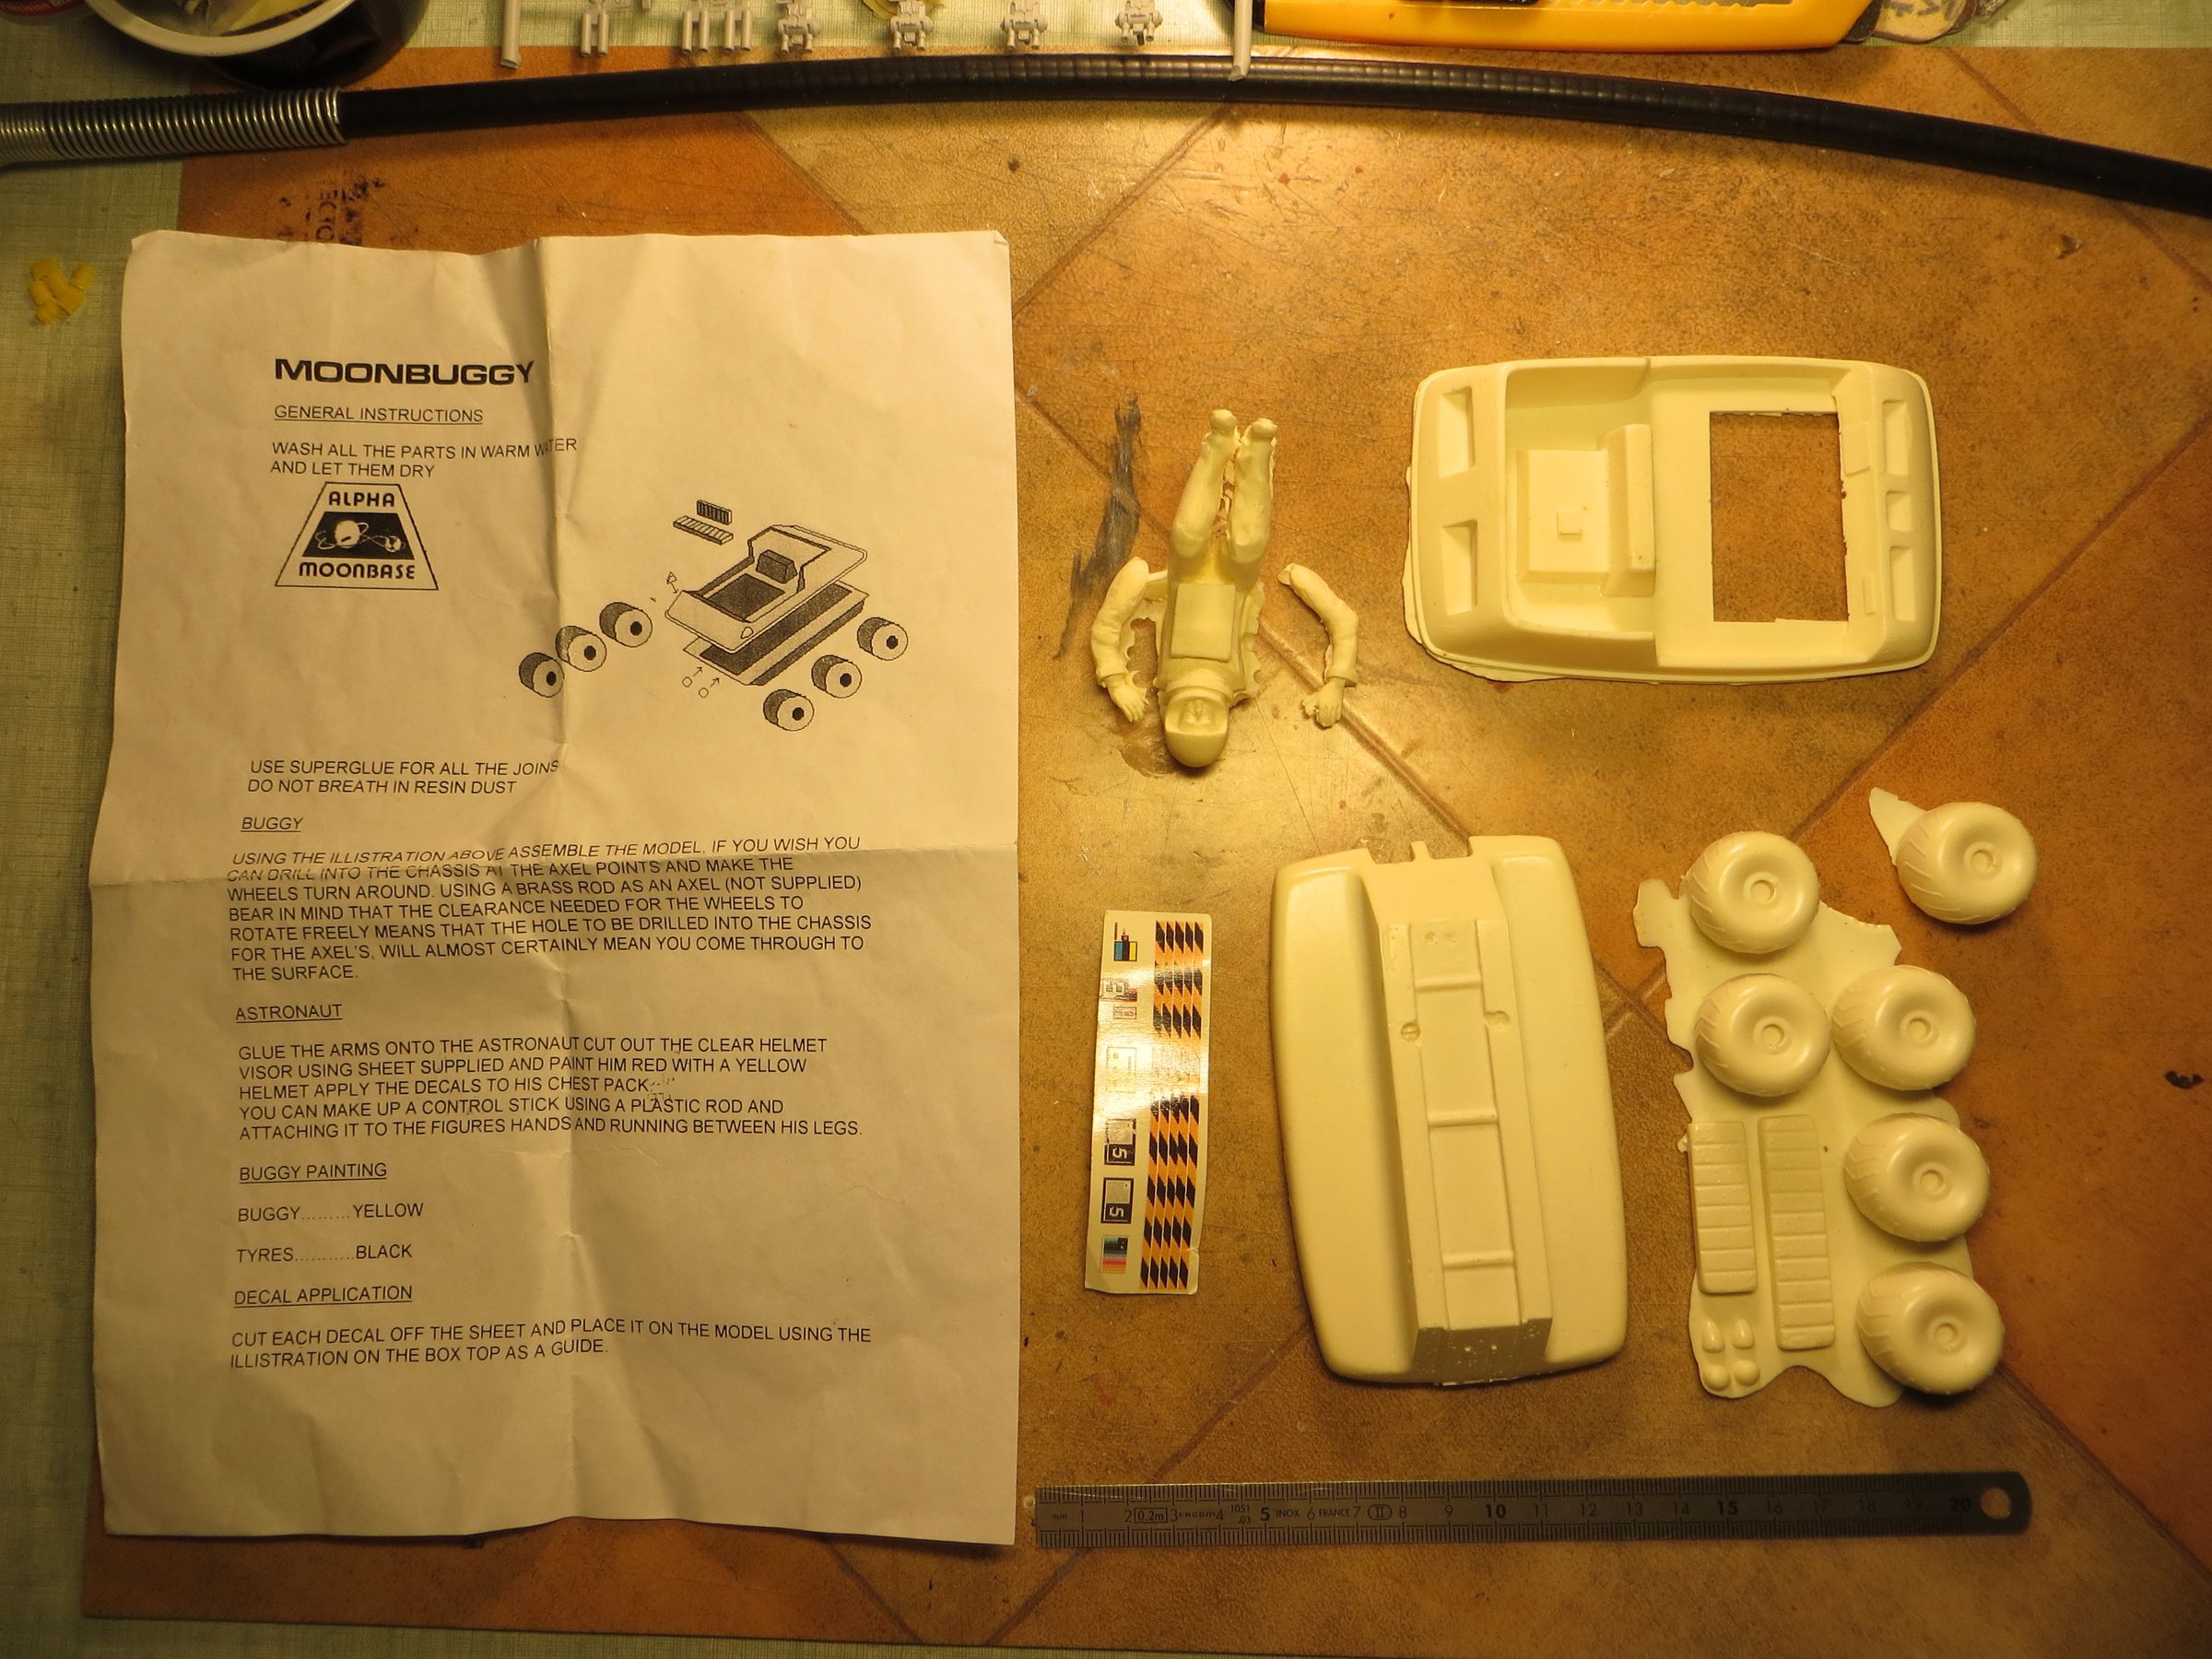
Here they are, laying on their big brothers in real size.

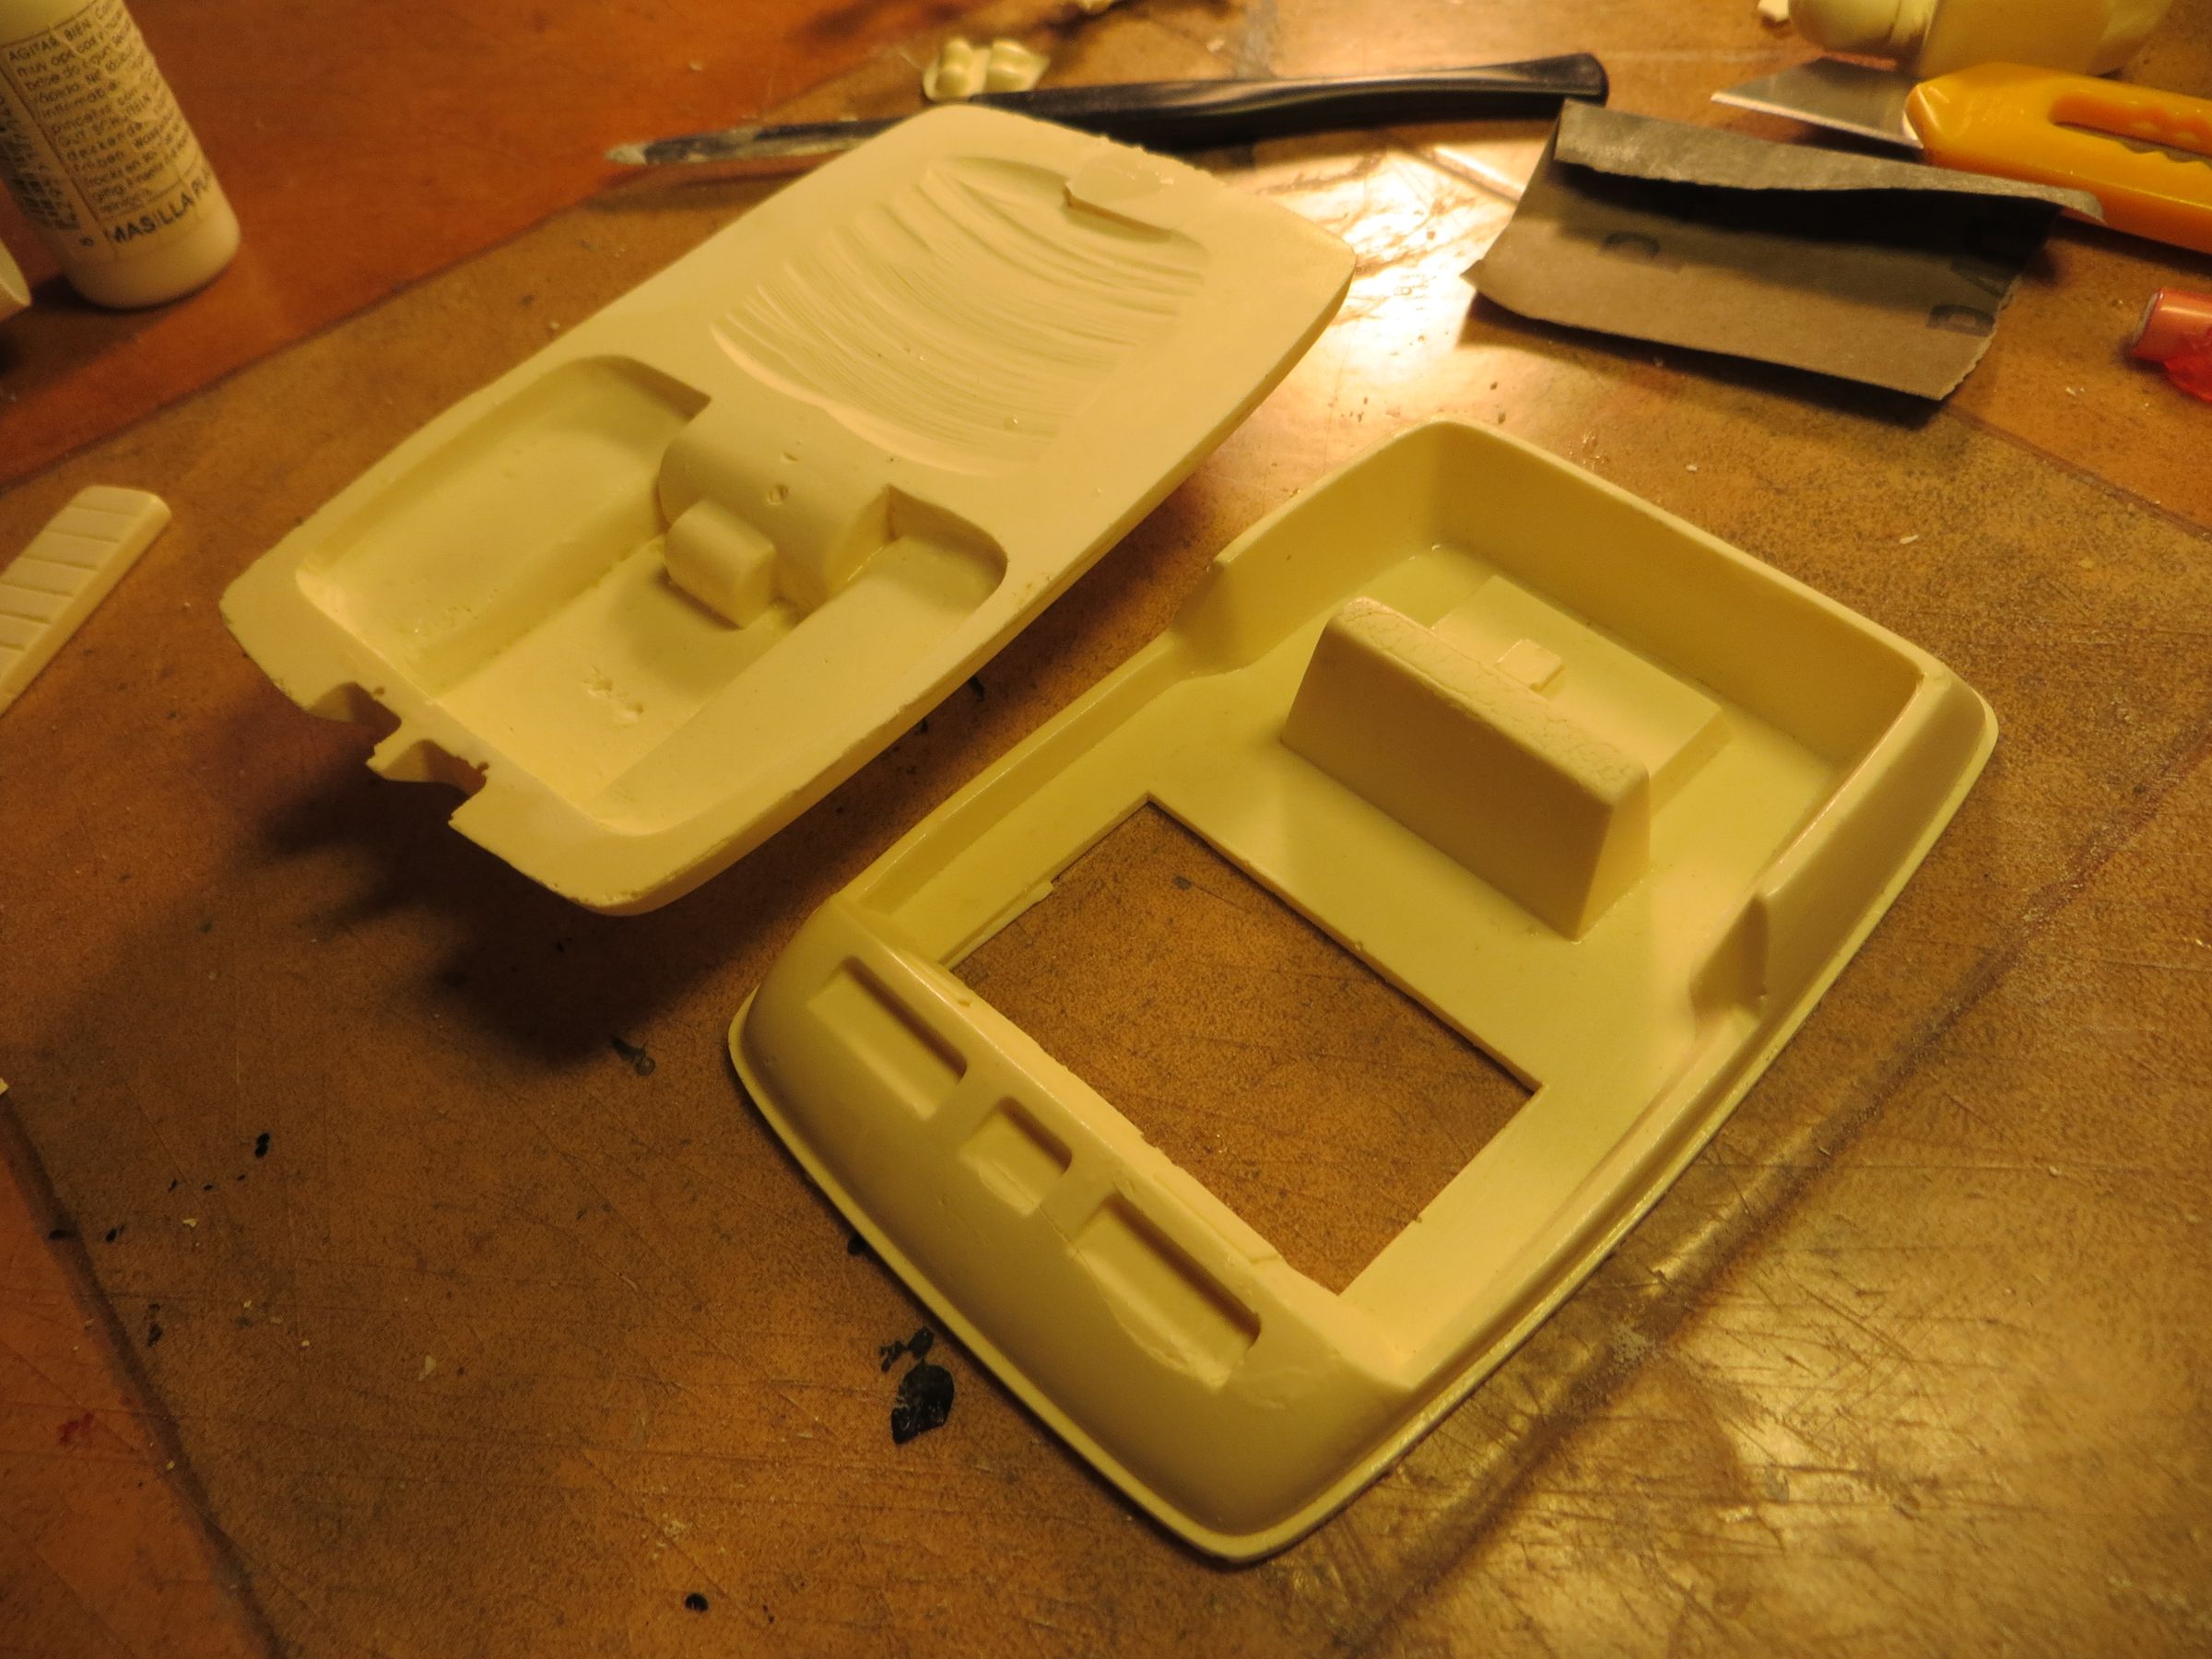
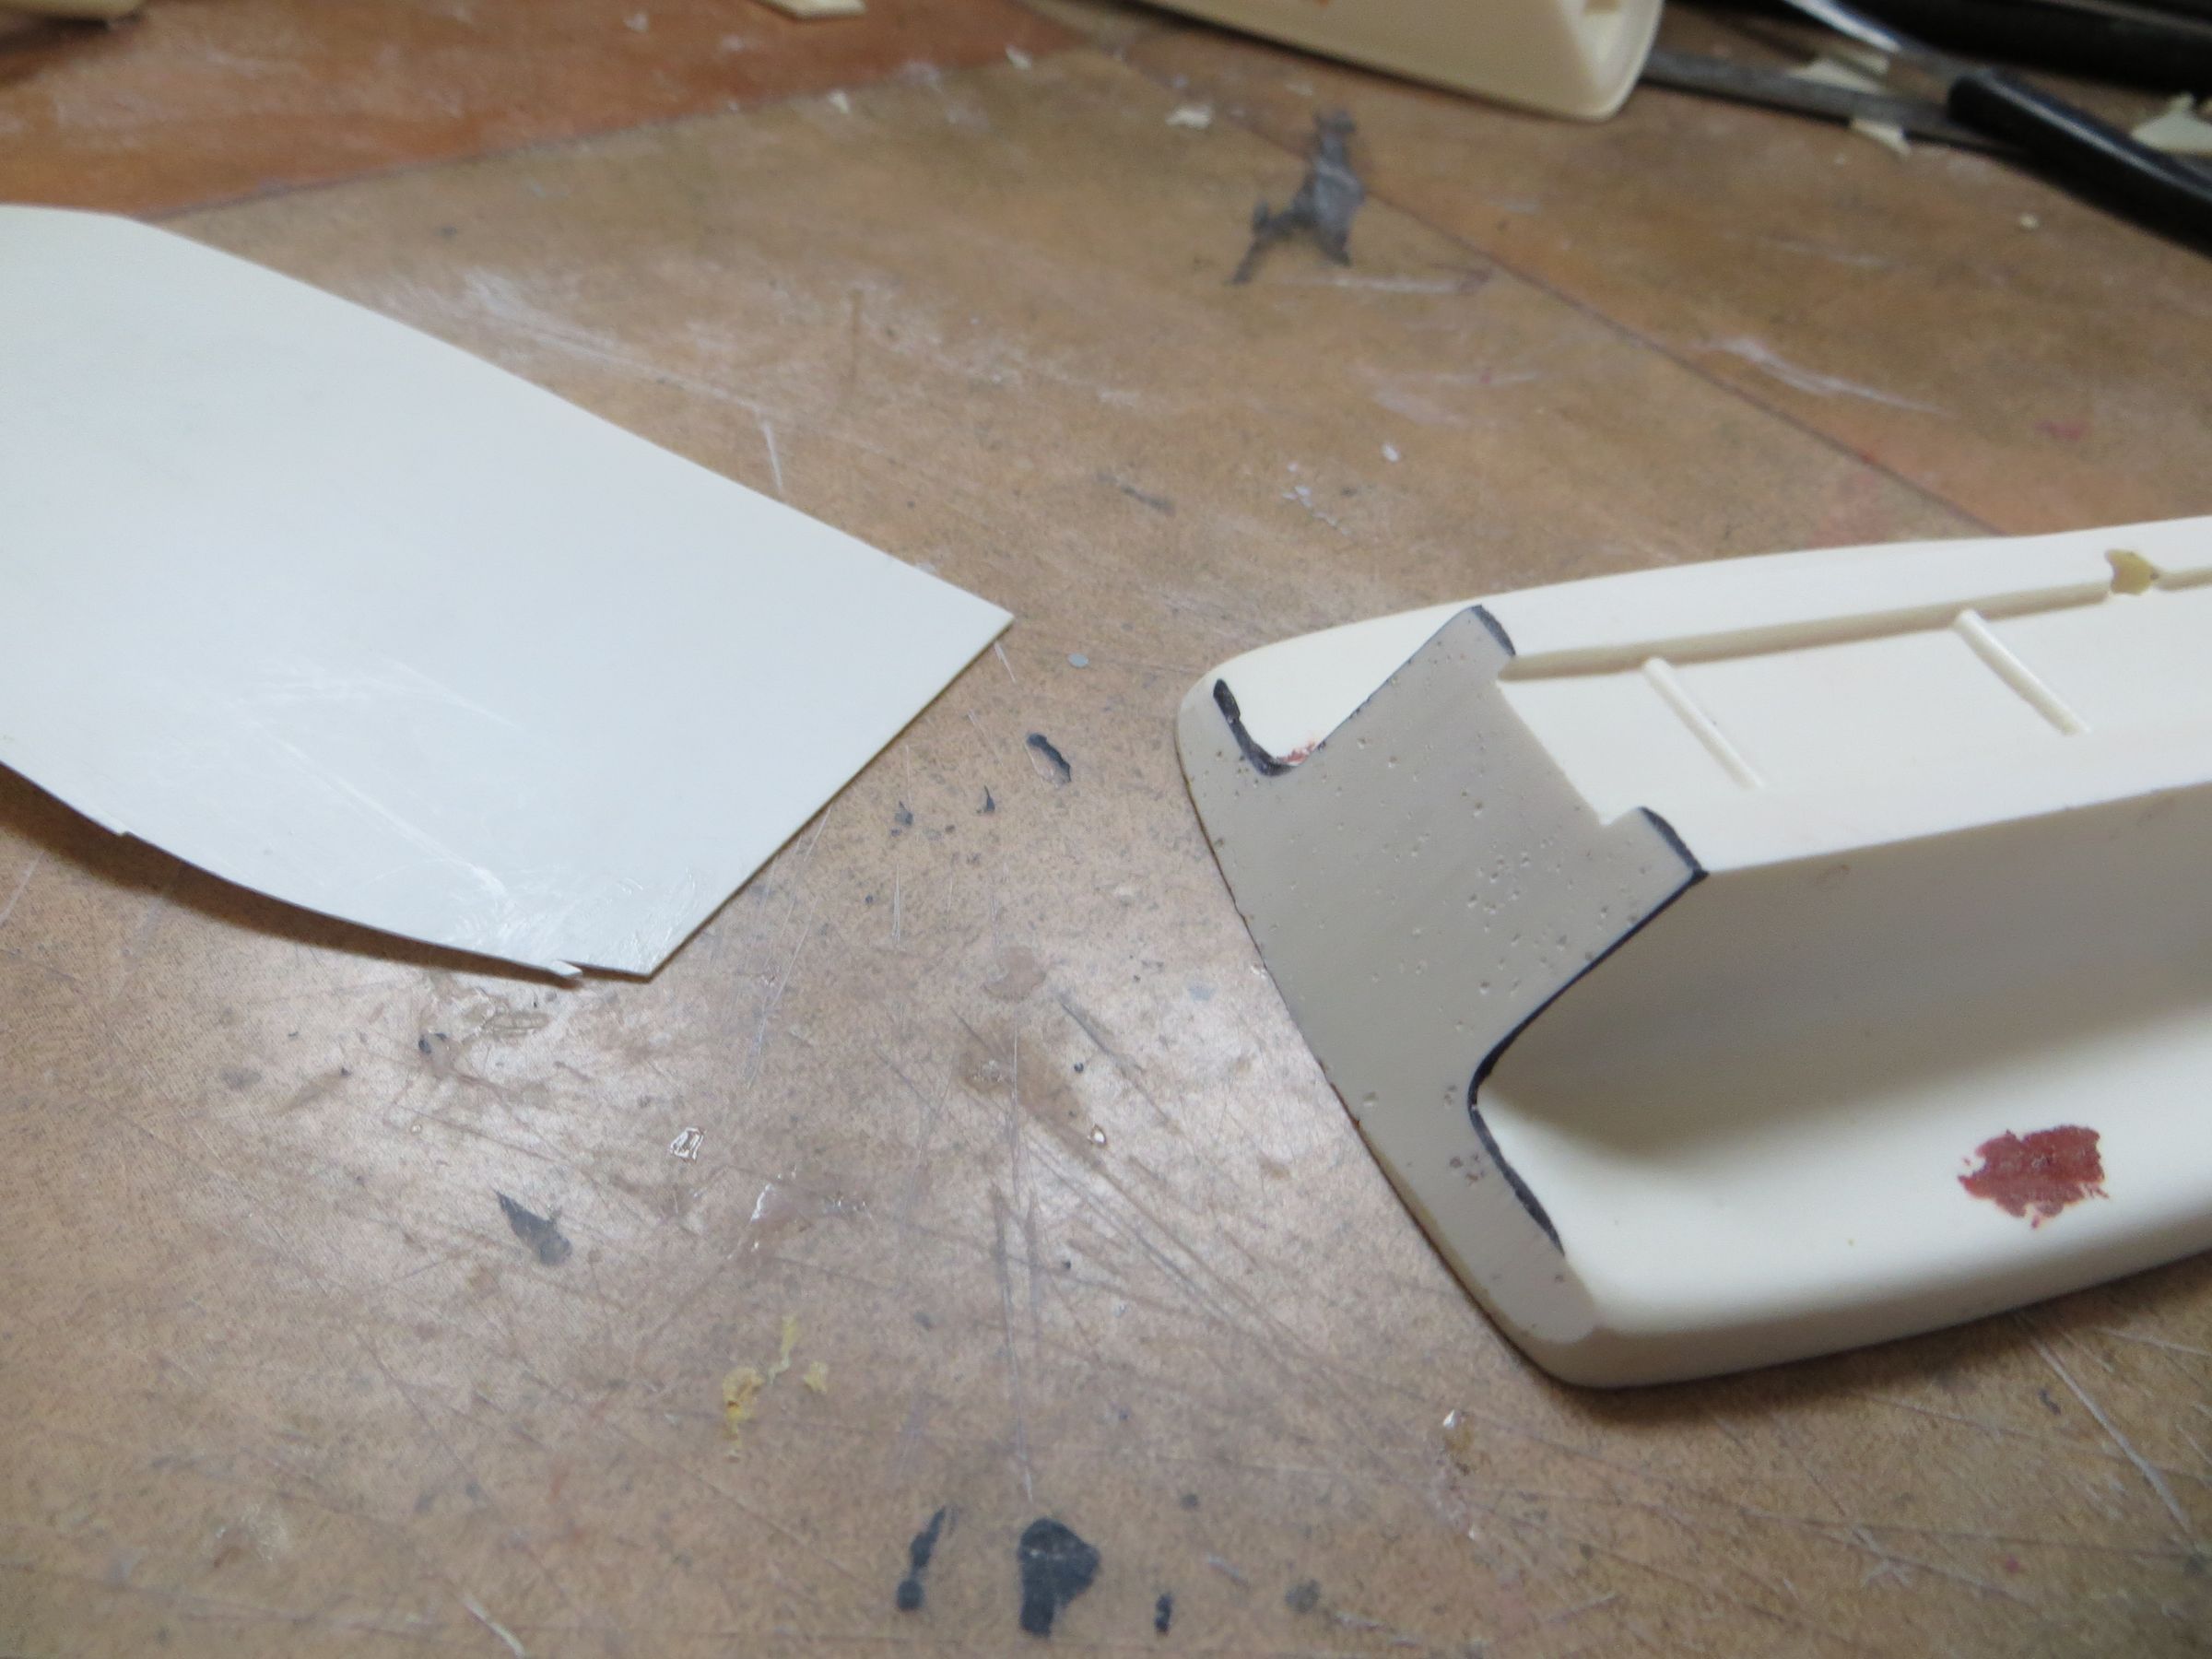
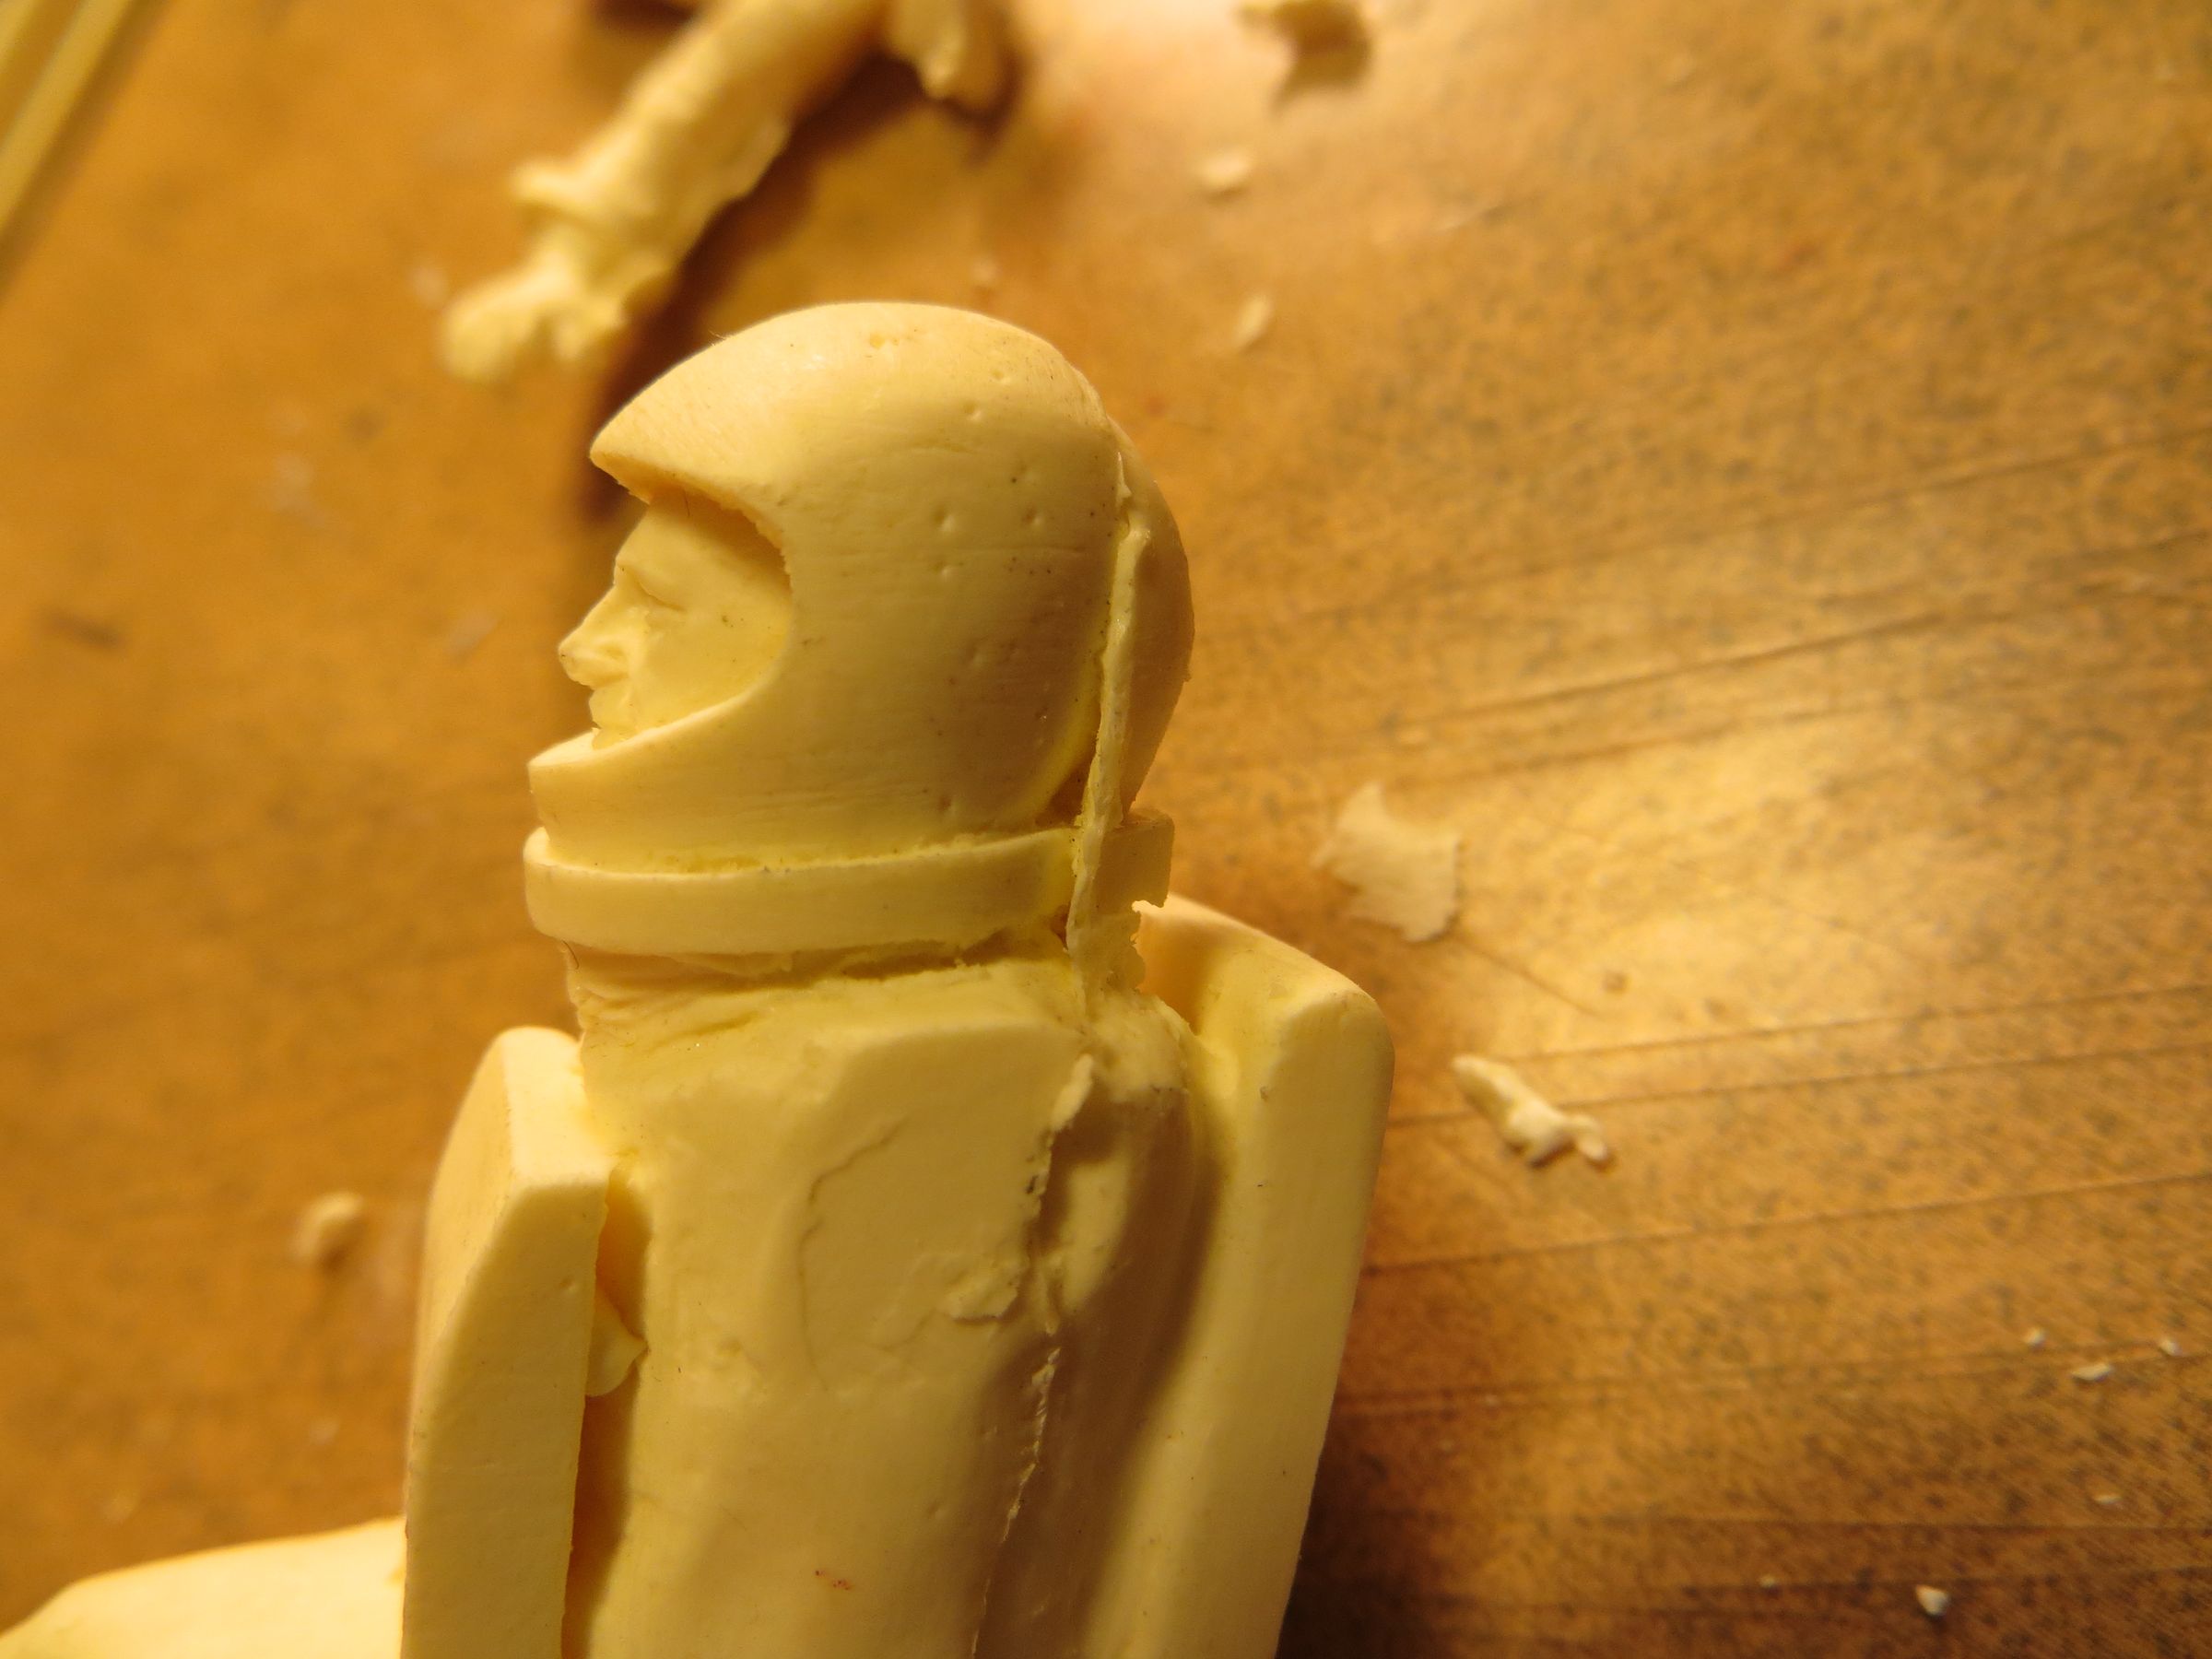
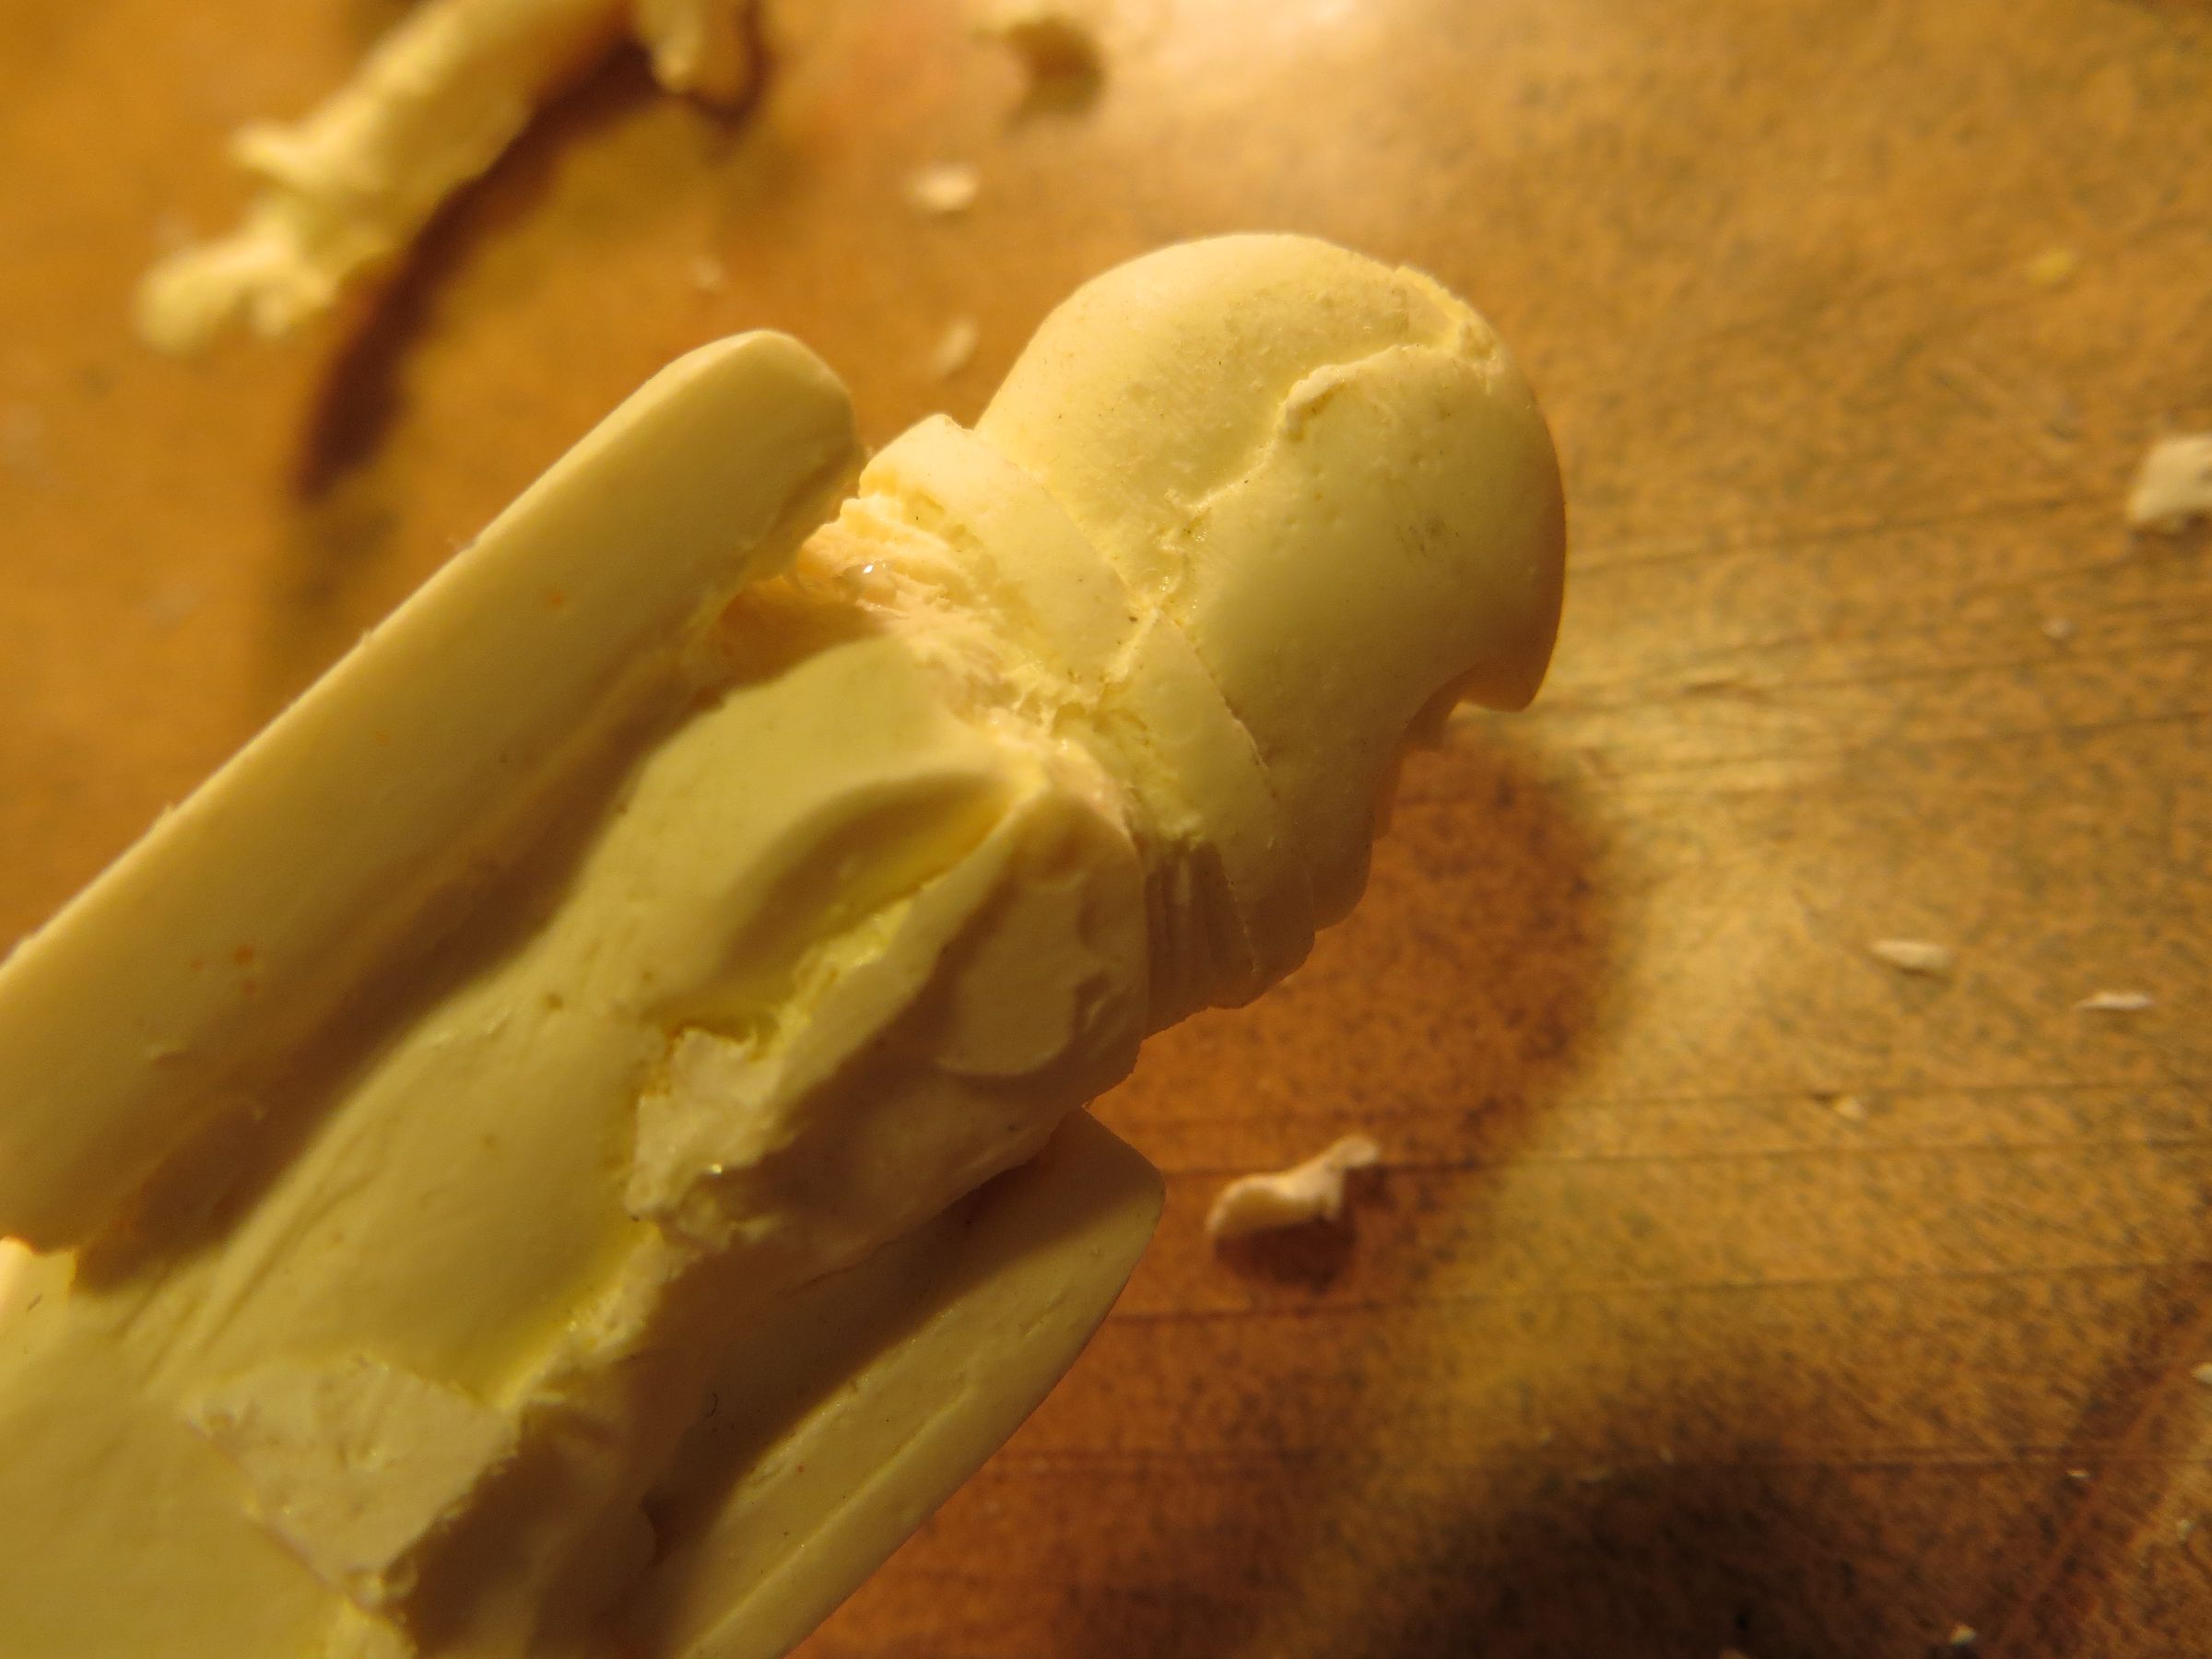
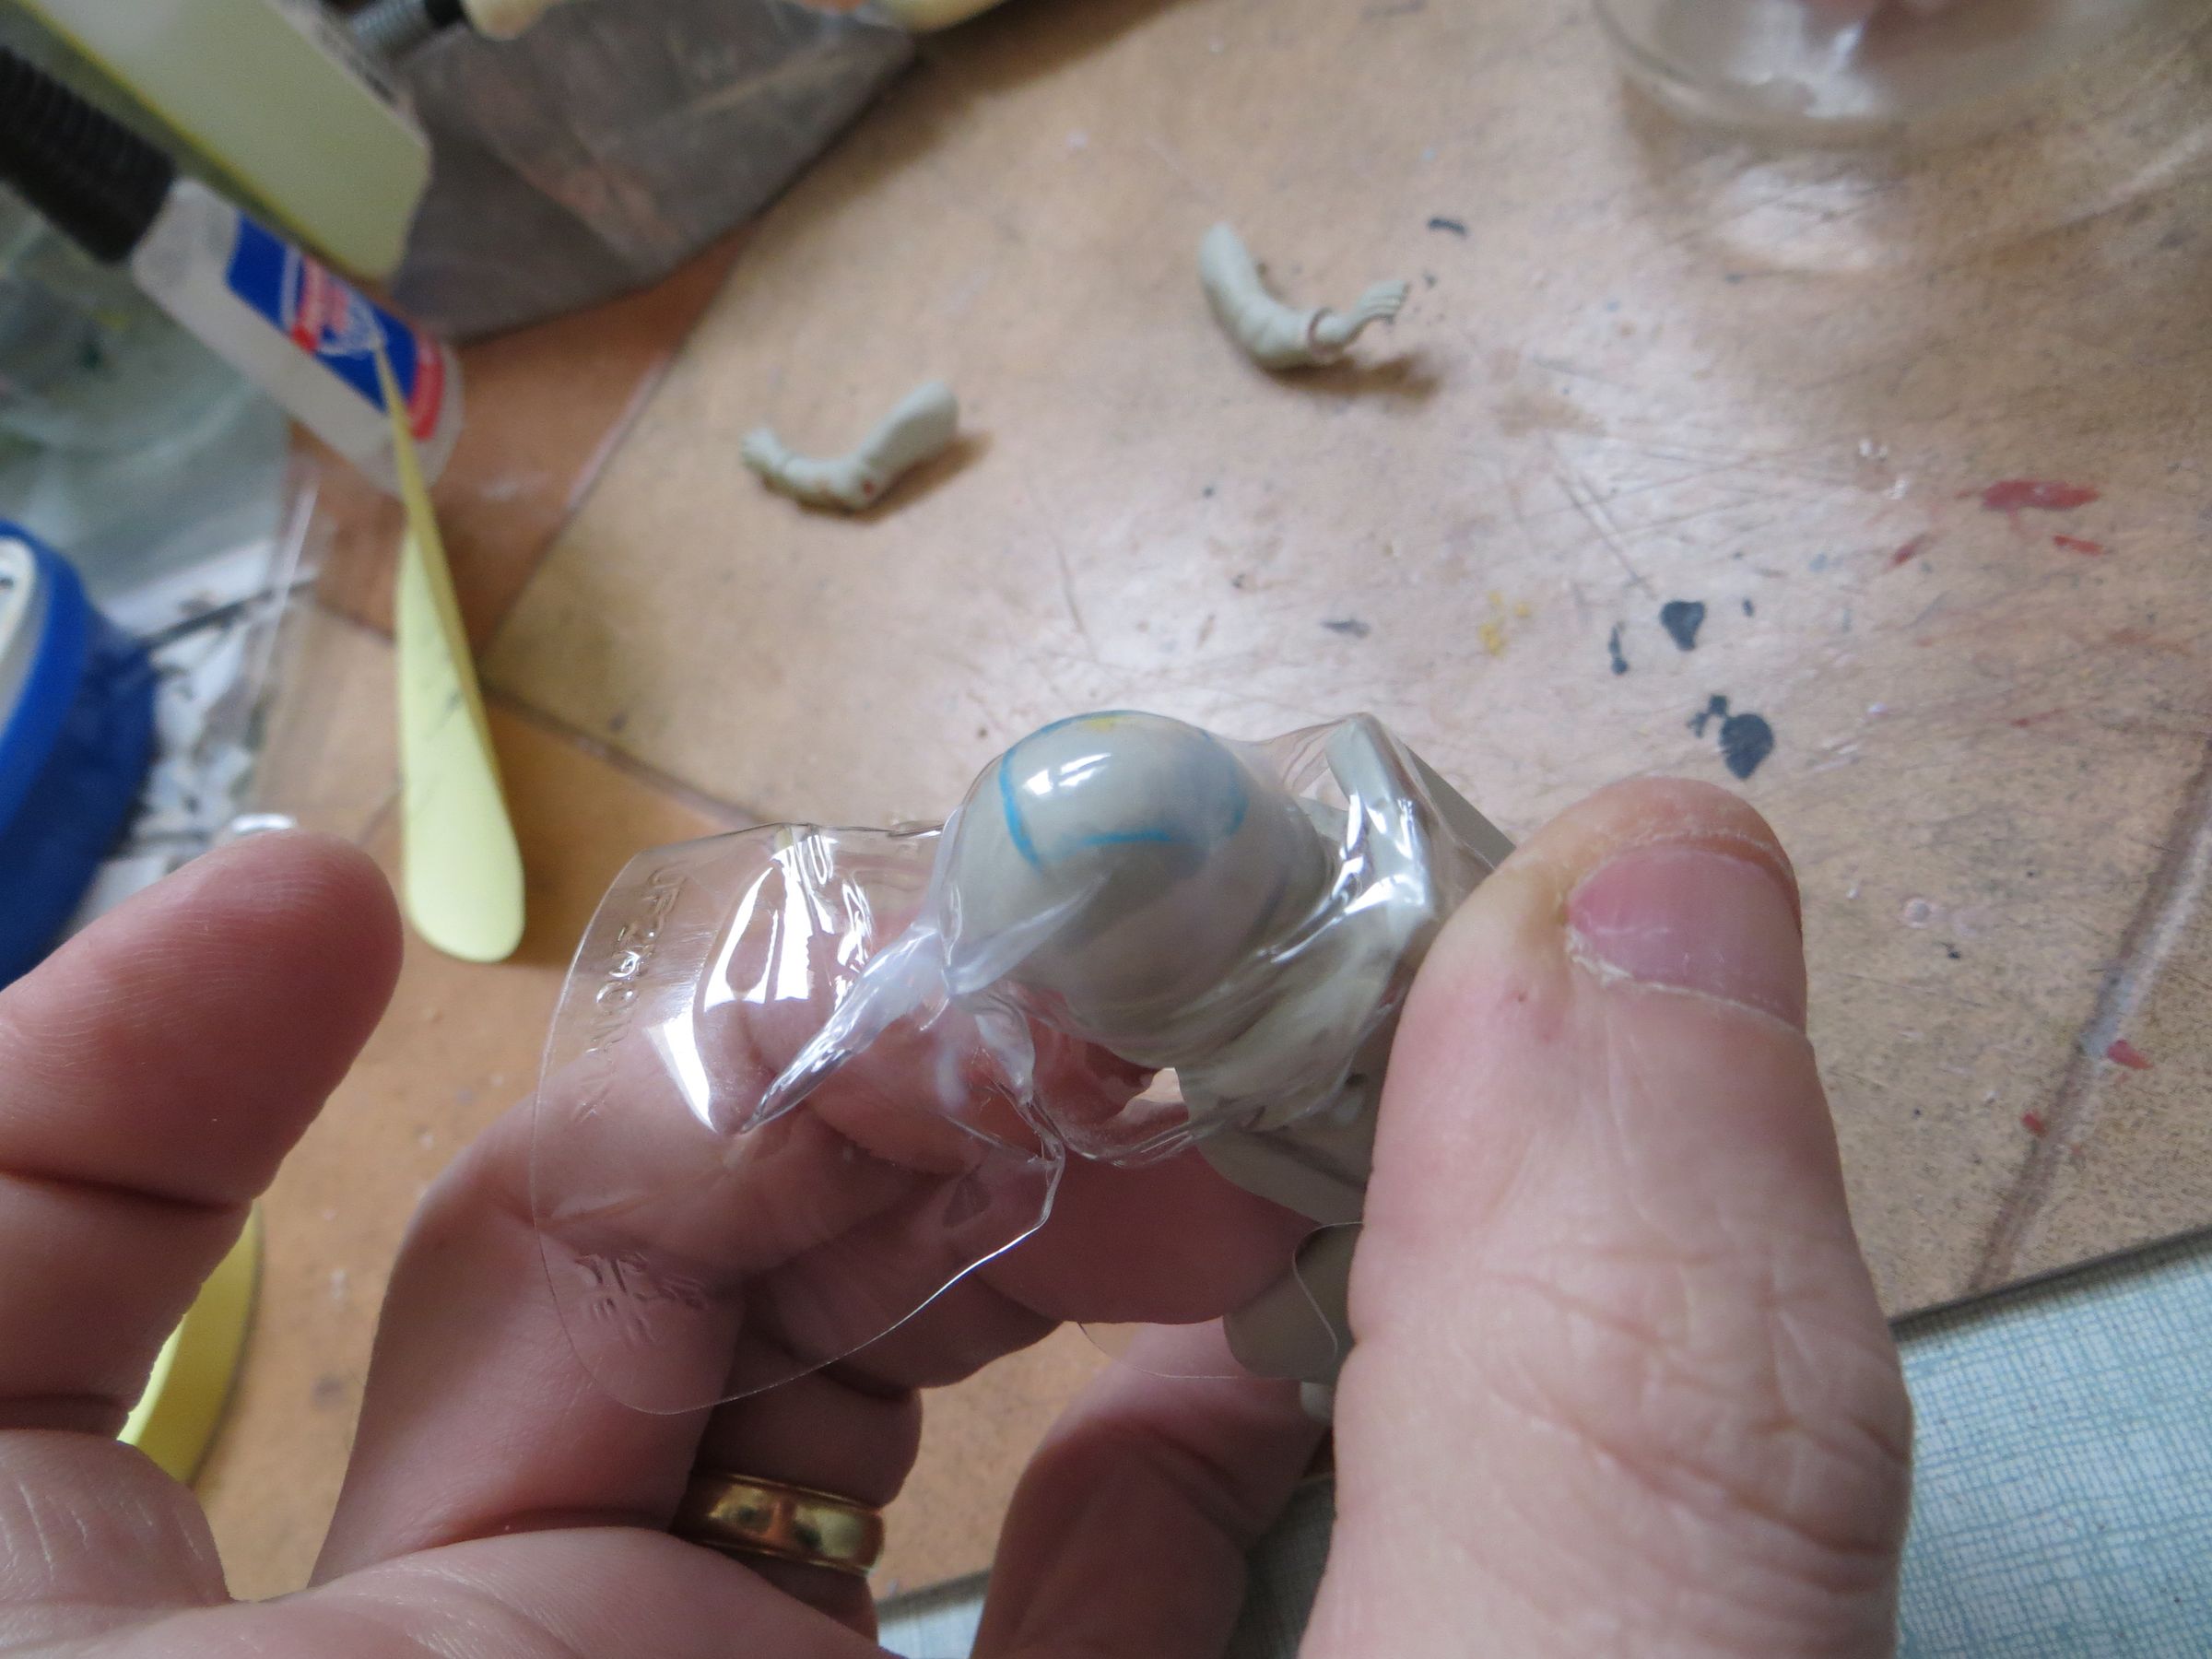
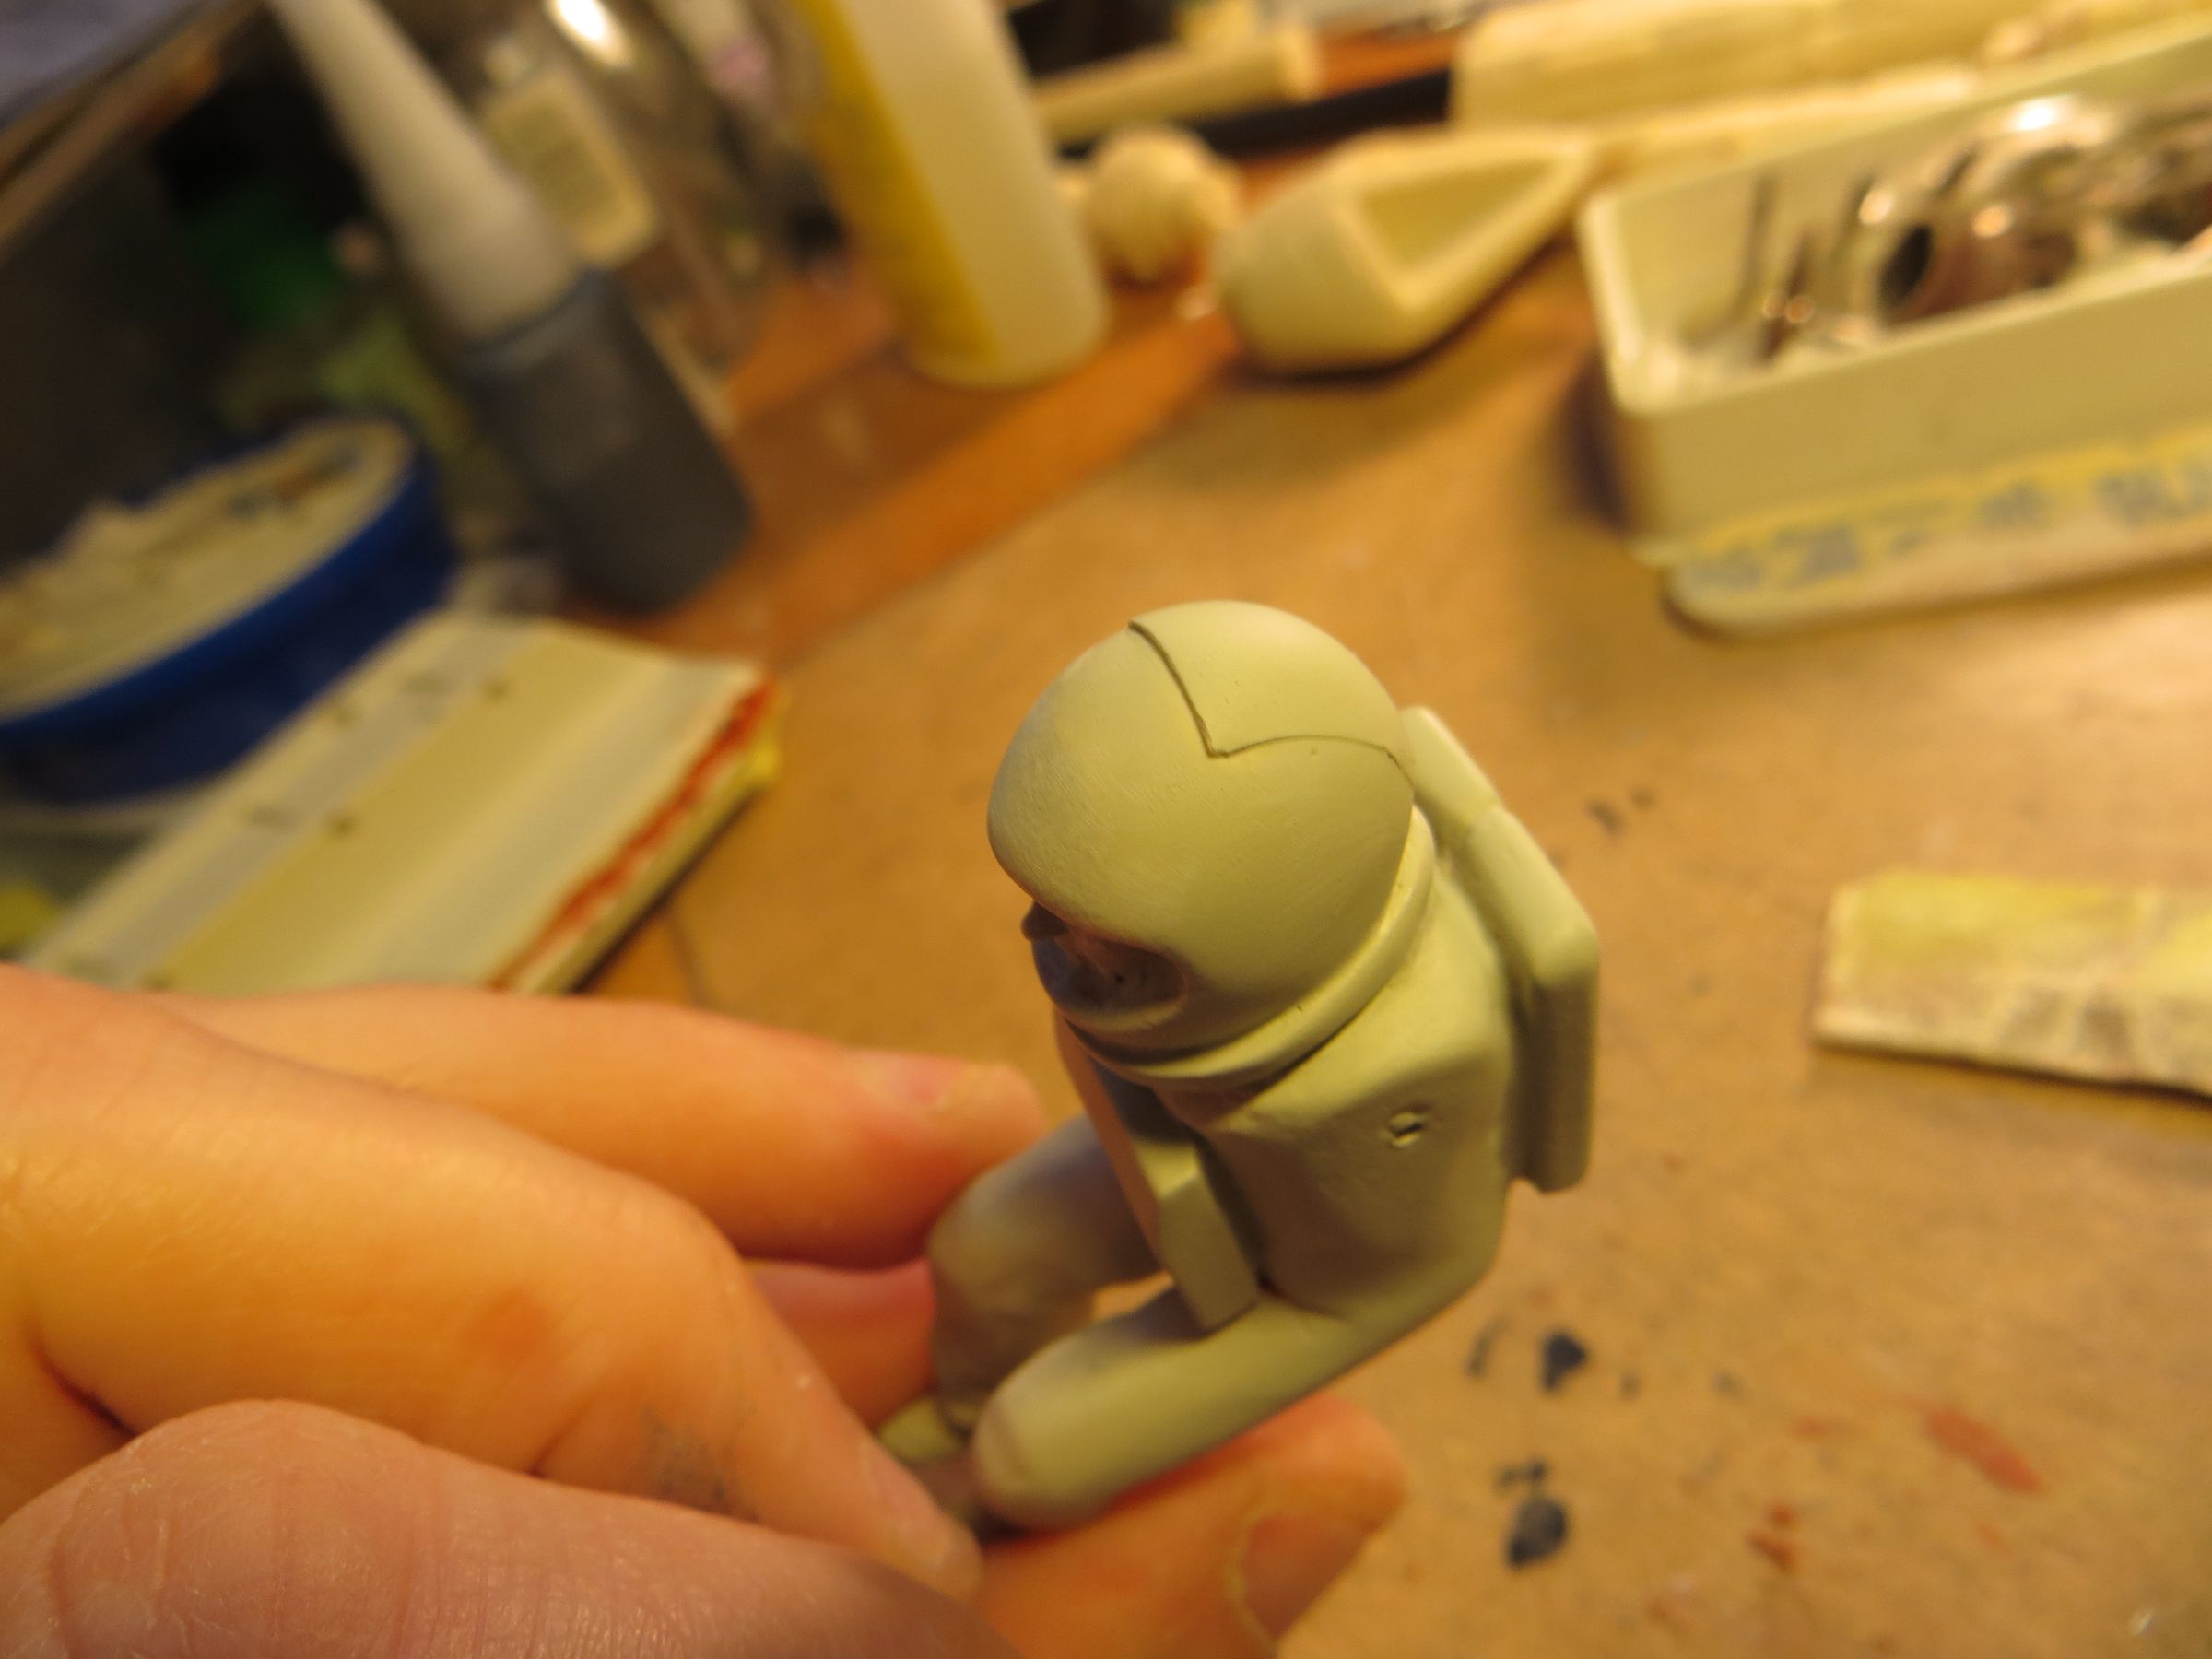
The character helmet also lacked a visor, and a fine strip on the top, diying at the neck. They are produced by thermoforming, so by heating a plastic sheet and then pressed against the helmet in order to cool in the same shape.

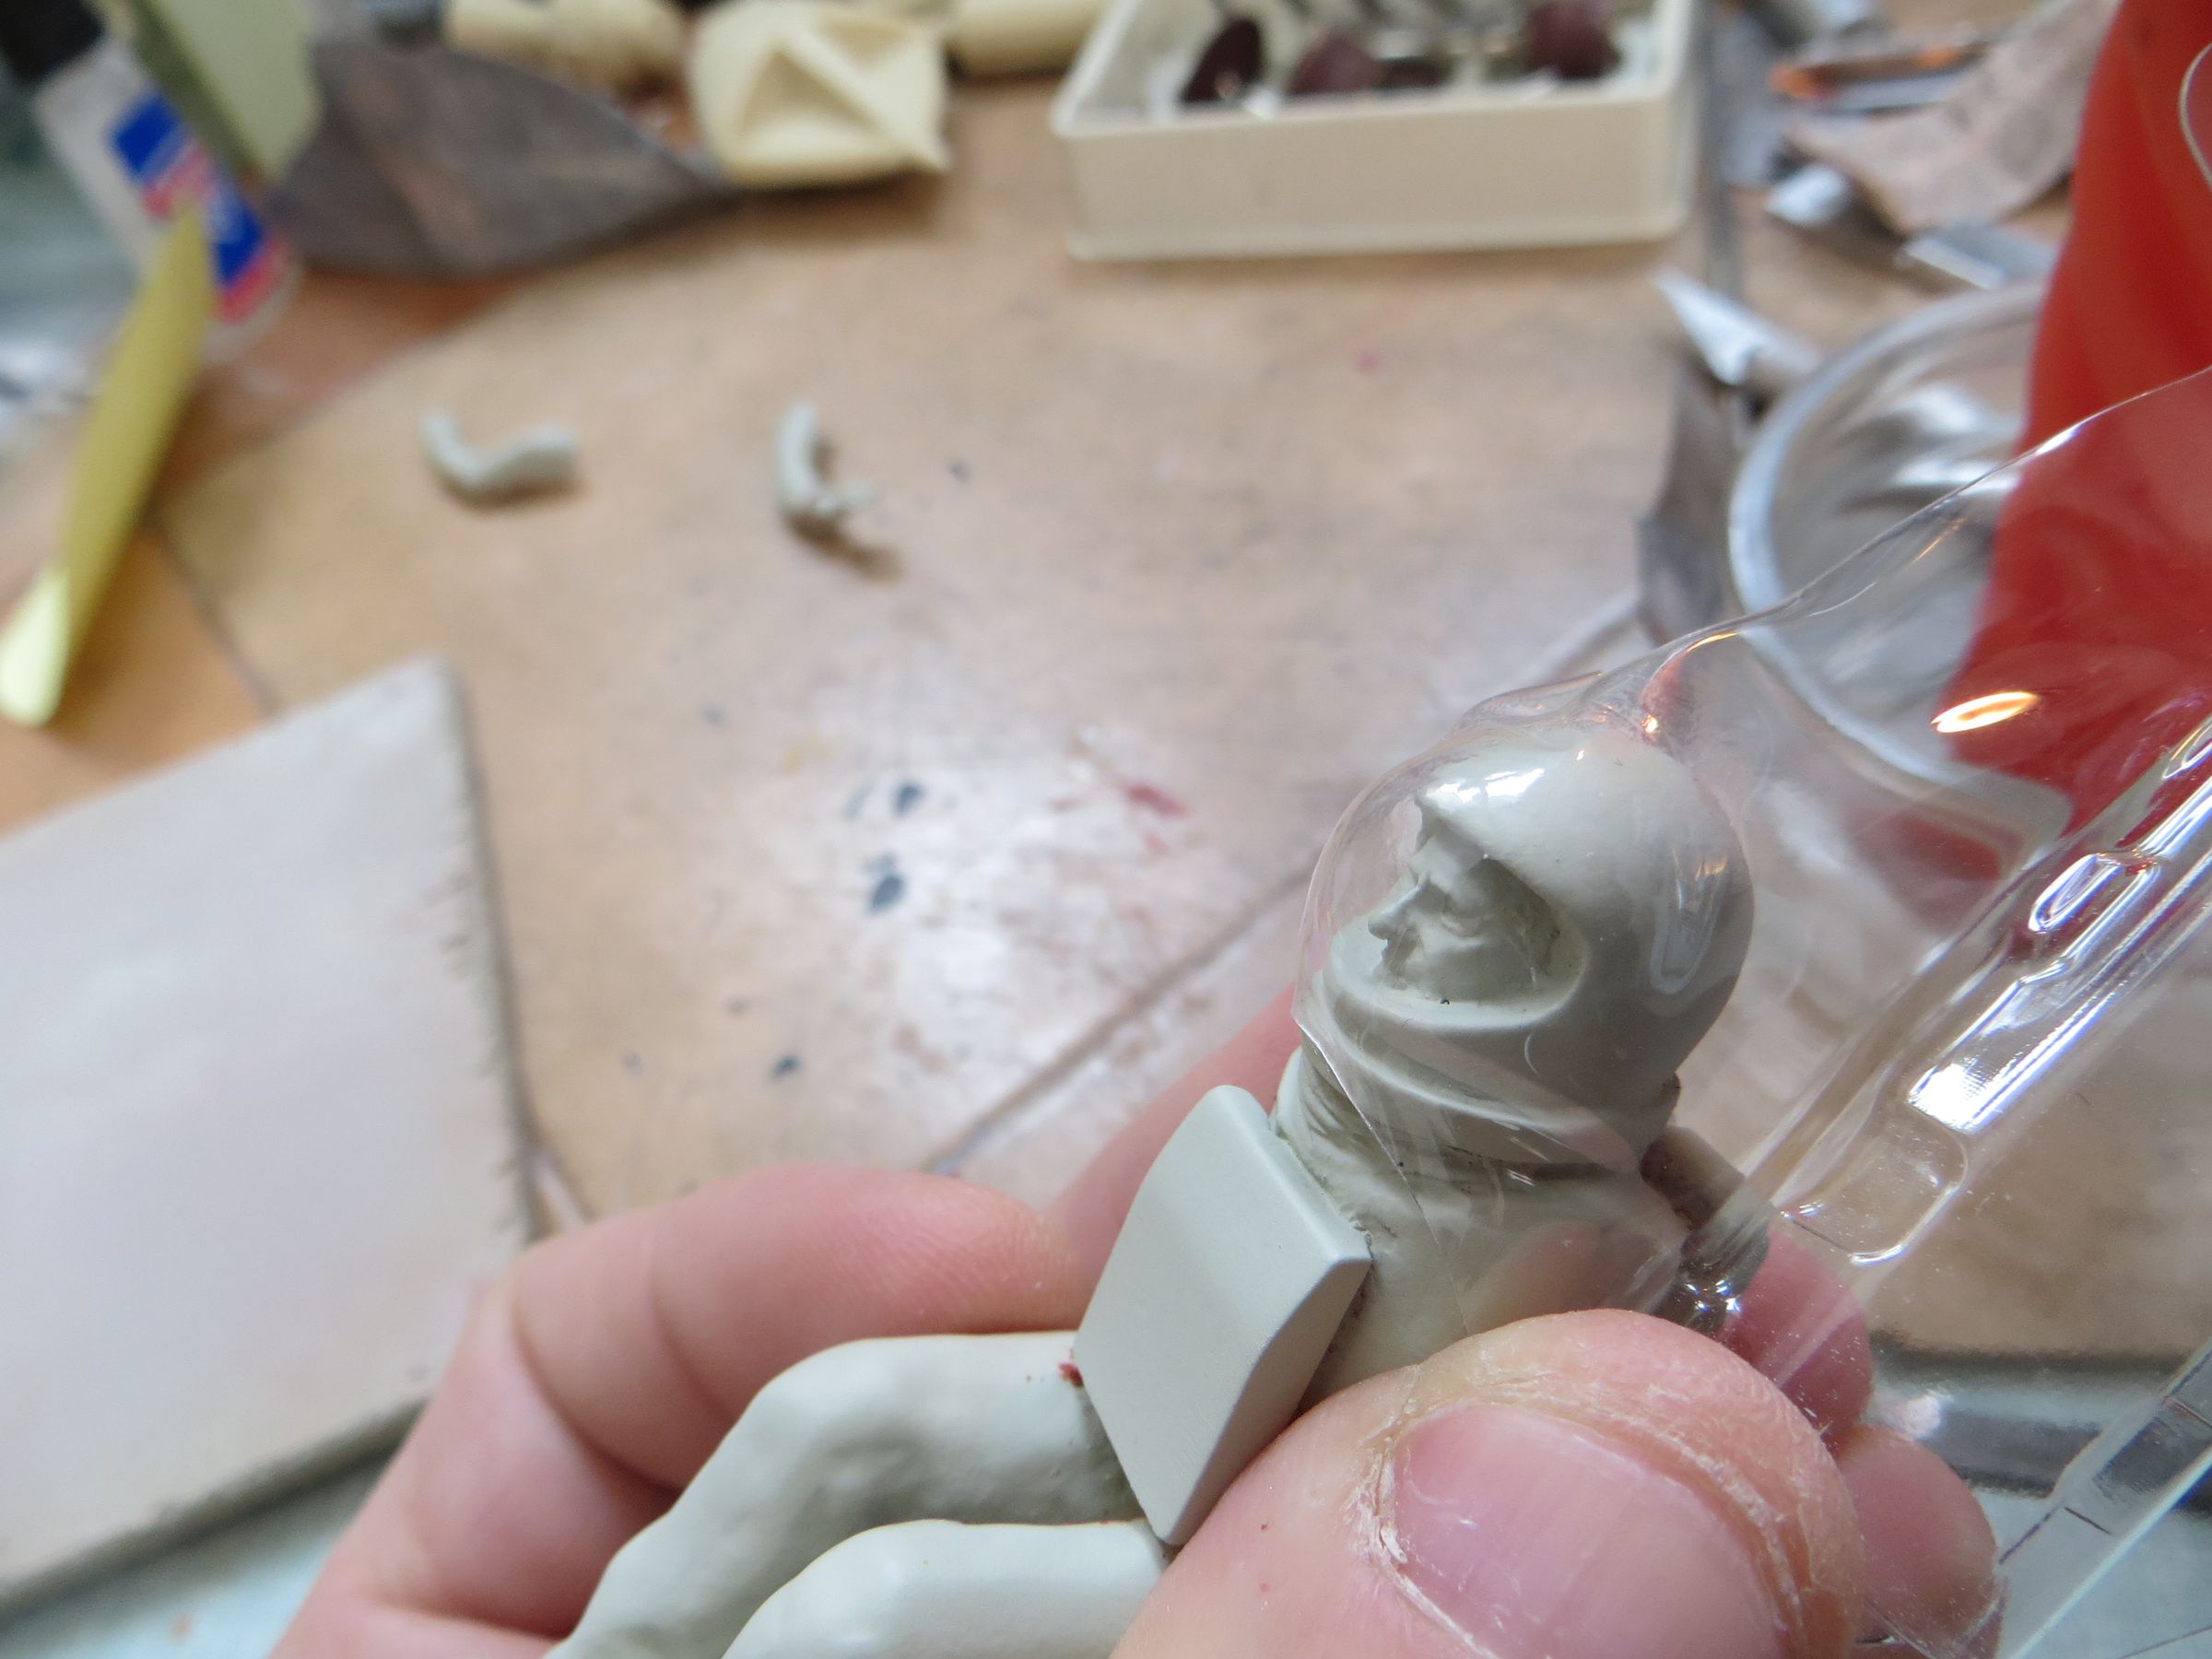
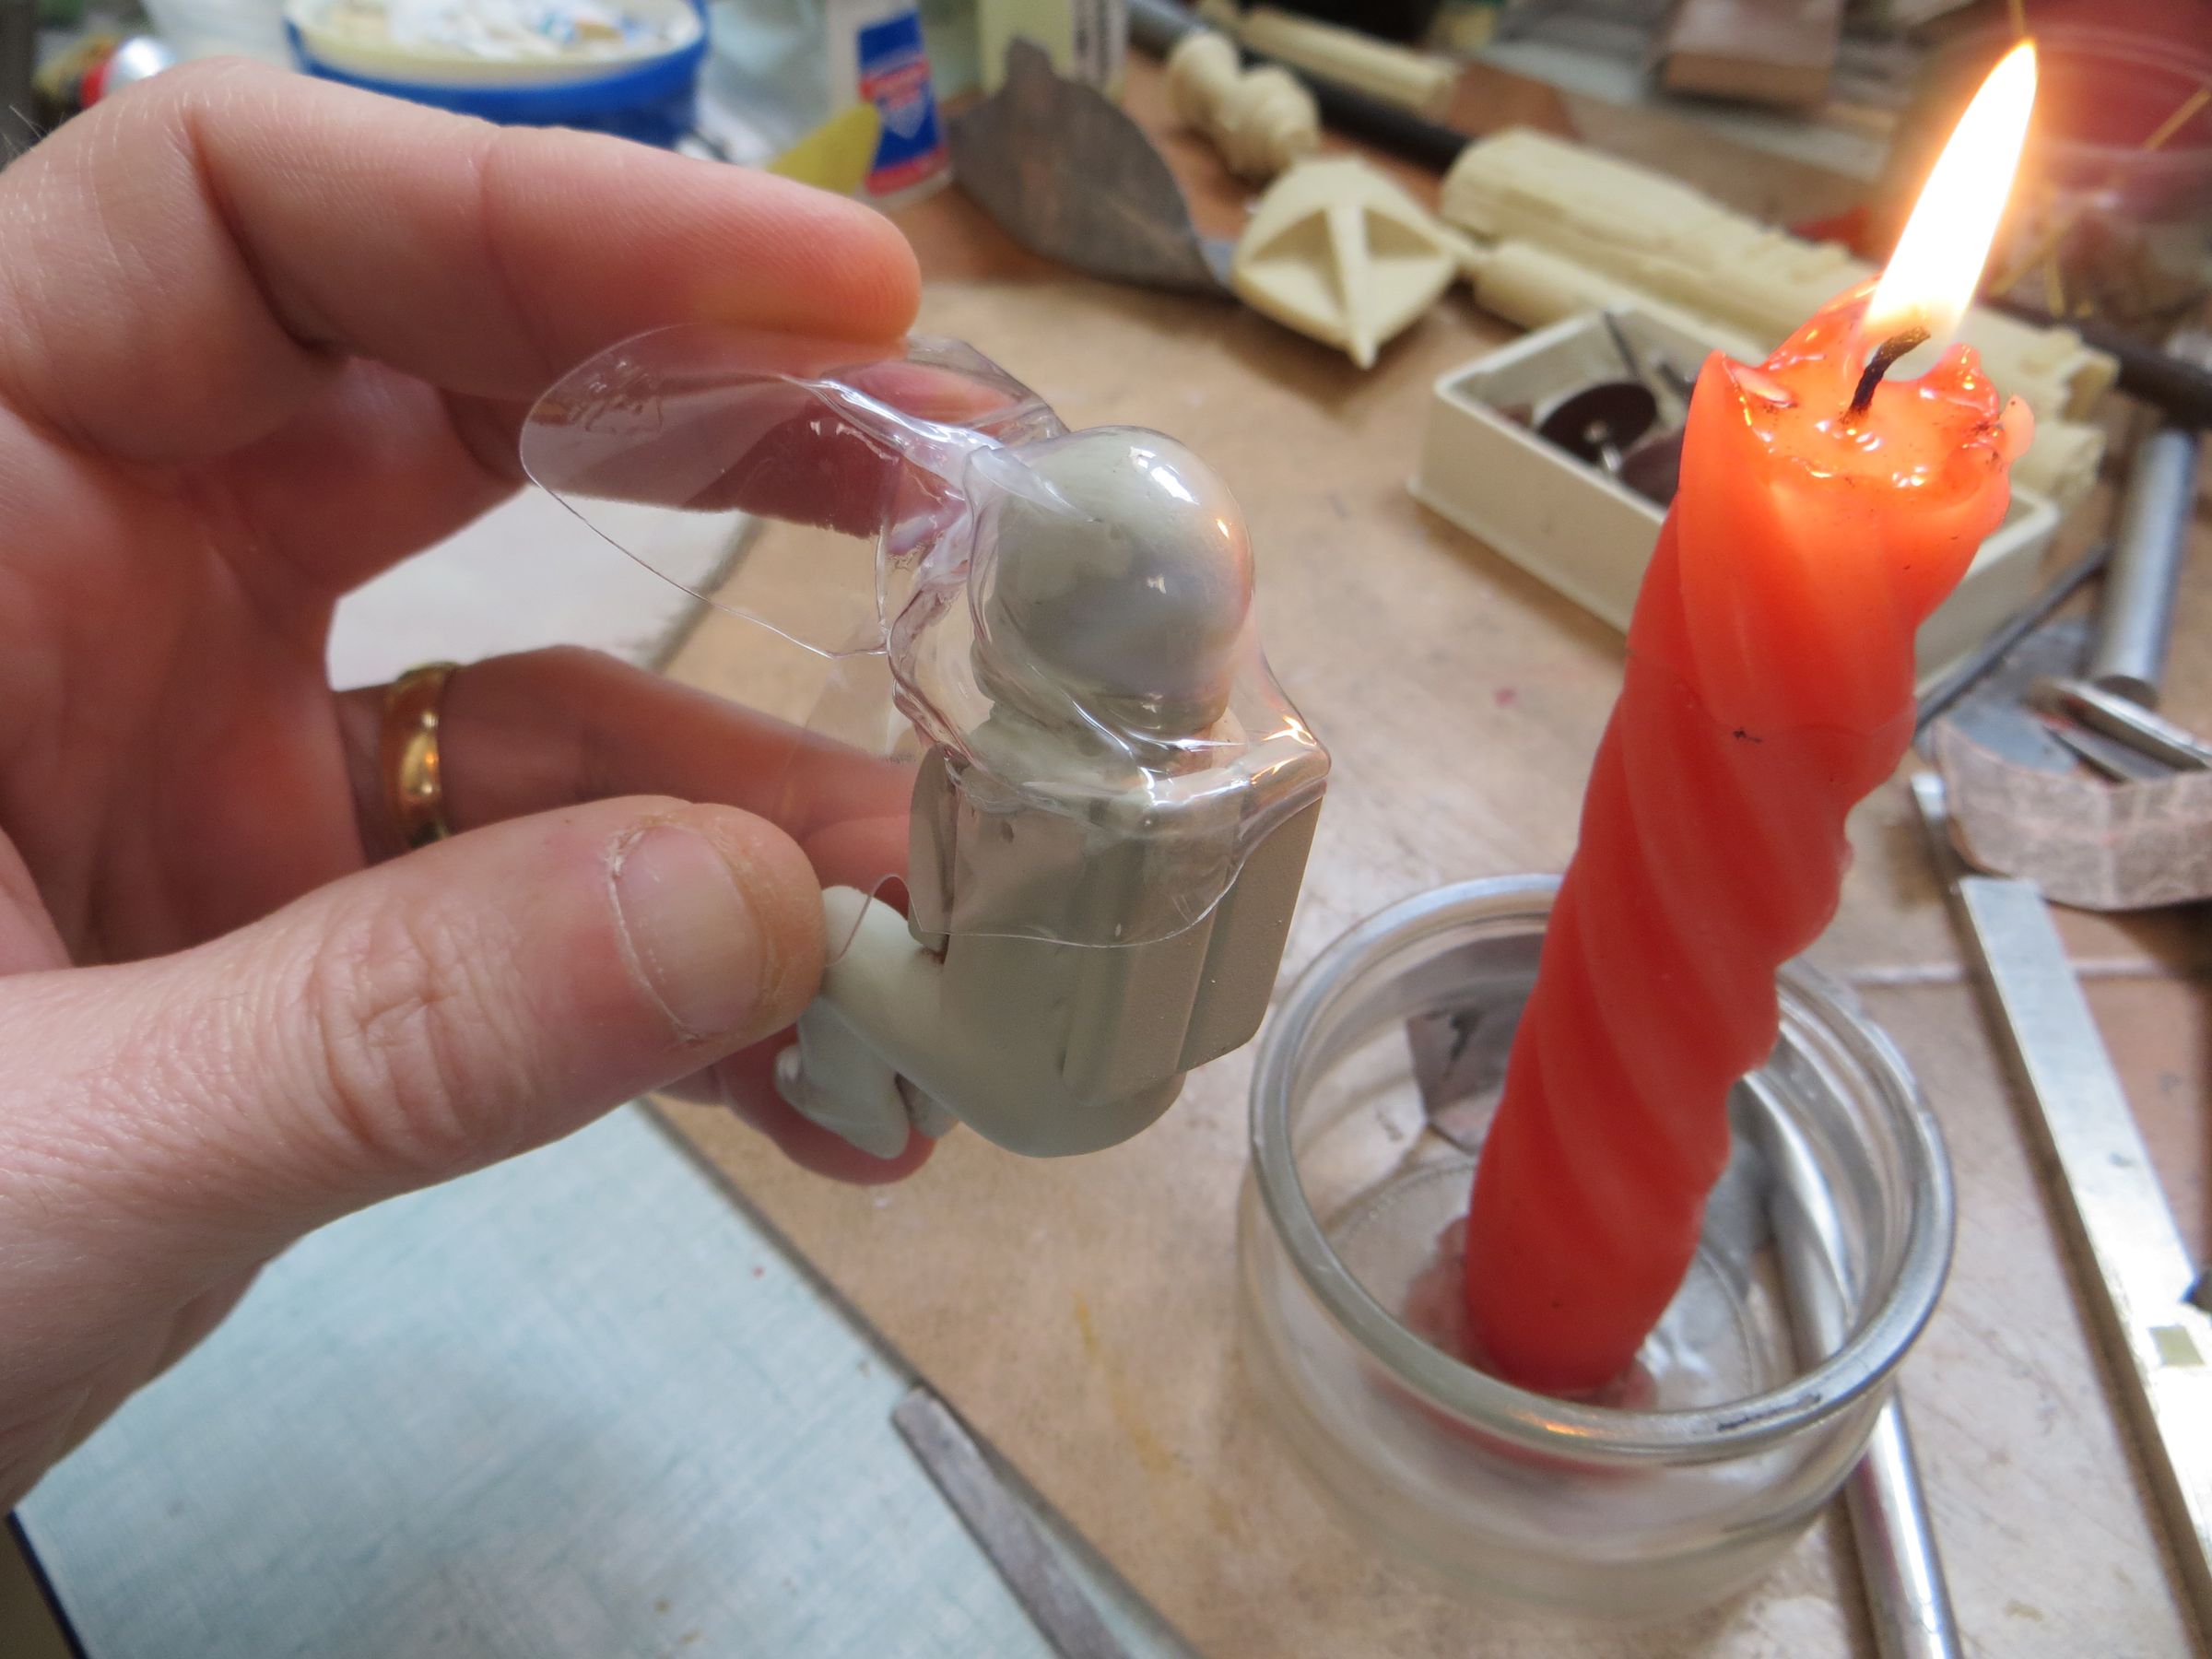
The shapes are drawn on the plastic and then cut, the strip glued on the helmet, filled and primed.

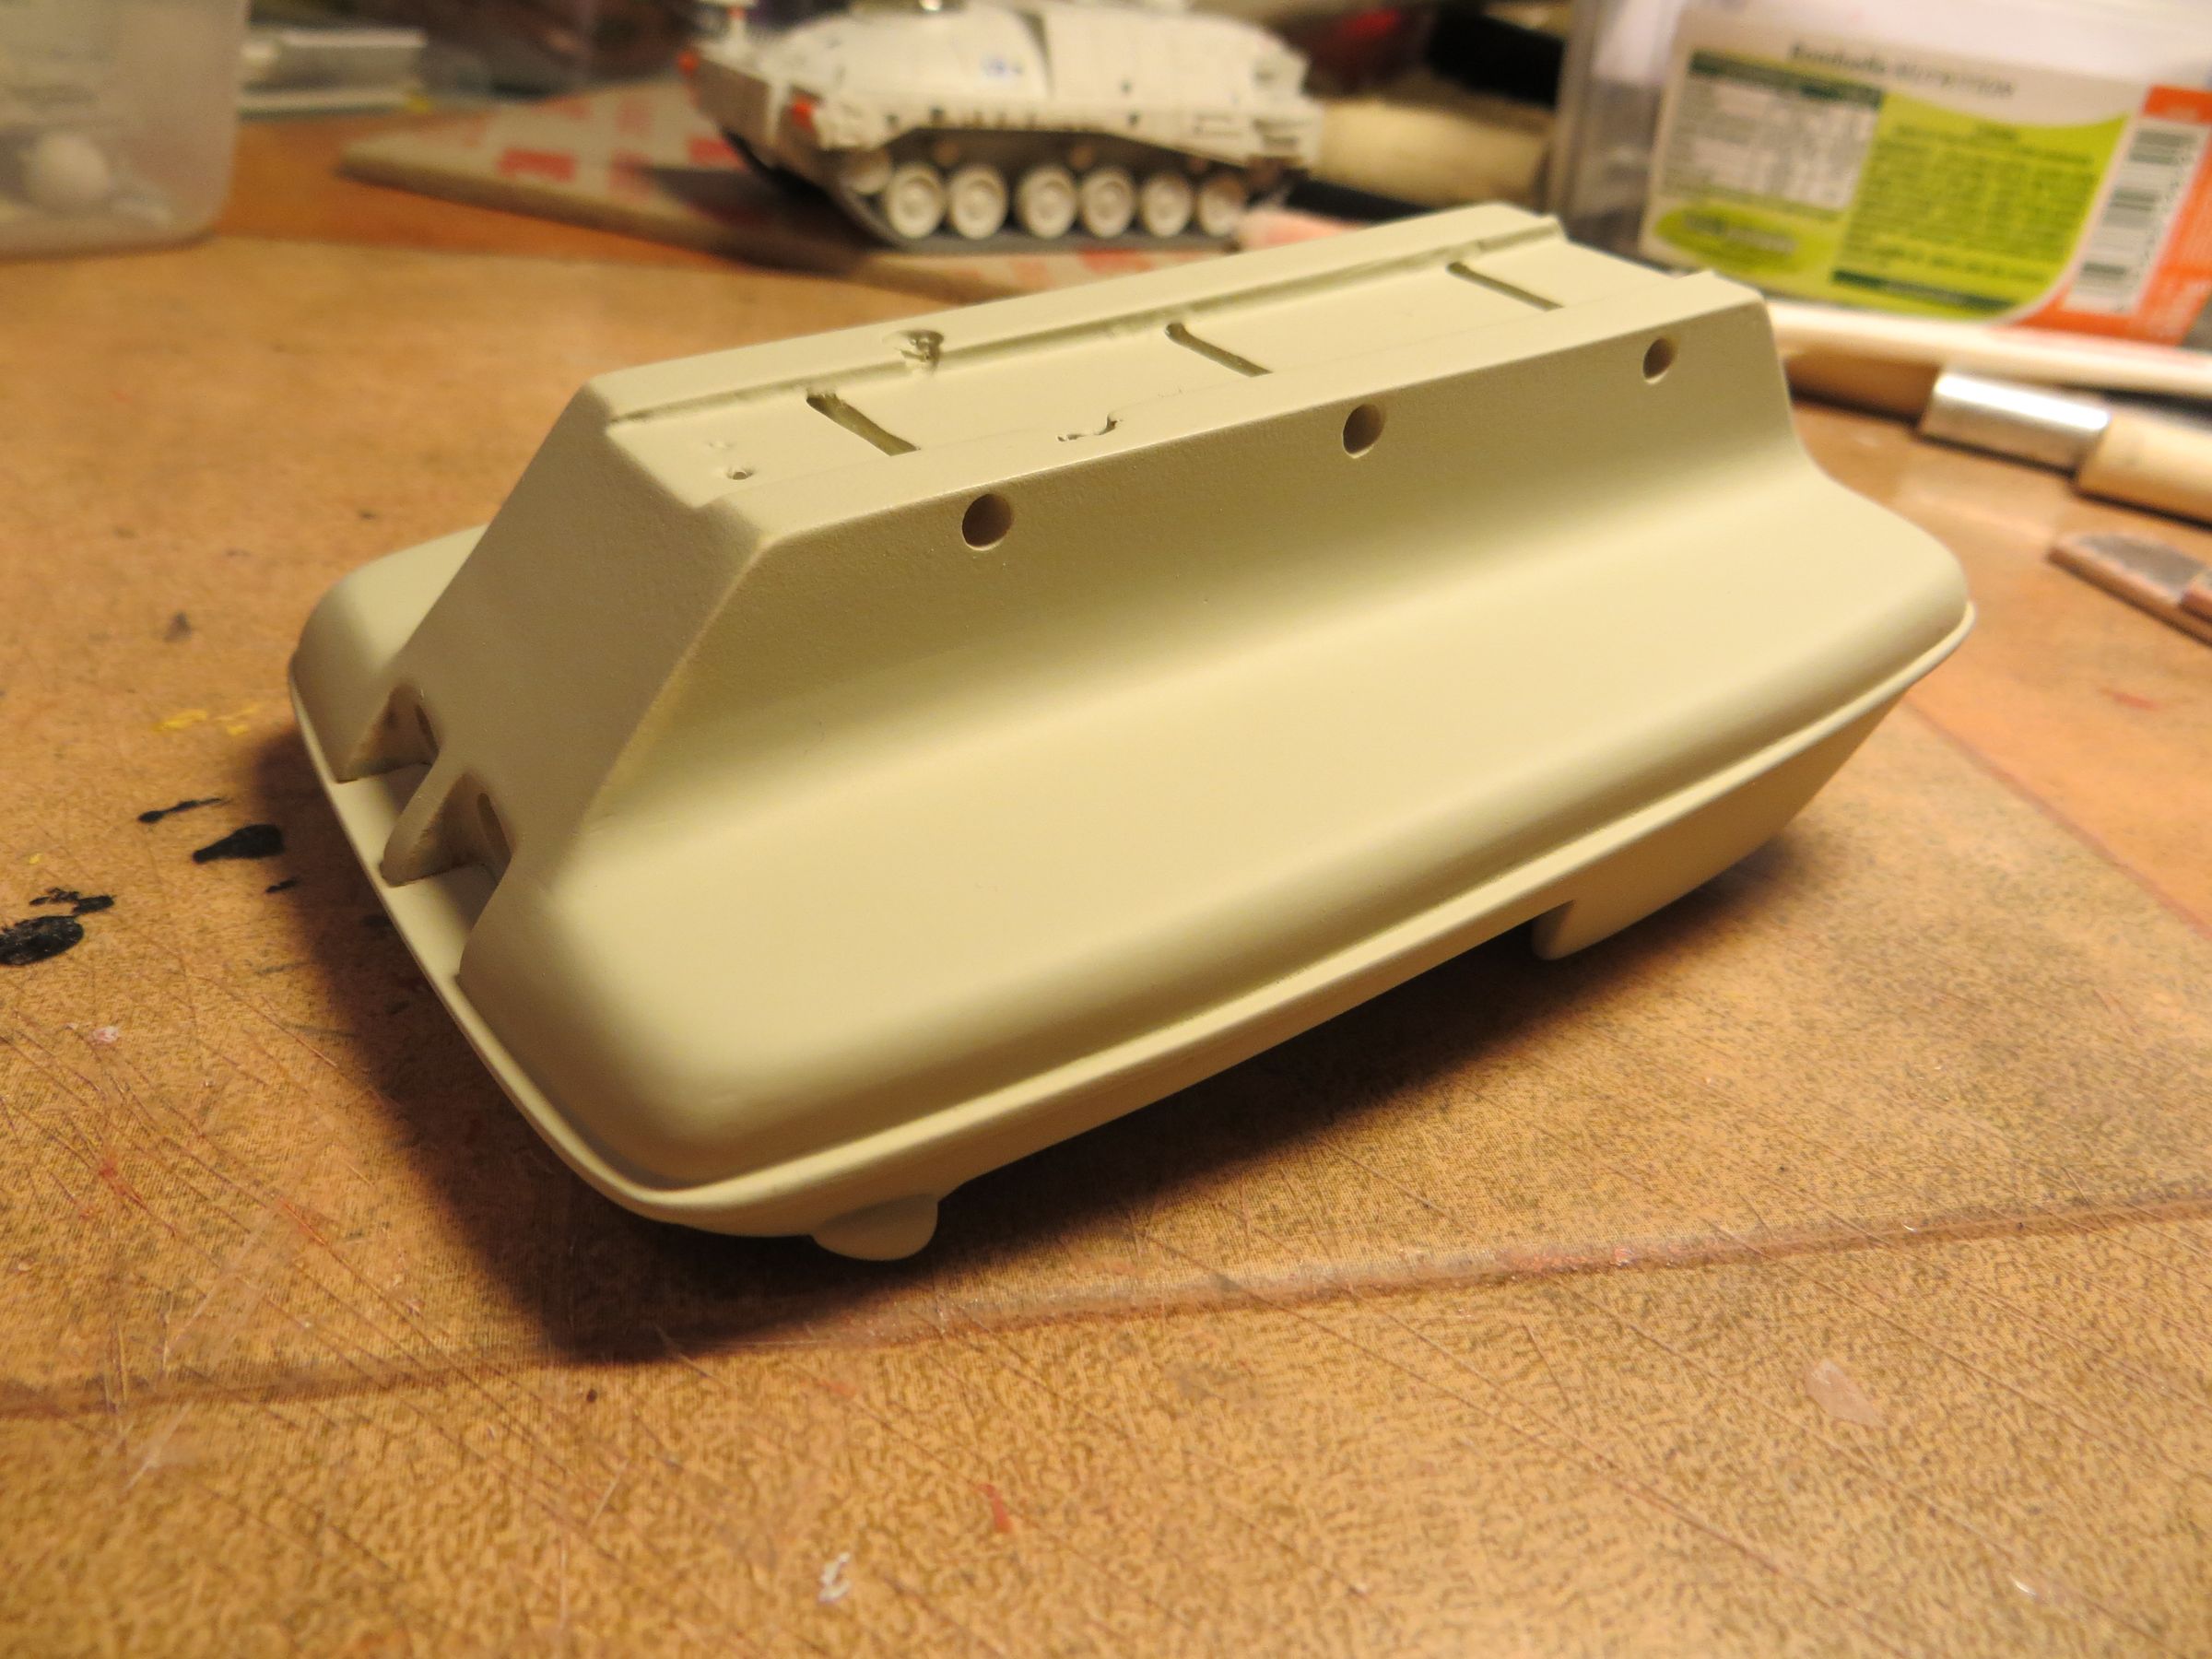
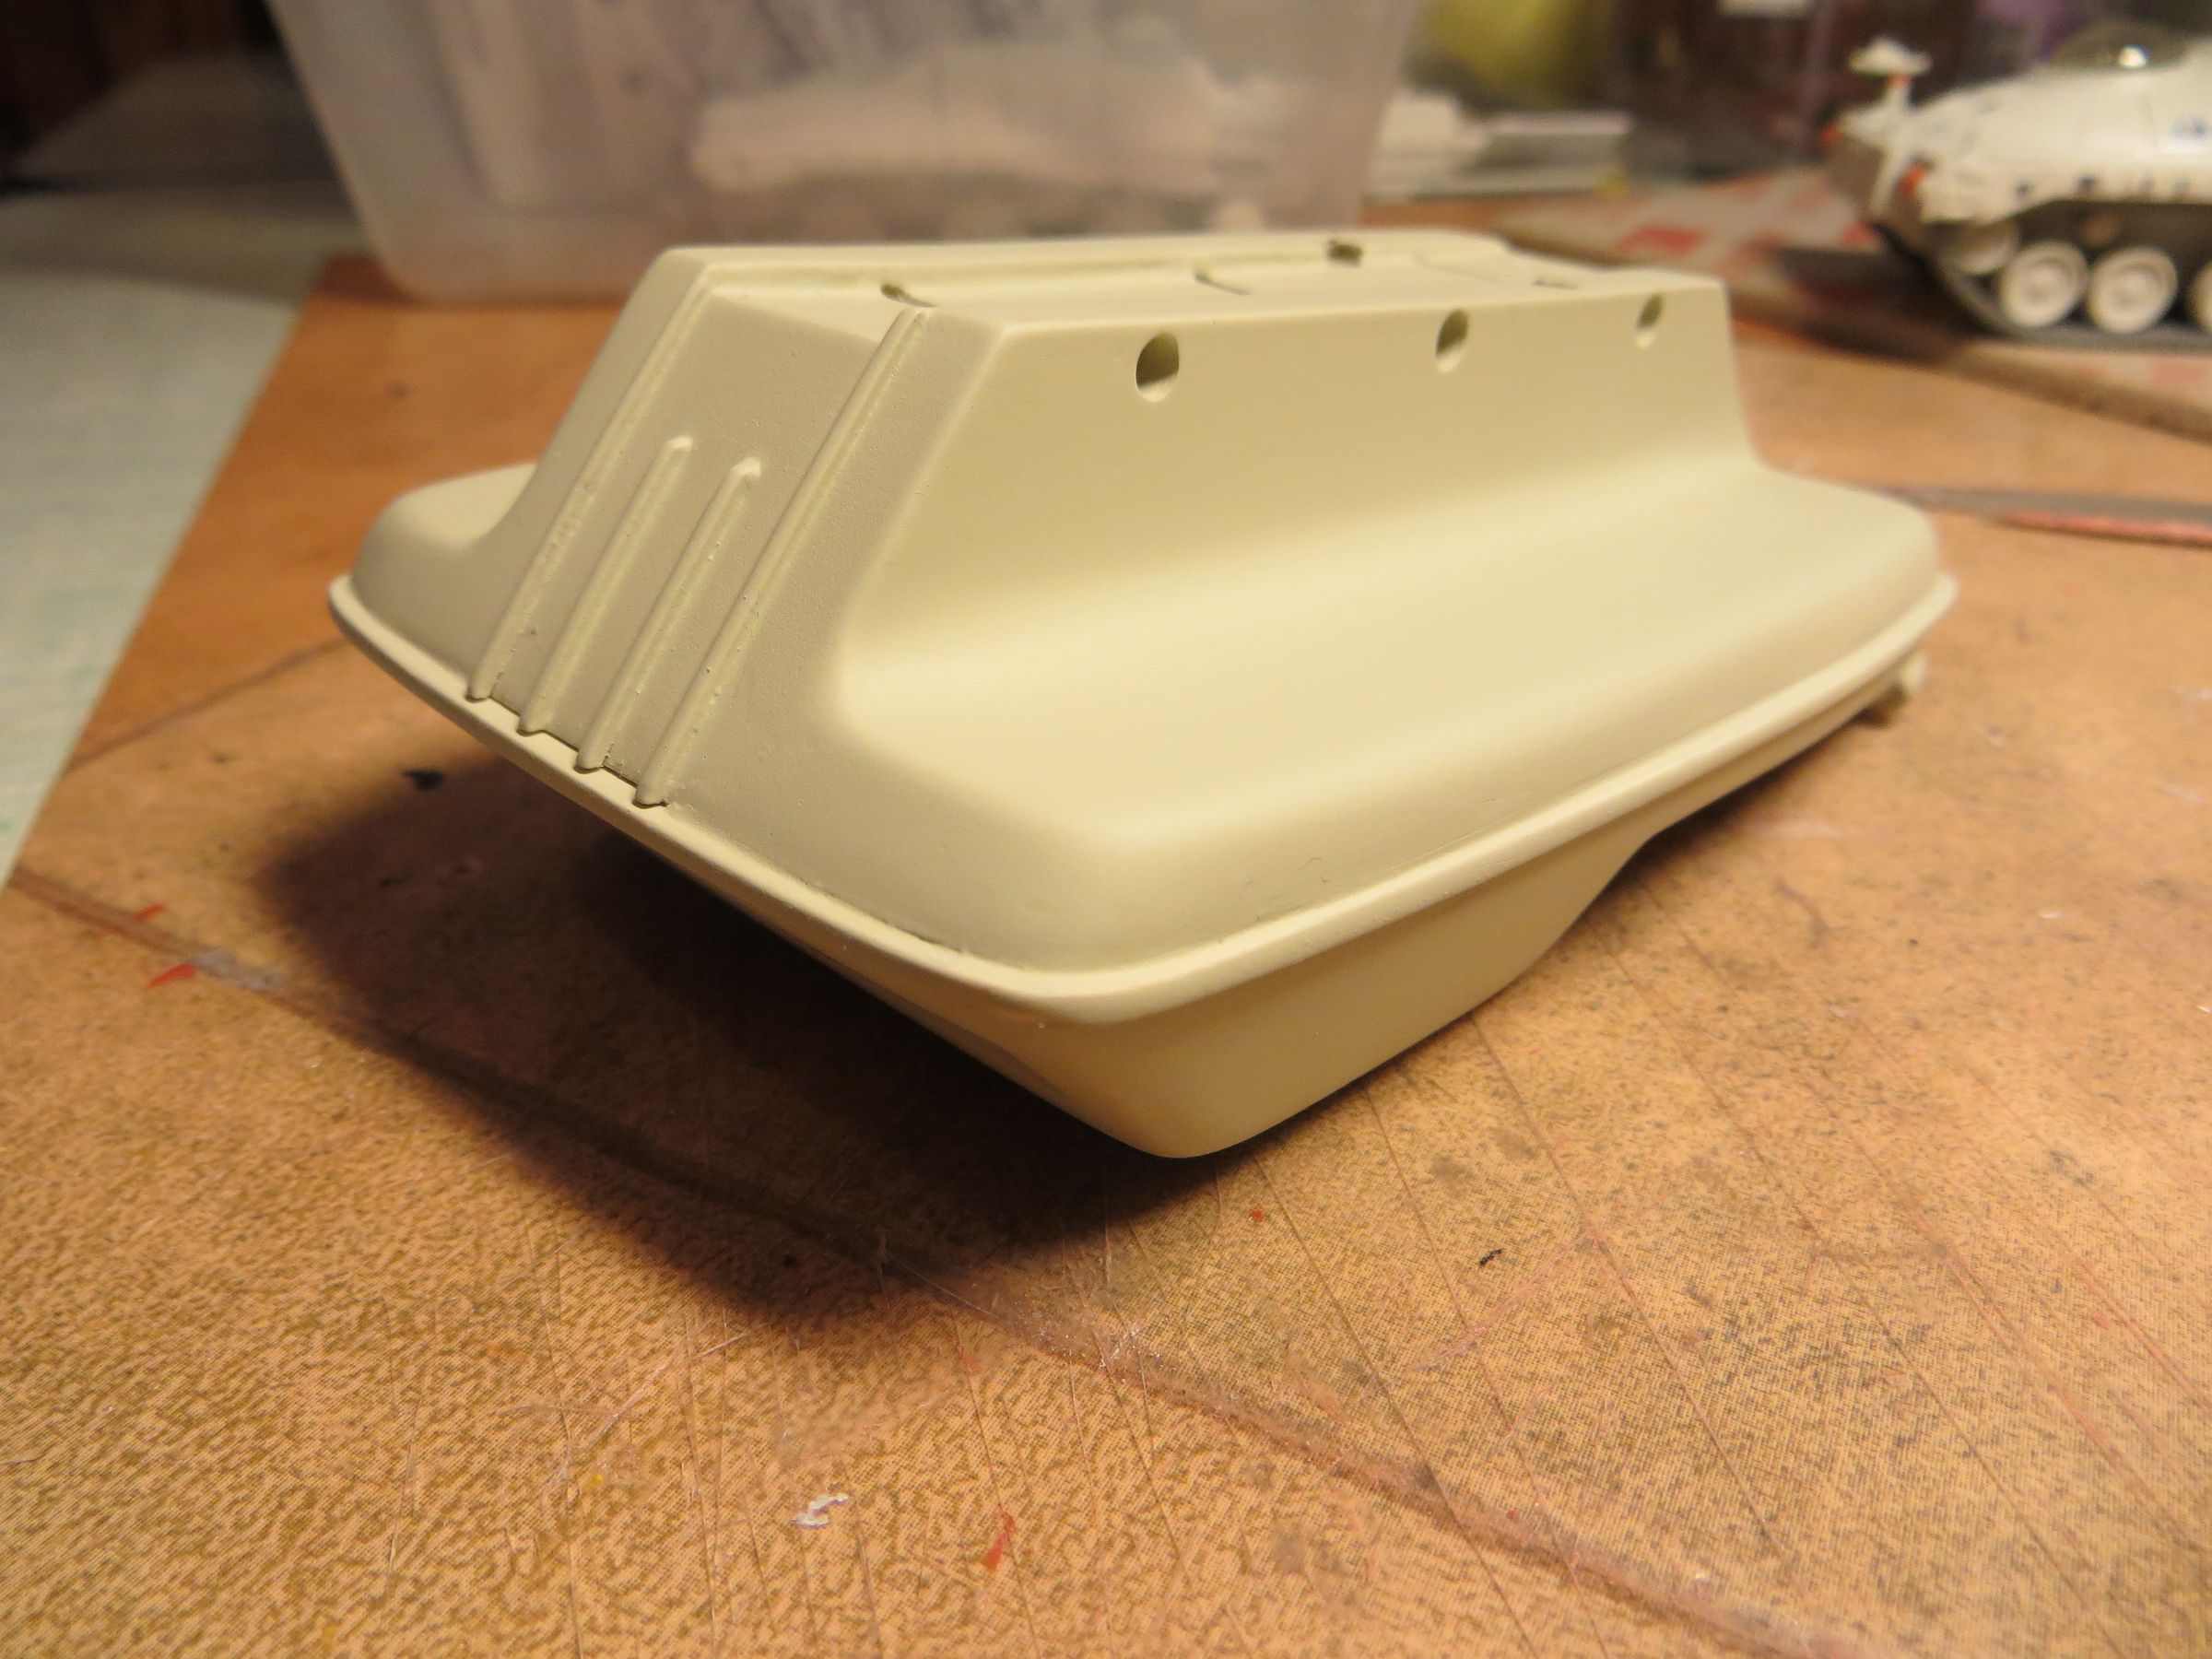
After a last coat of primer, the buggy and the characters received a base coat of white (Citadel spray can), then airbrushed with Tamiya mat yellow and Gunze dark orange. For colors like plain yellow, orange or often red, a white base coat is needed.

the inside of the buggy is painted back in black (GRRR !). And everything is covered with gloss varnish (Klir)

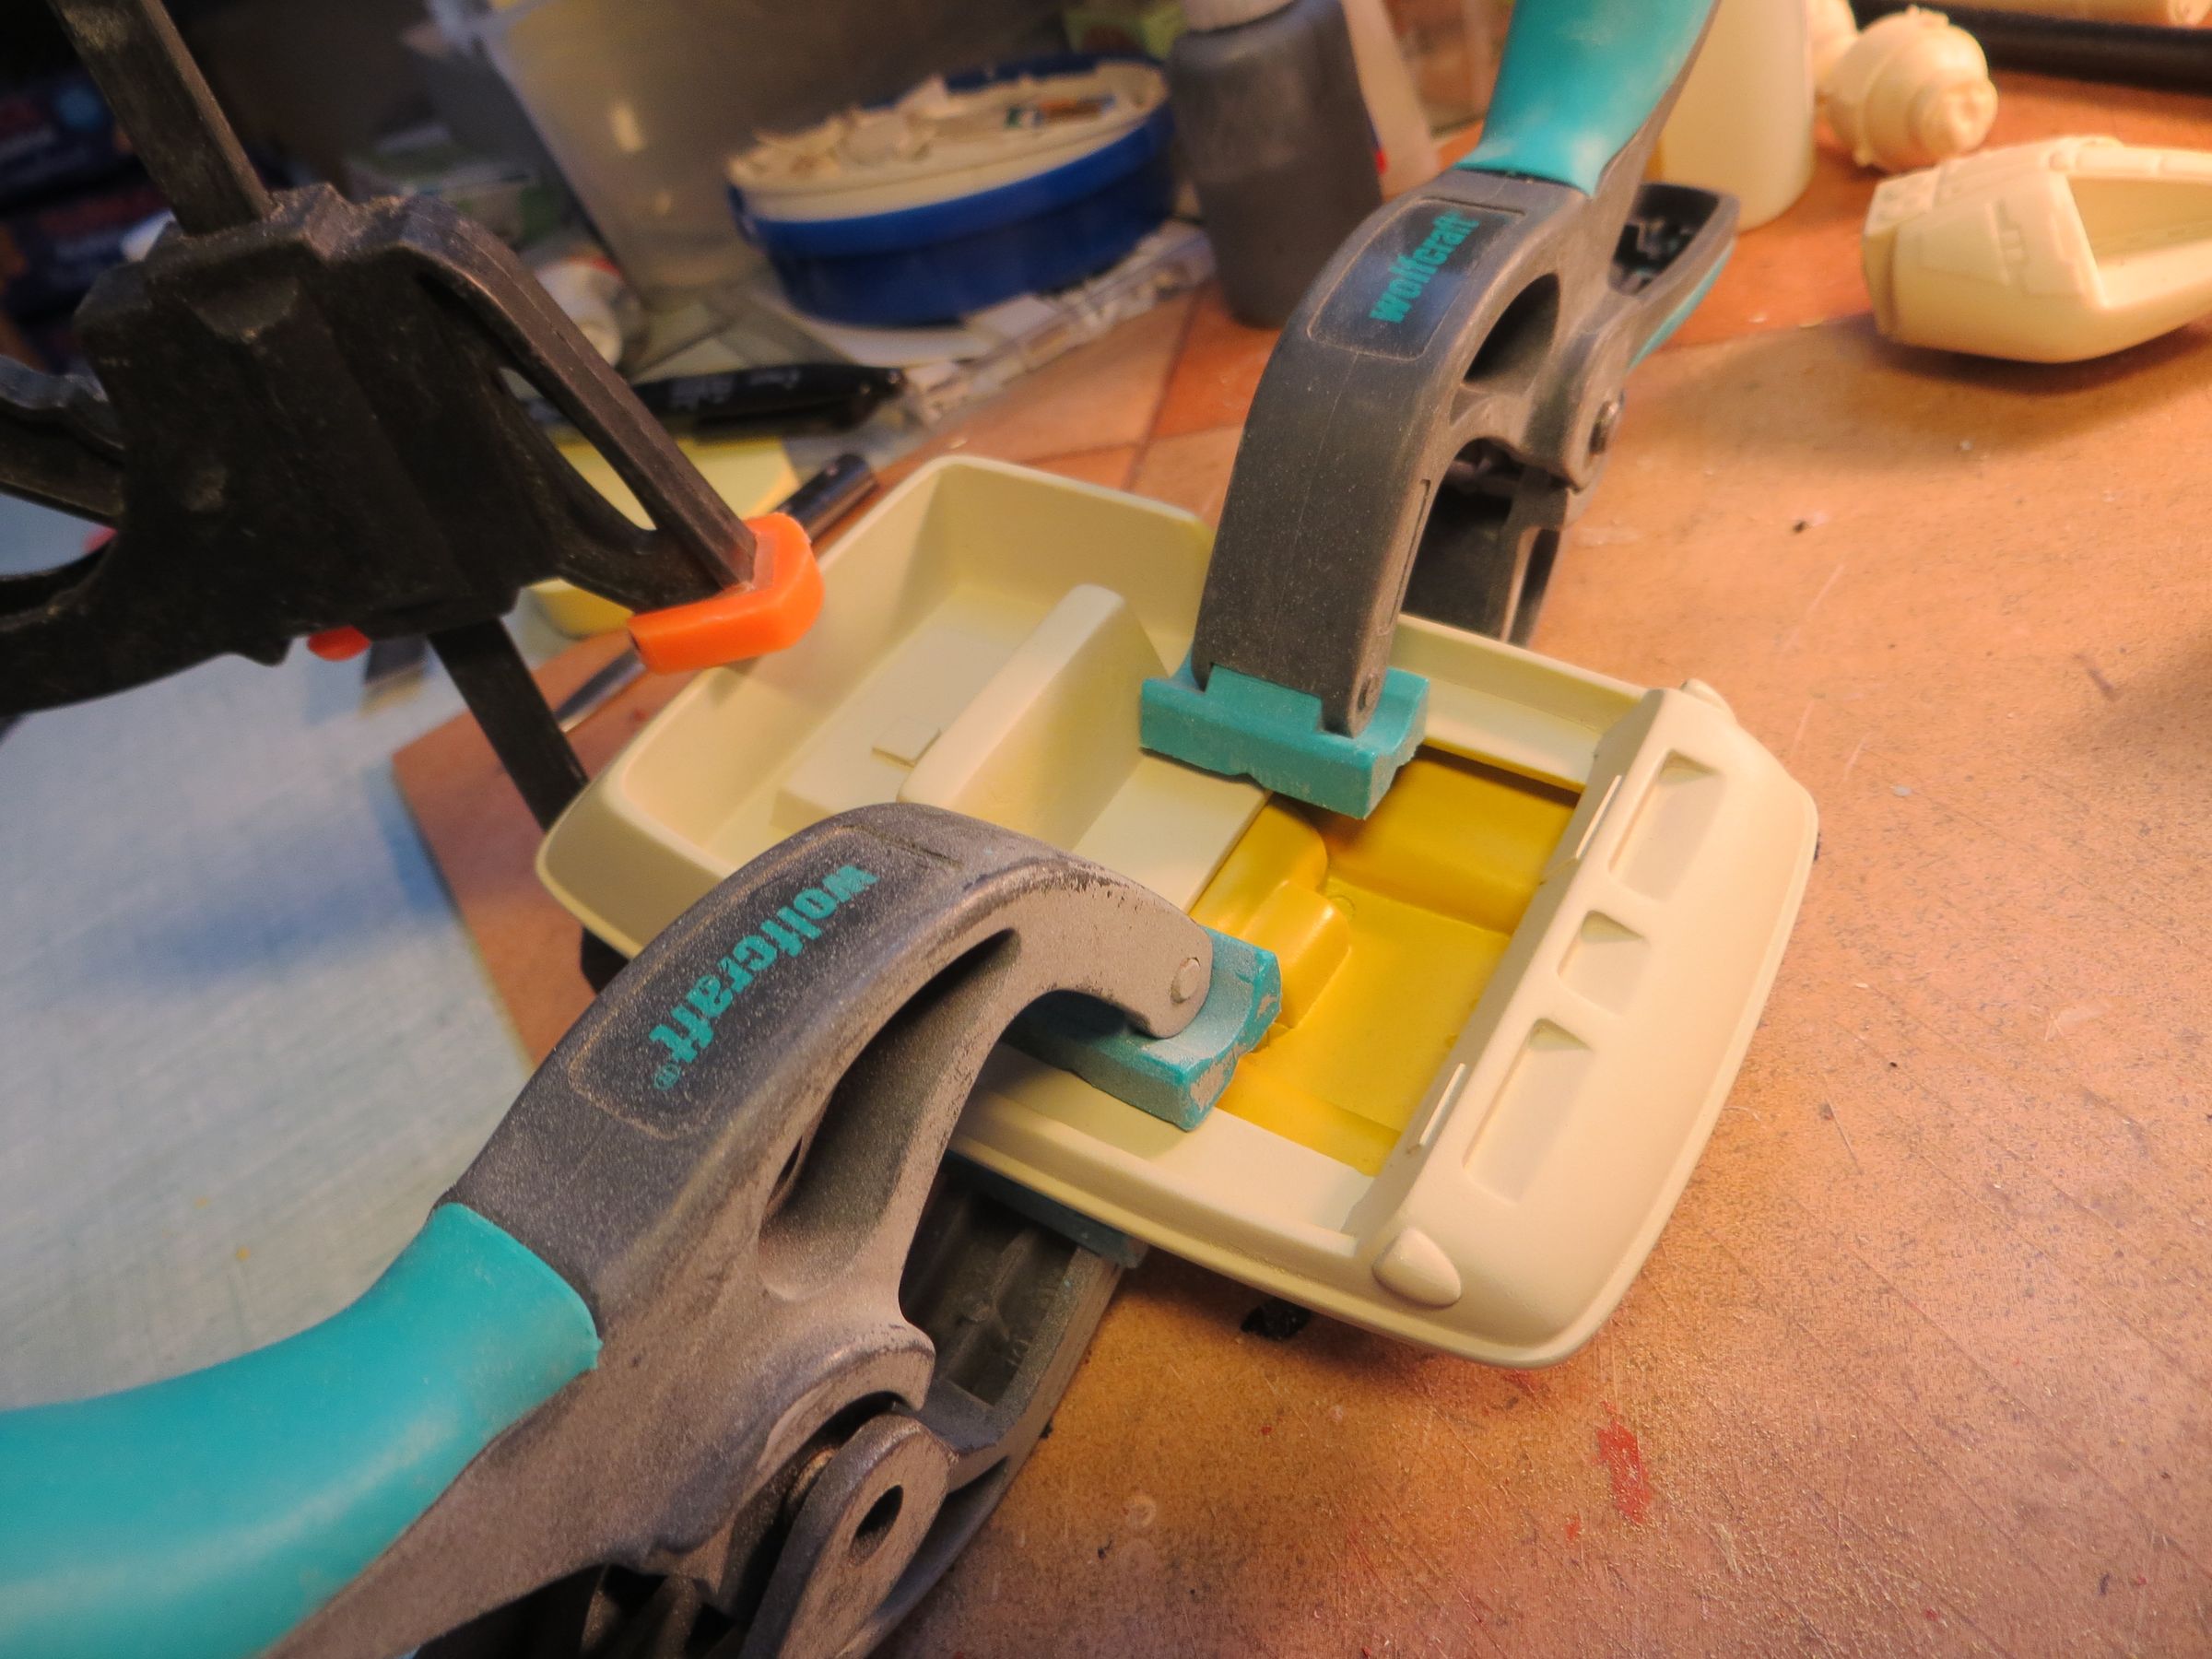
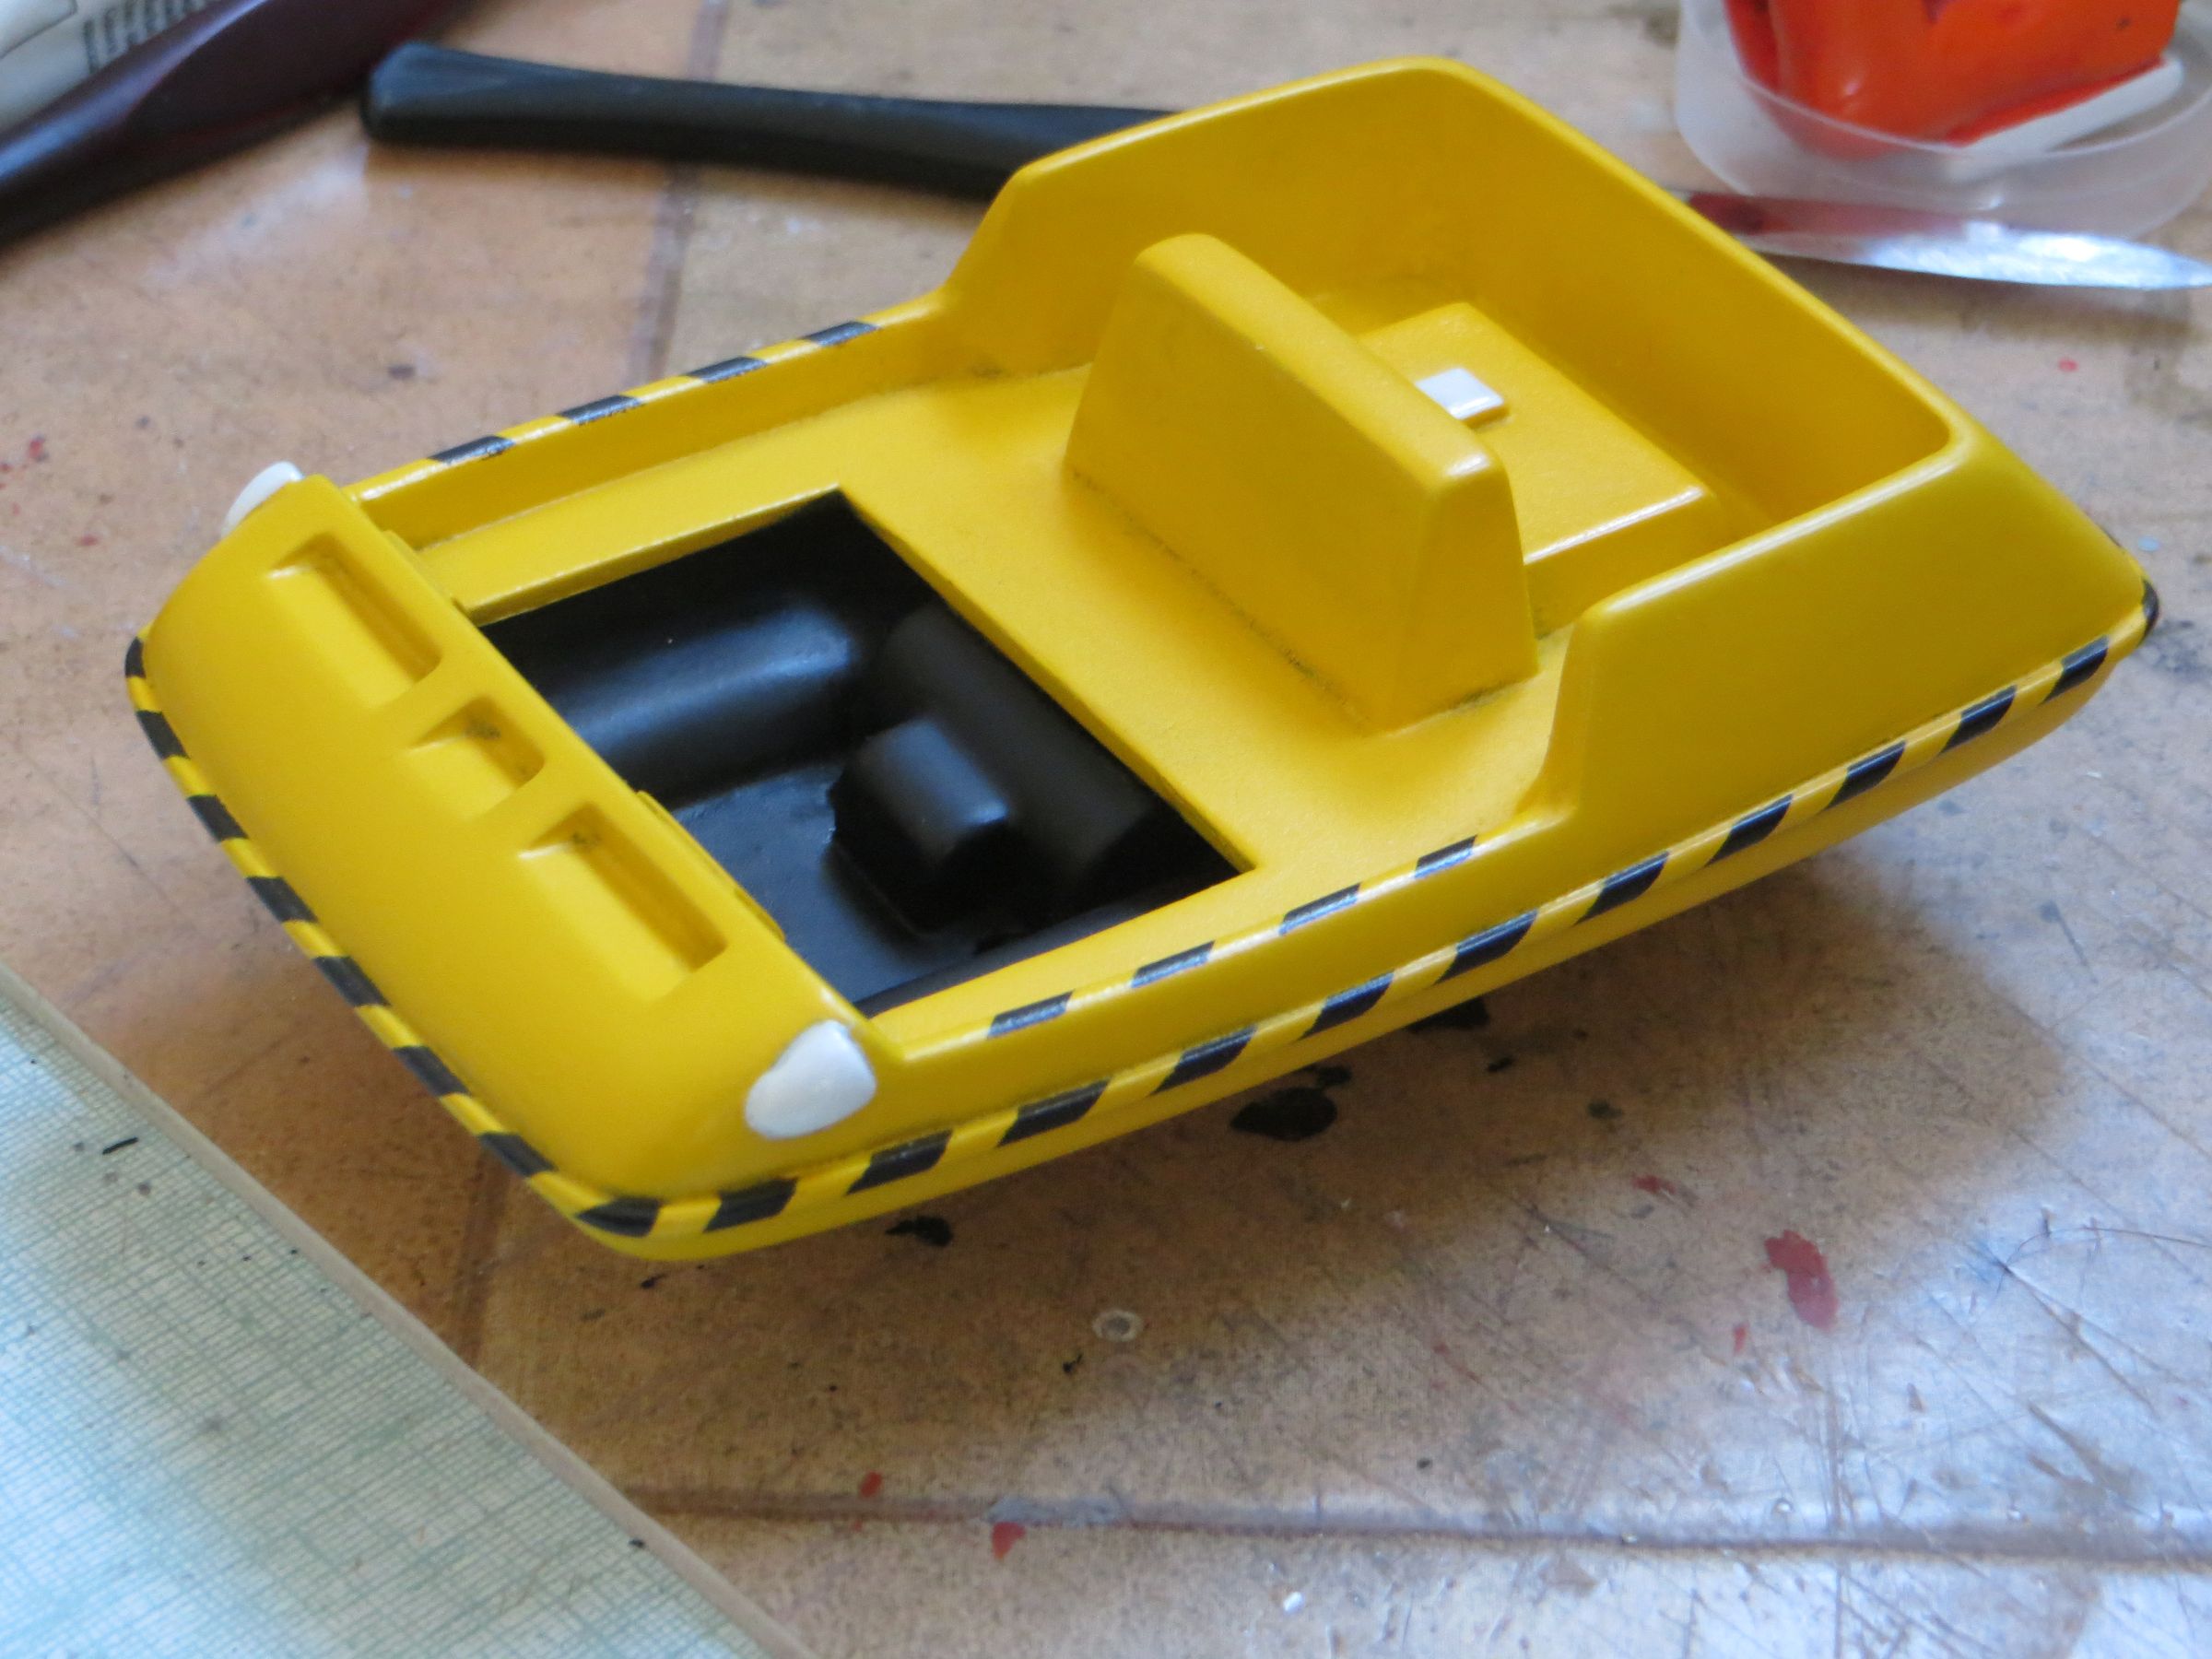
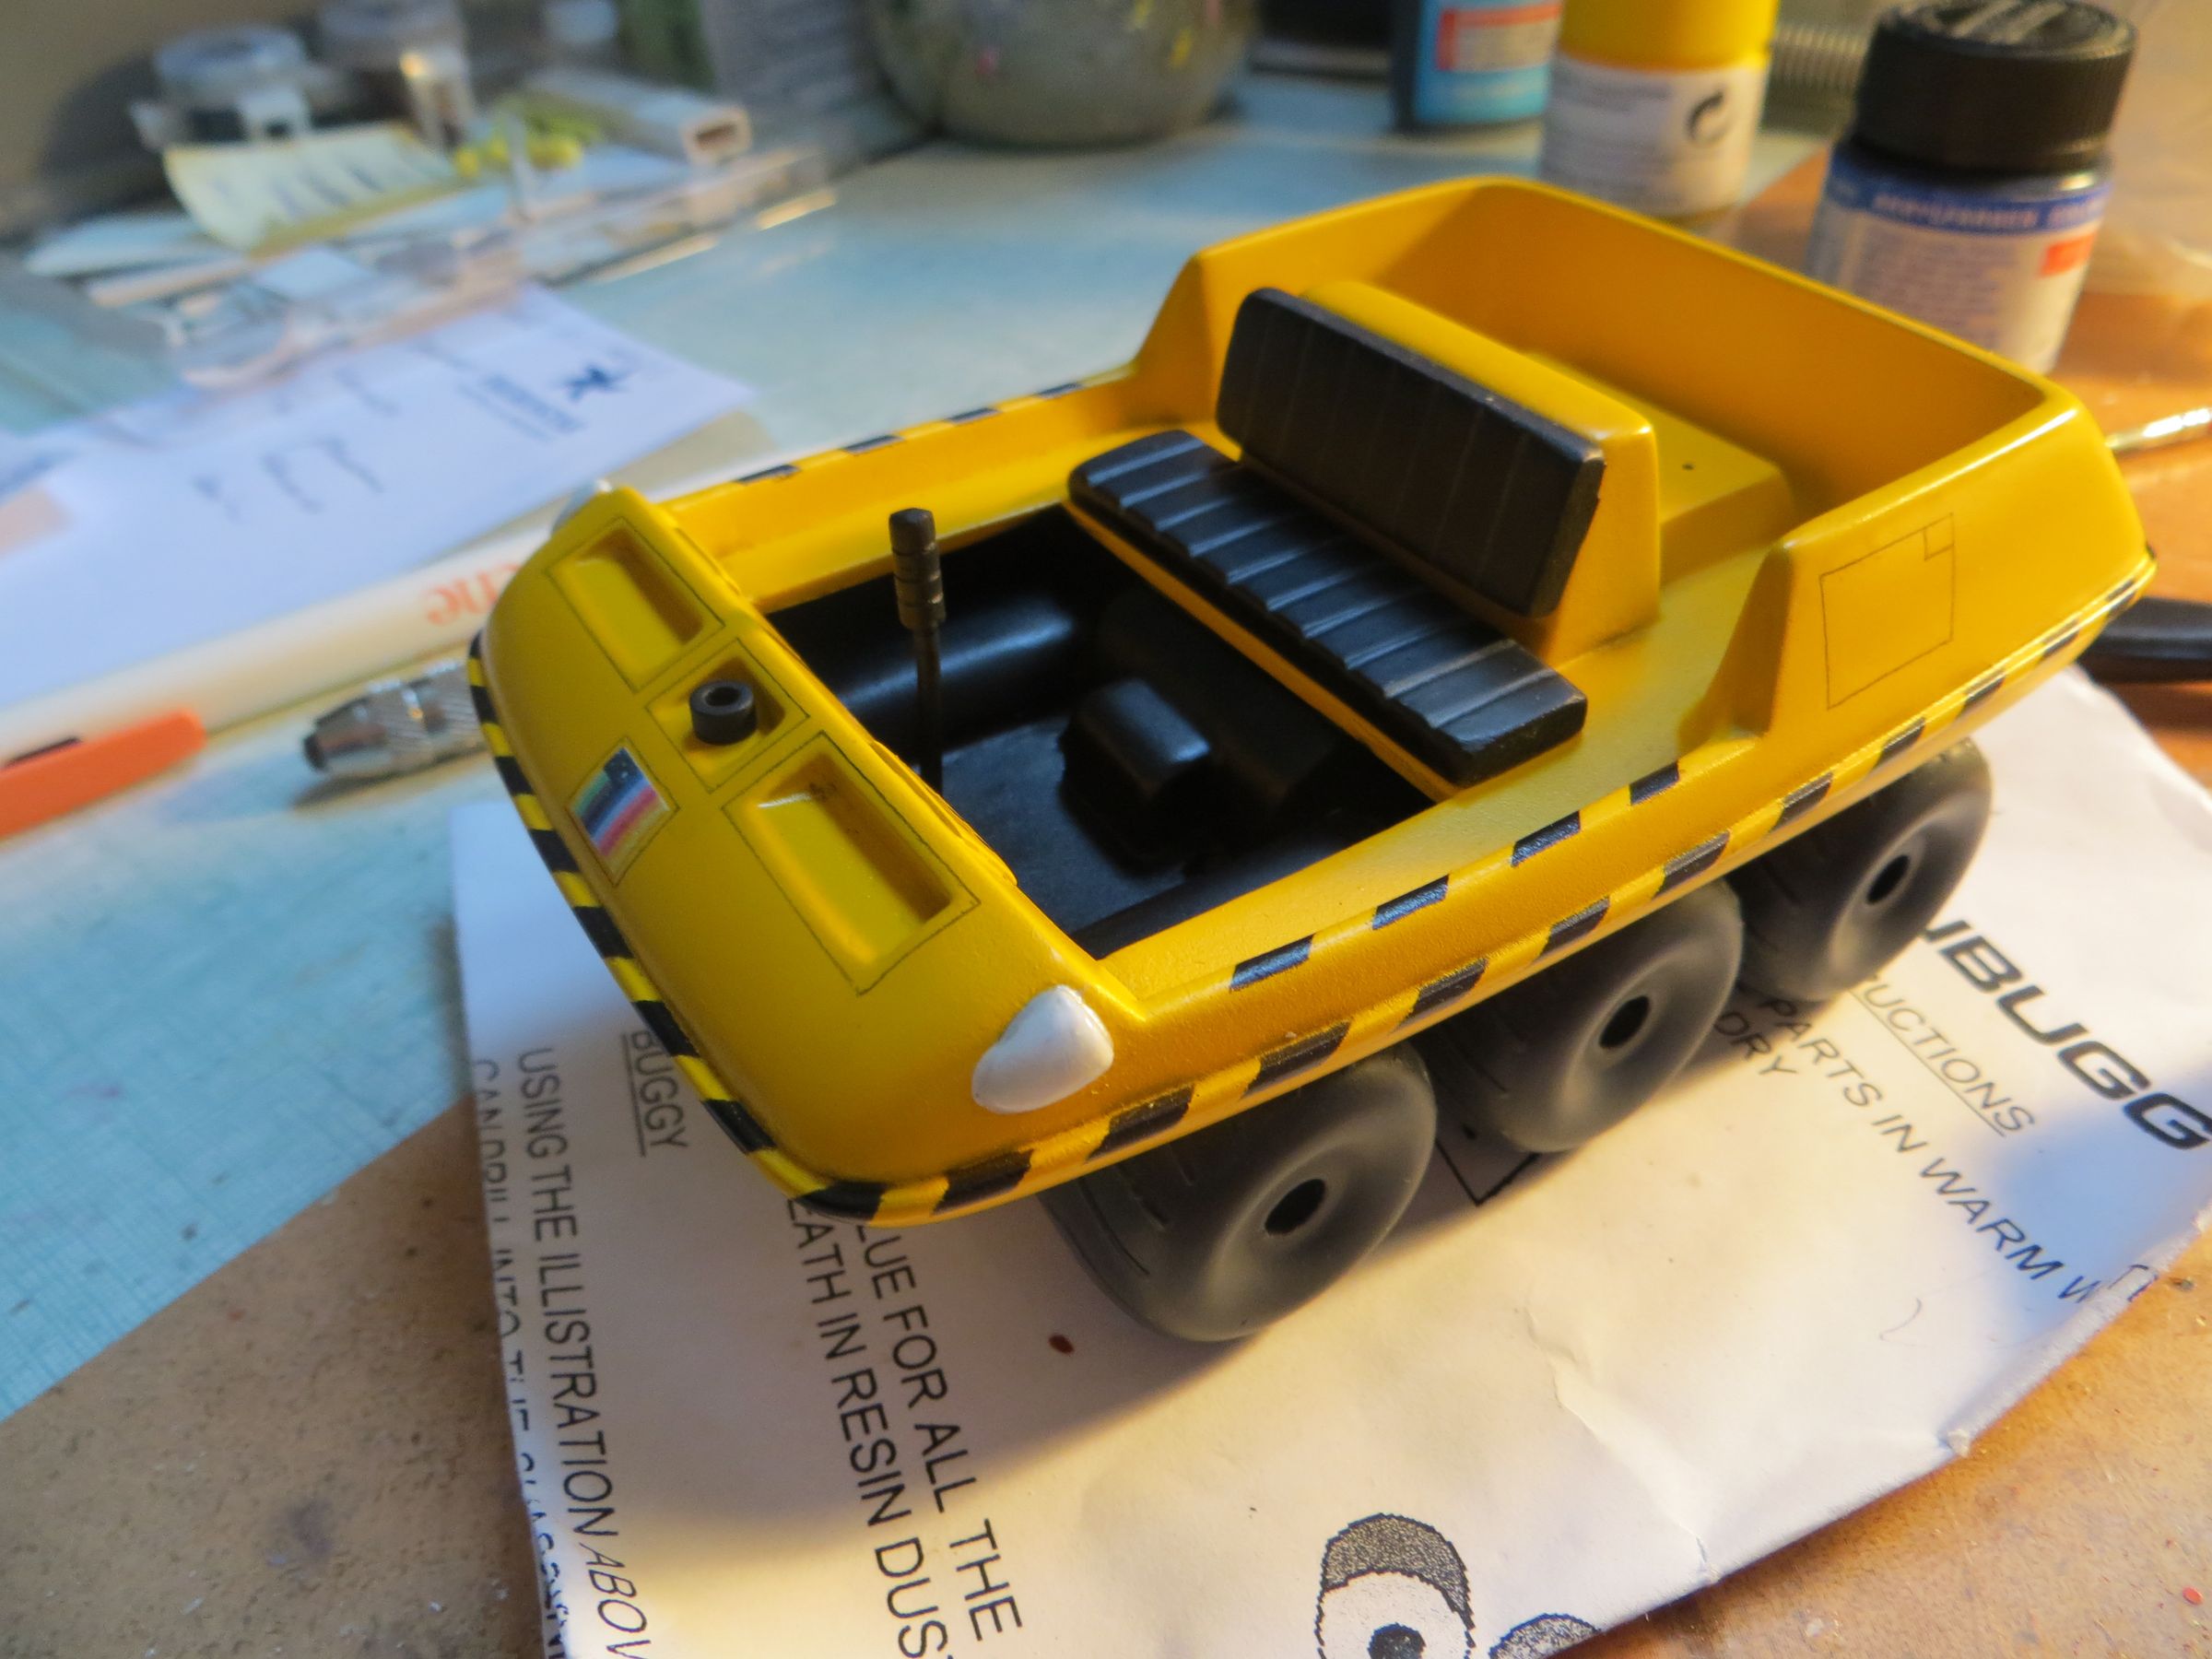
A fastidious session of masking was required to achieve the black stripes

It then received a black wash to accentuate the shadows and break the too poping yellow. It should not be too heavy, as the vehicles are rather clean in the series. Wash applied :
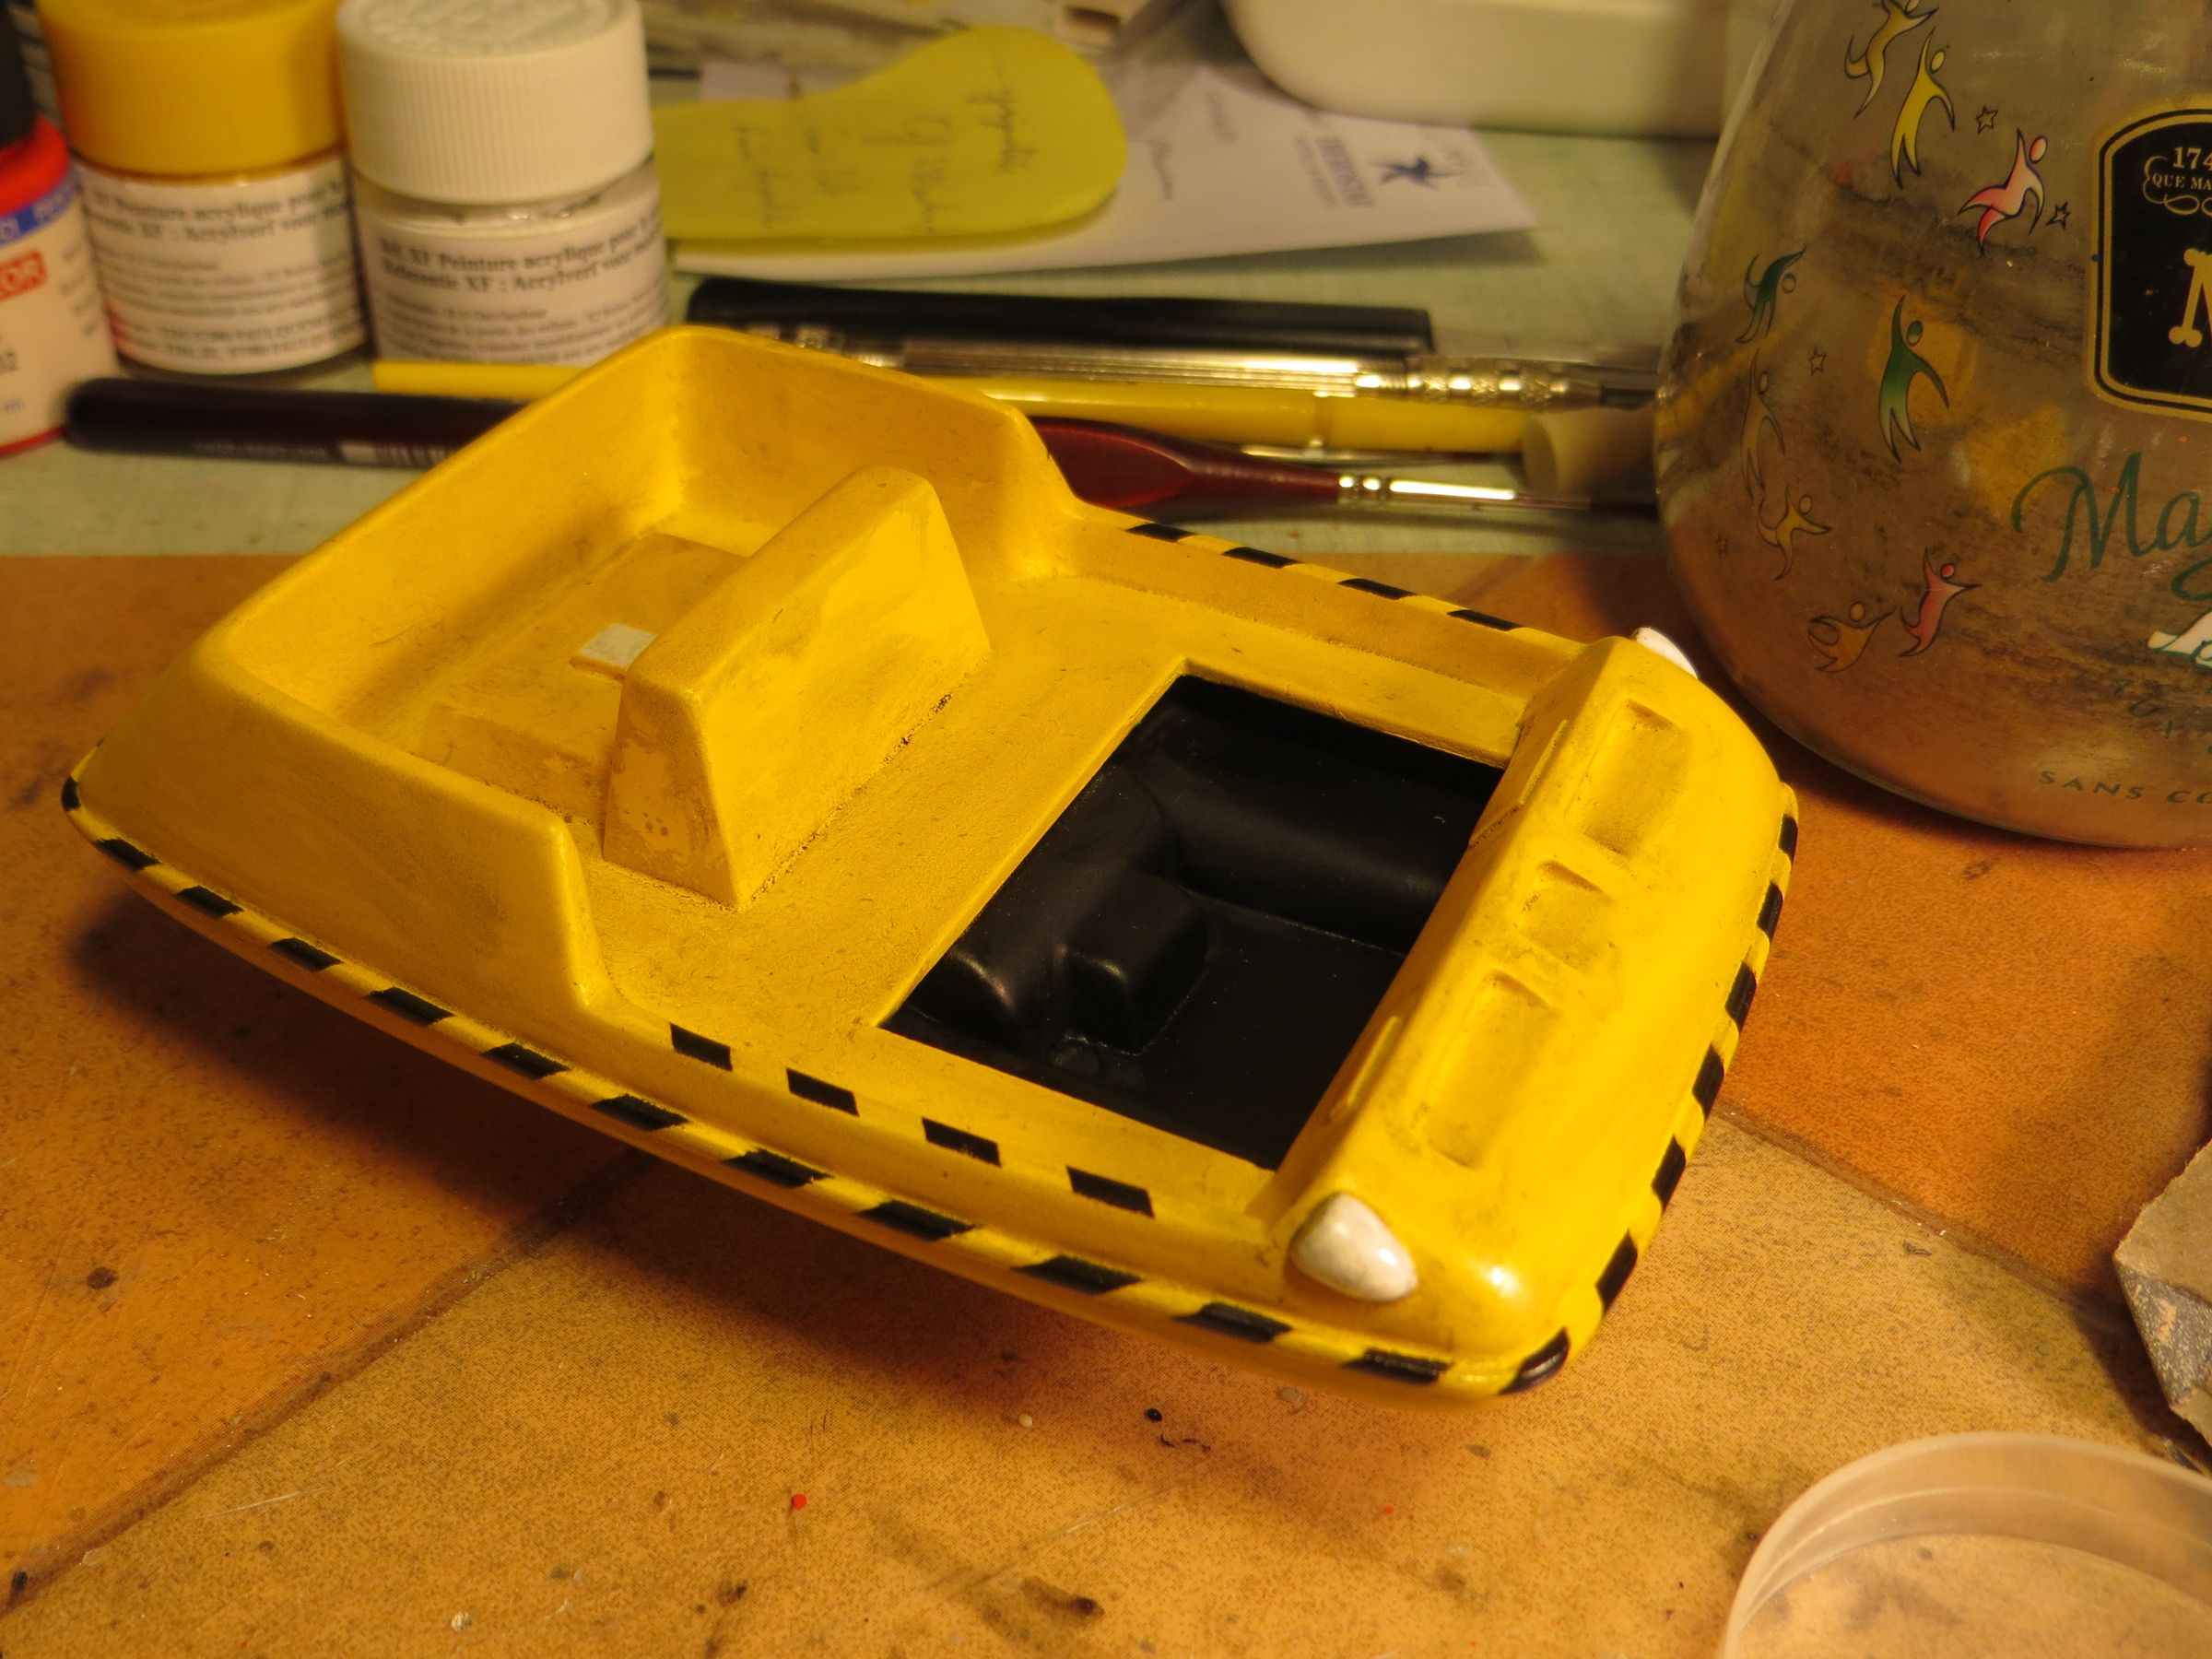
And after wiping :

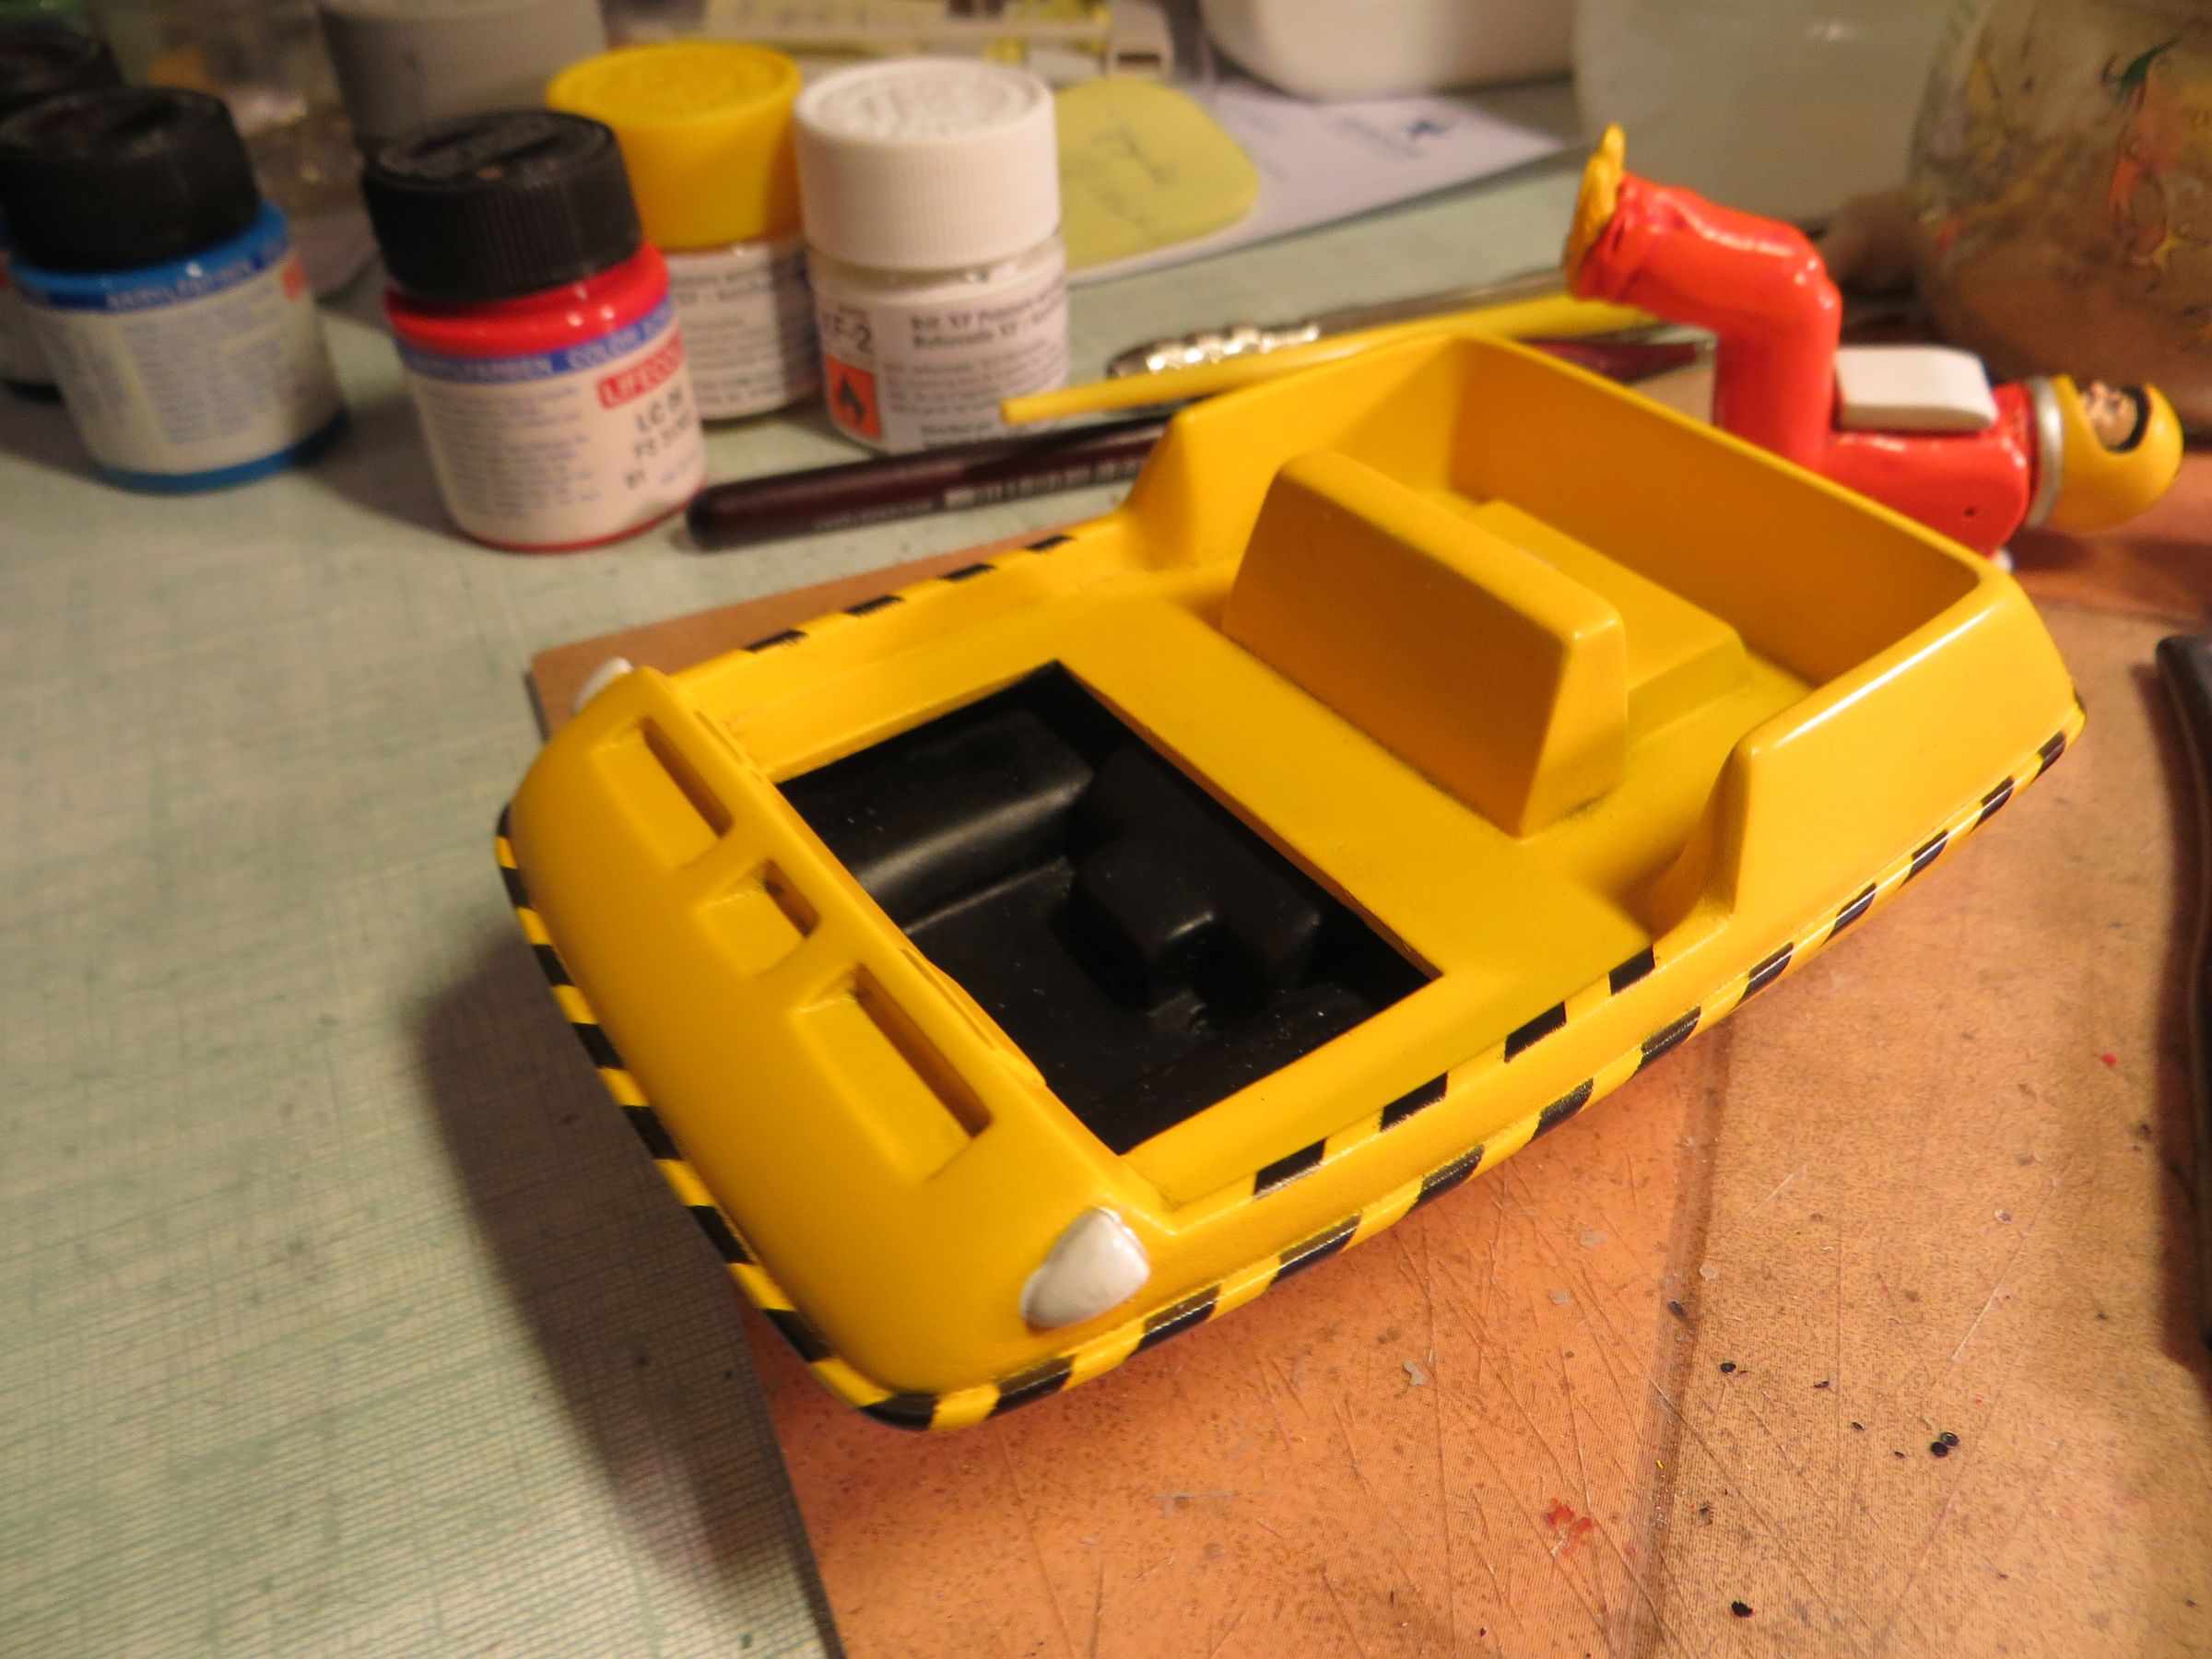
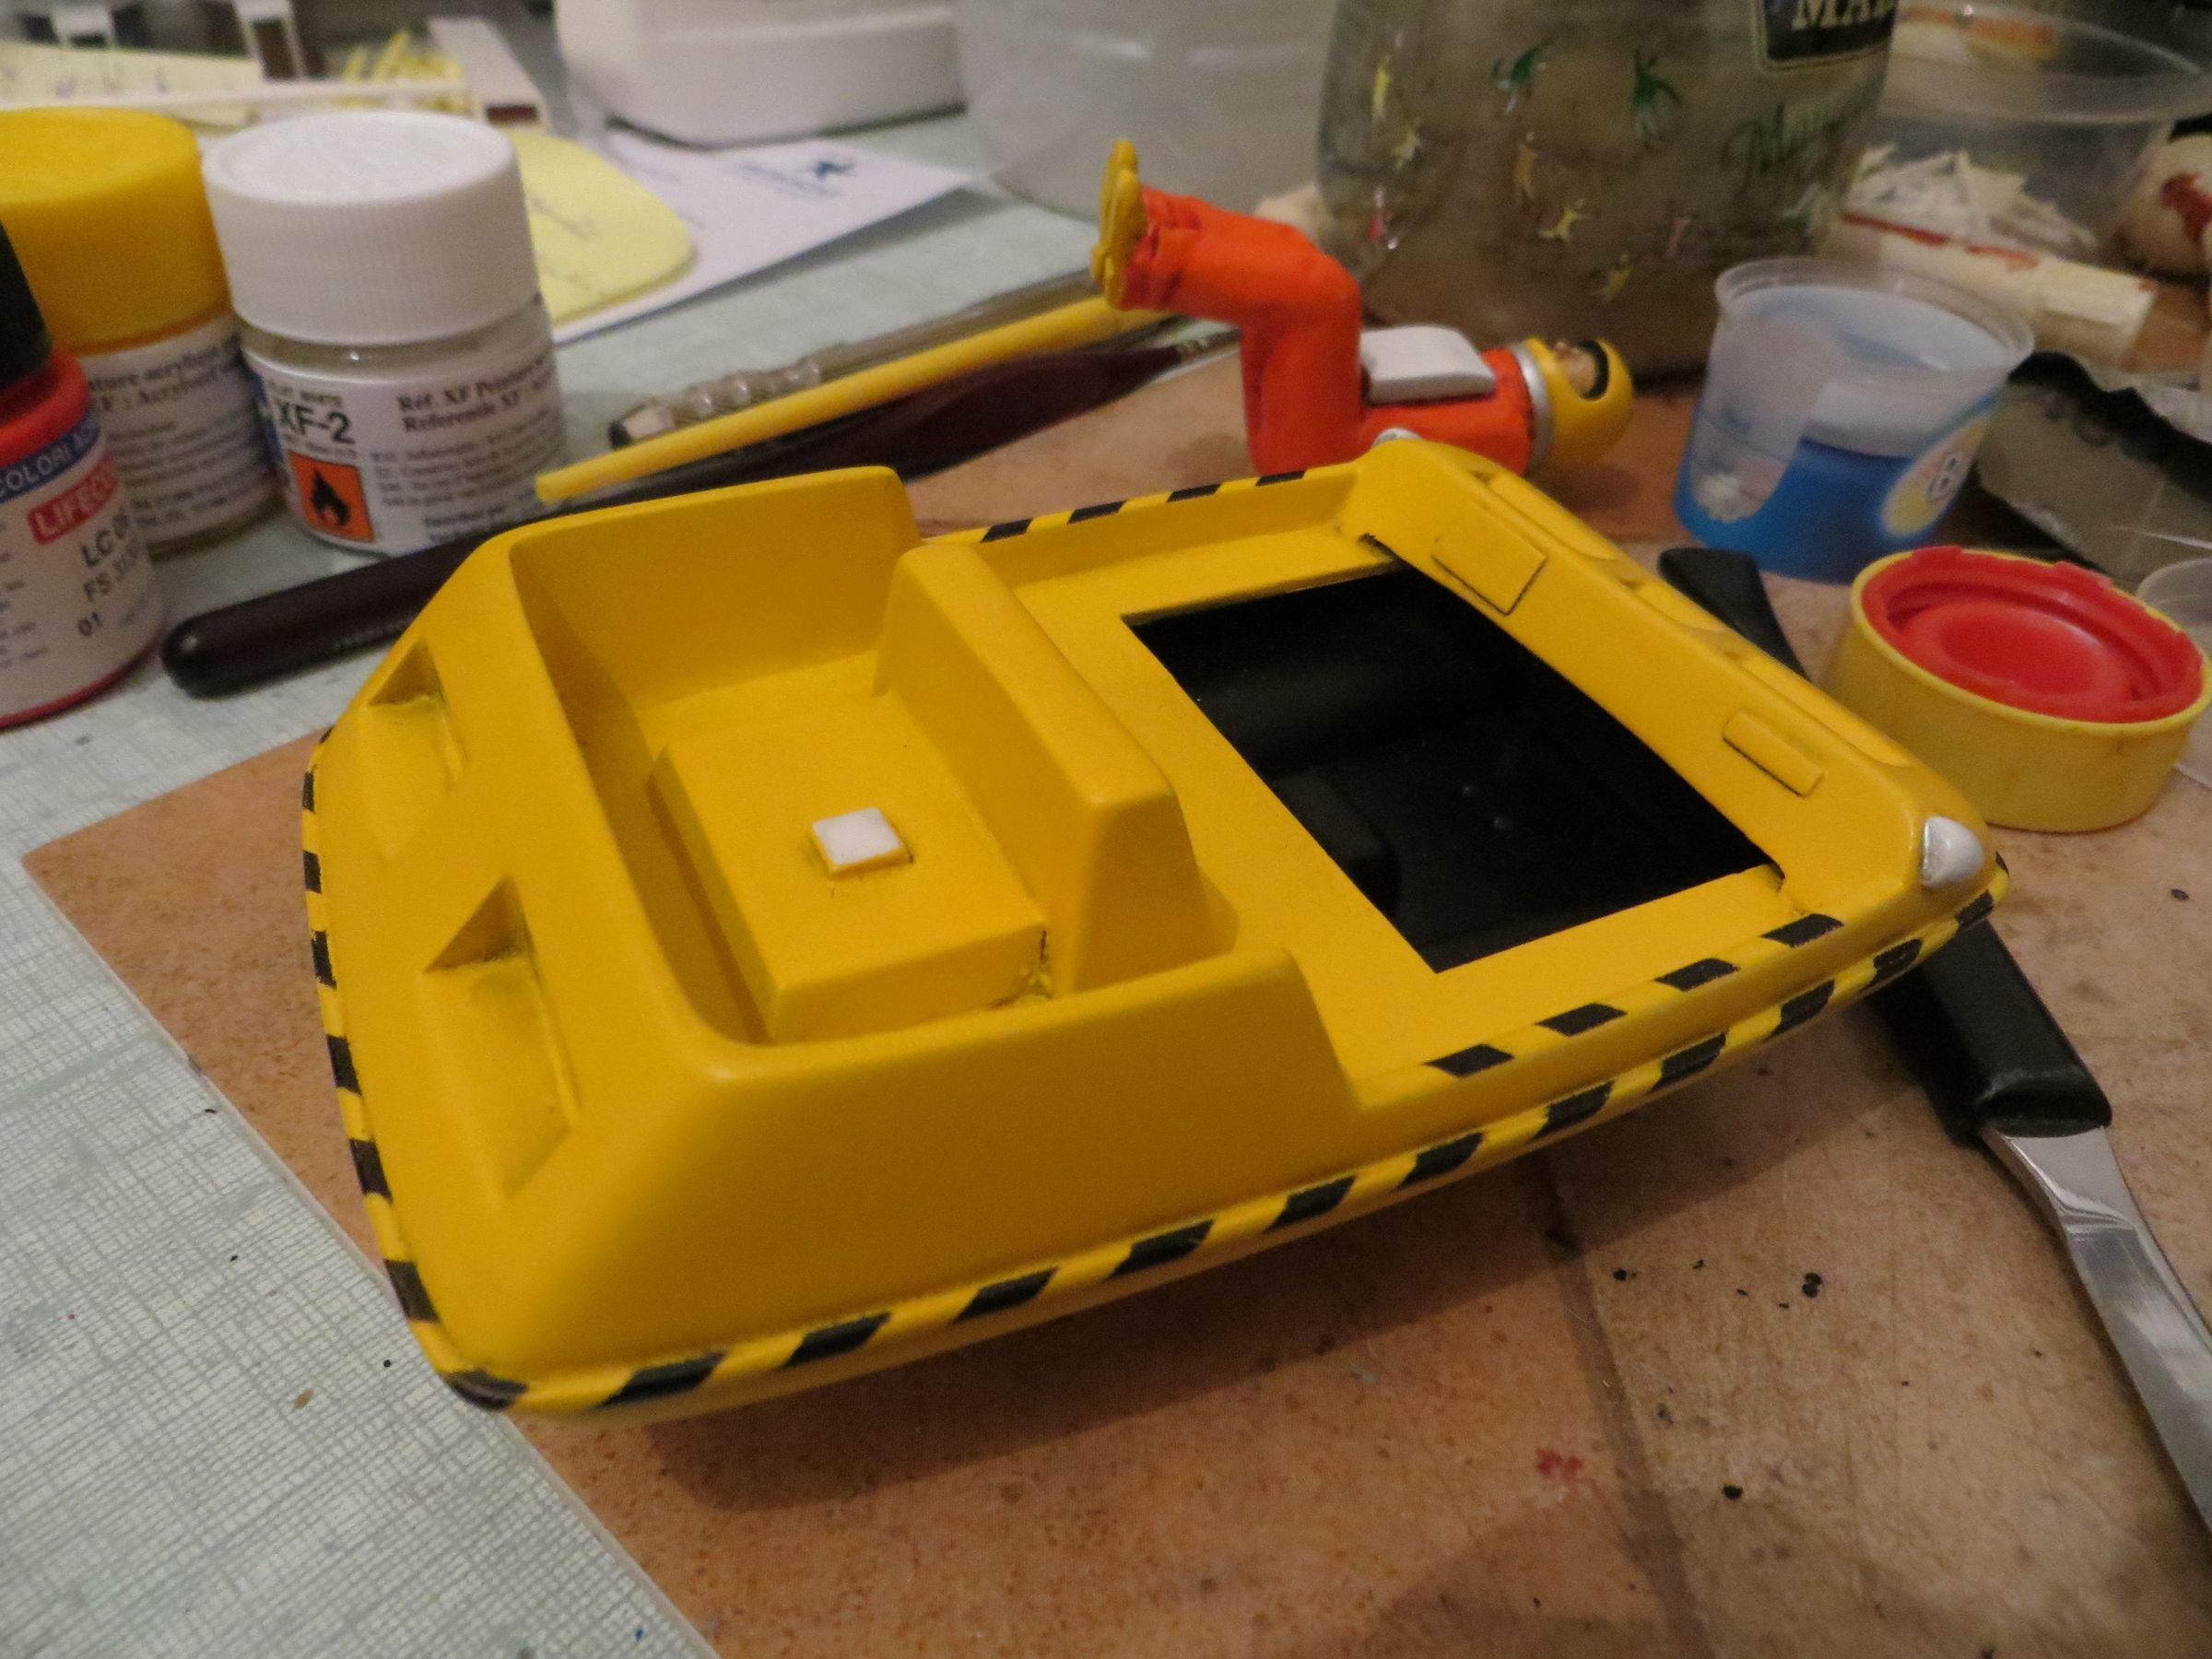
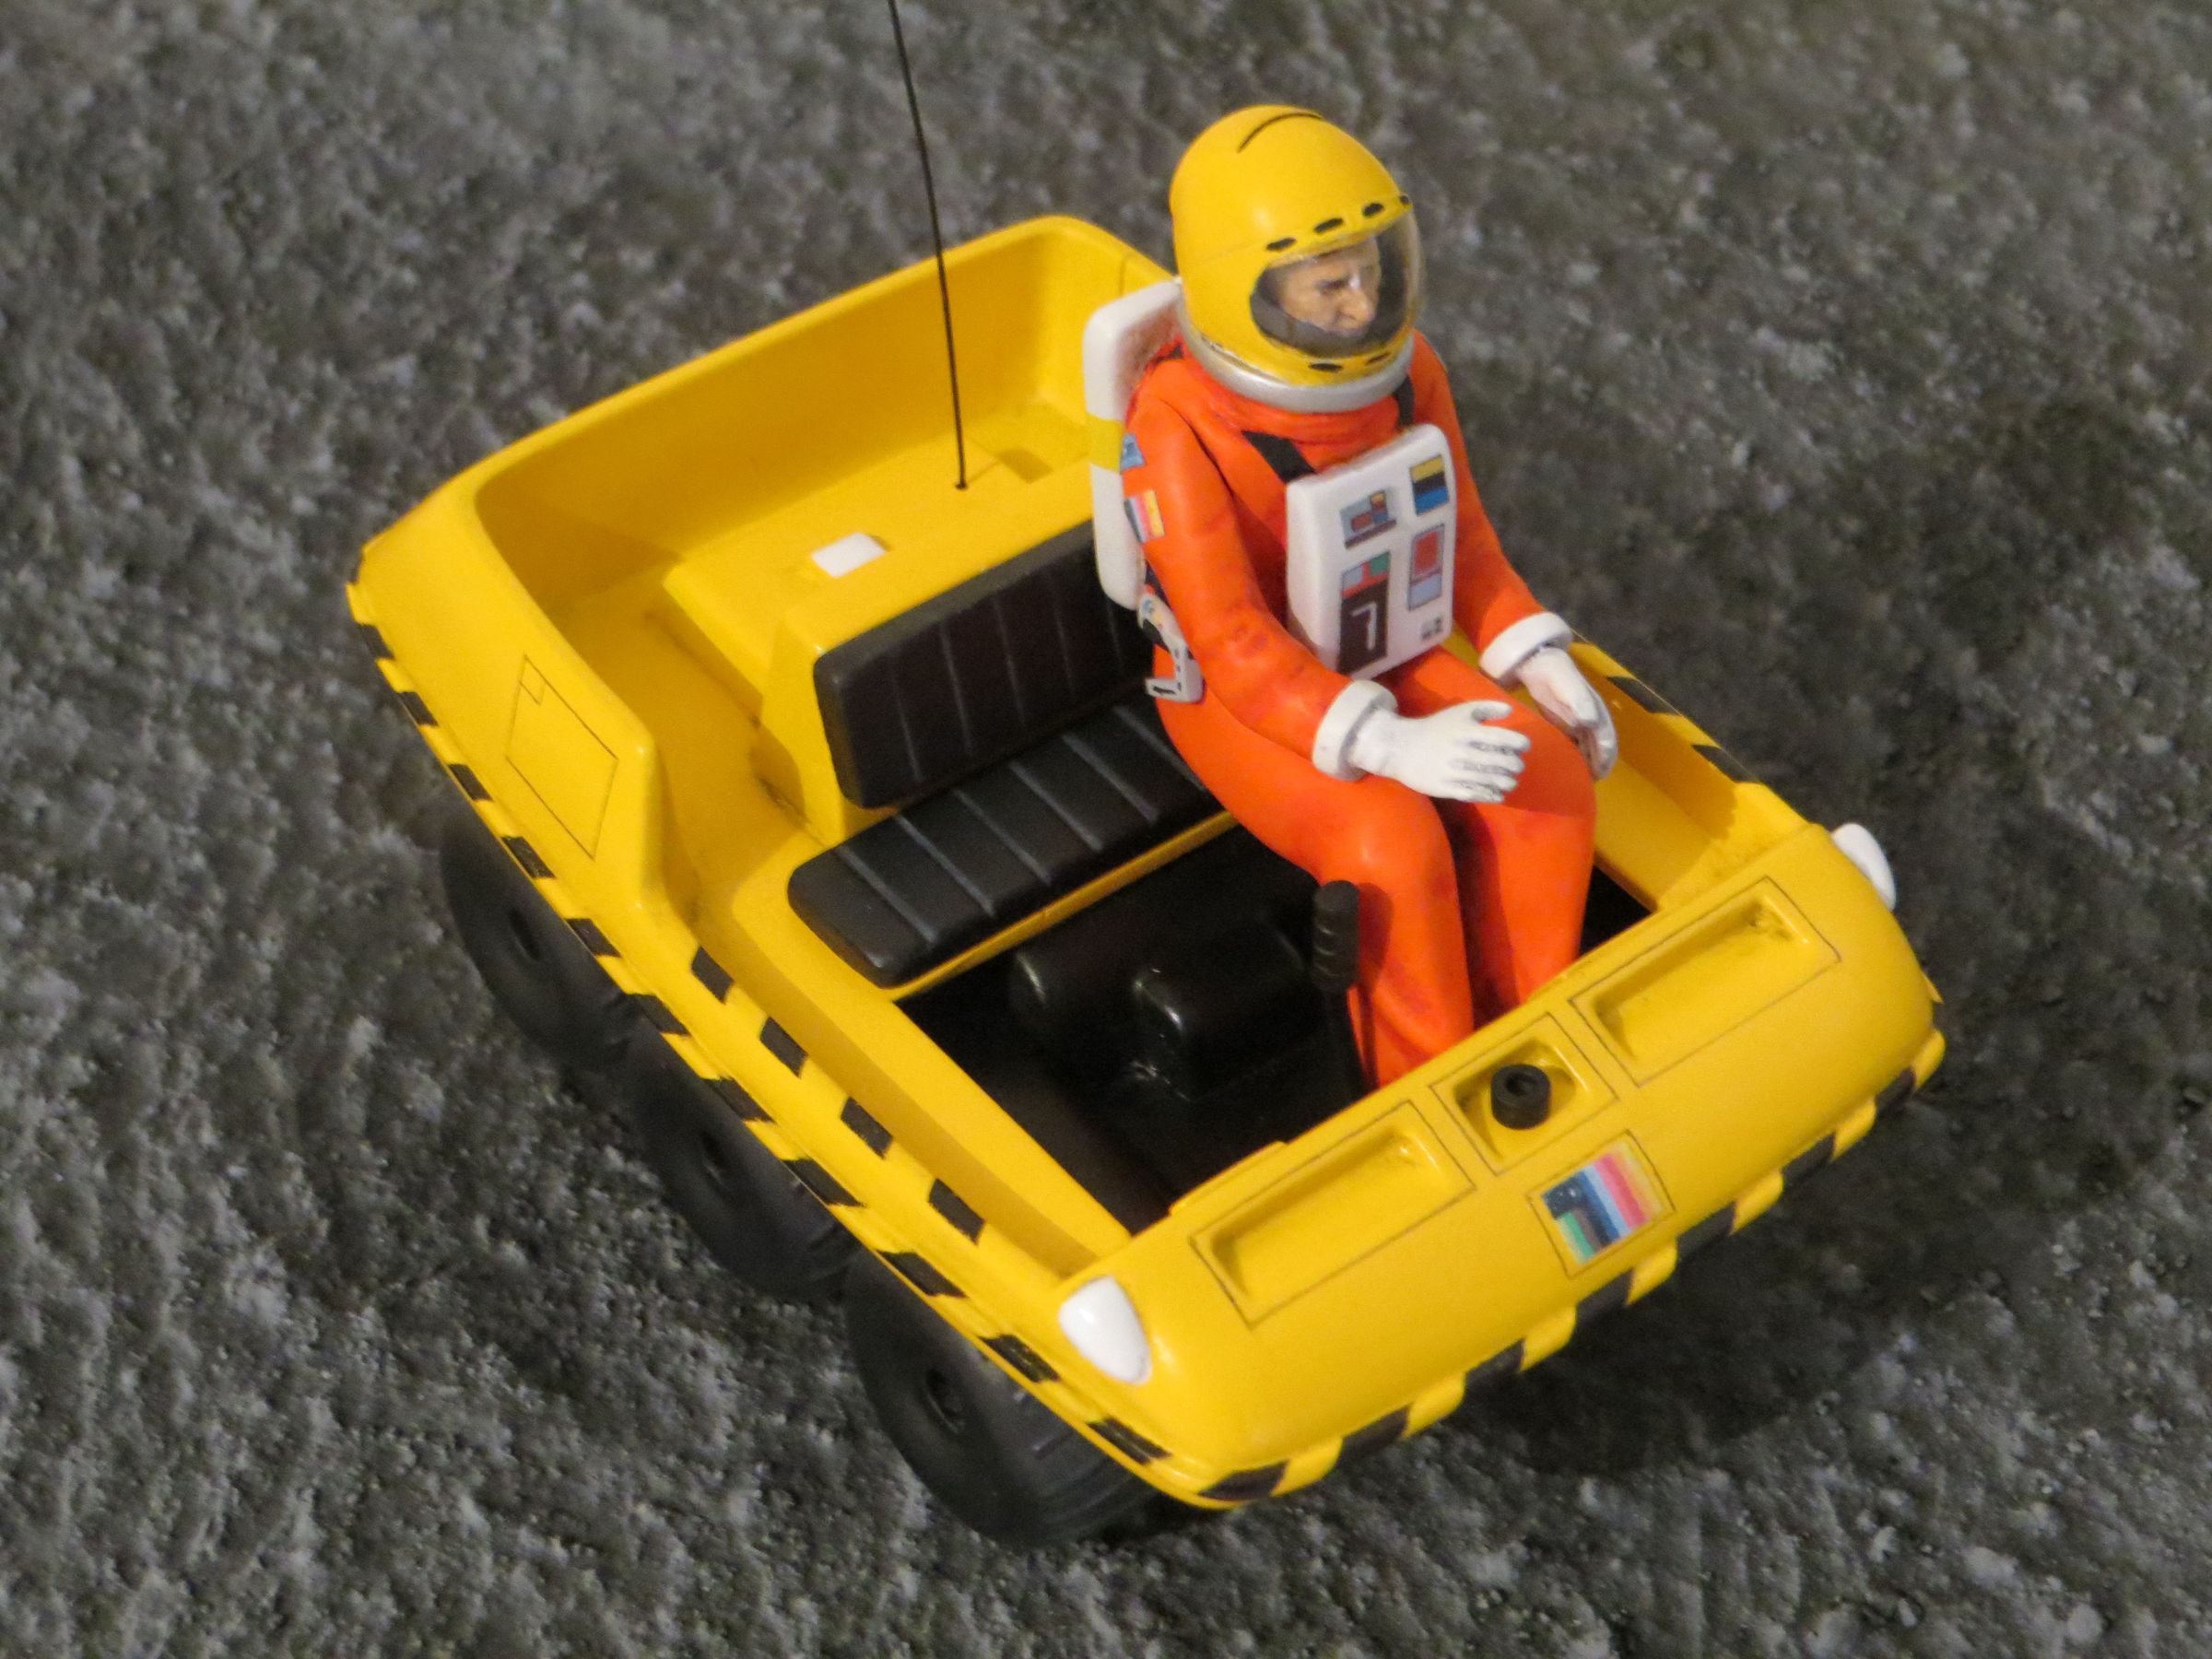
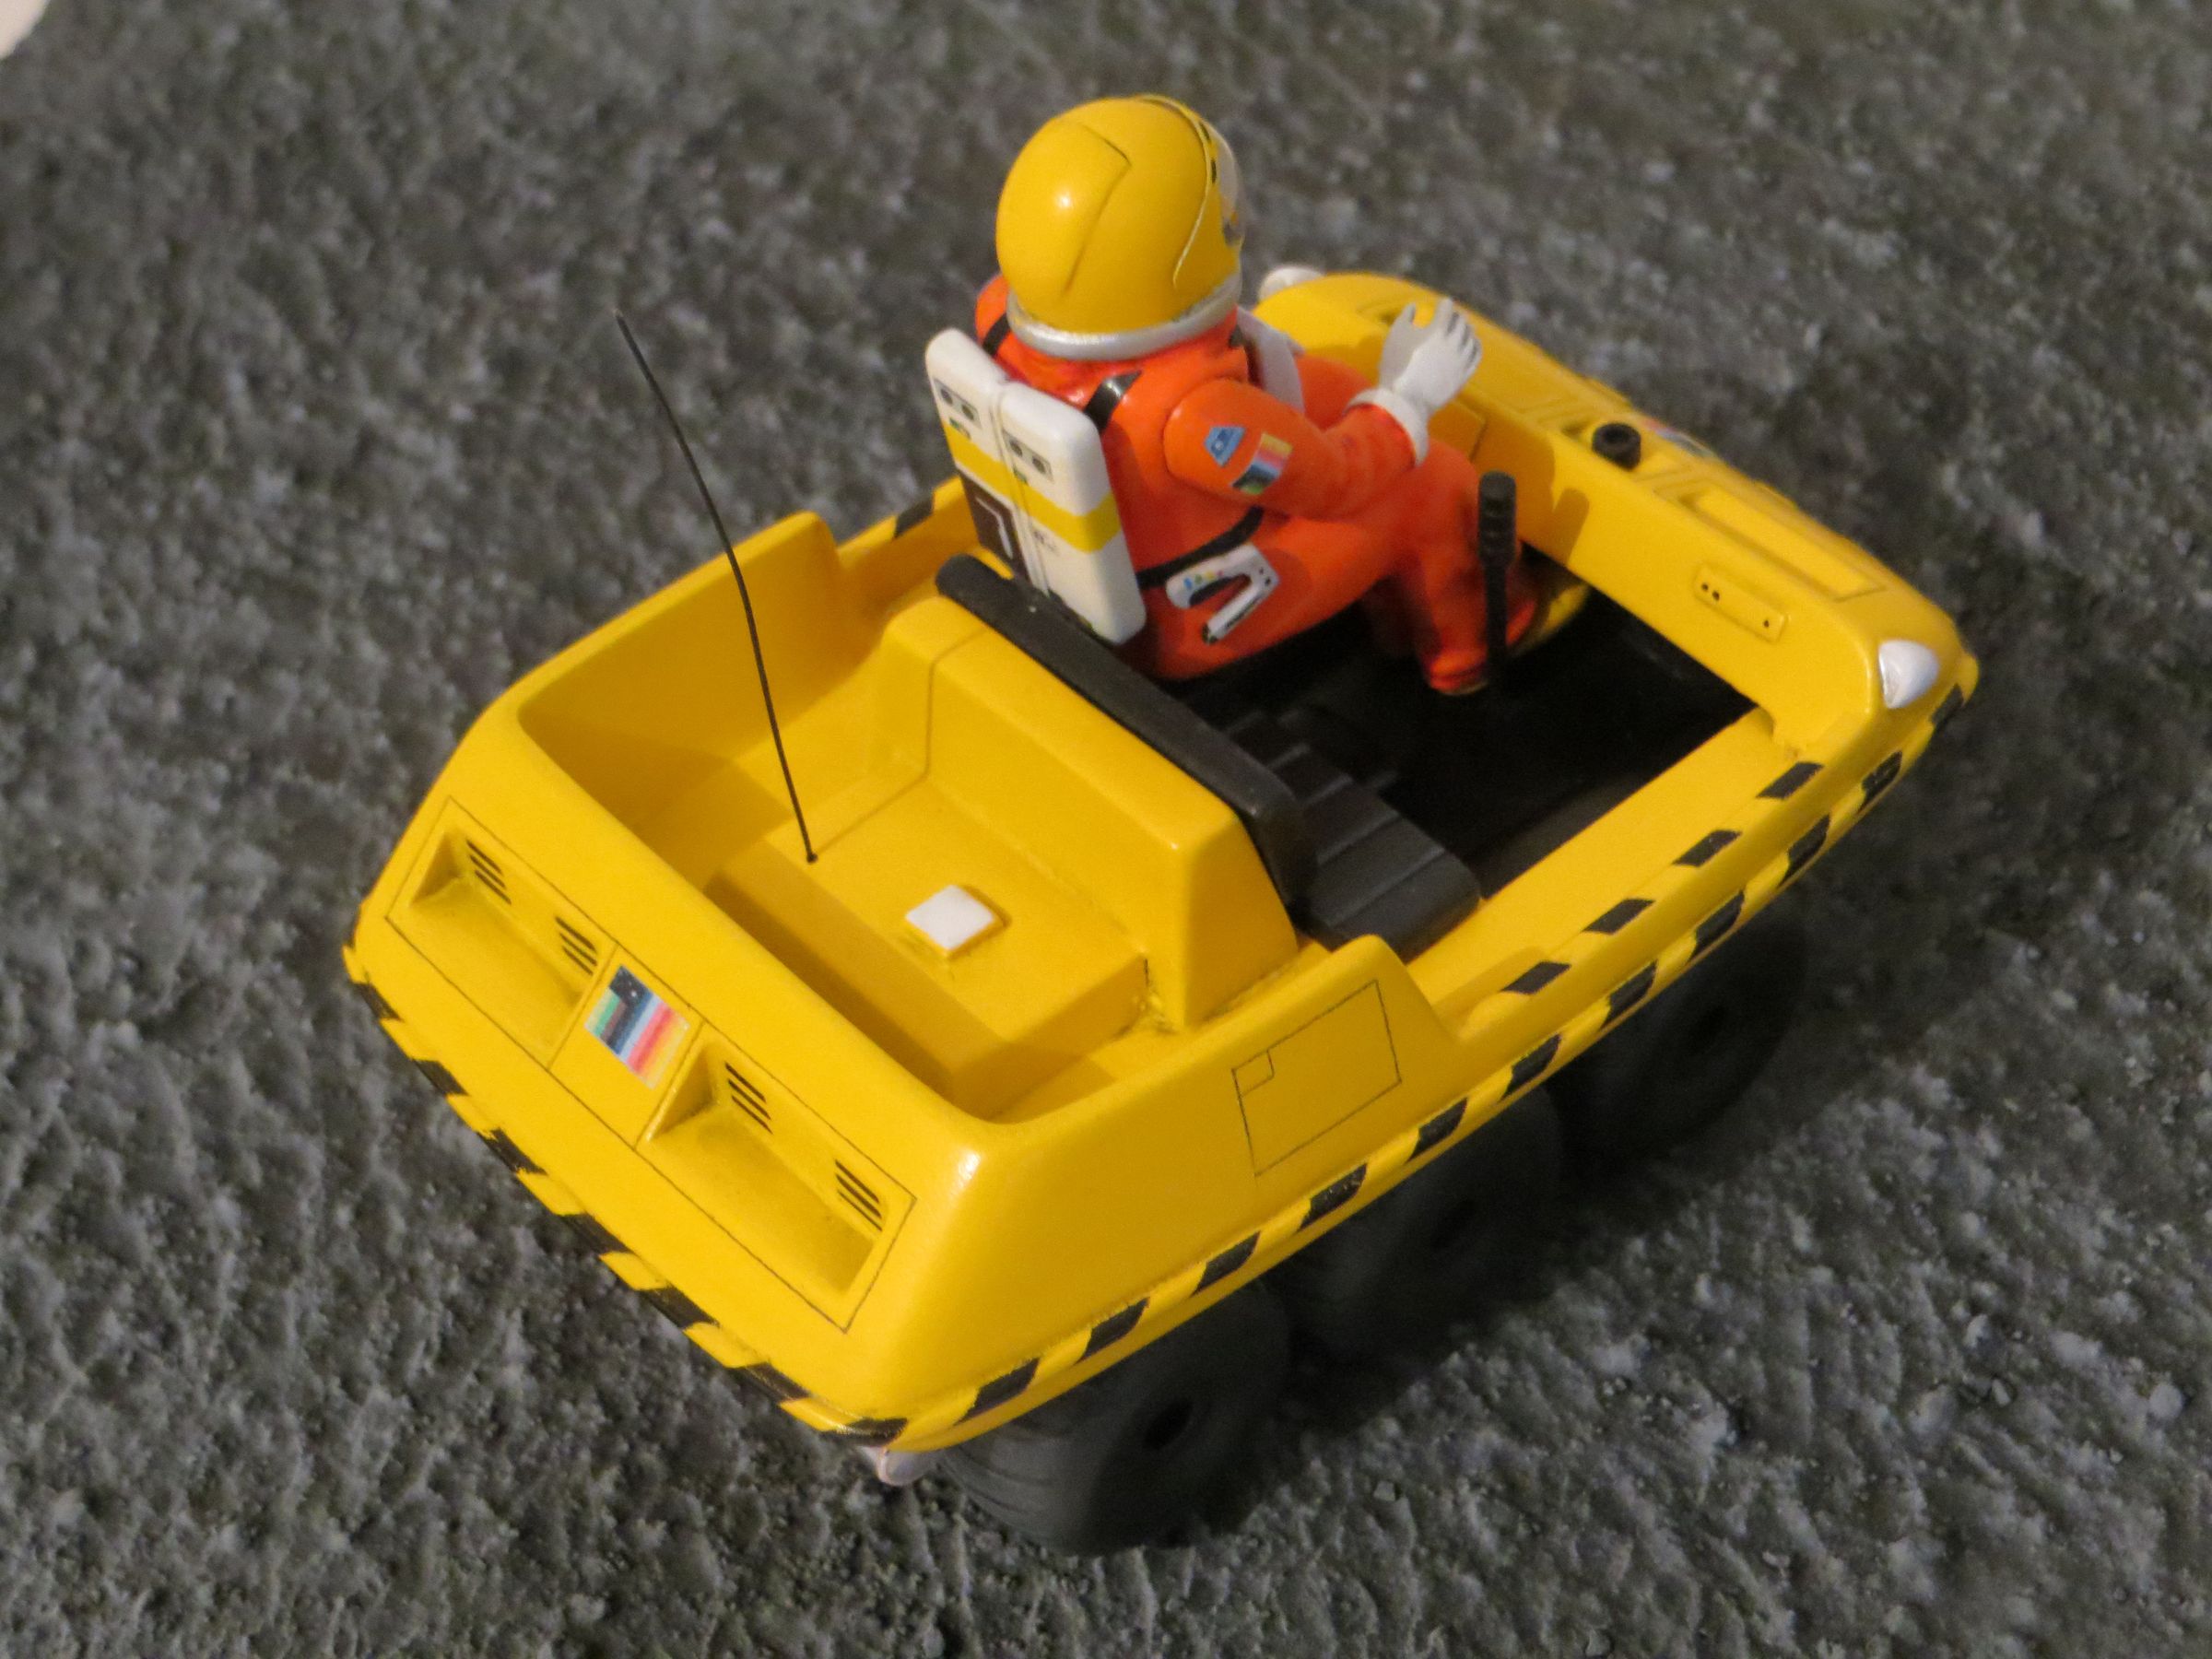
Actual color in the daylight :


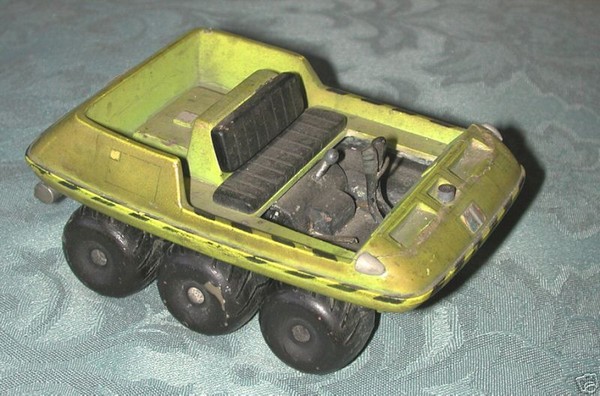
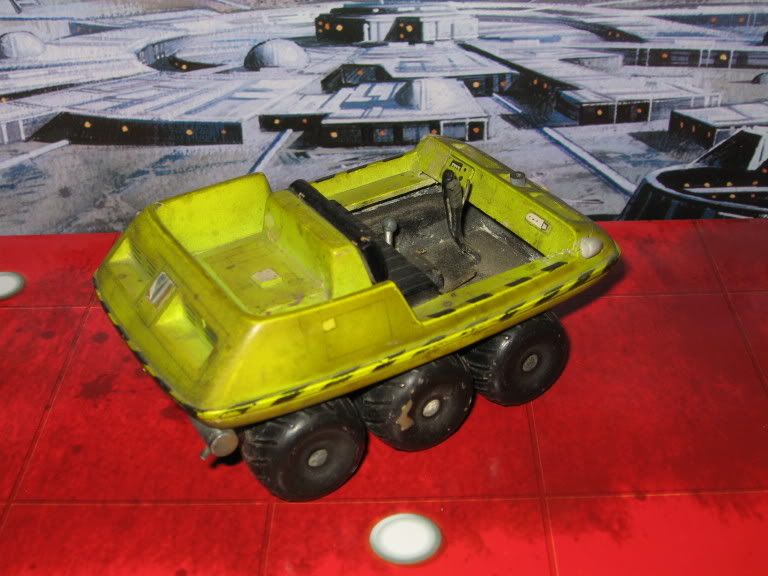
This was then that I found this first and recent image, on eagletransporter forum, showing the original vehicle on which the kit has been remolded. http://quartus.net/nbridges/images/ebaybuggy.jpg http://www.eagletransporter.com/forum/showthread.php?t=1079

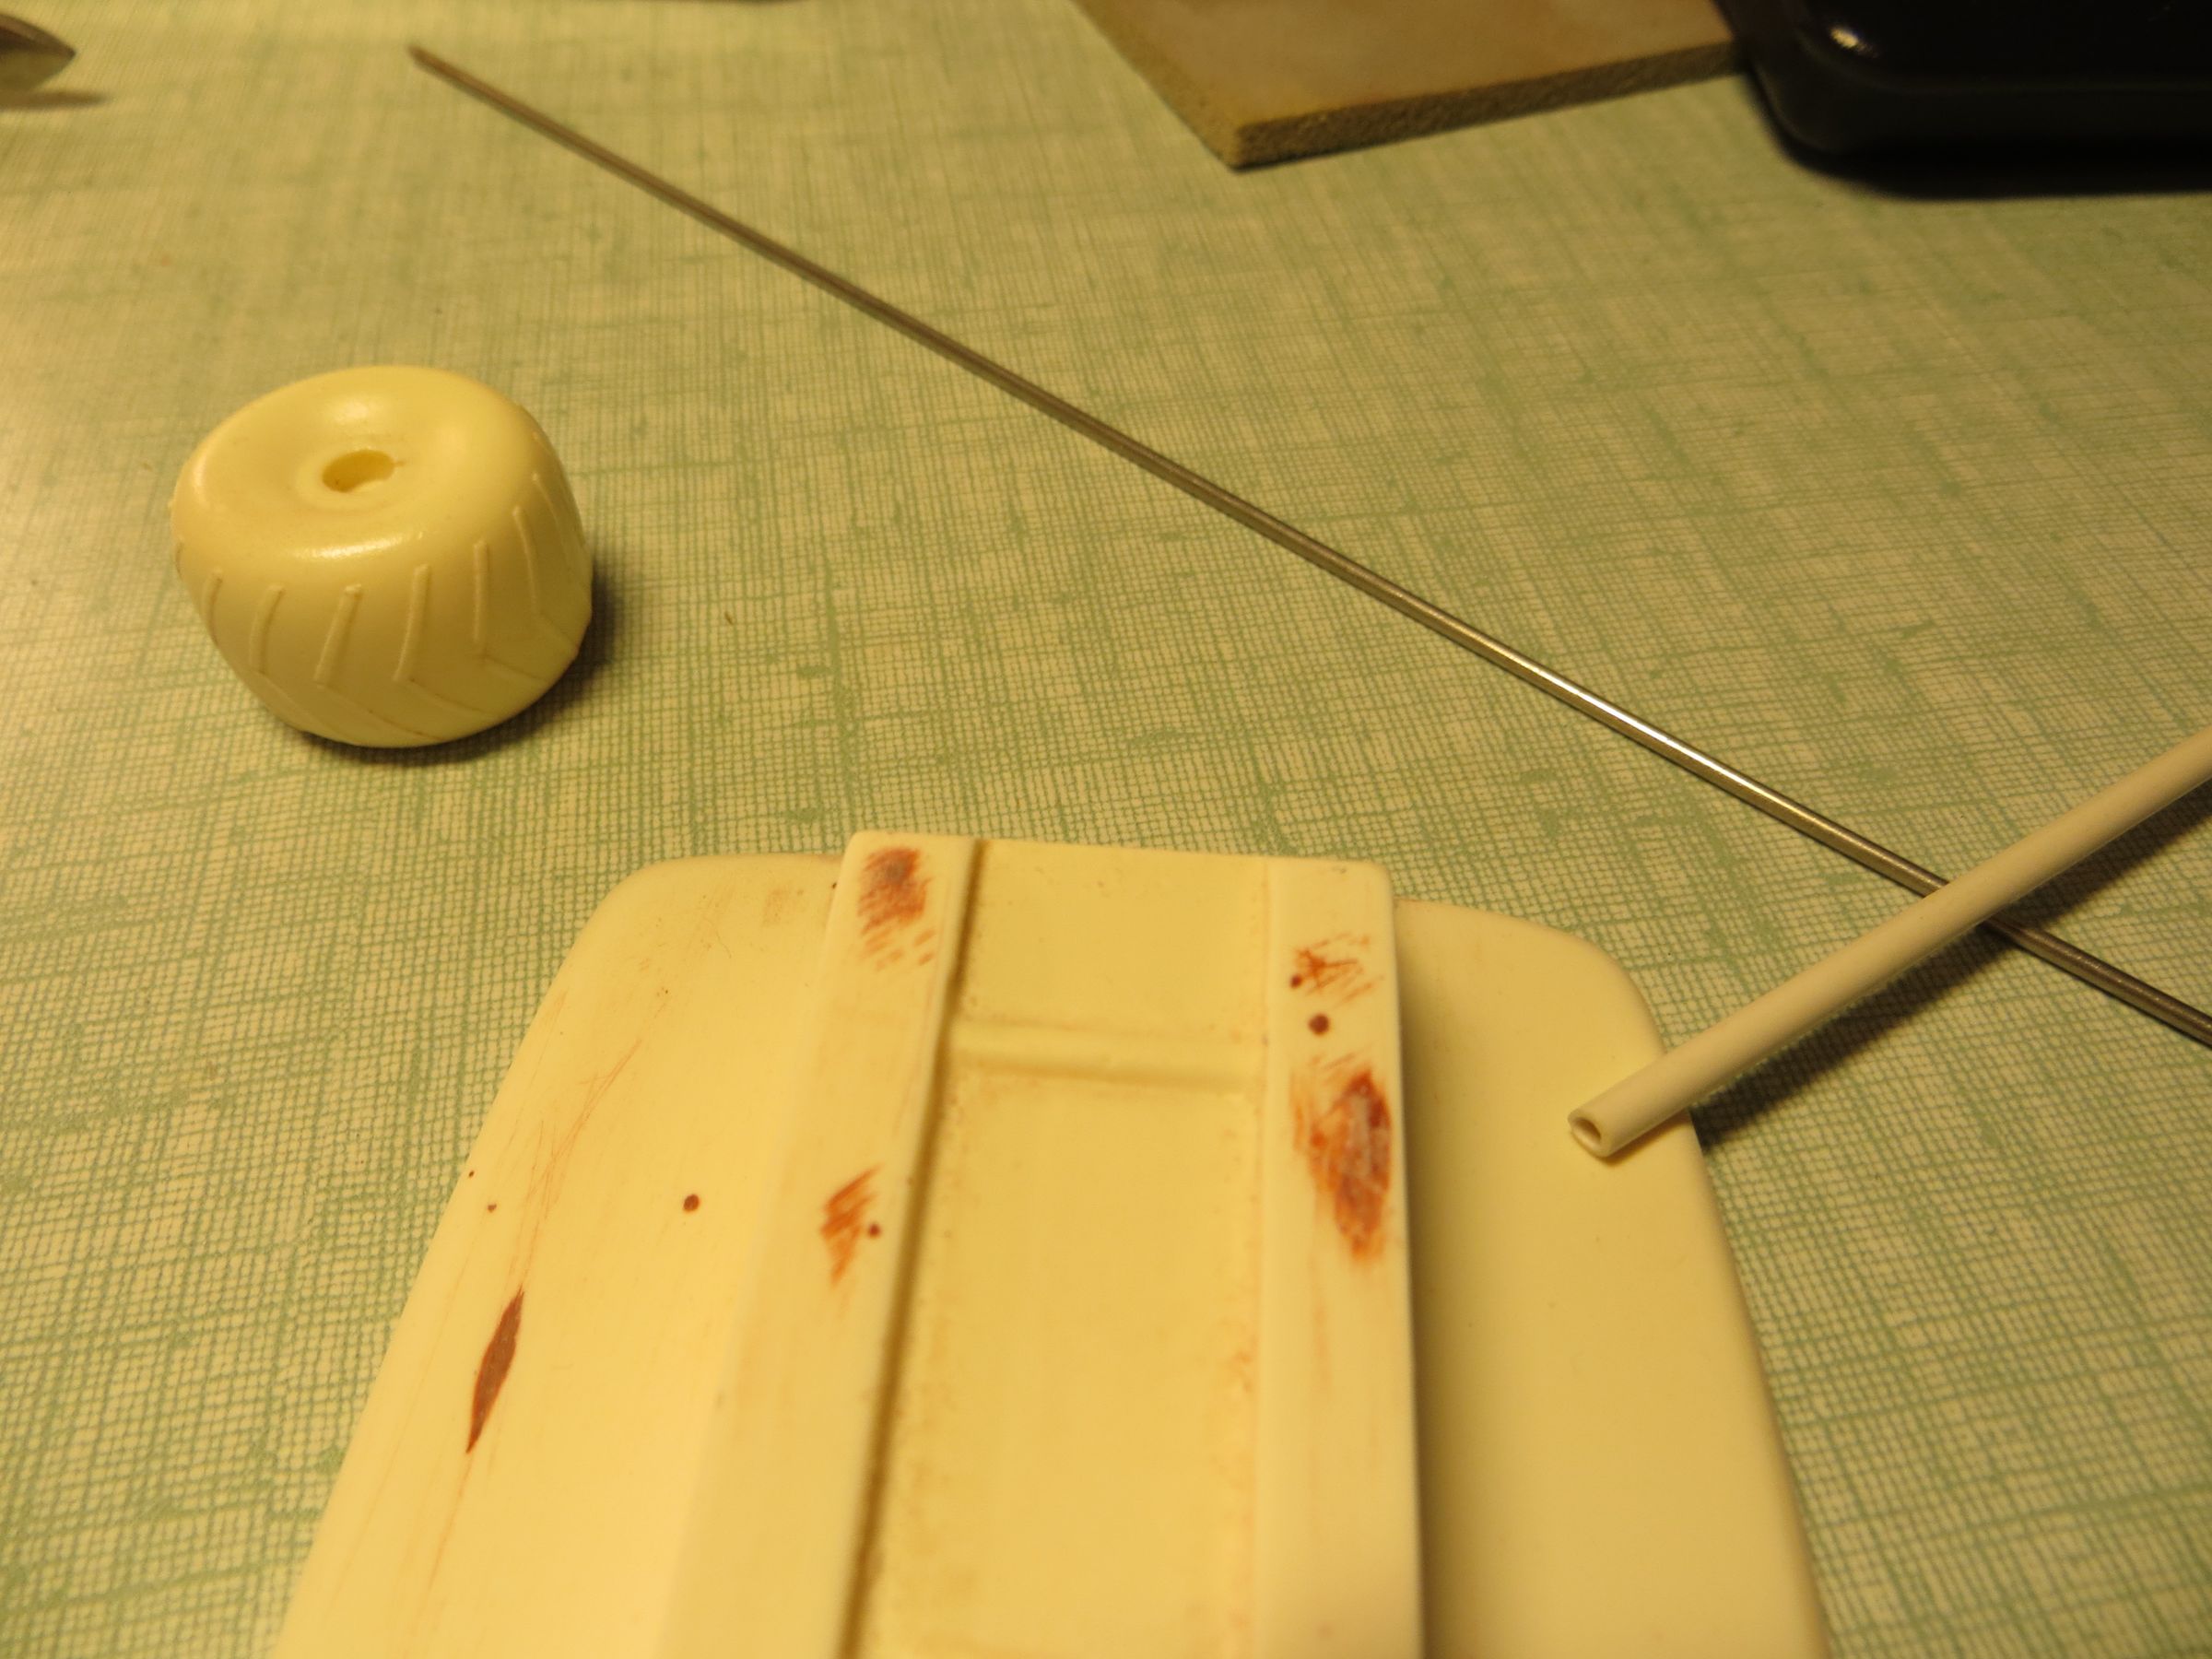
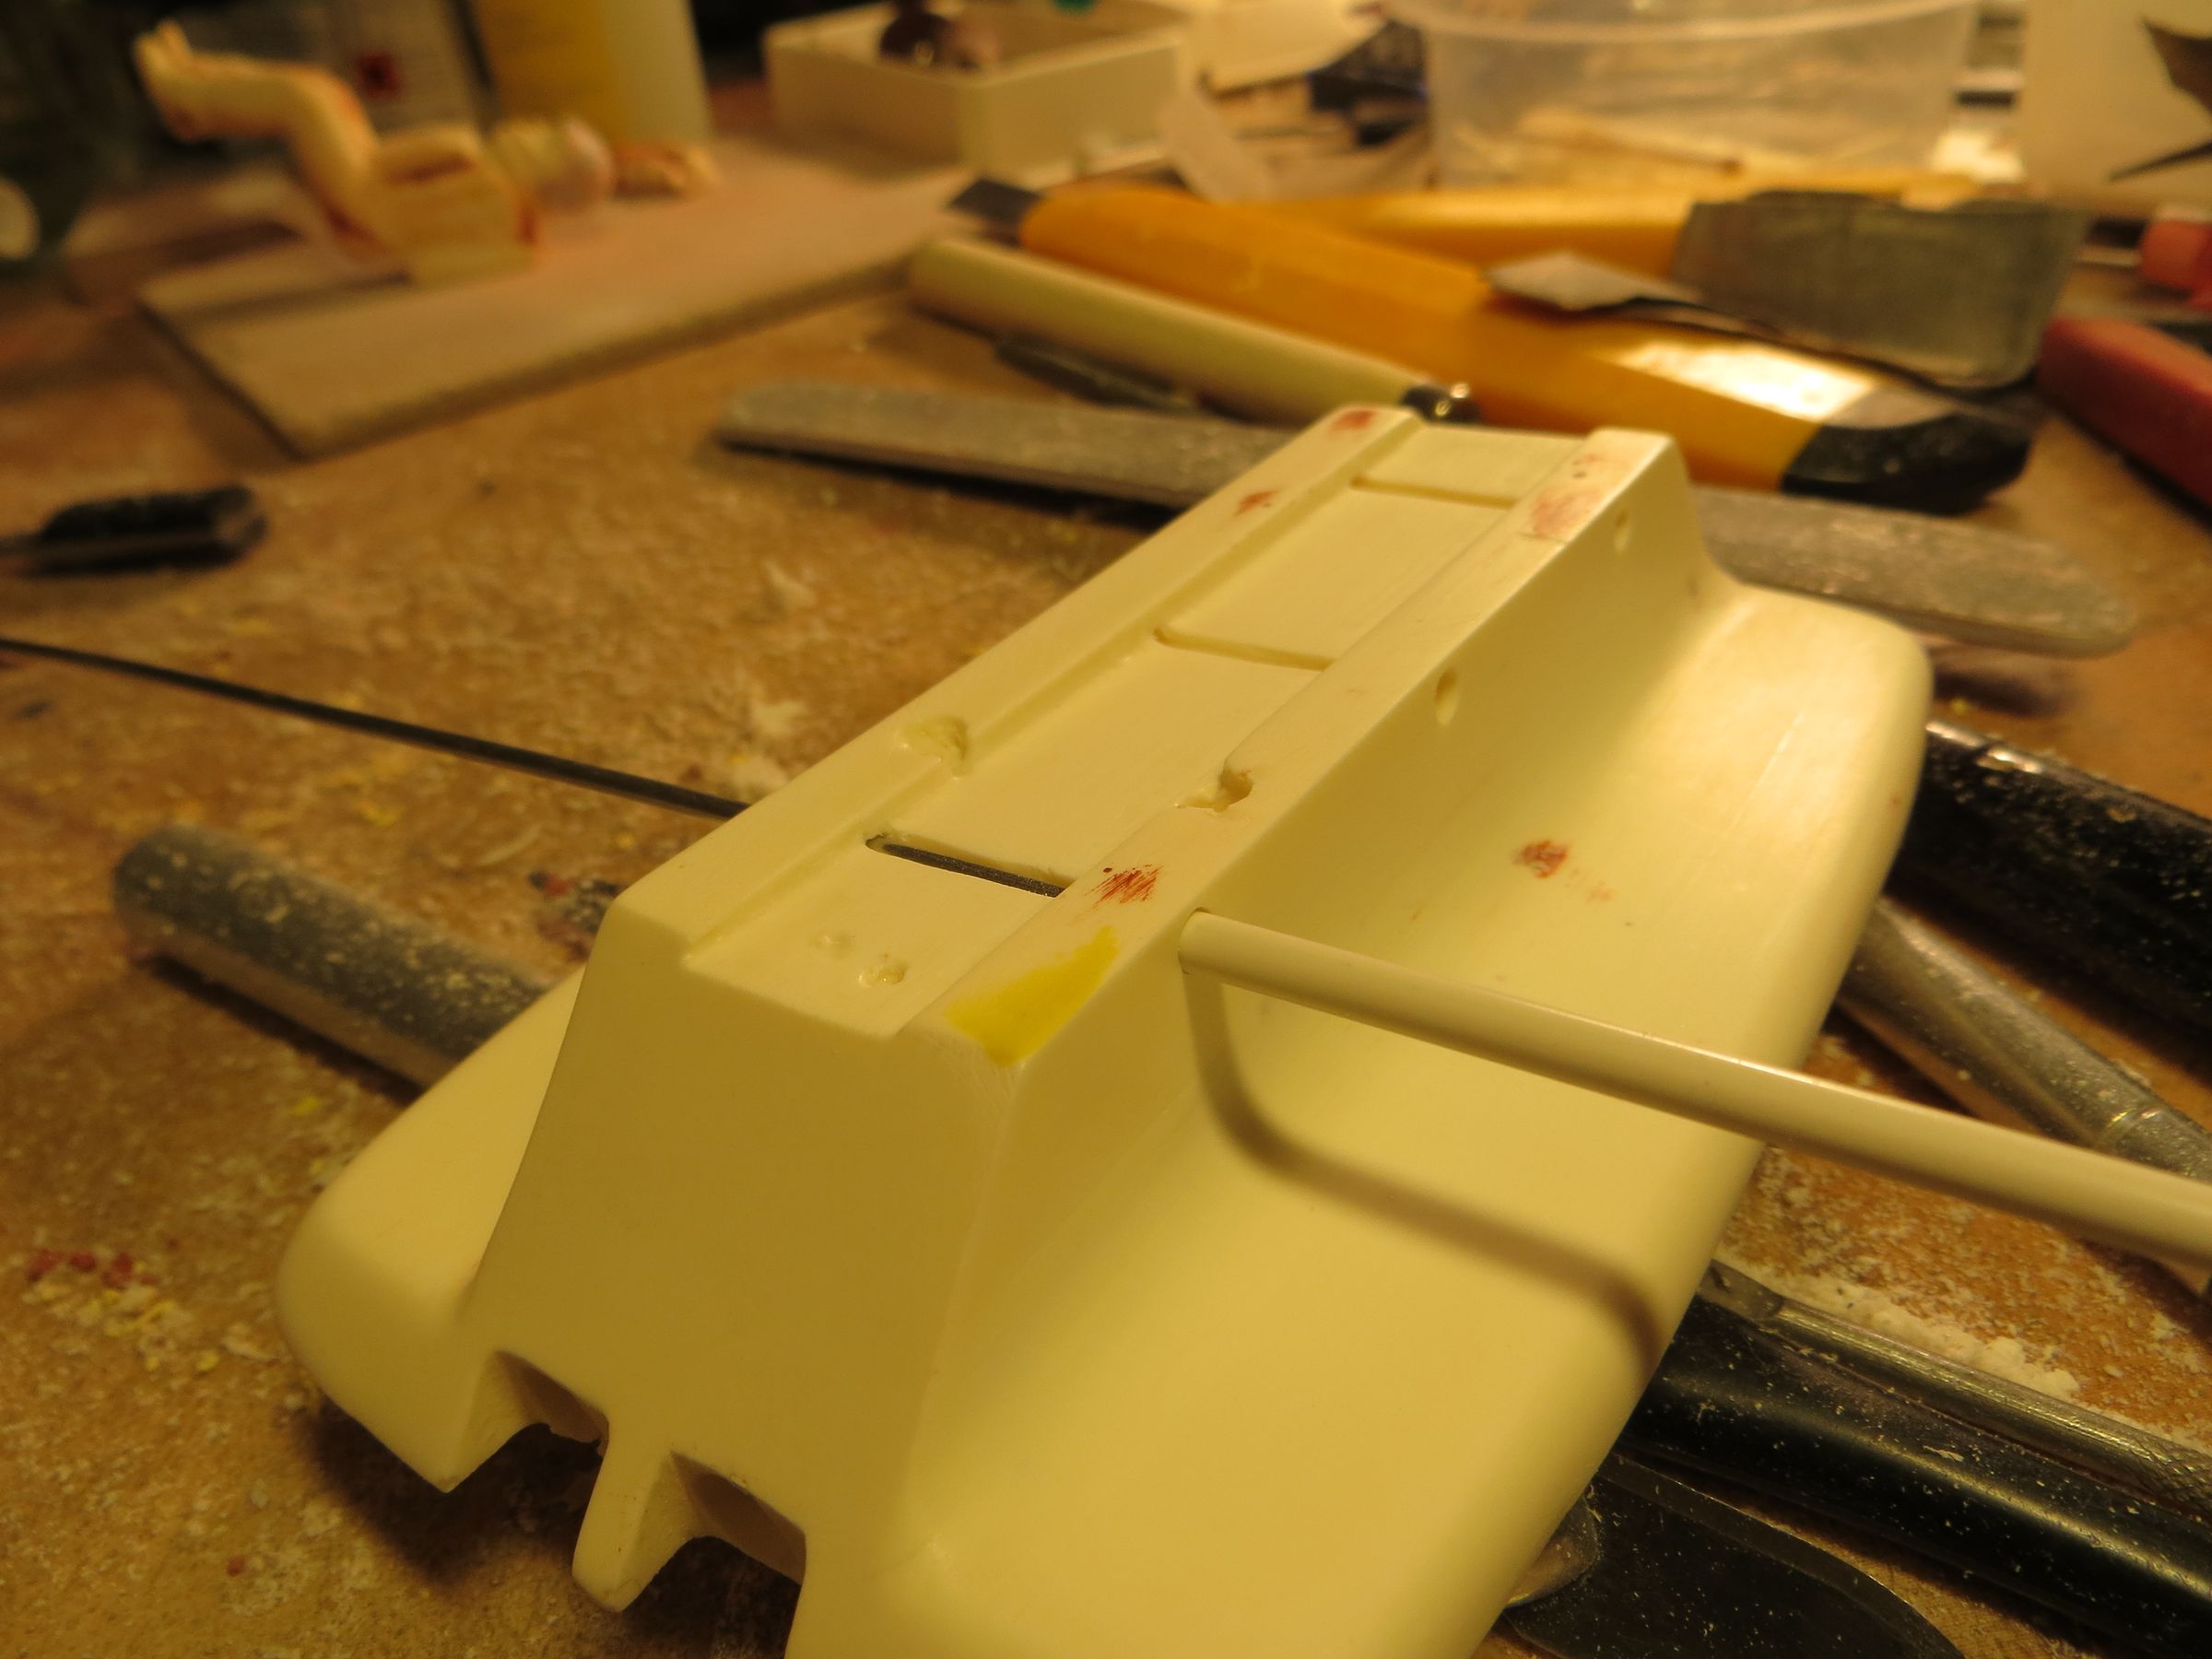
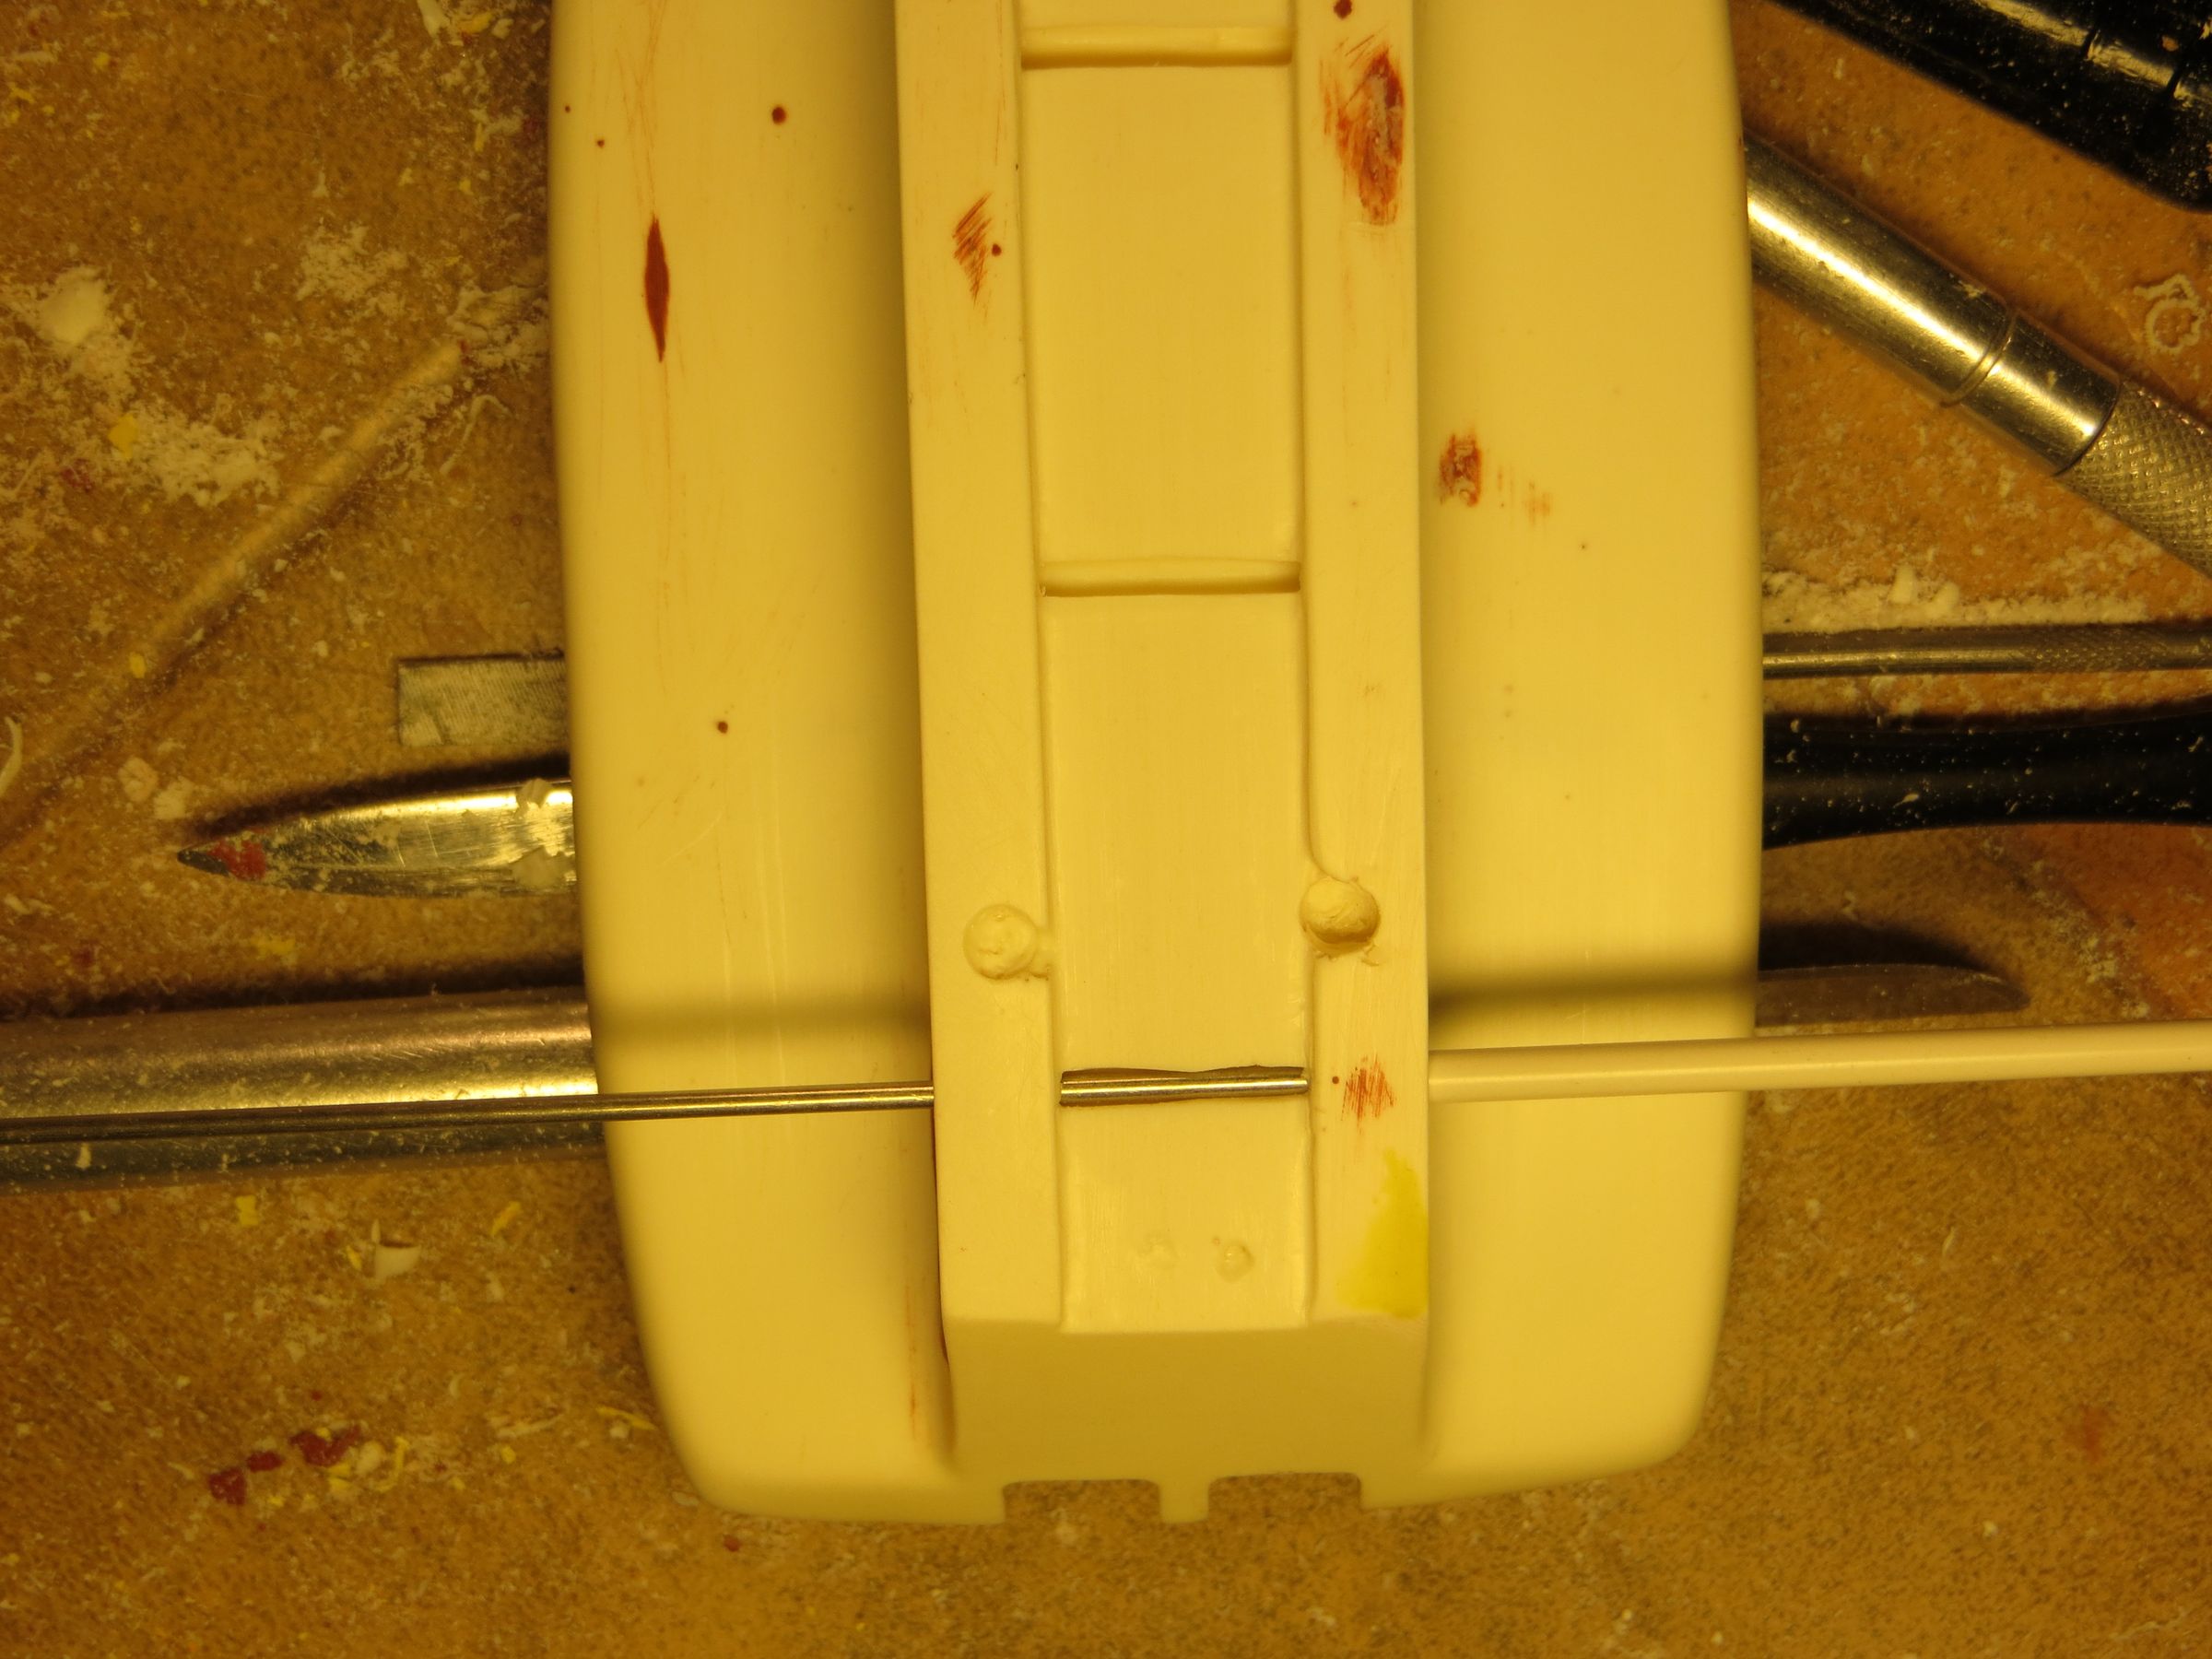
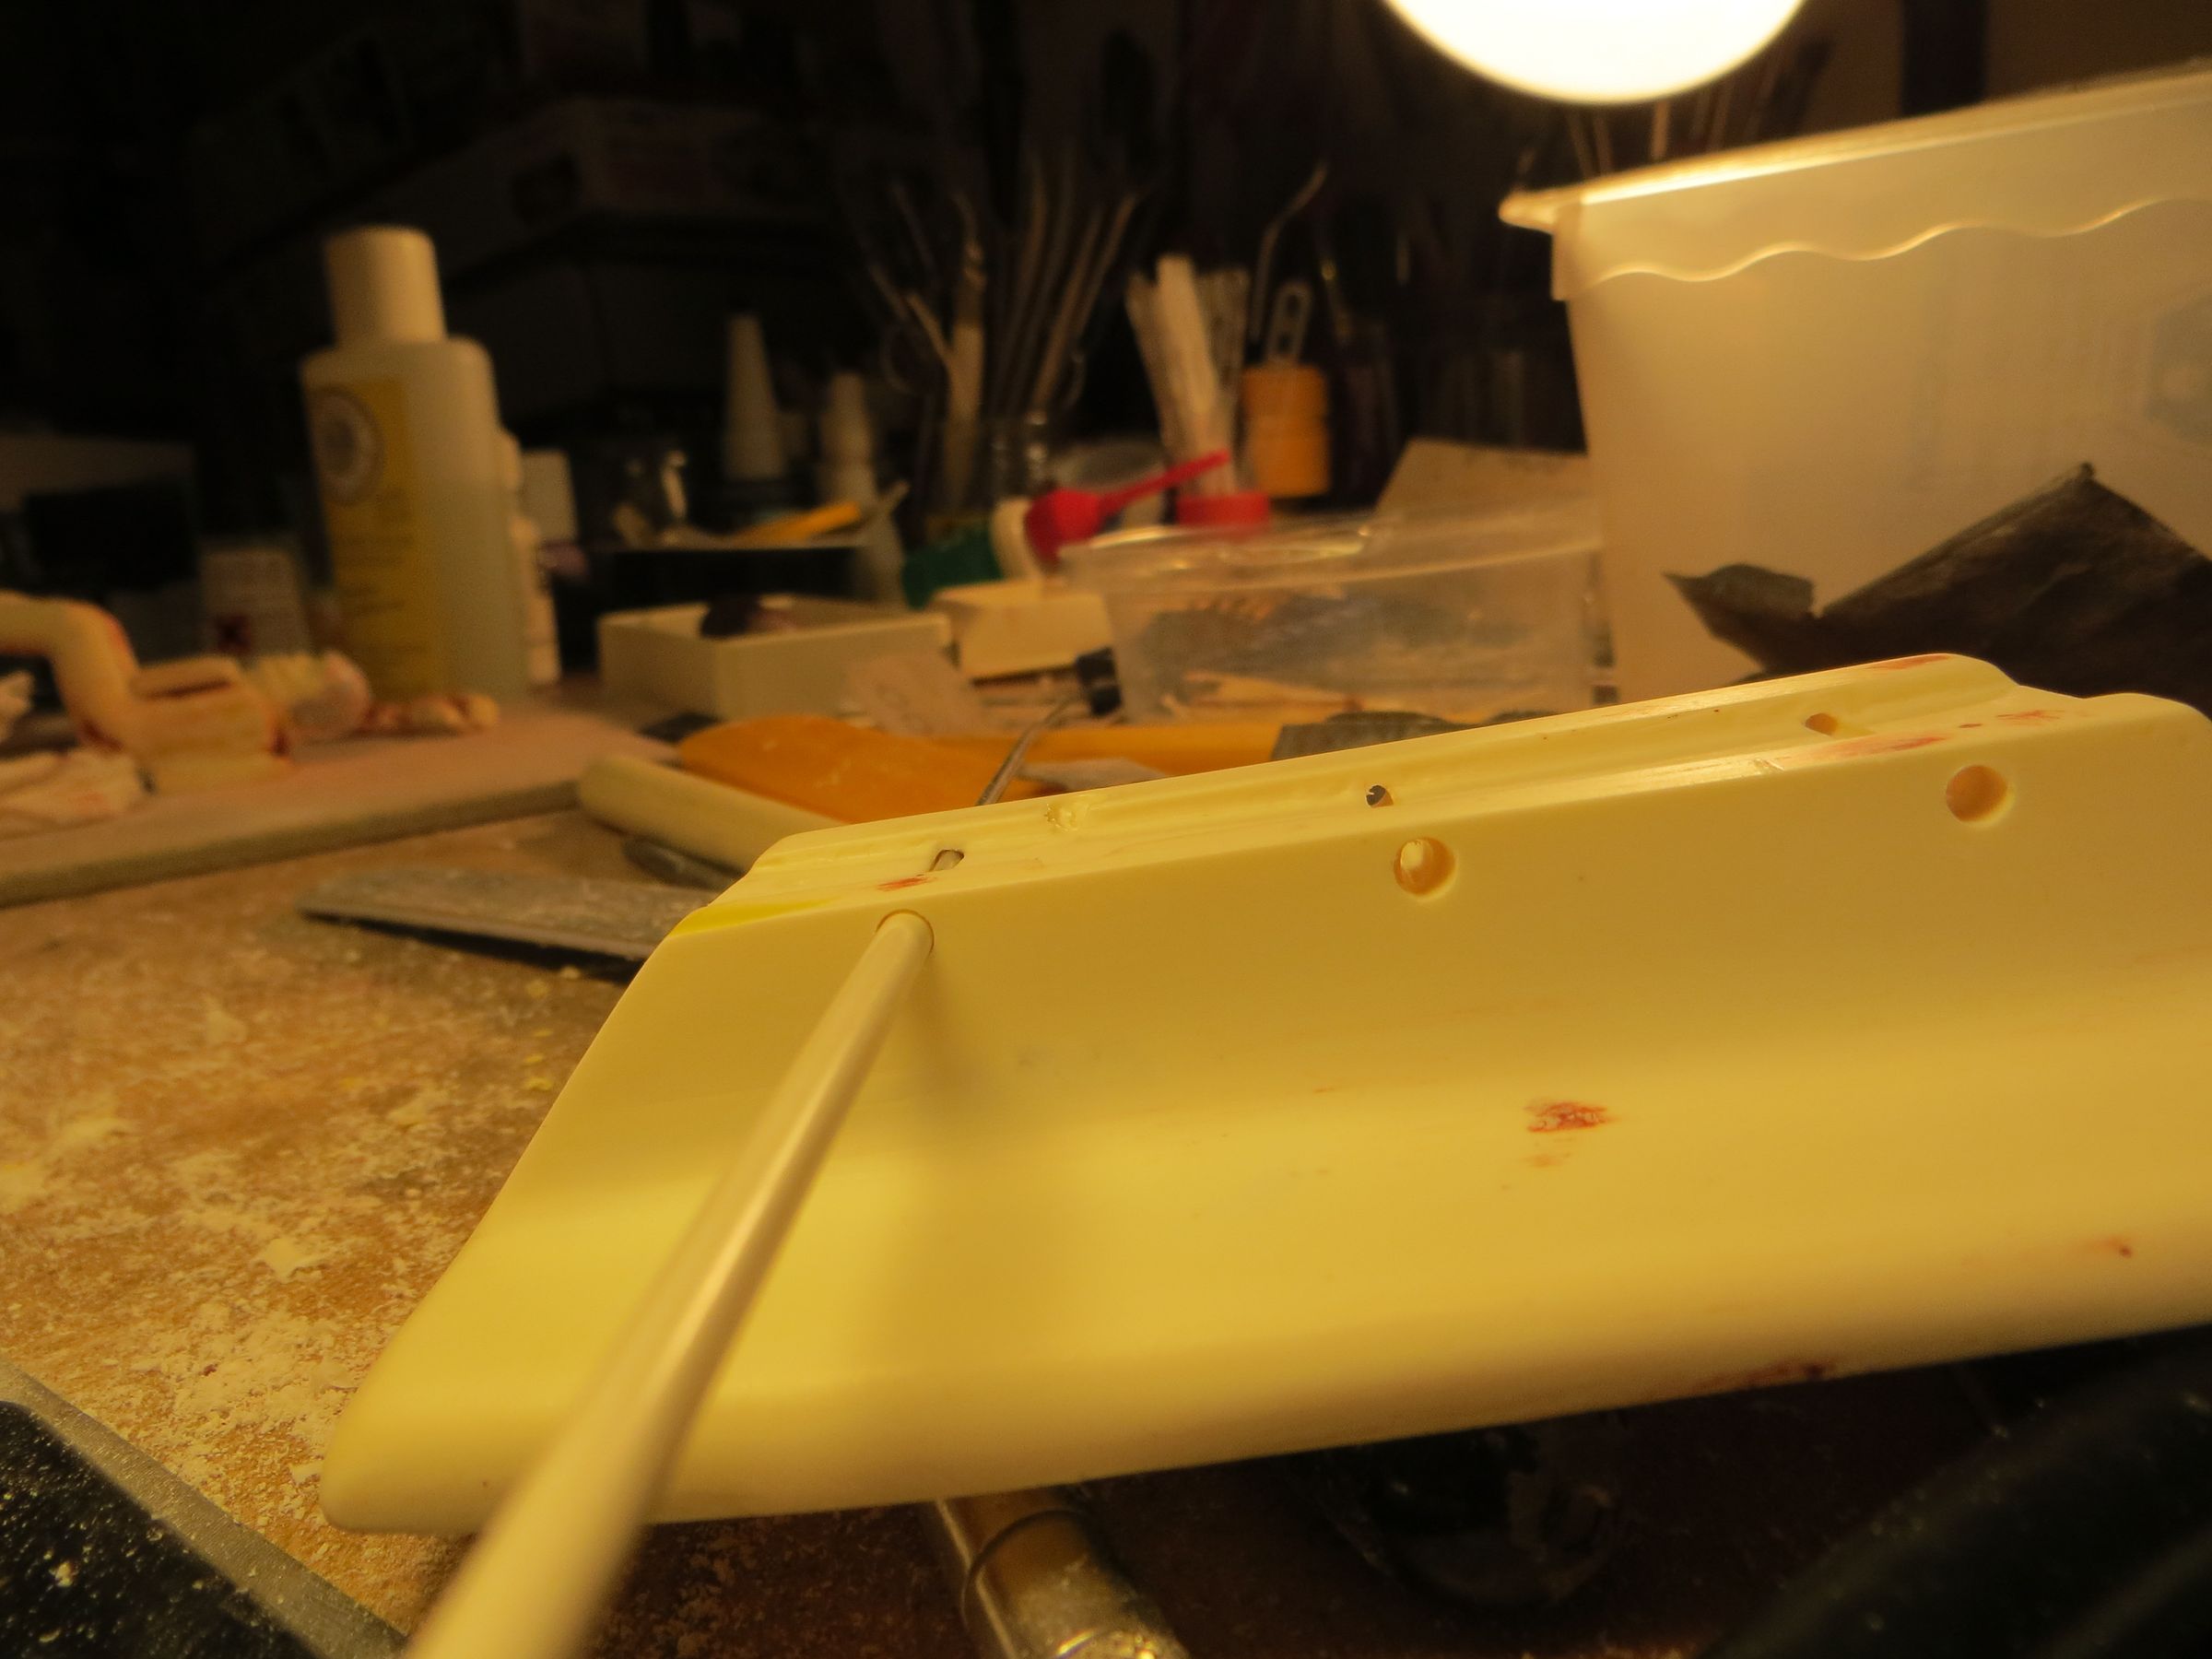
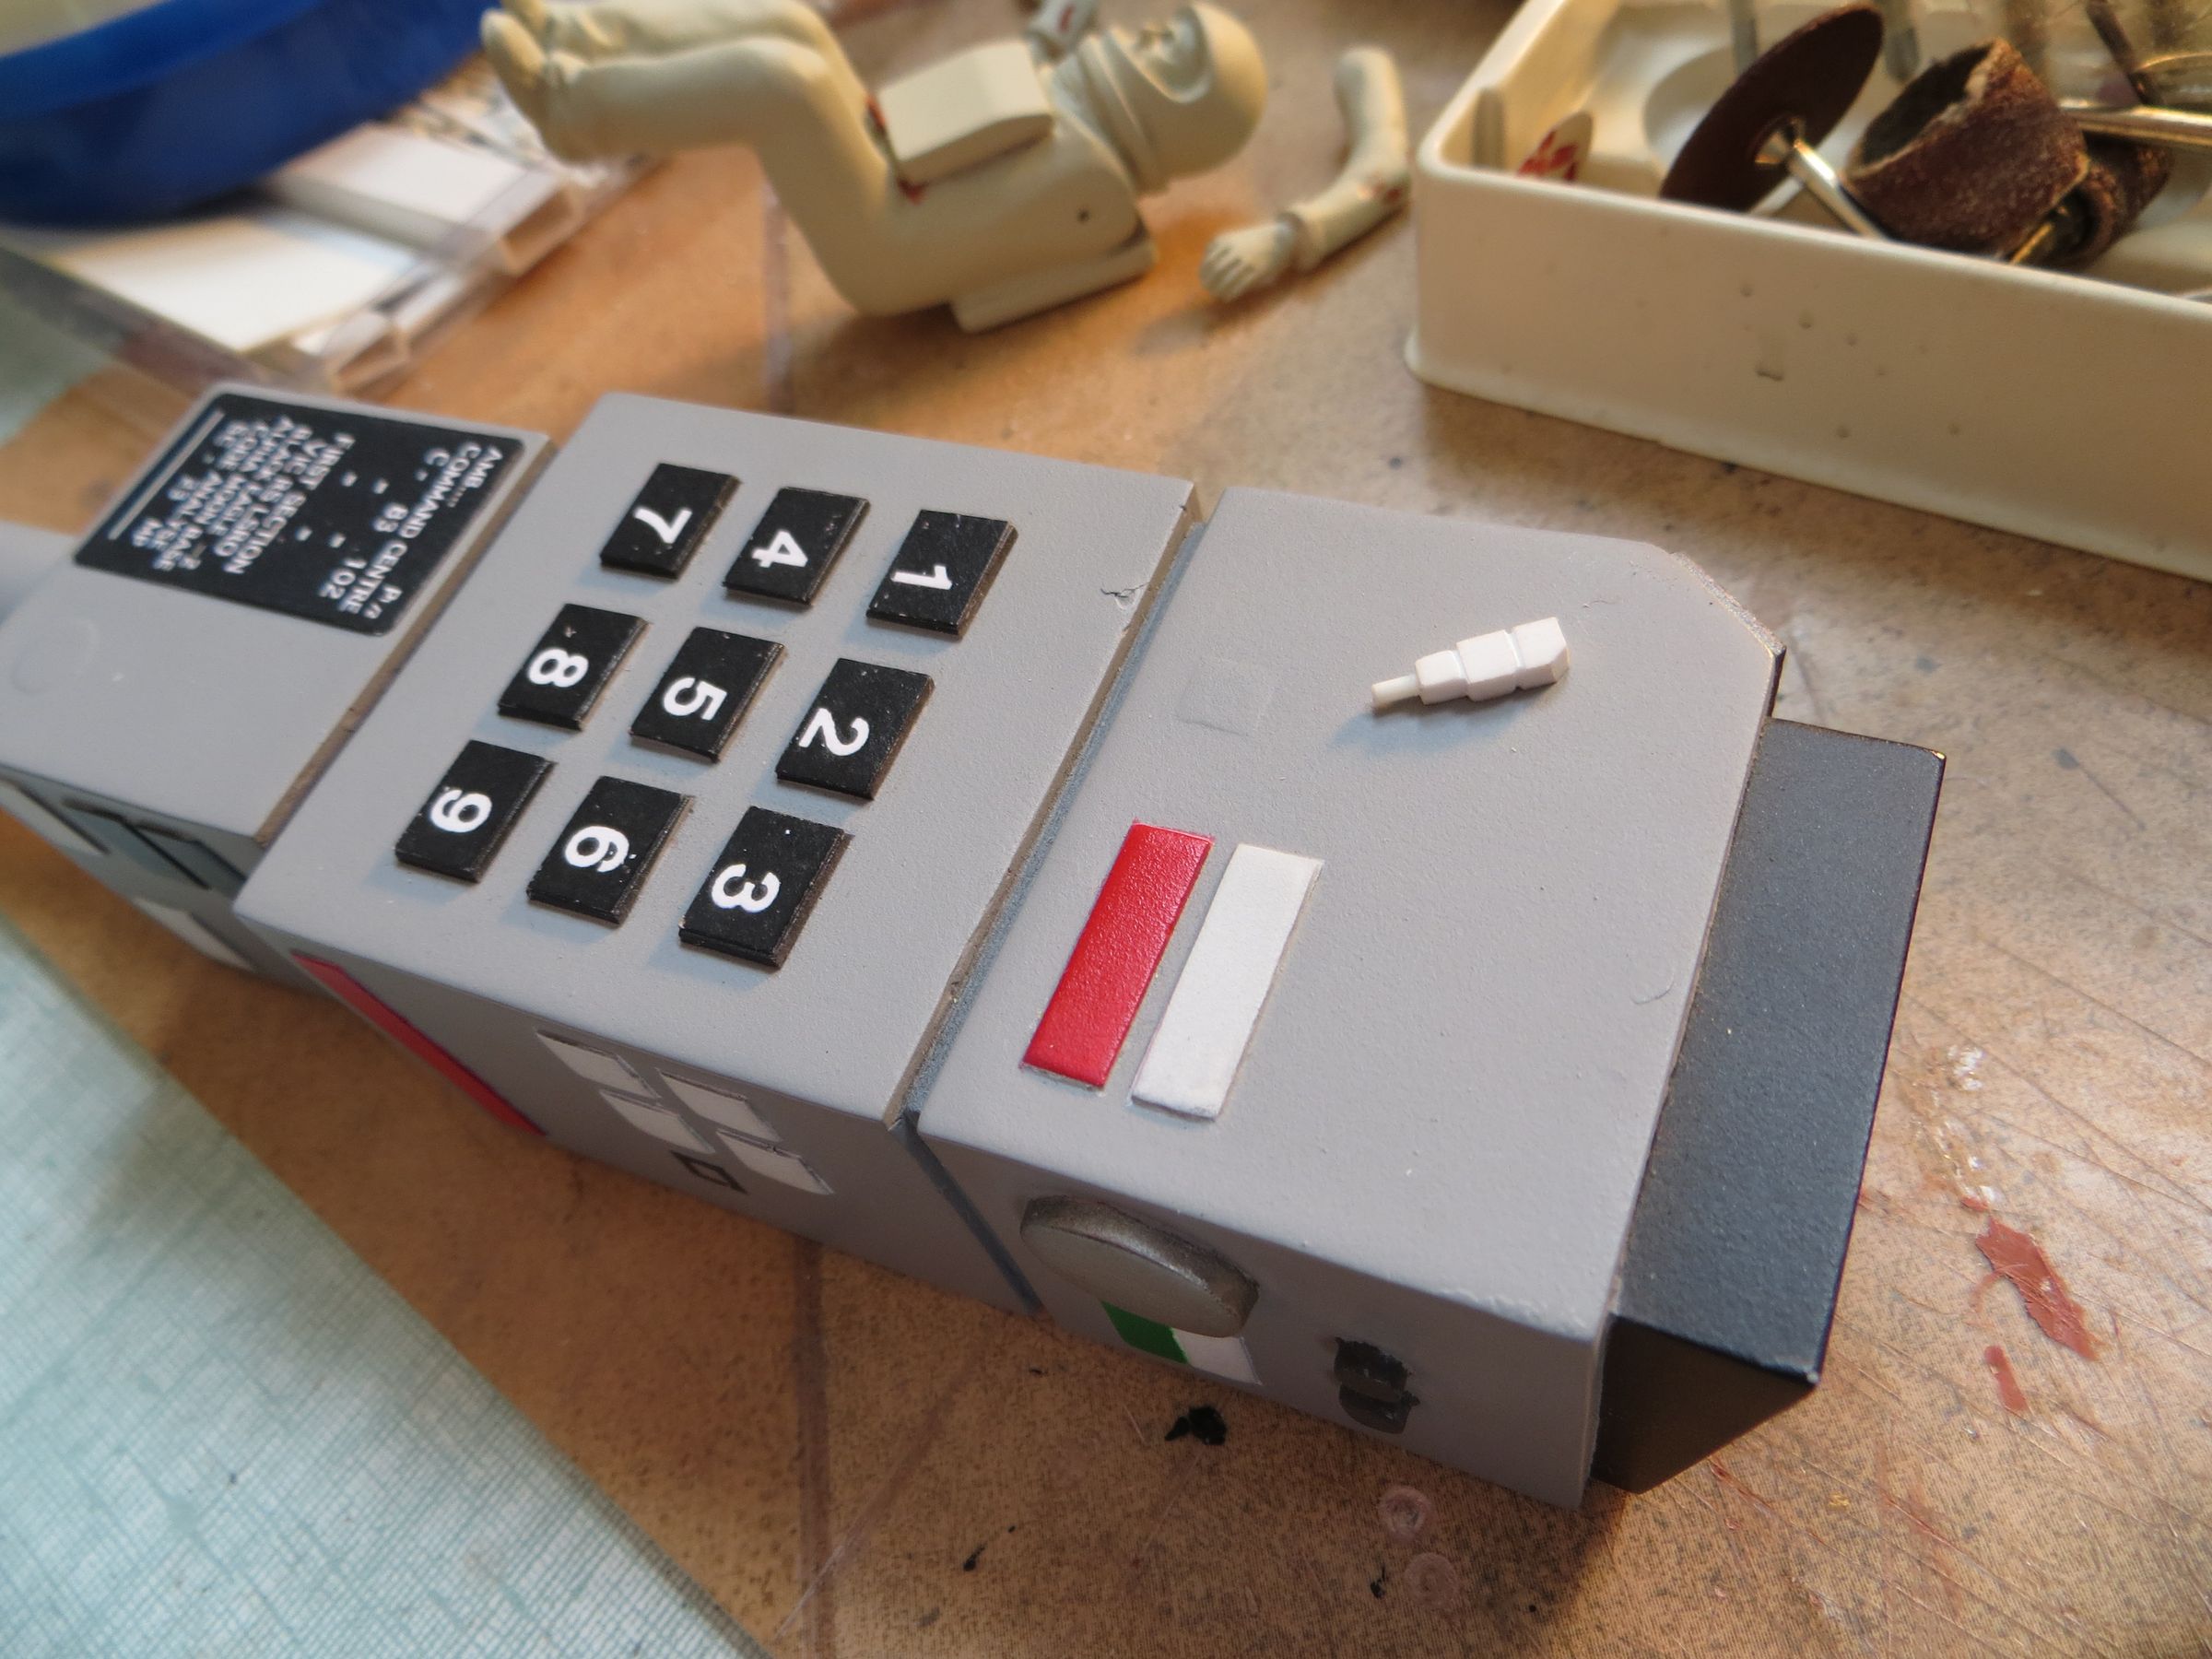
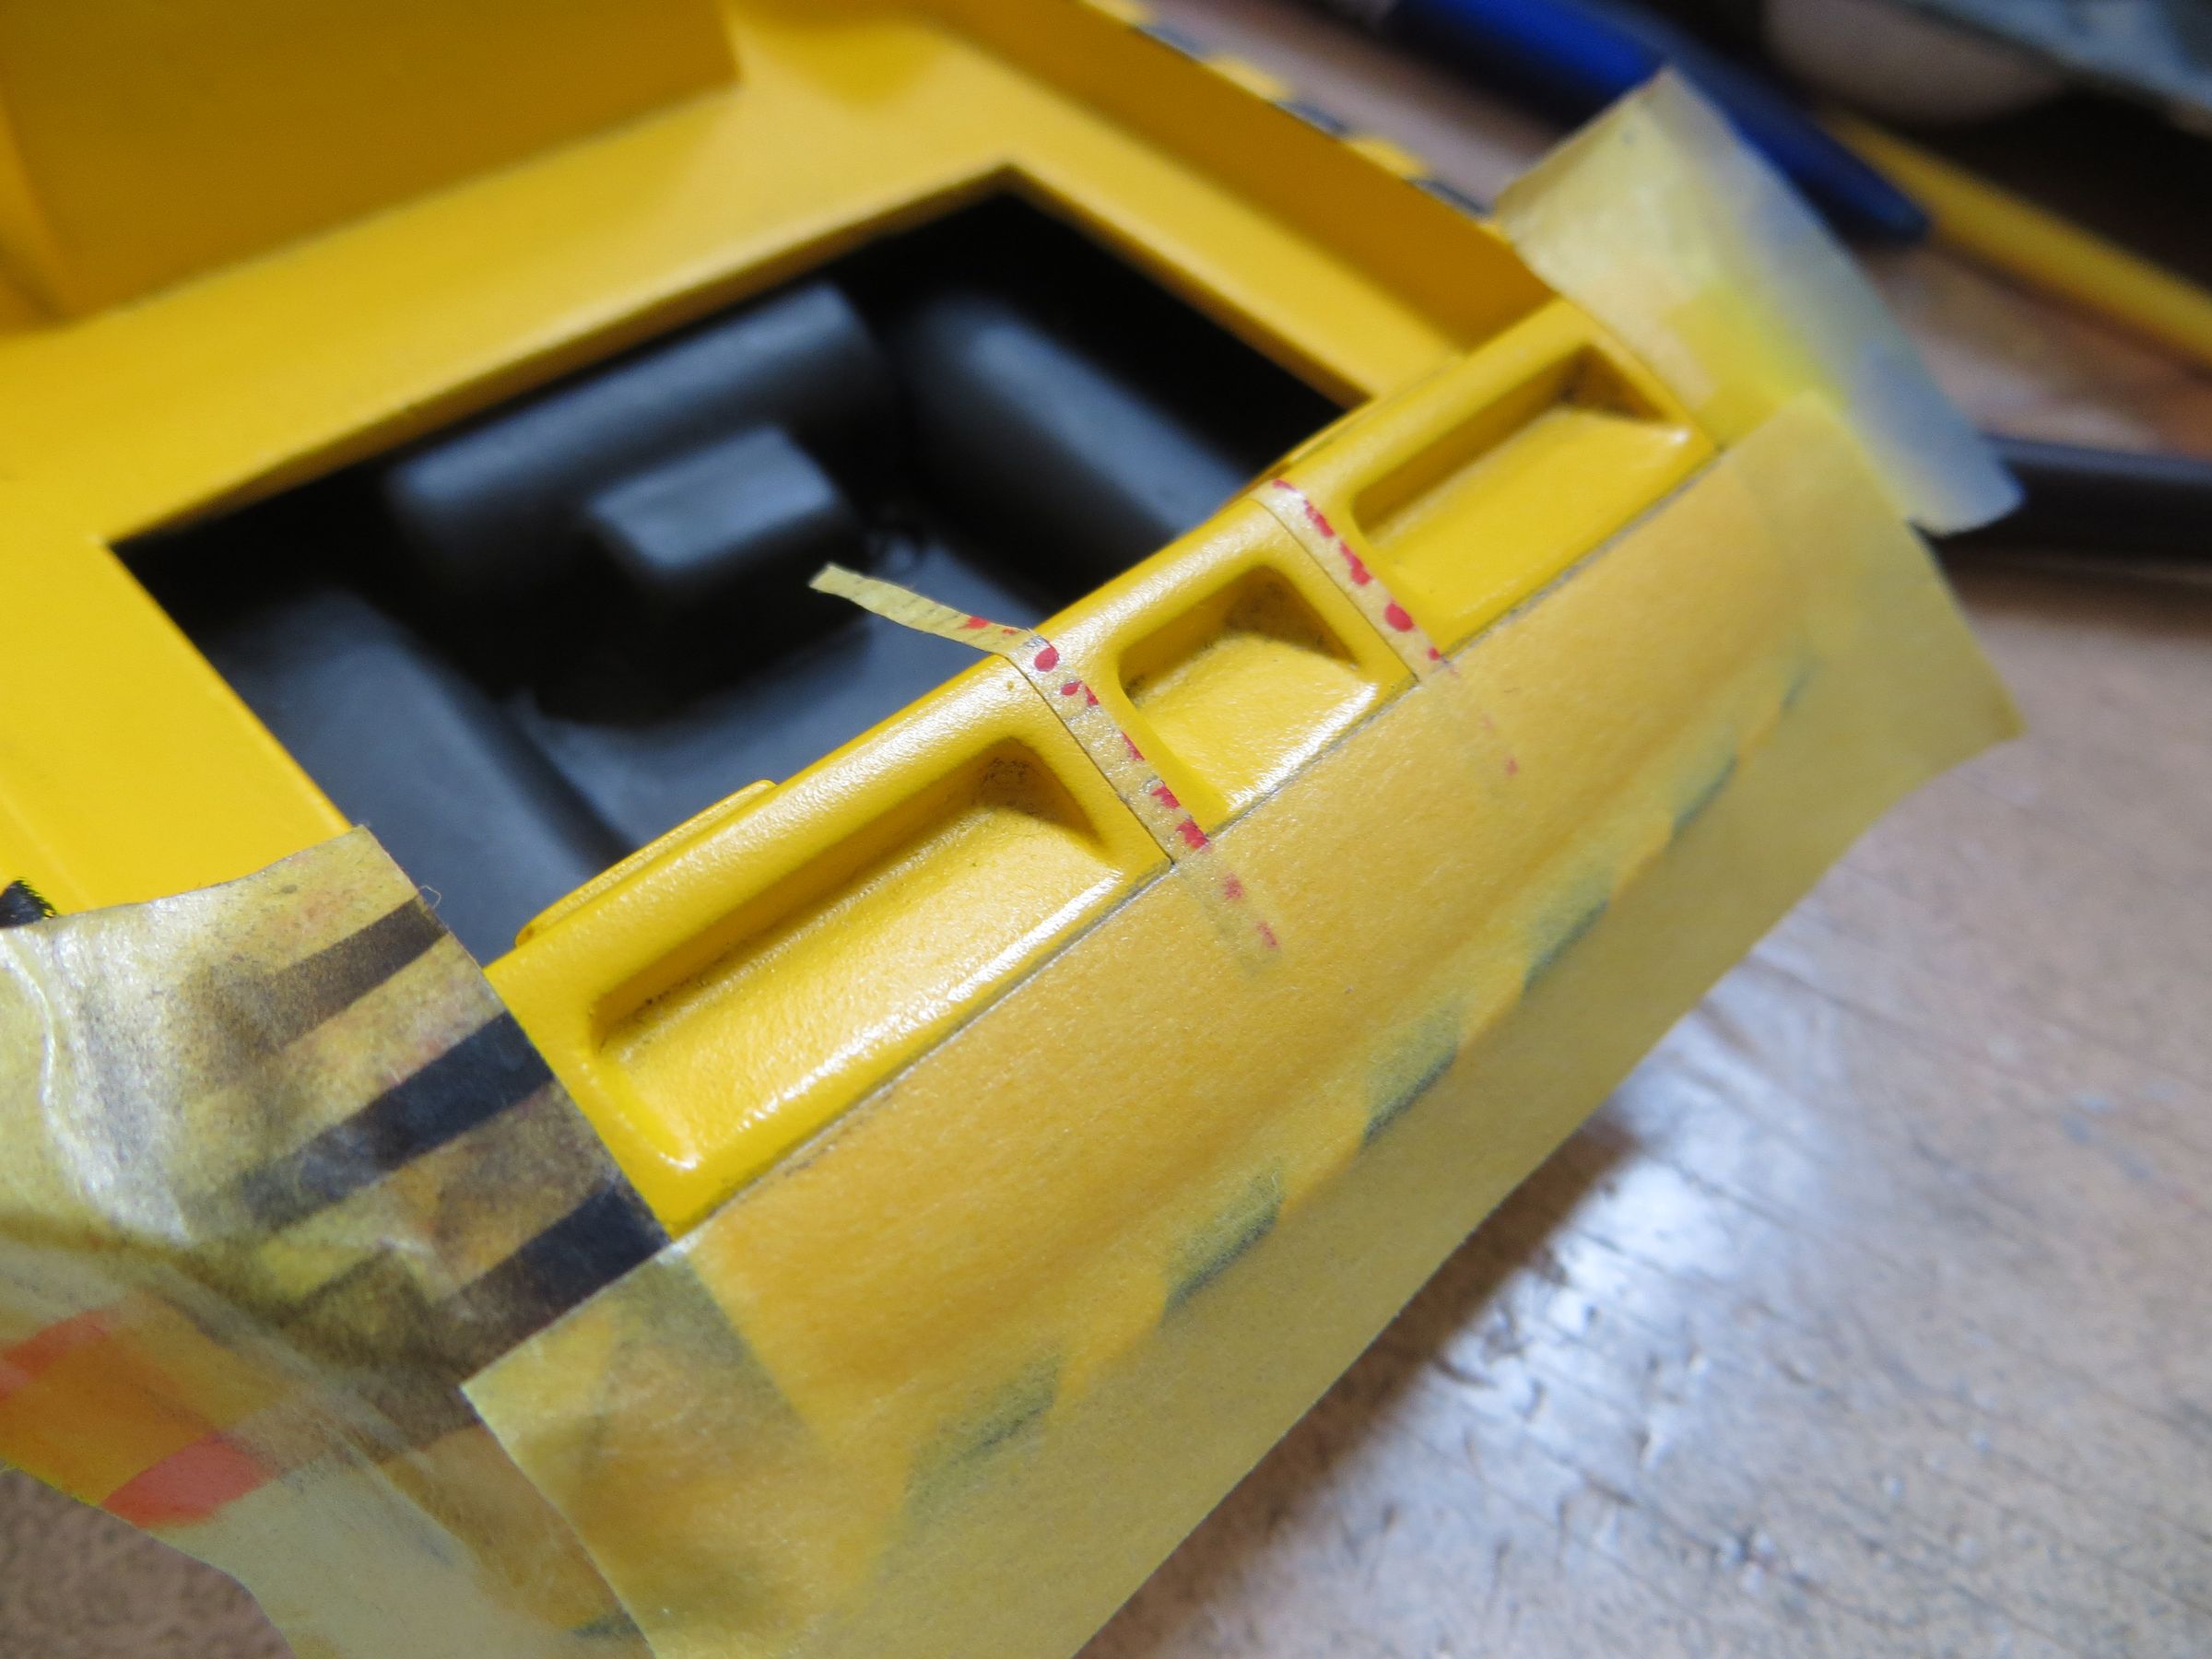
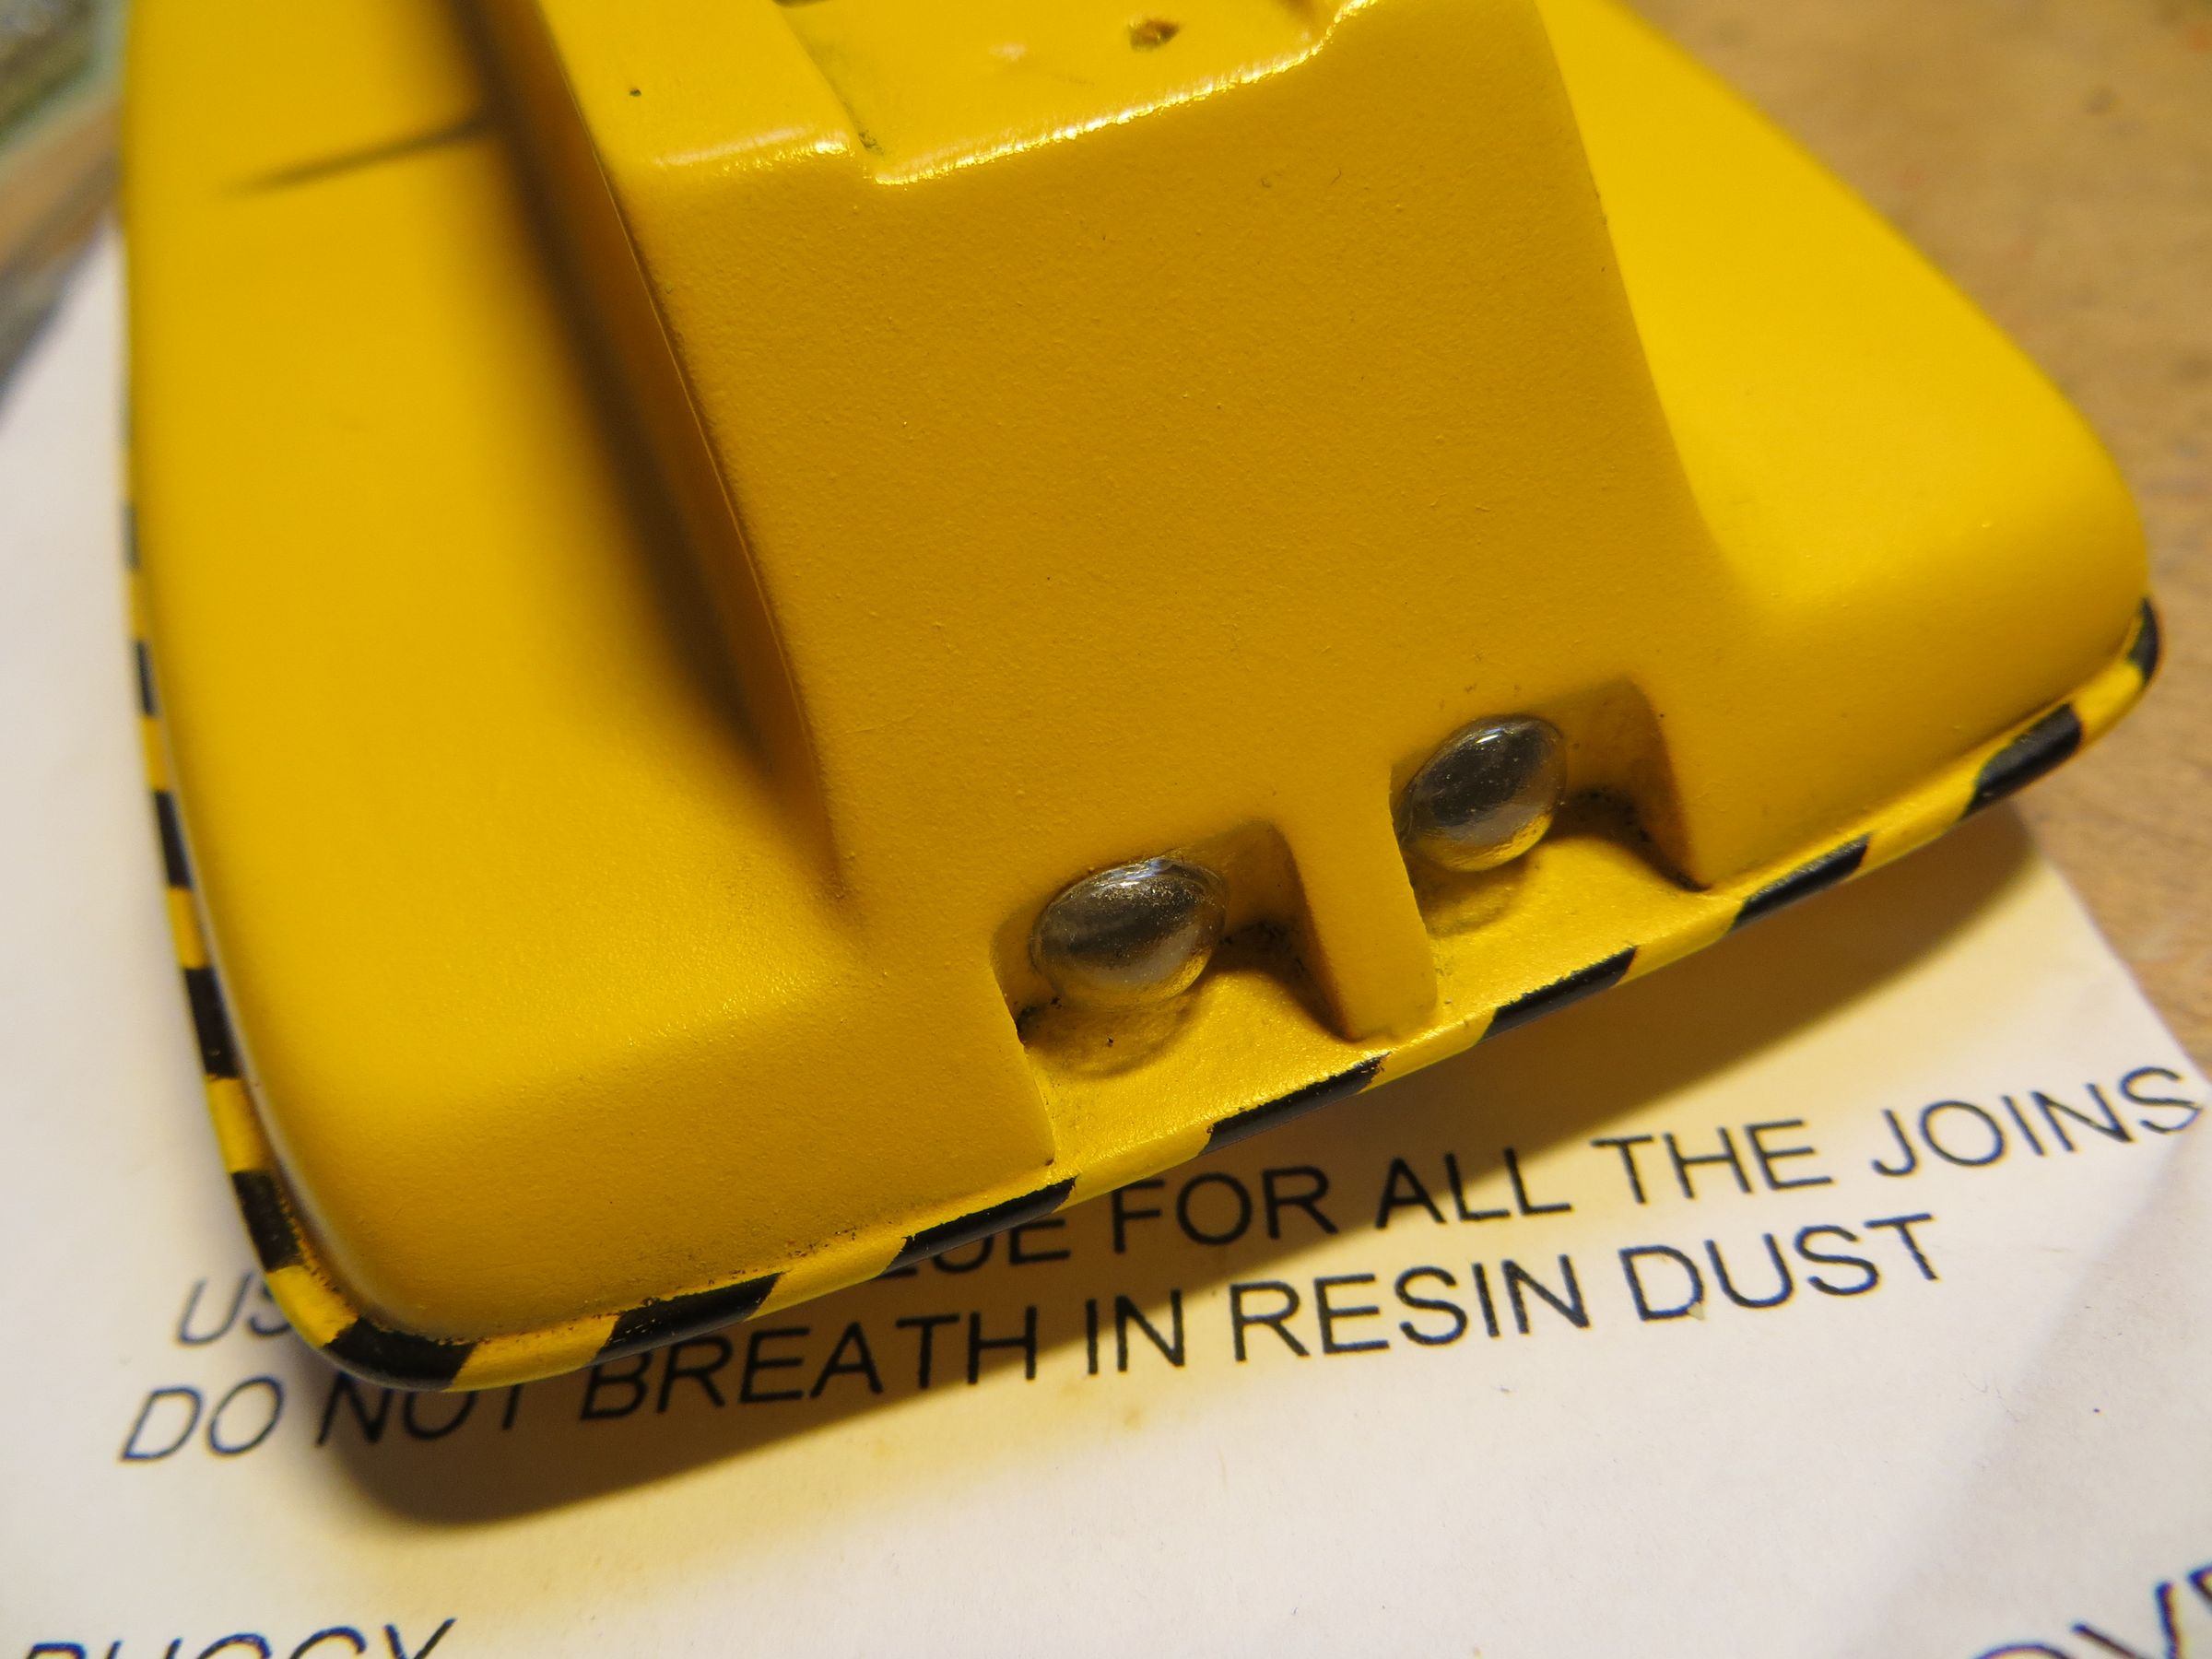
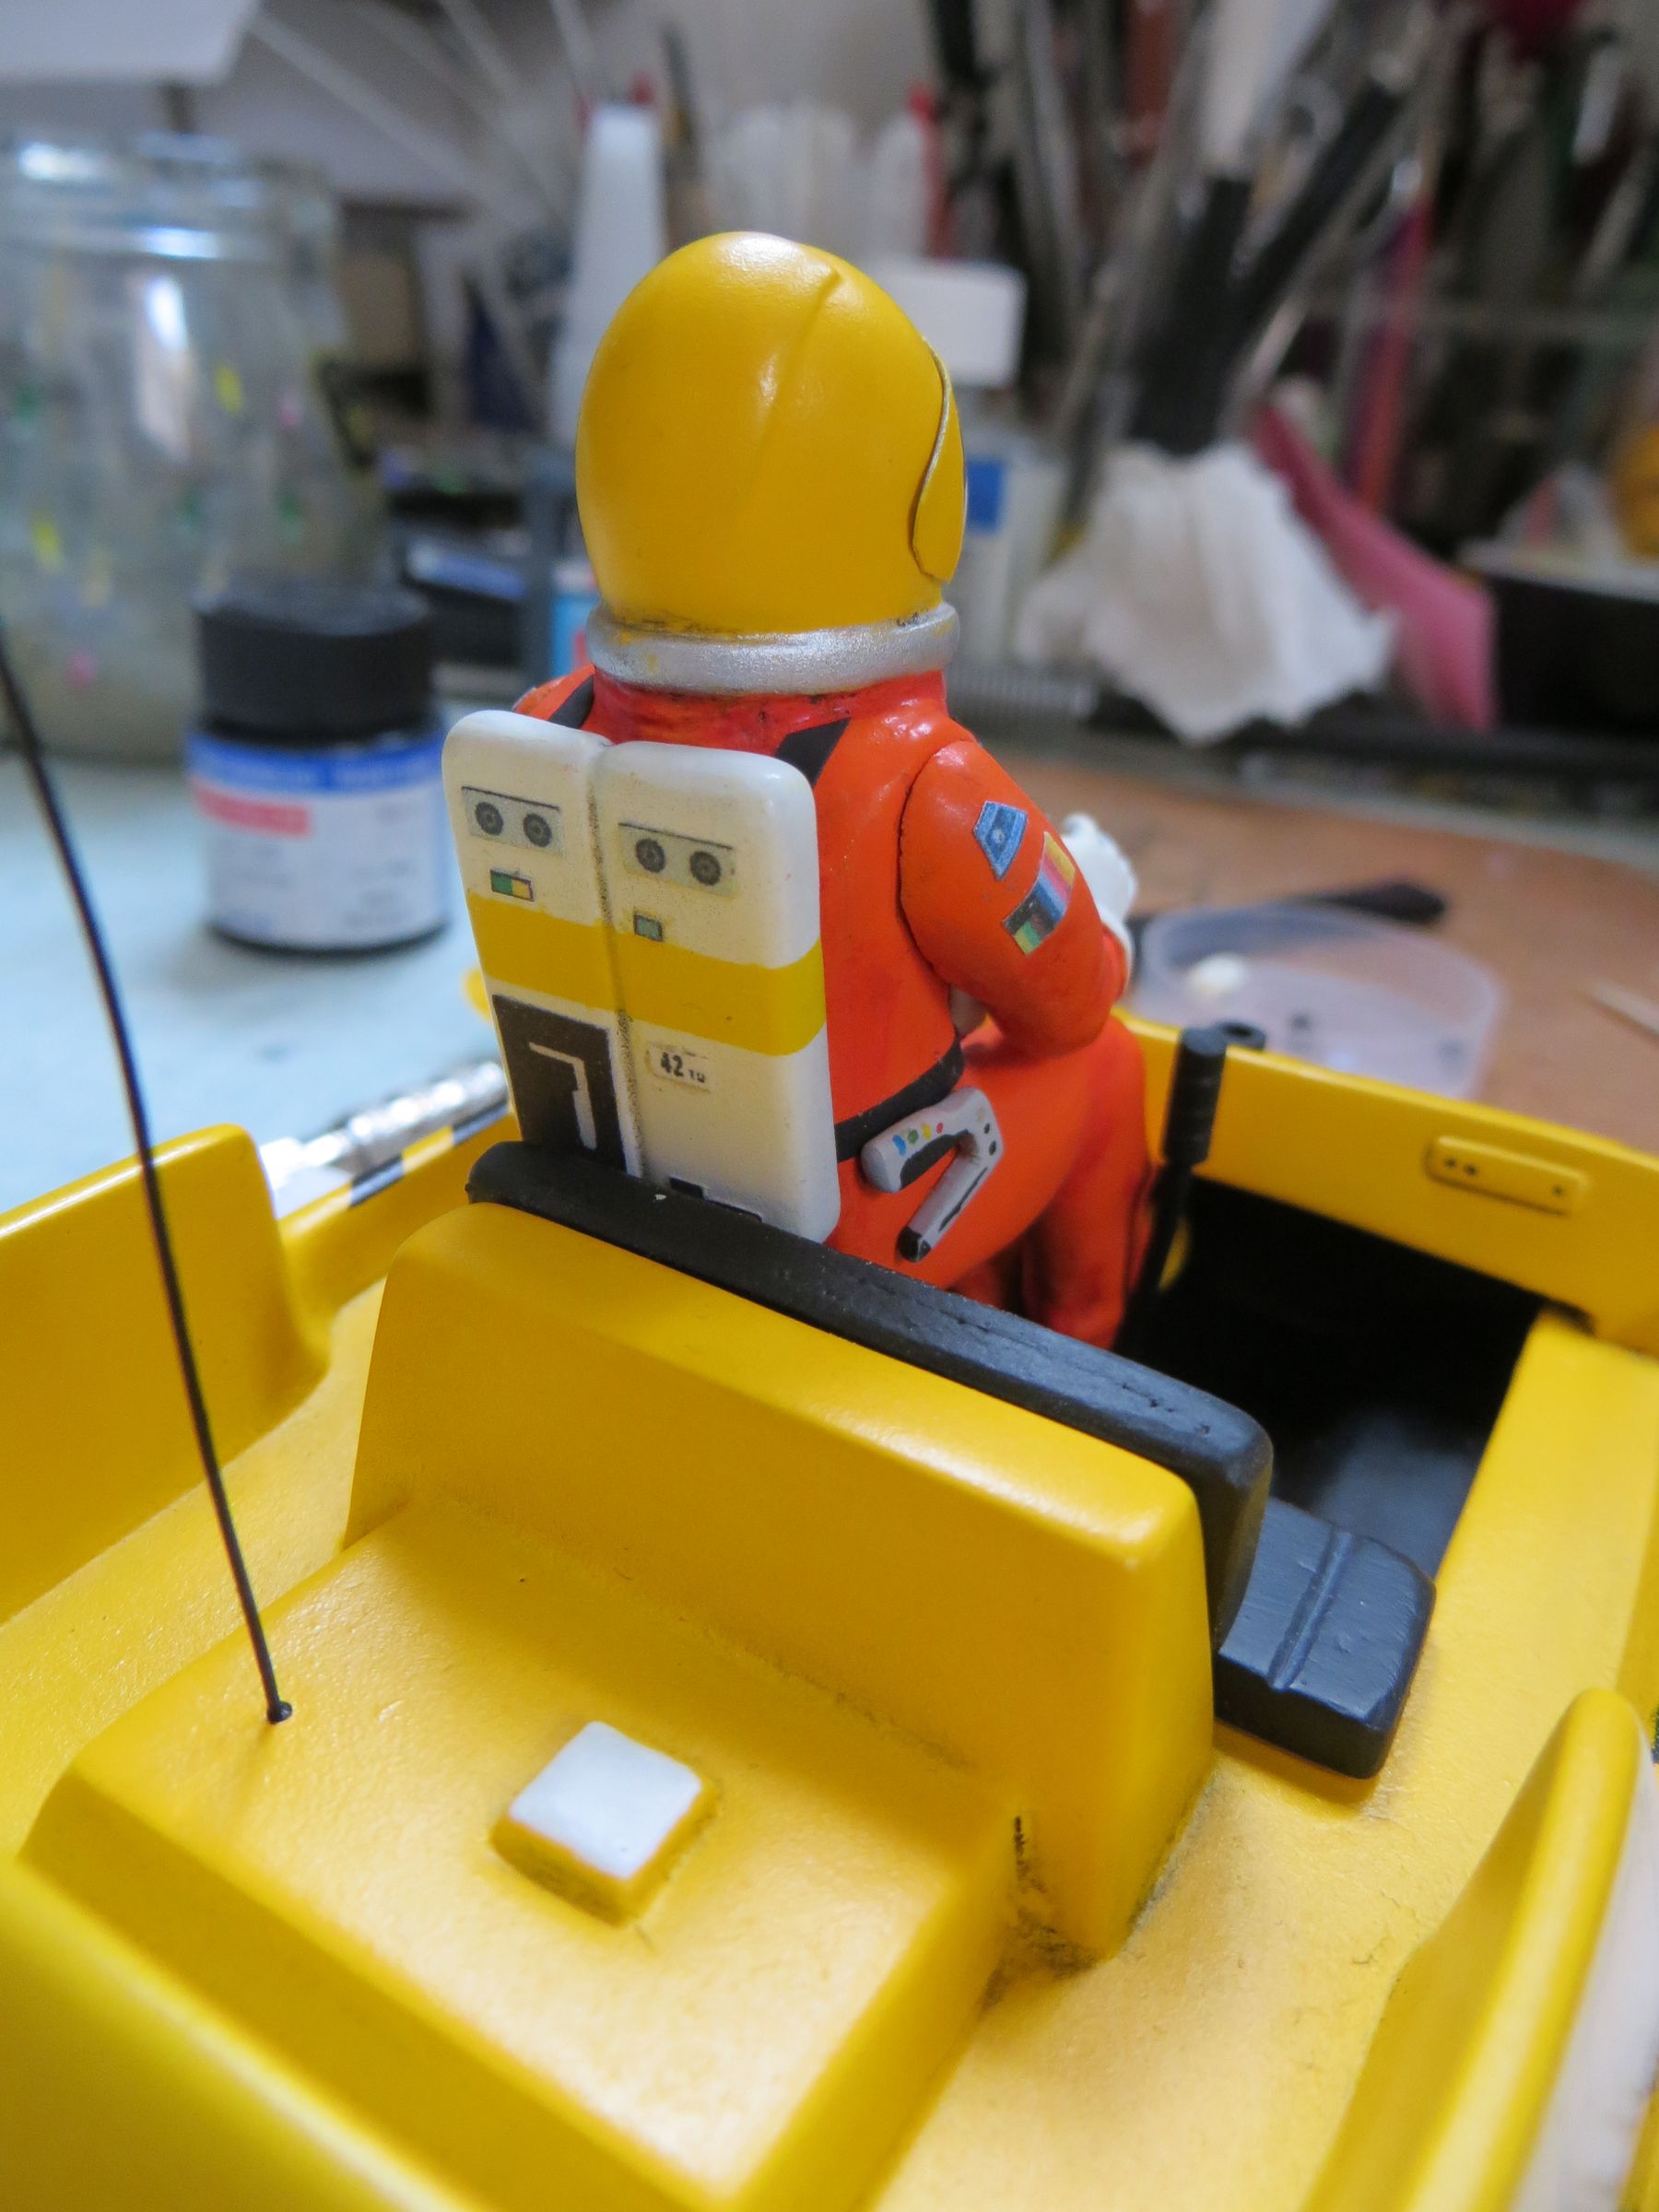
It is clear that there is muffler, a handful (hand brake) and 2 joysticks (the antenna seems to have gone in the years). The paneling is clearly made with pencil. Joysticks and handful gave the answer to the curious tiny holes inside the cabin (see first post)

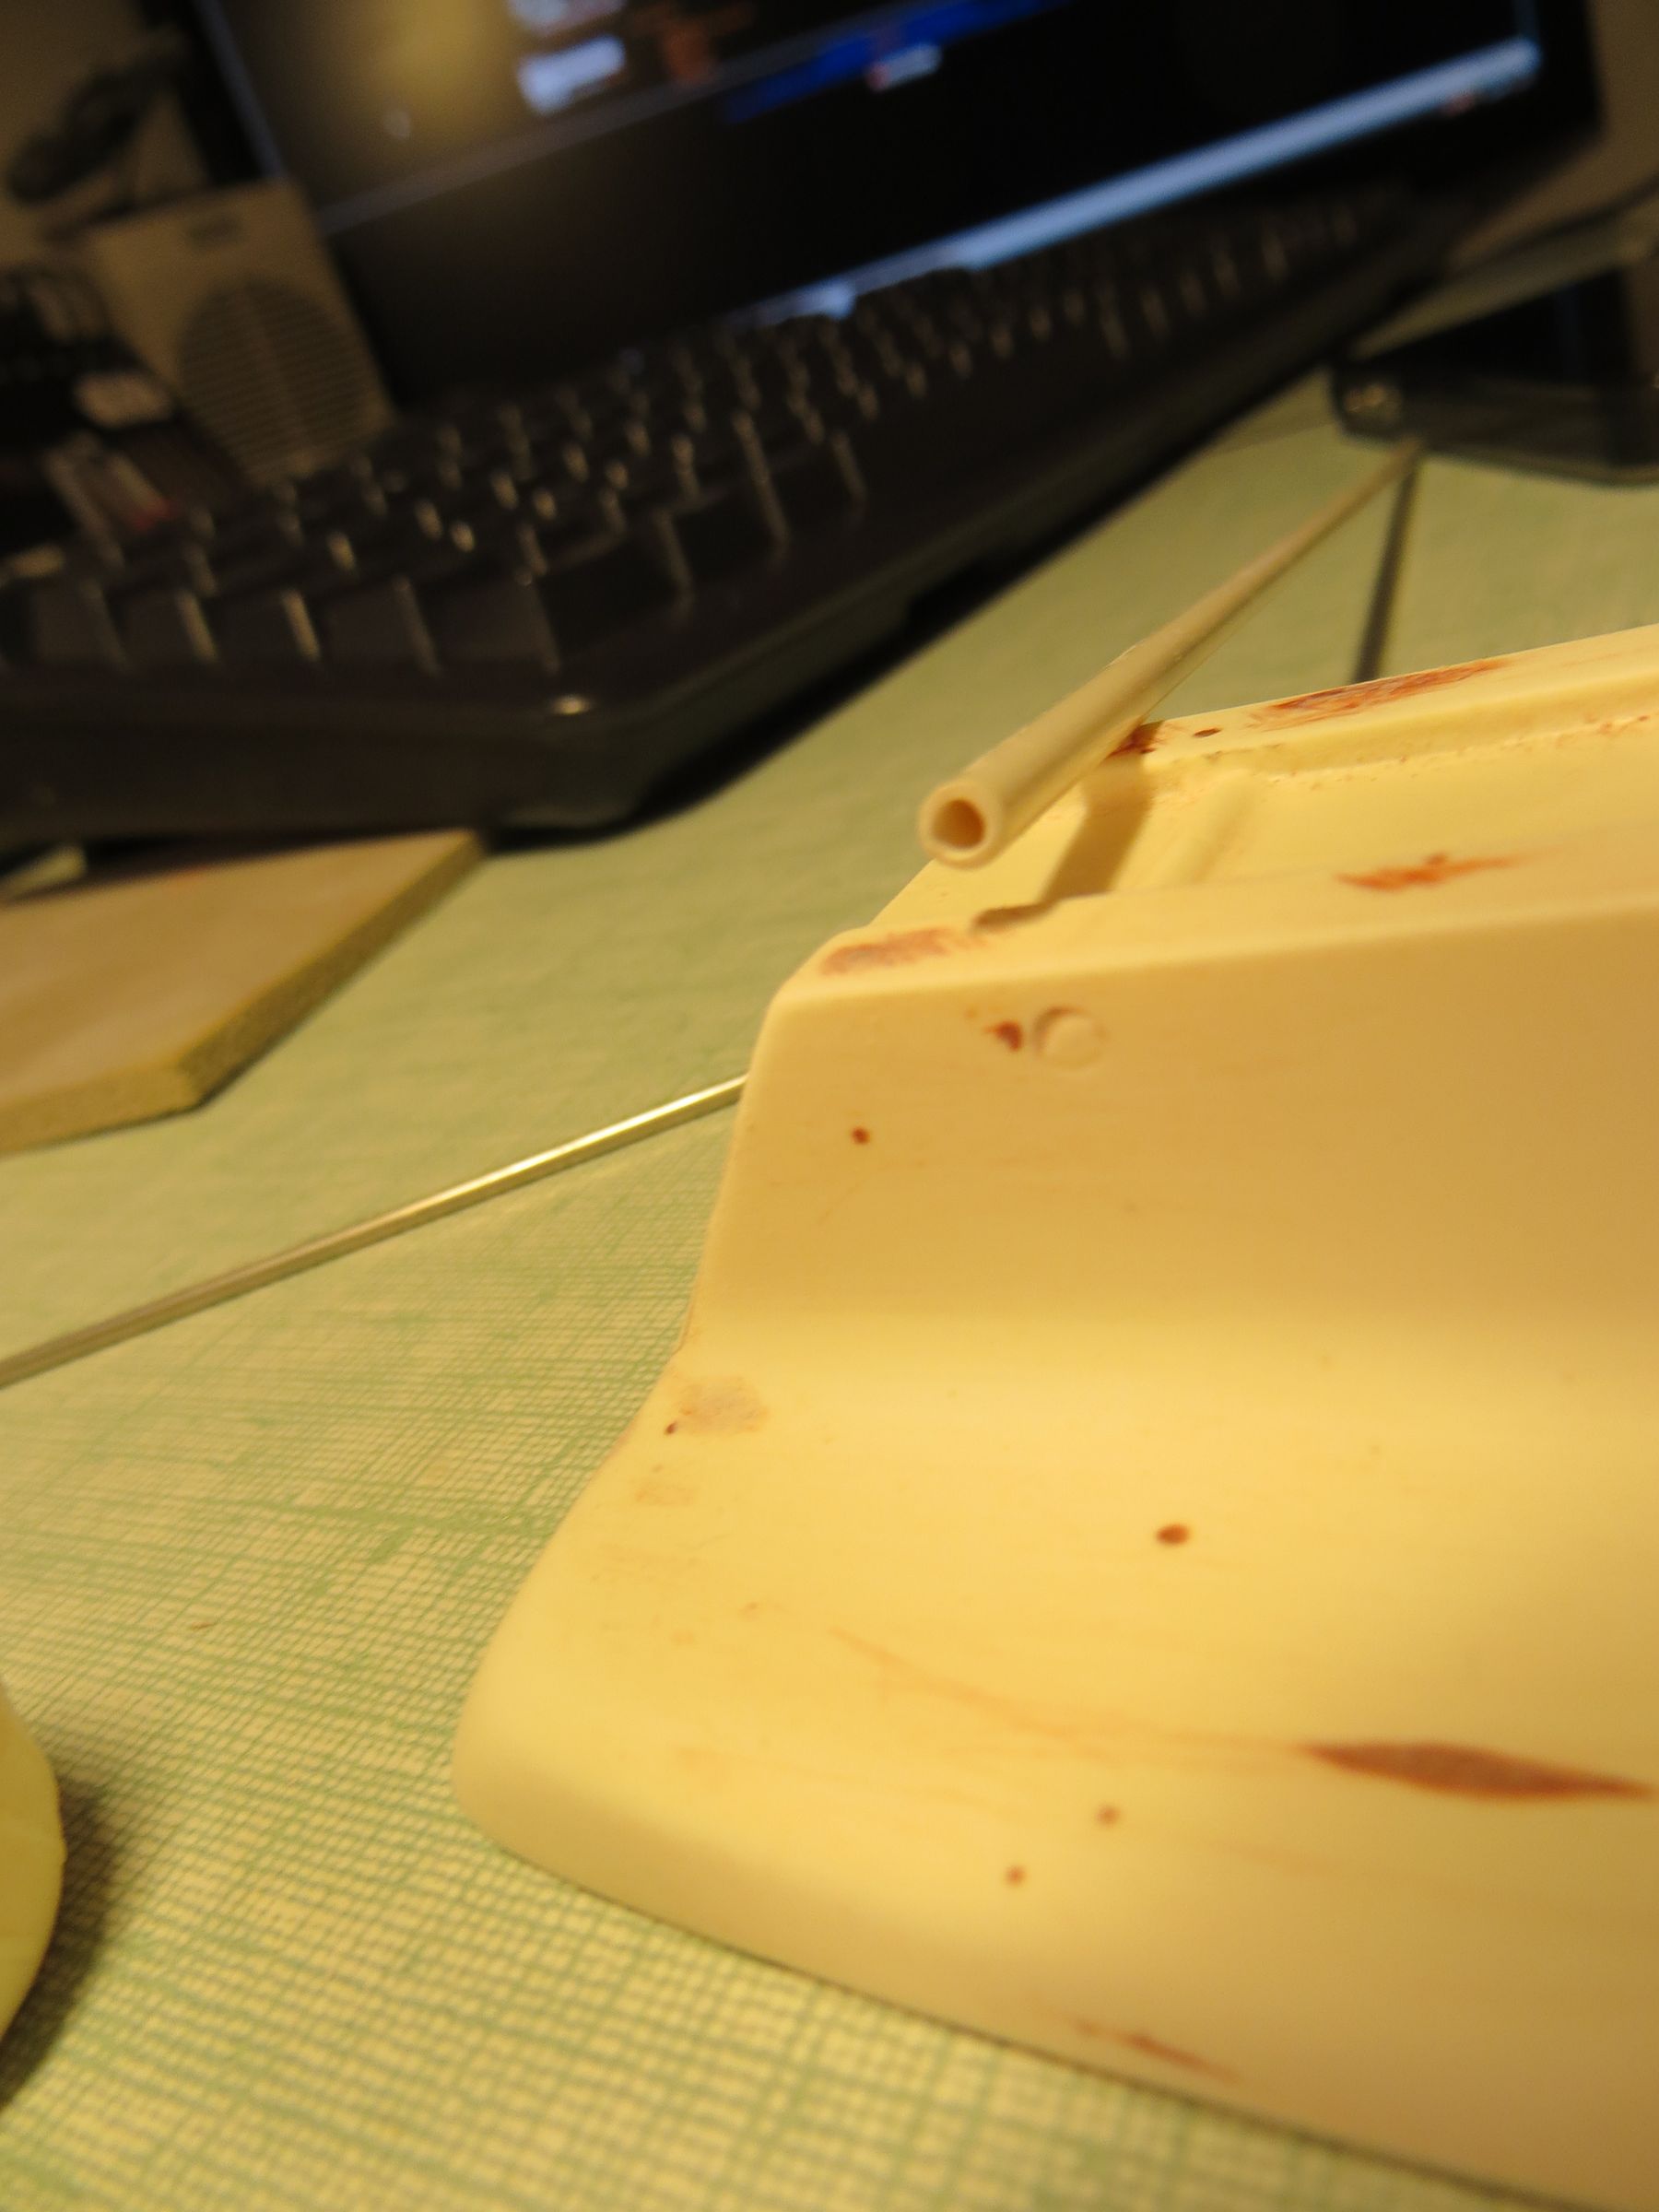
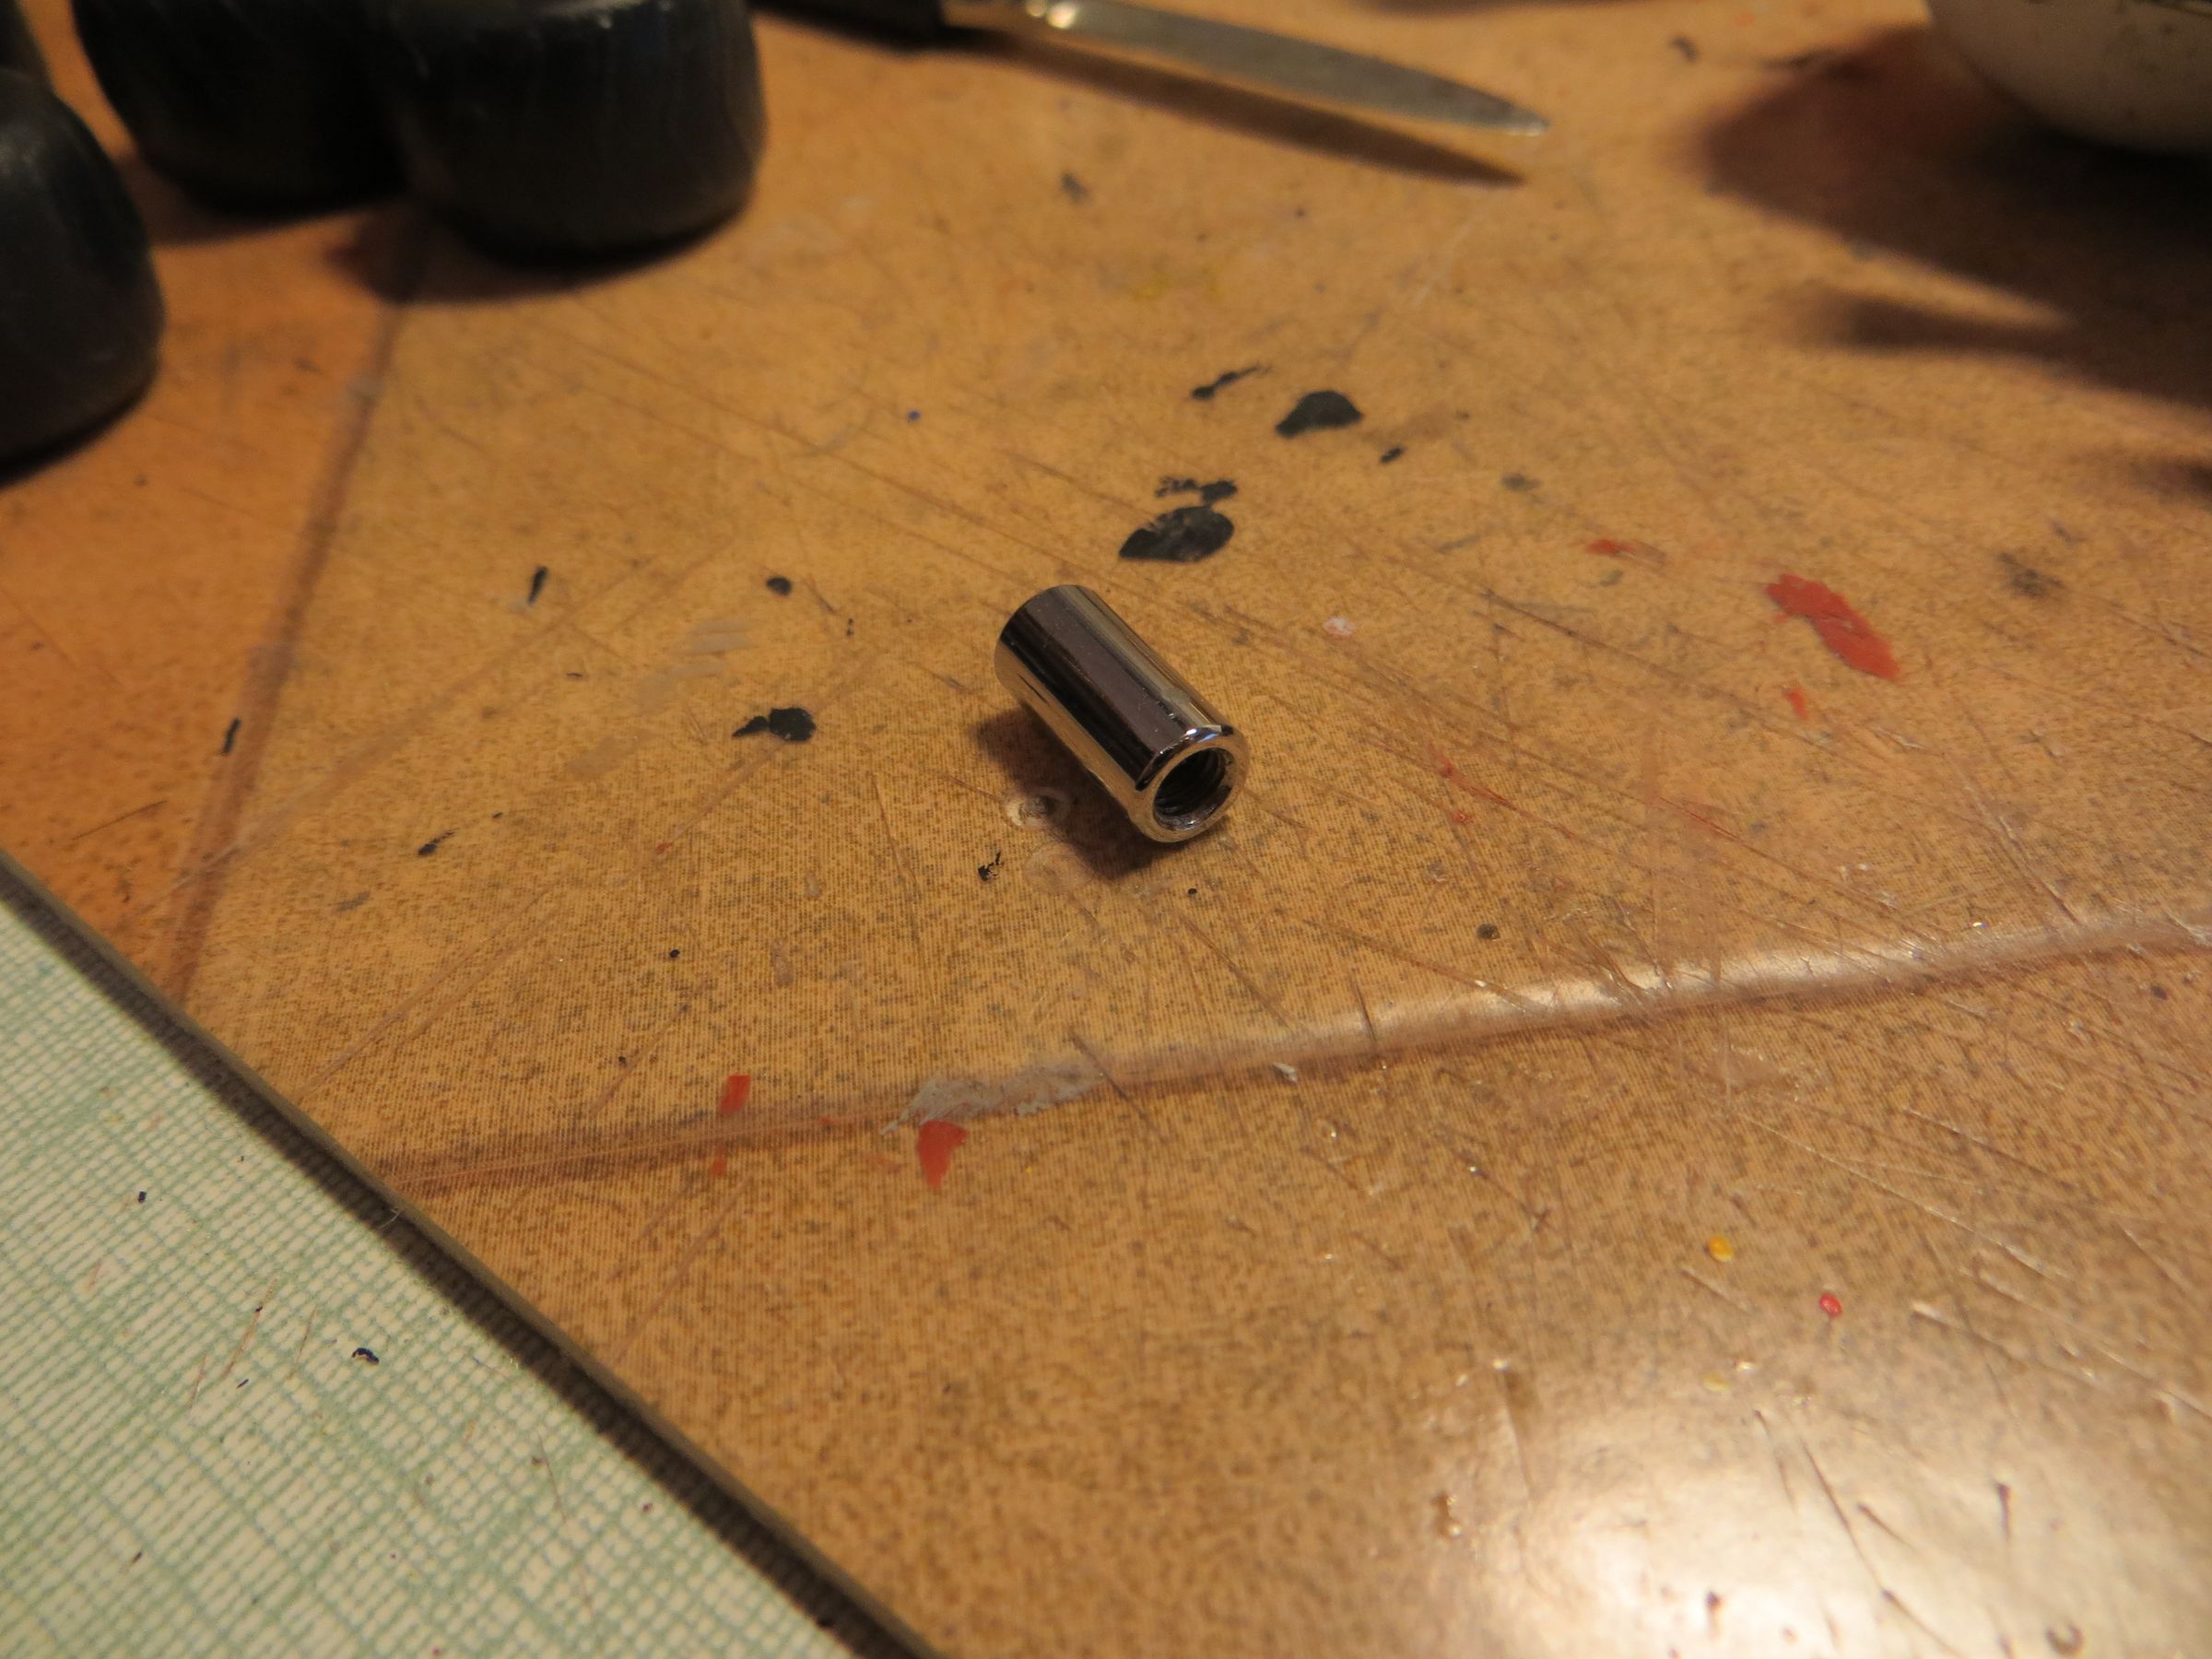
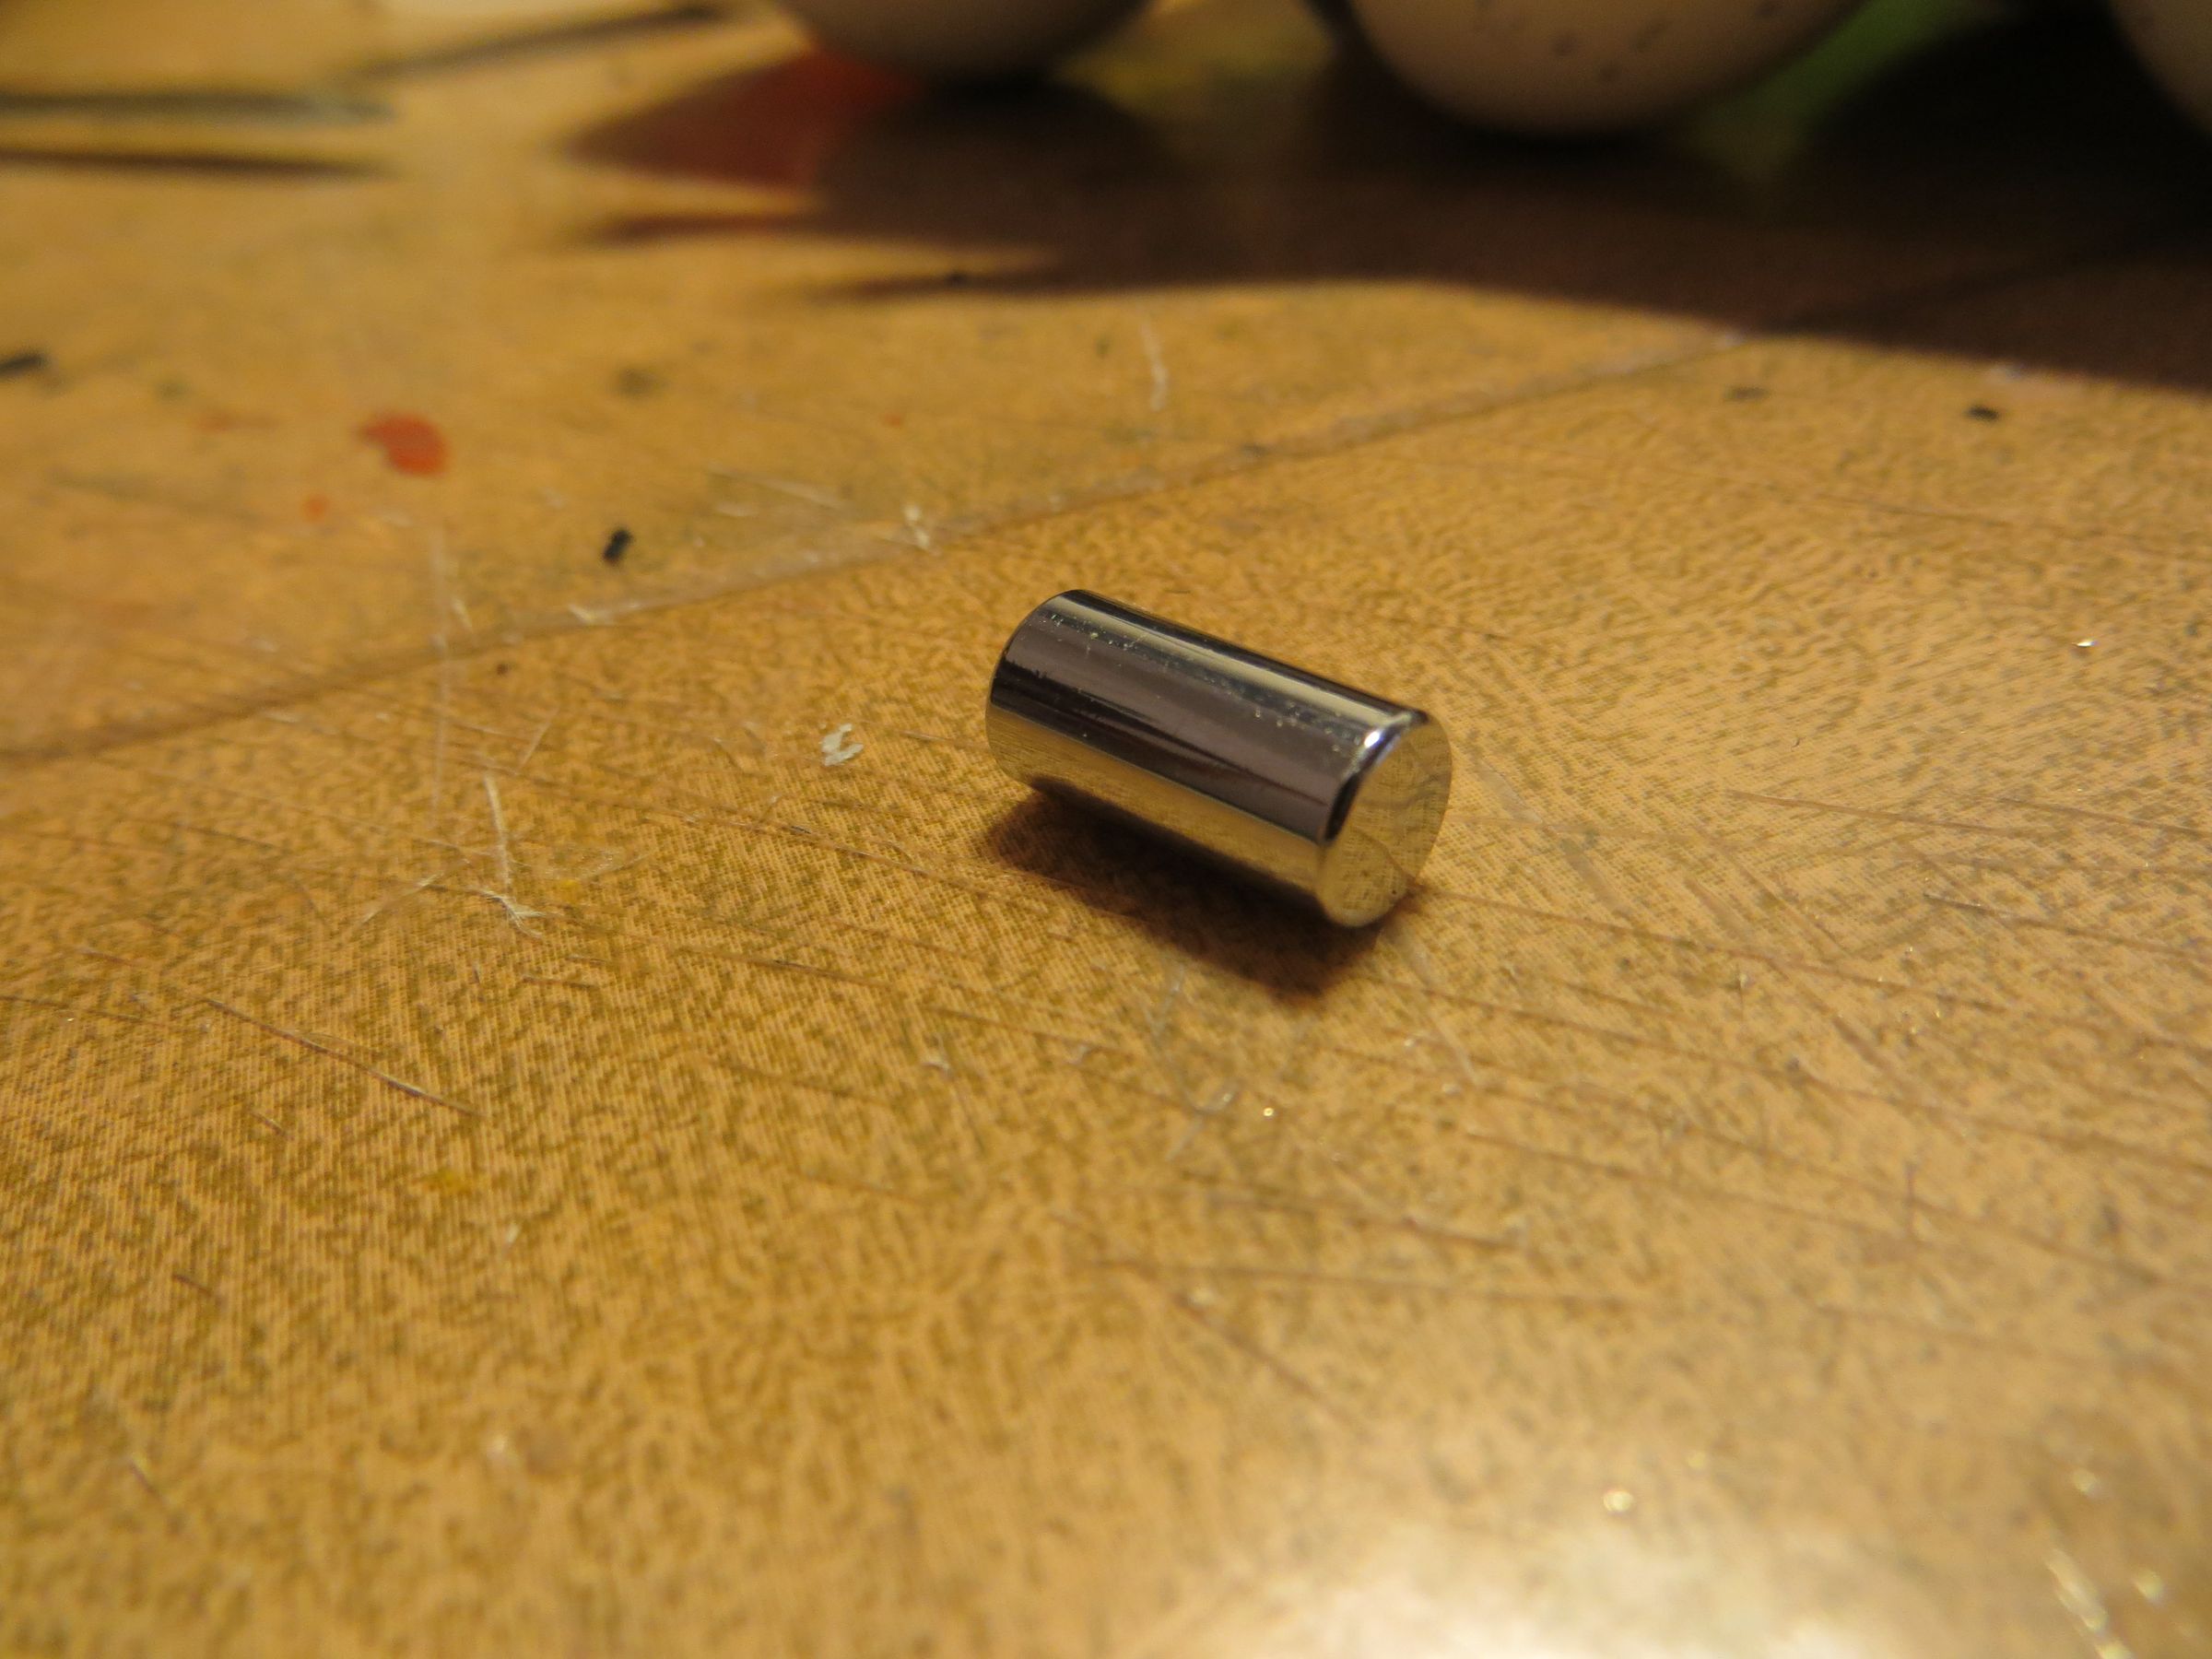
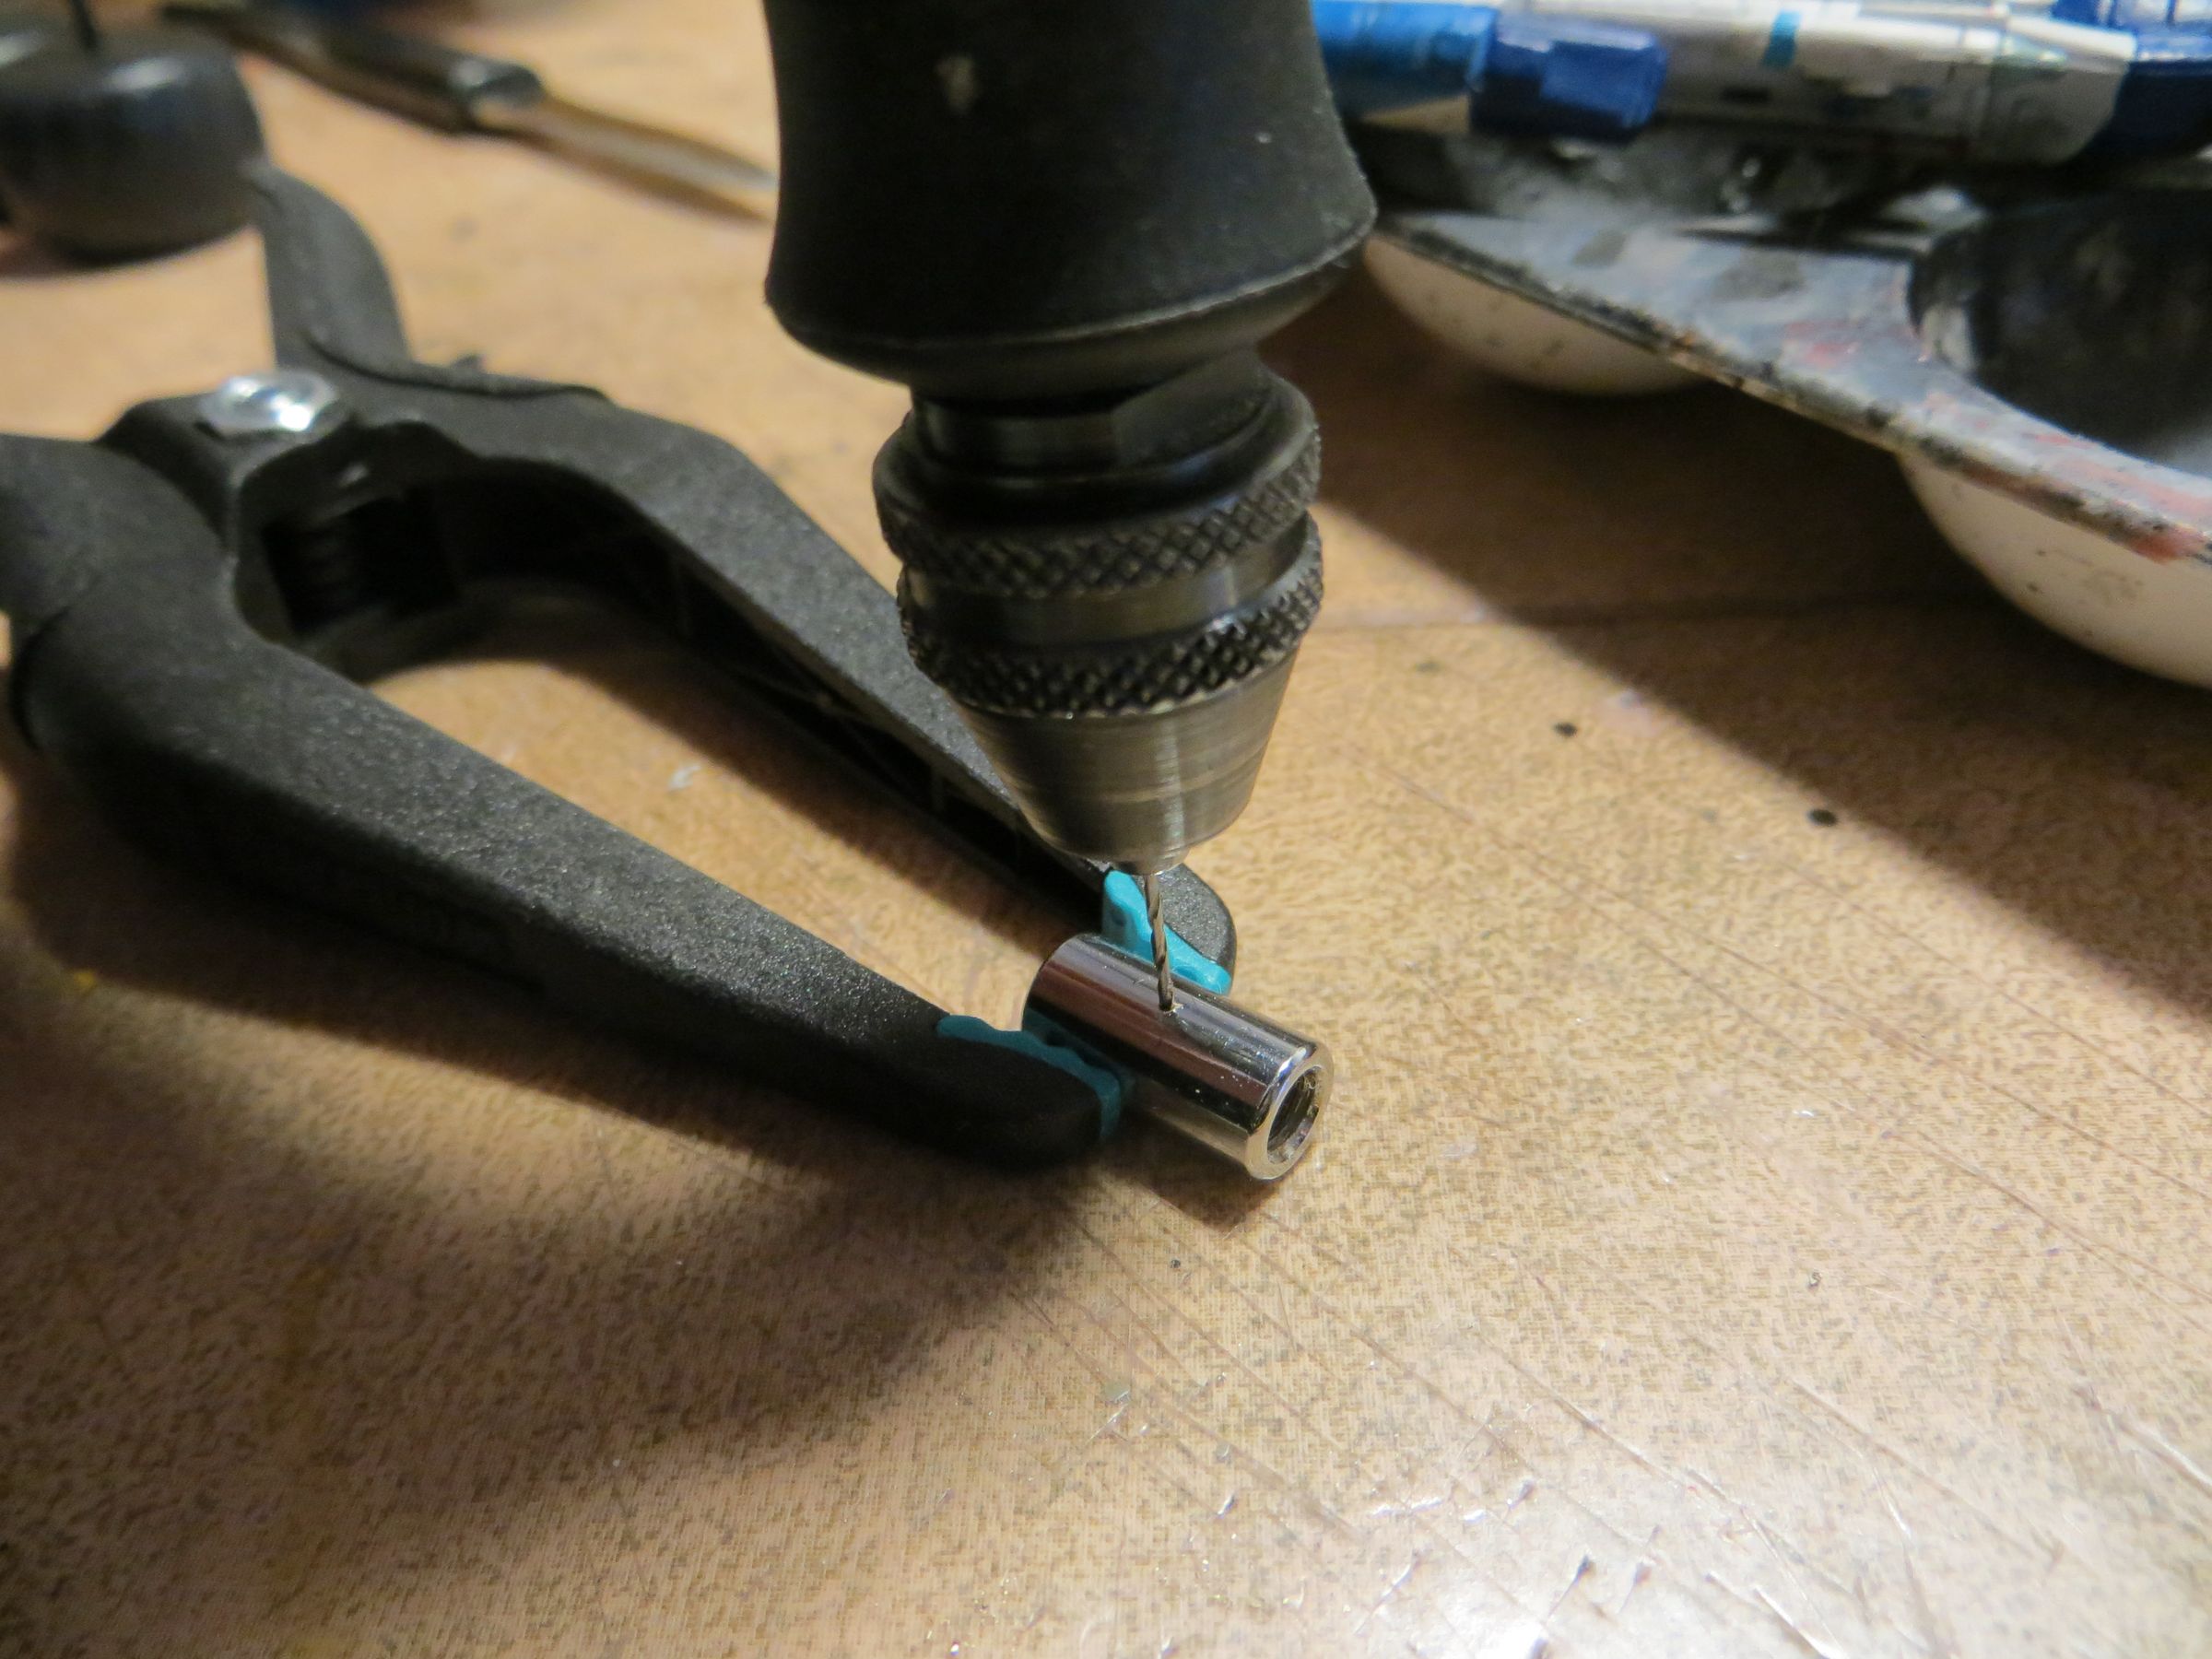
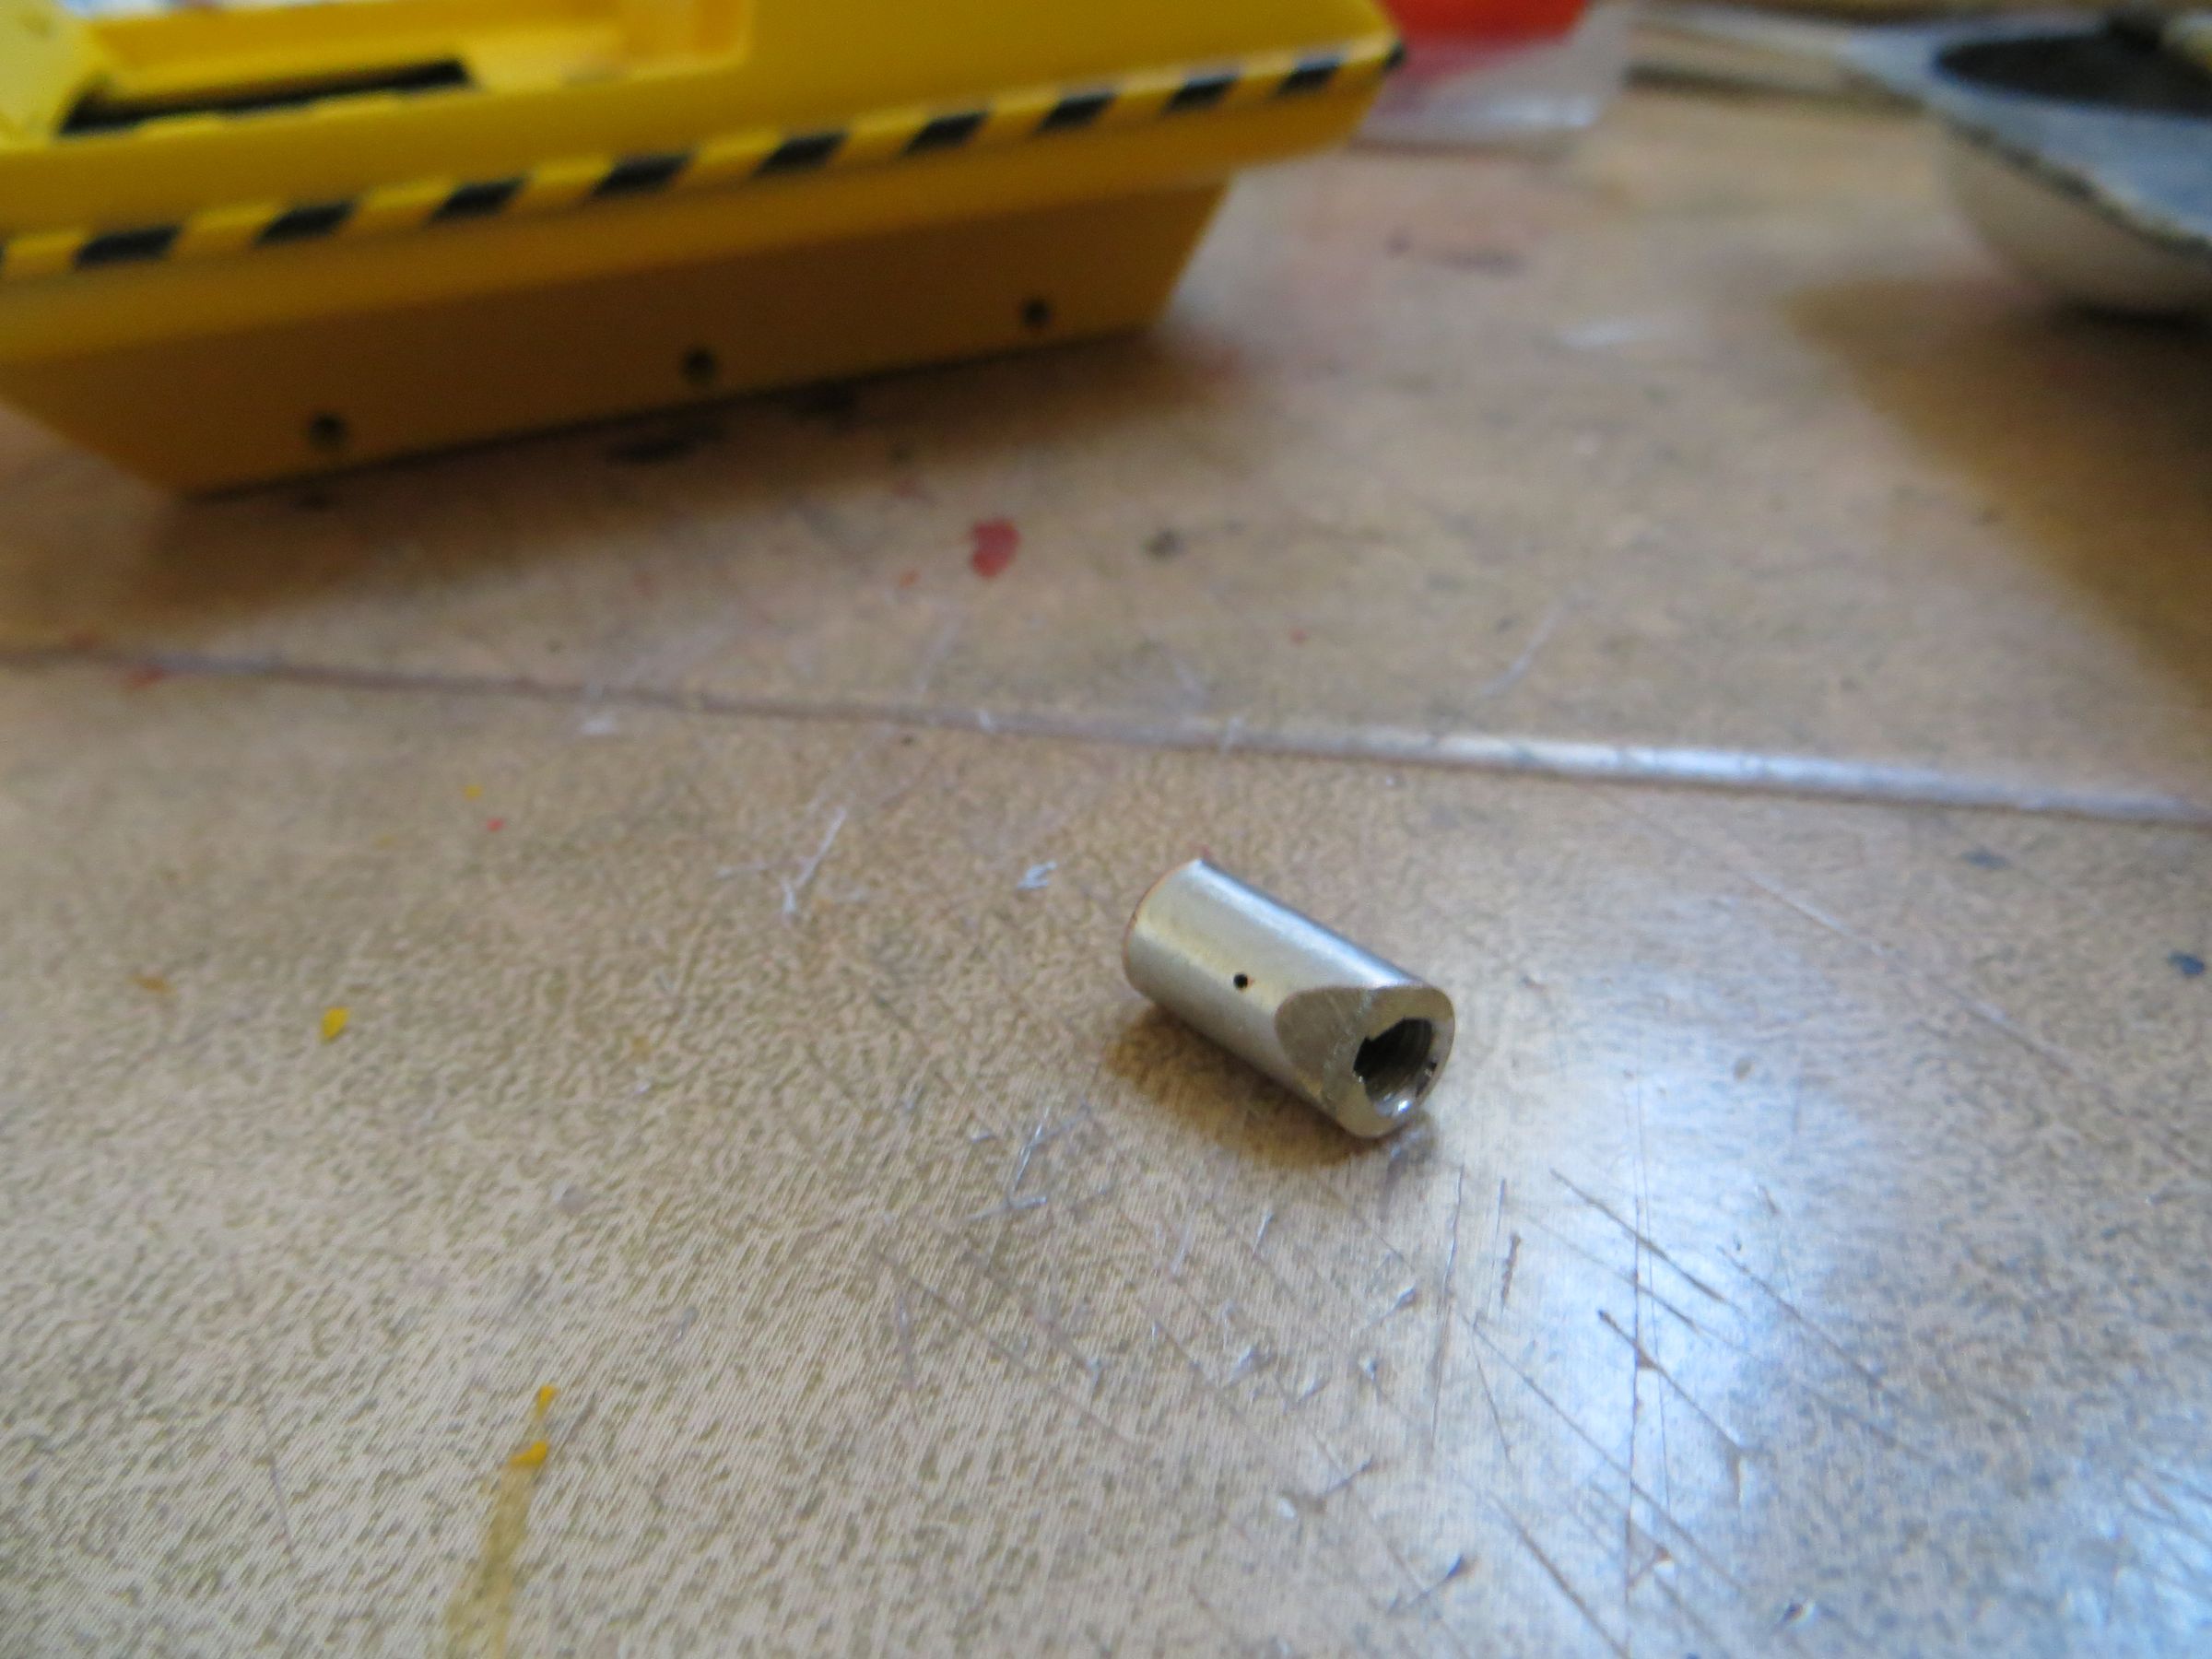
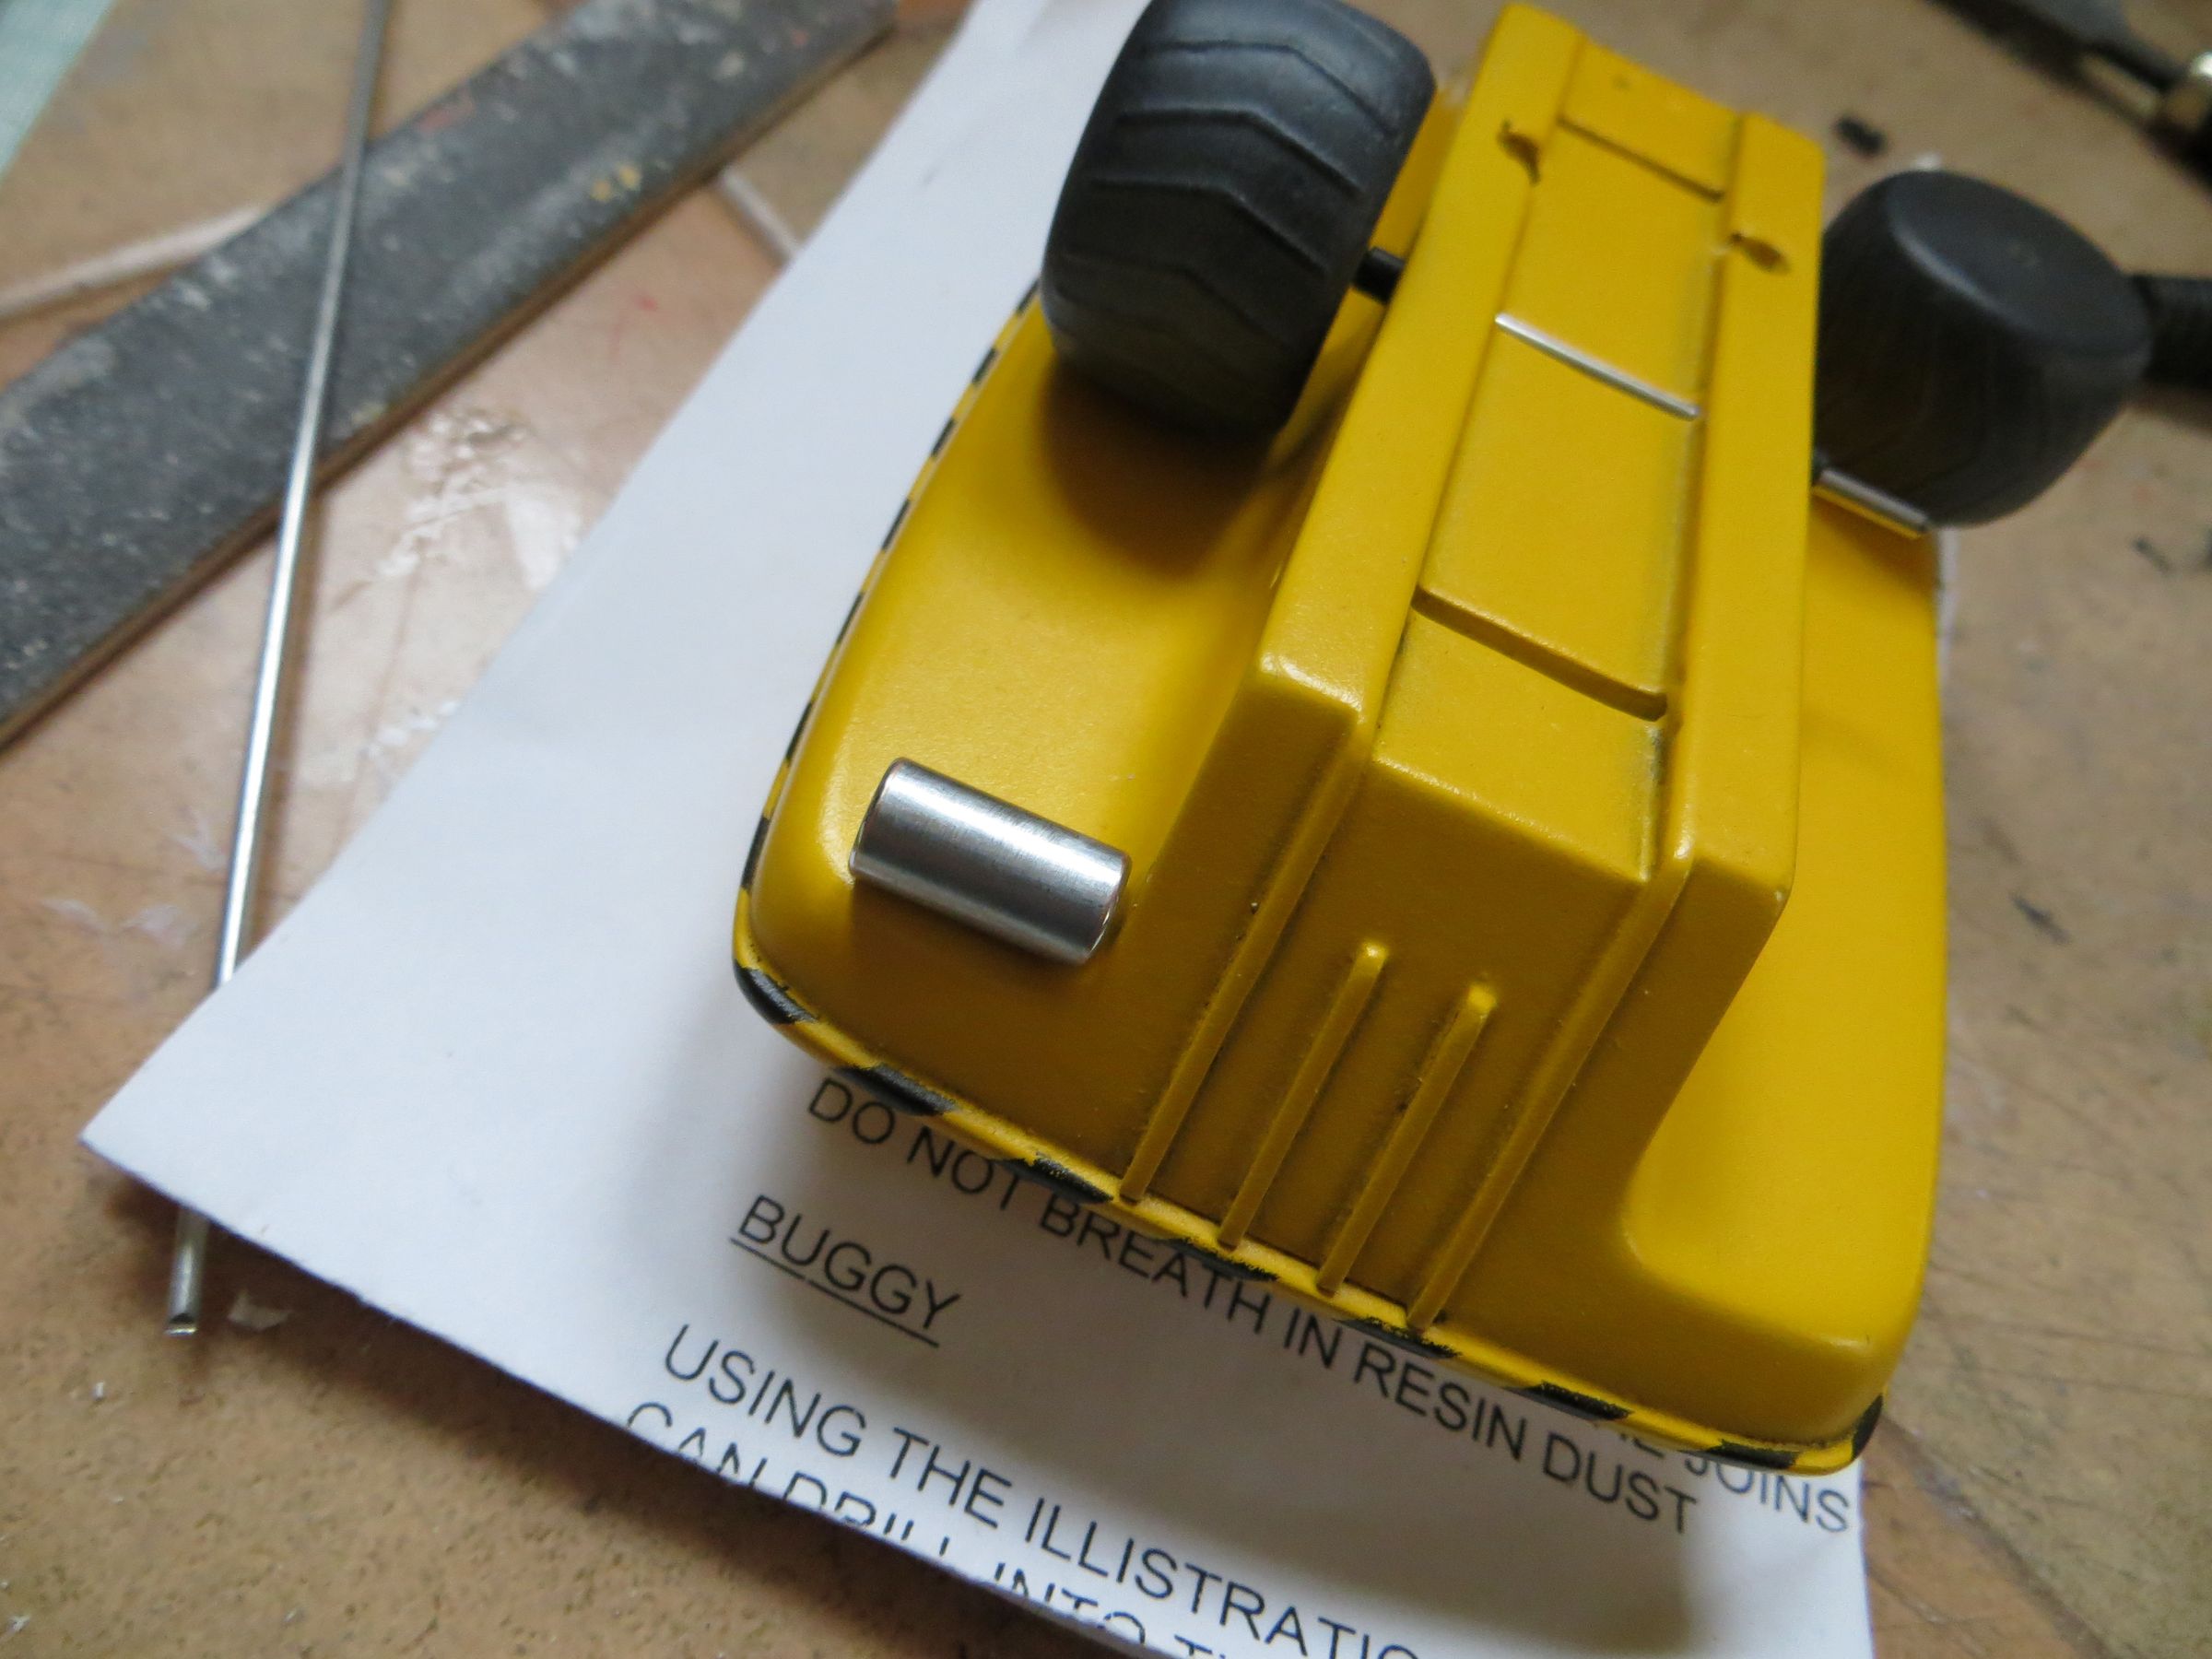
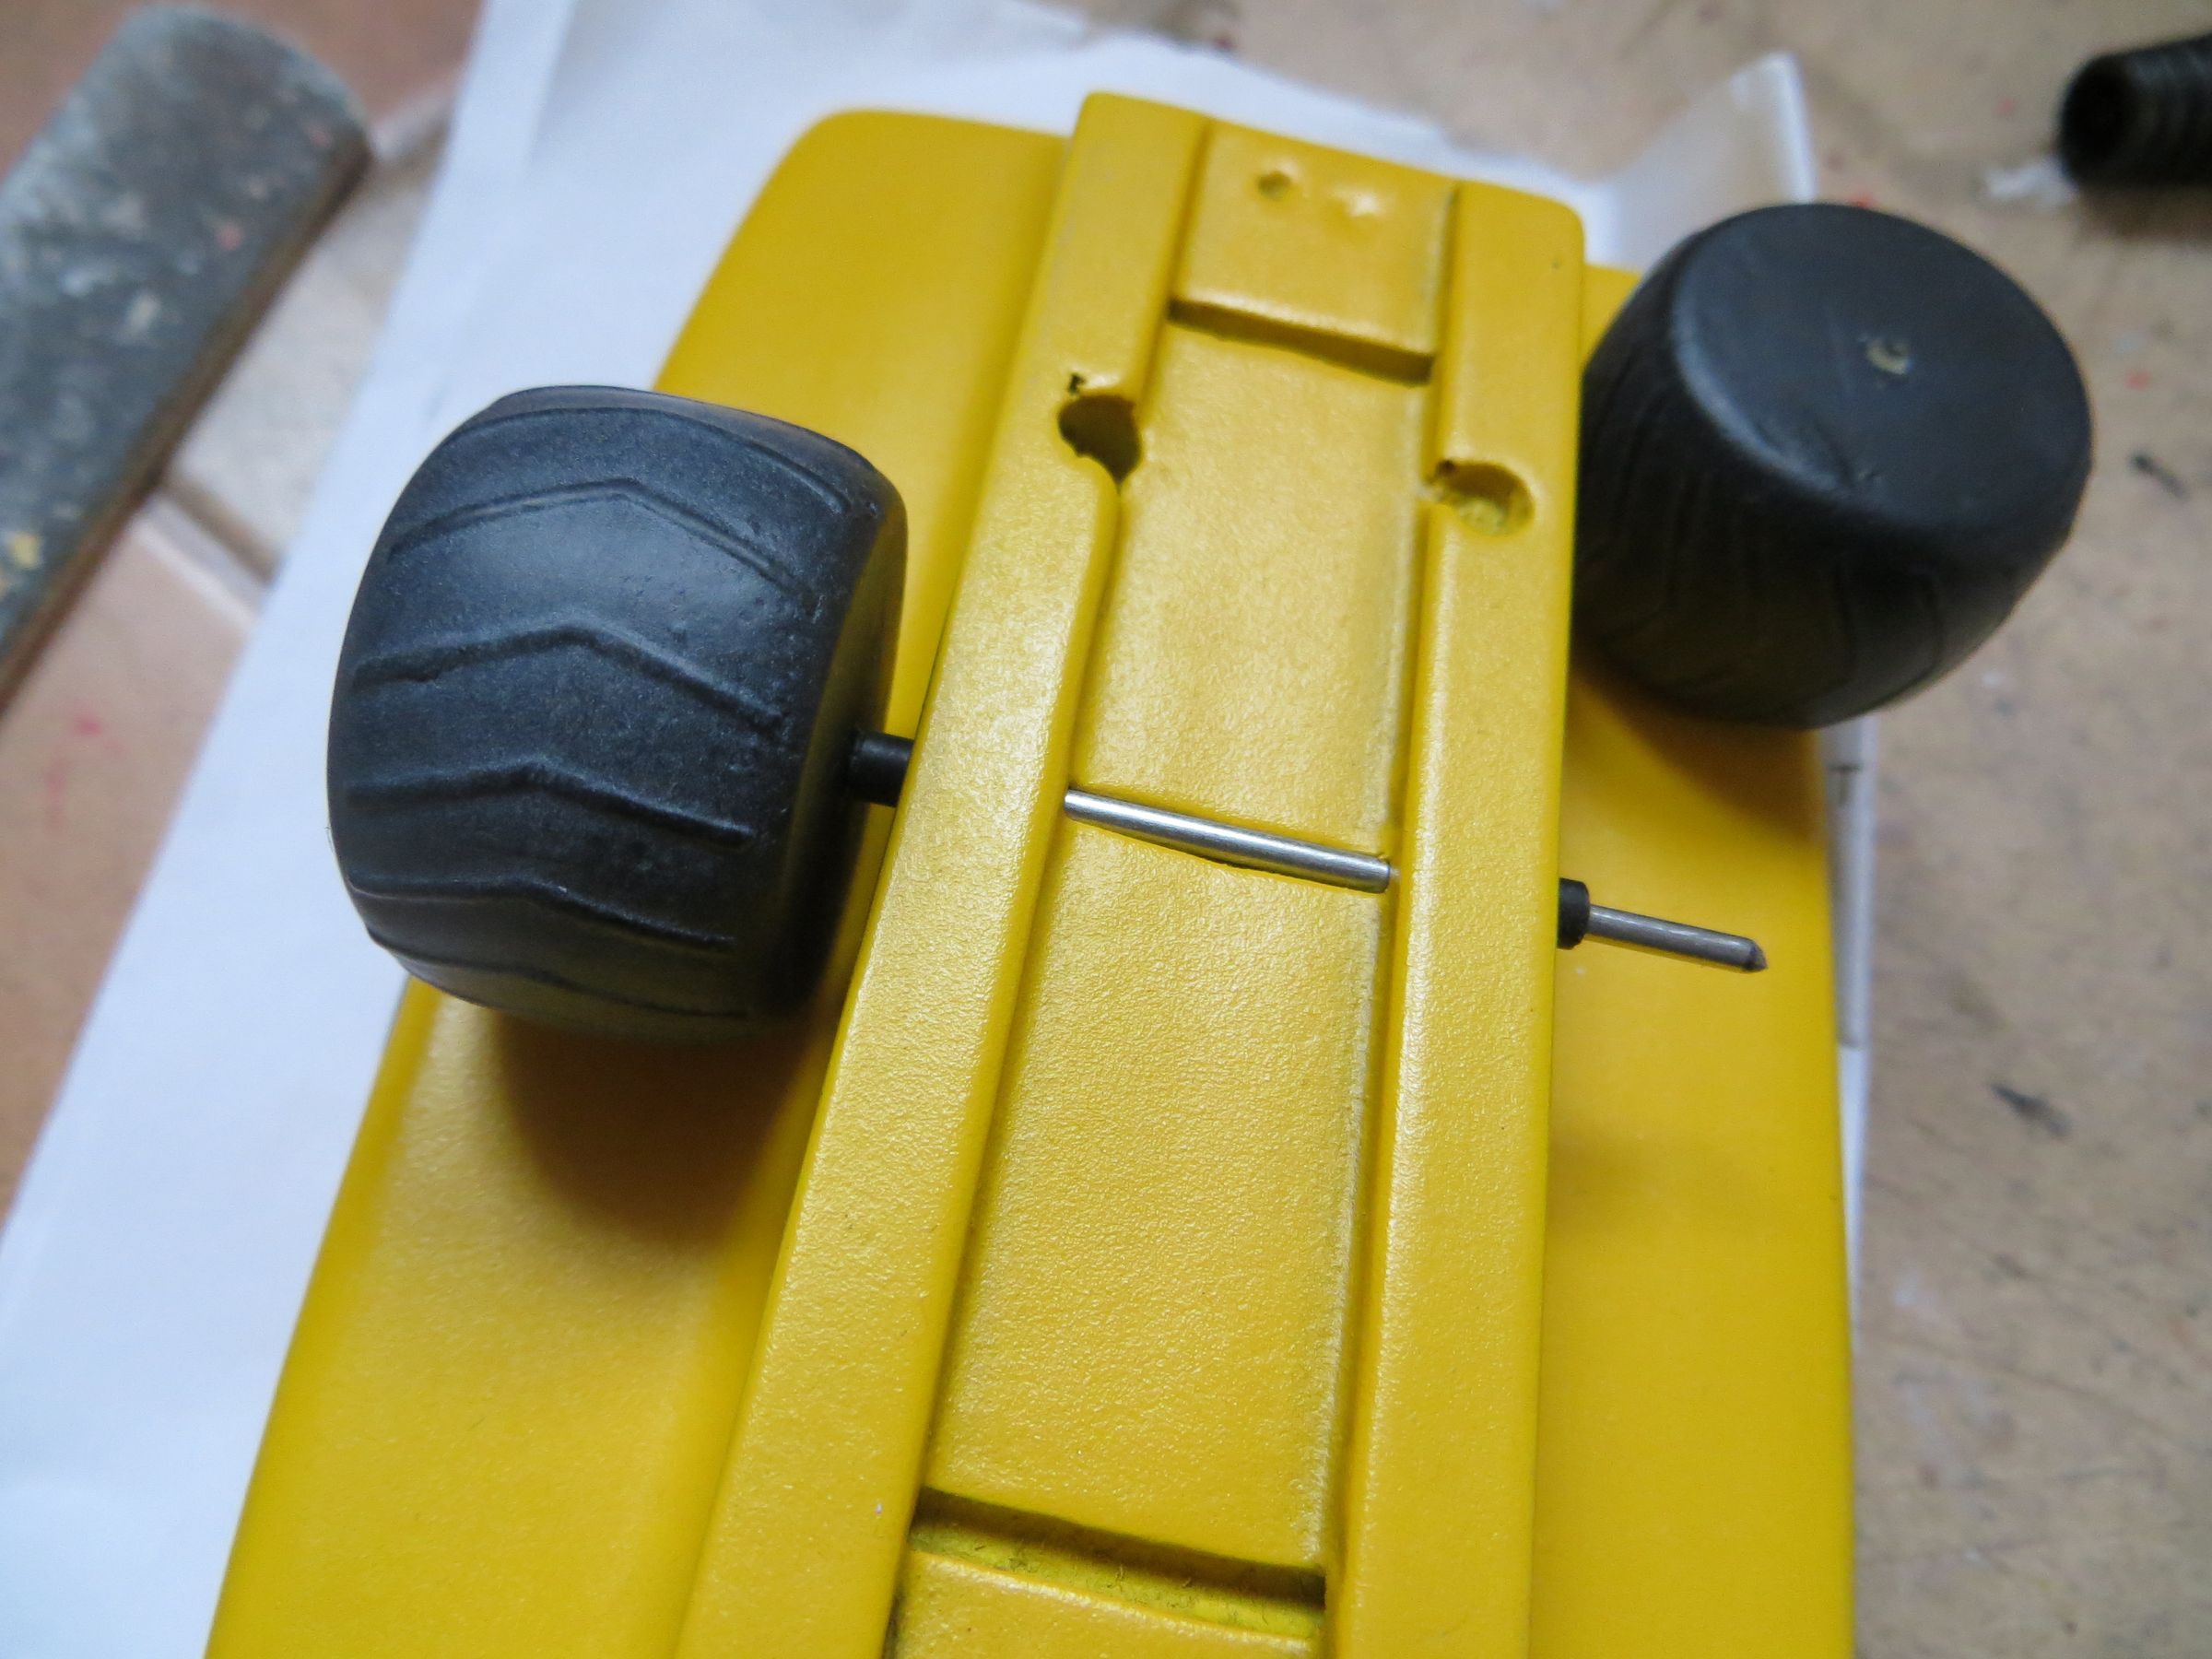
For the muffler, I got my hand on a pen which button was in brass, and aluminum or chrome-plate, with the correct size. Two small holes are drilled to make it fit with rods. A corner is sanded to fit the curve of the wing body.

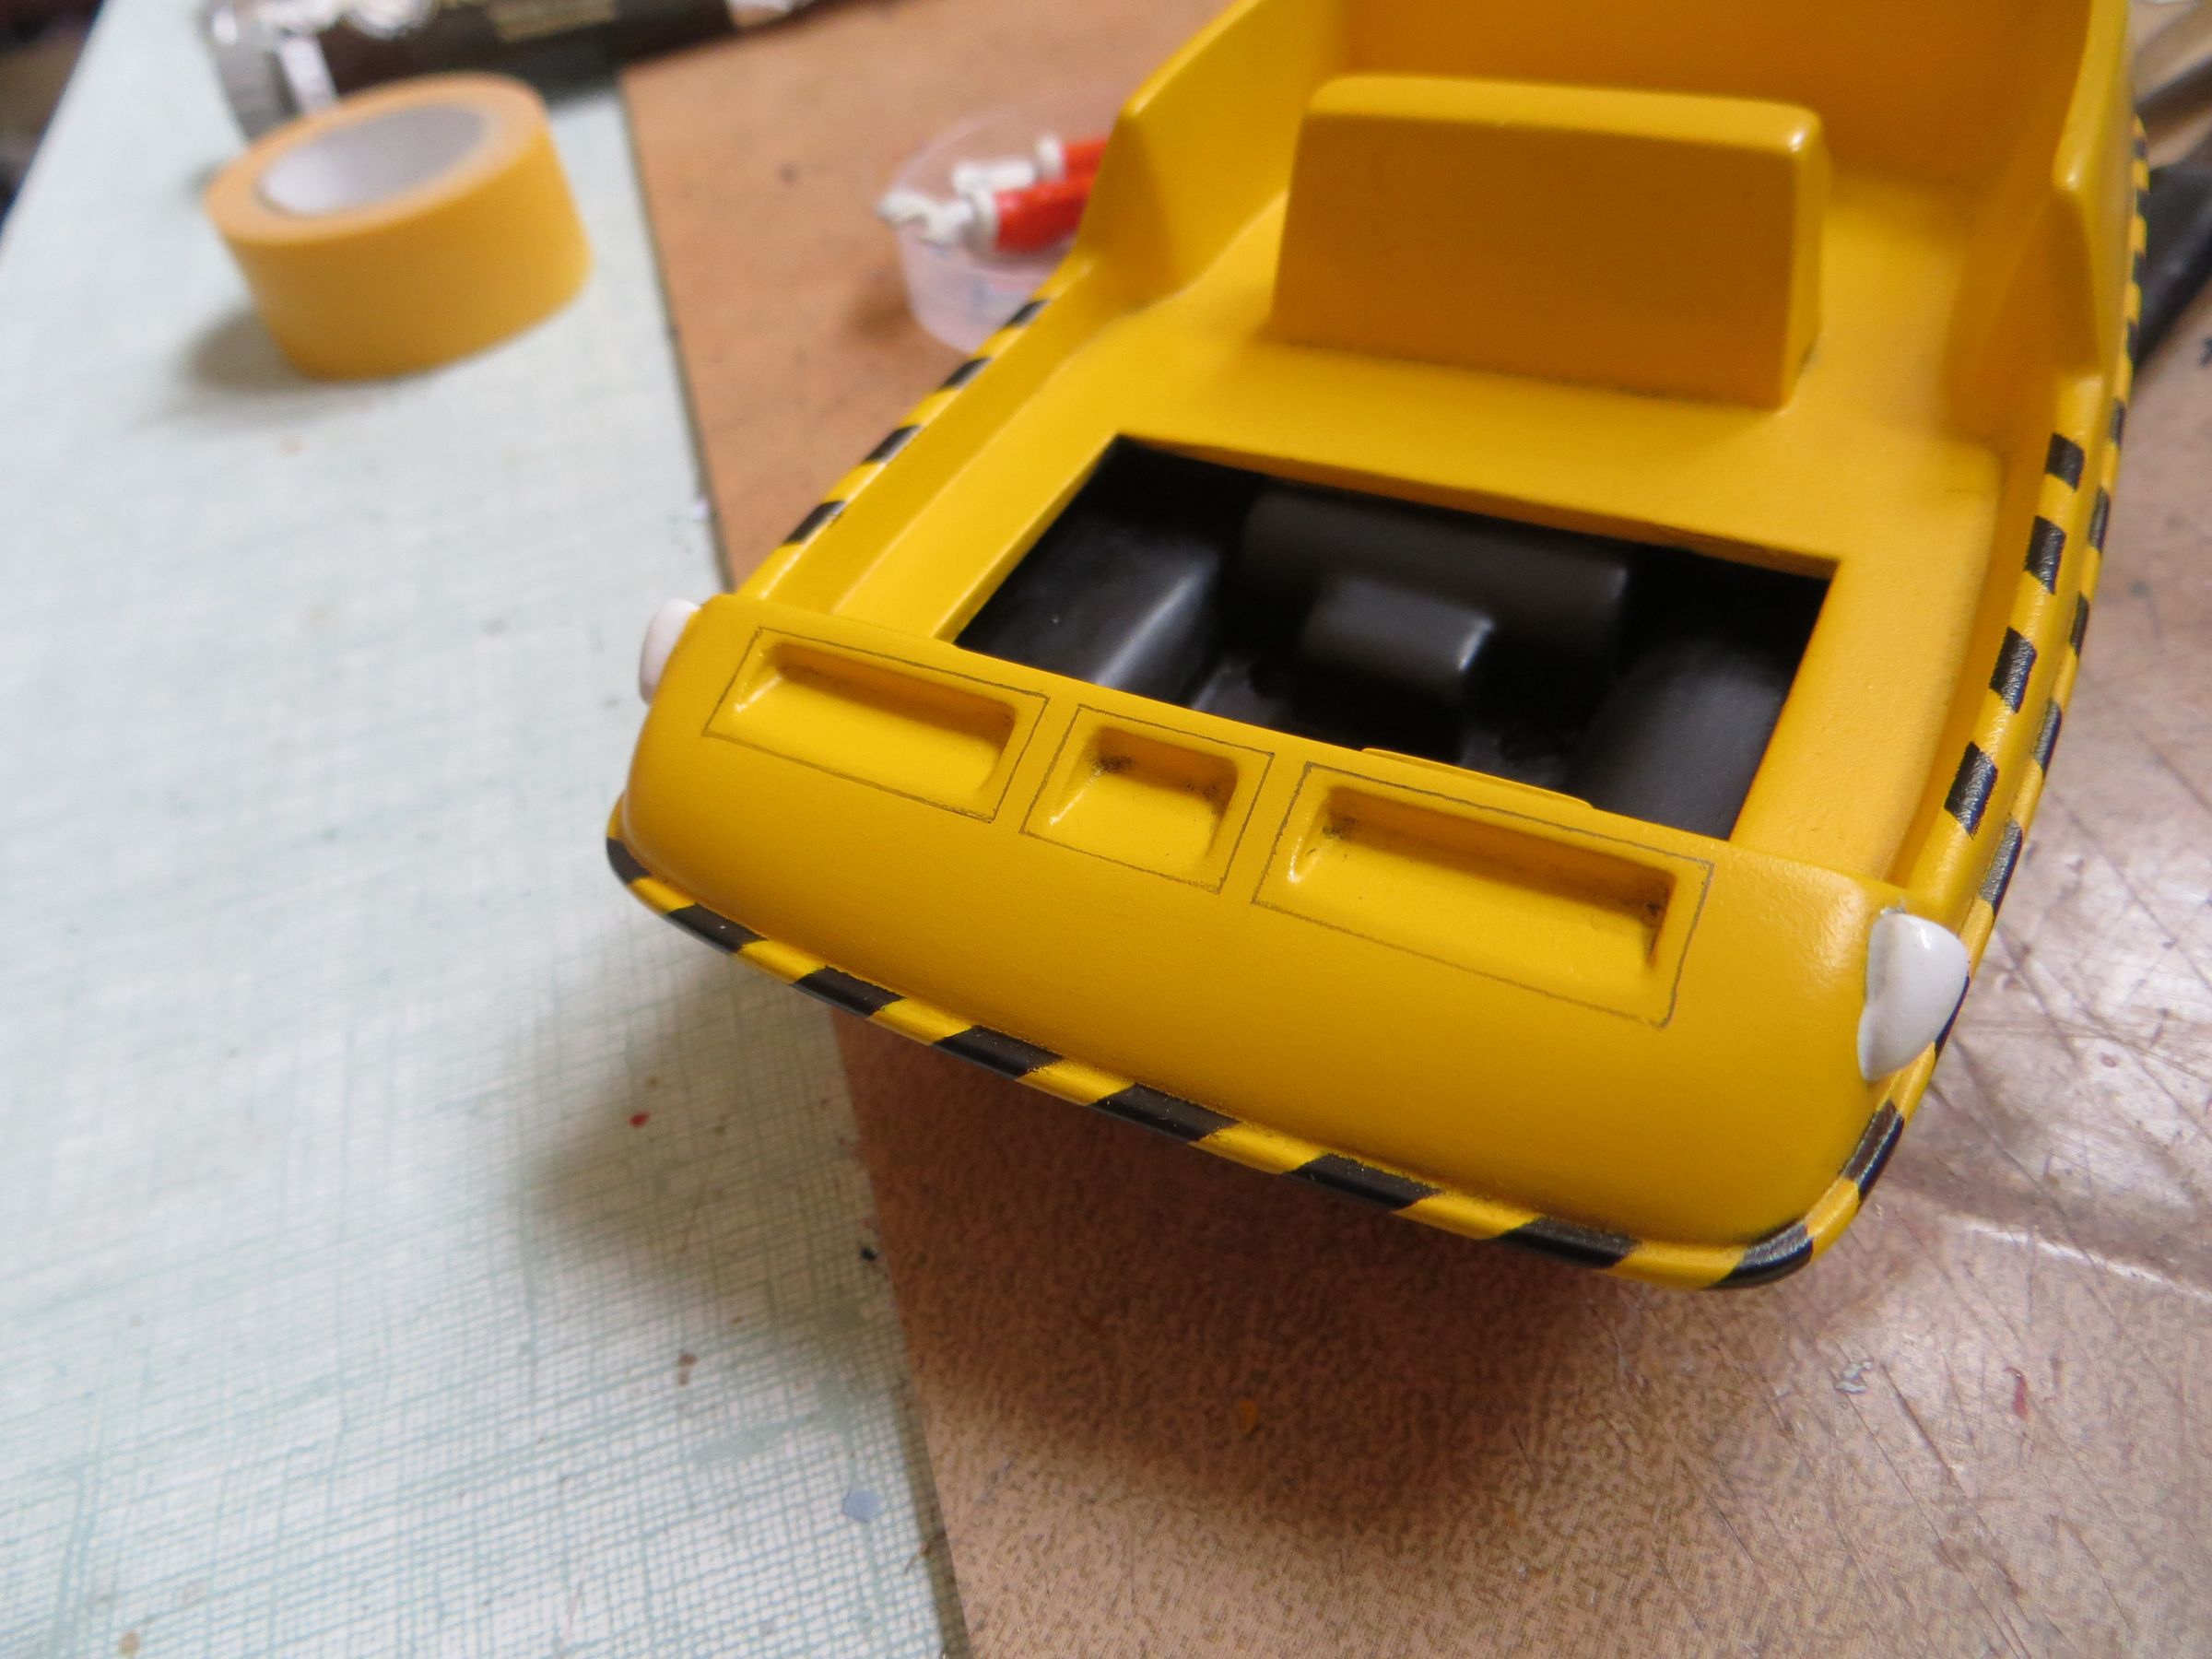
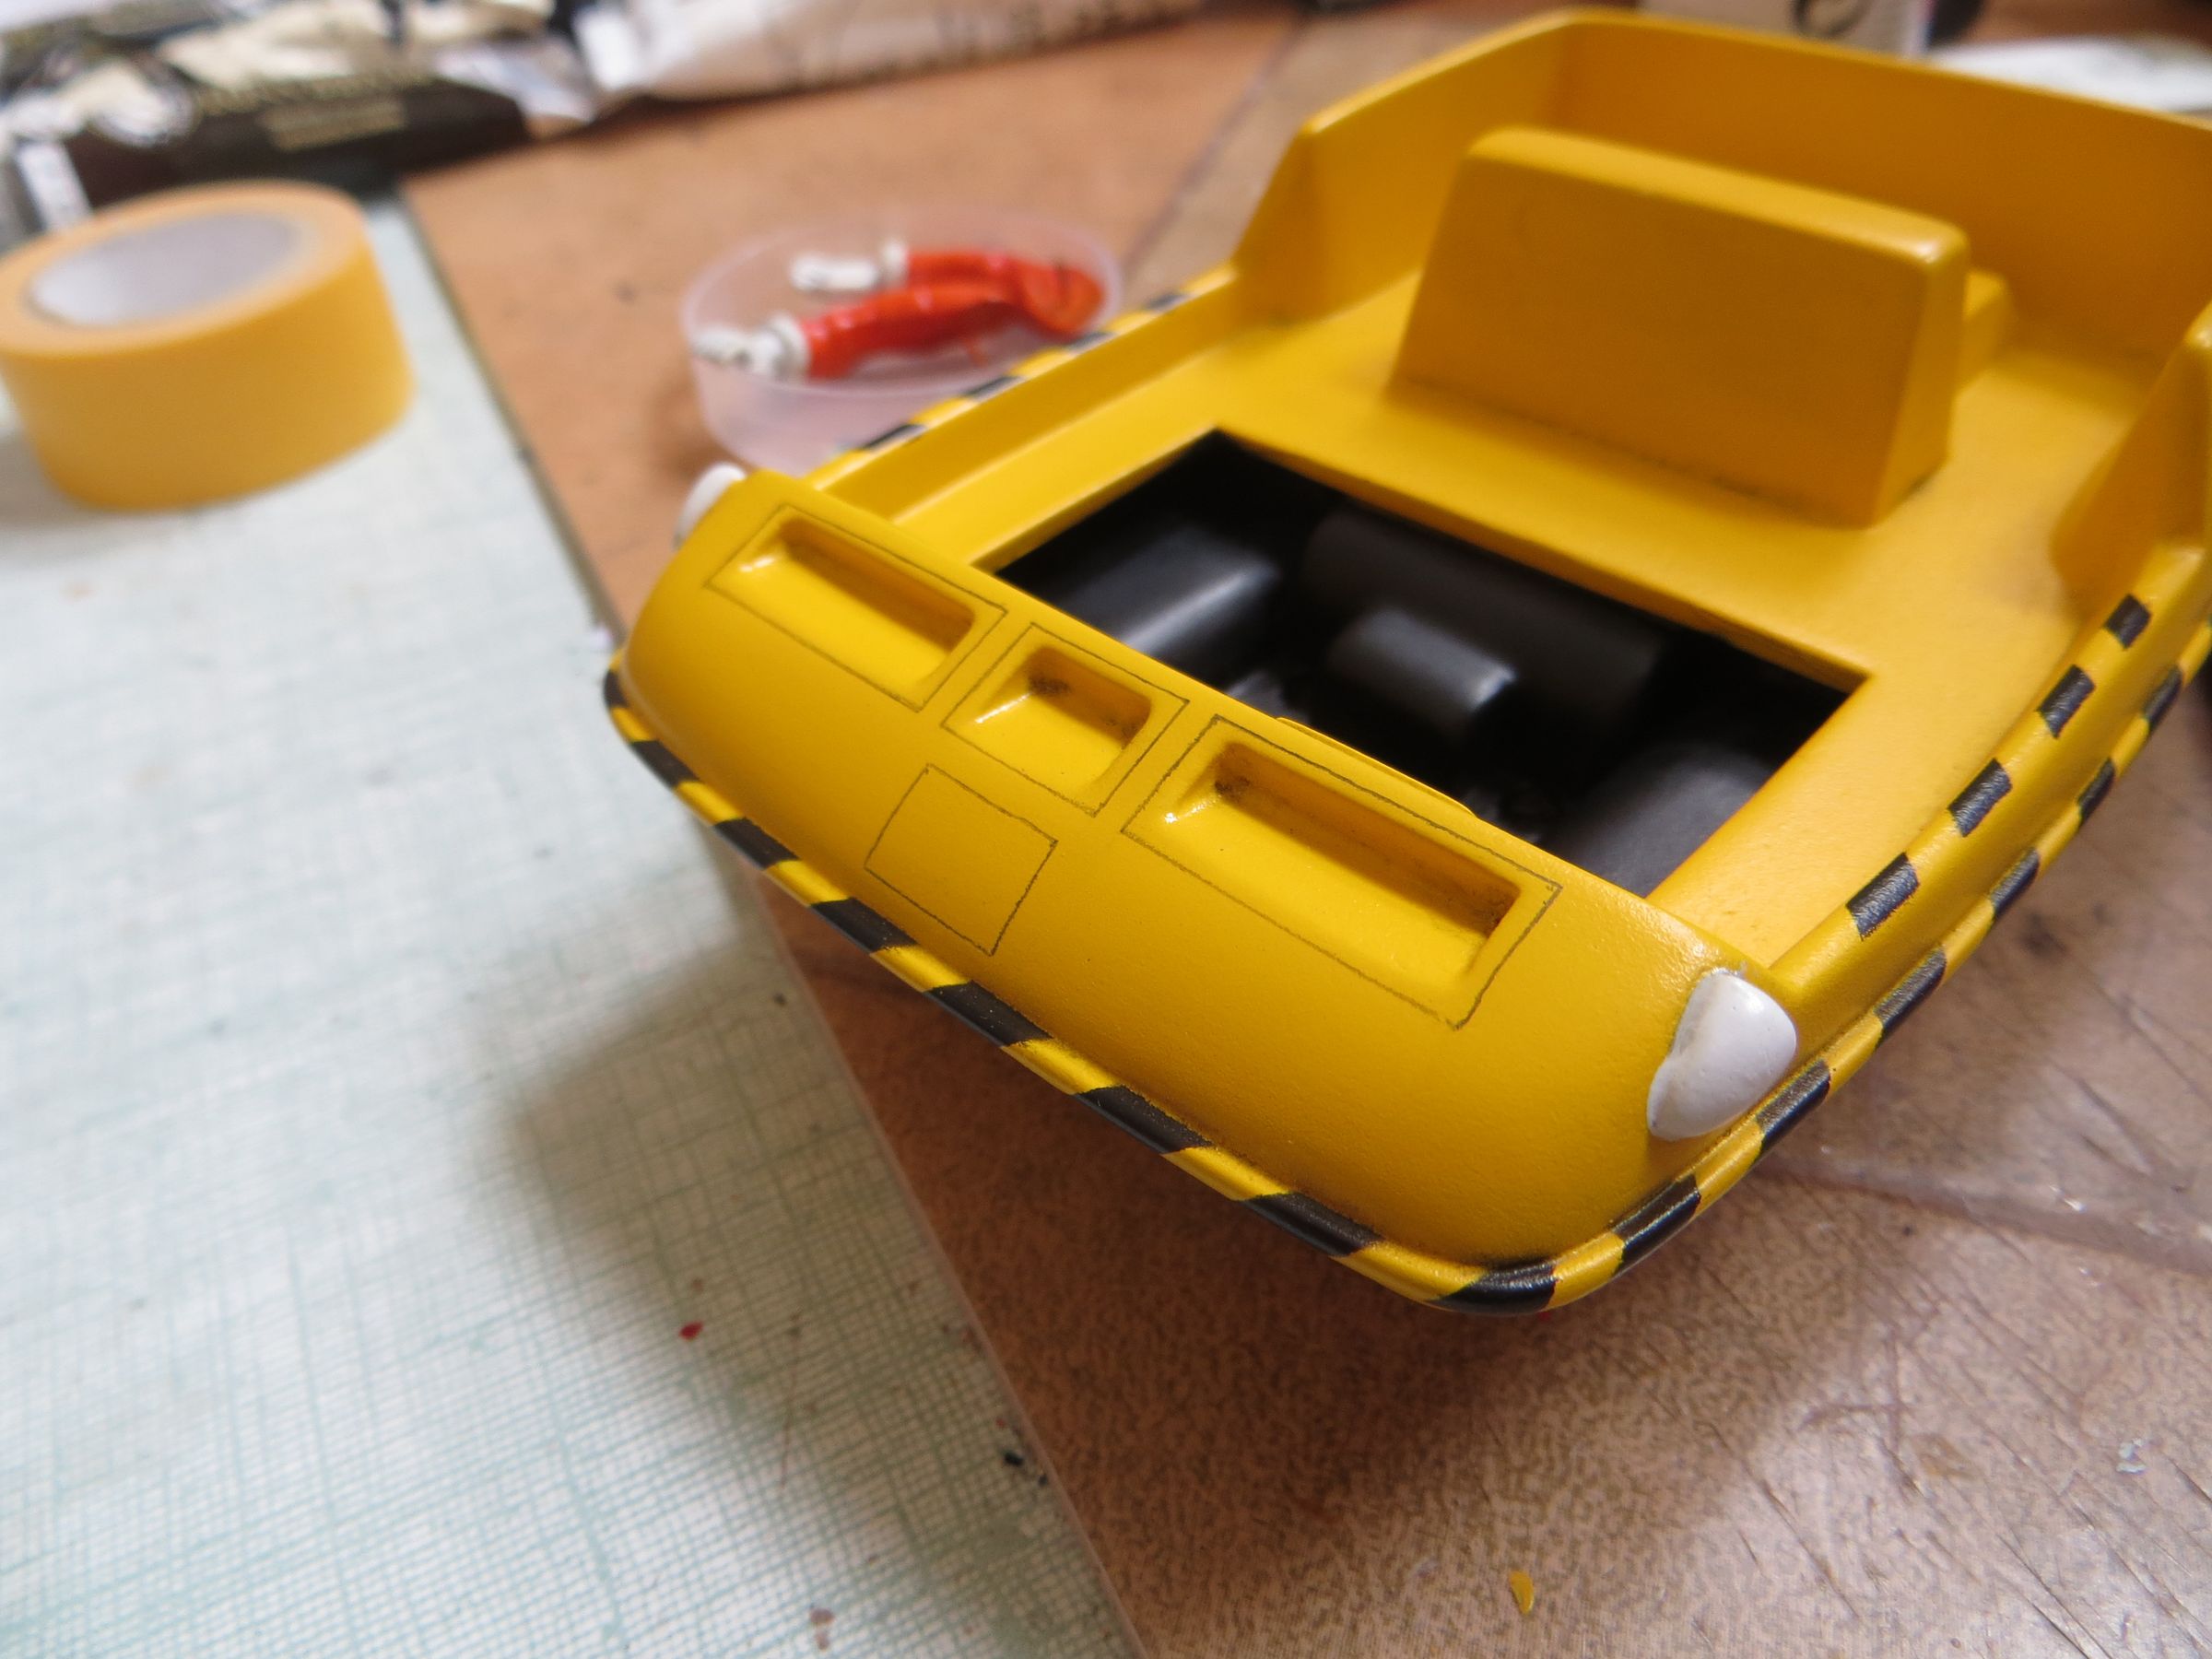
For panels, I choosed the same technique as the original: pencil. I use pieces of Tamiya tapes as guide. Each finished side is immediatly gloss coated (Klir) to avoid fading or damages during the following manipulations on the other sides.

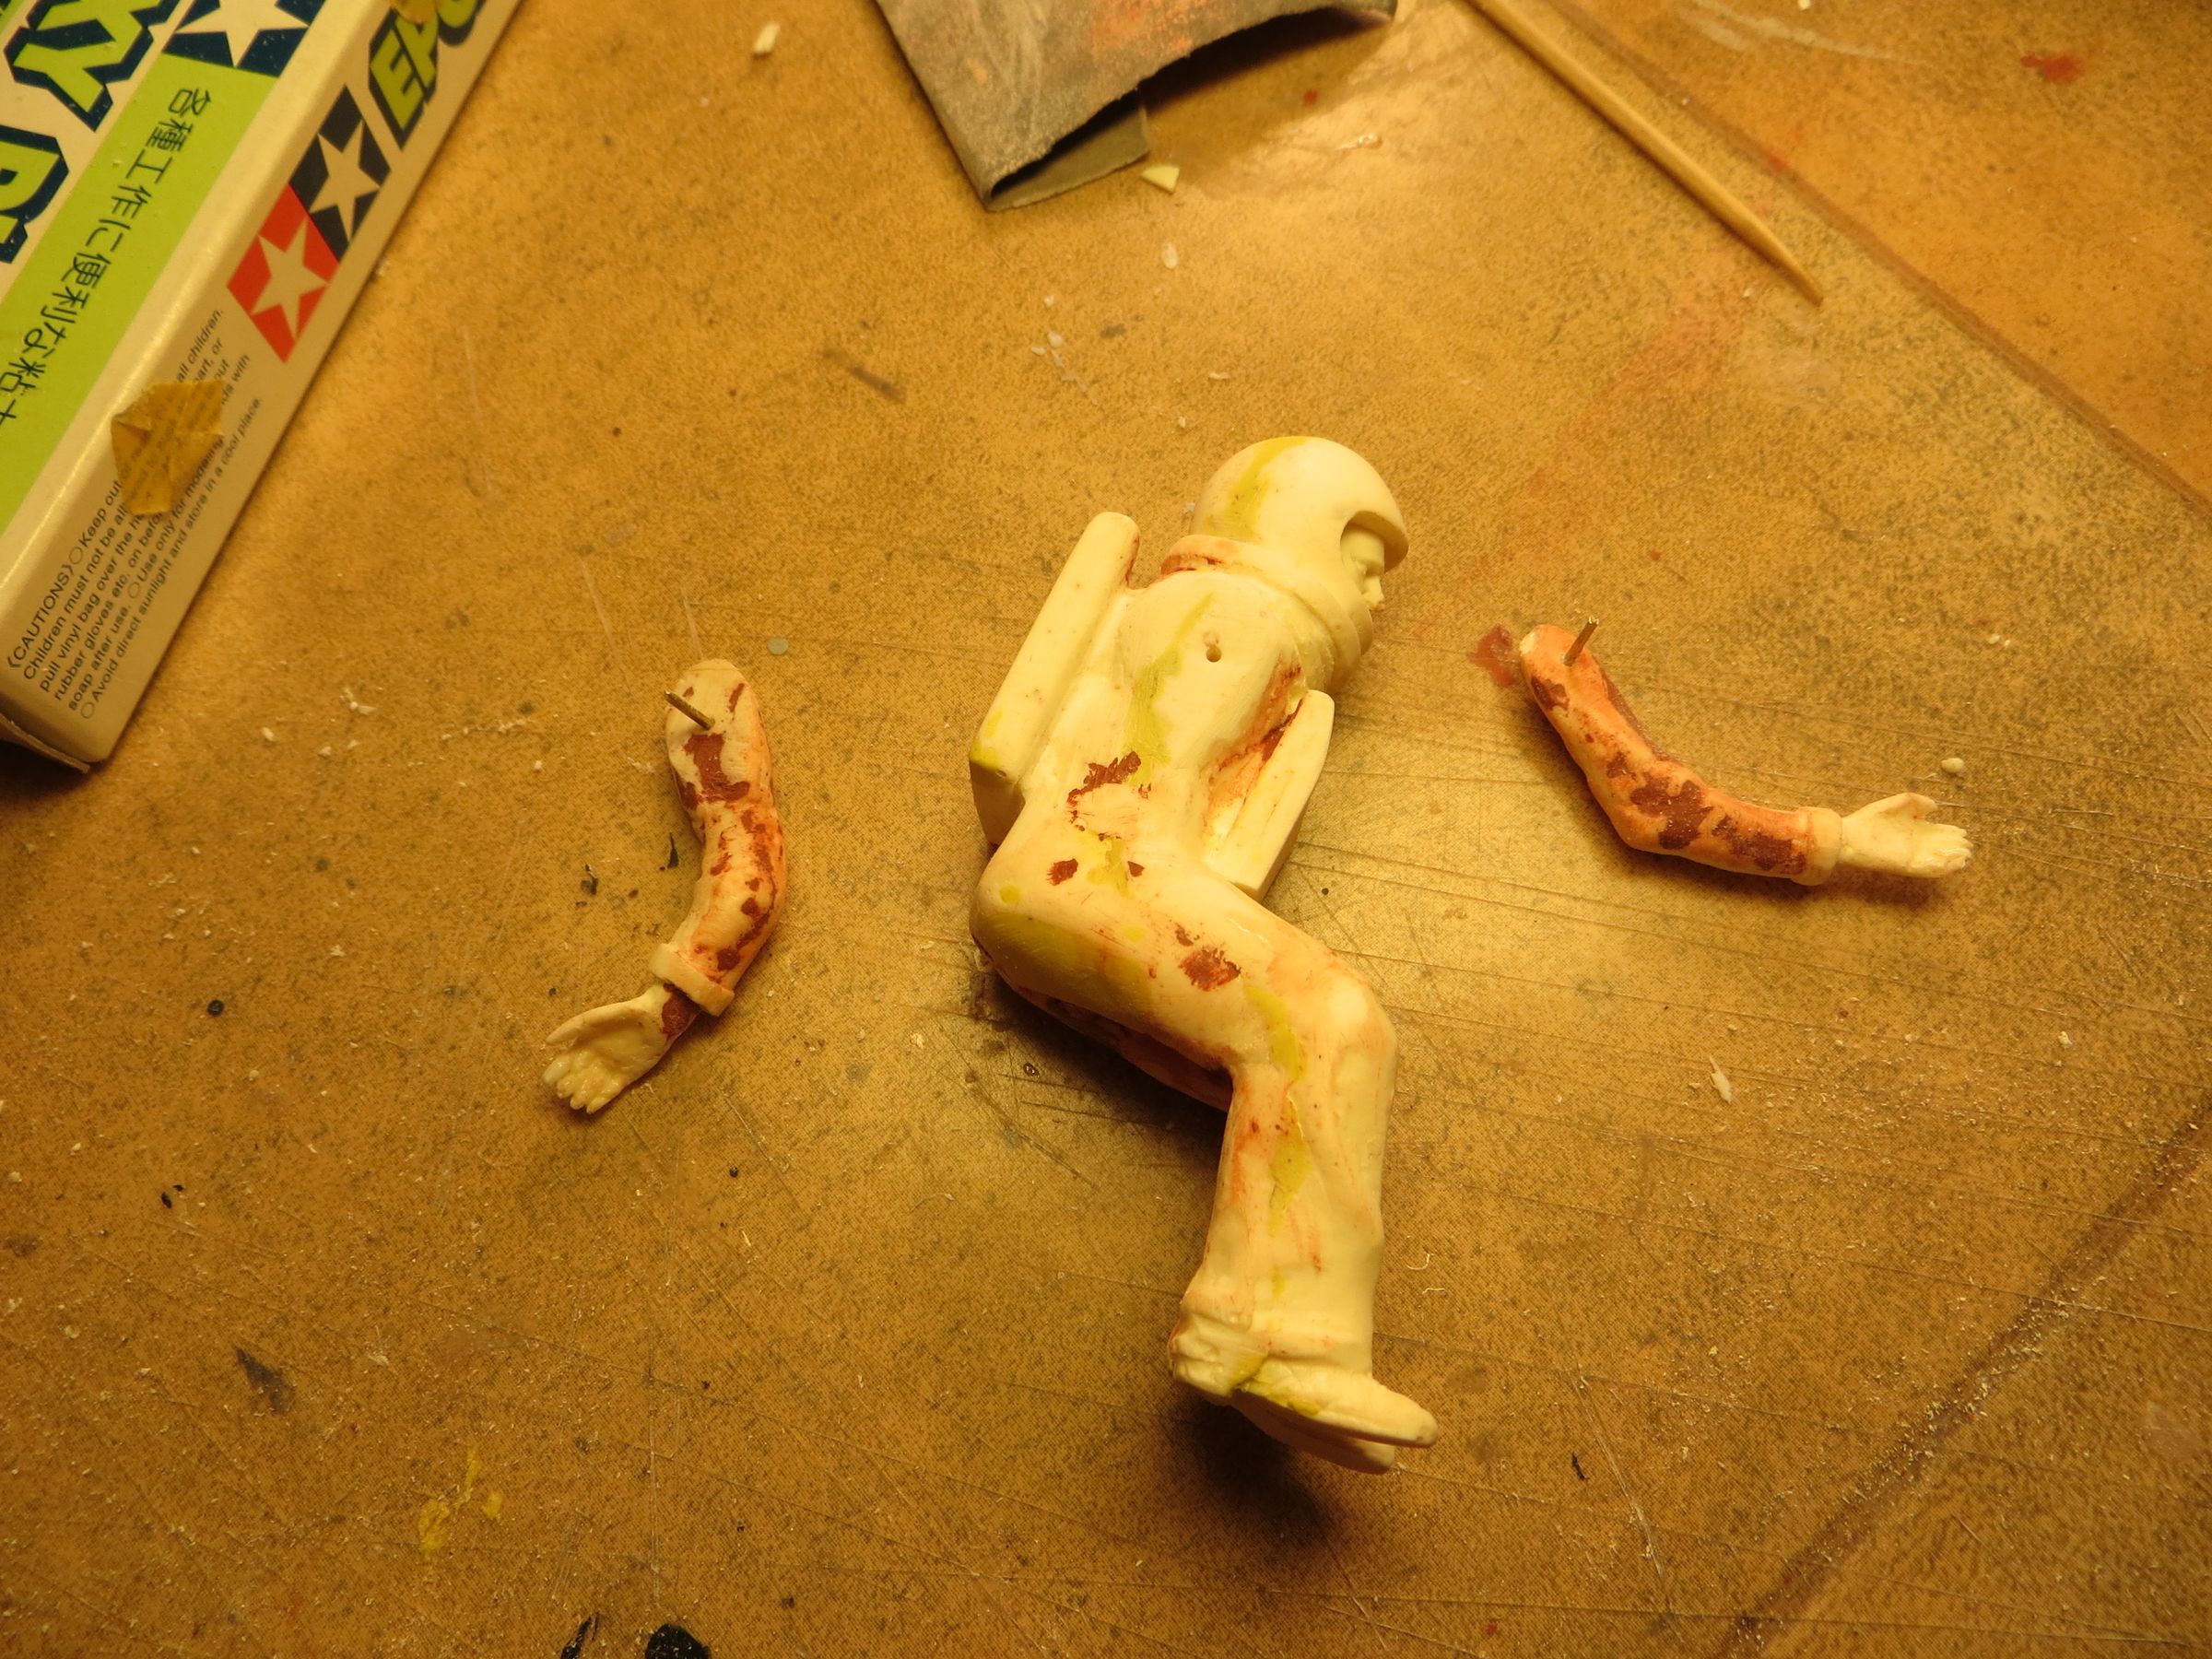
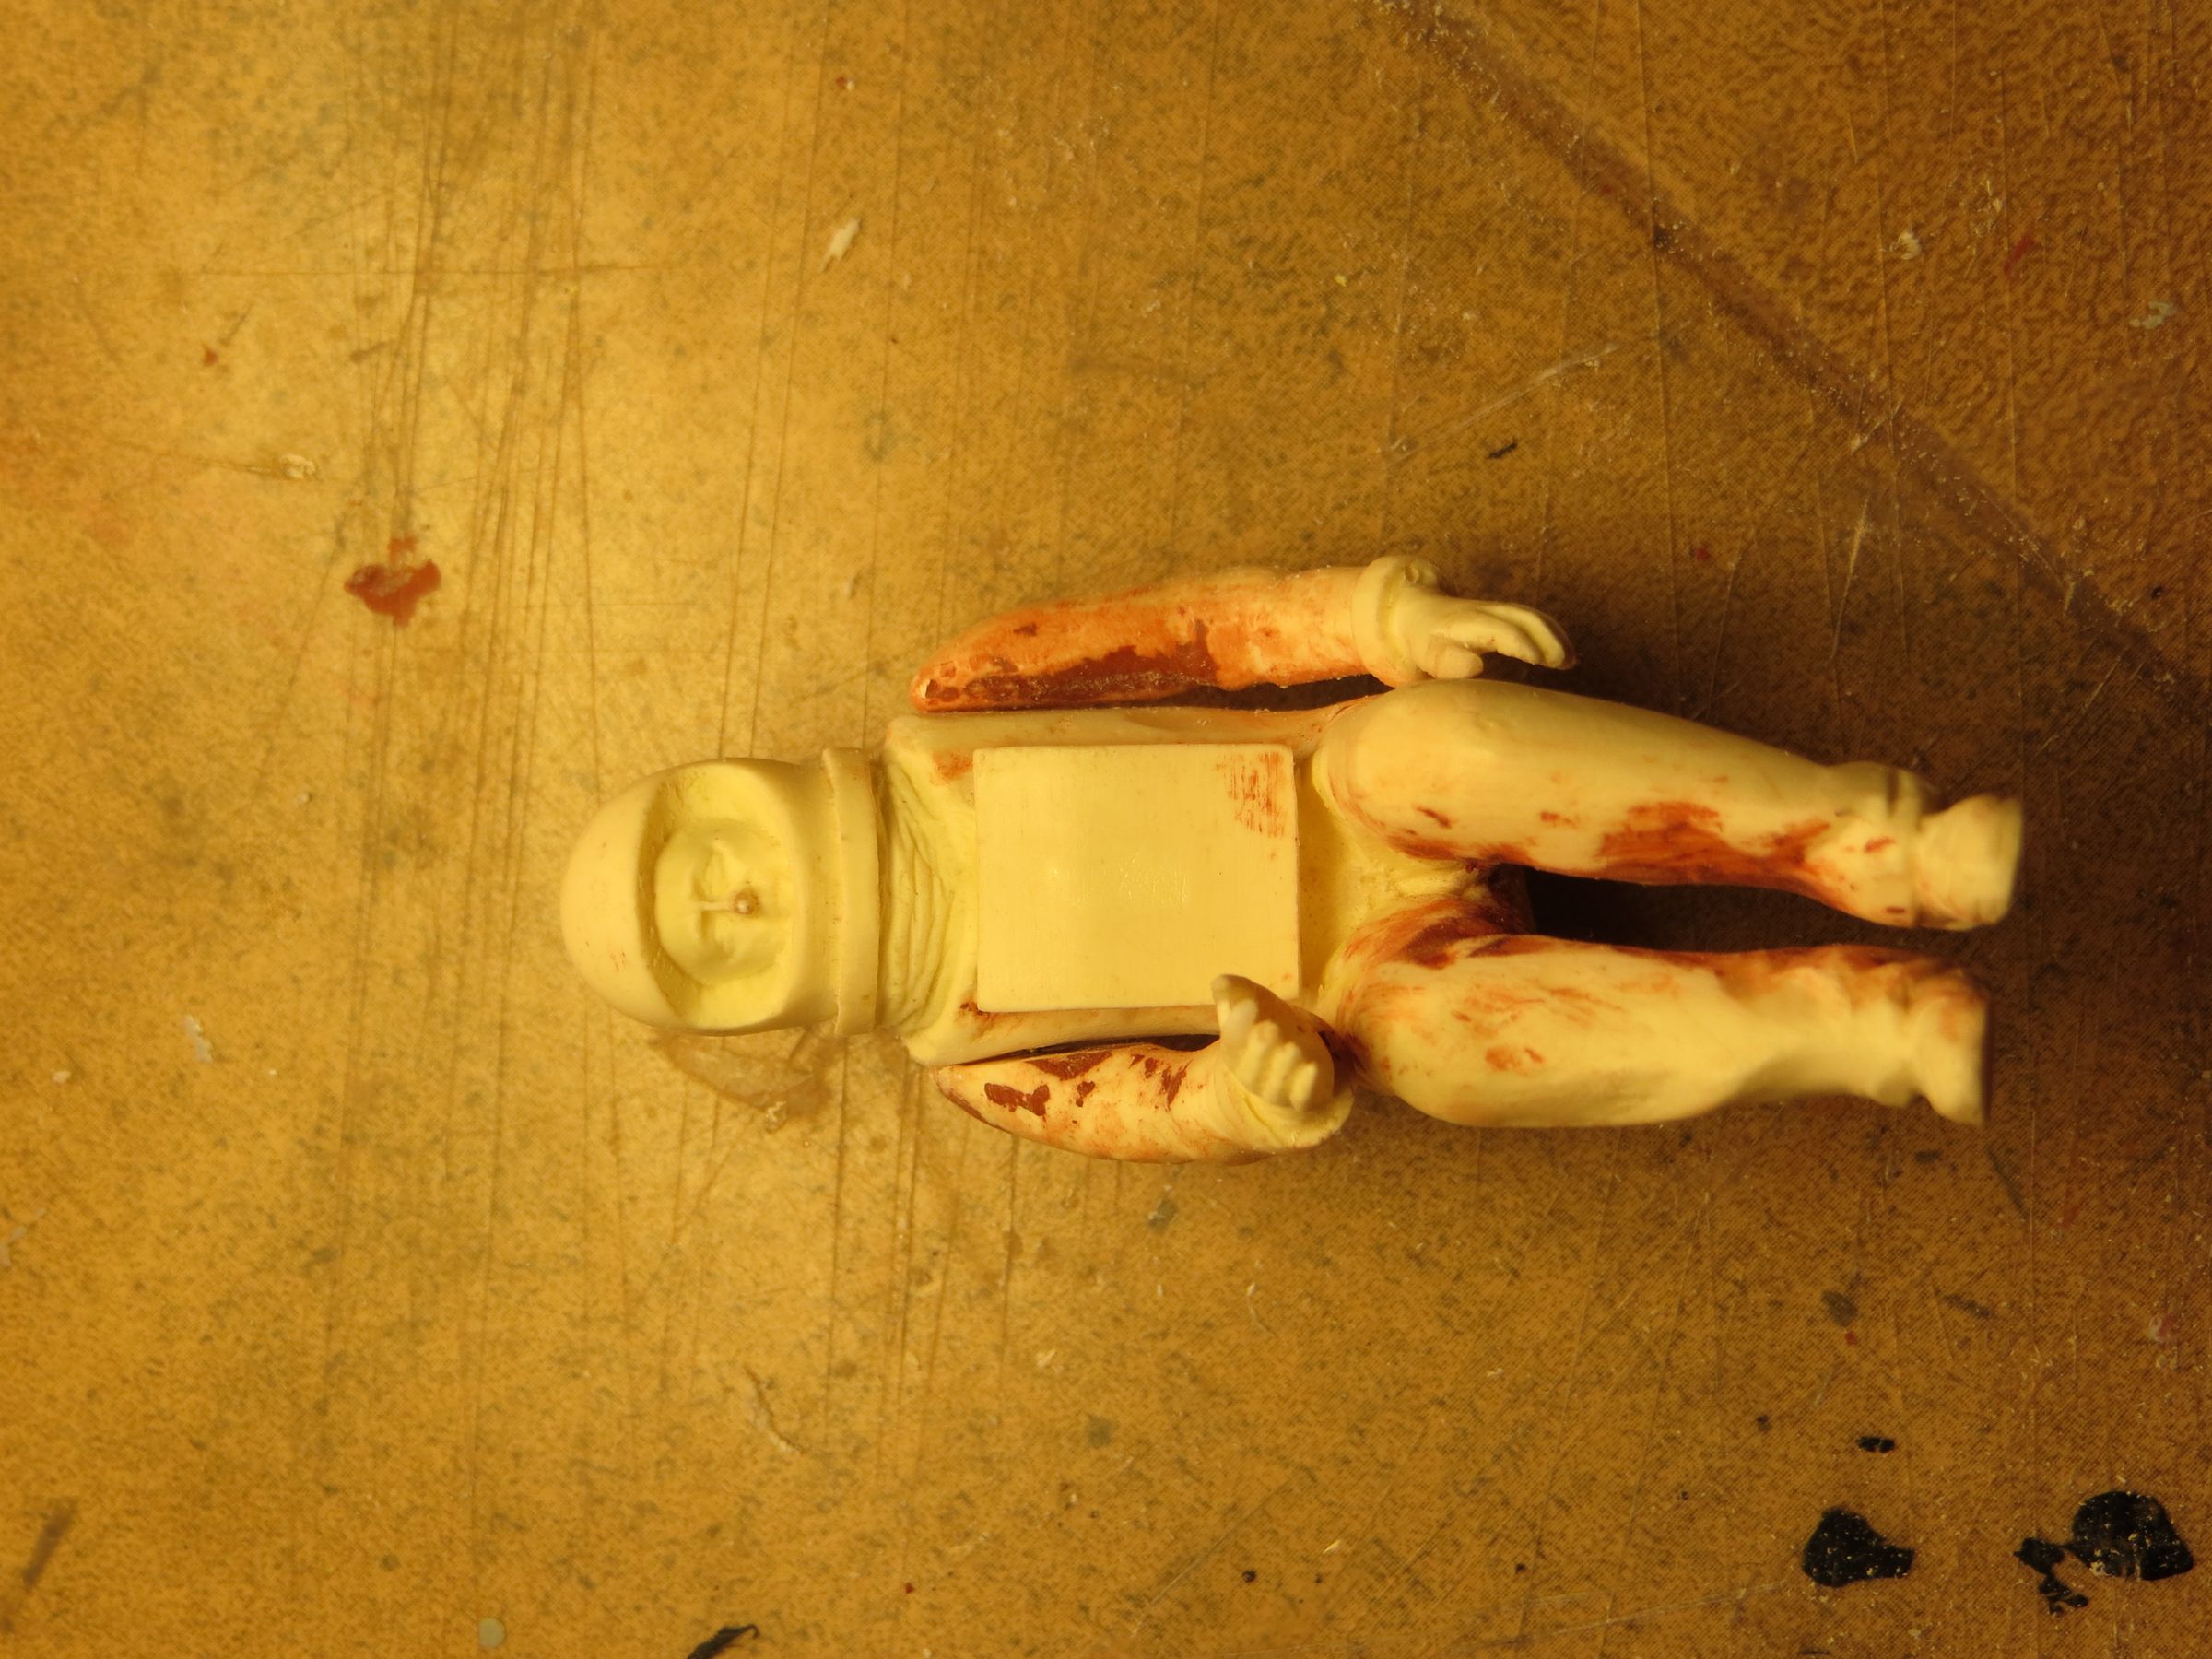
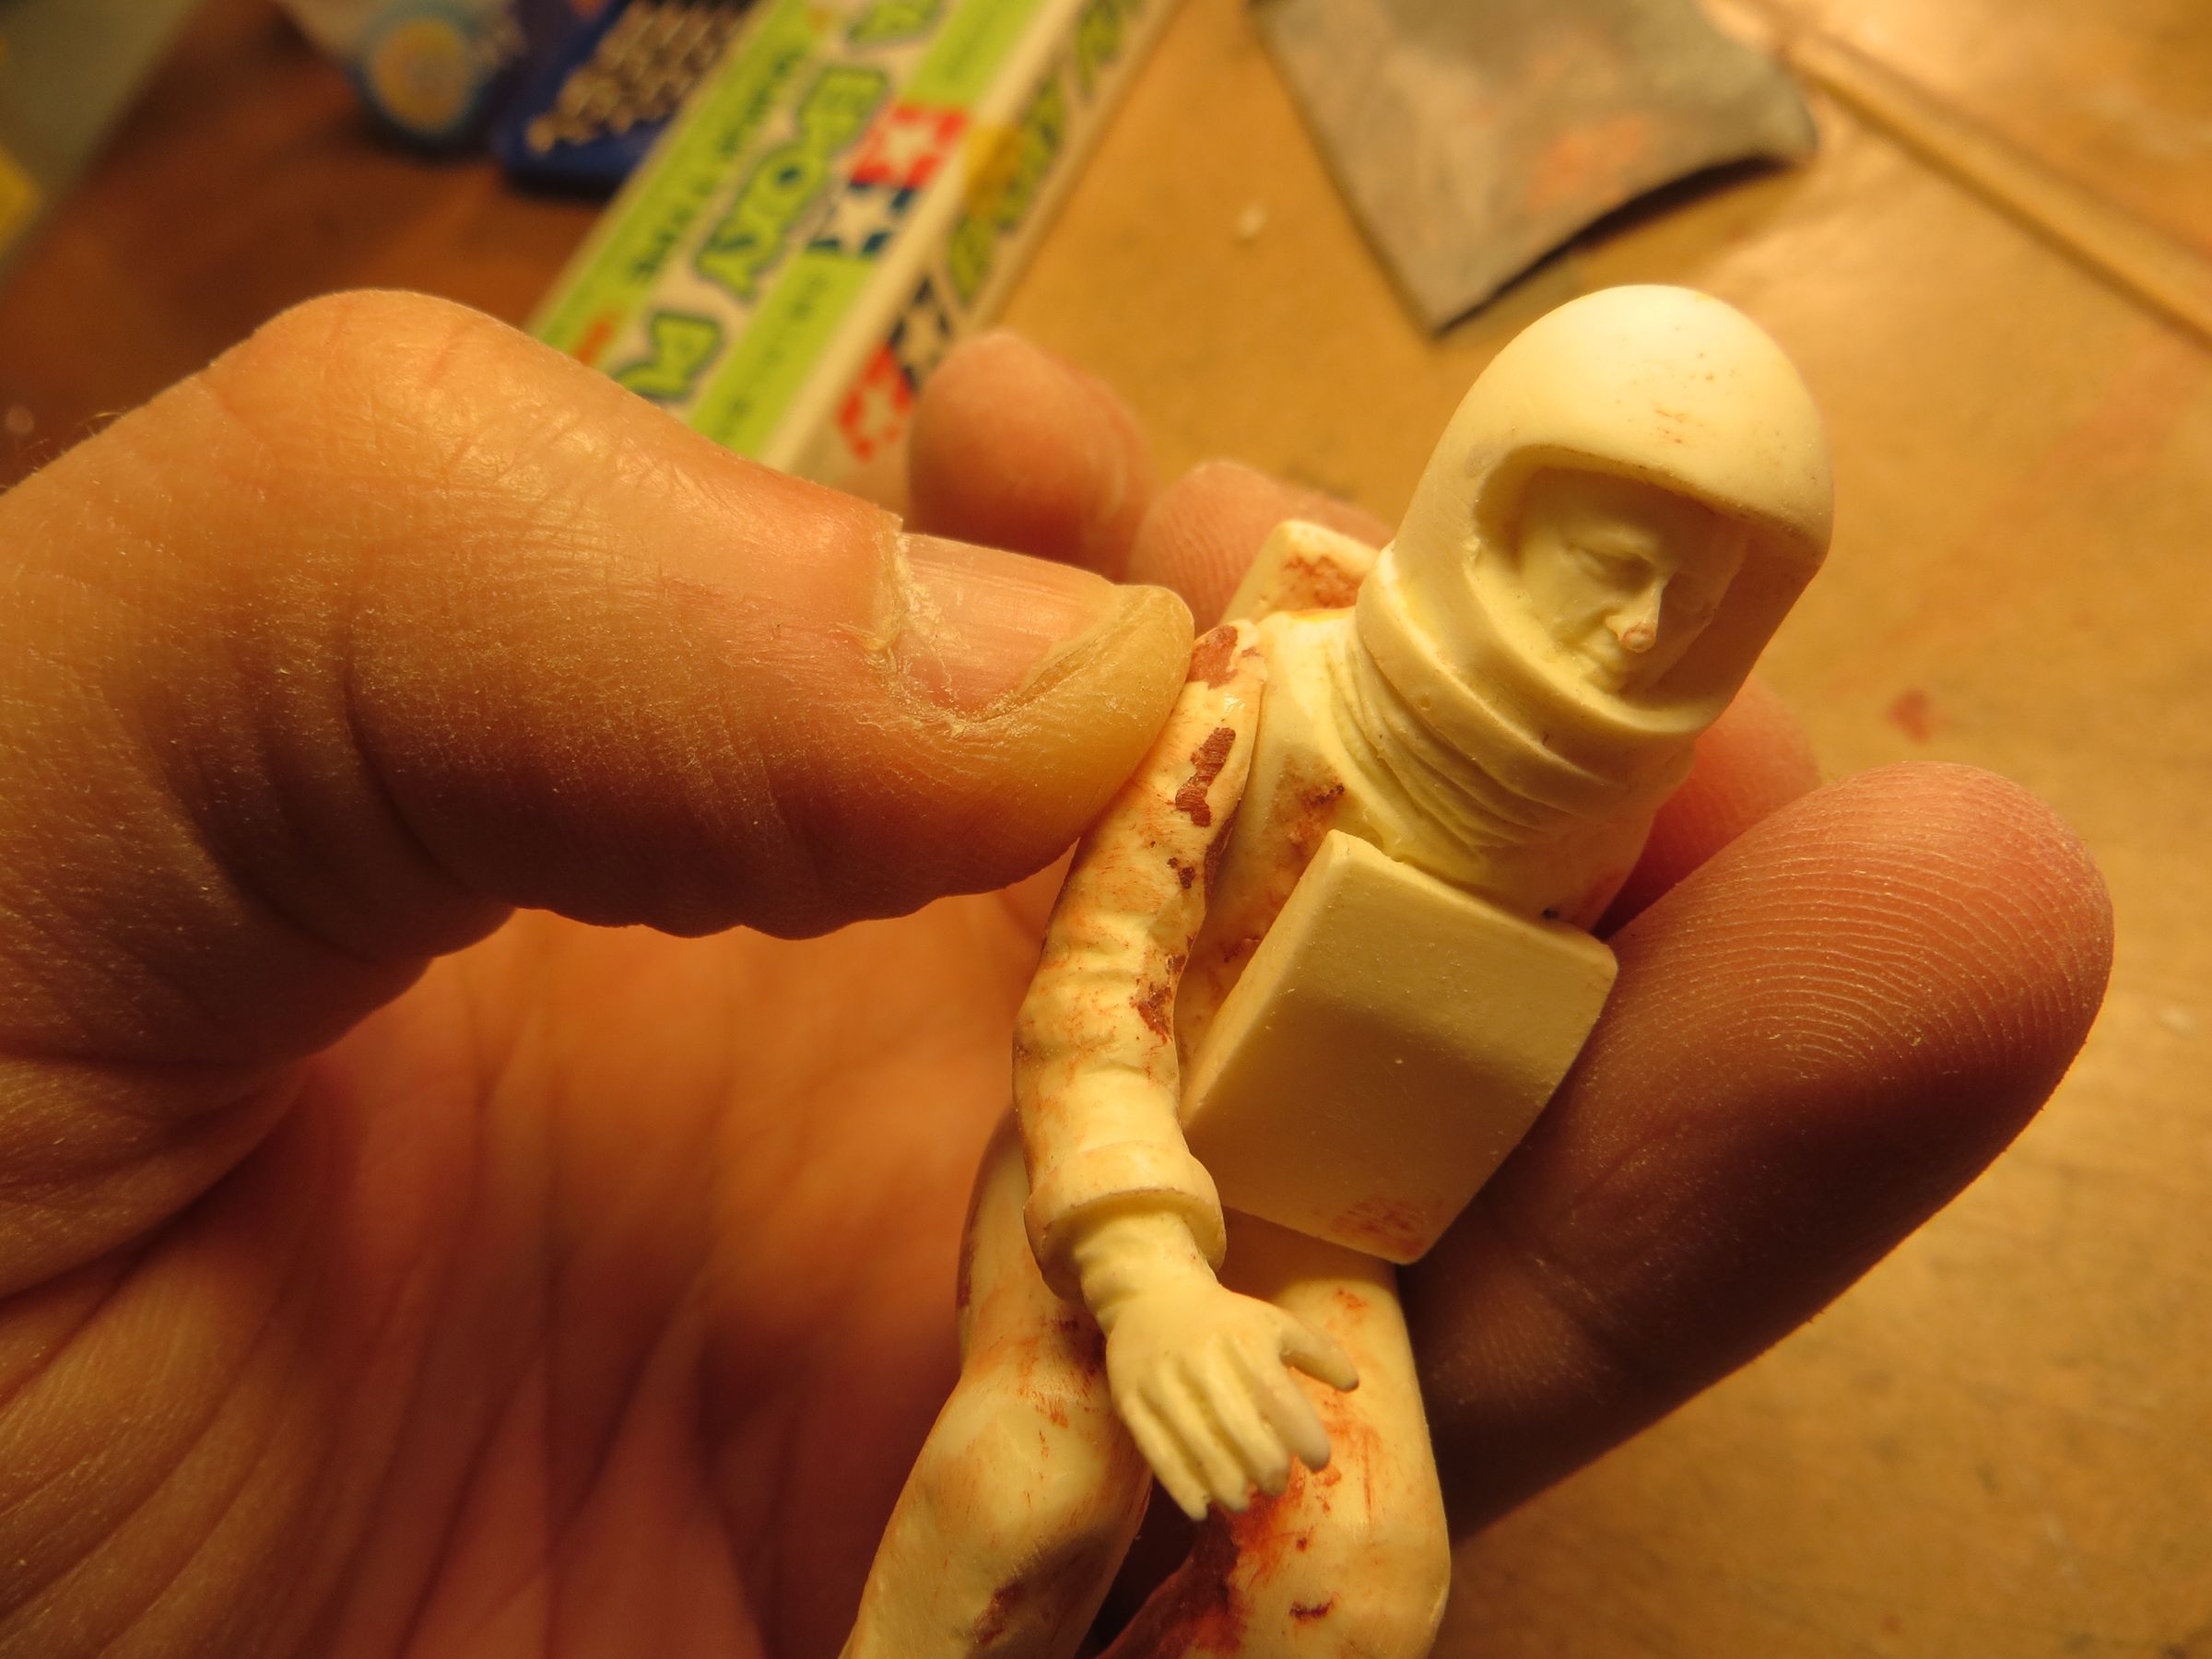
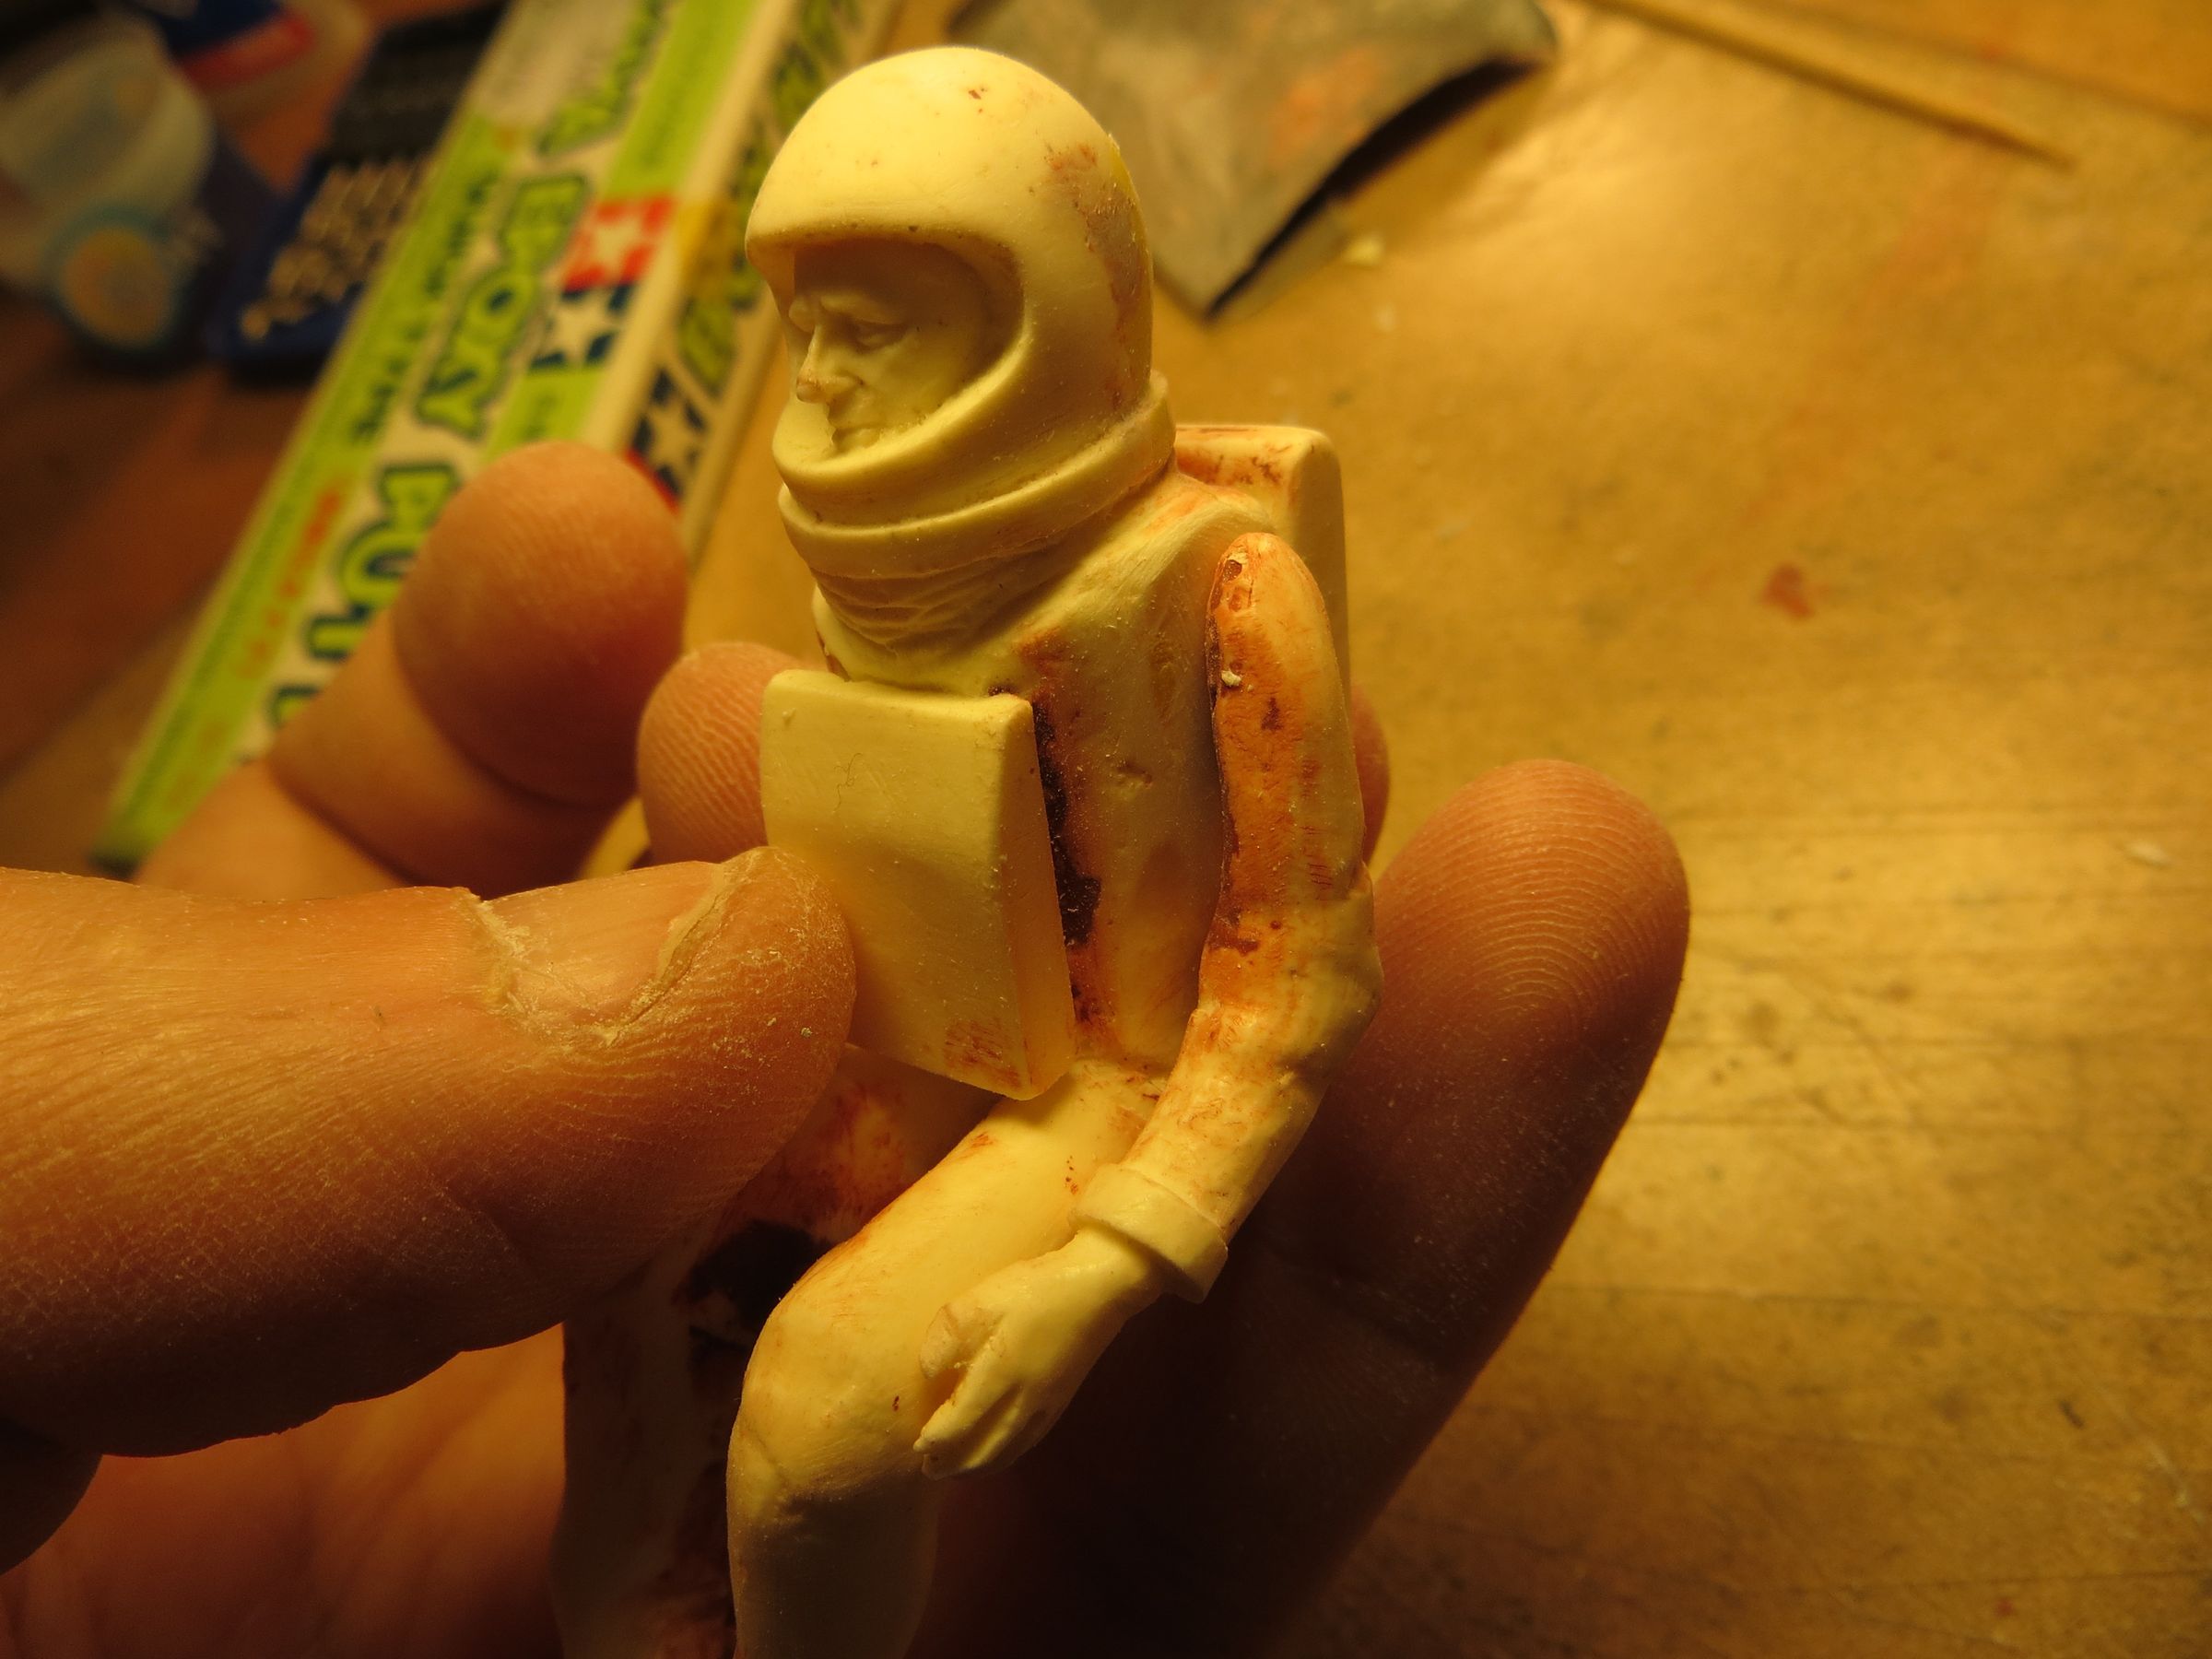
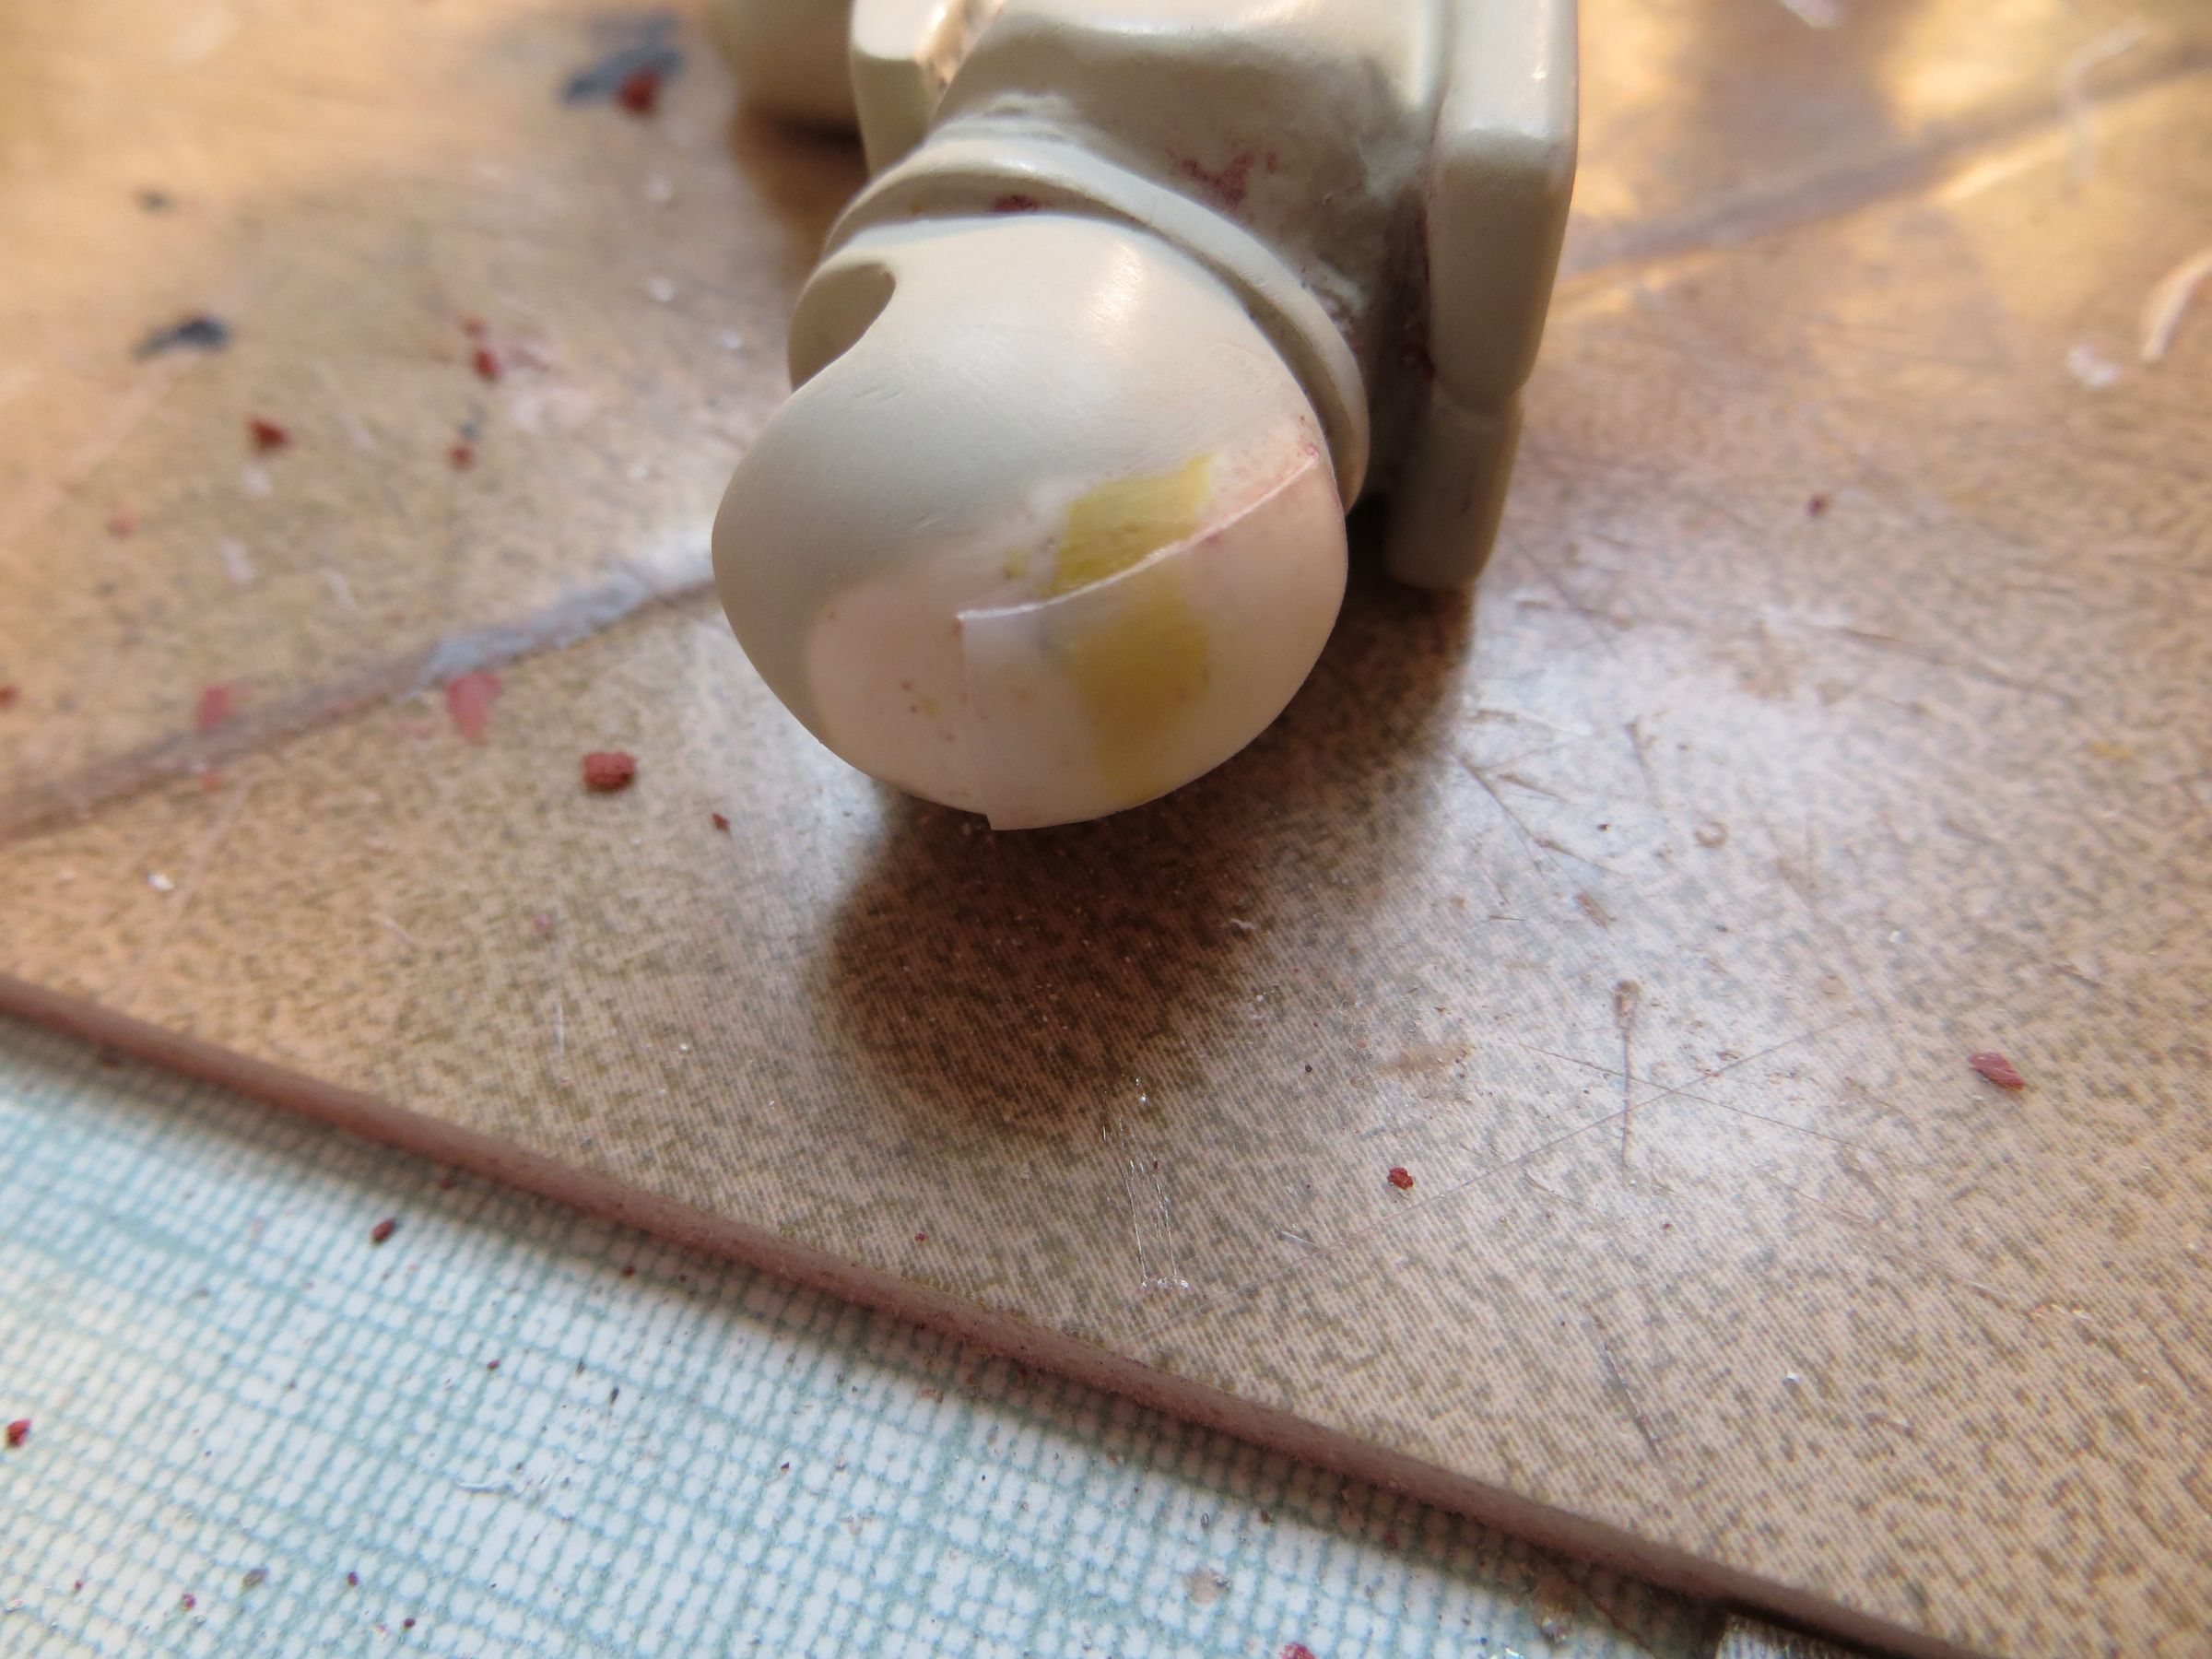
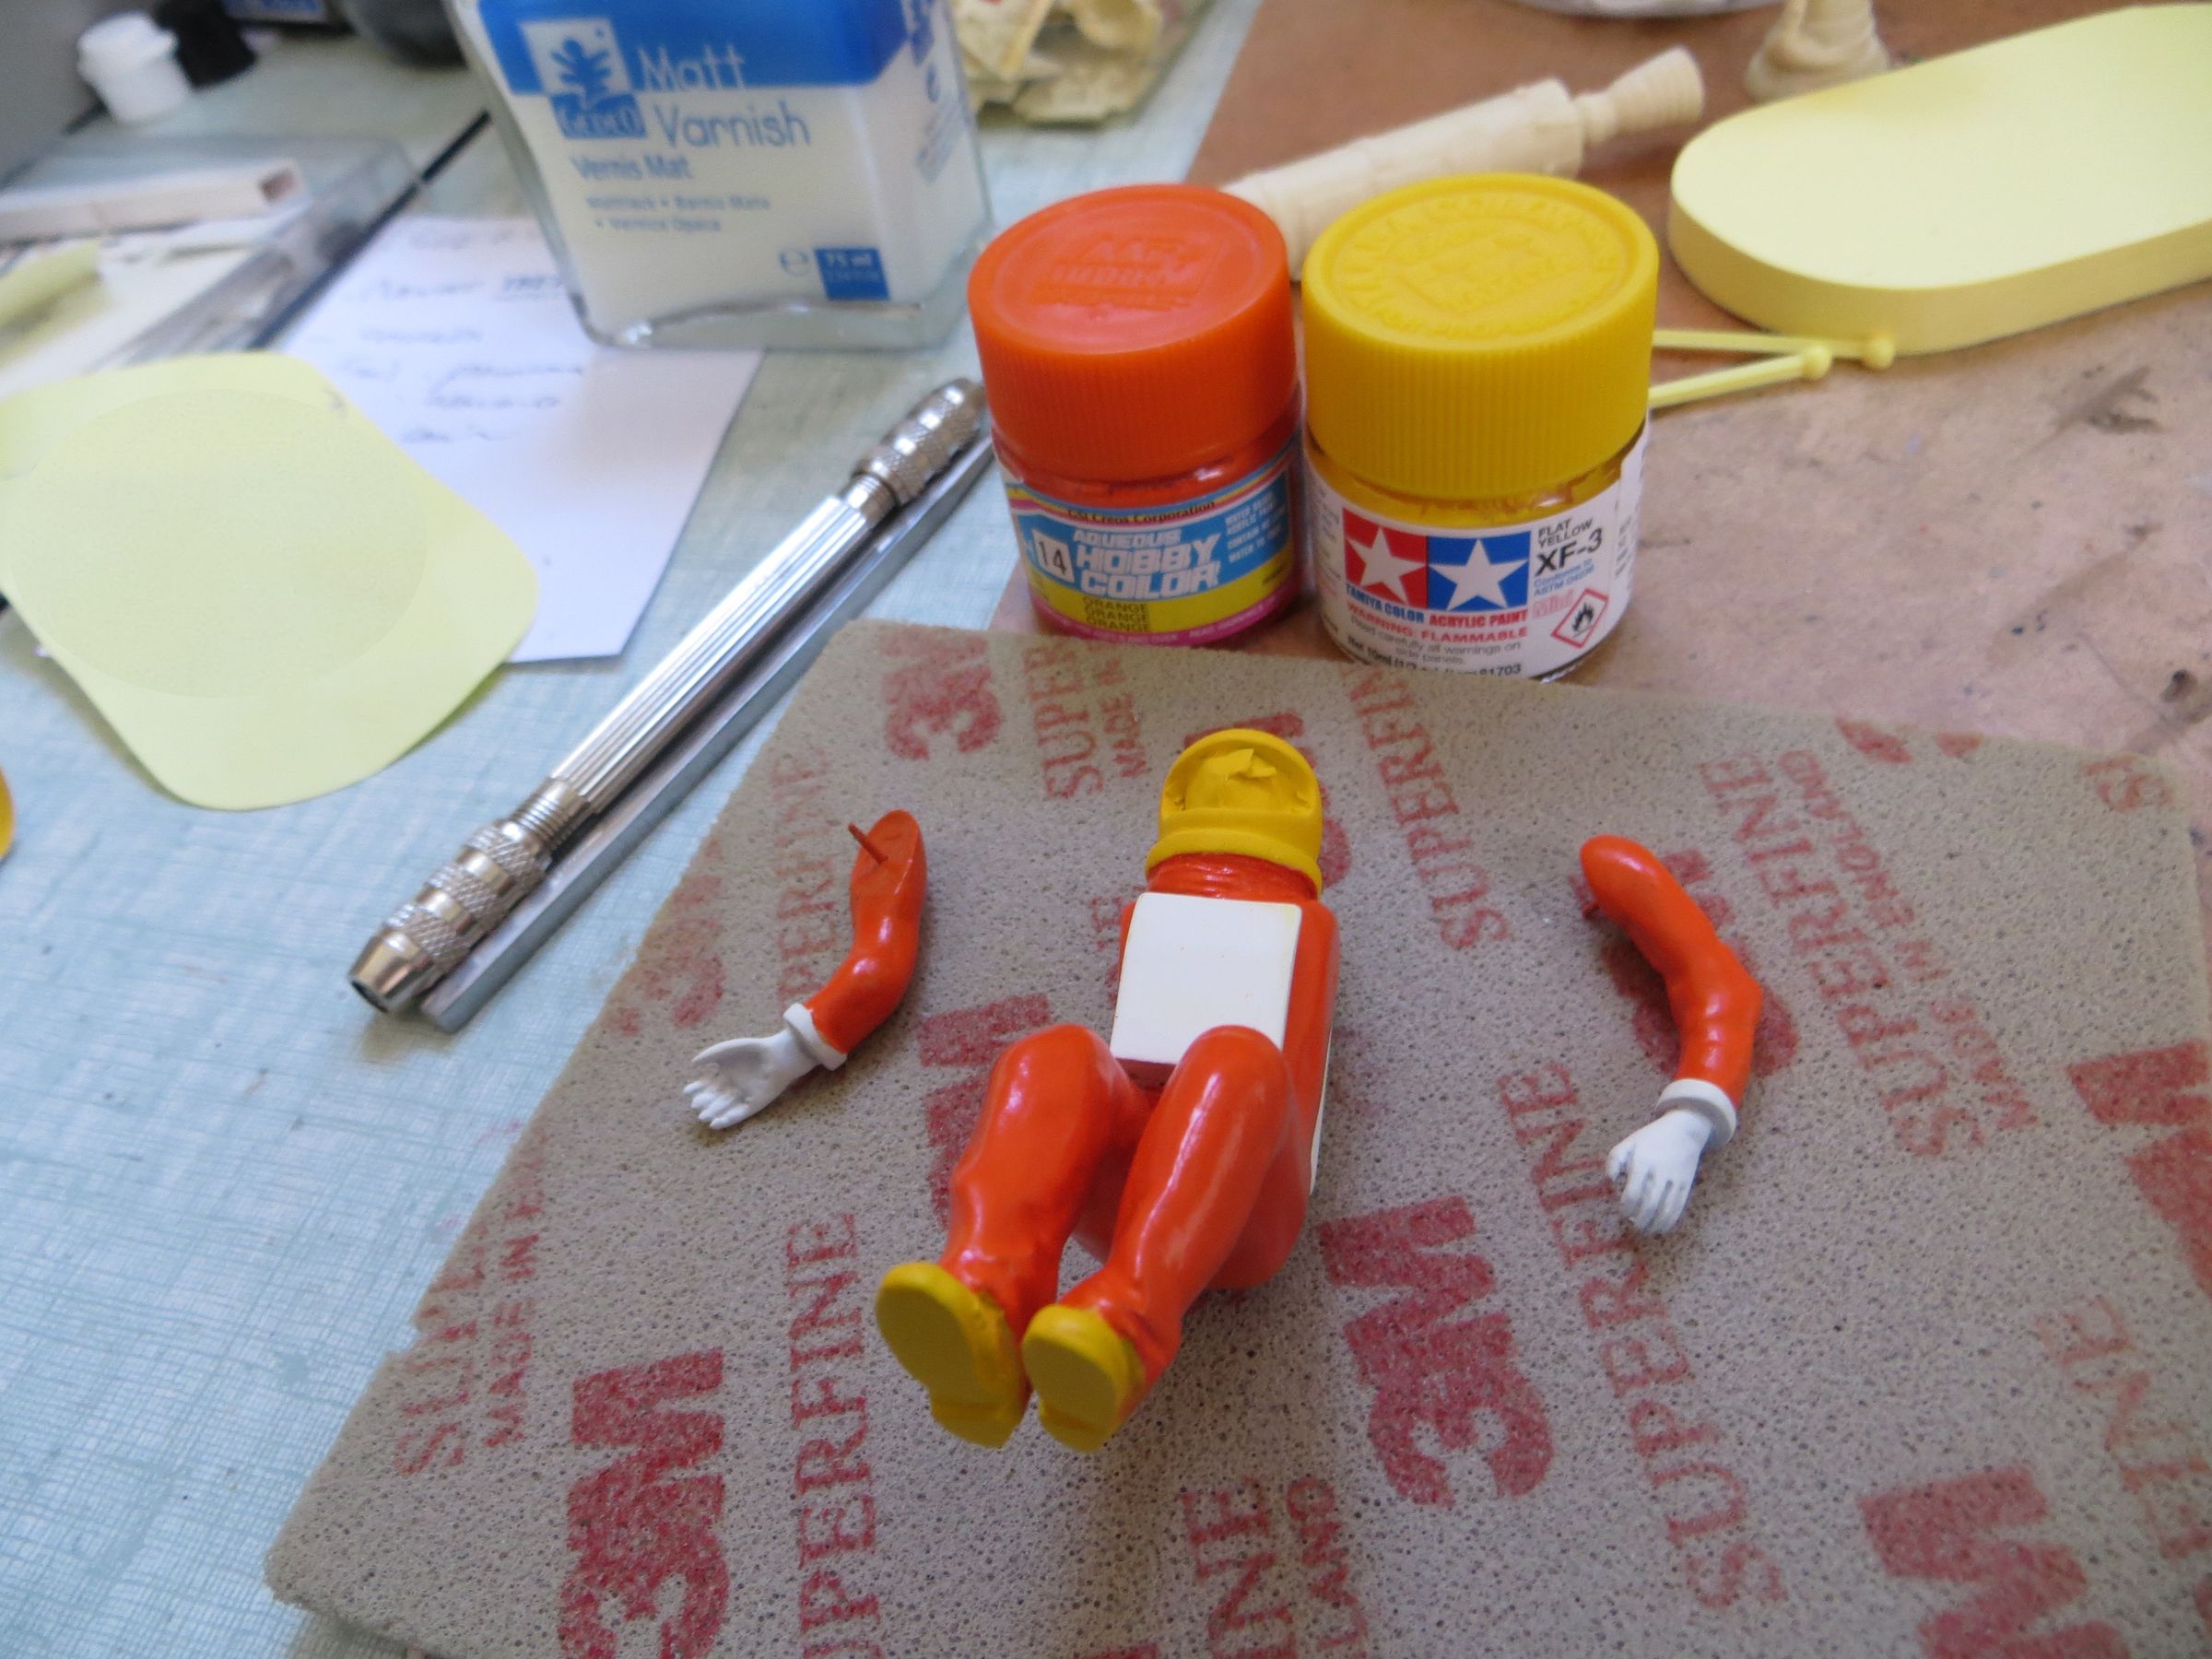
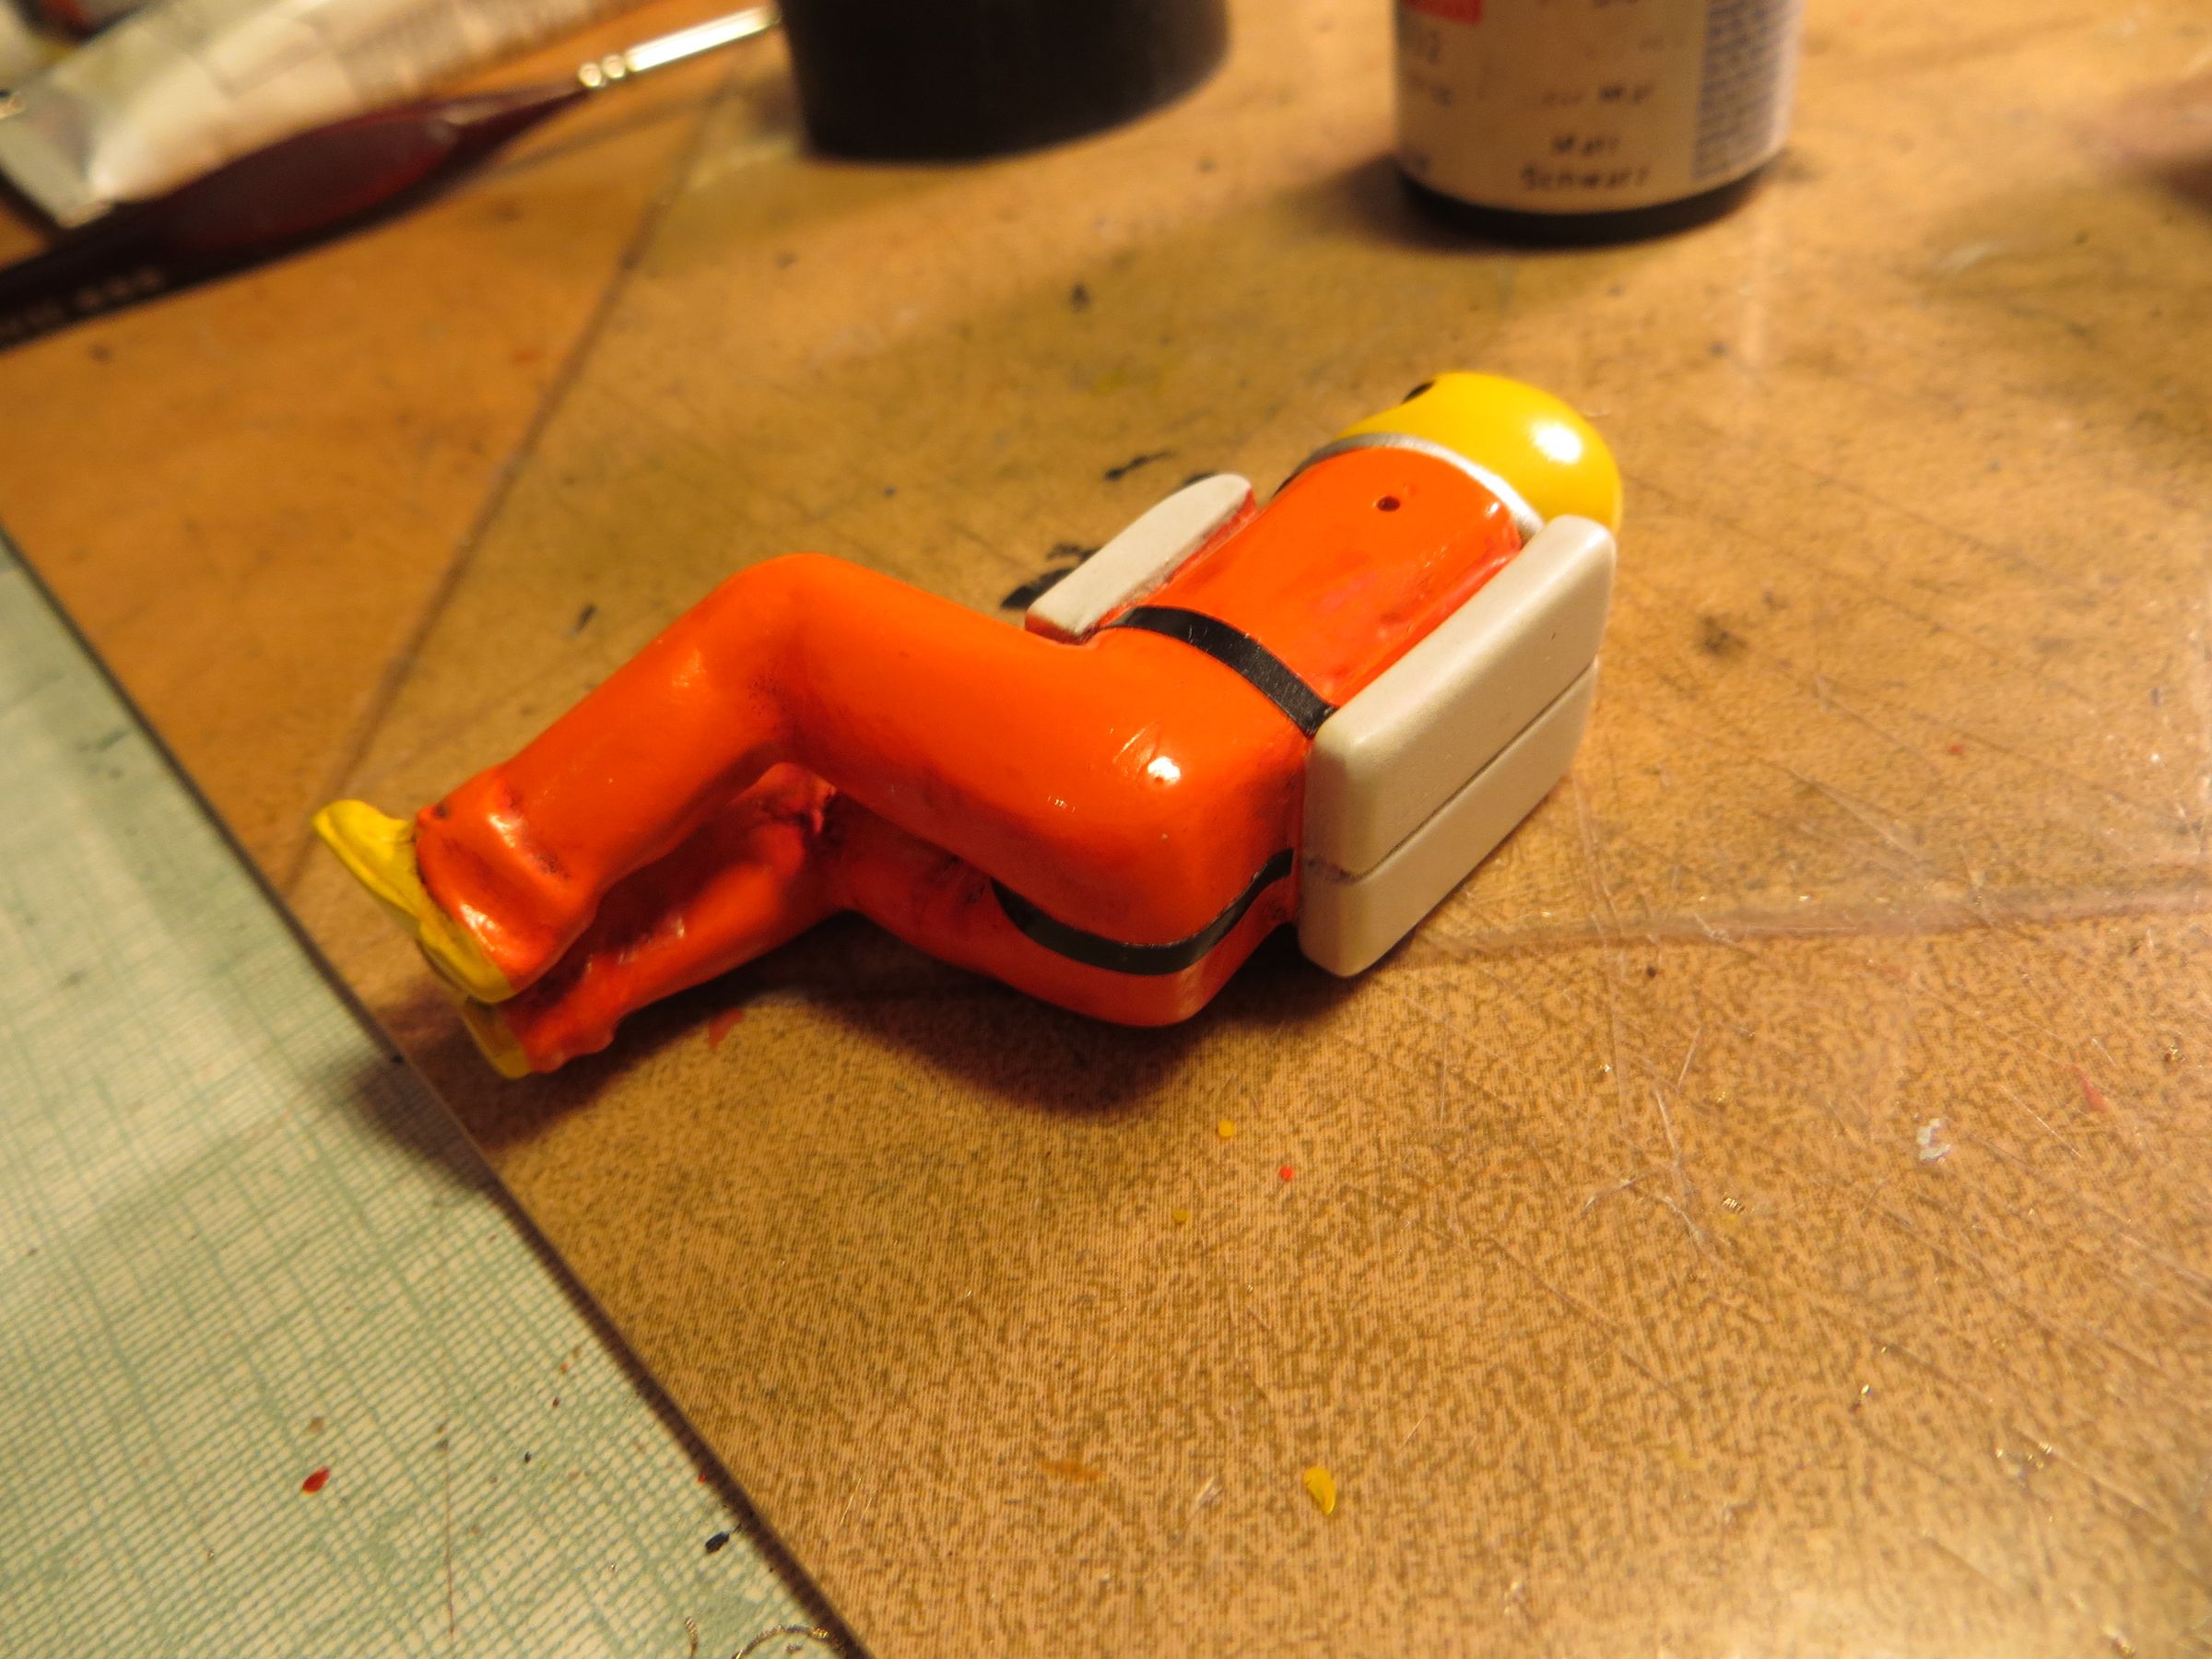
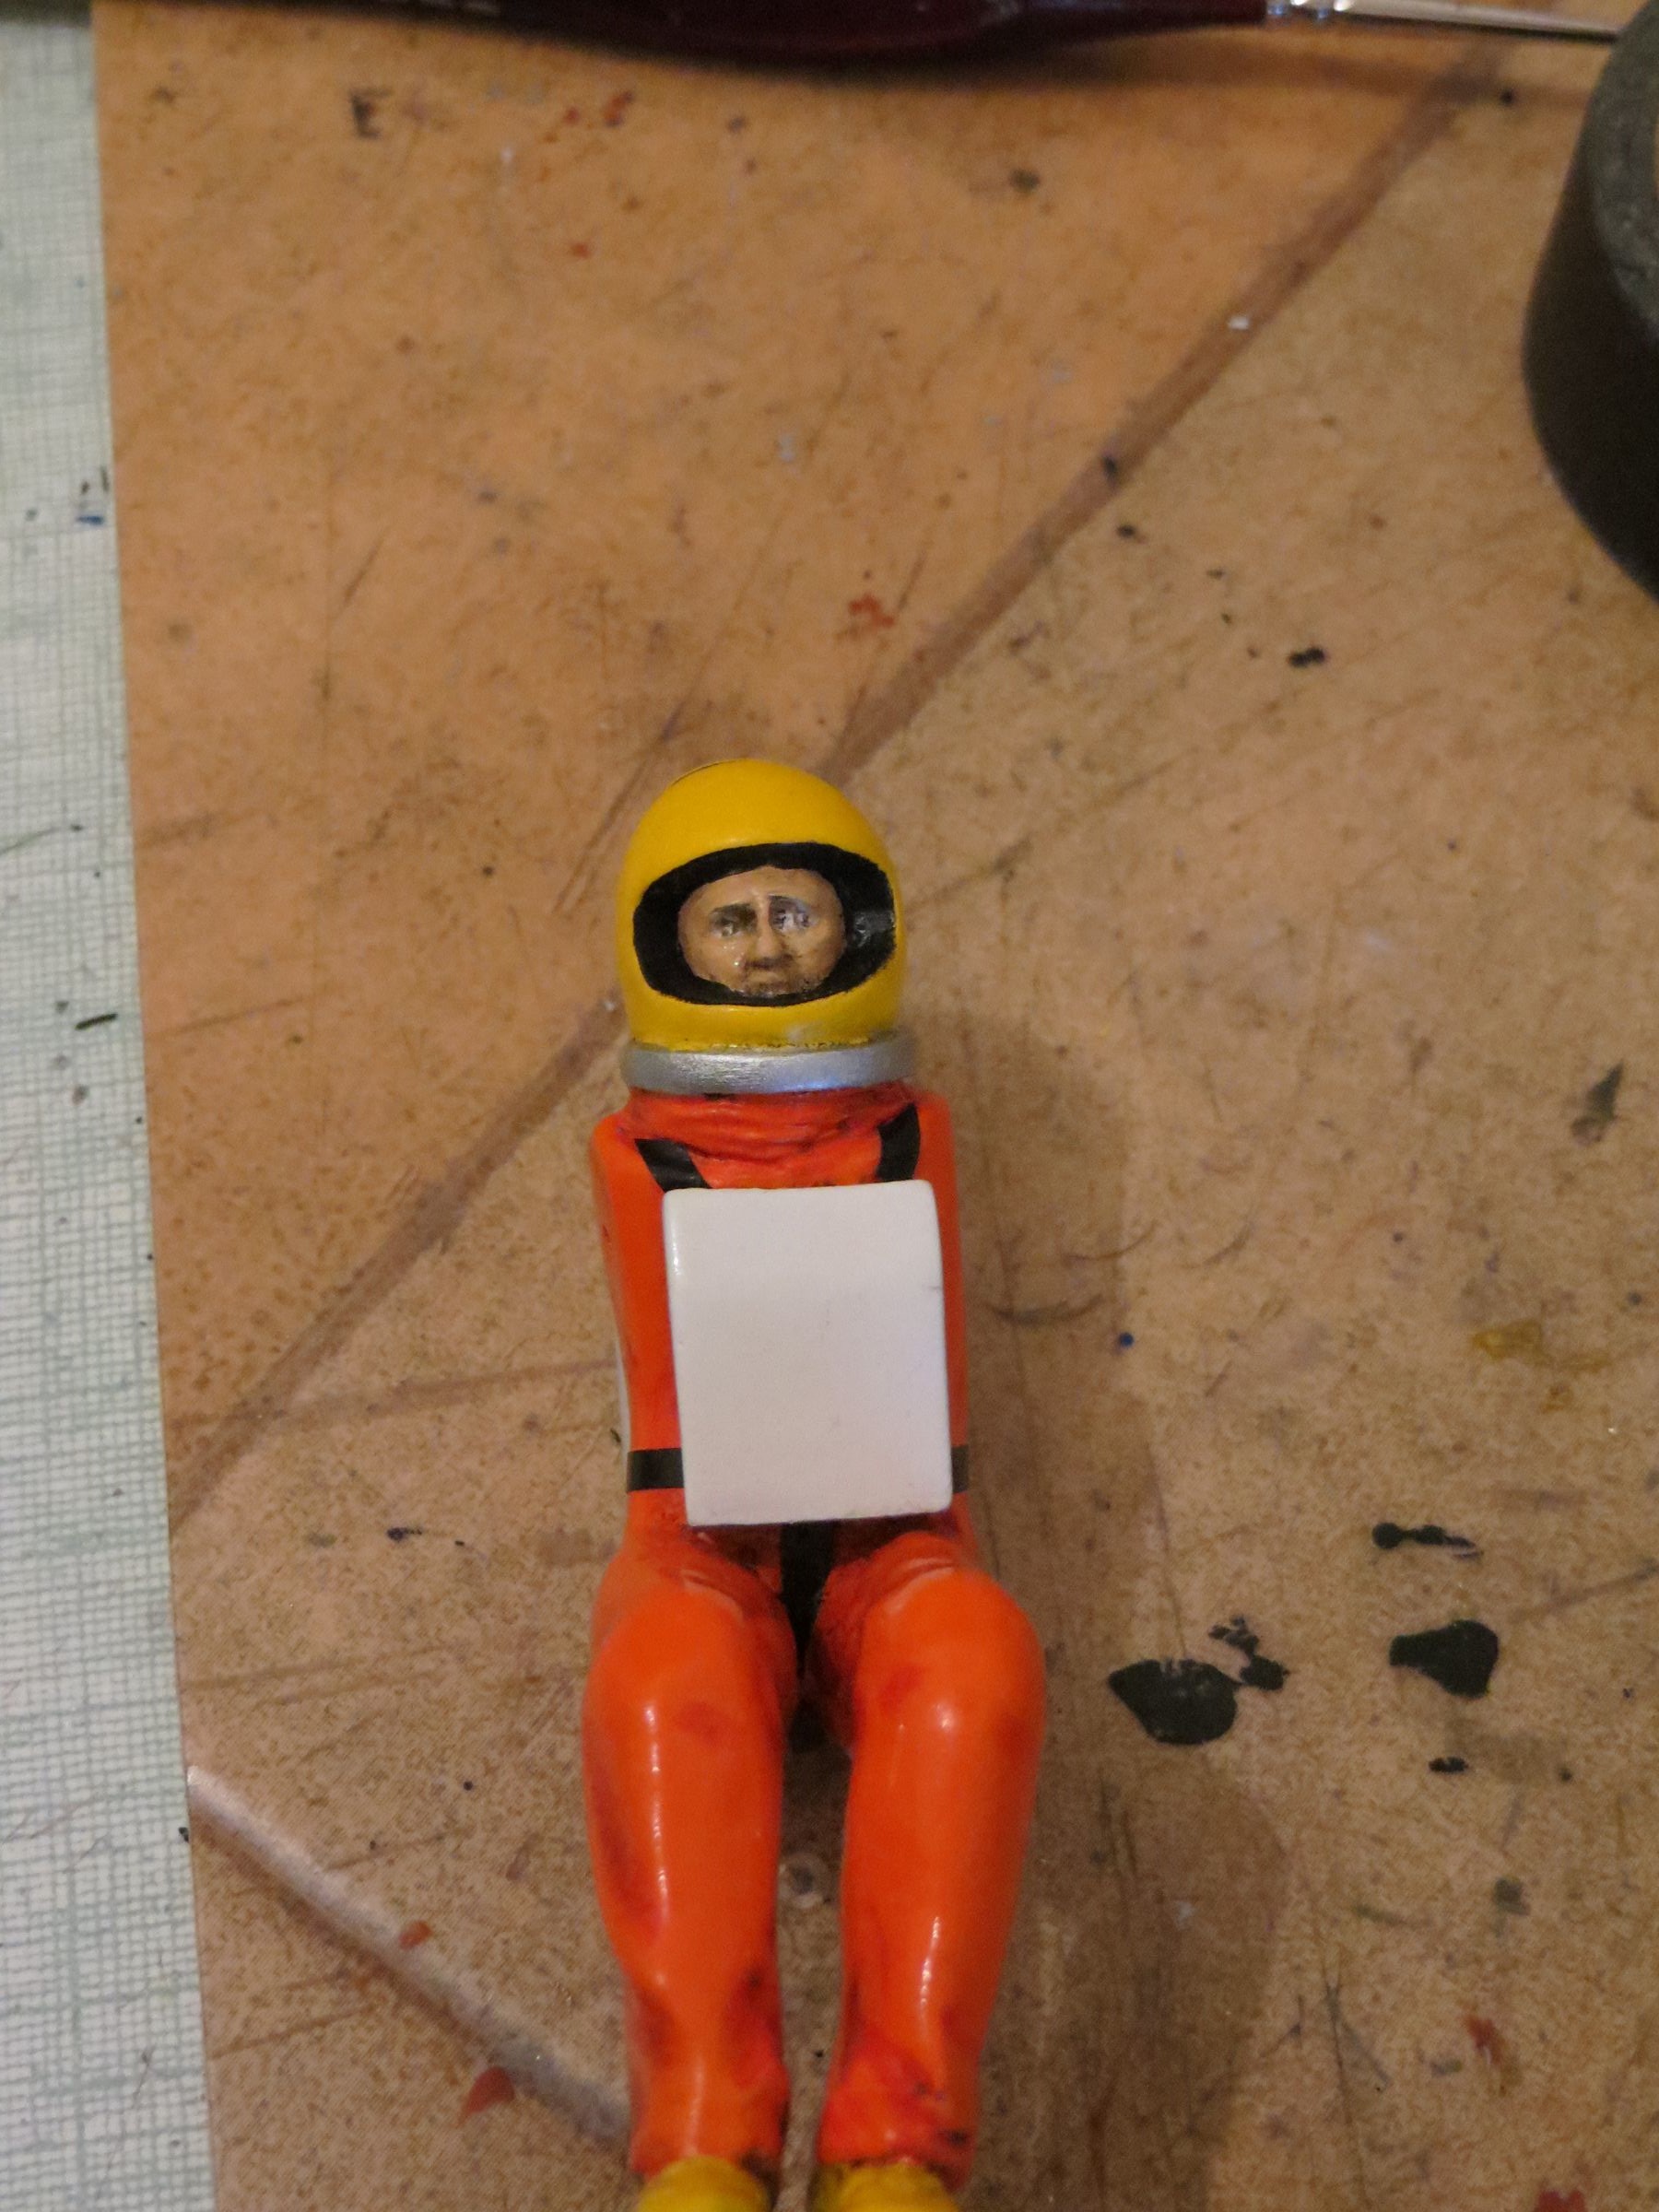
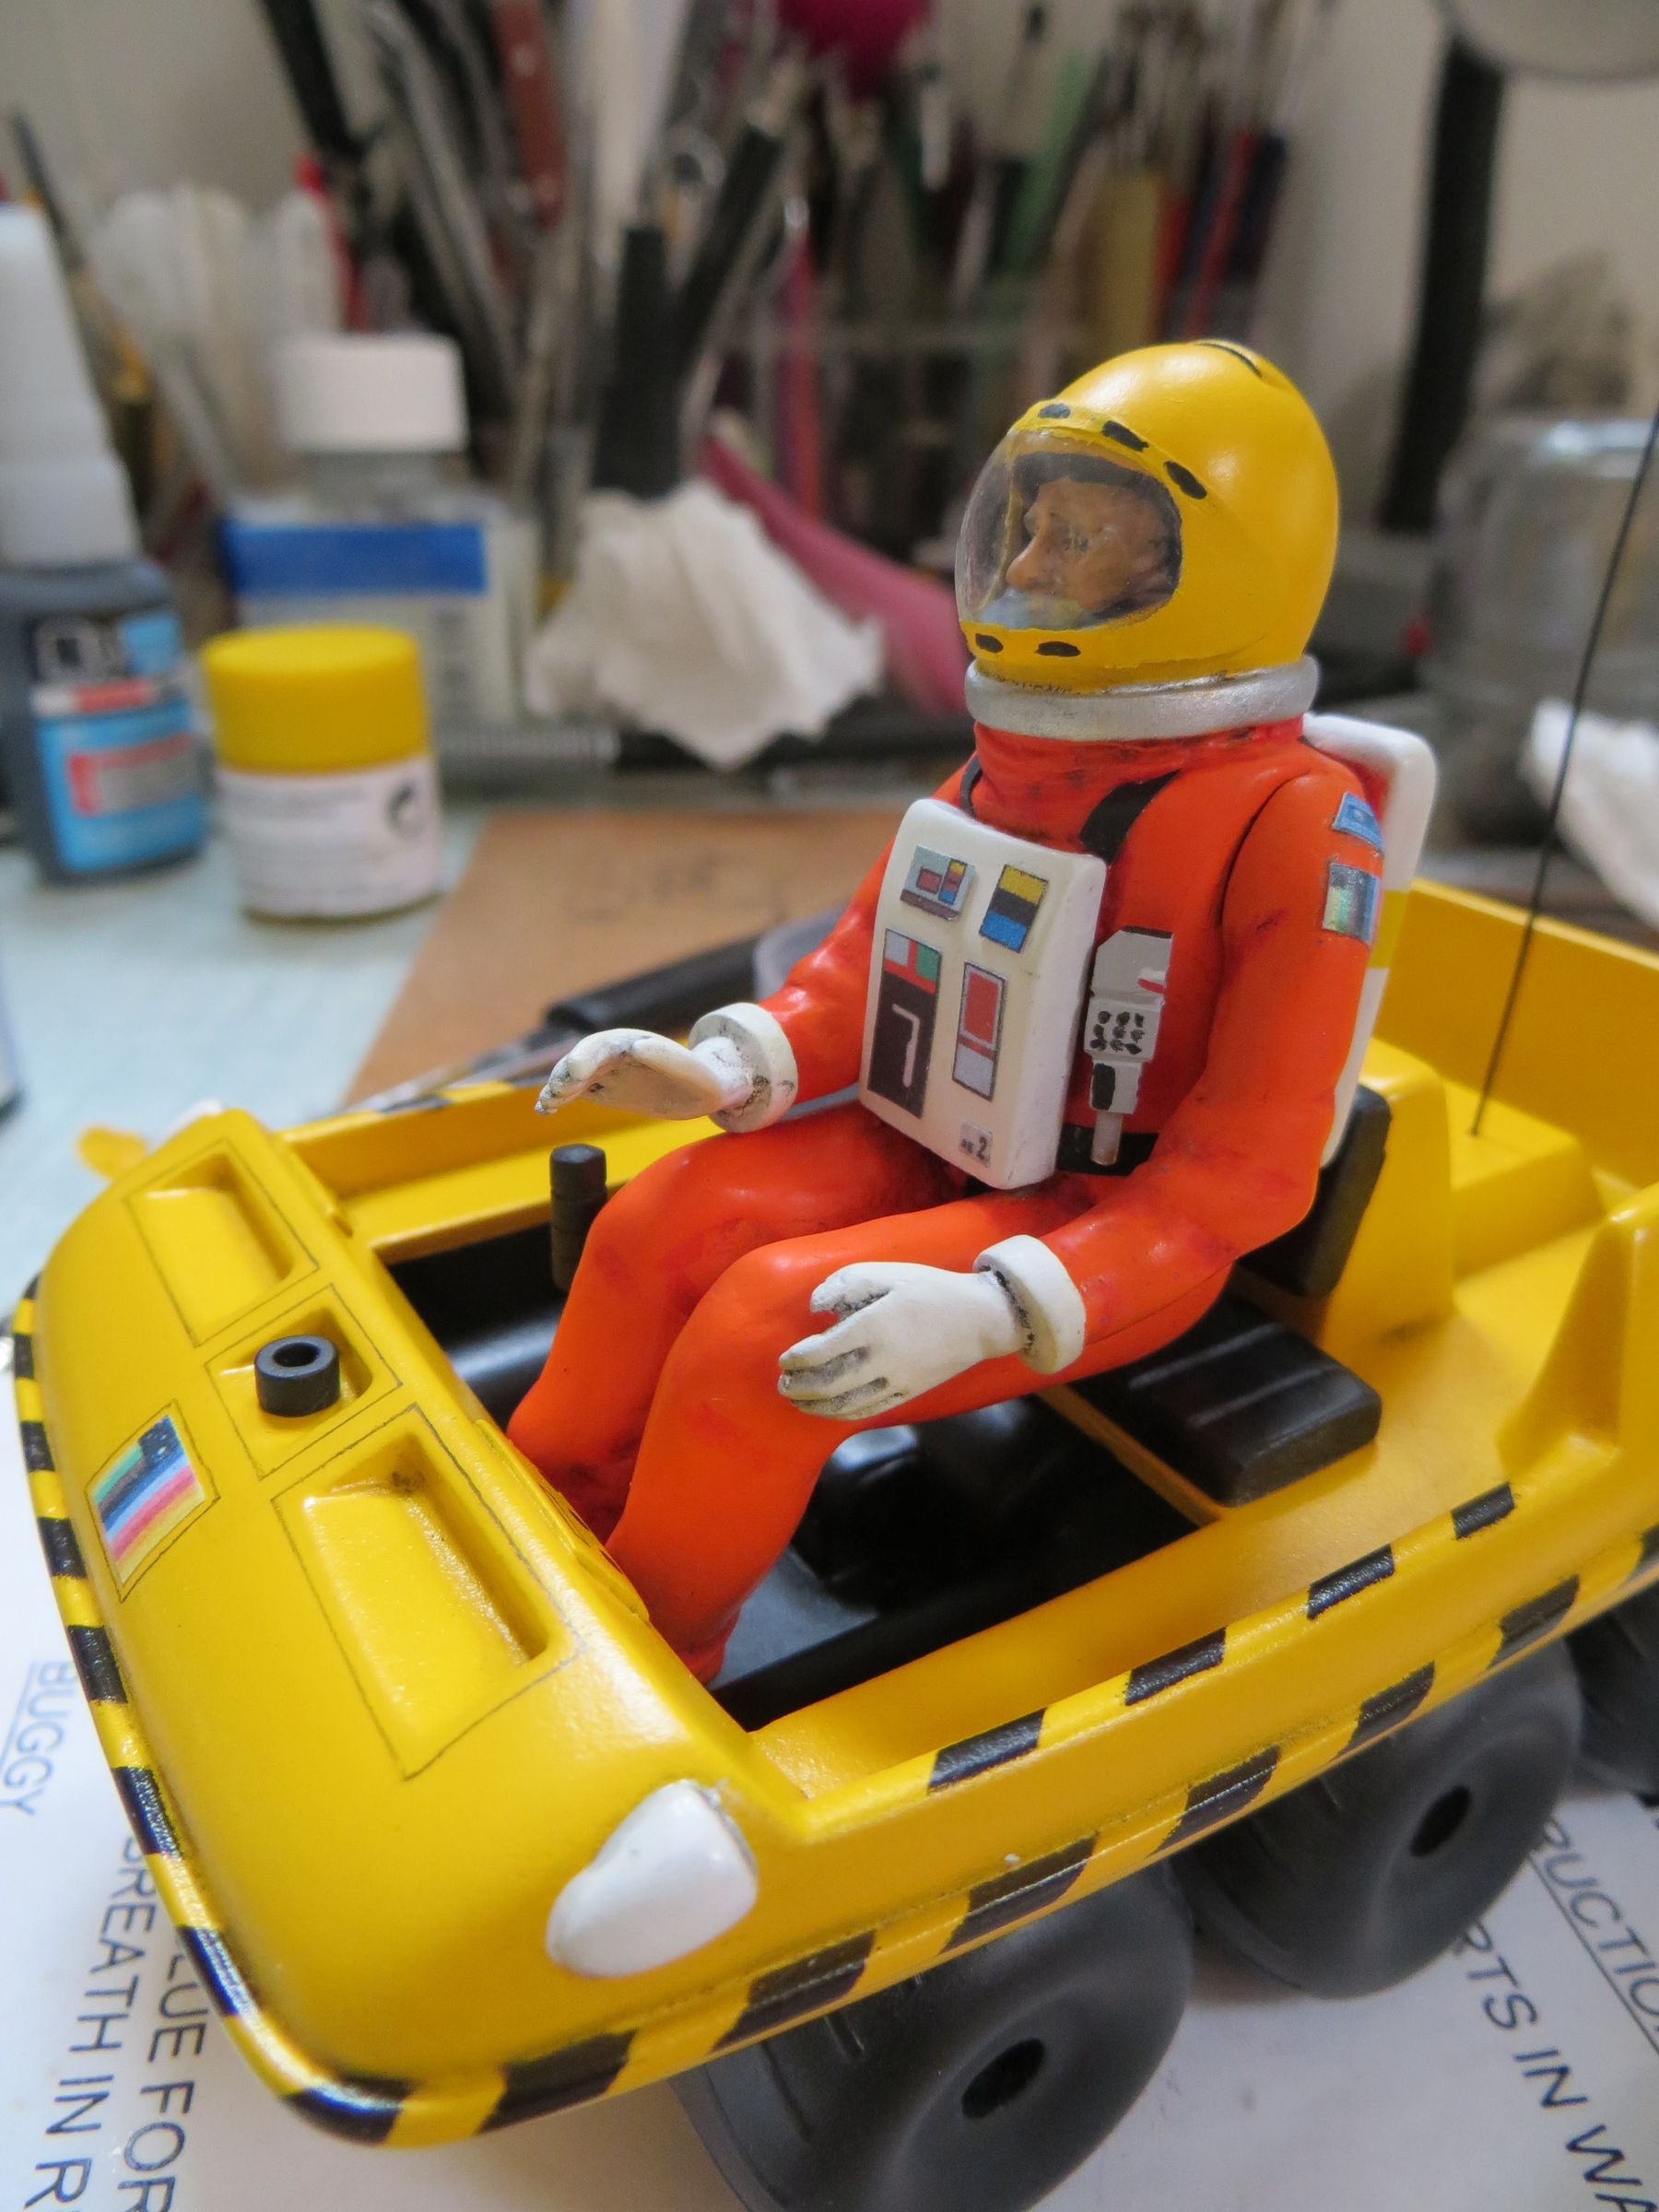
The character face is painted (his right eye still required a little editing in this shot)

The folds of the combination are pronounced with red (but curiously, it does not show on the pictures !). He then received a very light black wash to accentuate shadows.

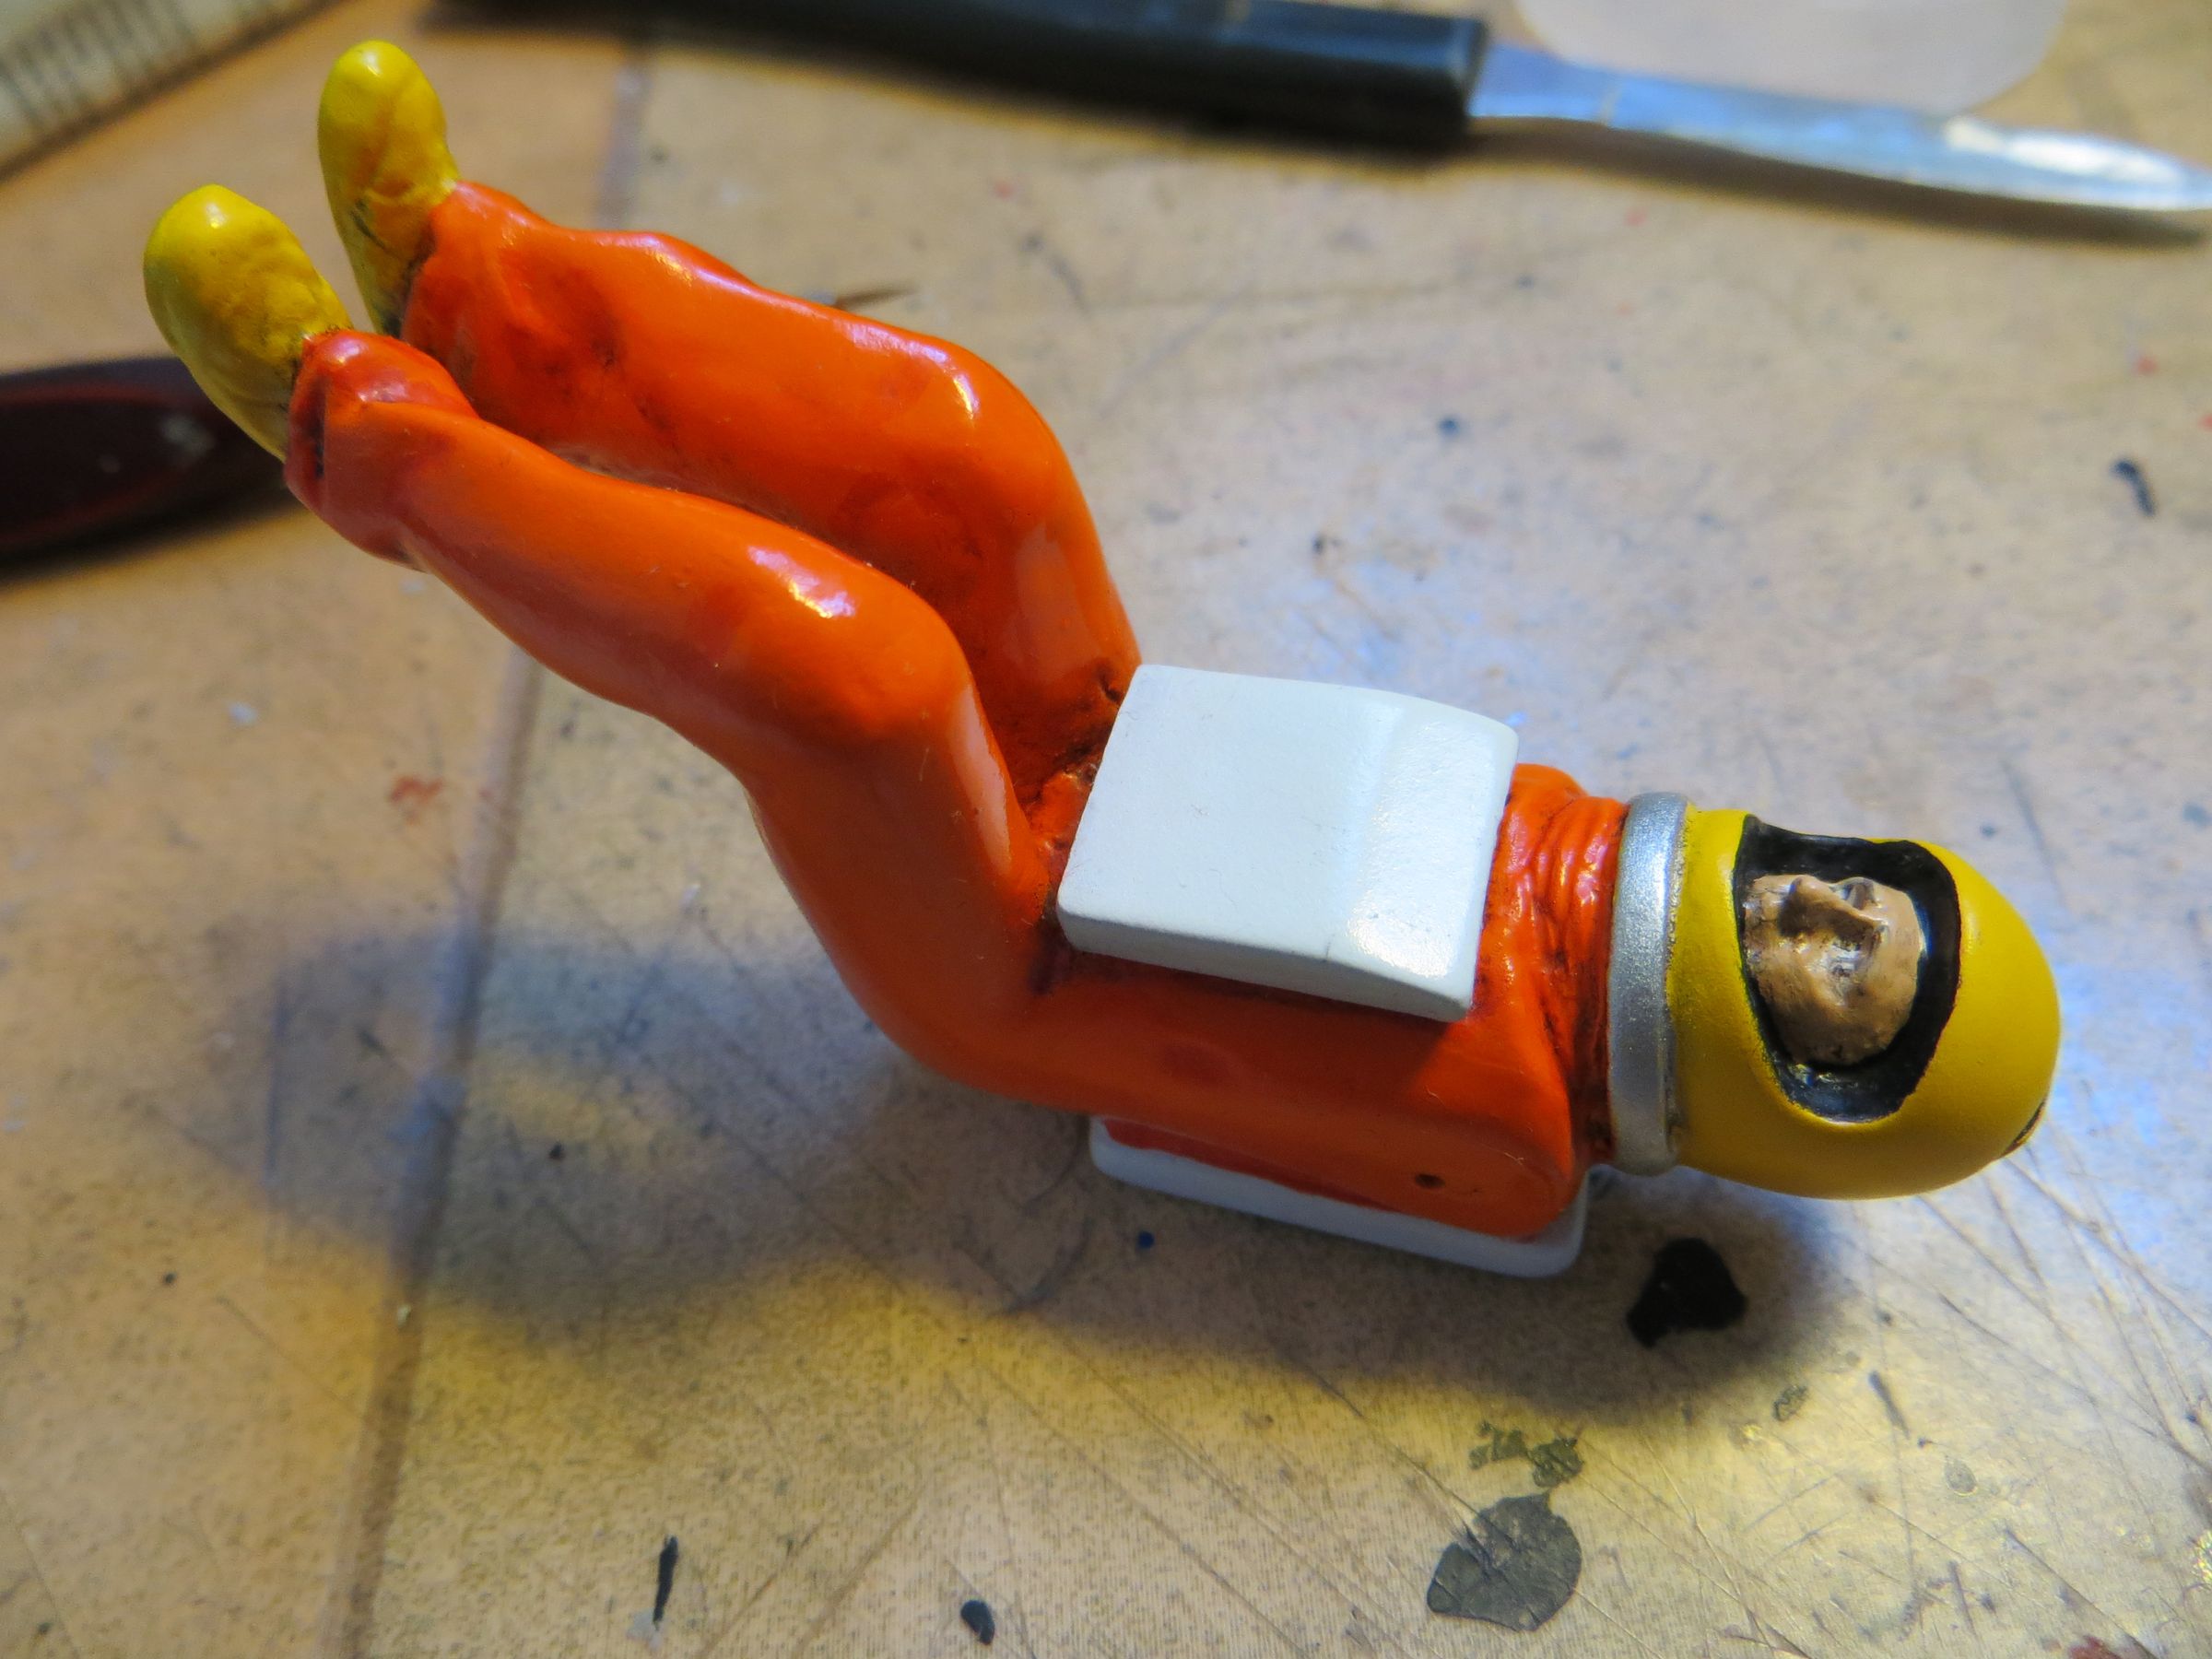
The numerous belts are made with thin strips of black tape.

It is the decals time (the ones in the kit are all rotten) After another failed test on blank sheets of decals (either white or transparent) with my inkjet printer, I gave up and came back to a paper solution ! To protect the ink, I generously coated them with Microscale liquid decal film on each sides. It is thicker than decals as is, but at least I get a result.  

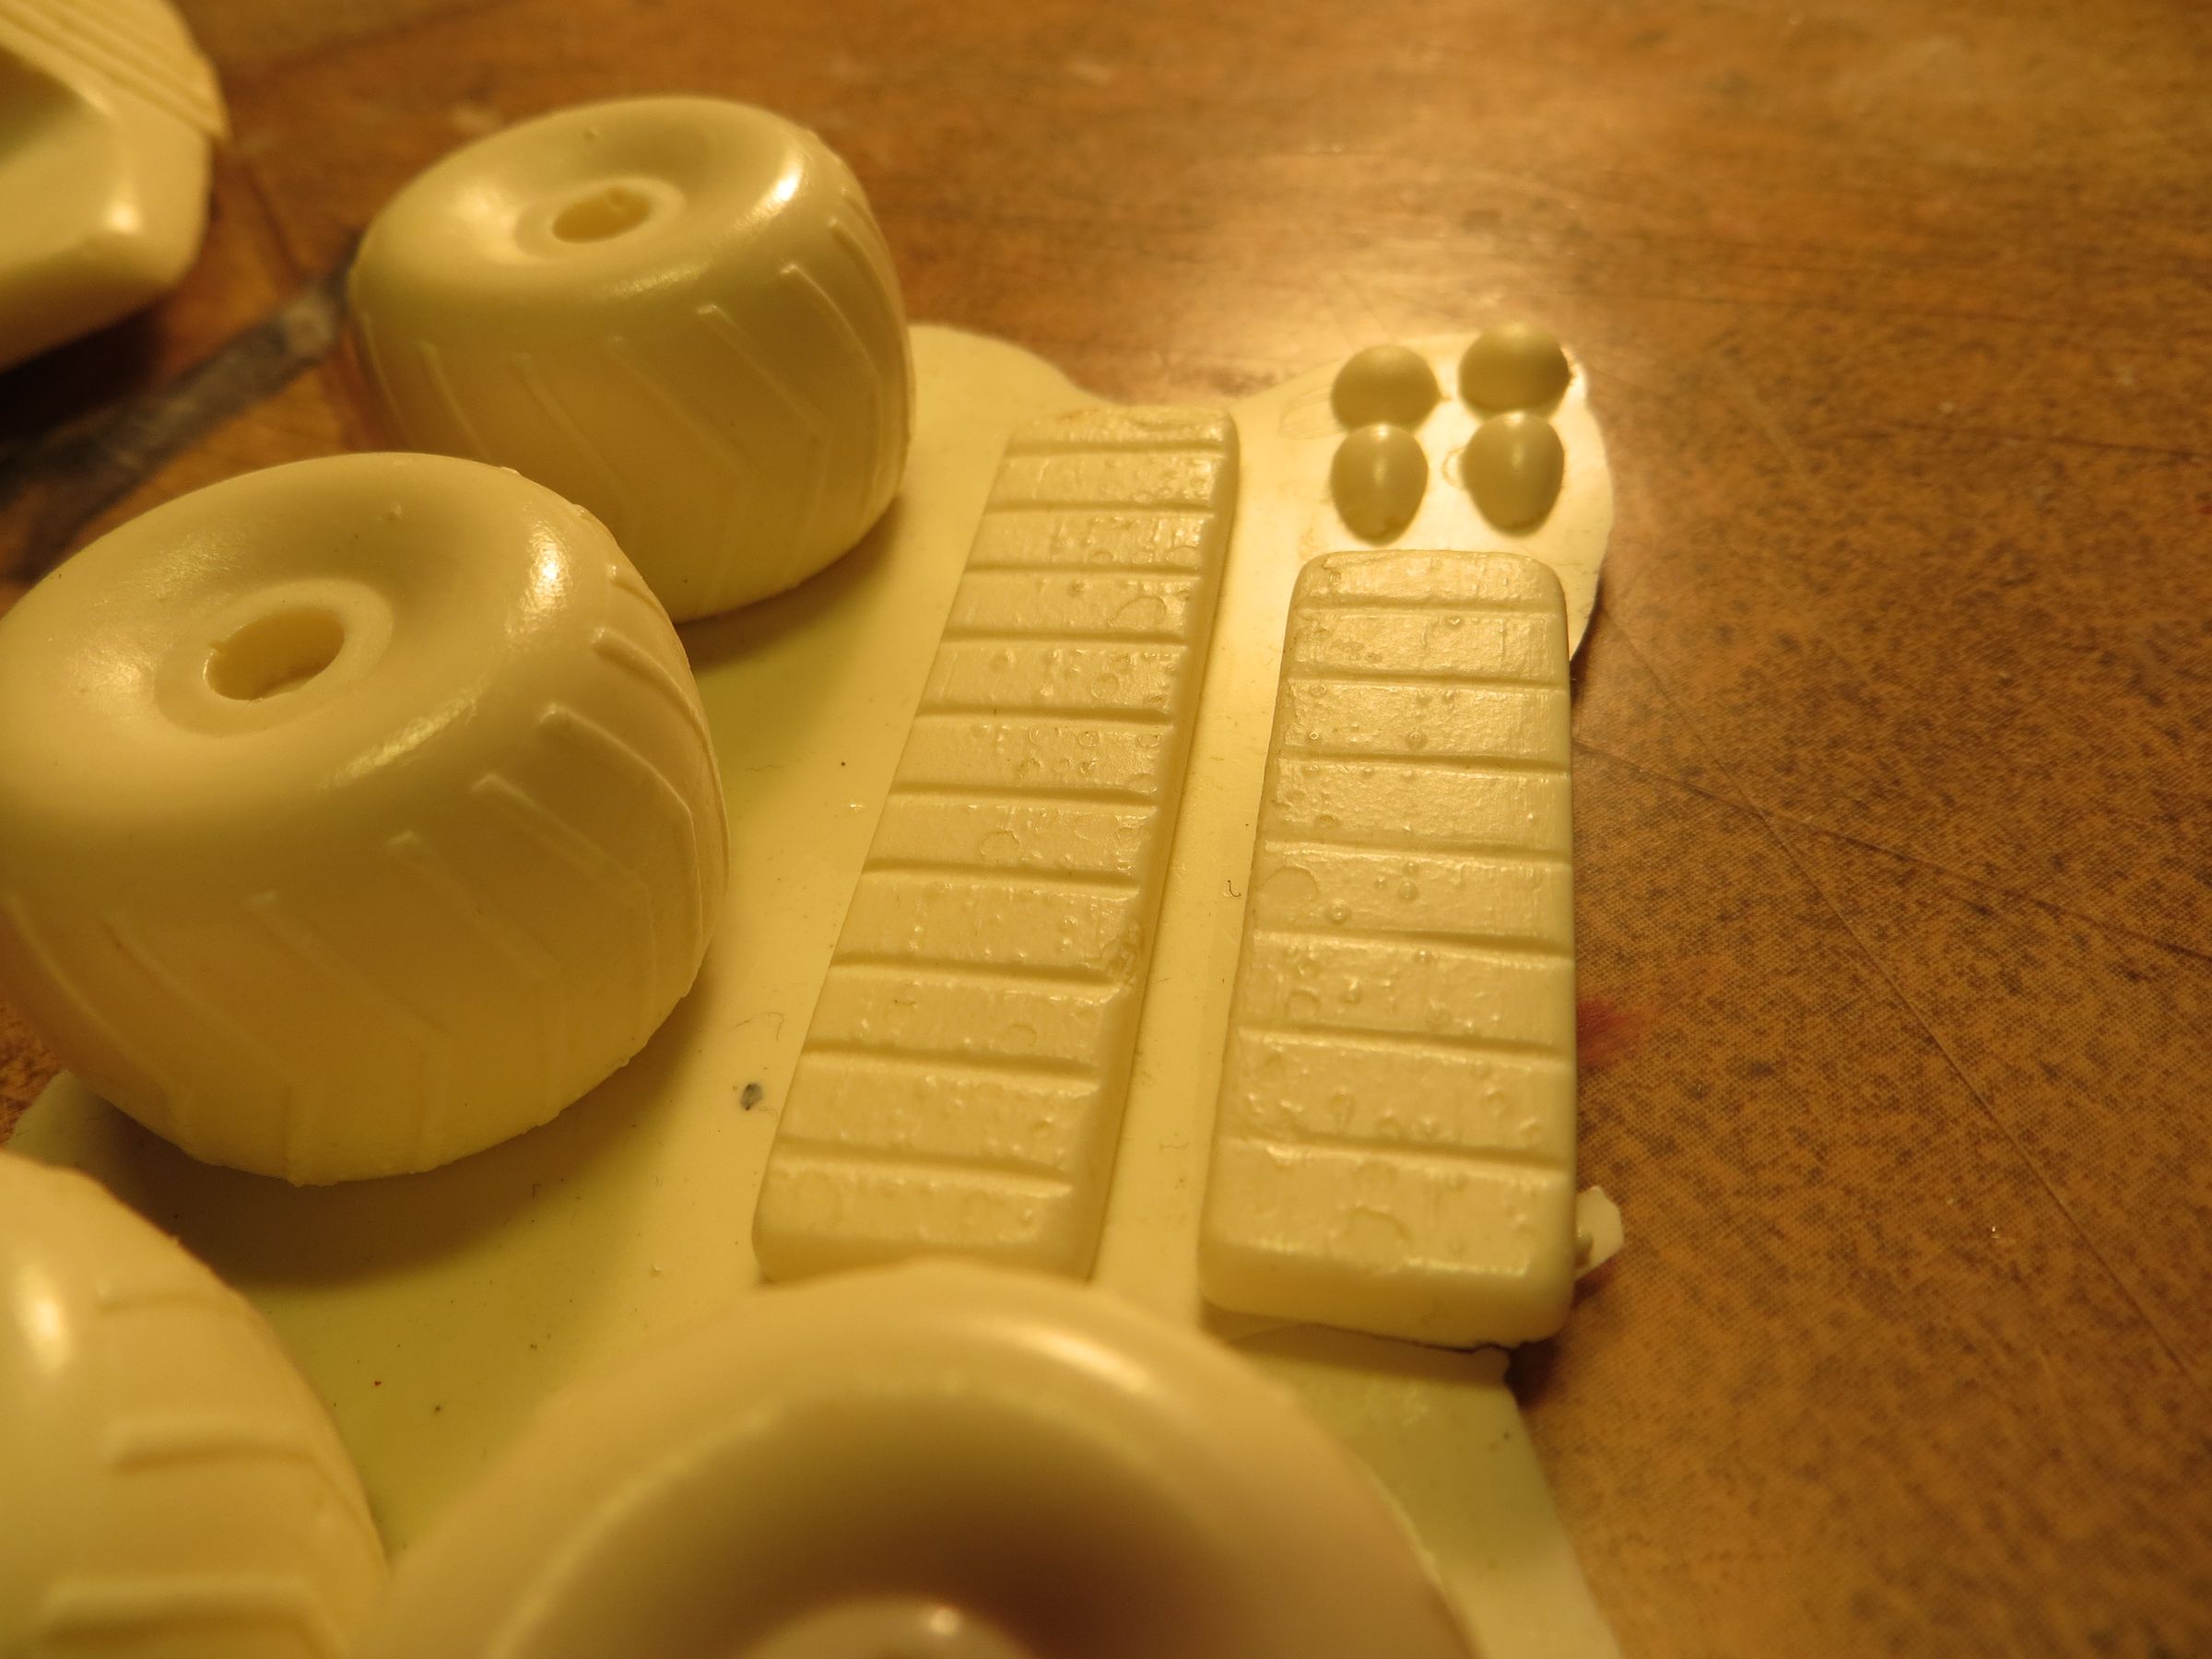
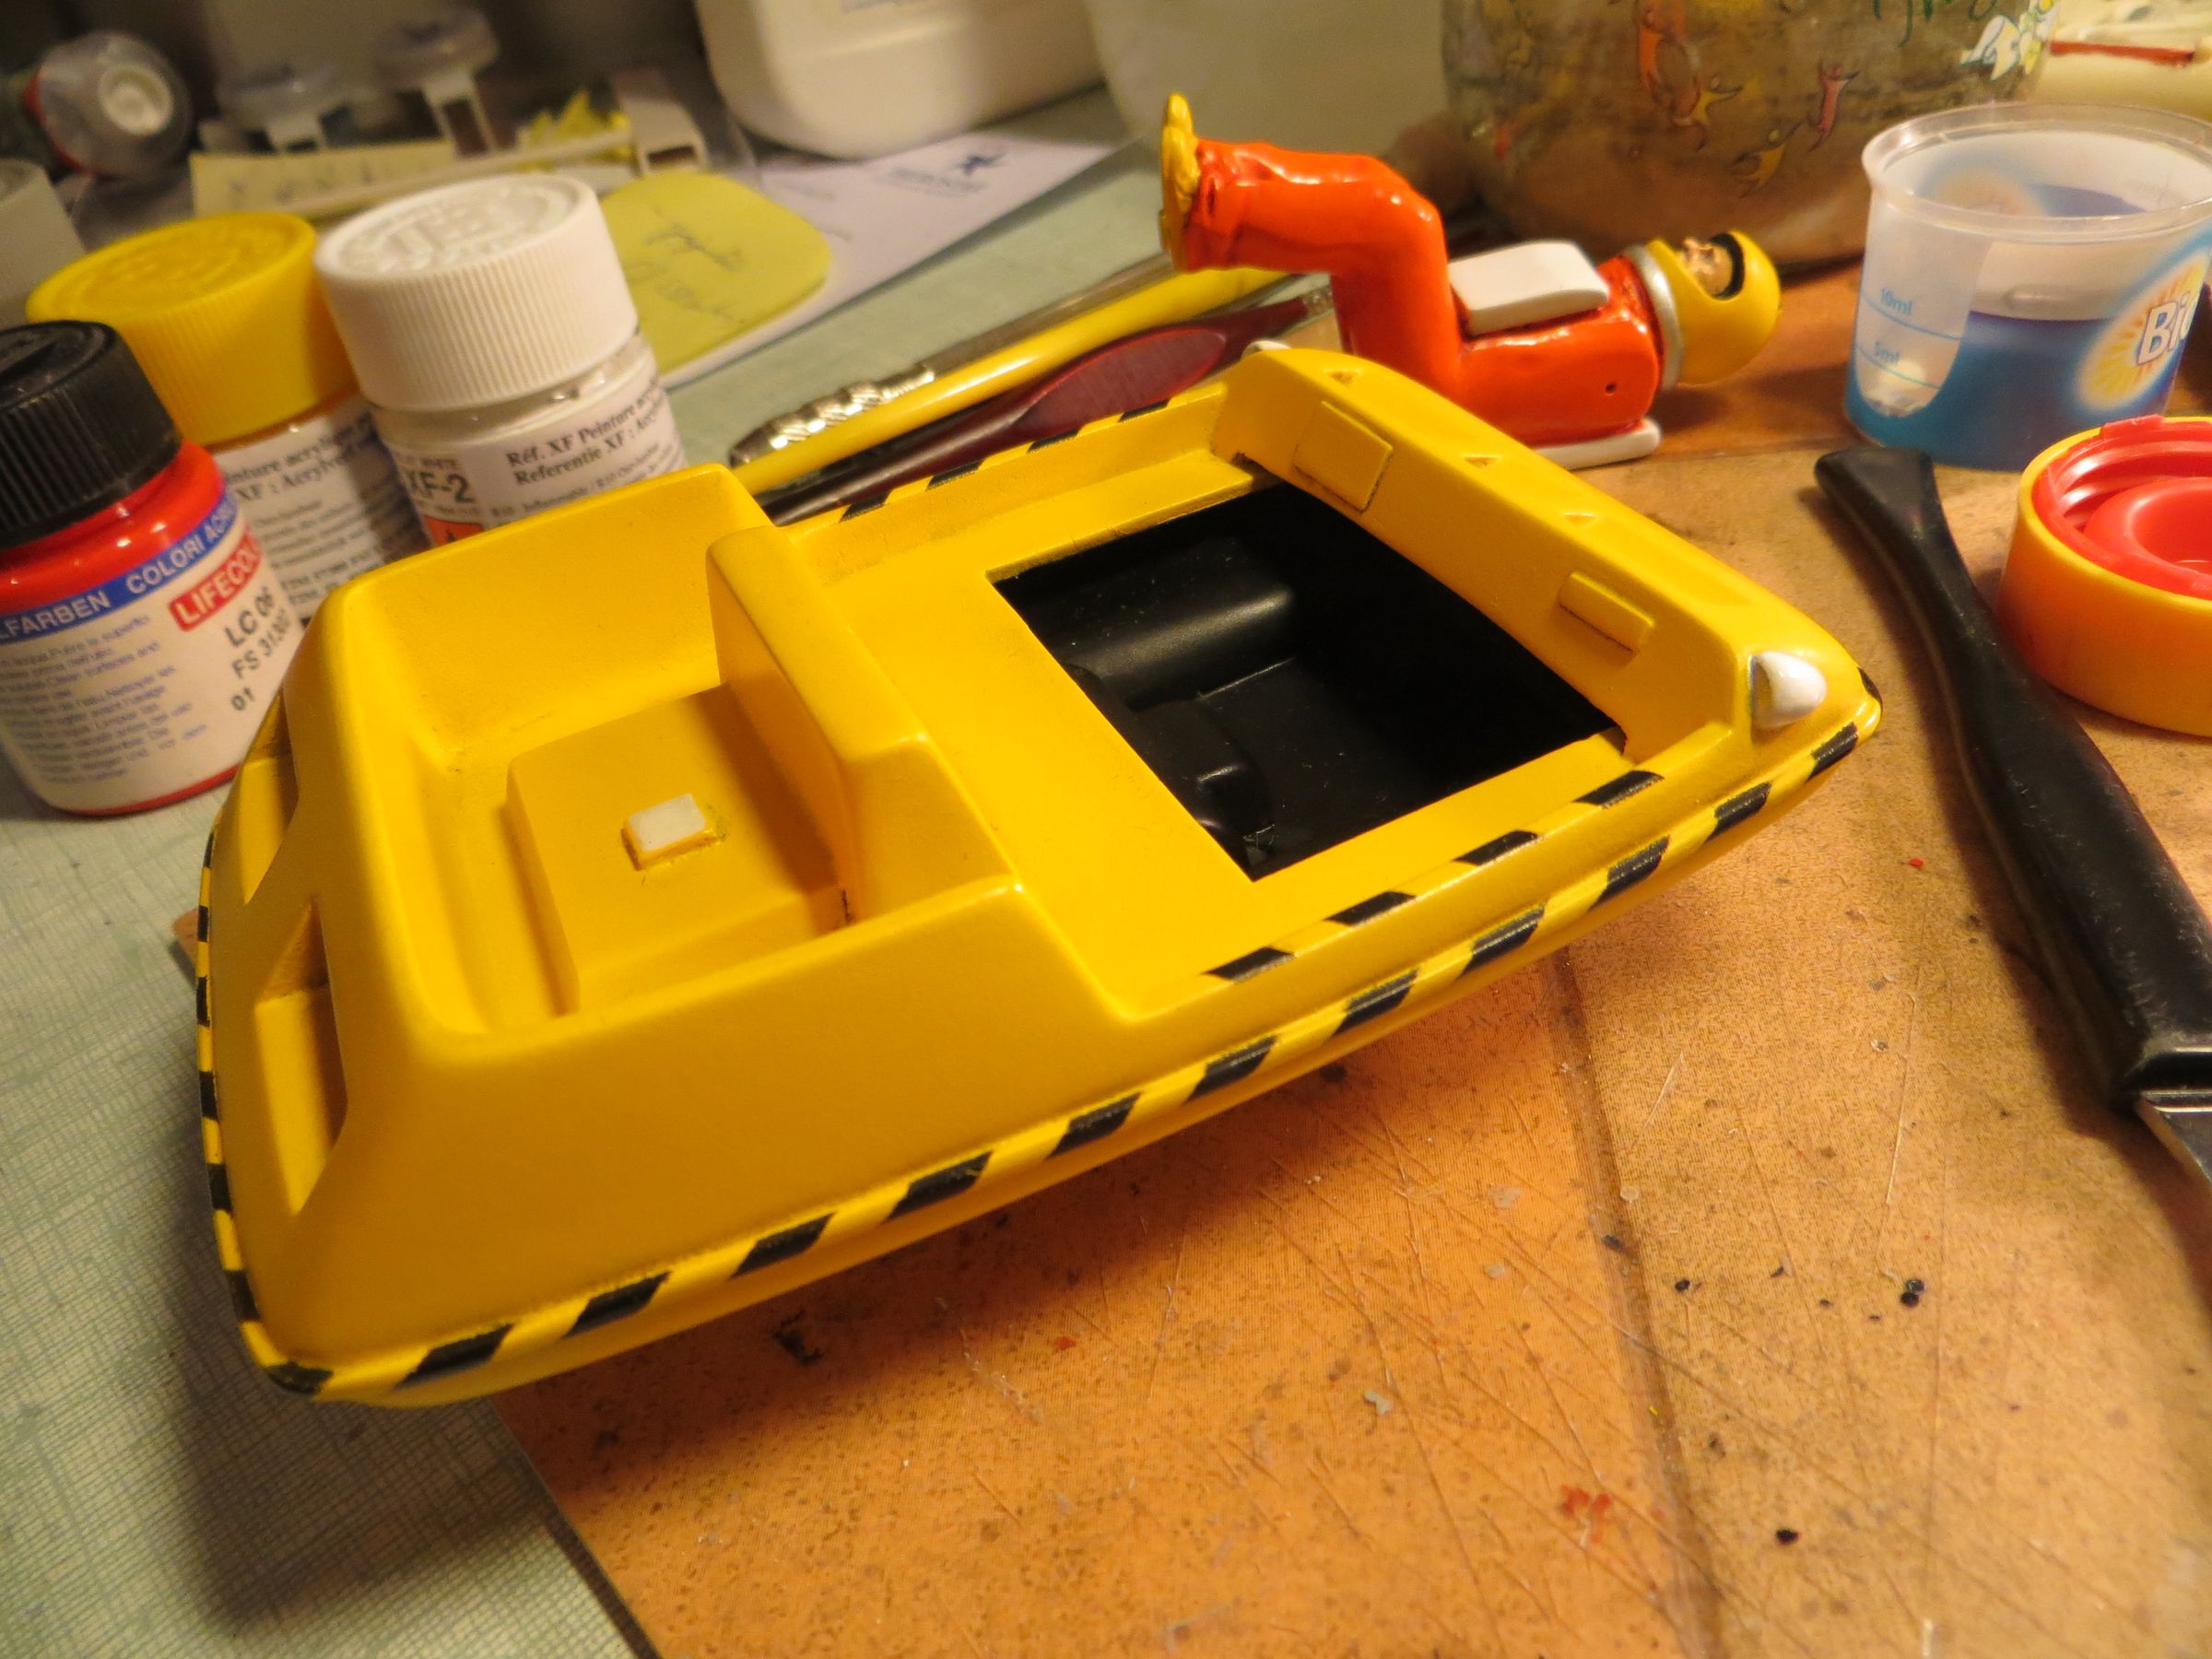
After a light gray drybrush on tread tires, the wheels and the axles are installed on the buggy.

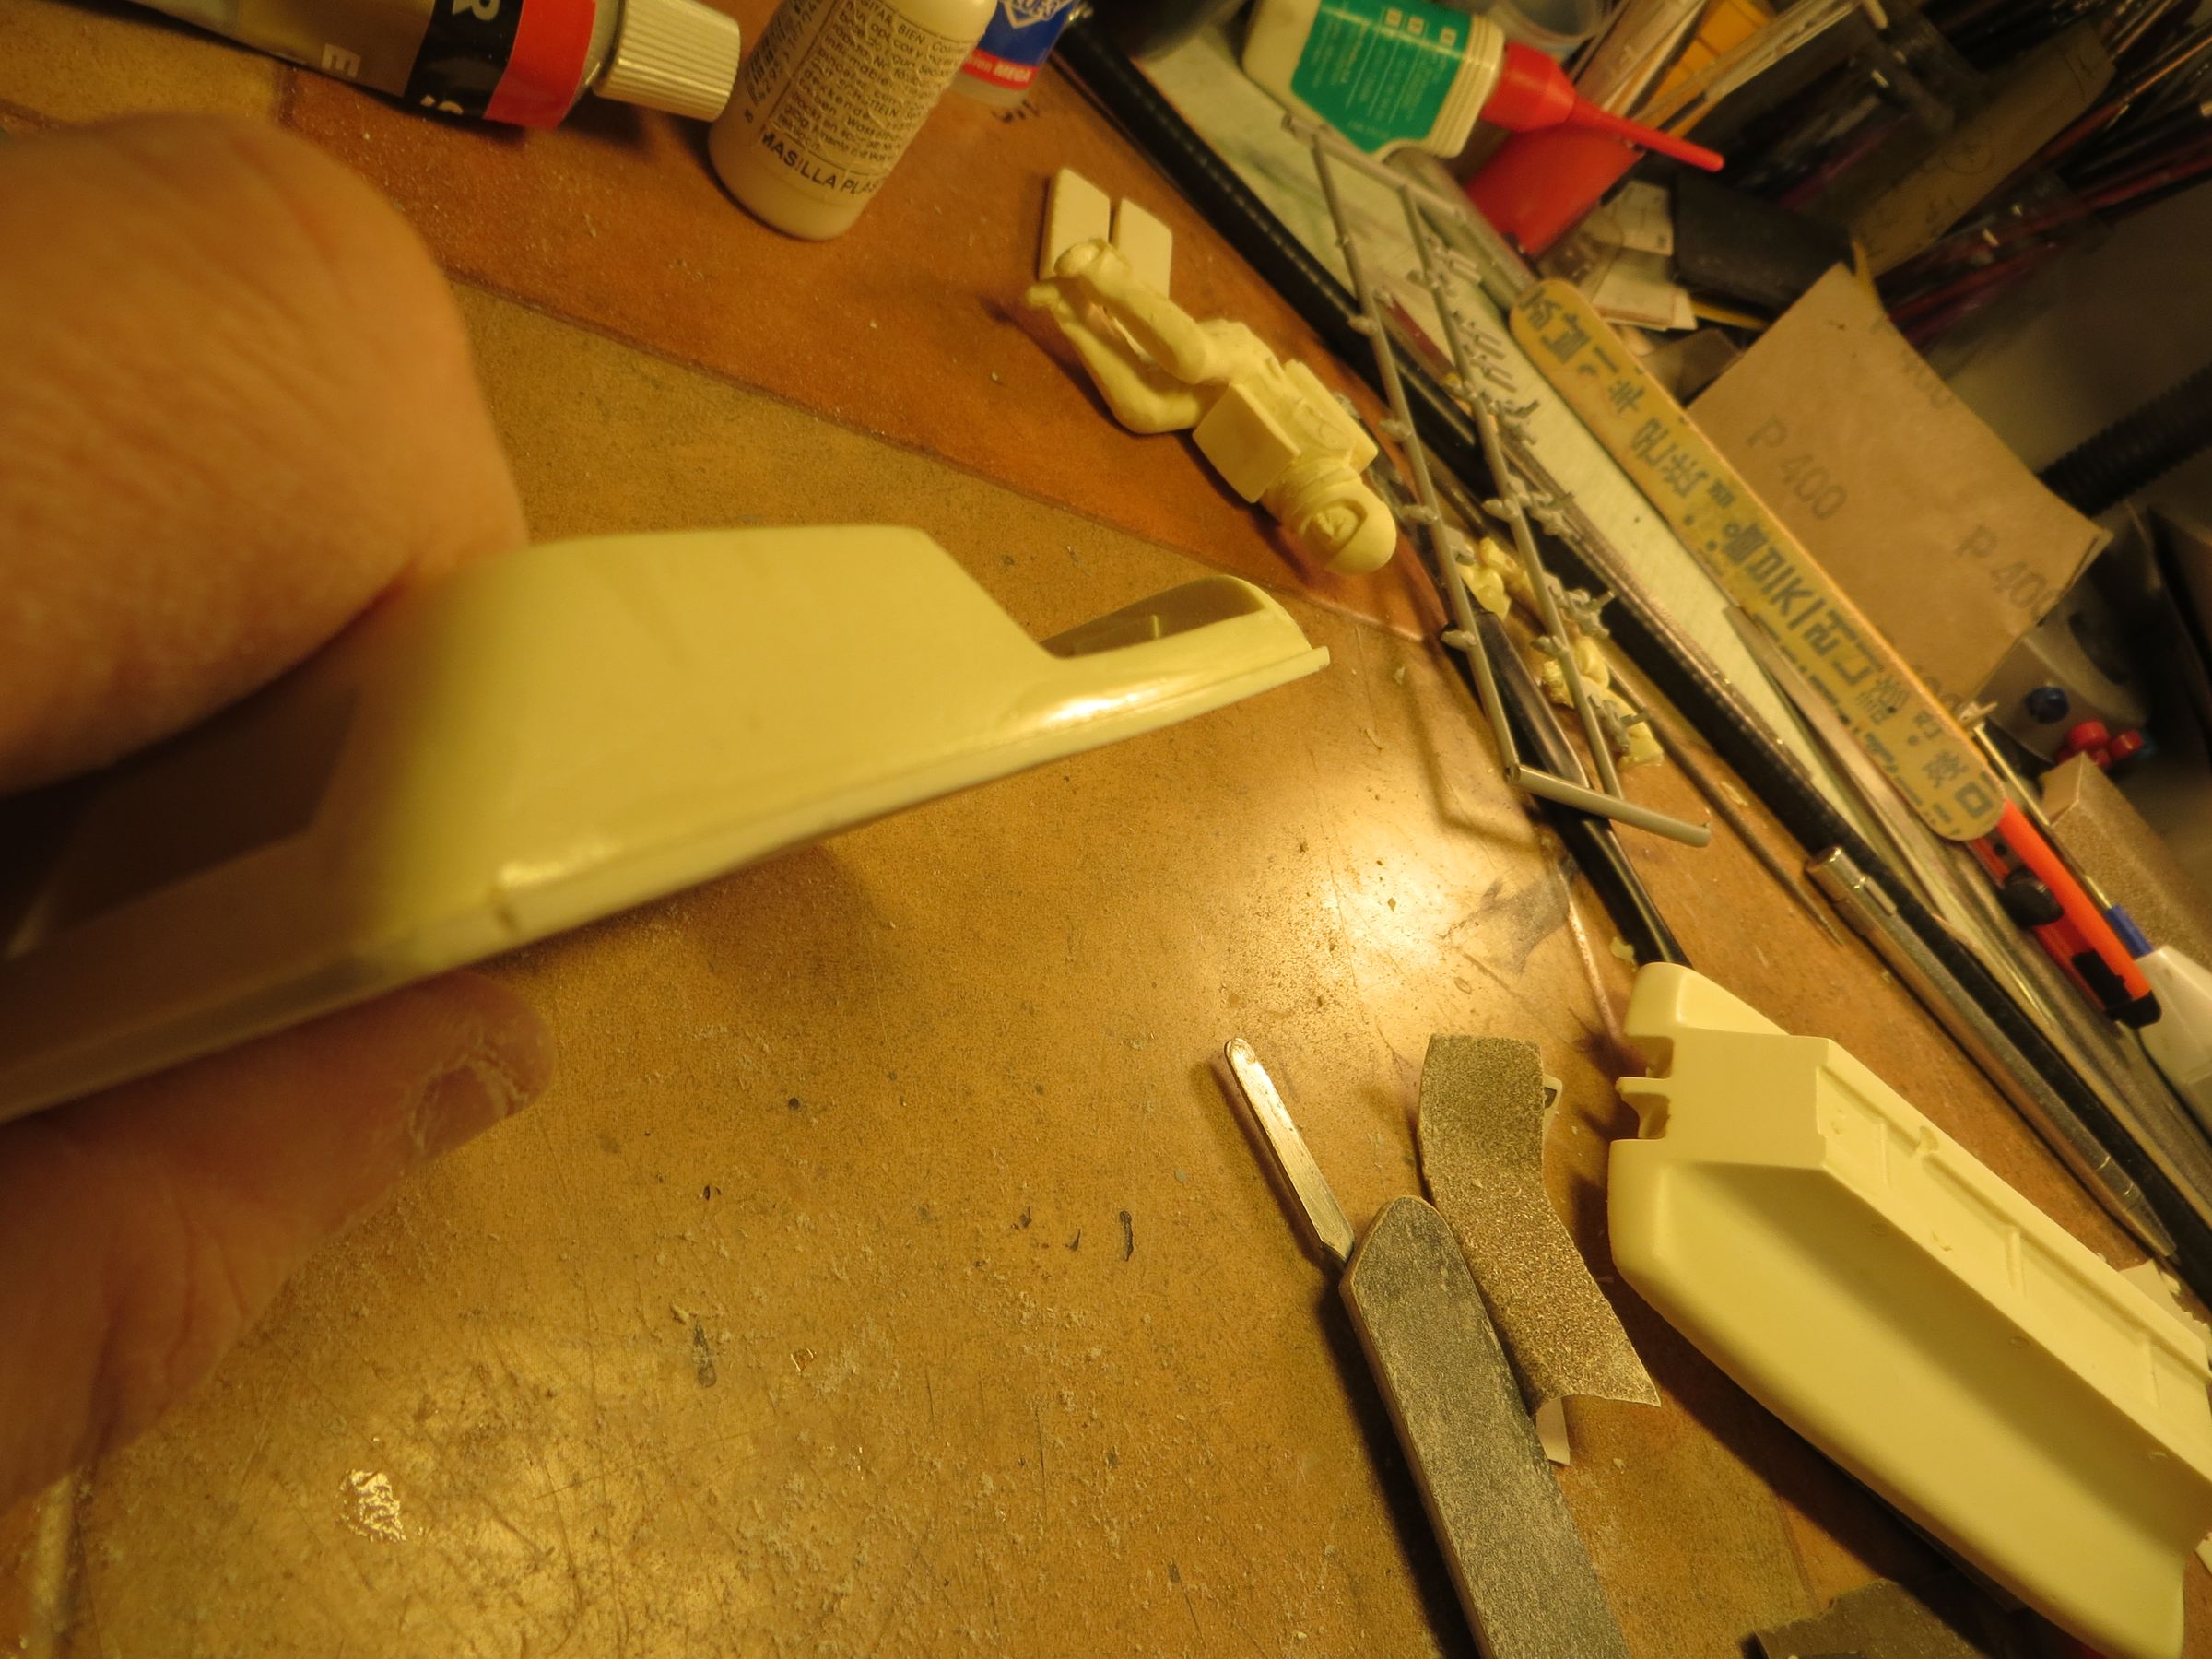
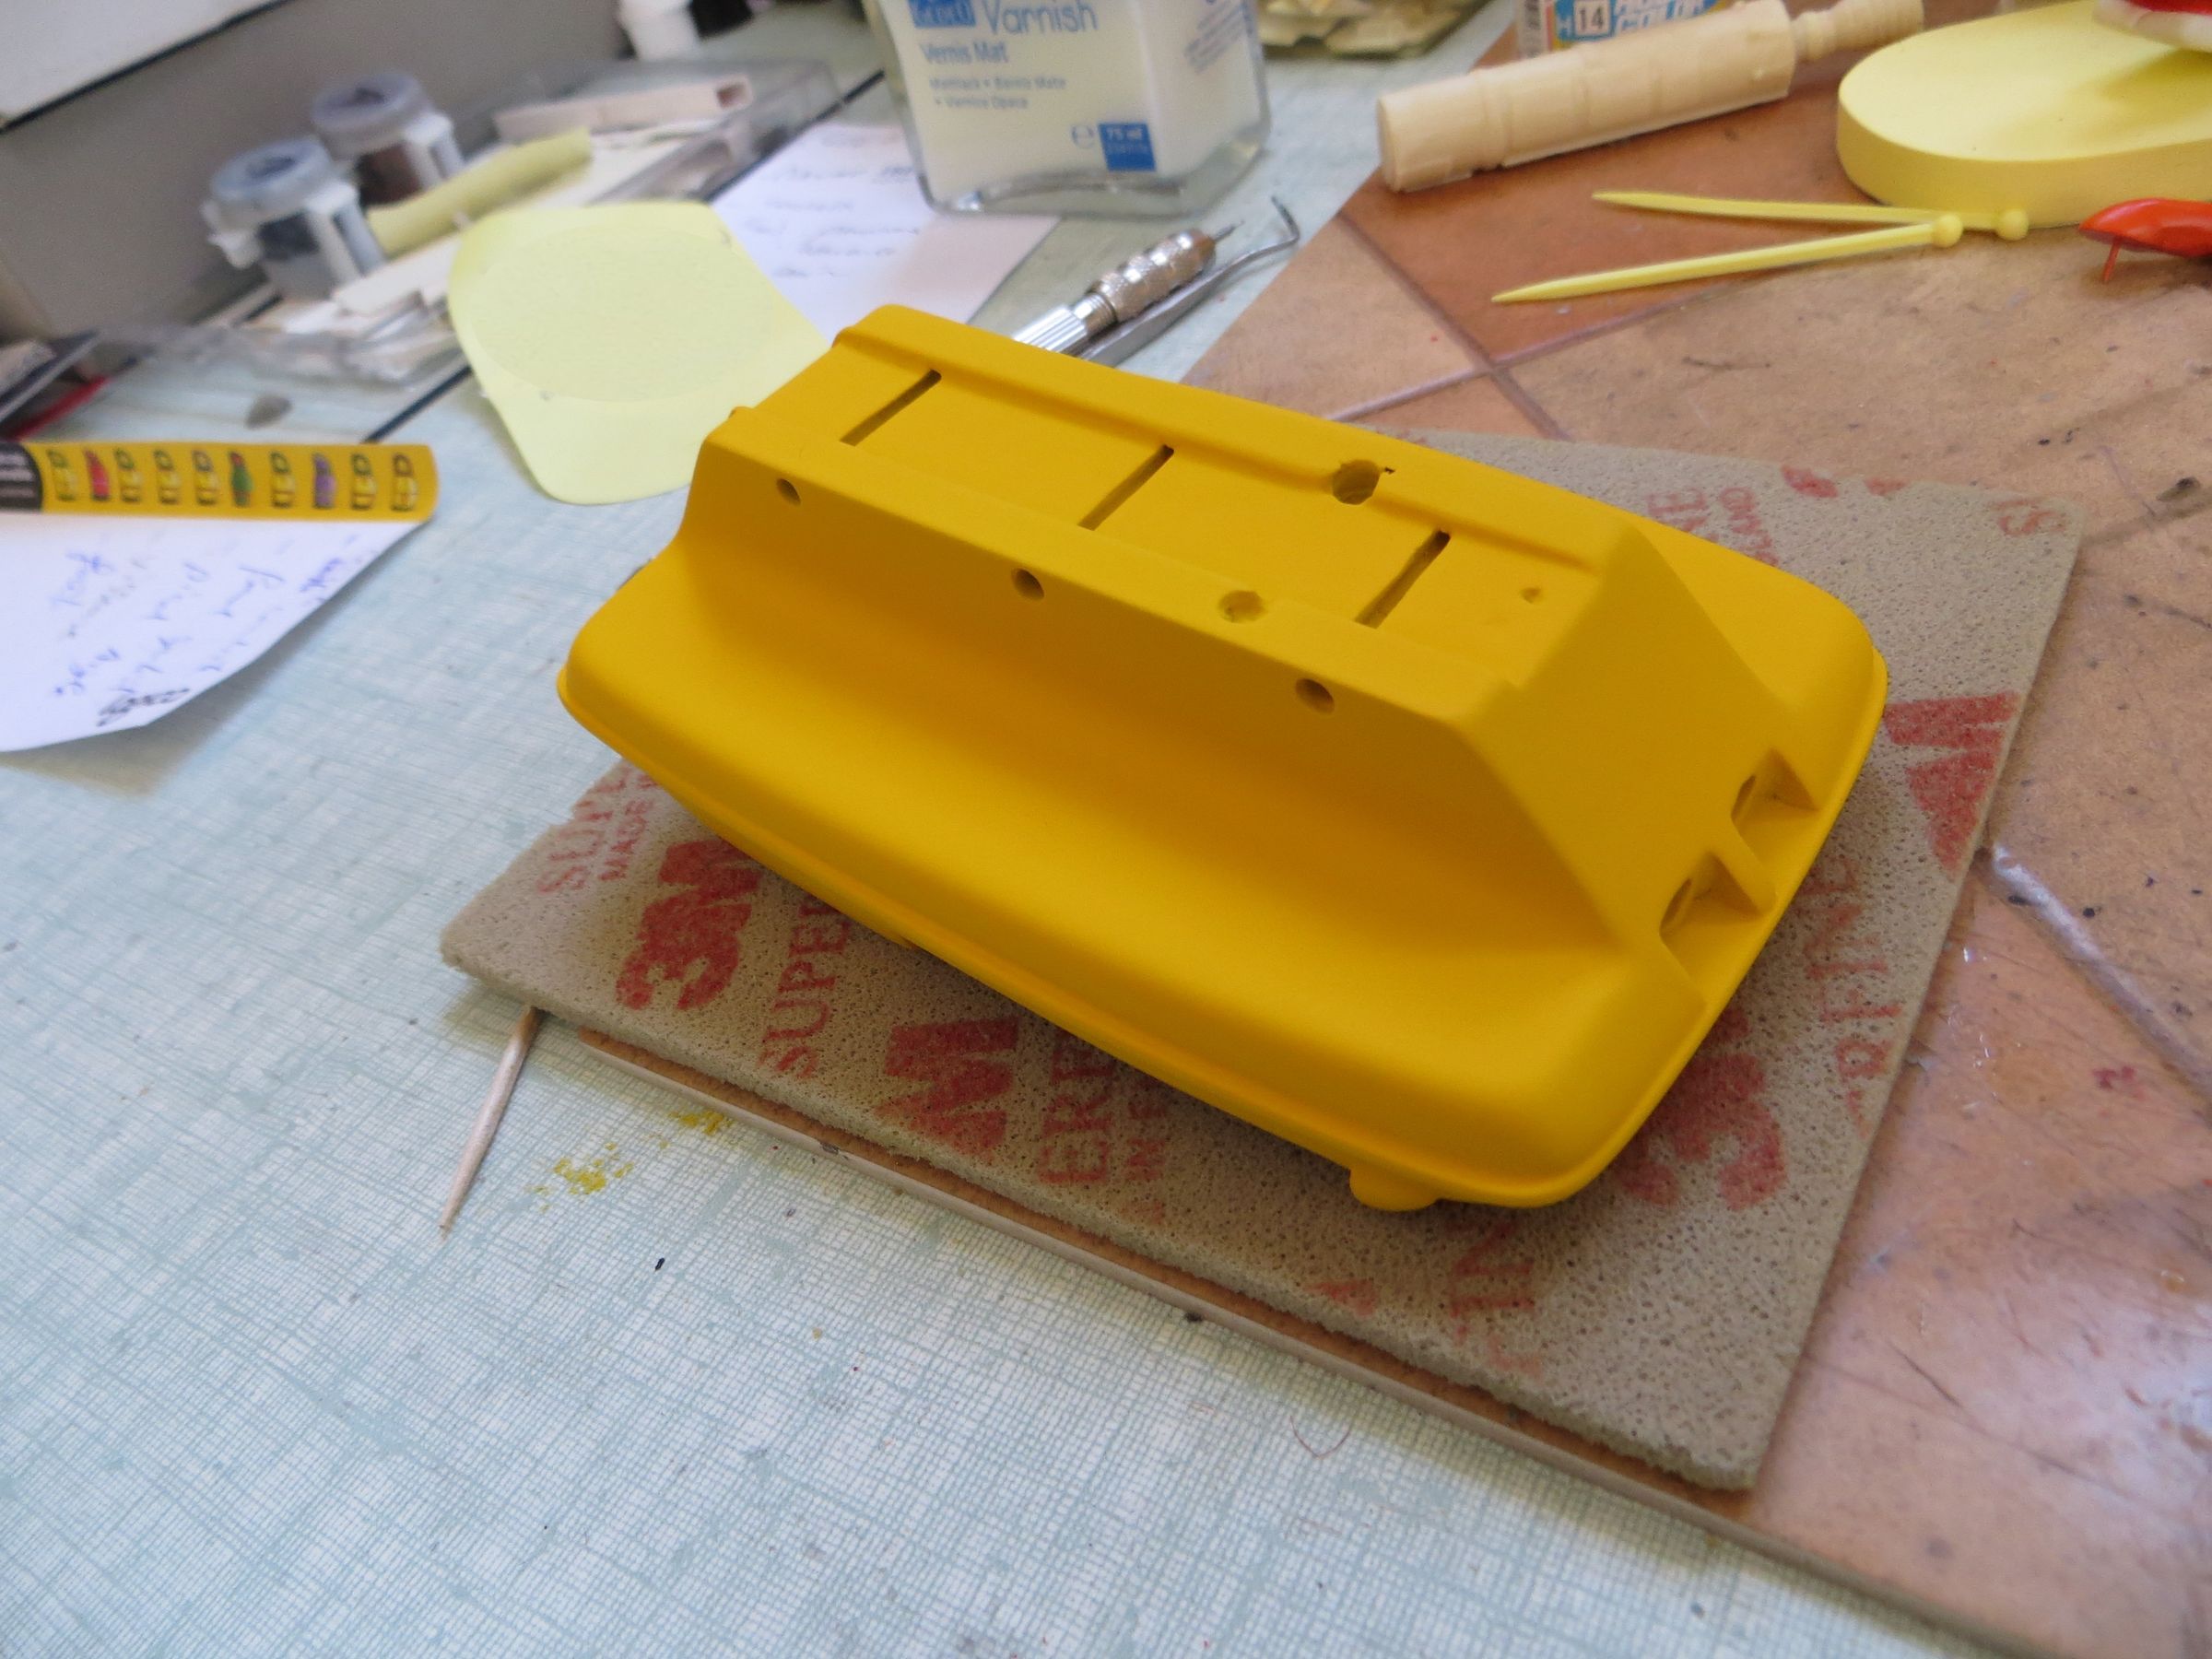
The provided headlights are clogged, even if it was accurate, I found them ugly, so I thermoformed new ones.


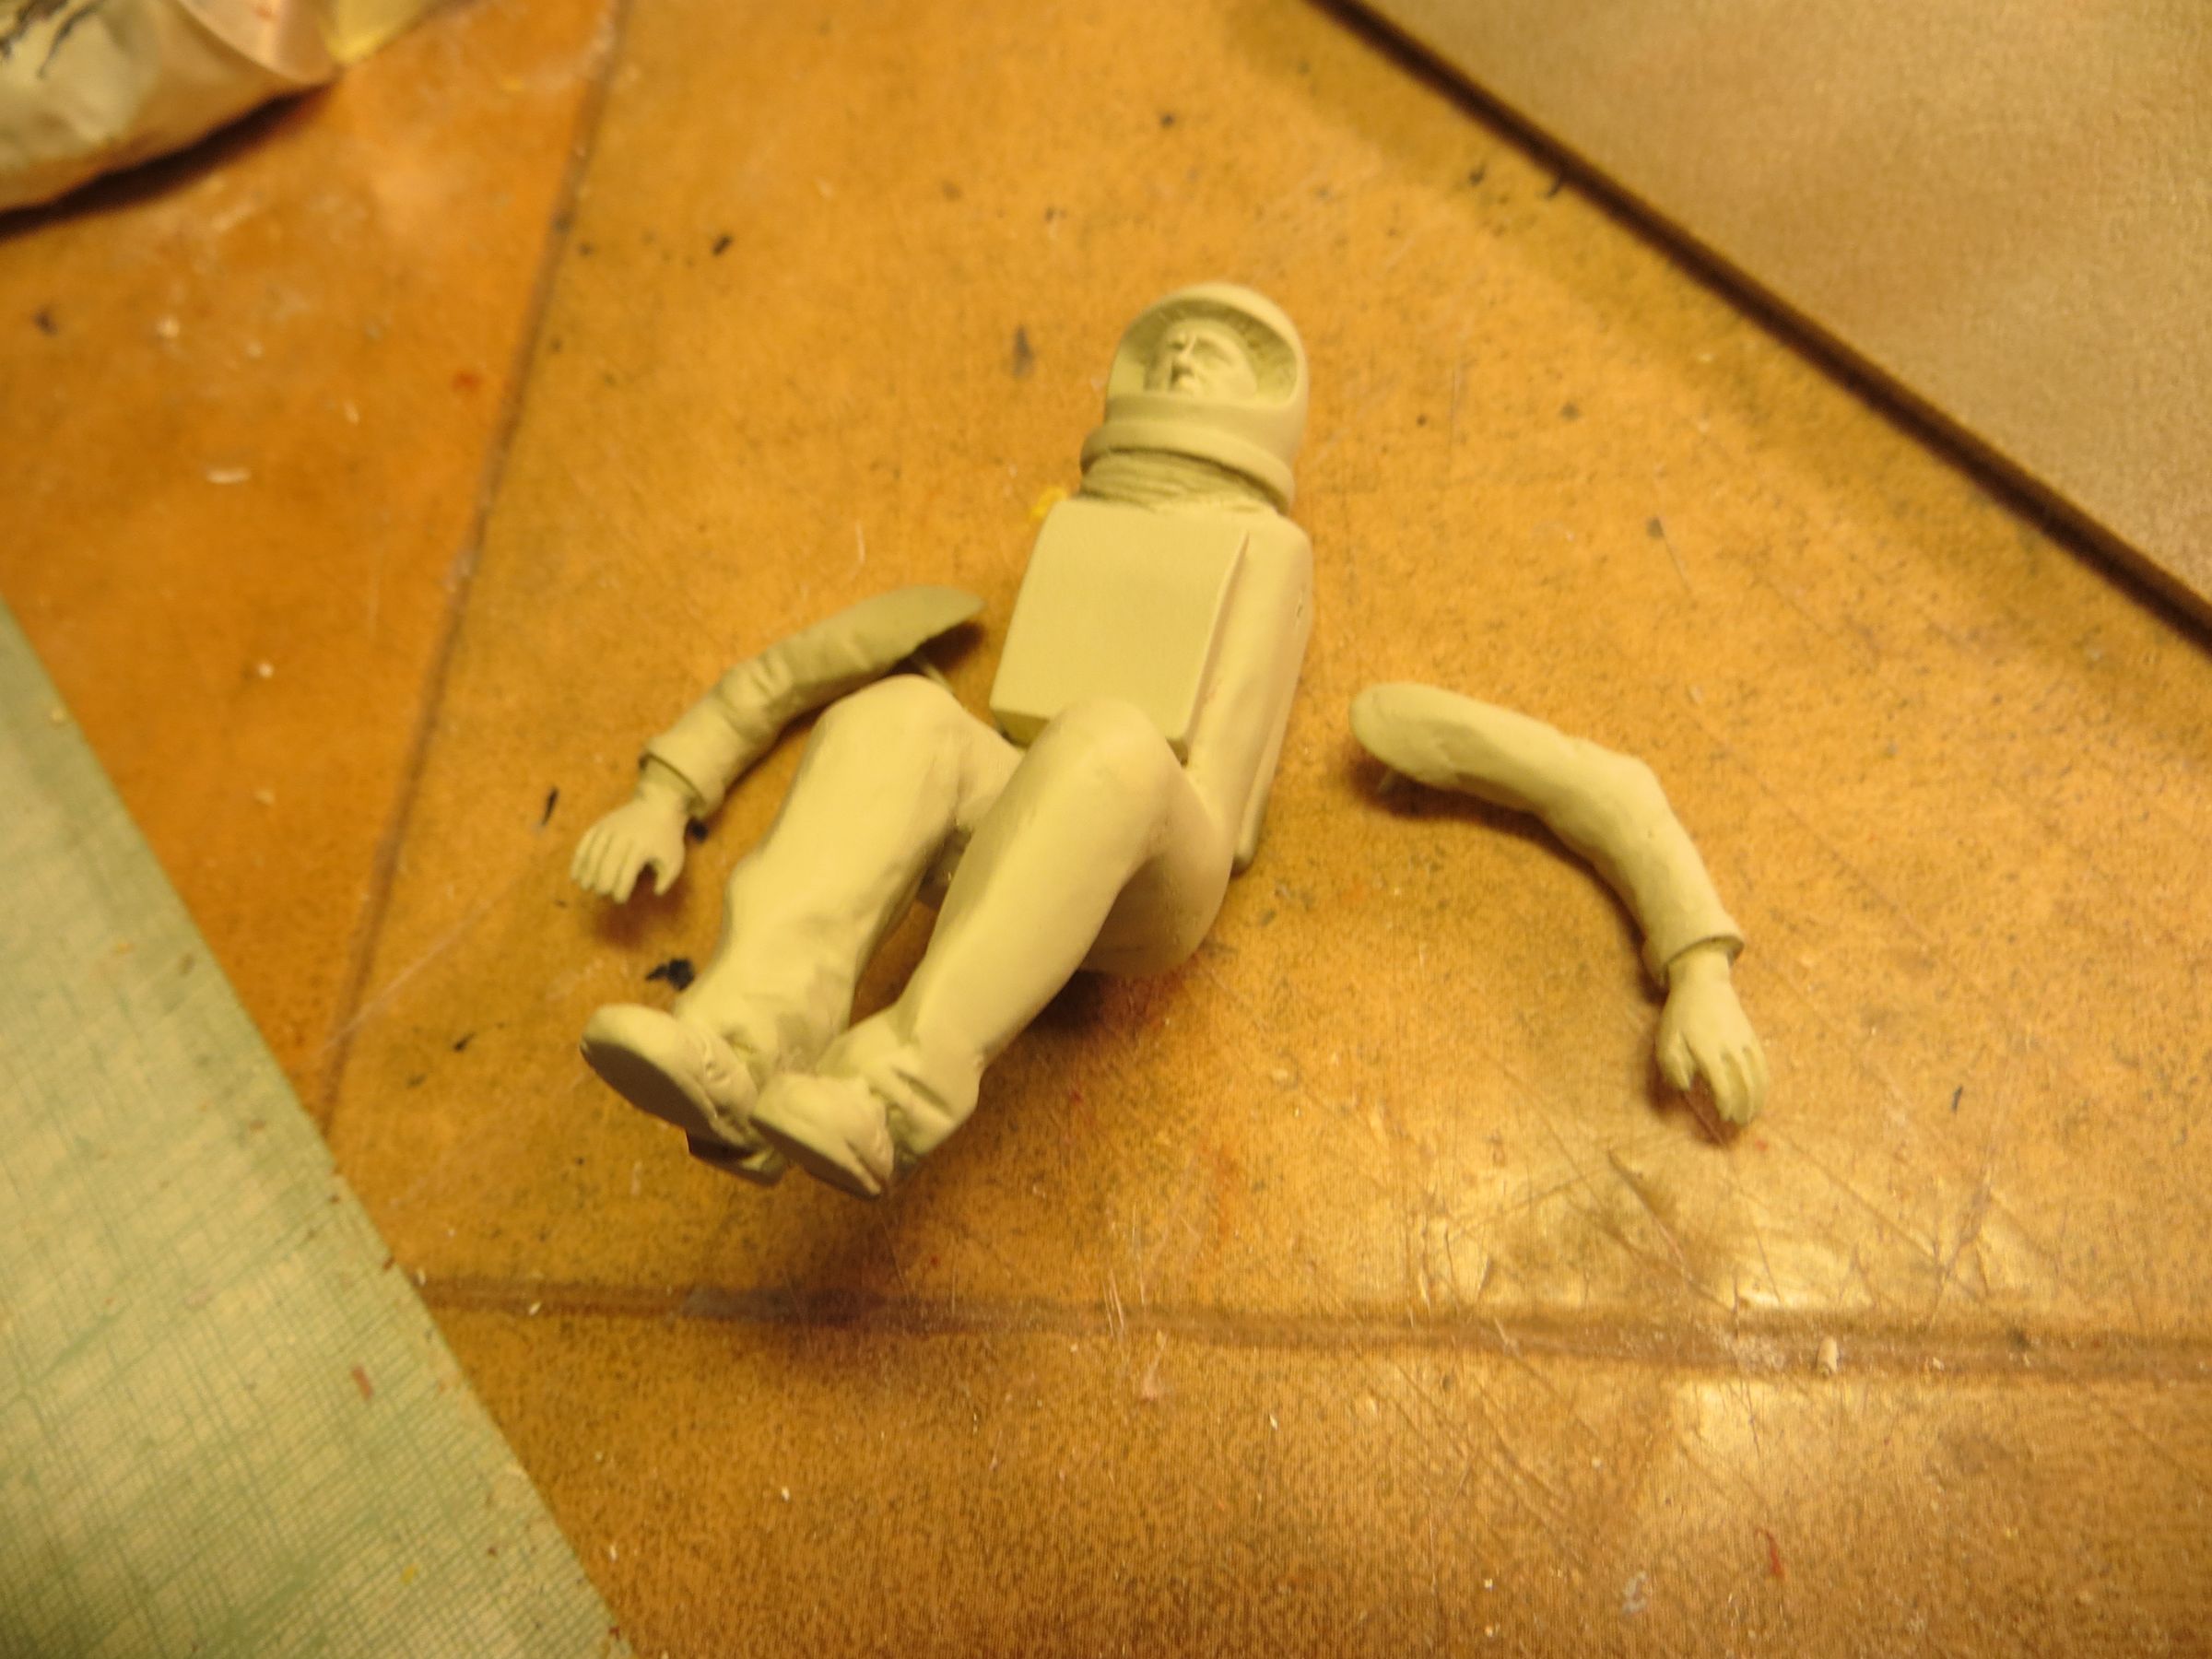
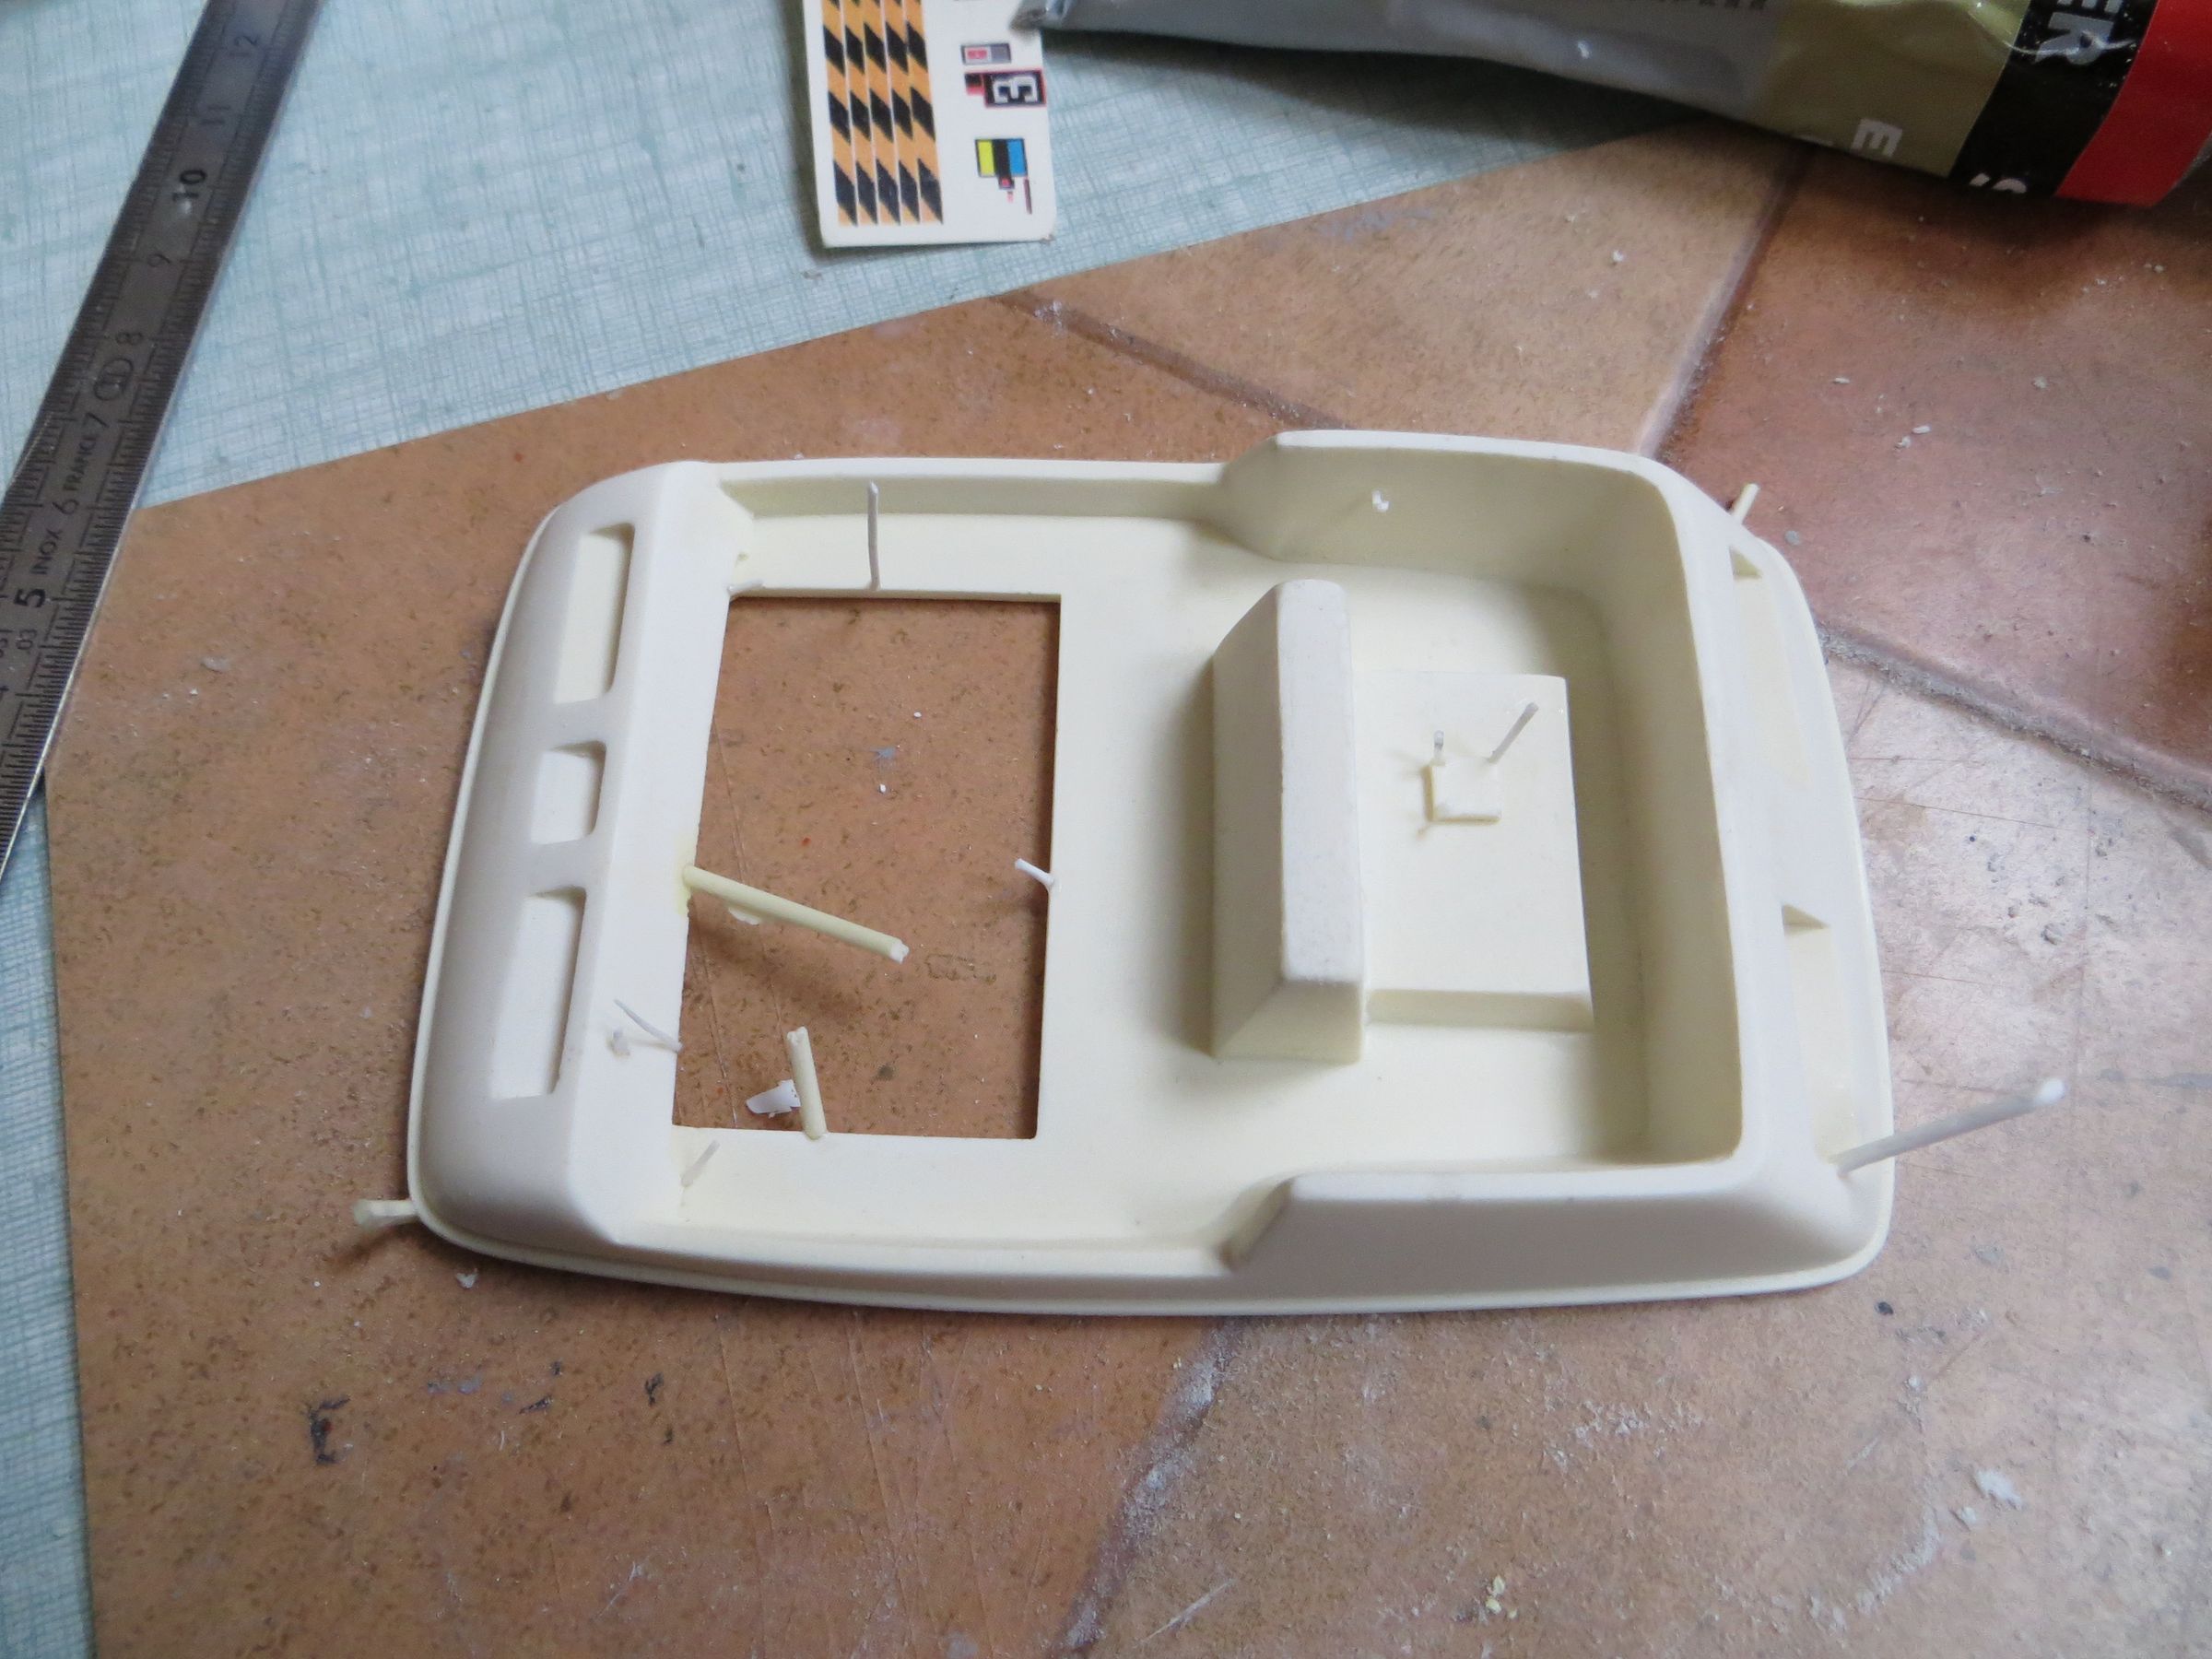
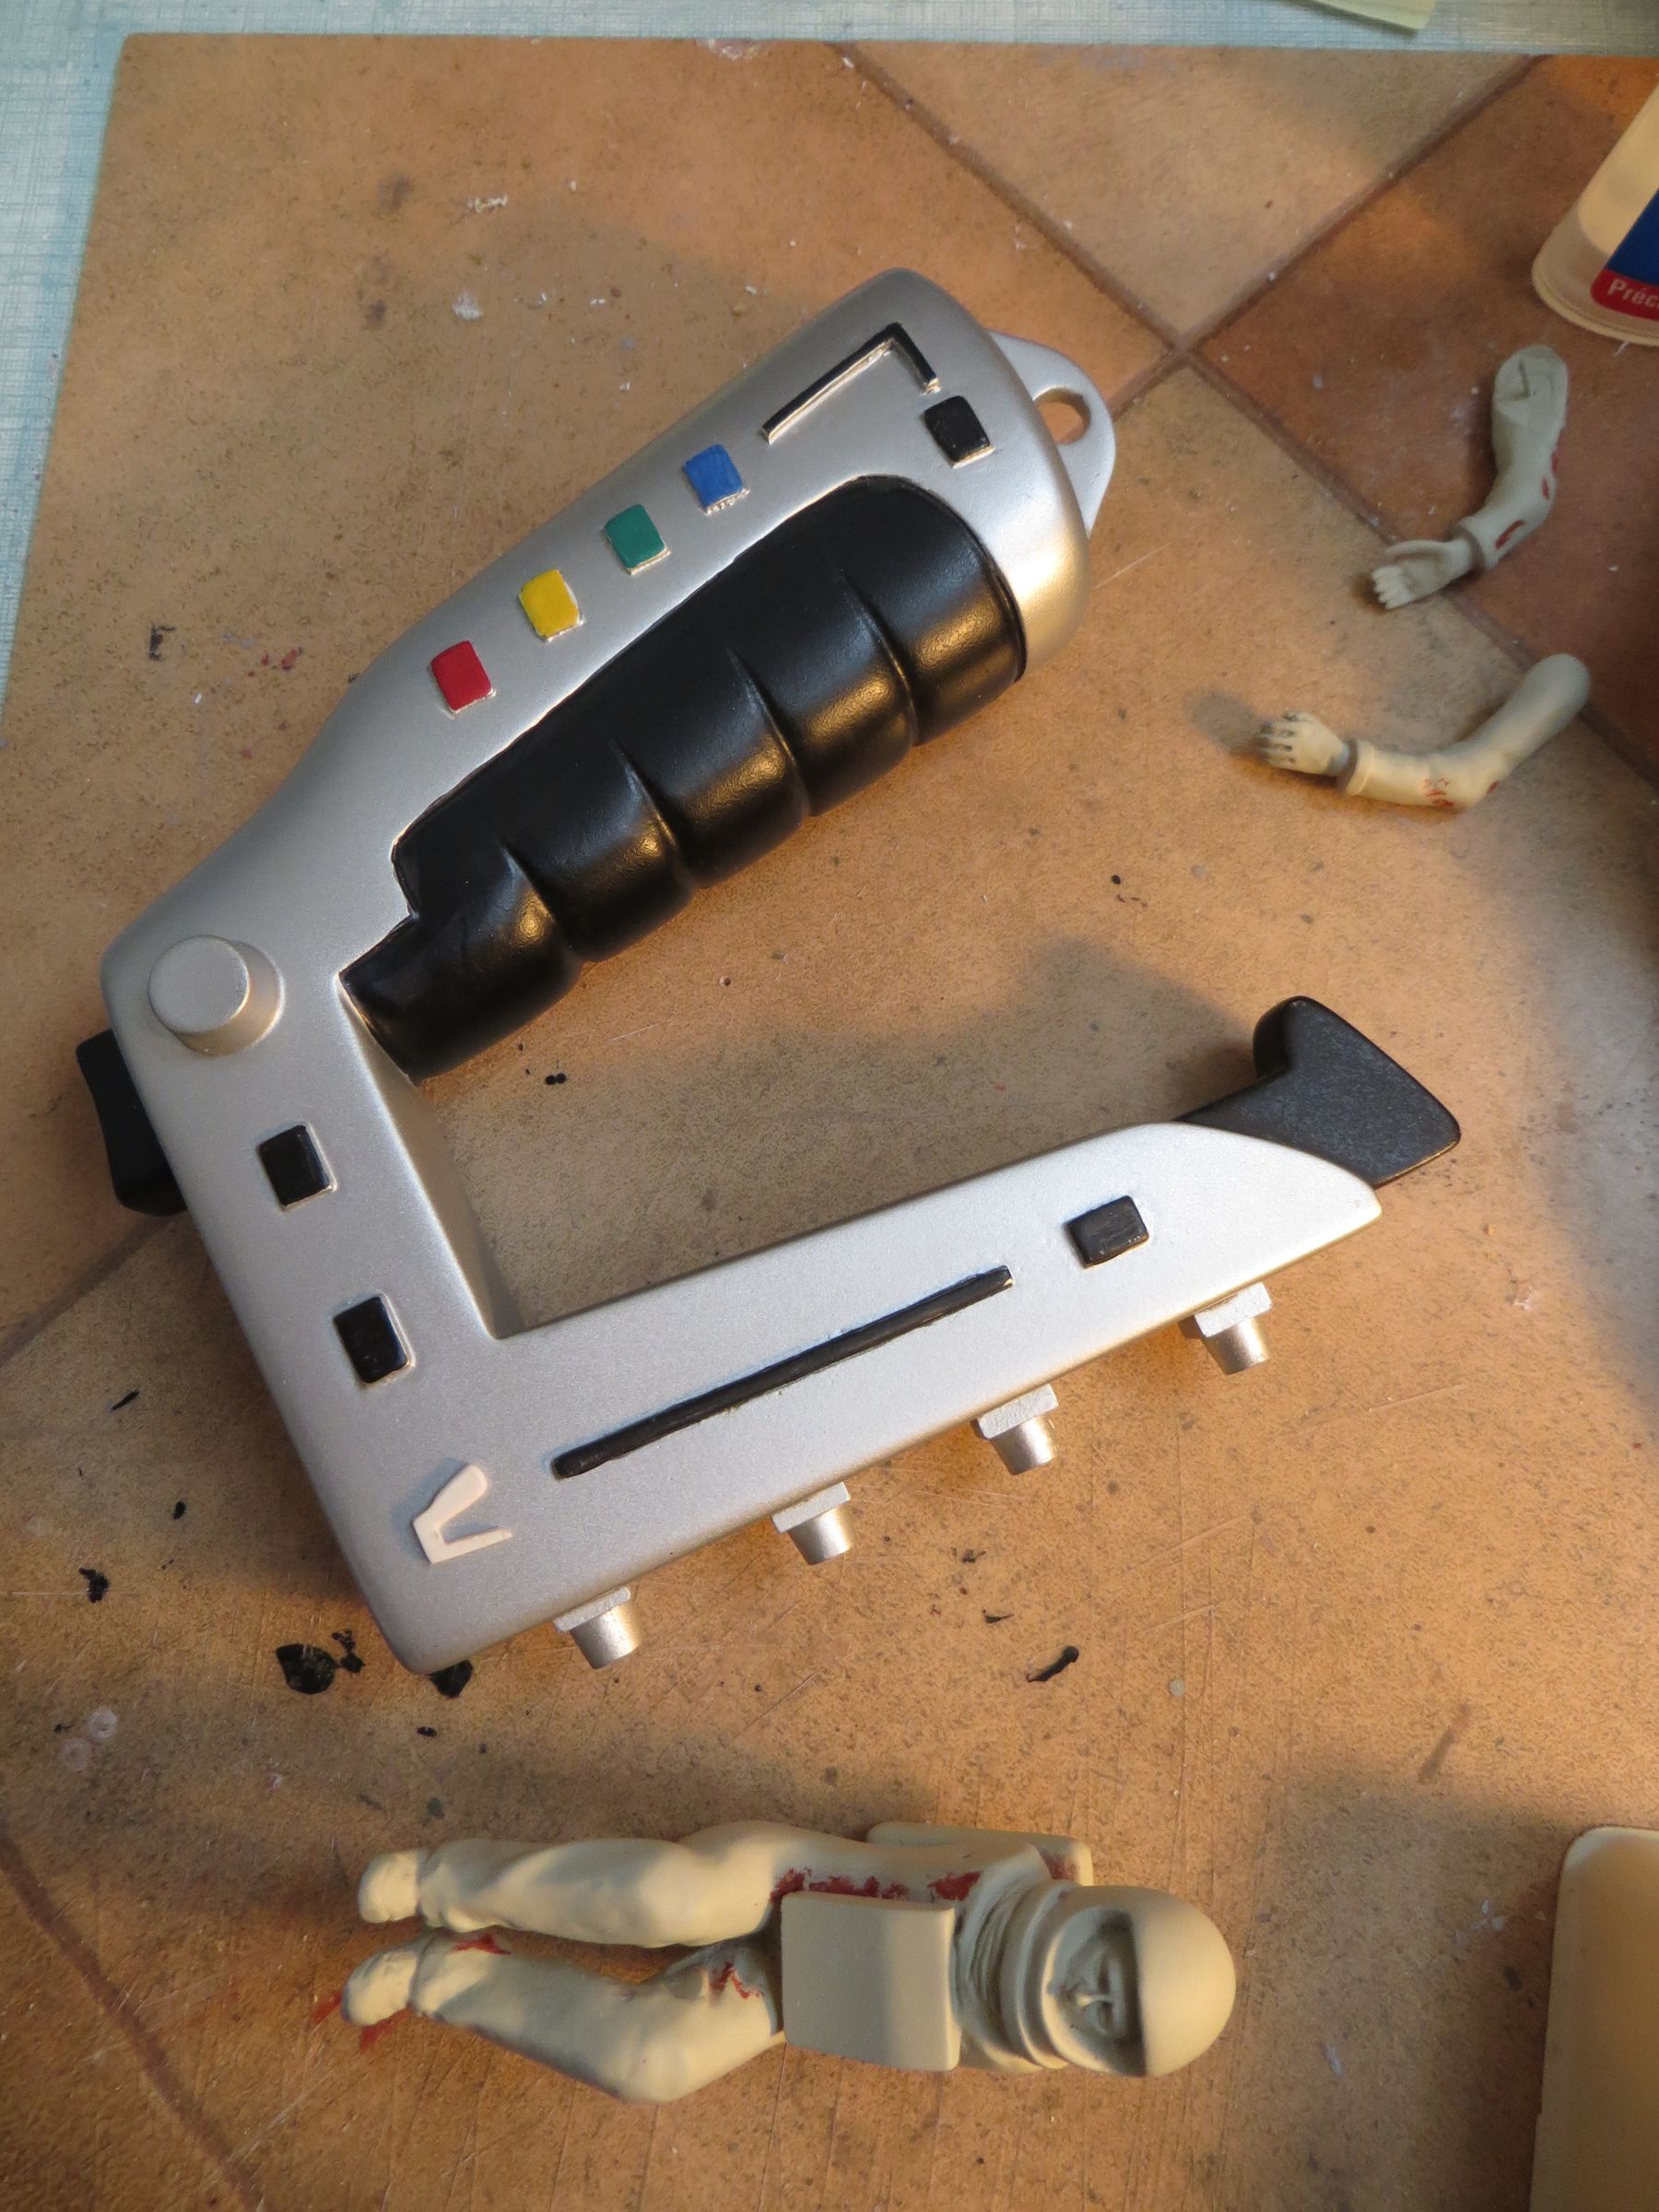
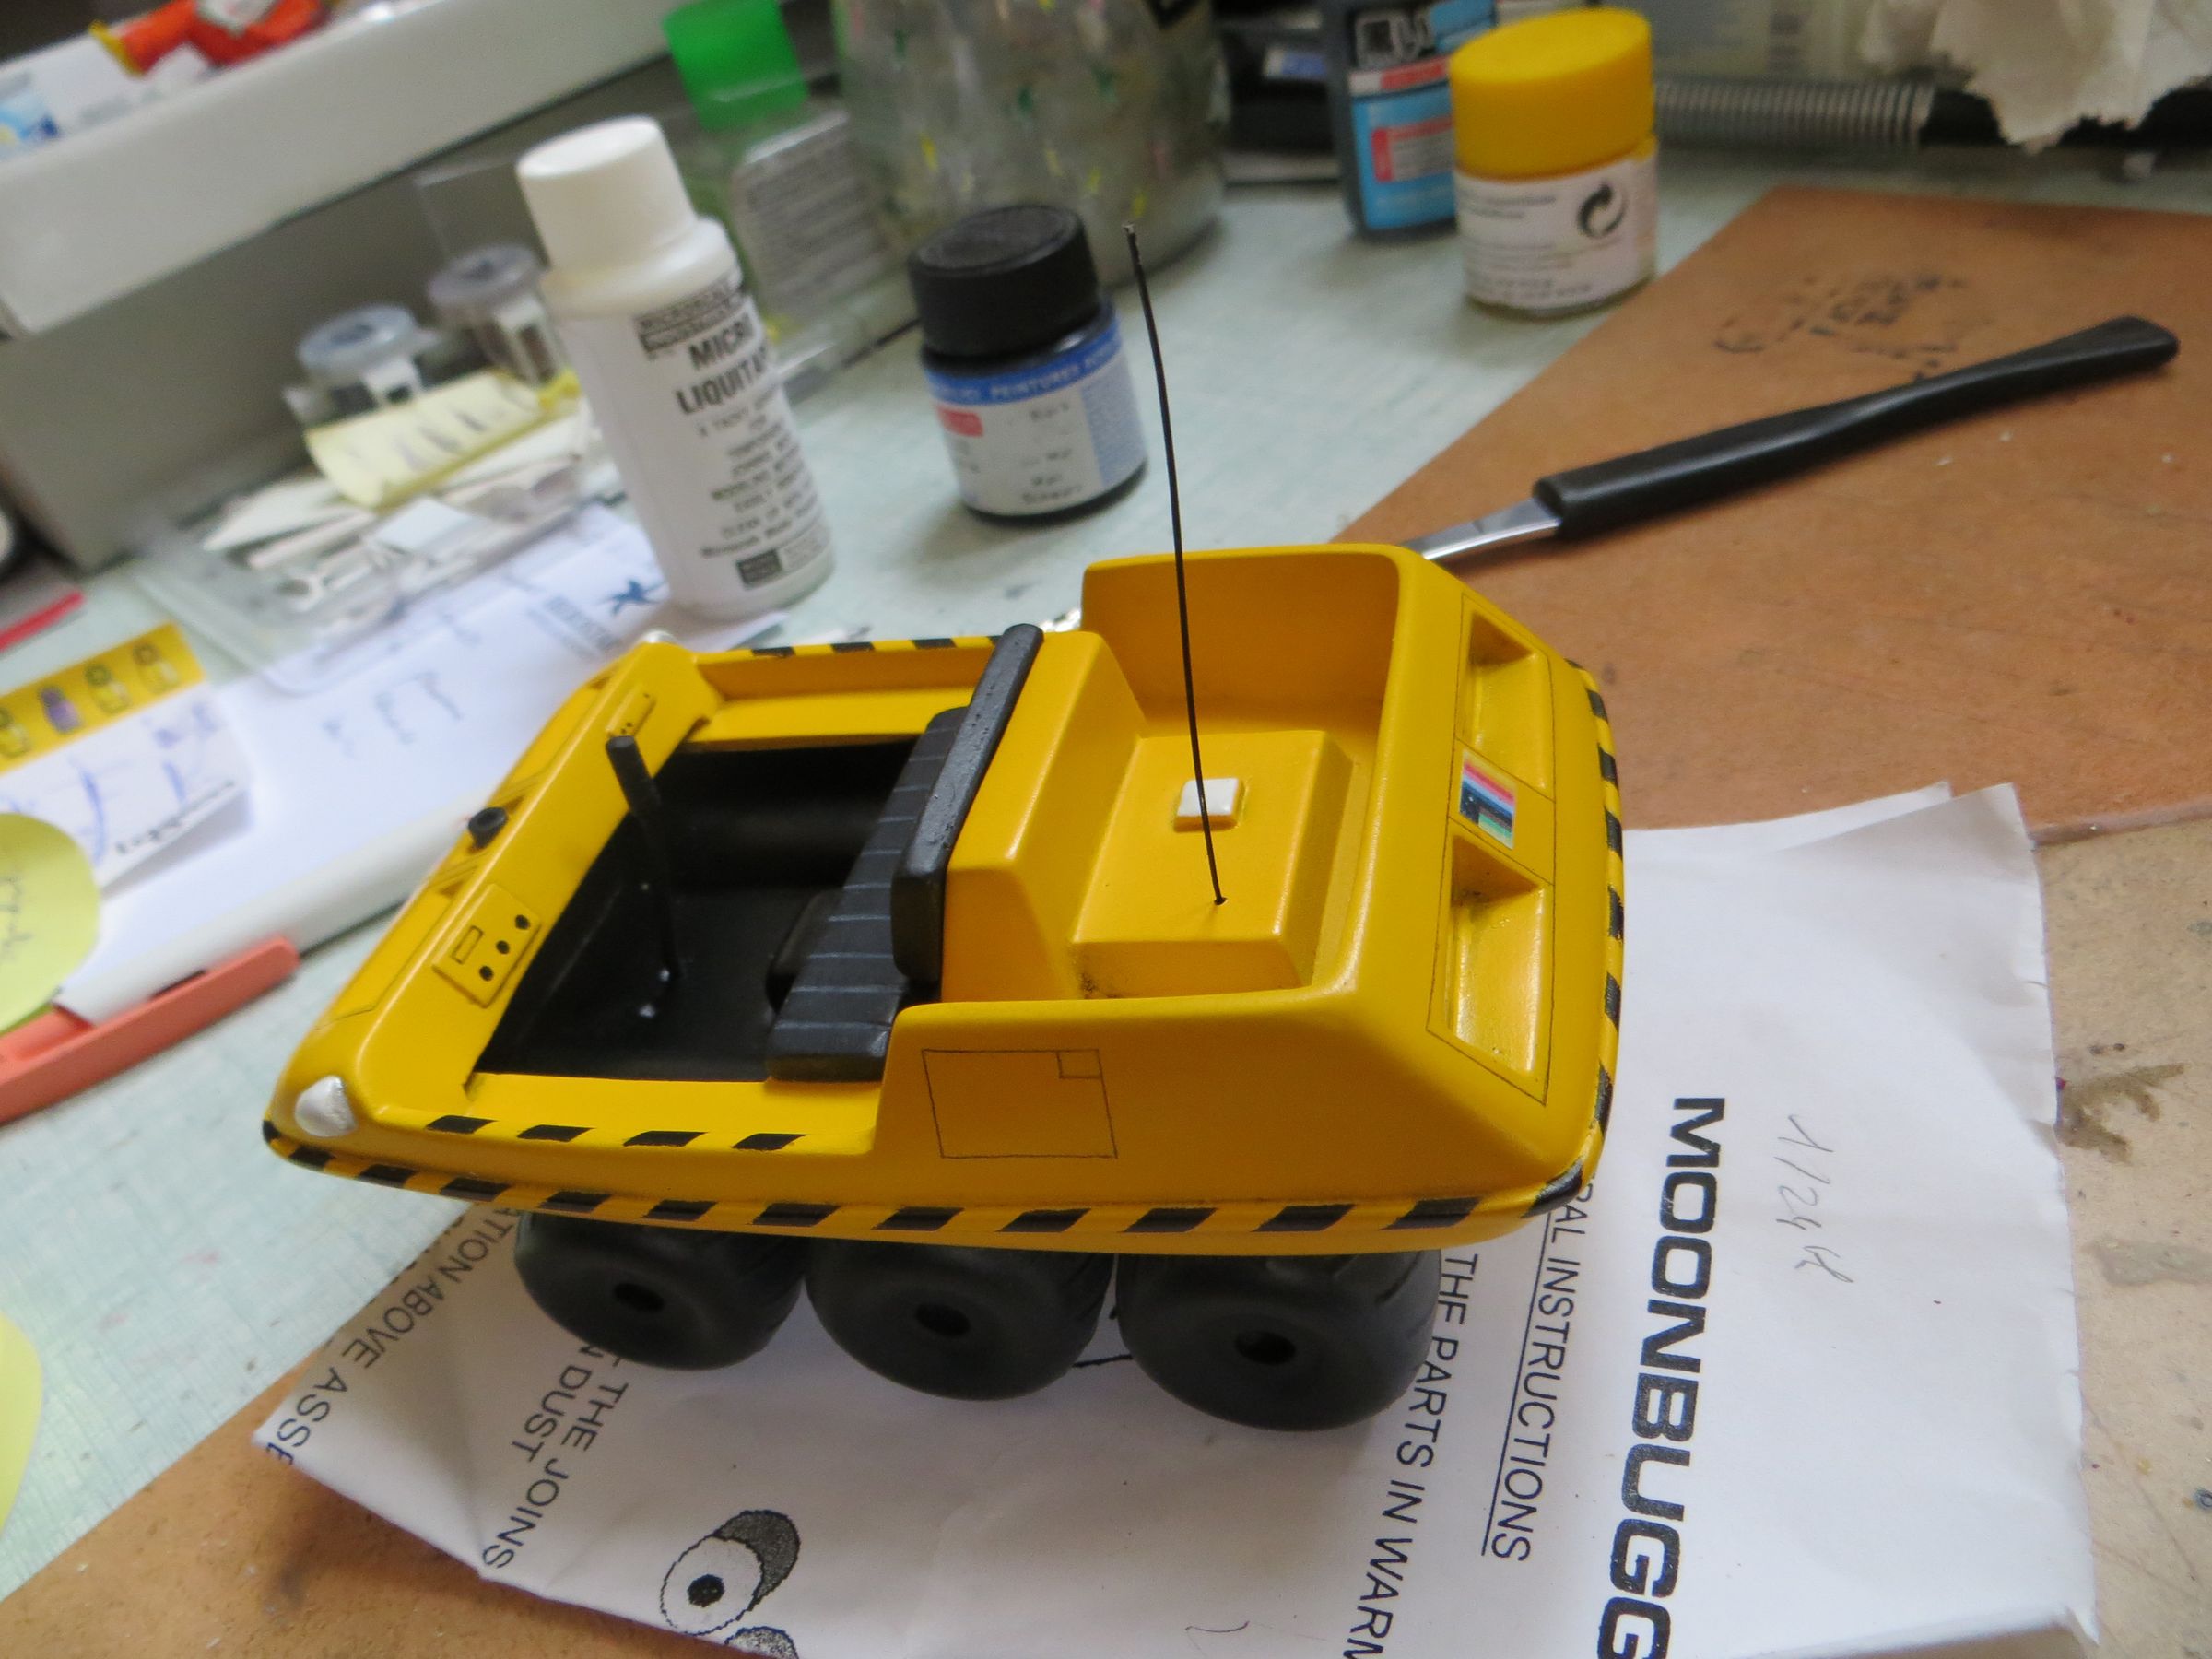
Finally, I only made one joystick, nor the lever, because the character installation is not allowed more! The antenna is made of a plastic wire label for clothing. It is flexible and strong. It is currently painted black. Sorry, no WIP photo.

A lunar ground prepared n the same way as I done on my launchpad

And here's the finished result ... at 99%
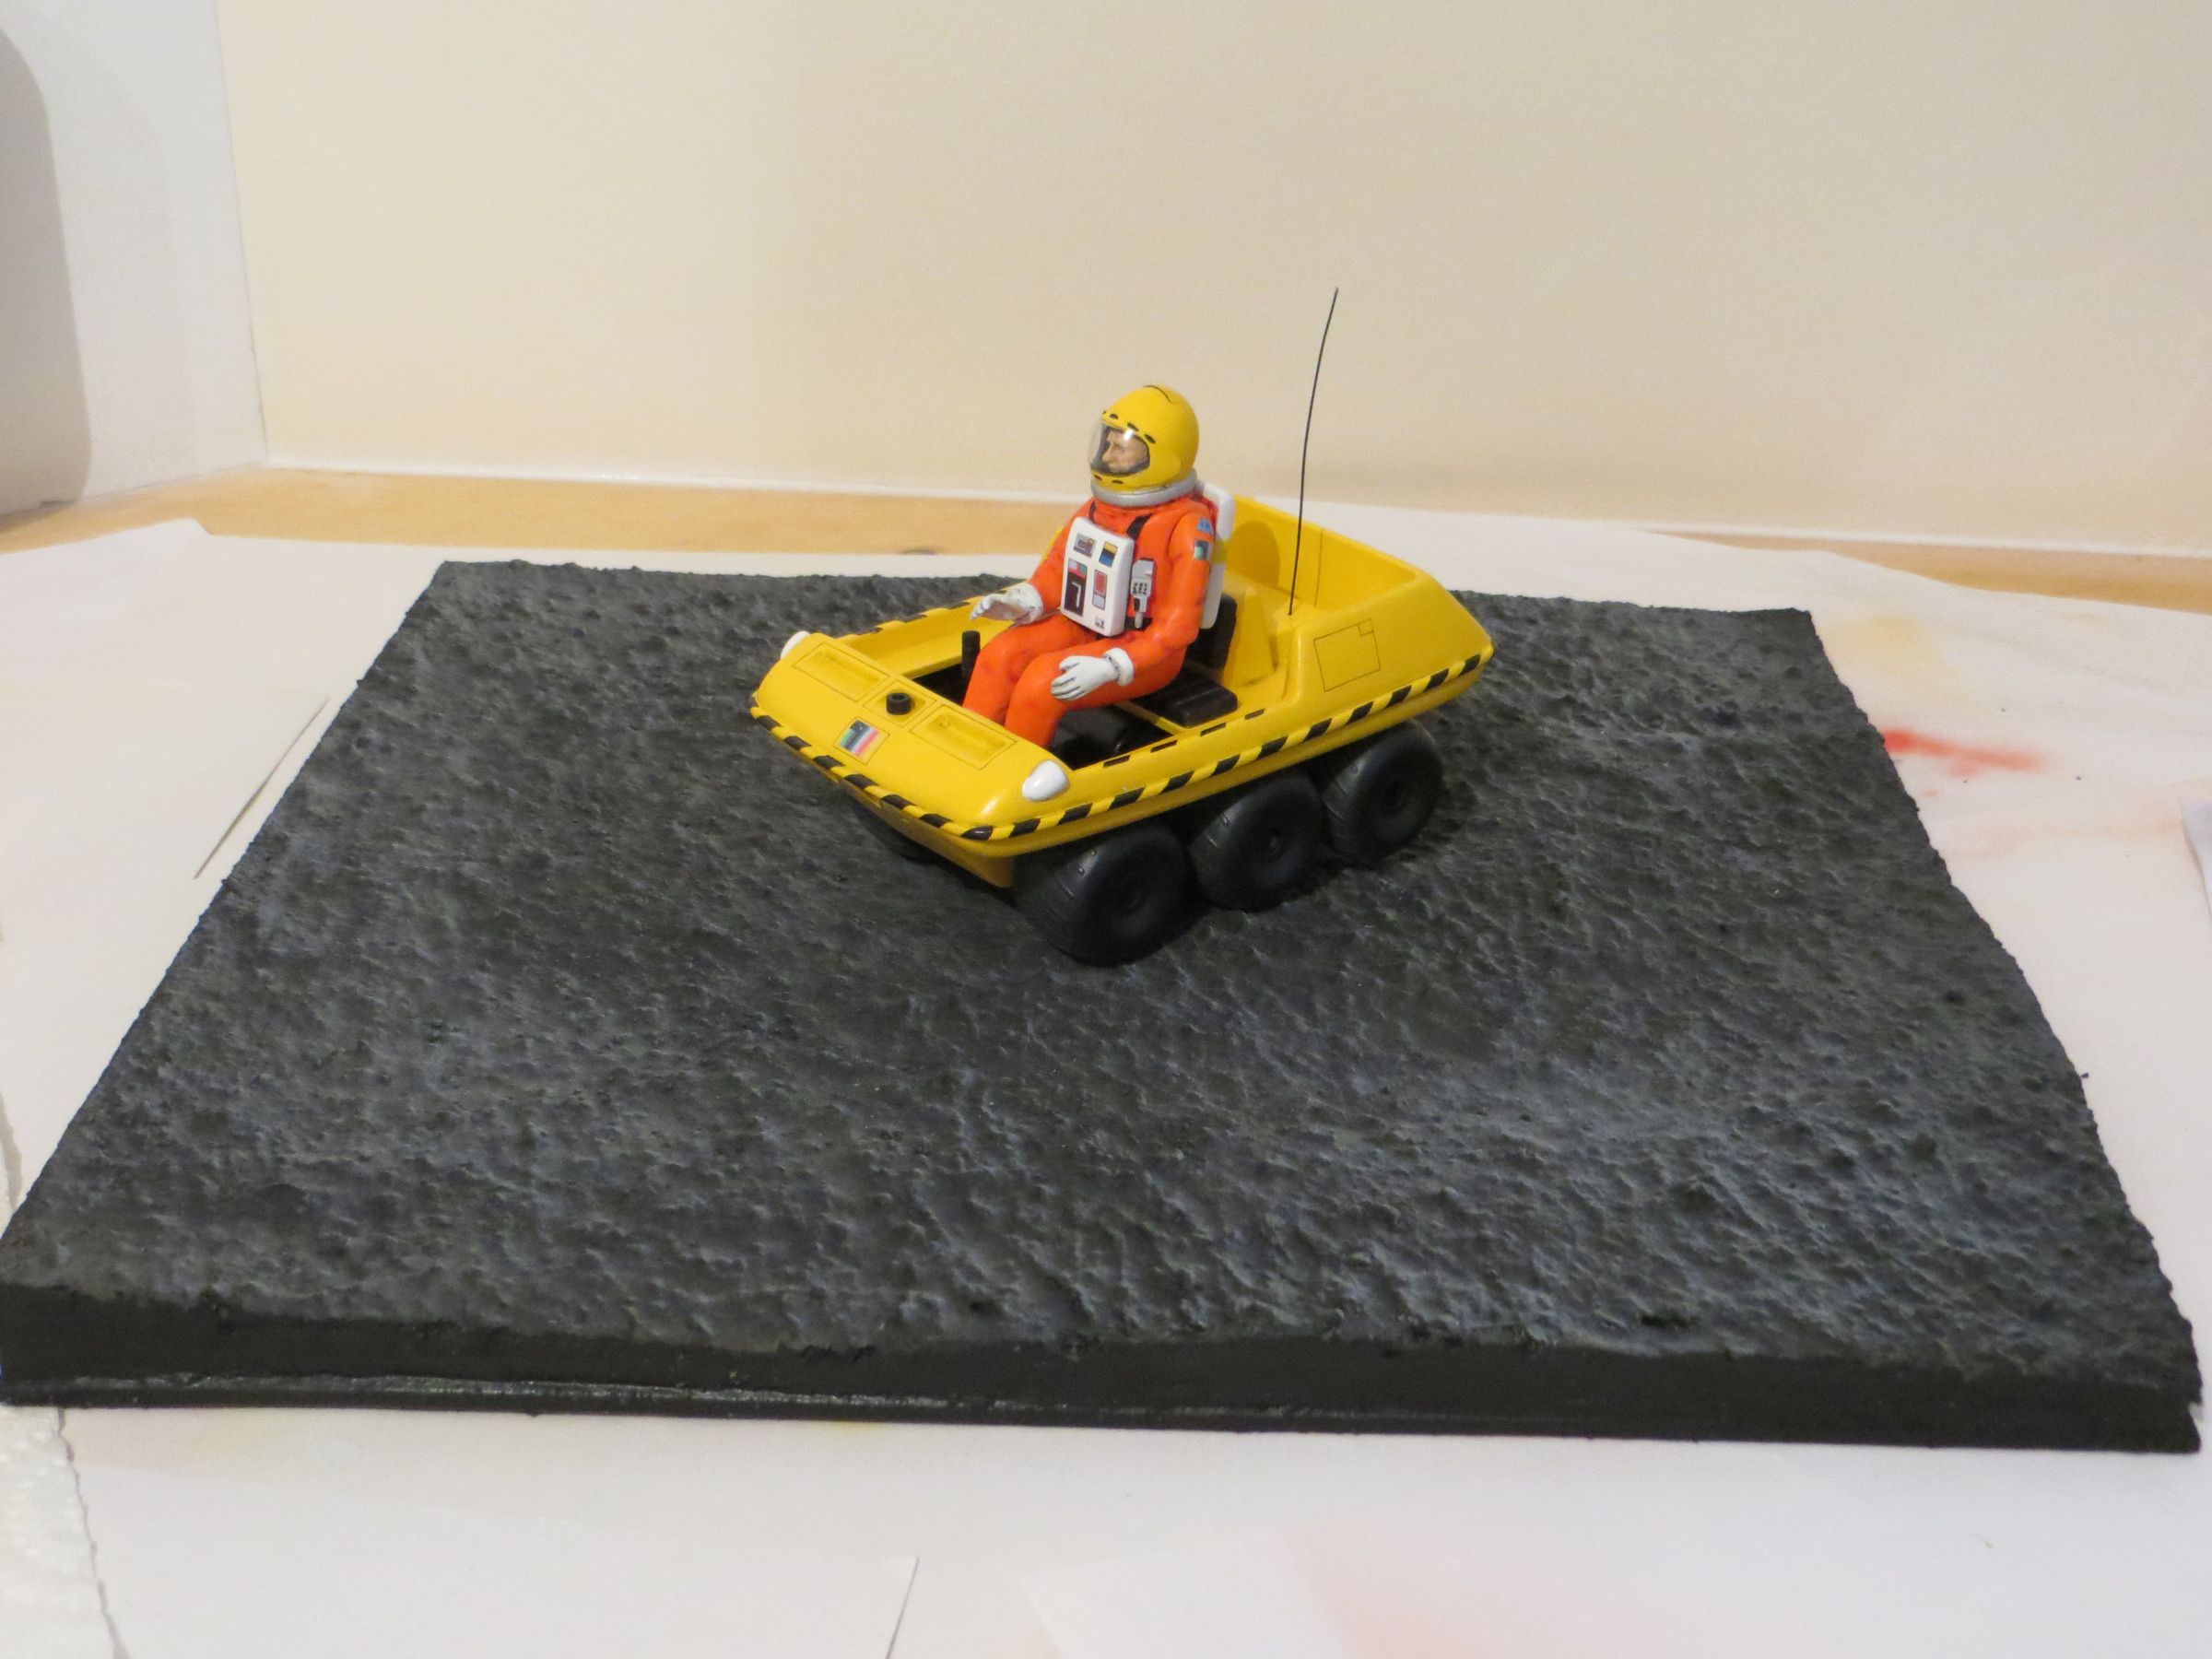


Why 99%?

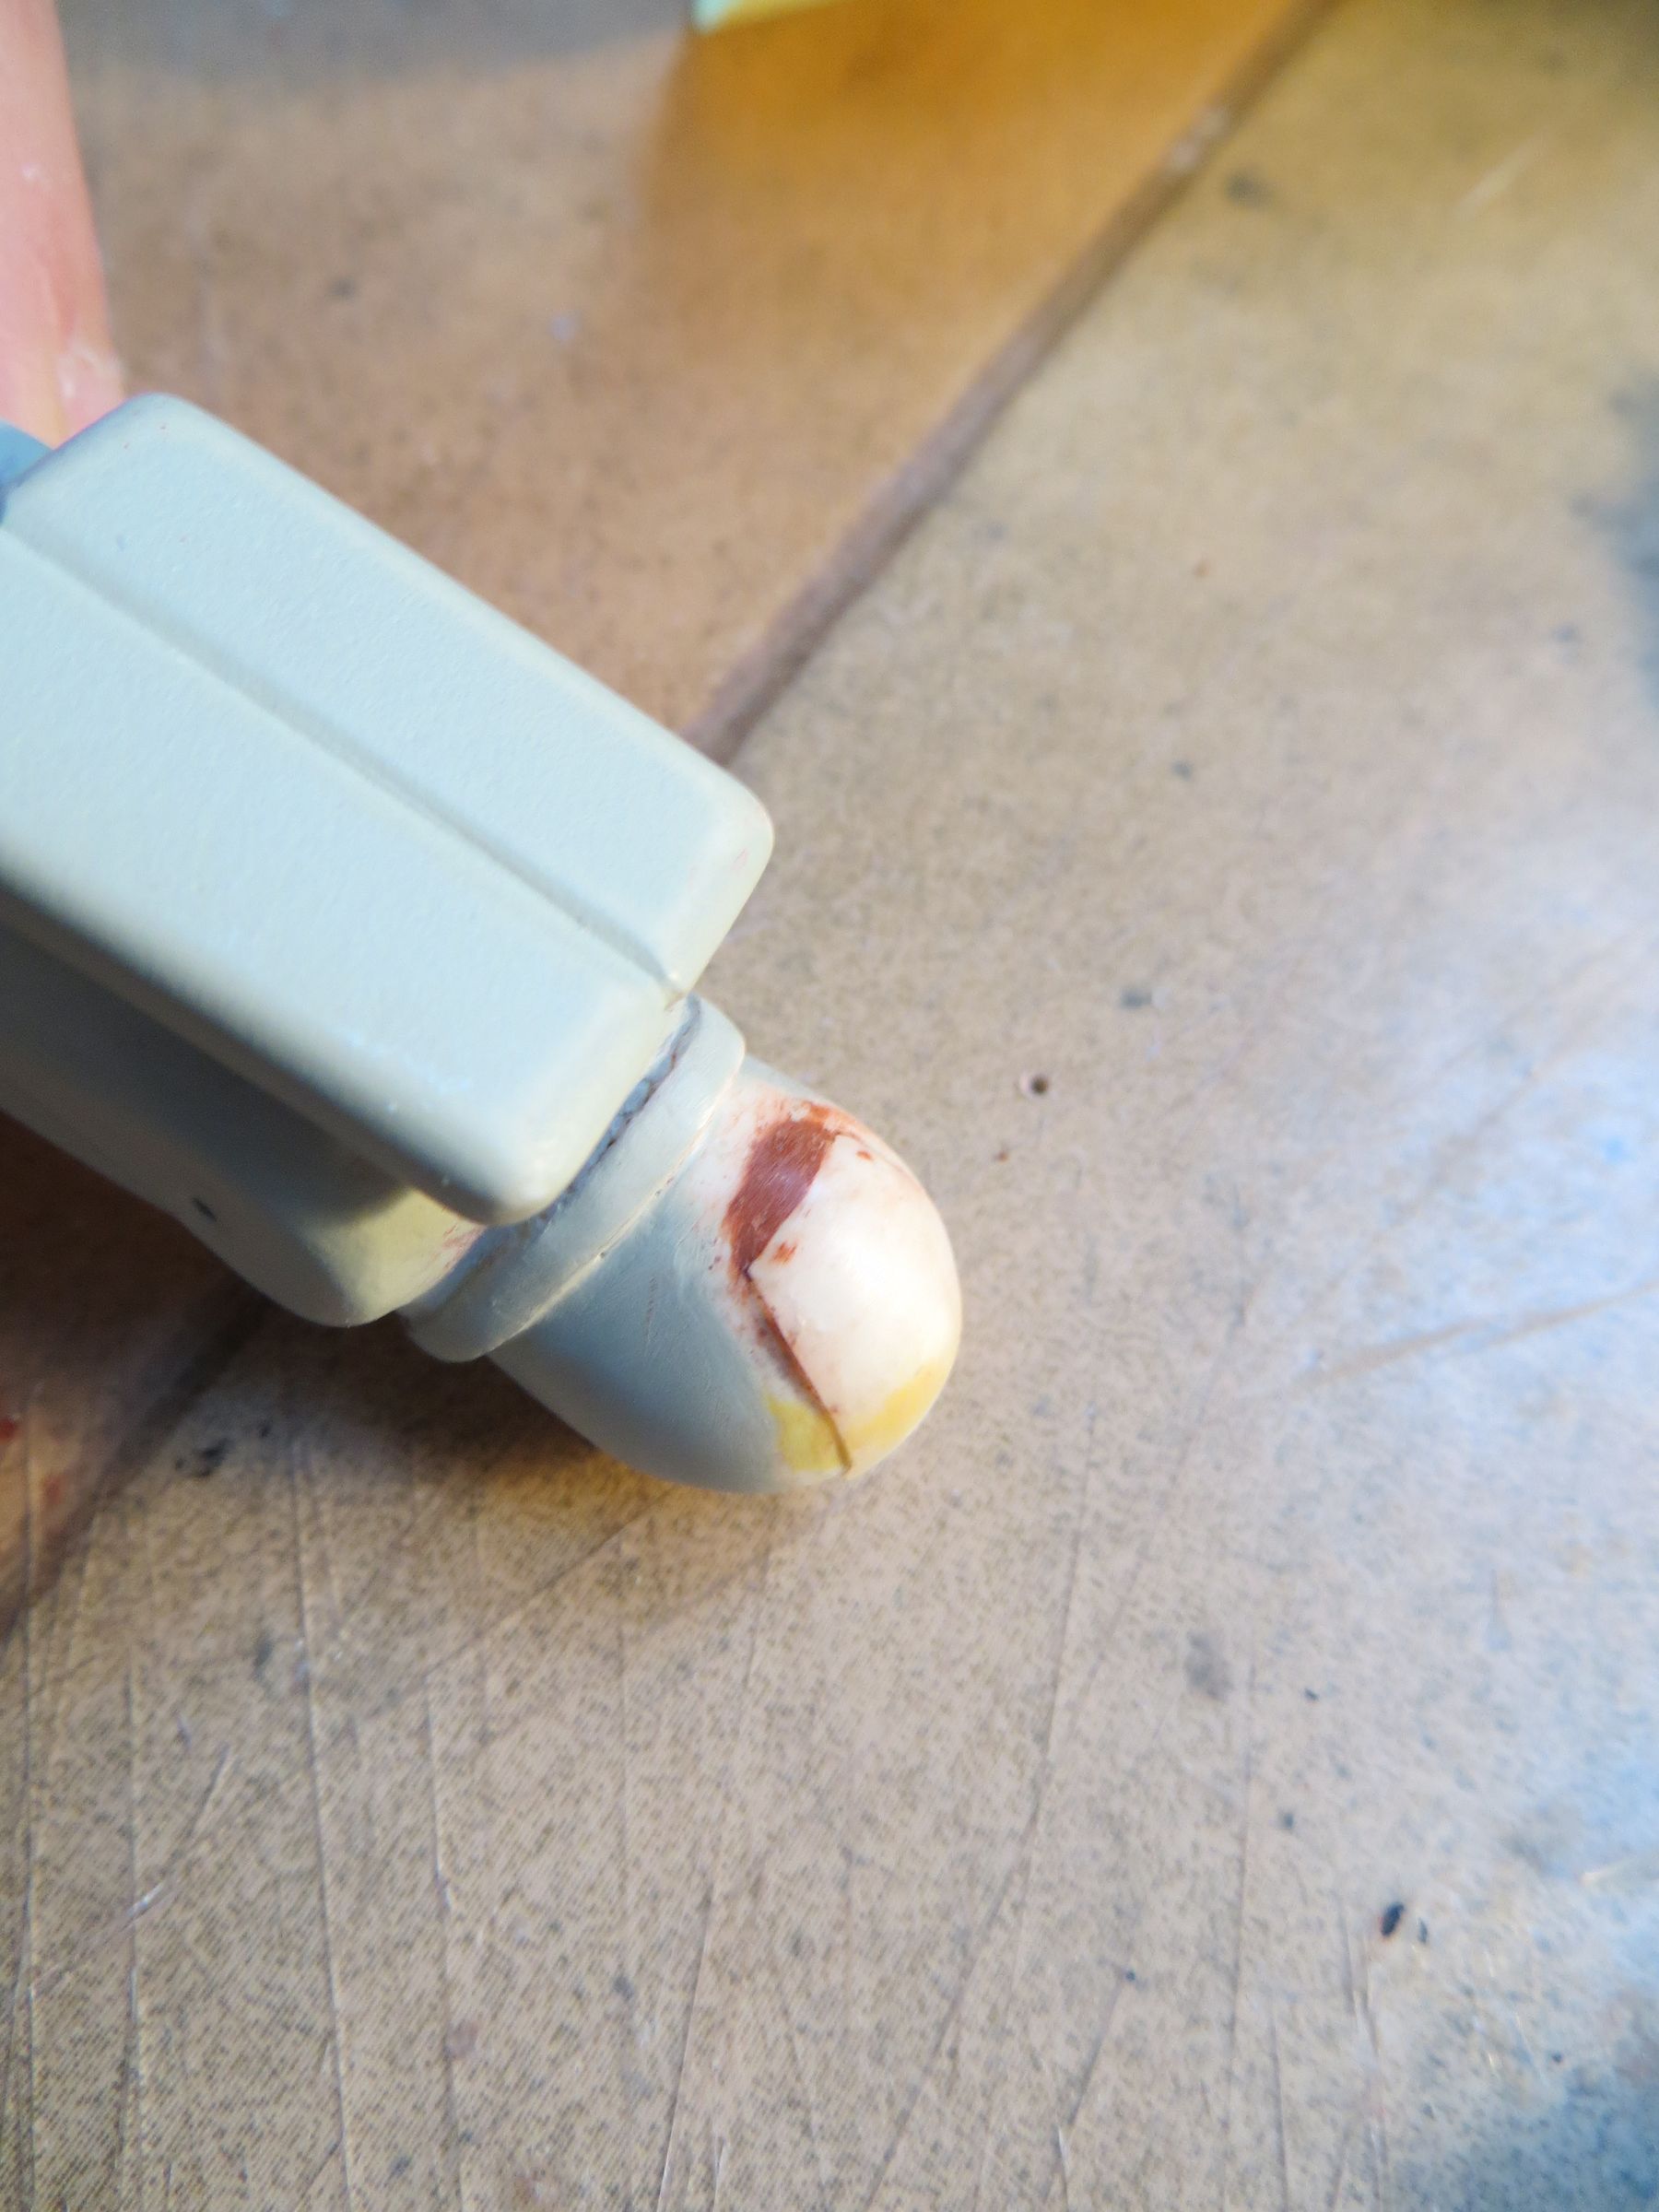
I still have to repaint the white antenna or aluminum, but also re-paint the visor. The paint chipped off when unmasking, so I corrected this in hurry by hand to be in time for an exhibit next week in Paris at Geekopolis
geekopolis_logo_web.jpg lereperedesaigles.jpg


And why 99% (take 2 !)

Because in writing this post I came across new photos, like this:

http://i109.photobucket.com/albums/n55/romhaller/IMG_0943.jpg

and many others here:

http://www.eagletransporter.com/forum/showthread.php?t=1459


And the report that goes with it:

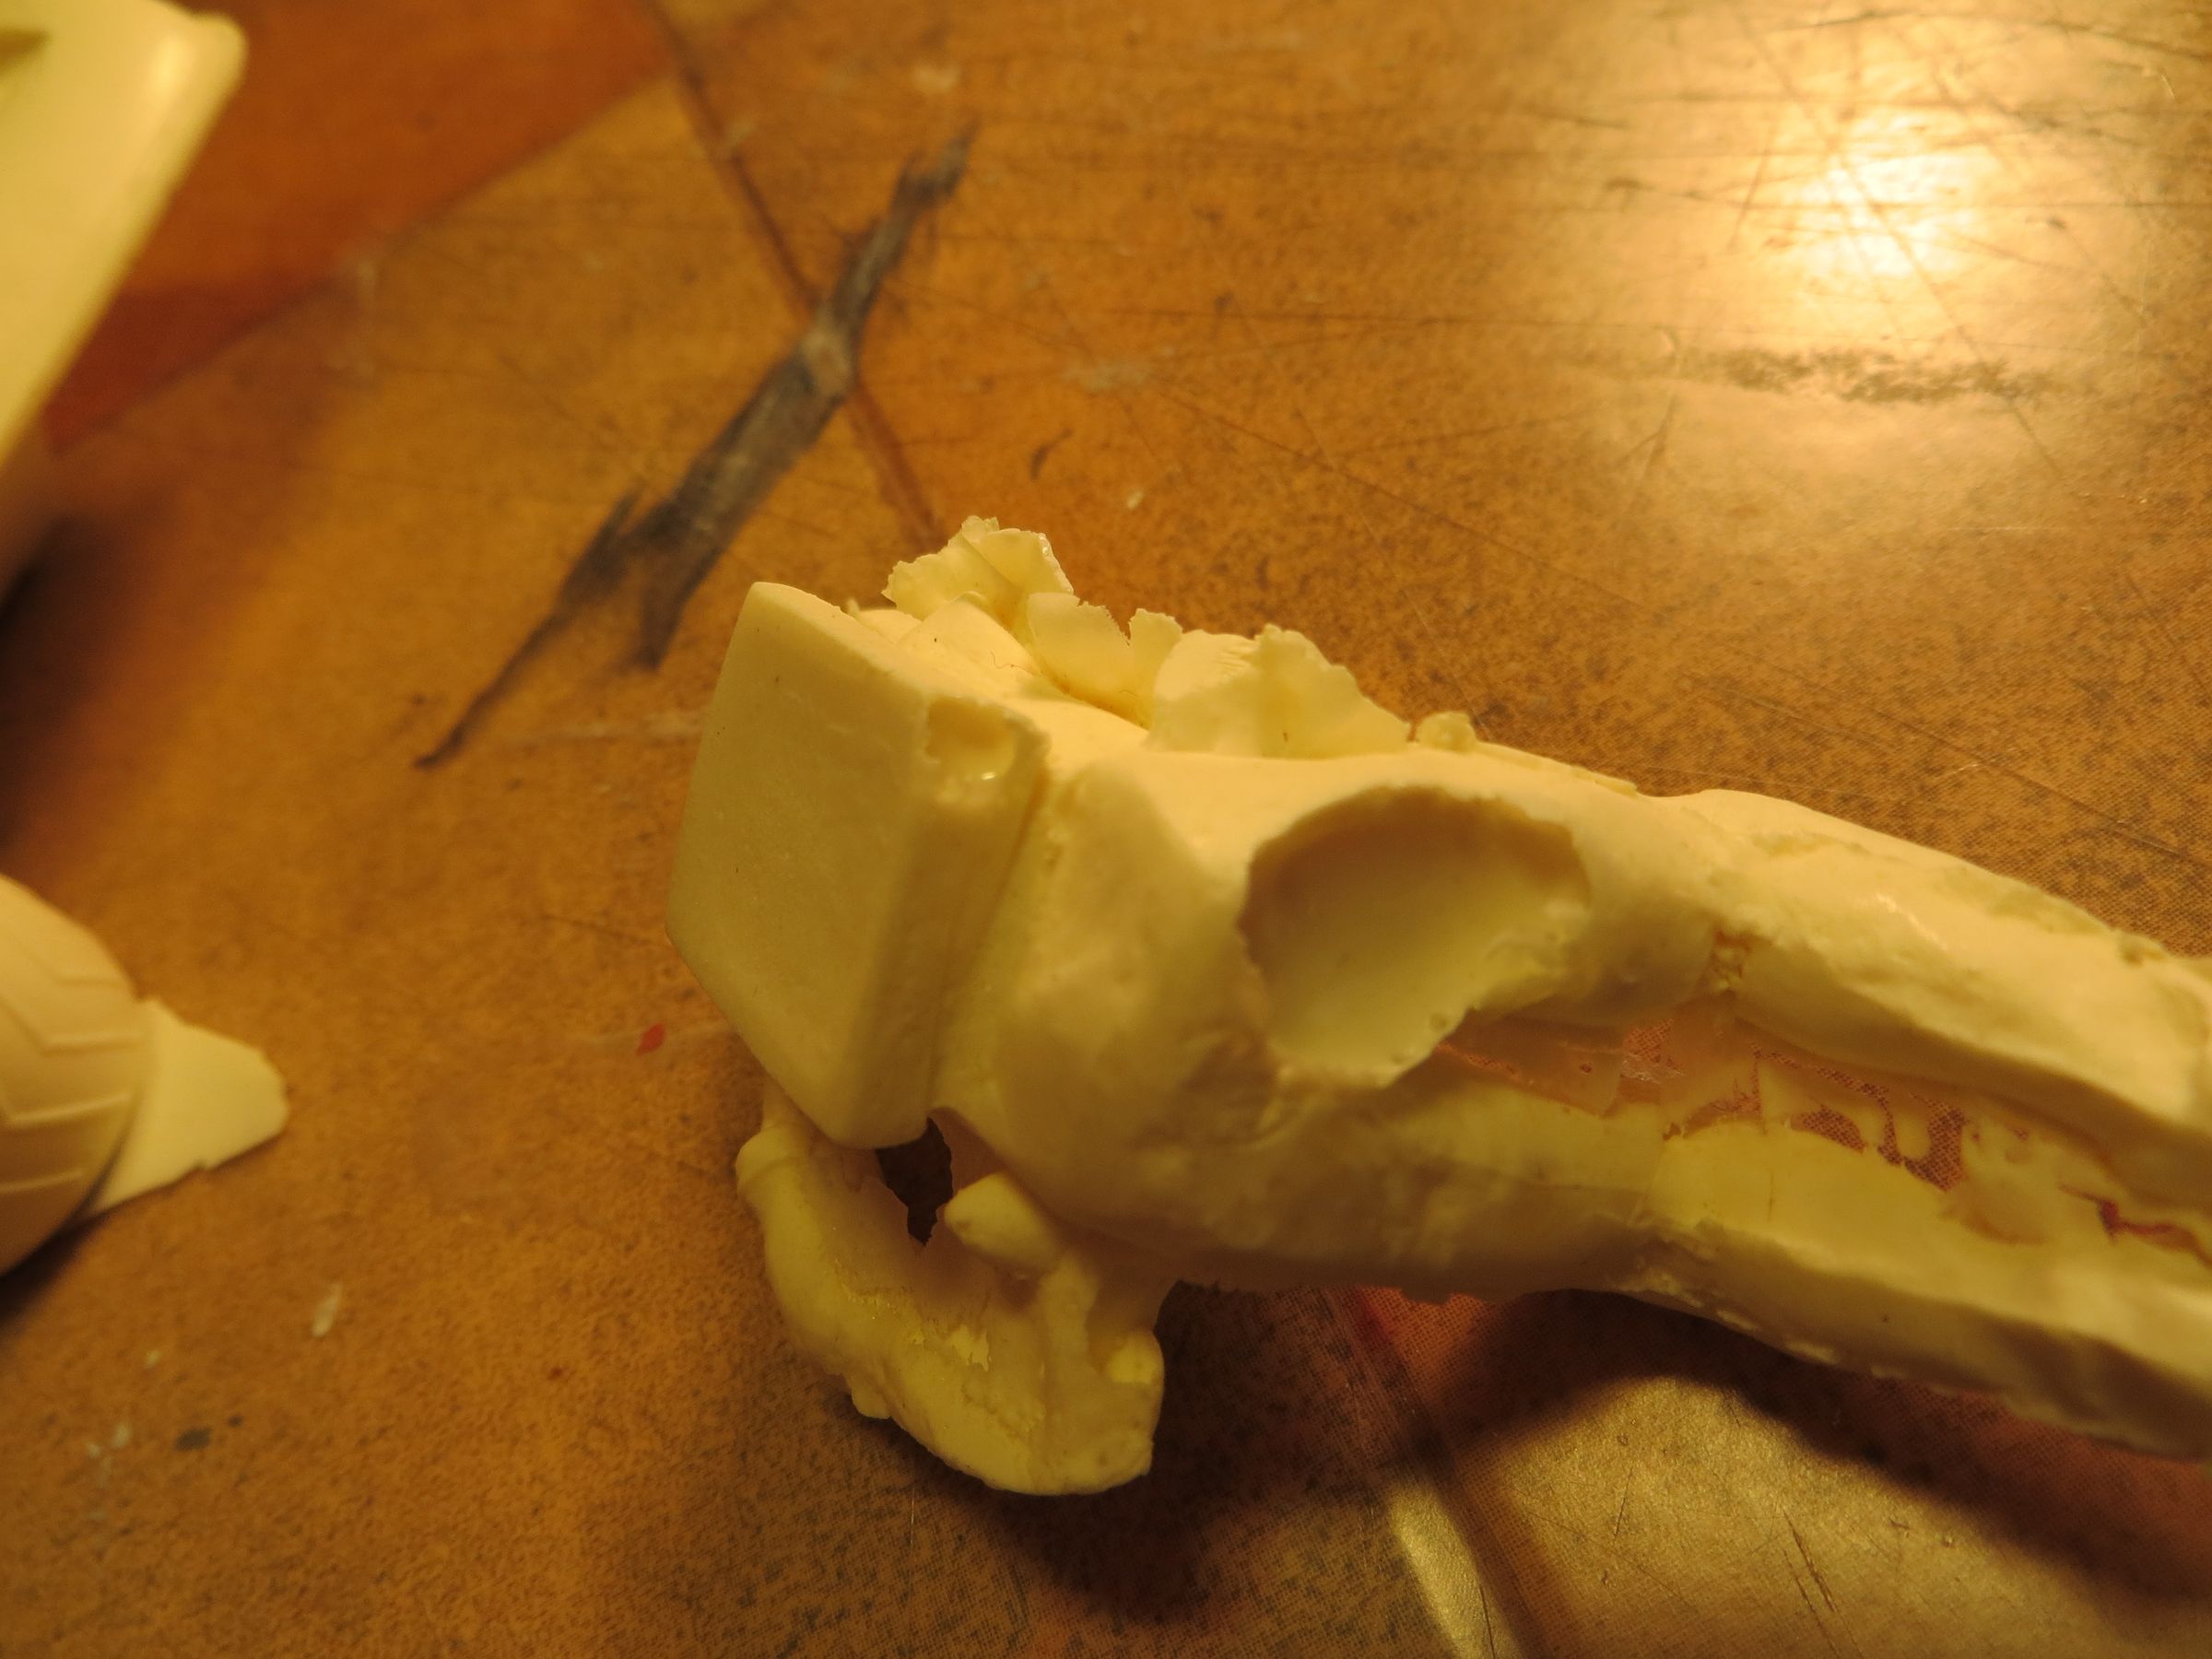
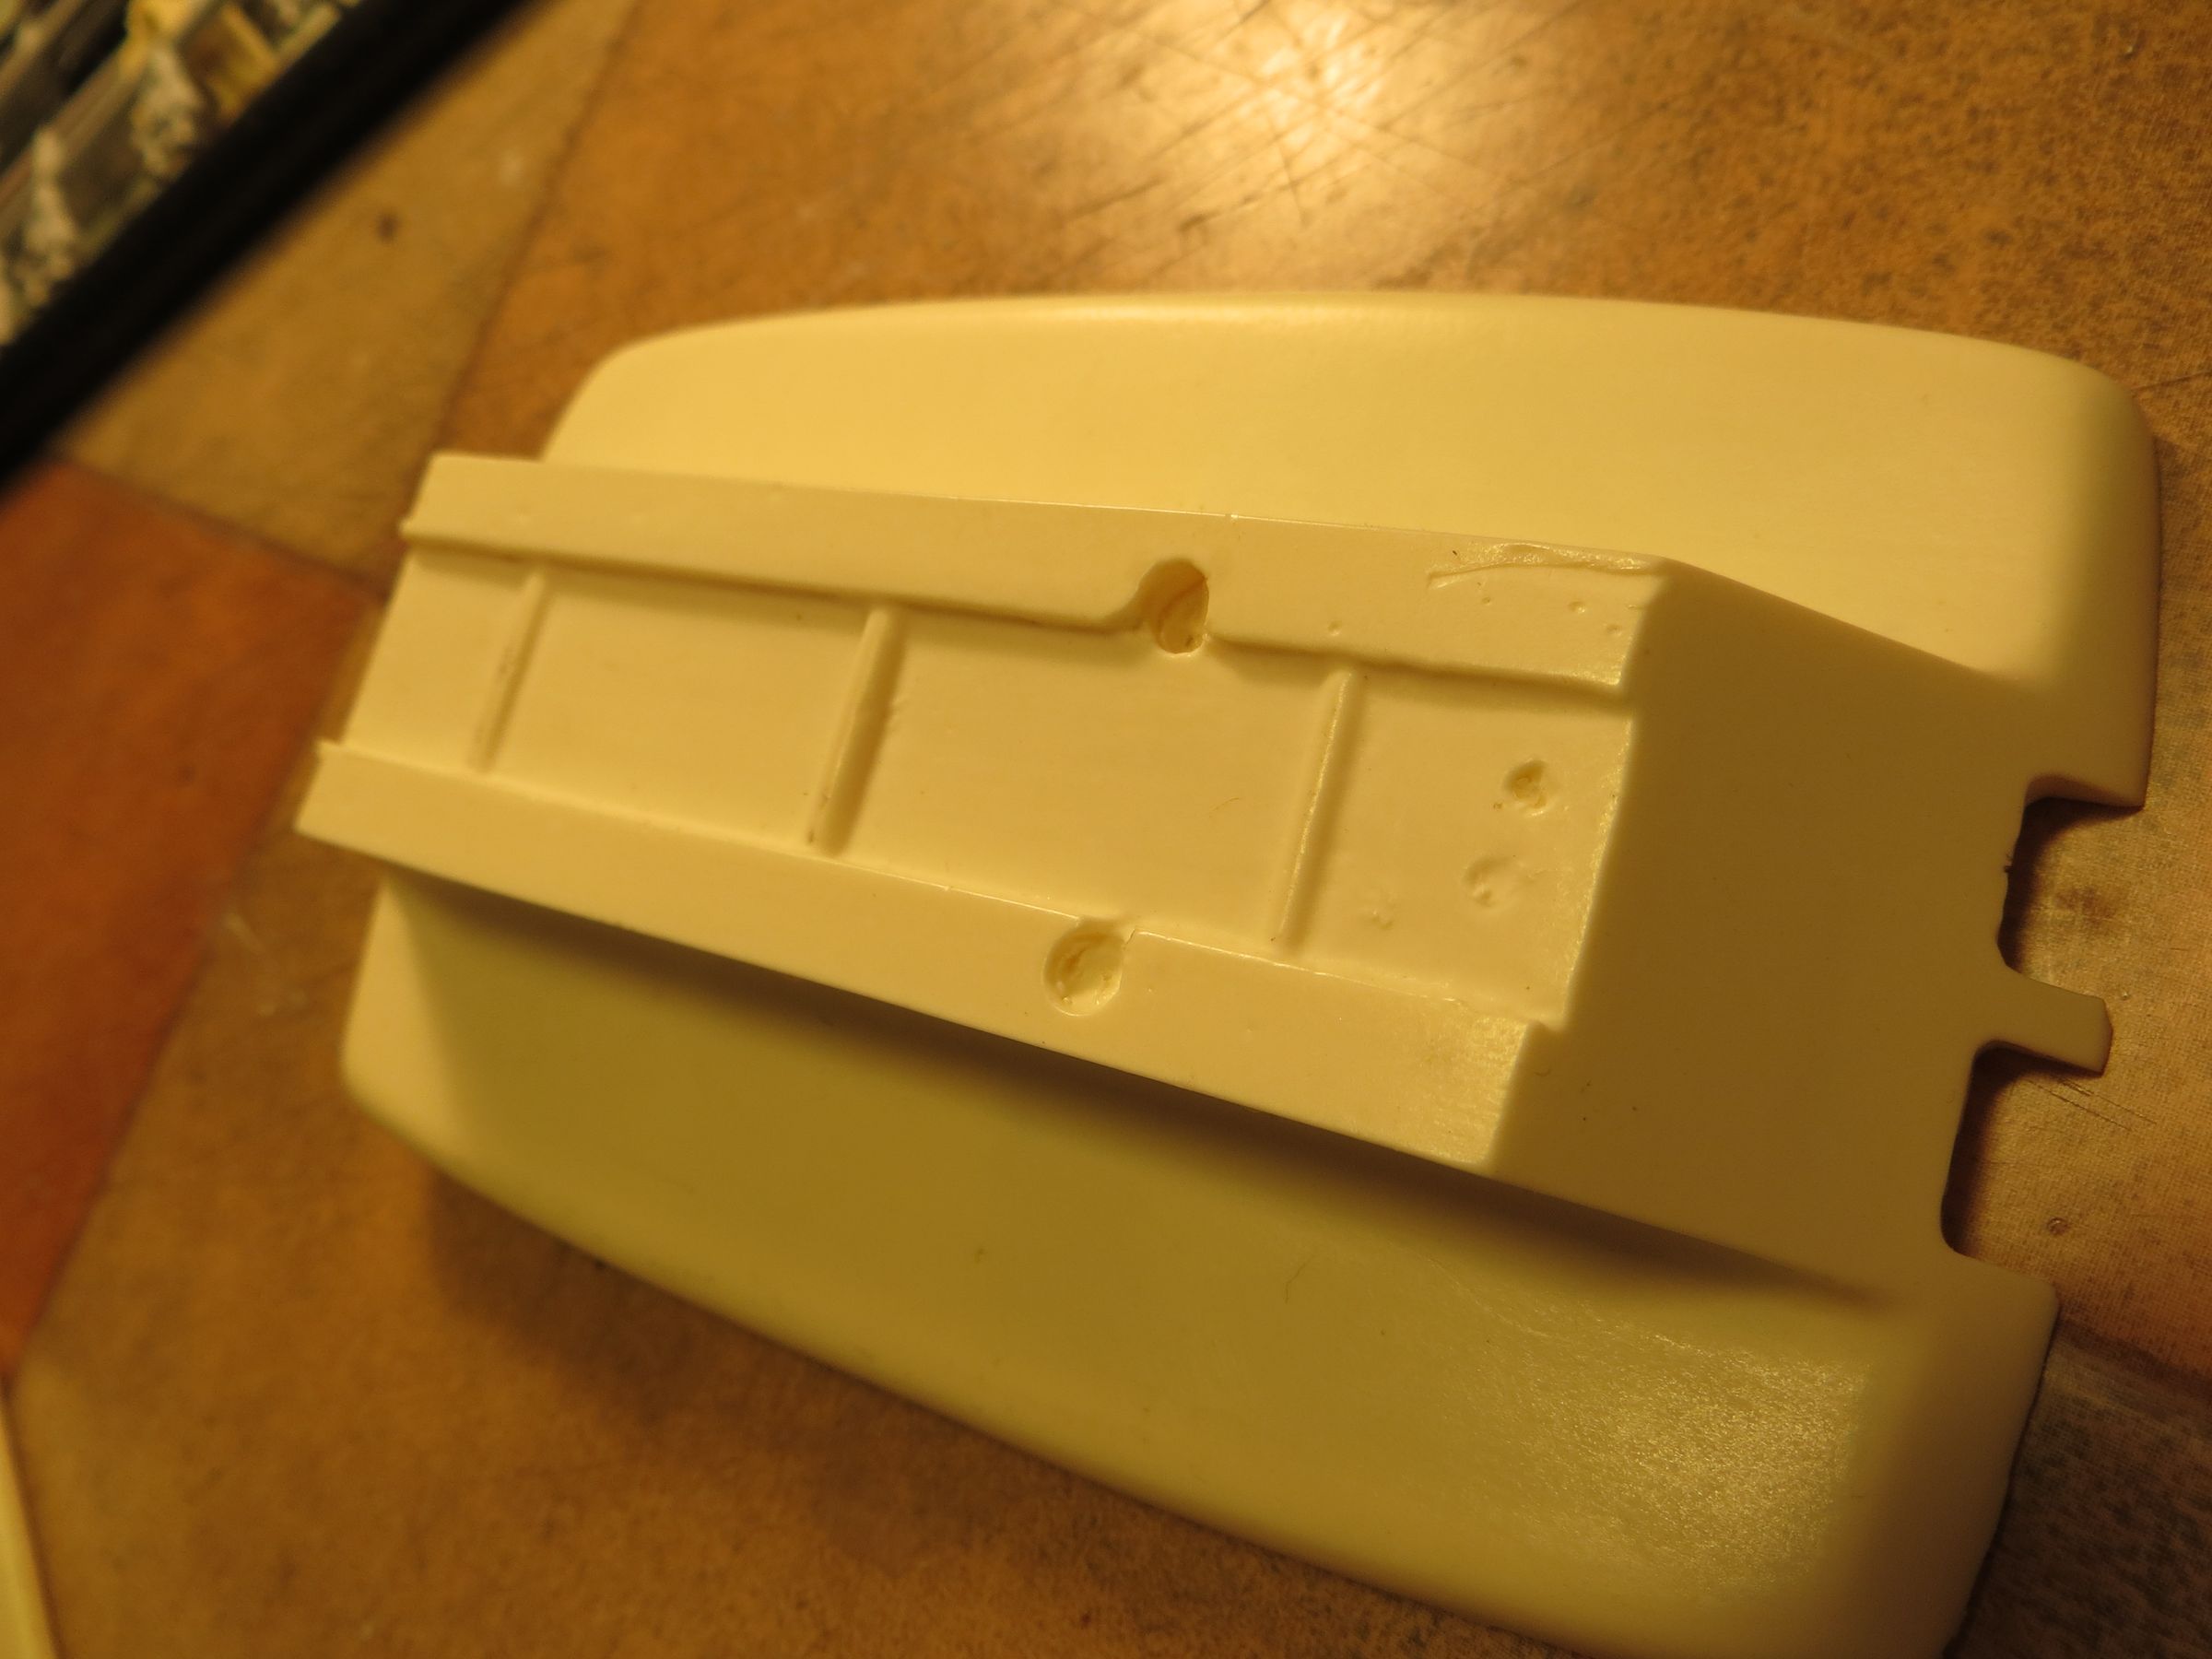
  • My pot is too long (that's why I had to grind in the corner), and it lacks the outlet tube (ca, I suspected, but I did not know where he was to position!)
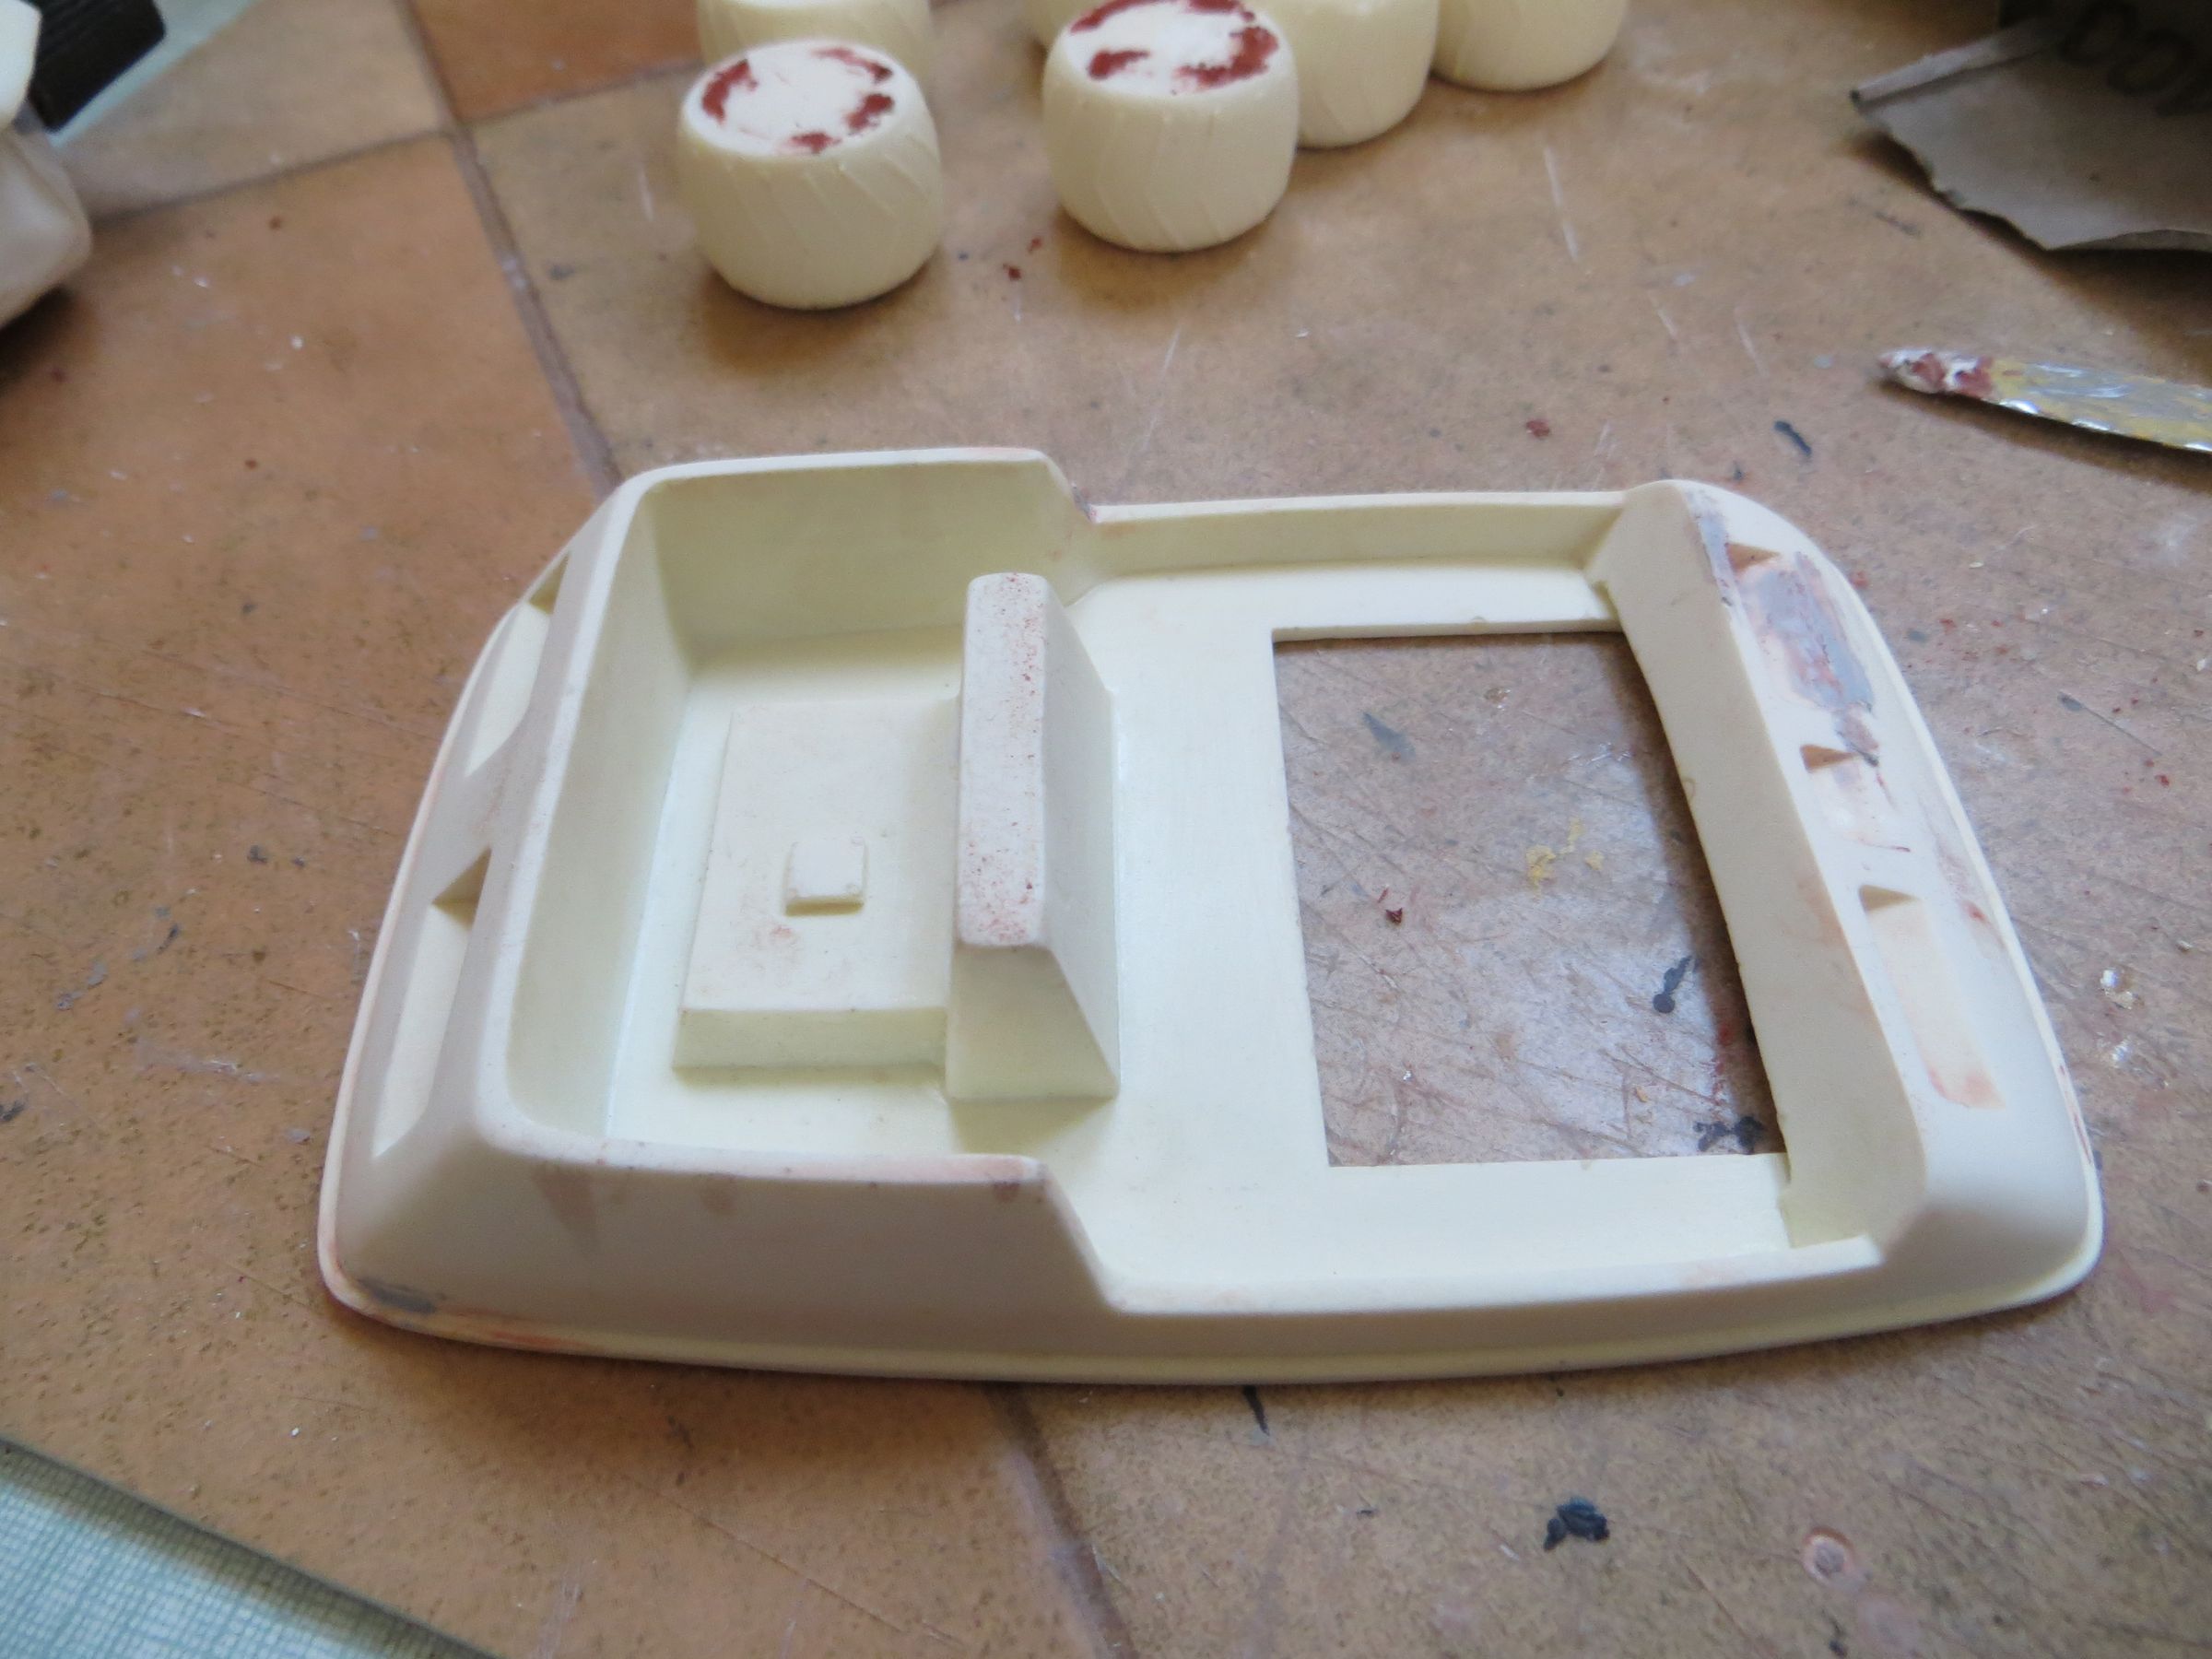
  • I'm missing a few panels
  • My antenna is misplaced
  • The small front cylinder is gray instead of black I applied

The top view also shows the damages that I took for casting defects (on the front cover) and explaining those that I found on the dashboard.

mardi, 12 mars 2013

Space1999 - Moonbuggy

The edging on the bottom rears are redone using 1mmx0.75mm evergreen strips.

Ditto for the two rectangular panels of the dashboard, with the plastic card 0.5 mm

Before gluing the top and bottom together inside the cabin (if you can call it that), is covered with primer and white paint.

Residual defects are worked. The mirrors are added. And everything is cover with a heavy layer of spray putty. I expected that it reveals tons of new residual defects, but it did not happen, and so much the better, because it leaves me to glue the top and bottom of the body.

The character need a consequent filling of the molding shifts gap (Tamiya bi-component filler) and a first rough sanding to smooth and catch up the stuff.

The arms will held with small brass rods. After sanding, the right arm attached not to badly to the body, but the left one looks like a playmobil arm (ie too skinny). They are enhanced with little rolls of putty (the Tamiya equivalent of Milliput, Which I find less friable than the latter). The arms will be glued after painting.

Playmobil arms !

And after :

With the application of different types of putties and fillers, it becomes difficult to see the remaining defects on the character, so he received a good layer of spray putty.

The back pack is fixed with a central groove and rounded edges.

vendredi, 8 mars 2013

Moonbuggy in the works

To remove excess material, I use a belt and disc sander, like this :

Here is the result after few minutes :

On the bottom rear, I had sand 2 mm without the need to finally add plastic sheet, because visually, the withdrawal from the lip located at middle height (between the upper and lower body ) is rather better as is now to my taste. Before sanding, with a pen, I marked the edge to see how far I was going.

Taking the size the edgings before sanding

First run

Second run

The dashboard does not suit me. The studio model seems to have been broken and repaired on one corner (already sanded in the image below), and the two panels were not straight (not a problem when the screen time is short, but it's ugly when viewed as an exhbition model, so it is sanded (by hand this time, beginning with an heavy grain sand paper)

The result is made flat.

The upper and lower body were slightly crooked molding, these parts are recovered by a passage in the boiling water. (Sorry, no photos)

The lack of material in the upper part of the body are filled with Tamyia bi-component filler (I do not use it often, and I forgot how this thing stank !). A small area of the lip on the rear right is filled because I too supported the sanding here.

And now after a new run to the sander.

The underbody is carefully drilled from side to side to hold the 3 wheels axes (not supplied). I also planned a plastic tube to bring the wheel to the right upright. The hole is enlarged of a few mm deep in order to insert it later. I will play with the tube length later.

The wheels are prepared (sanding, putty, center drilling for the axes).

The rest is less interesting for the moment: putty, sanding and so on, mainly on the upper and lower body

Same job for the character: cleaning, filling ...

Space1999 - Moonbuggy studio scale

This lunar jeep is a Comet Miniatures resin kit that was given to me recently (he will recognize himself, a big thanks to him).

This is supposed to be a remoulding of the 1/24th scale studio model, I can confirm that after doing some research. This does not seem the case for the character.

It is a Comet kit, so with its usual issues : parts are full of bubbles, gaps and molds misalignements...
The simplicity of the subject that it should be workable without much difficulty.

Anyway, it'll be a nice addition to the collection and it has its place in my little Space1999 collection.

Roughly, included in the bag are :

  • Body in 2 pieces (top and bottom)
  • And 2 pieces for garnish bench.
  • 2 headlights and 2 full mirrors
  • 6 wheels
  • A model in 3 parts
  • The decals not clean (damaged and faded by time)
  • There are no rods for wheels.
  • It will also need to add a transparent yellow plastic visor, and get it in shape.
  • The headlights parts are full and must be redone in clear plastic.

The figure shows molding shifts and significant gaps:

Underneath. We can see two pairs of holes, which are certainly, for the largest ones, the remnants locations of the rods connected to the rails that pulled the model during shooting stages. I have not identified the use of two small holes (pyrotechnics perhaps?) I will leave it as is for their side "historic" status.

The rear underbody is completely full of bubbles. Rather than get into a mess filling, I am thinking to sand and put a sheet of plastic card to cover this. By cons, it means it will be a little less from the model location.