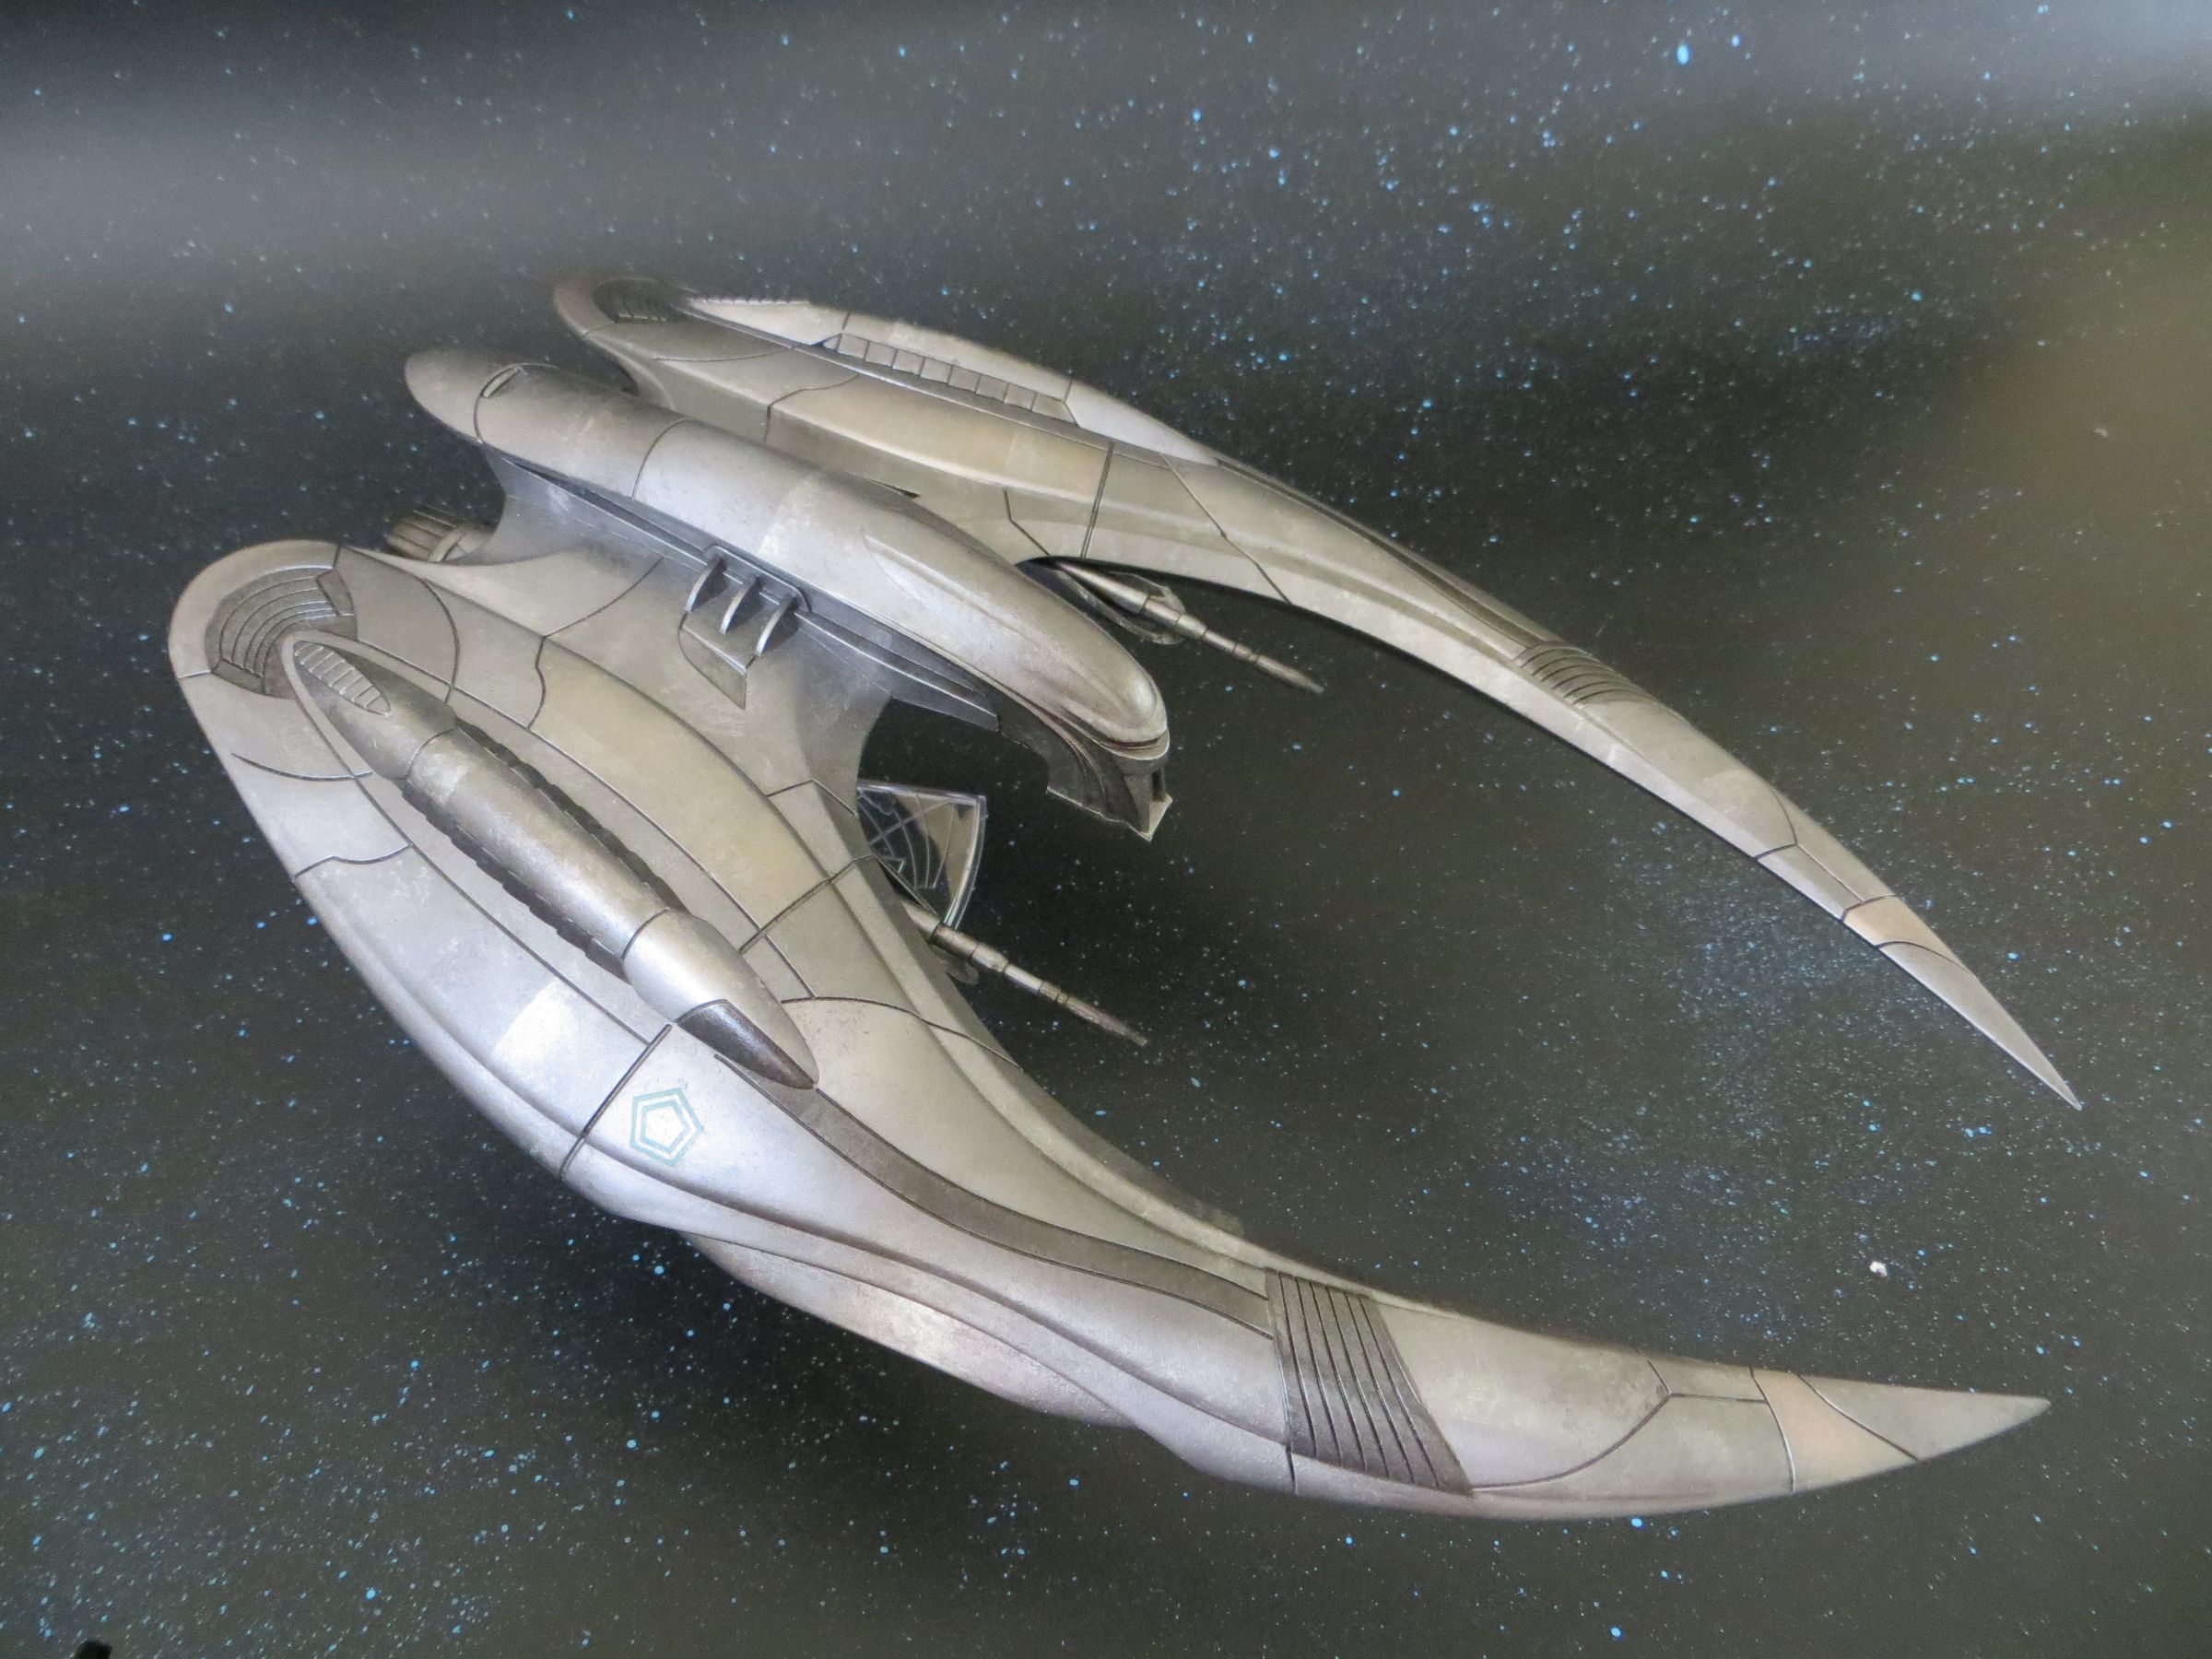
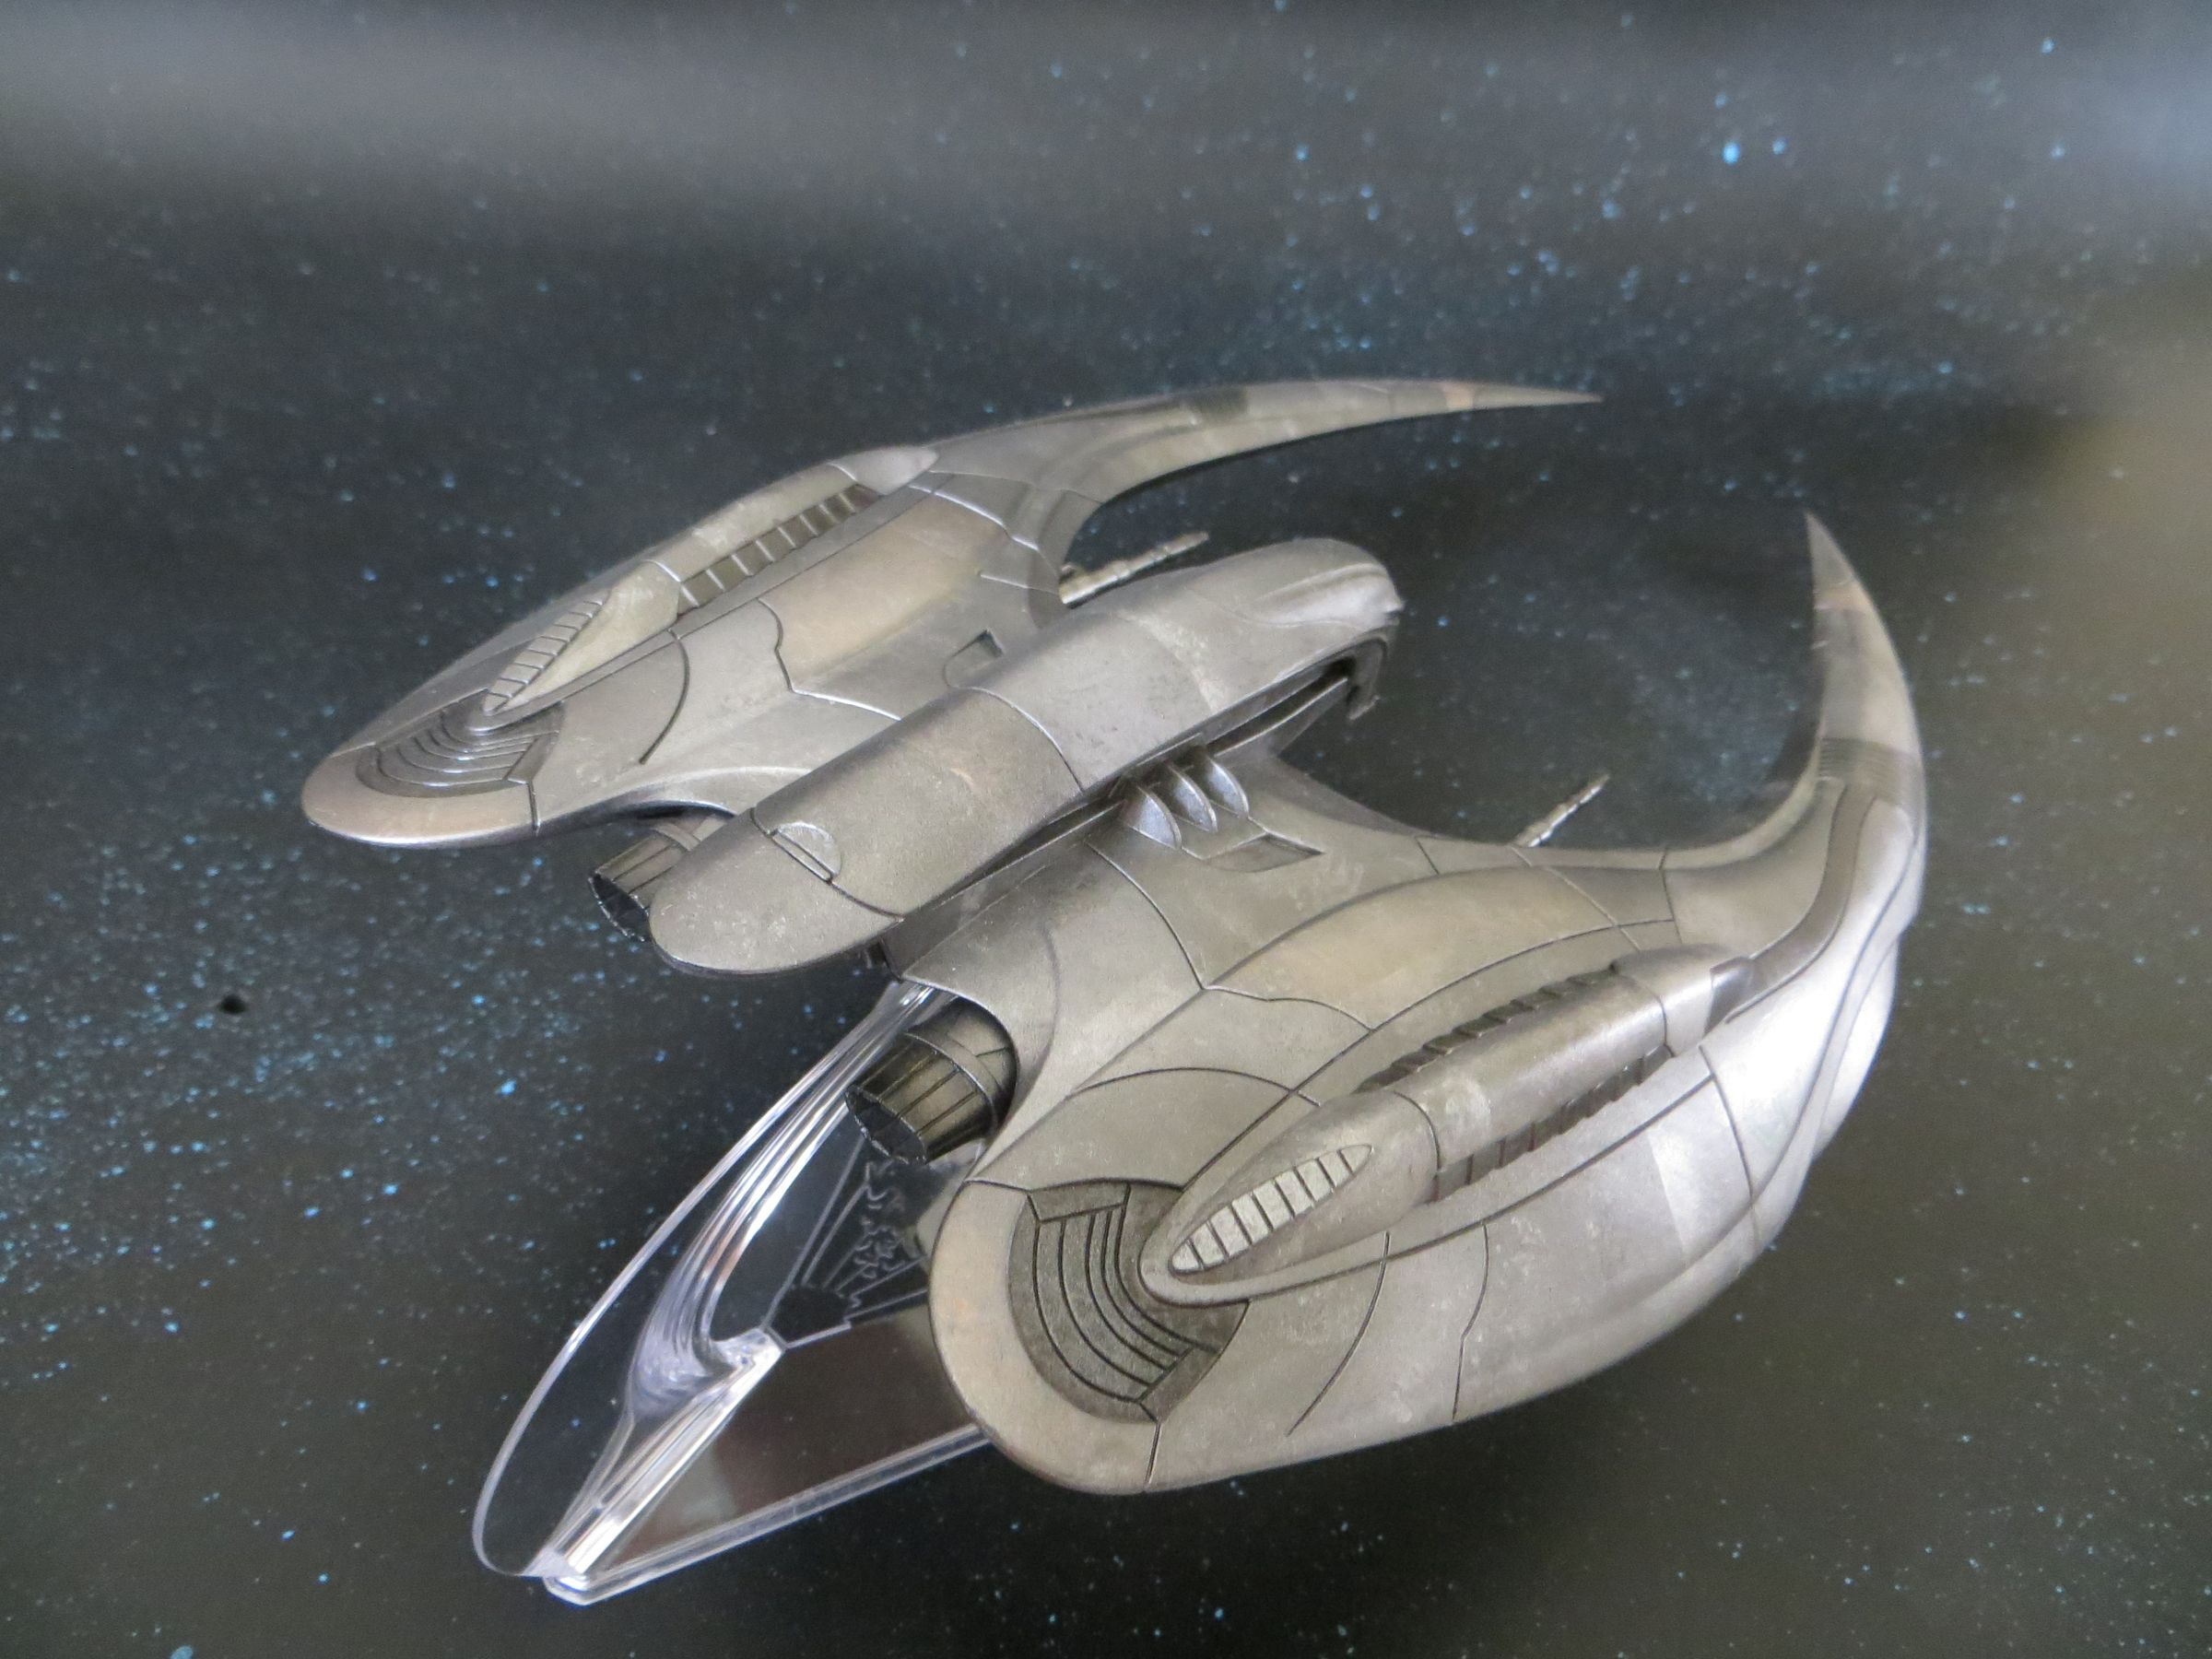
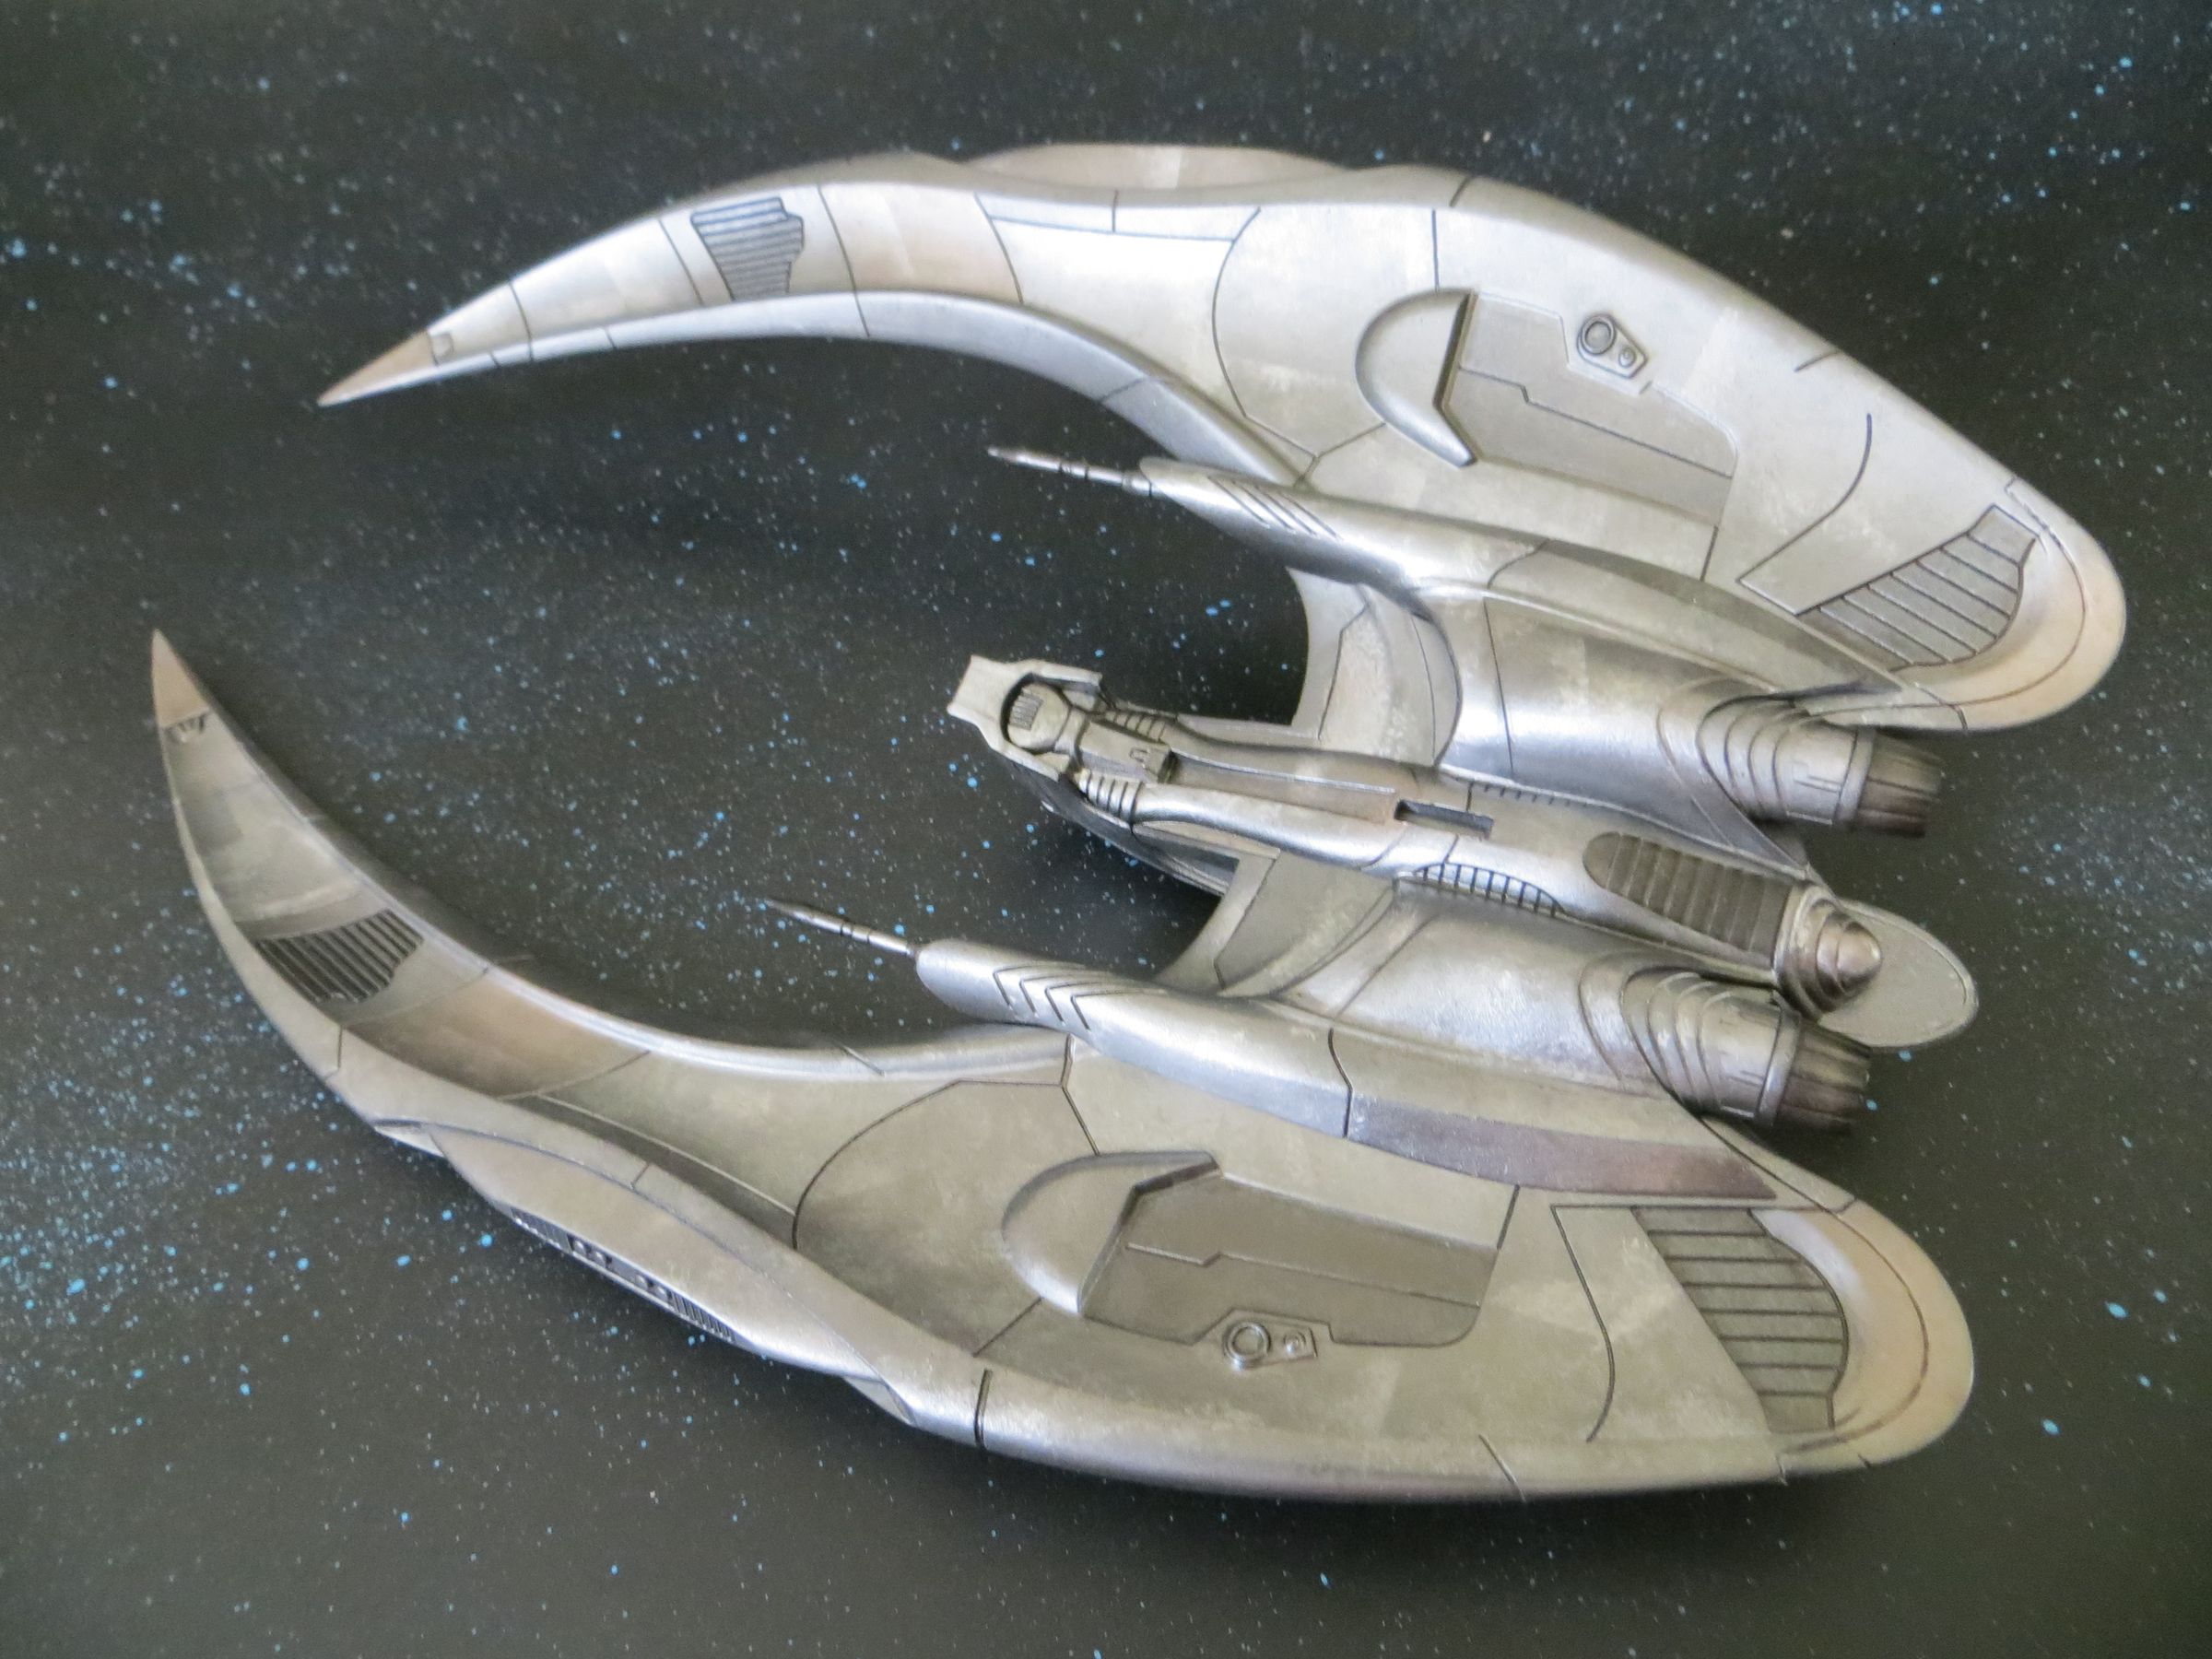
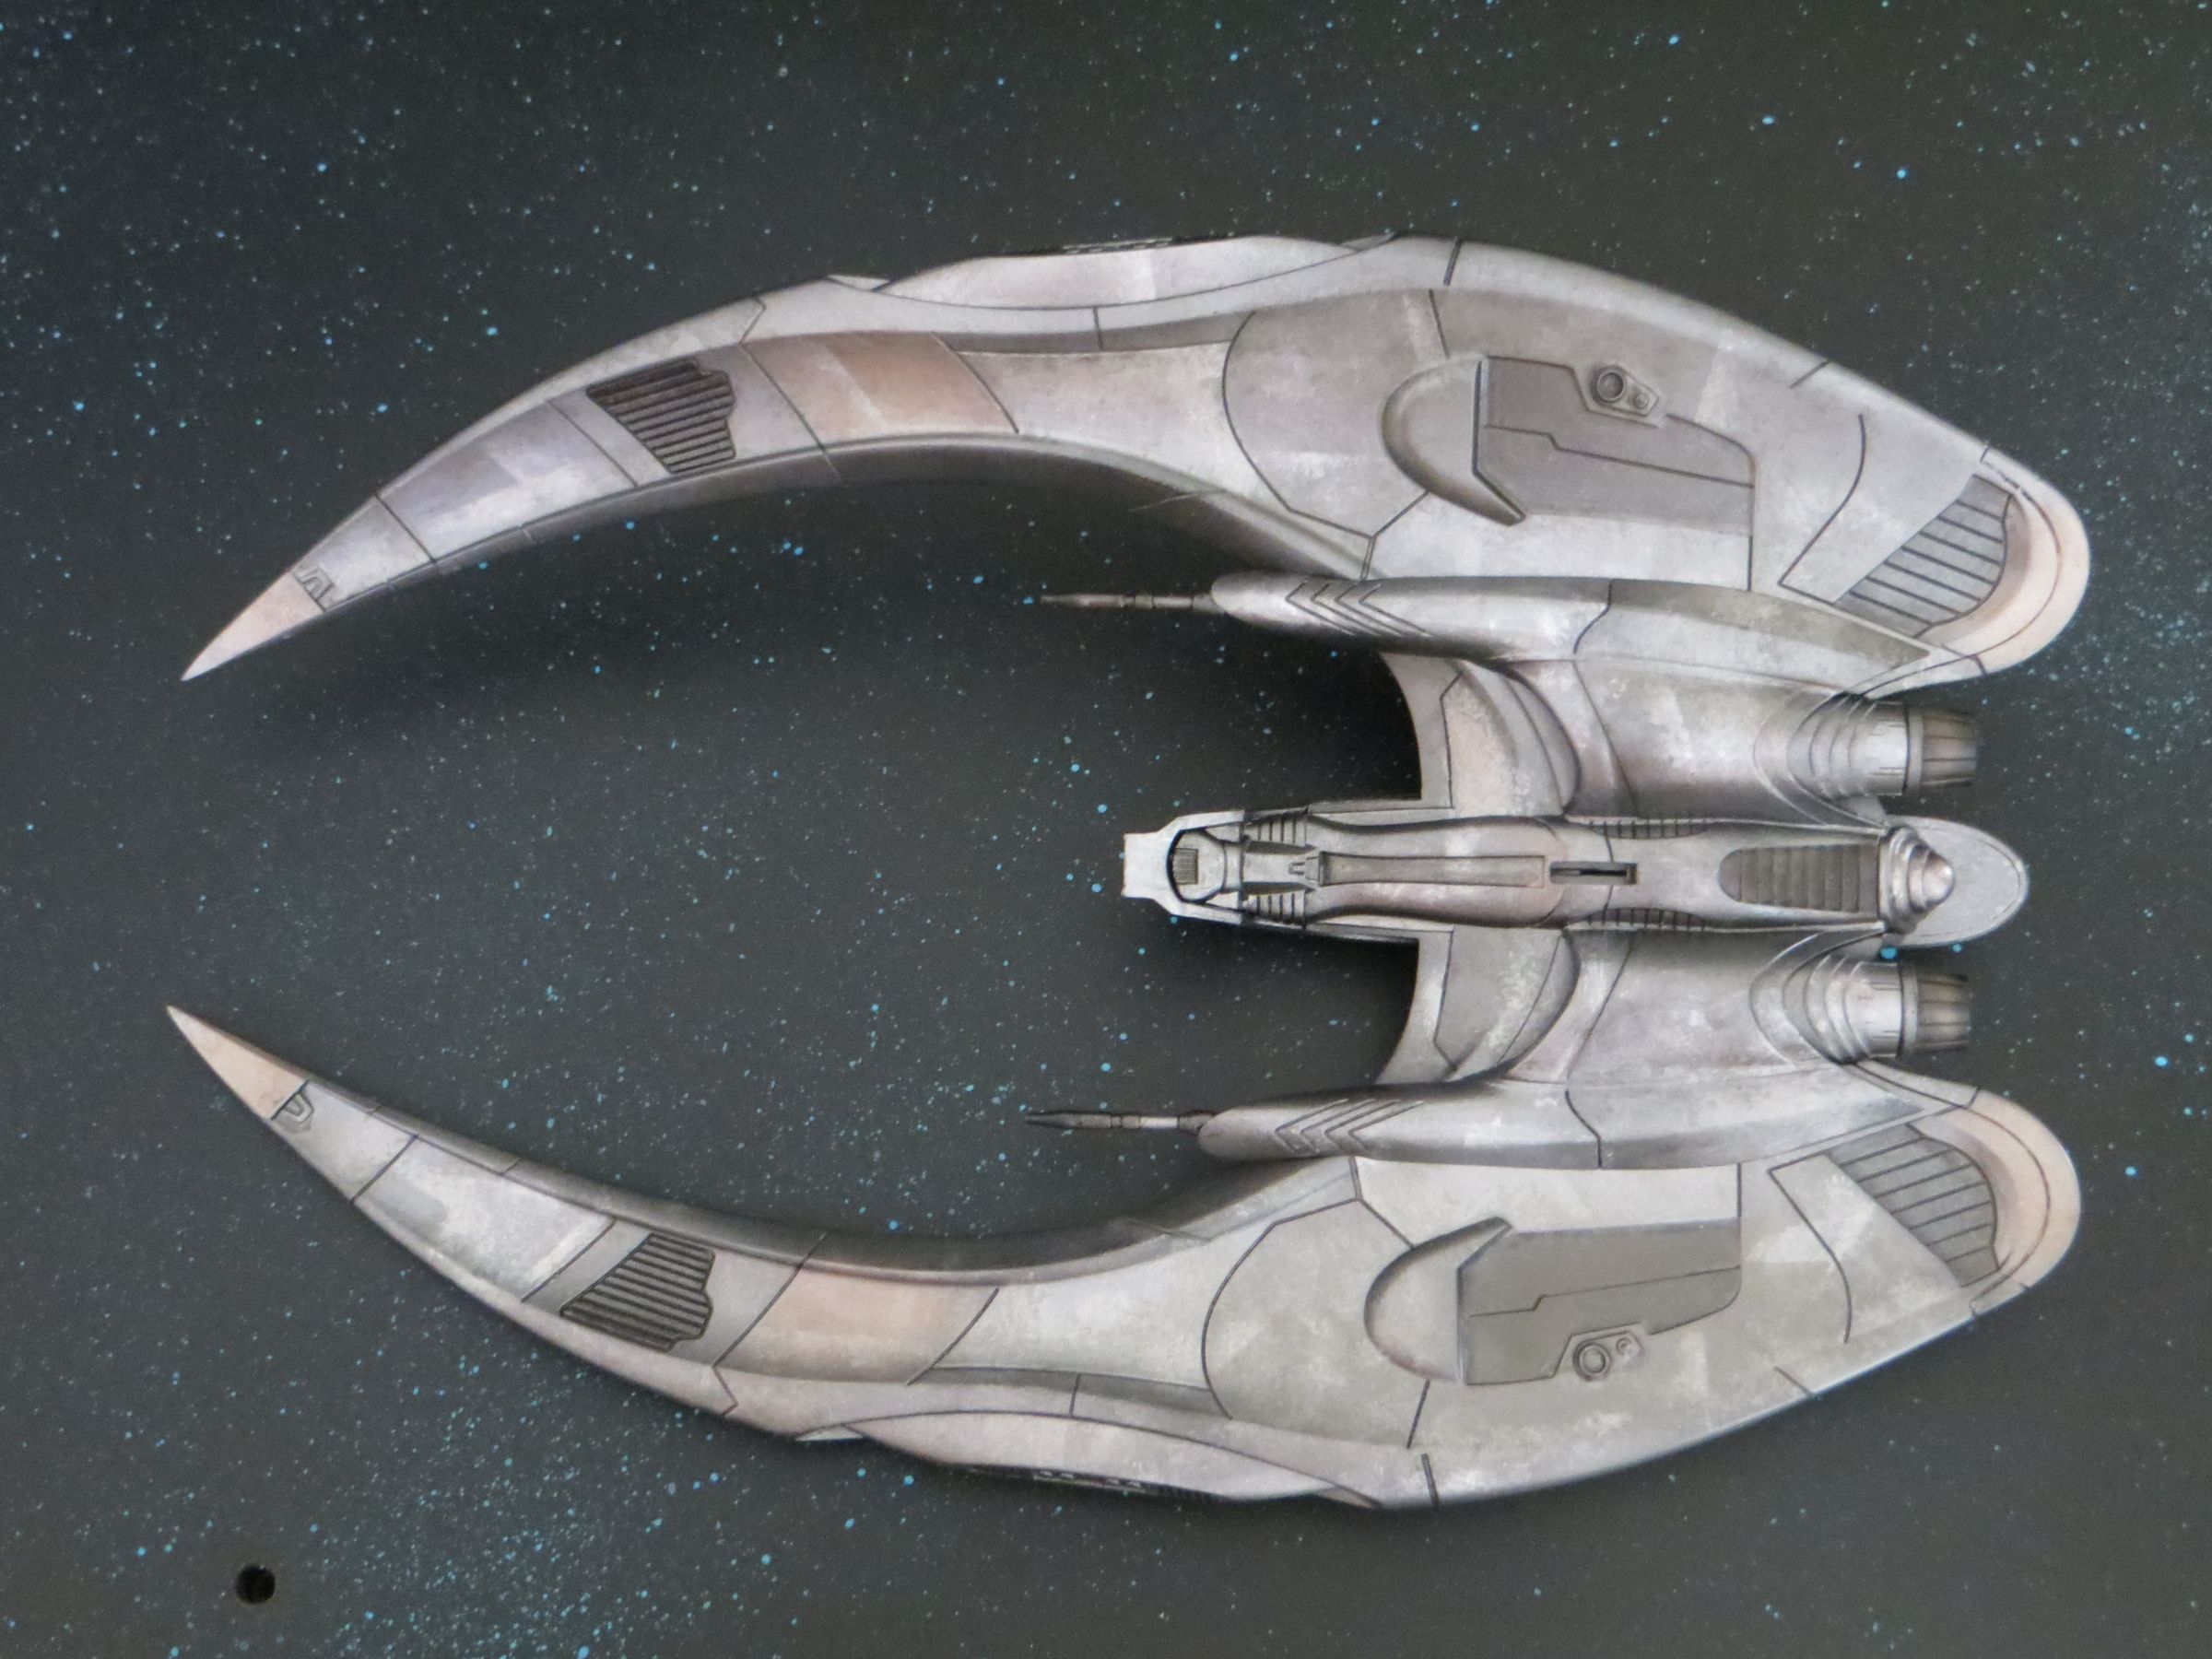
Some images in front of a starry background (from my rag tag fleet diorama).


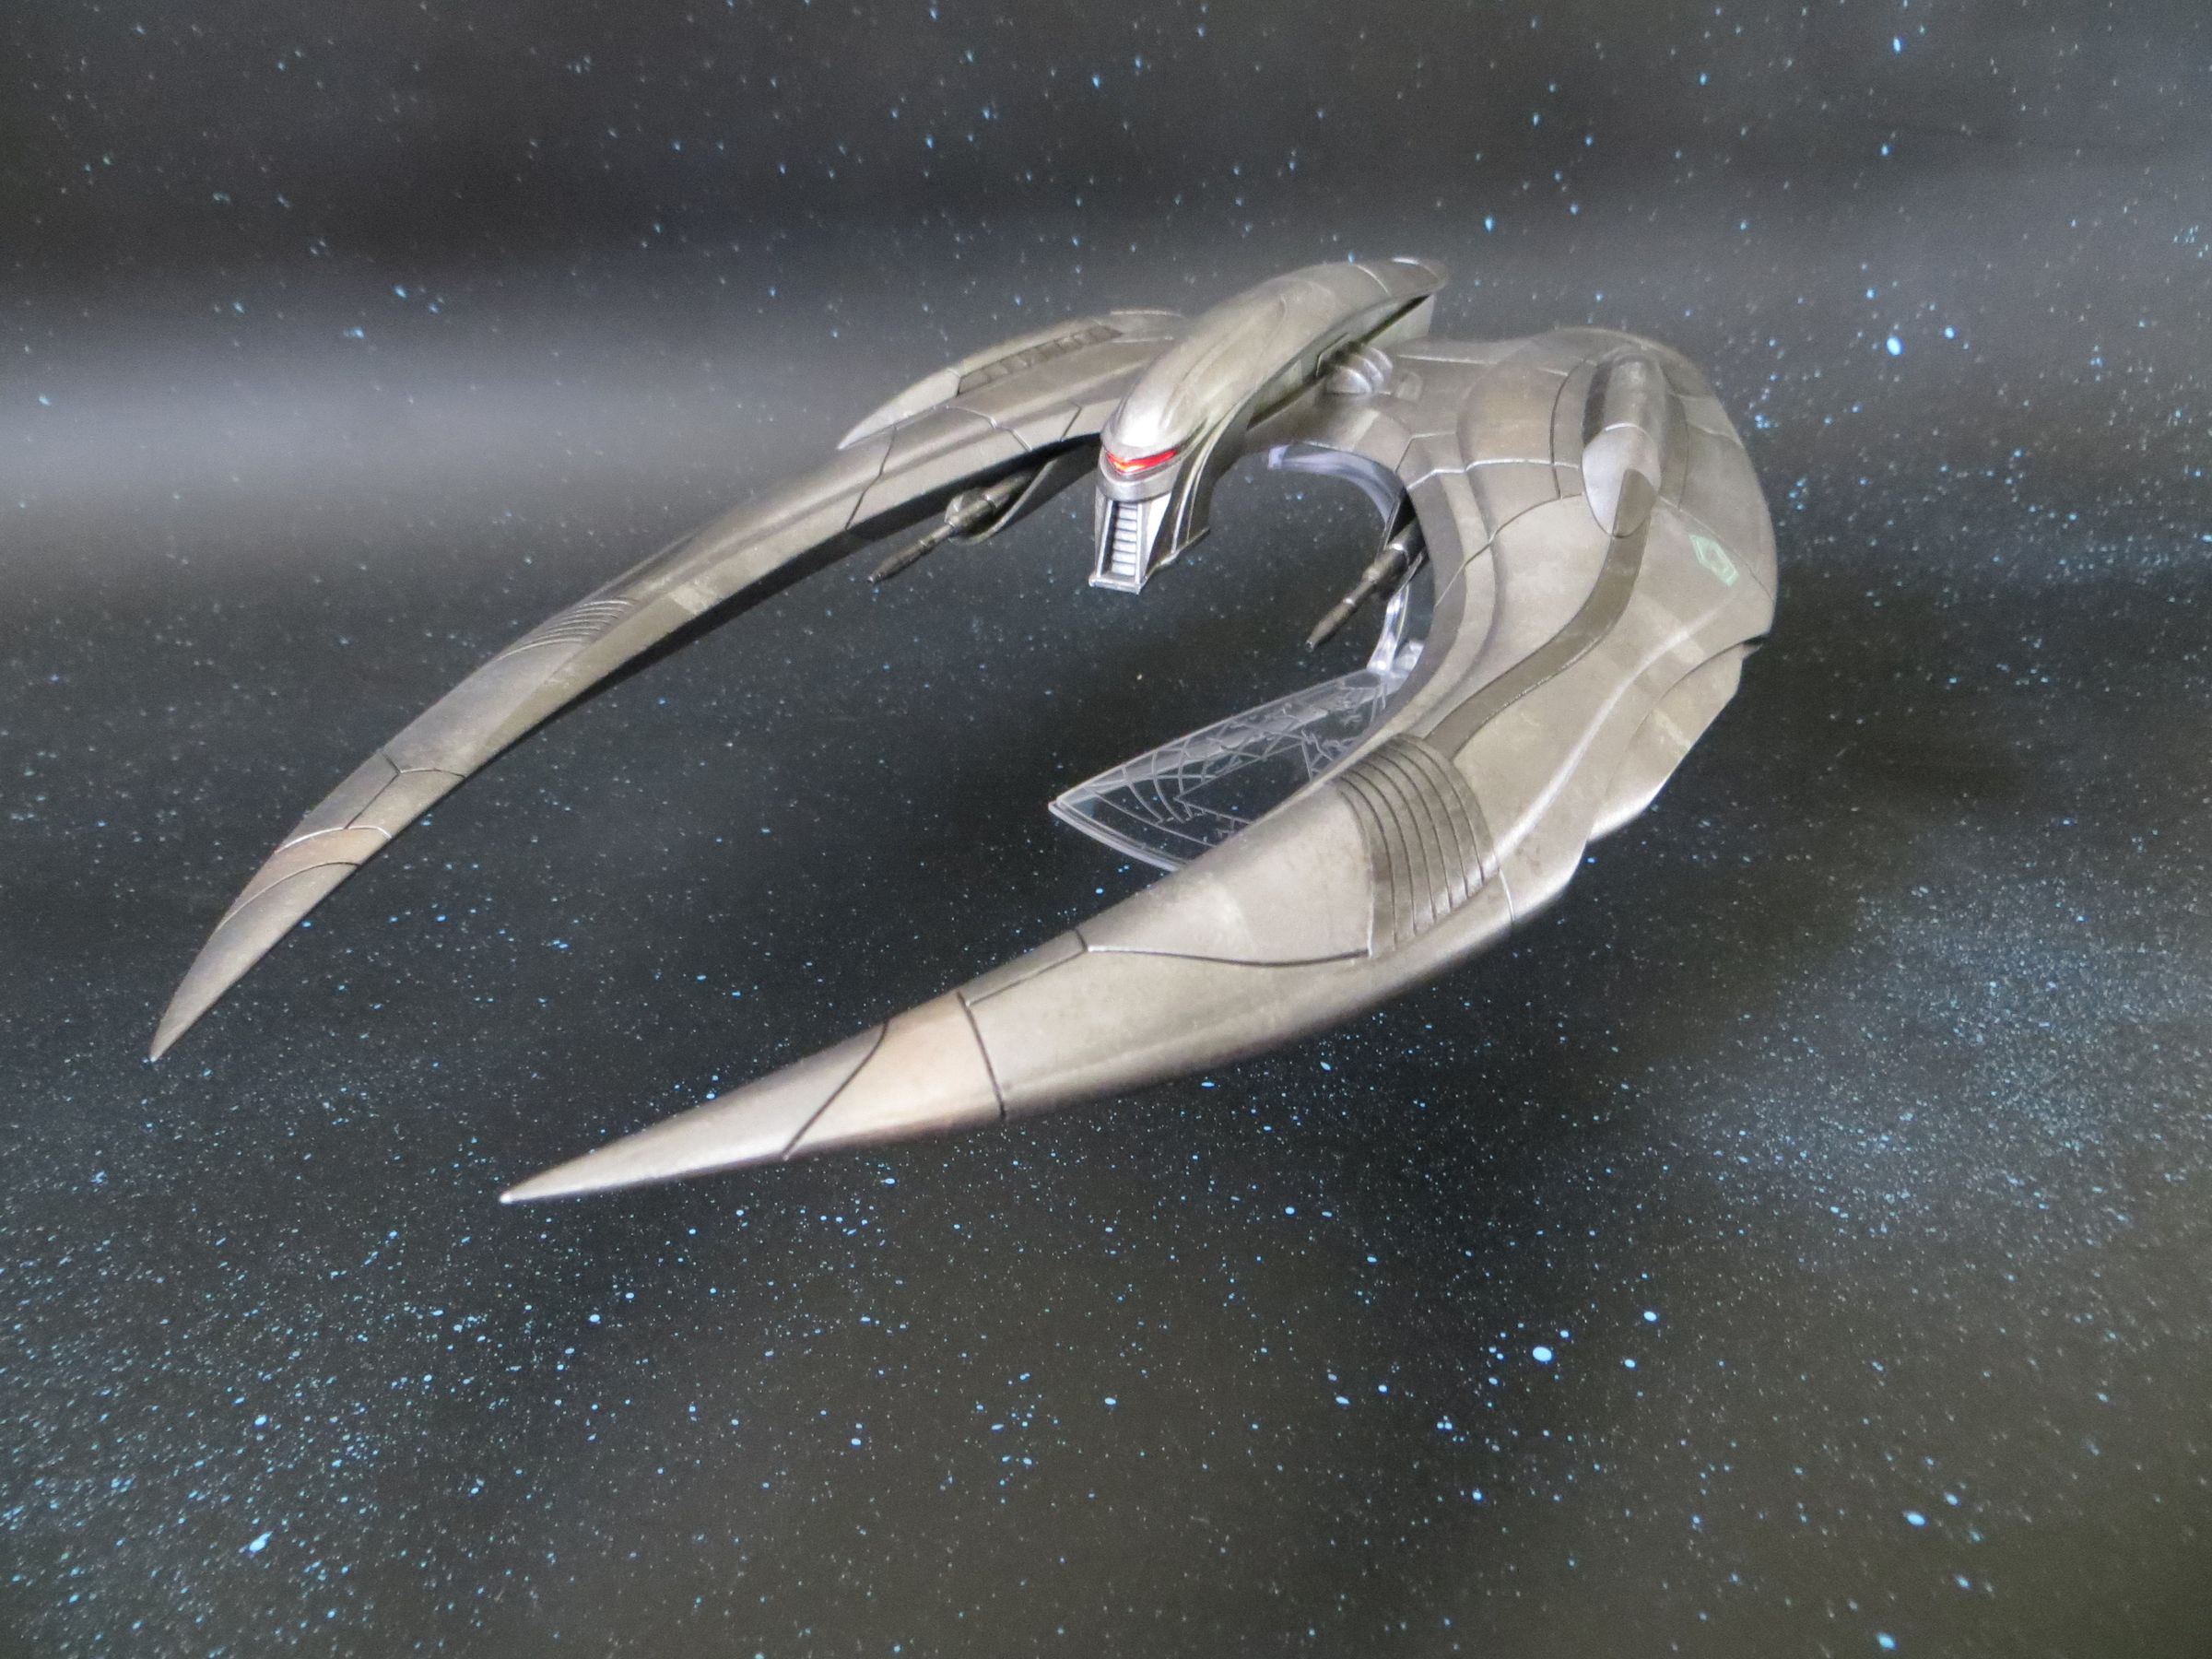
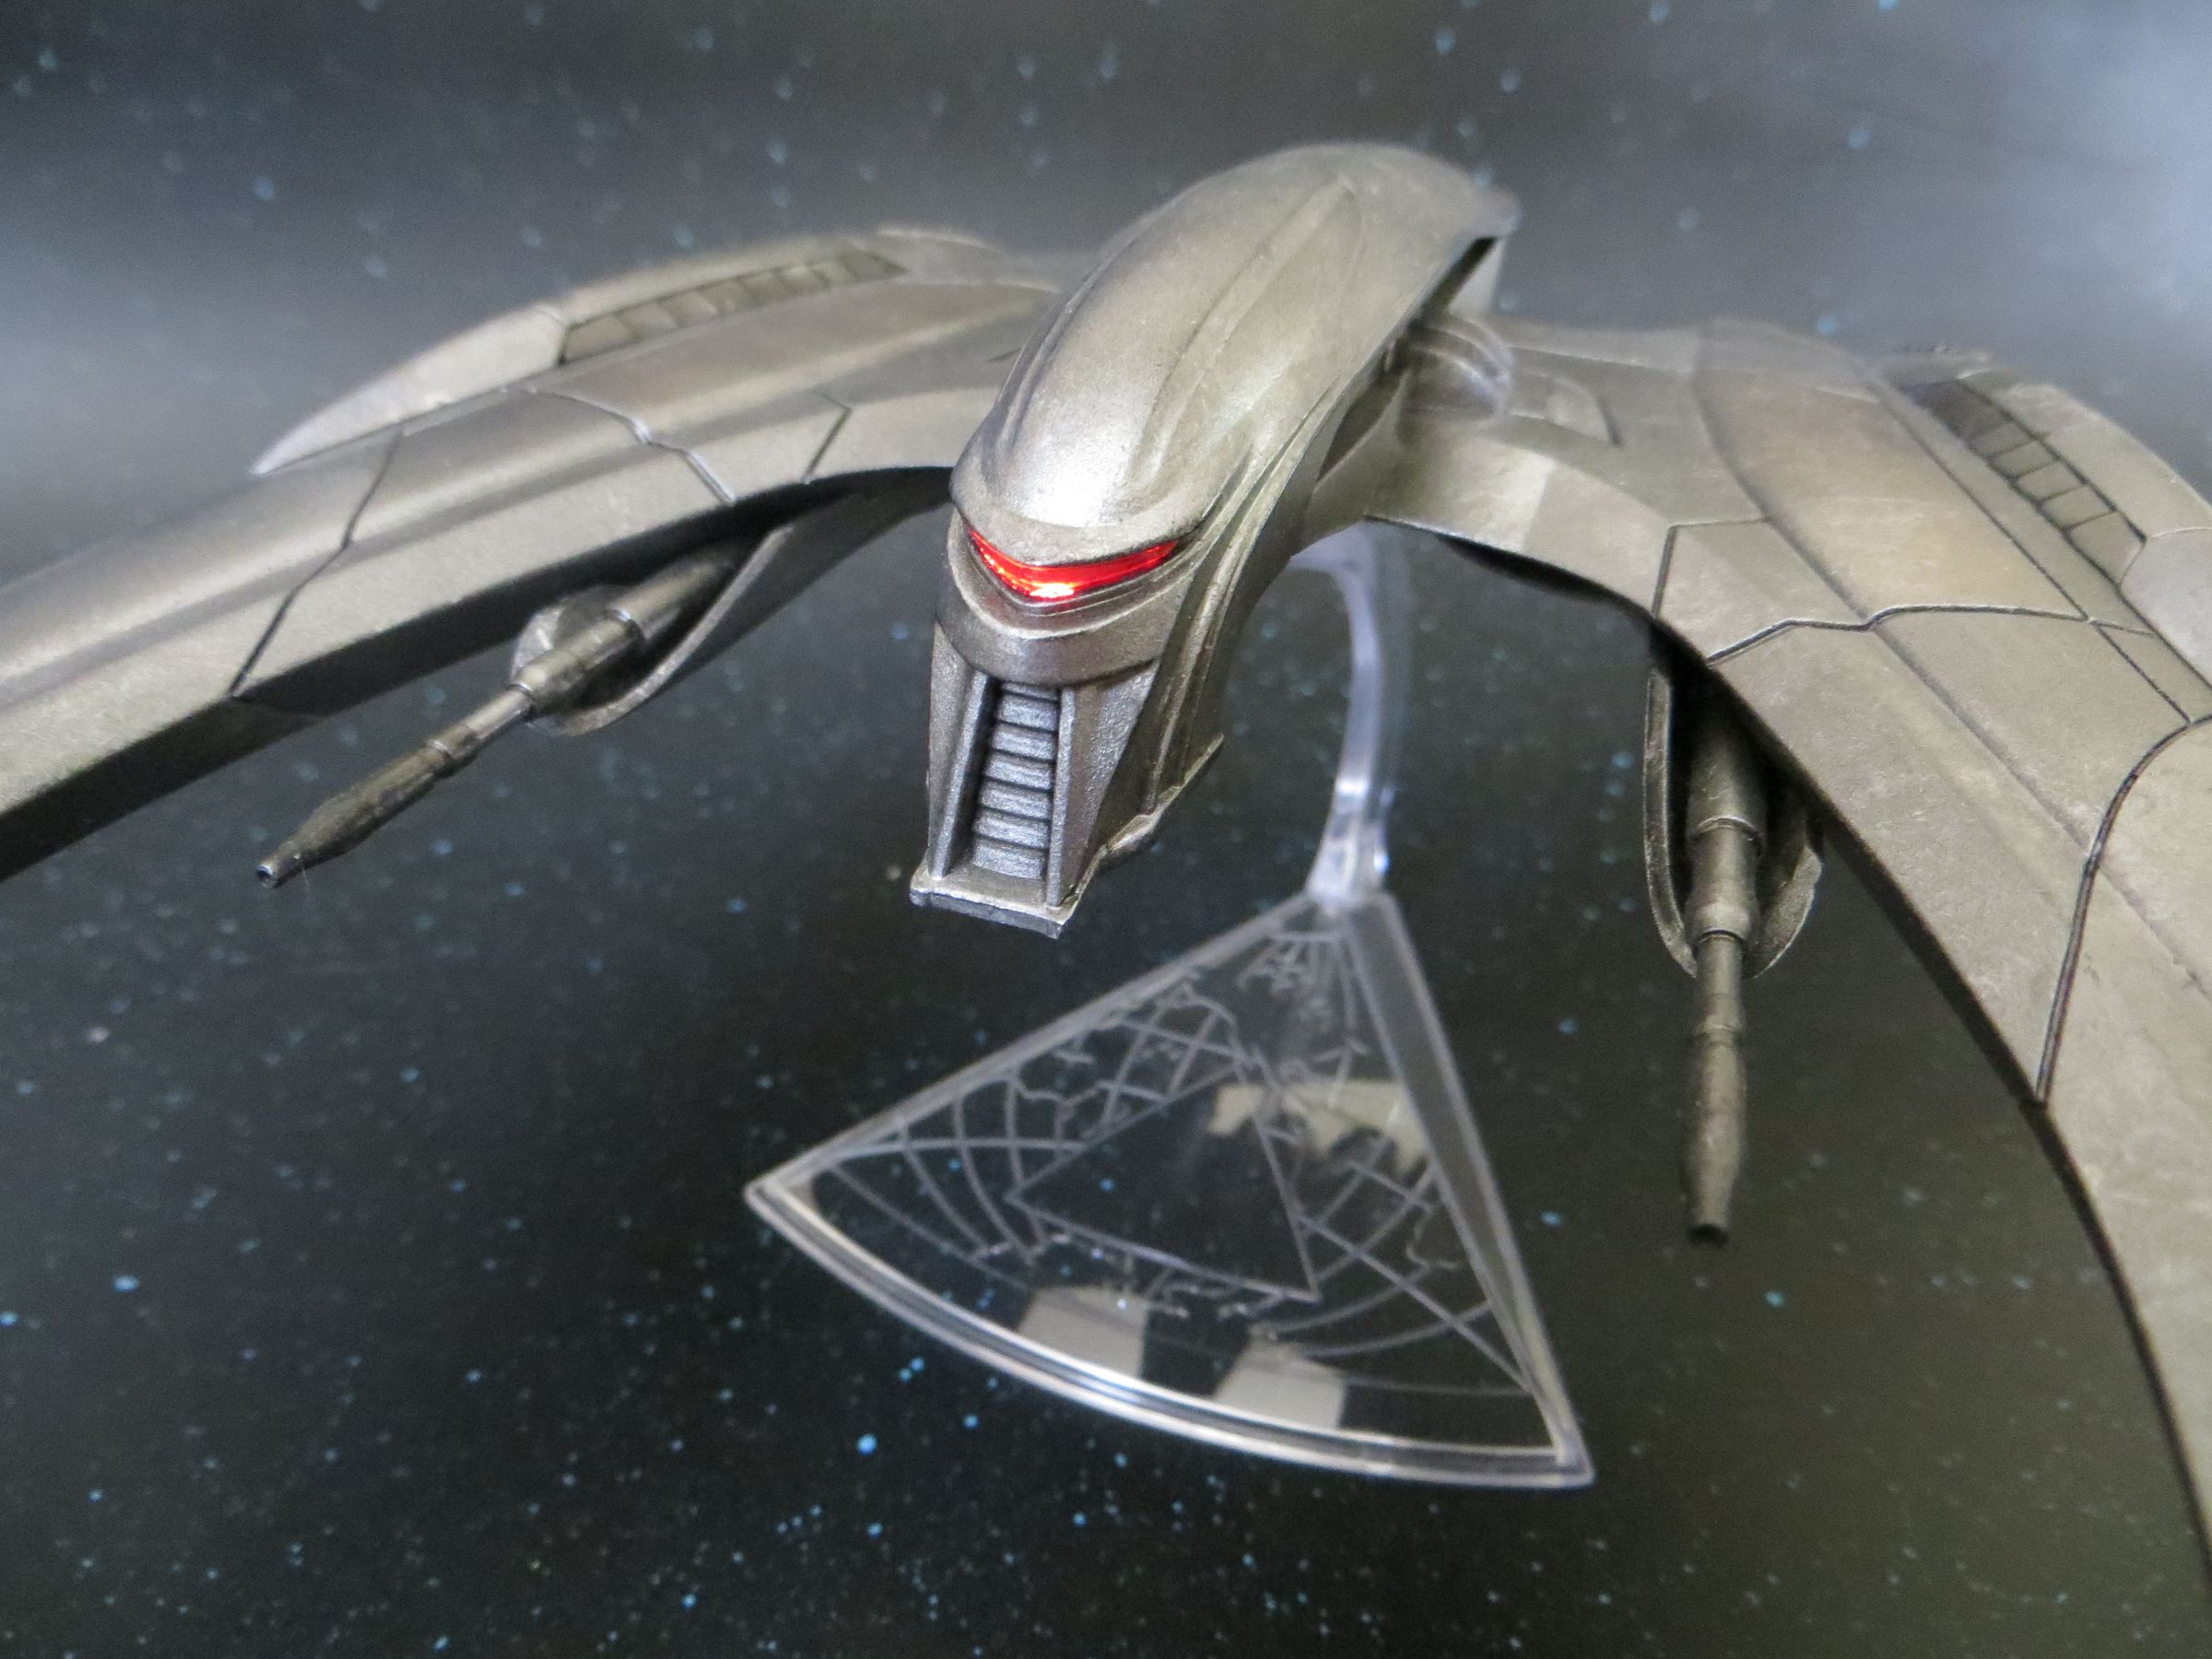
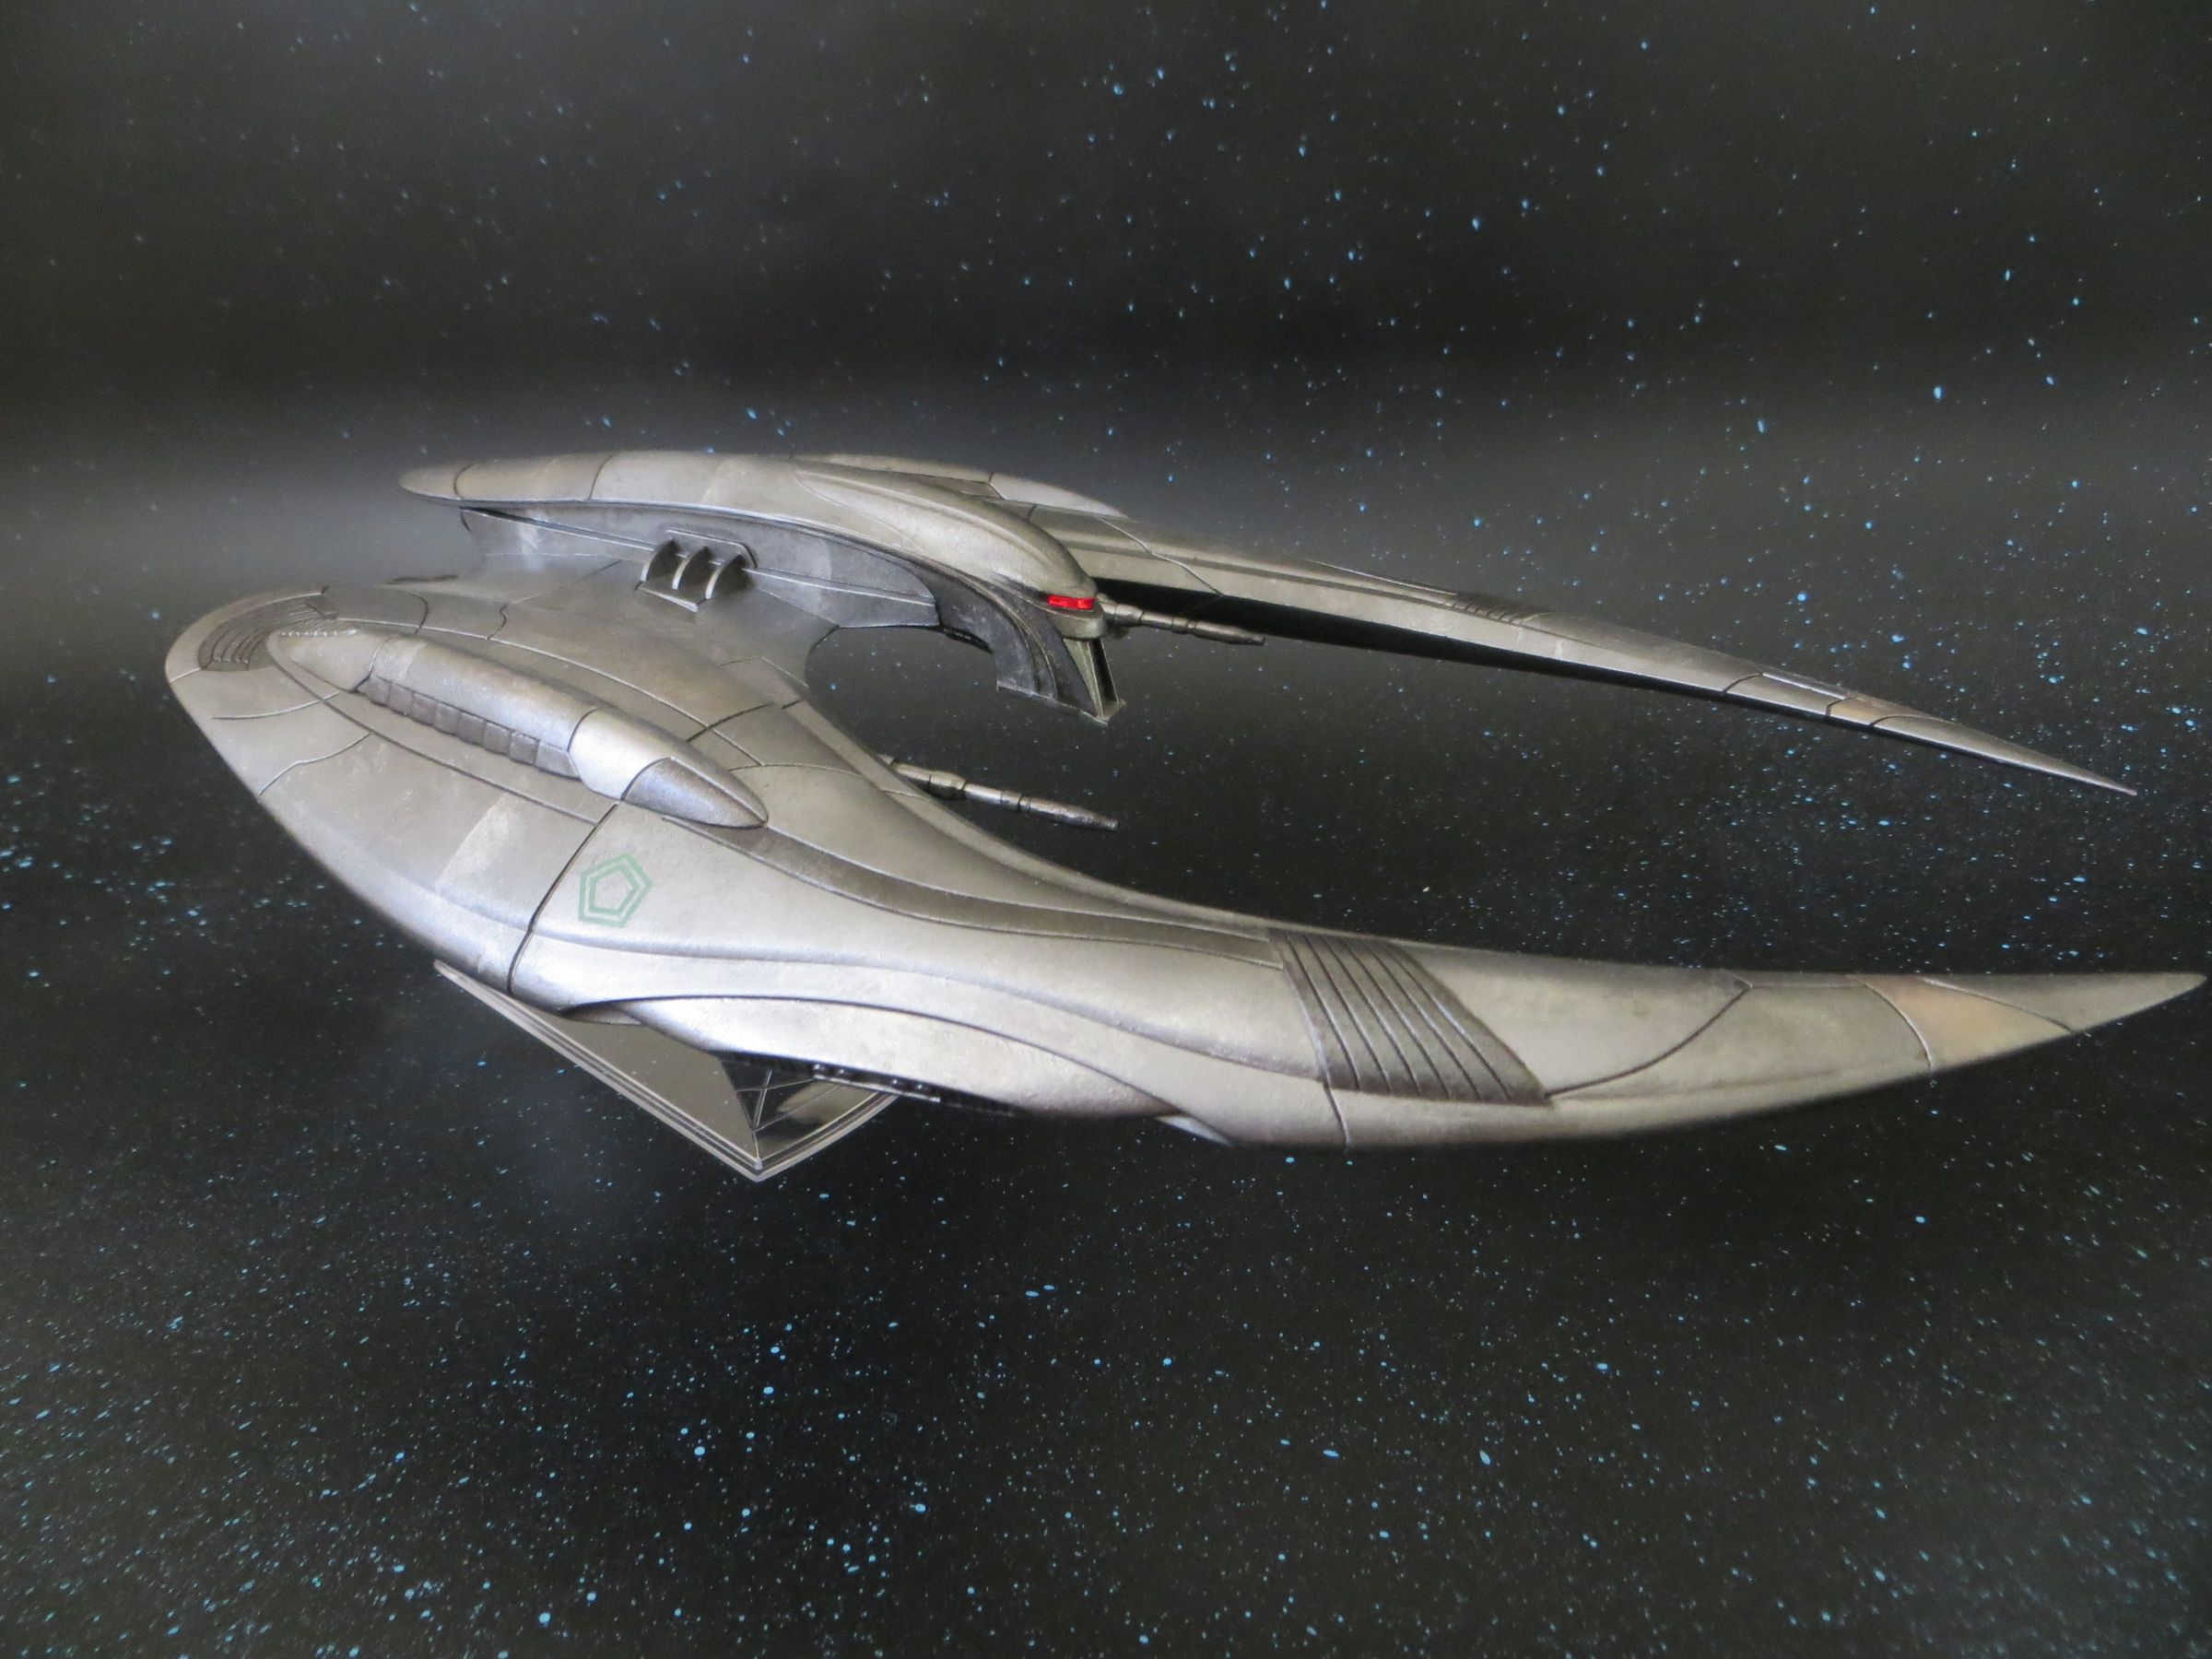
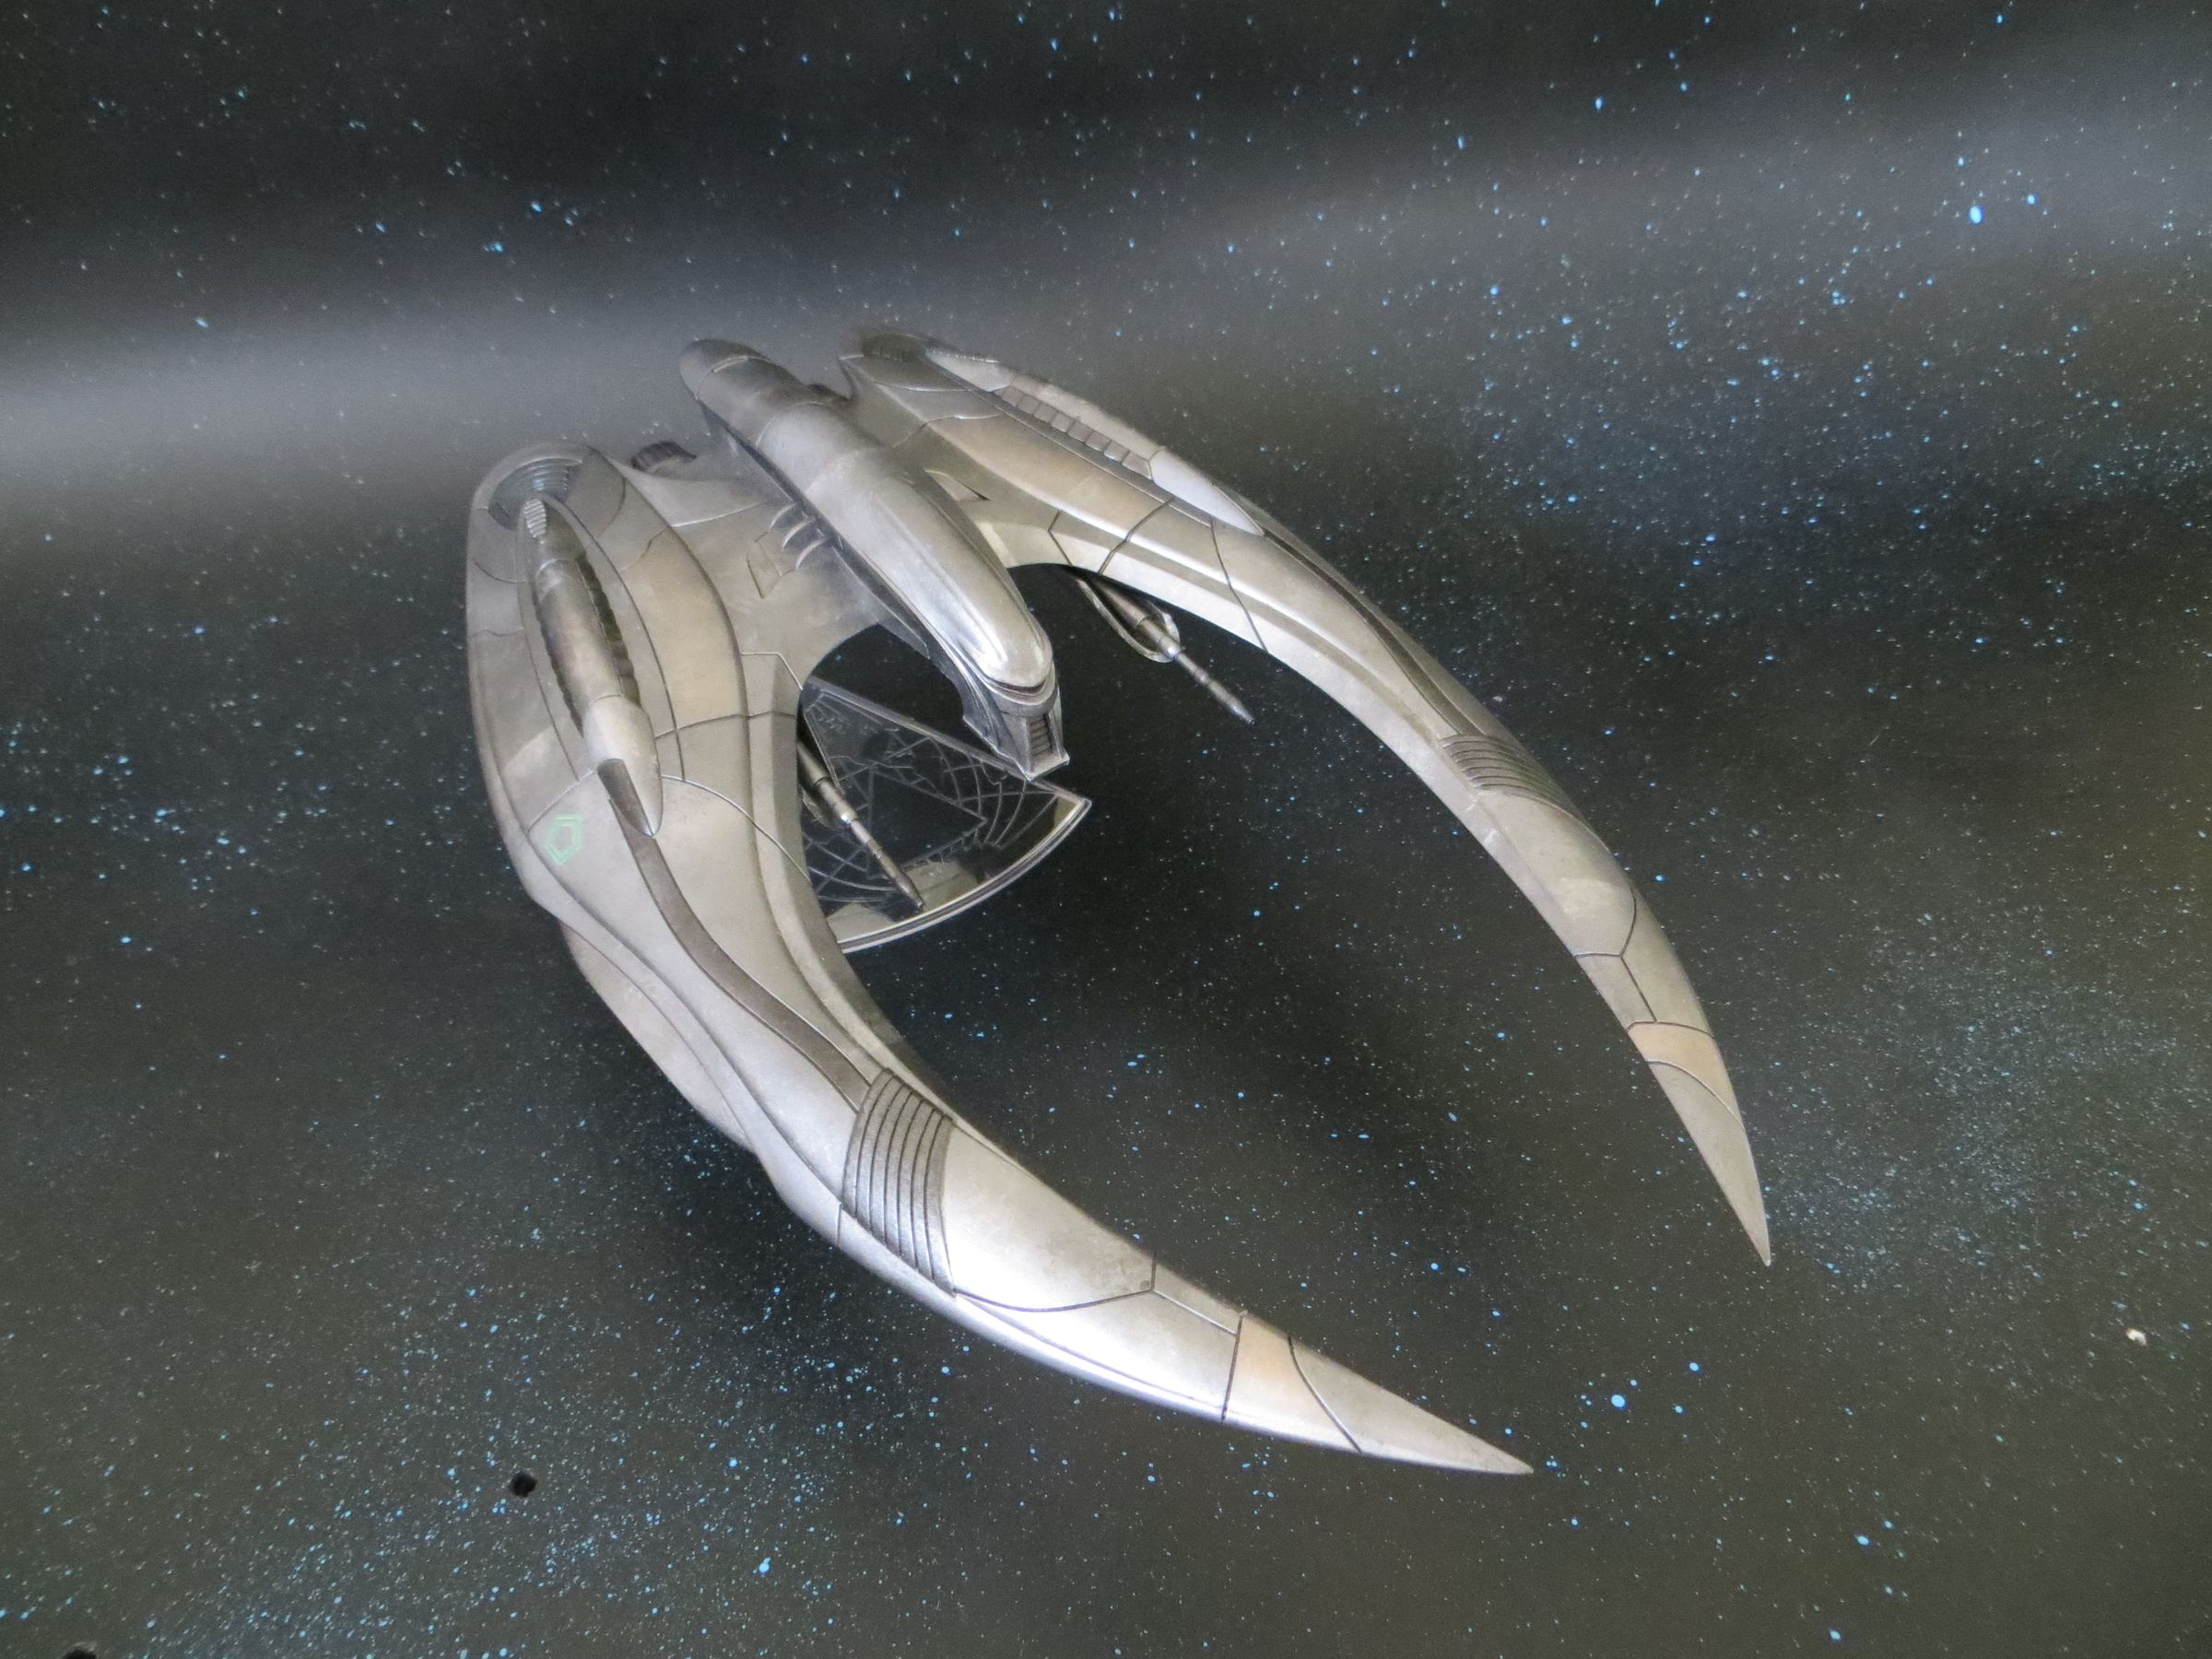
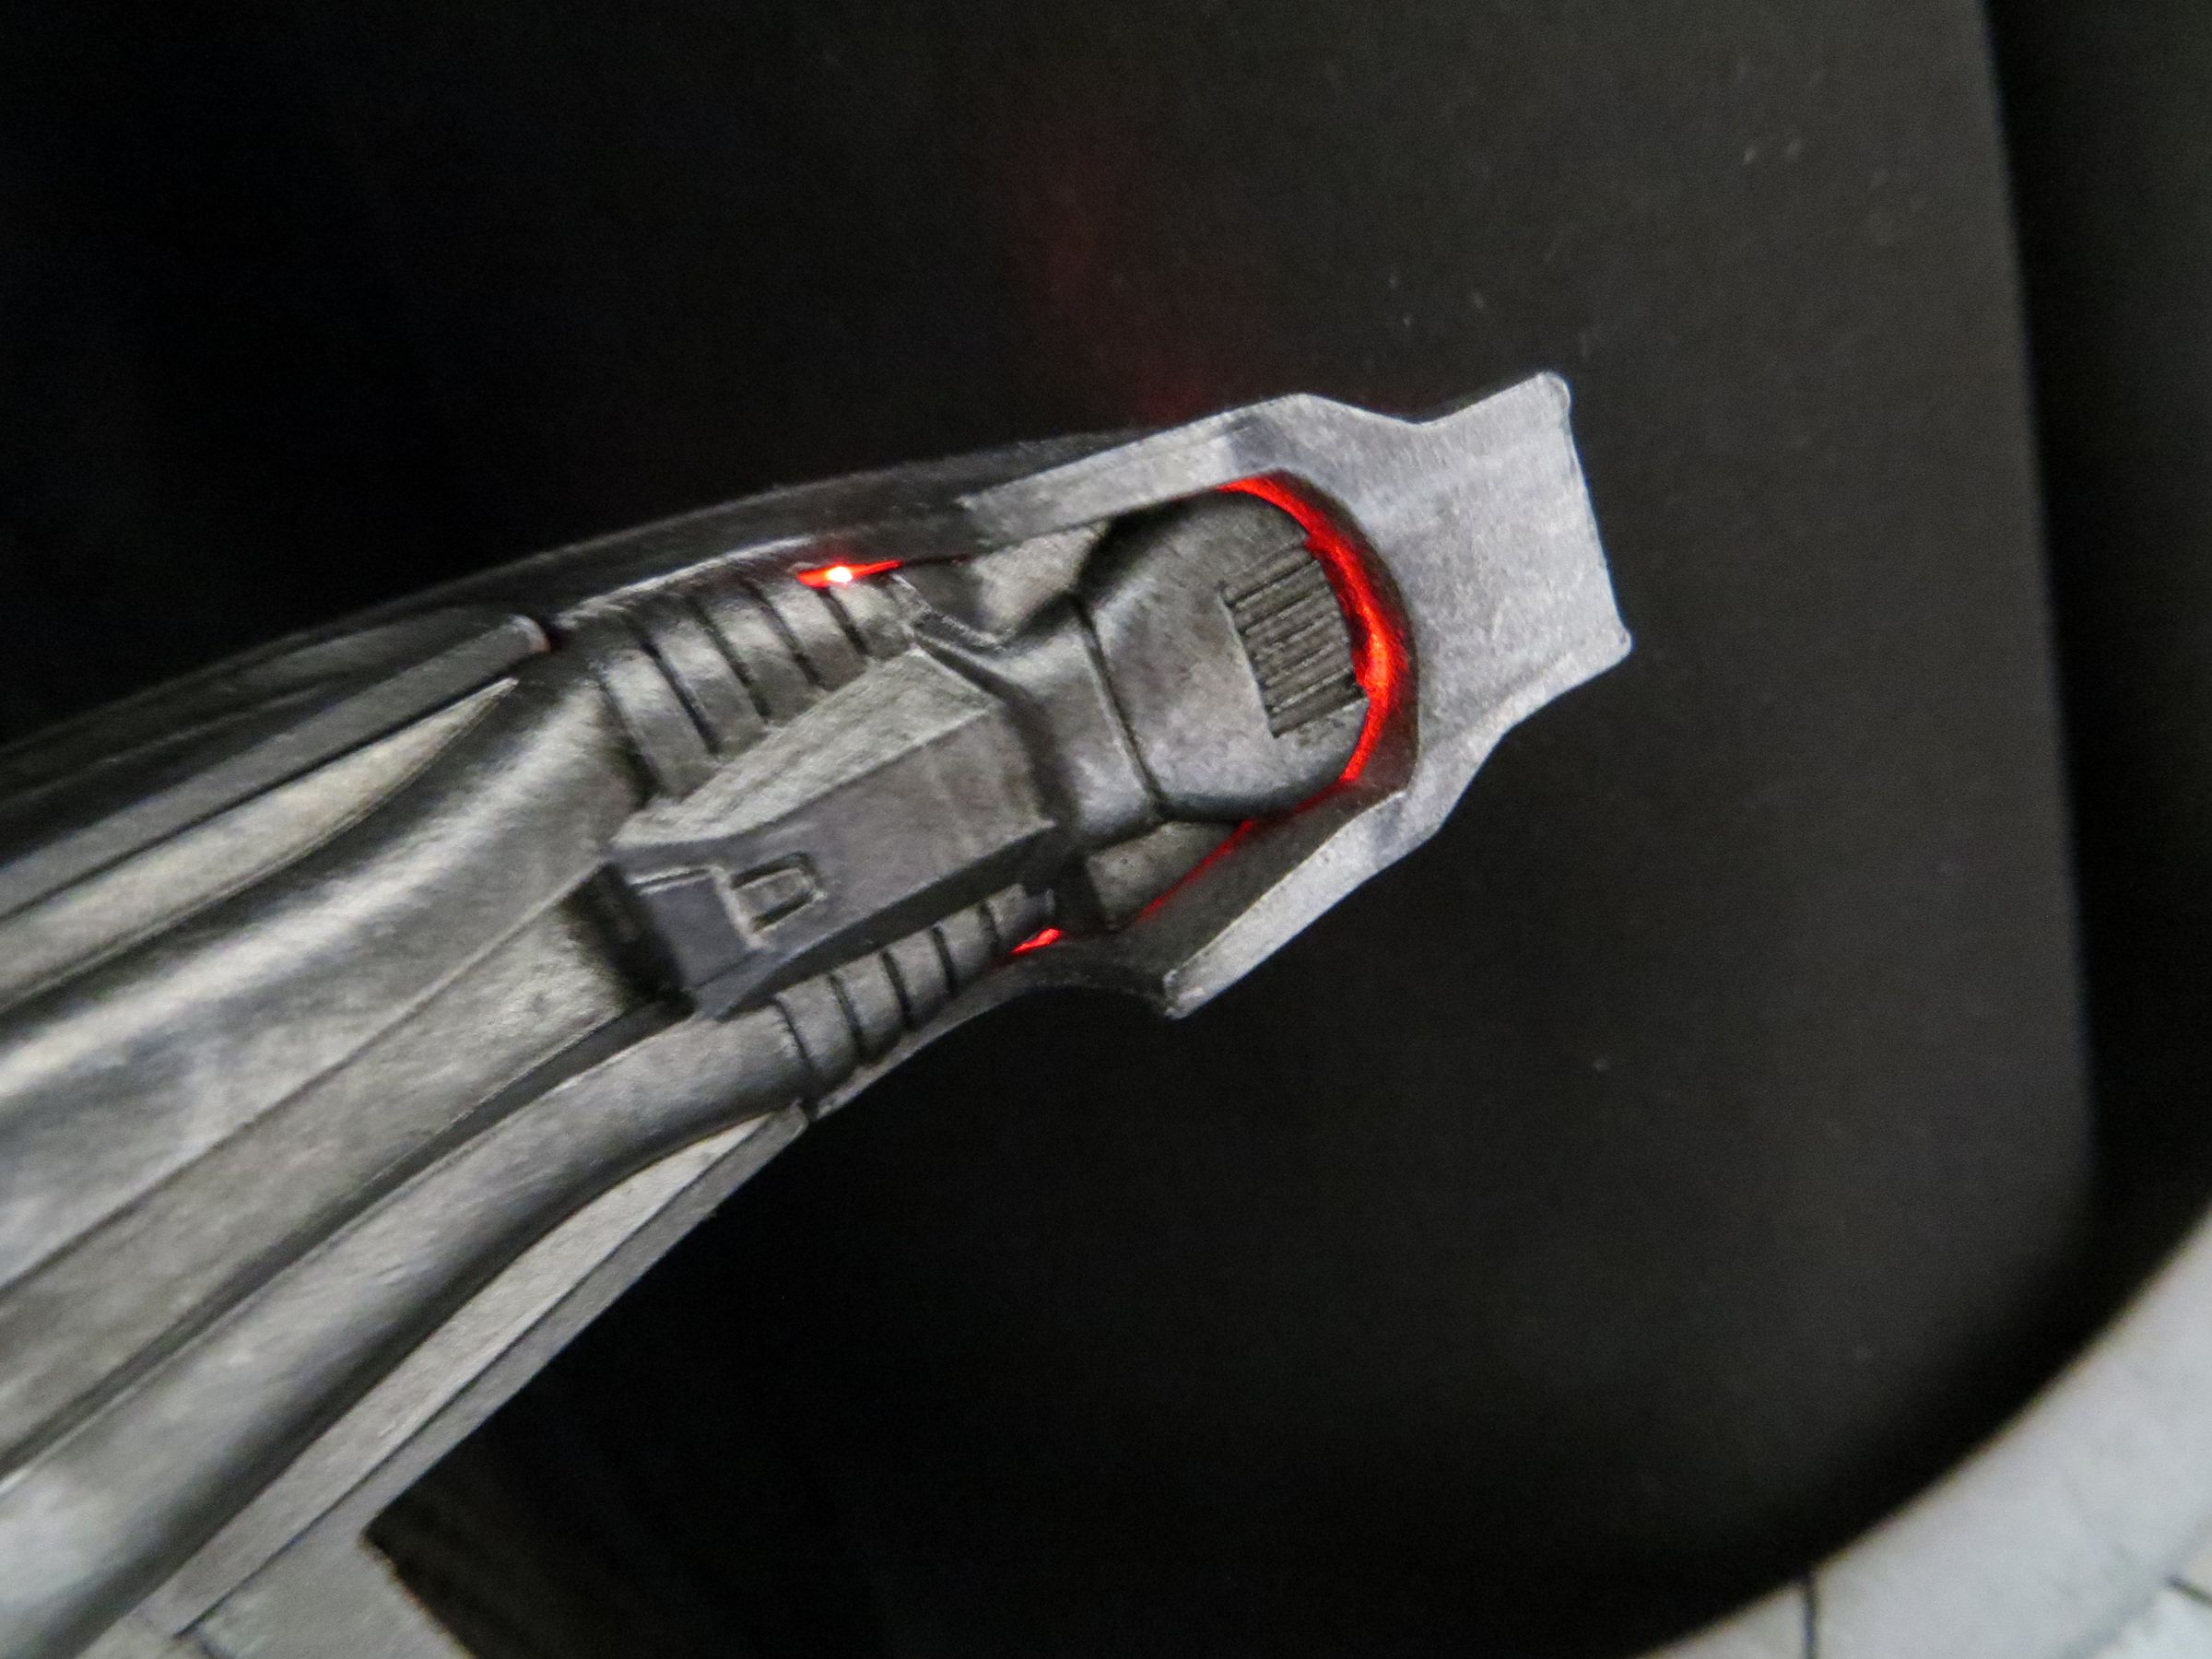
a little video with the working eye :
I think to redo some pictures on a light background to better appreciate the painting of this little beast.
Aller au contenu | Aller au menu | Aller à la recherche
lundi, 16 décembre 2013
Par olcabour le lundi, 16 décembre 2013, 23:19
Some images in front of a starry background (from my rag tag fleet diorama).
a little video with the working eye :
I think to redo some pictures on a light background to better appreciate the painting of this little beast.
Par olcabour le lundi, 16 décembre 2013, 22:35
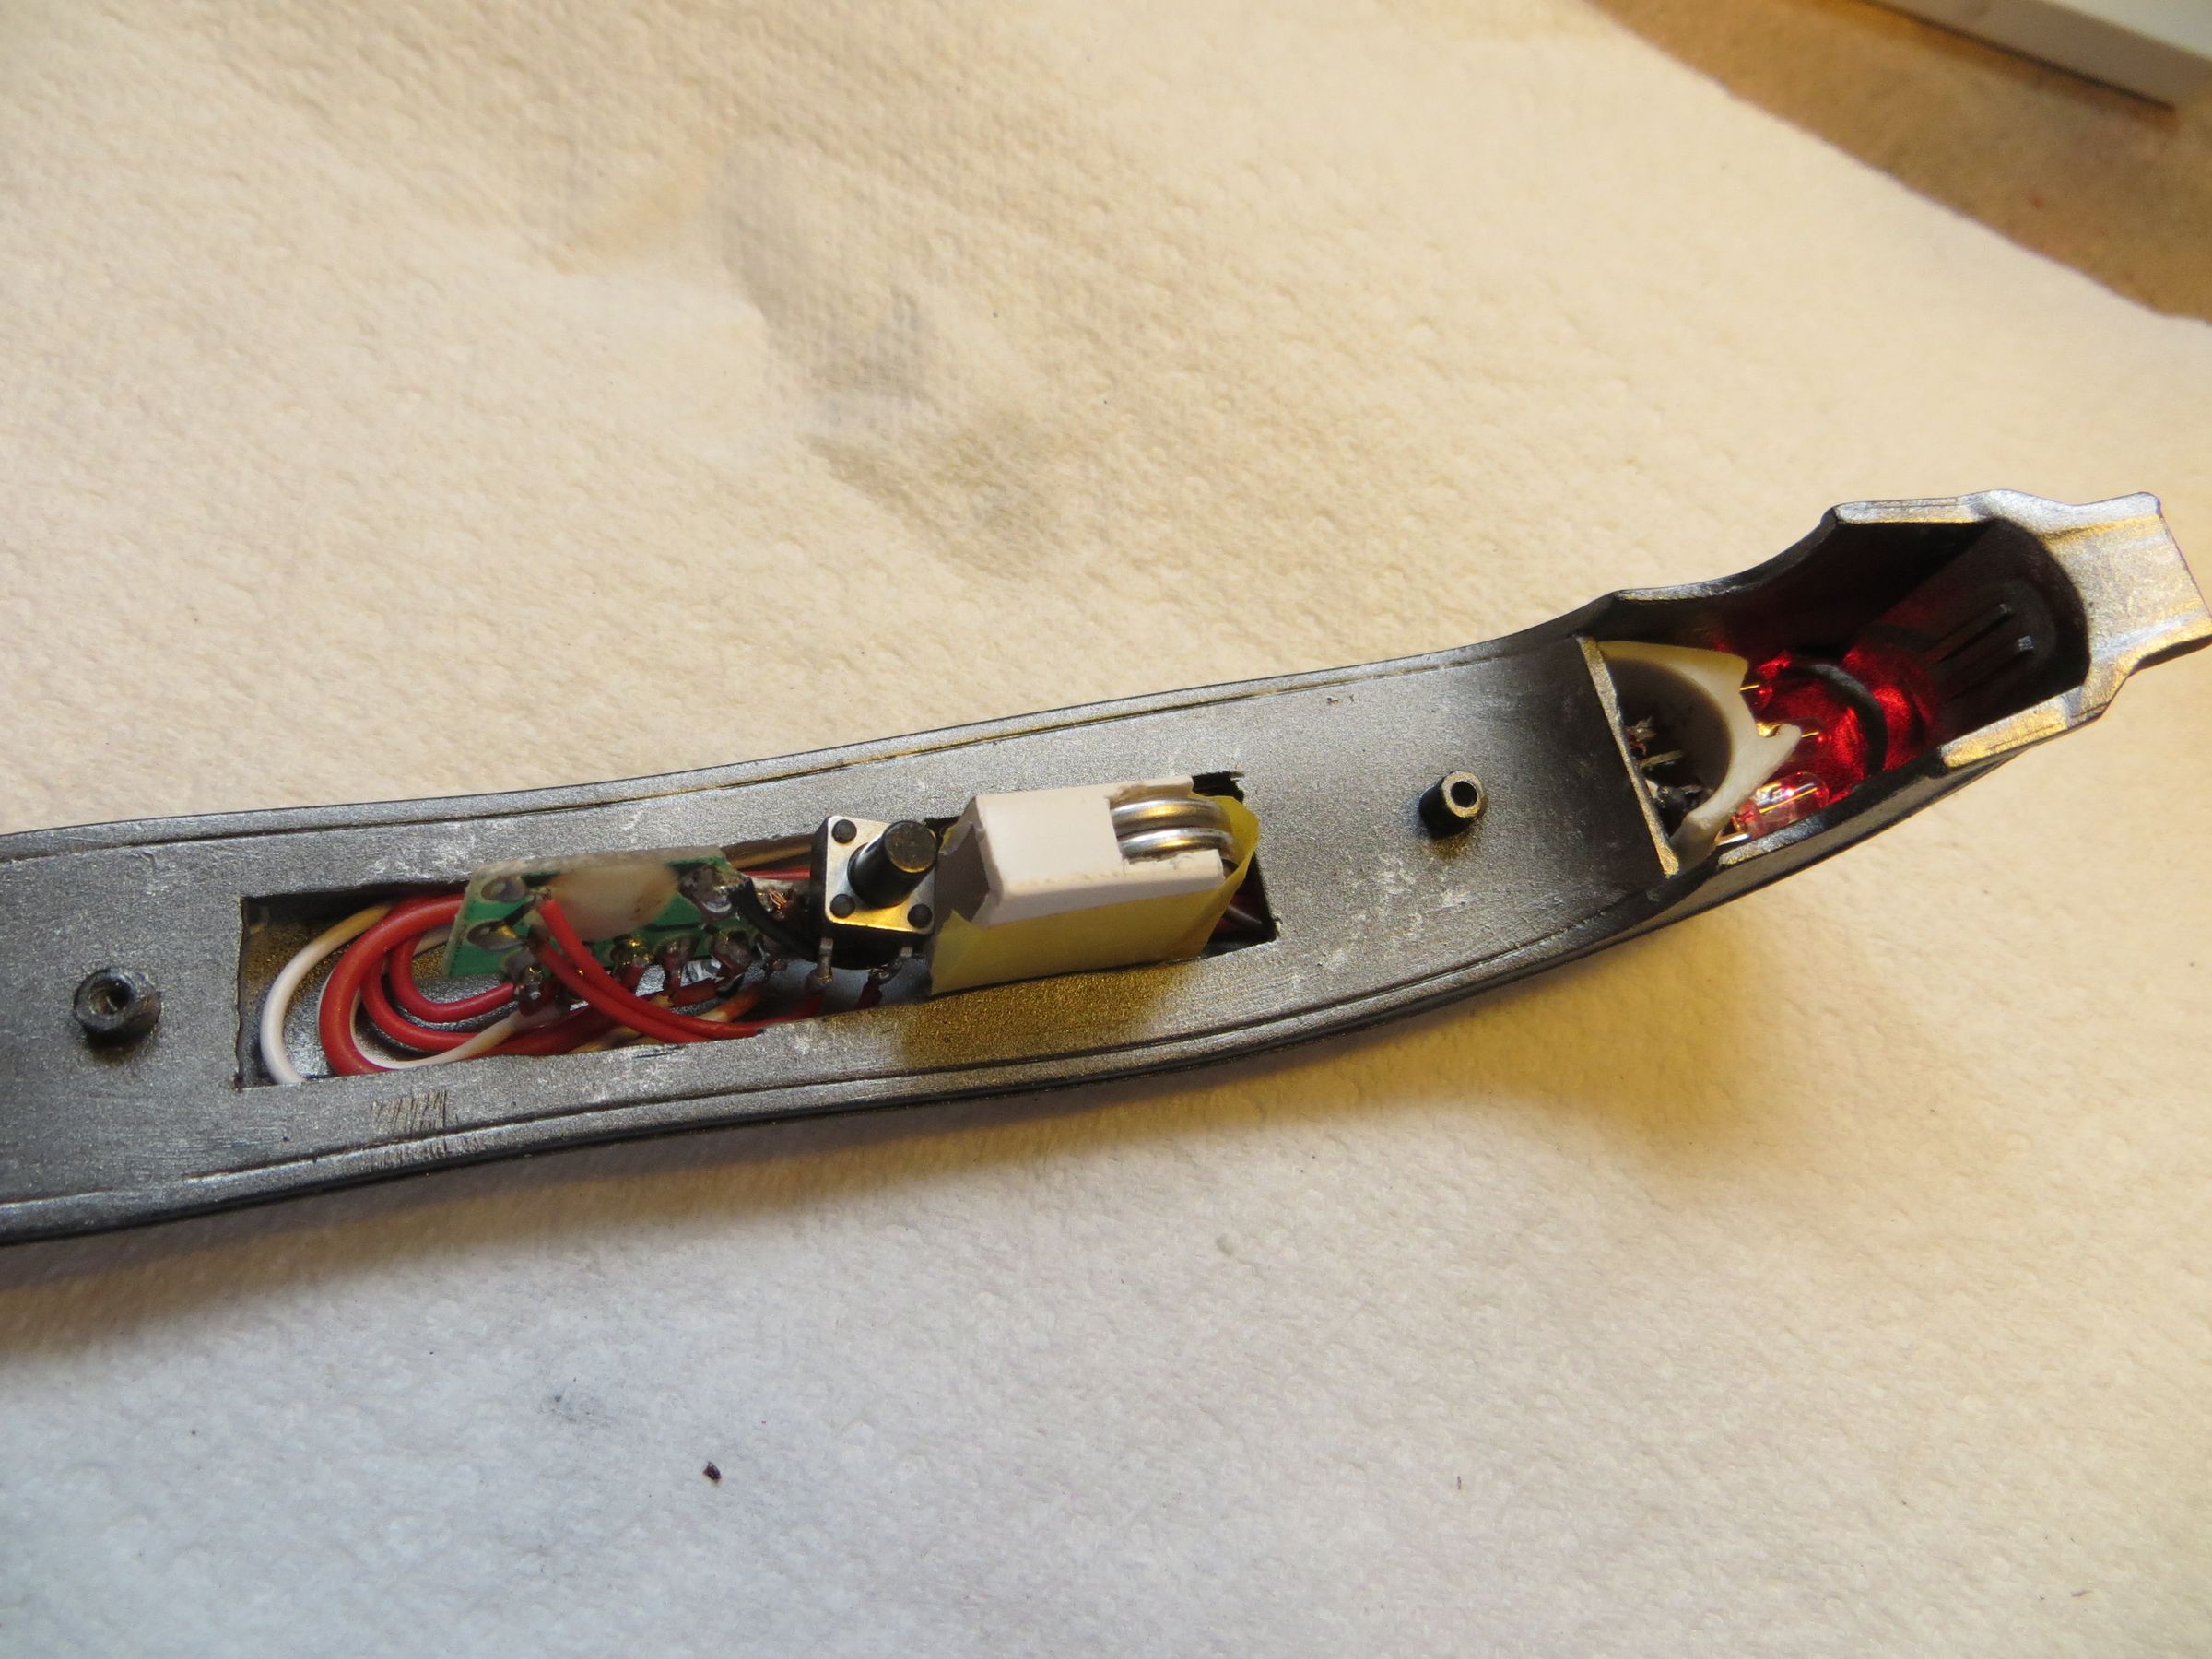
I still had to install the LED Reflector circuit inside the raider.
I thread the wires inside and solder them to the circuit card.


It still works 

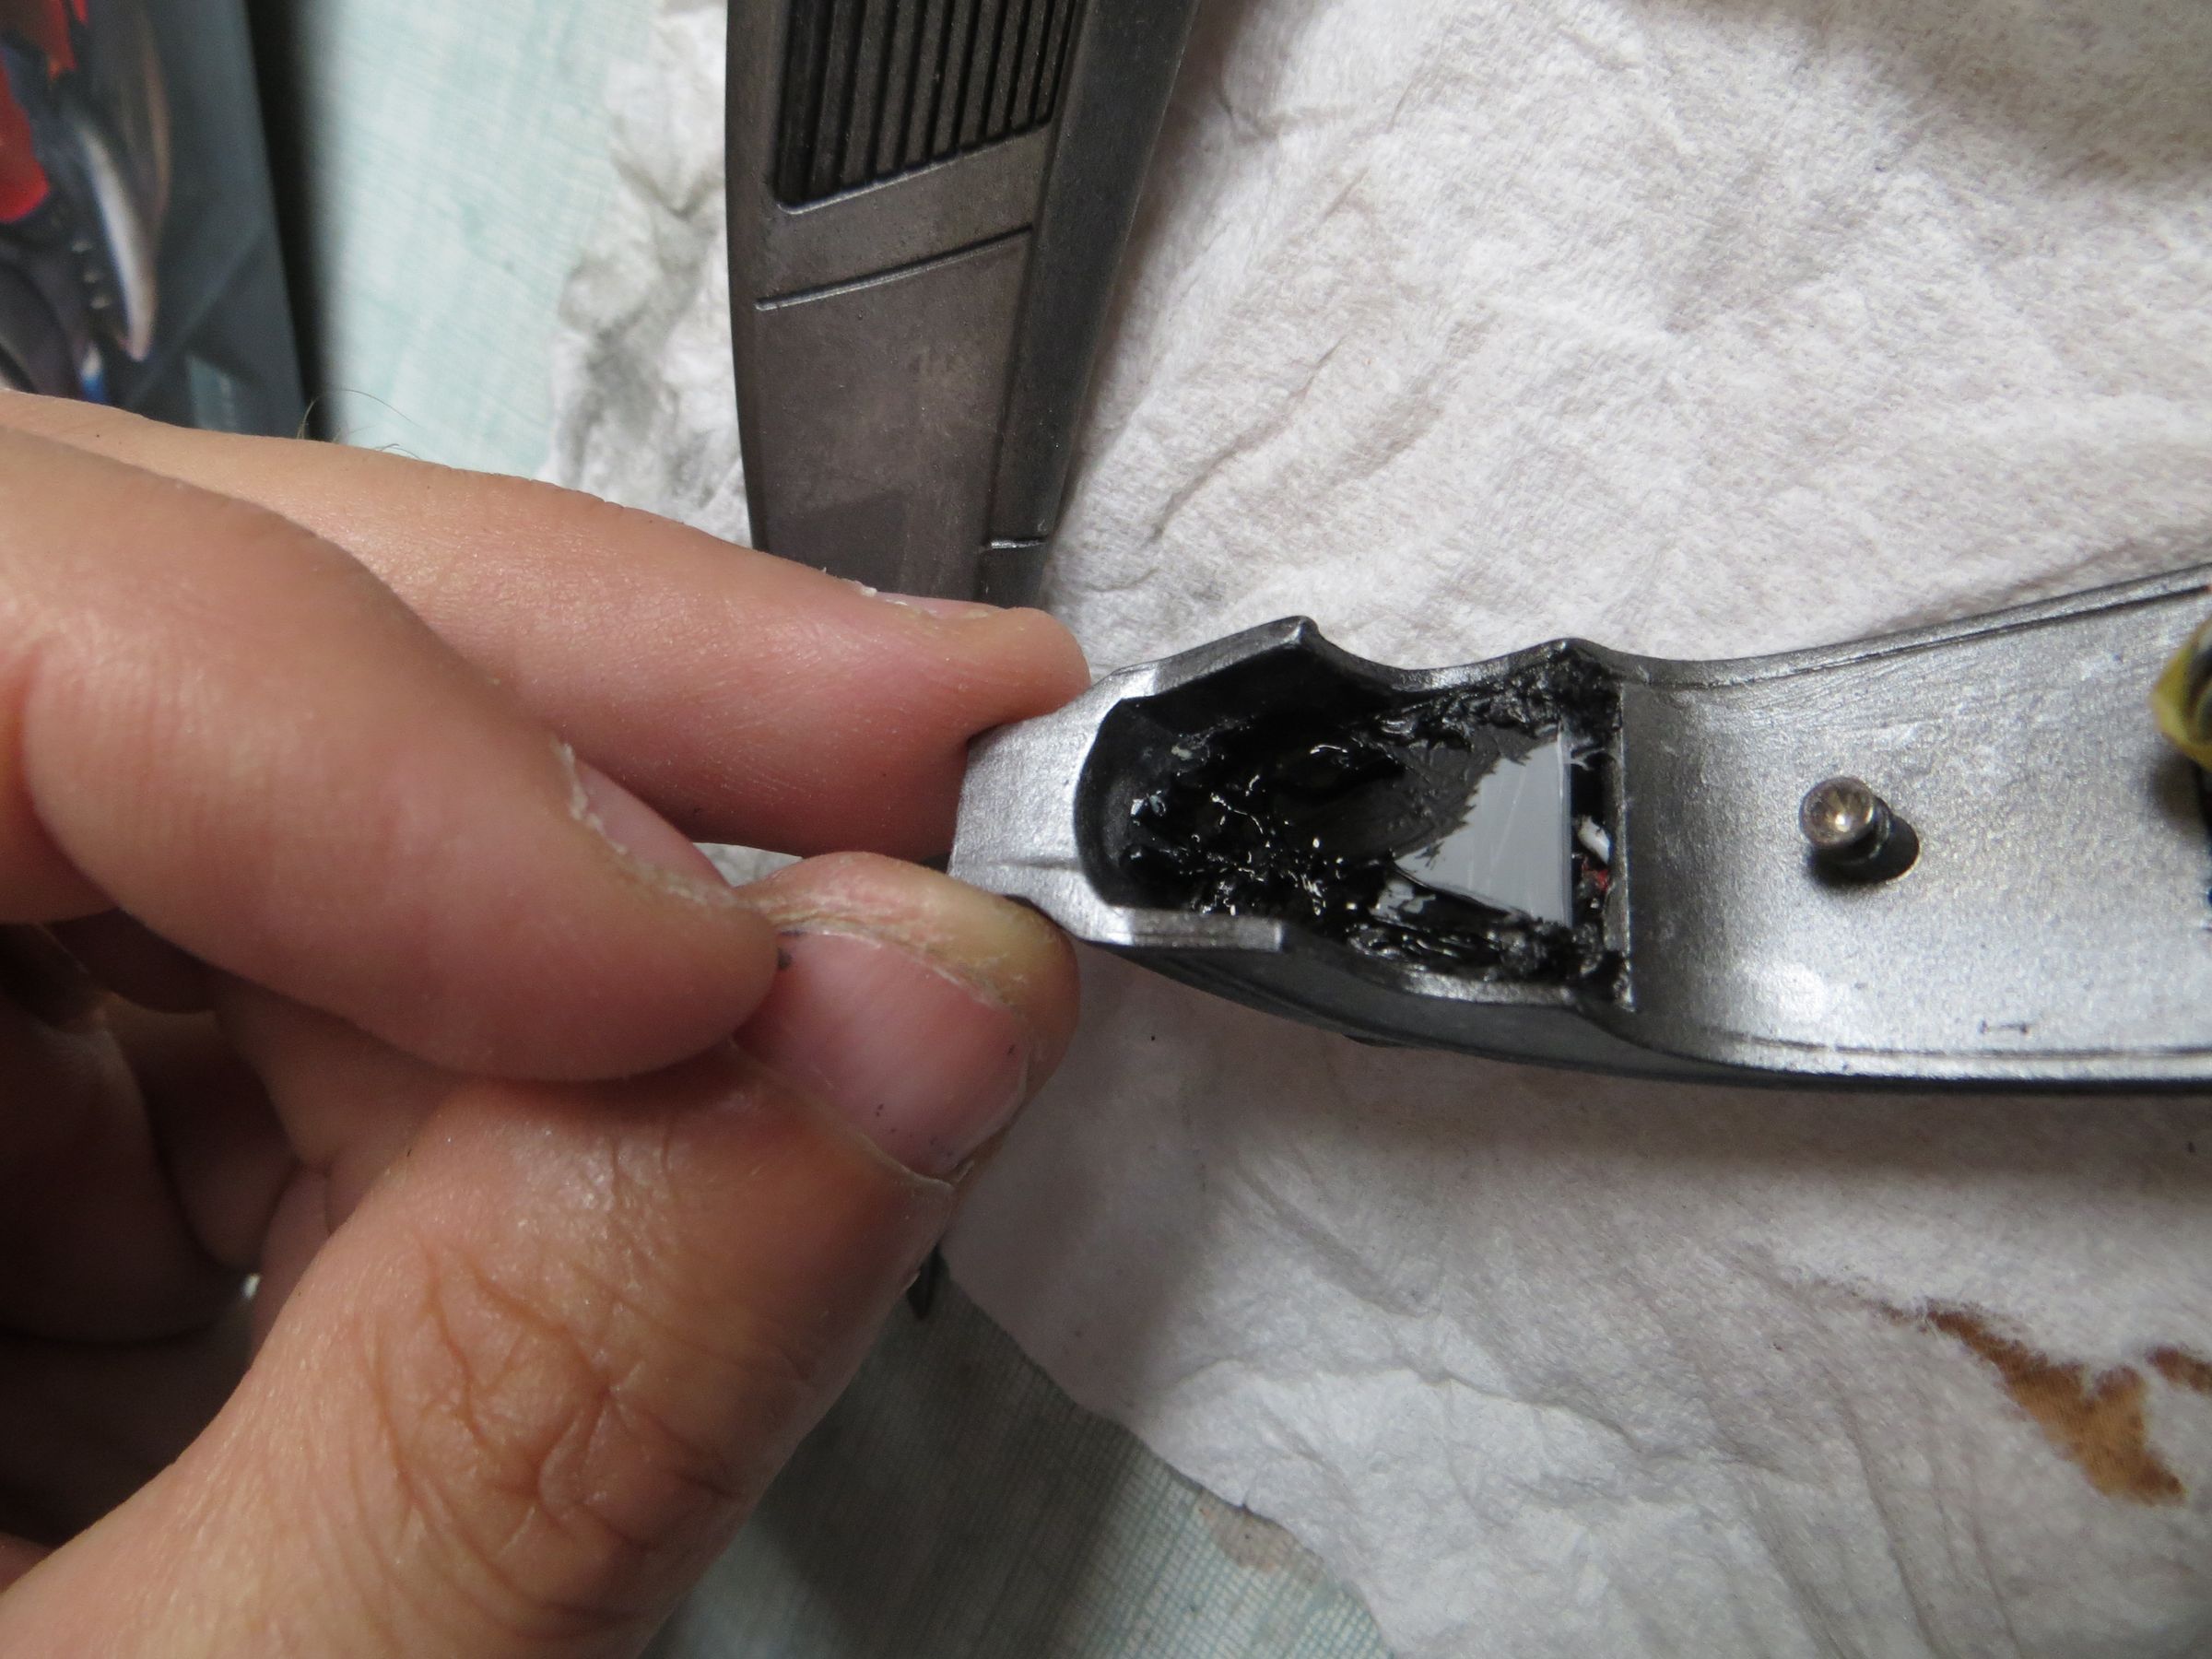
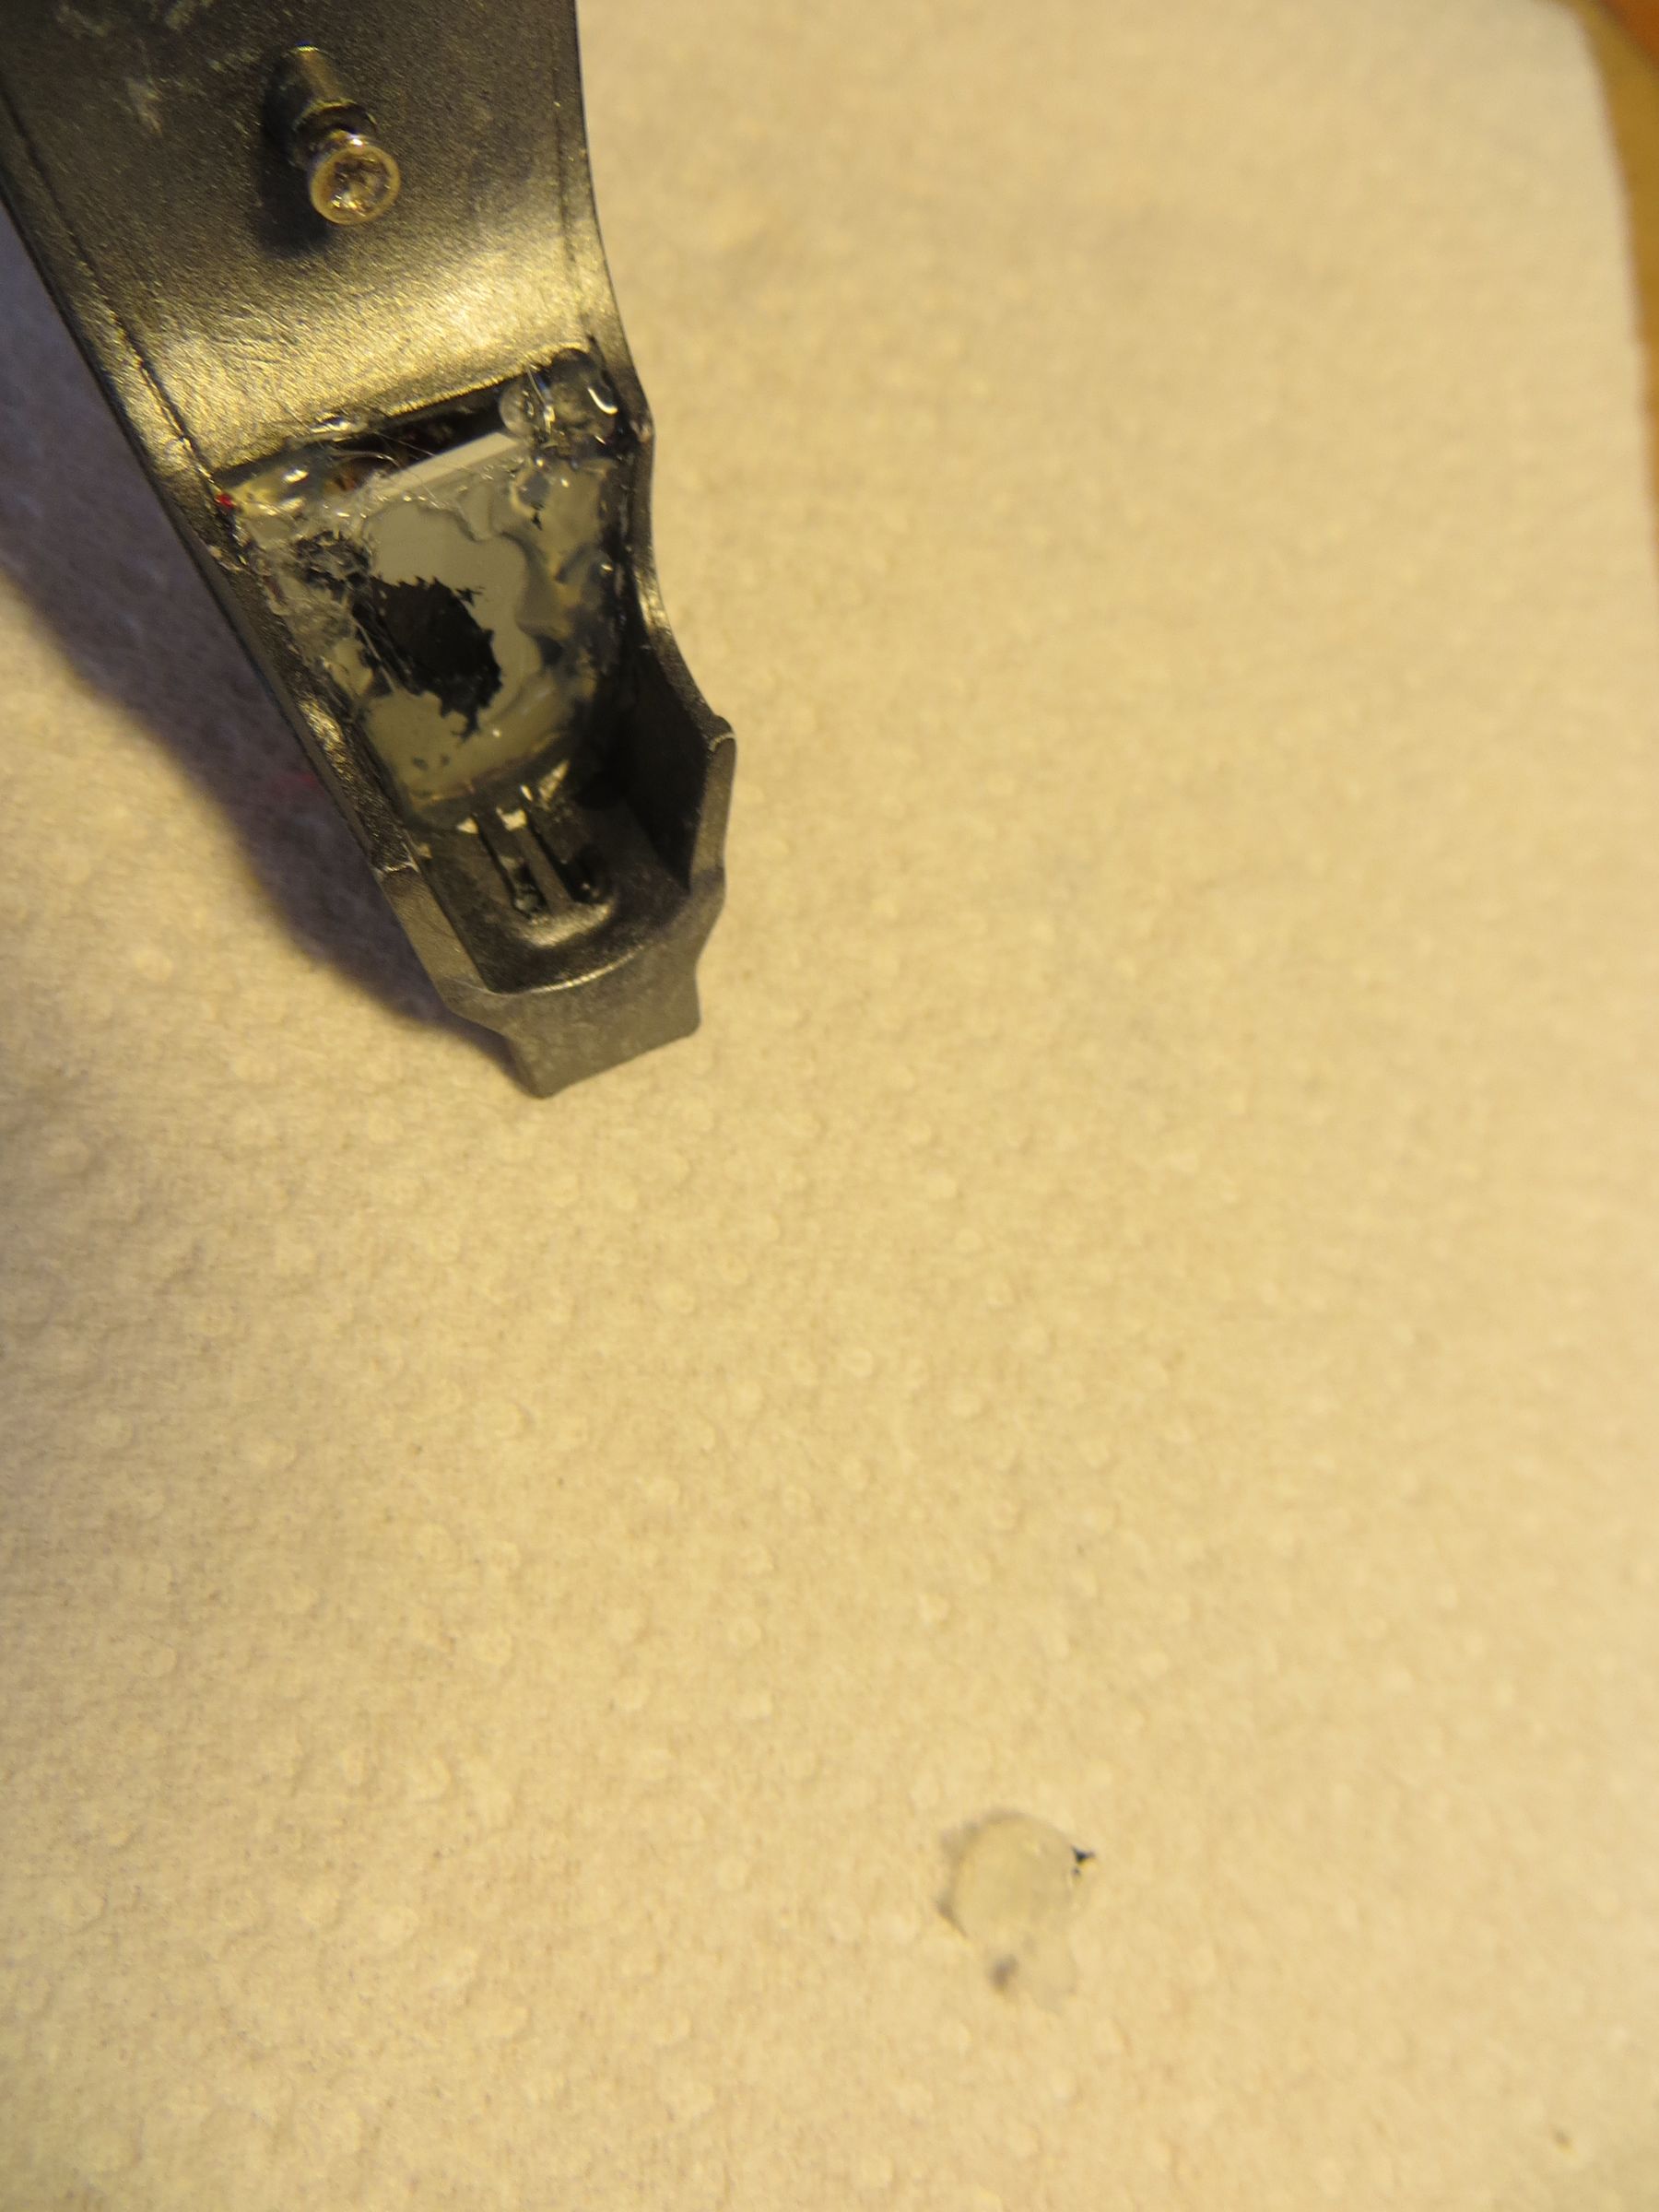
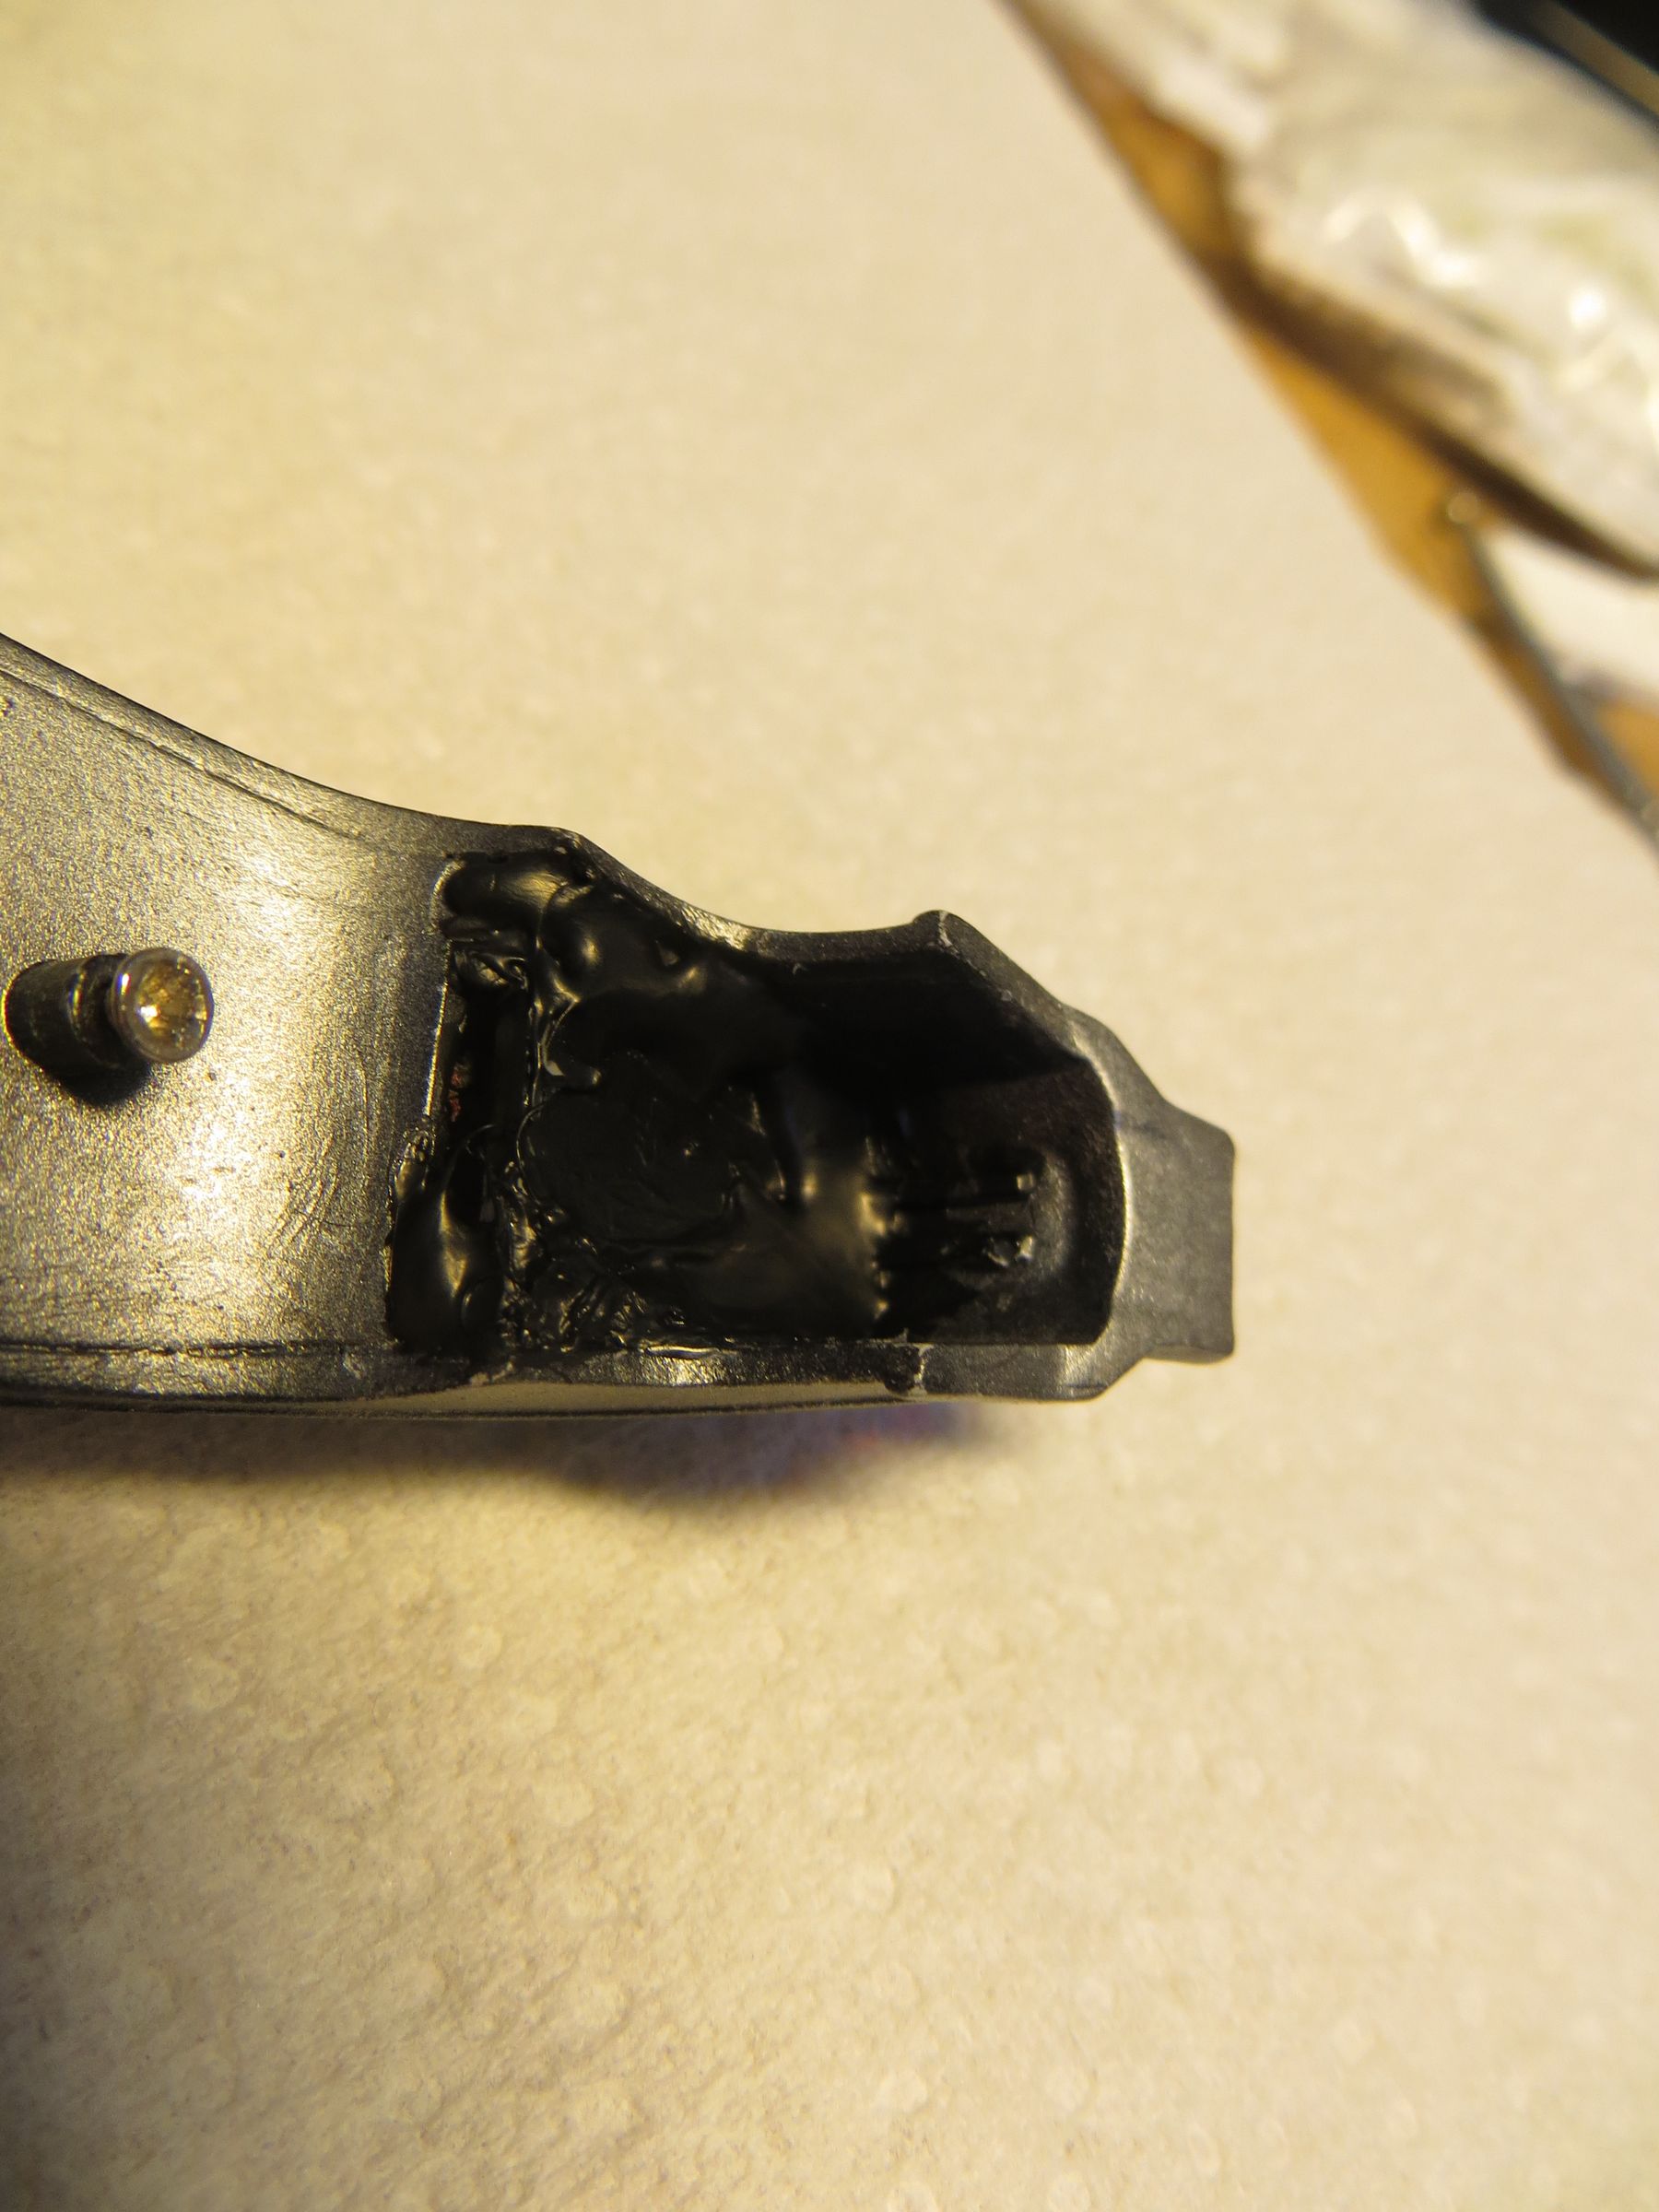
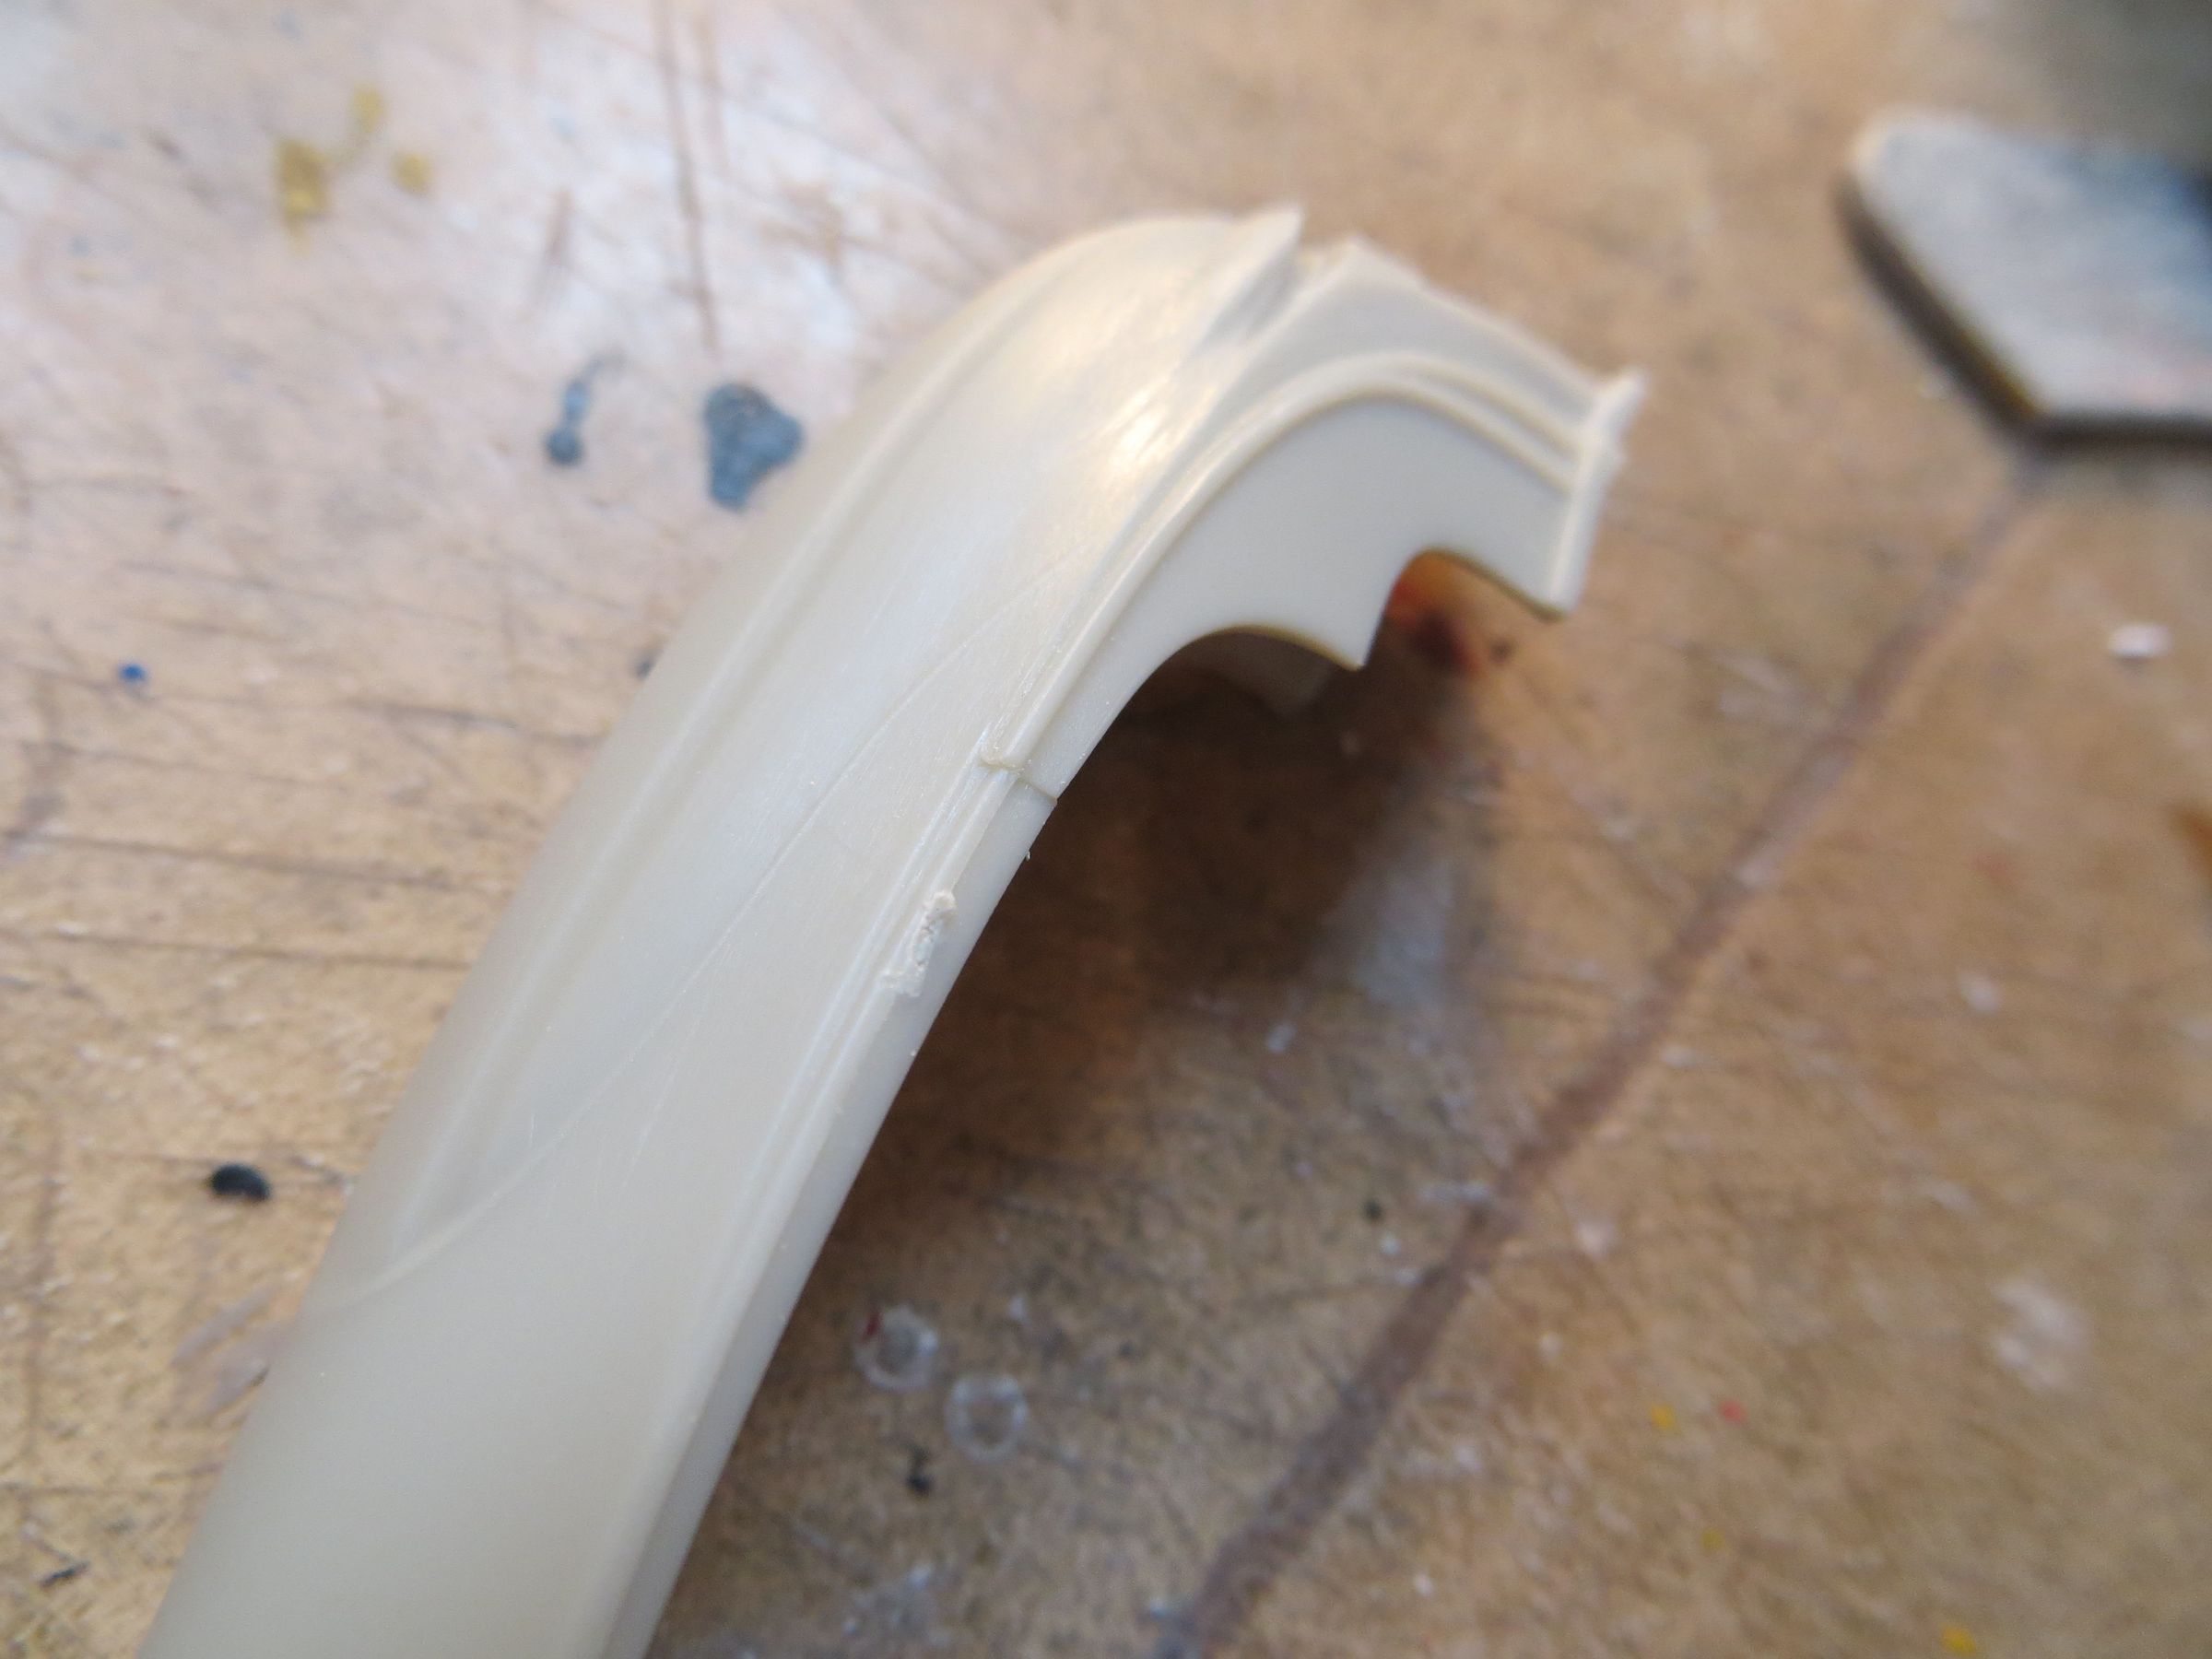
For cons, I had underestimated the space needed for the wires, and it is no longer going in the remaining spaces. So I had to enlarge the openings. This has resulted in the removal of the central pin, the head is now less well maintained, and the magnets suddenly become absolutely necessary. And I thought that tape surrounding the metal tabs and batteries with be enough, but it is too light, so I quickly made a little support using plastic strips.
There some light leaks under the chin. I suspected this because these parts are not glued together here.
A small plastic cap is done and stuck with hot glue (easy to remove if I will have to work on the electic circuit). The plastic model part is very thick and holds heat rather well. I would not try it on a Hasegawa or FineMolds kit ! The glue is covered with black paint to hide the latest leaks (cooled hot glue is still transparent)
IMG_3021
The magnets are also held in place with hot glue.
I forgot to install the visor, and while trying to glue it, it slipped inside the head. @@#%€£¥$%#!
So, I experimented removing the cap+hot glue. And this was rather easy, so the idea was good.
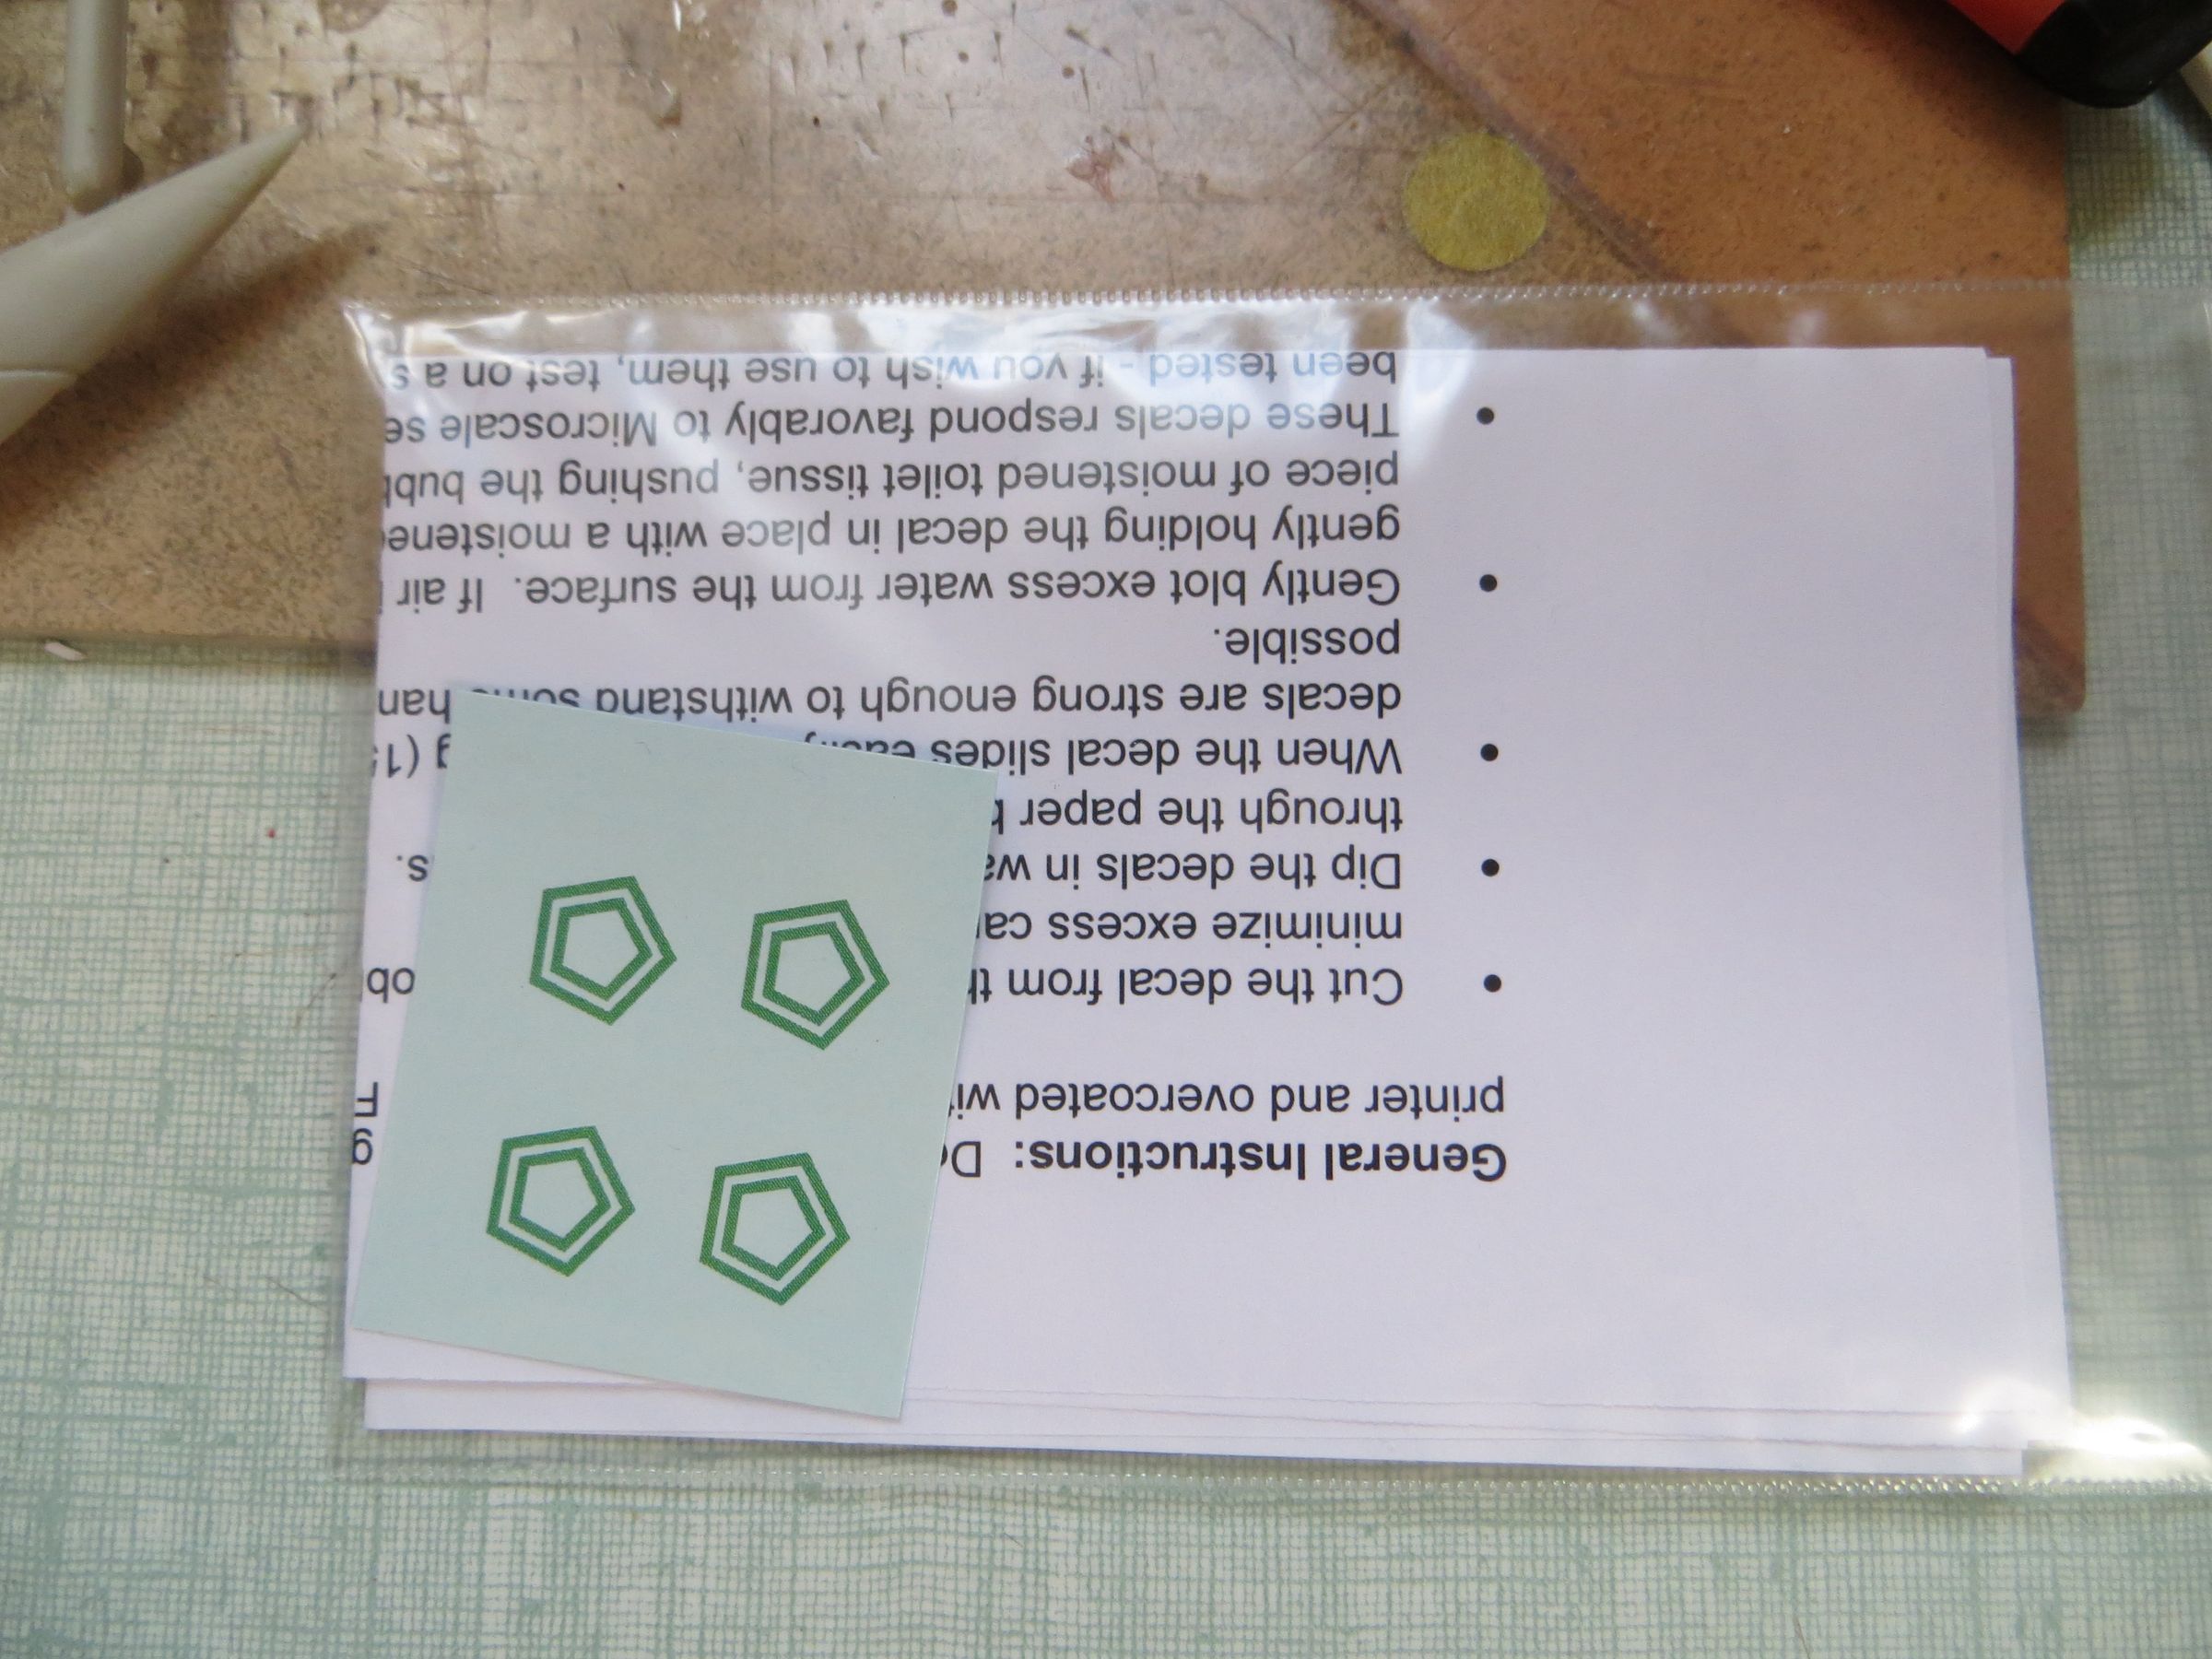
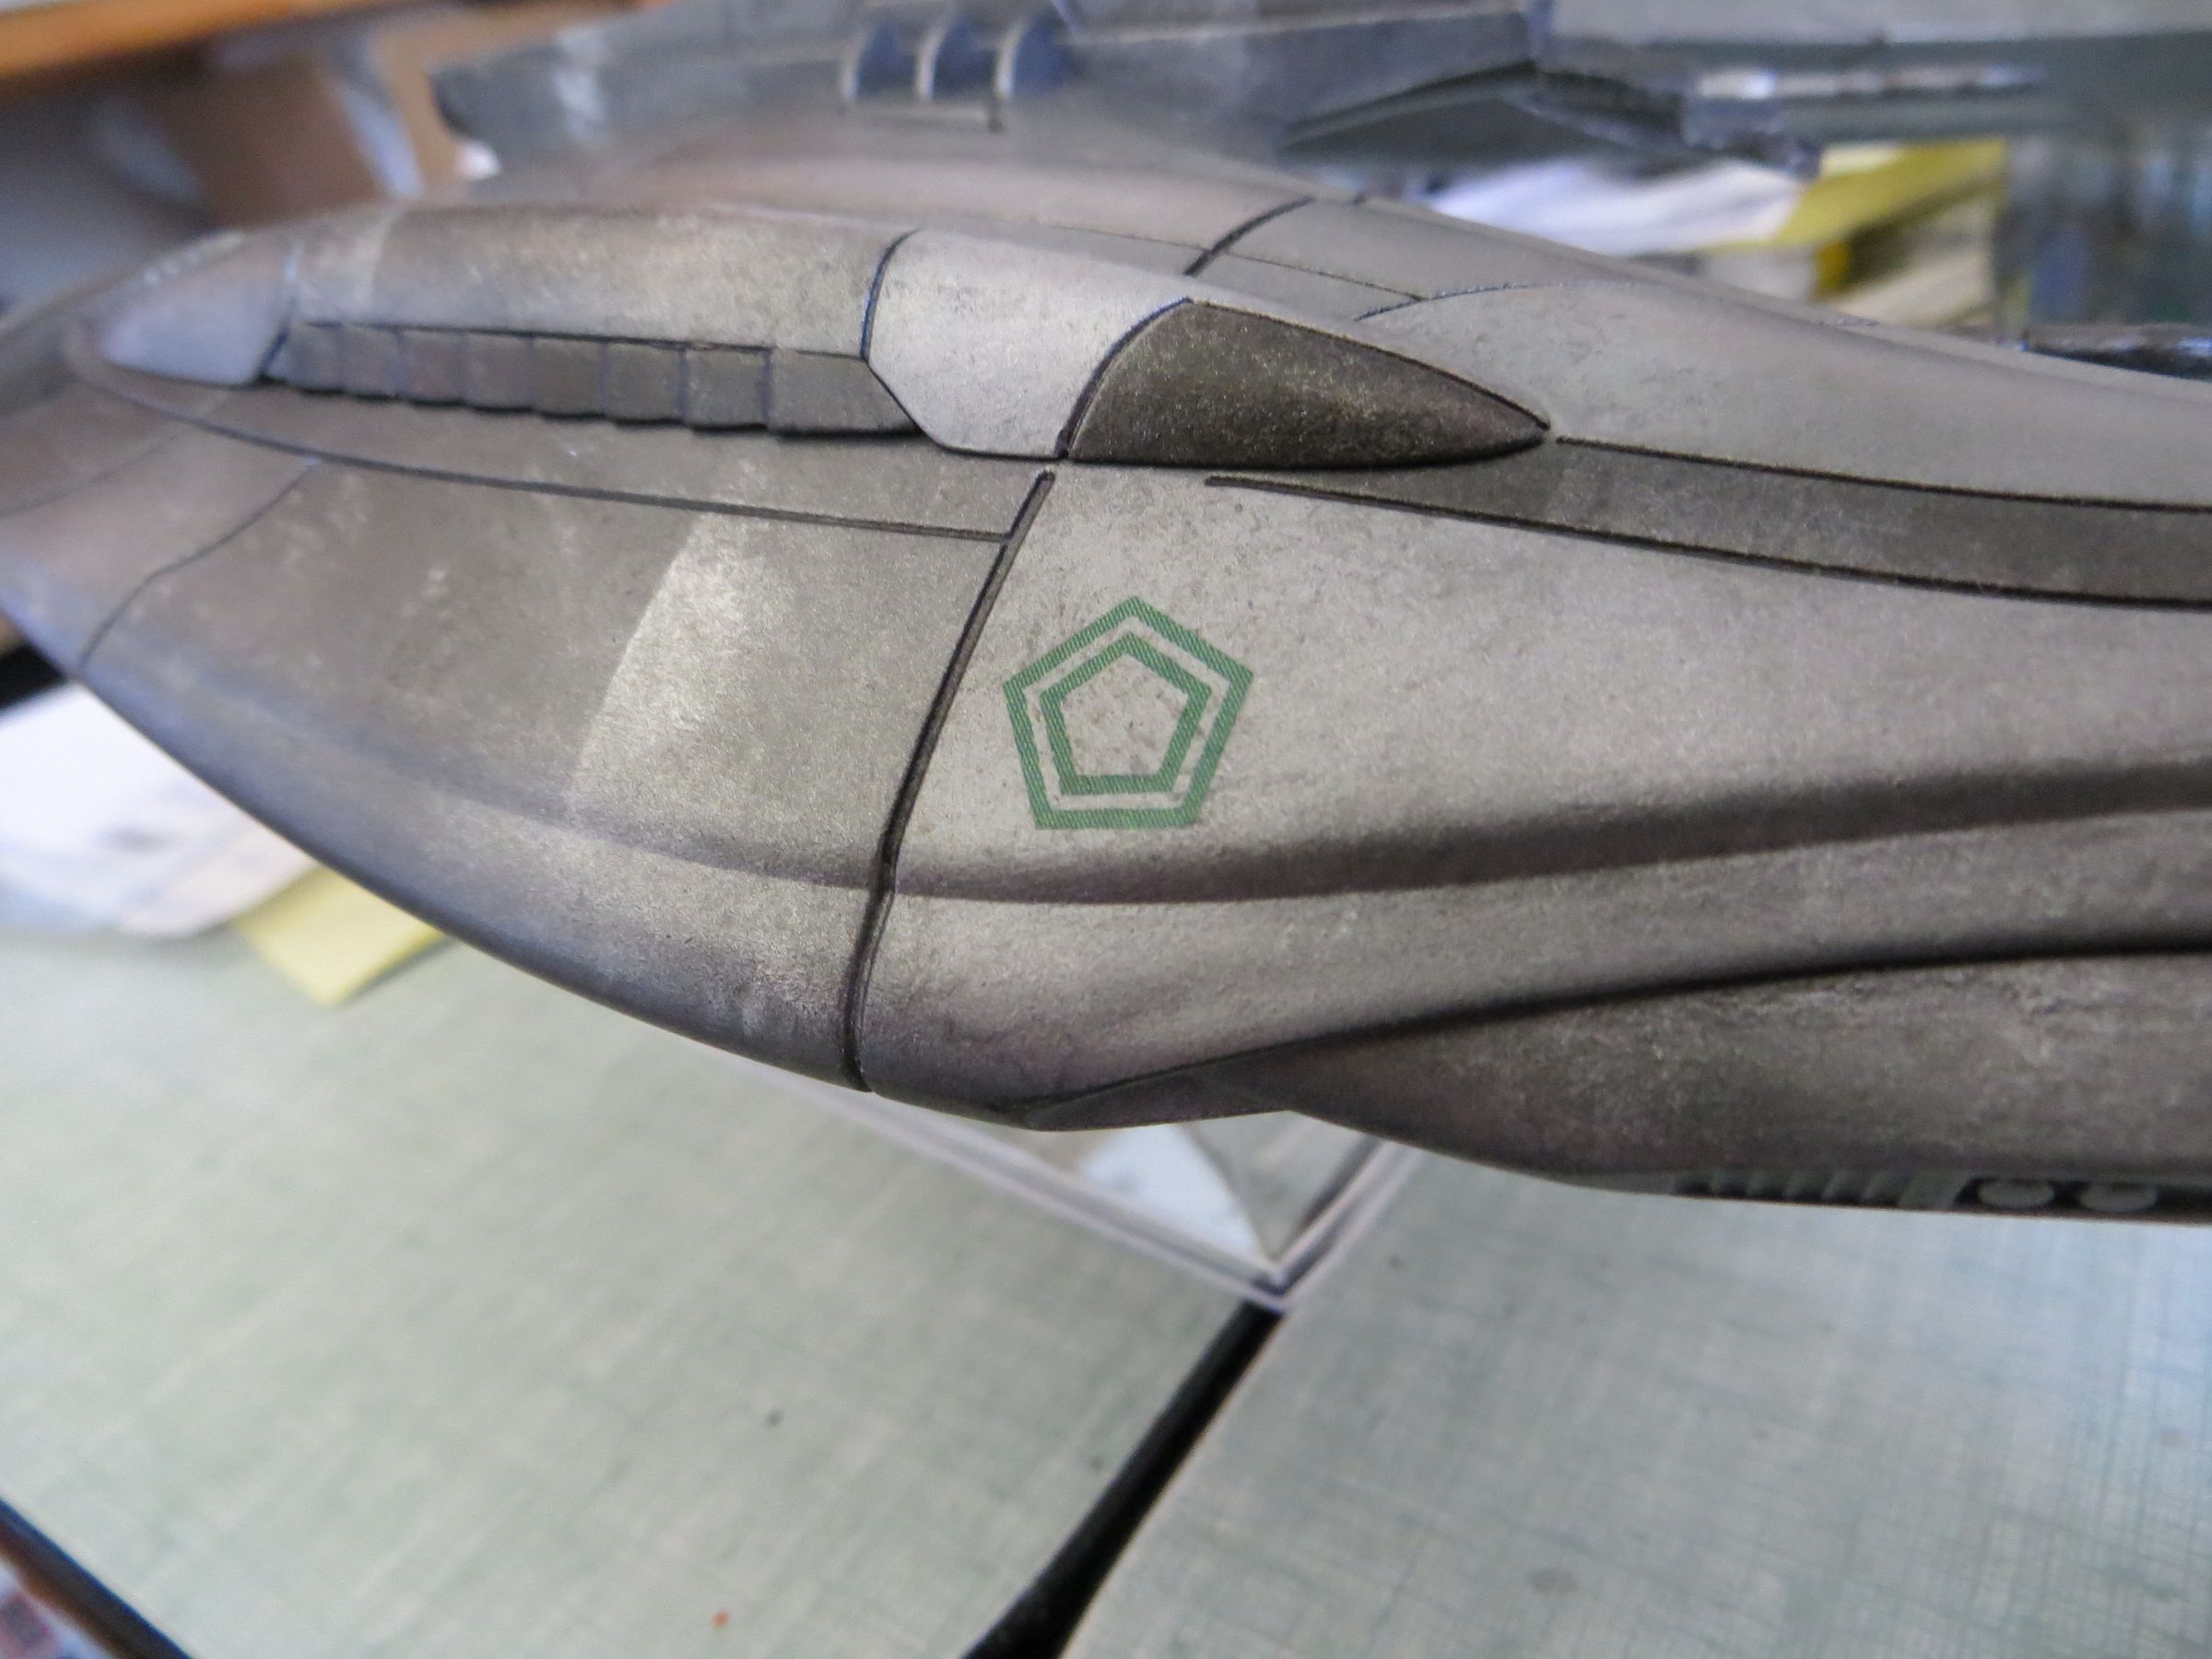
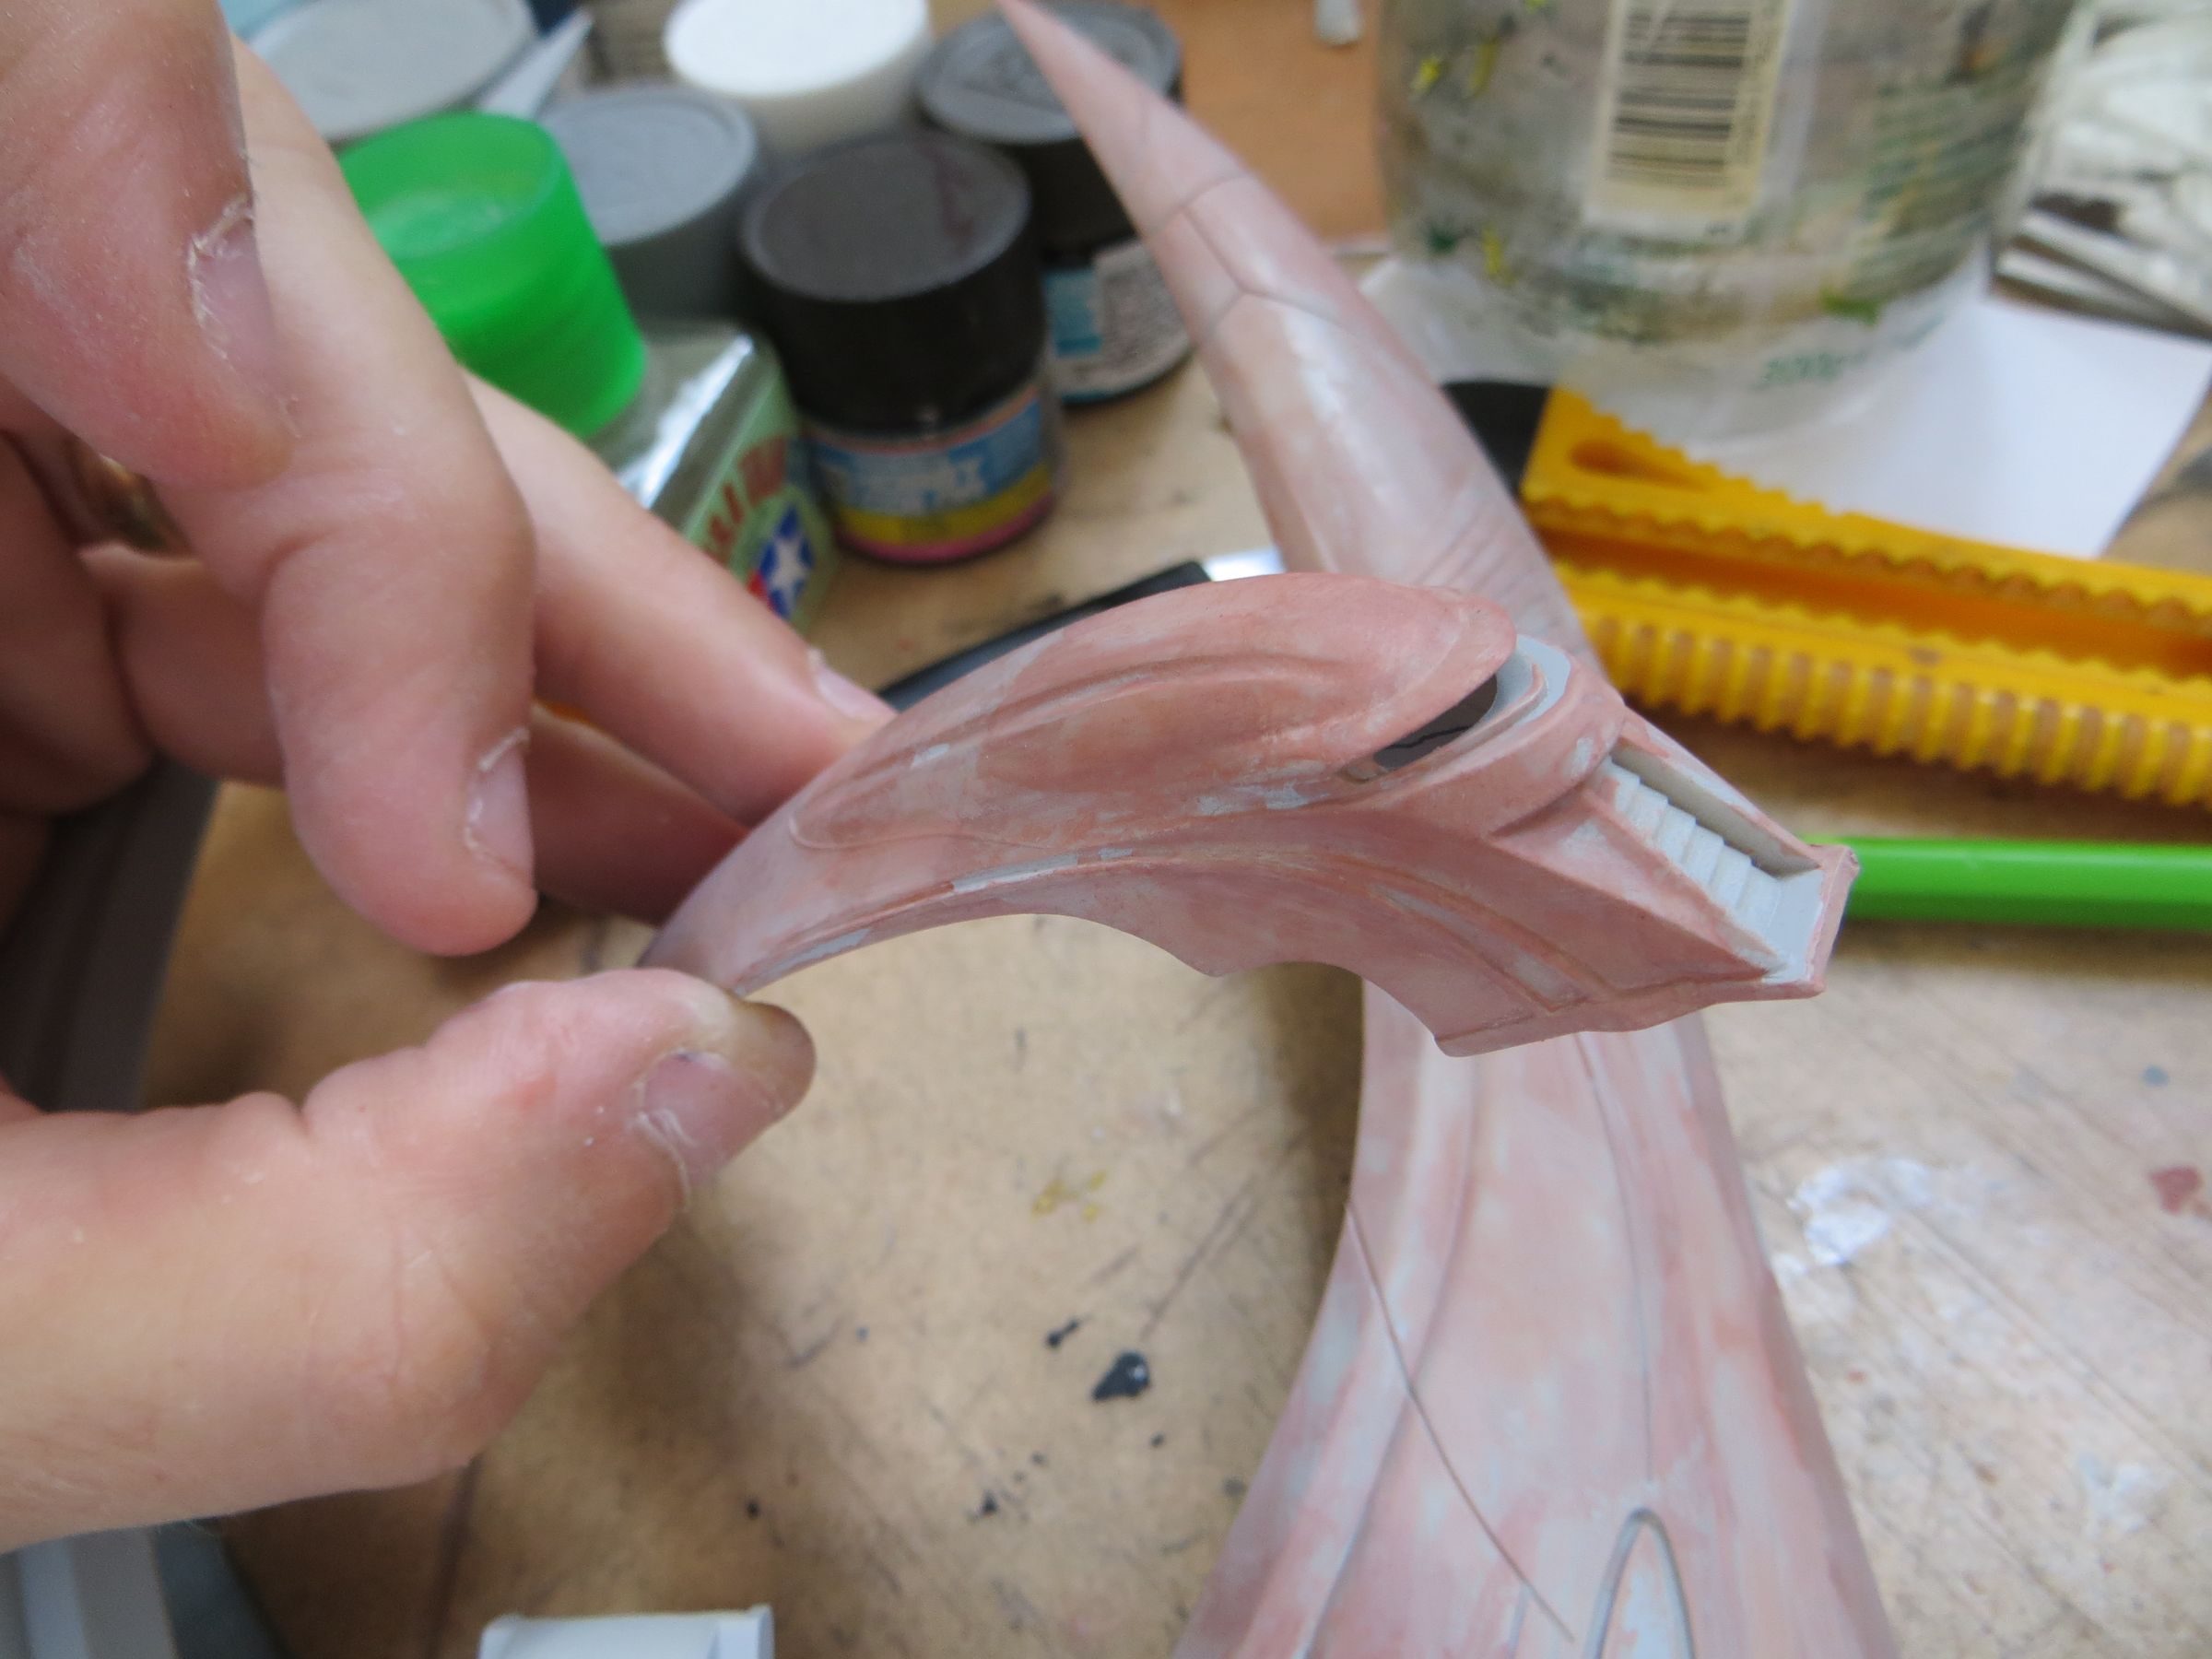
It was only remaining to apply cylon insignia decals, weathered with lightgray marks, and covered with clear coat.
mardi, 19 novembre 2013
Par olcabour le mardi, 19 novembre 2013, 21:42
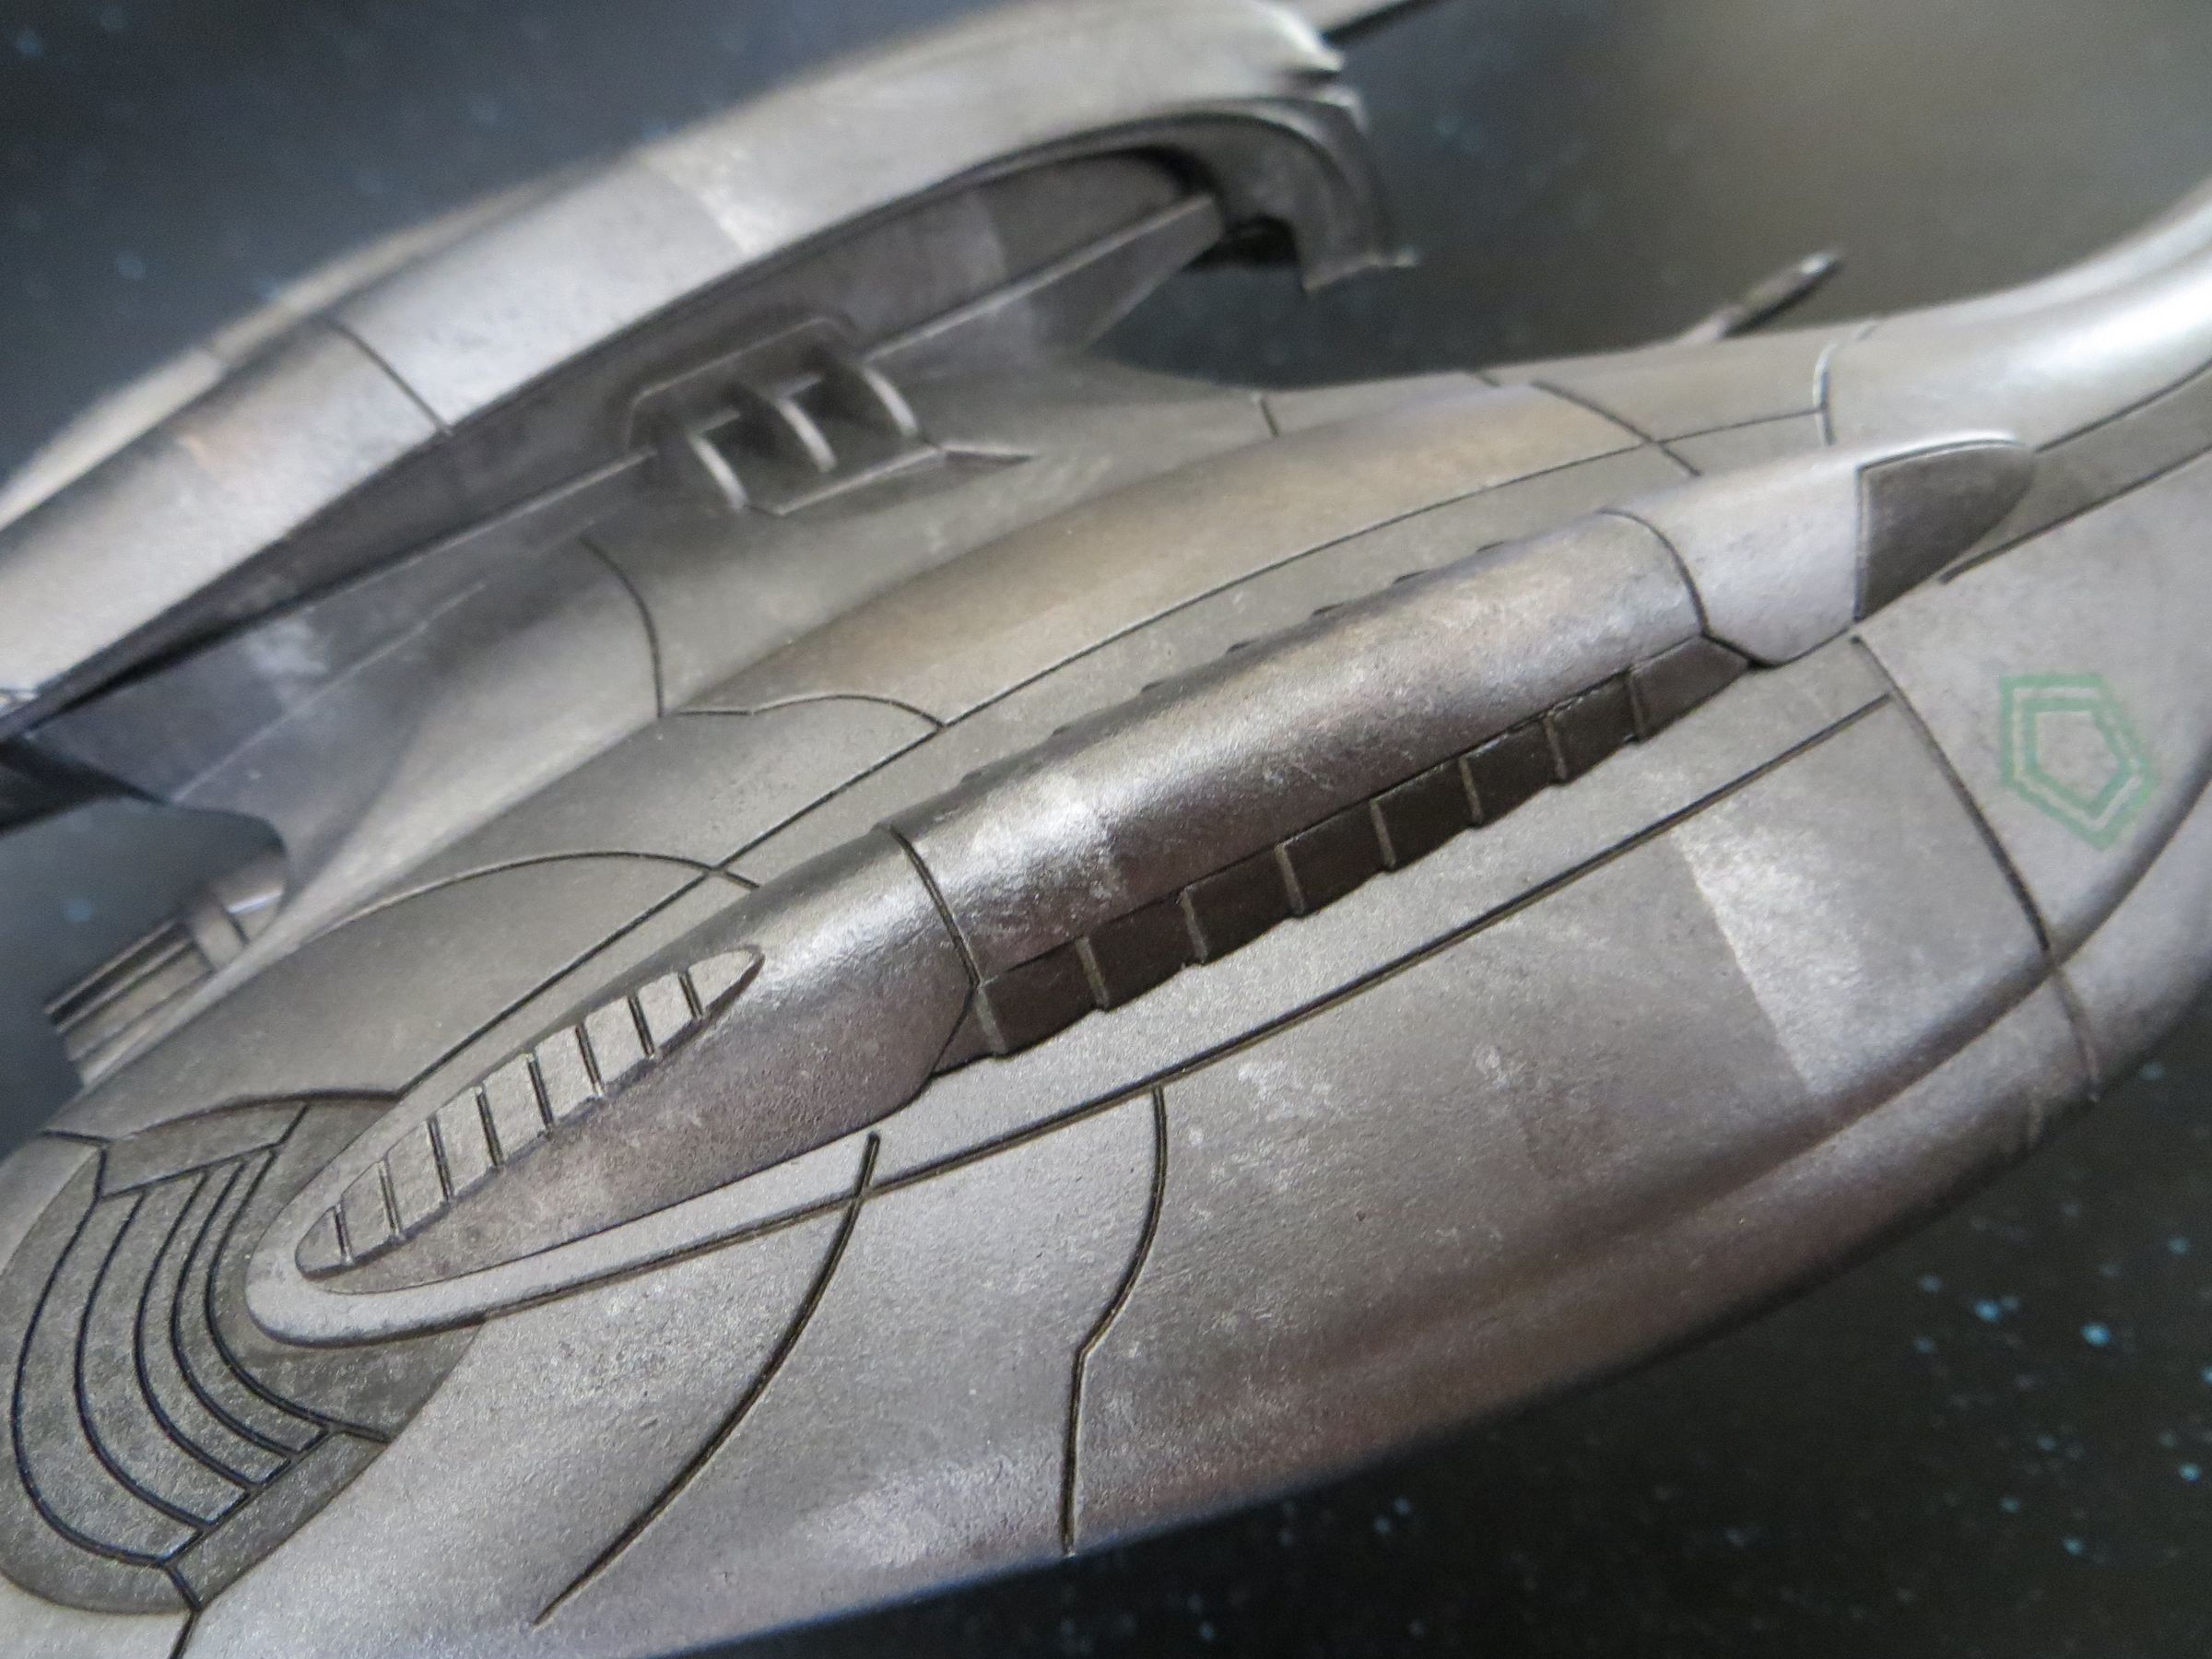
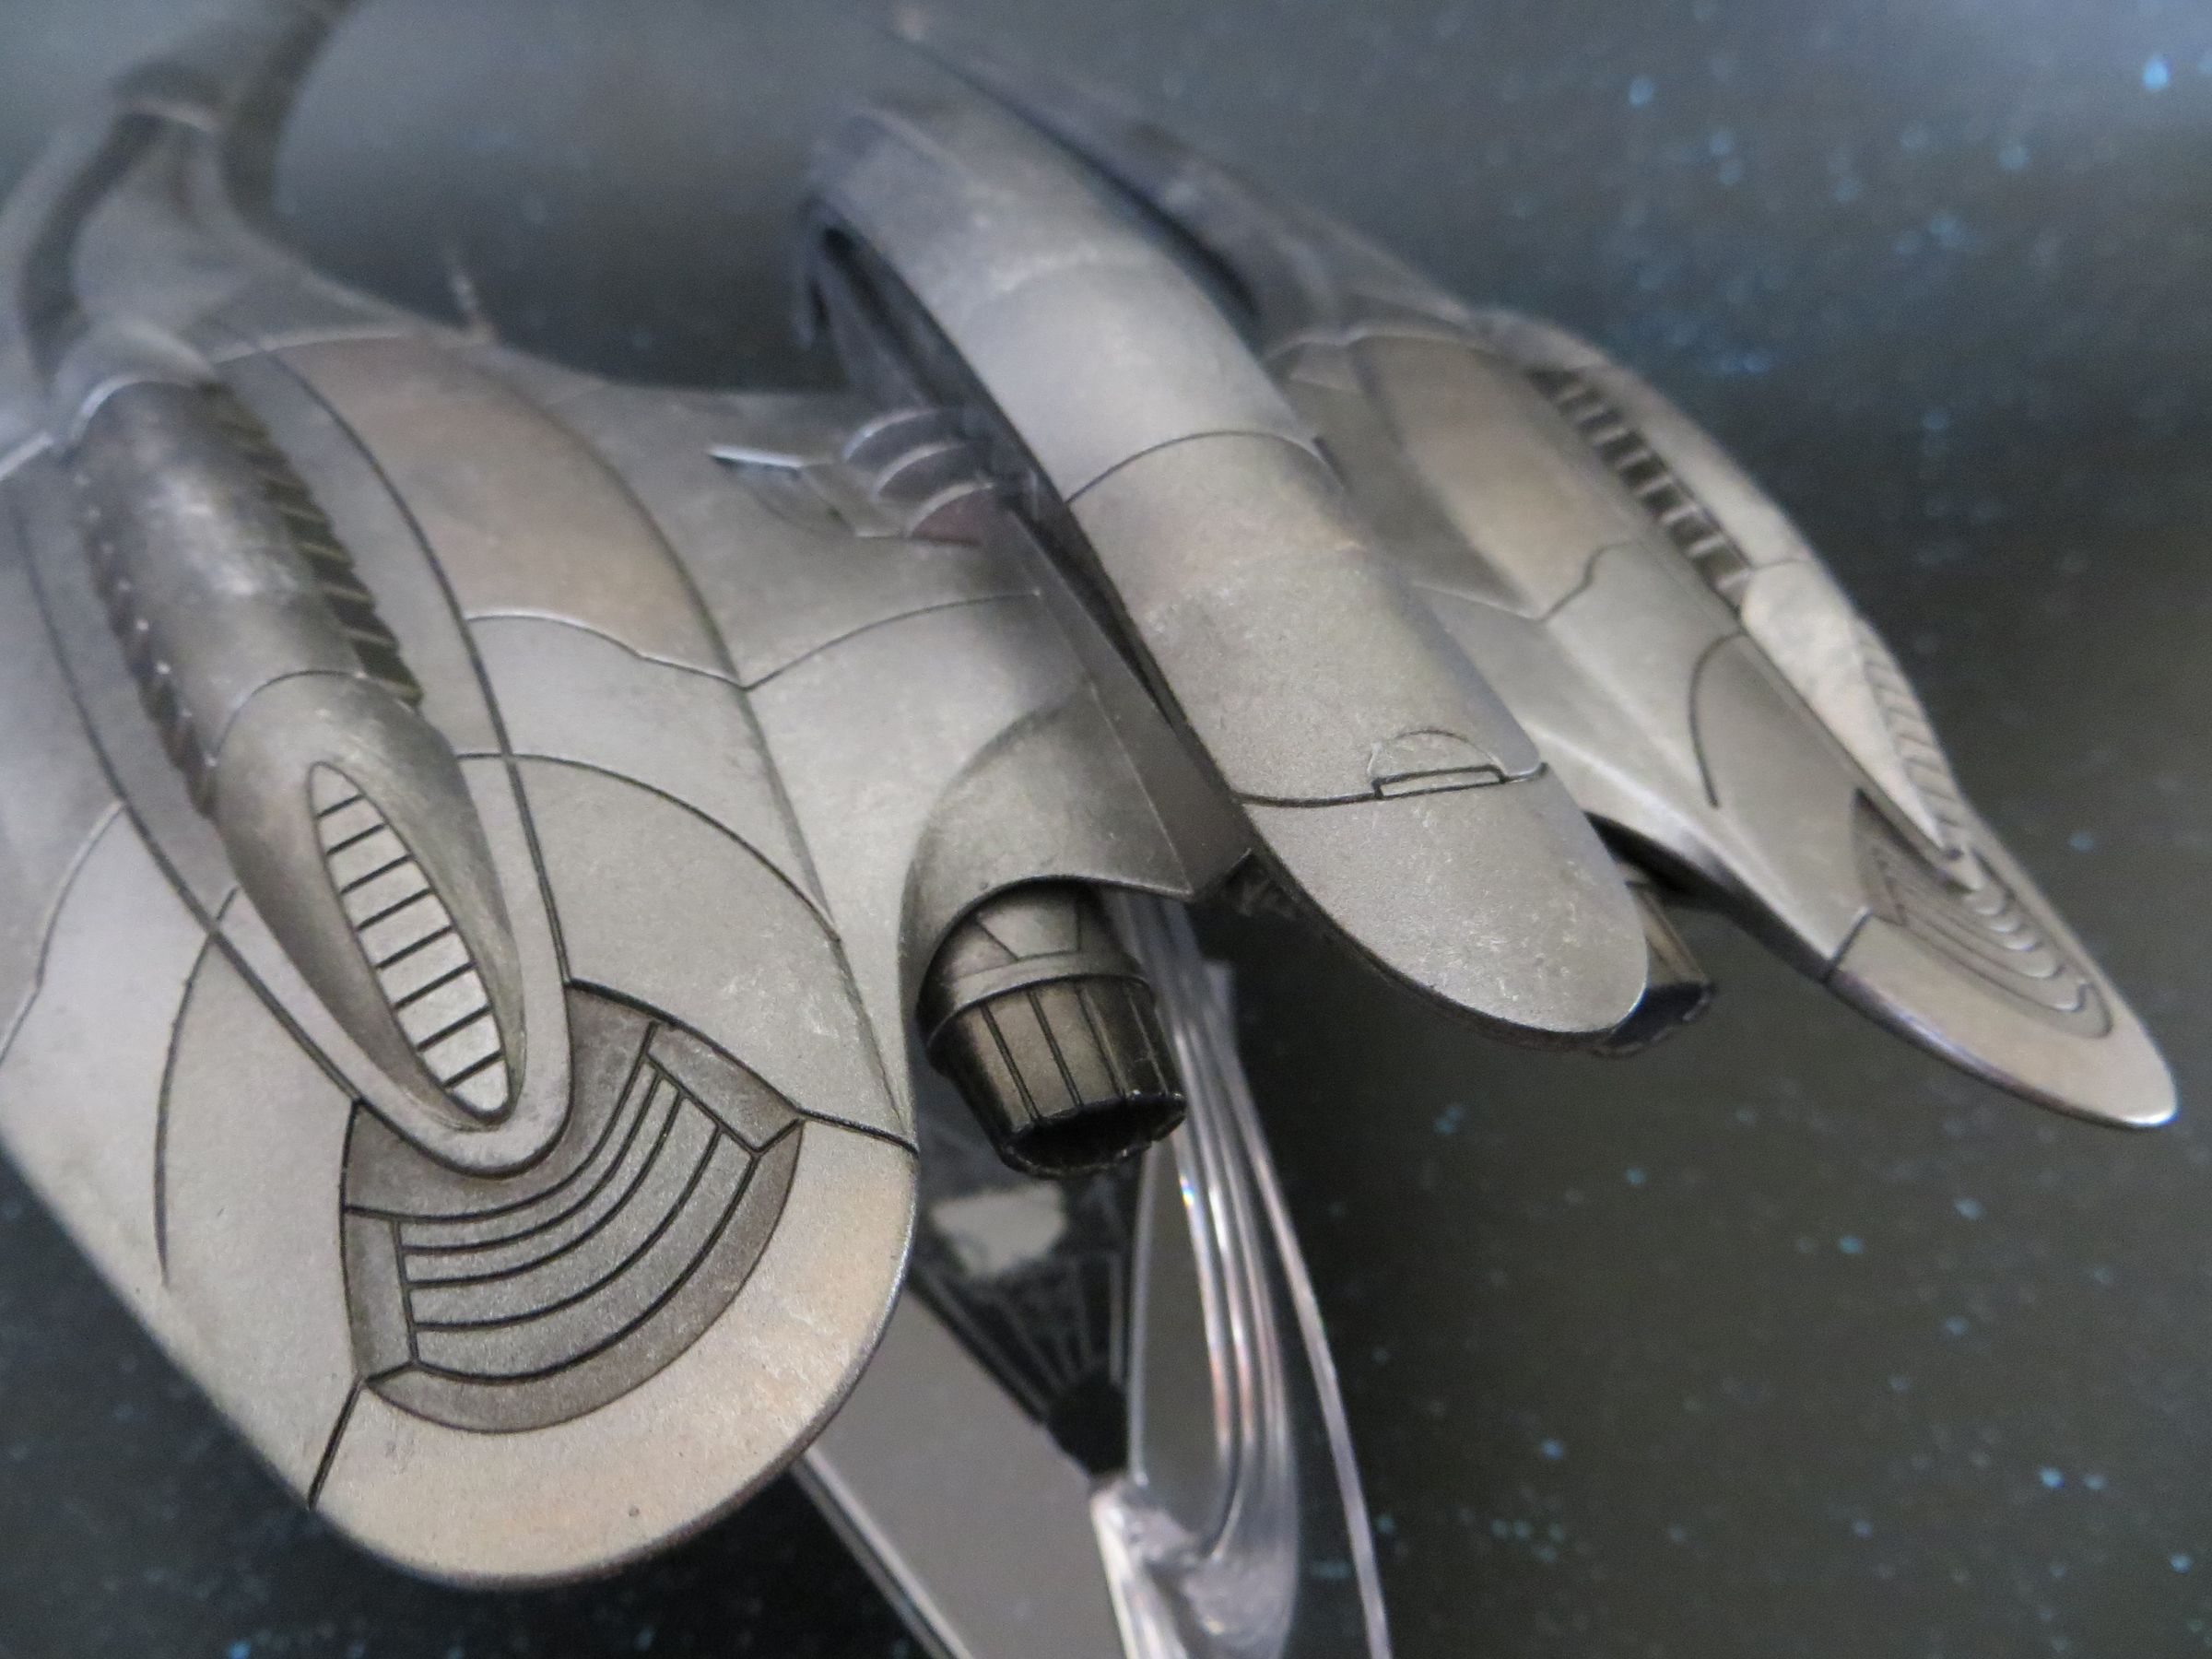
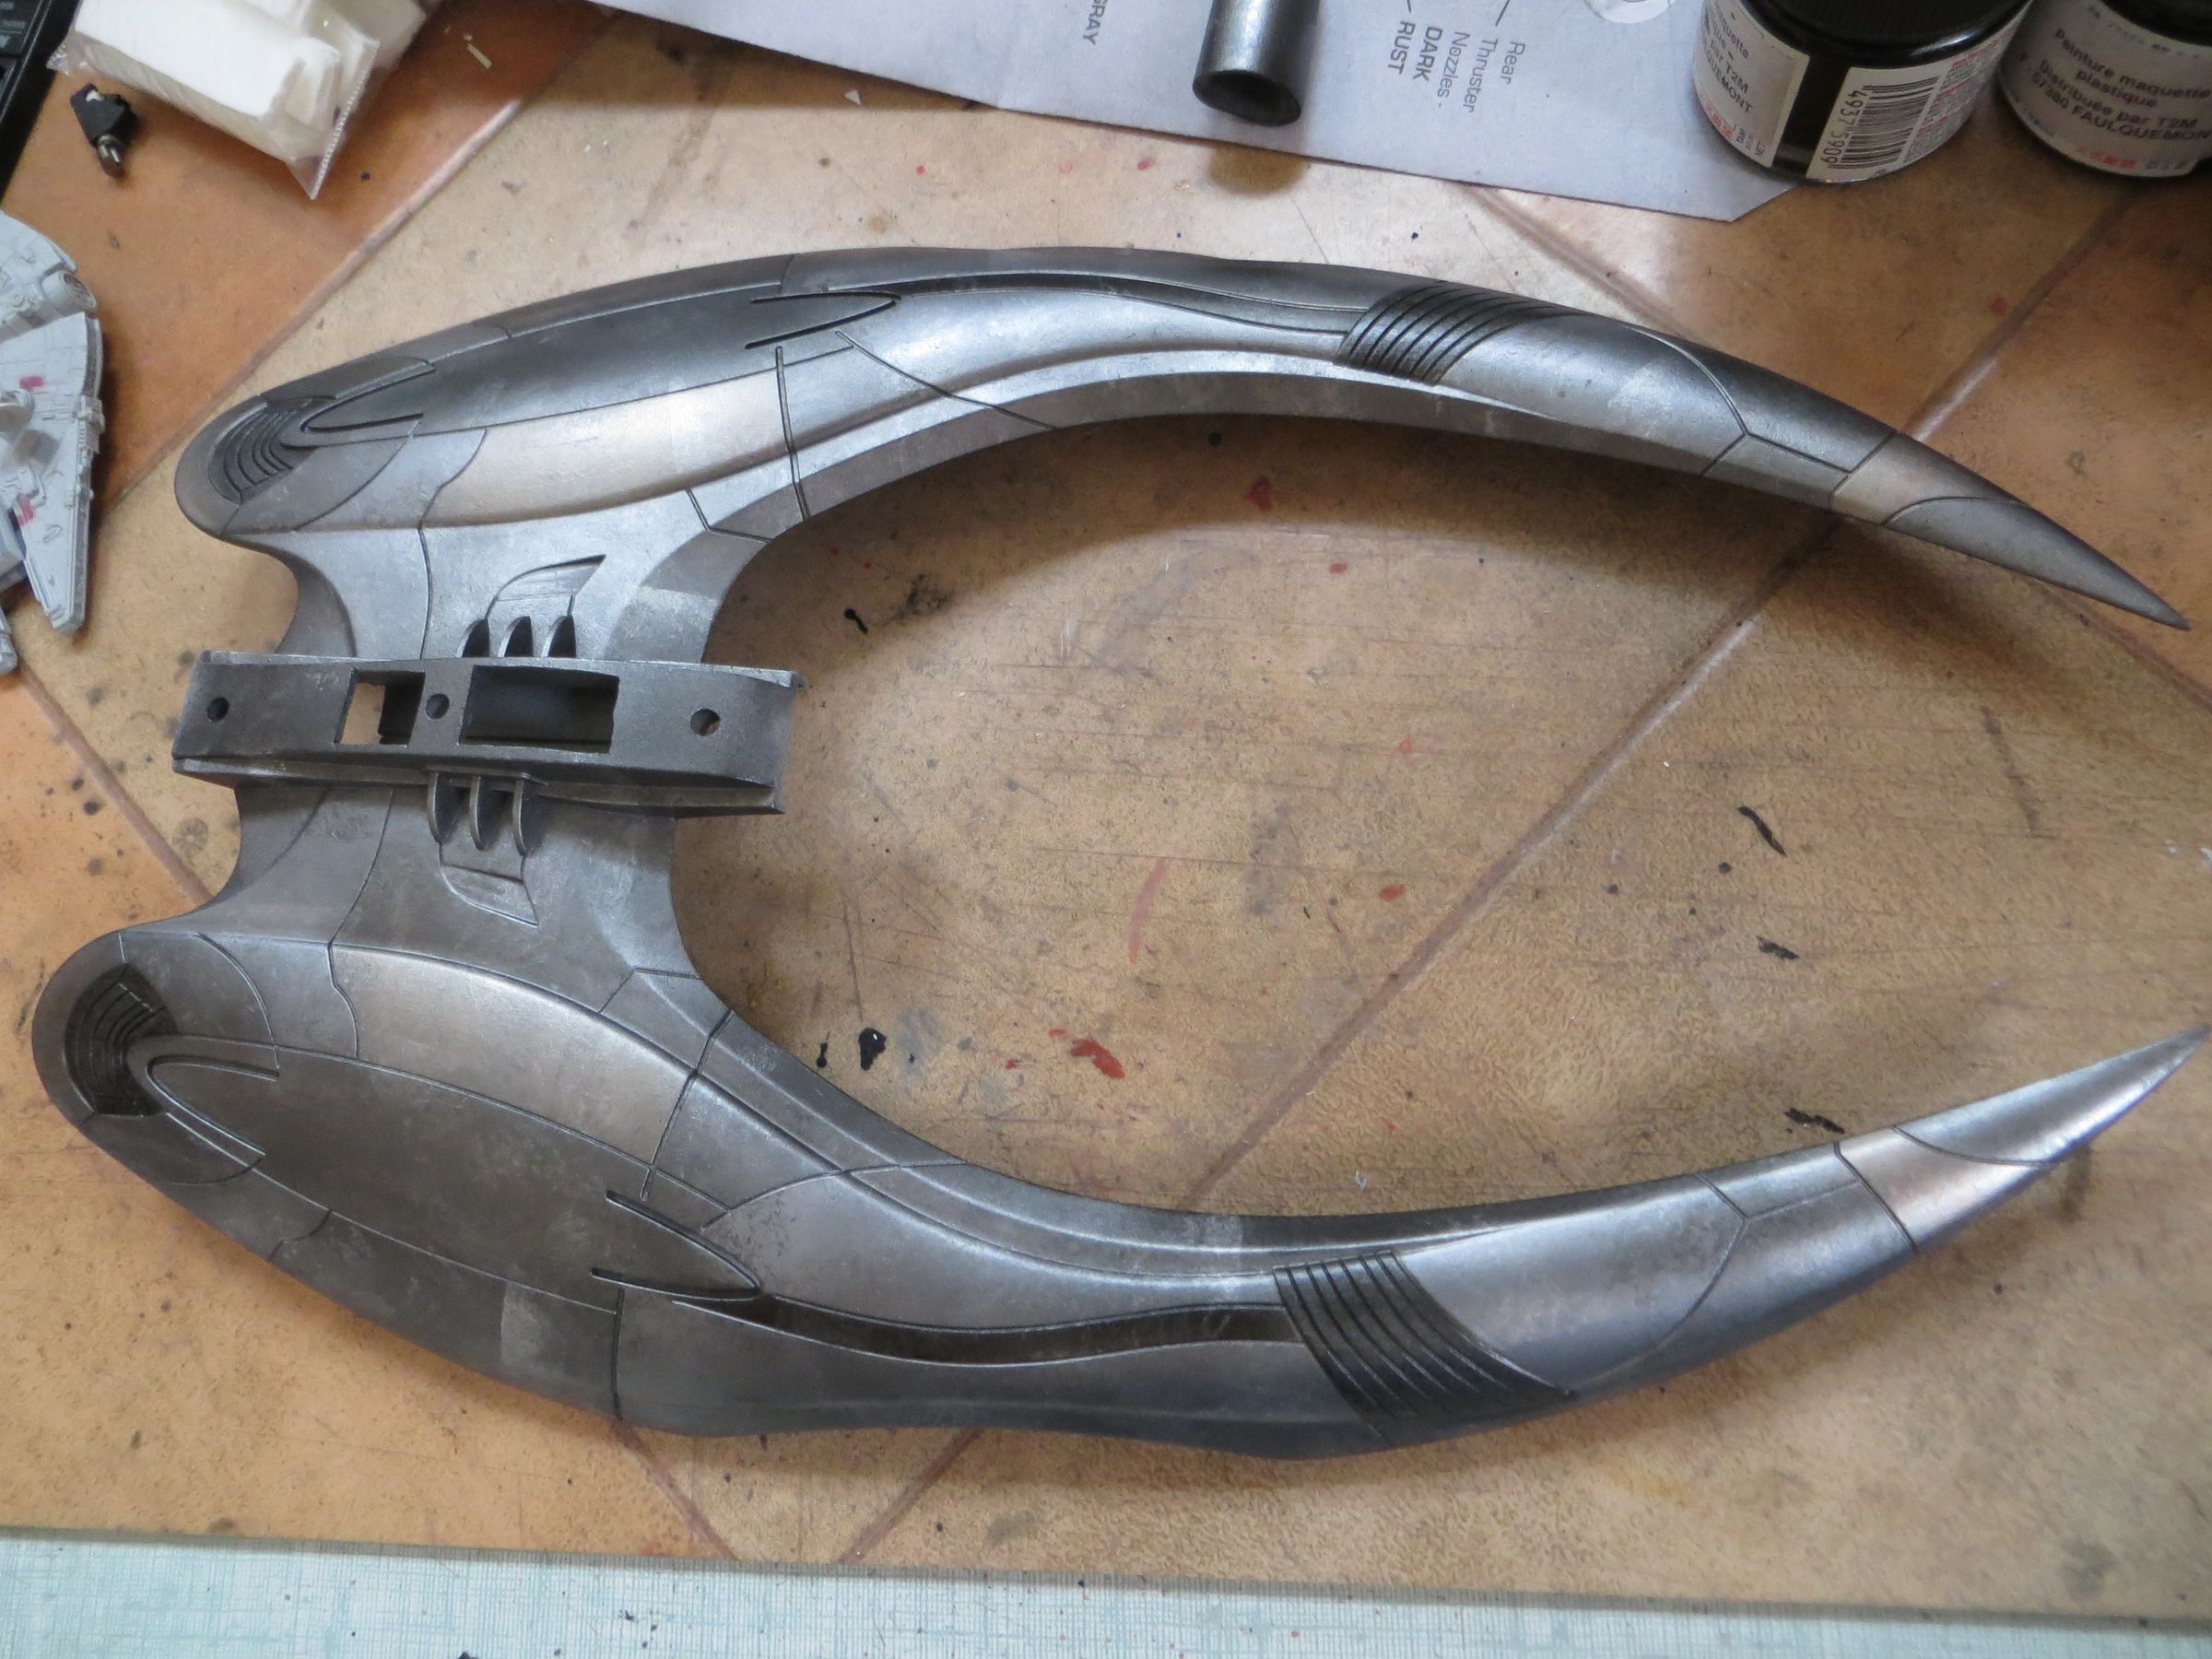
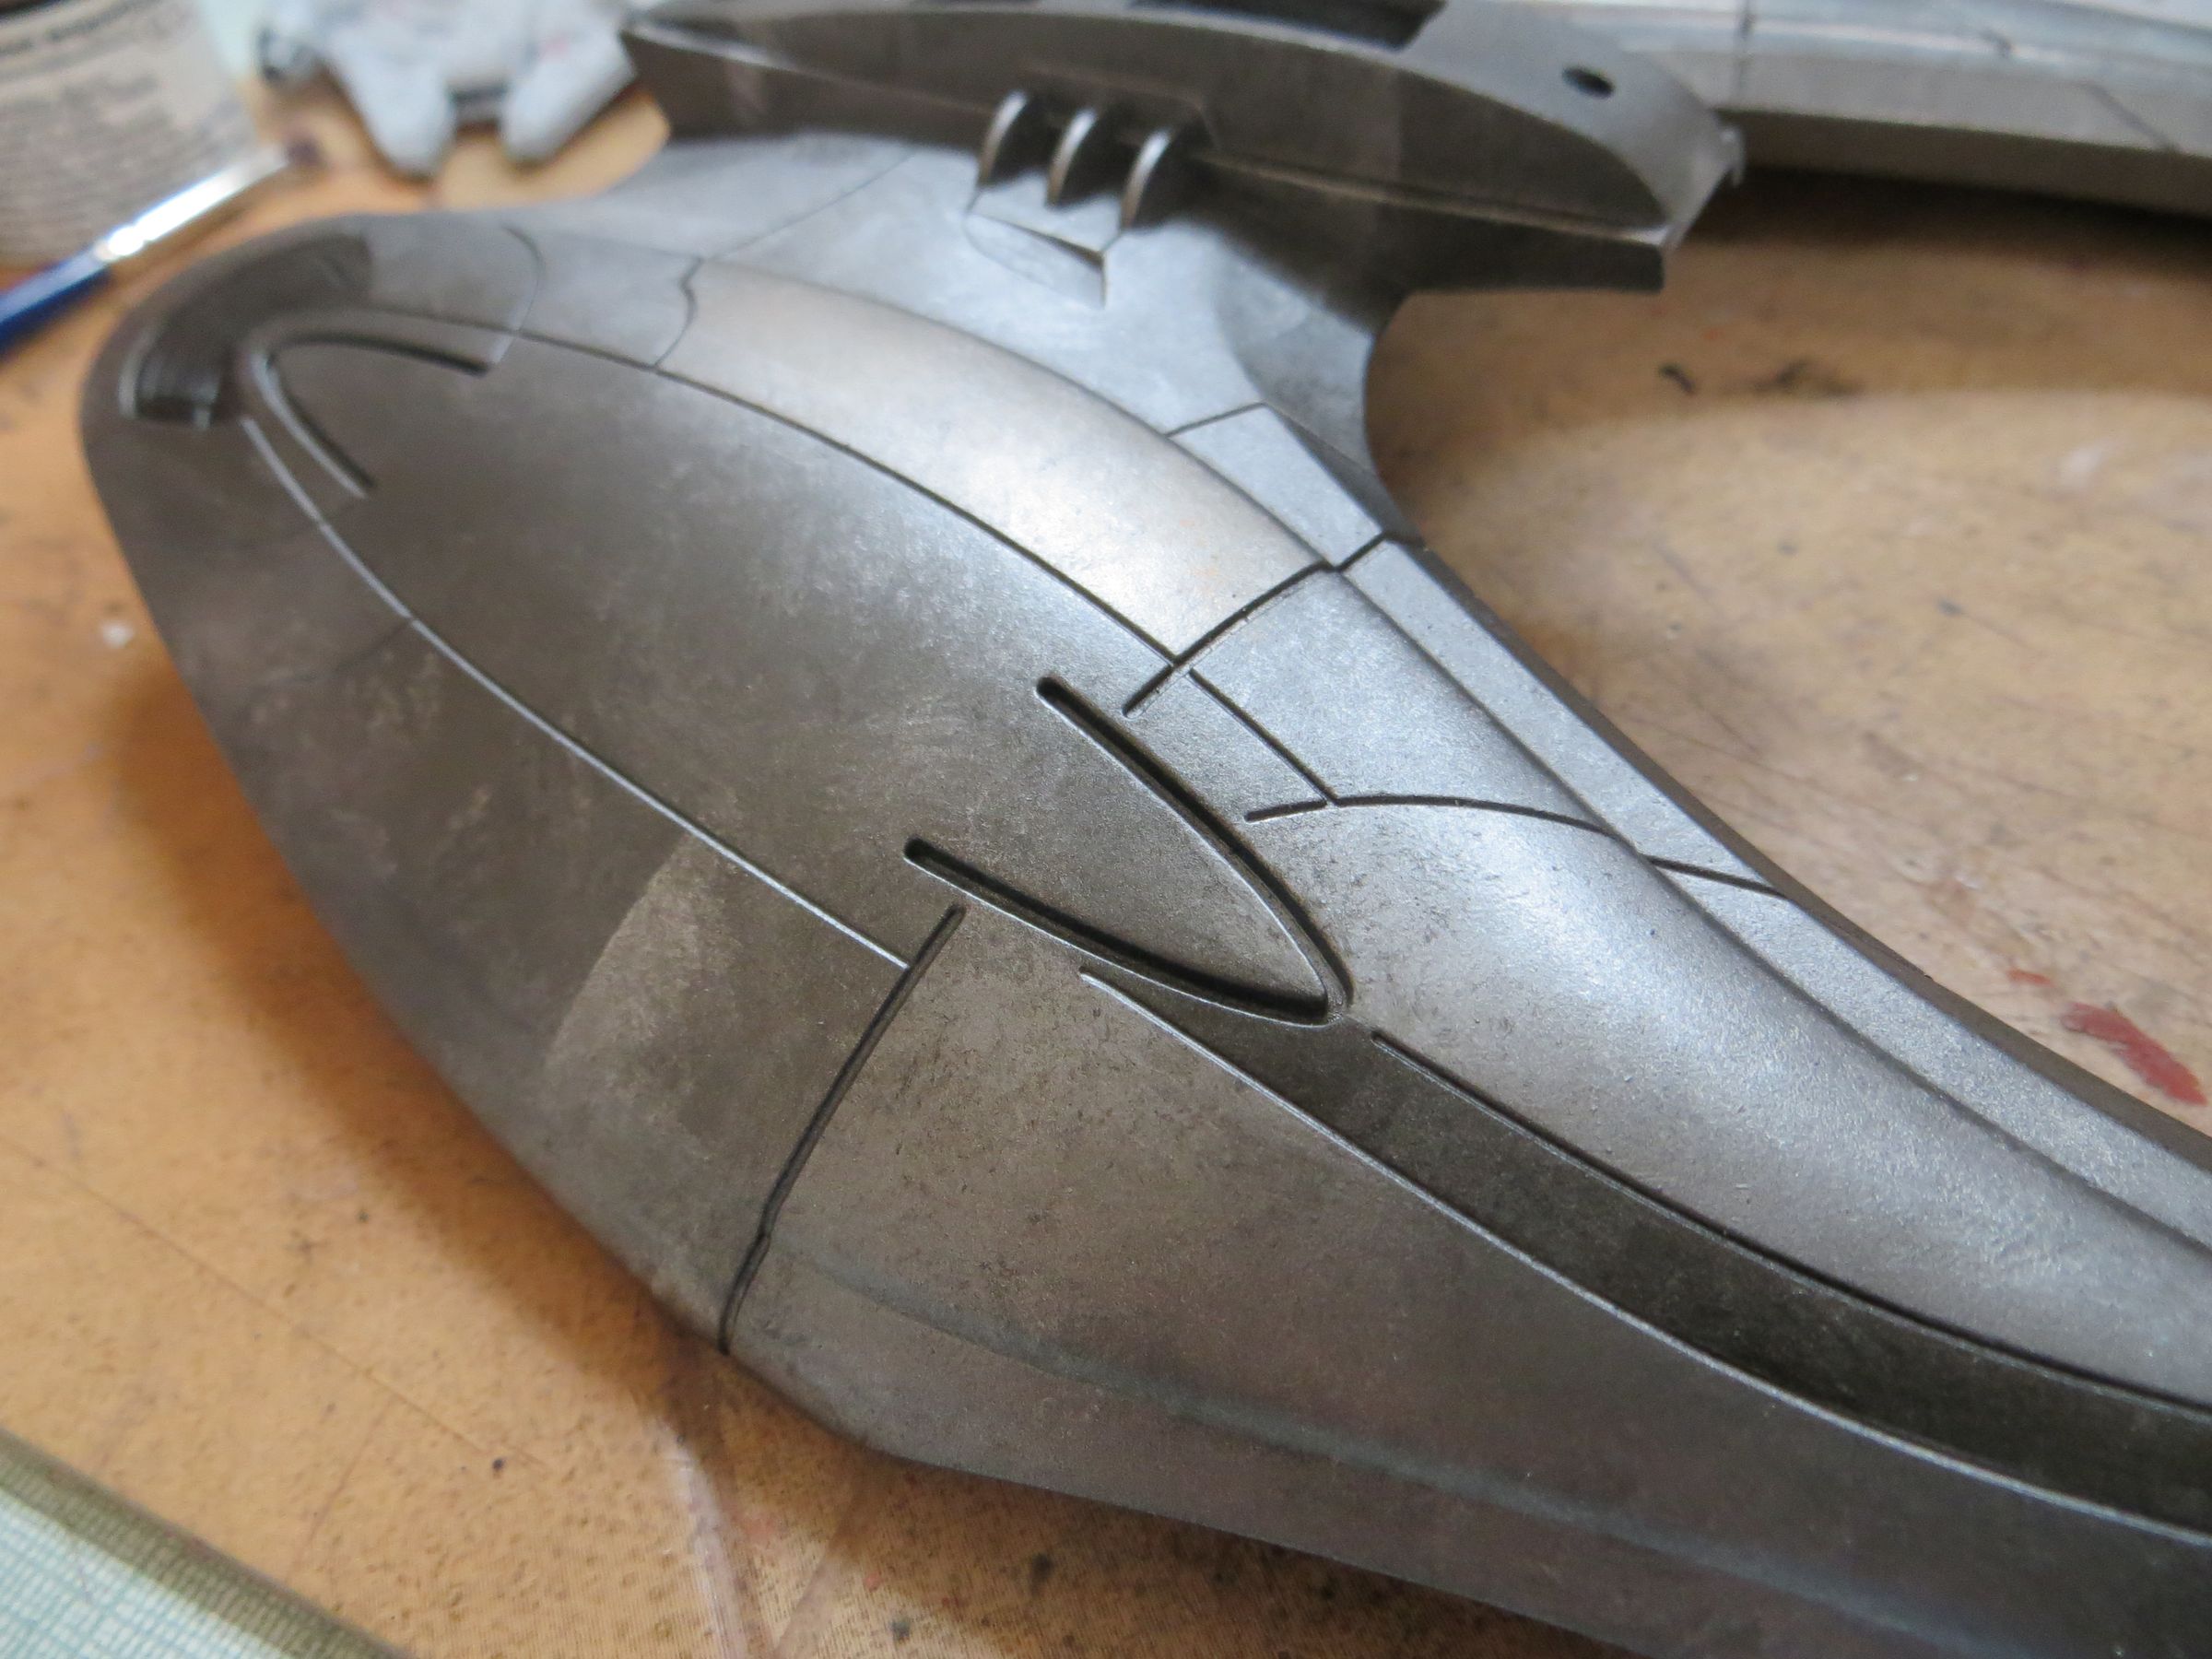
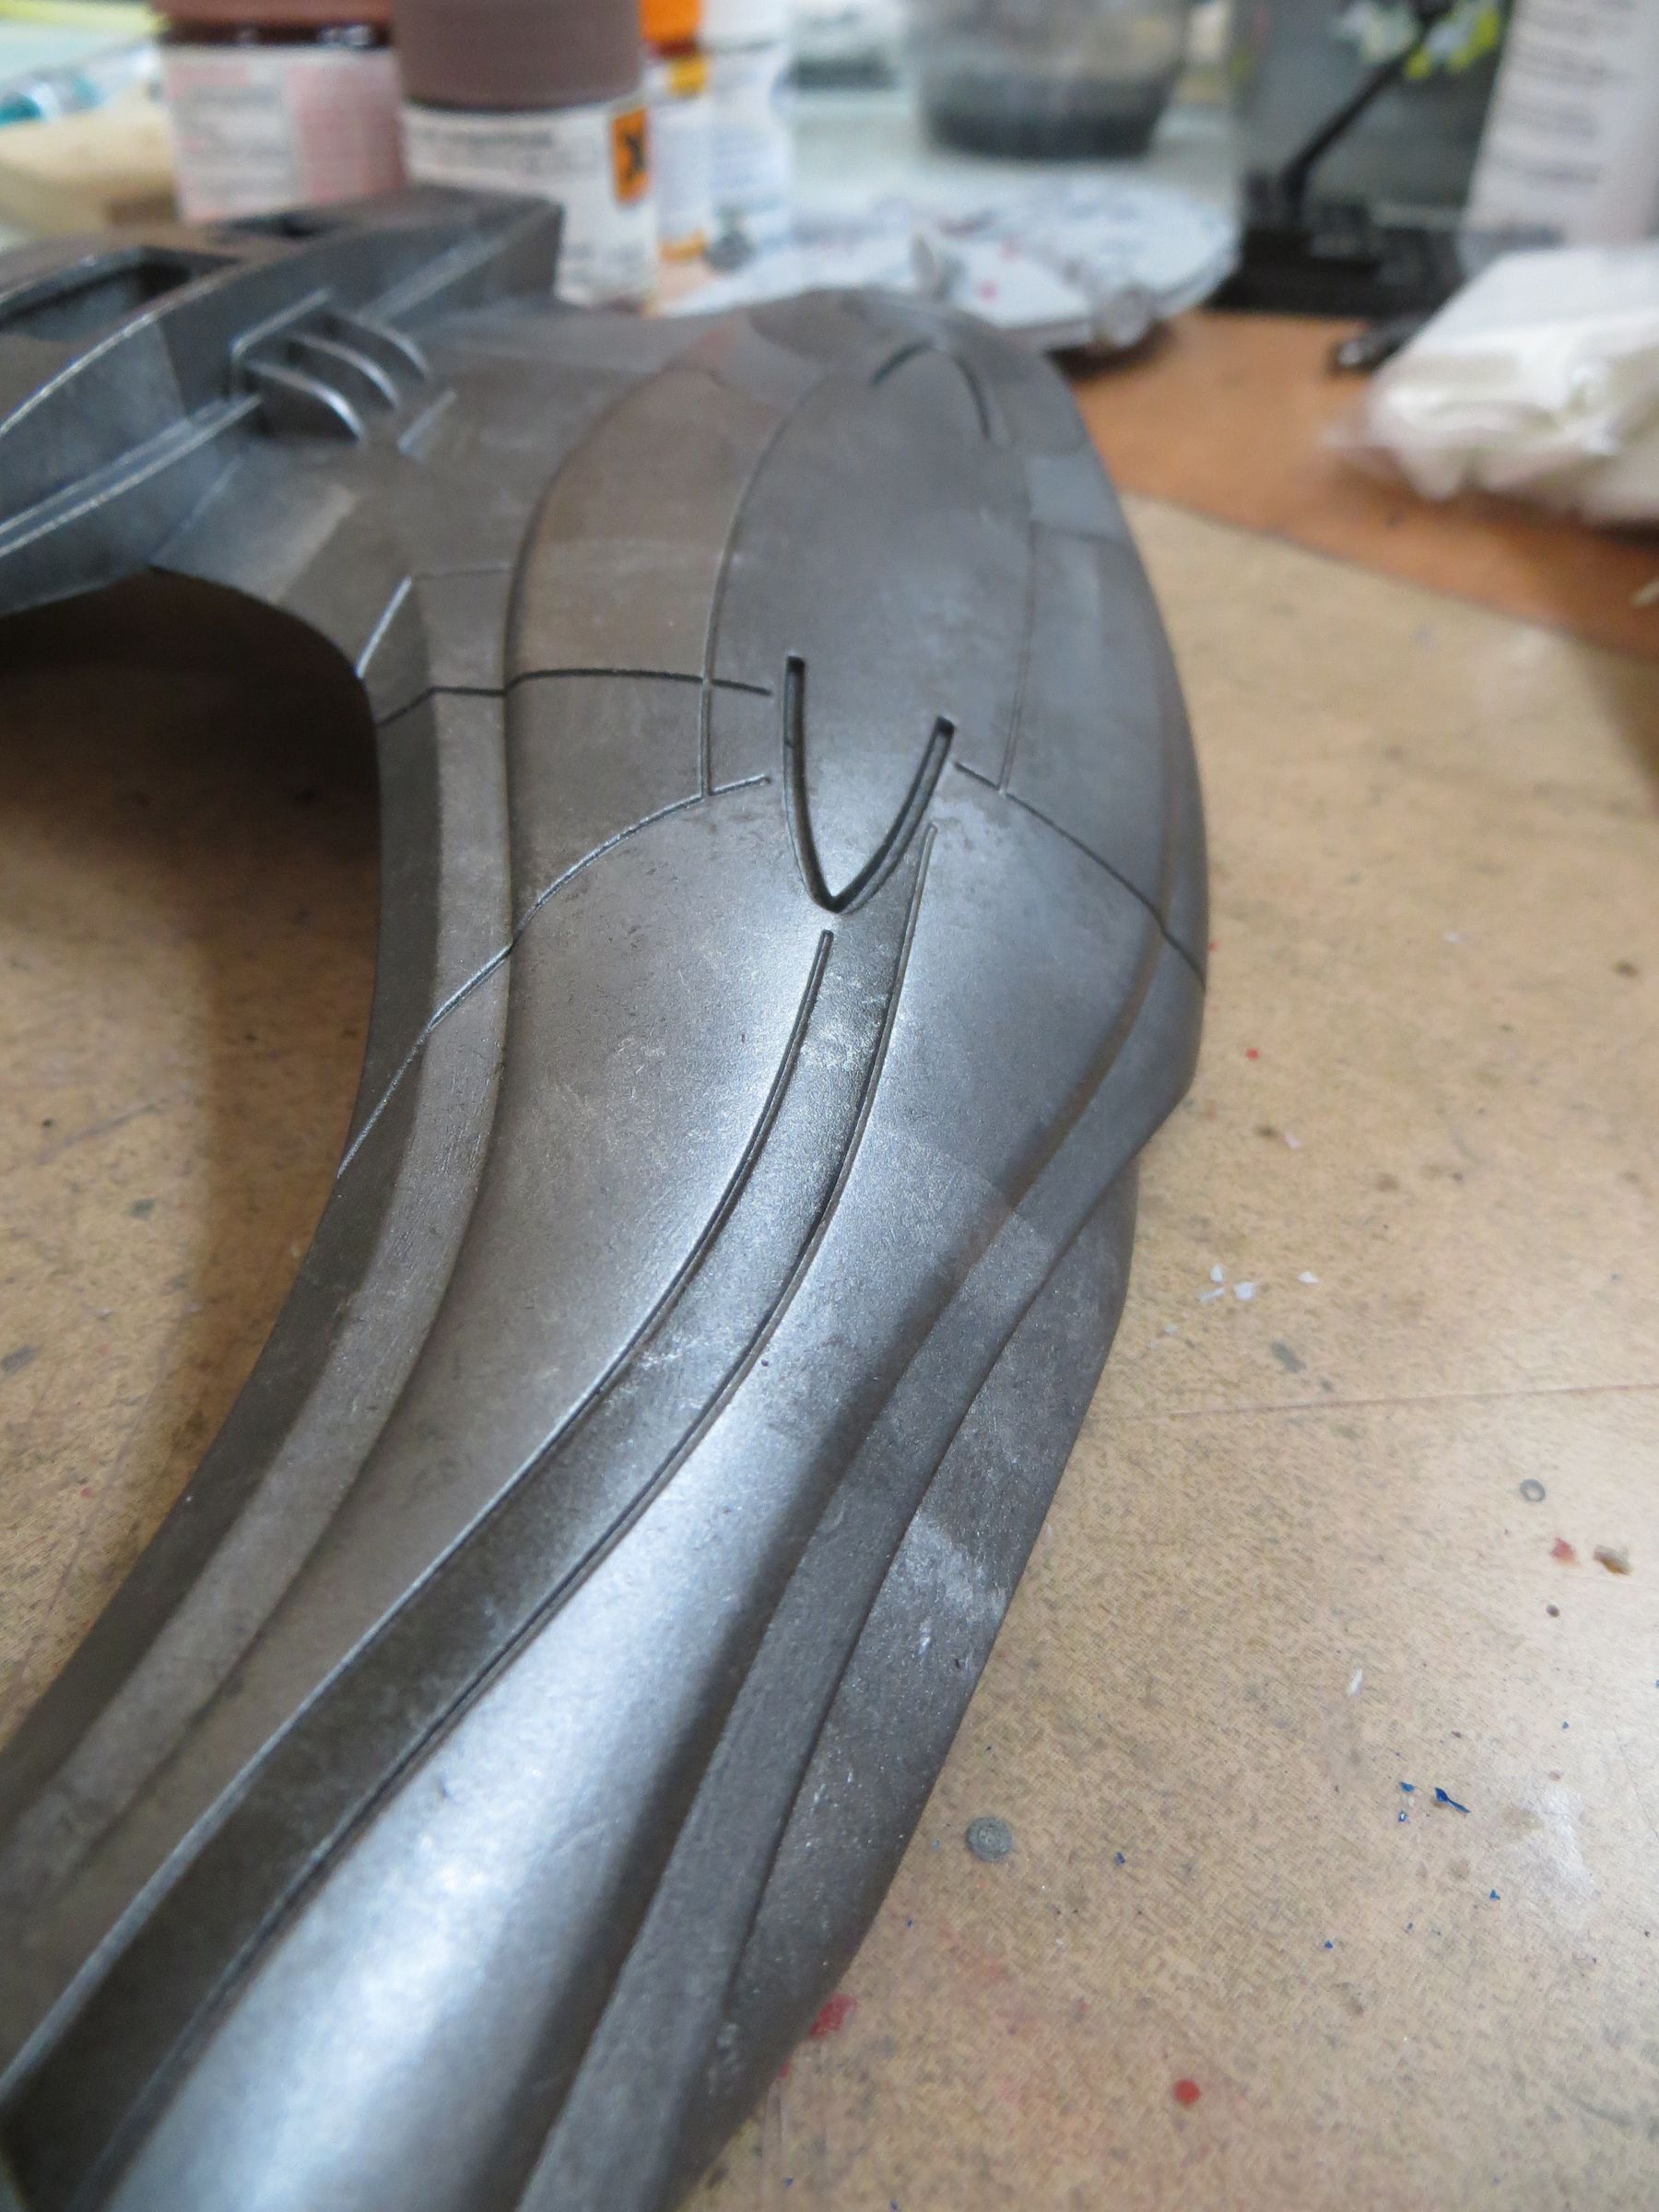
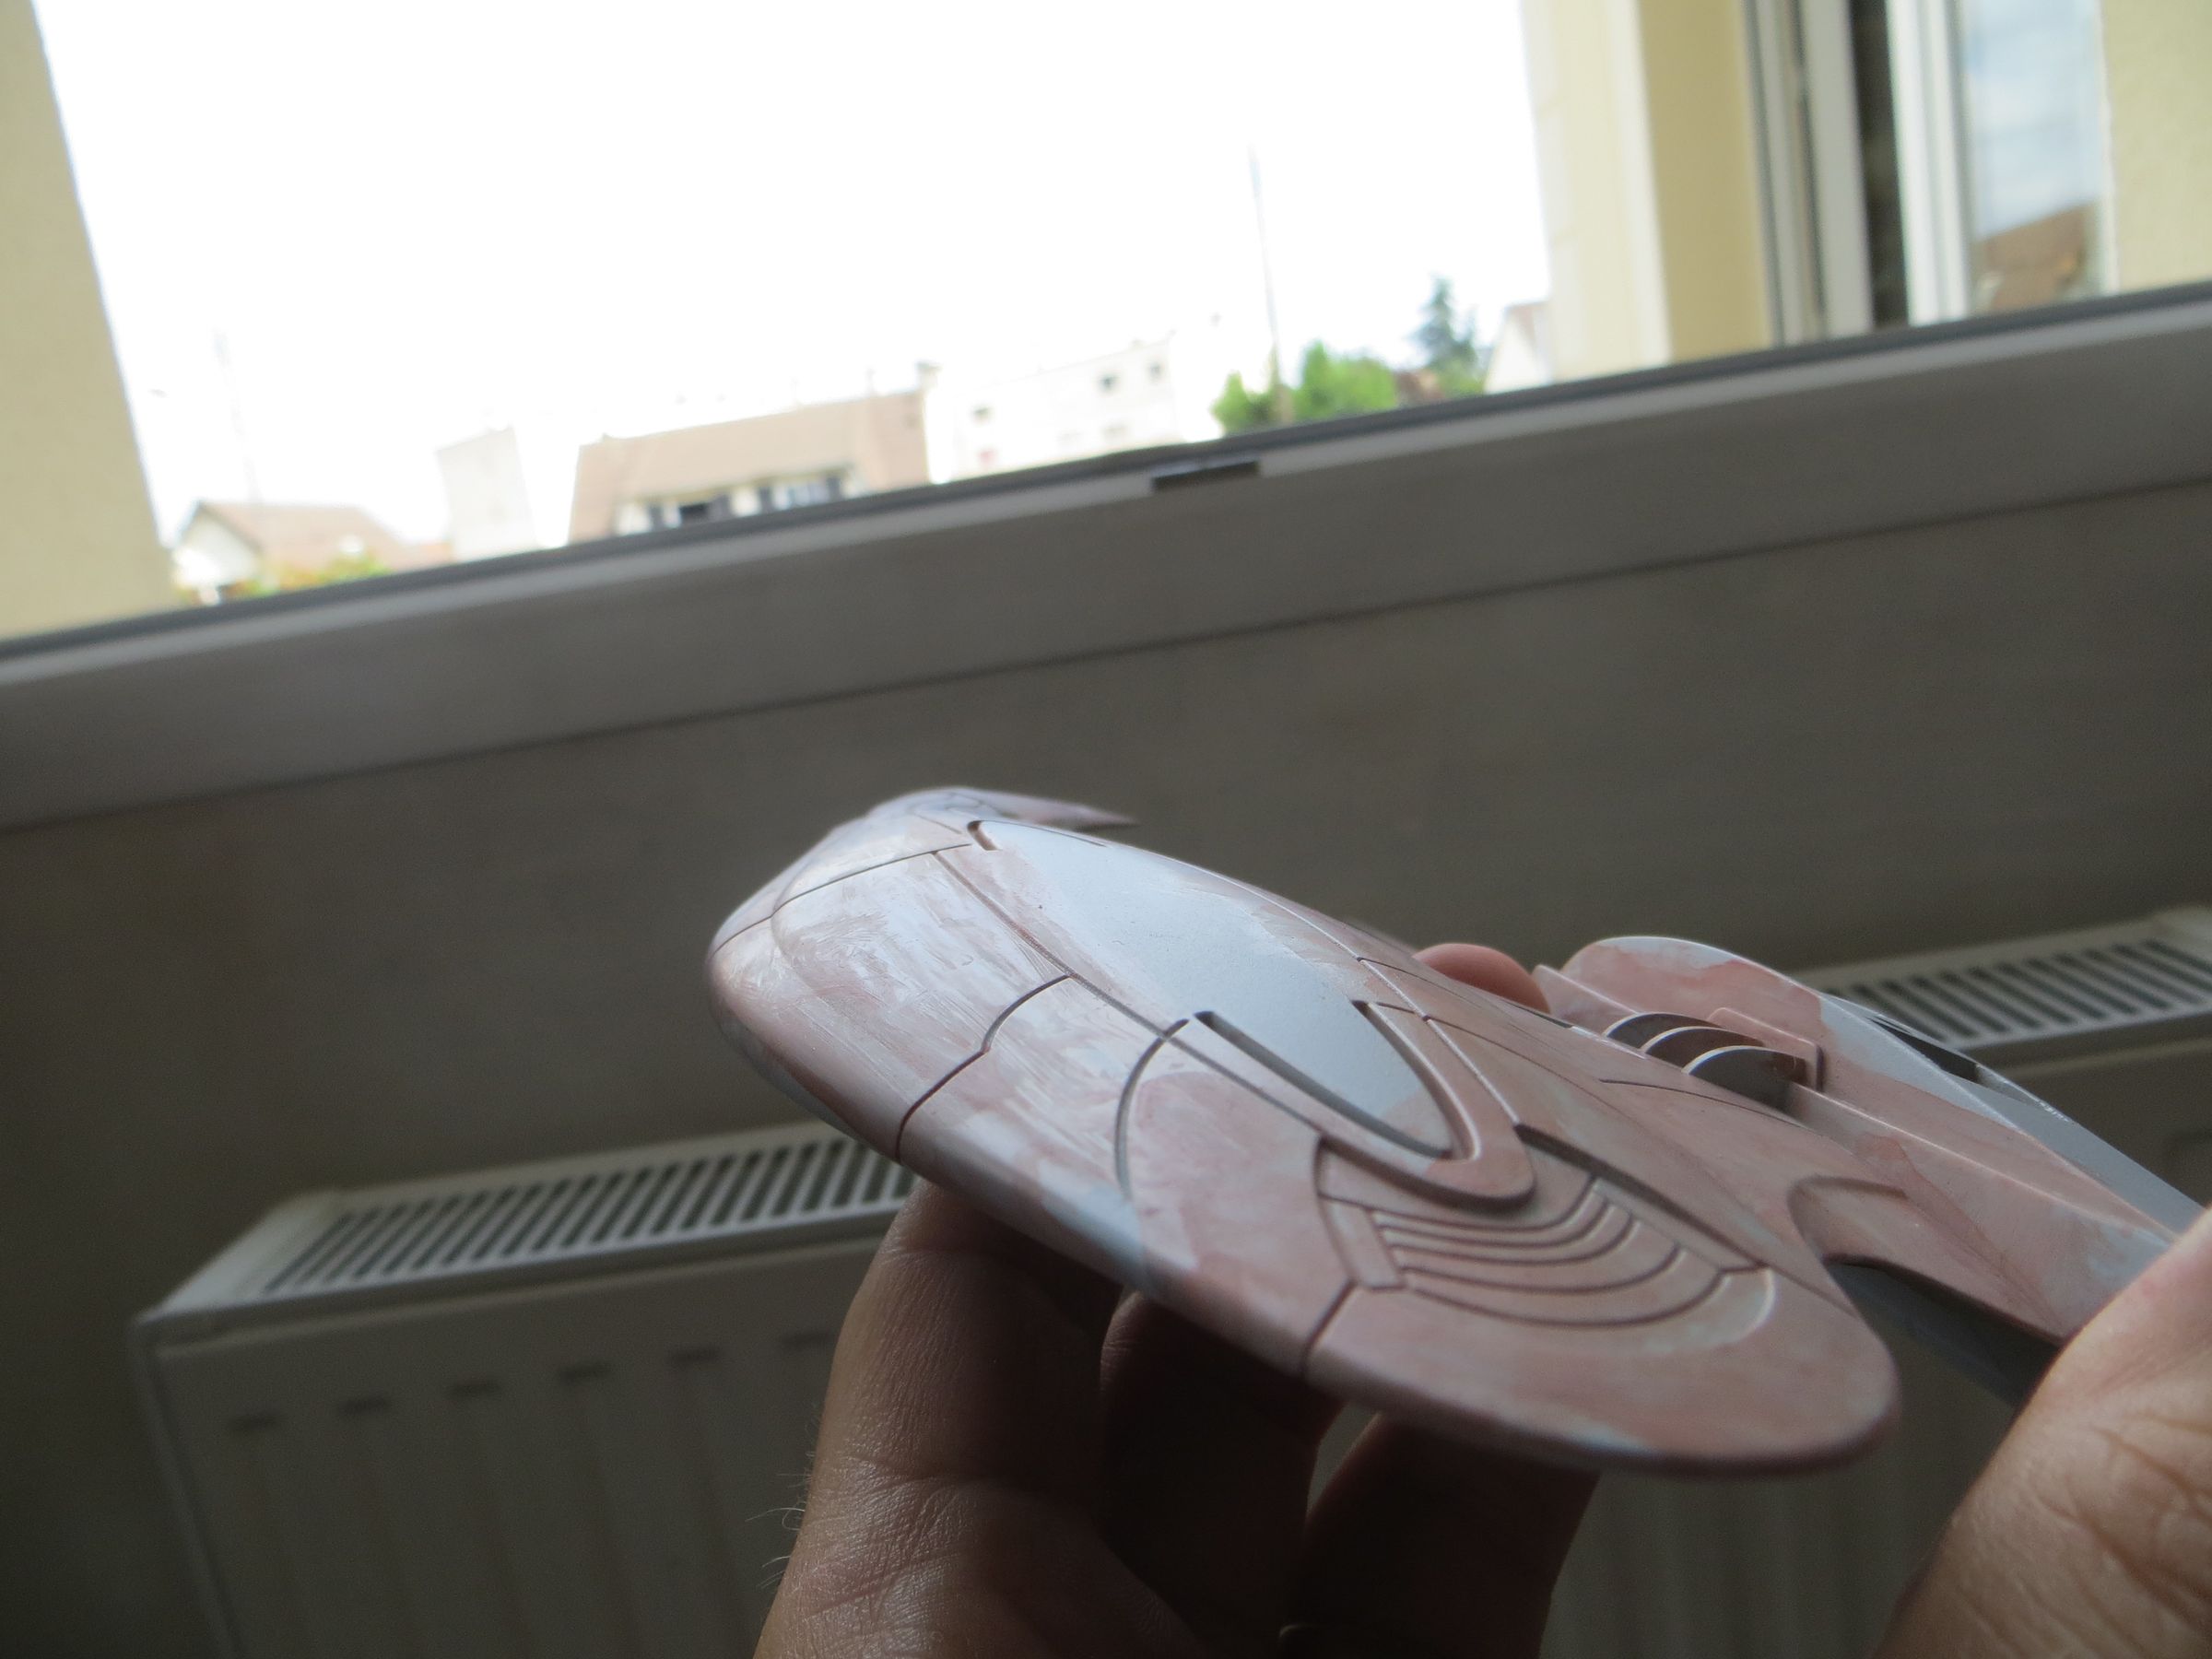
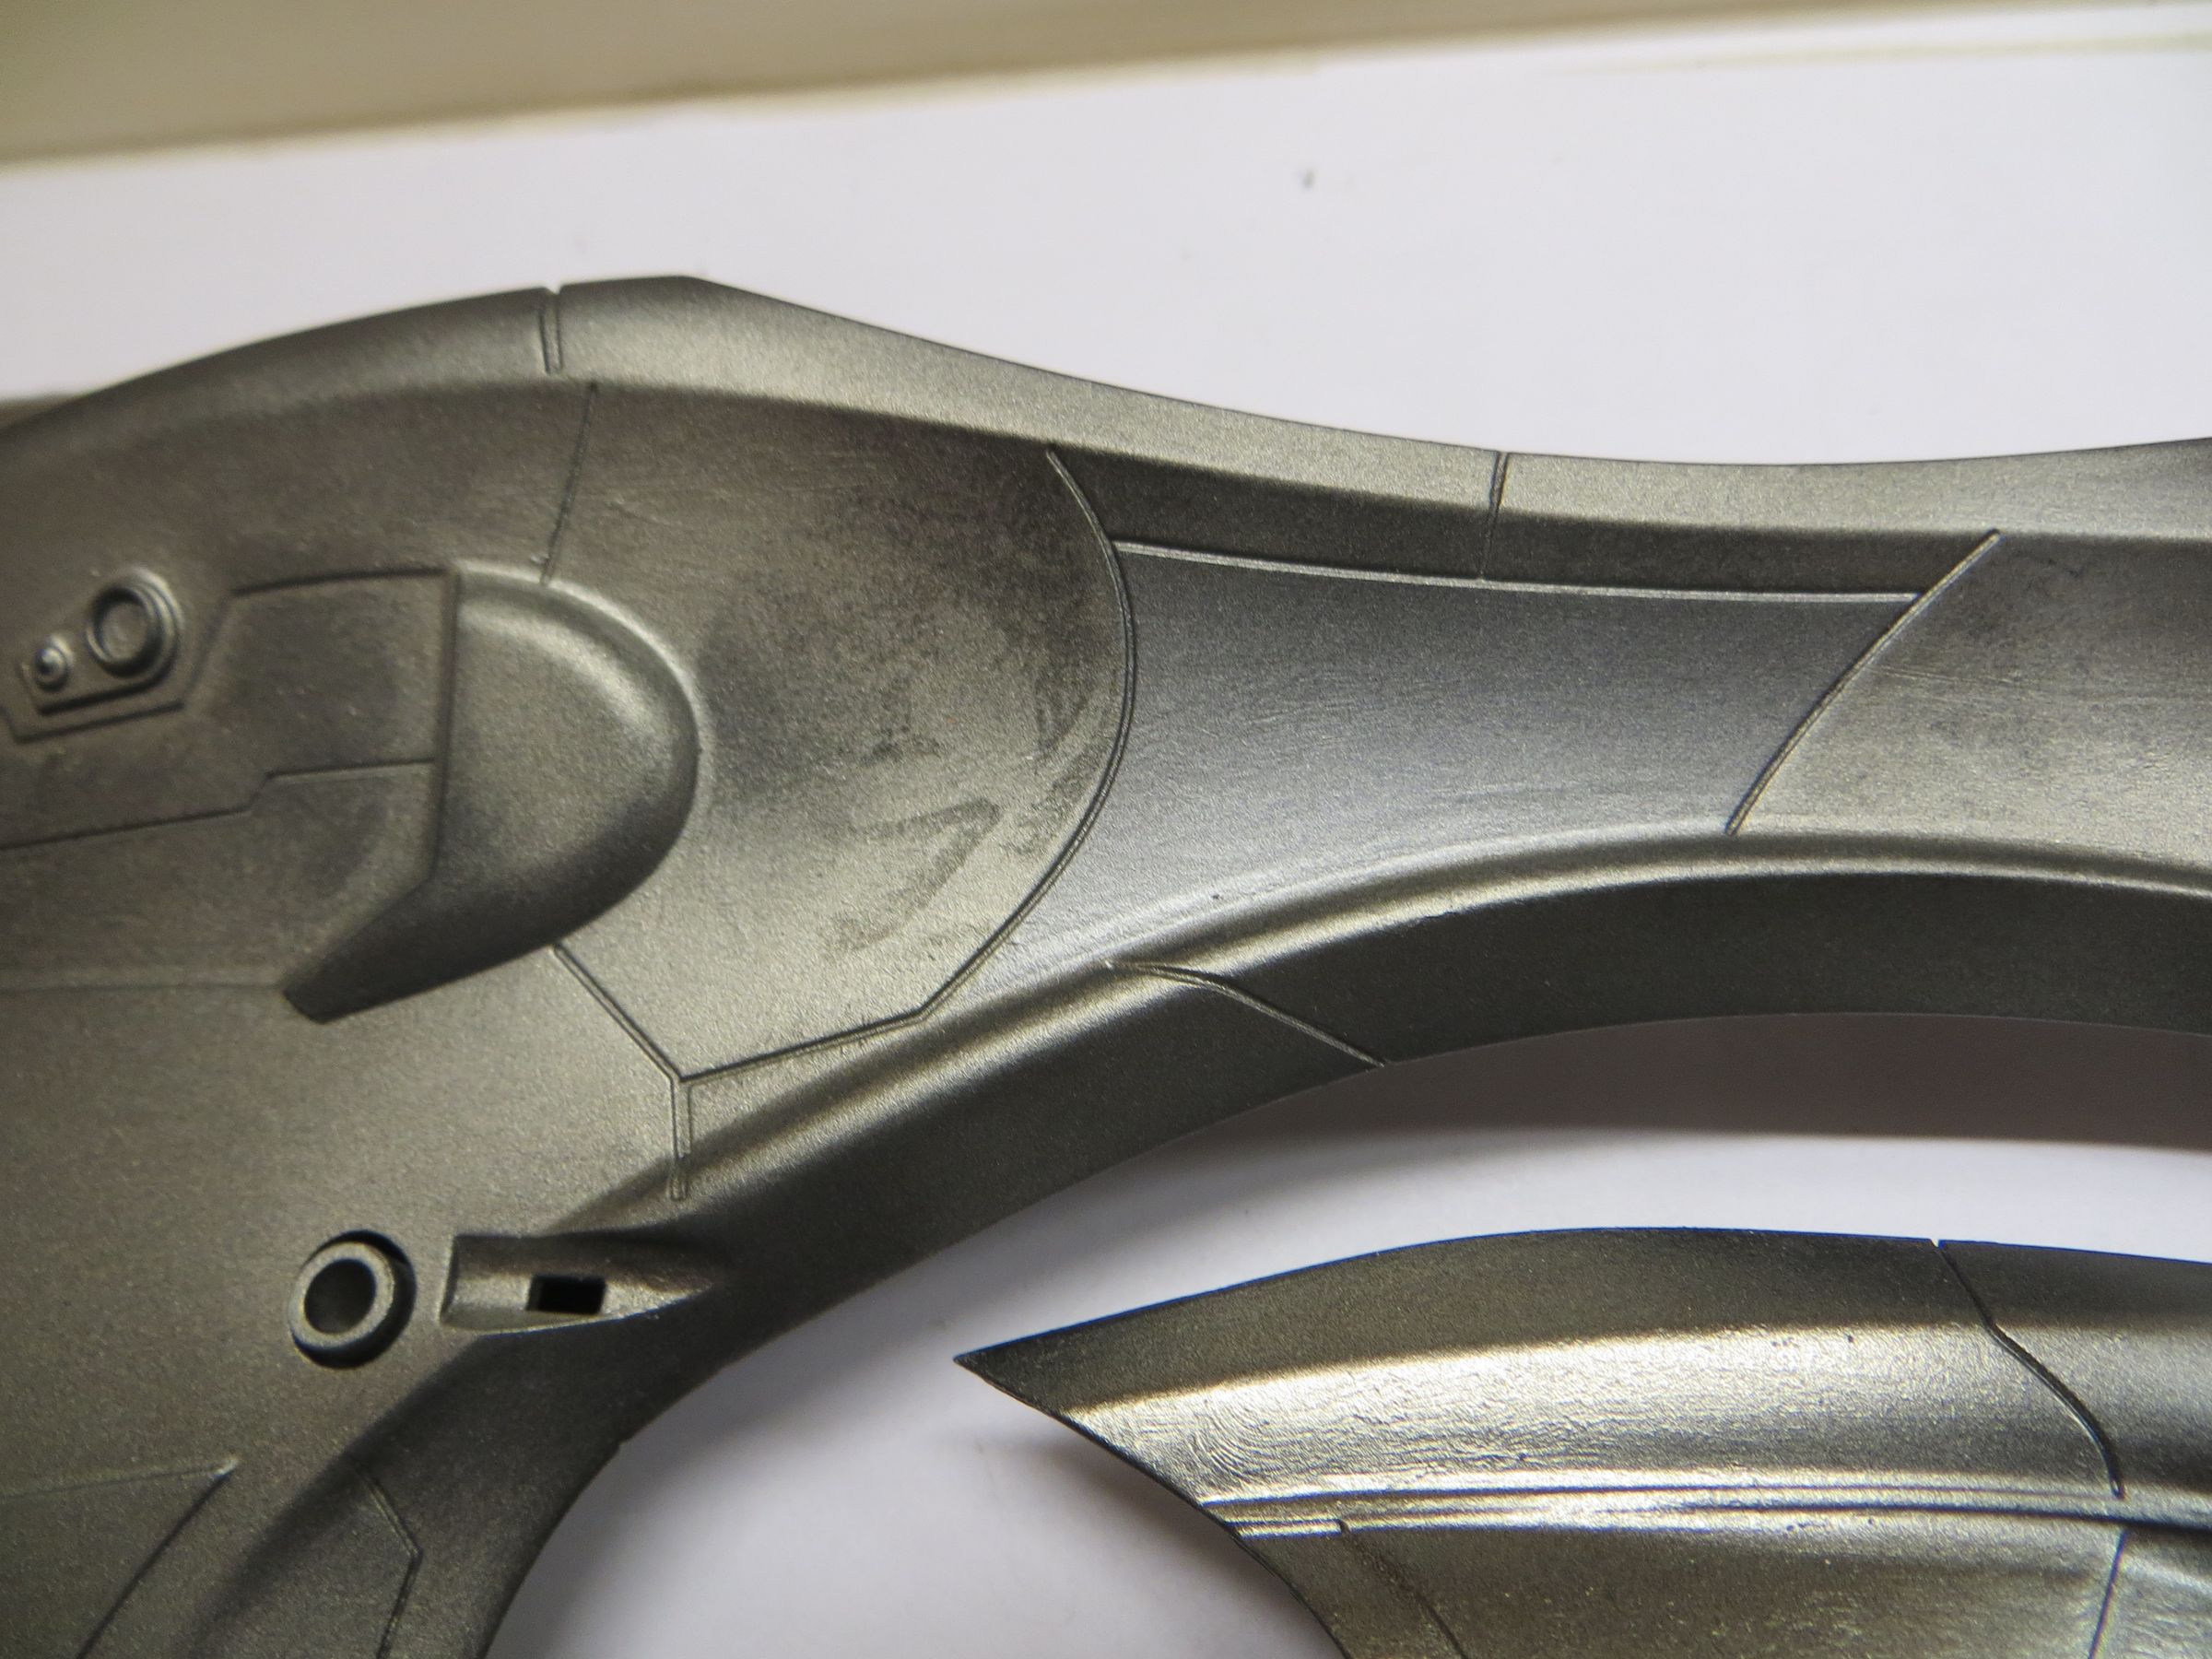
In fact more than the raw aspect, it is ultimately a weathered metal effect (oxidation, burning...) that seemed interesting to replicate on this kit. For this, I took an old brush, and I thrumed a first panel with Gunze Steel, And then I had a moment of stress, as I felt like I messed up the panneling. Messed up for messed up, I continued, and it began to look like to something and I start tweaking in varying color regularly. So there Steel, metalic grey, silver, chrome, Burnt iron, Gun metal, and a bit of copper, mainly on pale burnt panels.
Some panel edge effects are done along Tamiya tape.
I'm pretty happy with the result


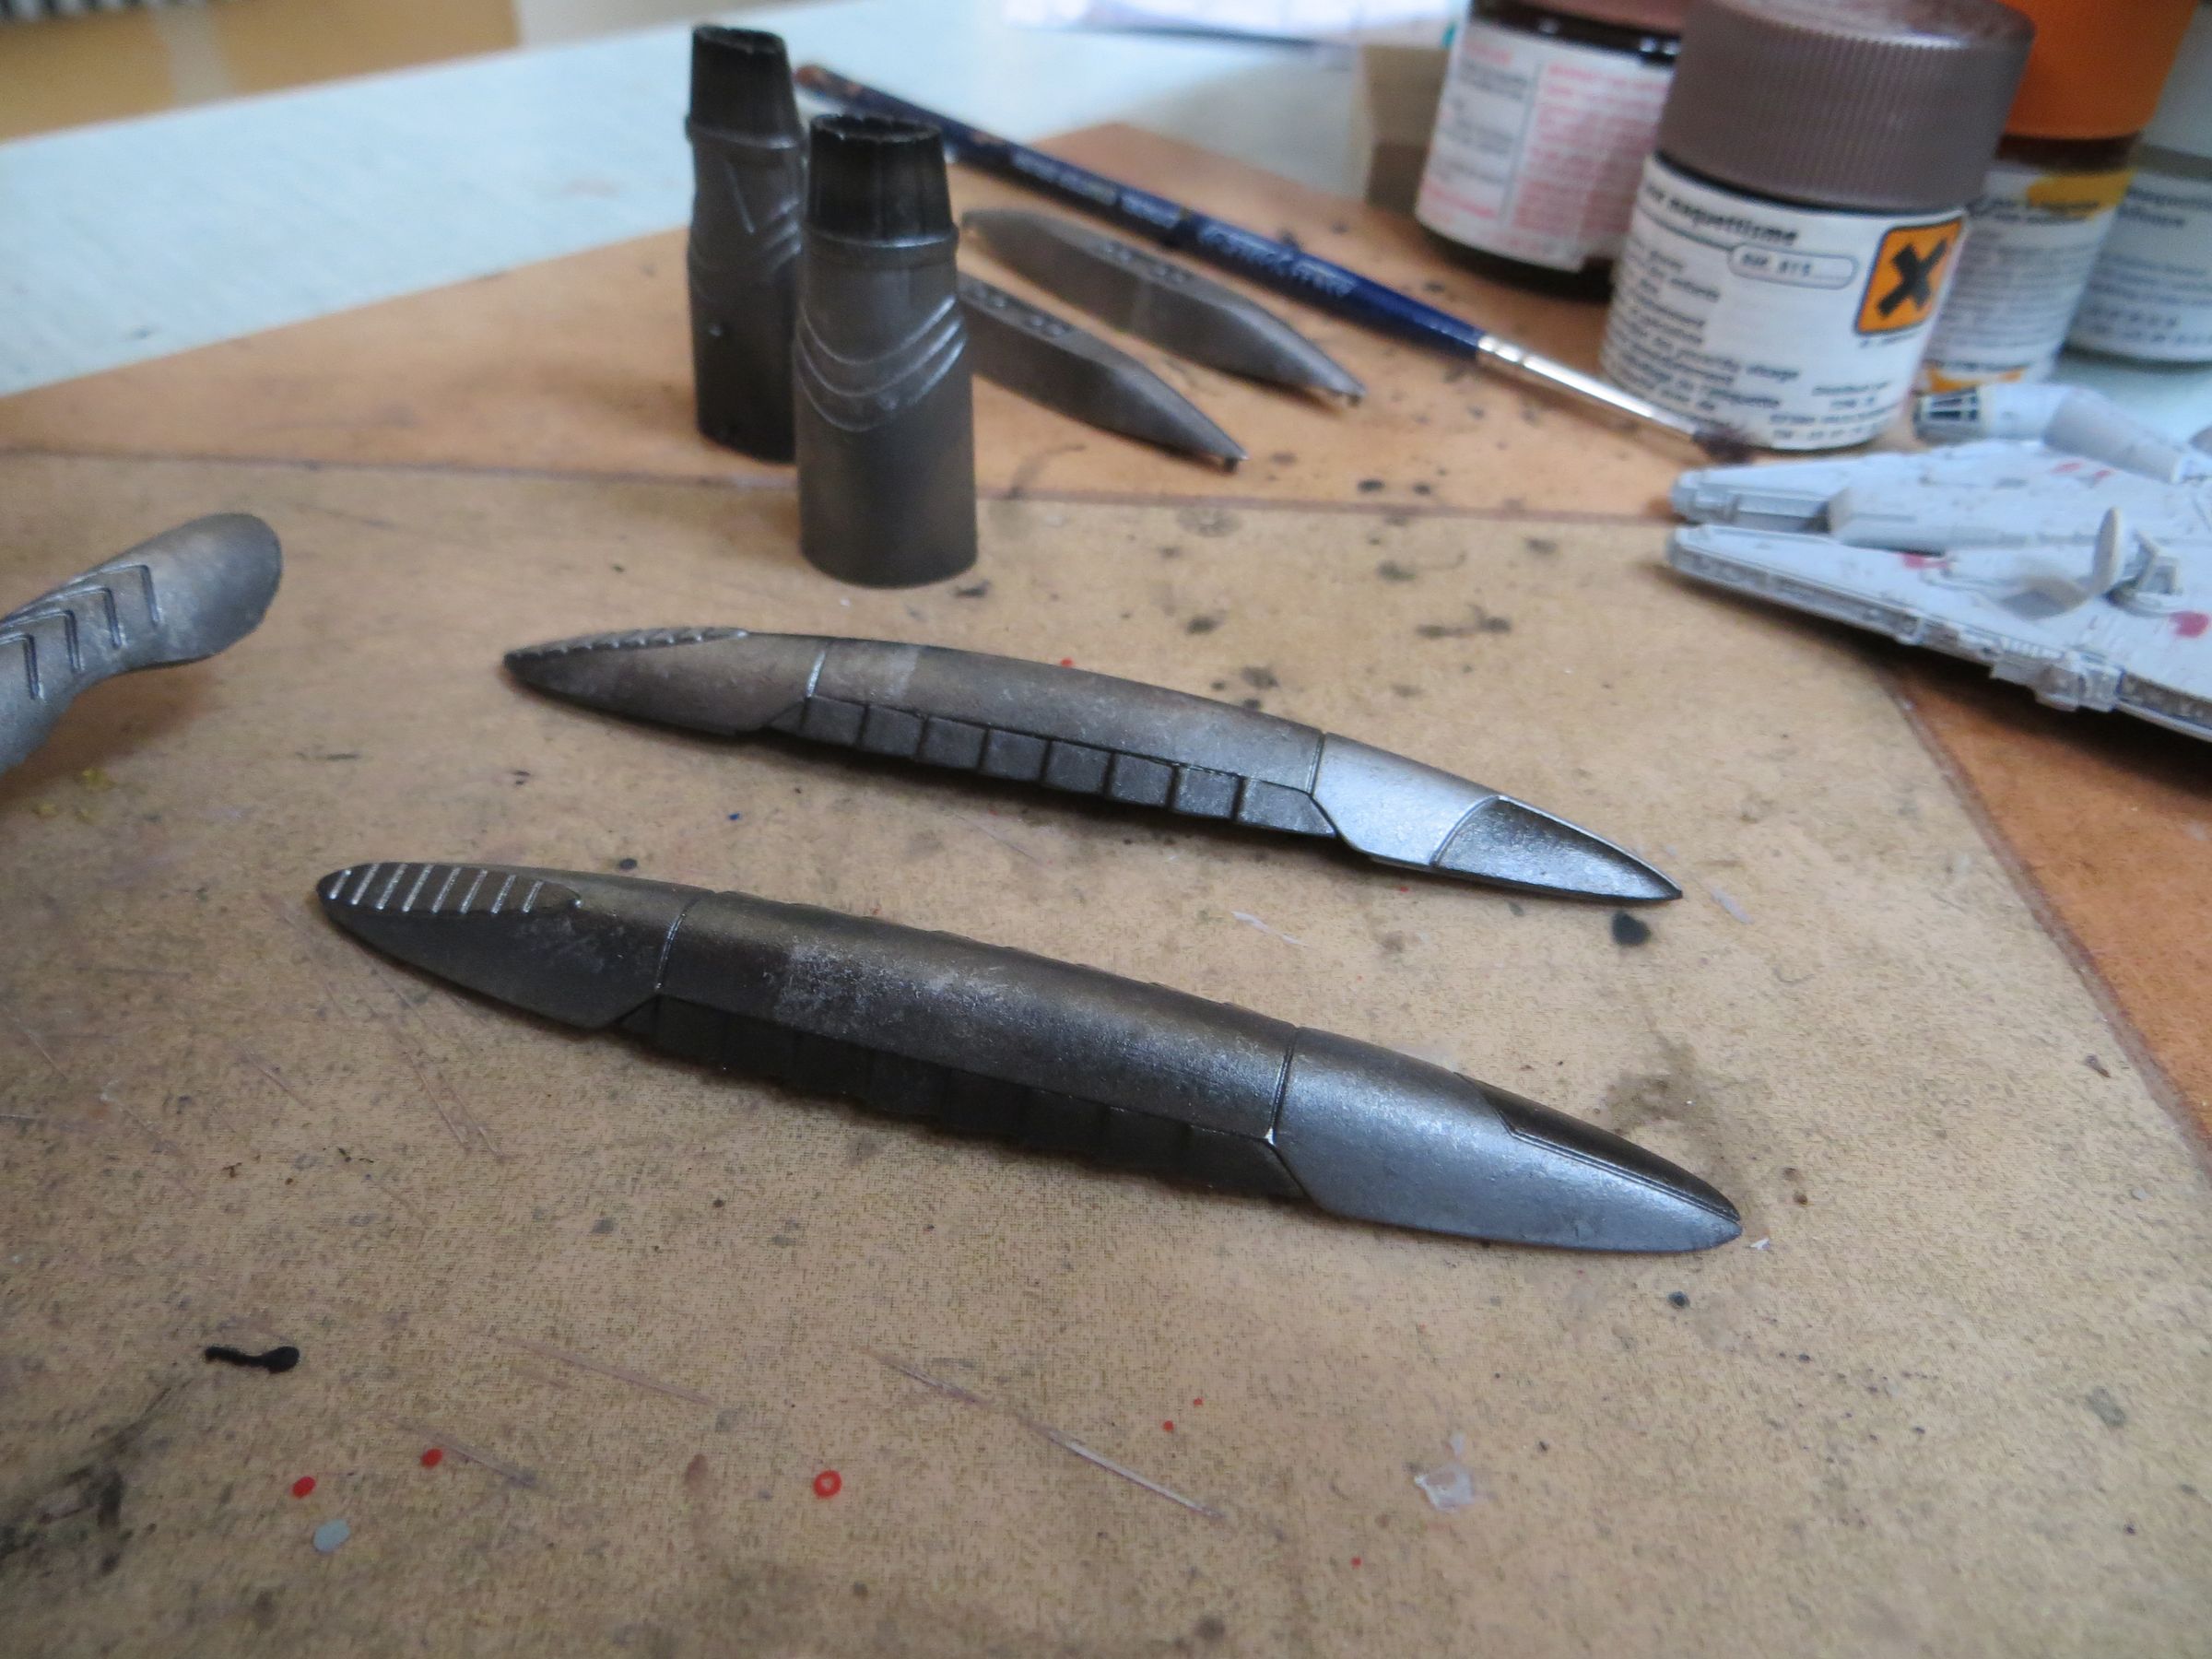
At the end of this torturing episode for him, the brush now looks like a flower.
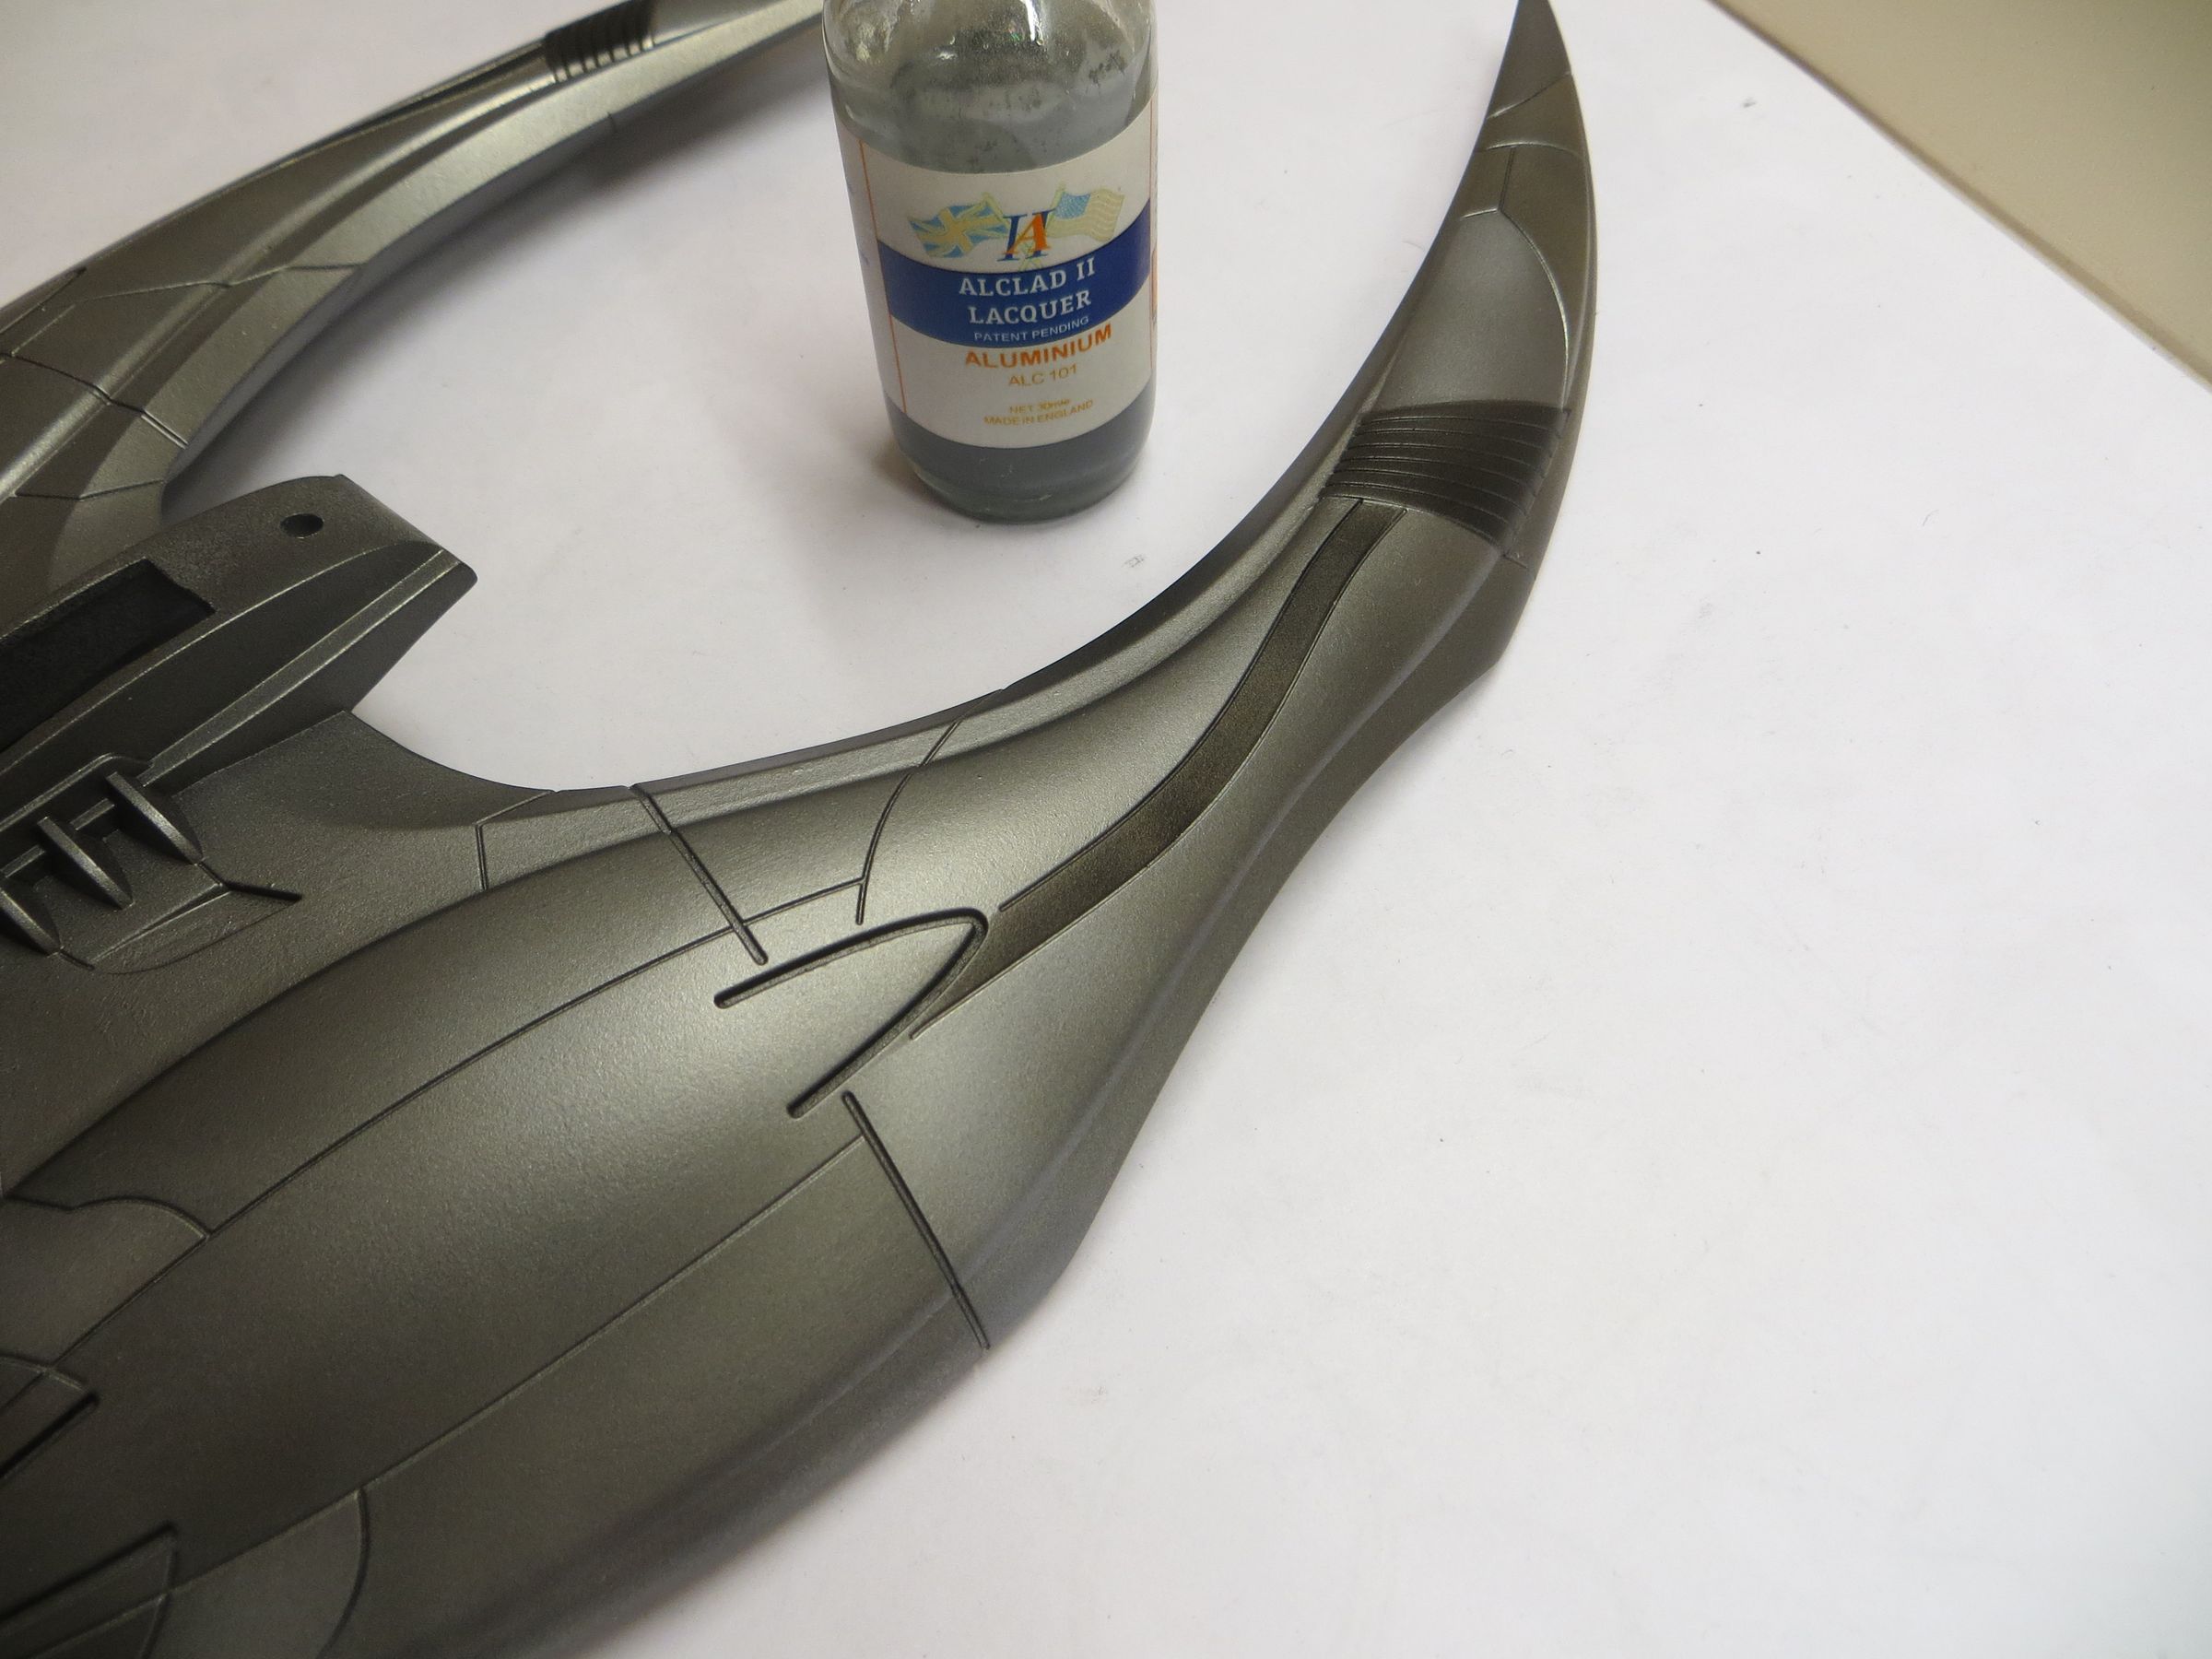
A black wash in the recessed panel lines completed the painting step.
lundi, 18 novembre 2013
Par olcabour le lundi, 18 novembre 2013, 23:49
After having received a coat of primer, I tried to make the foundry raw look. Searching on military model website, it seems that the simplest method is to brush a mix putty and acetone on the model.
As it was a first time for me, I think I did it a little too light.


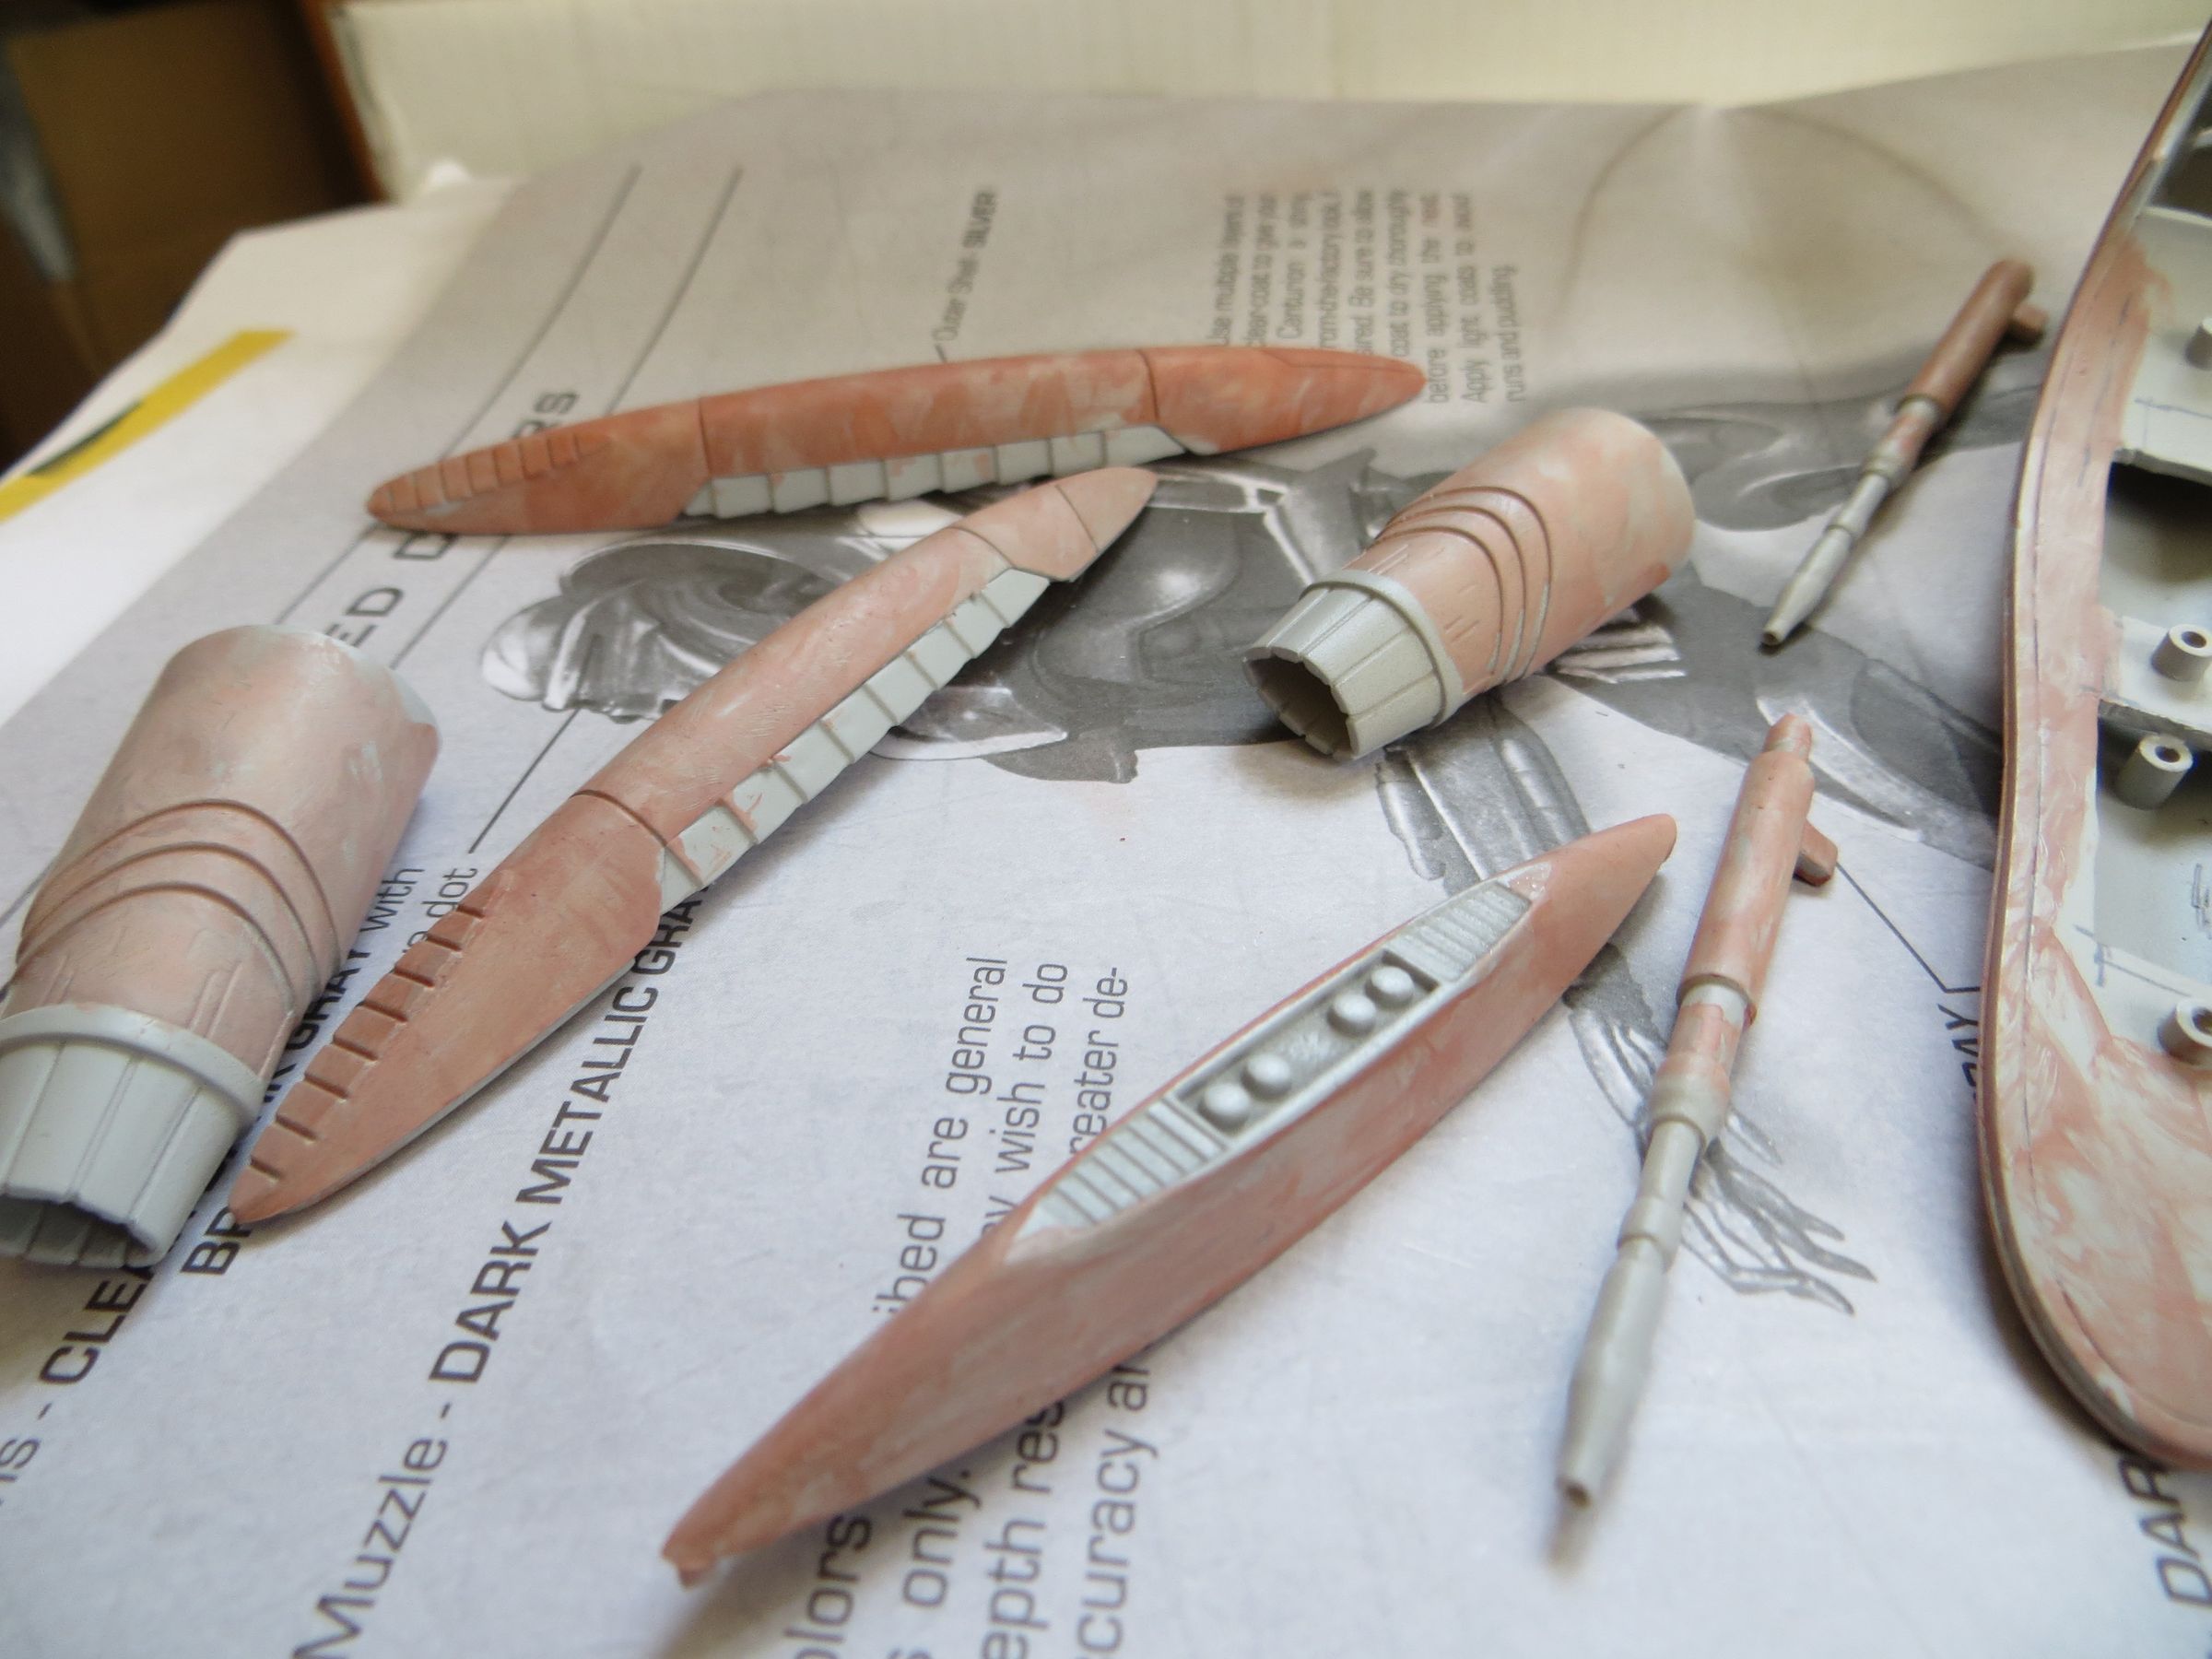
A new thin layer of primer

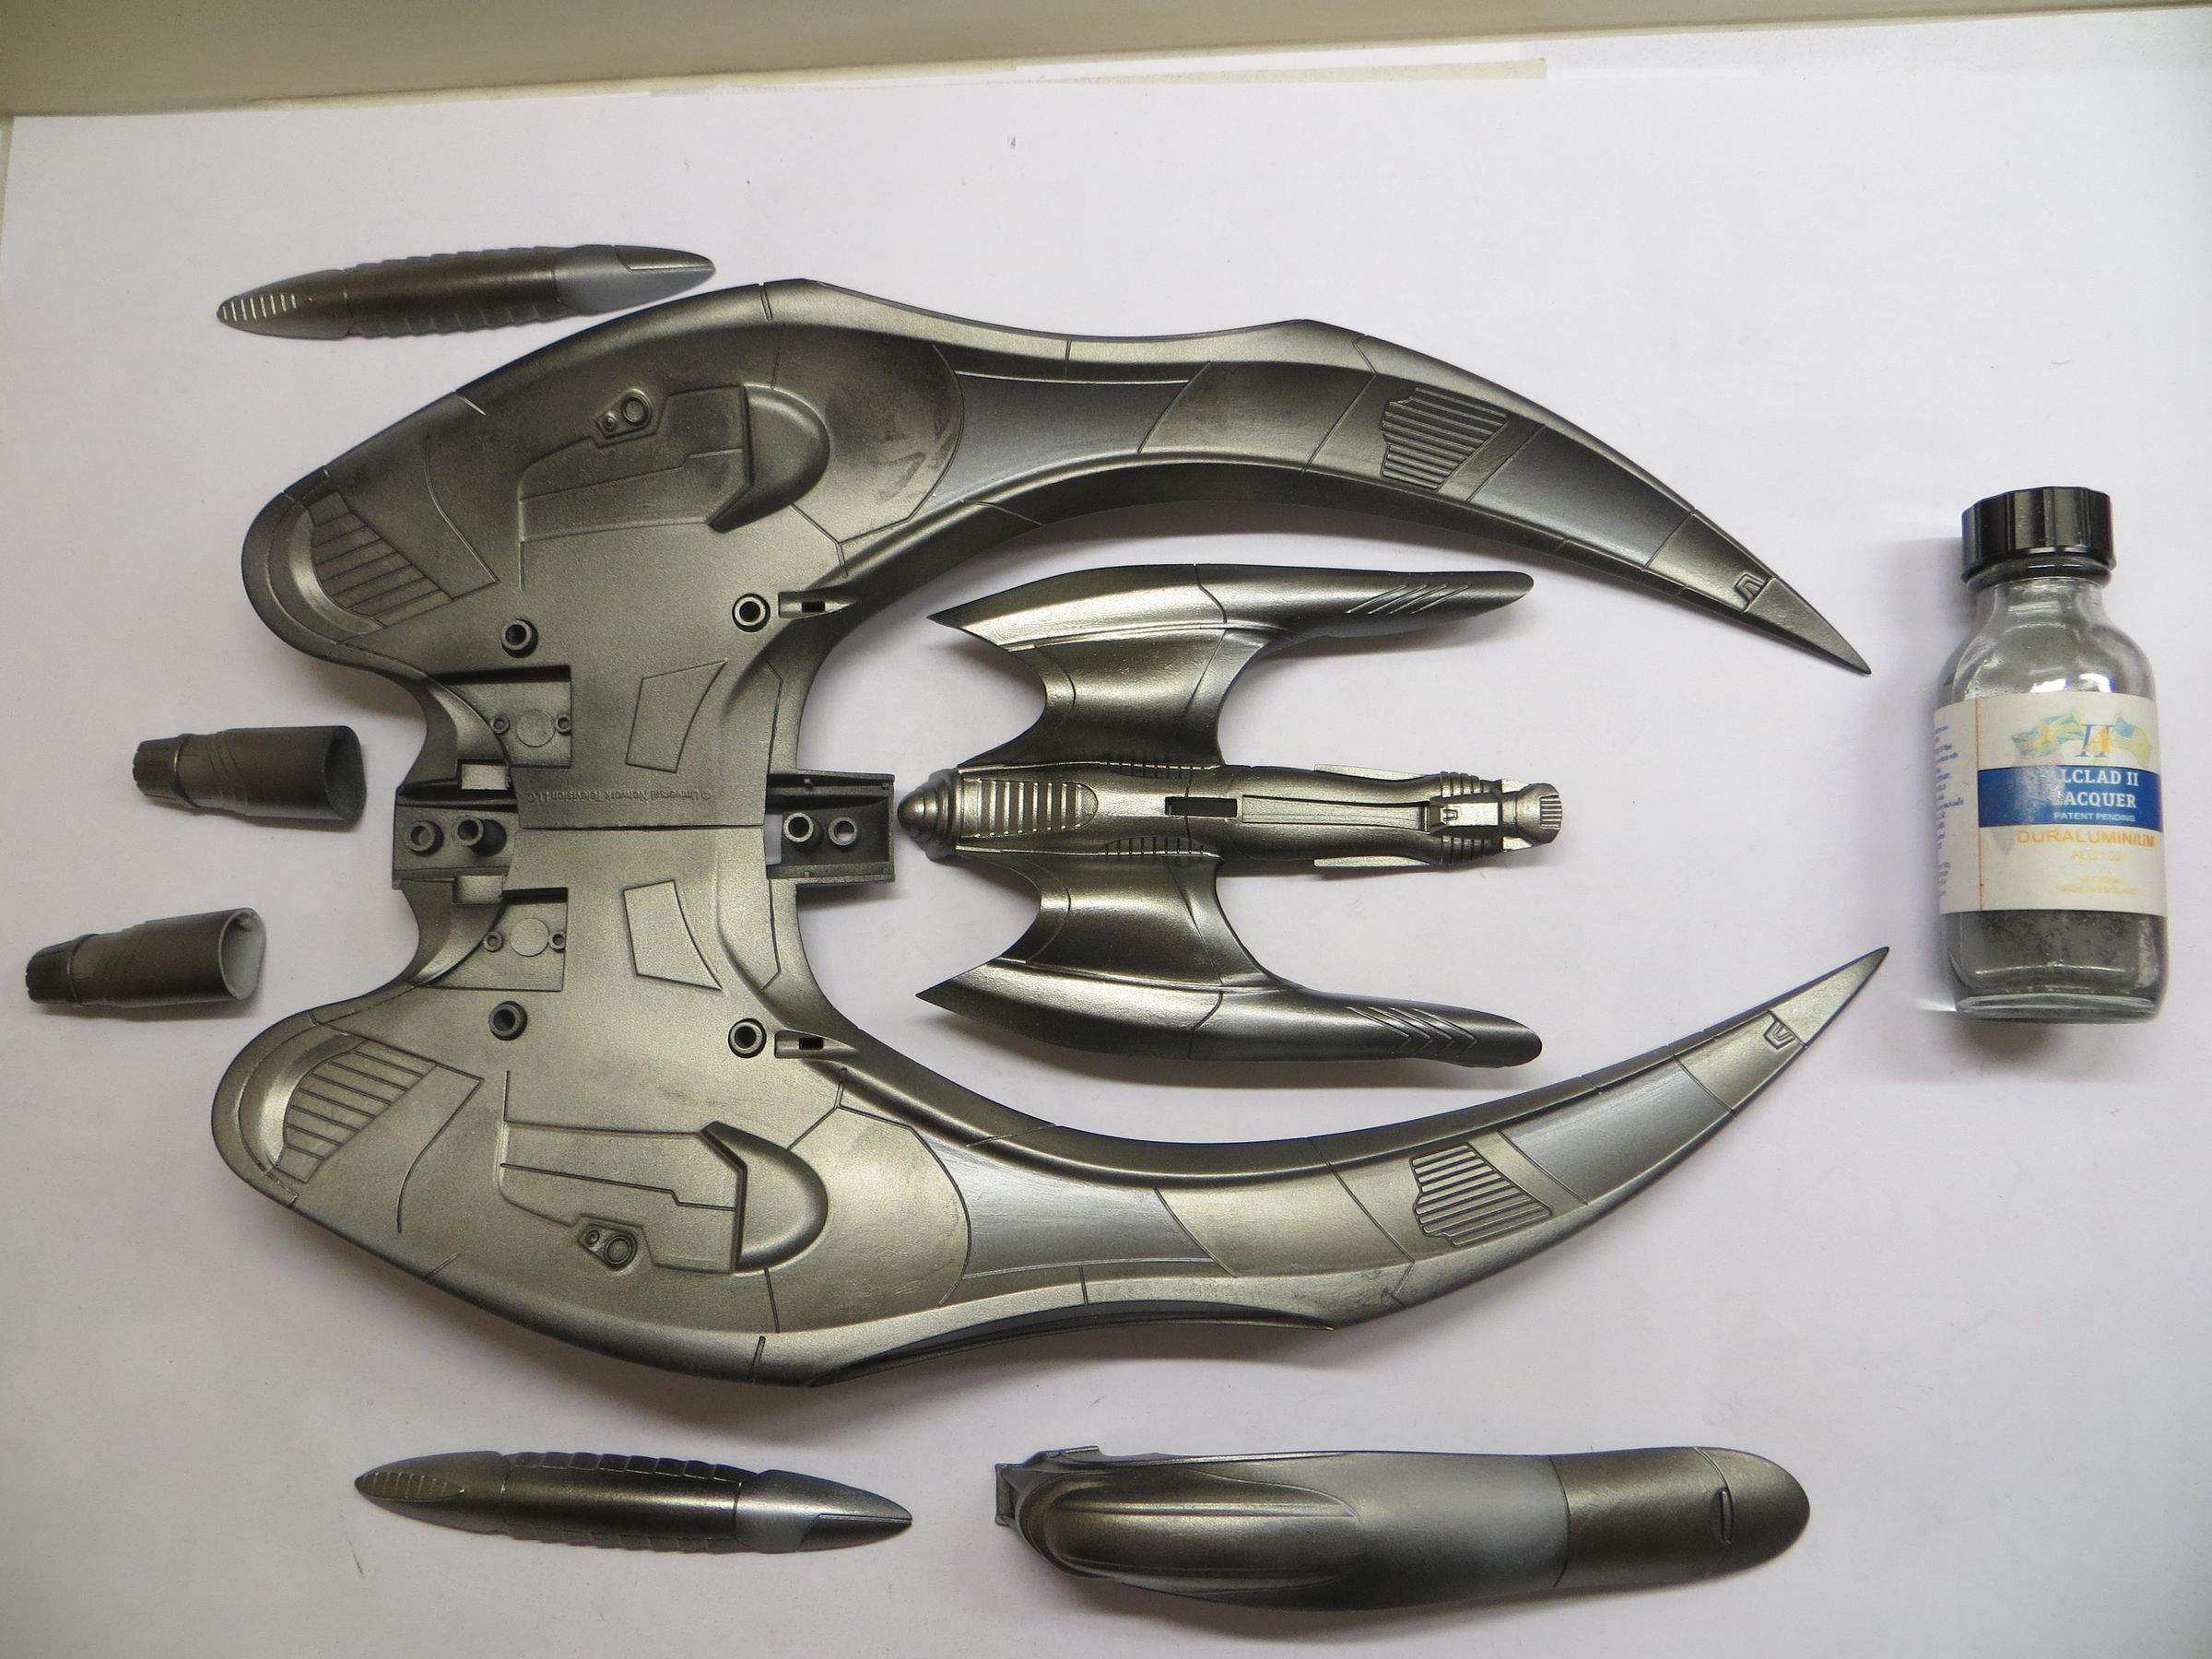
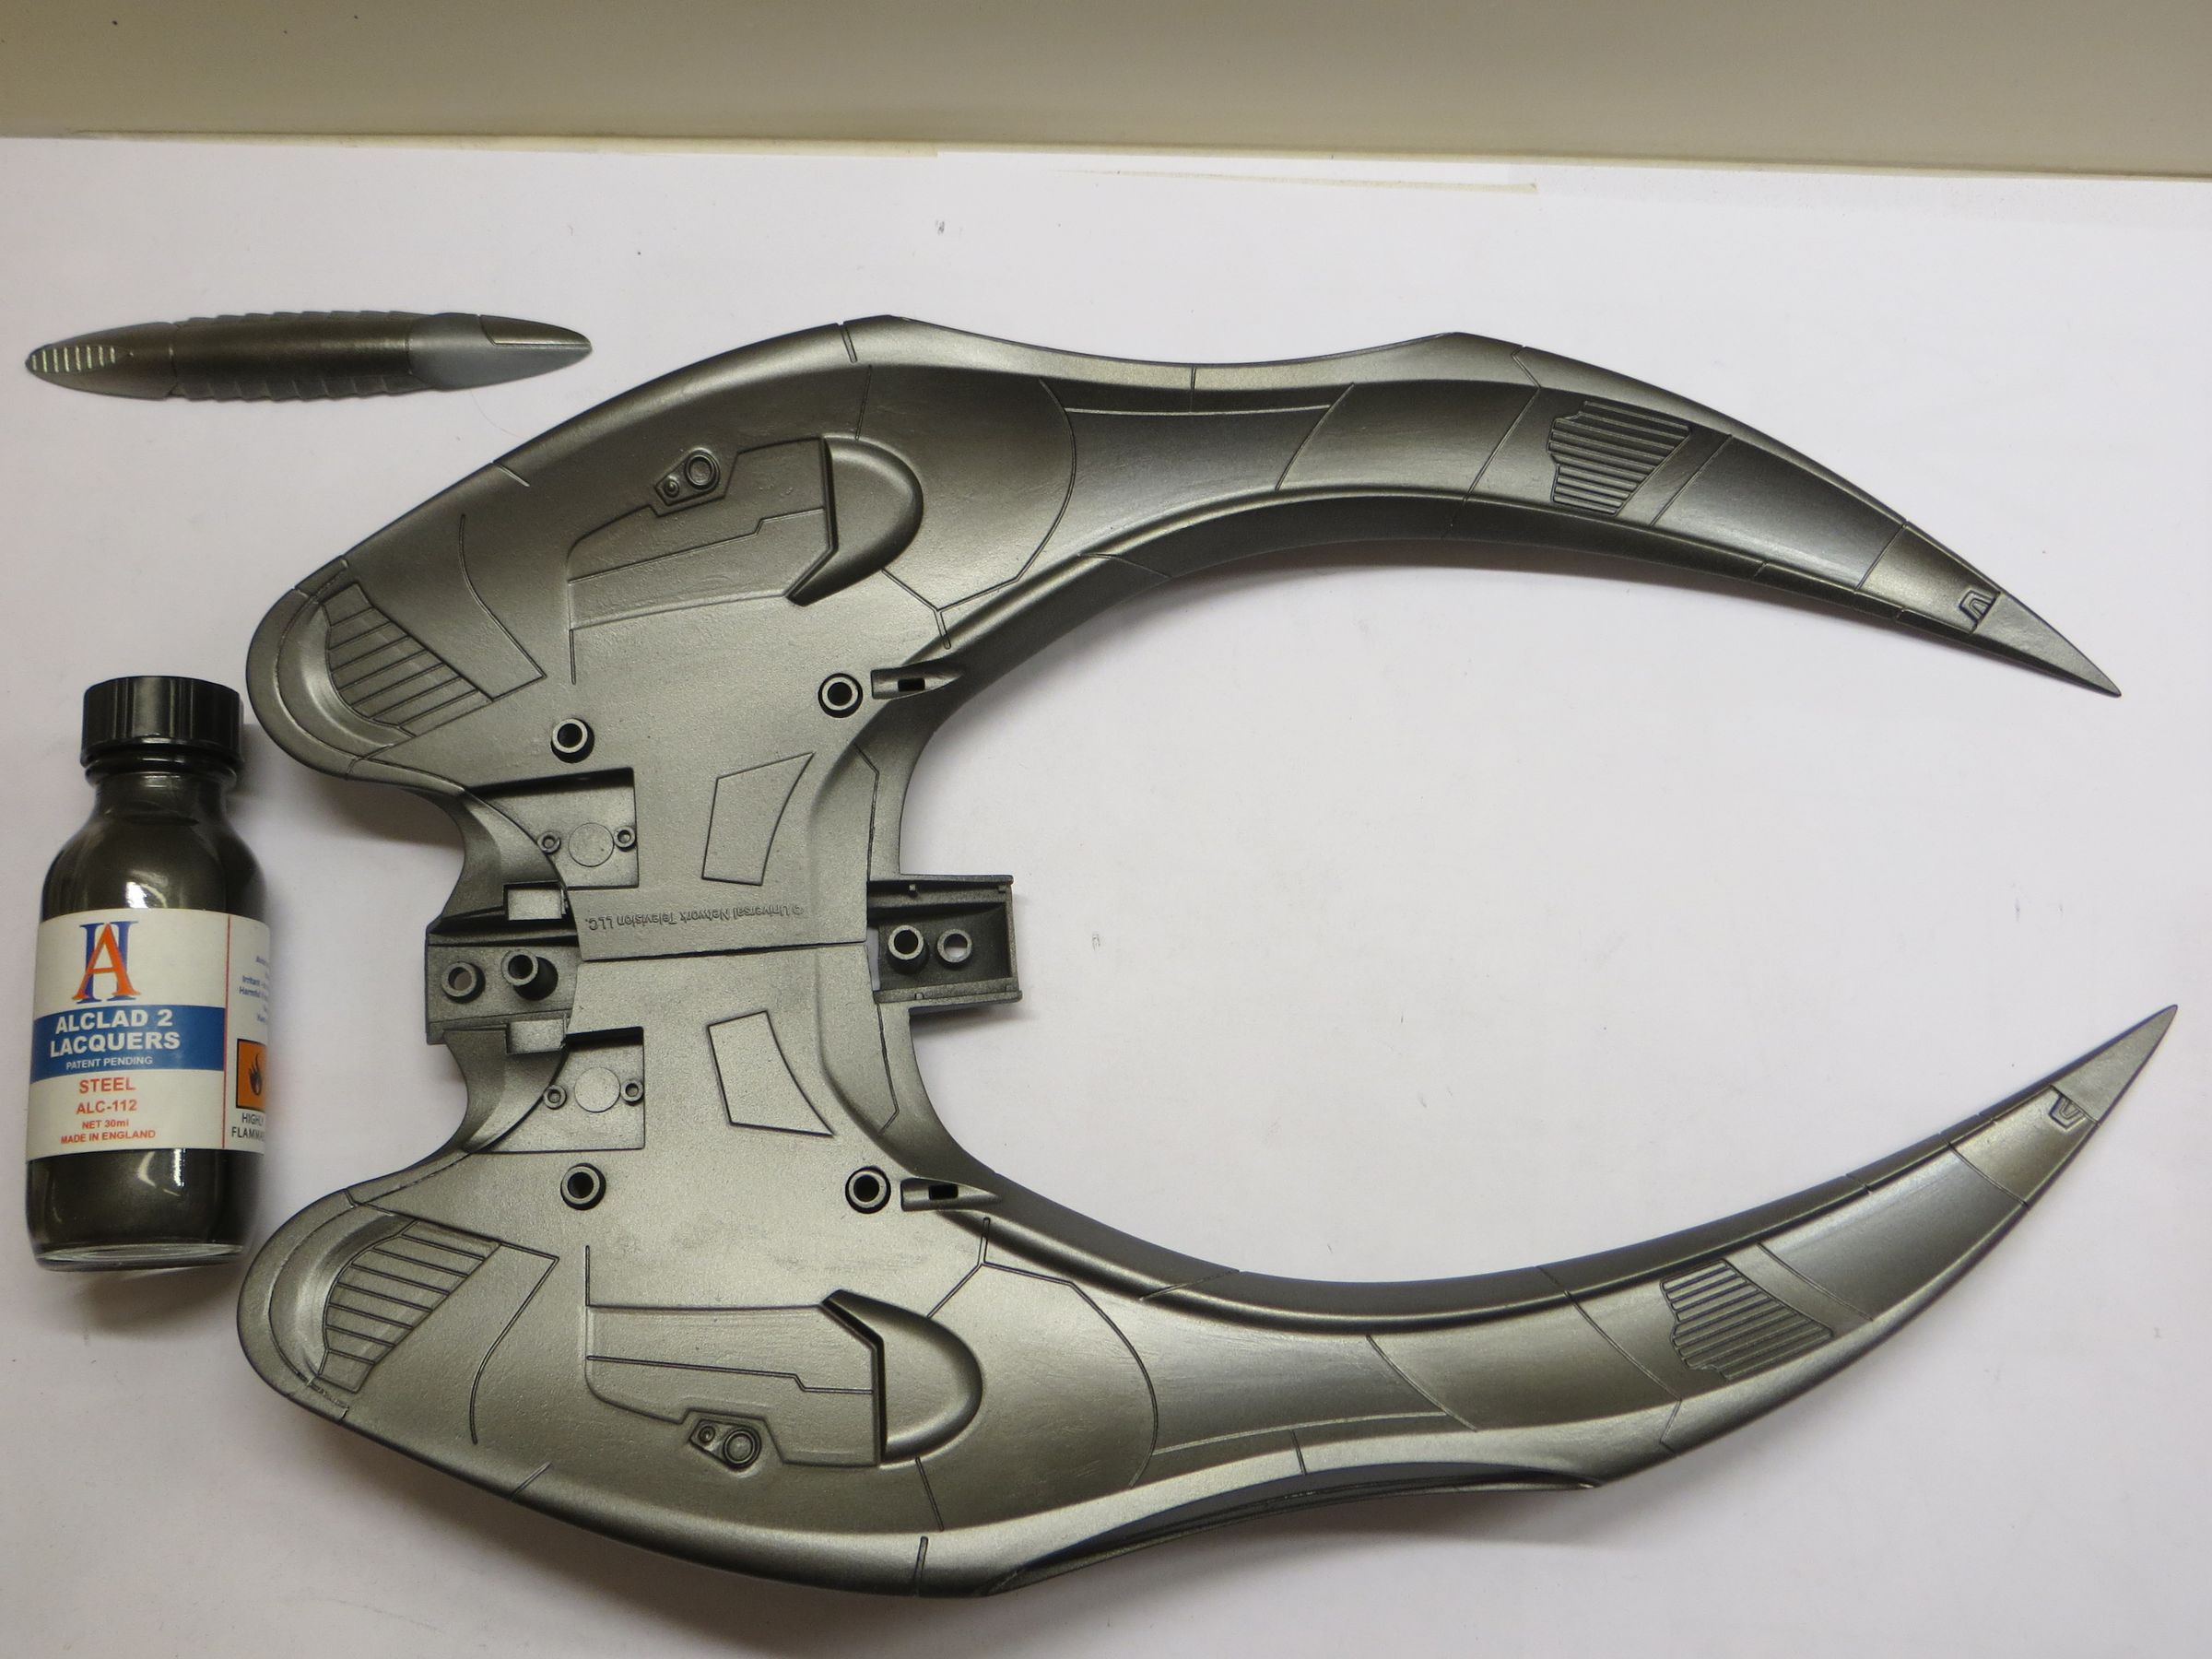
Everything is covered with gloss black, which is the base color for Alclad metallic paints.

I started by completely painted it with Alclad Stainless Steel, which is a rather dull alclad, with the idea of completing the raw look.
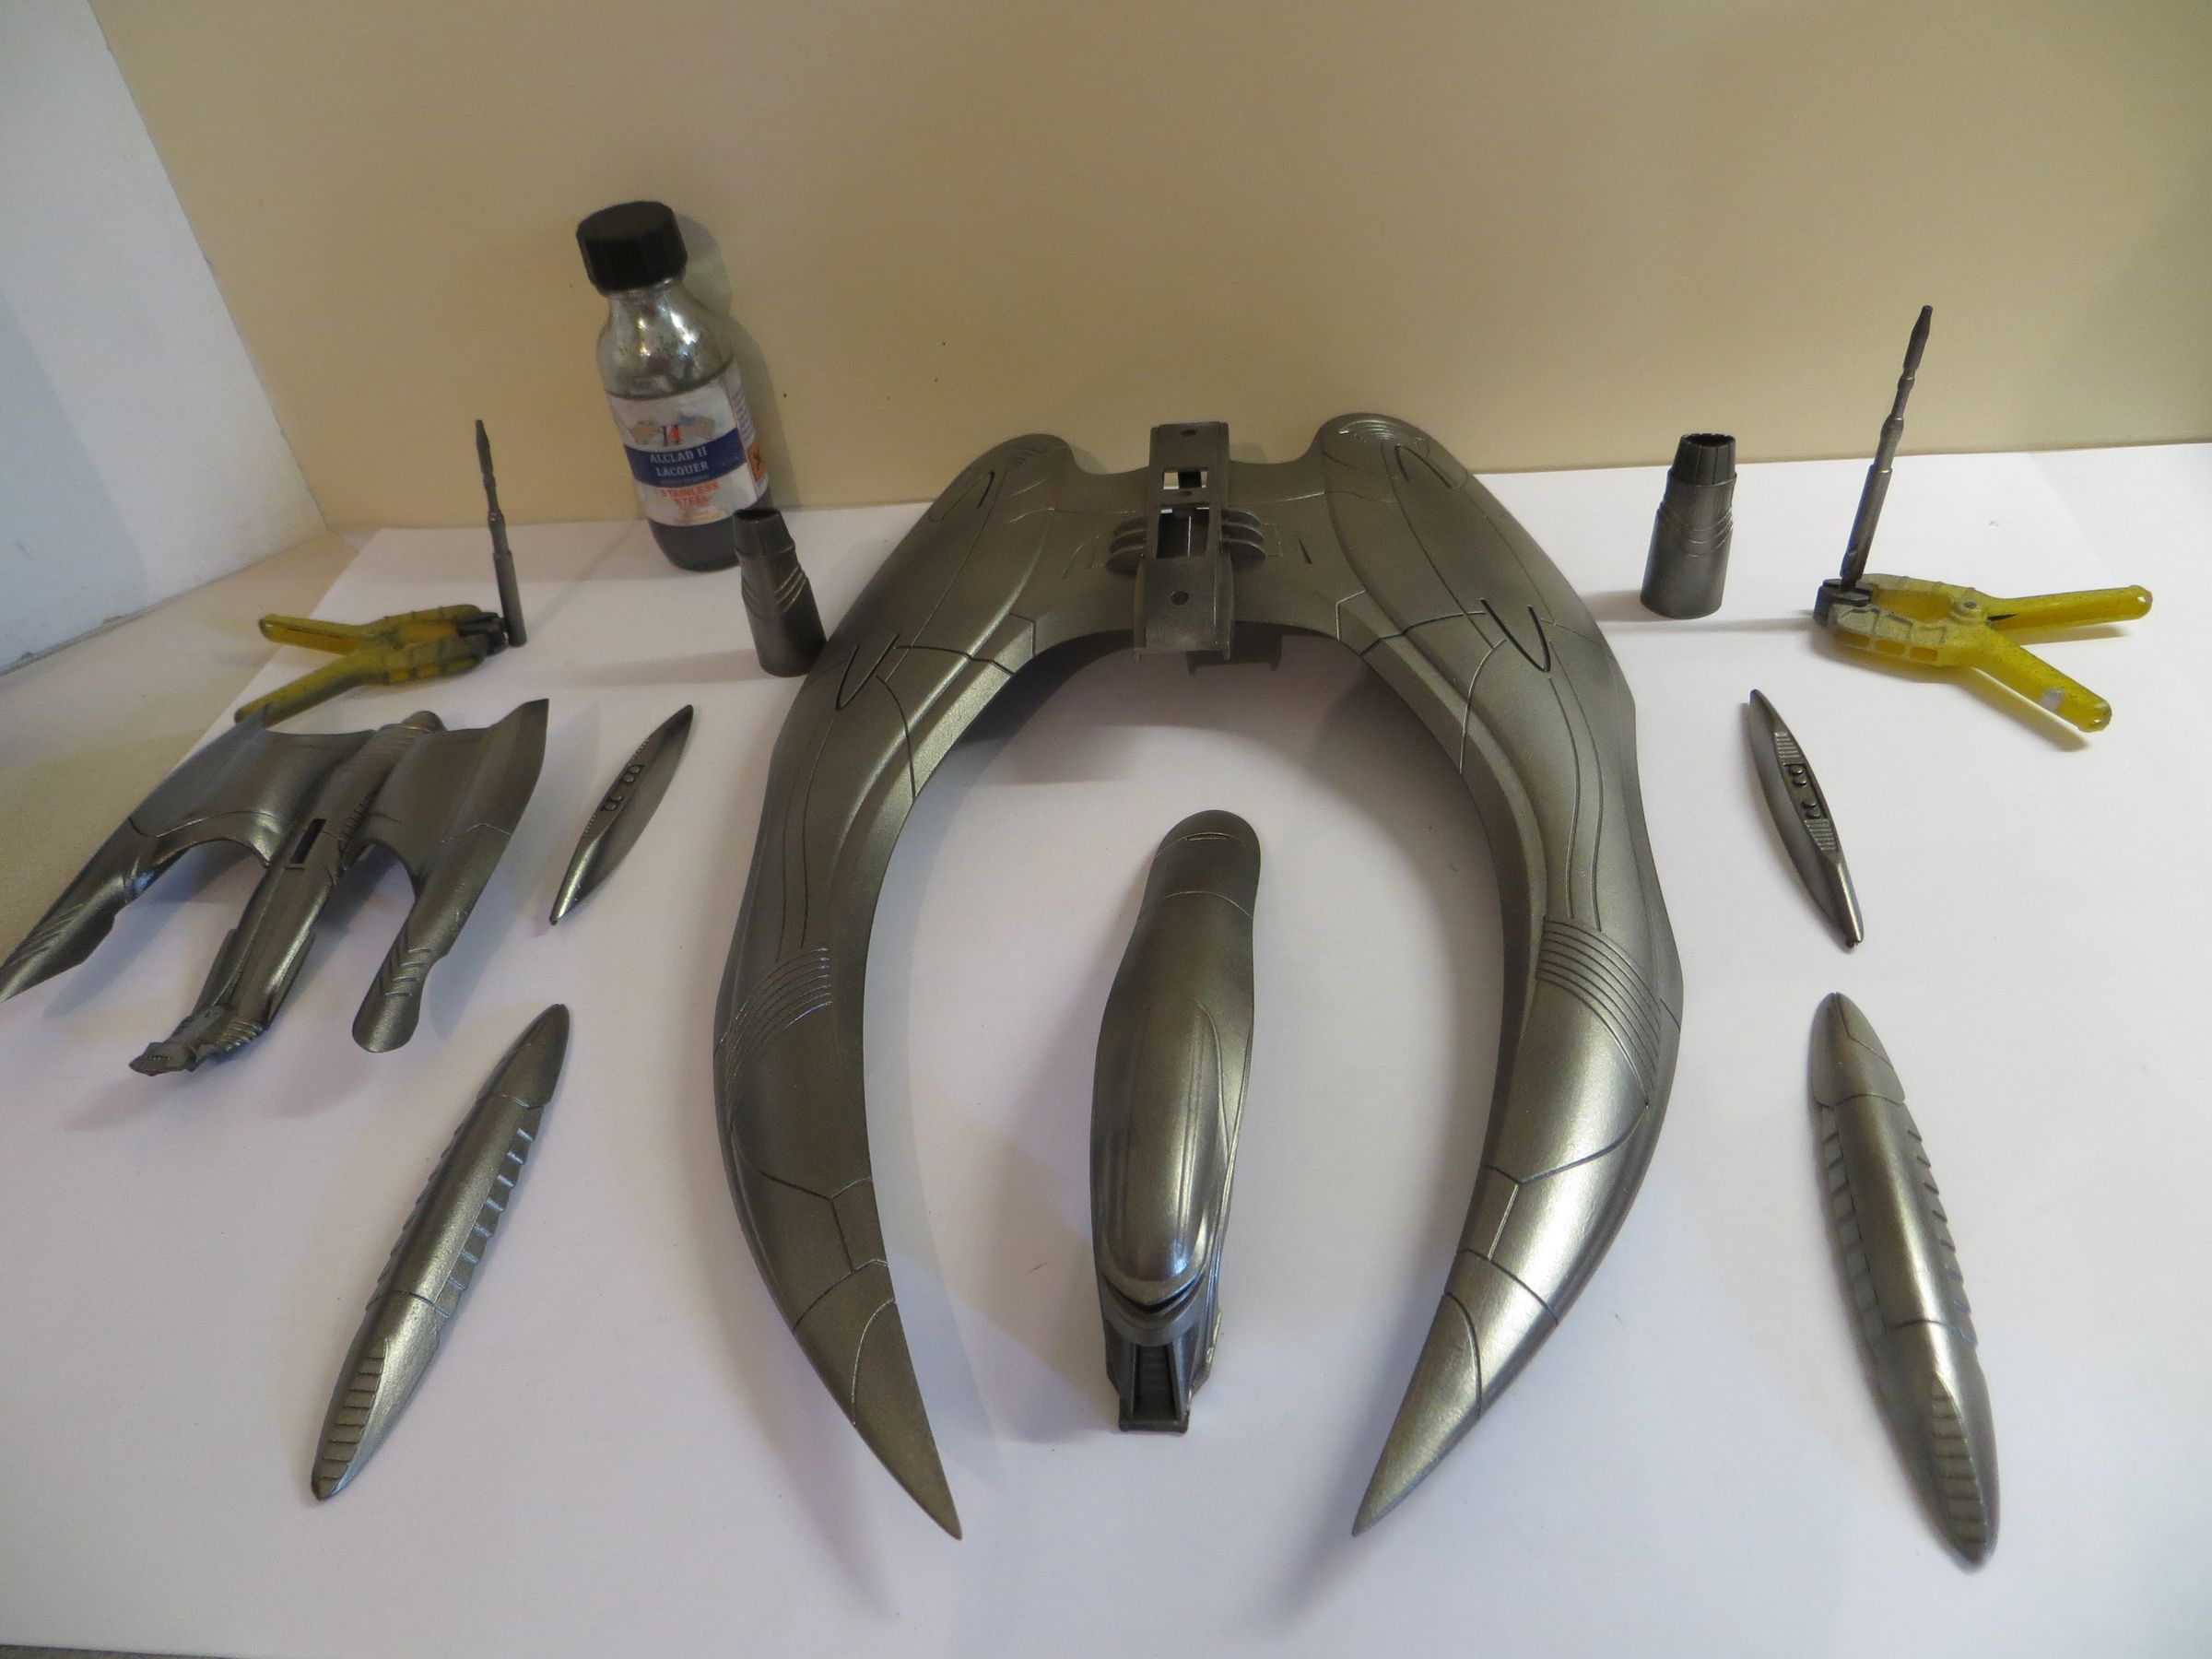
I realize clearer panel in Alclad Duraluinium.
And then, surprise, the Stainless steel did not accept masking tape!
So I covered it again with quick and thin coat of Alclad Steel, that I know to be stronger, as I use it since a long time.
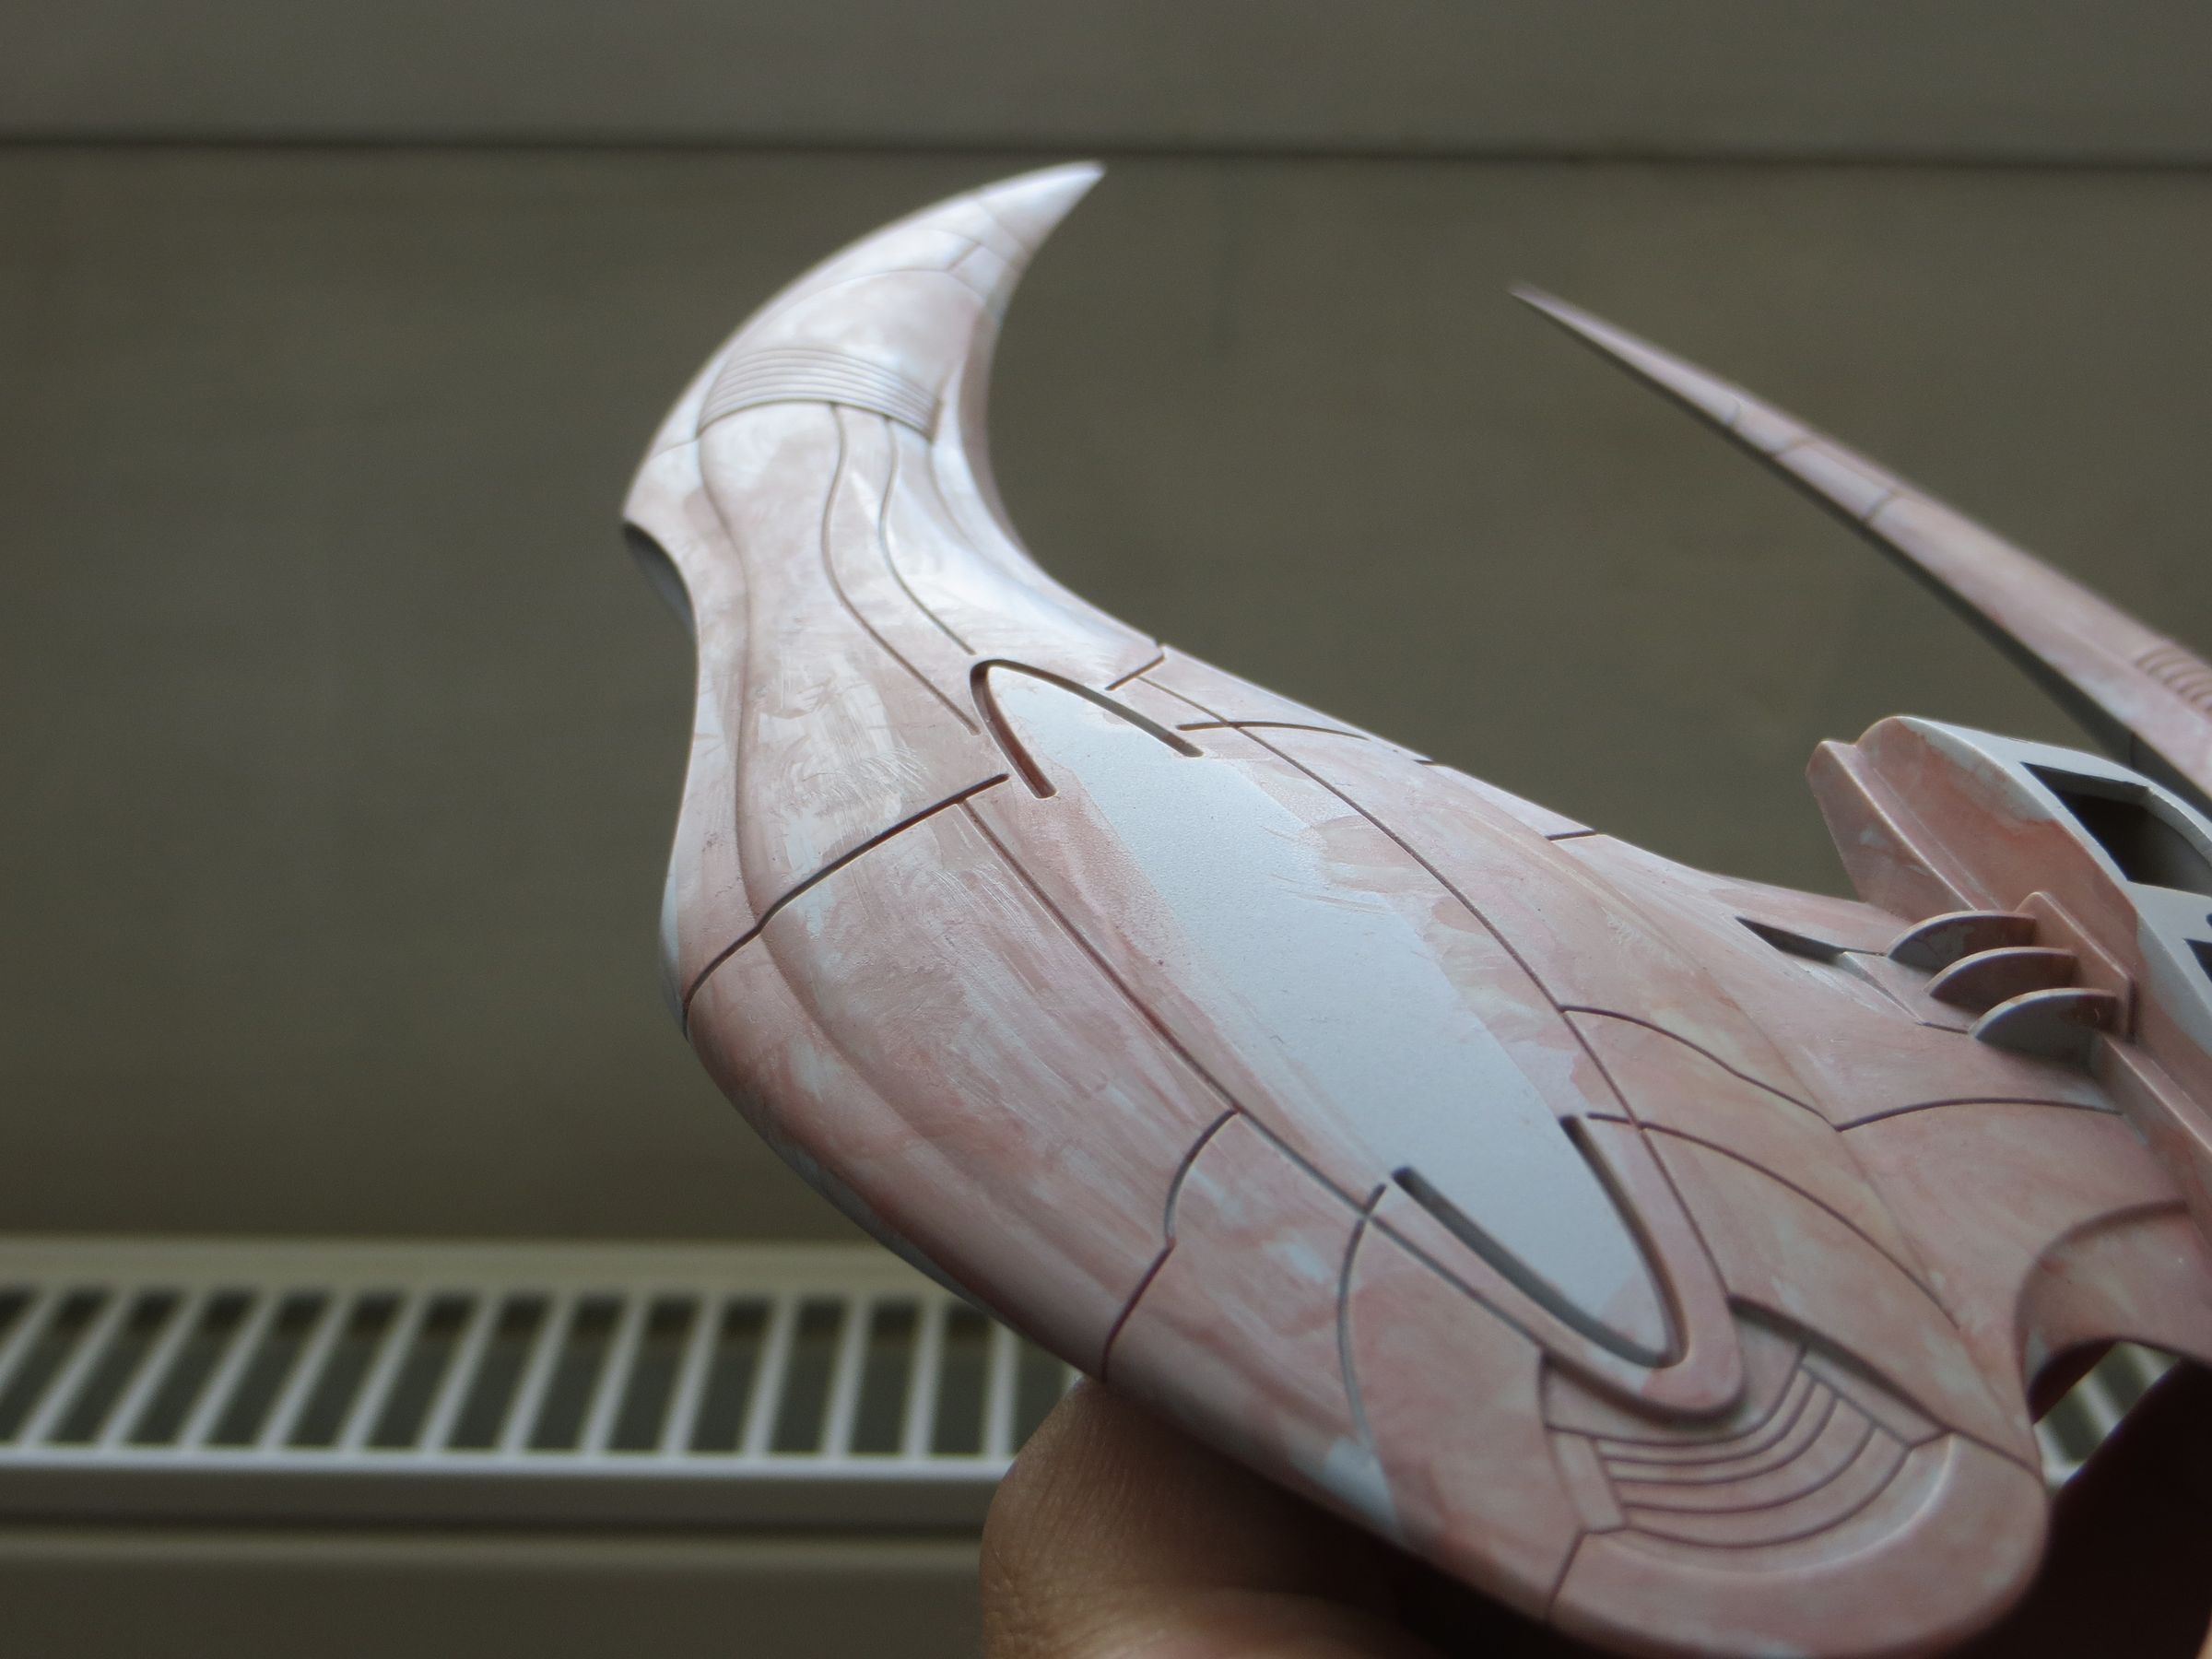
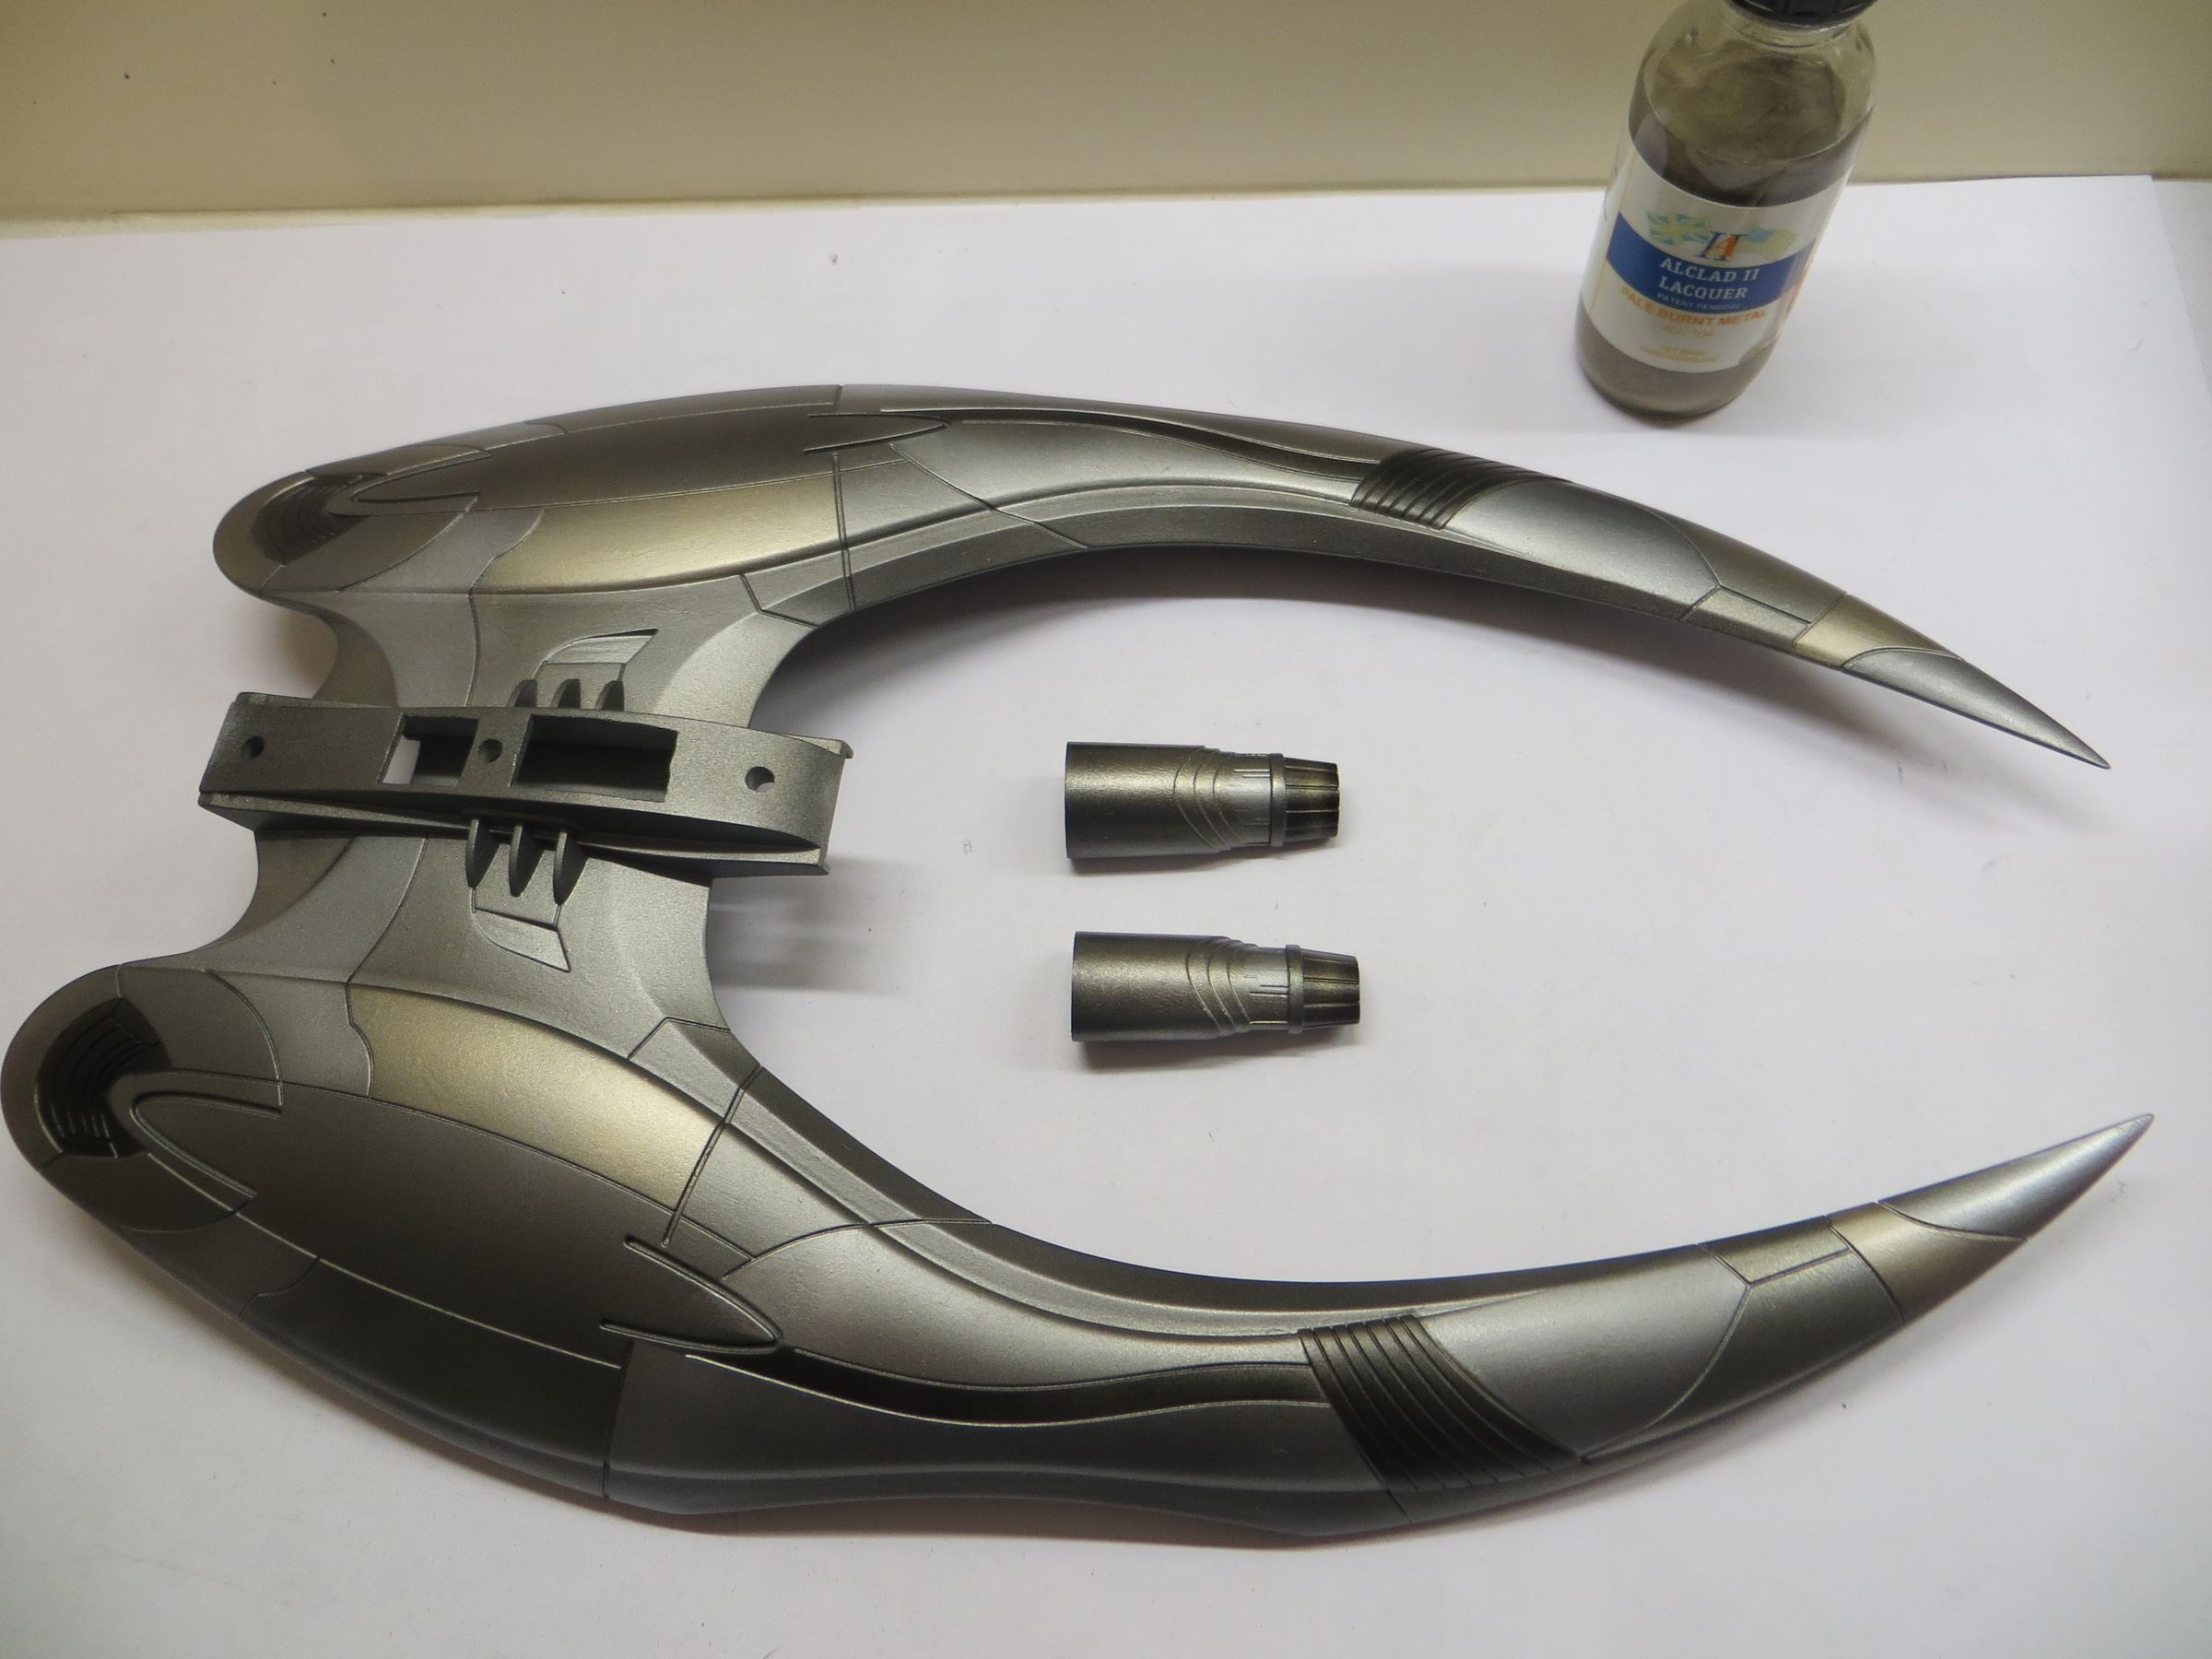
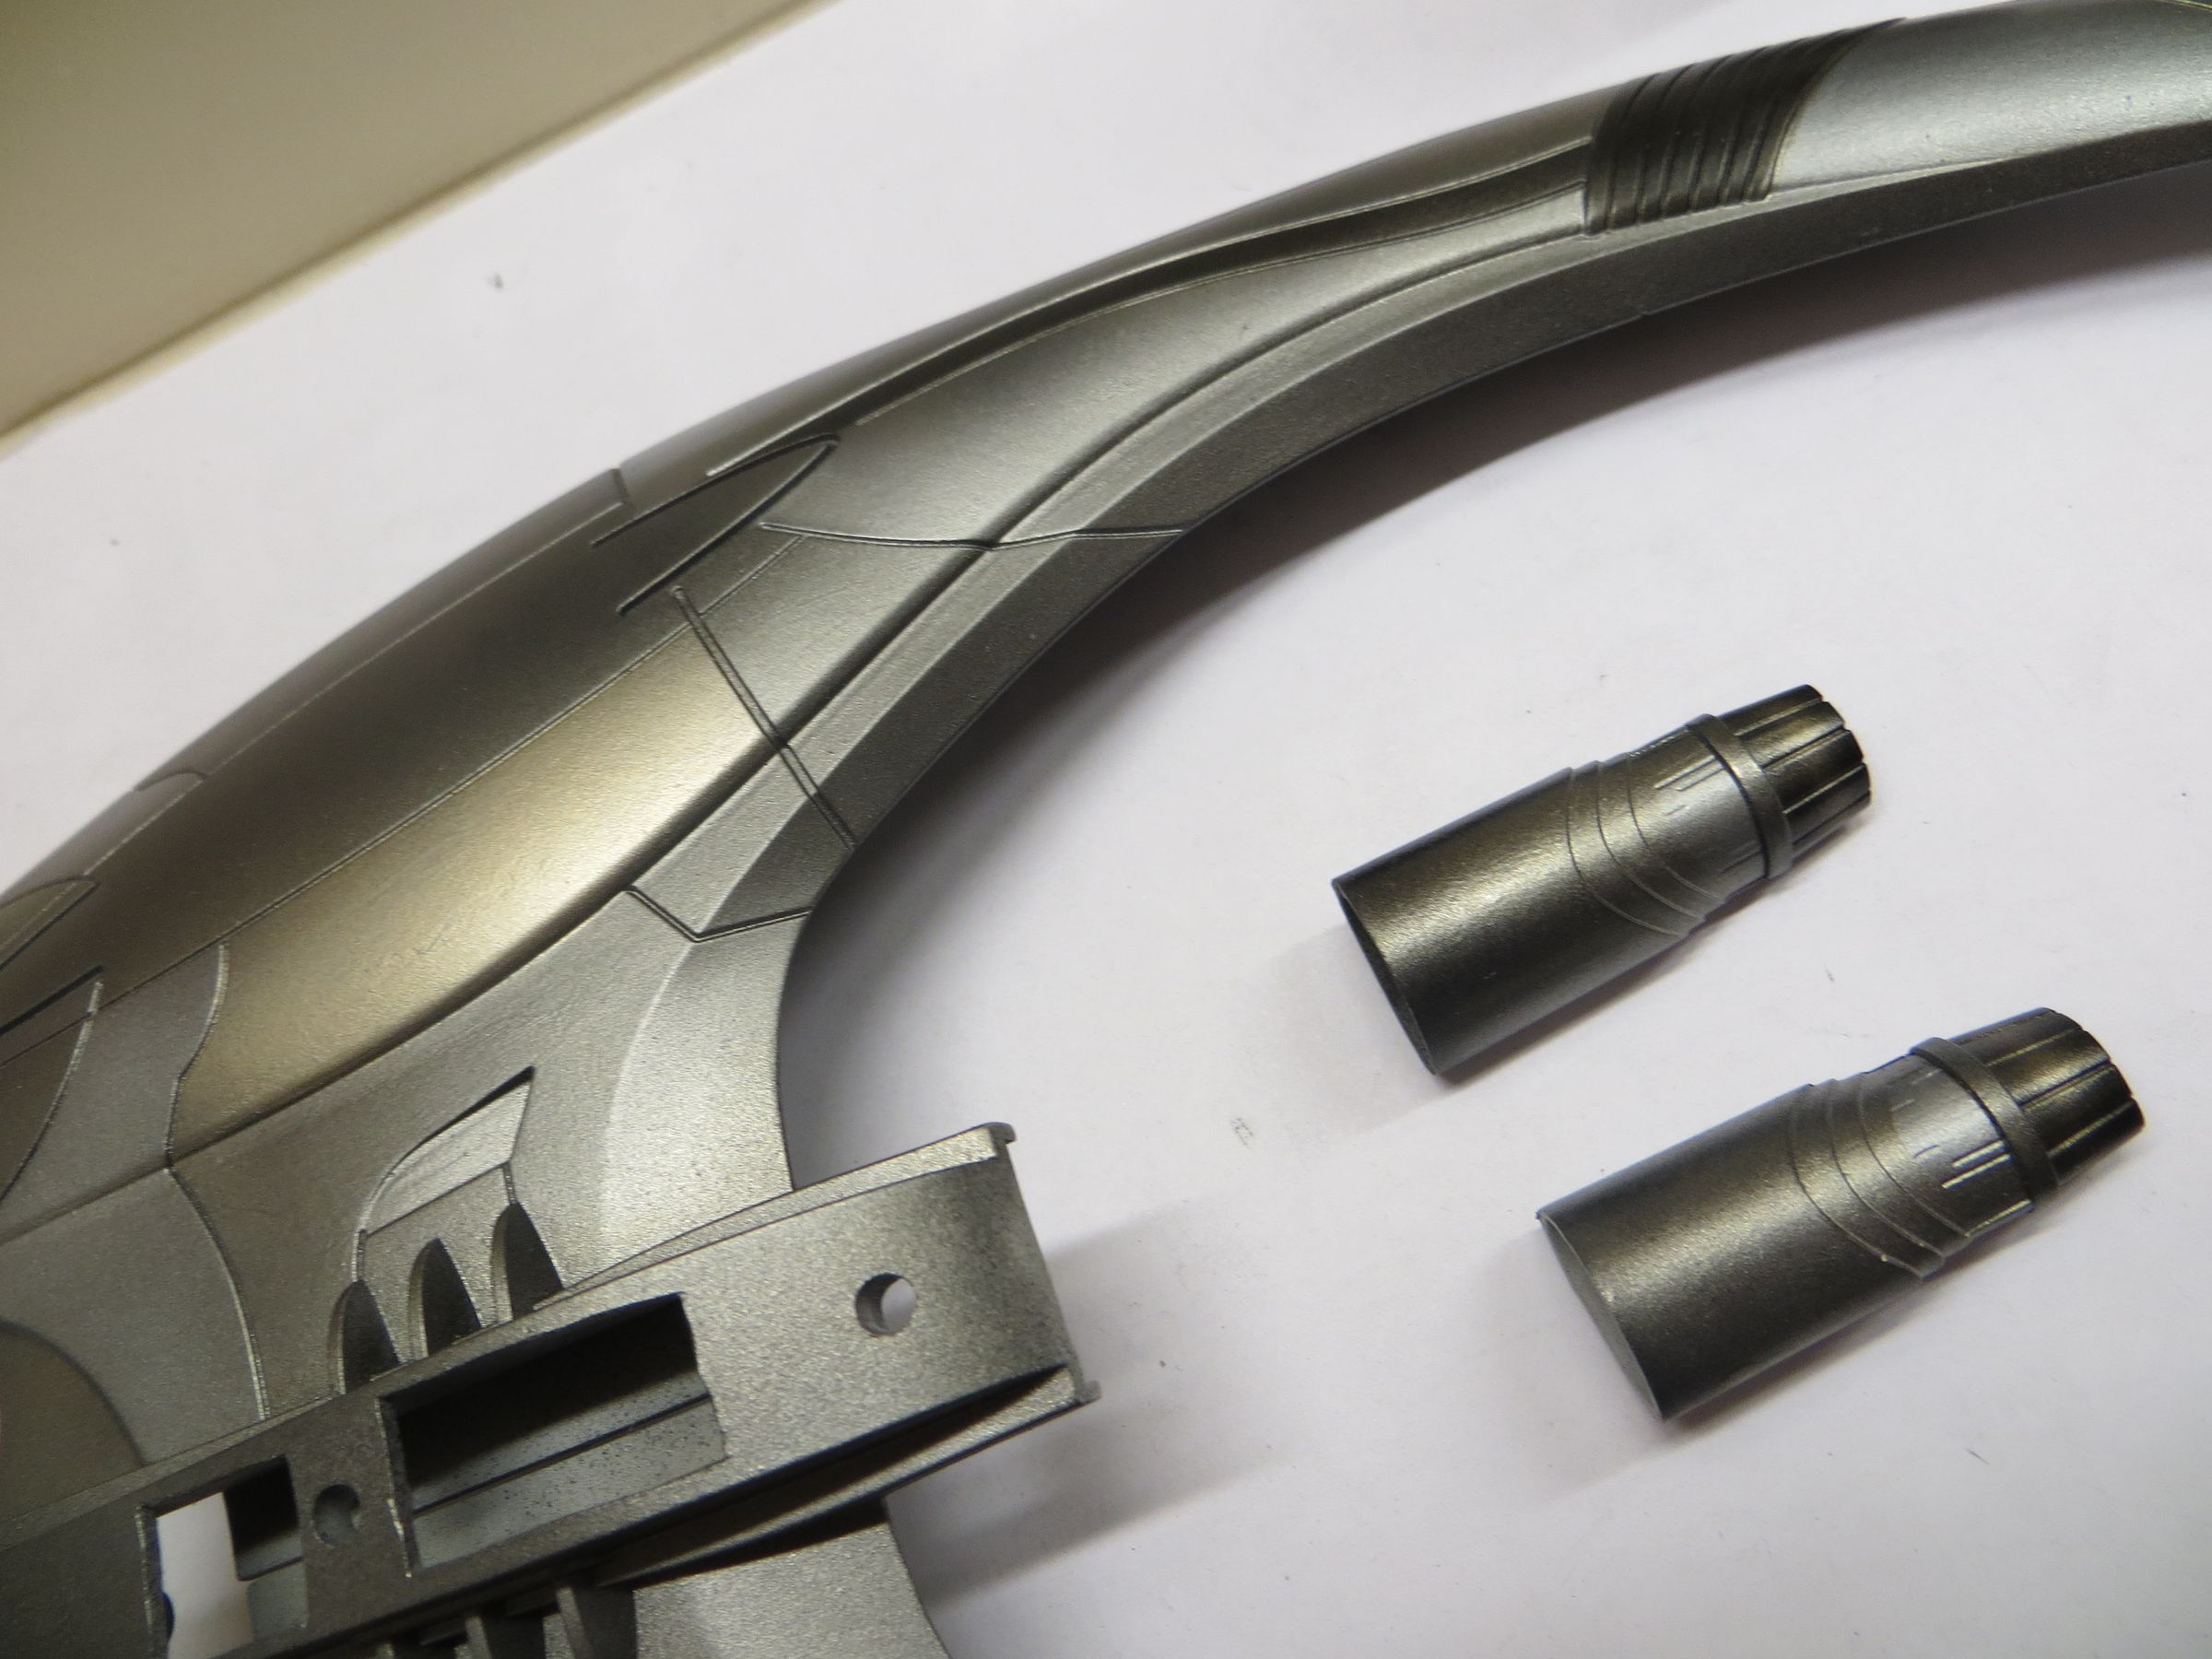
Some slightly dark panels with a mix of jet exhaust + magnesium
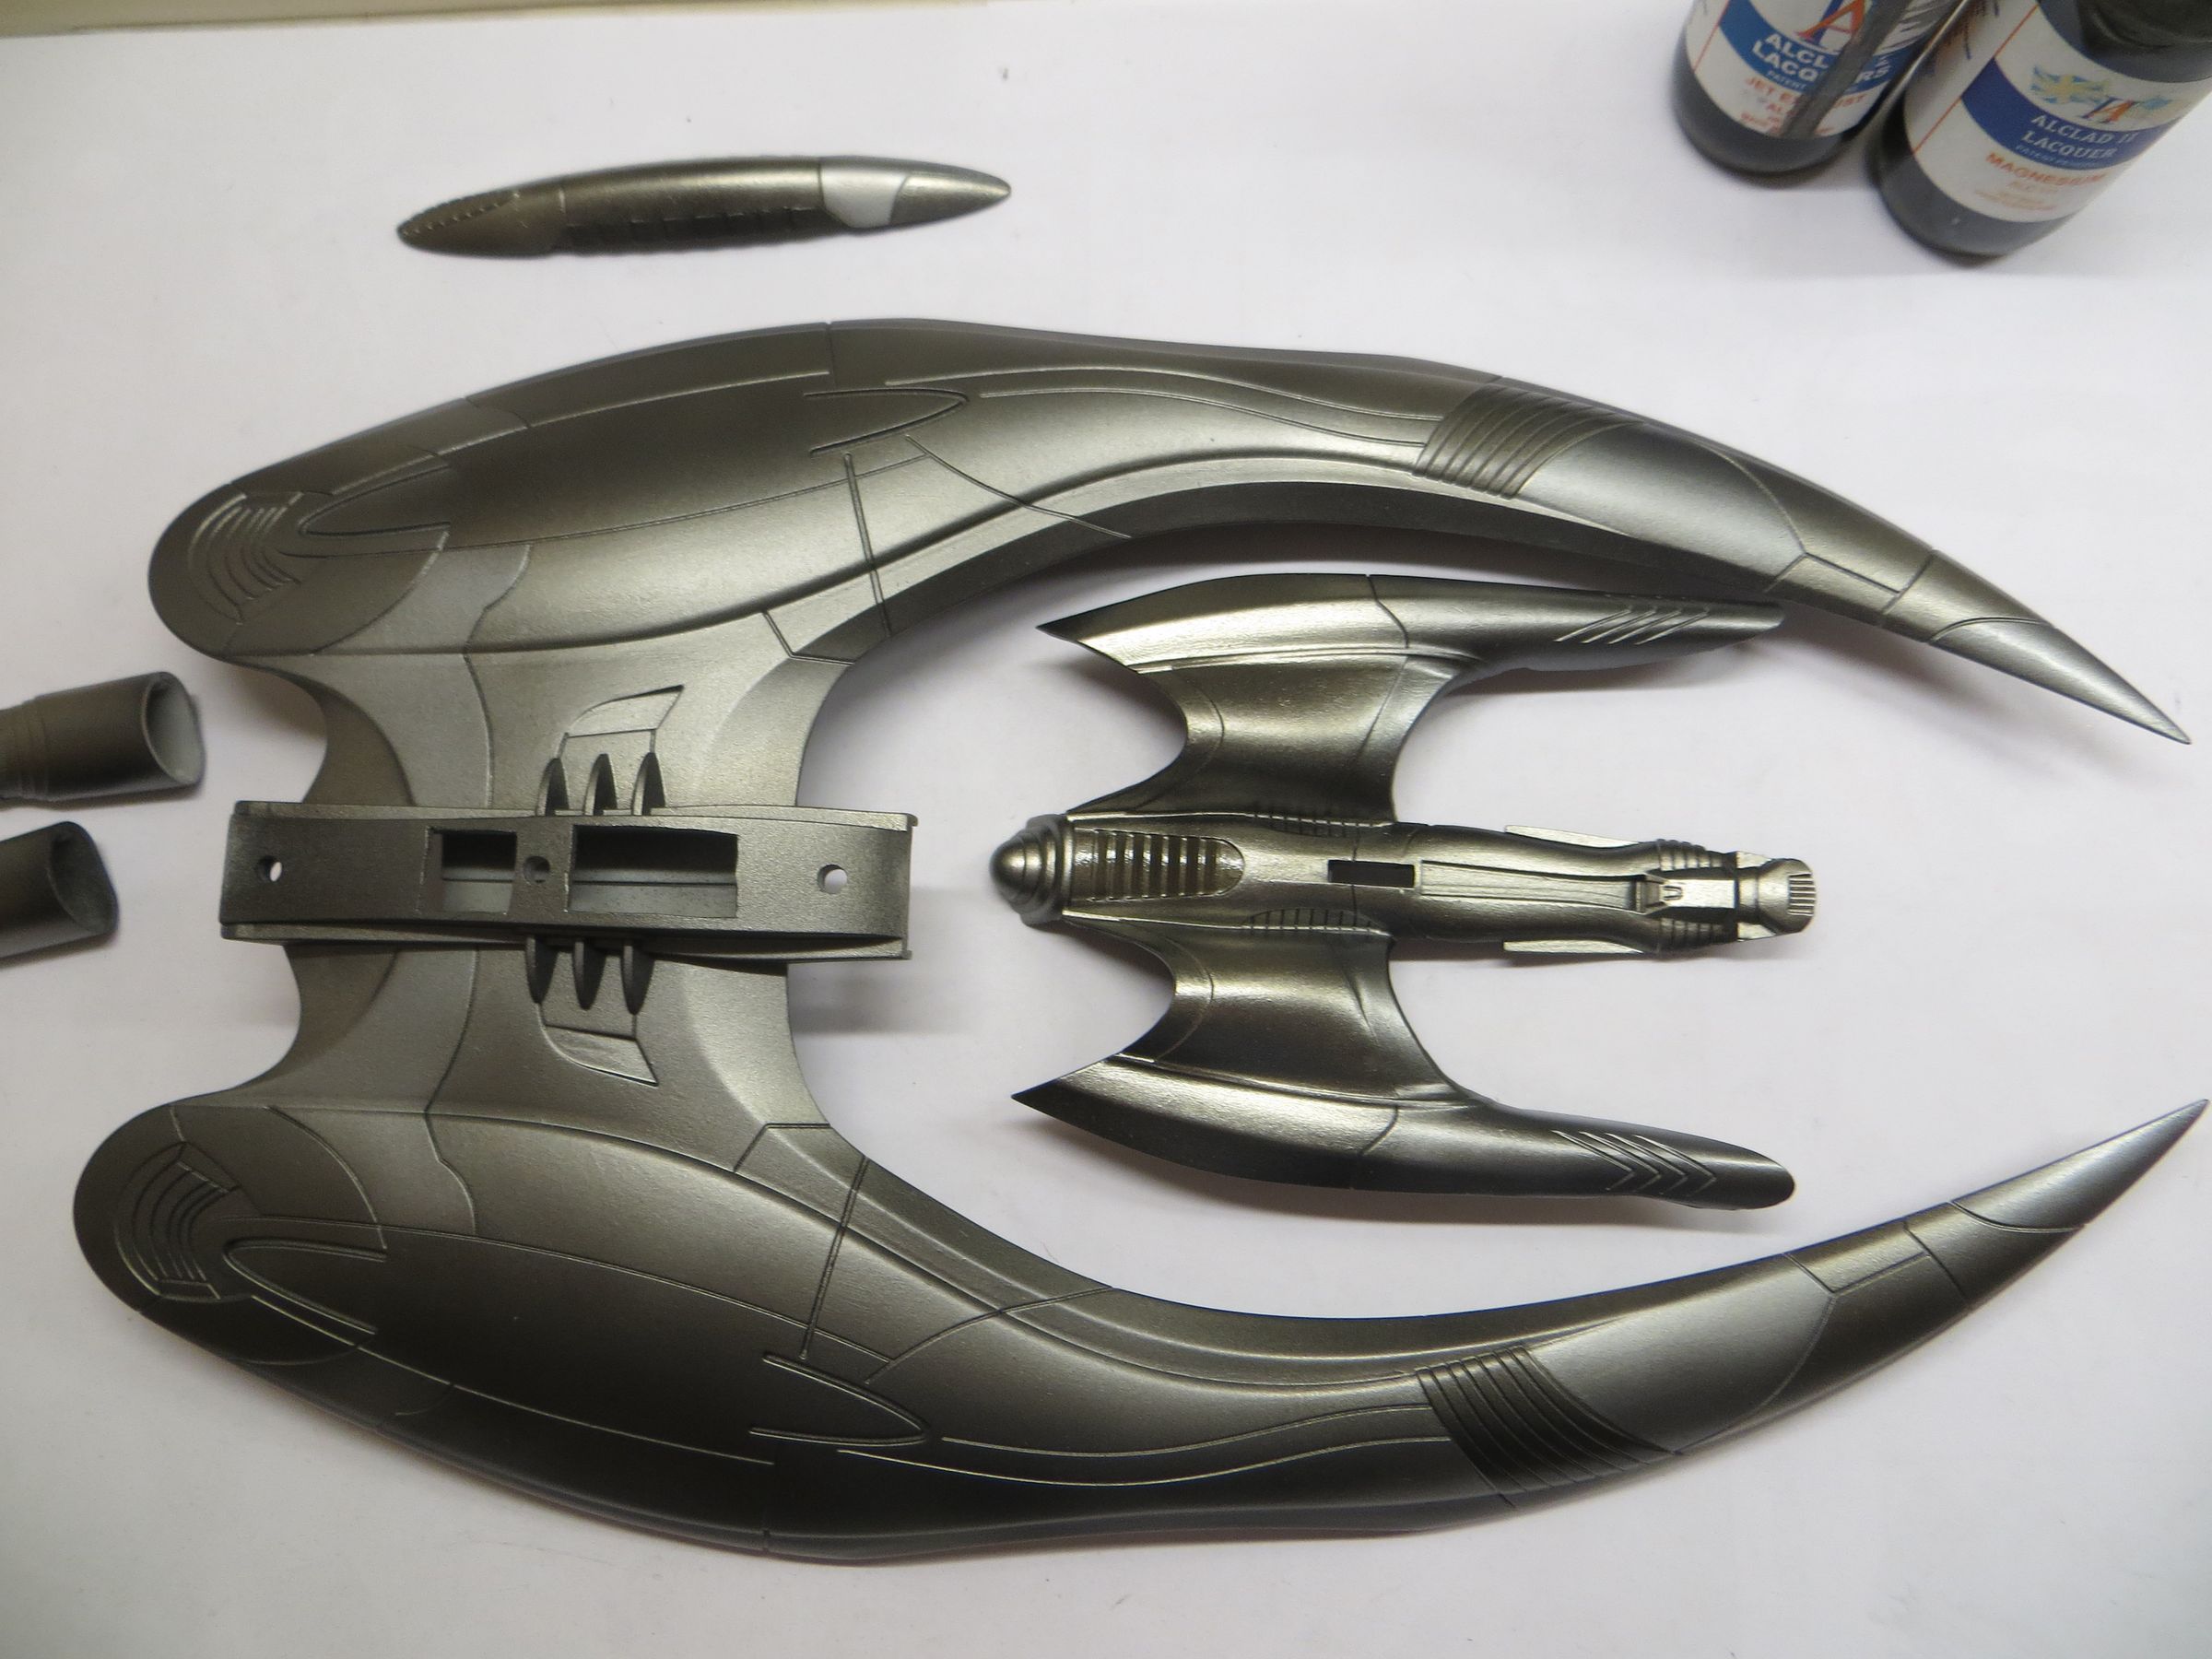
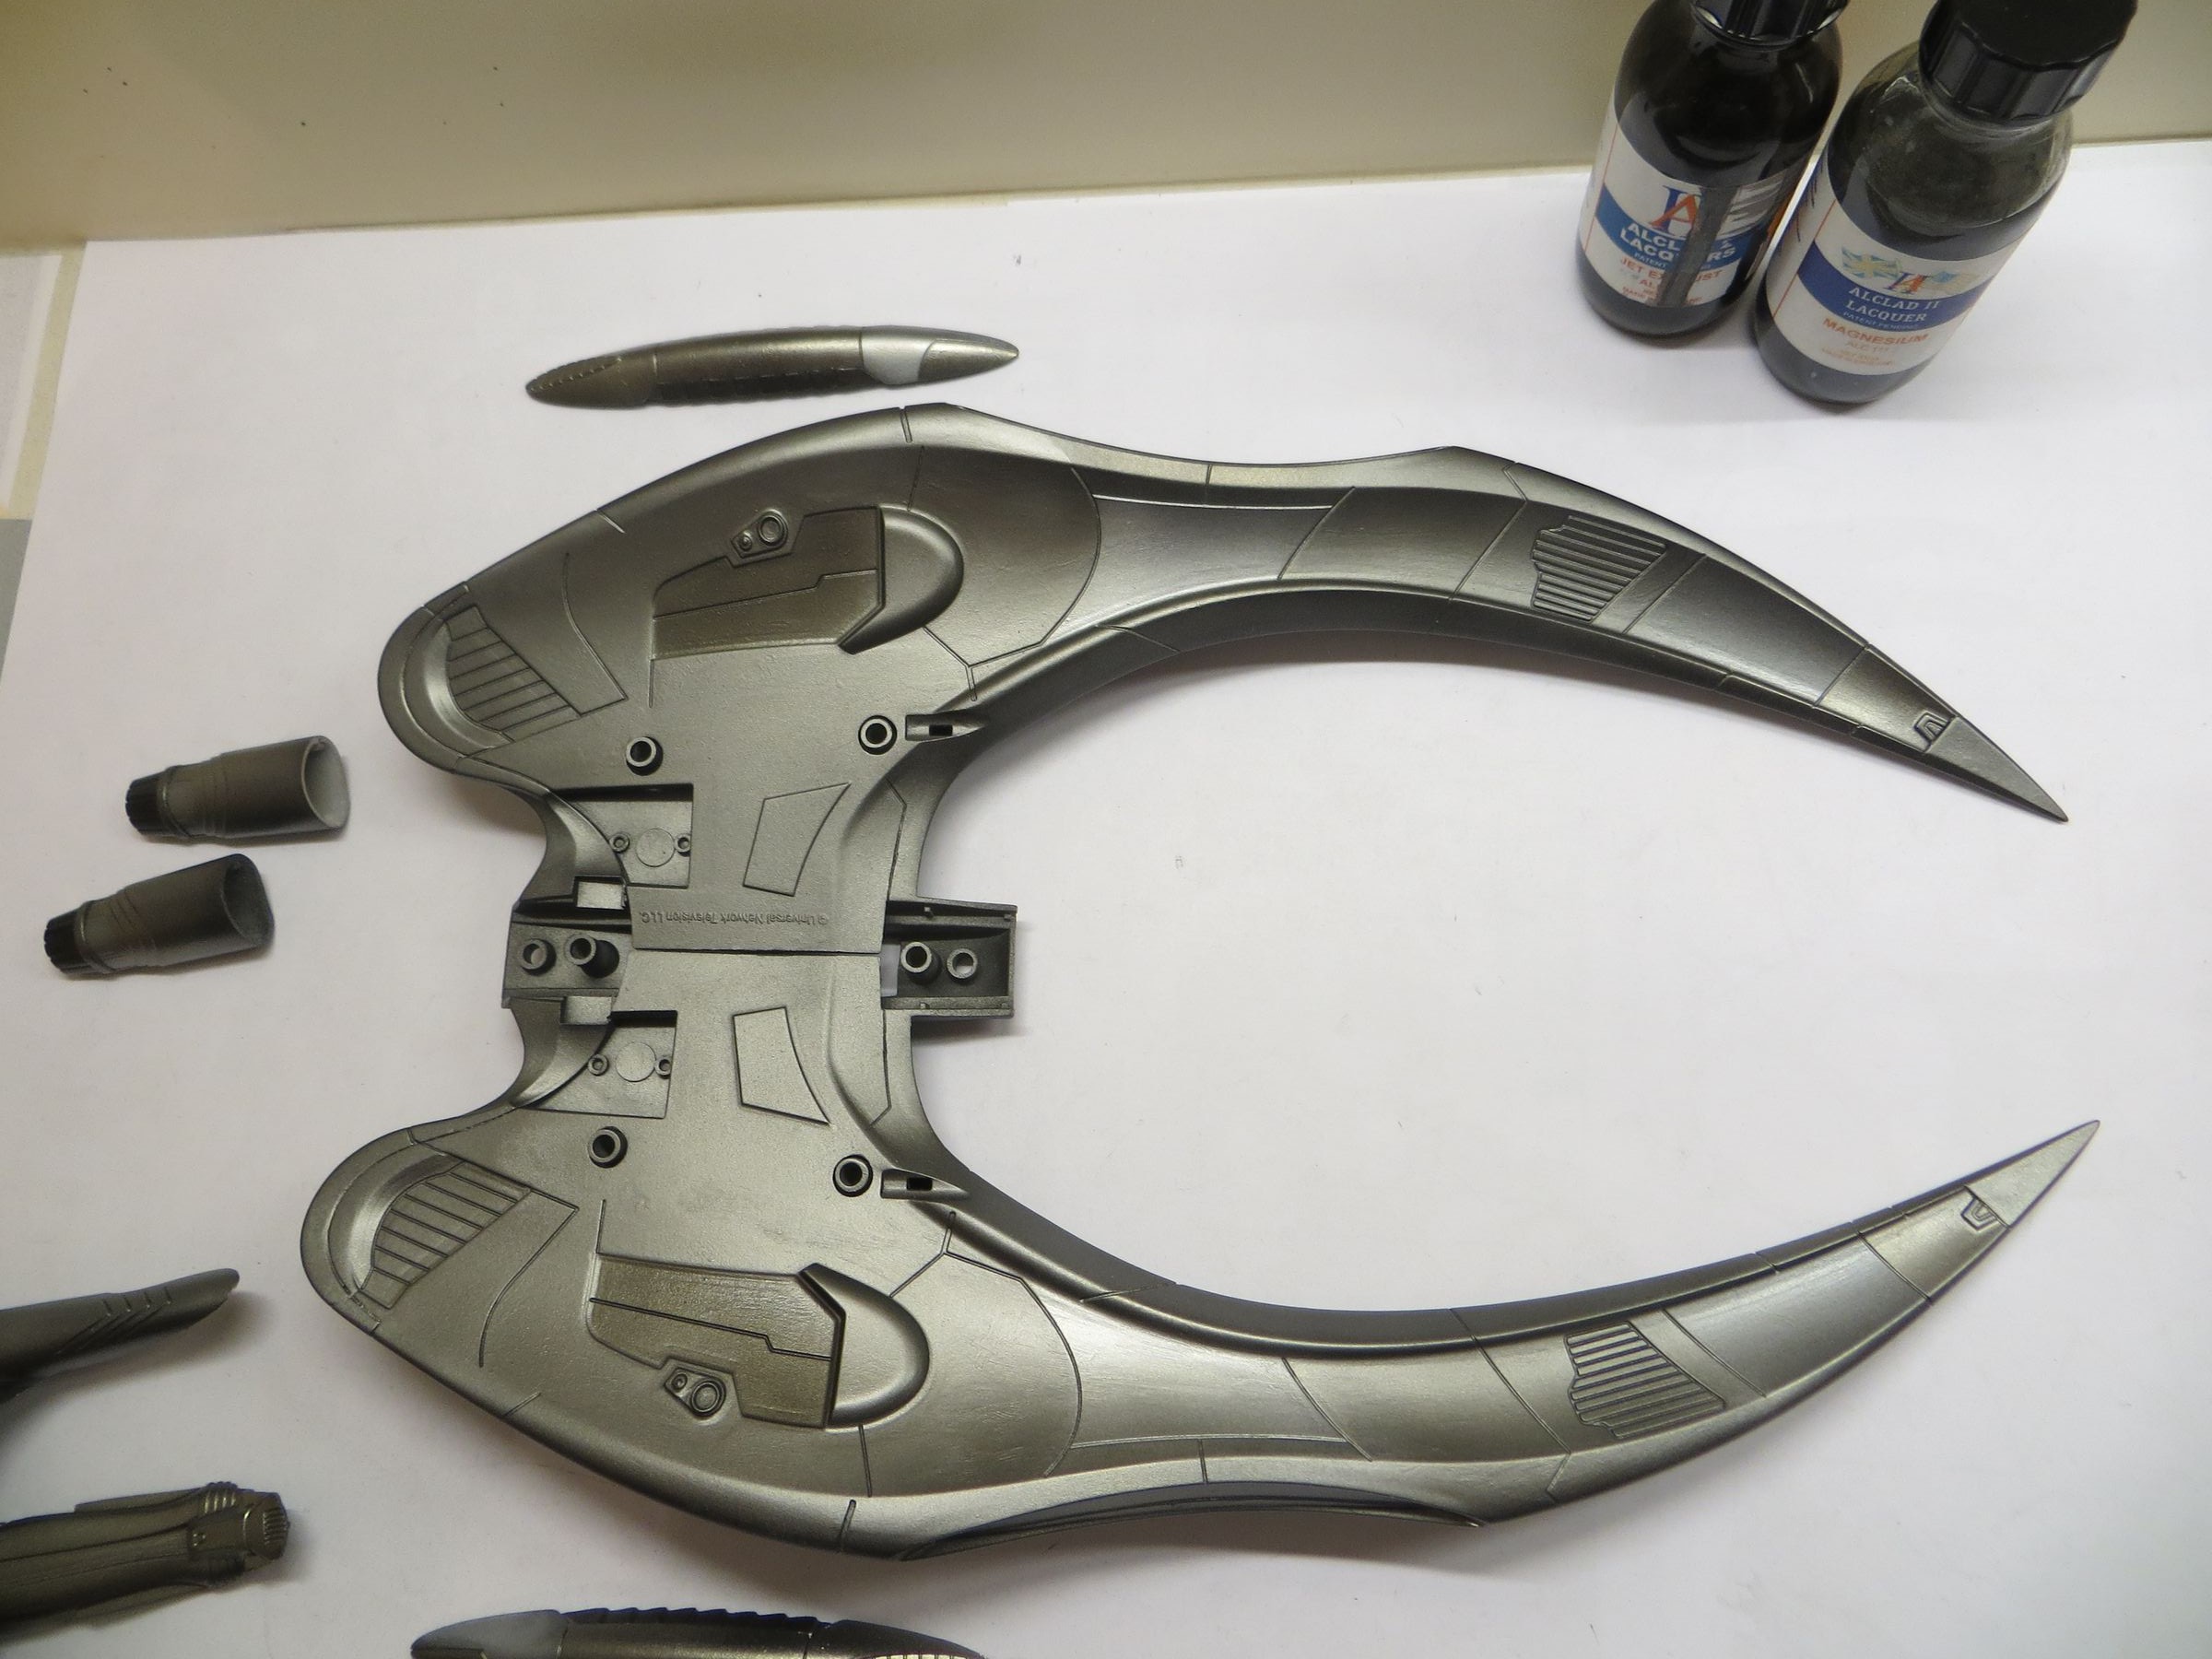
Dark panels, in jet exhaust


Some panel's corners are post-shaded with Aluminium, to break the patchwork effect and give more texture to the whole model
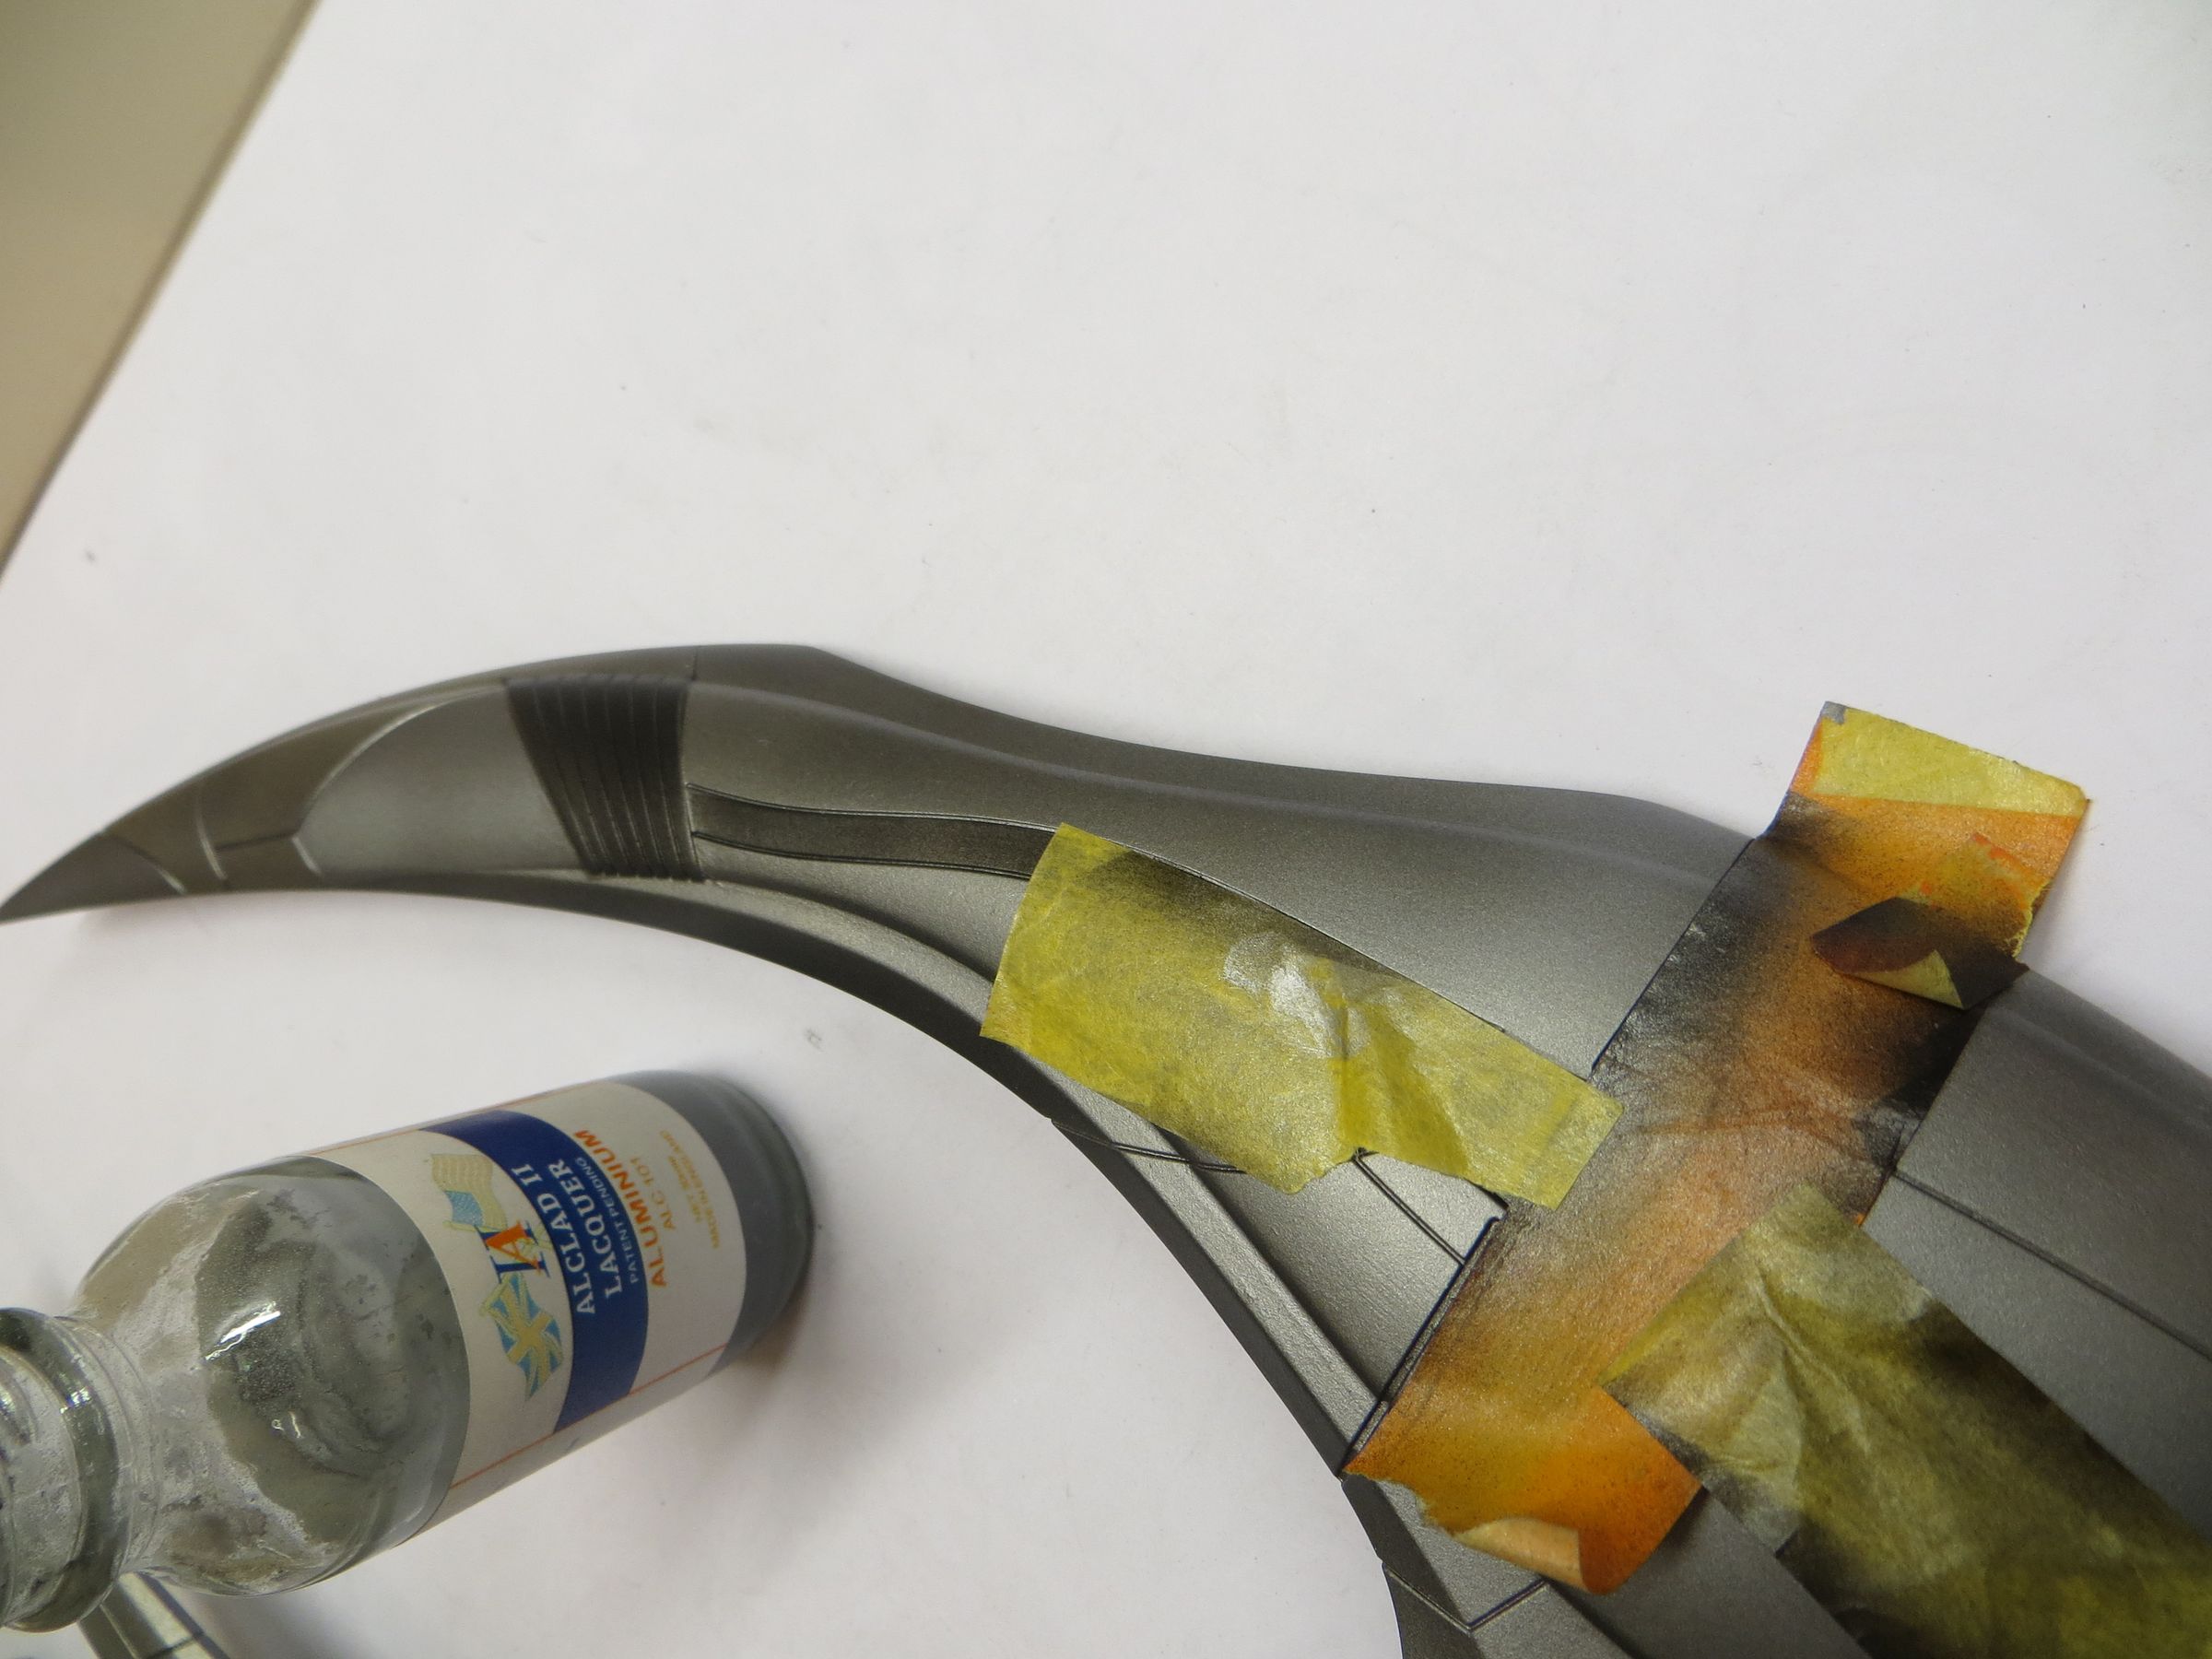
Some pale burnt metal panel to give some color to this beast
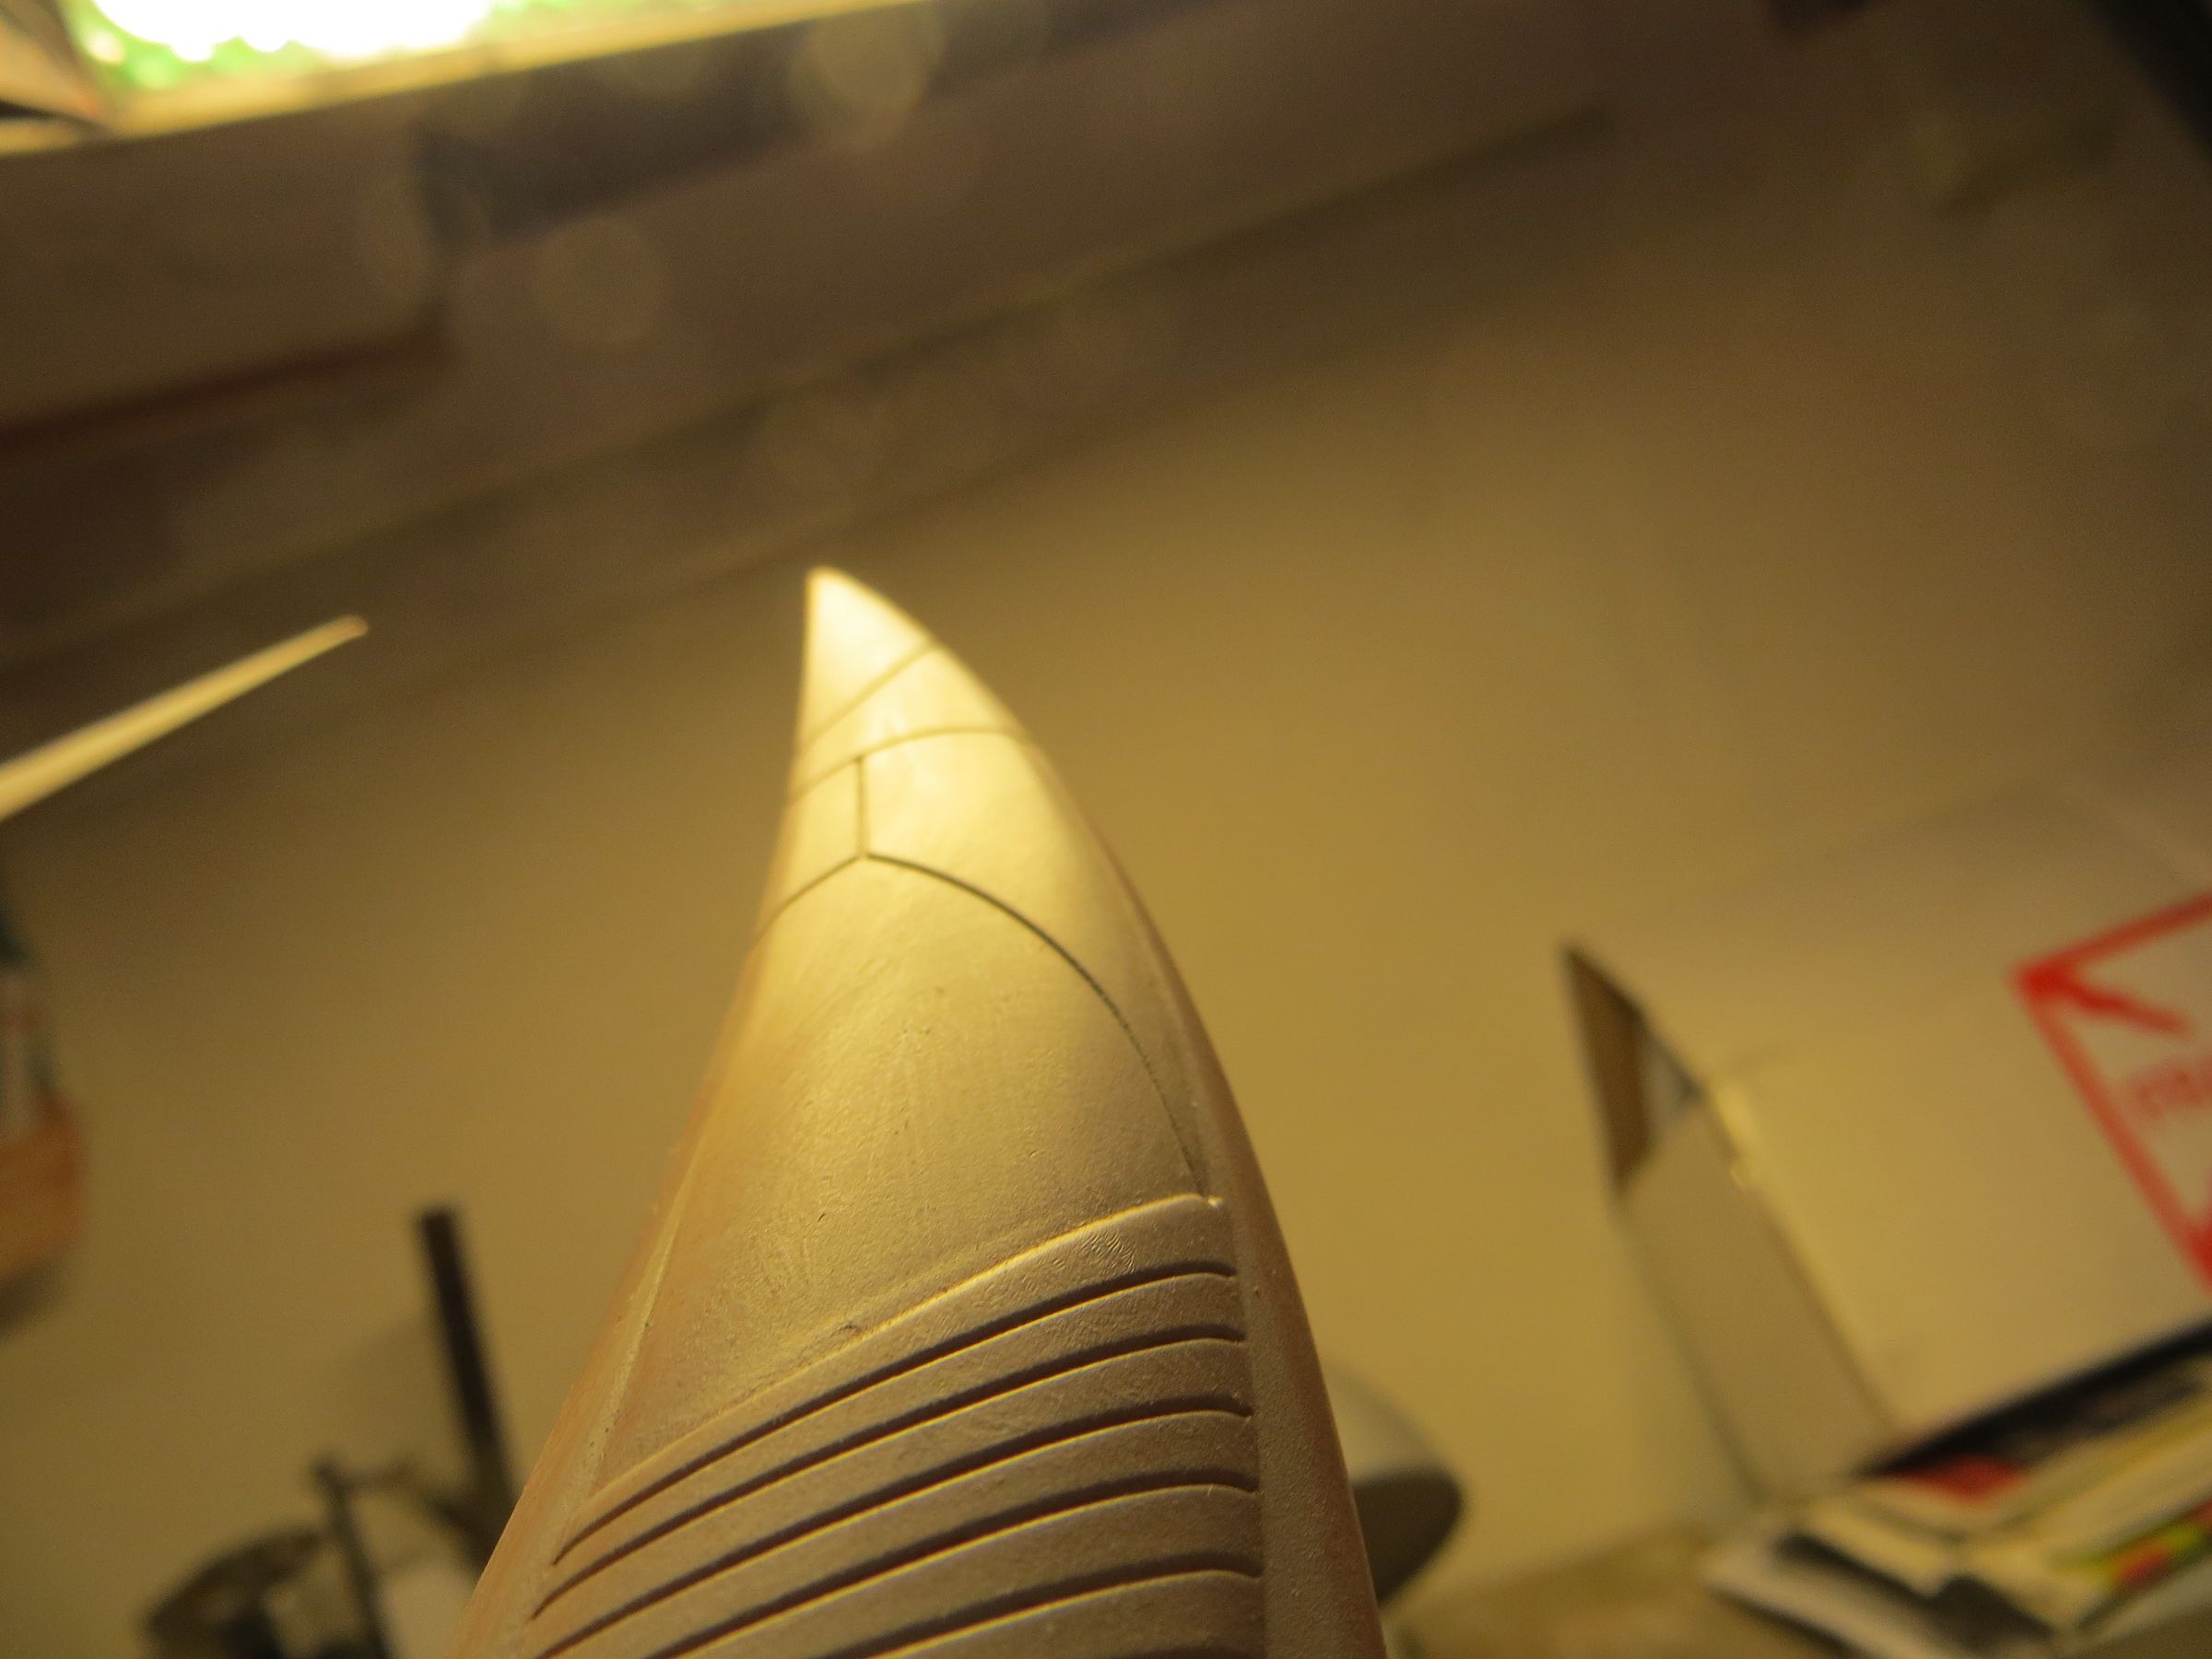
It is already rather nice like that, even if the fondry raw effect does not see too much.
dimanche, 18 août 2013
Par olcabour le dimanche, 18 août 2013, 16:23
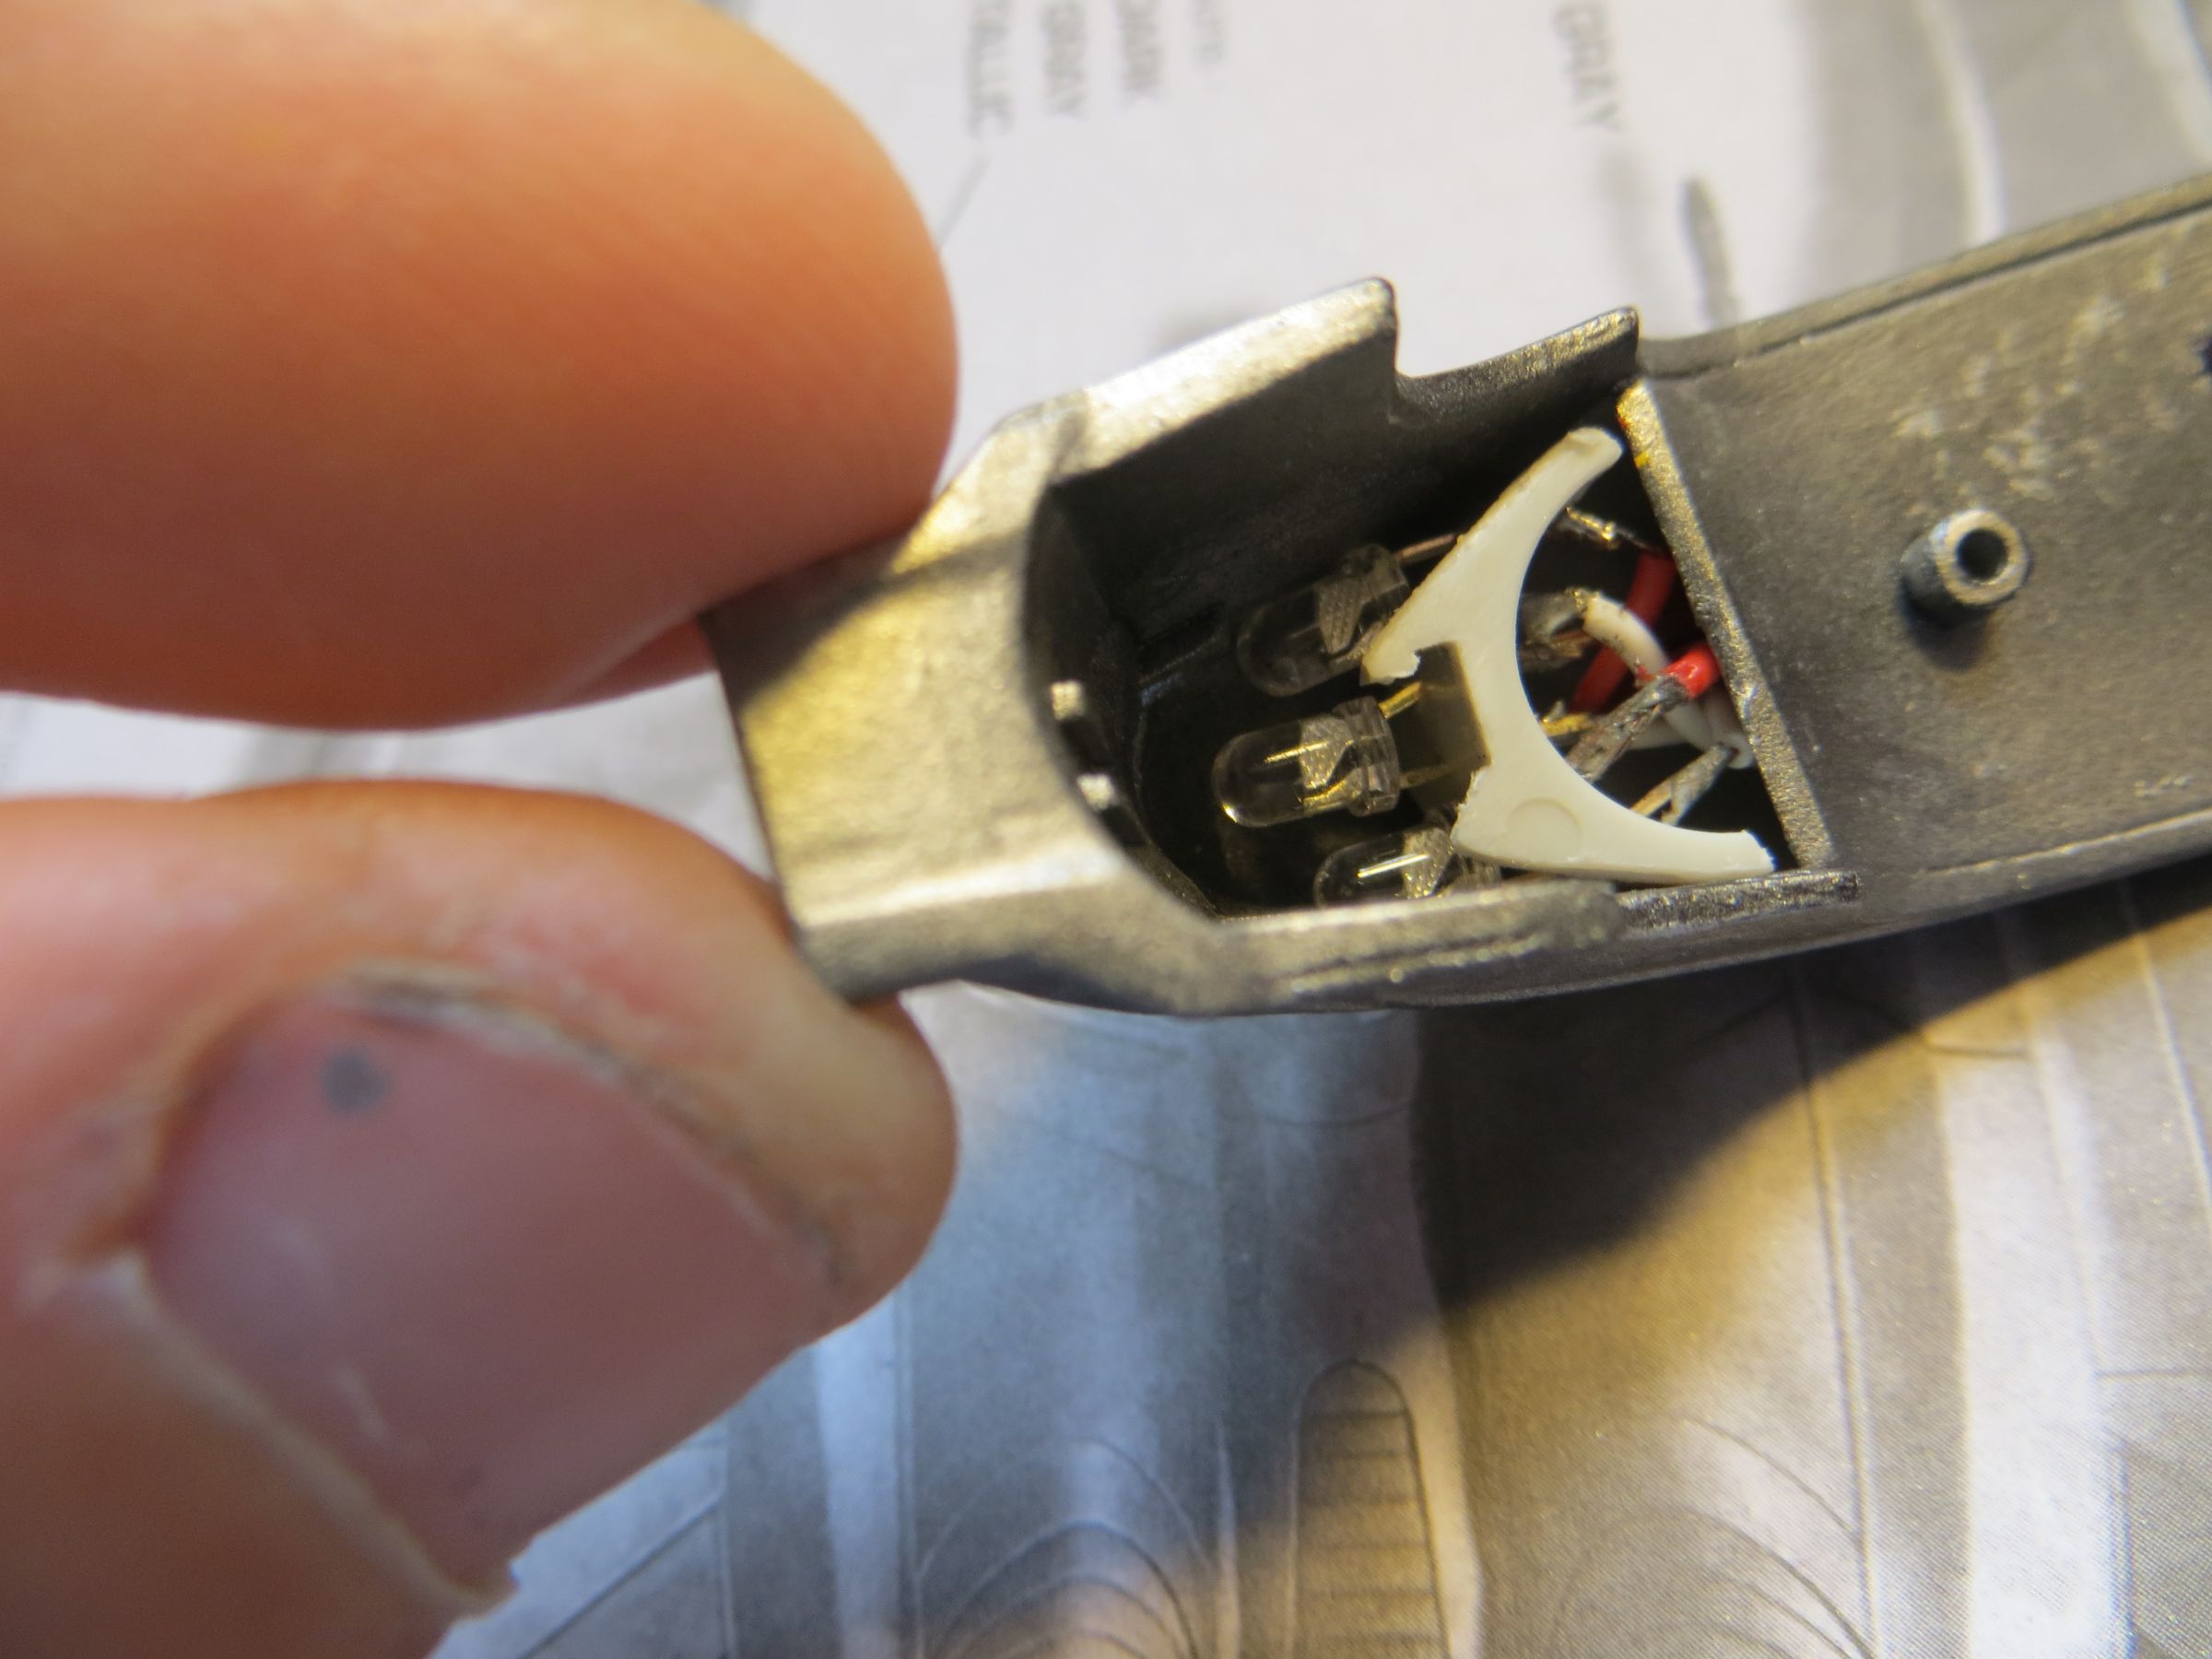
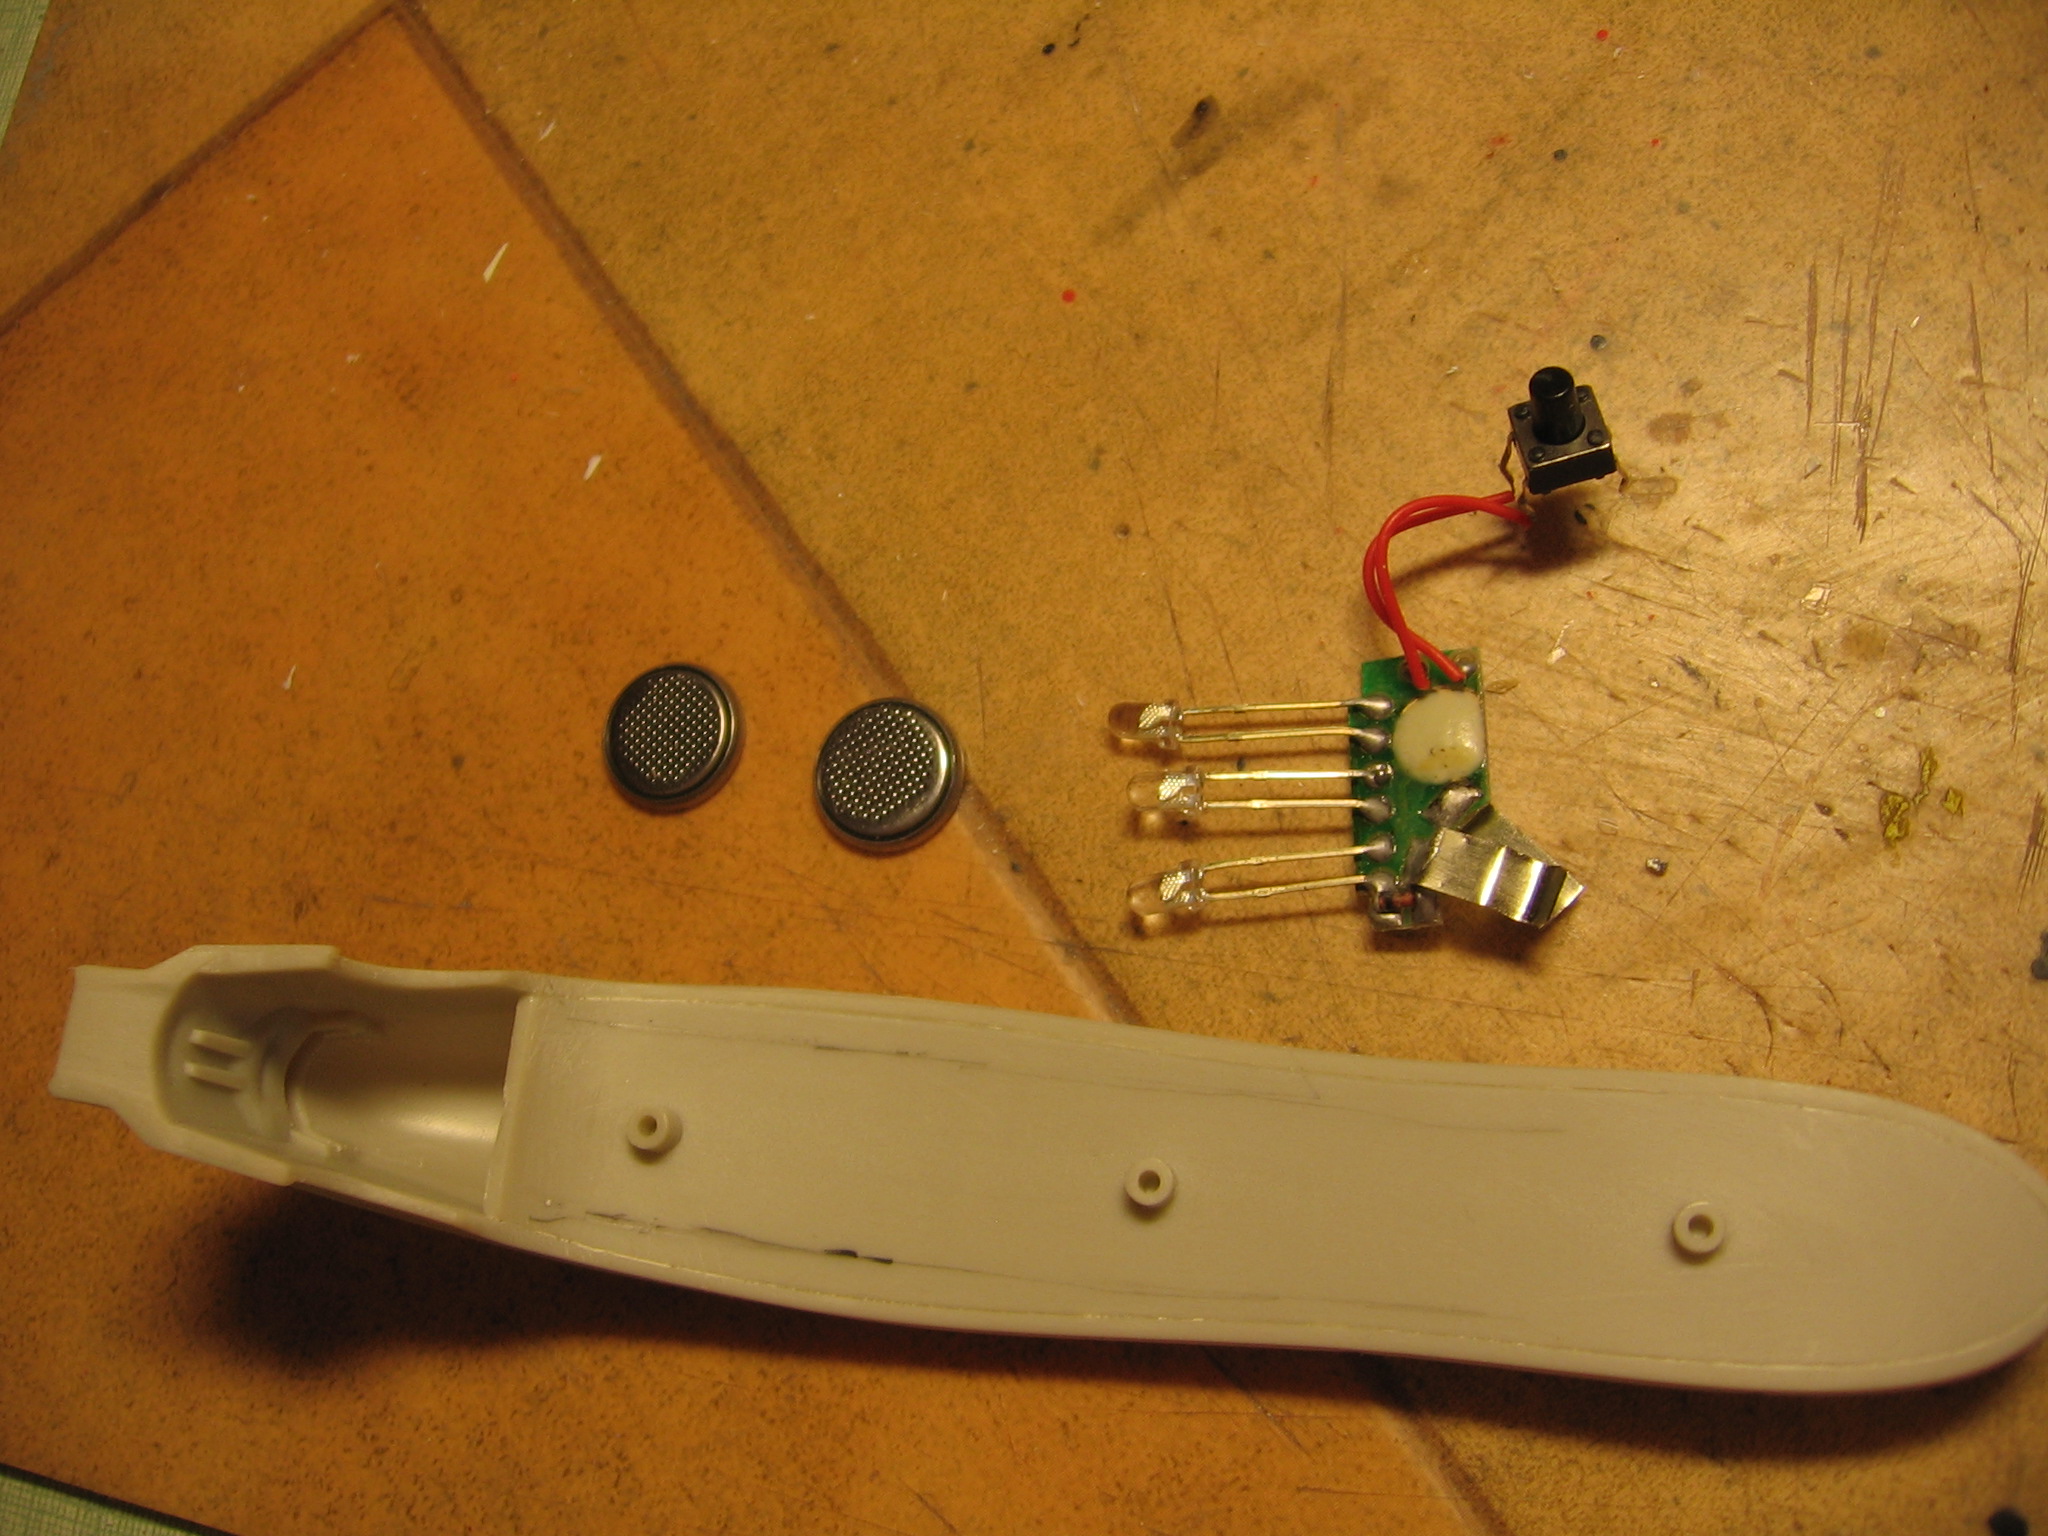
On this Raider, I will use the same flashing reflector LED circuit as for the Centurion.

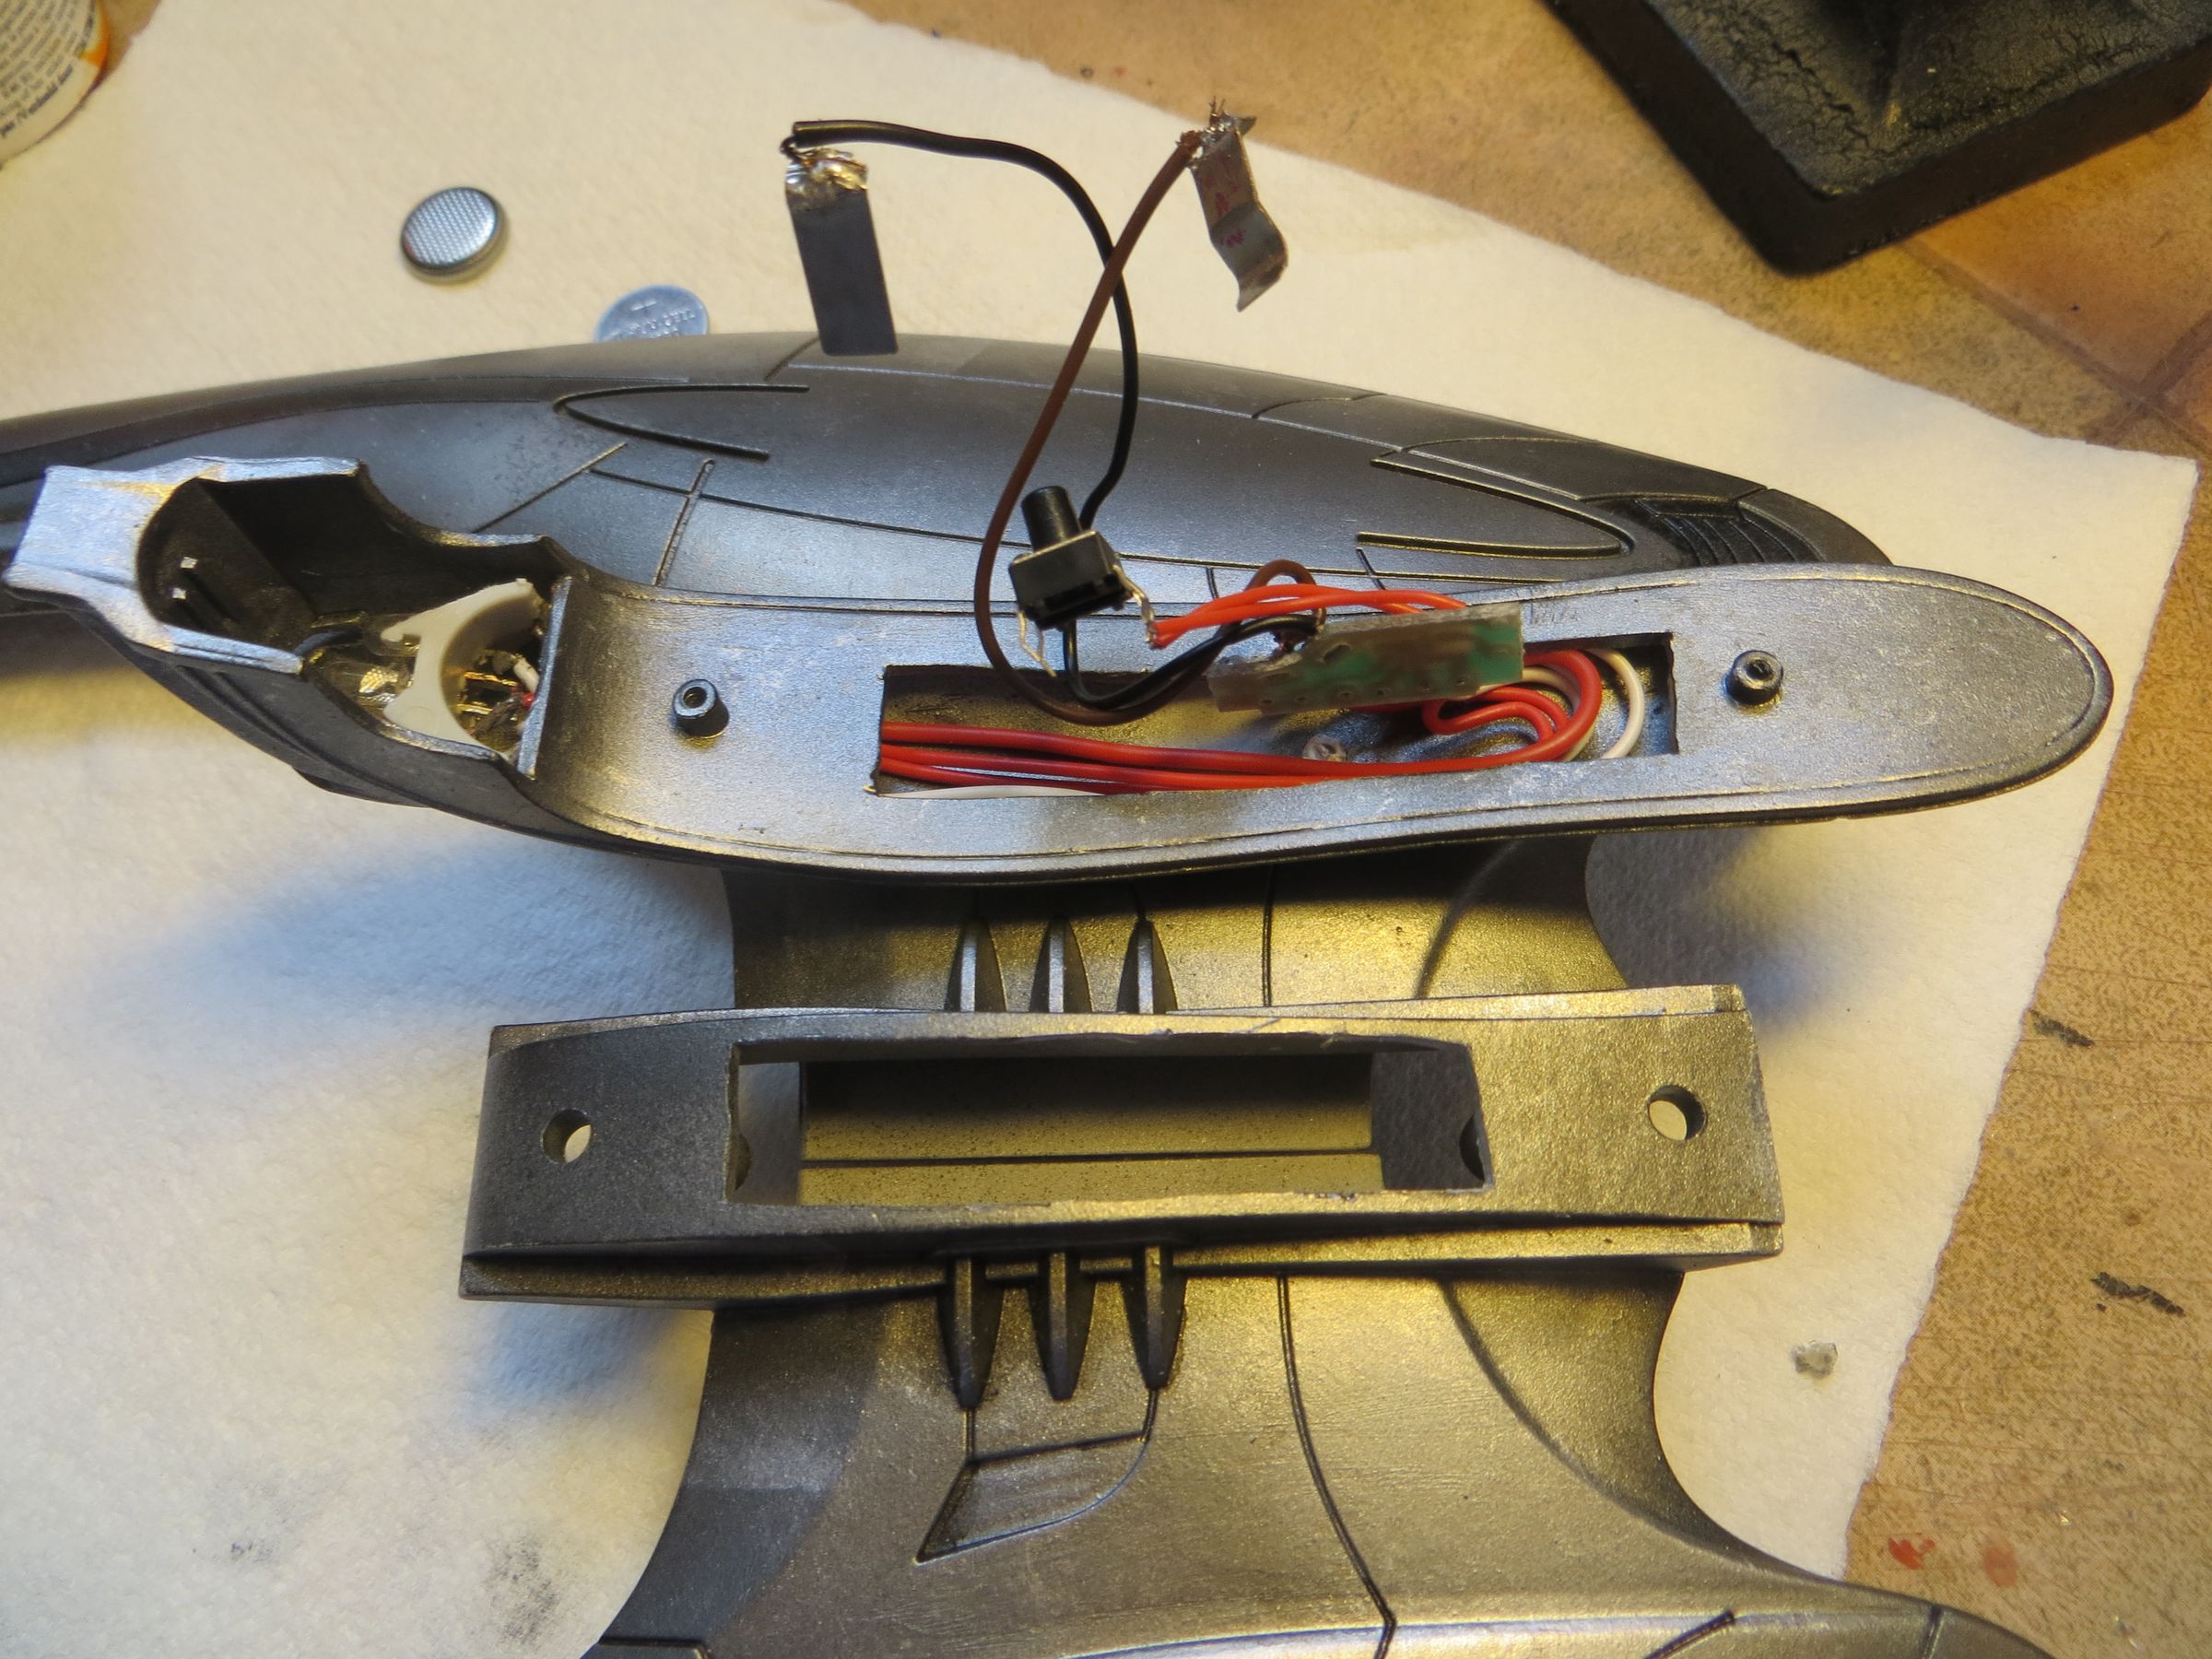
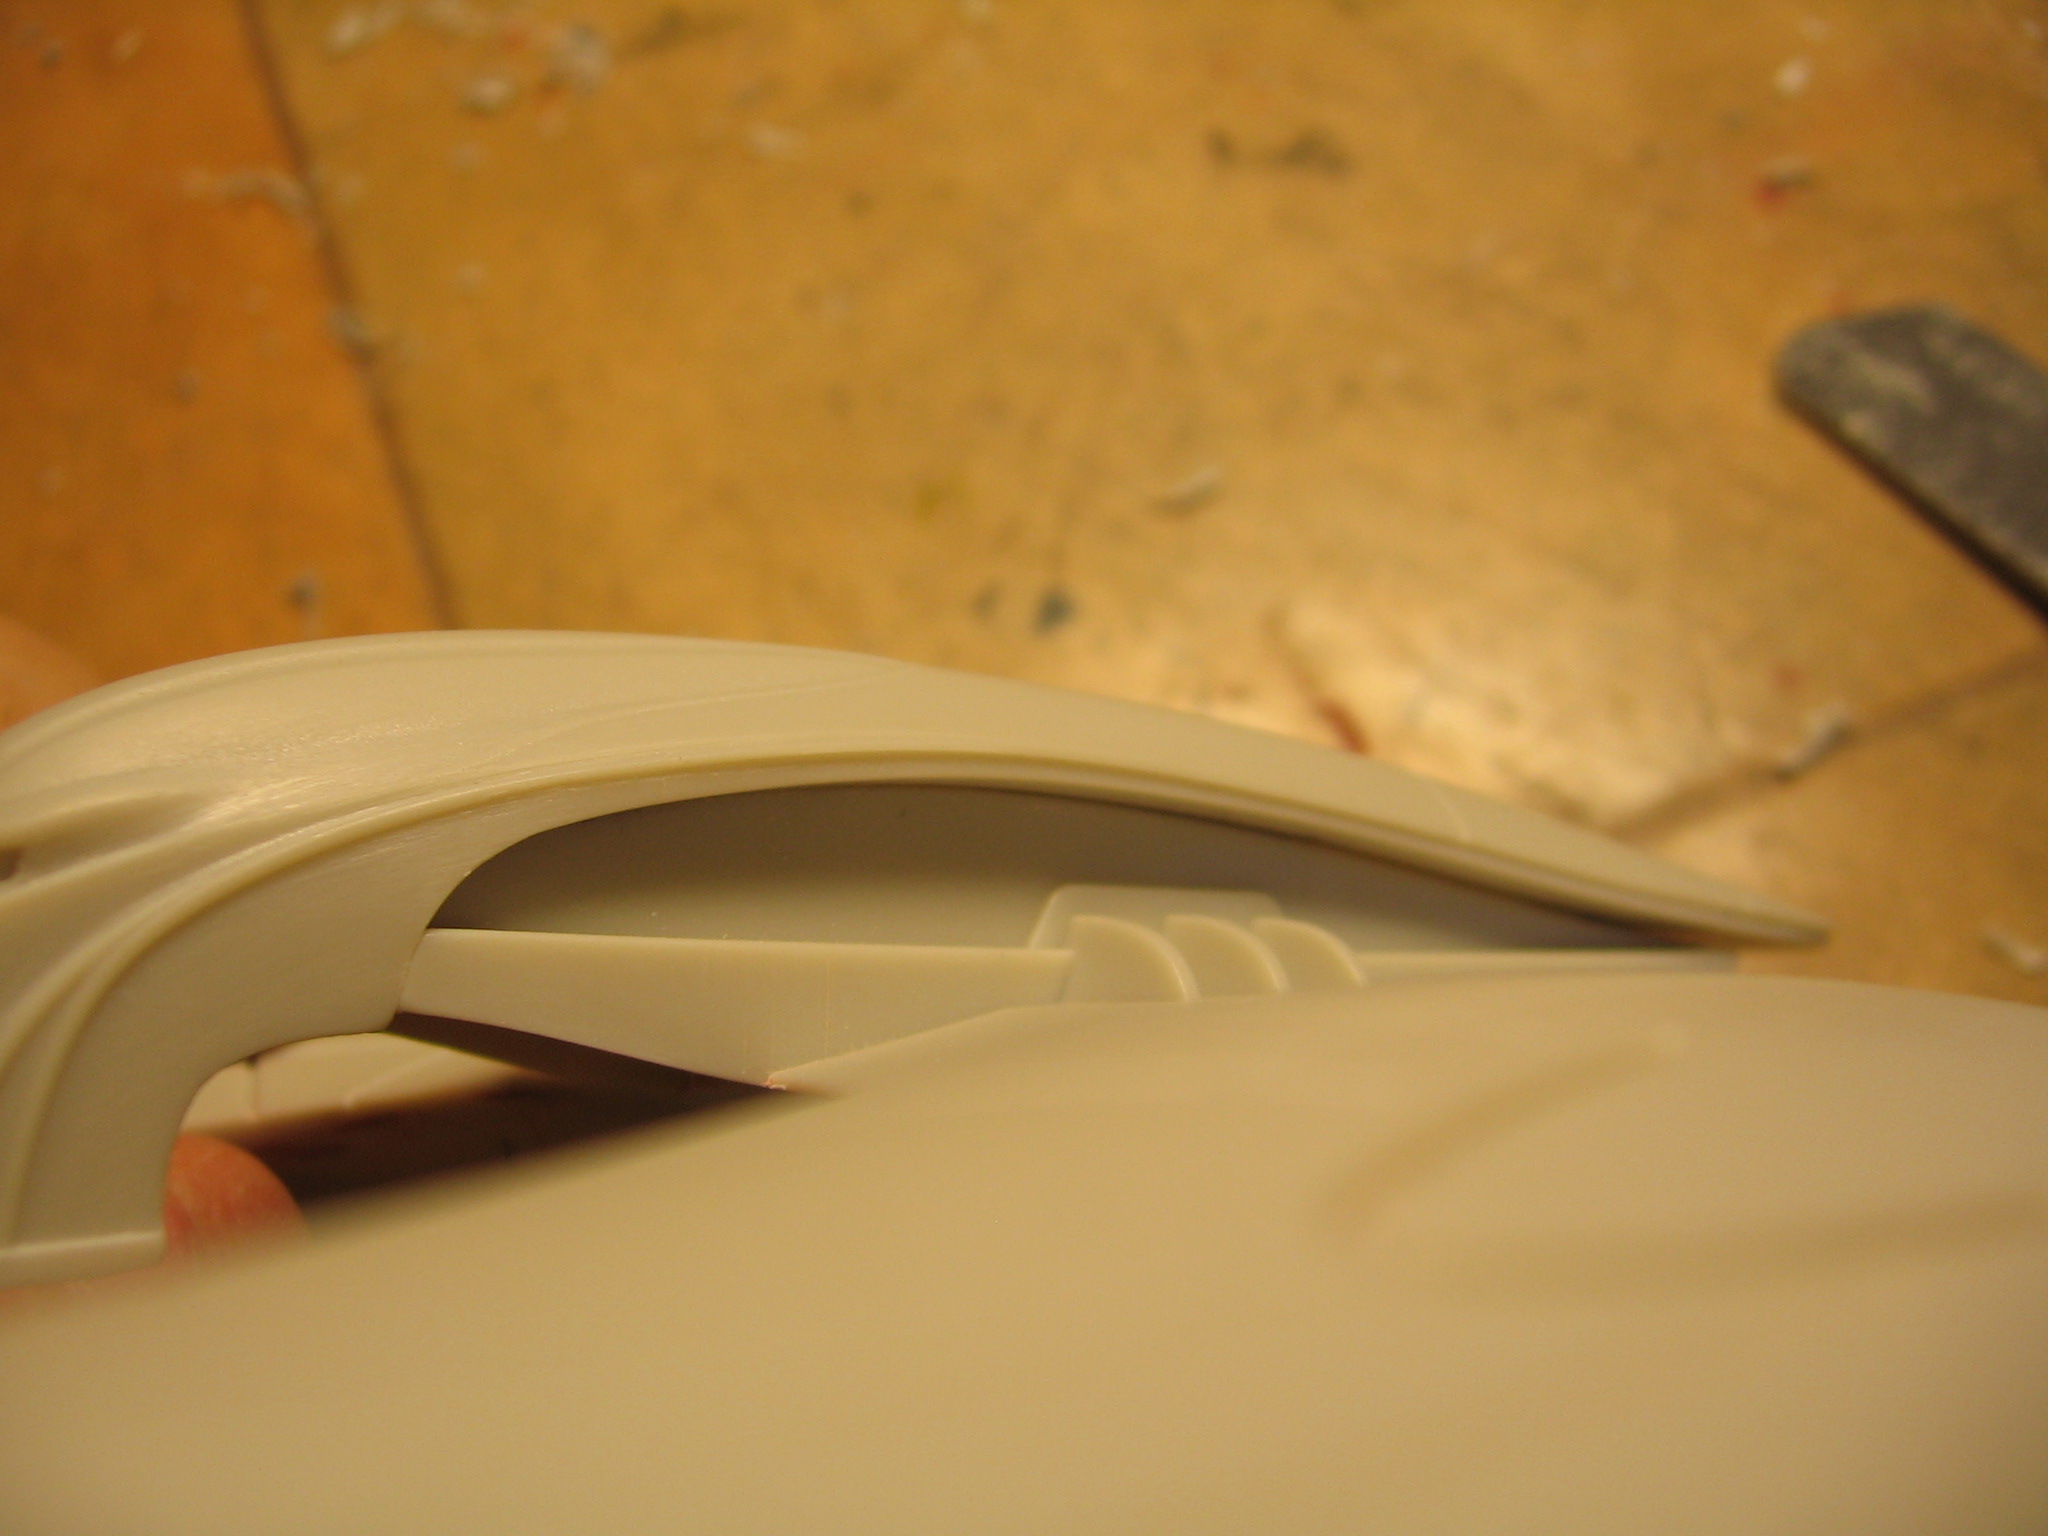
The part in the Raider head is too tight and the available space is too narrow to plug the circuit+LED+battery inside as is, it needs some additional work.
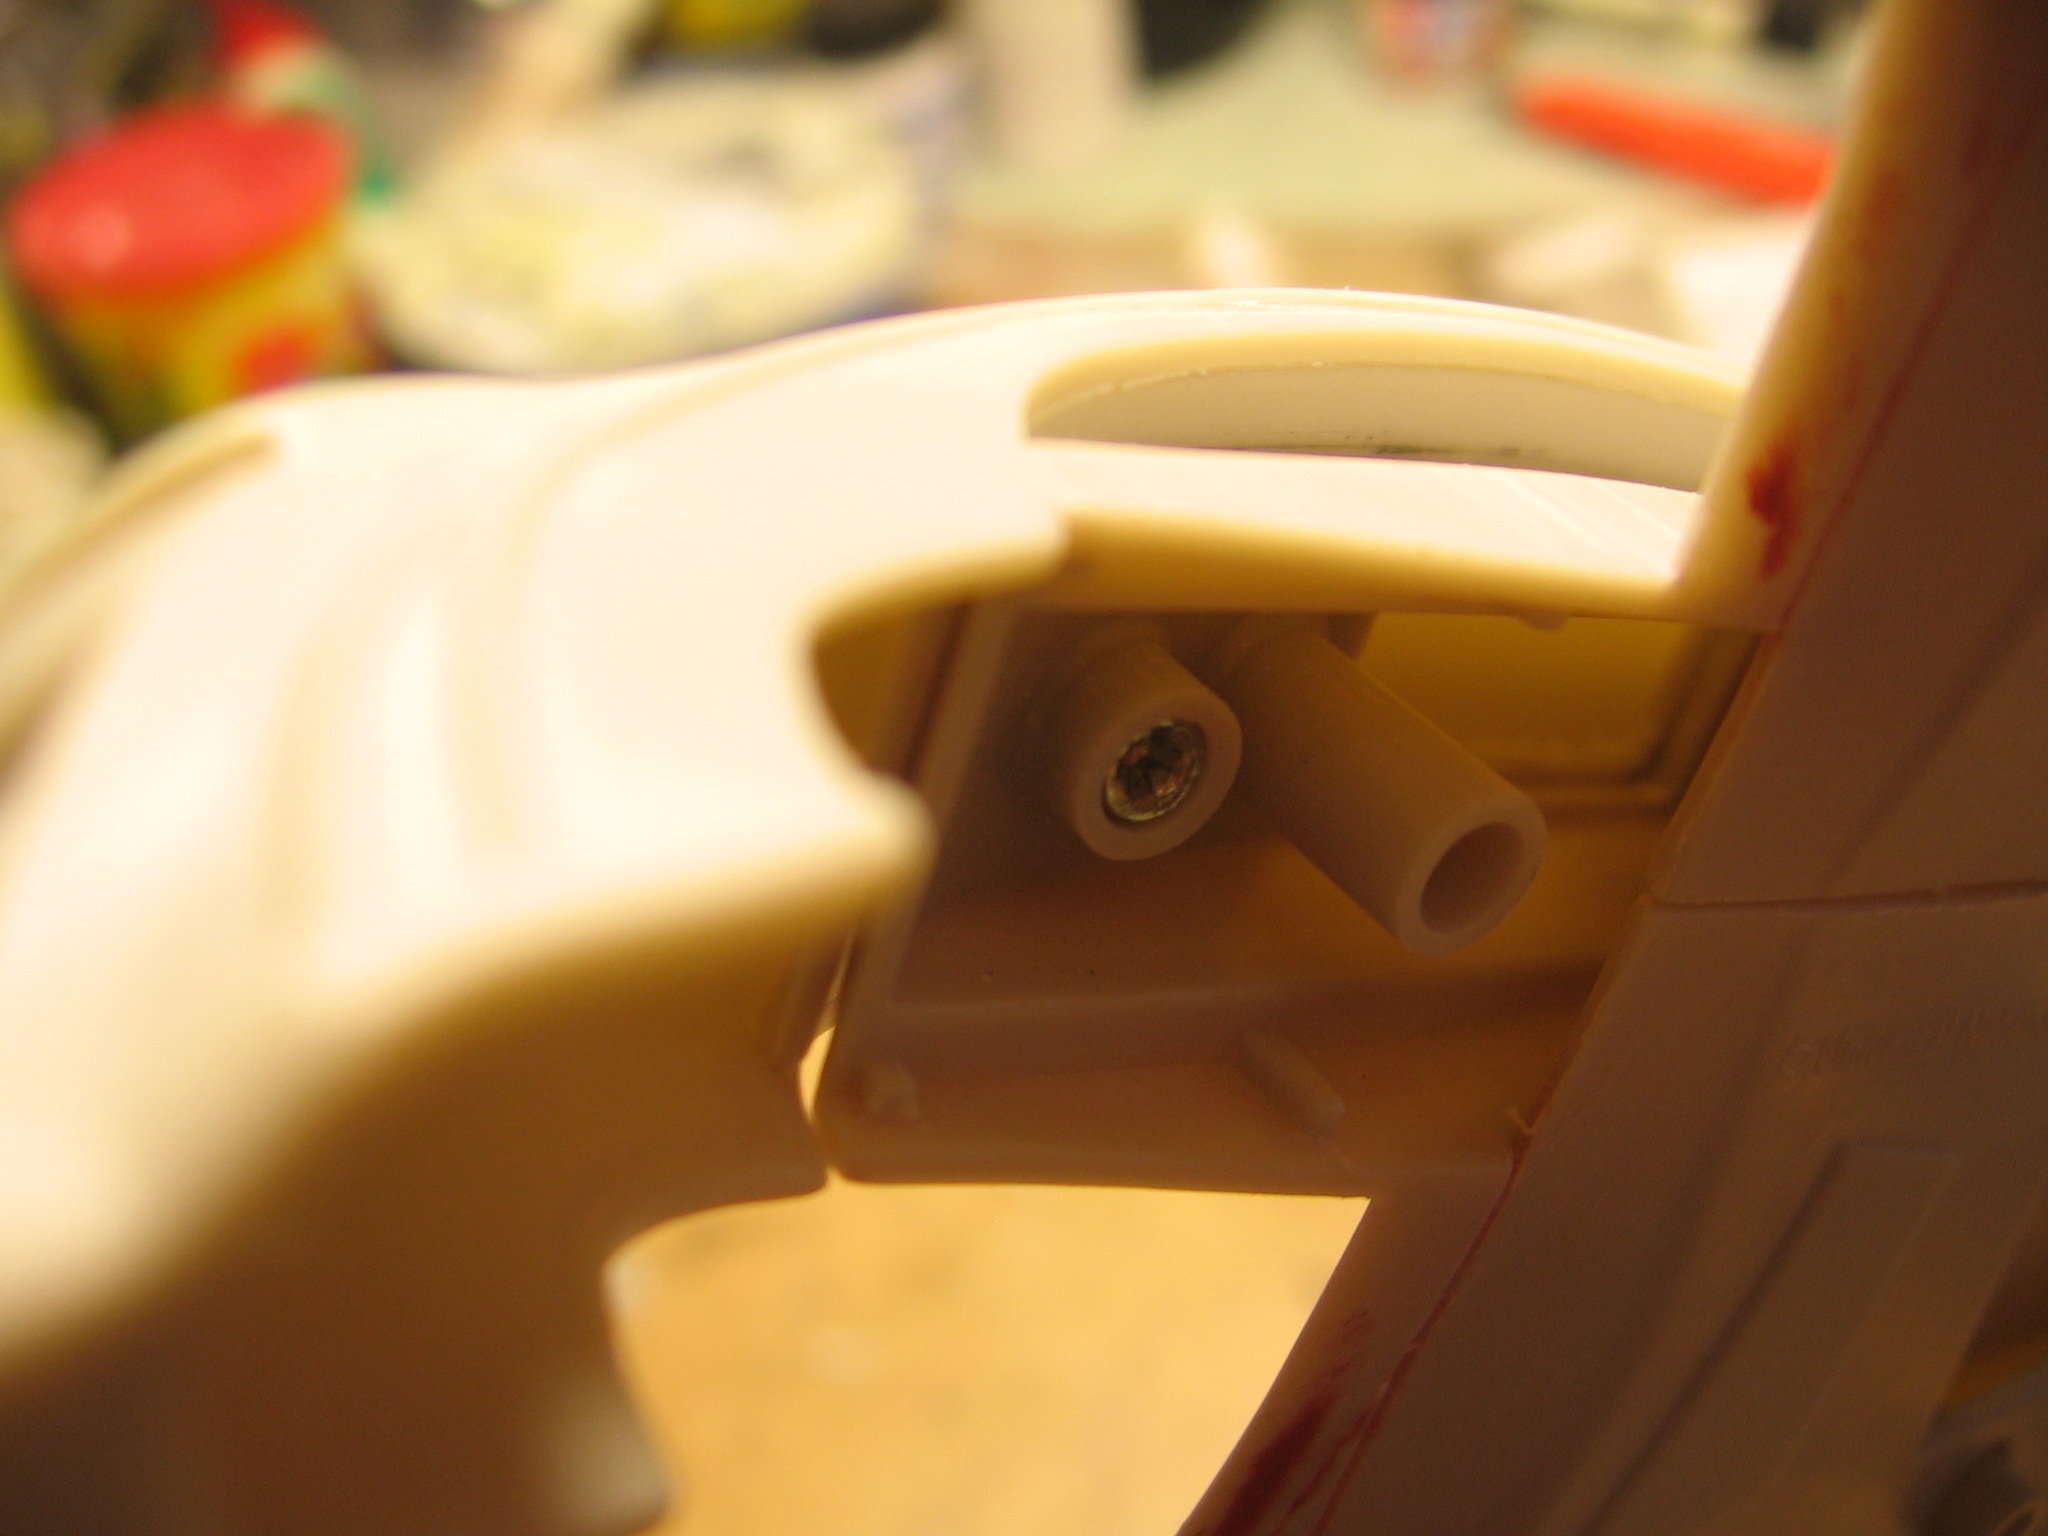
Initially, I intended to glue the head after painting, but it now need to remain removable. I use the pins to install screws. Magnets will be glued at the opposite into the body, which will keep the head in place.

You can see the screw by one of the pins (the magnet is not set up to it on one side).
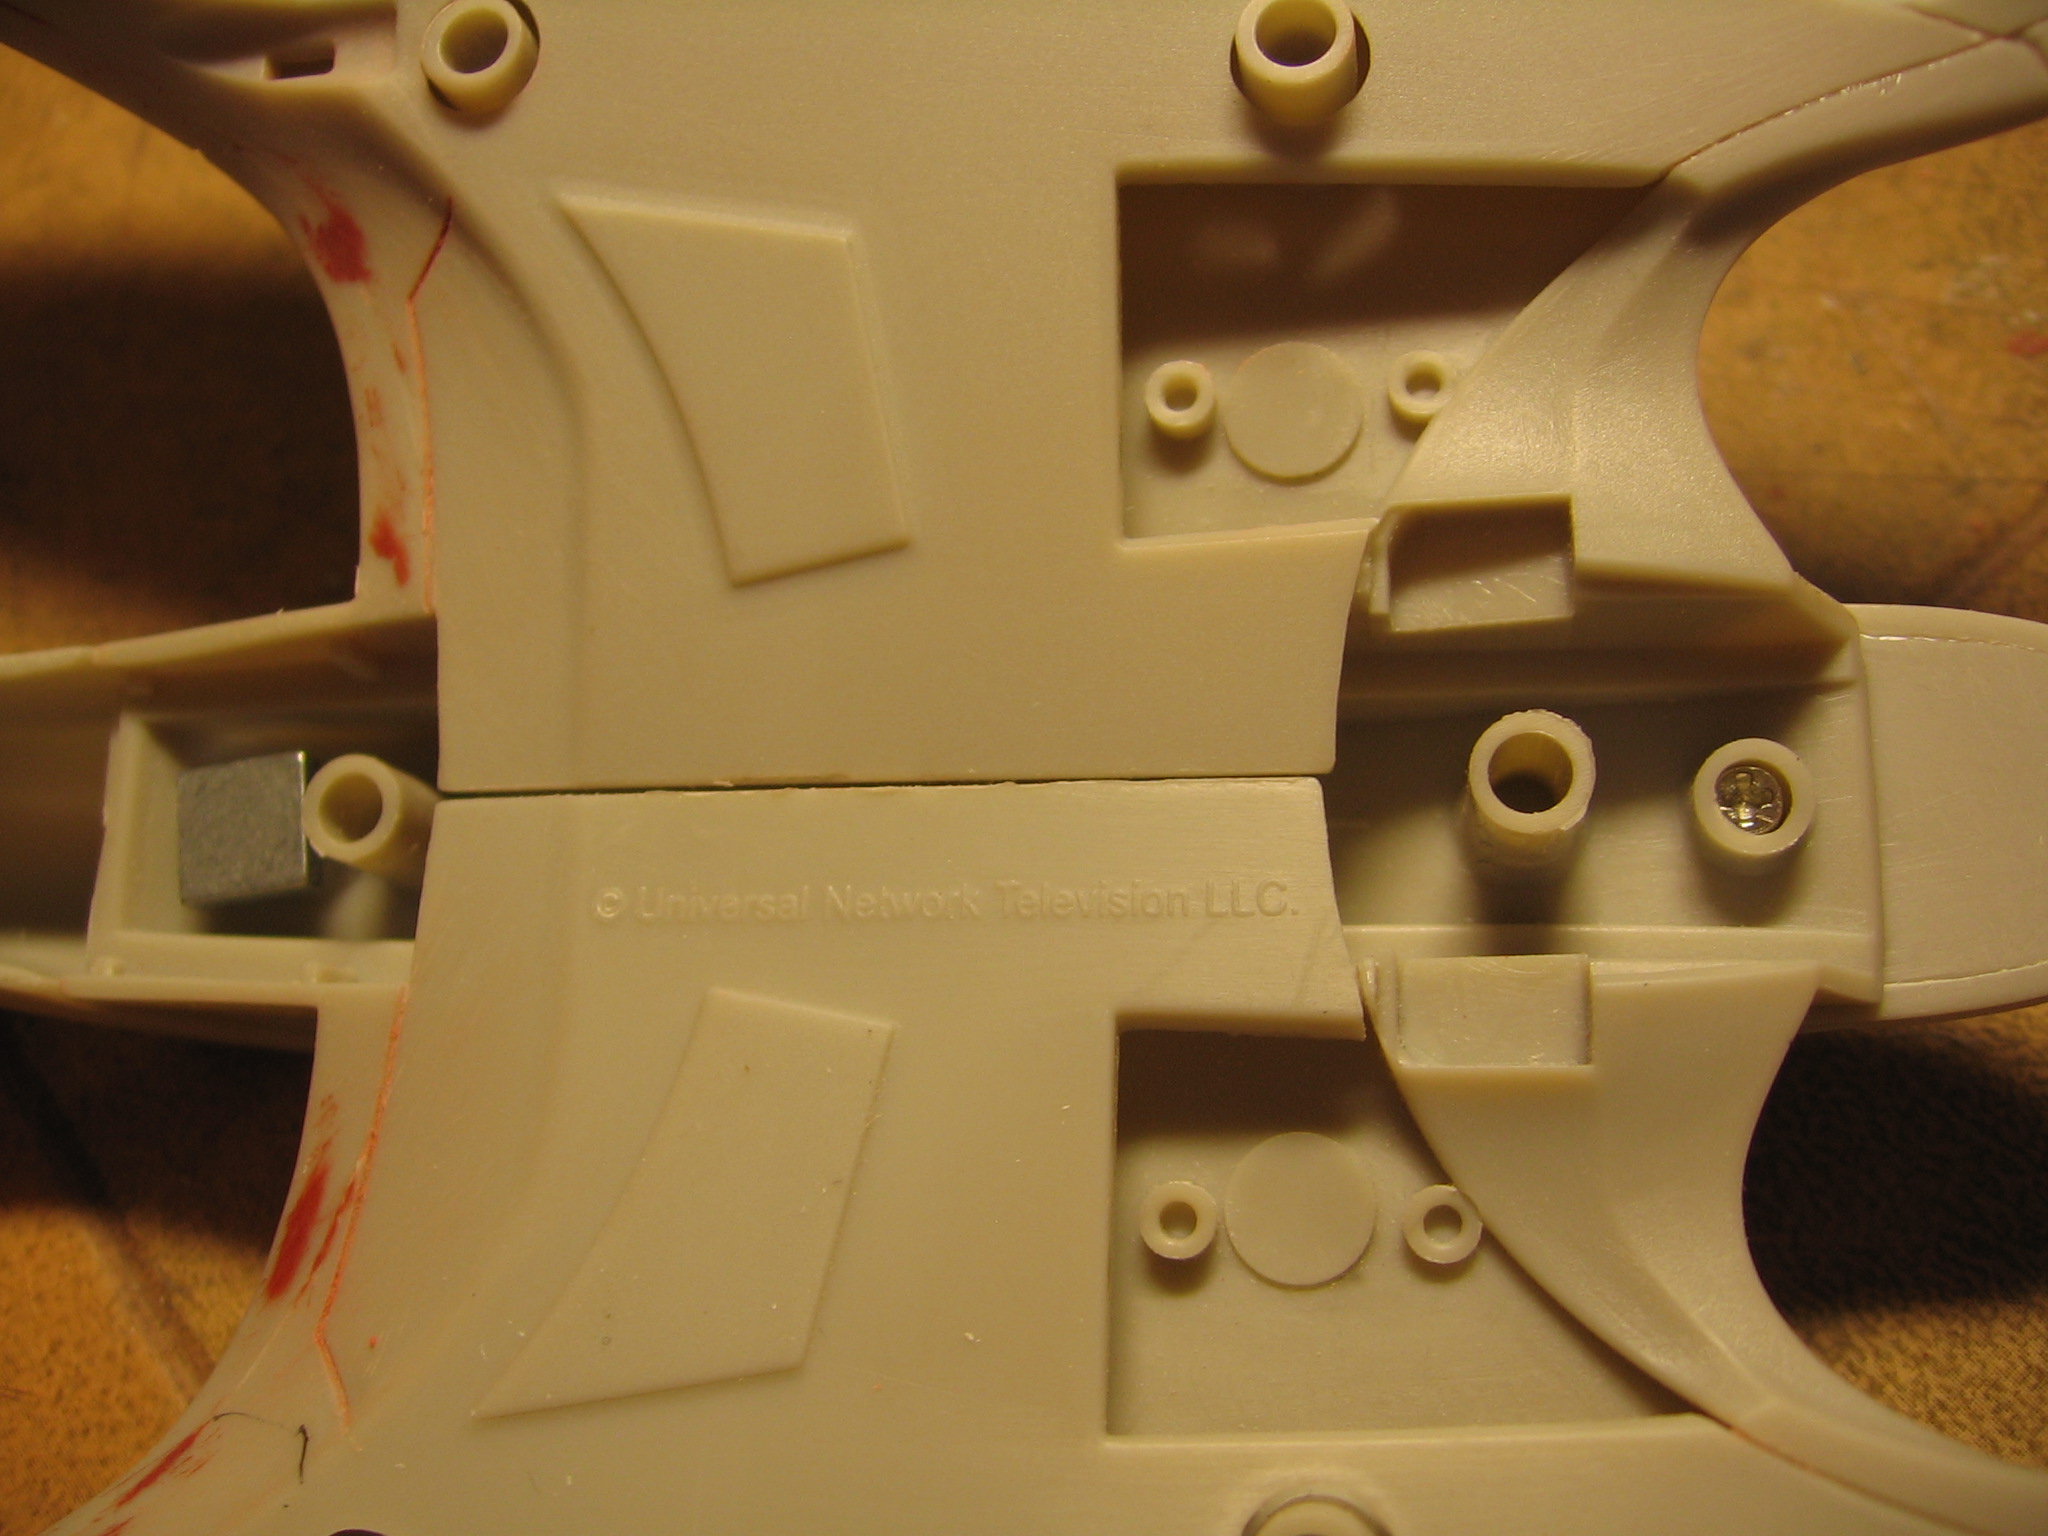
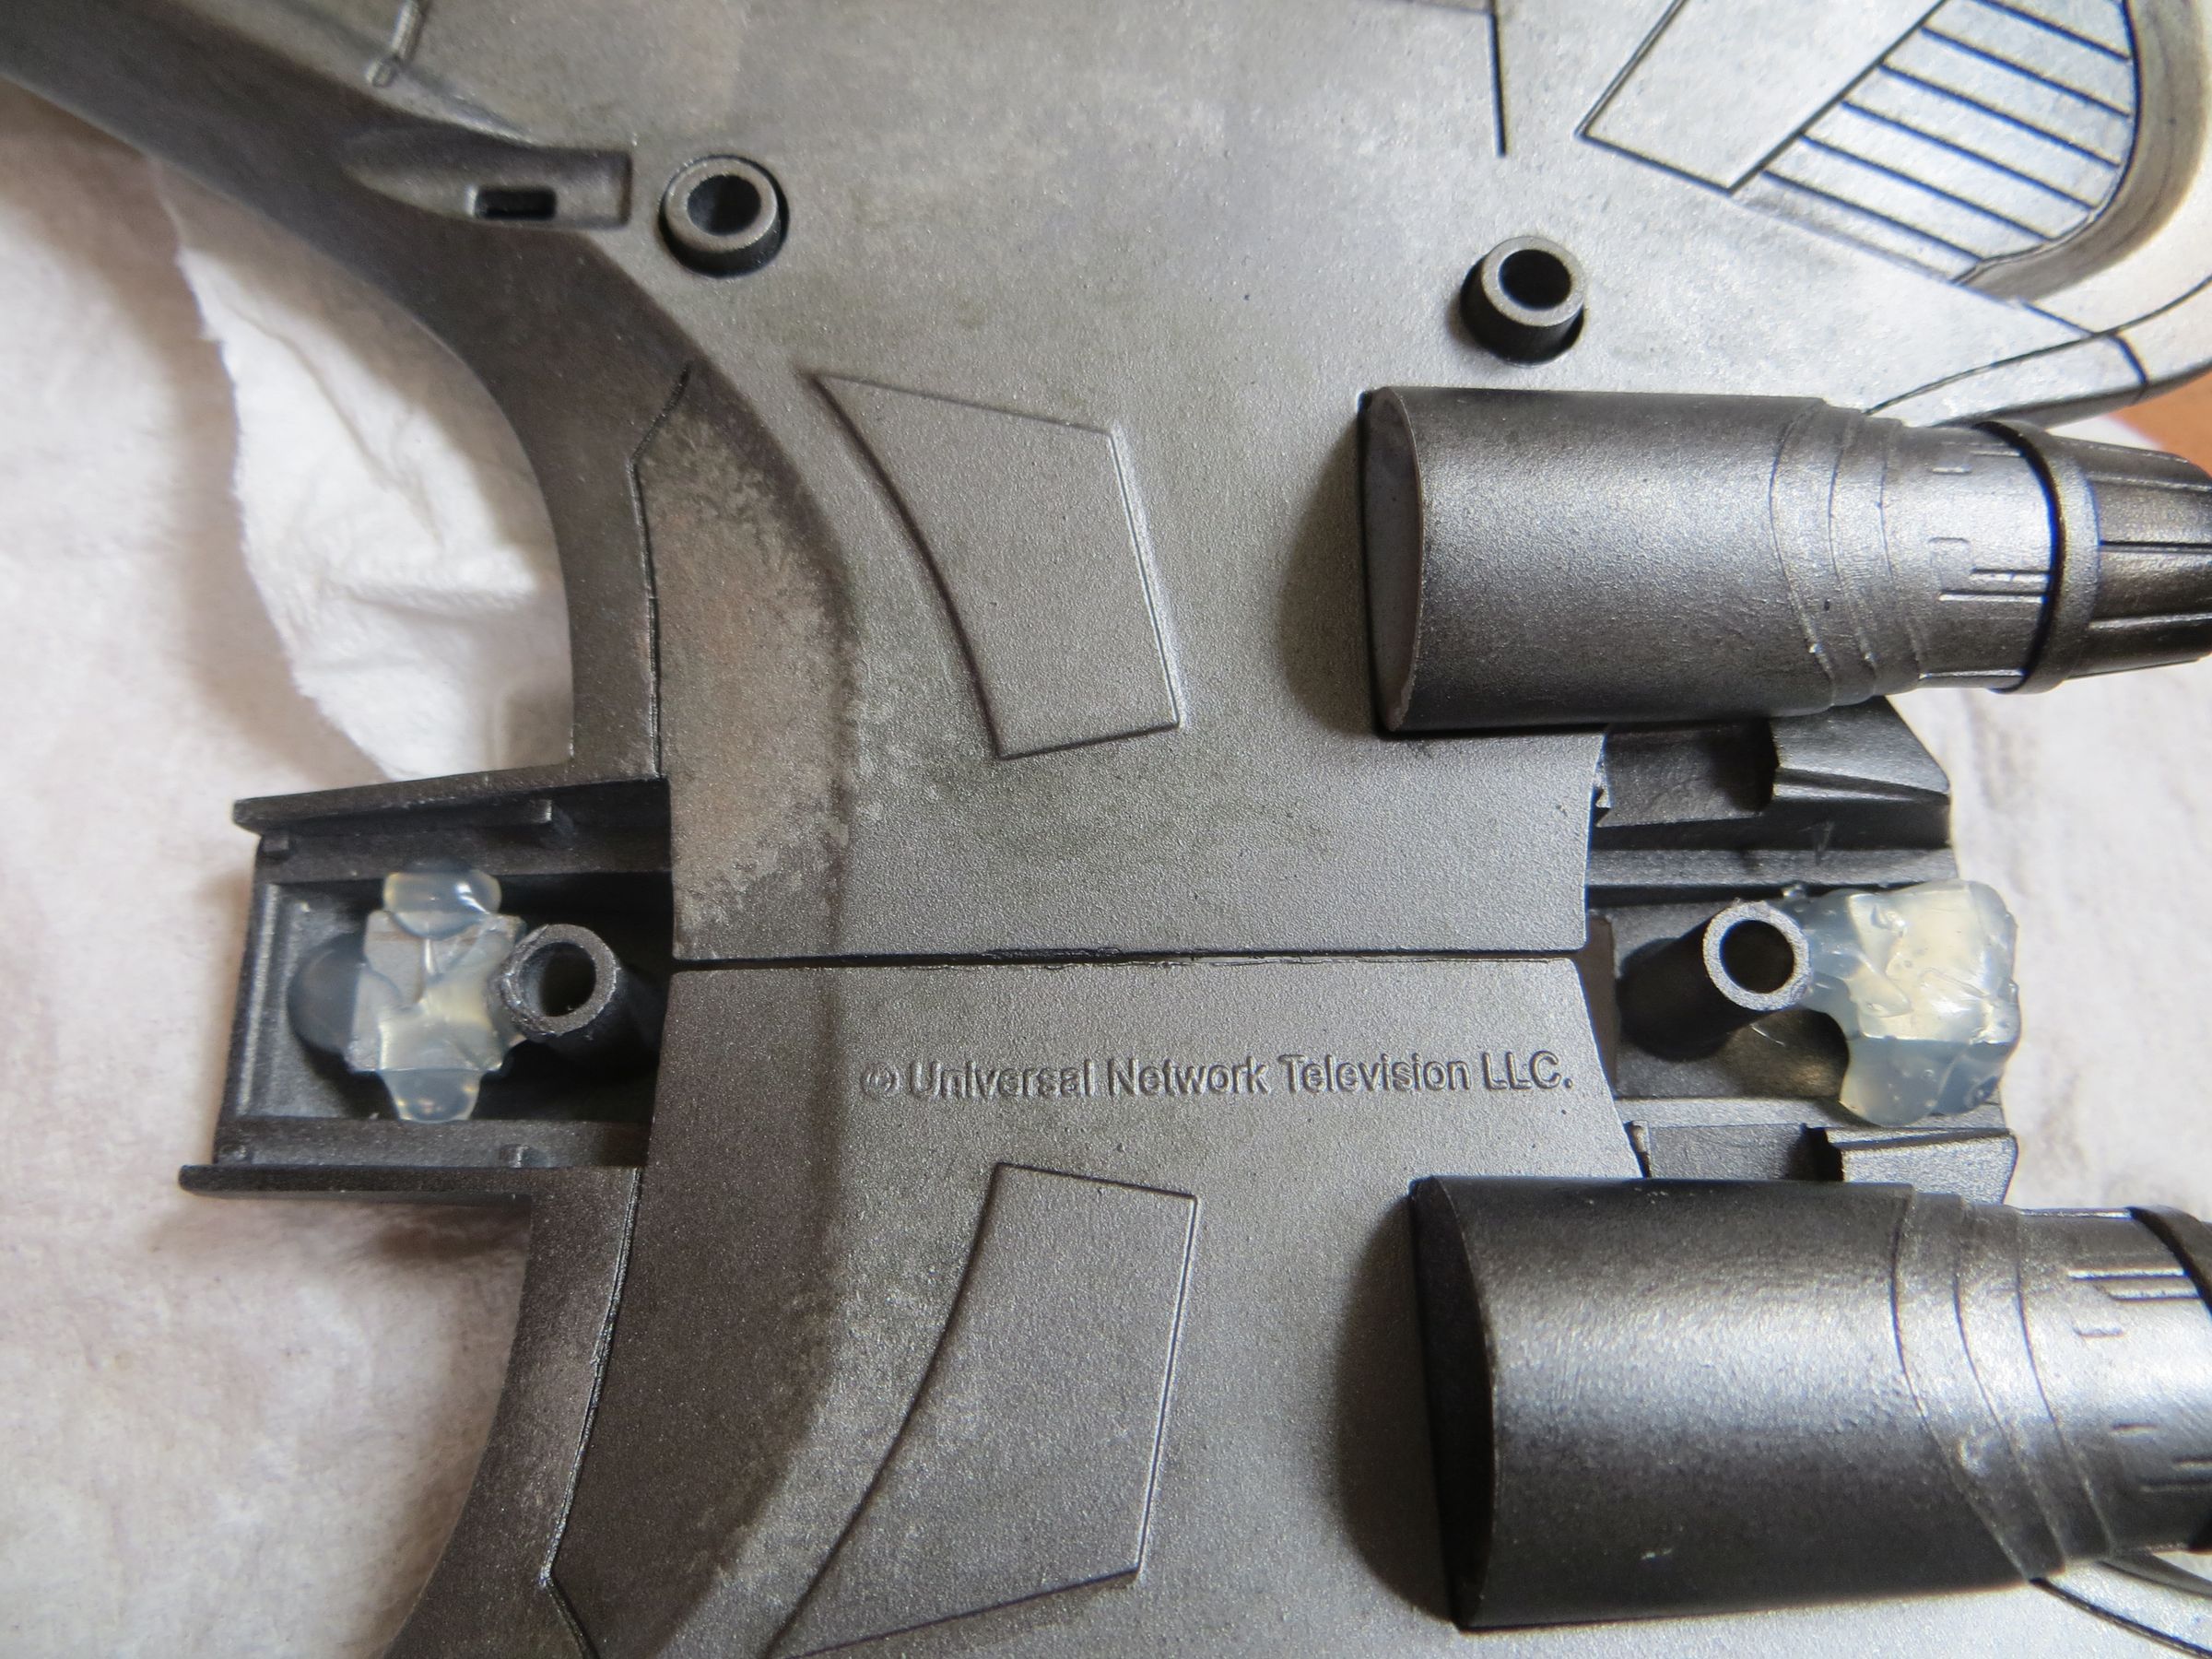
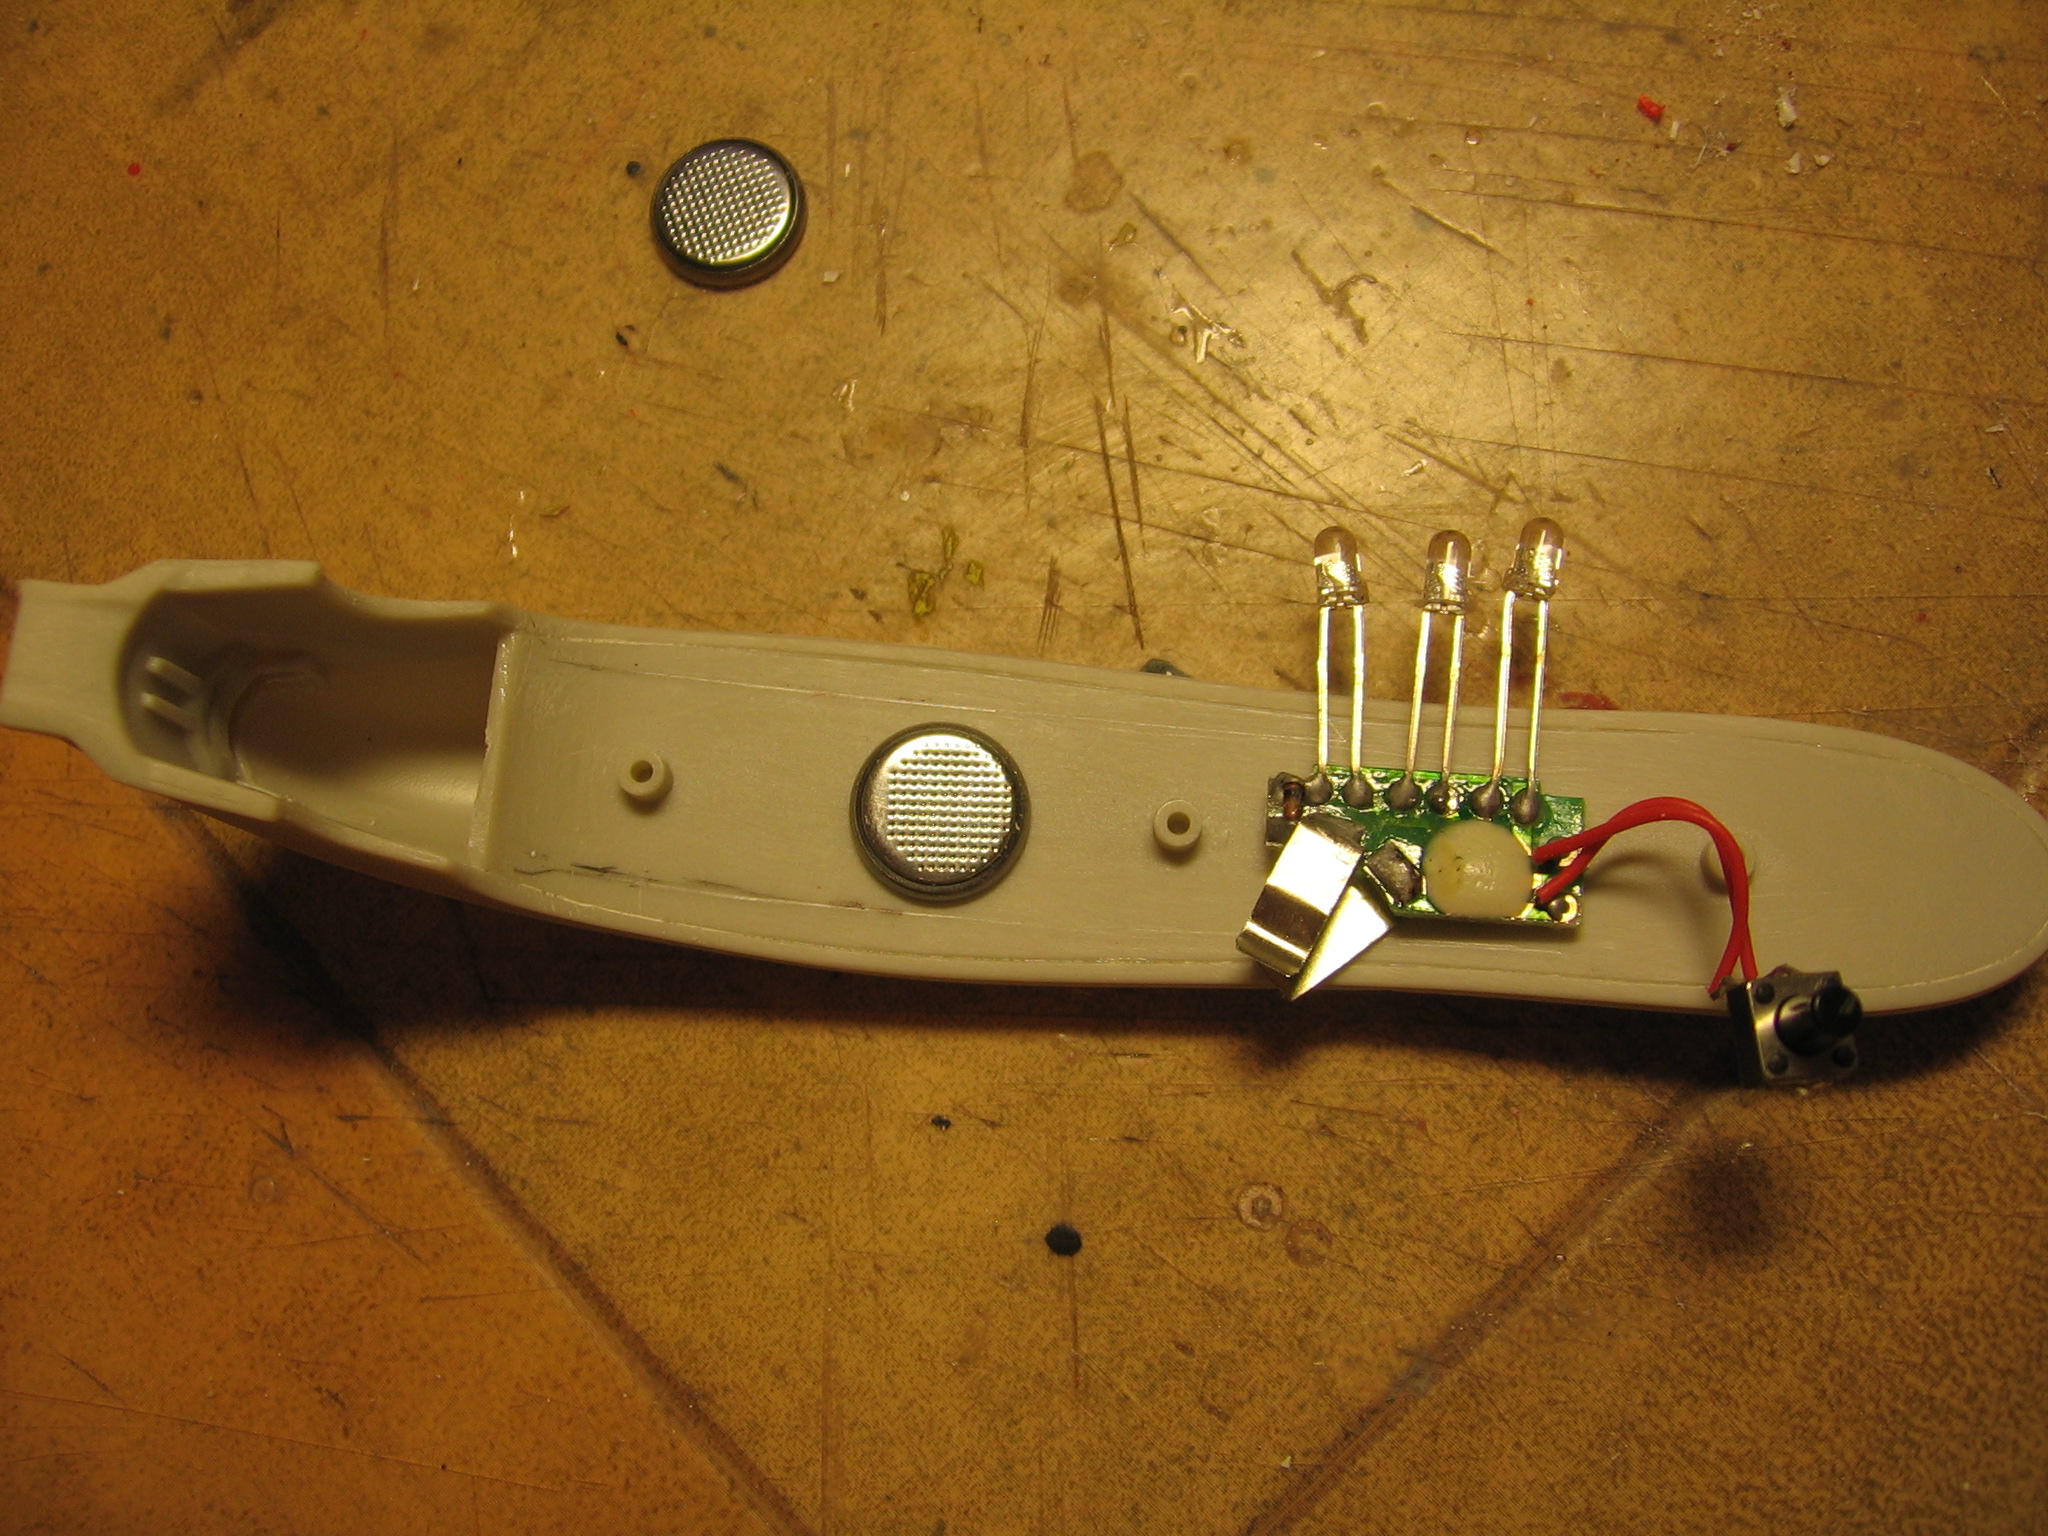
The two sides facing the head and the main body are hollowed to install the electric components.
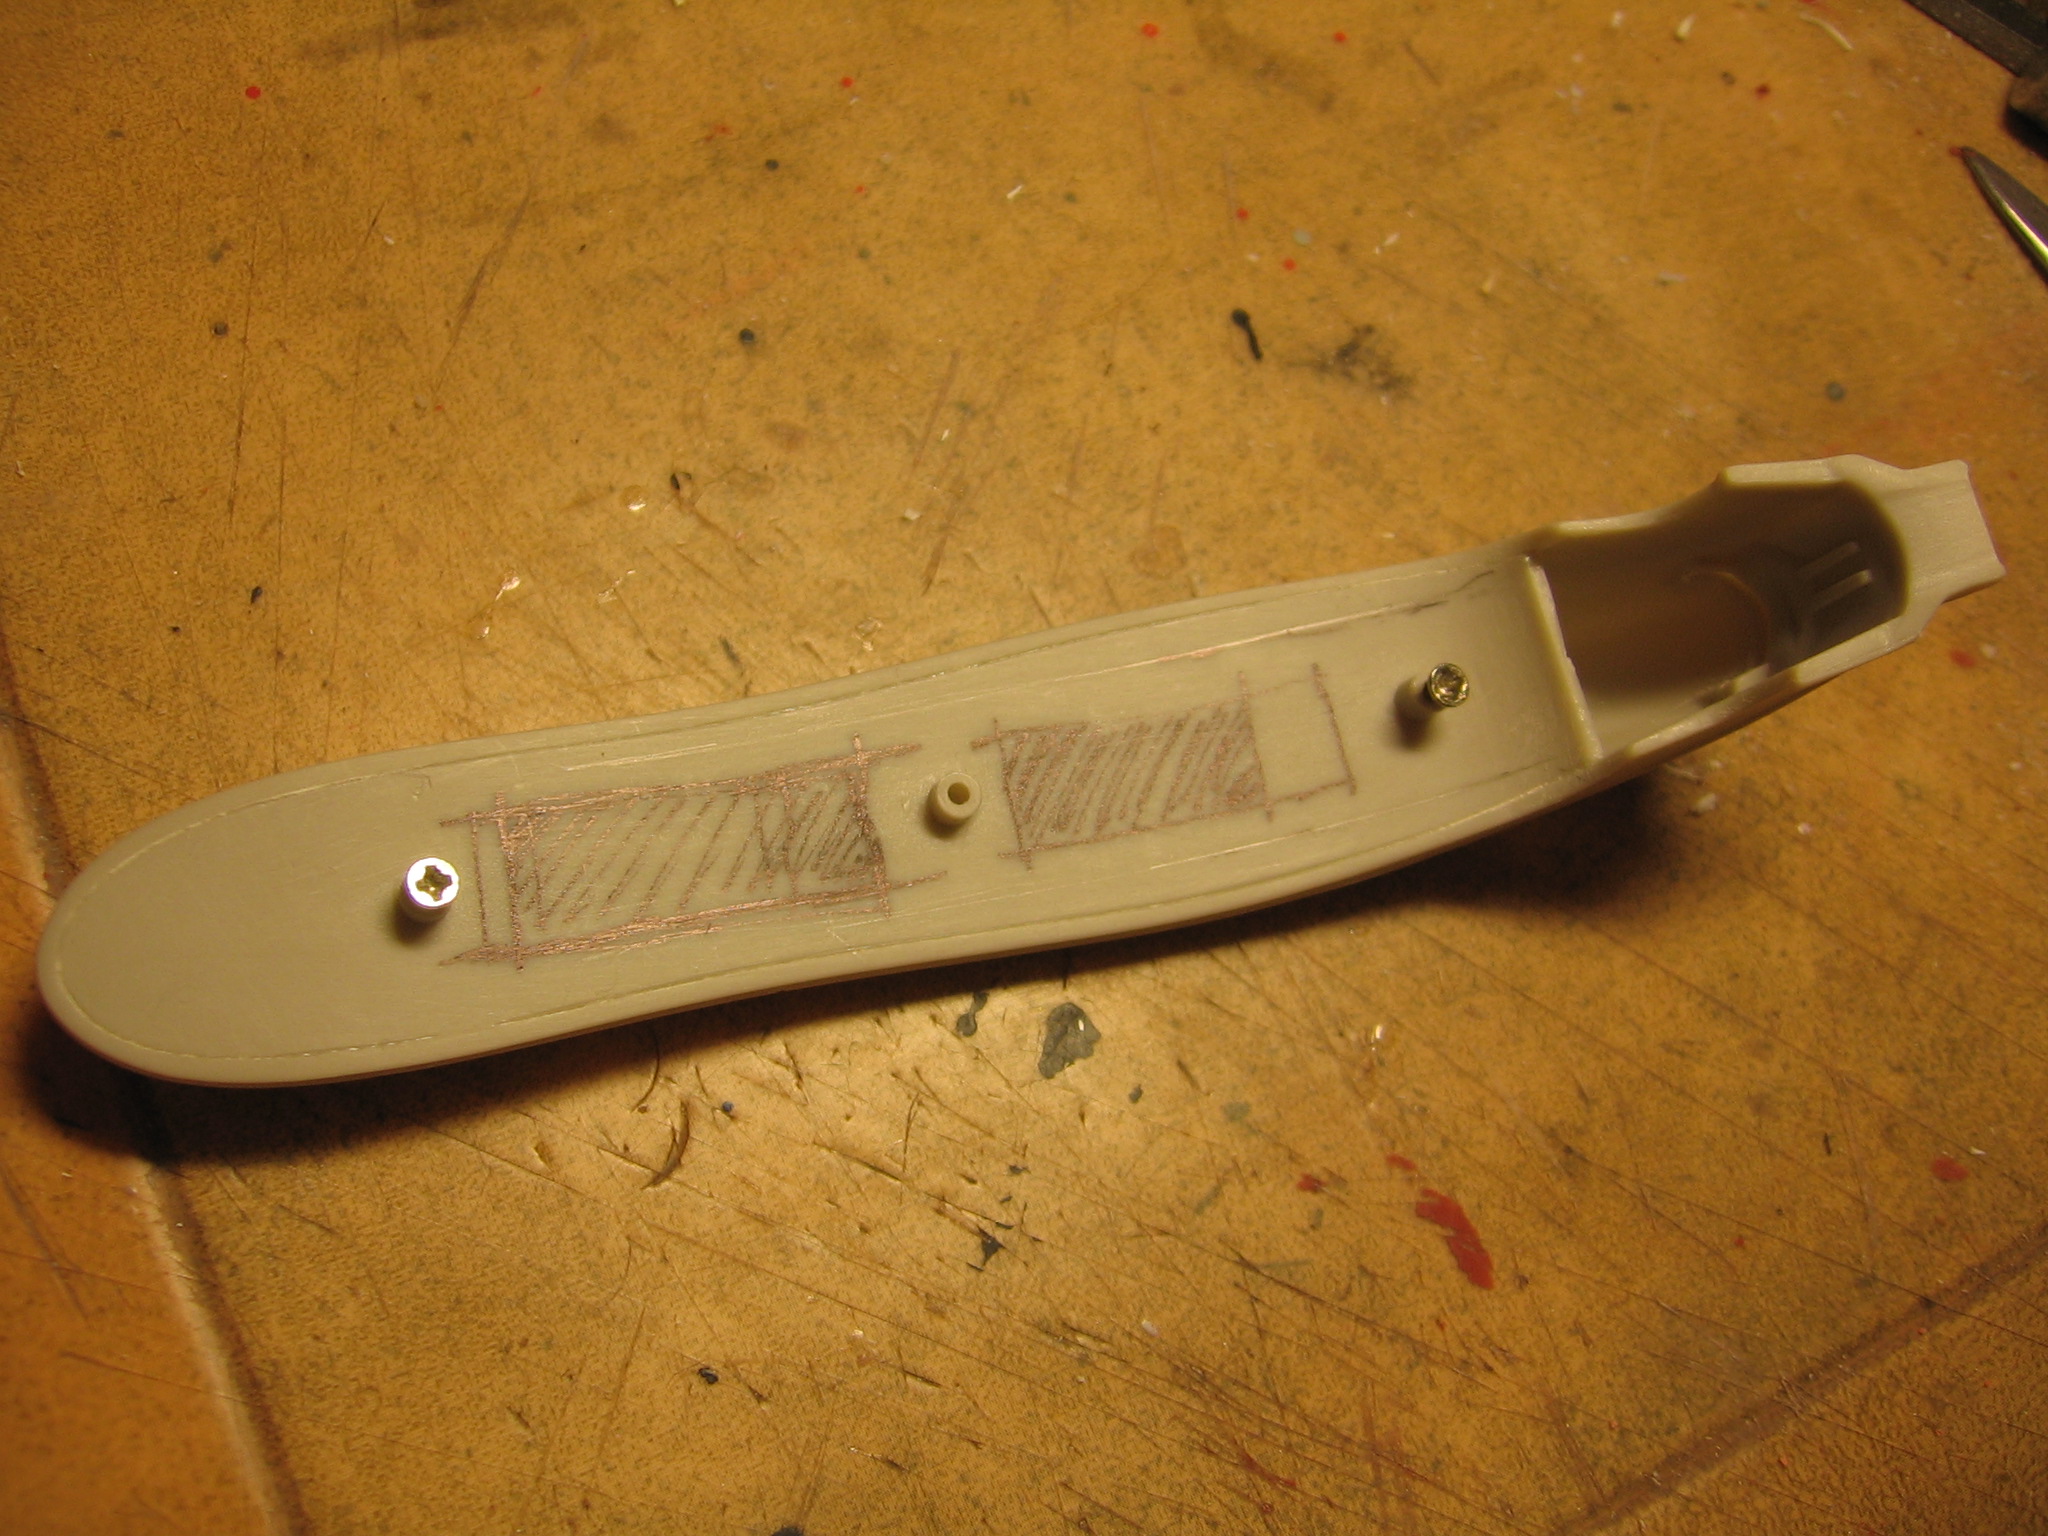

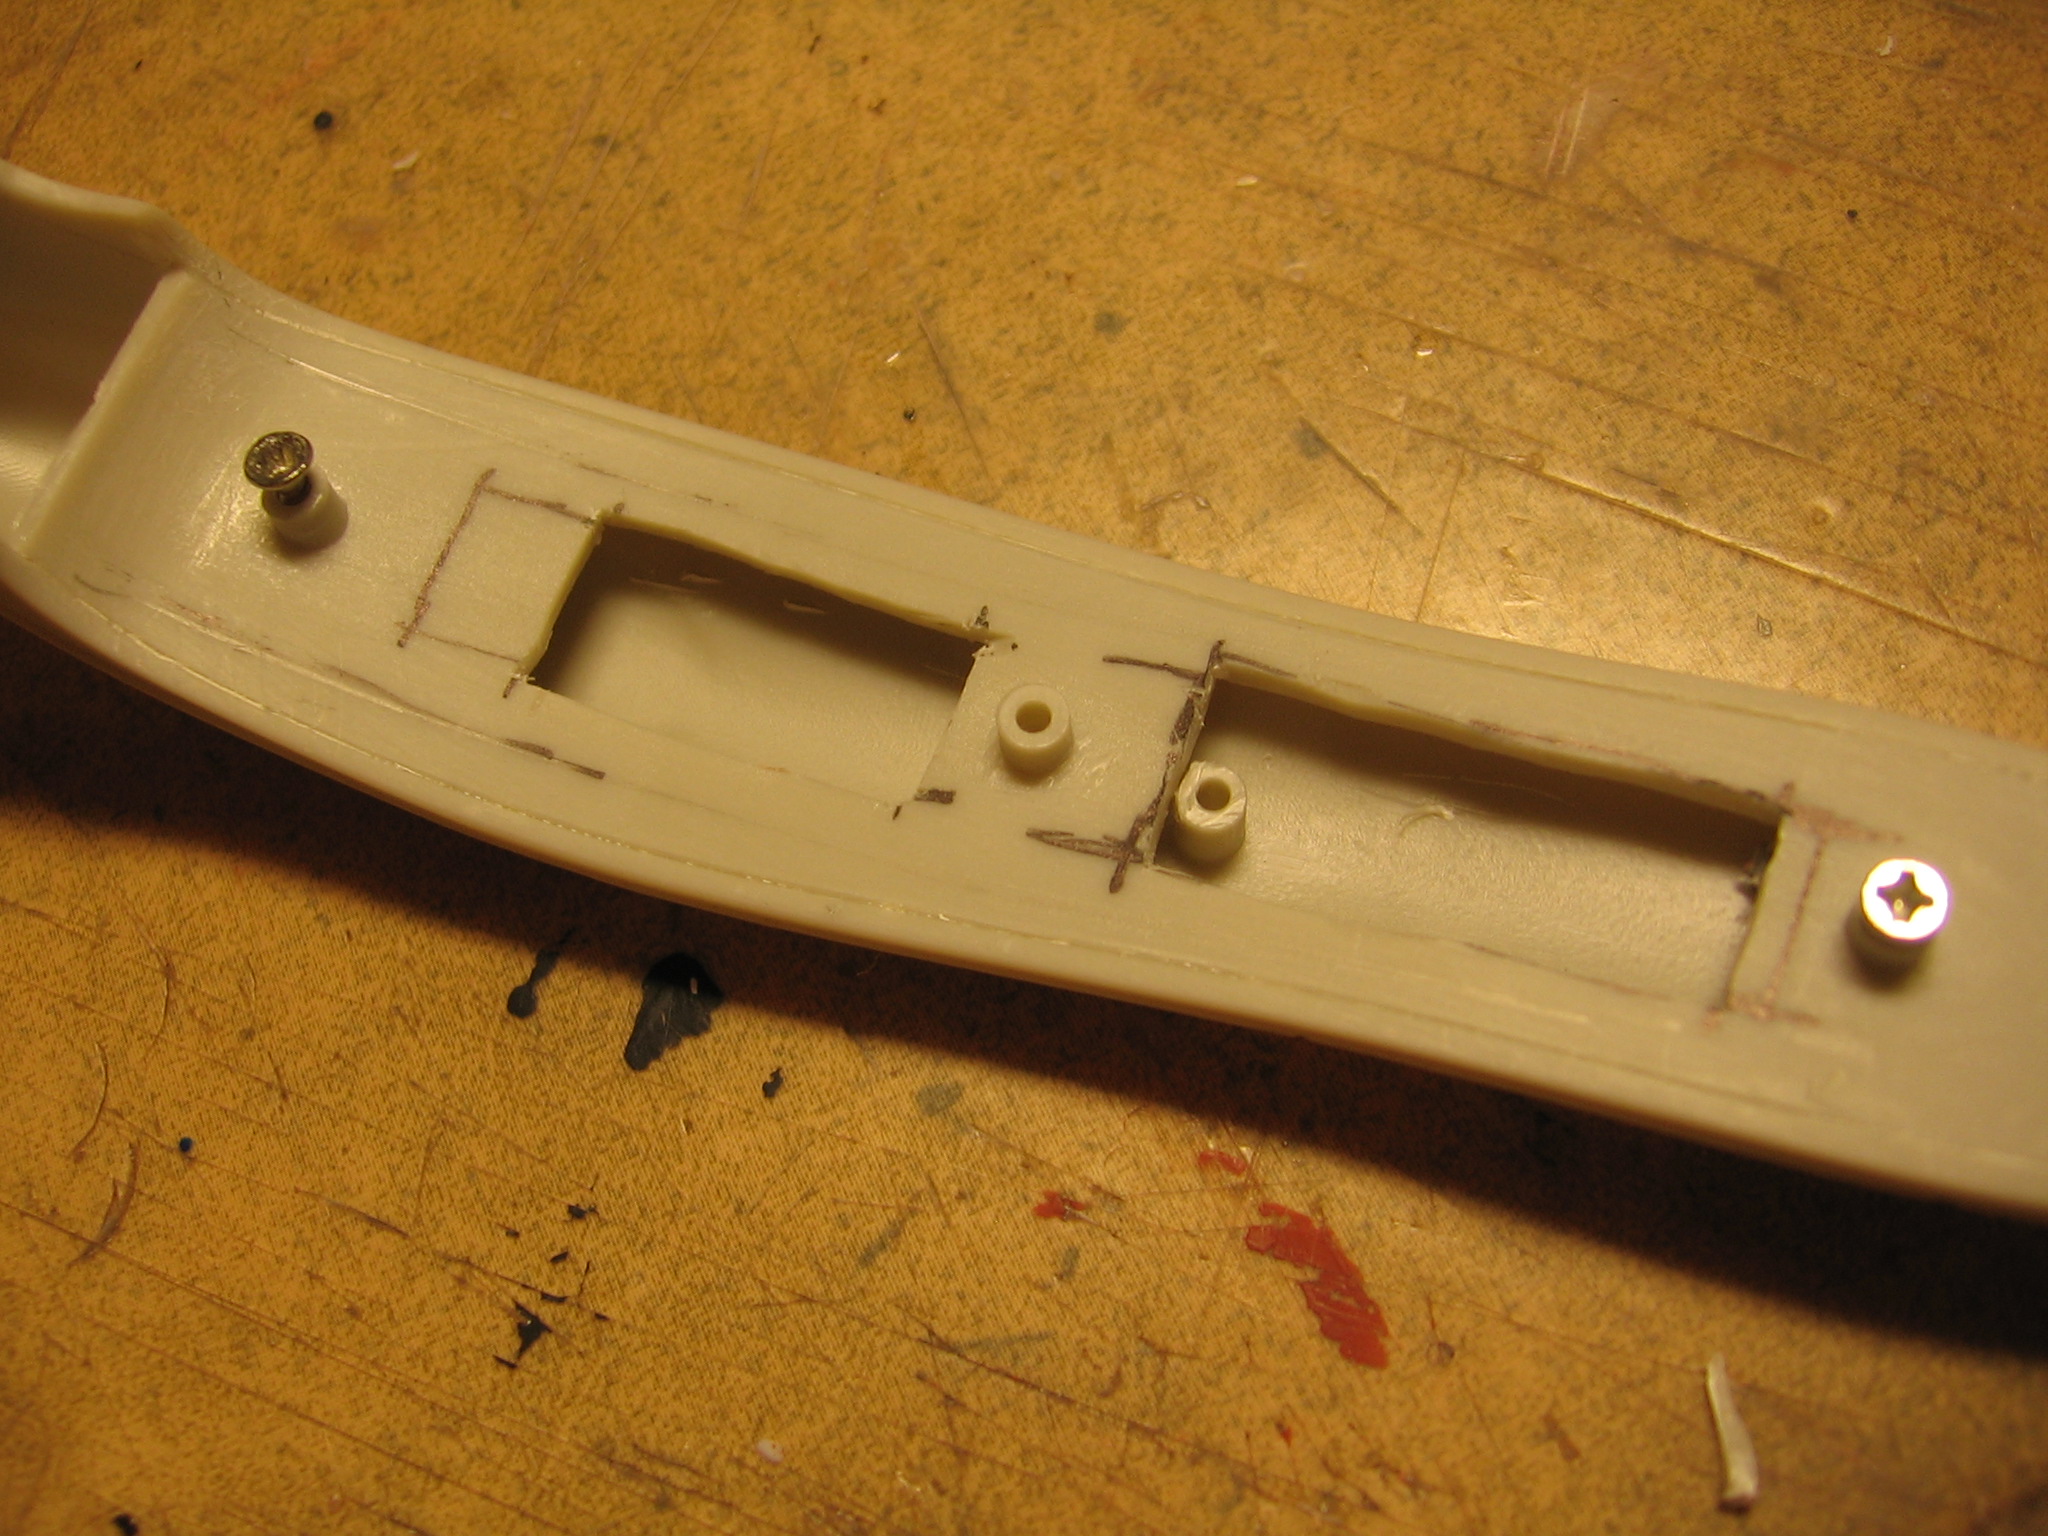

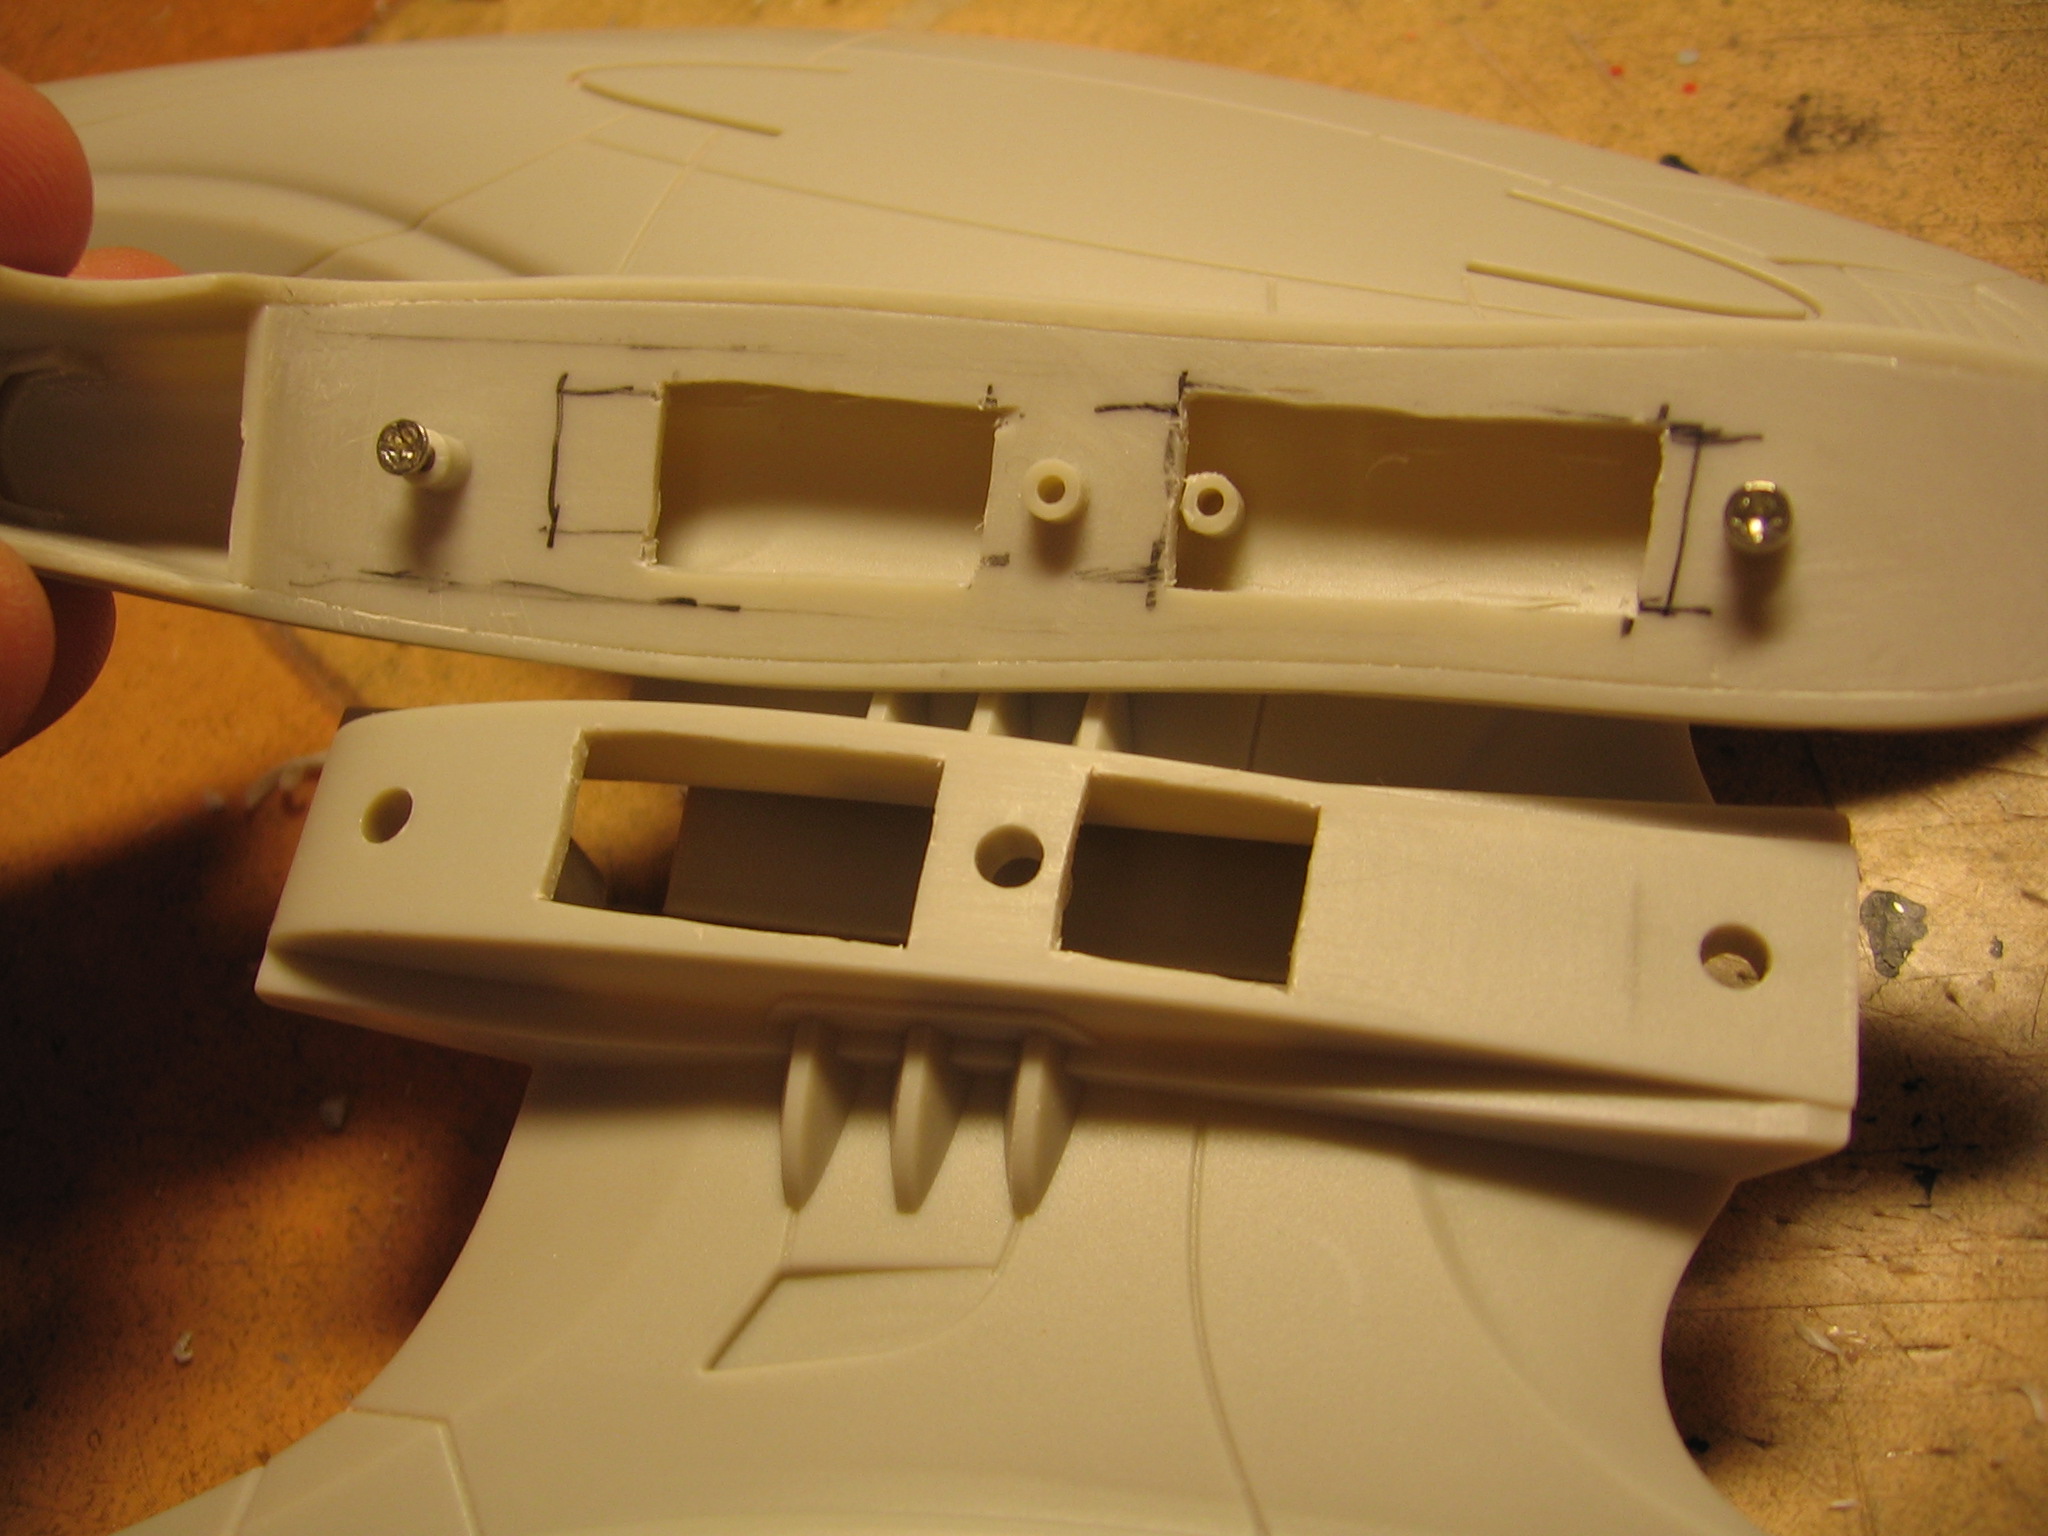
Dry test to check if the holes are not viewable once in place.
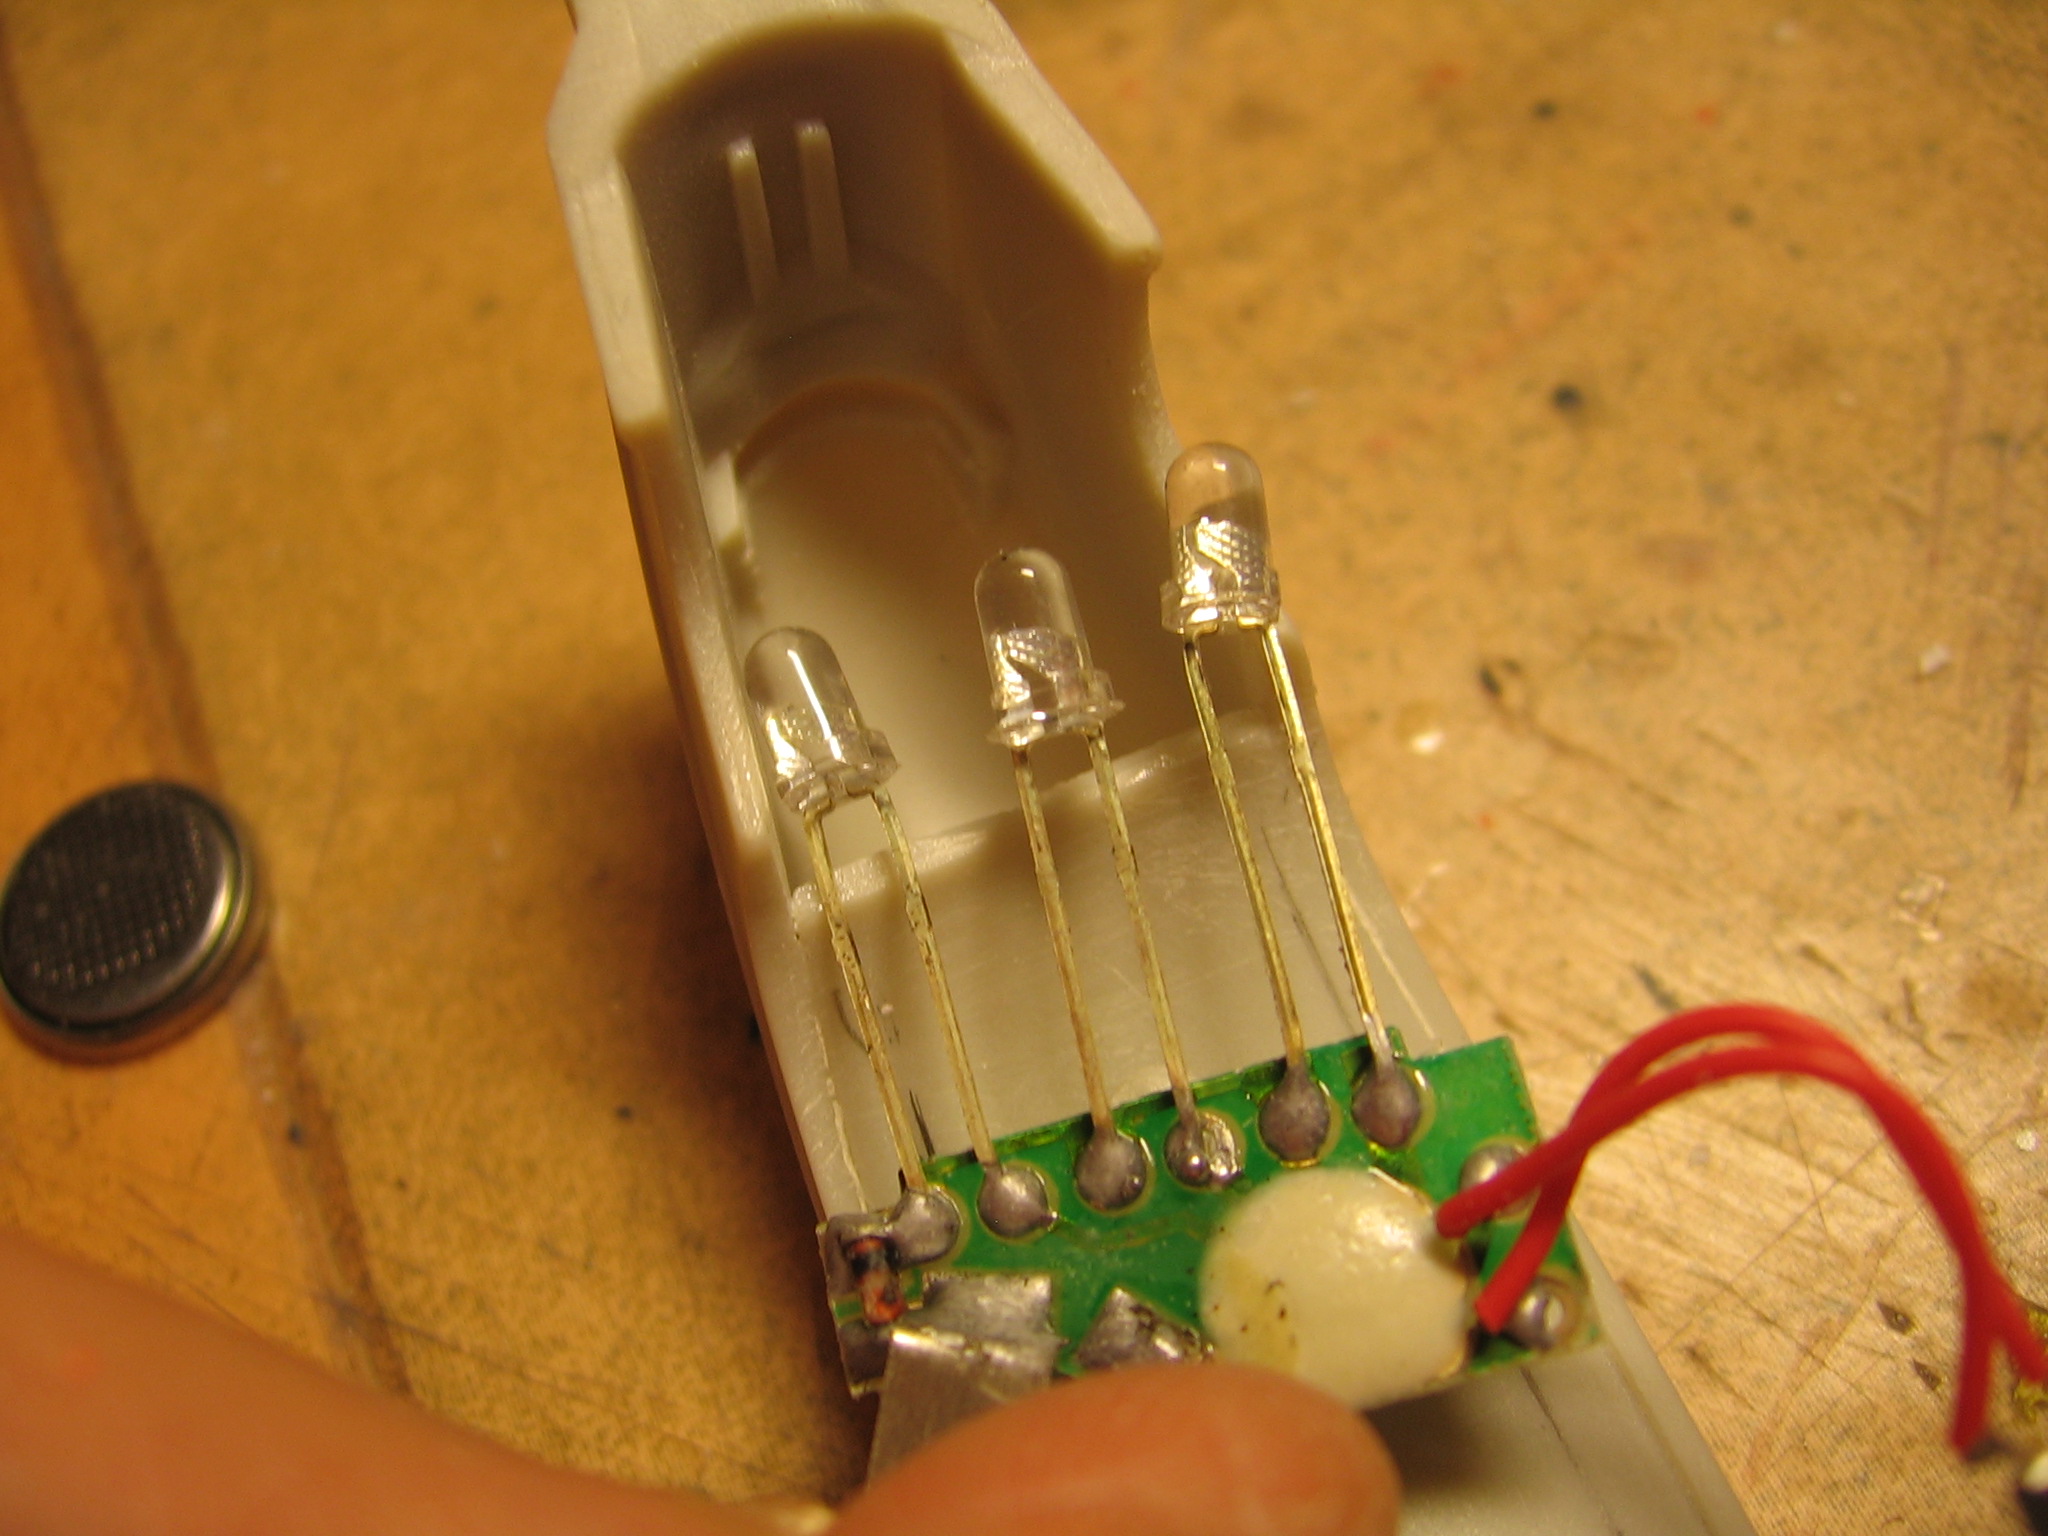
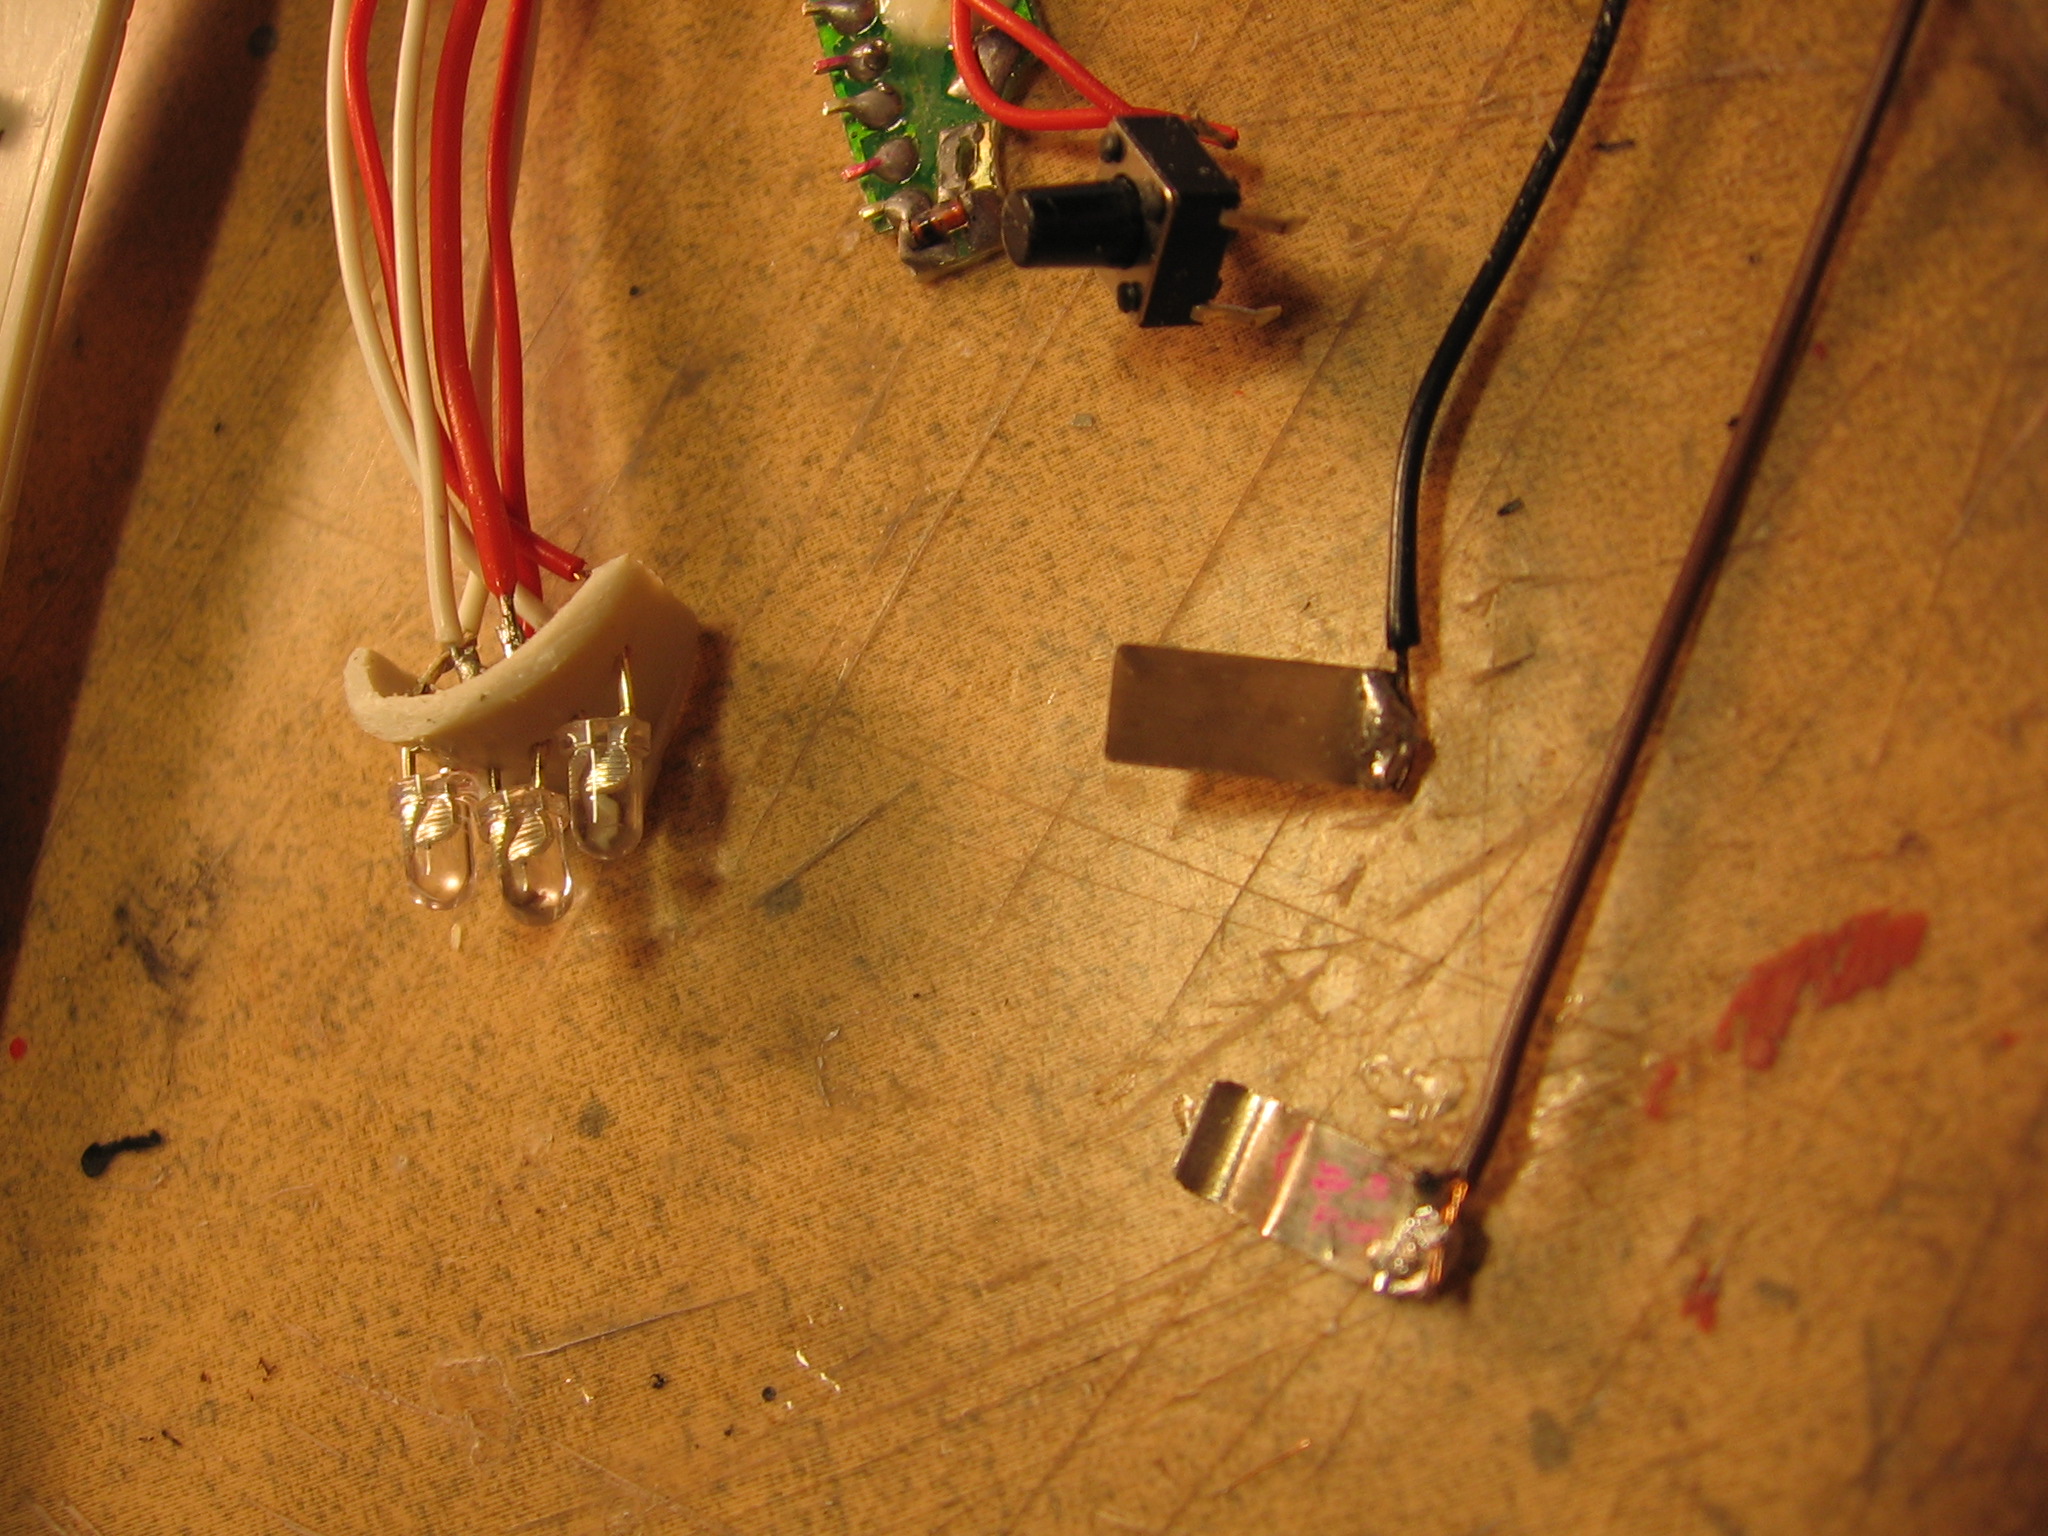
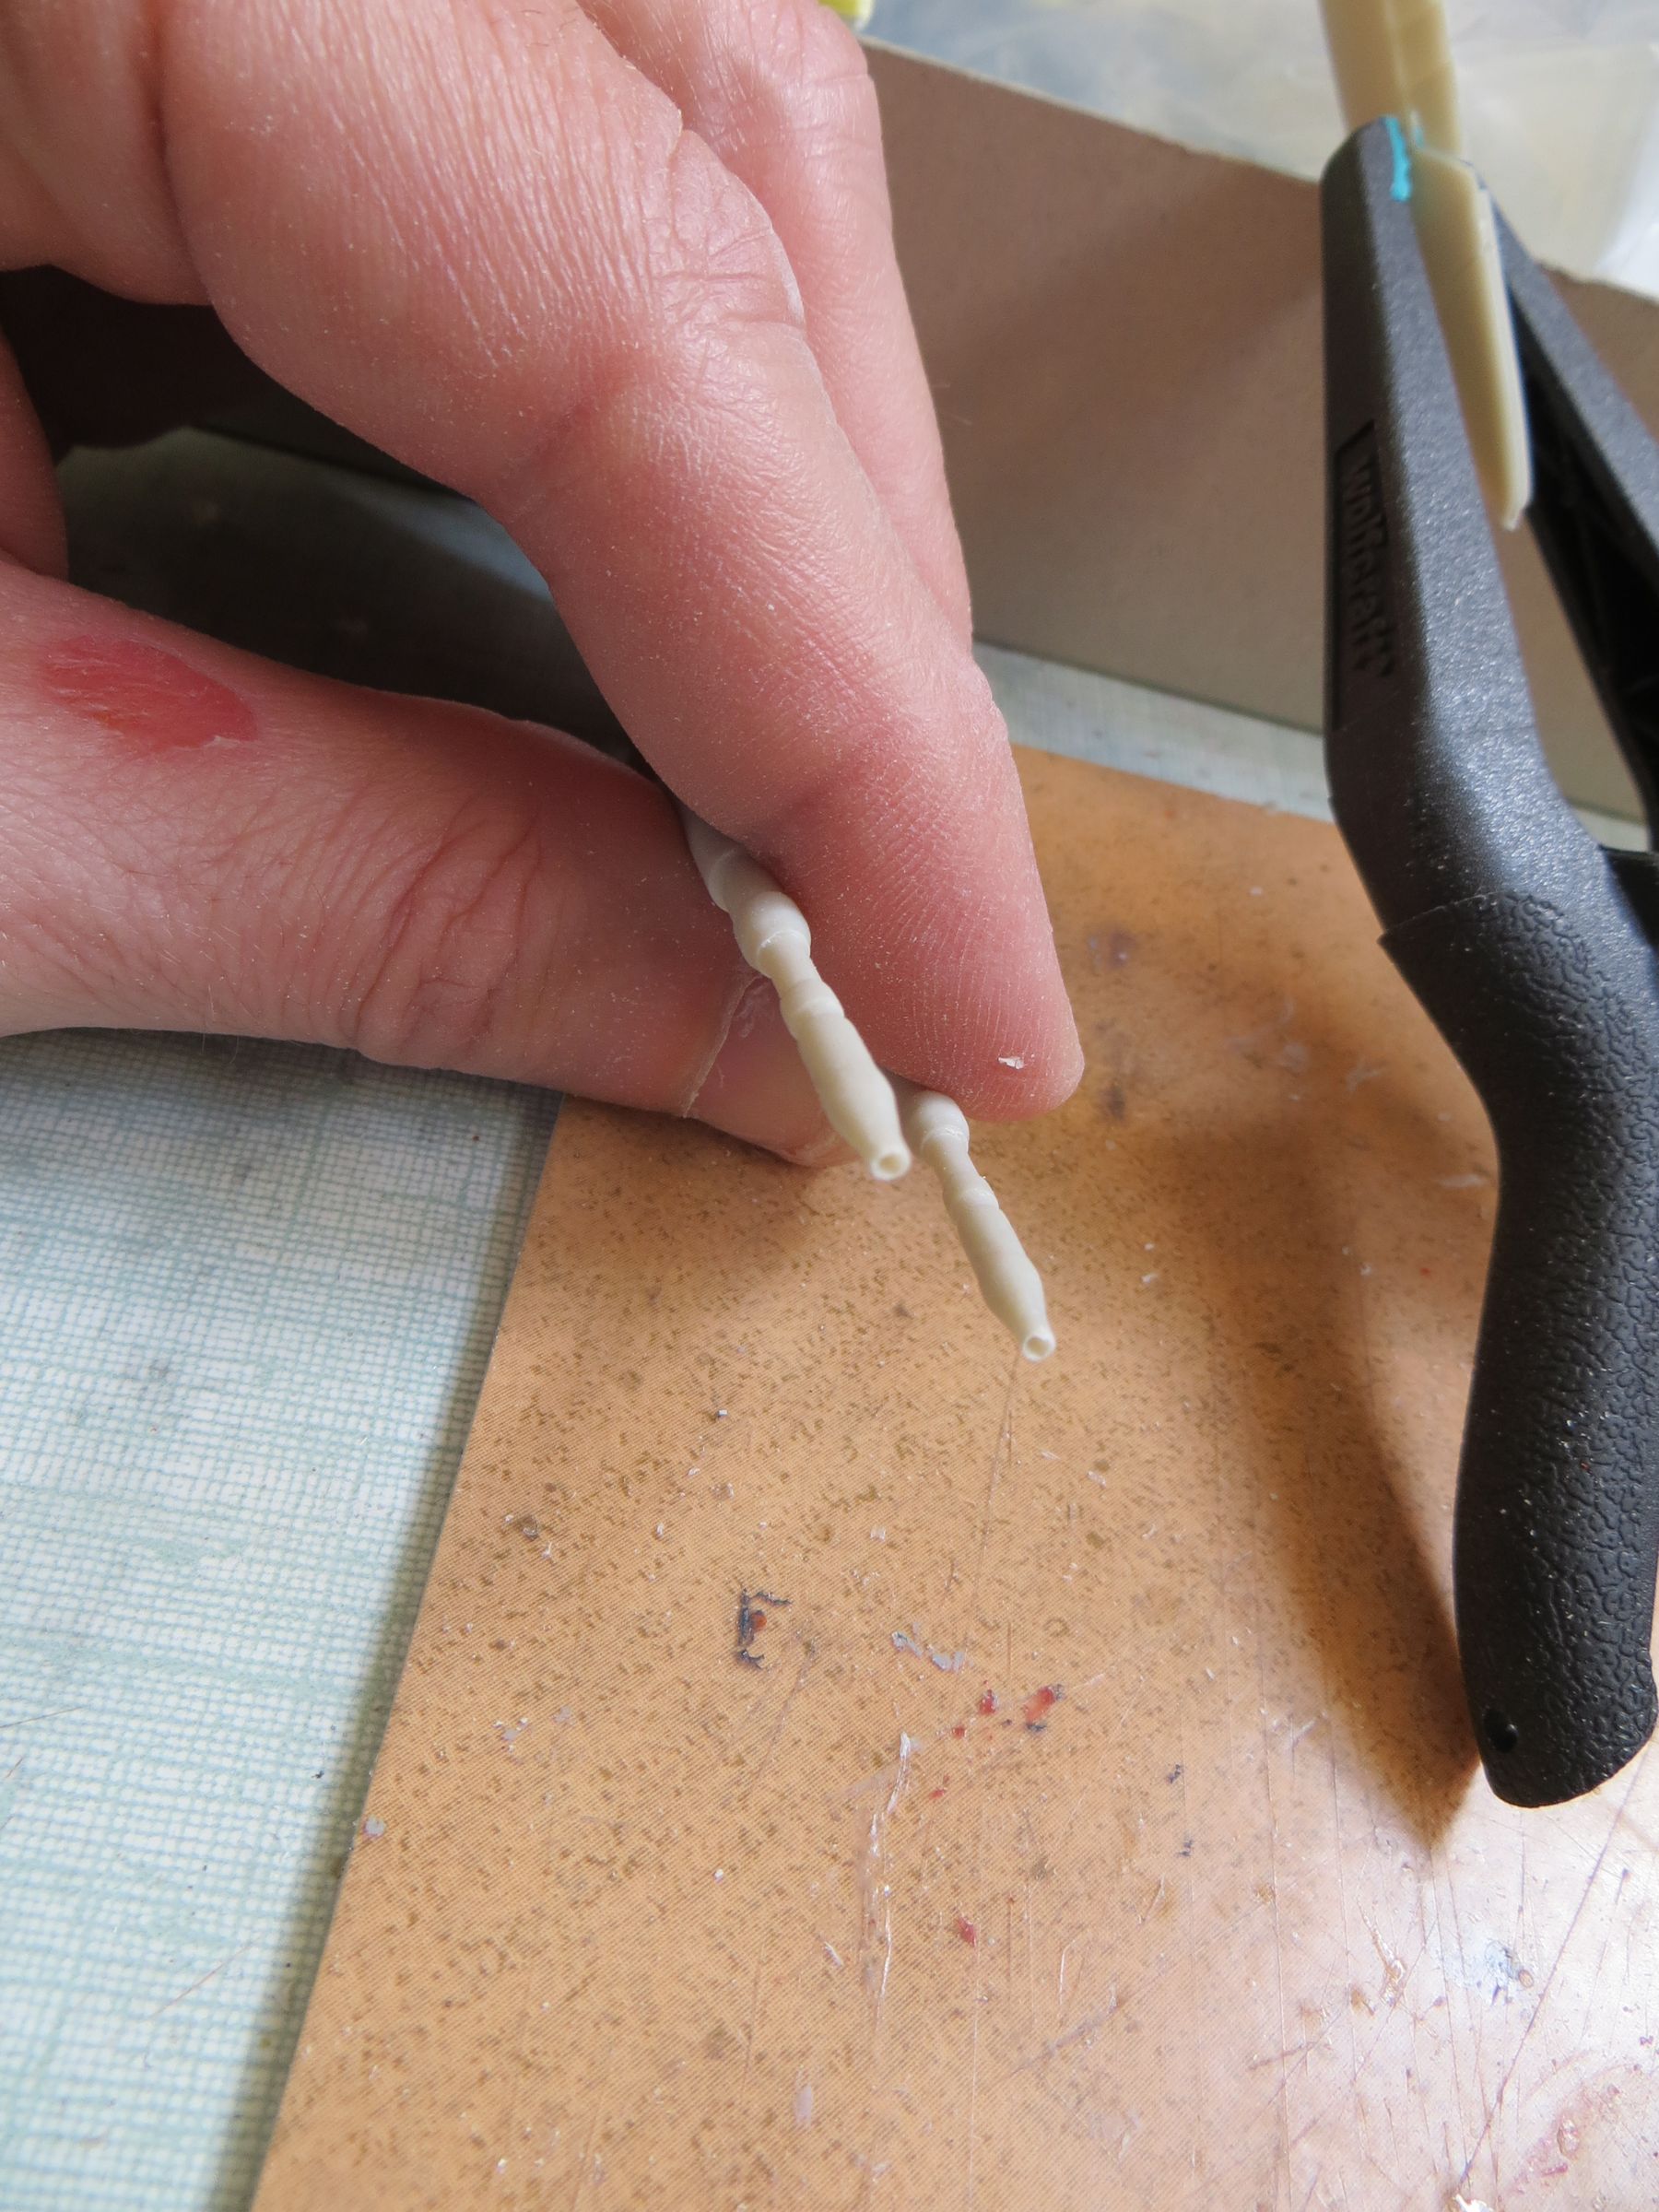
LEDs and the small metal tabs enclosing cells are detached from the circuit, and will be replaced by wires The LEDs are mounted on a part of a tube, cut to be install in the head.

mardi, 4 juin 2013
Par olcabour le mardi, 4 juin 2013, 21:15
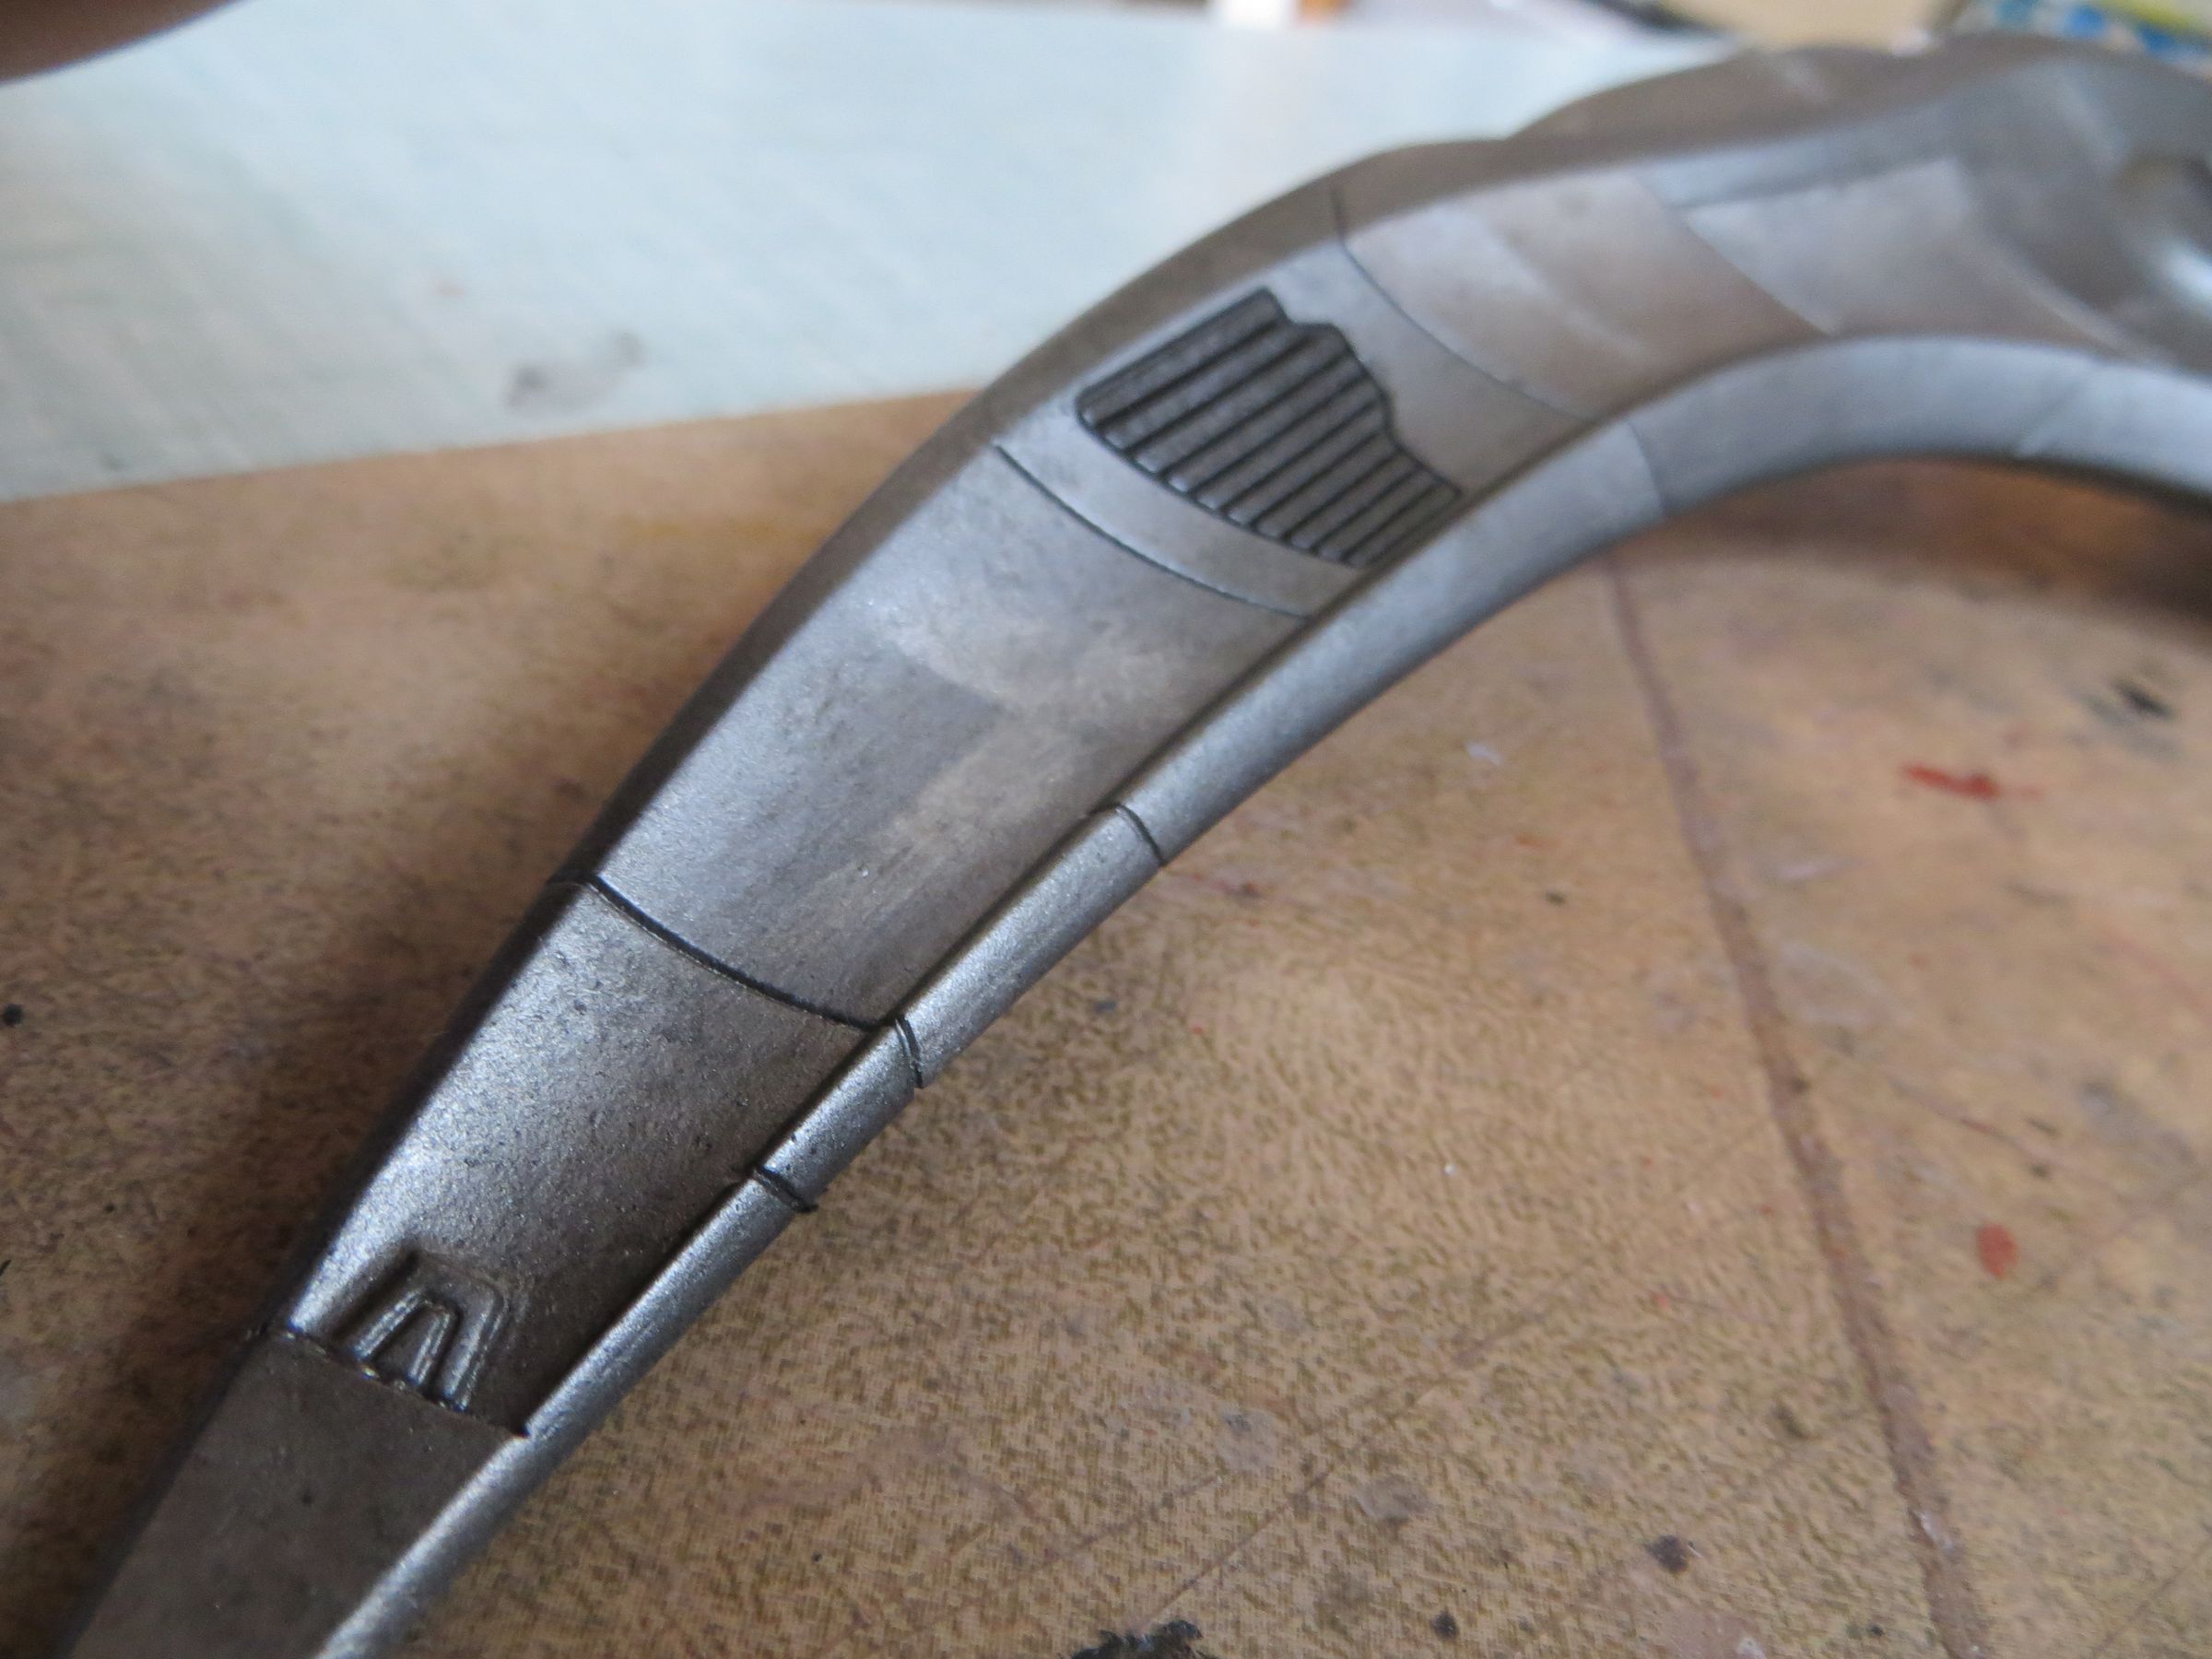
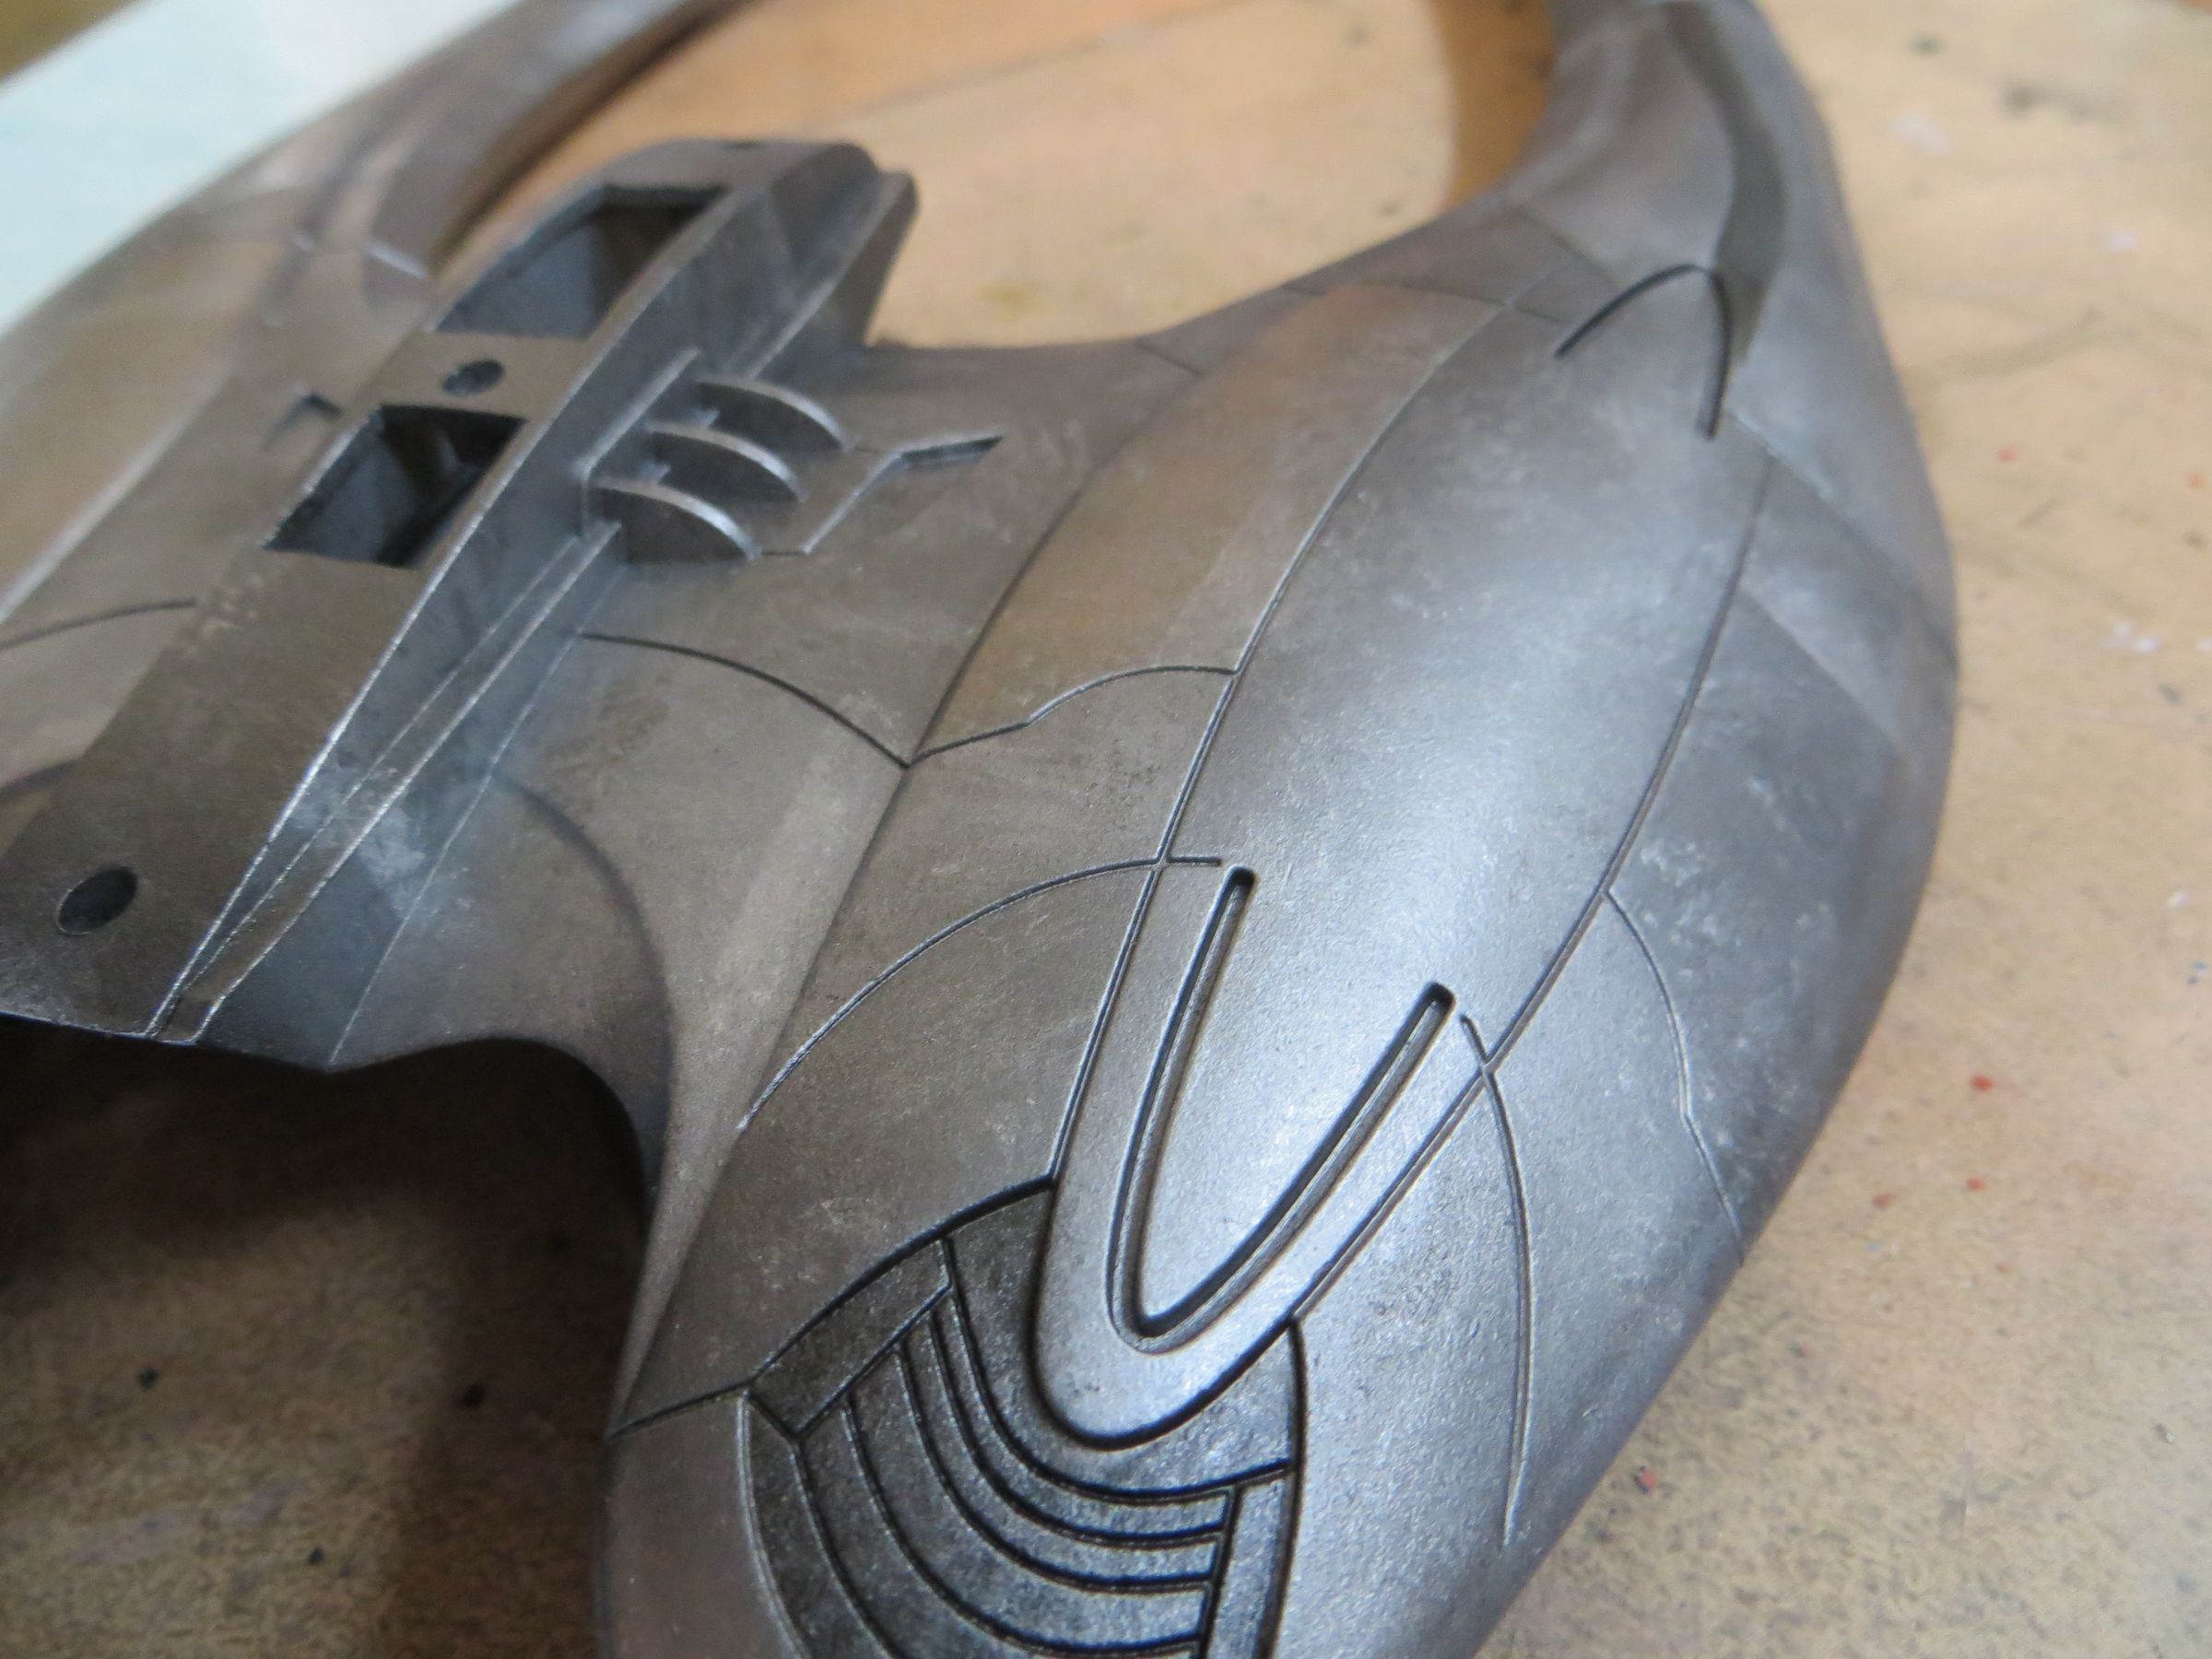
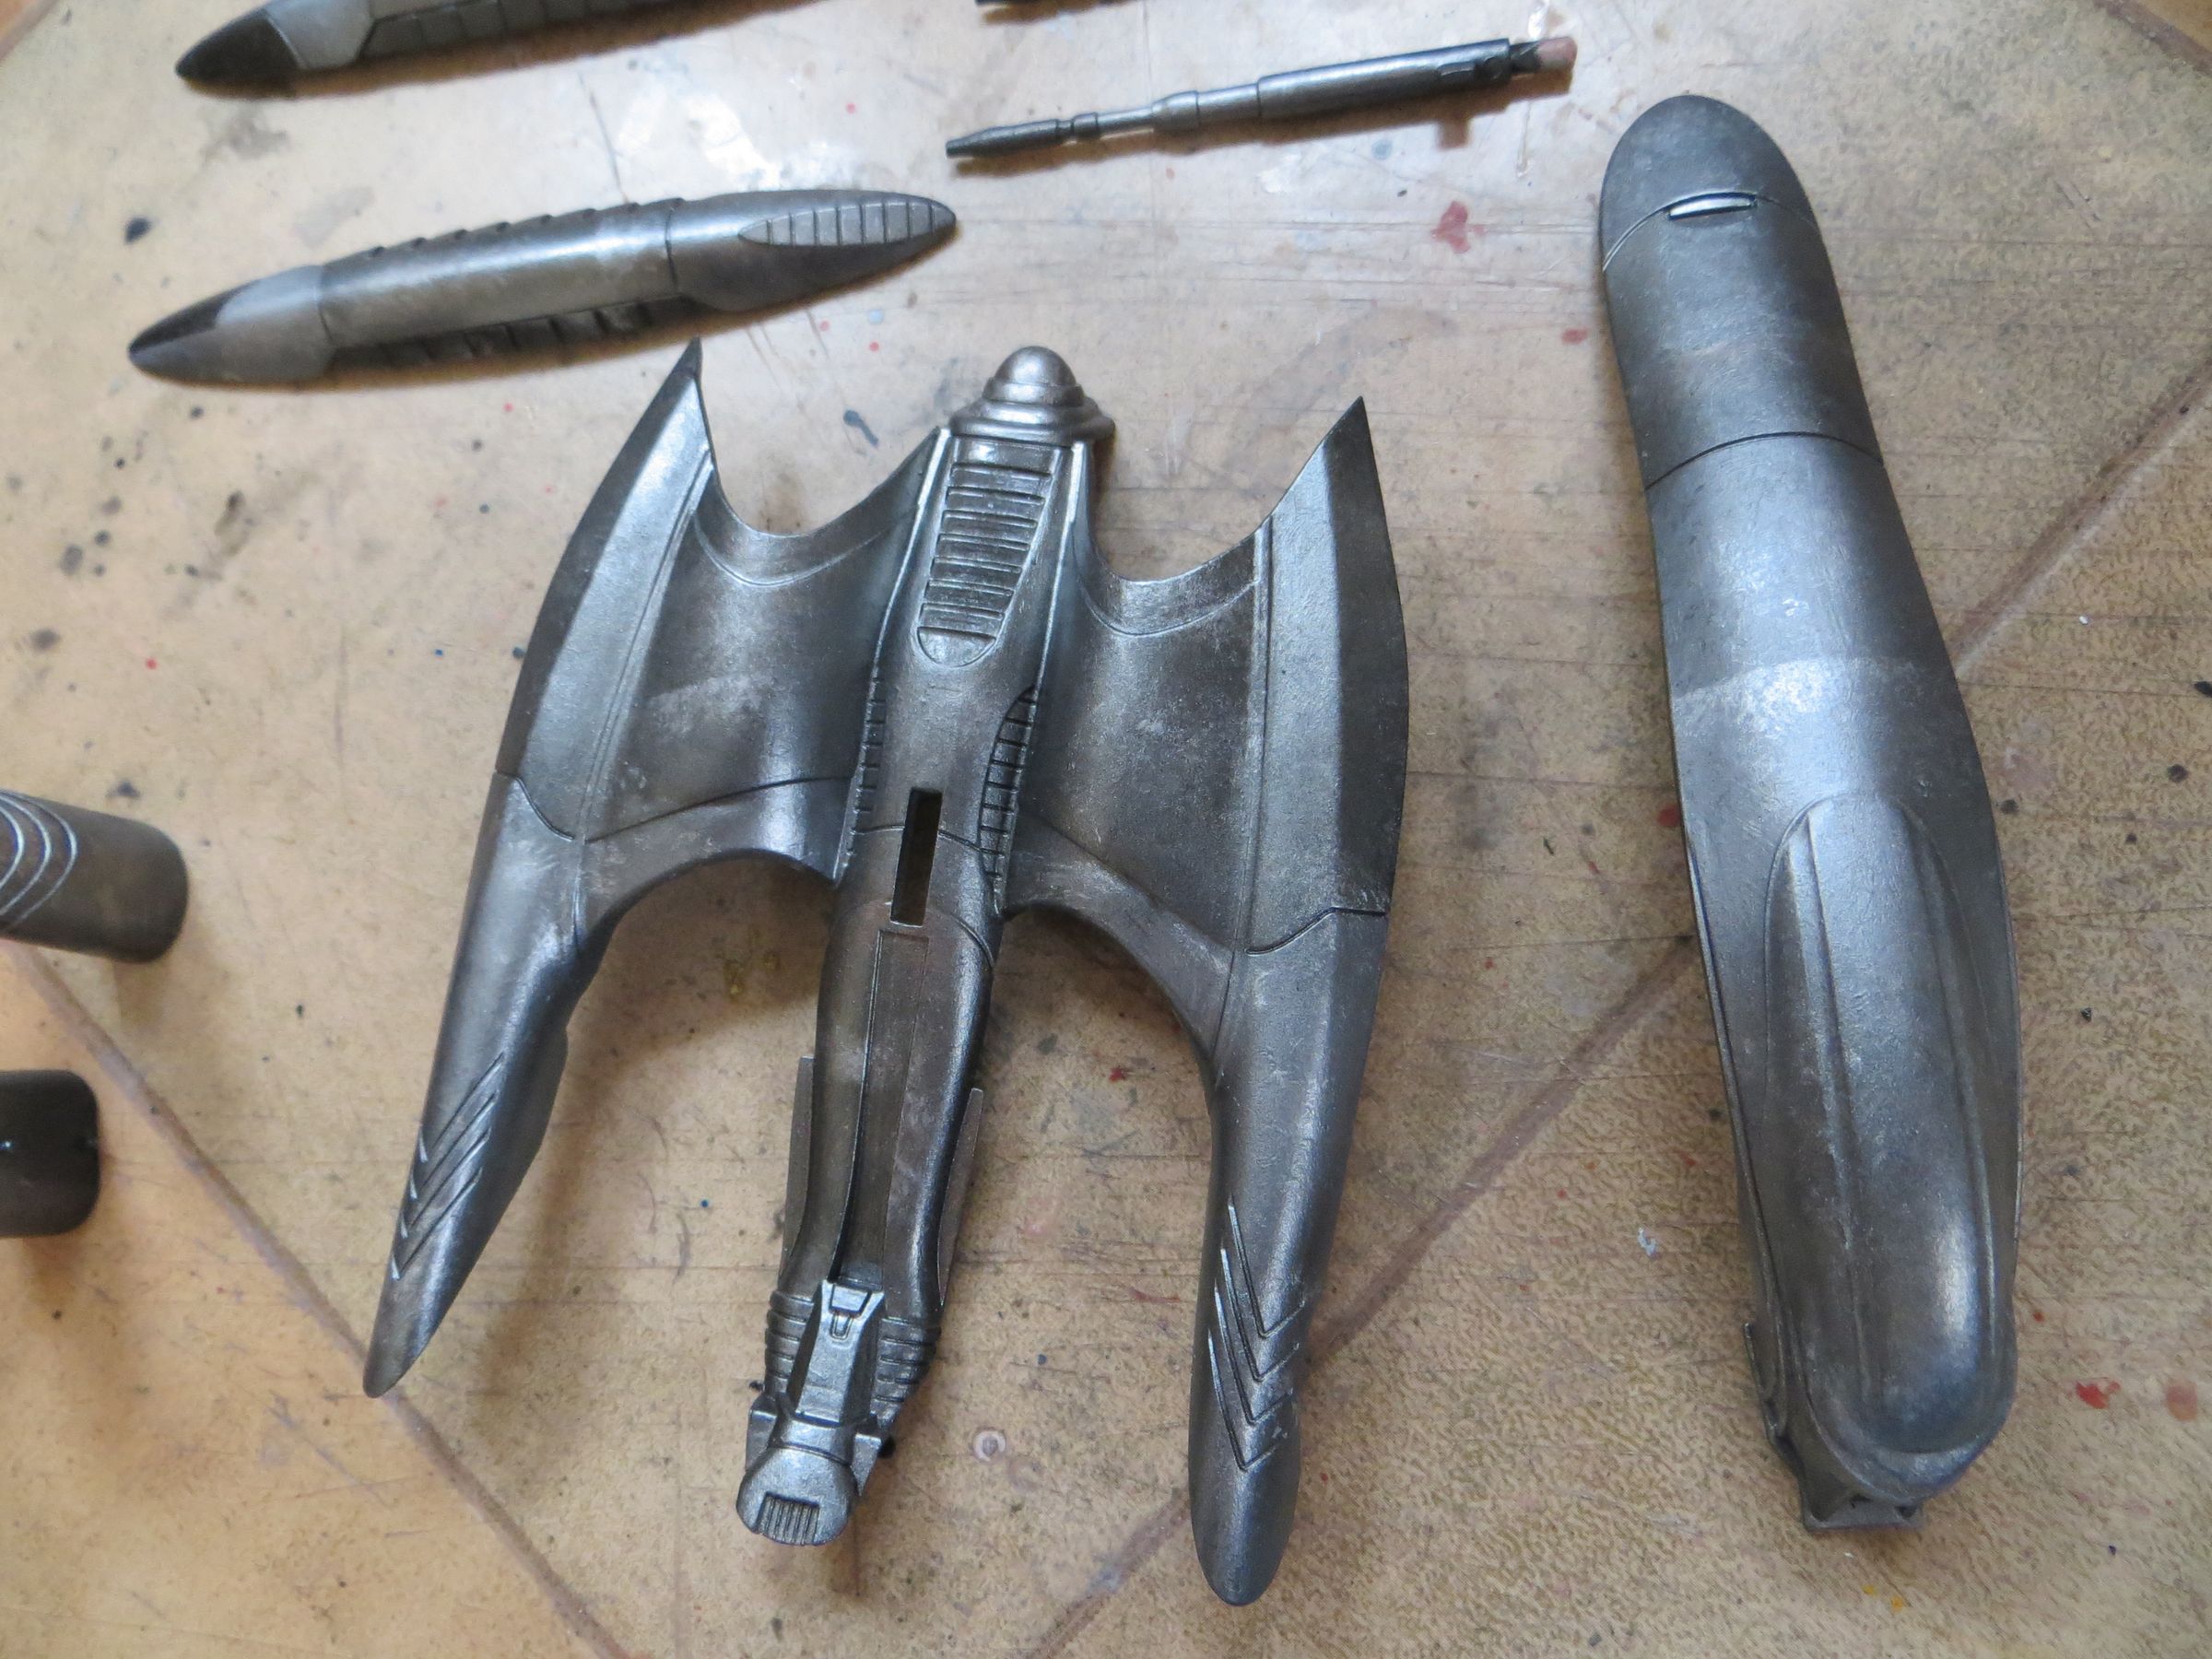
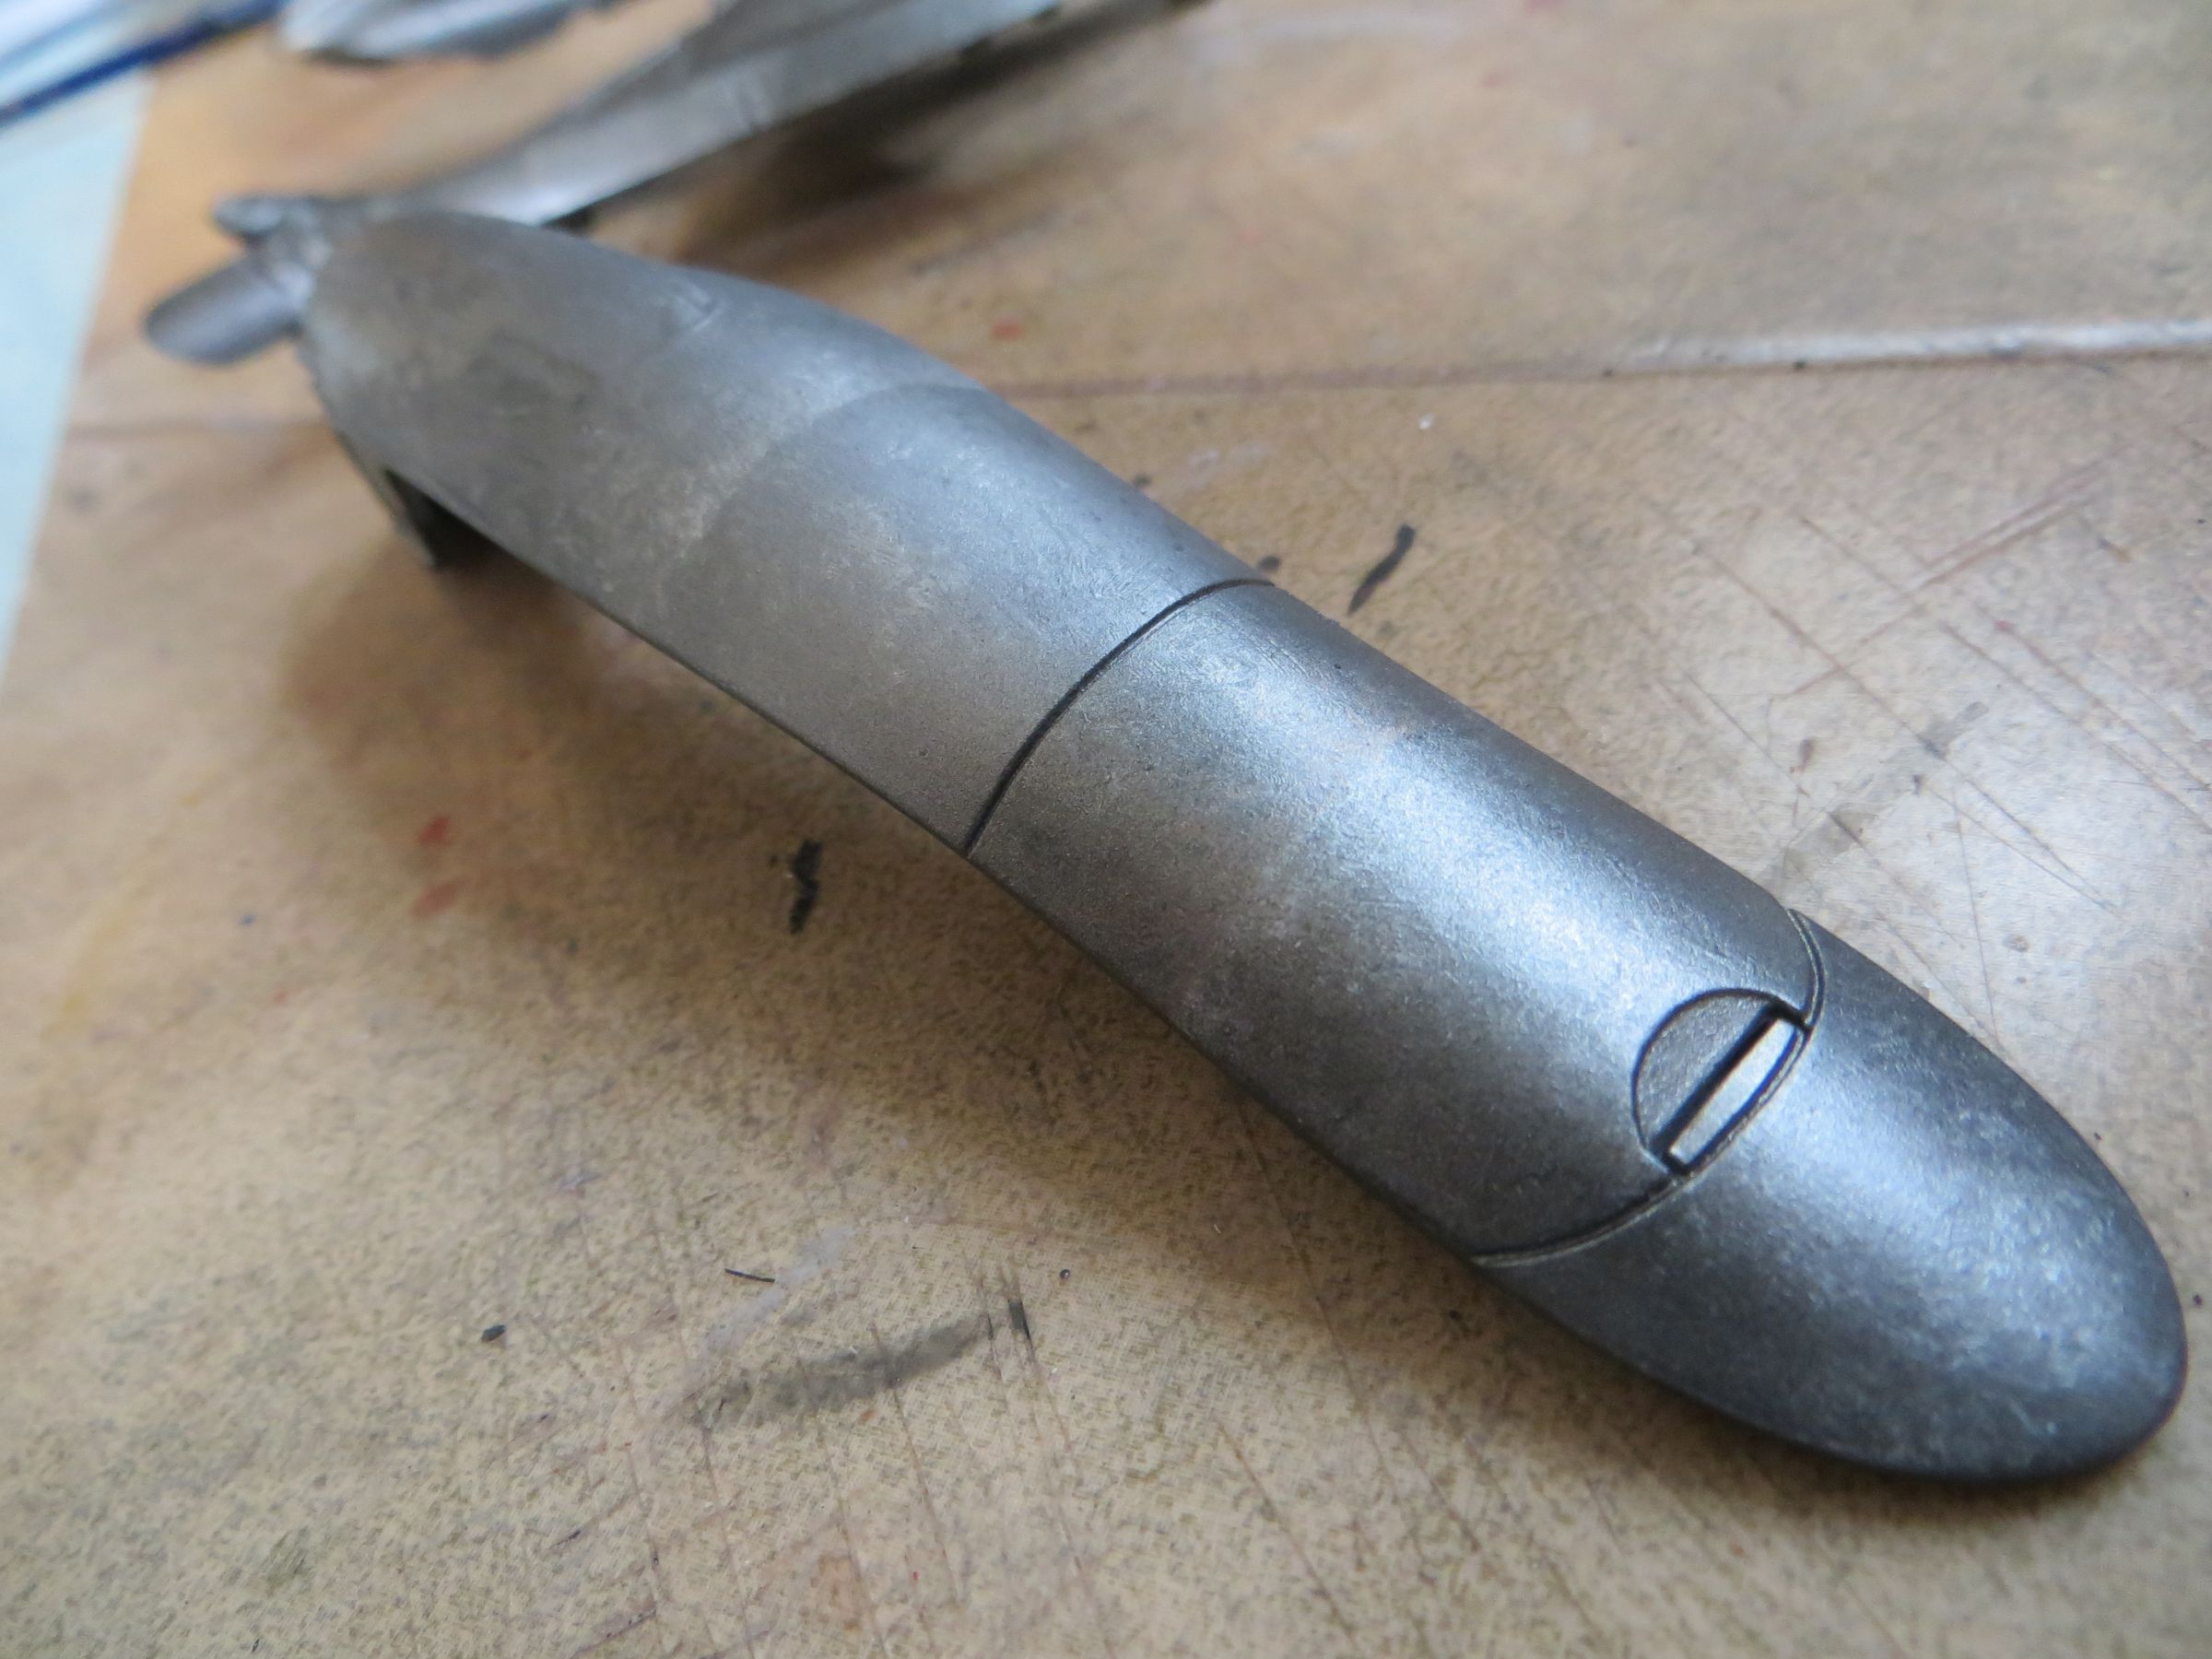
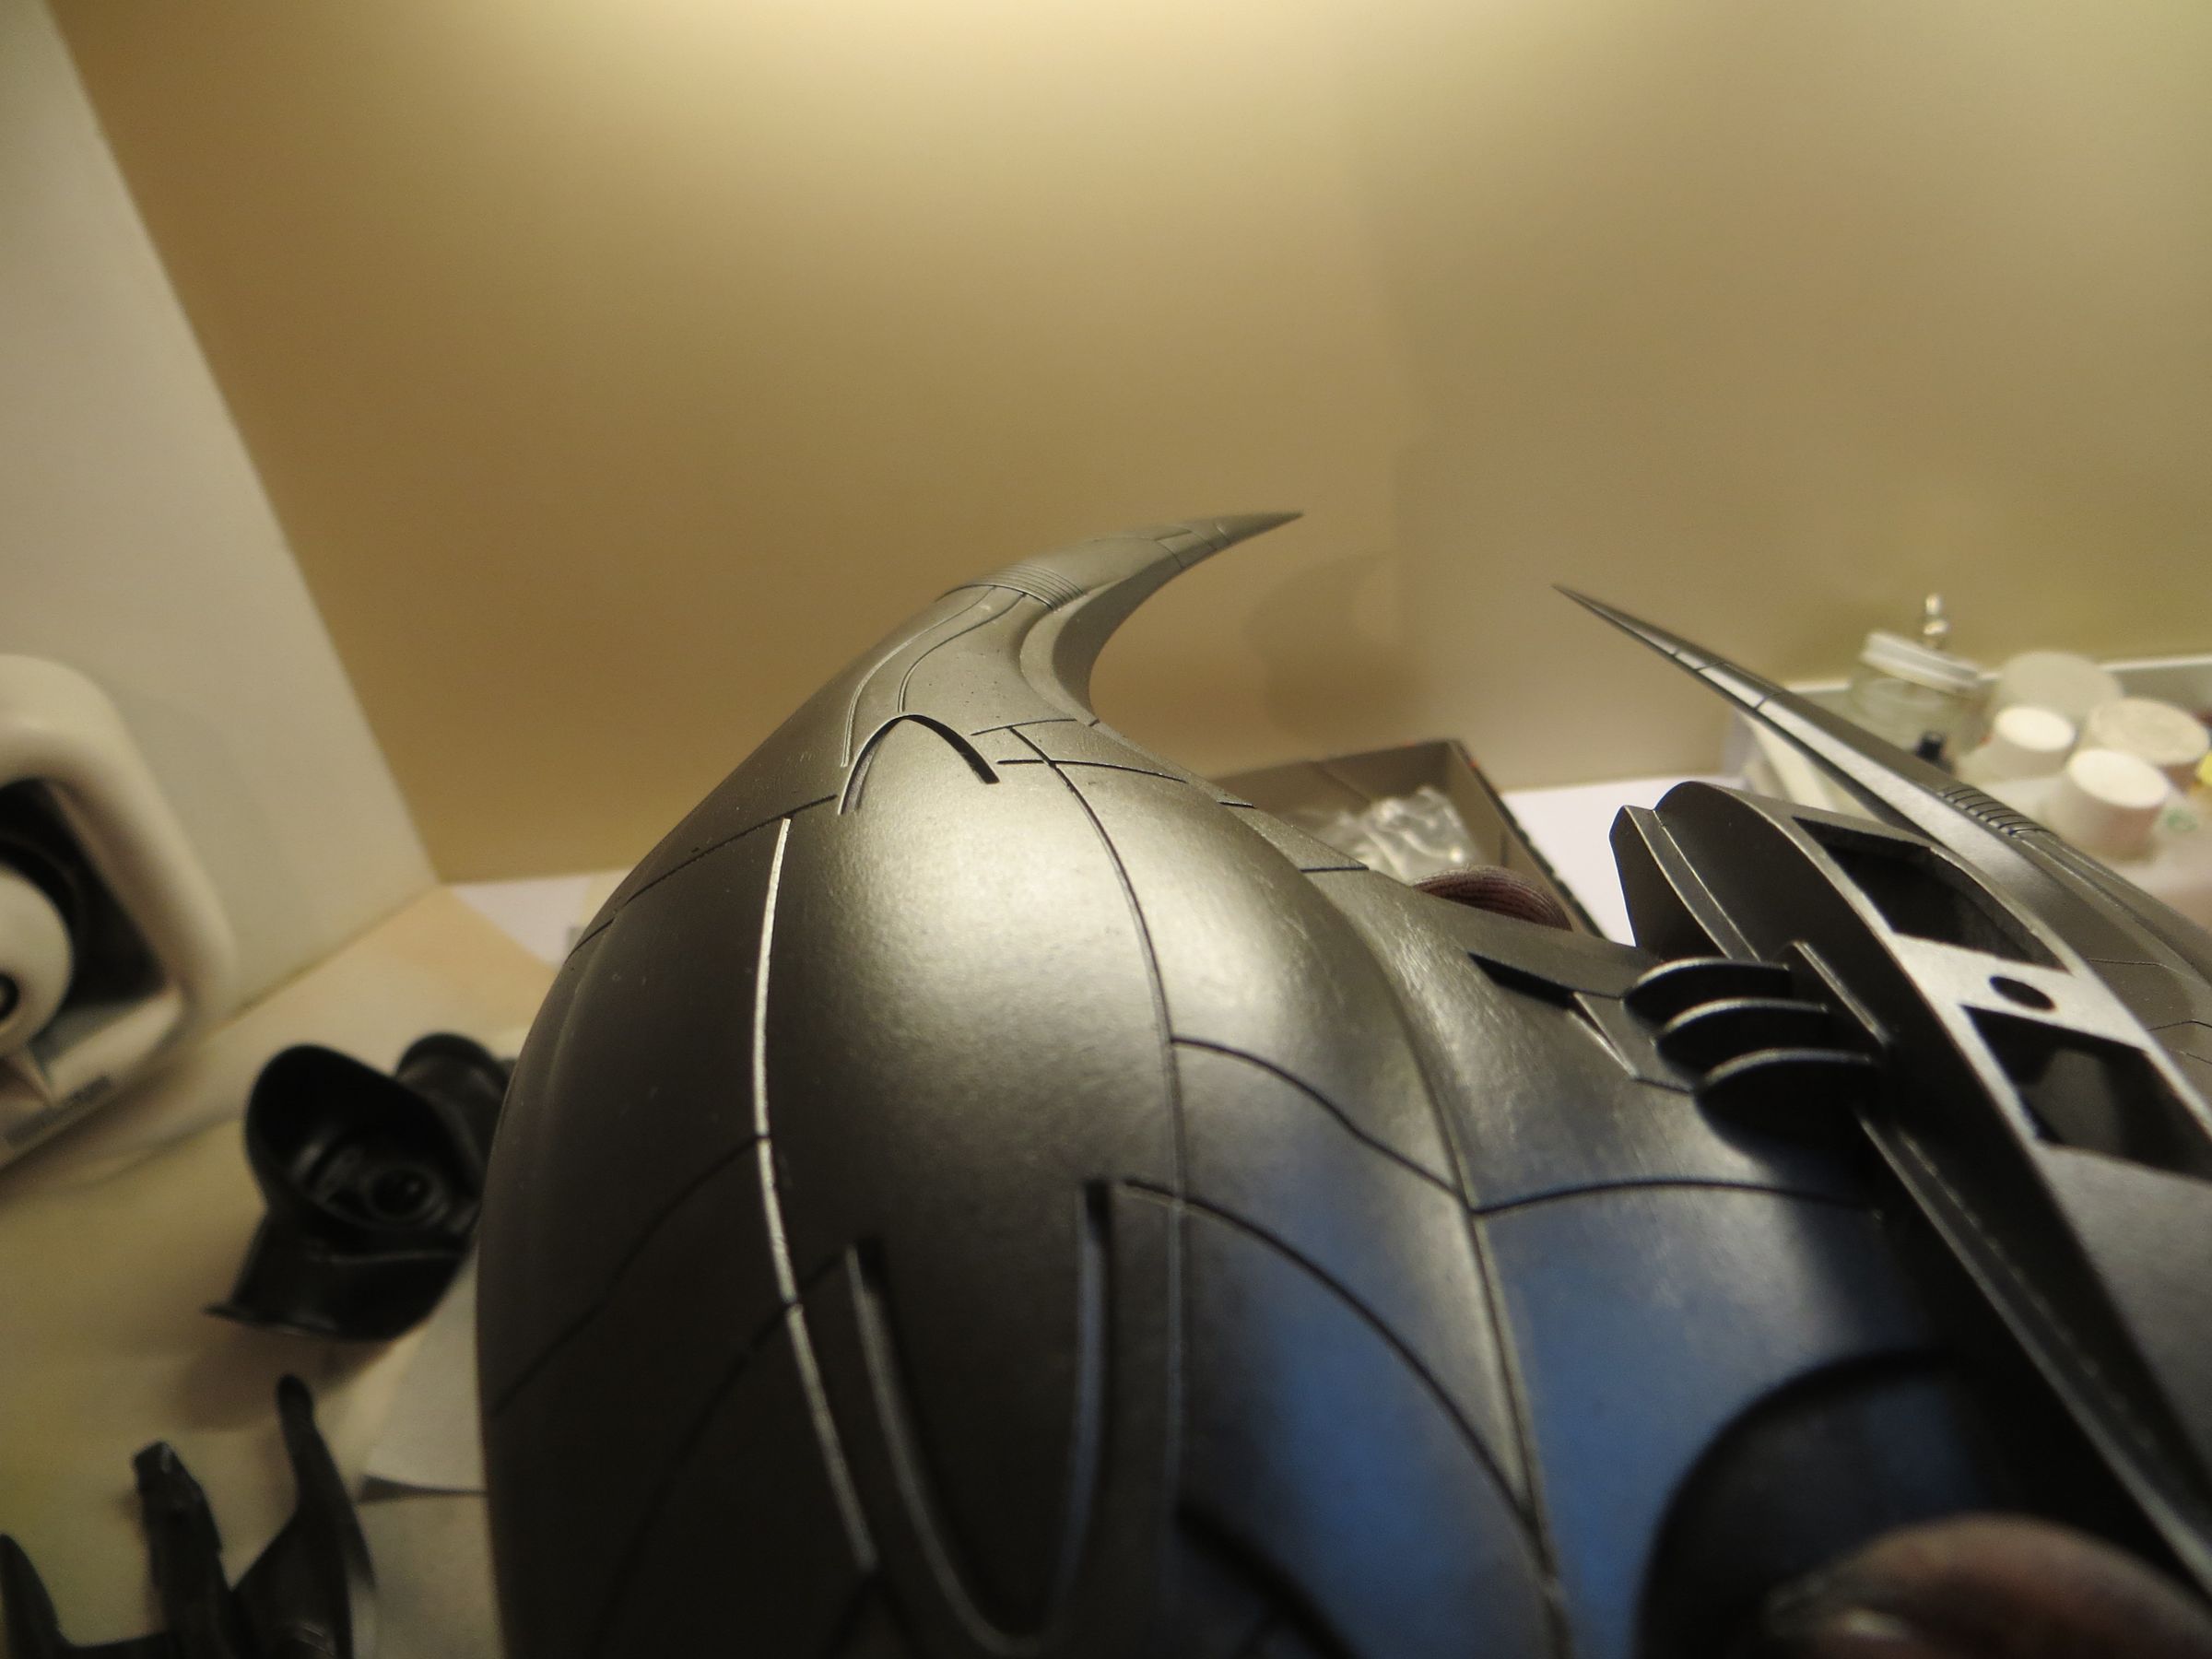
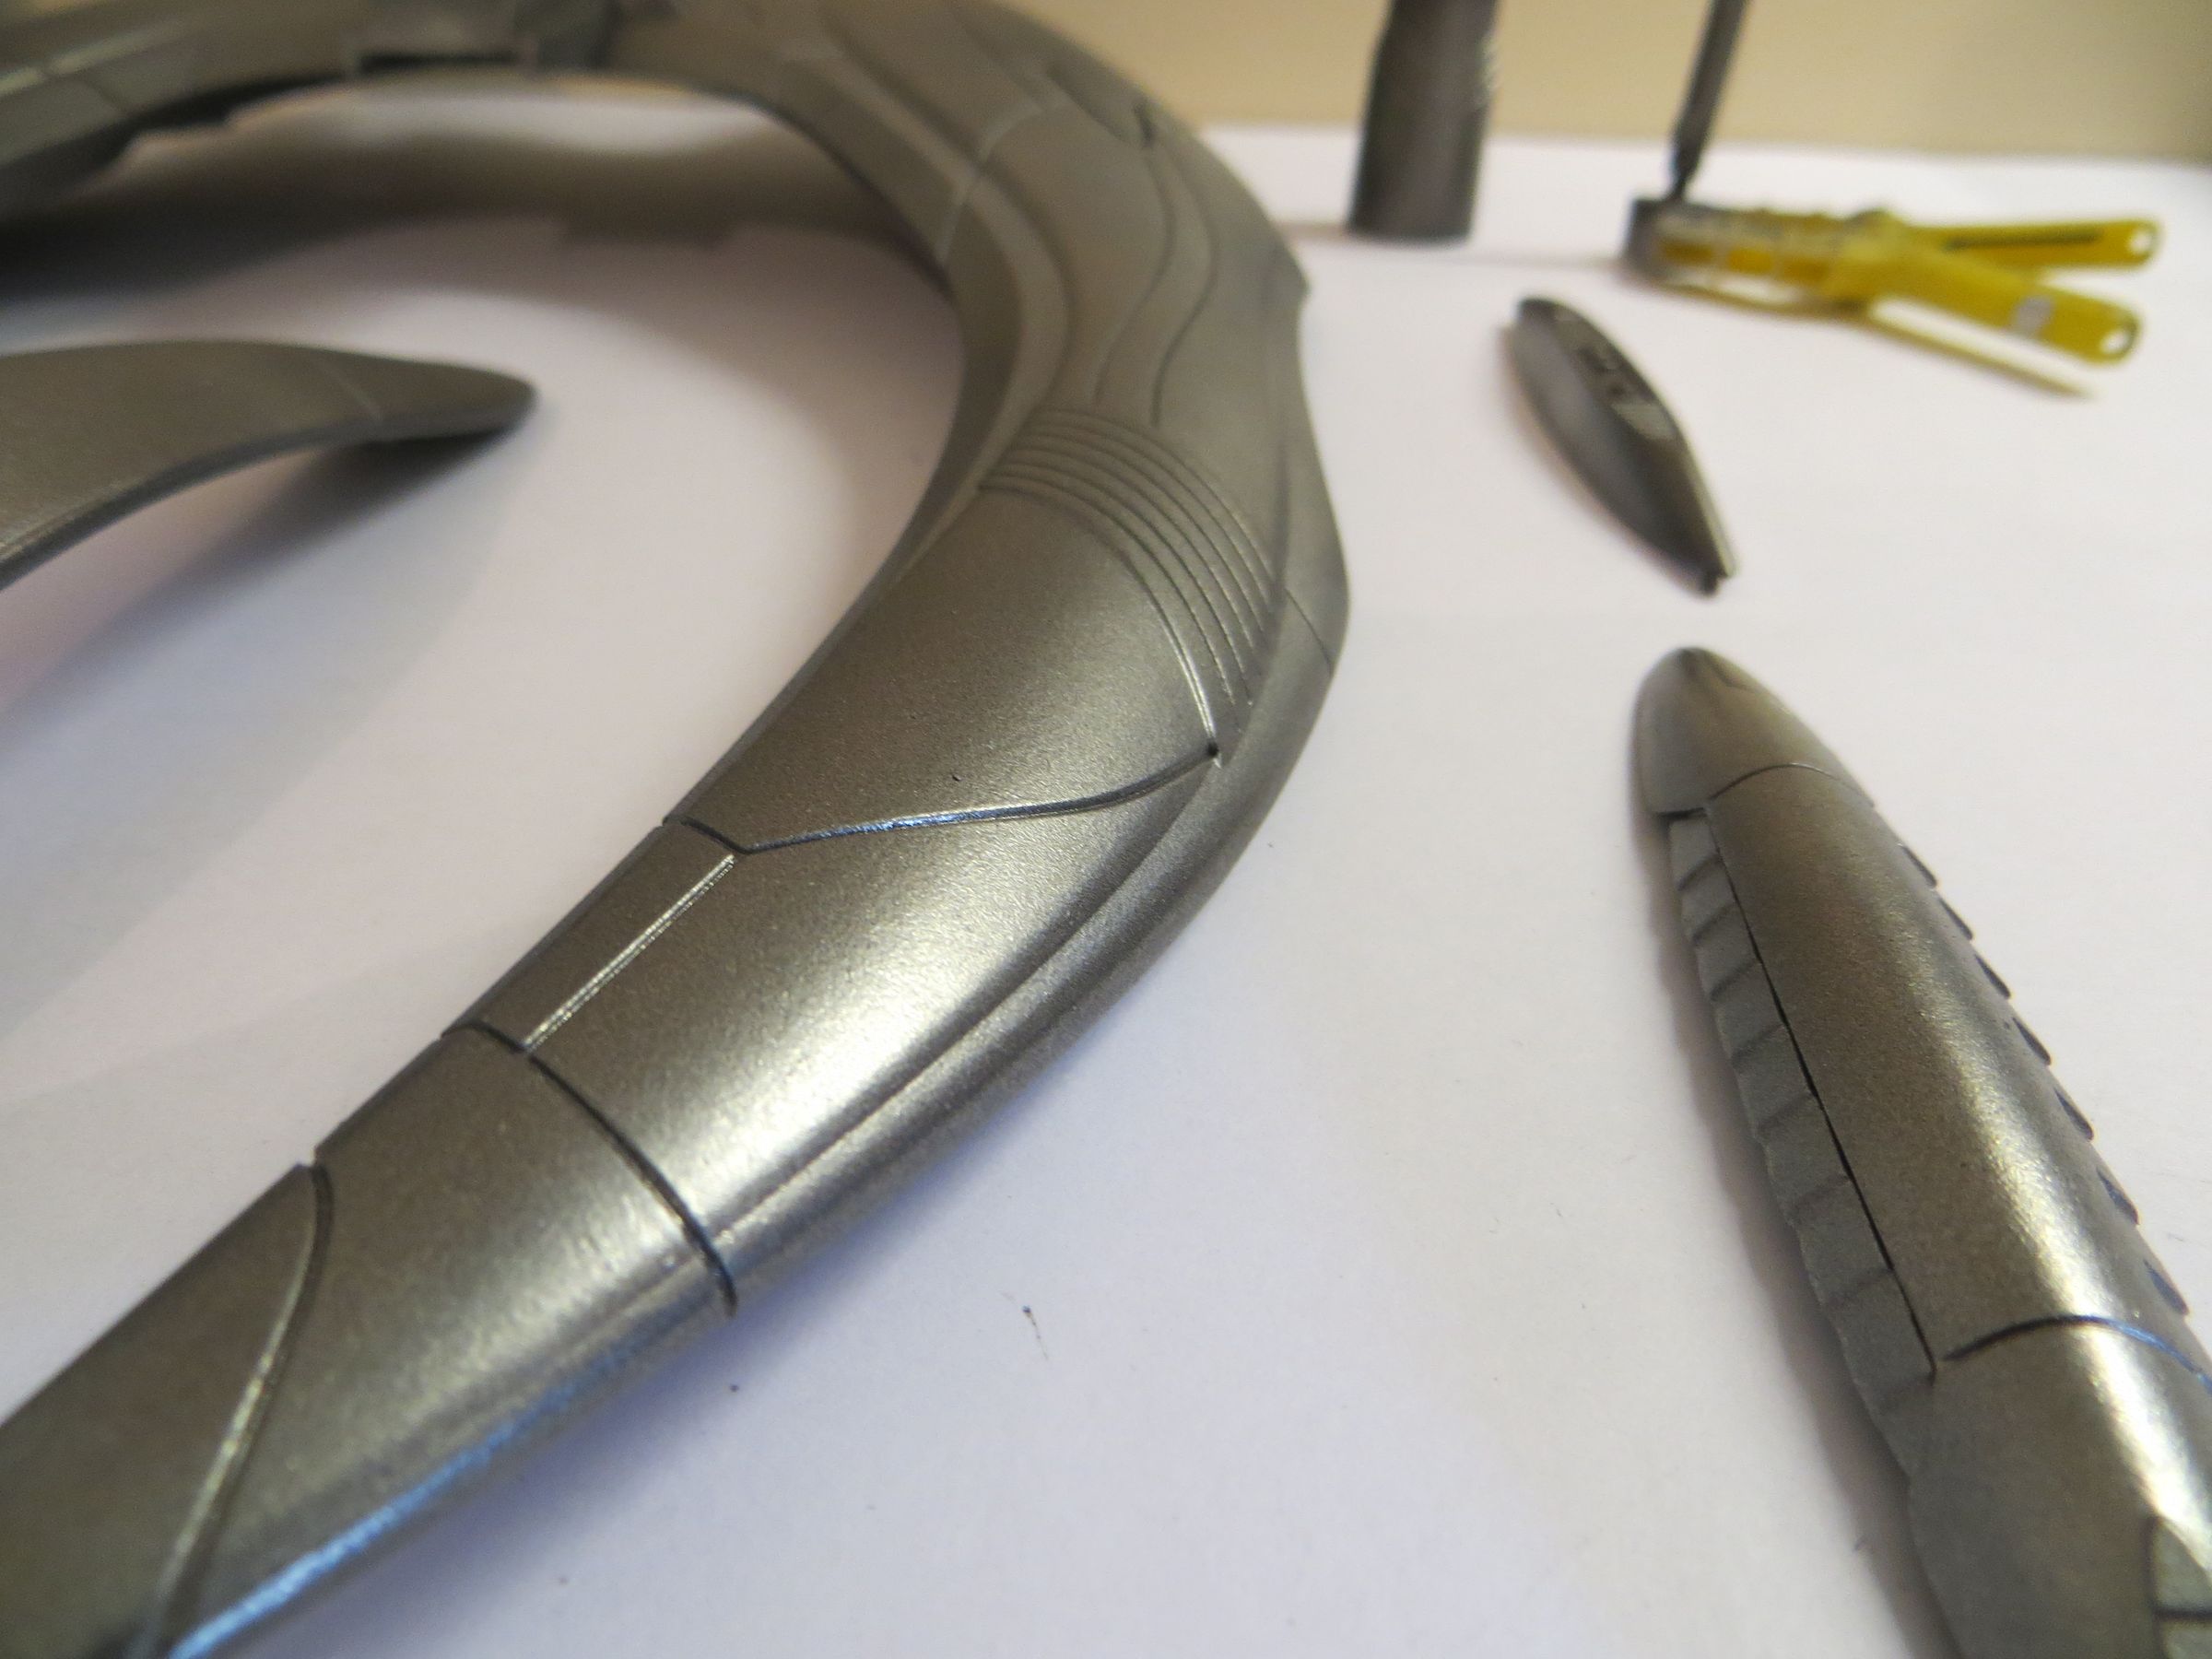
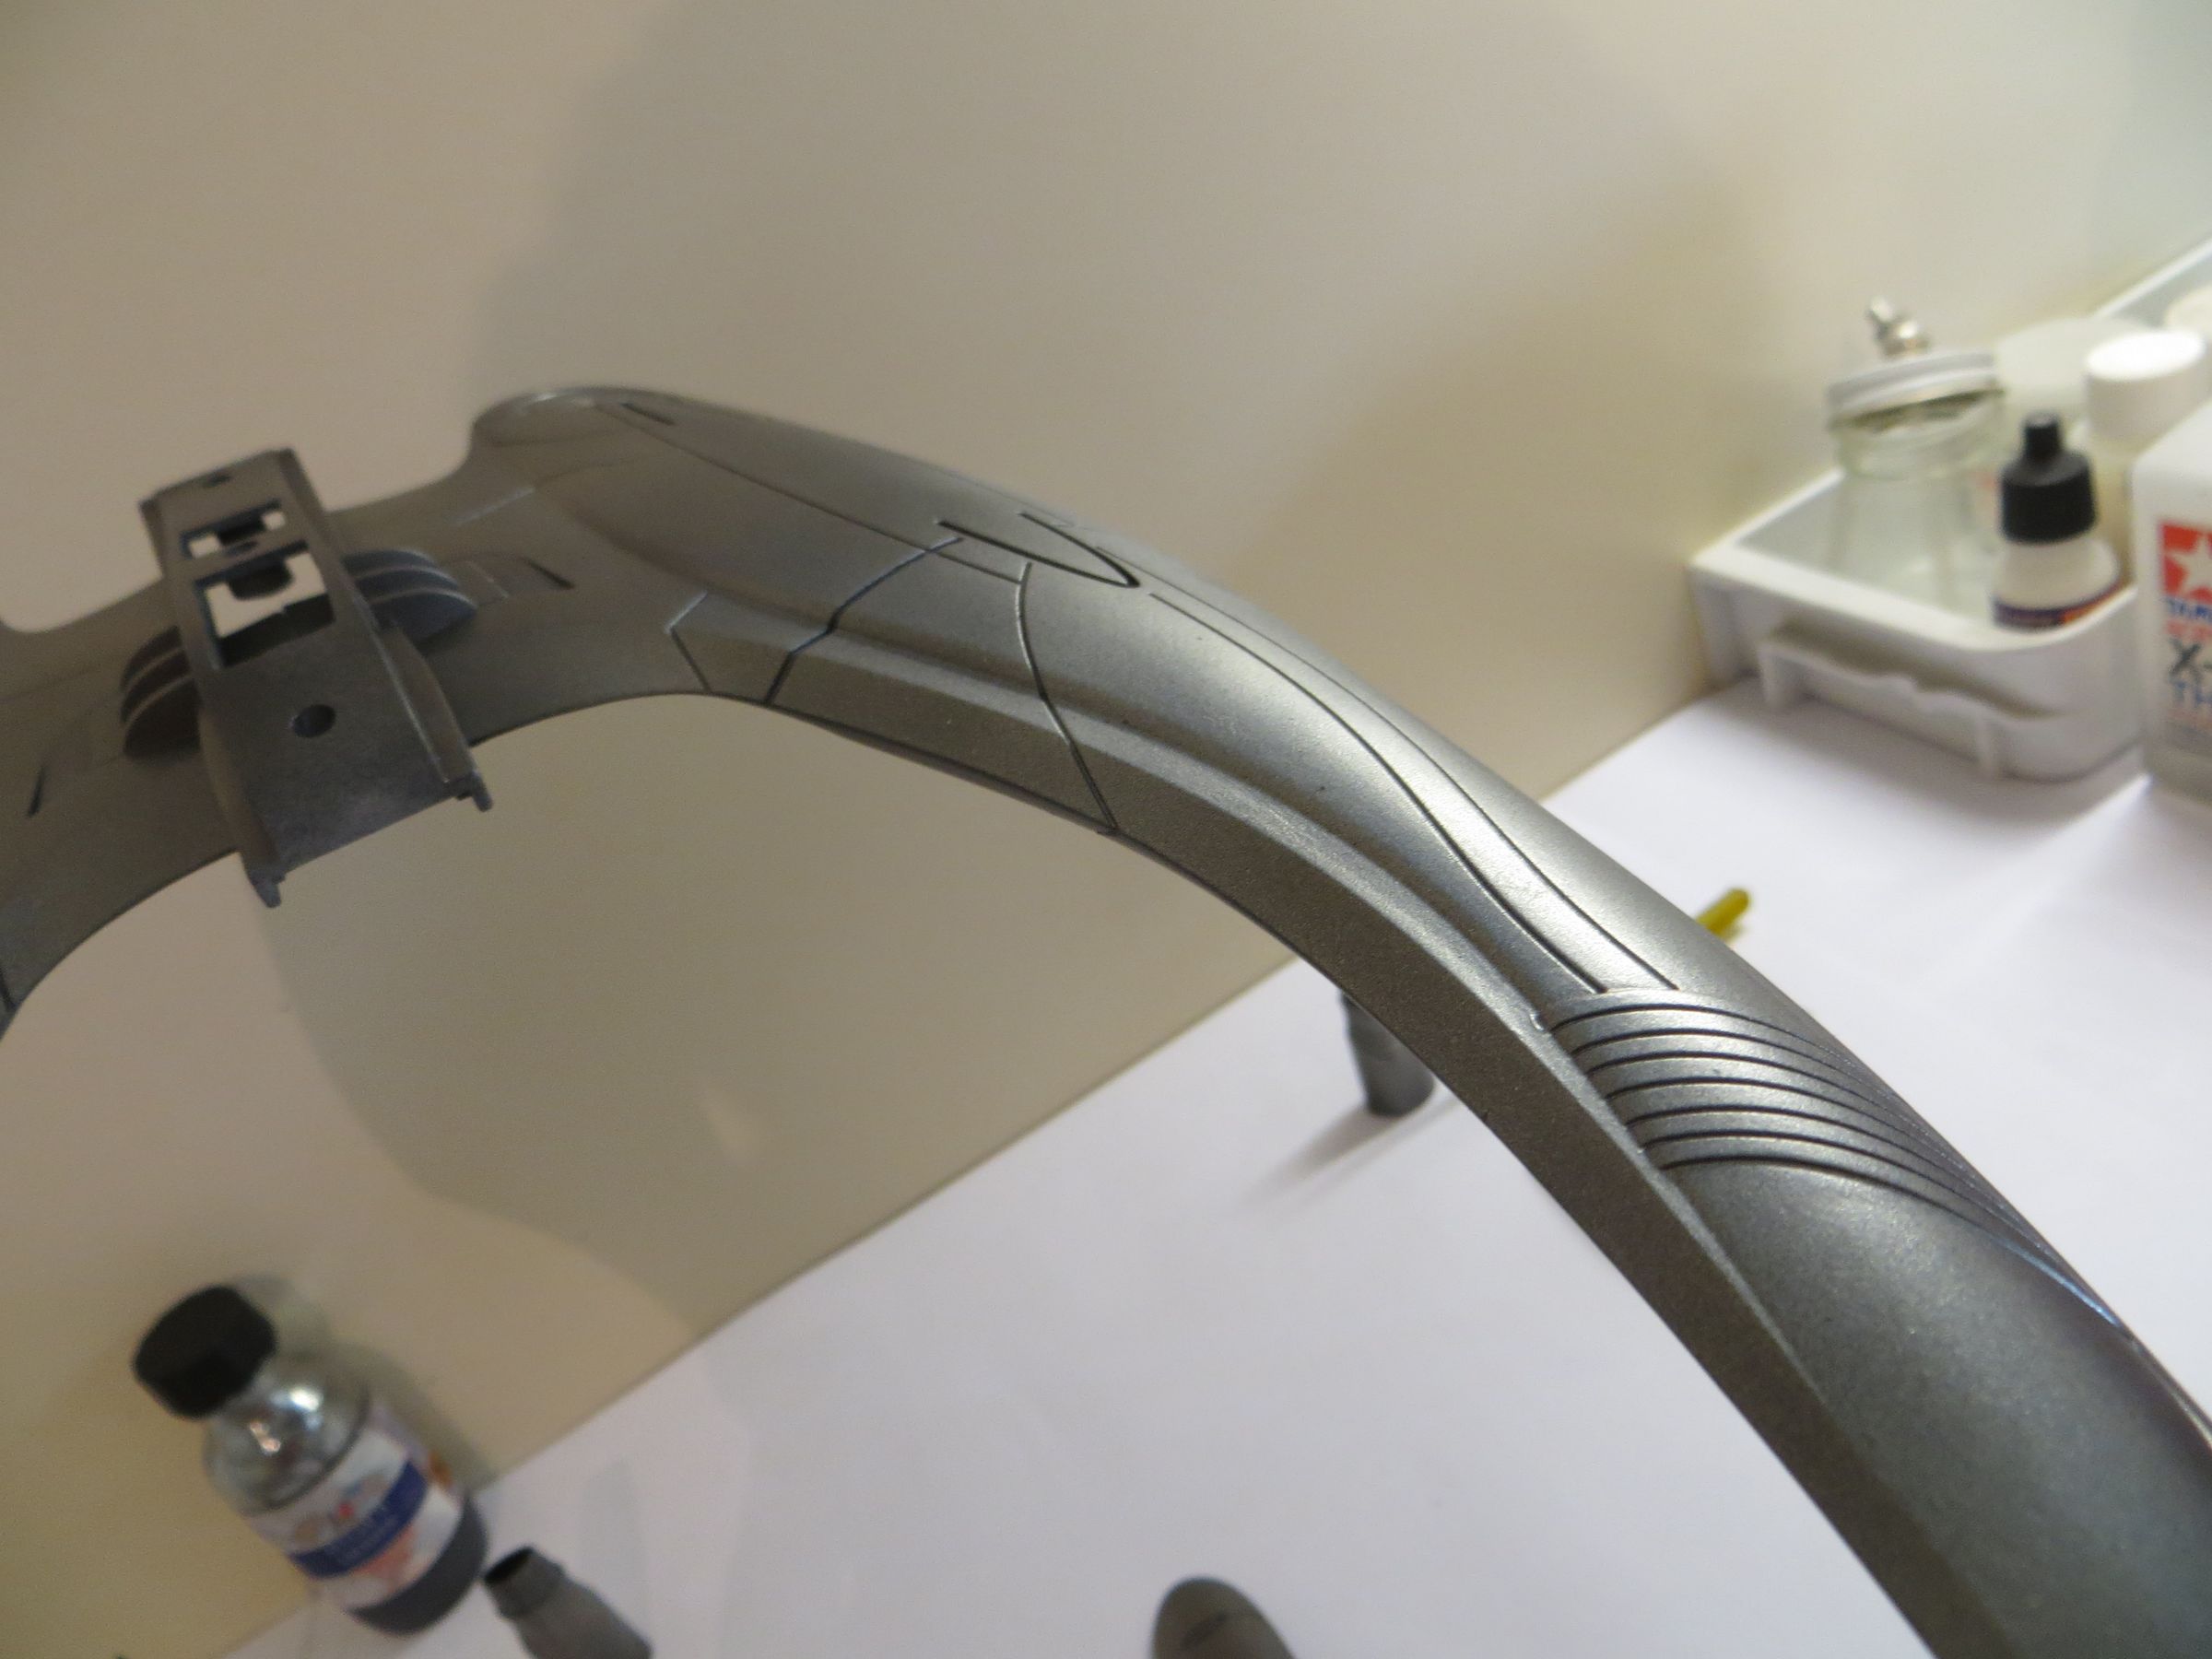
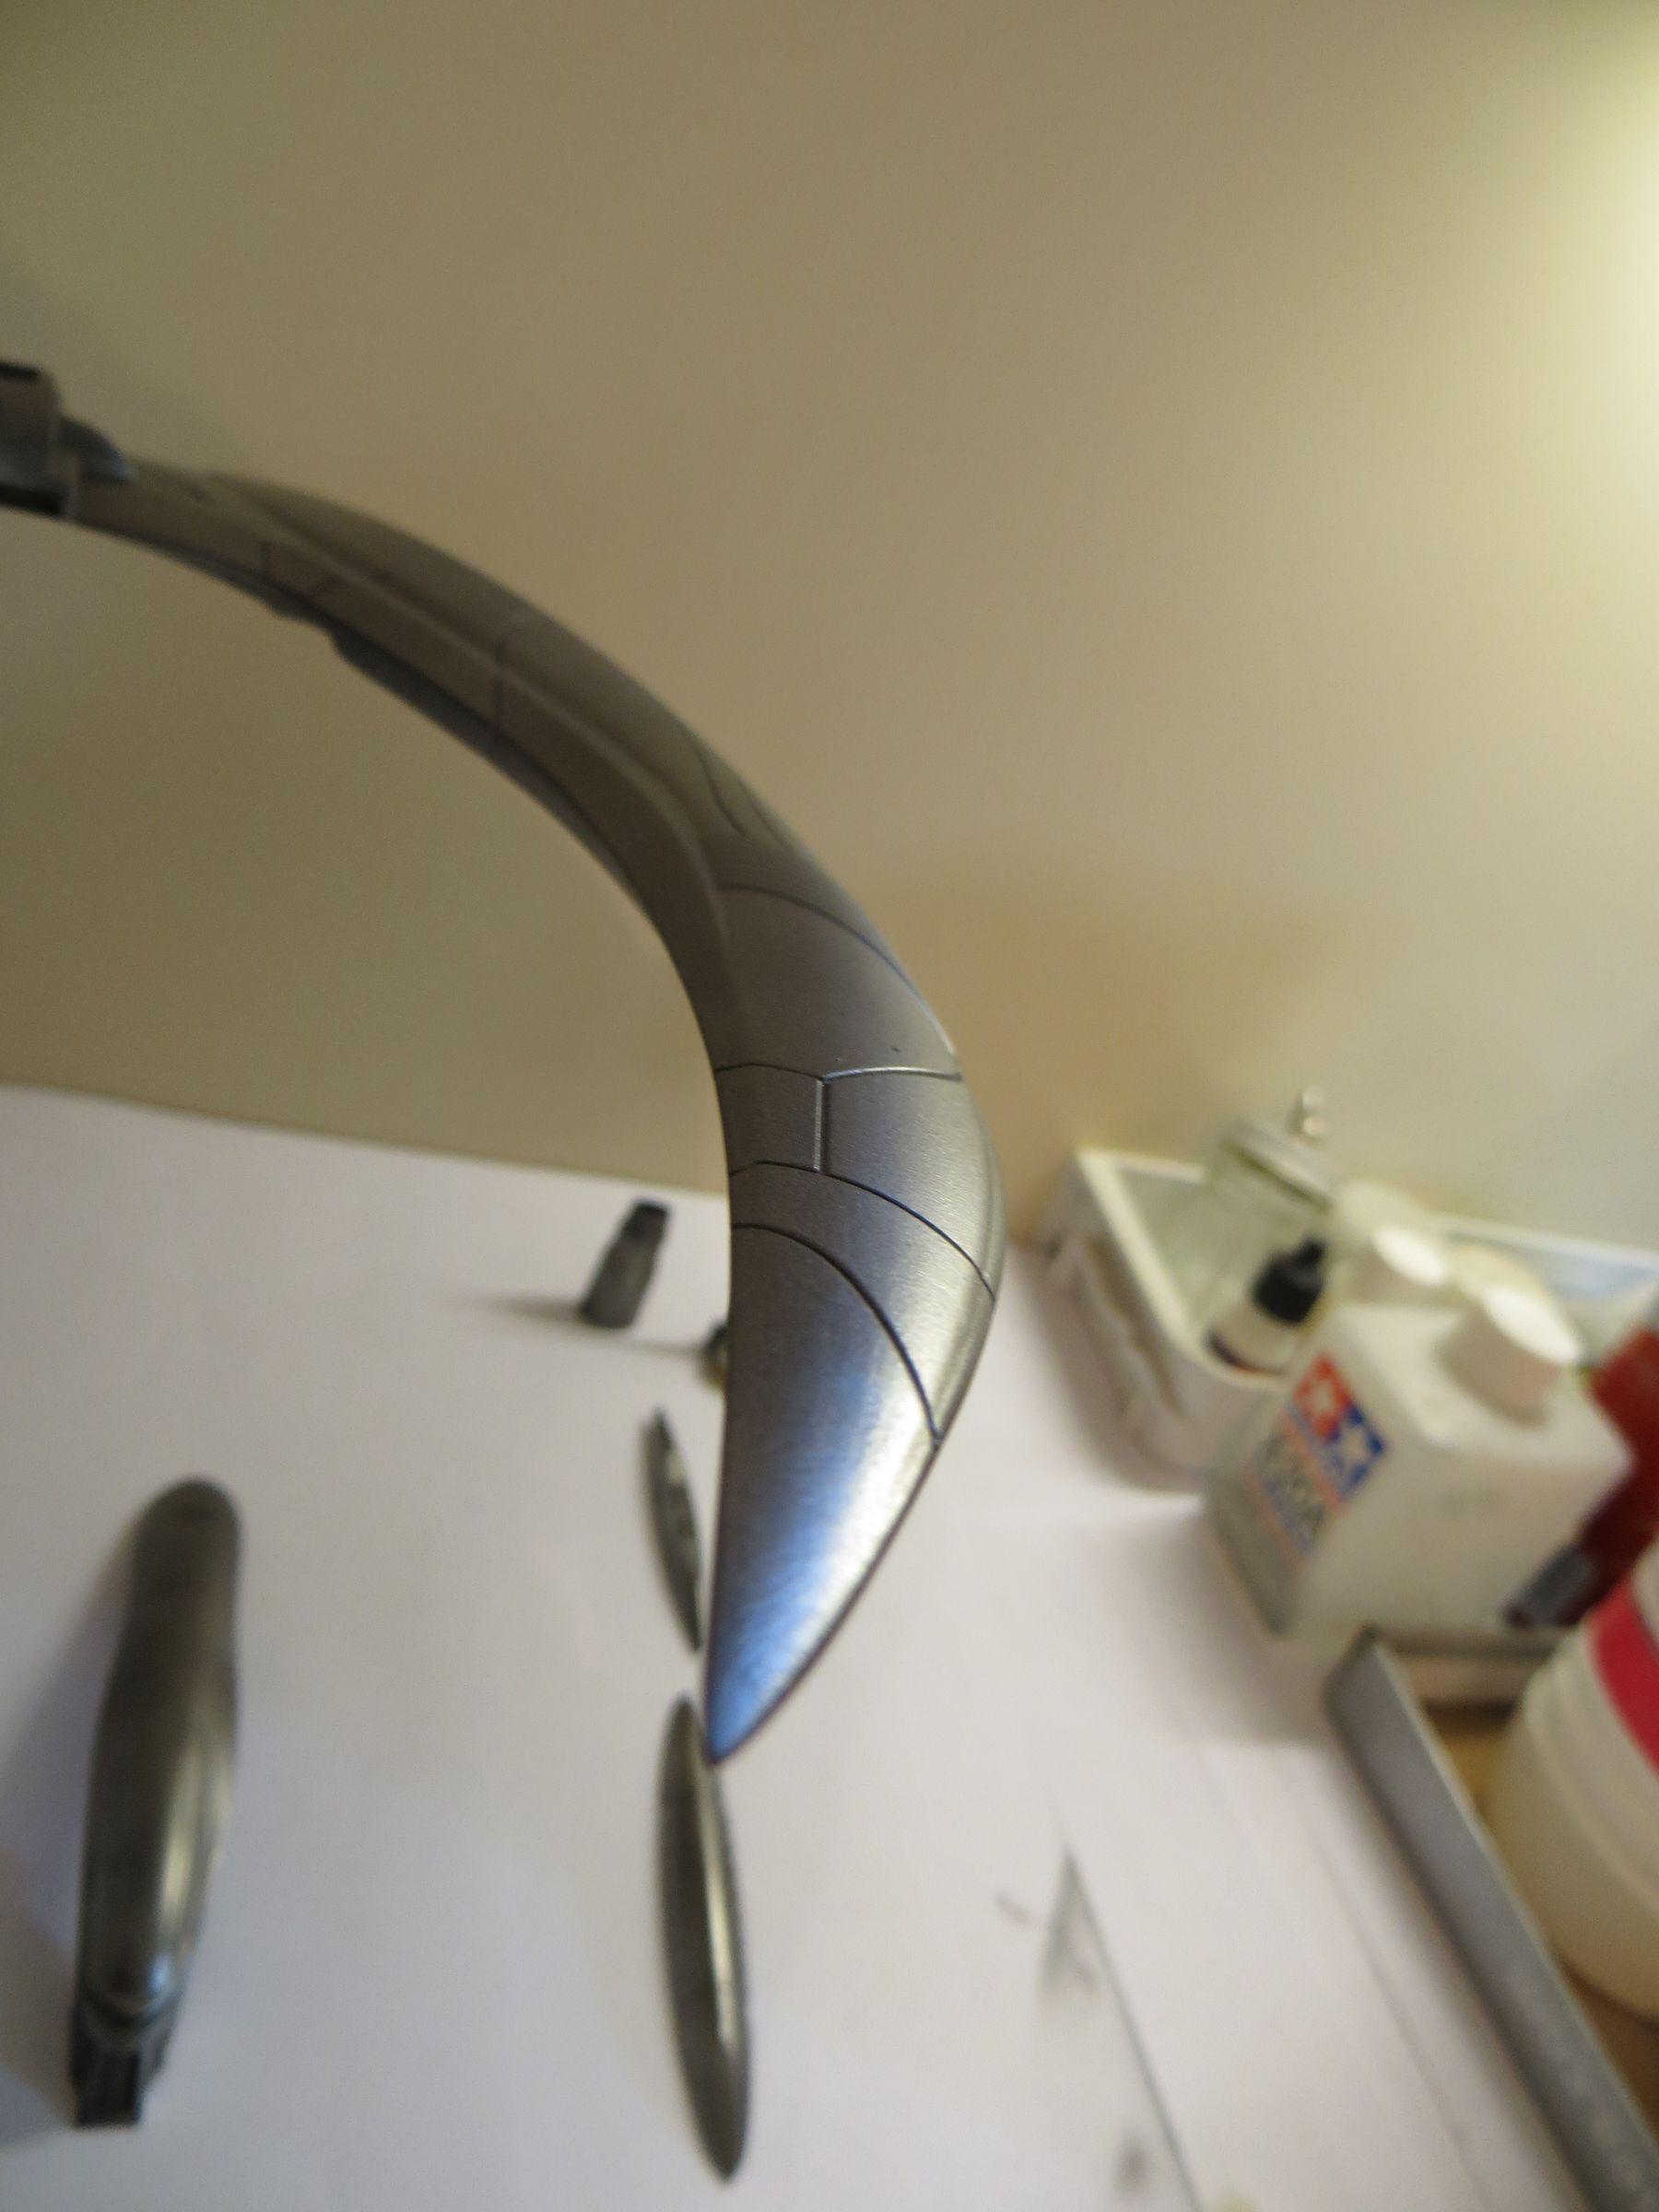
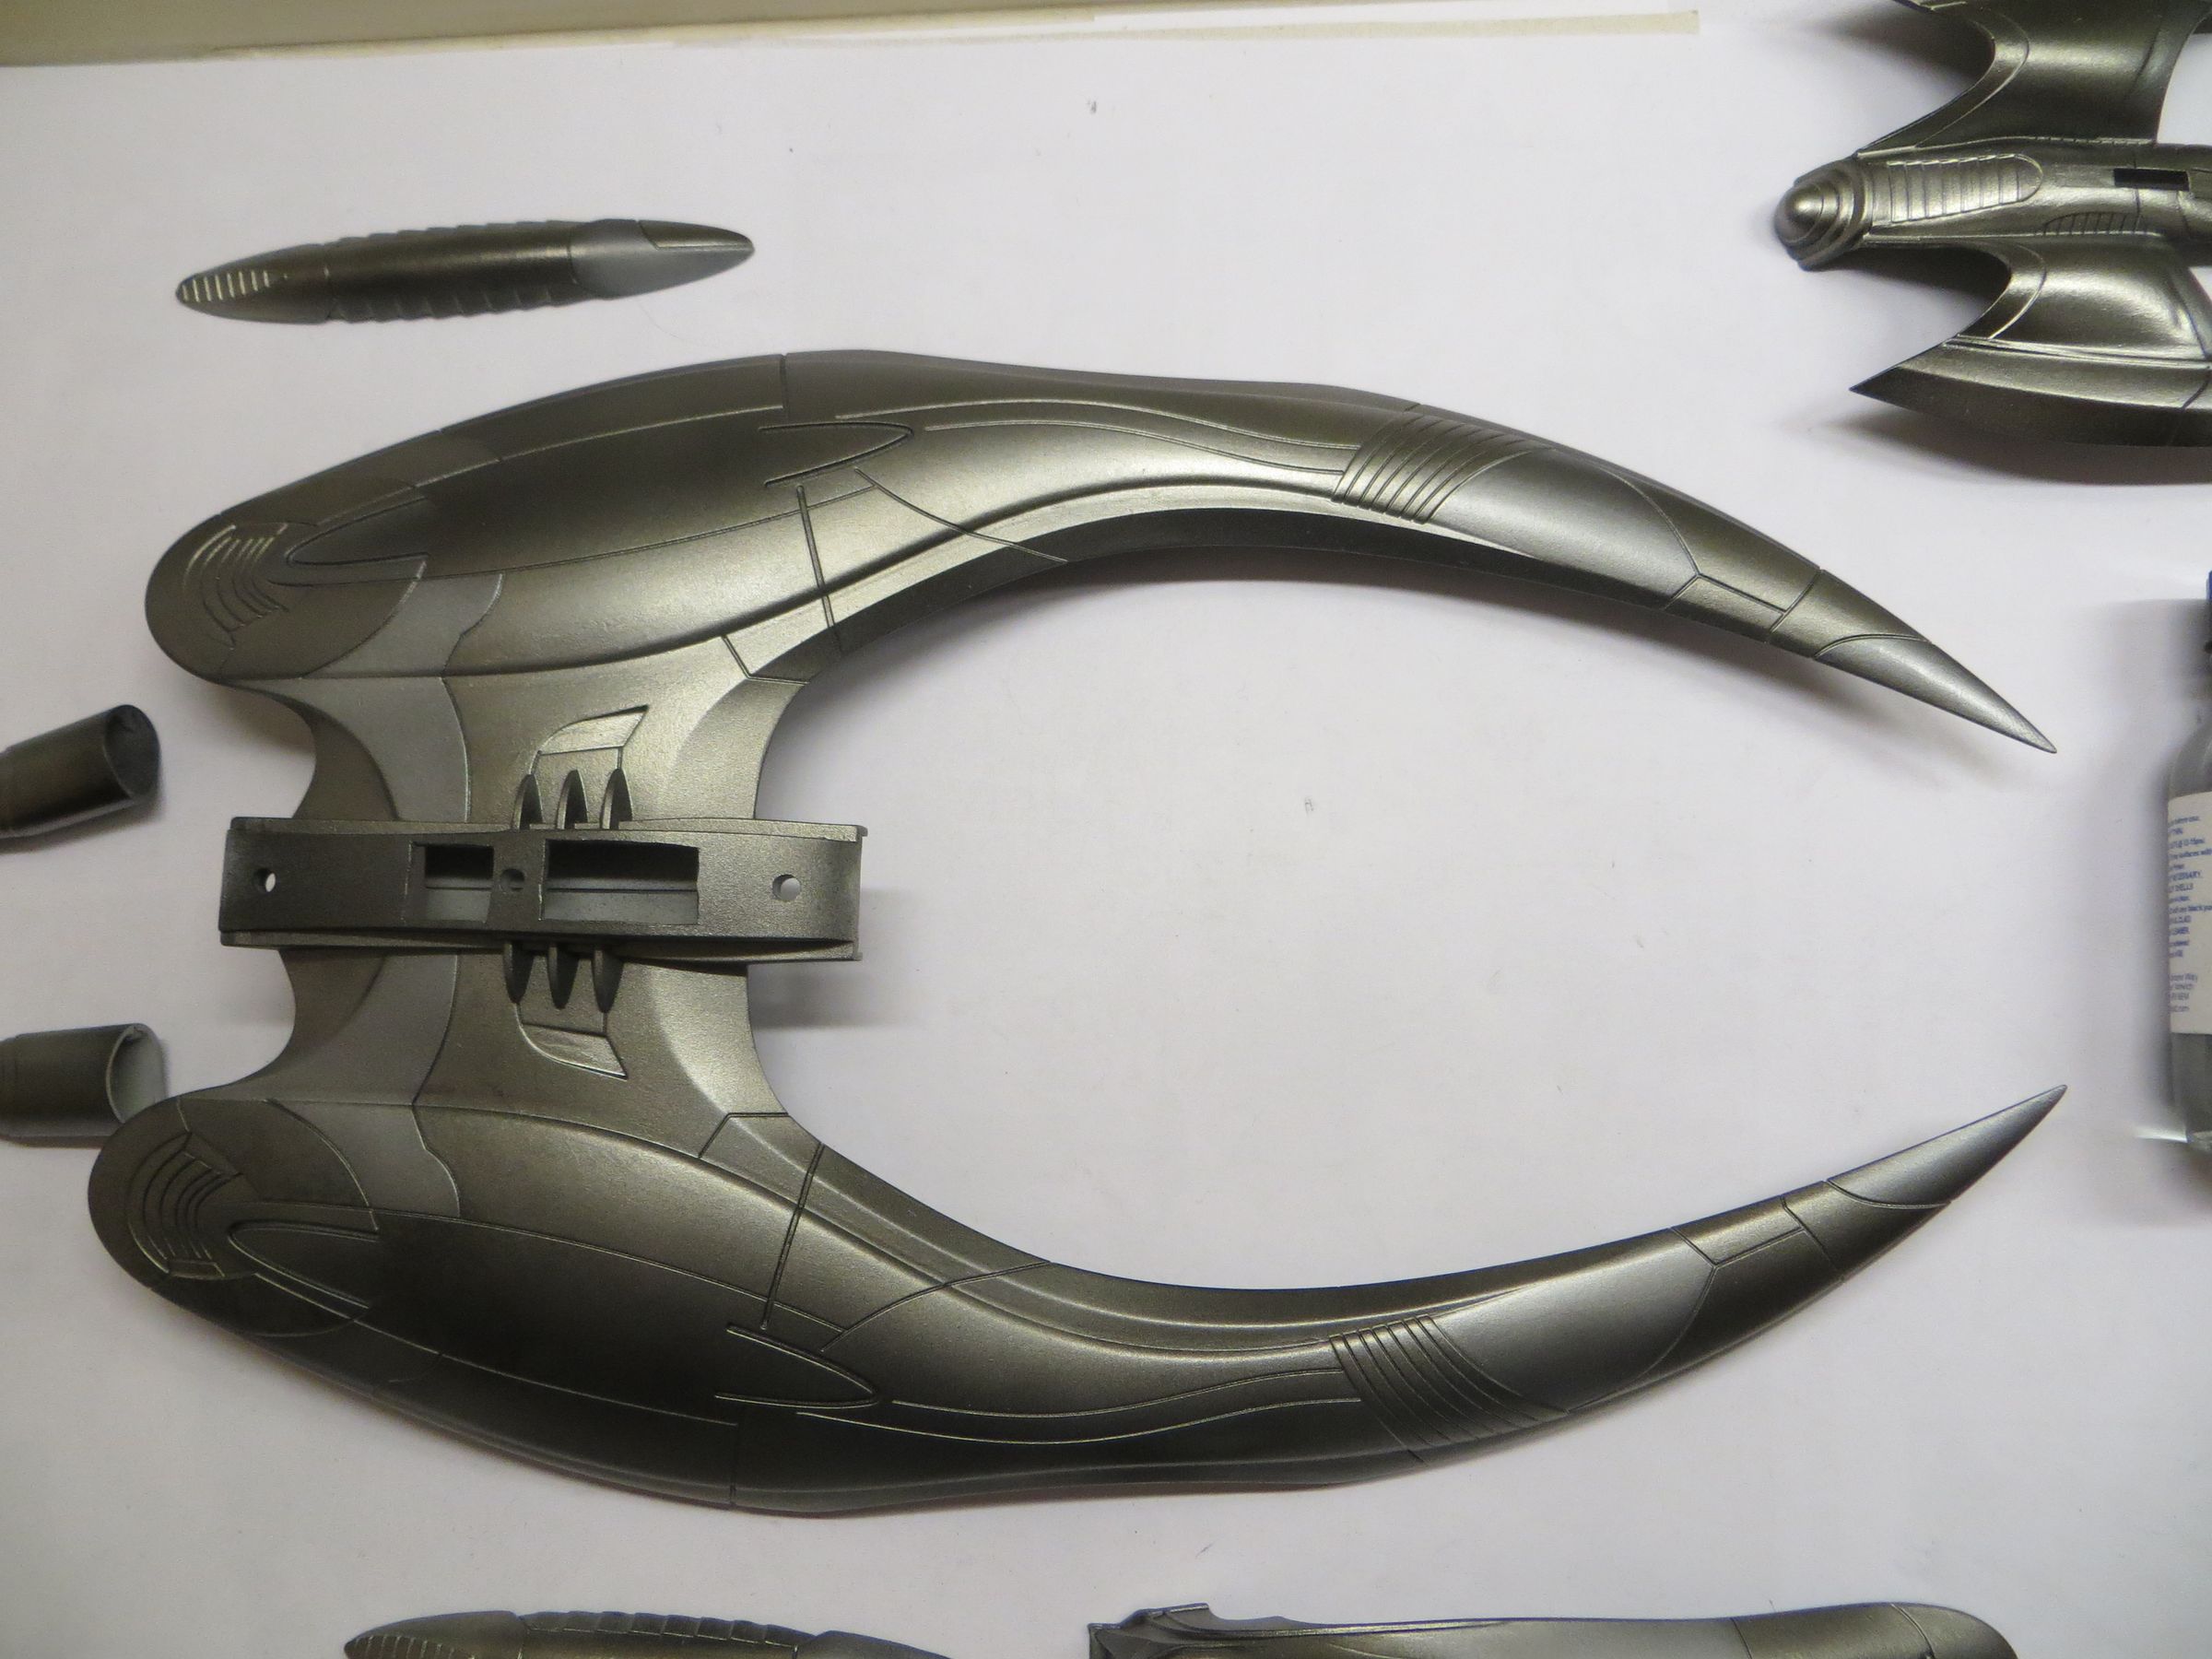
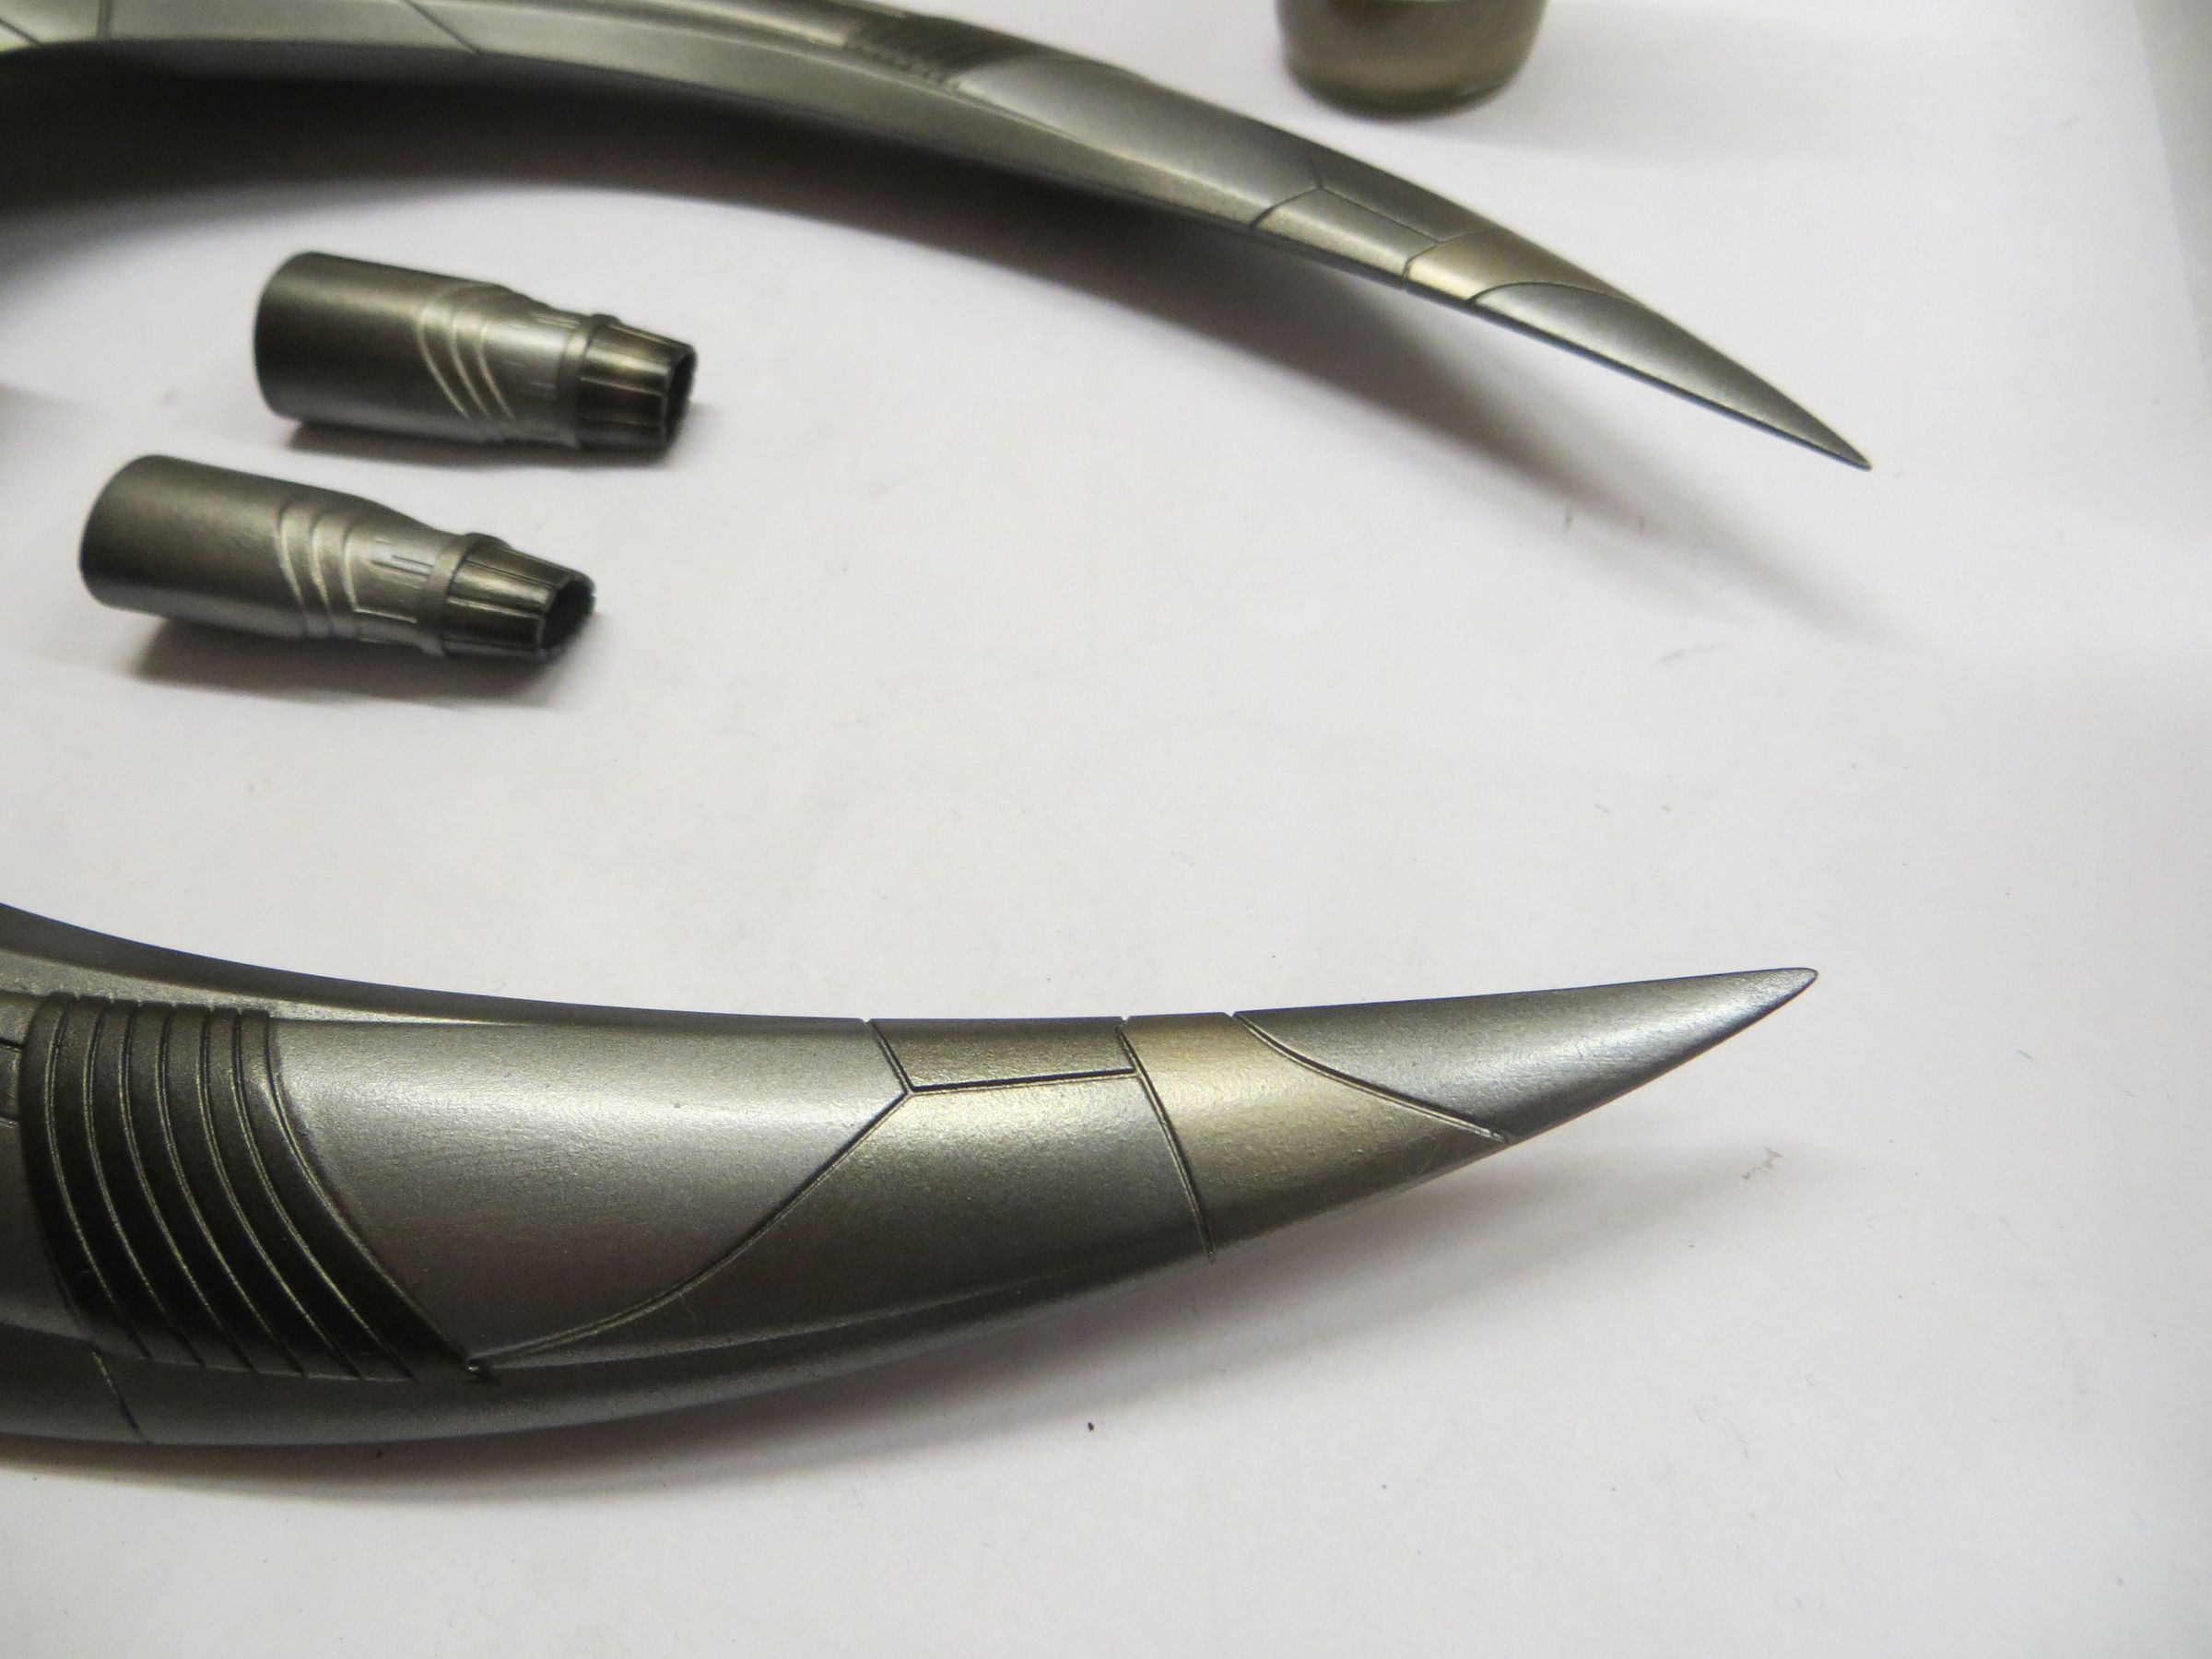
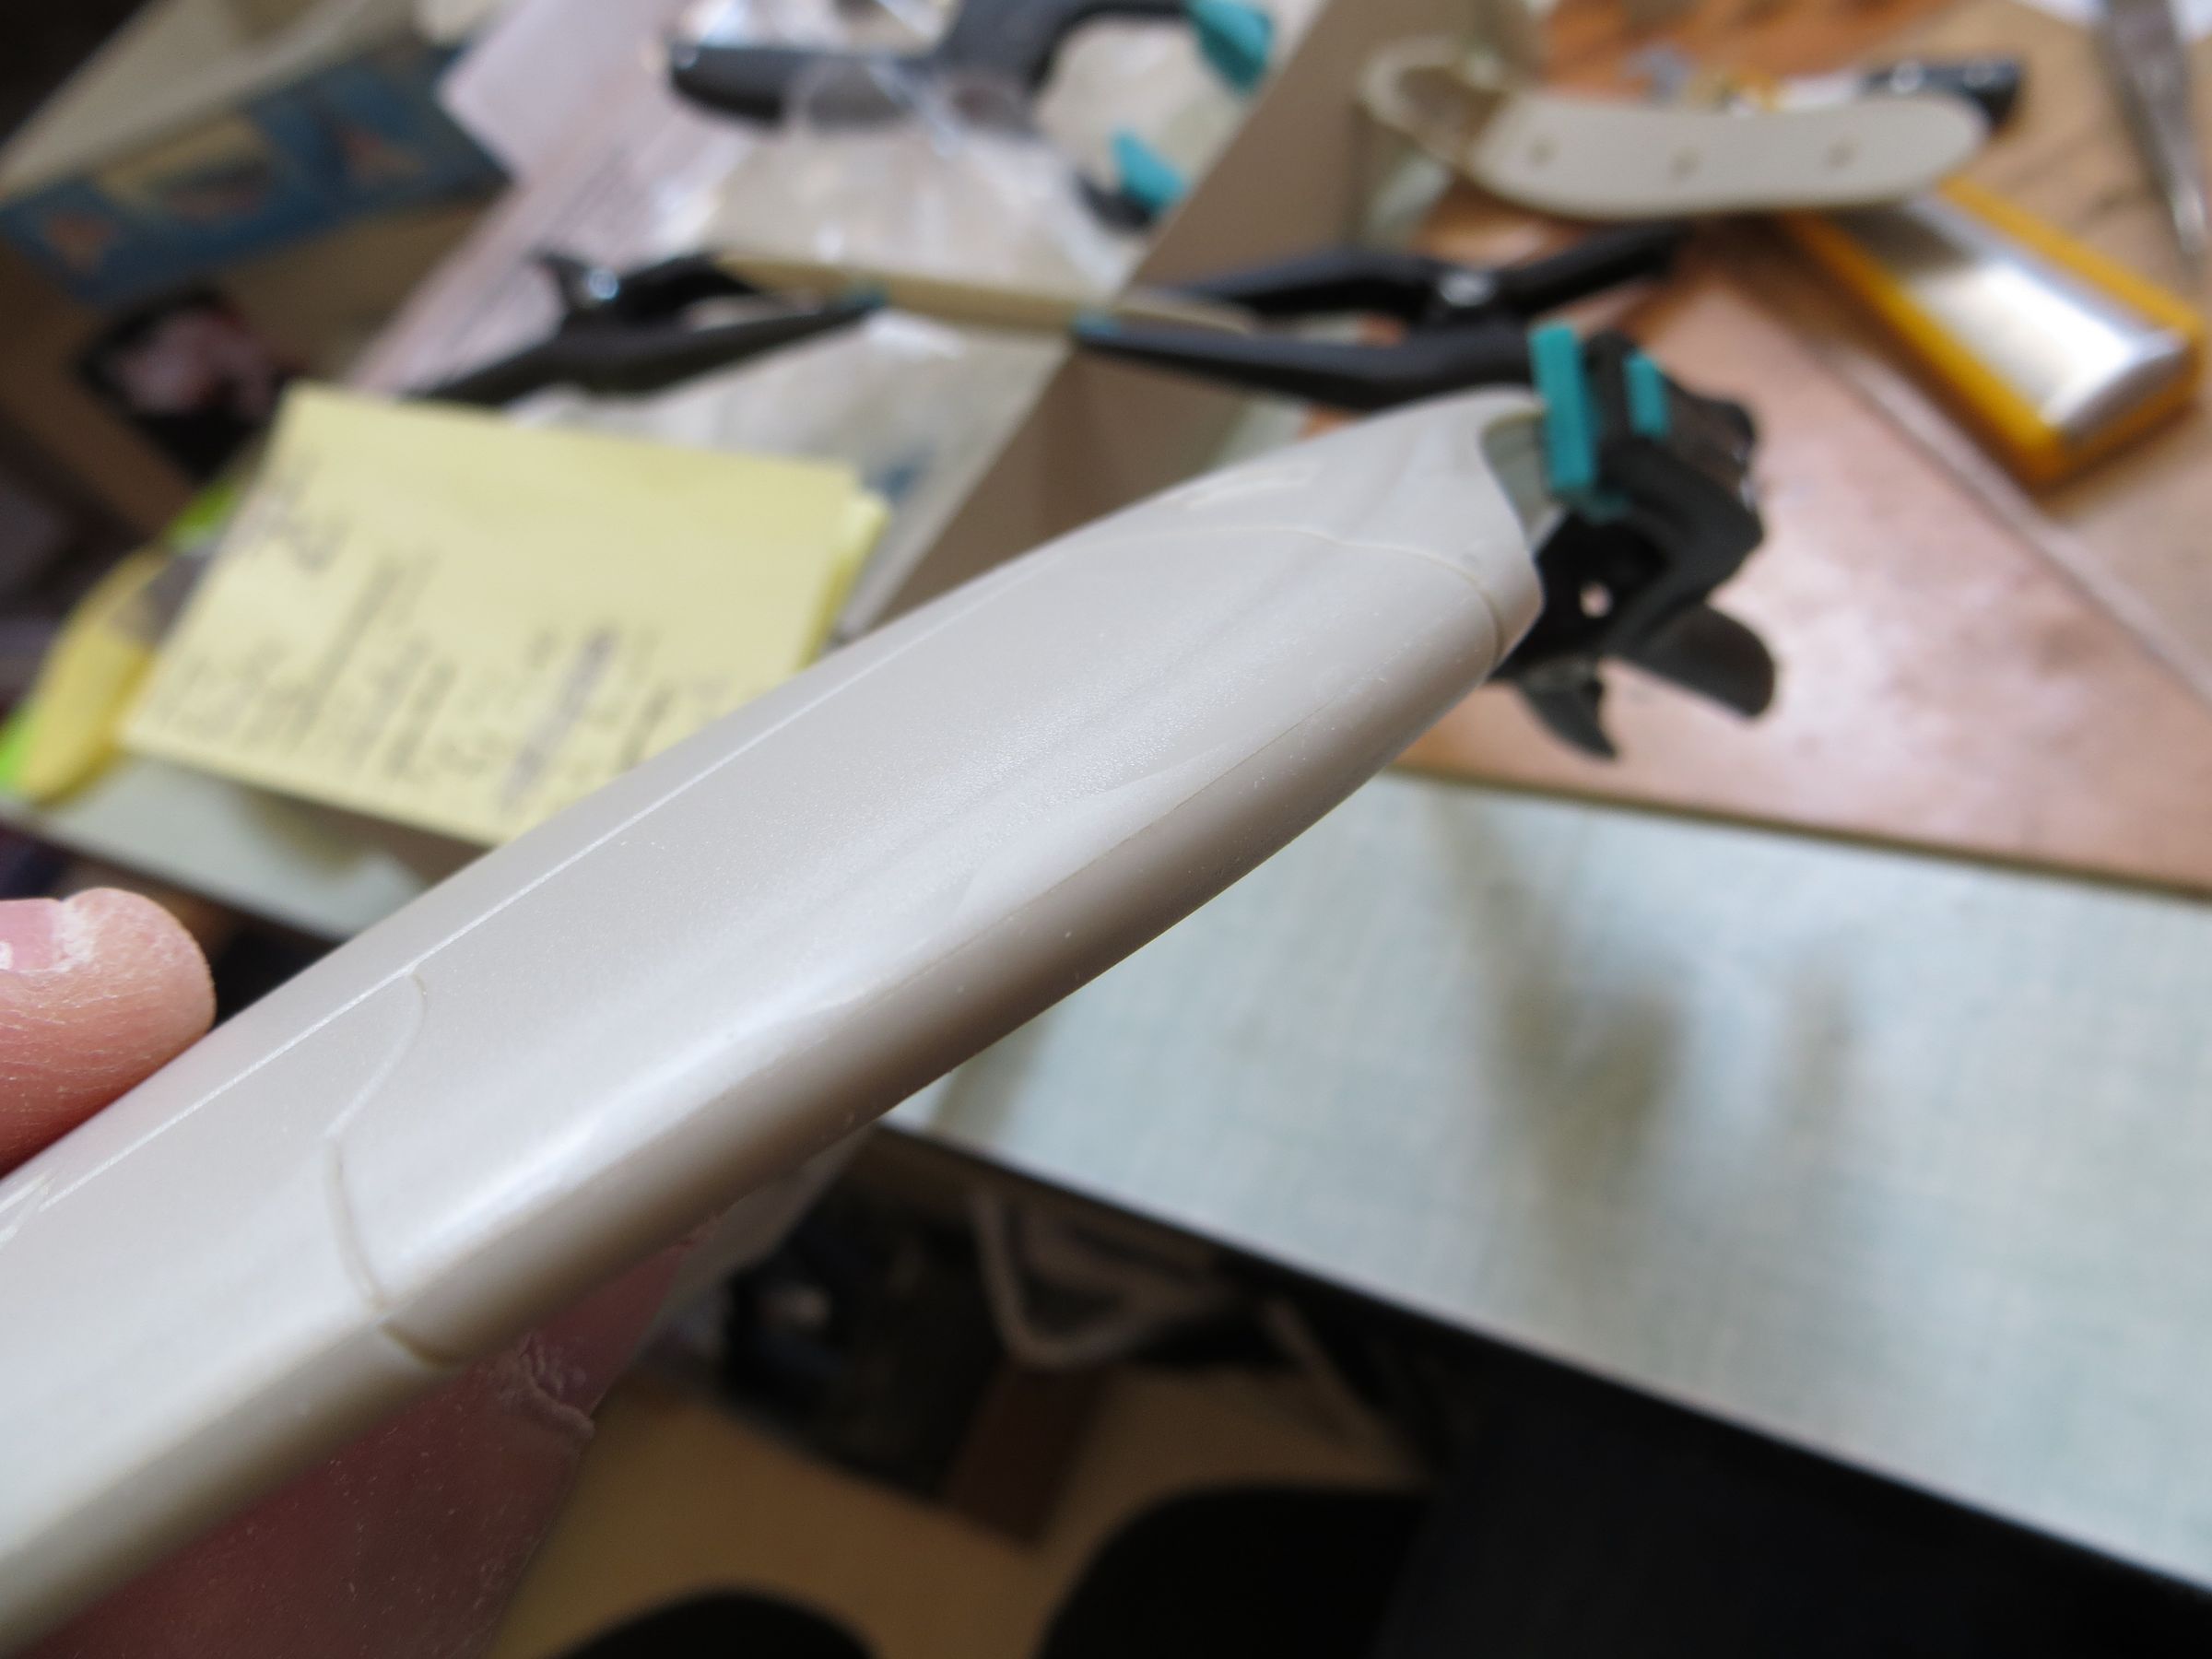
The assembly is started quickly by removing molding seams on the head.
before
after
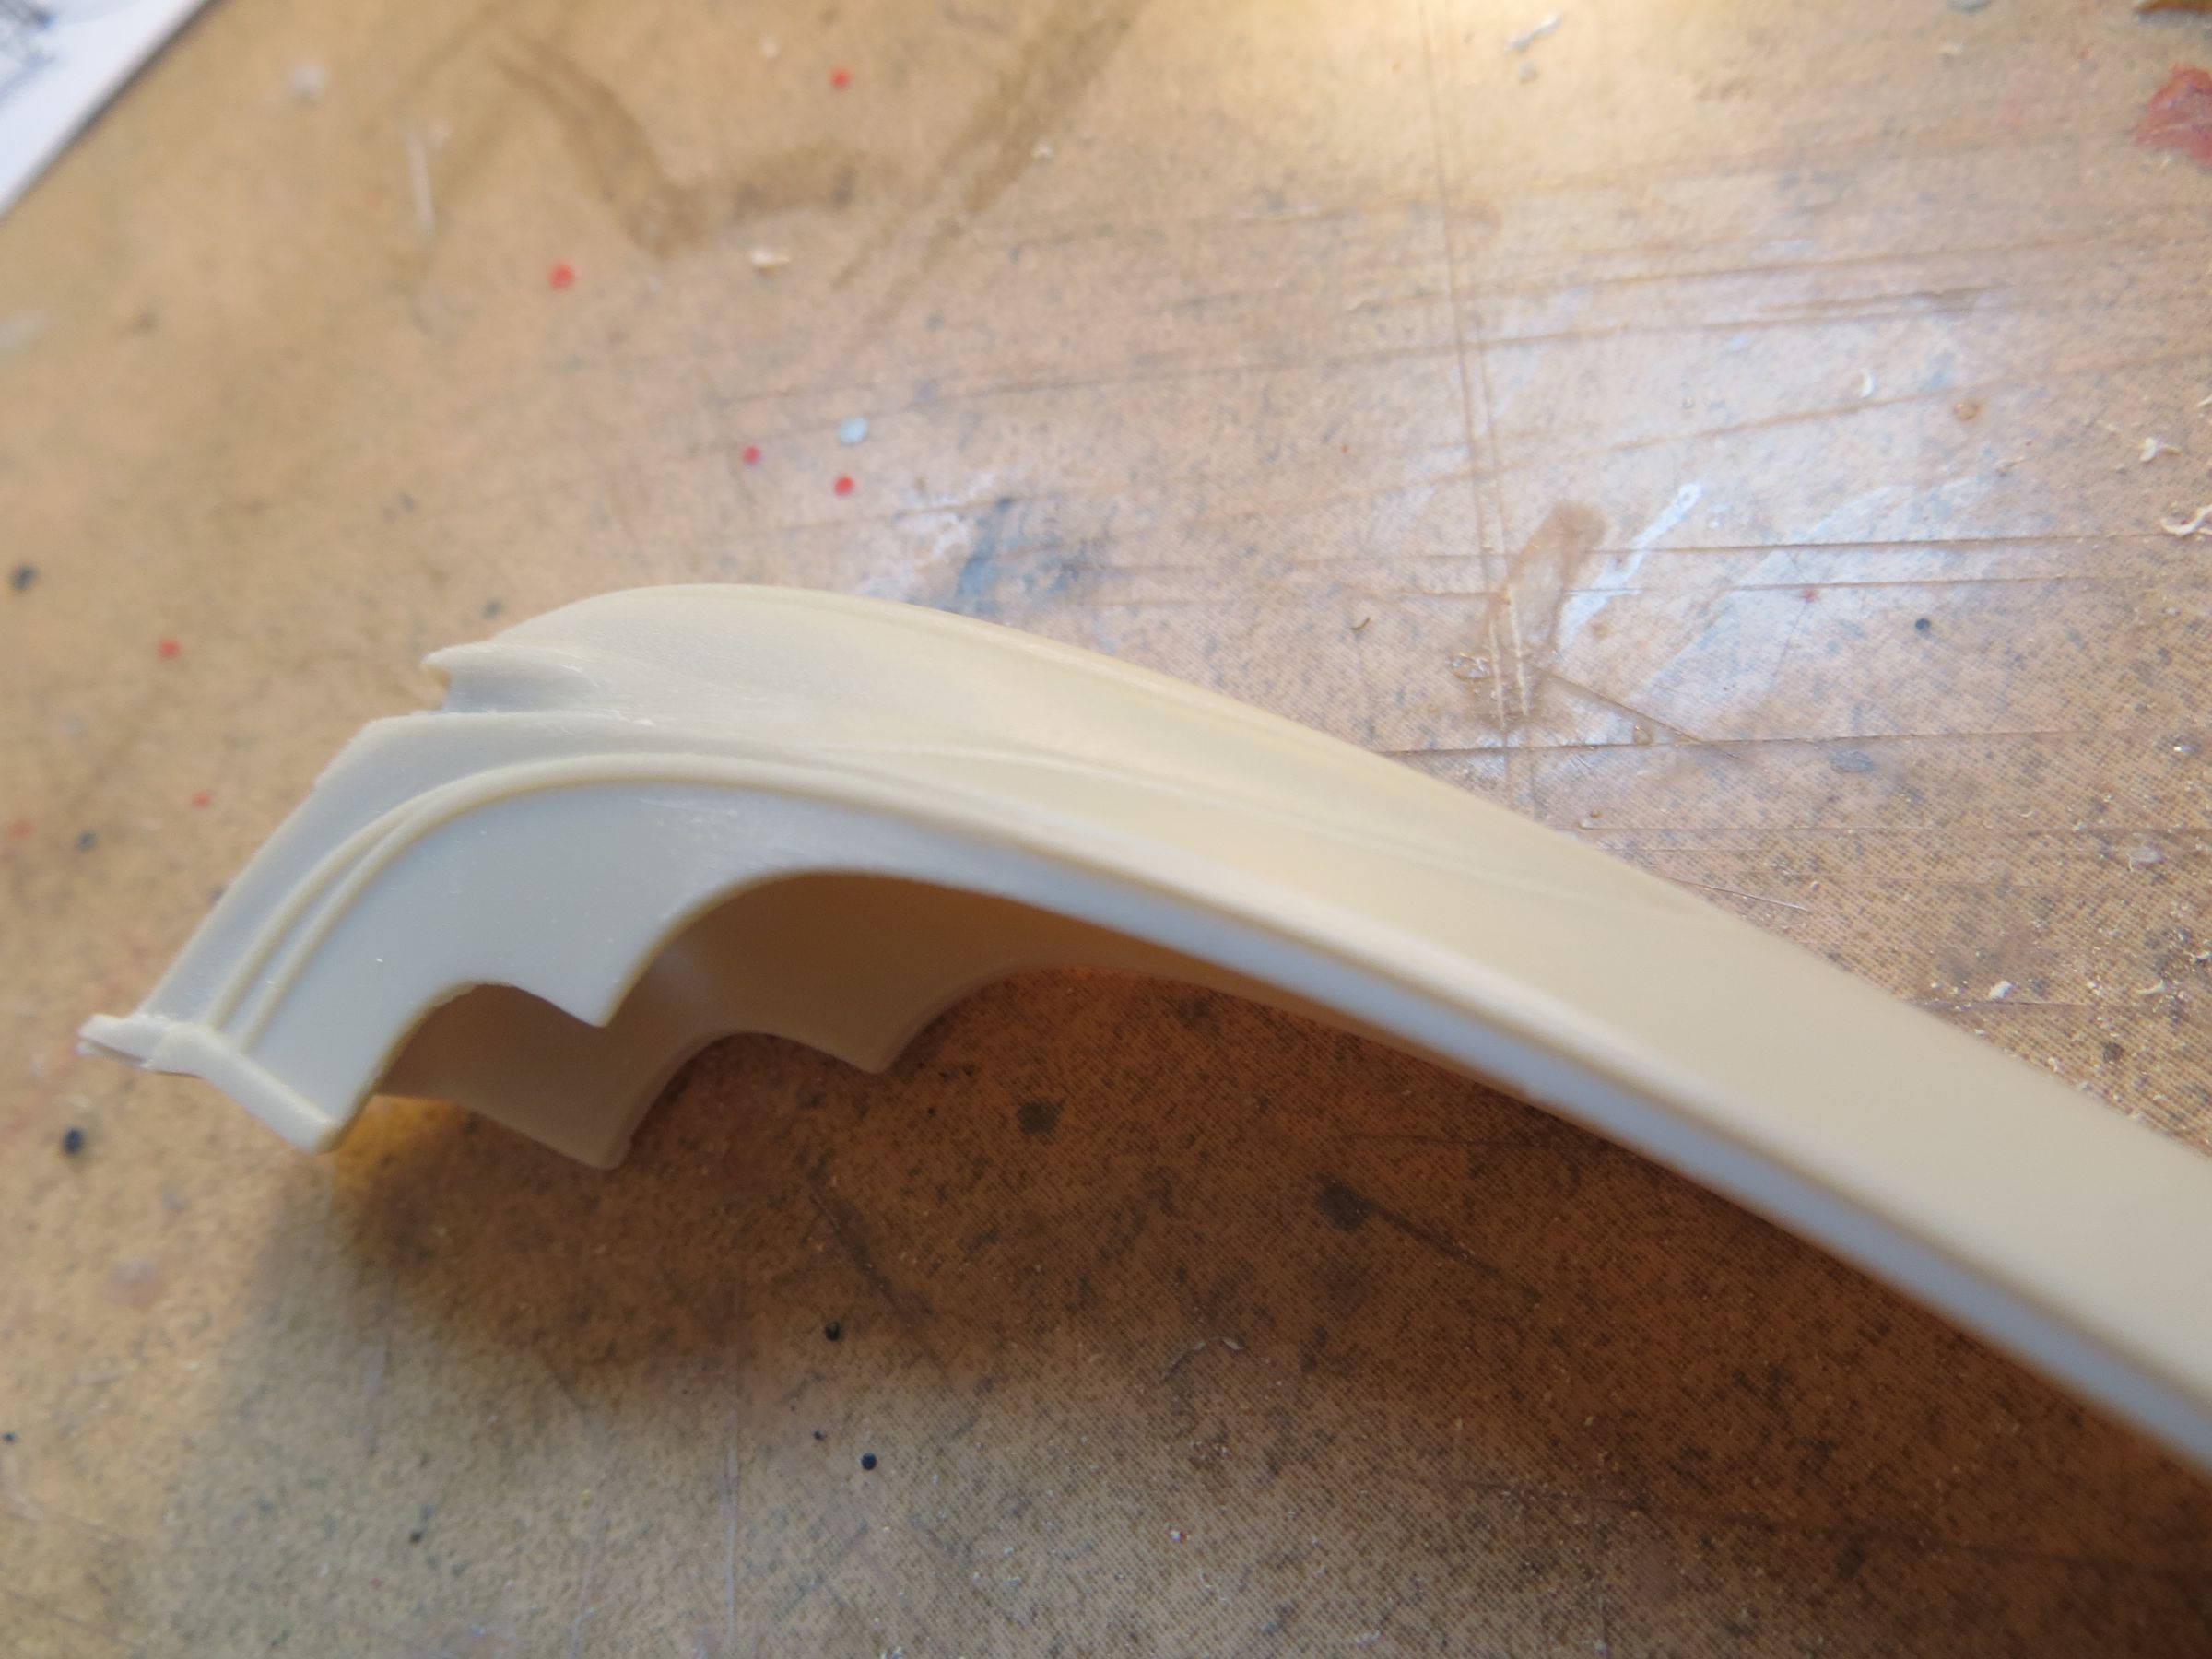
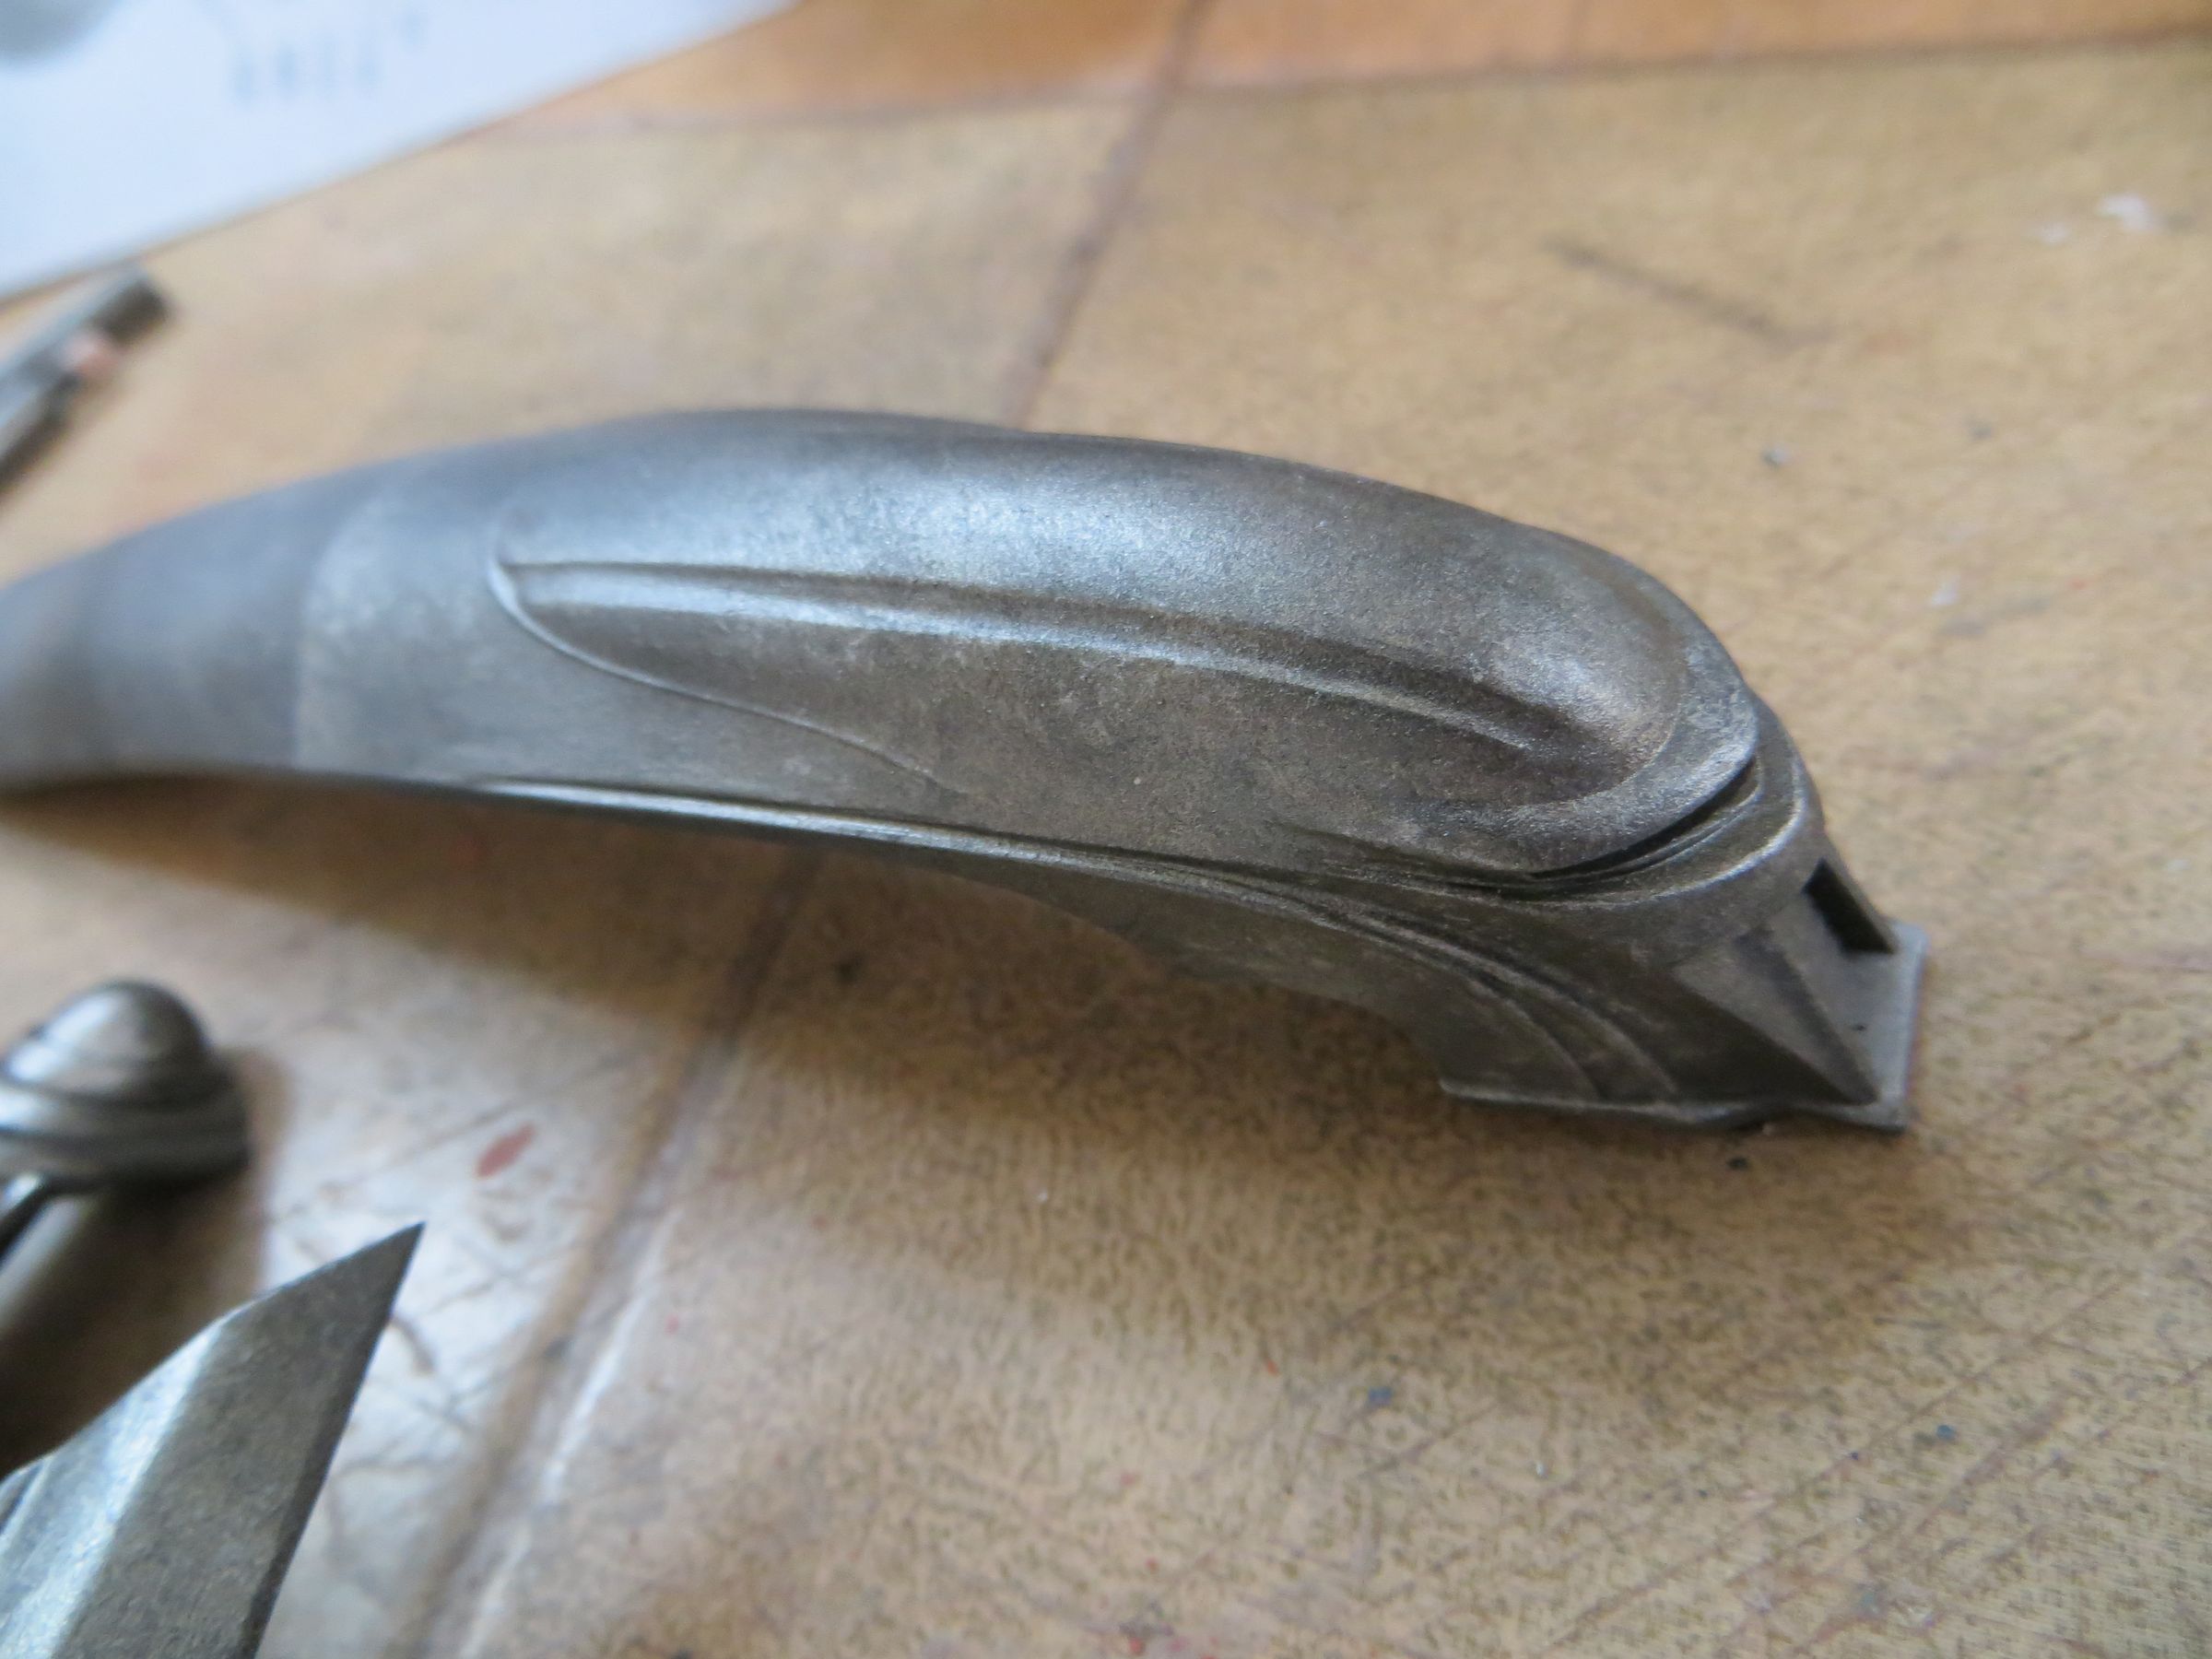
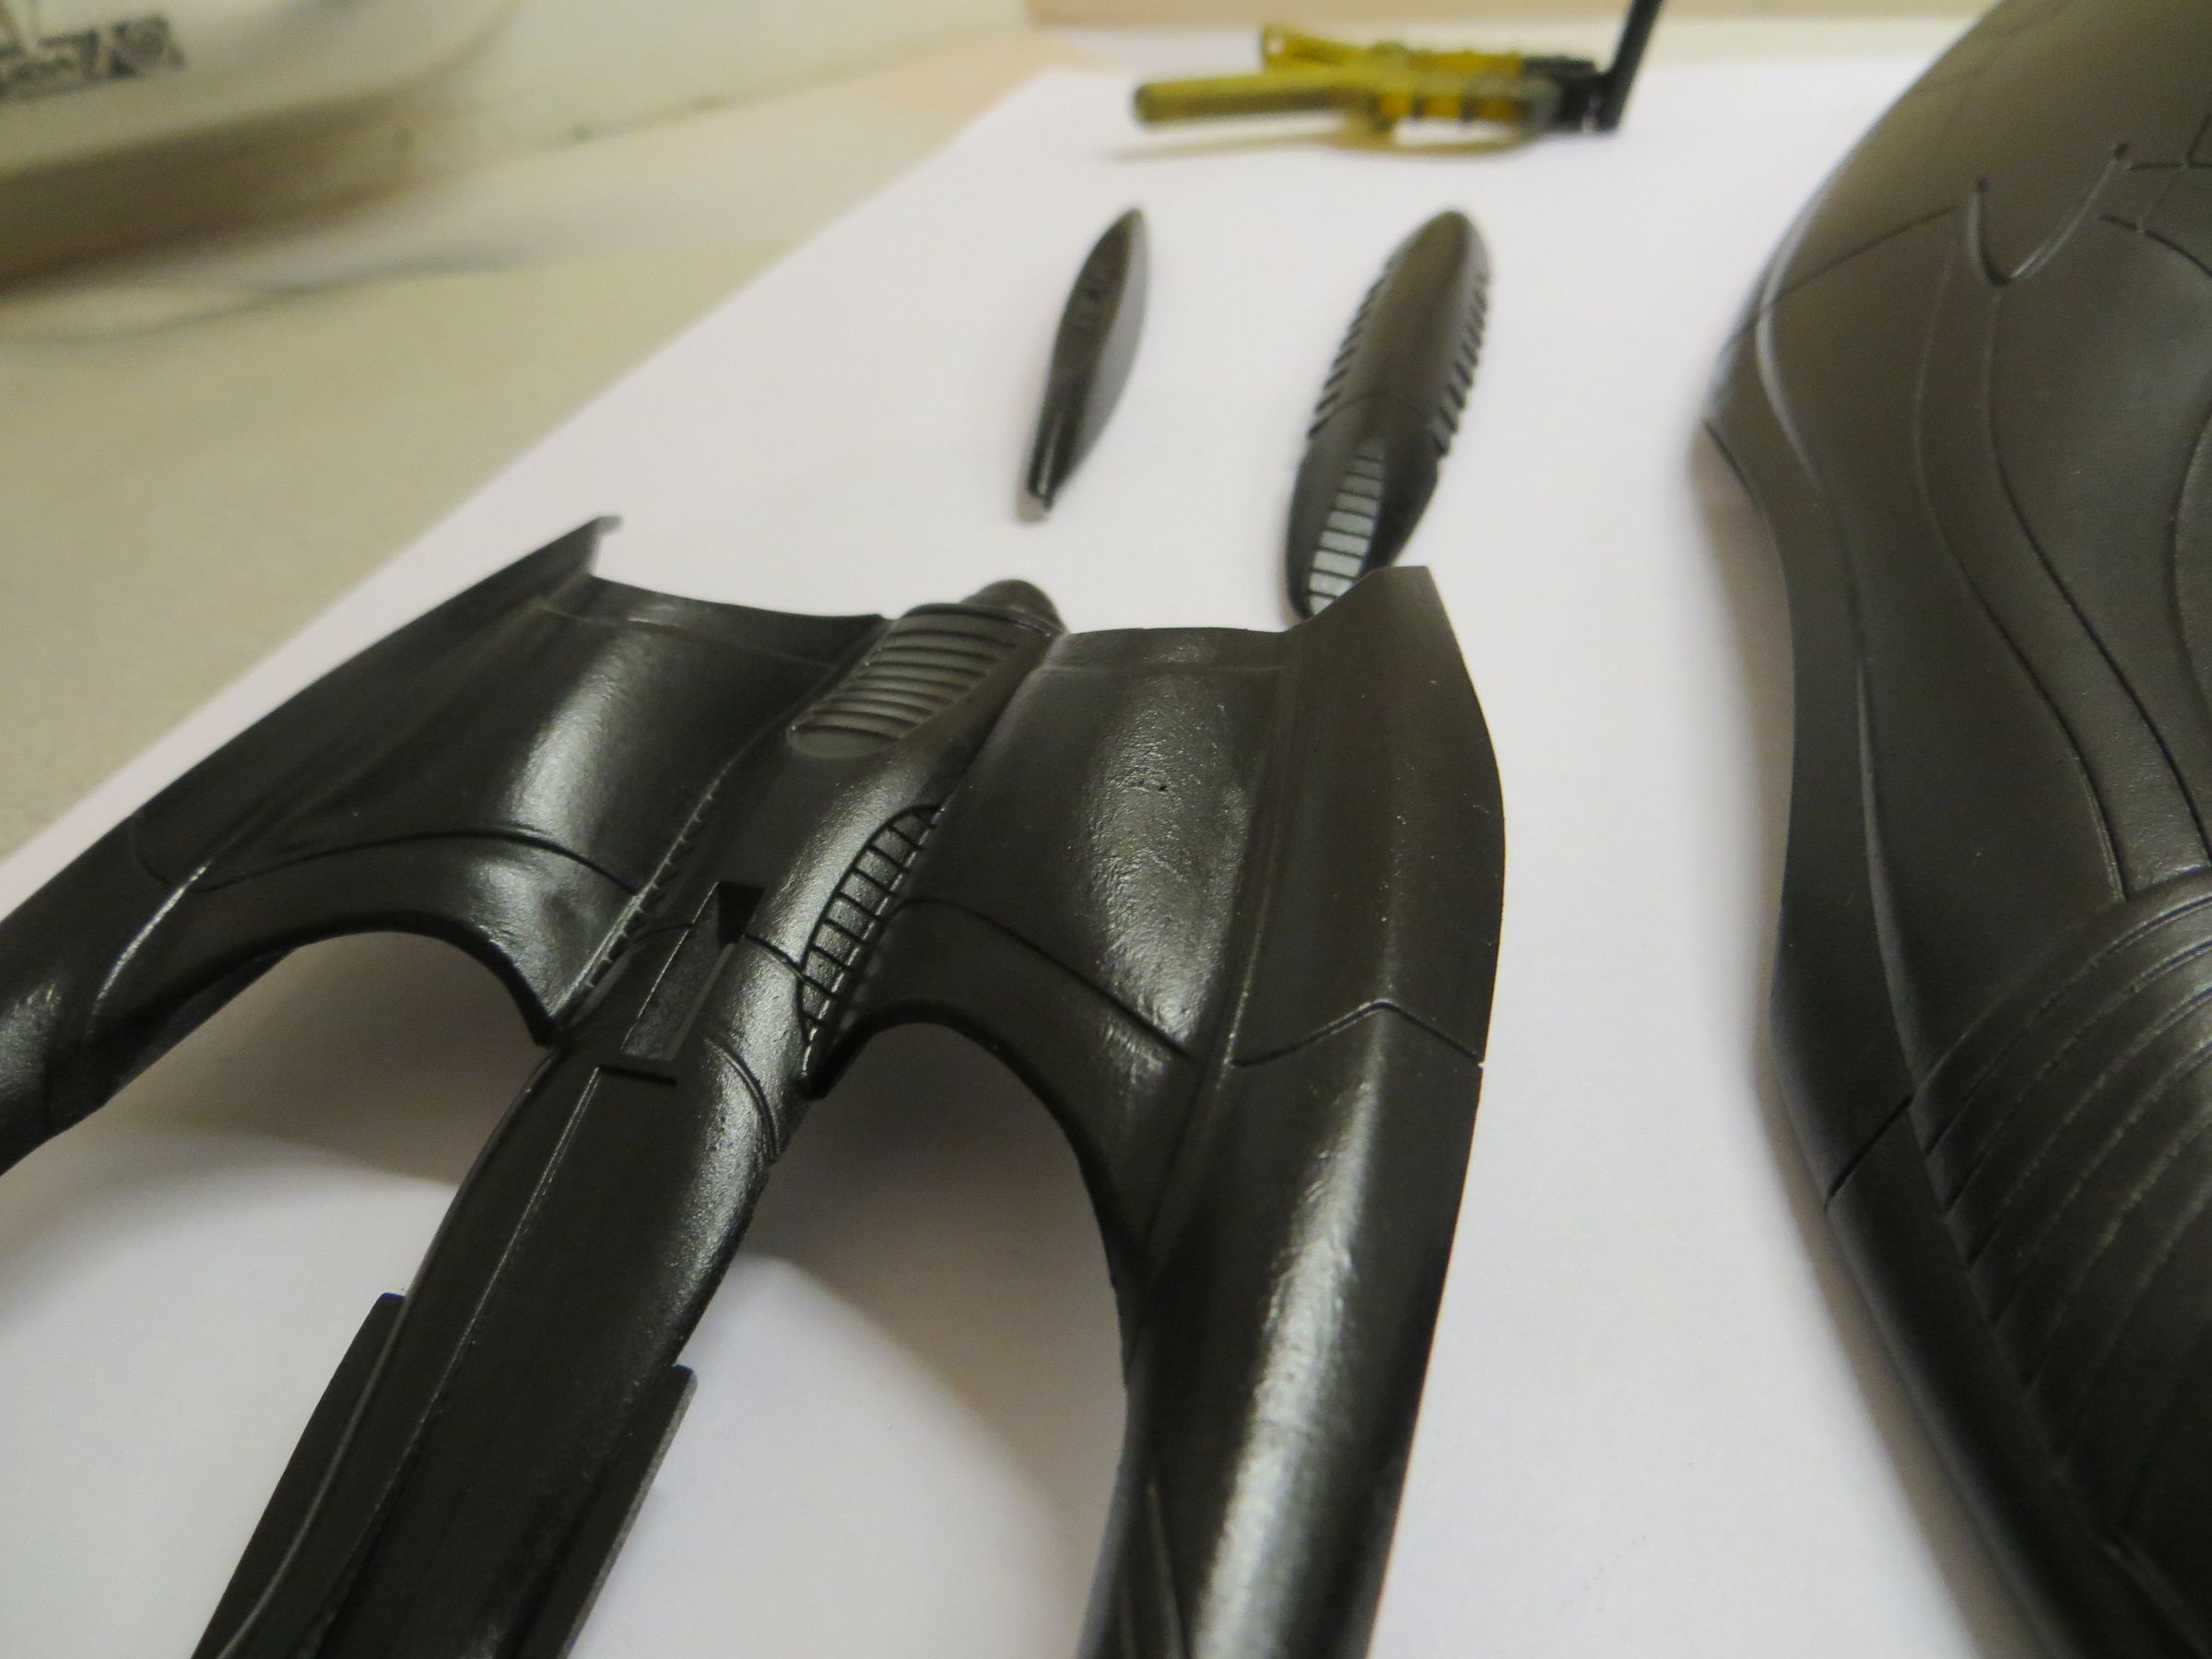
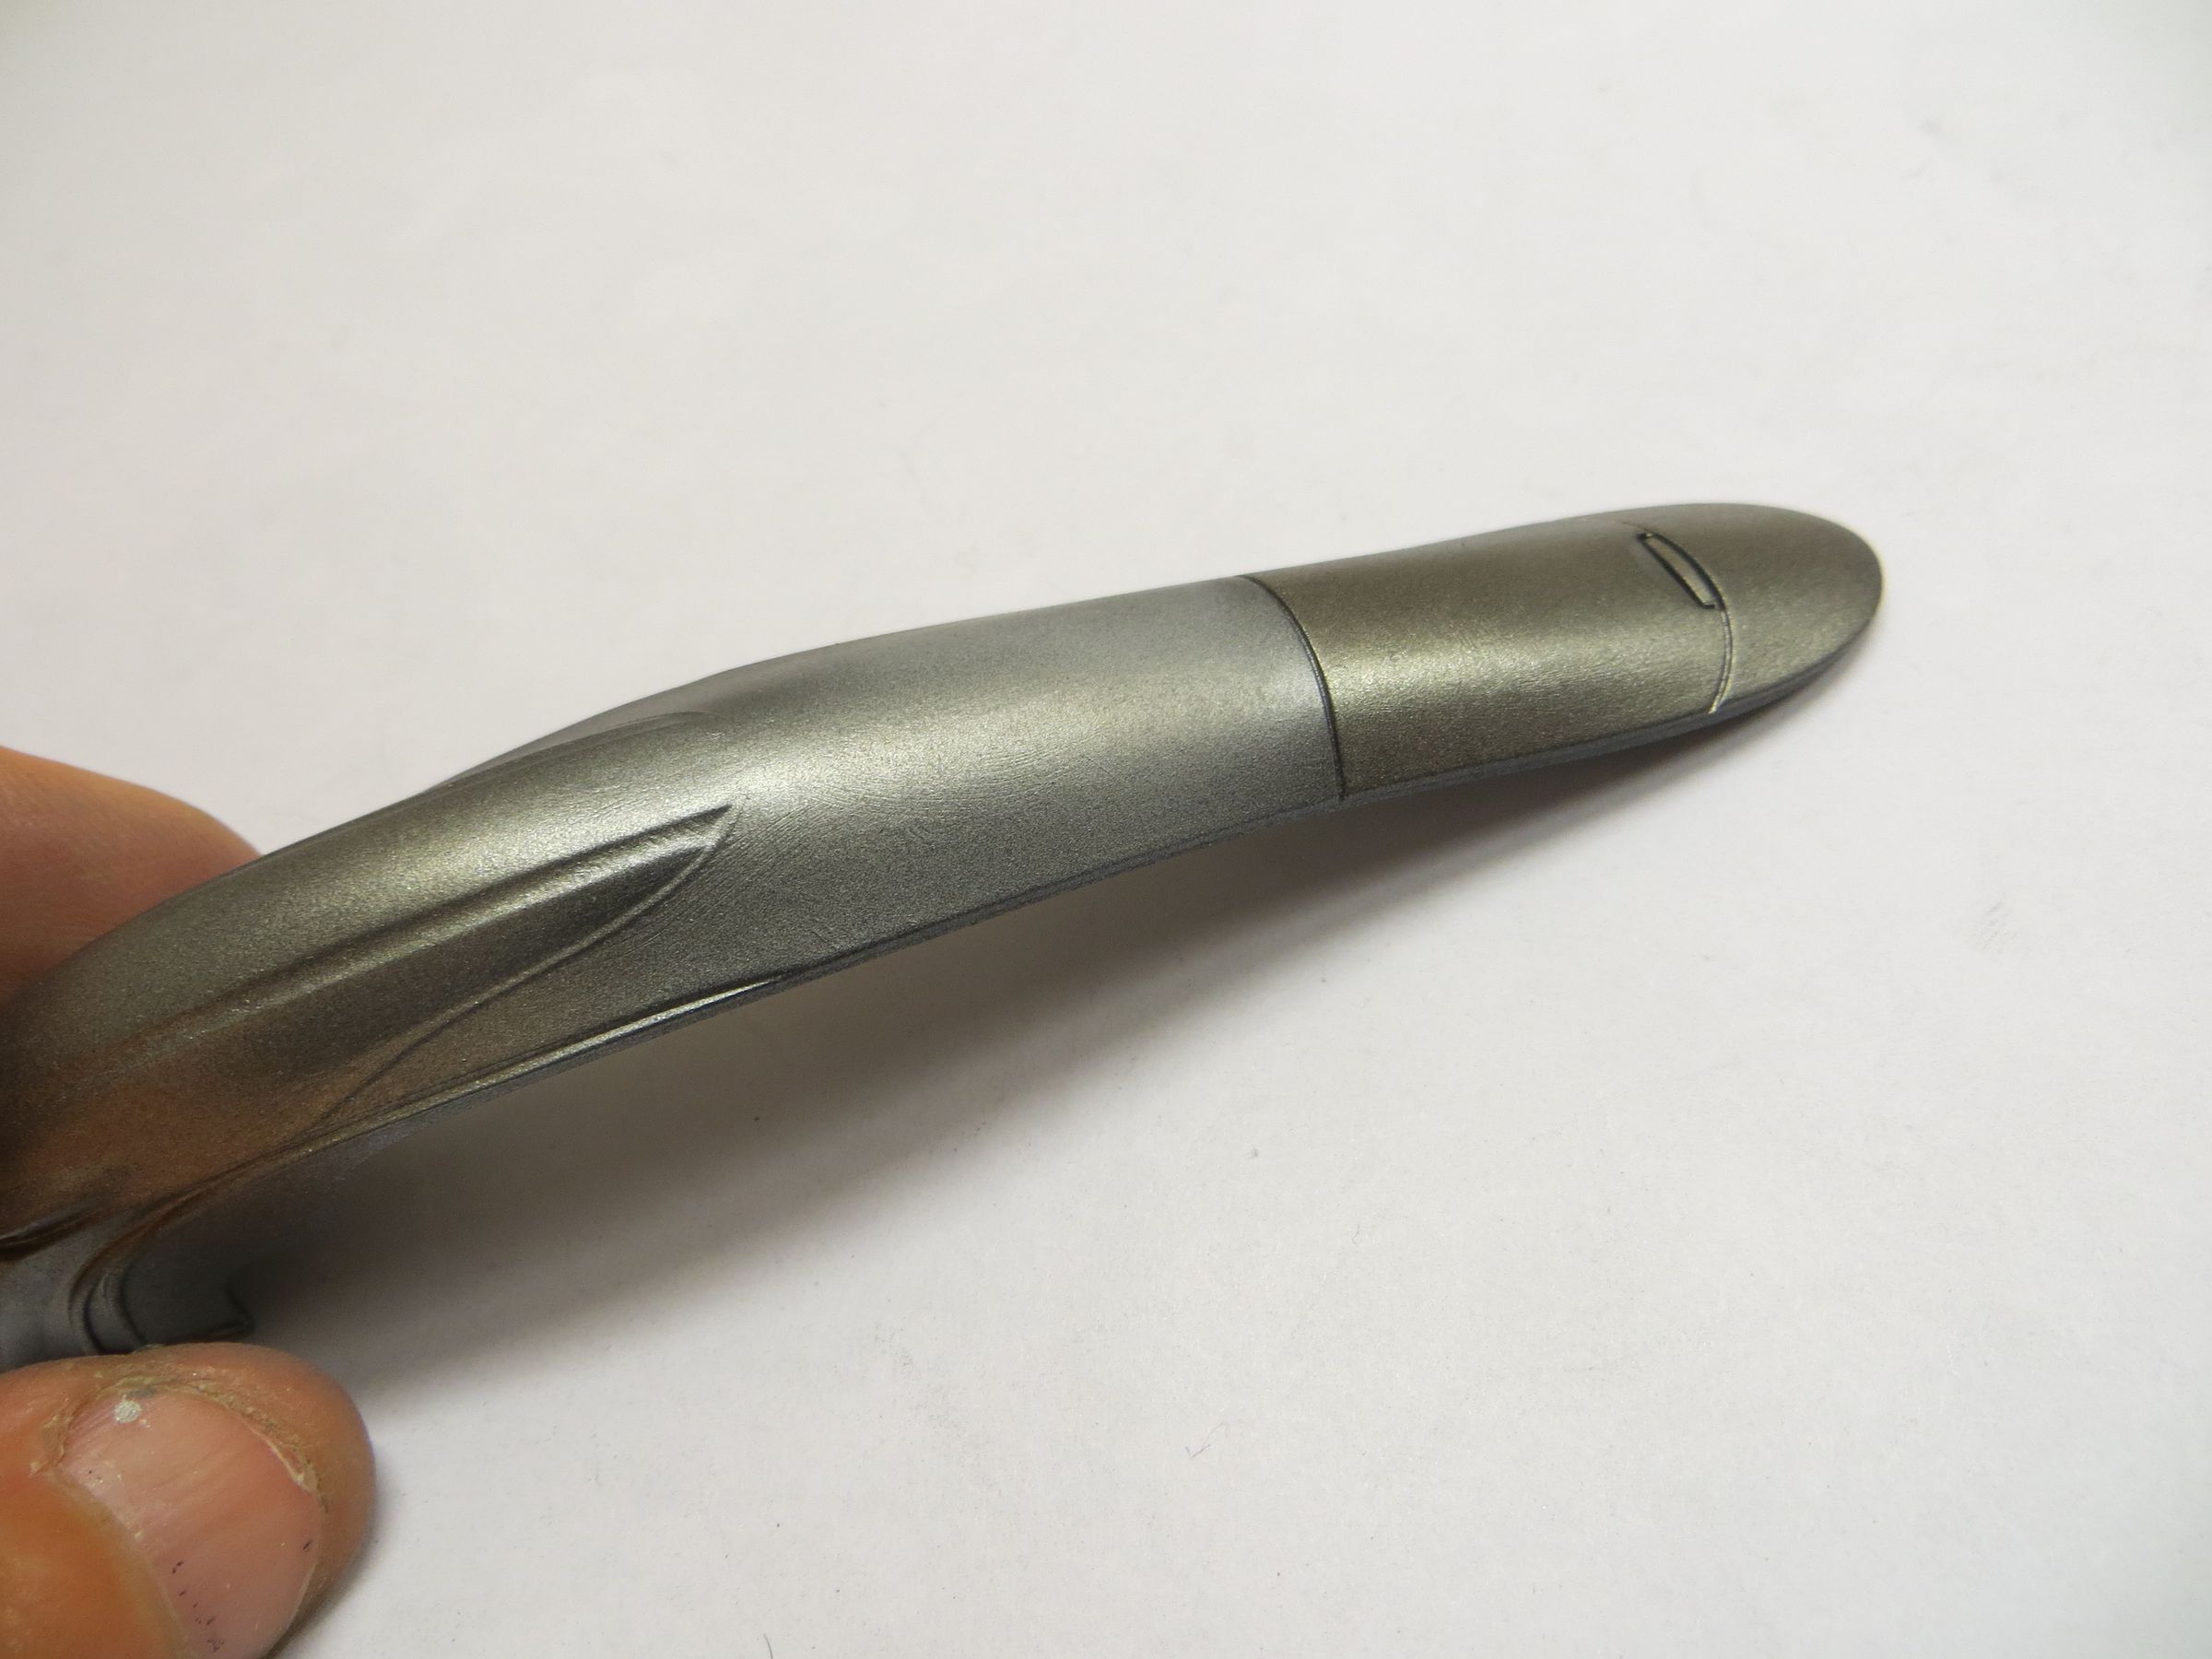
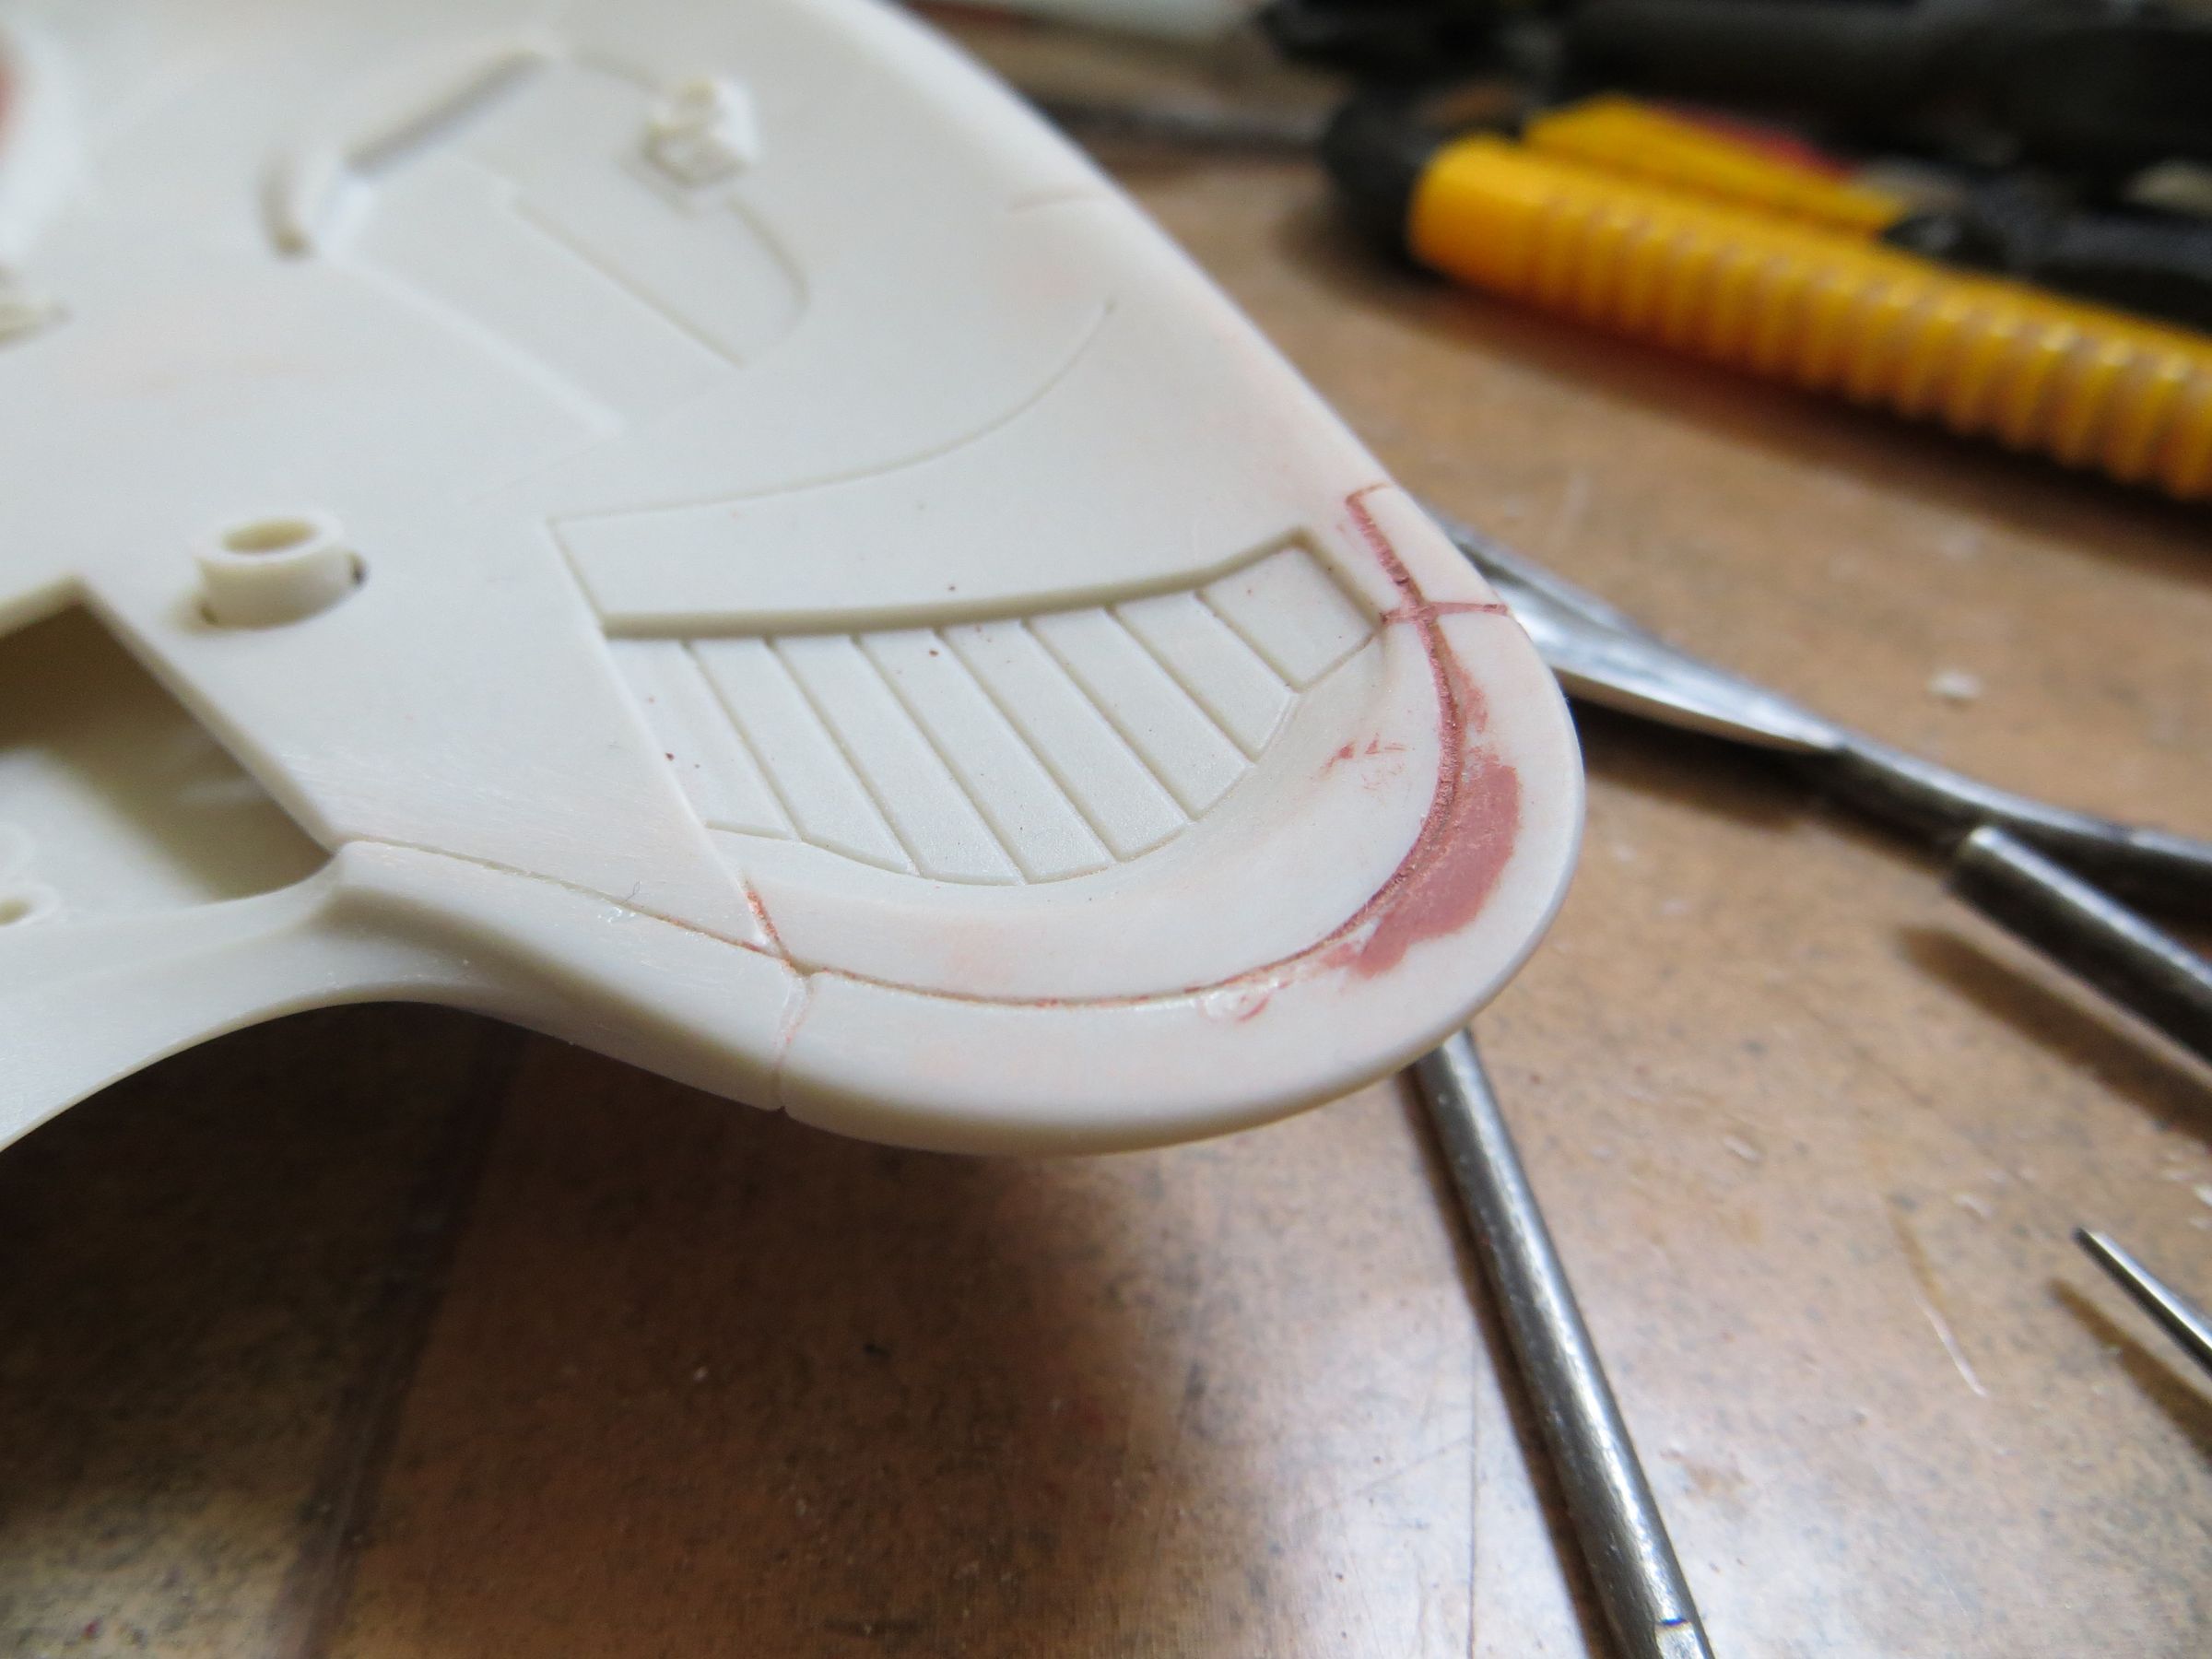
Nozzles are massive, so the edges are slightly rounded and extended inward the petals.
Before | After
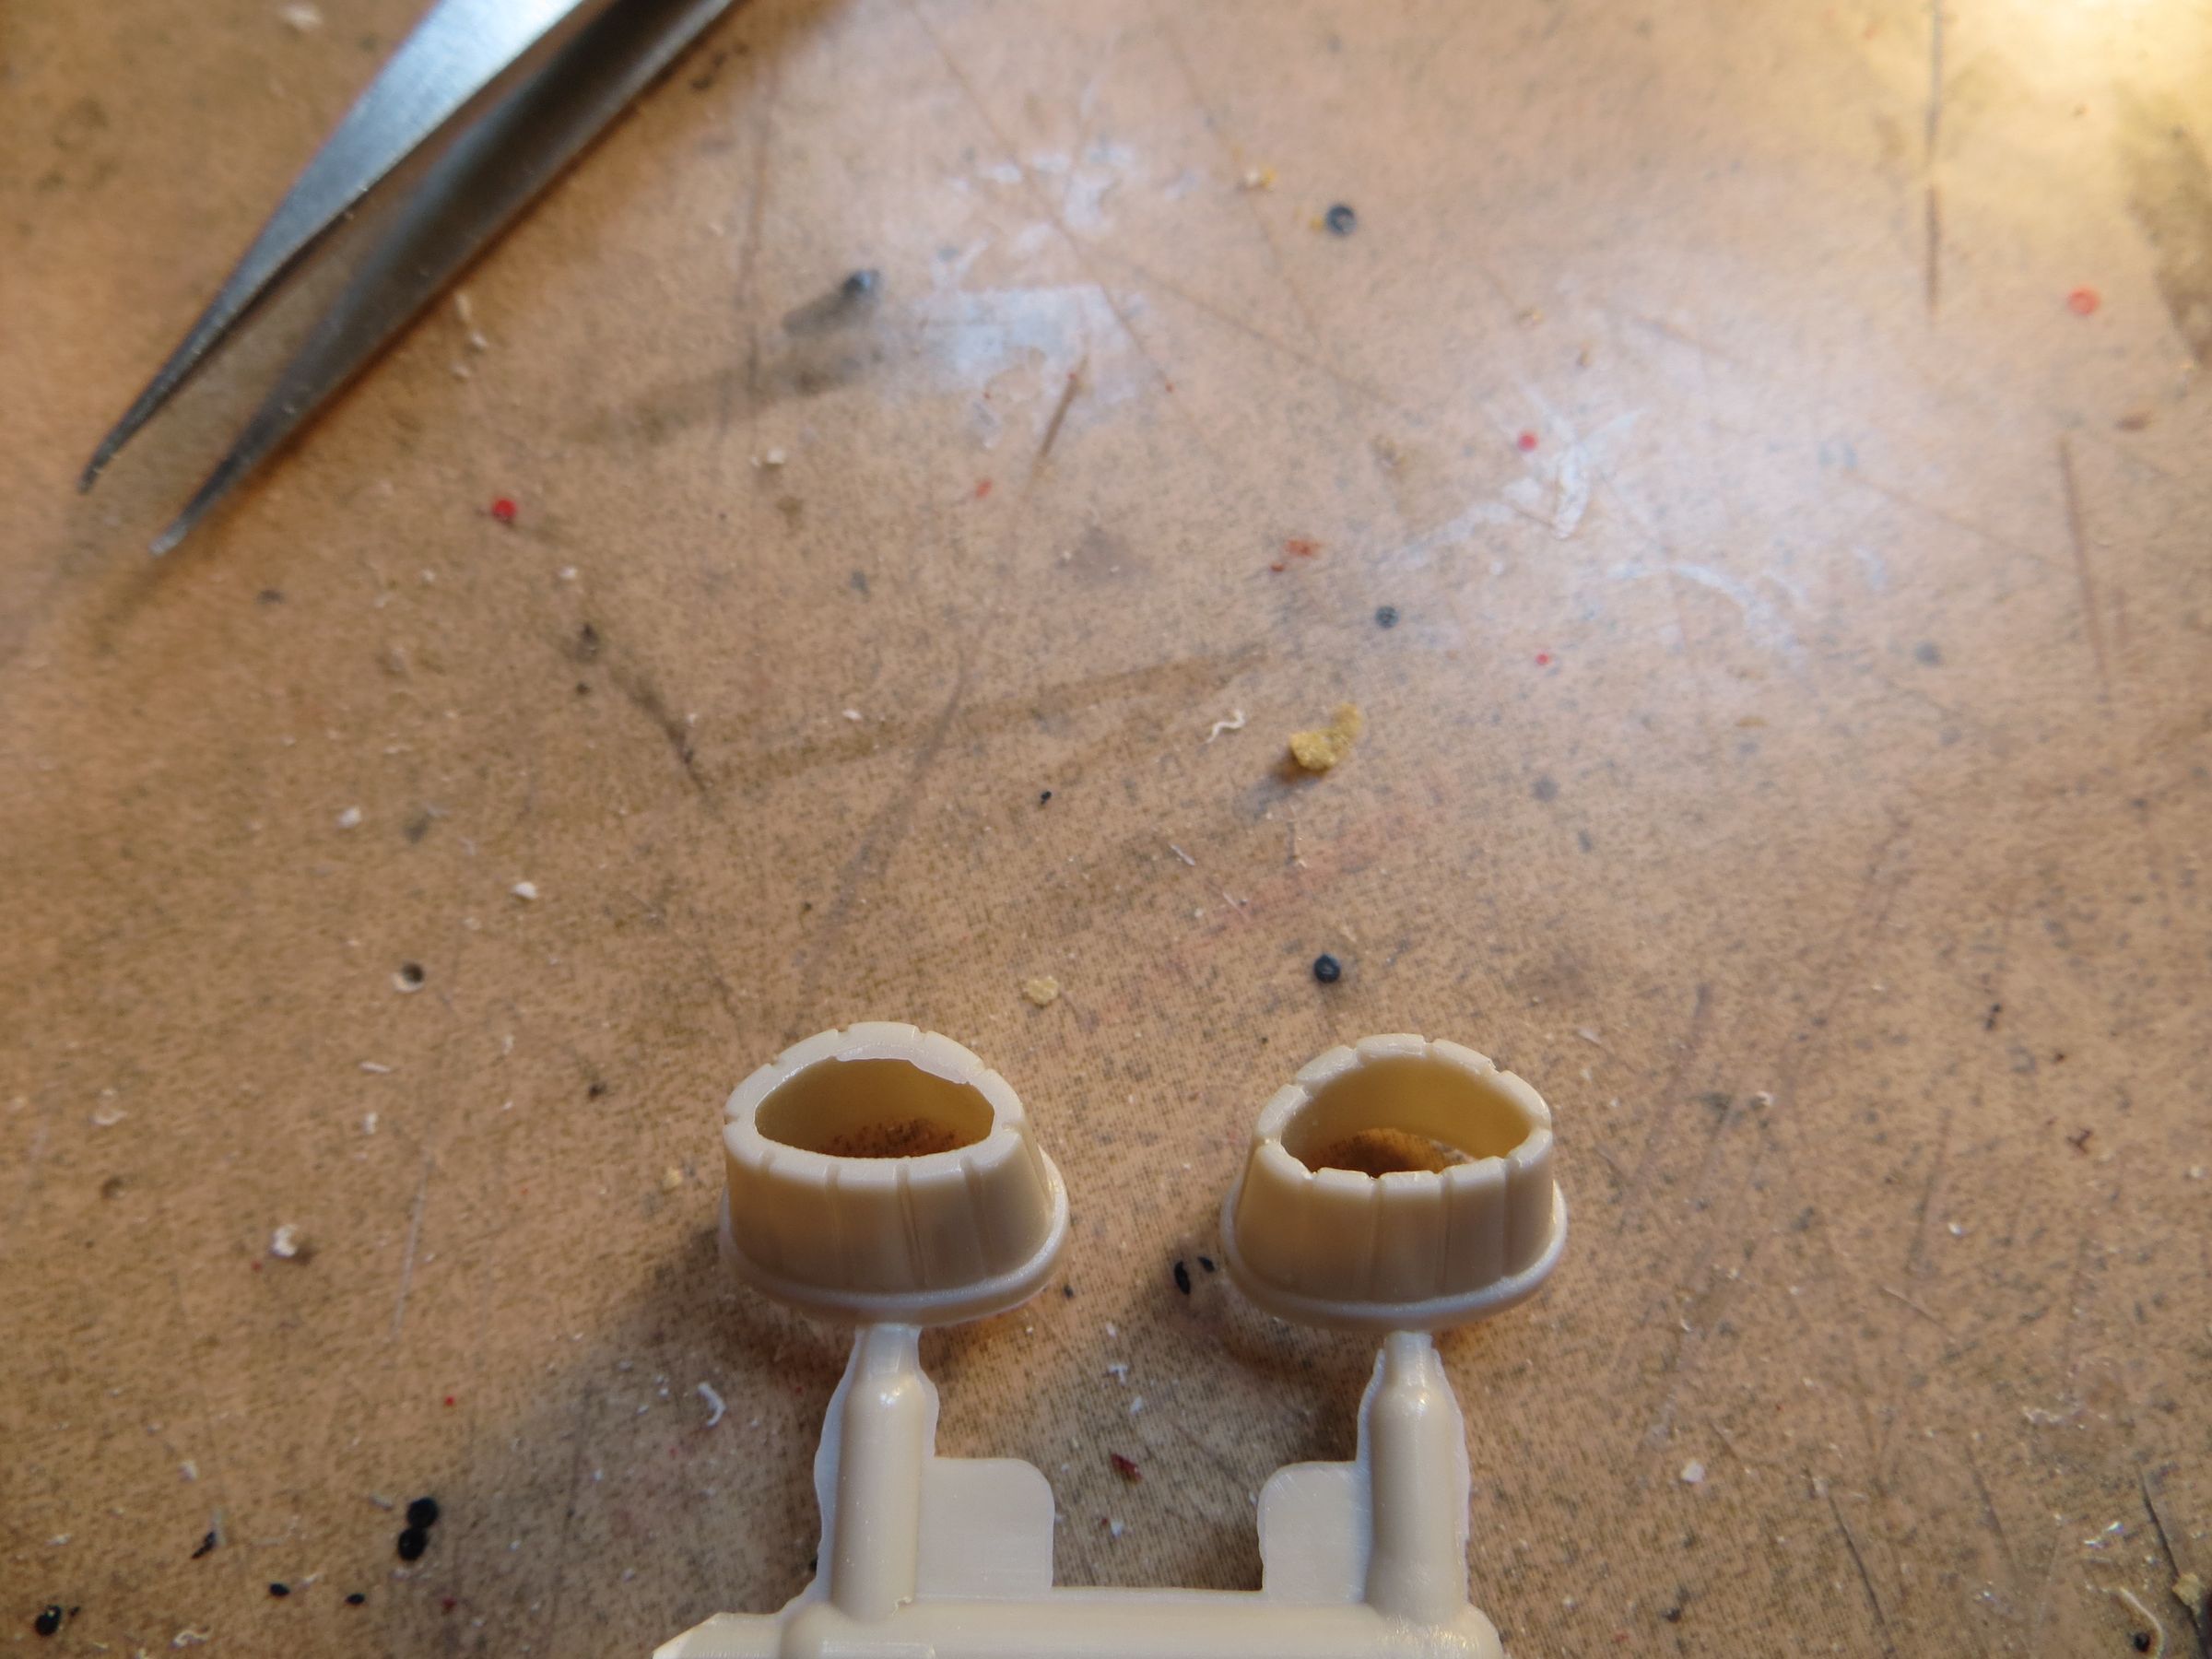
The mouths of the guns are hollowed.
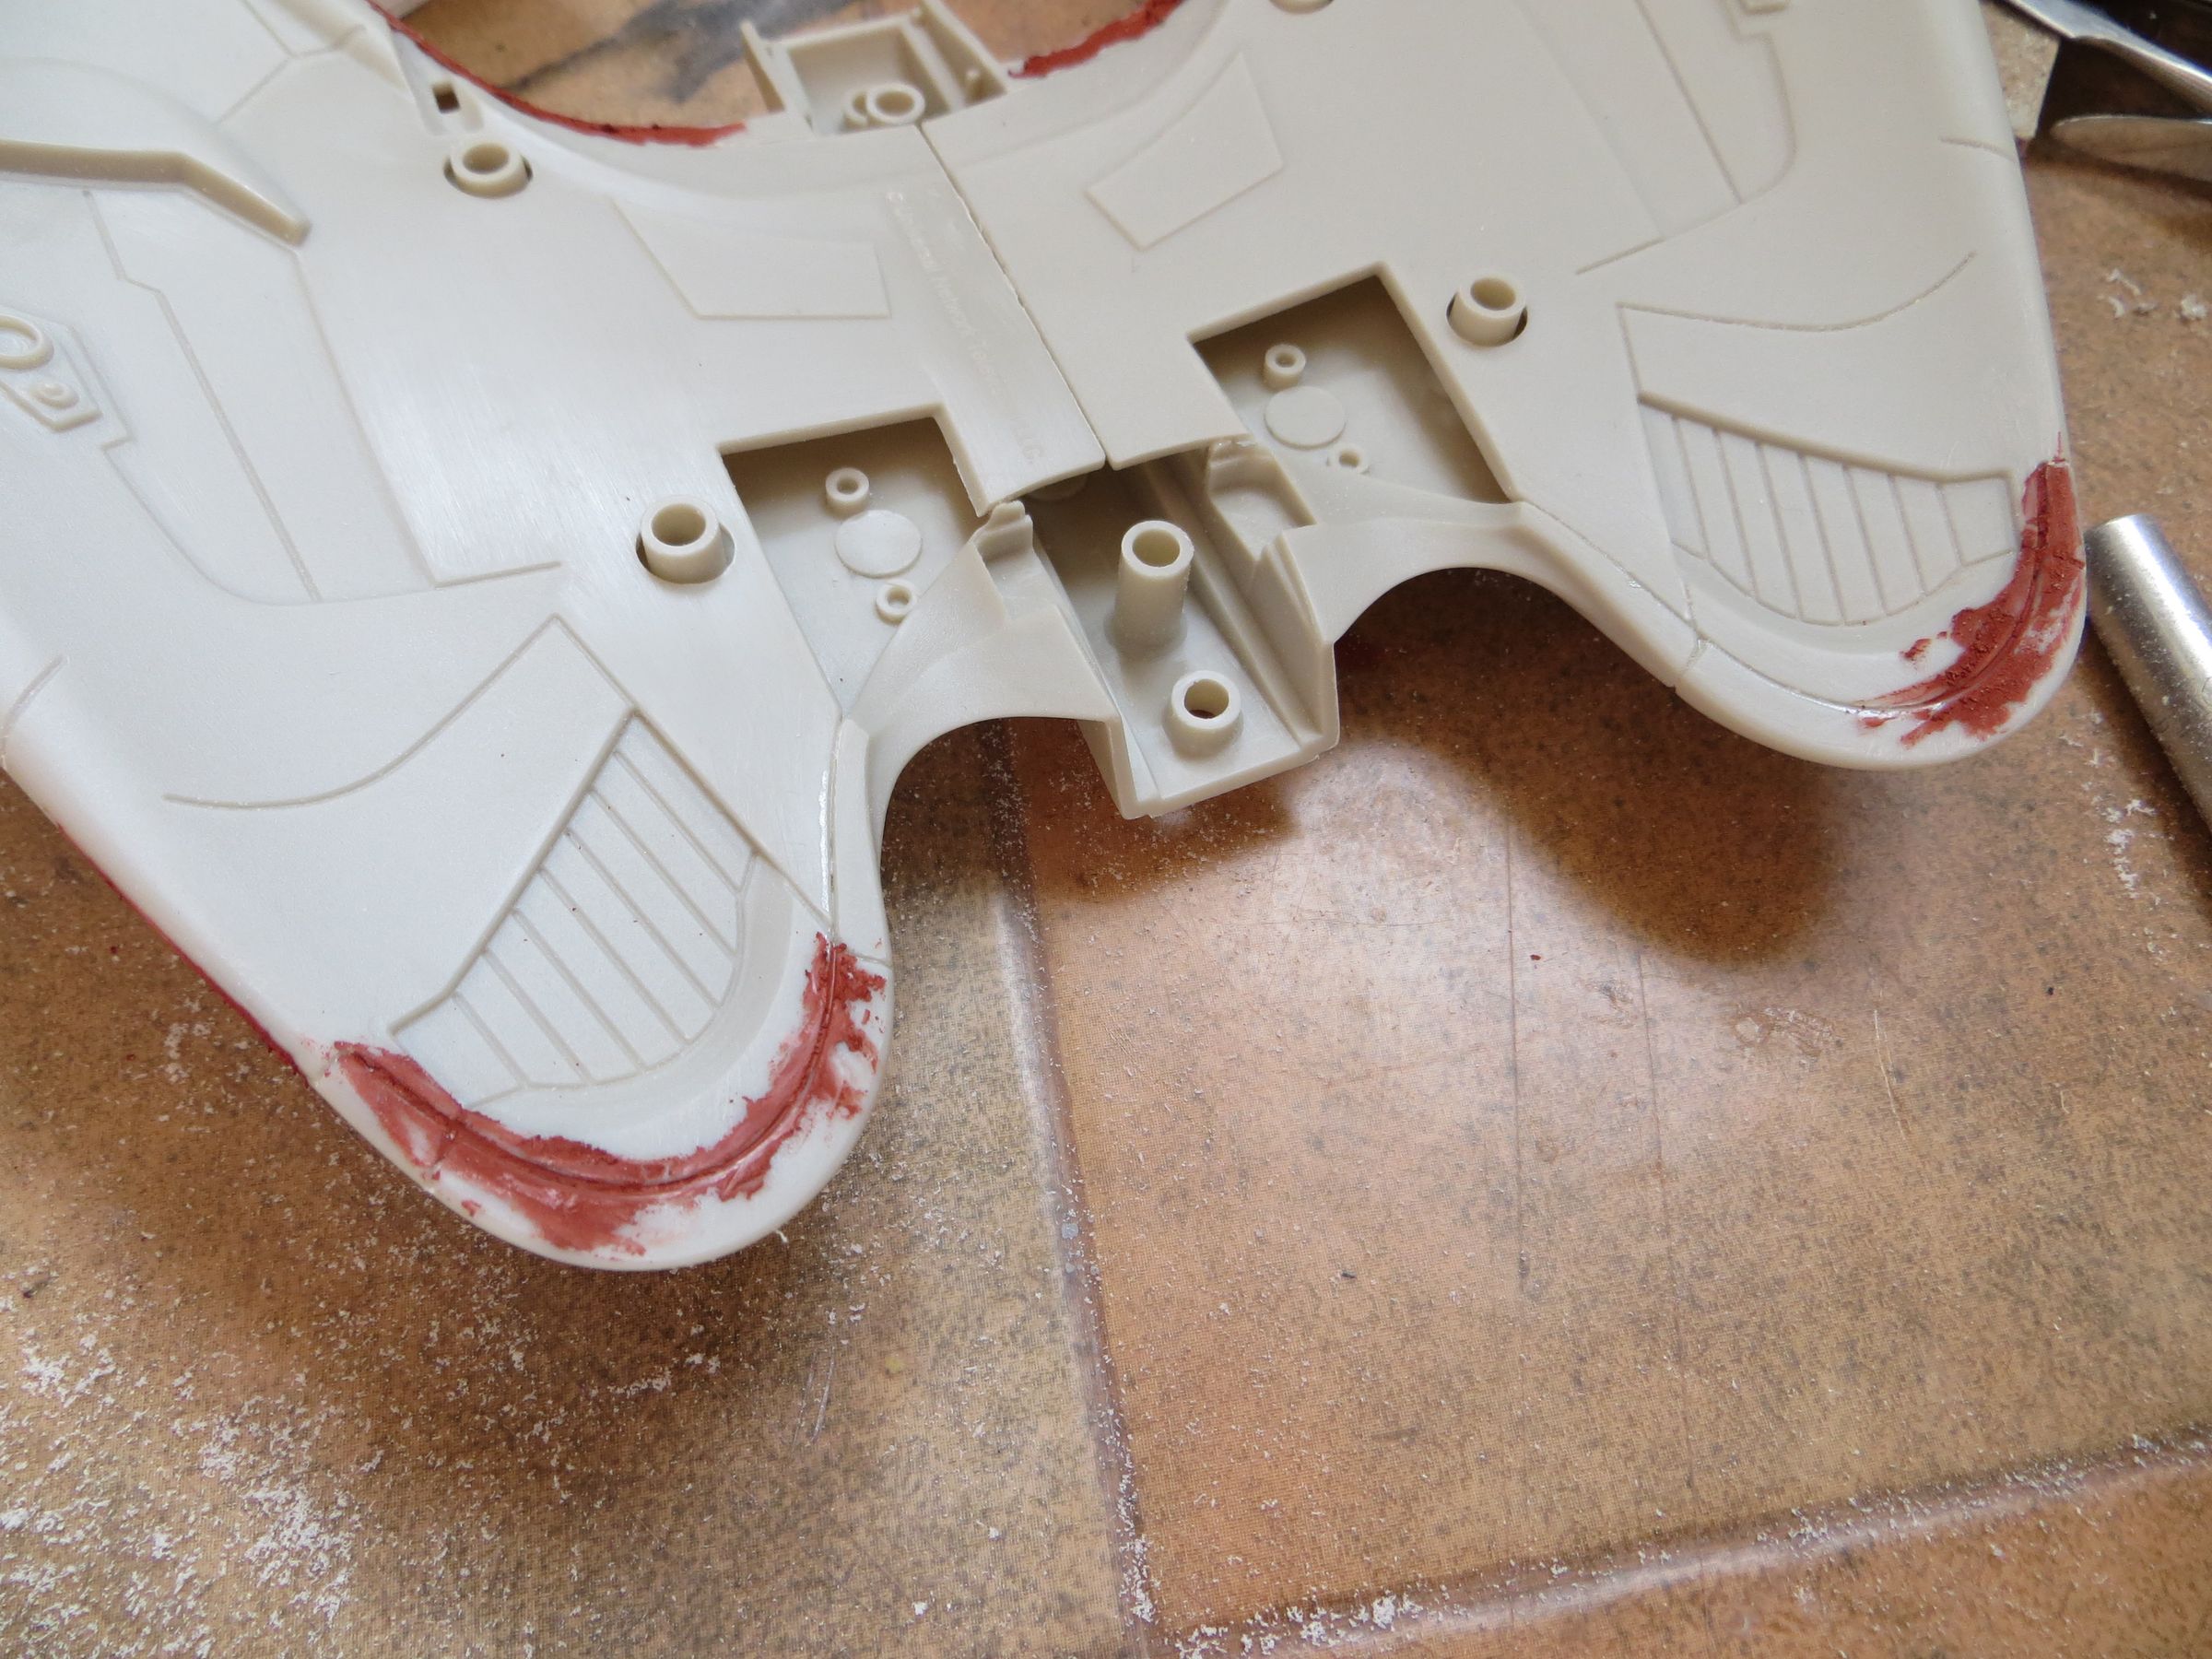
Arms gluing and filling of the horrible seam.

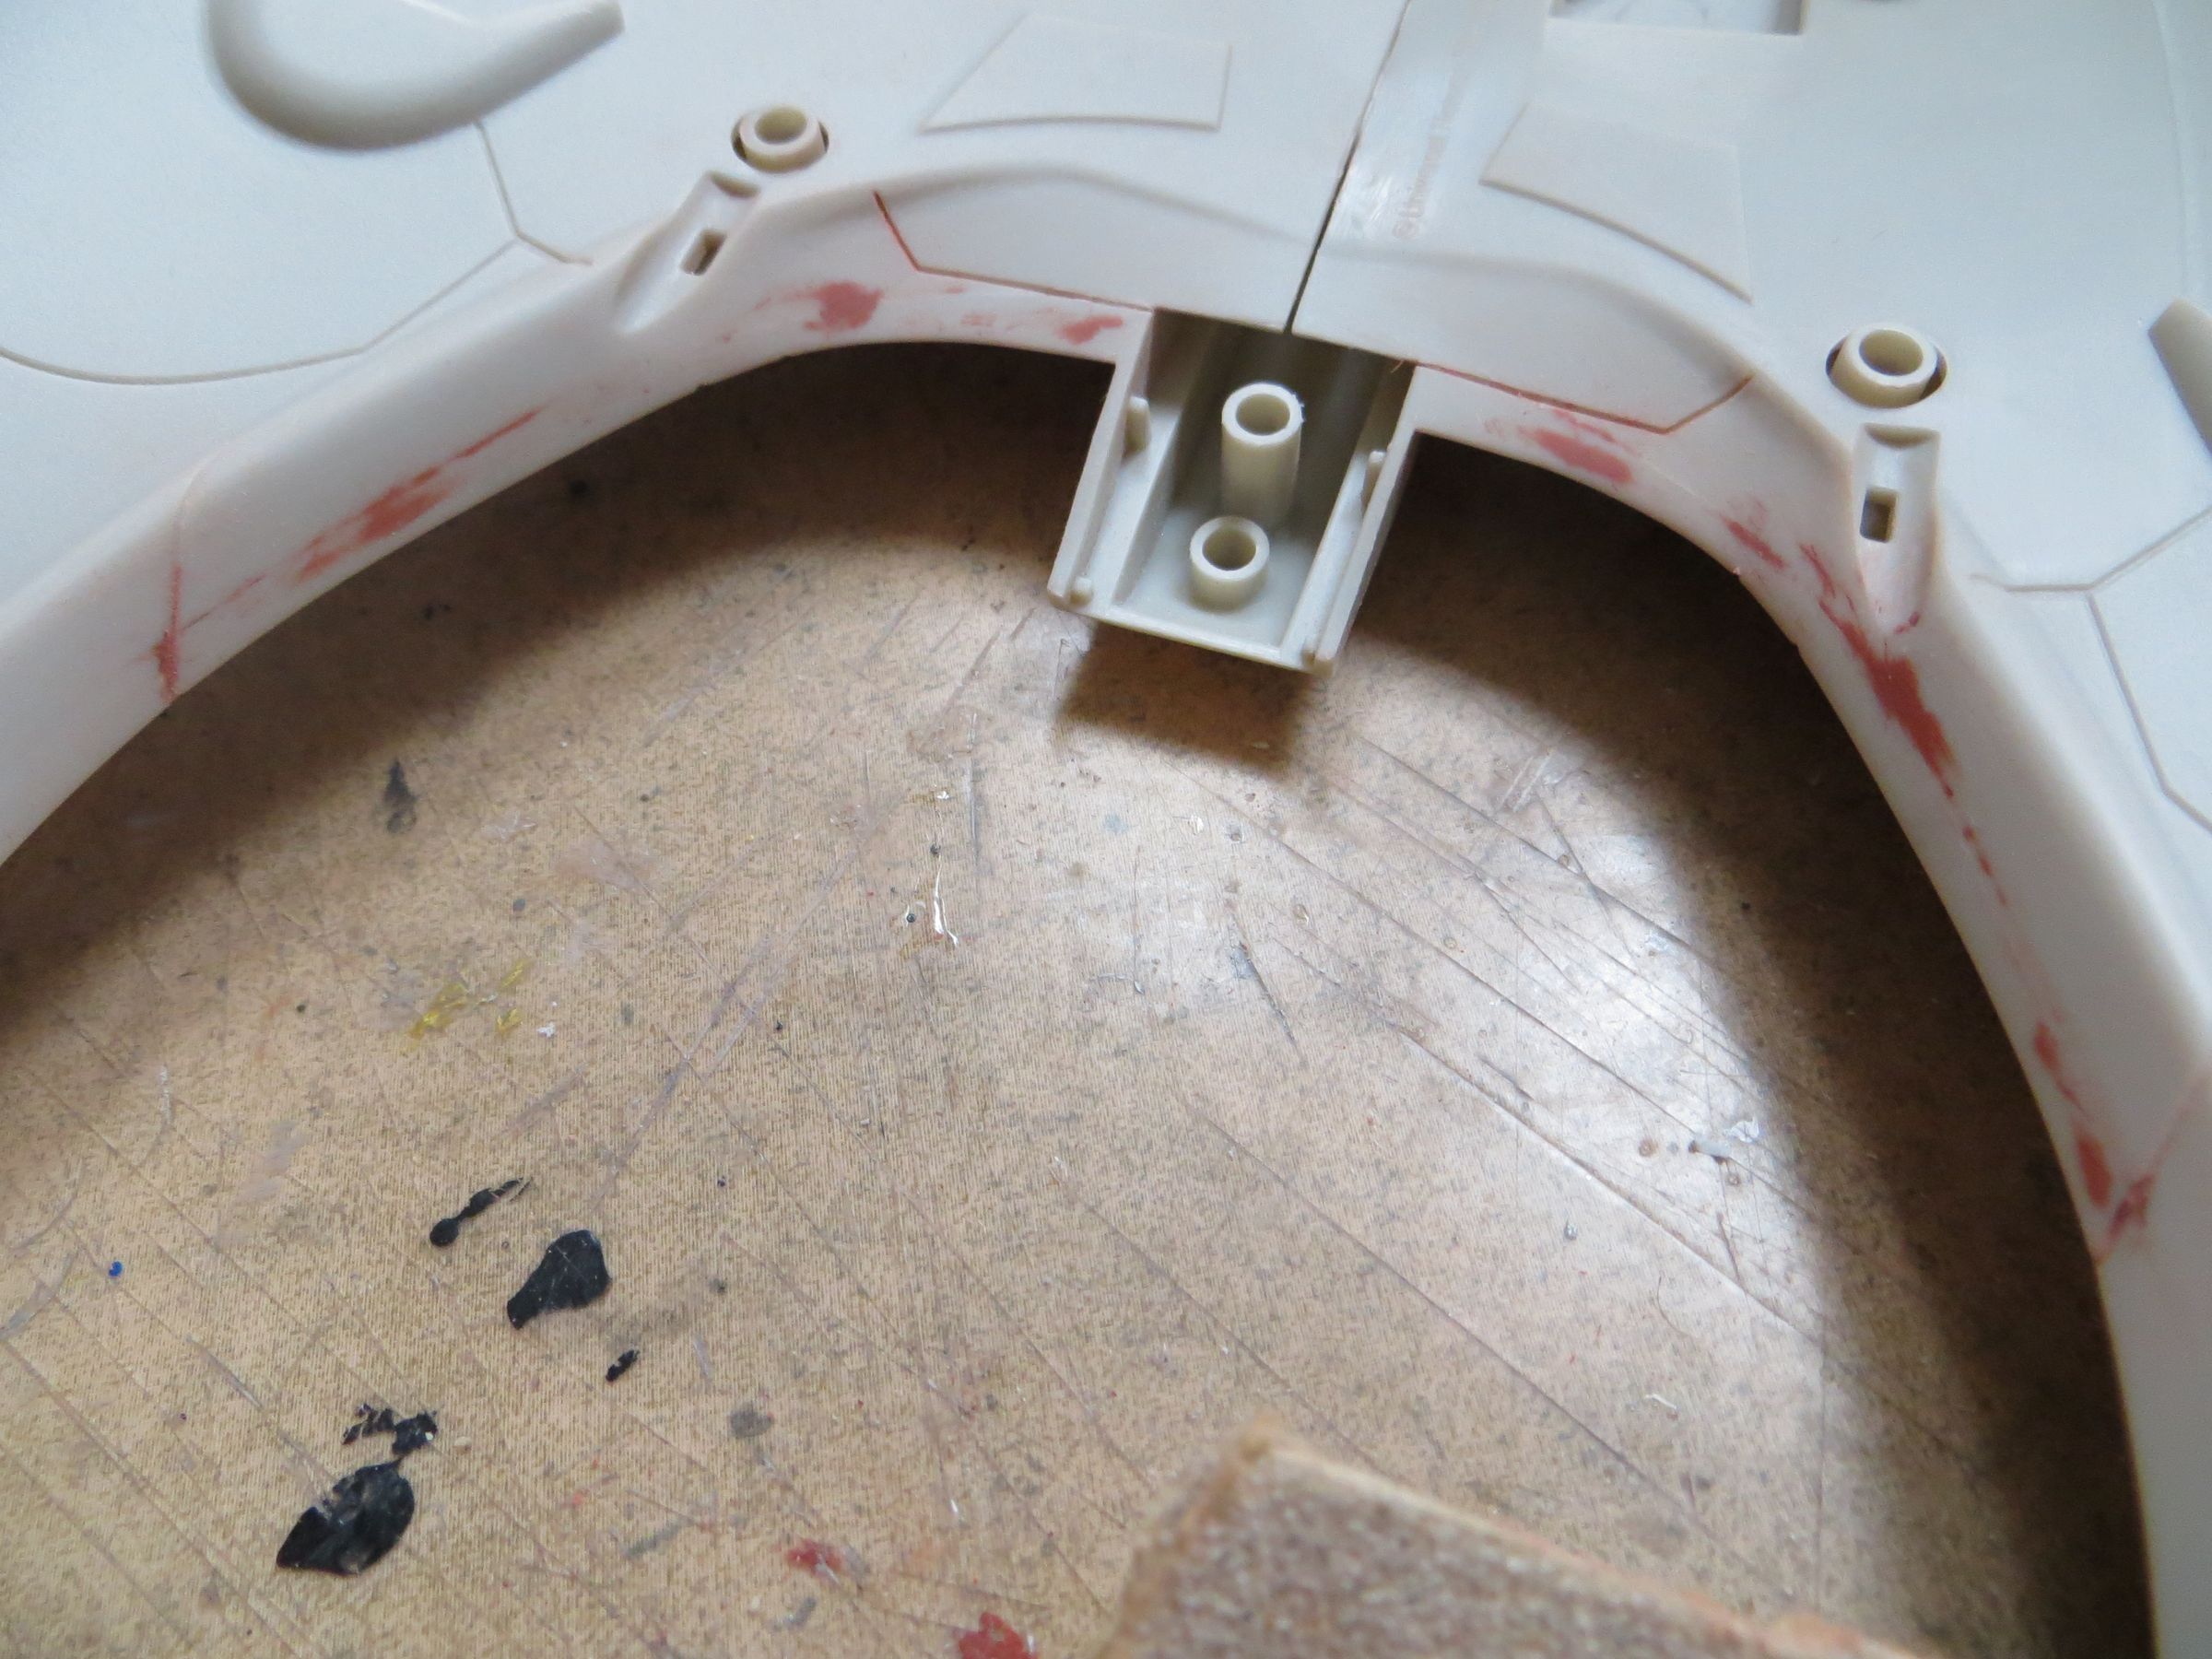
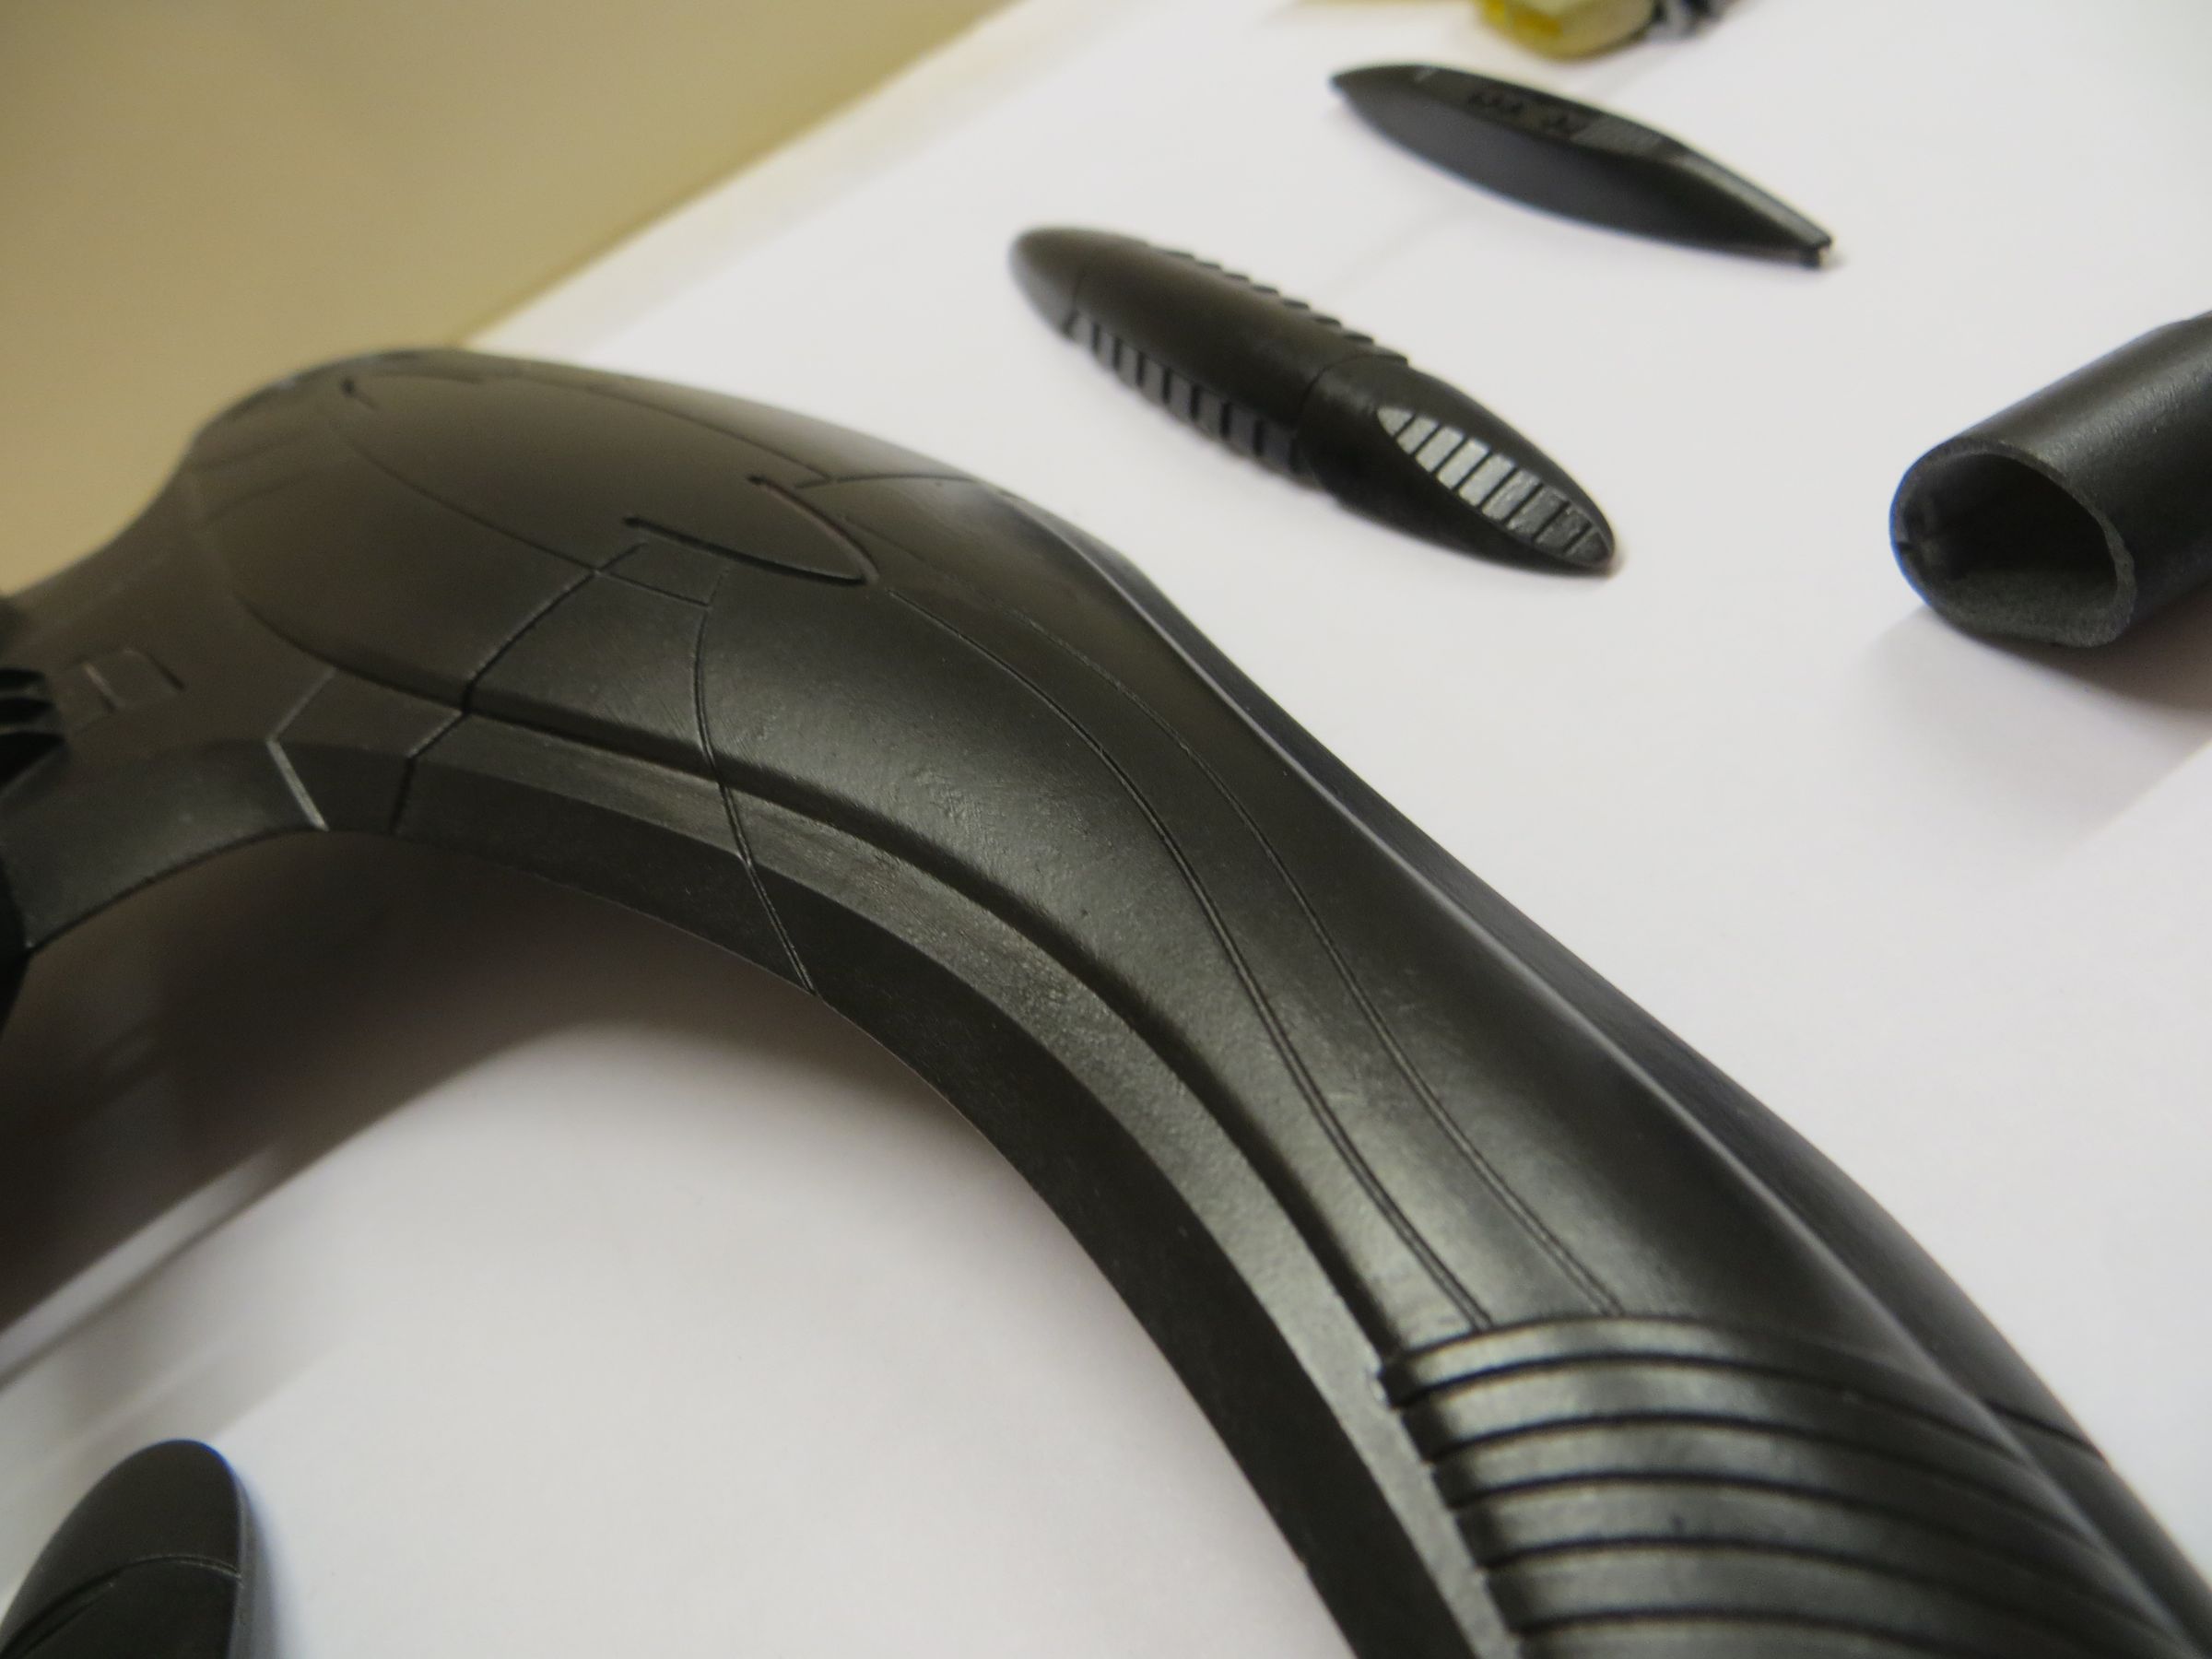
Curiously, in other parts of the wing, the cut is well placed (along the trailing edge) and the work is easer.
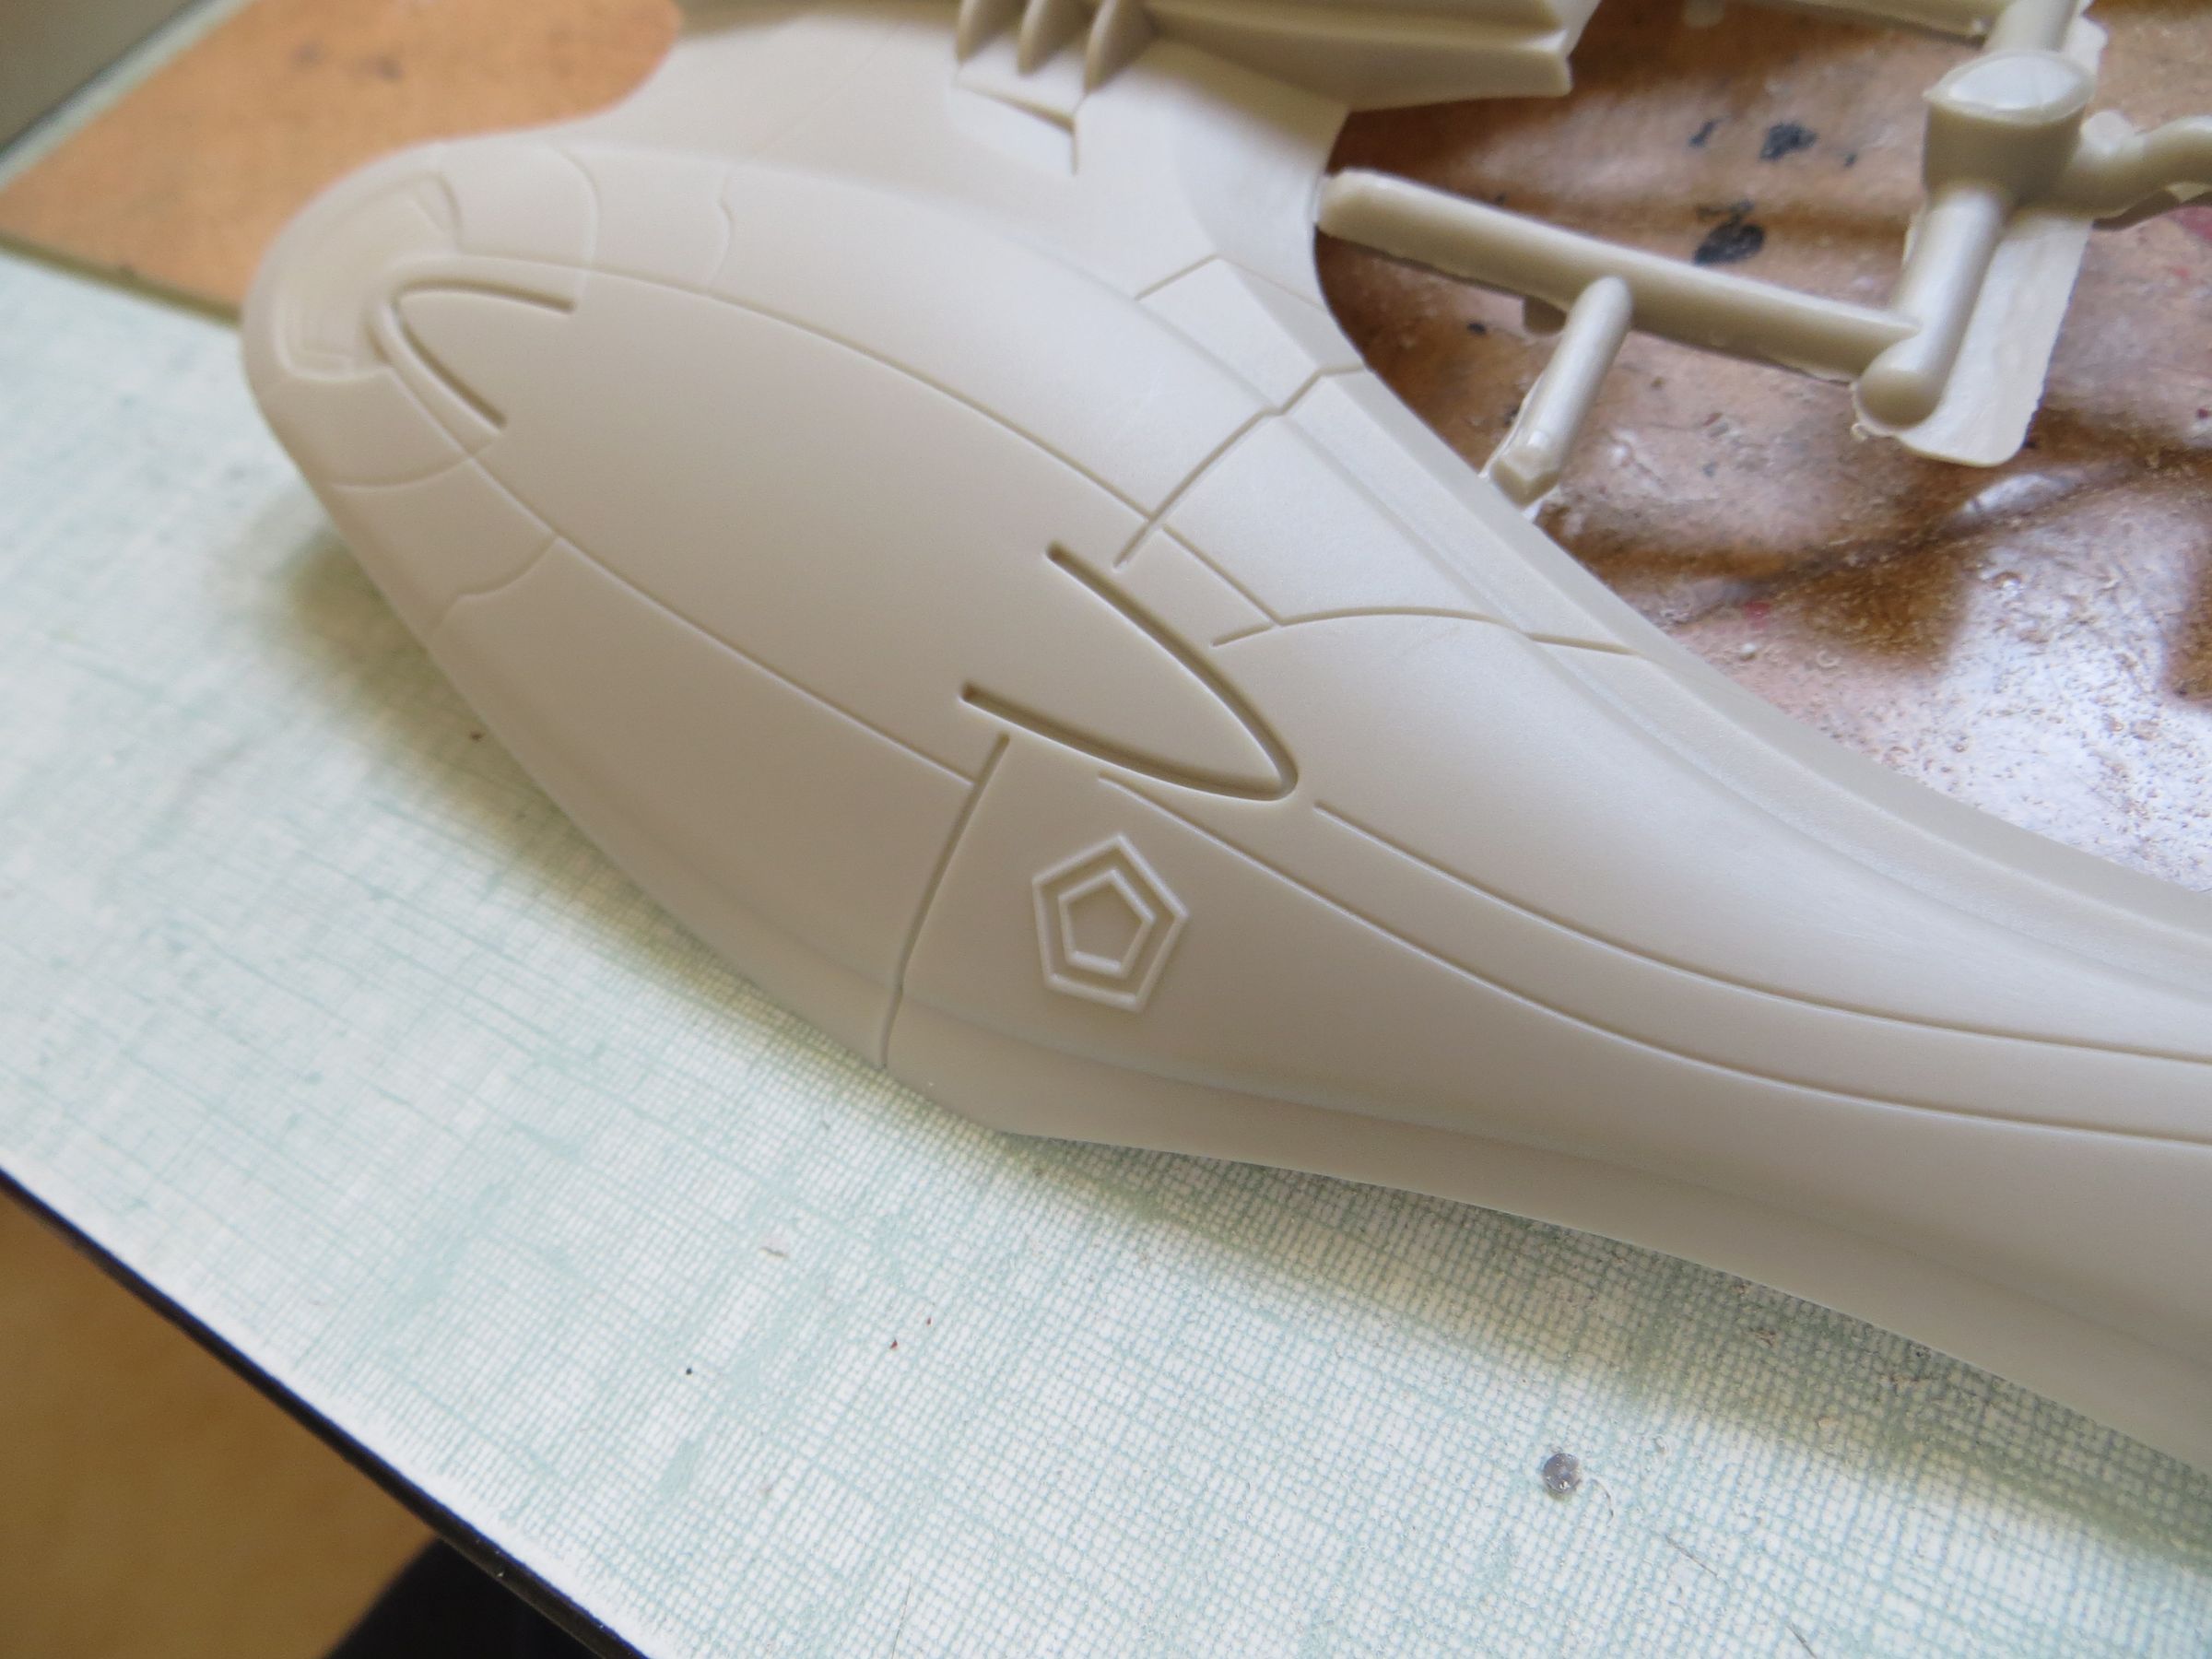
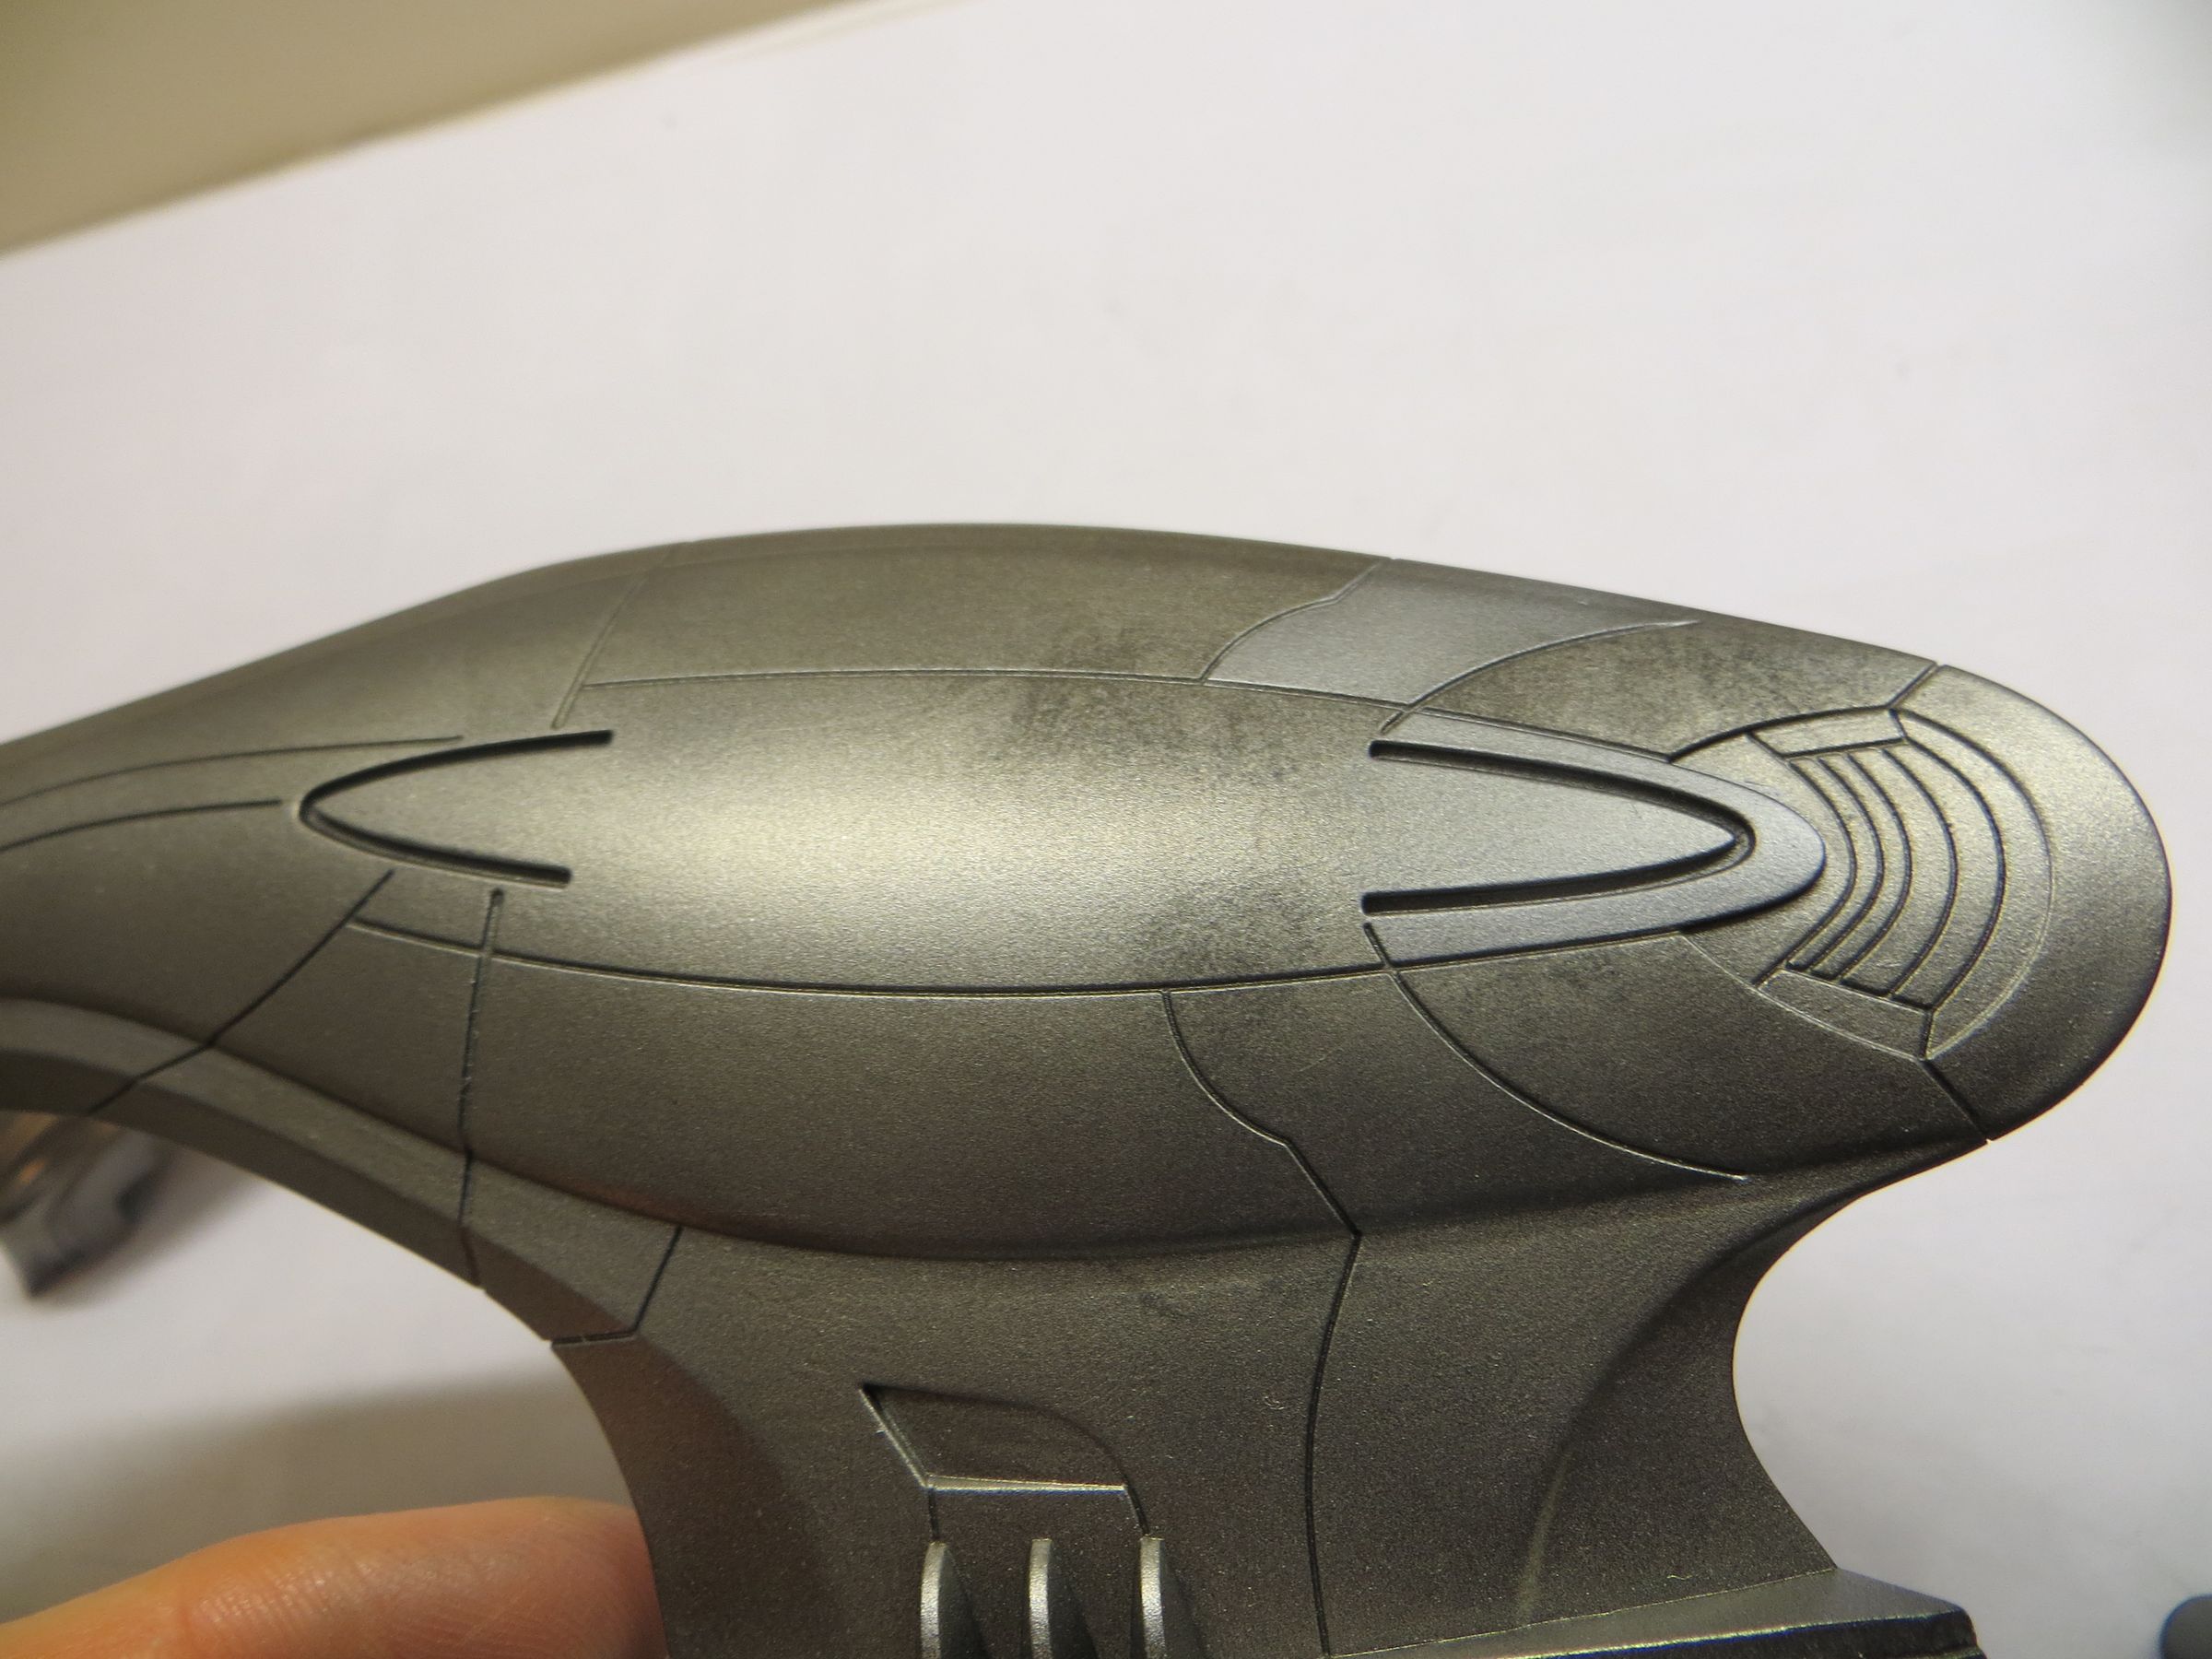
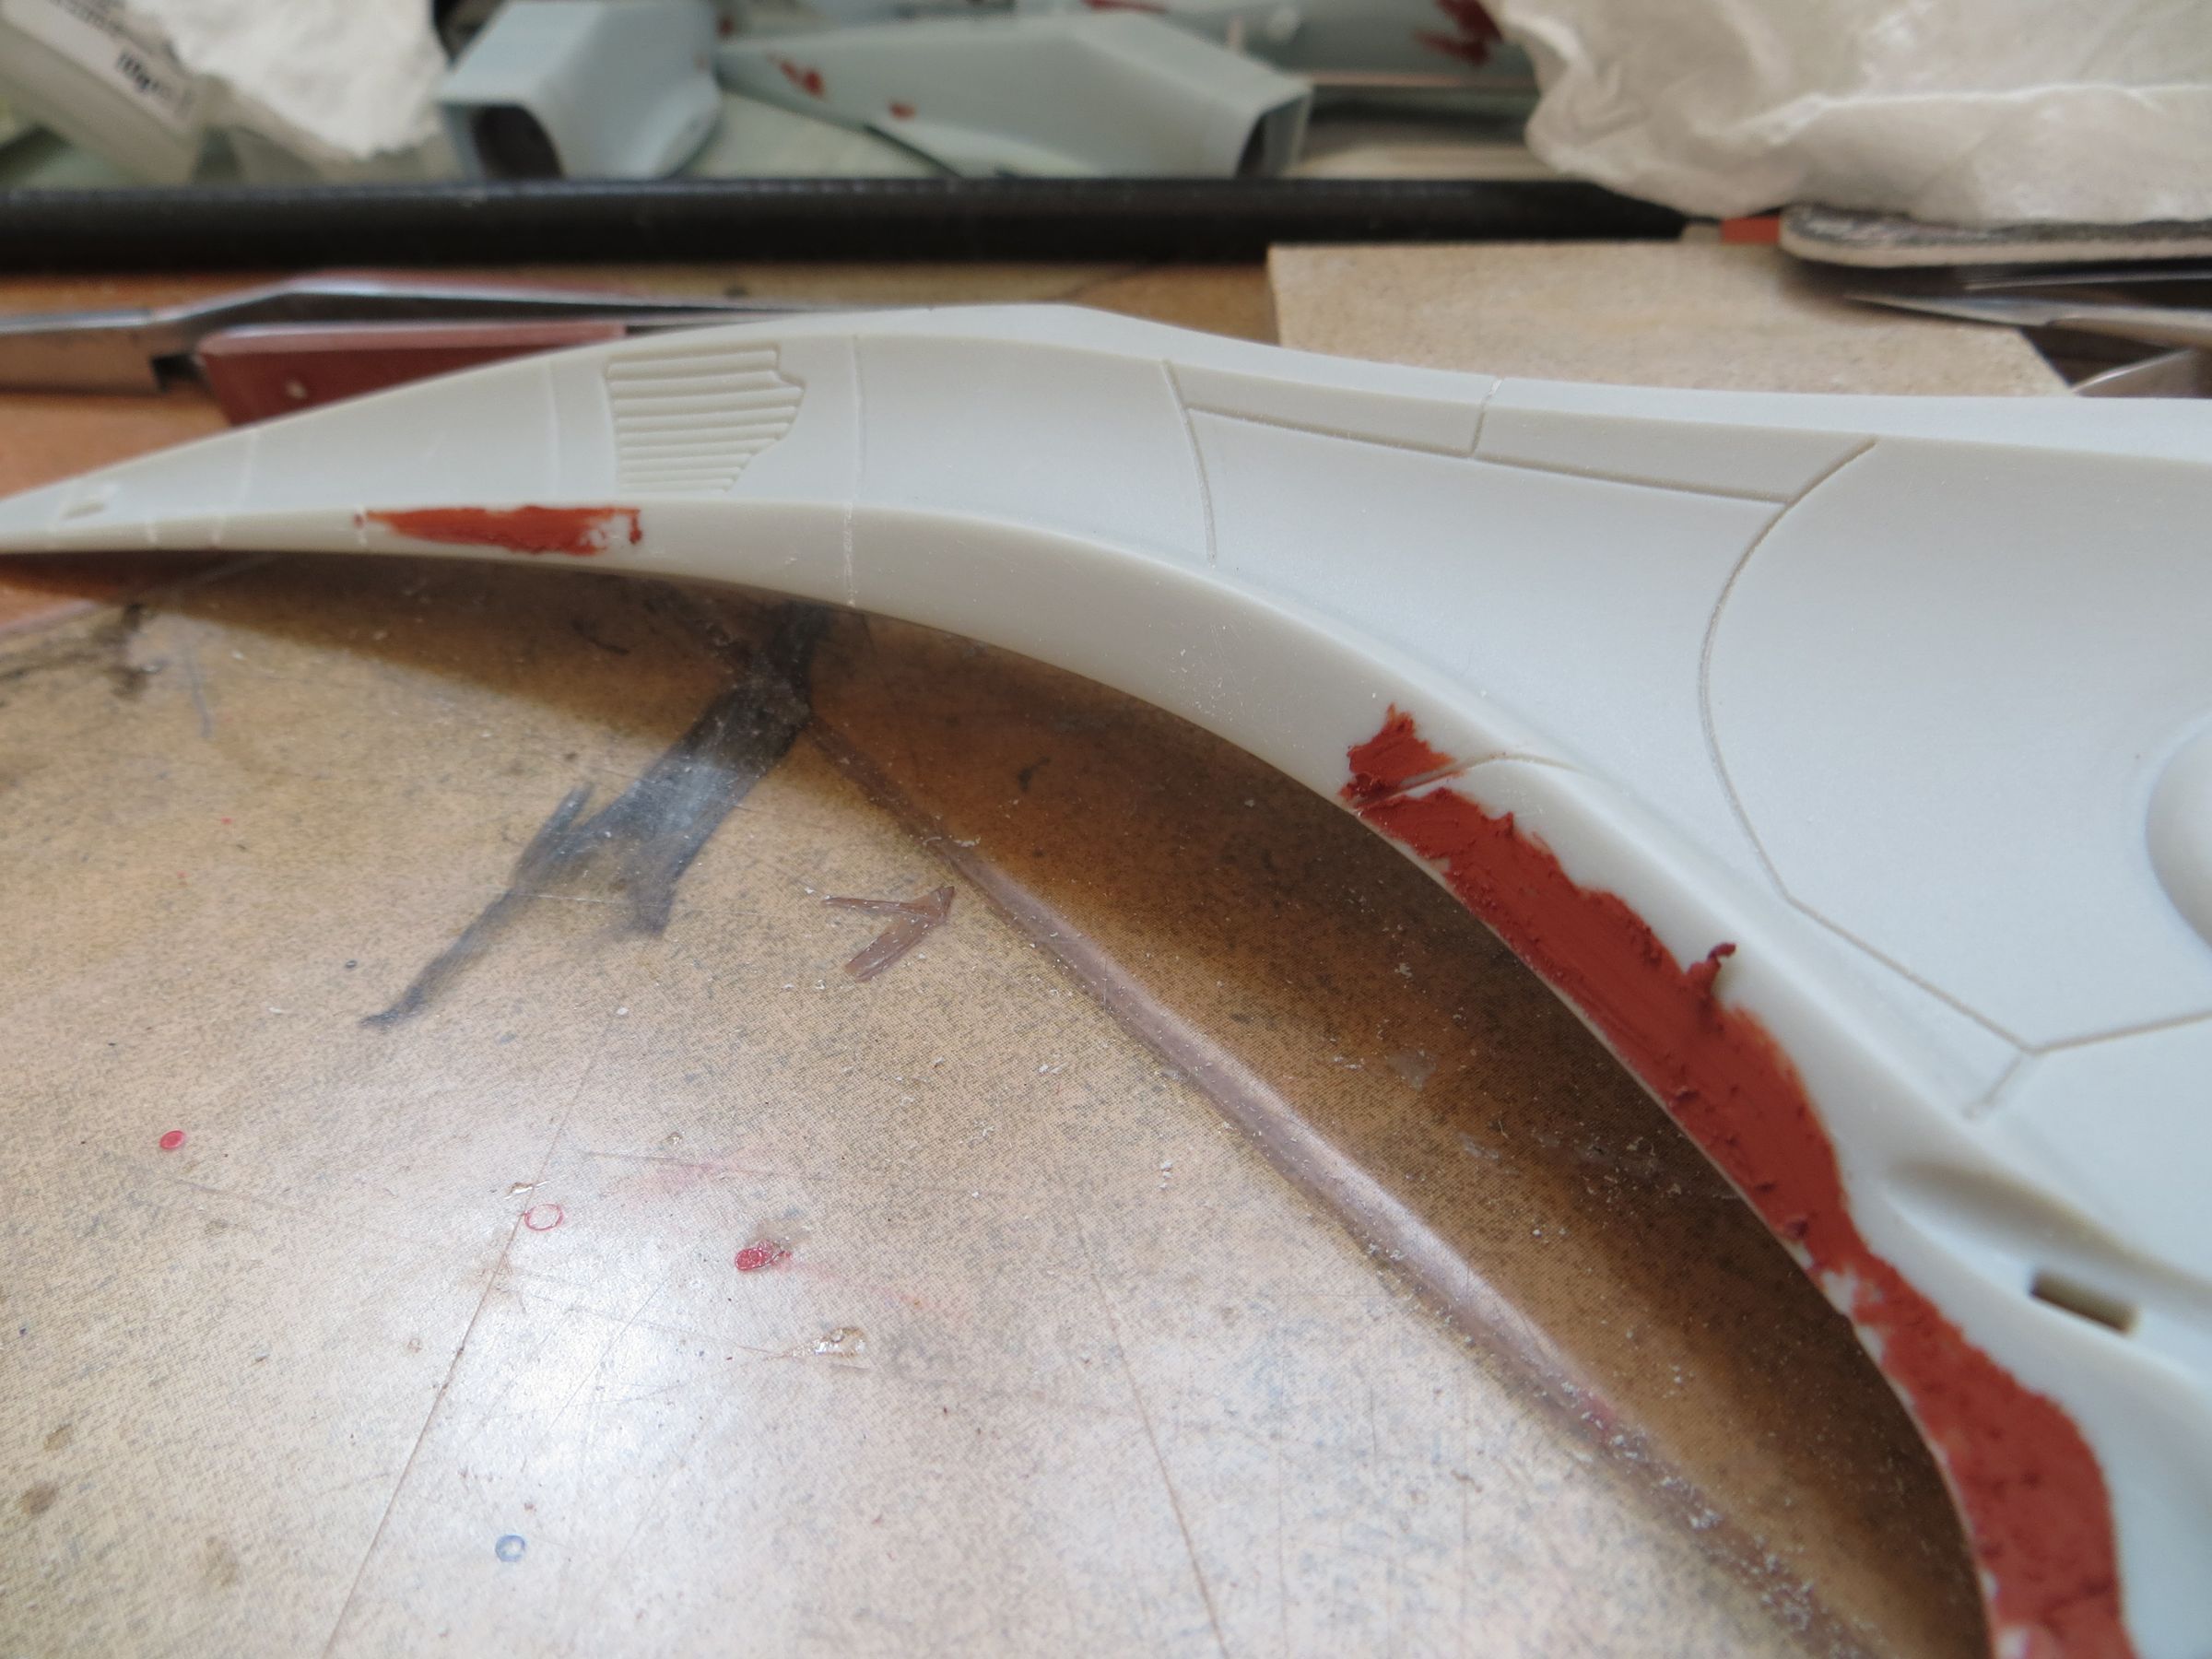
The cylon emblem is sanded
first with coarse sandstick
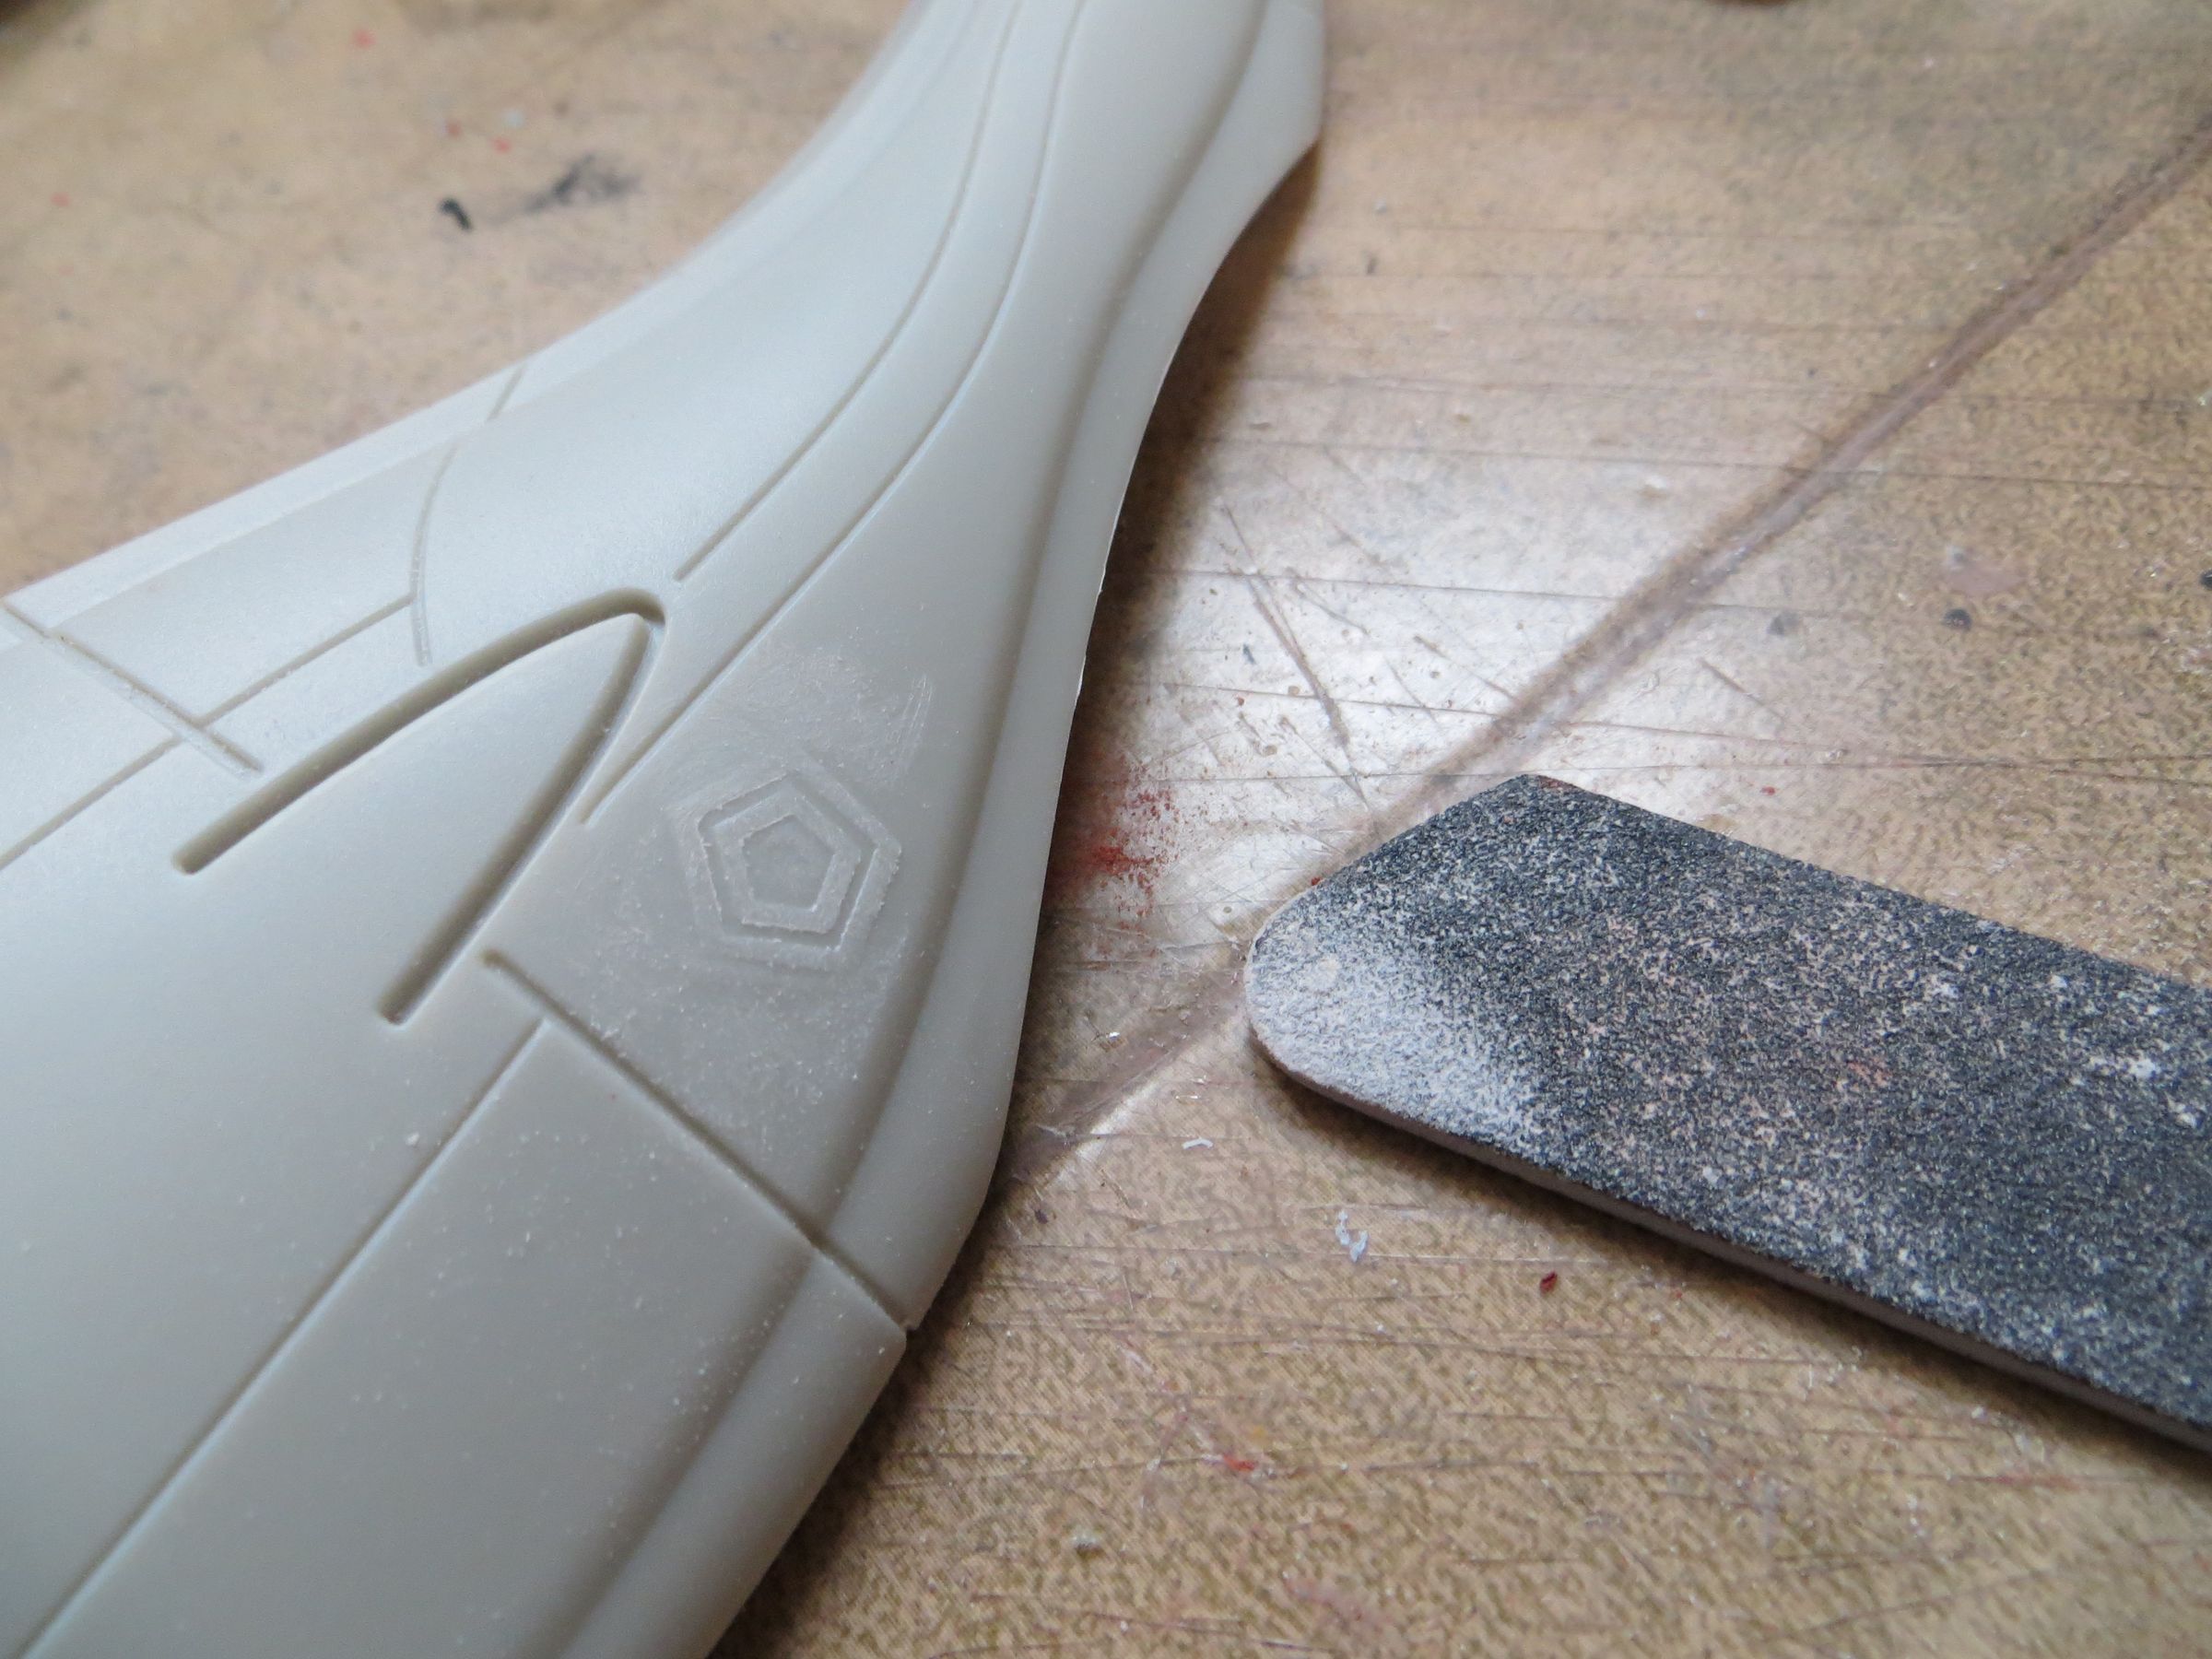
then fine
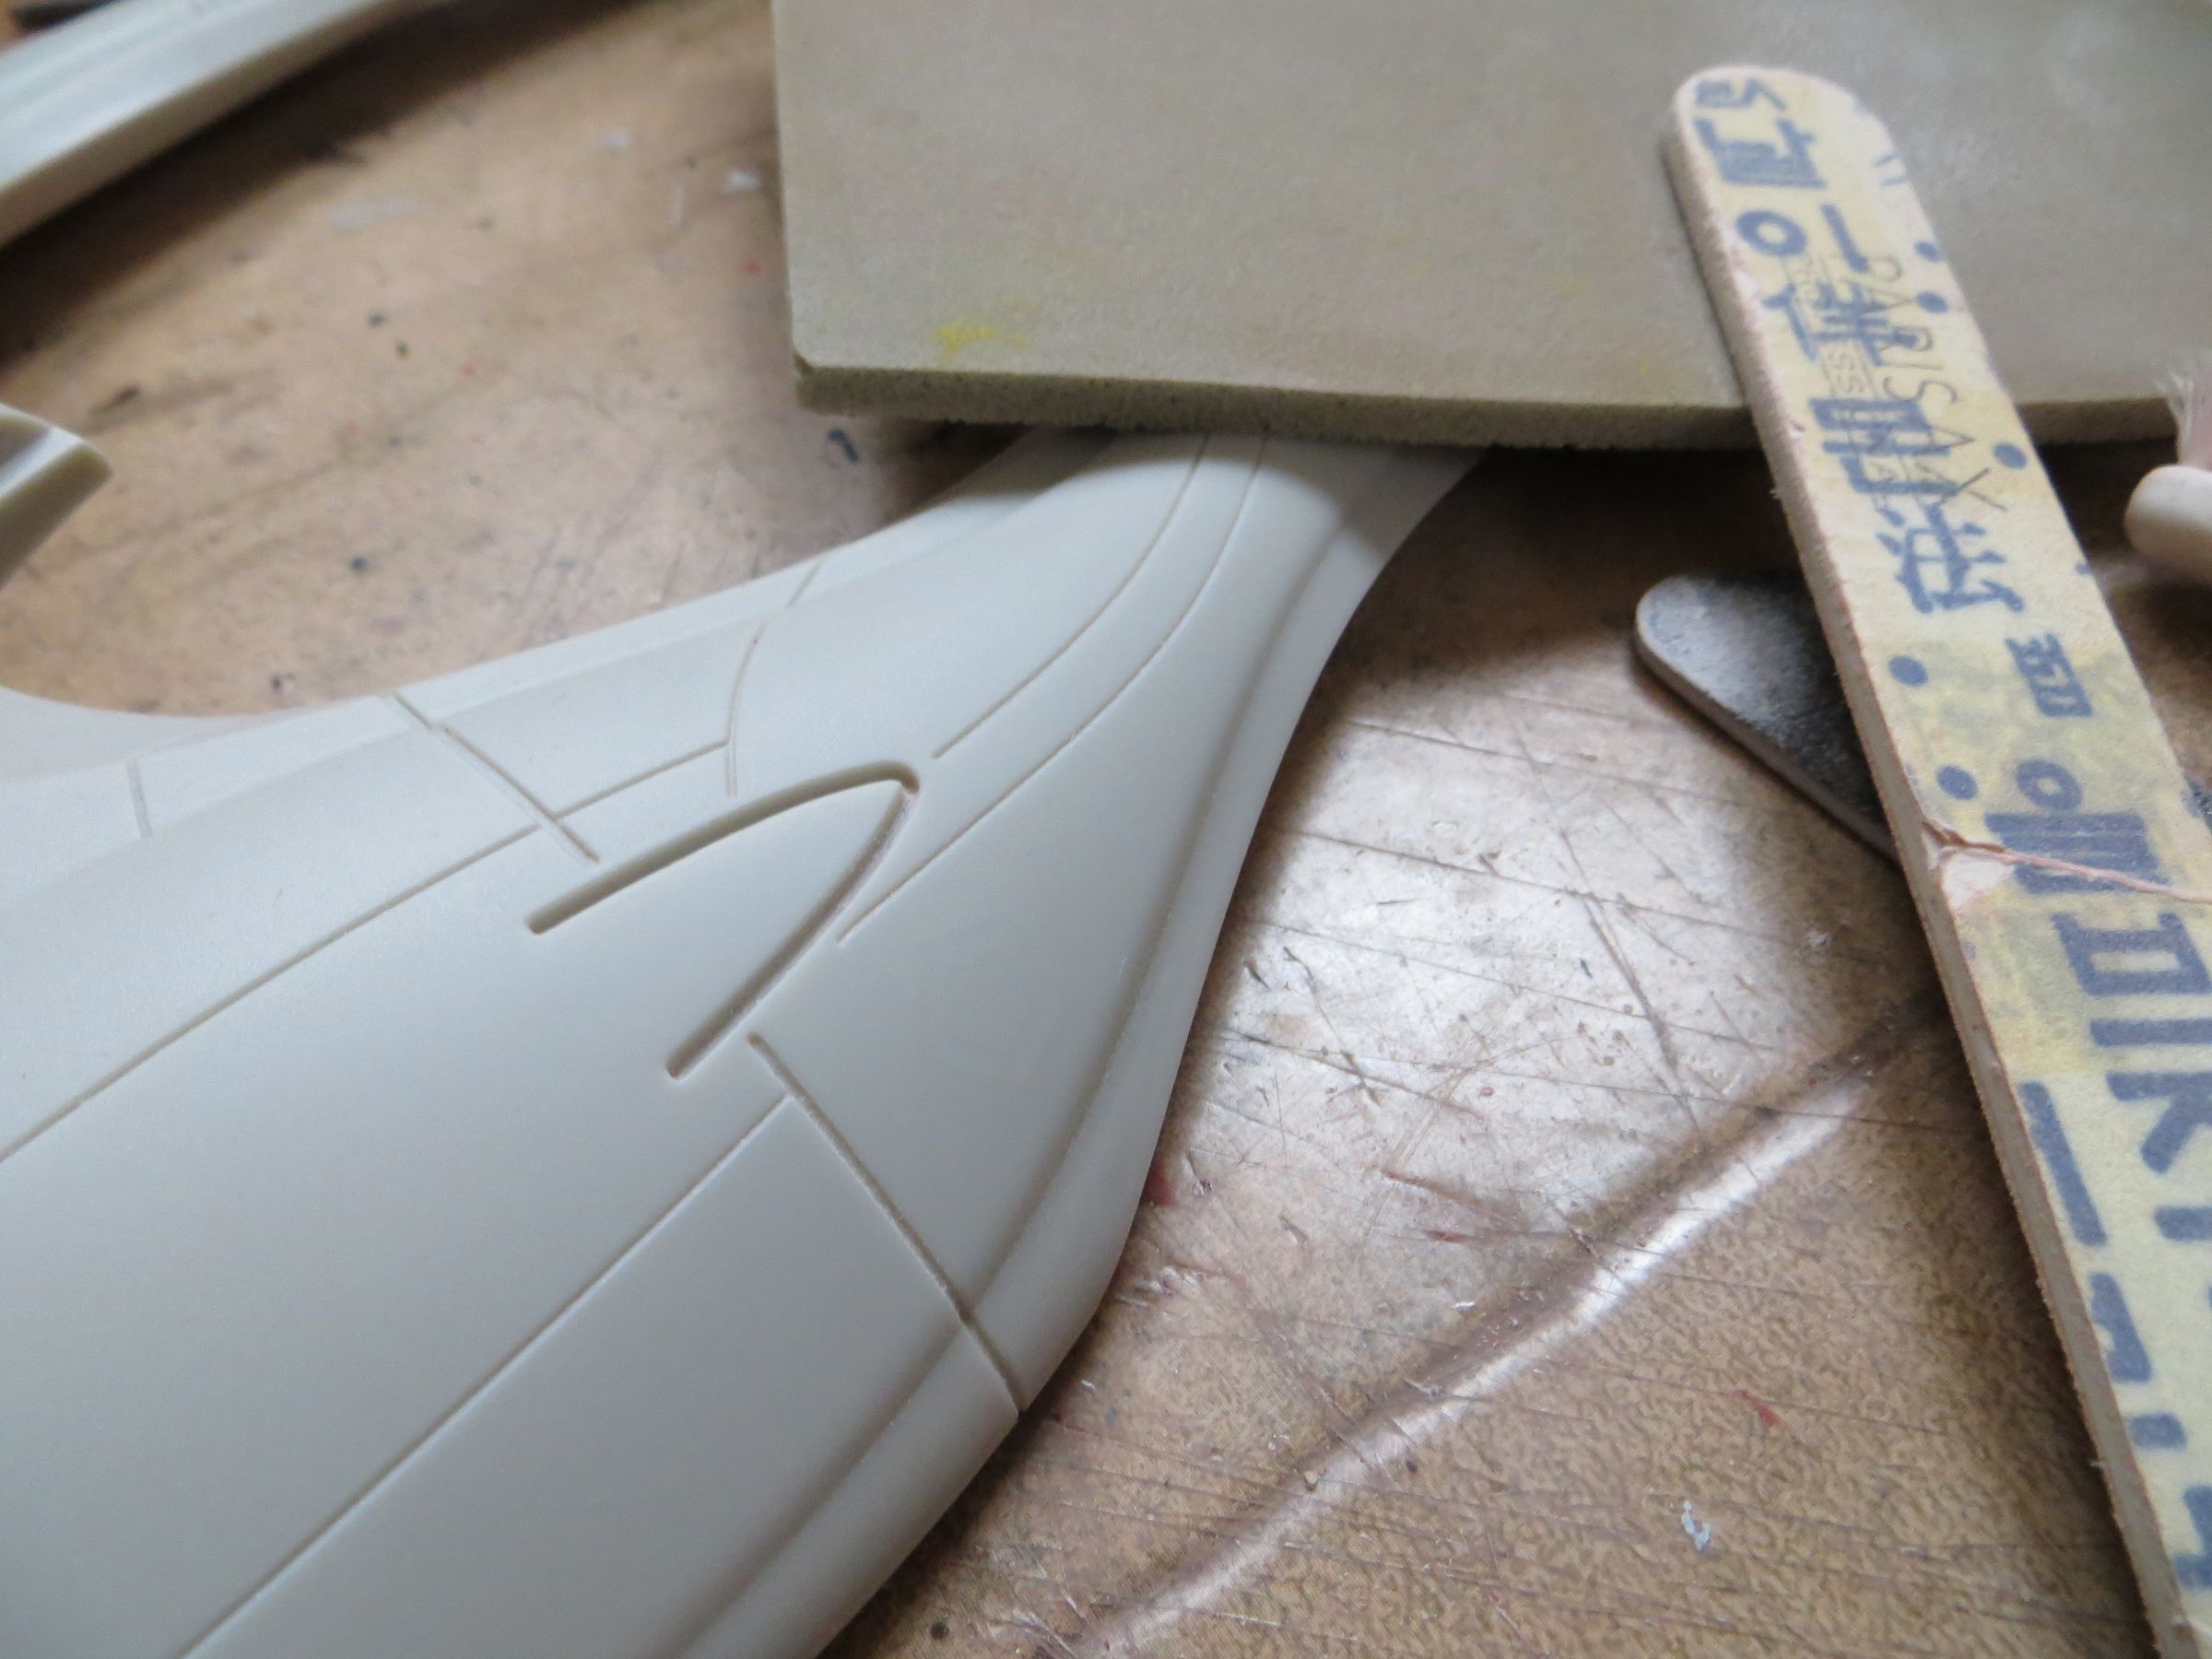
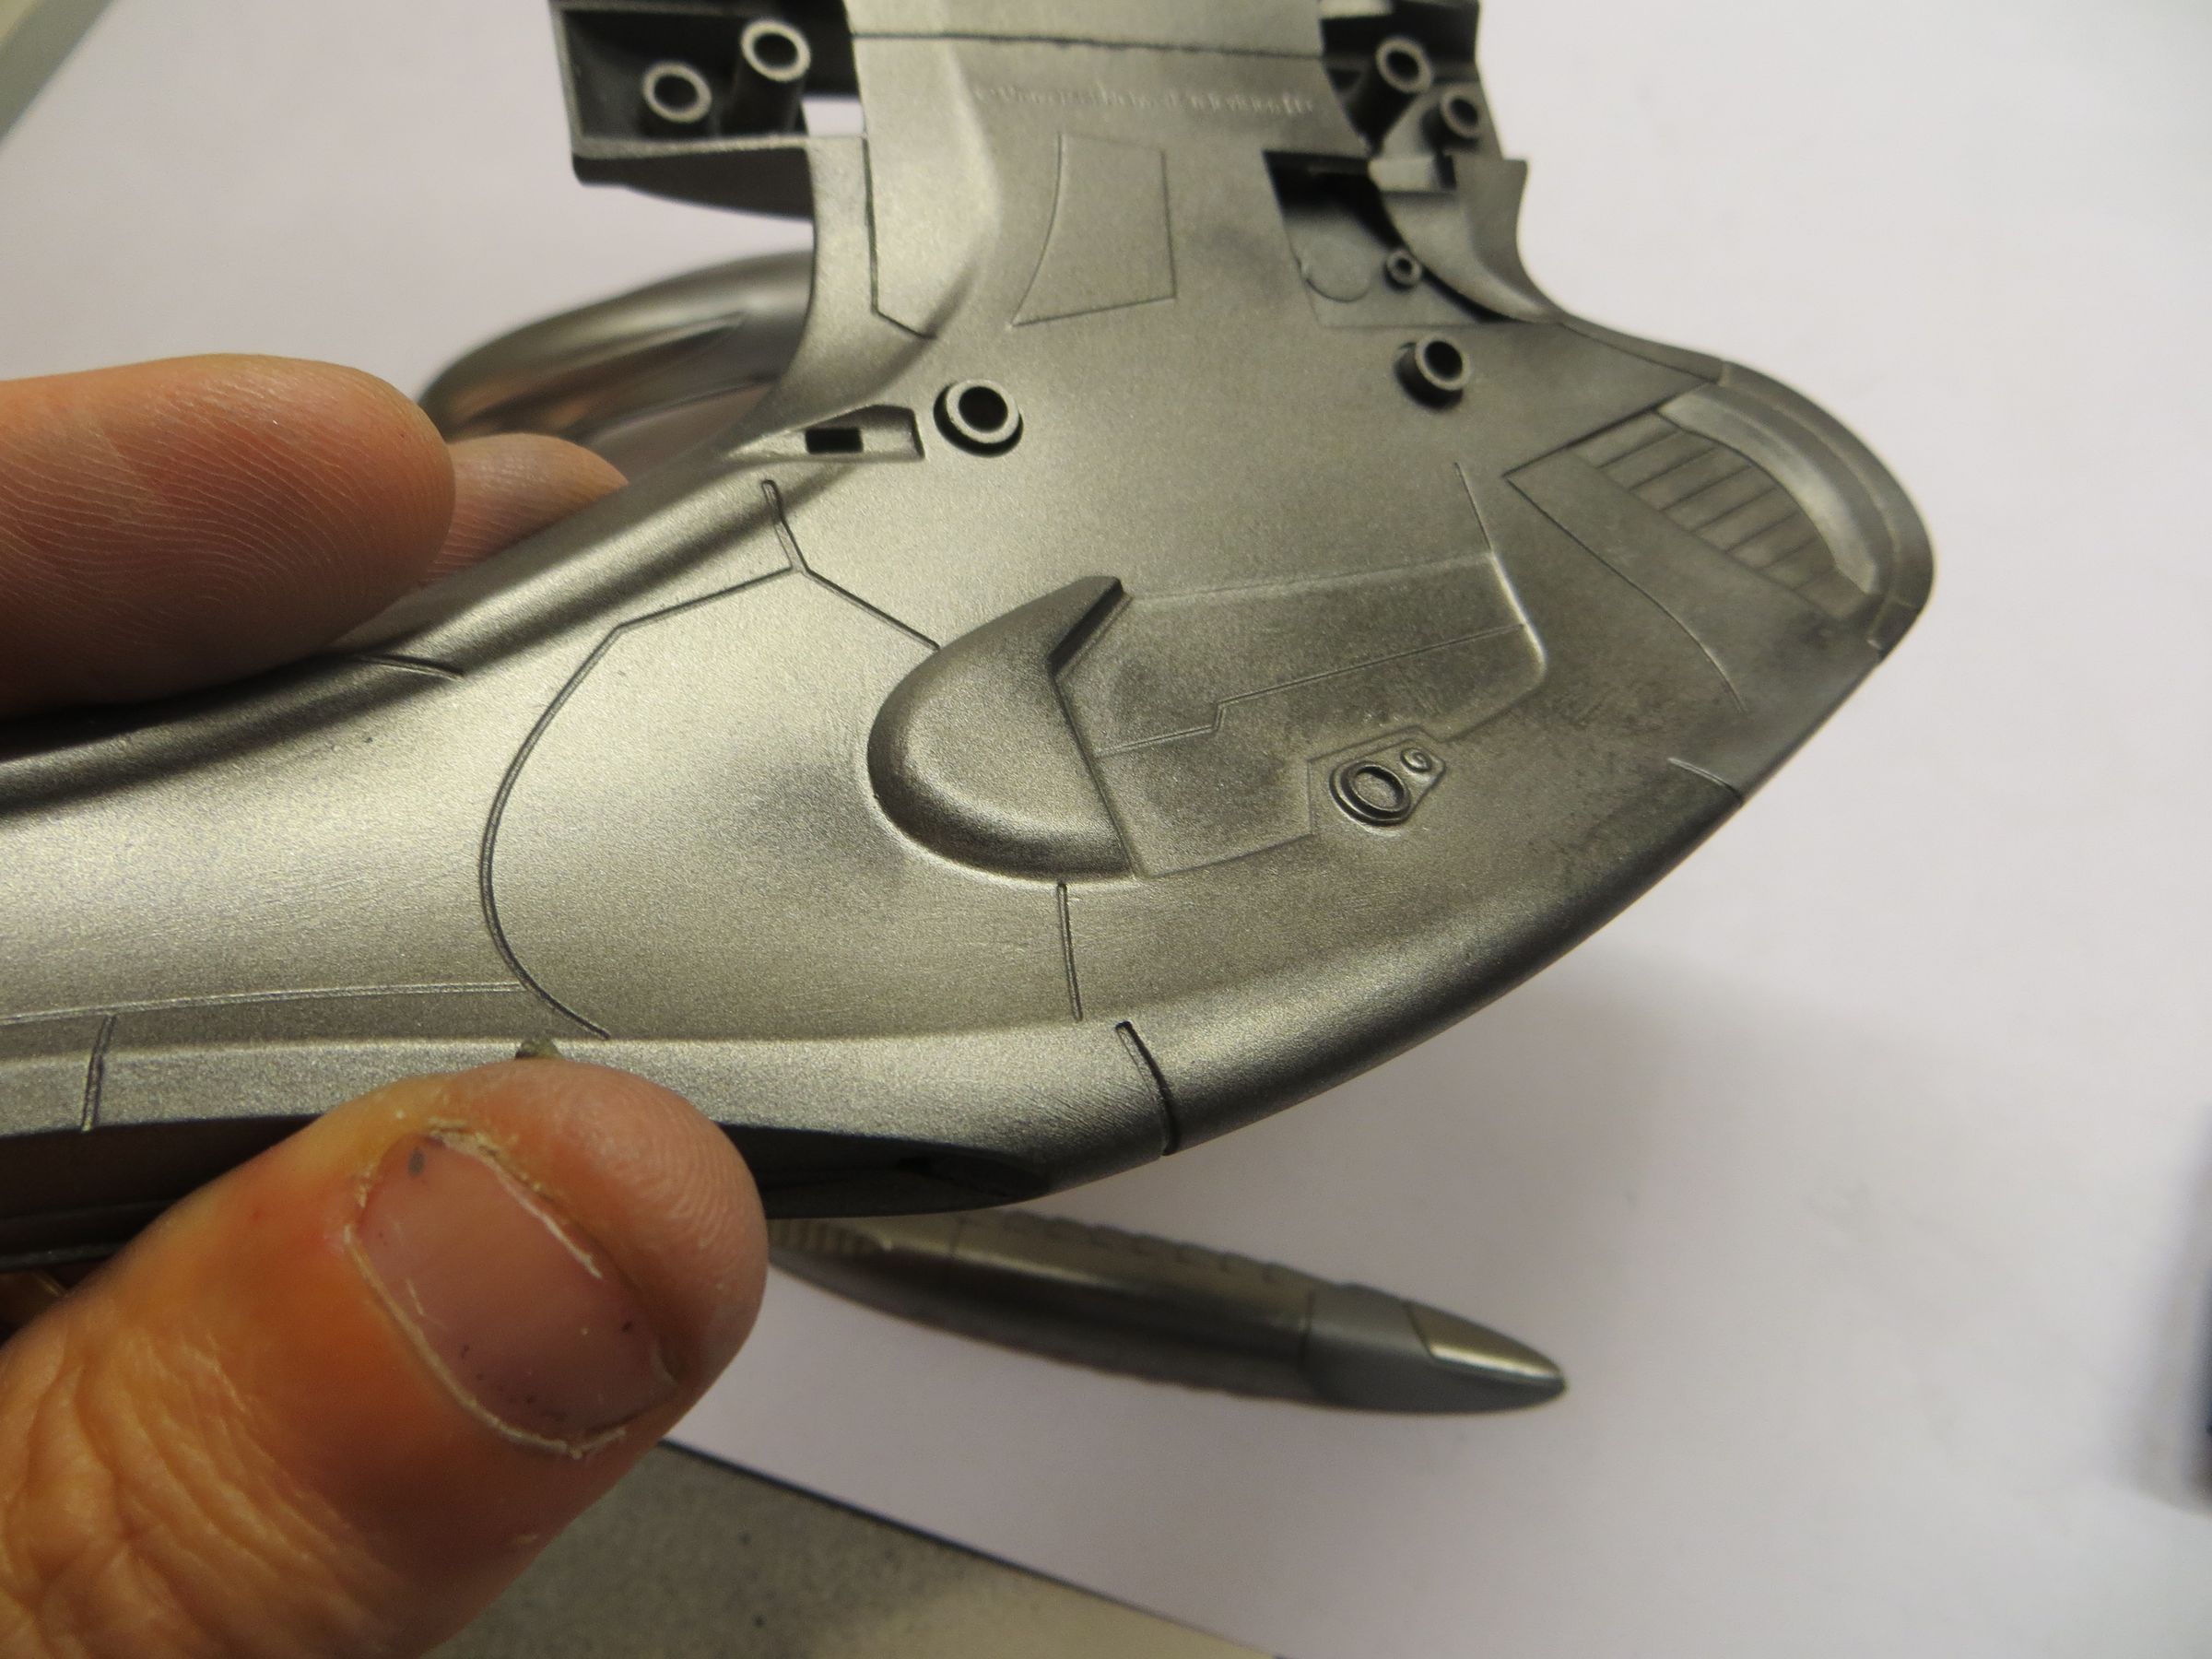
The rest of the assembling does not present significant difficulties. I do not glue the ventral part, otherwise it would oblige me to install now the guns and engines, but I want to paint them quietly apart.
samedi, 1 juin 2013
Par olcabour le samedi, 1 juin 2013, 21:35
After a fair dose of Space1999 (the Swift WIP is still pending), I needed to change of subject, with a little tour this time on Battlestar Galactica Cylon Raider from the reimagined serie.
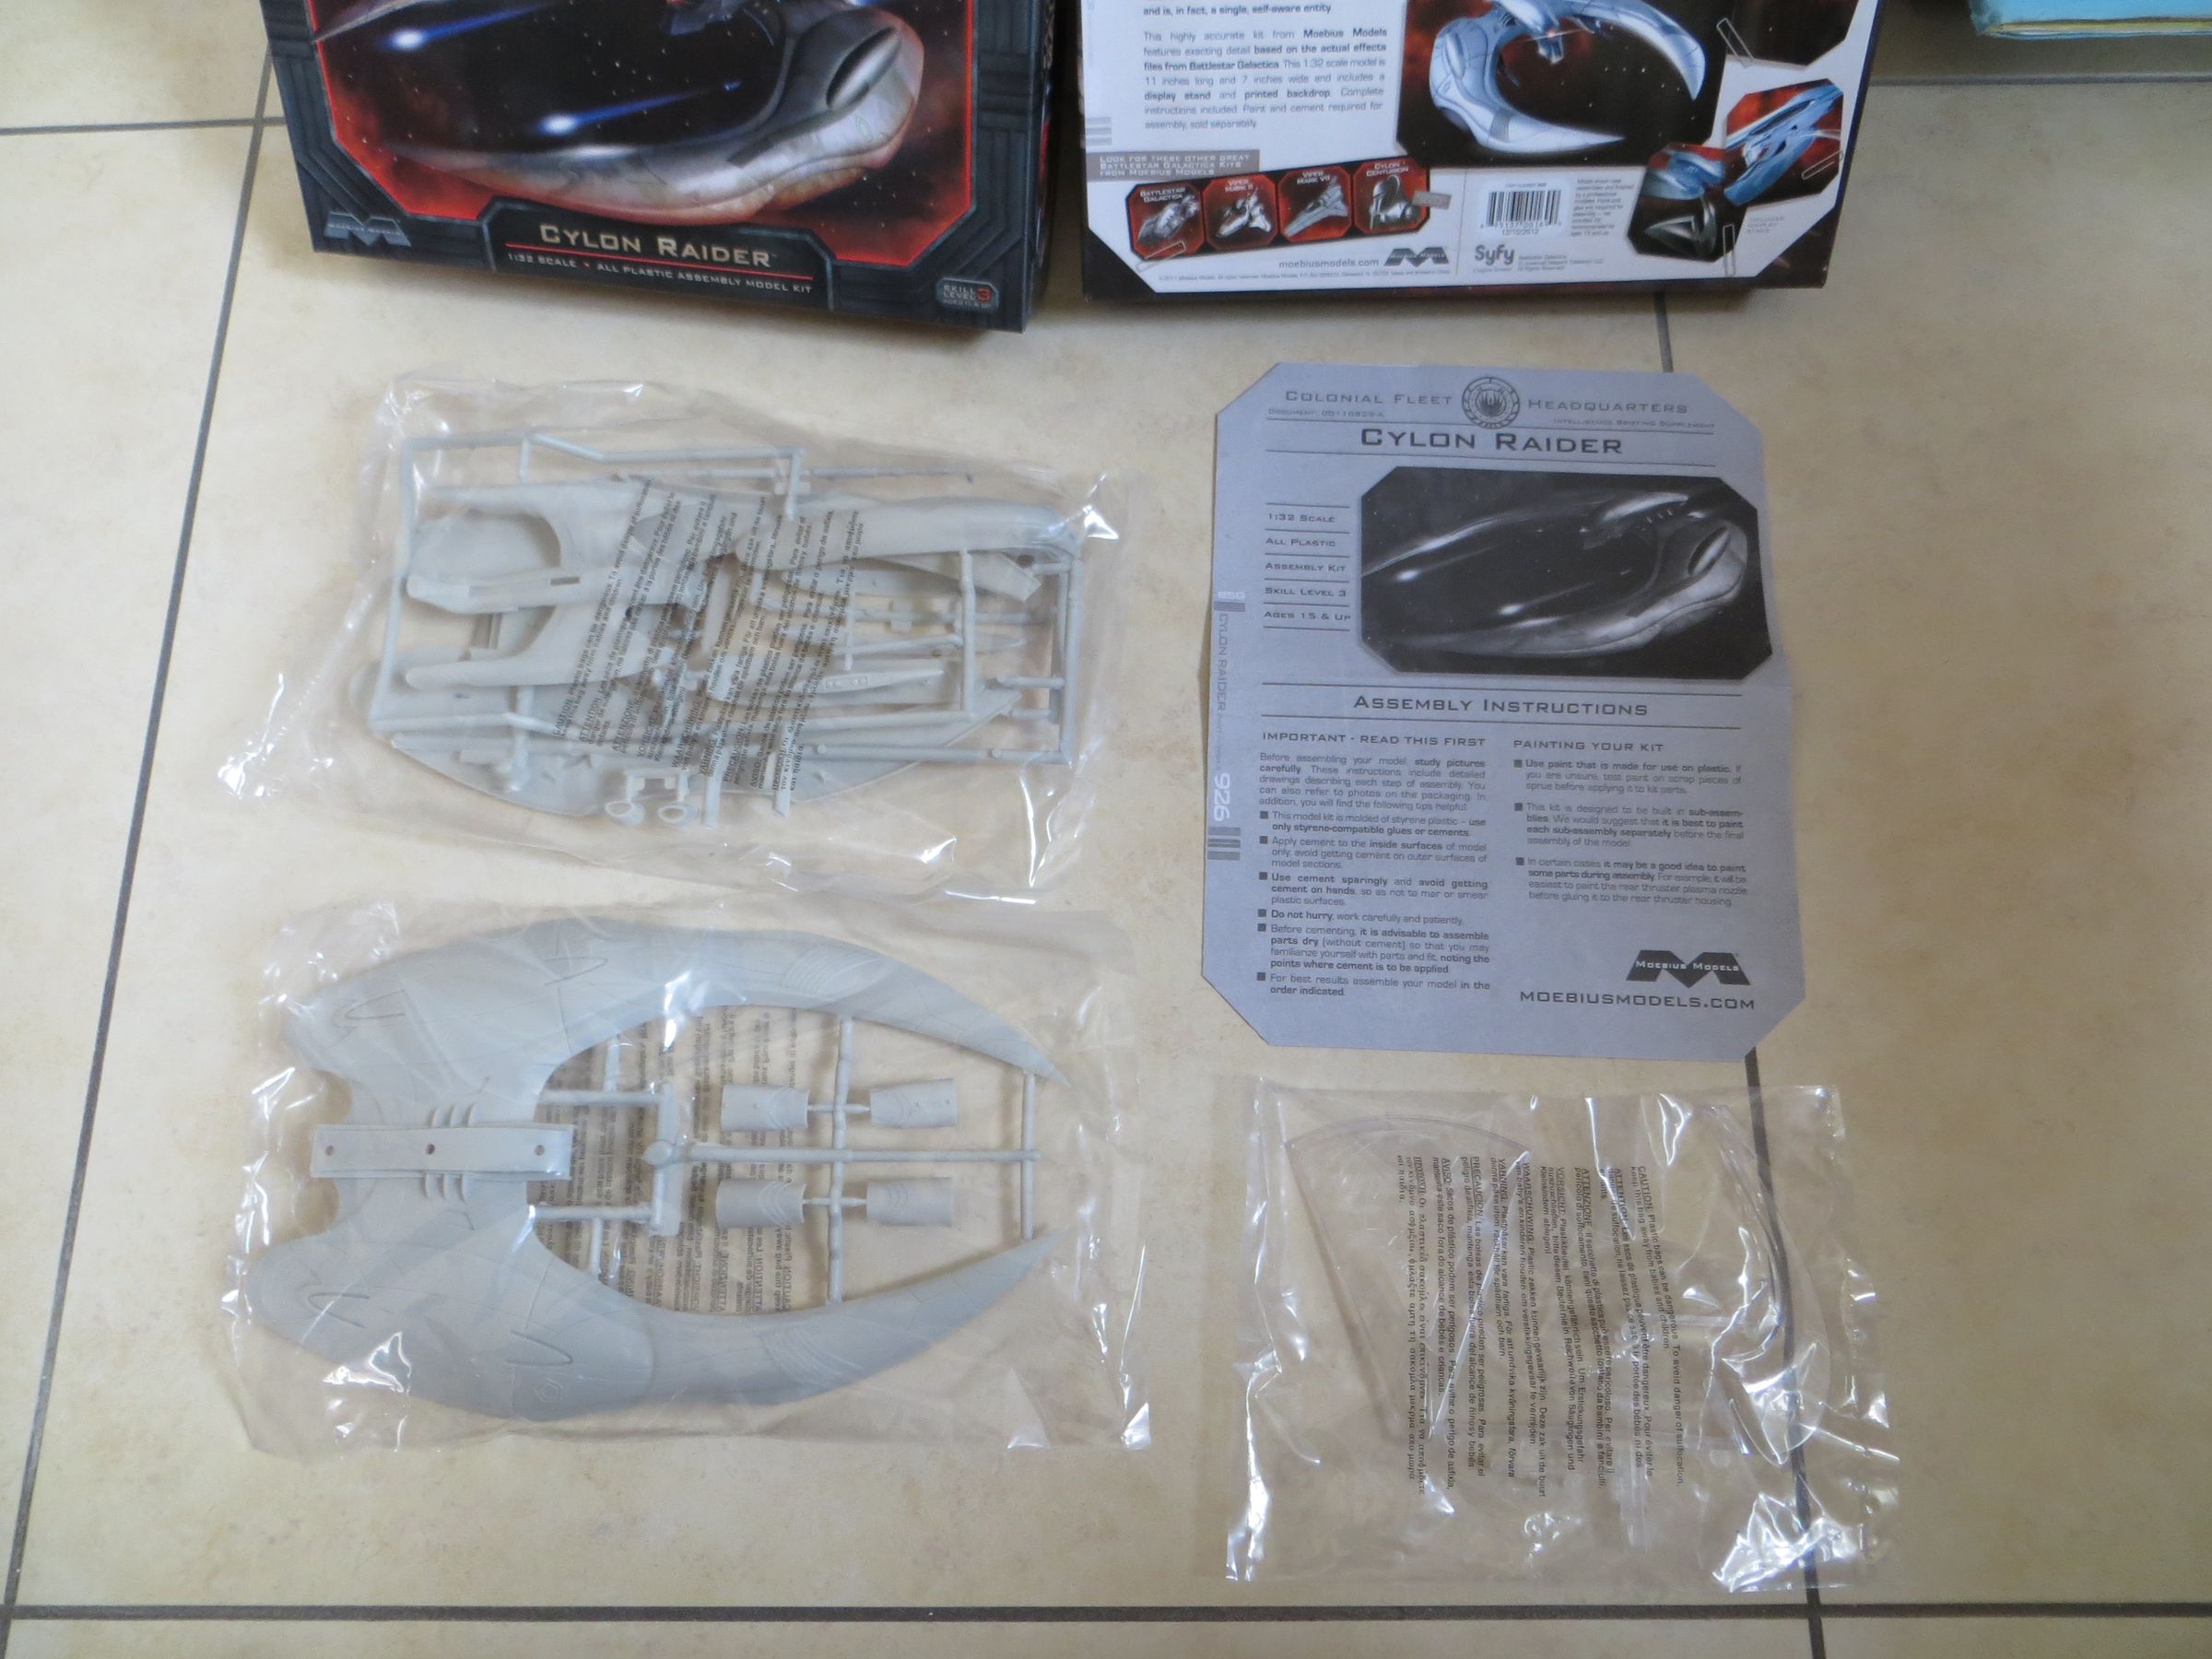
This is not really a design that I like, I much prefer the older version (which I look forward to its new incarnation from Moebius, significantly larger than its venerable Monogram cousin). So it will be a quick installation: no researches of accuracies, no lighting (no no, not even the red eye), just a few cosmetic improvements. I'm going to concentrate on painting.
This studio raider (virtual or 1/1 set) appears really rough on screen while the kit is rather smooth. So I can not mindlessly apply the Alclad, as it would give him a look of a Naboo skiff! I have not clear ideas, but maybe I will try the Alclad Stainless steel (which is duller than her friends) and metallic acrylic spots for a rough rendering.
In the meantime, we made a little tour of the property: