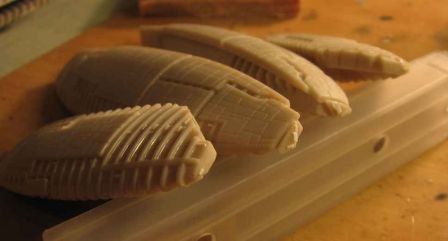
Side panels, turrets flight decks and gluing of the main parts
Par olcabour le vendredi, 29 avril 2011, 22:49 - Battlestar Galactica - Assembling and detailing the Moebius kit - Lien permanent
The assembly went slowly in the past days:
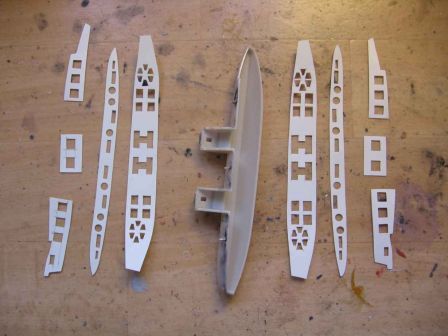
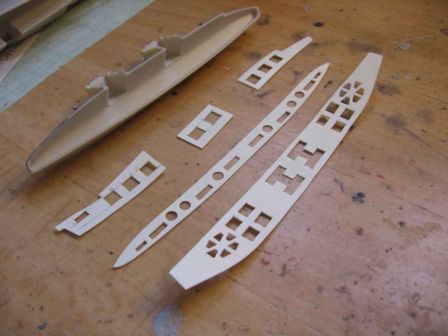
- To detail the recessed sides of the main body, I started last time to prepare paper templates, in order to cut and work on these pieces without having to access inside the recessed sides. My first attempts were unsuccessful, because I used too thin plastic sheet, it was ultimately not possible to engrave properly, and cutting all the geometric figures resulted in far too fragile parts. After two failed attempts, I moved to of 0.5 mm thick plastic sheet. I feared it woul be too thick, but ultimately, once in place, it goes very well. By cons, it is less manageable and so fits less easily.
Then after an engraving session :
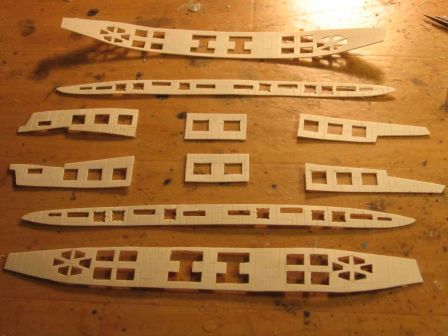
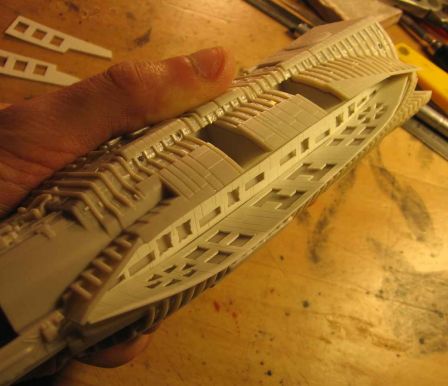
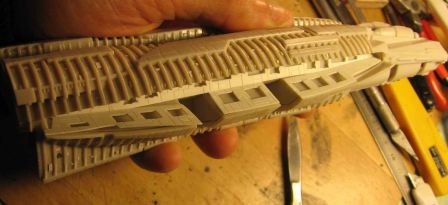
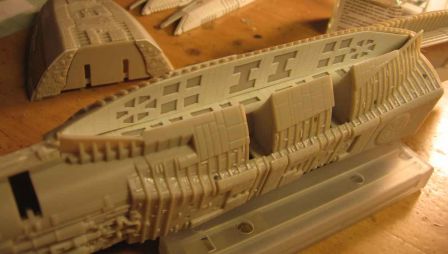
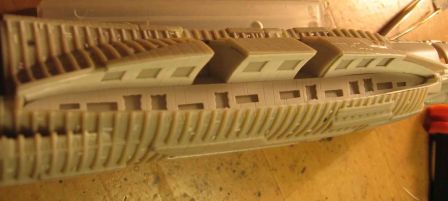
Then, after assembling of the body (see below), they are glued in place :
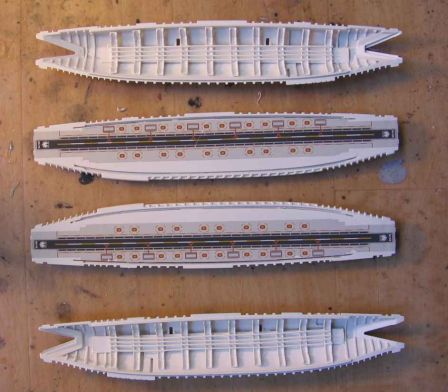
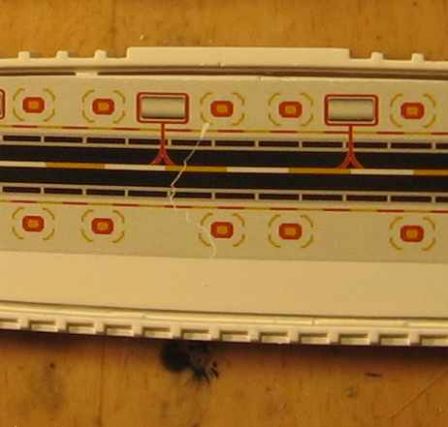
- The landing bays are making a little "comeback". After a painting of the inside in mat white (with a Tamiya primer spray can), the markings decals are applied, and then covered with mat varnish, as they are really gloss as is.
Take care, this decals are brittle (as can be see on one of the runway)
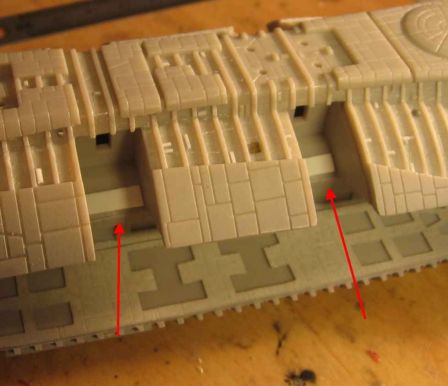
After assembling the half-shell by two, there is a remaining side to detail on each of these bays (which I deliberately left out because of the sanding that would coming here) :
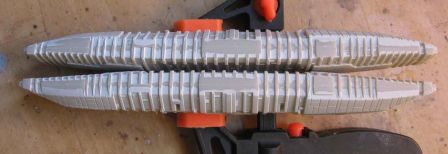
Then engraving and gluing small rectangles of plastic strips :

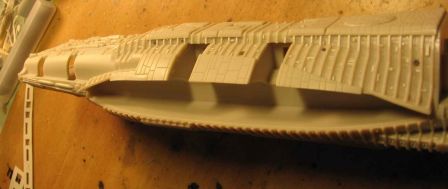
- I can finally start assembling the main body of this beast:
The bottom of the head is then glued, in making sure to have a perfect alignment of the underside armor plate.
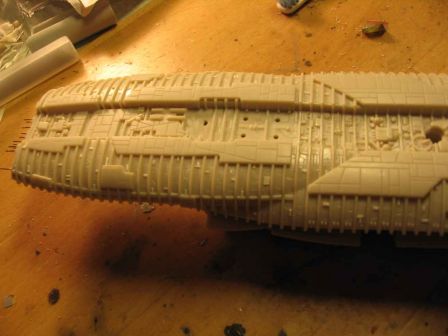
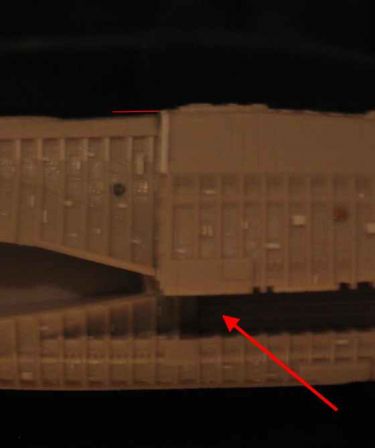
- And surprise, a final dry test of the middle and upper parts of the head showed that I still have a small millimeter too height to align the top of the head with the top of the main body.
By sanding a little more the middle part of the head, the trouble is quickly solved.
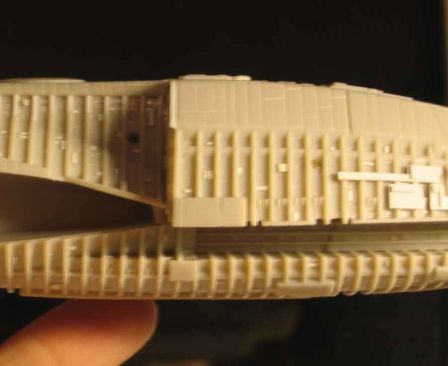
- I added a small section of plastic strip to align this step at the right level
And final gluing of the upper head part after a first coat of Tamiya primer (spray can) in this area that will be then less accessible :
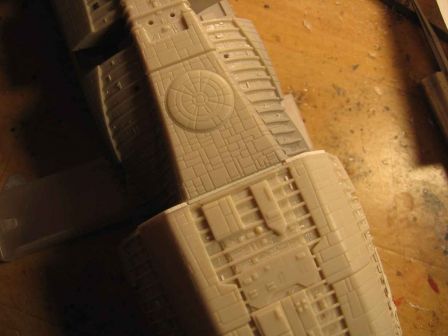
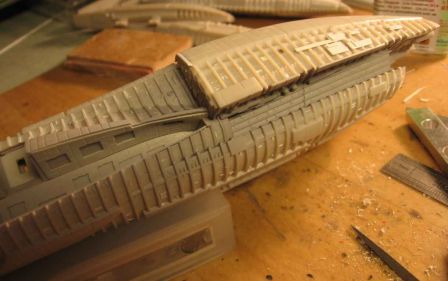
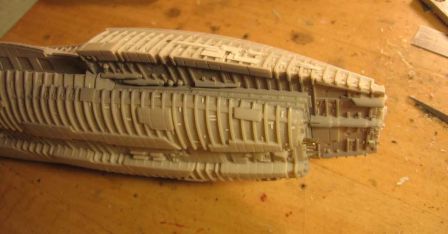
- Before tidy up the plastic strips, some additional details are quickly added to the nose of the engine modules :
- The 24 turrets also require some attention. As is, they are not really appealing.
Two different detailing kits exists for the moment on this subject (both available via StarshipModeler). The first one is a photoetched sheet rather well detailed, but the result is downright flat and slightly undersized. The second kit, in resin and from Timeslip Creations, seems much more accurate in size and shape. Finally, I just reworked a little the turrets' kit. The cannons are slightly sharpened, and two notches are performed with a triangular section file. The result is not totally "accurate", but this small operation gives them a better flavor compared to the original ones, and that is enough for me.
Before | After
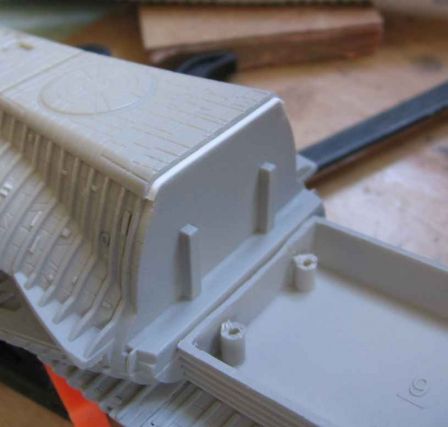
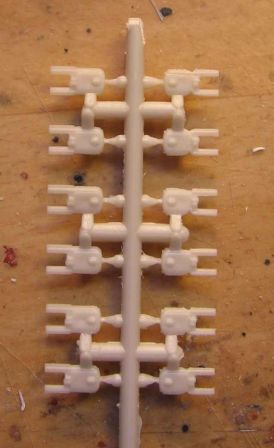 2 small tabs on the pin of each tower have to be removed, as they would be are on a hair-high relative to the fuselage if let as is.
- There is a last point to correct: adding a wedge under each arm, with very fine strip, in order to align them perfectly, and that would otherwise tend to collapse, if a space would have been left. The thickness of this wedge would depend on how your recessed side parts have been glued to the body.
This completes the first part of this building, devoted to assembly and detailing. The painting stage will now follow.
