Detailling engines, engraving again and again...
Par olcabour le vendredi, 8 avril 2011, 22:41 - Battlestar Galactica - Assembling and detailing the Moebius kit - Lien permanent
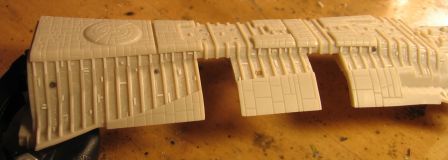
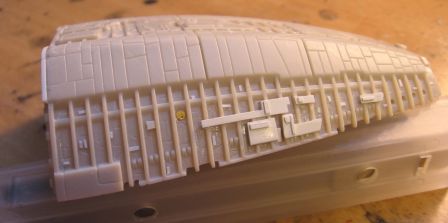
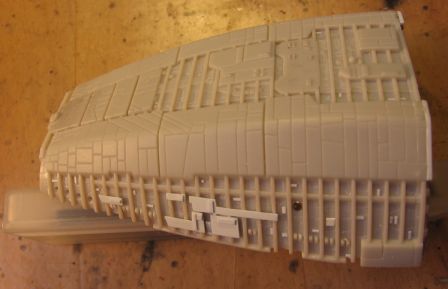
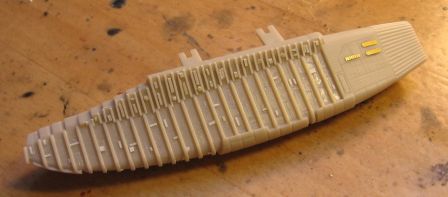
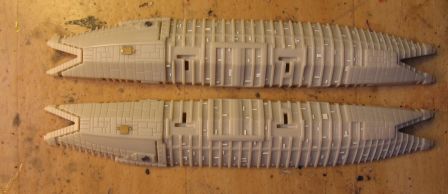
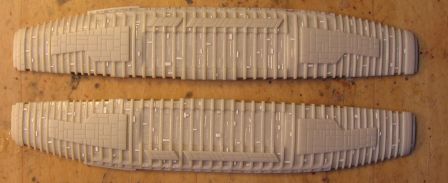
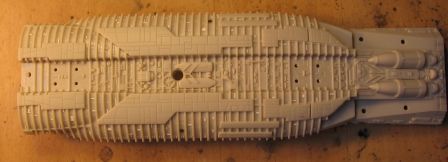
Here is the result of 2 long weeks to engrave, scrape, sand and glue tiny bits of plastic :
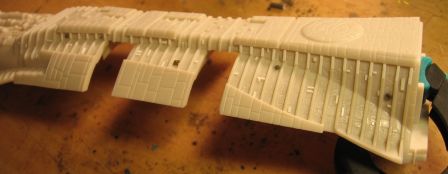
- engraving between the ribs and throughout the ship is completed in the same style as the body previuosly presented.
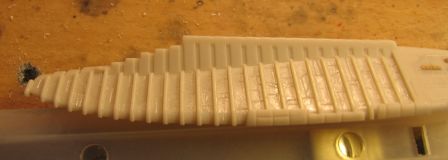
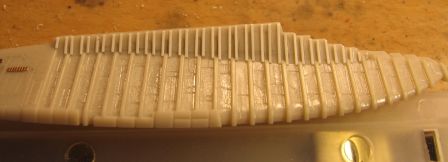
- A whole series of ribs, and detail is missing on the lower engines modules.
before
Added ribs (section 0.5 x0,25mm)
and details
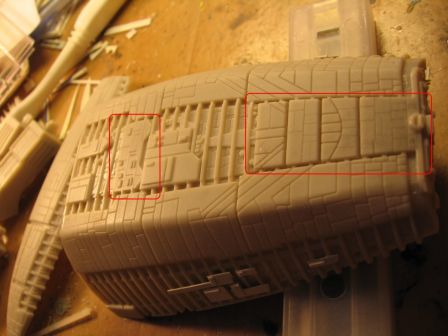
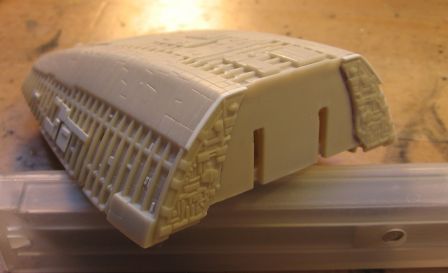
- Incidentally, the head has also received missing recessed panel lines on the top
- Then dozens (even hundreds) of small rectangles and squares of plastic were added between the ribs. Finally I added very few detailing spare box parts because they would have been disproportionate, stayed with plastic strips.
Again on the head, the top side armor plates are completed at their end.
This stage of heavy detailing now behind me, I begin to see the end of the tunnel...
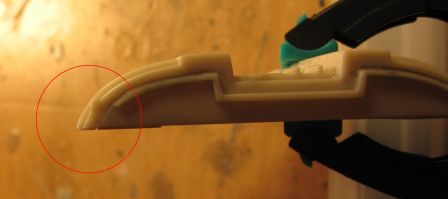
- After gluing the sub-assemblies, it appears that the edges of the ribs are too sharp and and need to be seriously smoothed. This affects 6 sub-components: upper and lower parts of the head, and the four reactors.
before
after
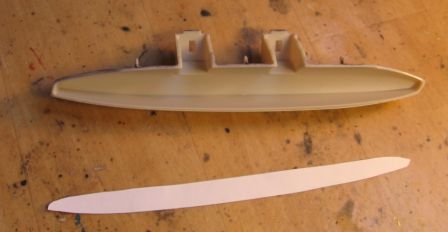
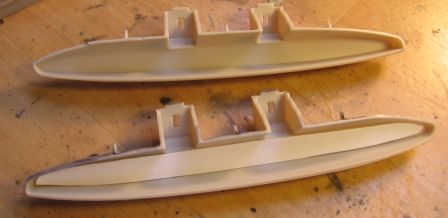
- The last "big" stage can finally begin with the detailing of the sidewalls. The interior space is not easily accessible, so I intend to make plastic strips that I'll bring and tape inside. To do this, I prepare some paper templates.
