OlCabour's Hangar

Aller au contenu | Aller au menu | Aller à la recherche

Battlestar Galactica › Battlestar Galactica - Assembling and detailing the Moebius kit

Fil des billets

jeudi, 7 avril 2011

Fading ribs on the side

The week was a bit labored in this battle lizard.

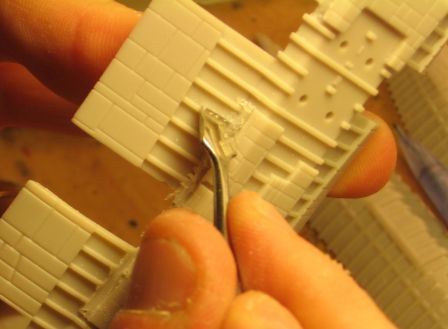
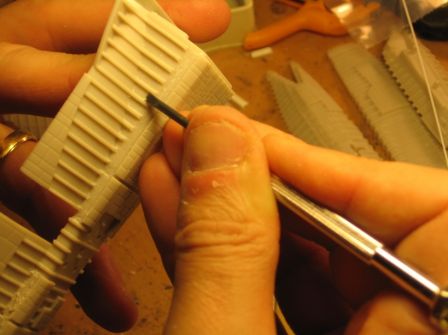
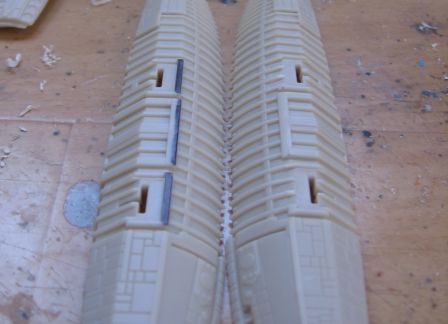
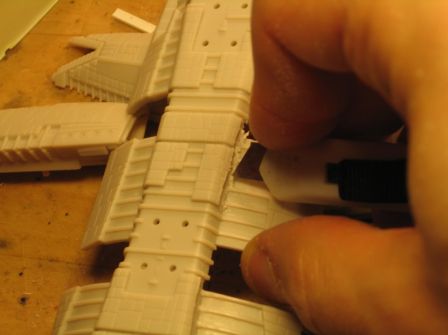
  • Engraving lines between the ribs to begin to people the rib gaps.

IMG_7778-2

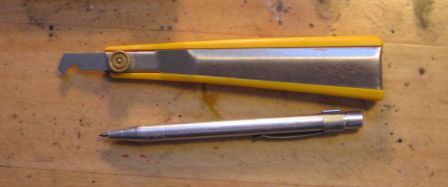
For this I use a pin (here a kind of pen with a fixed pin) and a plastic cutter (OLFA brand)

IMG_7779-2

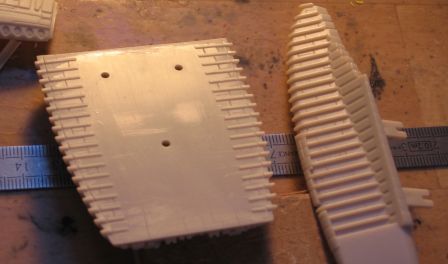
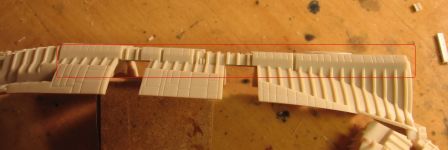
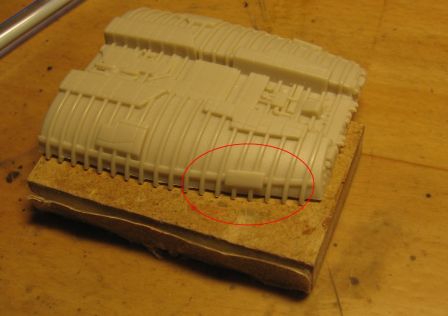
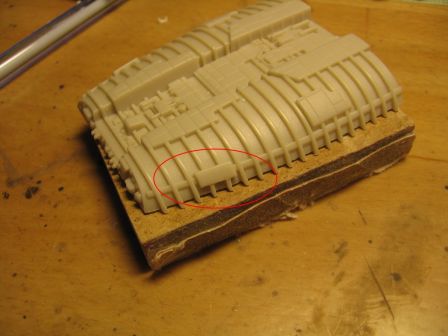
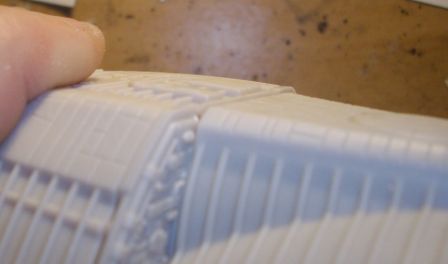
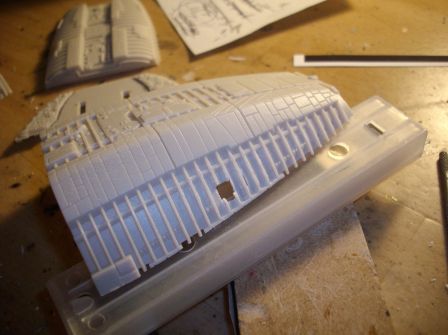
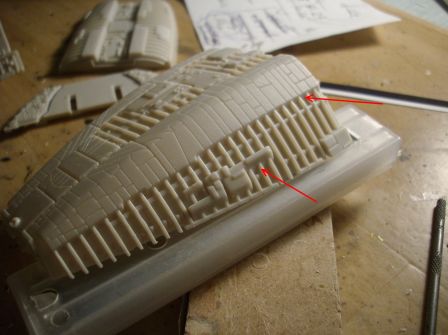
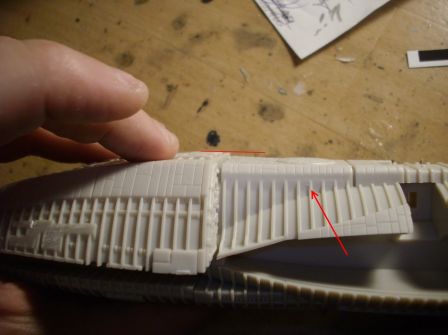
  • Finally, I started the stage that I dreaded the most : correct the effect of molding on the upper body.

This shot shows clearly that the ribs are fading before reaching the upper armor plate.

IMG_7780-2

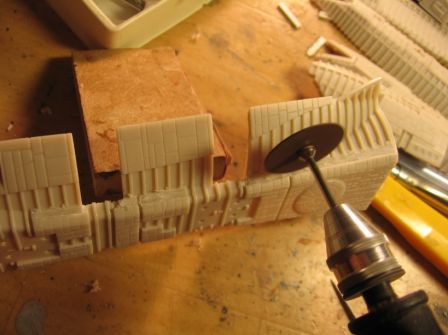
I eliminate the largest parts of material with a cutting disc mounted on a drill. Even at minimum speed, the plastic heats up very quickly and tends to aggregate into small balls of plastic, so the drill must be pulled away quickly,

while waiting for the ball to cool.

IMG_7781-2

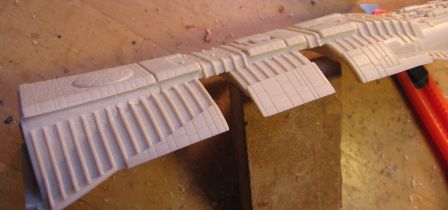
Then, there is no secret, you must dig, sand, scrape in loop for quite a while. At a moment, I thought about using a screwdriver which width was fitting like hair in the grooves and that kept me going much faster. IMG_7788-2 IMG_7790-2 IMG_7791-2
Here is the result: IMG_7792-2

mercredi, 6 avril 2011

Fitting improvement and flight deck detailling

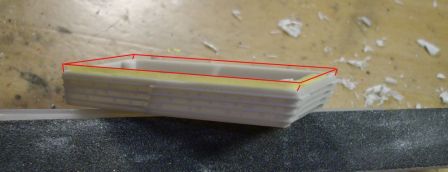
  • The sides parts does not fit well with the main body, and leave a noticeable gap, anbd need to be sand in the thickness. The triangular corners do not fit correctly and need to be reduced and sharpened.

IMG_7761-2 IMG_7763-2

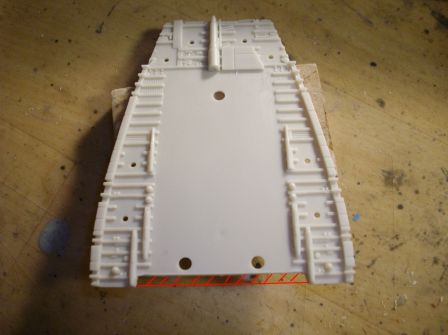
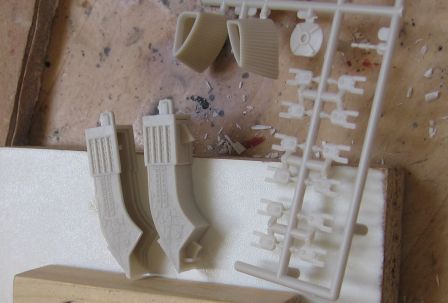
  • The same applies to the lower reactor modules, where the border guide had to be removed

IMG_7765-2

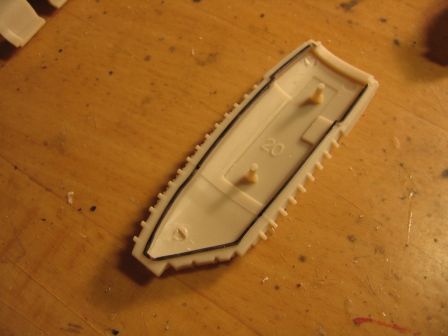
  • And now, a little visit to the flight decks to detail them. I reduce (not remove) the T-pins on the arms, as they exceed a little too much once in place nd will interfere with the details I want to add.

IMG_7766-2

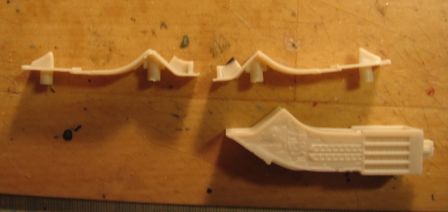
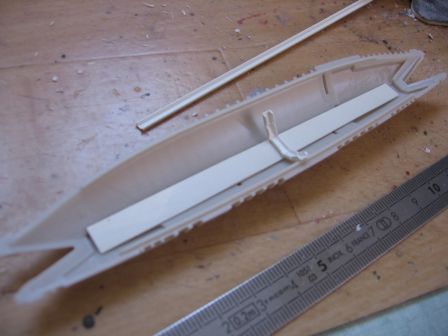
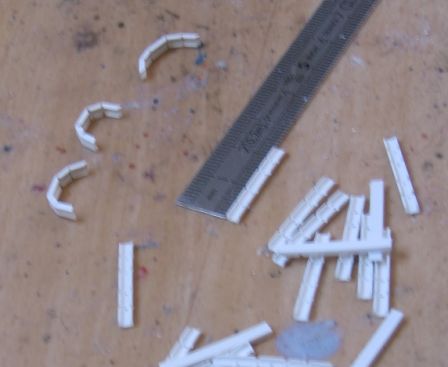
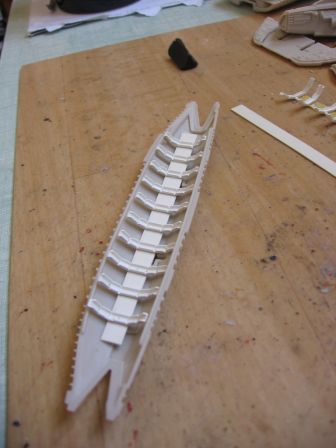
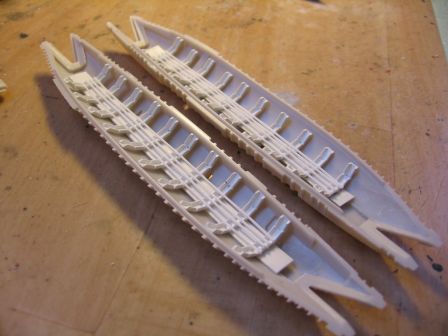
  • Inside, I placed a plastic strip for the ceiling, and, after several different tests, I tried using an amount of U-shaped profile of 3mm, and notched in order to bend it. This is the first test.

IMG_7770-2

  • As it seems rather good for me, I go for creating a lot of twenty pieces.

IMG_7771-2 IMG_7773-2

  • A little later, after gluing of the crane rails :

IMG_7775-2

  • I intended to finish the detailing of the flight decks by adding the crane itself, and the access corridors (using profiles squares), but finally, as the interior is not as visible as I thought initially when the two shells are in place, I dropped this step. I would have continued if I had intended to insert some lighting, but this is not the case.
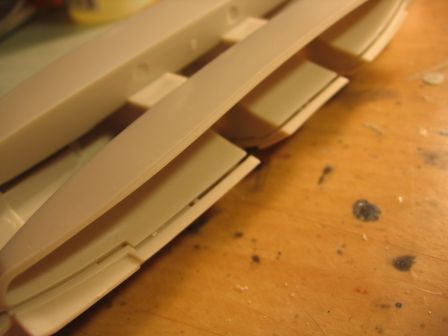
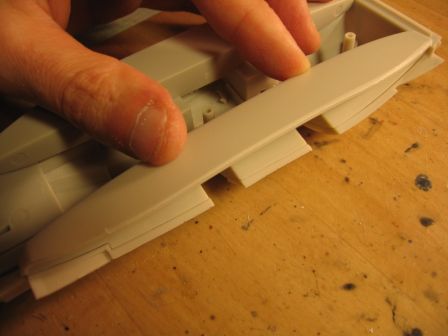
  • Still on these sheds, they are some raised strips, placed in front of the arms, that are too prominent (certainly serve to help positionning the arms' parts themselves, but the T-pins prove good enough to do this job), and it is therefore preferable to remove them completely, while taking care to extend the coasts of our "animal"

IMG_7769-2

  • Quick step on the bottom of the head, where I cut a little into the material to improve the appearance of the small plate armors.

Before

IMG_7776-2

And after

IMG_7777-2.jpg

The head and the gap

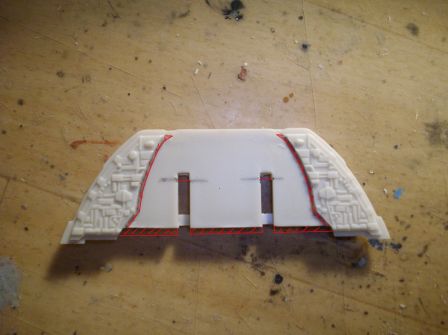
The first step in this building is to correct the misalignement of the two sandwiches that made the head and body. The gap is of 2mm at top and of 0.5mm at the bottom.

At the bottom, it's pretty fast with a light sanding of the raised stops :

 IMGP2308-2.JPG IMGP2305-2.JPG

On the top it is far more complex to correct :

  • a little cut of hair behind the ear :), and extend the two slits of about 2 mm

 IMGP2307-2.JPG

  • reduction of about 1.5 mm (I have not measured before exactly) the height of the midpiece

 IMGP2315-2.JPG

  • cut a notch below the top of the head of 4.6cm by 3mm wide

IMGP2306-2.JPG

All this needs a lots of dry tests, patience and scratching the scalp to find the right part to hack at each step :). In the end, the result is nice.  IMGP2303-2.JPG

Later, I will need to add a little plastic card part to complete the missing shield between the two.

The removal of armor plates on the sides of the head is basic : cutting, sanding, and so on. It's not exciting, it's long, and at the end you no longer feel his fingers ! IMGP2296.JPG

dimanche, 3 avril 2011

First look

Battlestar Galactica (RDS) - Assembling and detailing the Moebius kit

IMGP2313.JPG

A first look before starting :

  • Building it from the box seems to be easy
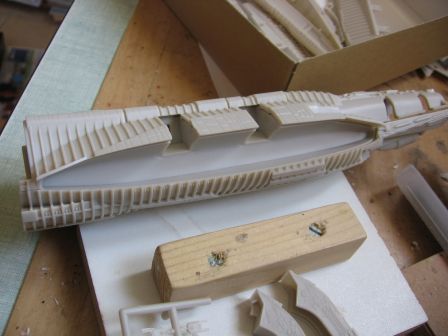
  • The level of detail is confusing. it goes from very fine details (the support arm of the side decks), through an overall correct level (paneling of the armour plates) to areas where it is lacking : the flanks (where retract the side decks during hyperspace jumps) and the apparent space between the ribs of the structure.

IMG_7755-2.JPG IMG_7759-2.jpg

  • The flight deks interior are almost not detailed : one piece for the flight deck and a decal to apply. Too bad, it would have not cost much for Moebius to provide a better one.
  • The turrets seem a bit pasted (I have to check with some screenshots later)
  • Thrusters are made od clear plastic, so it is possible to light this beast with some modifications for the wires.
  • Another point that bothers me : the armor plates are molded into the body and thus do not give the impression of being asked about the amounts. And it's even more obvious on the sides of the head.

IMGP2298.JPG IMGP2300.JPG

  • After a dry test, the head and the main body will not aligned correctly.

After this tour, I will clearly not go for in simple assembly from the box if I wish to get a Galactica that is worth the name.

page 2 de 2 -