Battlestar Galactica - Half studio scale - Main assembly and lighting installation
Par olcabour le dimanche, 9 novembre 2014, 22:08 - Battlestar Galactica 37 - Lien permanent
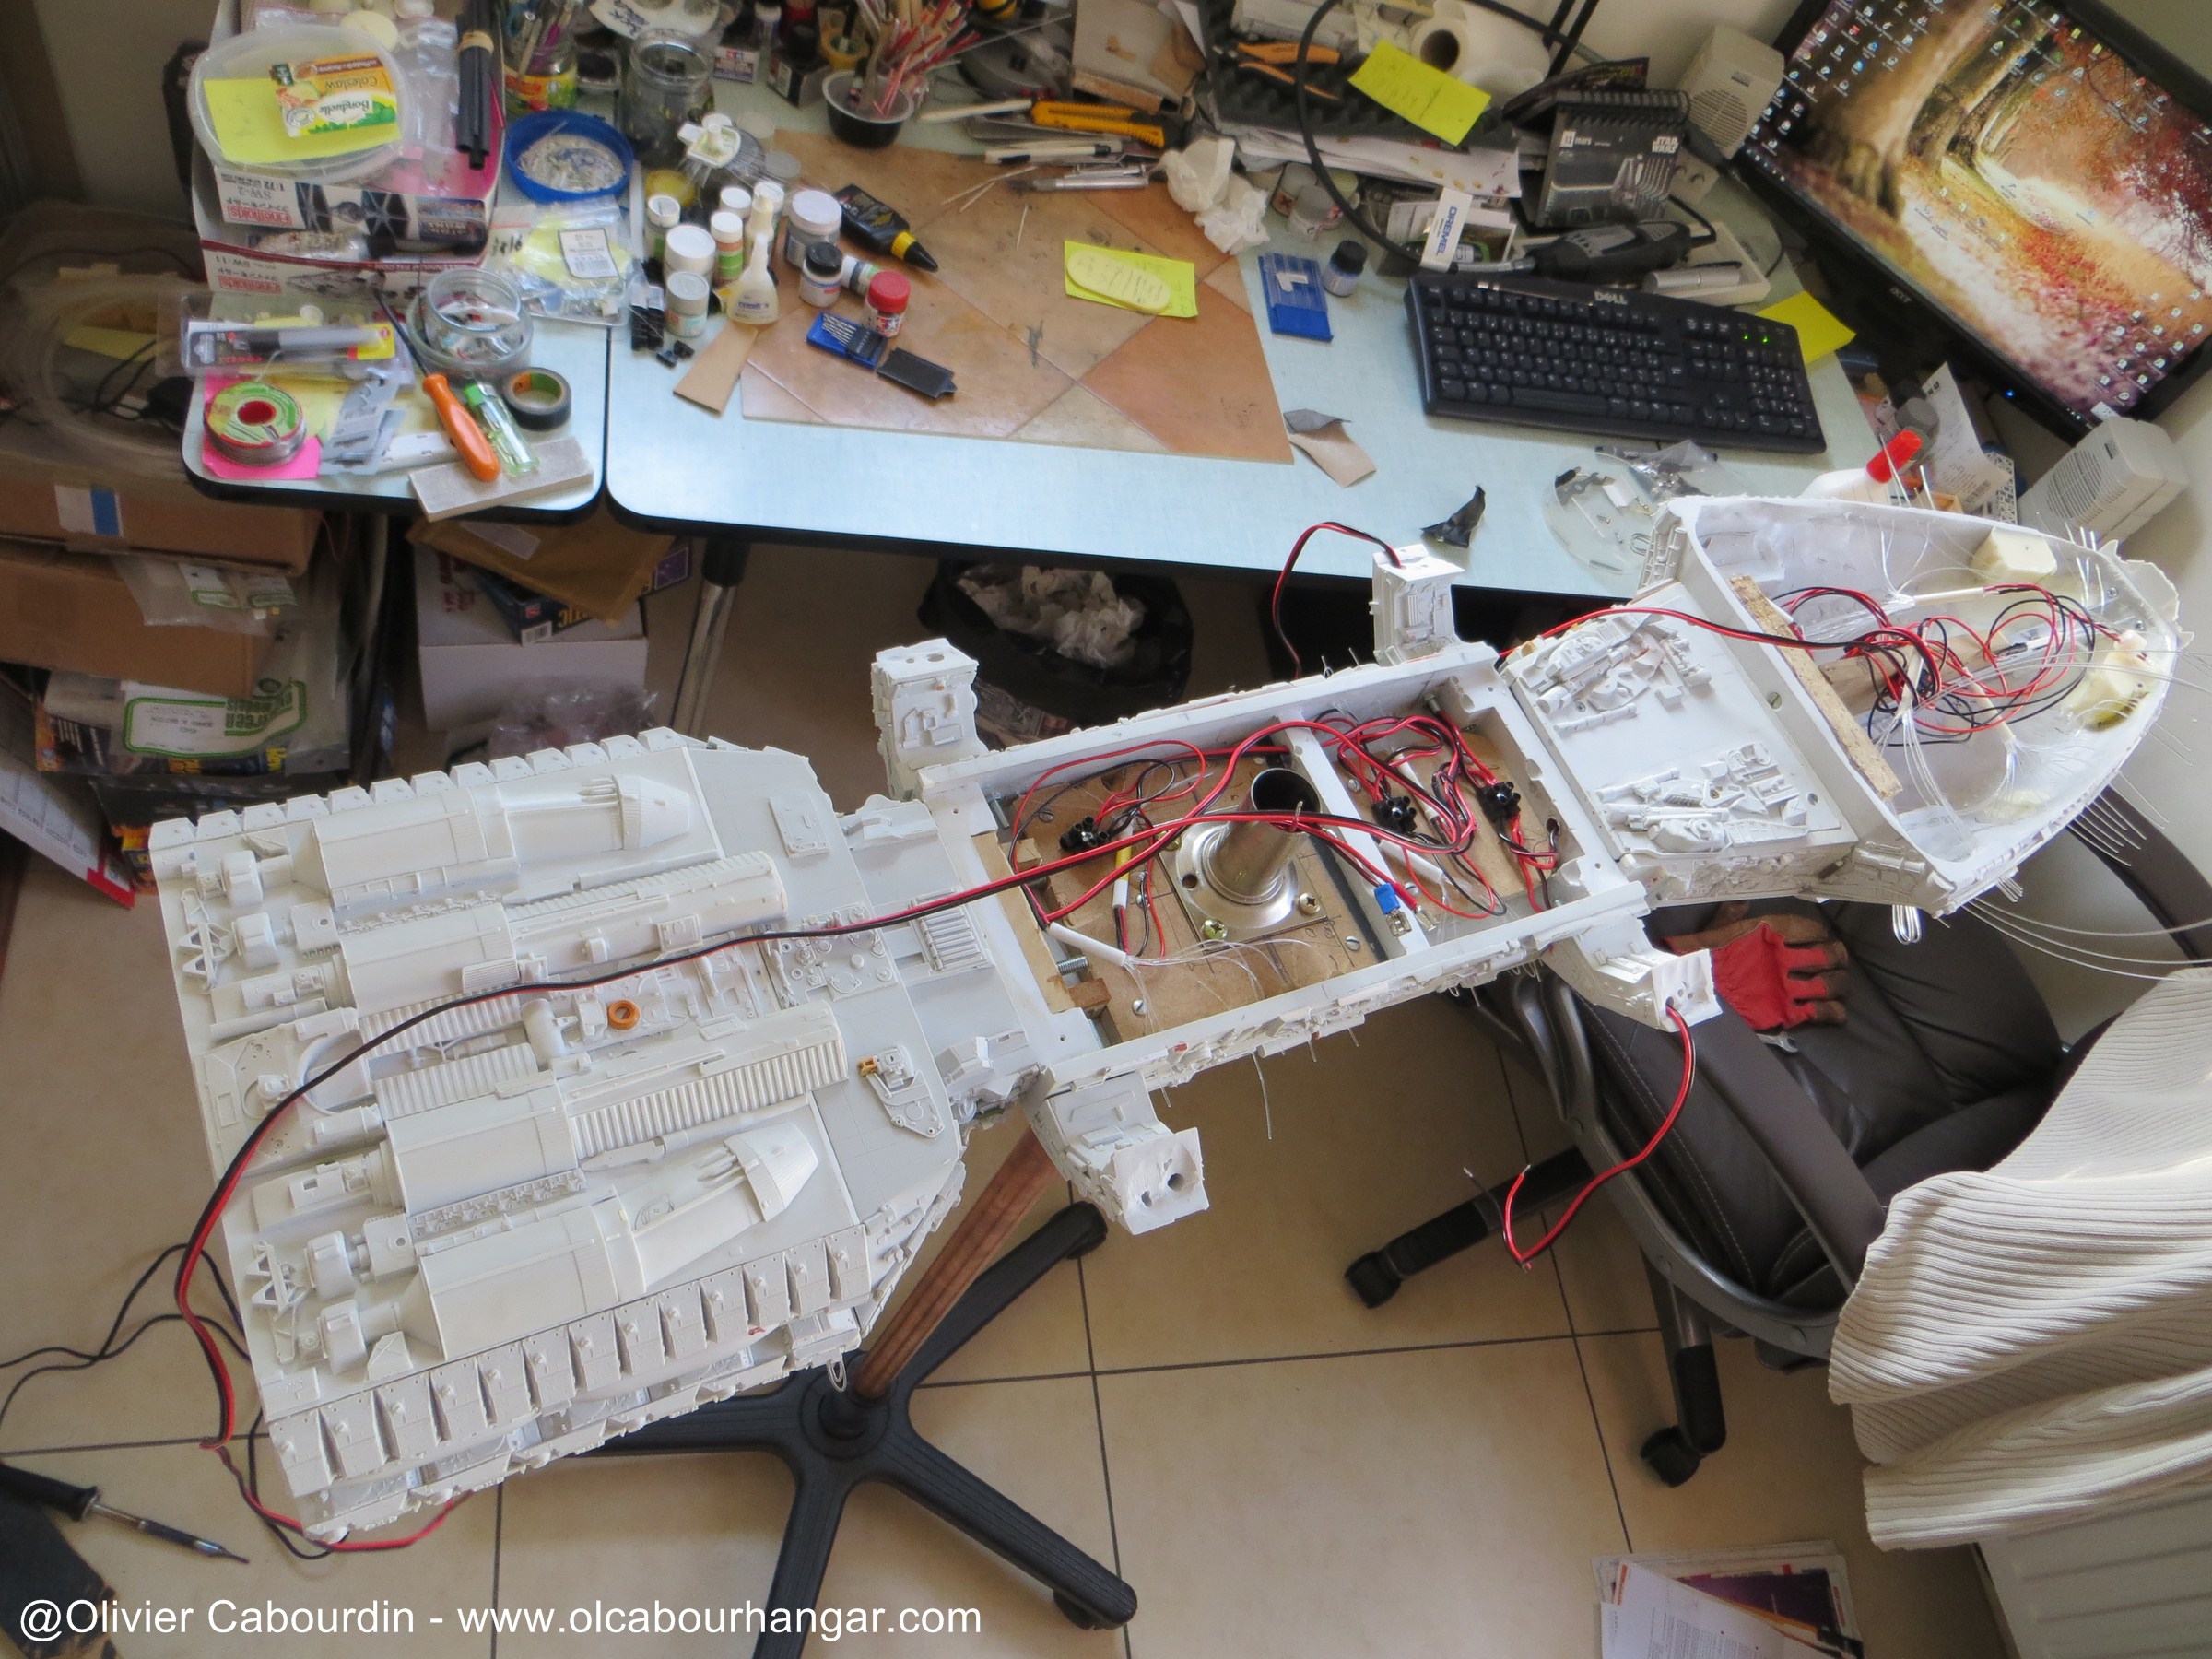
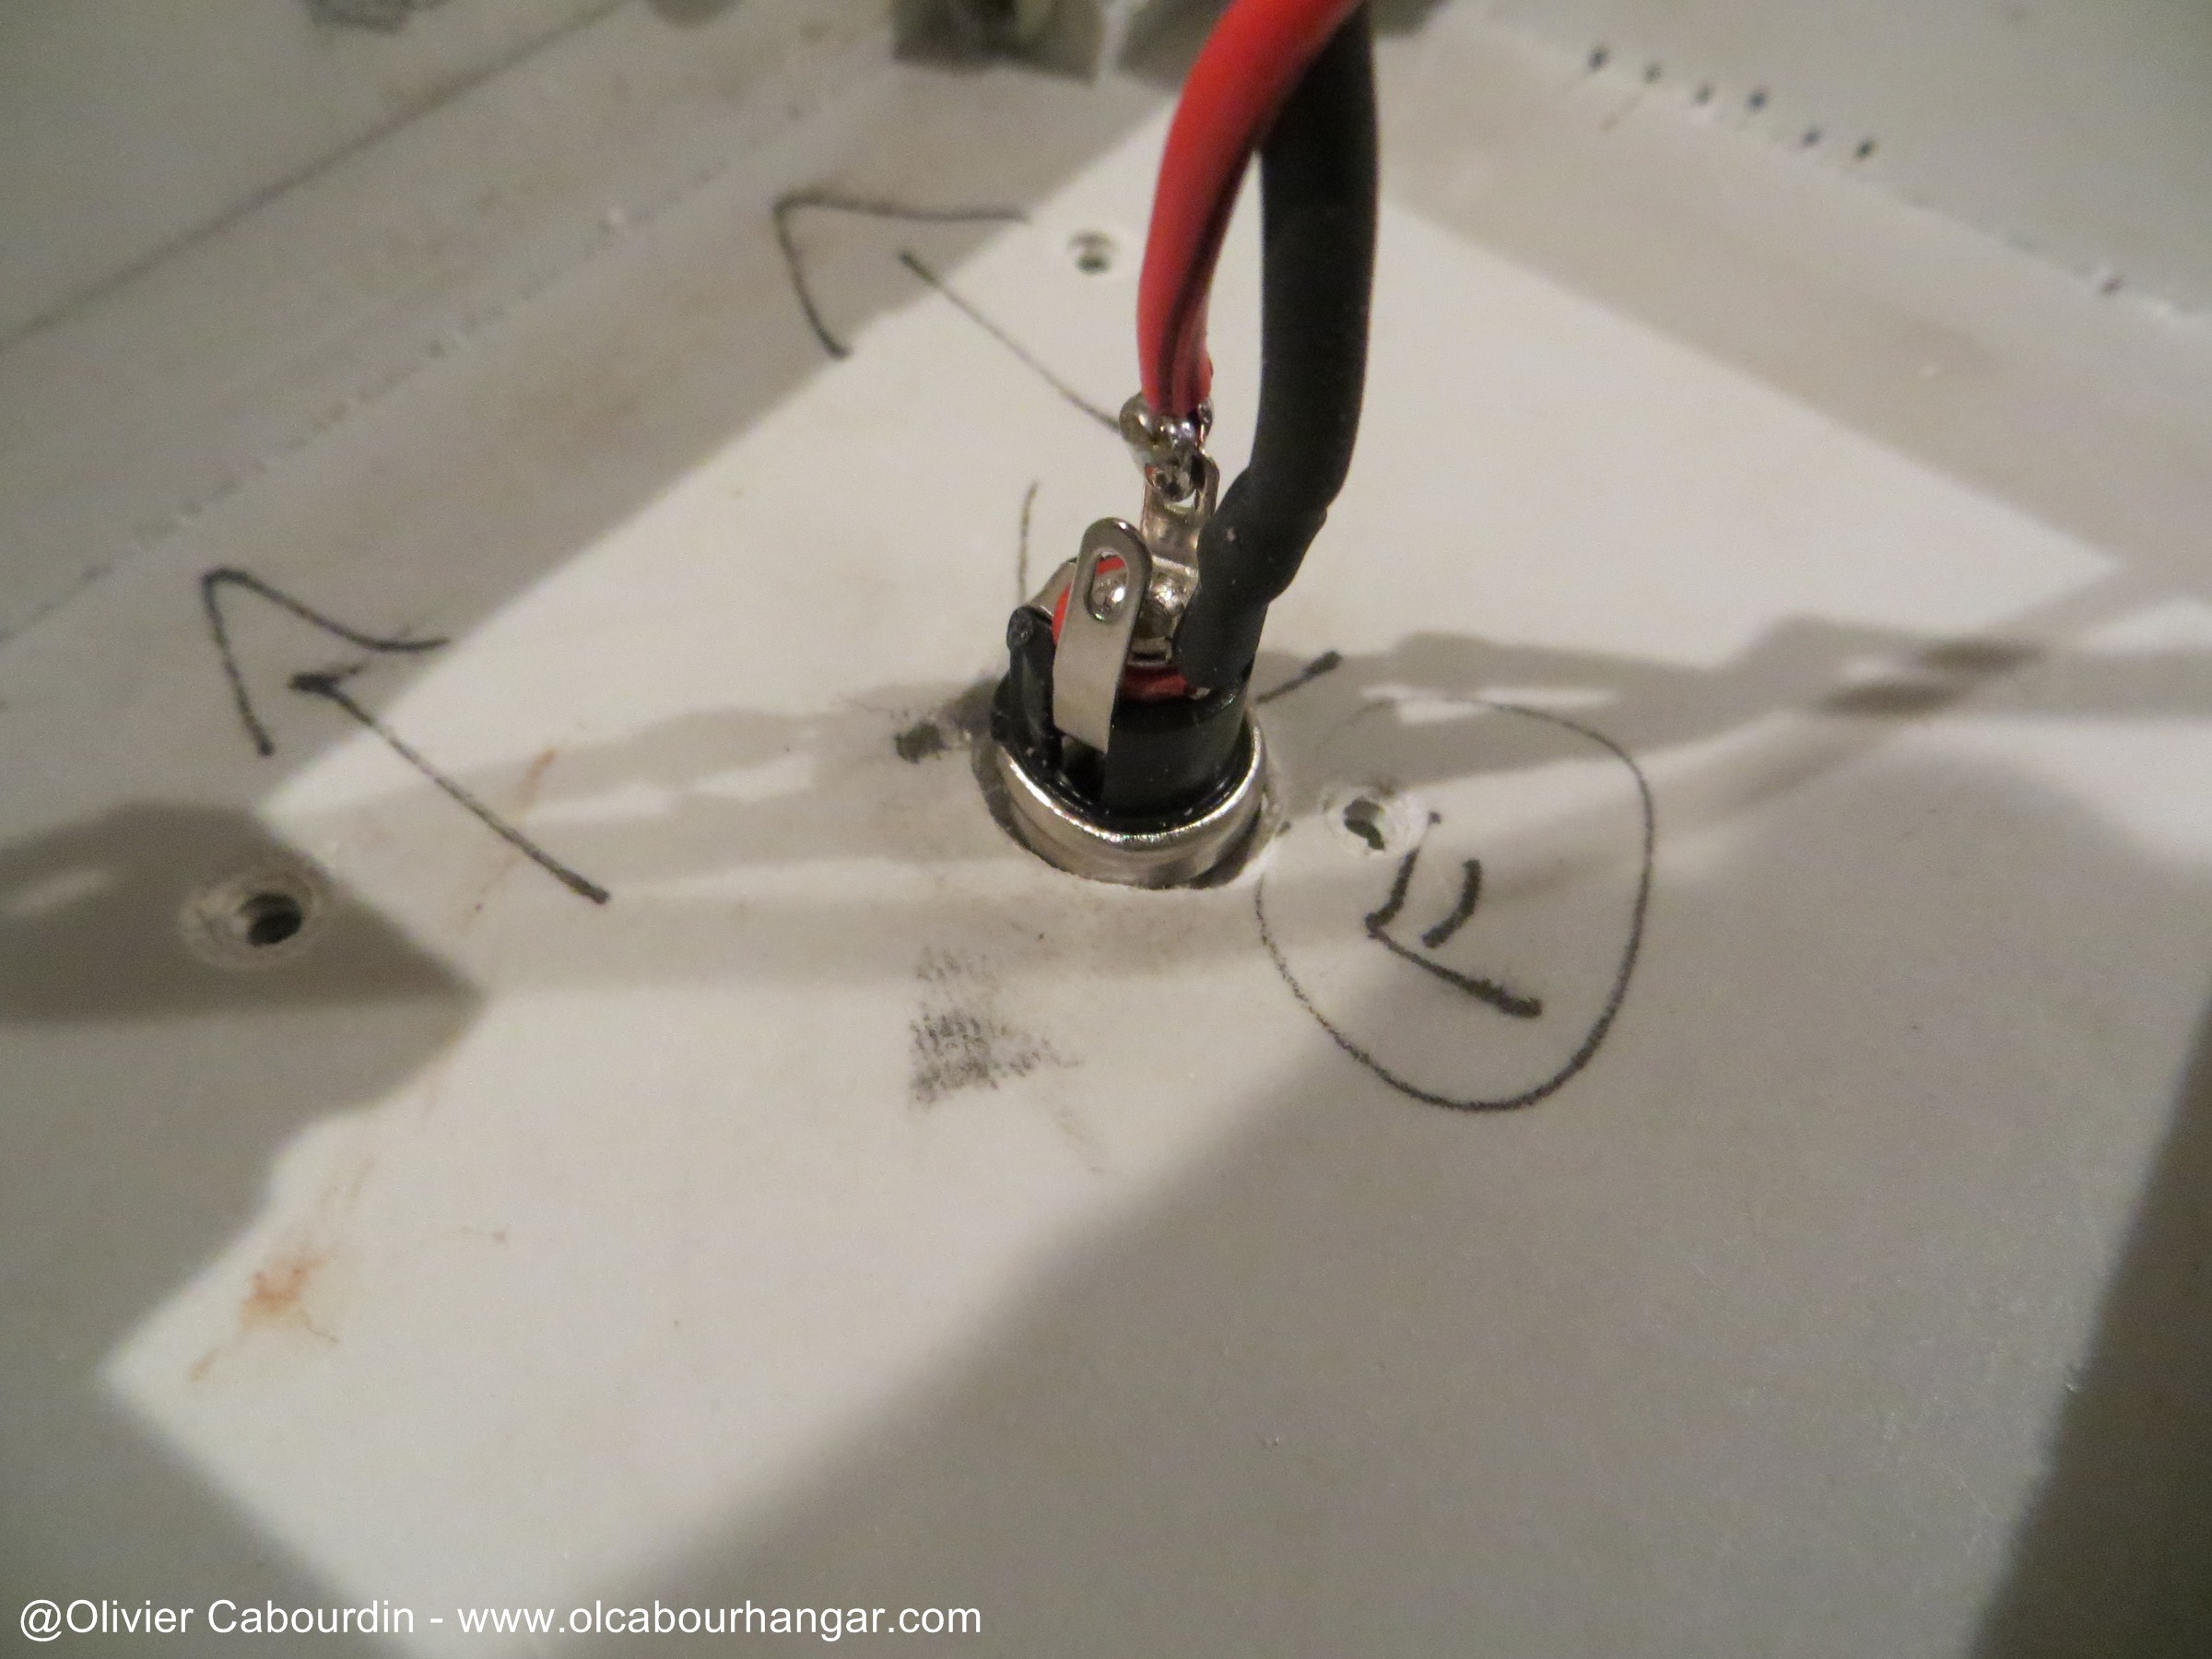
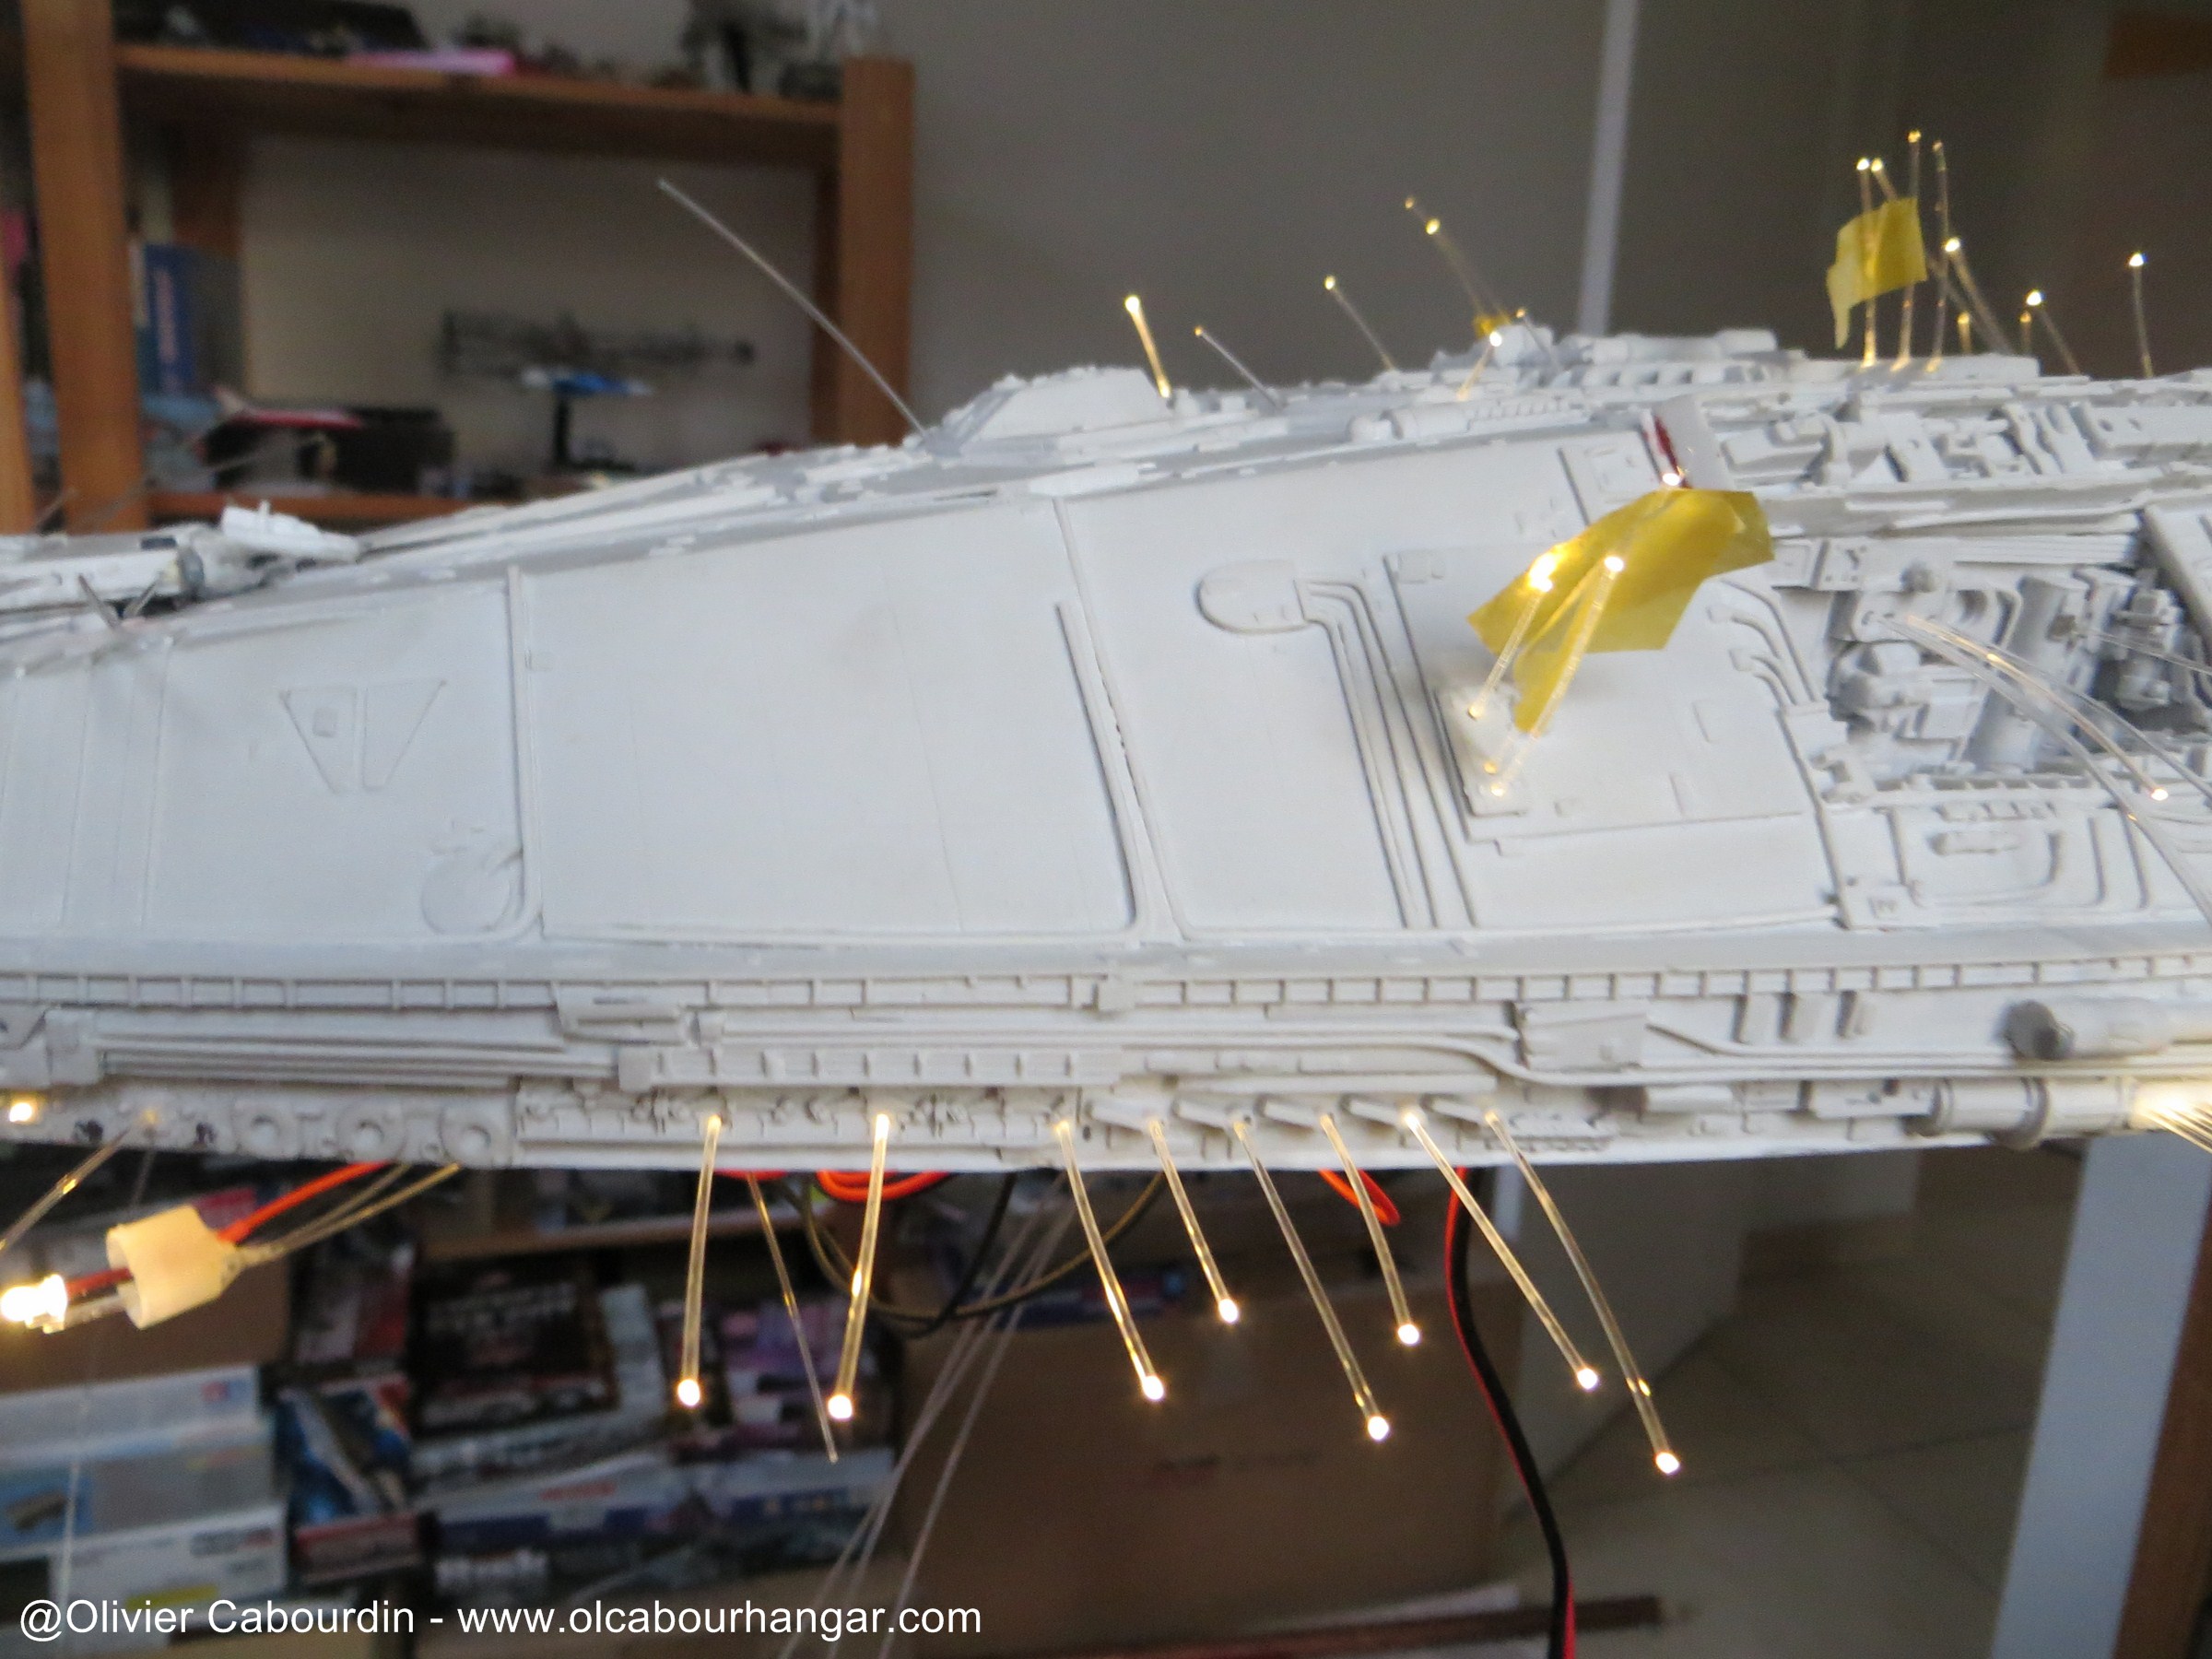
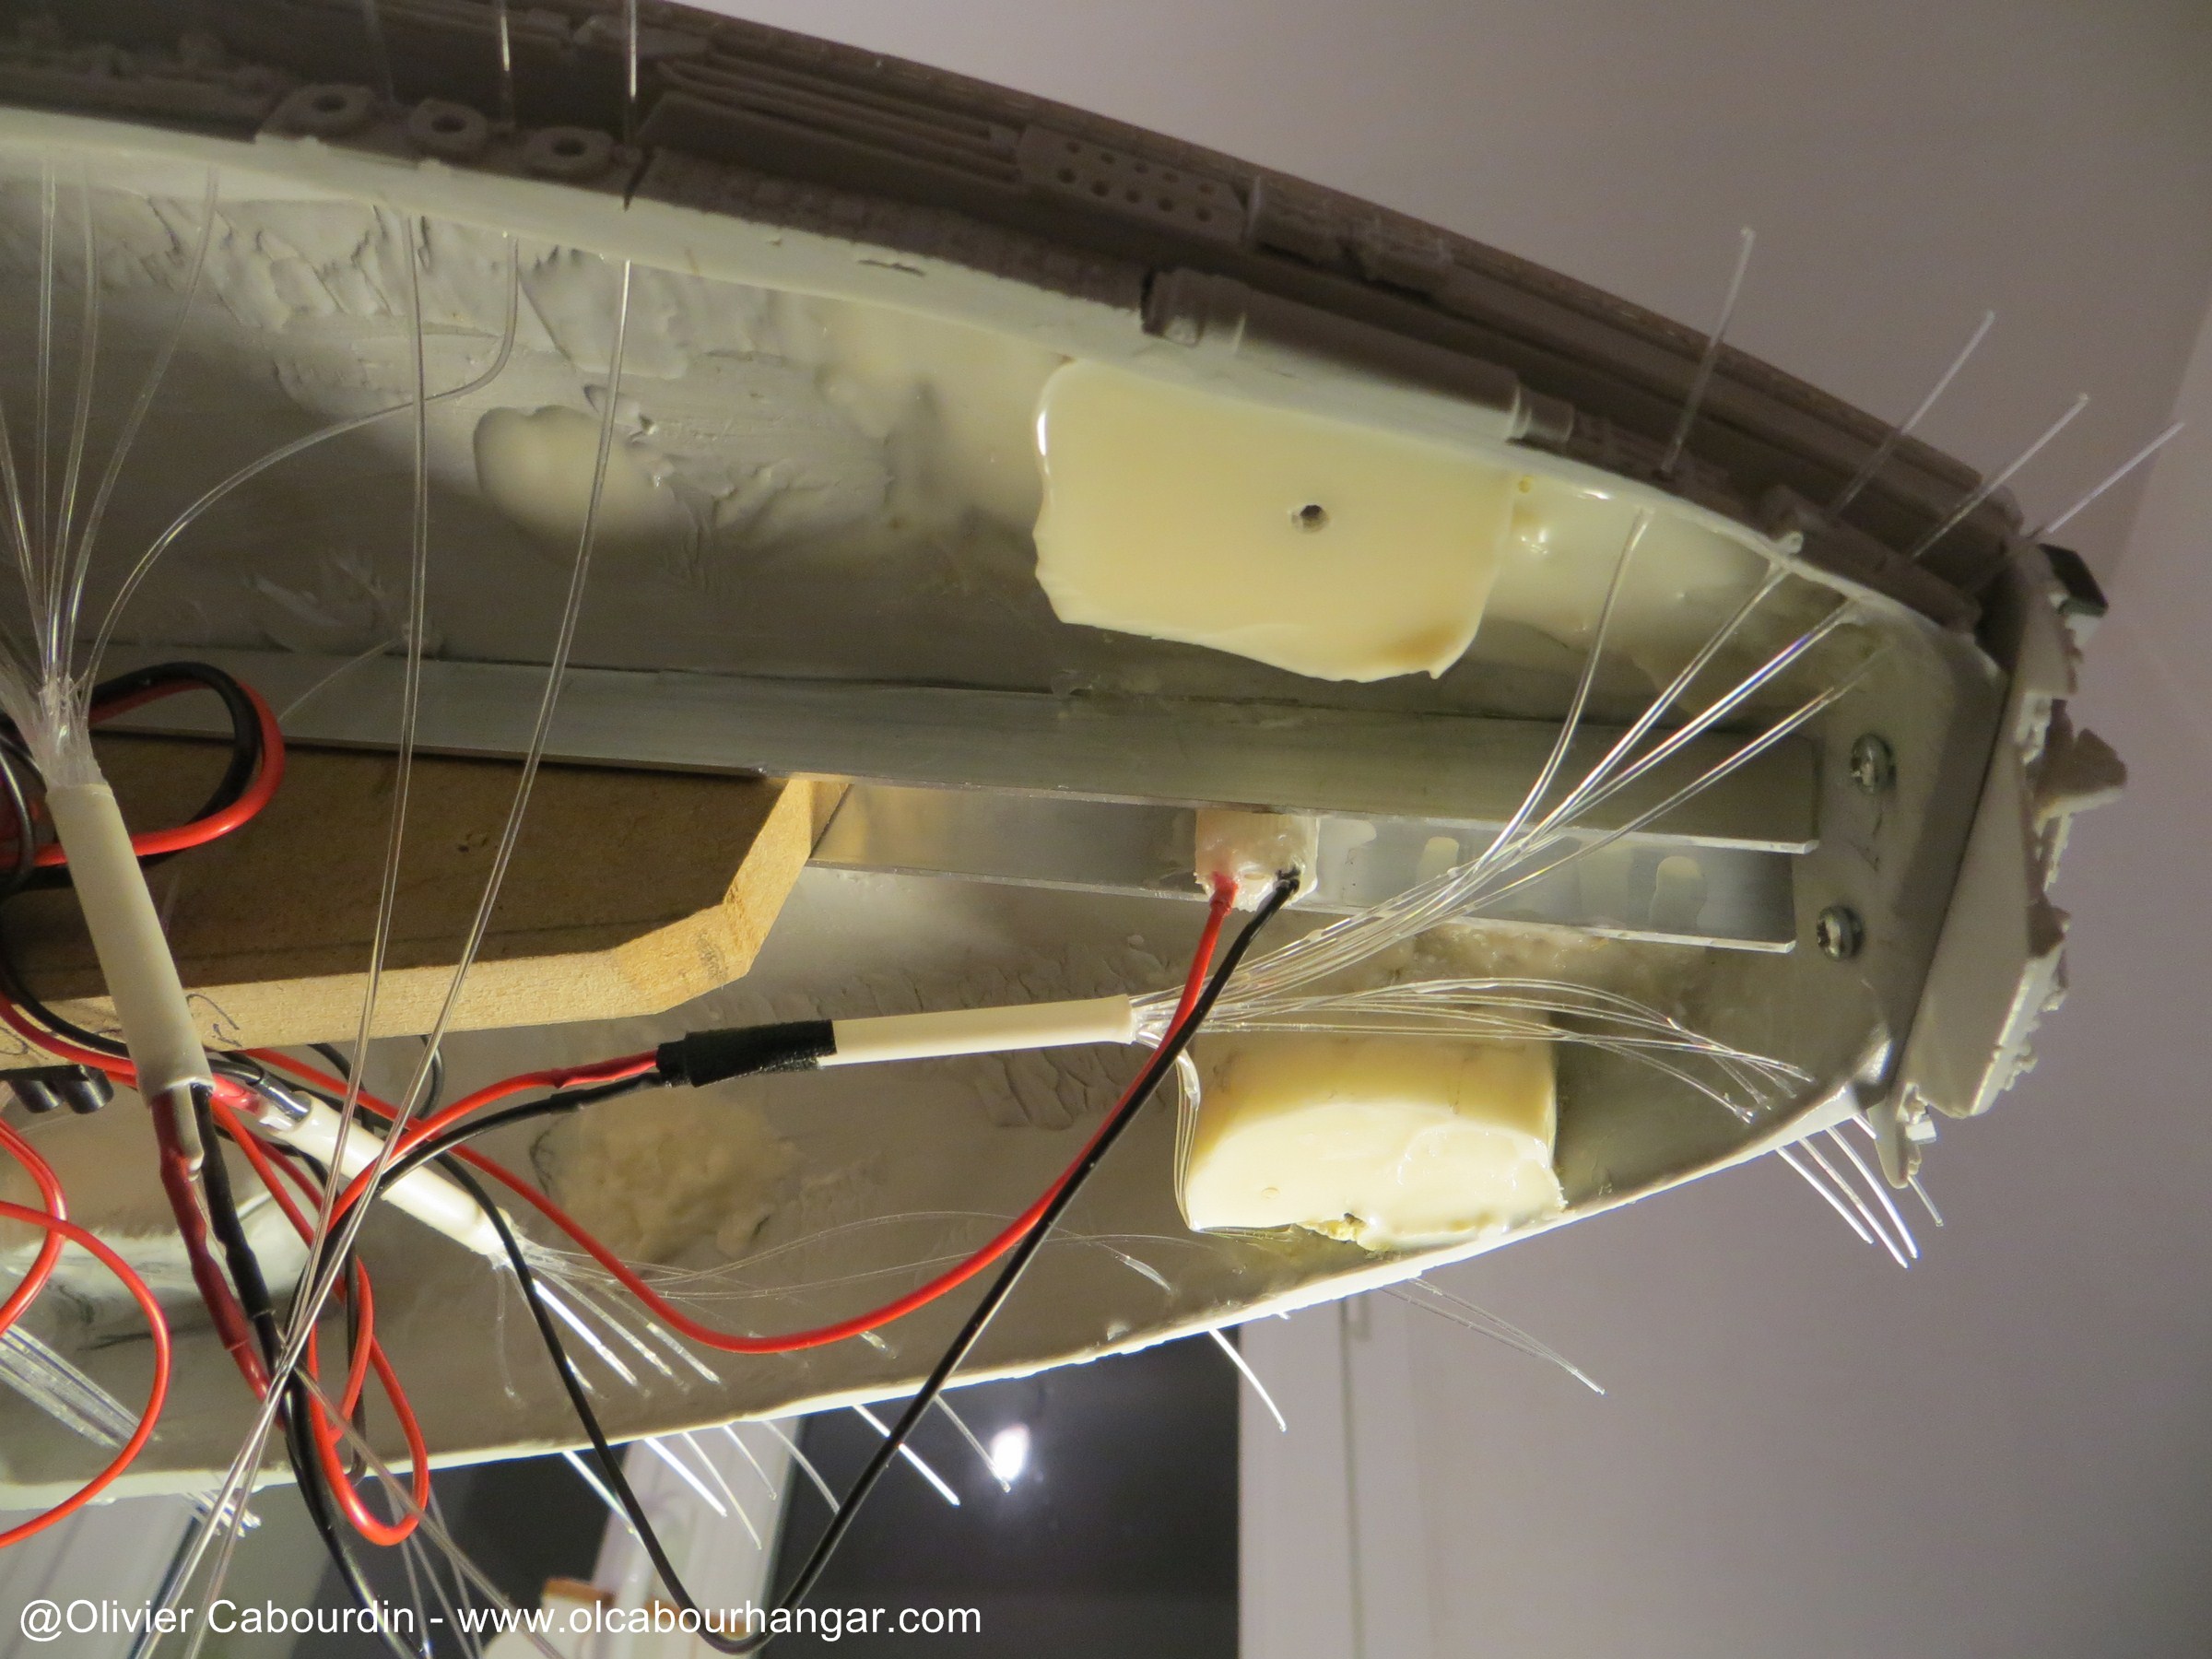
Once the hangars done, I went on the installation of the electrical circuit, which is done along with the main assembly (gluing of the frame and parts of previously prepared large).
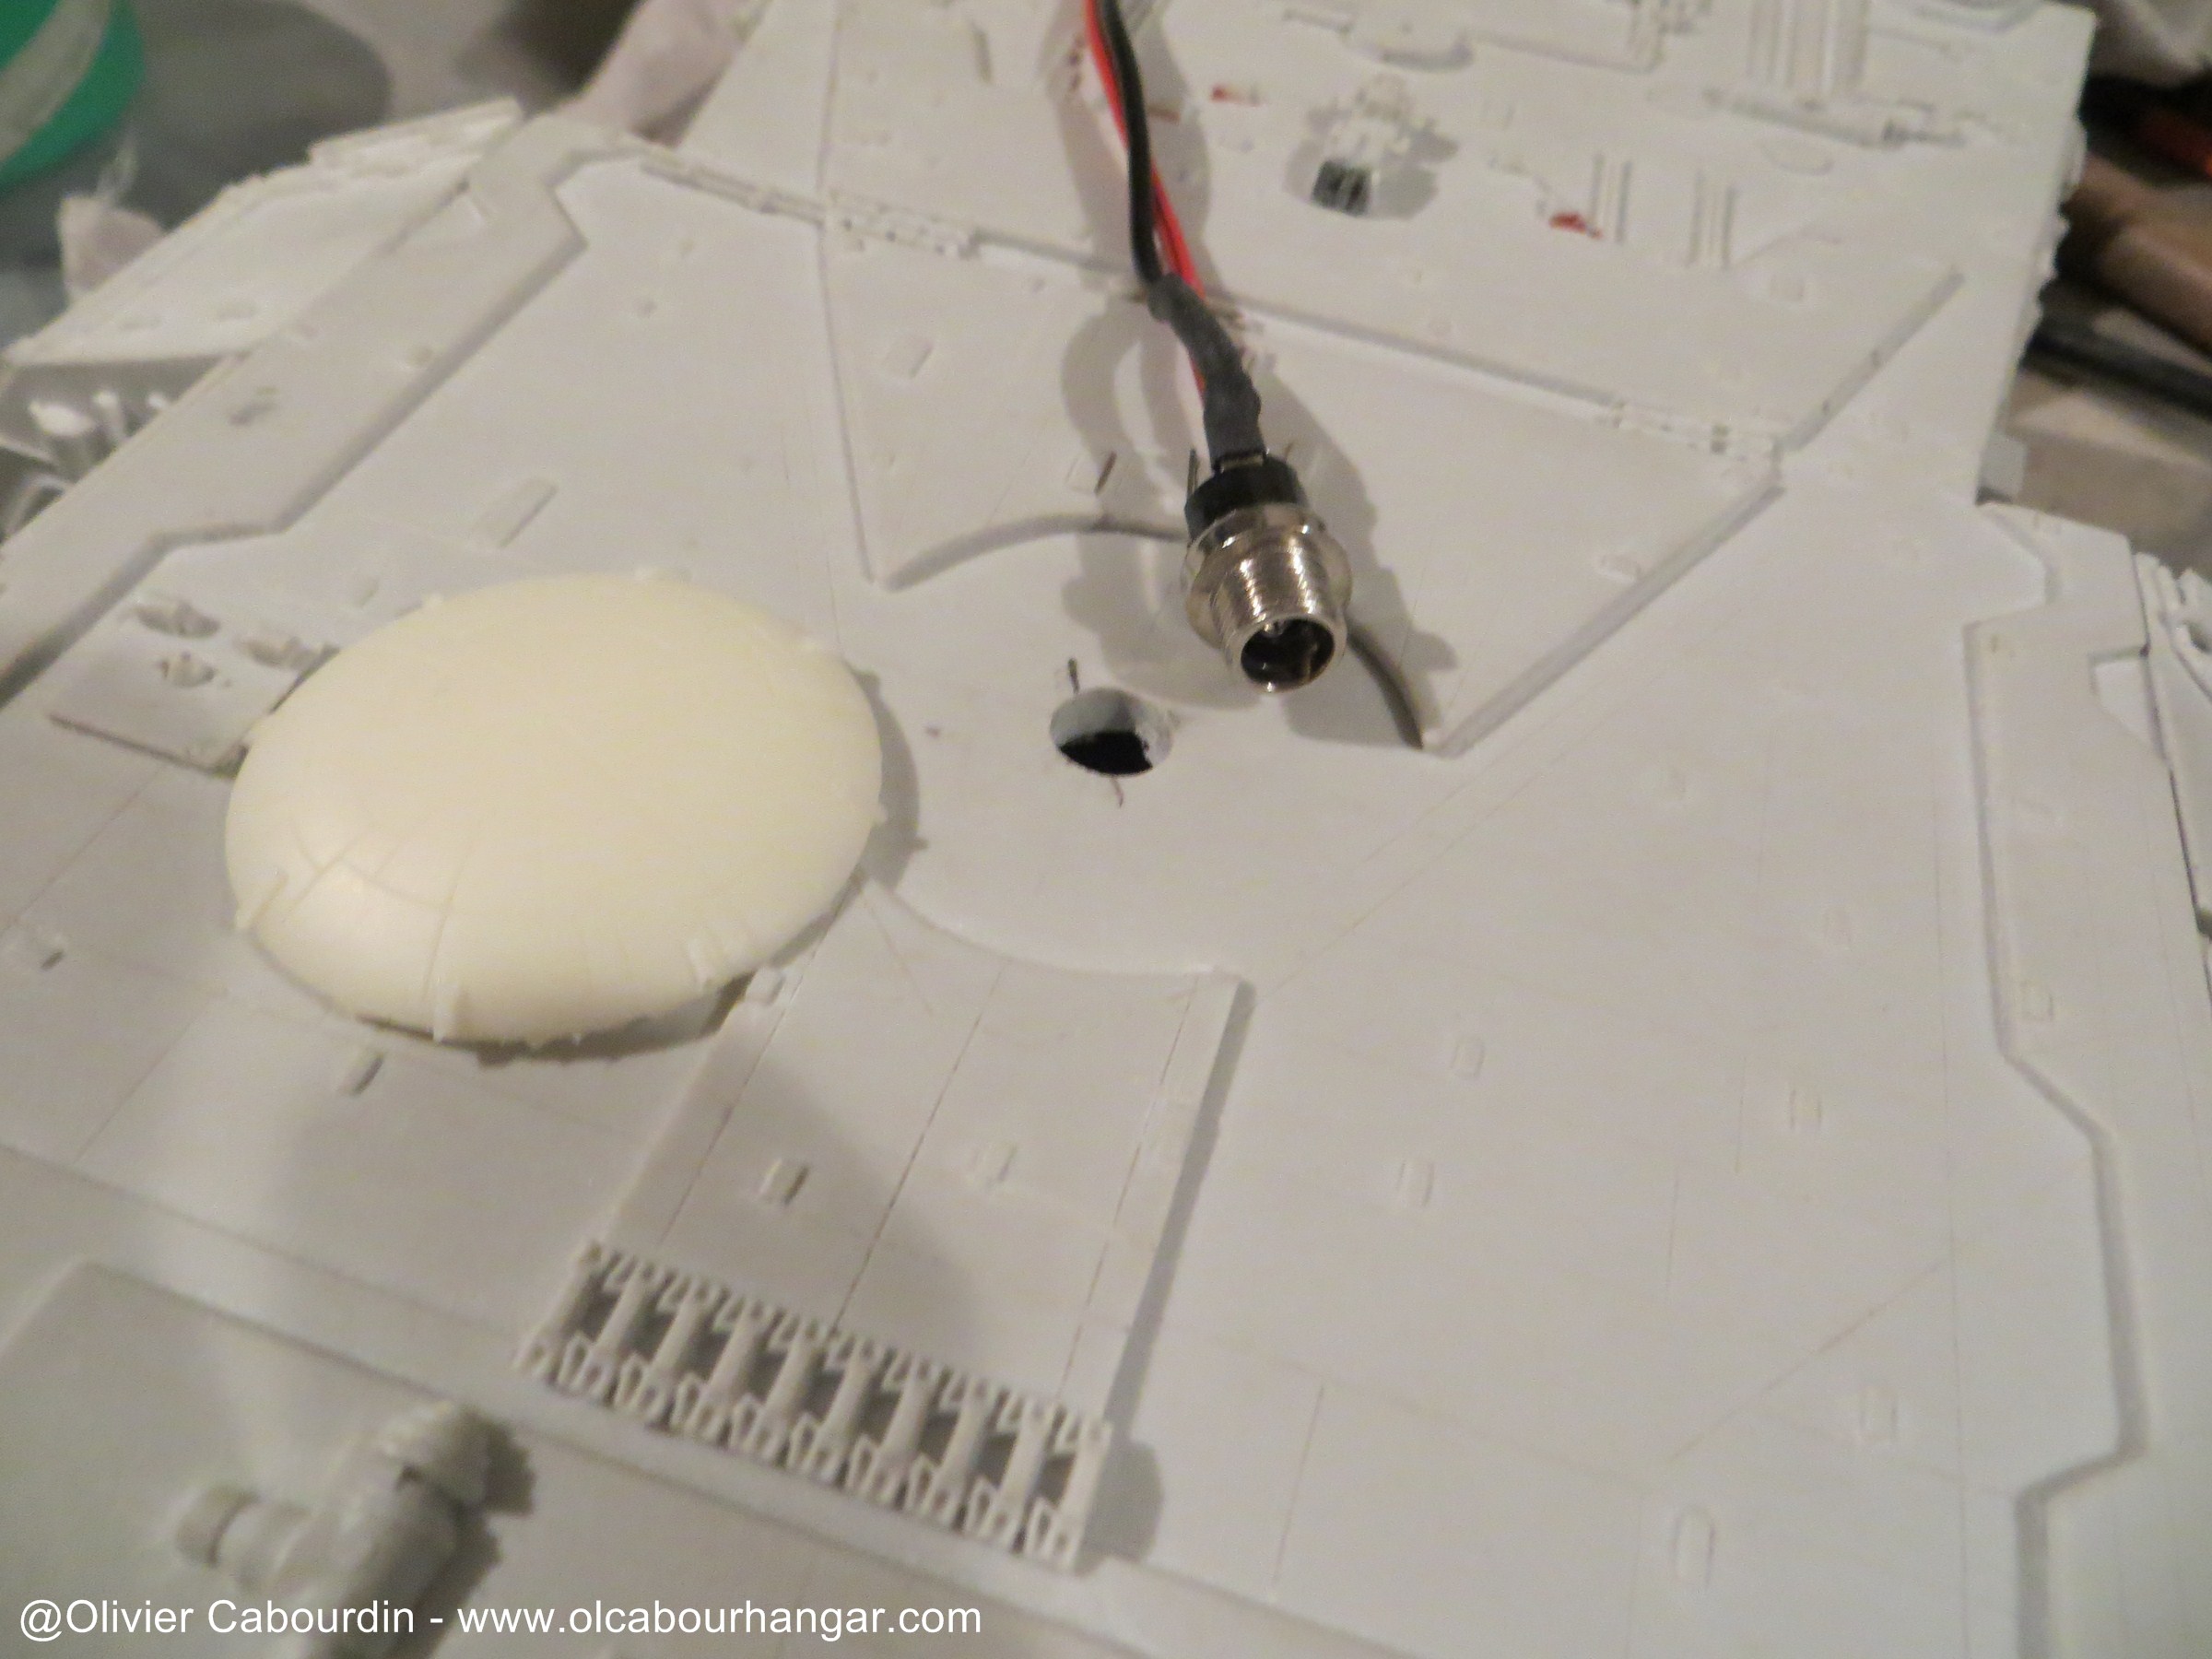
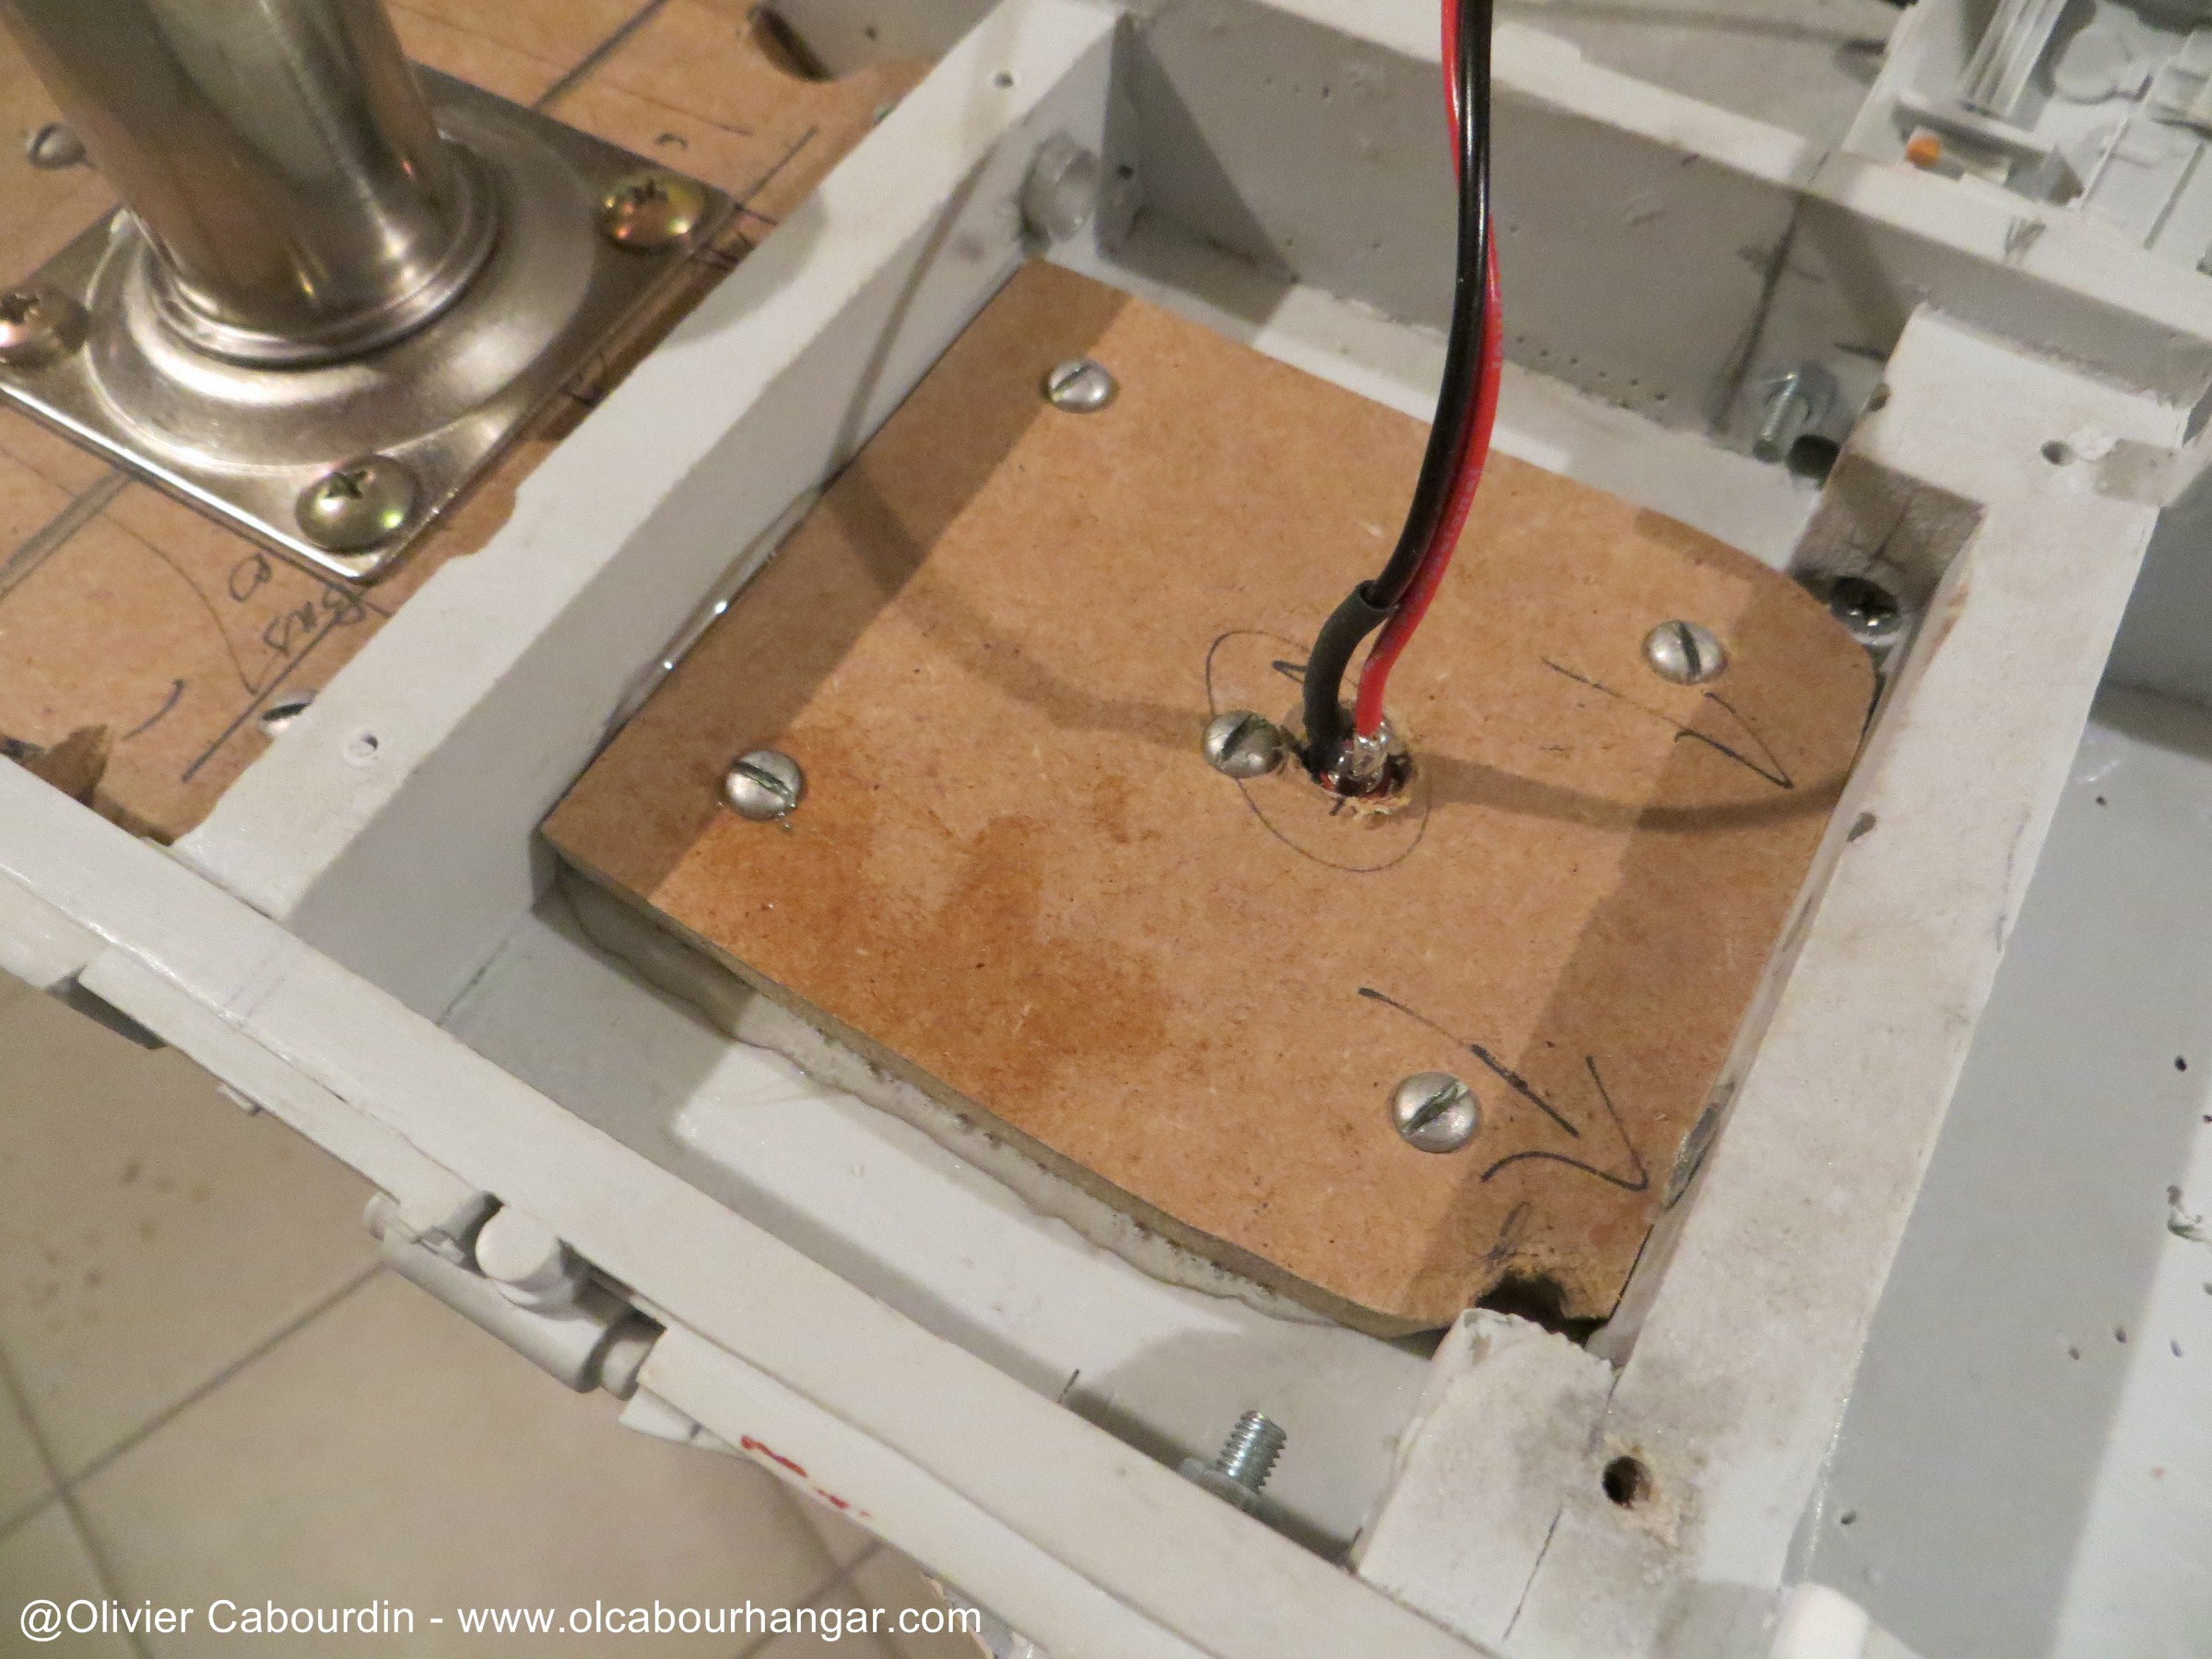
- Connectors above the center of the second dome (the first hiding the support)
It is sandwiched between the resin and the reinforcement medium plate.
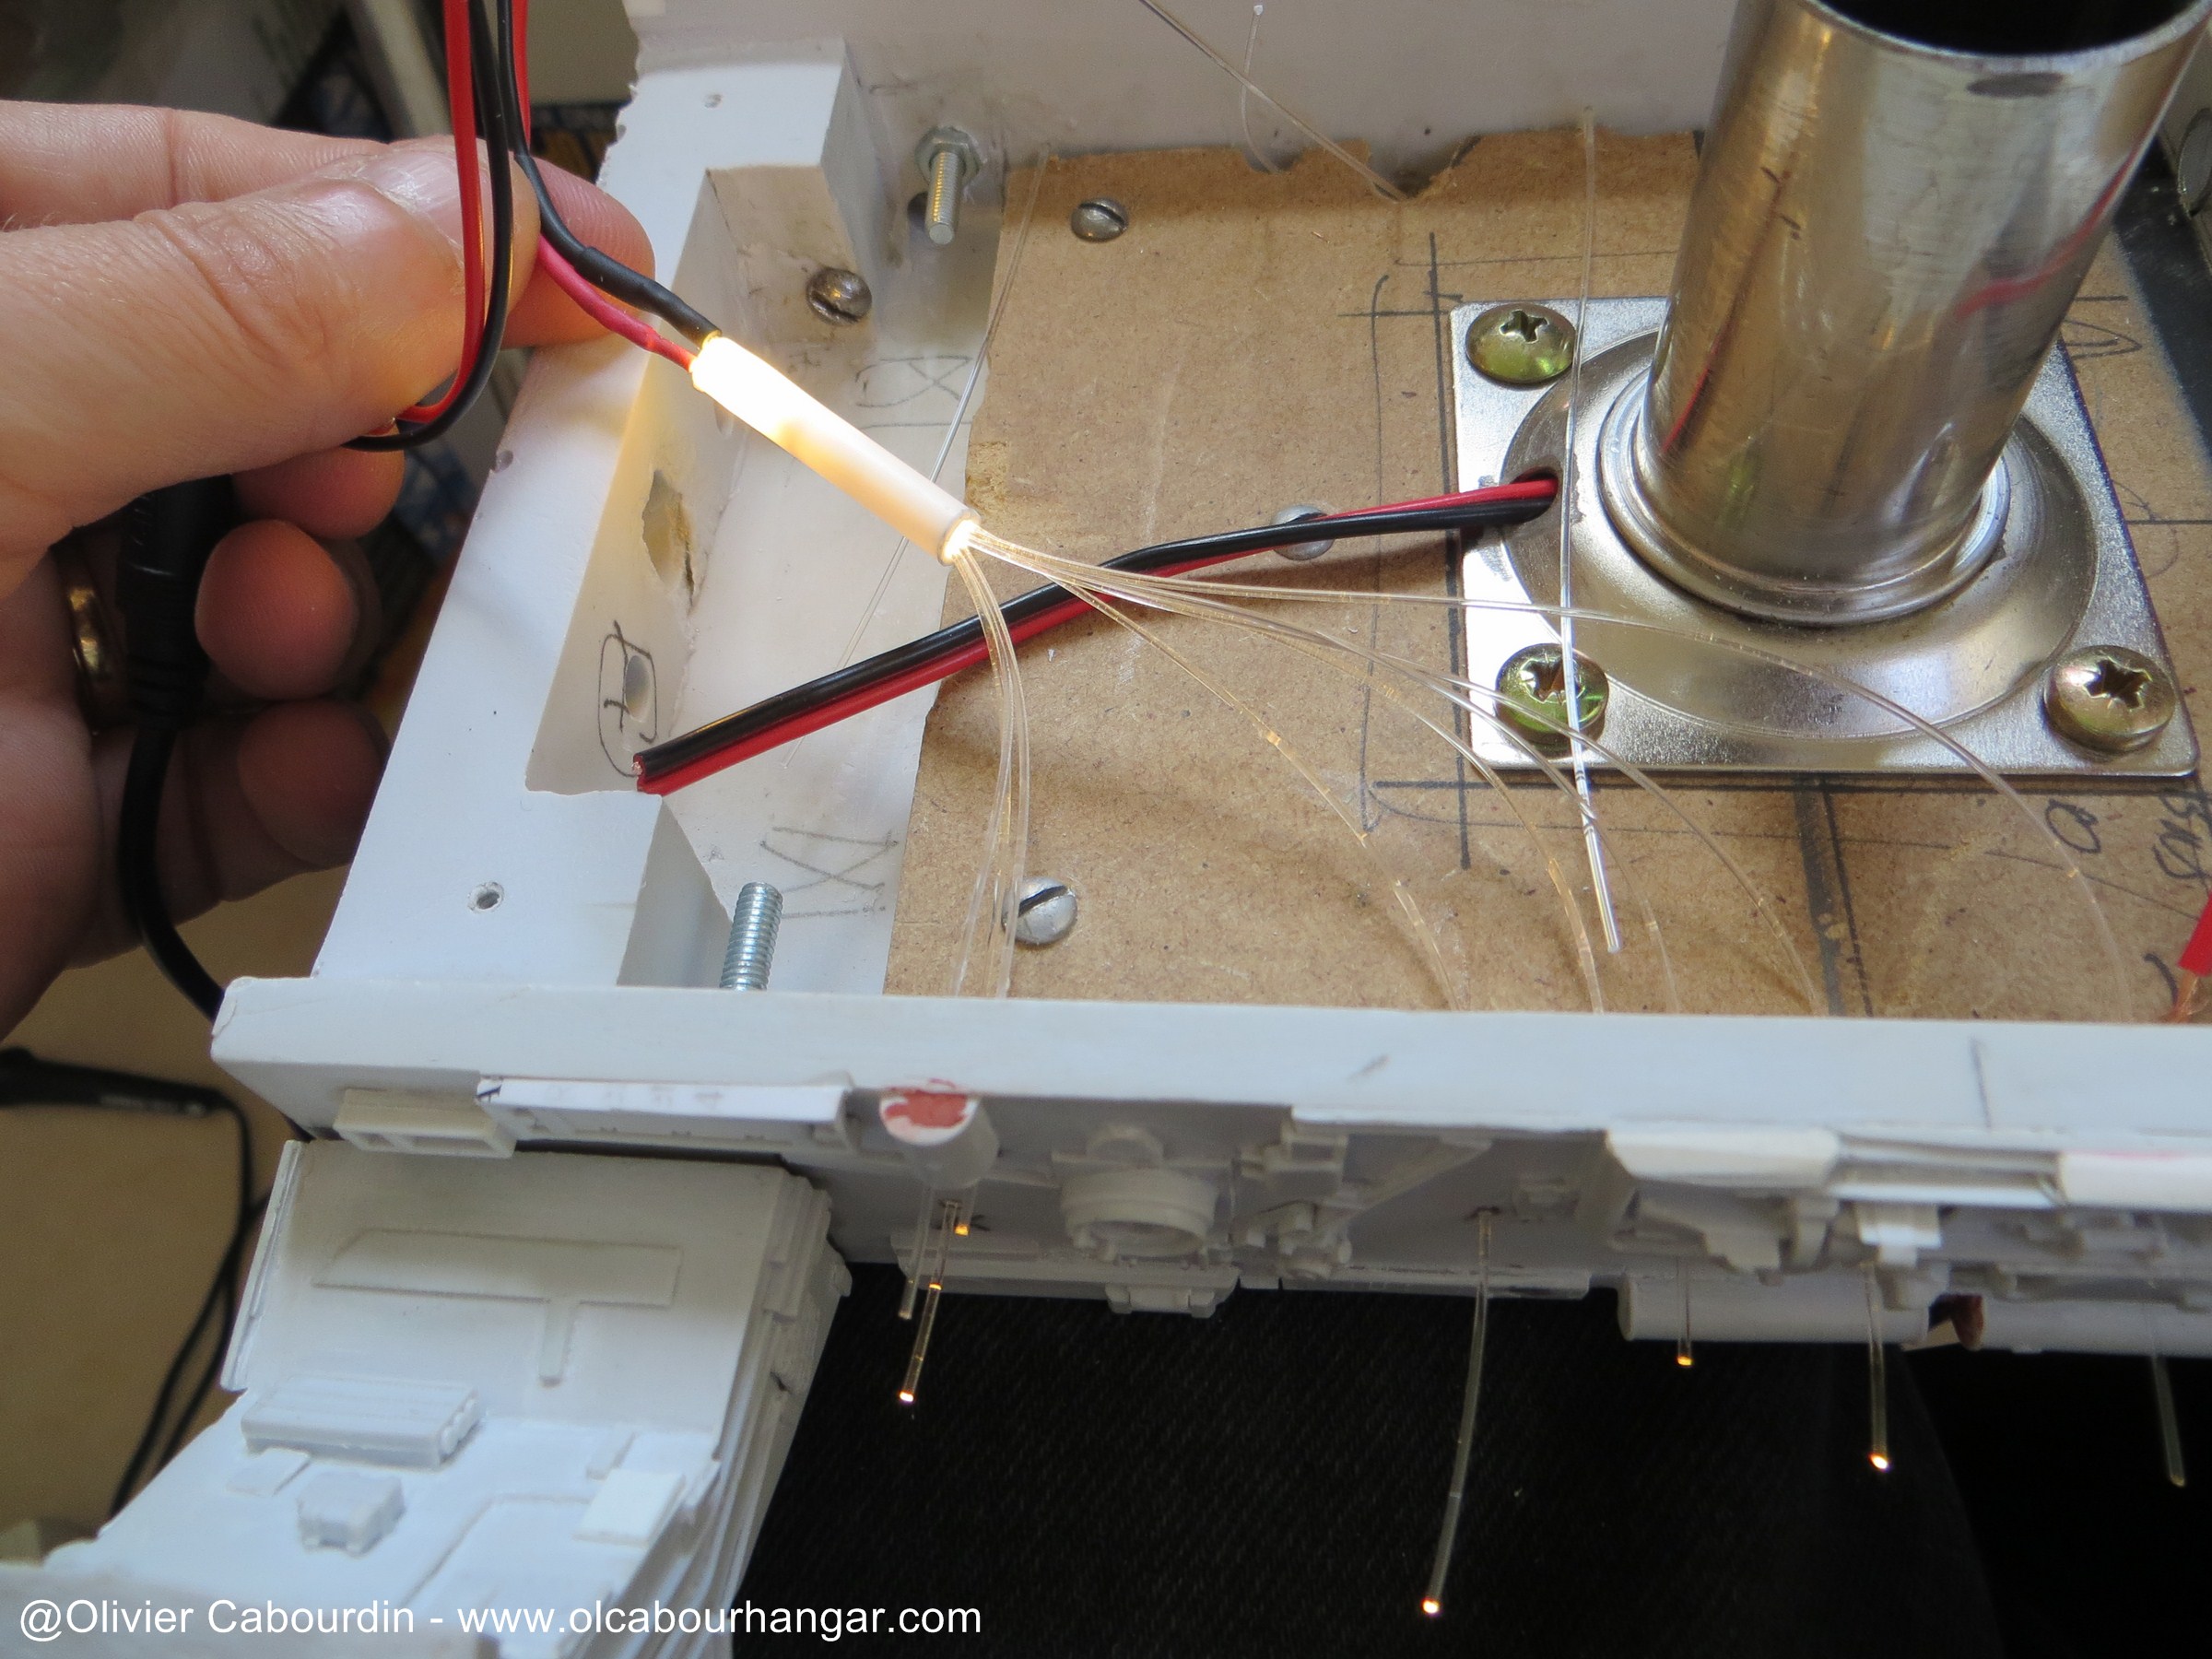
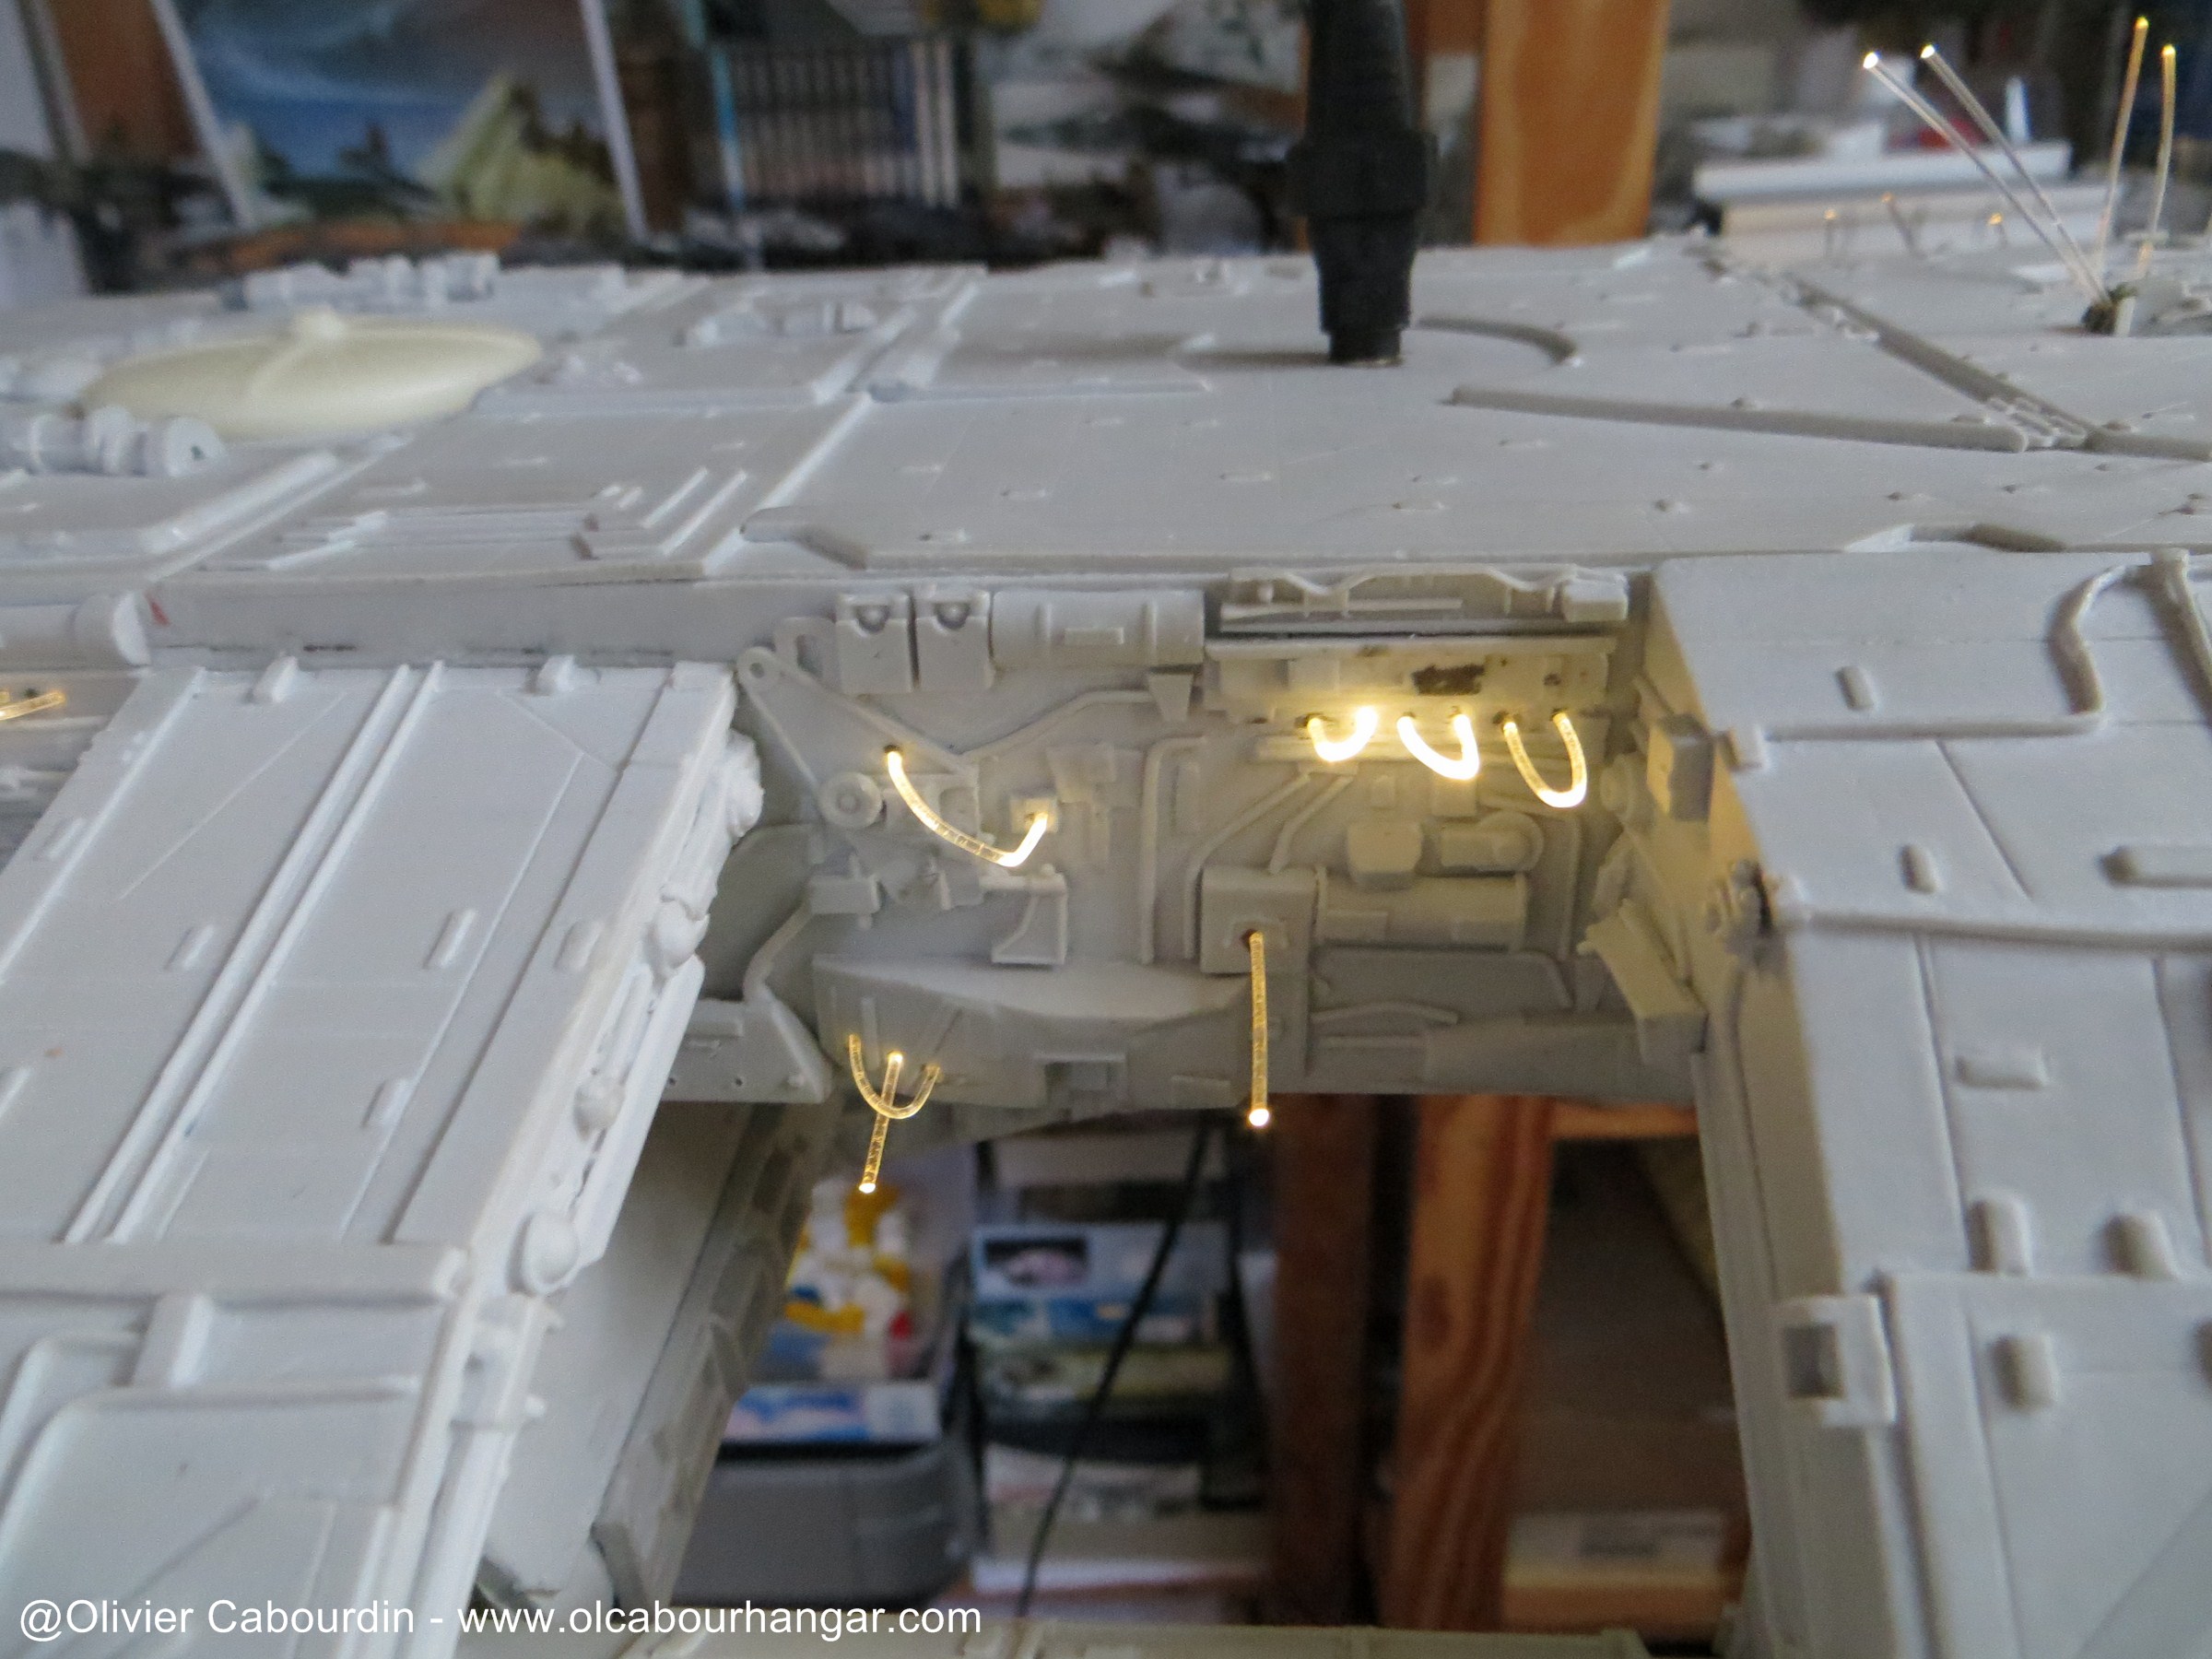
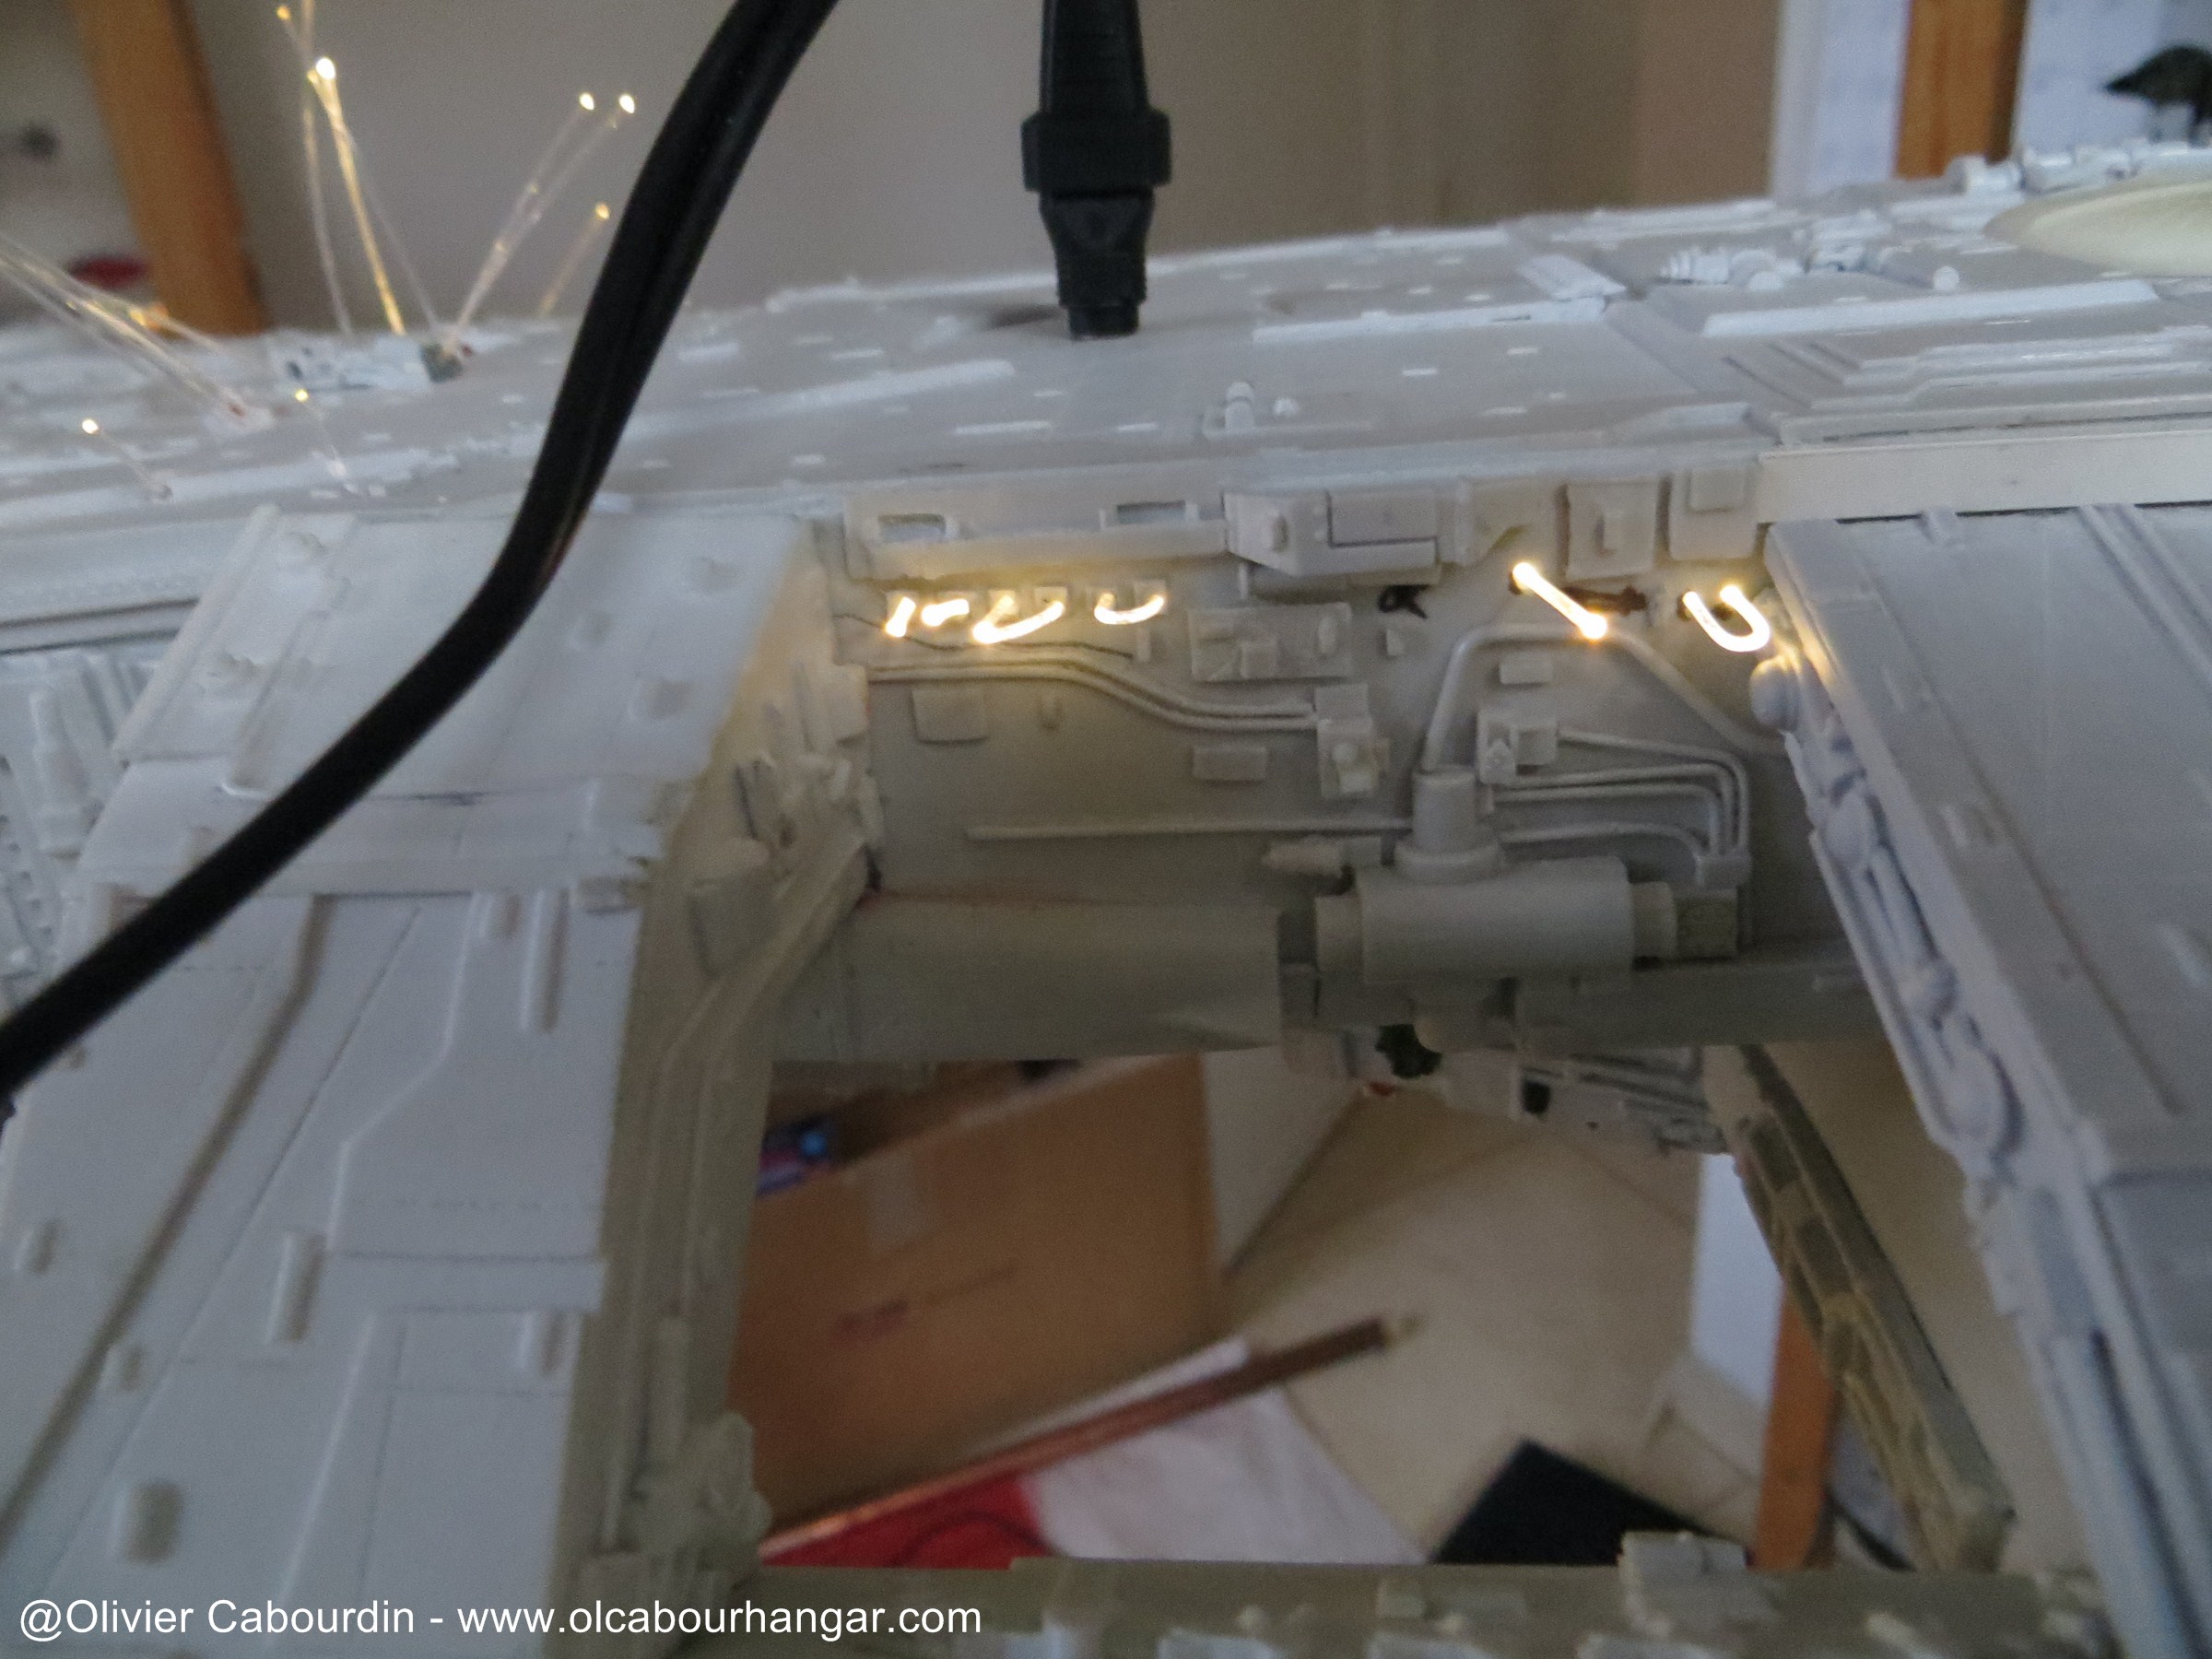
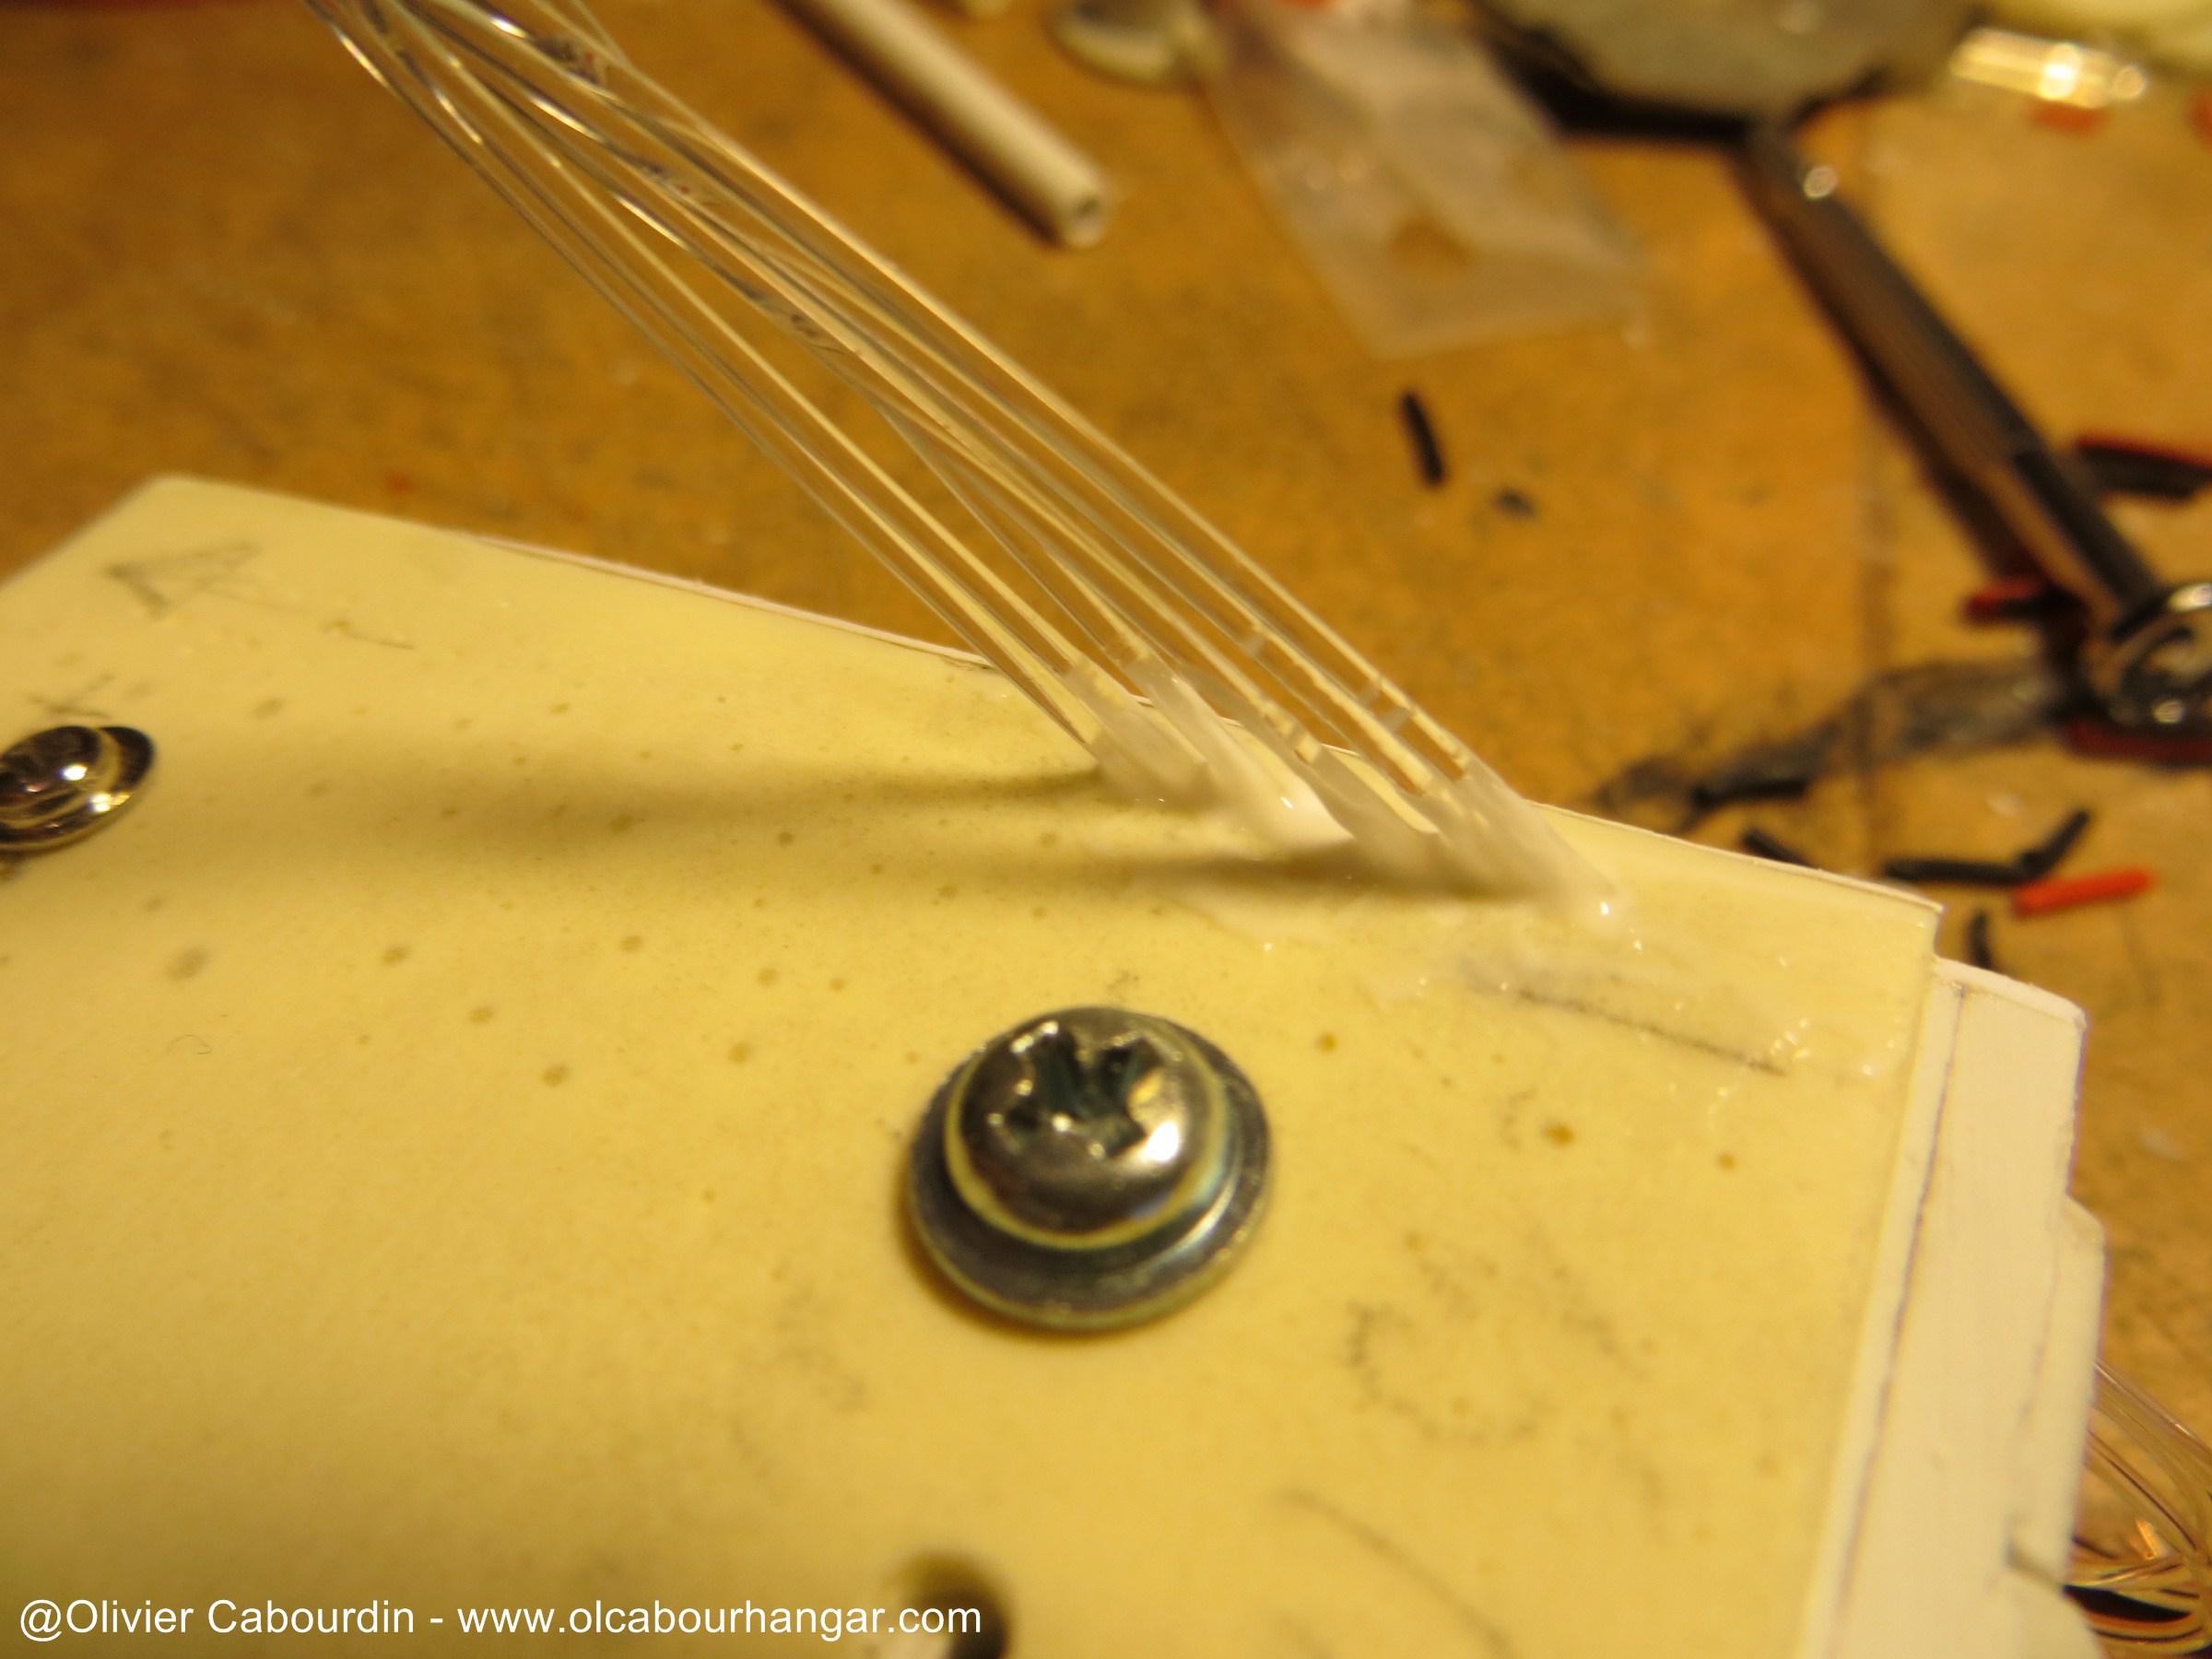
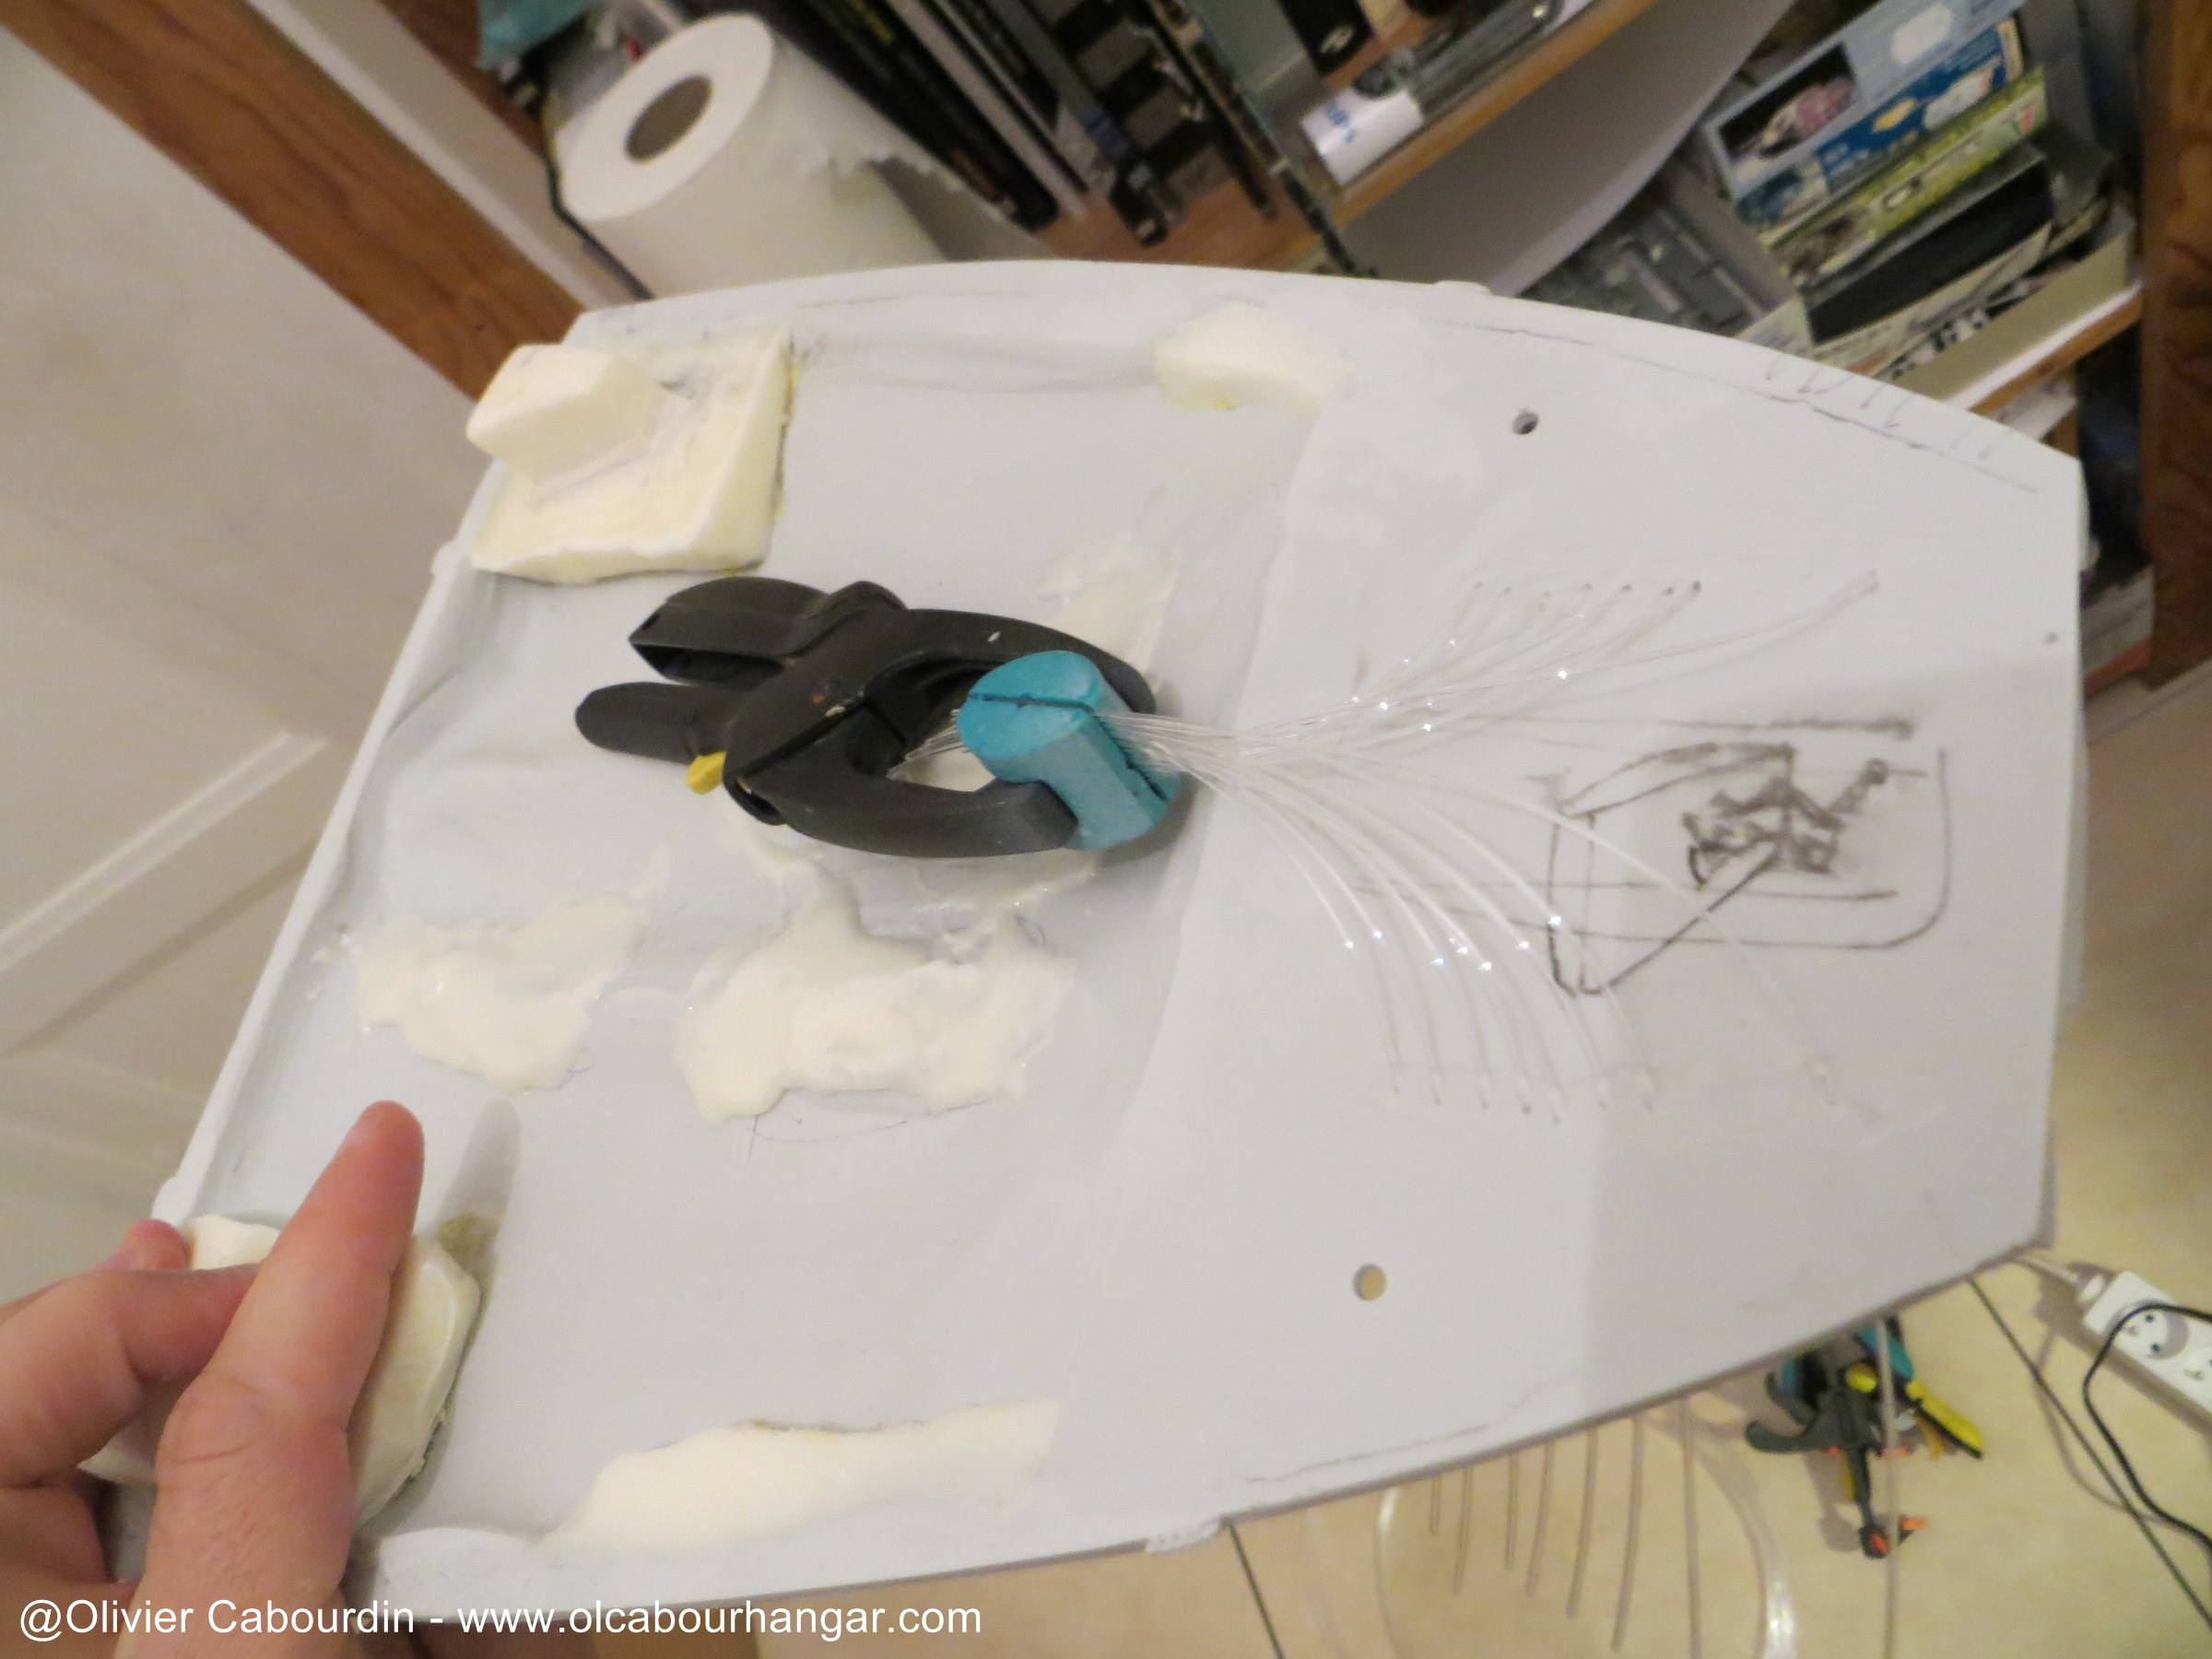
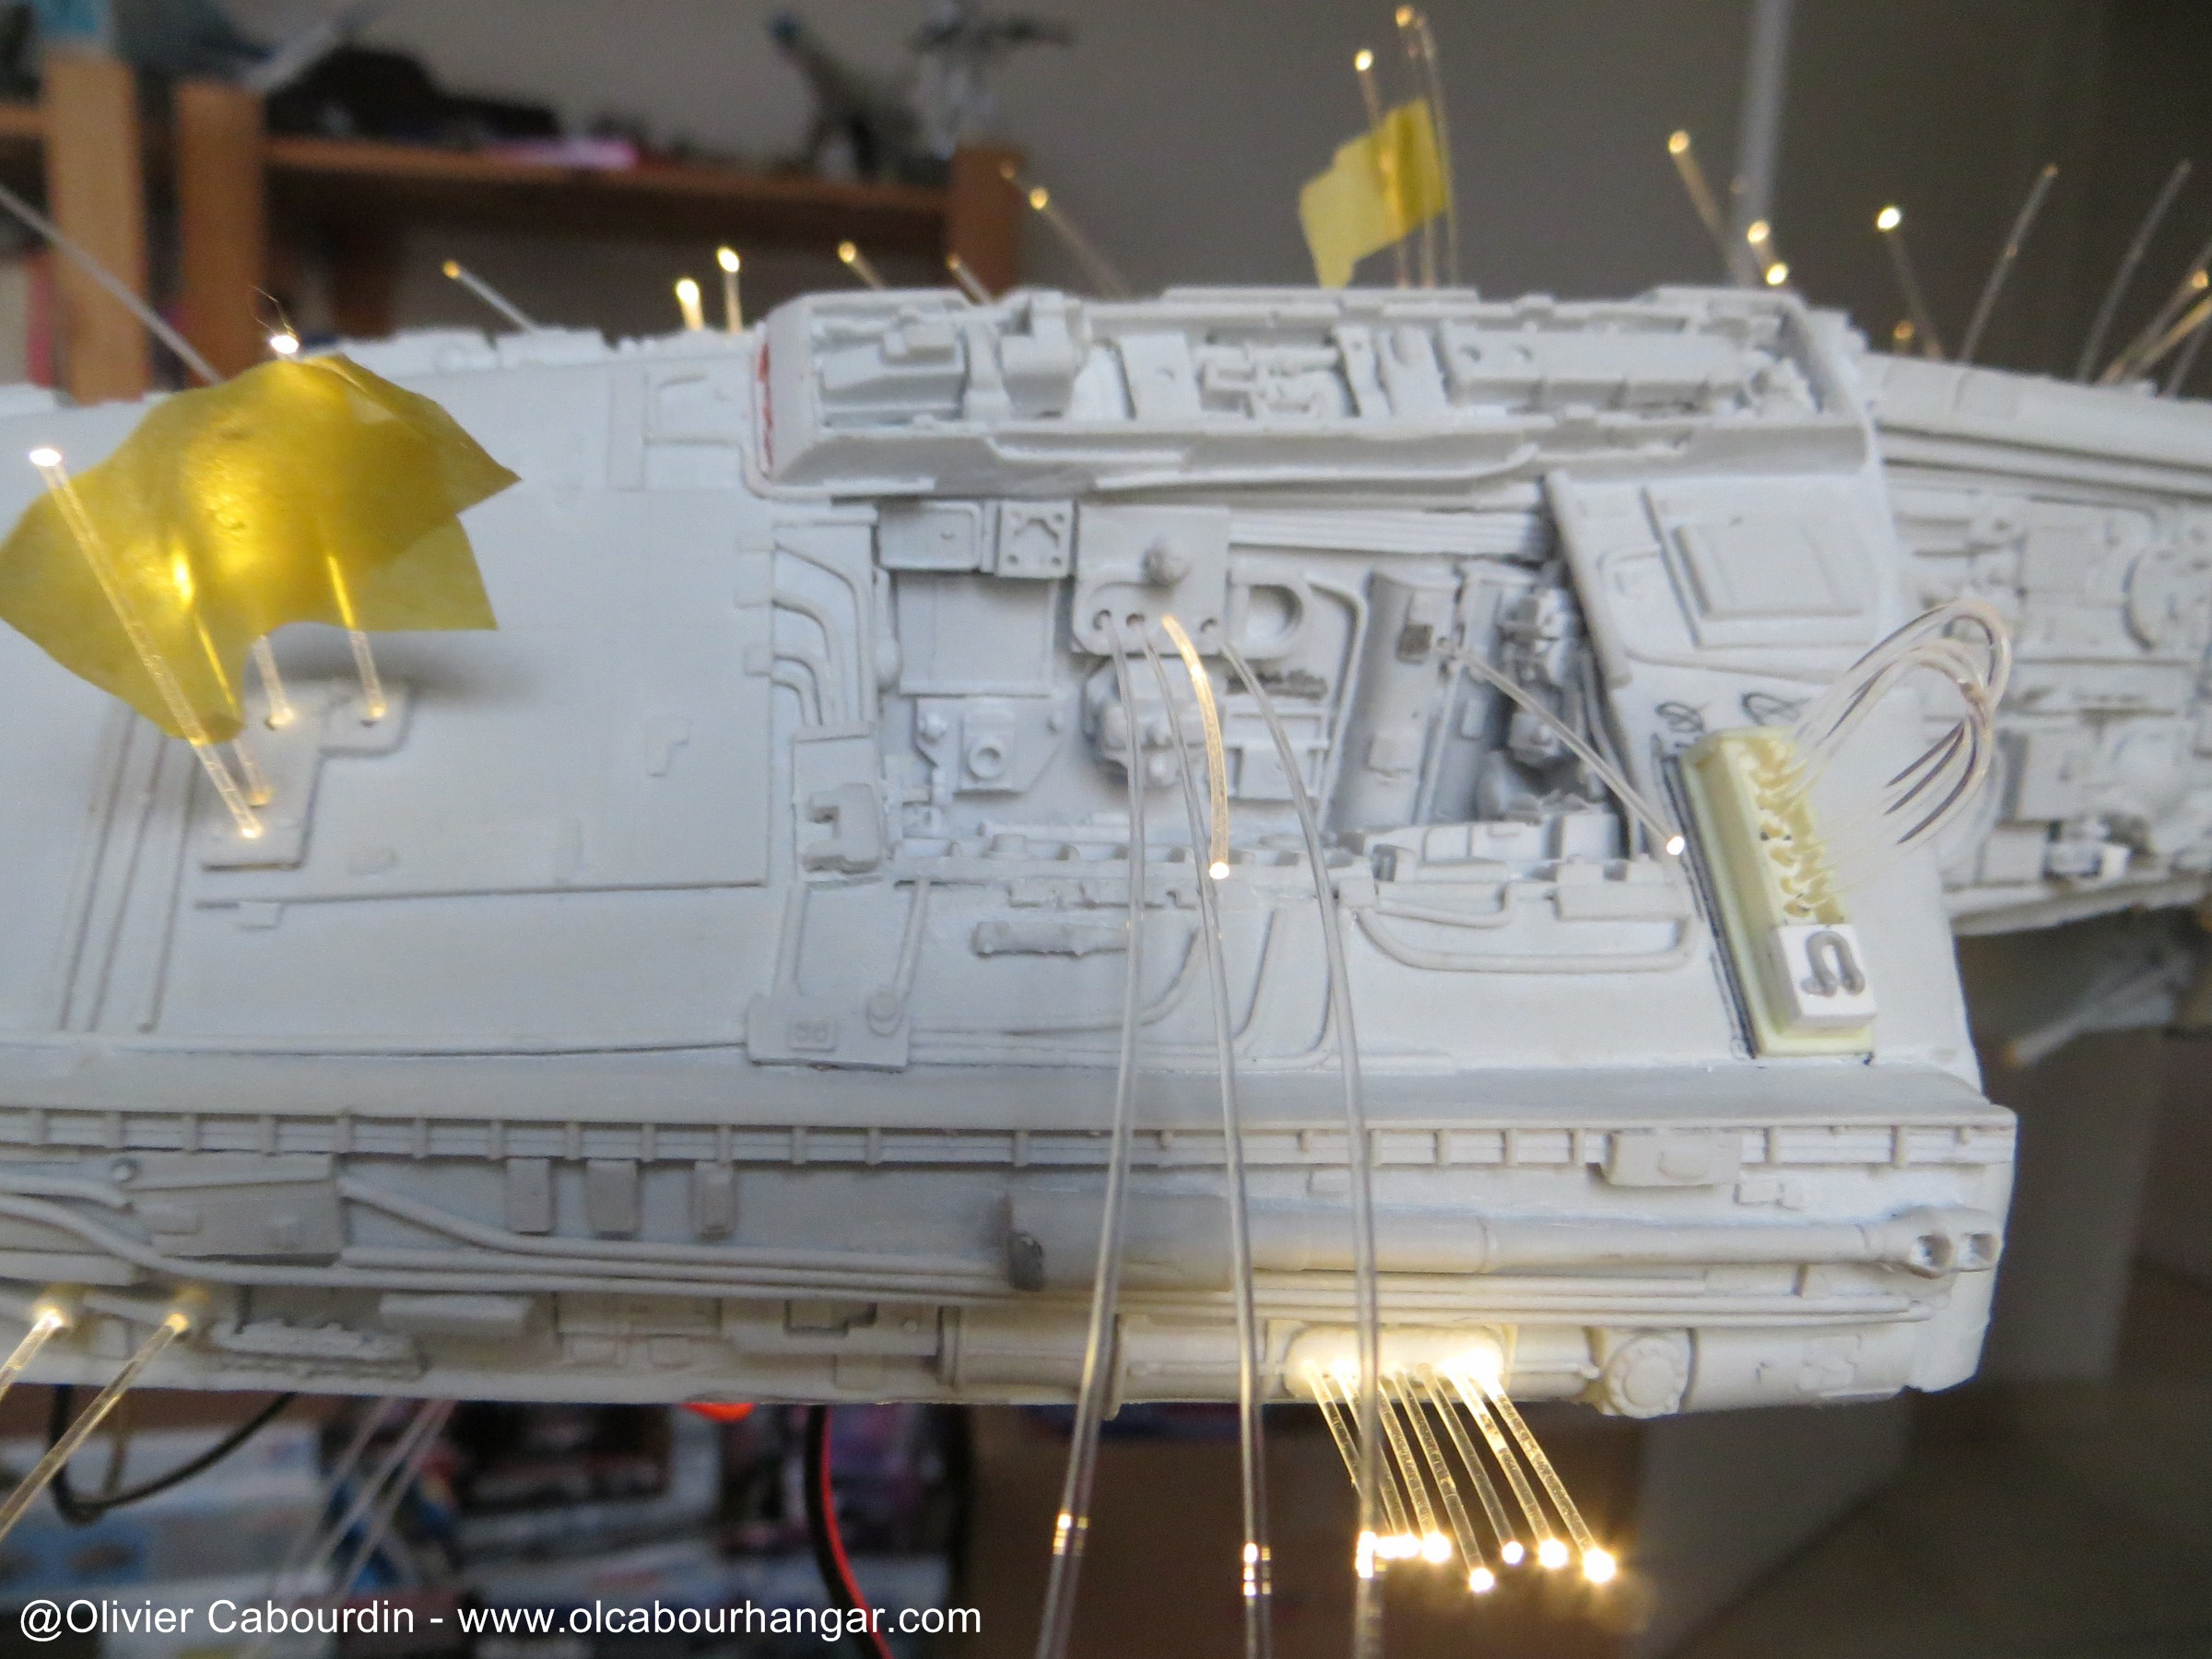
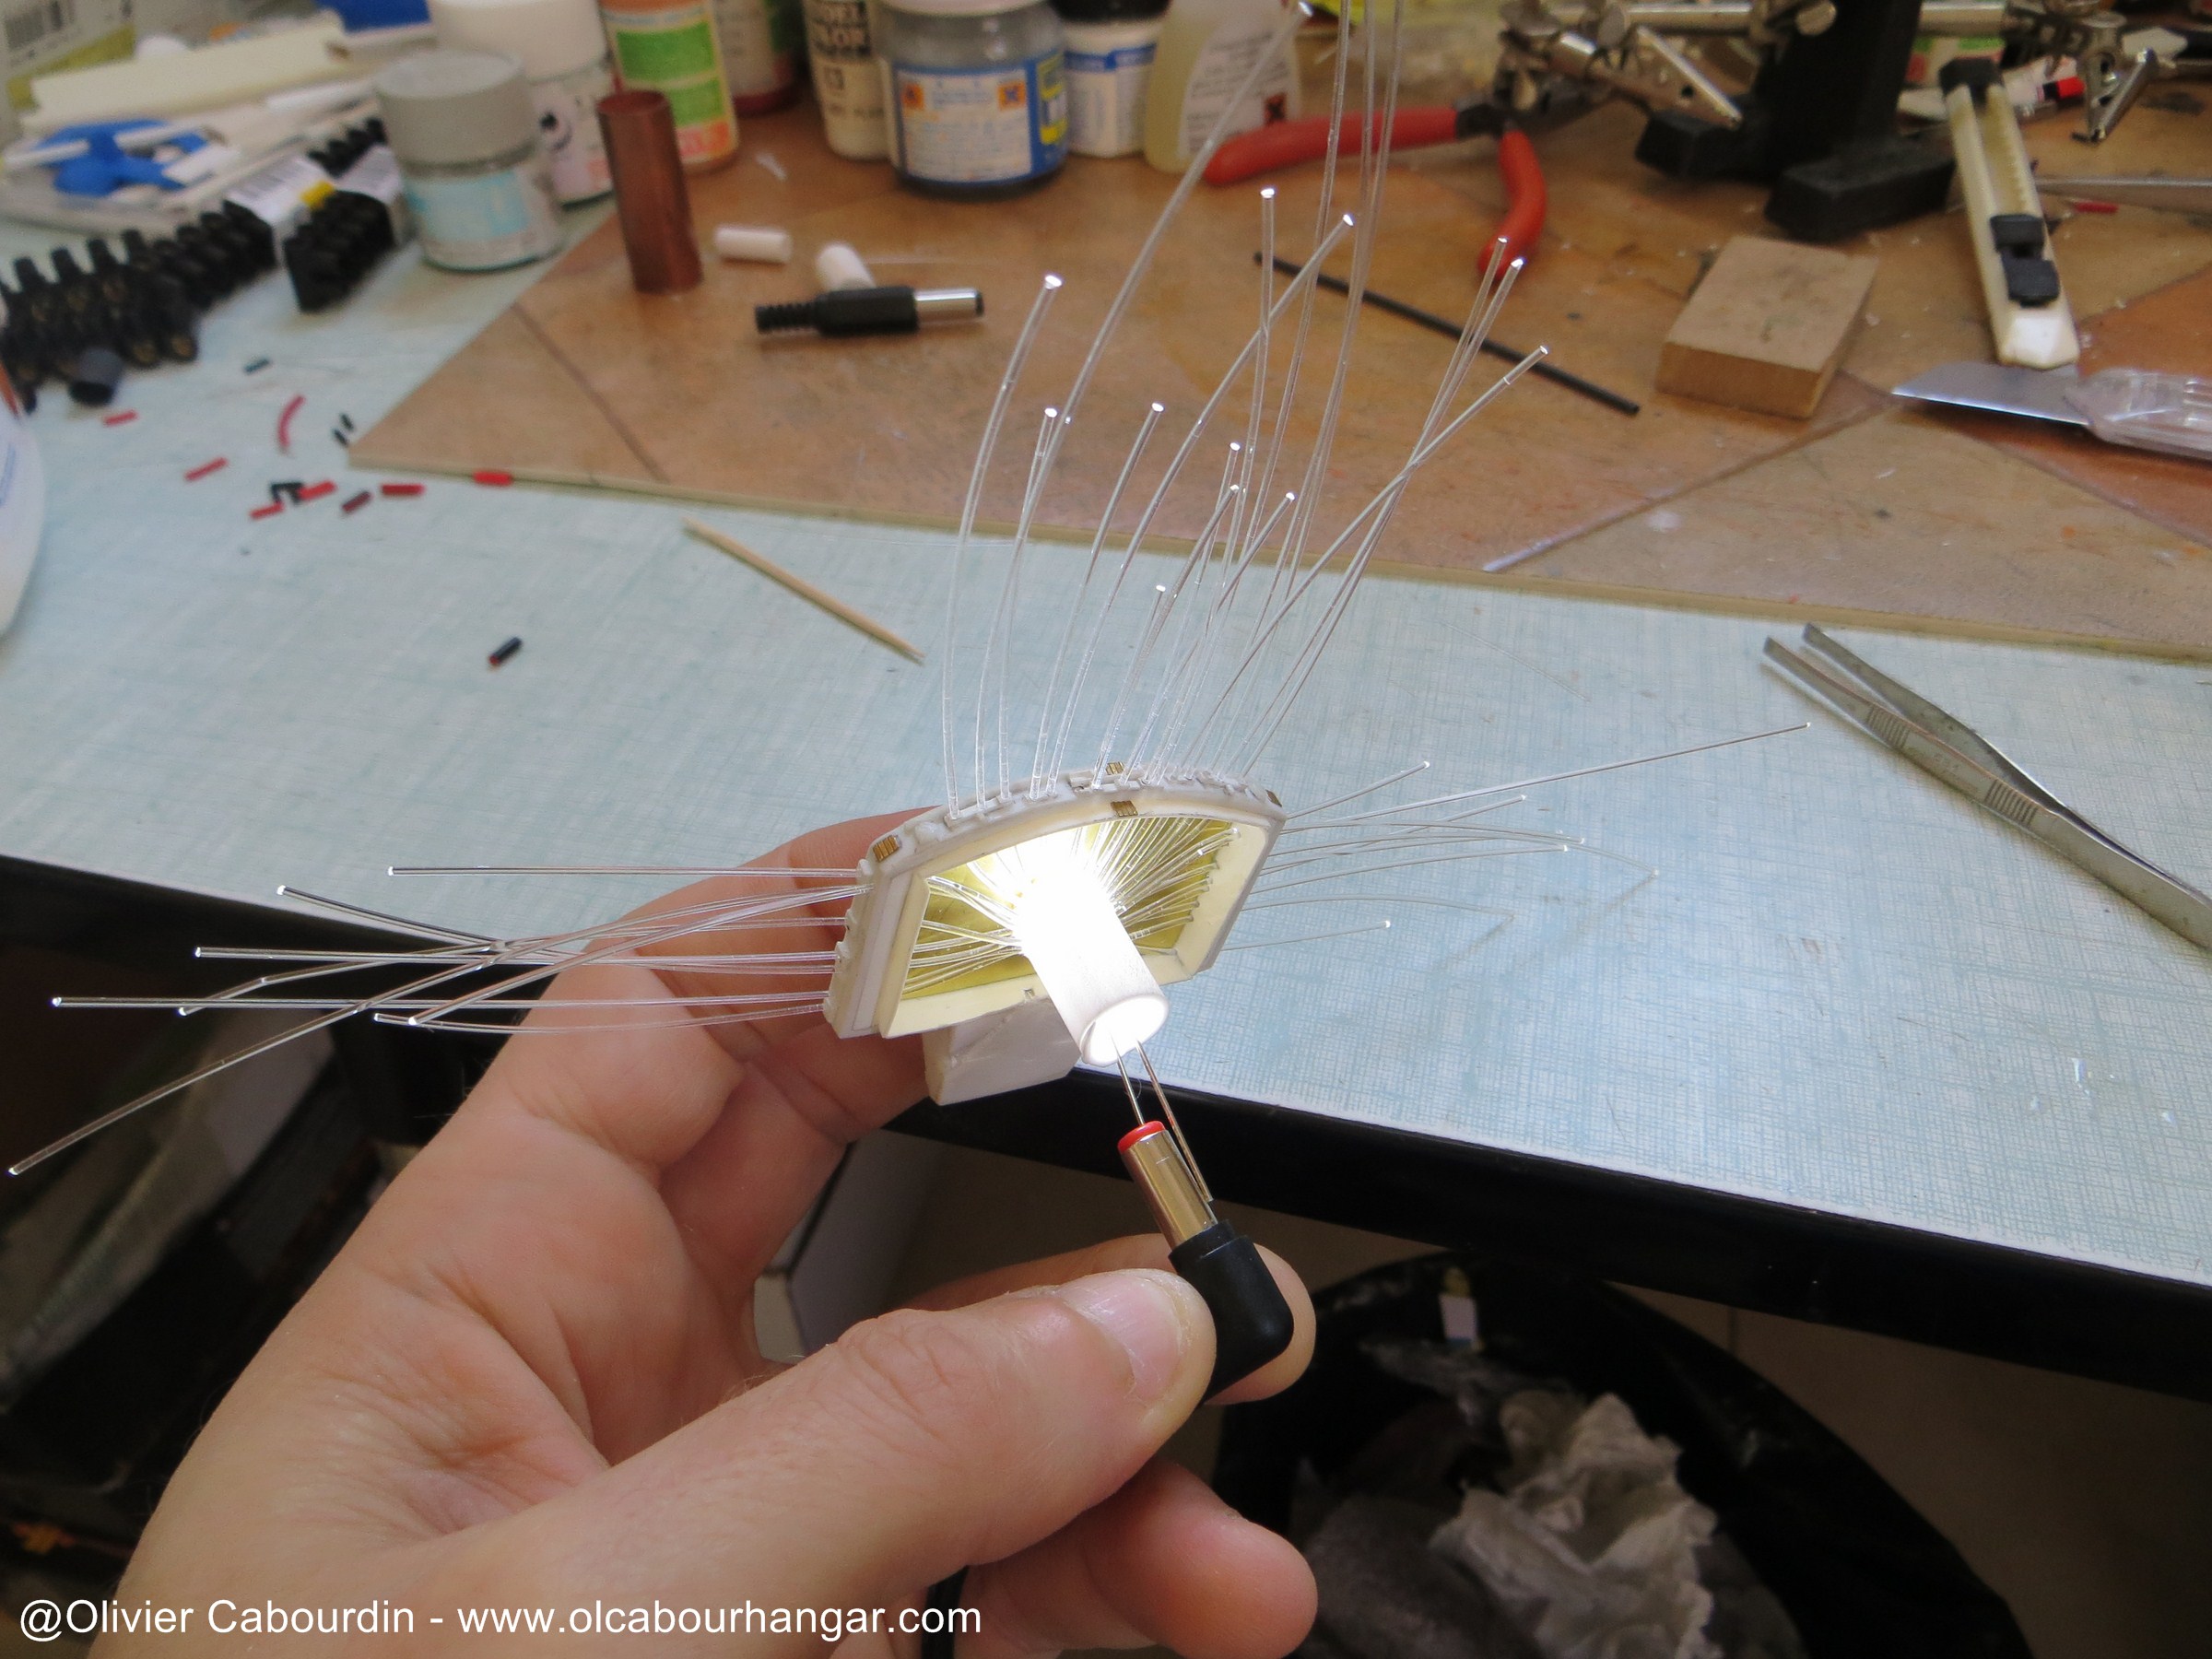
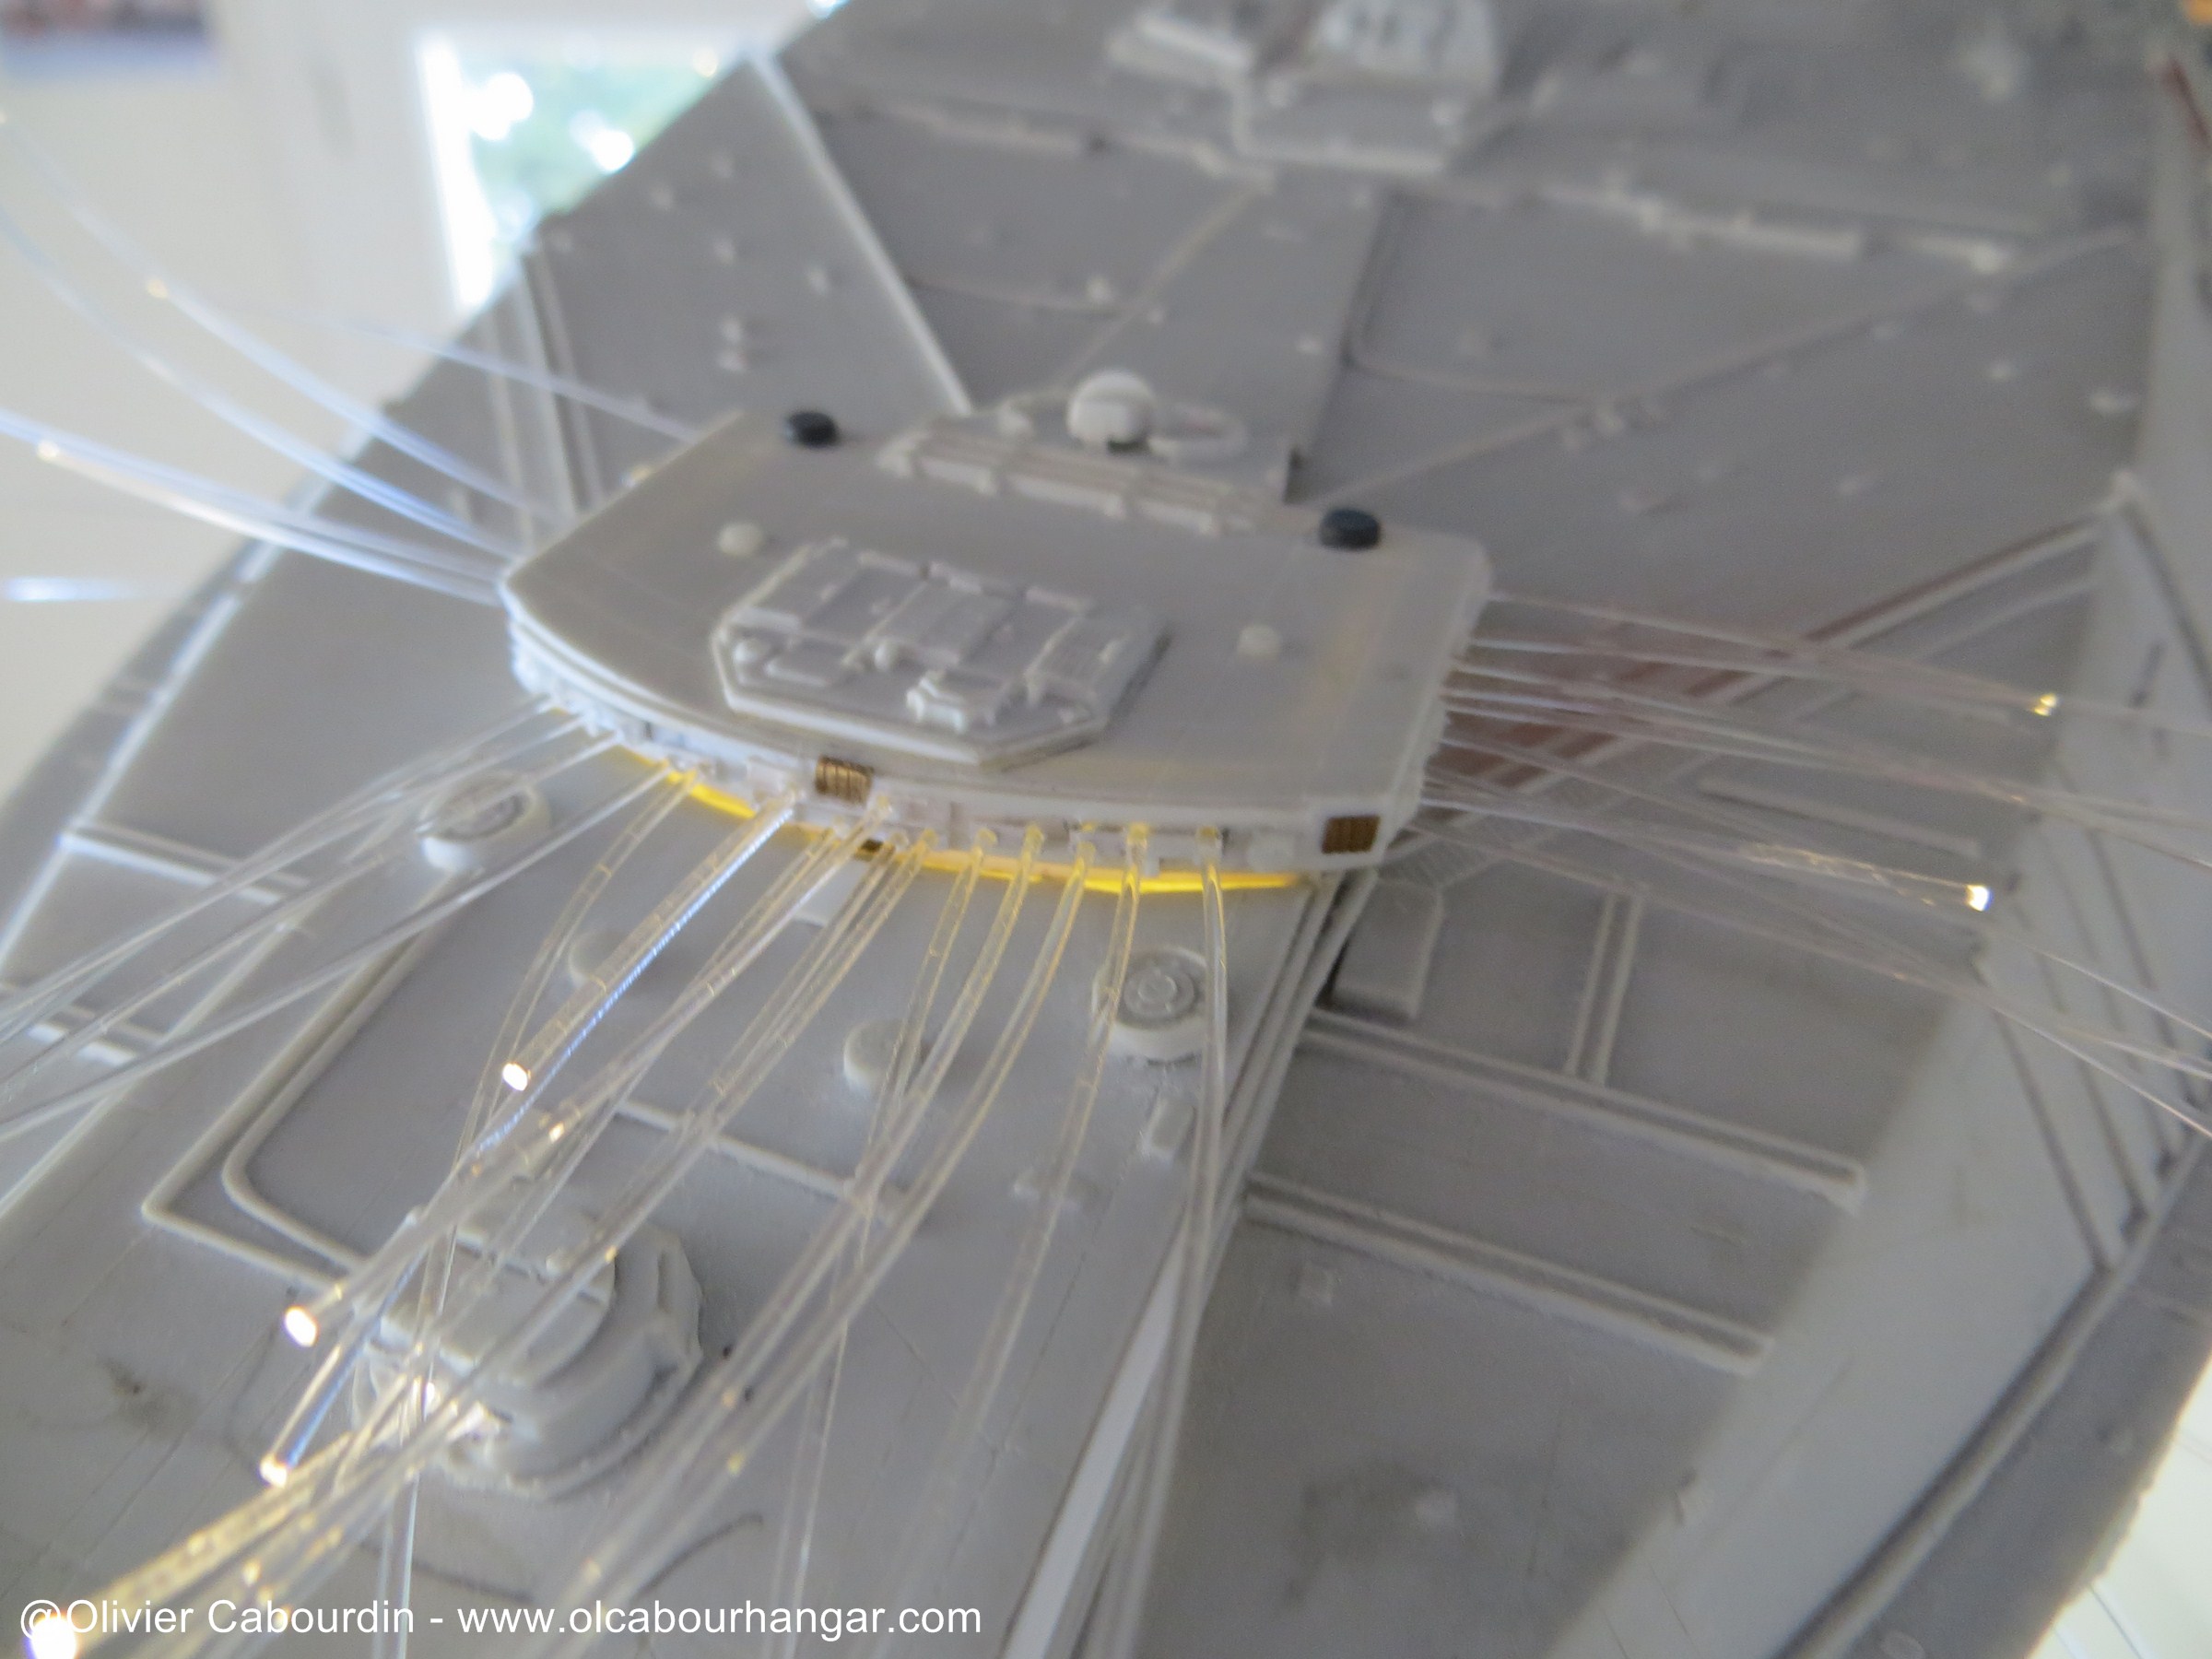
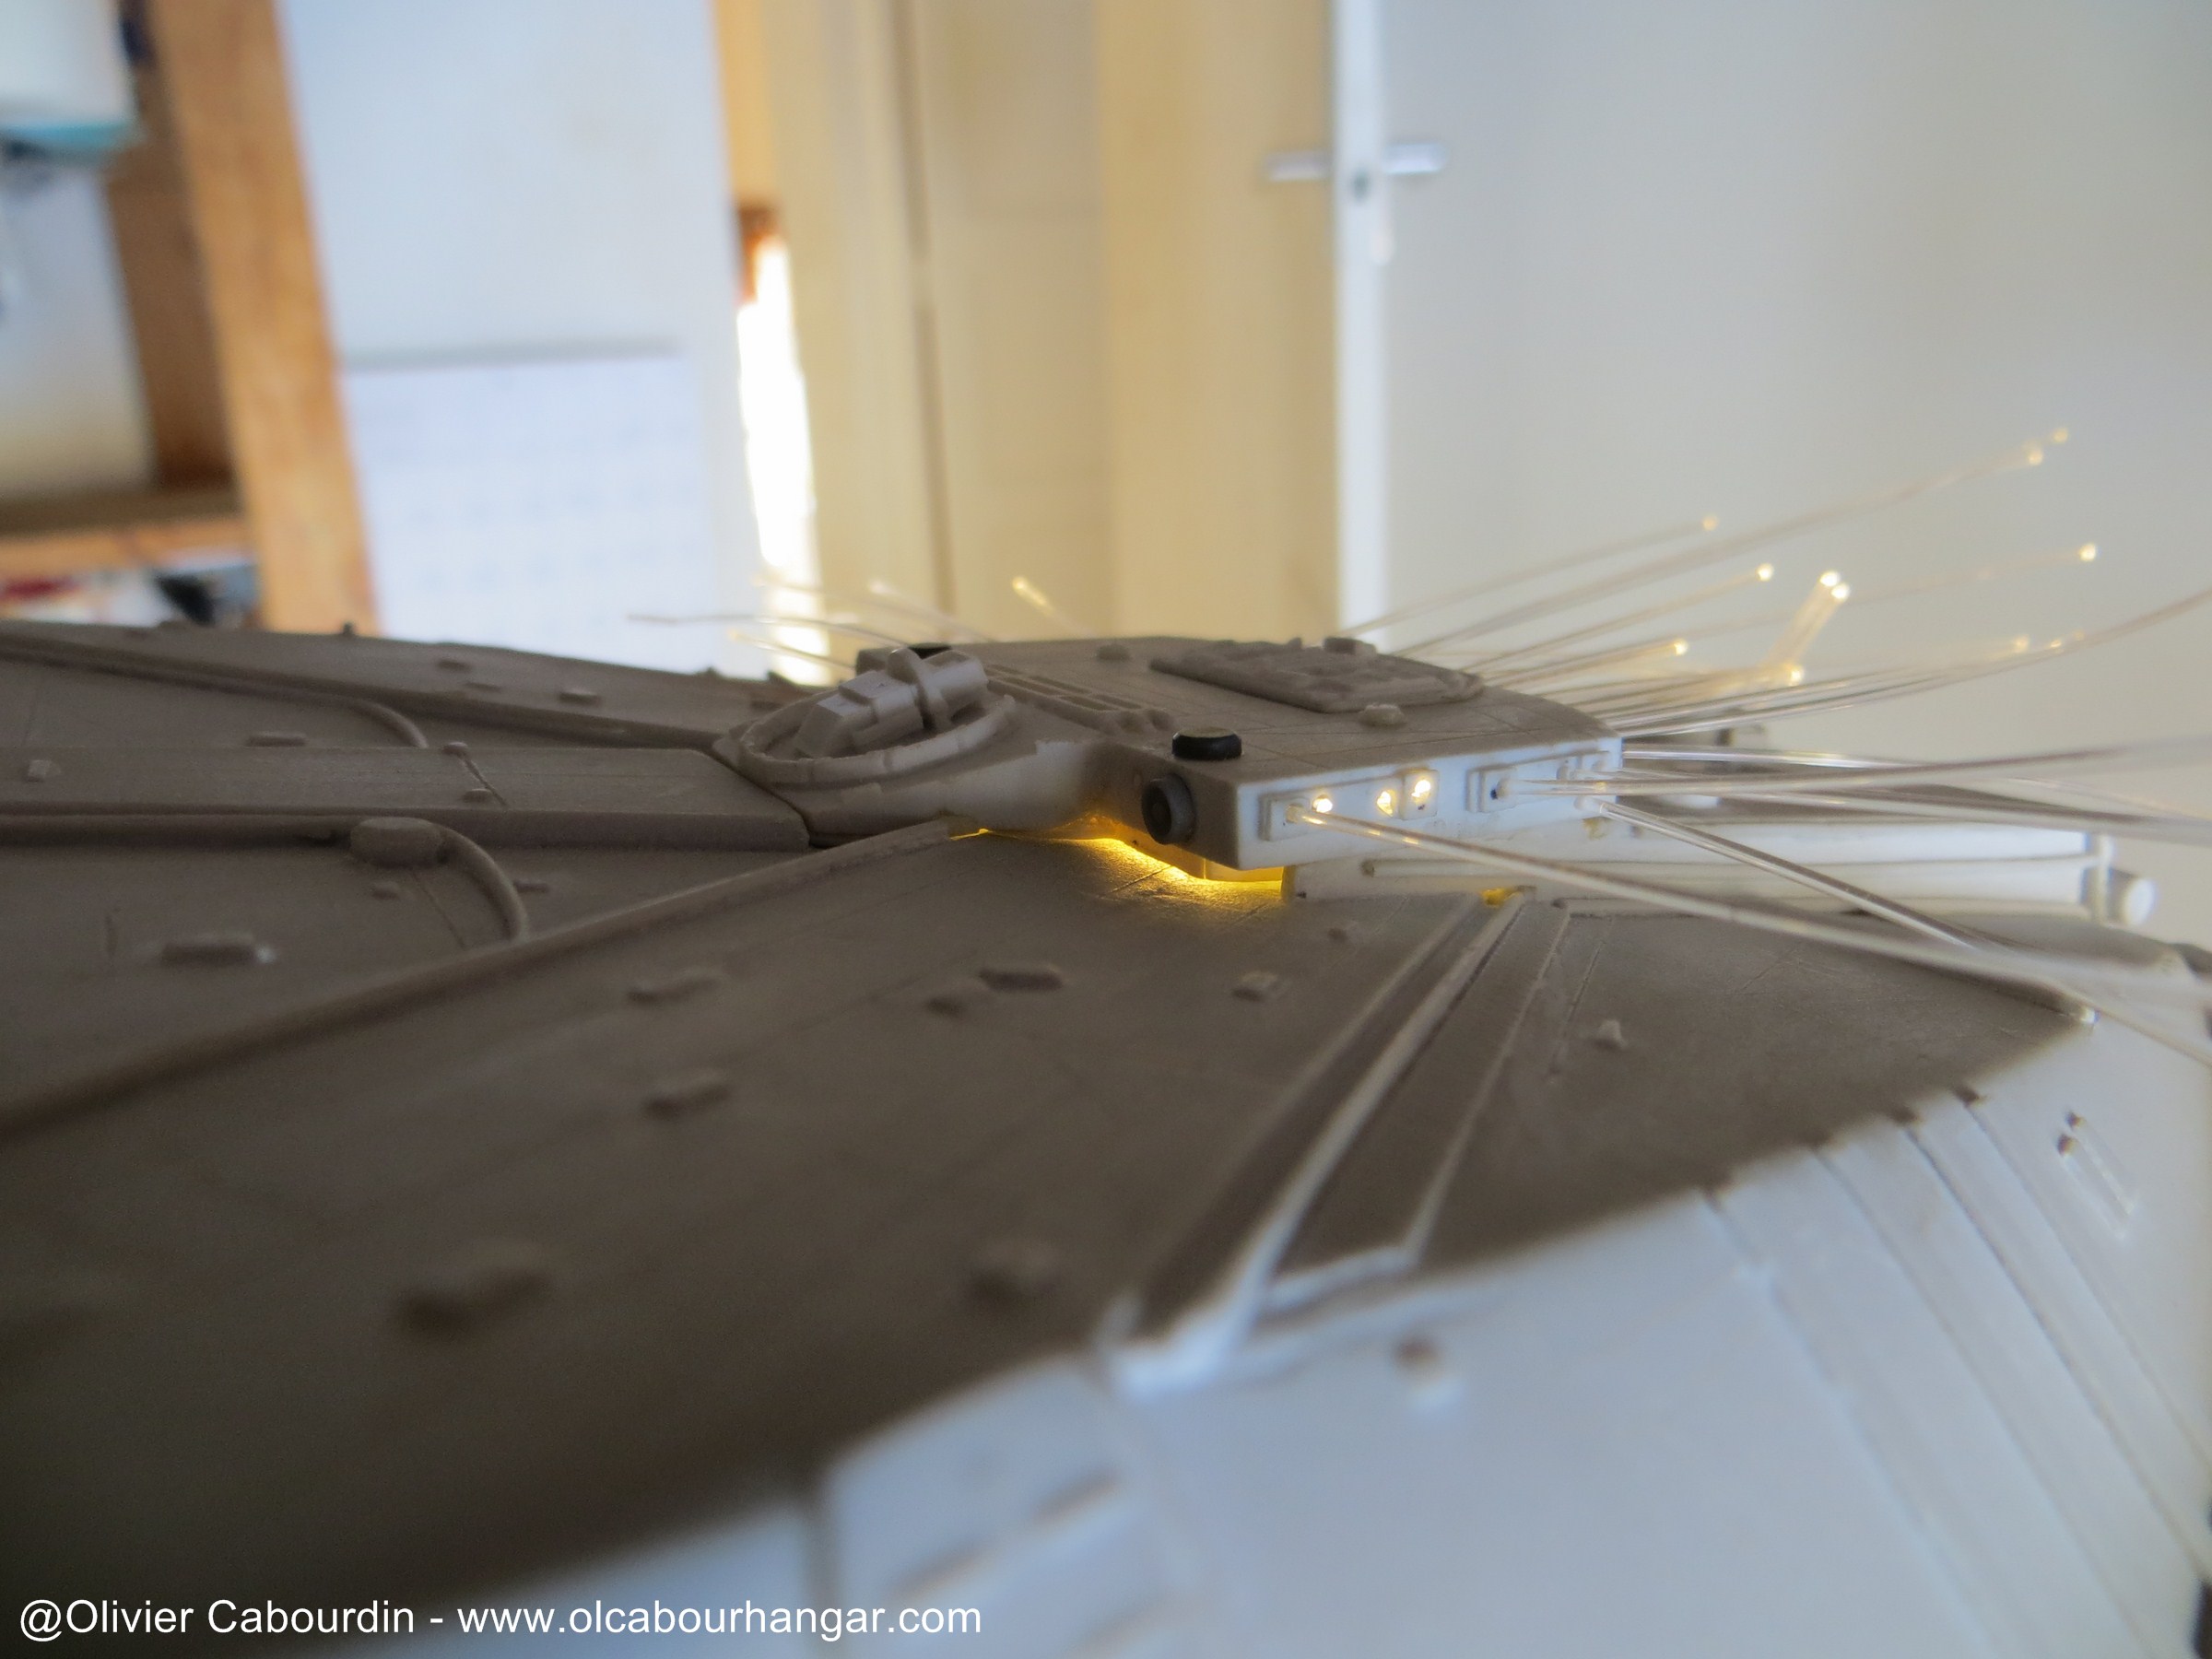
- In the central part, once the structure is in place, the remaining space is small and it is difficult to insert many wires, LEDs and fiber optics.
I use warm white (as are all the windows on the real Galactica). The fiber is 0.75mm.

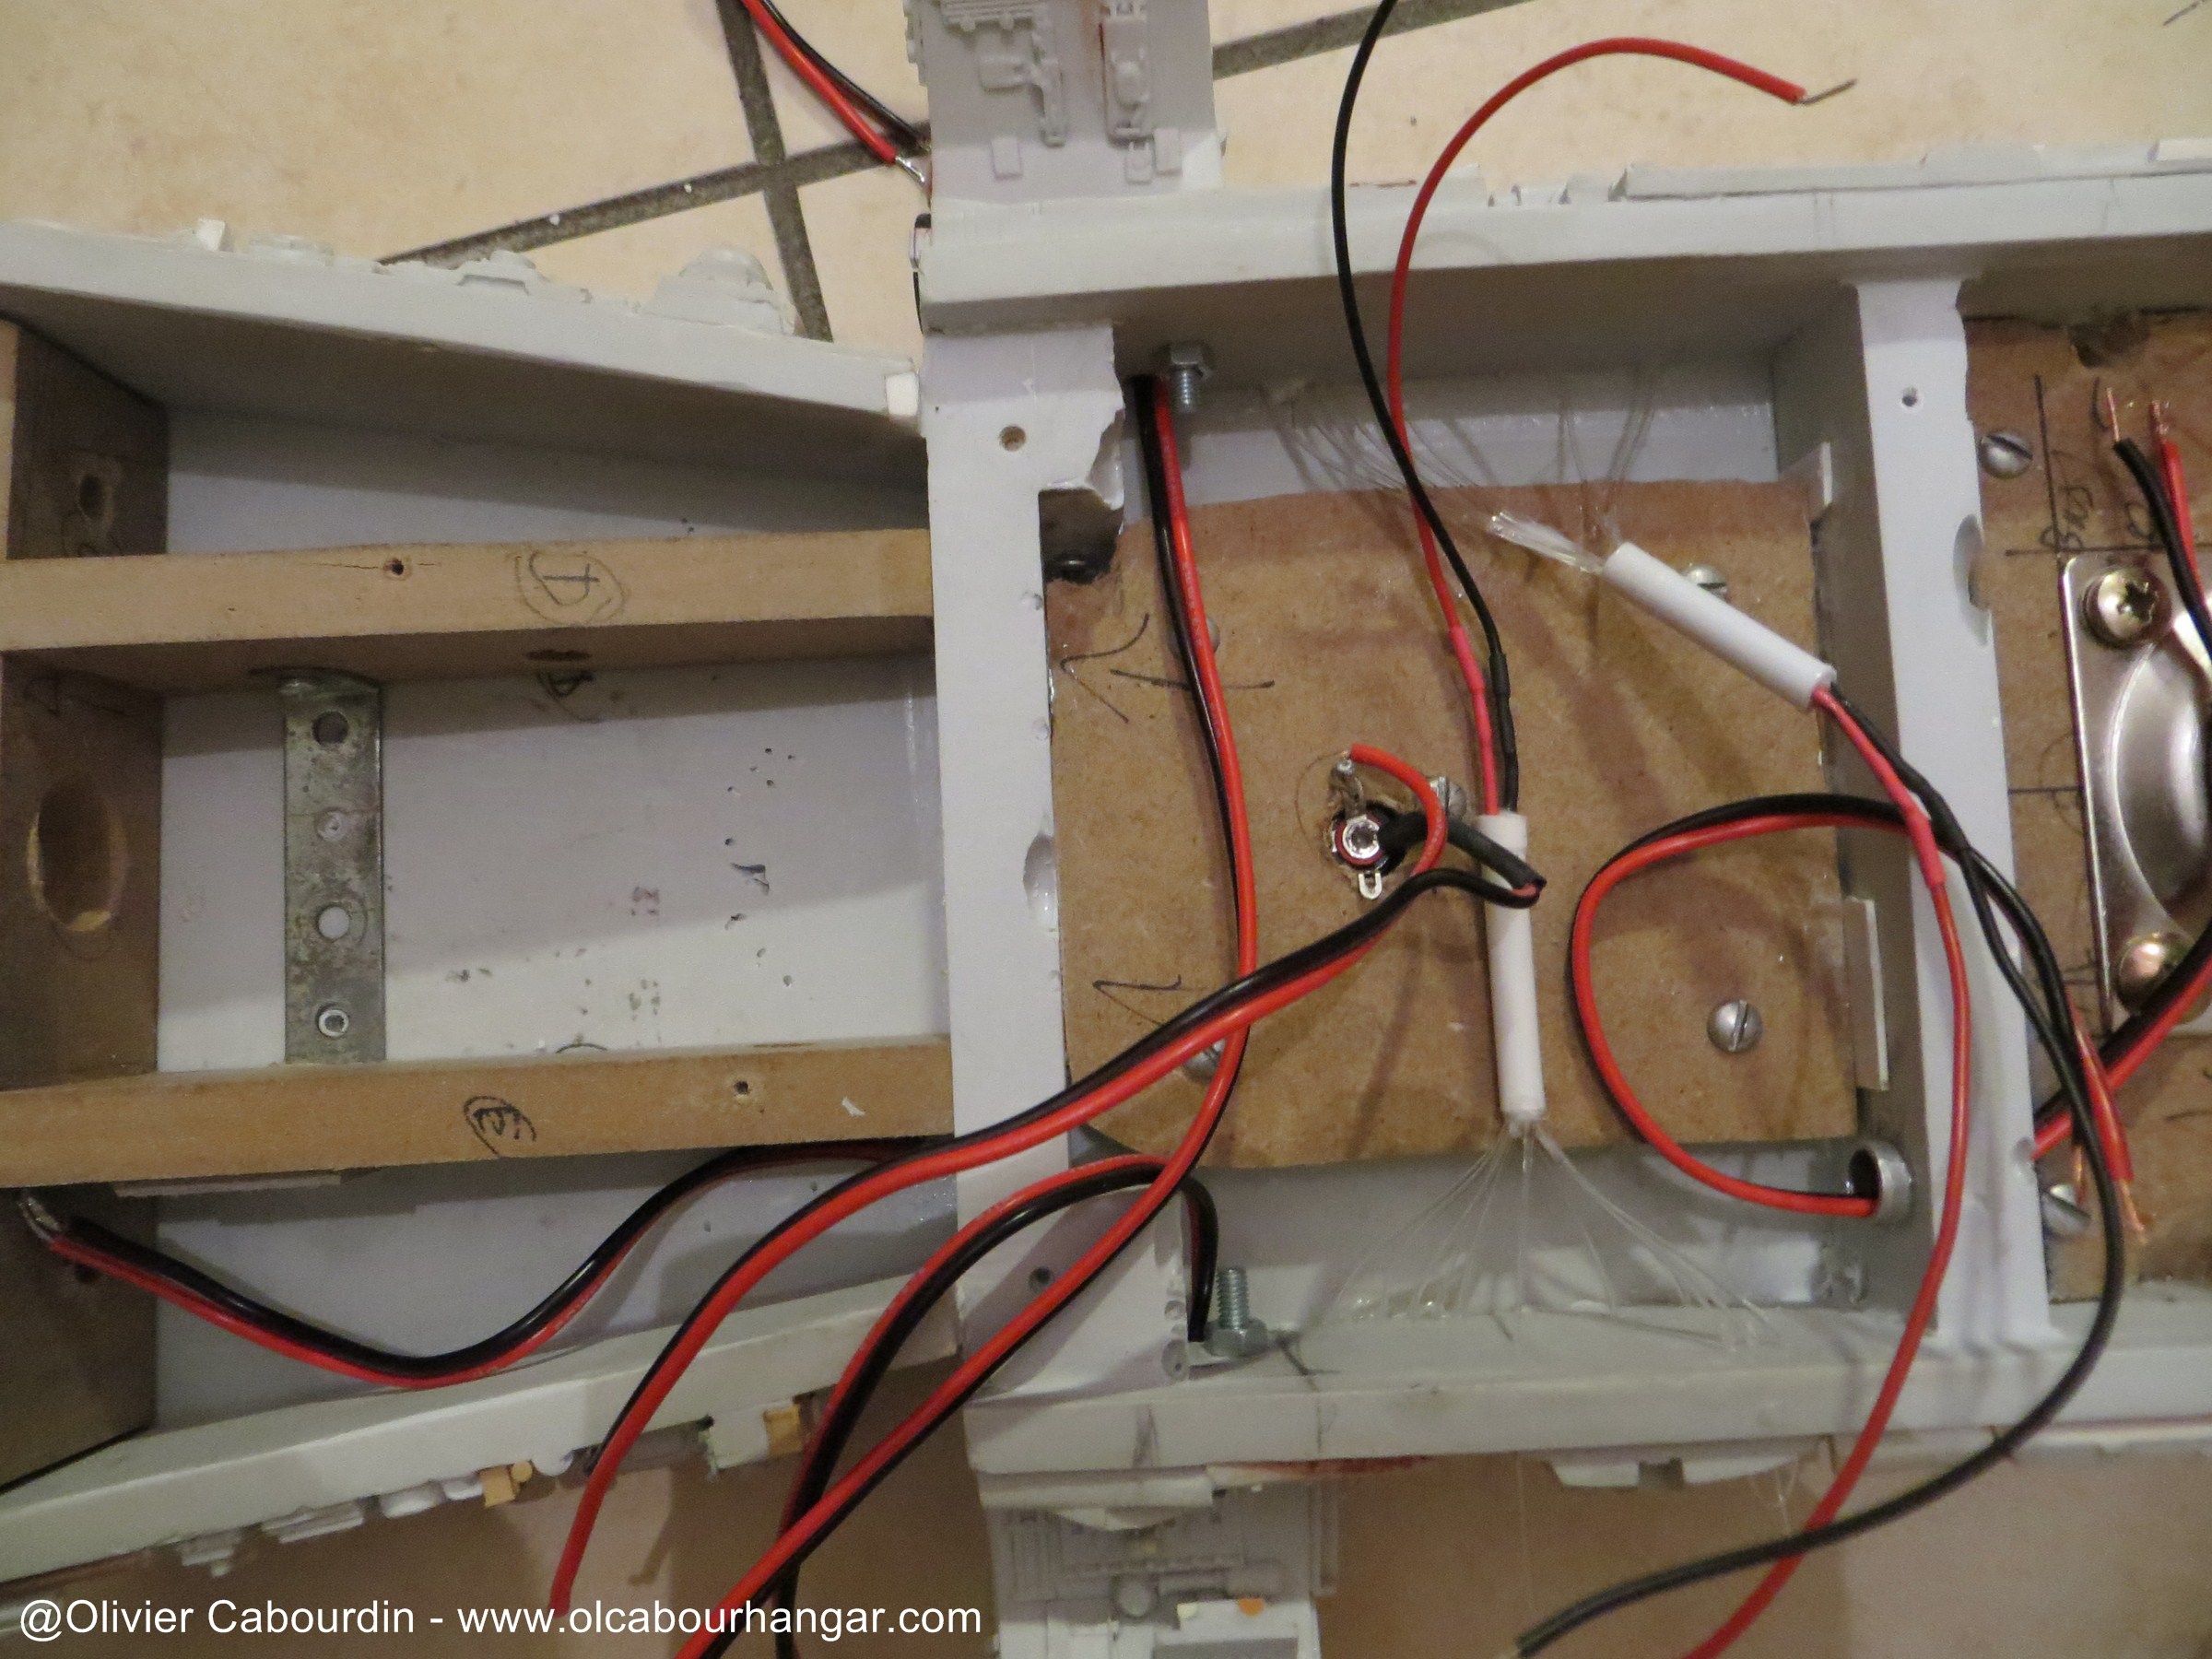

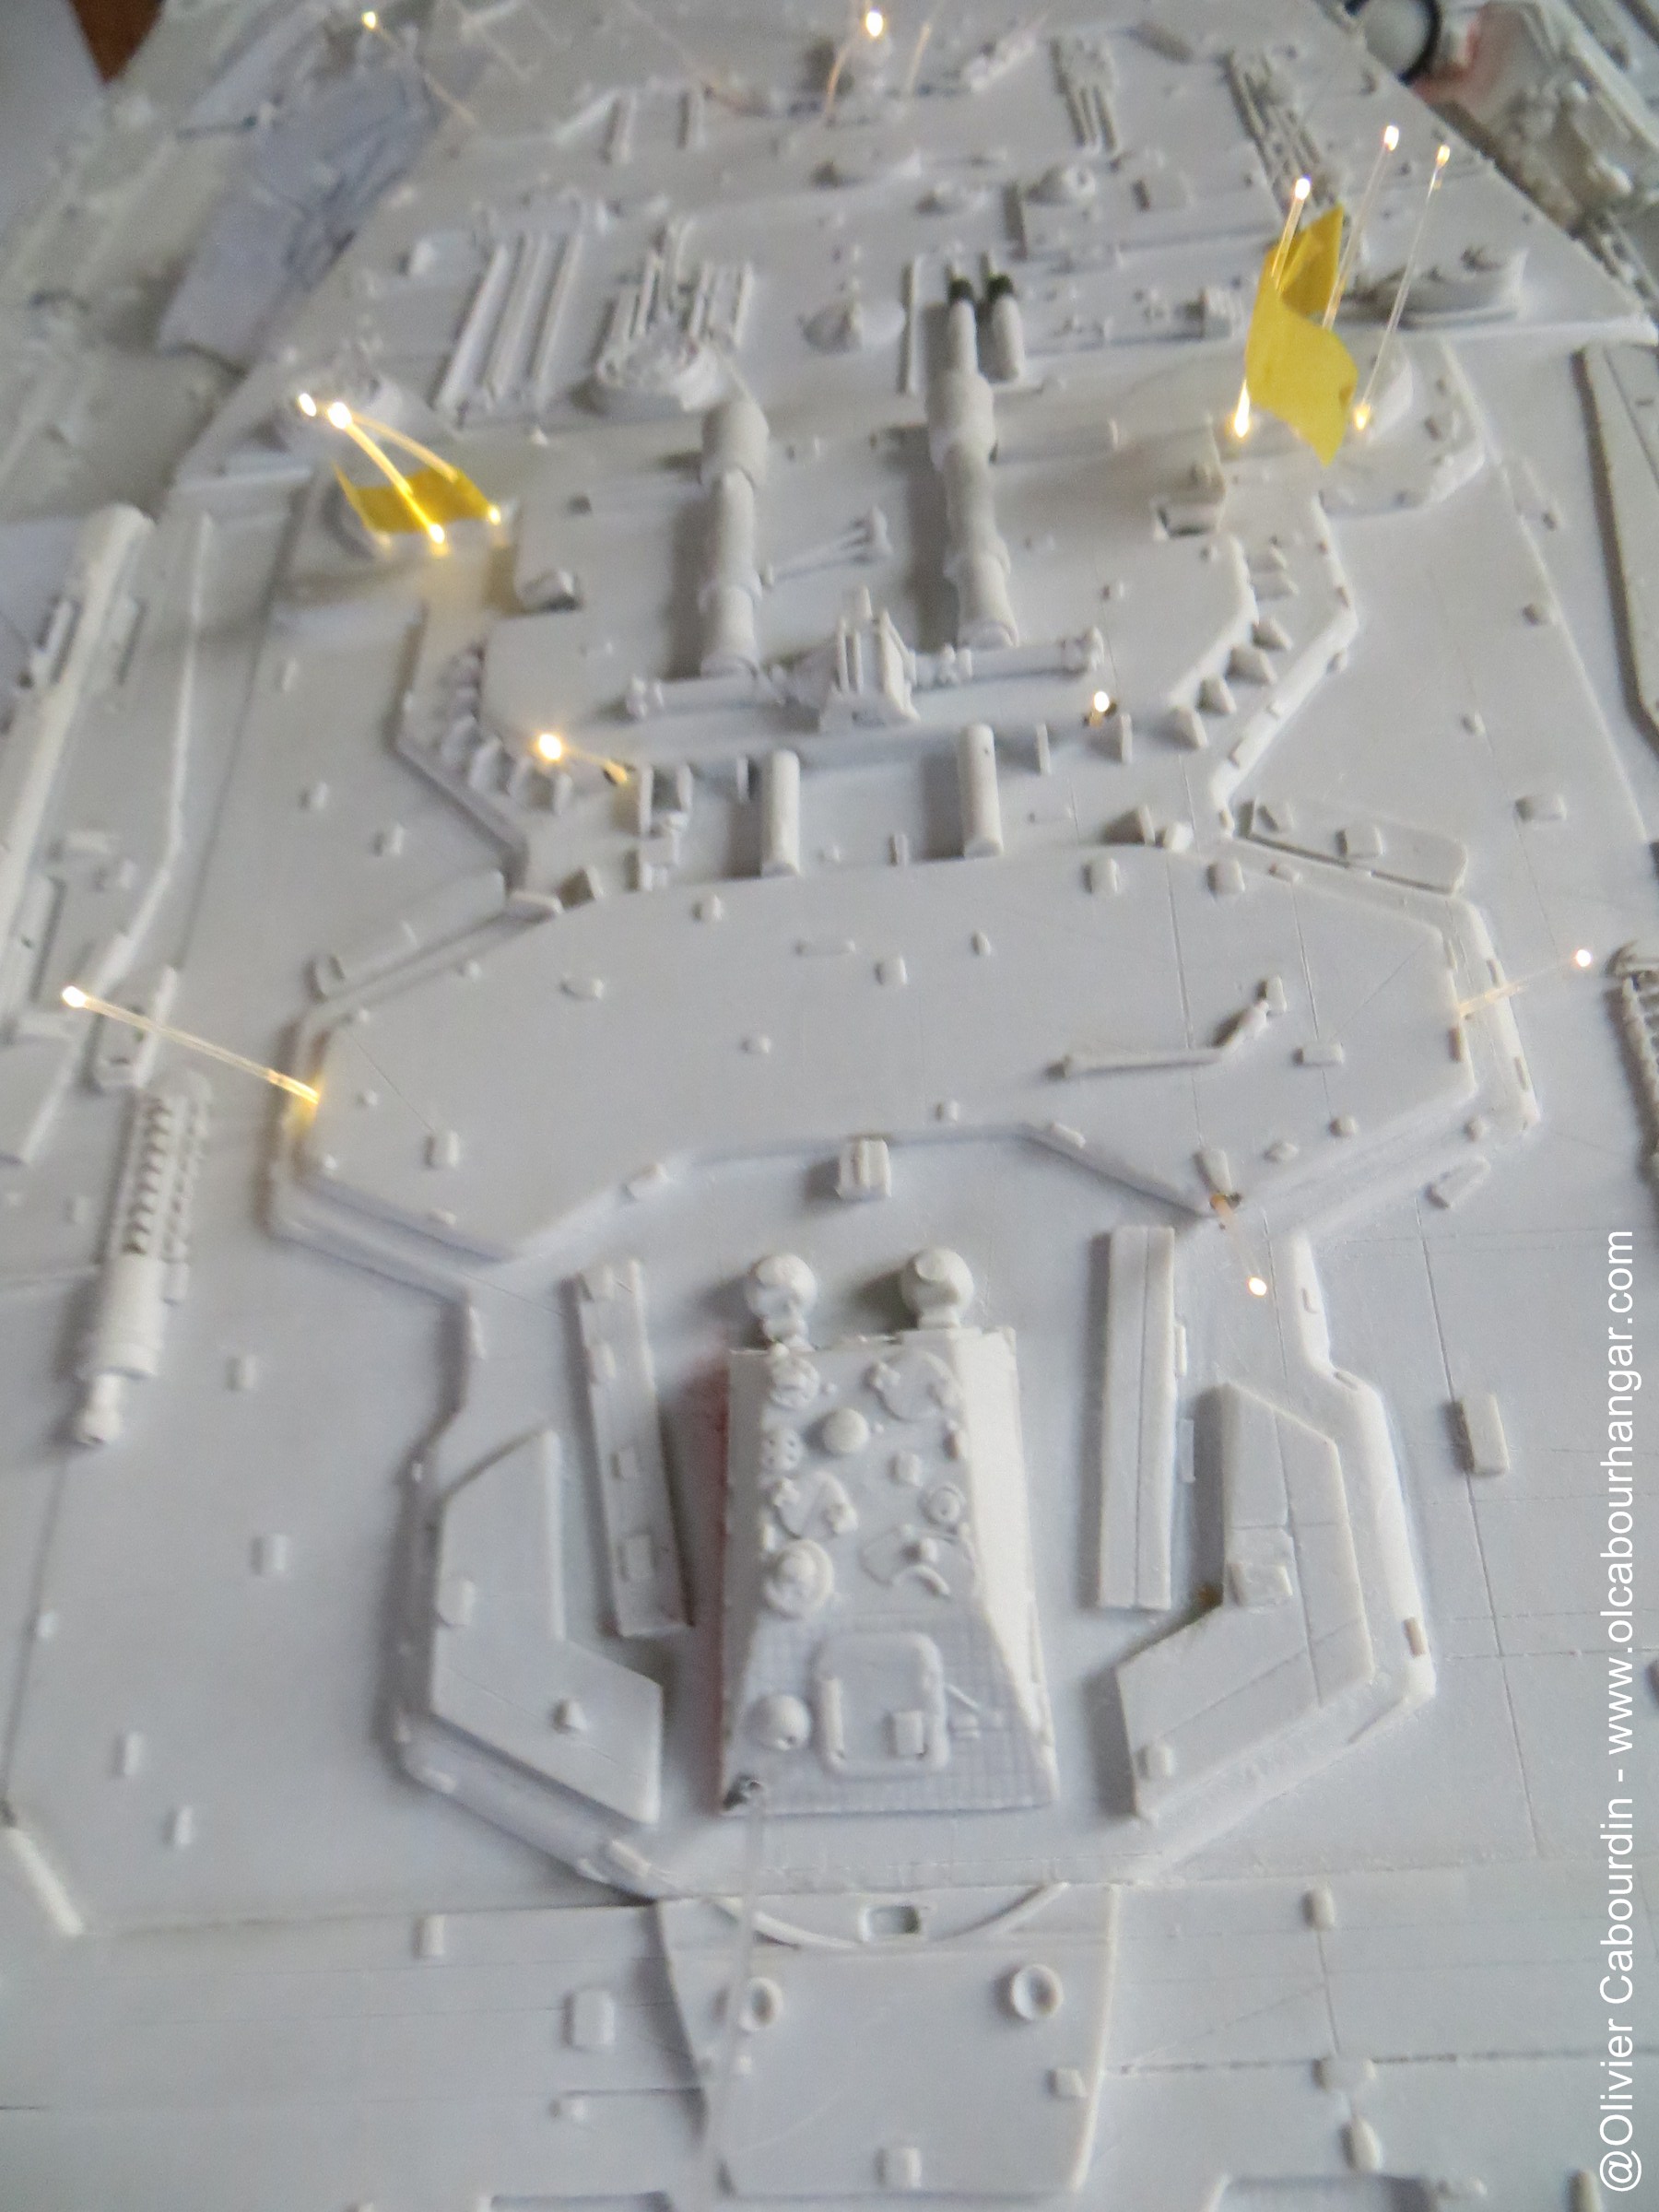
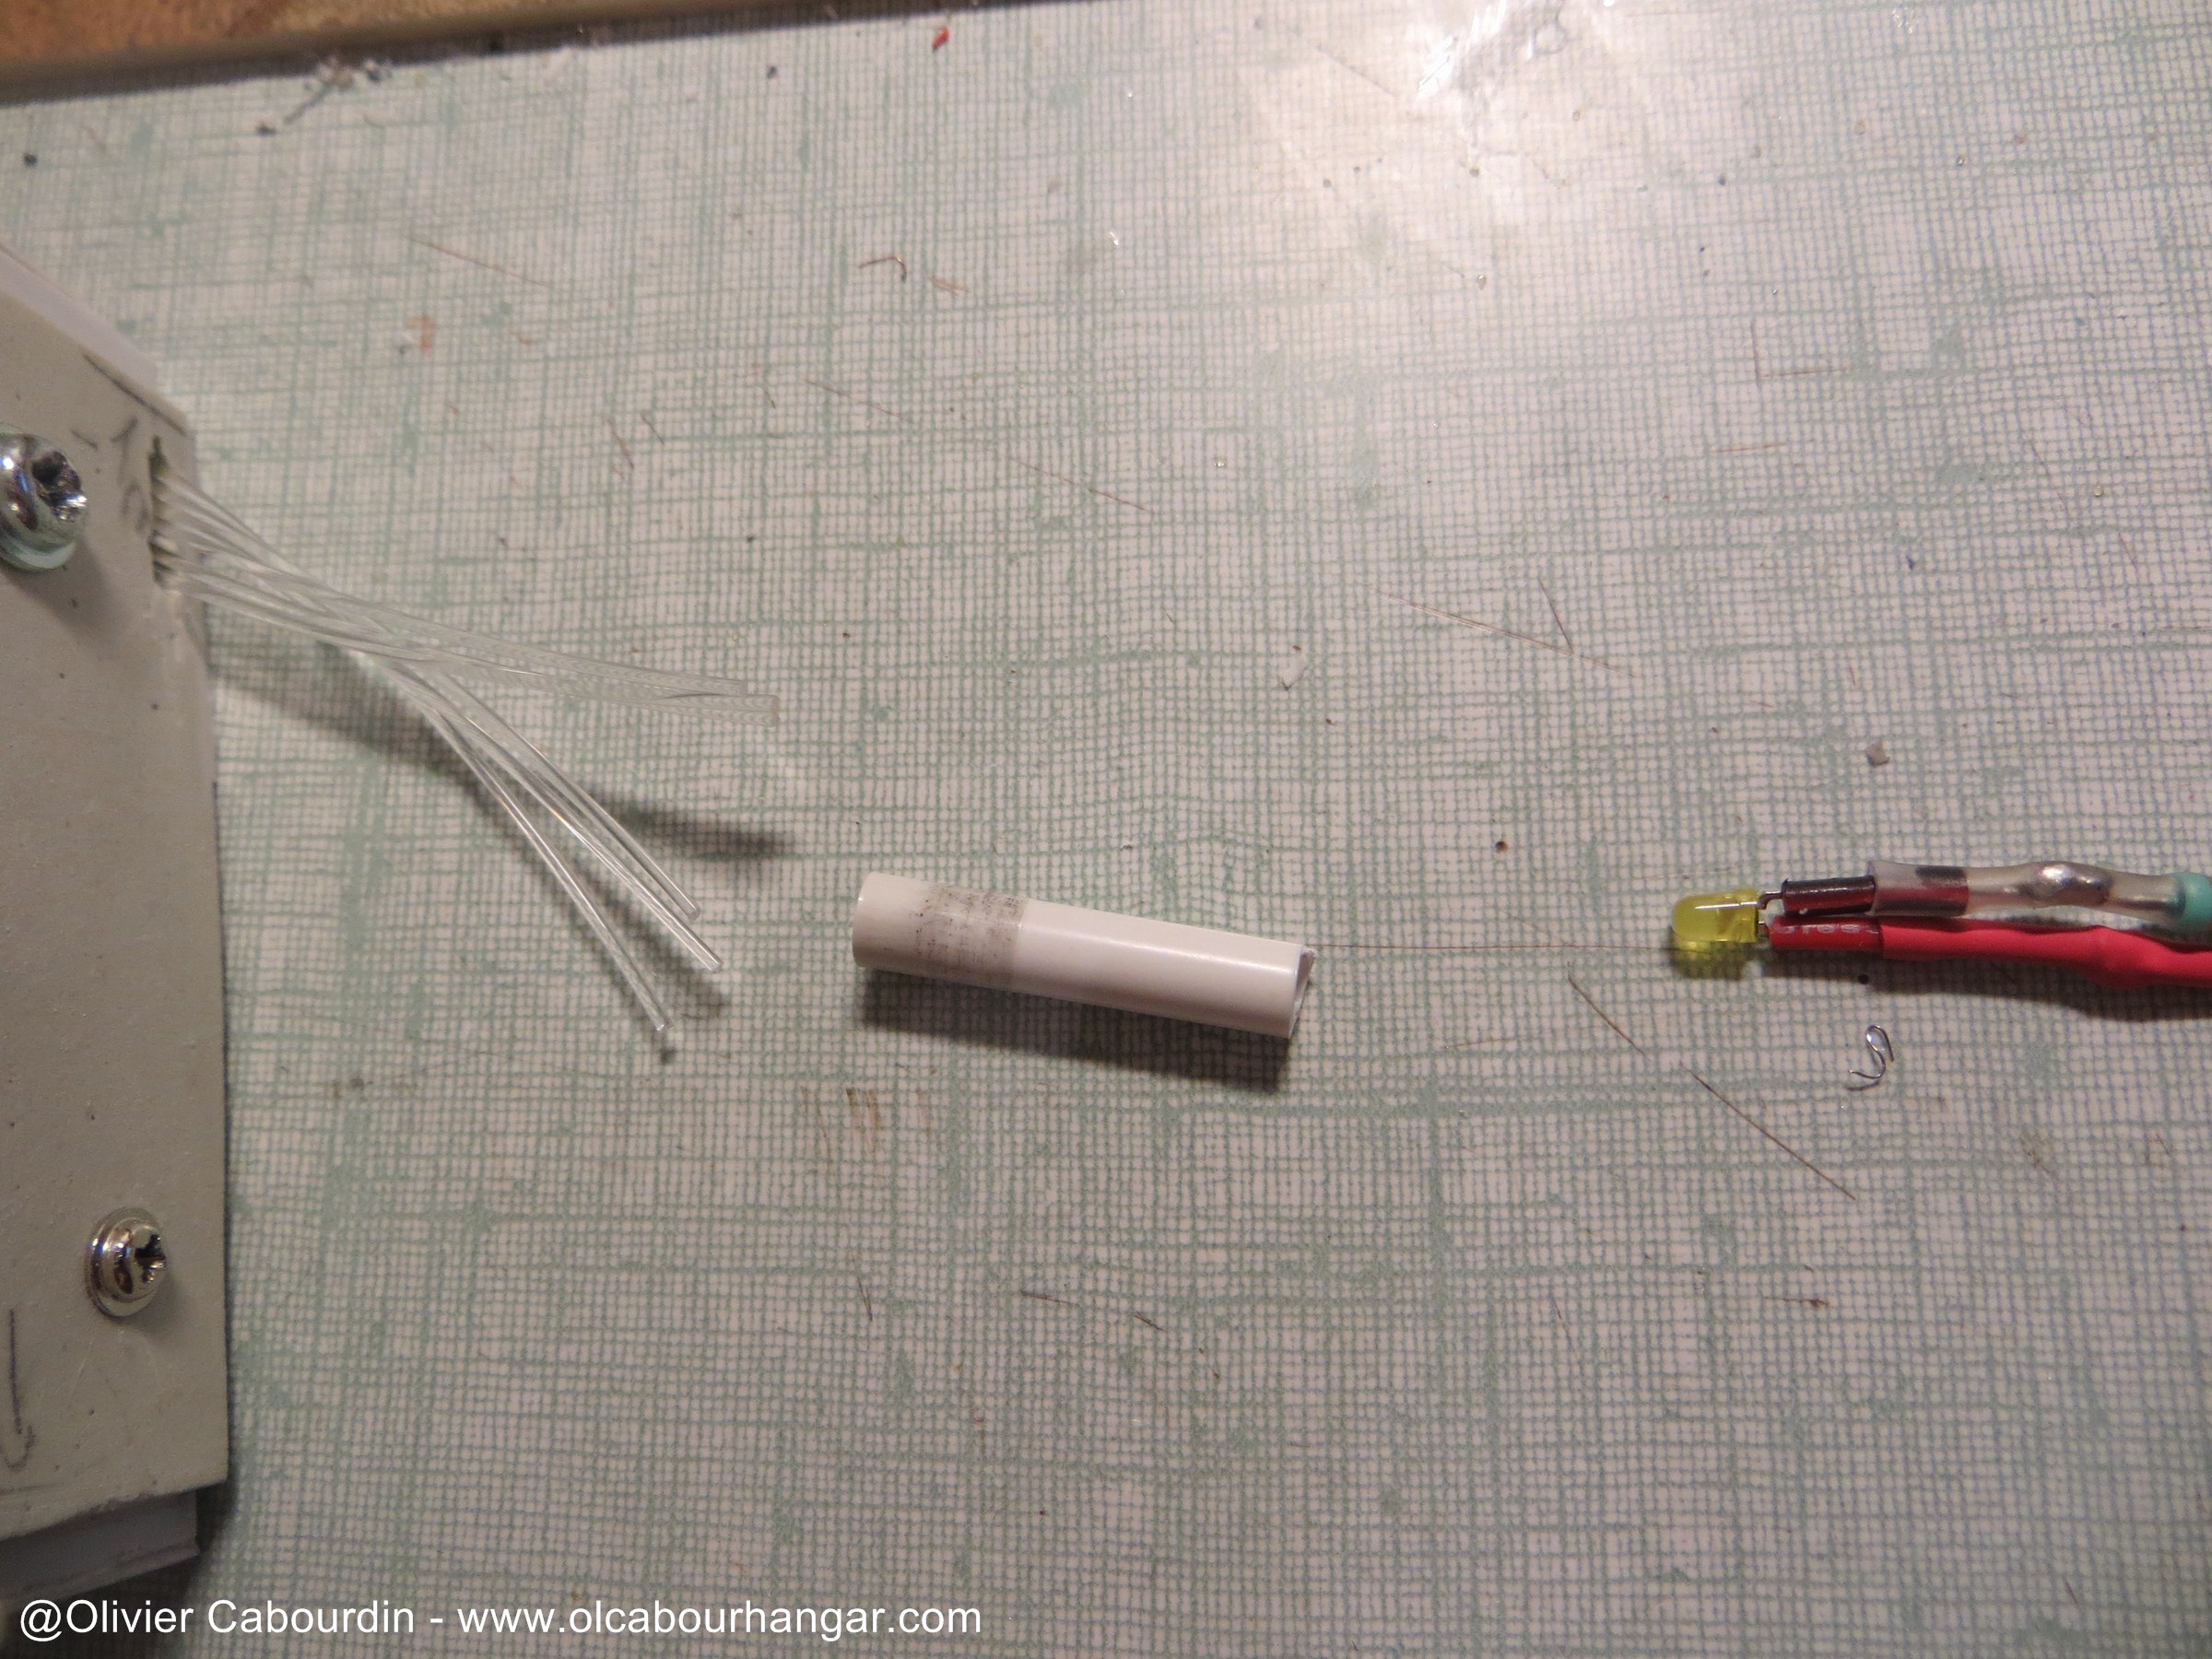
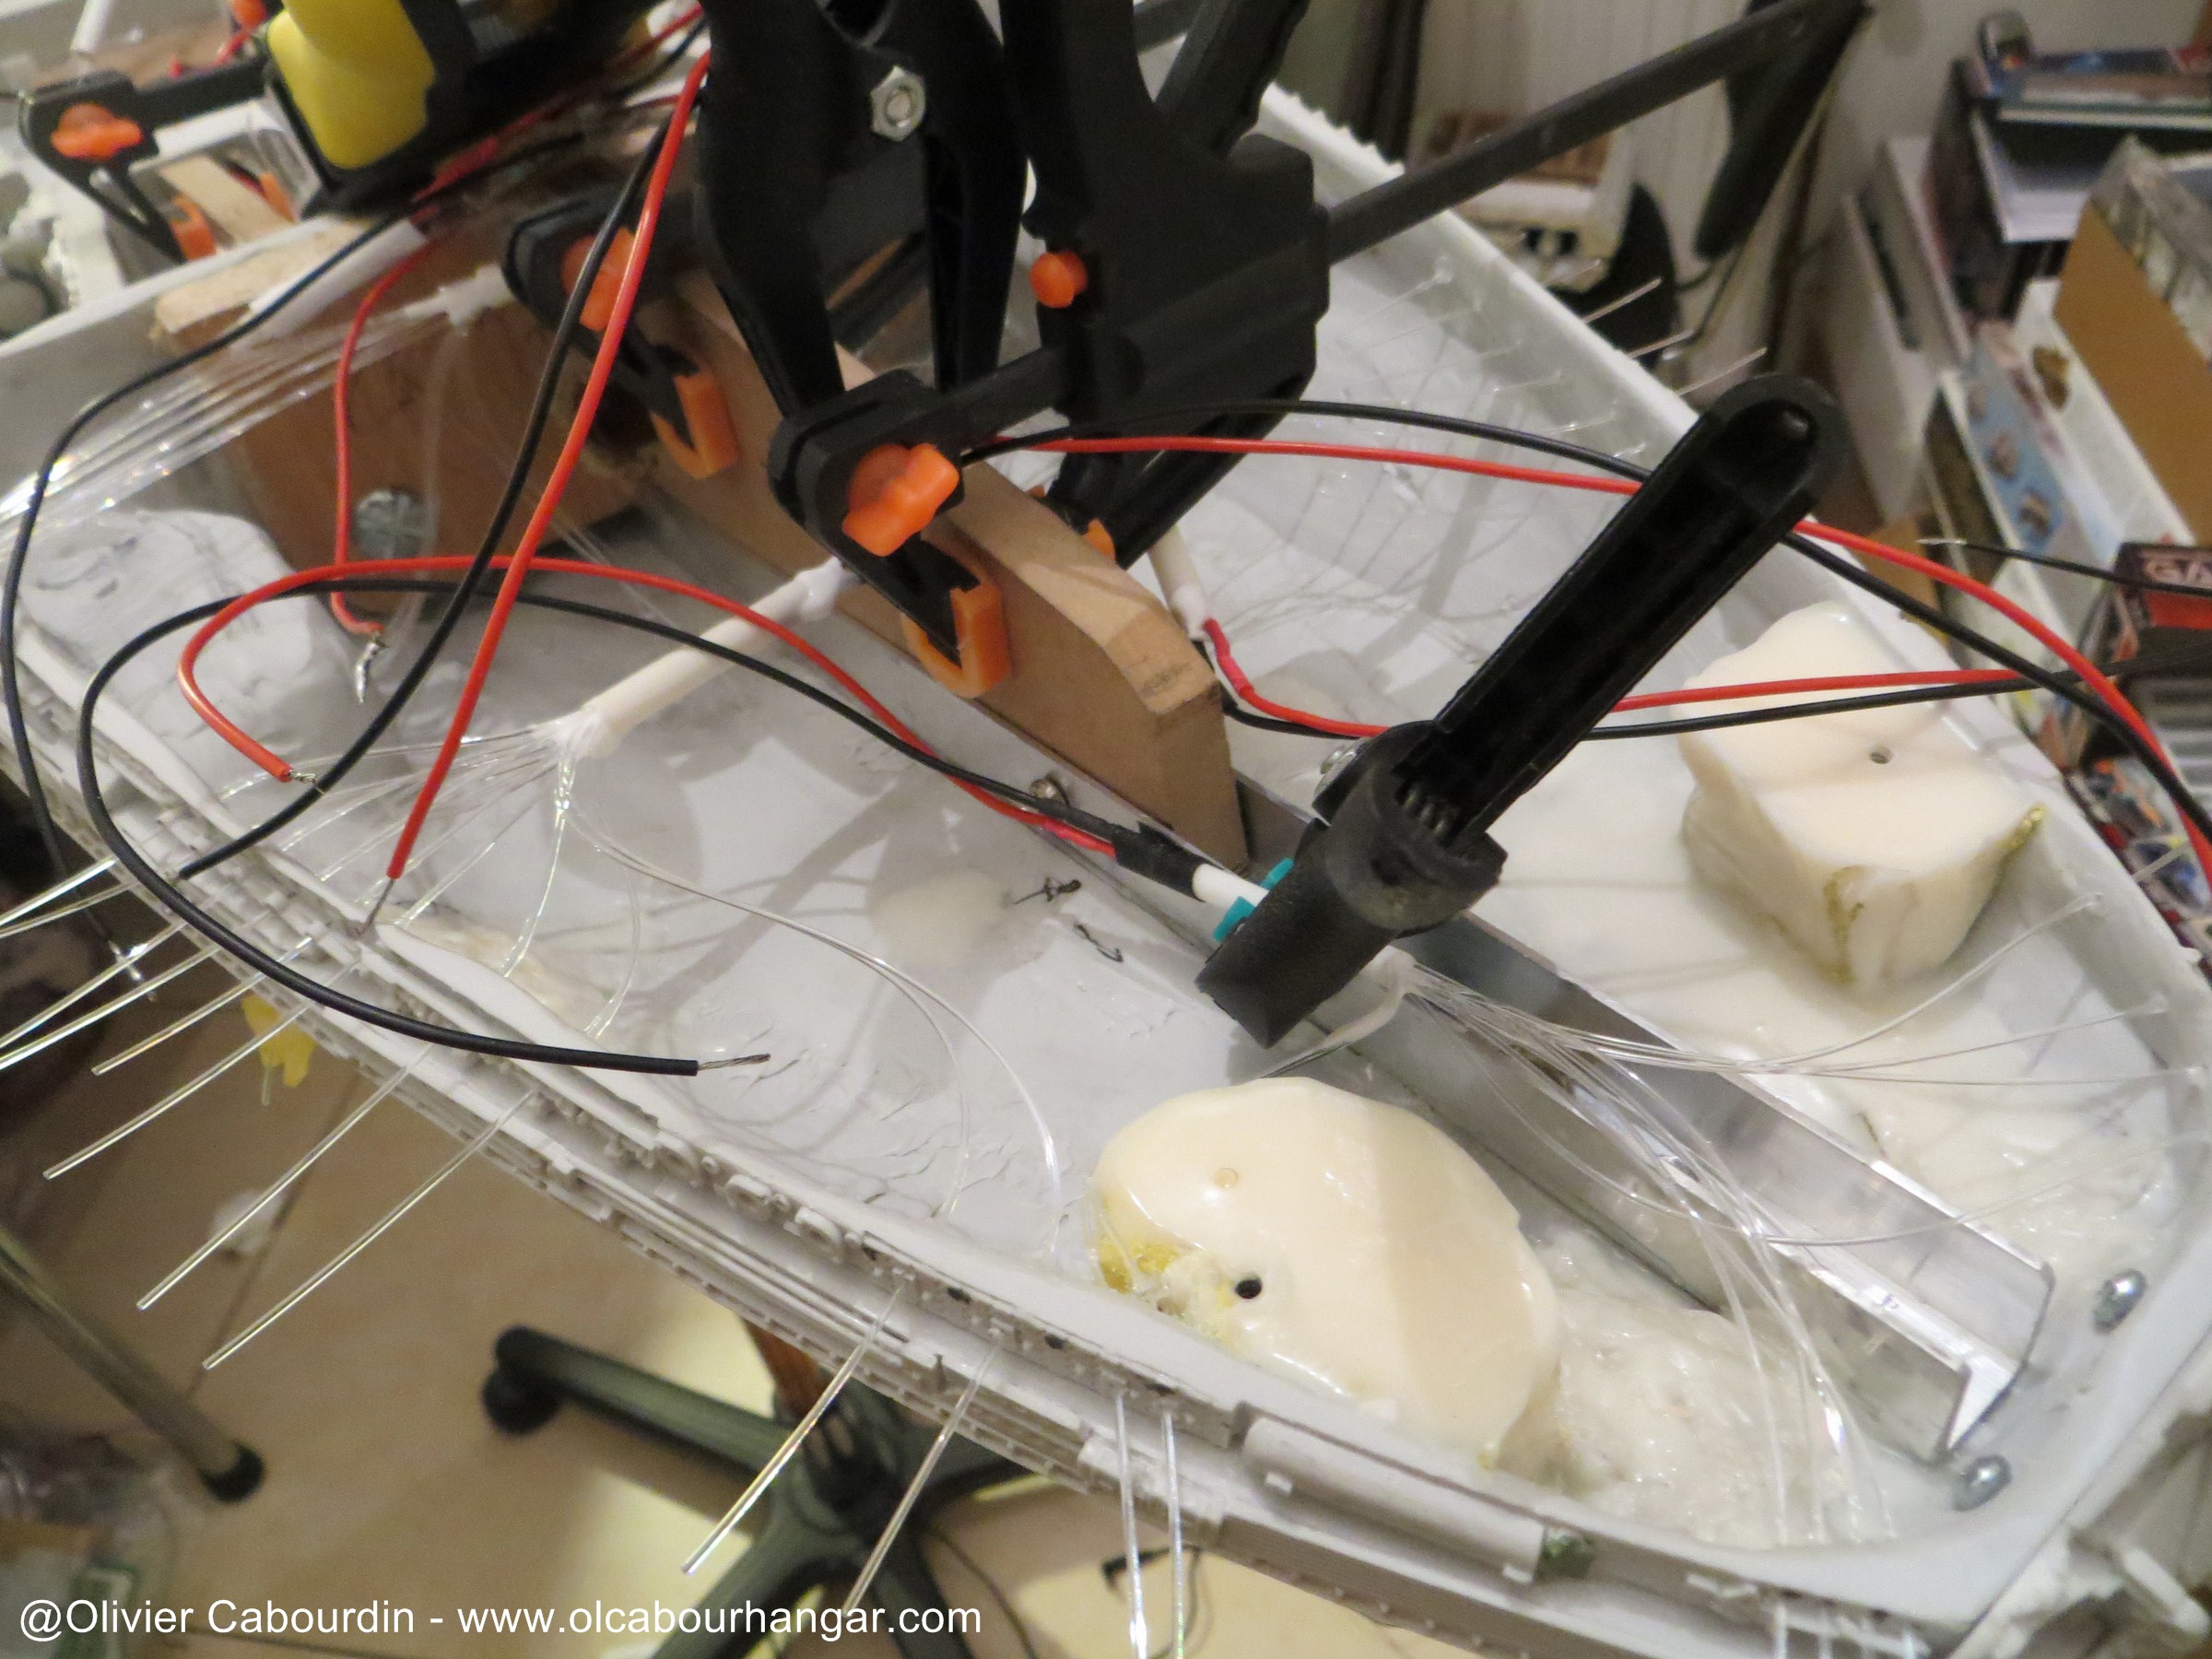
- Yellow boxes
In the four small boxes, fiber is set with white glue.
The yellow LED are connected to fiber (1mm this time) in a white pipe, and secured with white.
- hangars circuit.
The electrical circuit is connected by a wire going through the forearm (via a tunnel that I did previously during the dry assembling)
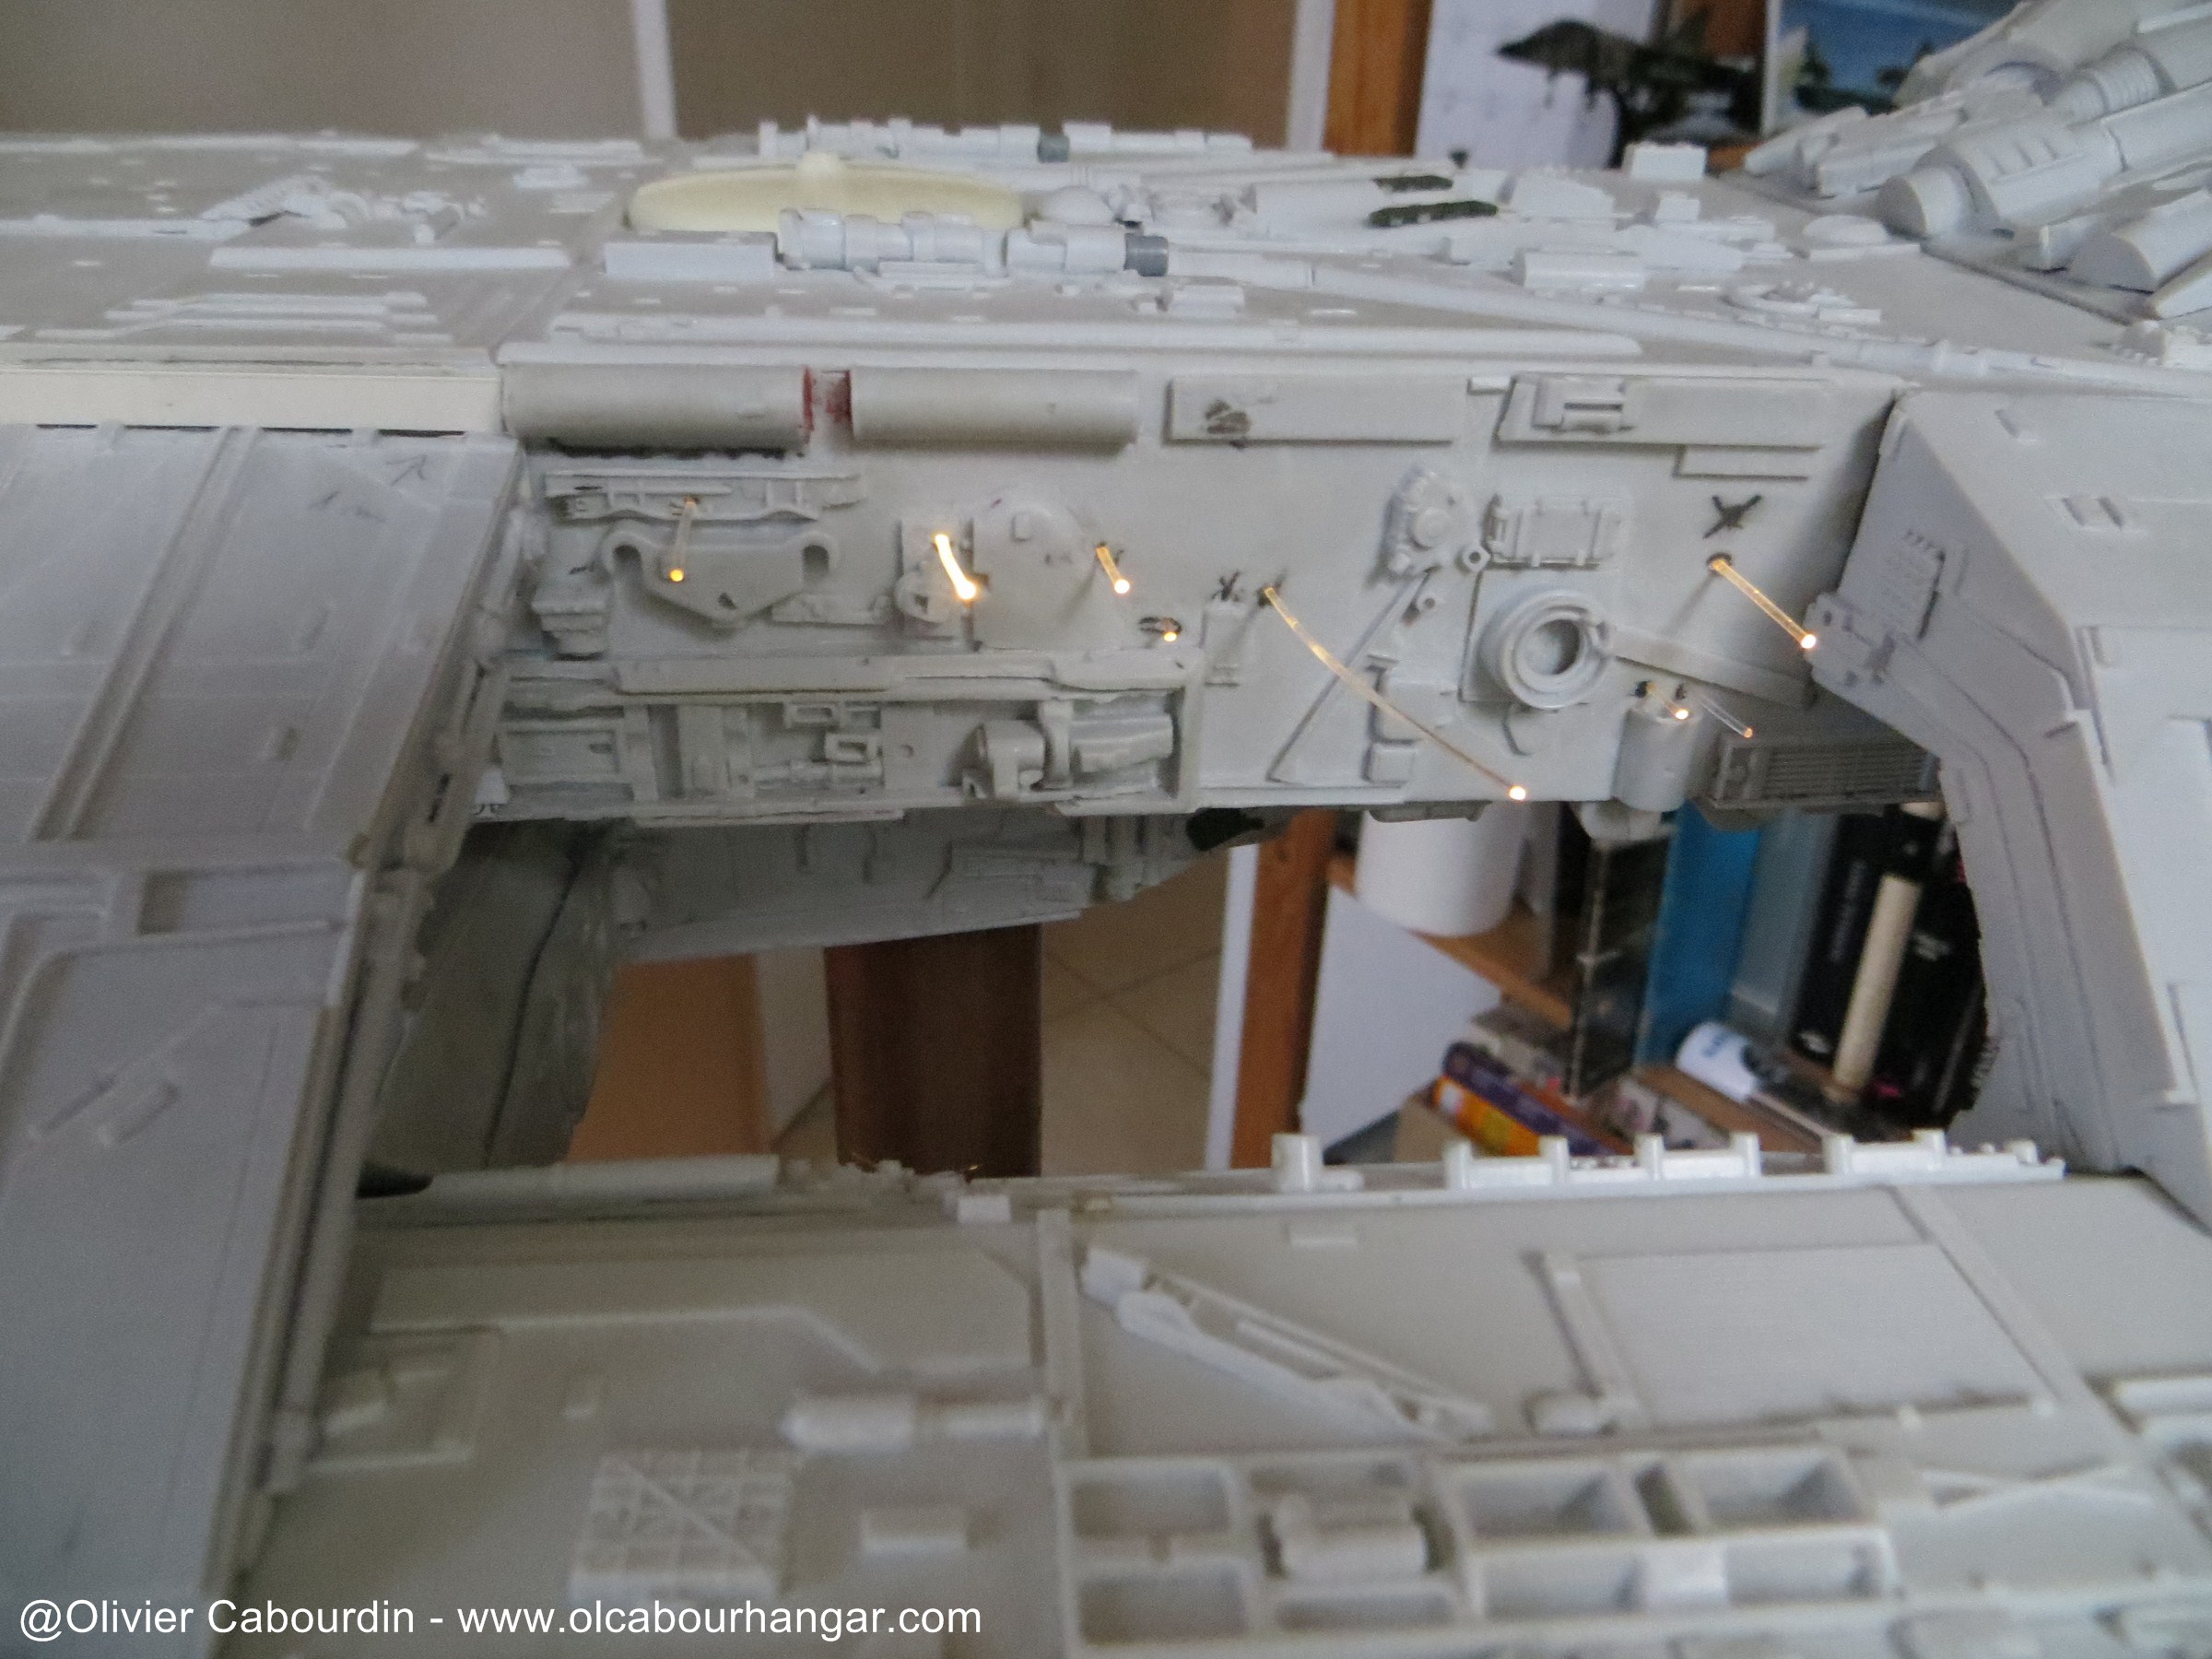
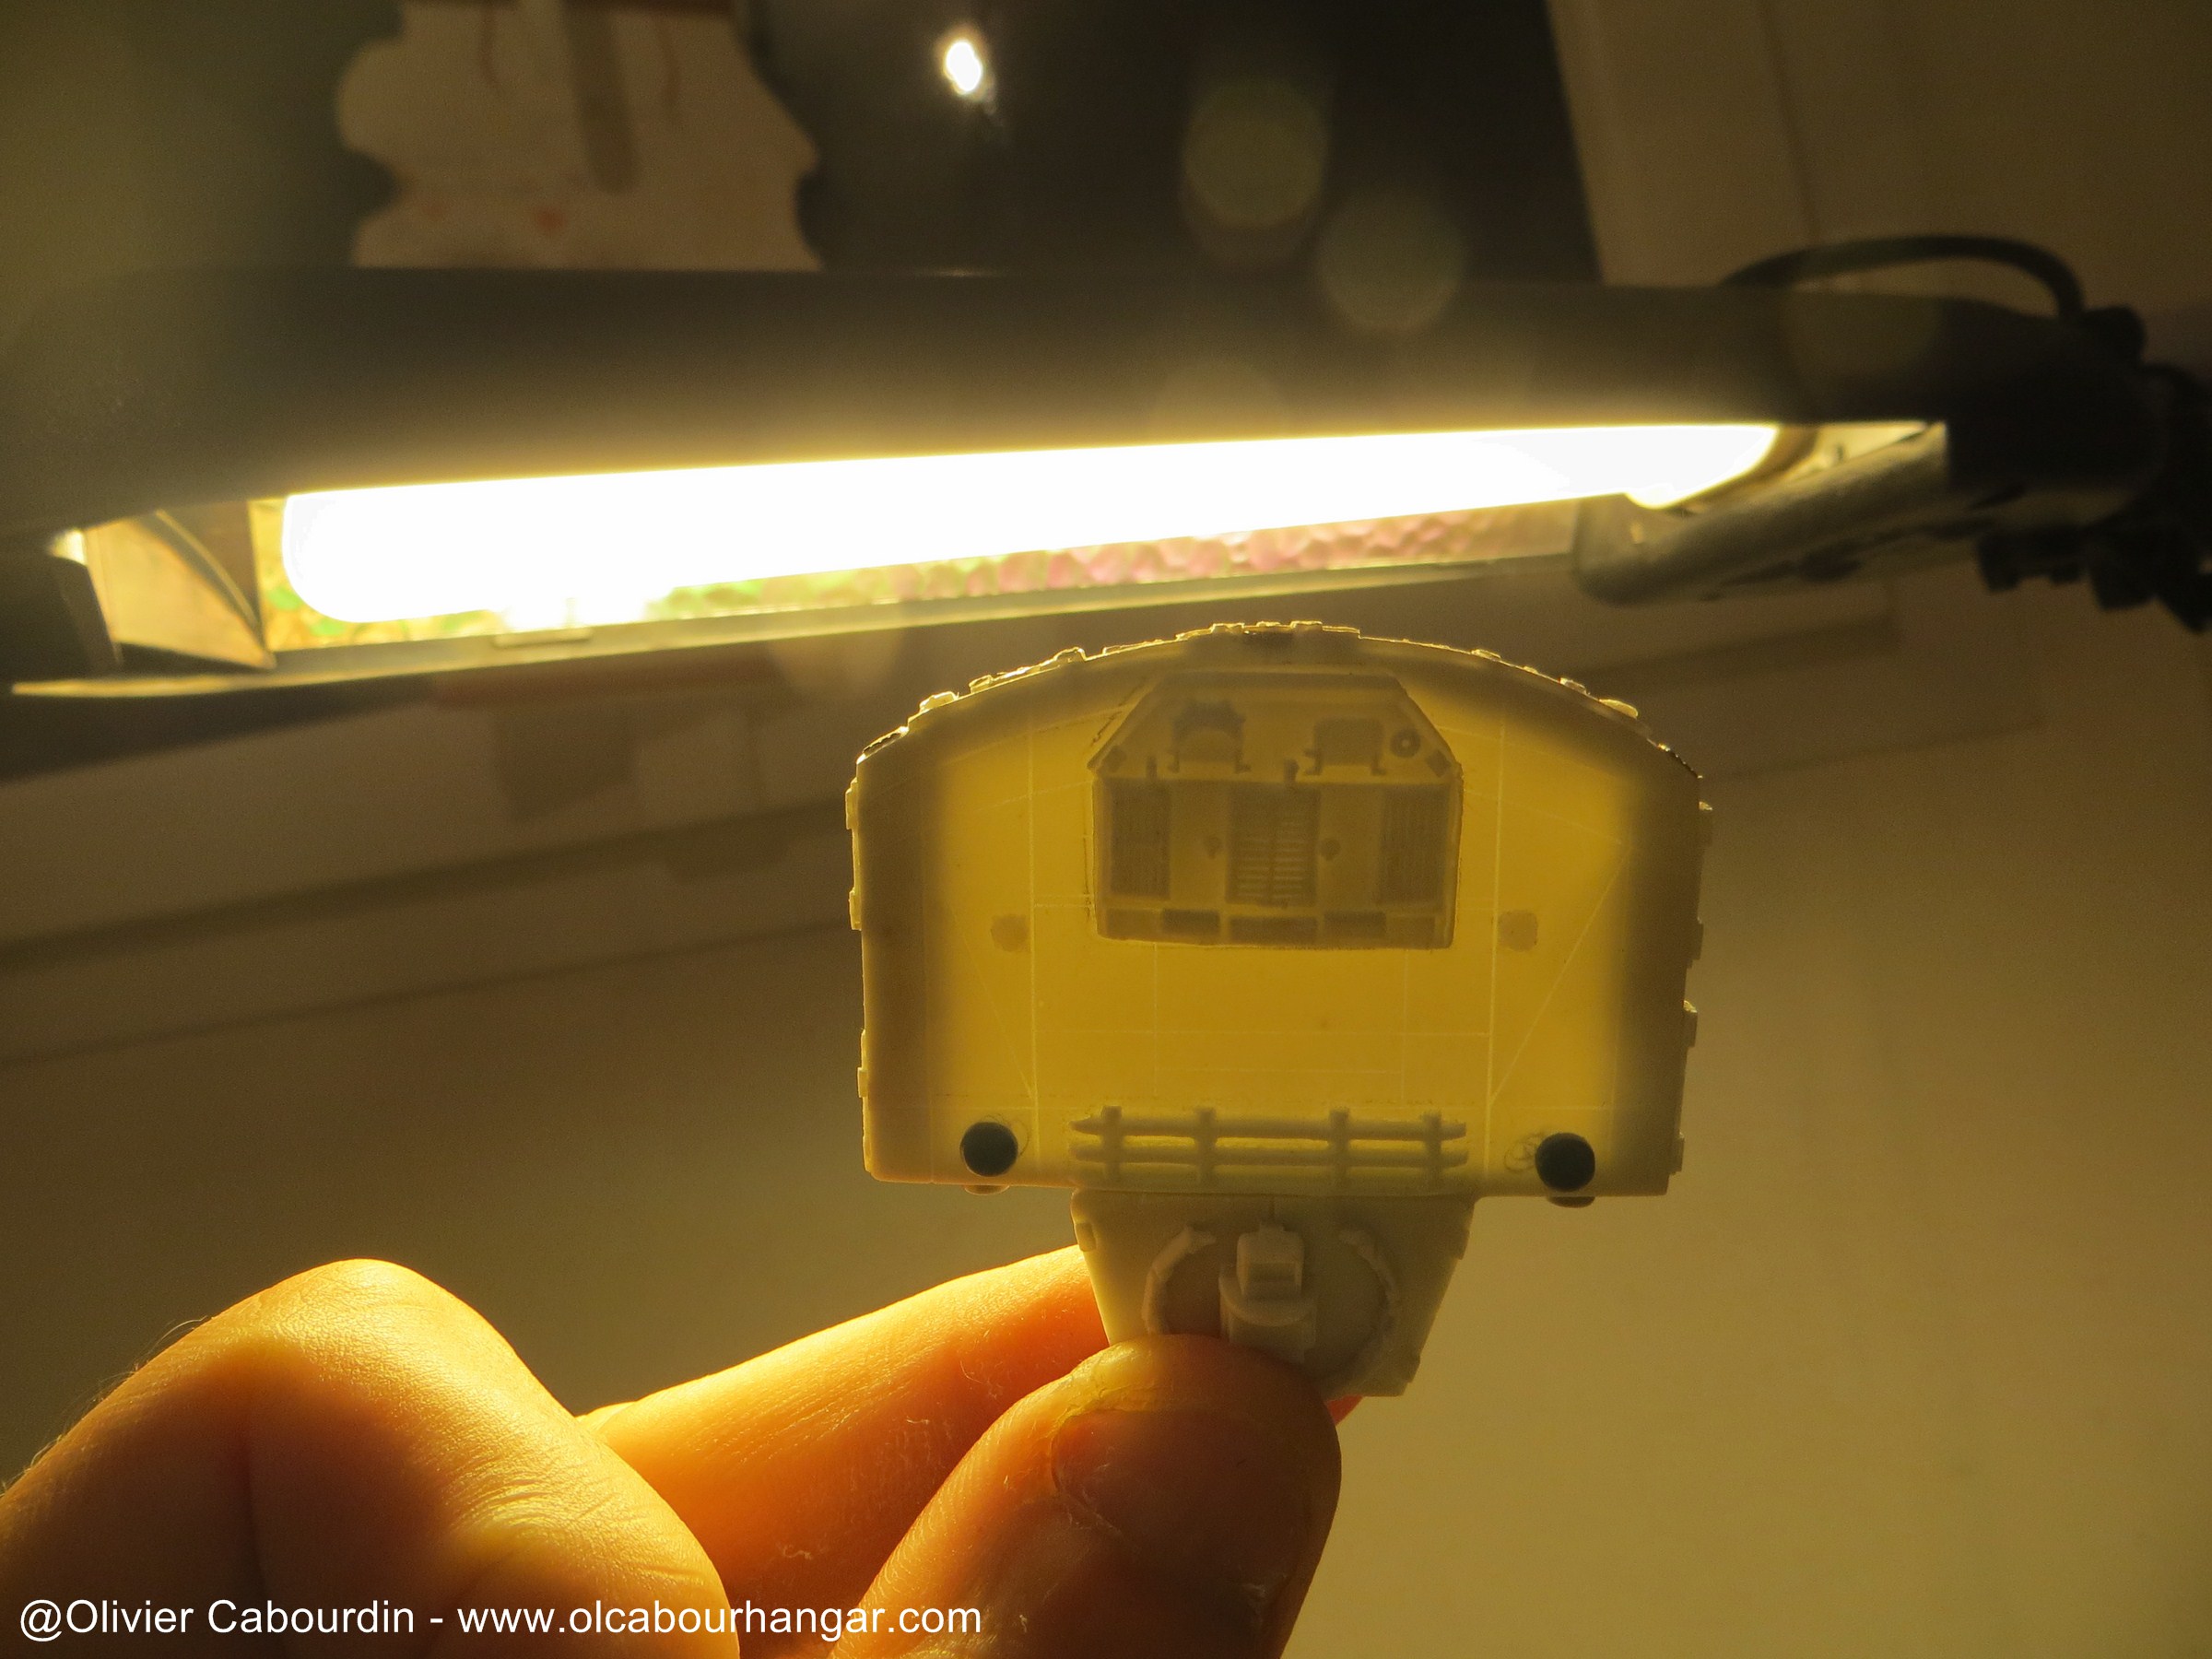
- For the head, there is enough space to install everything relatively quietly. Yet it was not easy.
Due to the work on the gap and light leaks, many fibers broke. Some will be replaced up to 3 times! 
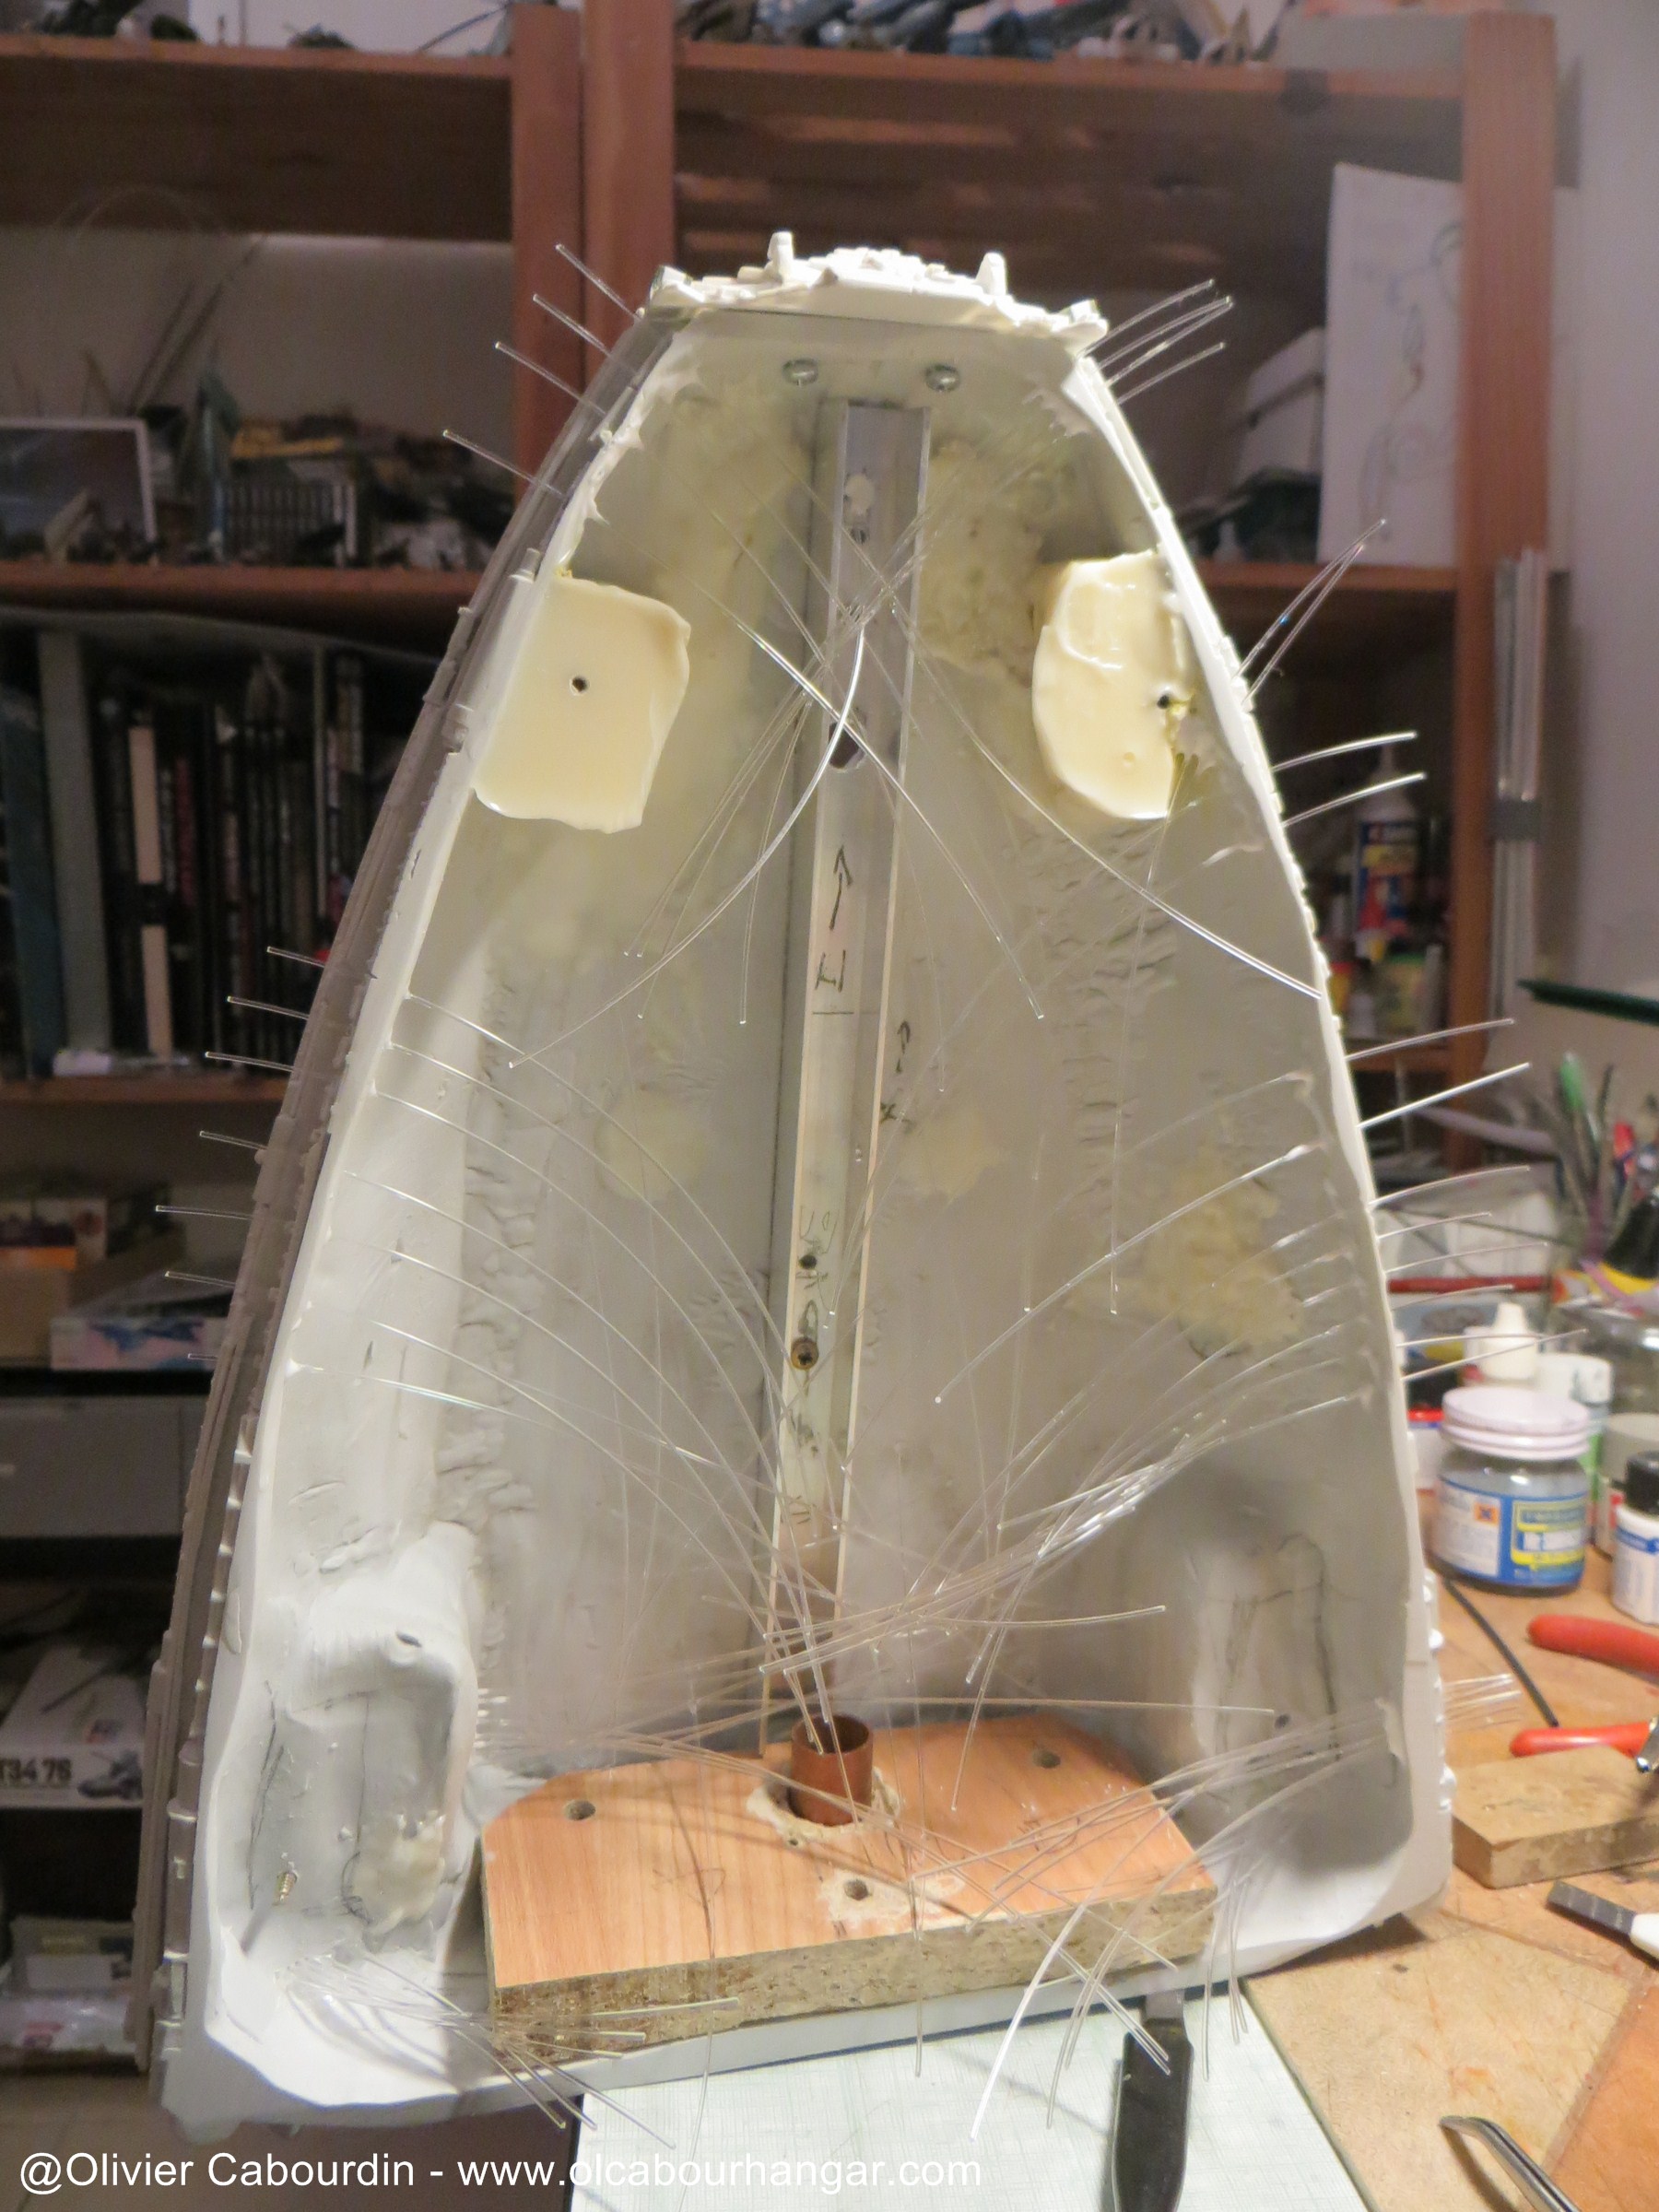

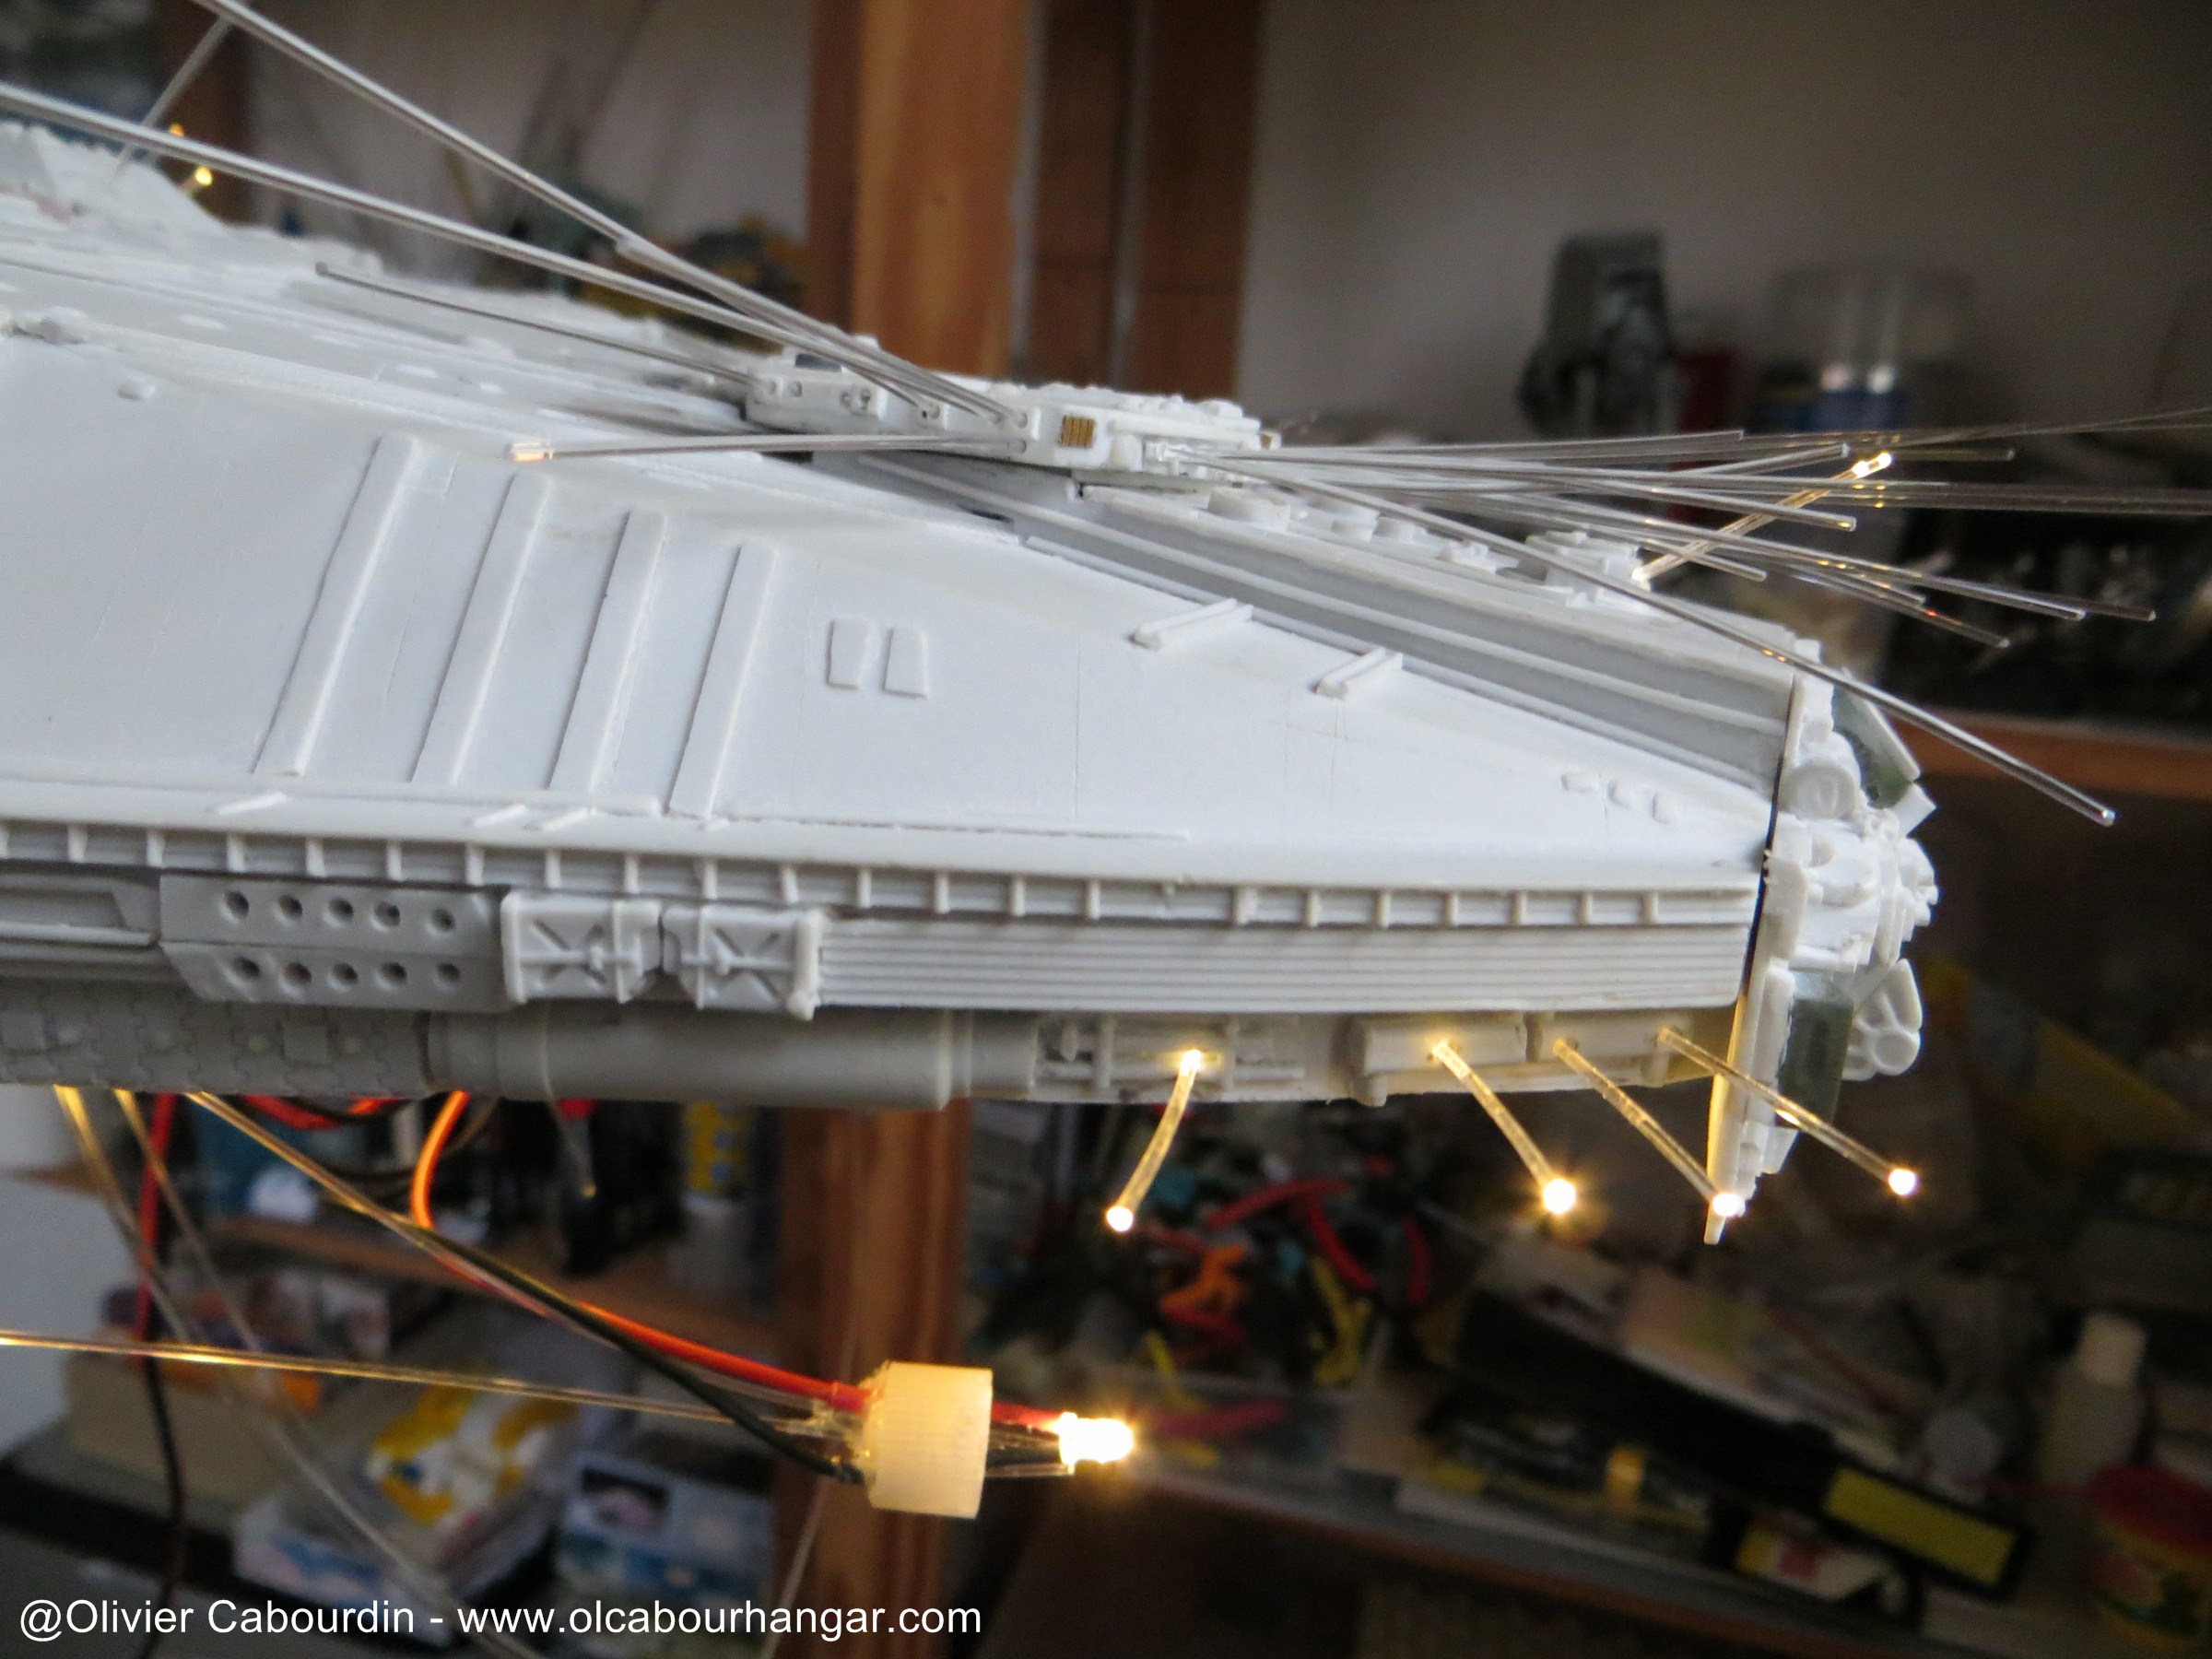
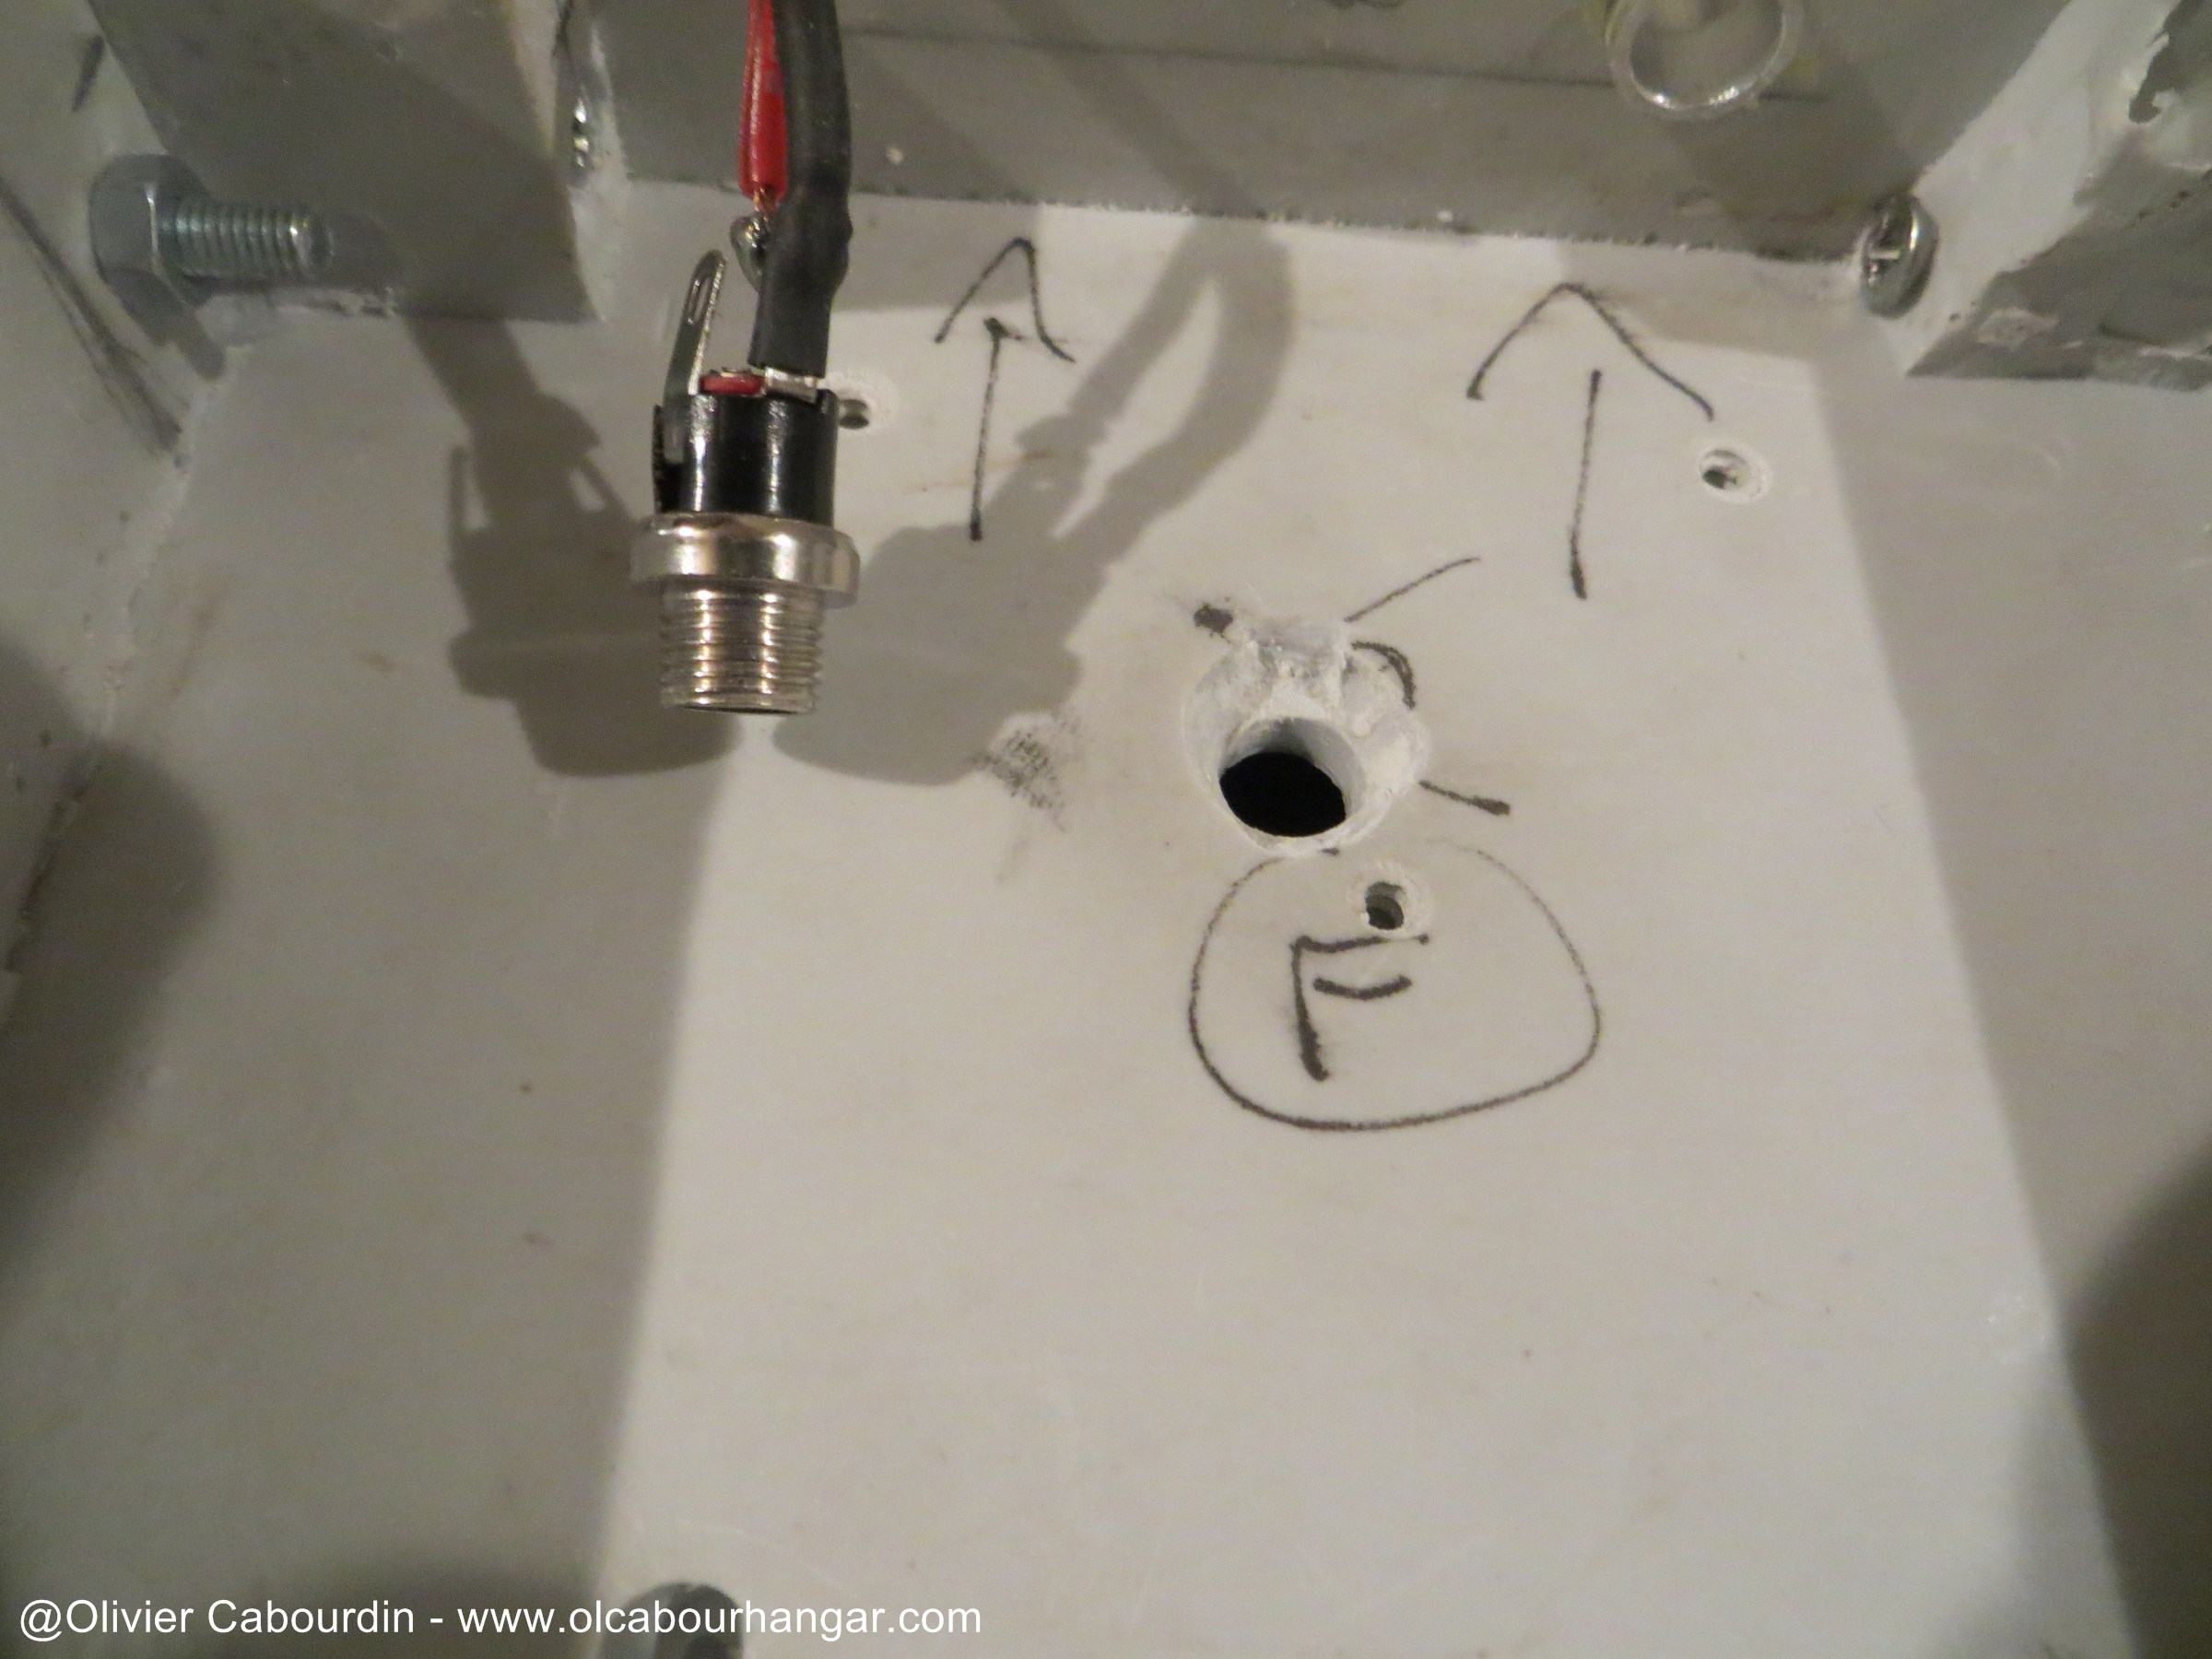
In fact, the Galactica is a cat ... the proof: he has a mustache

So to block the ligth leaks on the head, I use black paint (of course), the black tape around the LED pipes and strips of black cloth (with 2 glued in sausage).

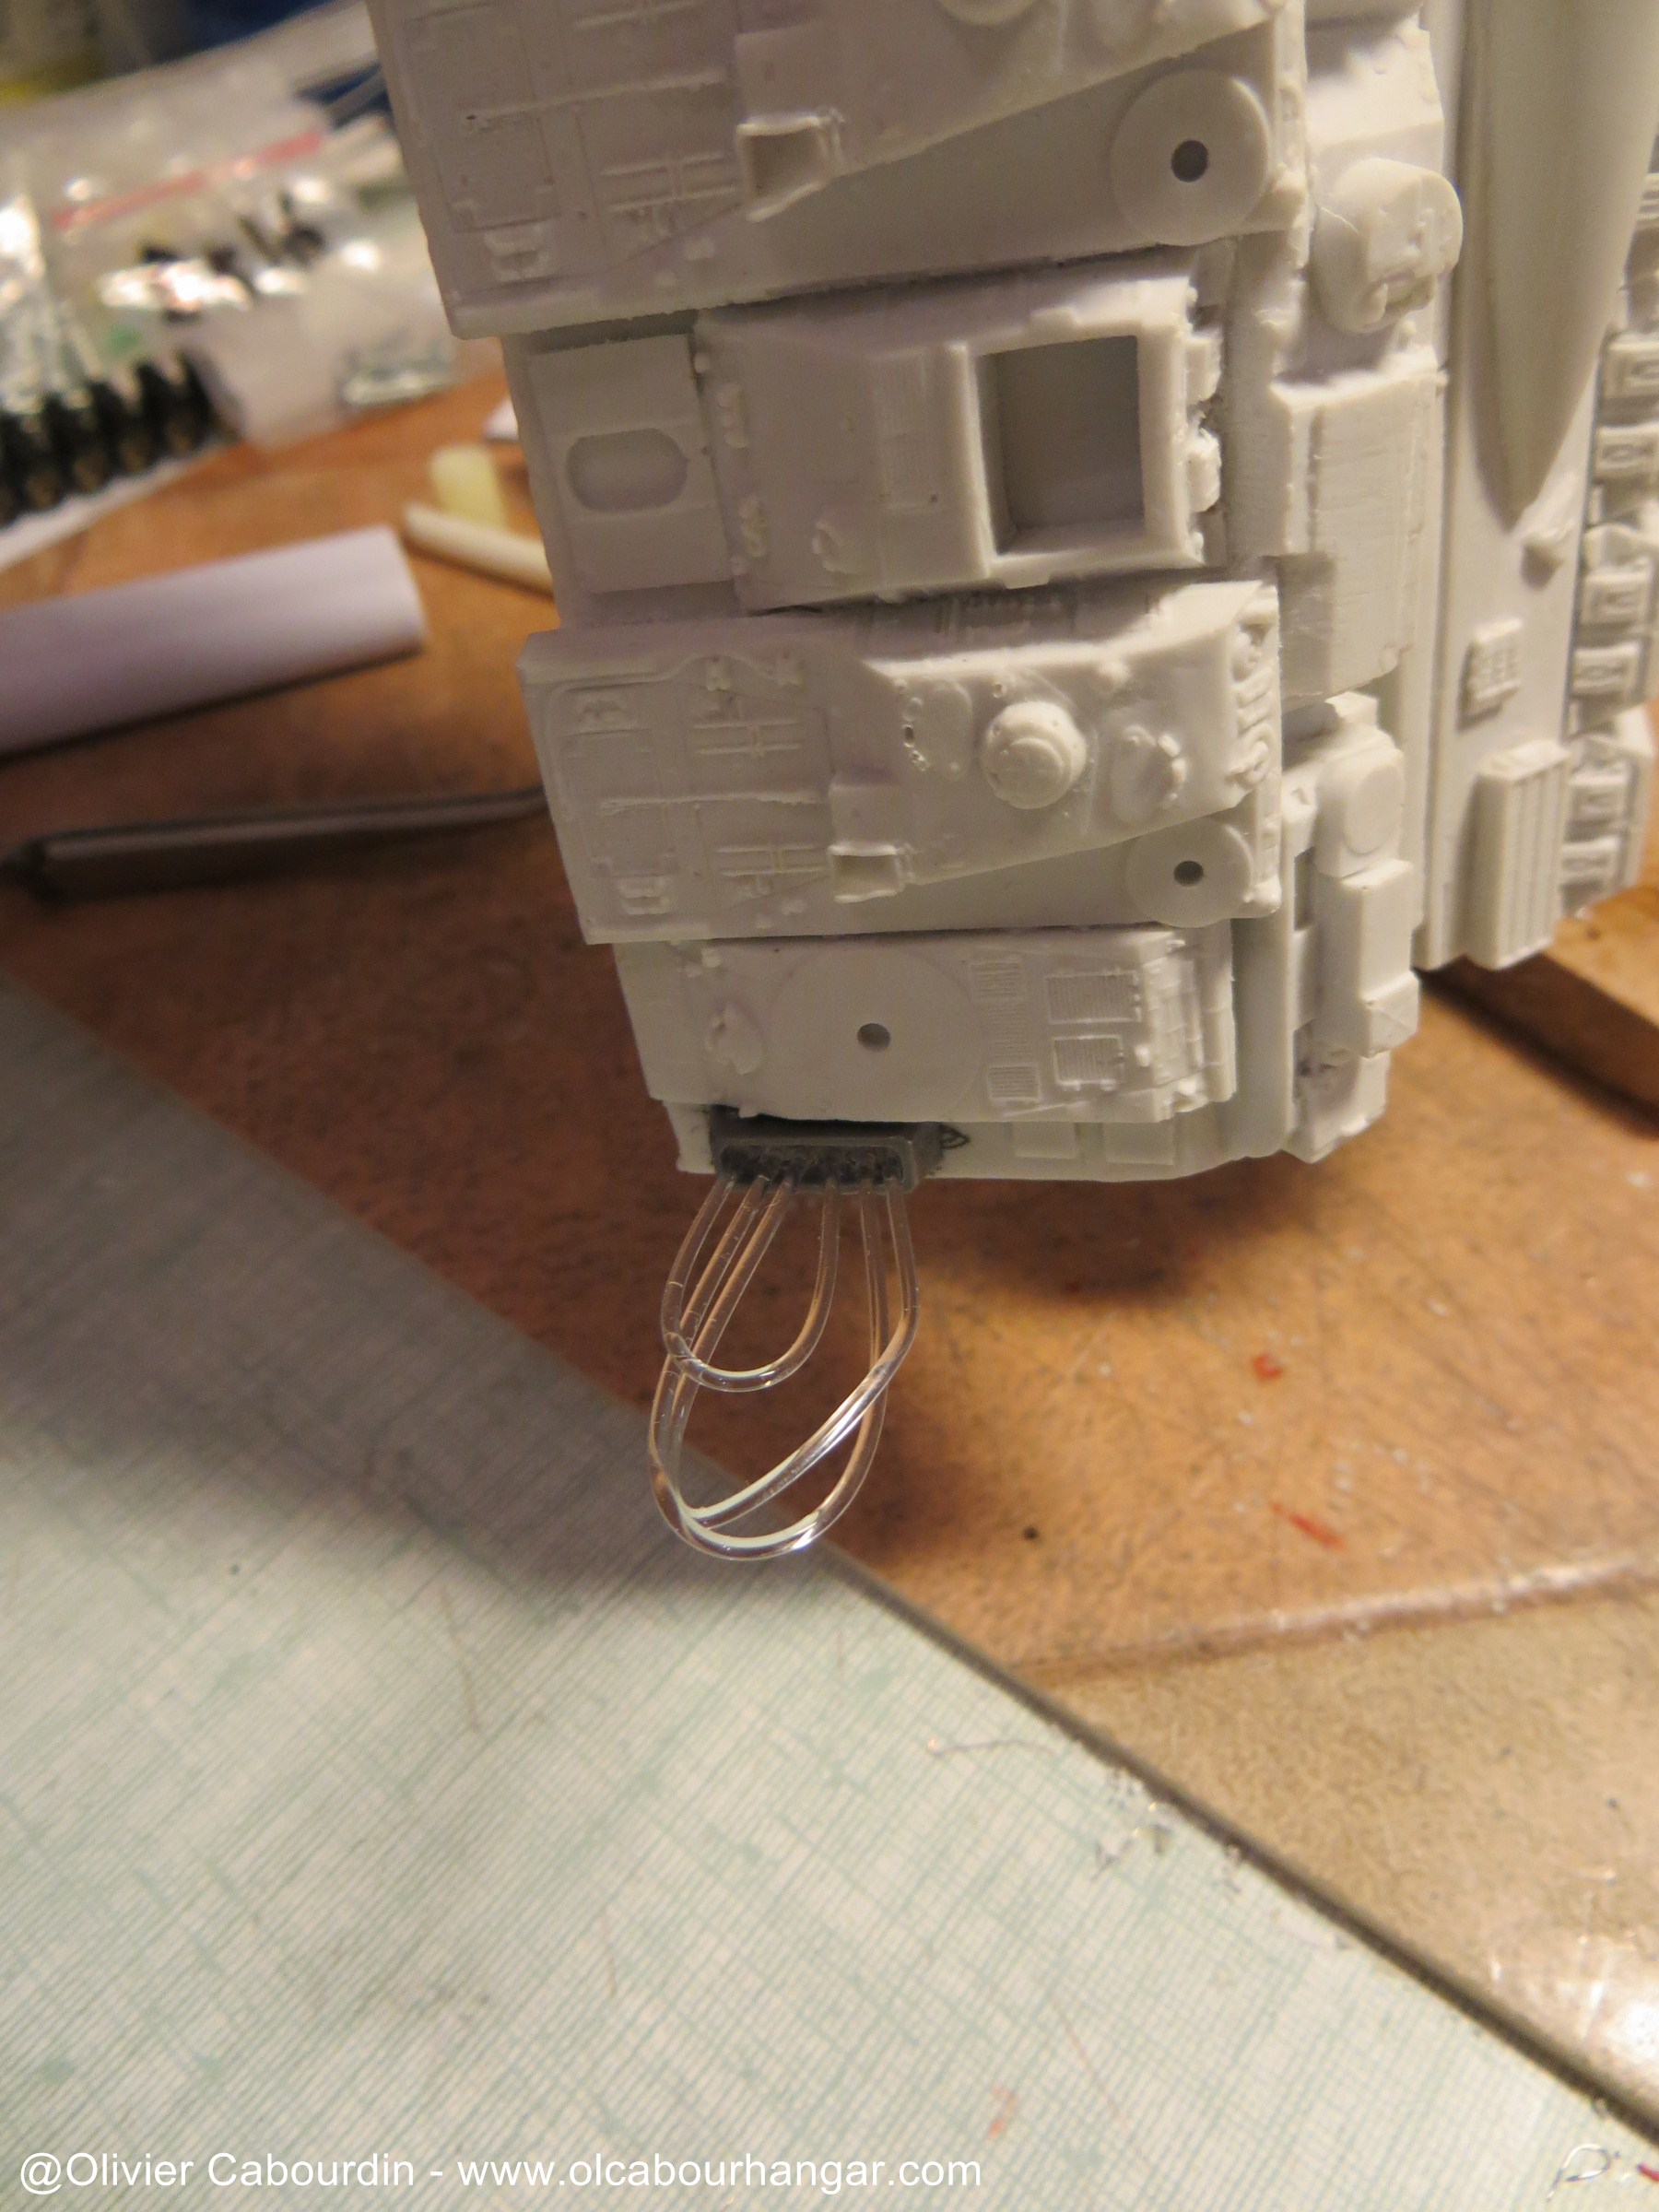
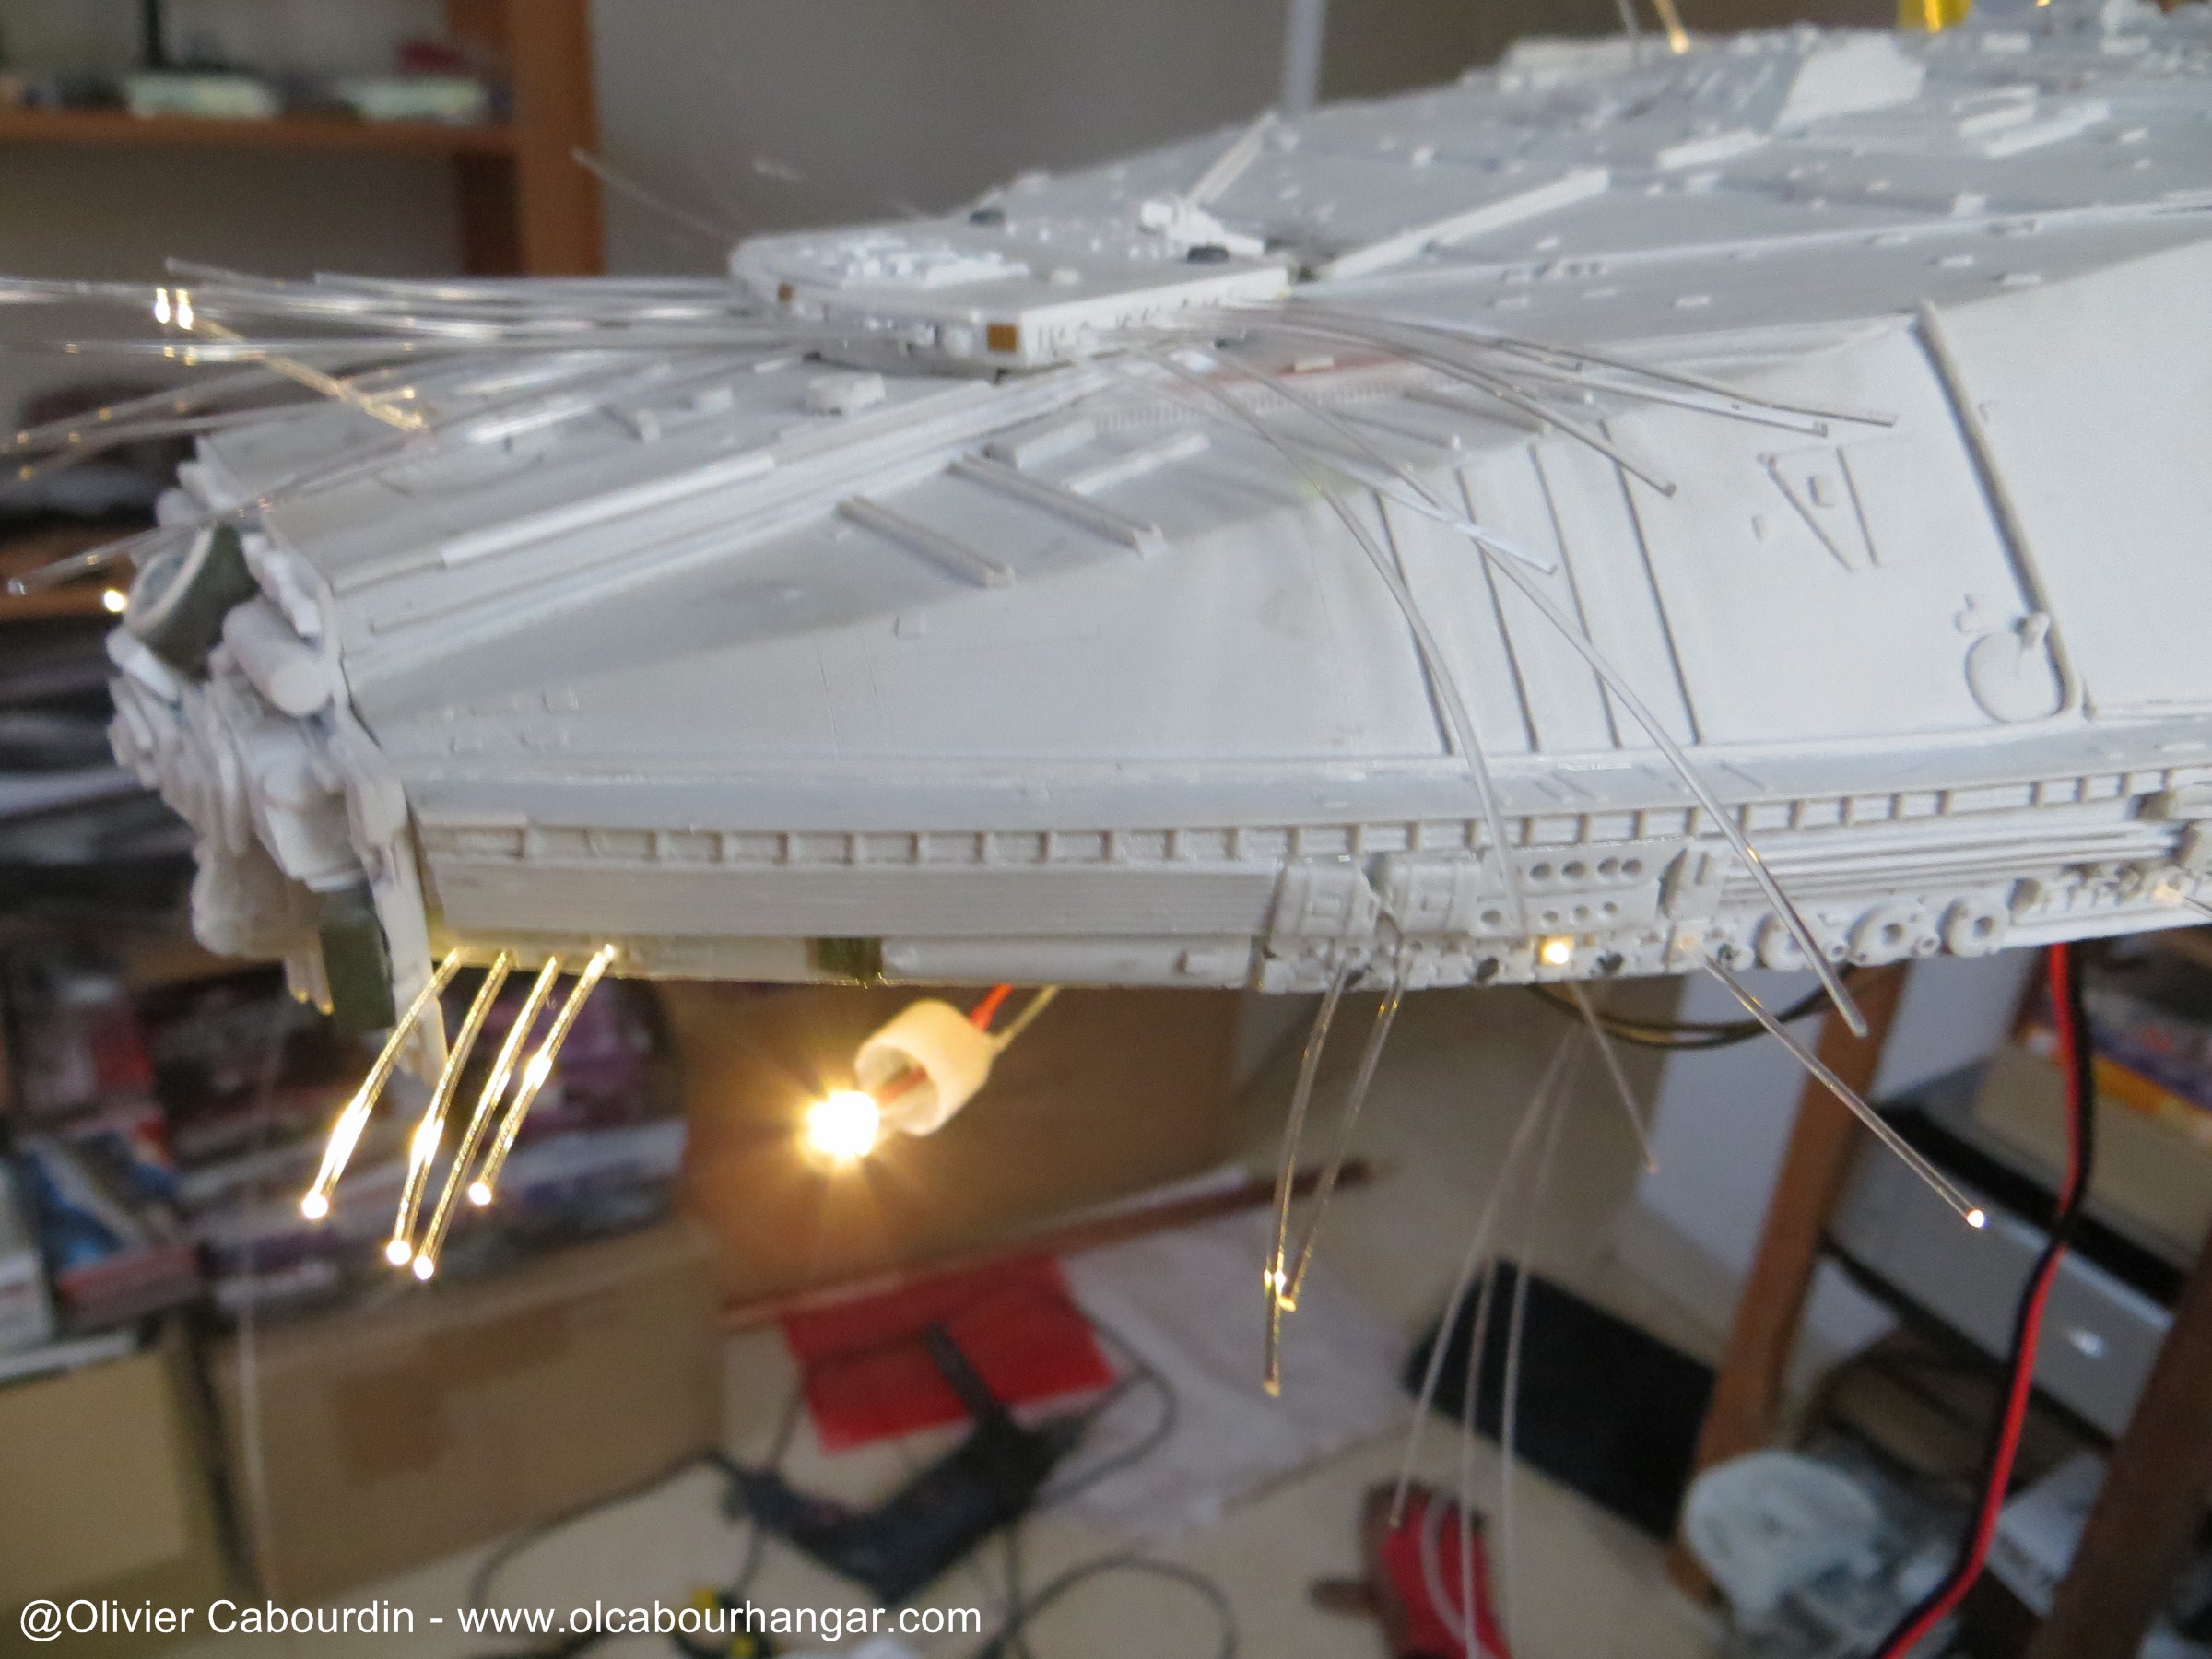
- For the bridge, I was planning to run the fibers into the head, but the strength of the fibers (as a bundle) did not allow them to go through the small opening provided without force feedback on the part, that I was afraid to break !
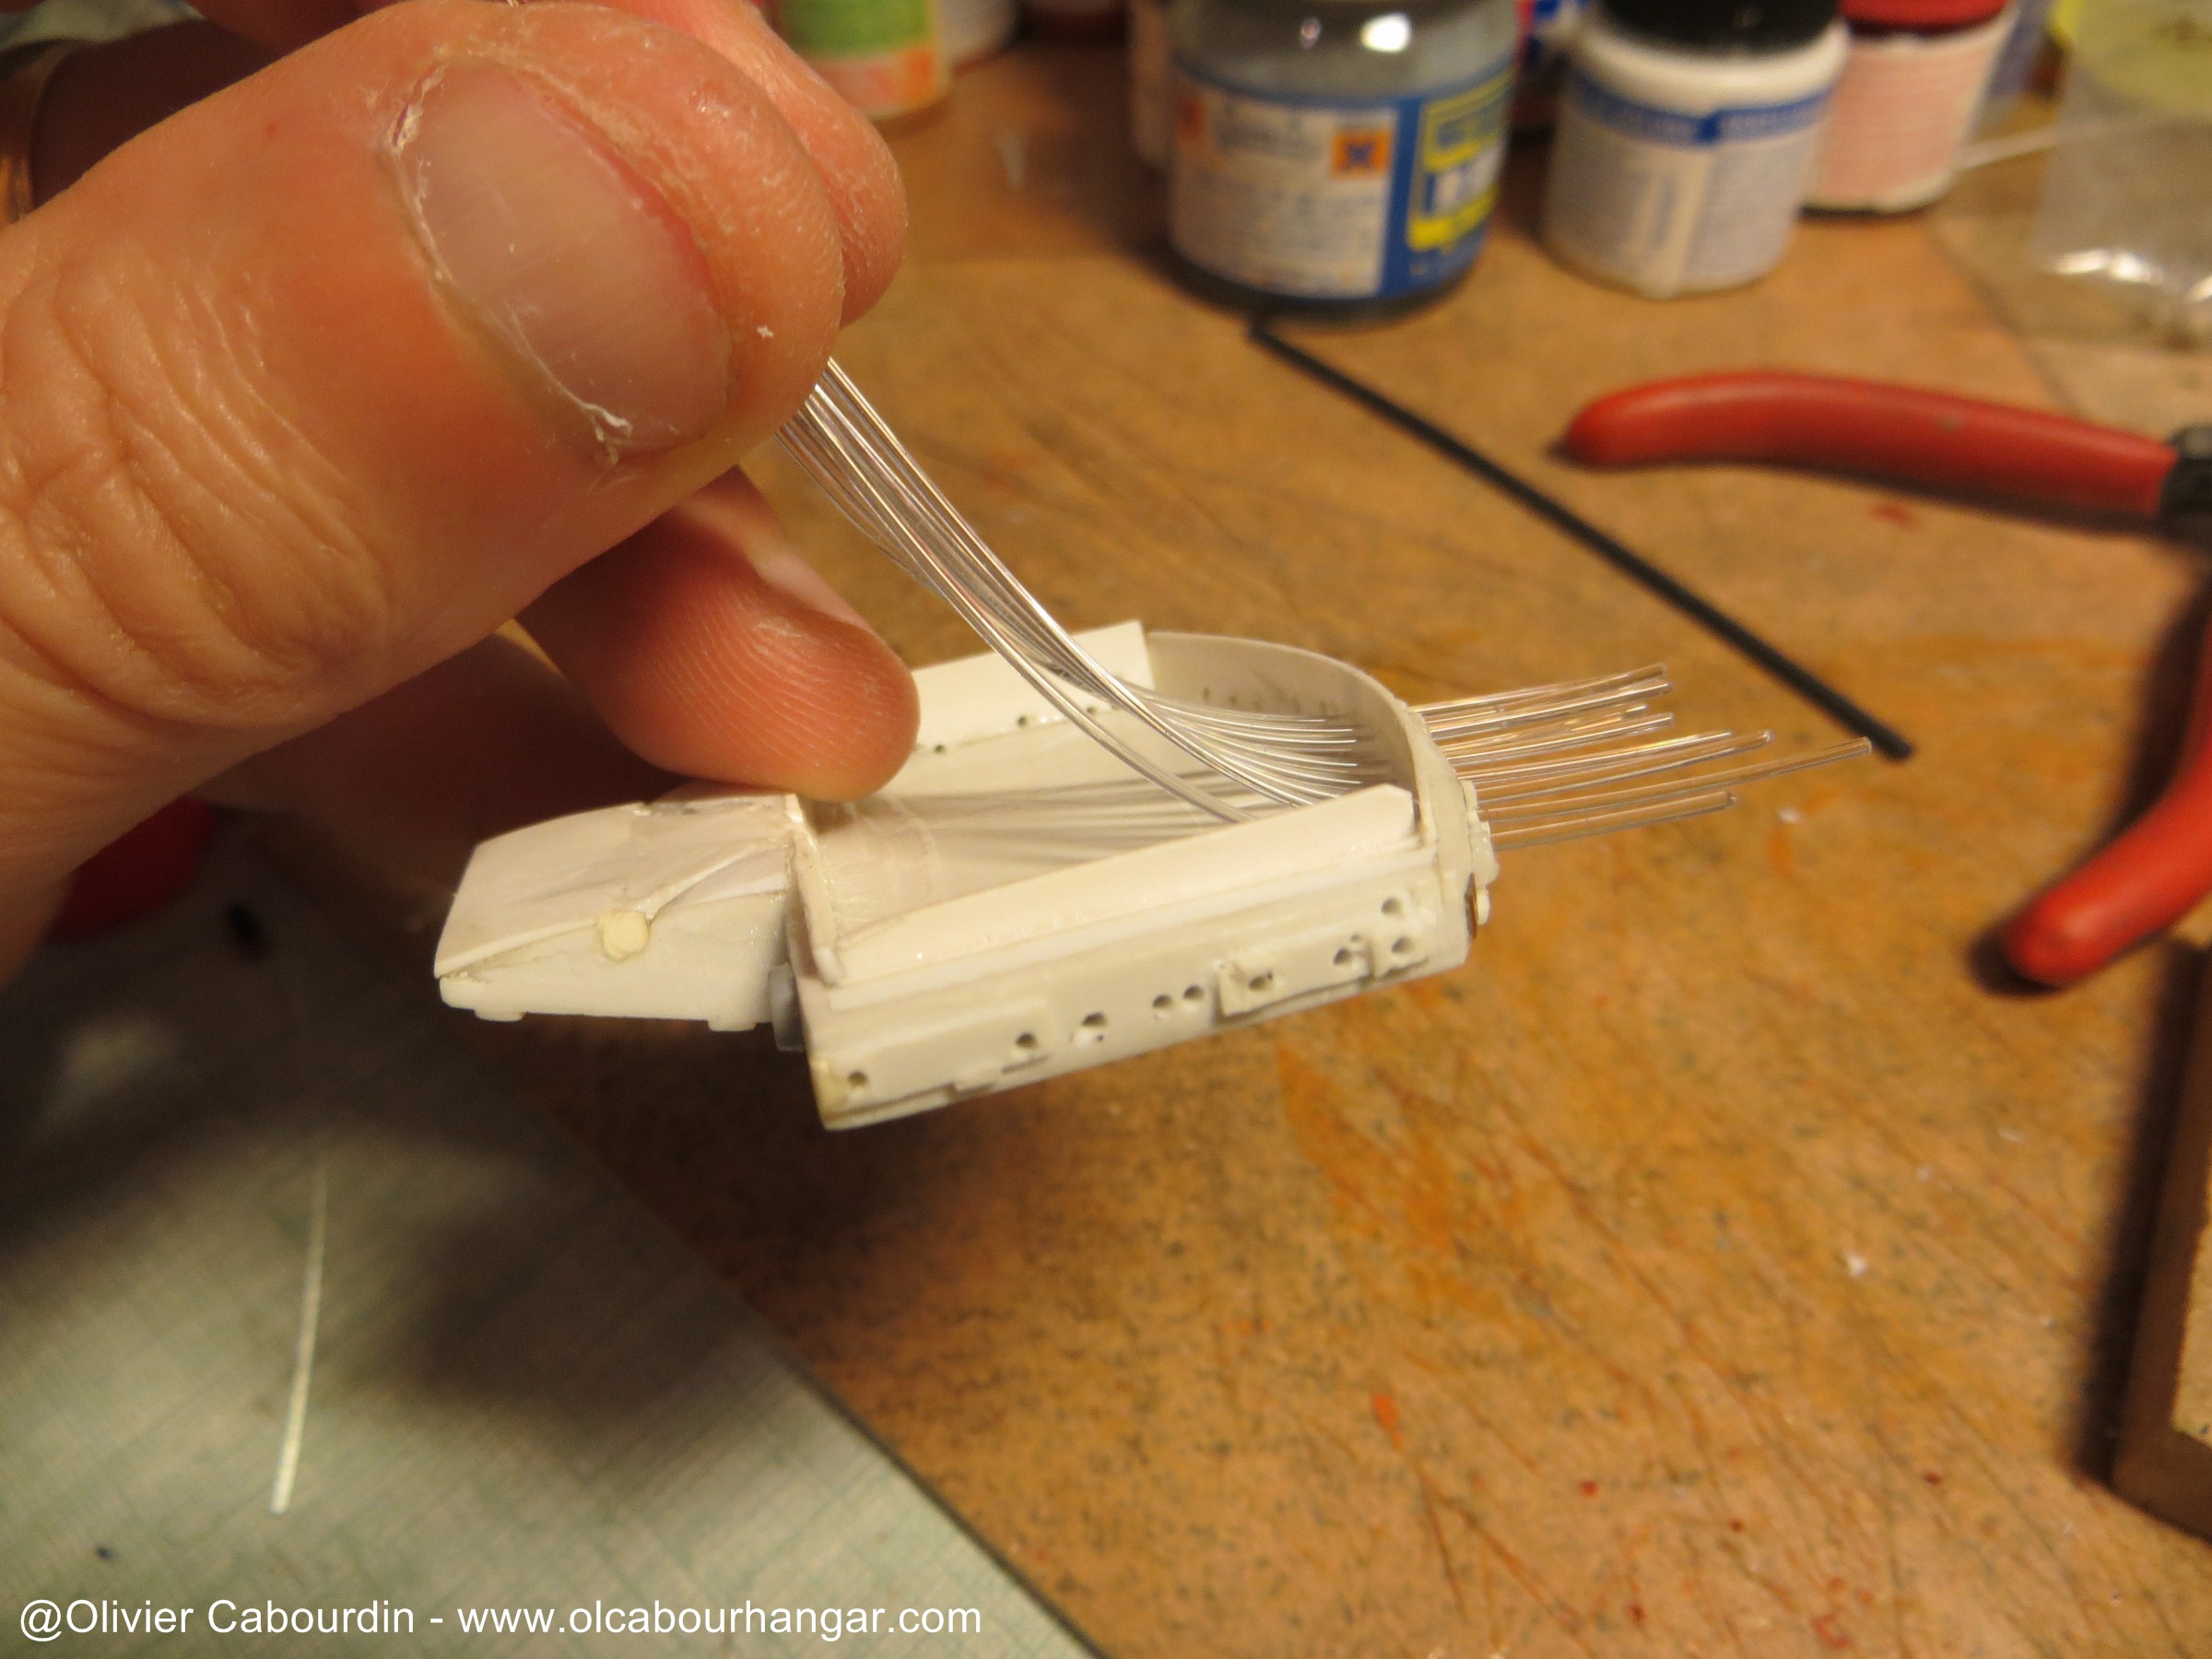
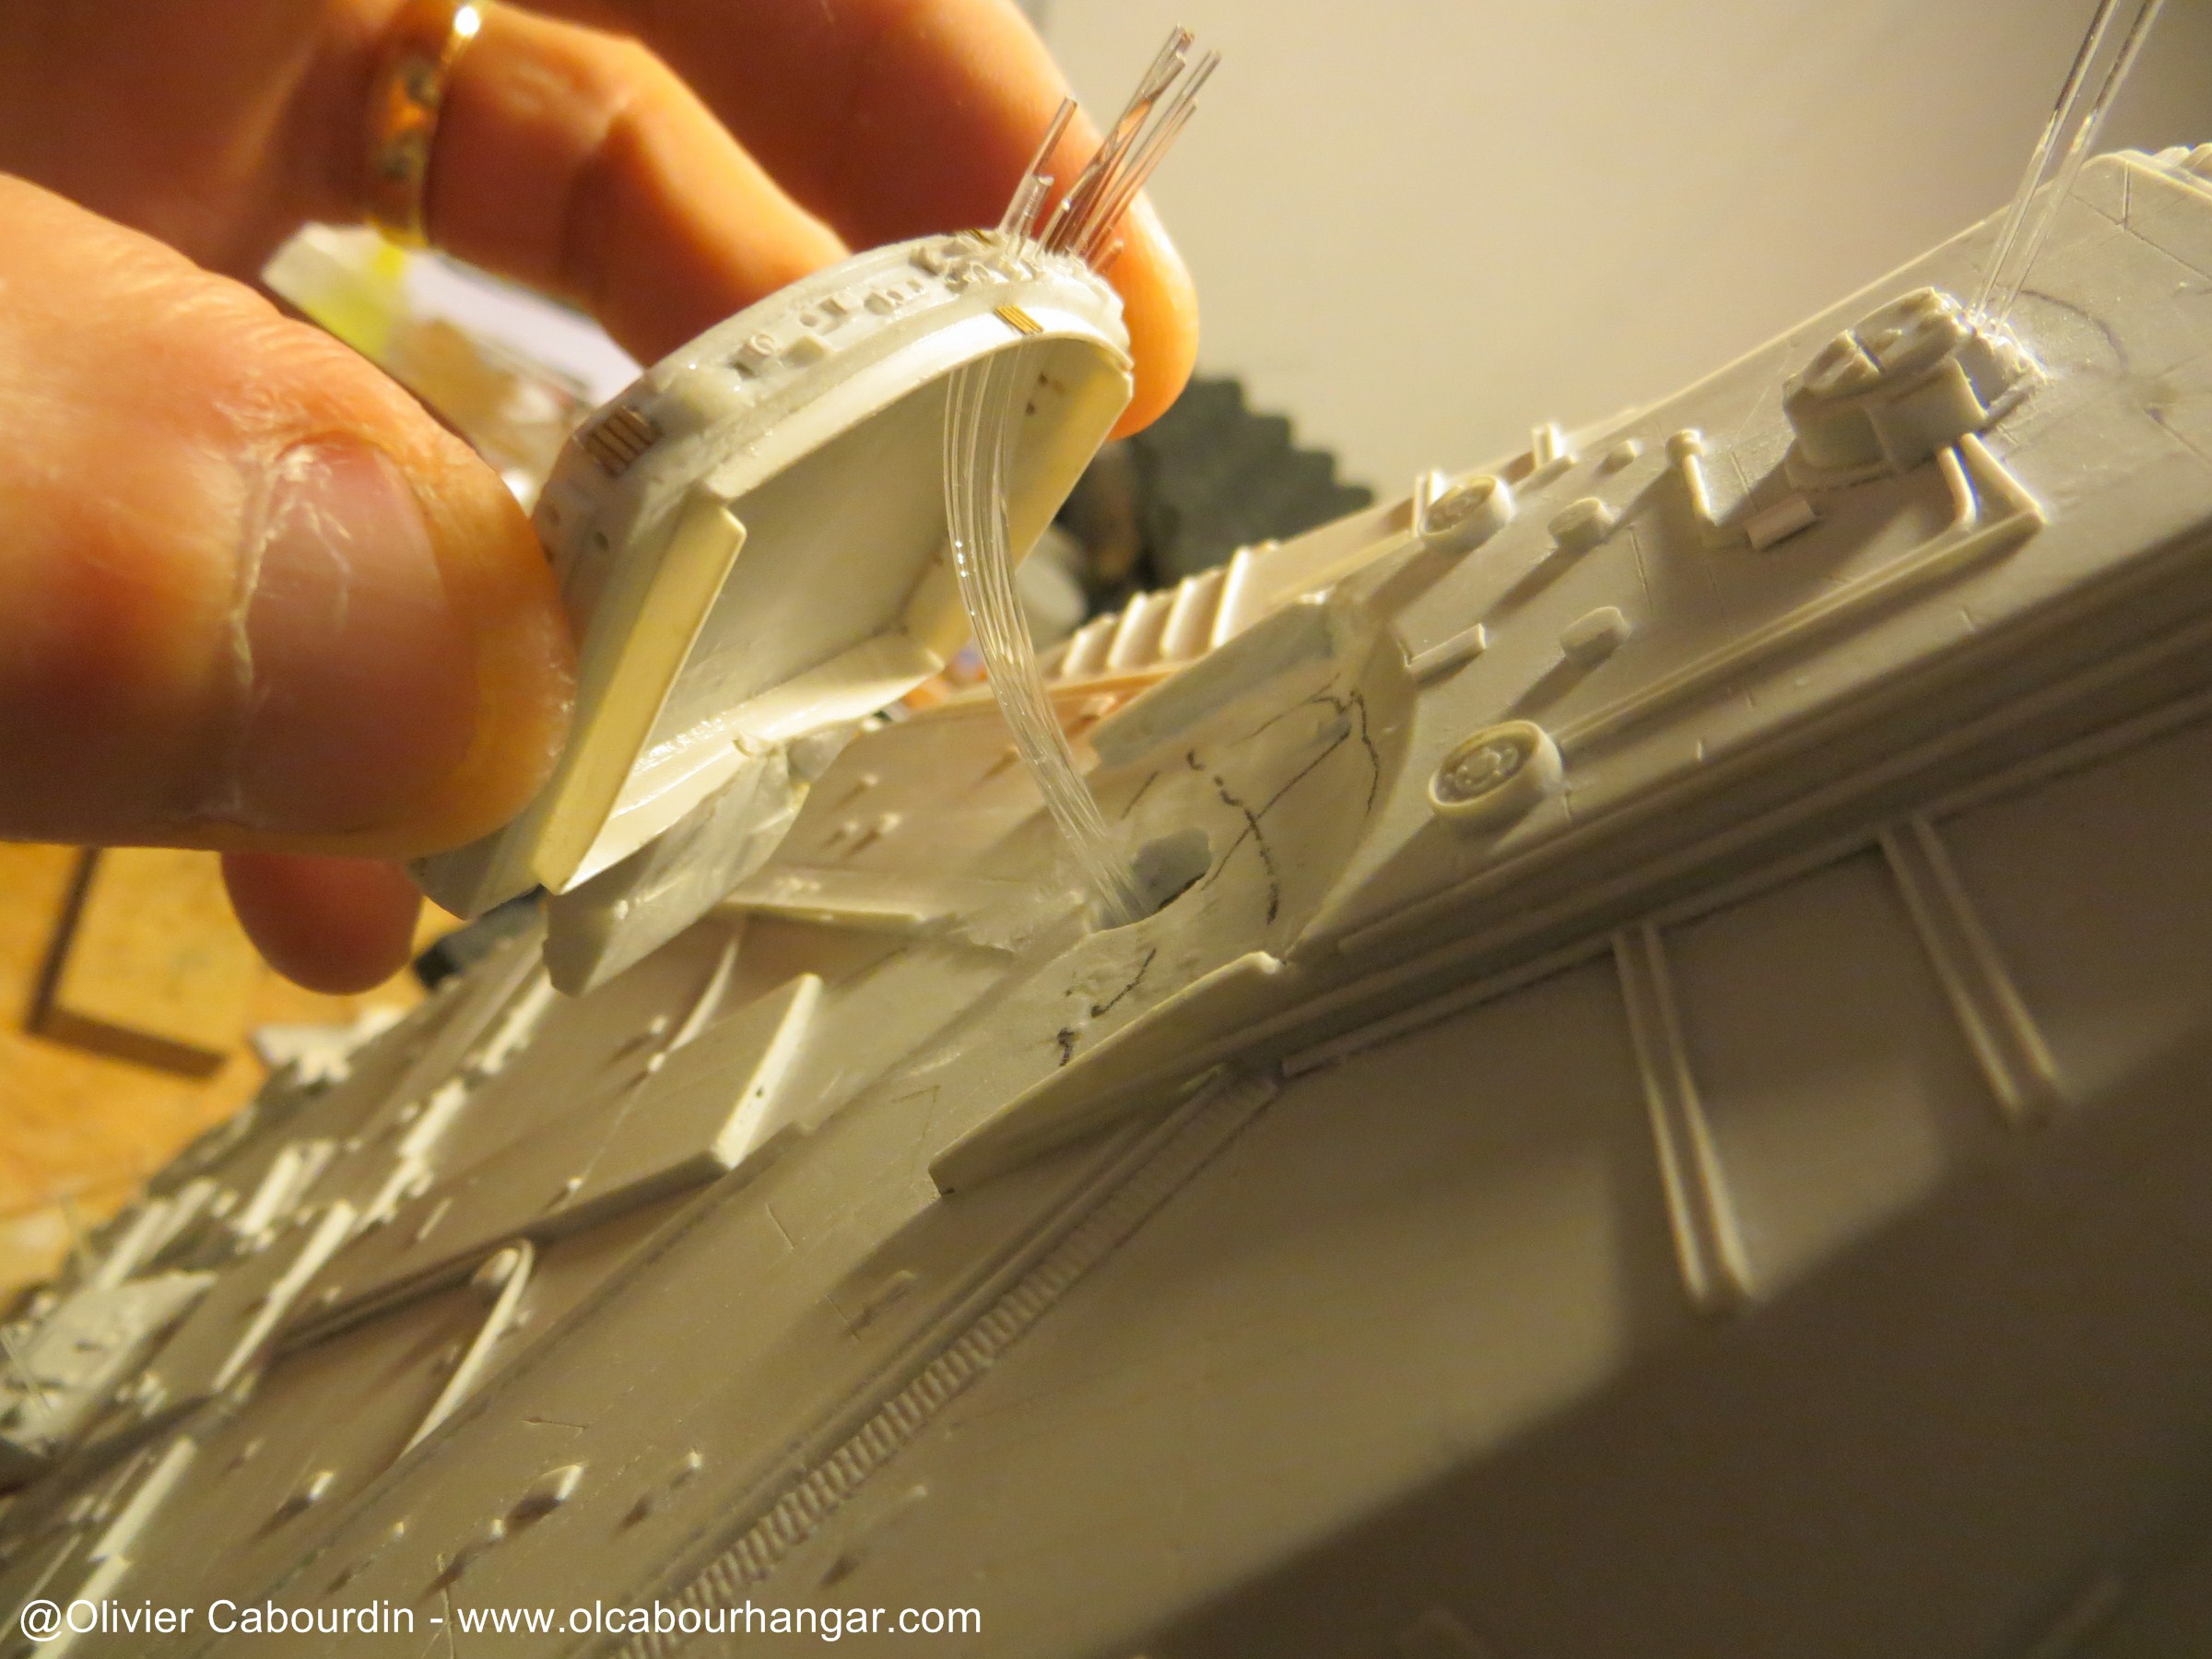
So they are finally inserted in the side a tube where a LED is inserted.

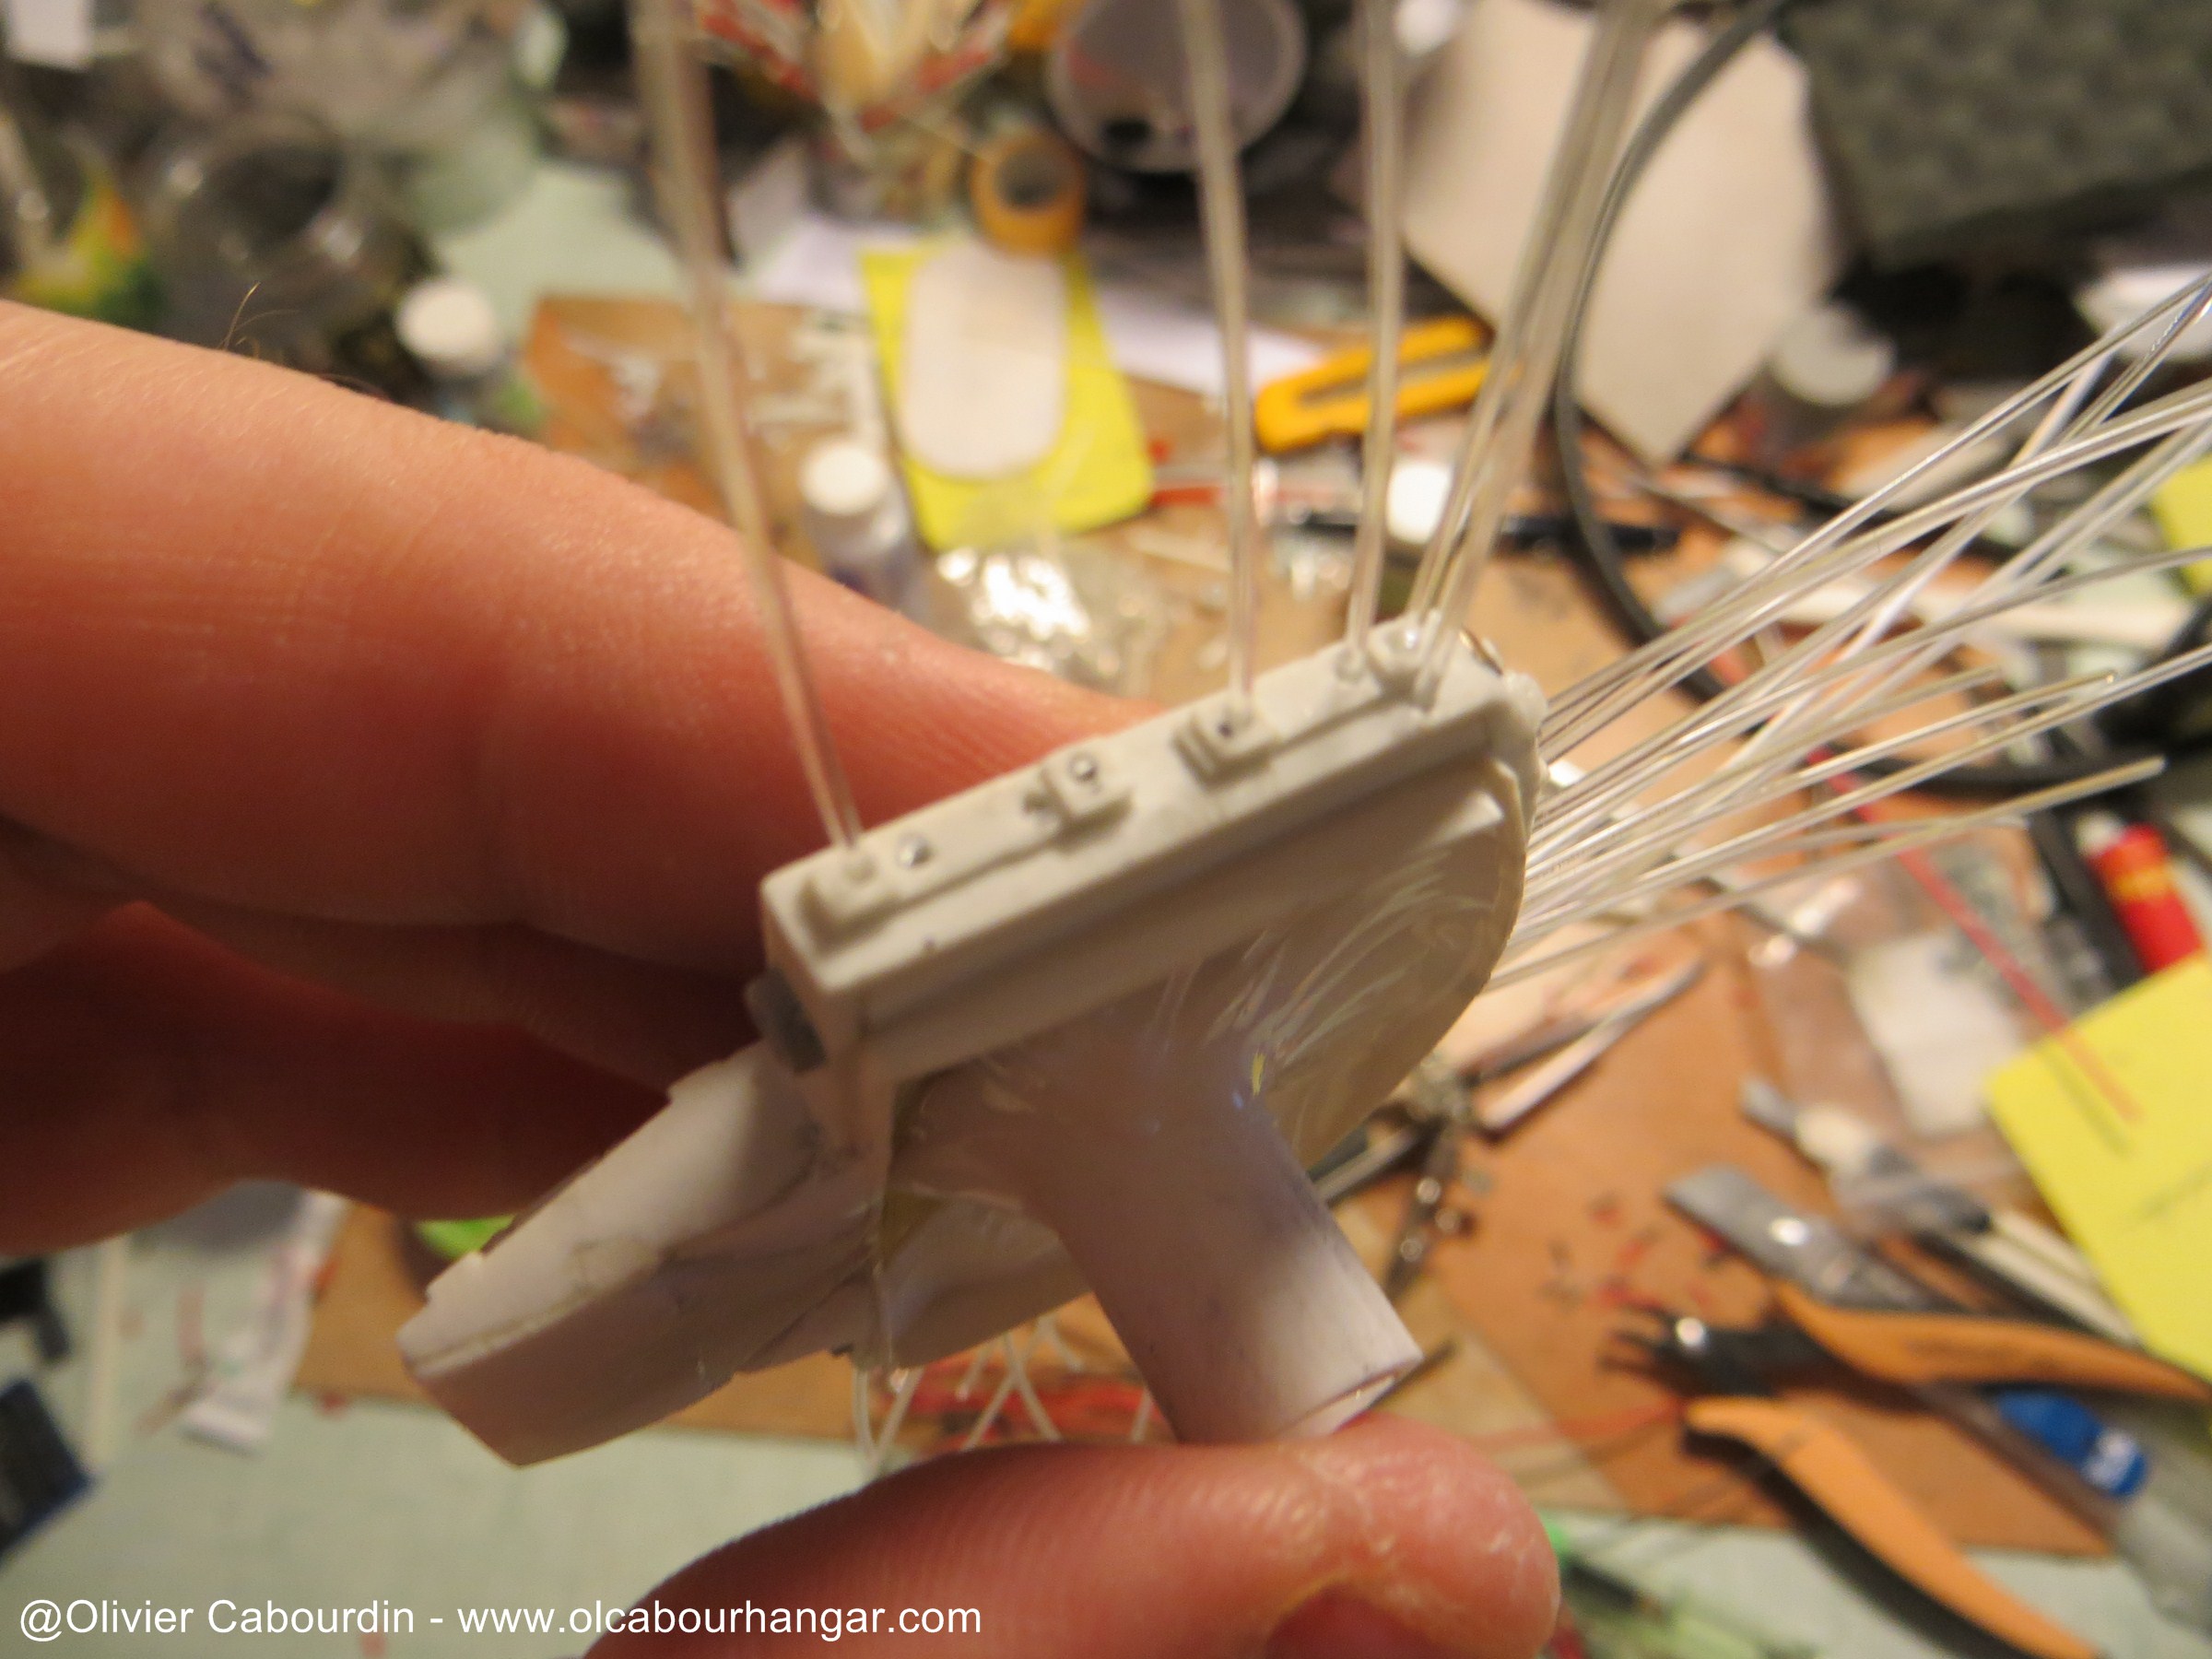
To avoid the light leaks through, I glued a photoeched plate
The fibers are set with white glue.
A mixture of plaster and black paint is tsmeared o block other light leaks.

And it works.

The LED is stuck in a cap (superglue cap here)
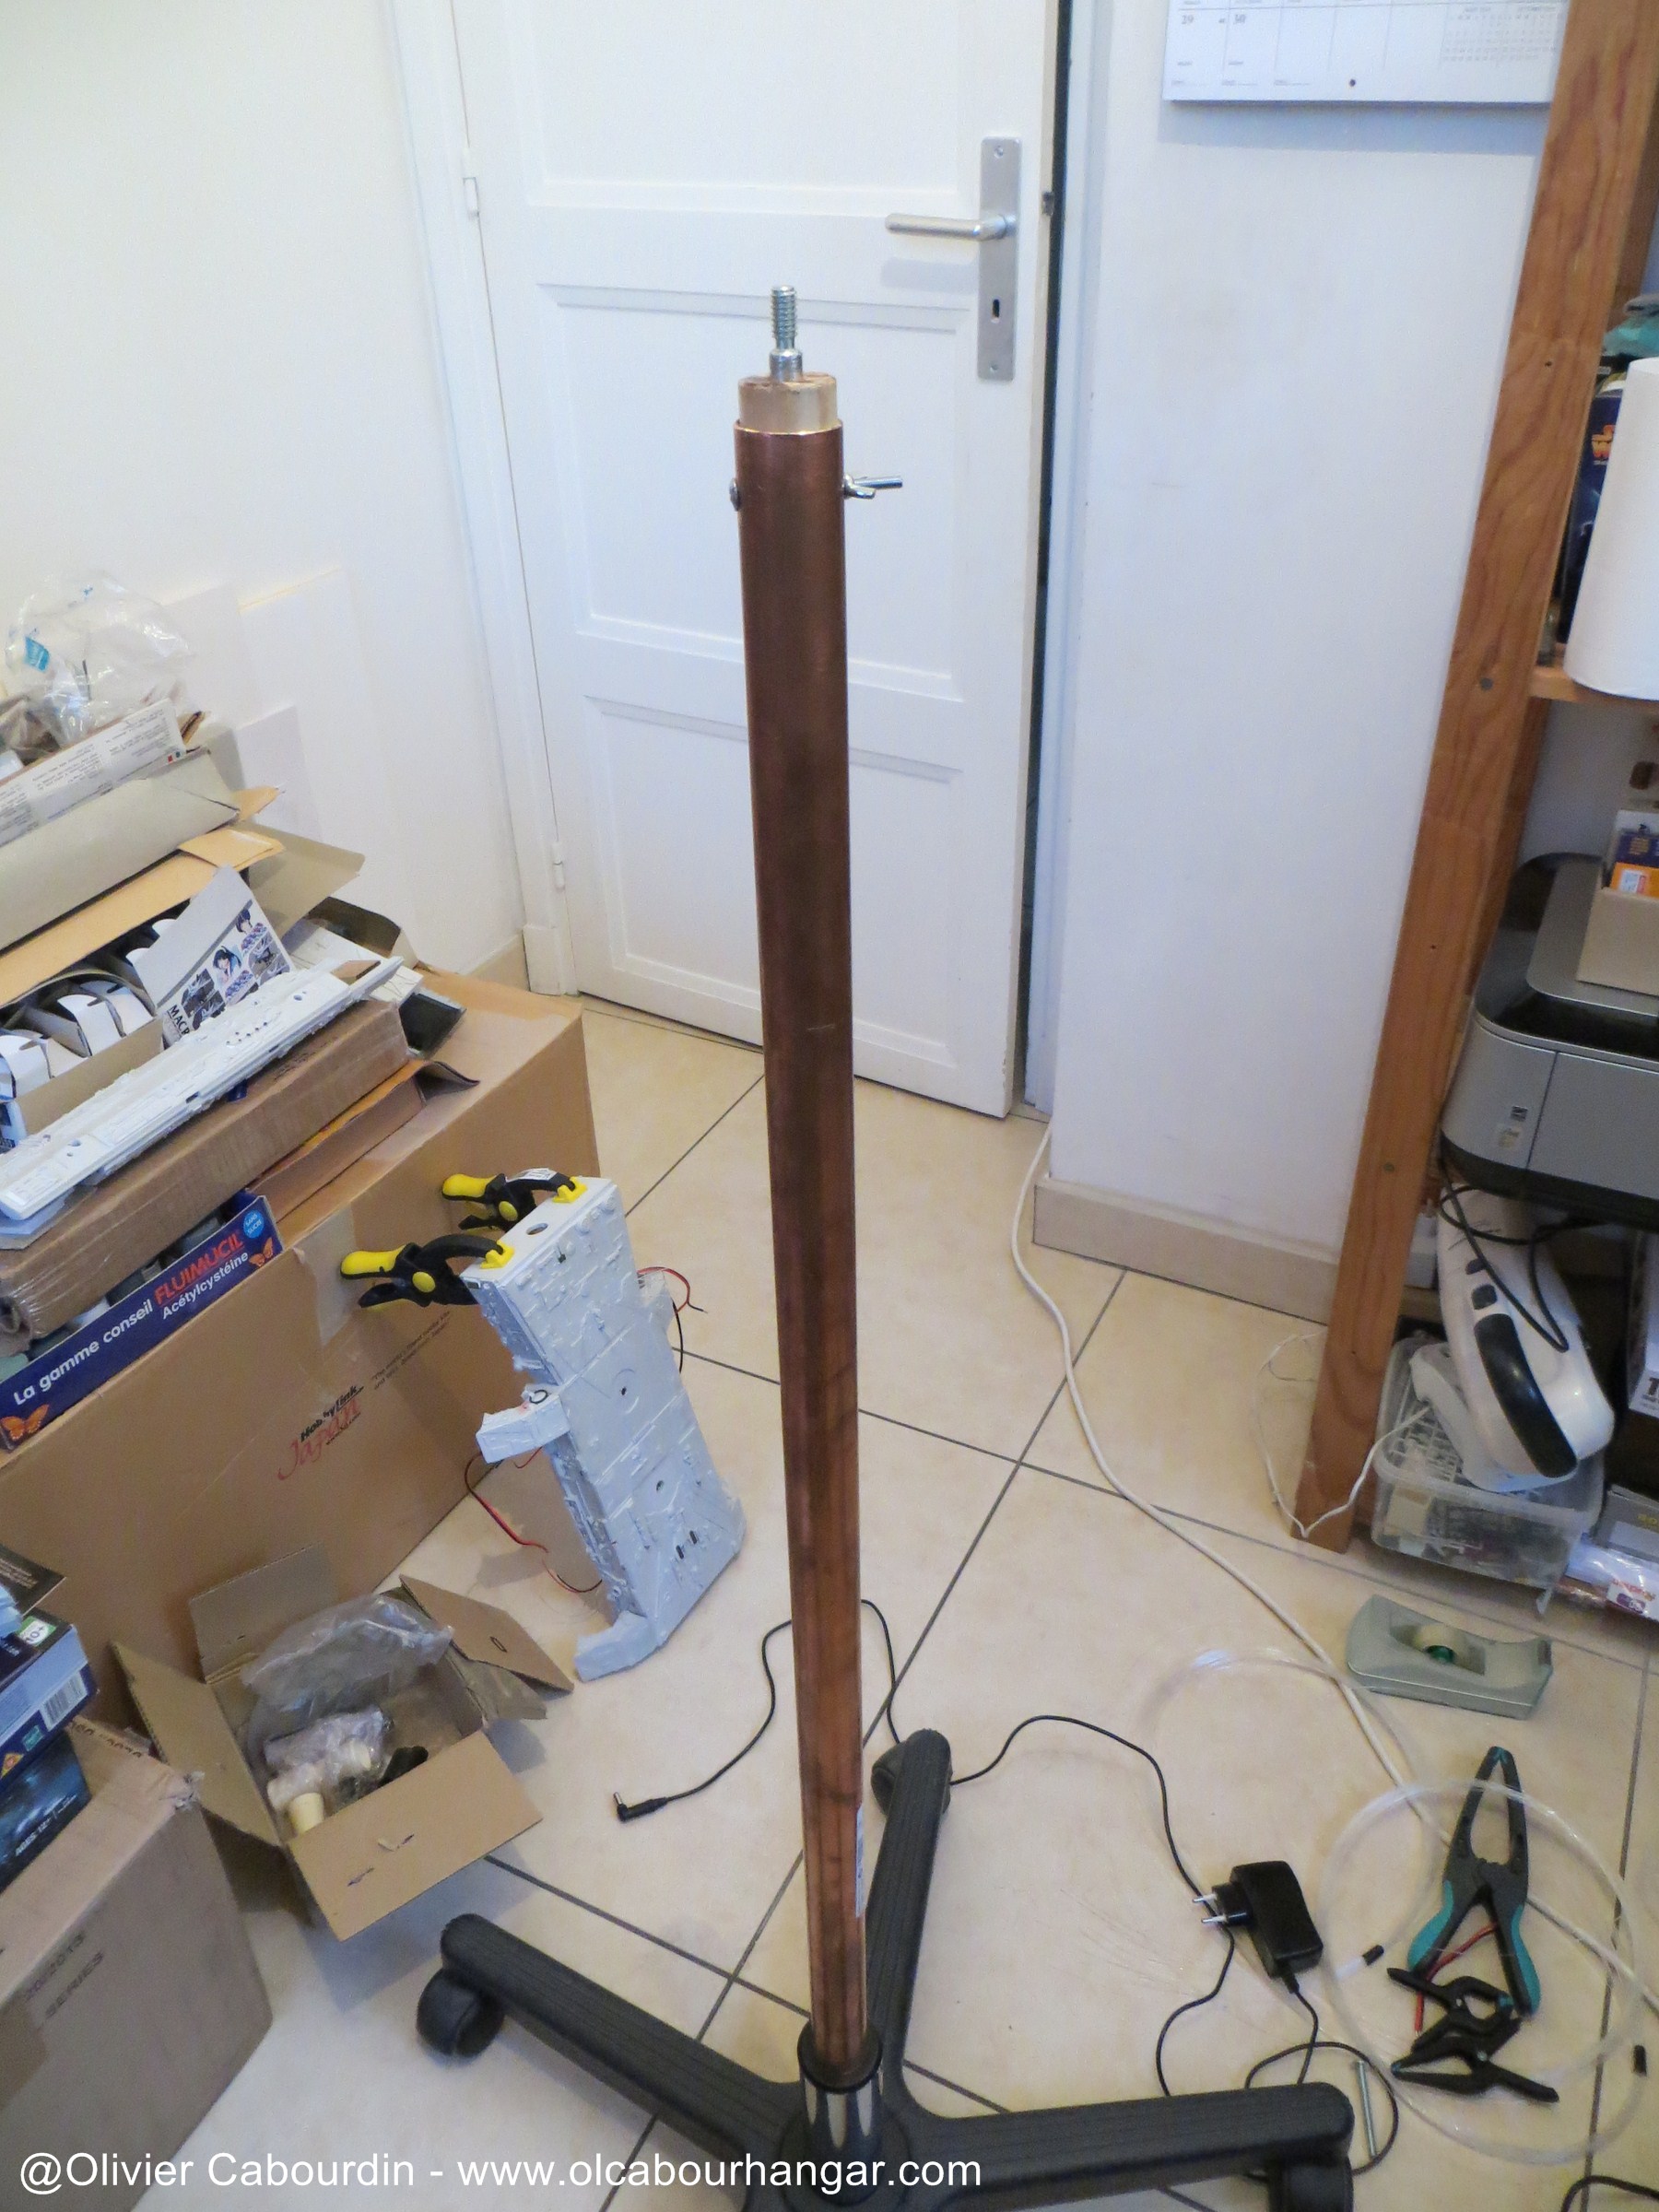
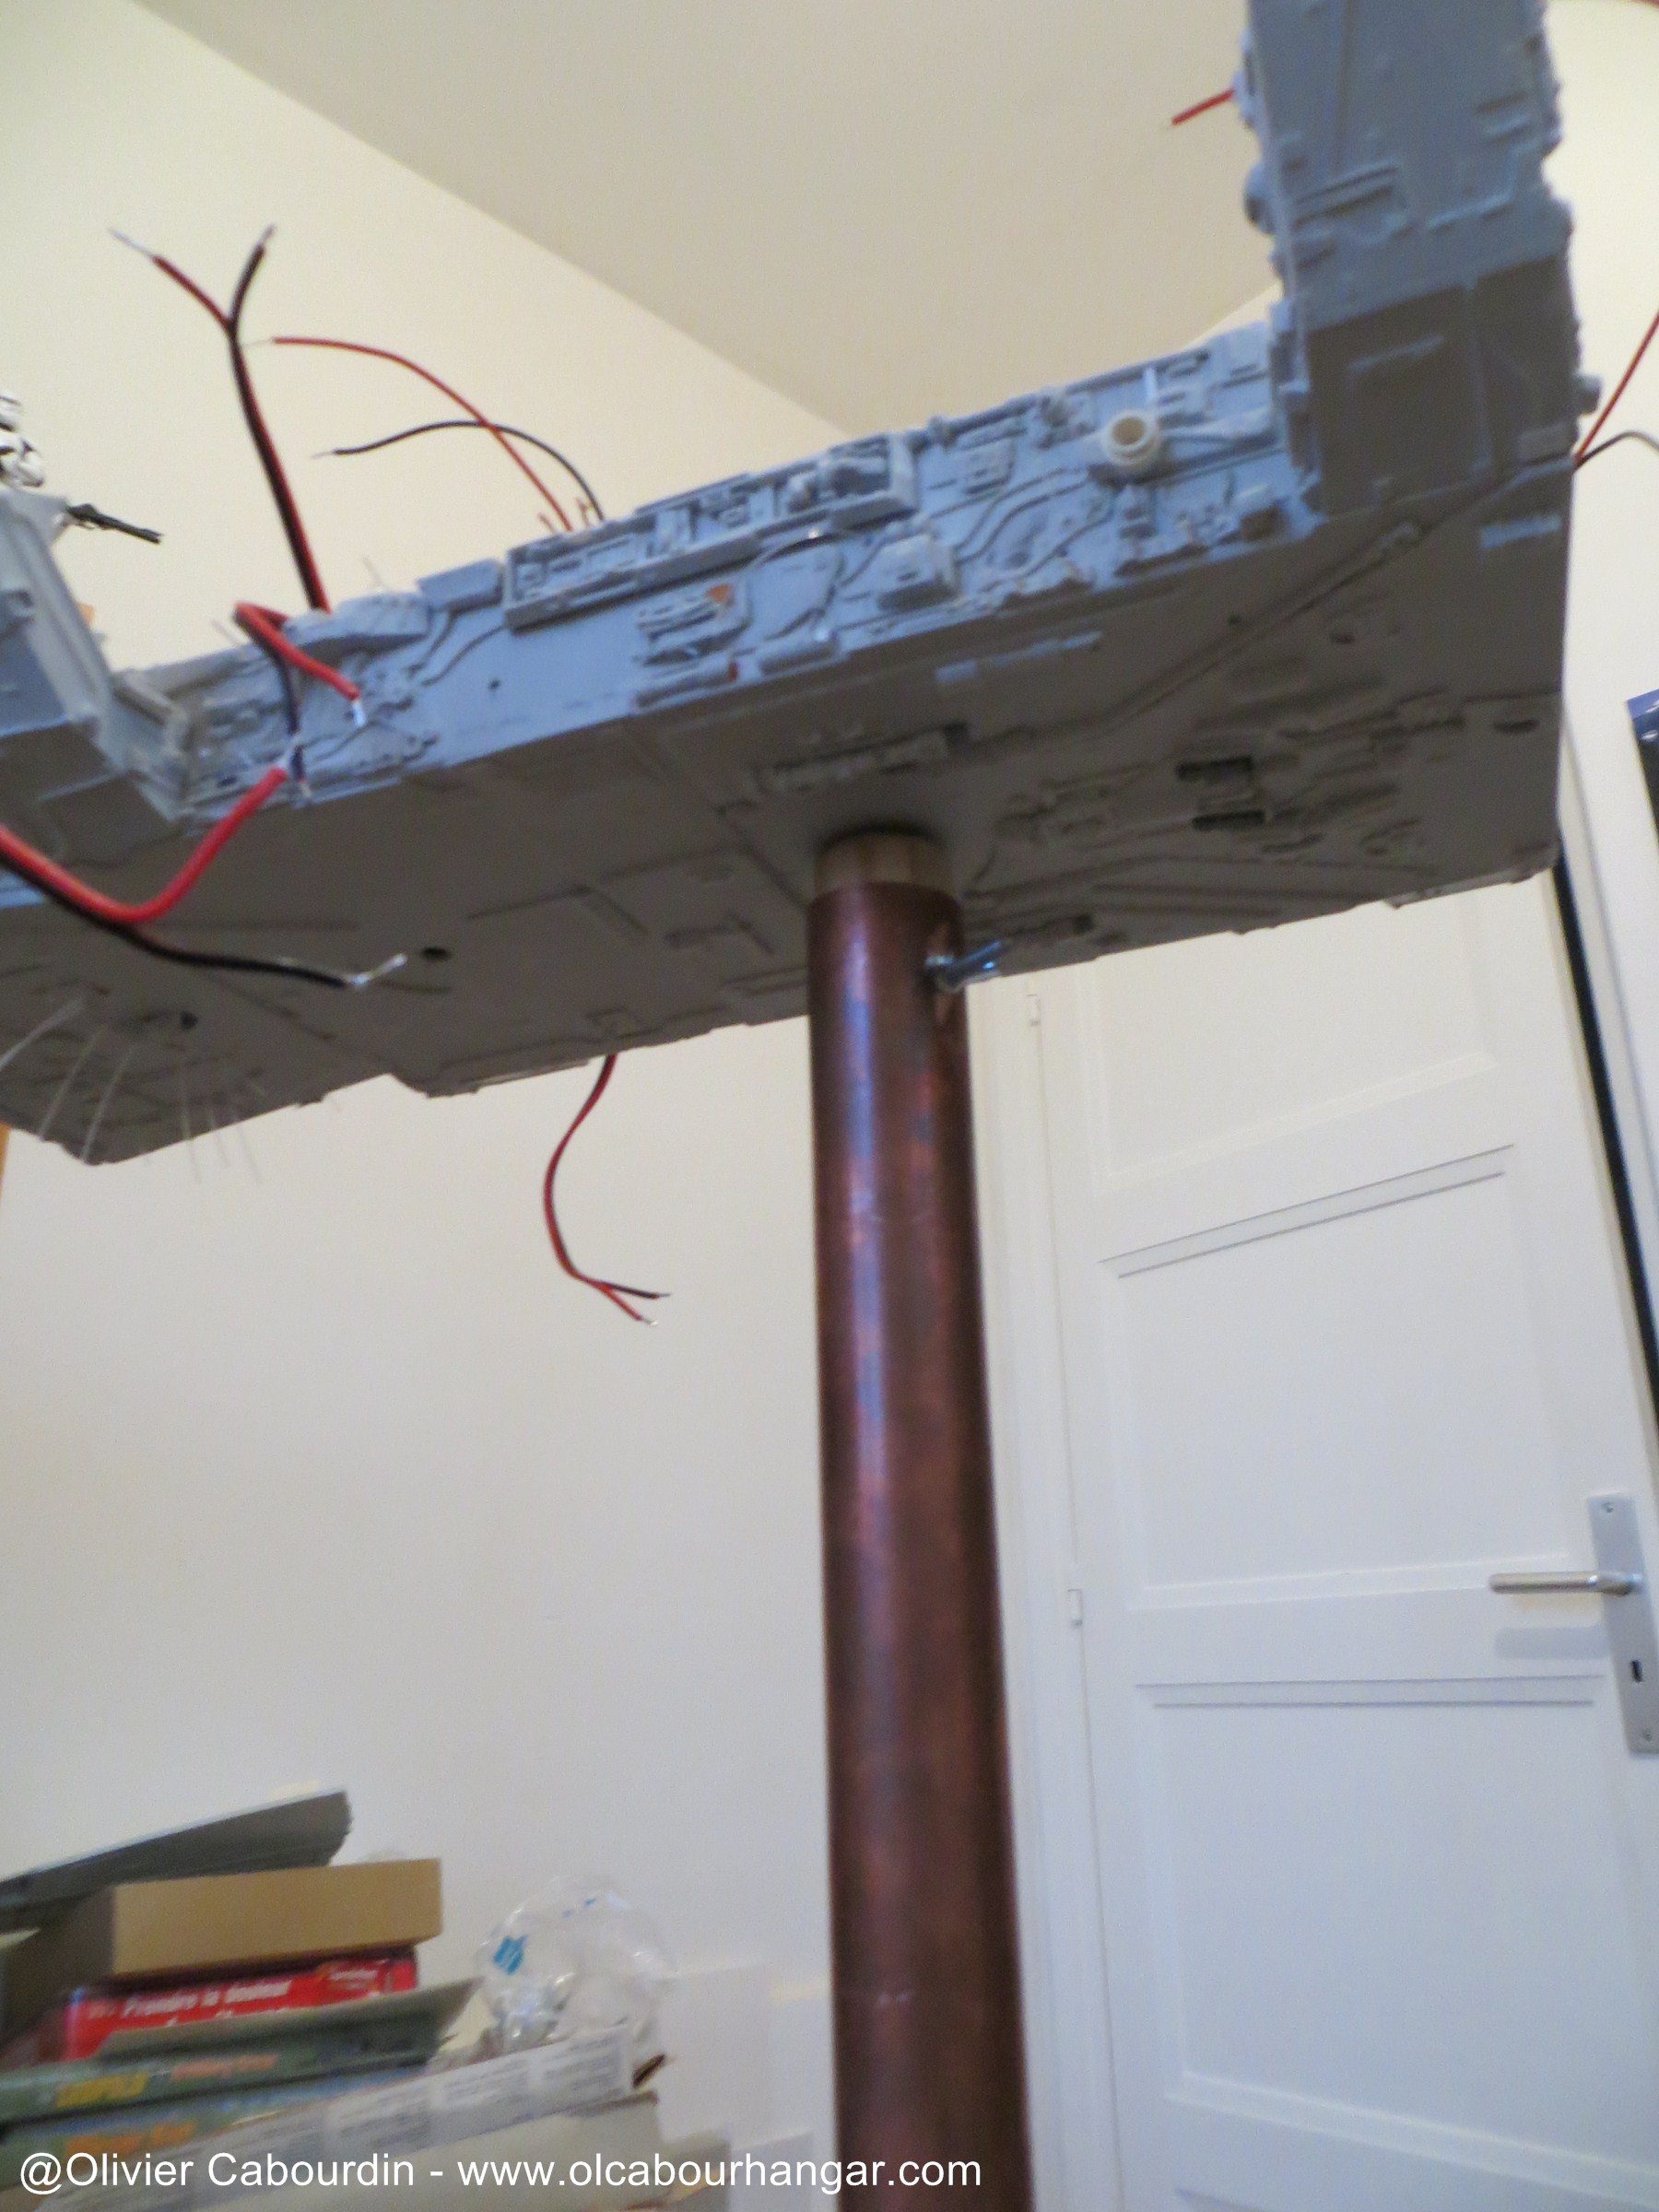
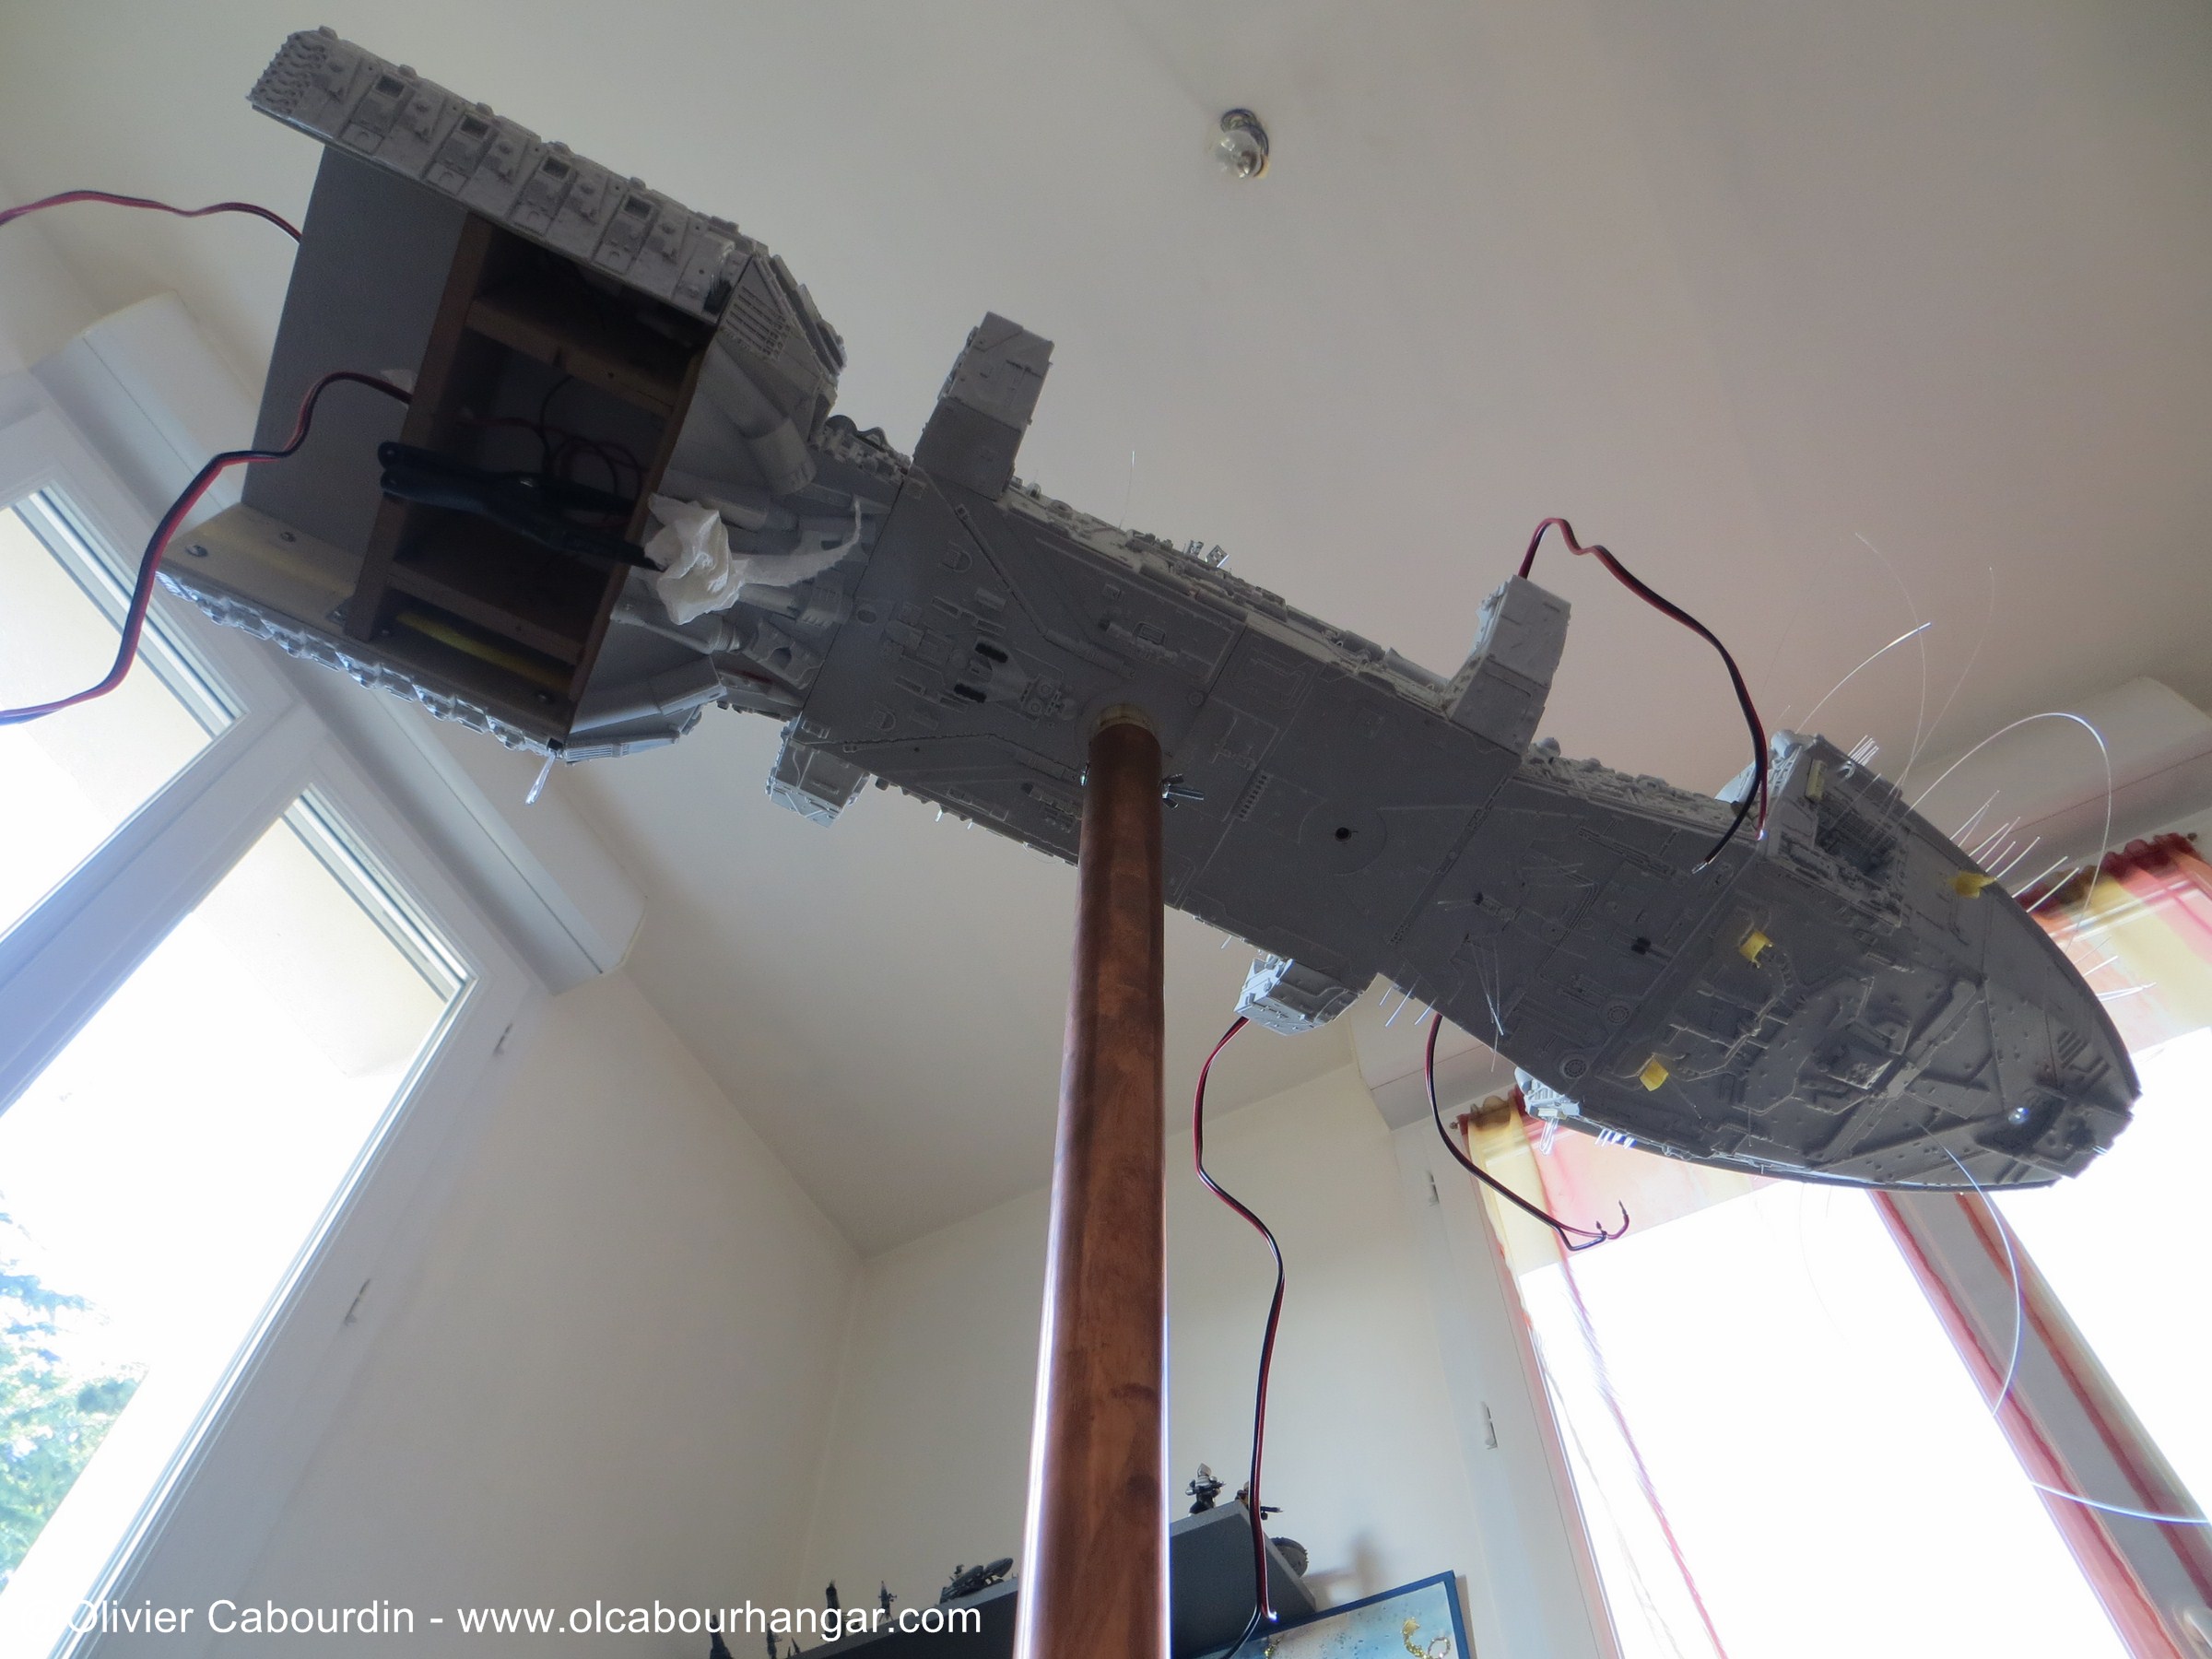
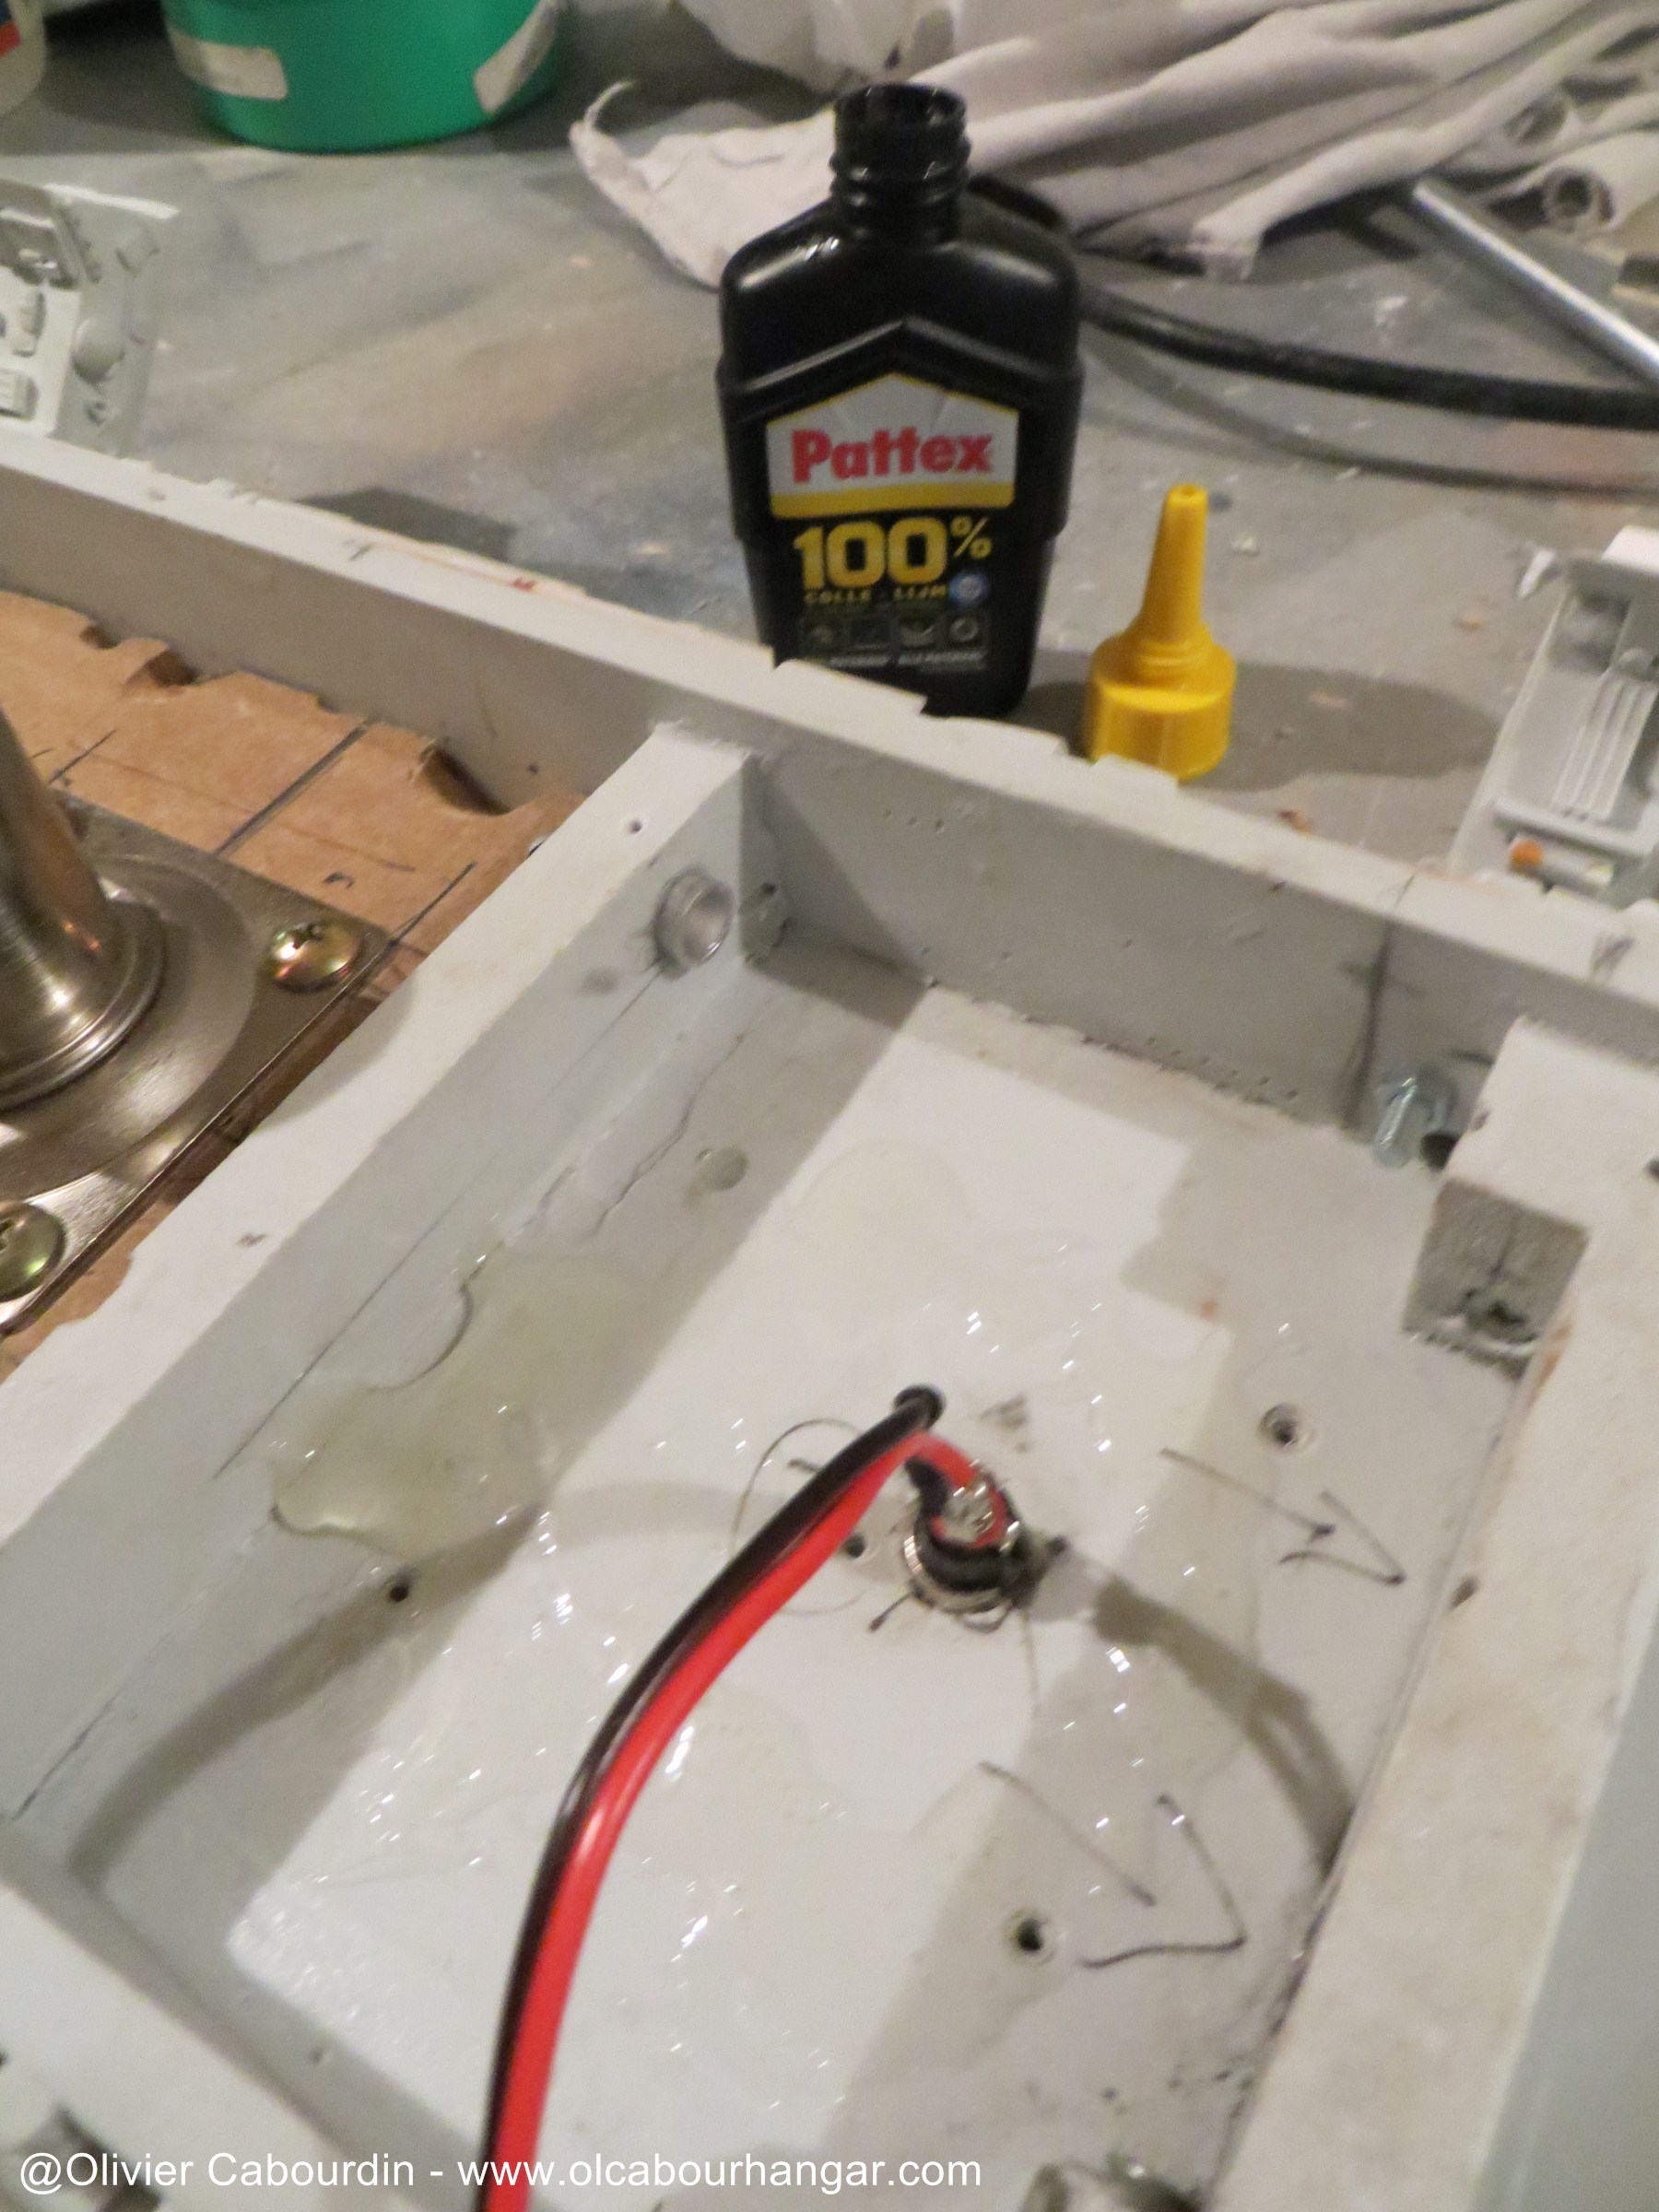
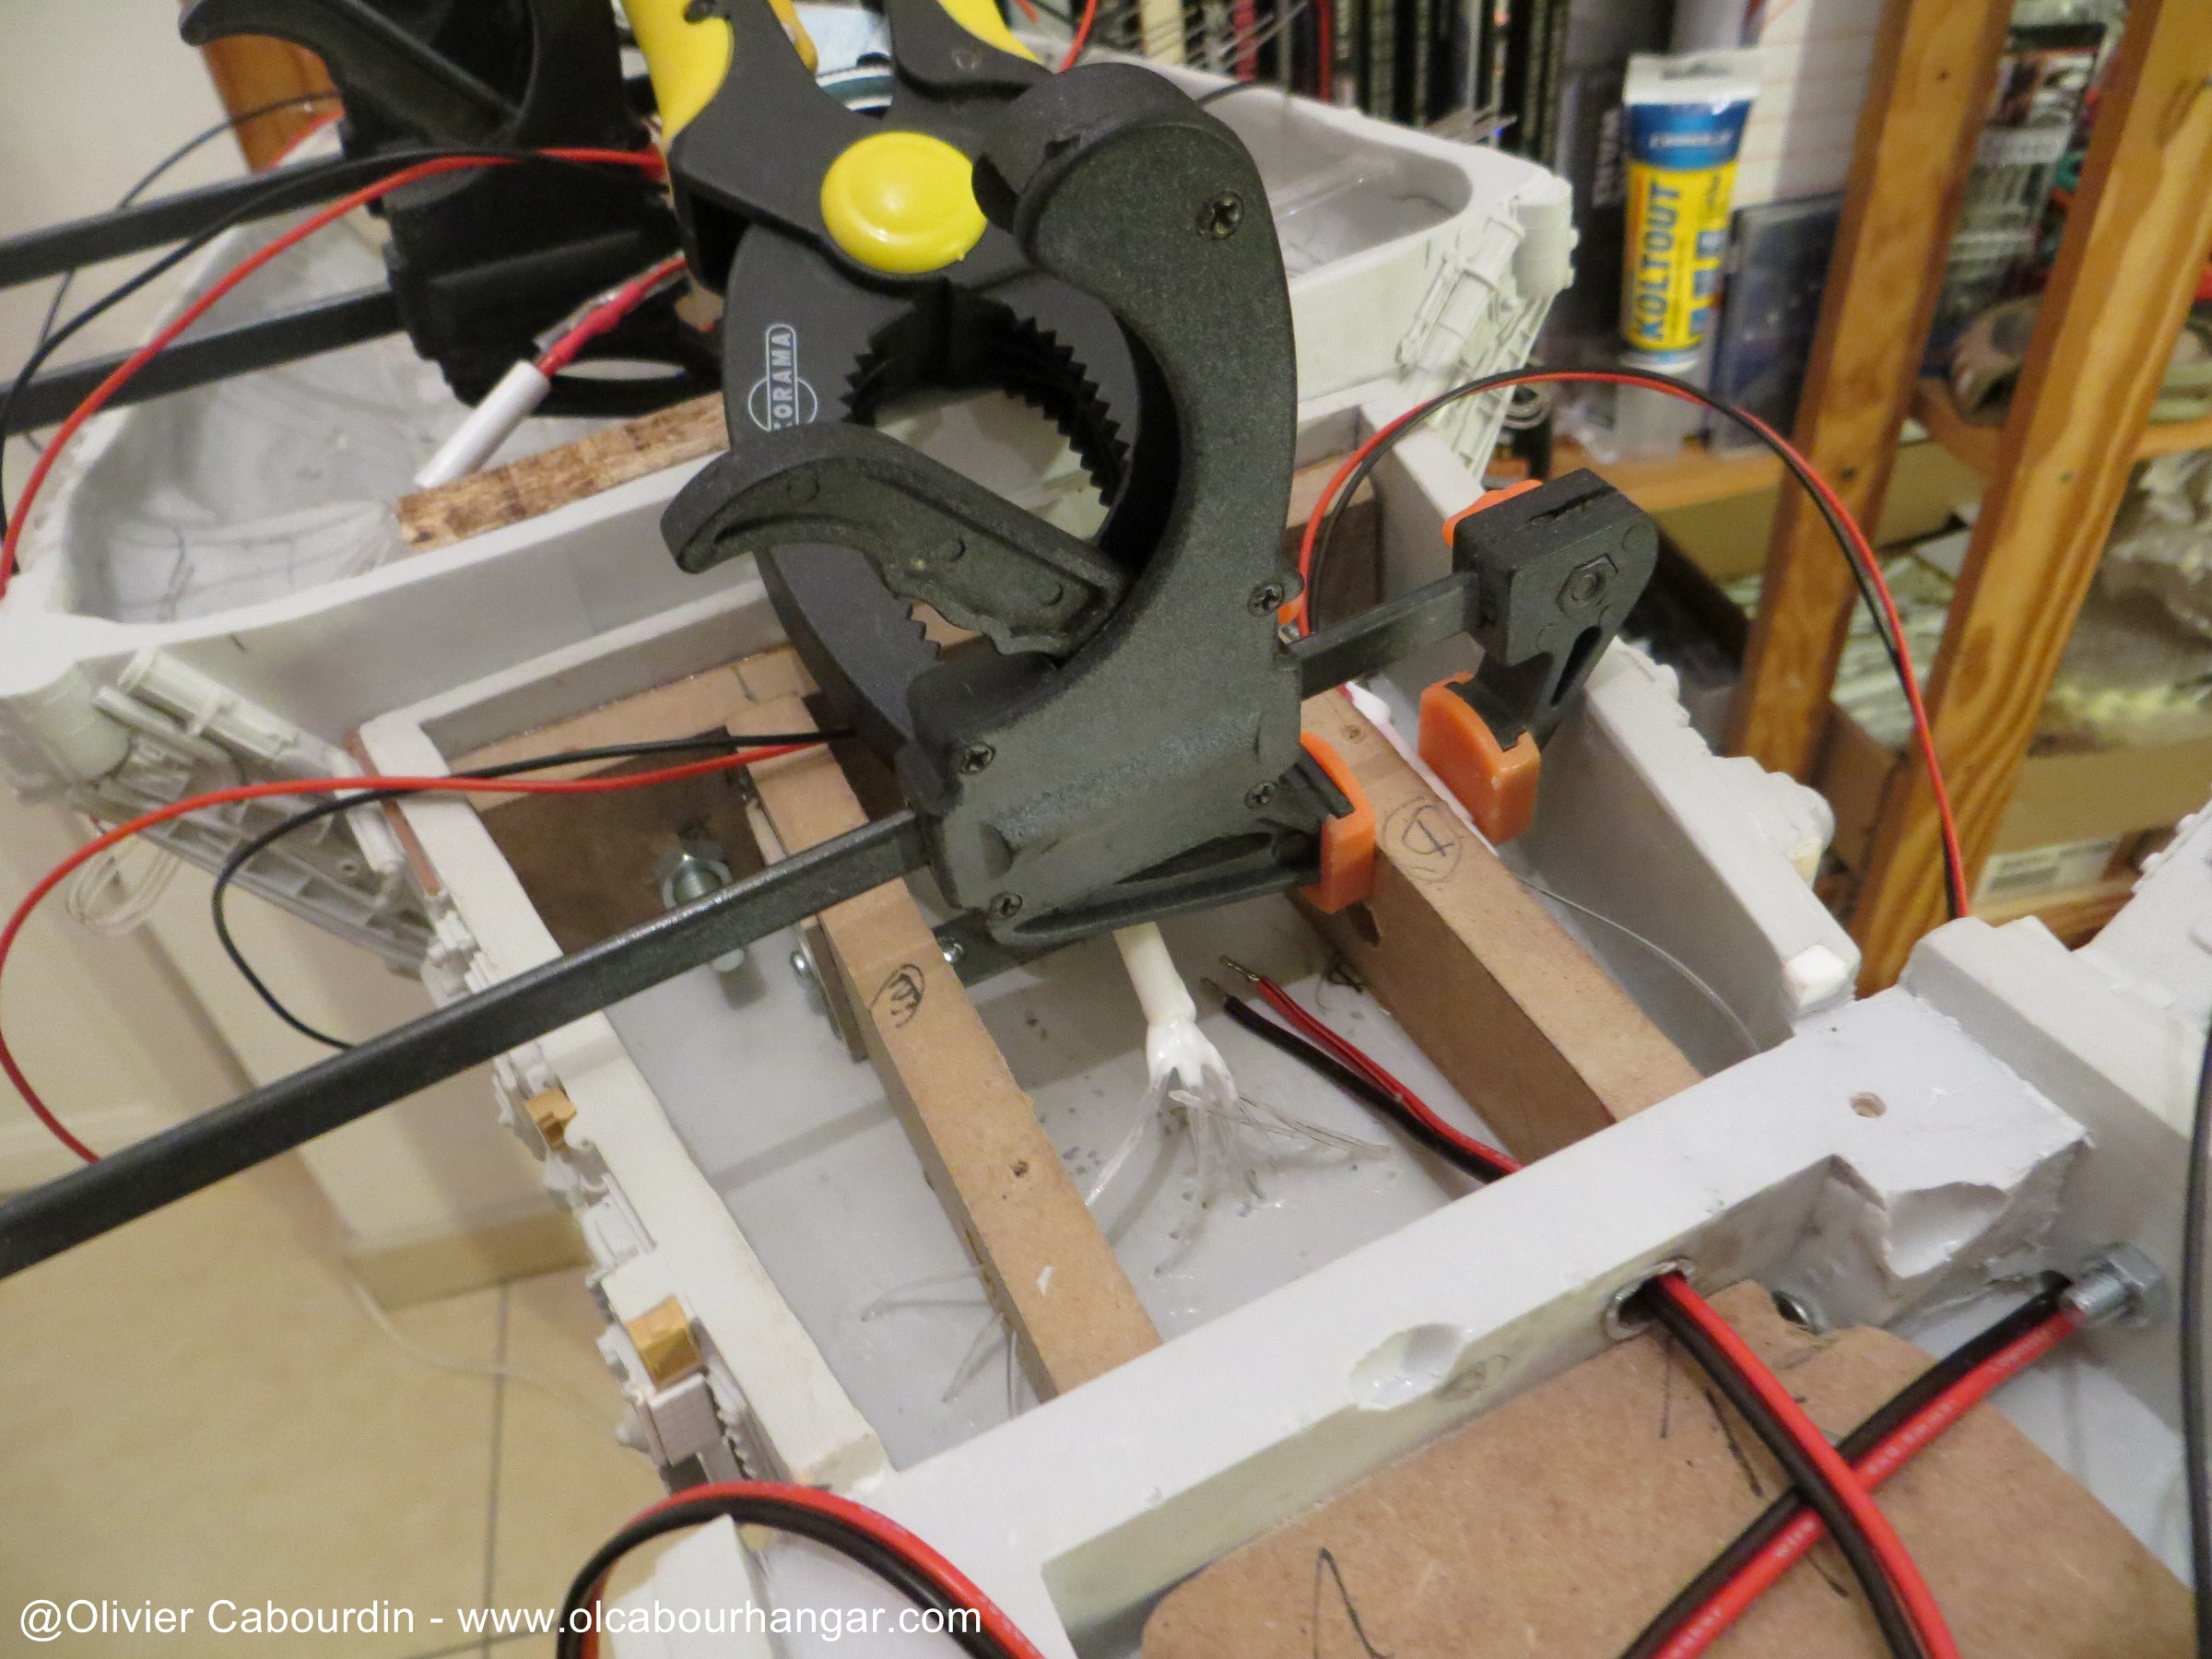
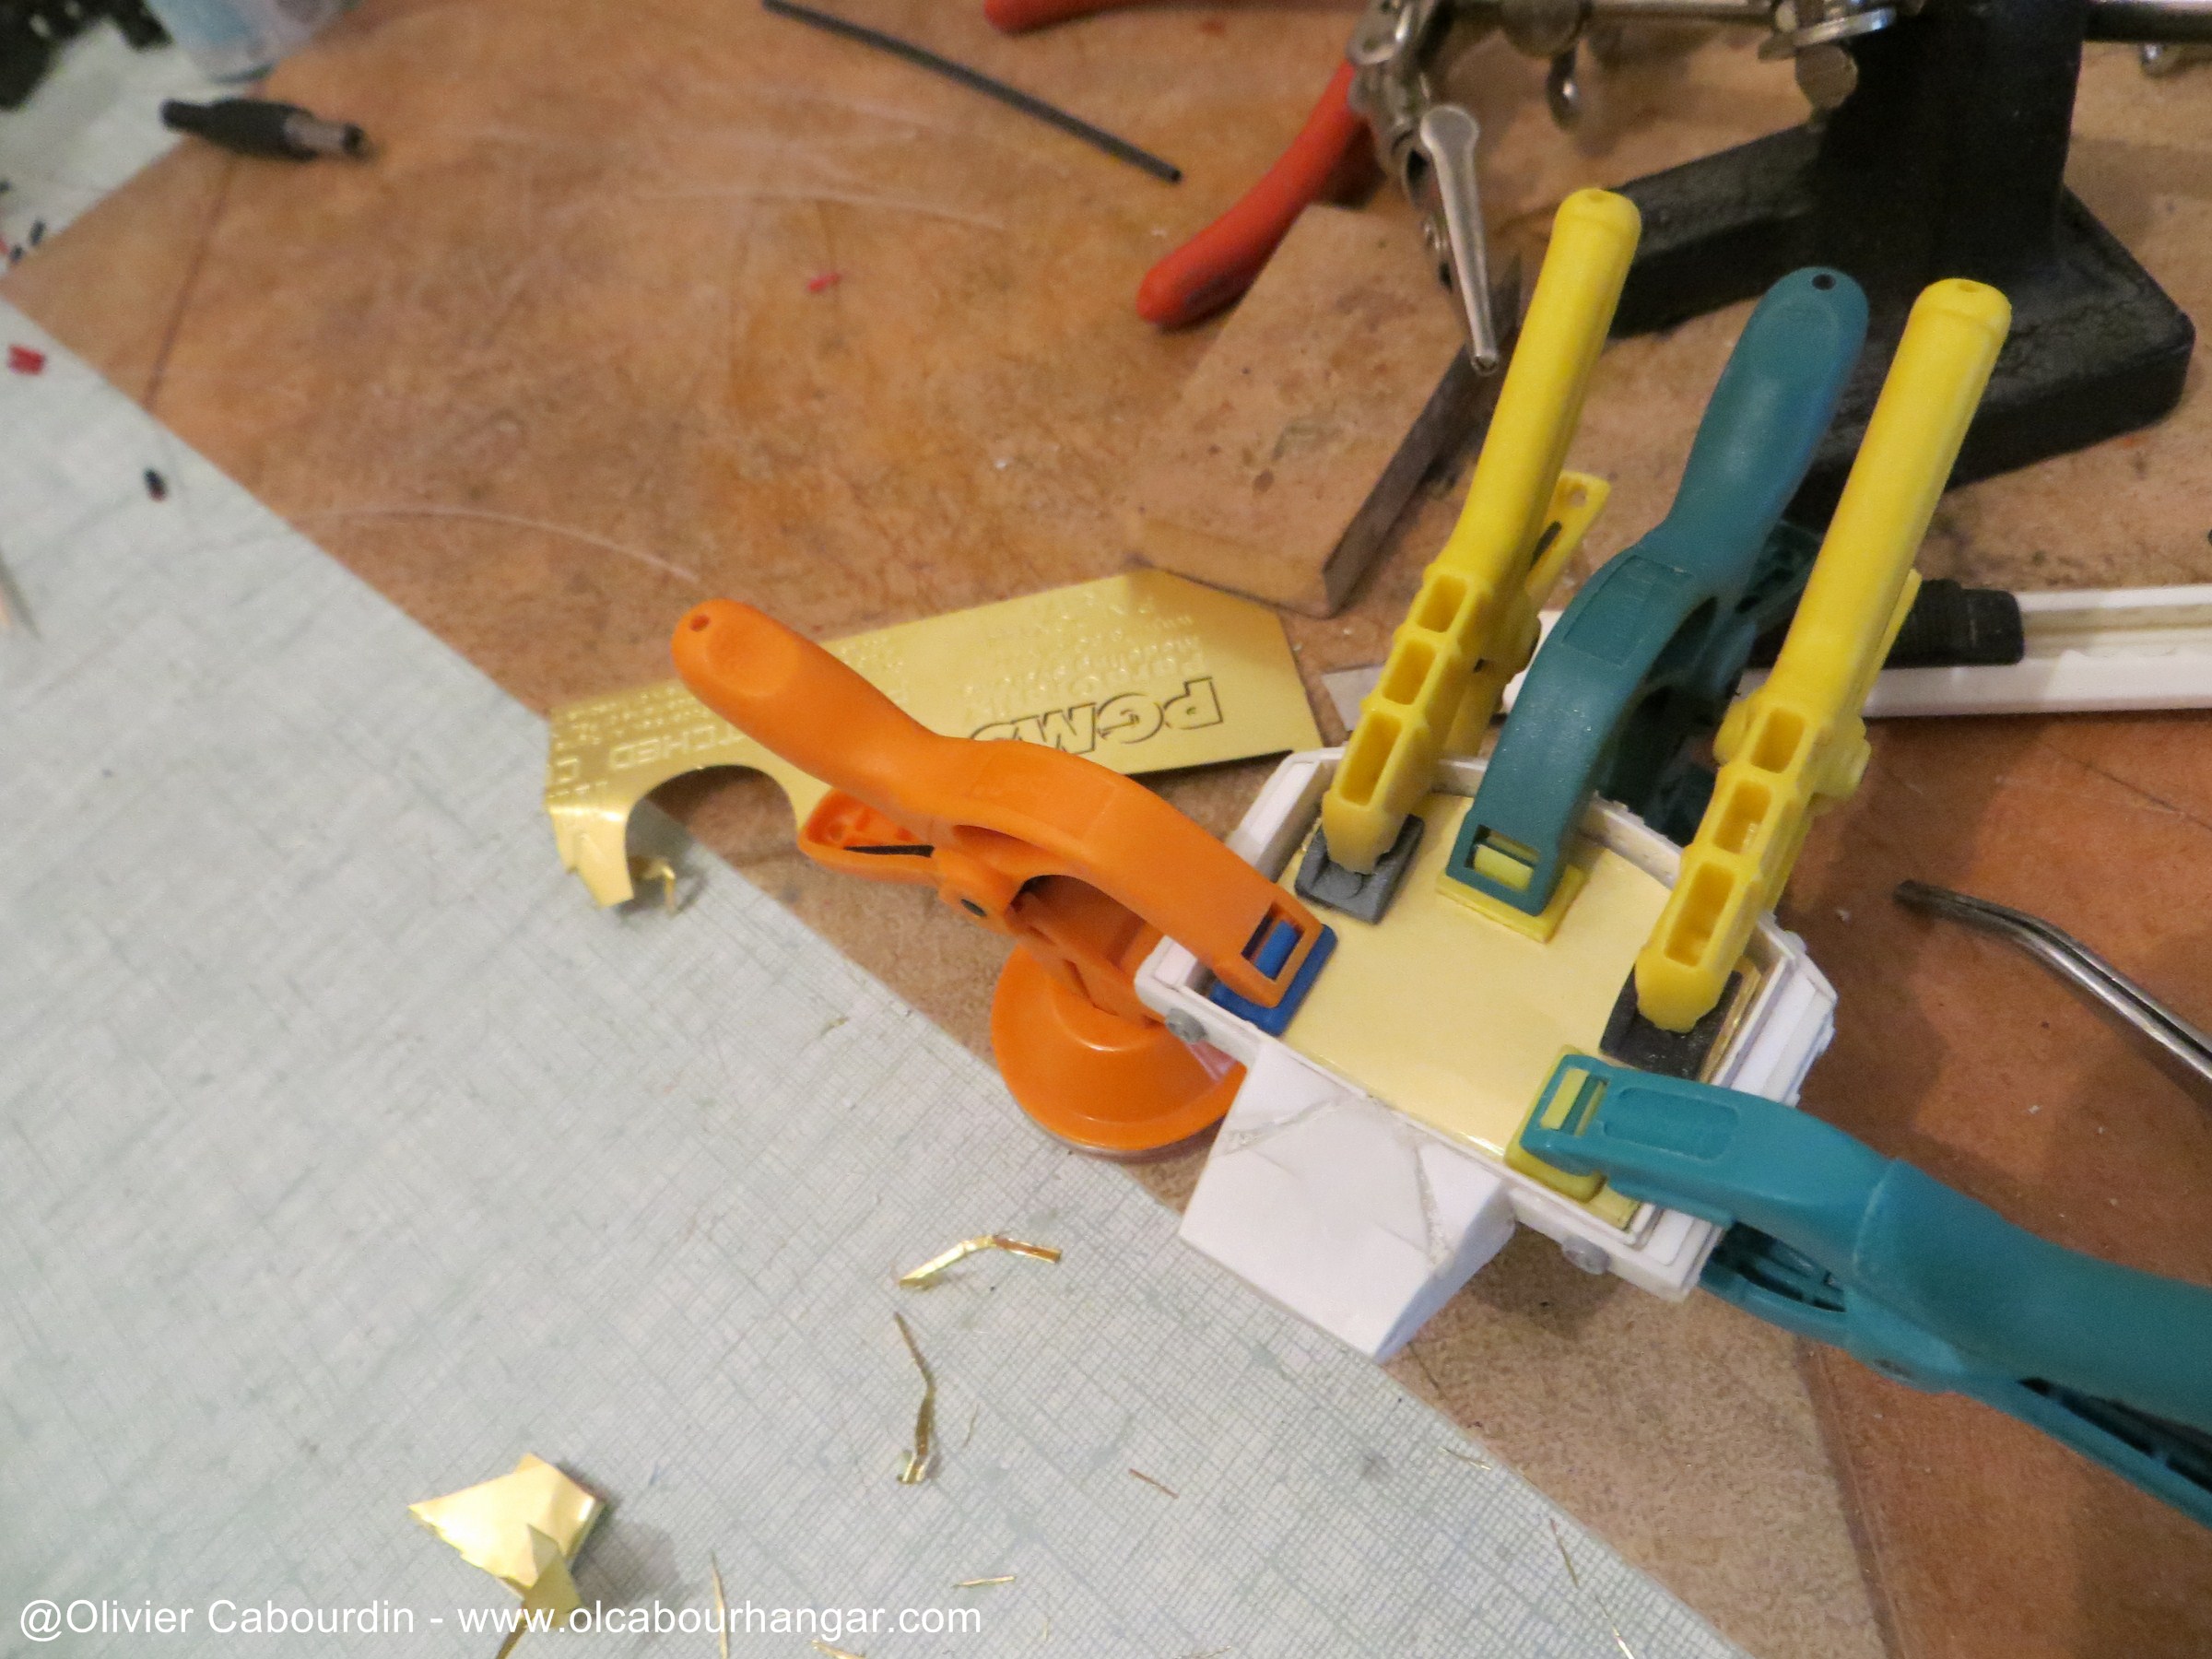
To facilitate the work, I made the stand to support Galactica upside down.