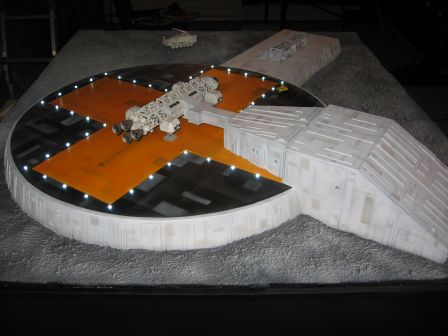
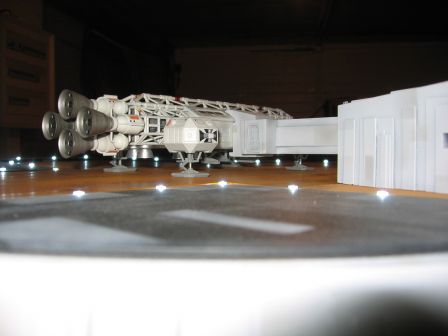
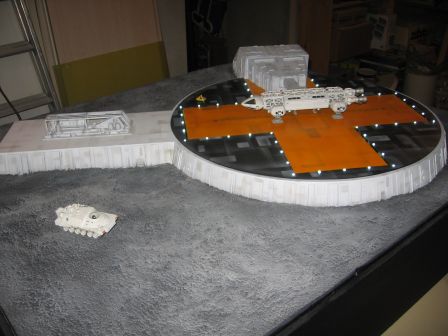
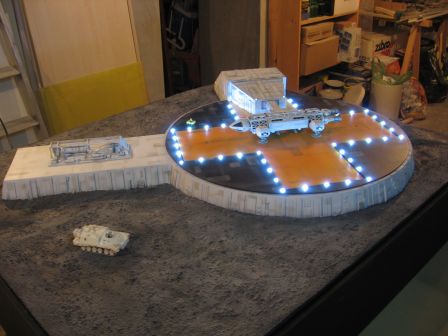
Launchpad - the end
Par olcabour le vendredi, 2 mars 2012, 00:29 - Launchpad - Lien permanent
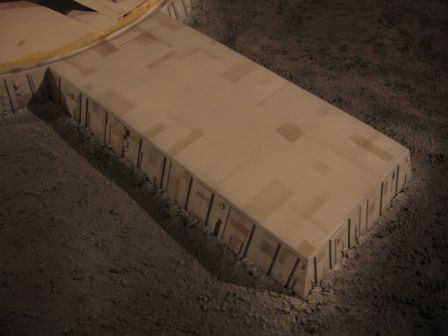
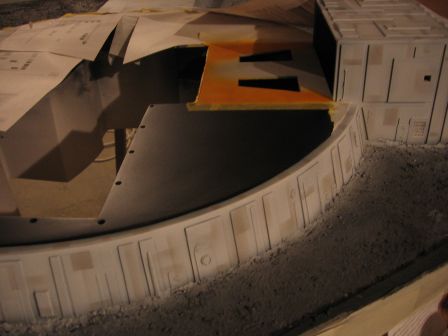
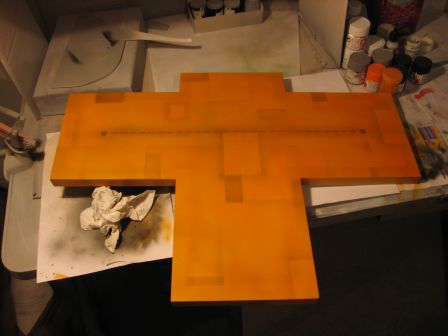
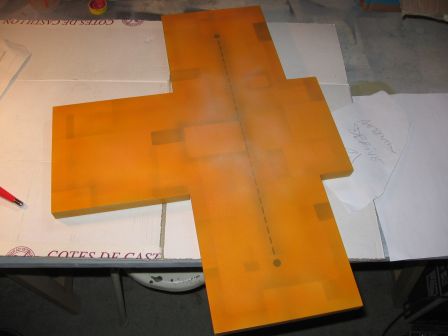
The orange ramp is achieved by following the foam template, on which I had written the tiny adjustements to do. Edges and central supports are again made of L PVC strips.
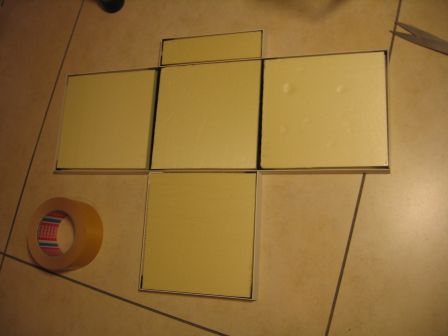
It is then filled underside squares with foam, sticked with double-side tape, to ensure strong support of the assembly.
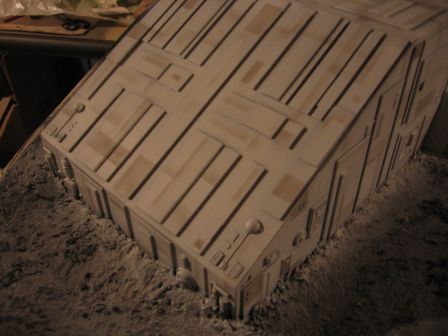
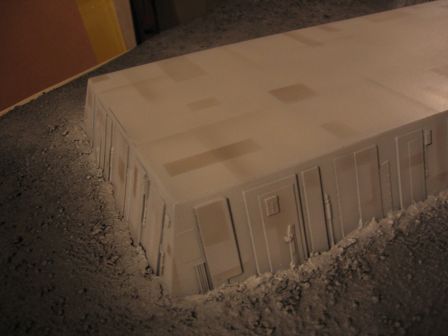
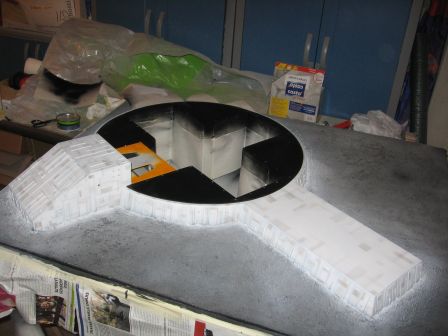
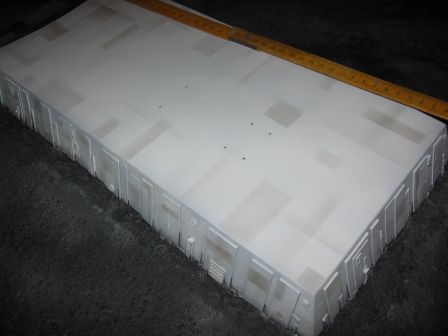
The launchpad buildings are detailled with medium gray panels using masks, made in cardboard (old visiting cards). By varying the spraying time with the airbrush, I obtained different shades of gray with only one mixture used.
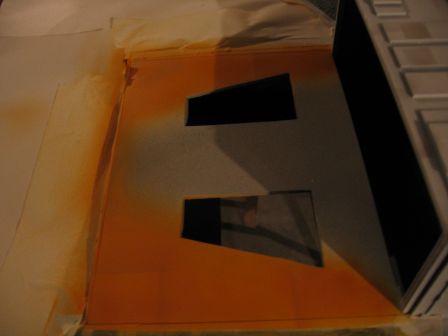
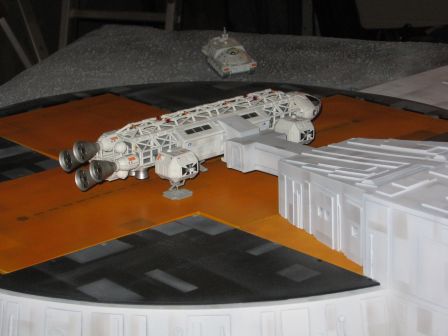
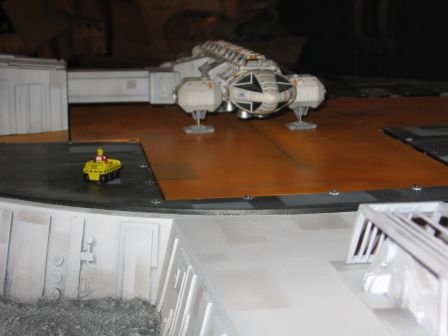
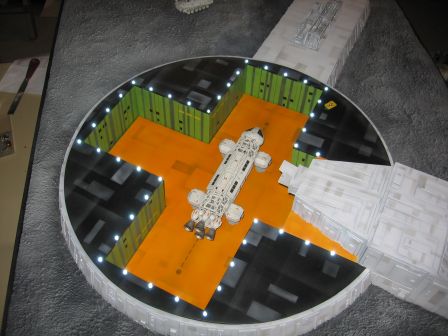
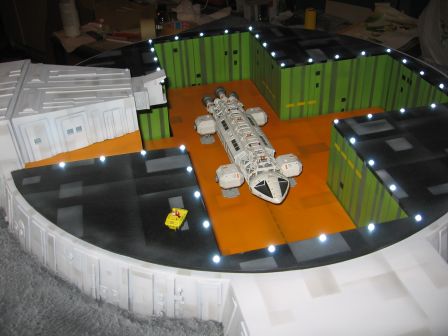
The same paint mixture is also used for preshading panels on the orange floor of the platform, adjacent to the access corridor building (this is the part of the orange + that does not go down). Orange is really difficult to work with, as as being a poor covering color, so difficult to paint correctly when used pure. Here, I mixed it with the already made off white (base color of the platform).
The masks are removed from the black disk.
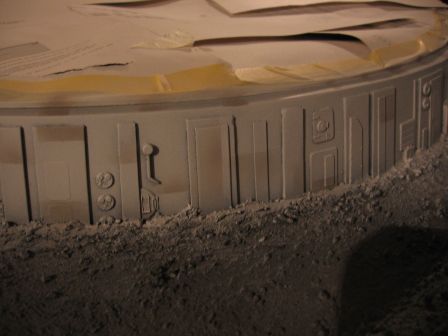
The medium gray mixture is again handy to make paint the panels on the black disk. We can see that it gives the impression of being very clear !
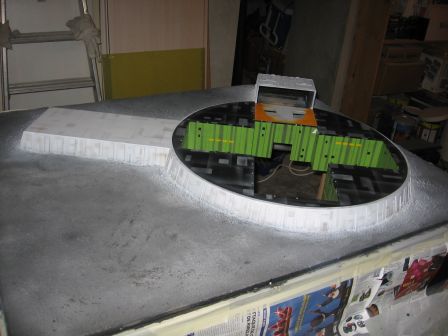
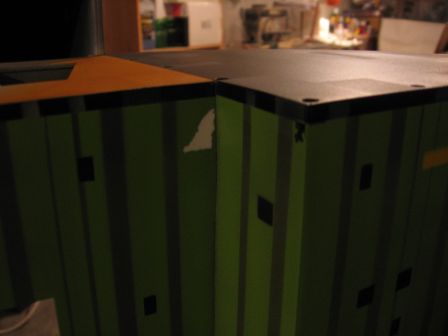
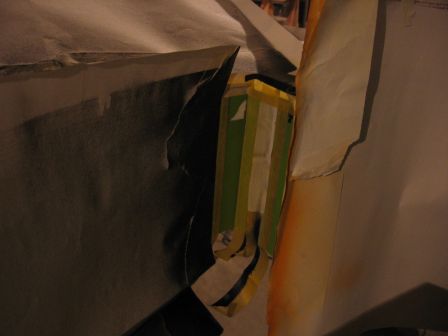
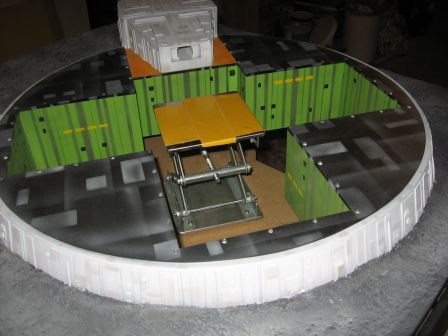
The masks are removed from the lift walls.
A small part of the green left in the operation, then I re-hide this little corner, and green apple granny is vaporized.
After
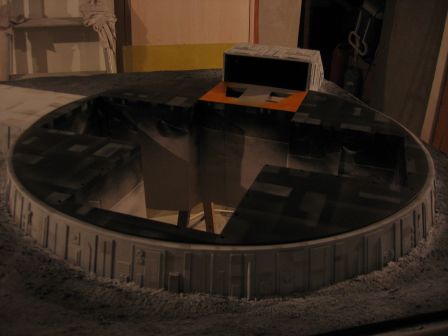
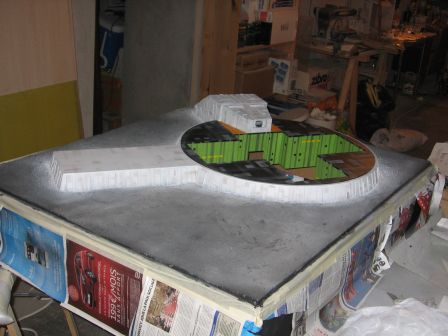
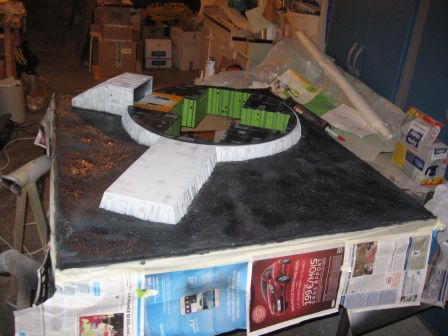
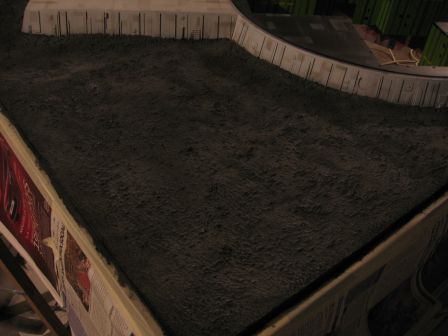
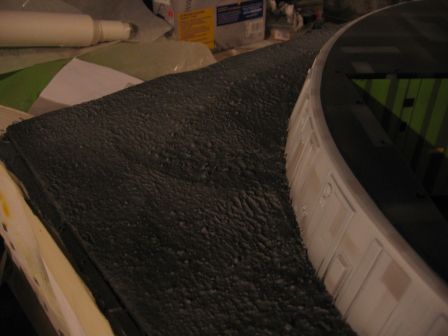
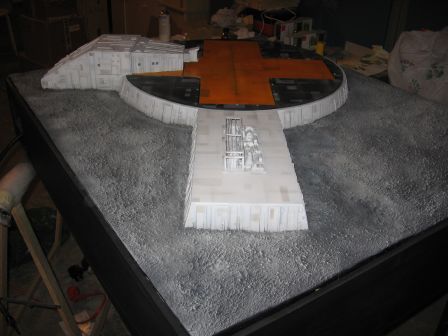
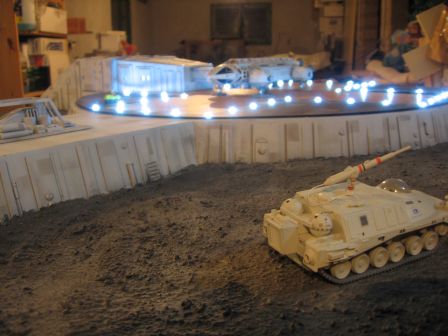
The lunar surface is painted my roughcast gray highly thinned with white spirit.
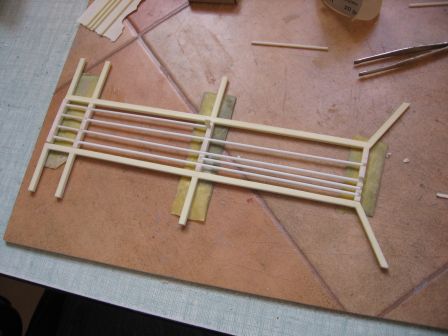
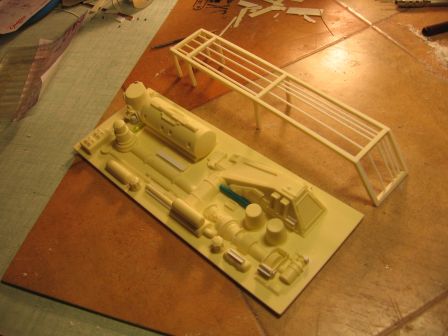
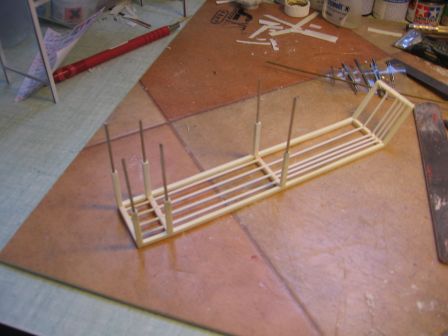
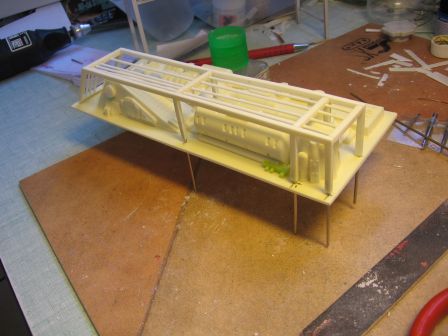
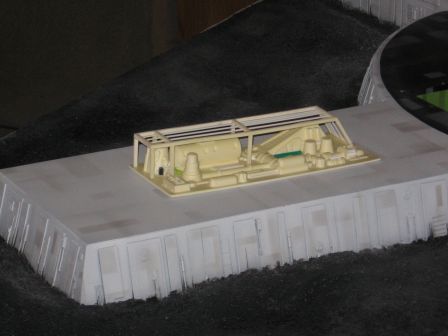
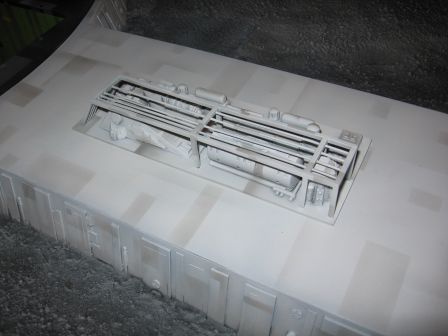
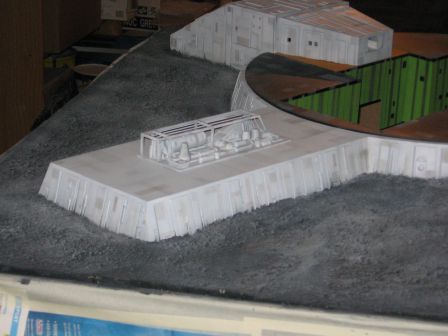
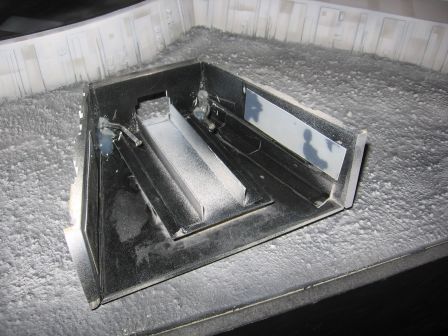
Final details of the service platform are finally cleaned. Bubbles and some casting flaws are hidden with parts from the spare box, or plastic card. It was necessary to remade much of the piping of the cage with Evergreen profiles.
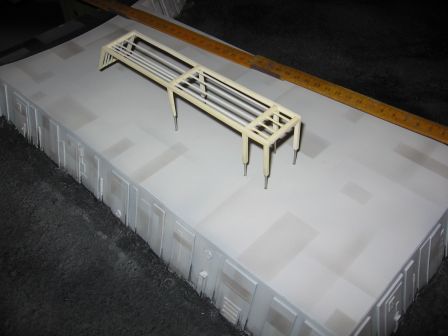
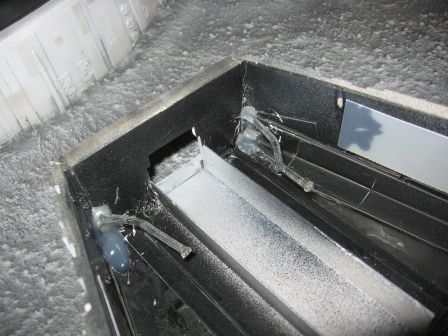
To ensure proper holding of the cage, metal rods are also installed in the feet, and holes drilled in the surface.
It is then painted like the others launchpad buildings (off white and some effects of gray panels). The floor is simply stuck in place with double-side tape. Metal rods works so well that no glue was needed to set the cage.
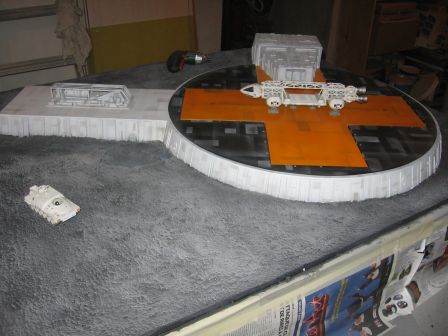
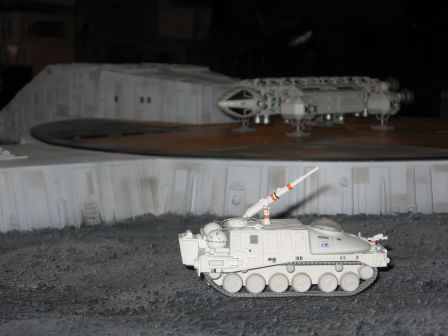
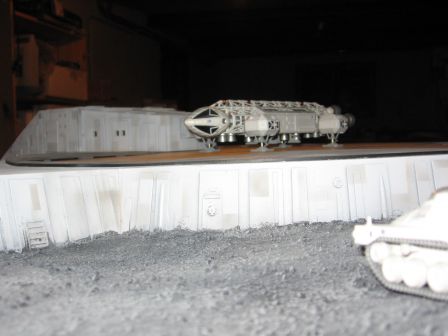
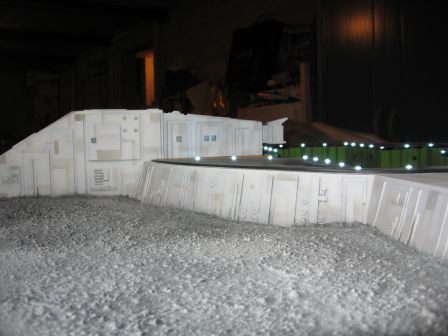
Back on the lunar surface, with the"dust" effect. Initially I had thought to use gray pigment or cement. Finally, I simply sprayed a light gray with the airbrush hold as horizontal as possible, and always in the same direction. So each microscopic grain is highlighted. The rendering is really dusty, and it is sufficient to give the desired effect.
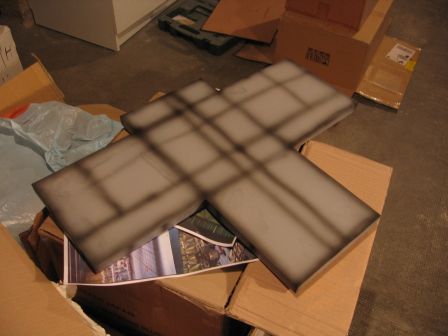
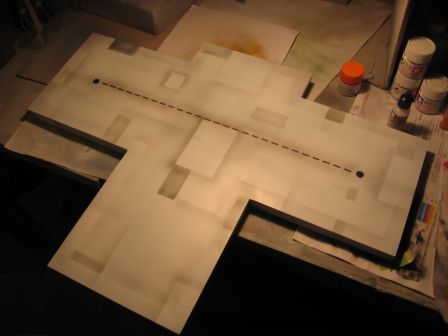
Back on the elevator with the same technique as on the platform: - preshading
- It is covered with off white, panels and markings are applied as preshades before spraying the orange color.
- Then orange, mixed with off white to improve the coverage of this color.
Little test for eye pleasure 
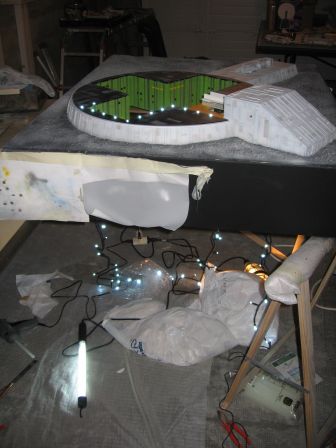
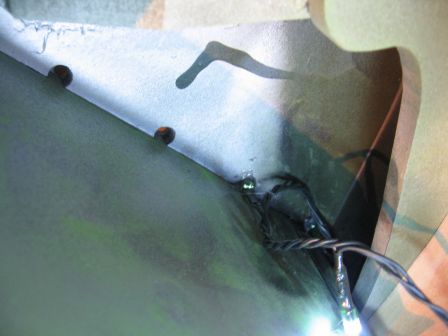
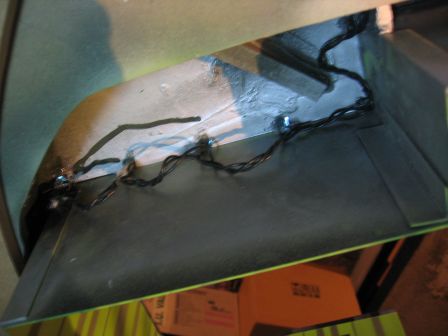
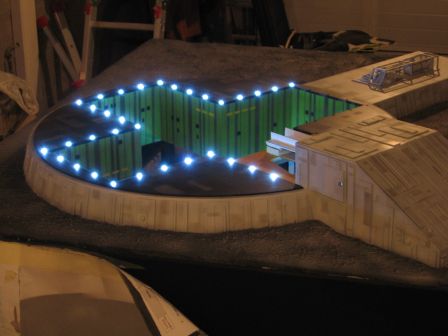
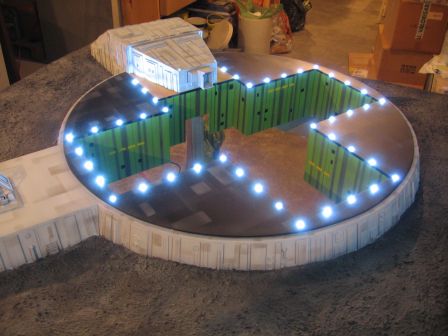
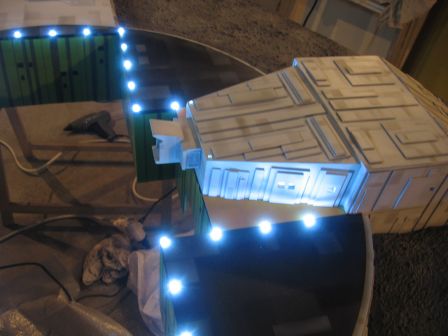
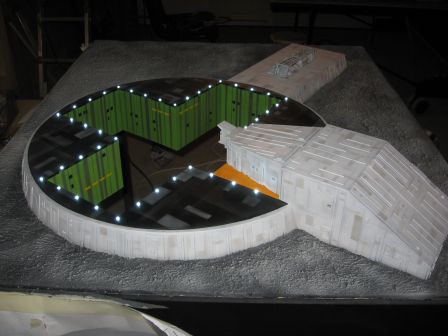
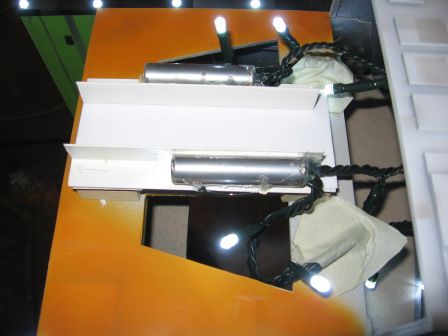
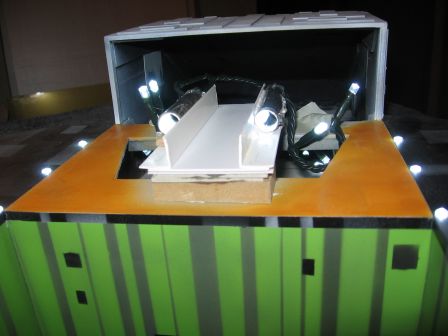
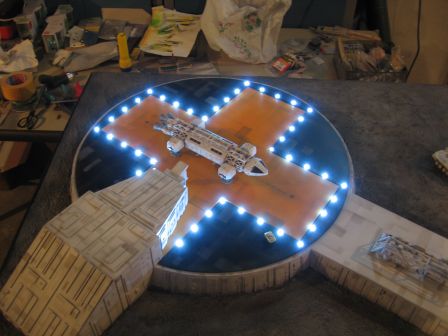
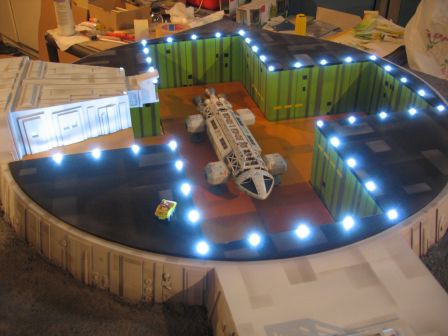
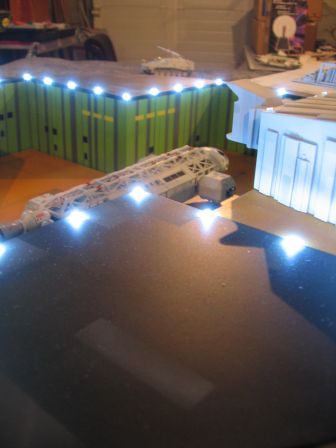
The LED Christmas tree lights are installed. It was not an easy task! Each LED is held in place with hot glue (so that it is not definitive, in case of...). It was really a nightmare to do: I spent hours lying on the floor in an awkward position underneath the box, getting up several times for each LED (and there are around fifty) to ensure it was well positioned, and burning my fingers with hot glue drops ! At the end of the + ramp arms, the space was too small to get the gun so I had to play with an improvised sort of spatula, made from an half of pliers. I poured a large drop of glue on the spatula, that I had then to move very quickly to the right place (with my other hand, holding the LED, hiding the light there). Briefly, each LED took several attempts.
For two lights at the corner of roof of the building (the trapezoidal one), it was not easy to put the LED in front without seeing anything. So I installed metal tubes, along the rail corridor/access hatch, in which I insert the LED (again, stuck with hot glue) on one side, and in which is shifted the optical fiber when this part of the building is installed.
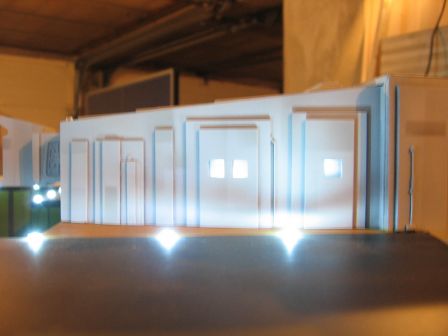
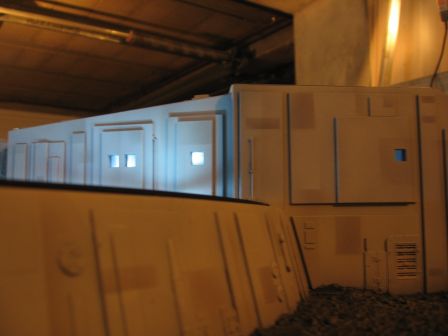
LEDs are also placed behind the windows. To avoid seeing inside, the windows are hidden using frosted clear transparent sheets.
The trapezoidal building is not glued, to keep access to the inside if necessary. The corridor will remain movable by hand, because I did not have time to think about how to install a suitable mechanism.
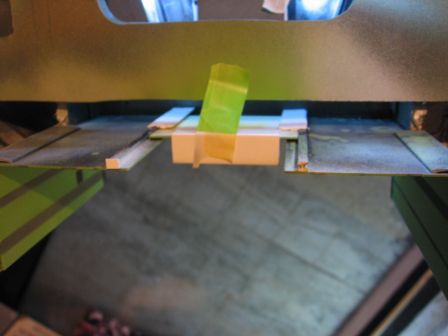
The small cover, retractable back when the mandrel get up. Small plastic rectangles stop the rails to hold him in down position. left, track sealed | On the right, not yet.
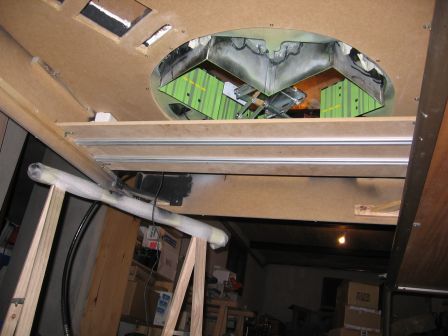
The board which support the LabJack is screwed in its final position. As it significzntly waved when it goes in down position, I had to reinforce the board. I intended to use cleats, but I came across a better solution in the various spare items hanging out in my garage: aluminum rails for a do-it-yourself cupboard, that were not used. They are much stiffer than the cleats, and were even pre-perforated for easy screwing.
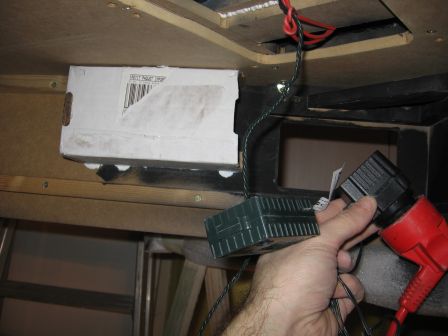
To store the adapter, the wire and the switch of the LED Christmas tree lights and avoid all this to shaking during transport, I stuck a cardboard box inside.
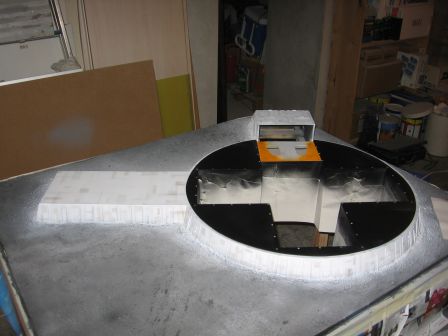
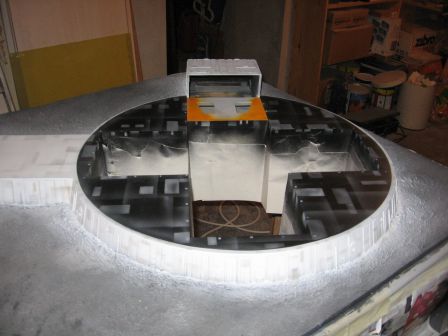
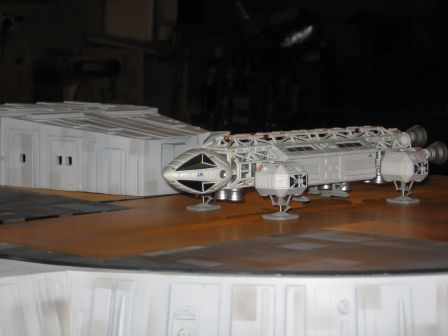
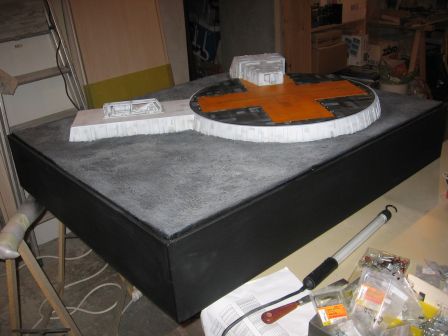
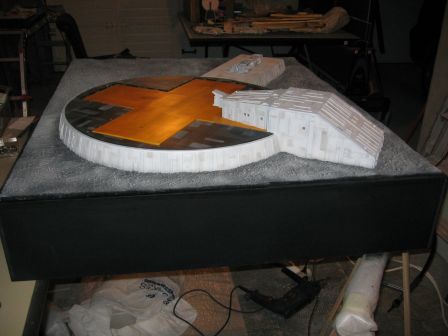
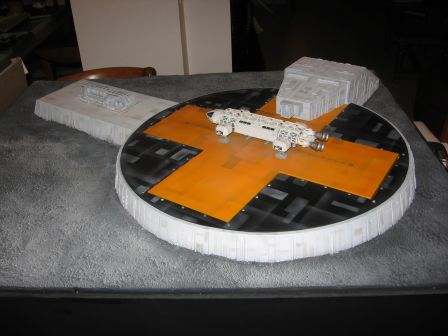
Some overviews
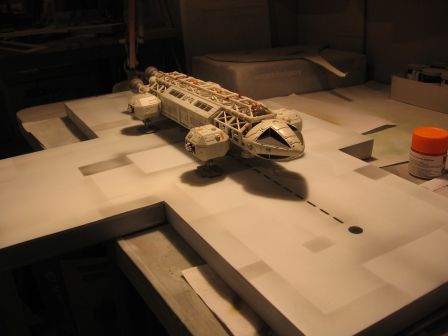
Light gray, and a little dark gray are vaporized in the center of the elevator platform to give the burnt effects from the reactors thrusters.
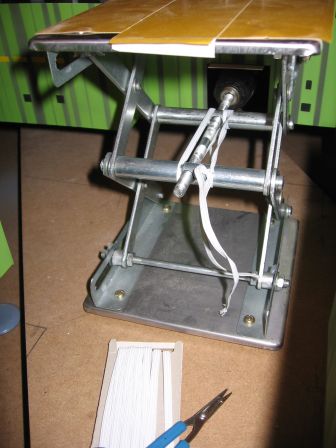
Ater having reinforced the LabJack's board, the platform rises nicely, for cons, it generates a lot of vibration when it goes down. These vibrations are even send to all the box. Though I tighten/loosen/greased the cogs of the LabJack, nothing worked. On a Jean-Marc idea, we tested another approach: stress ,with a rubber band, the two rods that slide the along the labjack central endless screw. A first quick test showed that it was the right approach.
