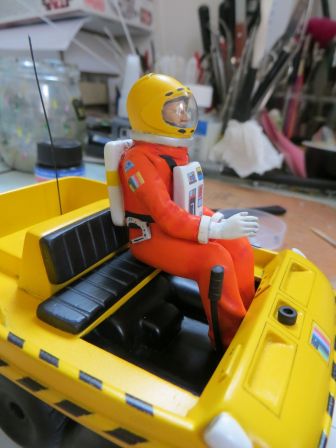
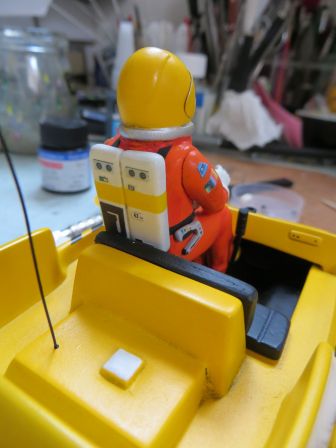
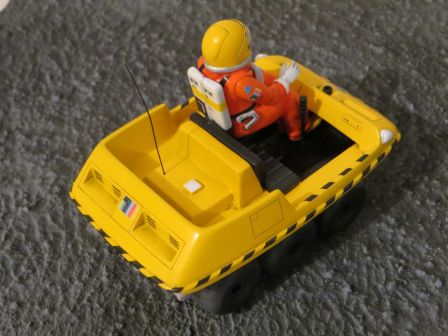
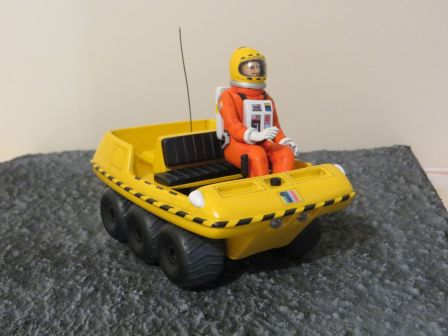
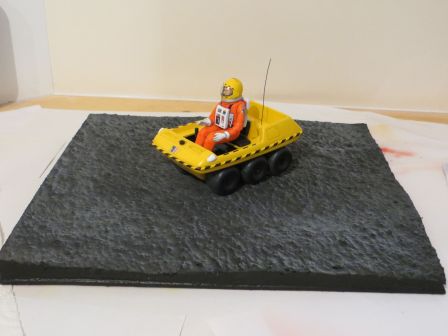
Space1999 - Moonbuggy 99% done
Par olcabour le vendredi, 17 mai 2013, 10:49 - Moonbuggy - Lien permanent
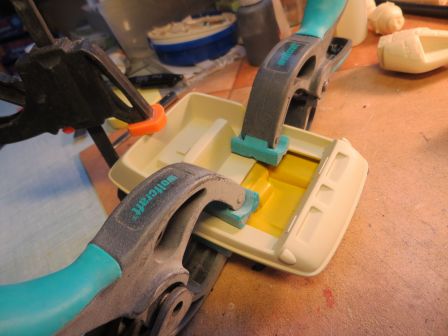
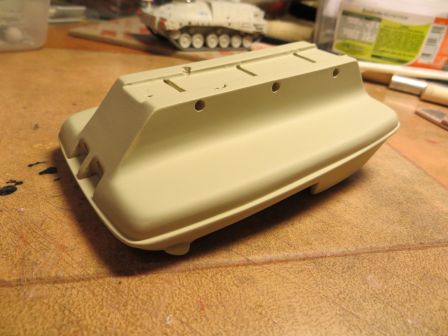
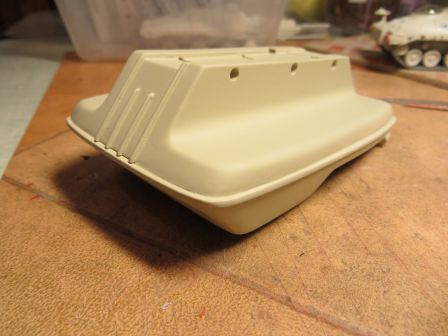
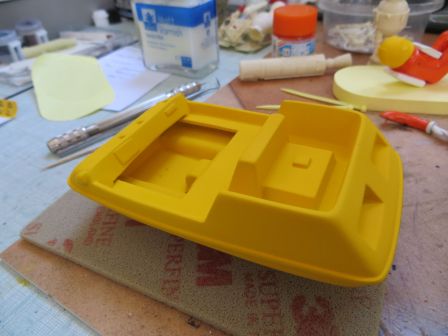
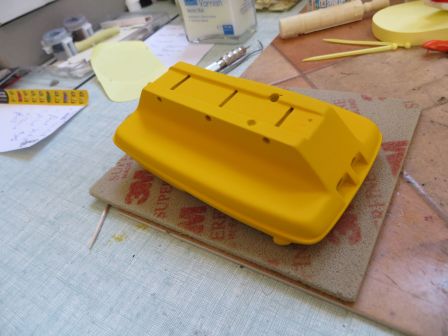
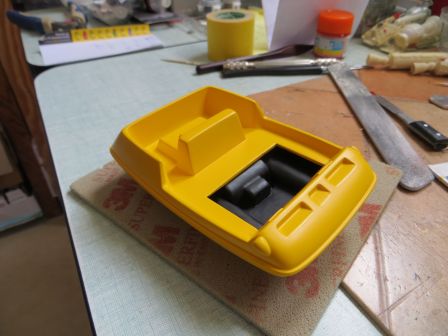
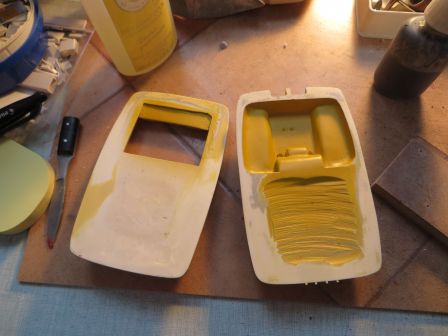
The upper and lower parts are glued together, and filled.
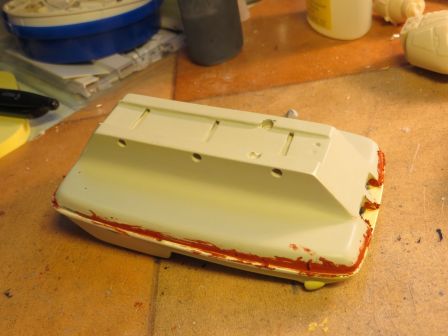
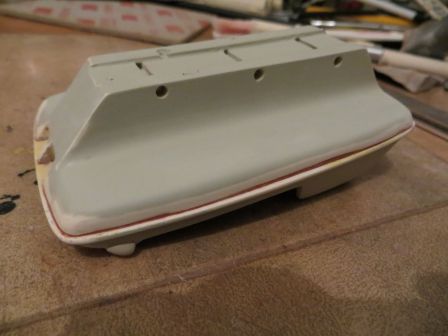
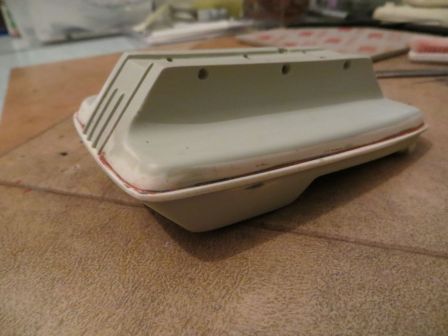
A quick run of spray primer to check everything.
(I painted before the inside in white then yellow, and I realized after sealing that it should be black .... what is fortunately easier to correct in this order)
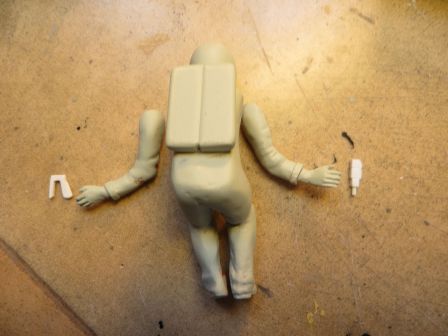
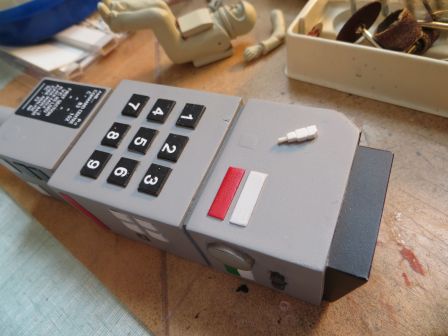
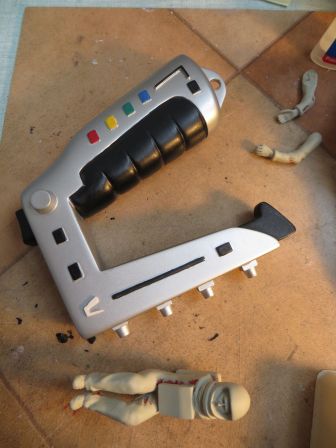
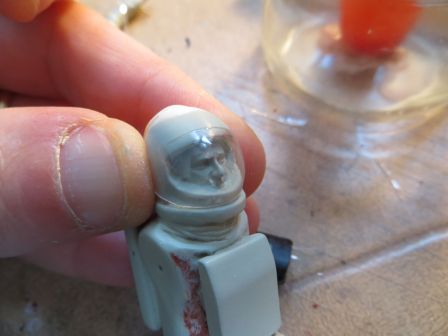
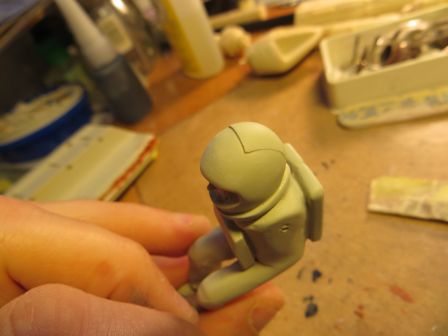
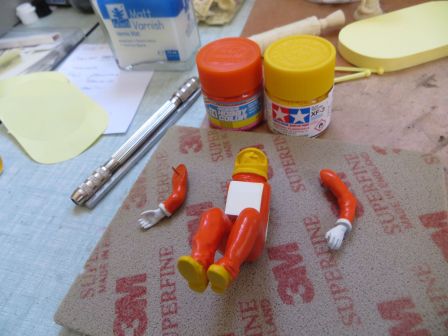
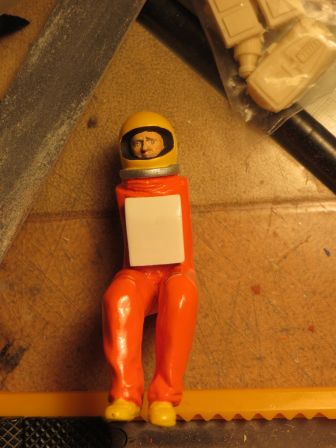
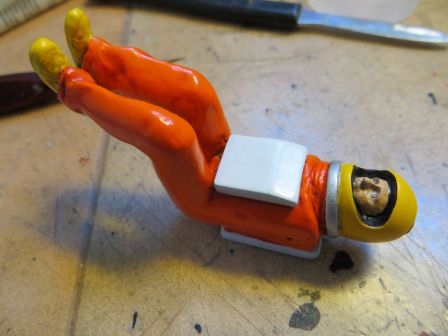
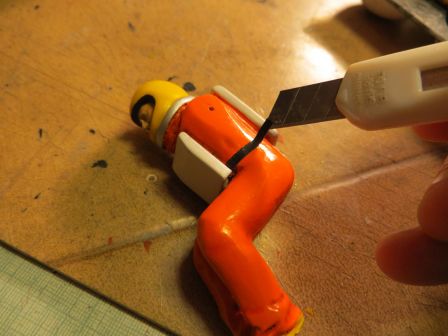
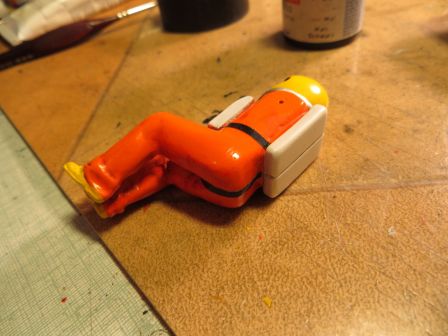
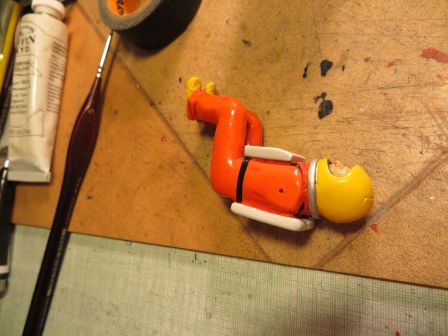
For fun, I scratched mini stun gun and comlock to the character.
Here they are, laying on their big brothers in real size.
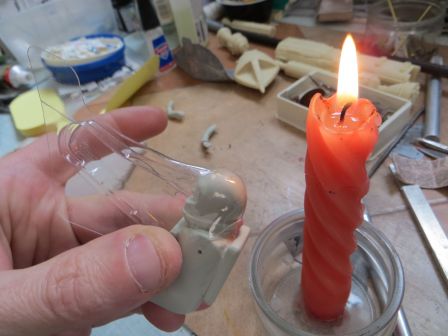
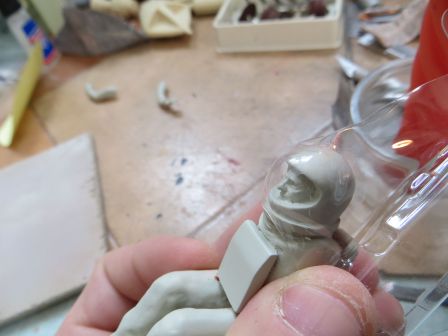
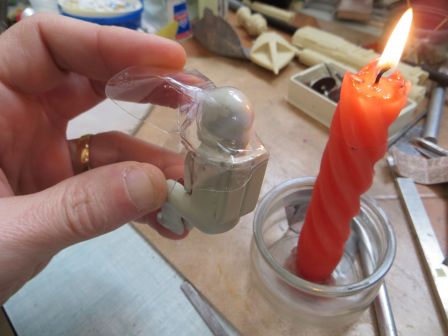
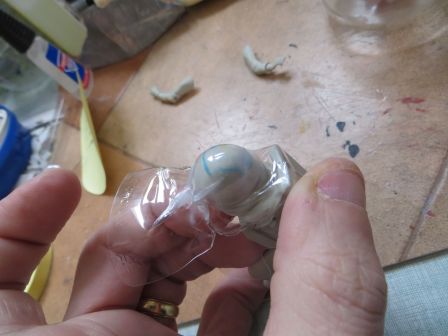
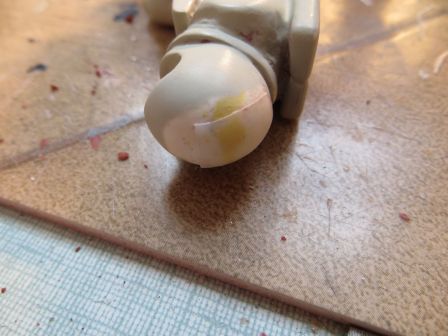
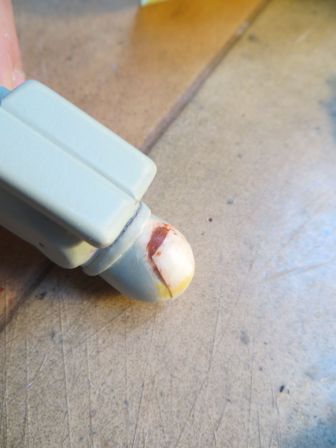
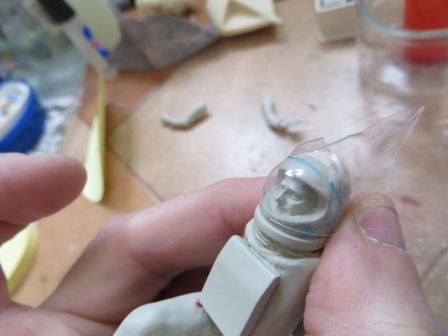
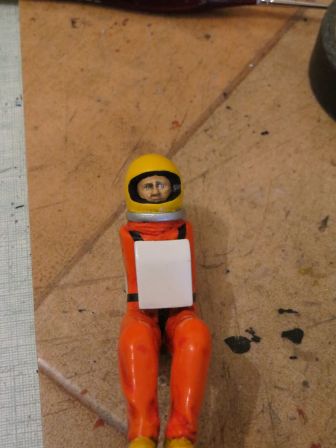
The character helmet also lacked a visor, and a fine strip on the top, diying at the neck. They are produced by thermoforming, so by heating a plastic sheet and then pressed against the helmet in order to cool in the same shape.
The shapes are drawn on the plastic and then cut, the strip glued on the helmet, filled and primed.
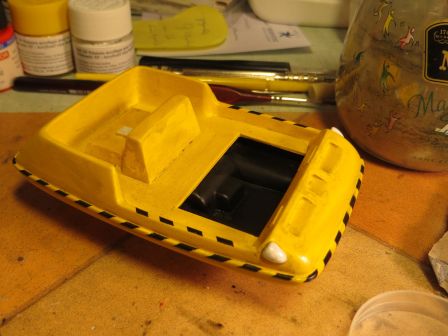
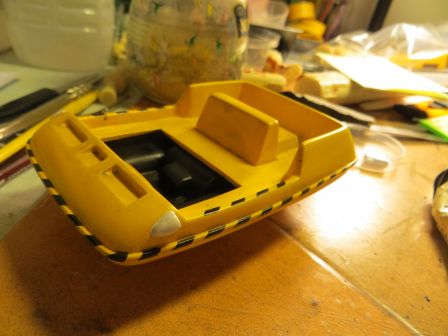
After a last coat of primer, the buggy and the characters received a base coat of white (Citadel spray can), then airbrushed with Tamiya mat yellow and Gunze dark orange. For colors like plain yellow, orange or often red, a white base coat is needed.
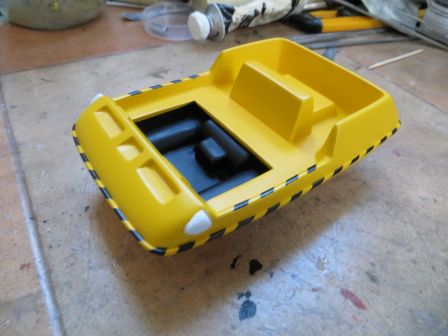
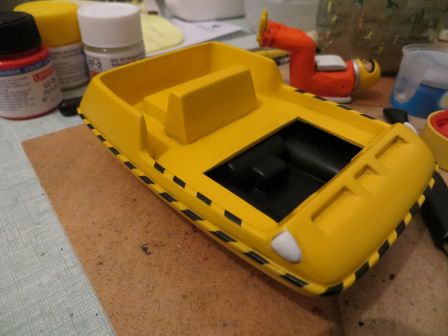
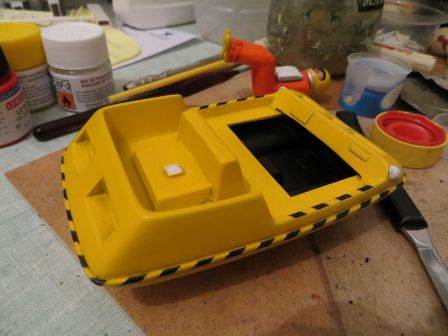
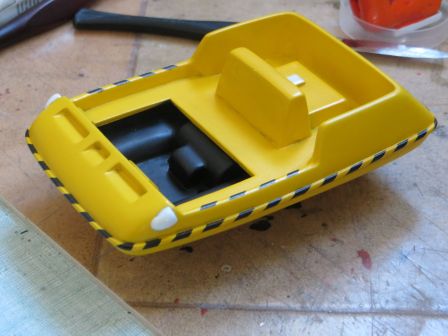
the inside of the buggy is painted back in black (GRRR !). And everything is covered with gloss varnish (Klir)
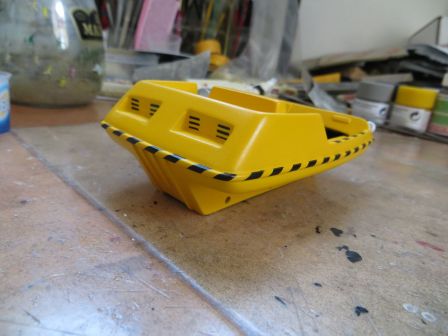
A fastidious session of masking was required to achieve the black stripes
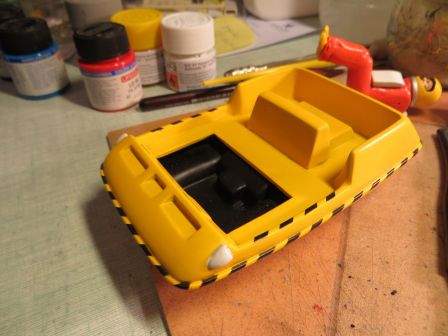
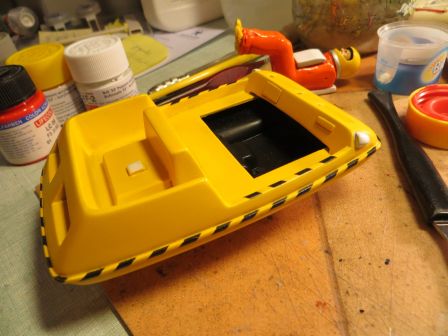
It then received a black wash to accentuate the shadows and break the too poping yellow. It should not be too heavy, as the vehicles are rather clean in the series. Wash applied :
And after wiping :
Actual color in the daylight :
This was then that I found this first and recent image, on eagletransporter forum, showing the original vehicle on which the kit has been remolded.
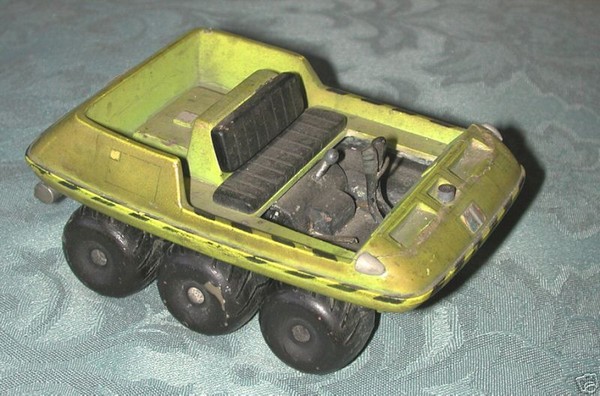 http://www.eagletransporter.com/forum/showthread.php?t=1079
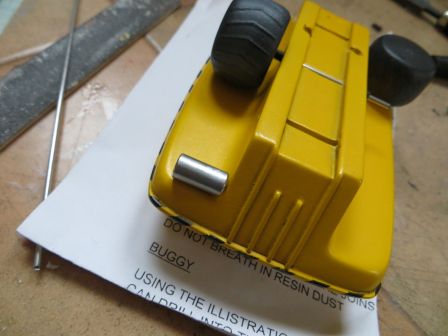
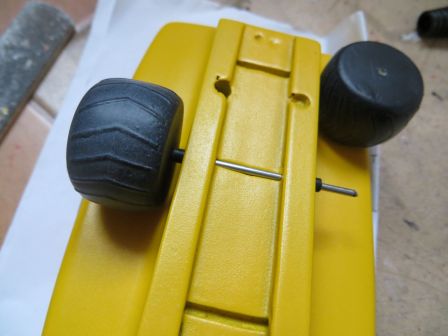
It is clear that there is muffler, a handful (hand brake) and 2 joysticks (the antenna seems to have gone in the years). The paneling is clearly made with pencil. Joysticks and handful gave the answer to the curious tiny holes inside the cabin (see first post)
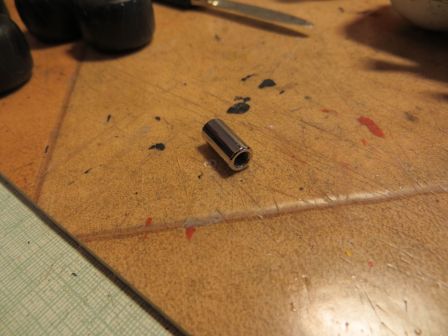
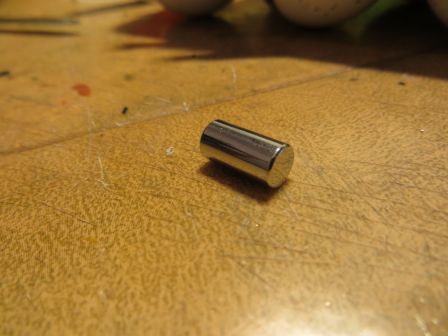
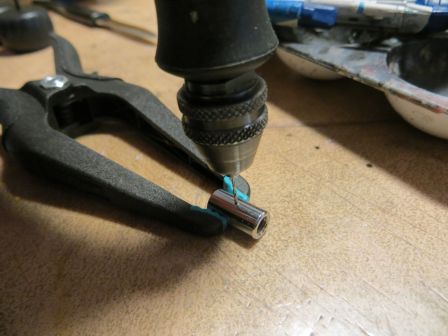
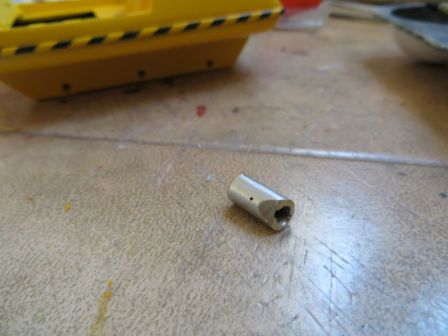
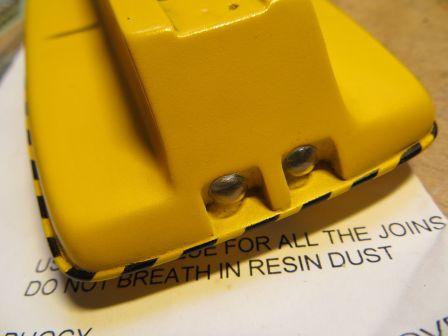
For the muffler, I got my hand on a pen which button was in brass, and aluminum or chrome-plate, with the correct size. Two small holes are drilled to make it fit with rods. A corner is sanded to fit the curve of the wing body.
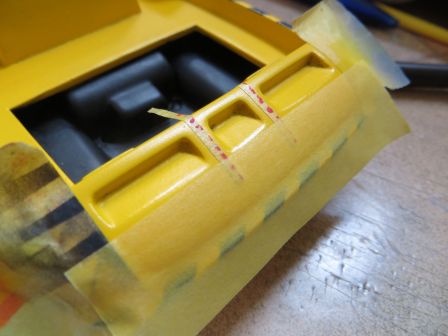
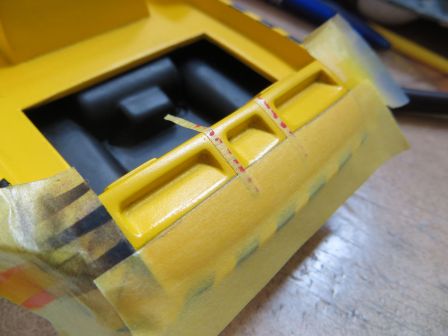
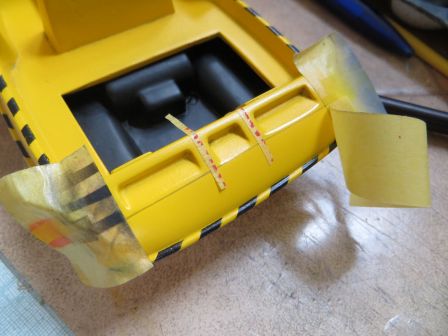
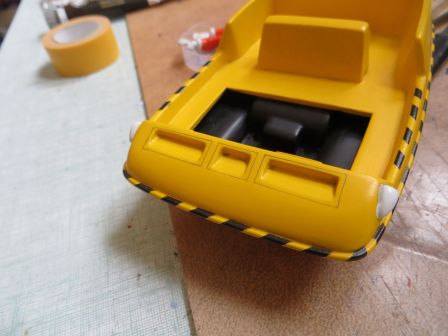
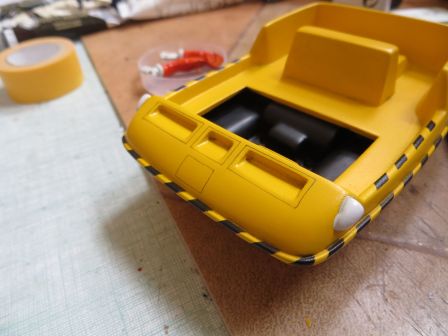
For panels, I choosed the same technique as the original: pencil. I use pieces of Tamiya tapes as guide. Each finished side is immediatly gloss coated (Klir) to avoid fading or damages during the following manipulations on the other sides.
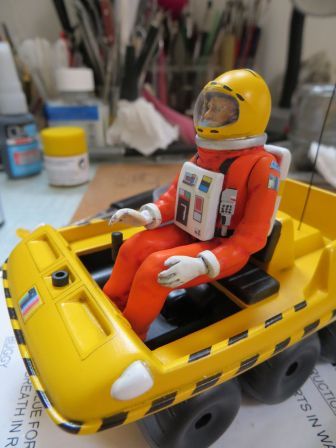
The character face is painted (his right eye still required a little editing in this shot)
The folds of the combination are pronounced with red (but curiously, it does not show on the pictures !). He then received a very light black wash to accentuate shadows.
The numerous belts are made with thin strips of black tape.
It is the decals time (the ones in the kit are all rotten)
After another failed test on blank sheets of decals (either white or transparent) with my inkjet printer, I gave up and came back to a paper solution !
To protect the ink, I generously coated them with Microscale liquid decal film on each sides.
It is thicker than decals as is, but at least I get a result.
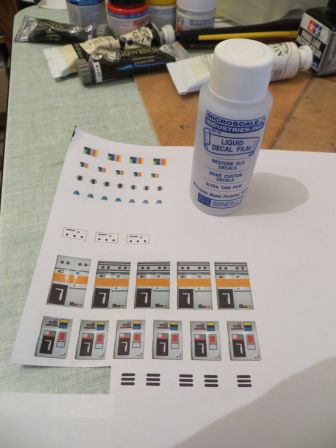
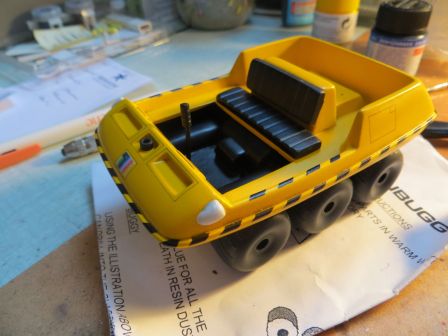
After a light gray drybrush on tread tires, the wheels and the axles are installed on the buggy.
The provided headlights are clogged, even if it was accurate, I found them ugly, so I thermoformed new ones.
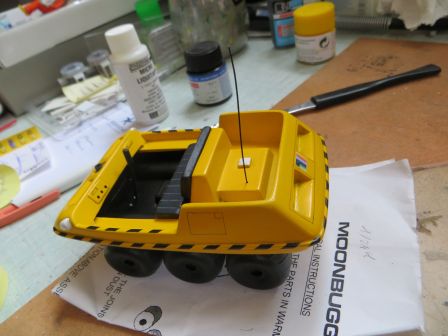
Finally, I only made one joystick, nor the lever, because the character installation is not allowed more! The antenna is made of a plastic wire label for clothing. It is flexible and strong. It is currently painted black. Sorry, no WIP photo.
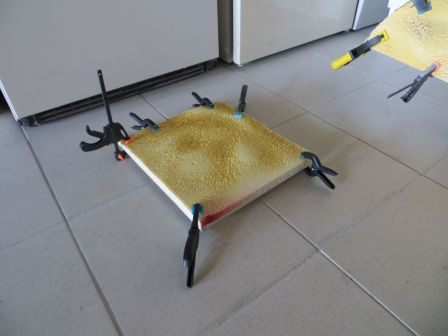
A lunar ground prepared n the same way as I done on my launchpad
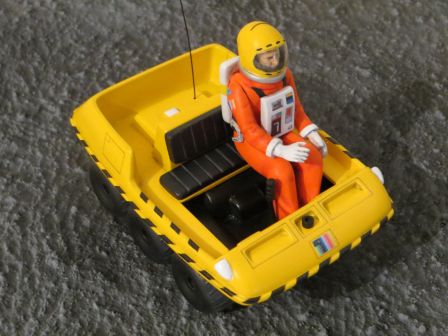
And here's the finished result ... at 99%
Why 99%?
I still have to repaint the white antenna or aluminum, but also re-paint the visor. The paint chipped off when unmasking, so I corrected this in hurry by hand to be in time for an exhibit next week in Paris at Geekopolis

And why 99% (take 2 !)
Because in writing this post I came across new photos, like this:
and many others here:
http://www.eagletransporter.com/forum/showthread.php?t=1459
And the report that goes with it:
- My pot is too long (that's why I had to grind in the corner), and it lacks the outlet tube (ca, I suspected, but I did not know where he was to position!)
- I'm missing a few panels
- My antenna is misplaced
- The small front cylinder is gray instead of black I applied
The top view also shows the damages that I took for casting defects (on the front cover) and explaining those that I found on the dashboard.
