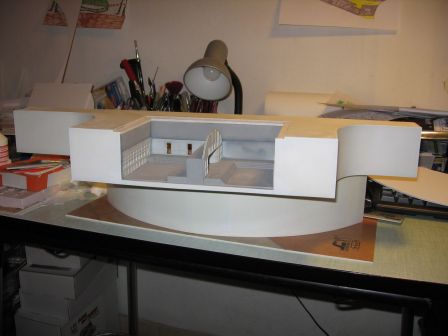
Main Mission - Inner painting, tower's base and roof detailing
Par olcabour le mercredi, 8 février 2012, 16:32 - Main mission - Lien permanent
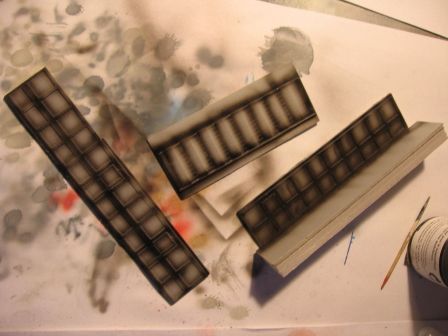
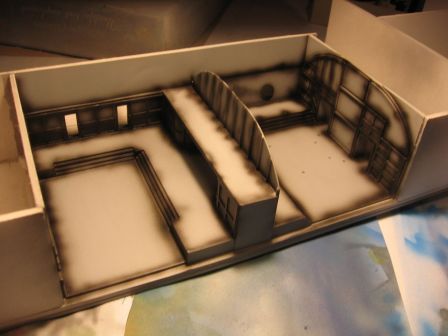
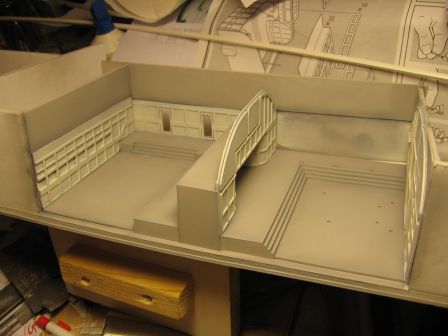
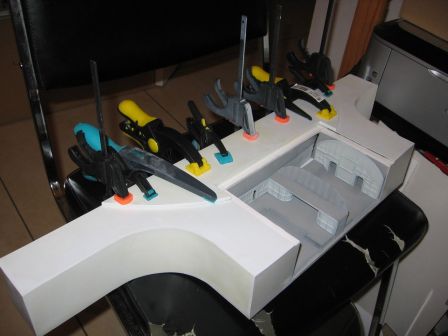
The inside diorama received a layer of primer
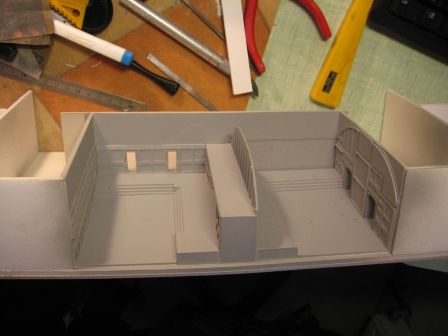
And the base color (medium gray) is applied on the floor and walls.
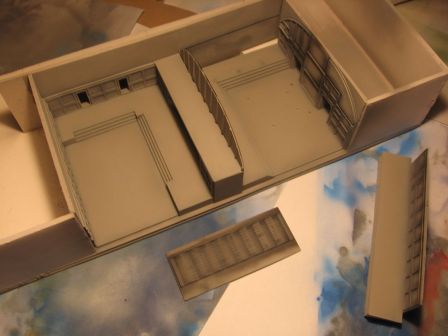
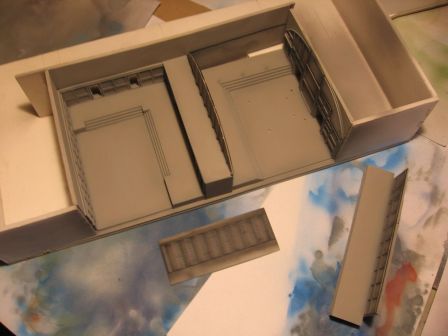
Then the color of the walls, in off-white.
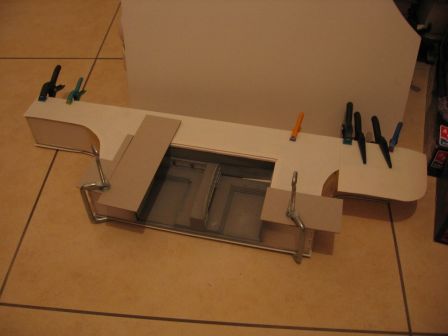
The roof is finally in place, held with clamps during curing.
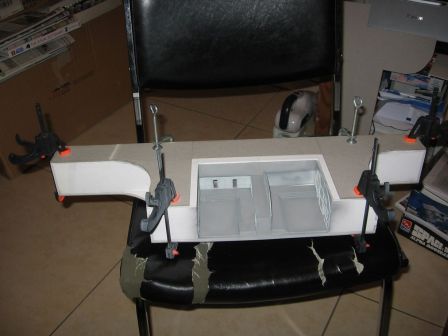
Round sides are filled with foam insulation to give a point to hang to the plastic sheet that will cover the entire building.
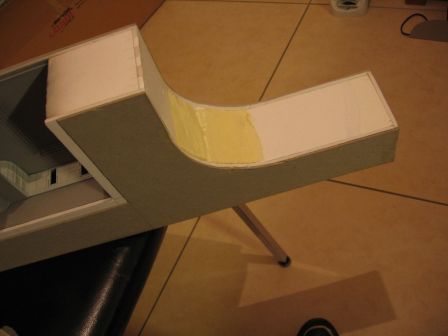
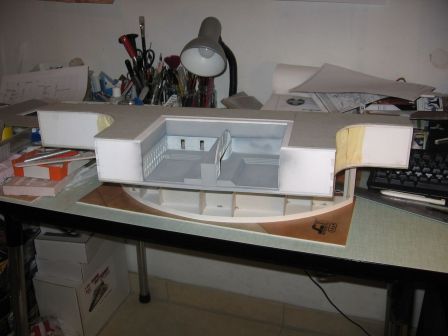
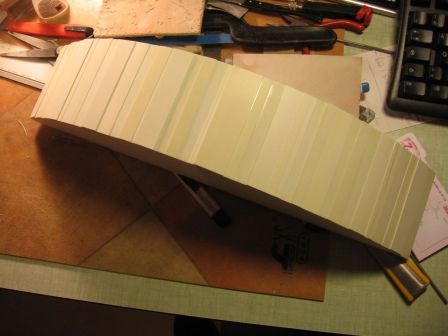
The base of the tower, which will be an arc of cylinder is made of cardboard and Cadapac foam board.
There are many internal reinforcements of cardboard to support the weight of the upper part of the tower.
A space is left open in case I need to light up the top (and it is quite possible that I have an LED in each lane visible through the doors, otherwise they will be rather gloomy.
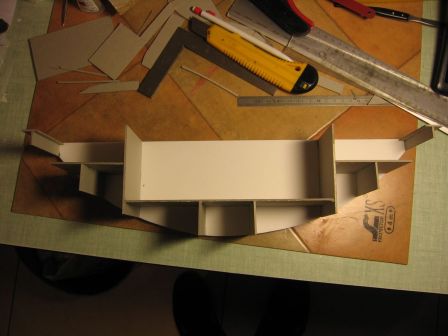
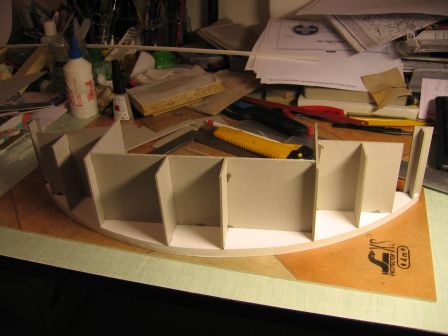
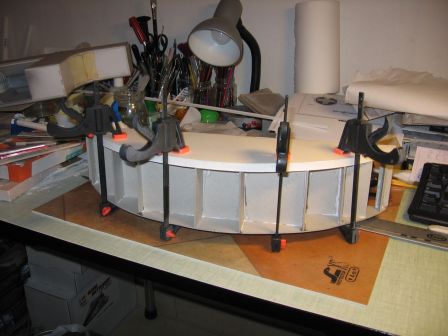
Dry test :
I then turned to the frontage, with 0.5mm thick plastic card.
then of the sides, after sanding of the previous ones :
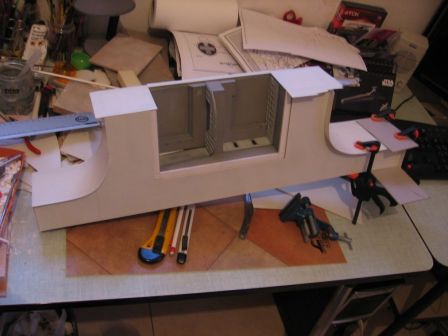
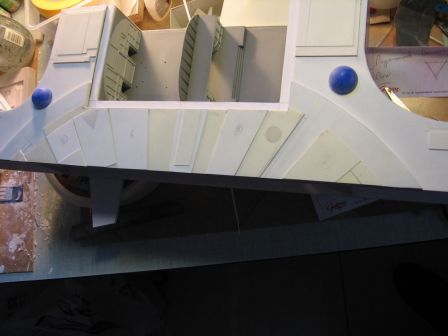
The cylindrical face of the base is also covered with plastic card.
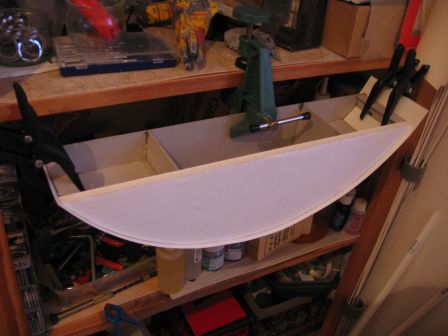
The base is then detailed with plastic card strips of different thicknesses and widths.
Back on the main part, a hard cardboard disk, also covered with plastic card, is set on the top. This cylinder fits exactly to the underside base.
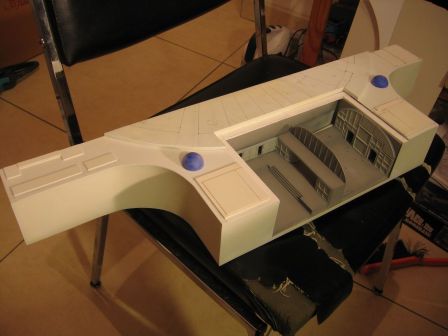
Plastic card panels are added, on the roof based on the original model details.
The two half-domes are shampoo caps, heavily sanded on a band sander.
Note that the diagram detailing the disc is also drawn.
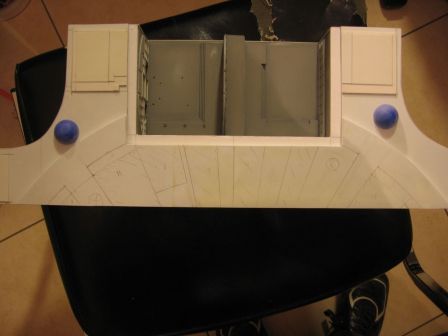
I then just have to follow this template.
Next step: detailed the sides with plastoc strips and cutting windows.
