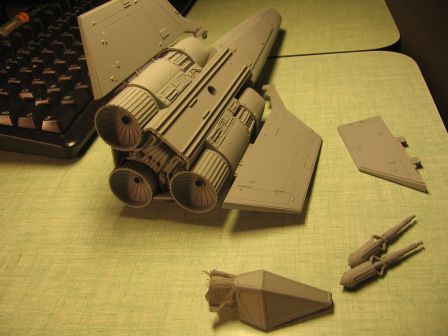
Revell Viper - Canopy and main assembly
Par olcabour le vendredi, 9 septembre 2011, 21:27 - Viper TOS - Revell - Lien permanent
- Canopy
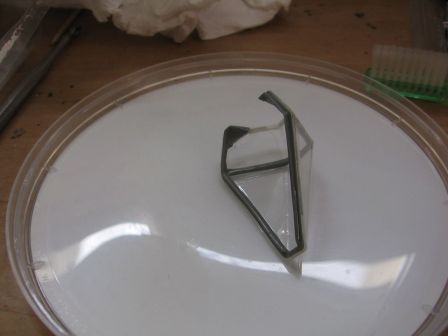
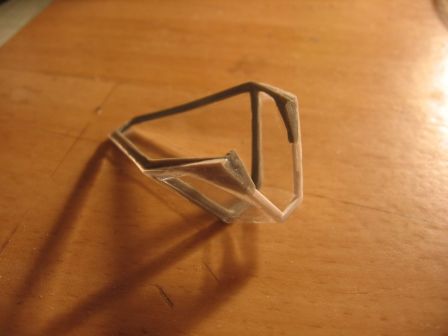
Finally, the installation of the frame has proven to be difficult because the ribs and the dihedral of the thermoformed part does not match the original part. It was therefore necessary to do a lot of adjustments.
This frame is finally superglued step by step, over a period of several days to avoid white marks.
In the operation, I accidentally put some superglue on a glass. To rectify this, I wet sand with 1500 or 2000 and then polished with white and blue Tamyia polishing pastes.
The frame is then painted in gray. With models at that scale, paint the interior of the cockpit frame adds greatly to the final result. (Sorry no photos, I forgot!)
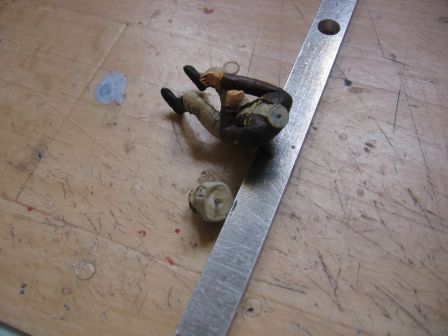
- To ensure a strong bonding of the resin pilot's head (MMI), I reinforce it with a brass rod. The gluing will be done in the final assembly.
- Support
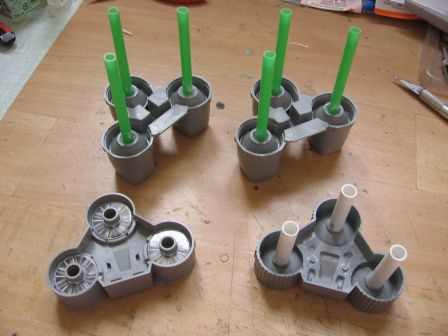
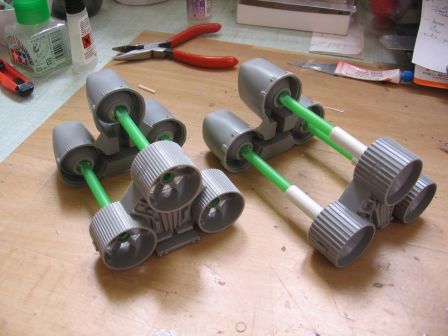
For future display in a diorama, I prepare a support system with rod from the rear.
On the reissue, I just paste tubes on the back of the air inlets, which will slip in the center of the nozzles.
On the original kit, this system must be completed to strenghten it, so I drilled the center of the nozzles and glued others tubes, with an inner diameter larger enough to plugged in the front ones.
Even if there are 3 tubes, only 1 or 2 tubes will be used at some time, this leaves me the choice to position them in a dio as I want.
- Main assembly
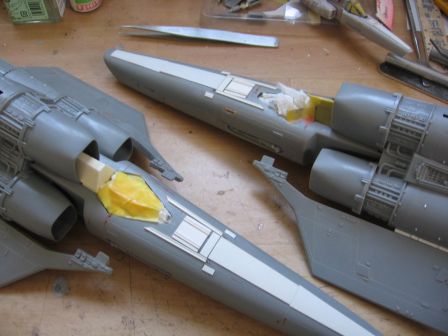
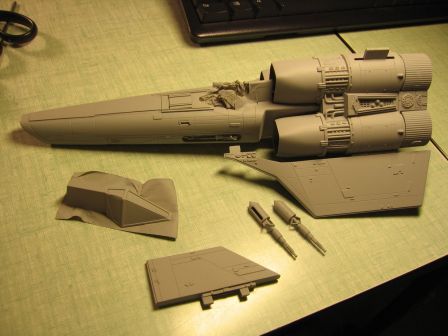
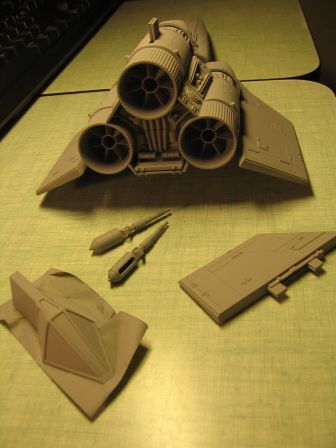
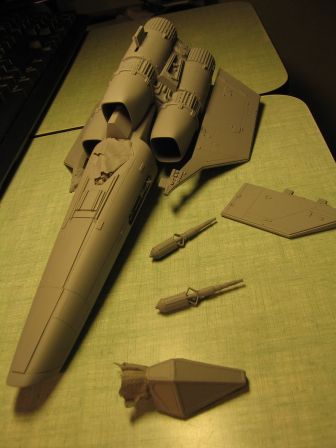
Nozzles and air inlets are glued to the engine module.
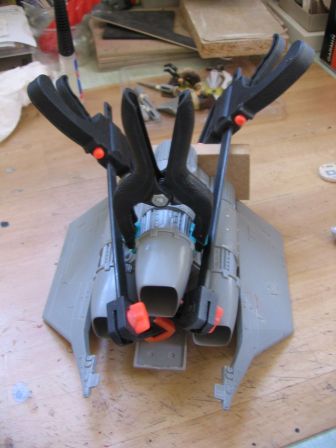
The fuselage is then reported.
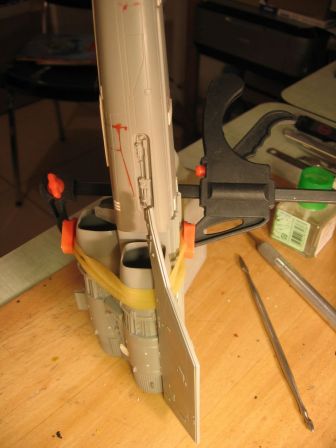
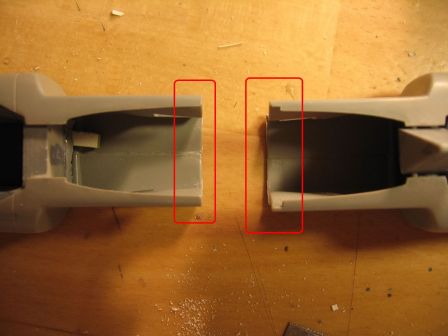
The original kit requires minor modifications to ensure a good fit of the parts (changes that have also been made by Revell with the reissue)
Original | reissue
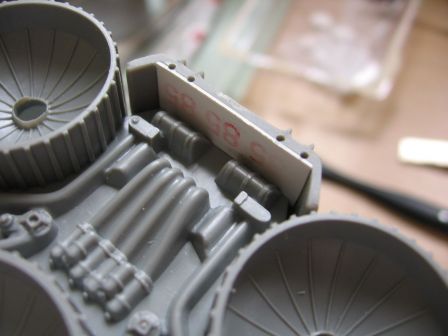
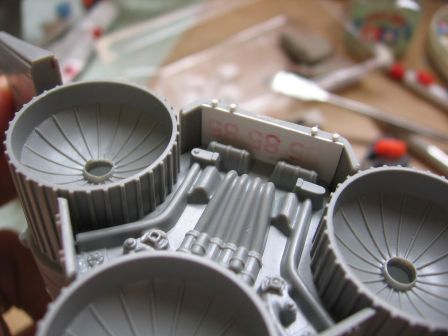
- Still on the original kit, I filled a gap on the back with a little plastic card.
Four little round detail were missinf. Instead of gluing small pieces of plastic rods that would stick out at any slightest shock, I first drilled holes 2 or 3 mm at the right diameter, then insert the rods. Like this, it is strong enough.
- Then comes the masking of the cockpits.
- The Viper received then a coat of primer Tamiya (in spray can).
Hero :
Cannon fodder :
