Stargazer Viper - Canopy
Par olcabour le lundi, 12 septembre 2011, 21:30 - Viper TOS - Stargazer - Lien permanent
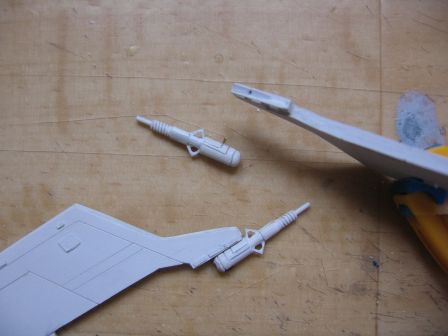
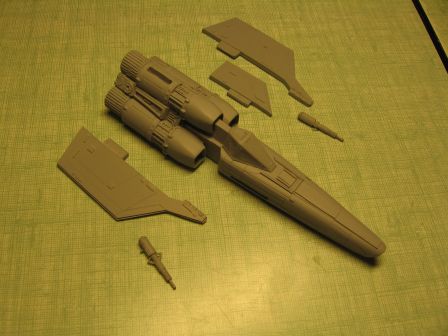
- The bonding of the guns on the wings will be strengthened with a piece of brass rod.
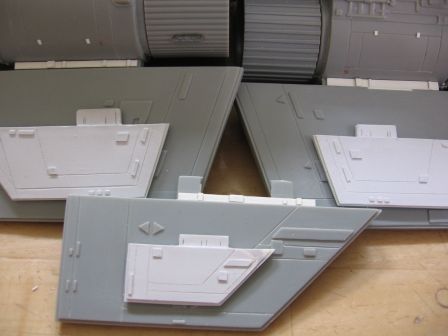
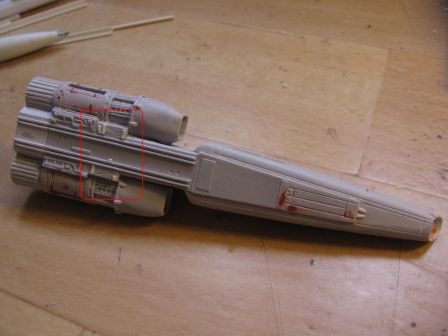
- I engraved few lines of structures at the bases of the wings and drift to simulate the raised details on the original model.
This little trick allows to quickly and easily fills detailess subject. By cons, it only applies in small areas like here. Below the parts with their big sisters for comparison.
The same trick is better viewable on the underside :
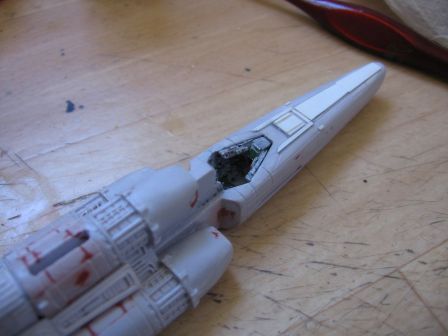
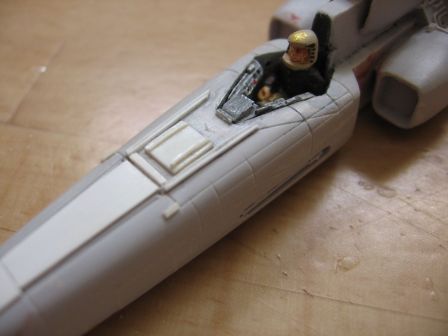
- The cockpit is quickly paint. Some small spots of color (yellow, white and red buttons, and a central screen in green) gives it some life.
The pilot is then installed.
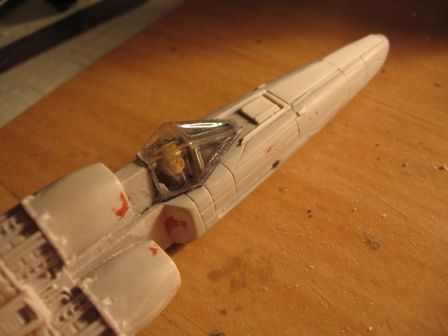
- The canopy is carefully cut. I let stay it in its resin mold during this operation. It is then put in place with white glue.
I mixed my glue with a little water and gray paint, for, respectively, improve the flow, and blend it into the gray walls of the cockpit.
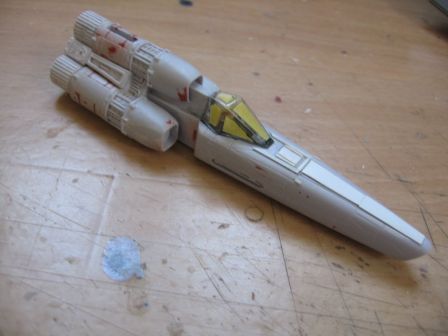
- The windows are then masked
- The color of primer is then applied.
