Space1999 Swift - Review of the kit
Par olcabour le mercredi, 12 juin 2013, 01:28 - Swift - Lien permanent
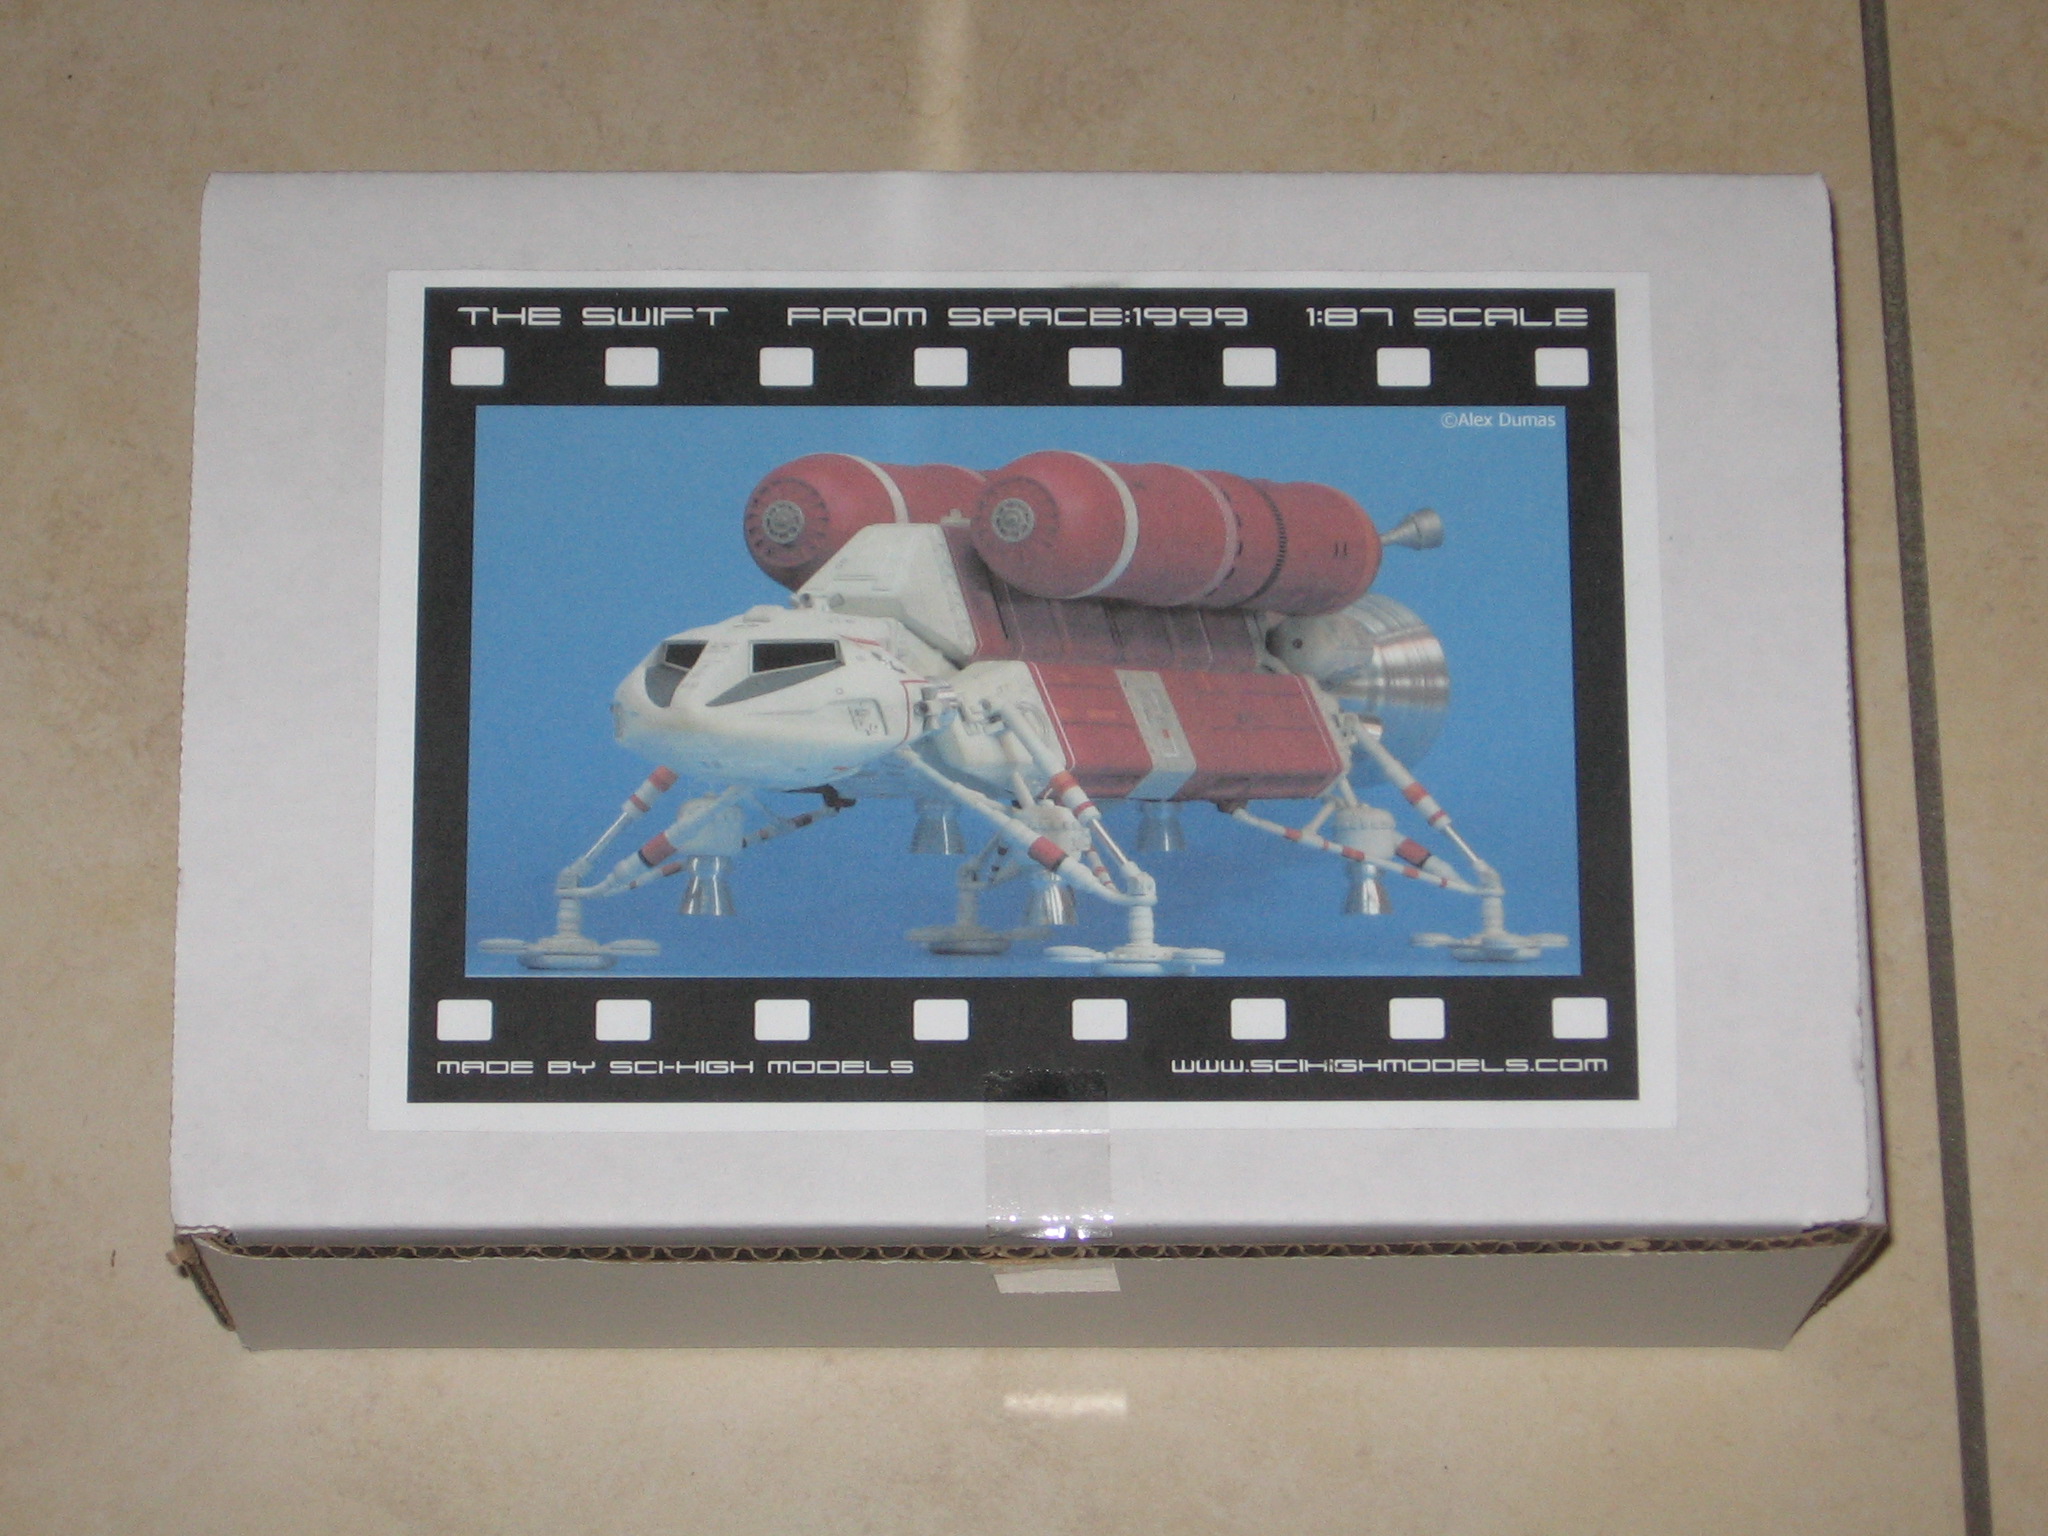
The Swift (translated in Cruiser in the French dubbing) is an Earth ship lost on a mission and that Alphans found during their journey in the episode "The Brain".
Its design fits perfectly the earthy style established in the series, and inspired by the eagle: elongated, a cockpit with 2 separated windshields by a central ridge, ...
It is also recognized with its two large backbone dorsal tanks.


This article describes various stages over several years. And at each stage, I resumed writing directly after, but never publish it. Initially it was intended to be published a french magazine about collectors items called Dixième Planète (Tenth Planet), and where I used to write model kits news and reviews articles. The completion of the master took too long, the magazine stopped before, and this never happen. So all this is a following of episodes with feelings notes (a draft !).
Review of the kit
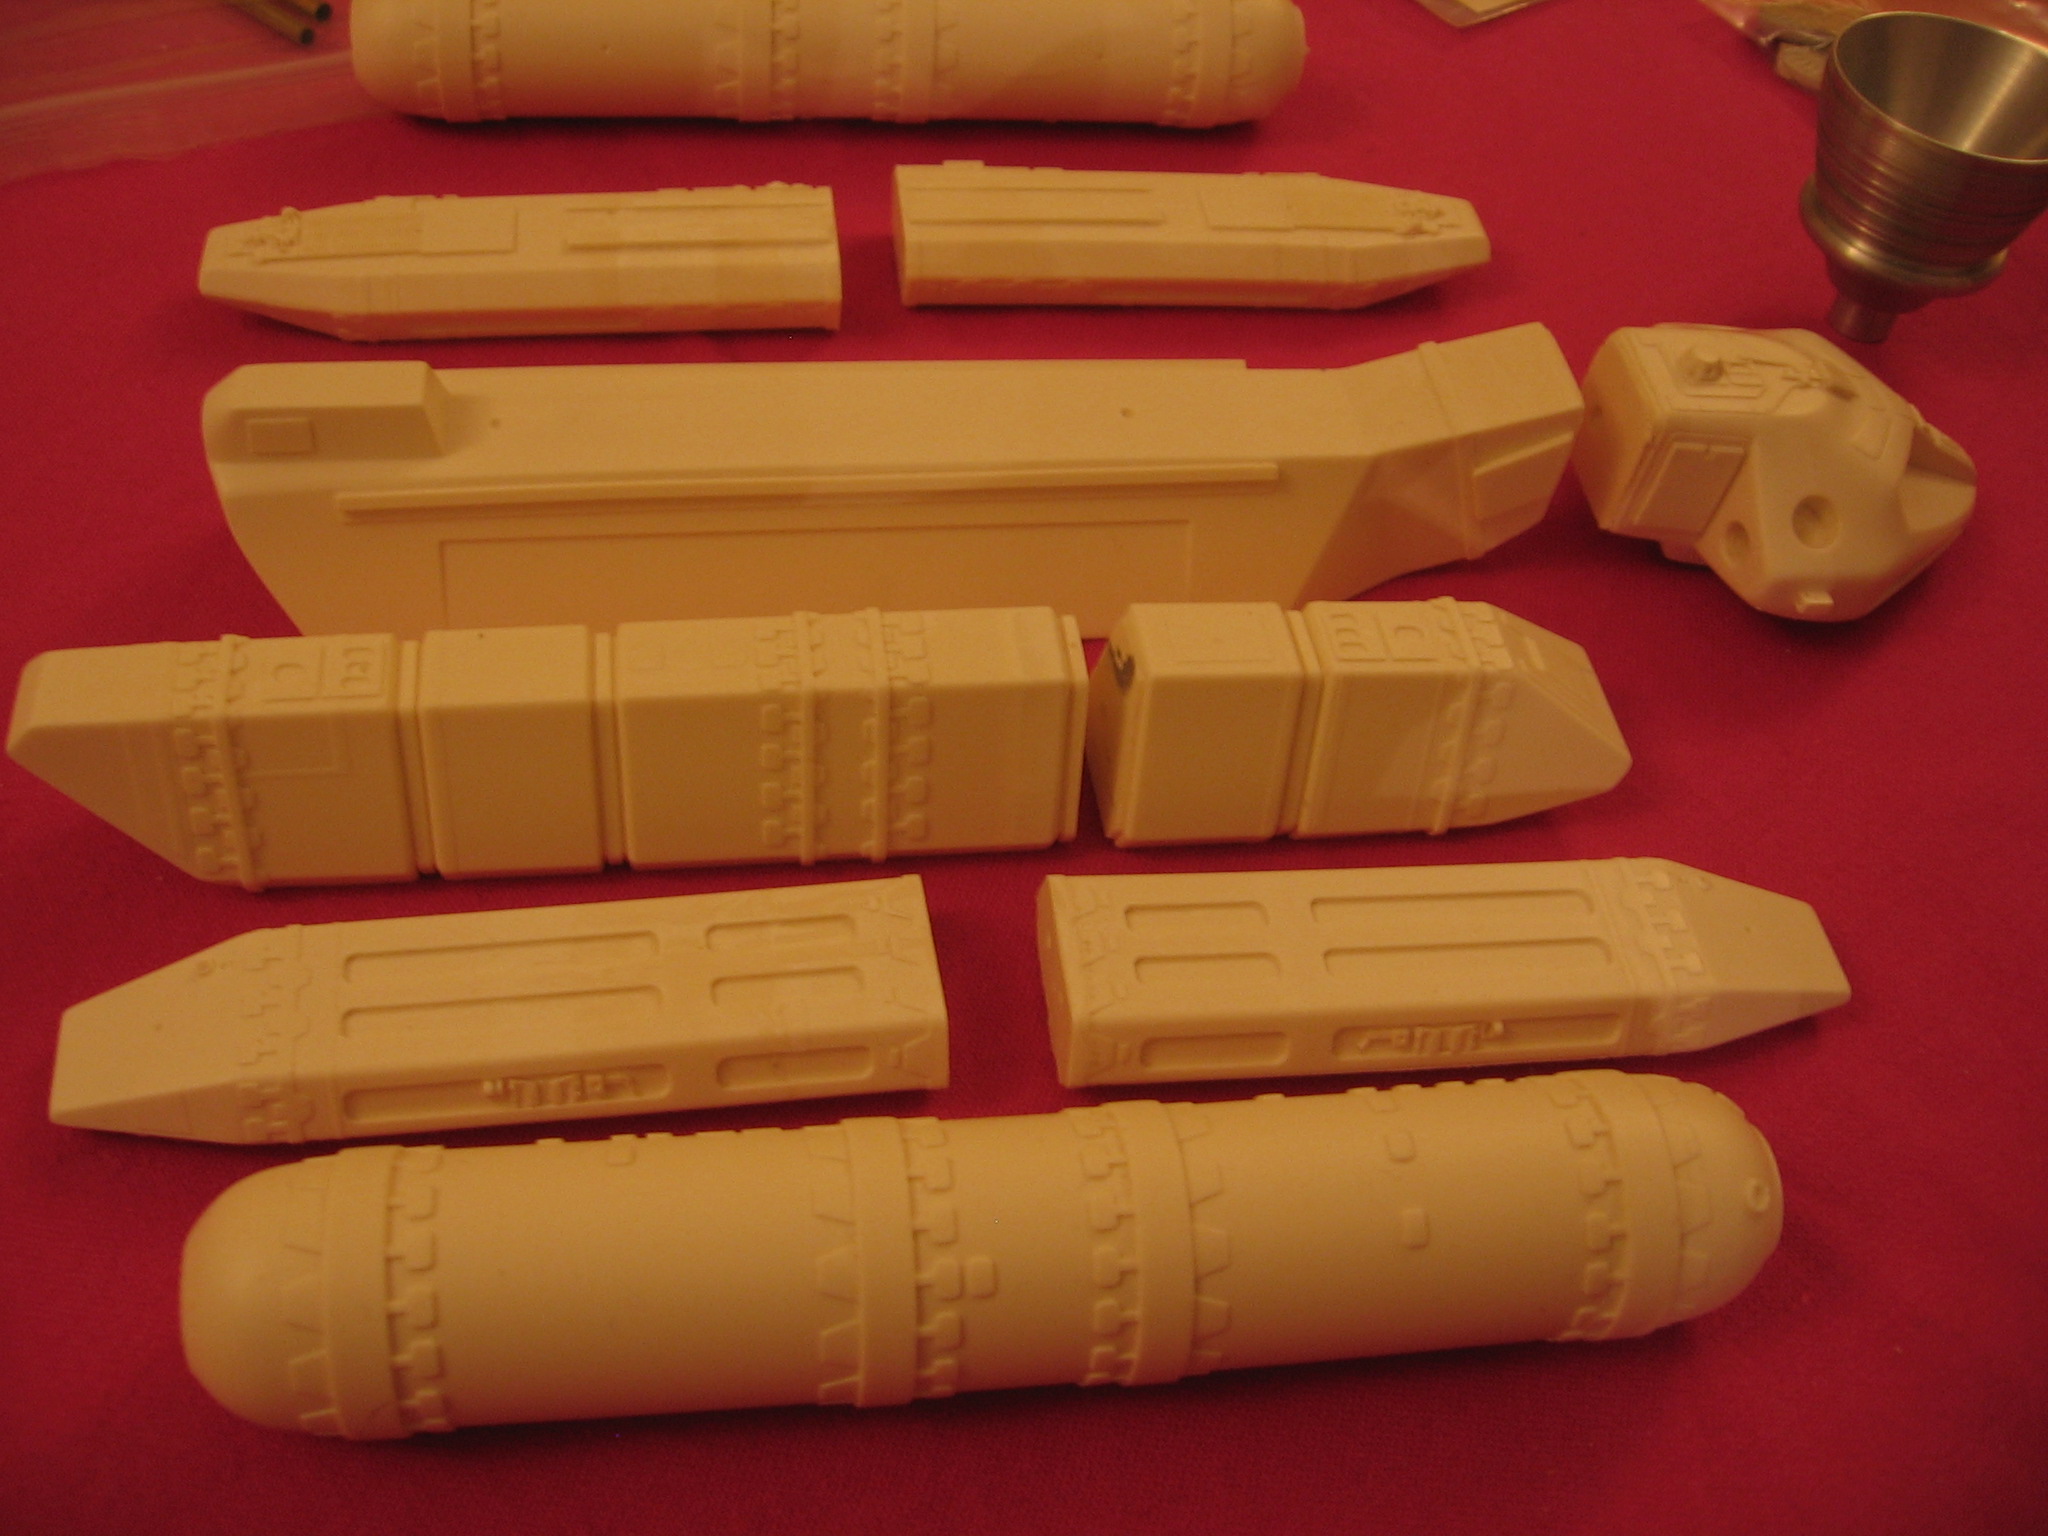
This kit, produced and directed by Alexandre Dumas / Sci-hi model is a must have for any Space1999 modeler. Alex sent me his progress steadily over the months period of its making. Here is the first review "out of the box" kit received in late 2009, made before receiving the instructions (which was not ready at that time) :
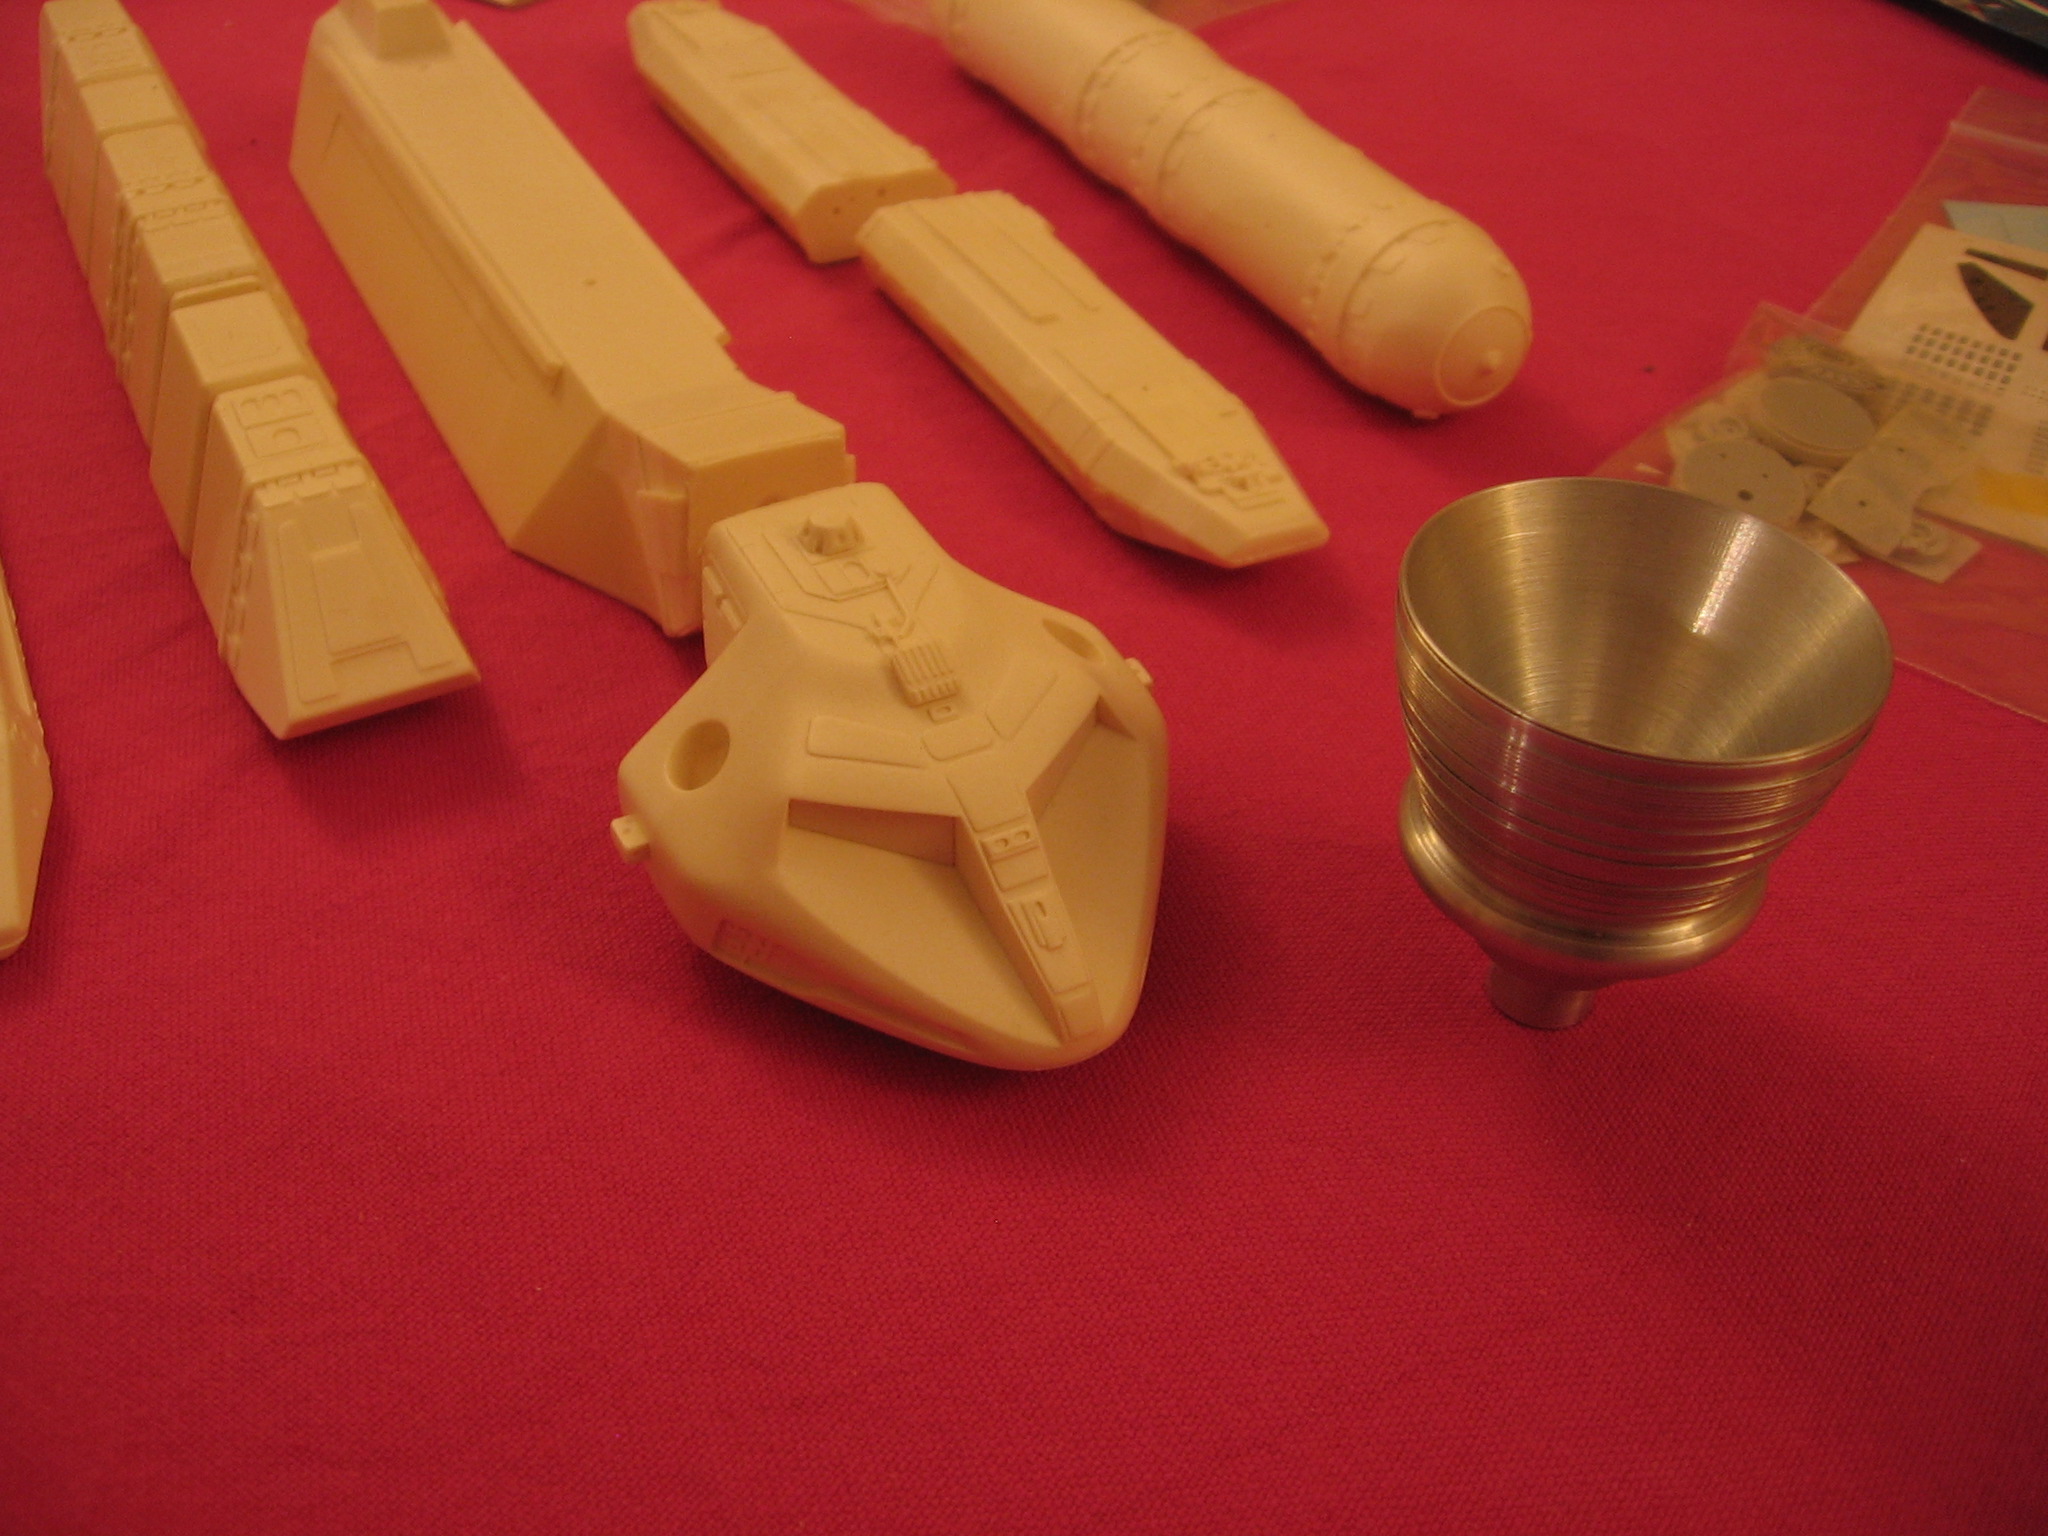
This review was not complete because I did preferred to not yet open bags where there was the smaller parts. Besides, I have to say that without the instructions, and given the number of parts, the placement of many of the smaller ones do not come altogether and some remained totally obscure to me. Comparing with pictures of the original model, the proportions are there. We can find all the details. It was not an easy job for Alex, given the low level of documentation available on the subject.
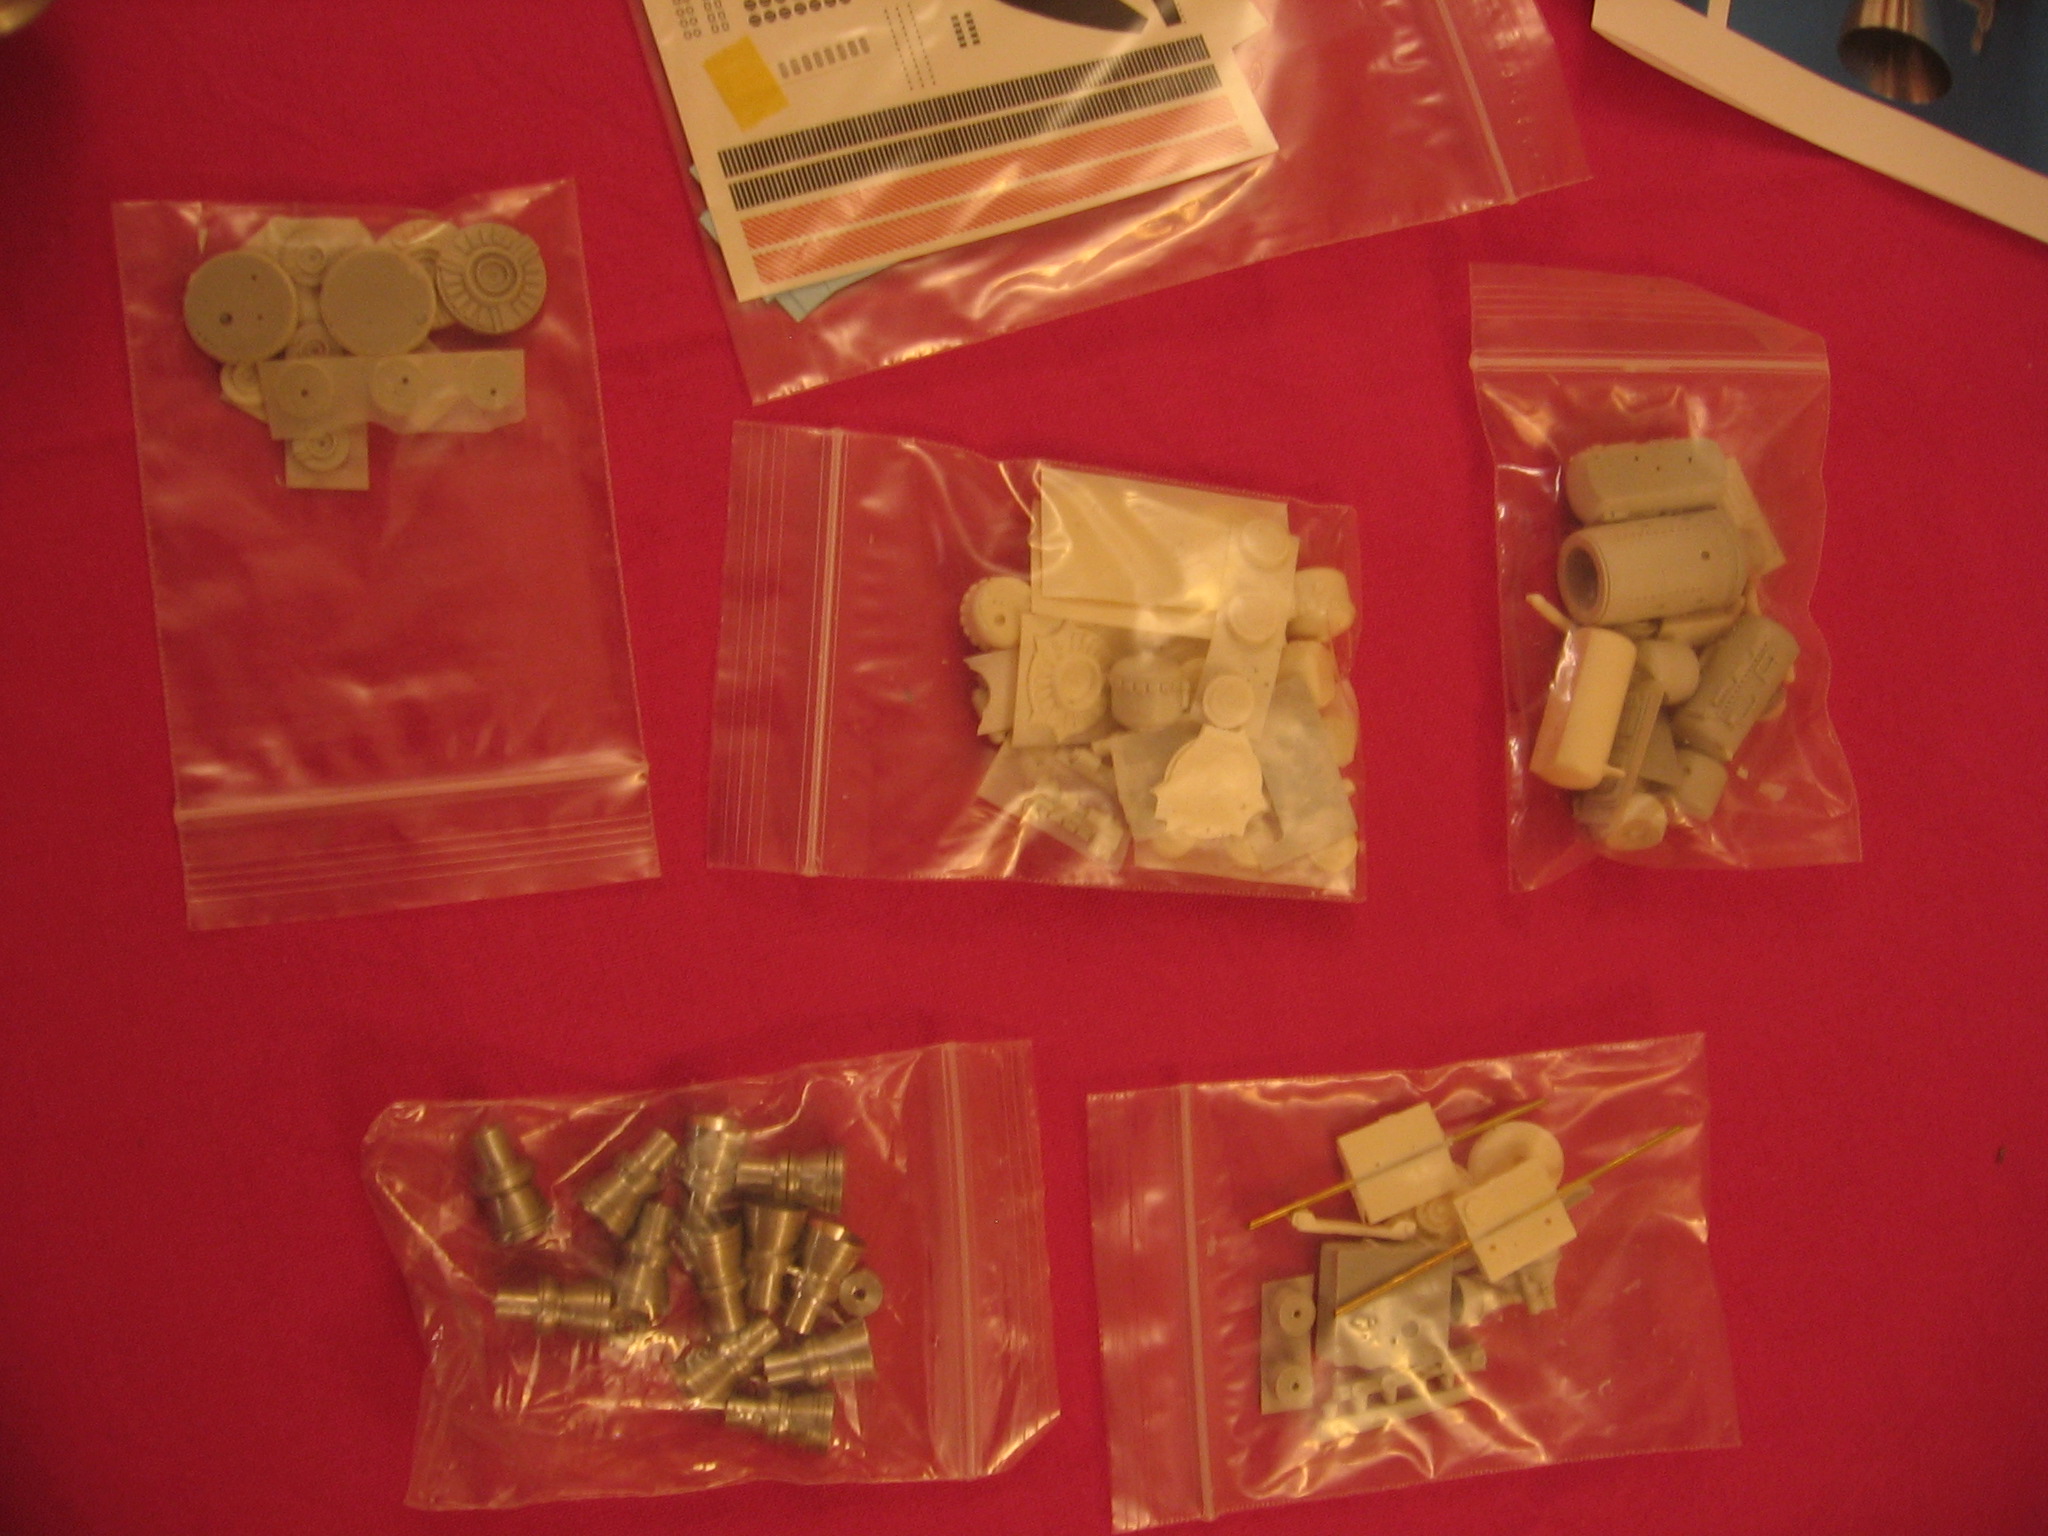
Turned metal parts are superb. Small nozzles that have a larger neck are those that fit the back of the control module. The large nozzle has grooves that perfectly match the original model.
The casting is rather clean. However, the two large dorsal tanks may be require some putty before sanding to keep a perfect curve.
Assembling the side modules (with doors) will require special attention: the alignment is not easy to achieve with such long parts.
The landing gear shock absorbers parts are hollowed, like a tube! This is the first time I see that on a resin kit of parts of this delicacy ! Hats off !
On the main body and the control modules, the slots for the nozzles will need to be expand to allow their insertion. Curiously, the VTOL and the secondary rear engines cylinders do not have a hole to insert the nozzles.
The small resin nozzles at the back of the dorsal tanks, that look like the Hawk one, are beautiful and very thin. On the flattened cylinders that come onto the main engine, several small ears broke in the shipping, but as everything is packed, they remained in the small bag. Phew! It will just takes 3s to glue them back.
There are a lot a decals. I think I will paint the windshields and antiglare rather than used the decals.
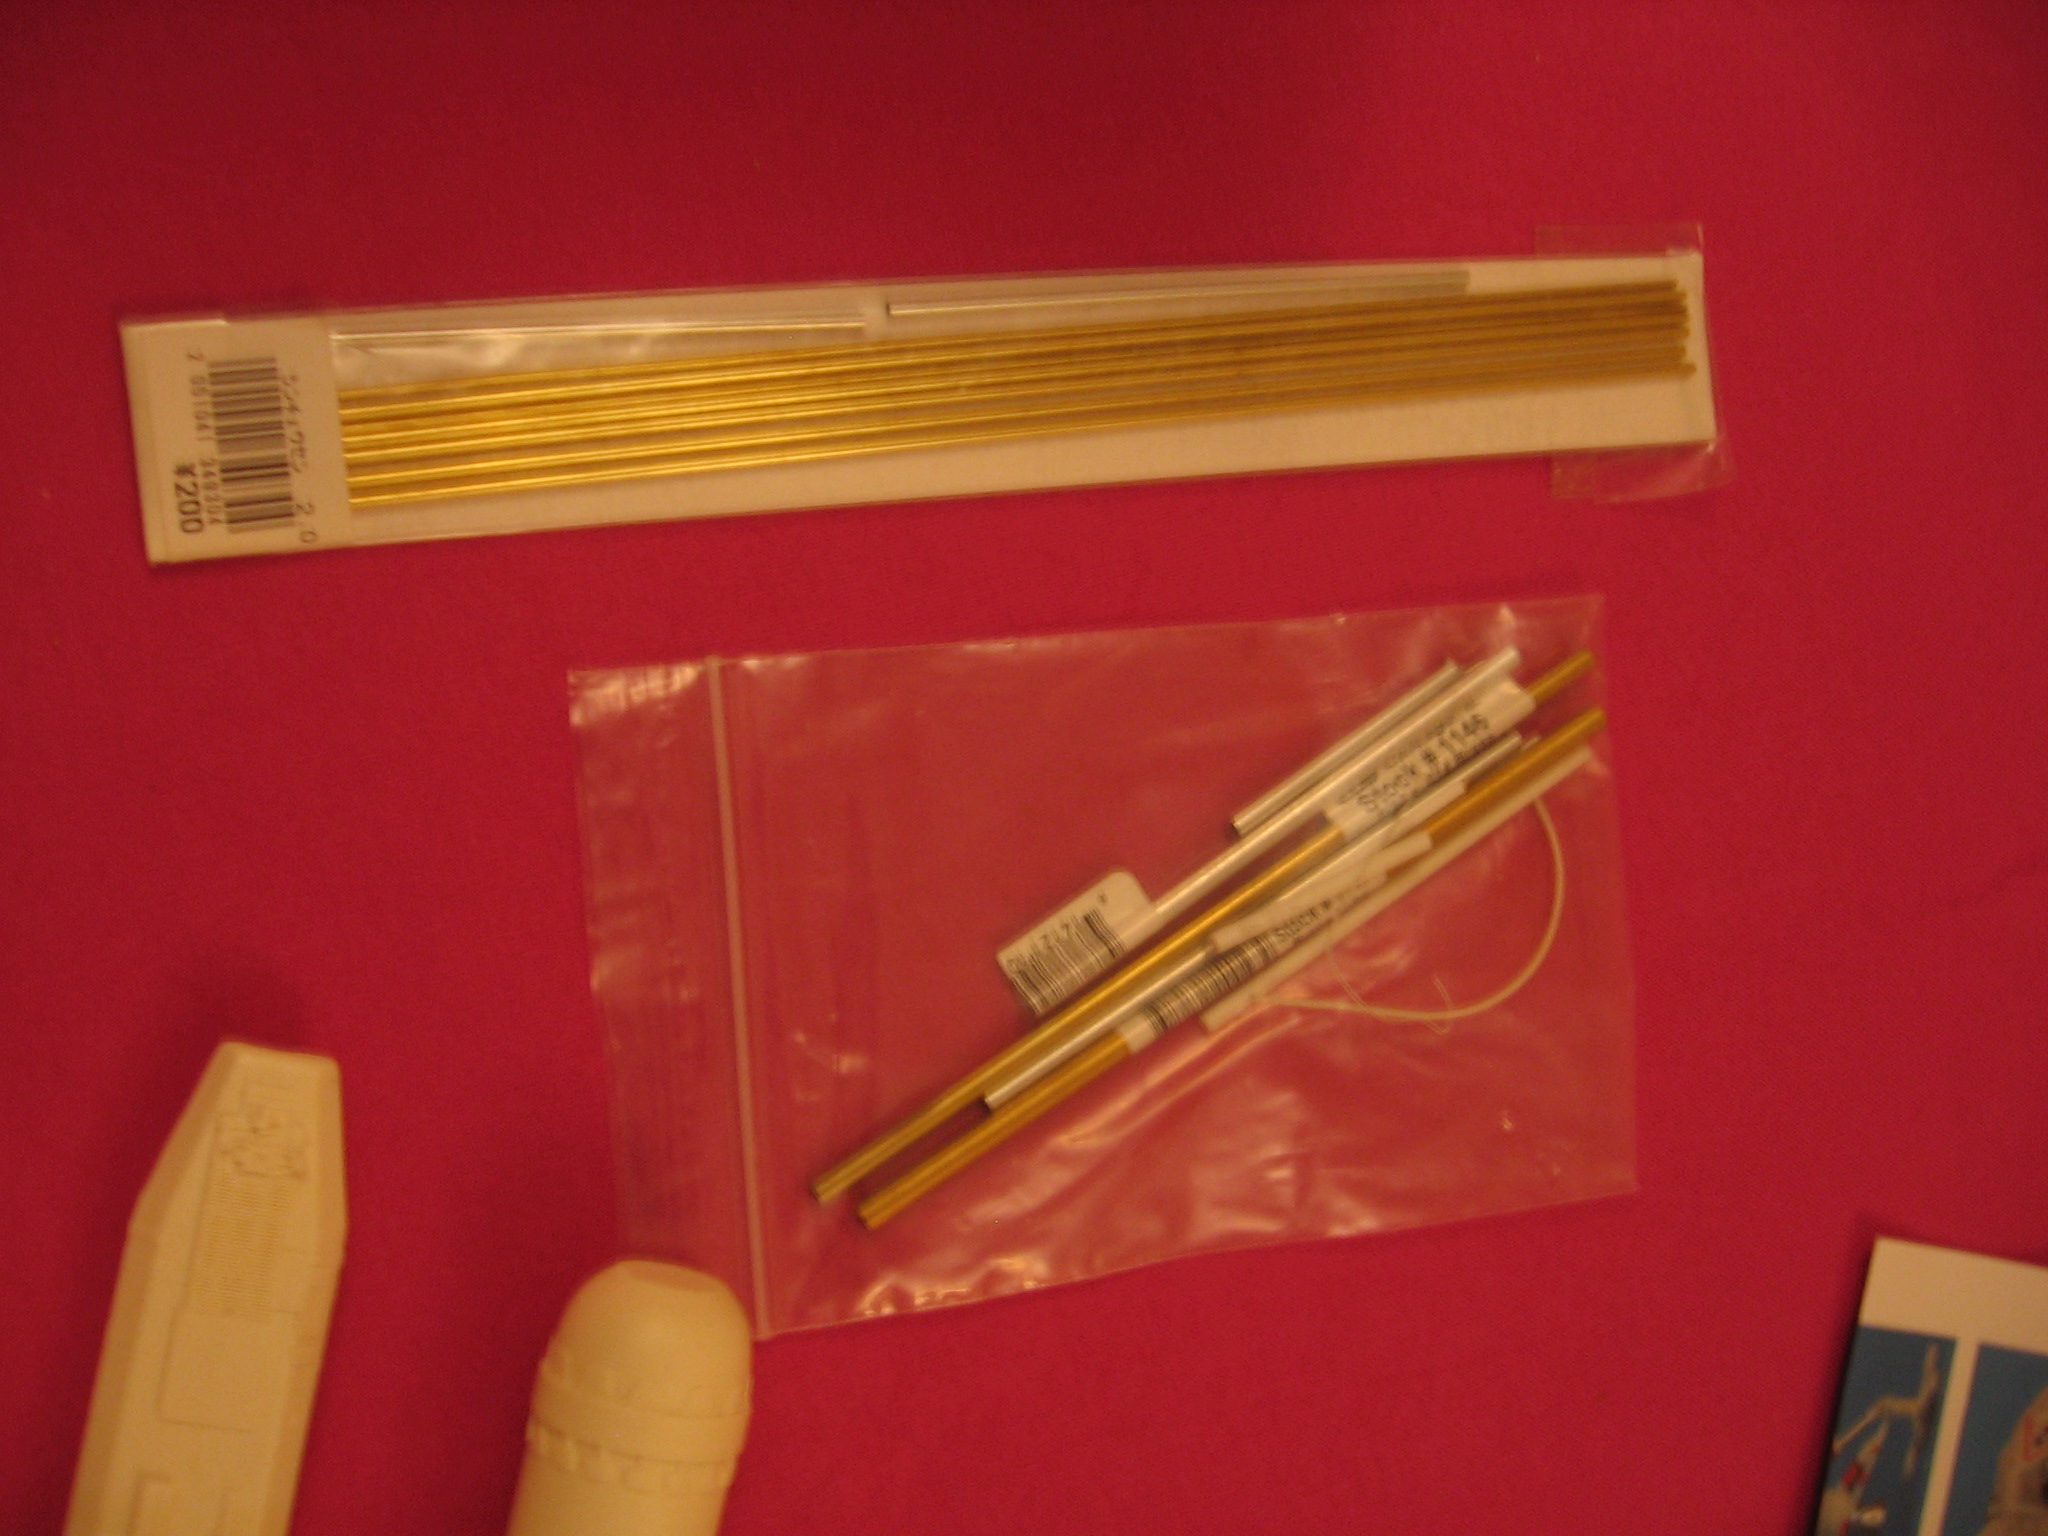
There are also many metal rods. Such as aluminum pne would be for landing gear, I guess the brass ones are for the assembly (or so it is a Mikado game :D)
Without the instructions, the review of this kit was finally a series of feelings. Indeed, the assembly seems complex and delicate (especially the feet), the lack of instructions being here really confusing and it was difficult to follow the course of the review. In short, this is clearly not a kit for beginners.
A few months later, after receiving the instruction :
It's much more complicated than I thought! Here are some comments after a first look:
- It's well done, explicit a regular modeler, but also for a less experimented one, as all the tips are specified. Photos during Alex assembly are very welcome because it speak louder than text.
- Ouch, it is not in the metric system! For measurements, the conversion is easy, by cons, the appropriate drills, it does not exist in this side of the Atlantic!
- P5 / 6: there are some suggestion on the mounting direction that seems curious, like for the side modules. I think rather go in the opposite direction: glue the pod part, and then drill holes for brass rods to the back and their opposite in the main body. So the more classic method that avoids to use filler on the viewable faces and allows to paint them separately (and therefore easier)