Space1999 Swift - Second start, the real one !
Par olcabour le mercredi, 12 juin 2013, 22:31 - Swift - Lien permanent
A little over a year later, I went back to work on this kit for a second Space1999 display stand at Geekopolis convention
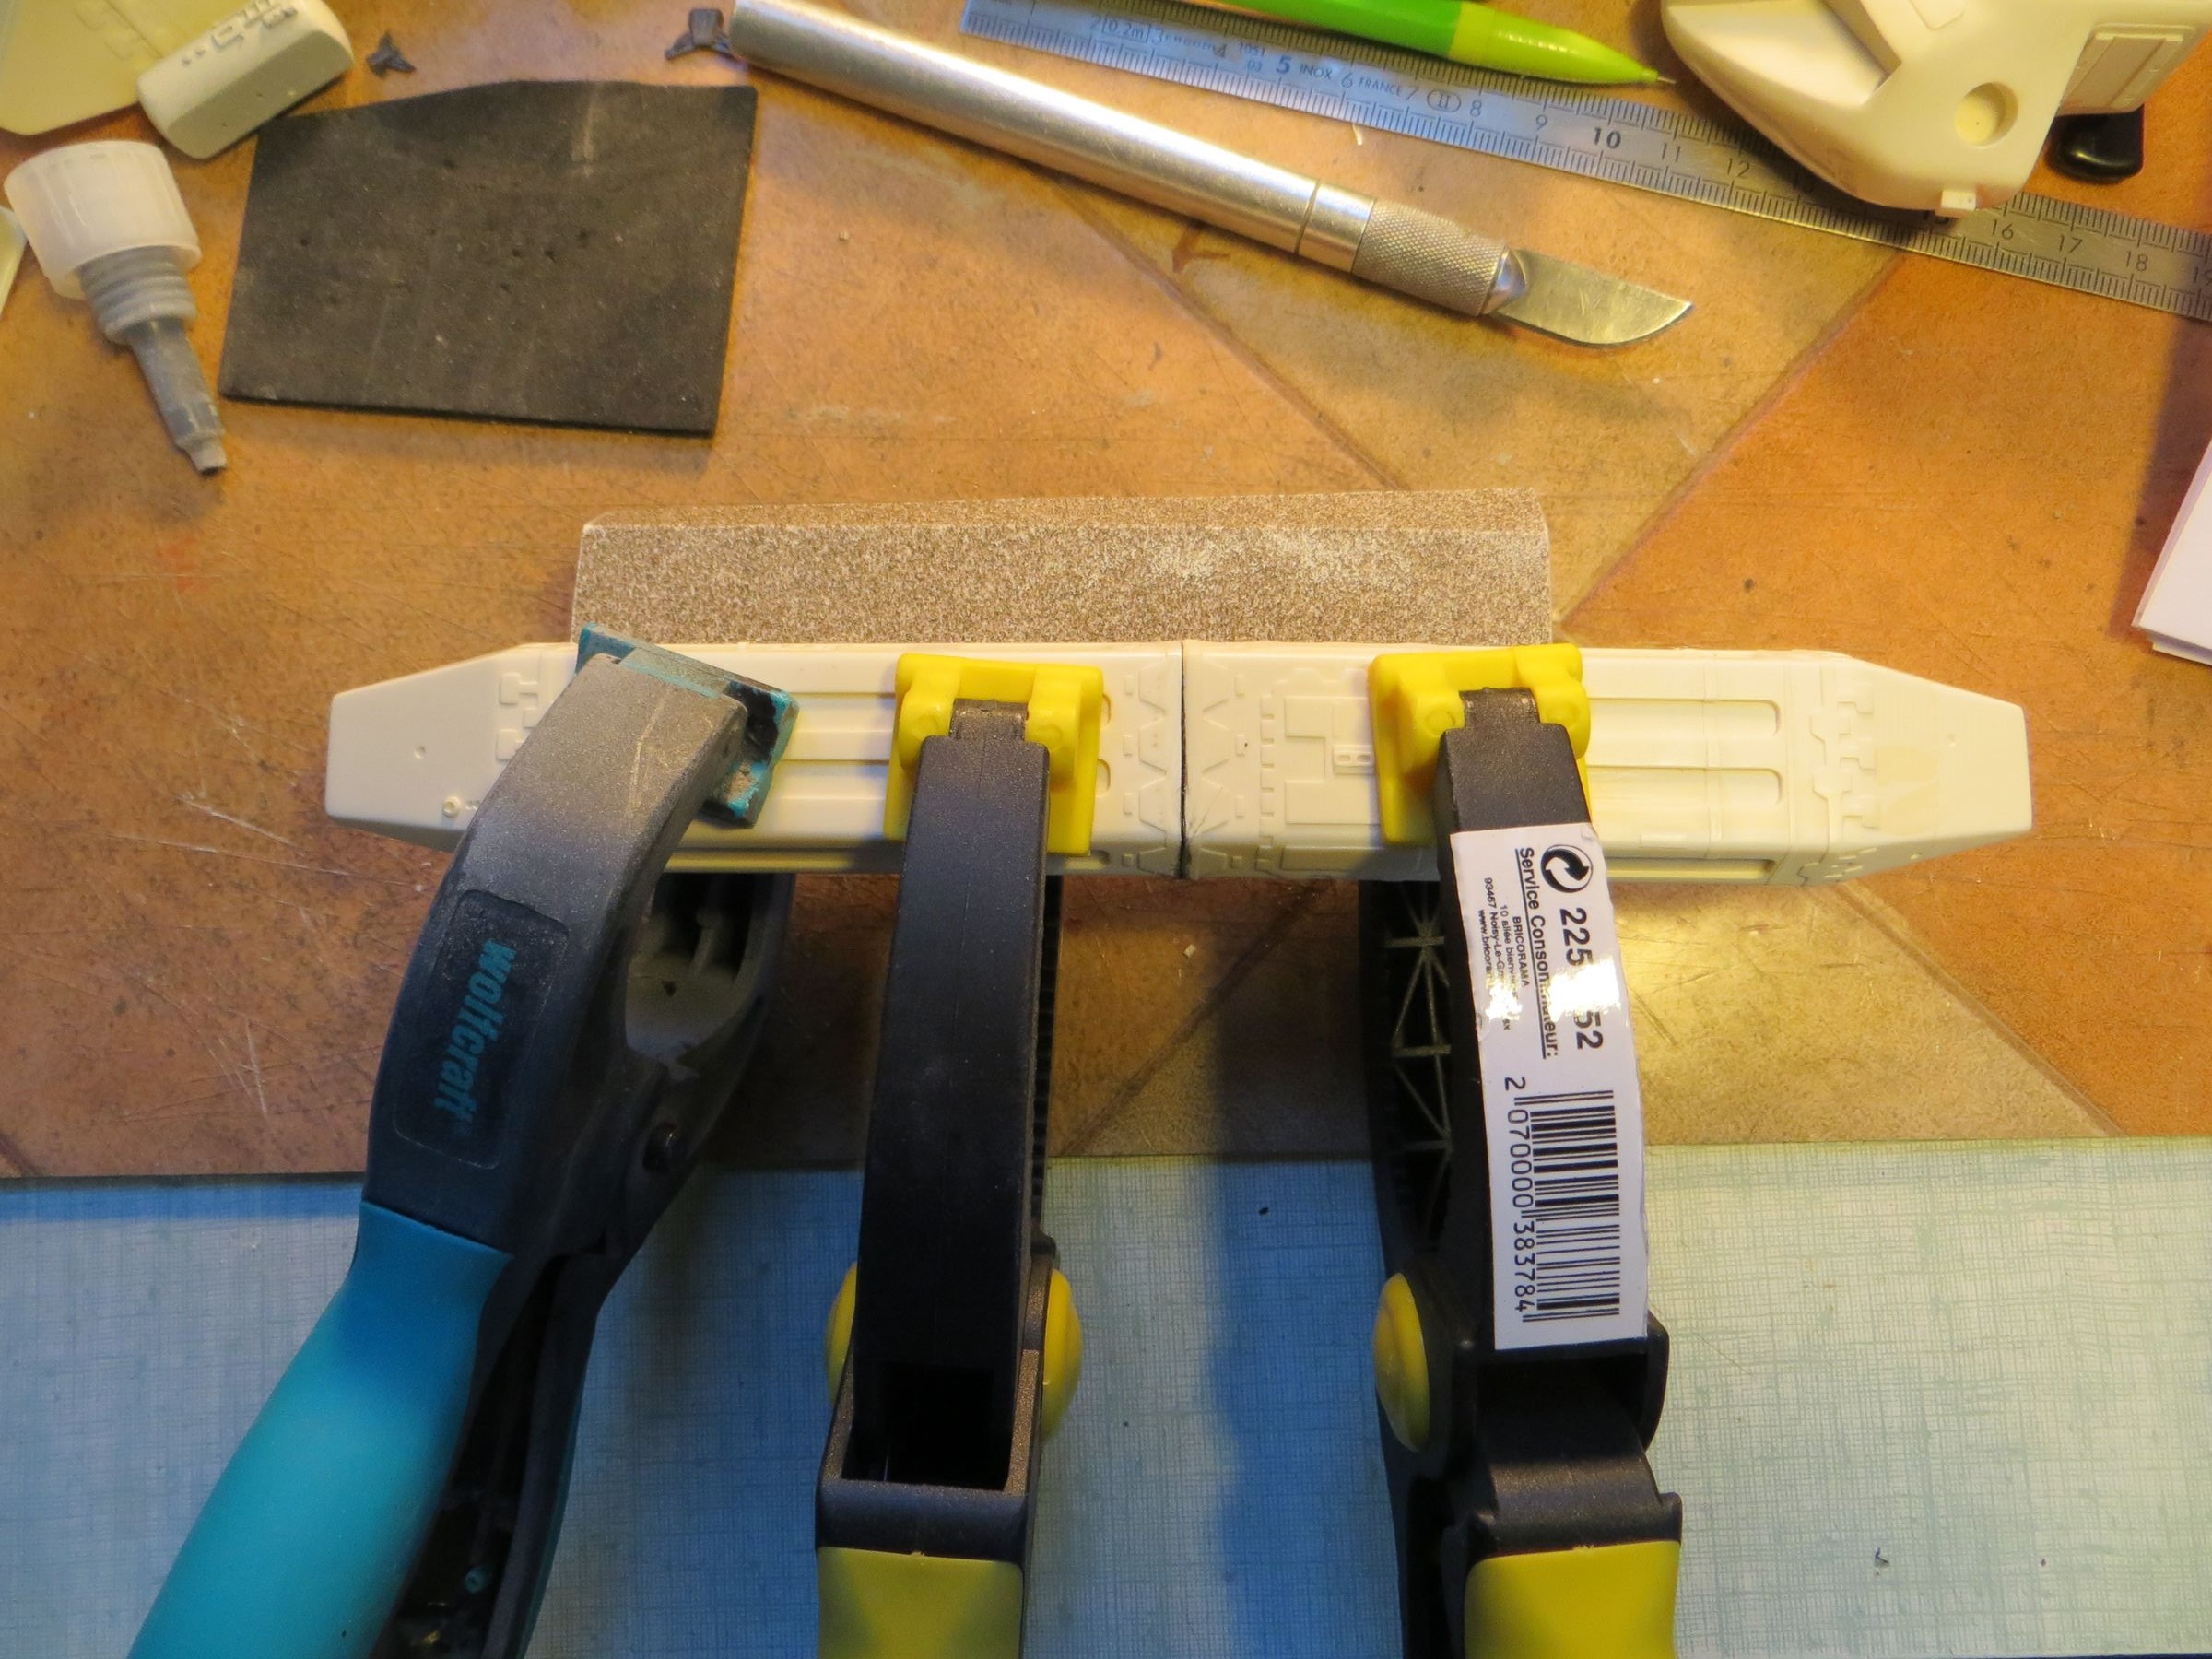
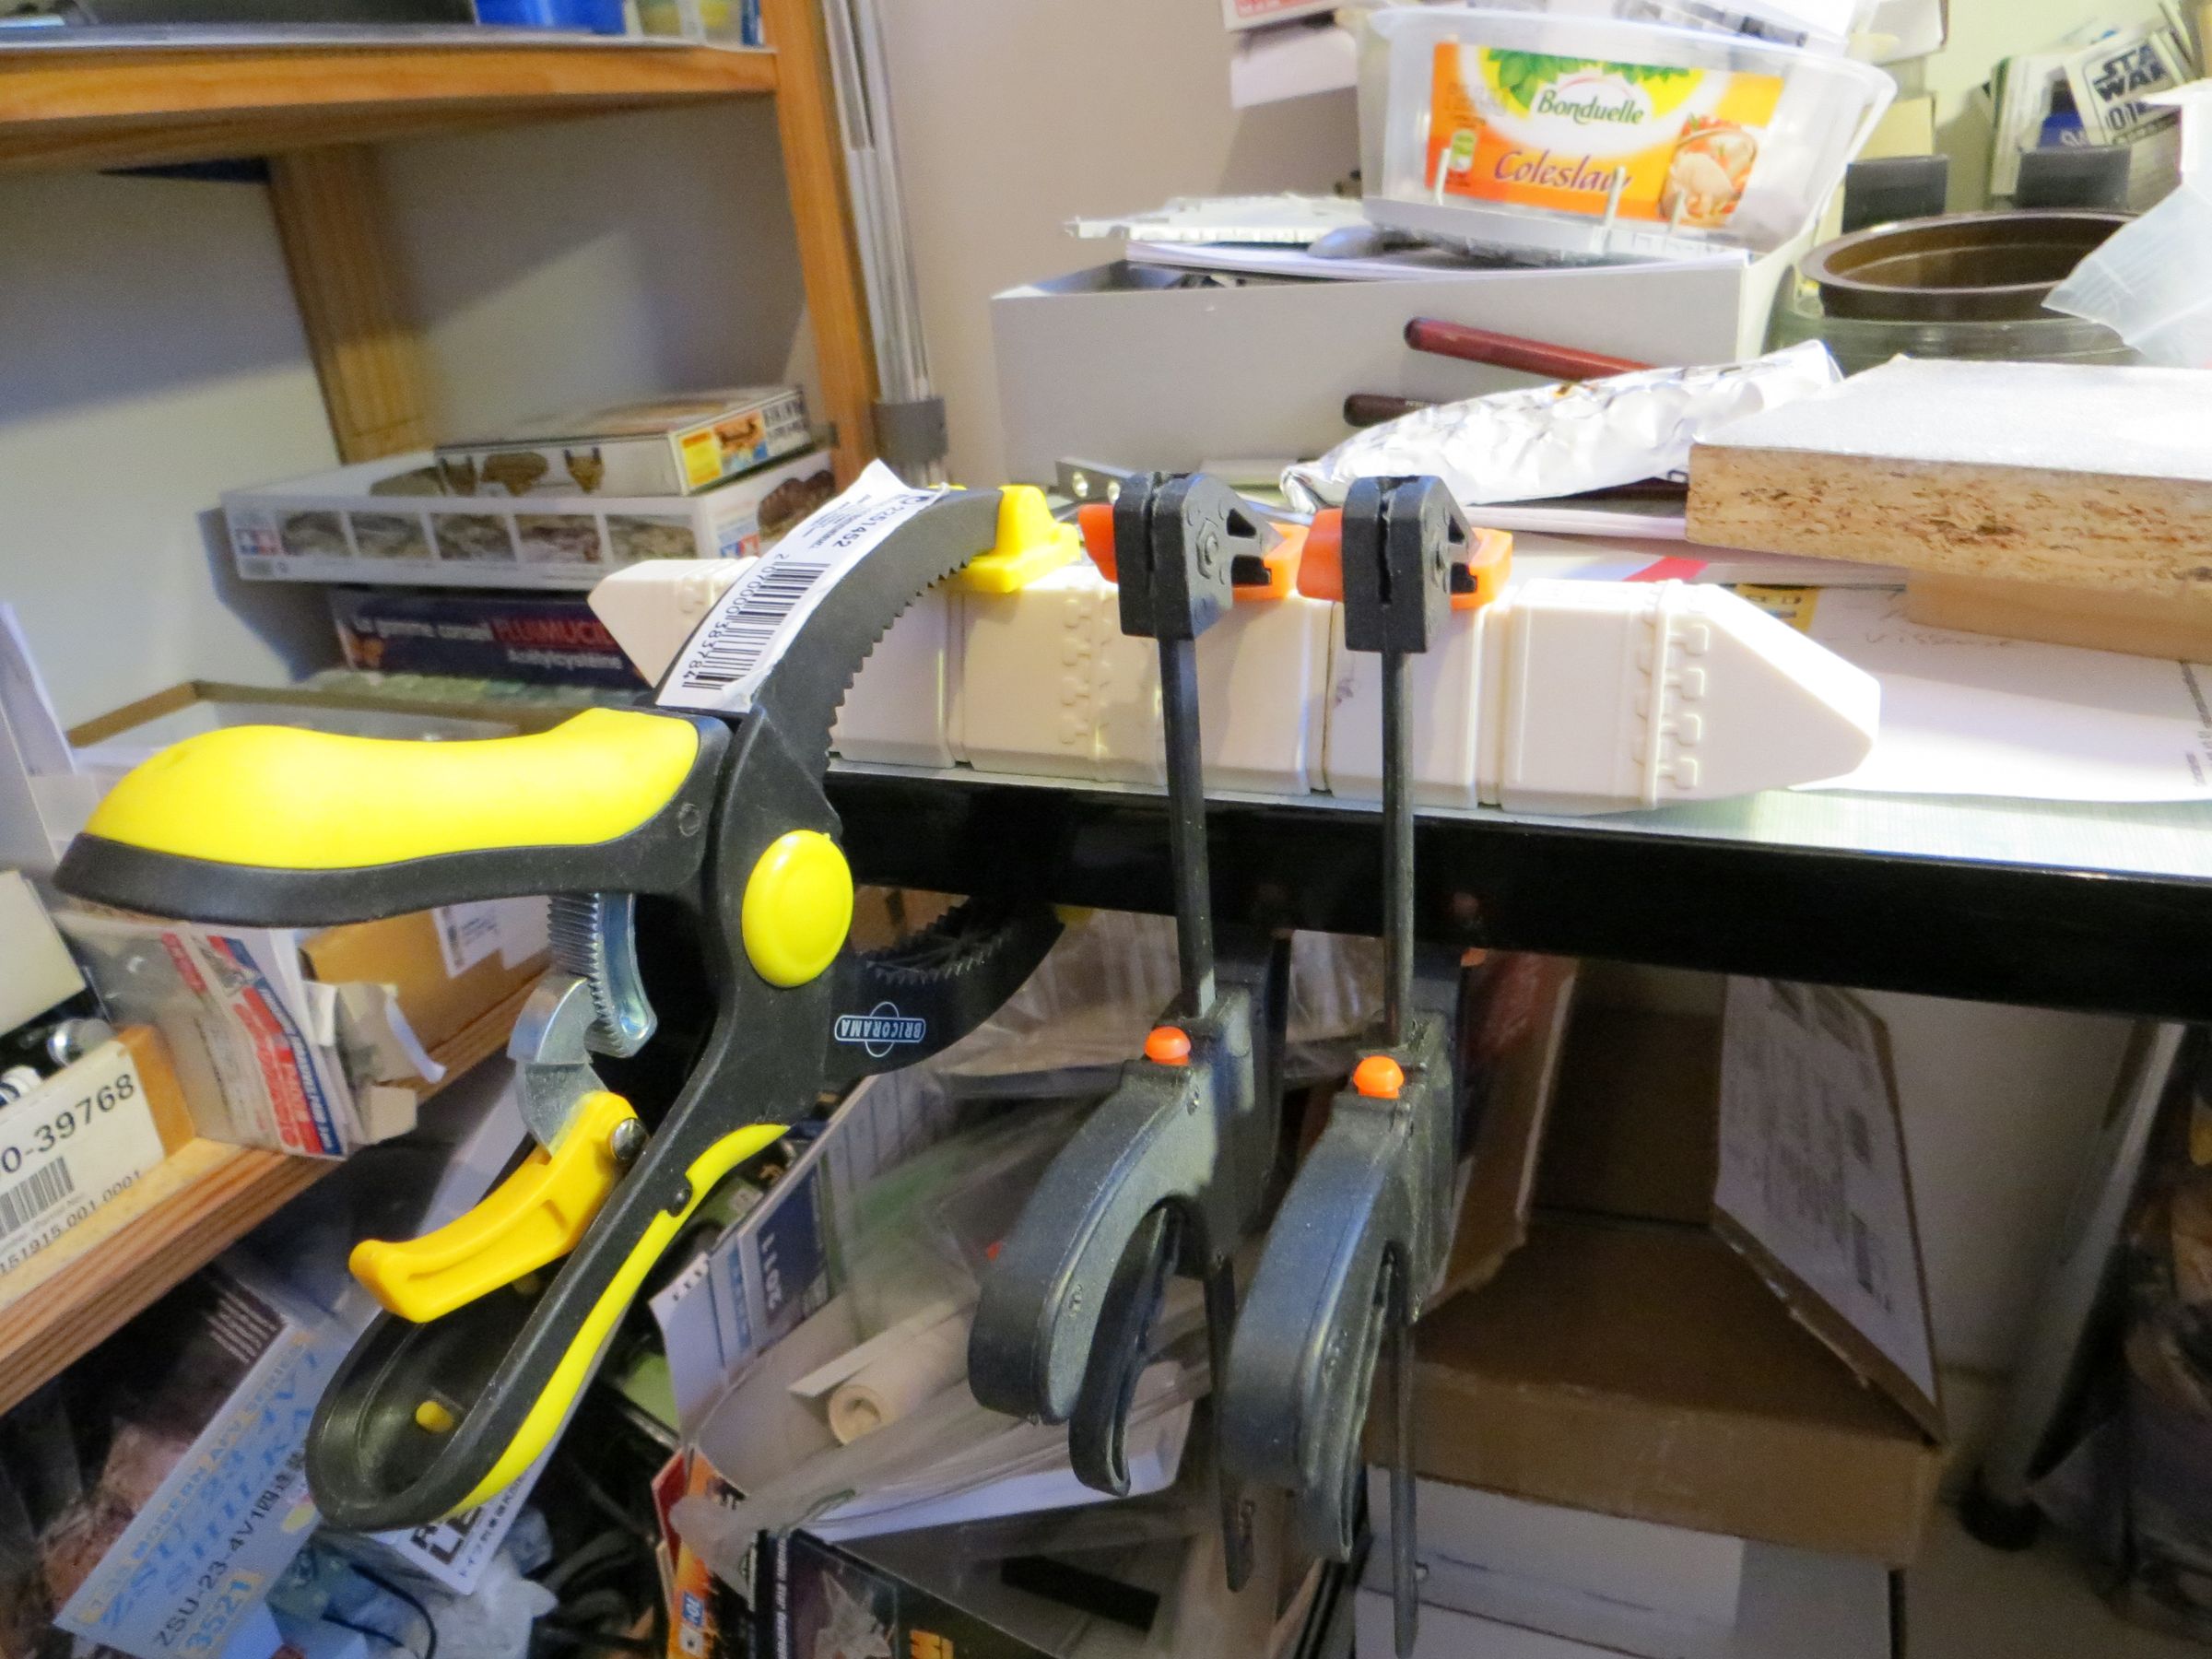
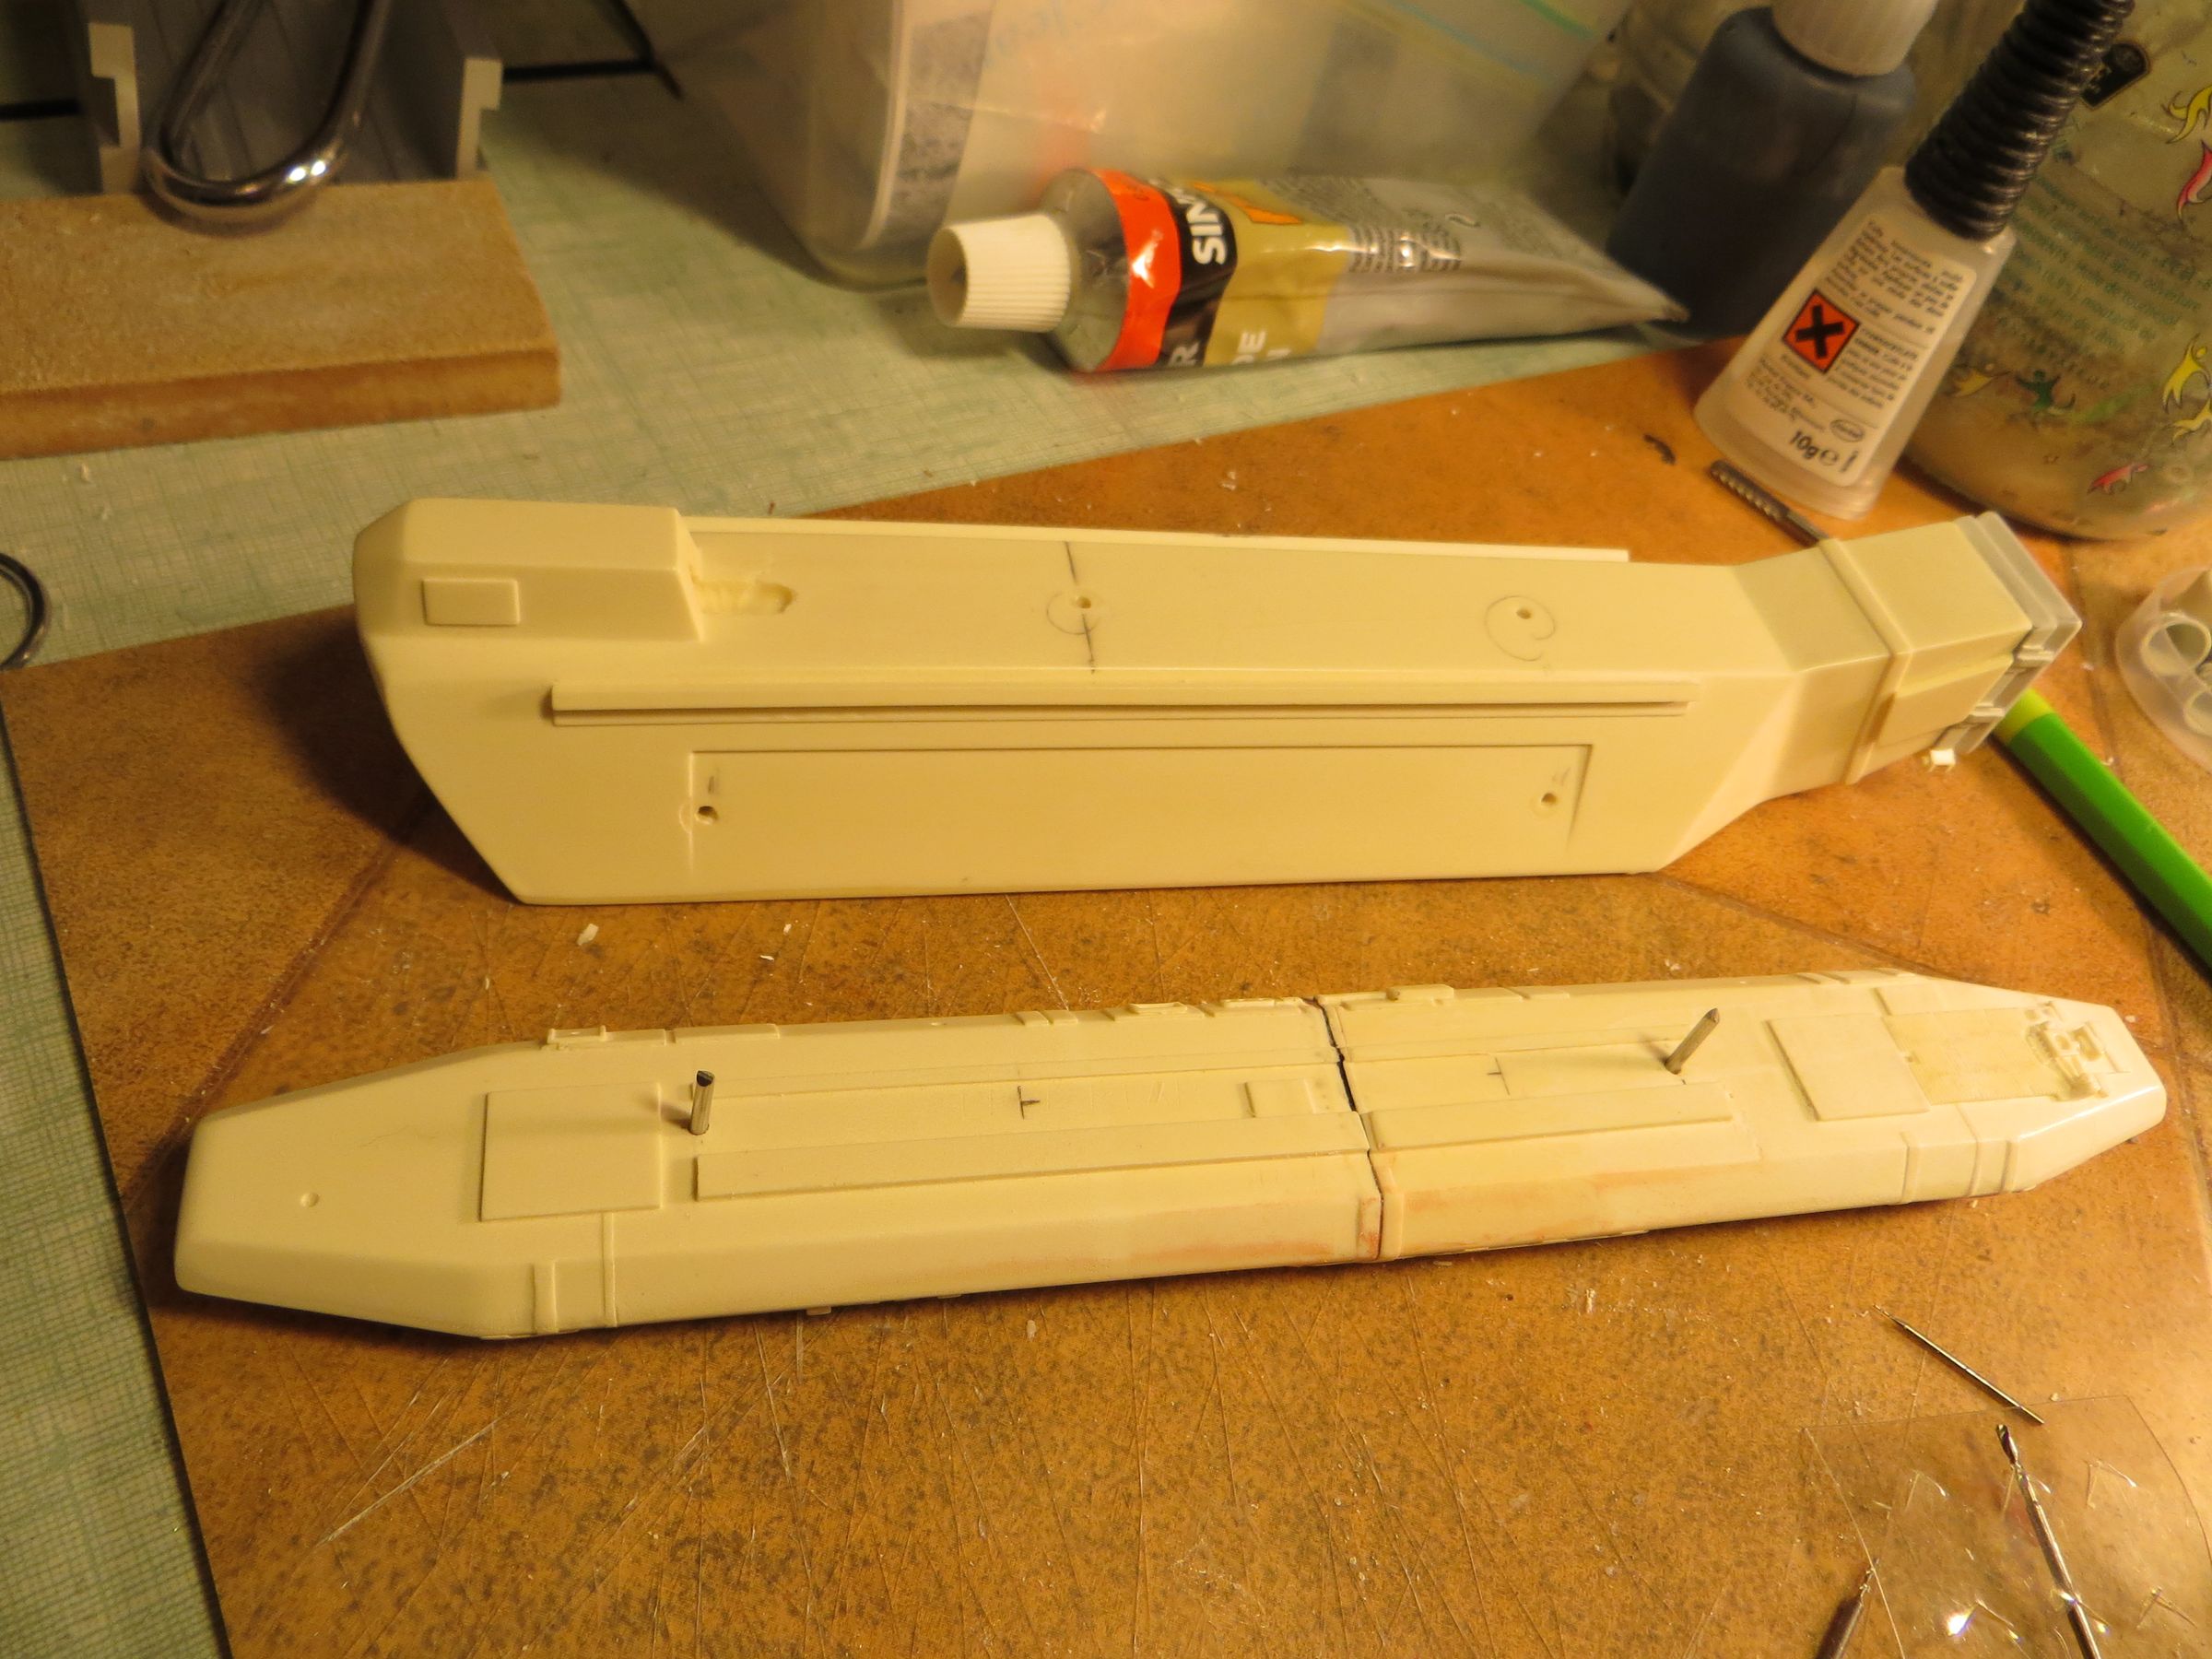
Preparation and parts cleaning was already well progressed, I started directly by the assembly of the sides and upper modules. Both sides of the top and lateral modules are glued end to end, strengthening the bonding with rods (piano or brass wire). I used slow curing superglue, guides and clamps to secure the alignment.
The filled is cleaned with acetone or nail cleaner, curiously this damaged a little the surface of the resin (this is the first time it happened for me with resin). I tried to catch up that, but was not satisfied, so I let this aside to see that later after a good shot of primer (which later proved to be good enough).
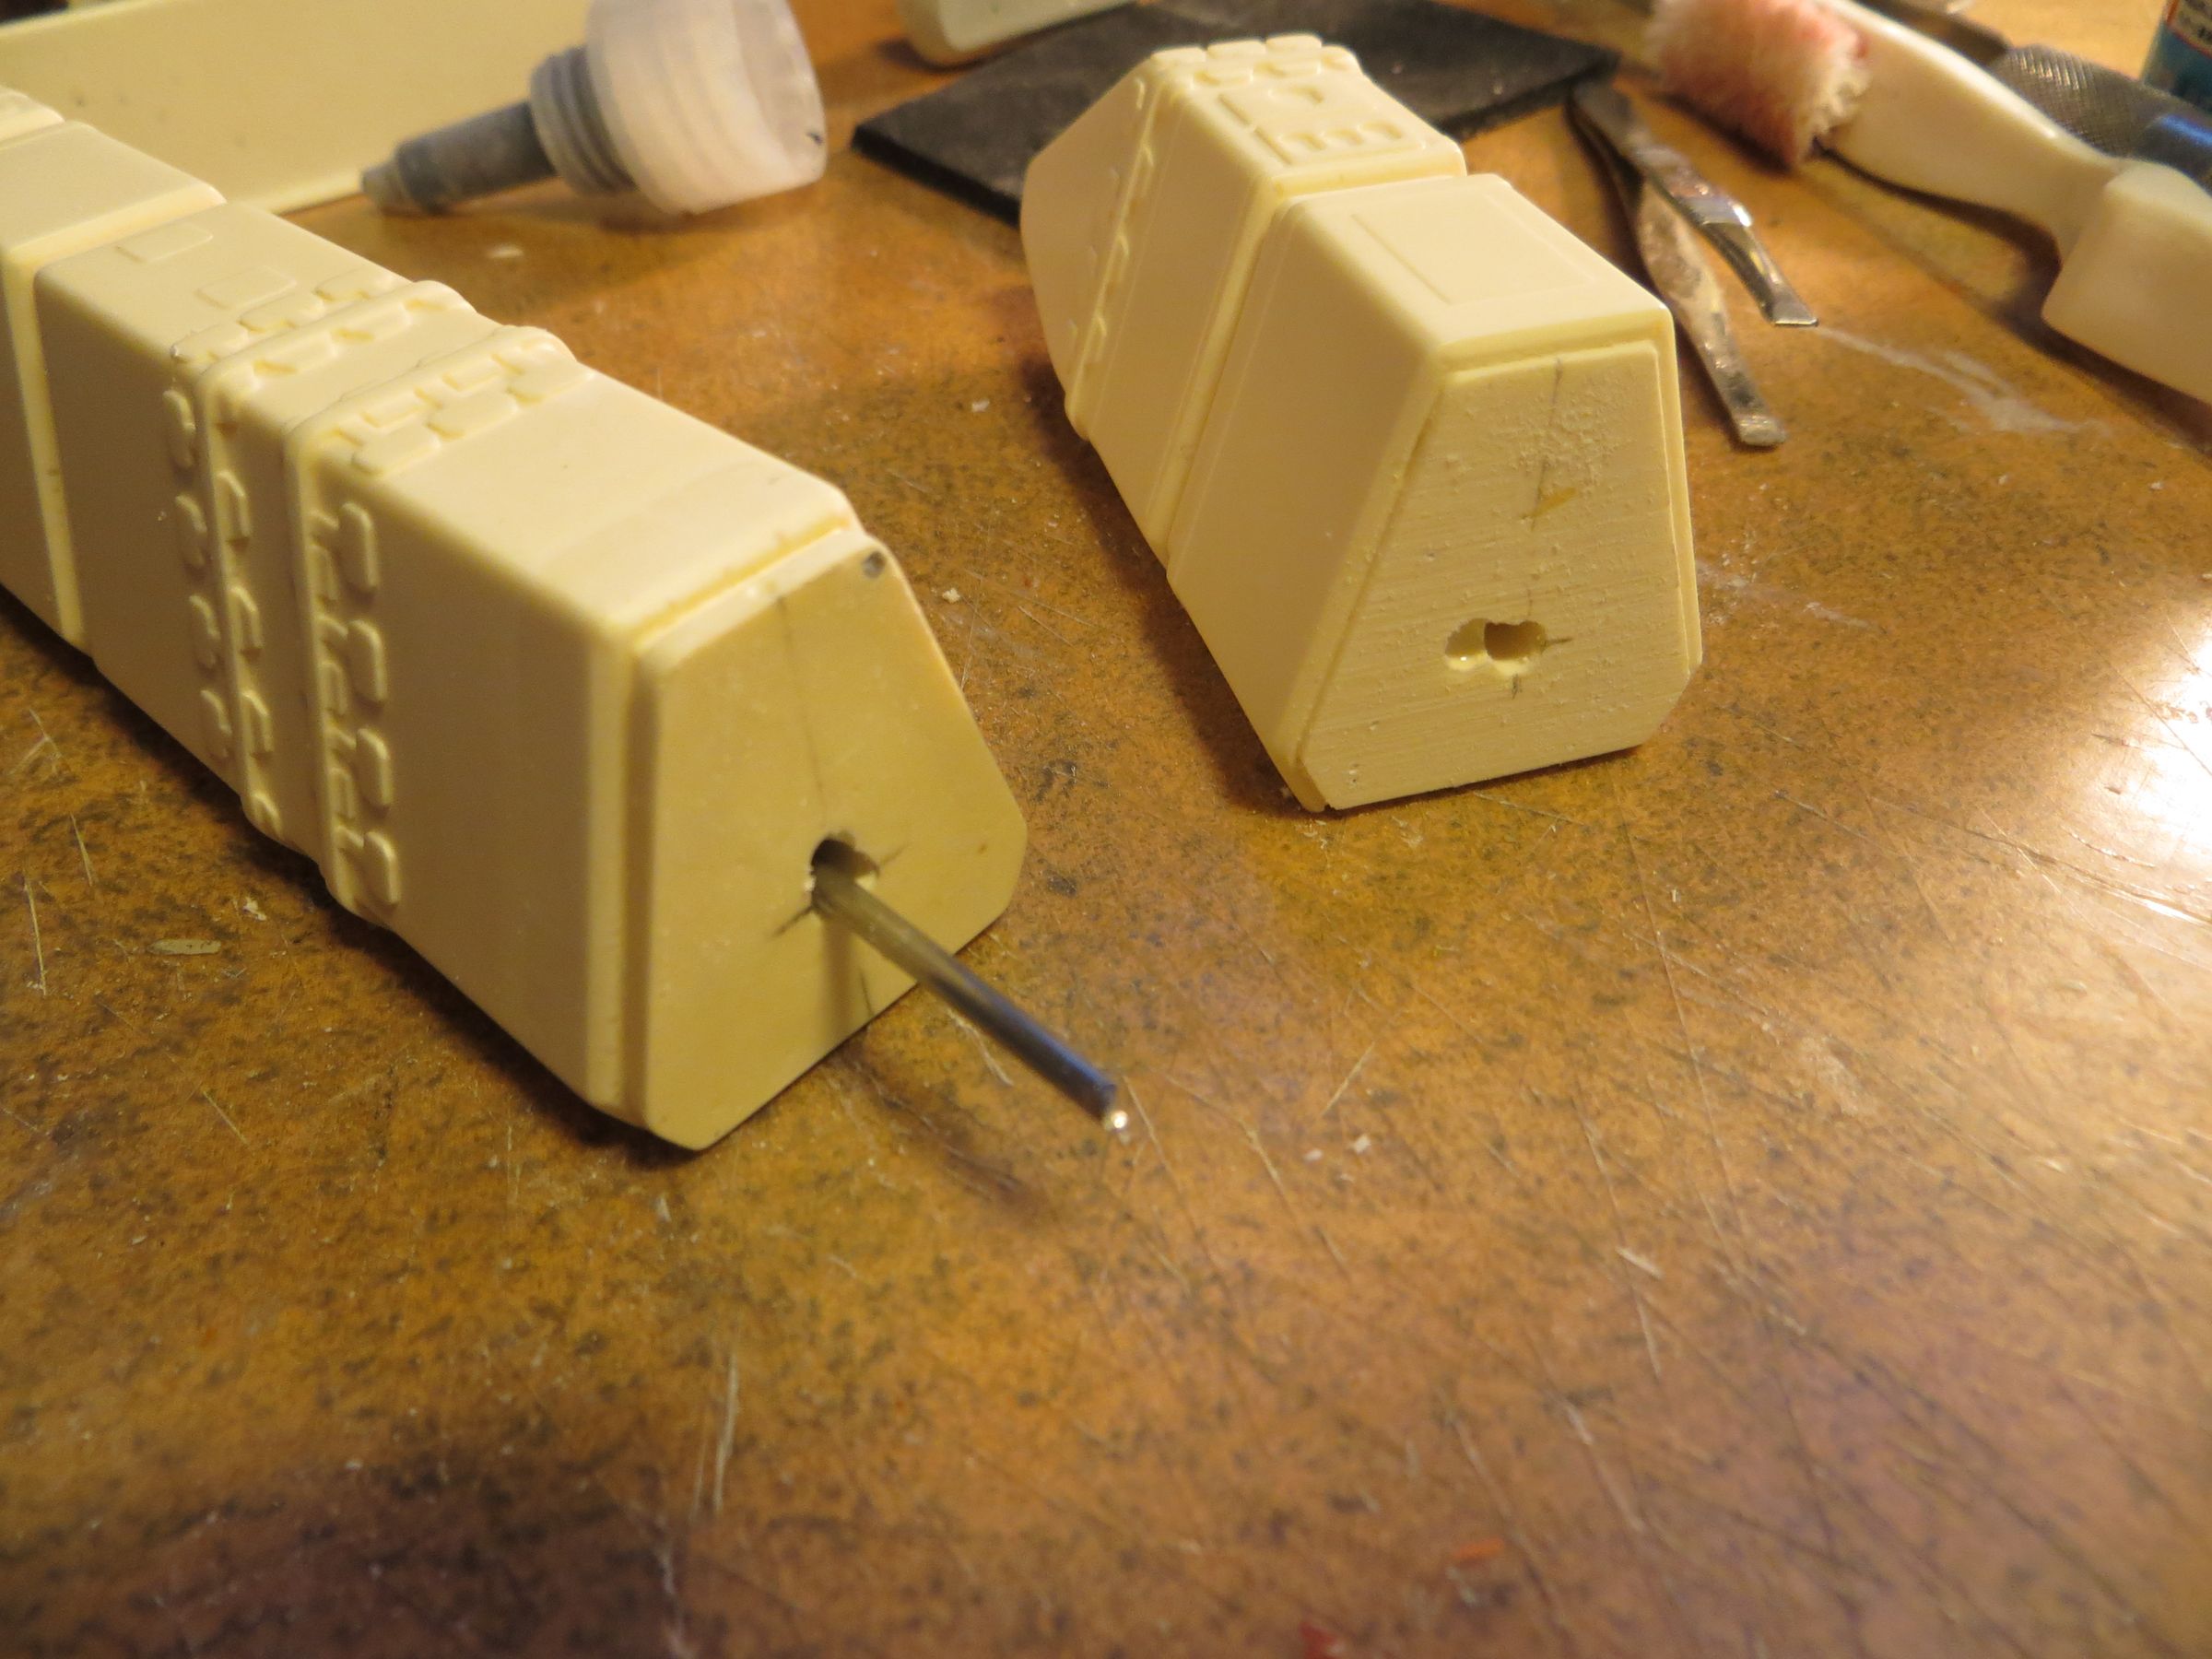
Then I drilled the locations of the nozzles. Same operation on the head to connect the neck and the central body.

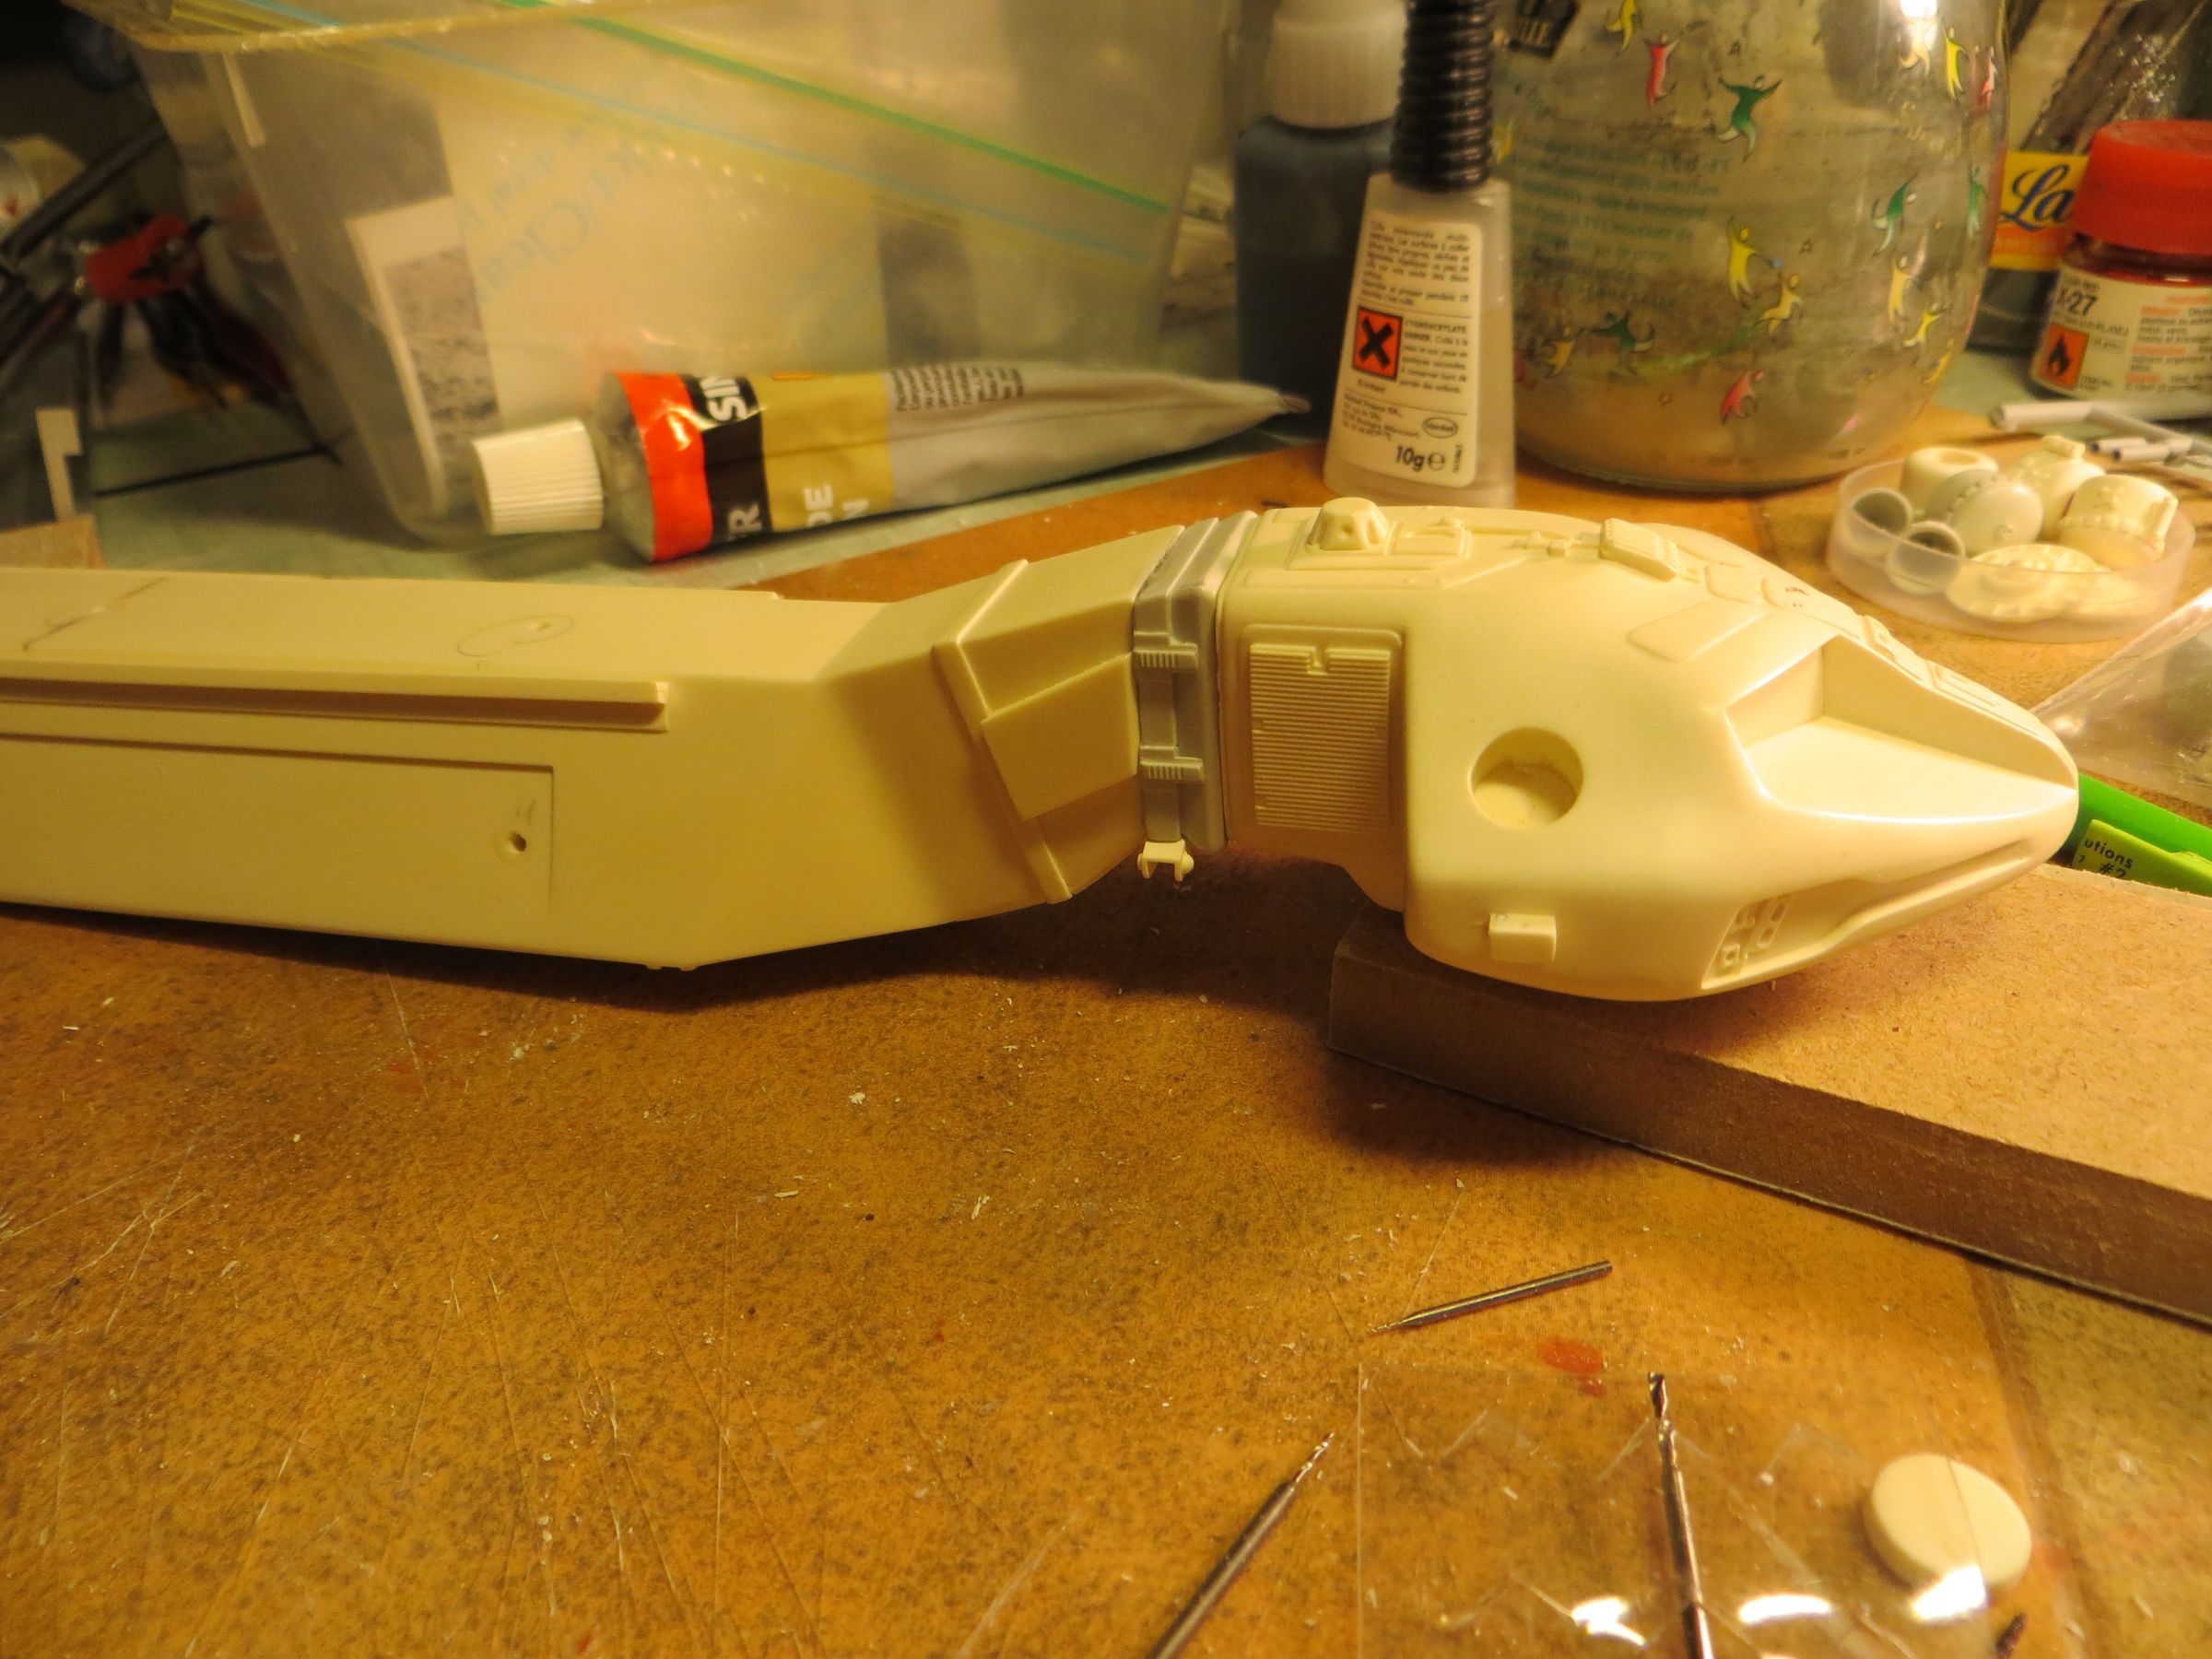


Rods are also provided to secure the modules on the central body. They will be glued after painting.
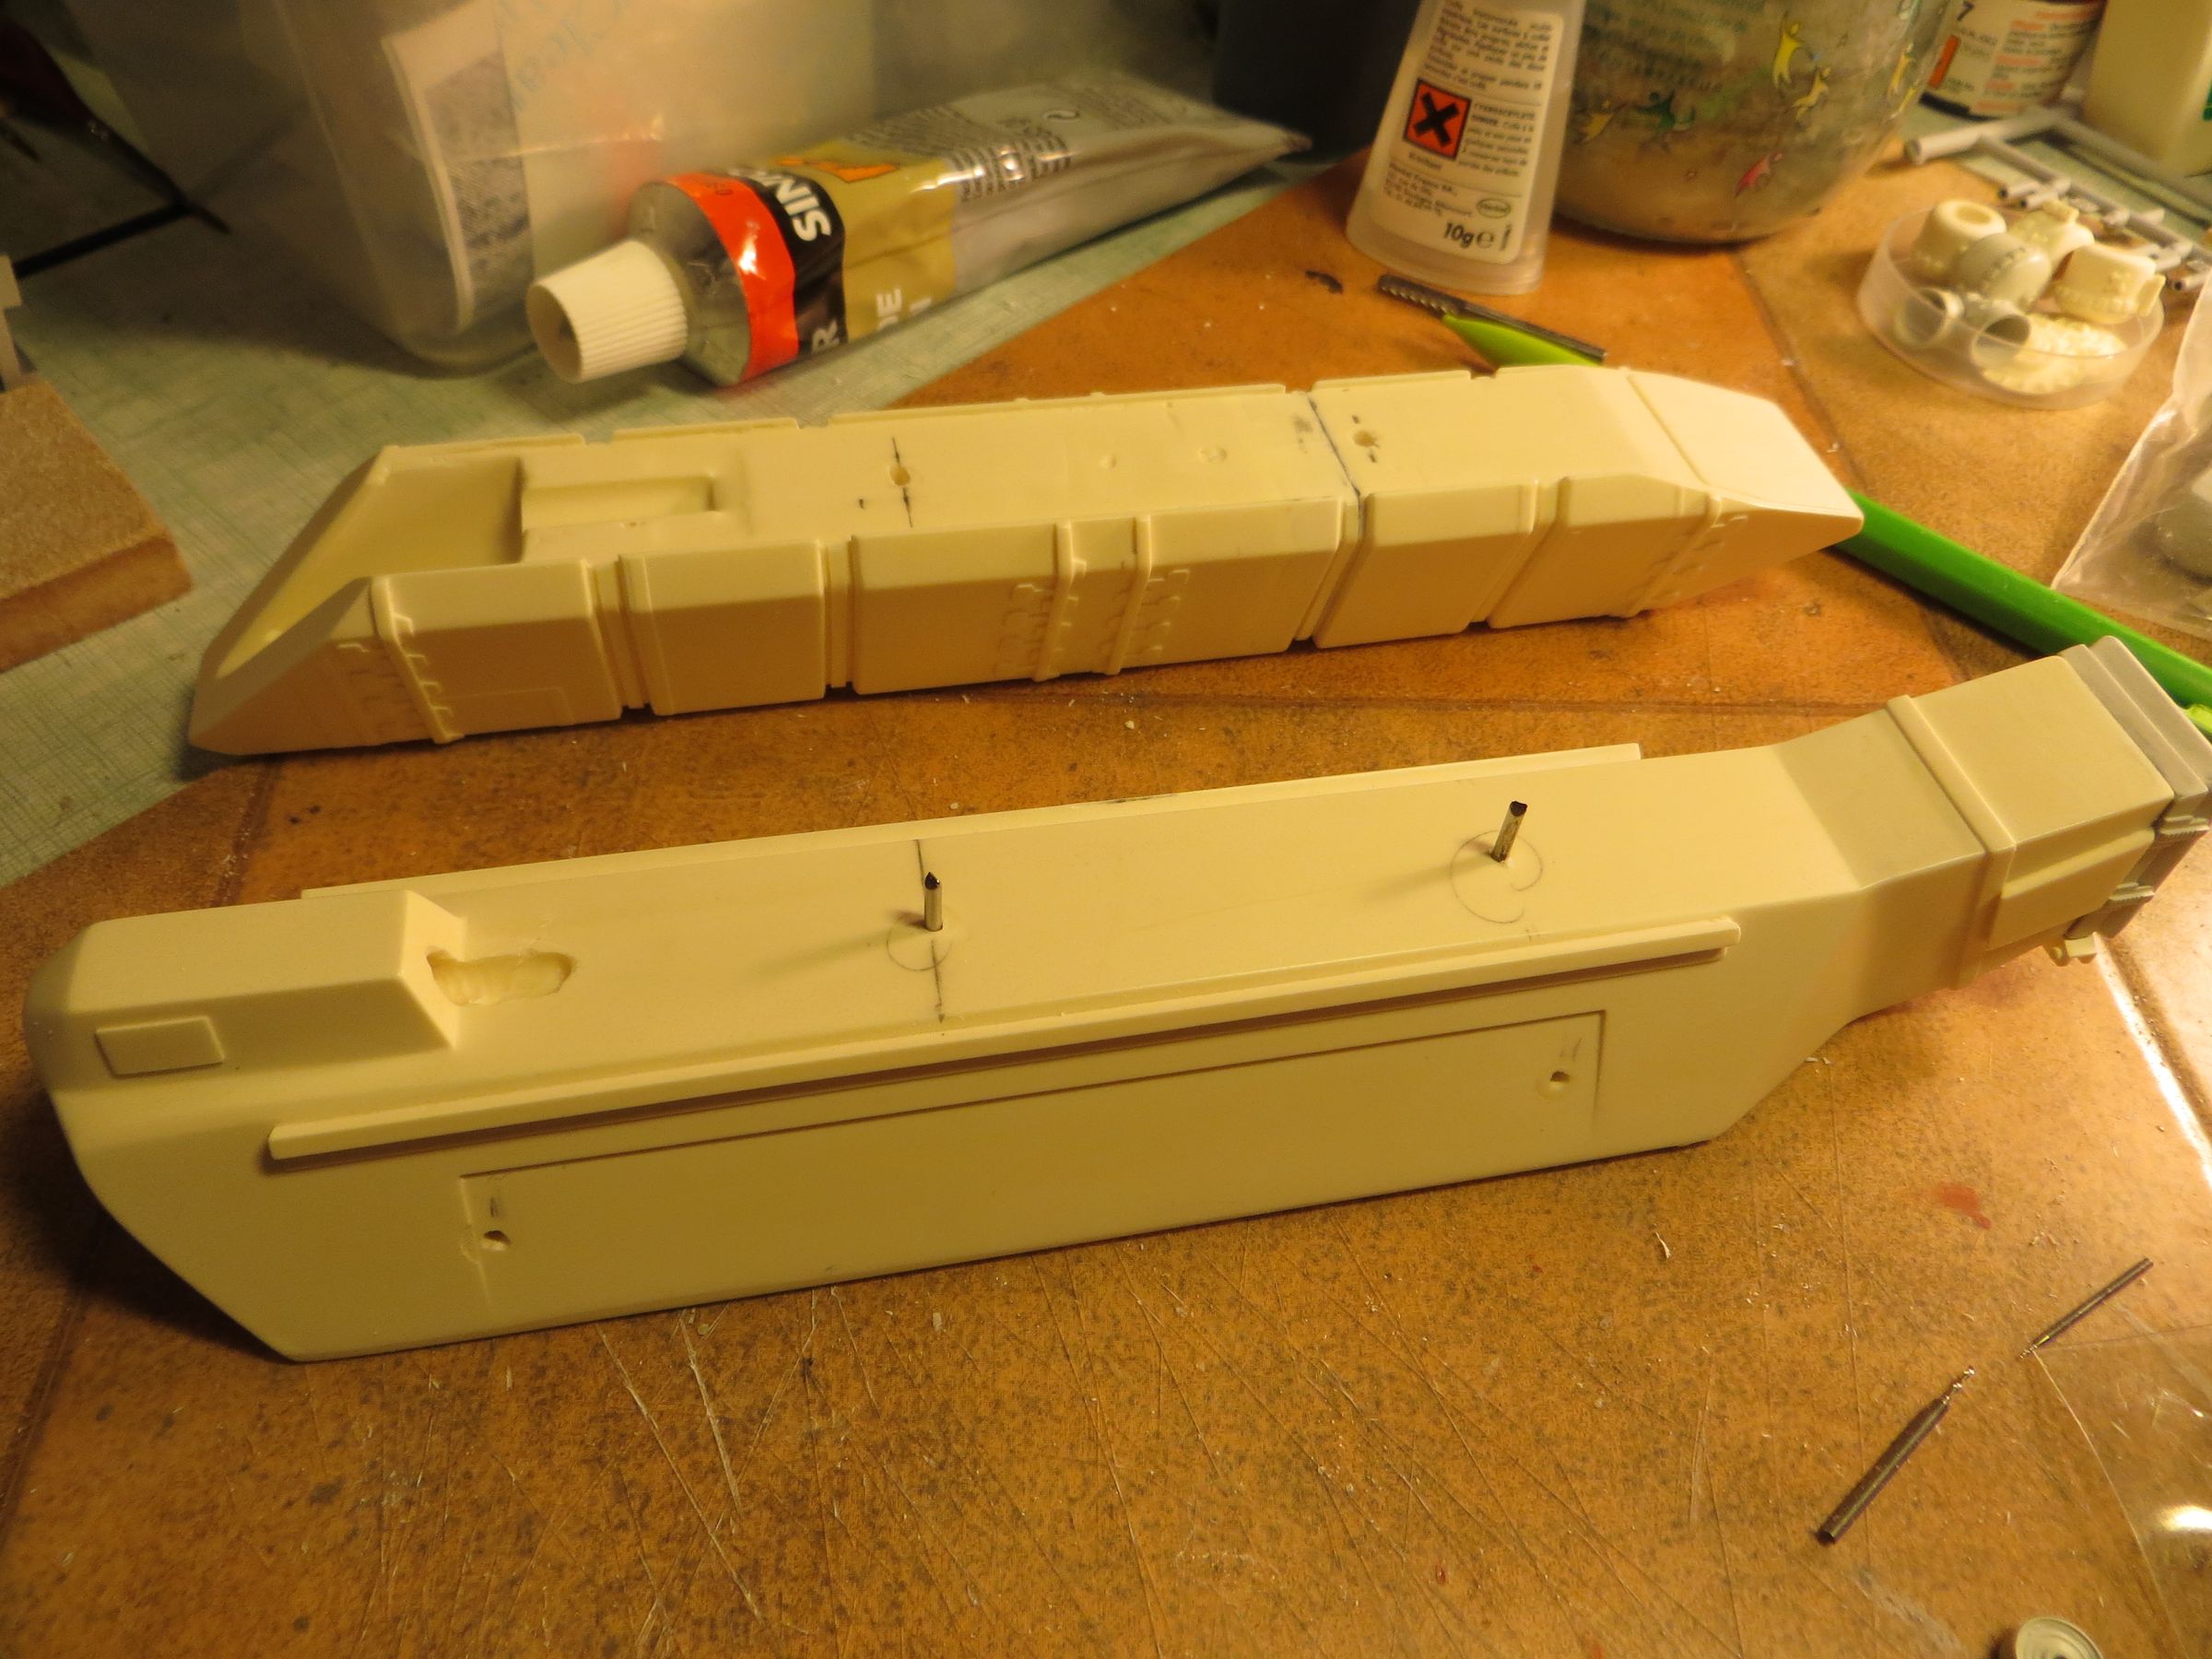
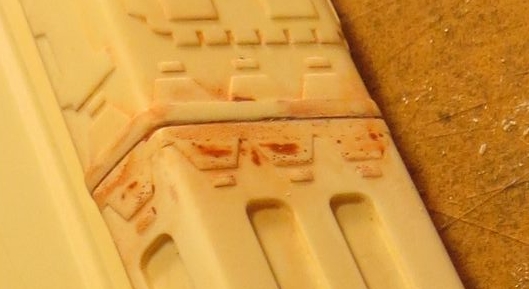
Filling a few bubbles that I had forgotten during these operations.
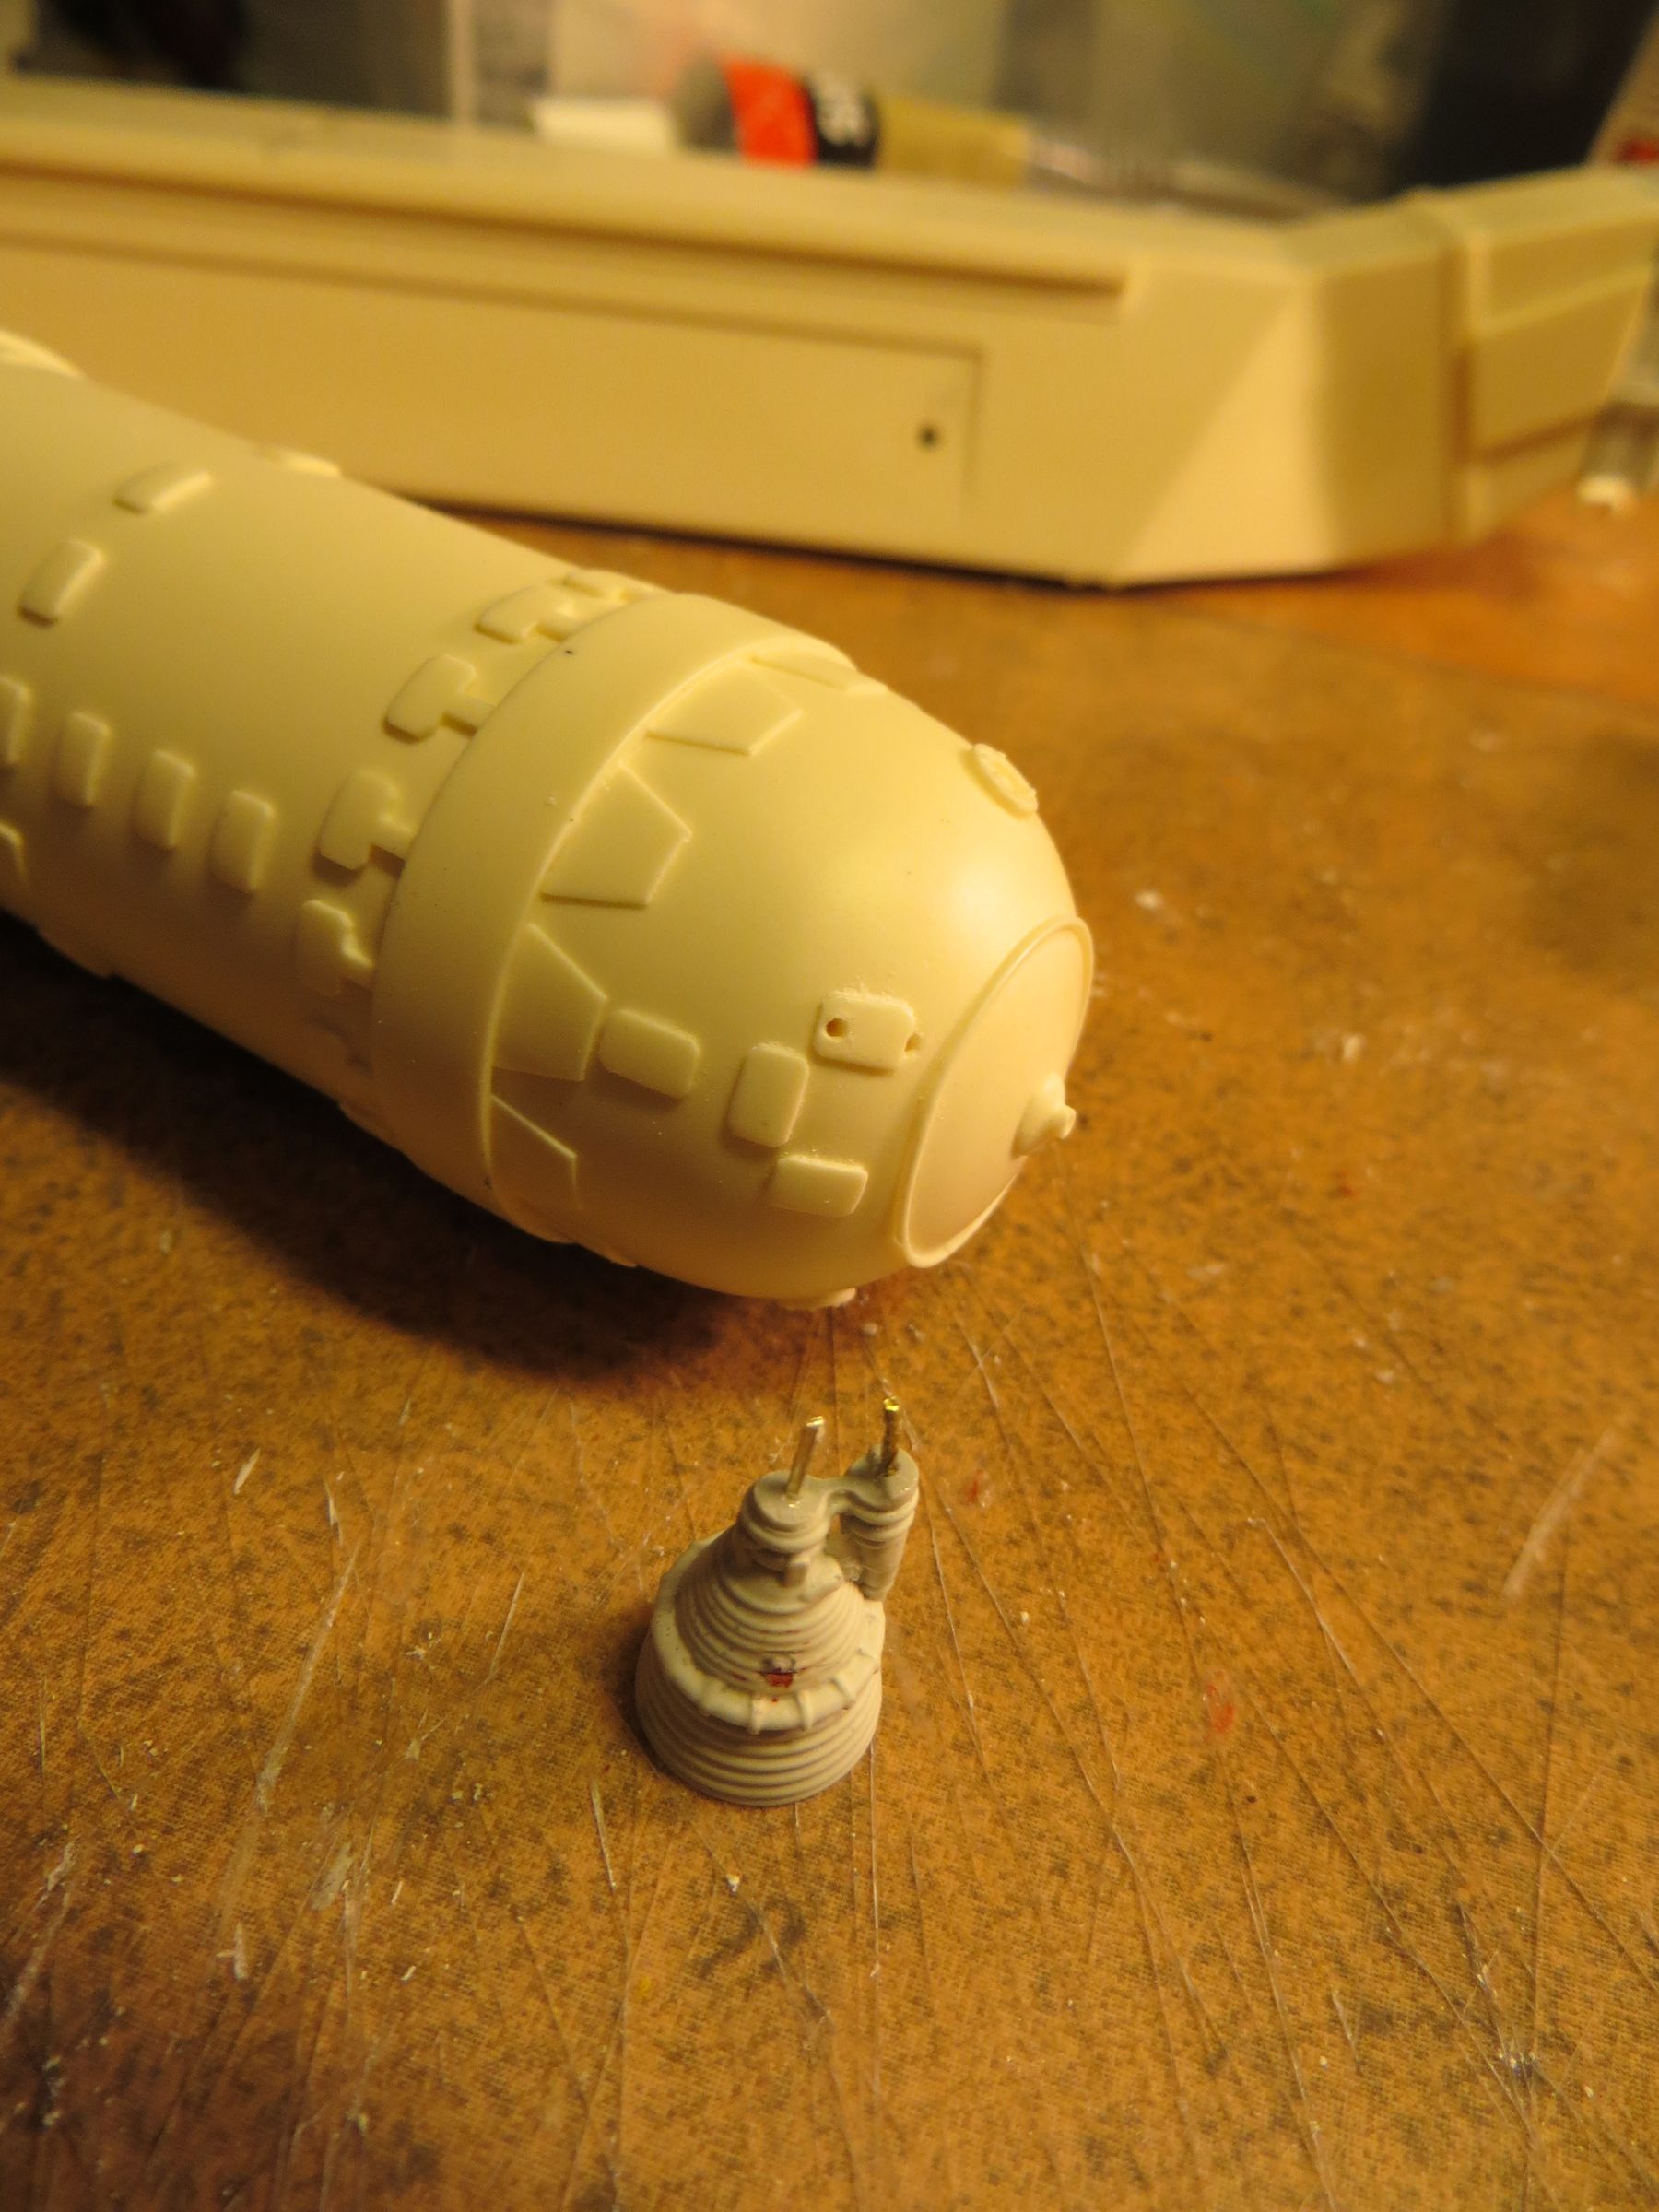
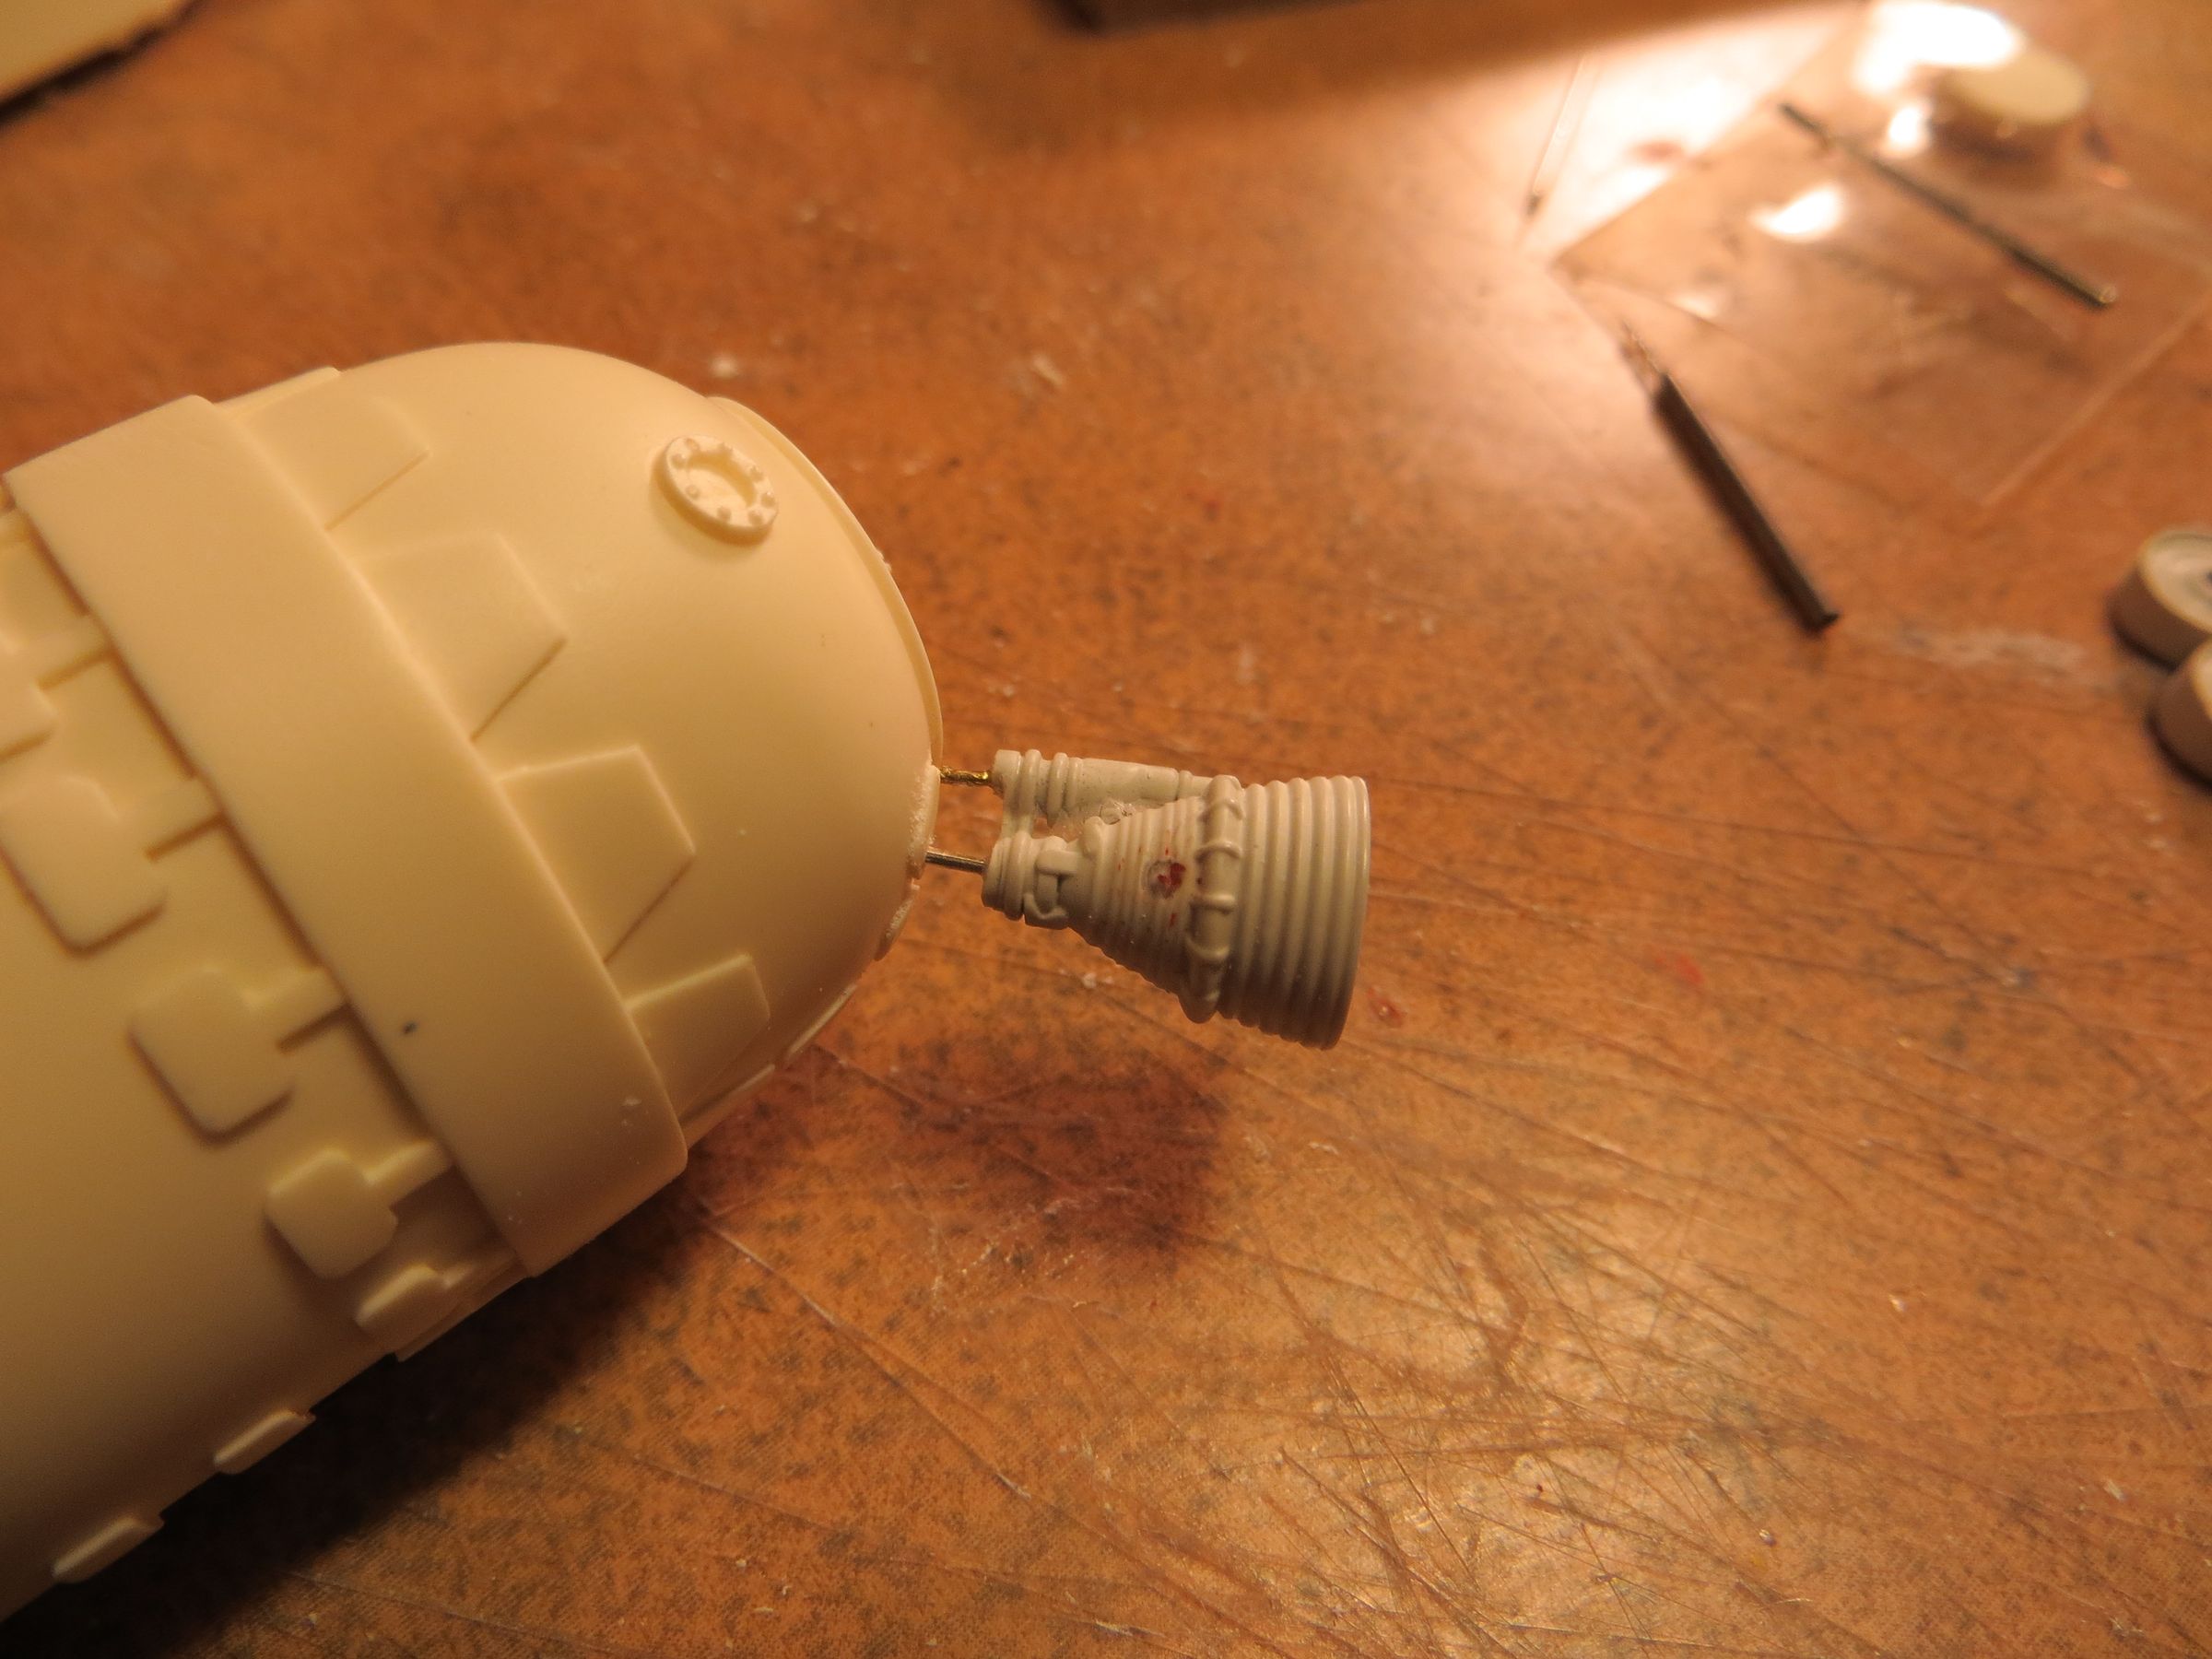
On the head and the central body, the locations of small nozzles and tune metal discs are enlarged so they can go in properly.
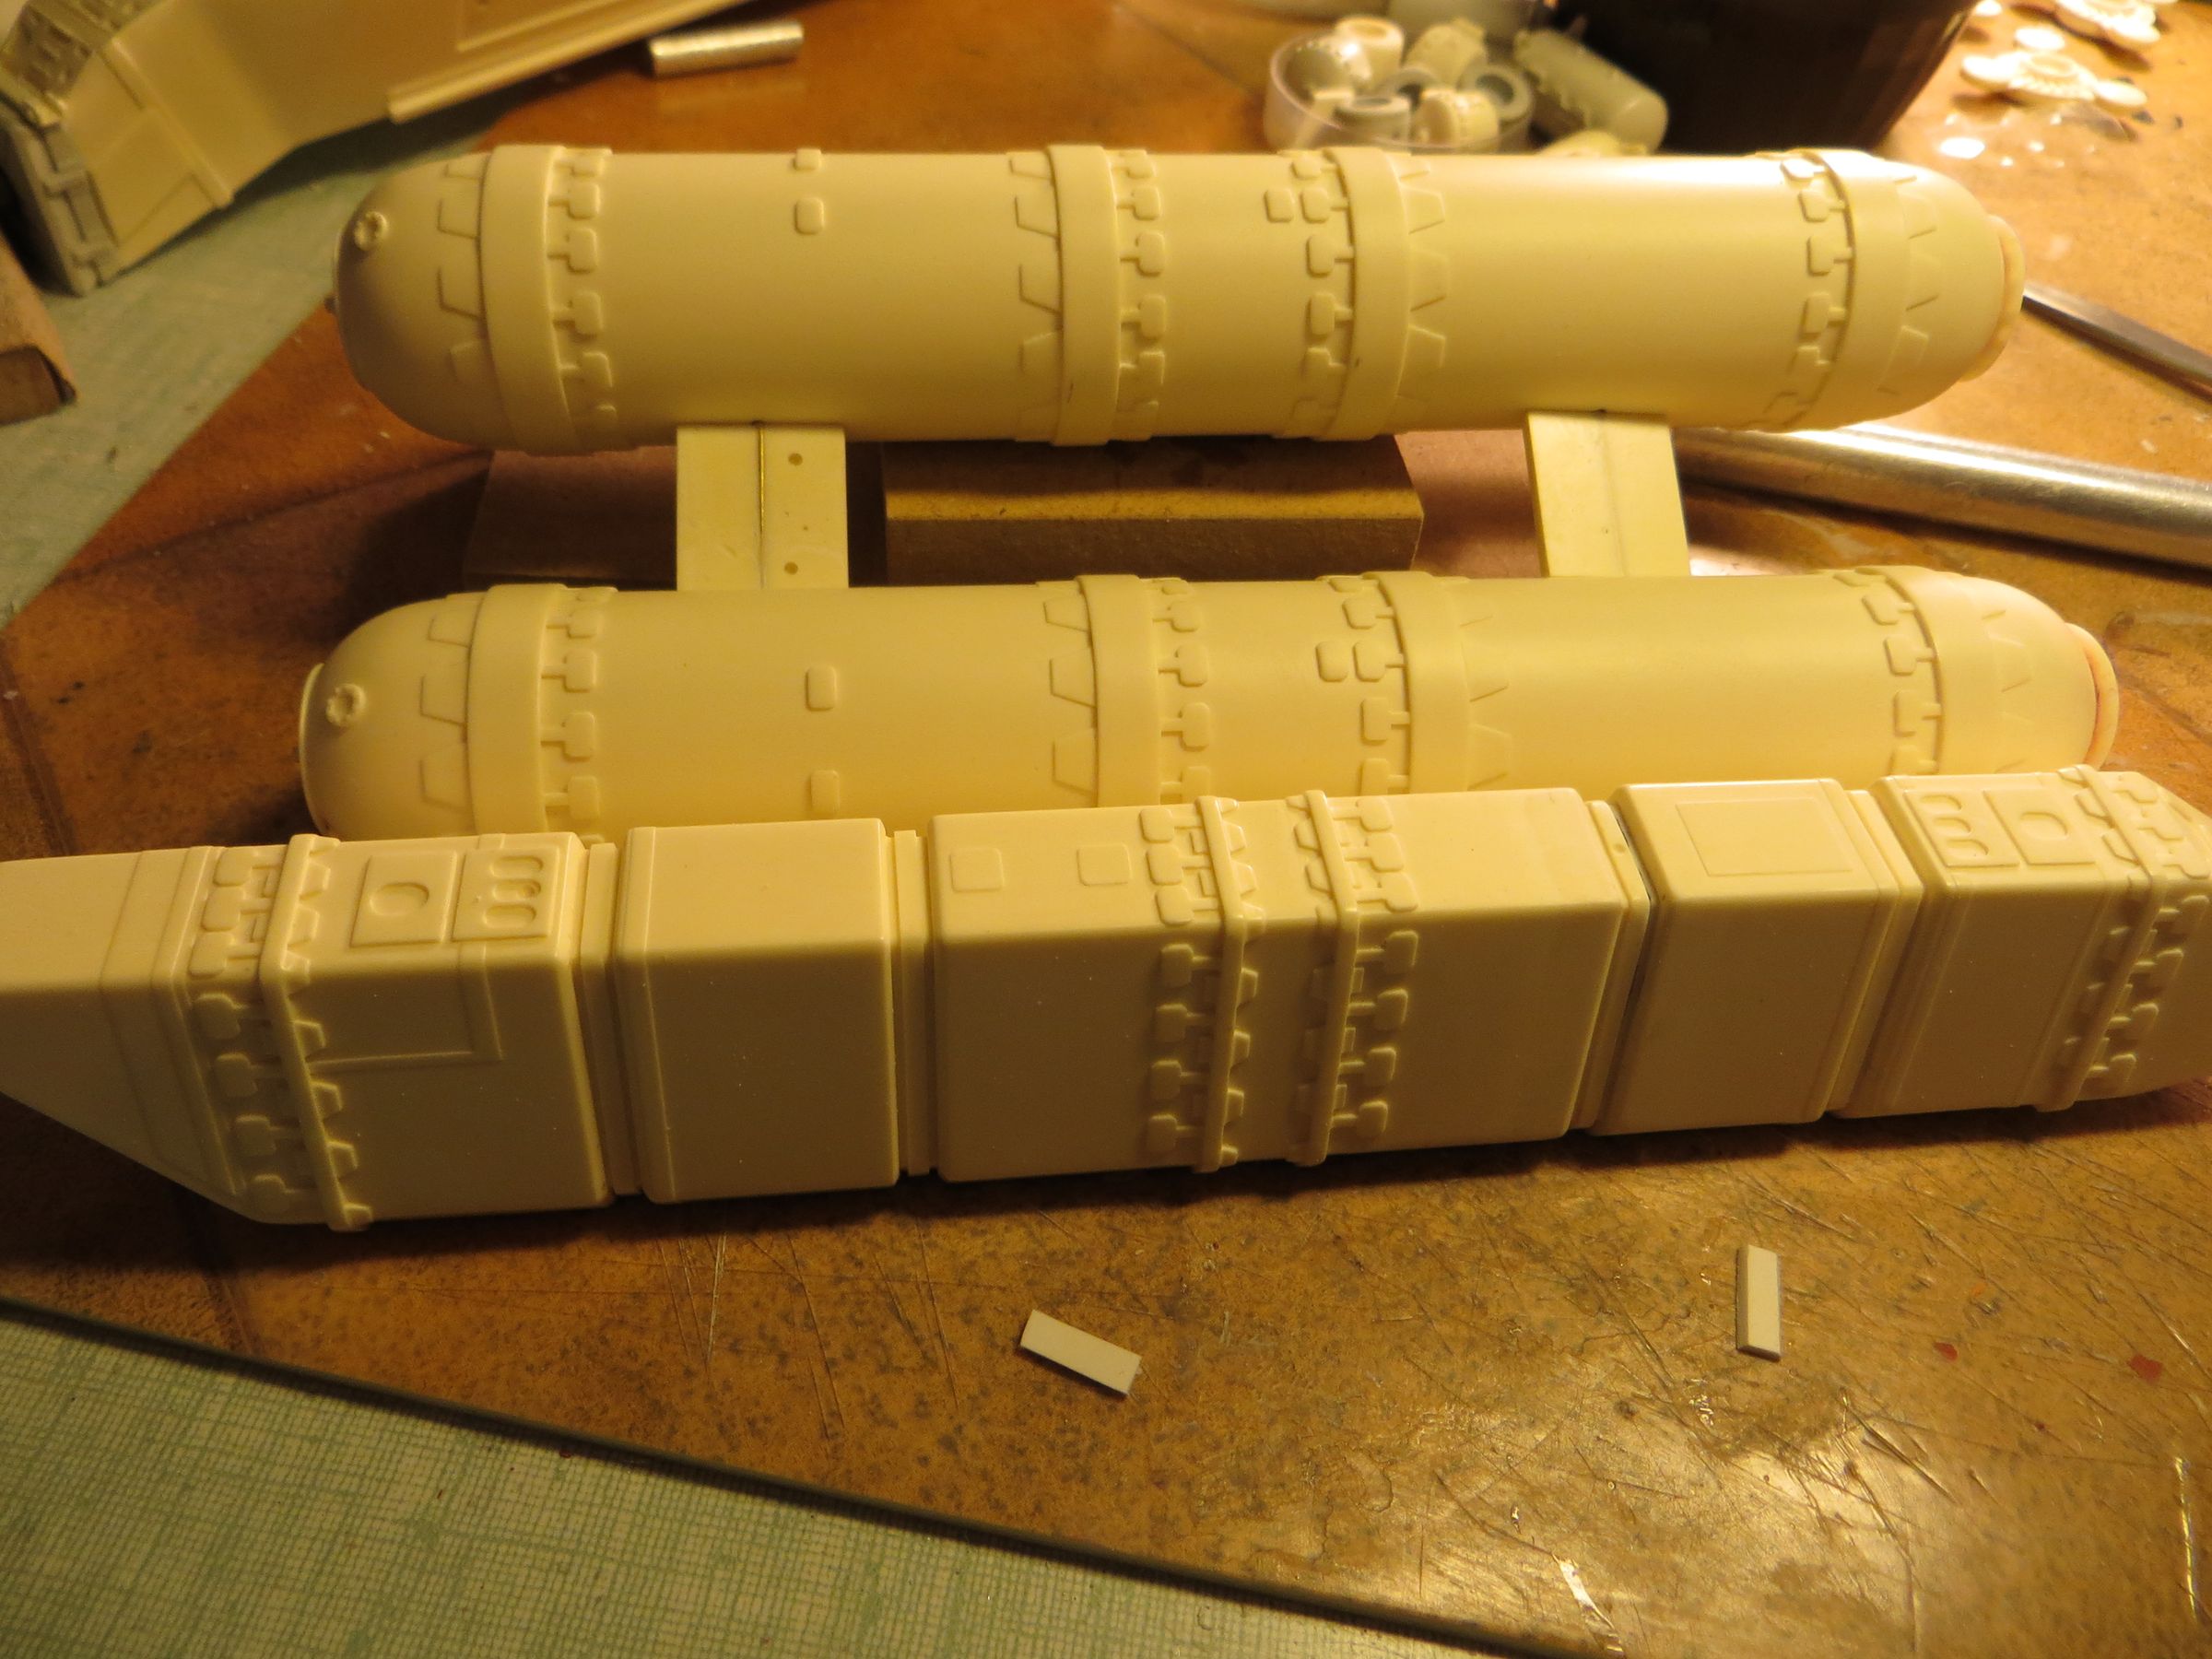
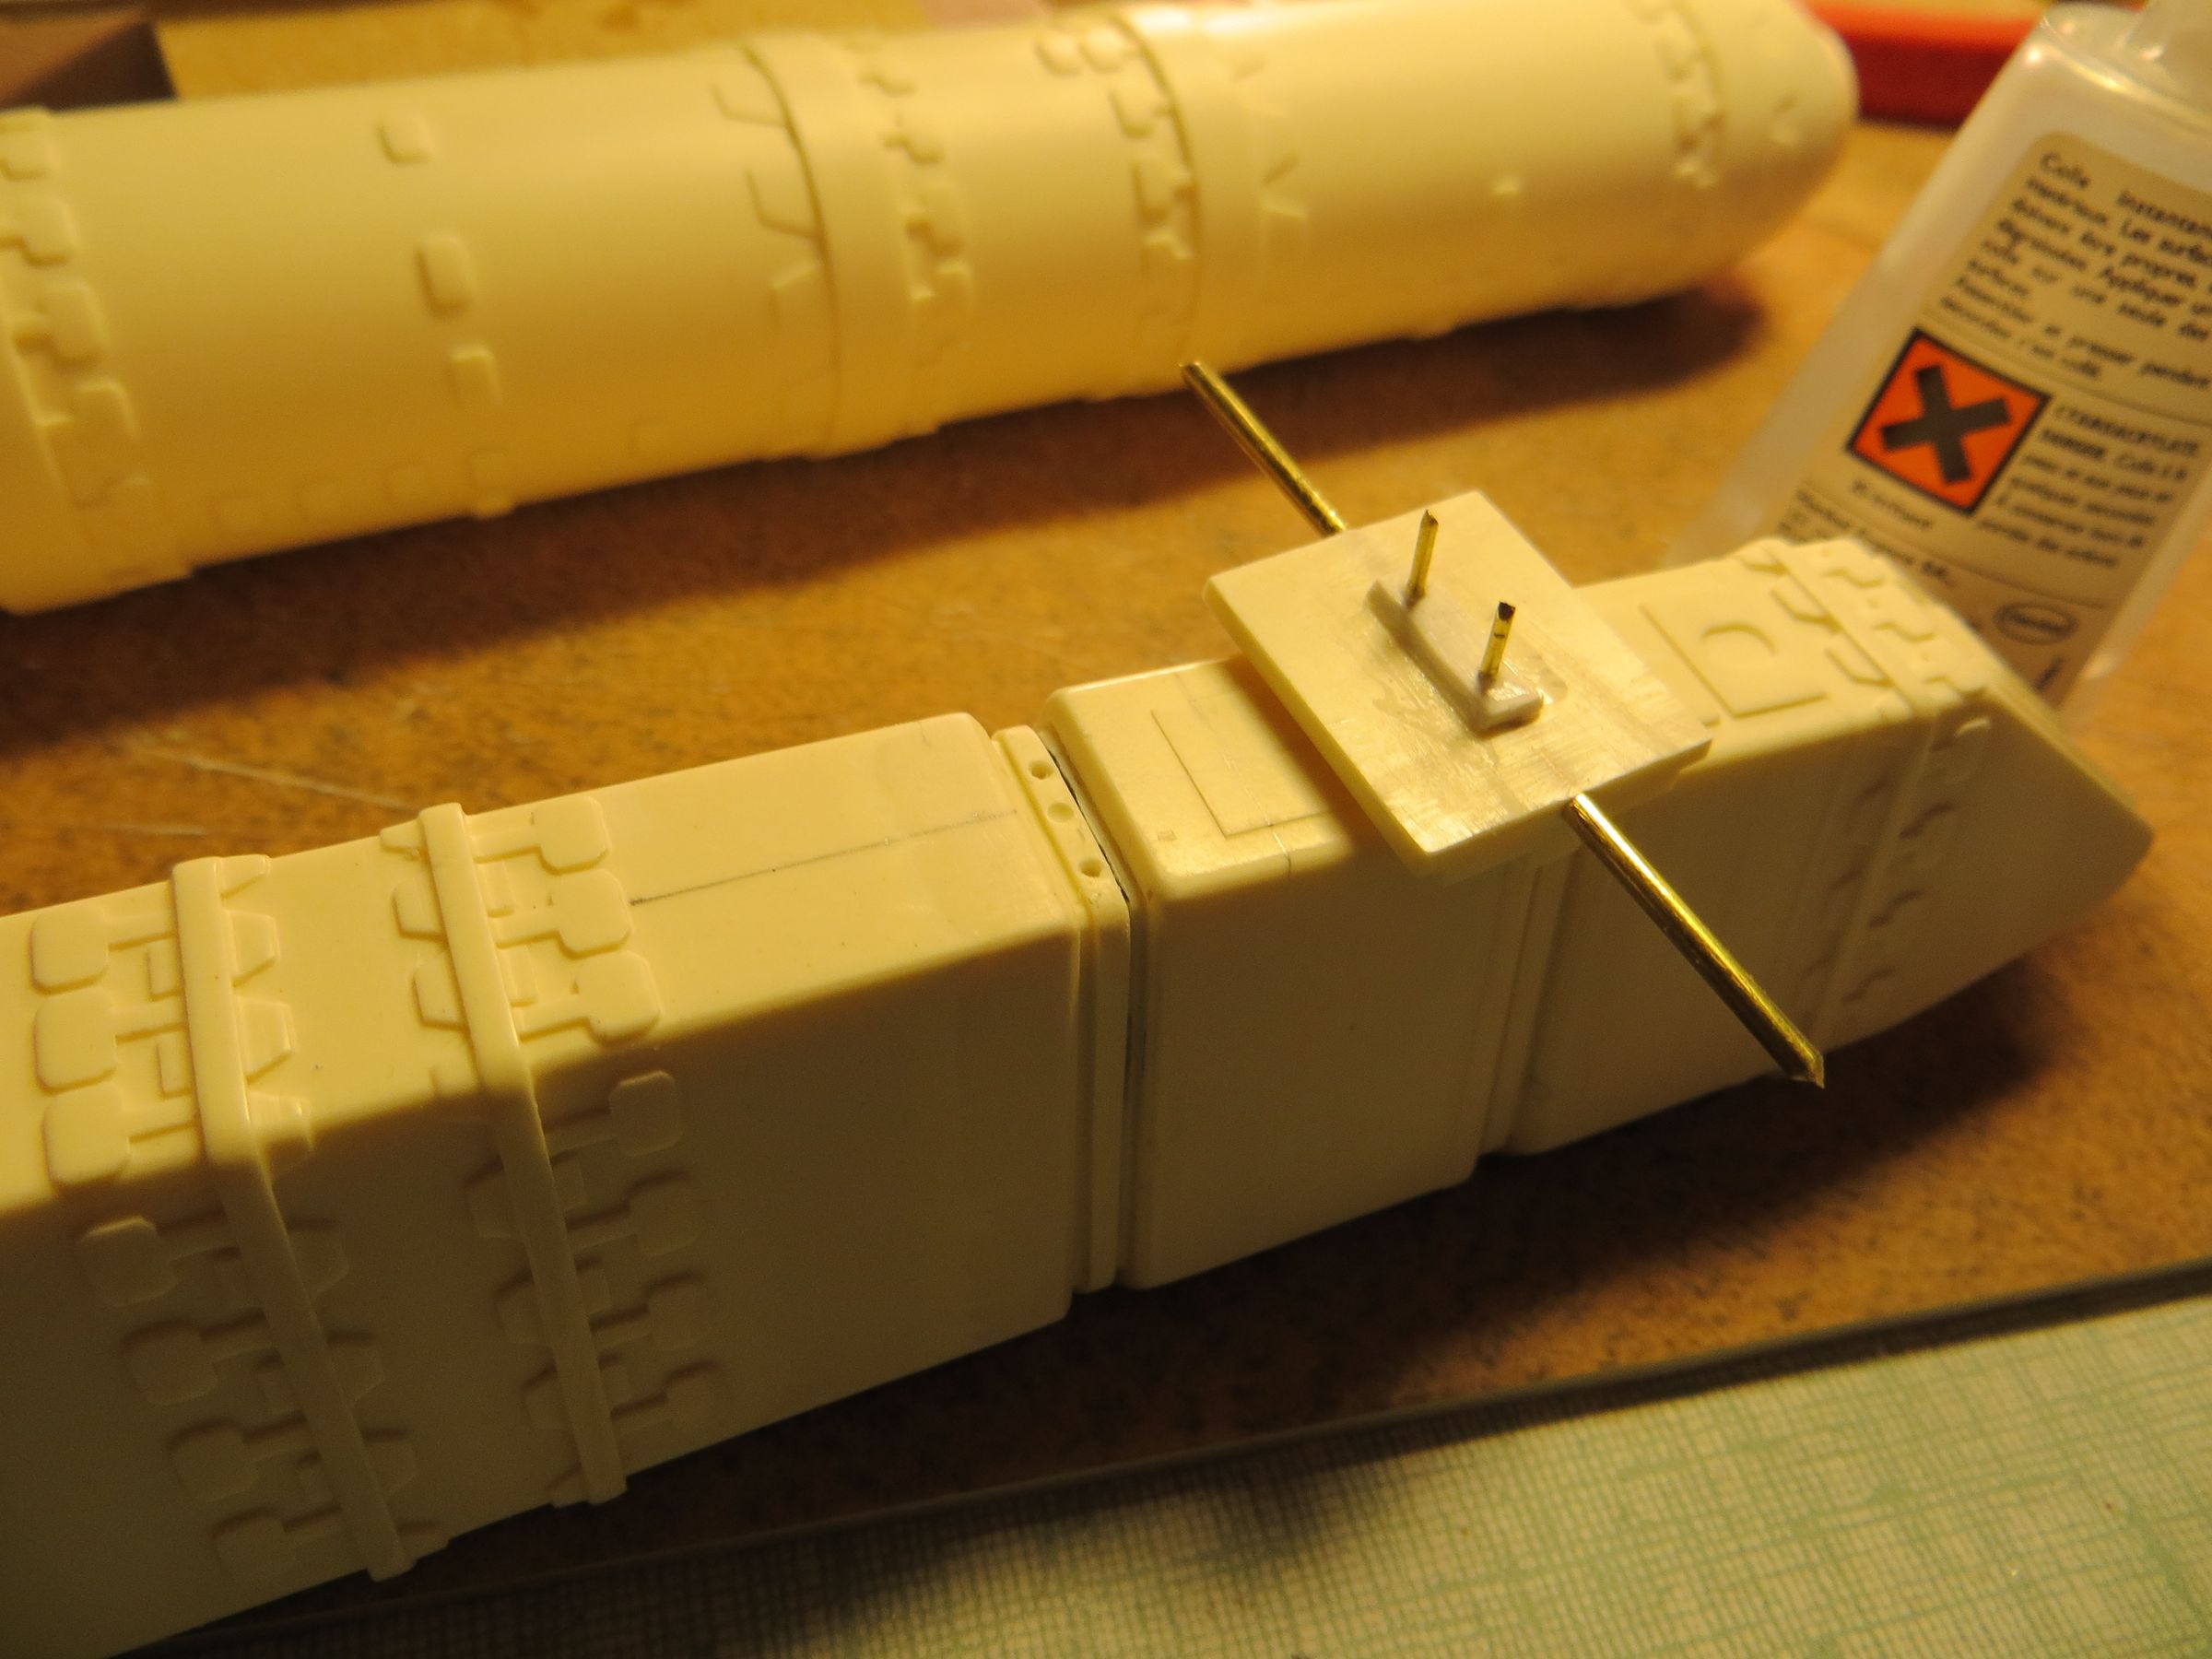
On the 2 large dorsal tanks, it is also preferable to keep the two small nozzles with thin brass. hey hold just as it unglued for easy transport and storage.

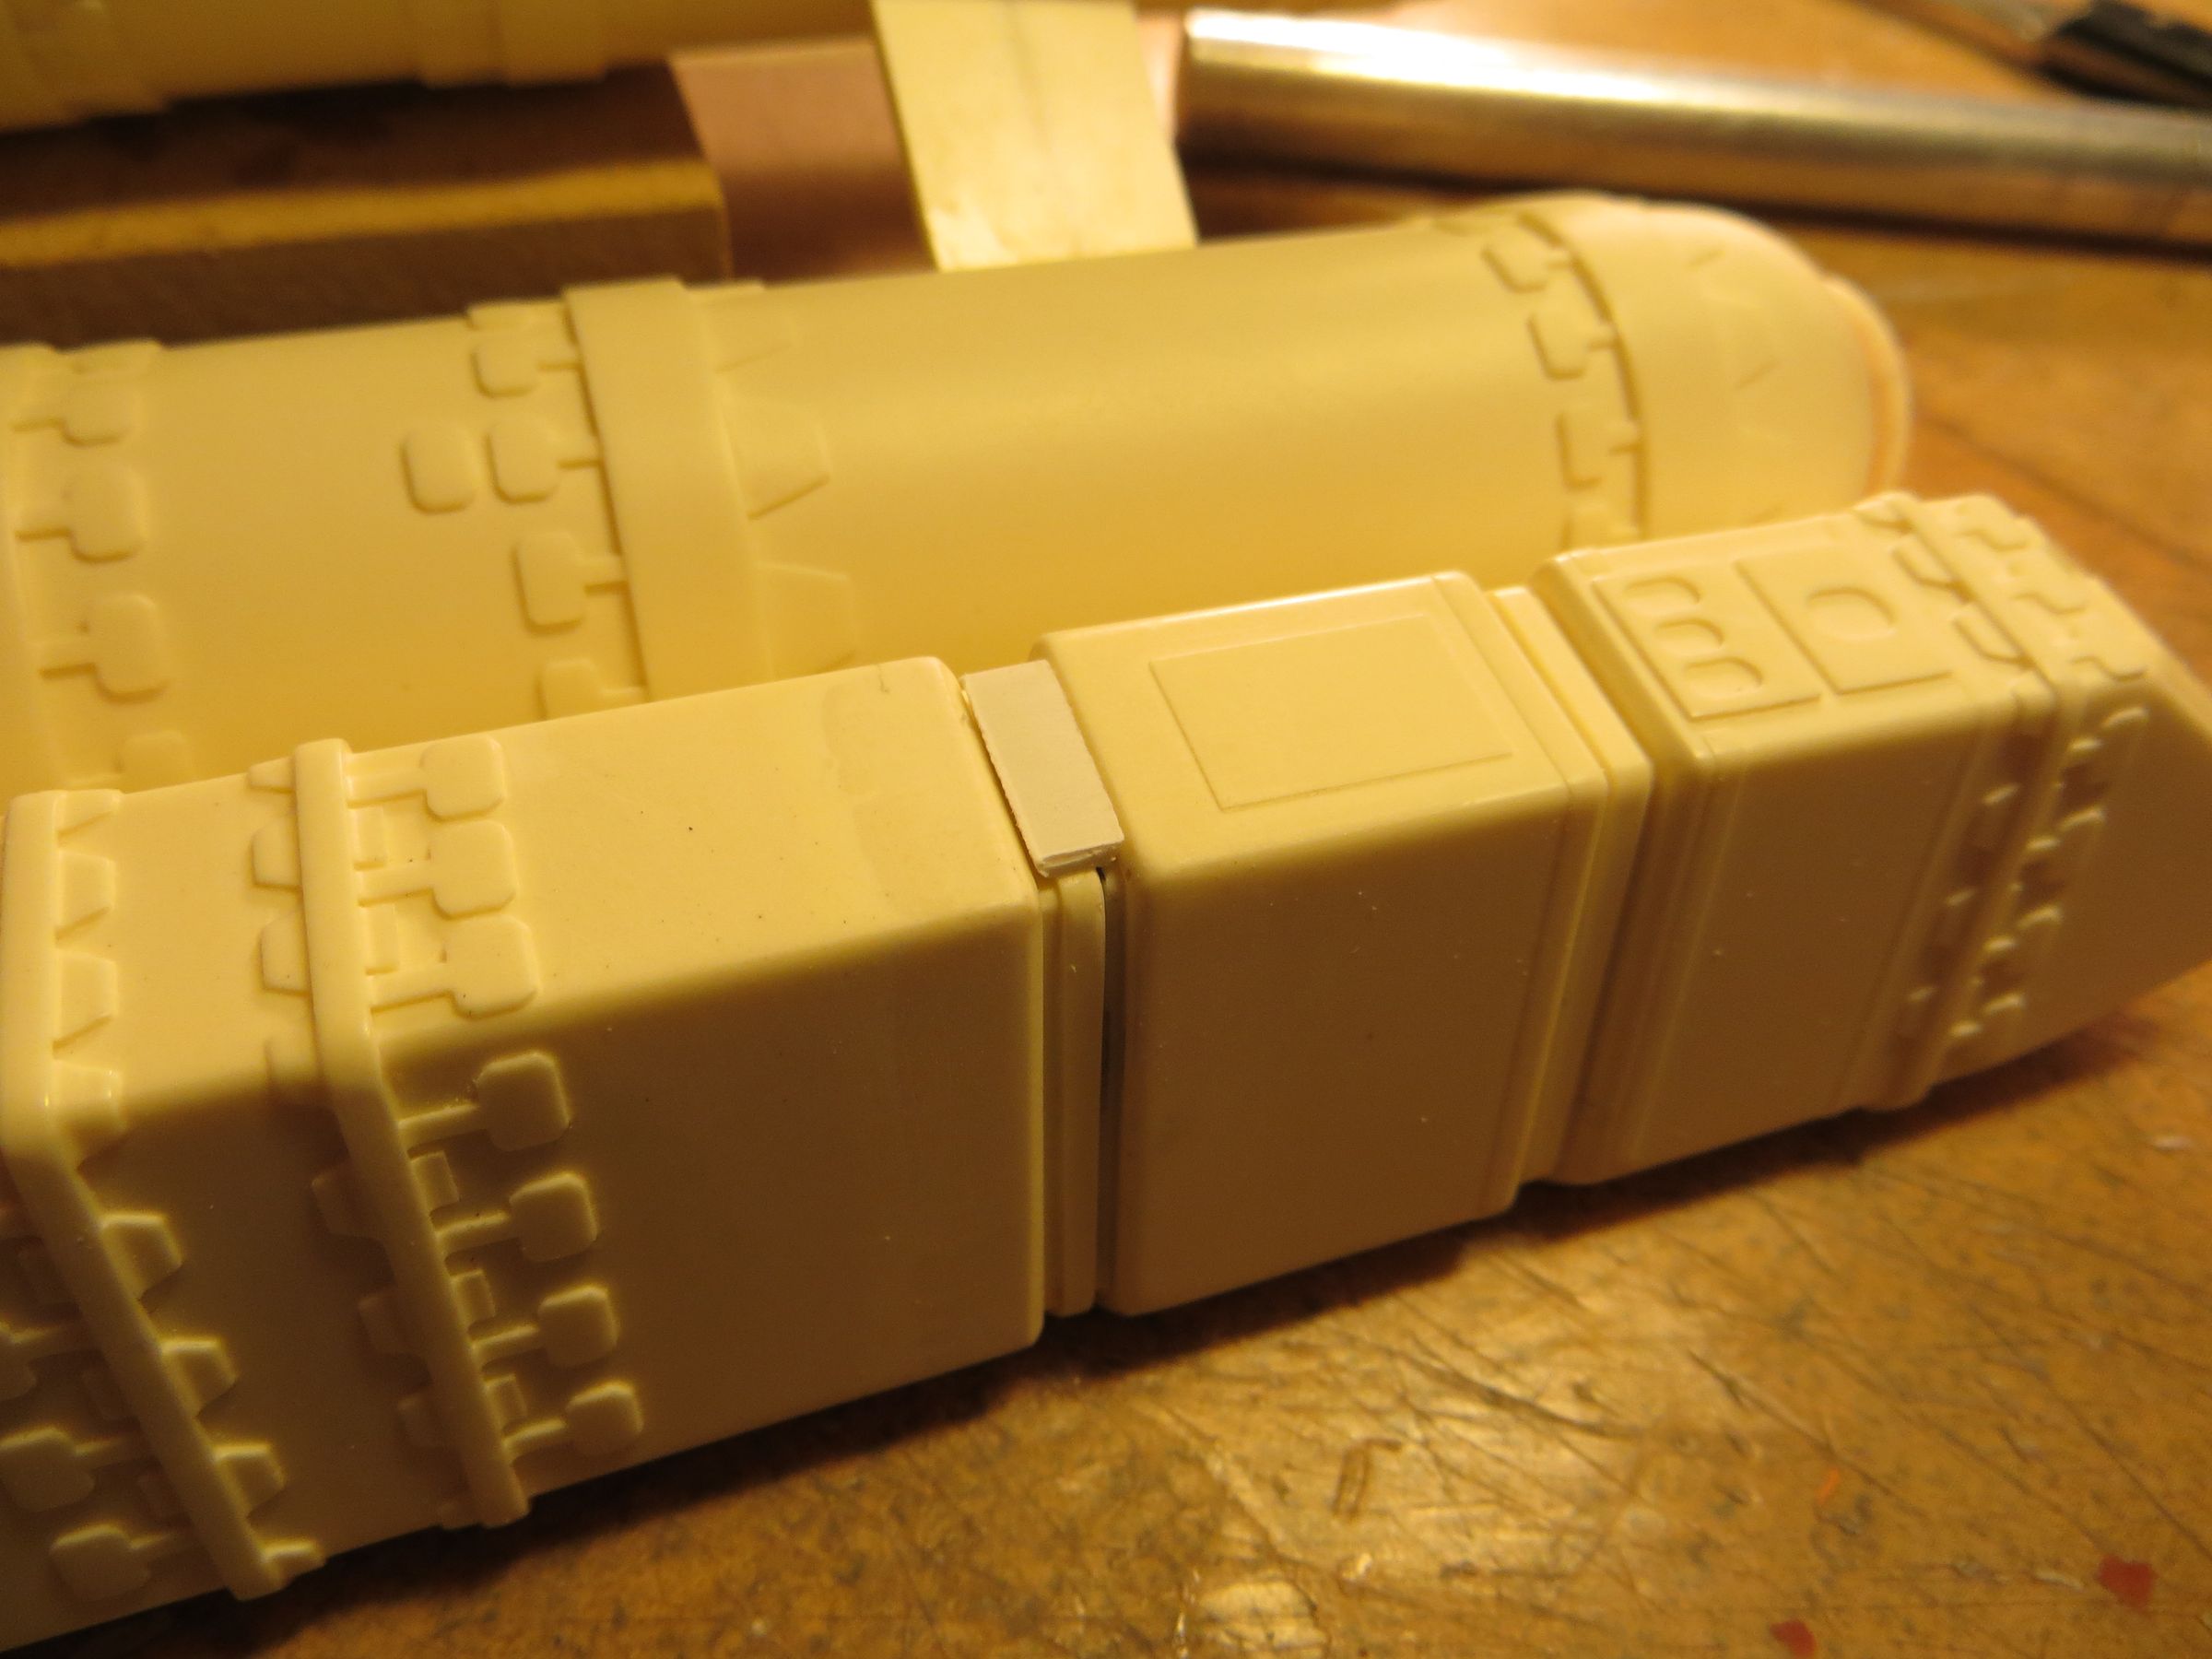
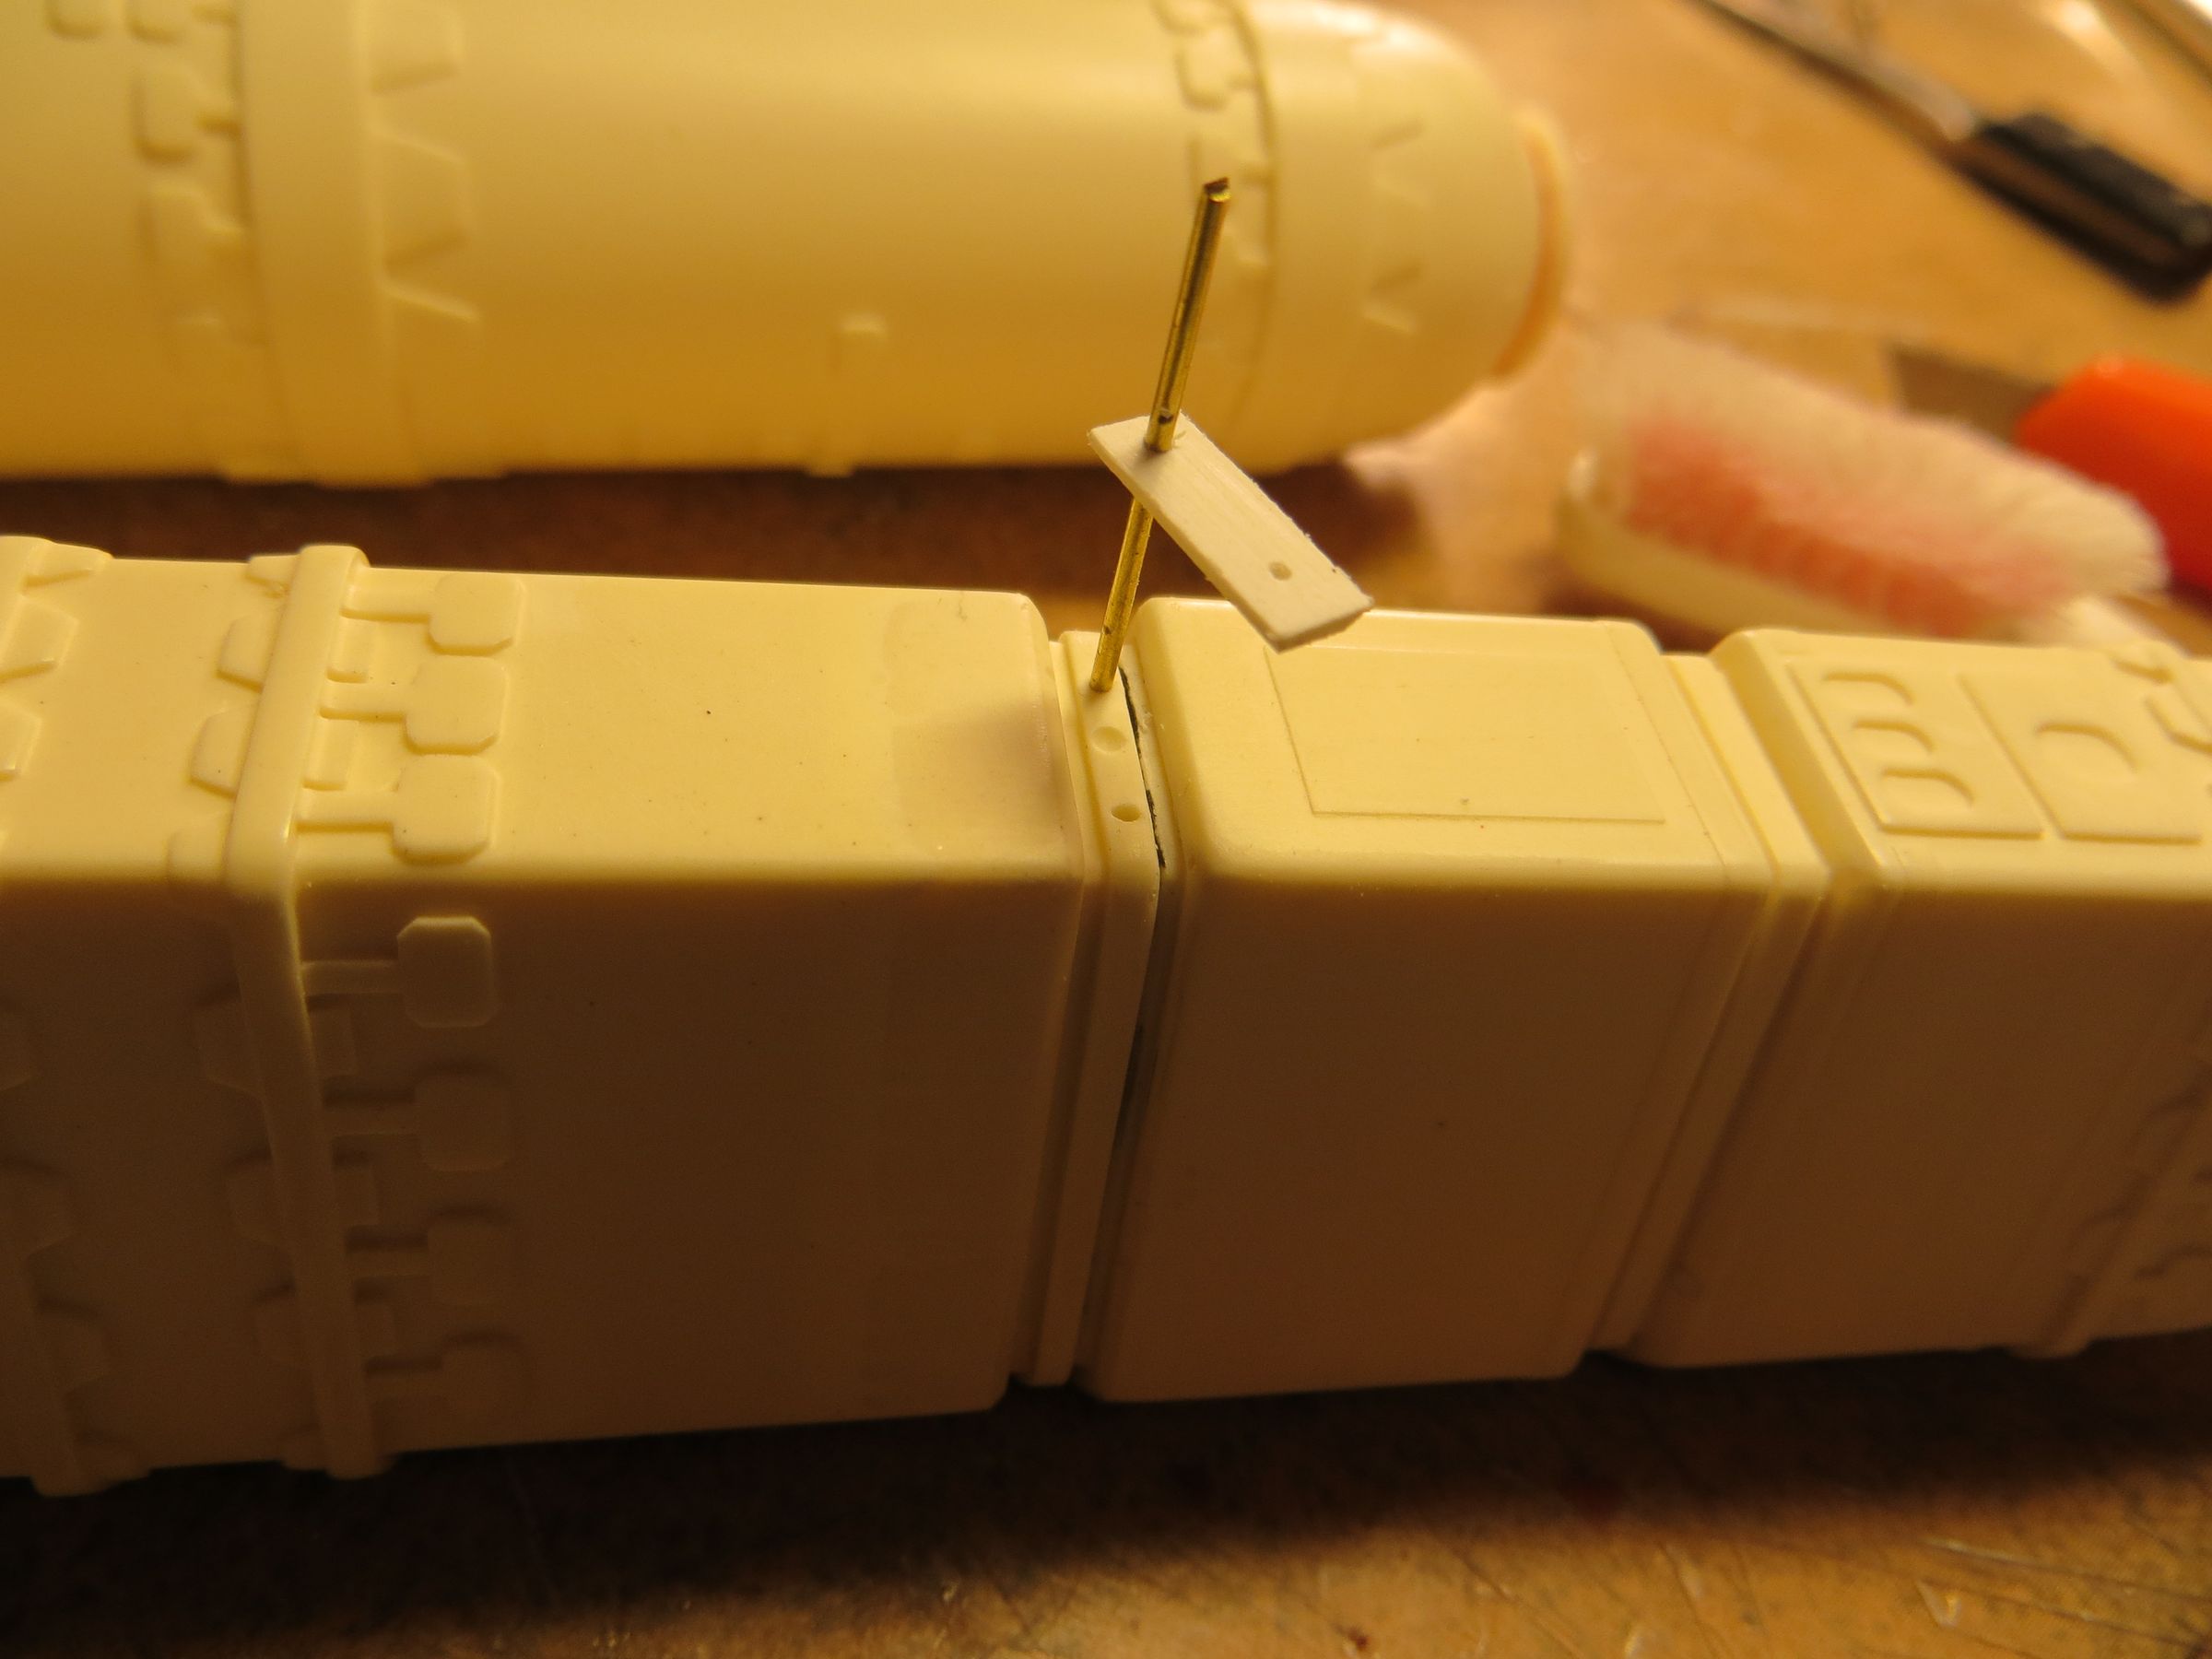
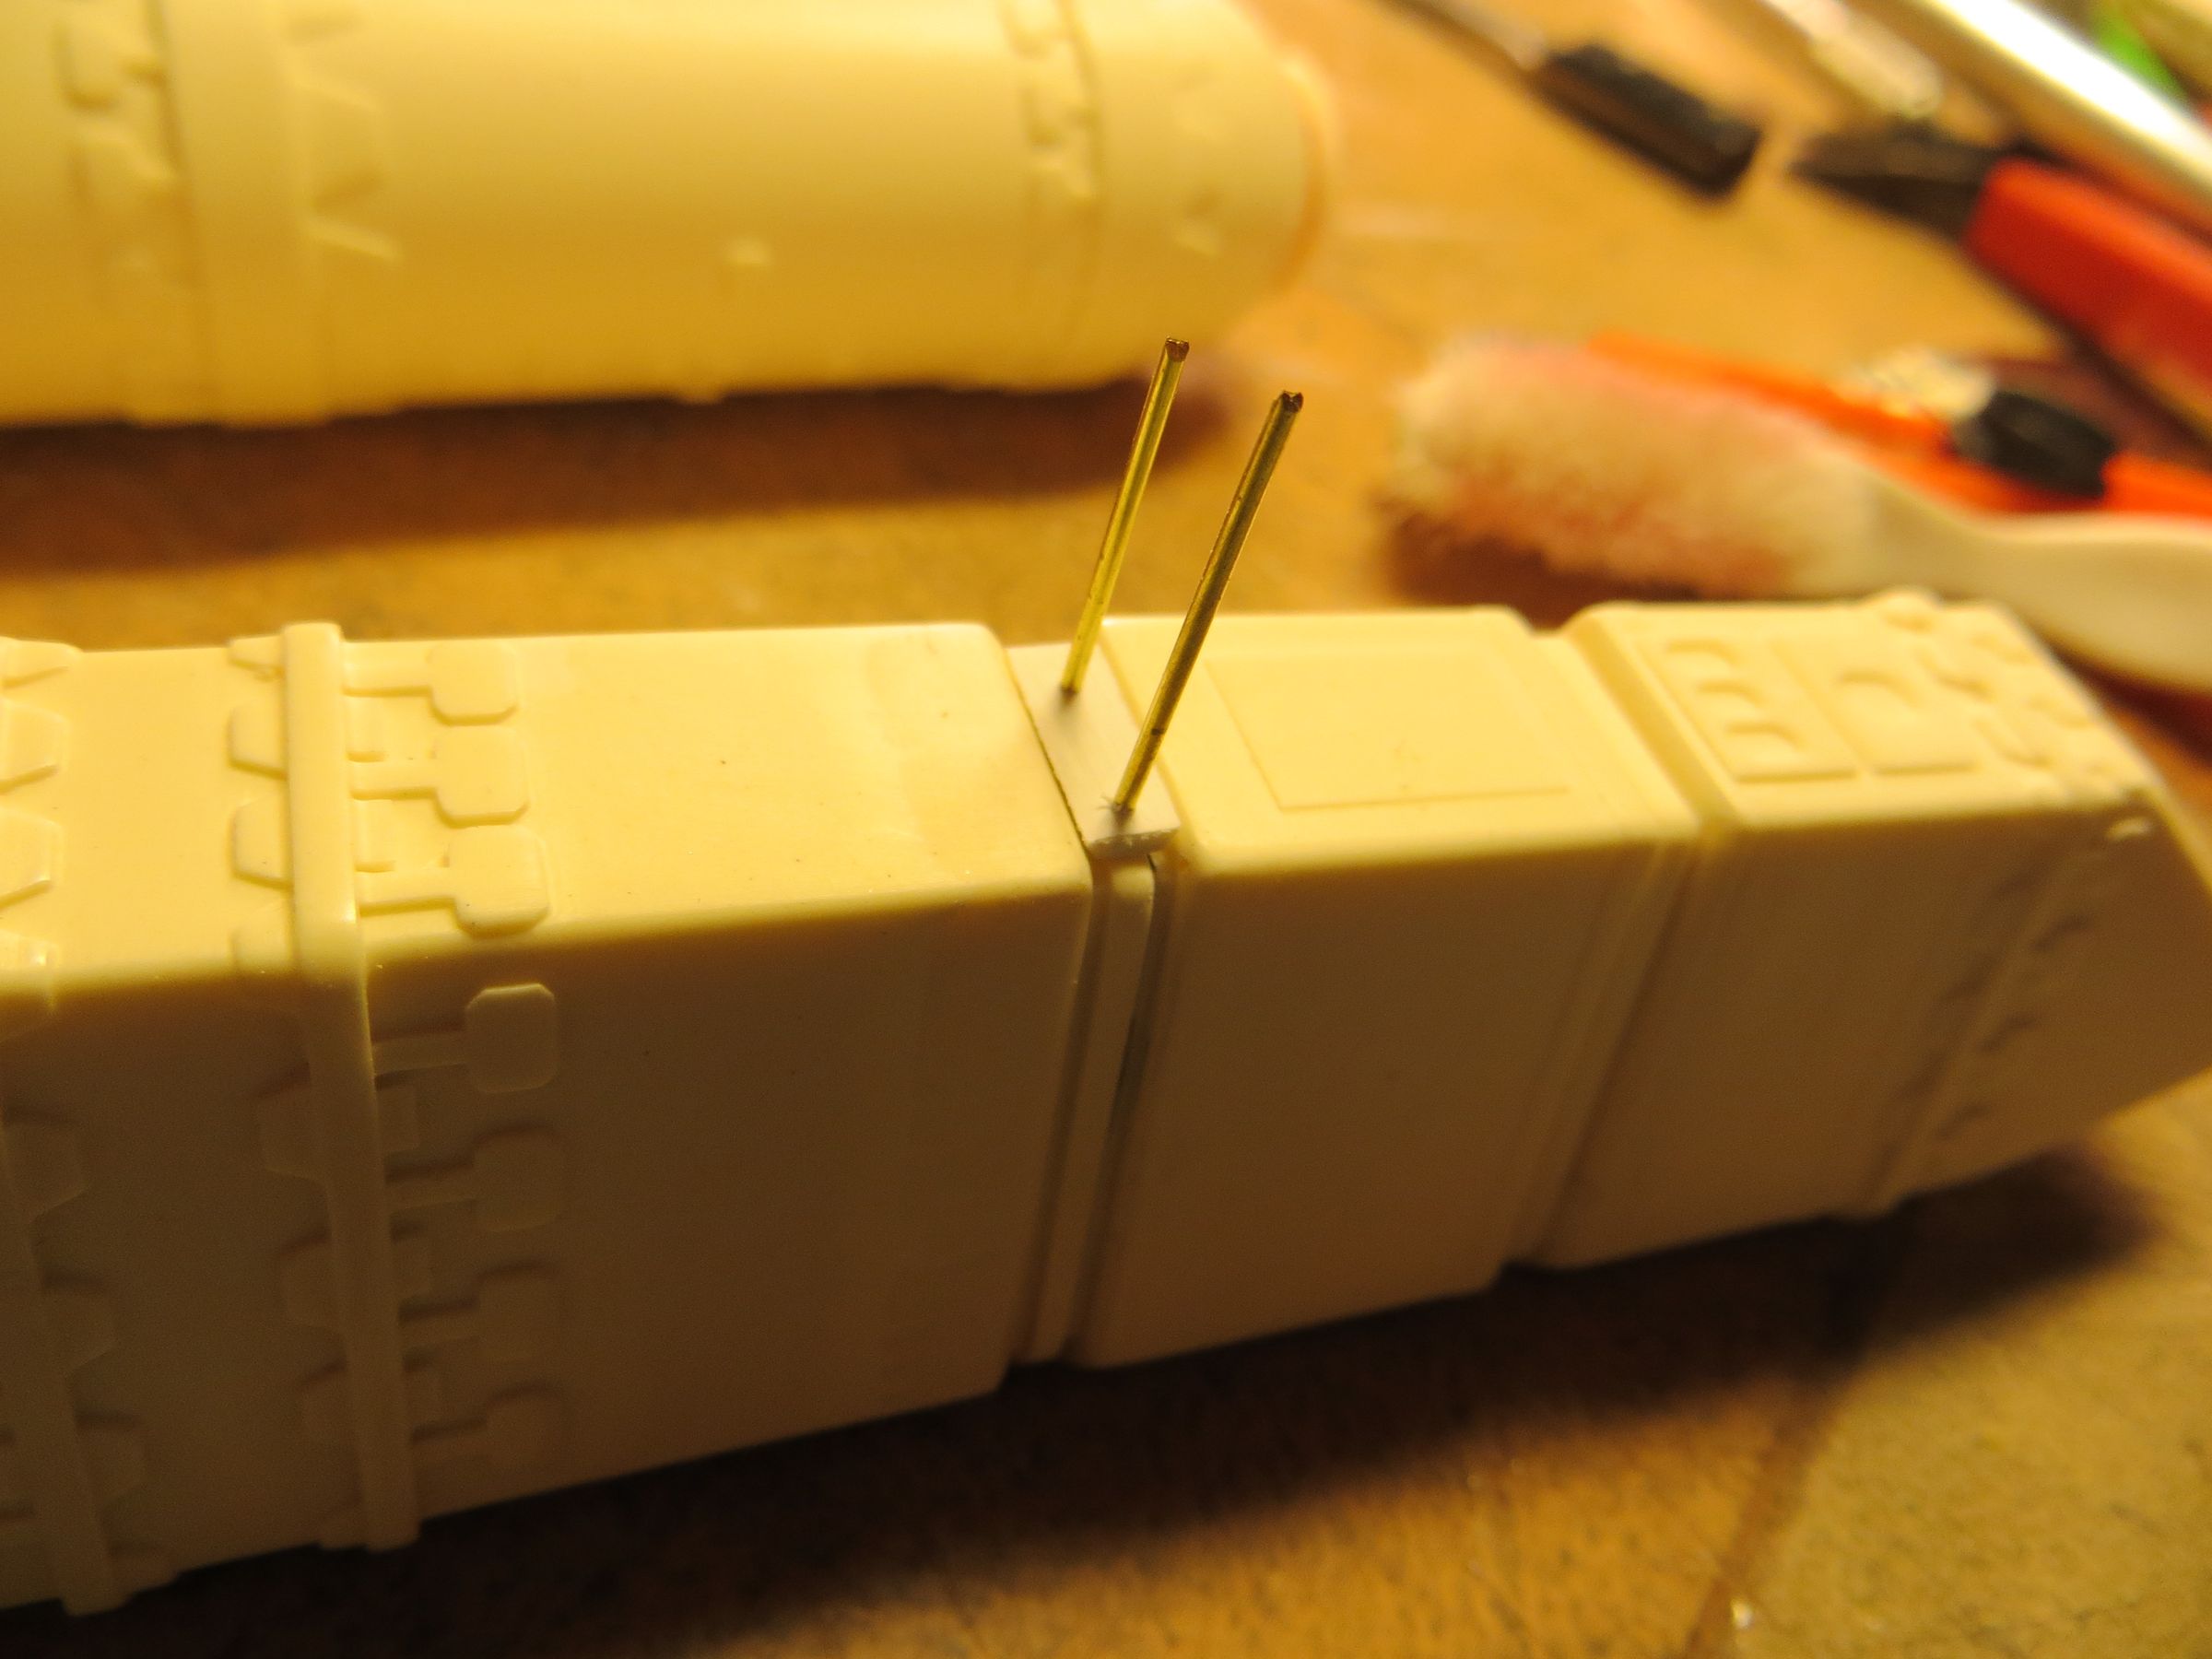
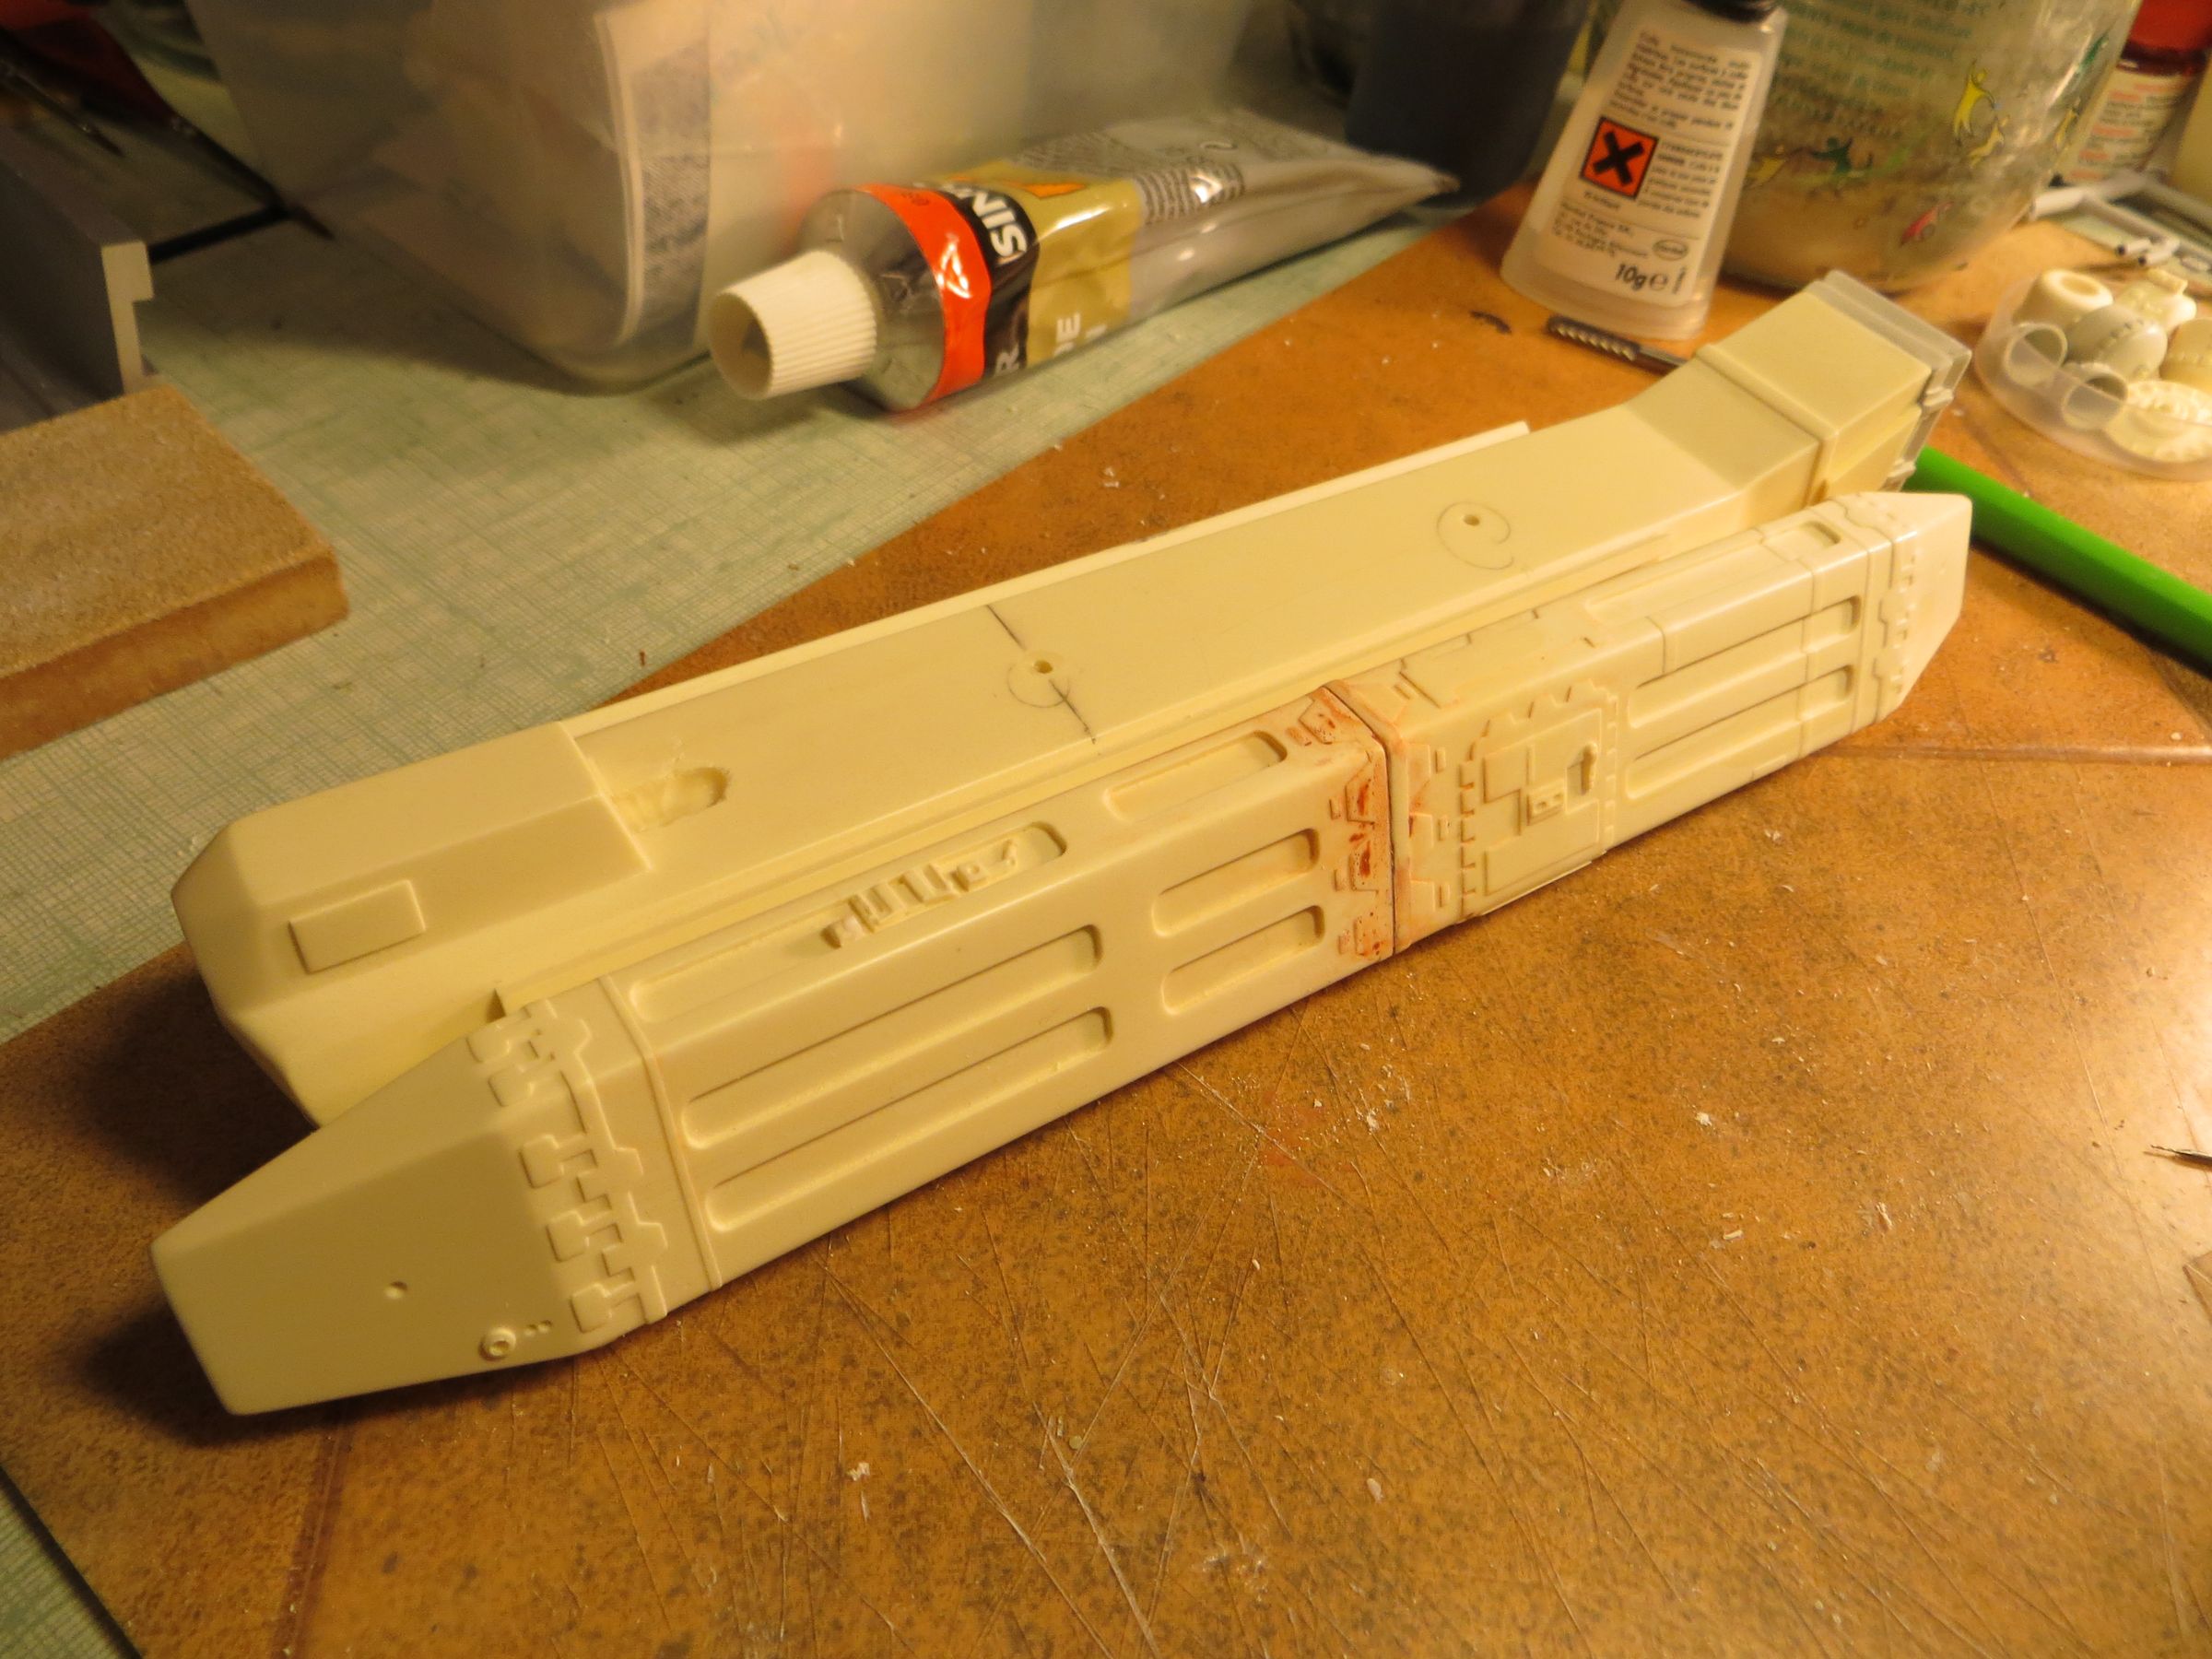
These tanks are connected together by two small plates of resin molded directly with a brass rod therethrough for support.


These two plates would then be stick on the upper module, but I found it too fragile, so I had to find a trick to have a better secure system. Problem, the plate thickness is not adequate to accept small vertical rods like on the side modules. So I take some hollow grooves on the upper module to add some material (small rectangular plastic card) to its opposite on the plate. With that, the rods hold better, but it still remained limited. (we will see later that this was still not enough).