Cockpit Lighting
Par olcabour le jeudi, 24 janvier 2013, 12:35 - Fine Molds Millennium Falcon 1-144 - Lien permanent
Back on the lighting after some hesitations, where I opted to light the cockpit by the existing hole in the floor of the part.

All instruments and dashboards are captures and images found on the web and printed to scale. Here is a first test on white paper:

It is not obvious in the photo, but it lacked a bit of sharpness and color depth, so the final prints were on glossy photo paper. After the painting is done, the instruments panels' "wallpapers" were prepared, glued and then covered with a matt coat.


The LED is boxed to give it support and prevent light leaks

Dry test of the lighting


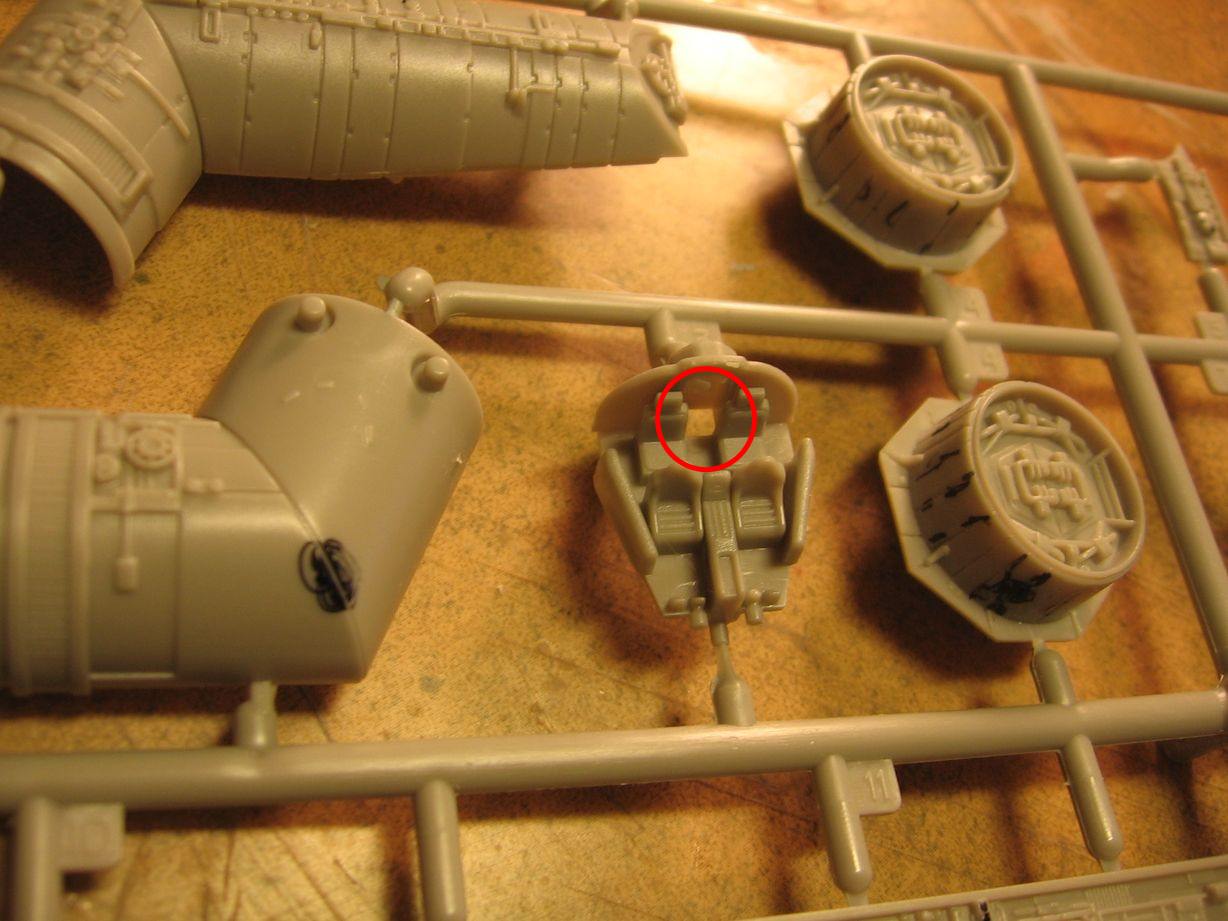
Once all this prepased, bad surprise, I can not close the cockpit and two elbows access corridor part no longer fit. So, it was necessary to sand here or add a bit of material (plastic card) there, and especially that I was obliged to seriously shorten Han and Chewie by cutting thier back...


The assembly is complete. After a short session of masking, it will move to the paint workbench.