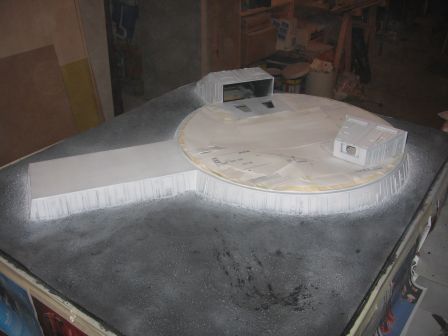
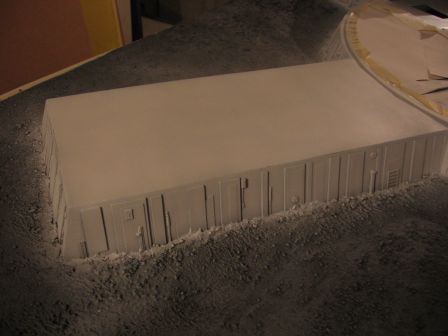
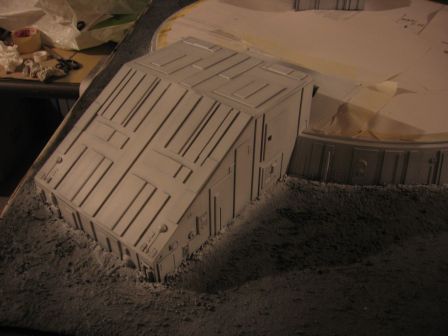
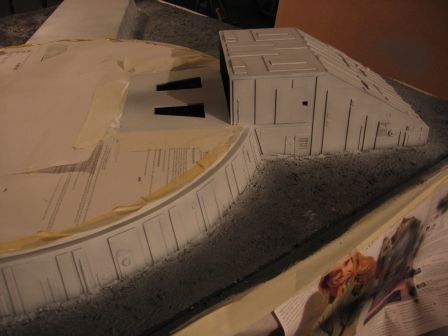
Launchpad - Base colors
Par olcabour le jeudi, 1 mars 2012, 22:46 - Launchpad - Lien permanent
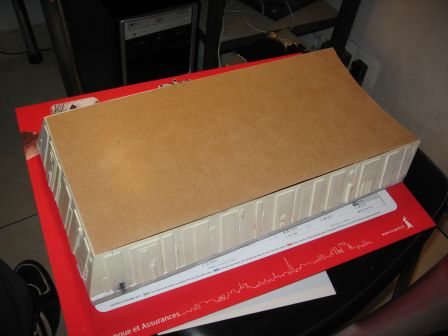
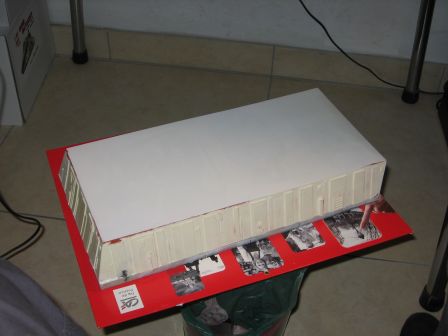
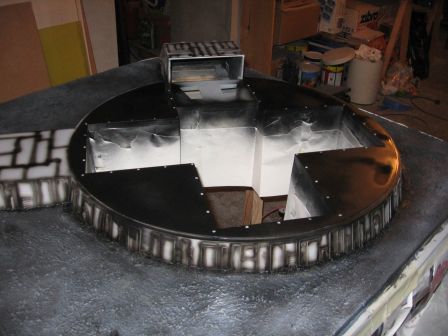
The floor of the service platform is removed. This time, I will use thin sheet of MDF medium wood (3mm), again covered with plastic card.
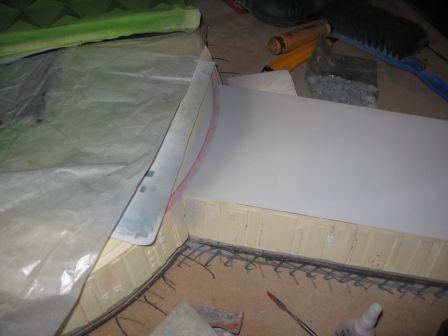
The seal is worked with atwo-component putty Tamyia and cellulosic automotive putty.
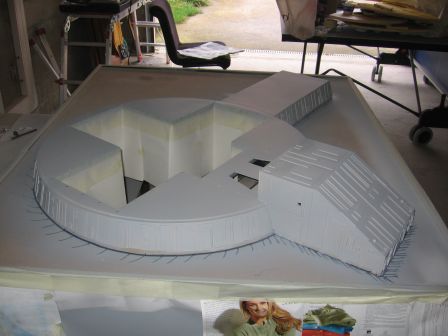
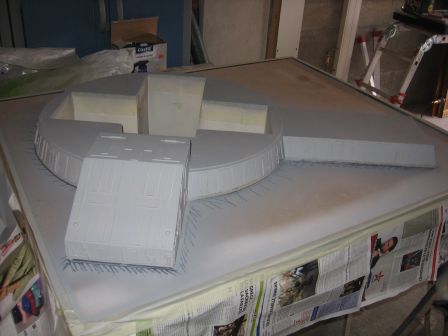
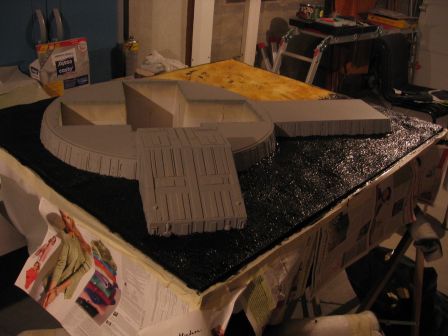
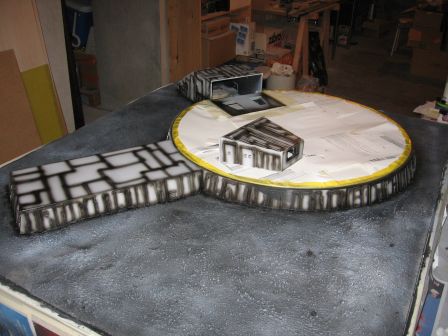
After one or two drying days, the whole launchpad is covered with automotive primer.
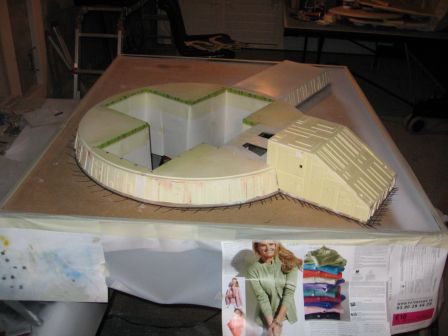
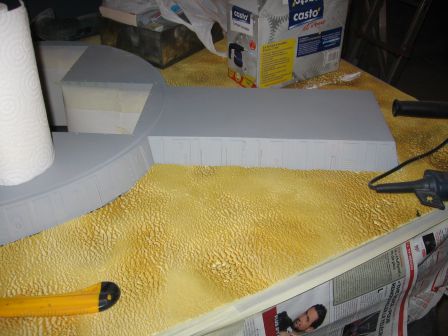
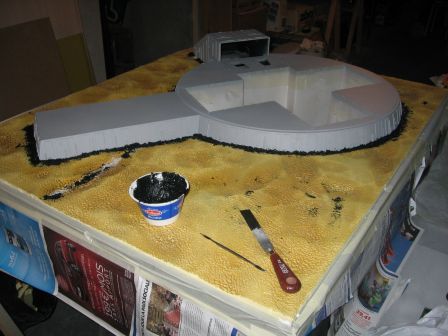
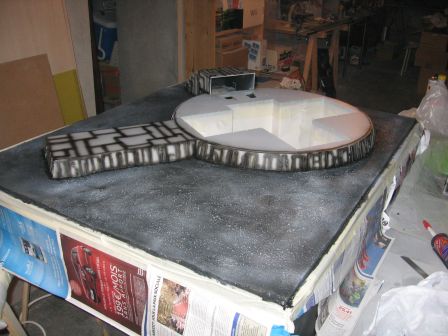
The lunar surface is set in its place, finally stuck with the sameo gun glue, used previously with the hangar staturoc walls.
Some holes are filled with foam spare parts.
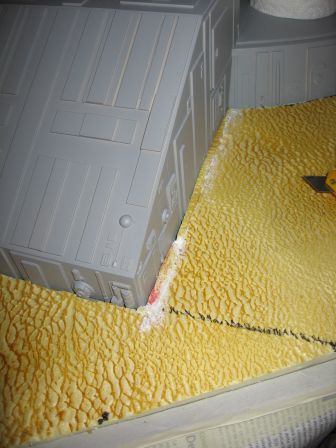
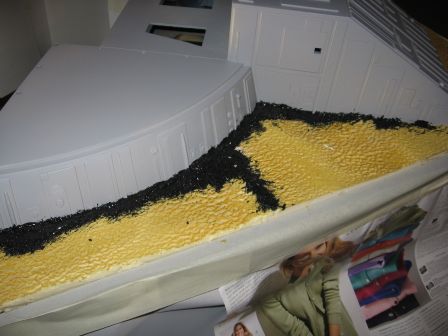
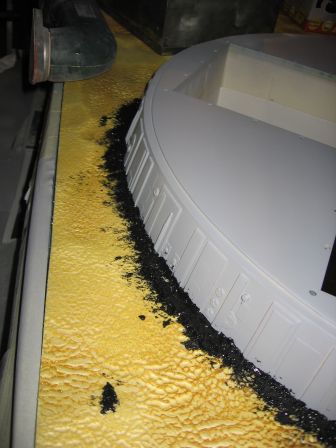
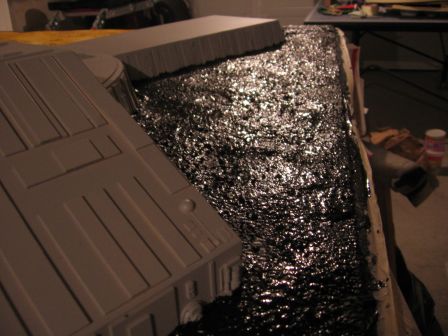
Then the joints are filled all around the launchpad with a clay like mixture made of black paint and roughcast.
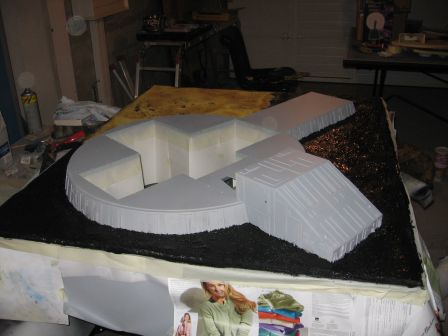
The remaining mixture is then thinned with white spirit, and spread on the ground.
The result is less nice than on the test shot because I had to change the paint in the meantime (for the test, it was a bottom of the jar that I had for over 5 years, and it laid down its arms on the box). I did not find the pretty nice dull gray of the first test.
And, without noticing, I had less burrowed the ground, and I find it a bit flat ... Too bad, it will remain like that.
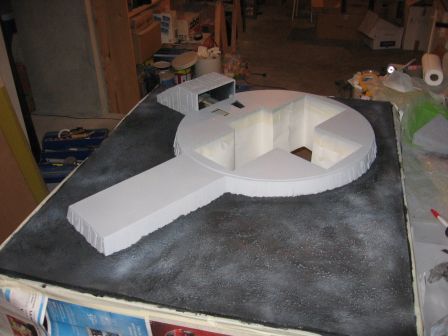
For the color, I will adjust it with a new coat of grey paint.
Quick little test with a coat of primer gray (spray can) over it.
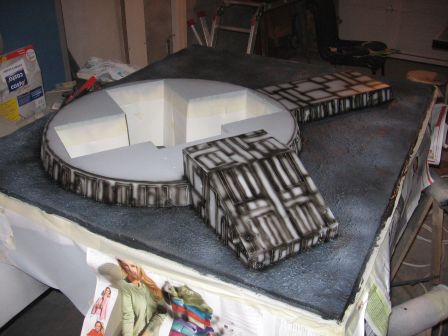
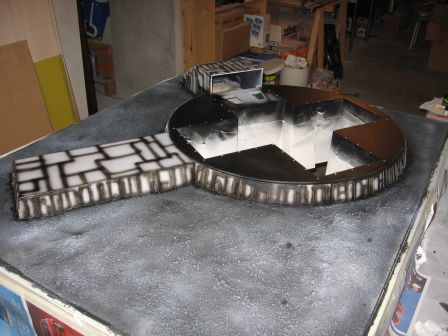
Pre-shading of the launchpad.
The upper disc is painted with satin black spray.
It is masked, and a layer of Tamiya matt white, slightly broken with Sky Grey, and completed with few drops of Klir t(o make it less brittle), is airbrushed in several thin coats.
To protect it, I "sealed" it with a thin coat of Tamyia white surface surfacer in spray can (poor covering, and slightly satin).
