Launchpad - Ramp walls and main assembly
Par olcabour le jeudi, 1 mars 2012, 22:12 - Launchpad - Lien permanent
Here are the latest developments on the launchpad:
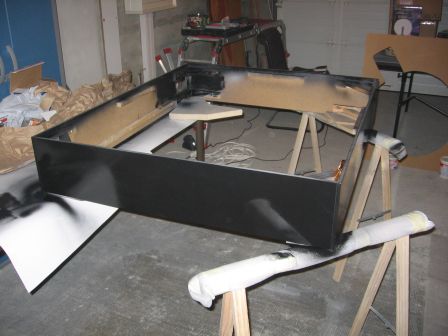
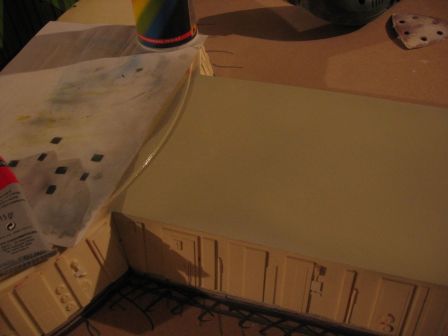
- The box is covered with primer, then painted satin black (3 layers of glycero paint), applied with a paint gun. As the sides are vertical, drips form naturally after a few minutes, they were smoothed with a small paint roller. The black is not dry, so it looks glossy on the picture.
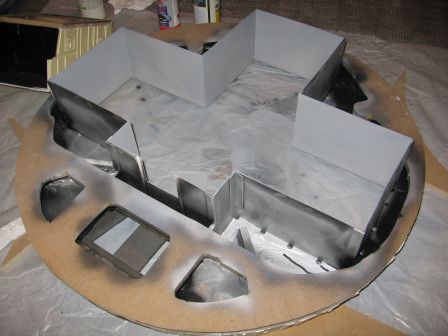
- The walls of the elevator are also covered with primer.
The color choice is then a dilemma. Indeed, many launchpads were built for the series (at least 3, certainly at different scales). At least two were mechanized, and they did have completely different elevator inner wall (see the shots from Catacombs website) :
-> A white style: smooth walls, devoid of detail. Gray stripes and black panels with masks. http://www.space1999.net/catacombs/main/images/space/bs/spbs109.jpg
-> A Green style: really detailed, a little in back from the edge of the platform, with the same color of the hangar walls, detailed with rows, showing also raws of yellow panels (windows?) http://www.space1999.net/catacombs/main/images/space/tis/sptis198.jpg
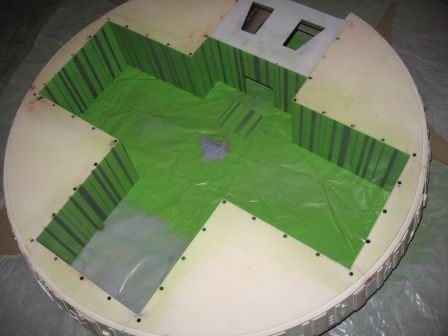
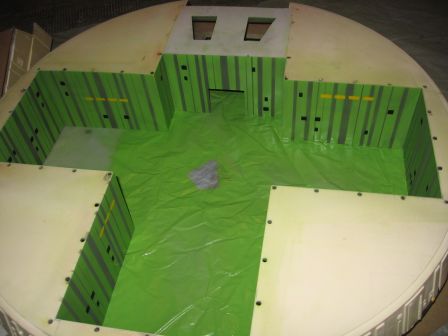
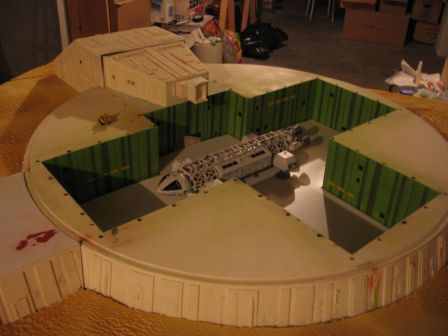
The green style is by far the most attractive and is consistent with the hangar, but also the most detailed. By cons on the kit, I could not easily free myself of smooth walls due to the thickness of the parts and to the tiny space I already had to insert the LED Christmas tree lights. So, I went on a mix of the 2: smooth walls in the style of the first (white), but with the color palette of the second (green).
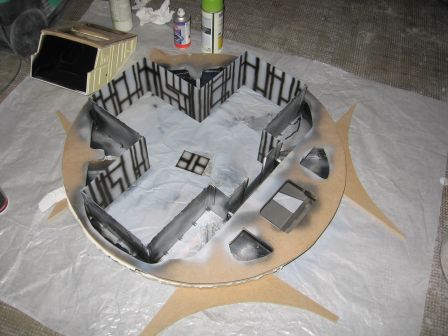
I first realized a black preshading.
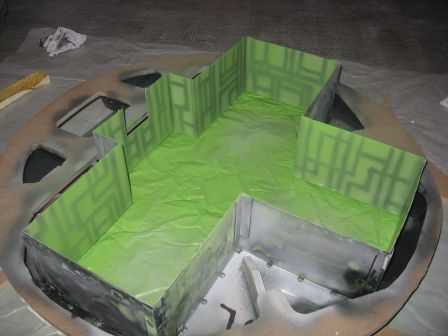
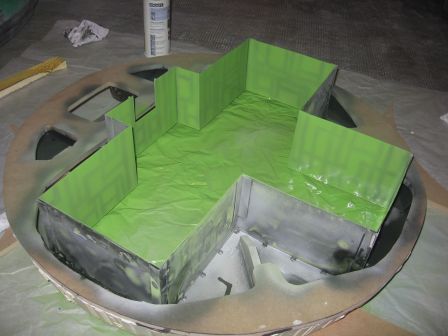
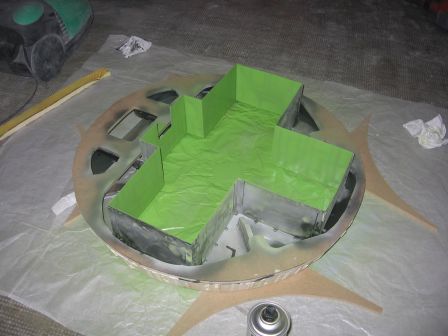
Then the Granny's apple green is applied. A first test on the small movable square shows that painting stuck badly (withdrawals around asperities, and even around the preshading itself! ...), so I covered the walls with a layer of matt coat to even out the surface and give more attachment points to the paint. This little trick worked well, and the green stuck well, I applied three light coats to avoid drops.
First layer:
2nd layer:
3rd layer:
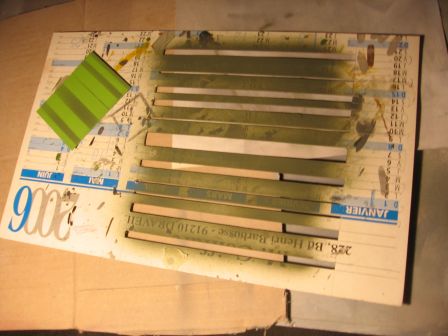
Khaki green strips are then made with a stencil (cut out from an old calendar)
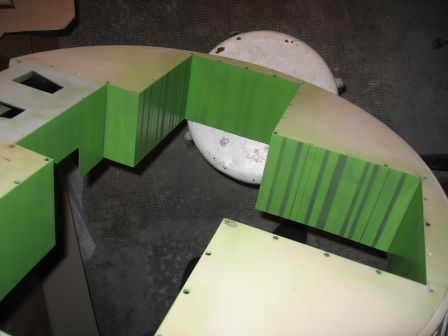
Still using cardboard stencils, rows of 3 or 4 yellow windows are added (in green walls style), and black panels/windows (in the white walls style).
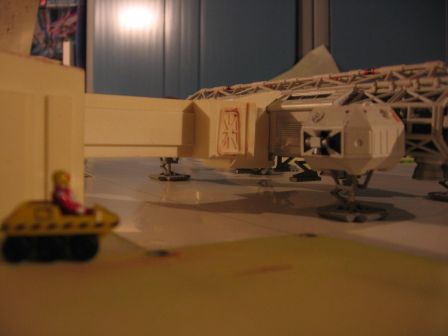
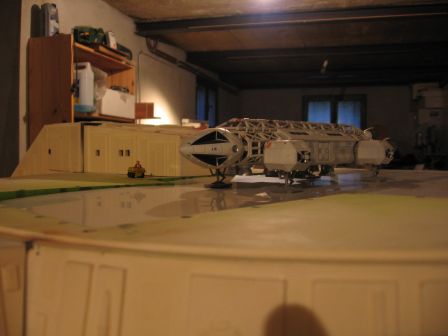
All elements are dry tested again
Some tests for fun  The "+" ramp is still a working version
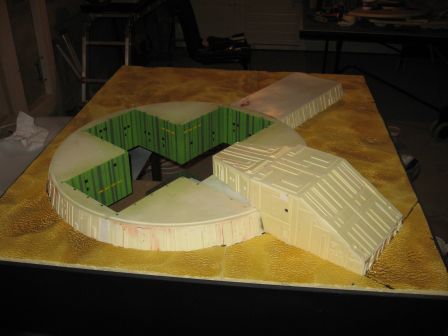
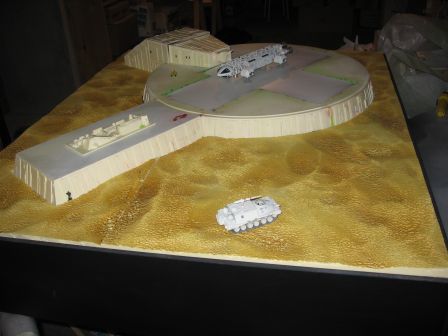
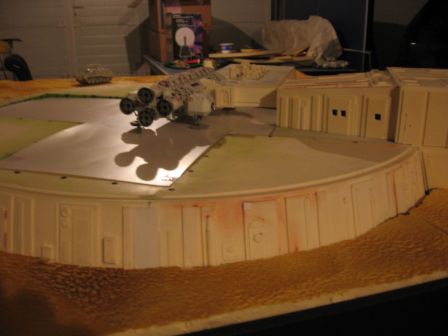
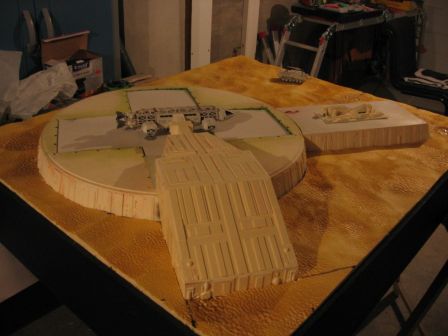
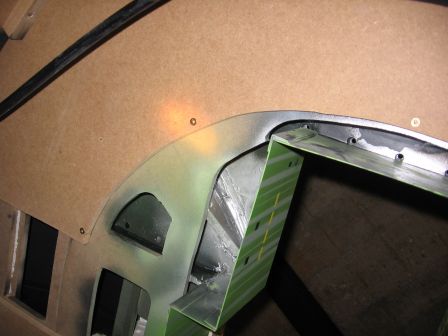
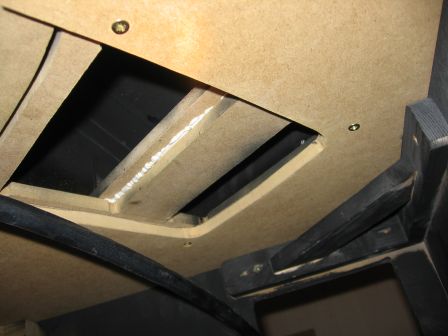
The buildings are screwed from below. Having previously leveled the elements, with cutouts of medium wood, from the lunar surface, had already the side effect of facilitating a modular construction. A second positive side effect is that these modules are just quickly screwed to the floor board from bellow (no glue needed). And third interest, these boards screwed between them seriously reinforced the floor board, keeping it flat.
The joint between the disk and the central rectangular platform and a default that appeared on the surface (sorry, no photo) is worked with sintofer.
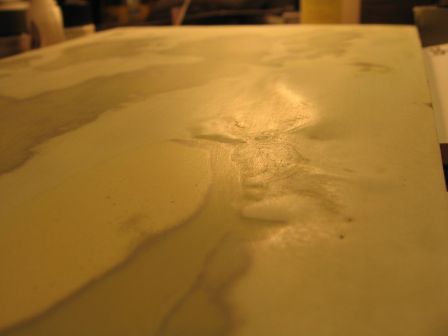
This done, I sprayed primer, which showed some imperfections, so I covered it an heavy coat of spray putty, and I let sit overnight.
The next morning, I realized that all these people reacted between them and created lots of small bulges. I tried to sand, but it was impossible to correct this, as the thickness the plastic card is not sufficient. In short, it's bad luck, I have to remove that part and scratch it again...
