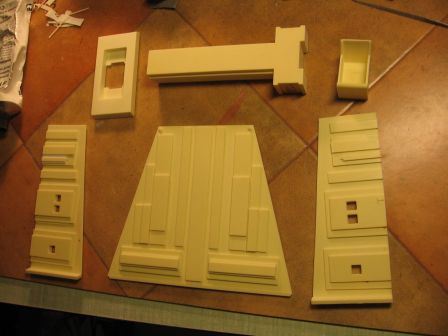
Launchpad - a frisbee ?
Par olcabour le vendredi, 24 février 2012, 08:02 - Launchpad - Lien permanent
On the floor board, the platform location is hollowed to give access from below for the lighting installation and the elevator mechanism.
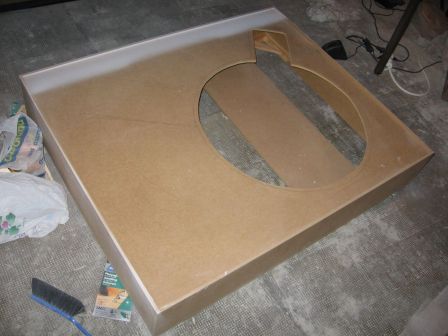
While creating the big box, I did not thought about lunar surface, which I intend to achieve with polystyrene insulation boards, shaped and covered with gray pigment. Suddenly, I realized that I had to raise the platform to give a little more room in depth.
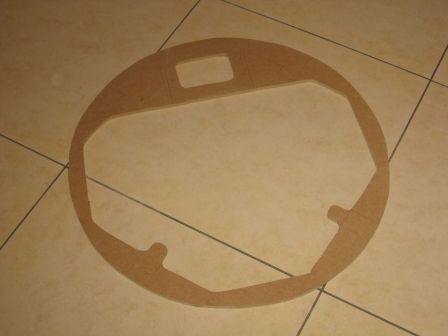
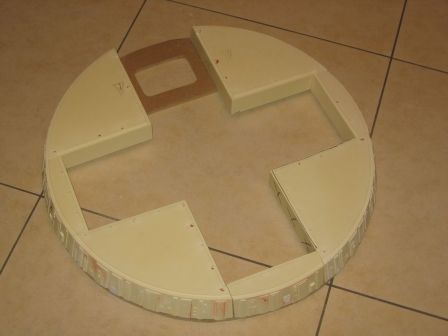
It's easy enough for straight parts. But I had to make a disk from medium wood in a 1 cm thick board, and hollow out the inside to once again have access to the interior.
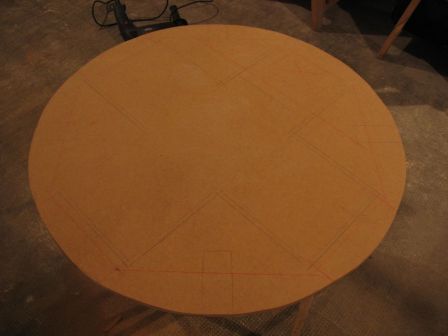
The little tongues will be used as support to hold the quarter rounds parts.
A nice consequence is that It will be more easy to work on the launchpad disk once the parts glued.
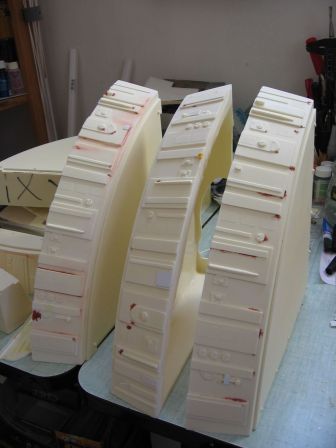
The curved faces of the disk parts are cleaned : filling bubbles, sanding.... Sometimes, I hid defaults with plastic card strips.
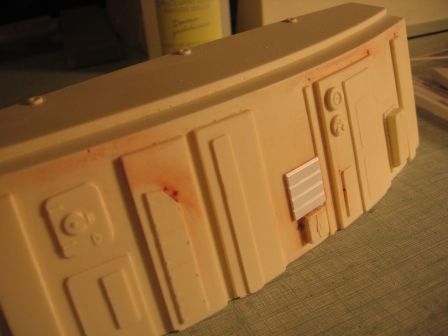
Filling bubbles in detail corners is a time consuming sport, and need much tries. So I use a simple trick, that usually works at the first try : I push a plastic rod of an appropriate diameter into the hole, with a drop of superglue. 30 minutes later, I cut the rod with wire cutters (a classic cutter can cause a twist that can break off or unstick the rod) and I sand the excess.
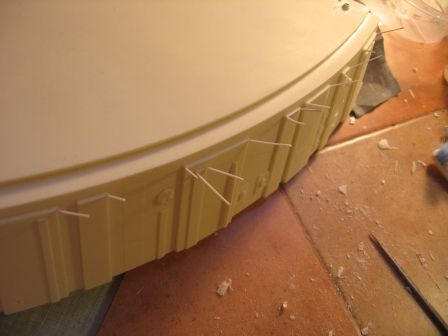
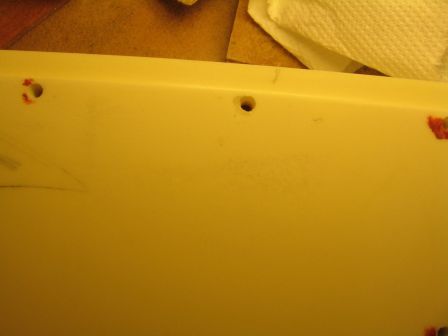
A feature of the Launchpad is to have a series of white lights surrounding the orange ramp. I will go with 3mm diameter LED or fiber optic, so I did 43 (!) holes, first with a 2mm drill and are then enlarged with 3mm. IMG_8615
Here a test with 3mm fiber optic IMG_8616 IMG_8618
A too wide hole (I slipped) is corrected with cyano and resin dust laying on the workbench.
Sanding should be done quickly behind when just dried, because when the mixture has fully cured, it is very difficult to sand properly.
Before gluing the disk, I have to find a way and prepare the installation of the lights.
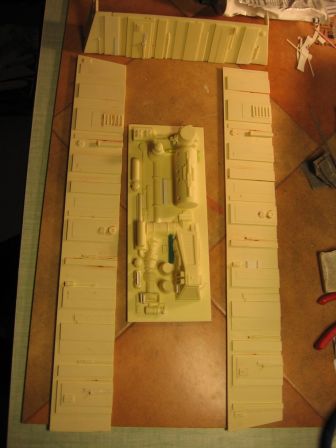
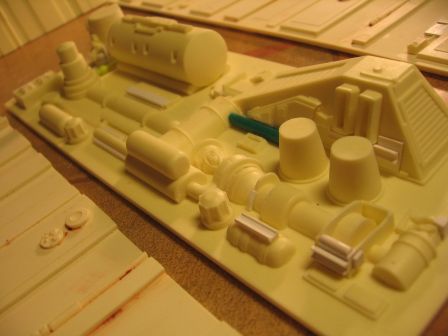
Meanwhile, I clean the parts that I had not yet touched.
- The service platform
- Extension of main building and its access corridor.
