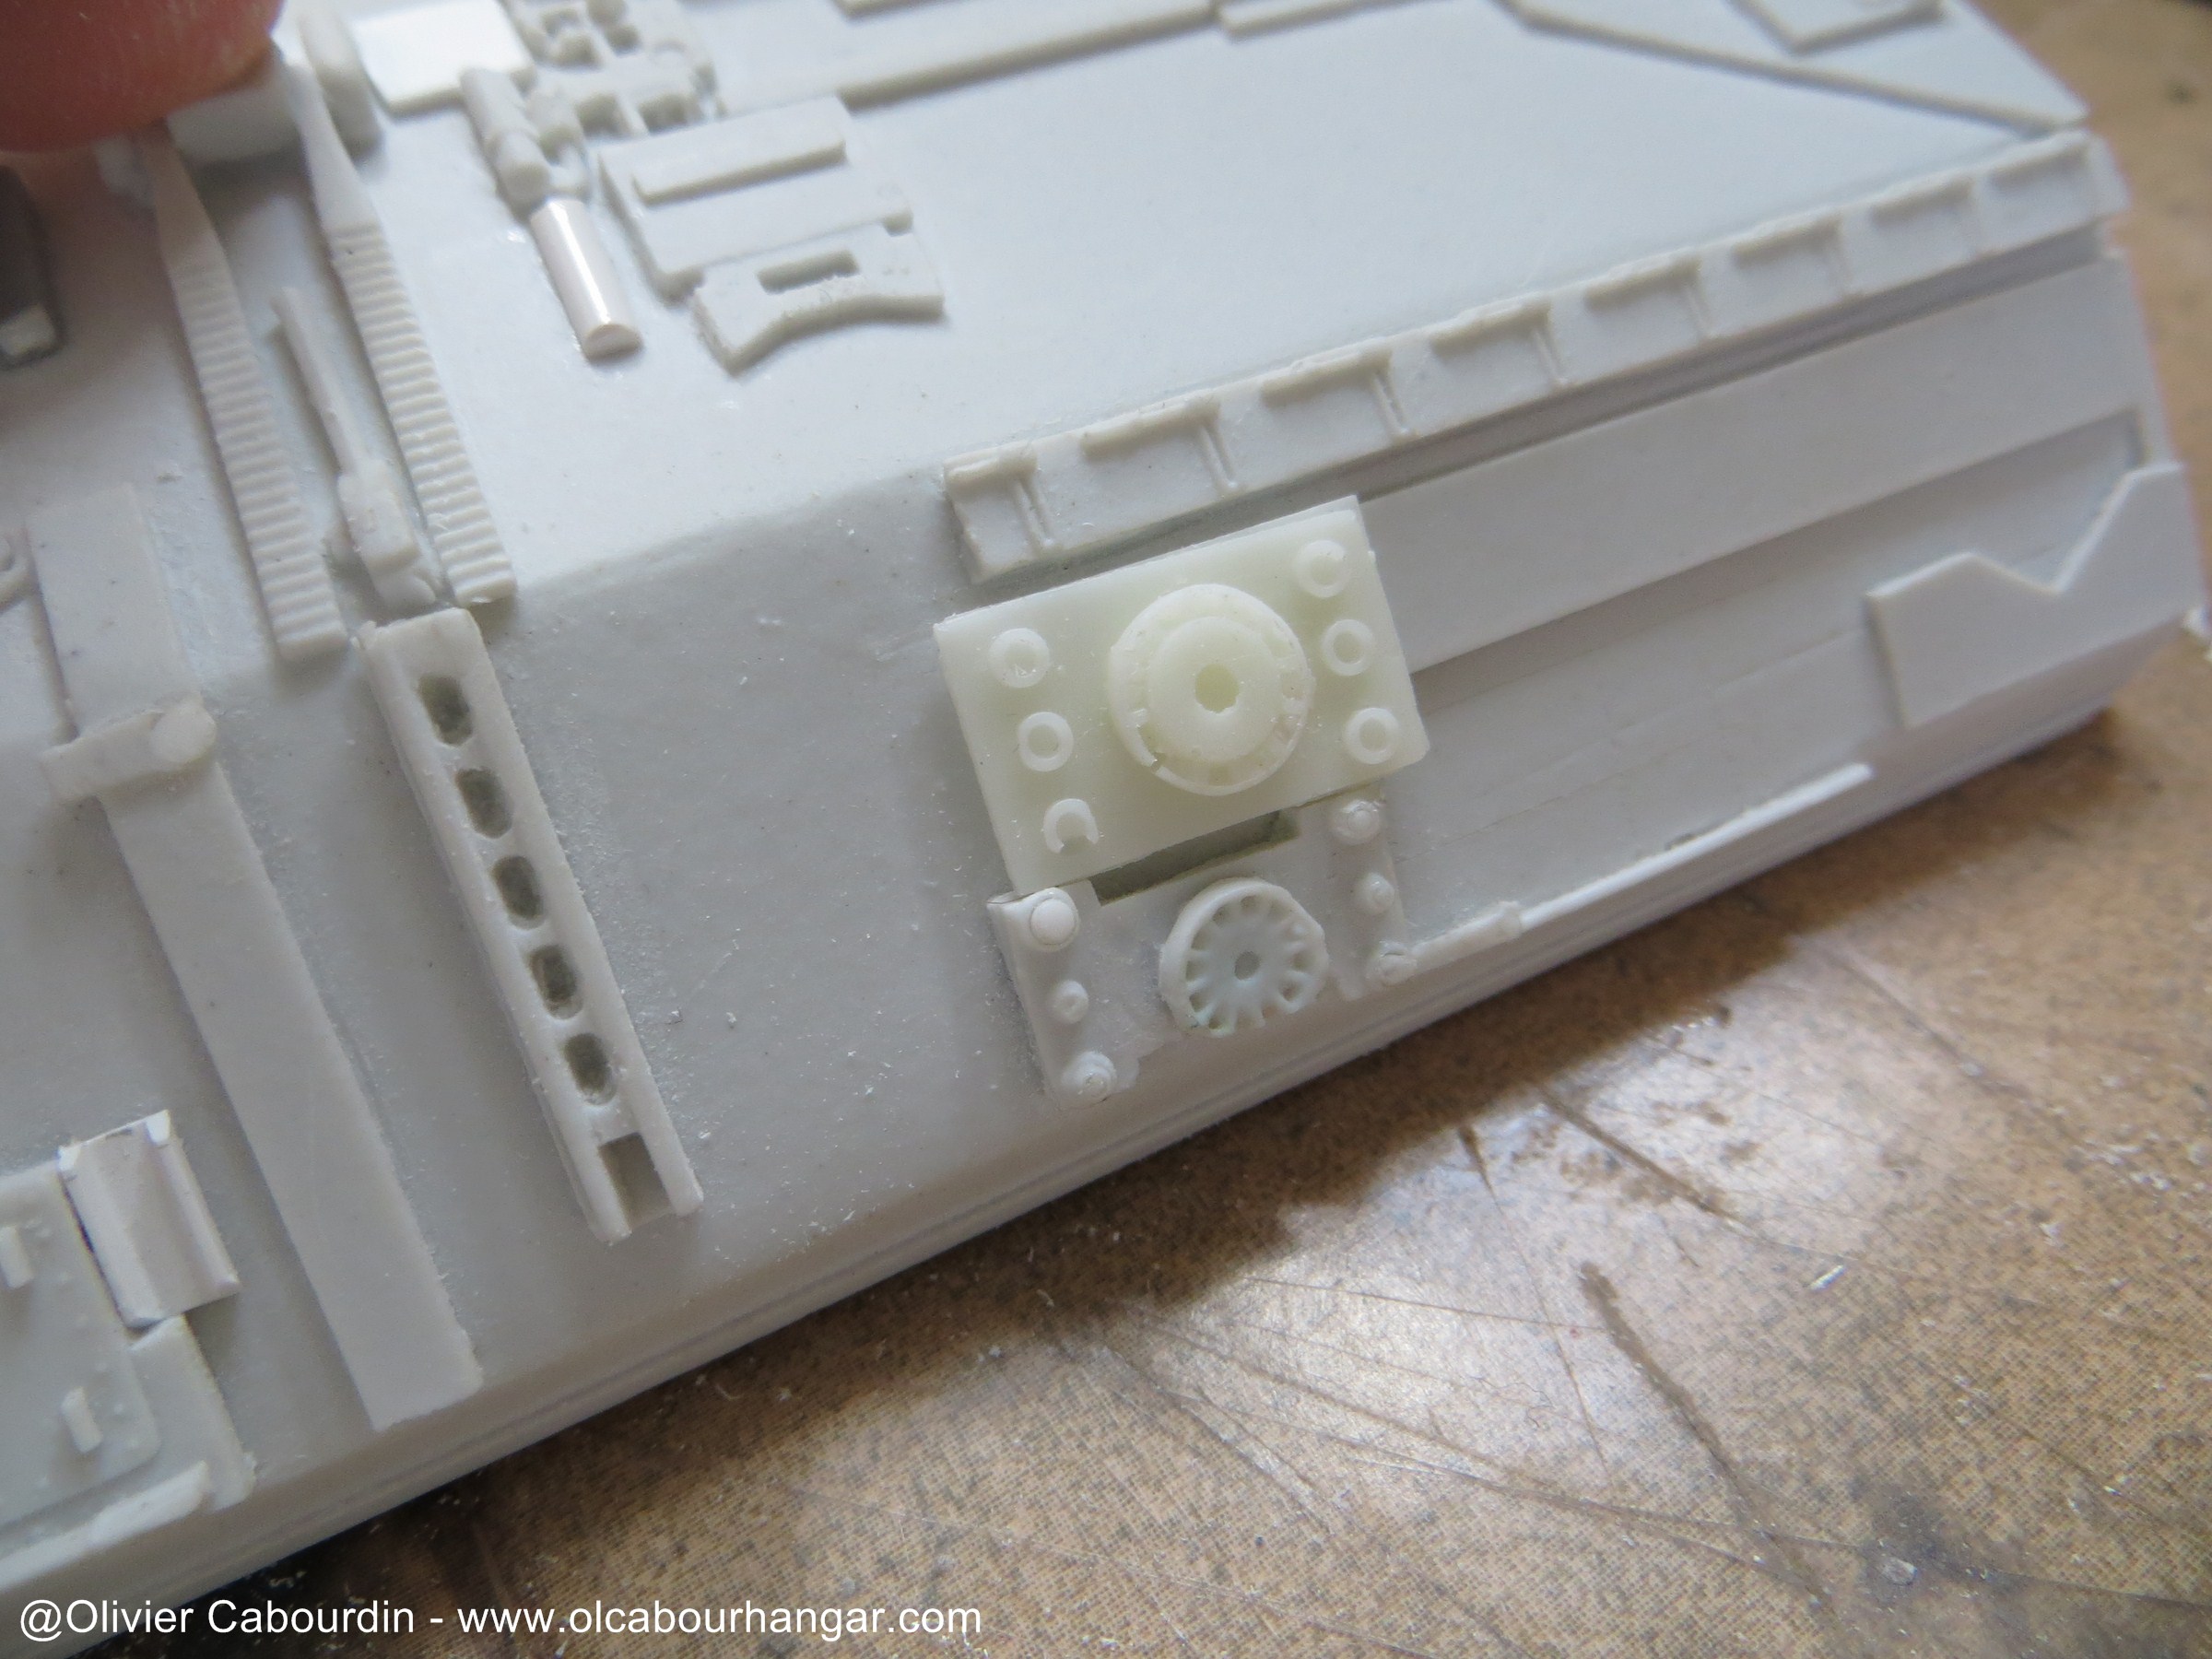
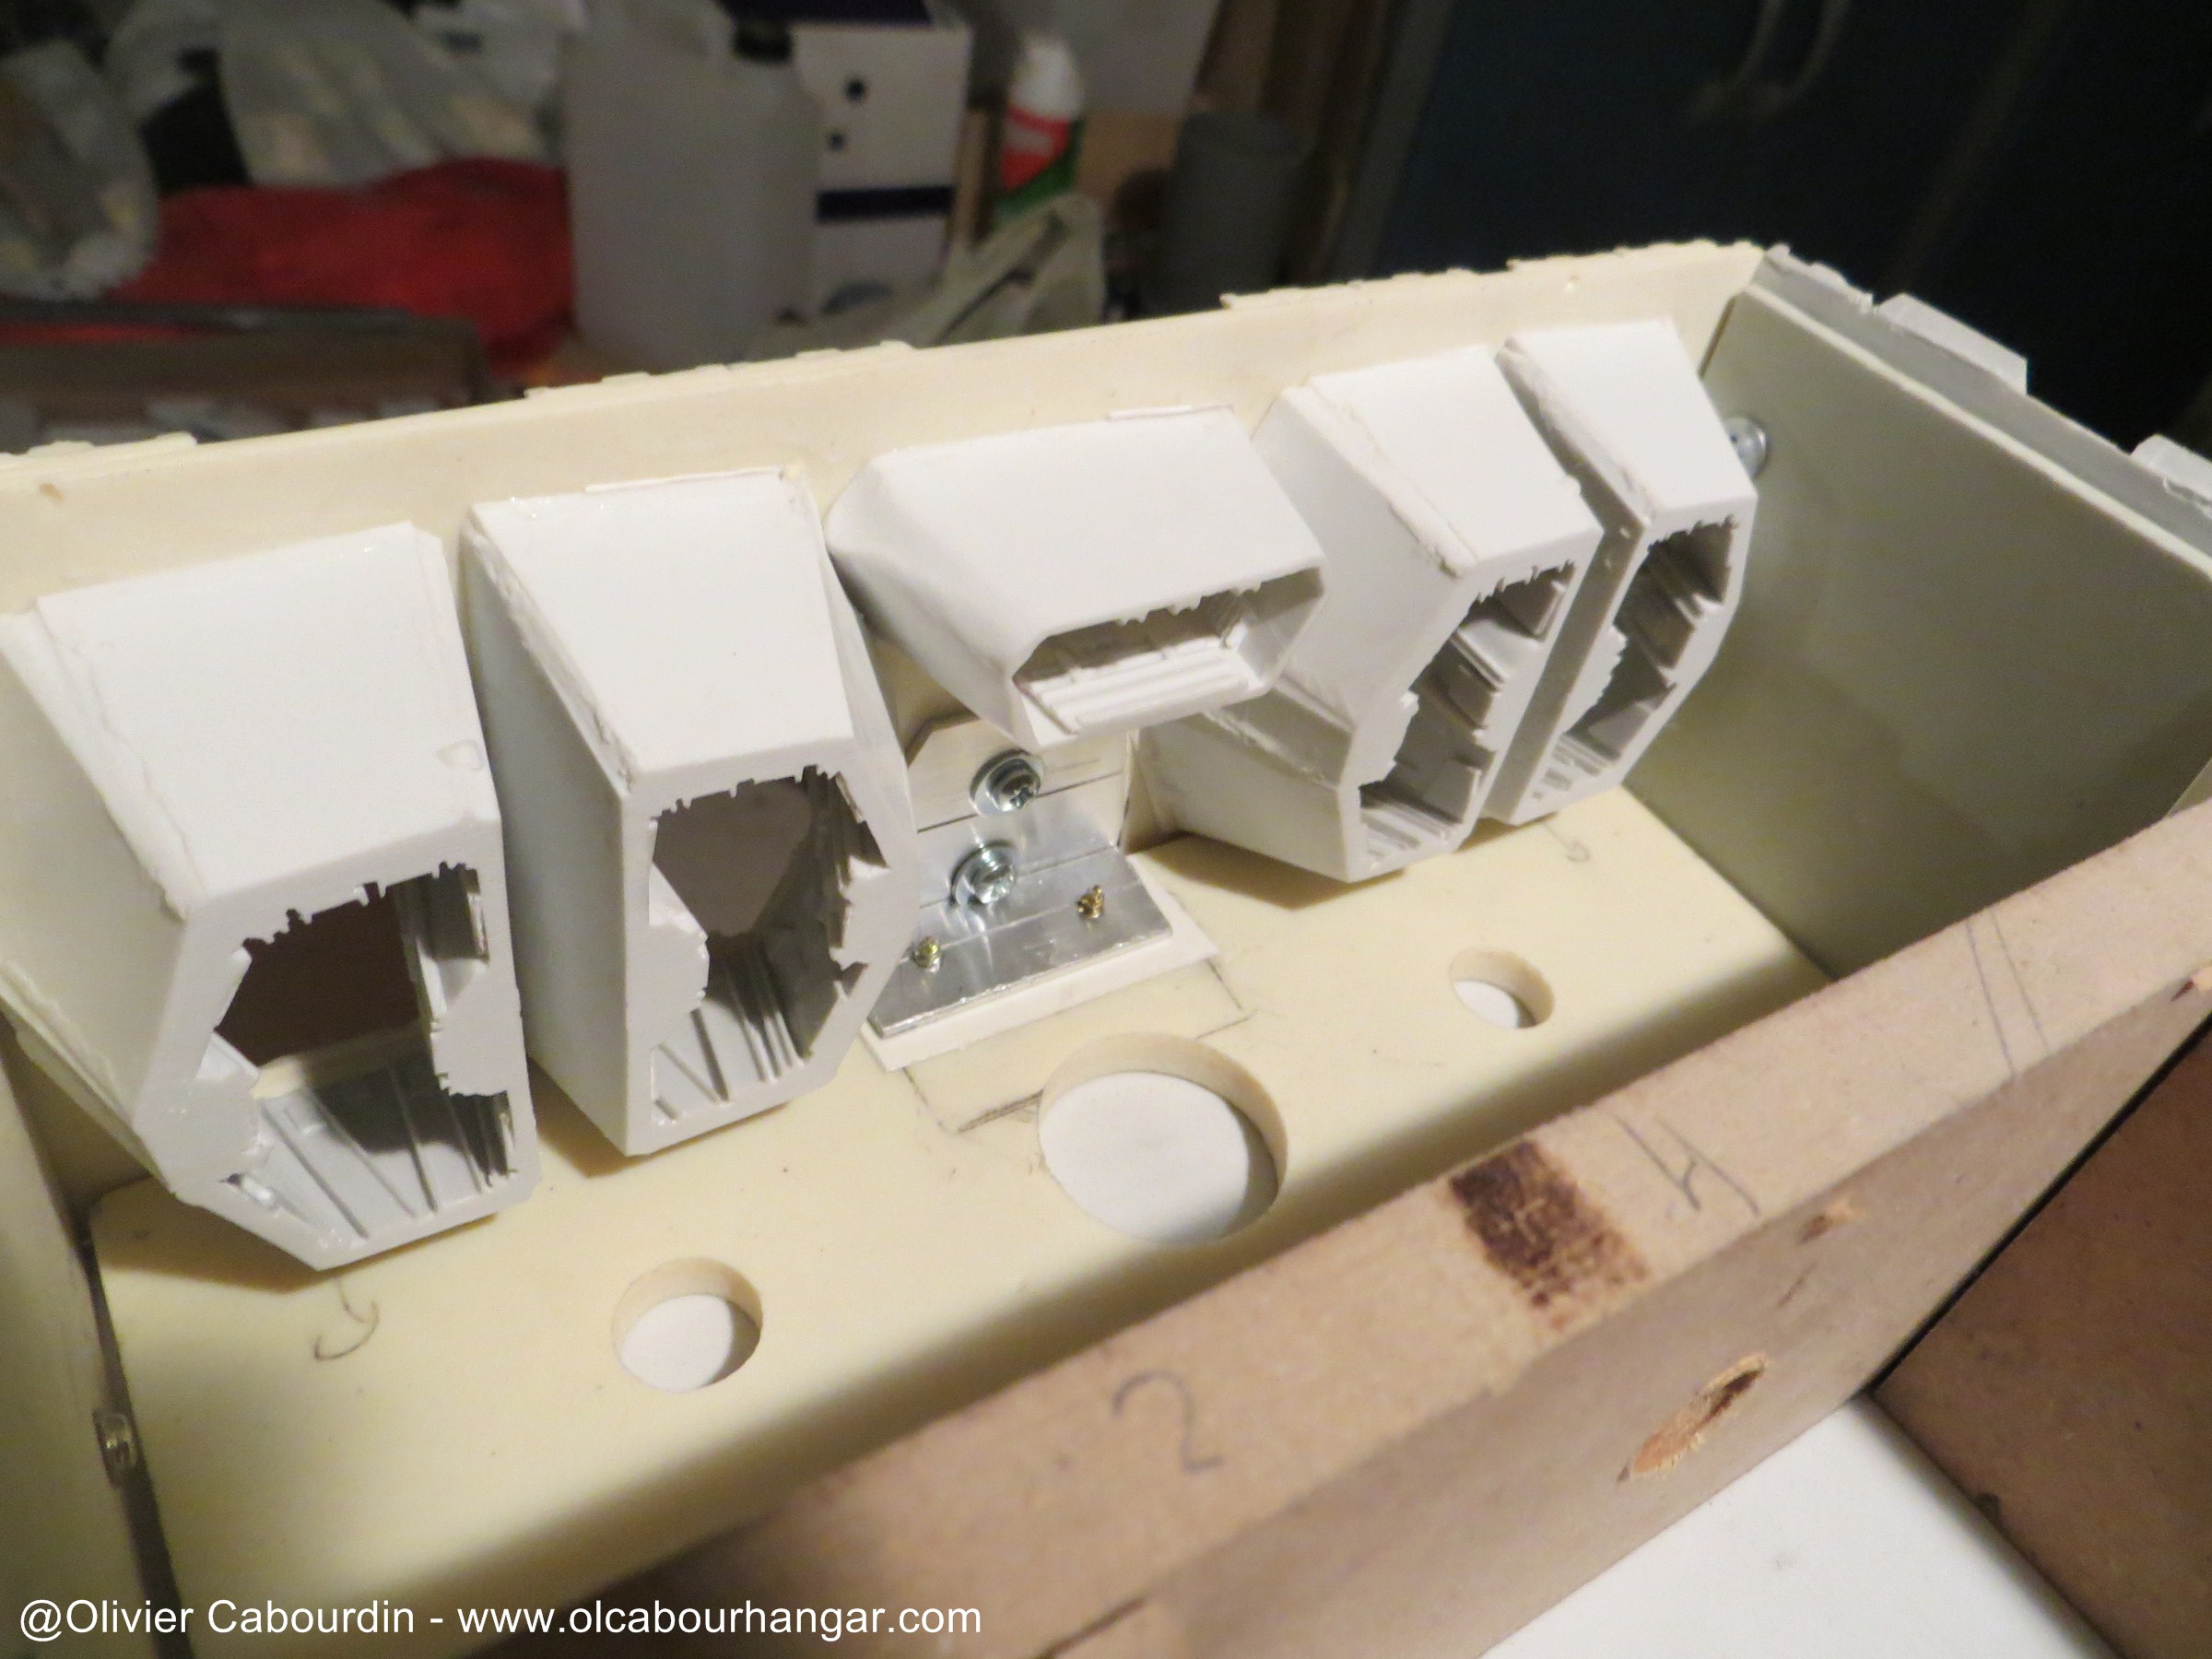
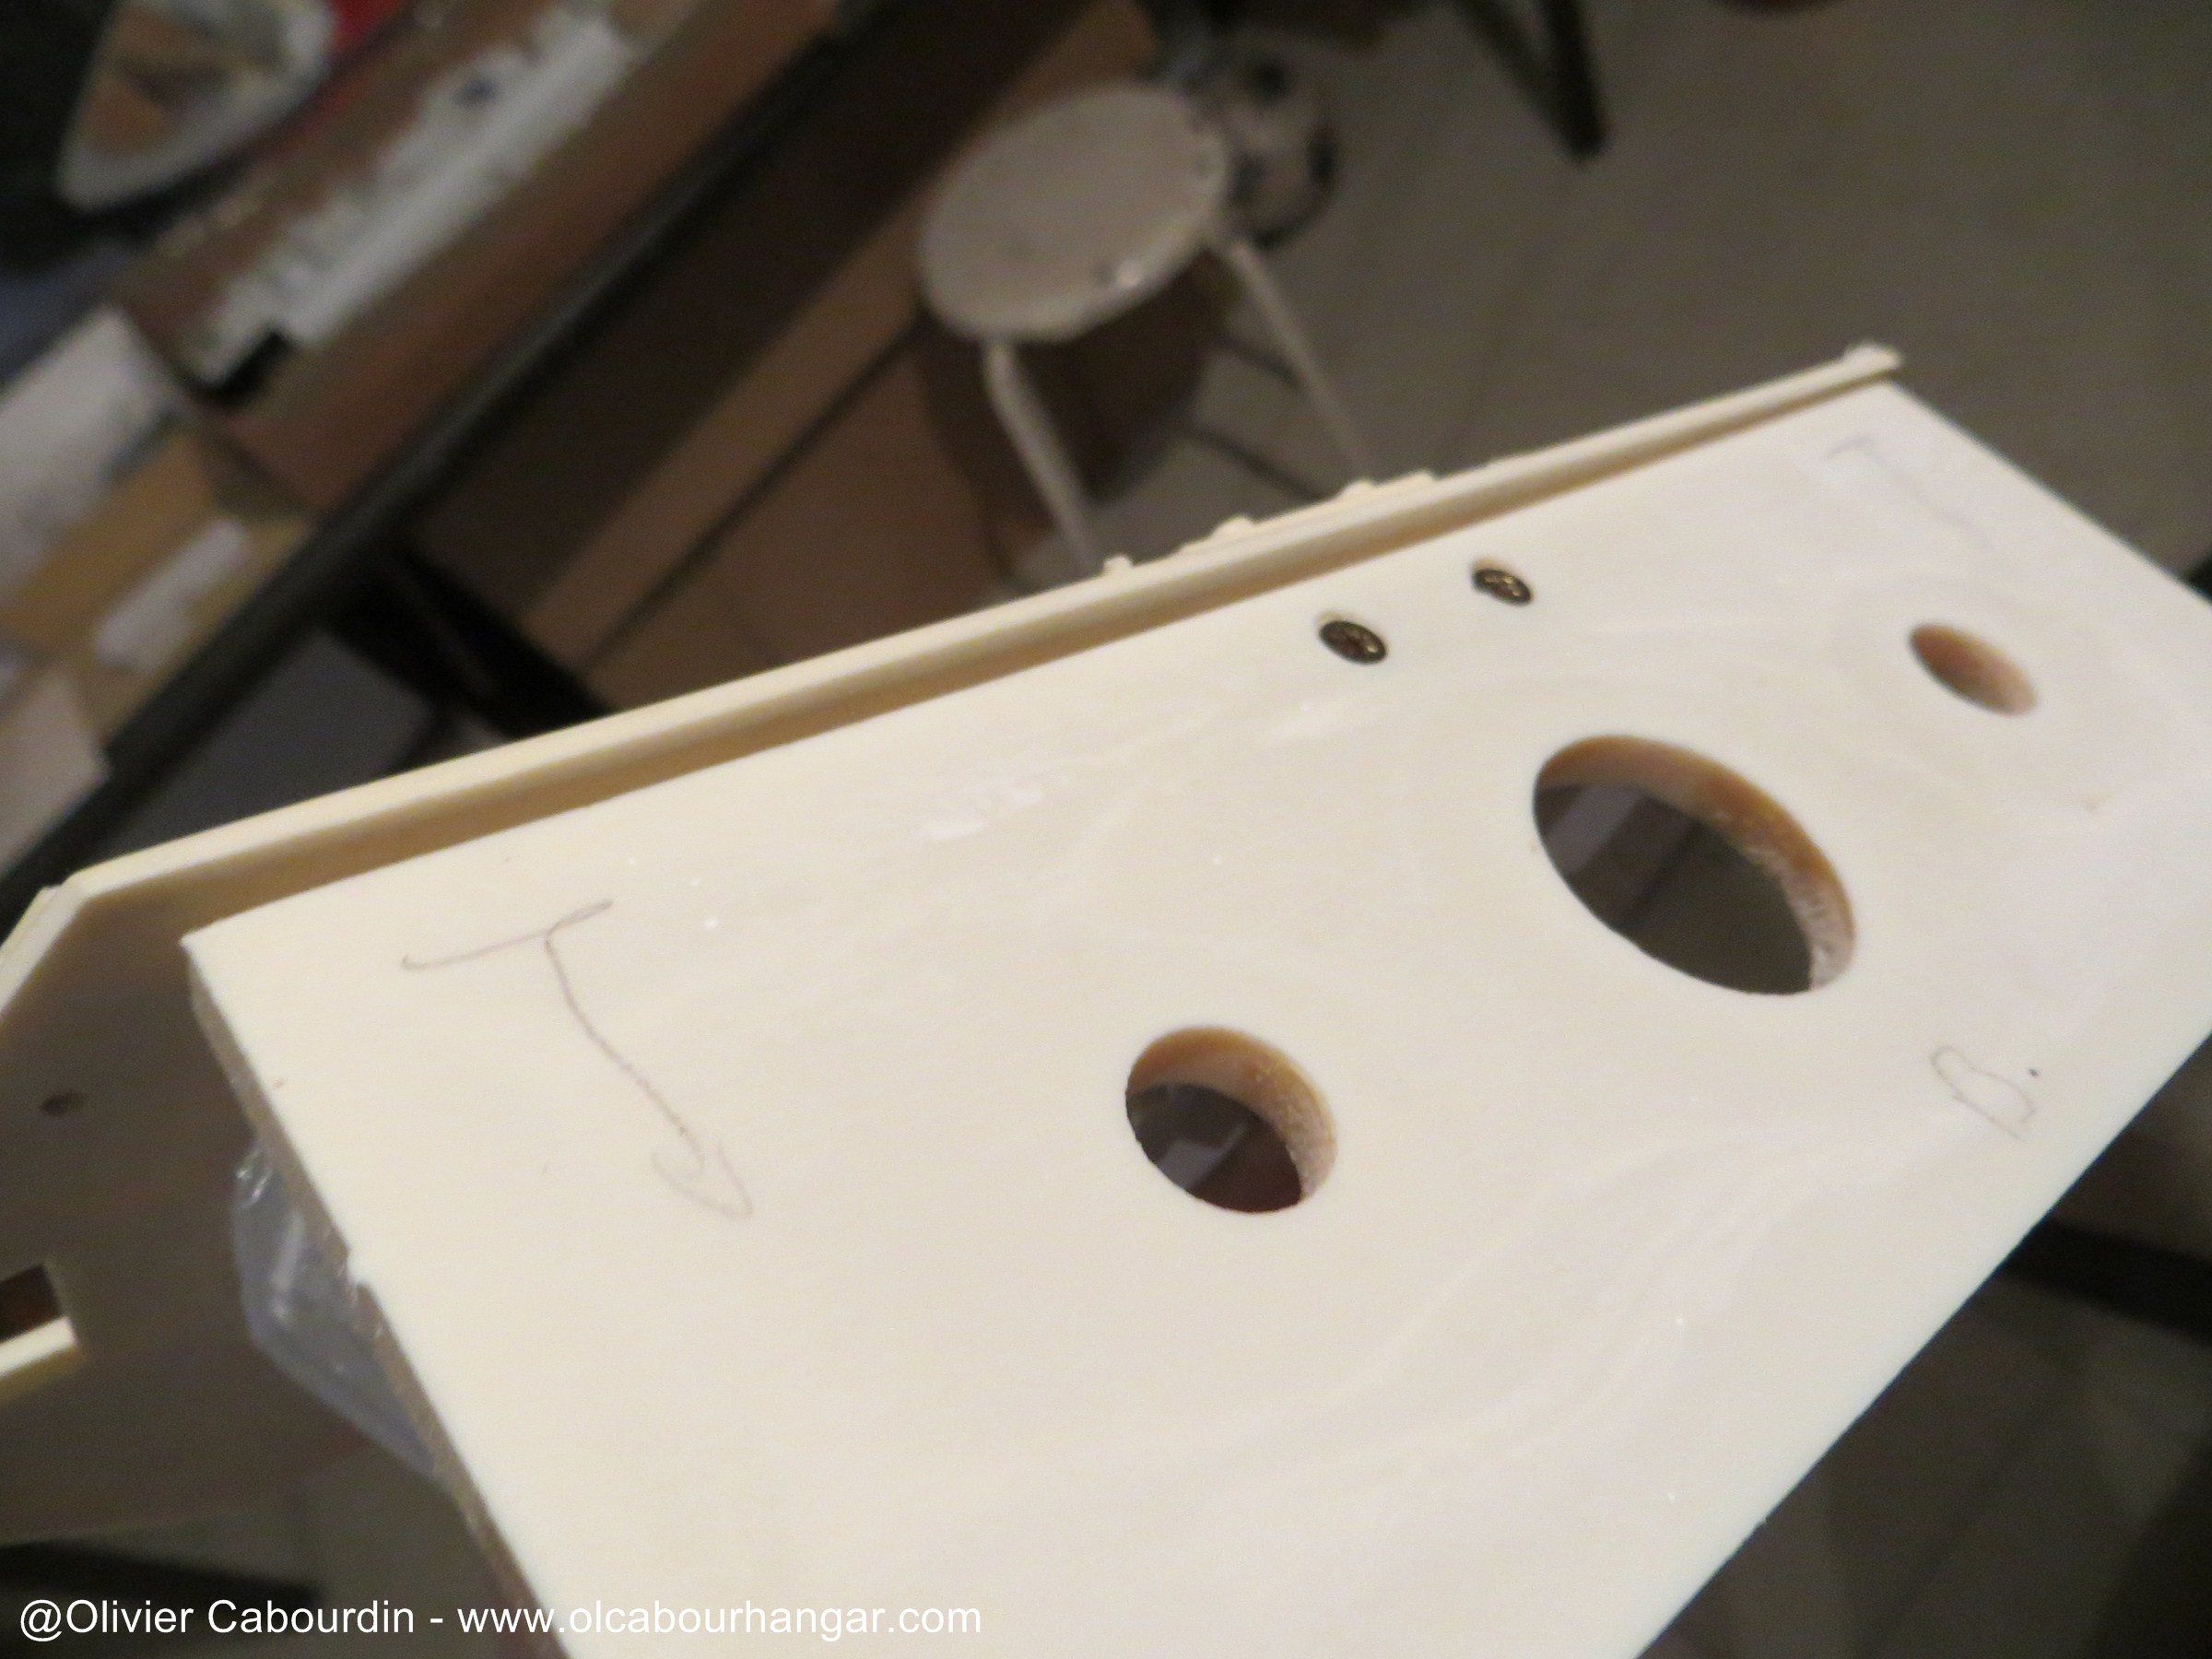
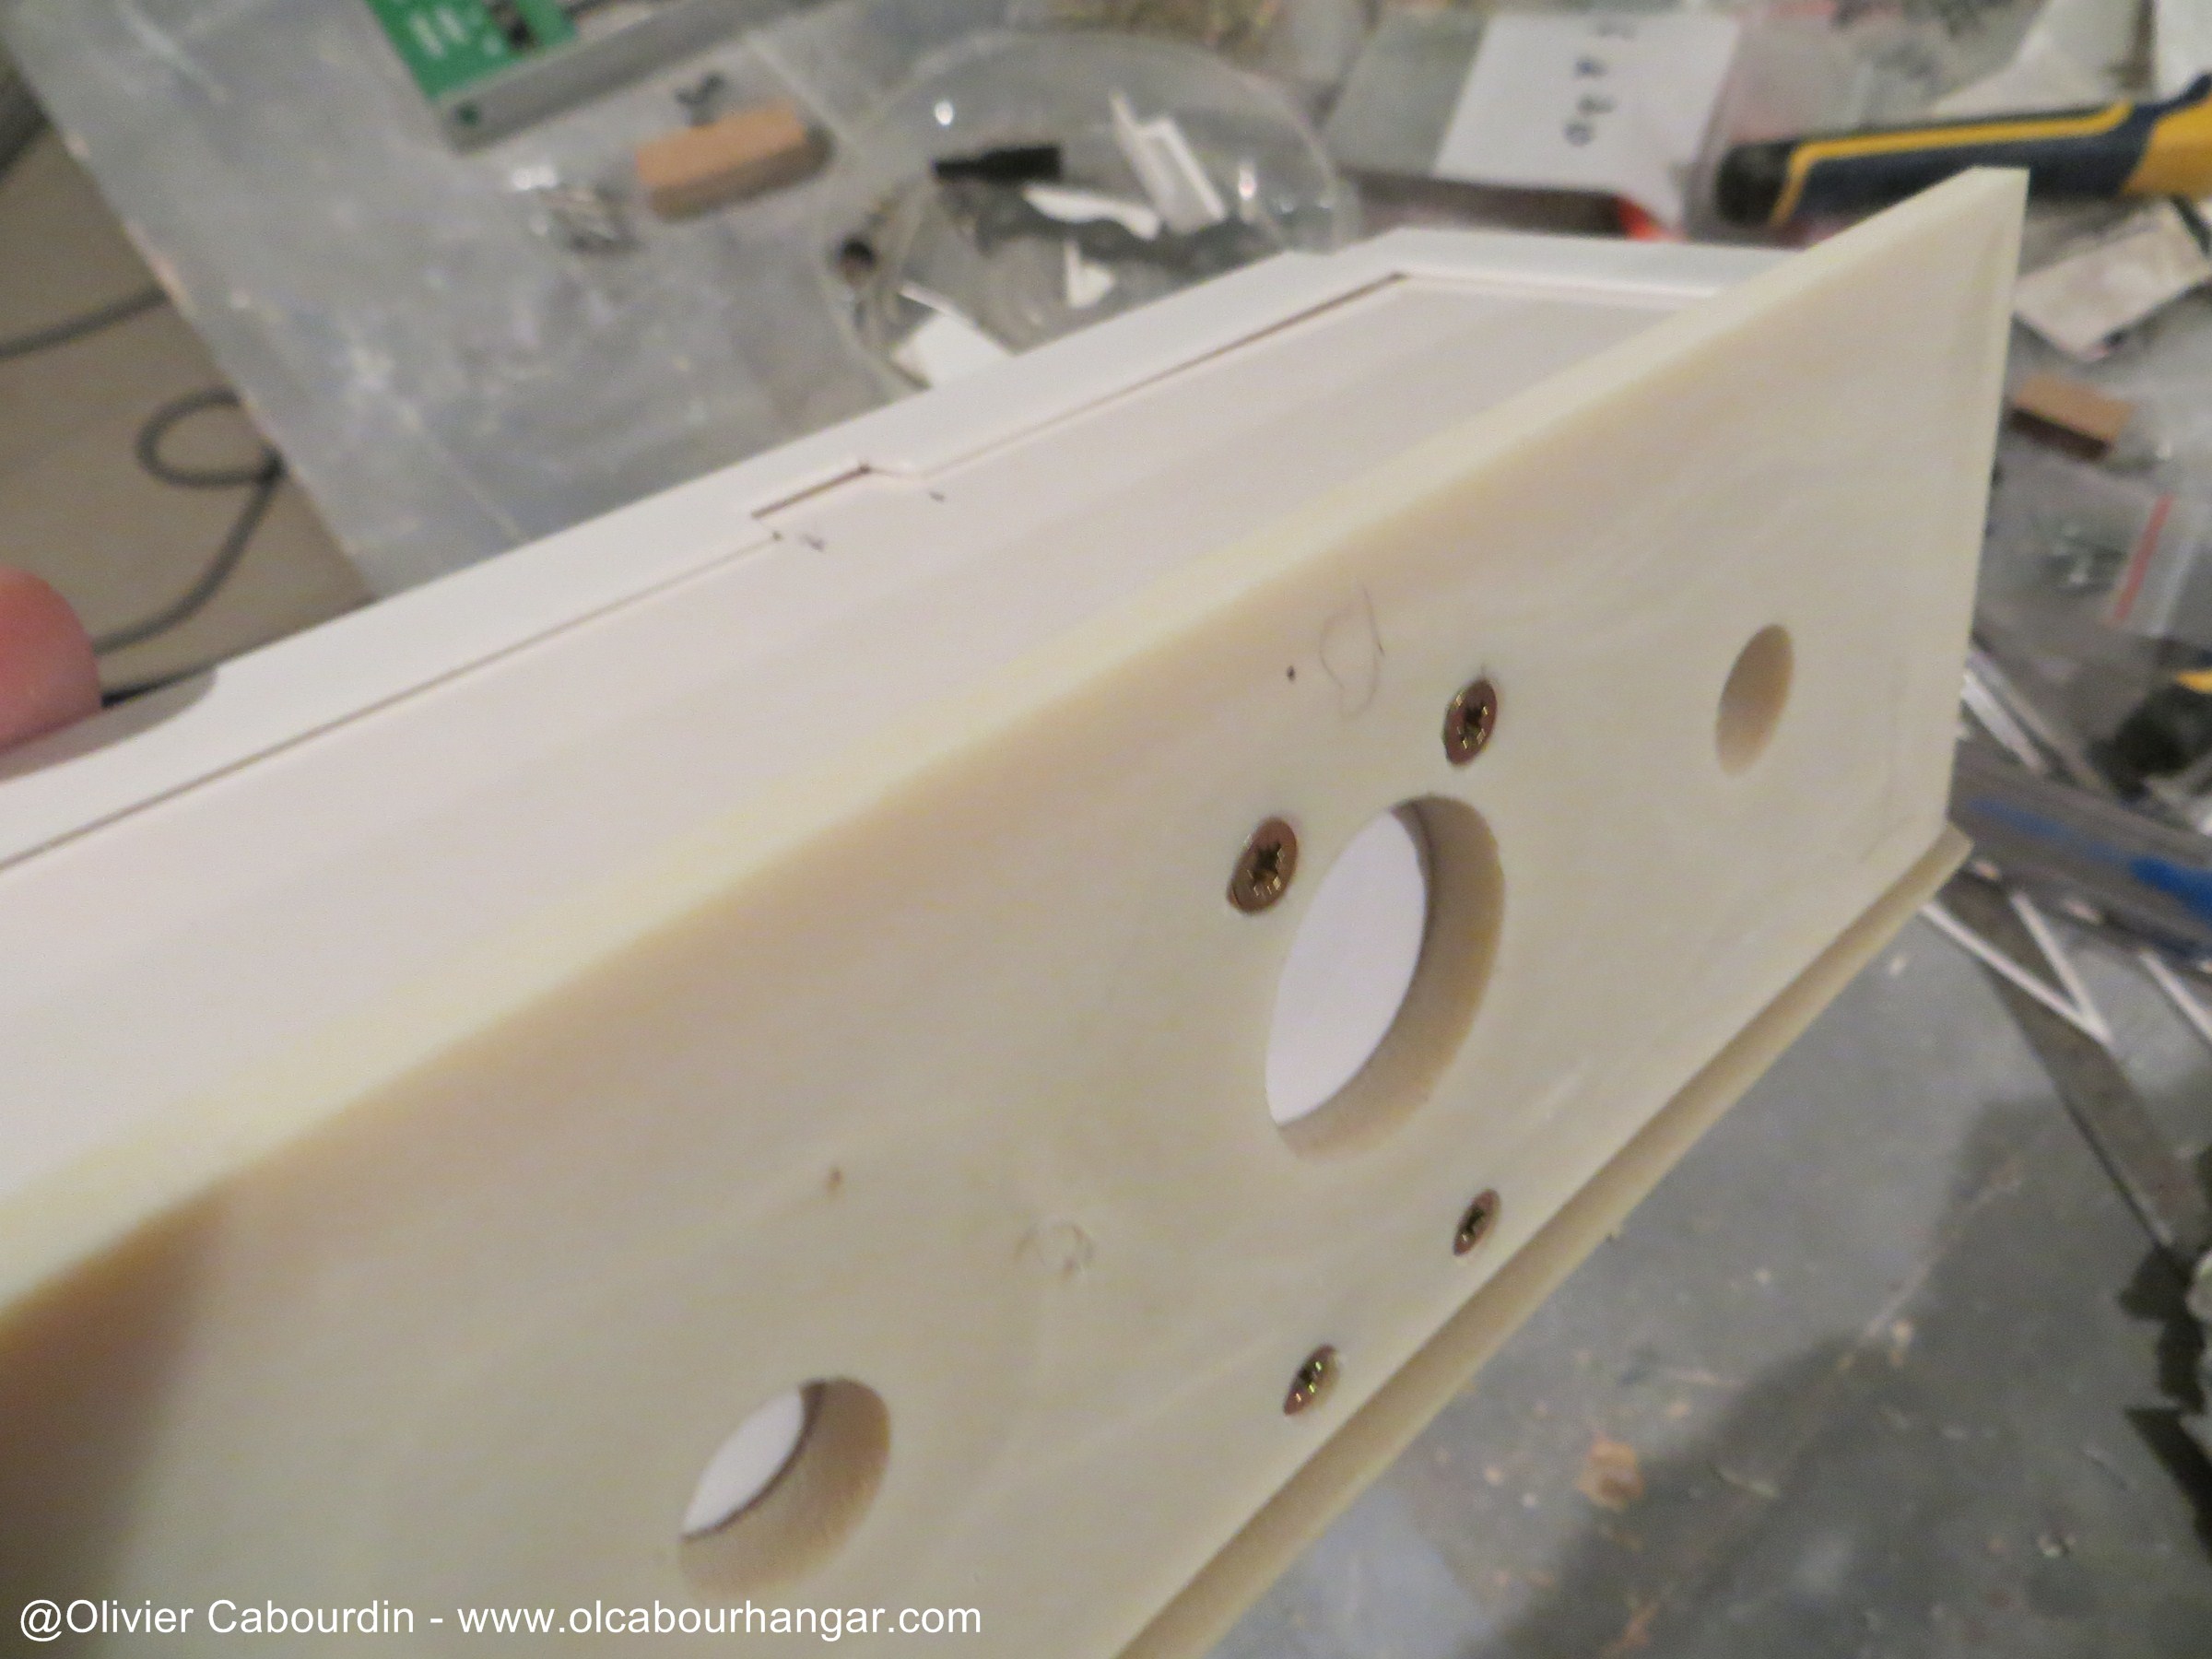
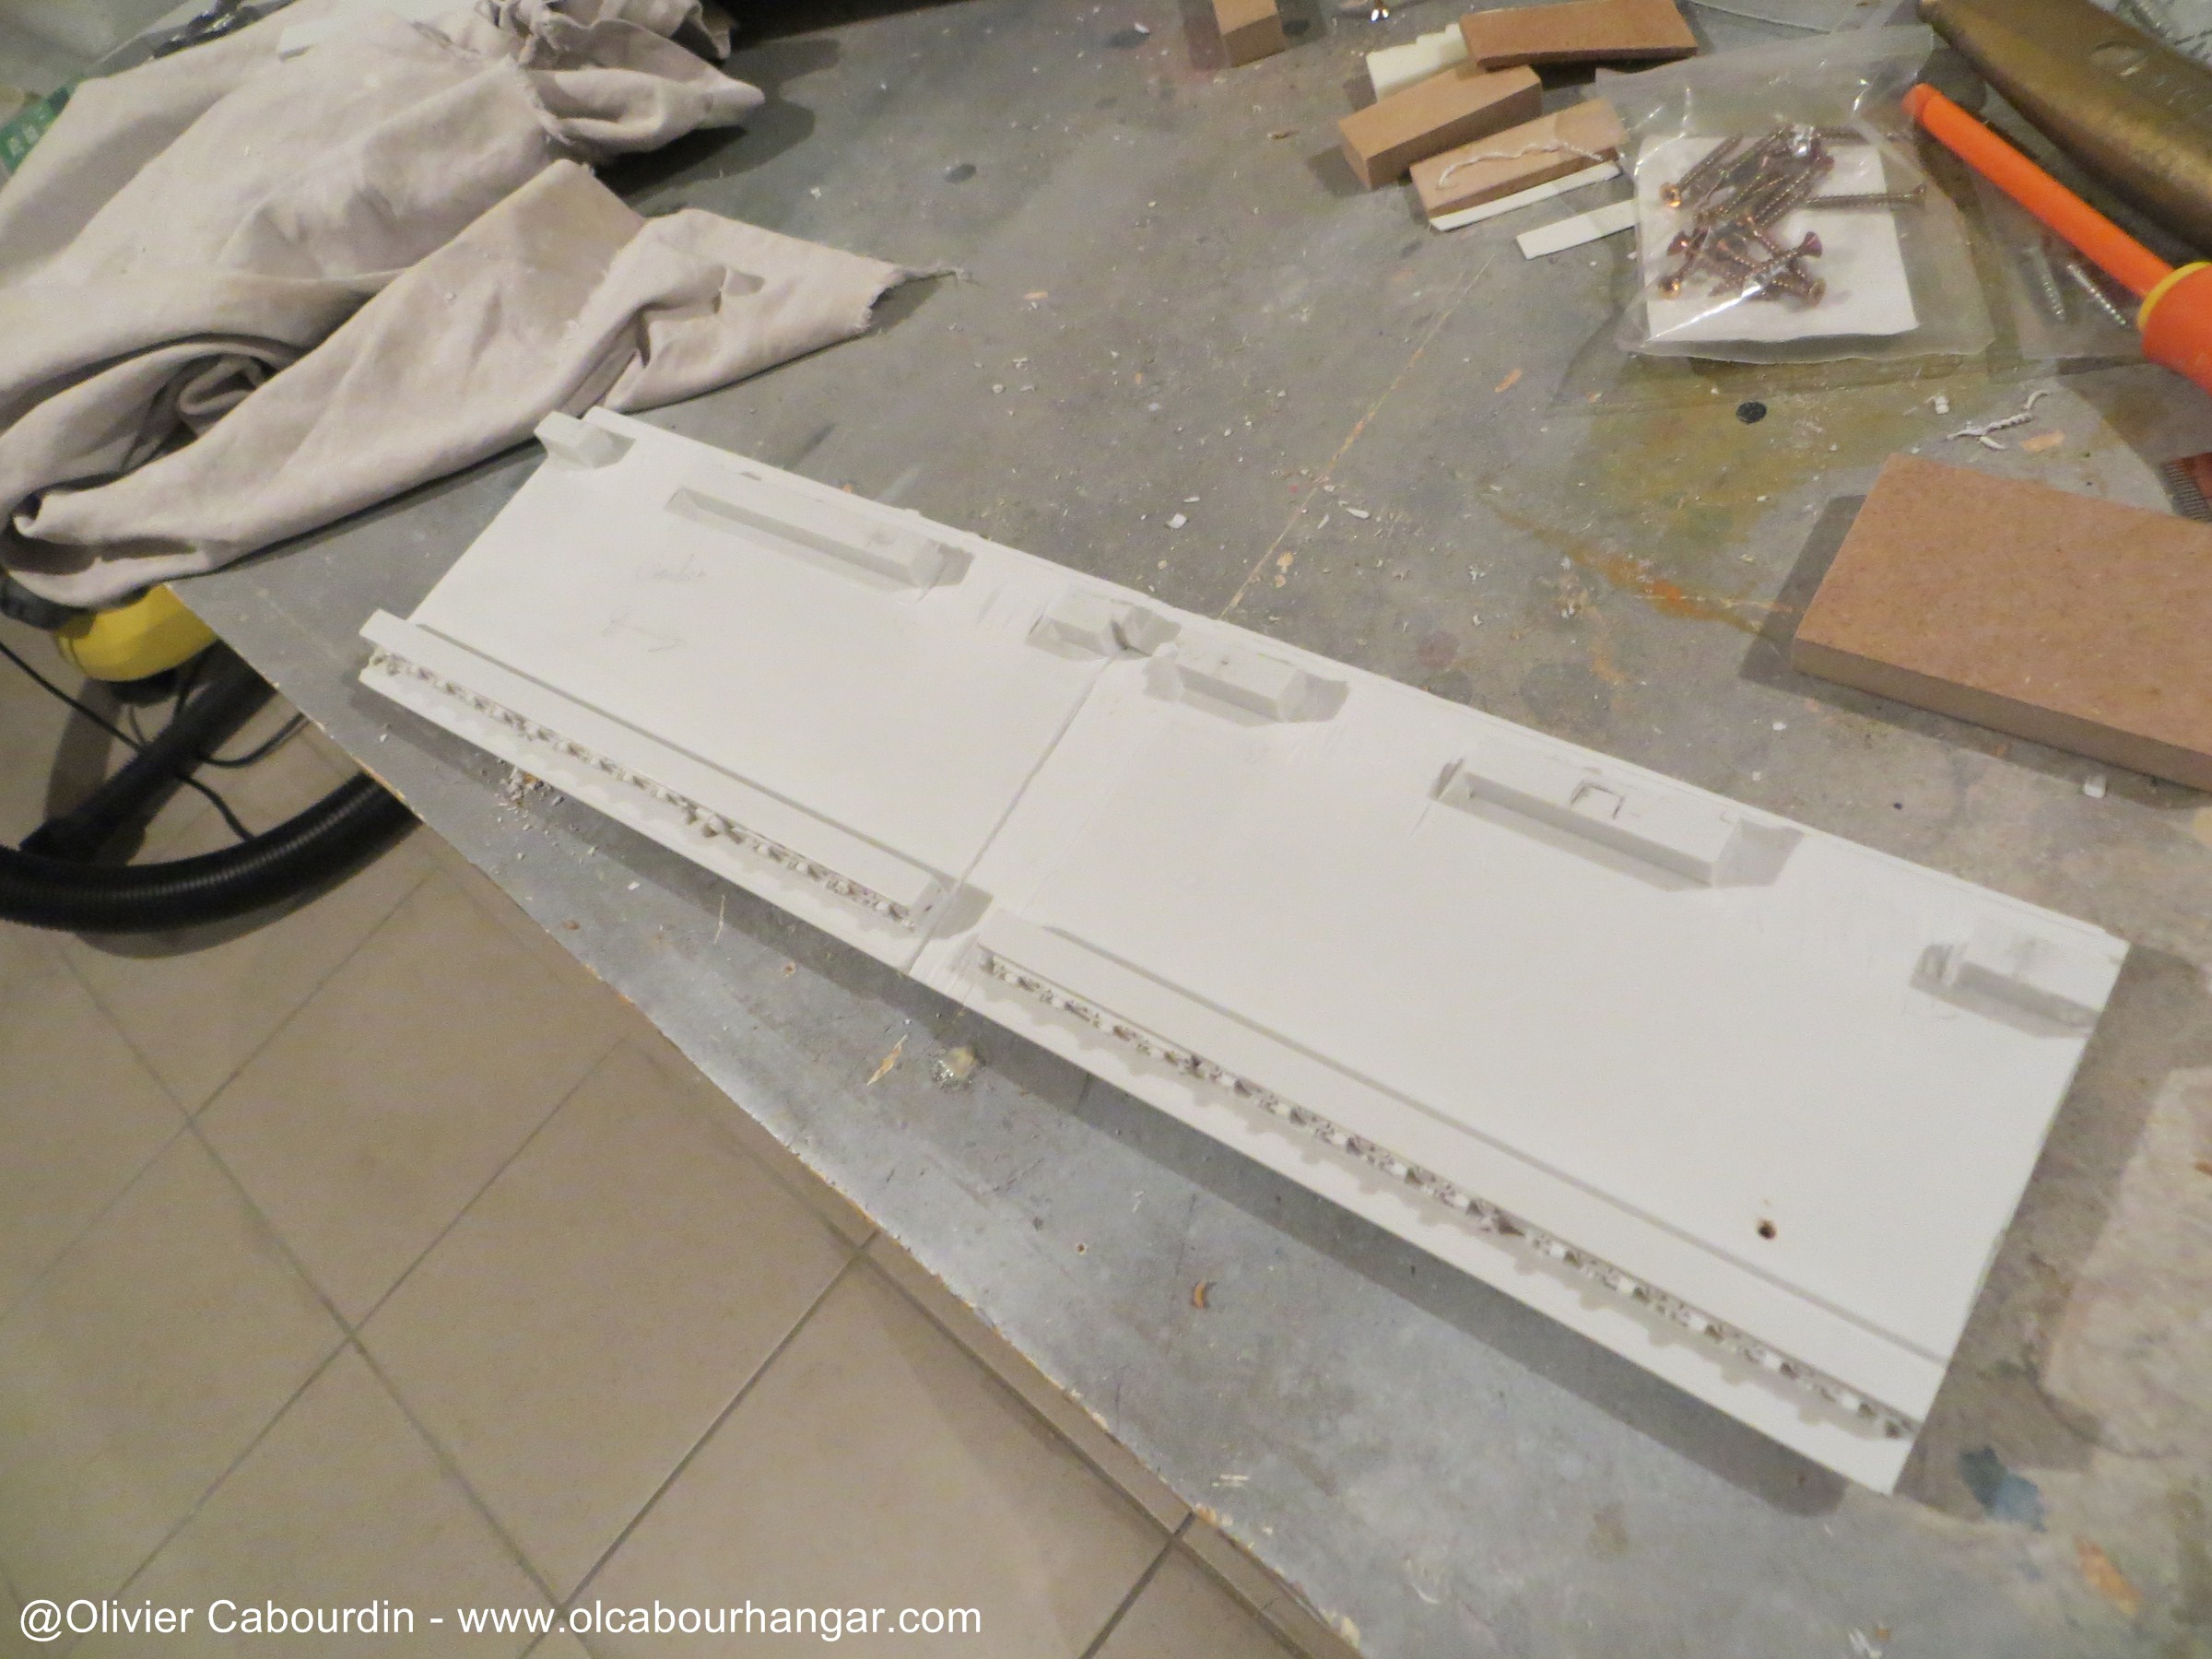
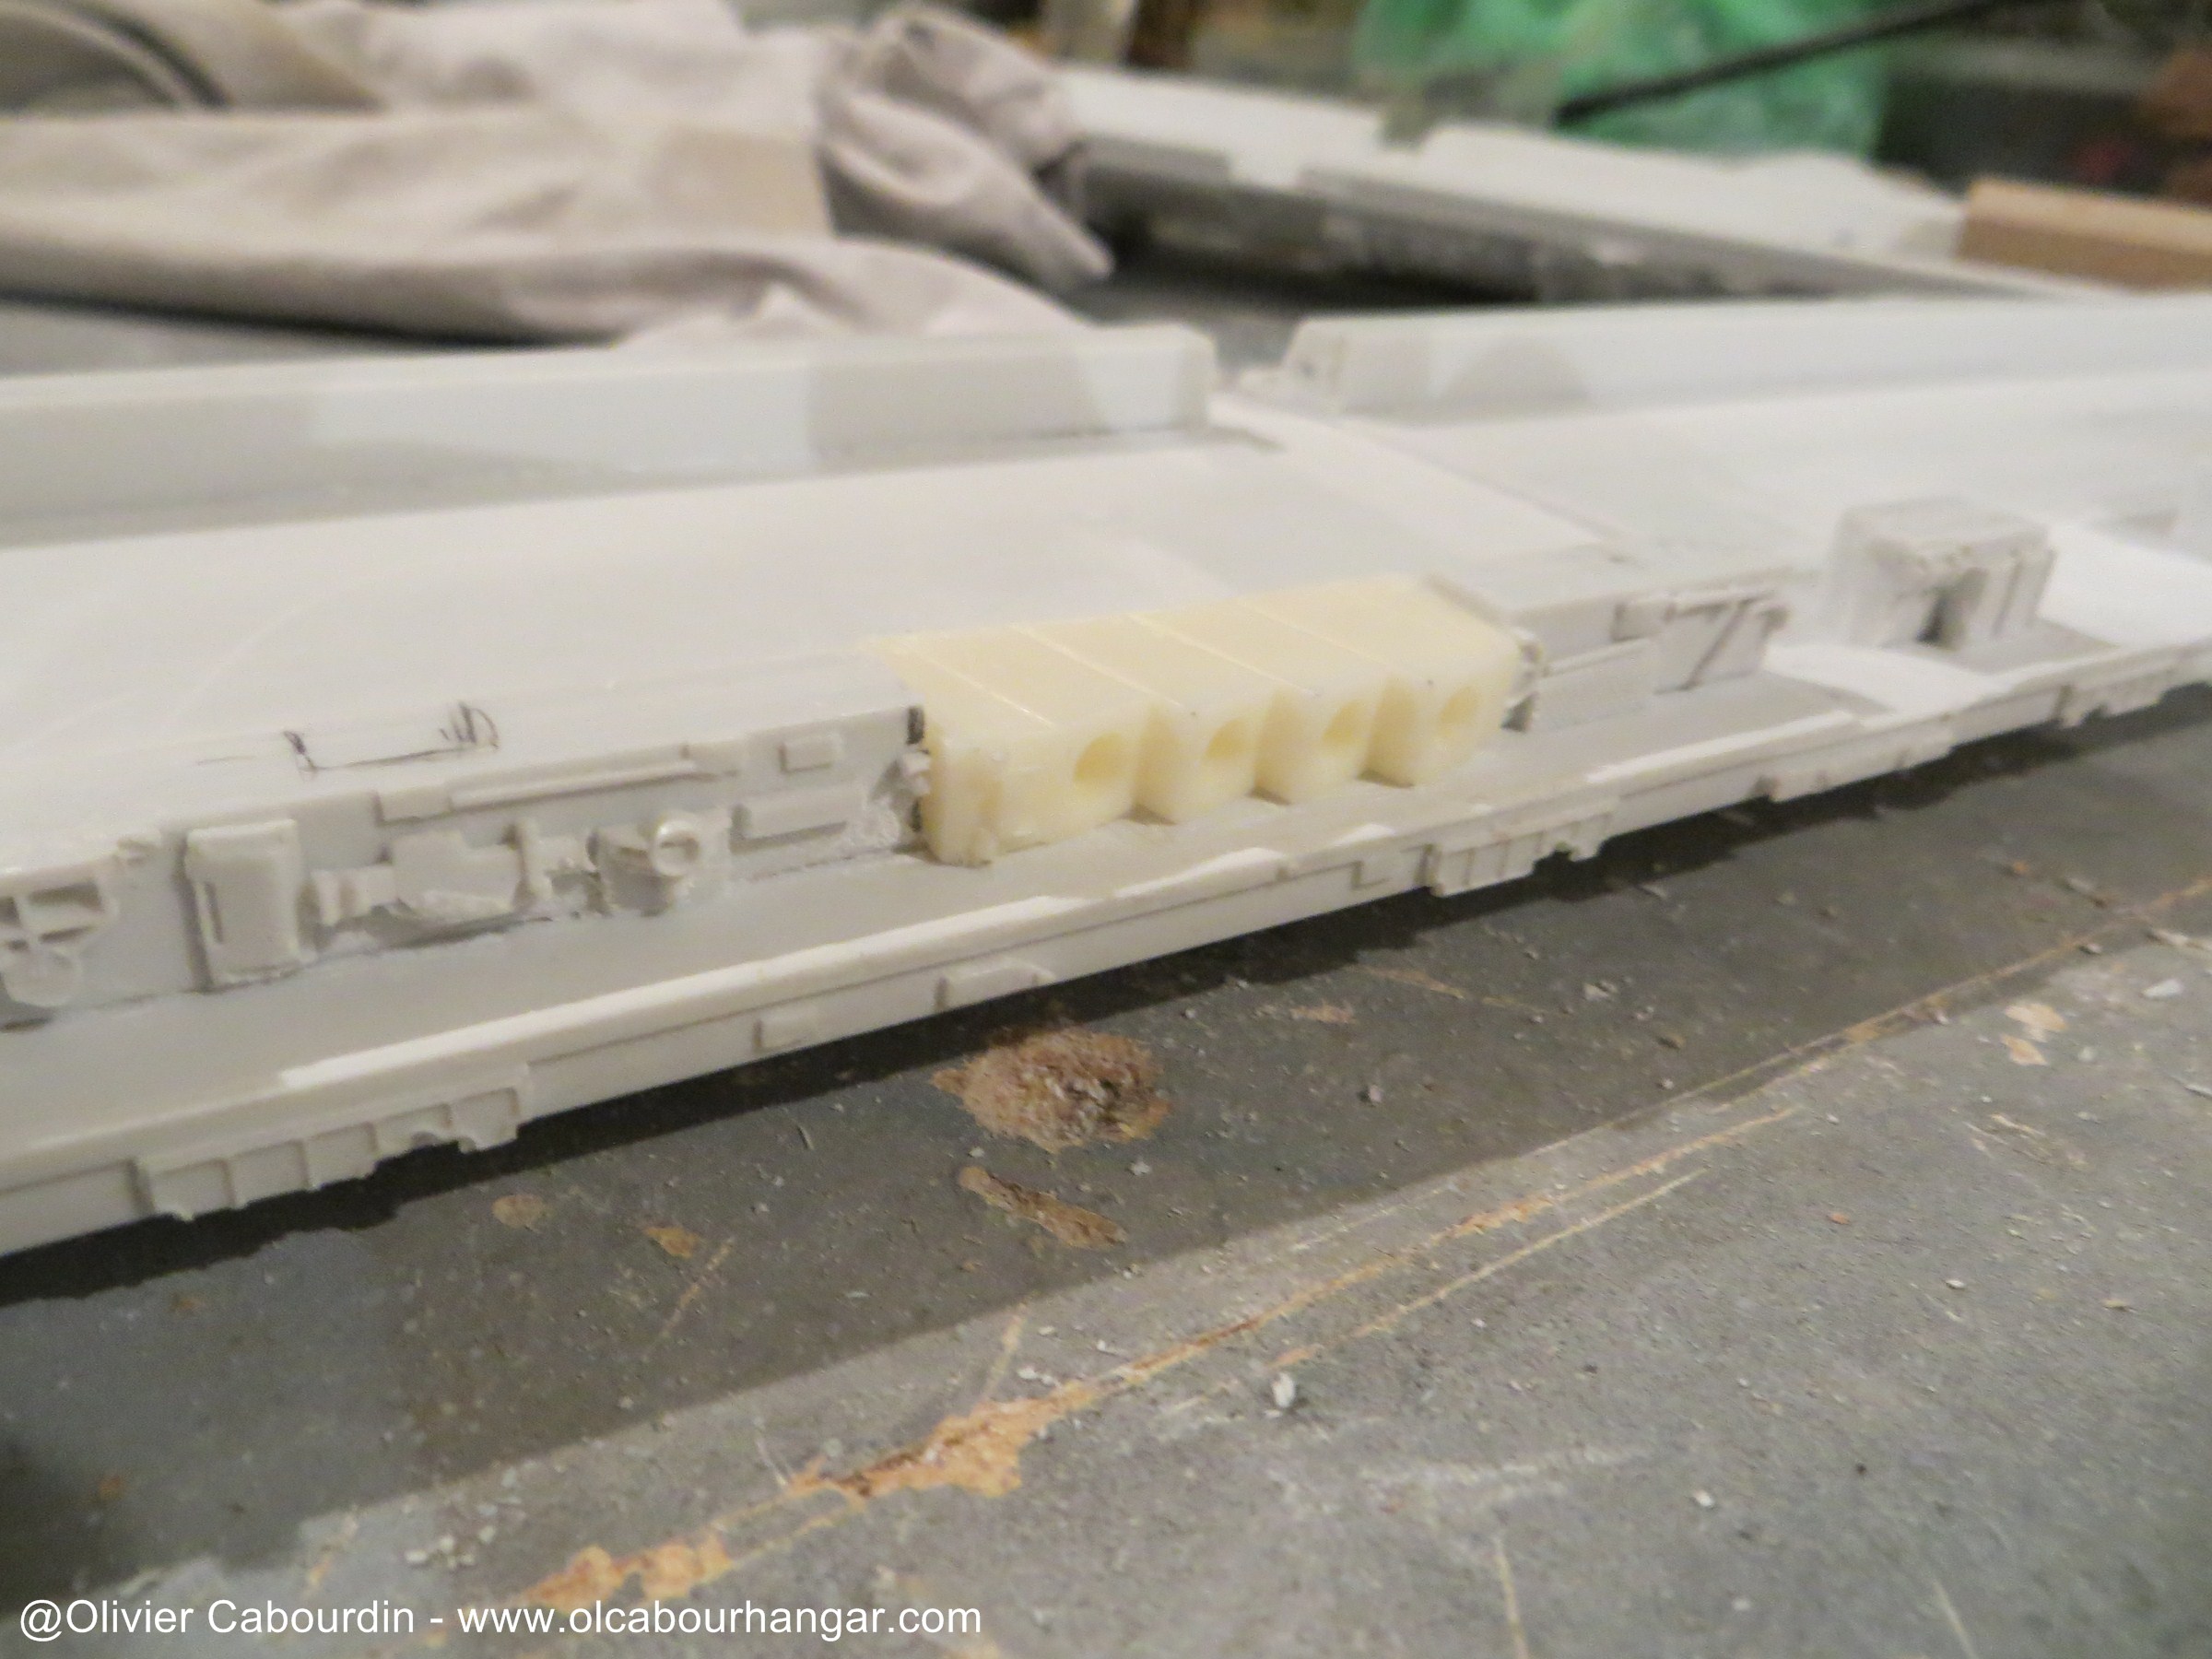
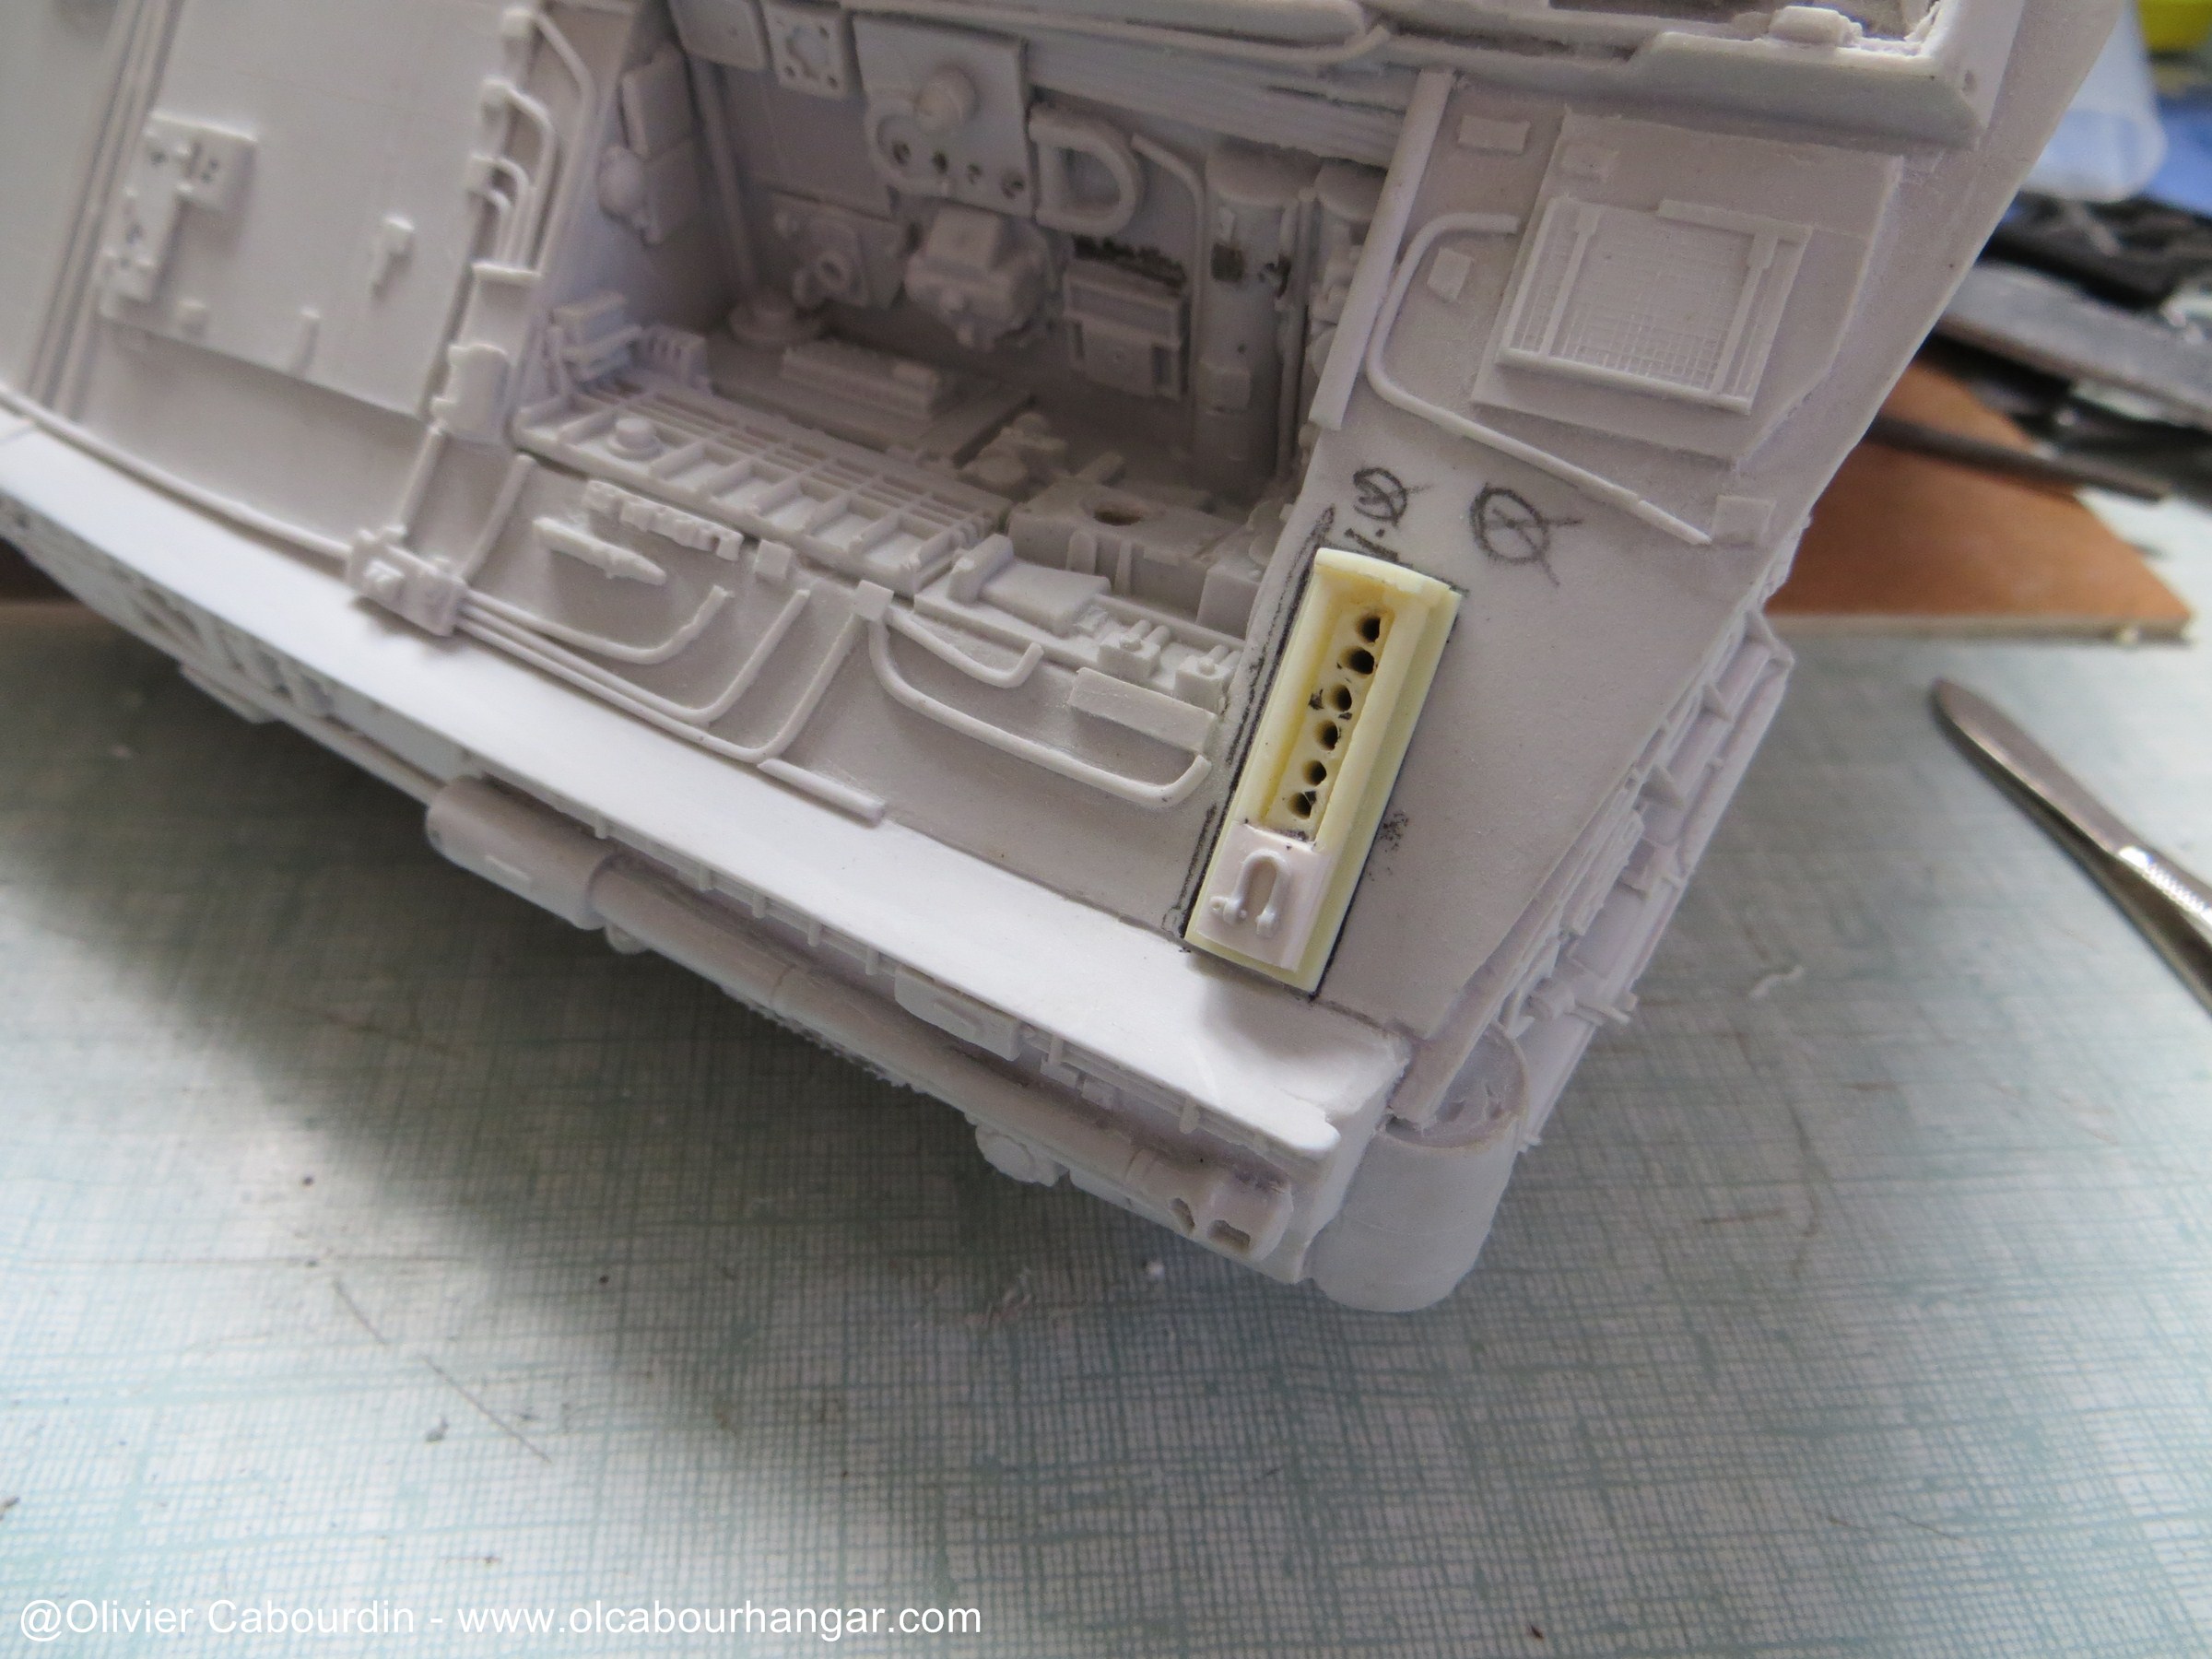
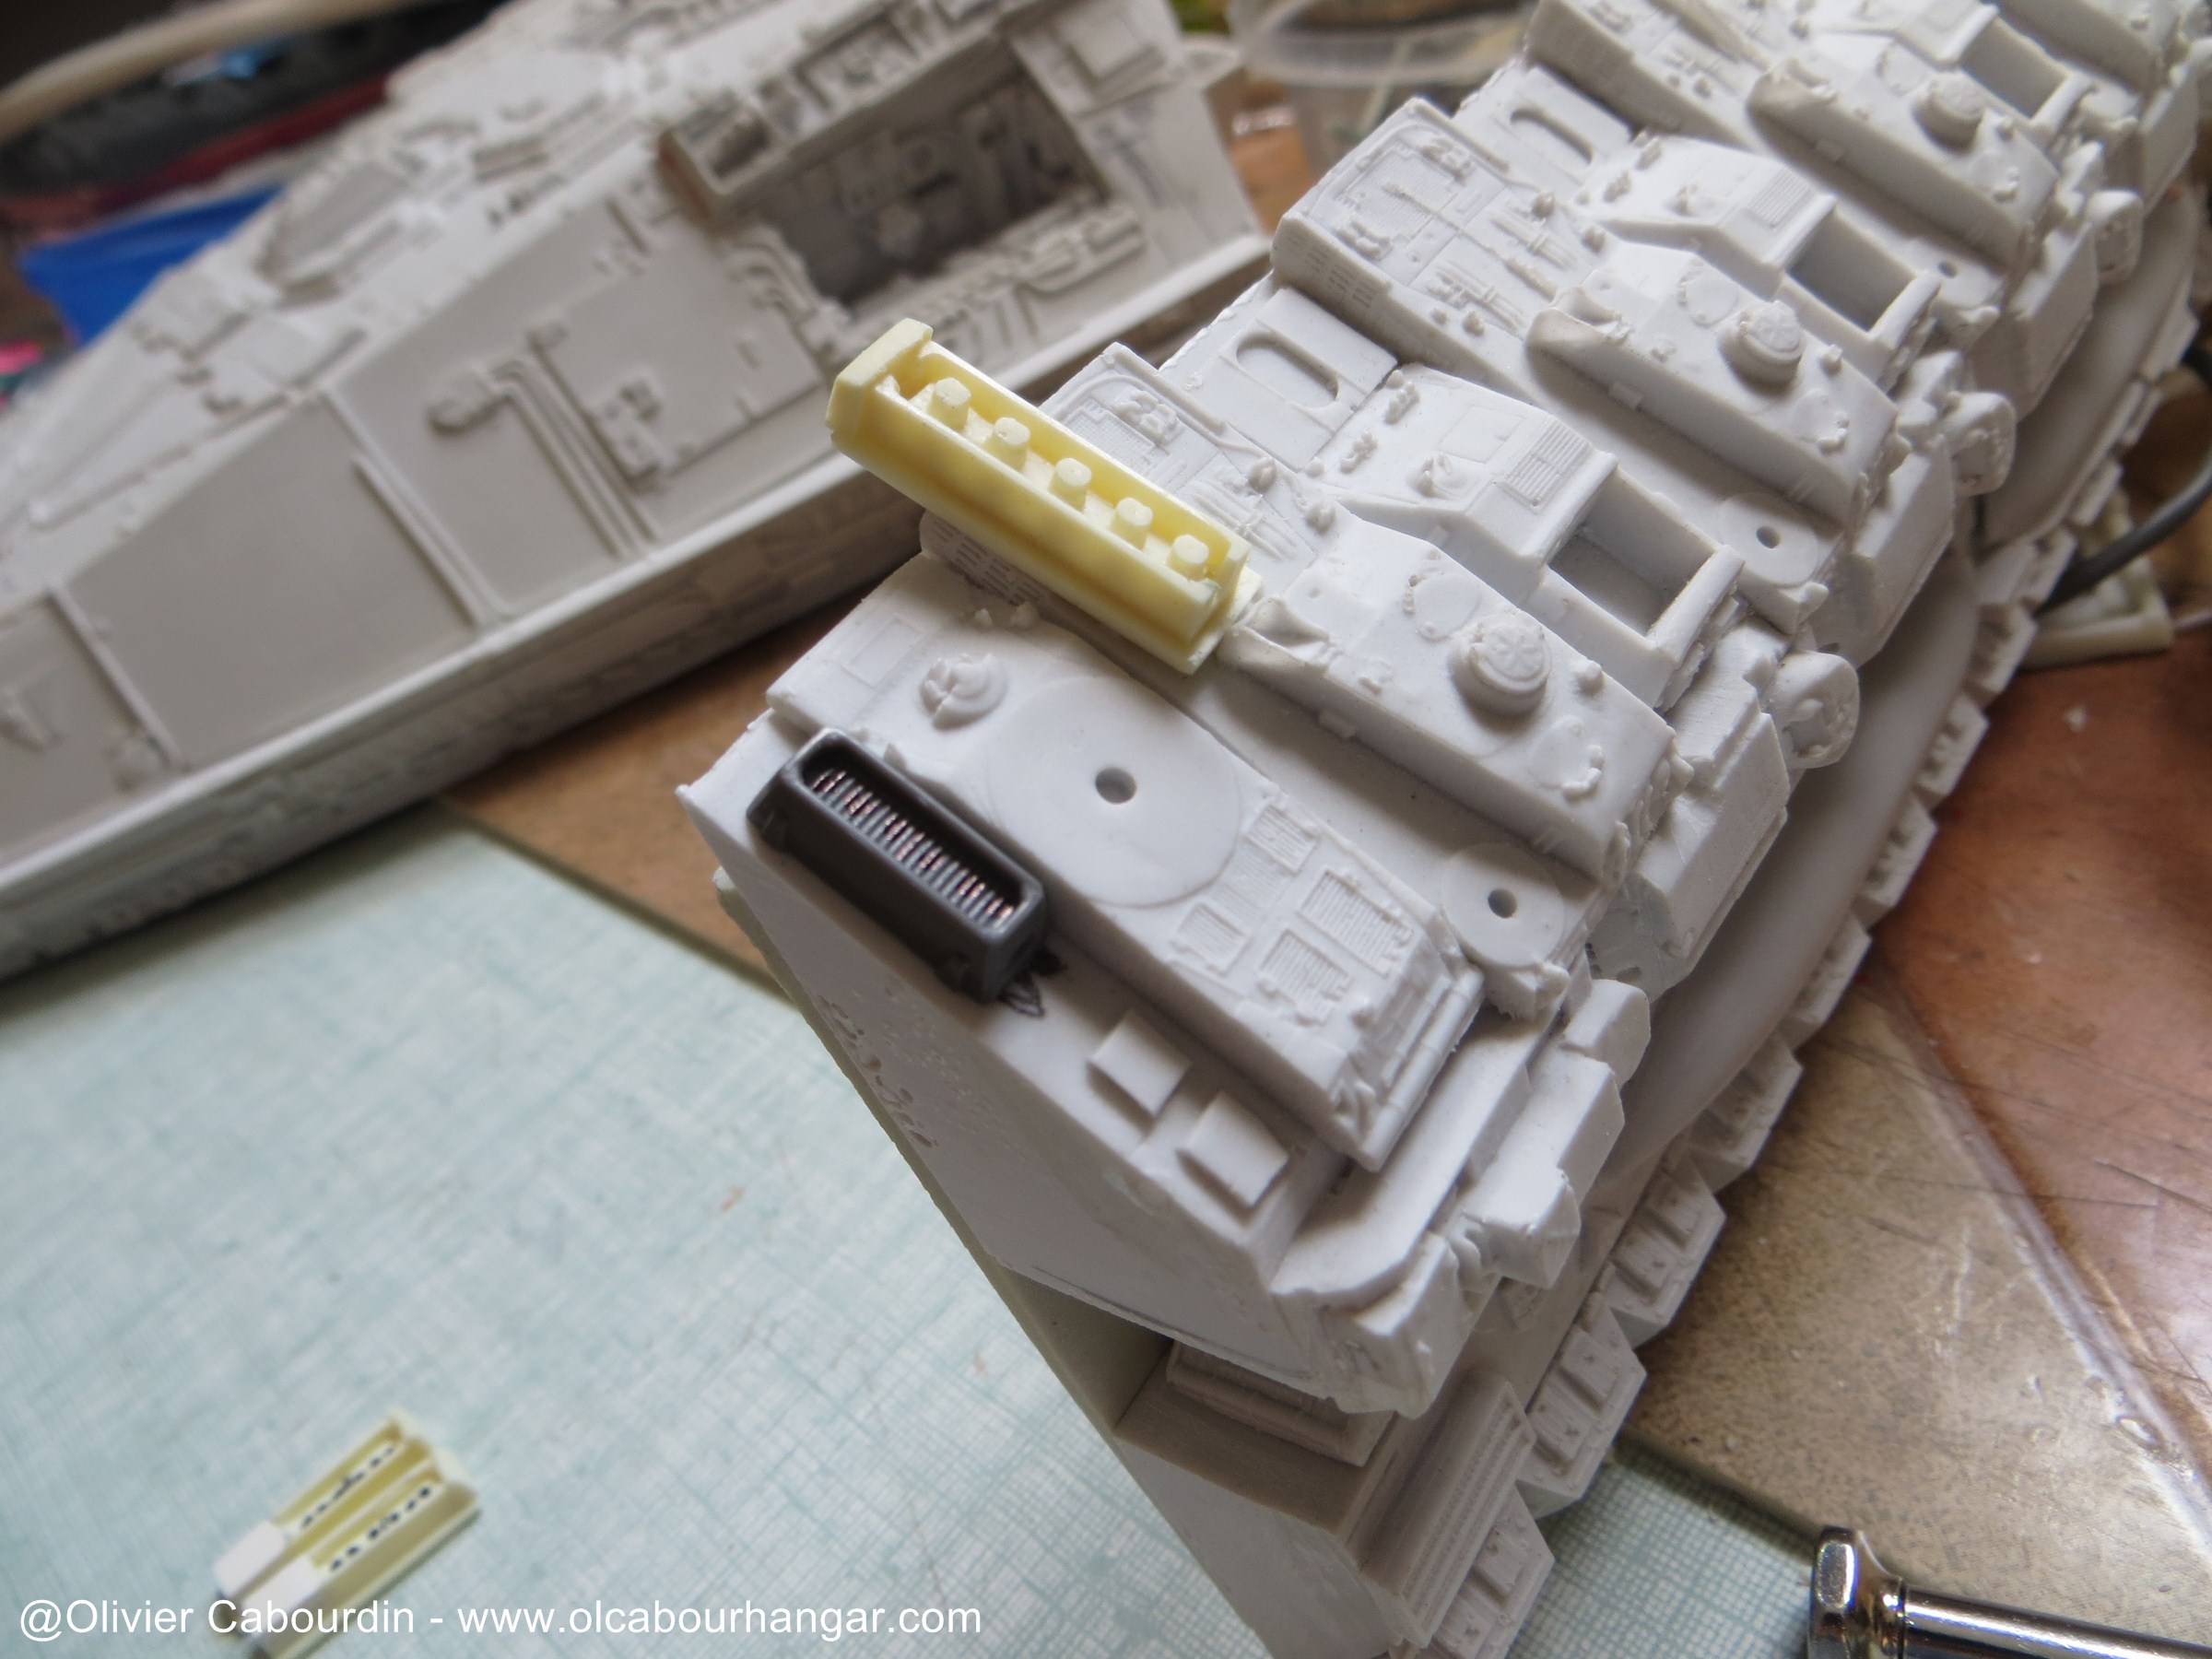
- Yellow lights boxes
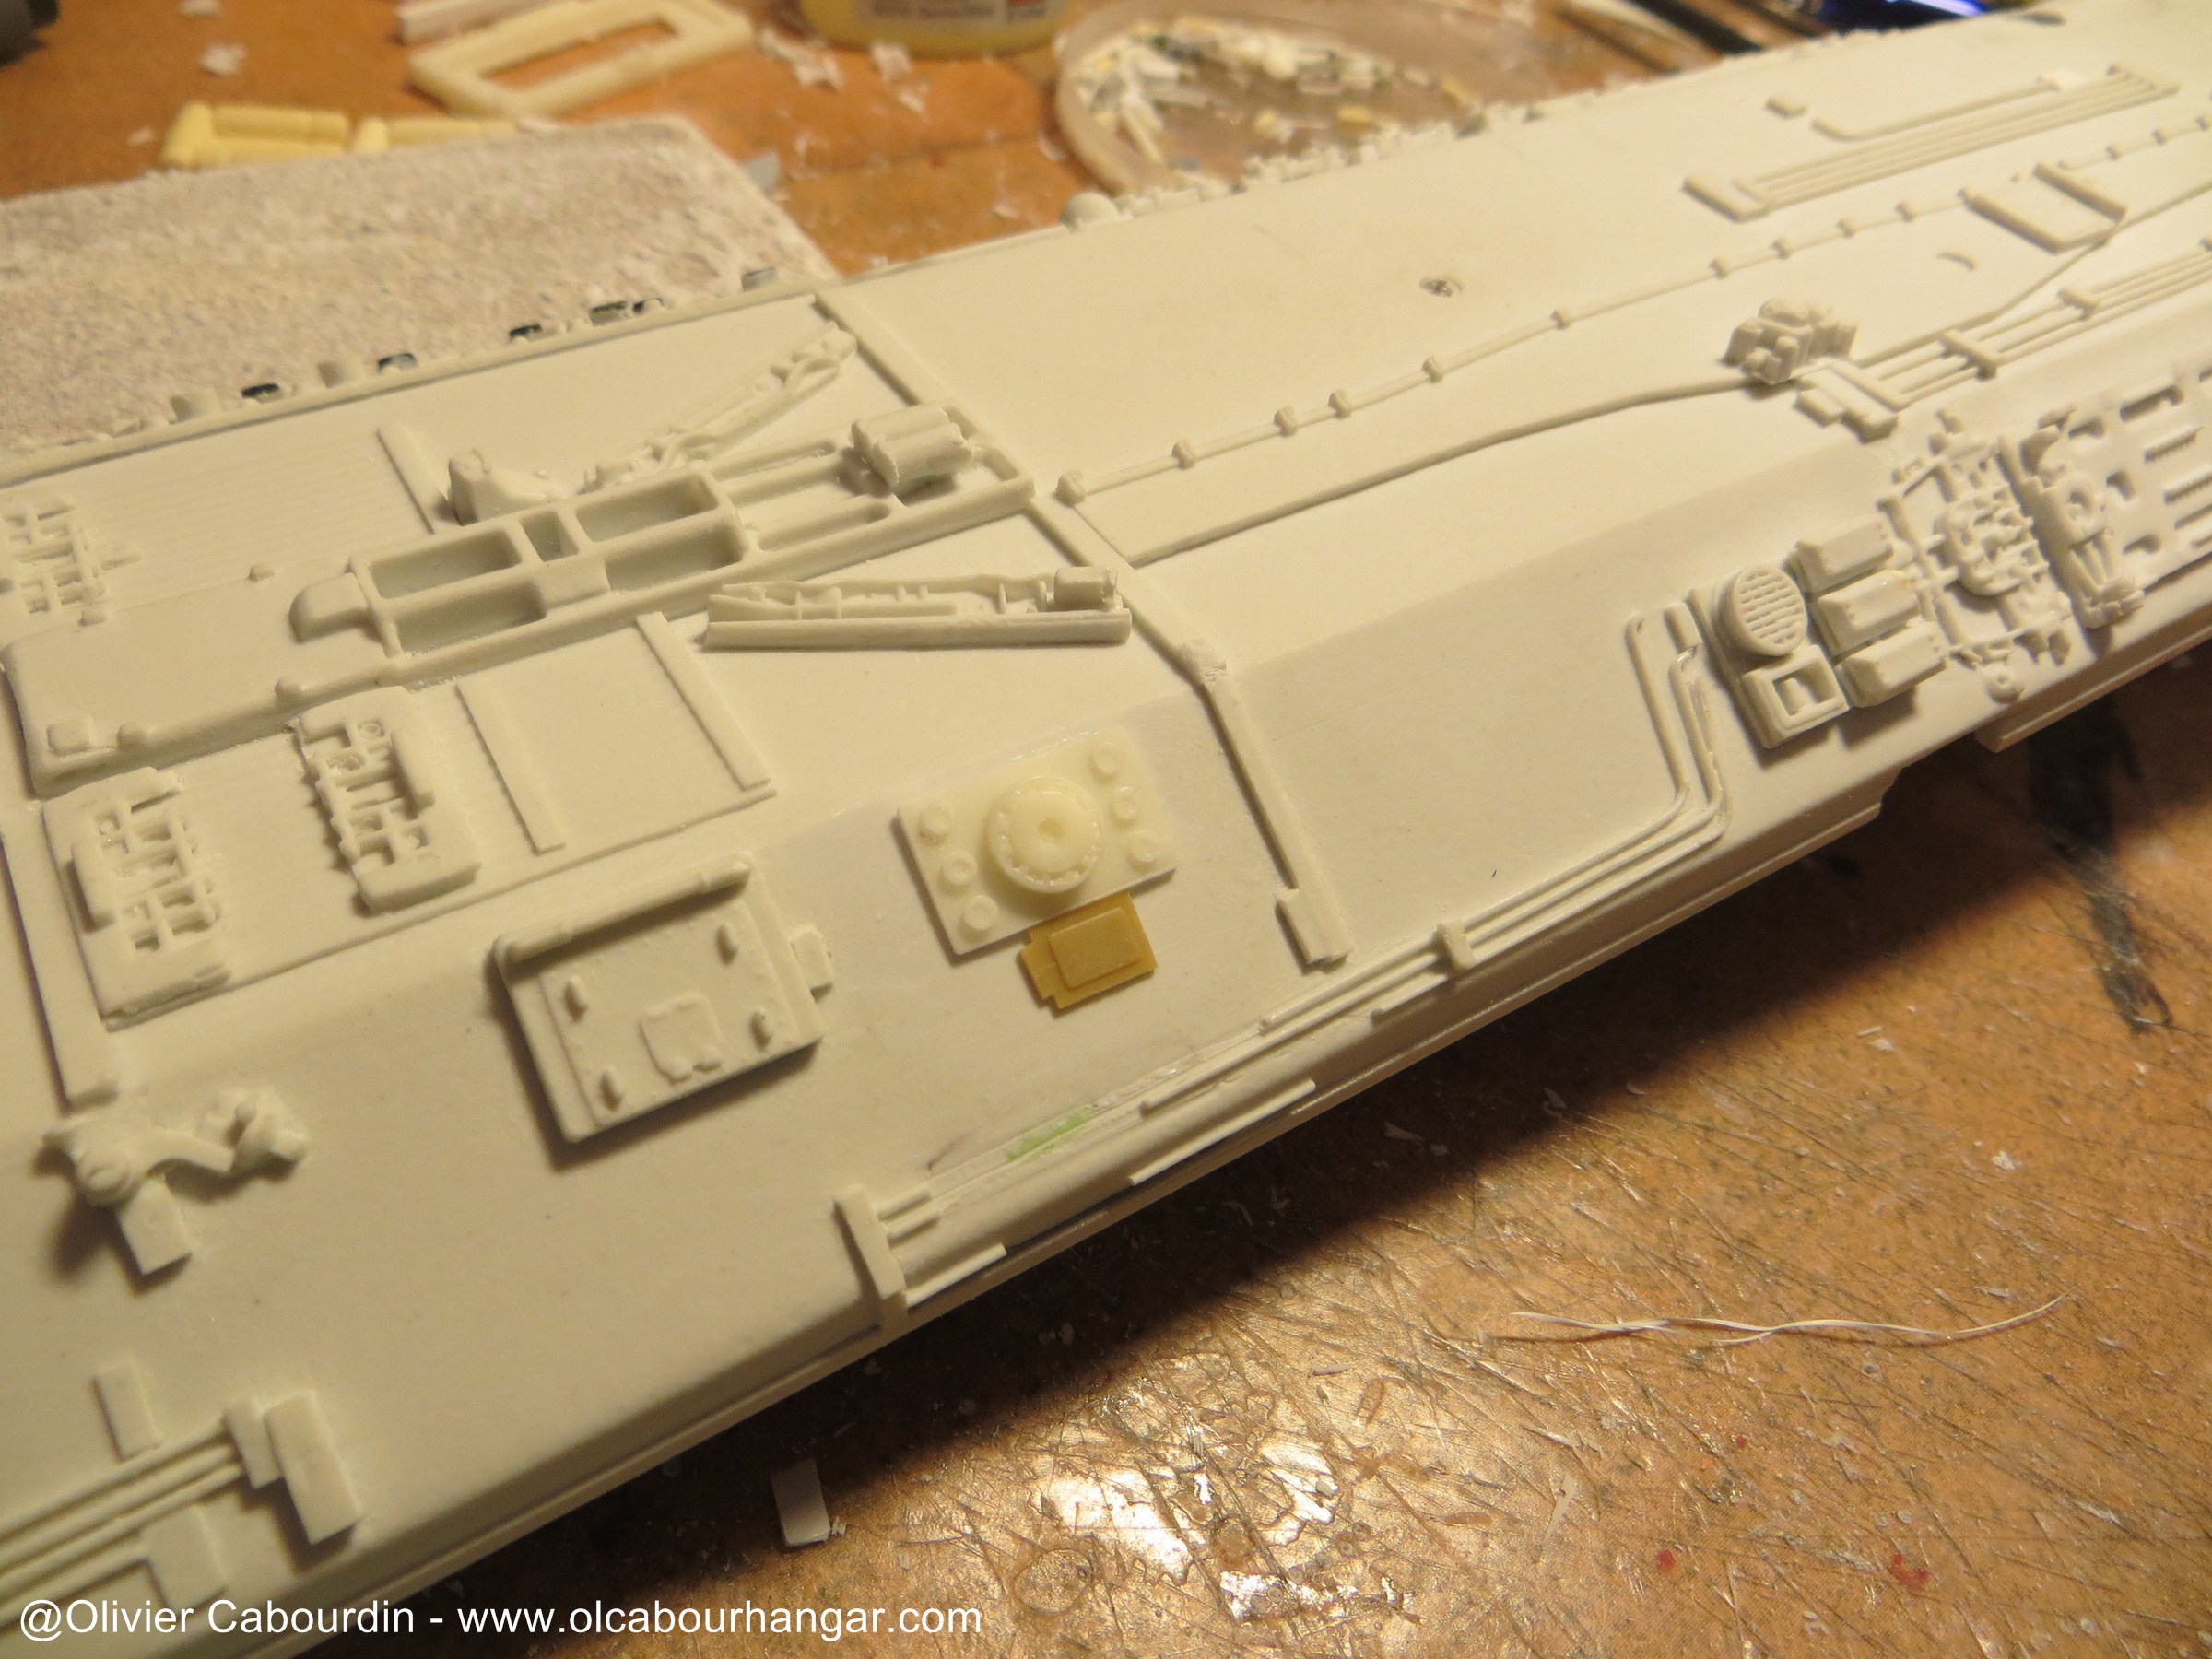
On each side of the head and the motor module, there are small boxes with bright yellow 6 points each. The parts supplied are a little too big and different between the front and rear. So I've modified or replaced, and then glued to drill the holes for the fibers.
Front ones
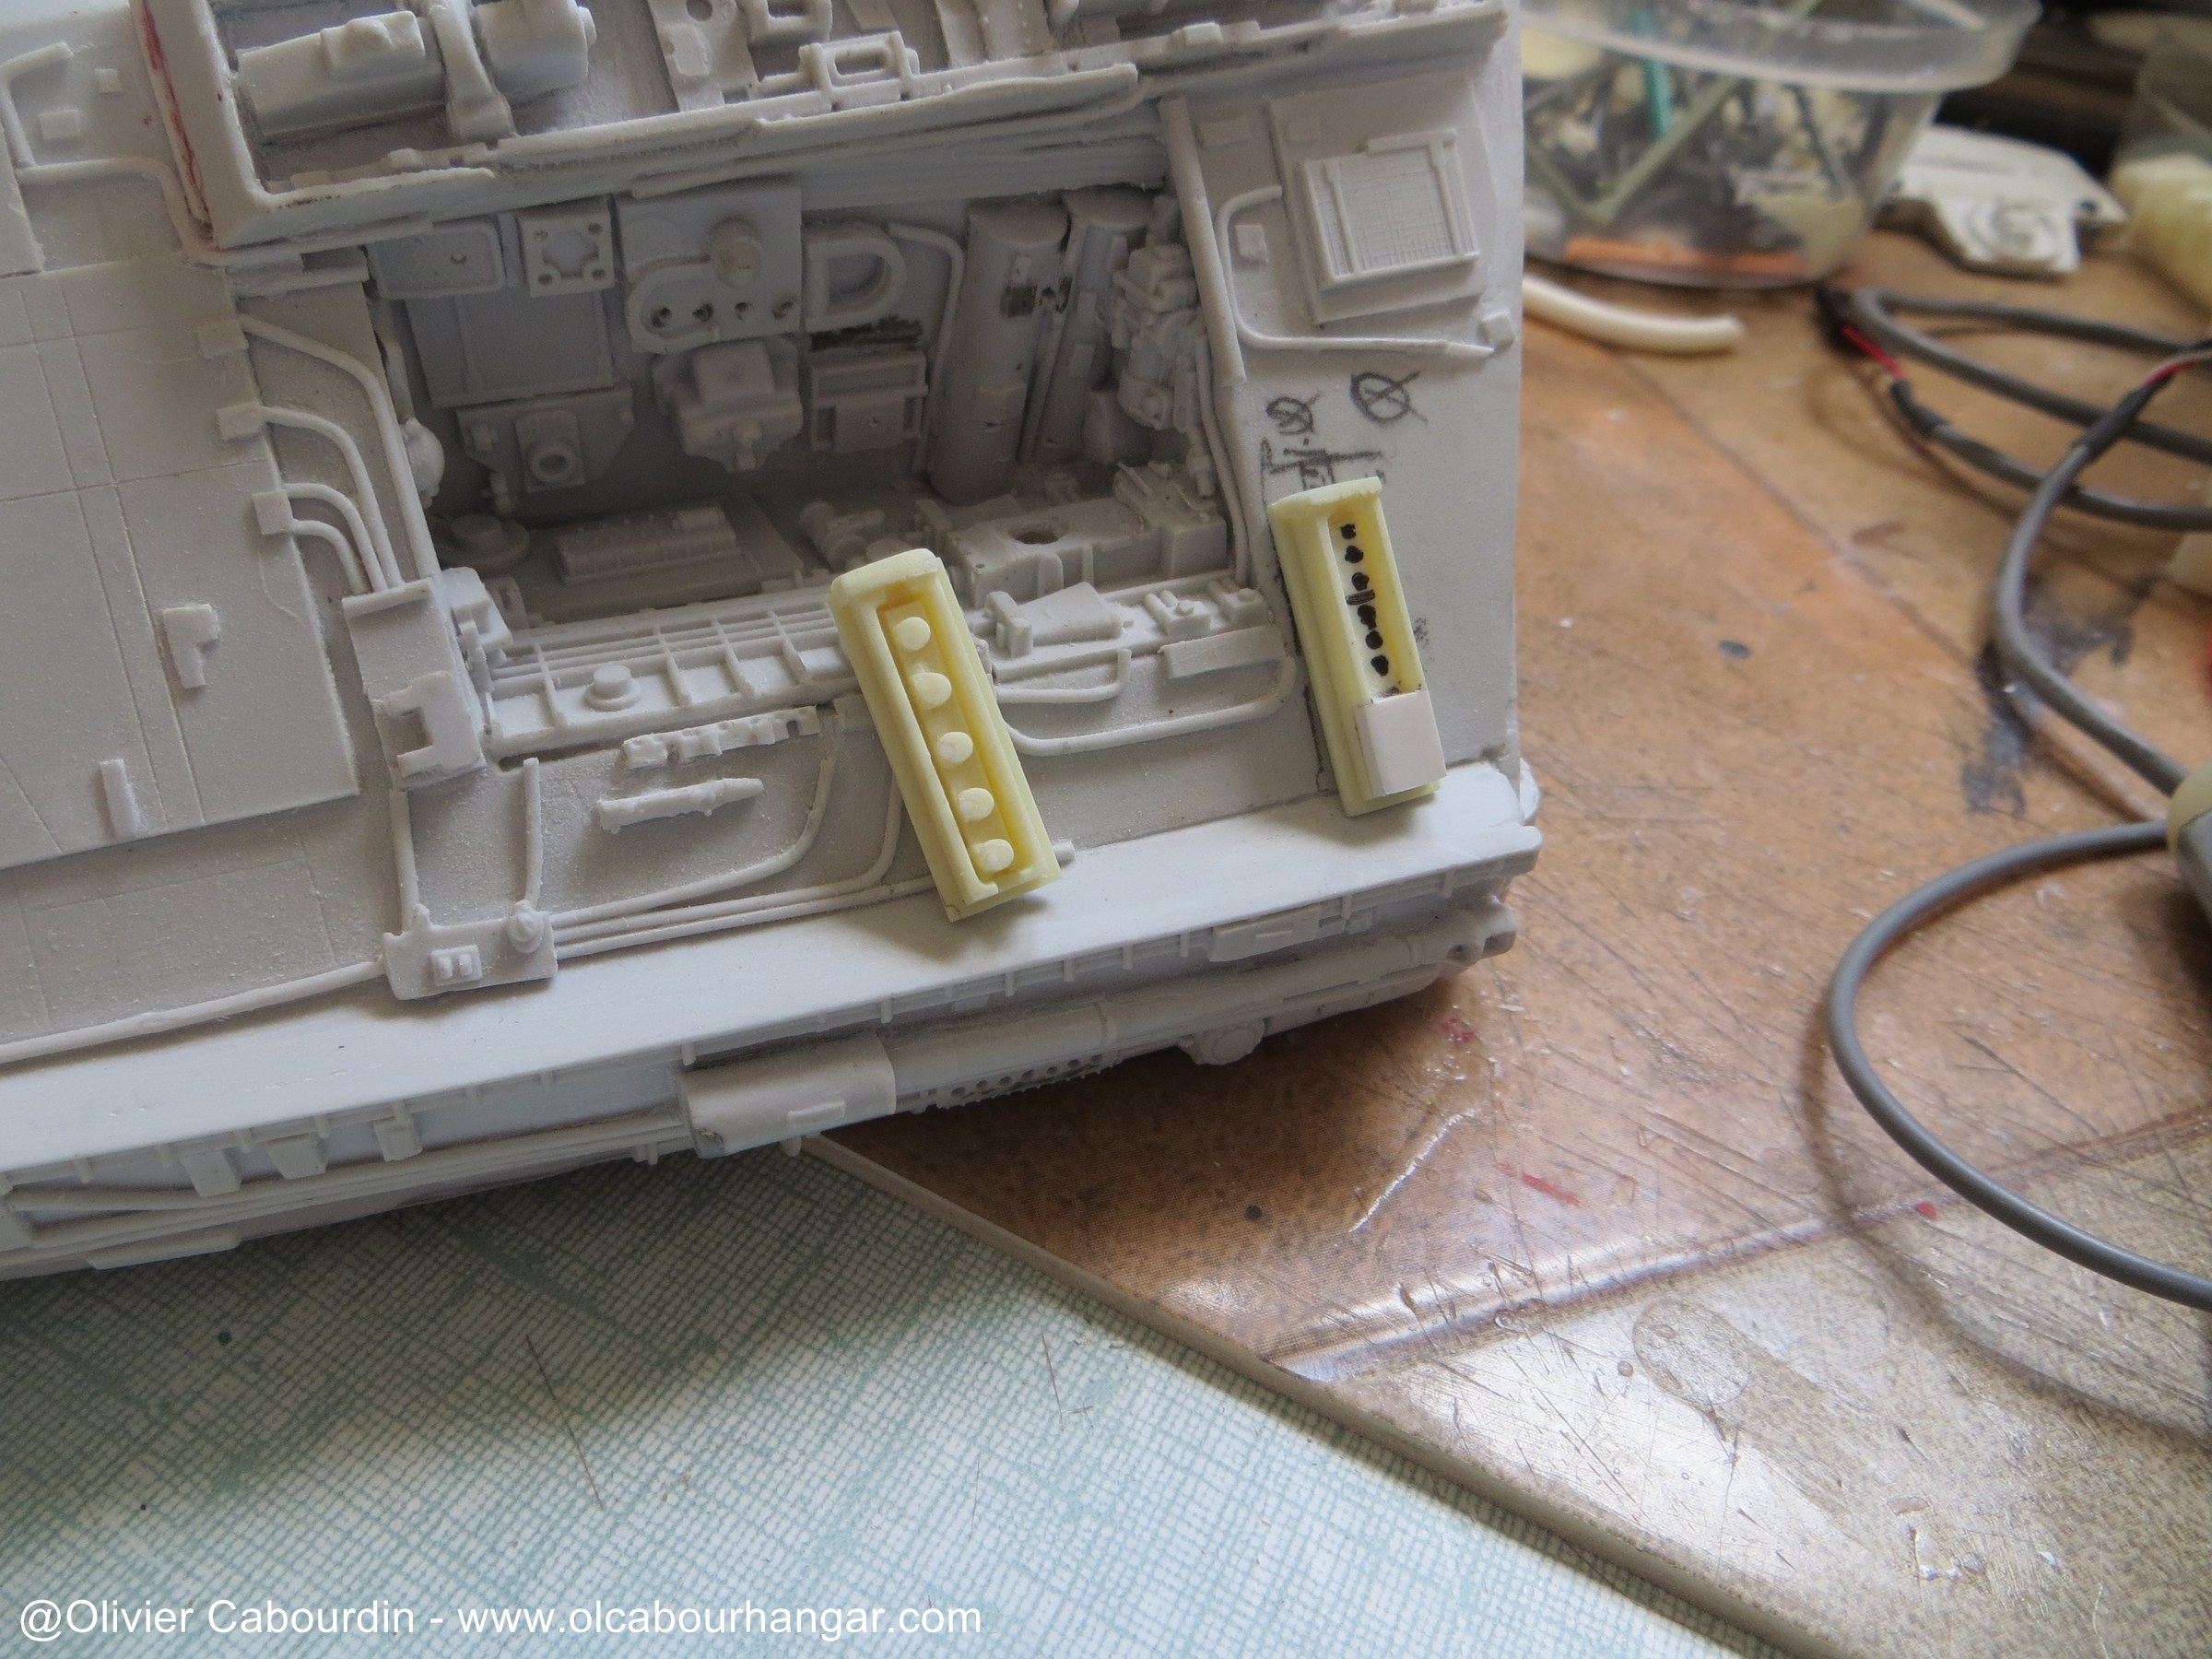
Back

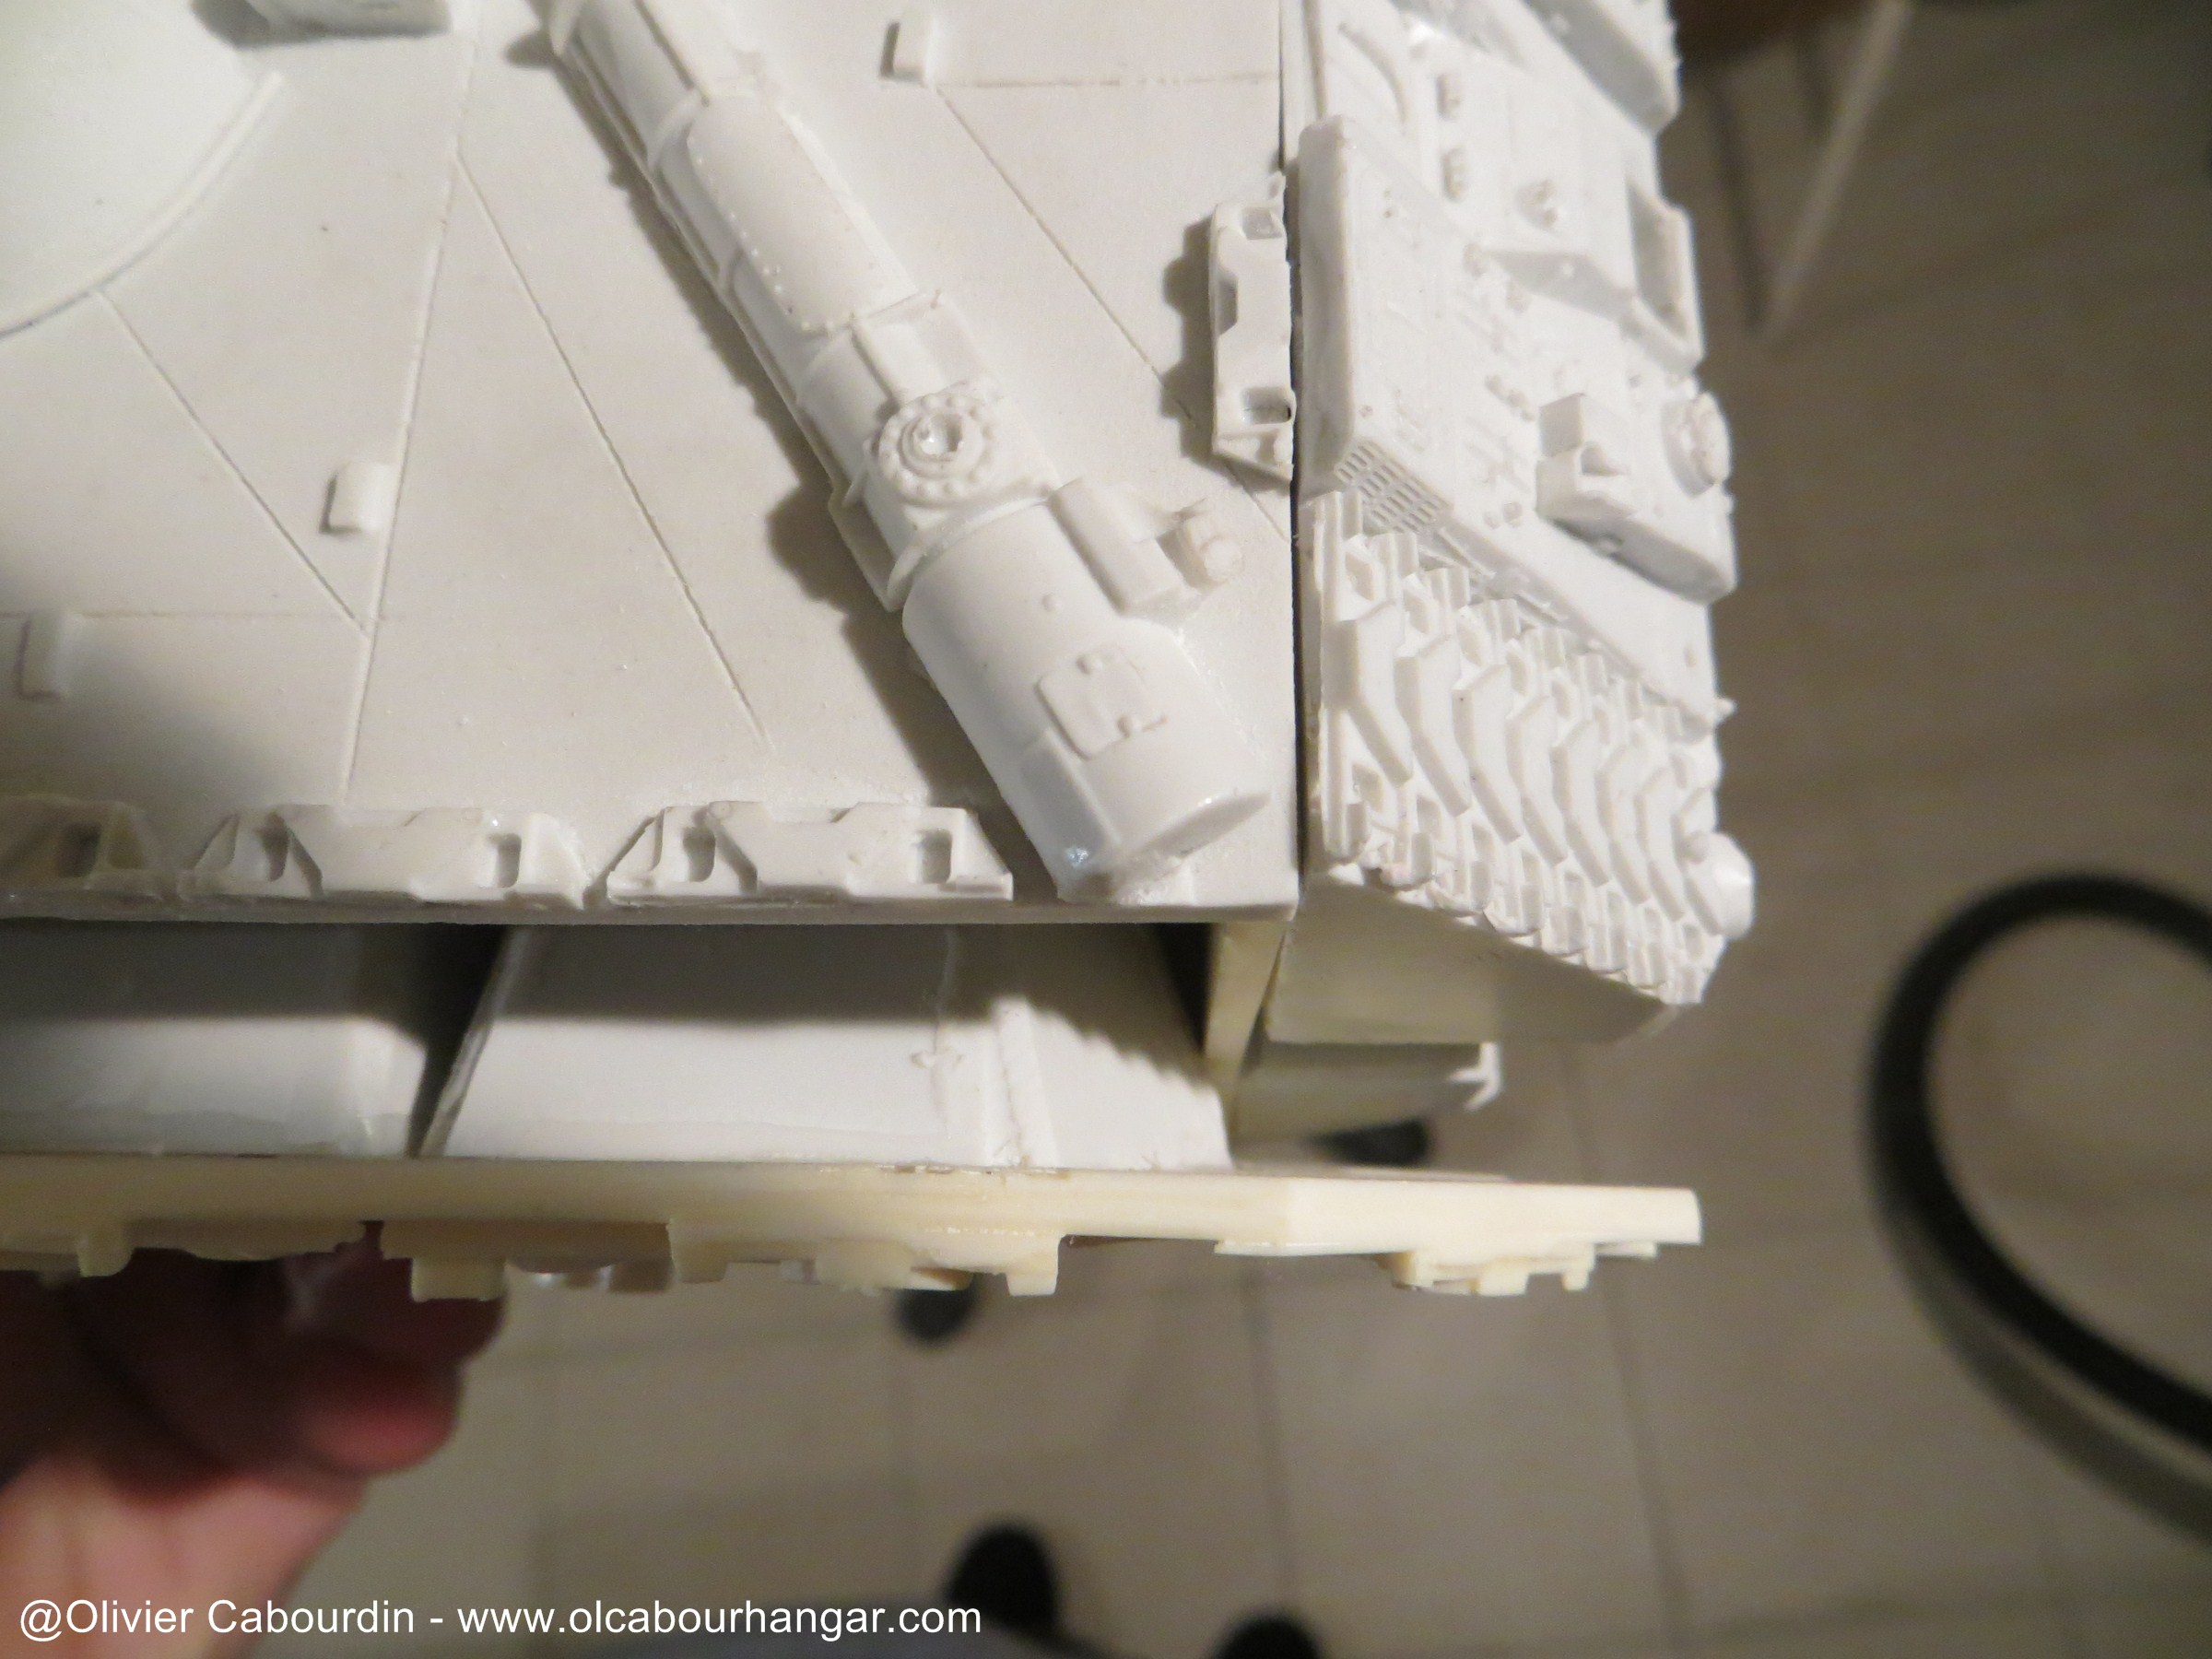
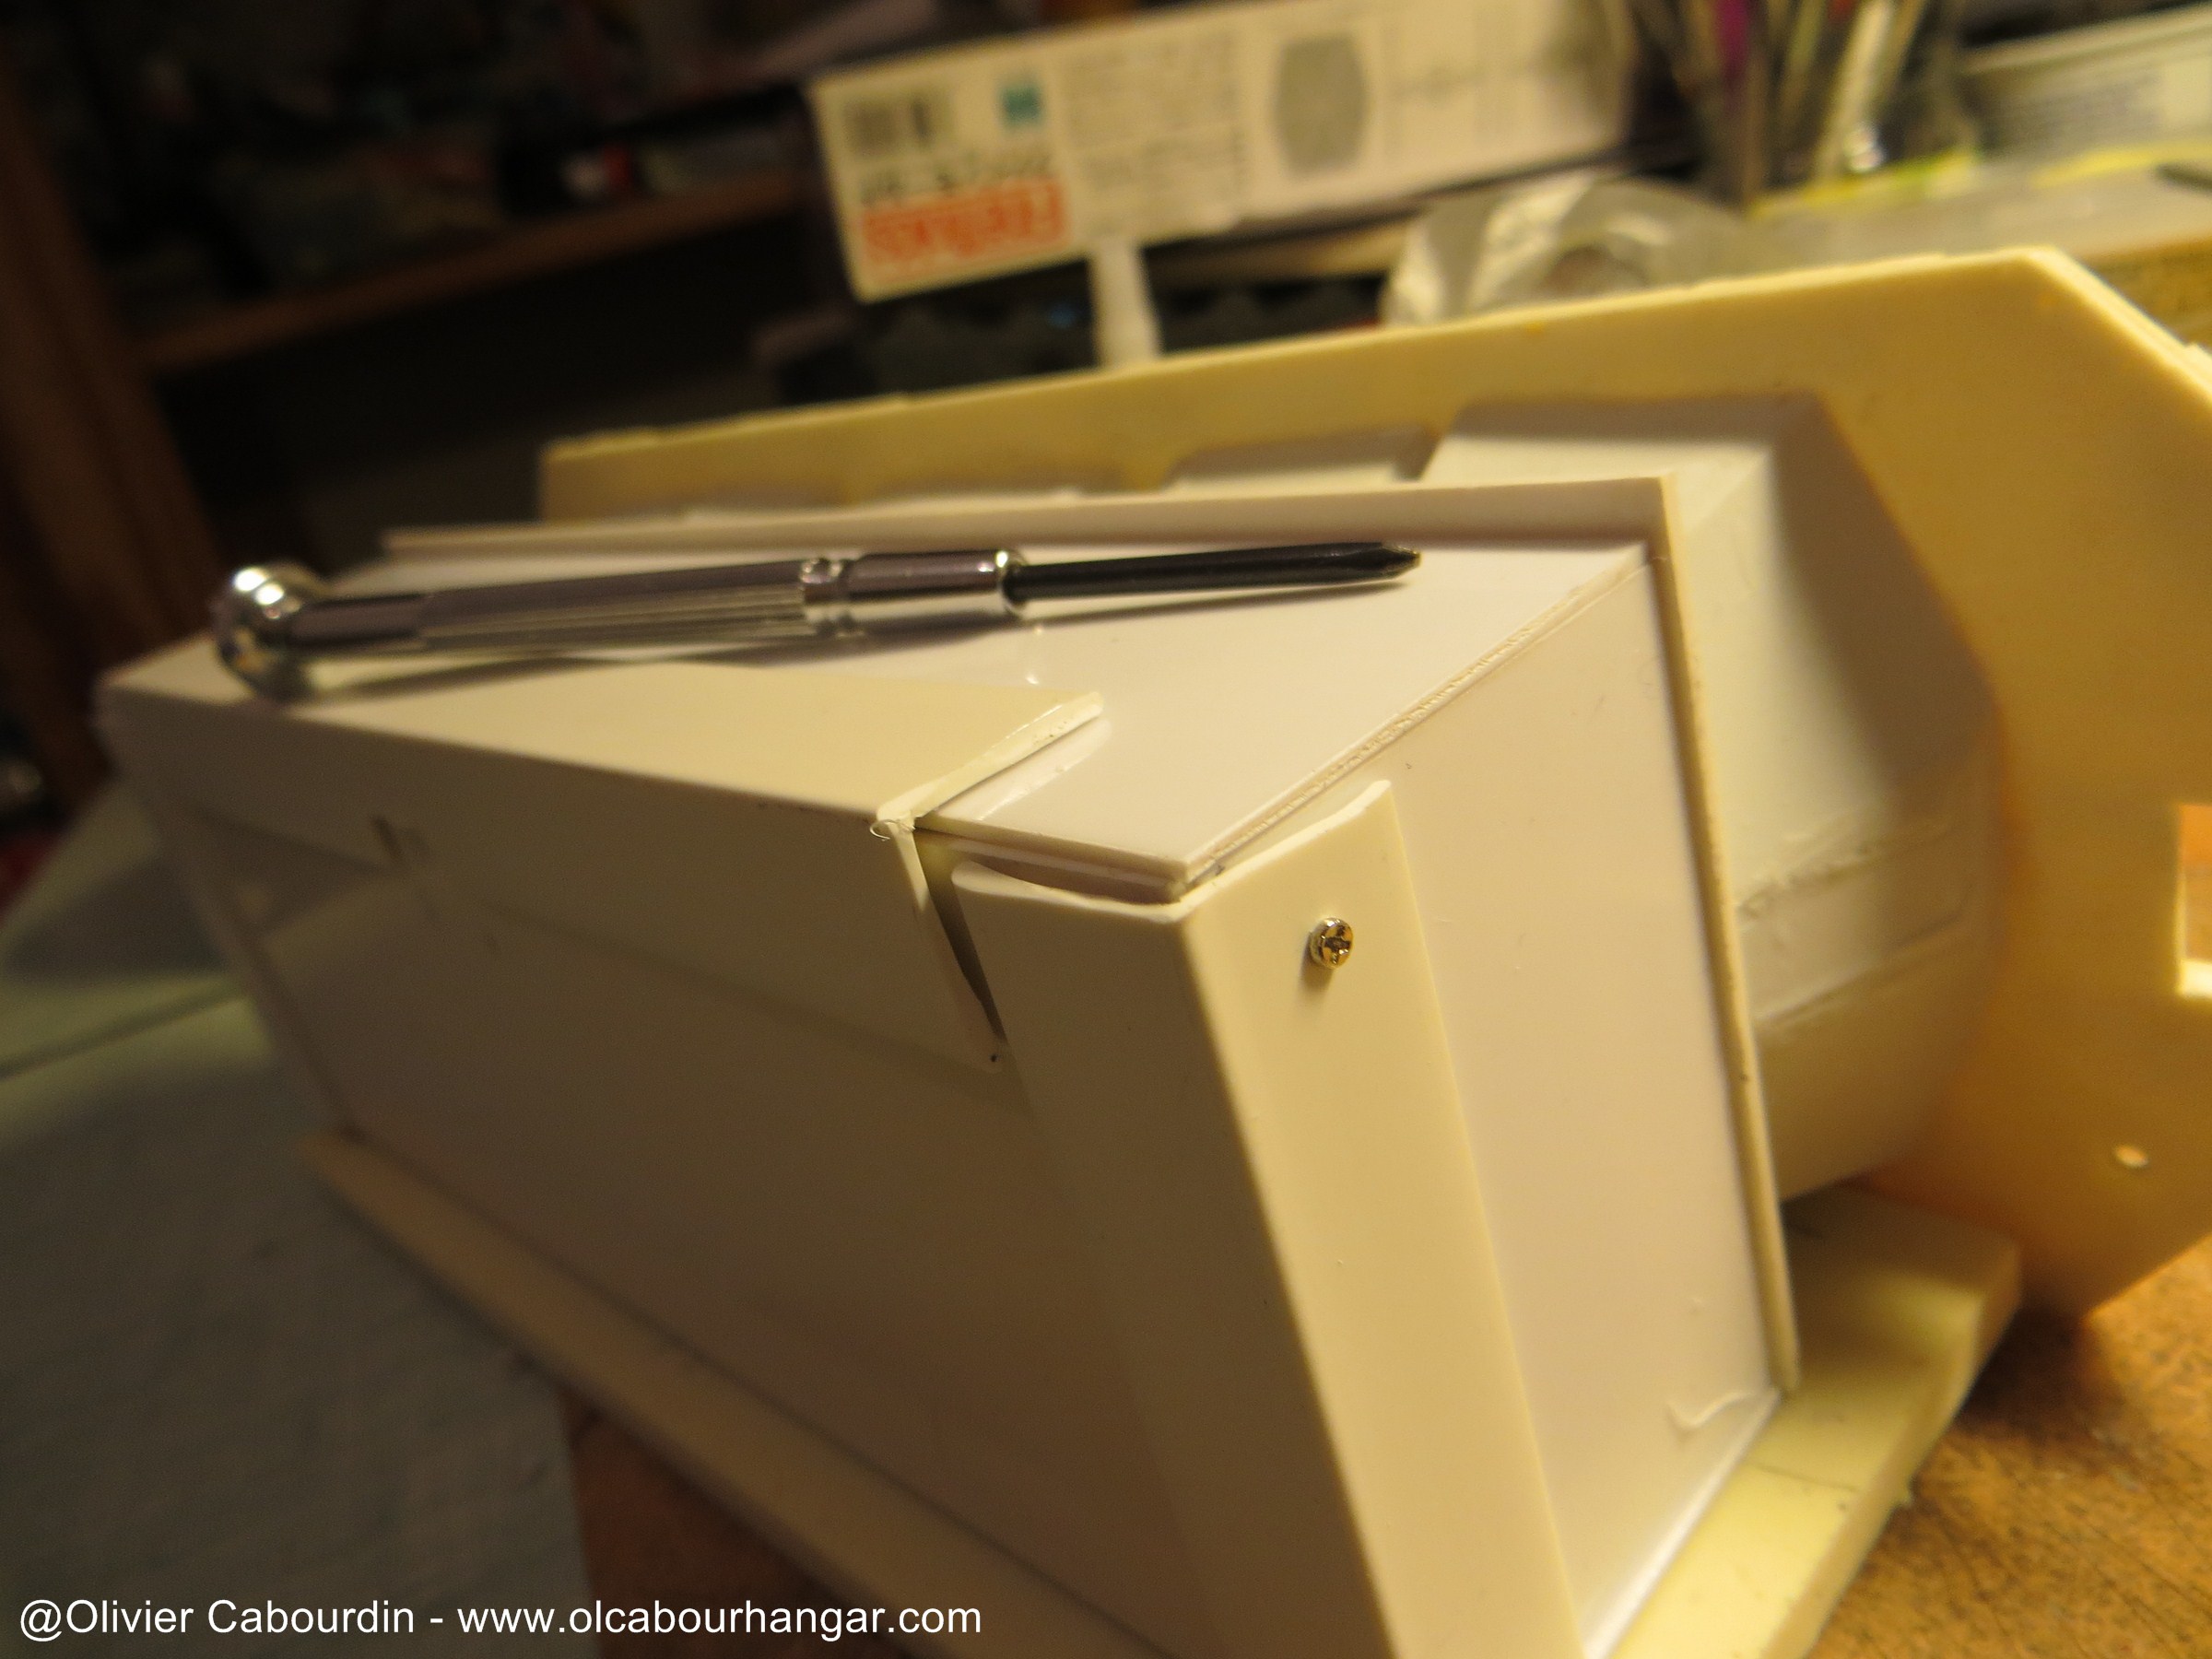
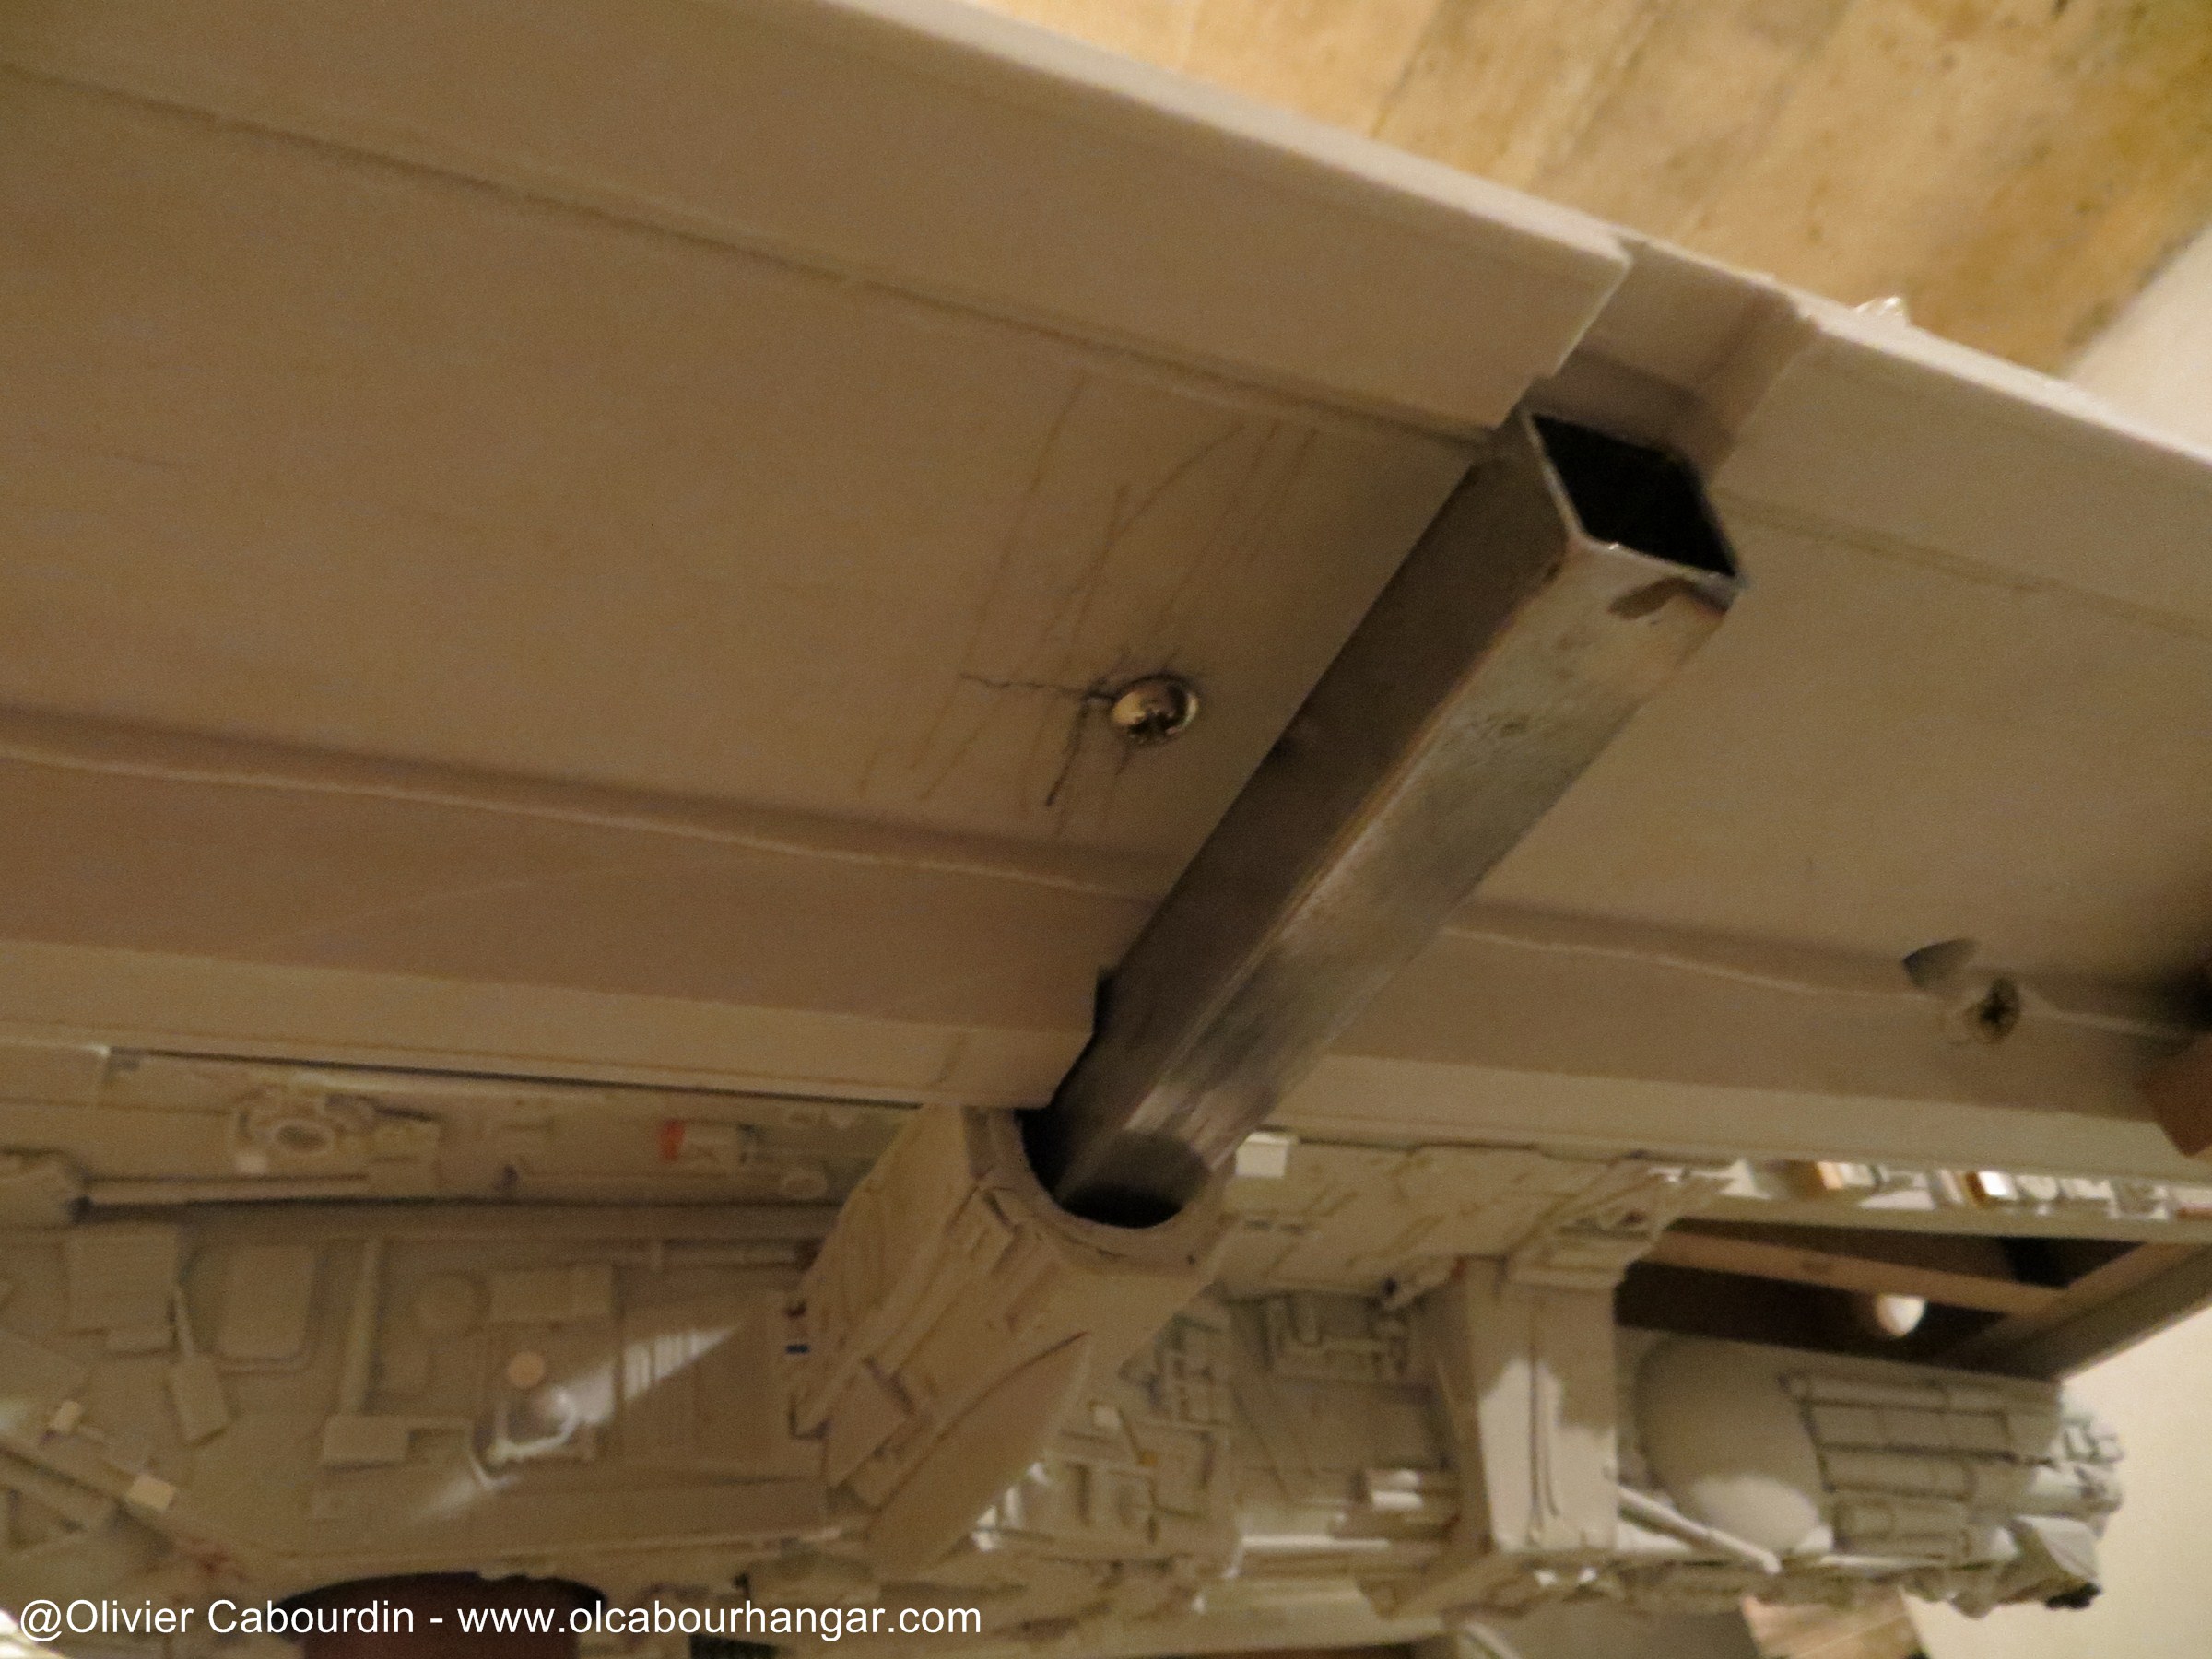
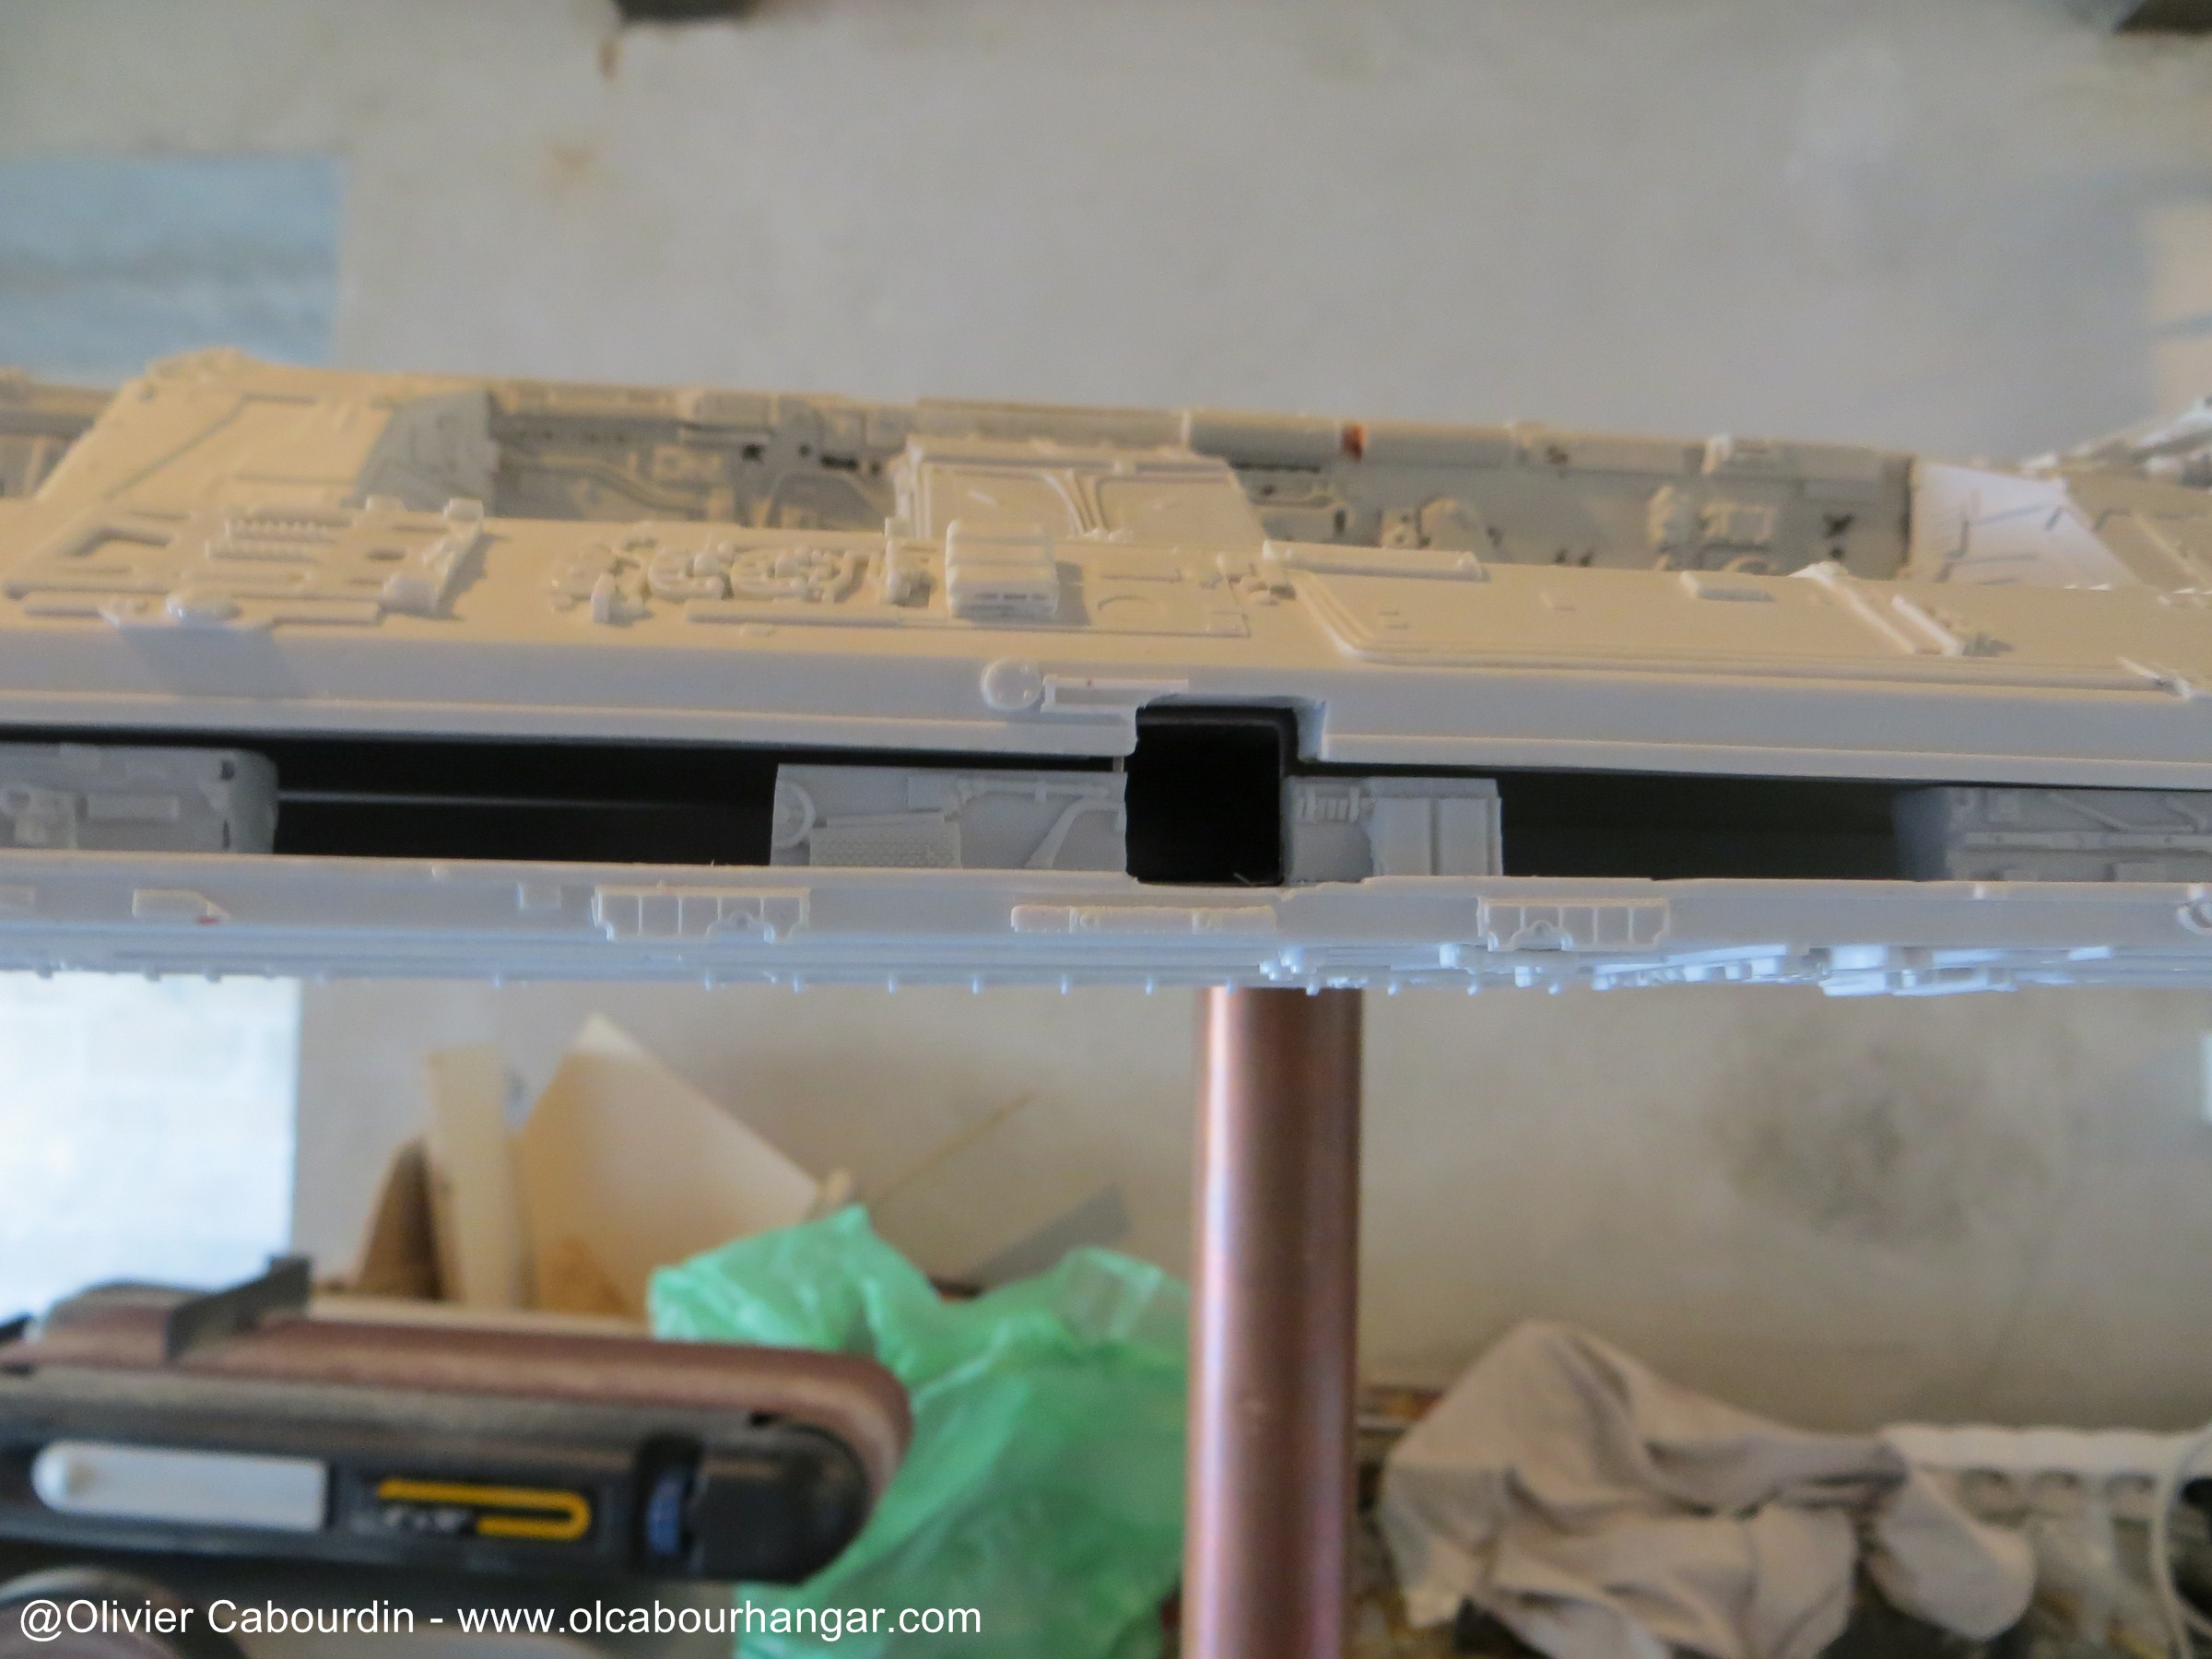
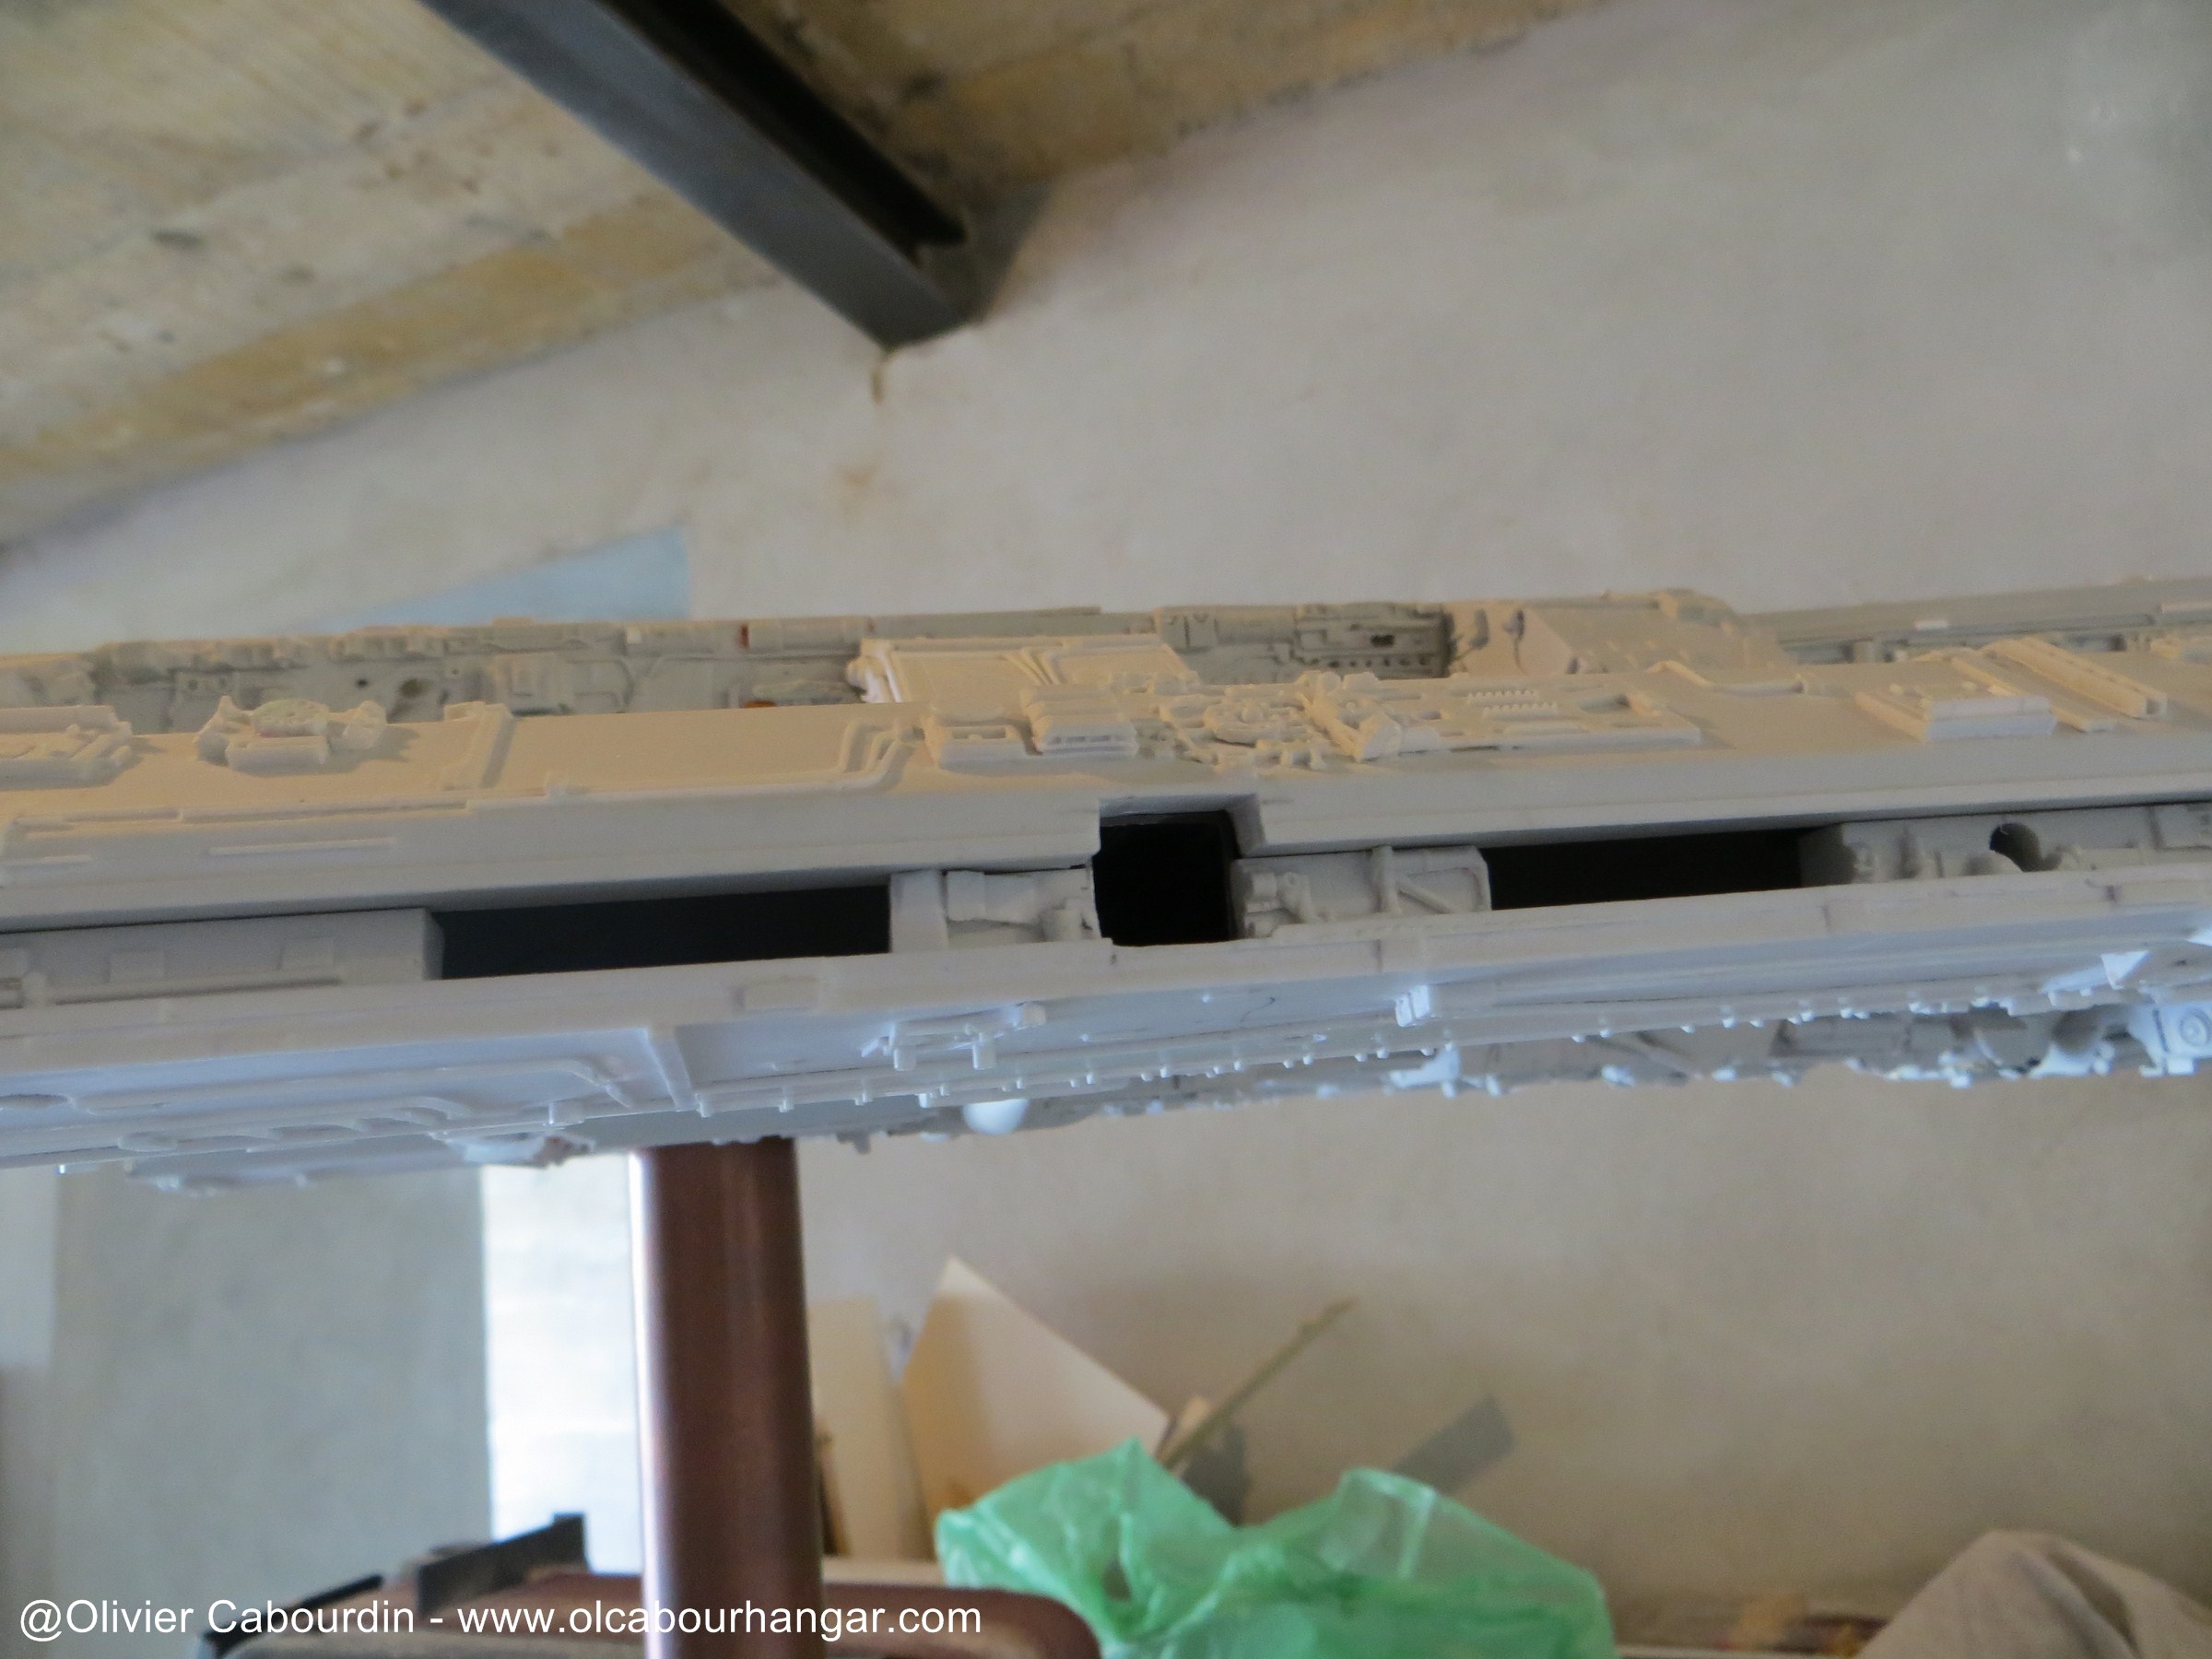
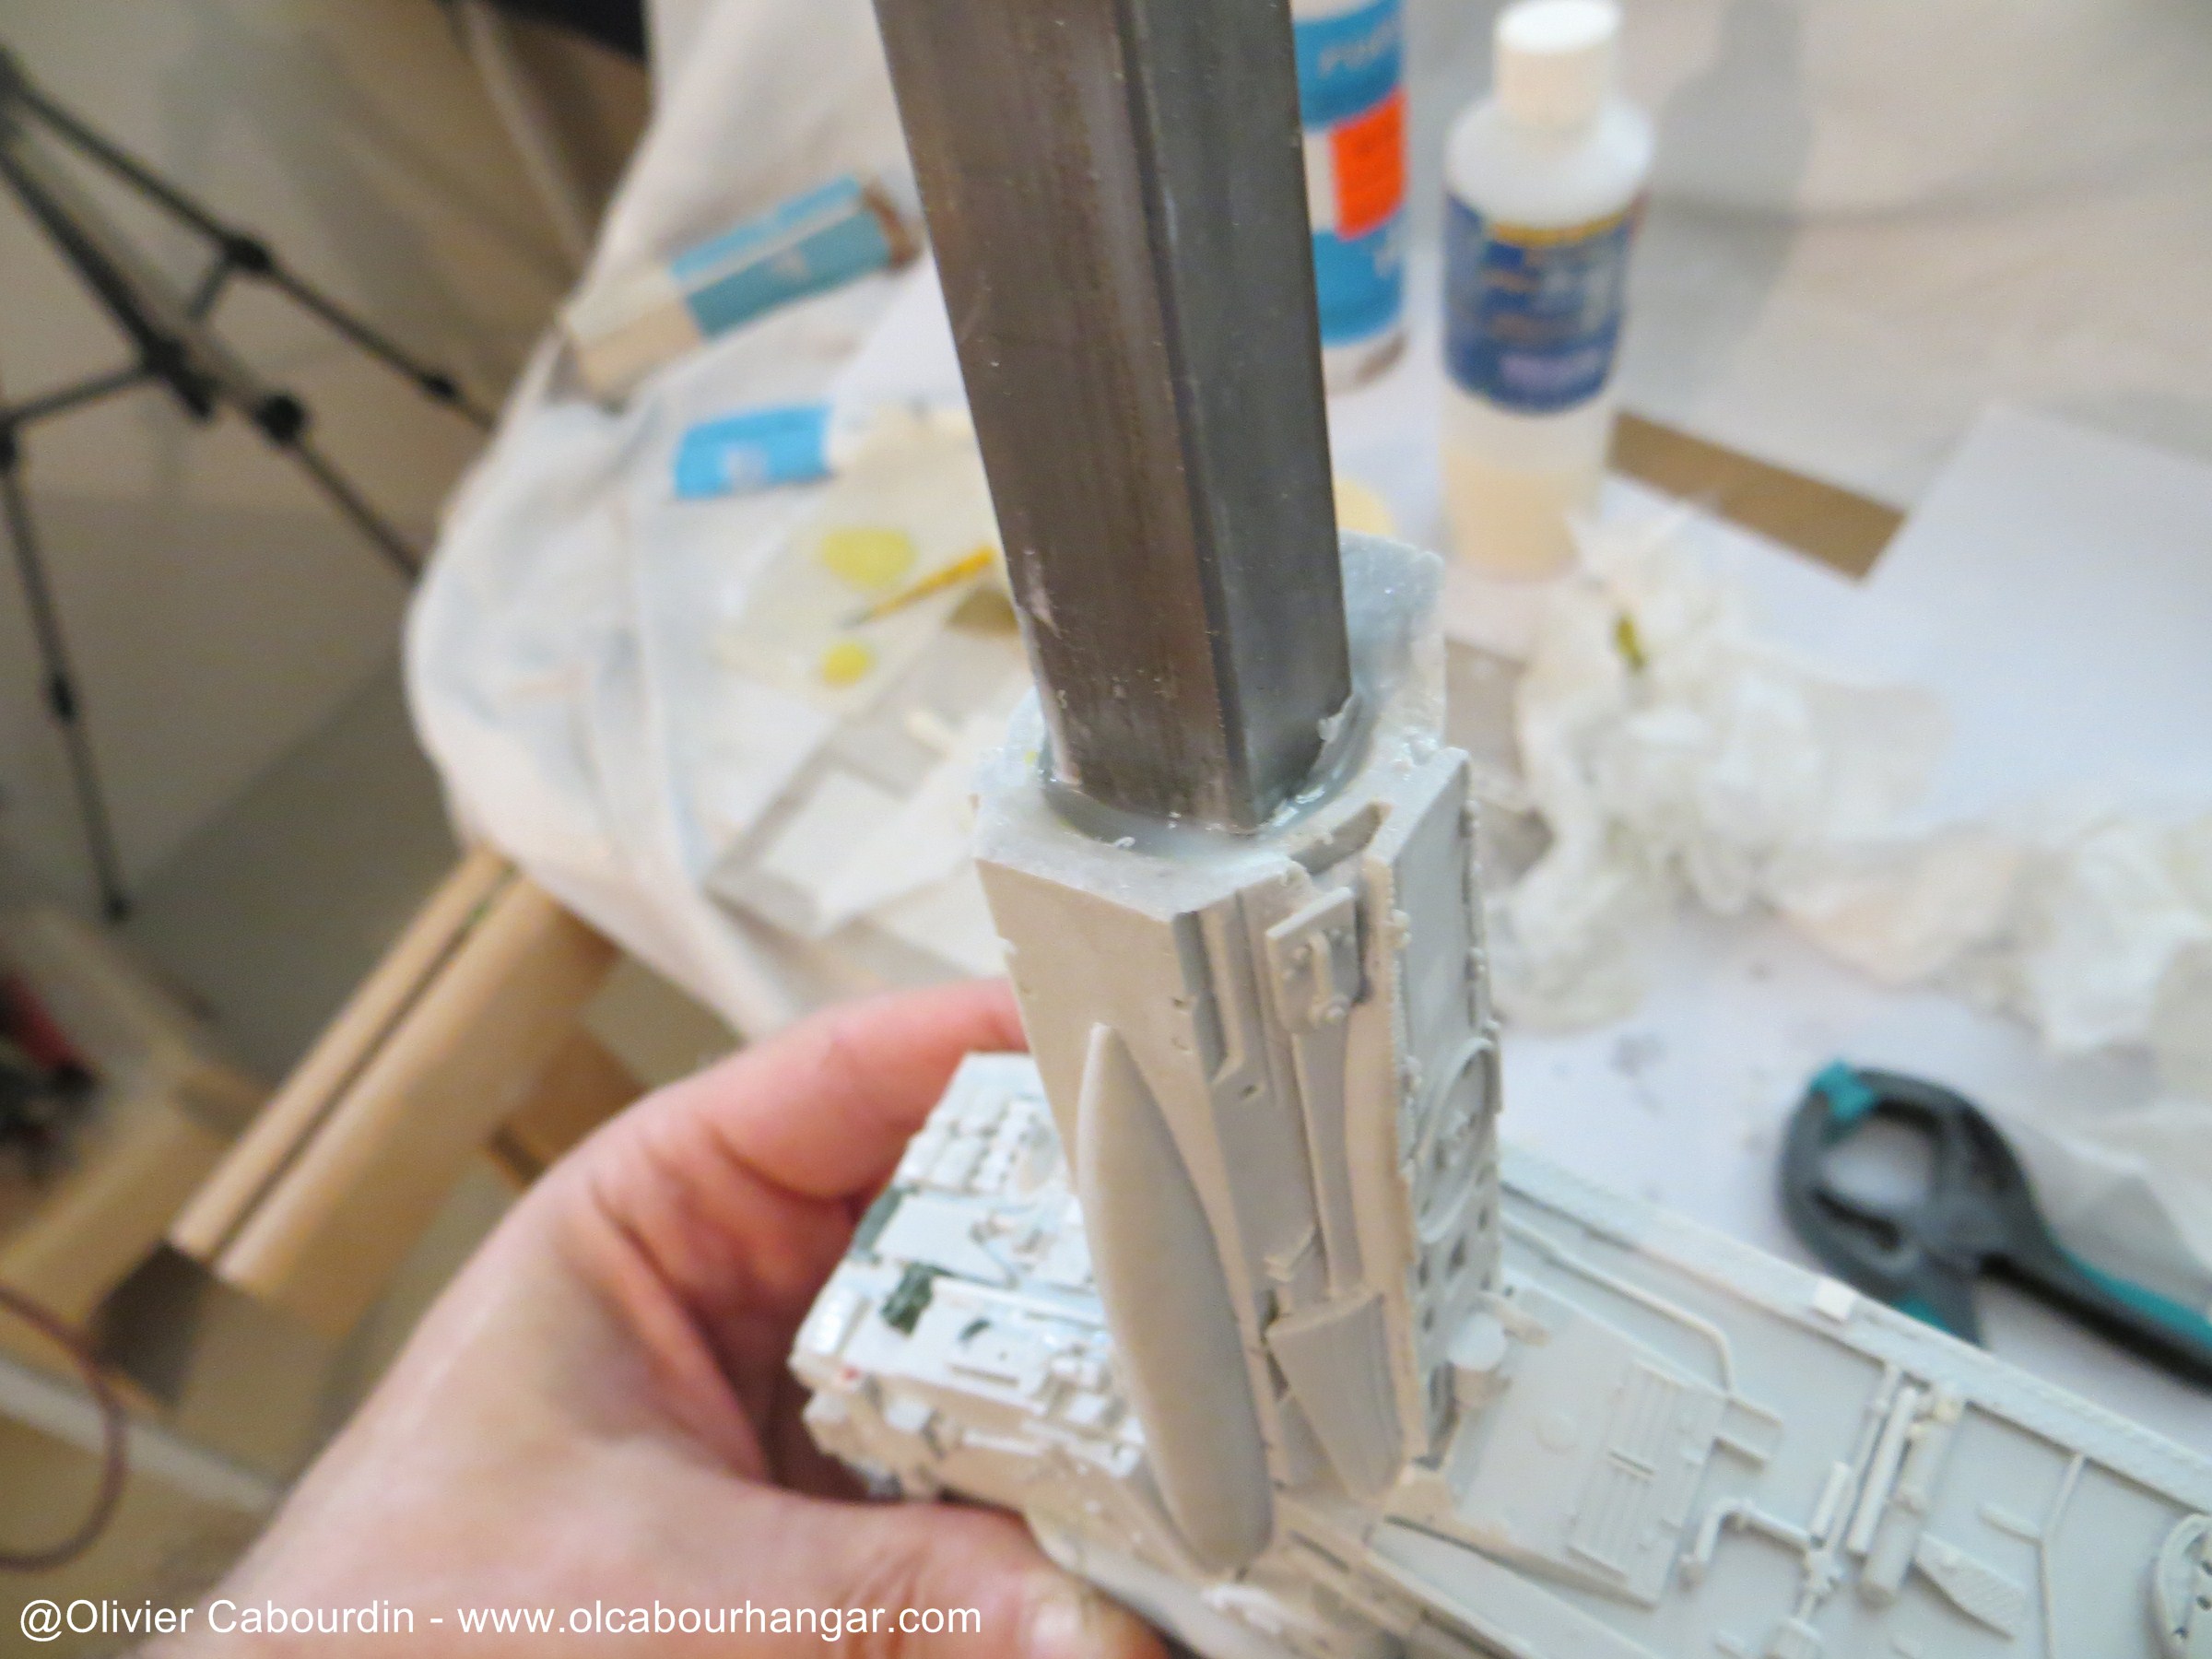
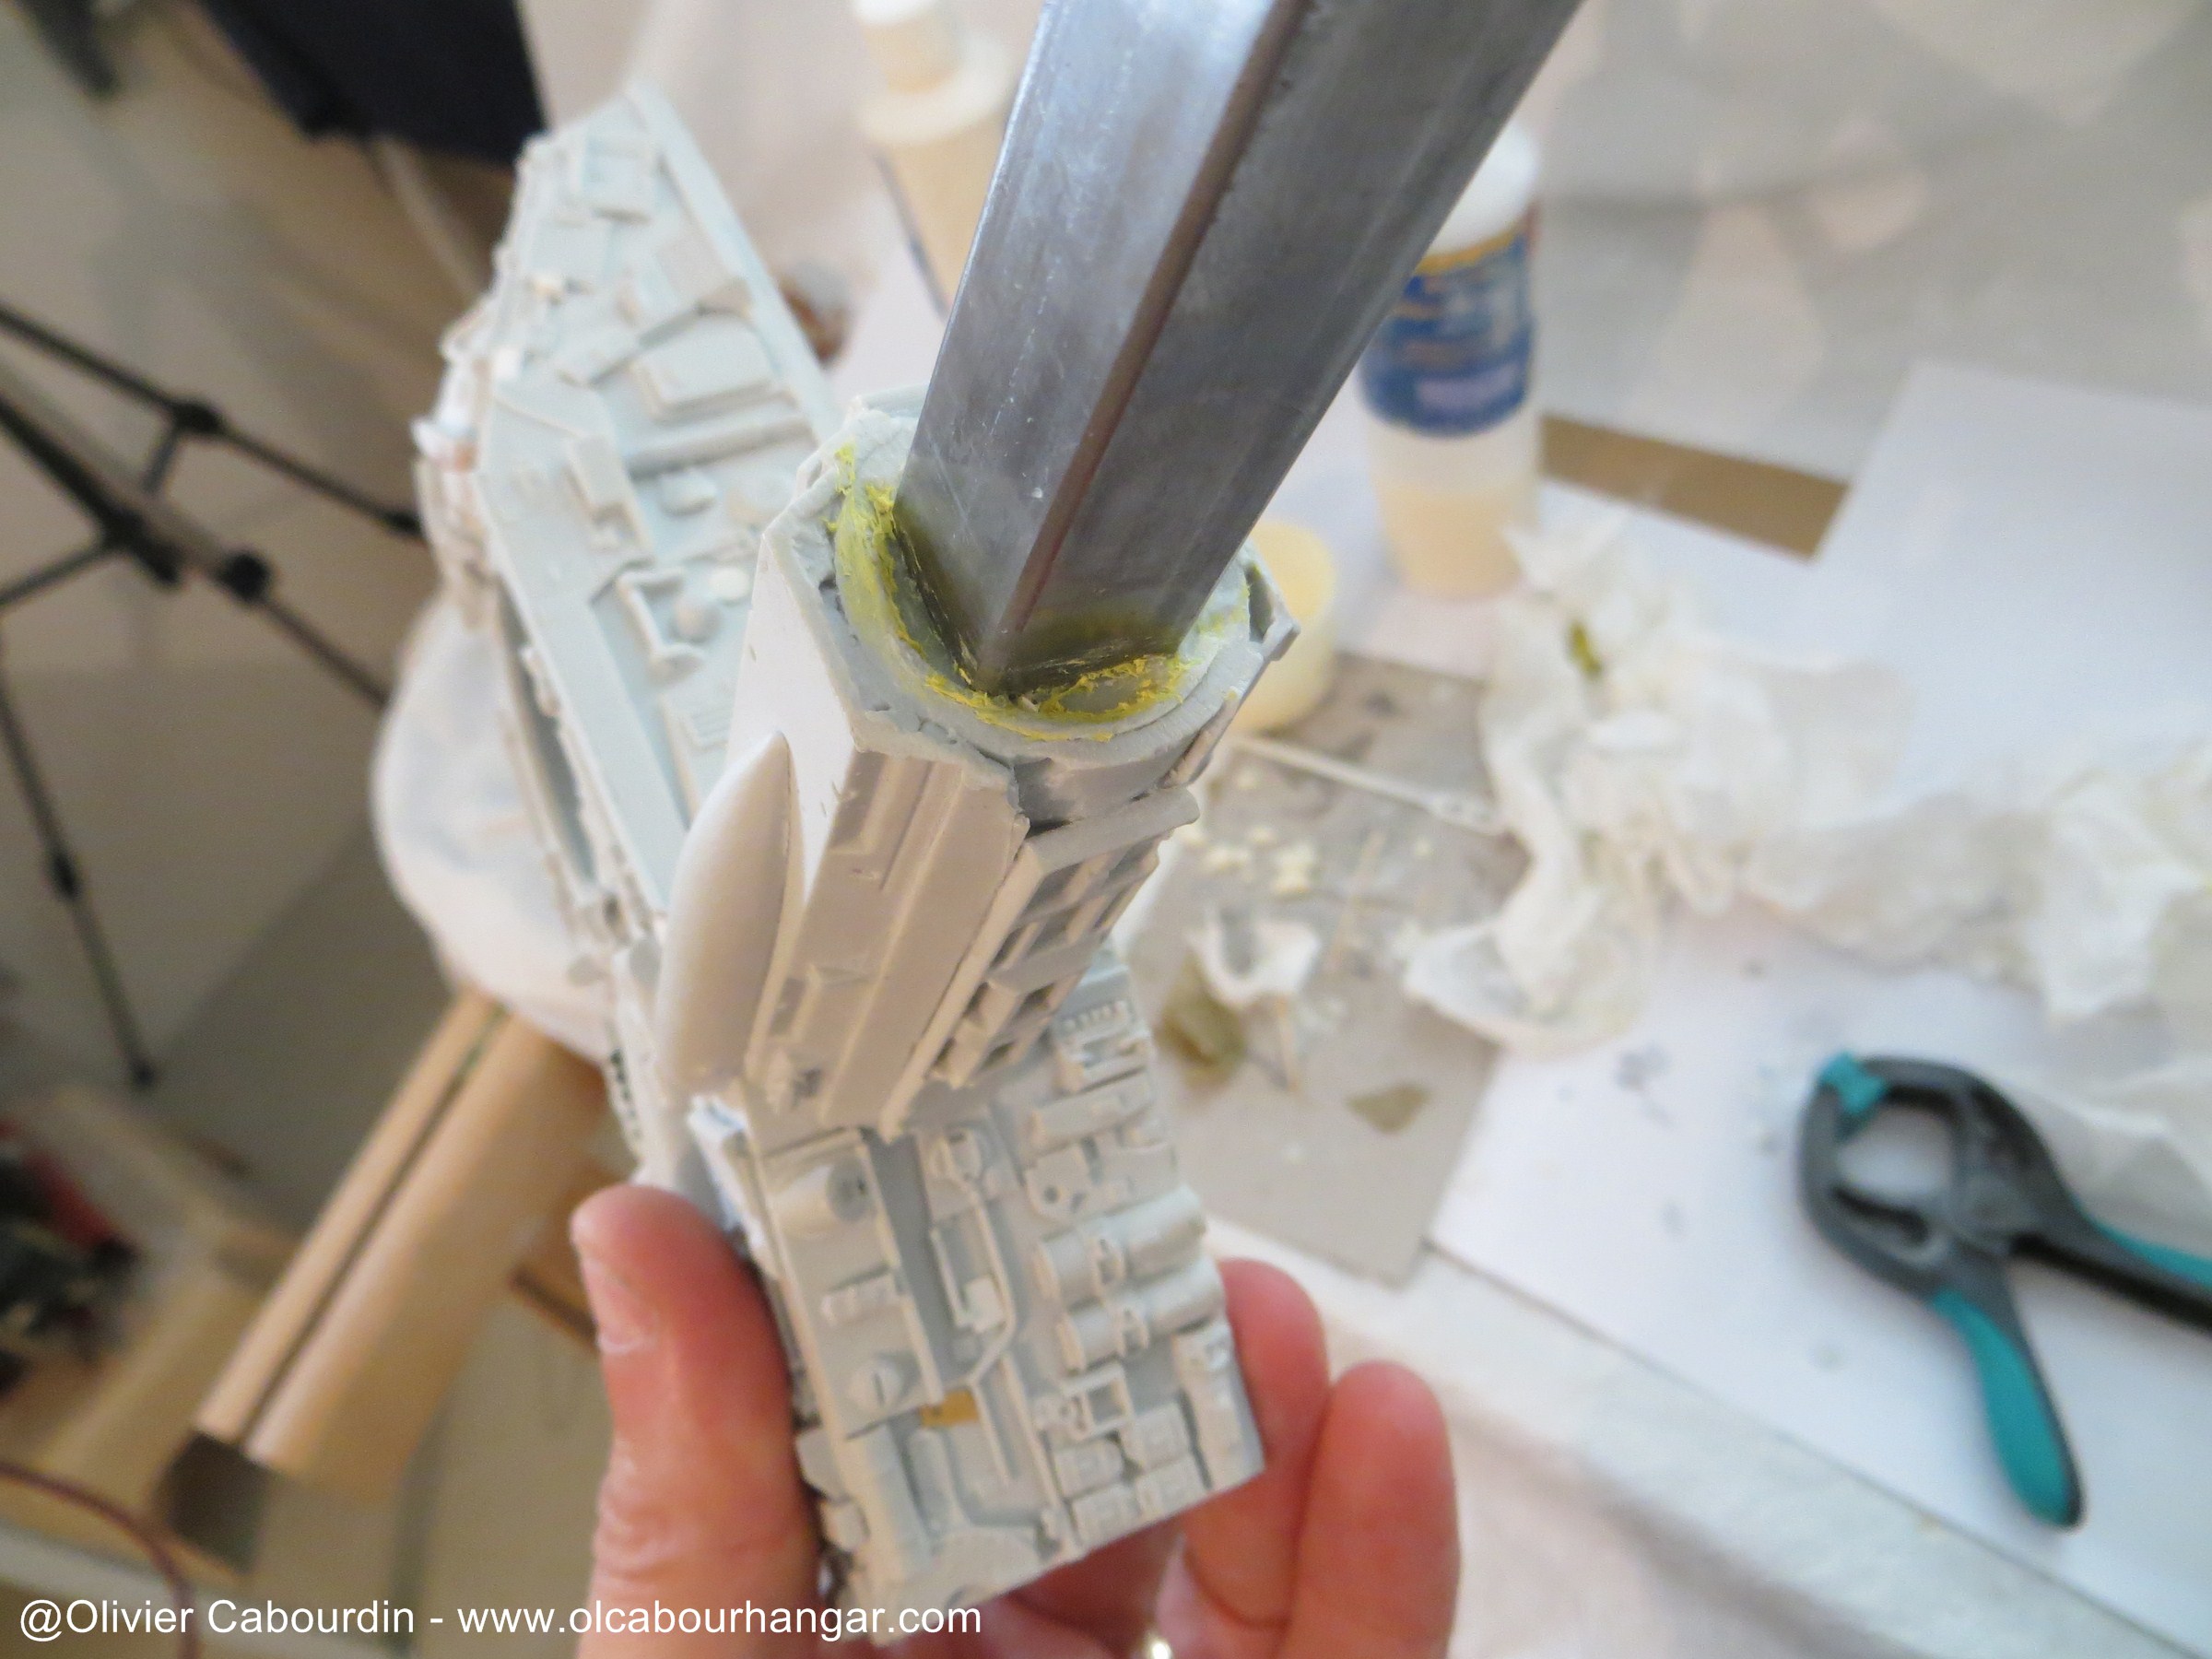
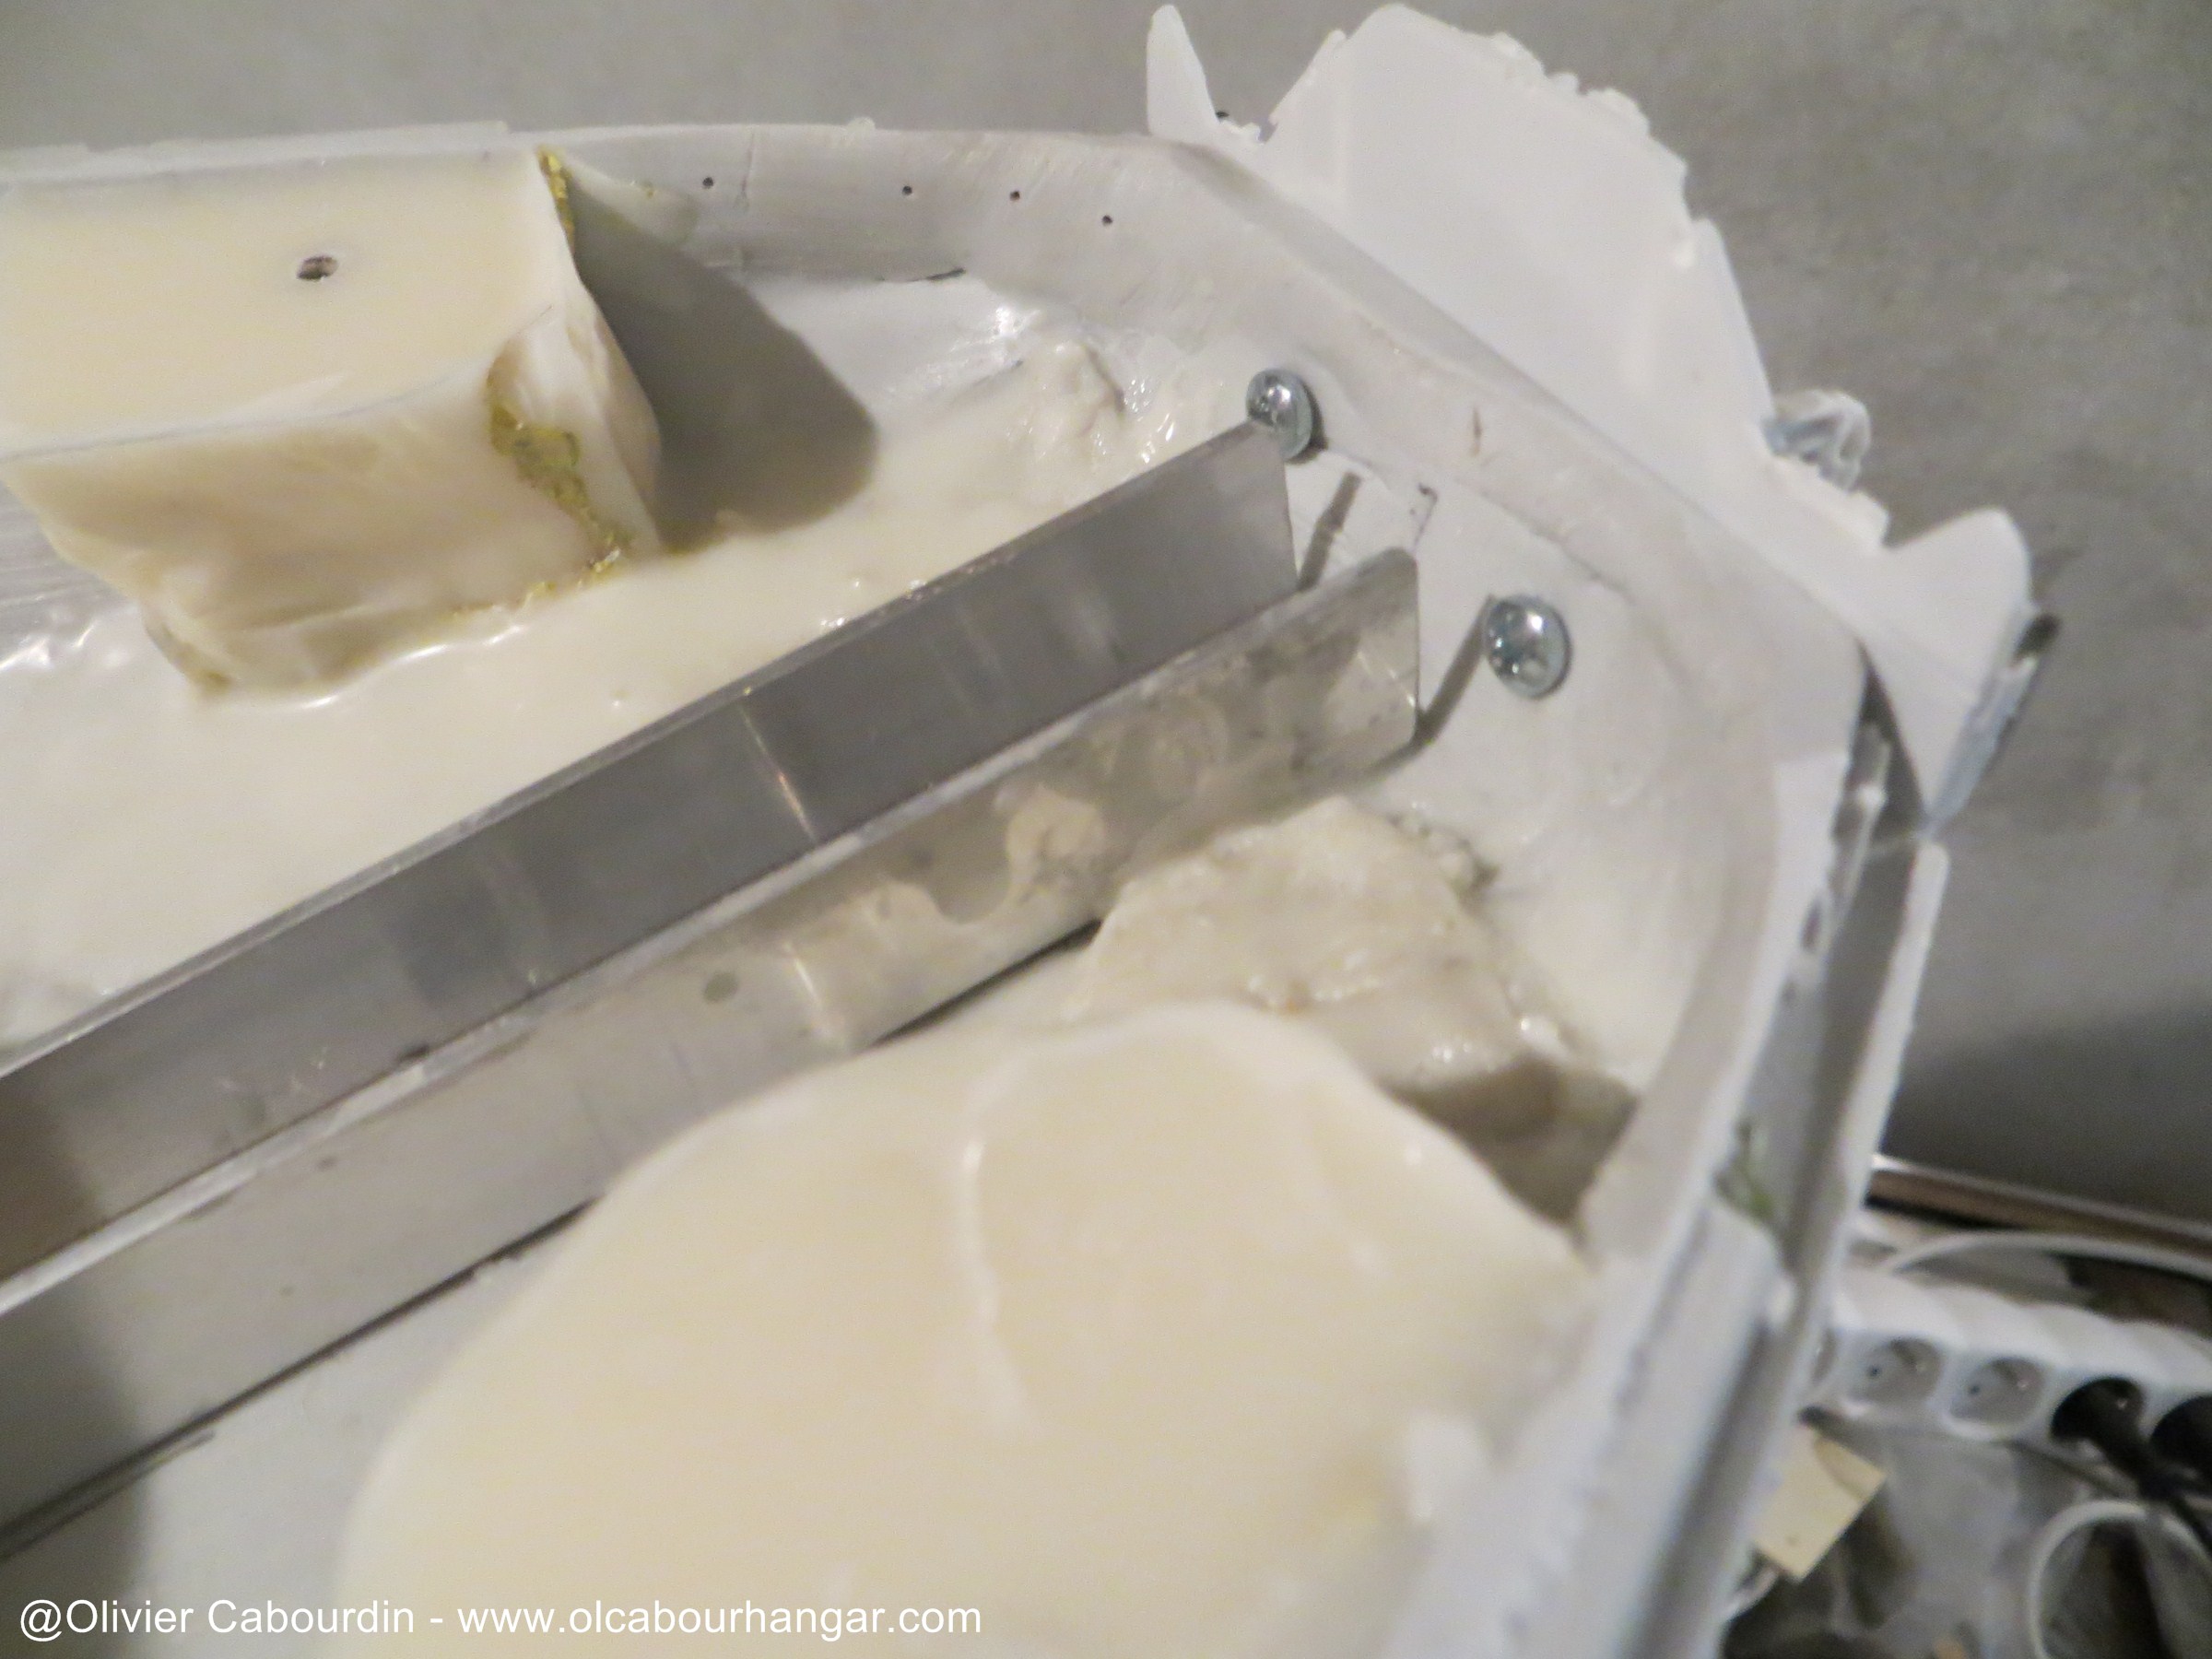
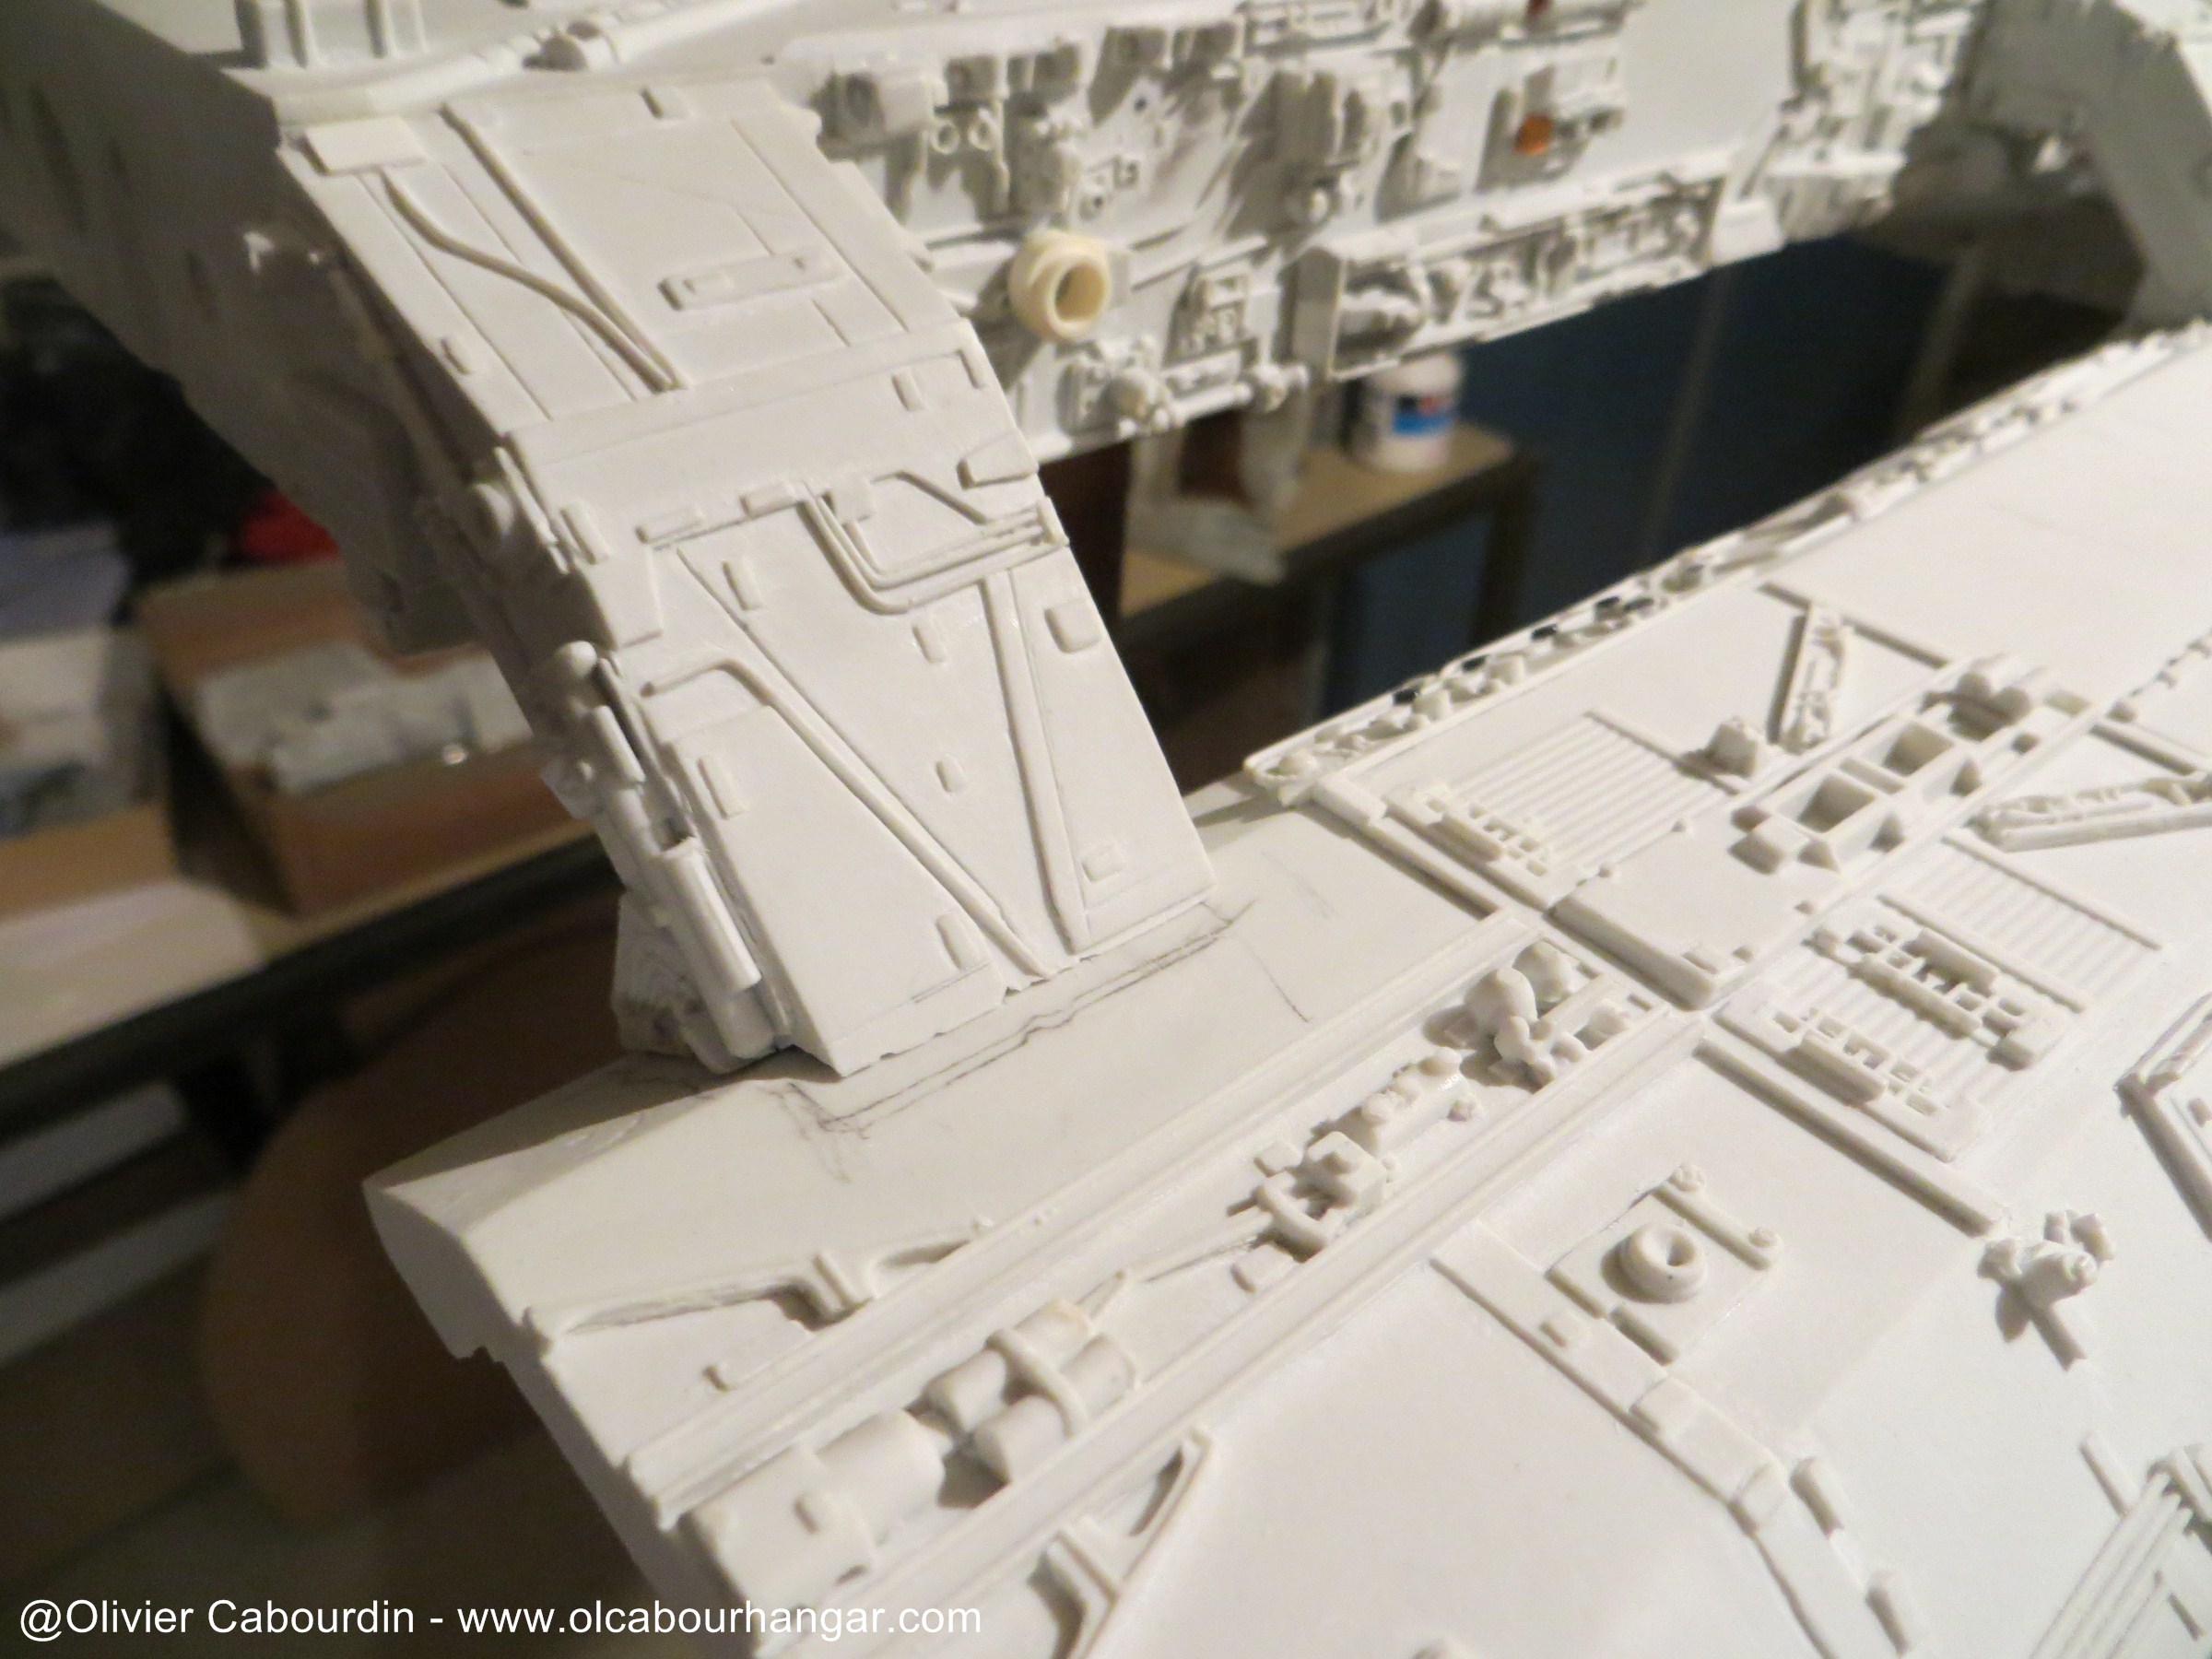
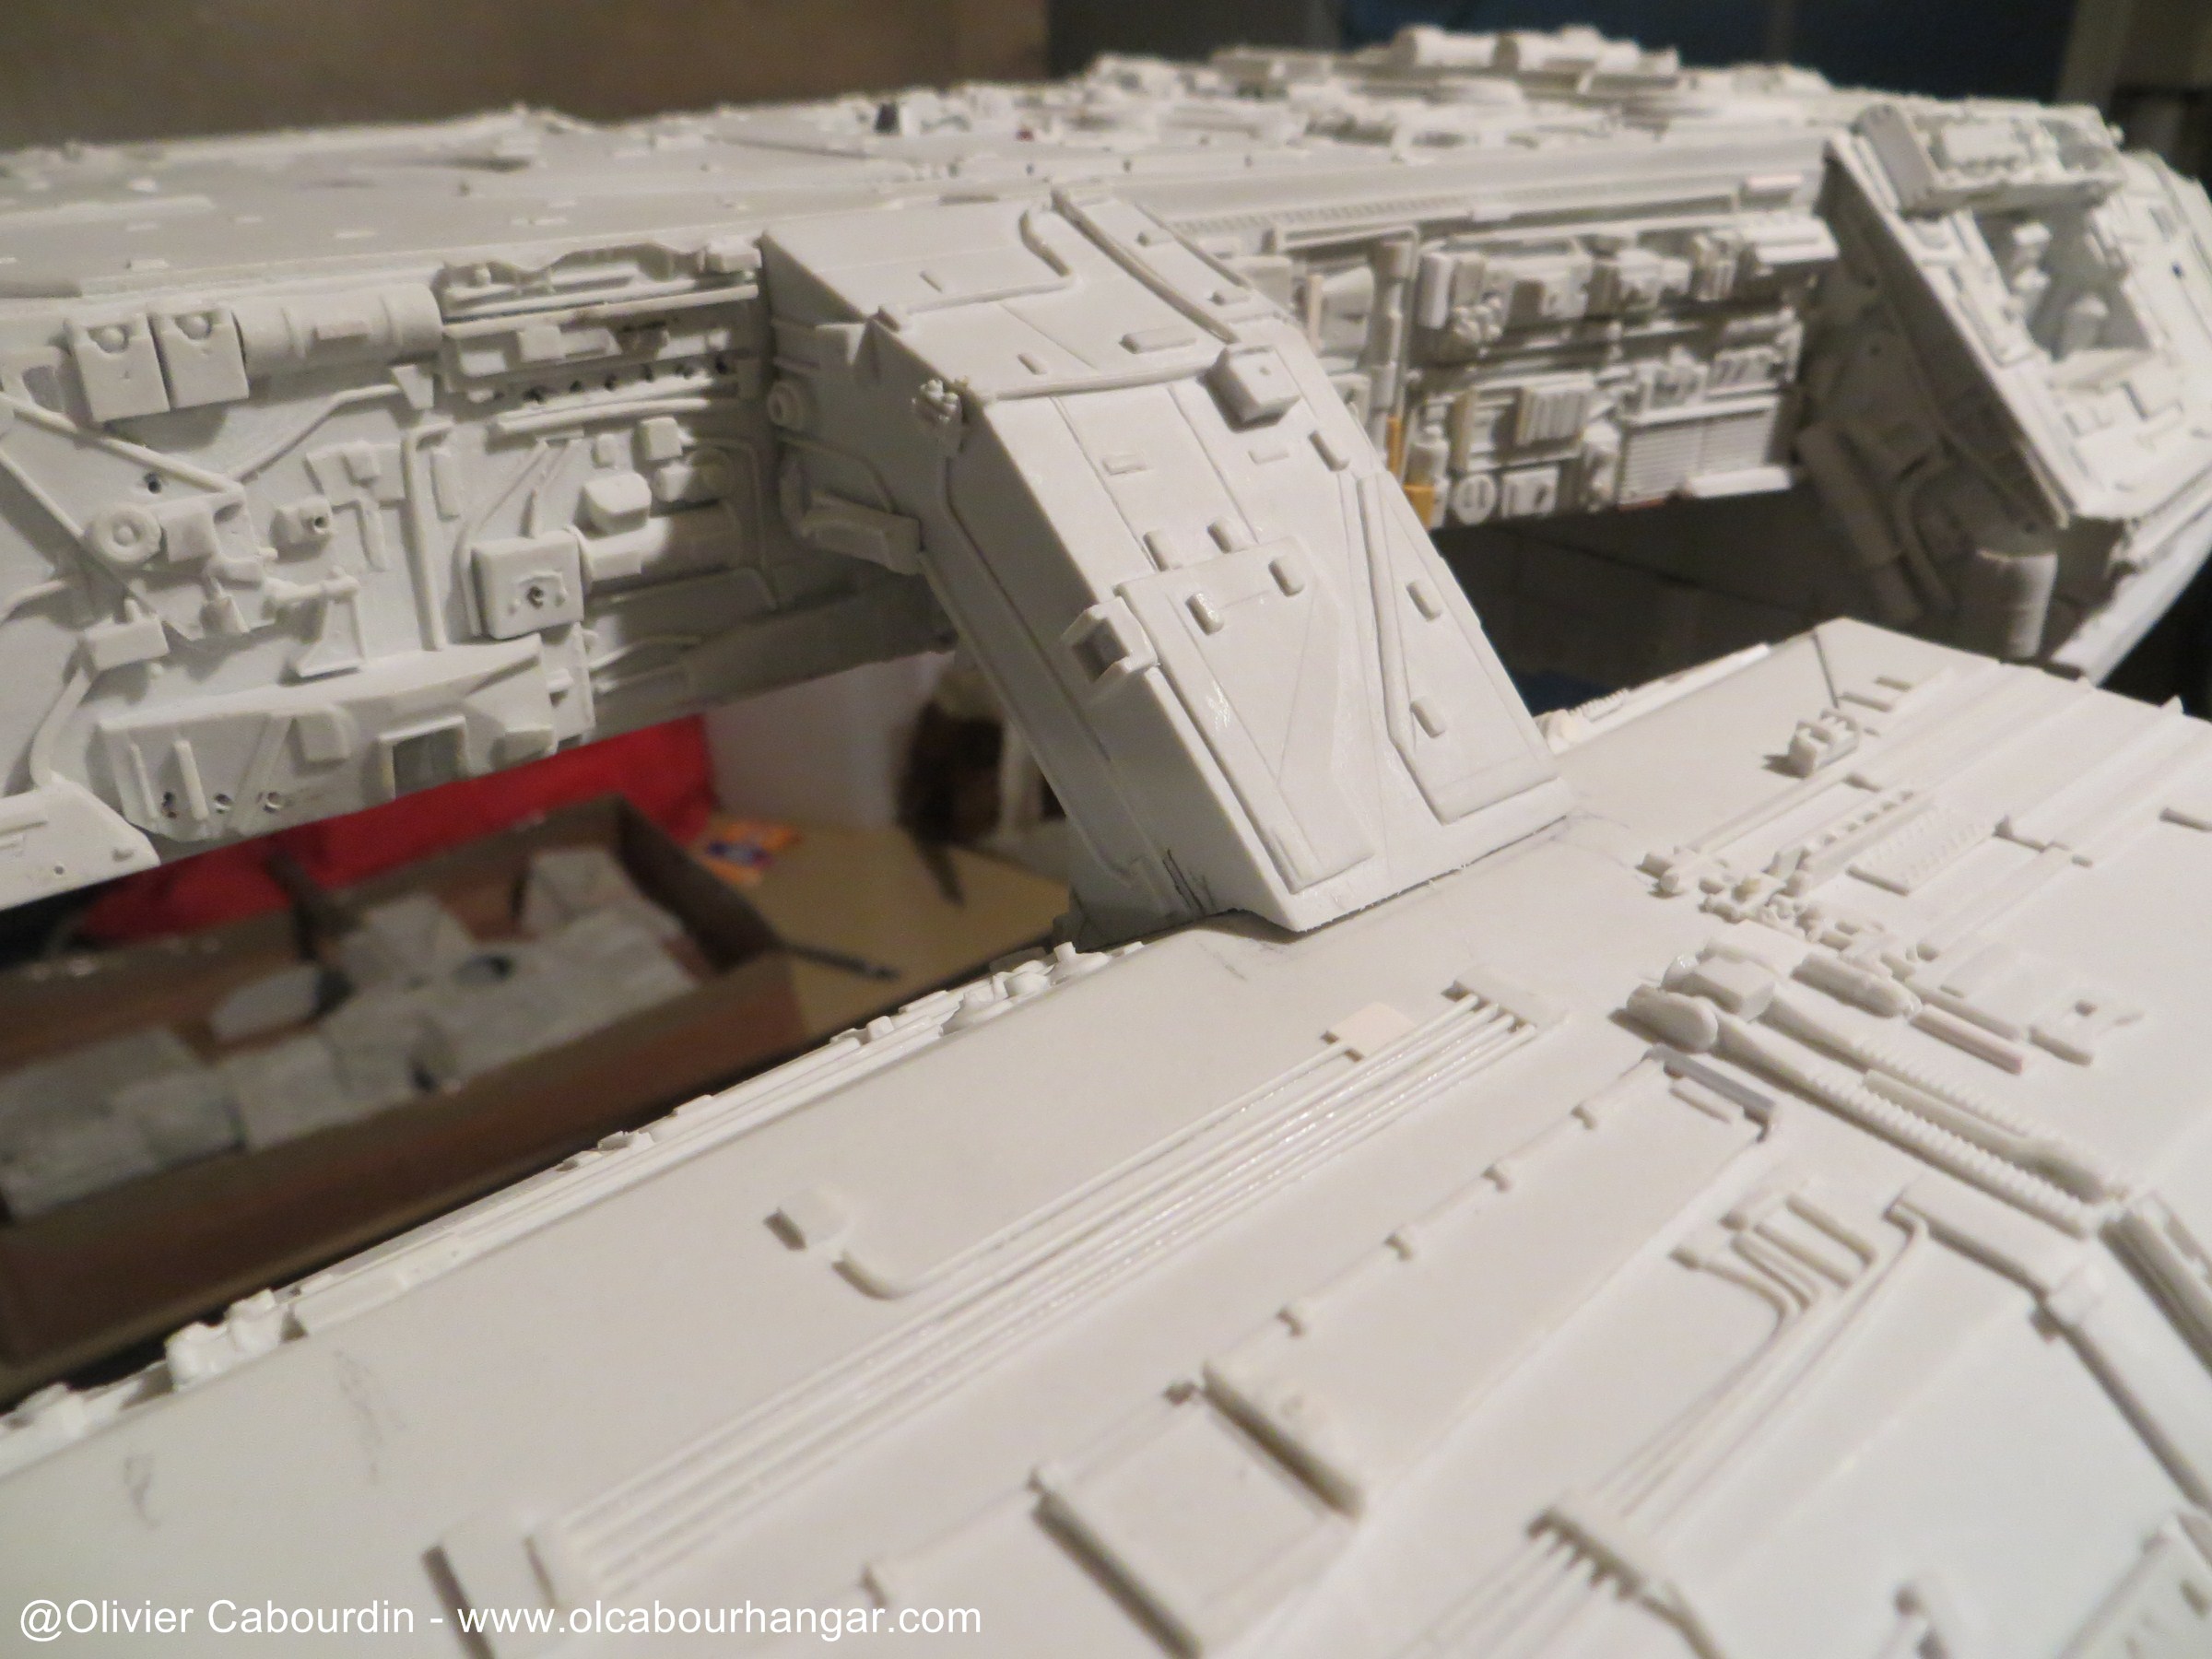
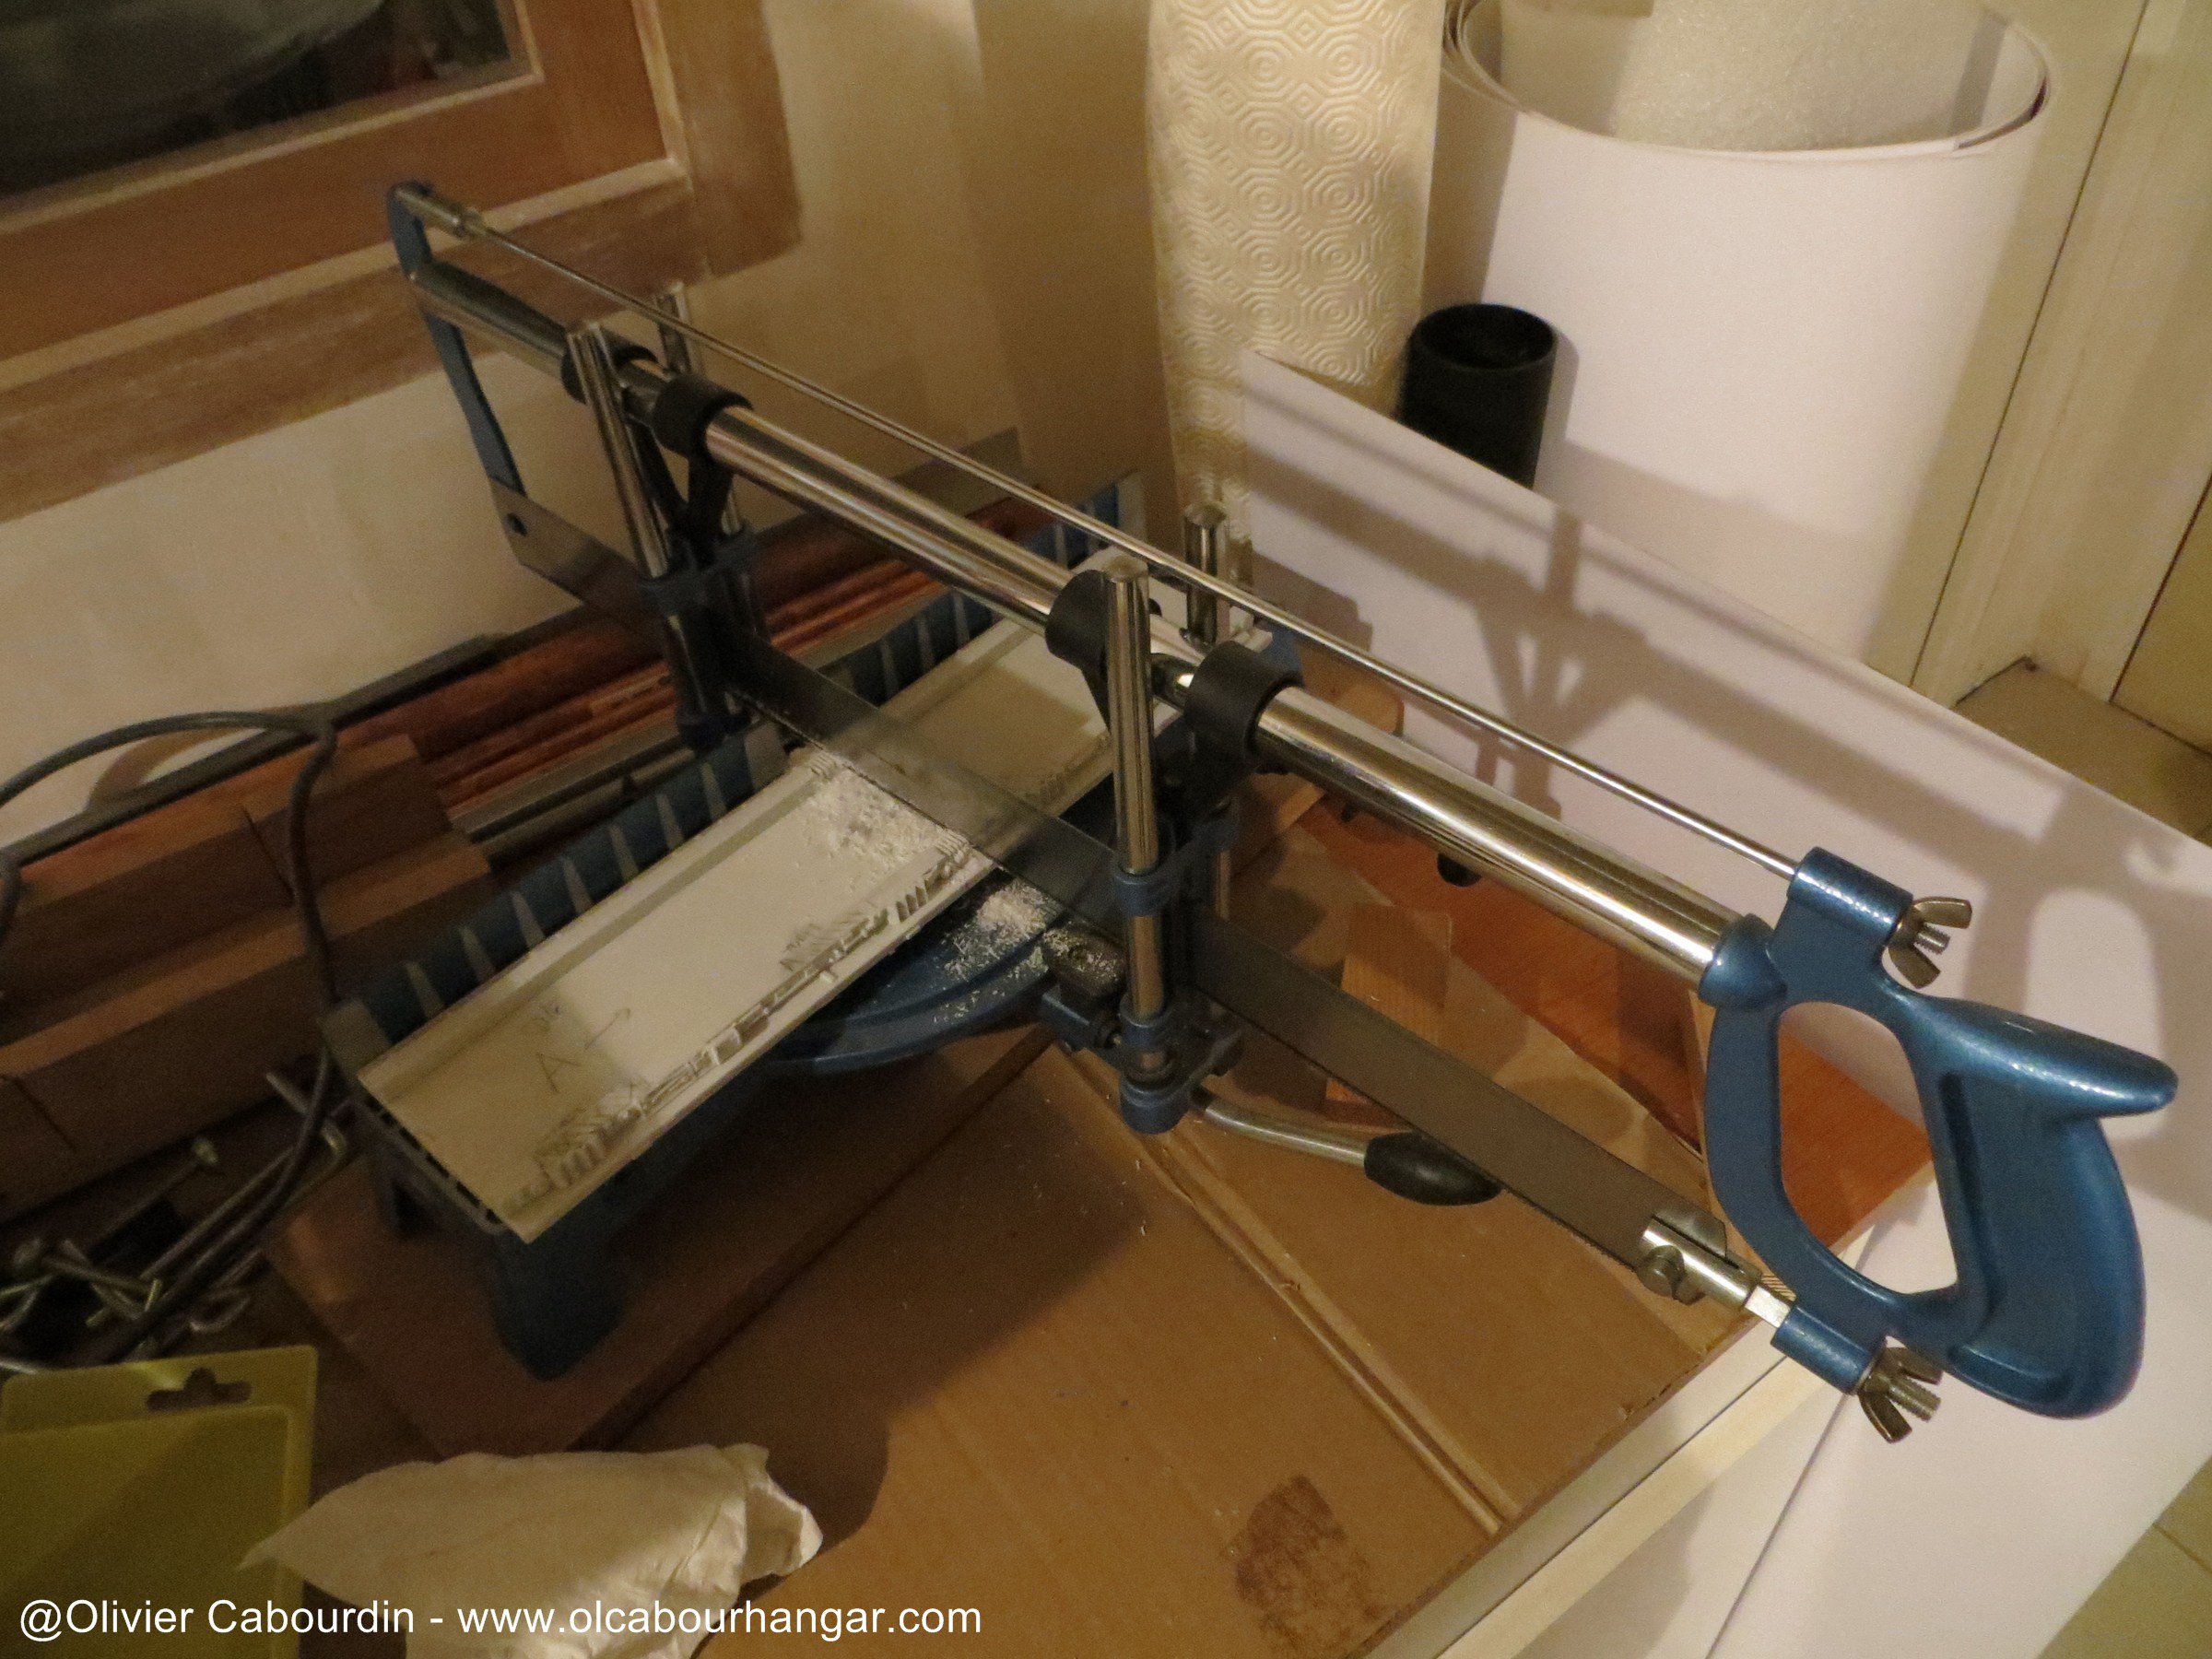
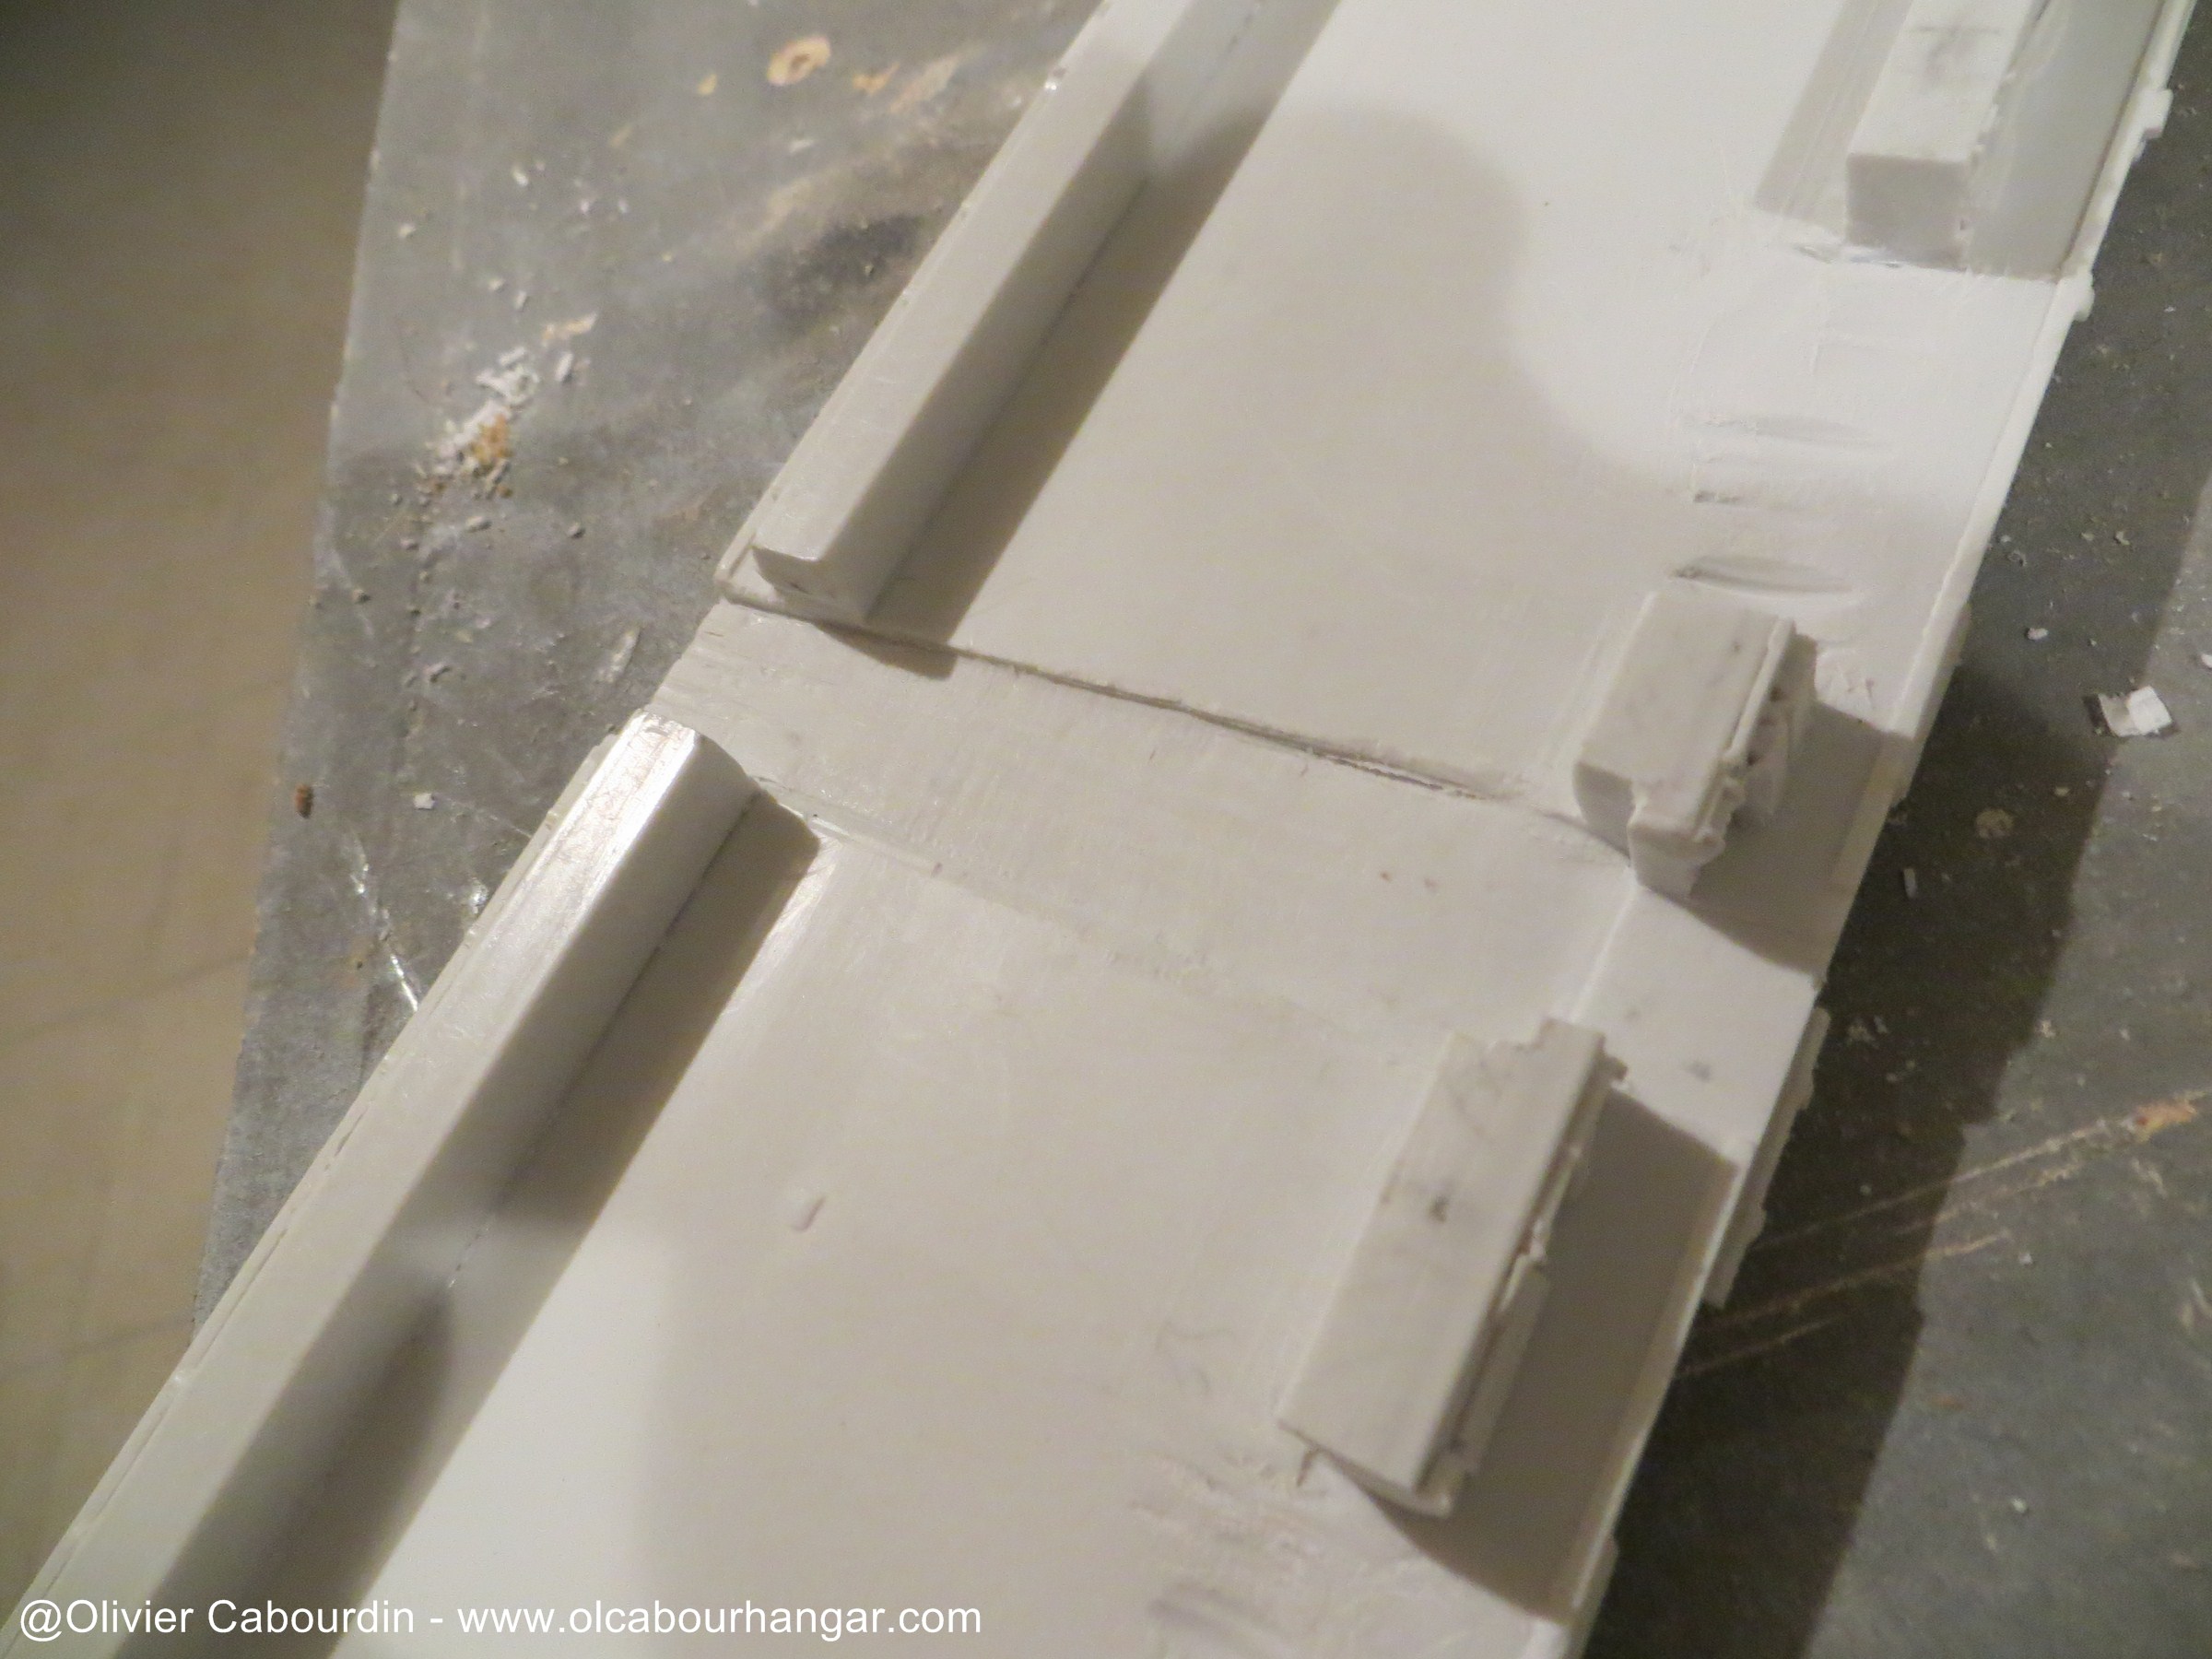
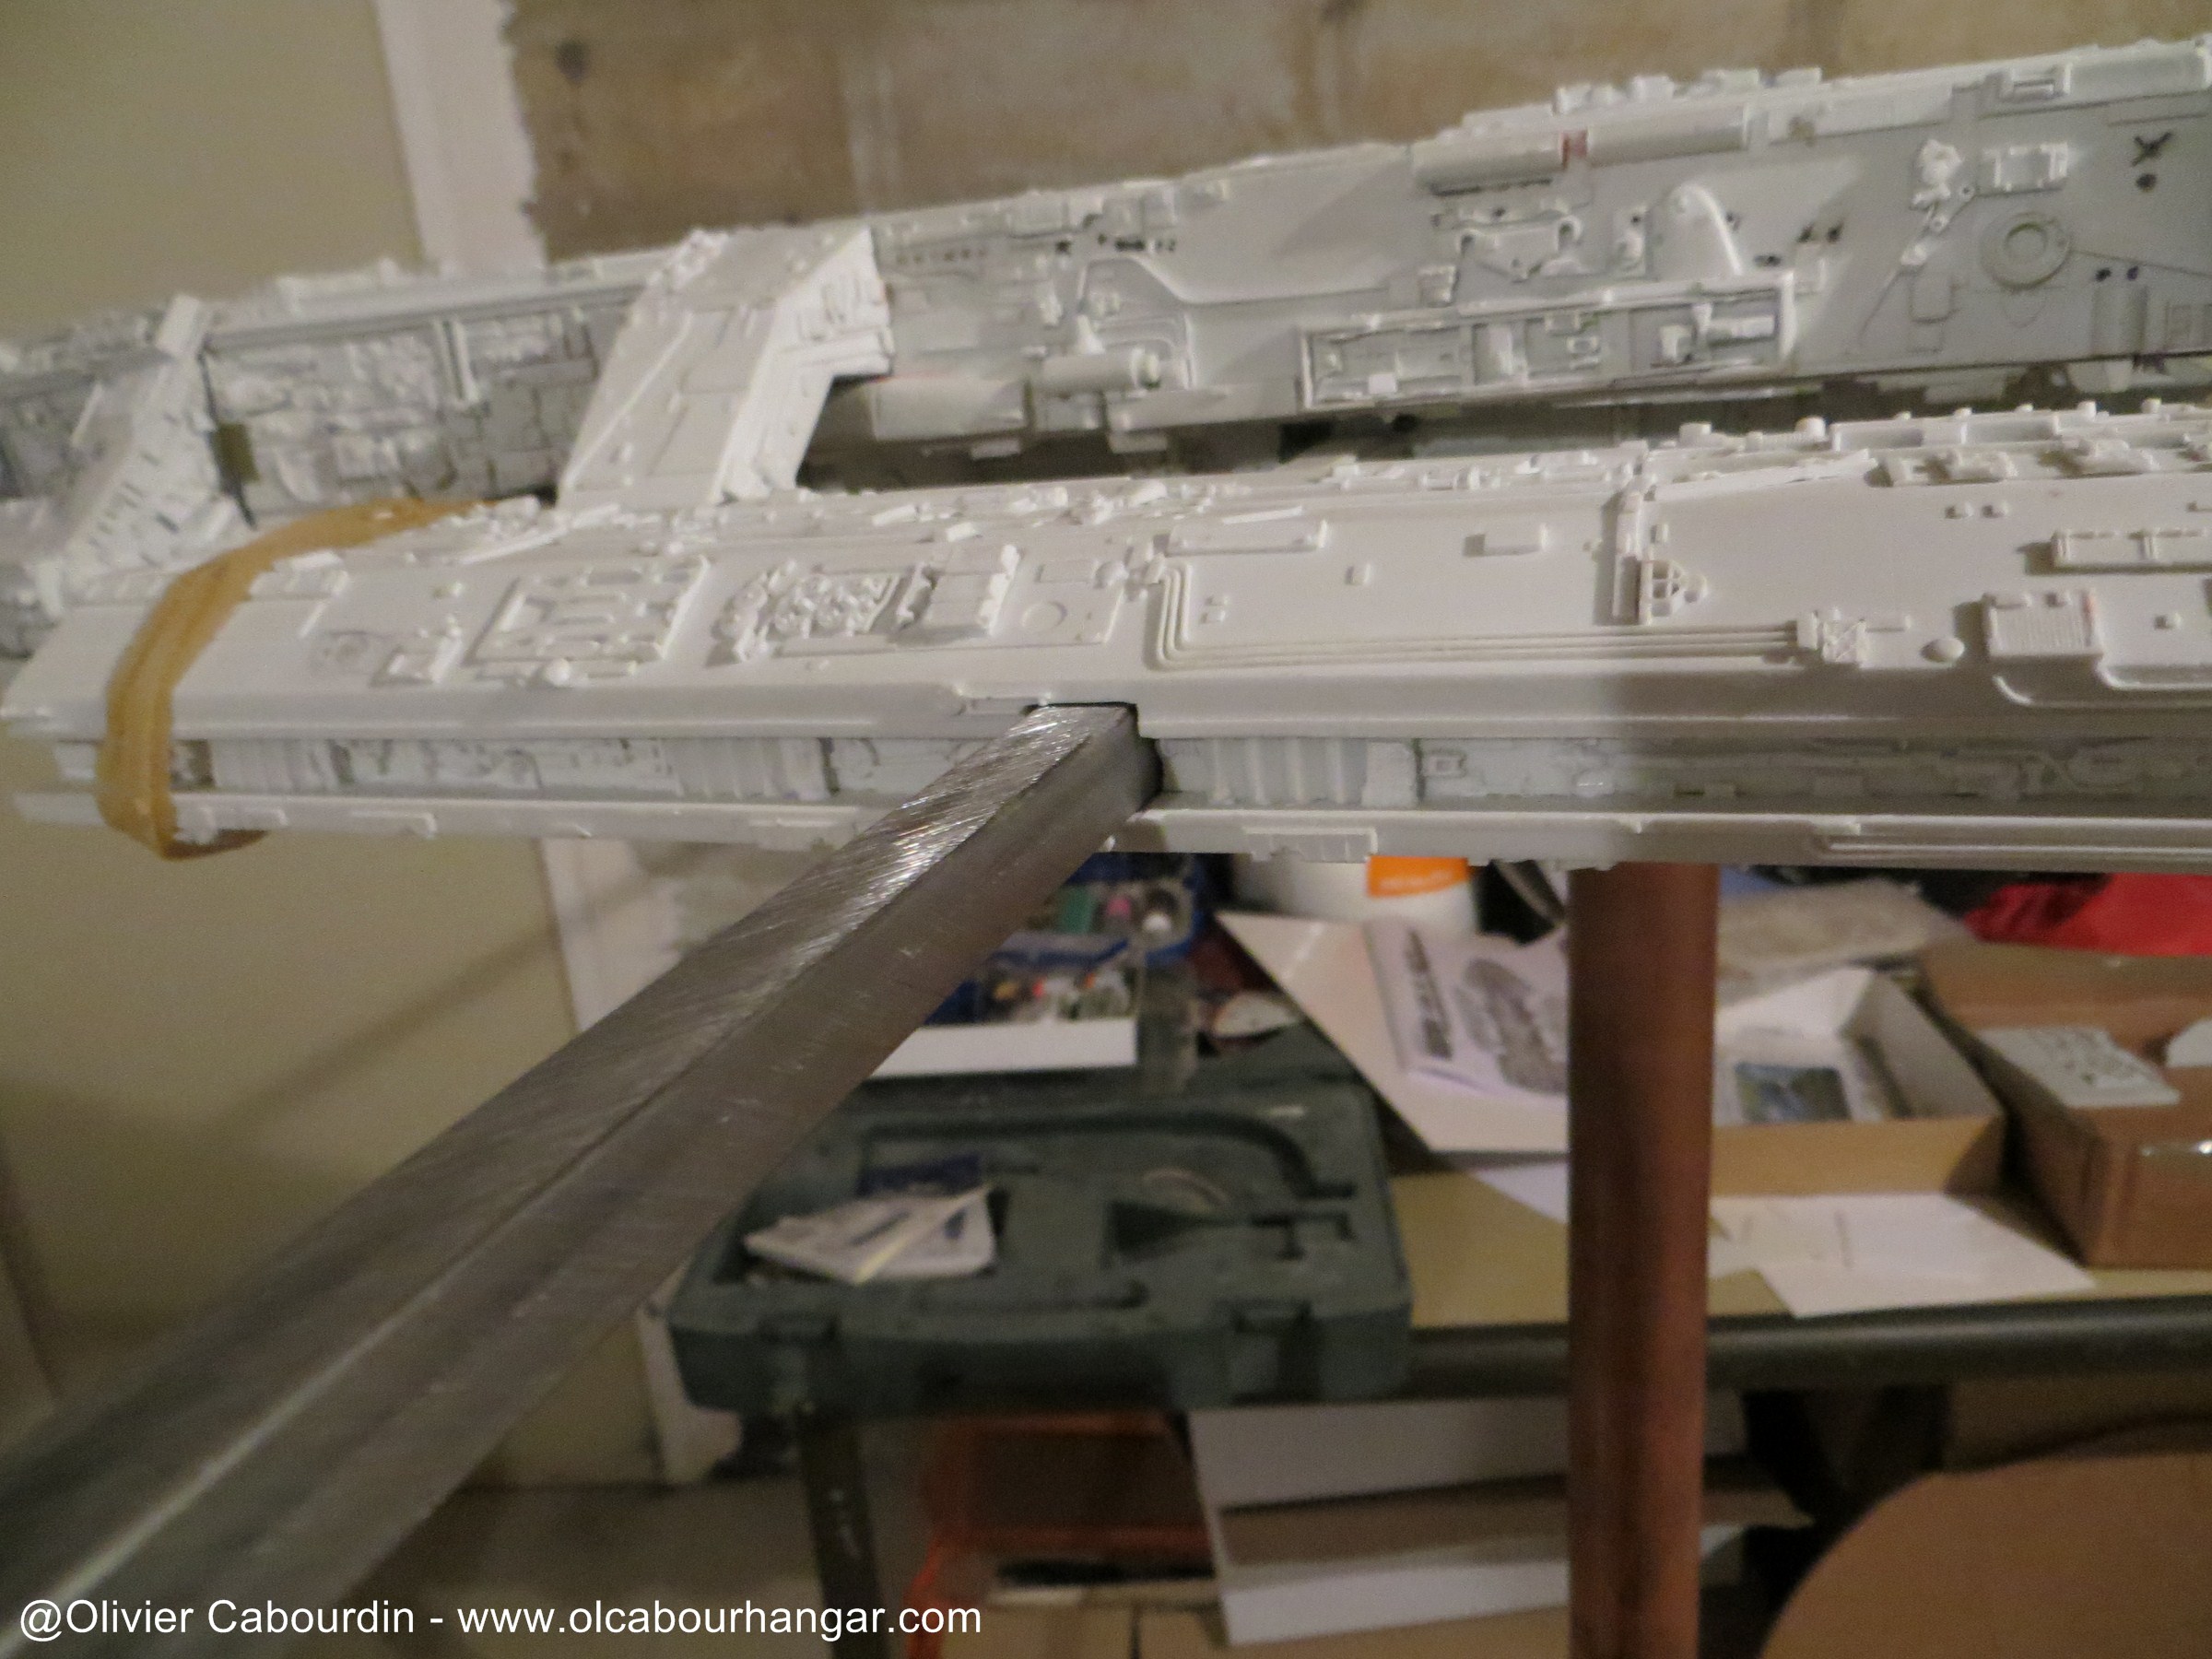
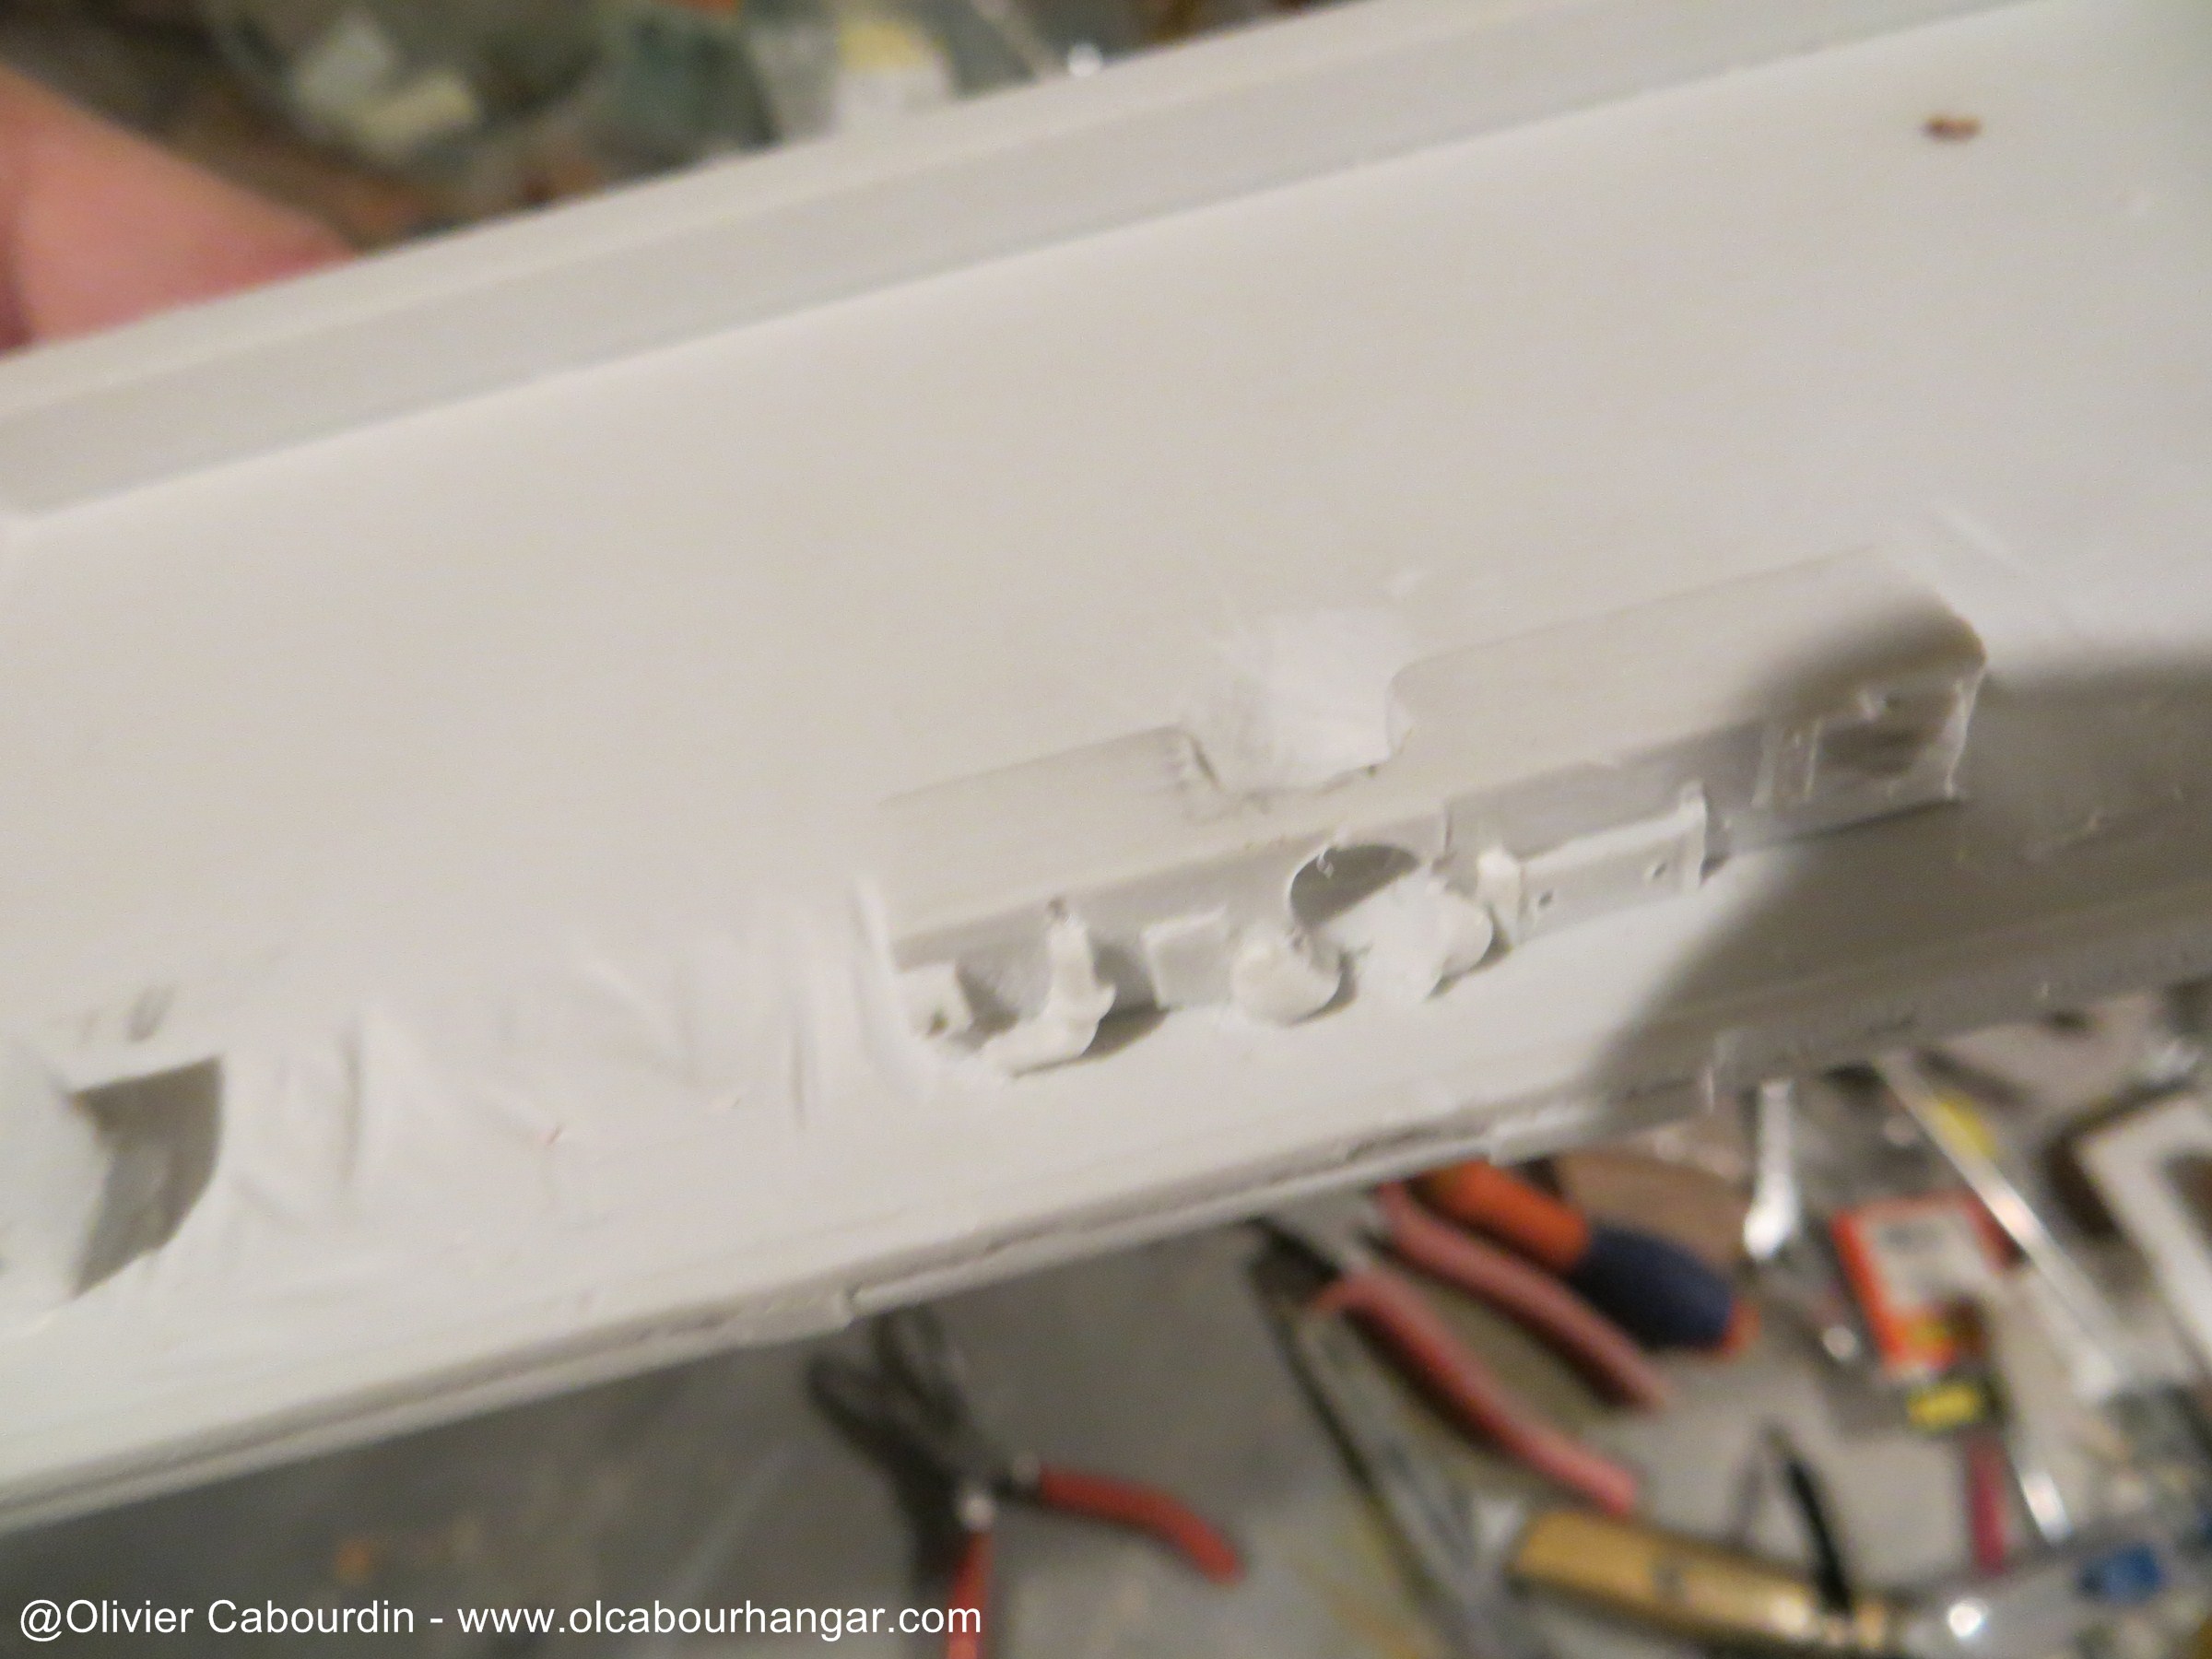
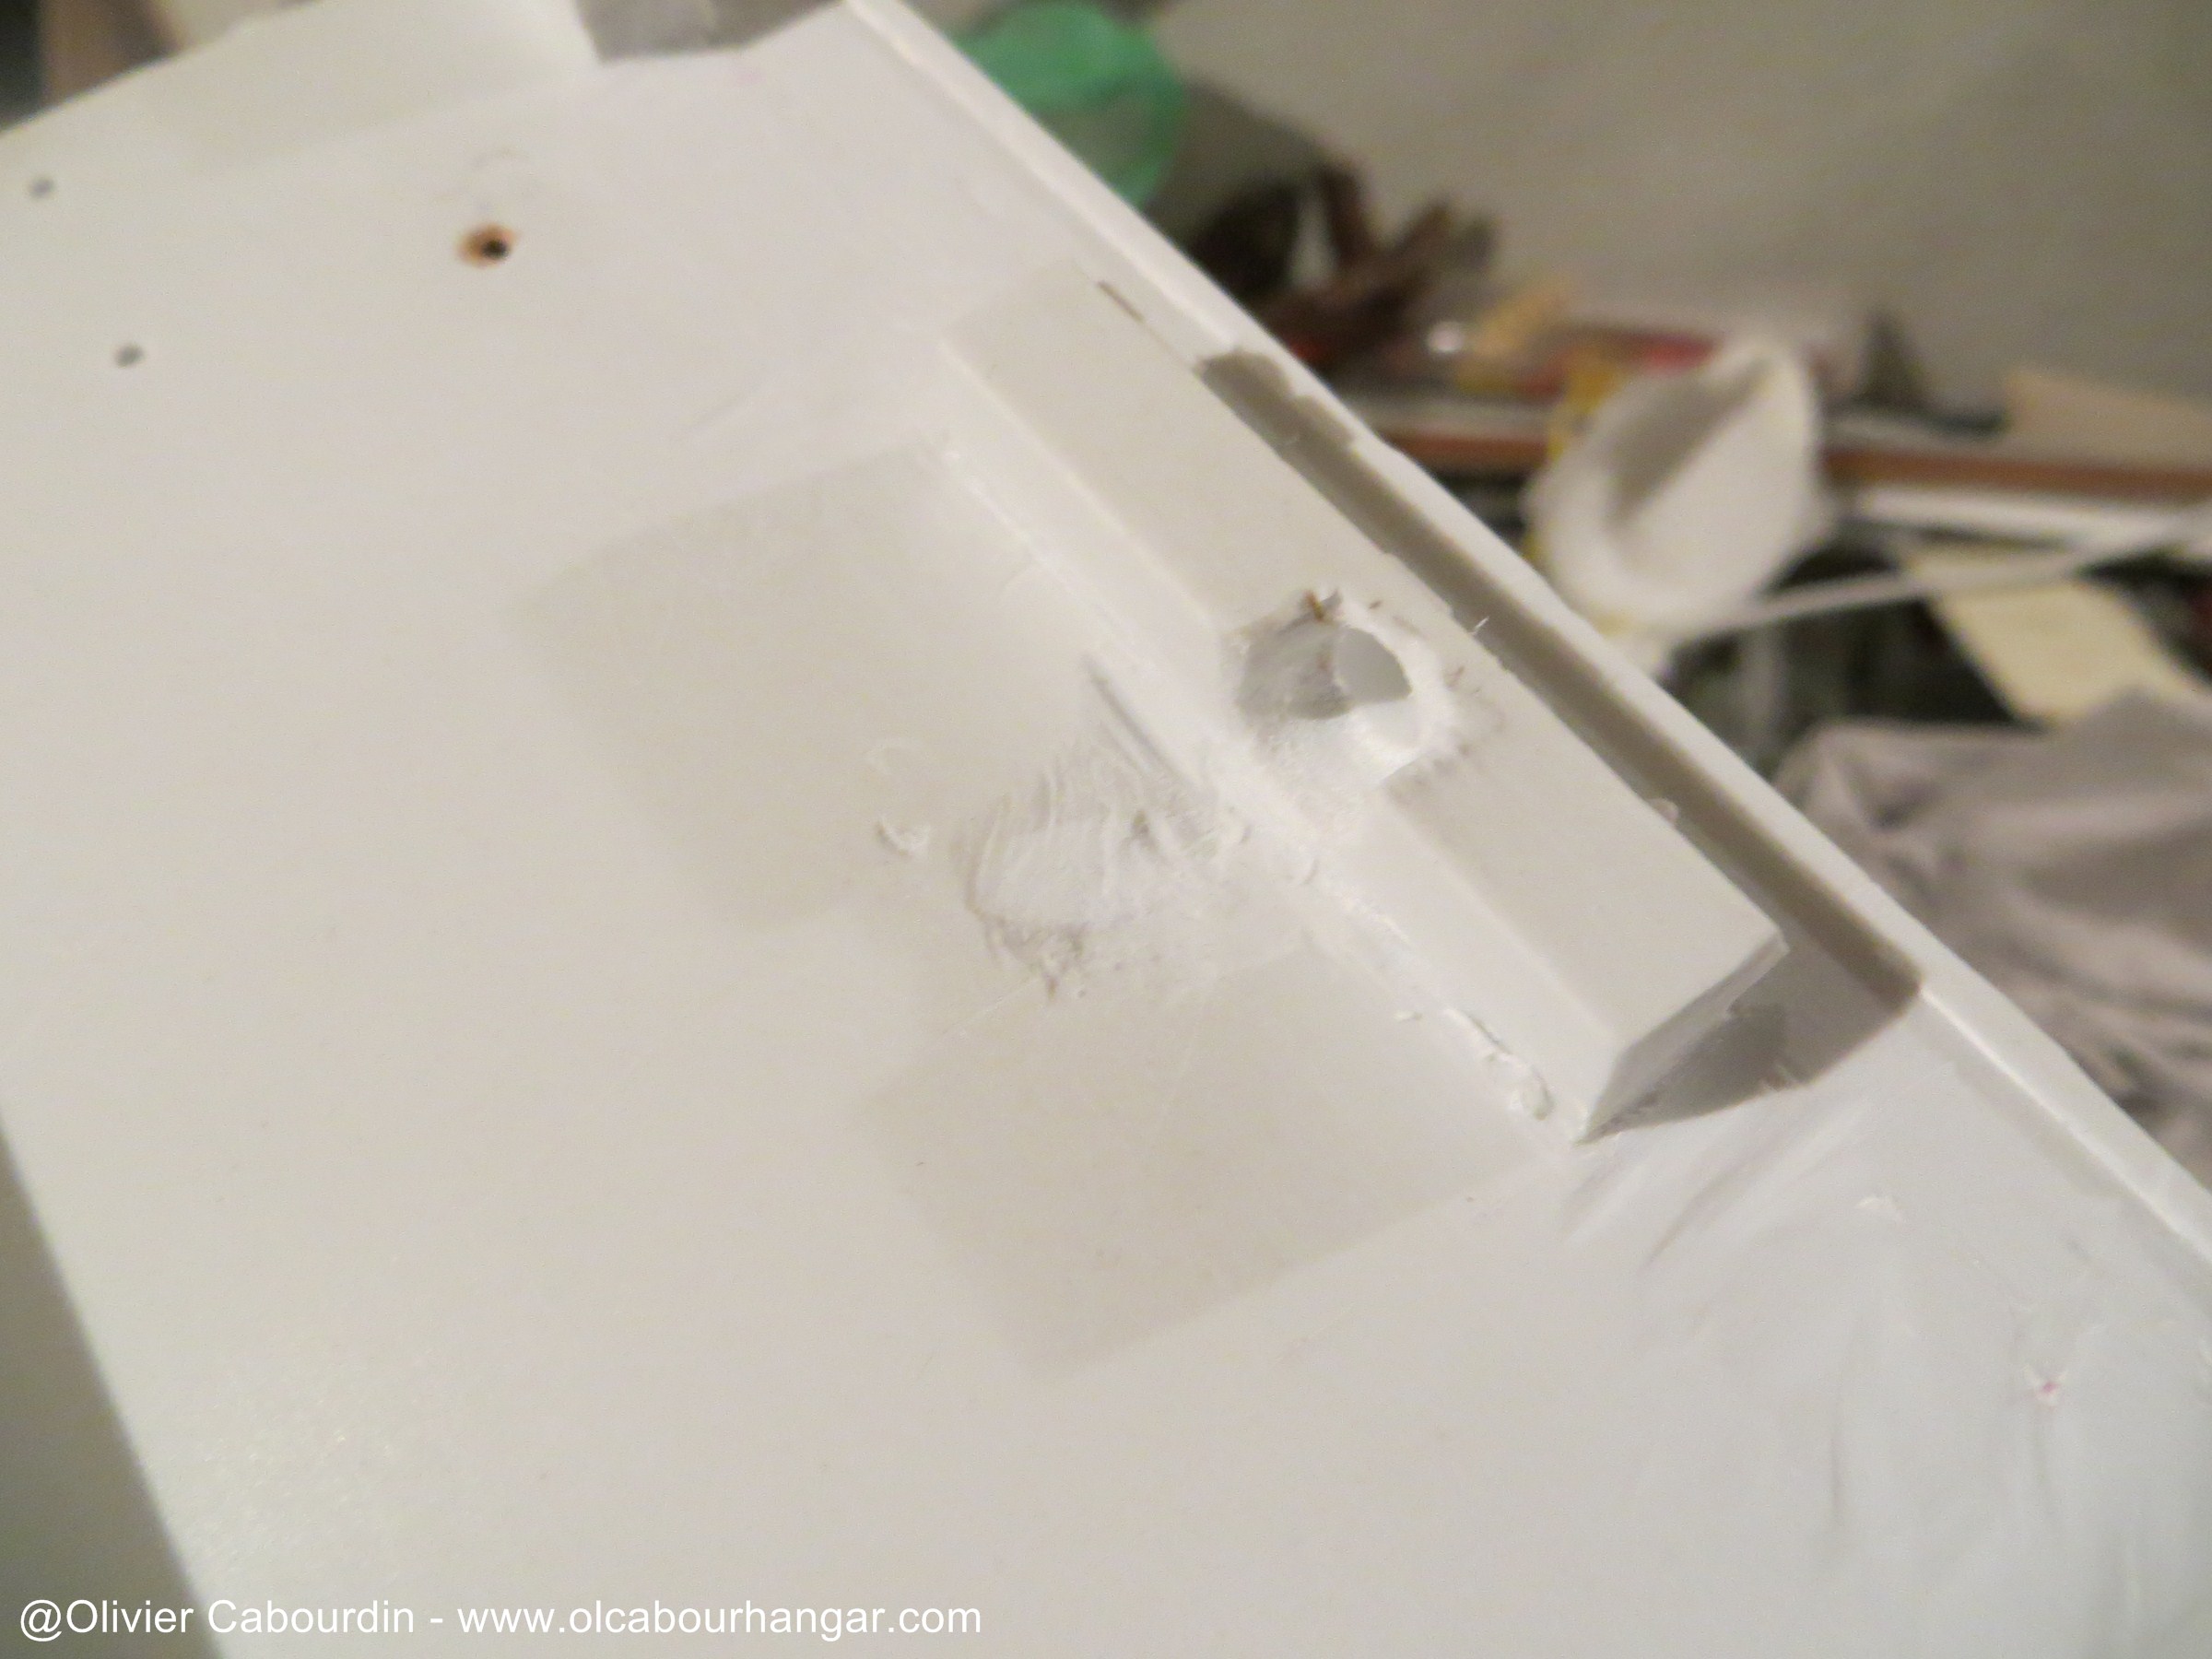
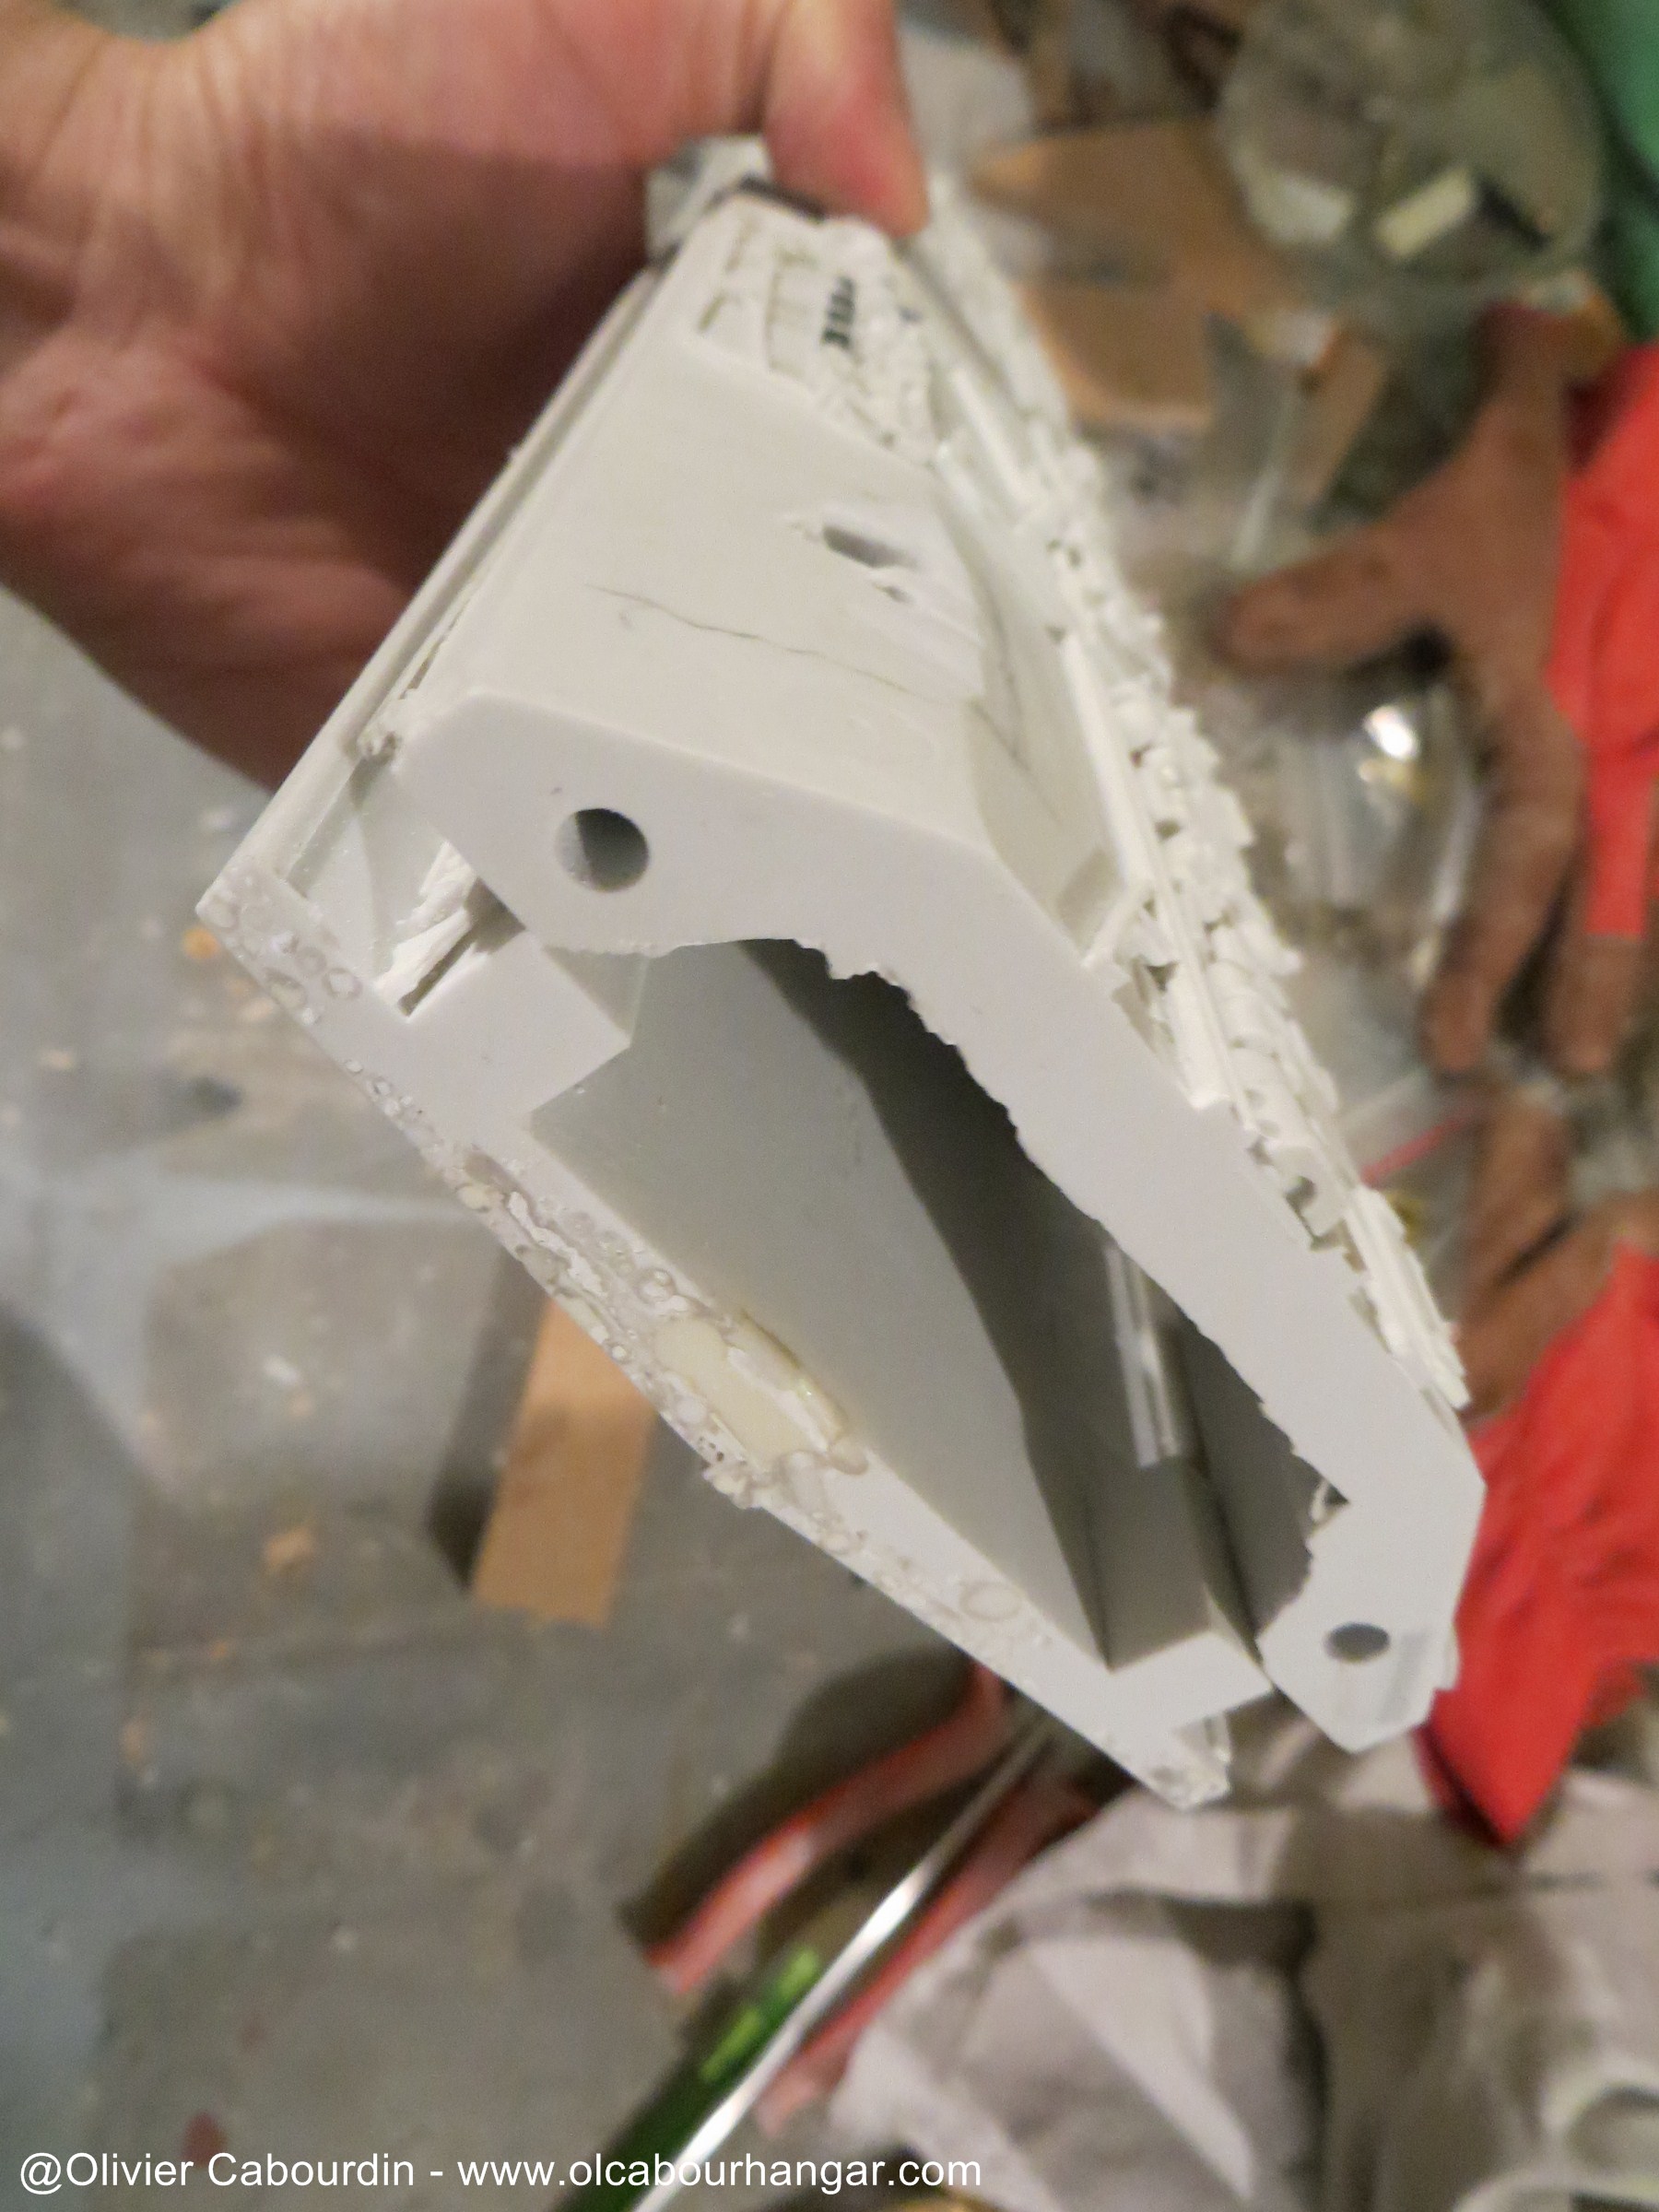
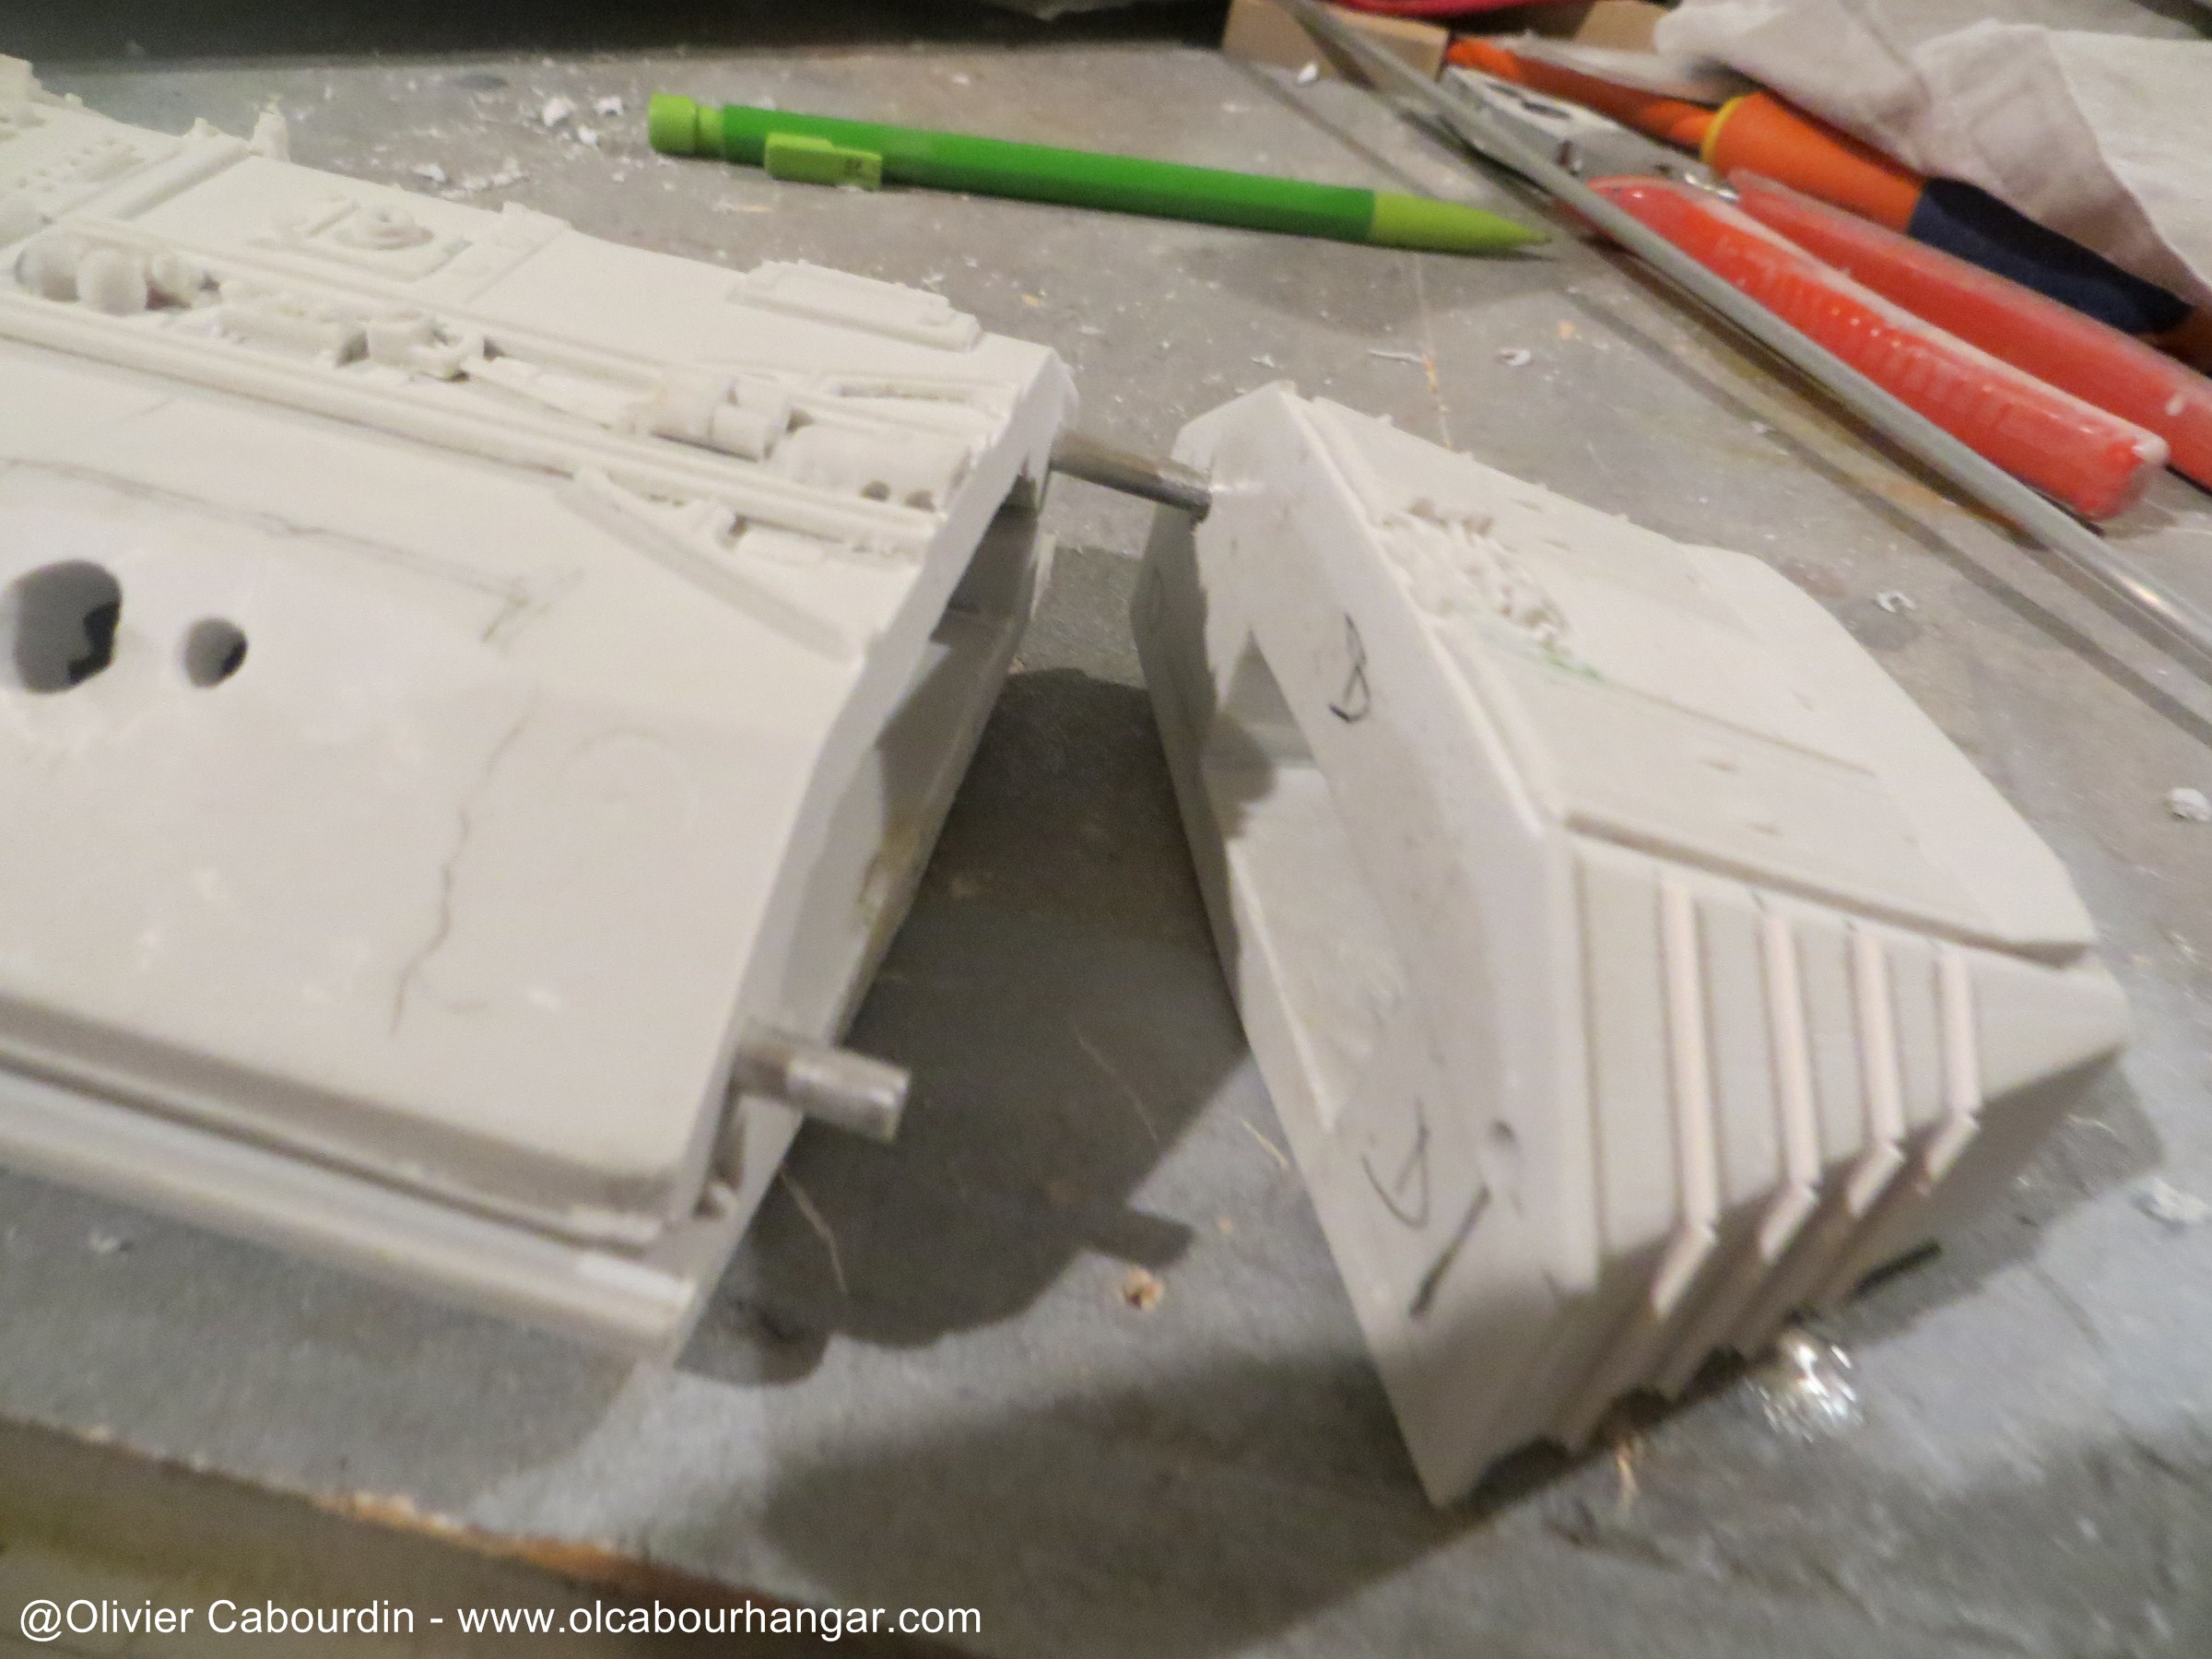
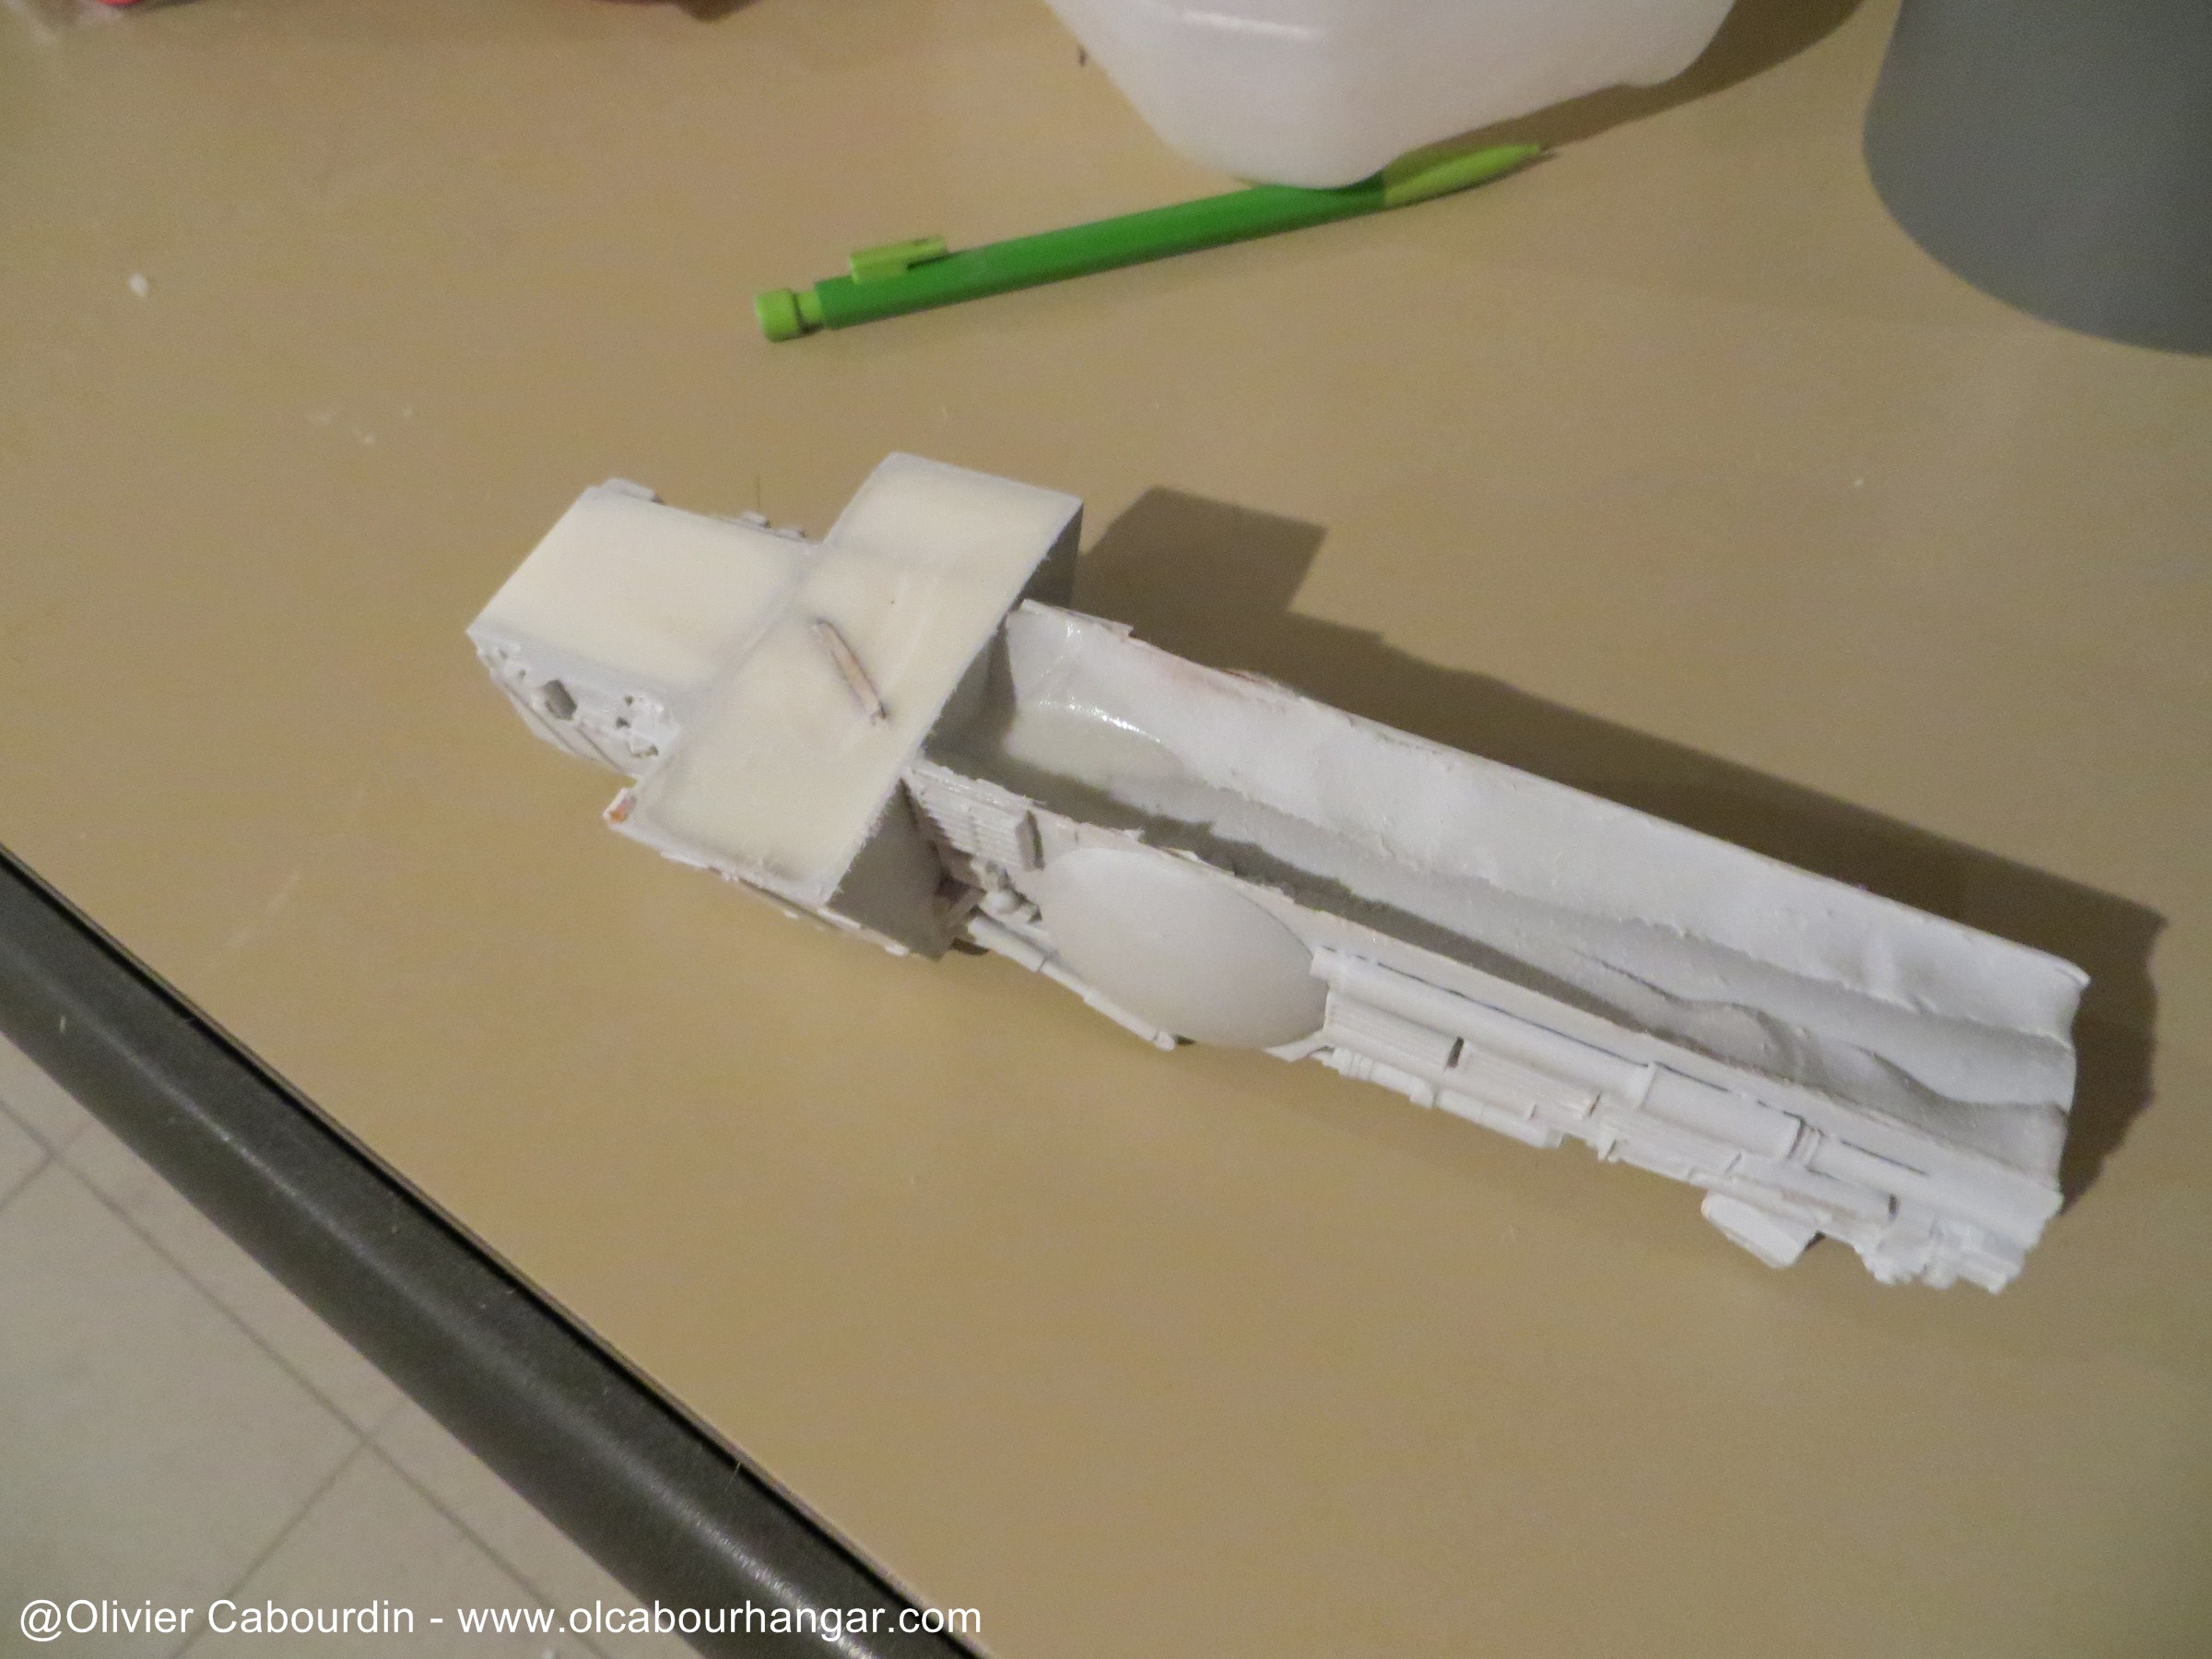
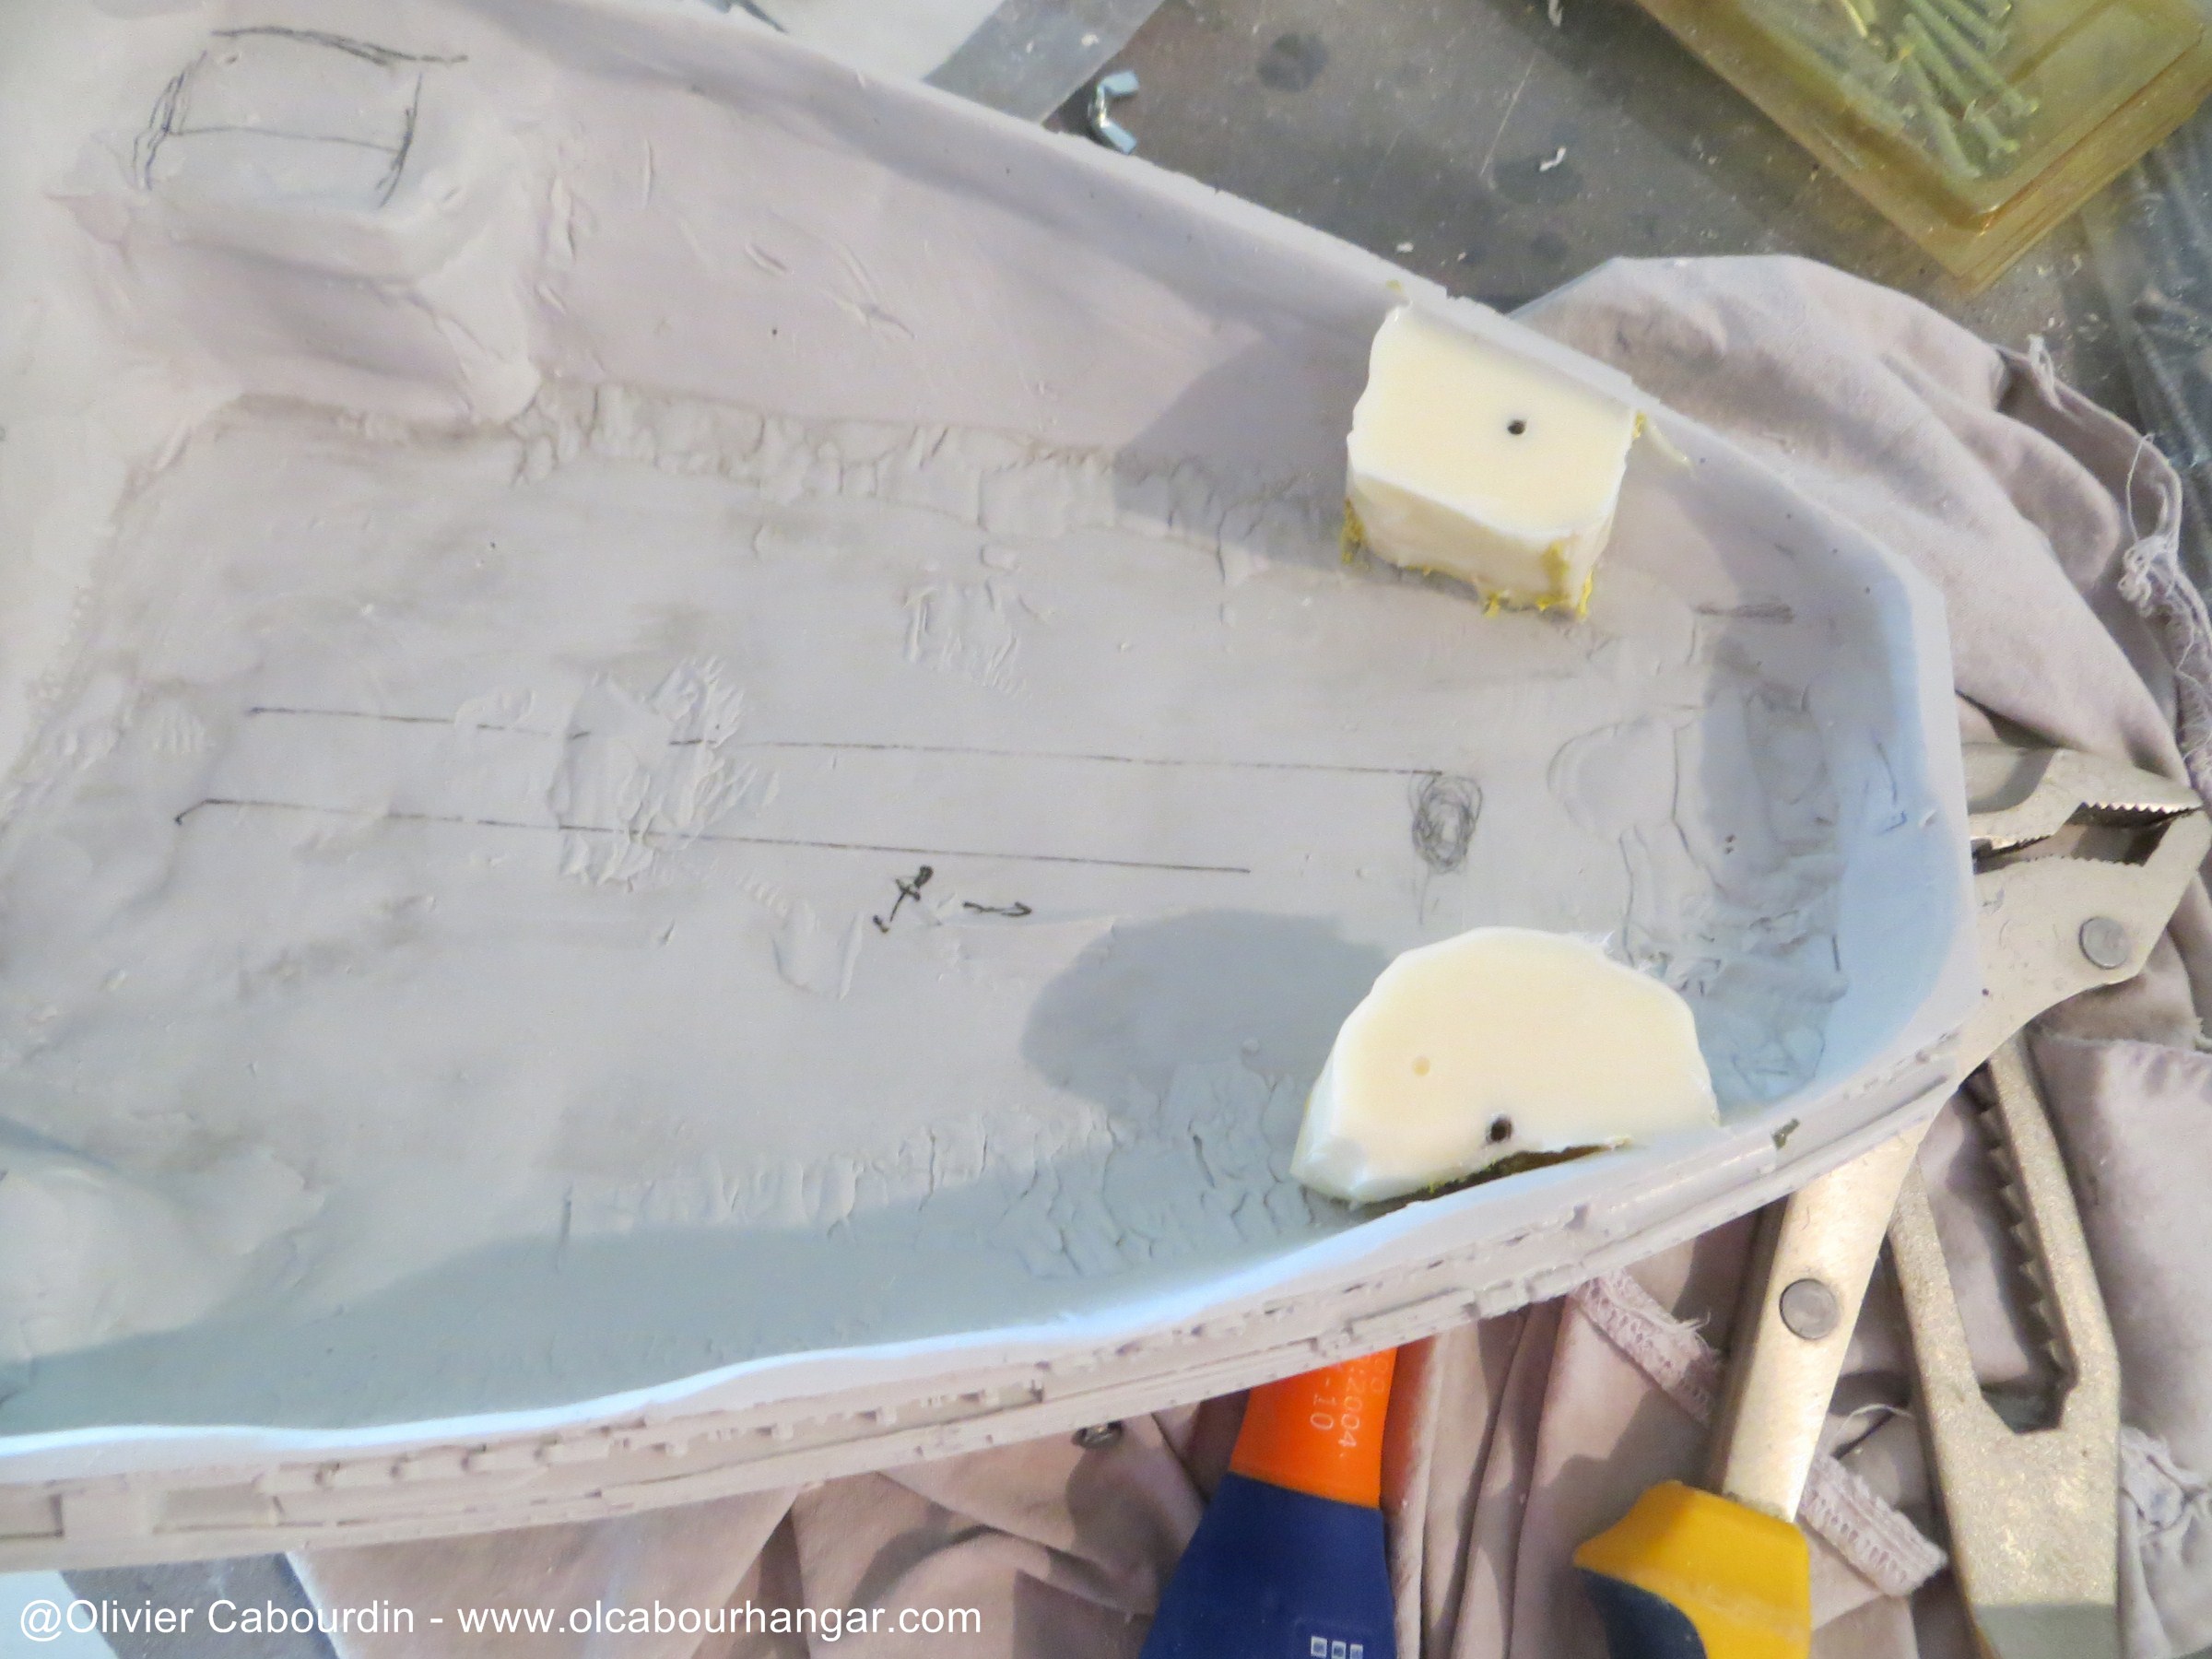
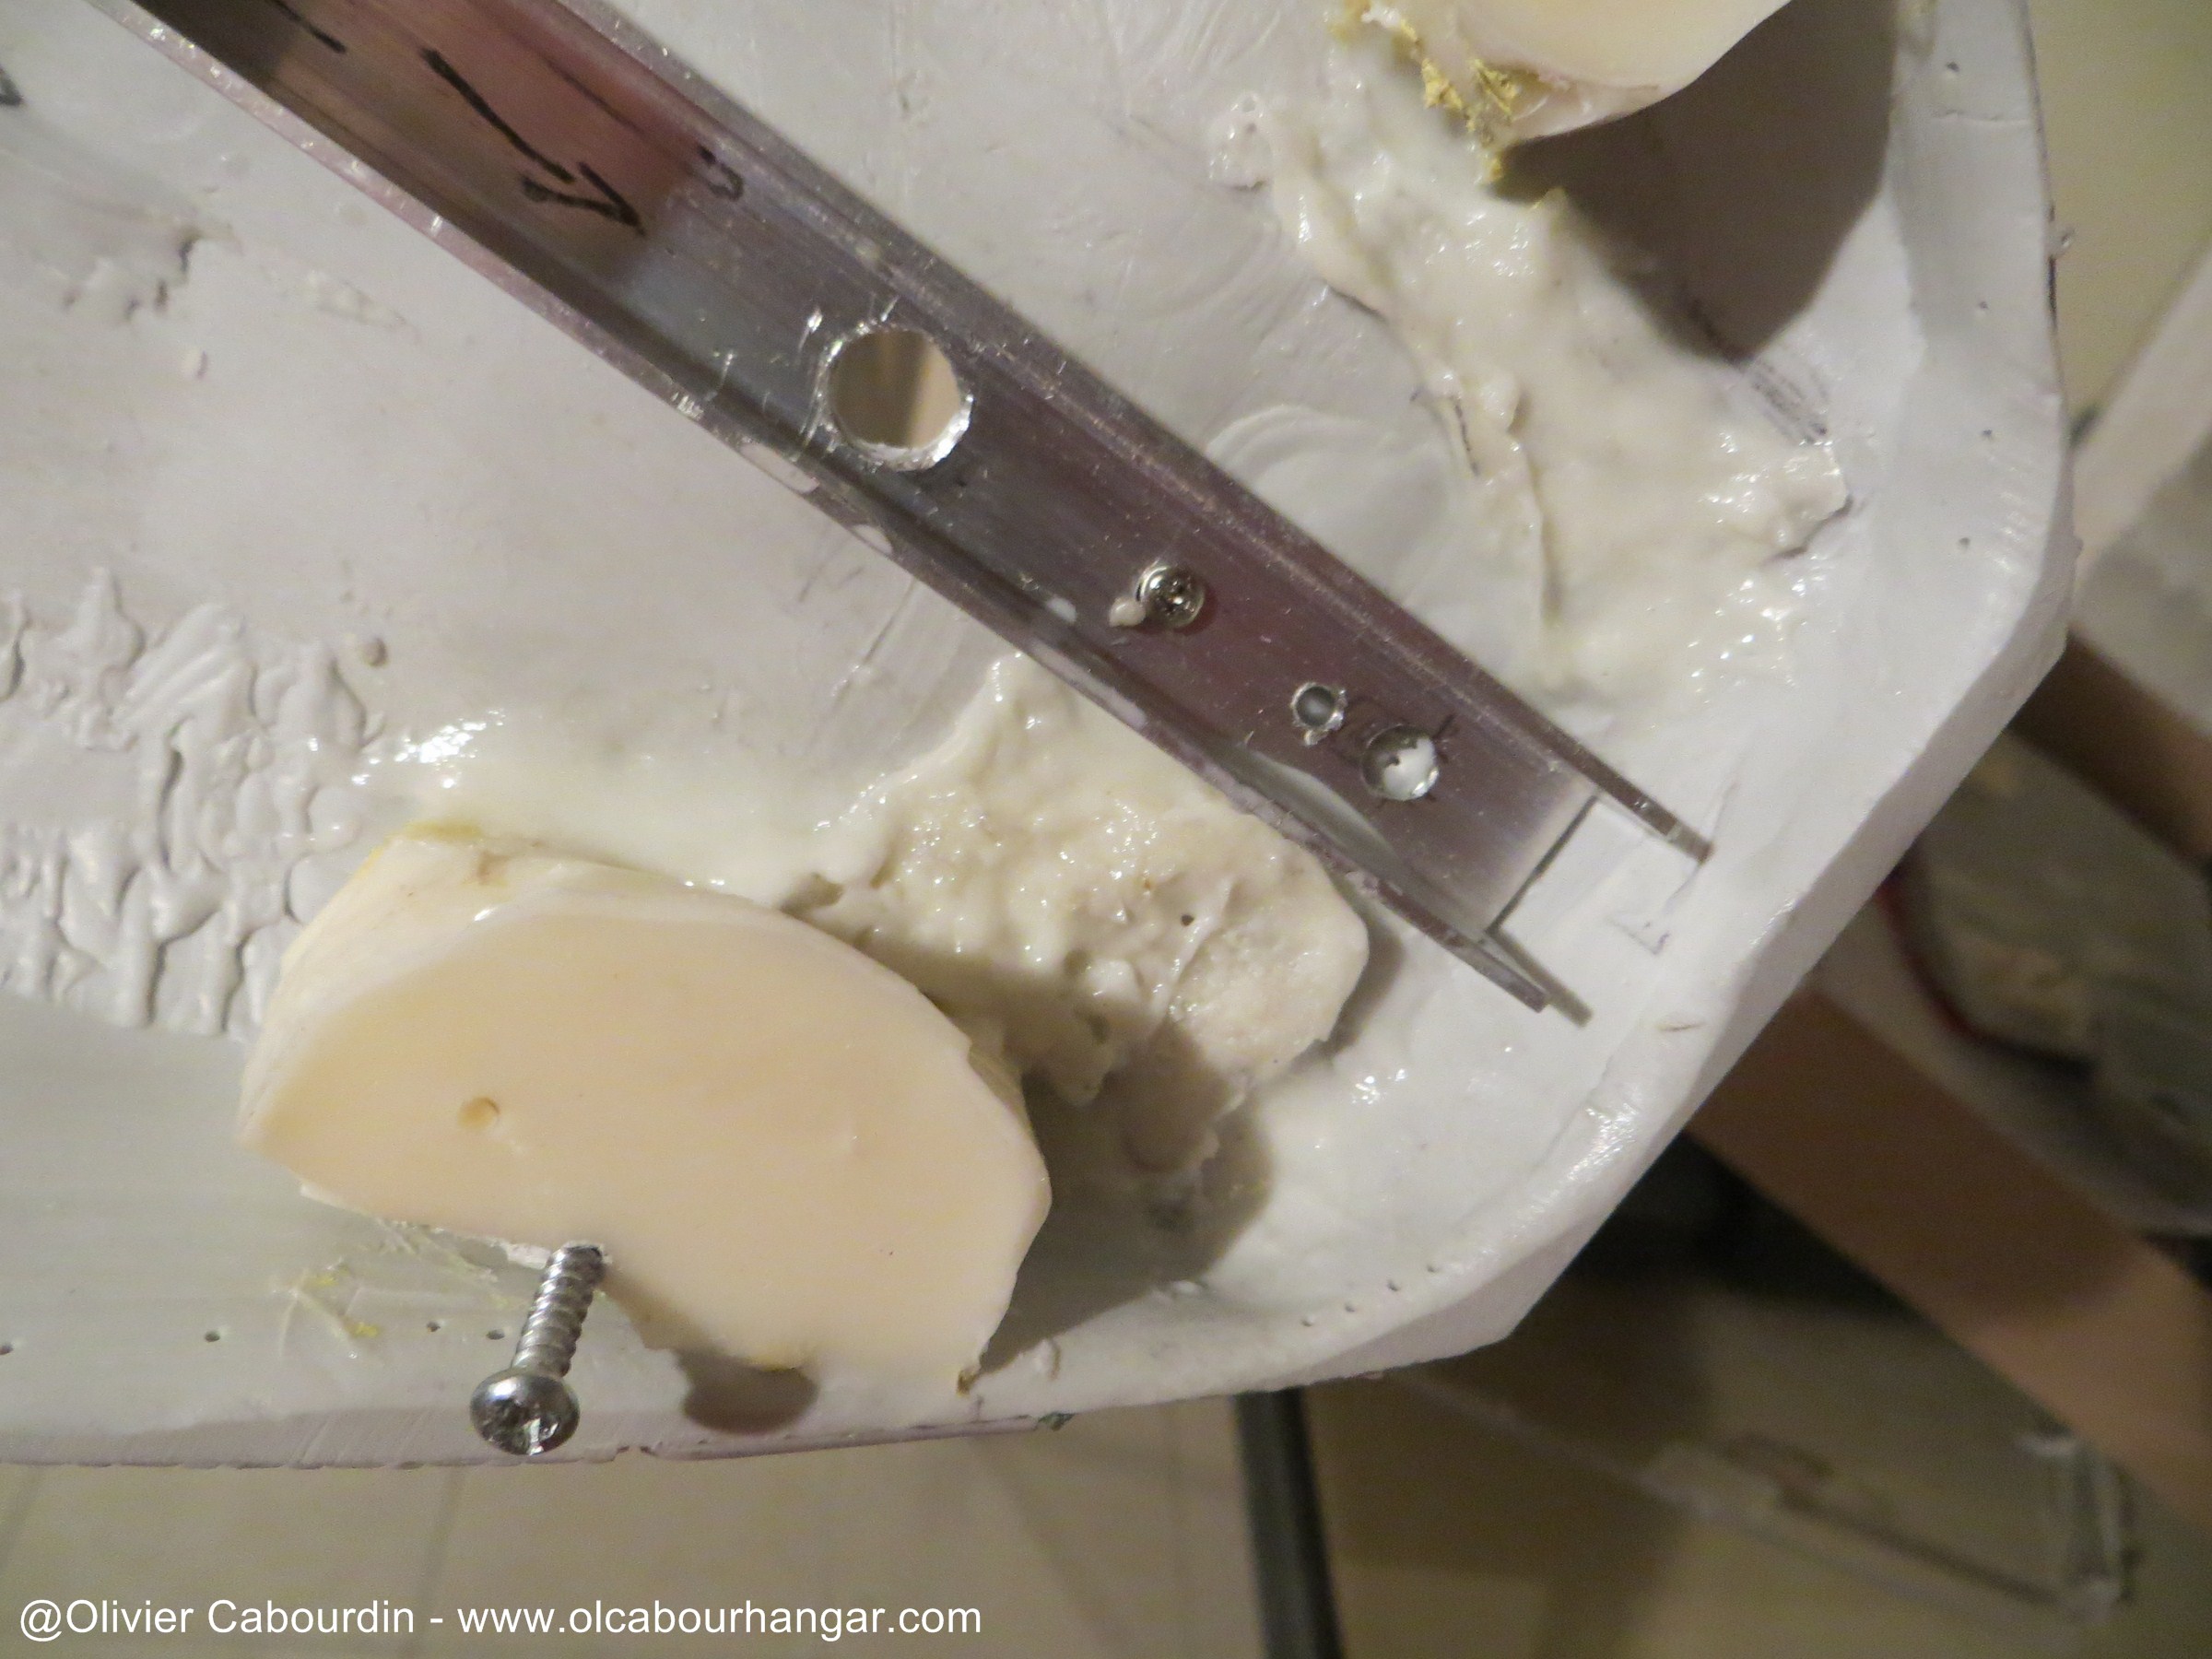
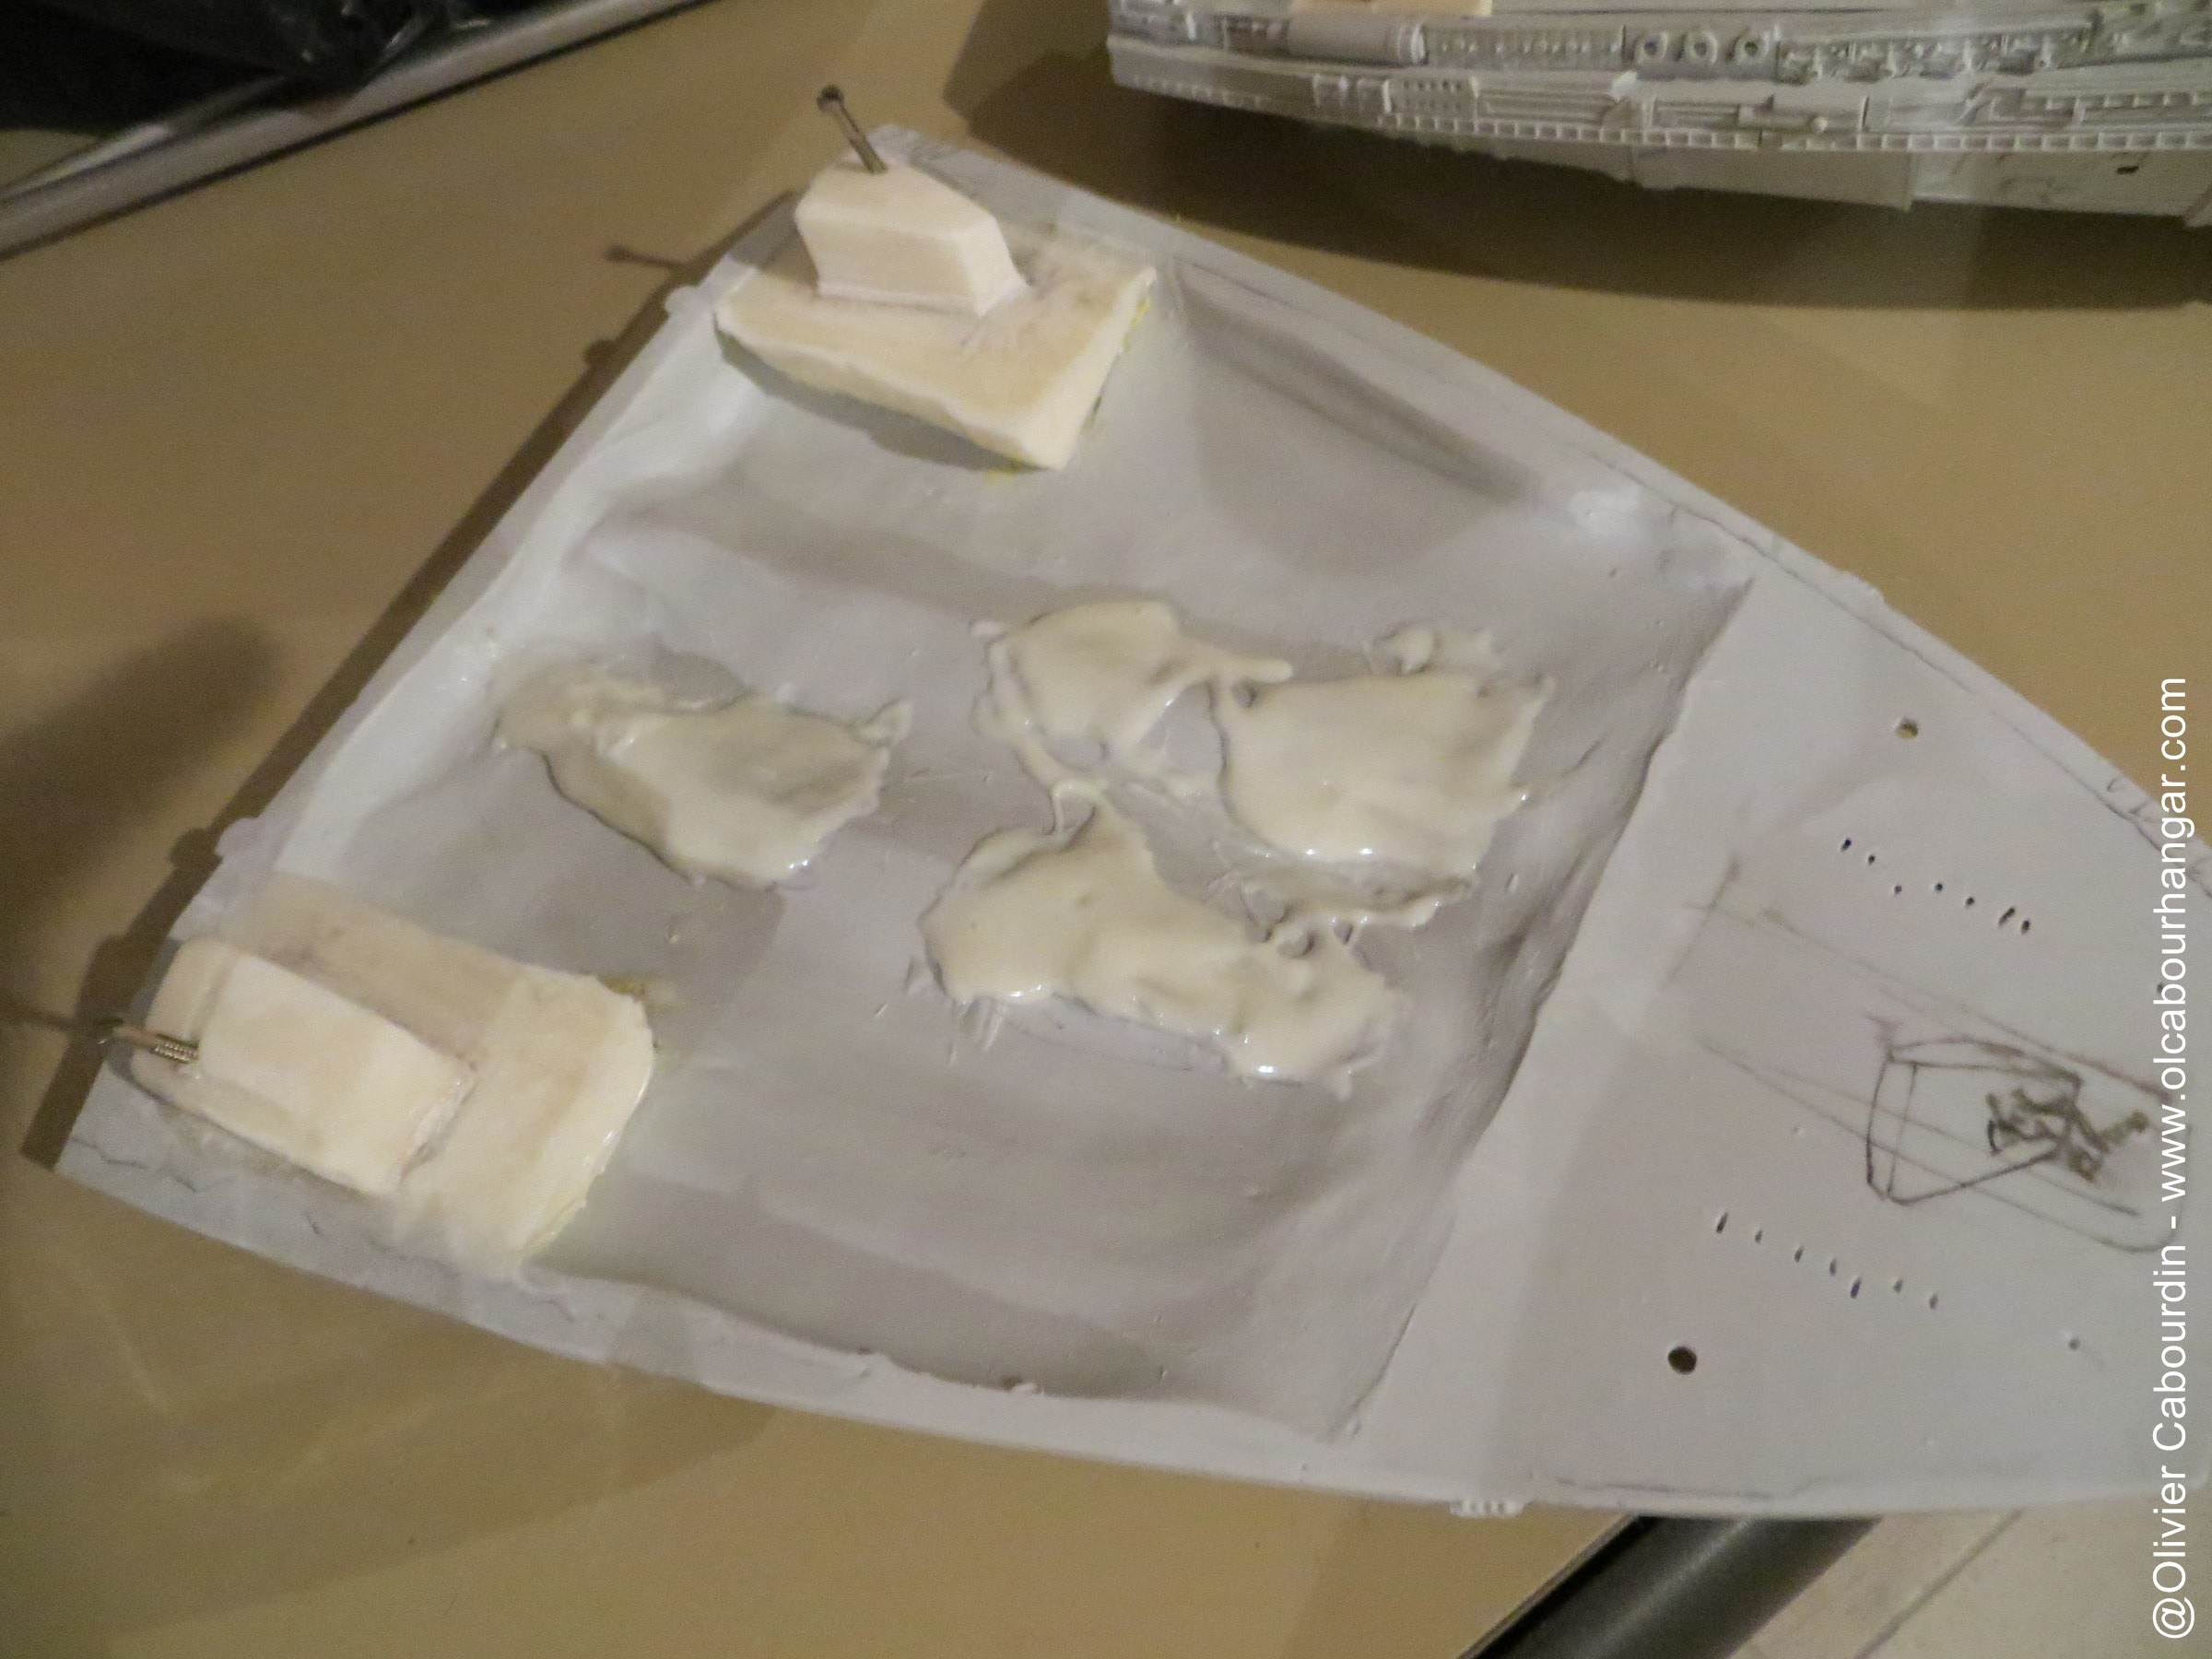
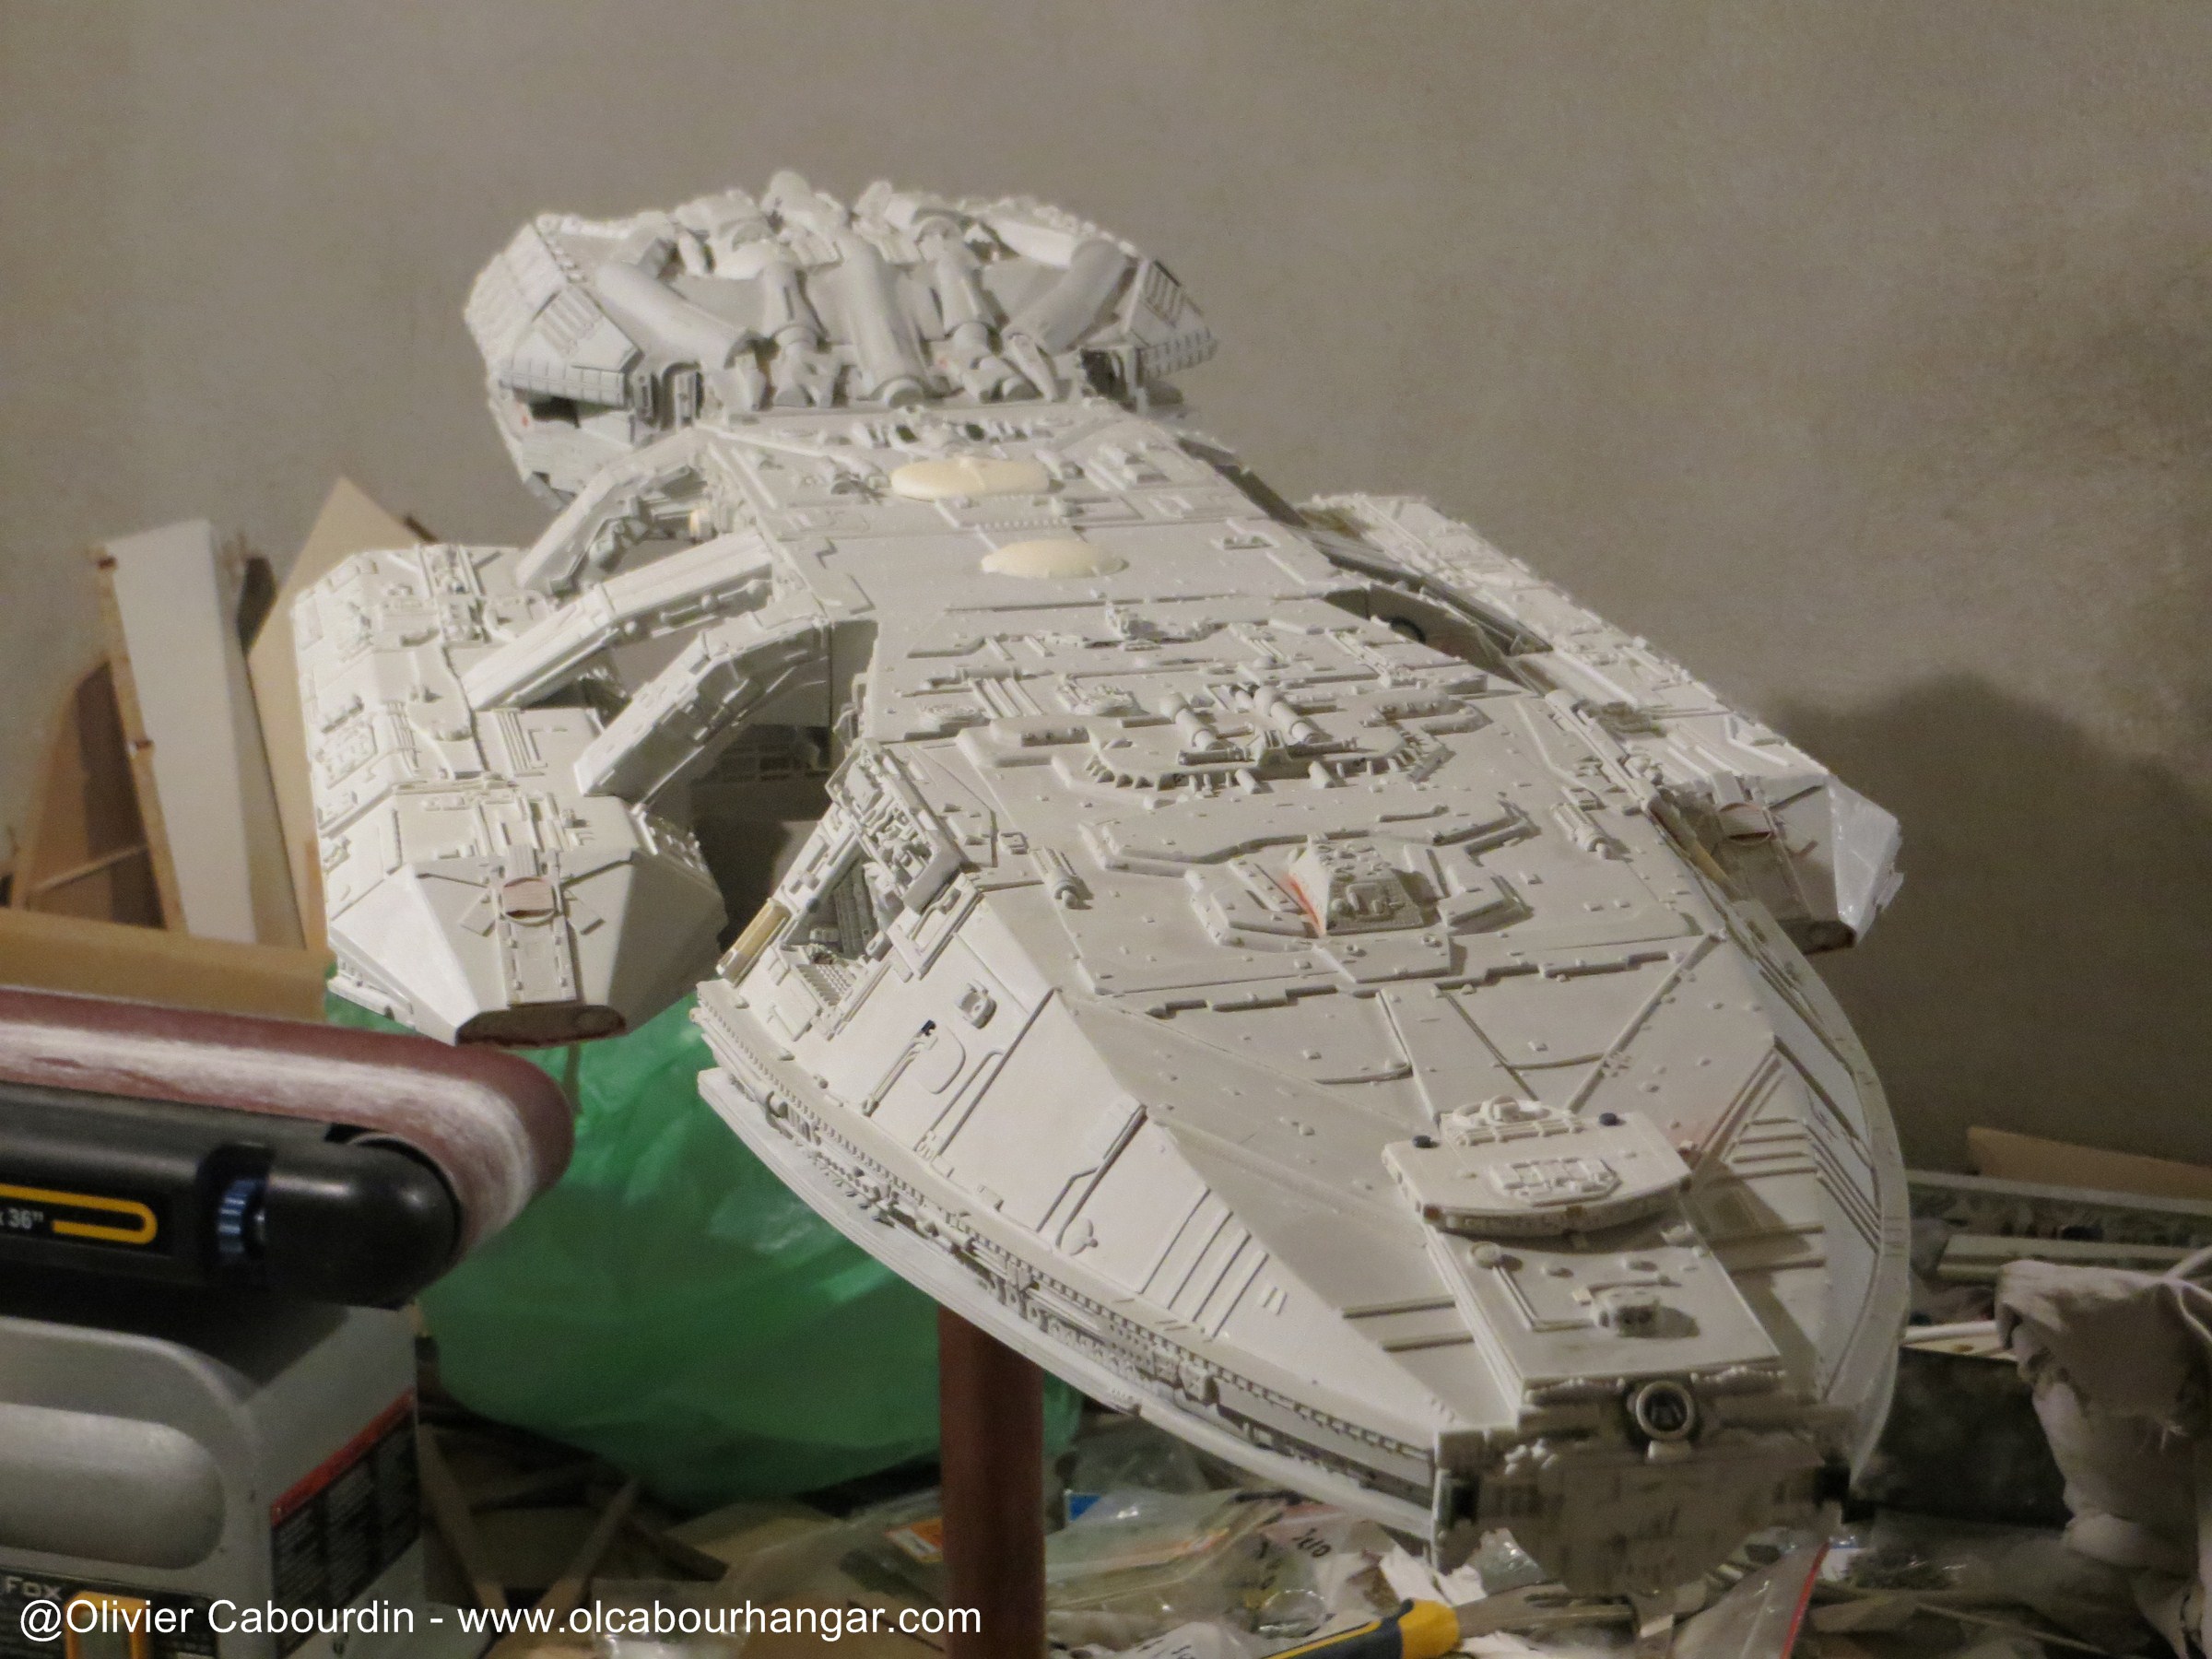
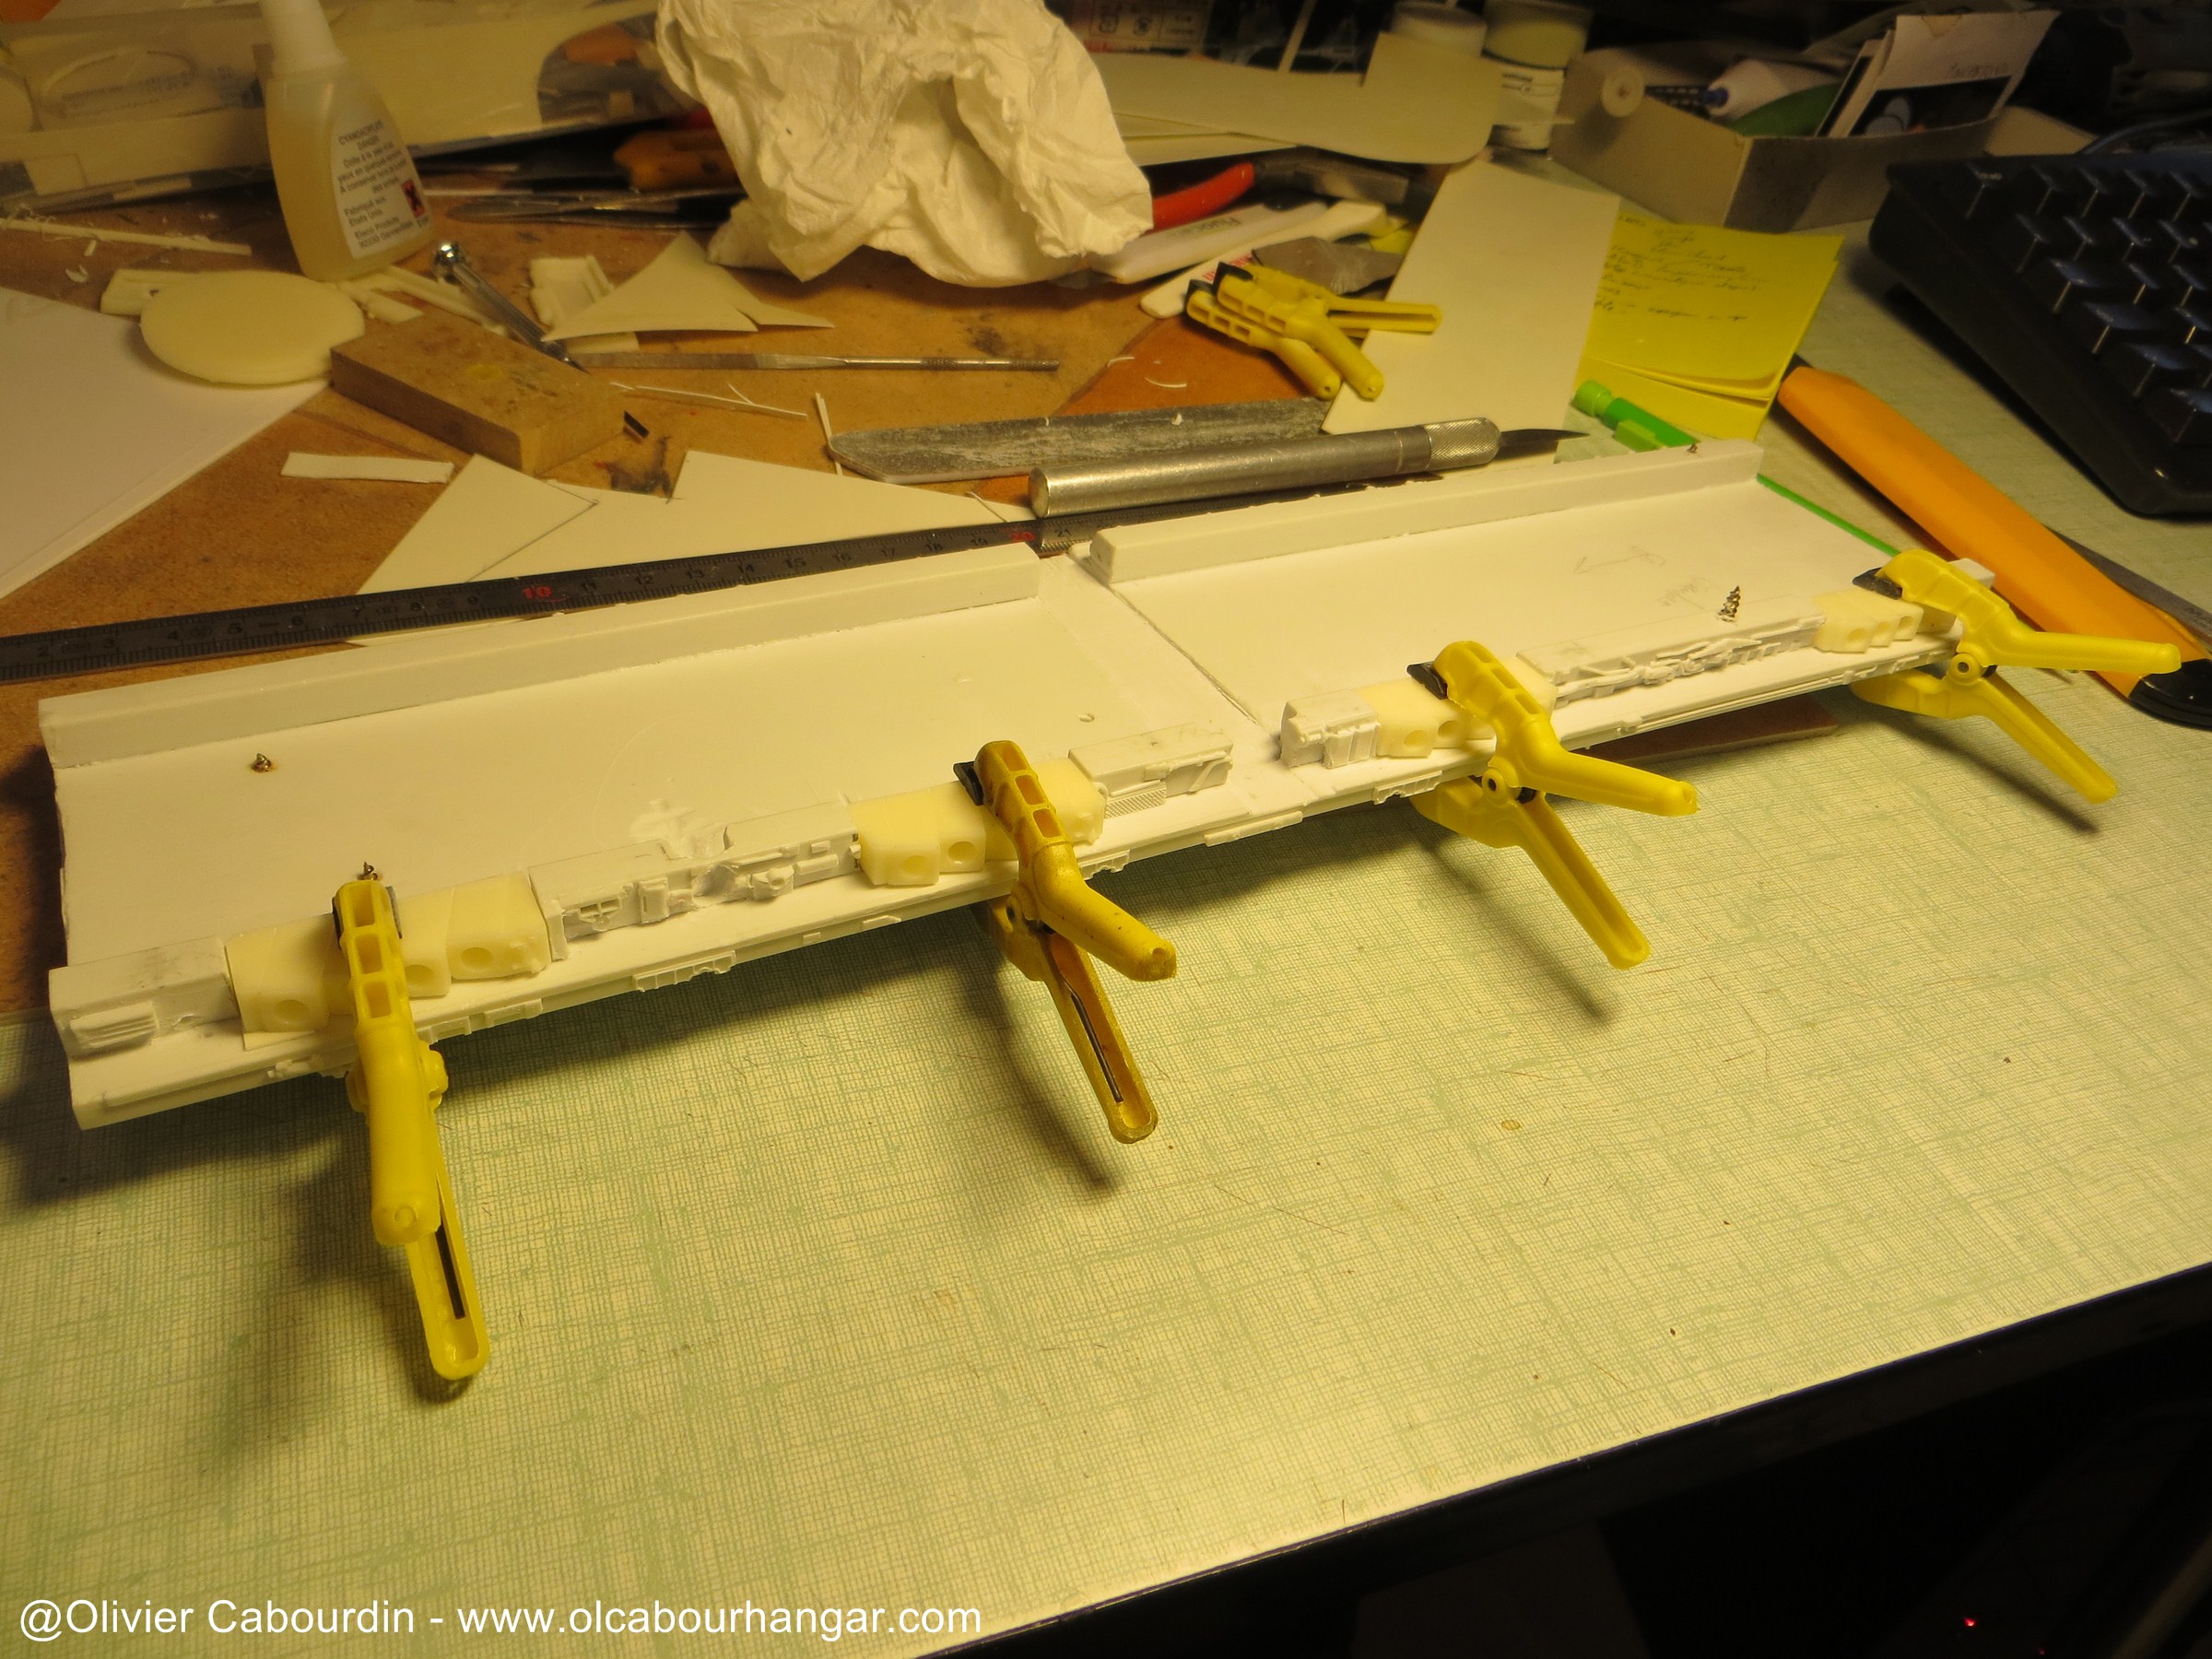
- remaining gaps
I filled few gaps between the large parts:
Here on the neck
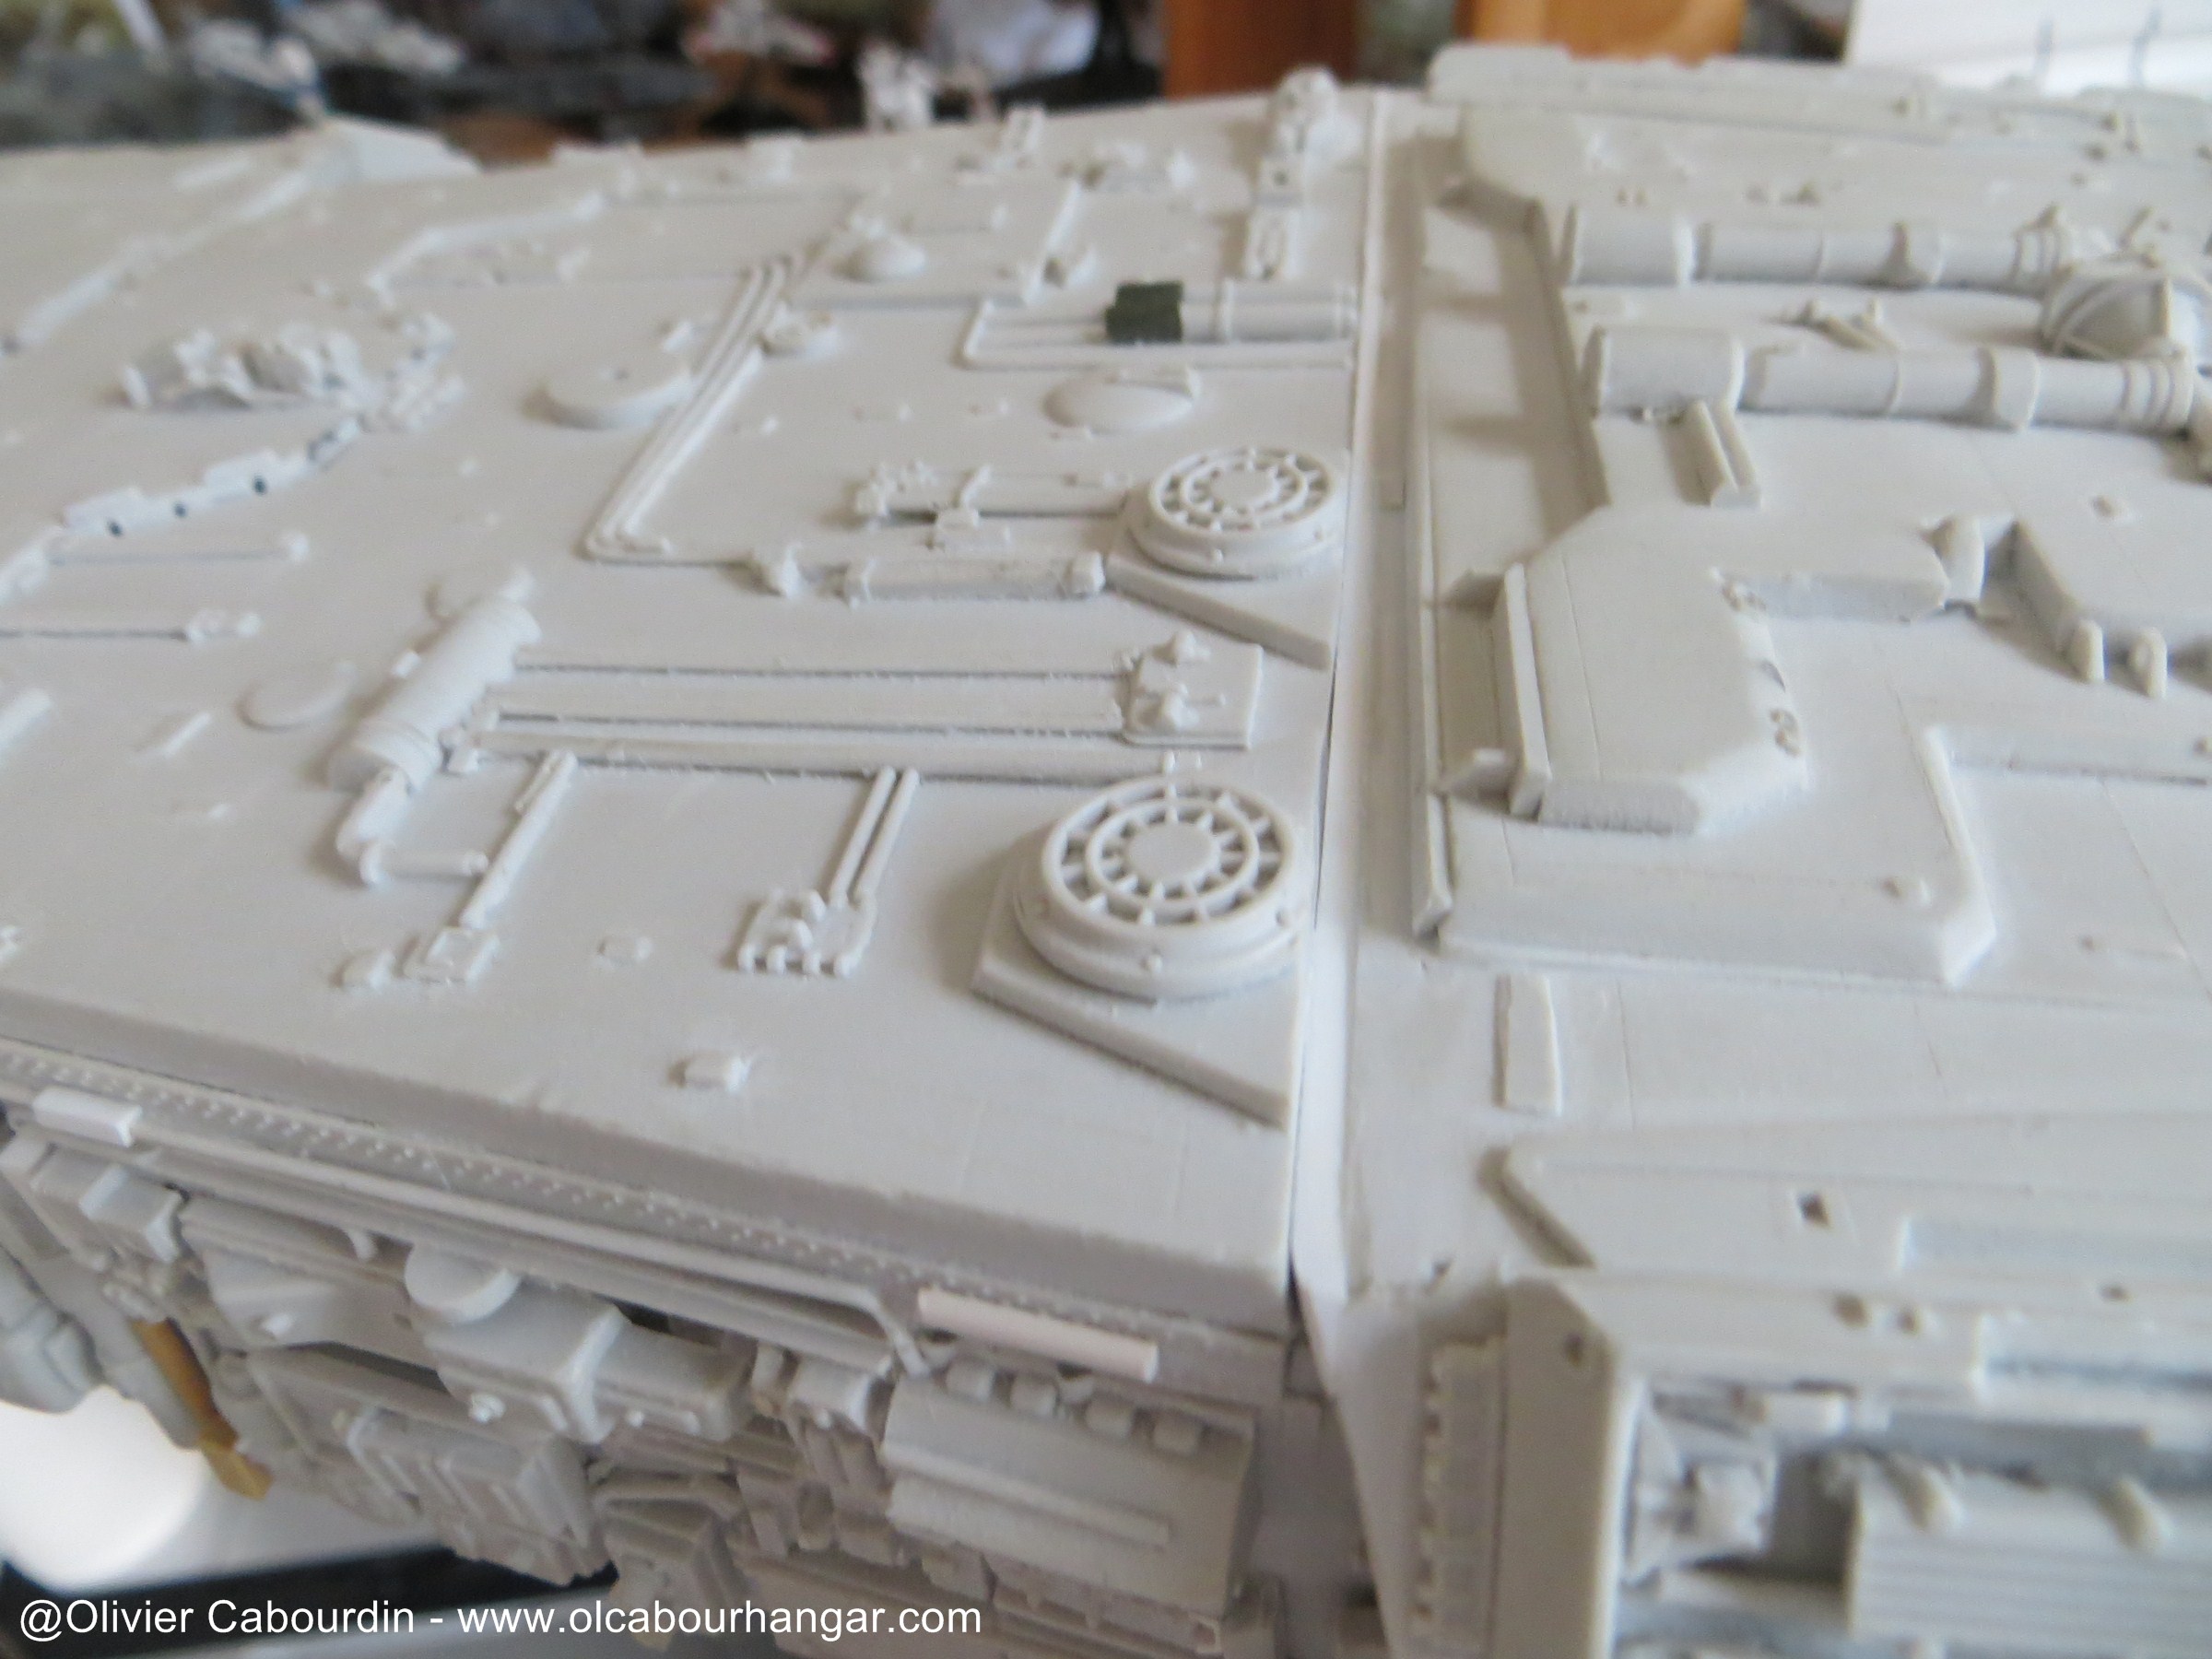
and the engine module.
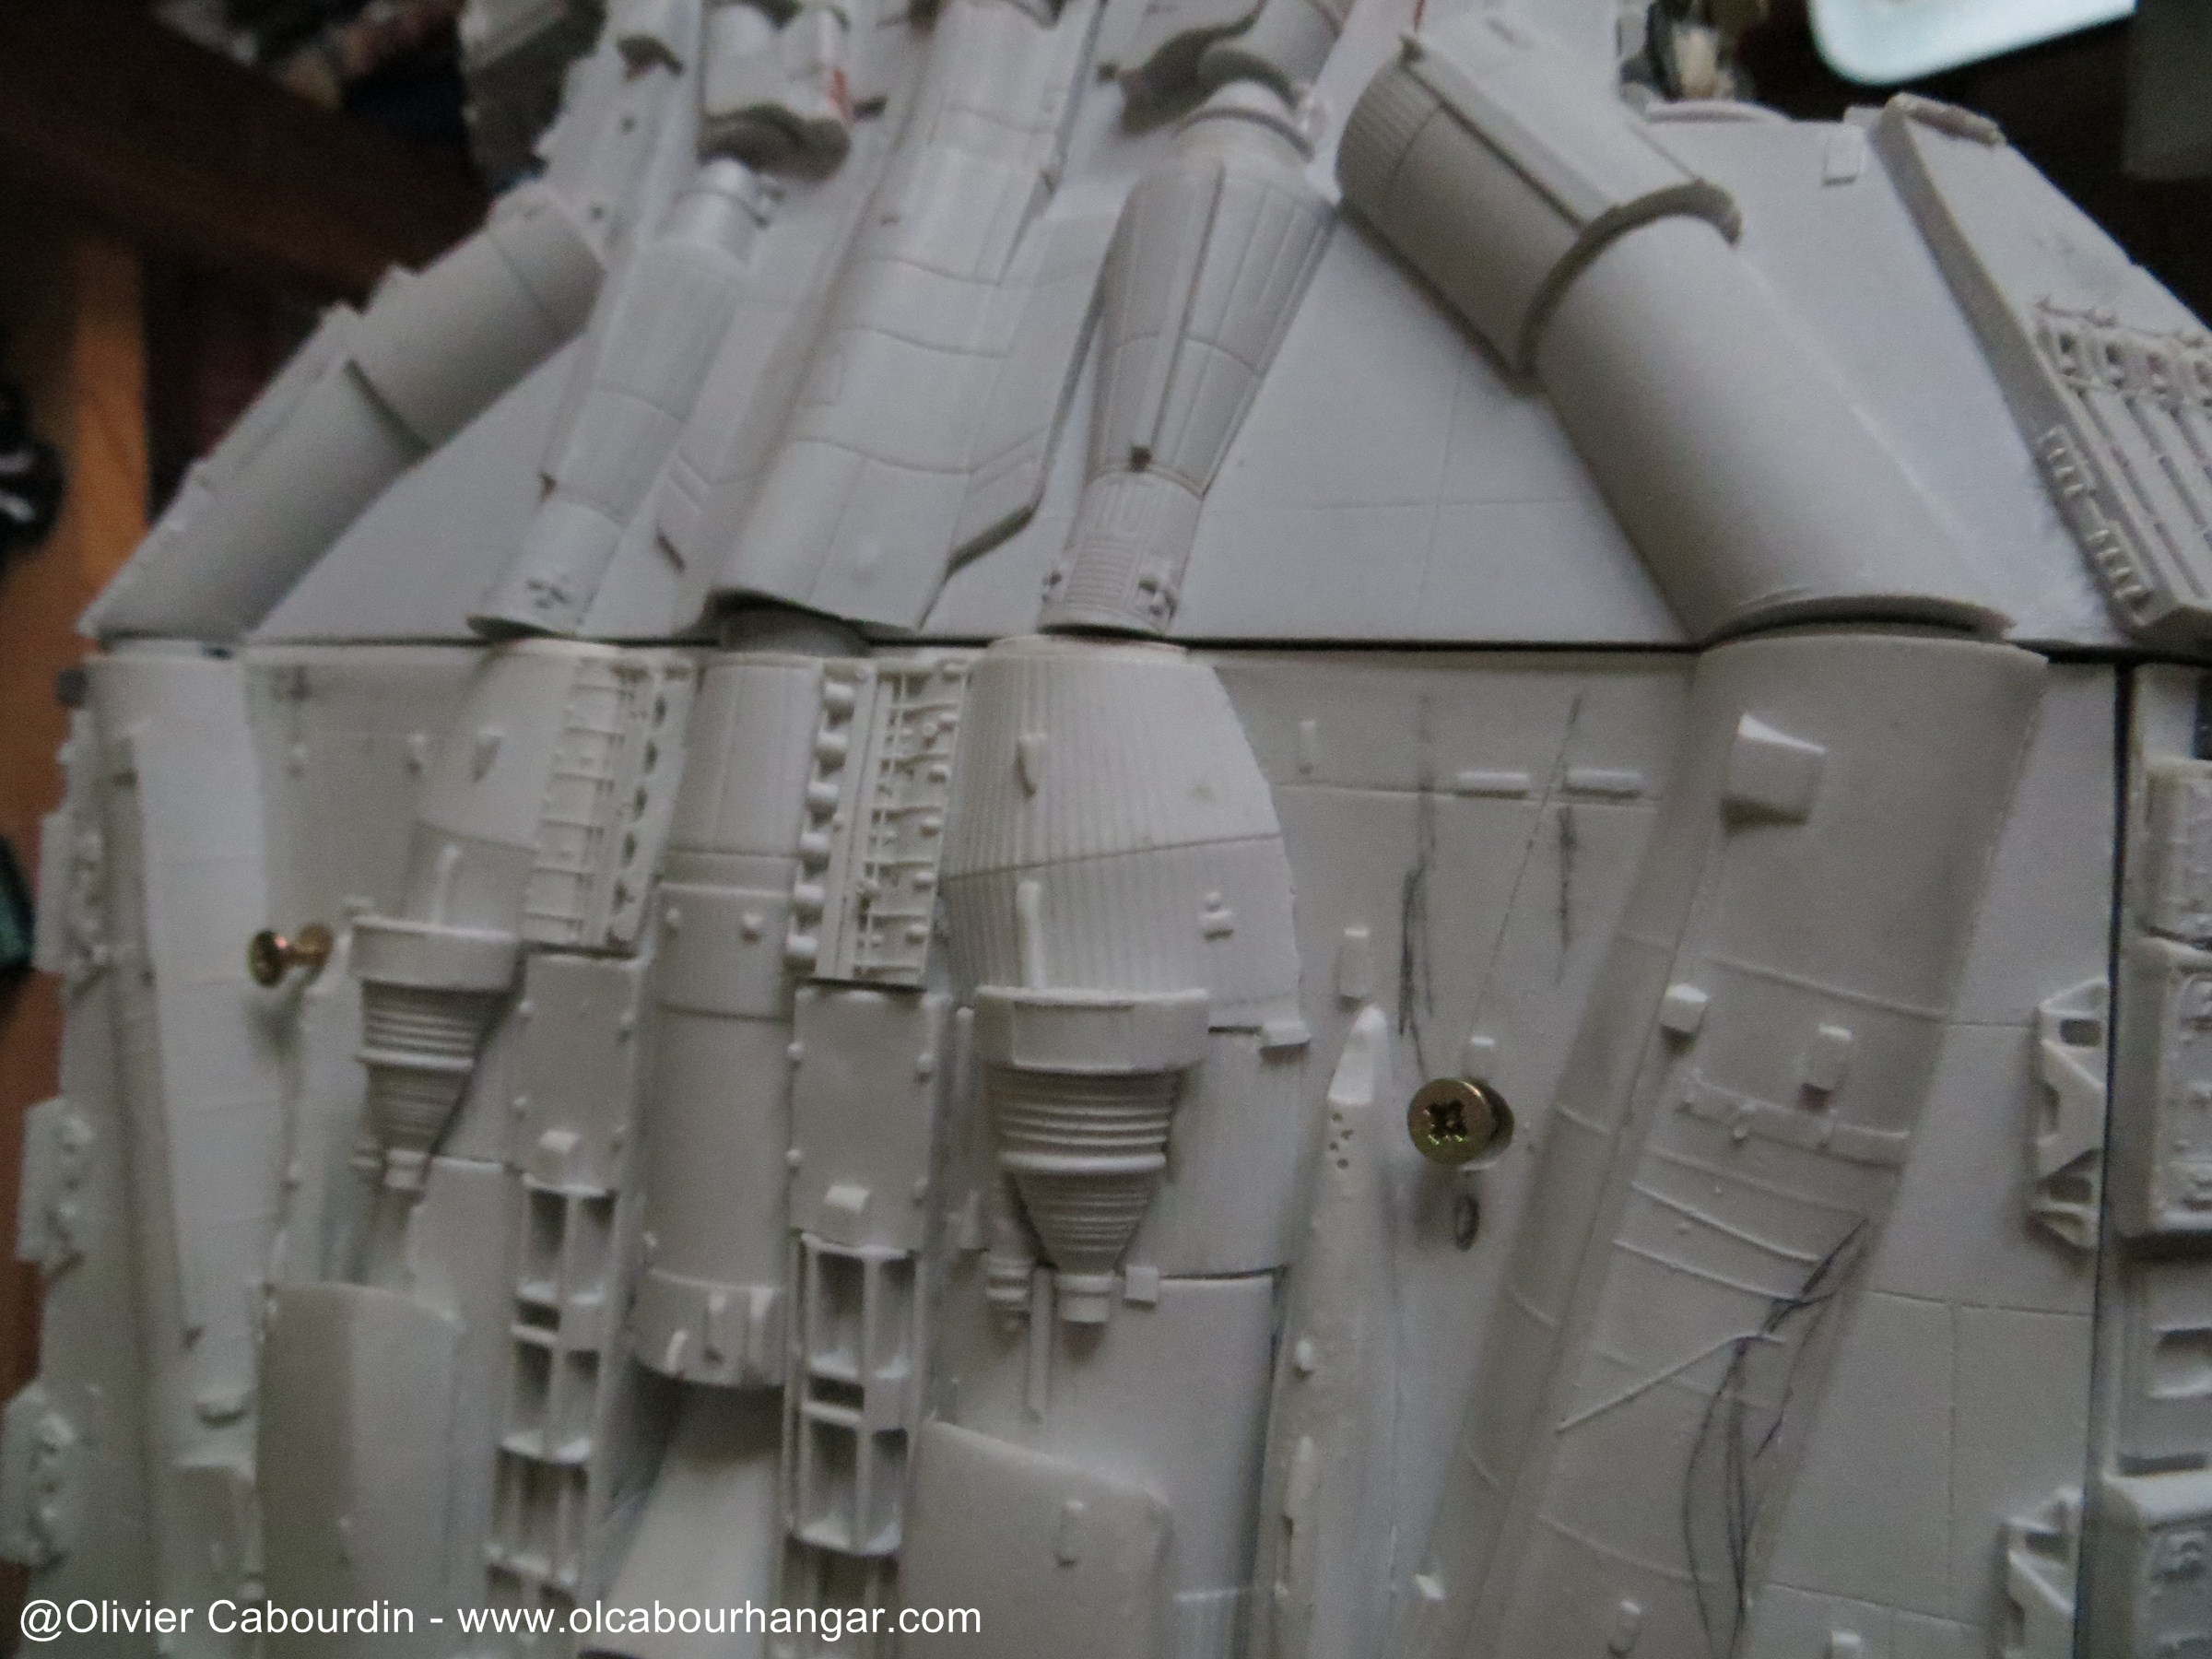
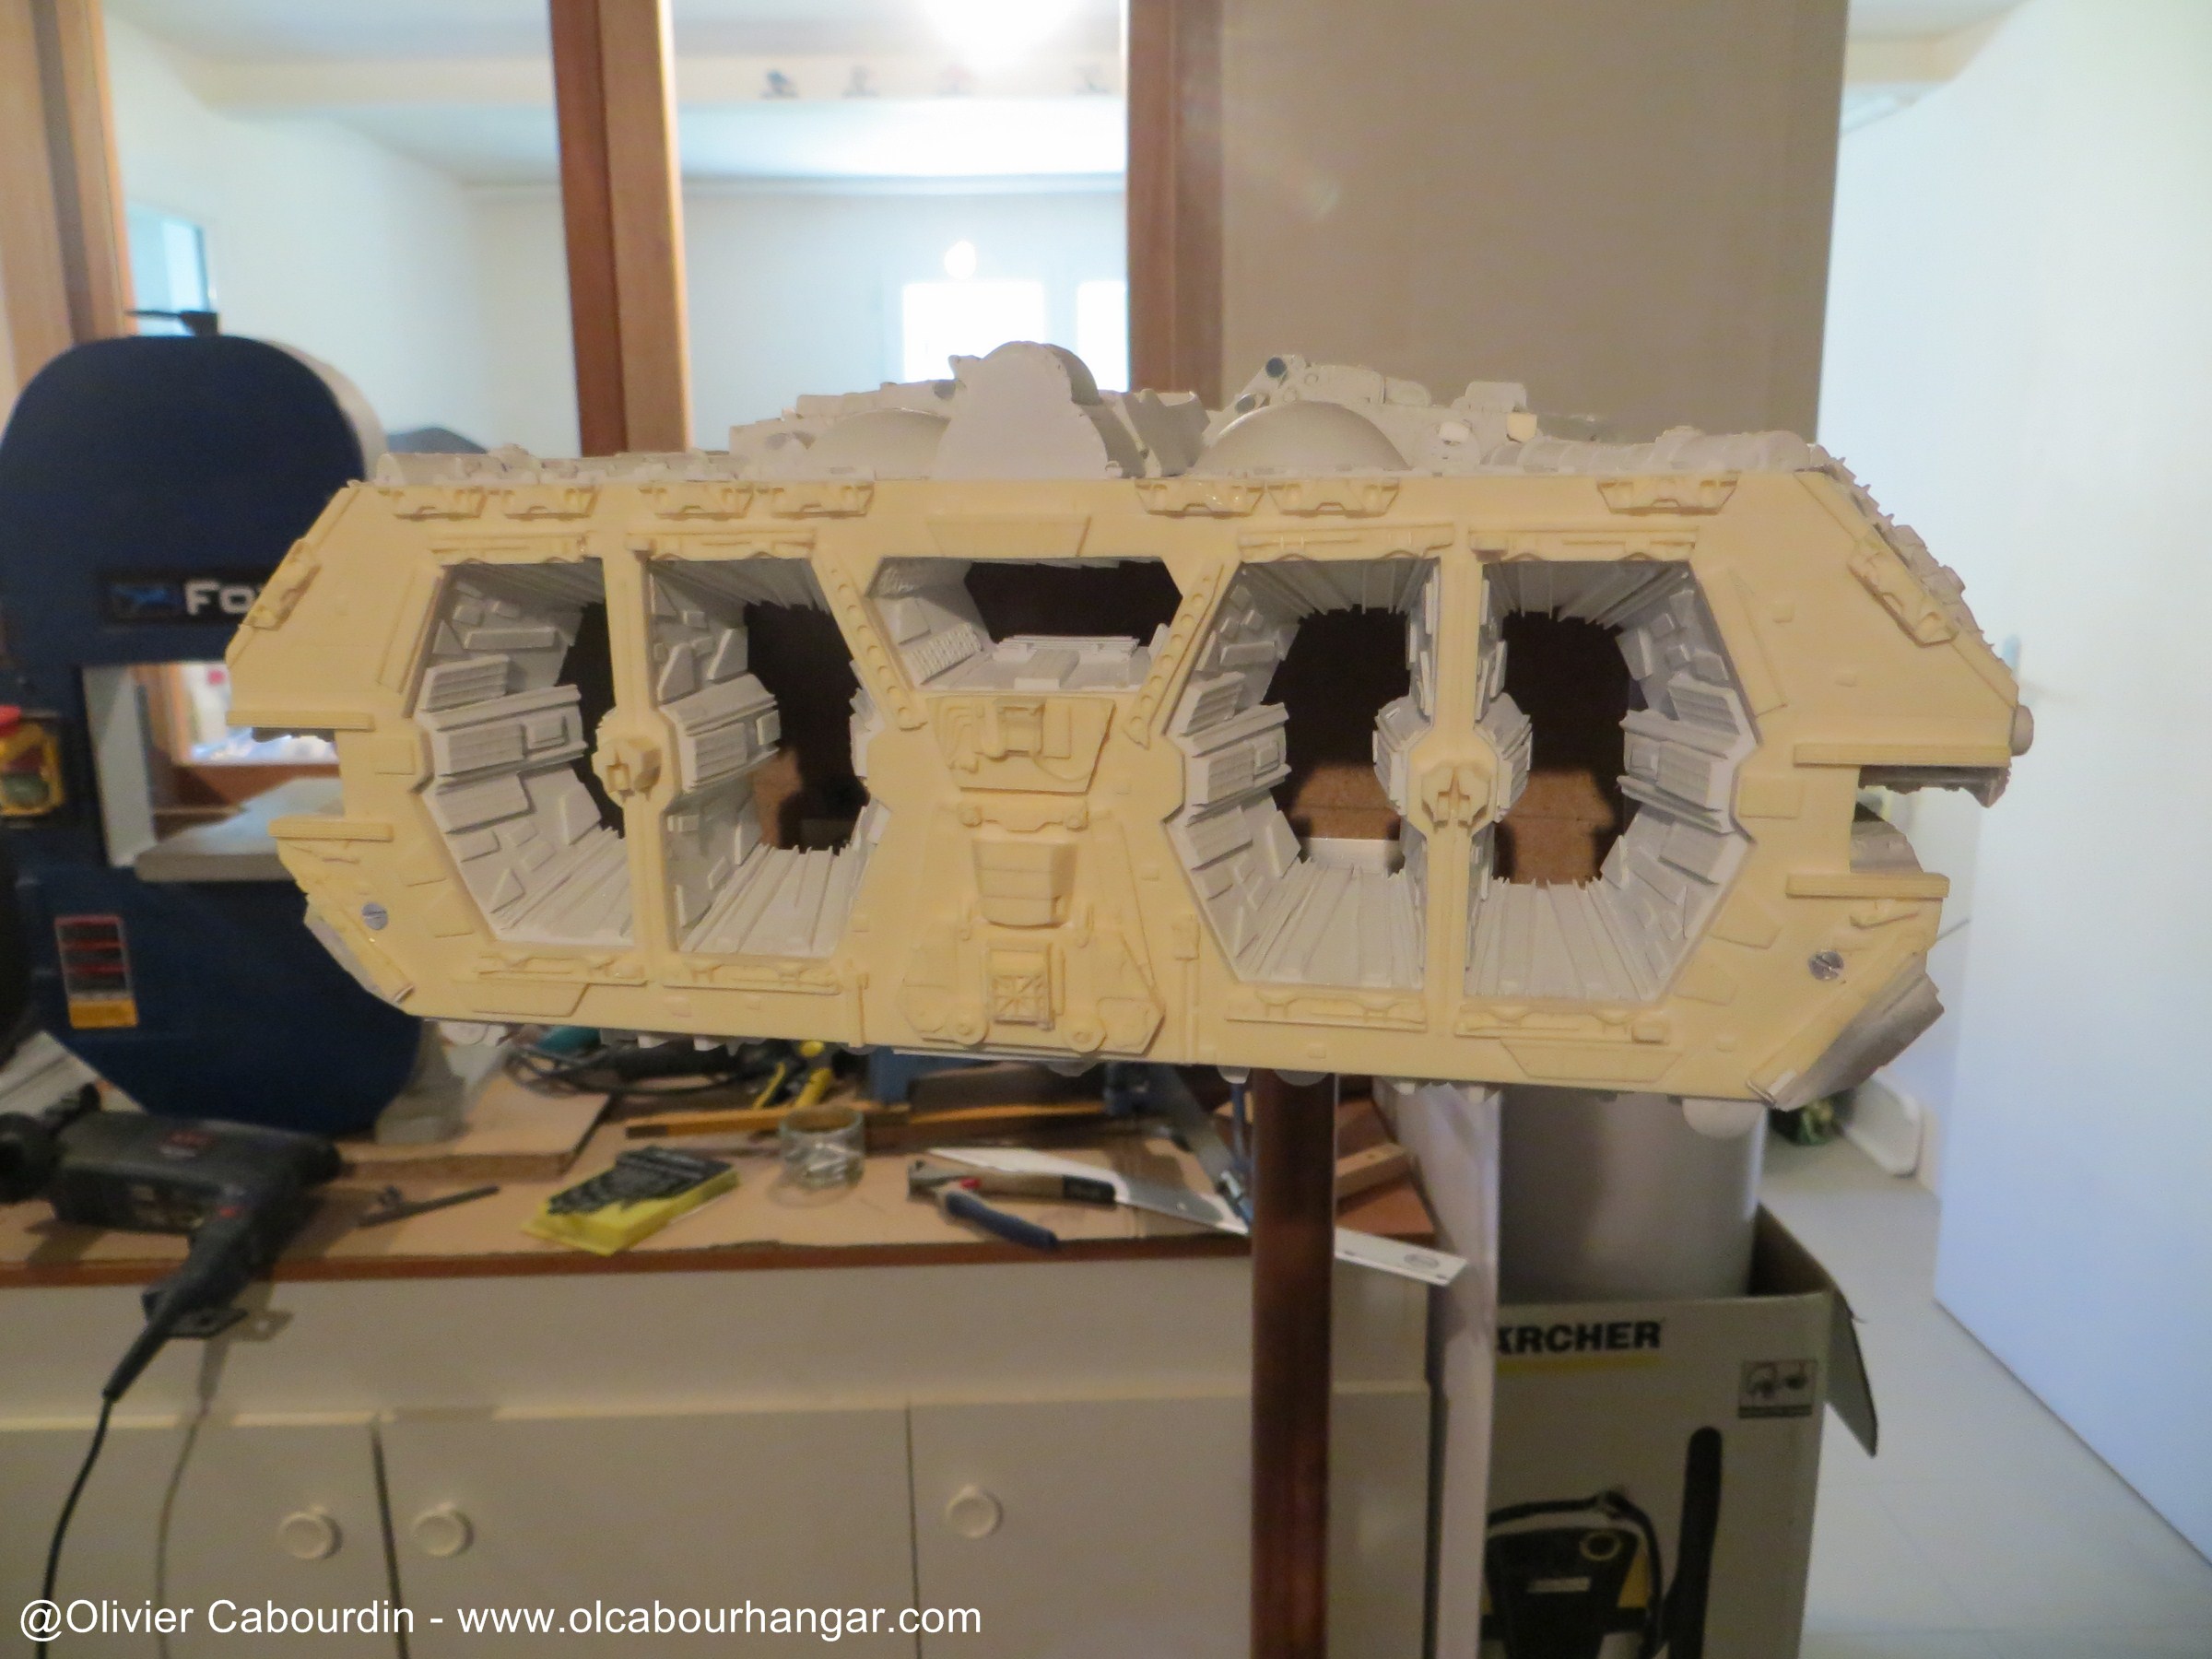
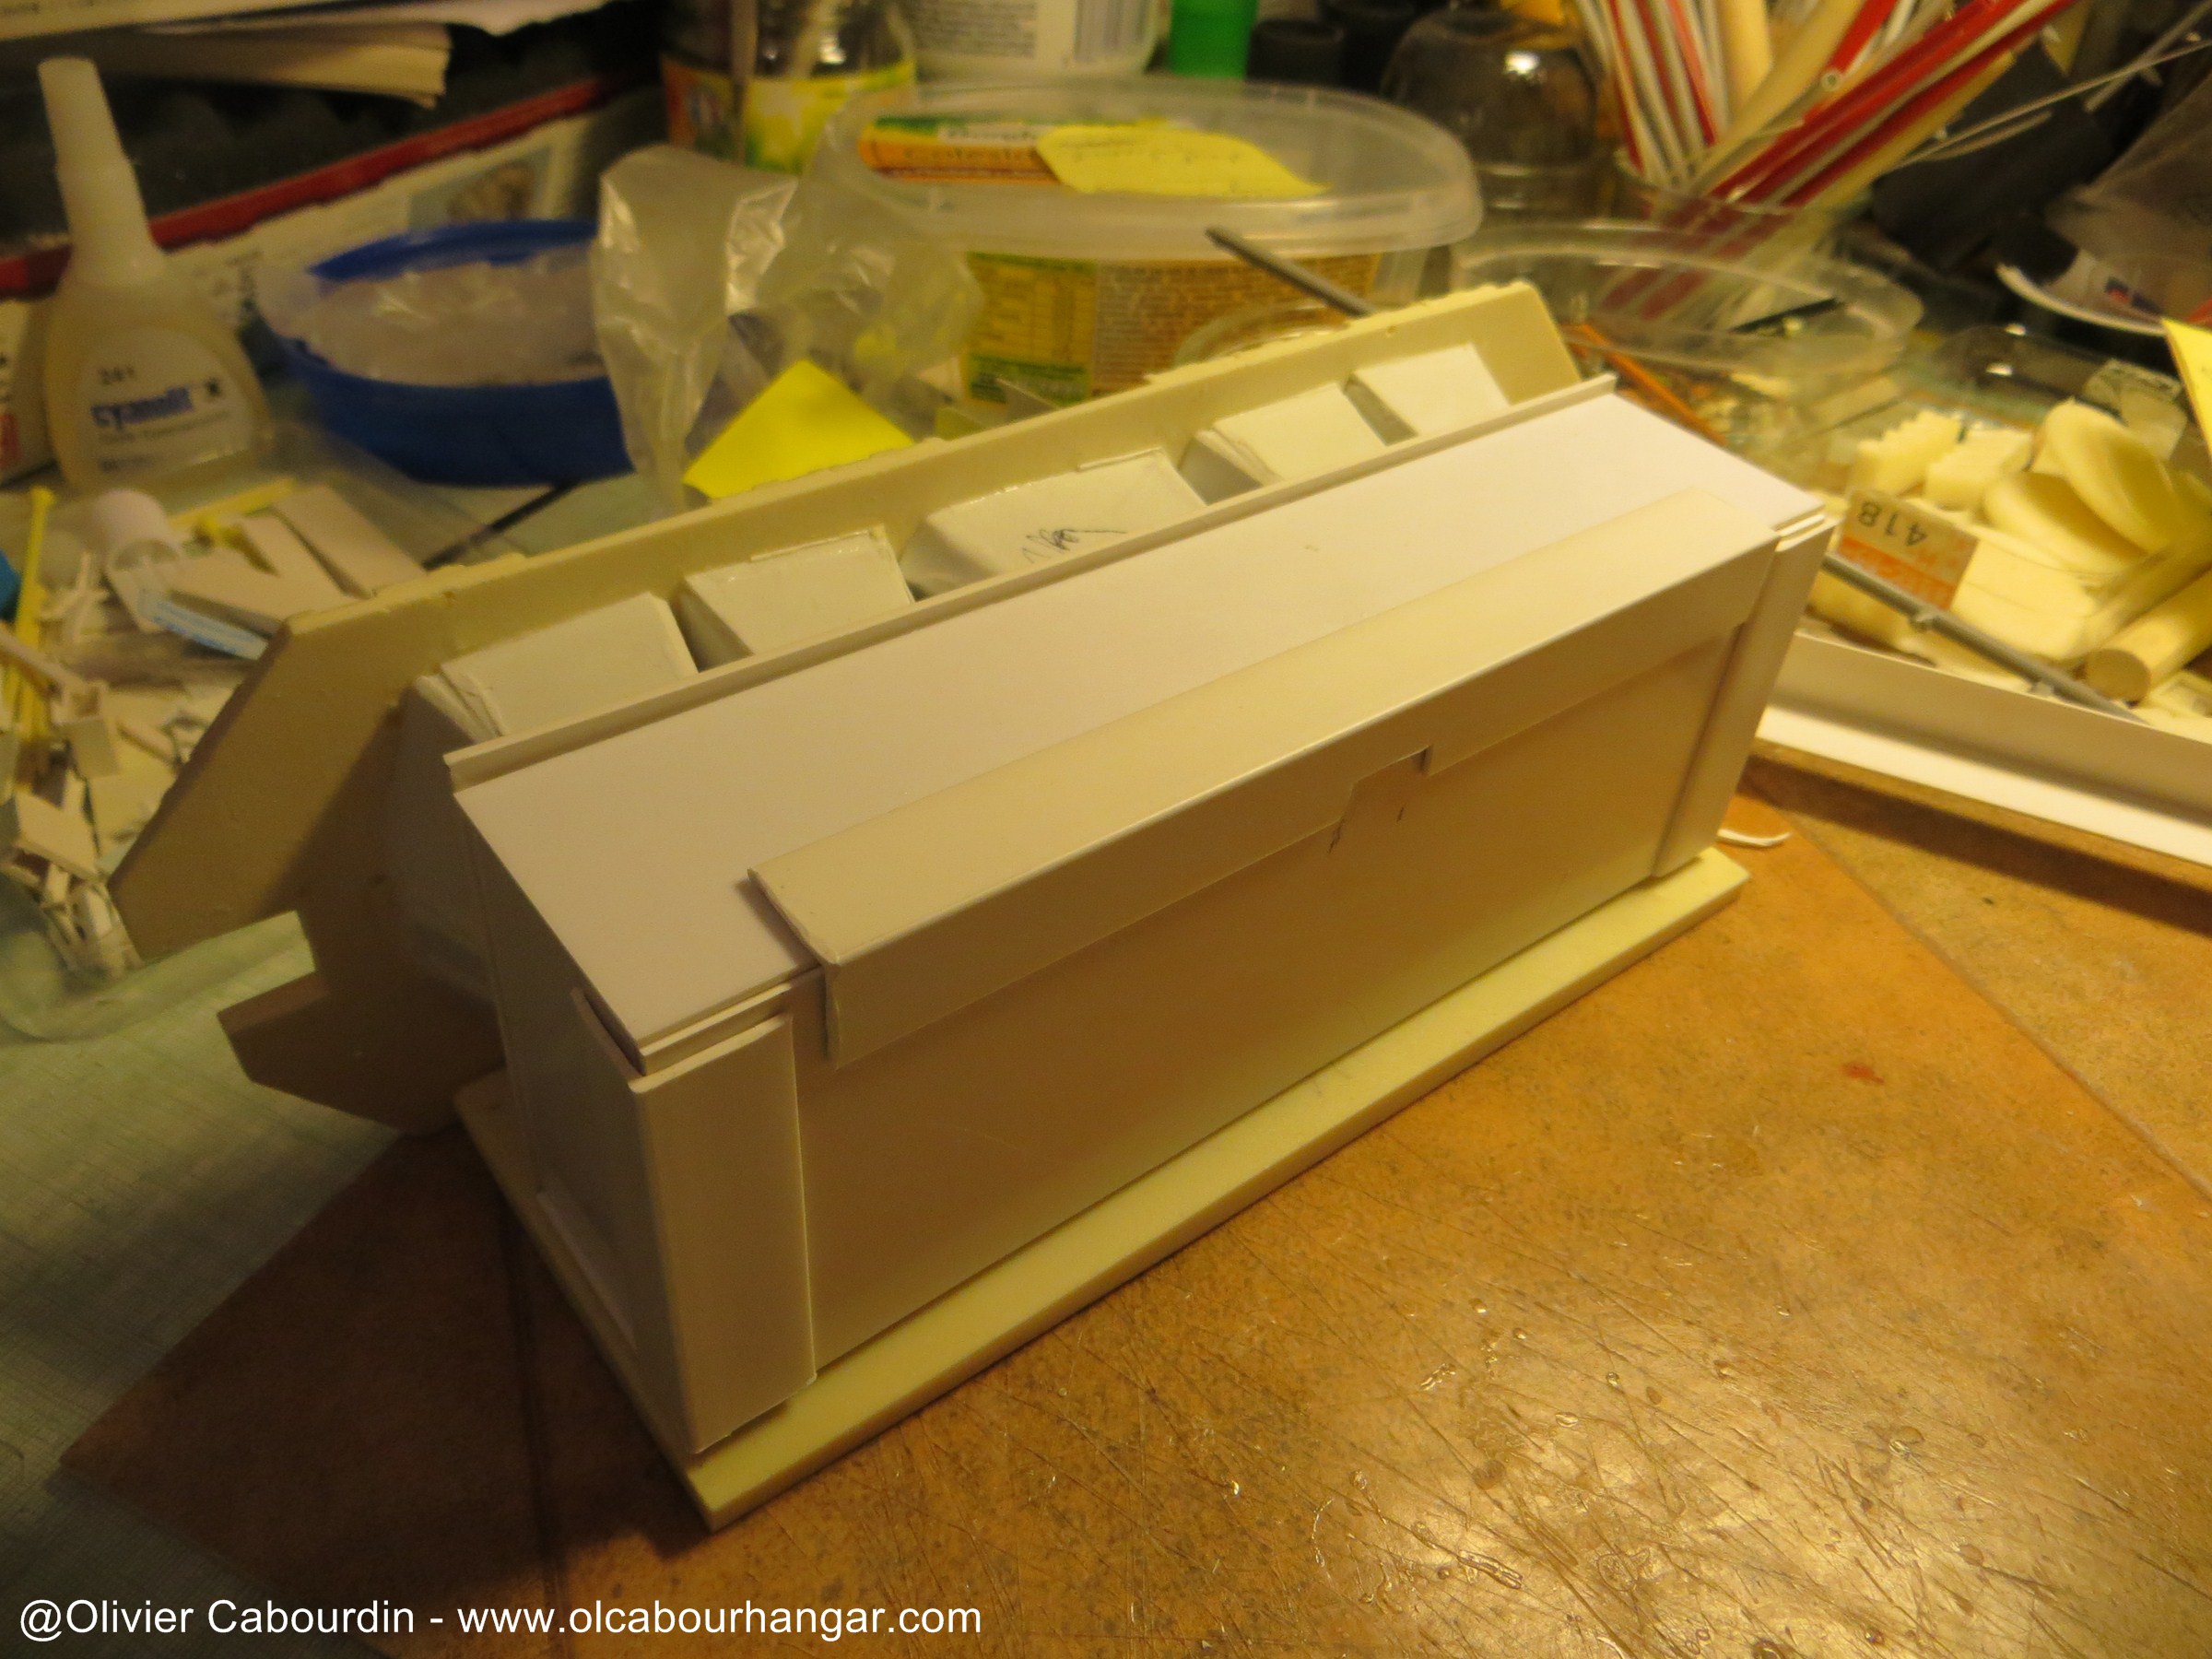
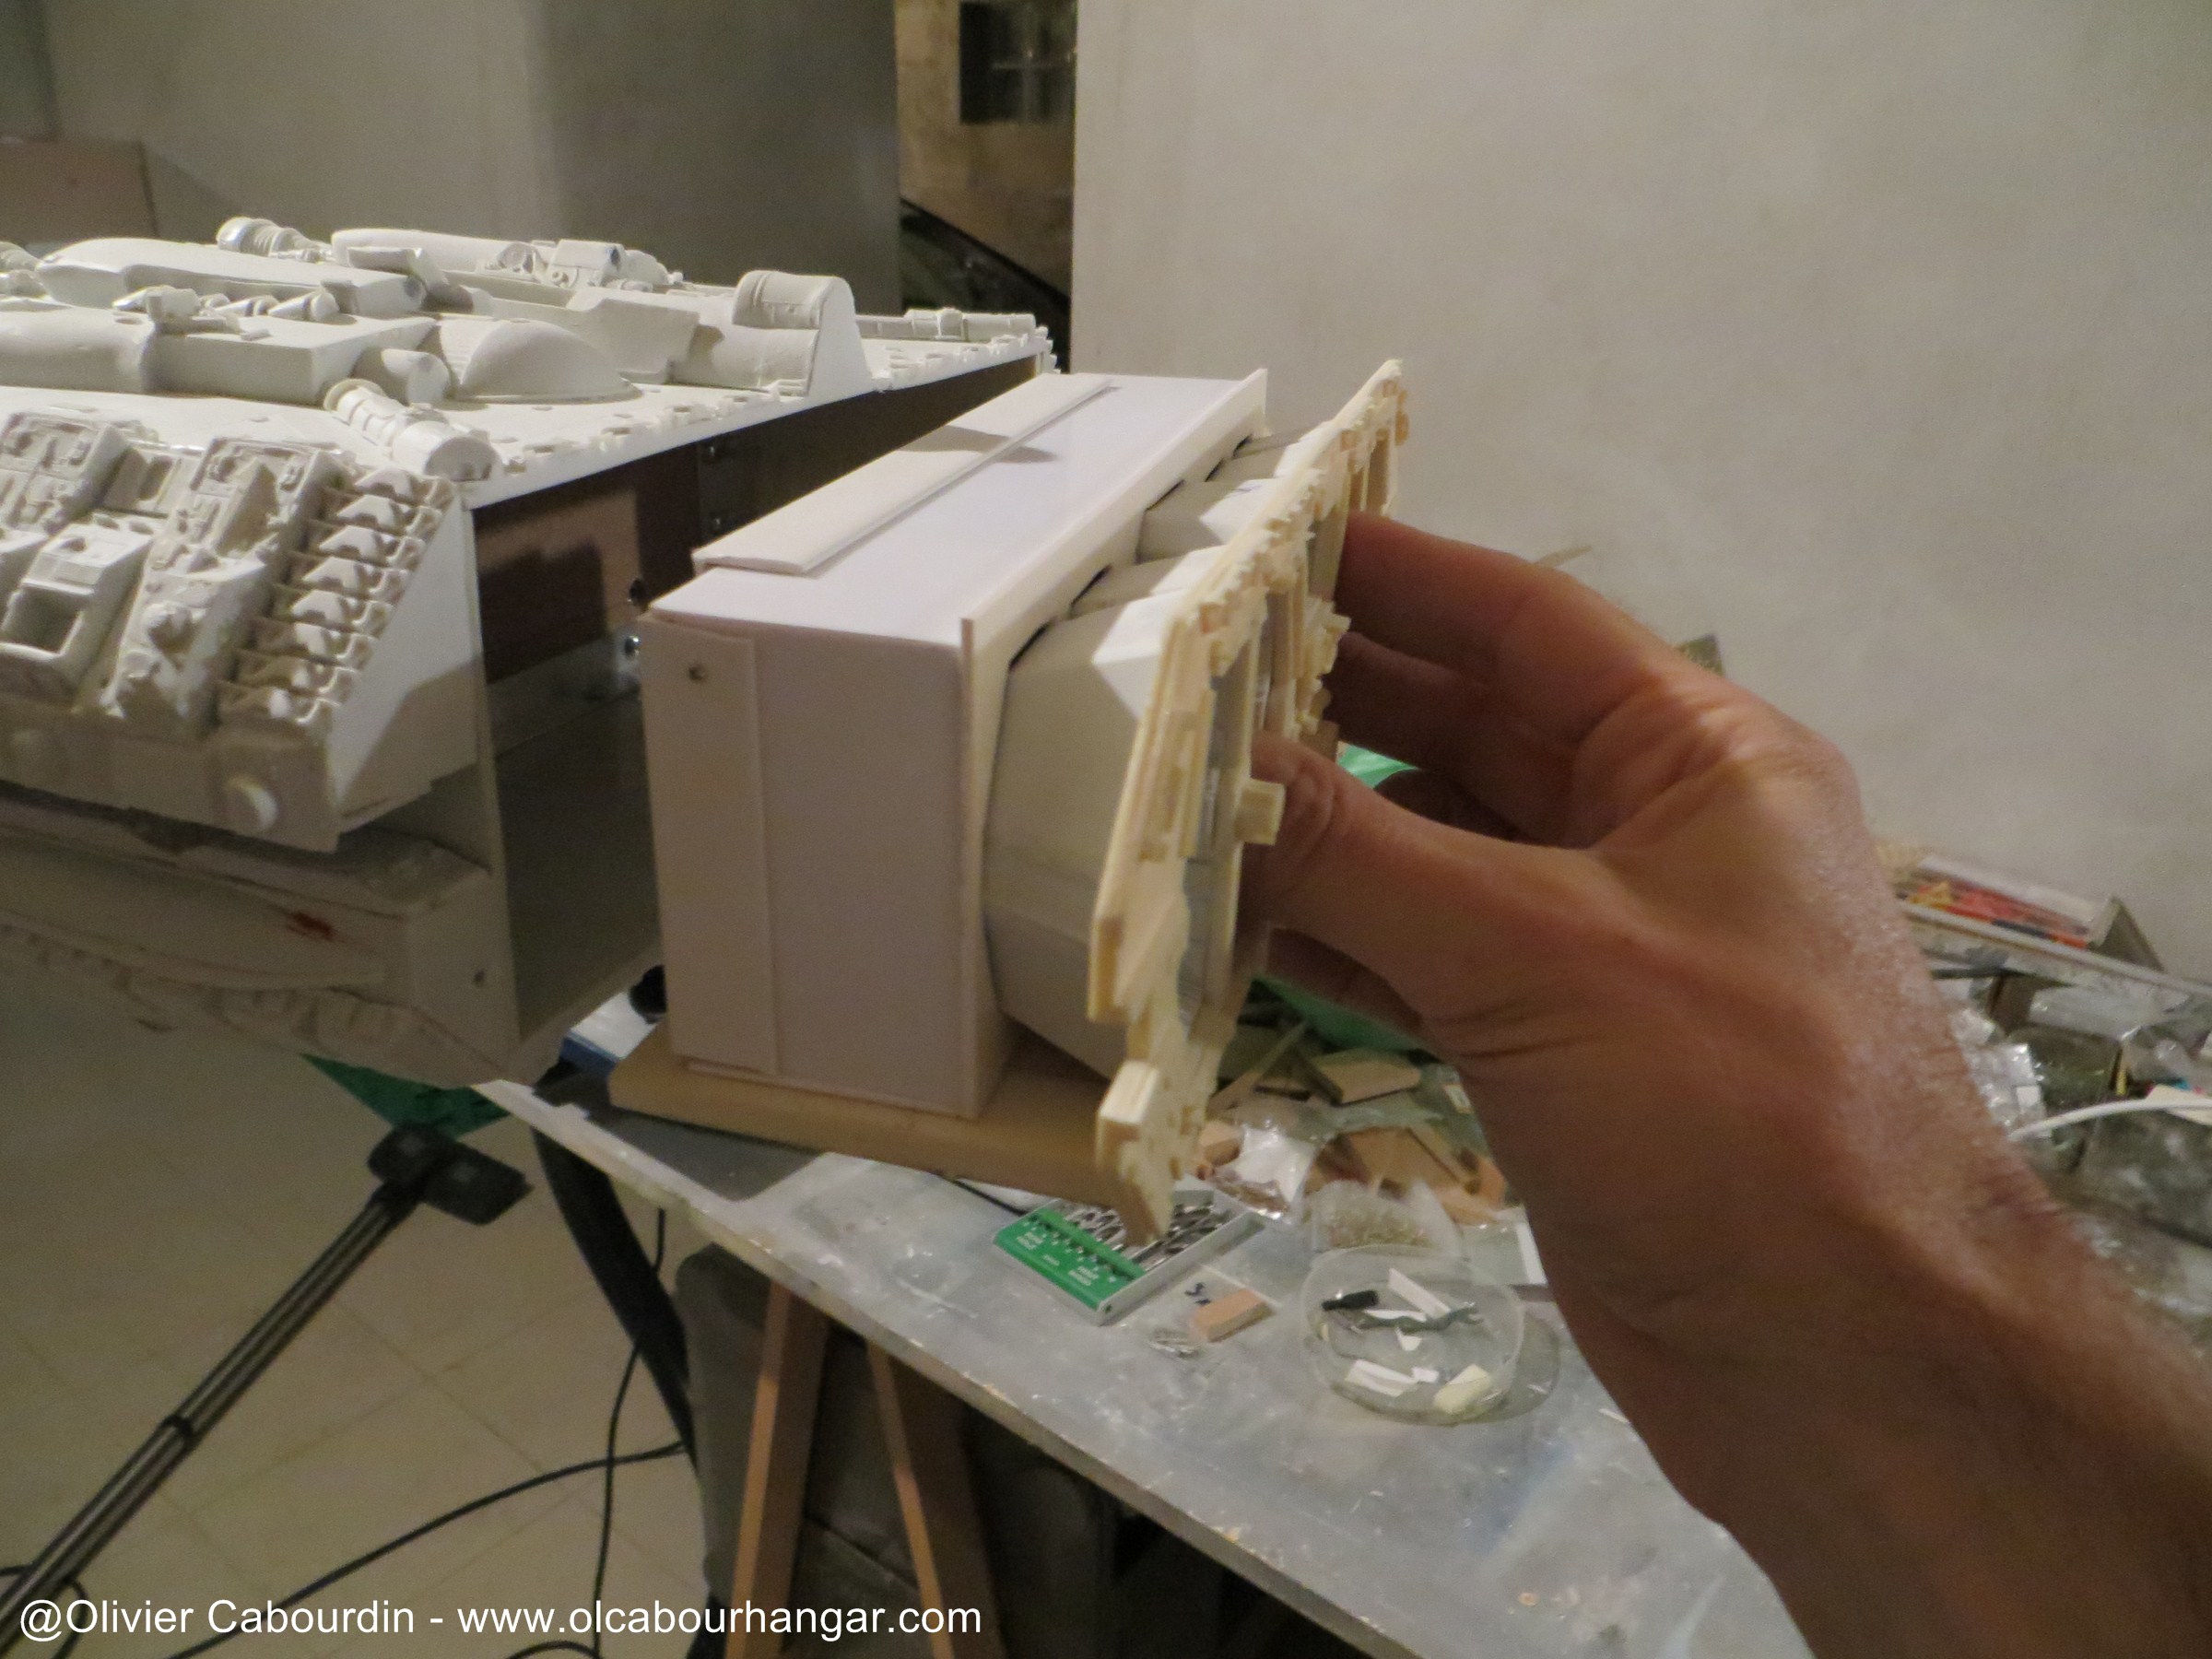
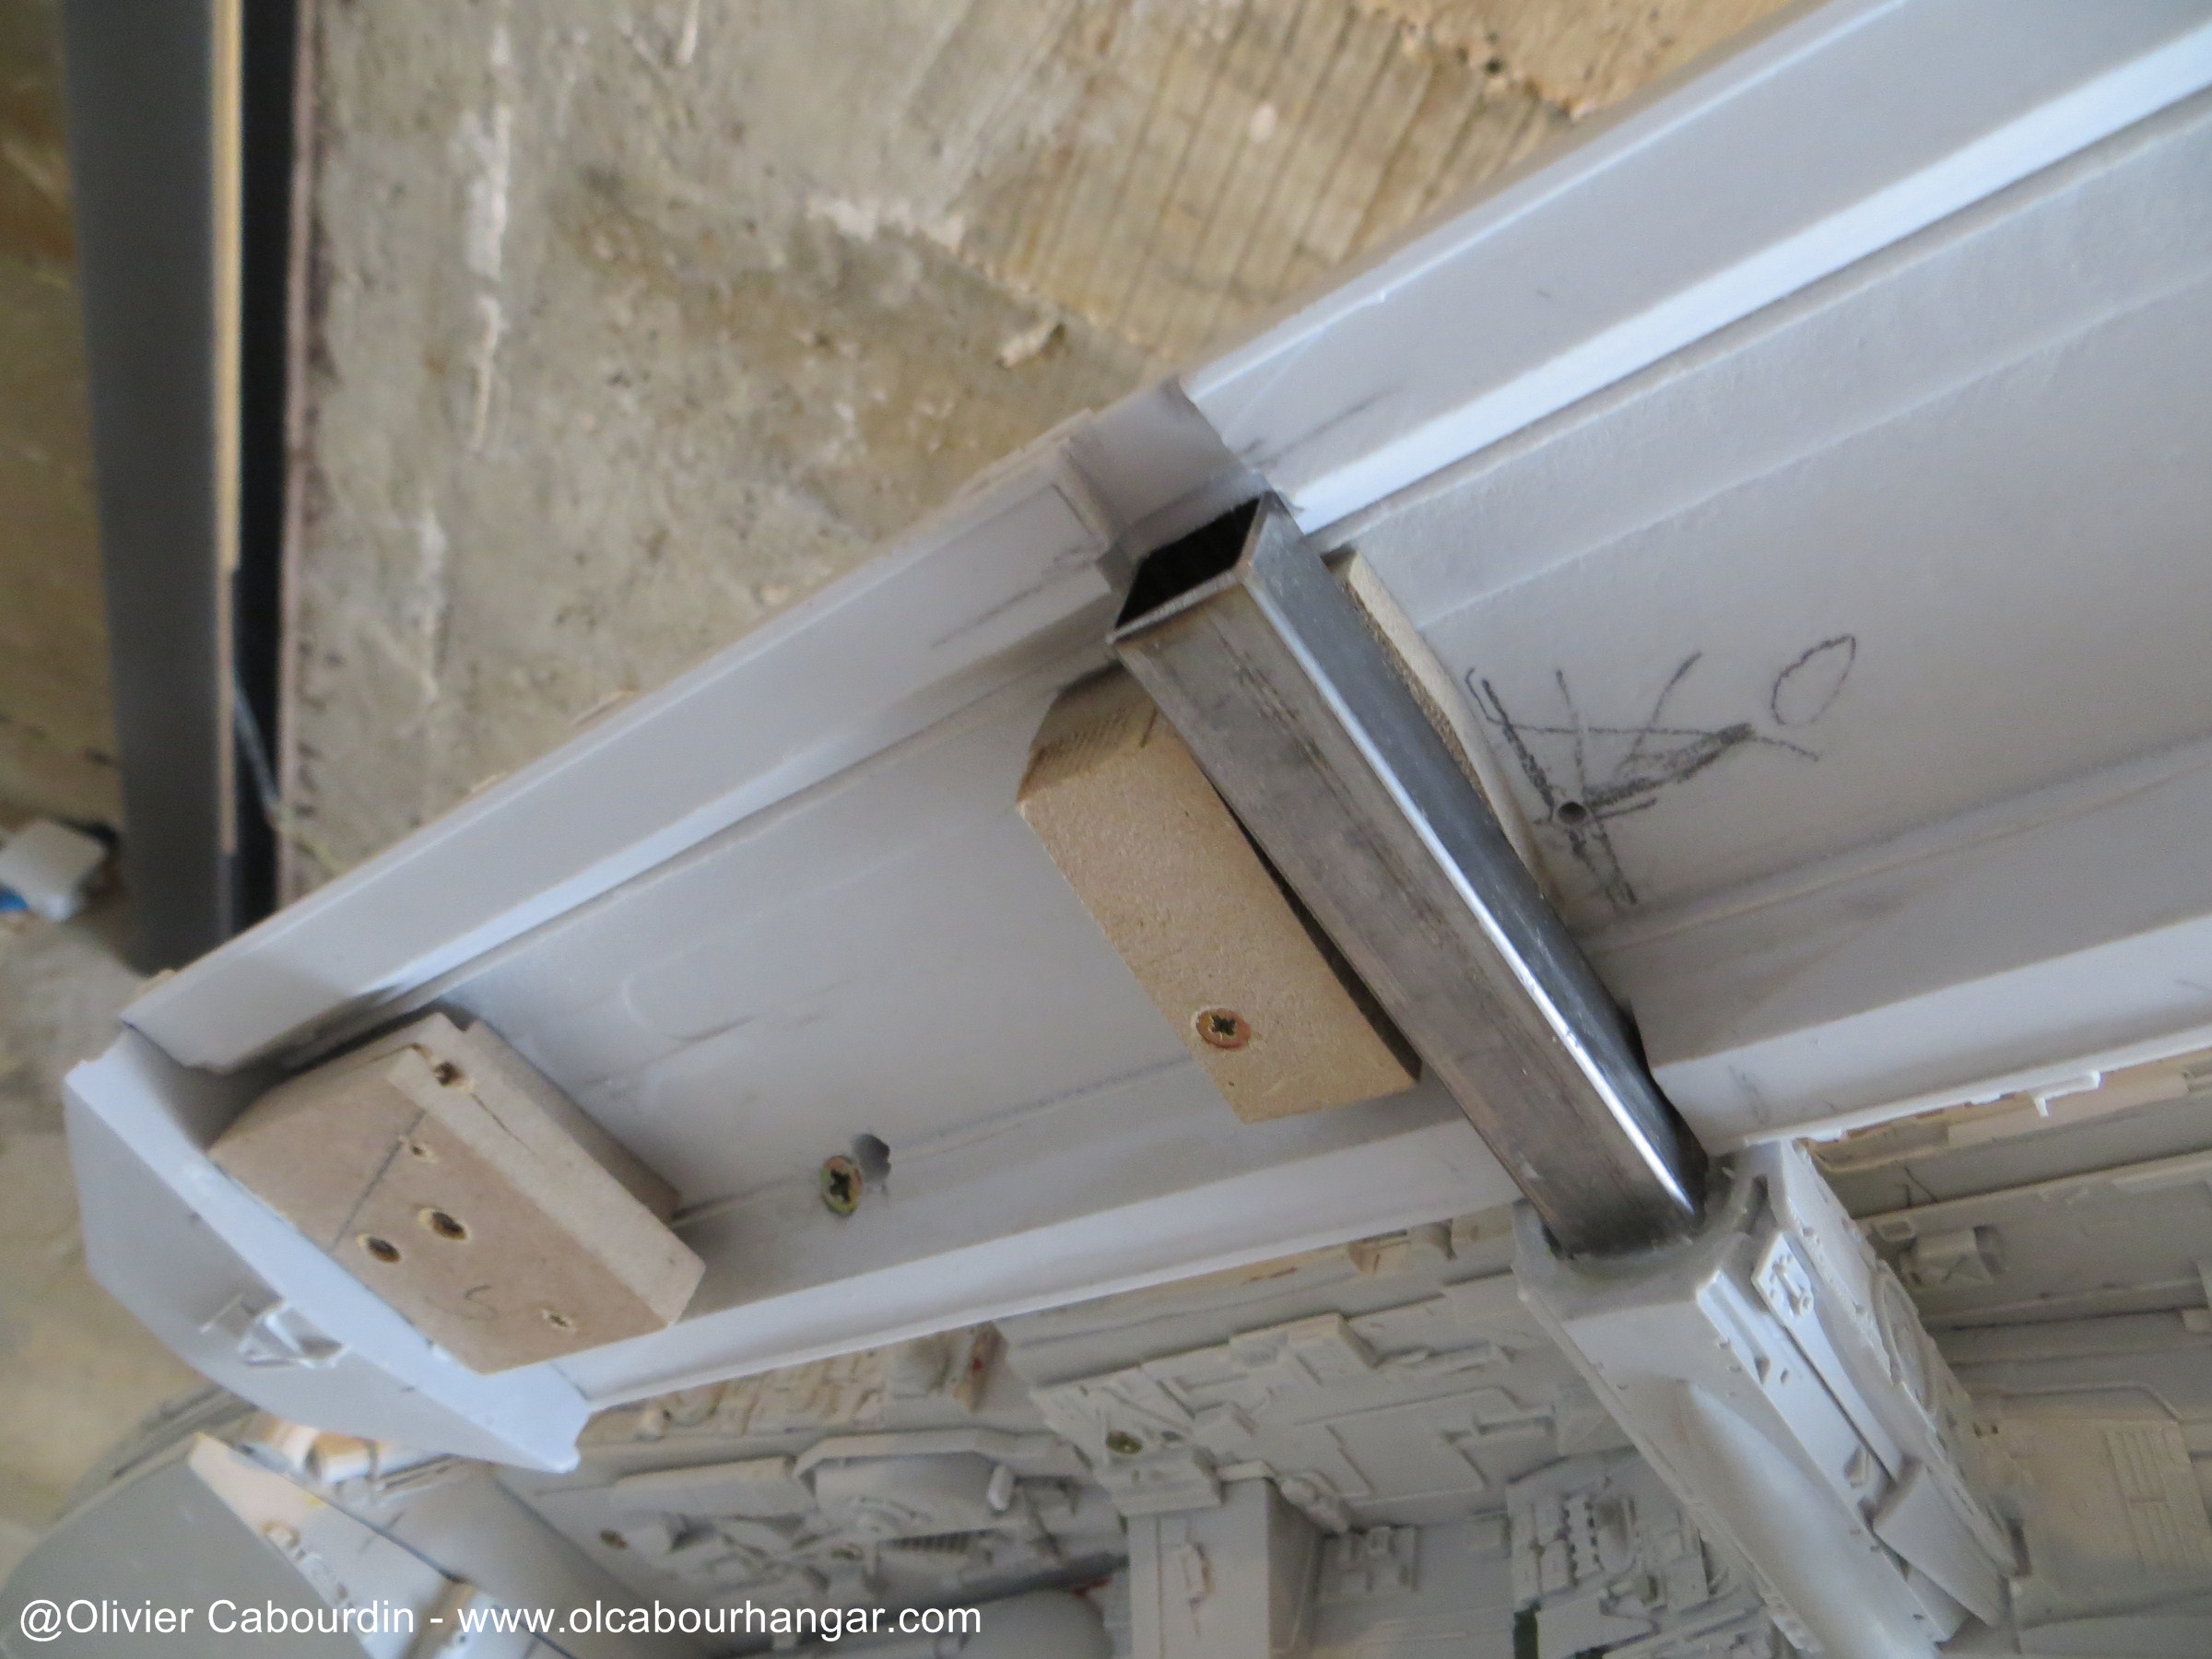
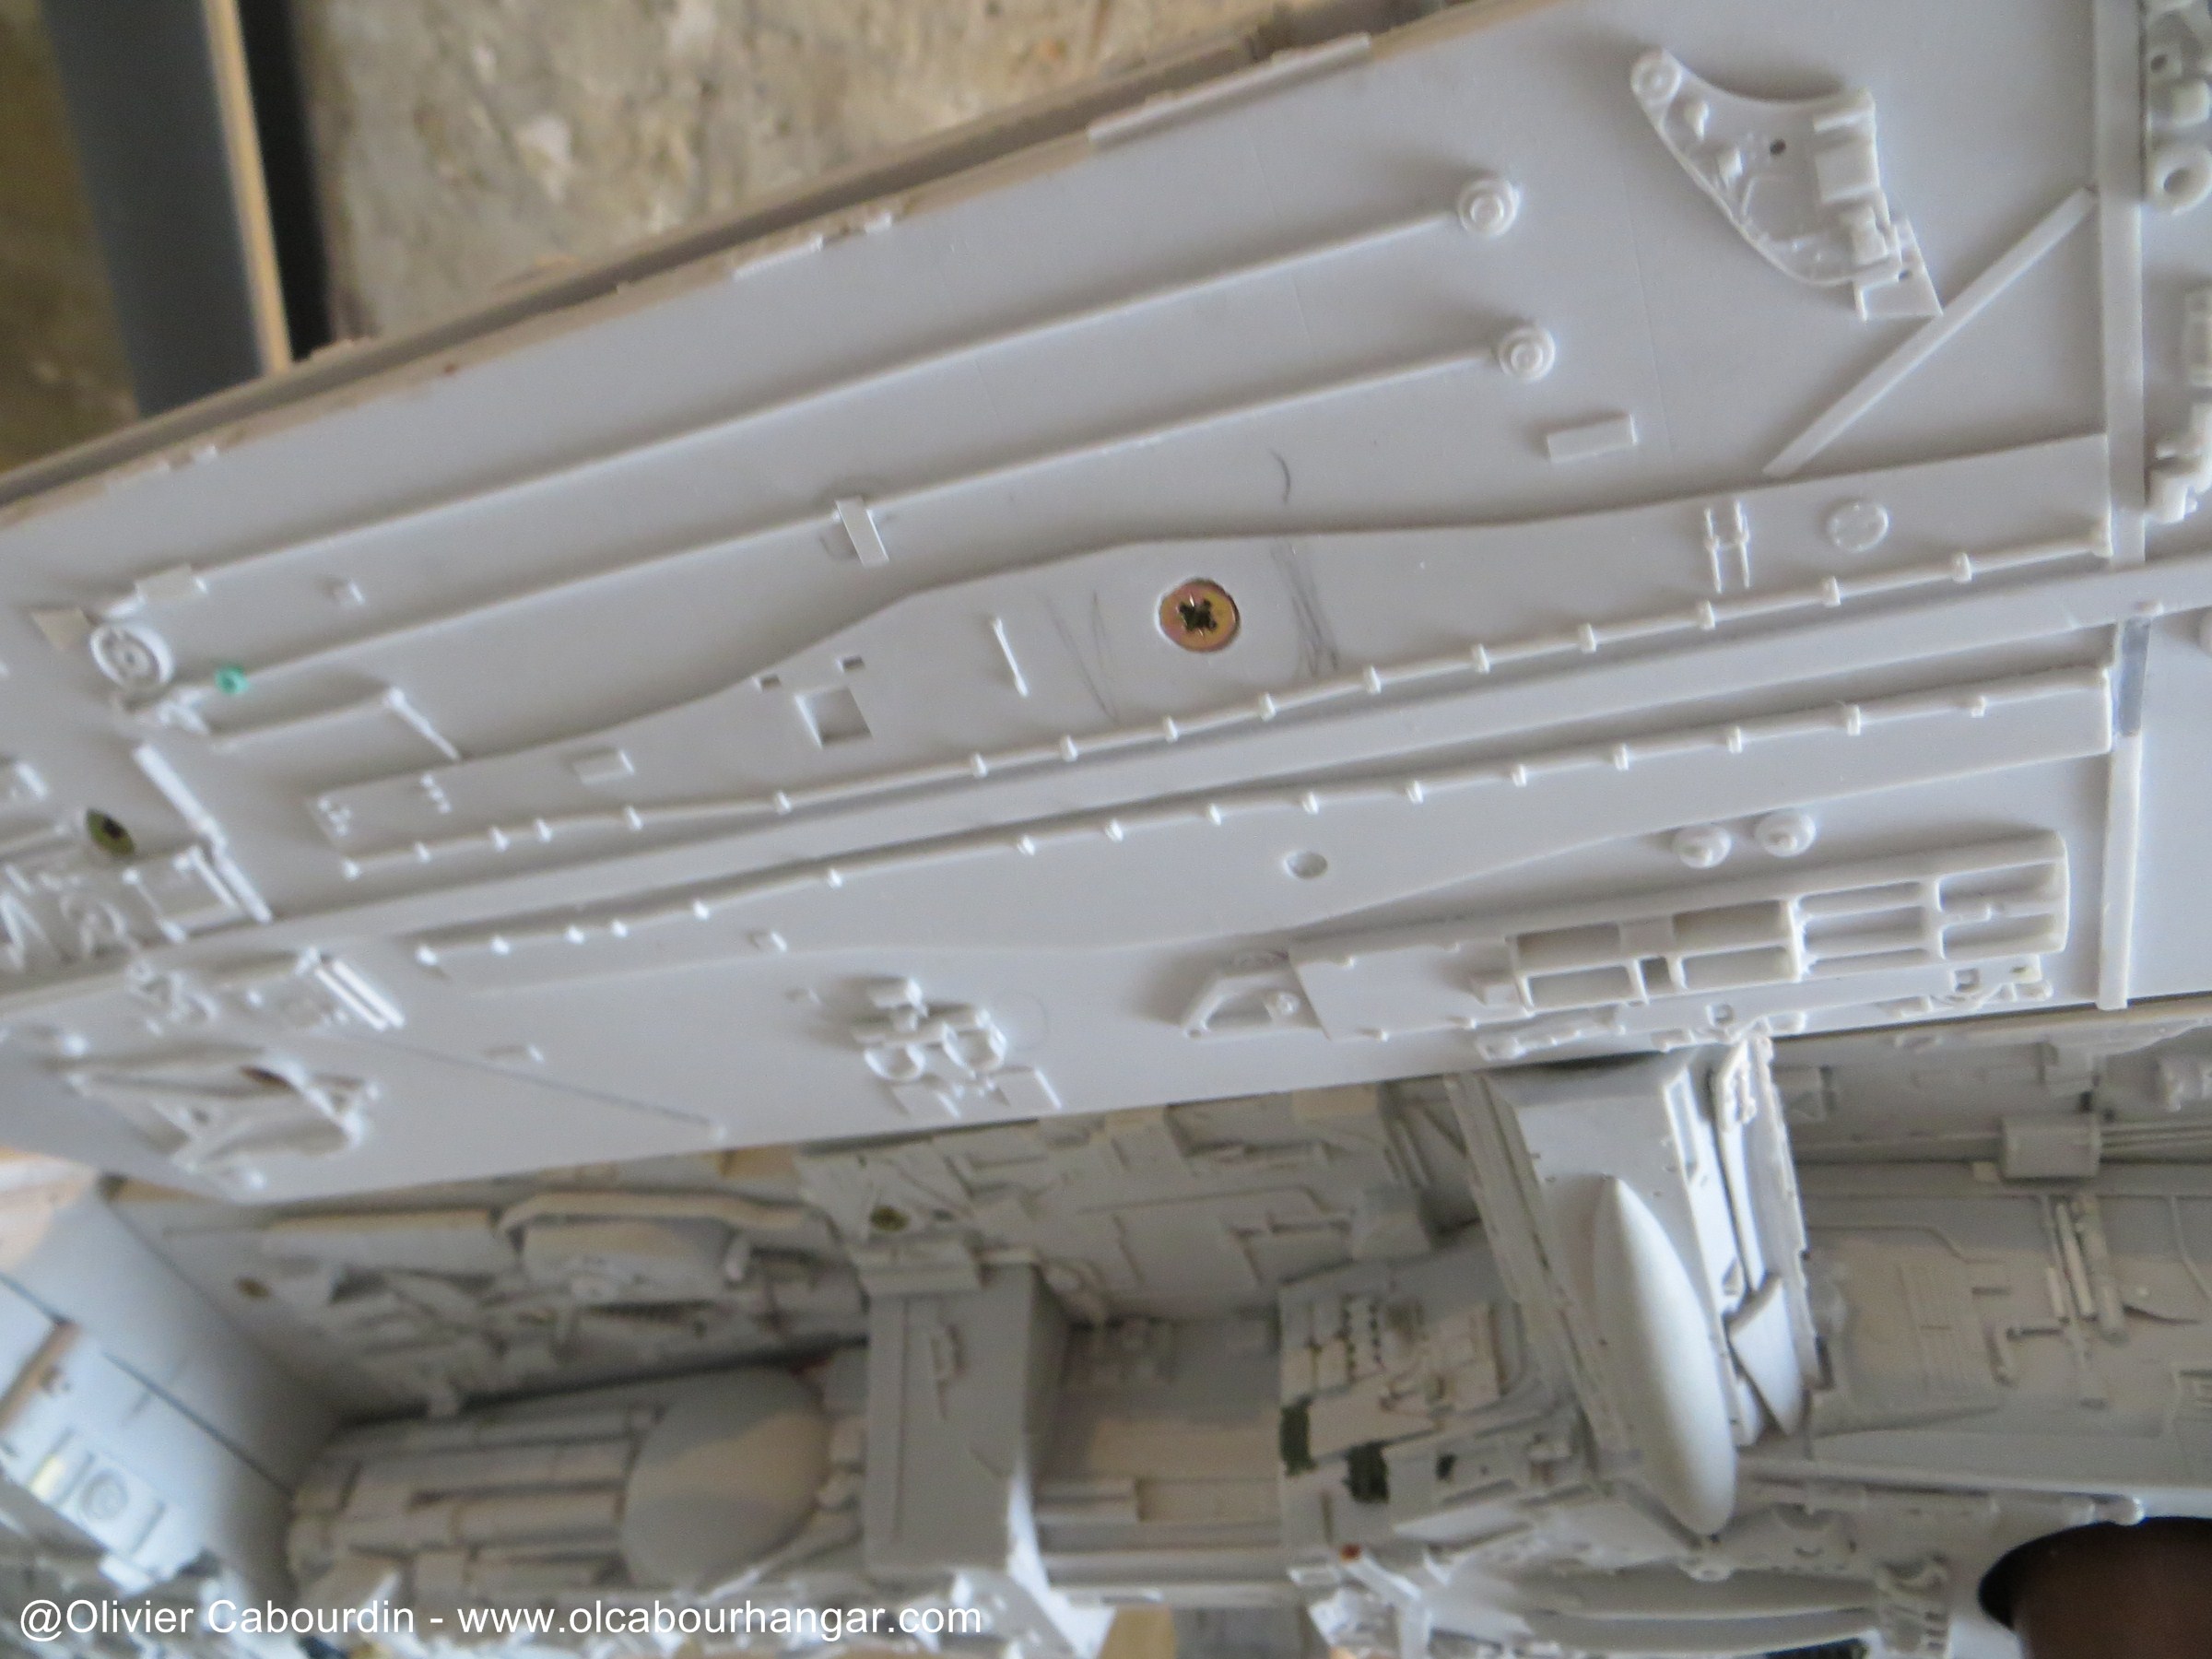
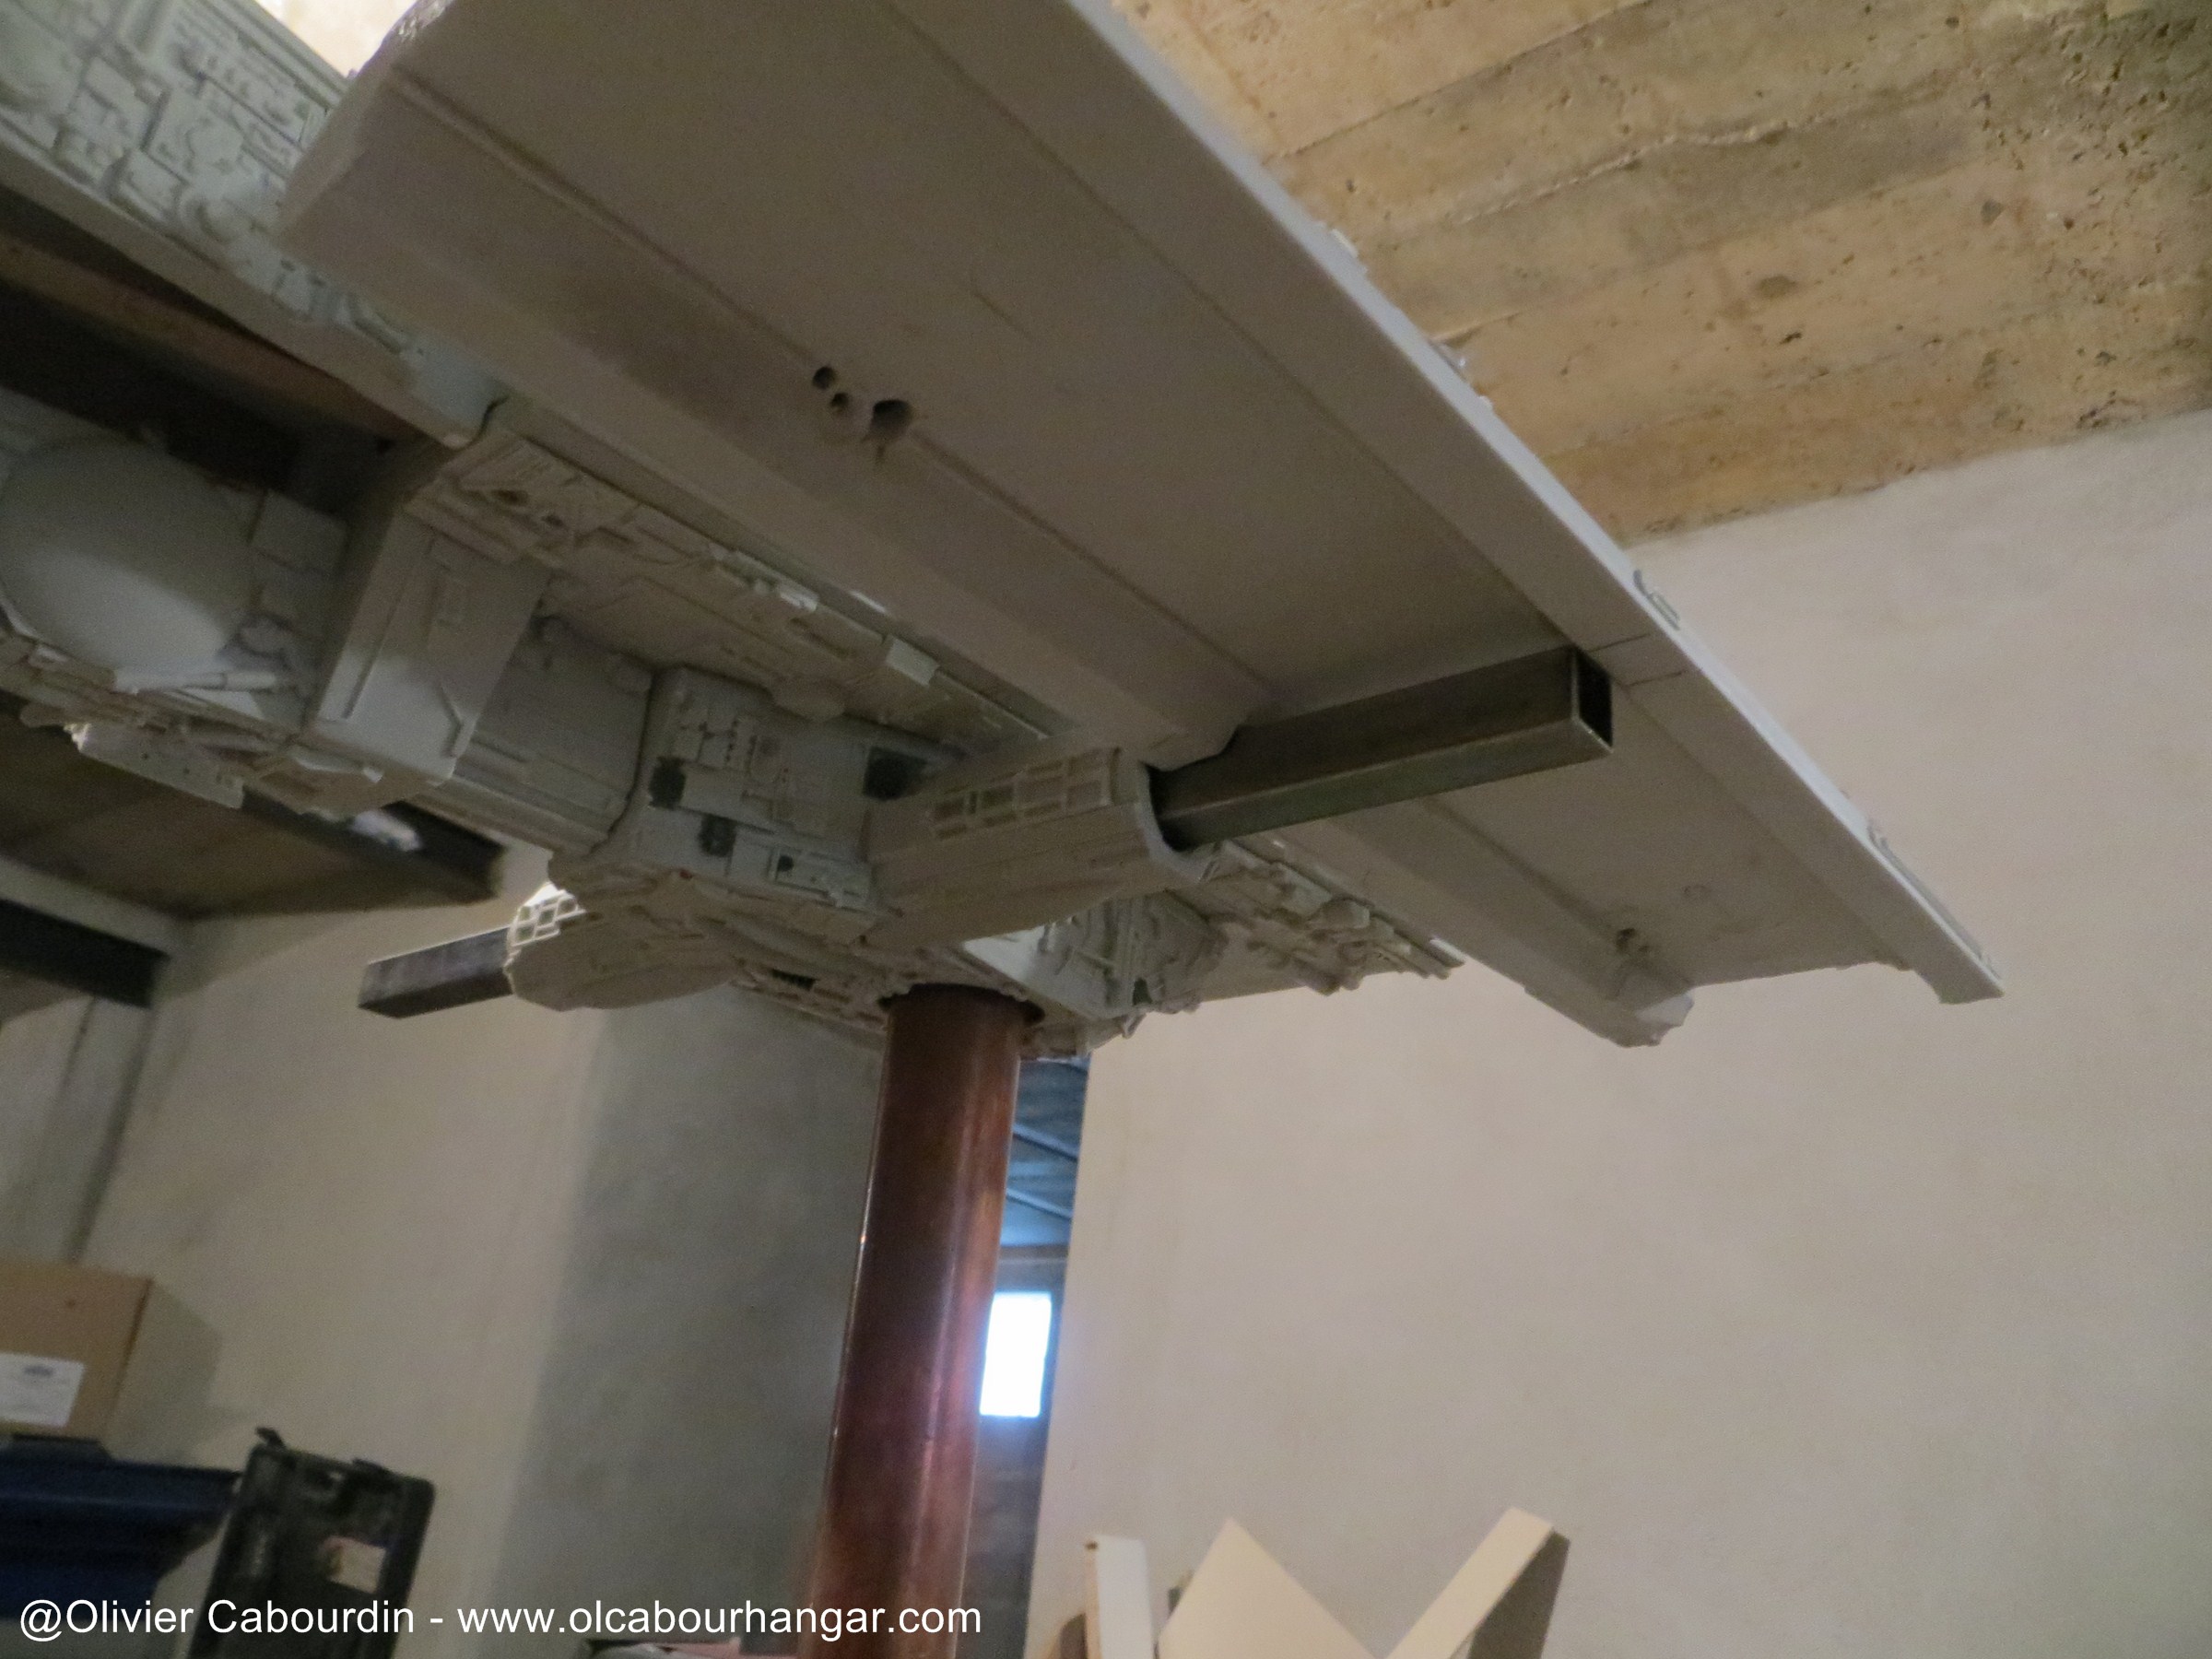
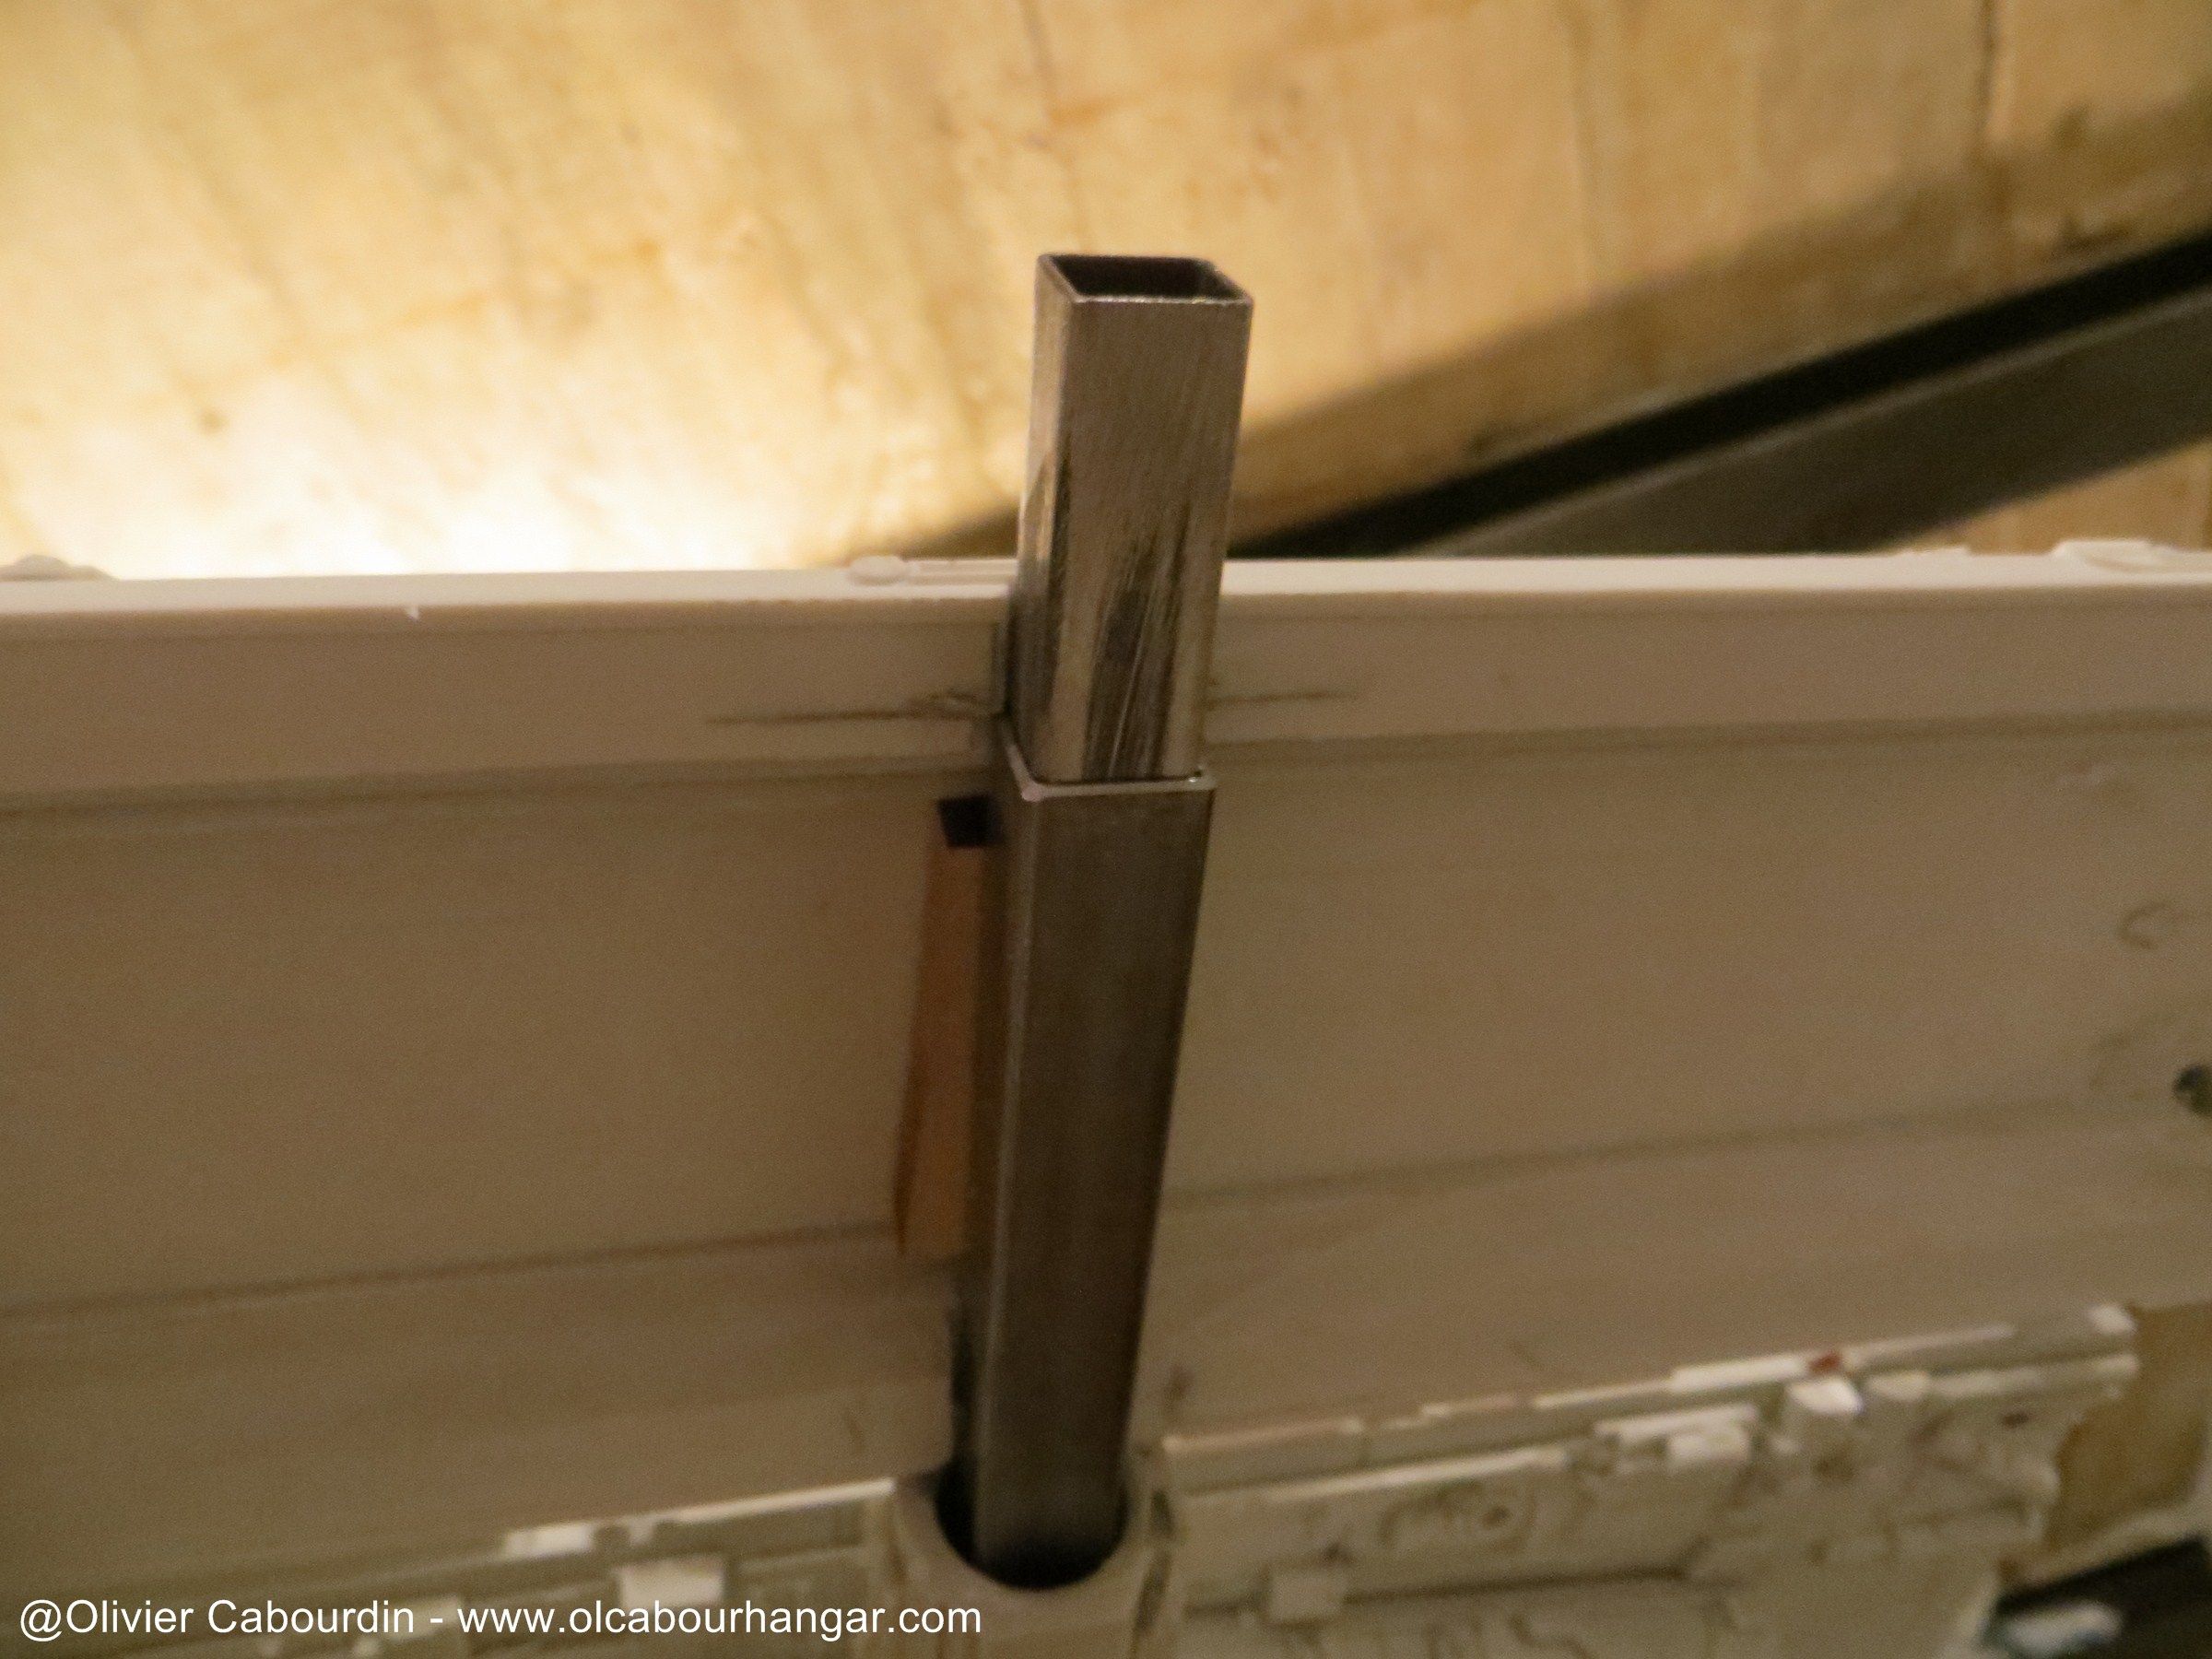
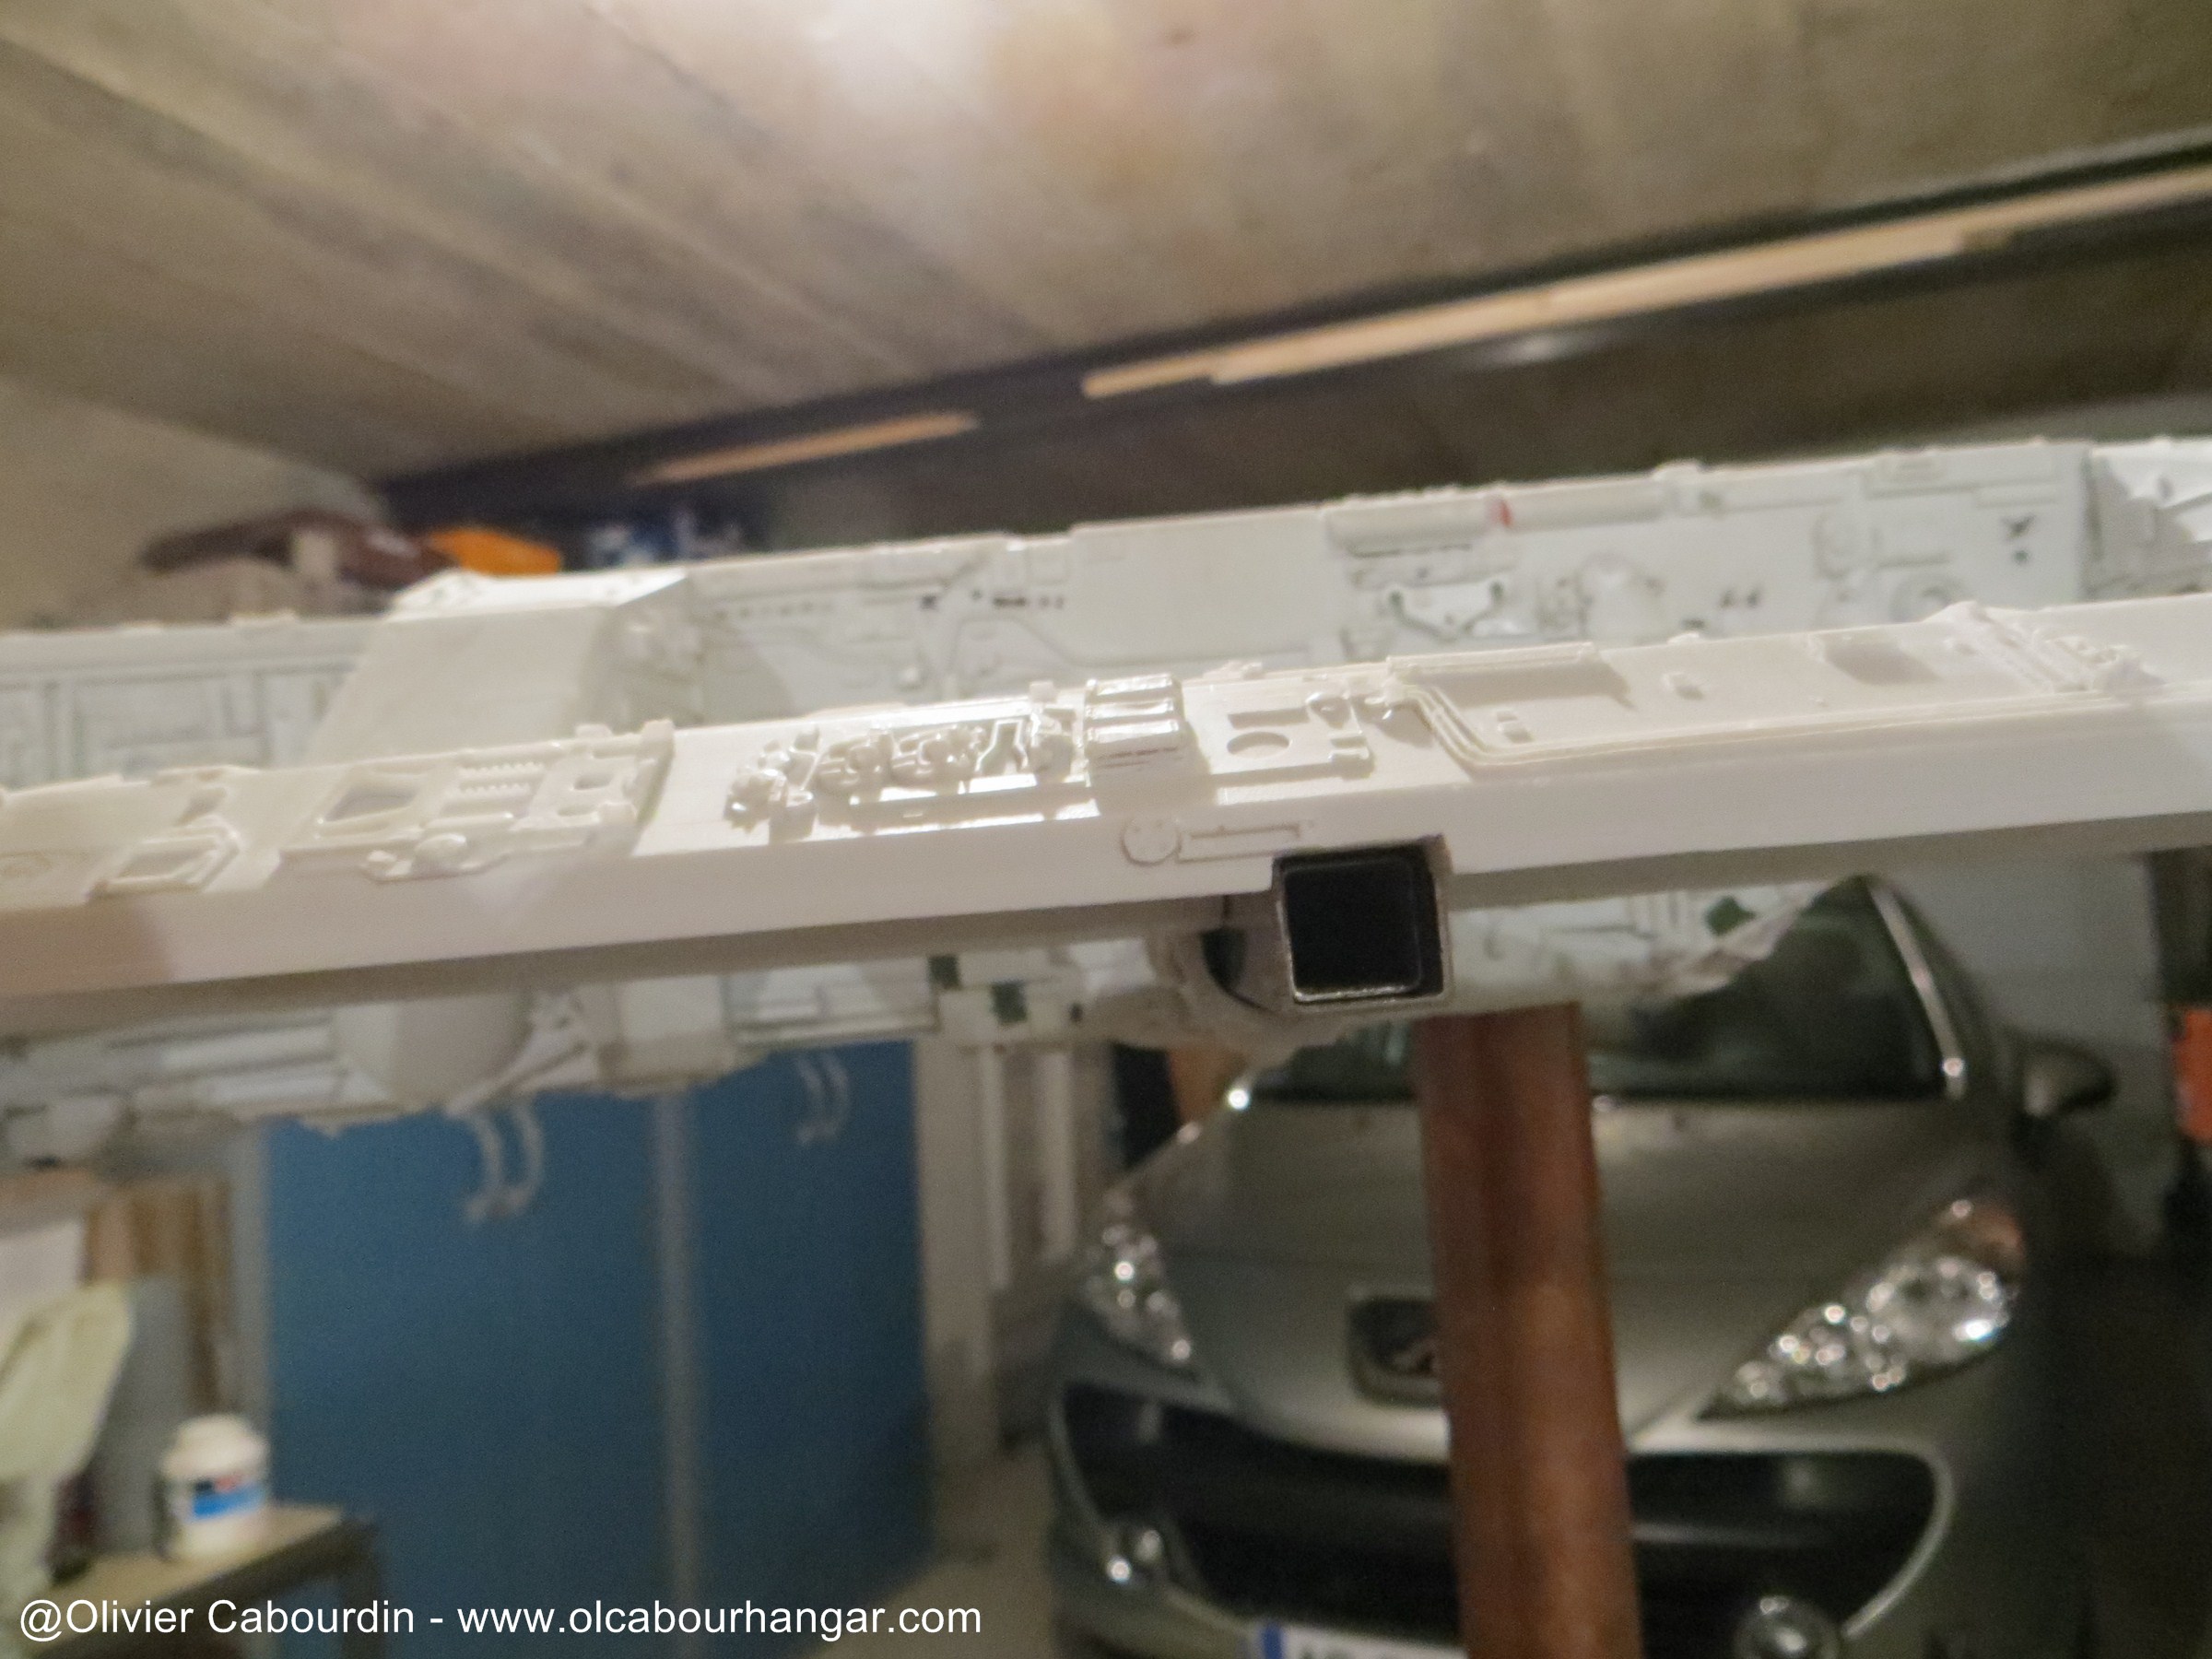
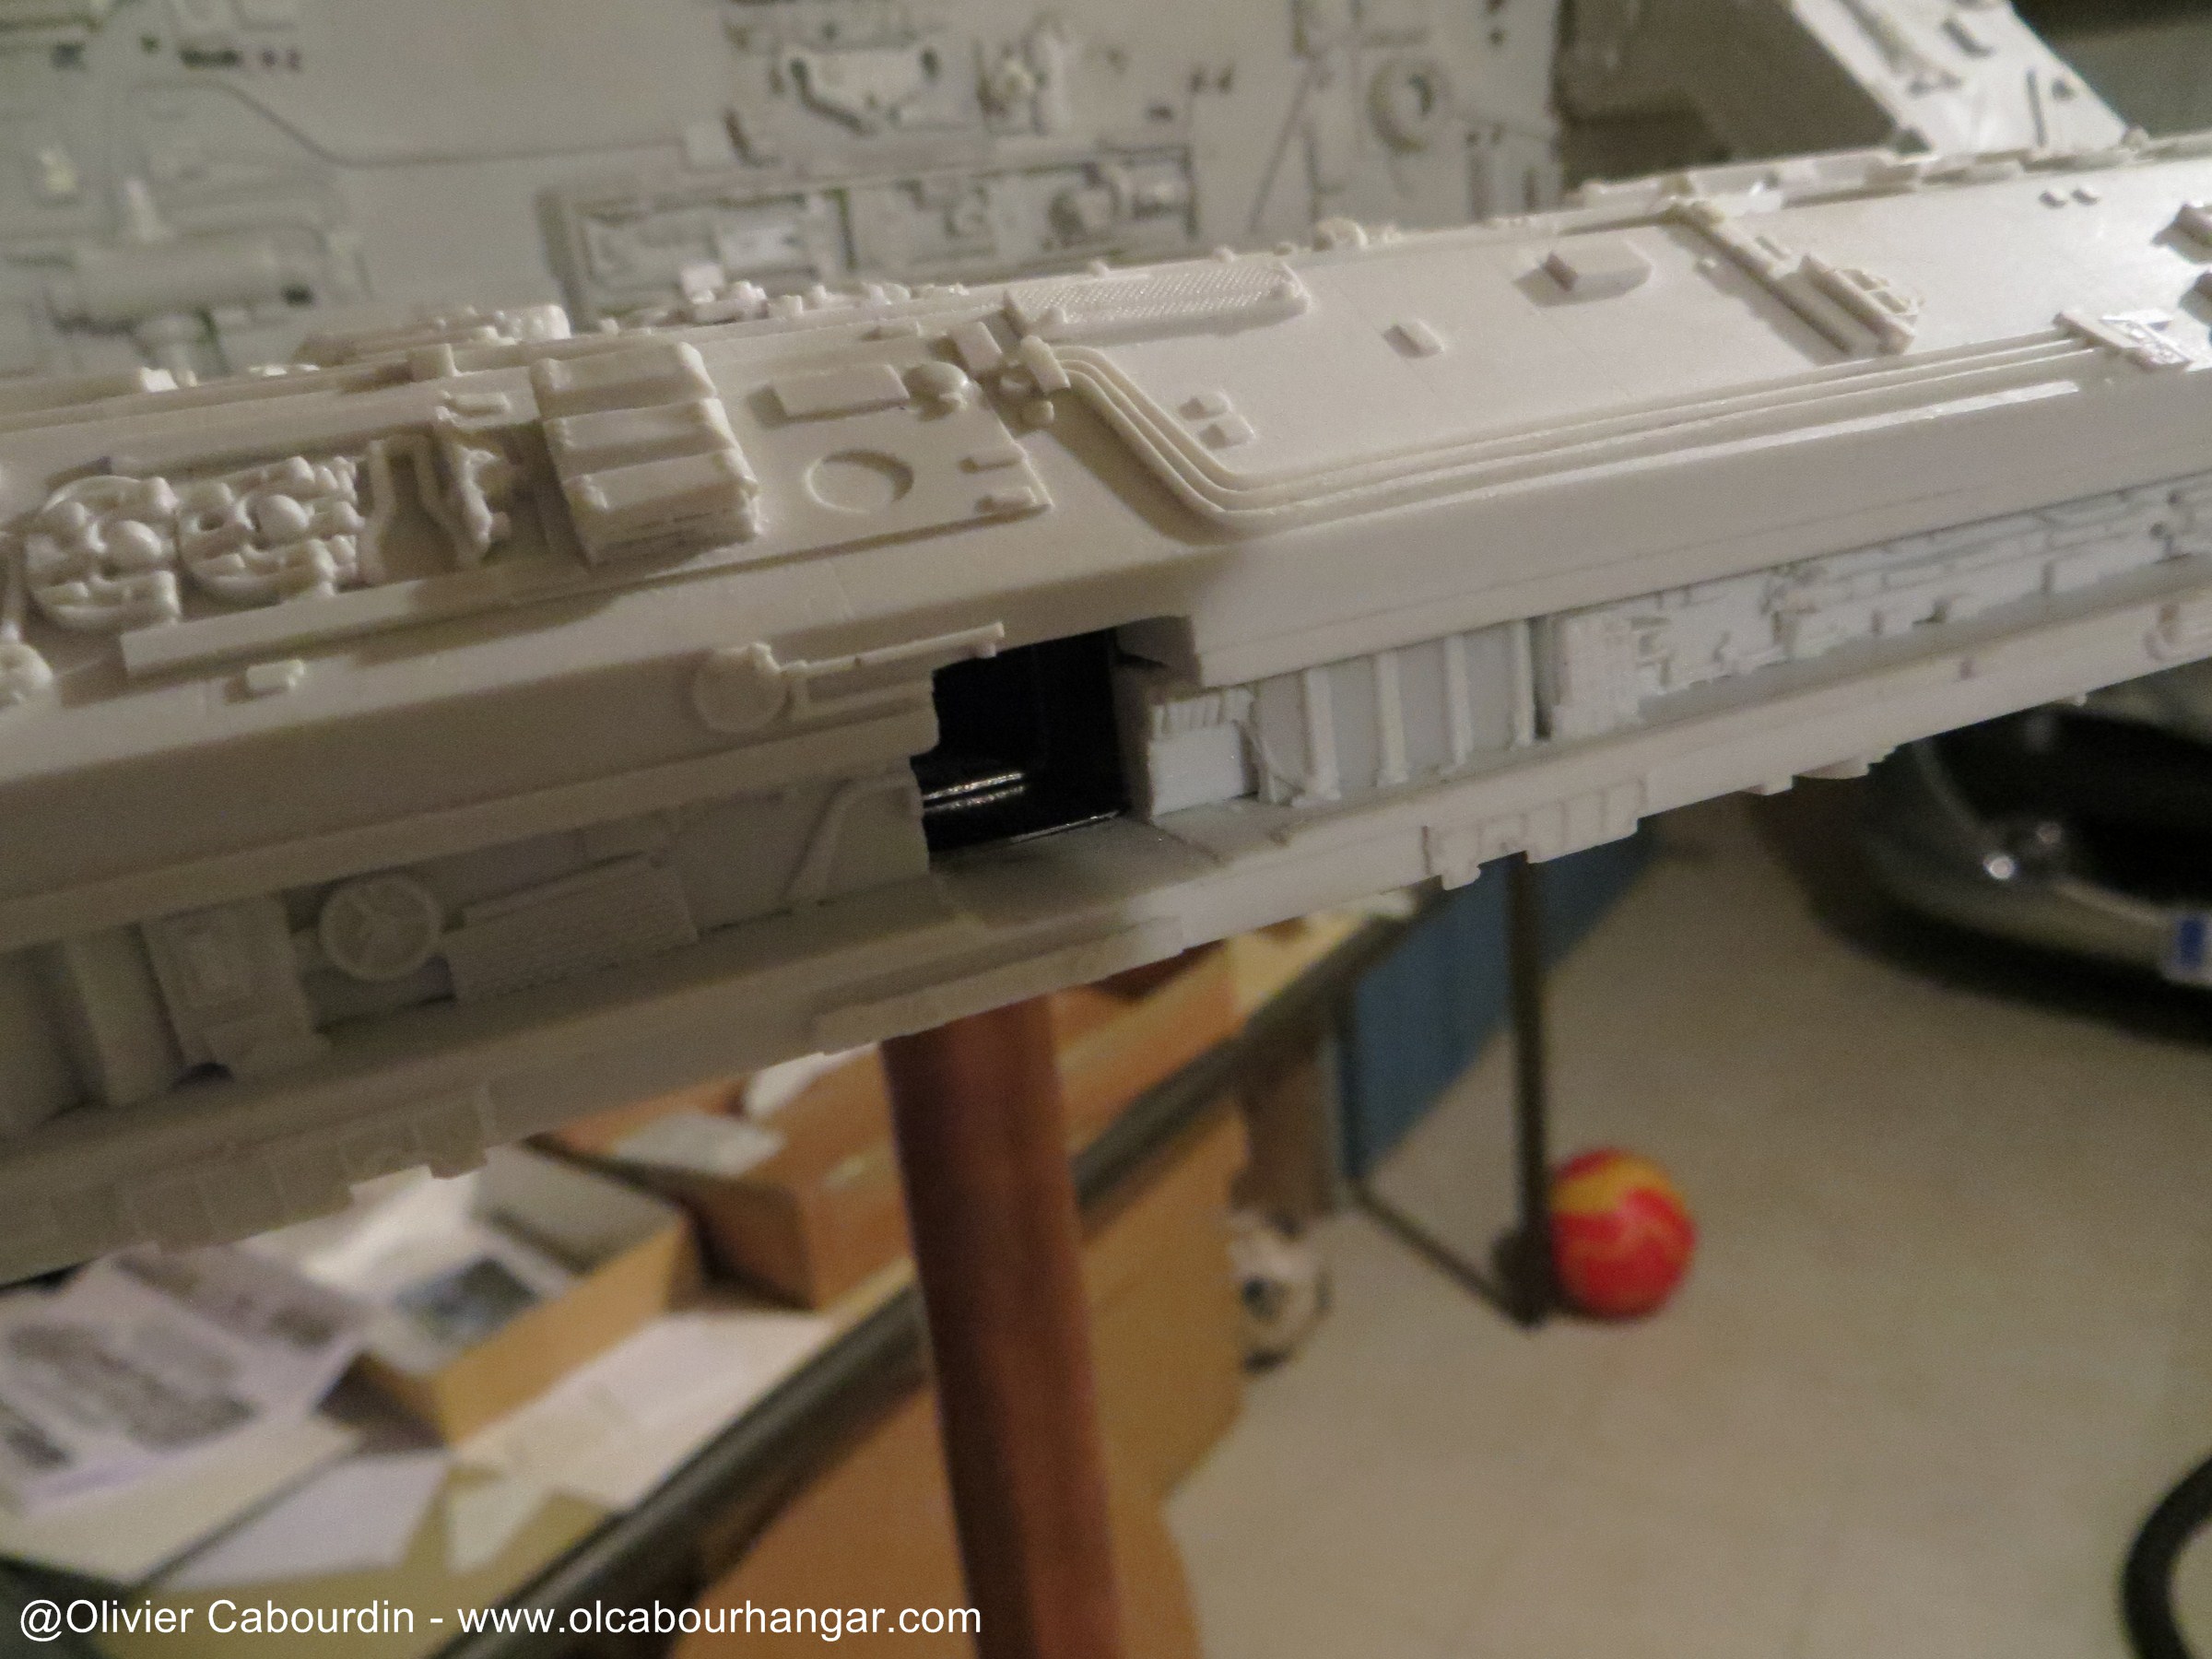
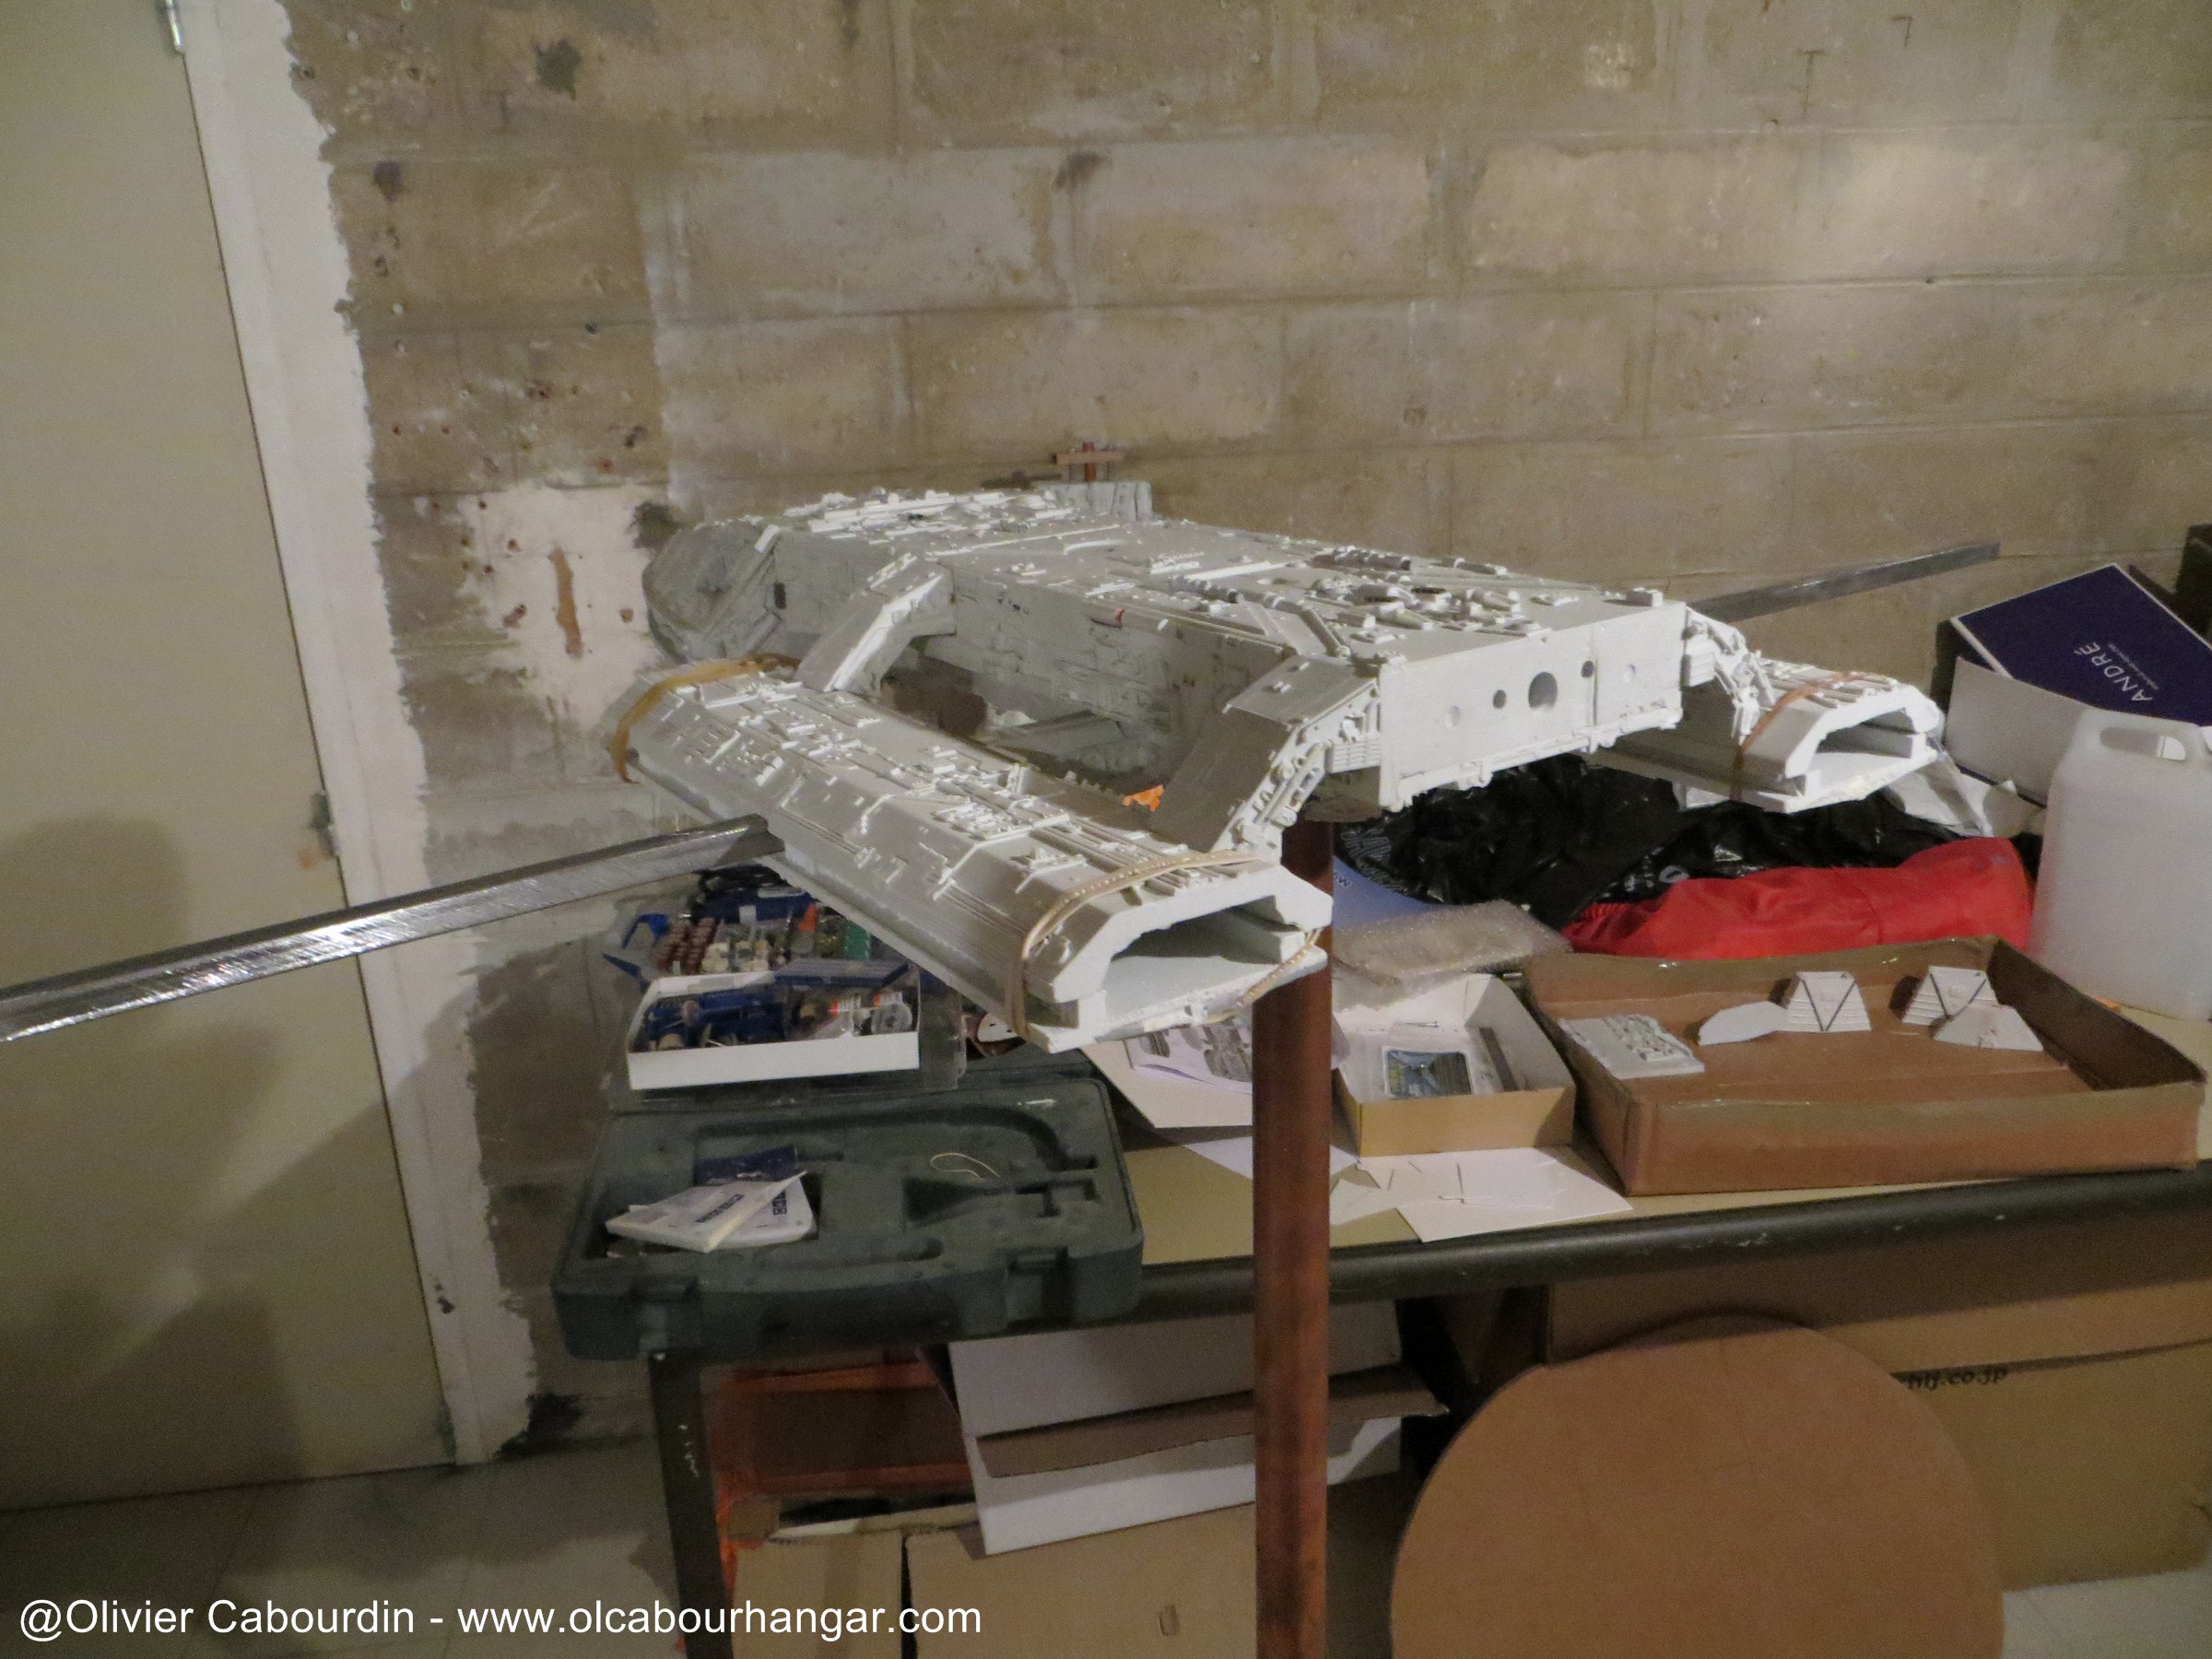
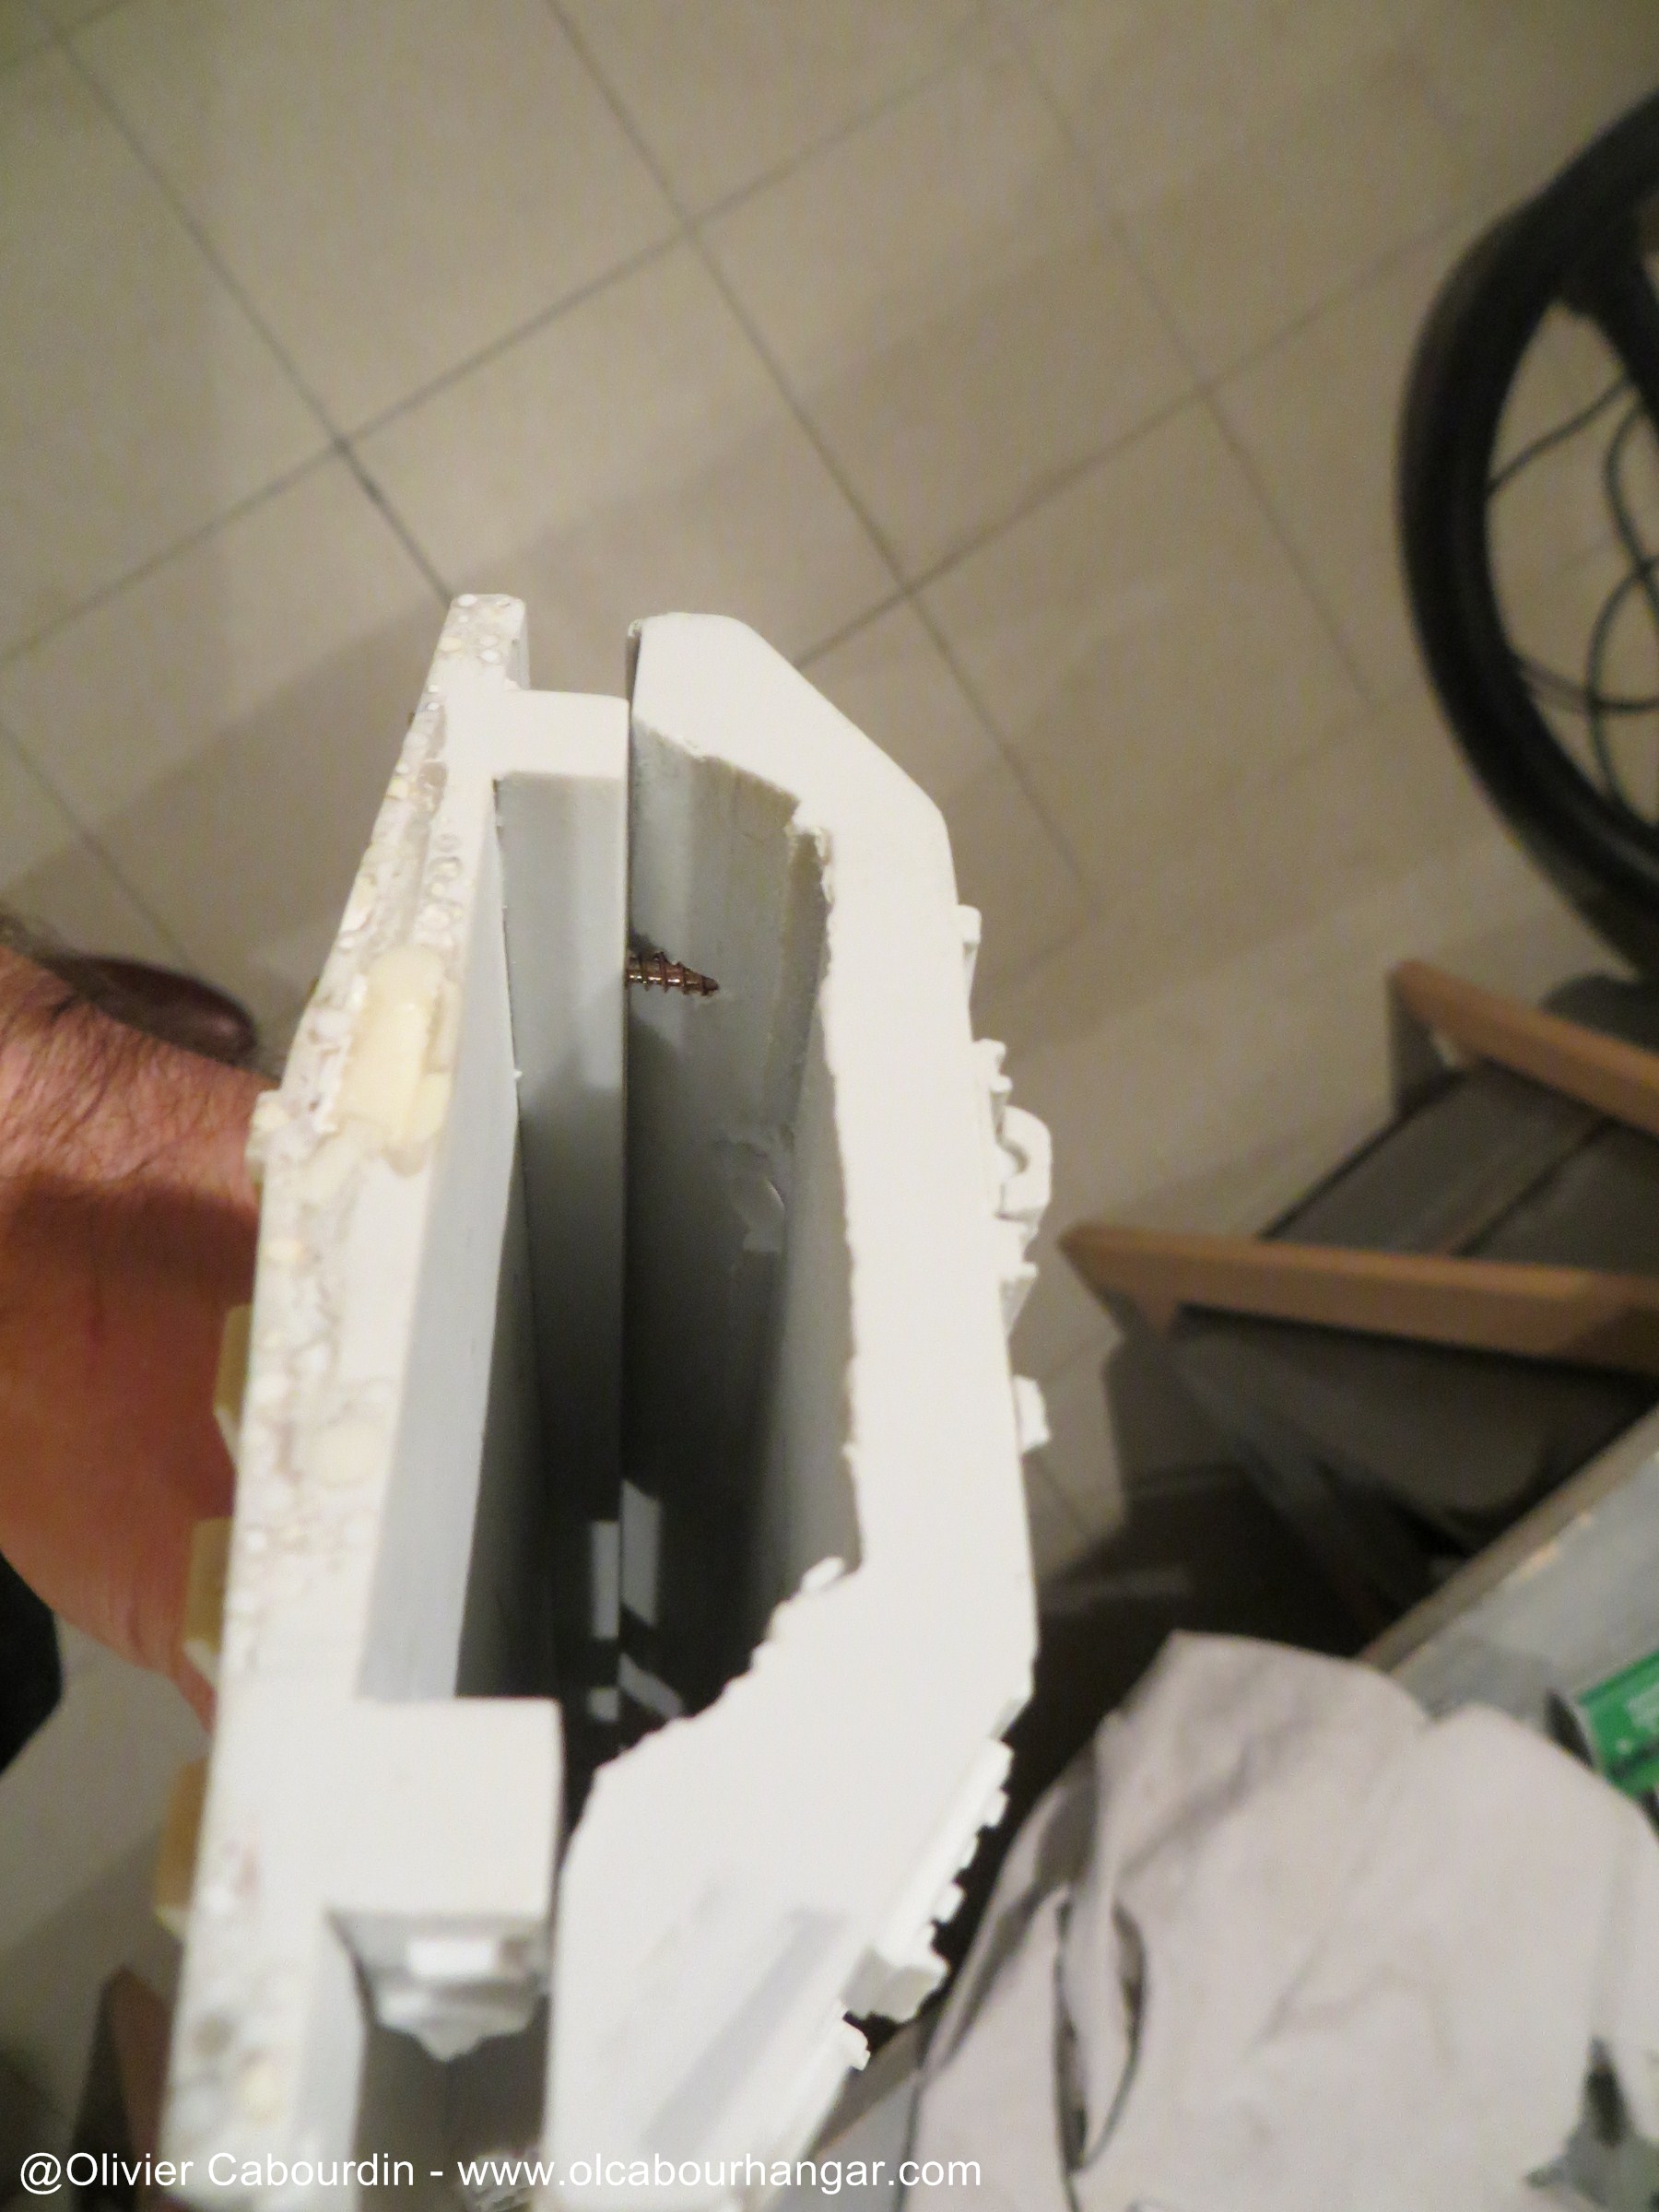
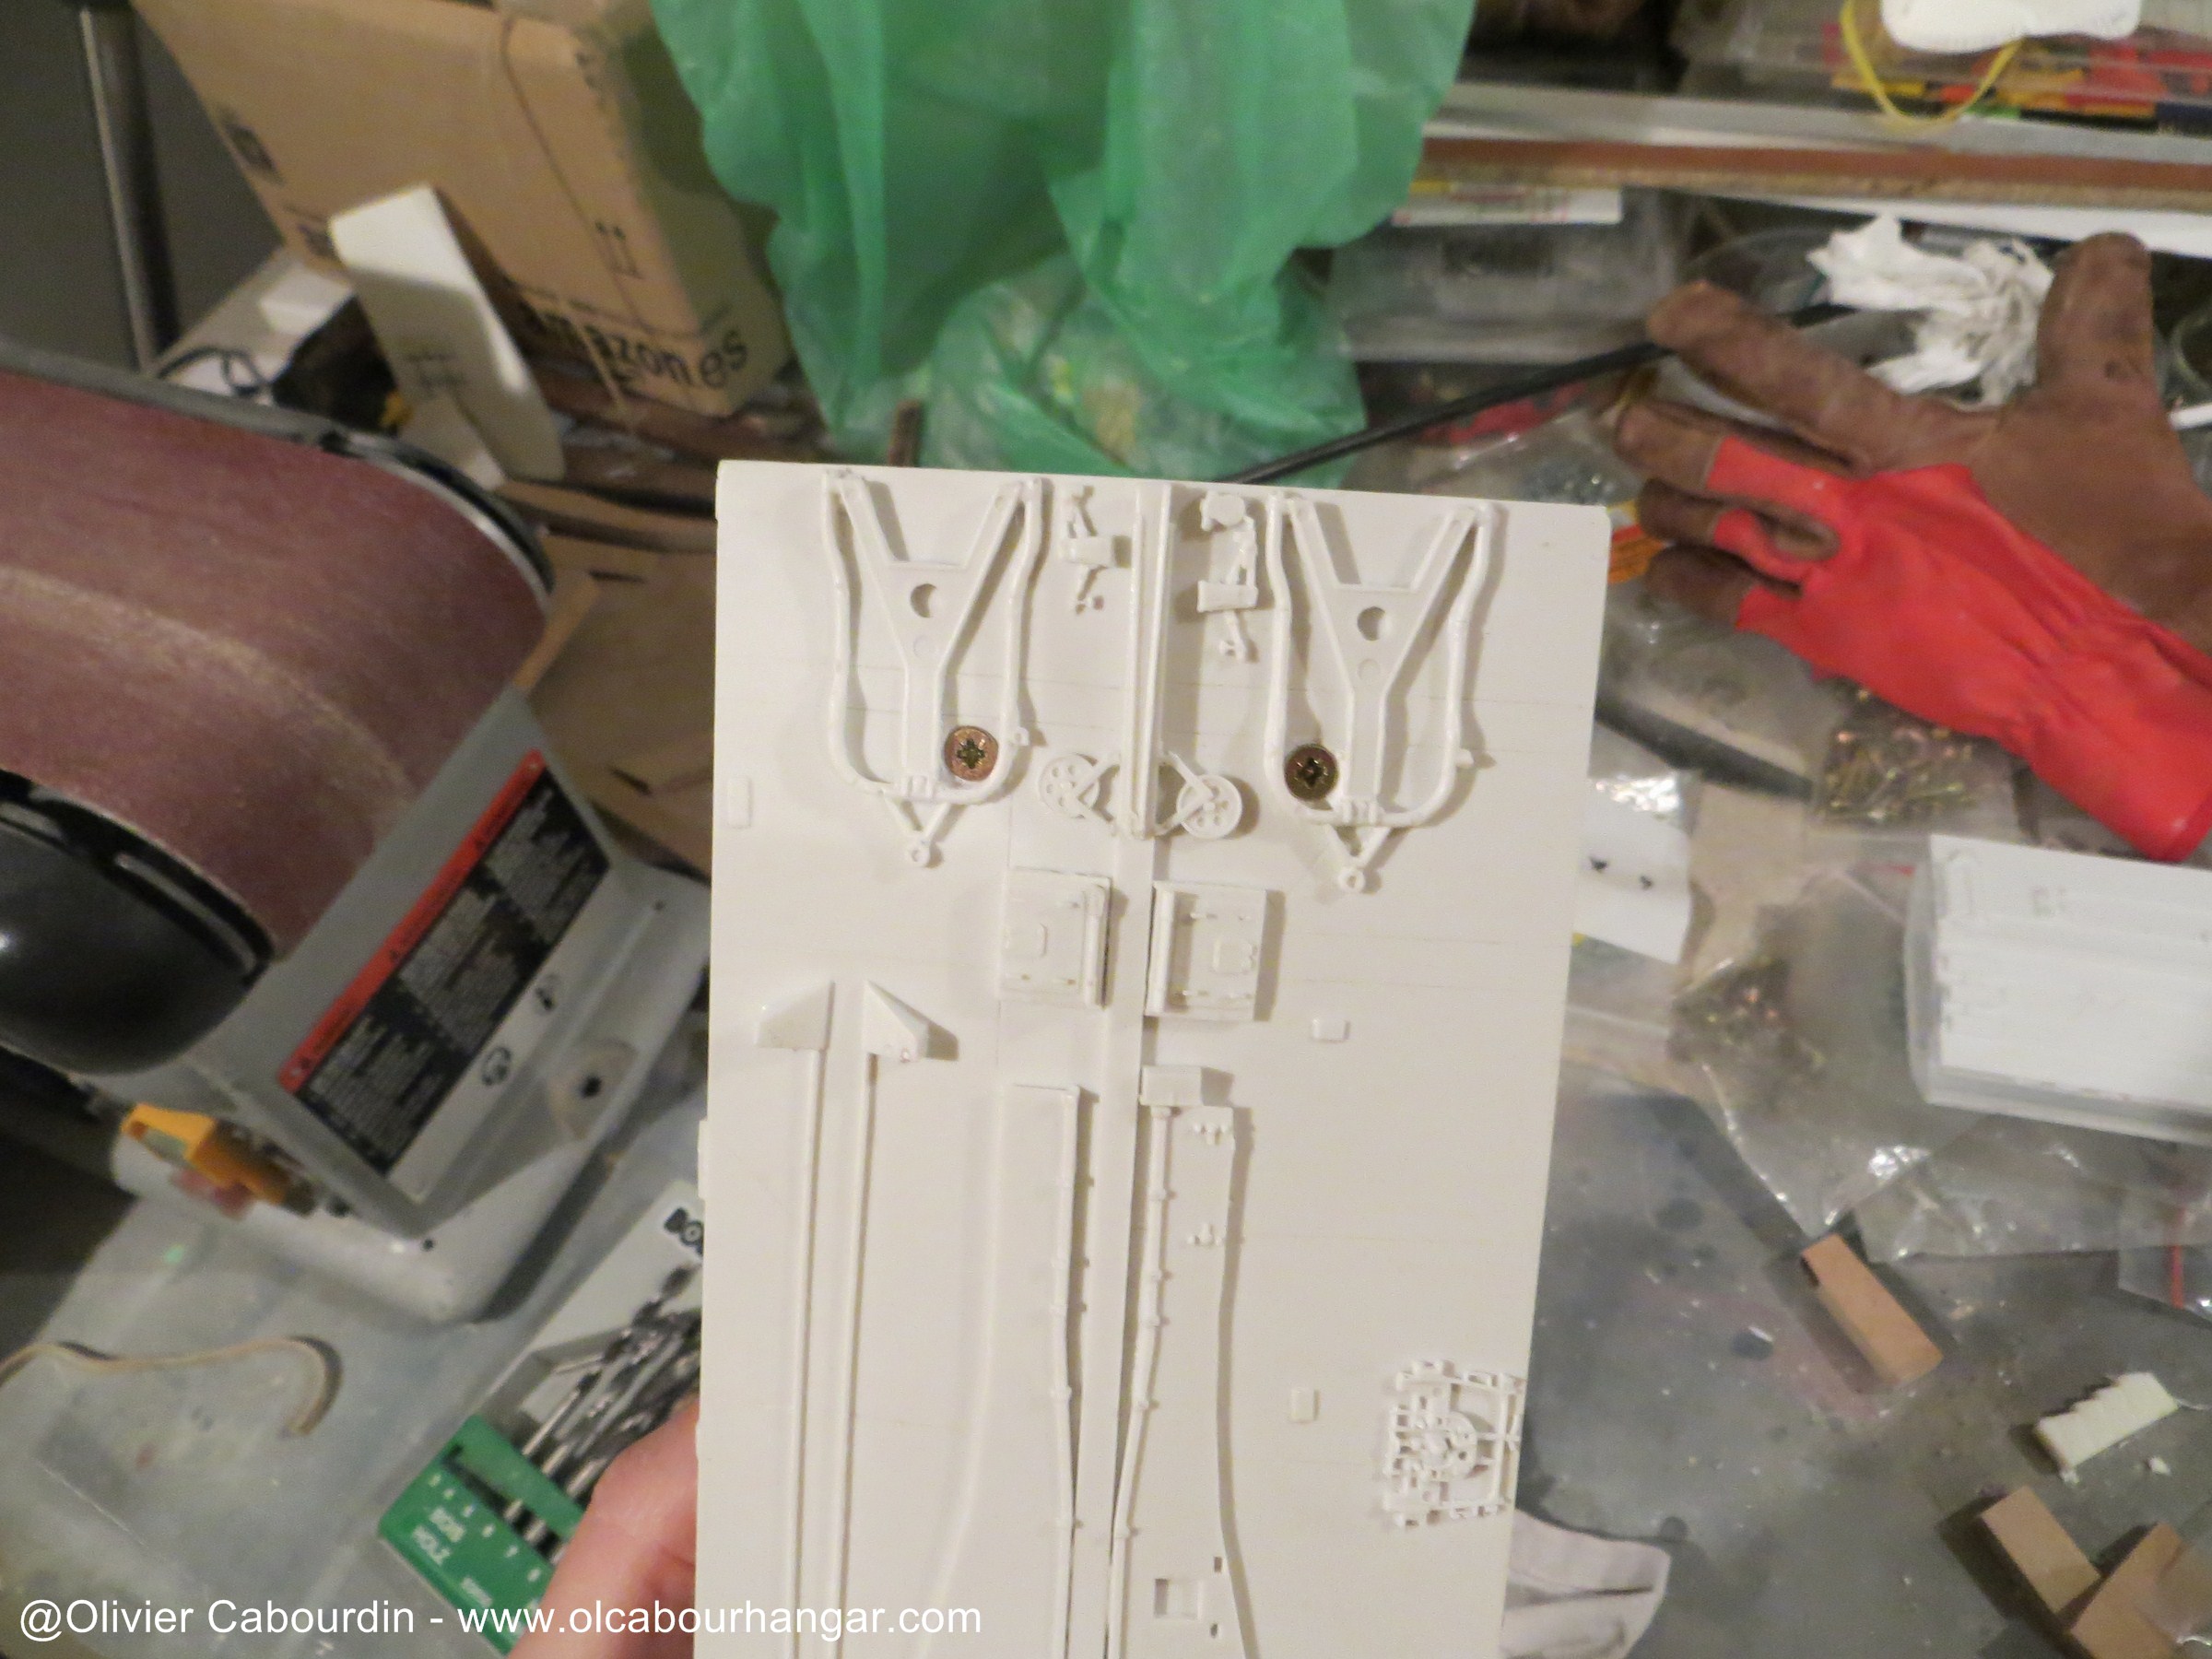
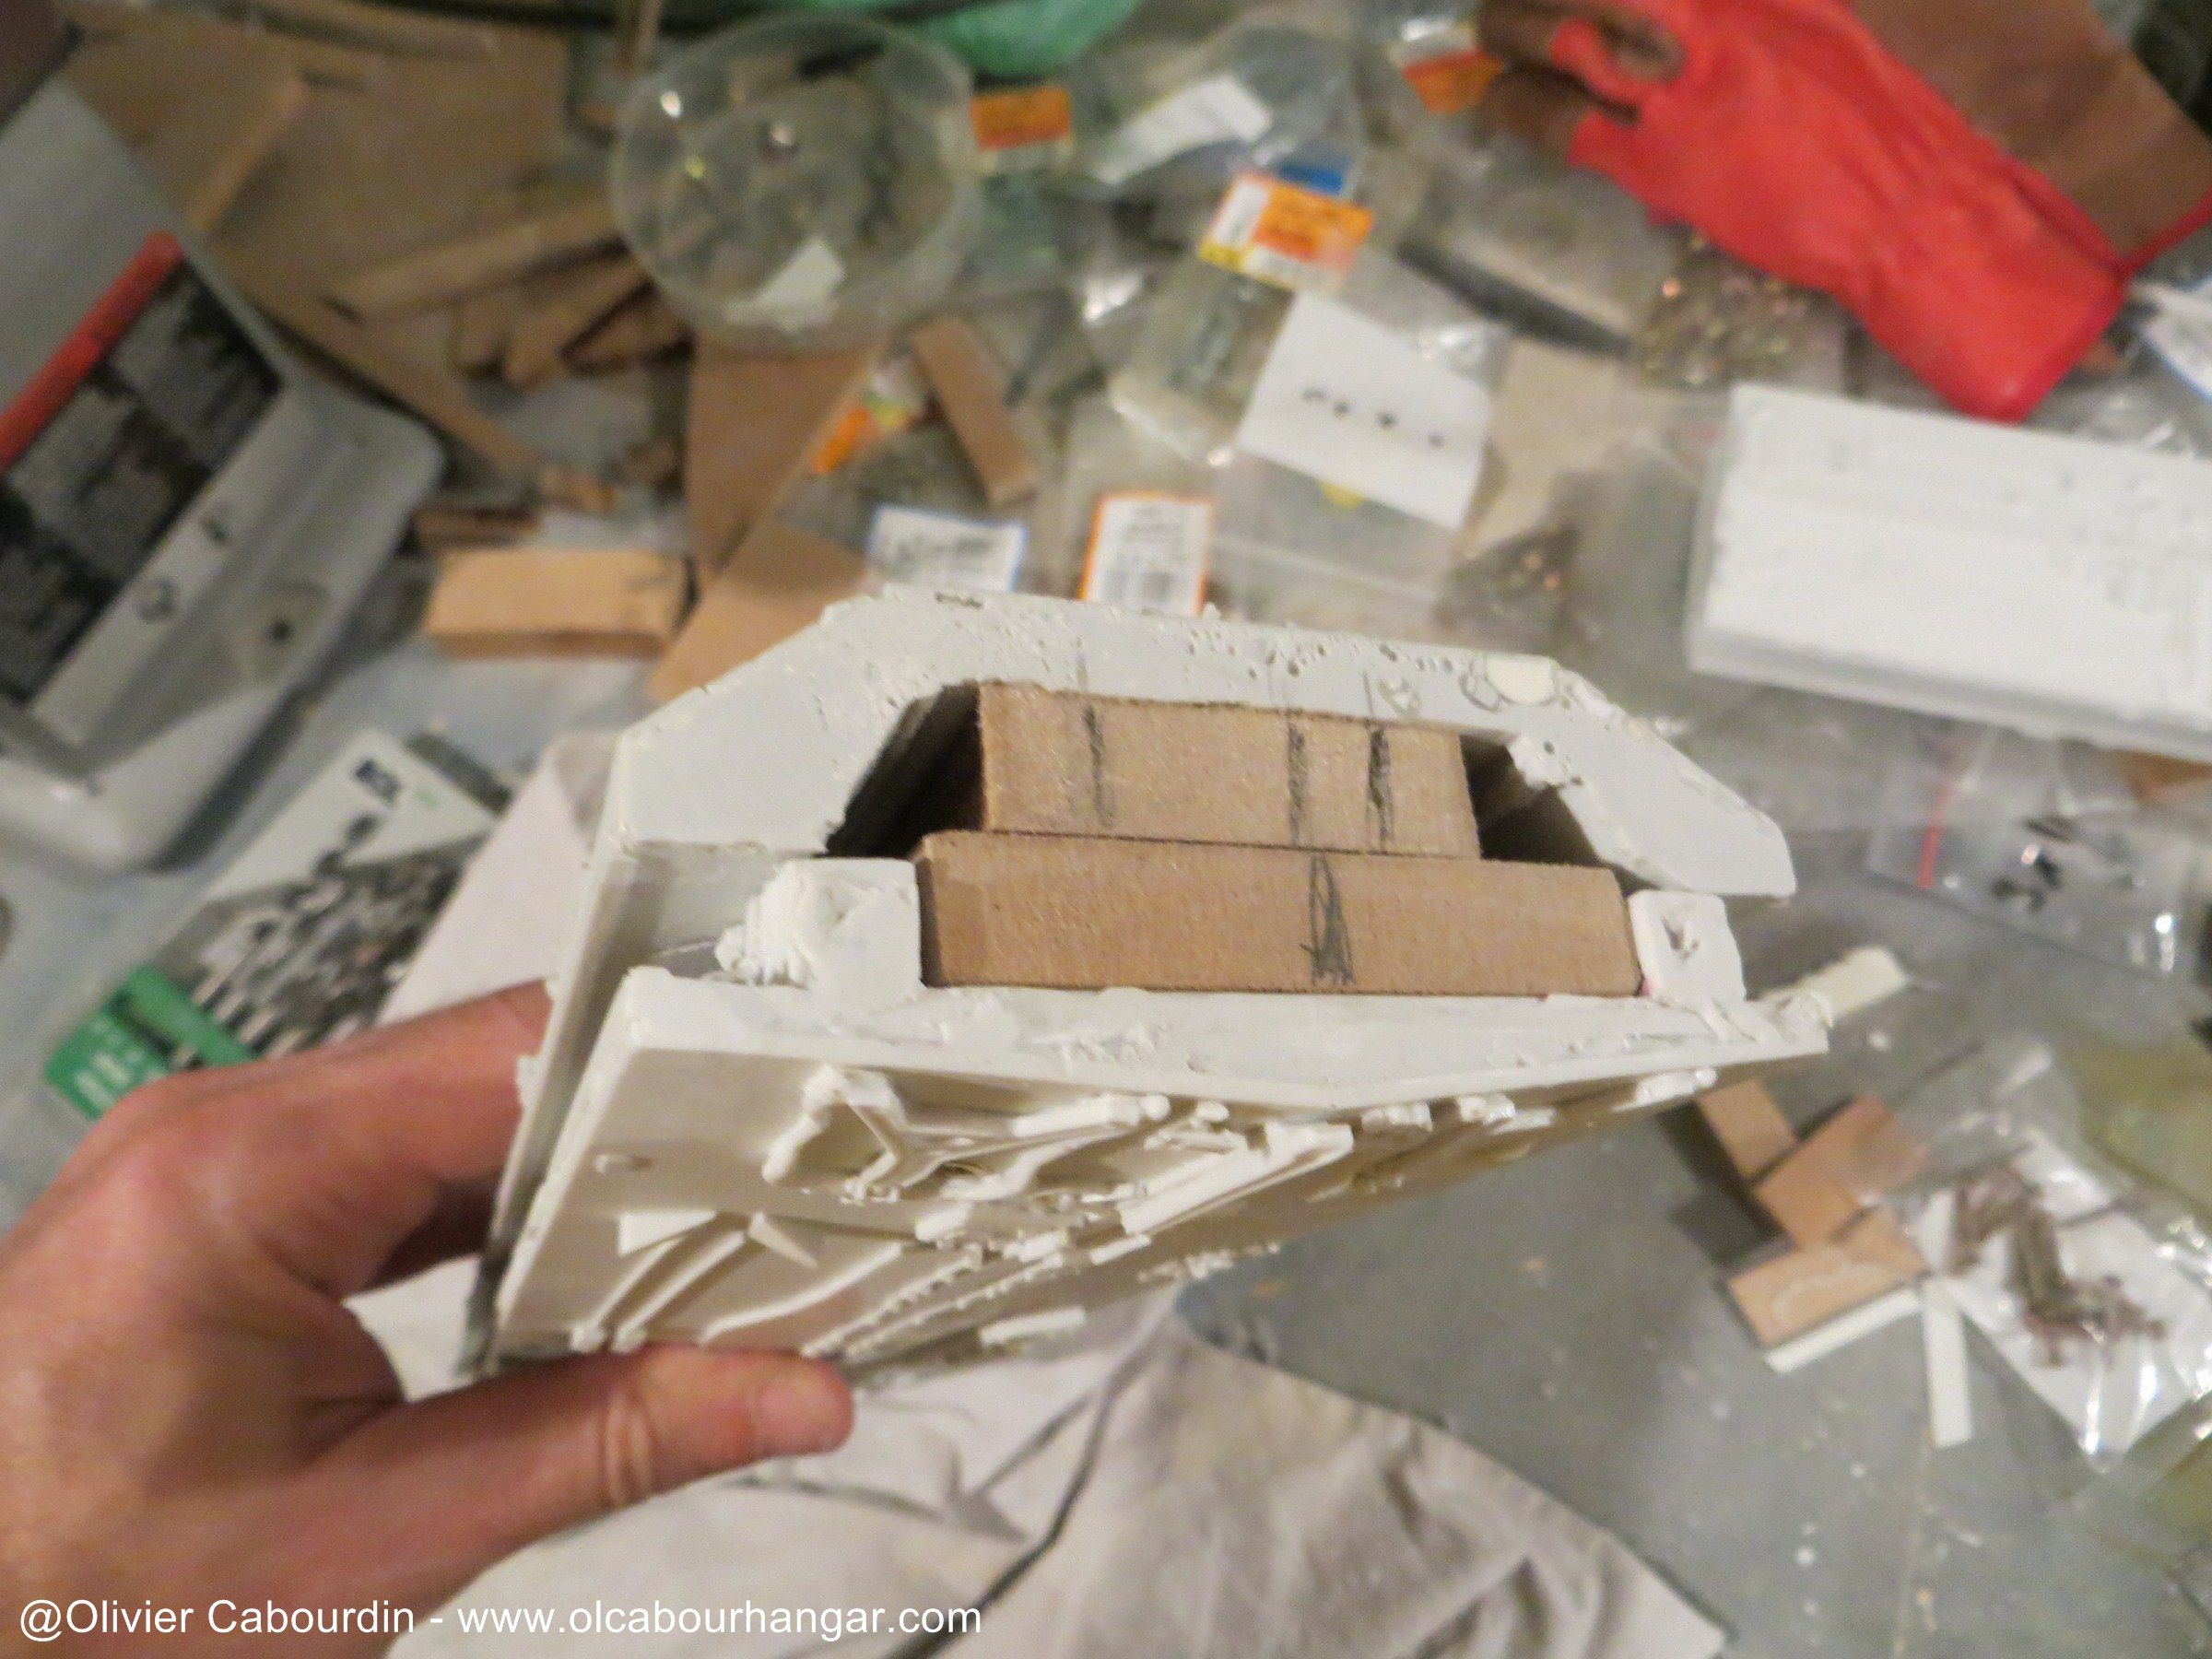
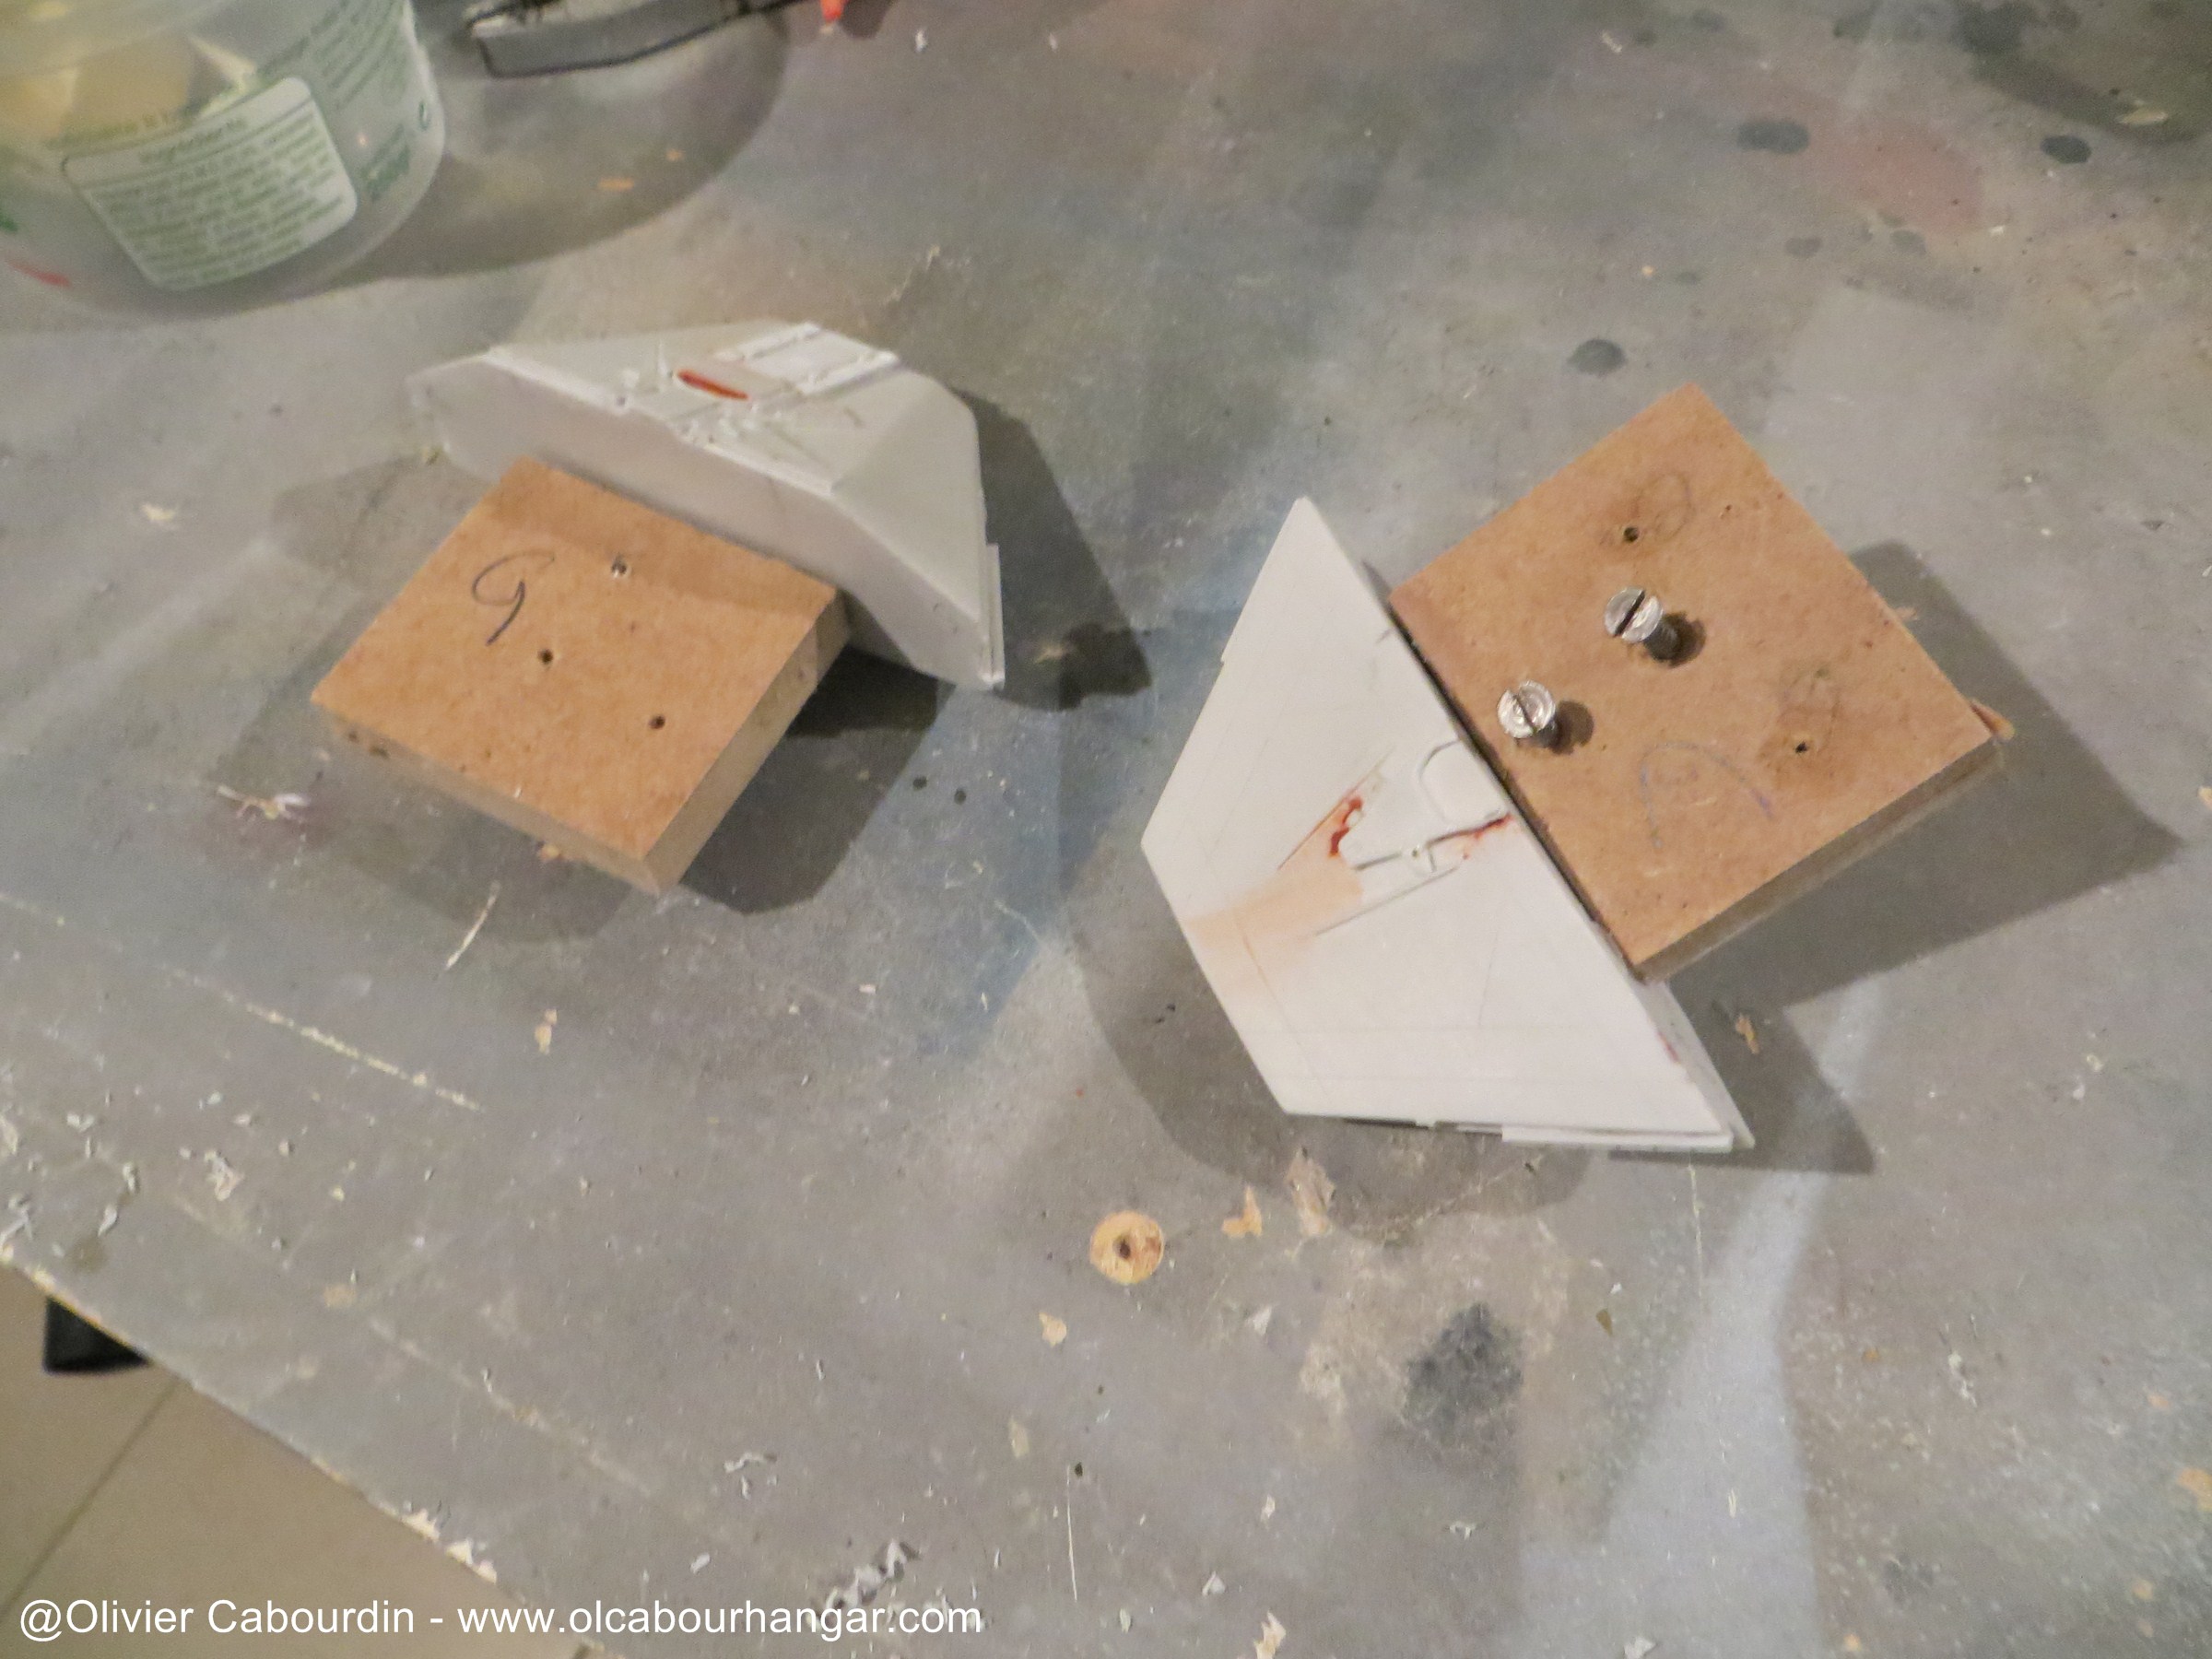
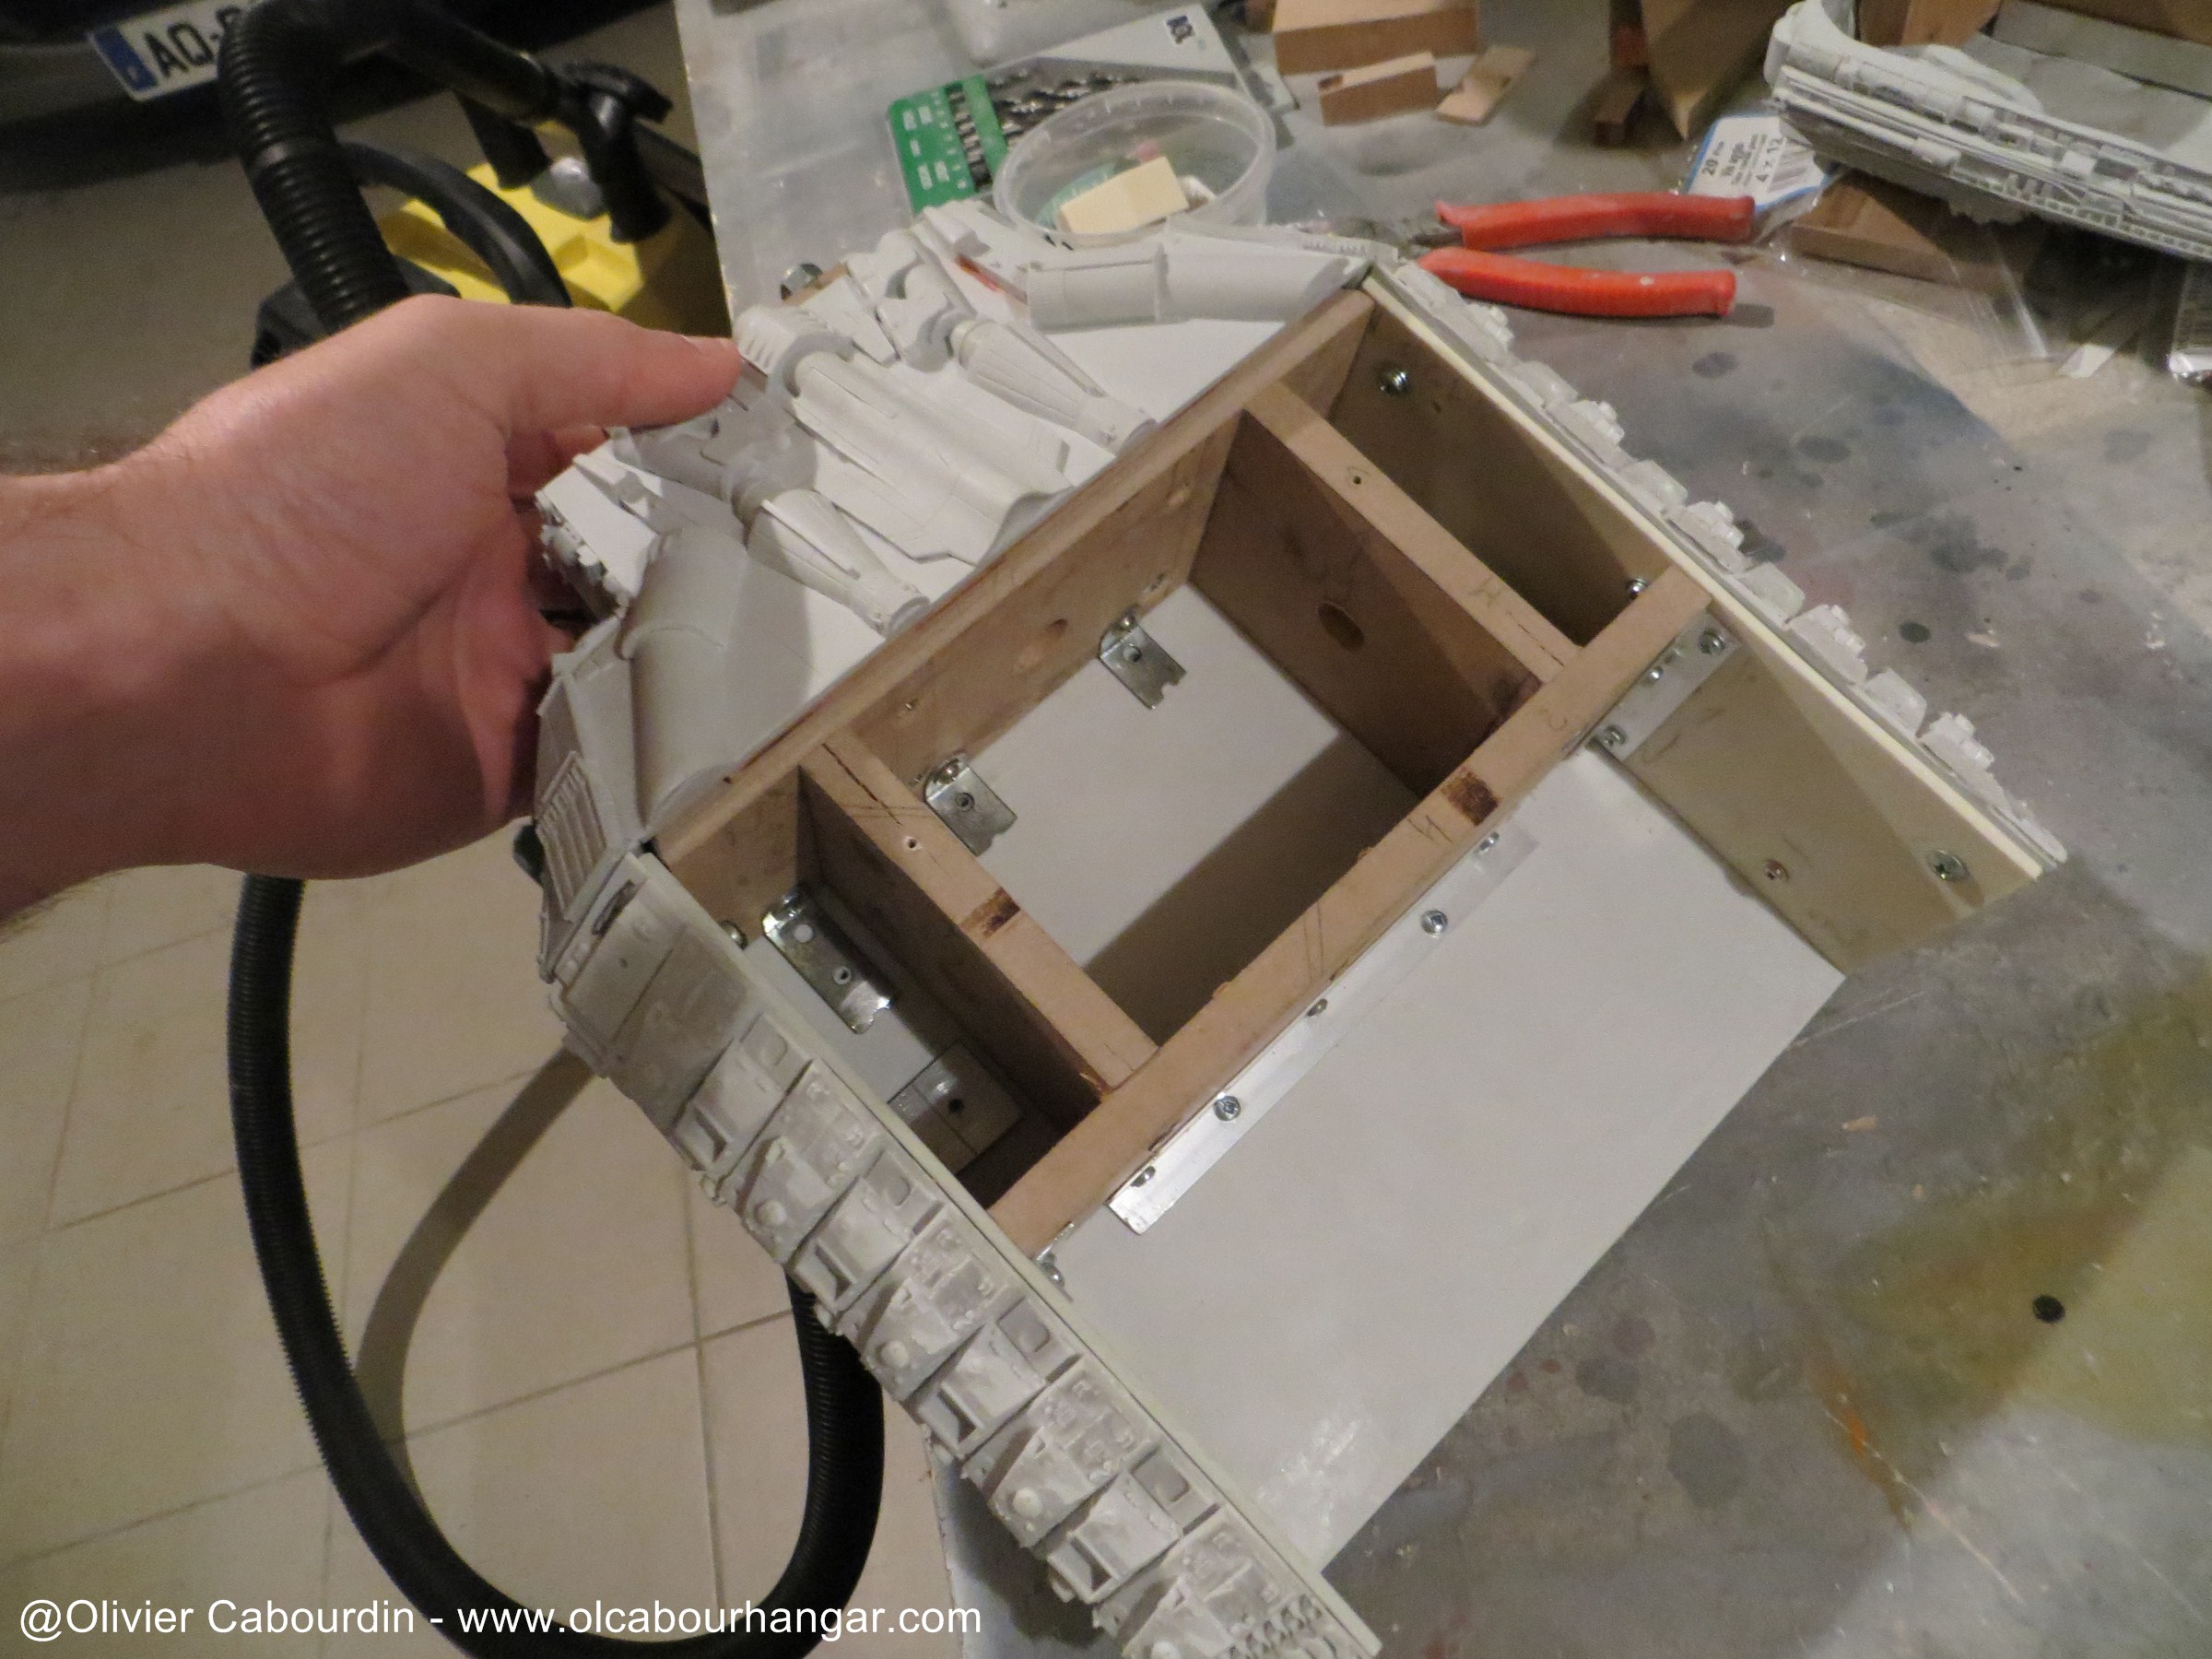
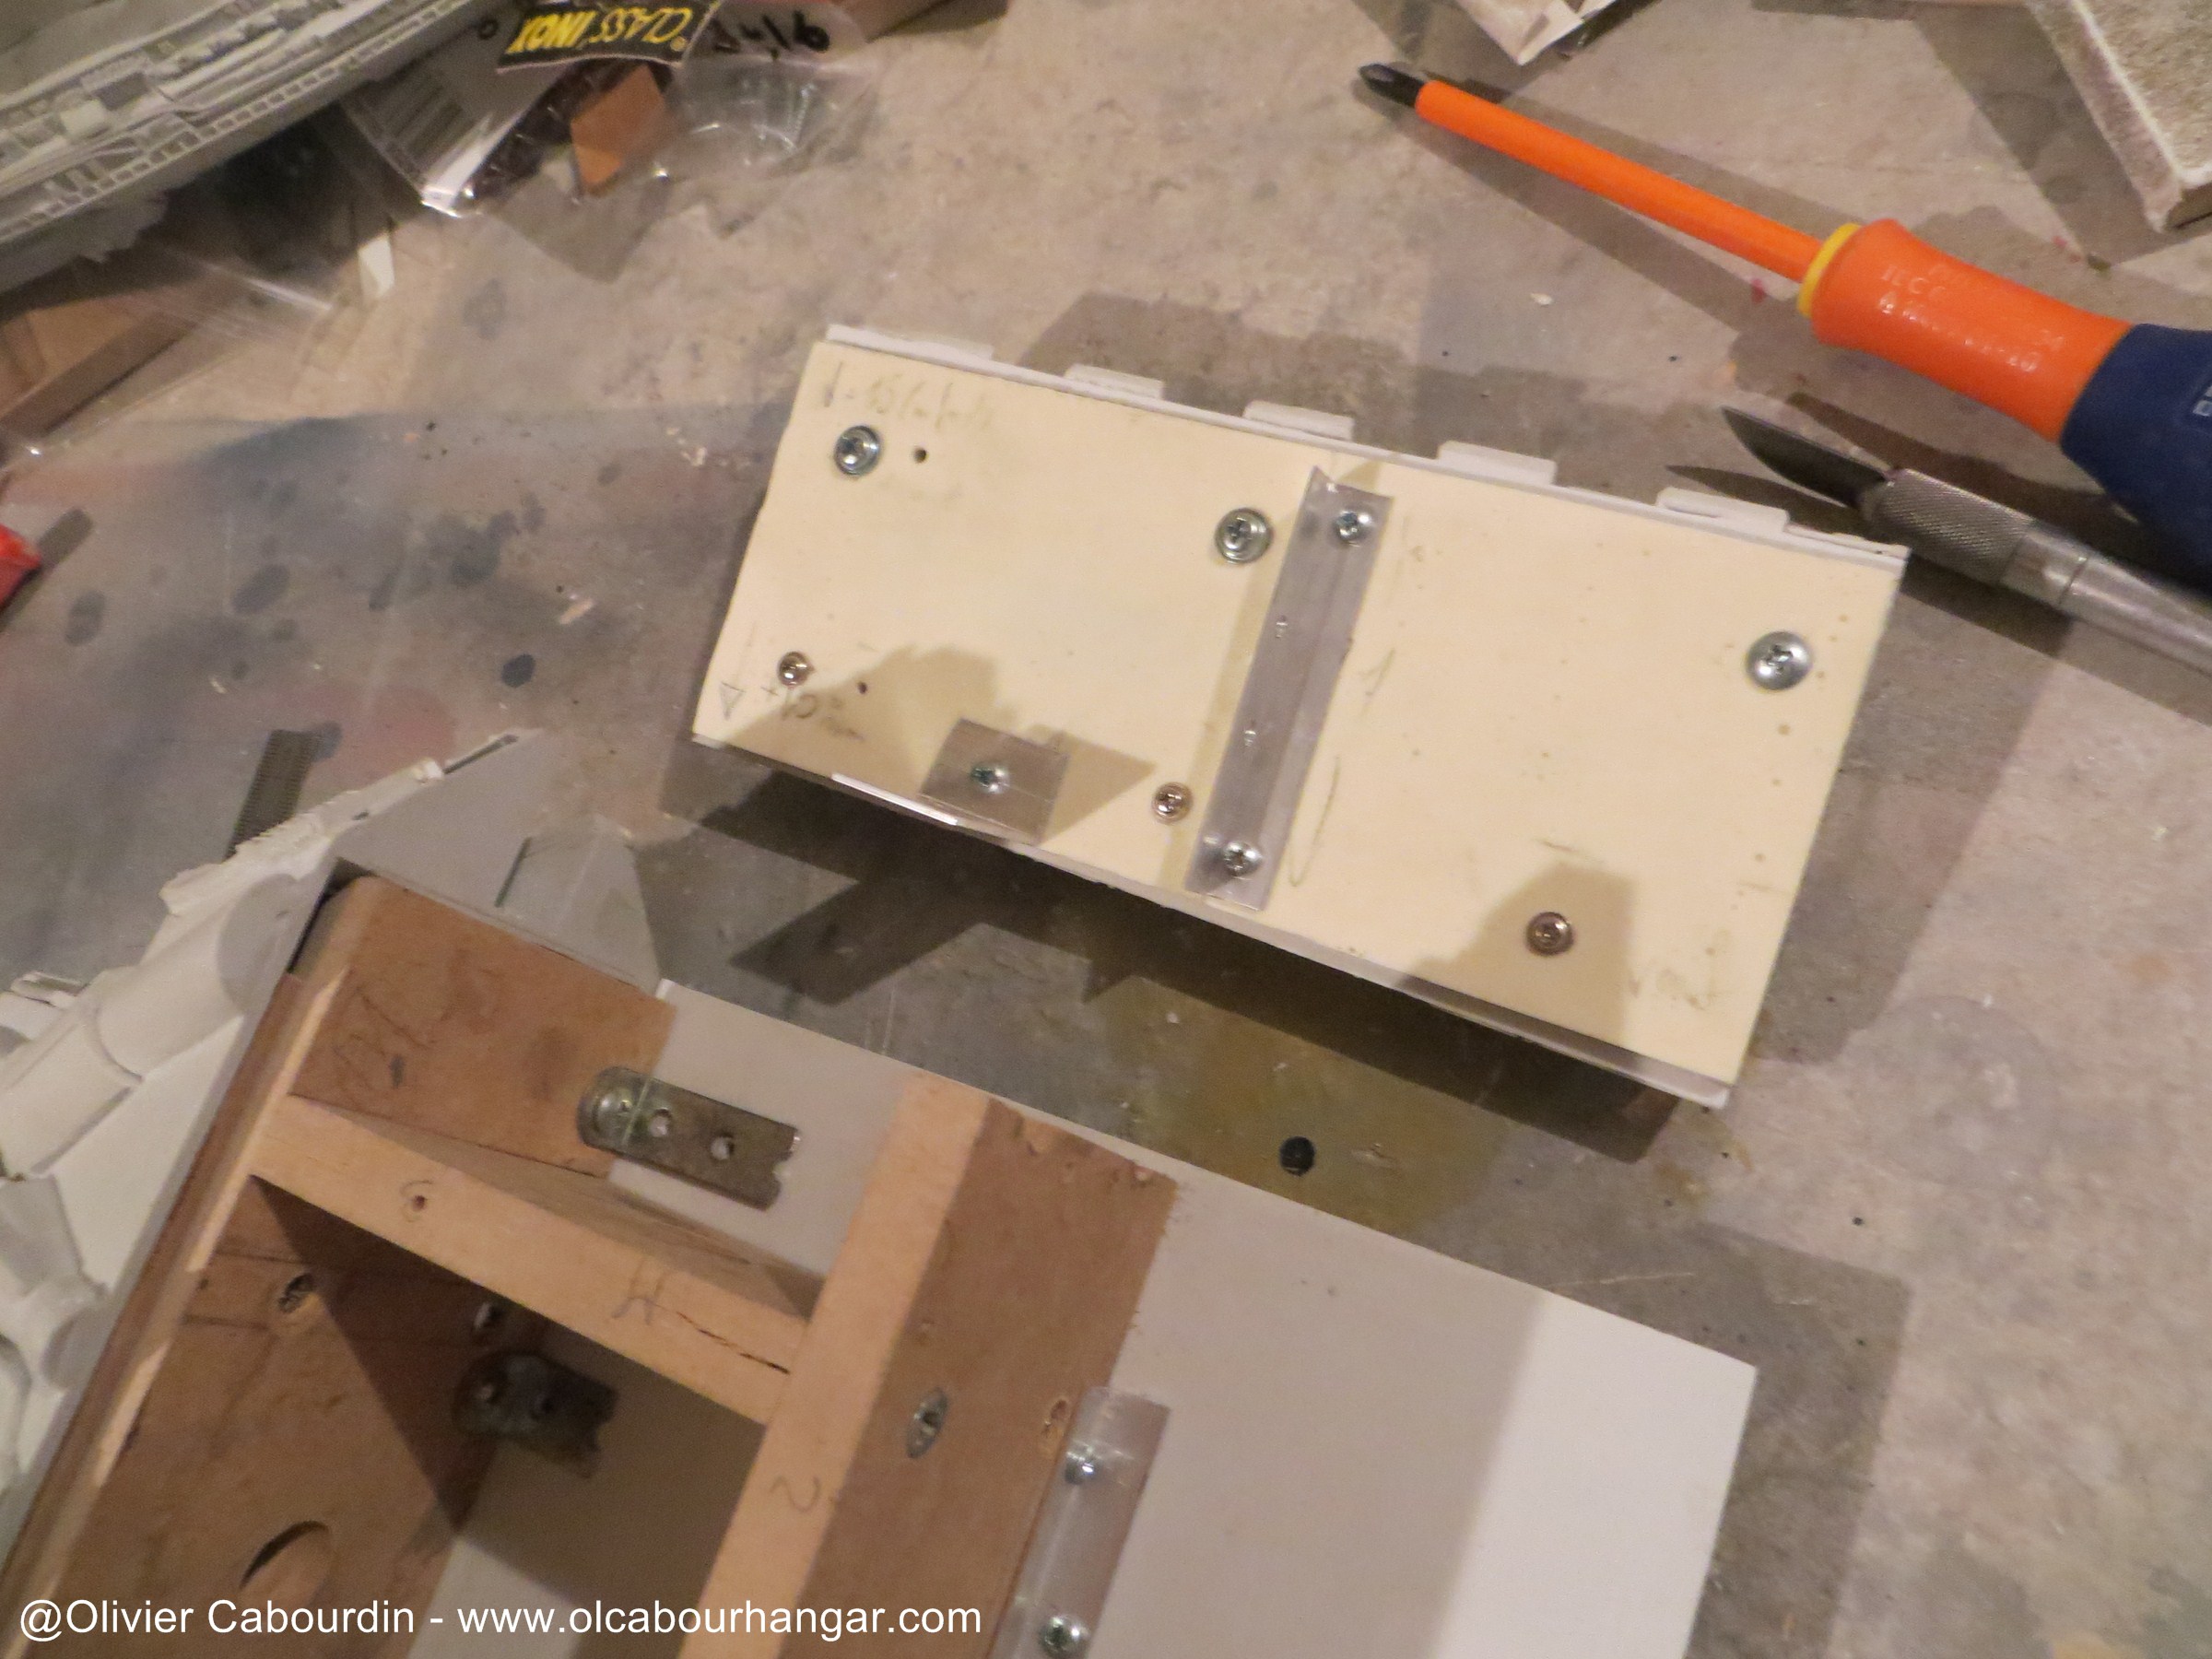
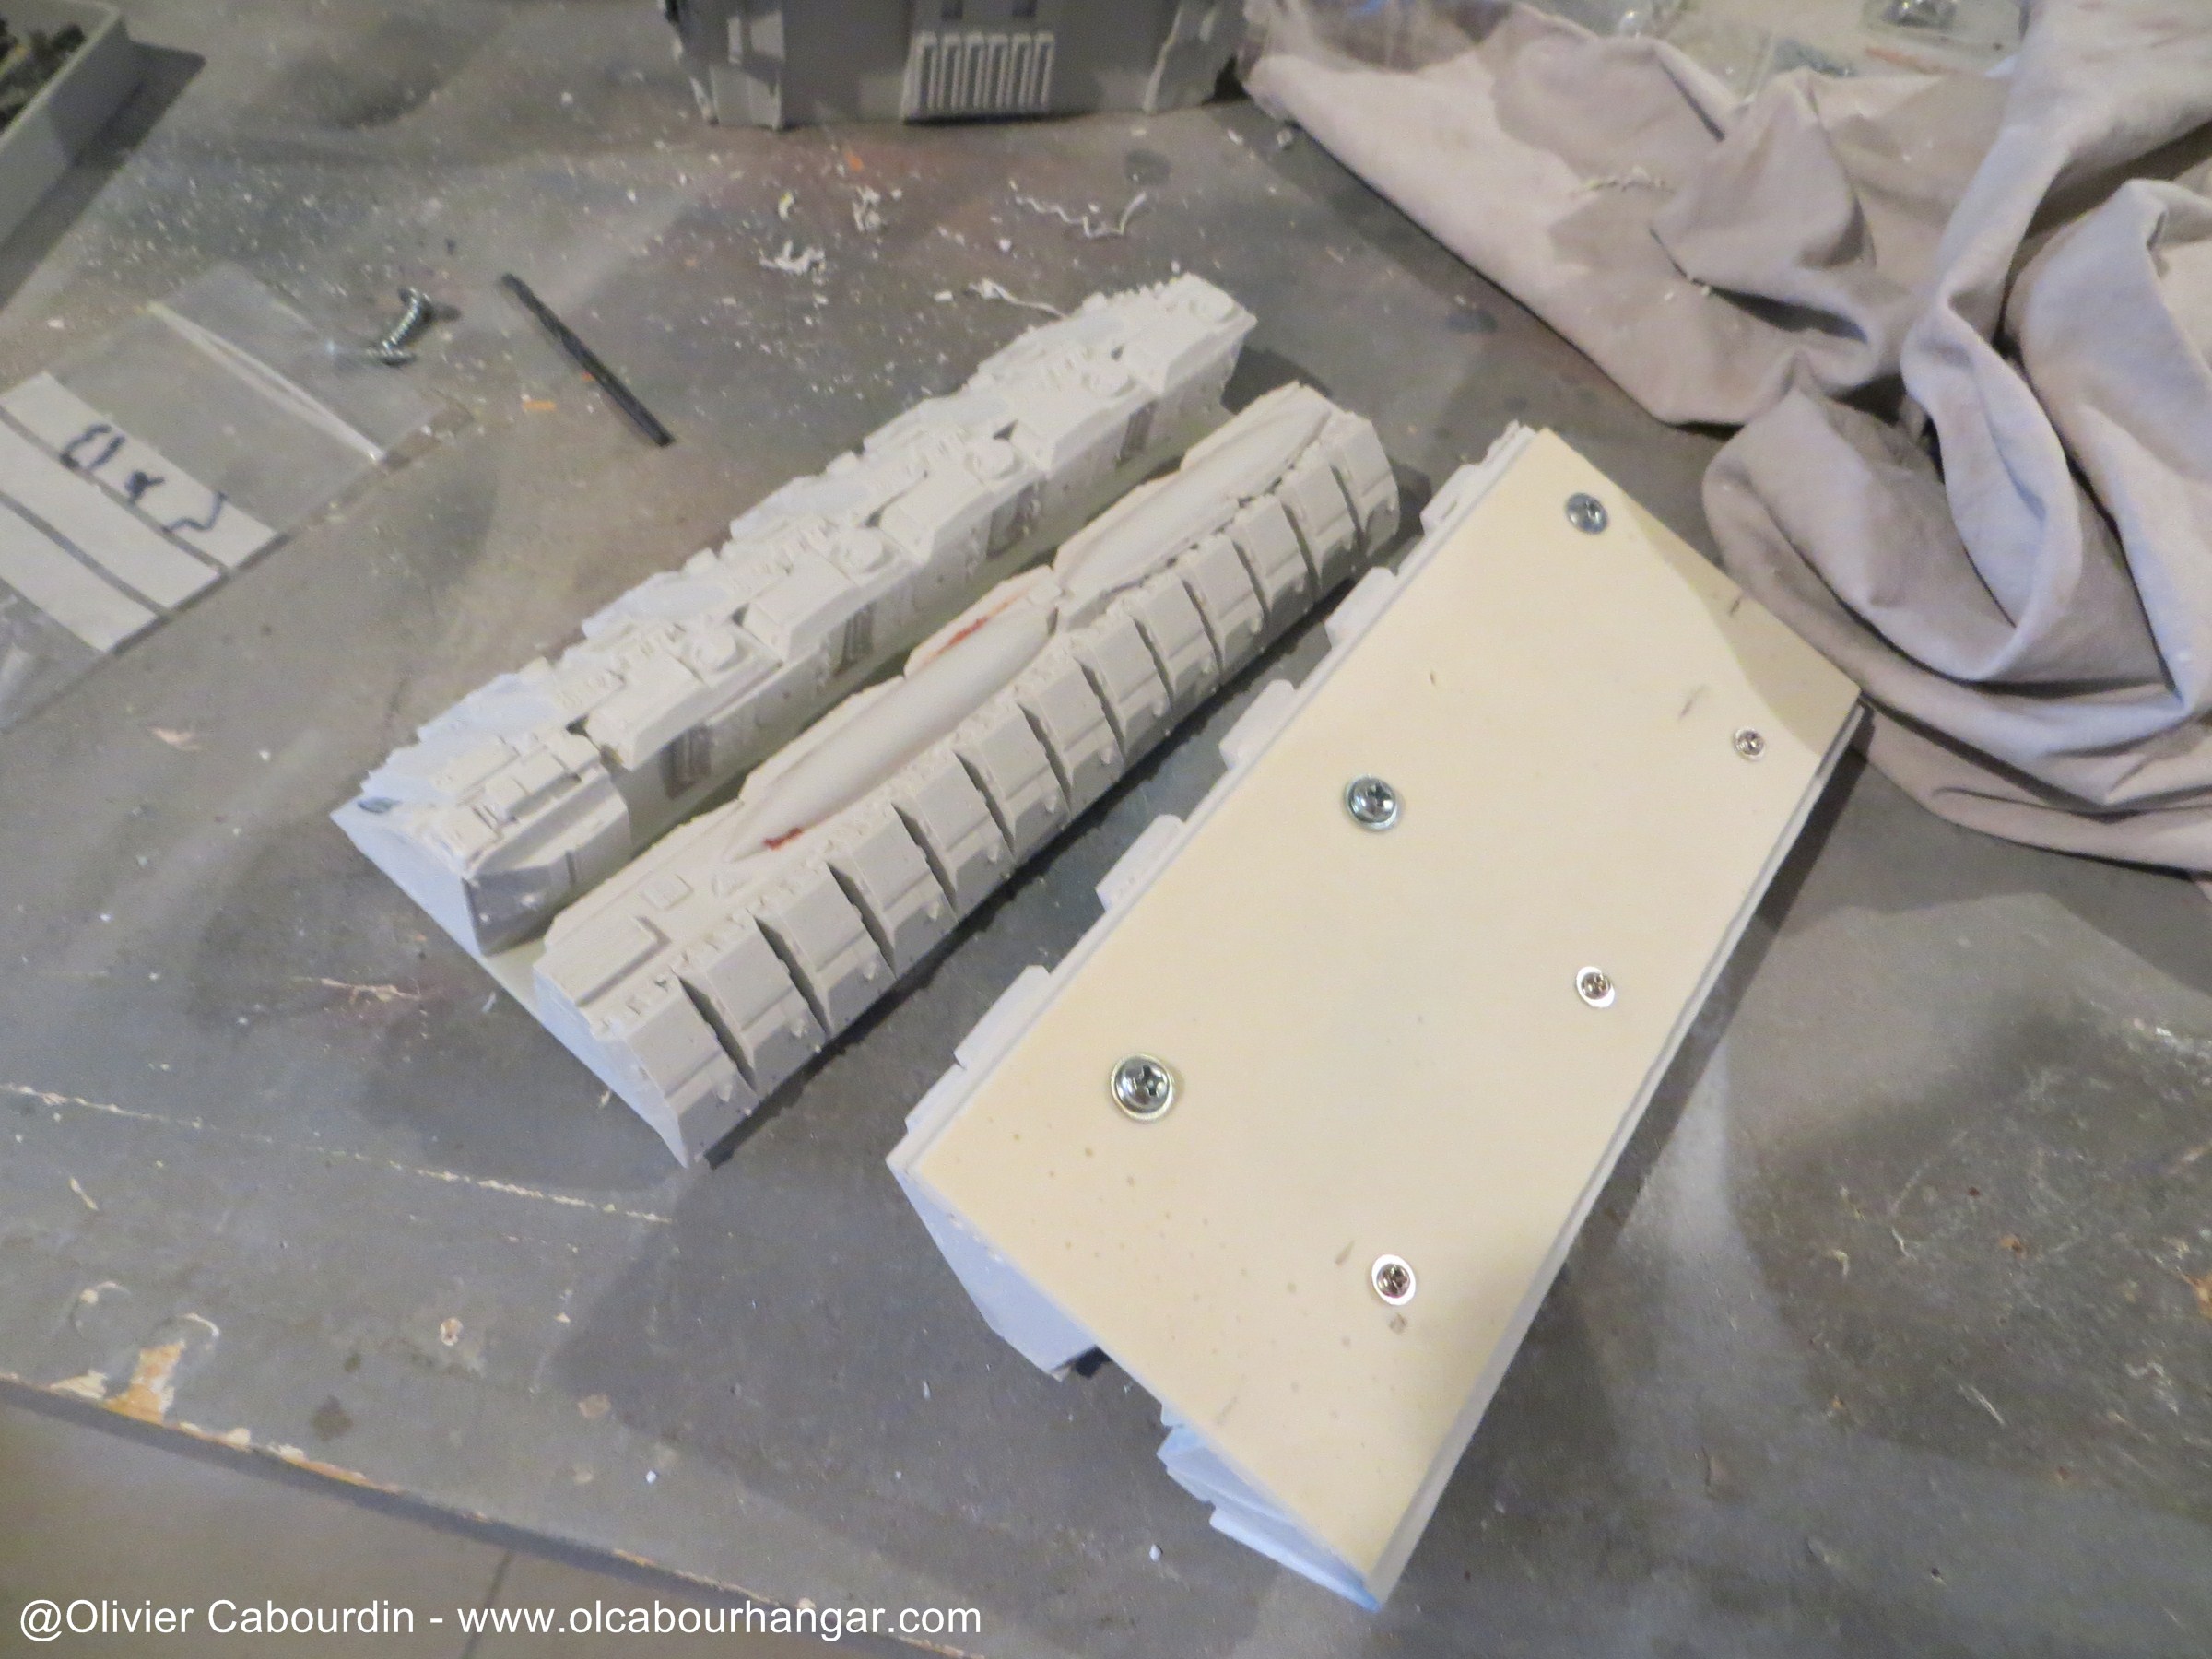
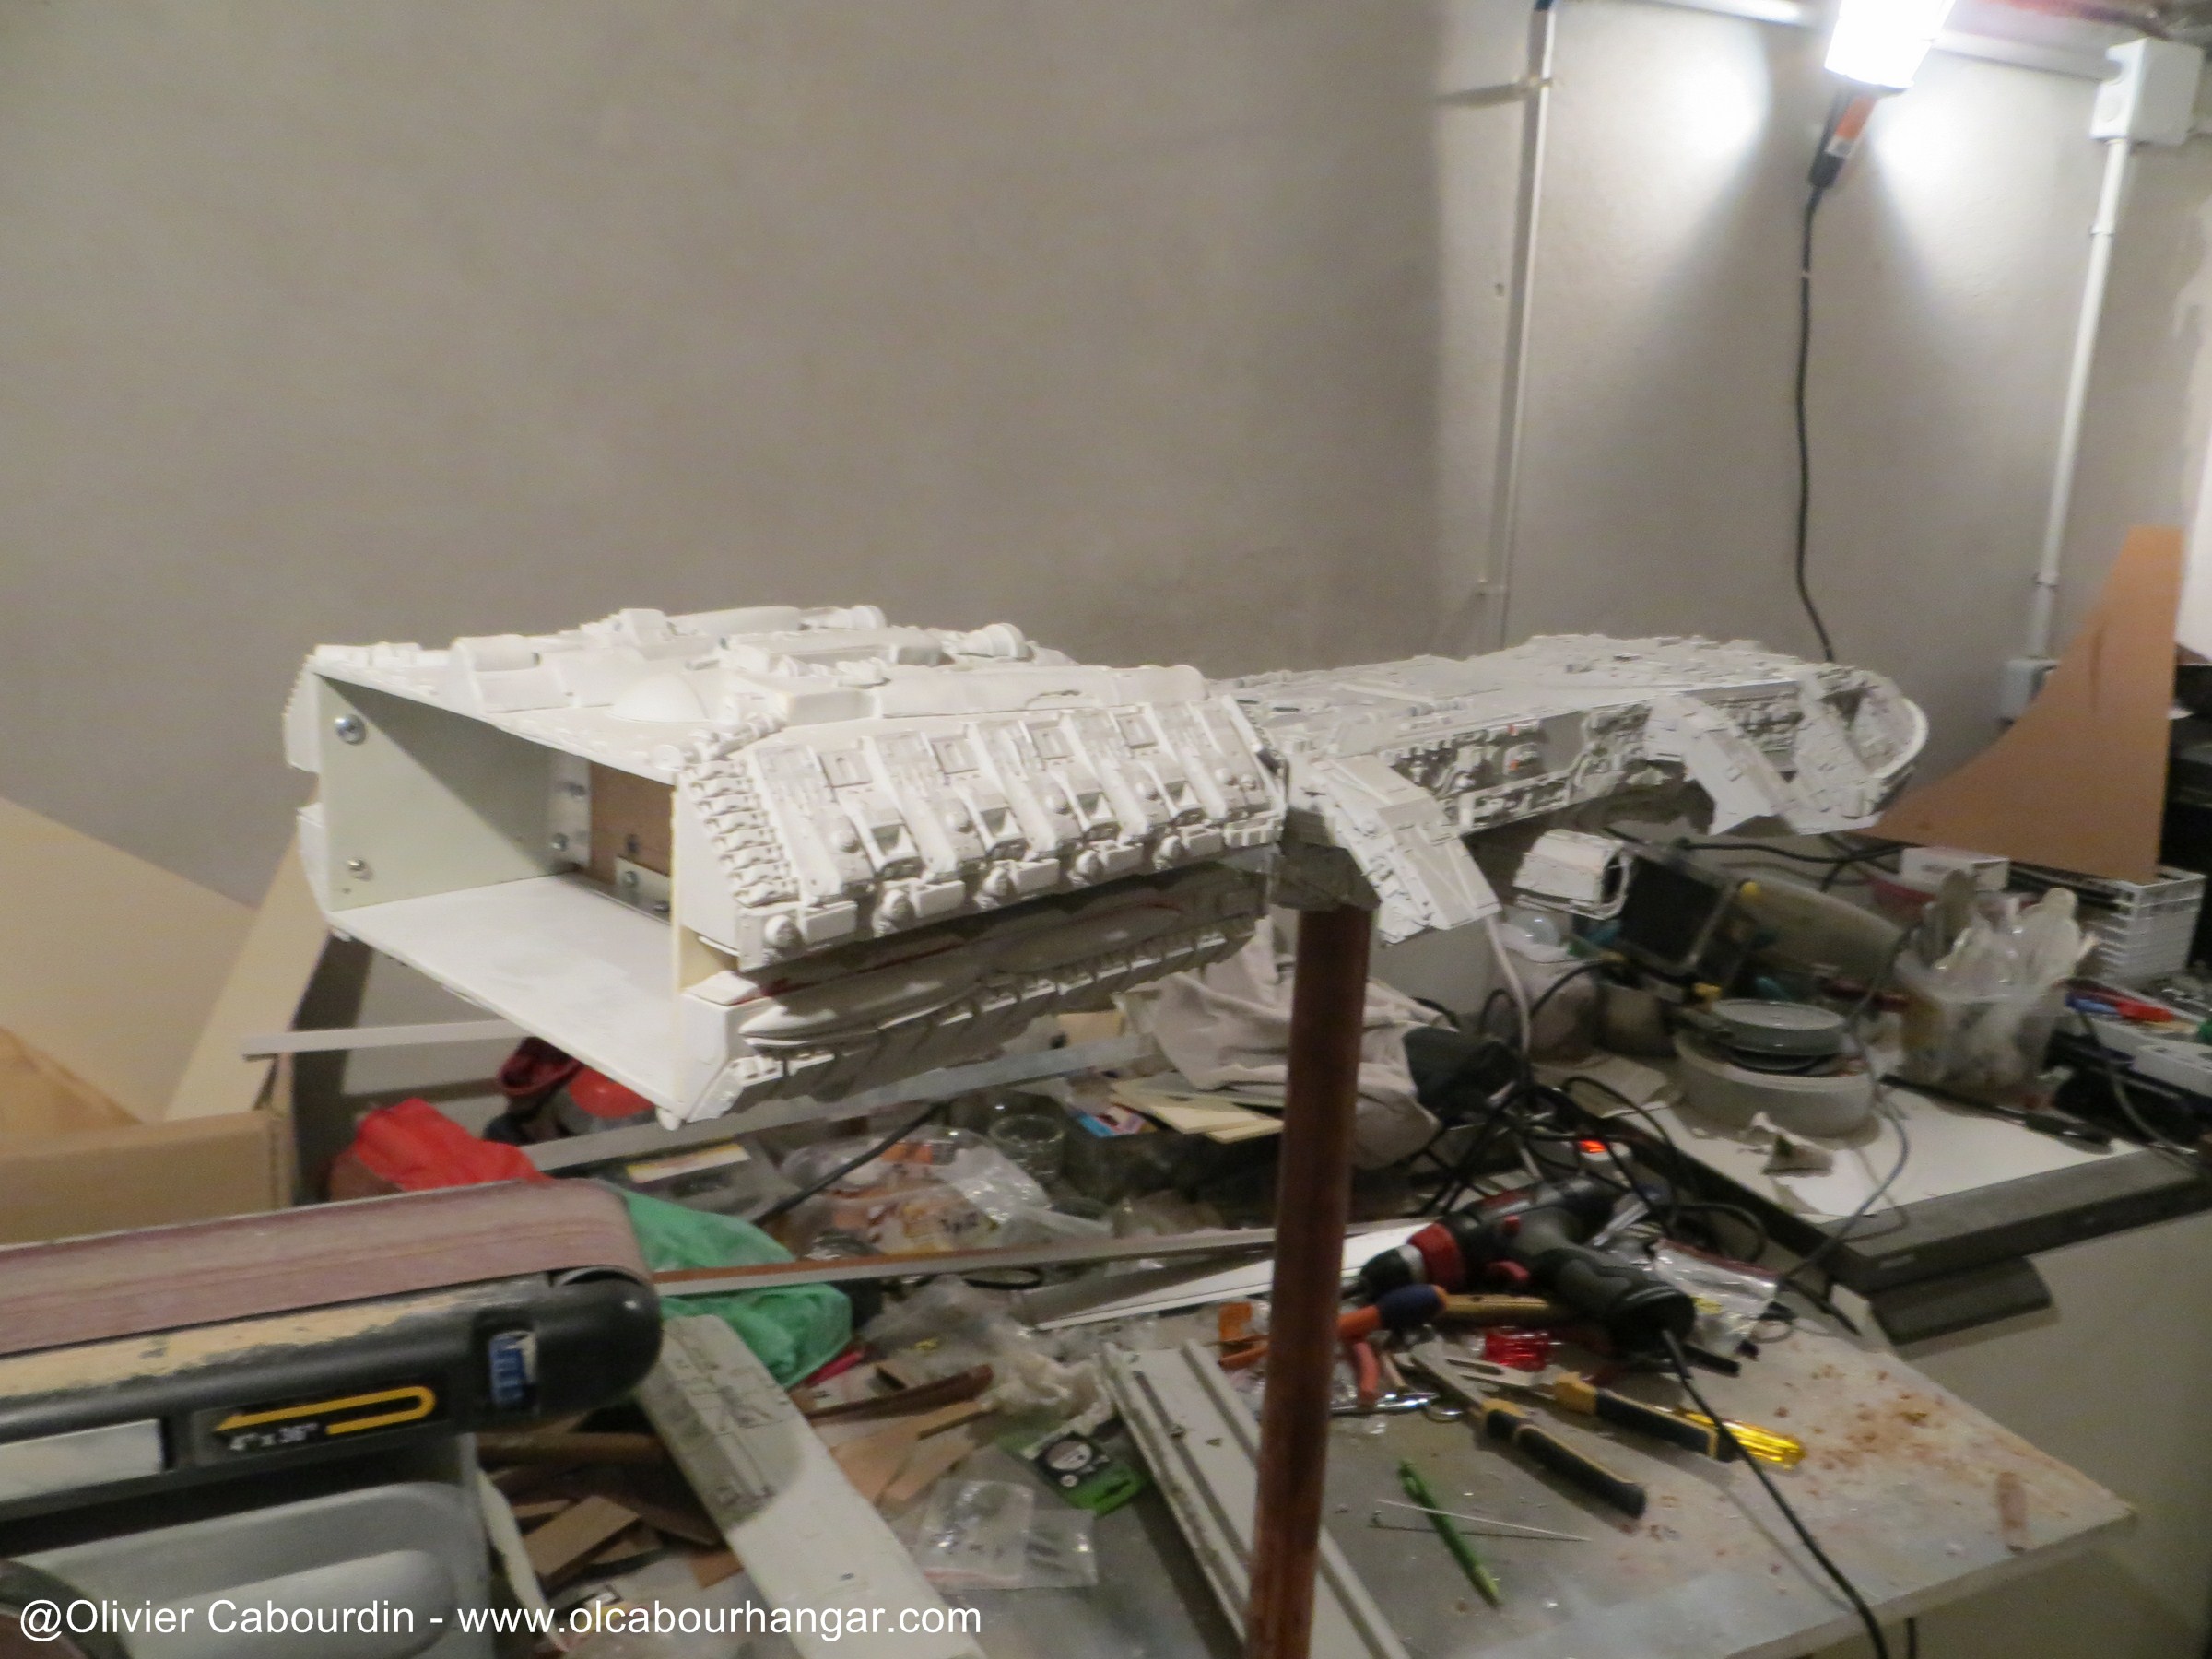
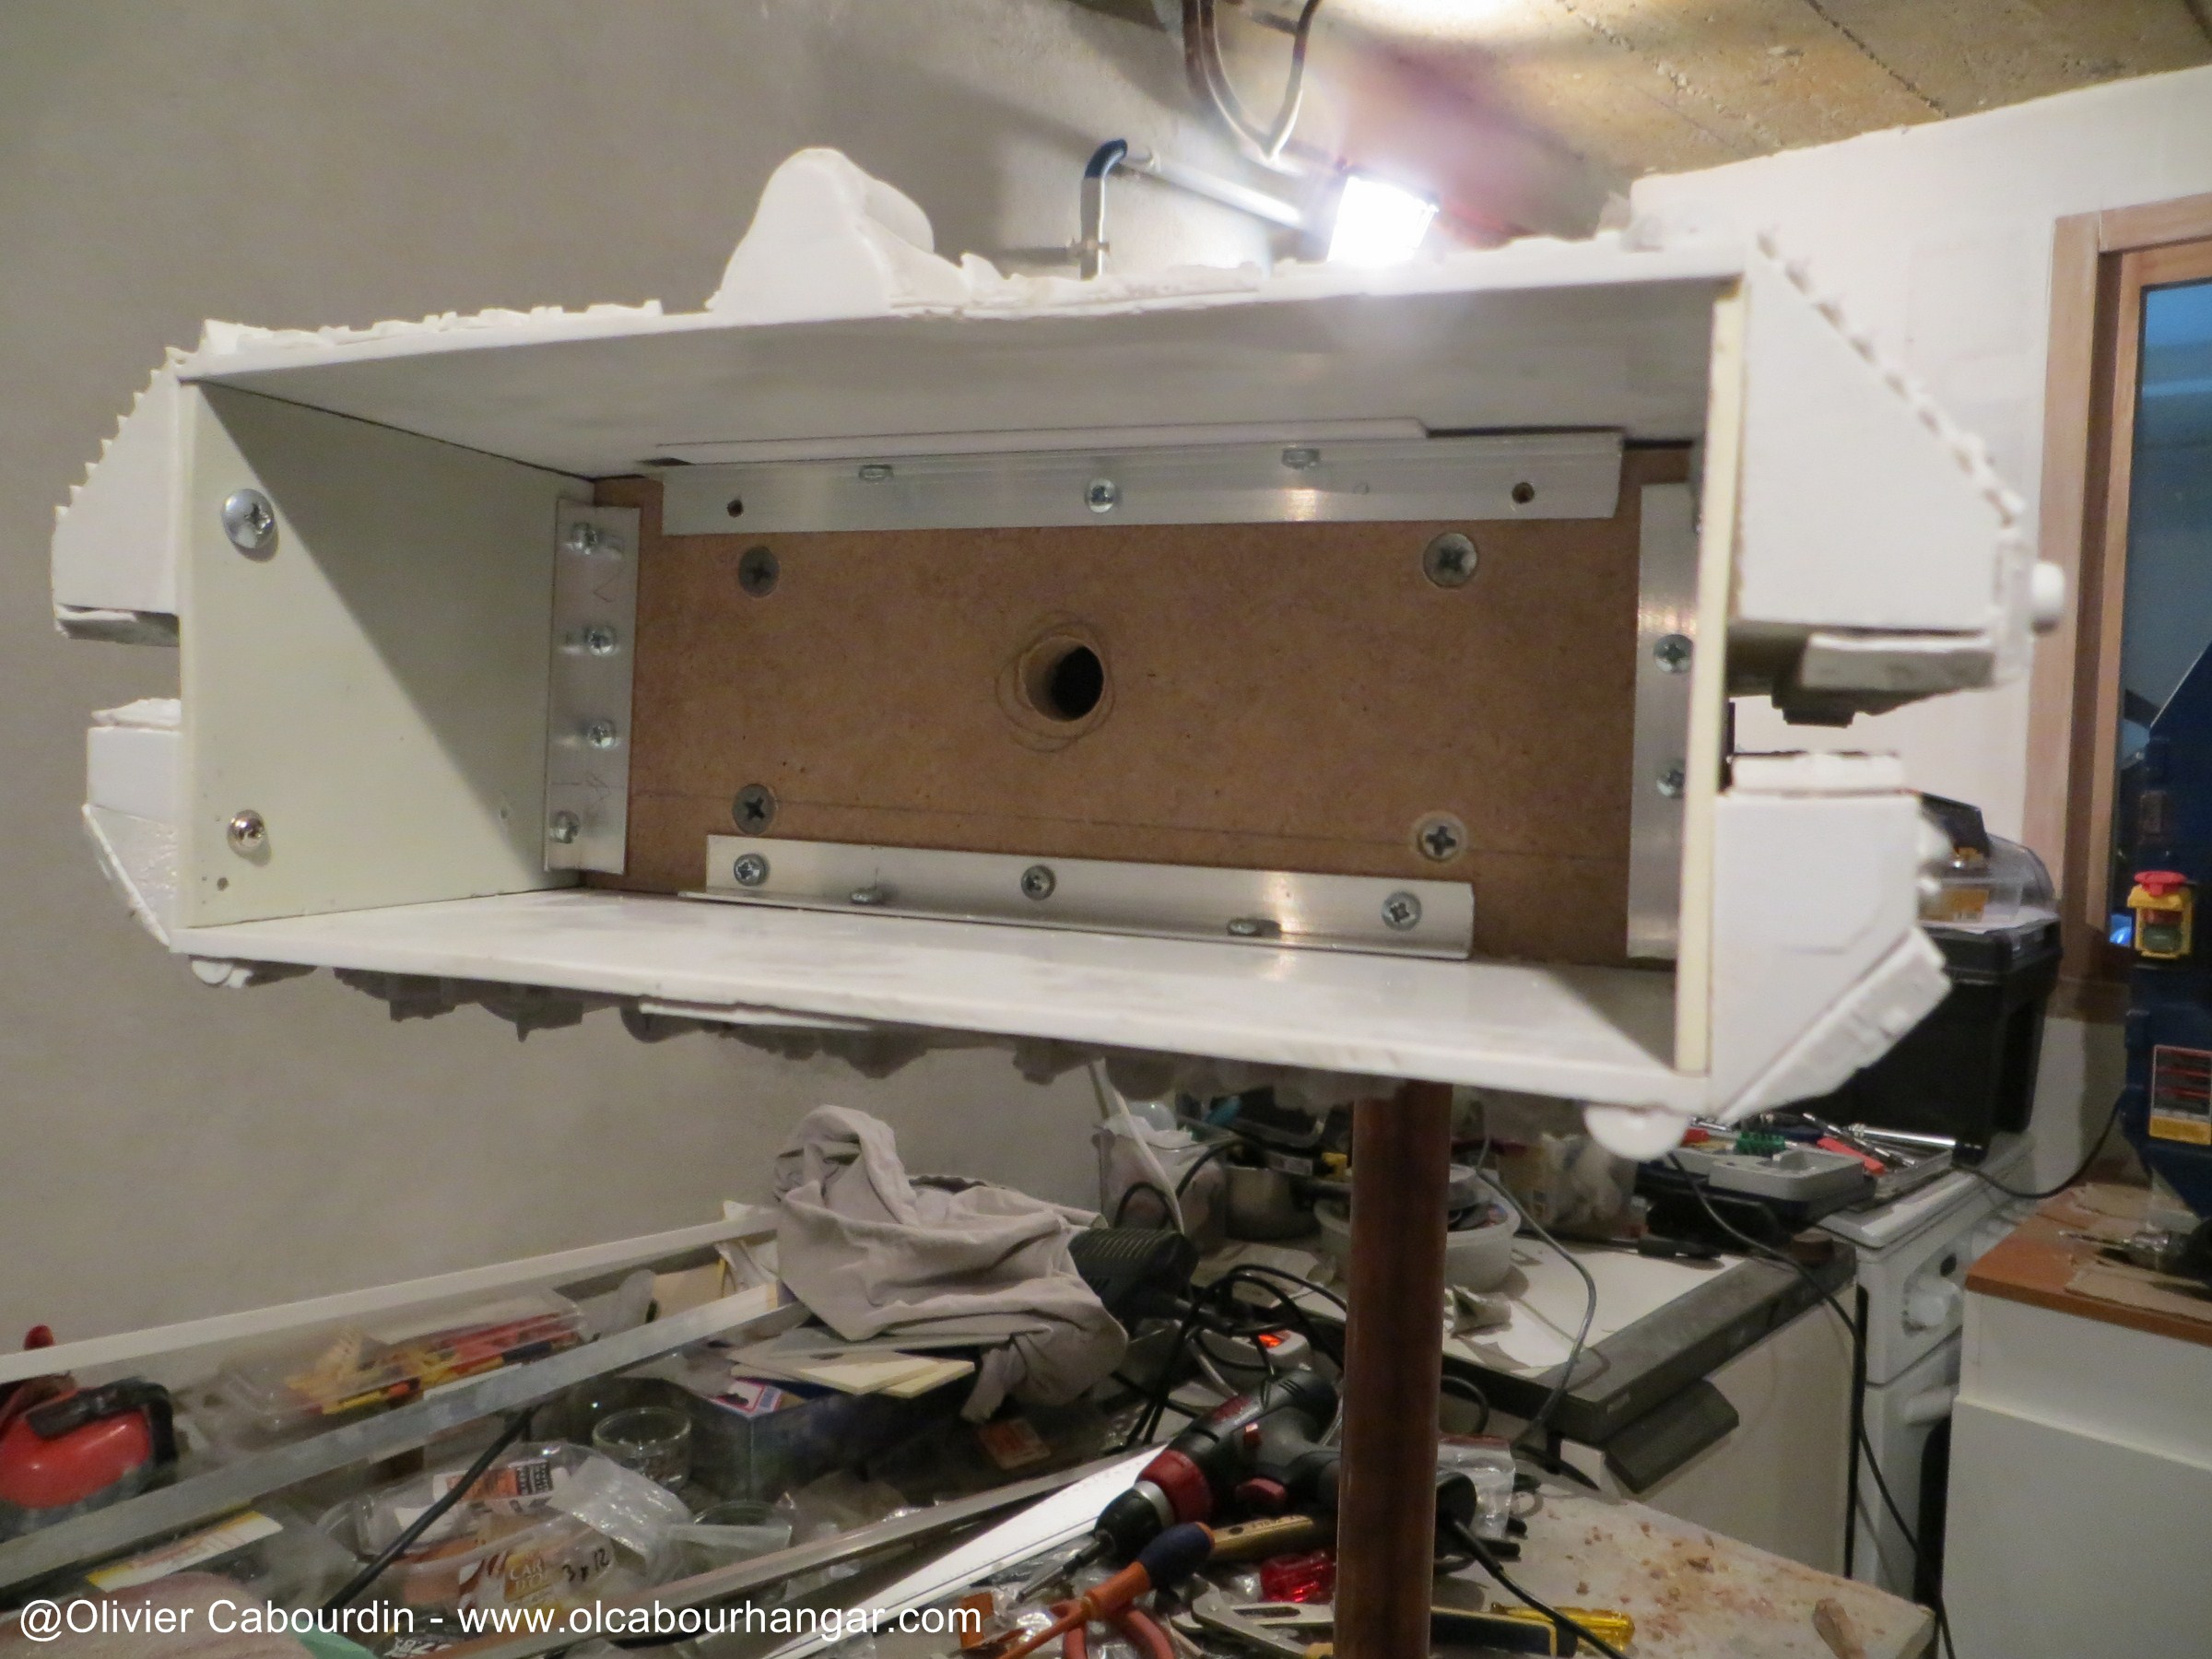
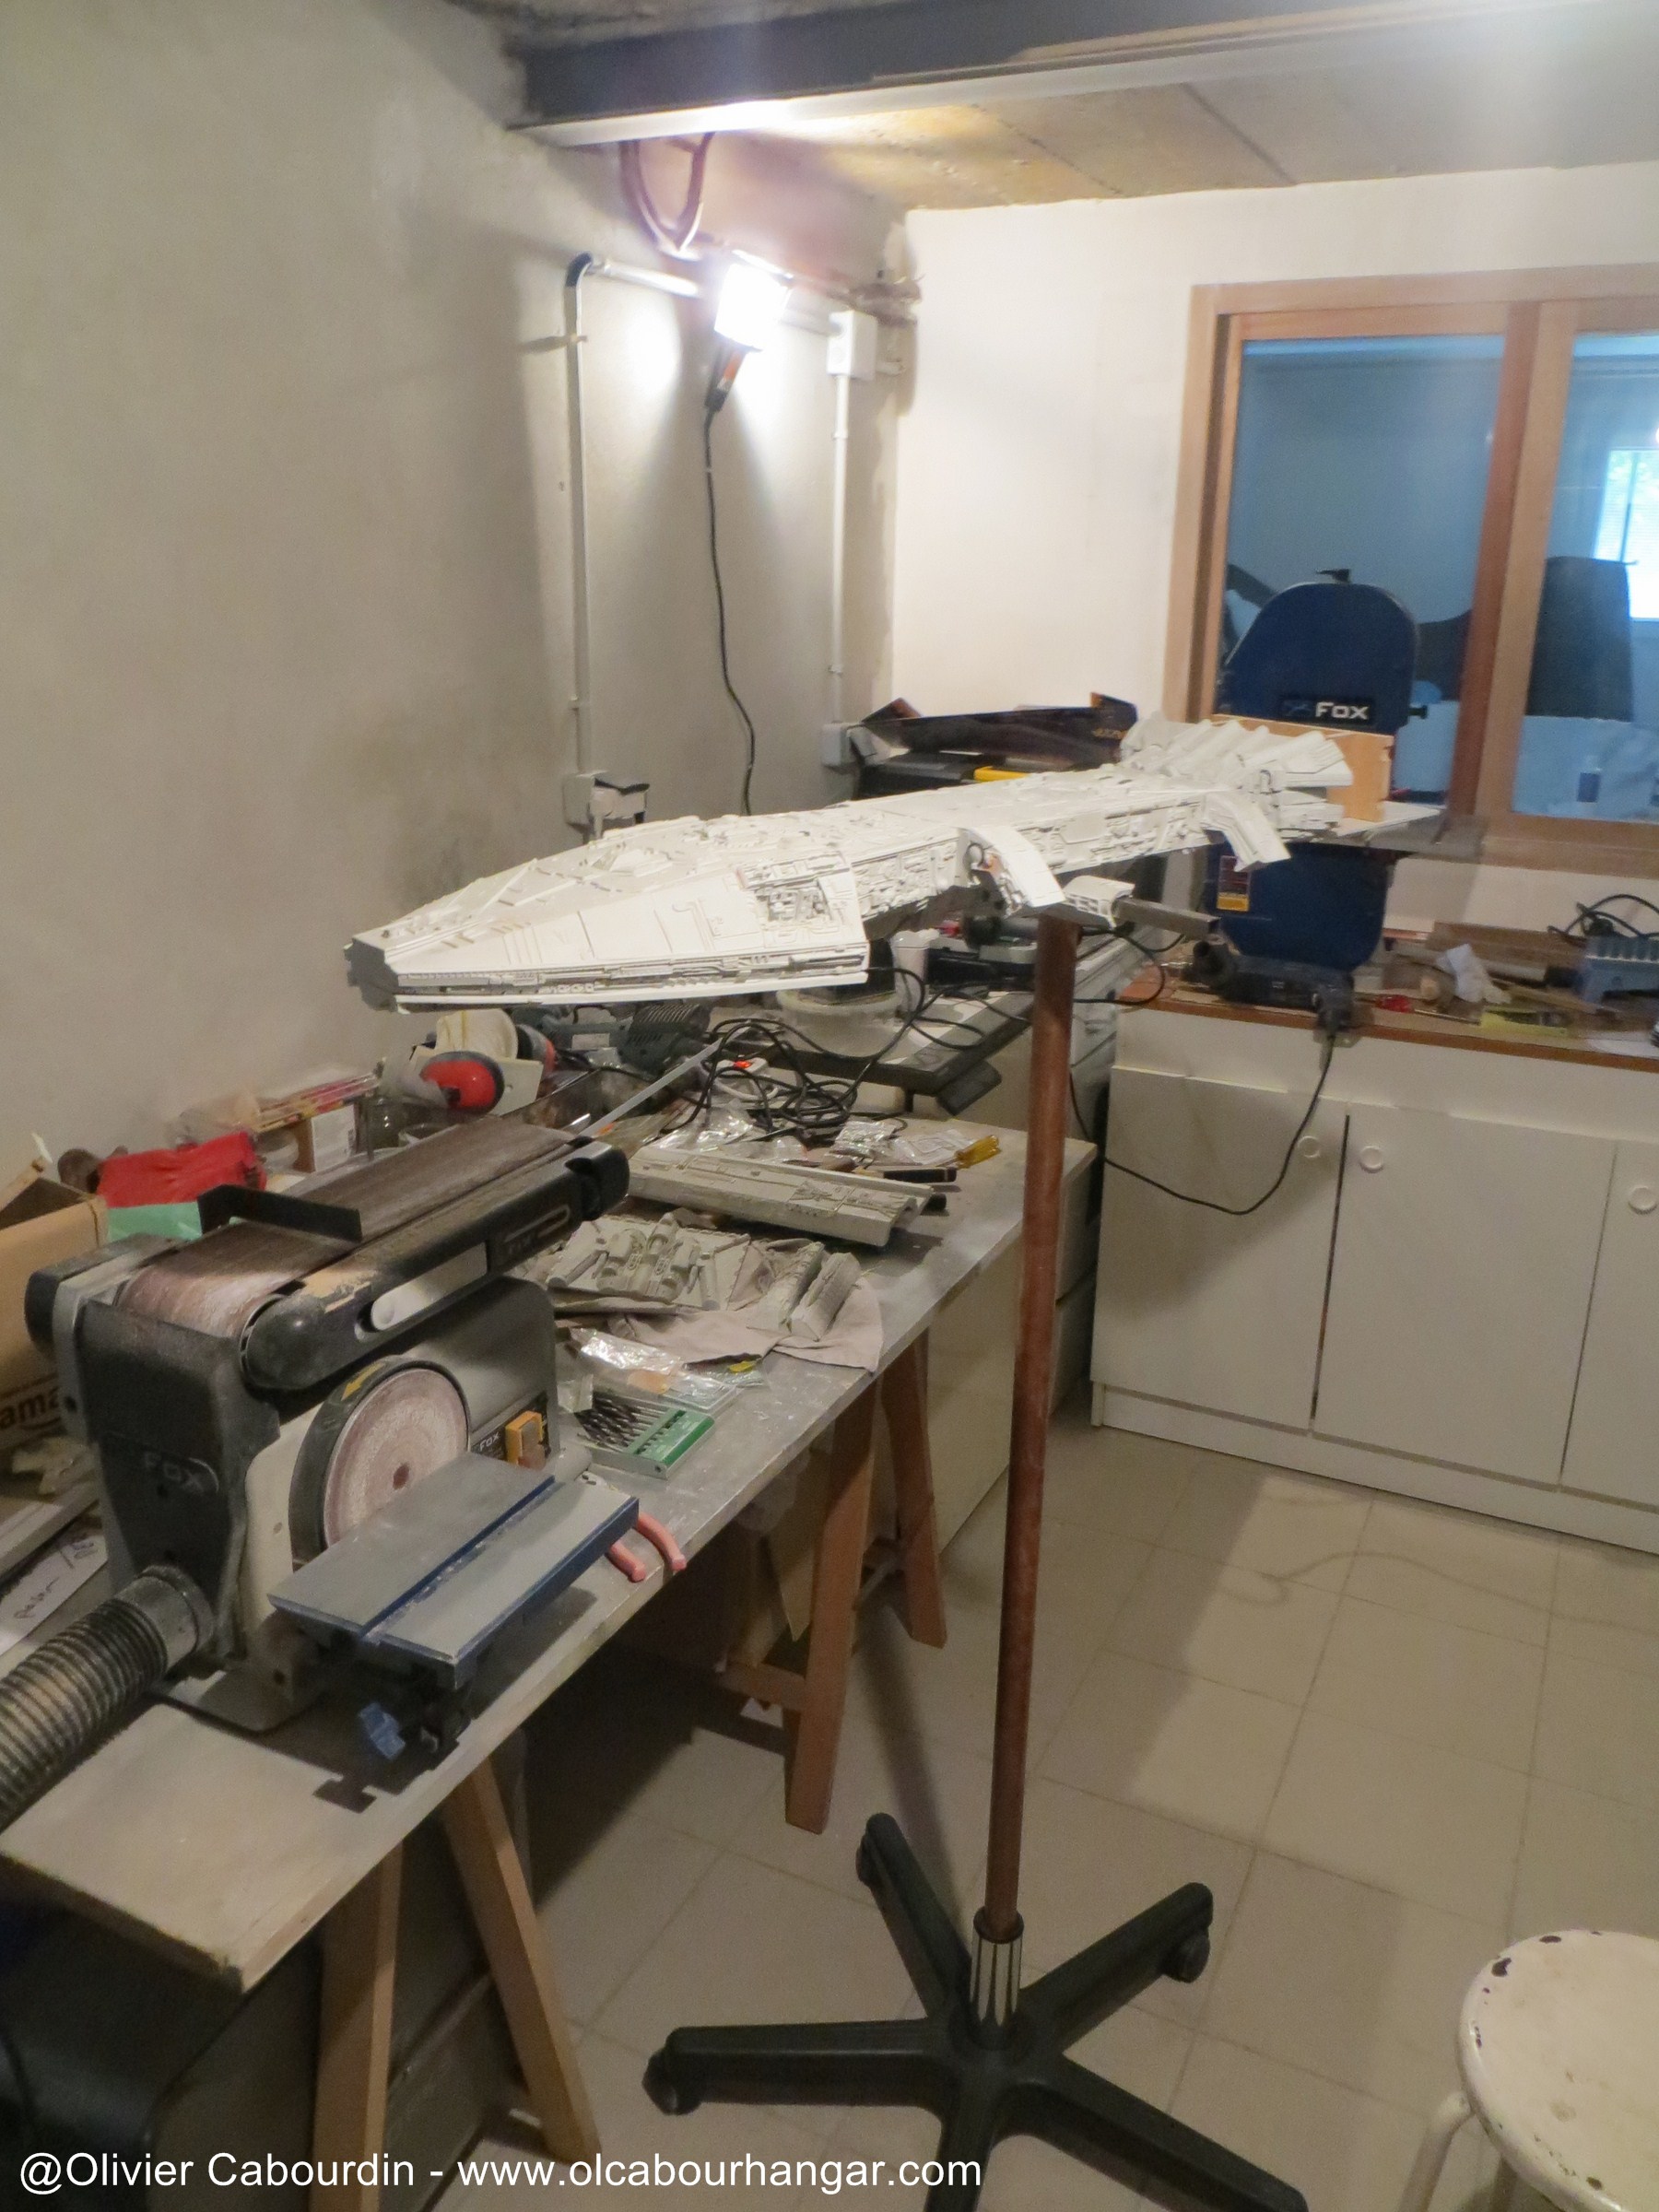
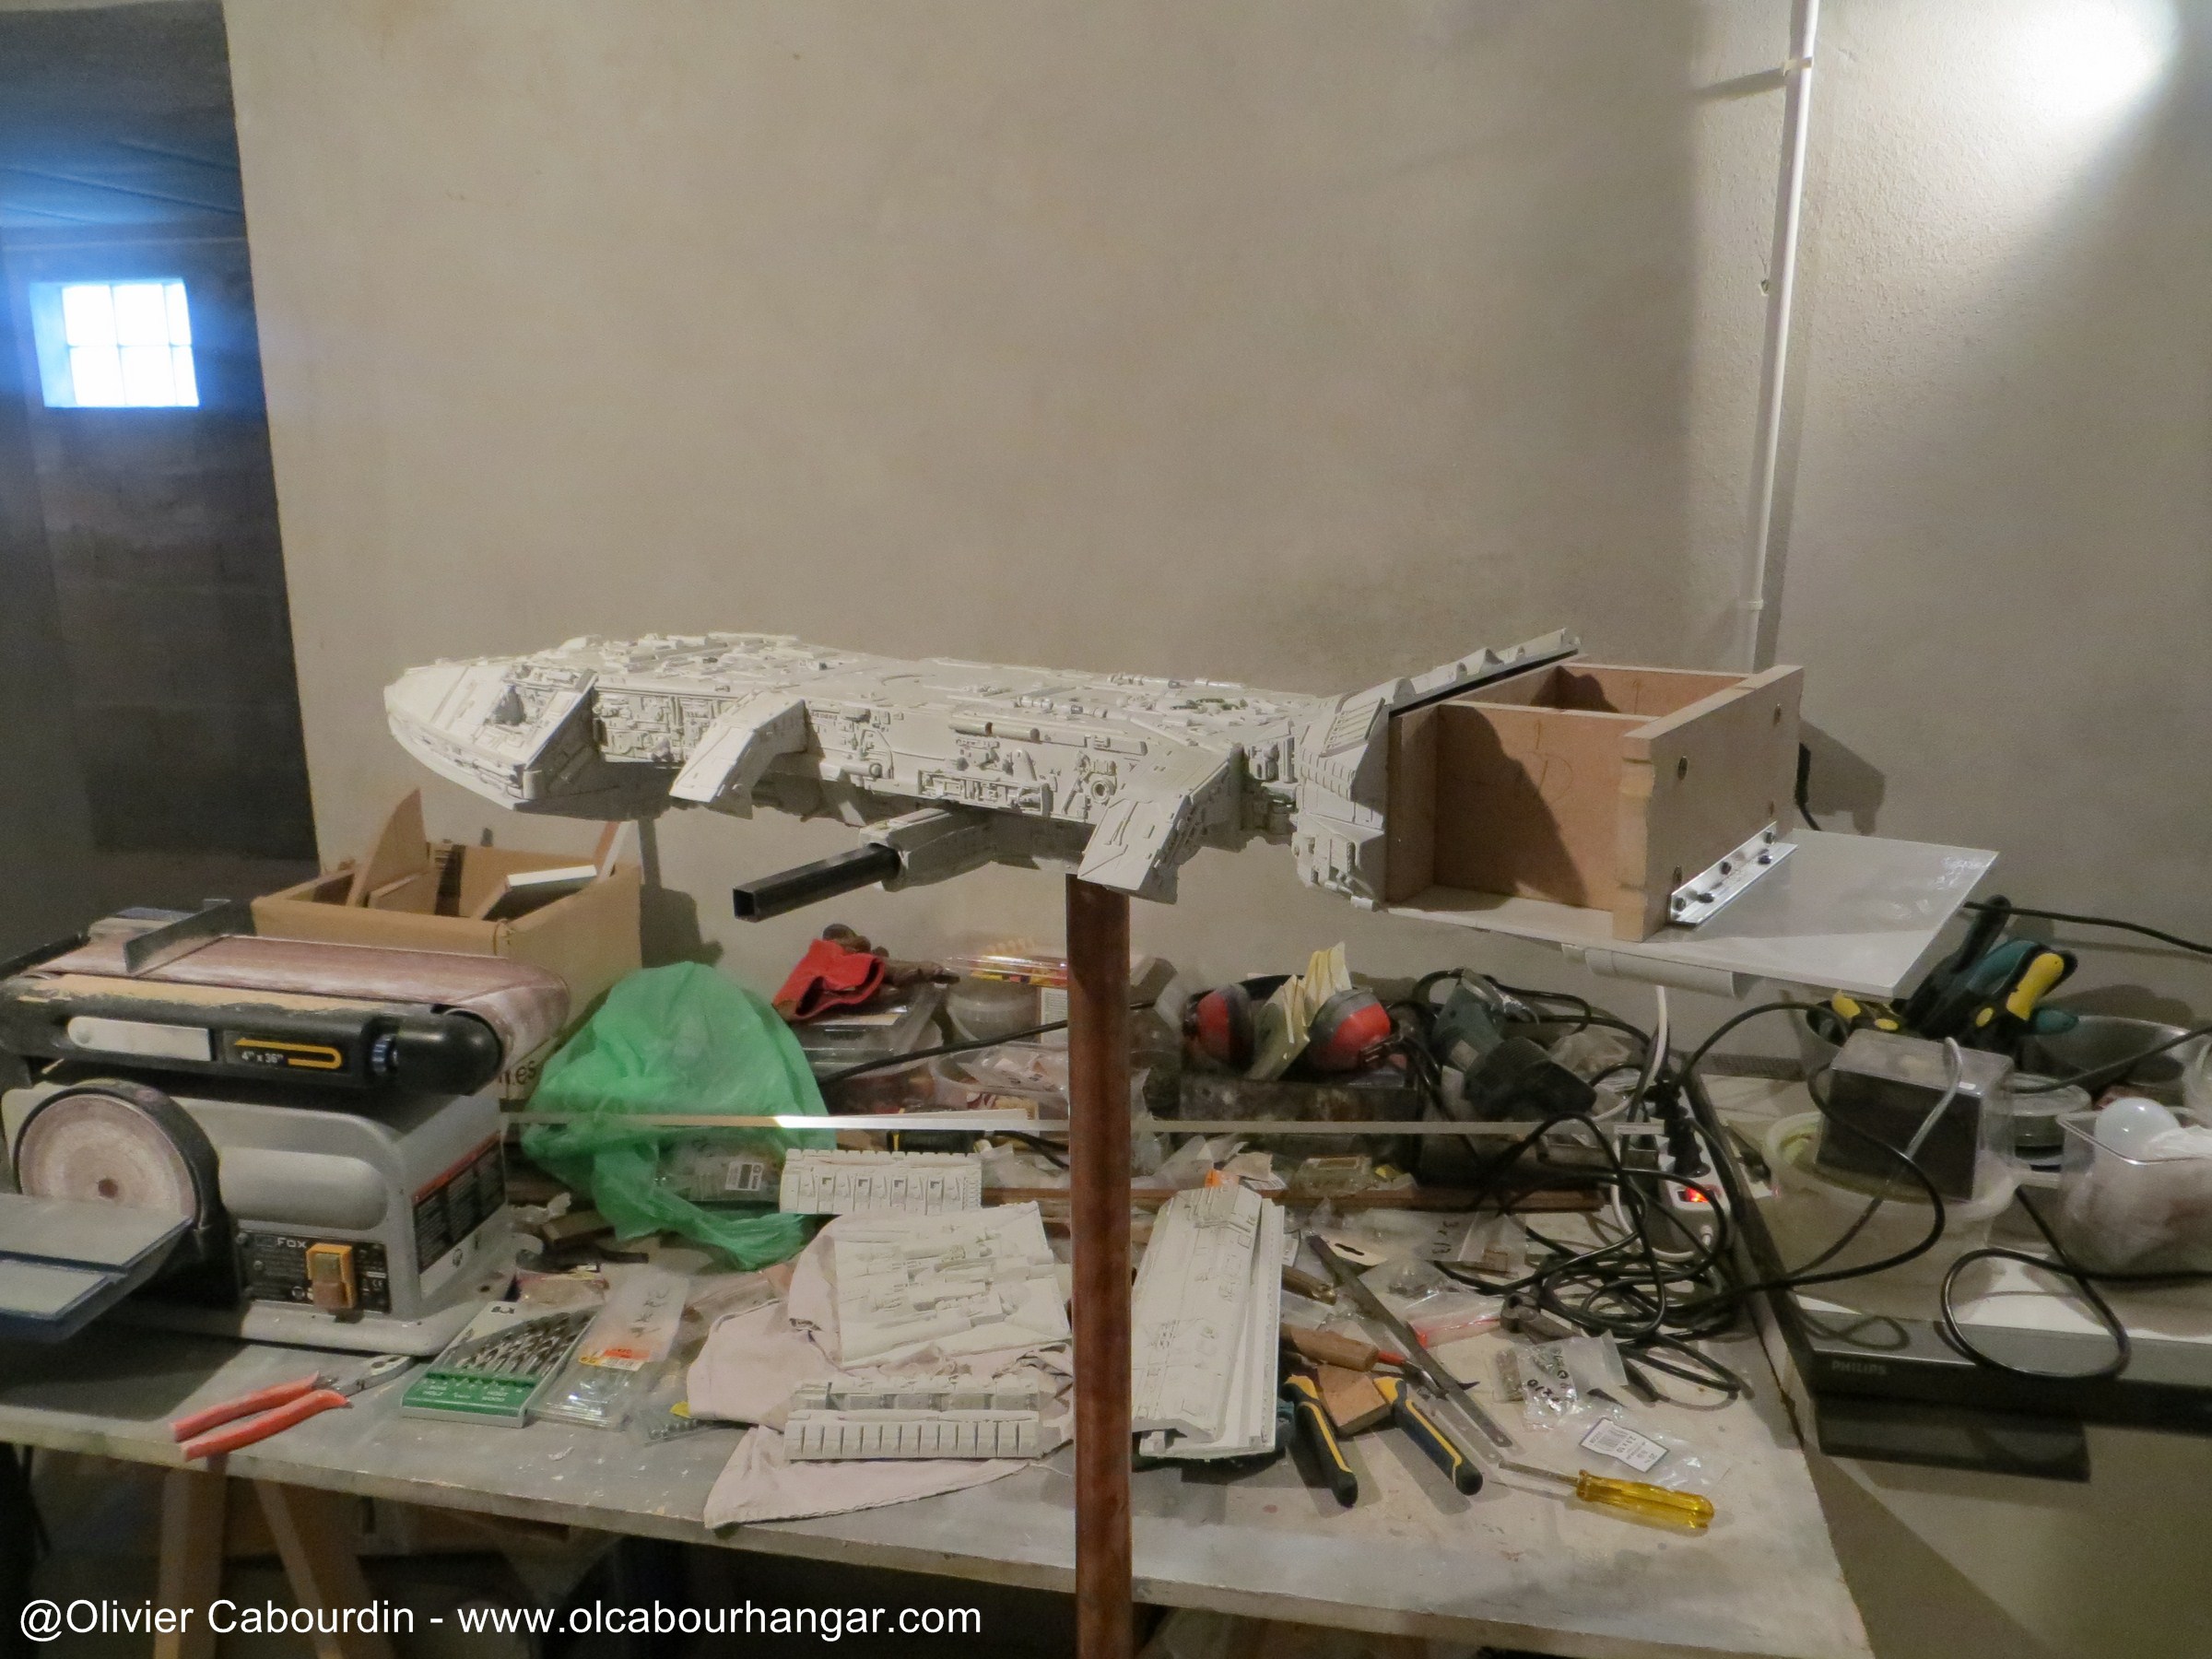
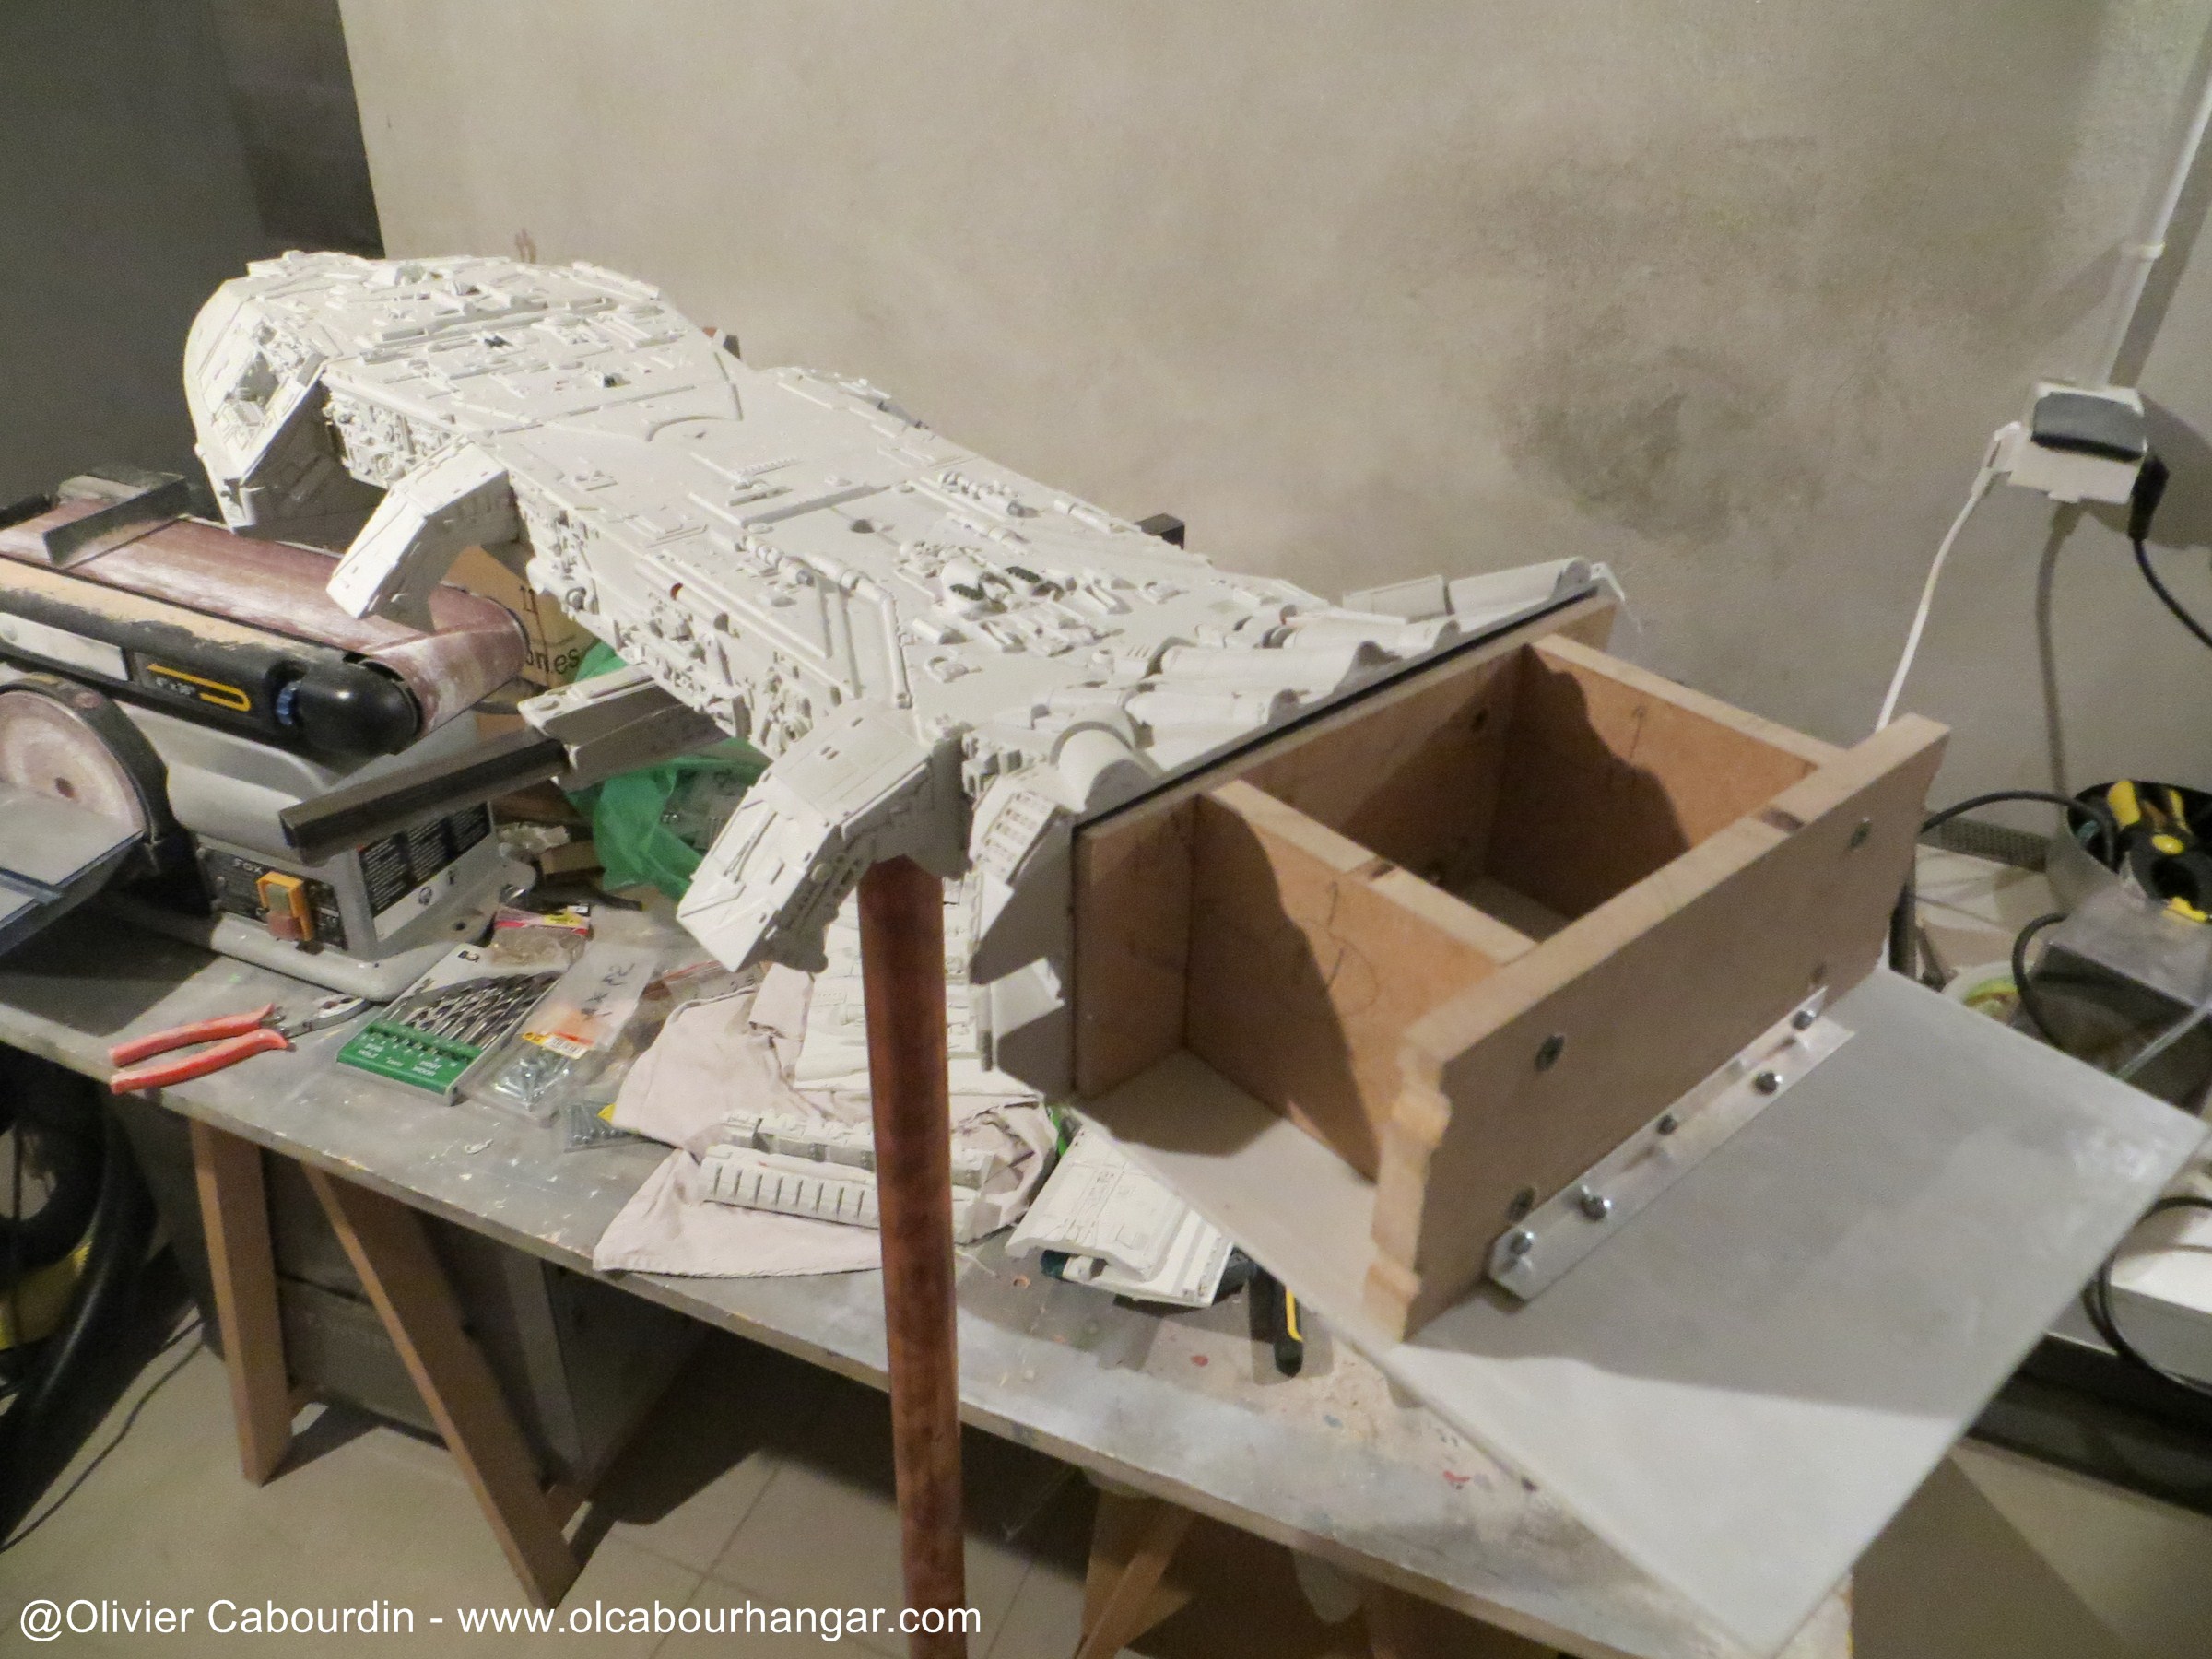
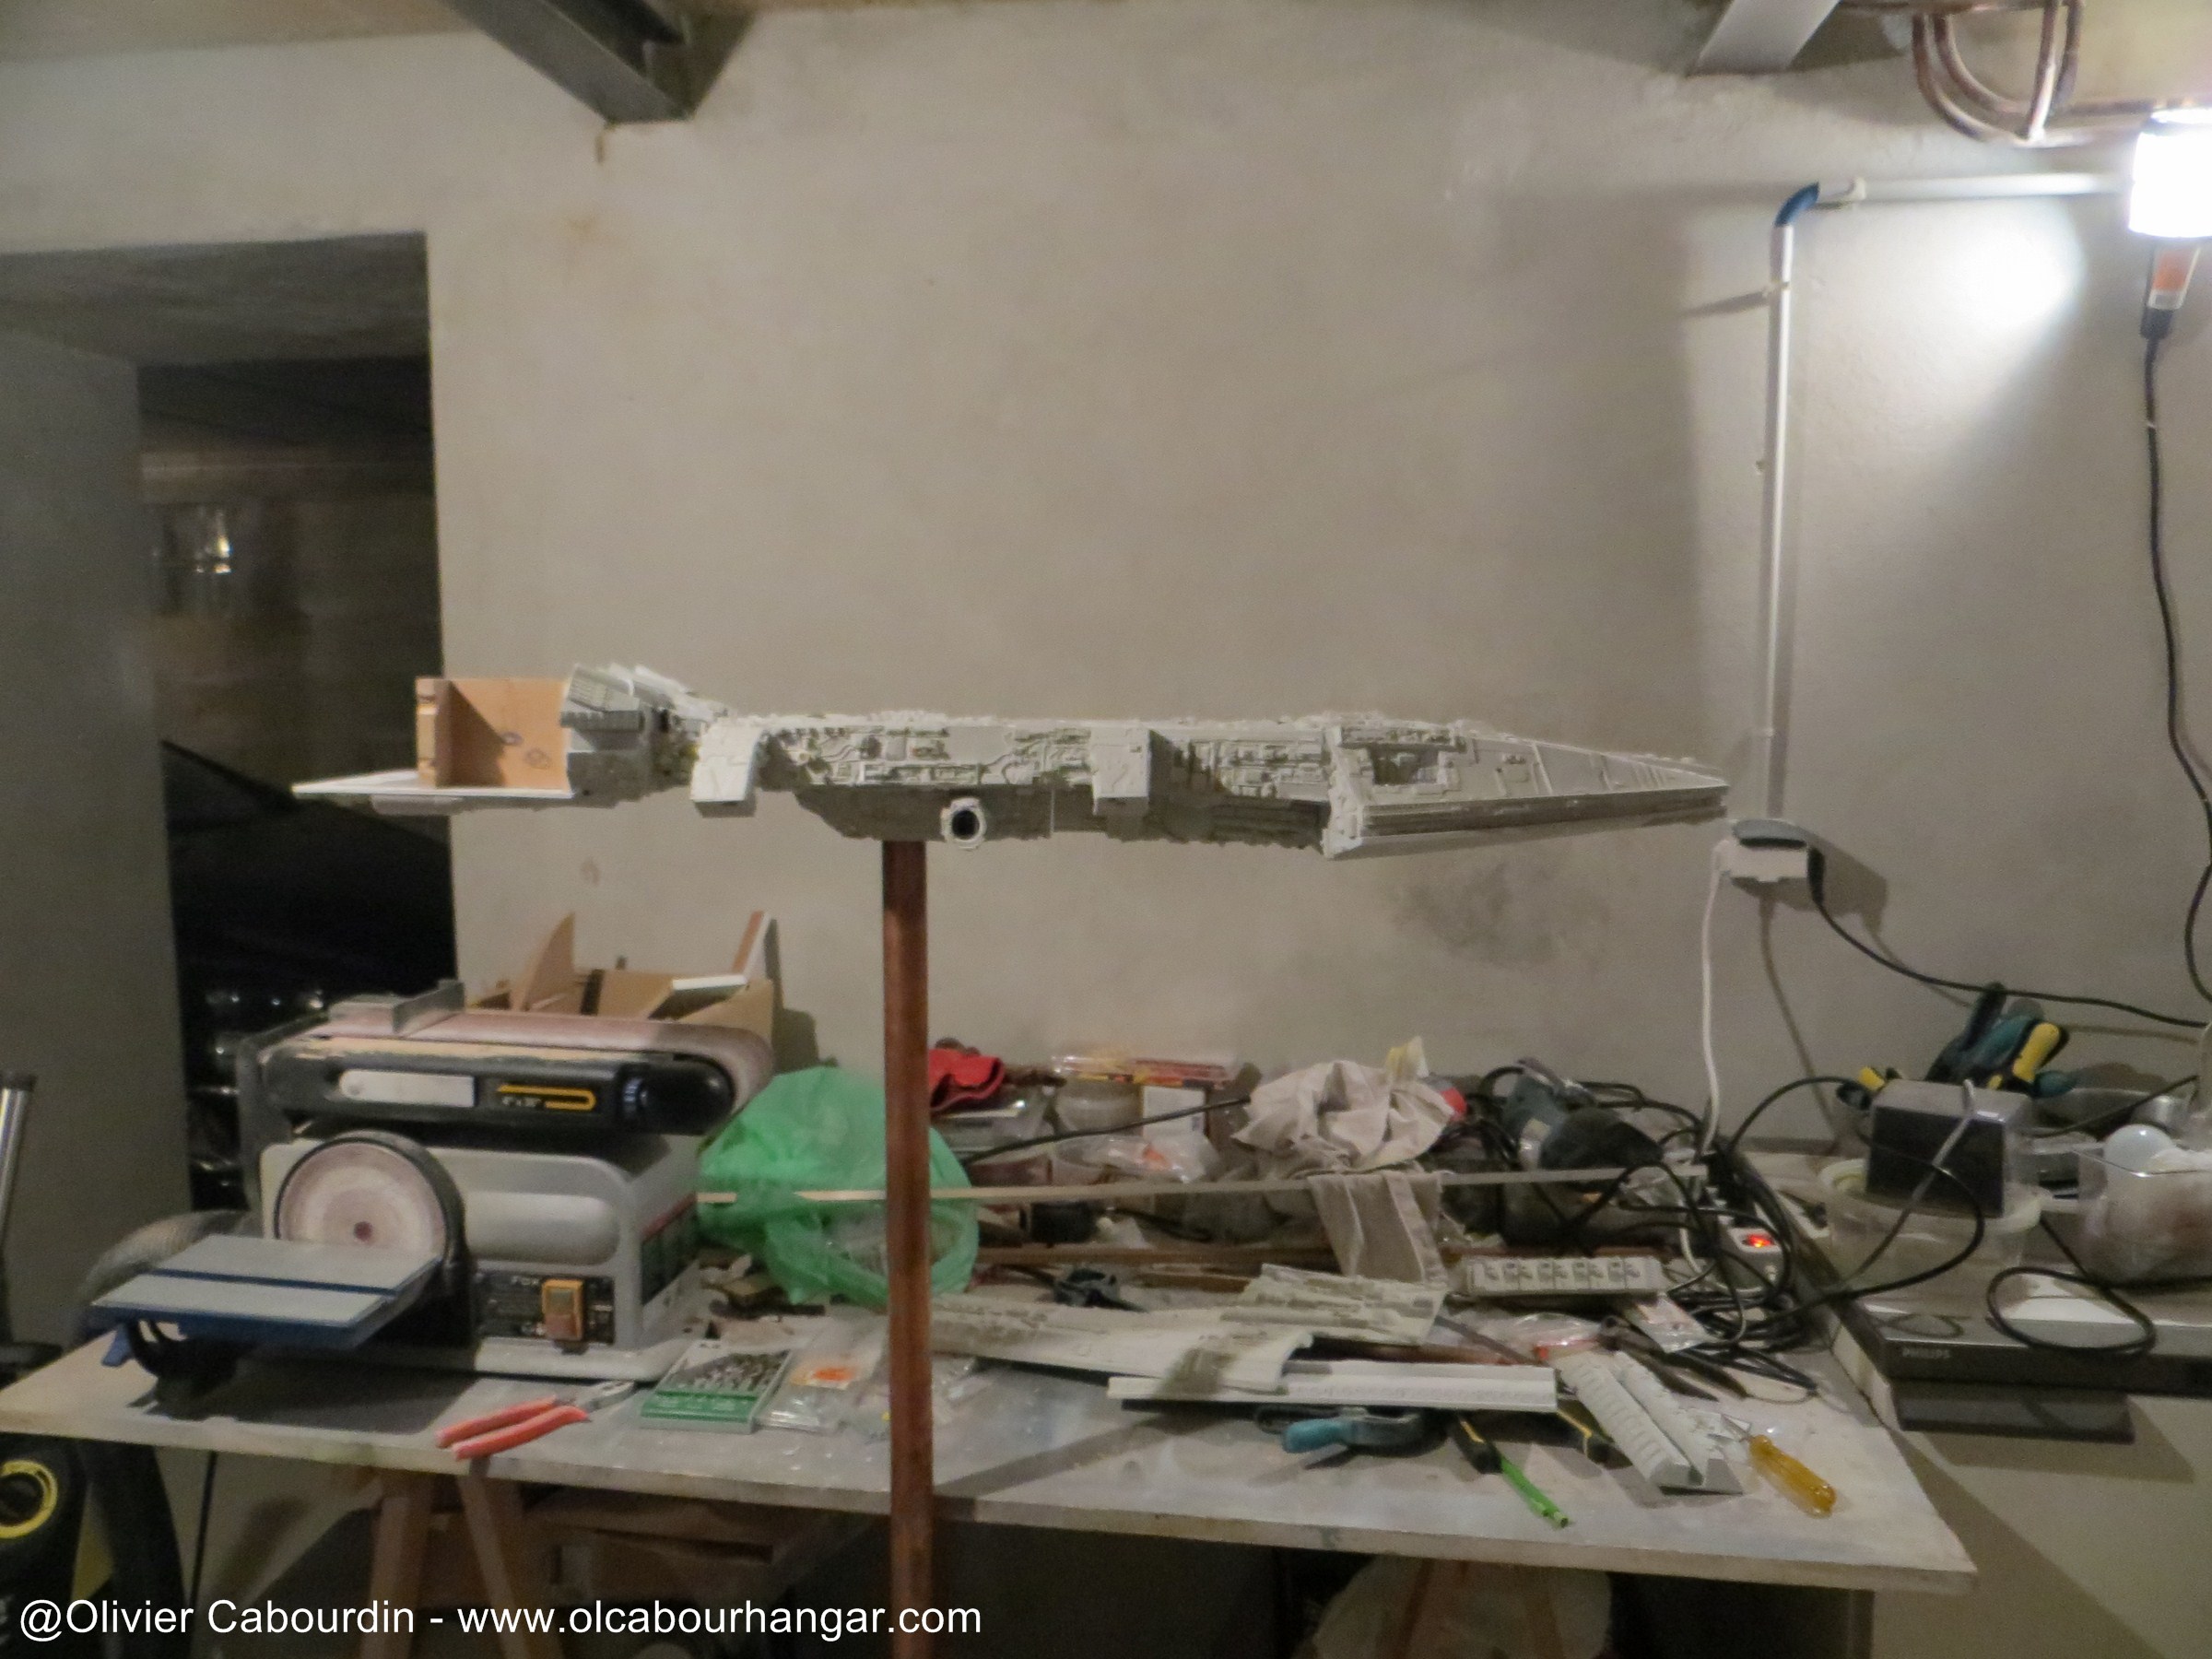
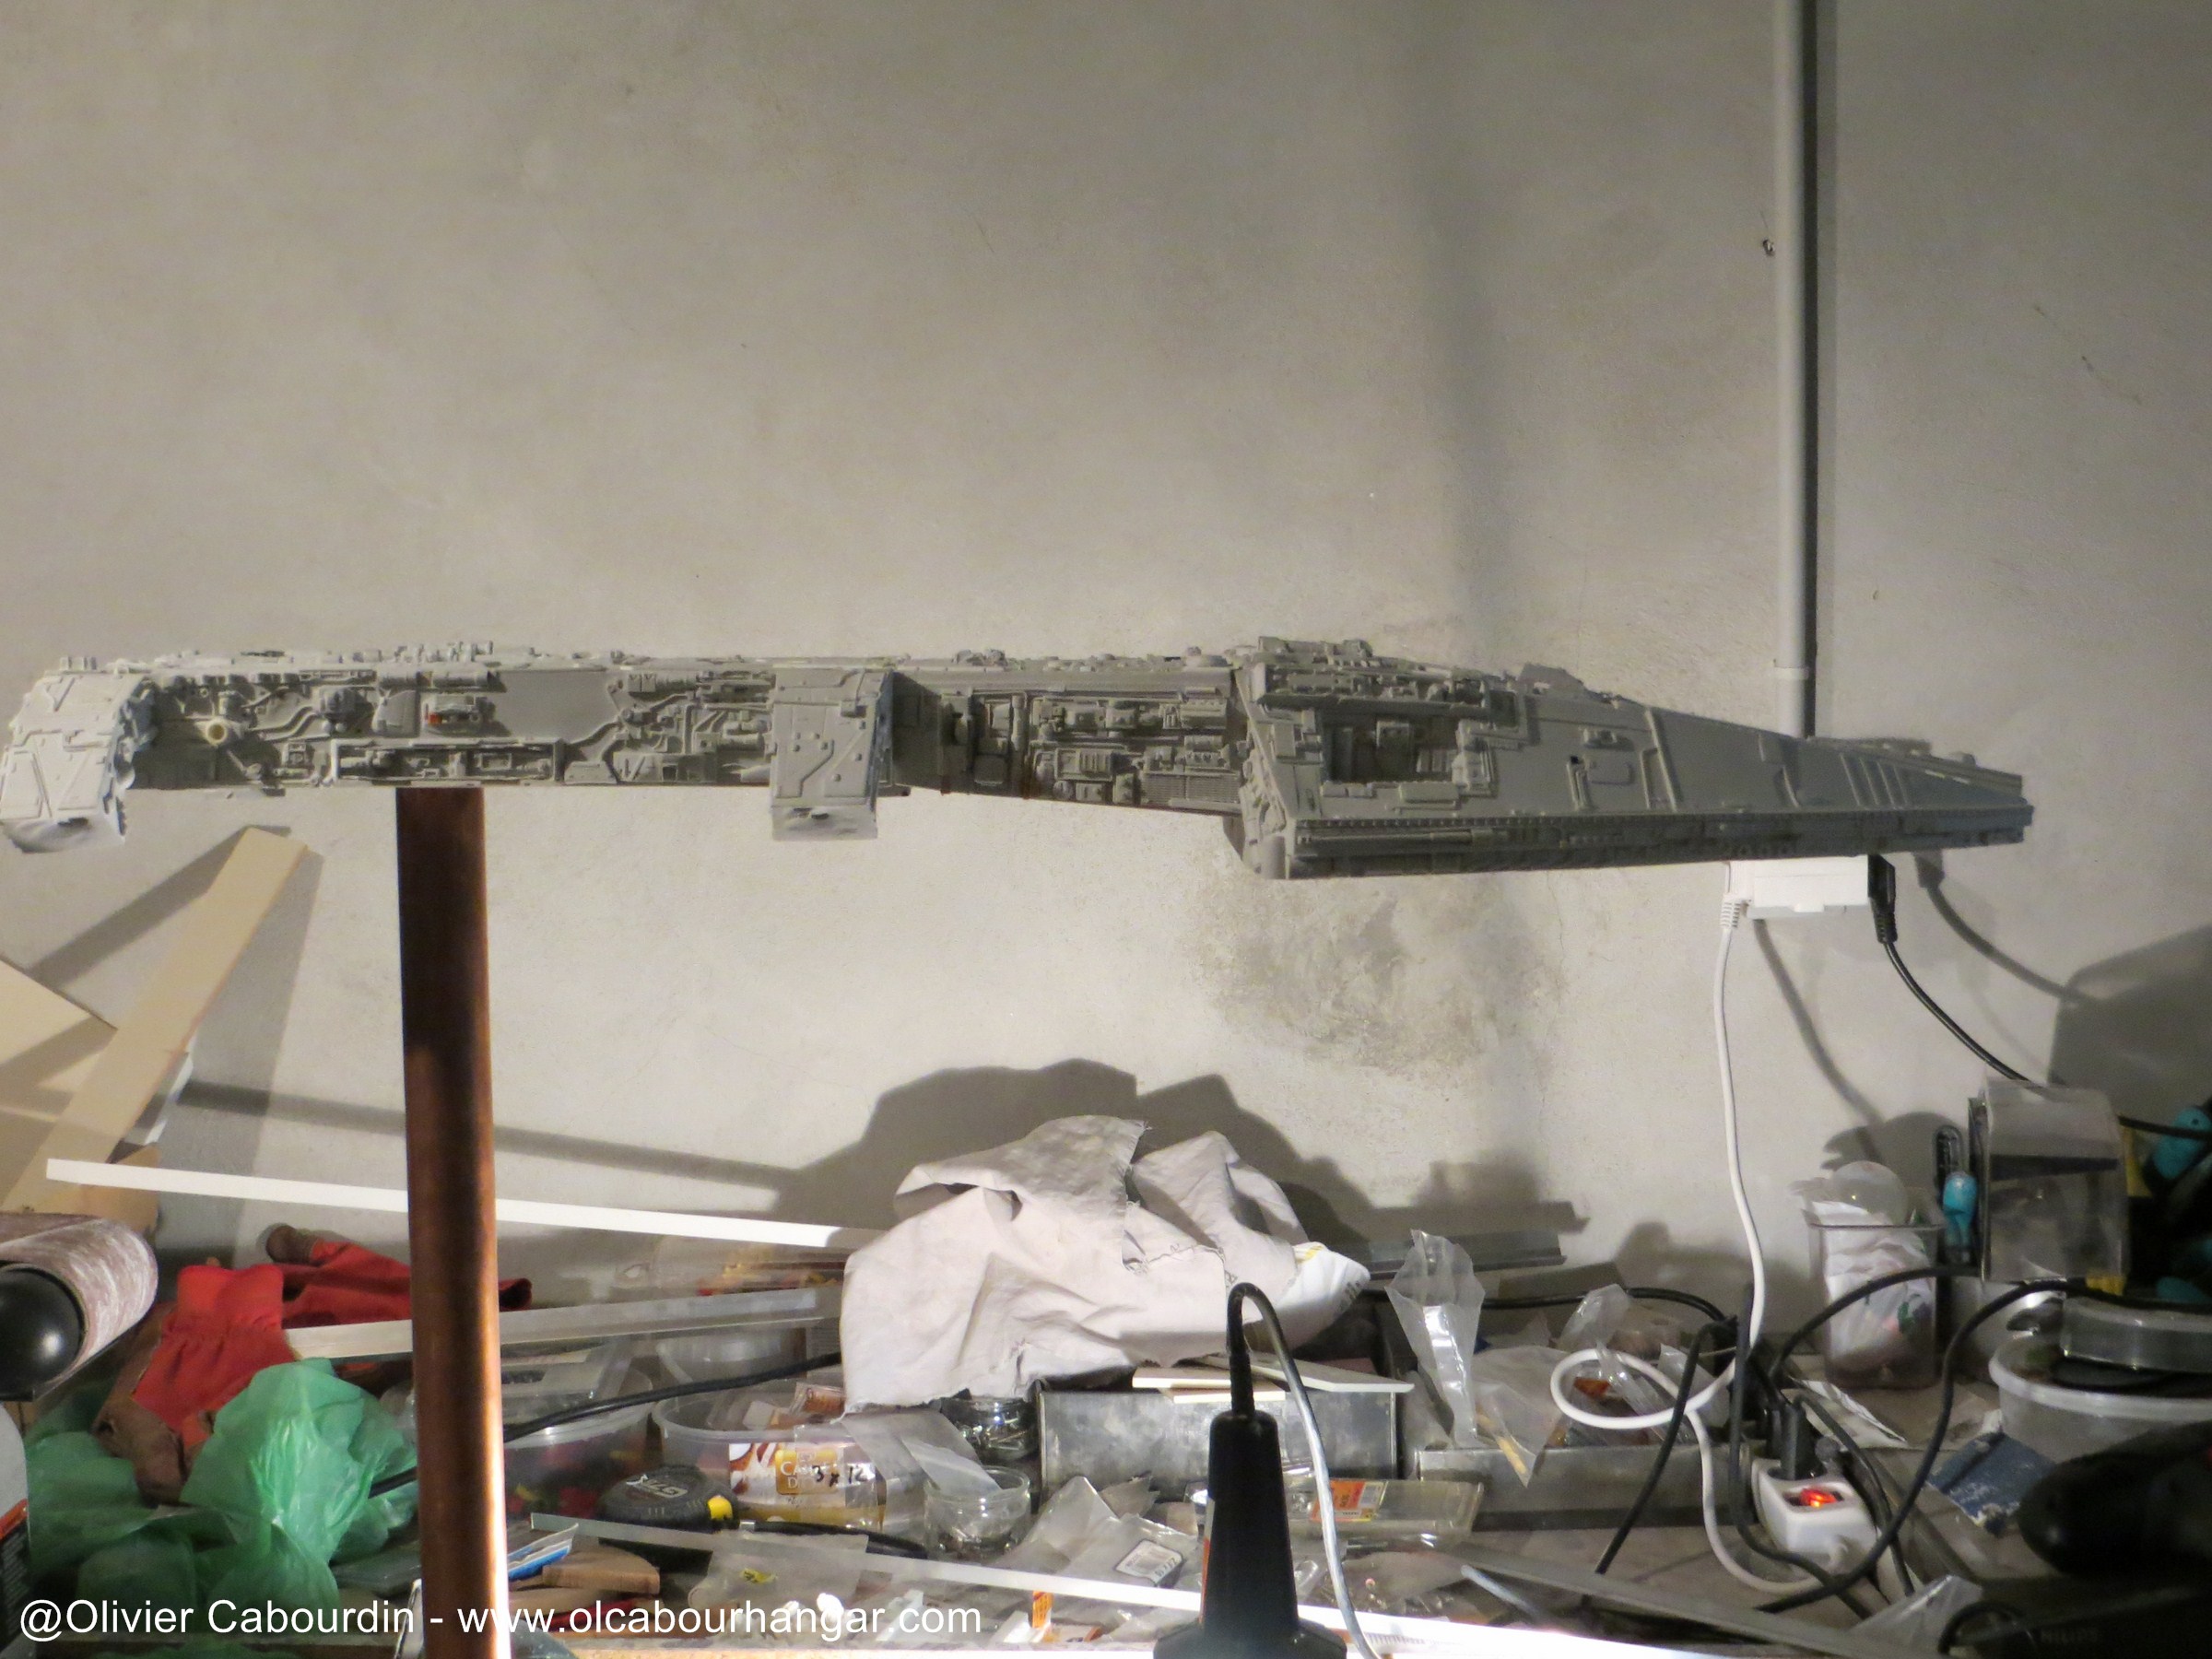
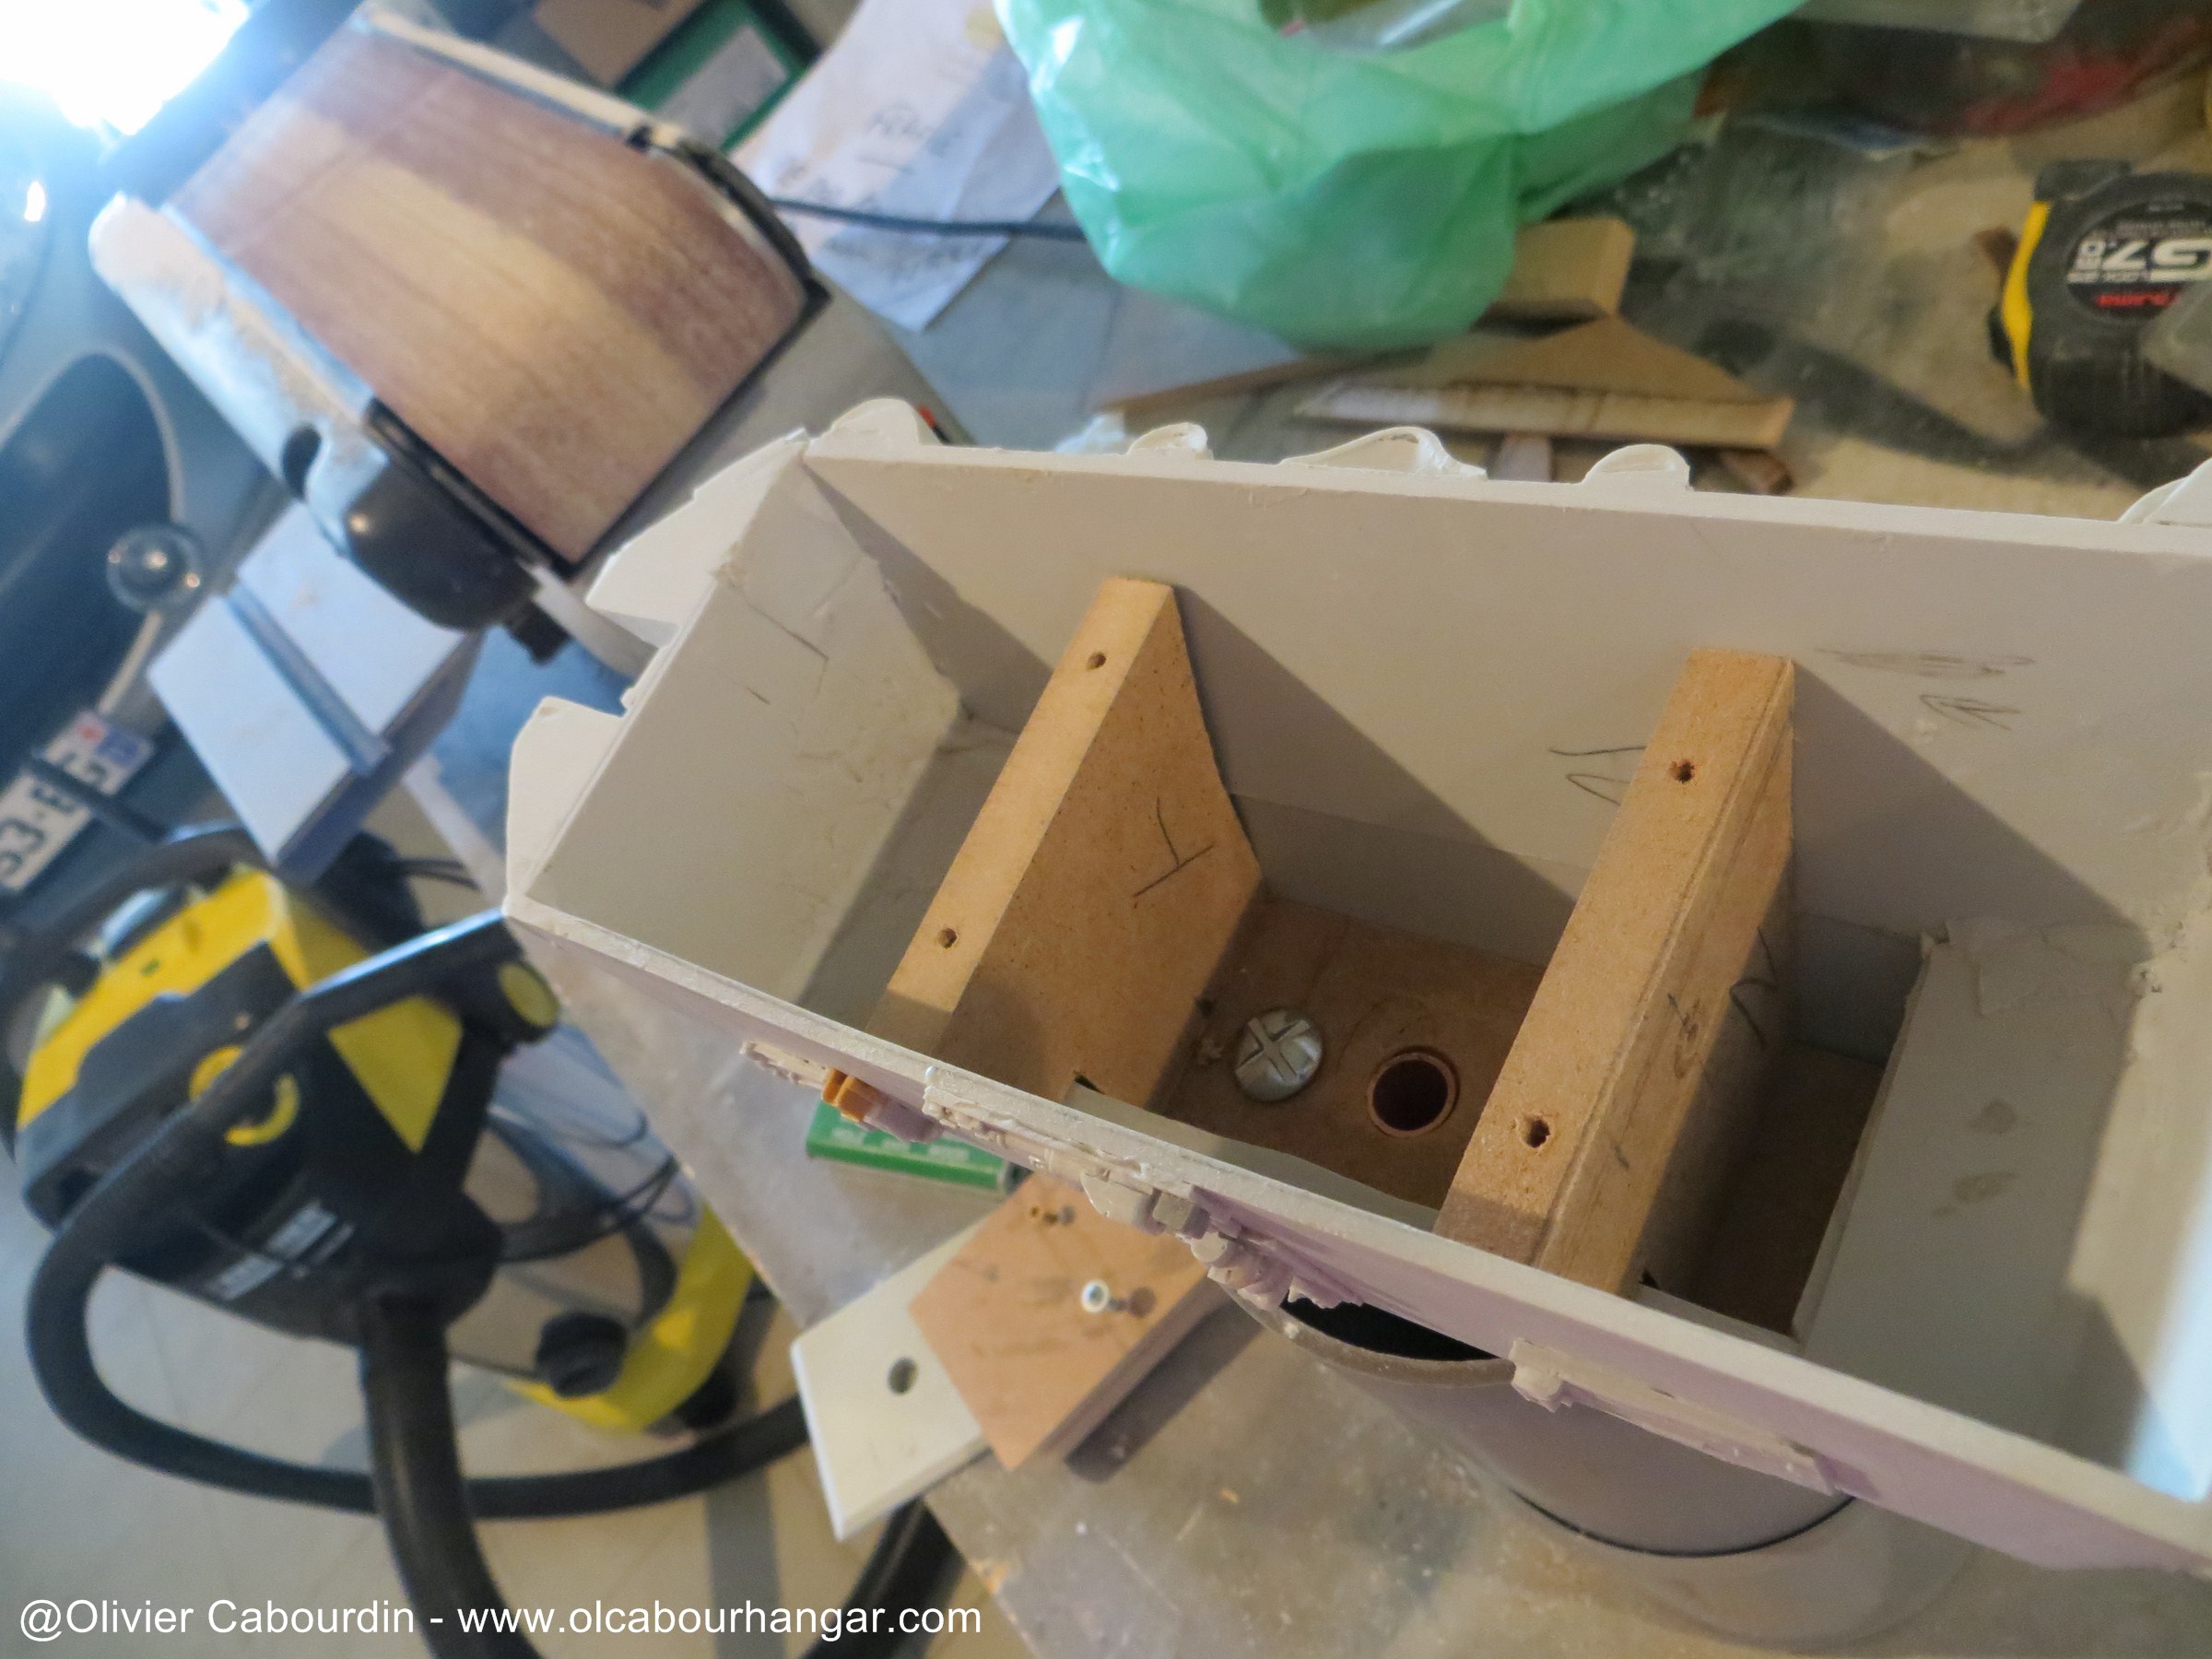
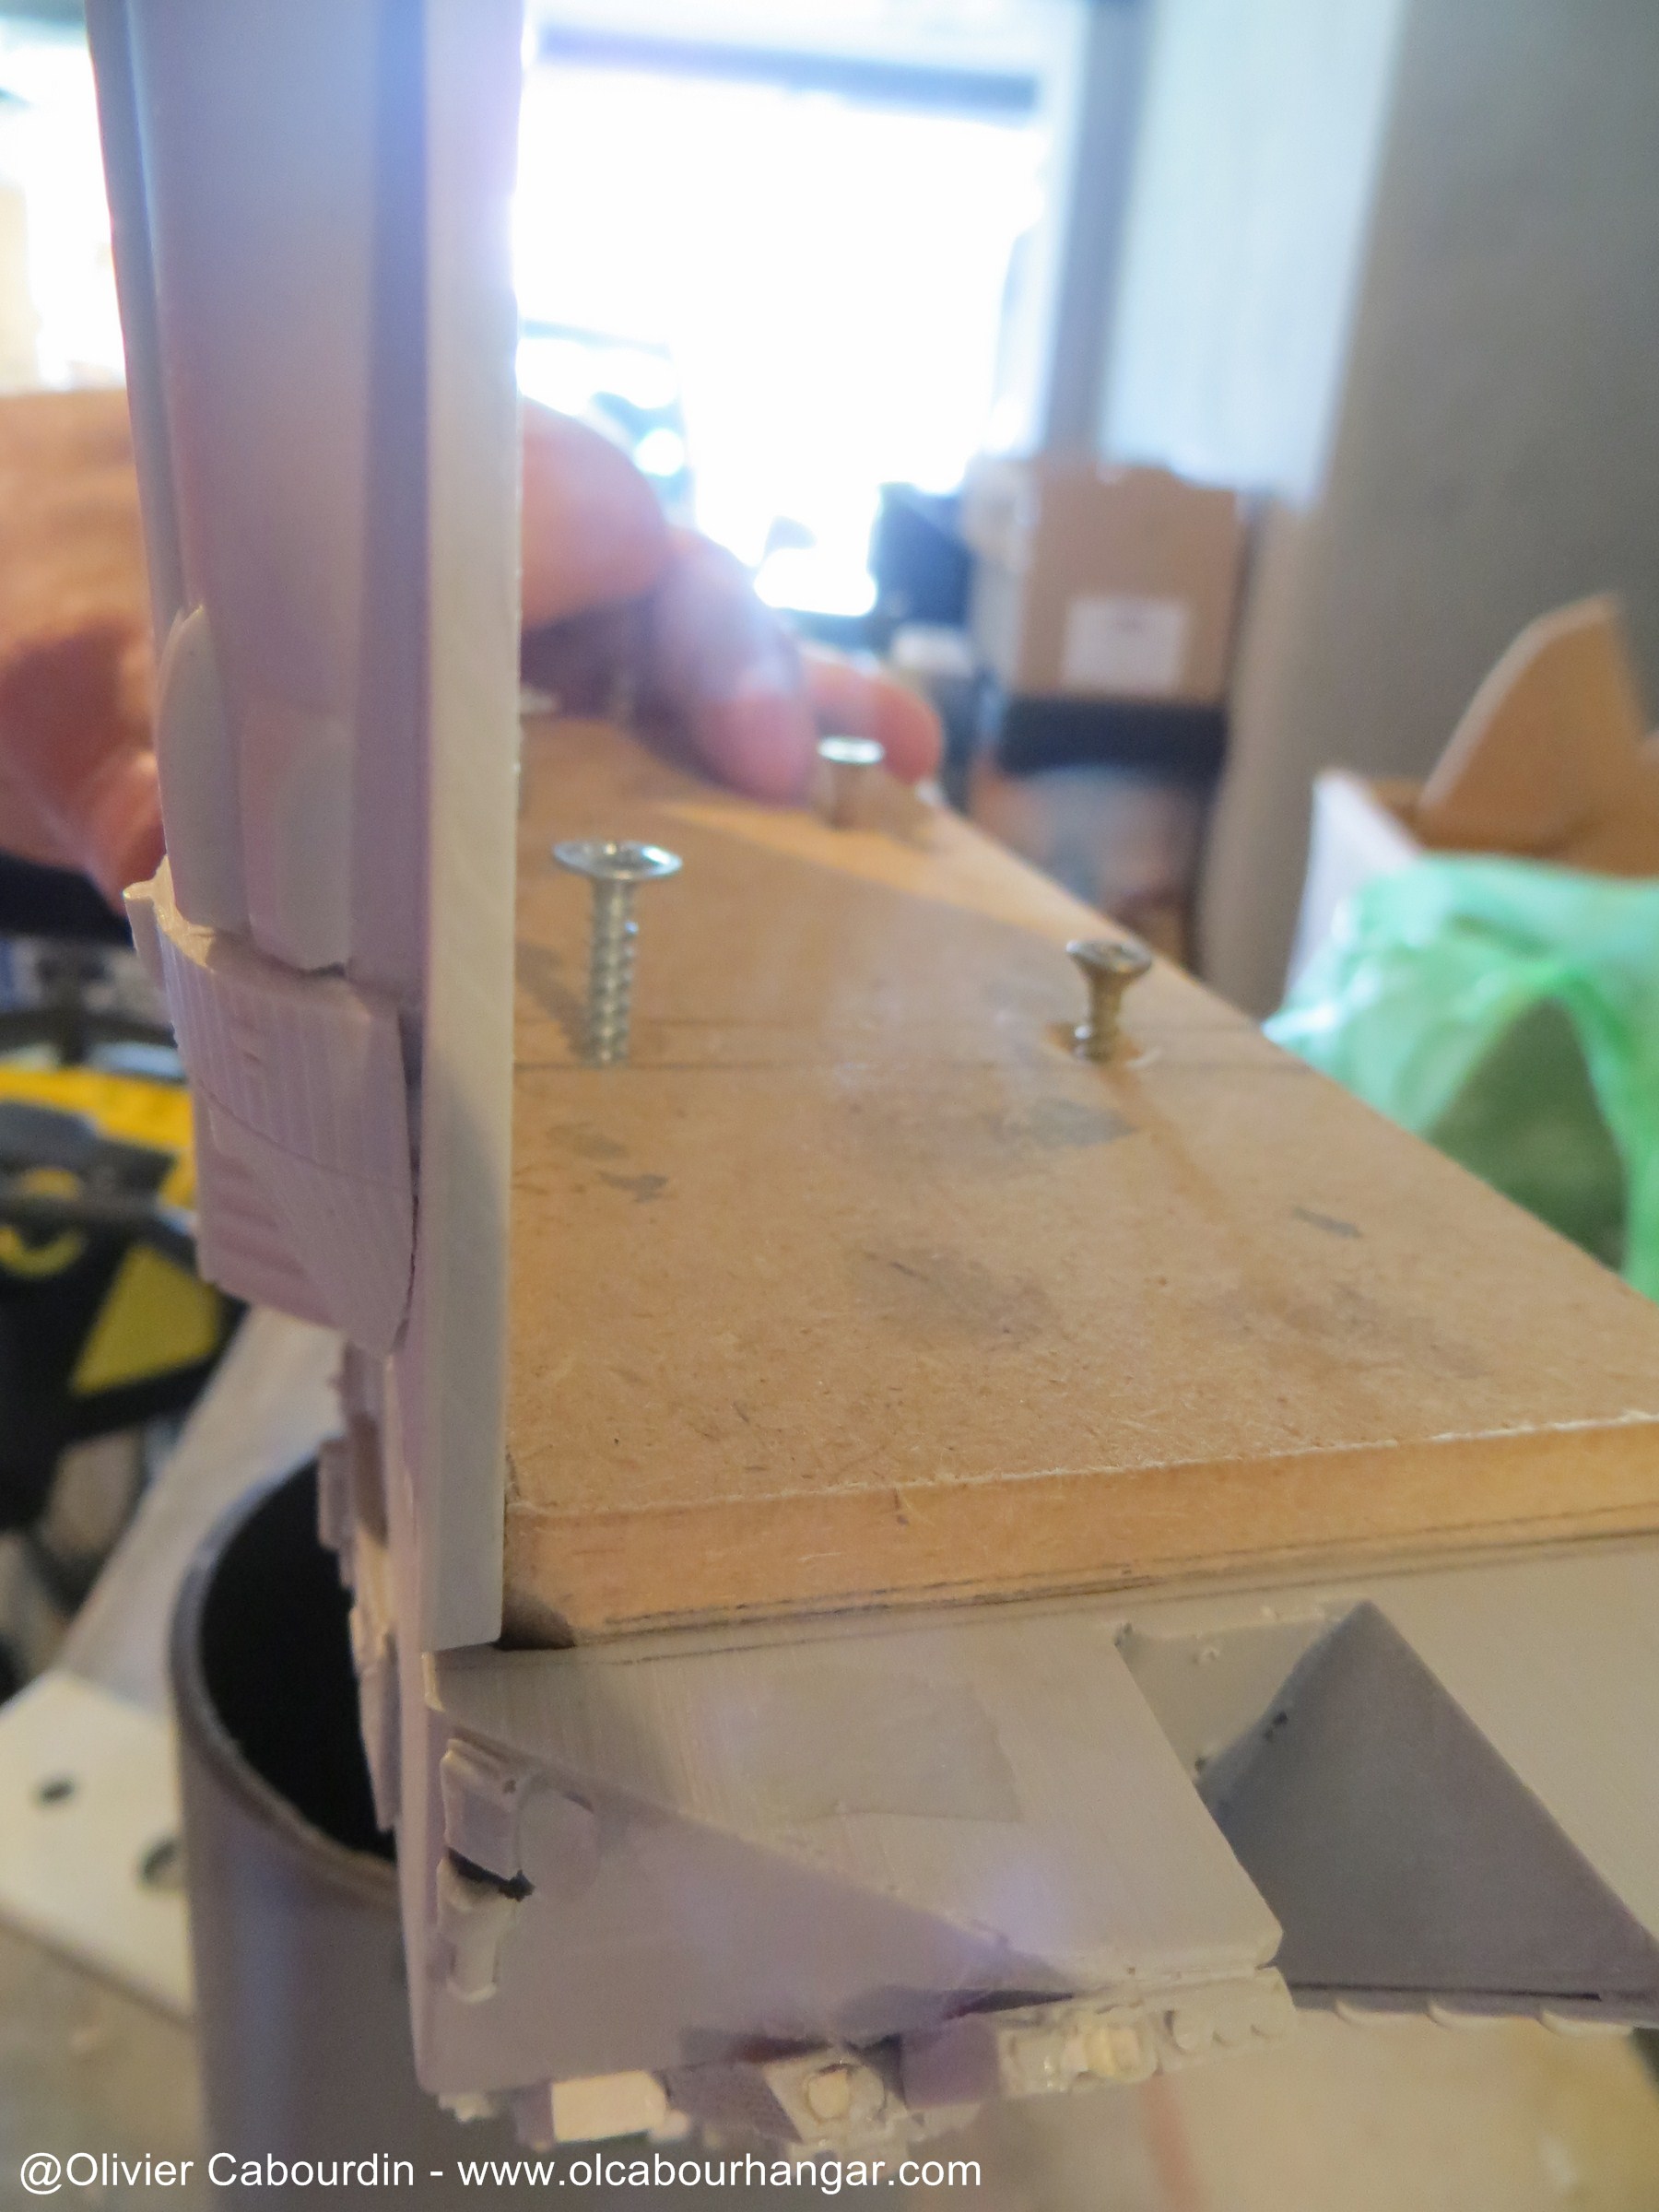
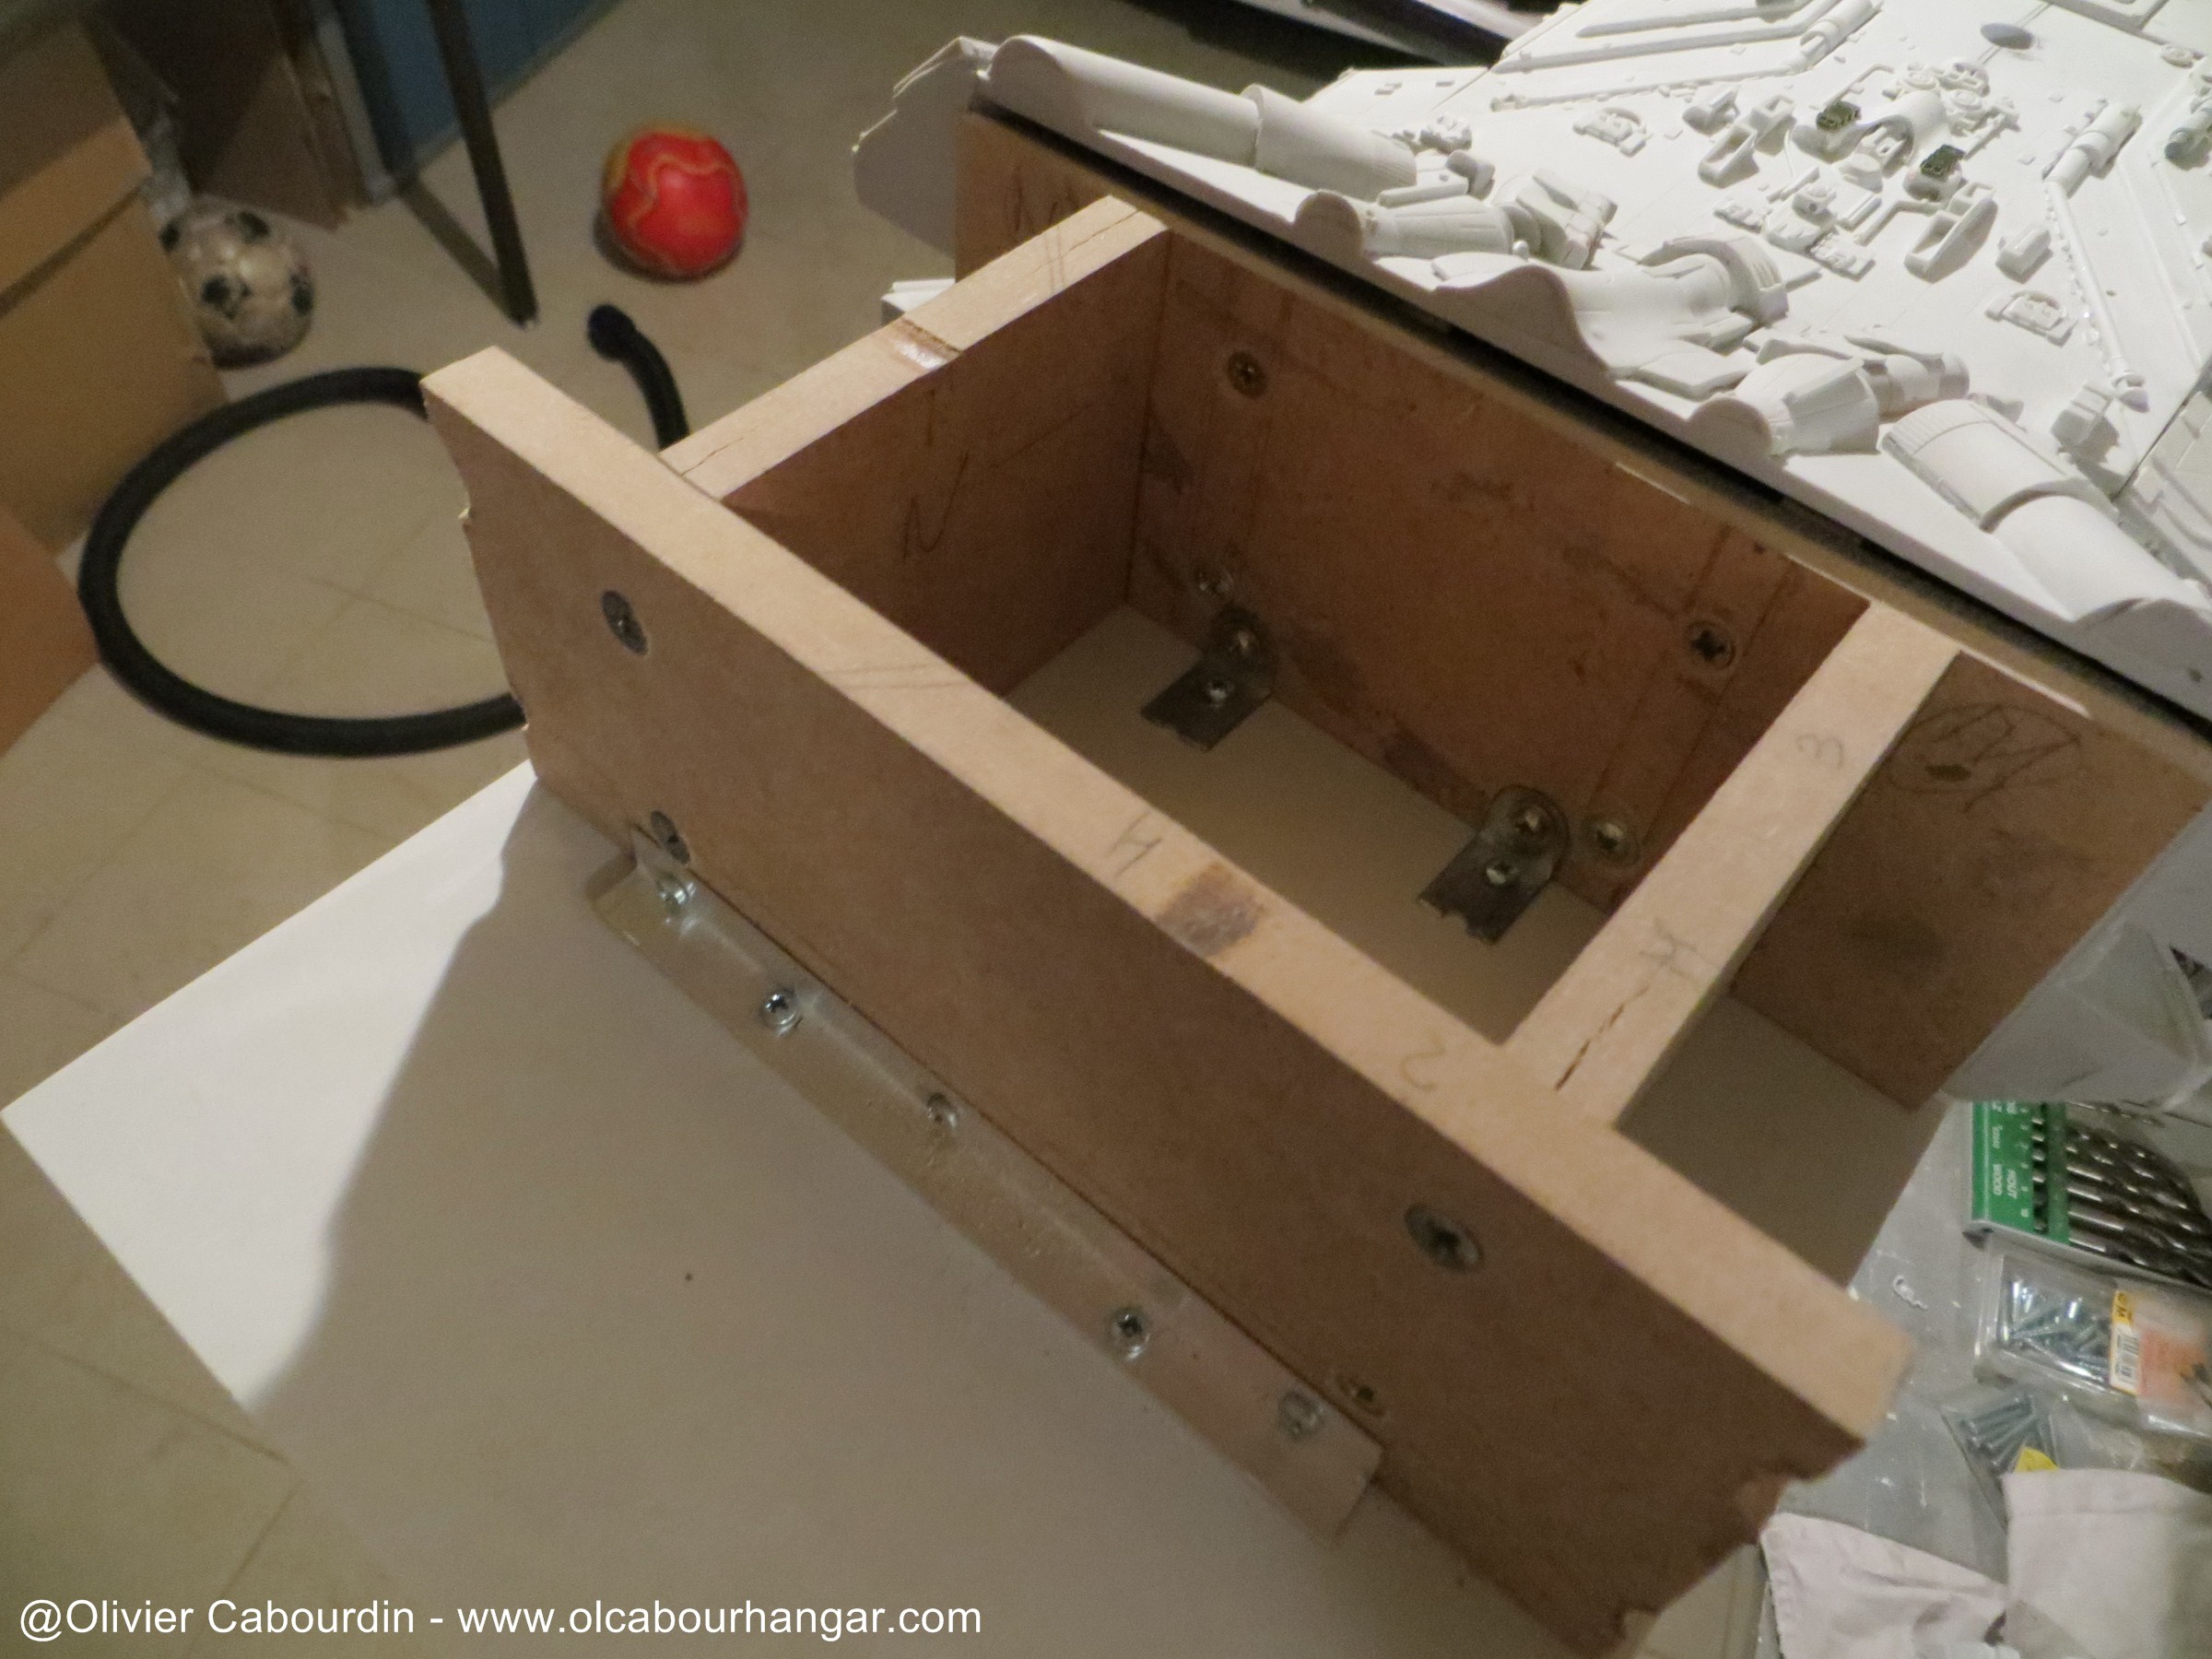
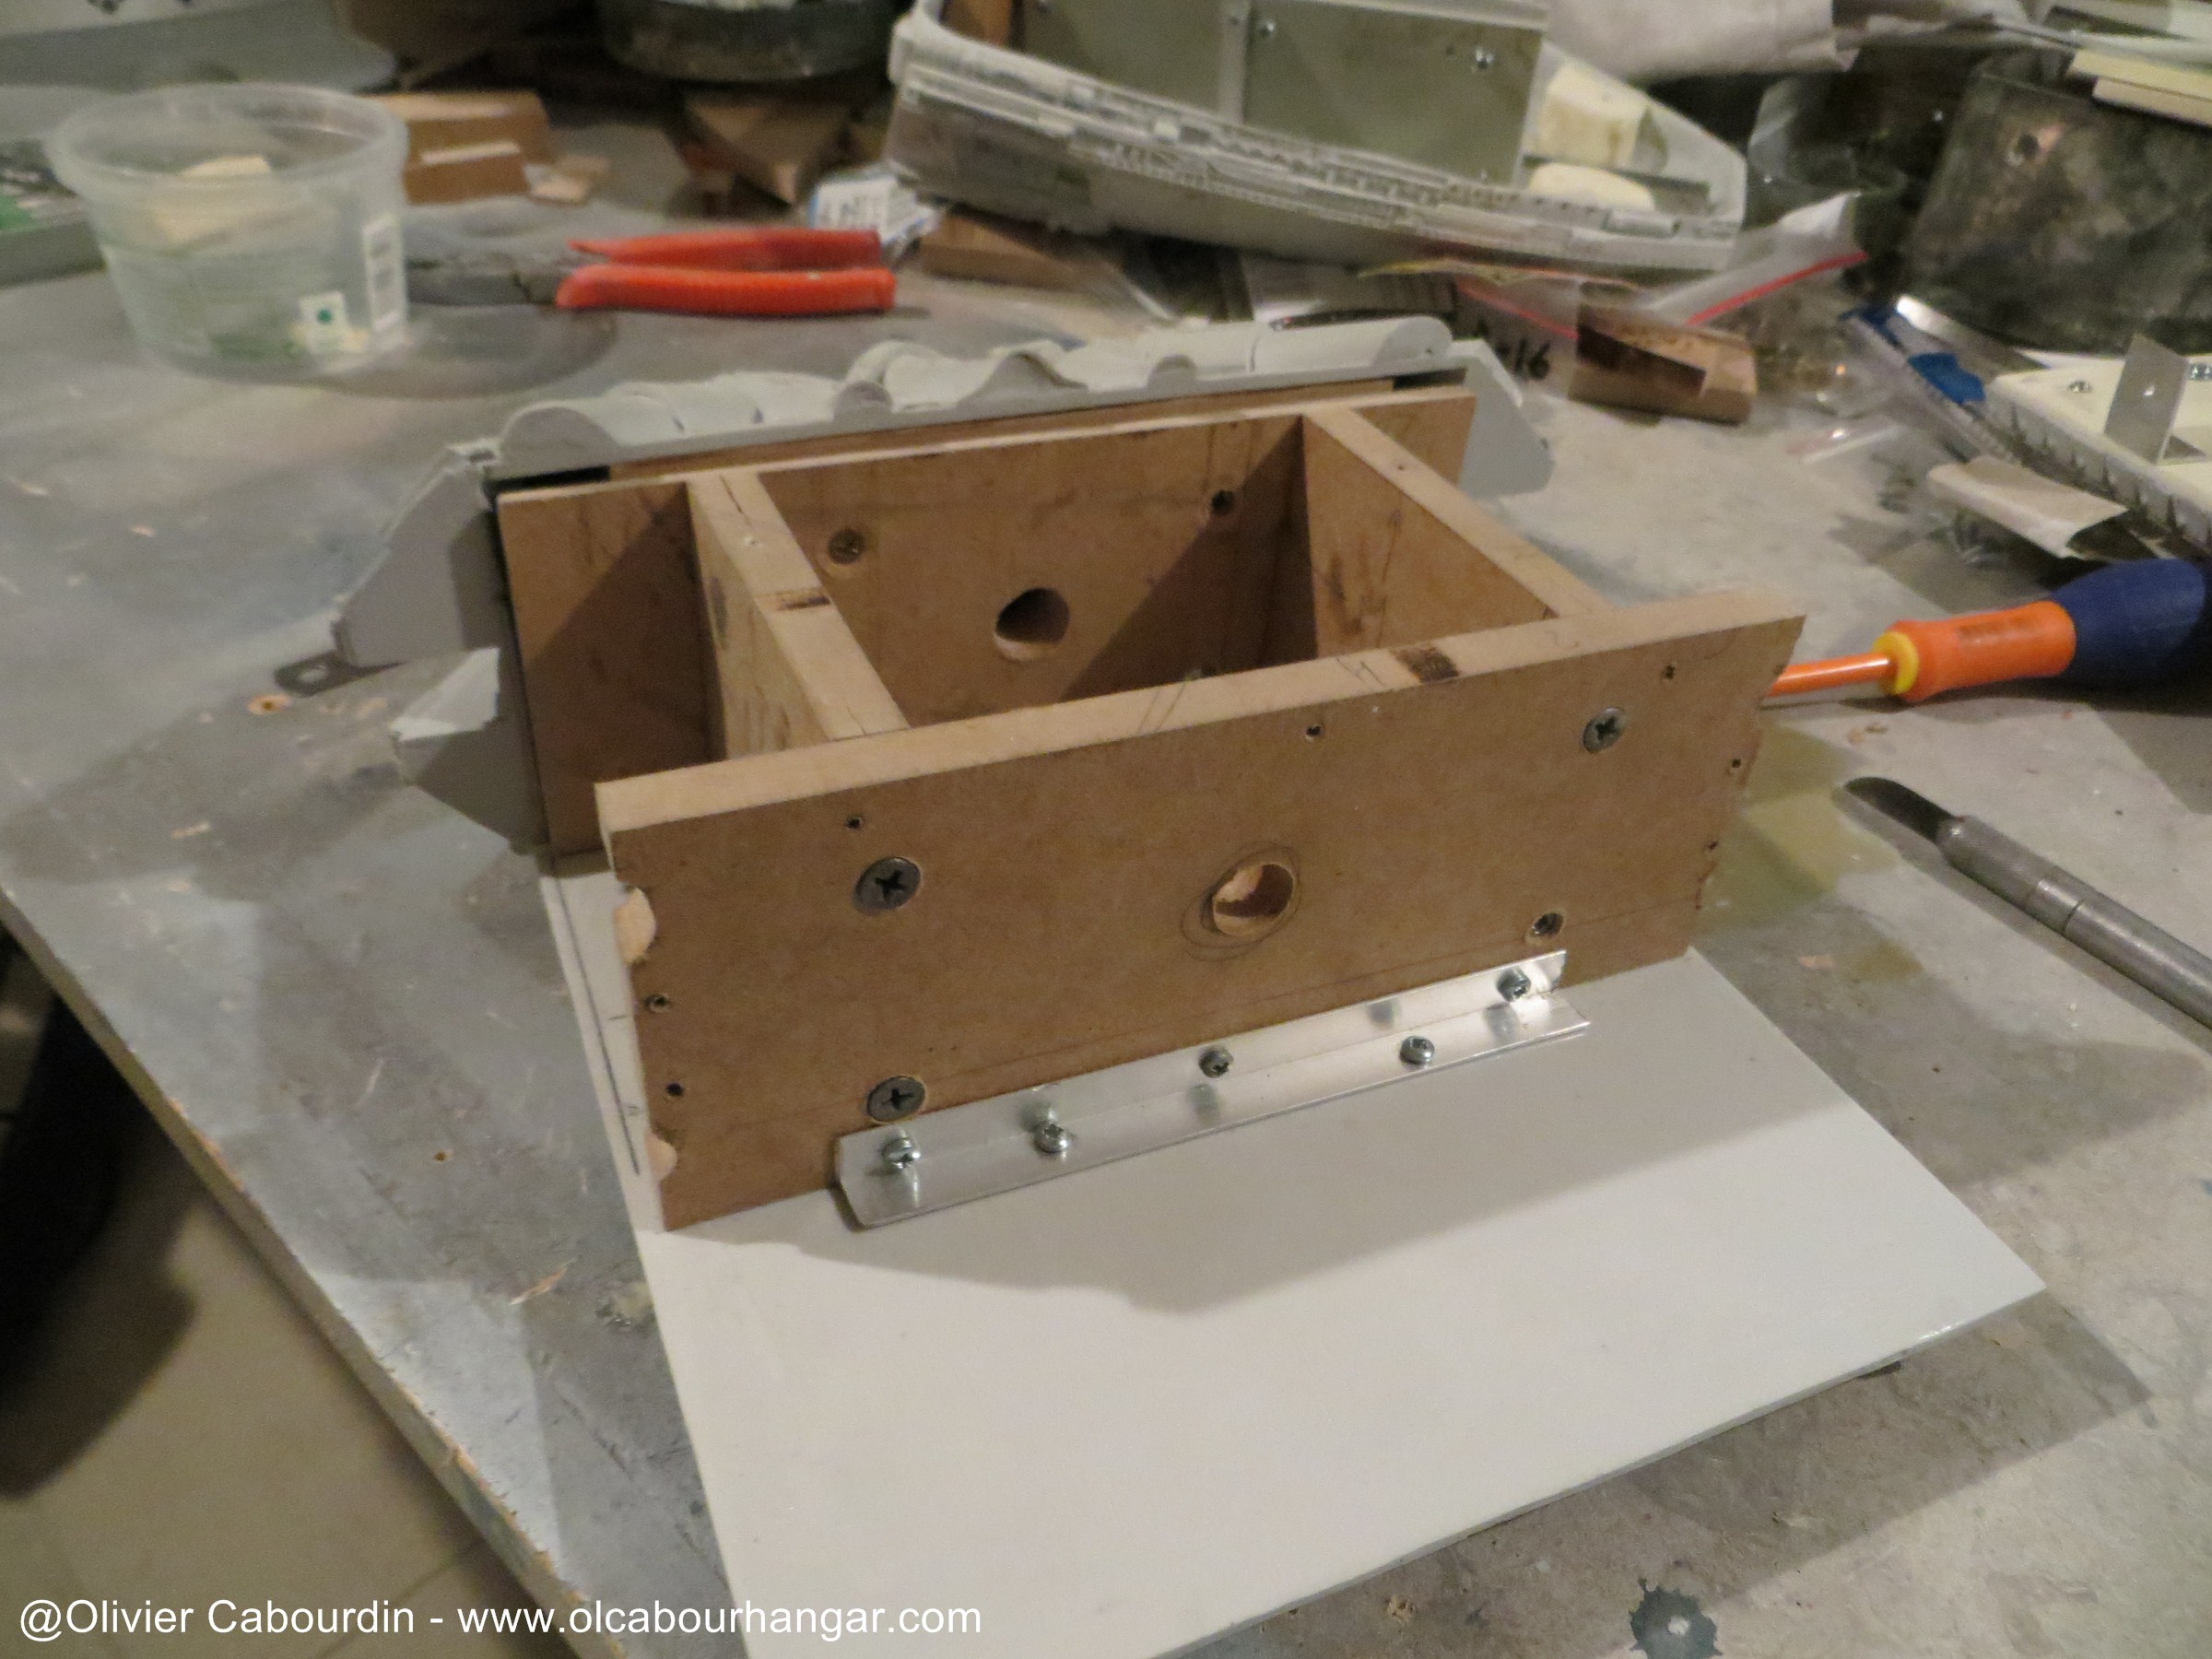
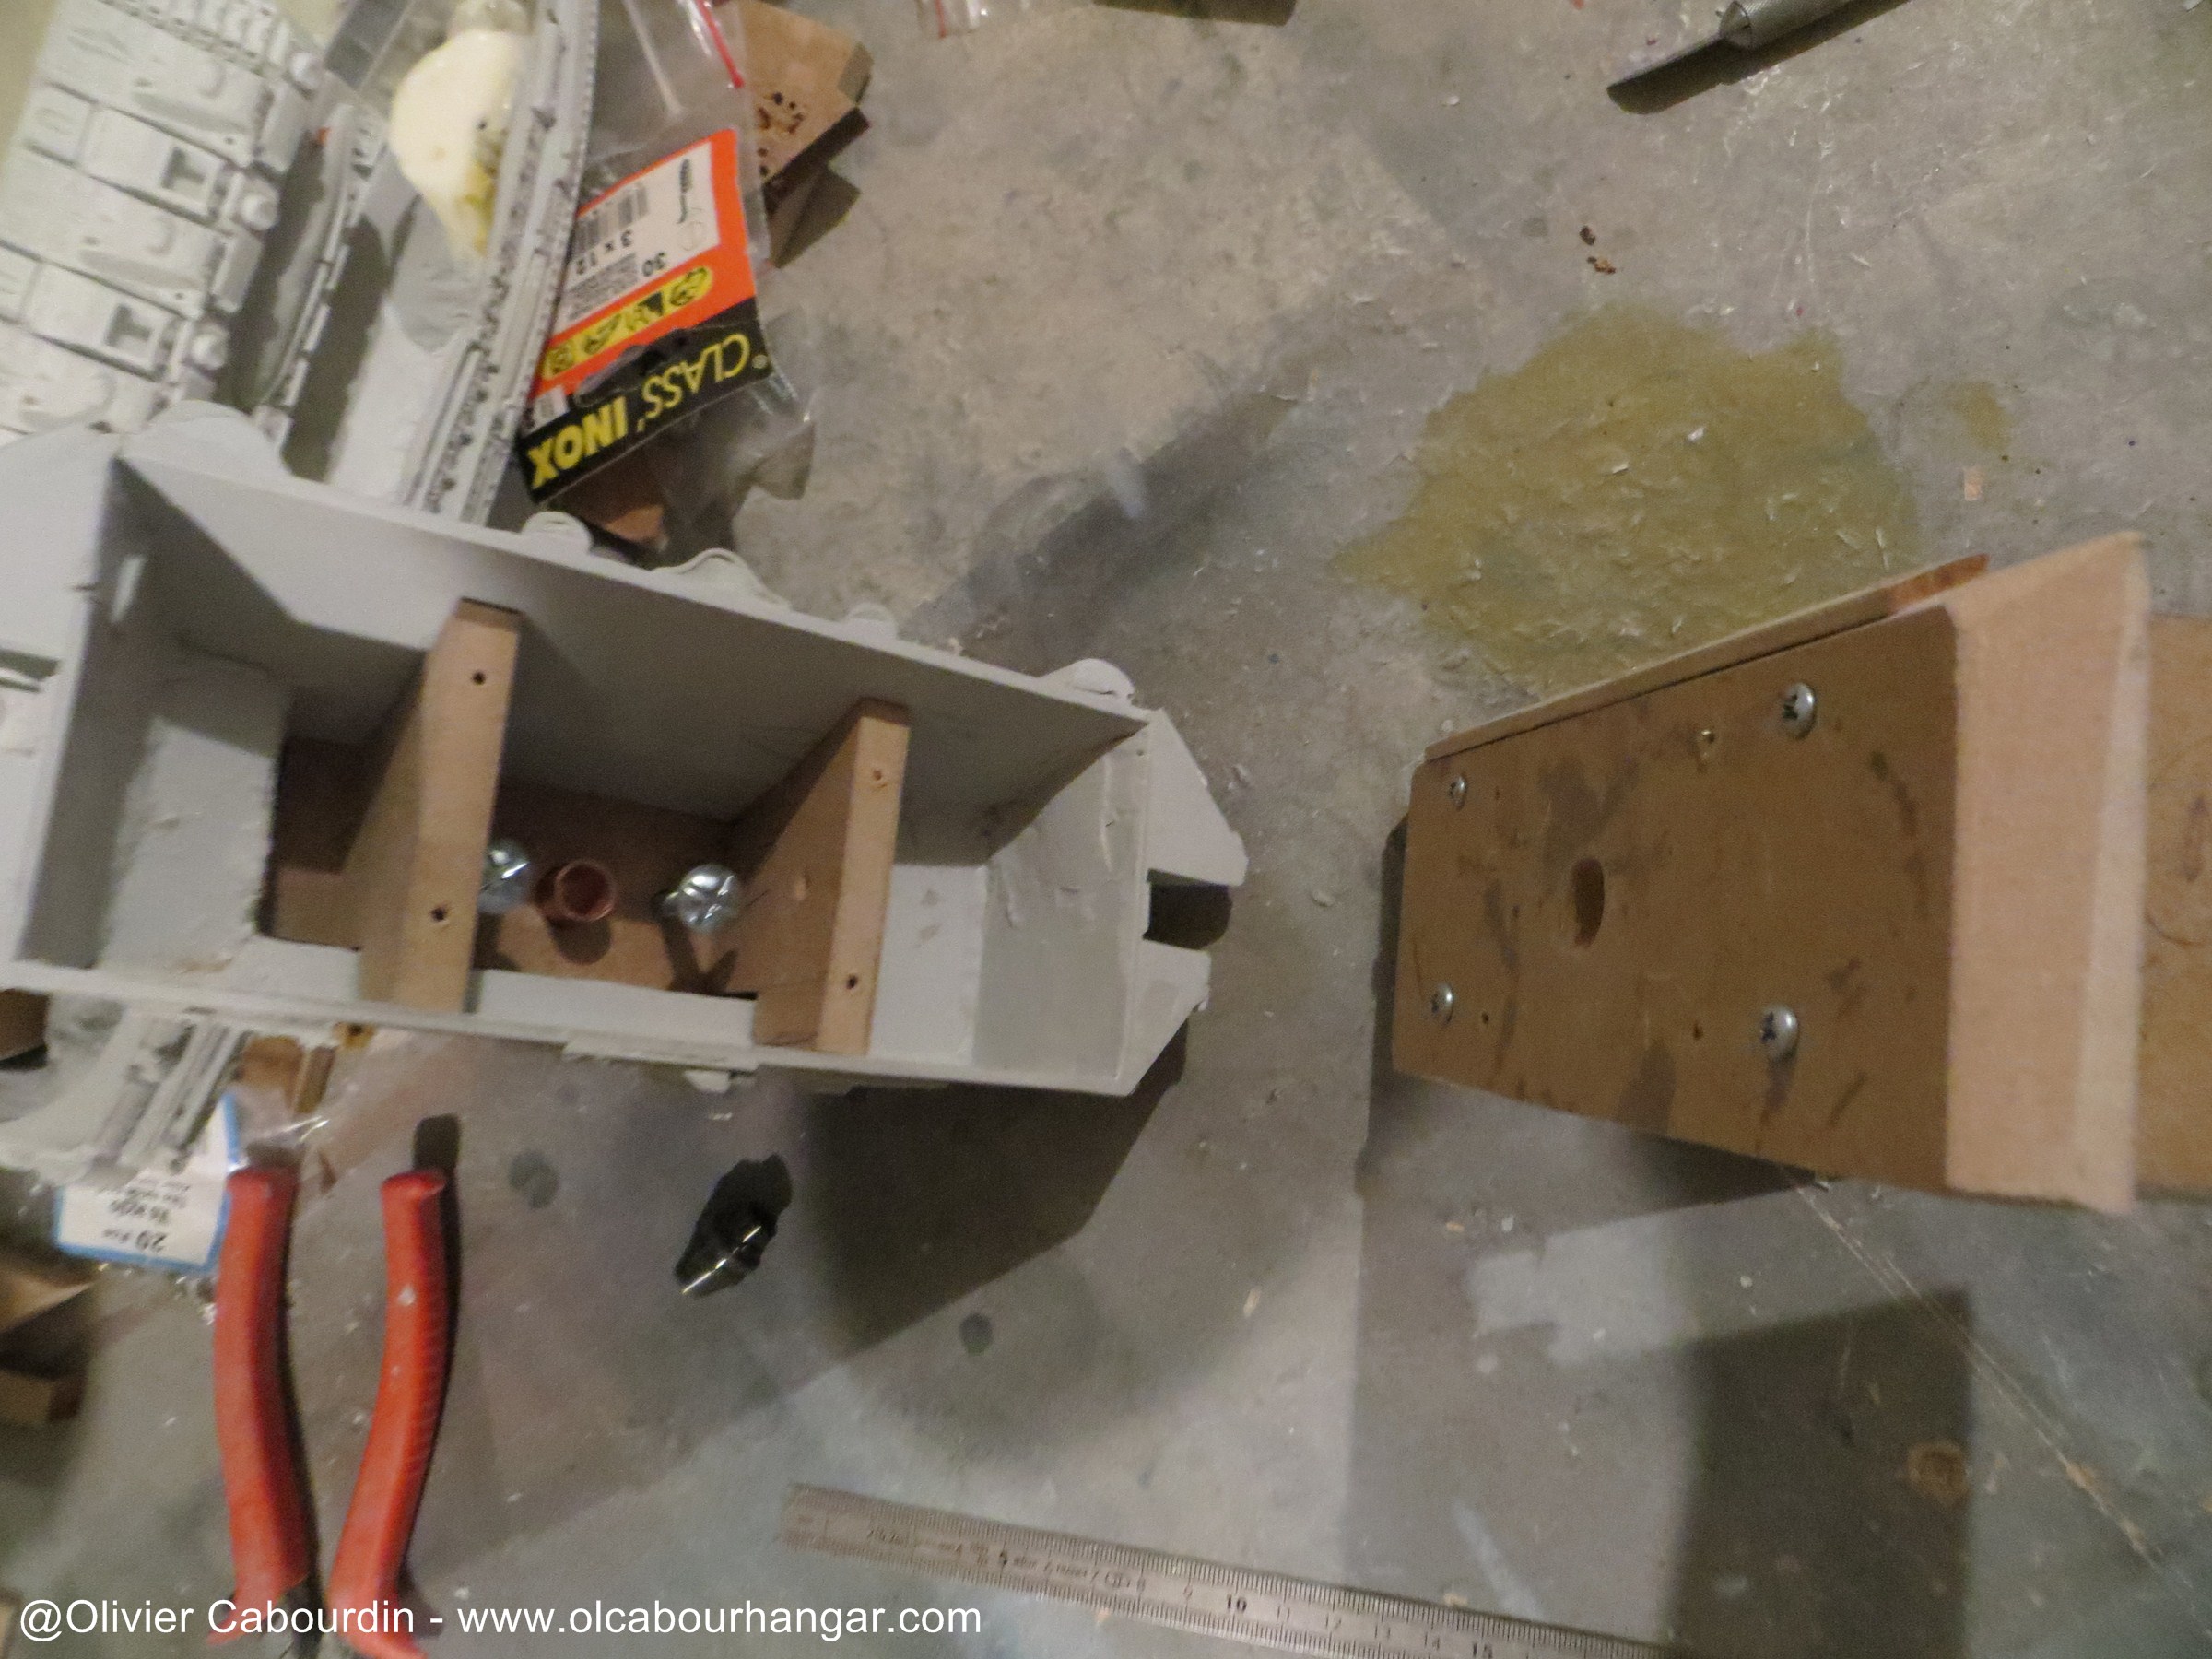
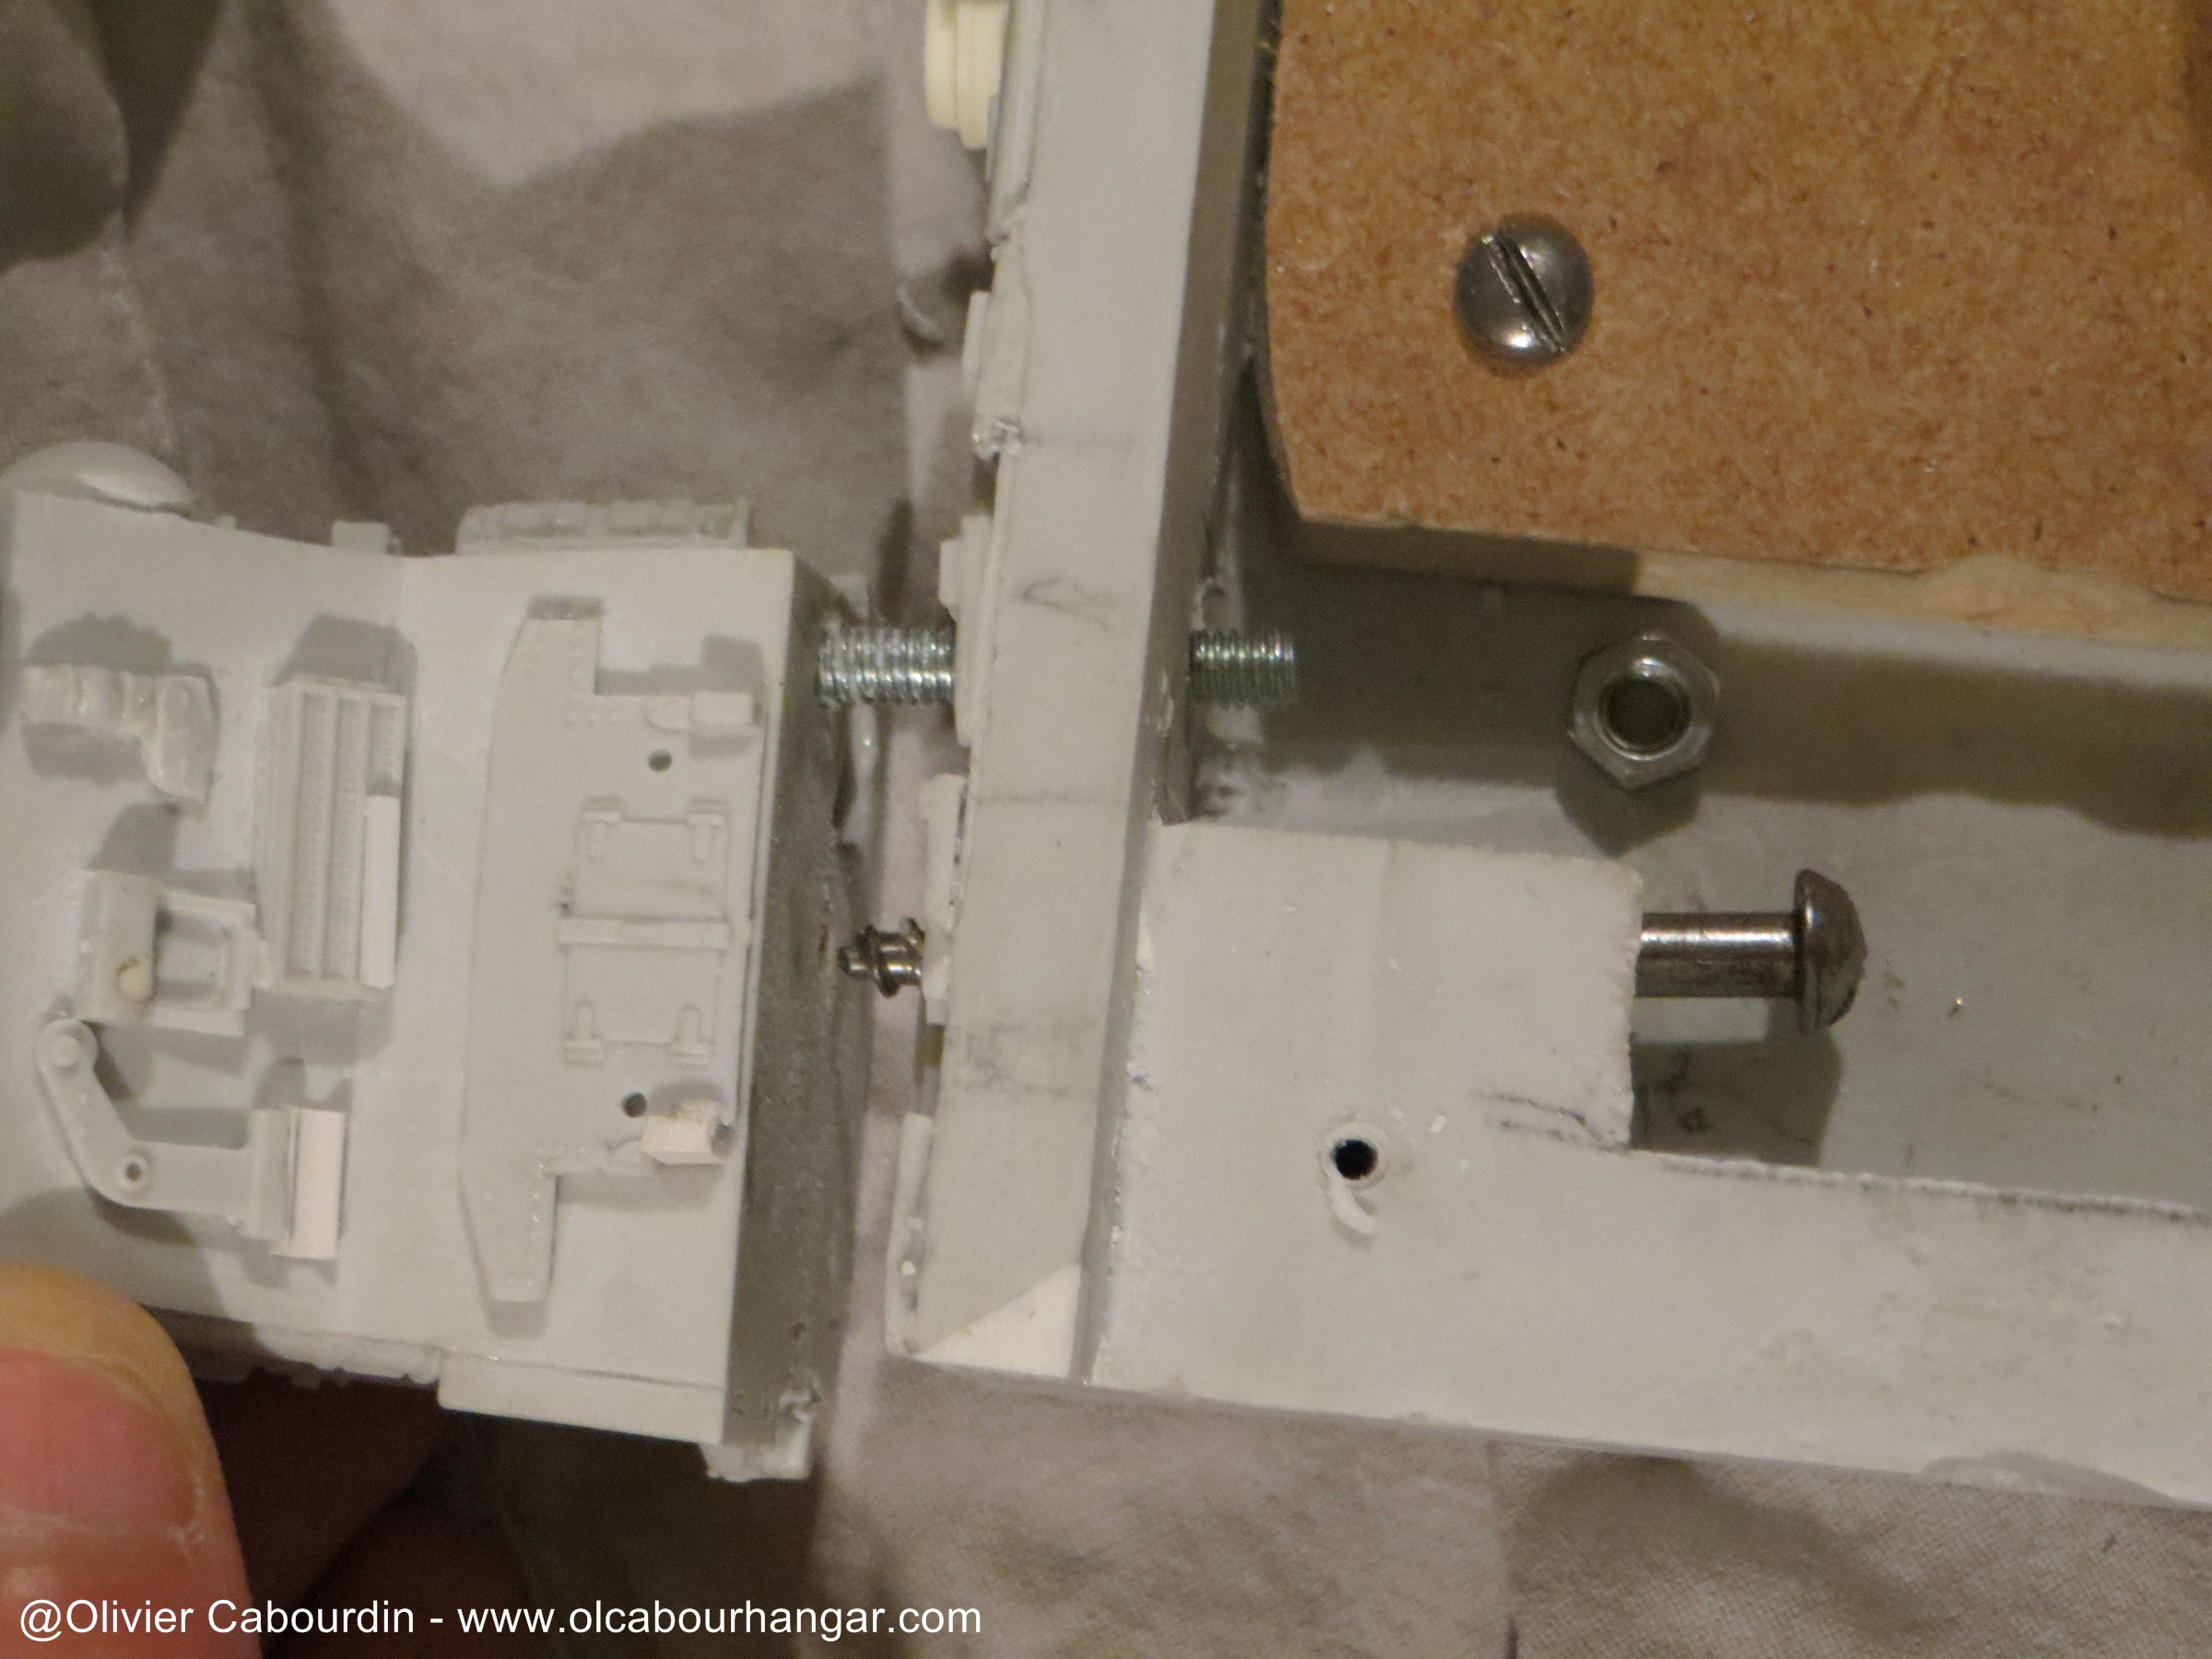
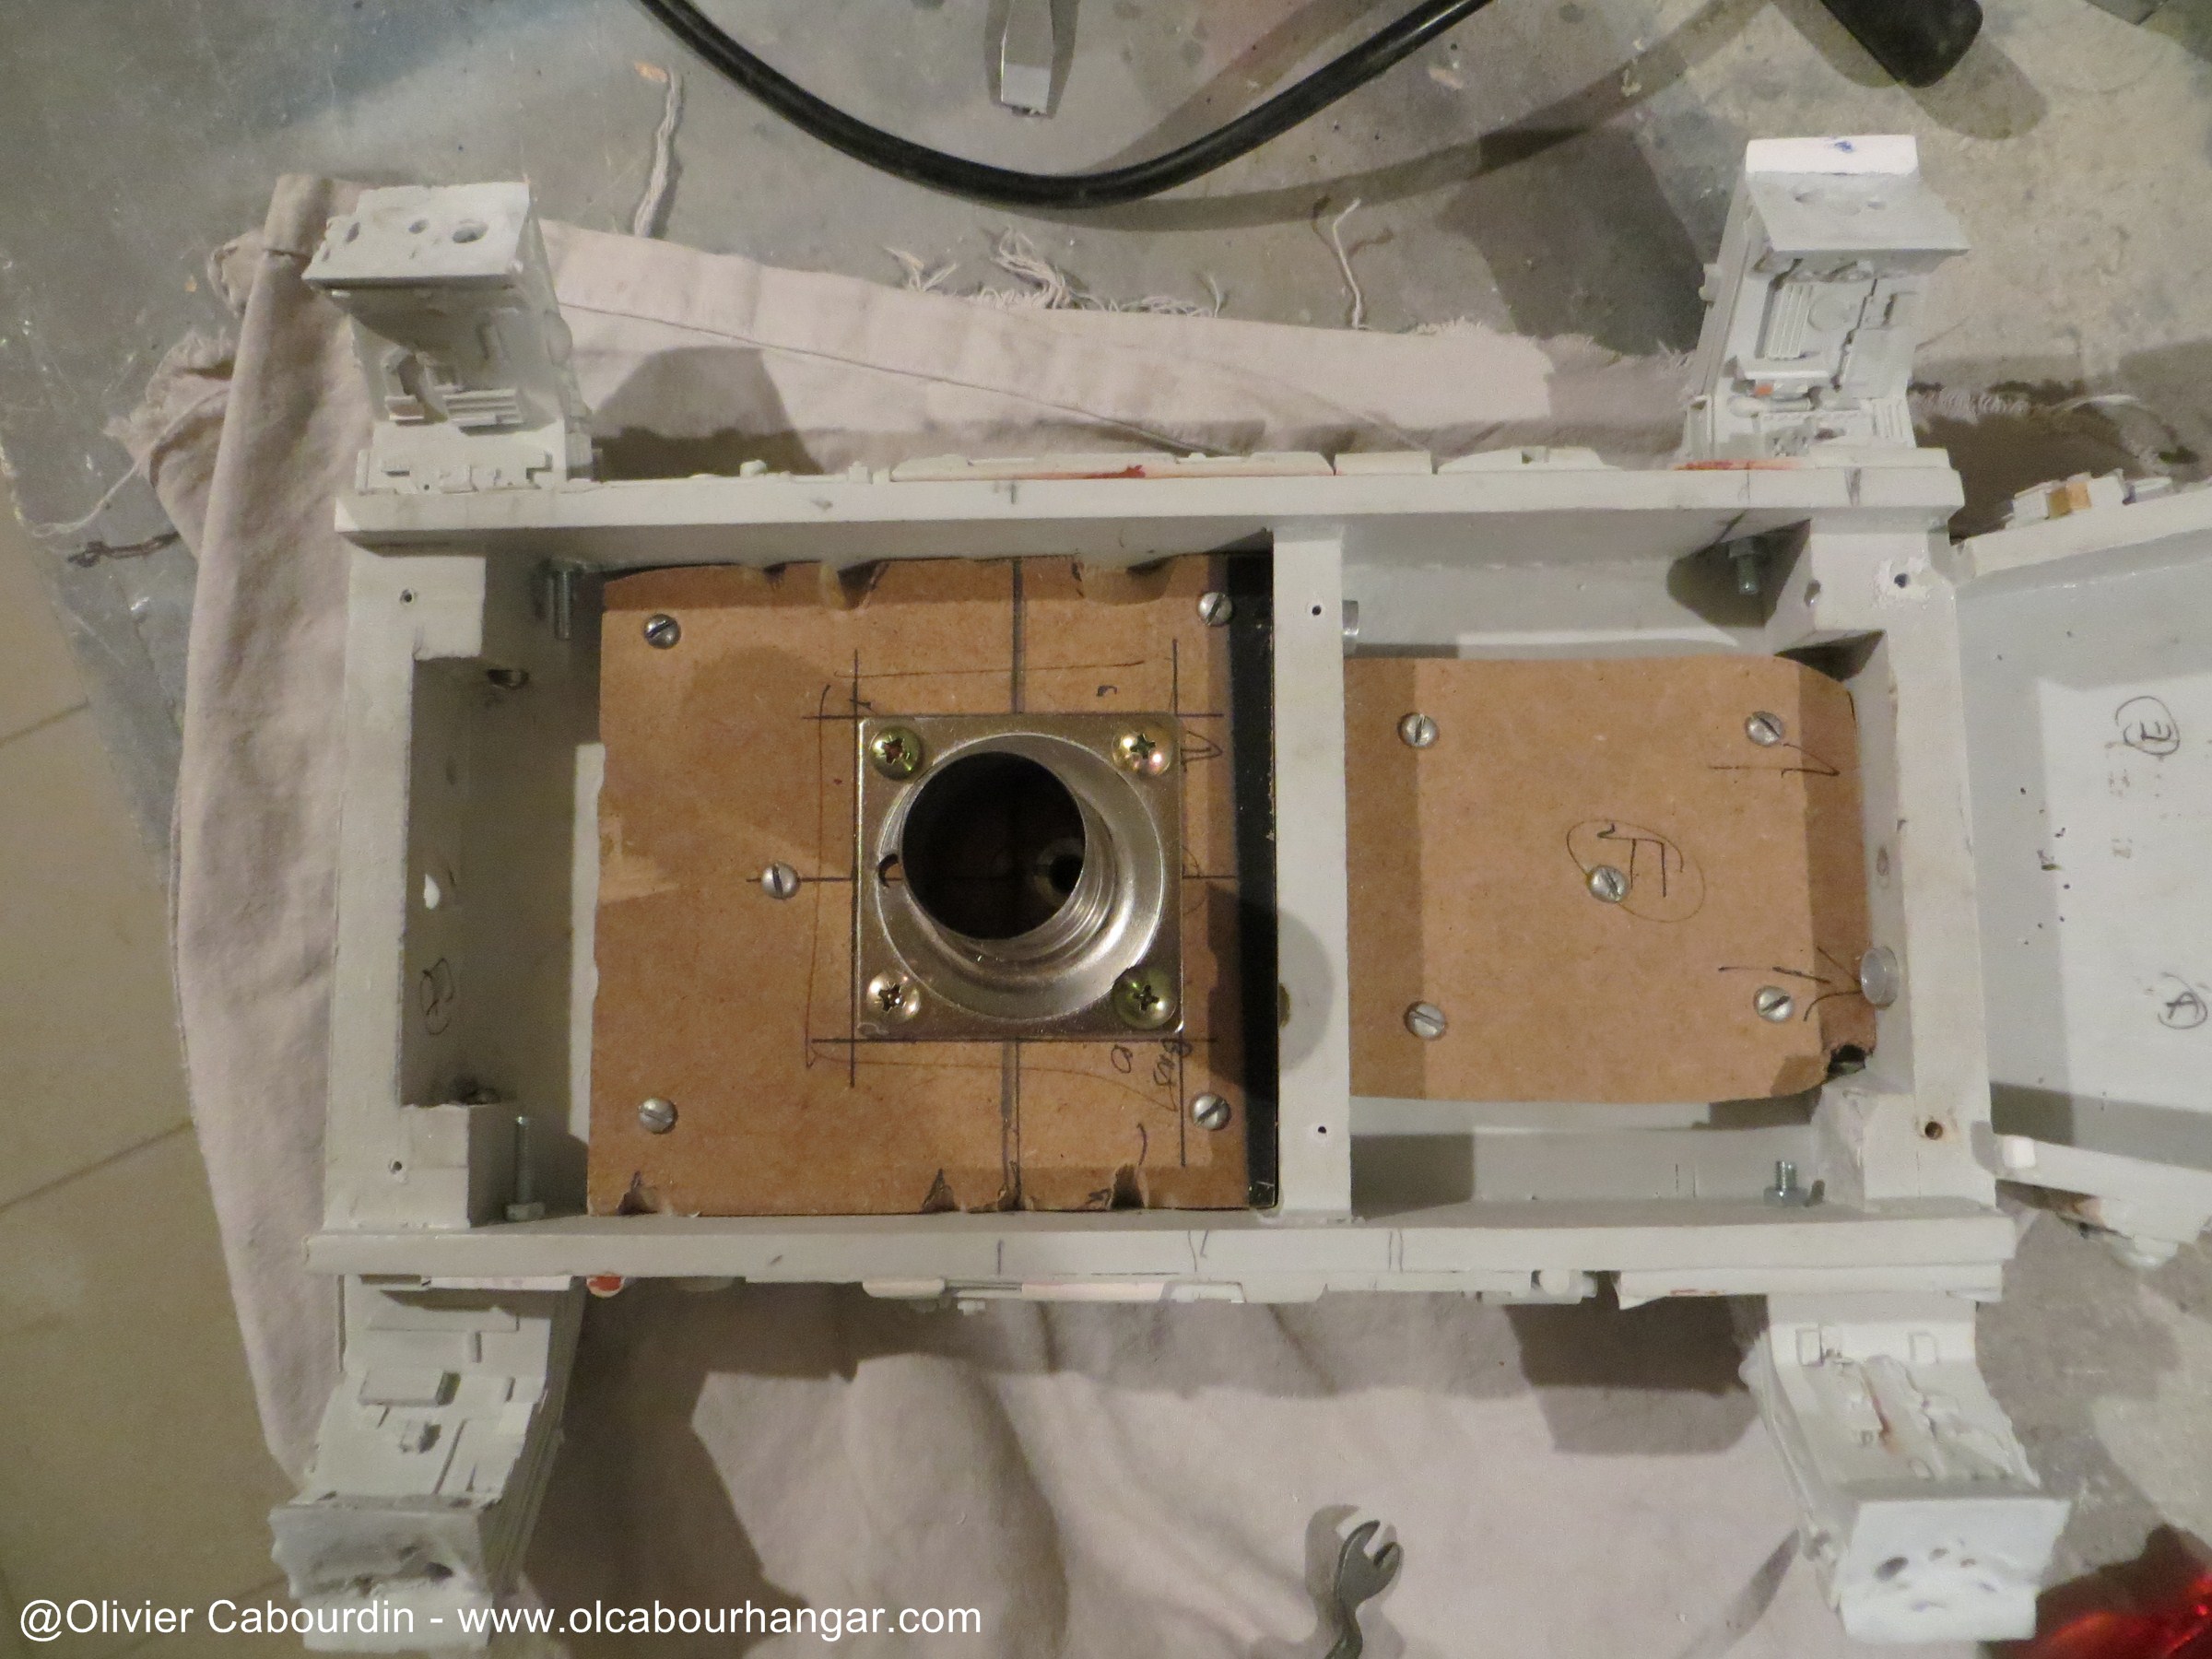
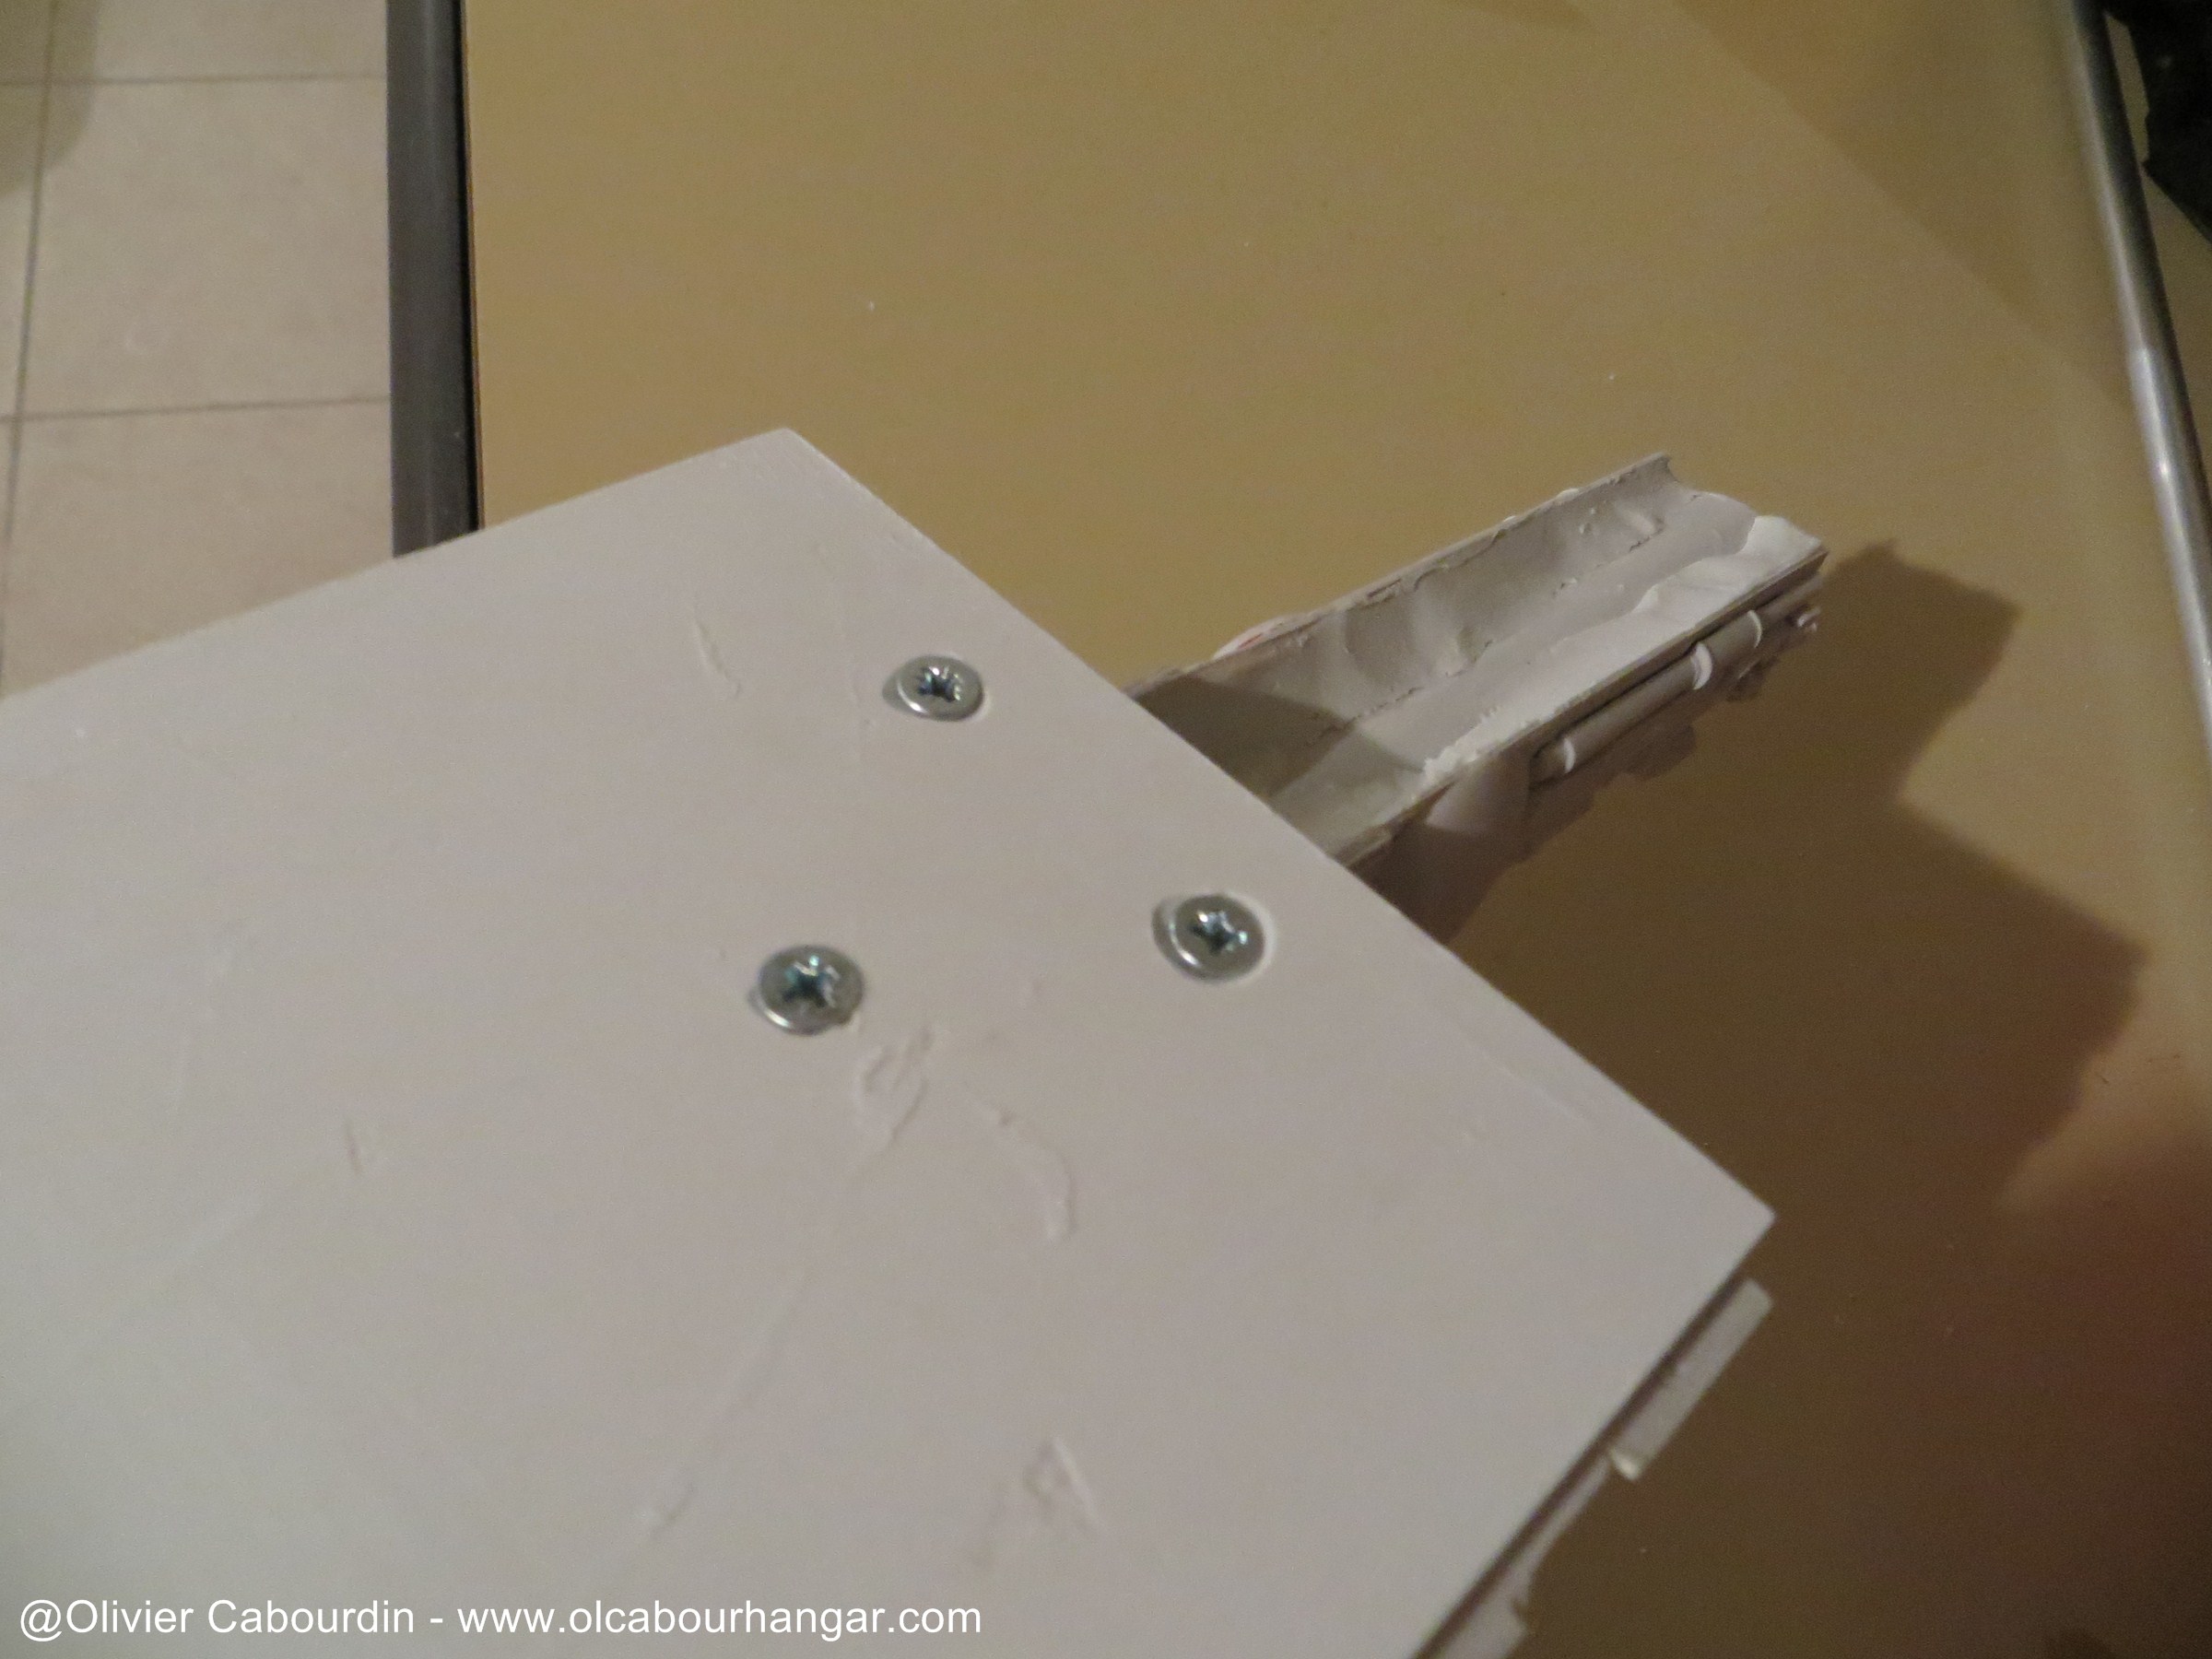
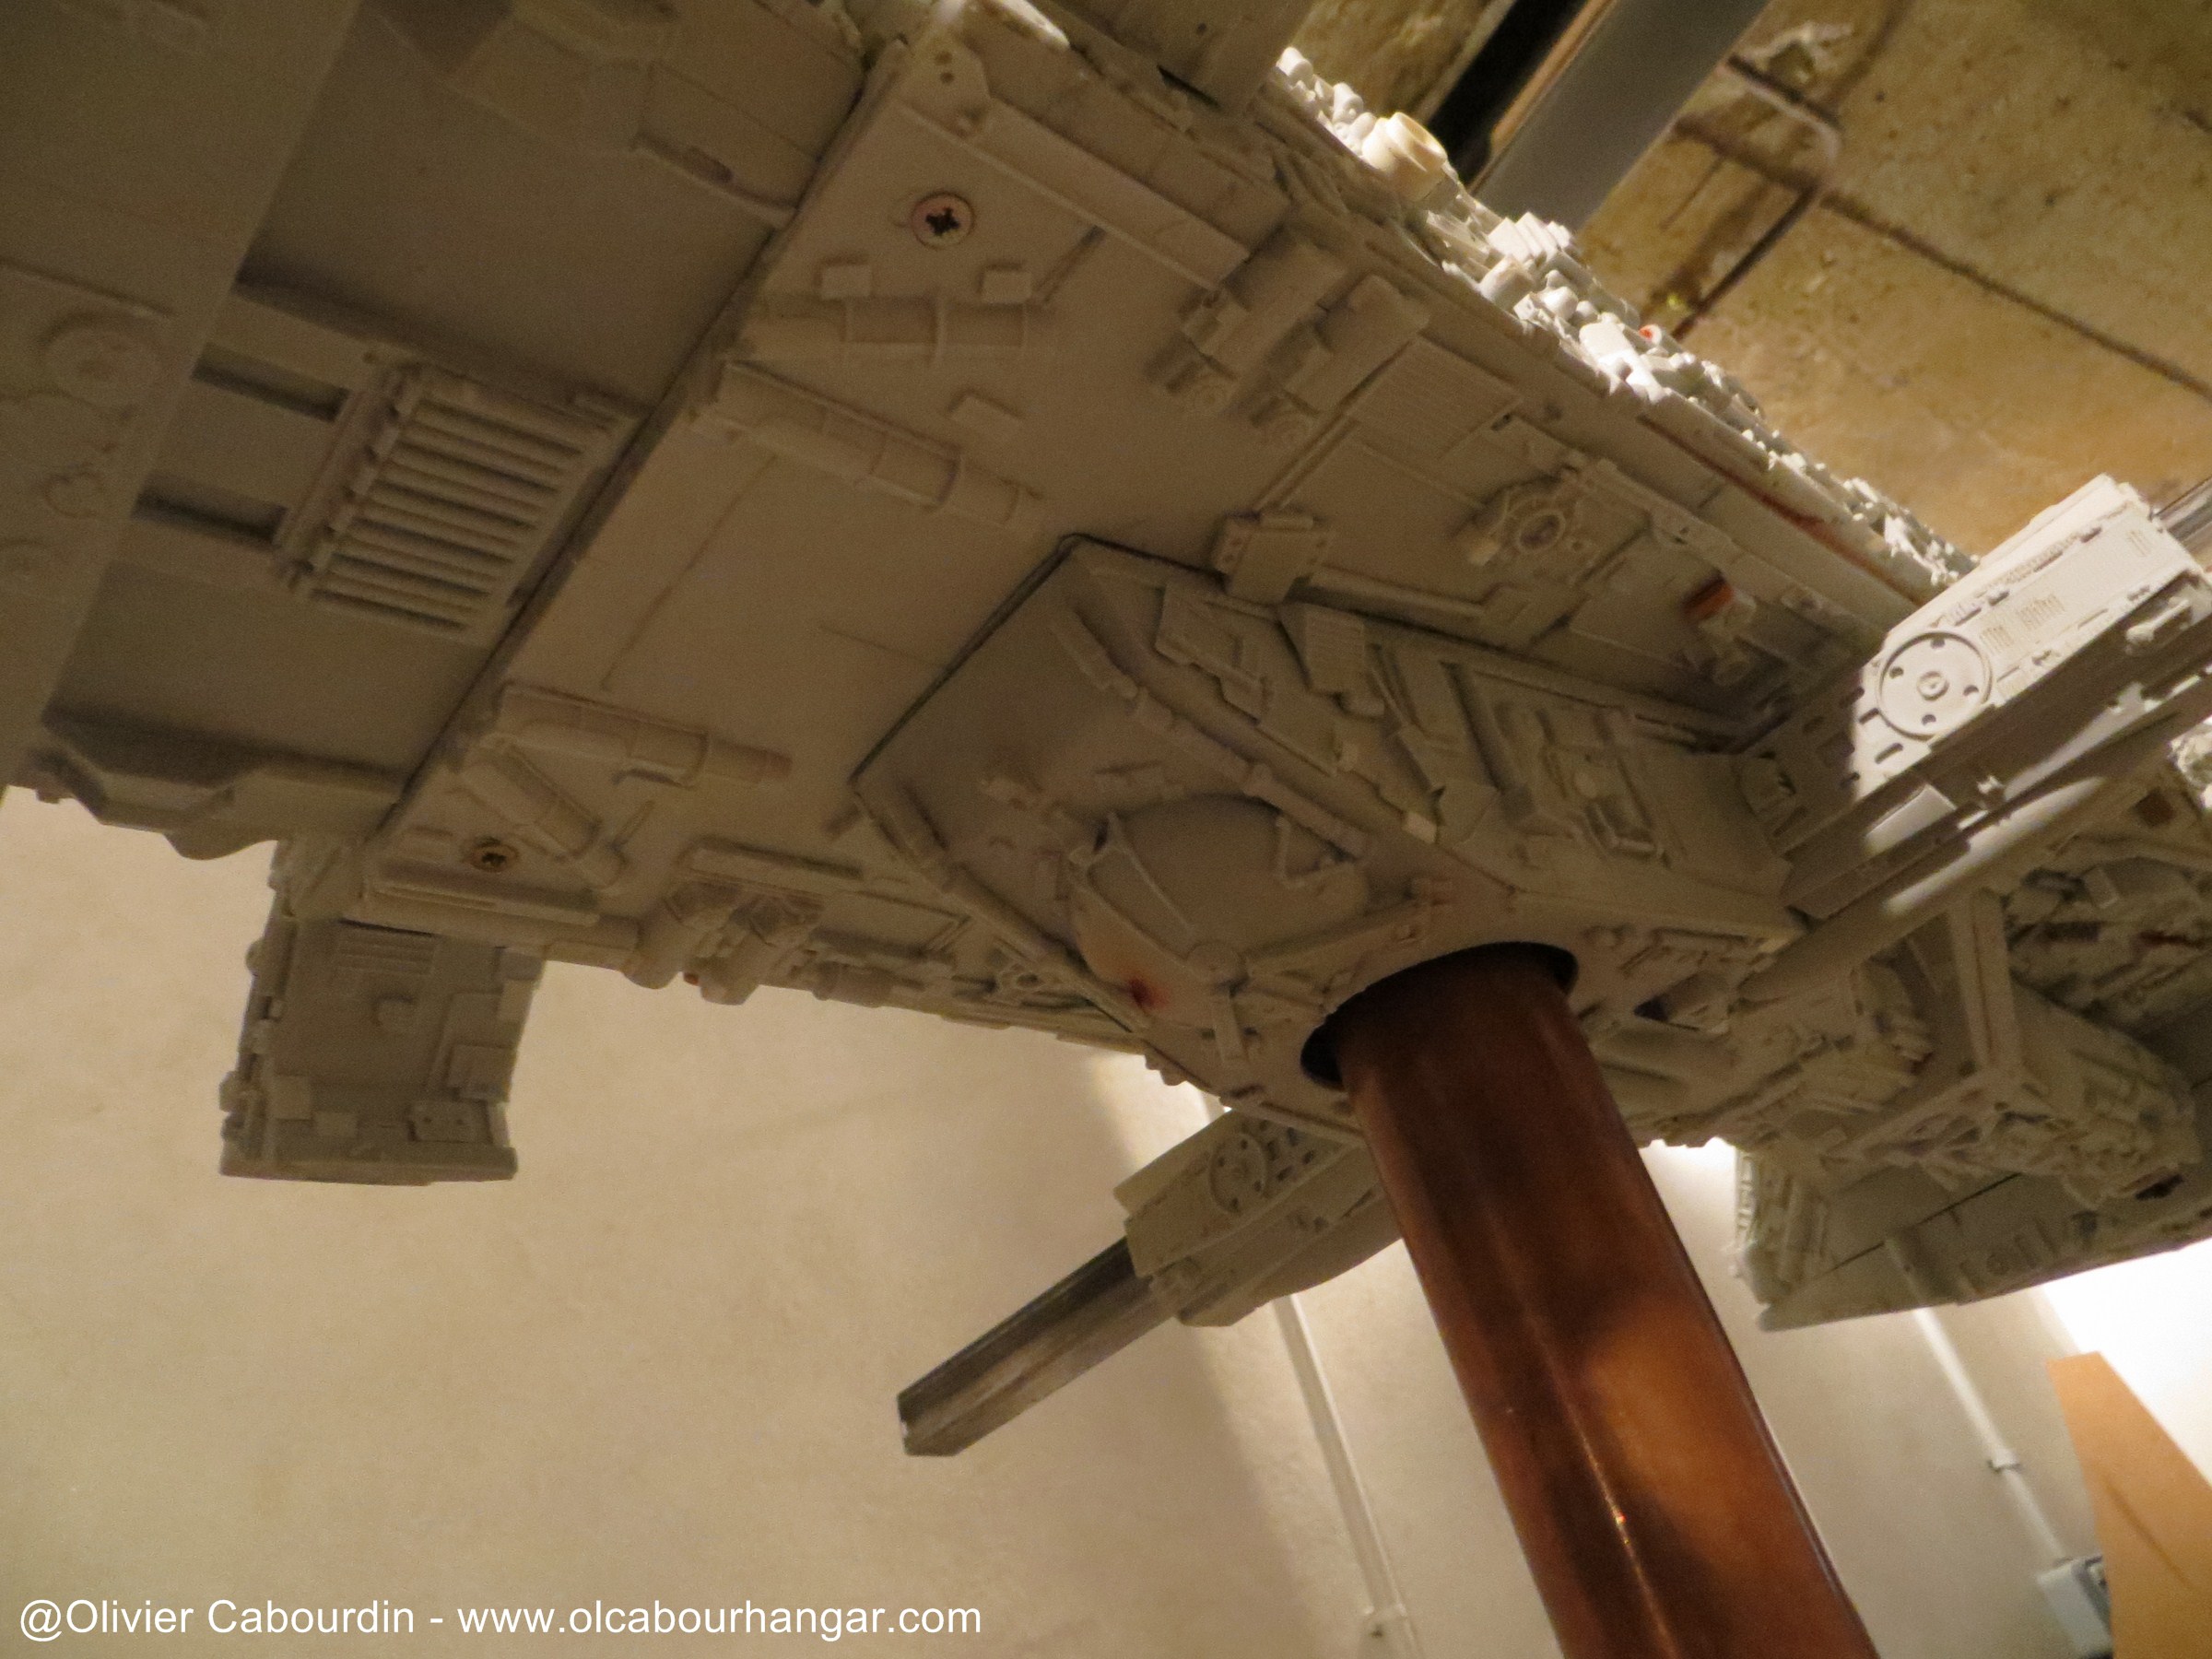
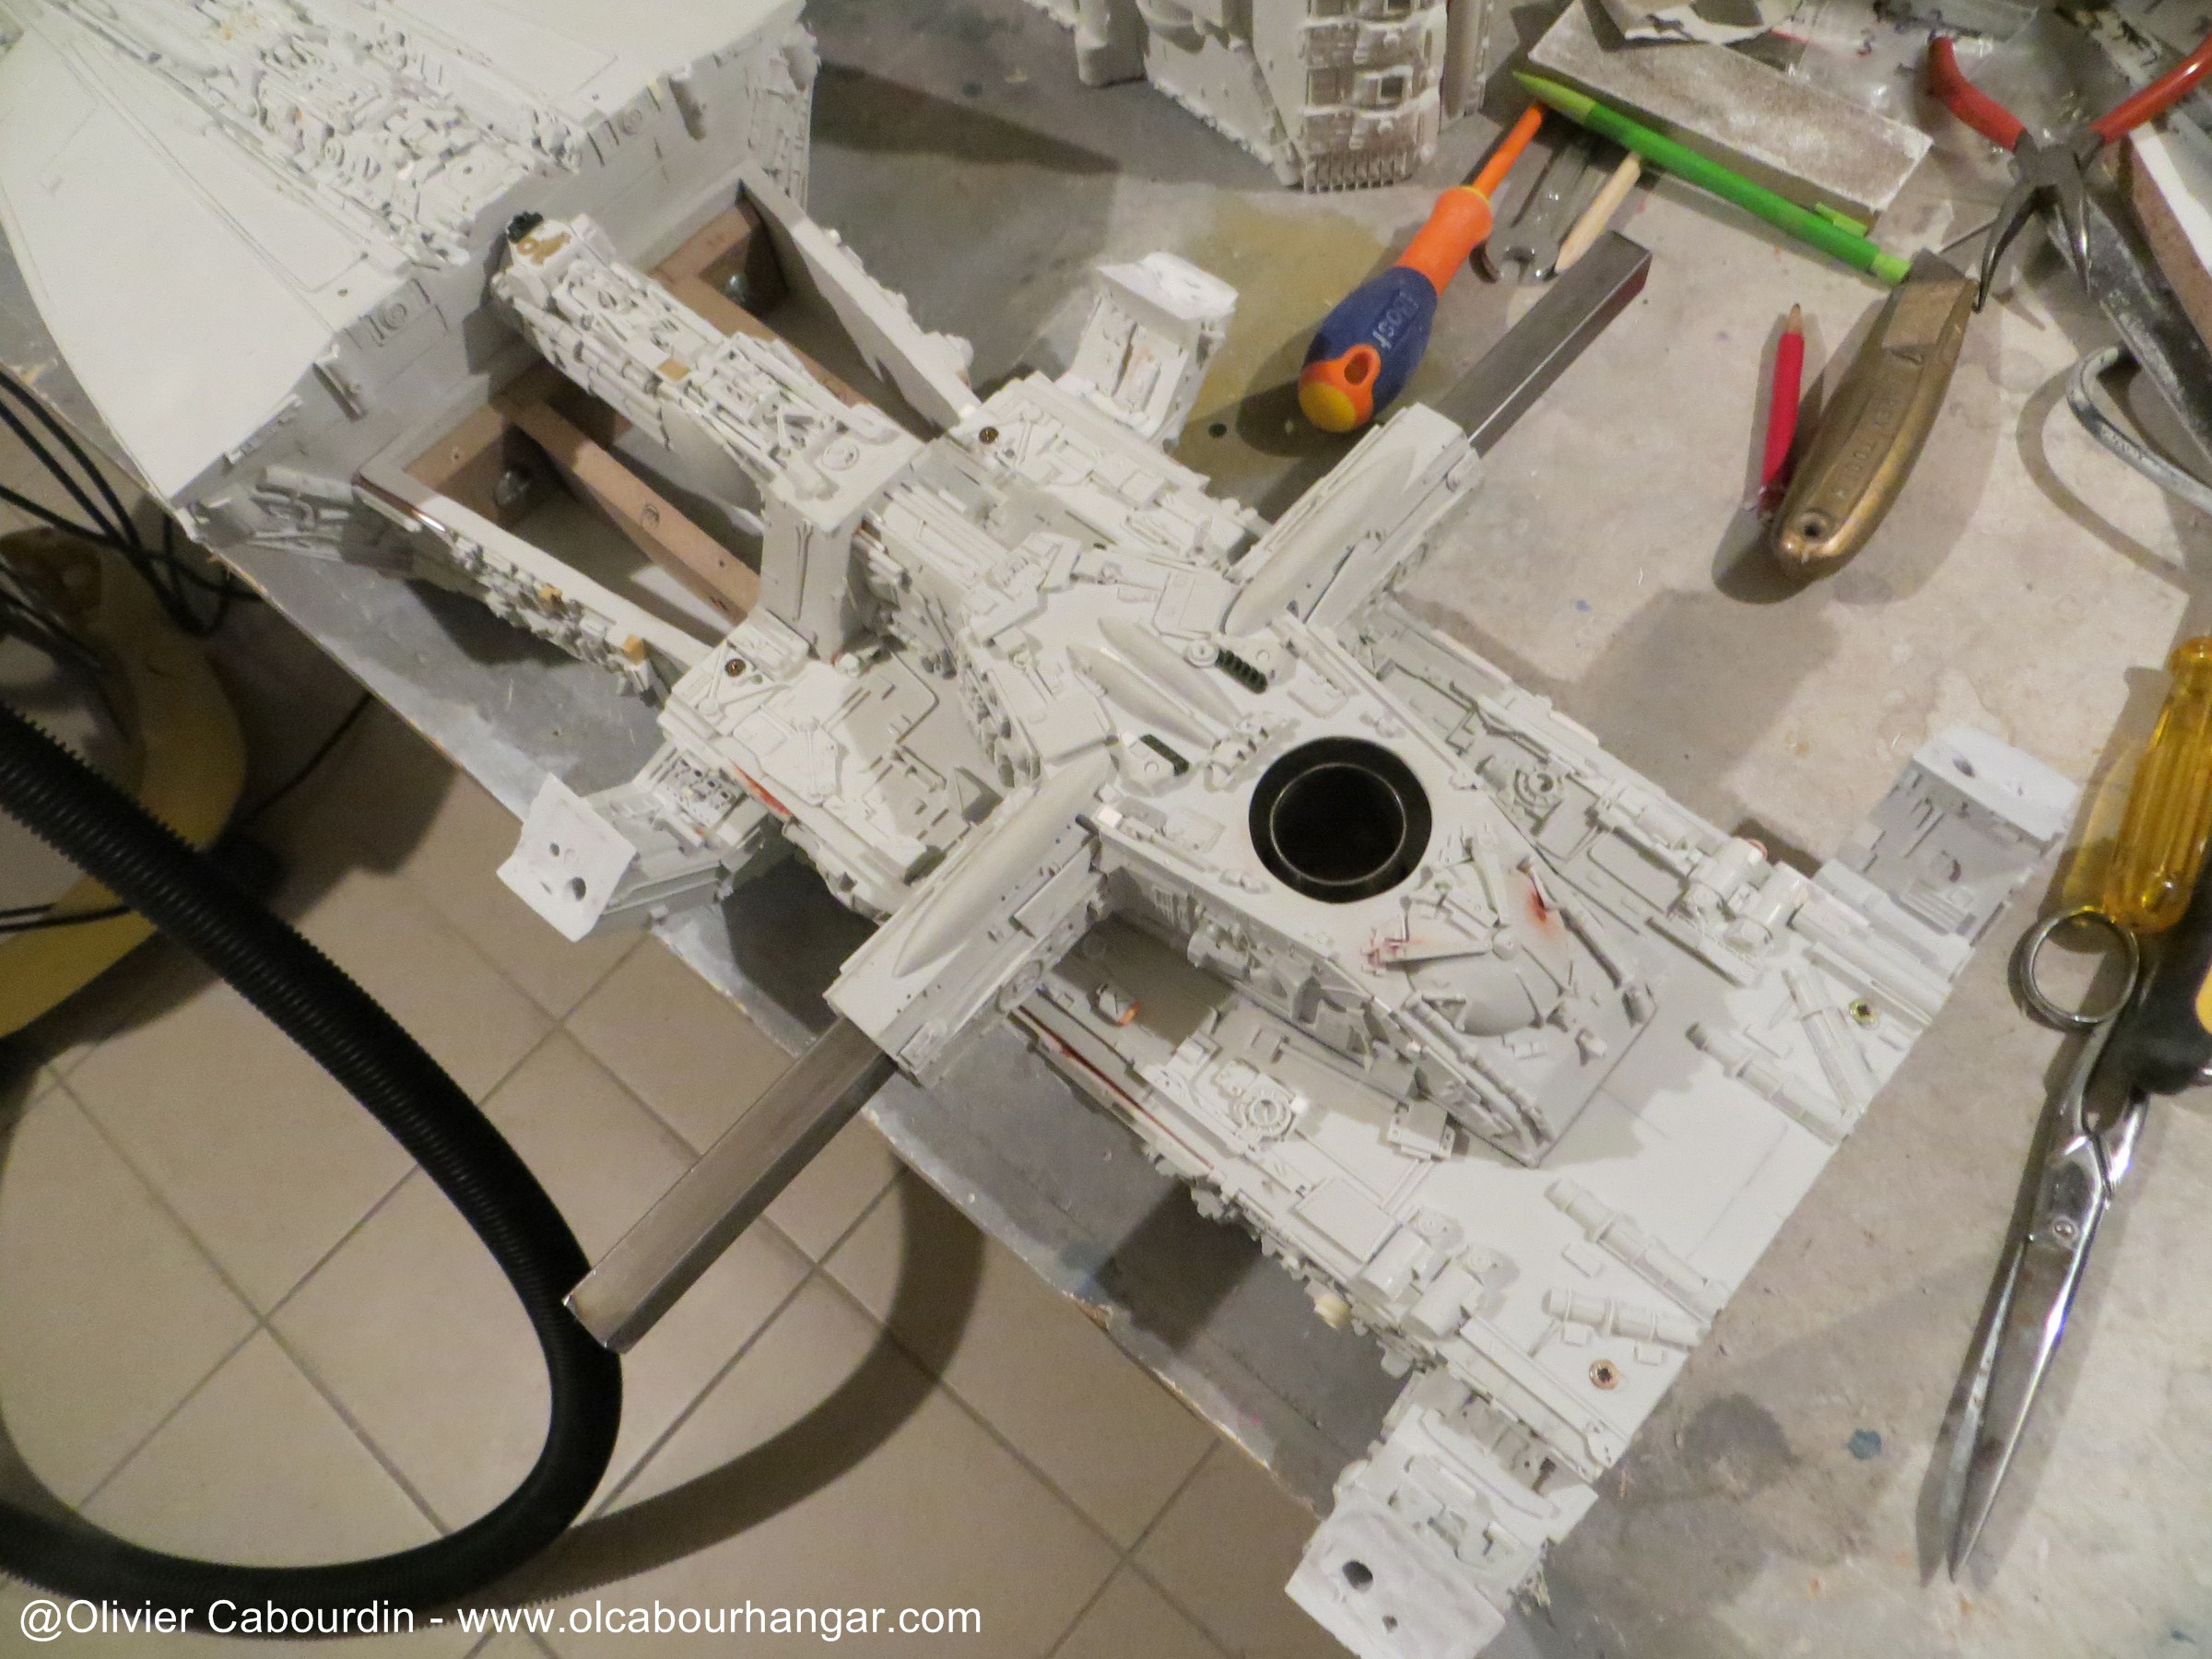
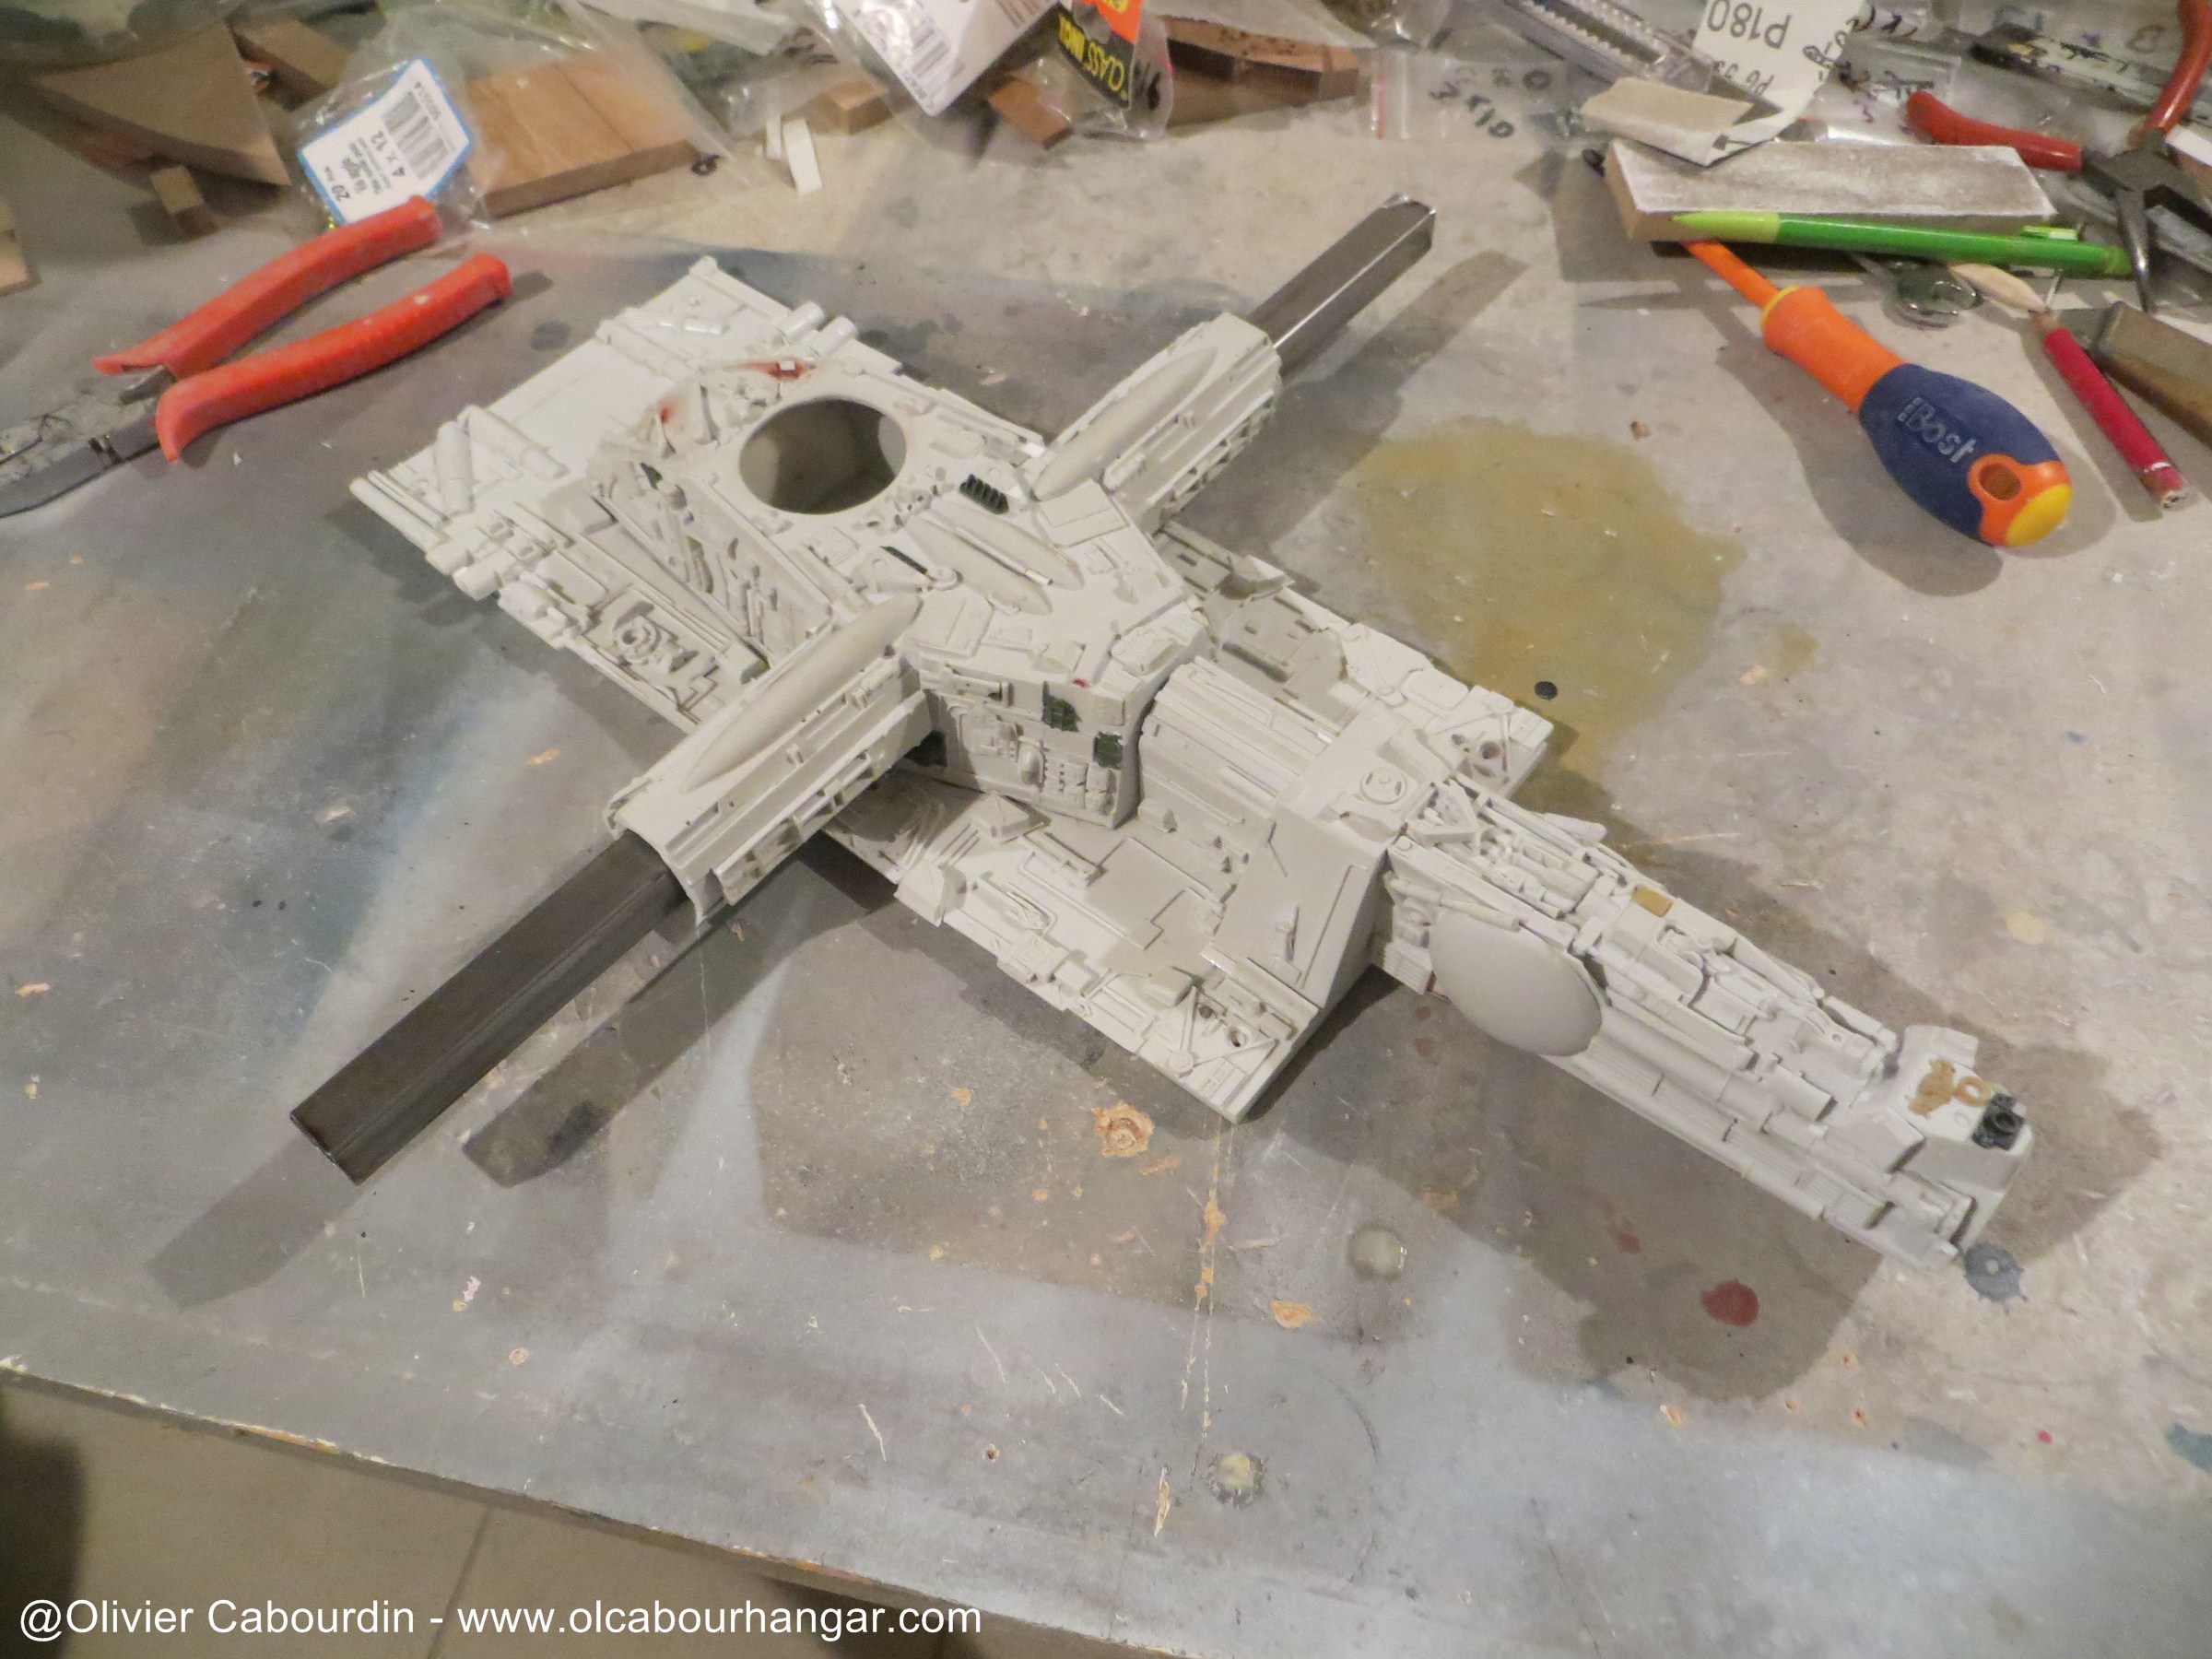
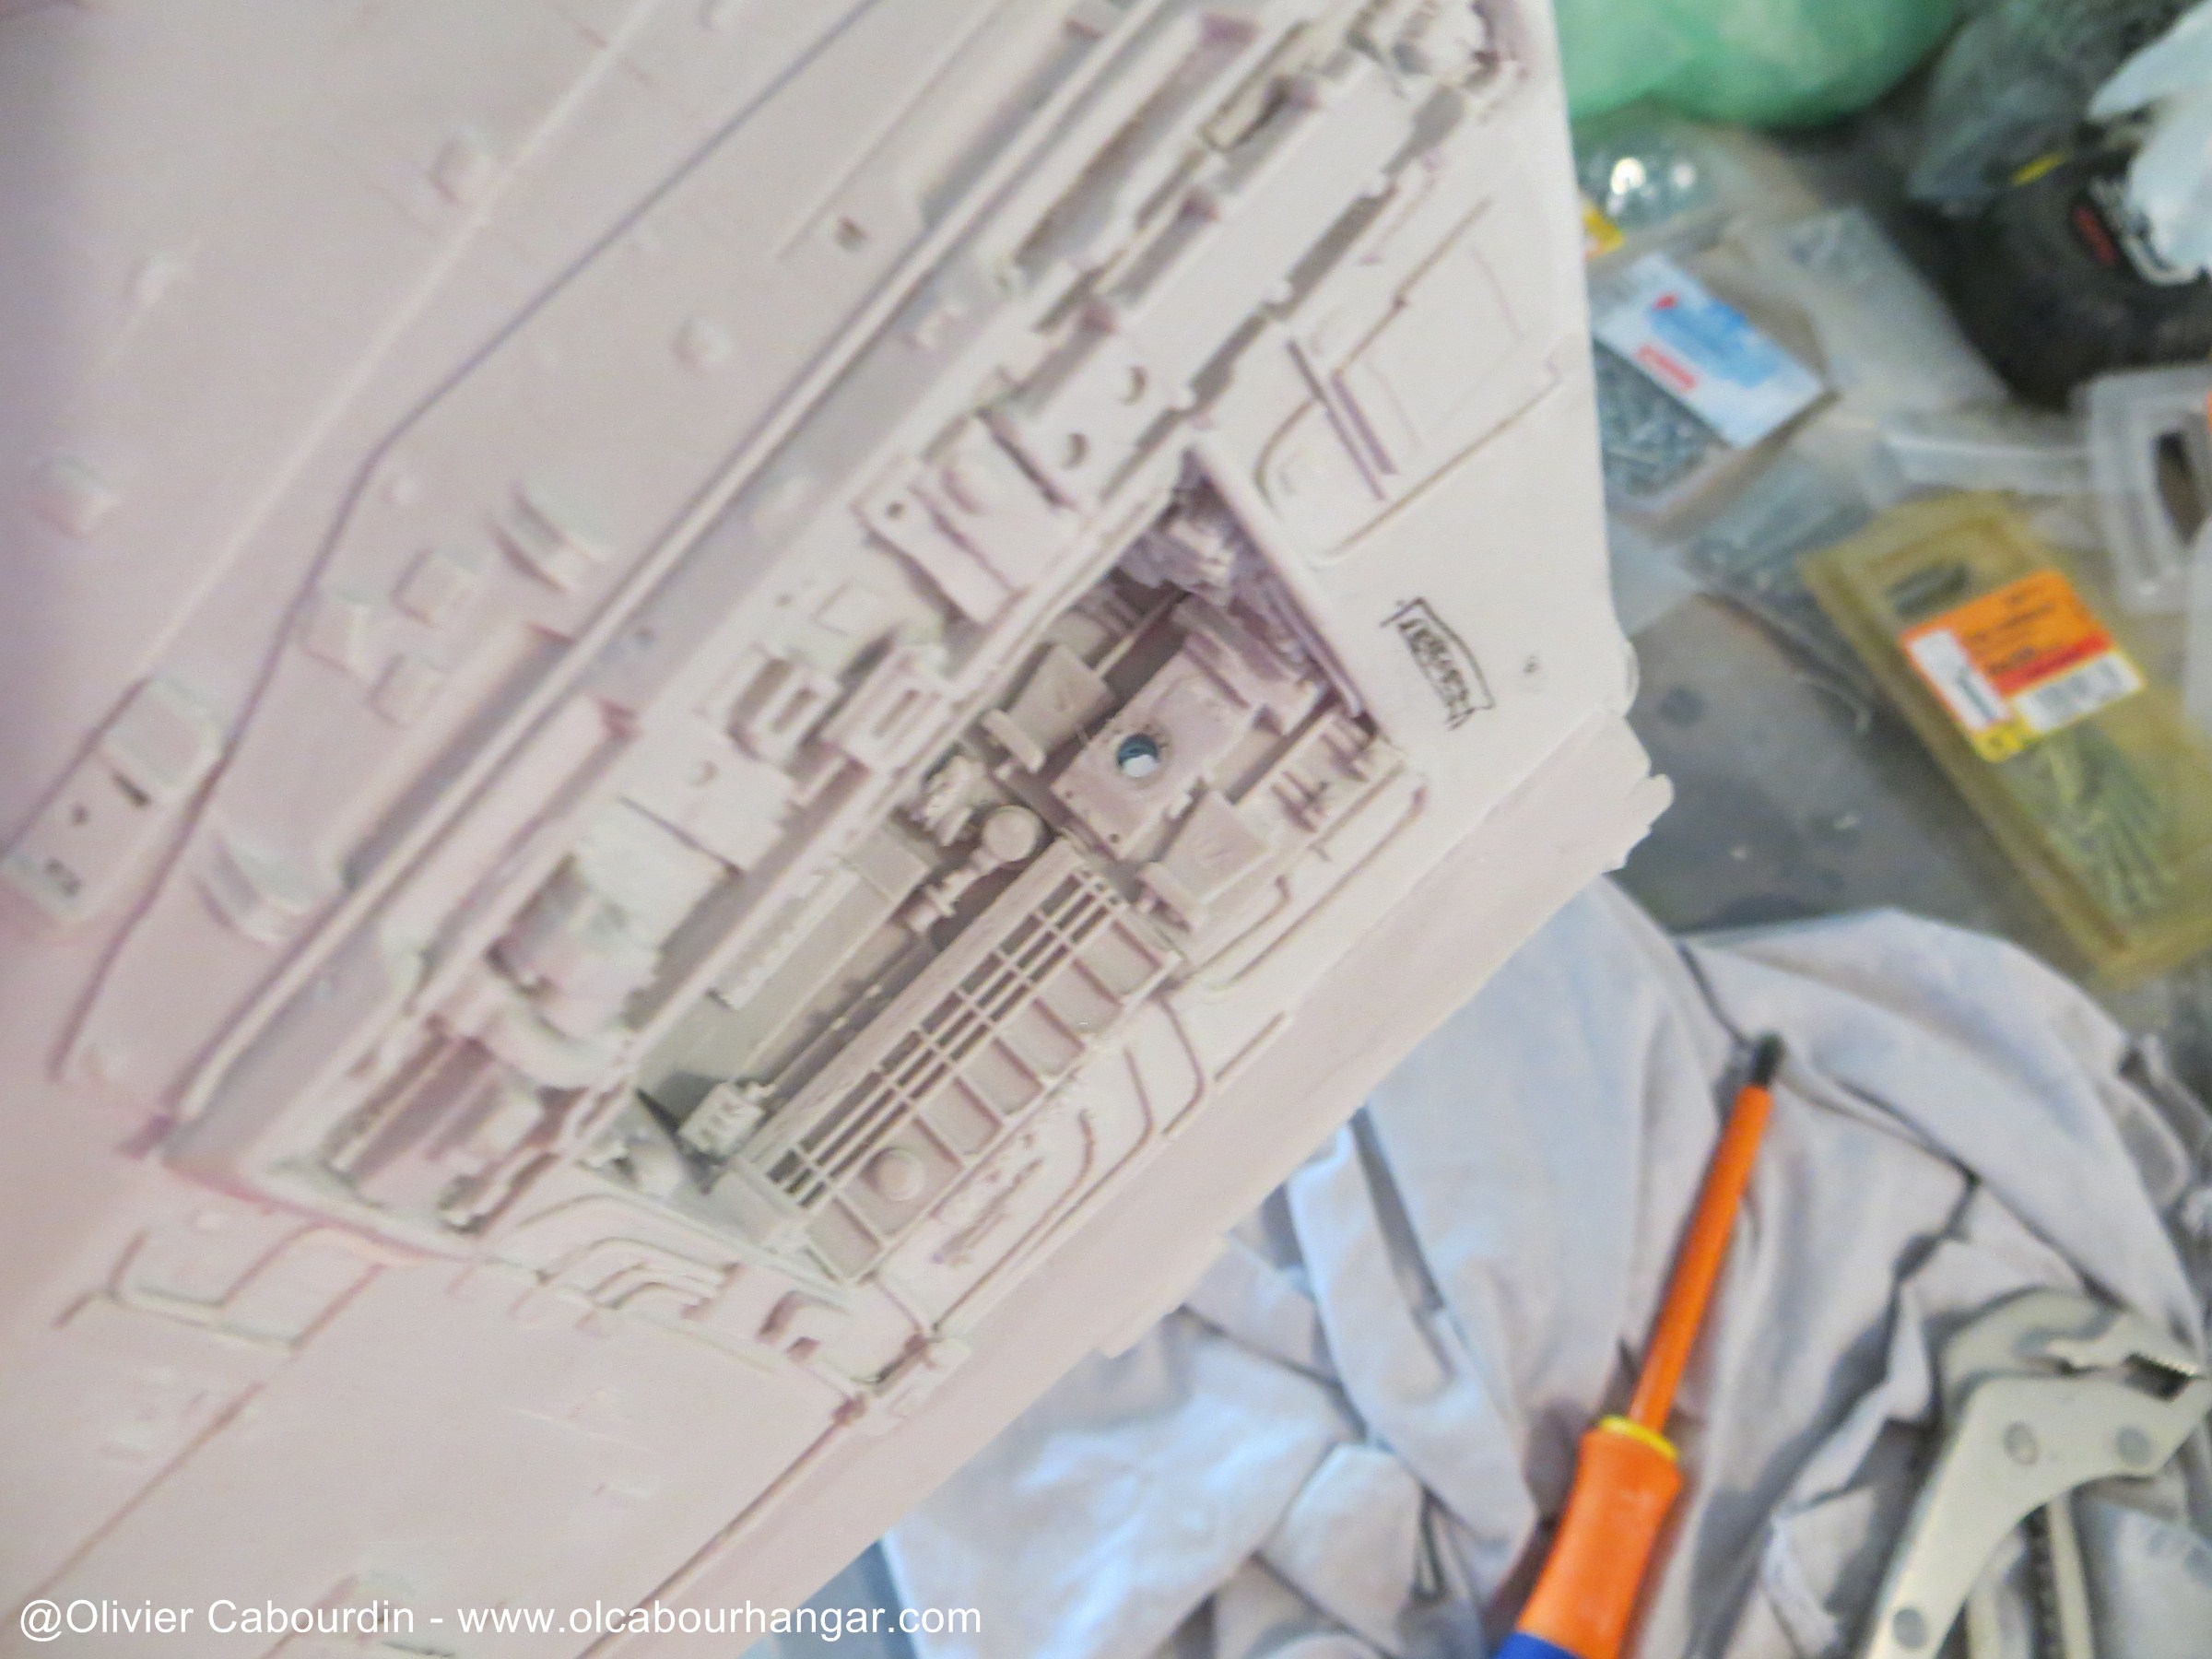
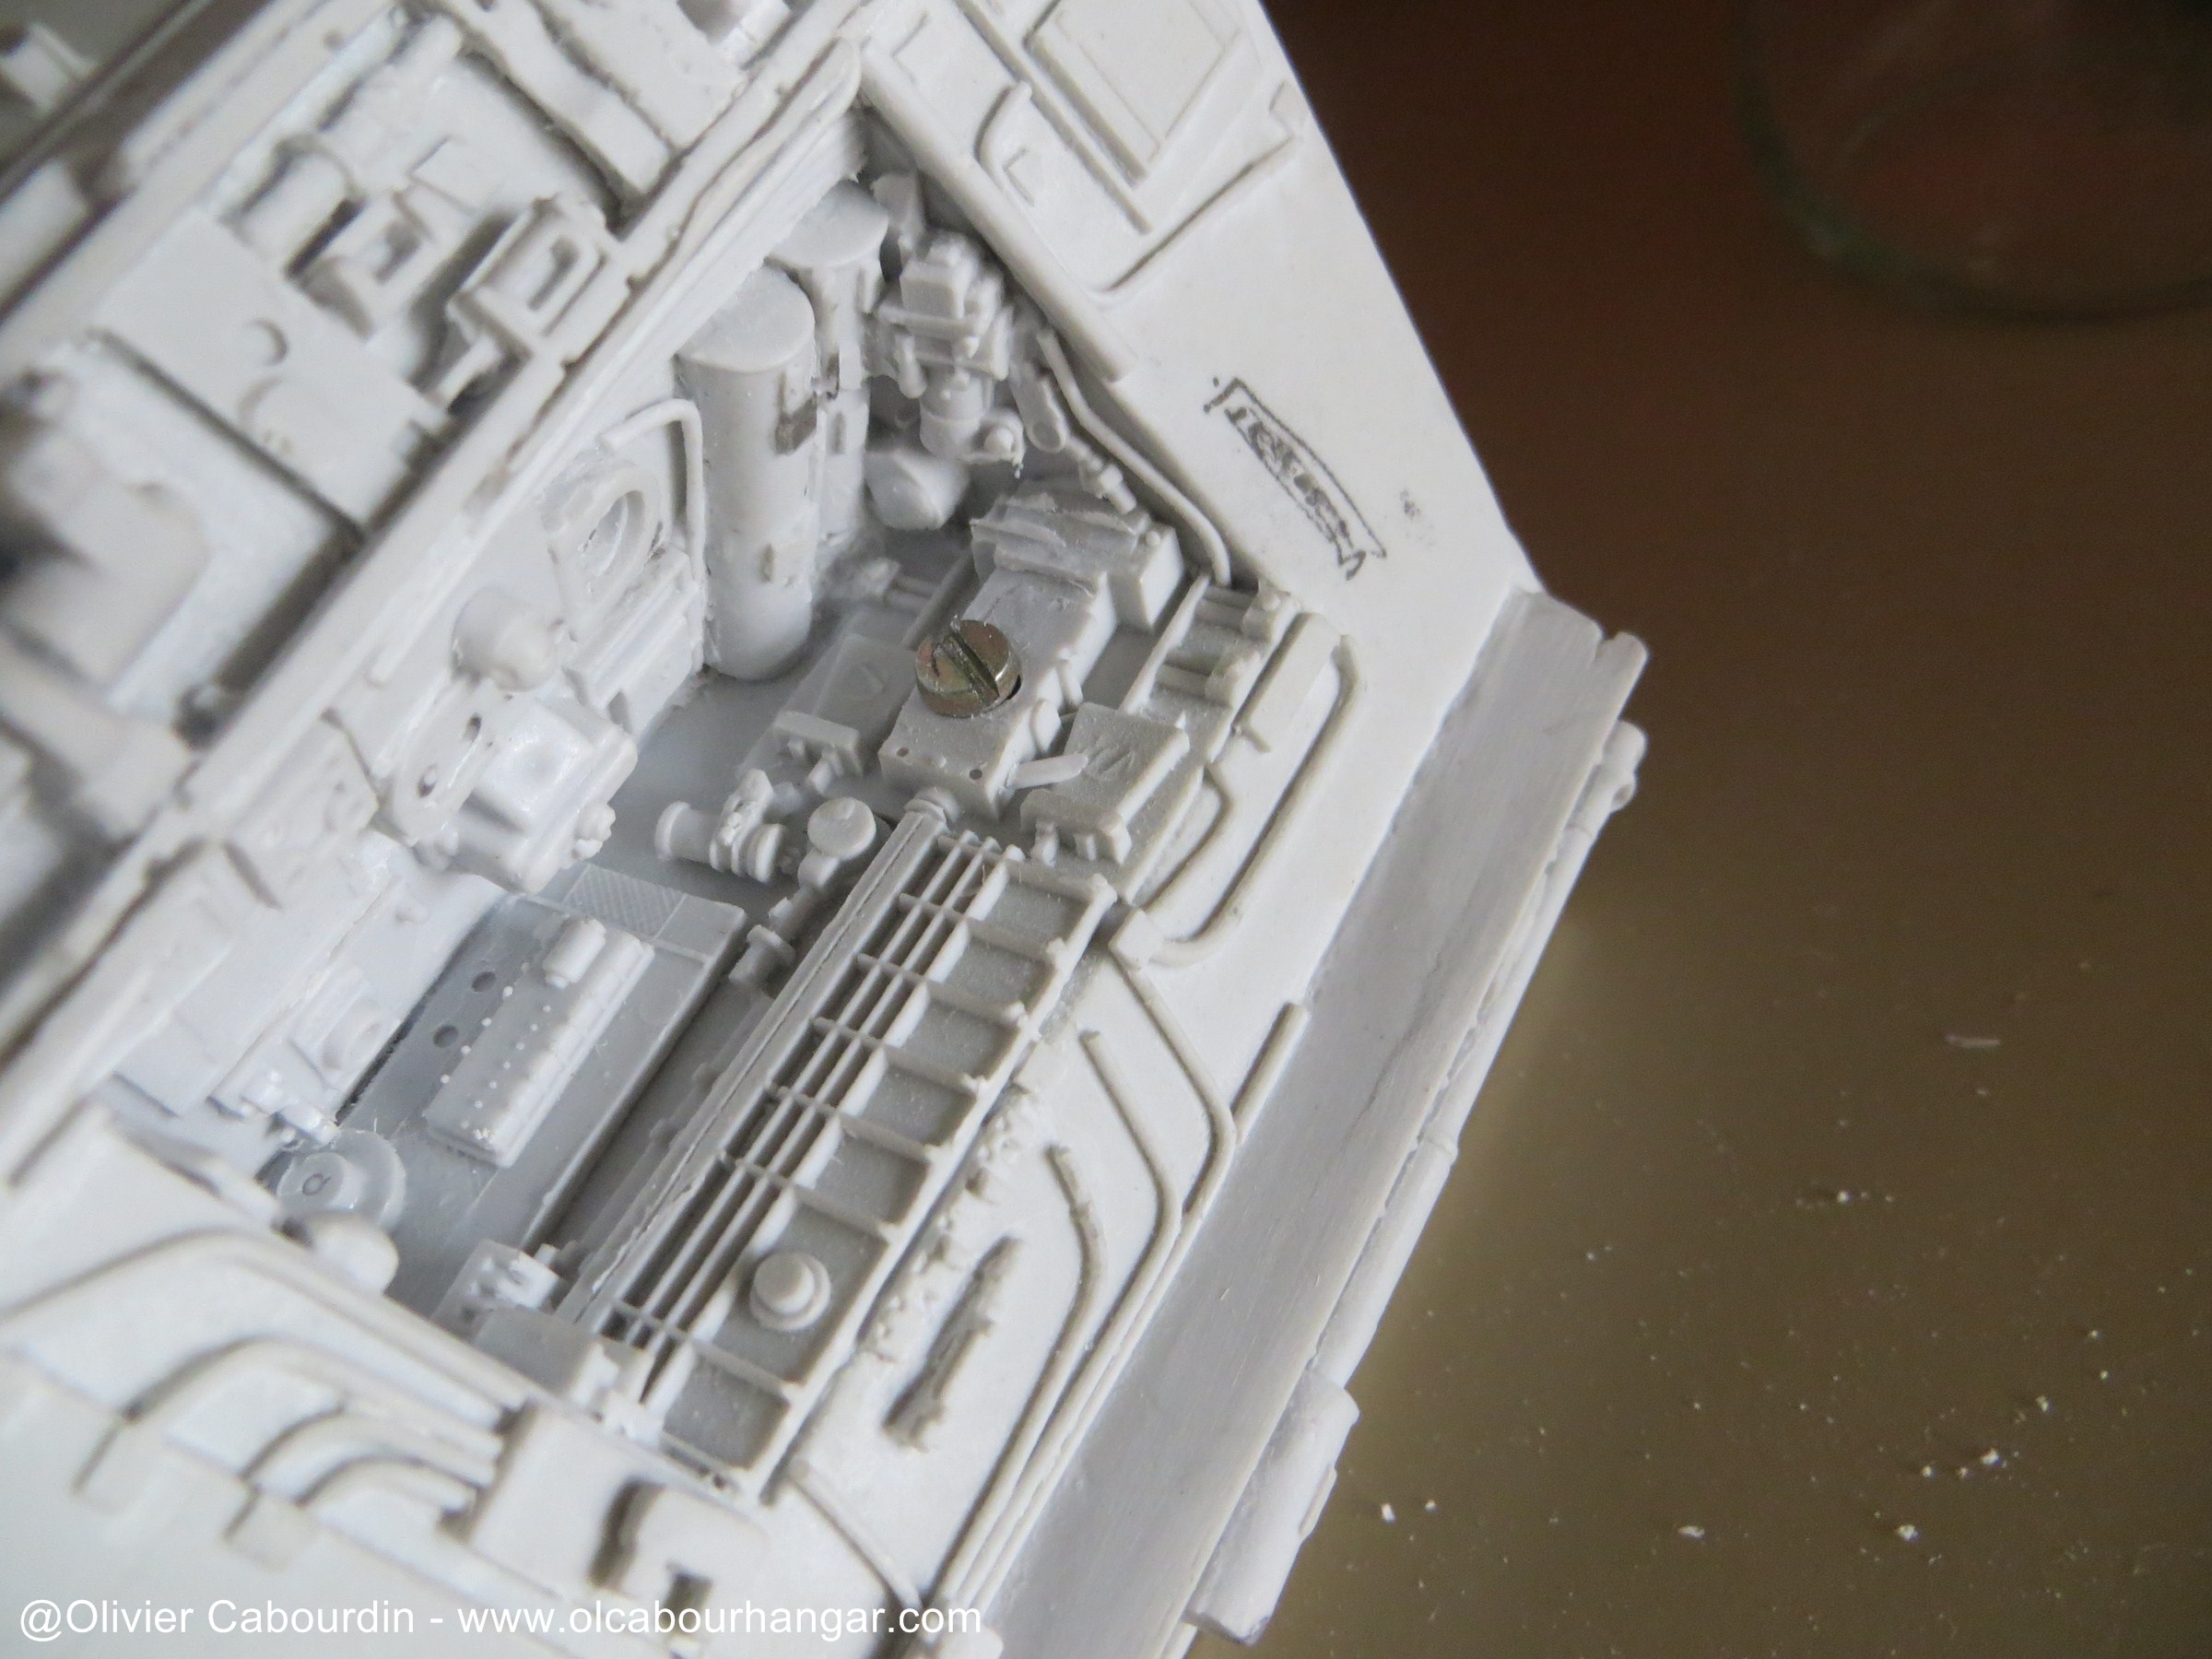
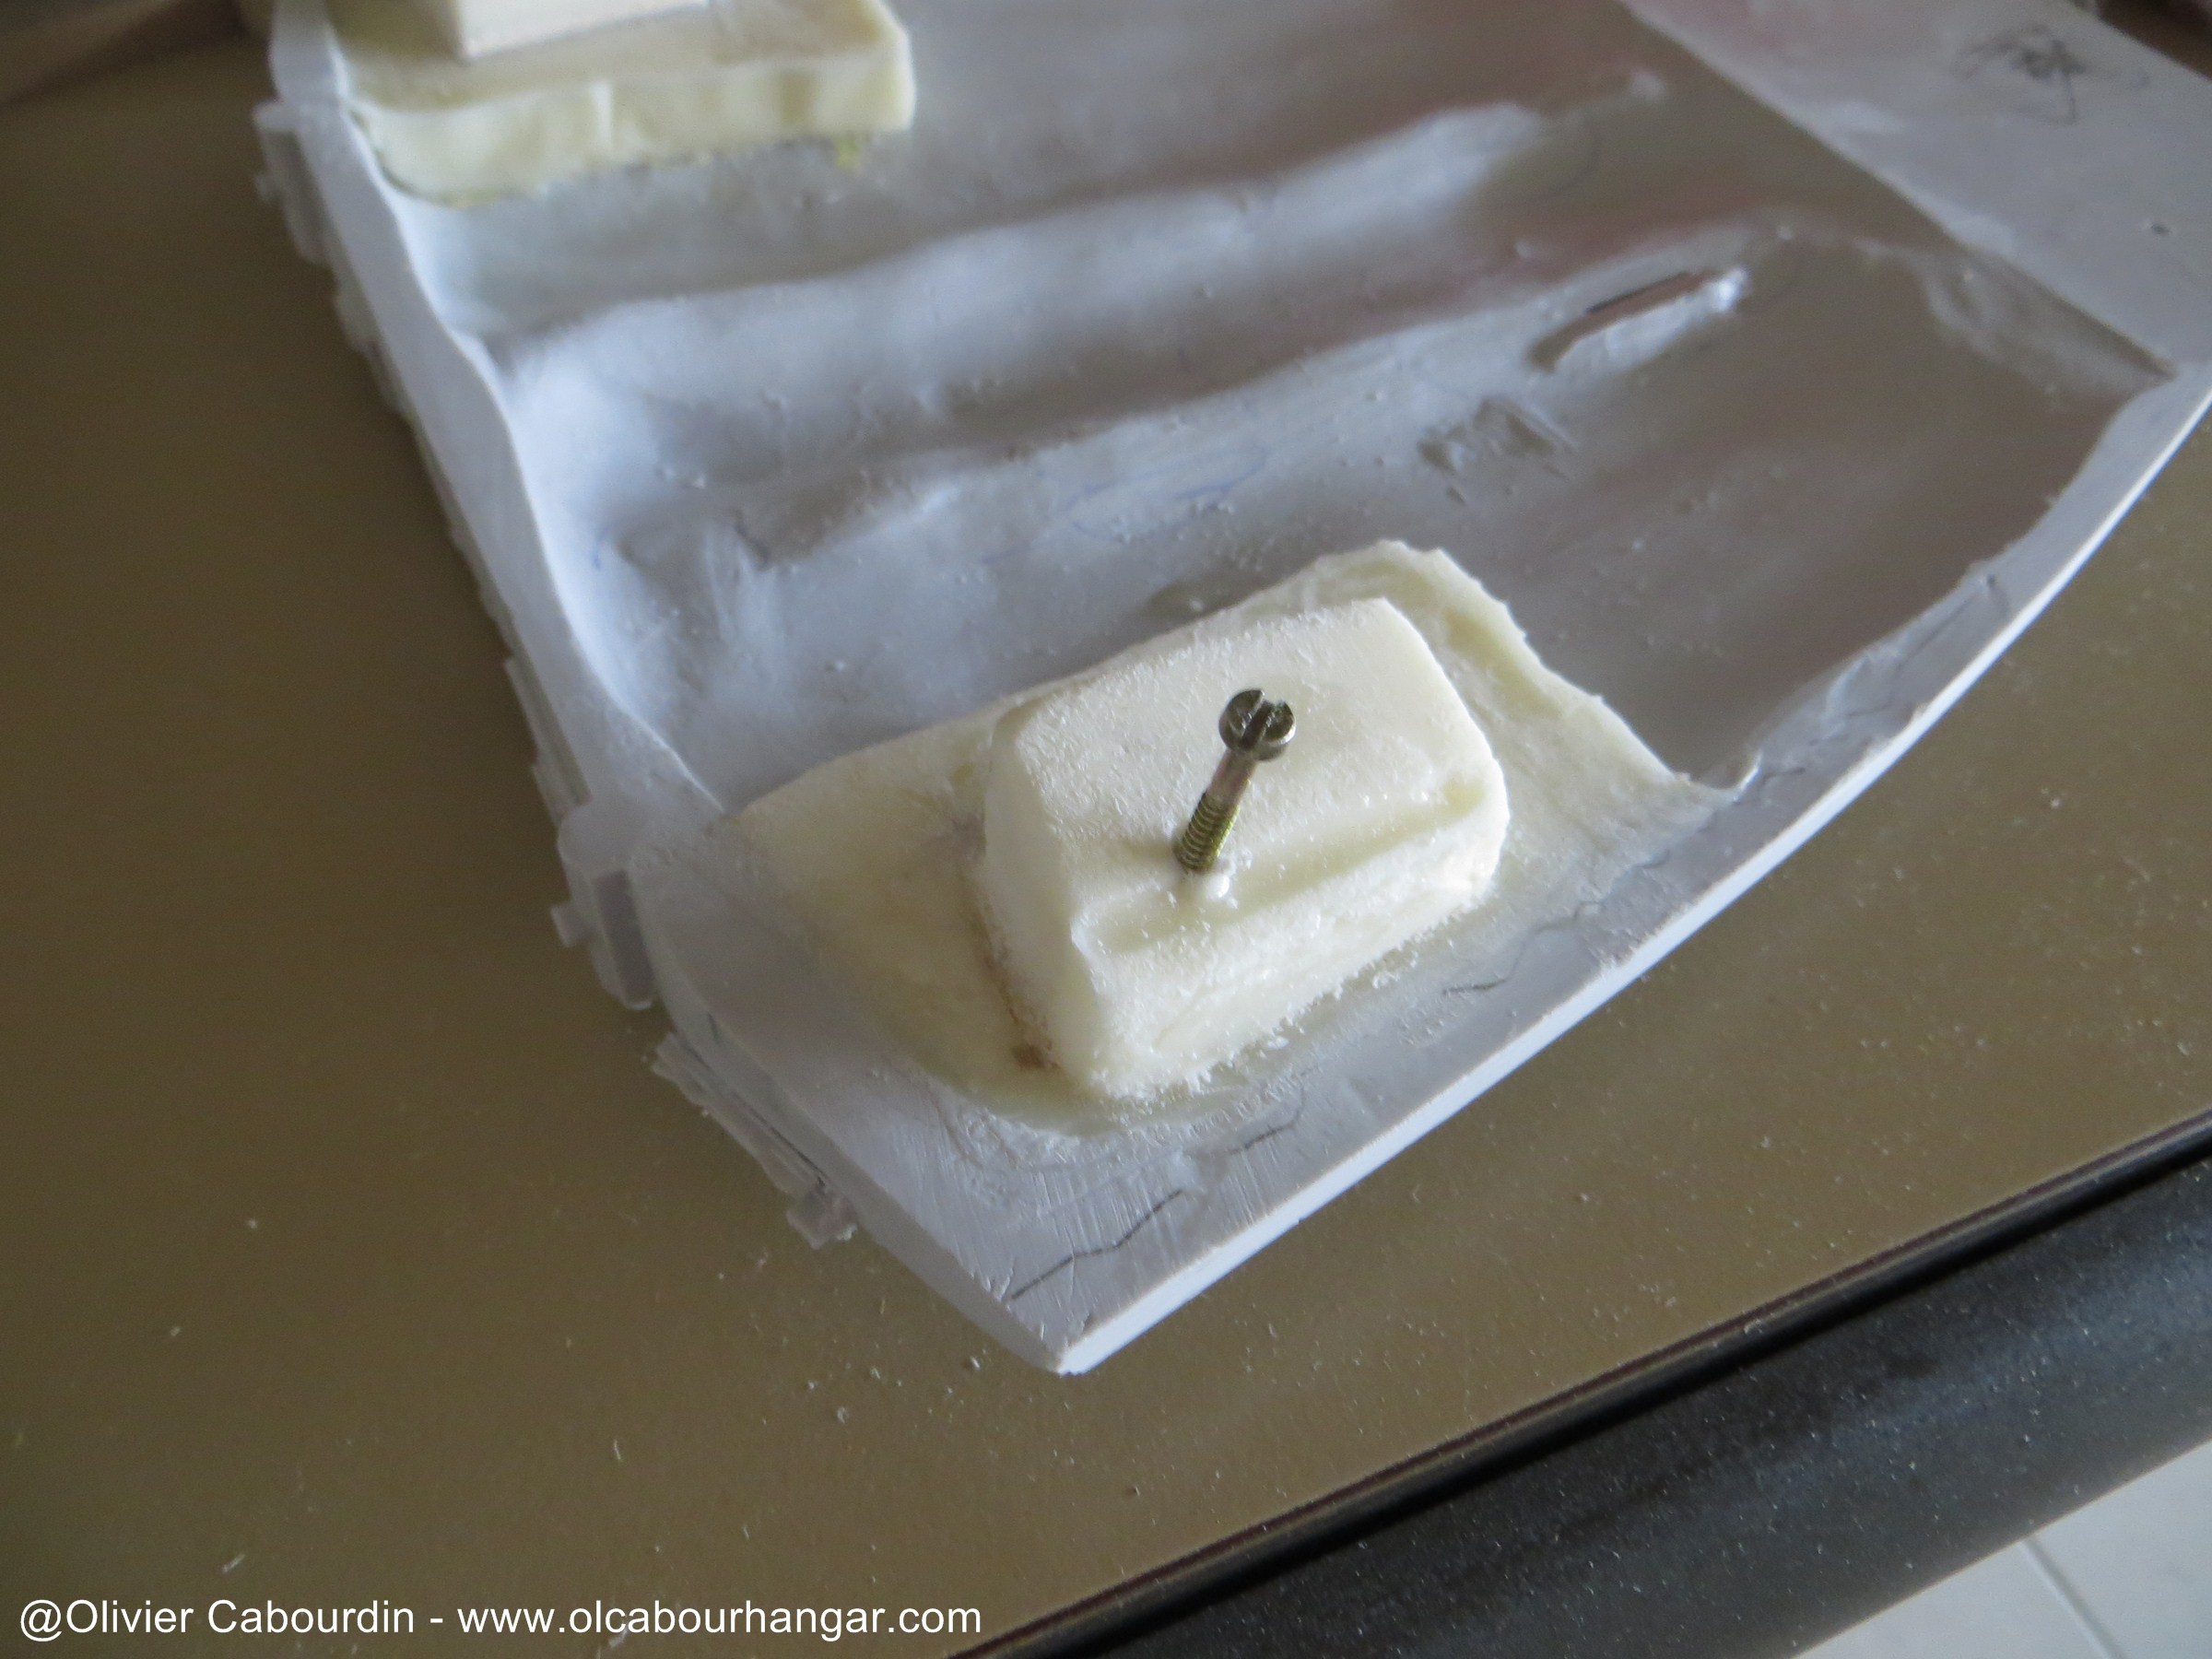
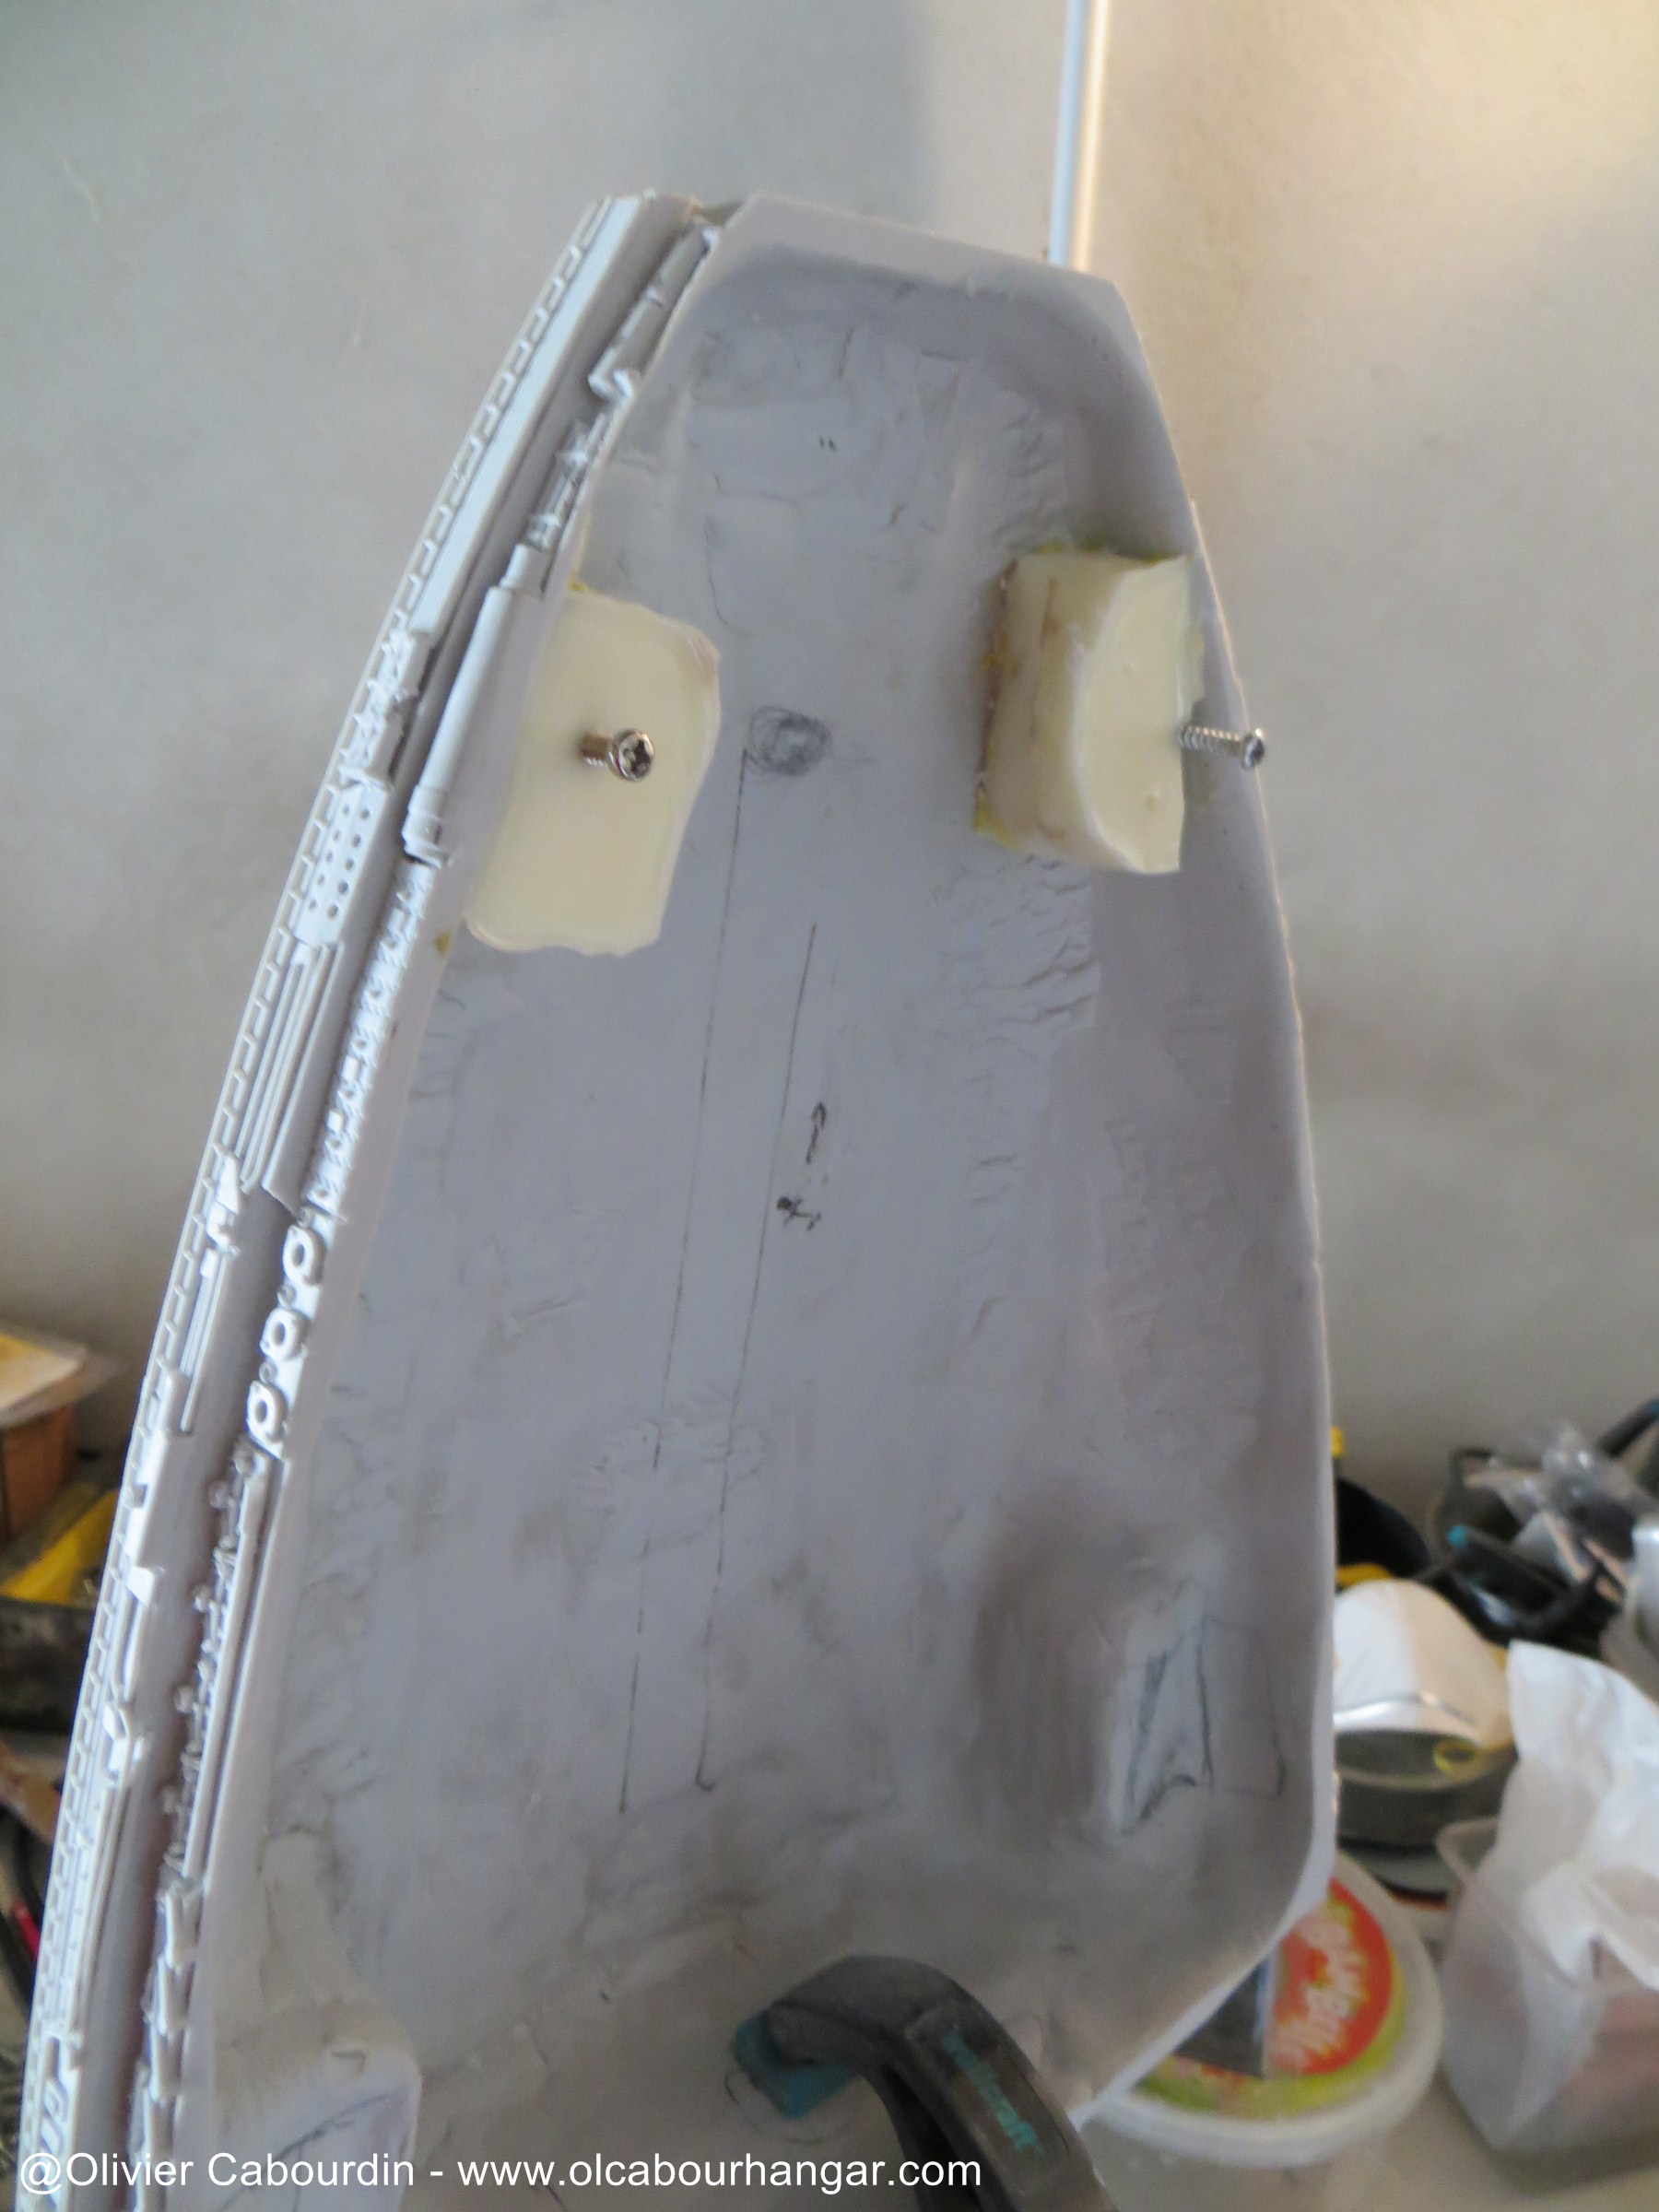
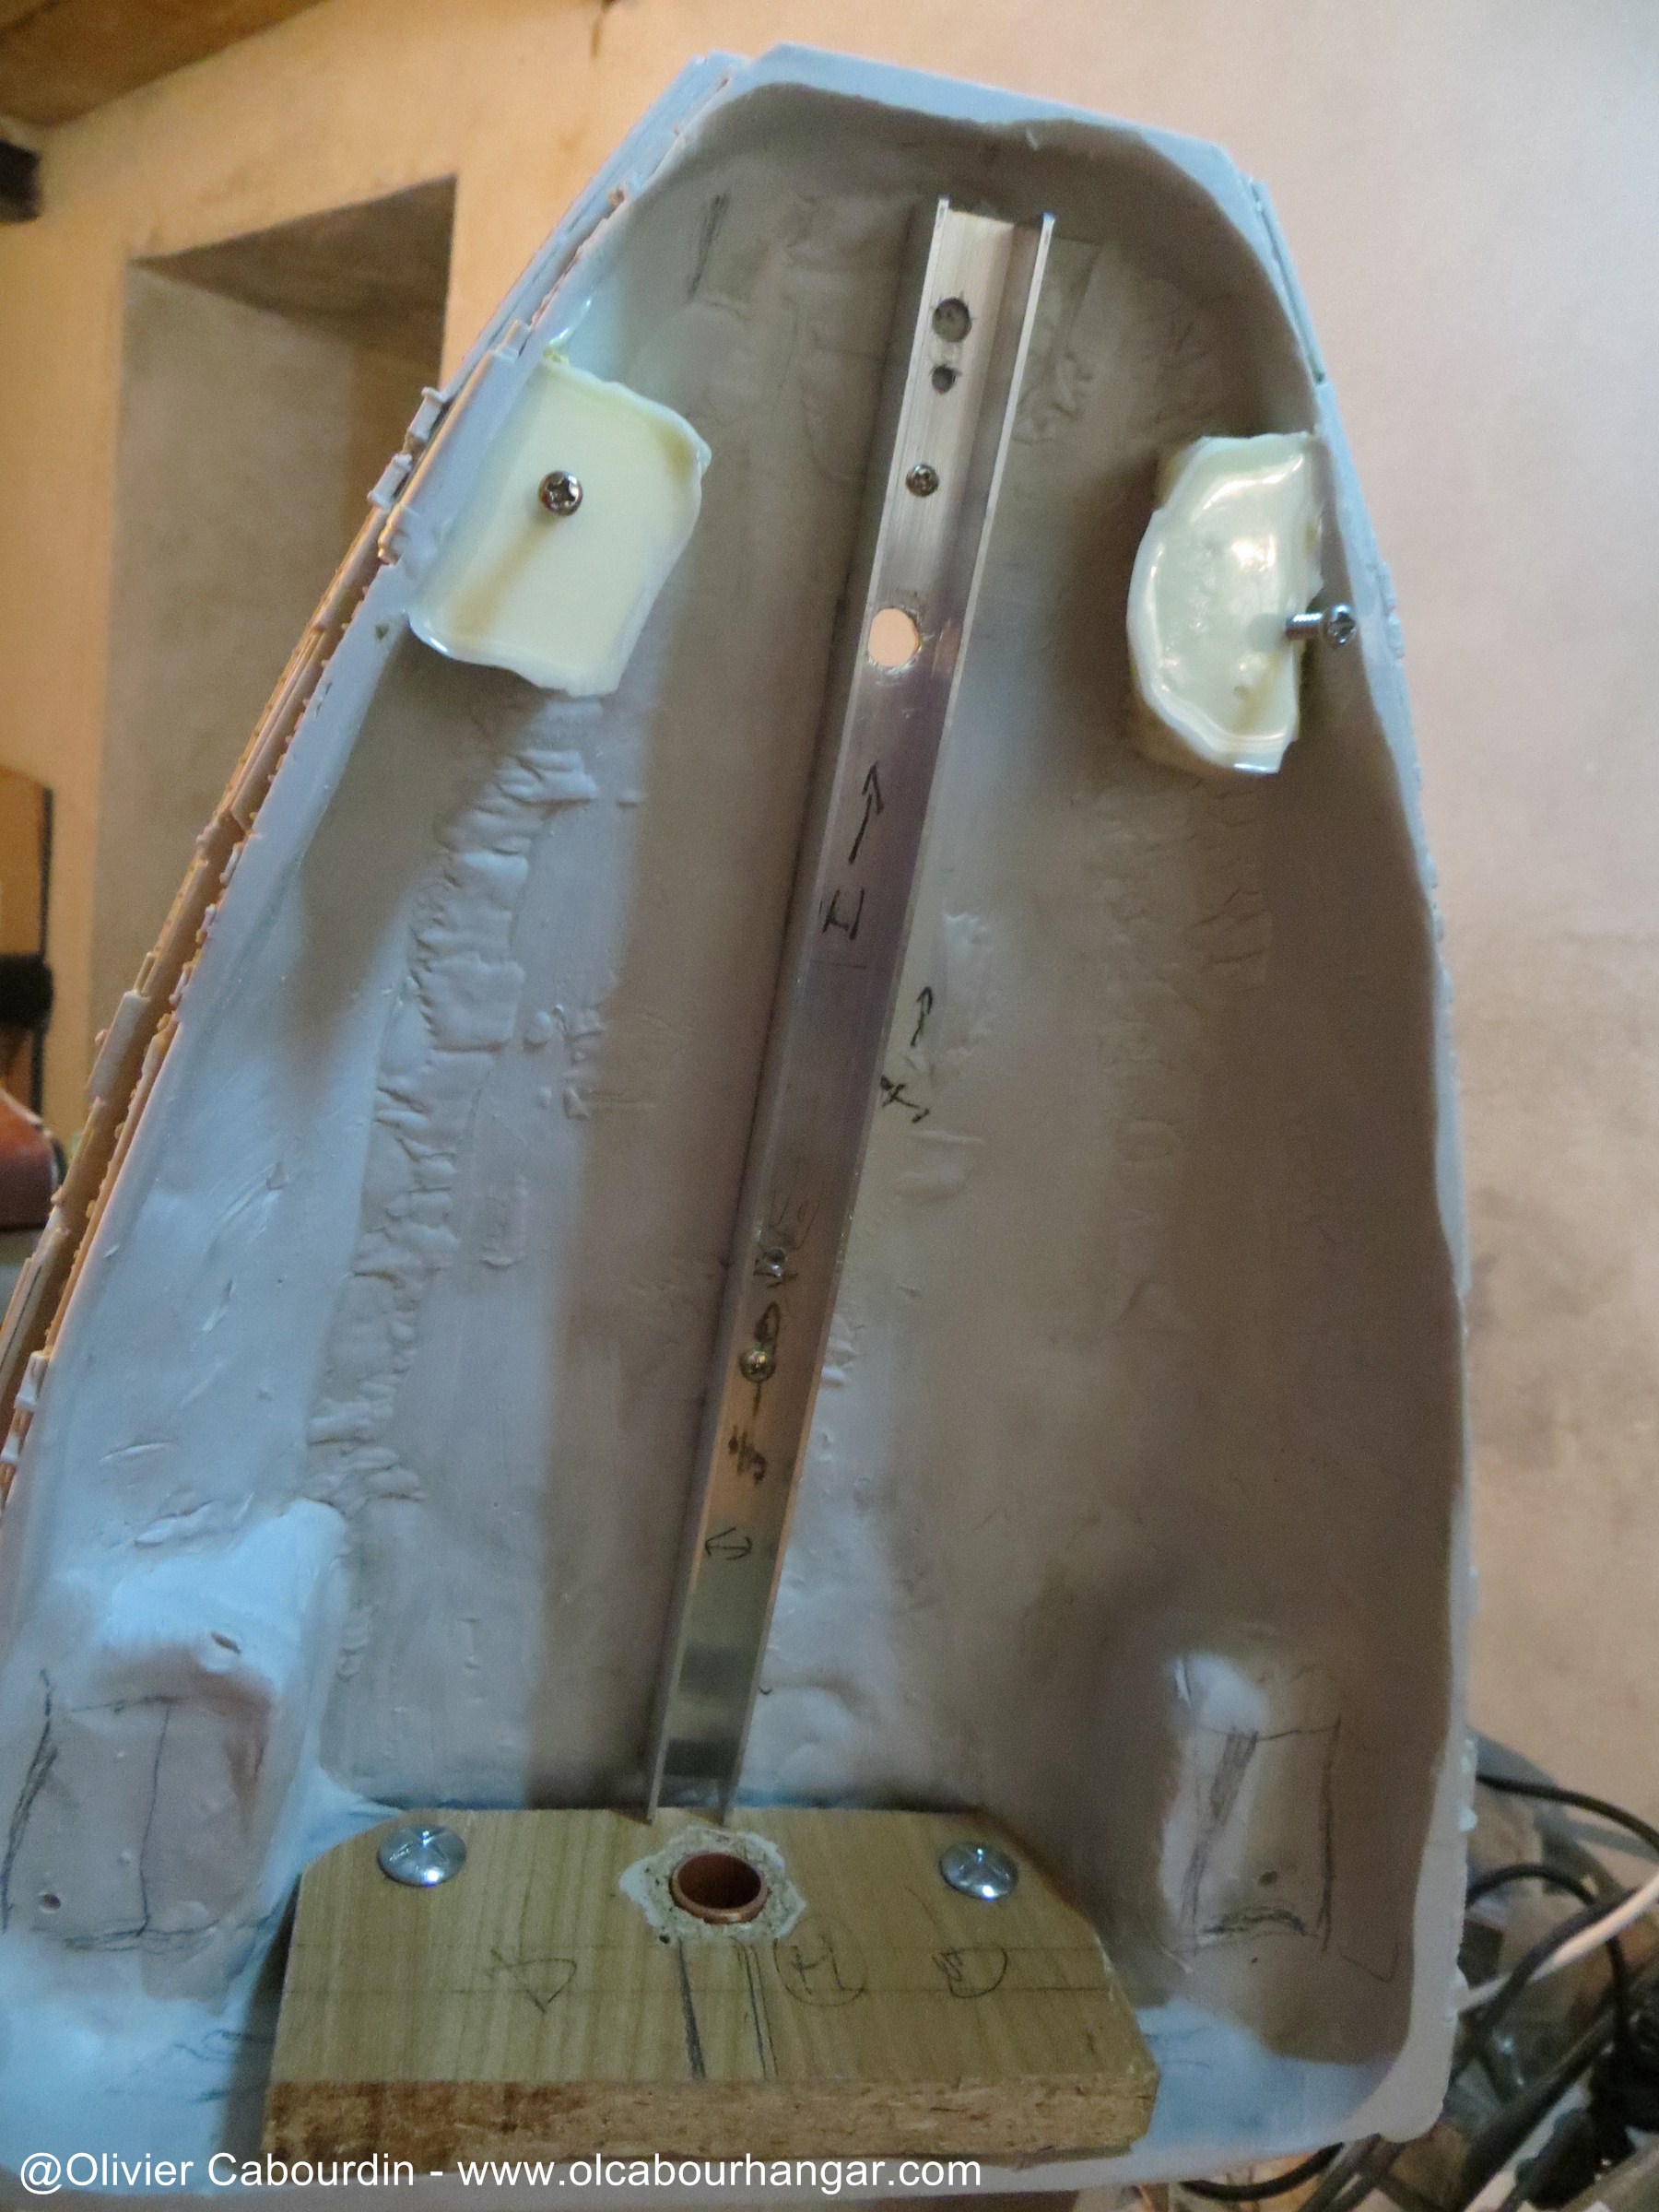
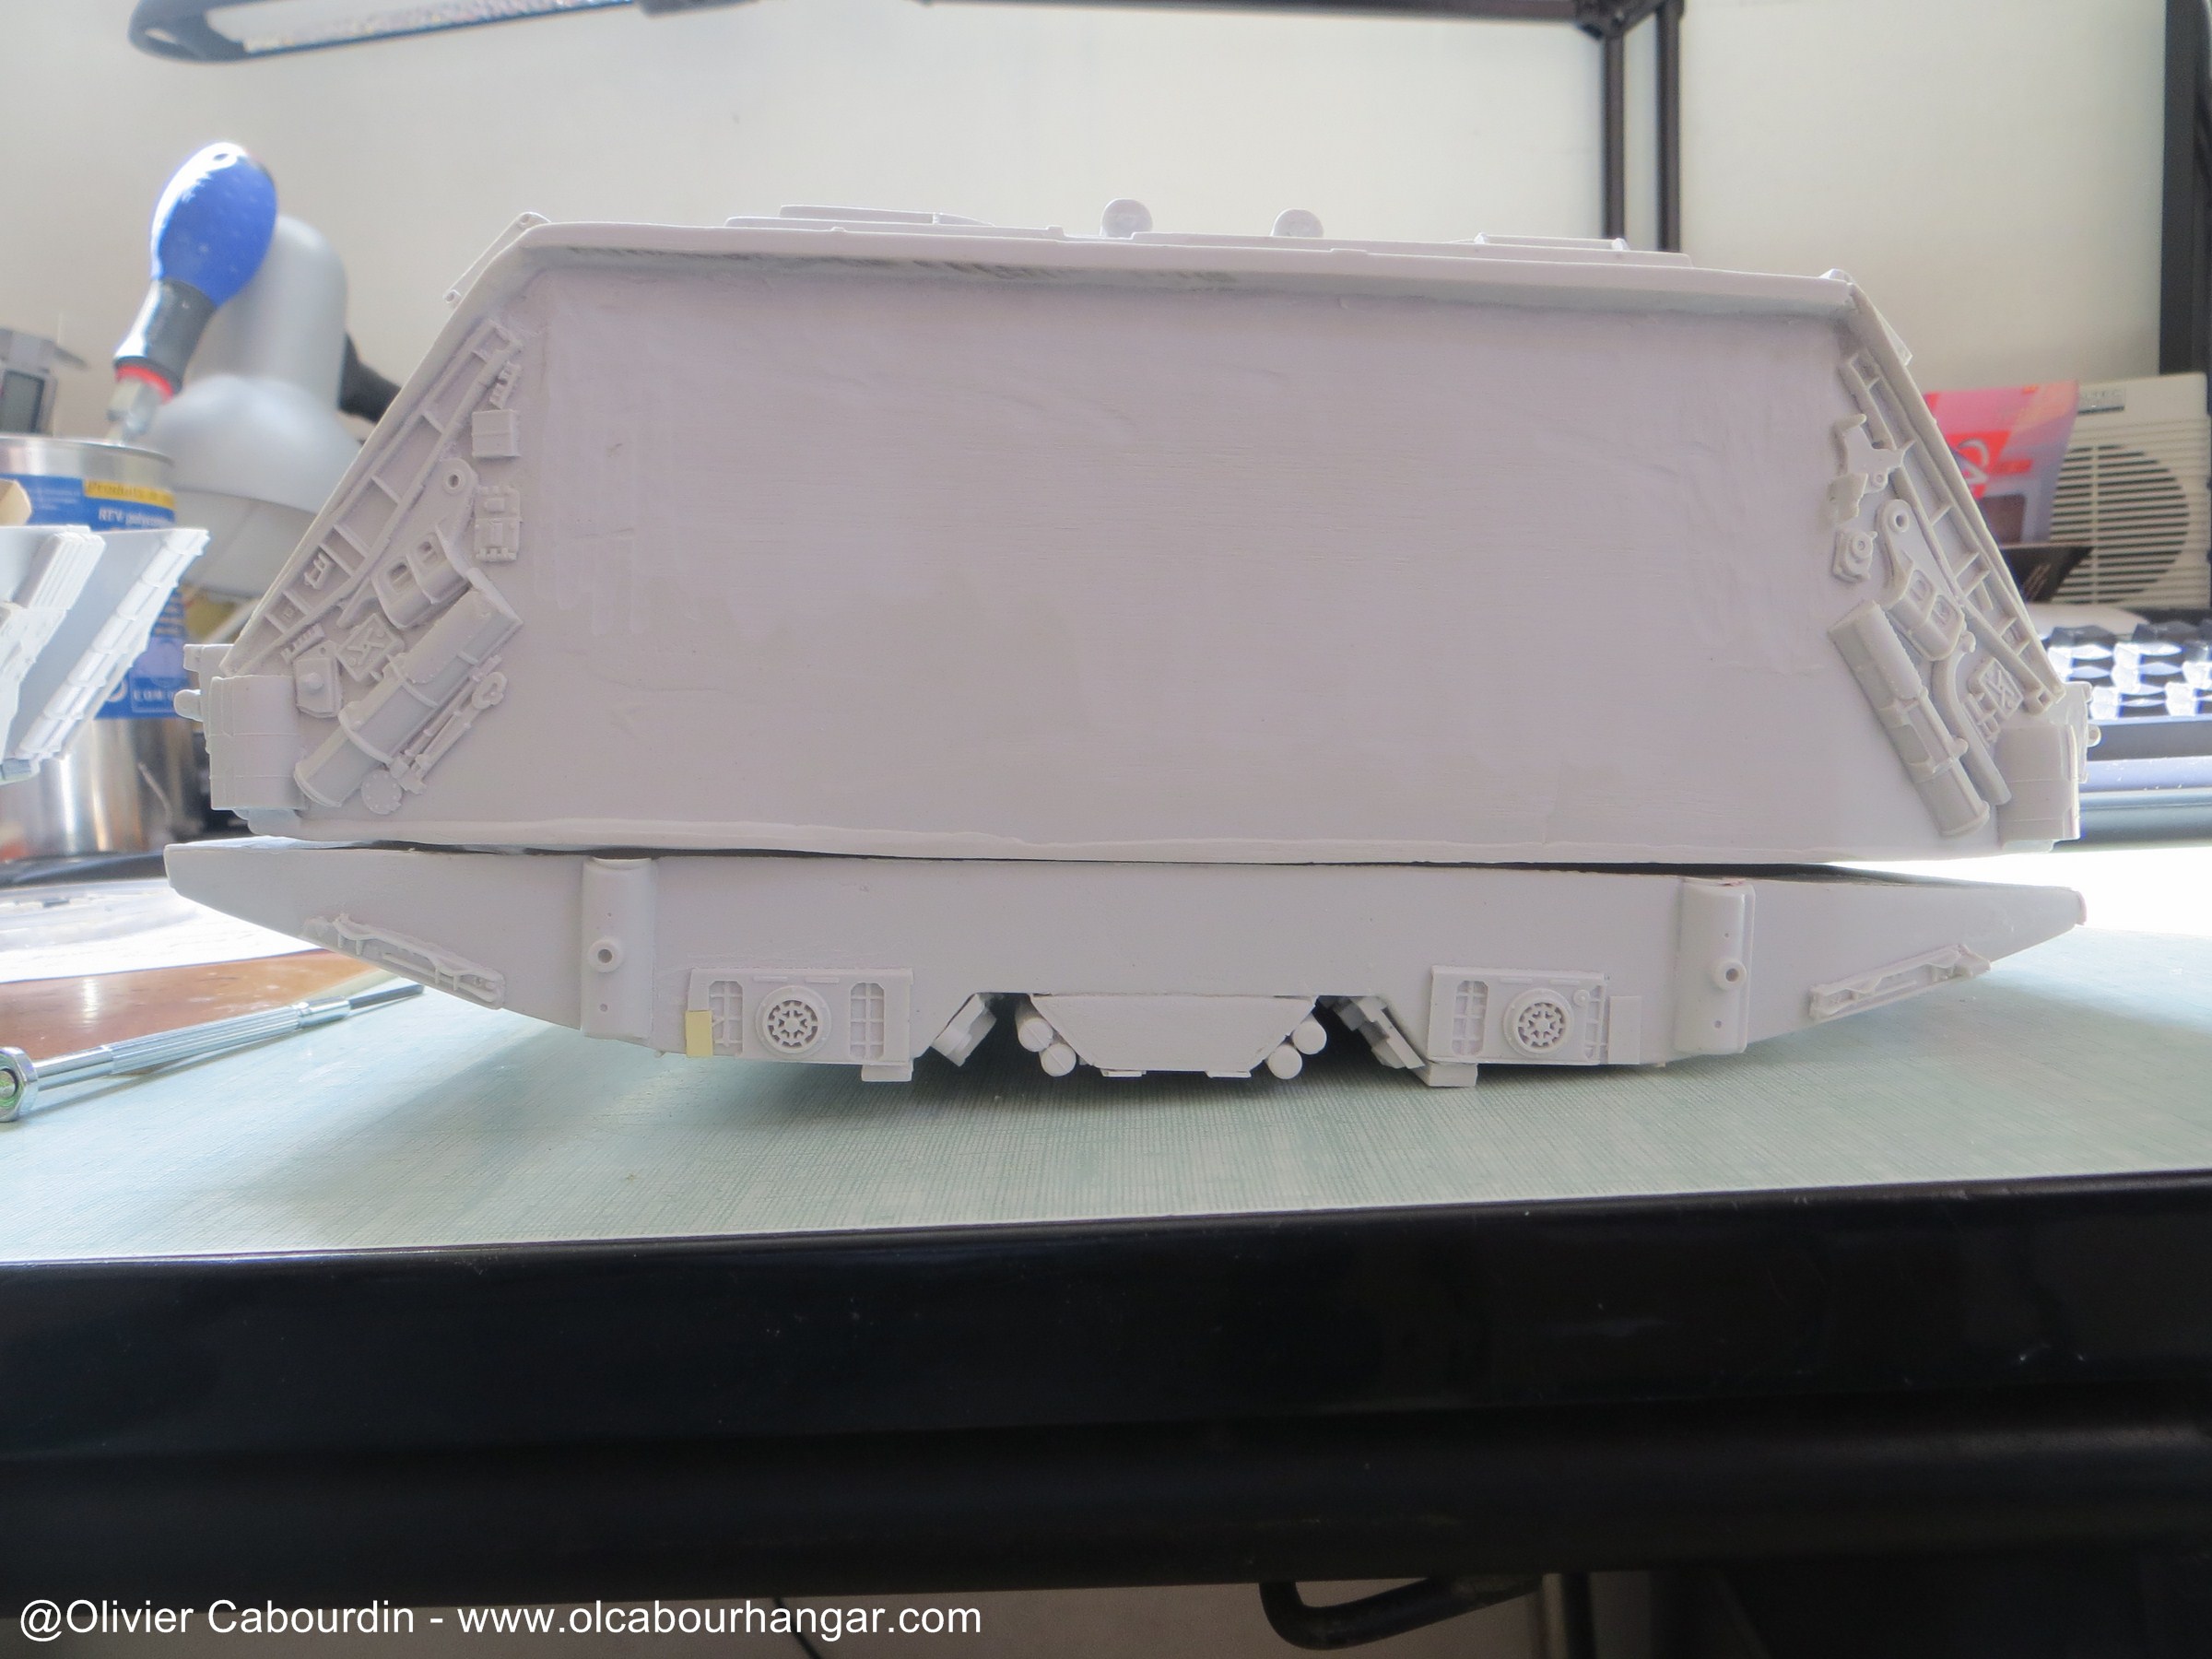
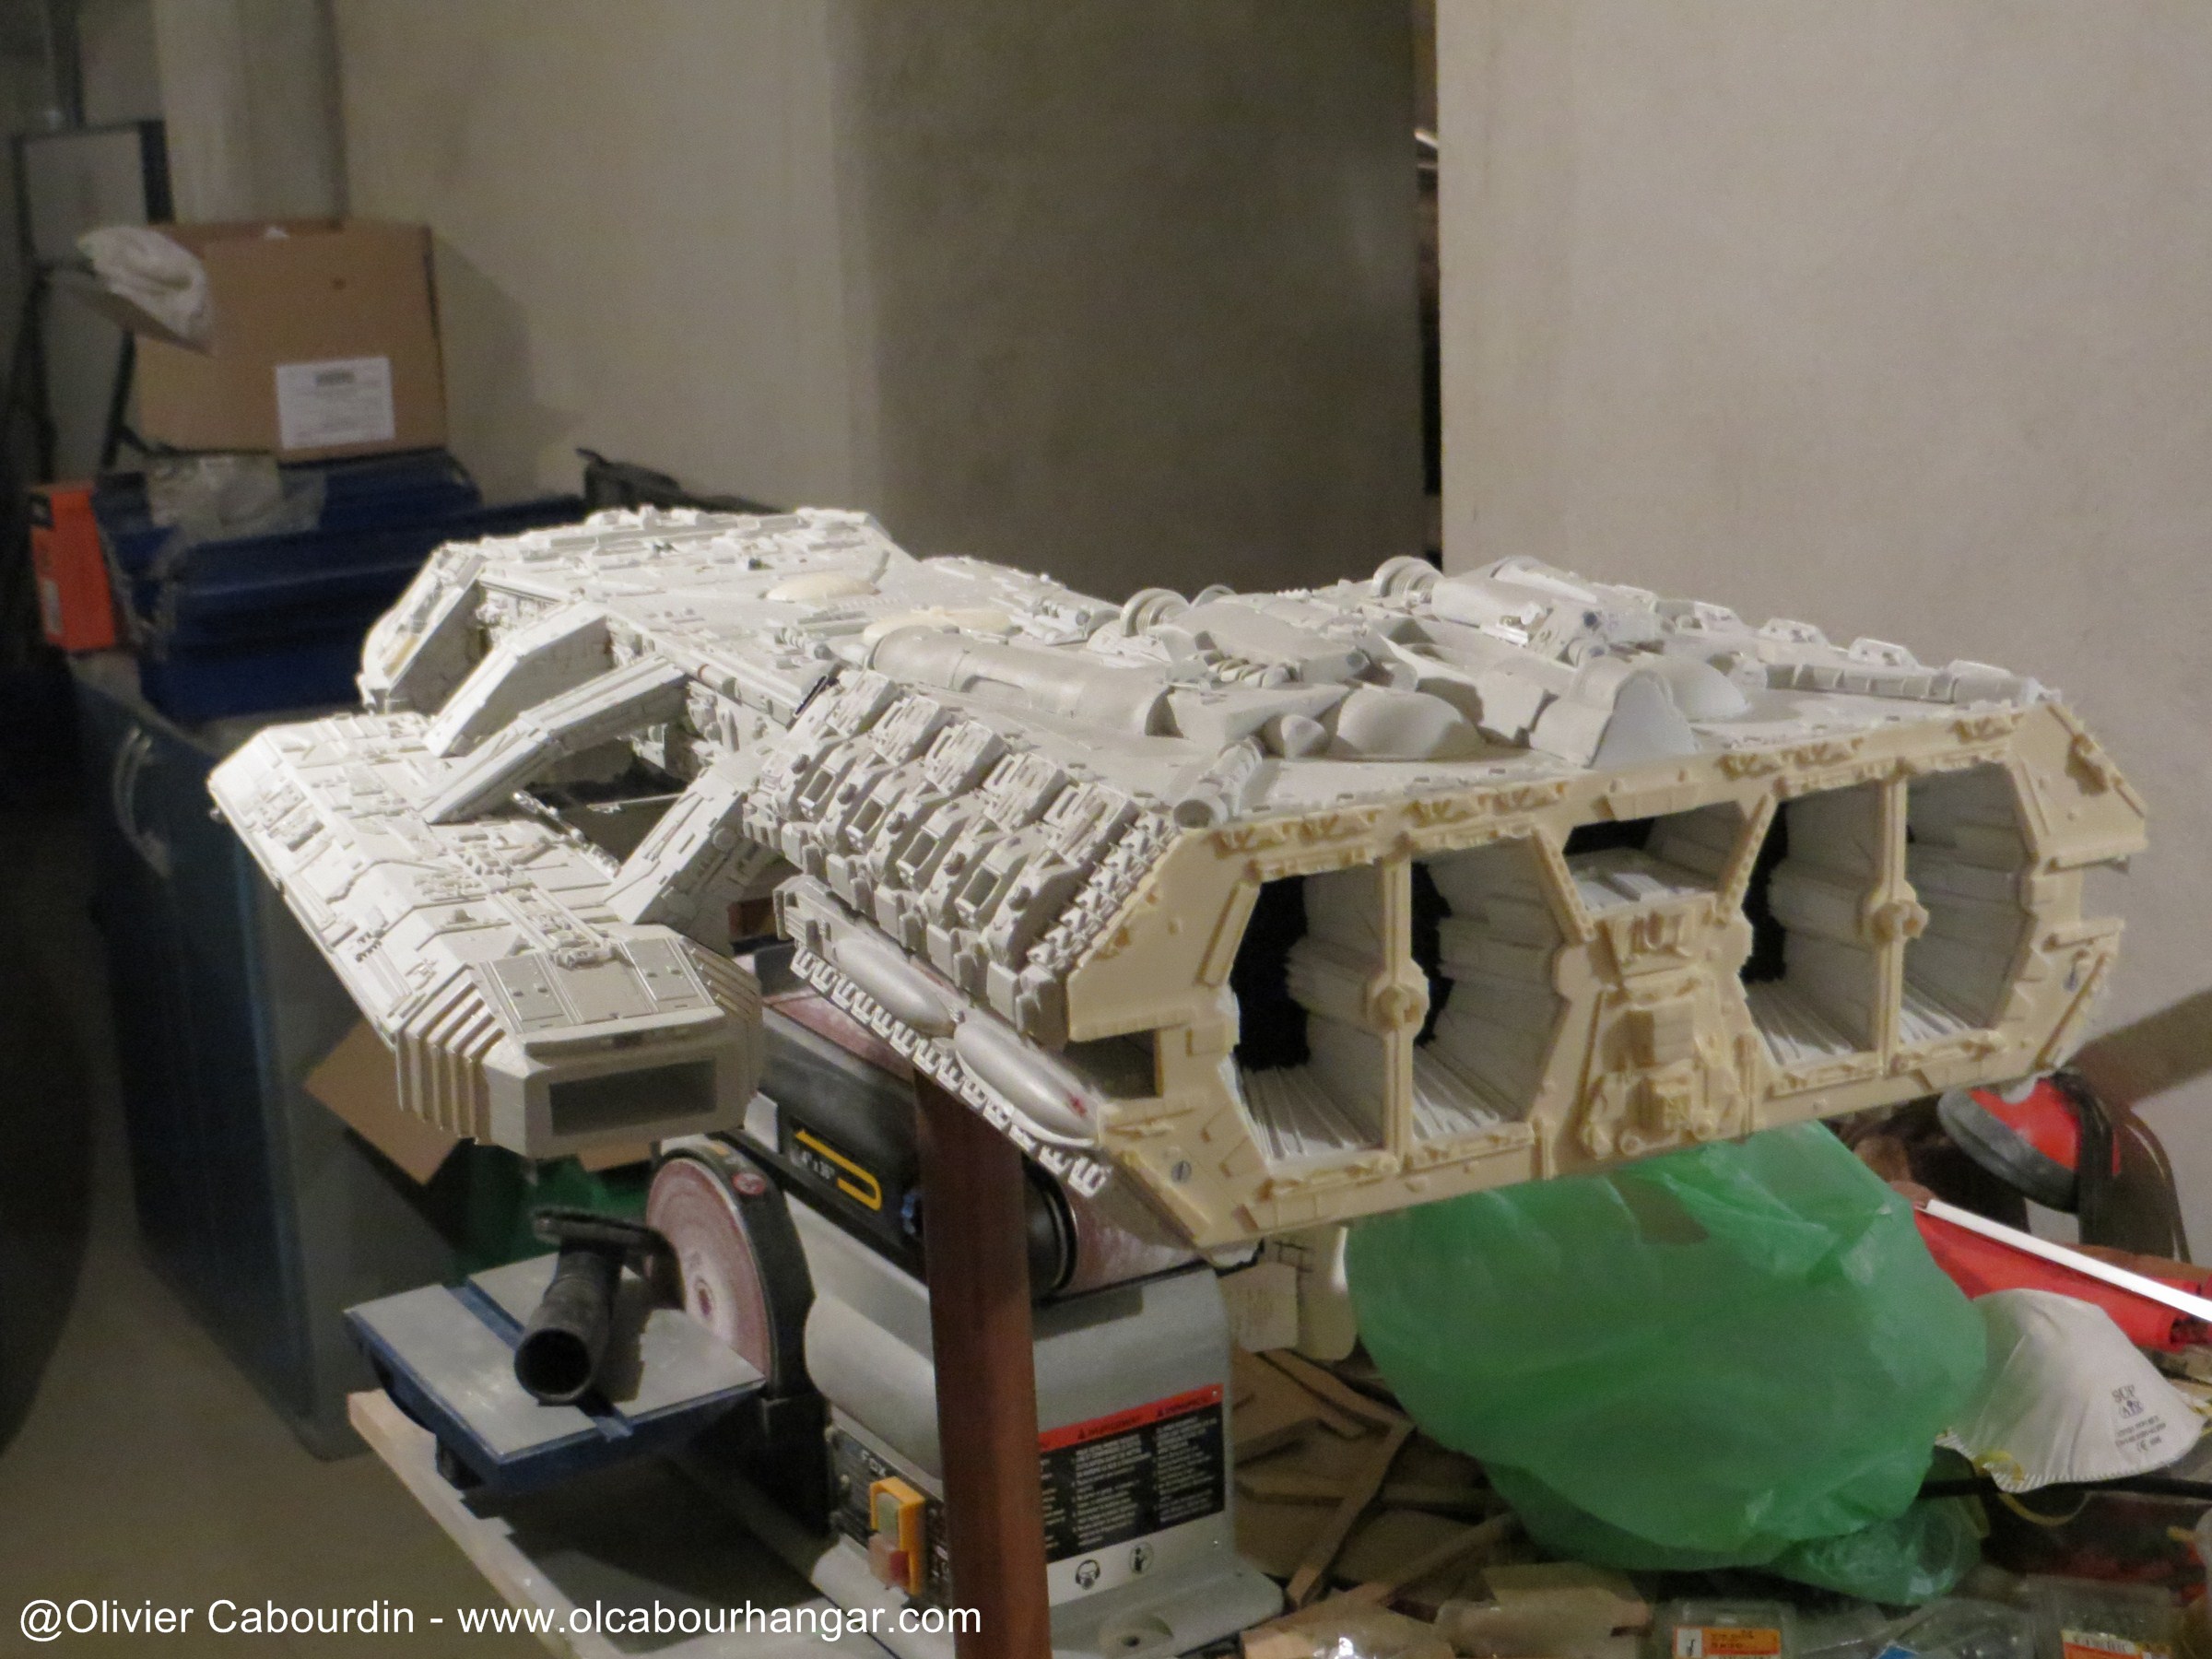
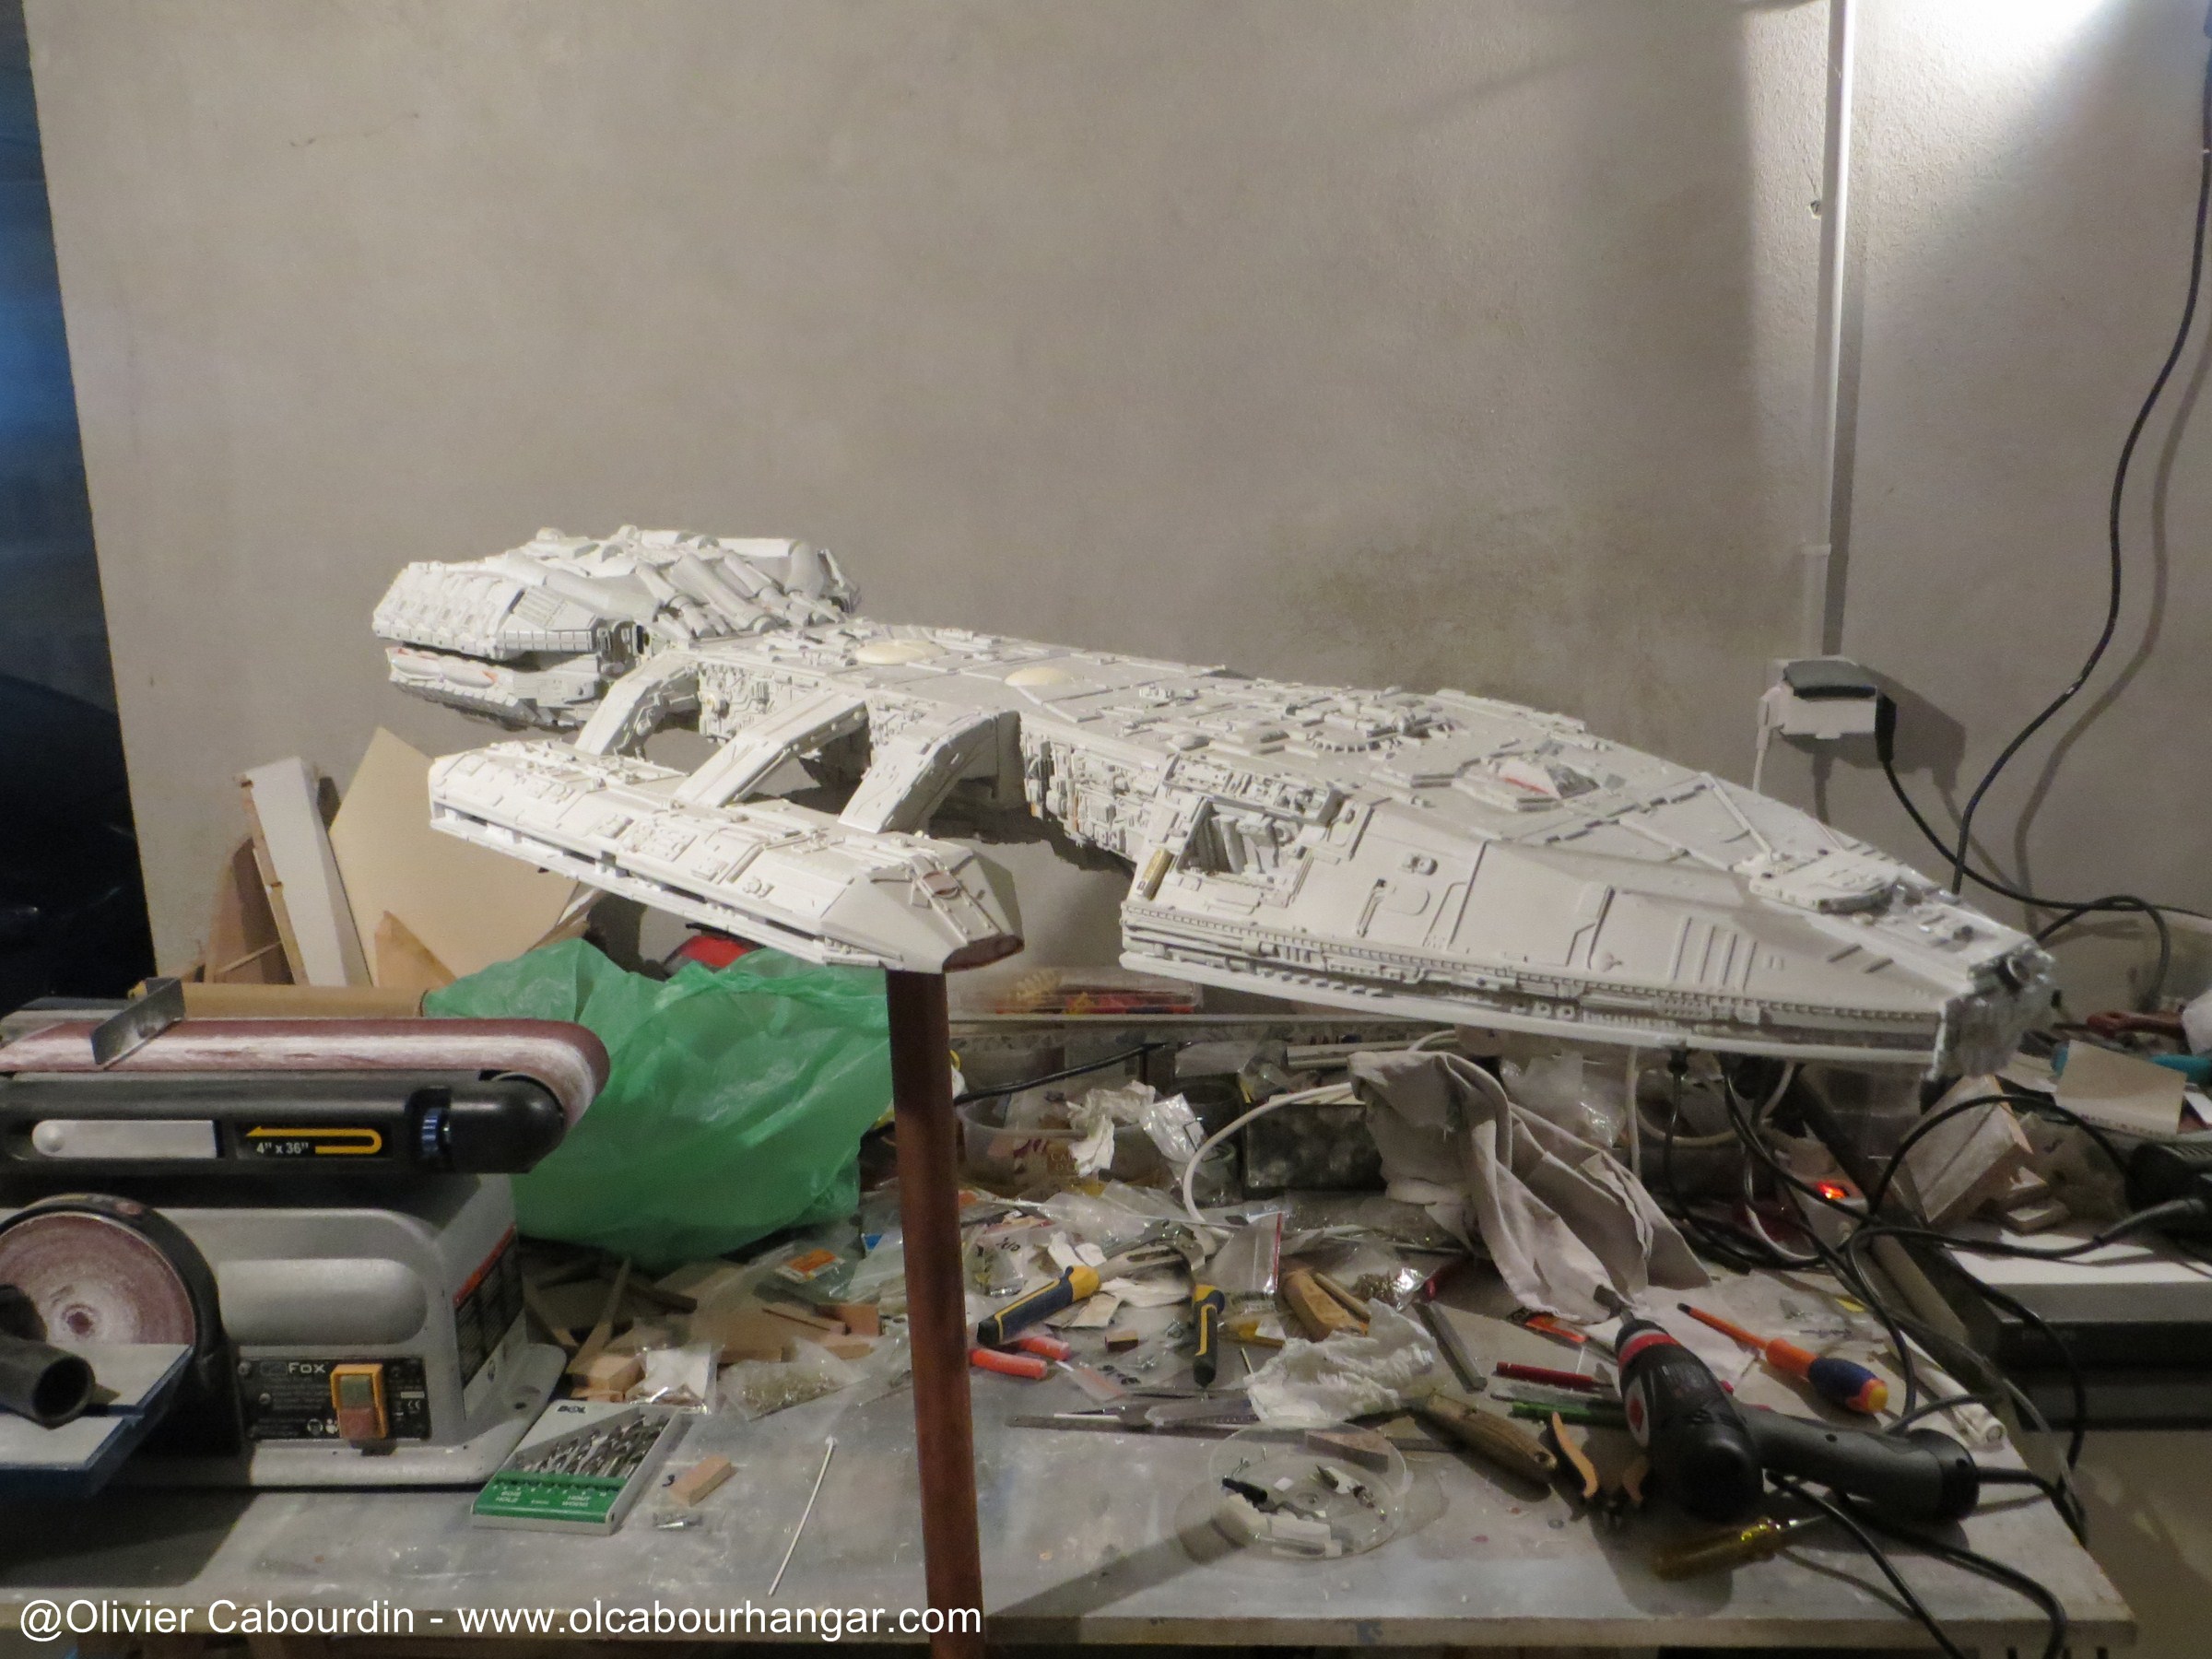
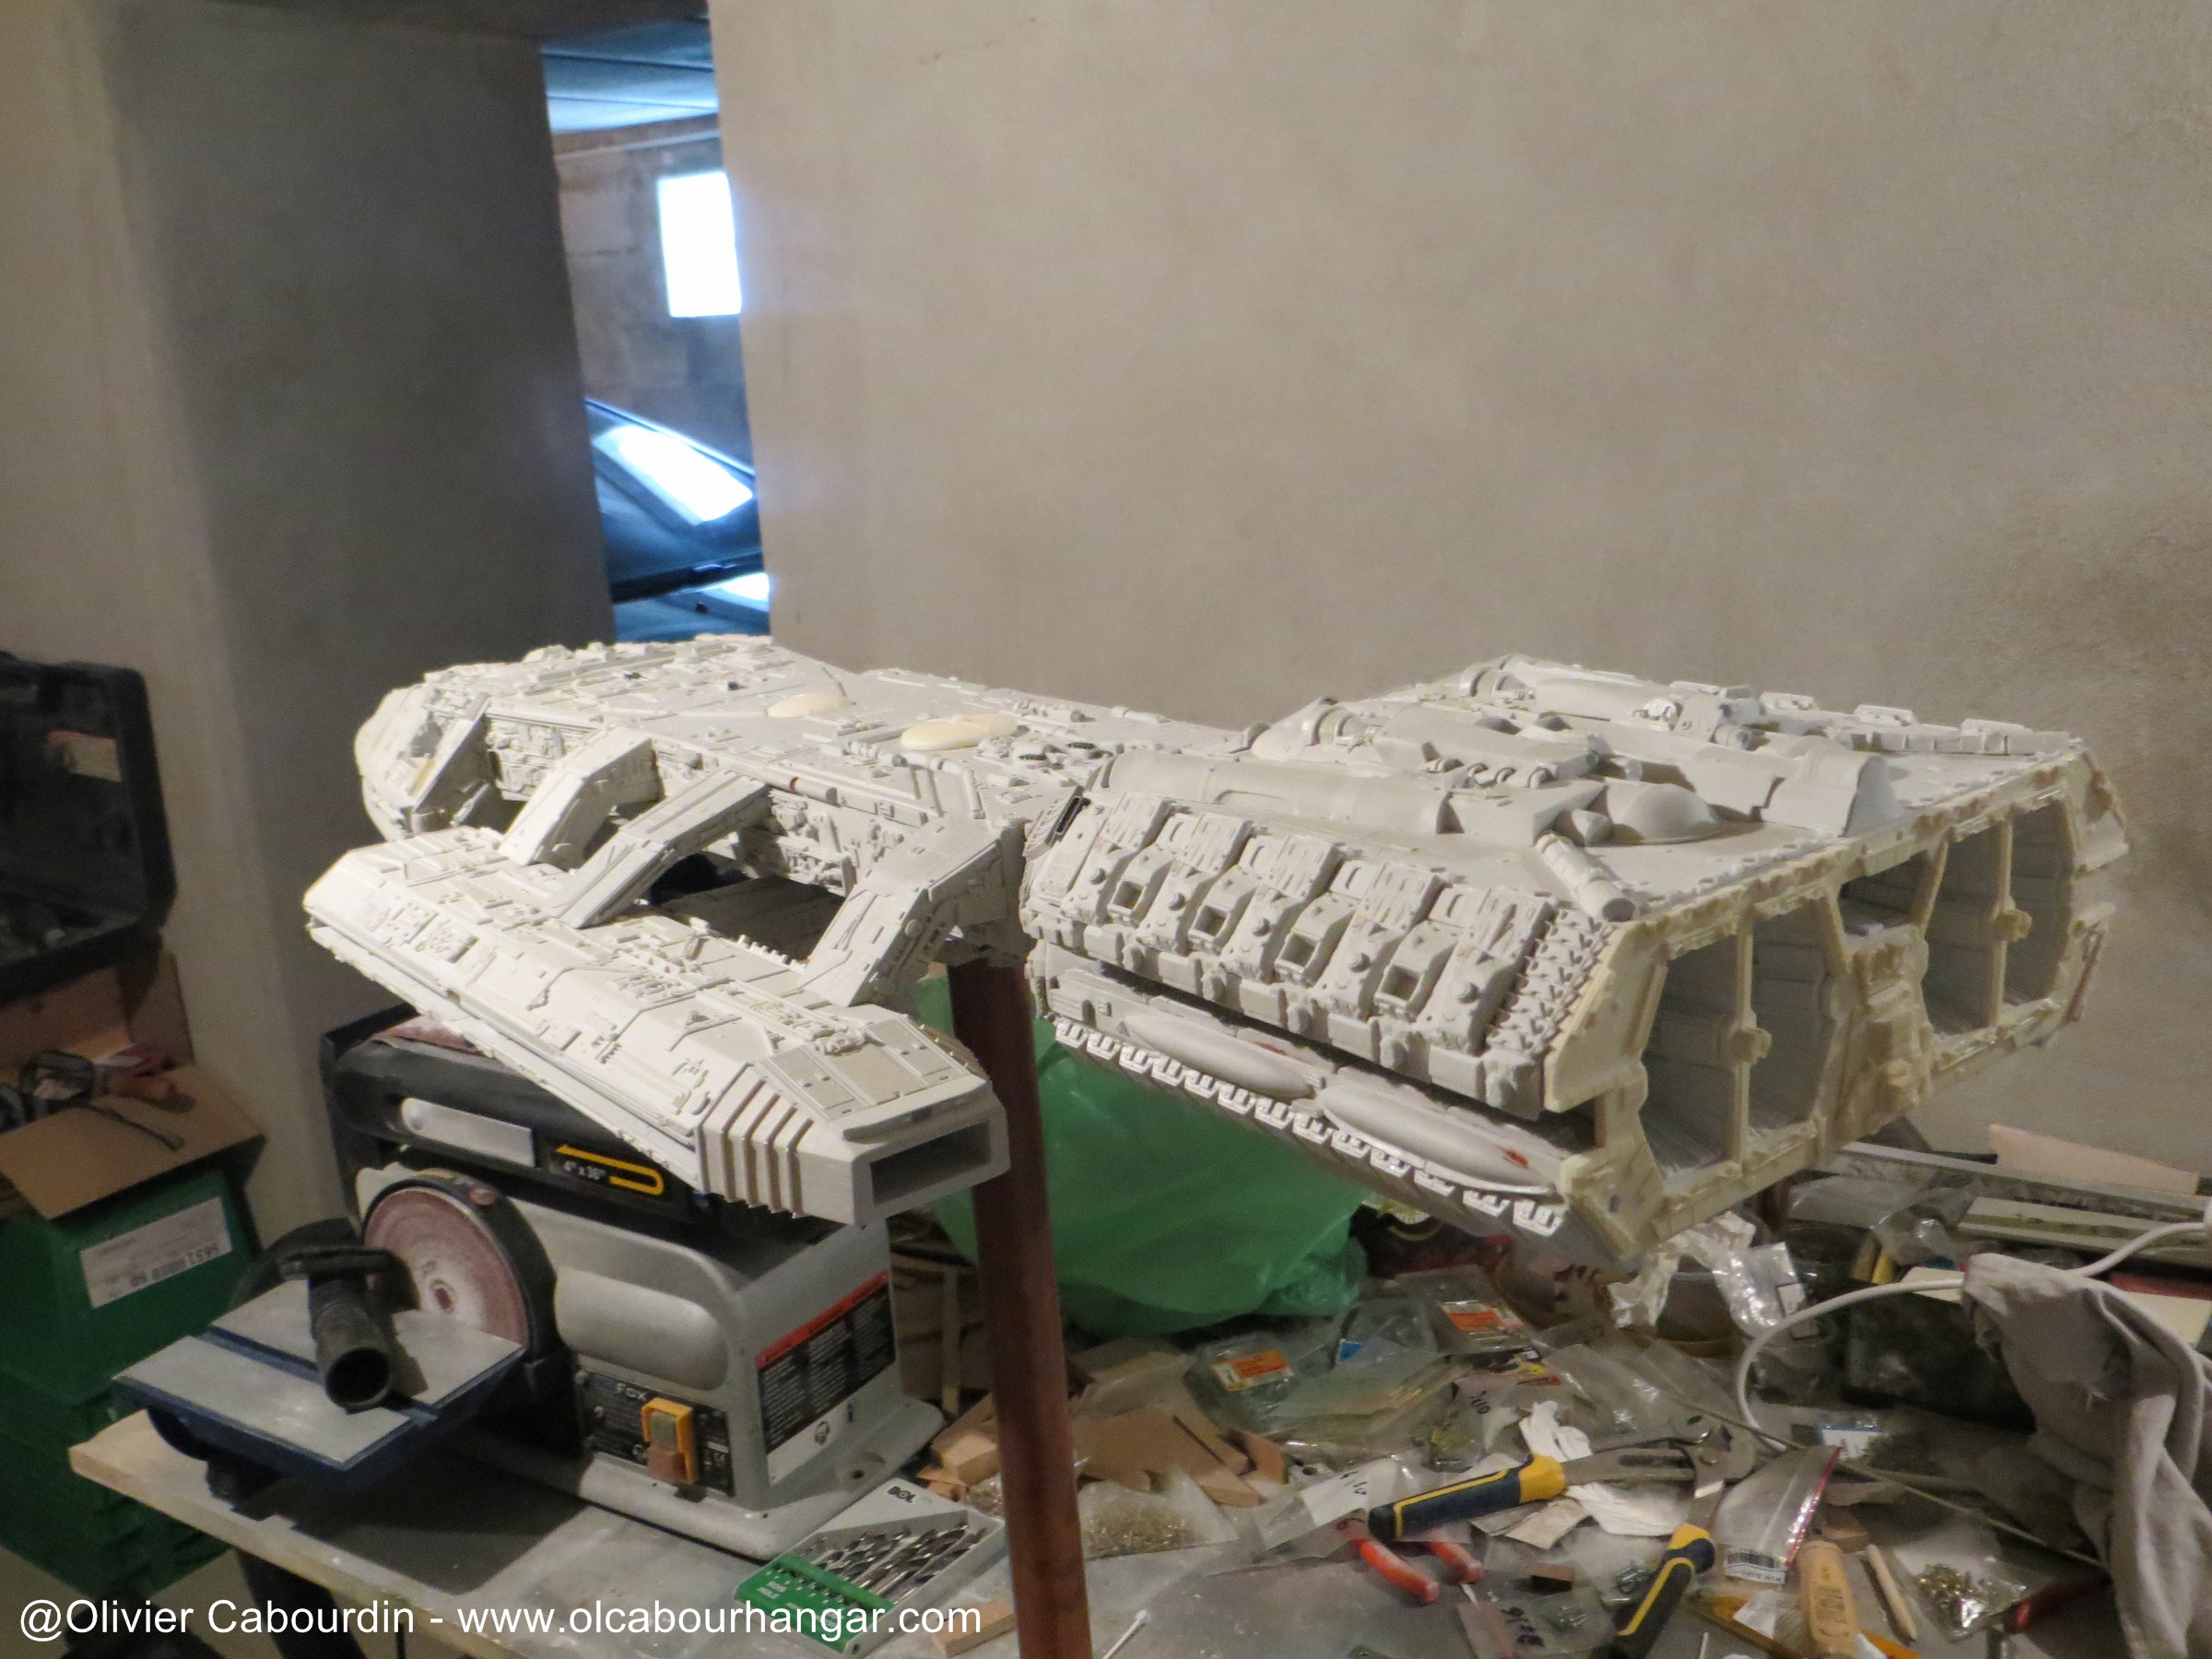
-- Last complete dry test before lights installation and hangar detailling.
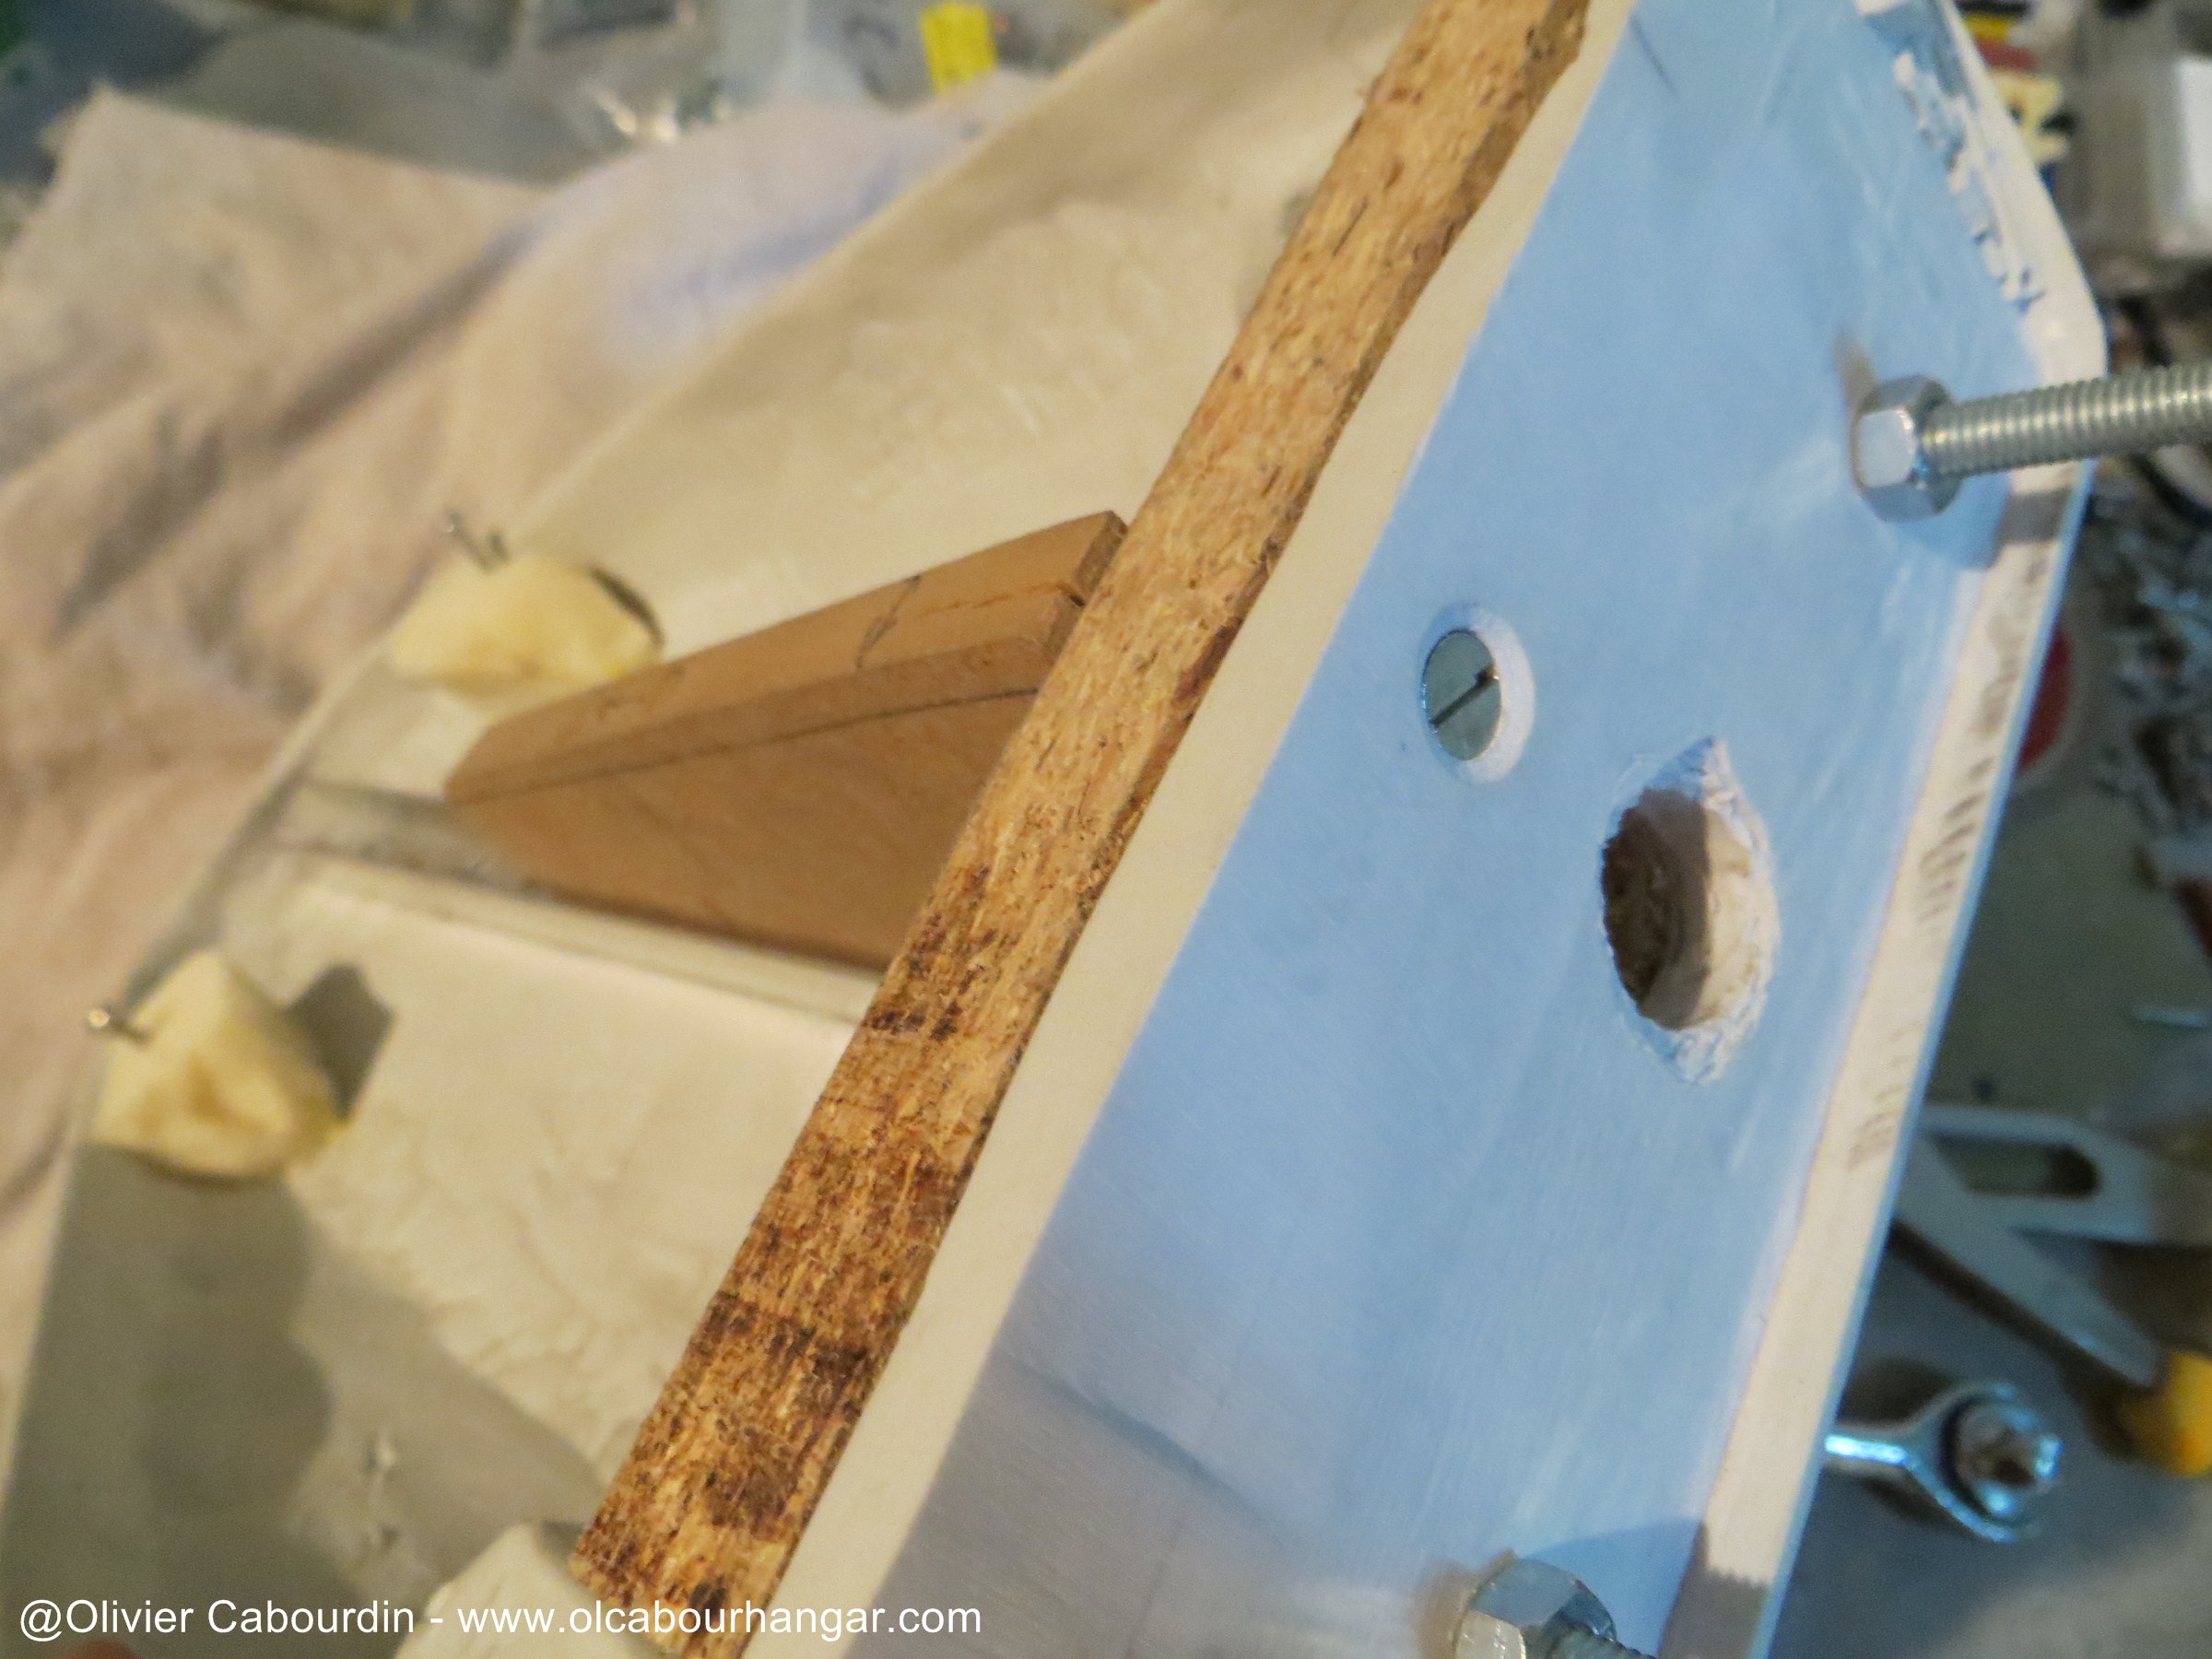
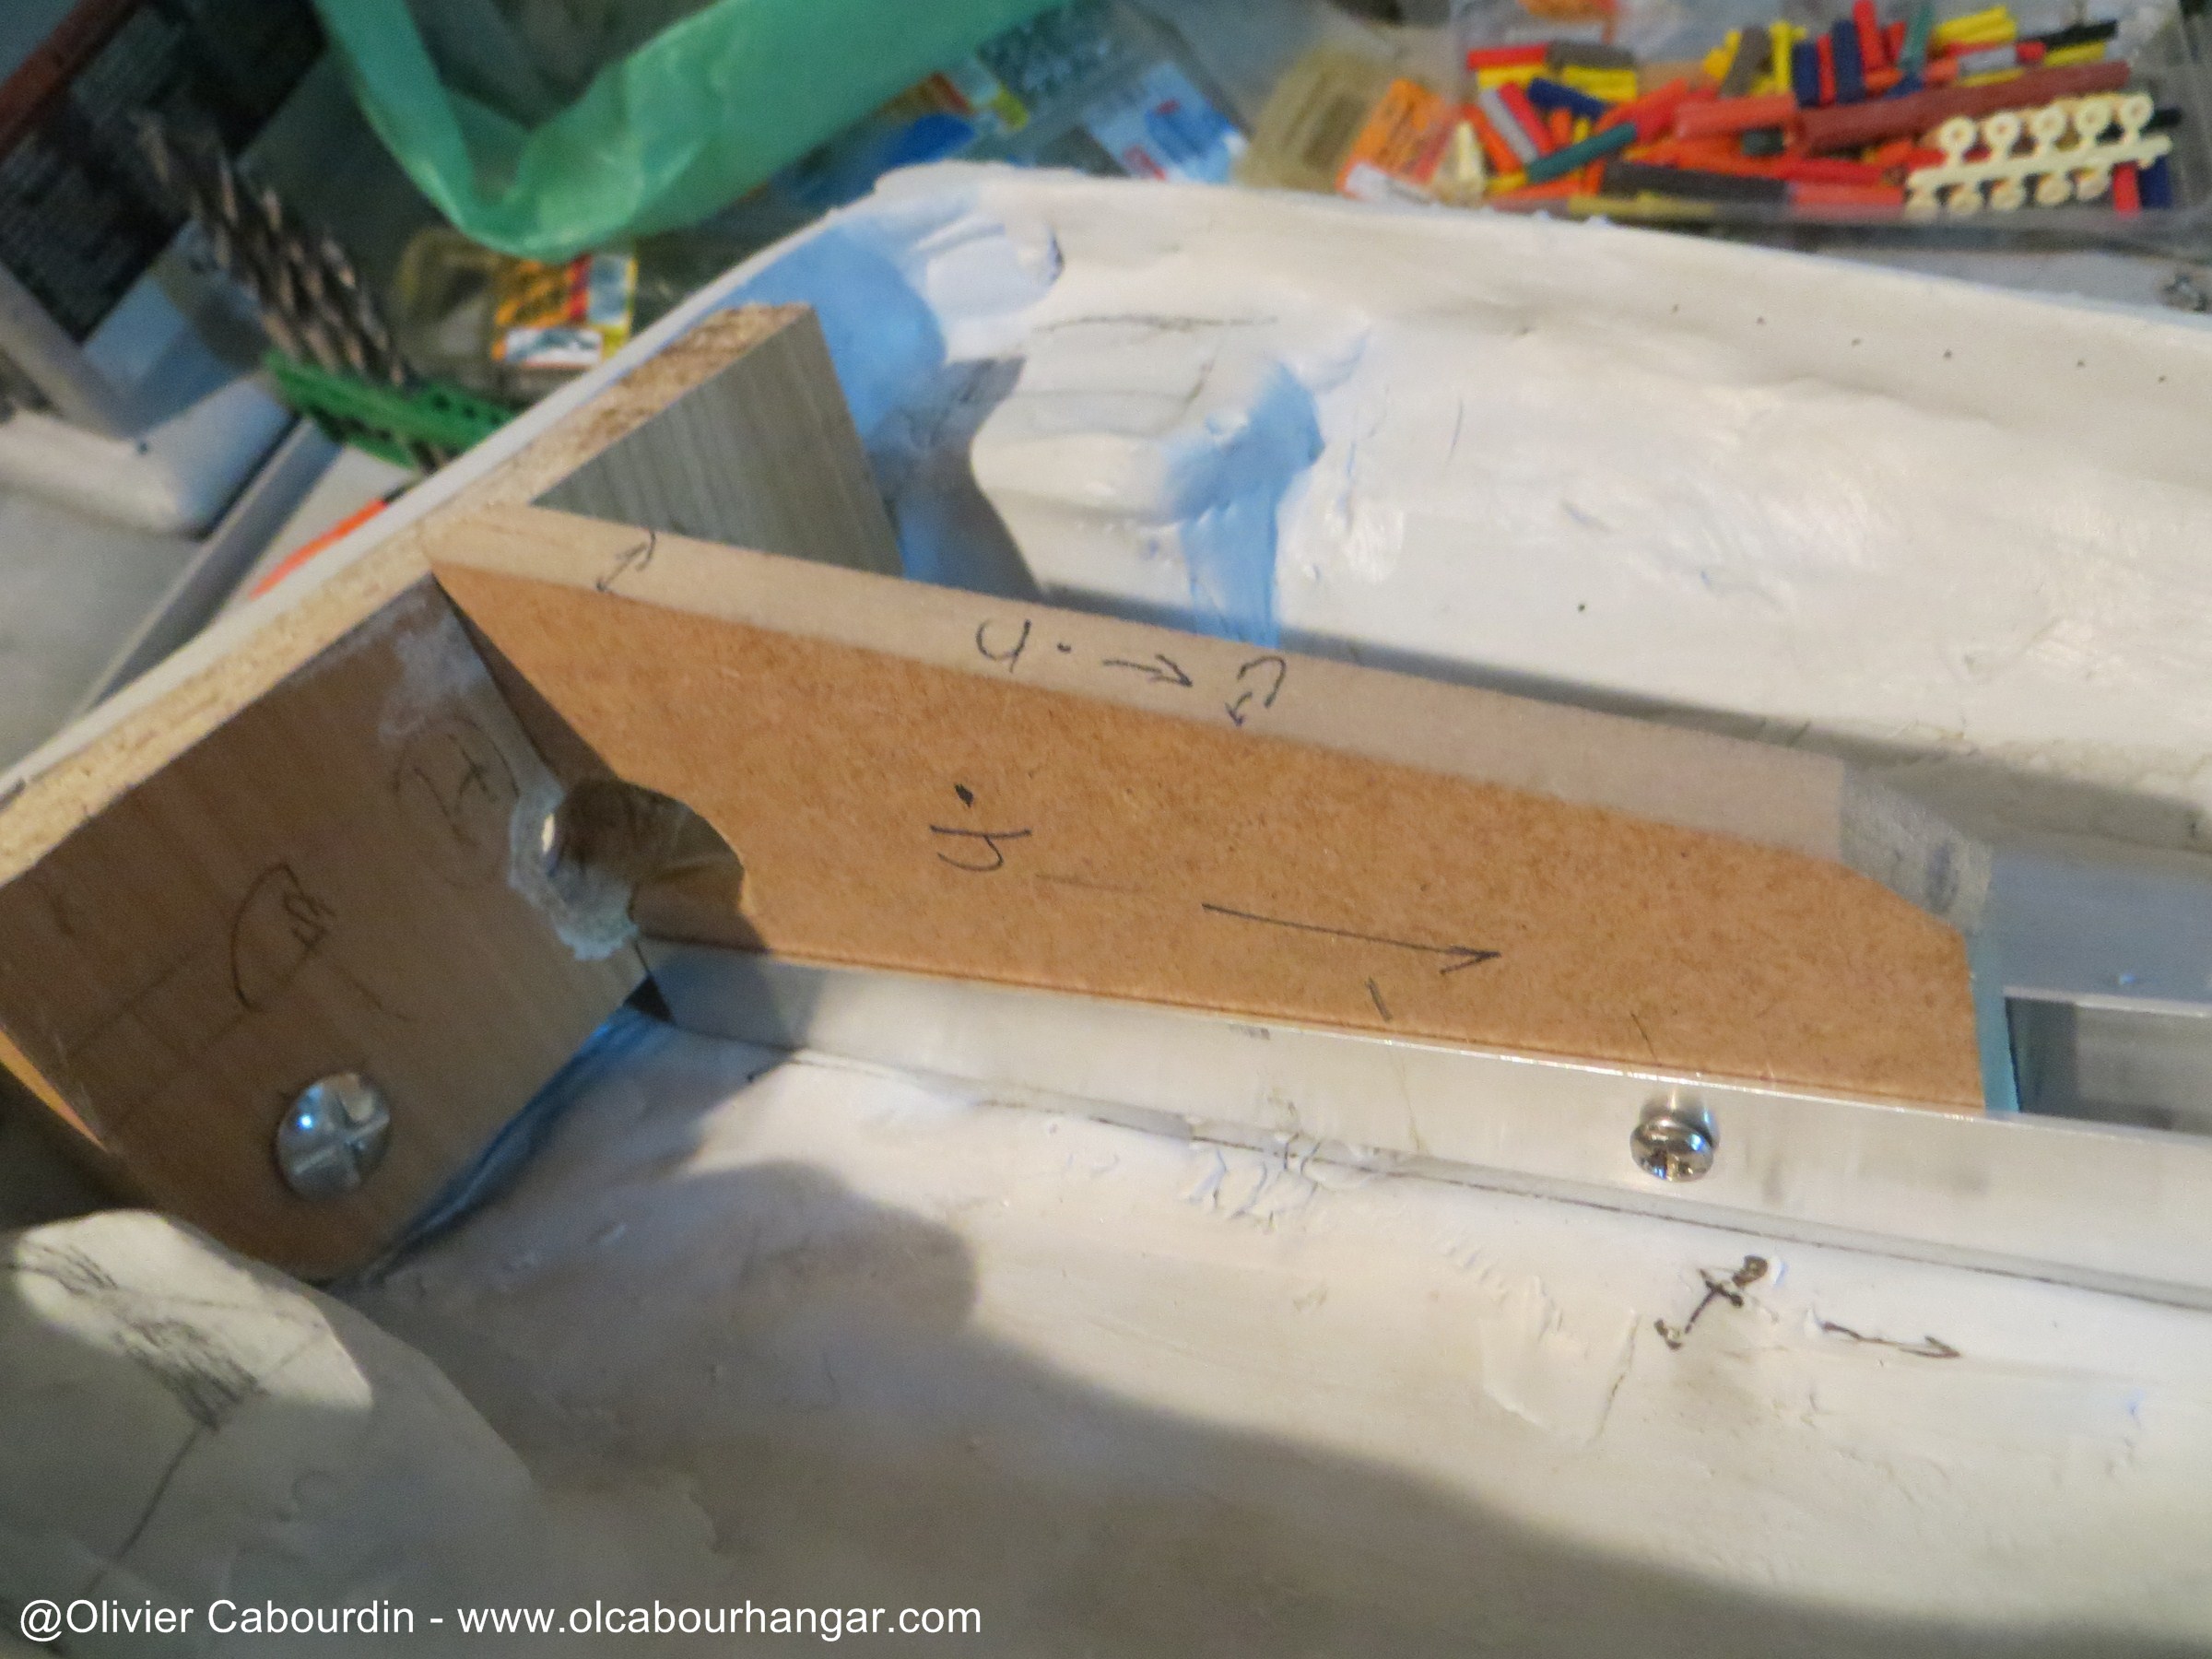
The usefull thing of this assembly with screws at this step is that everything can be dismantled easily.

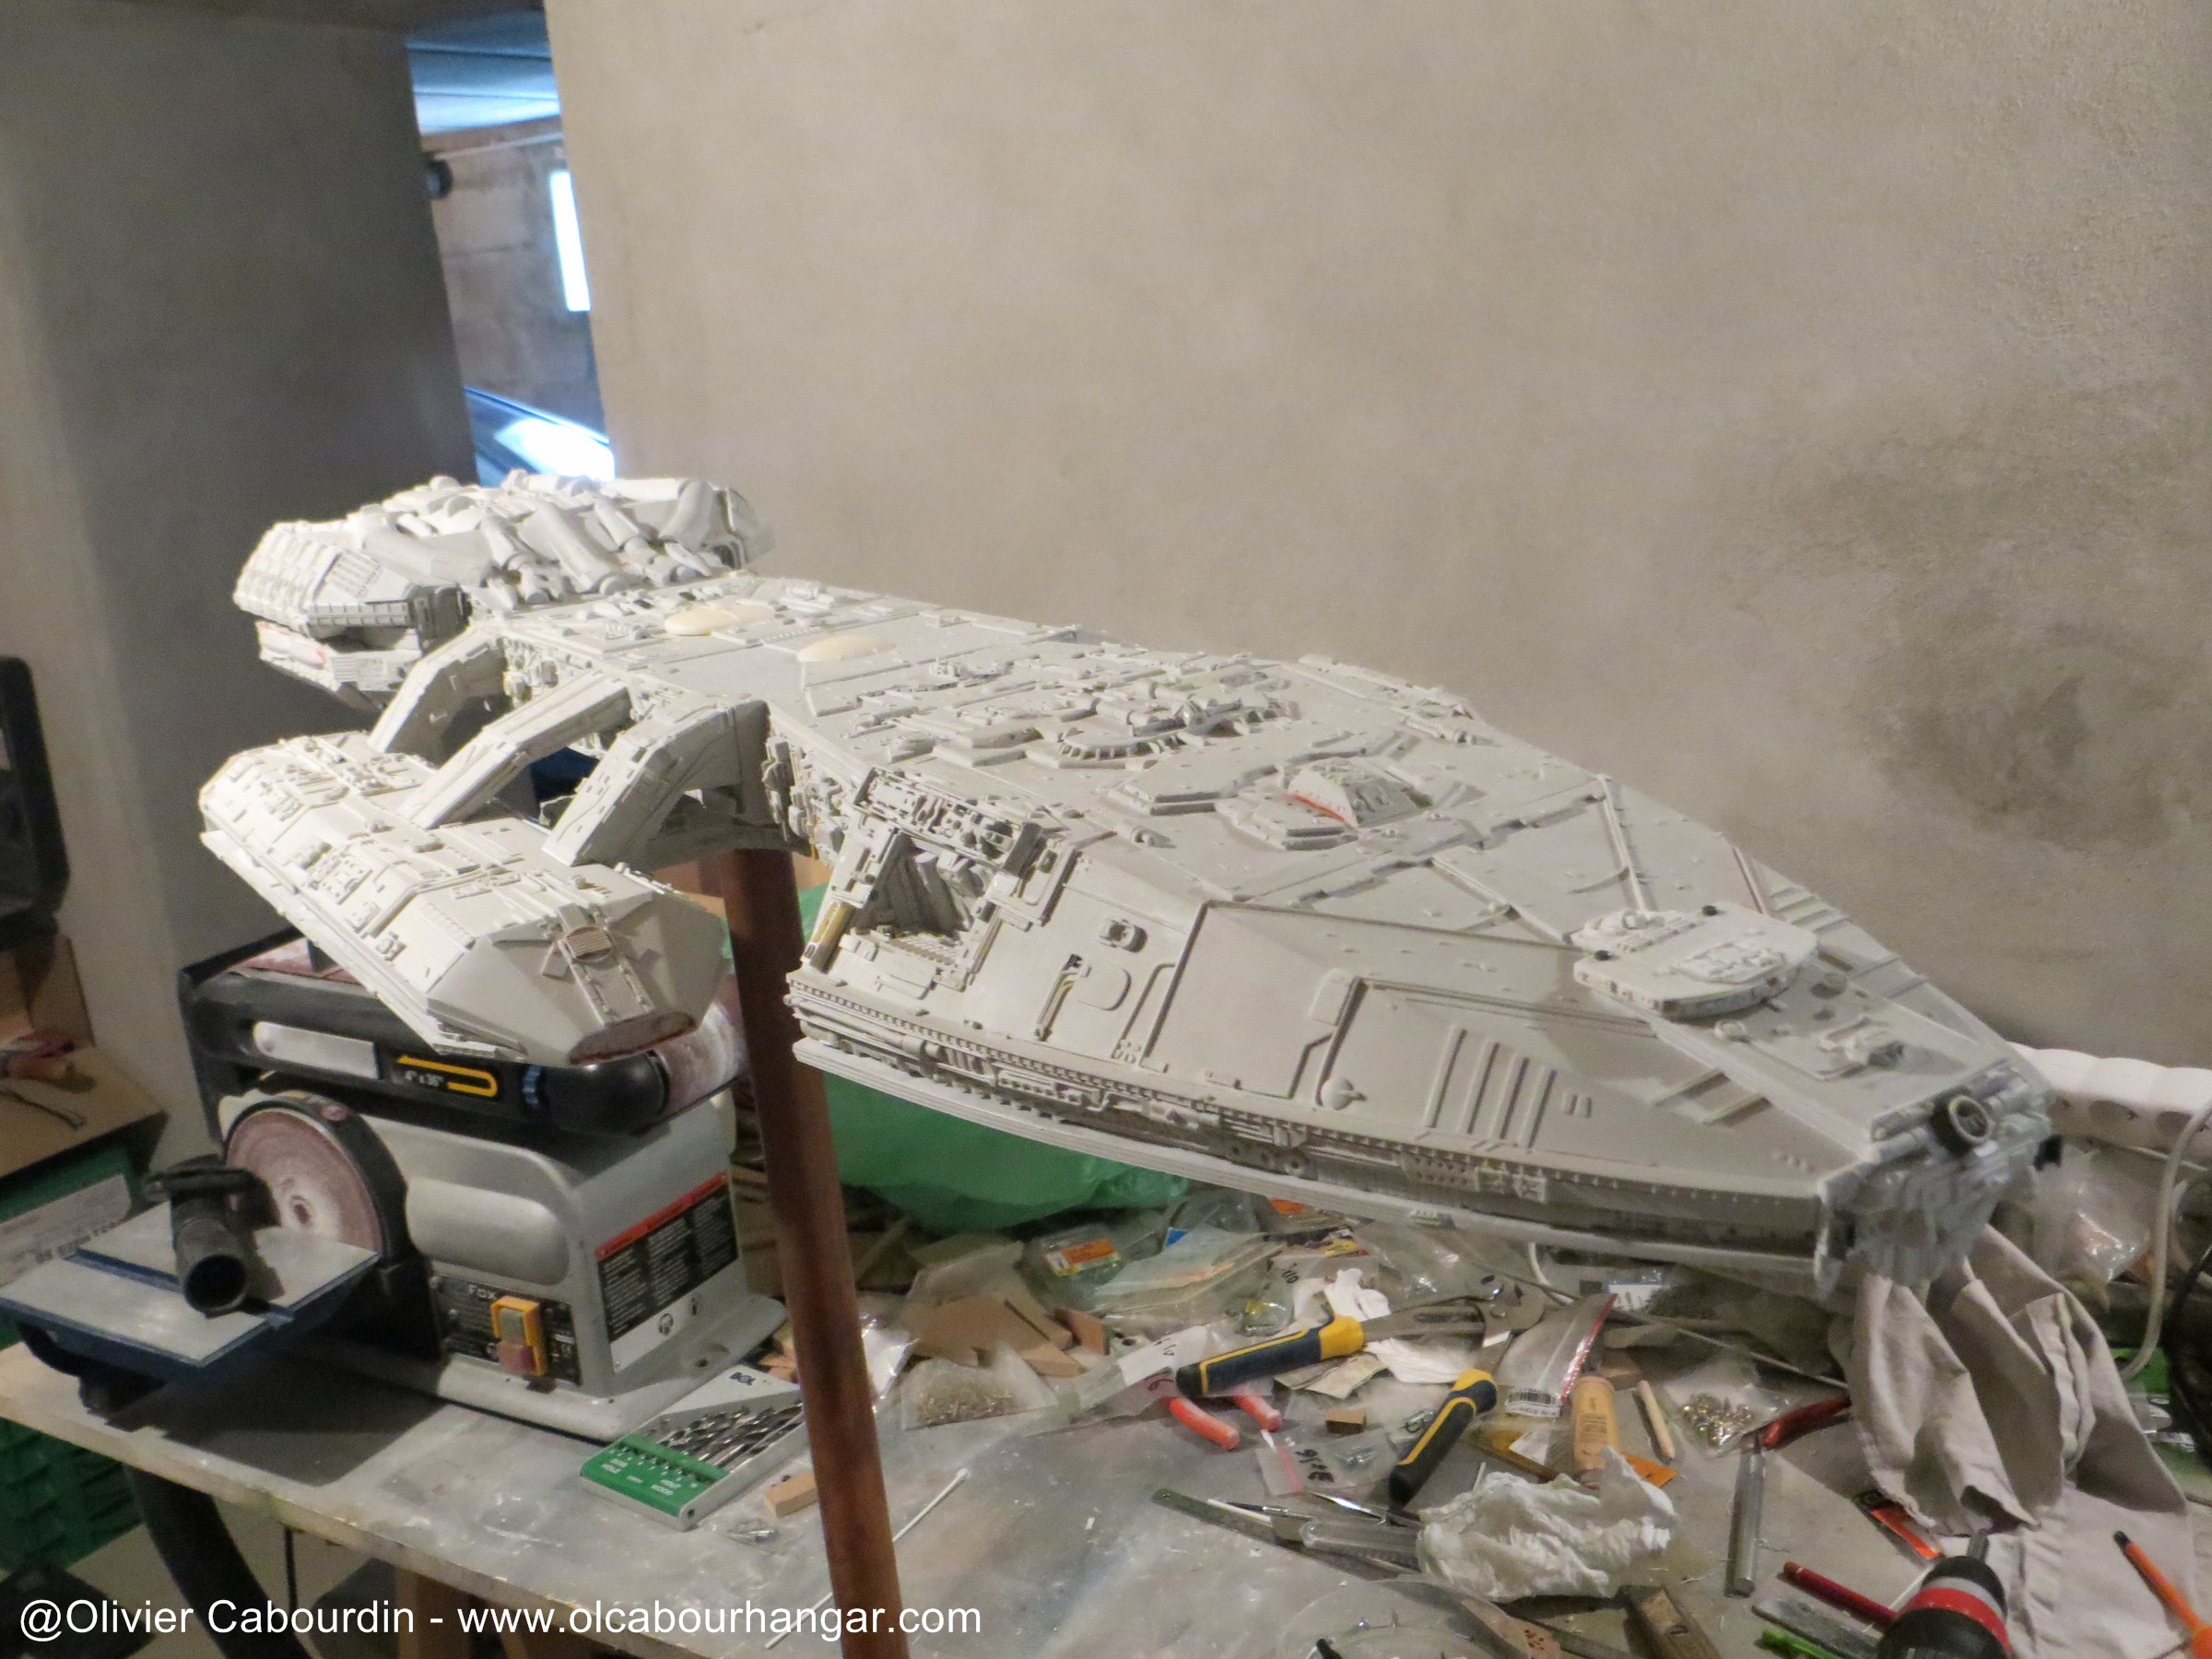
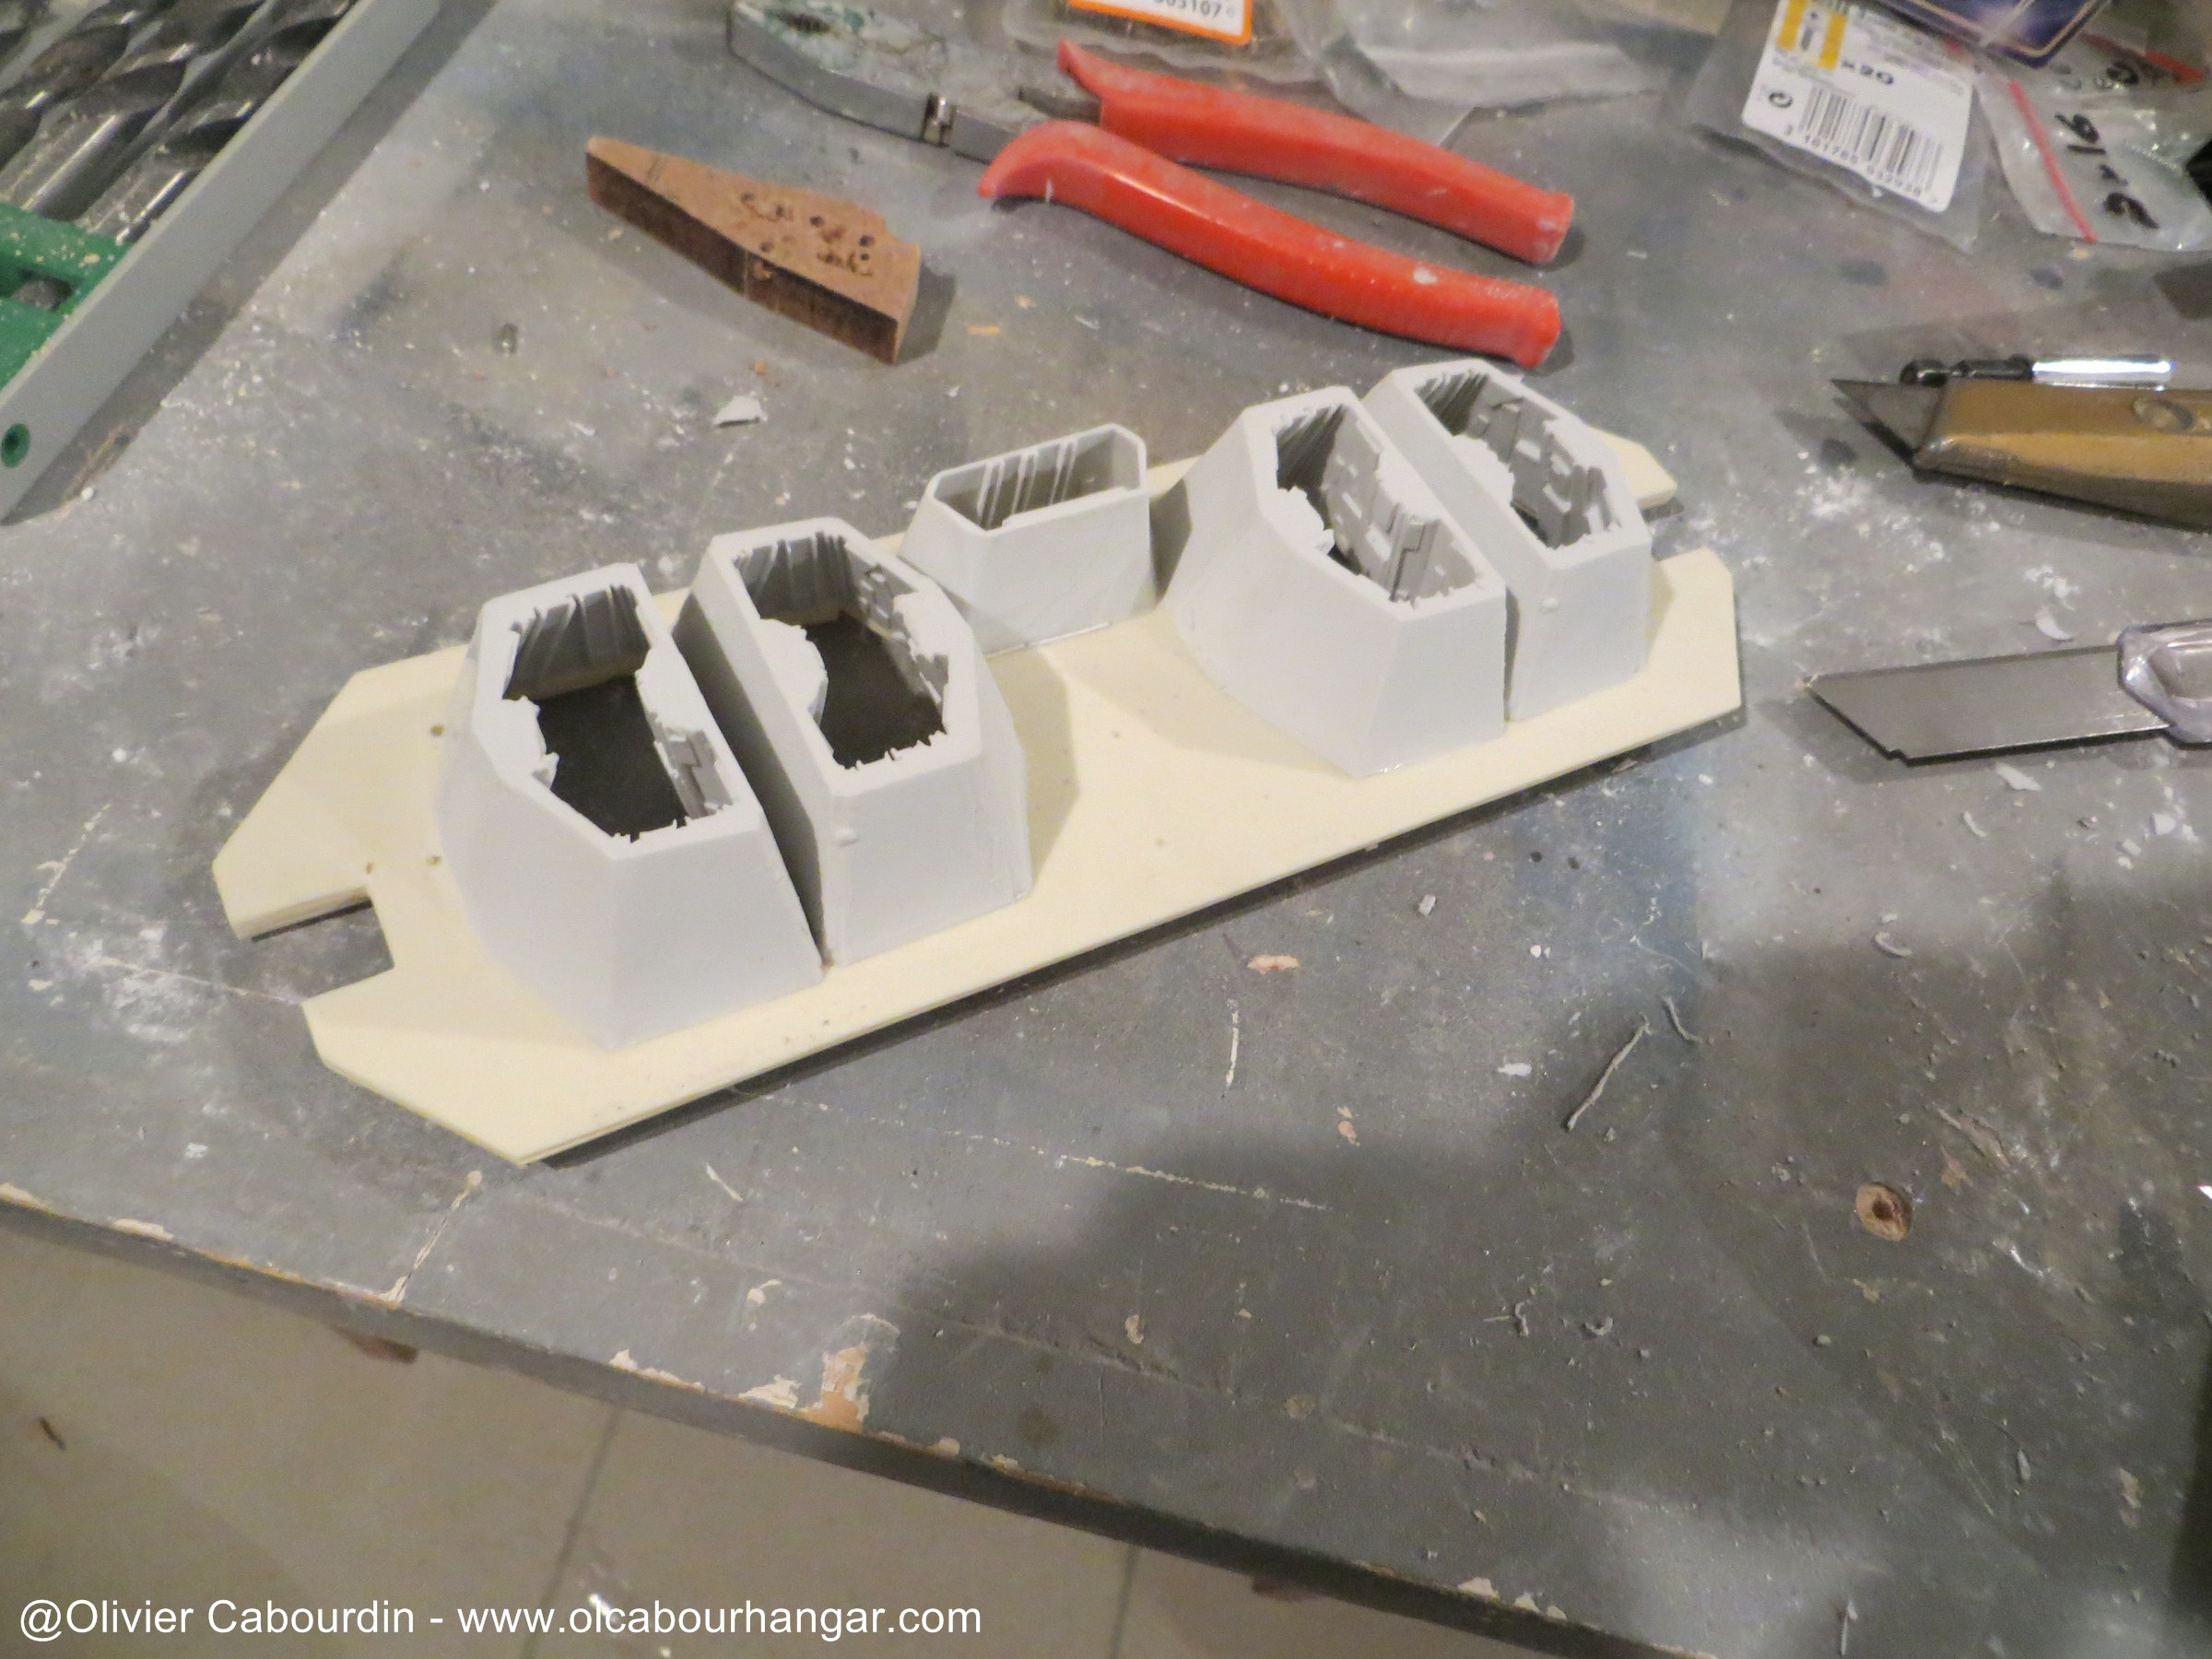
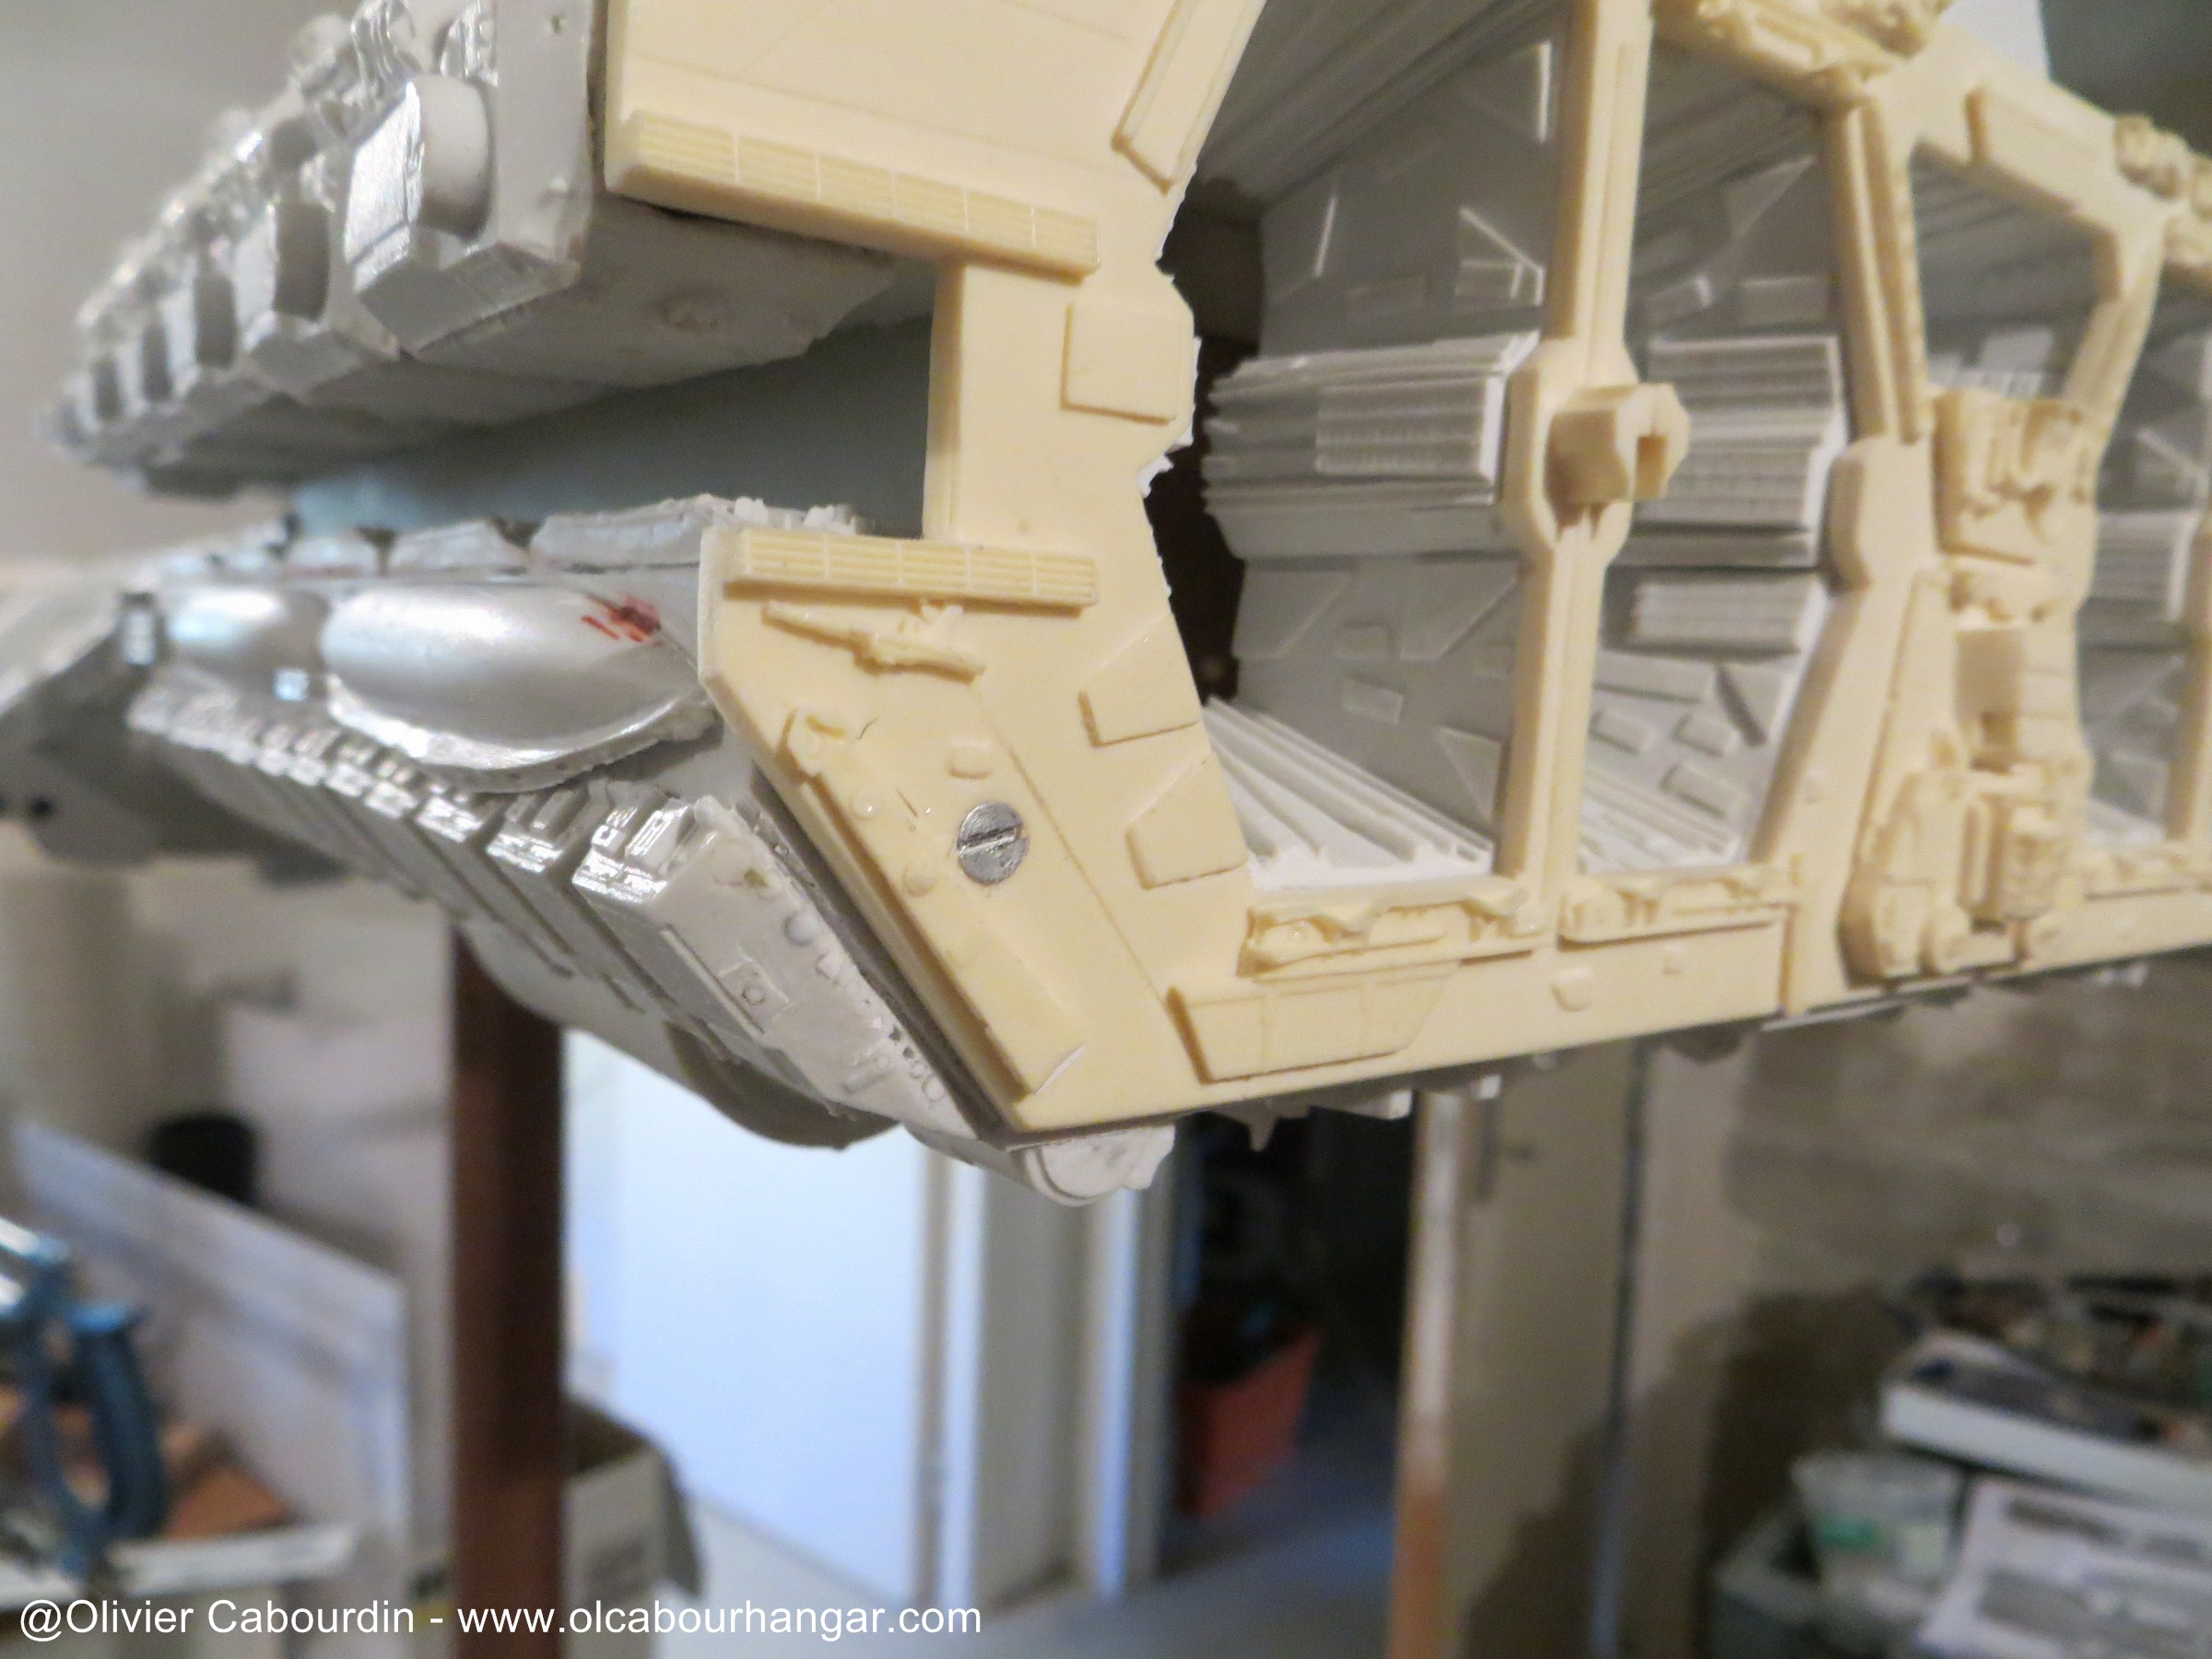
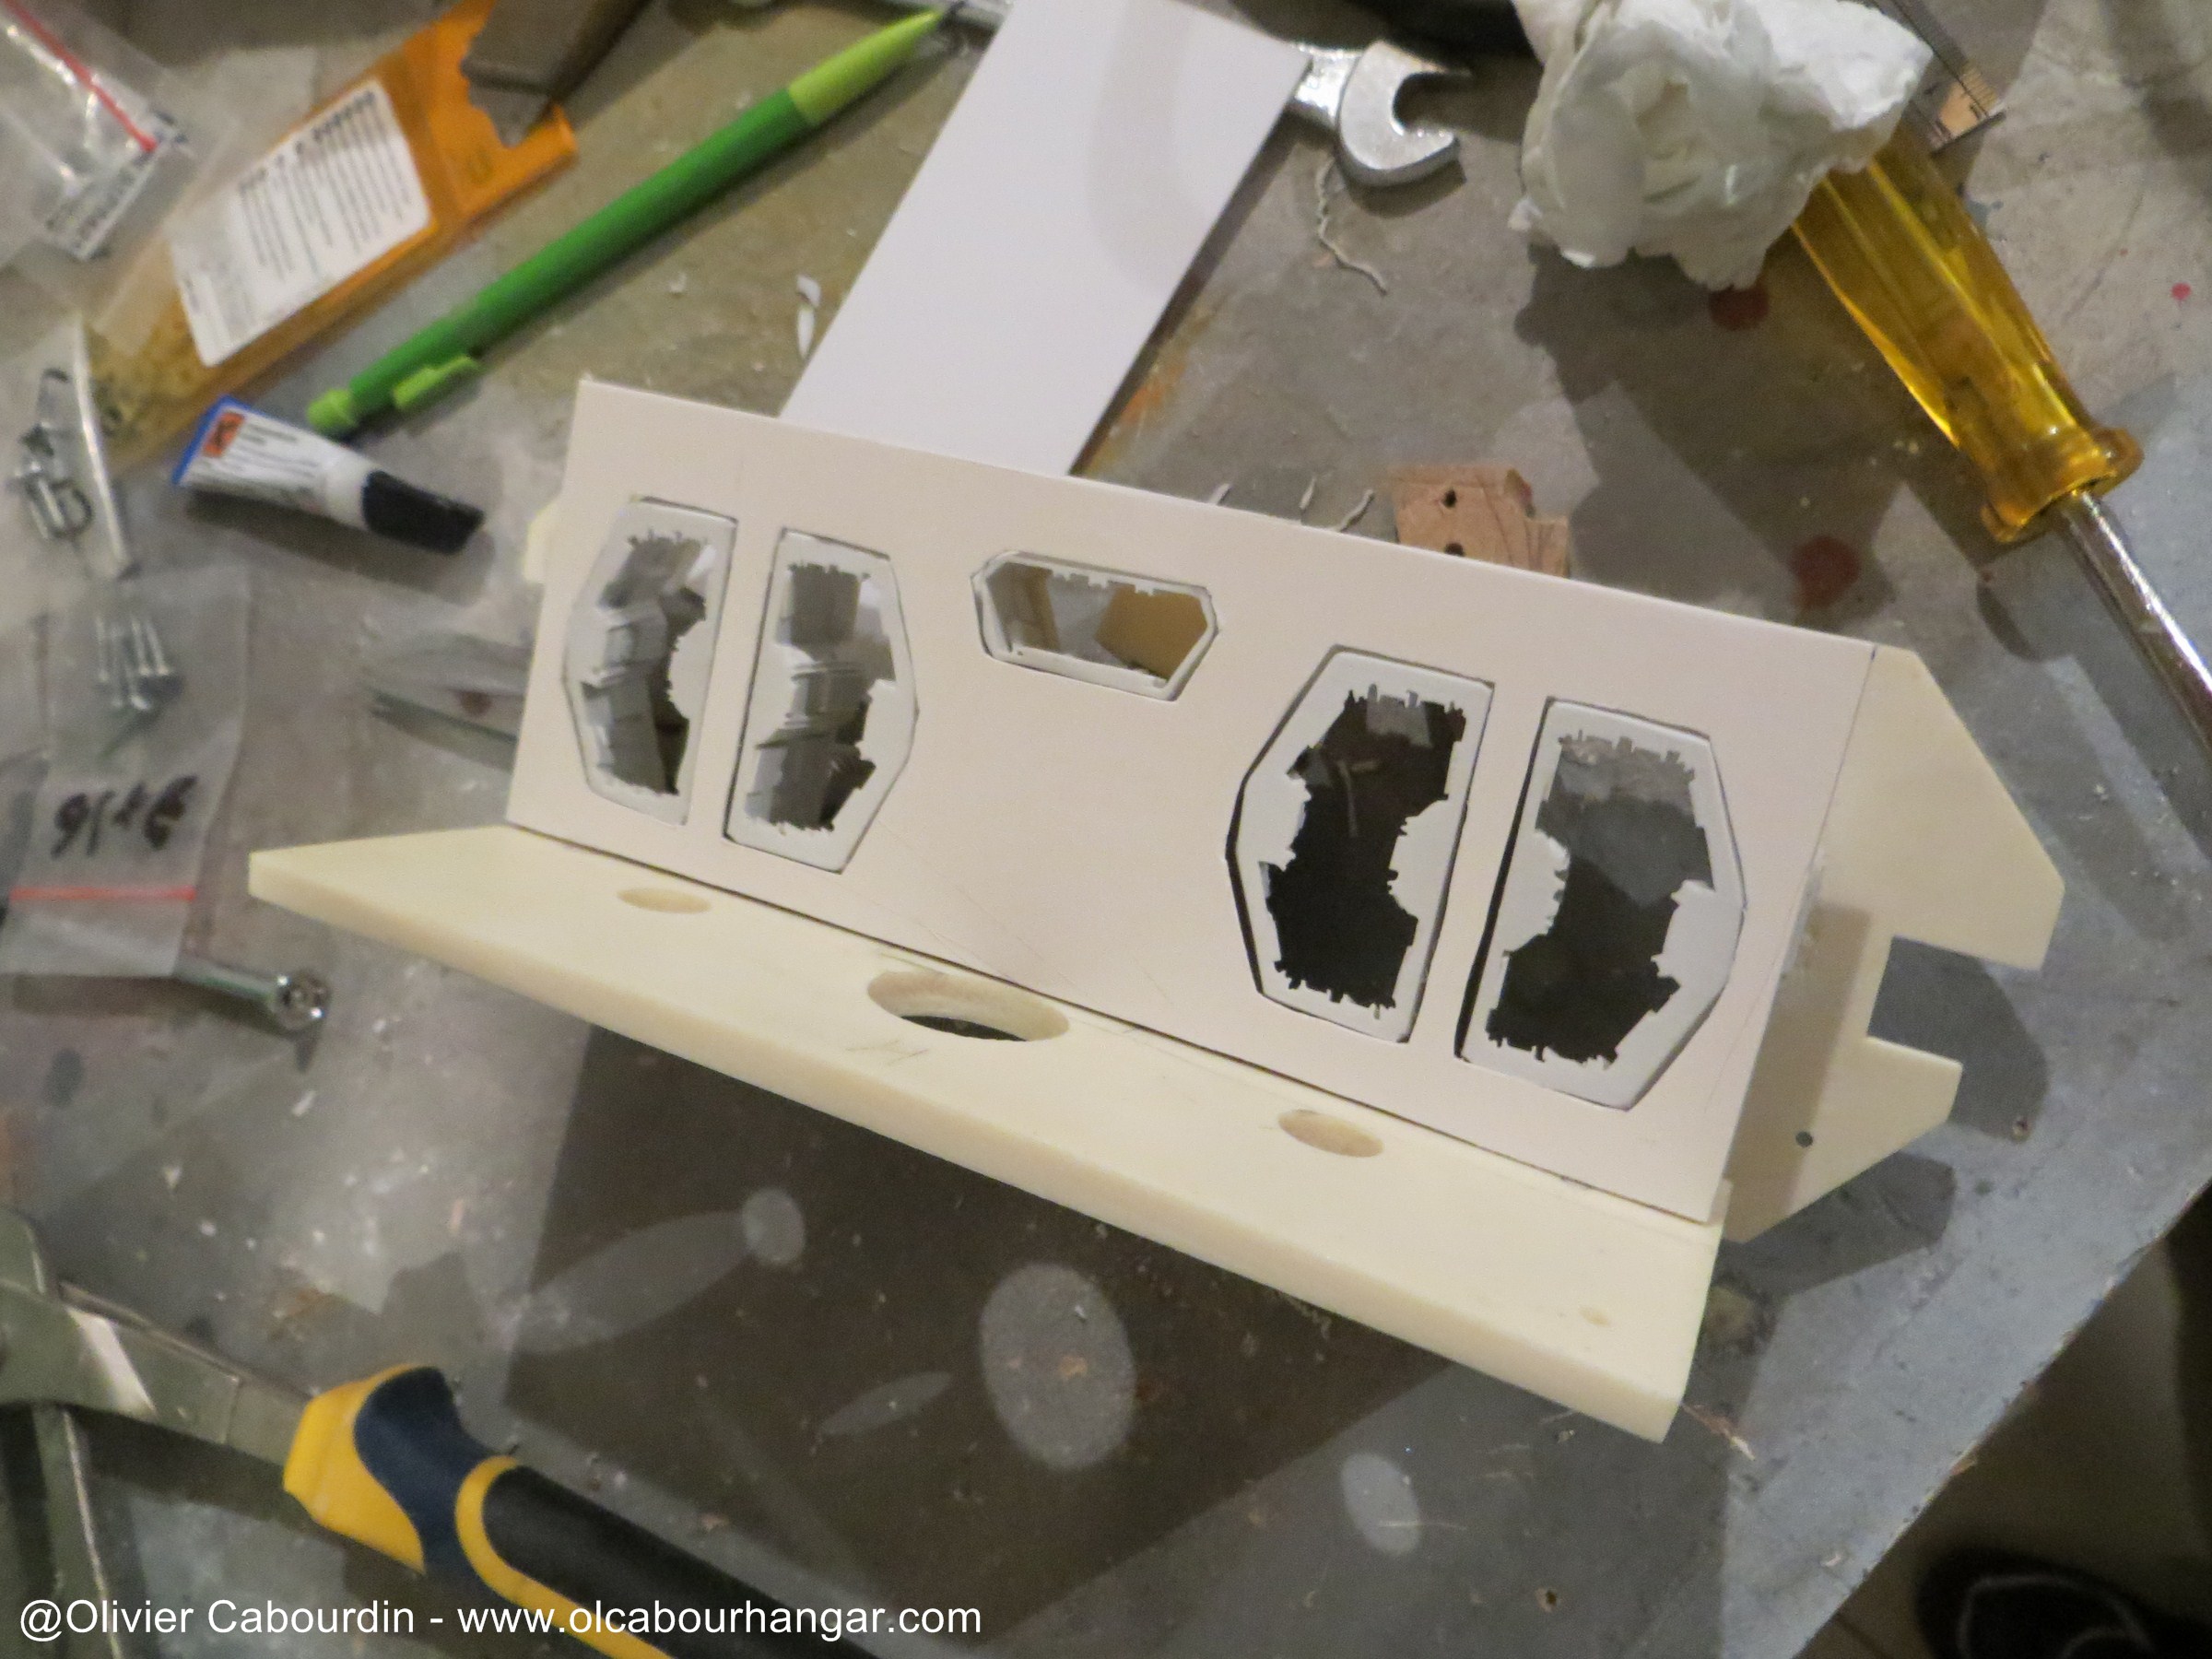
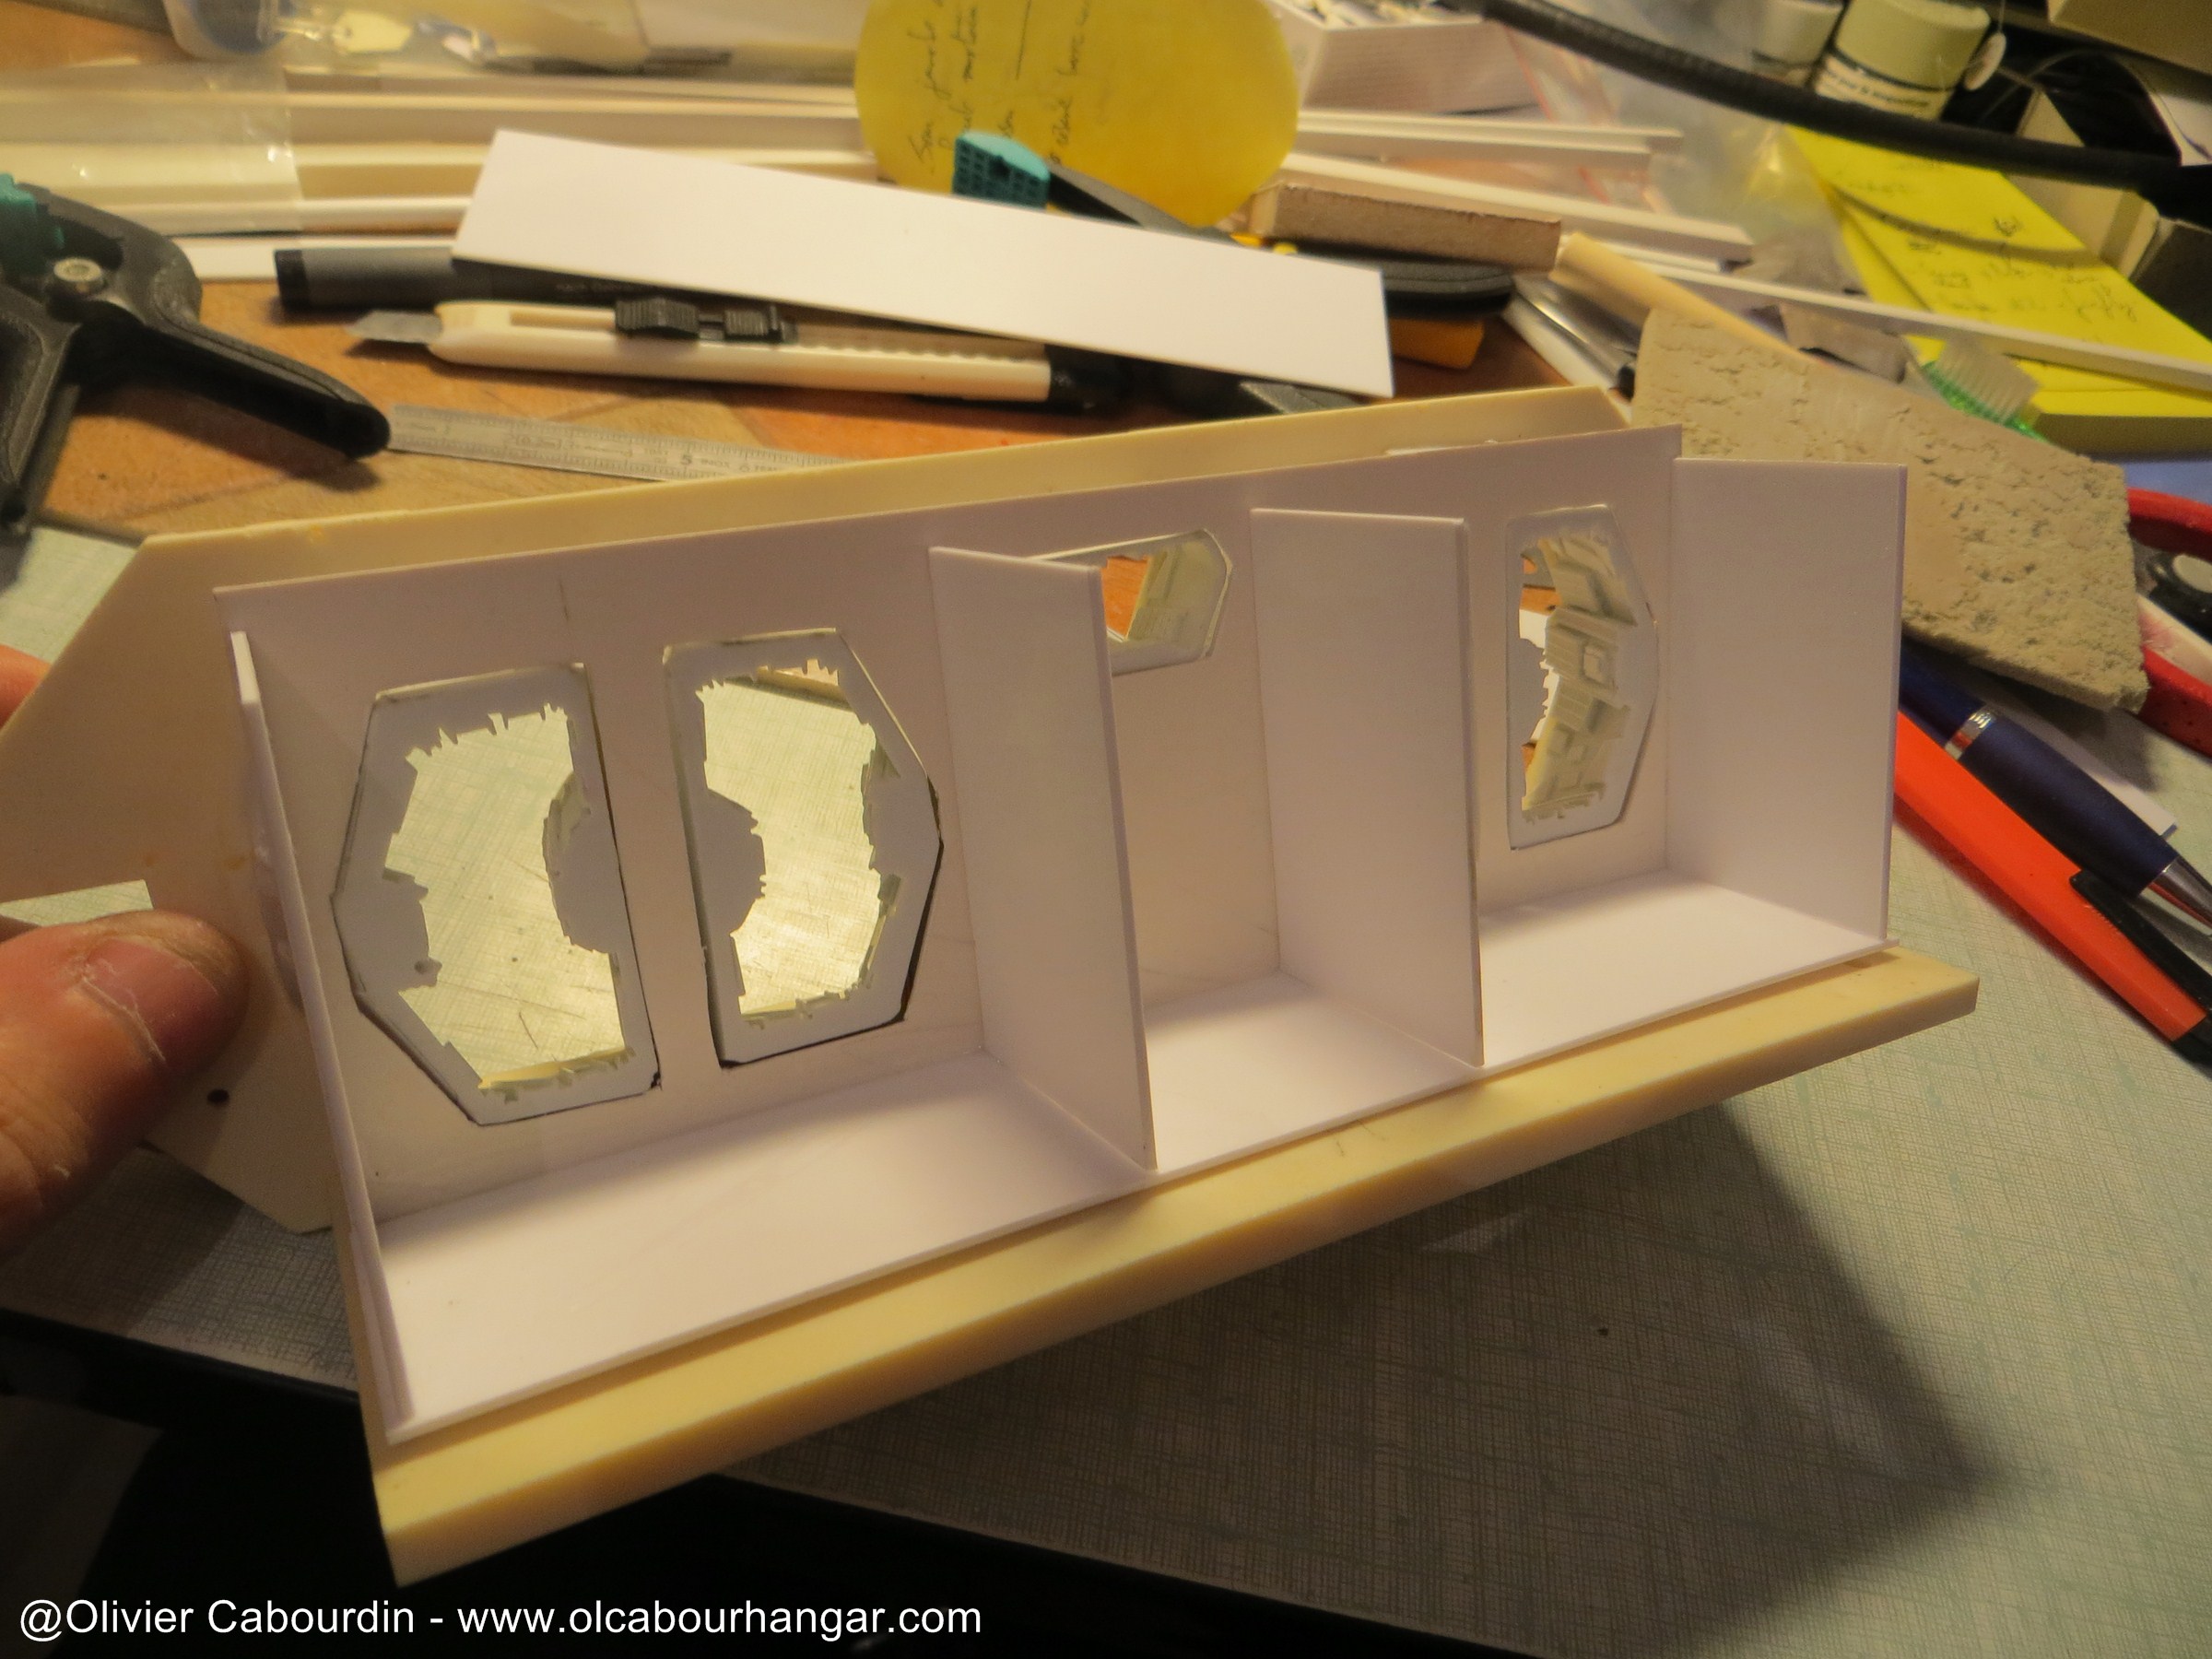
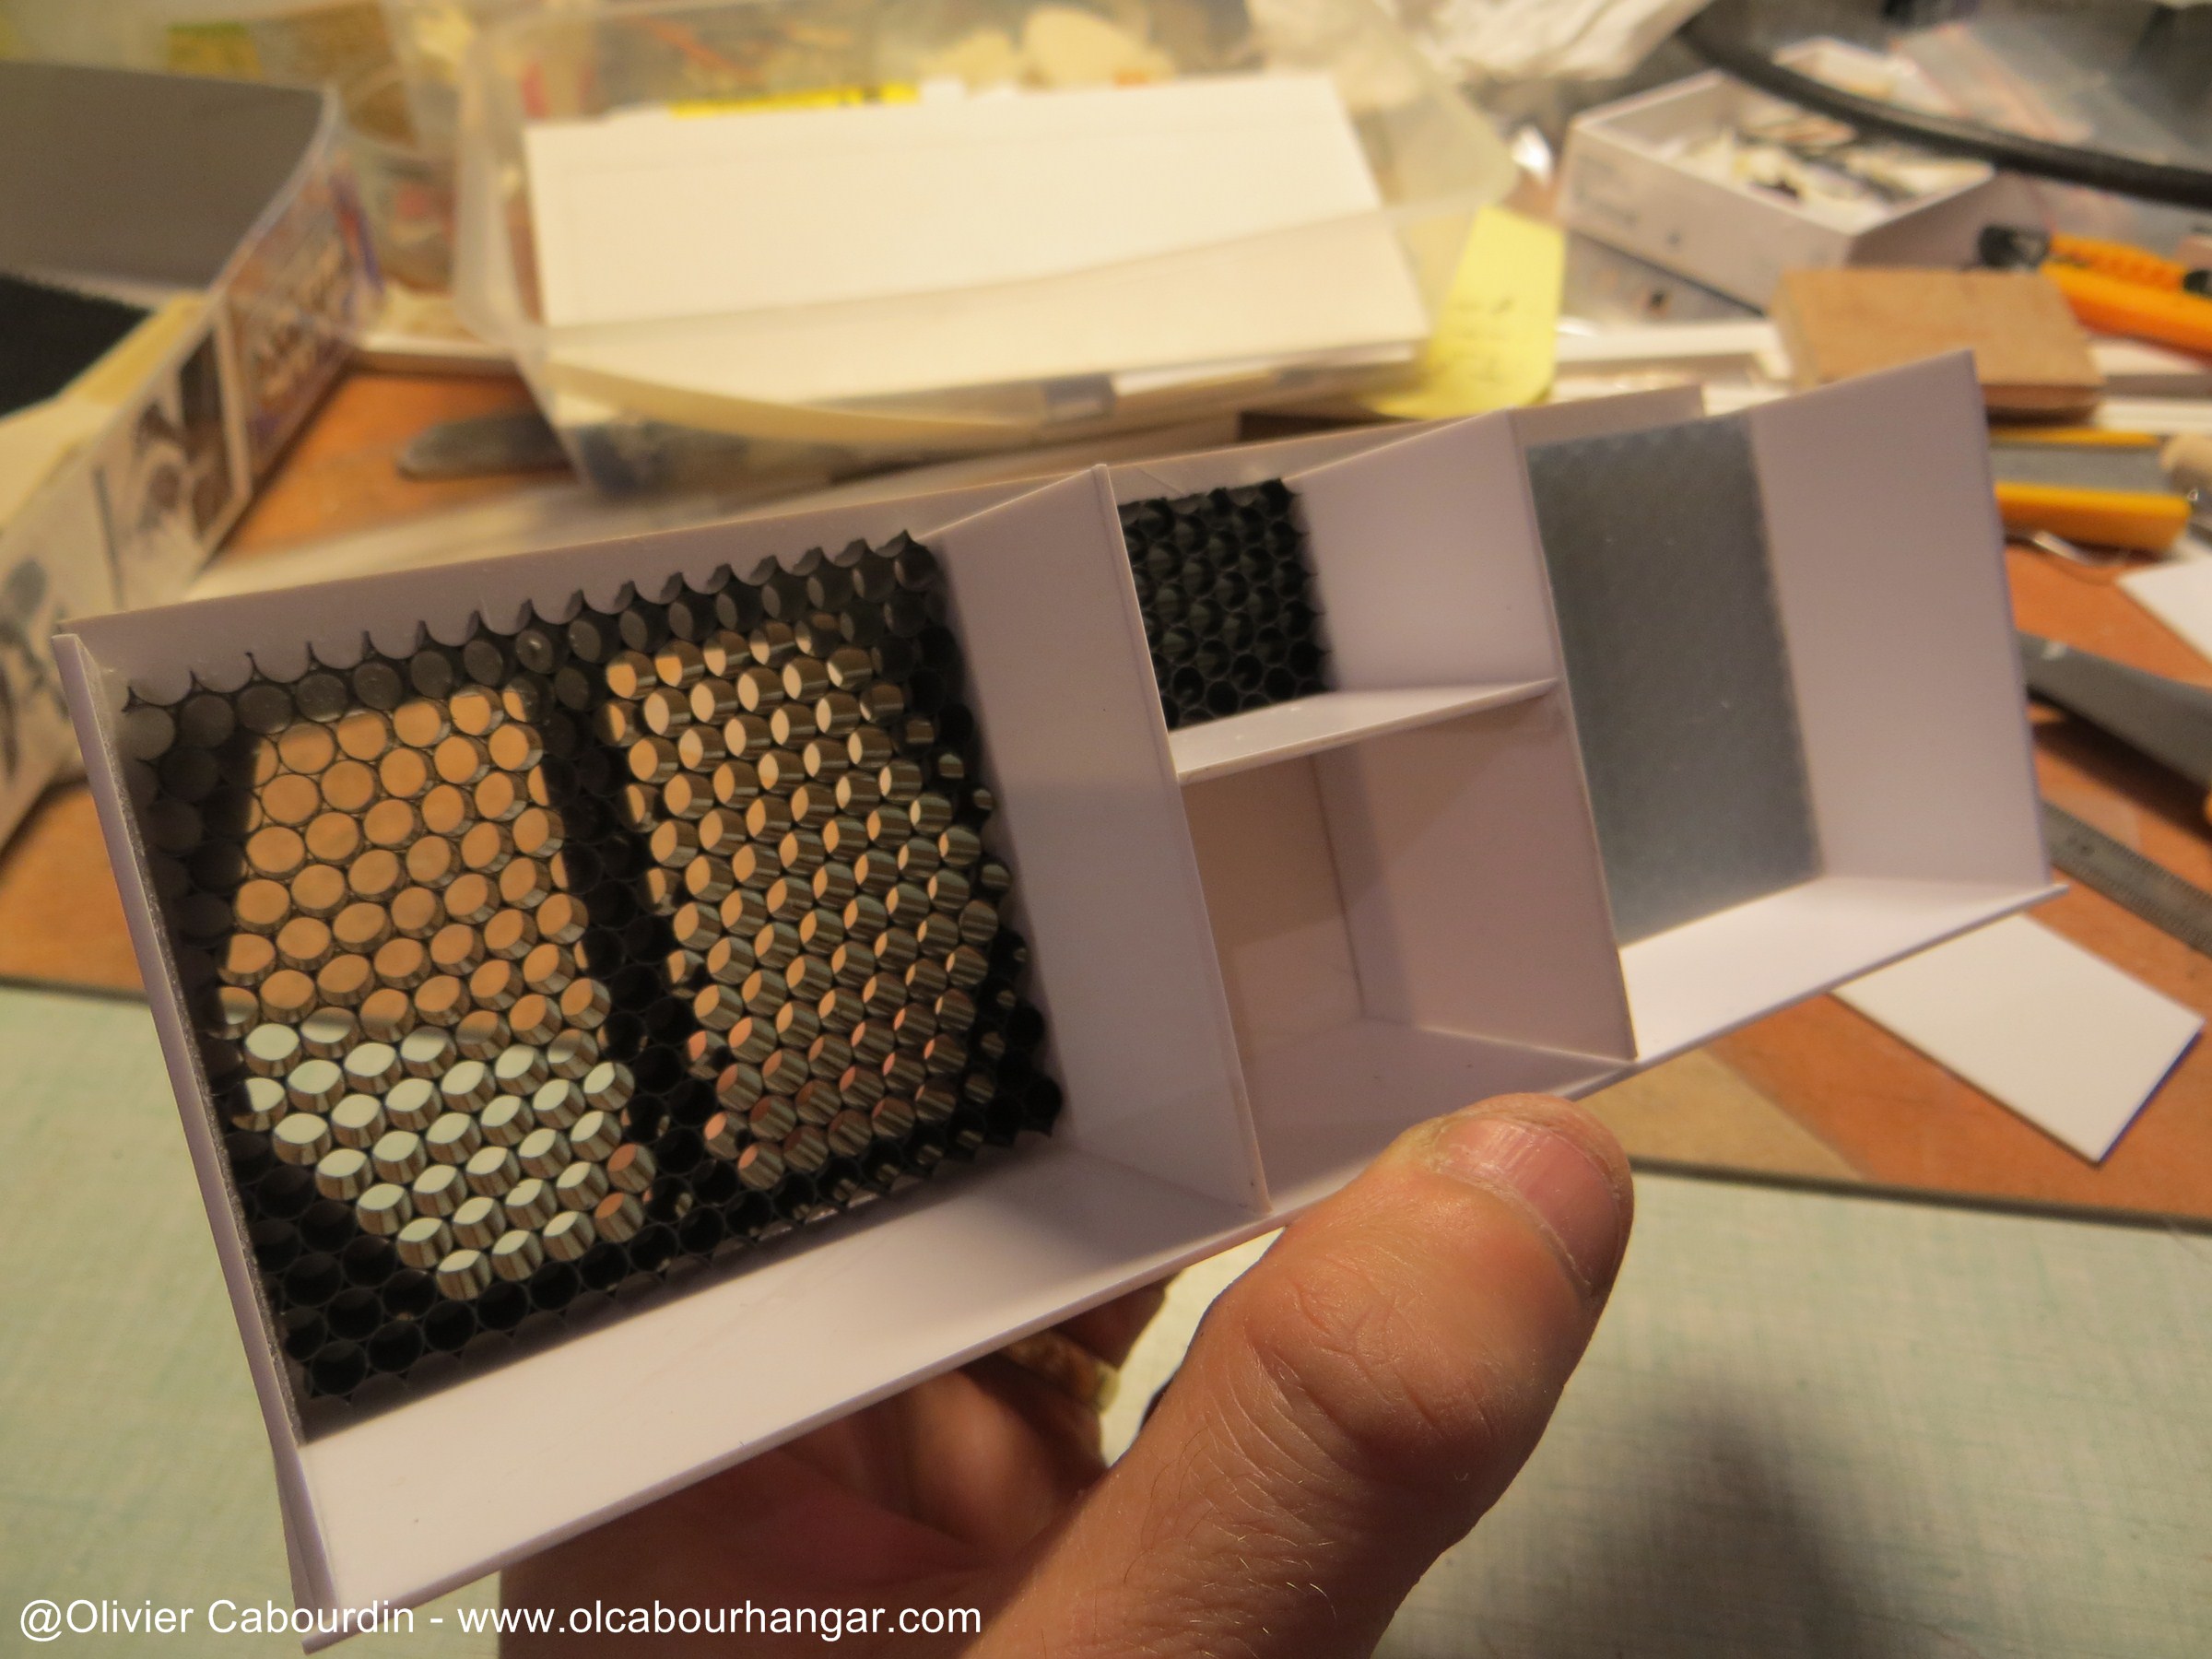
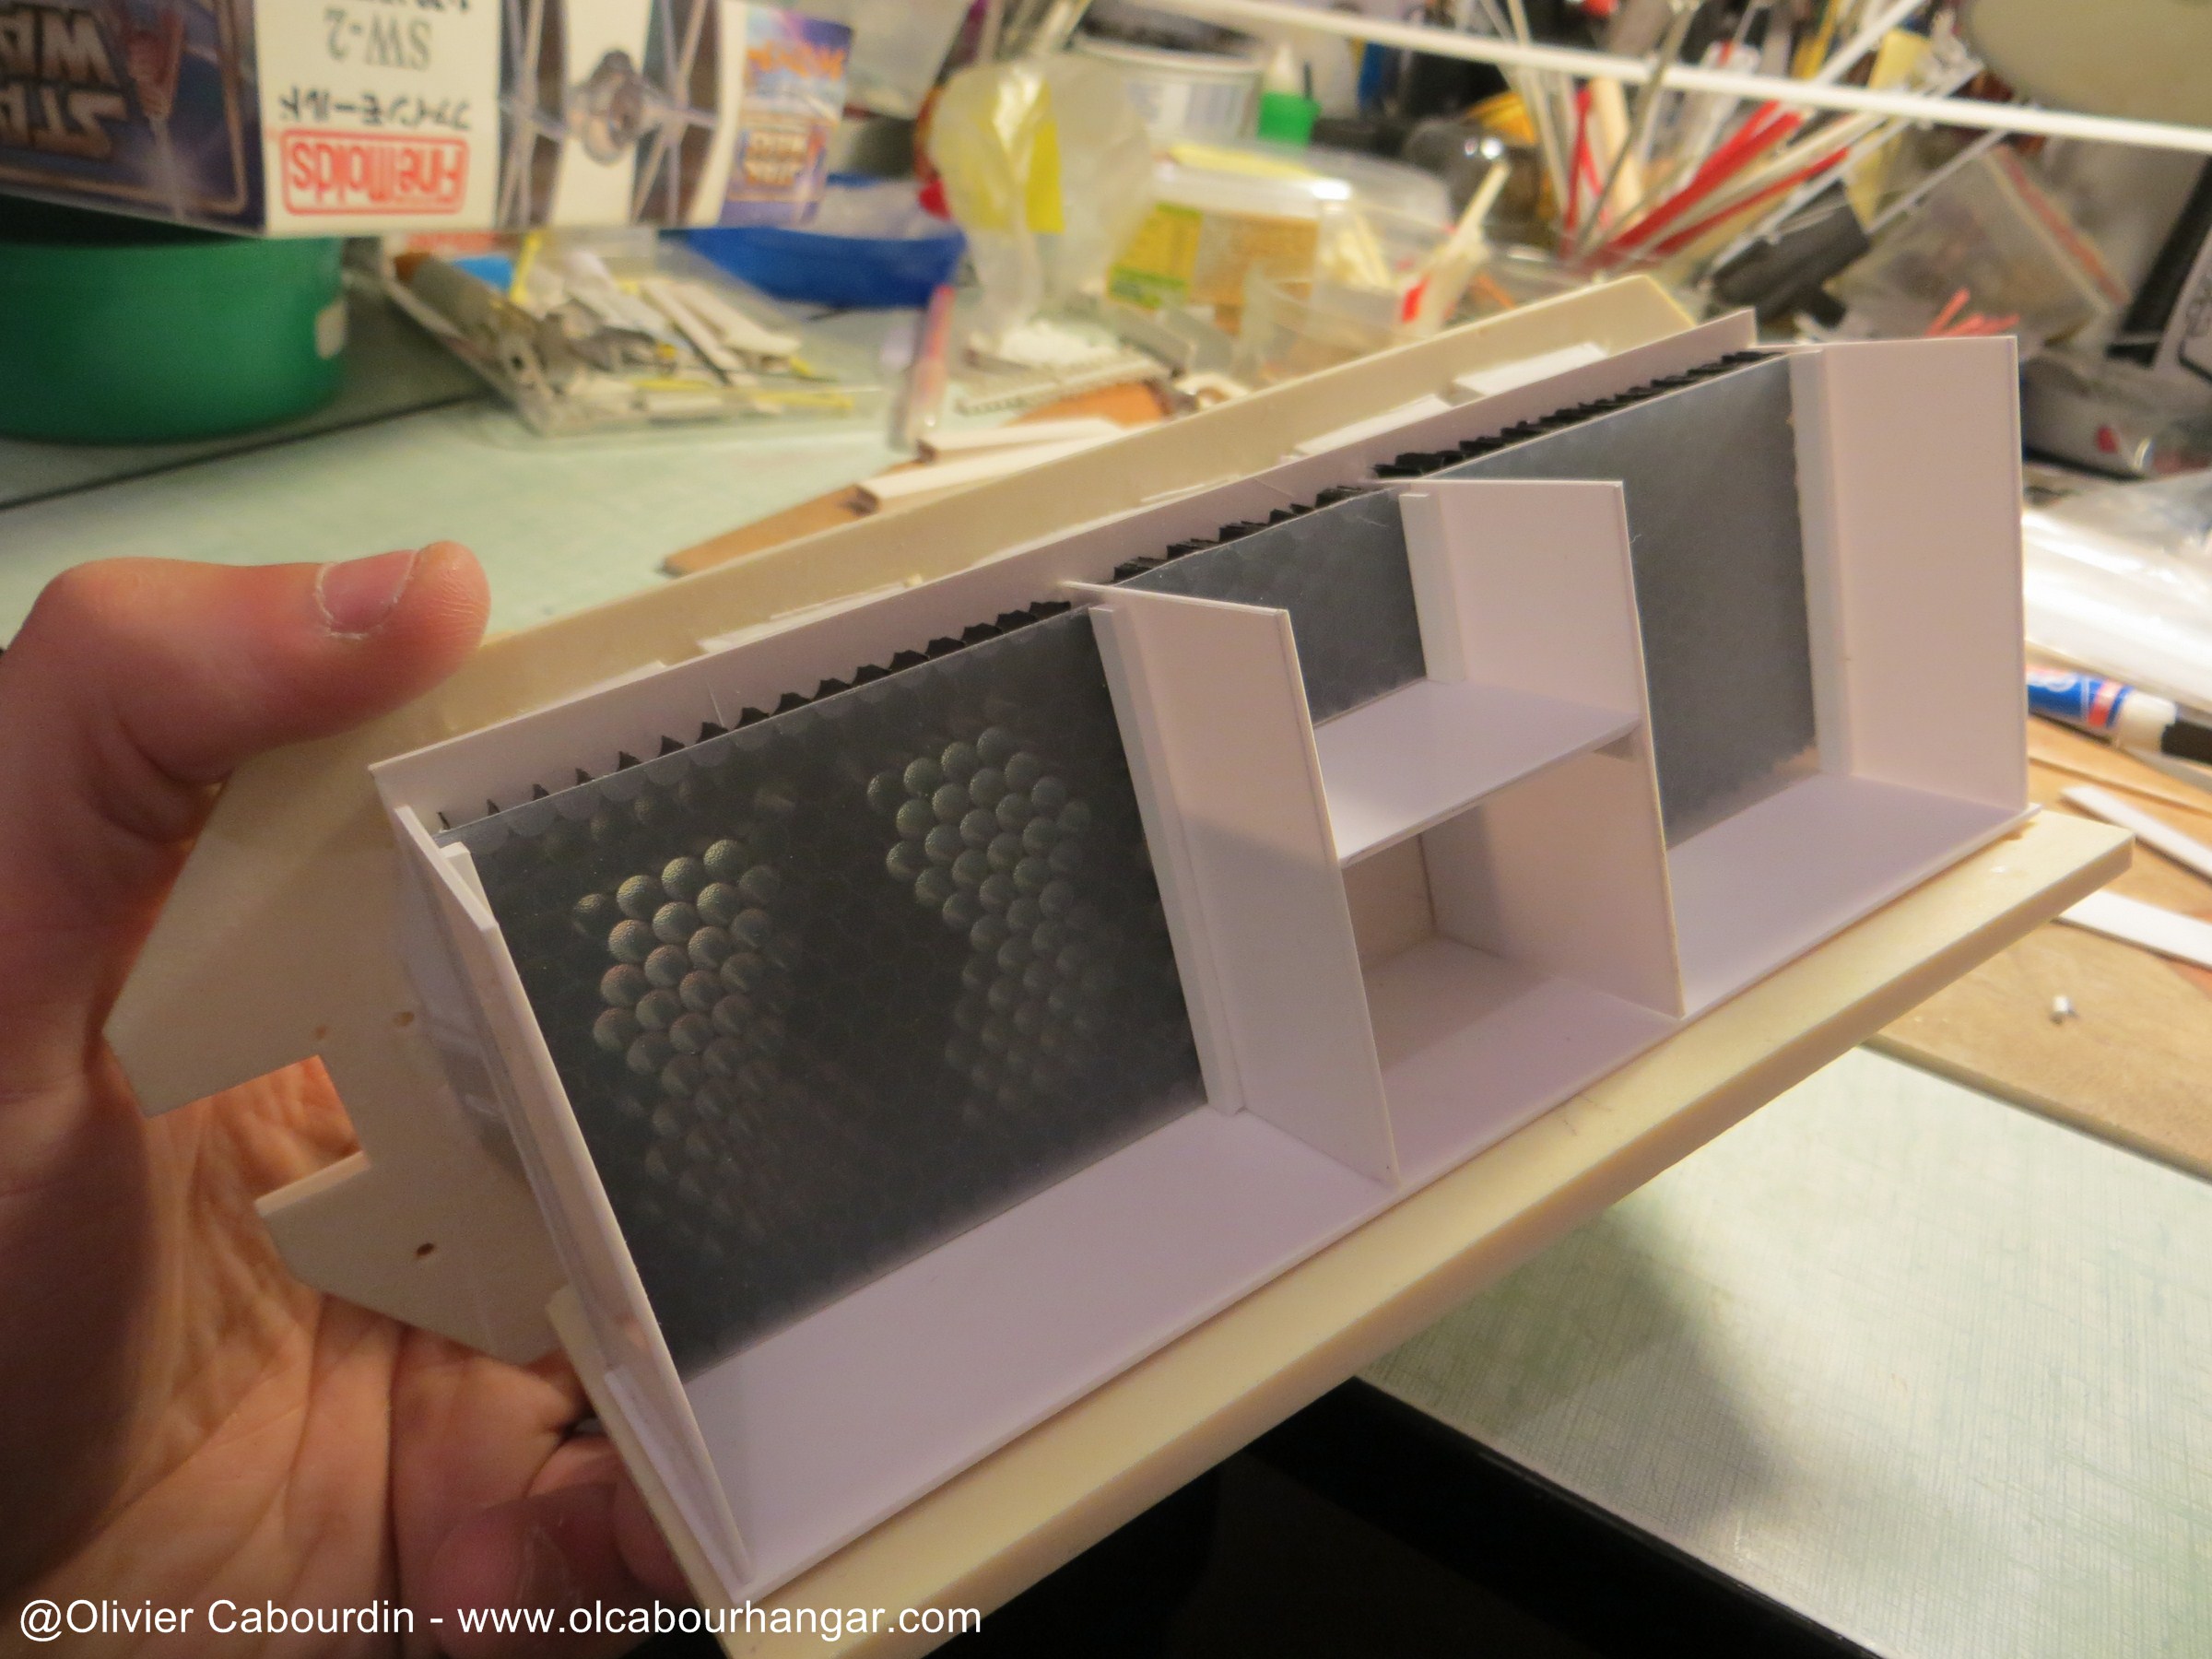
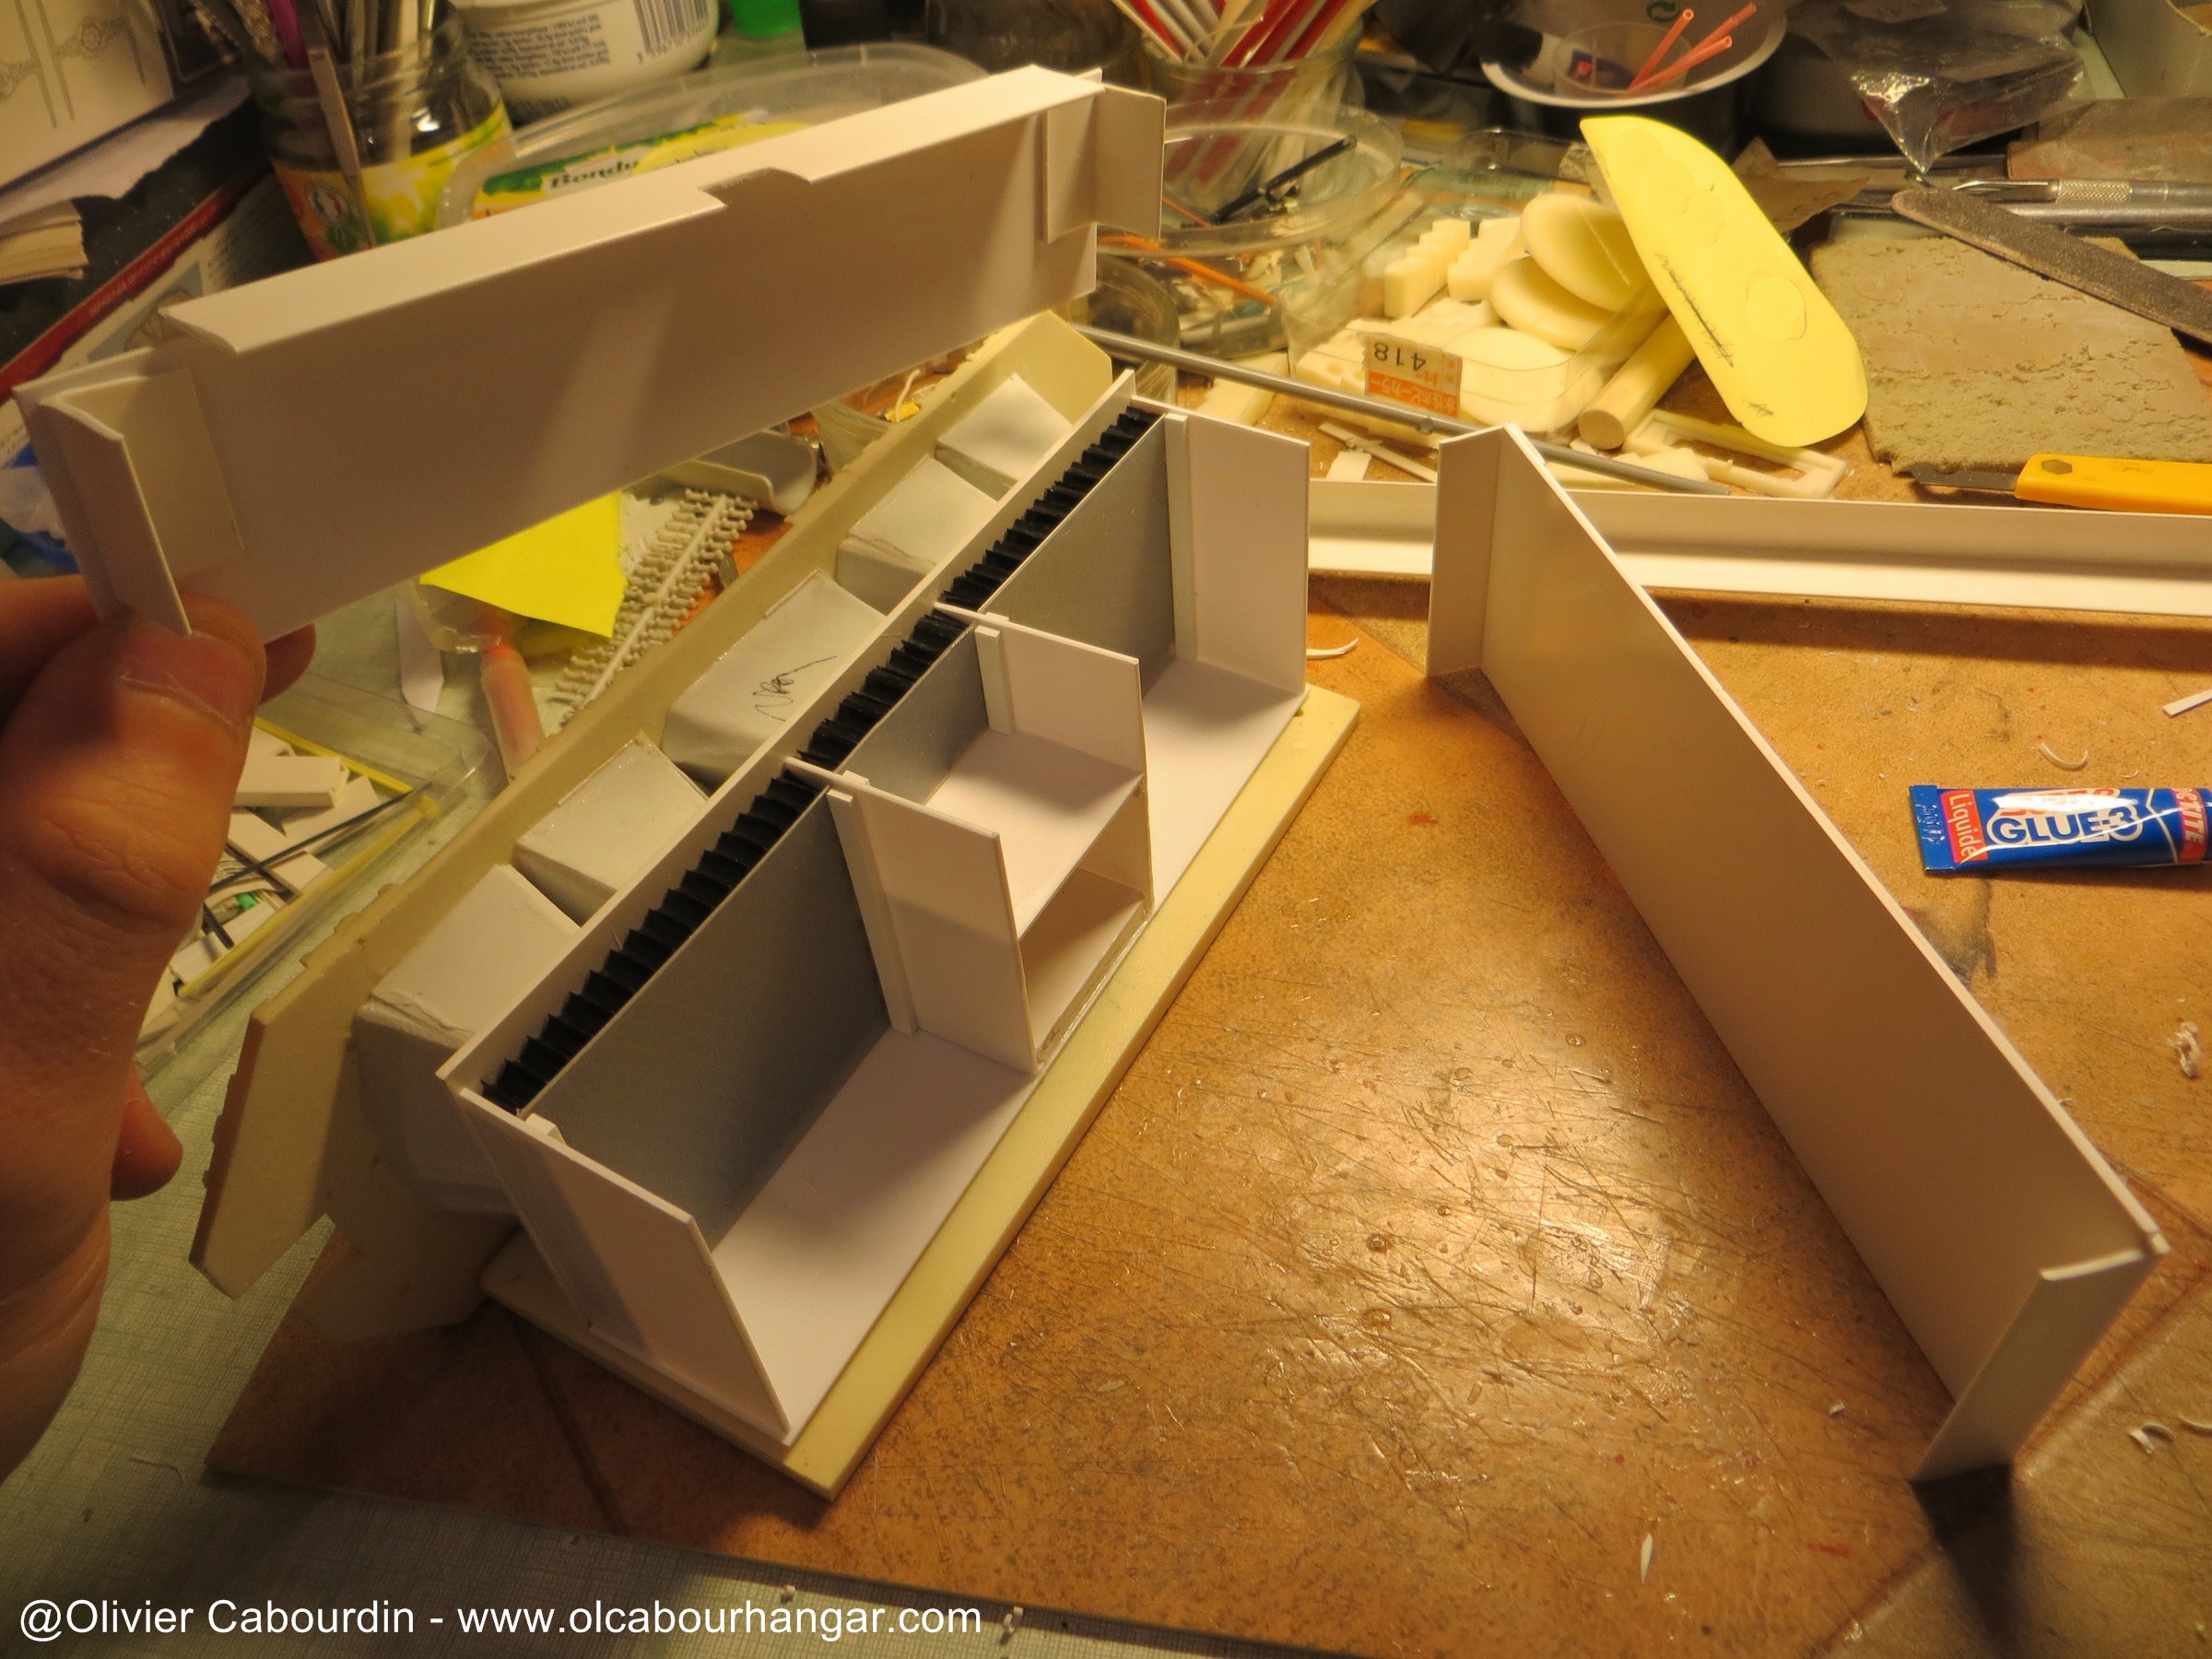
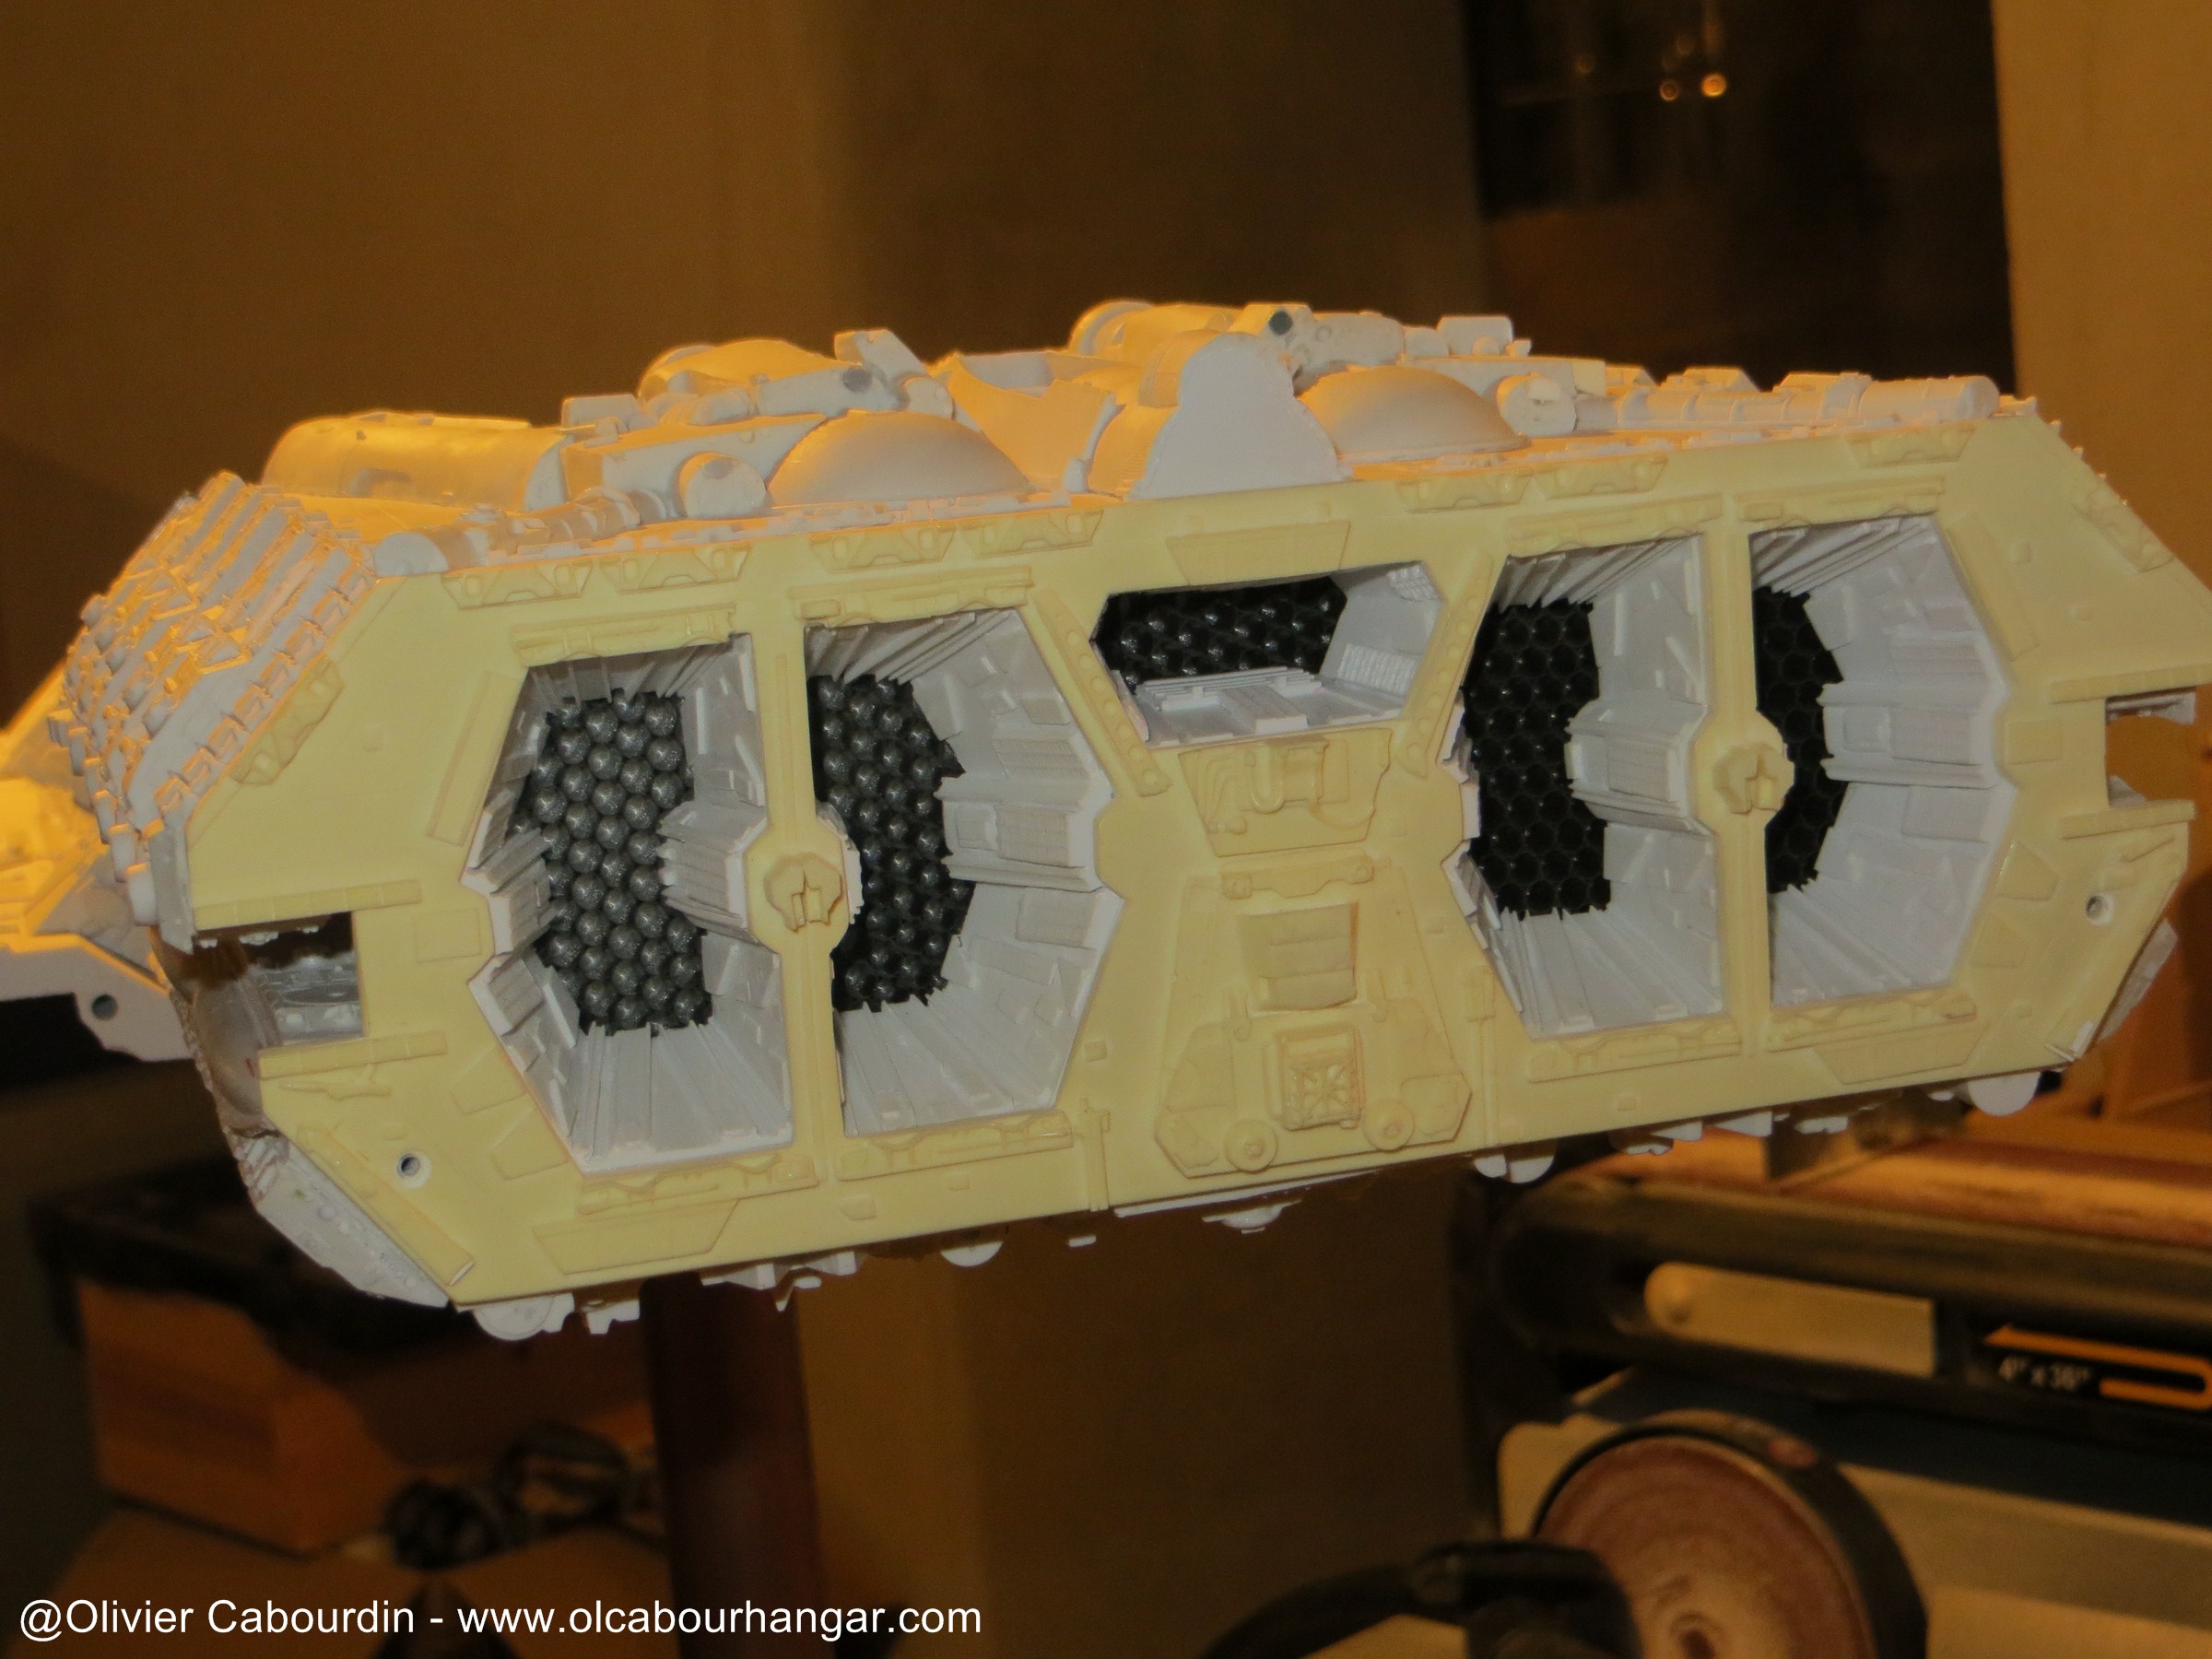
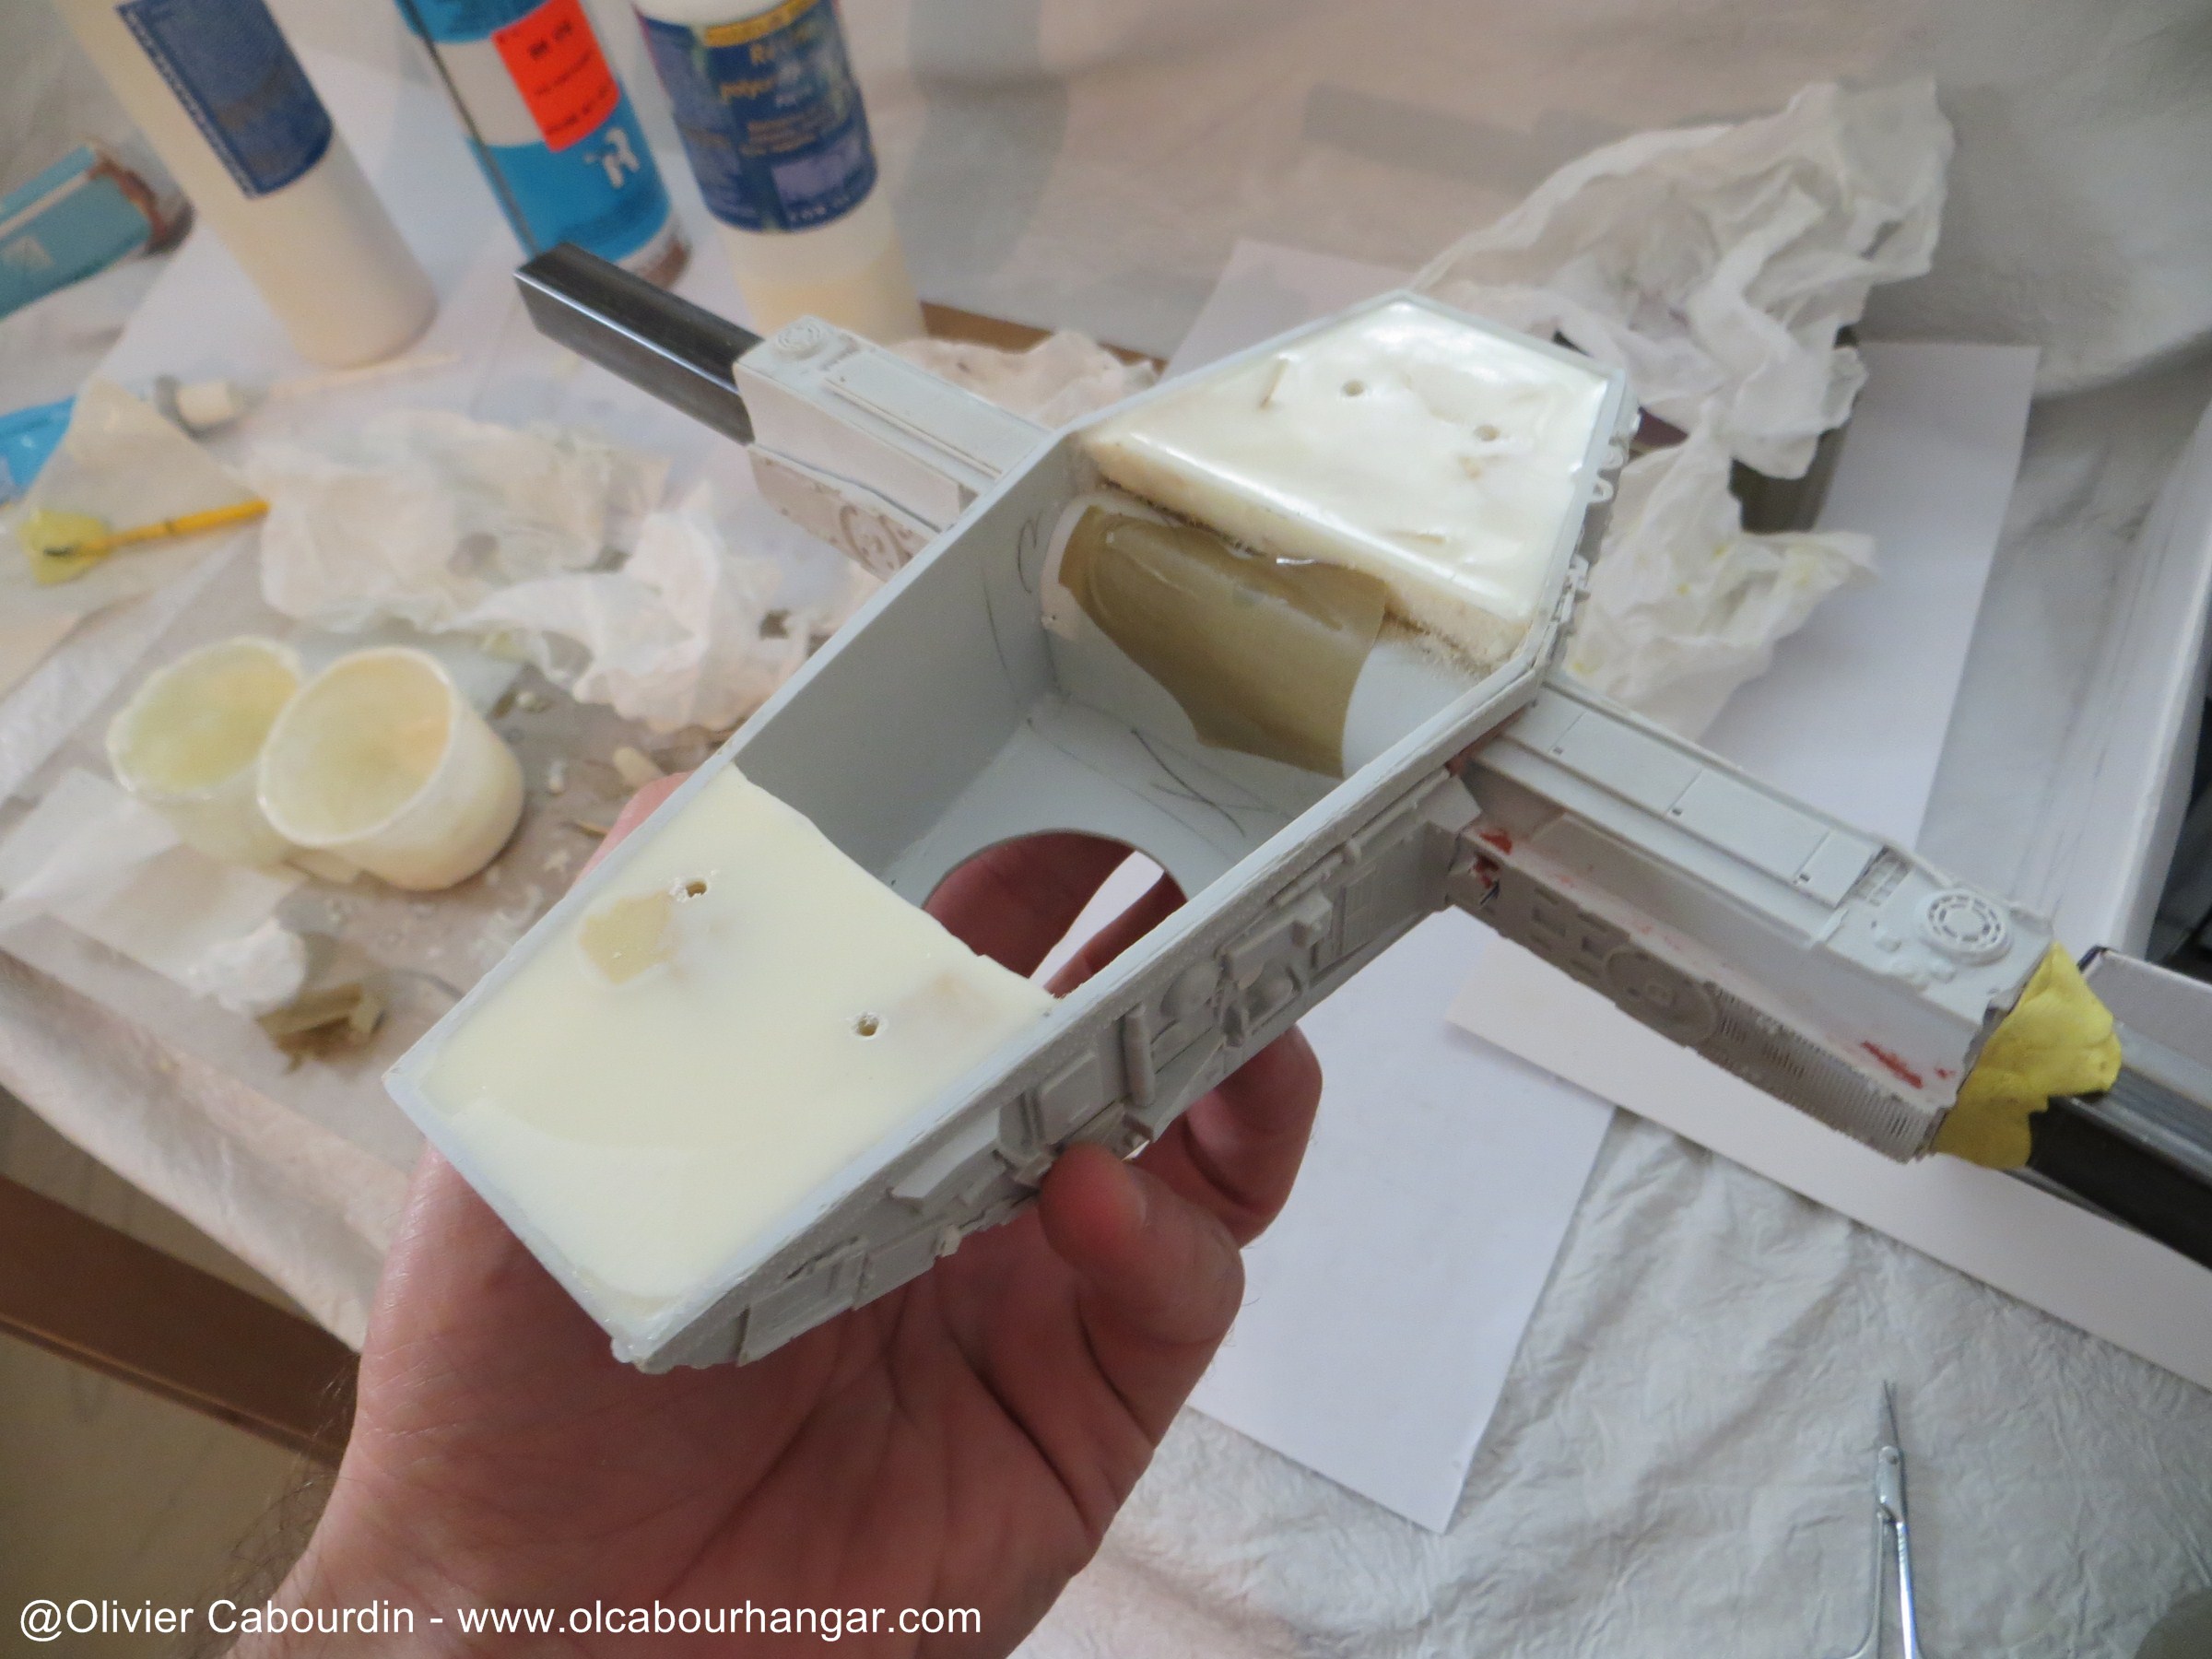
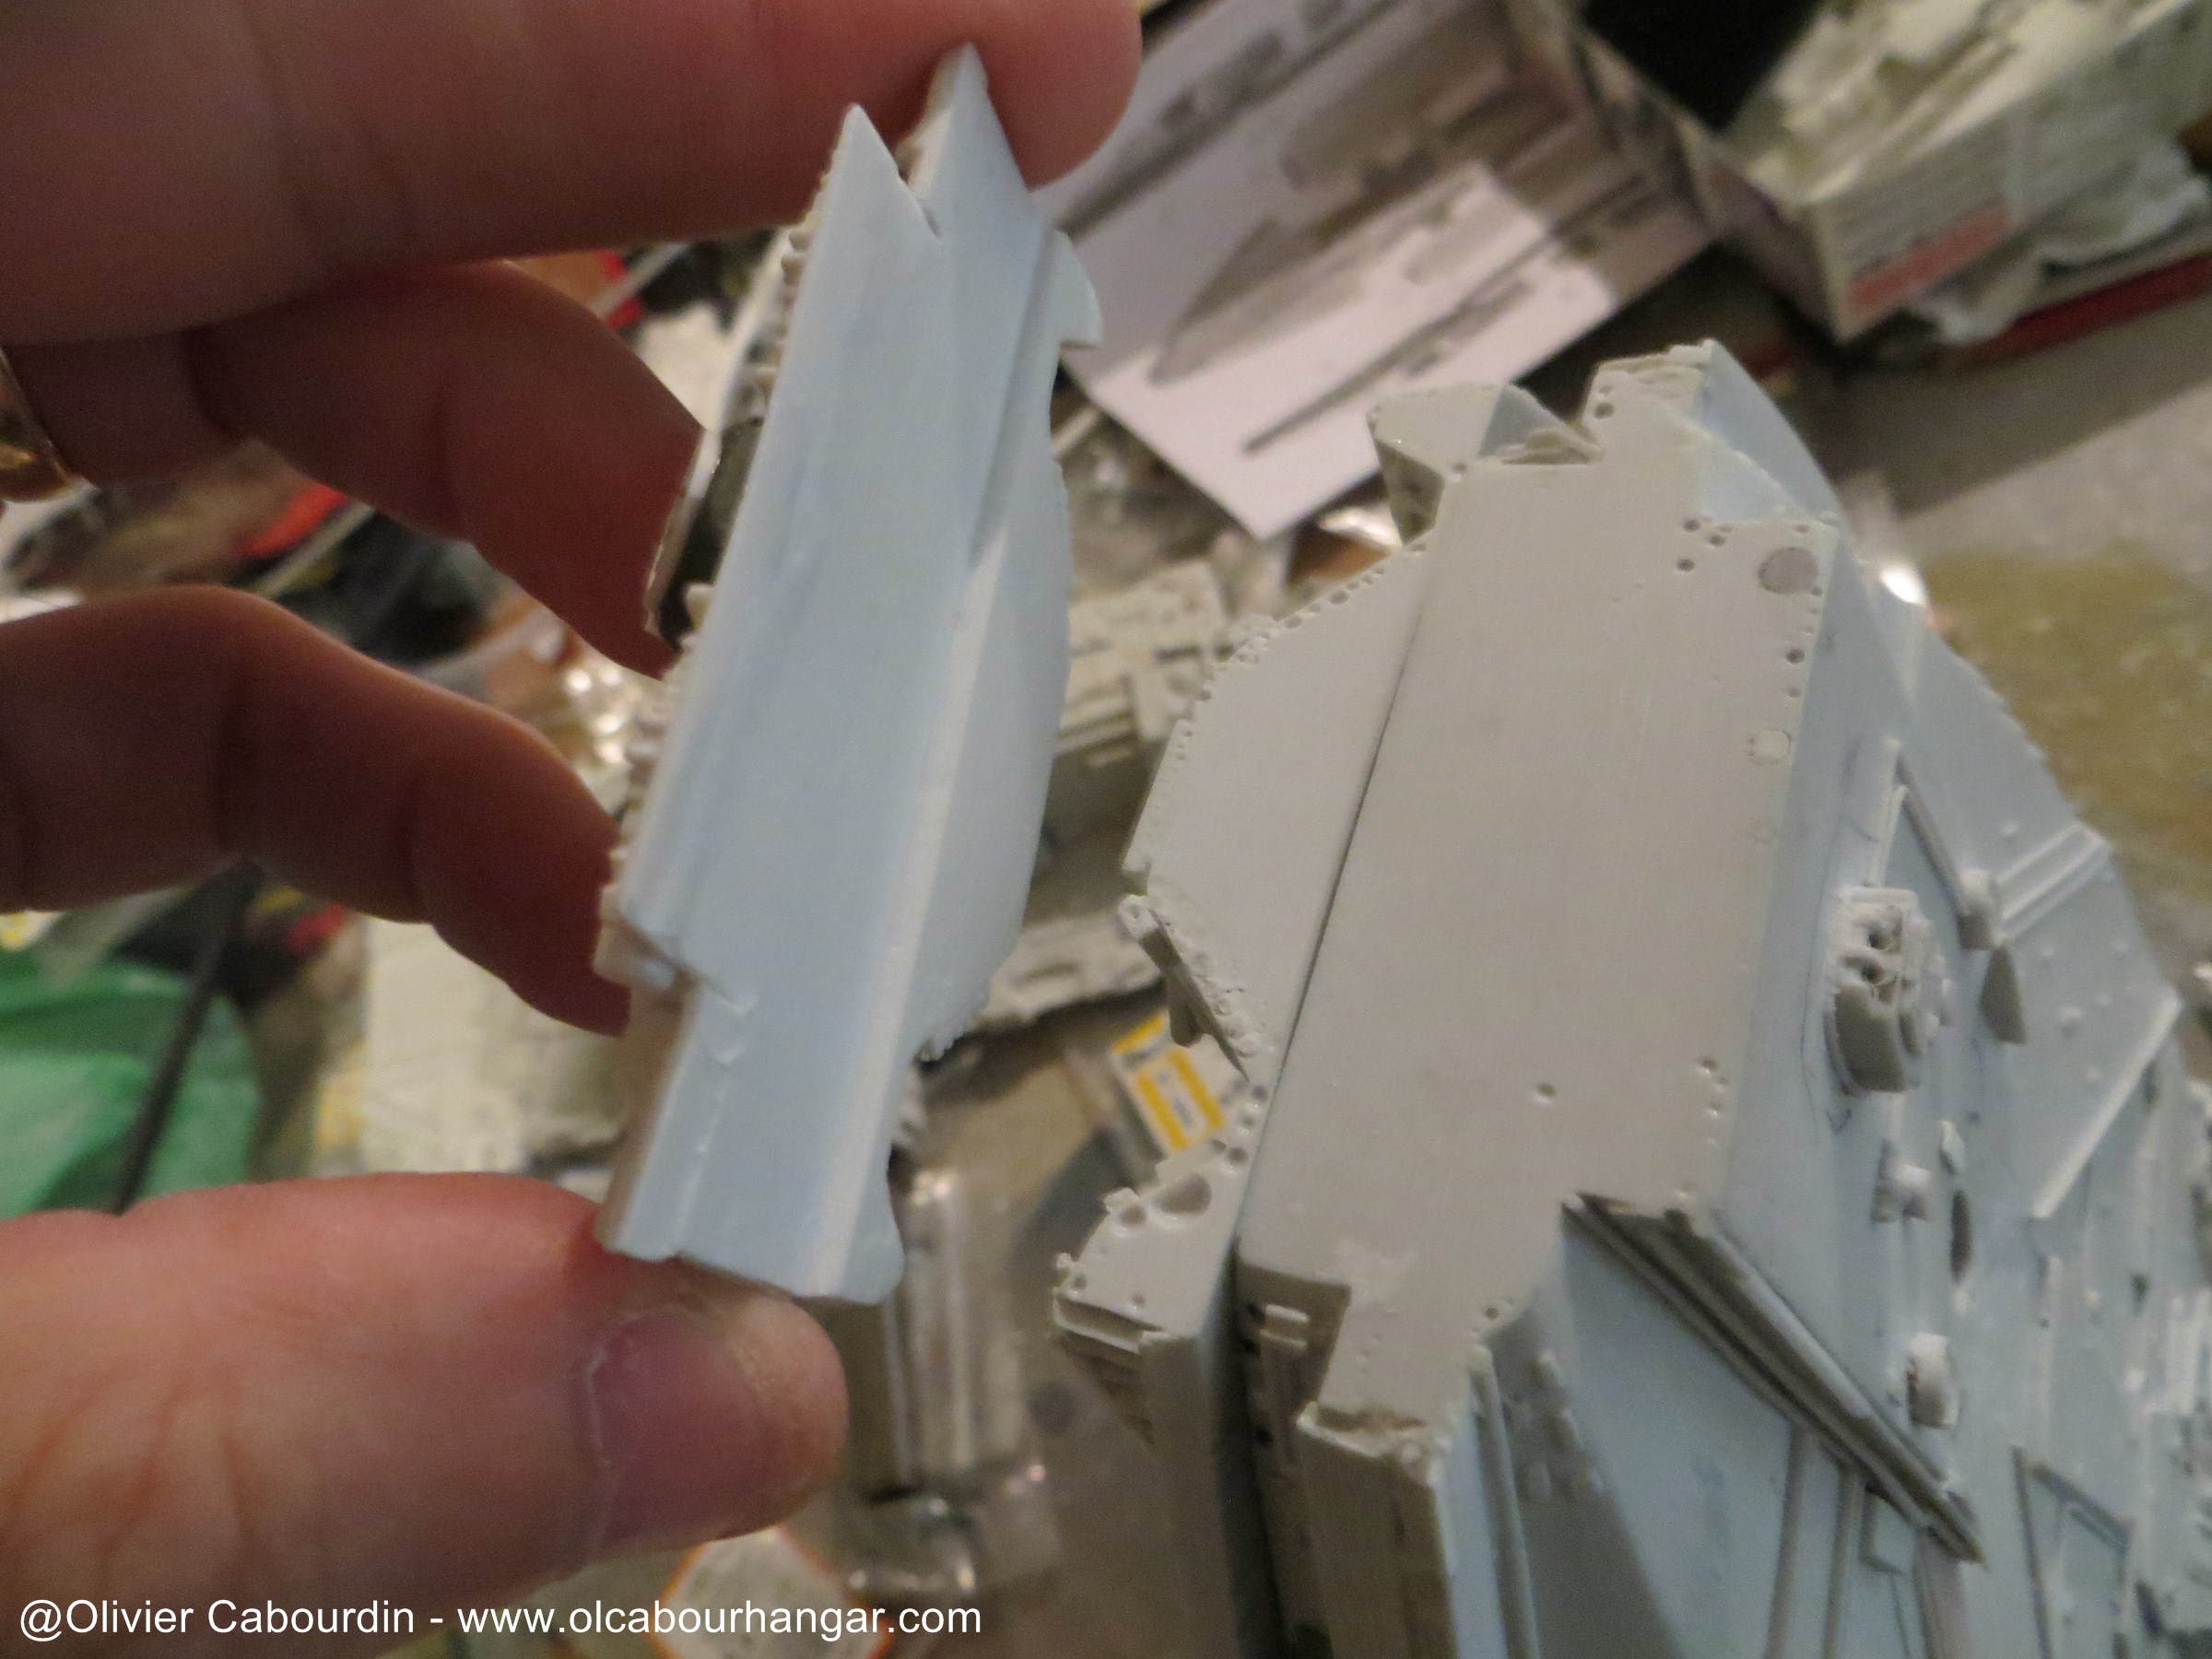
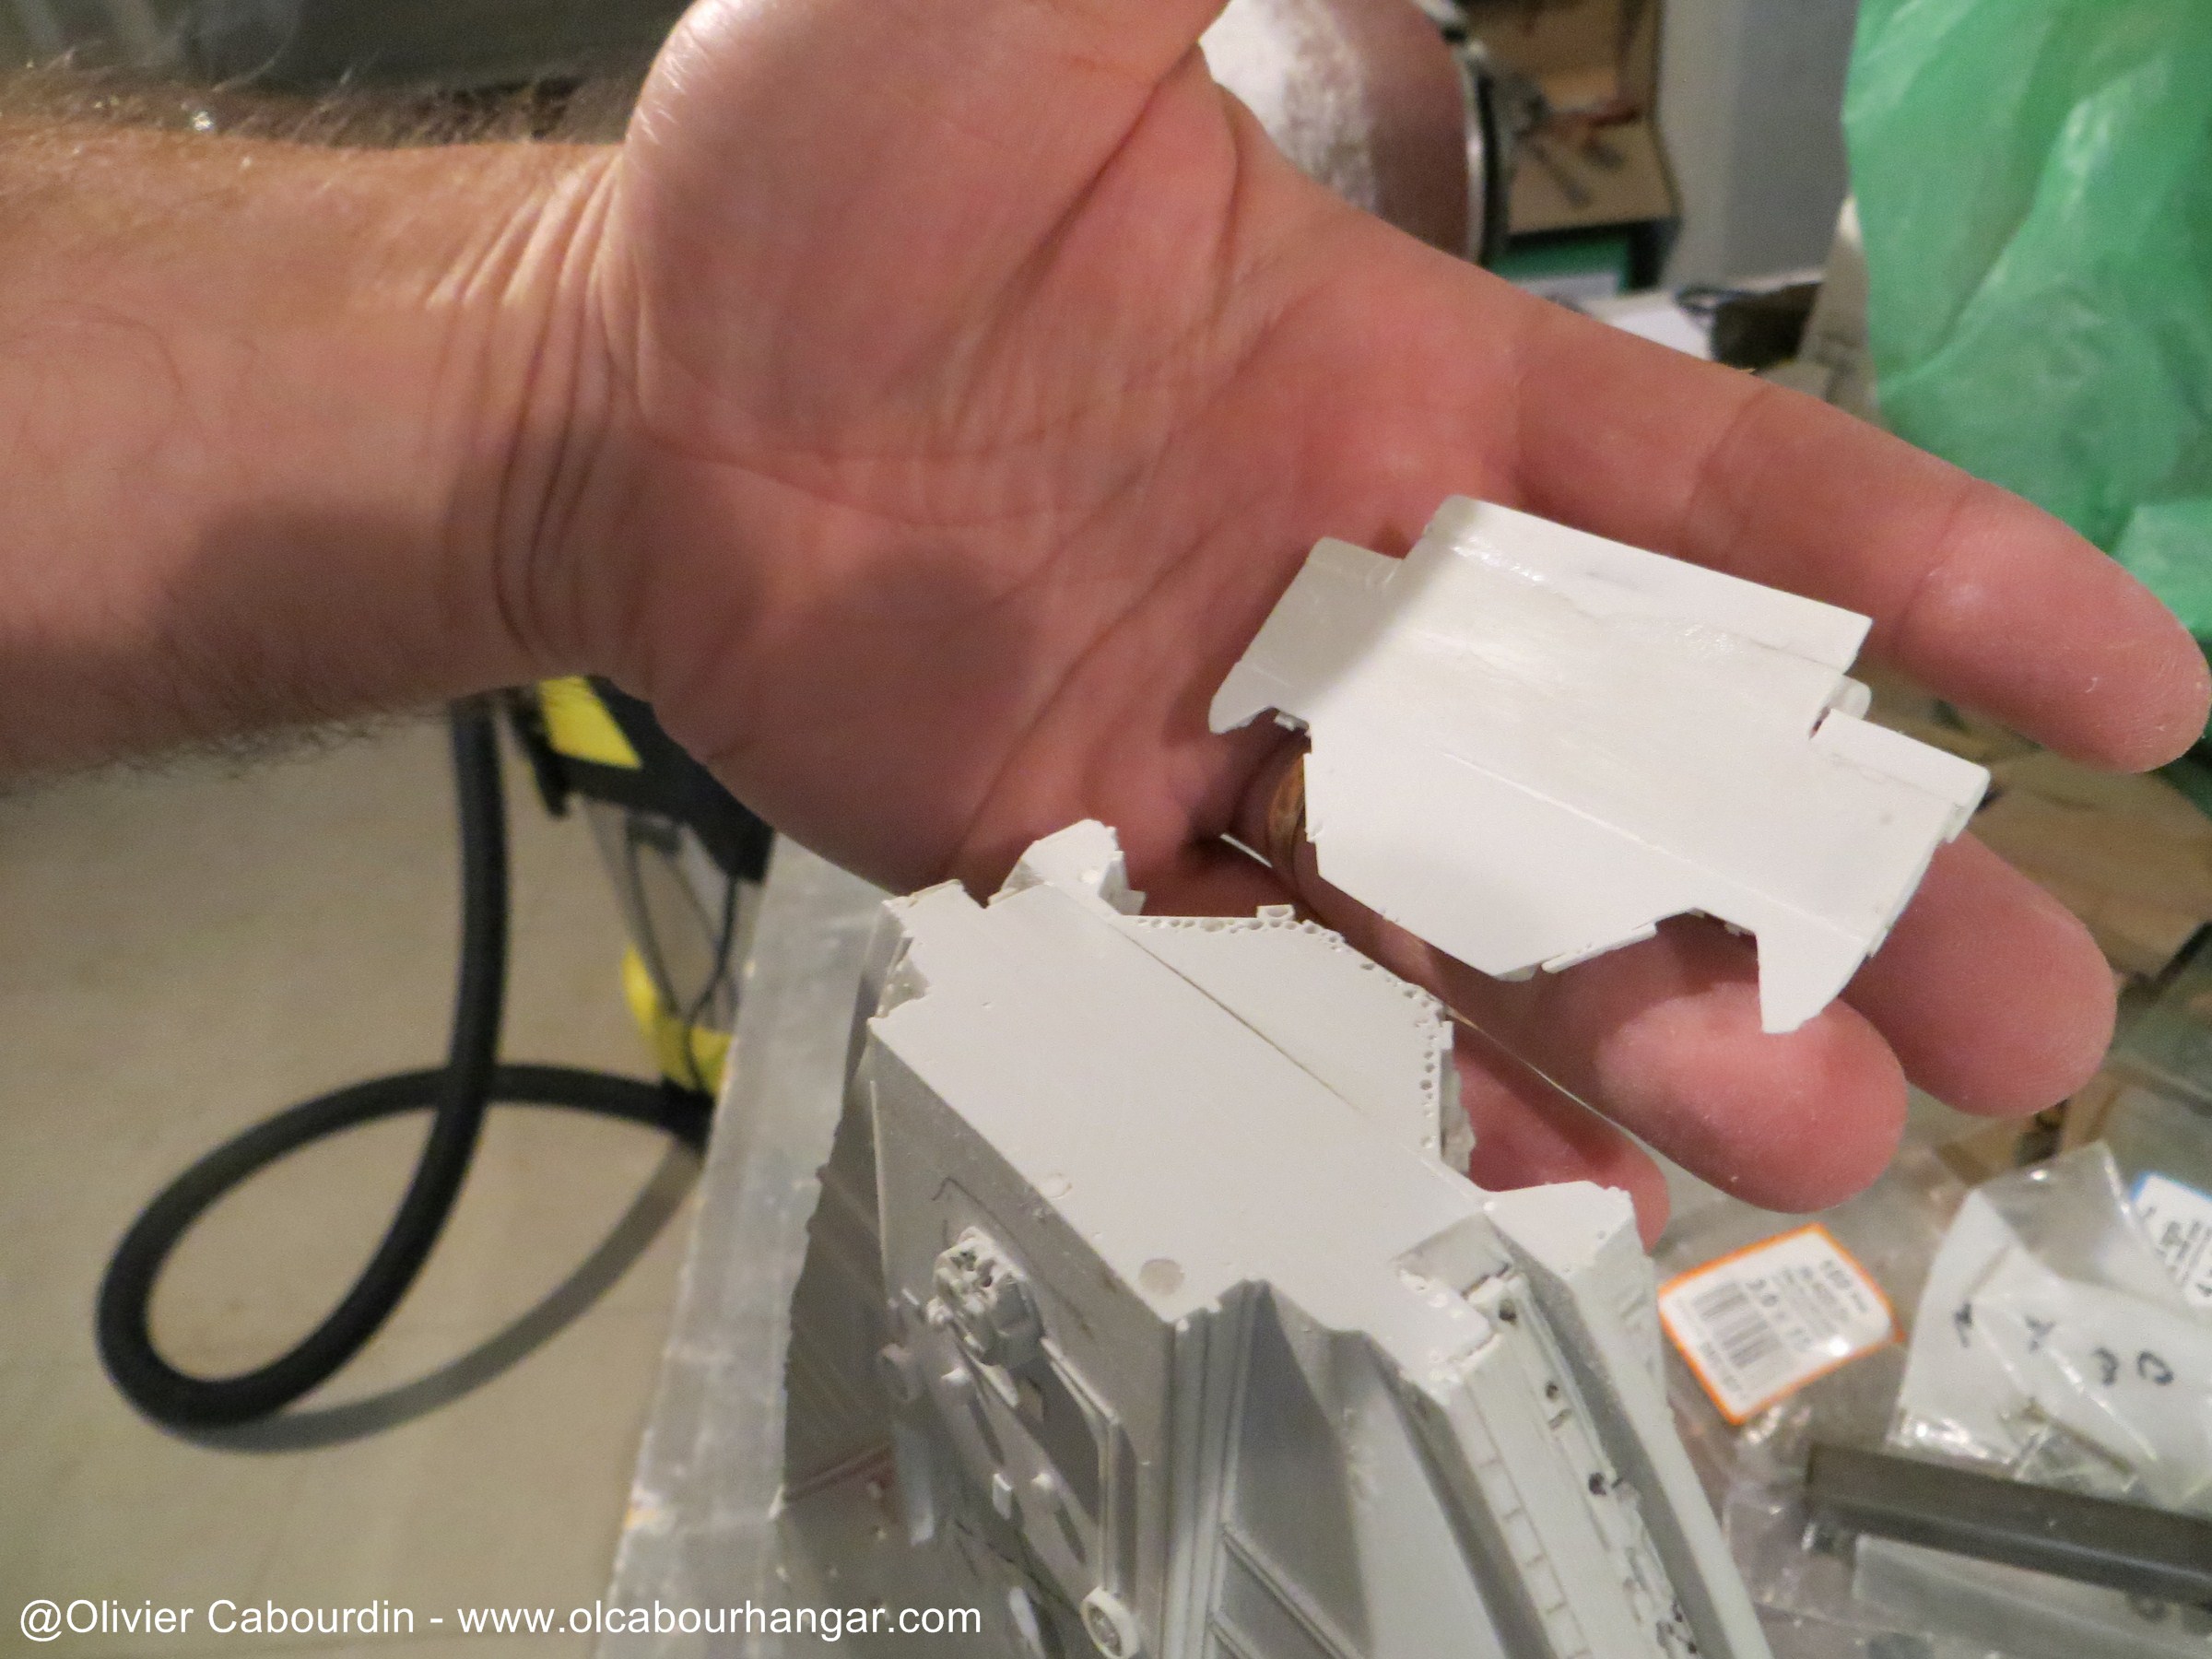
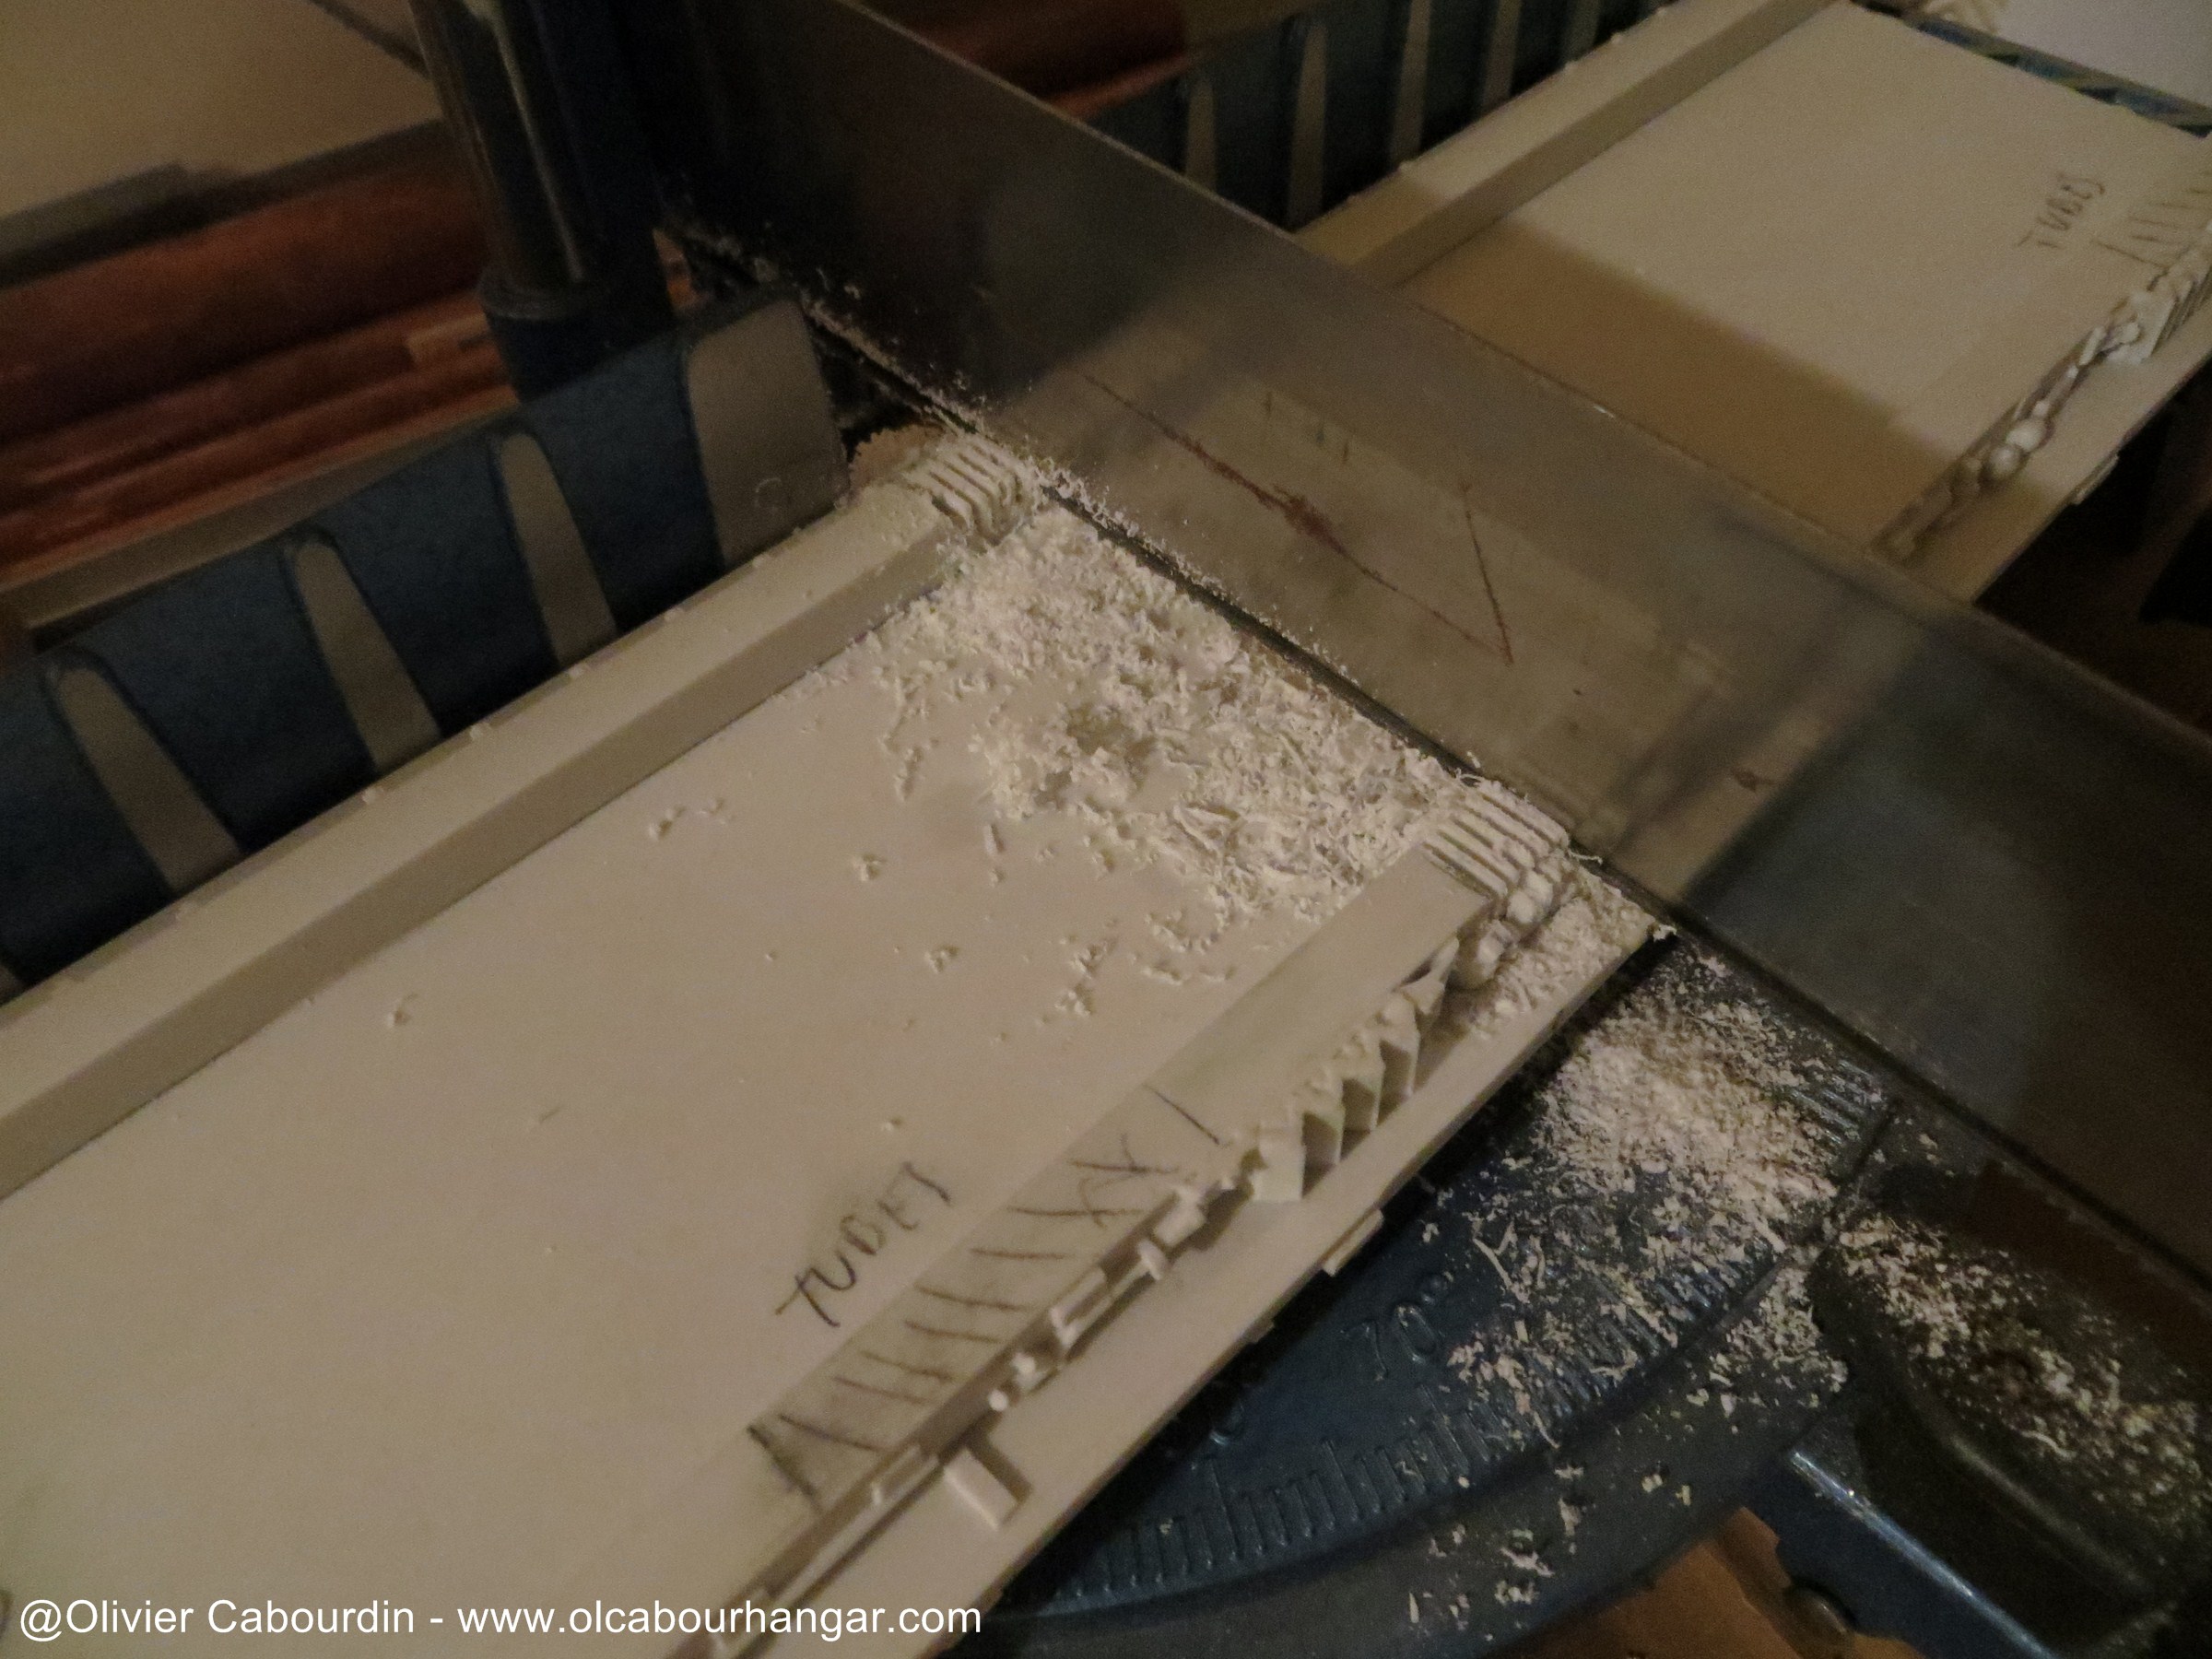
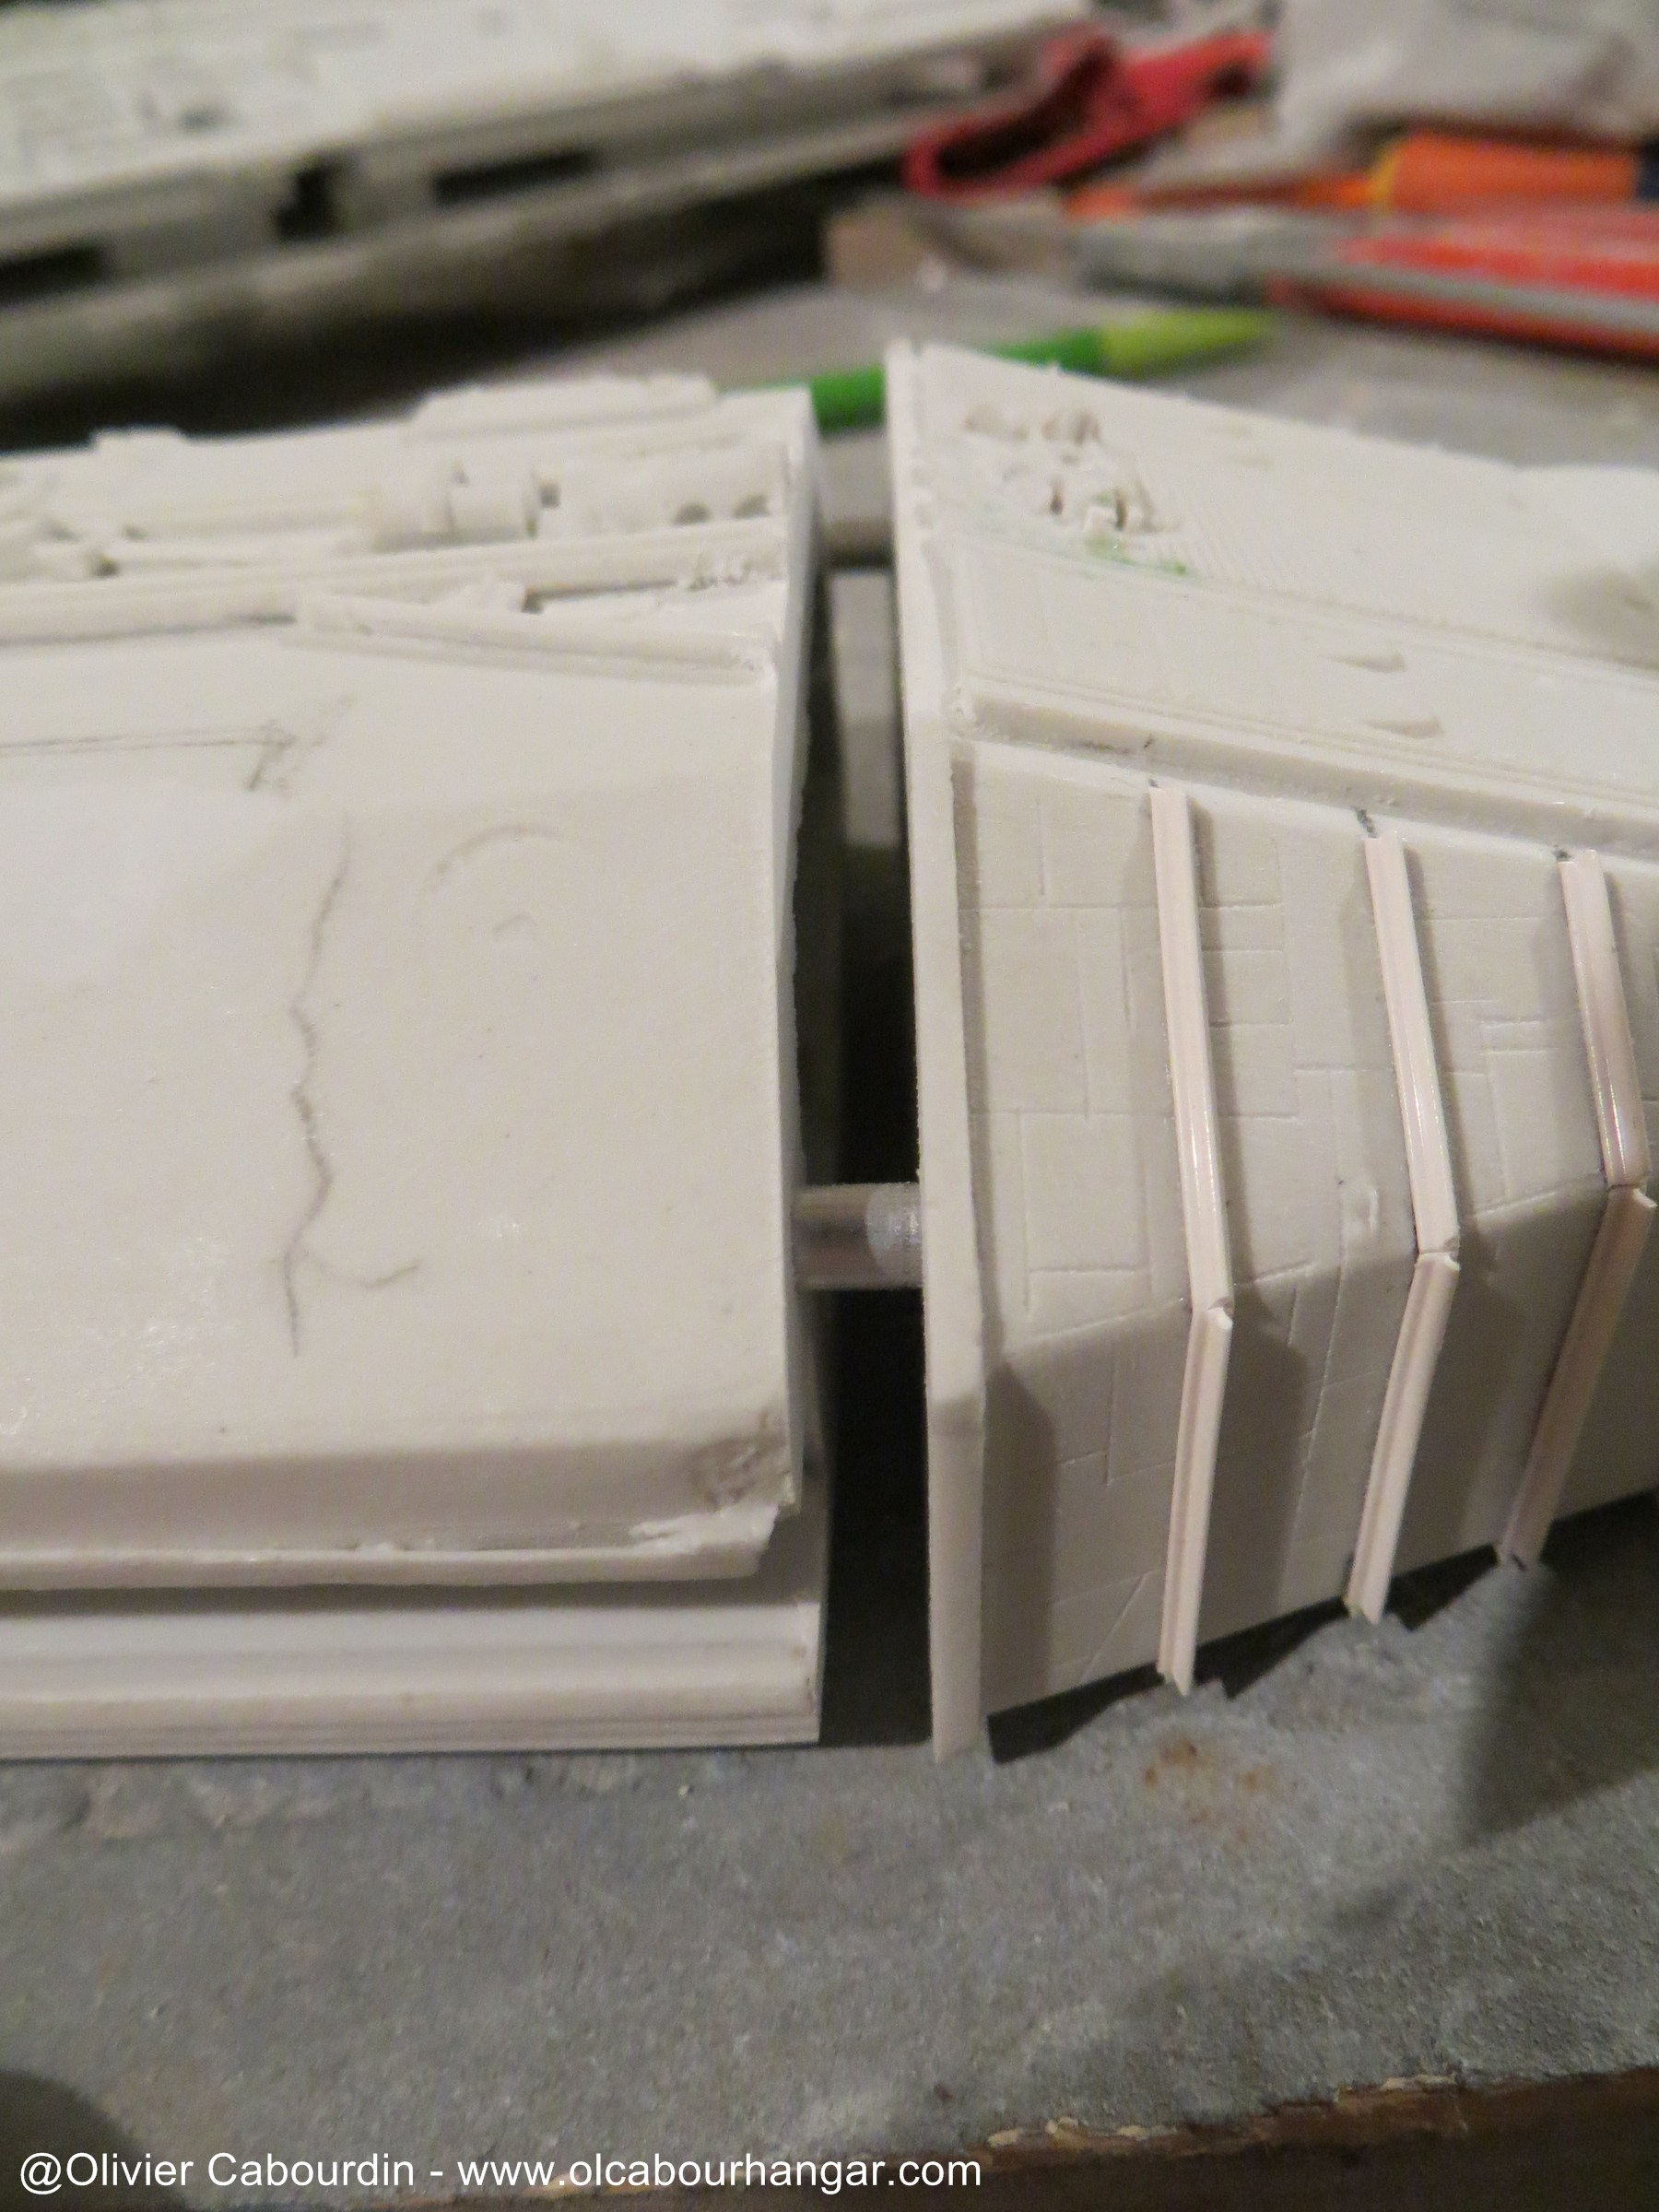
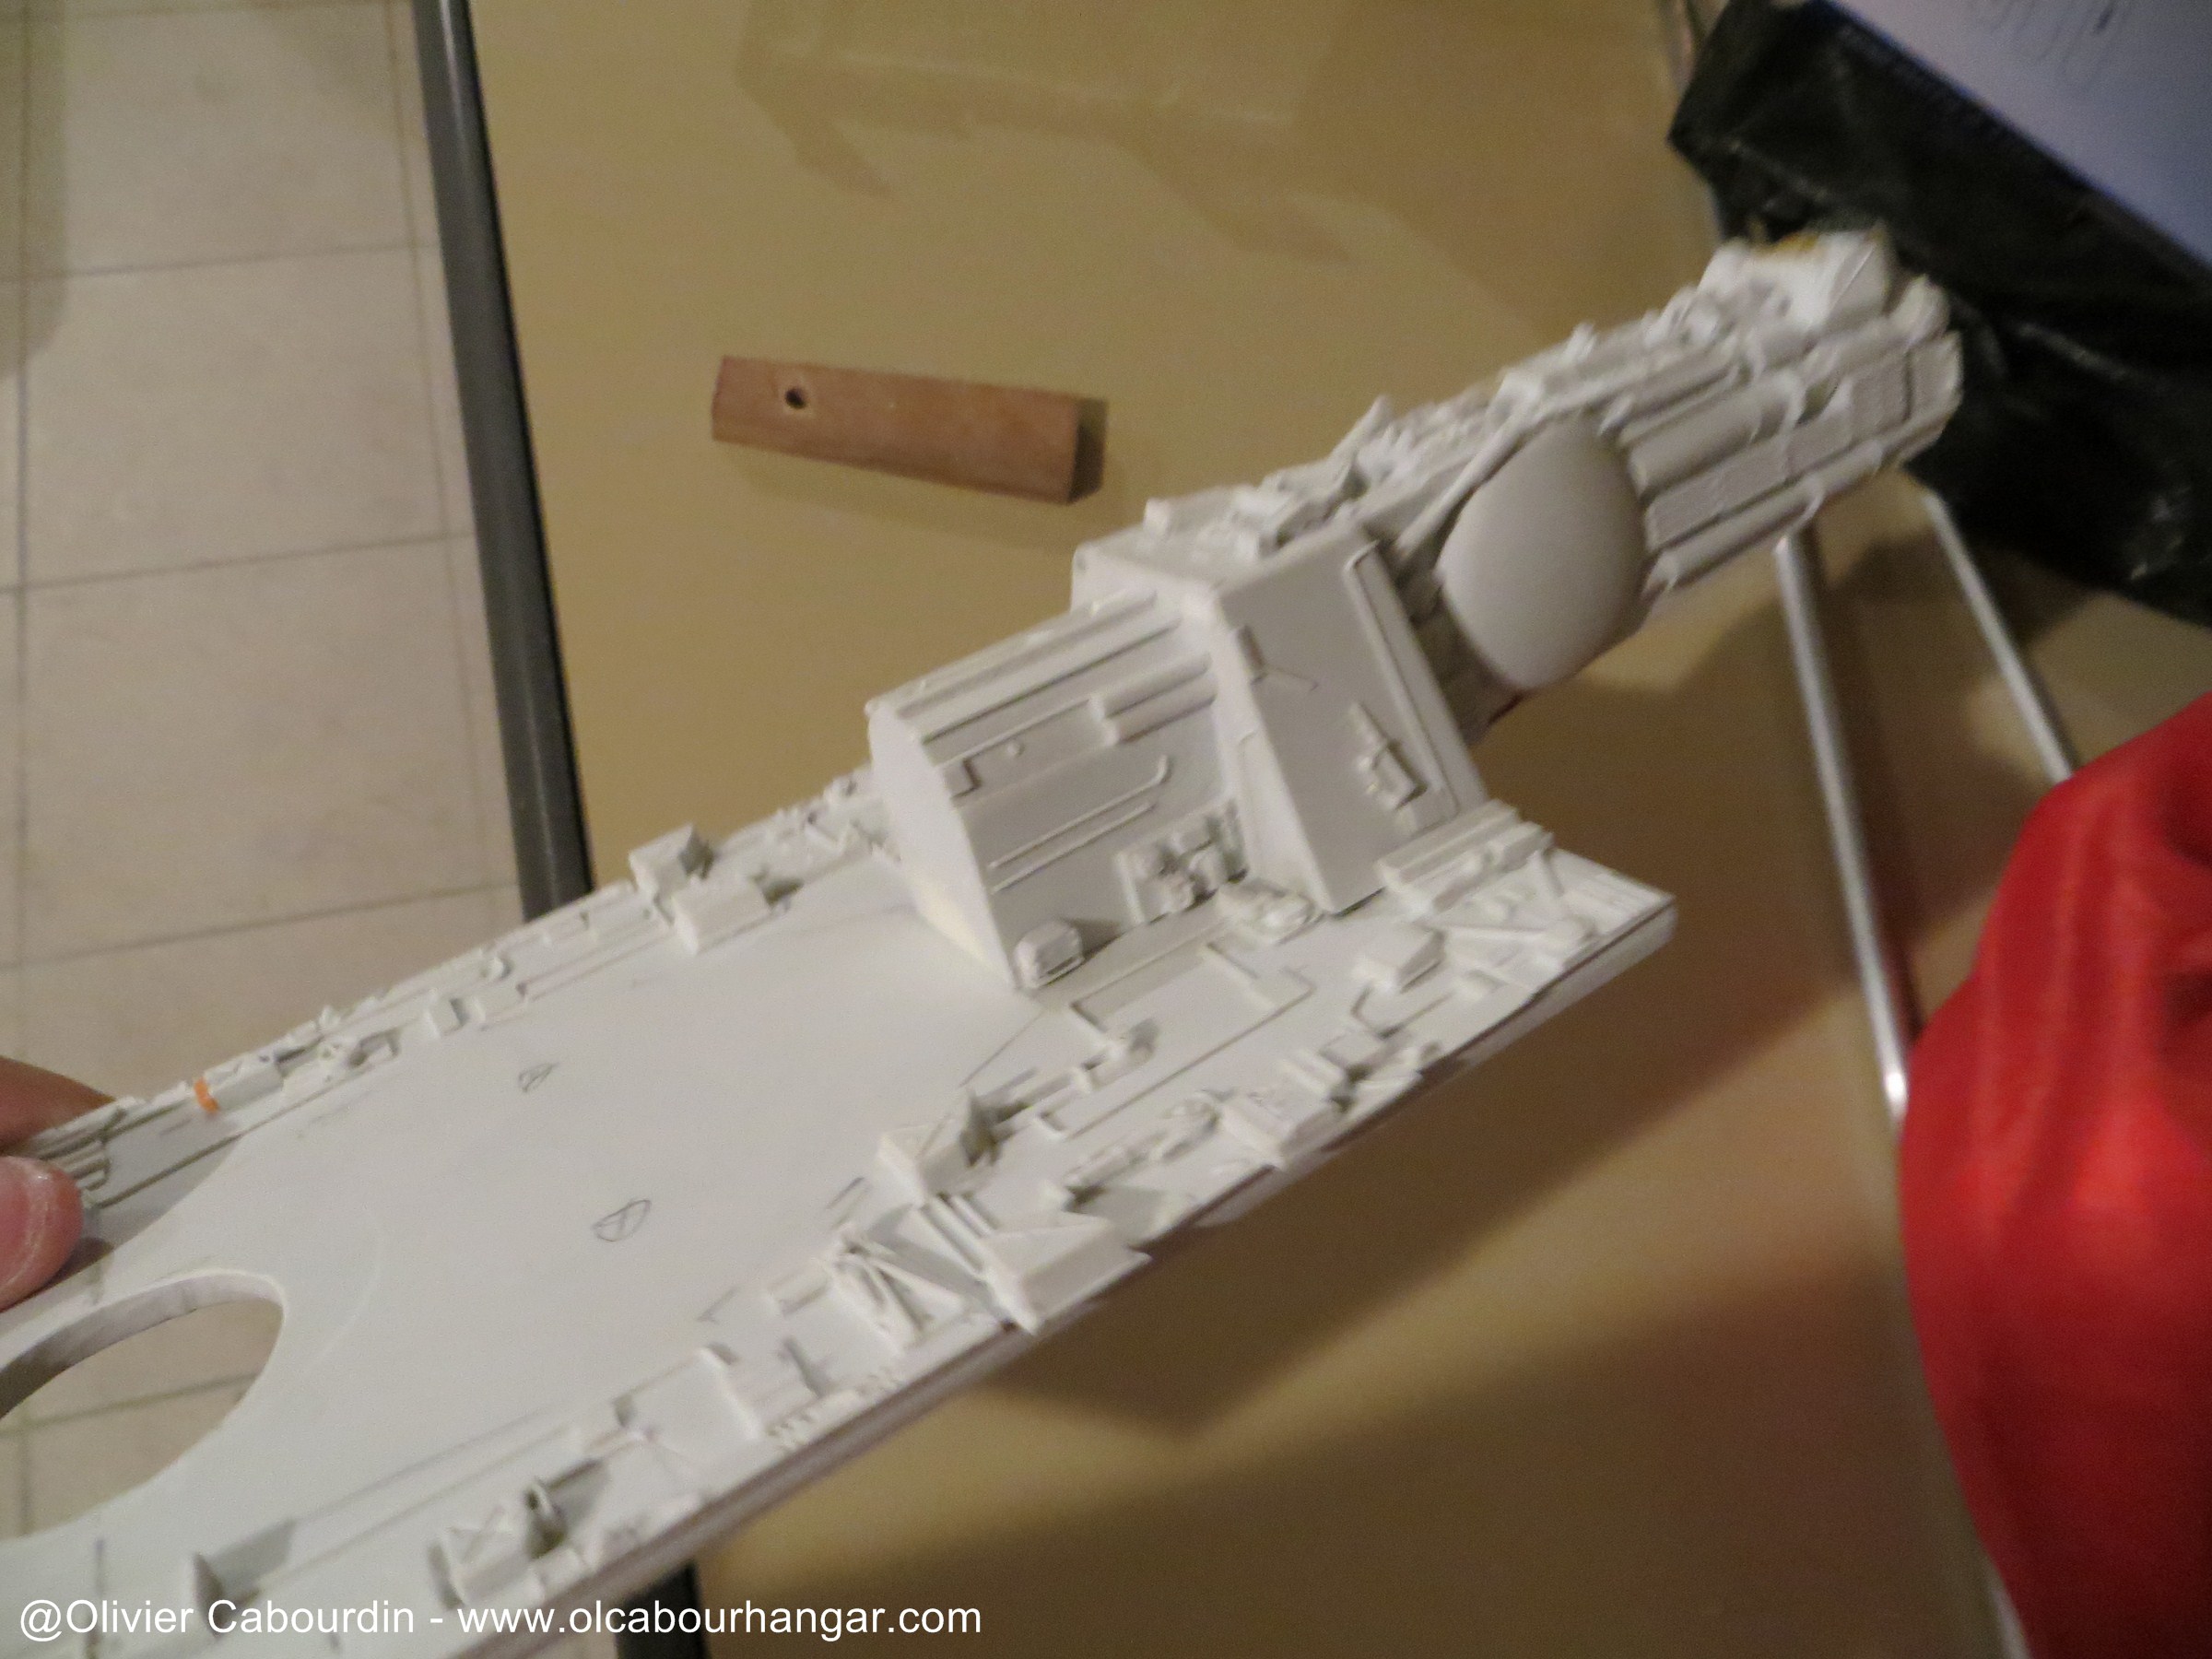
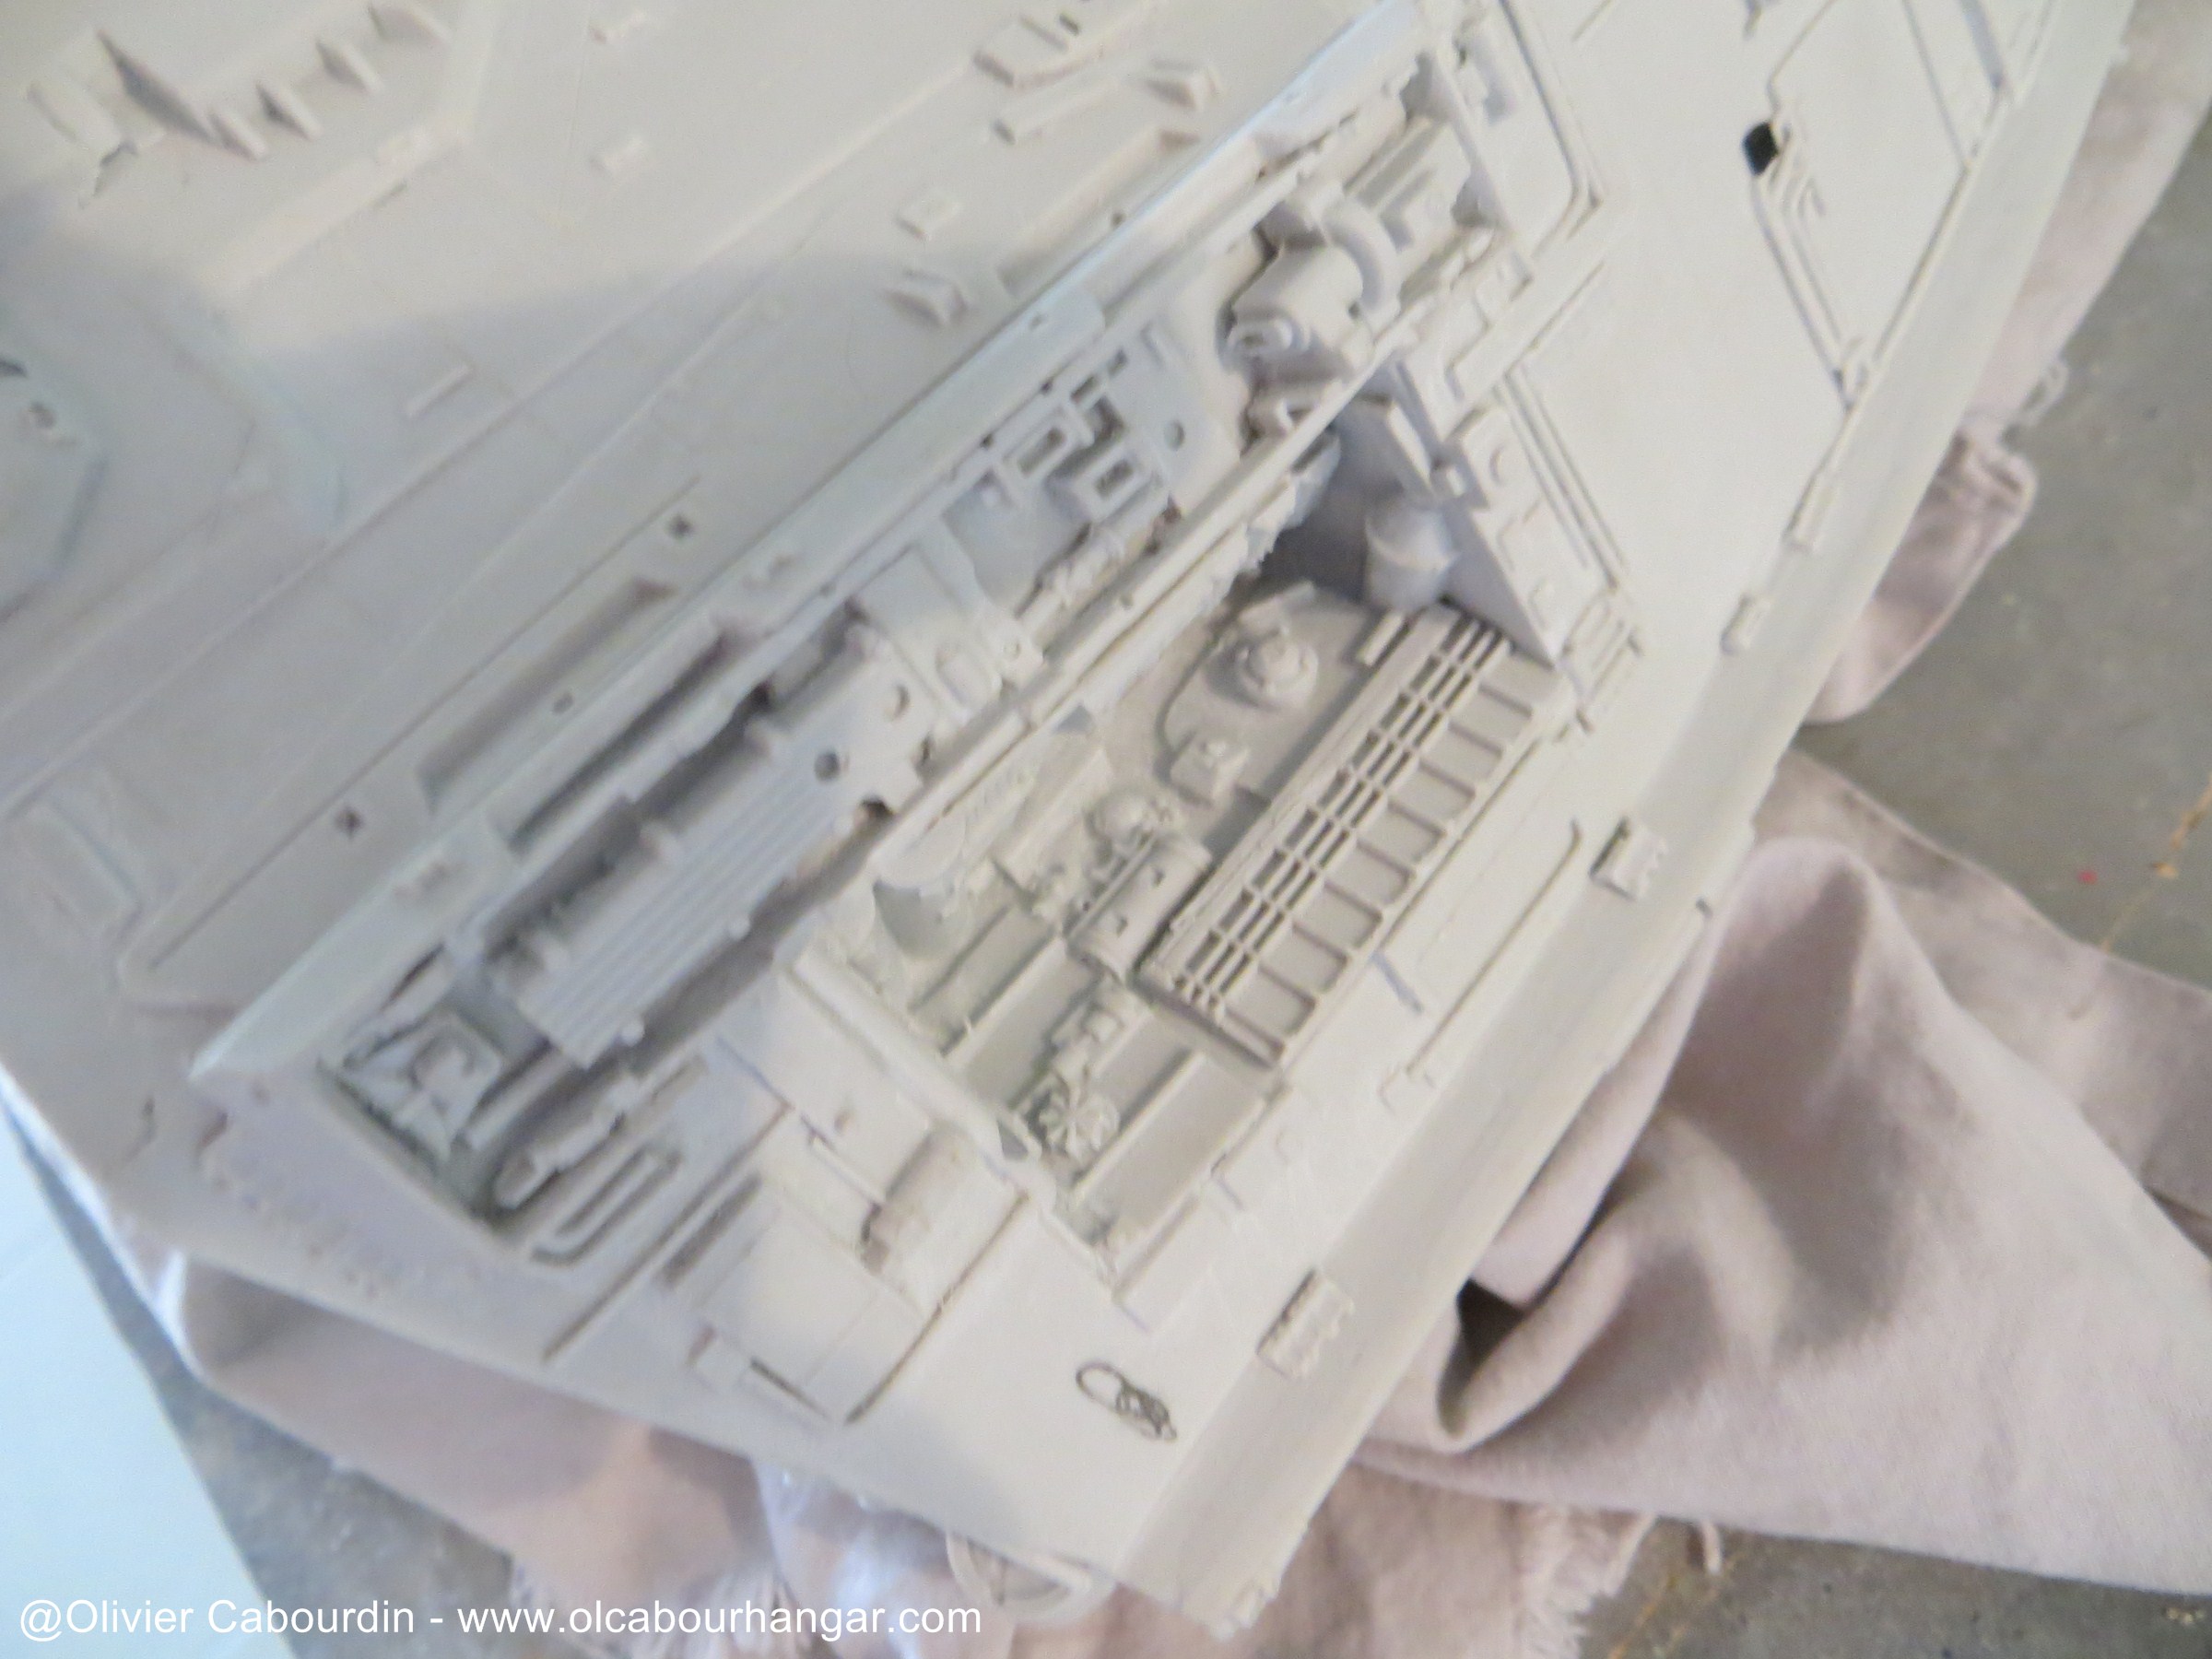
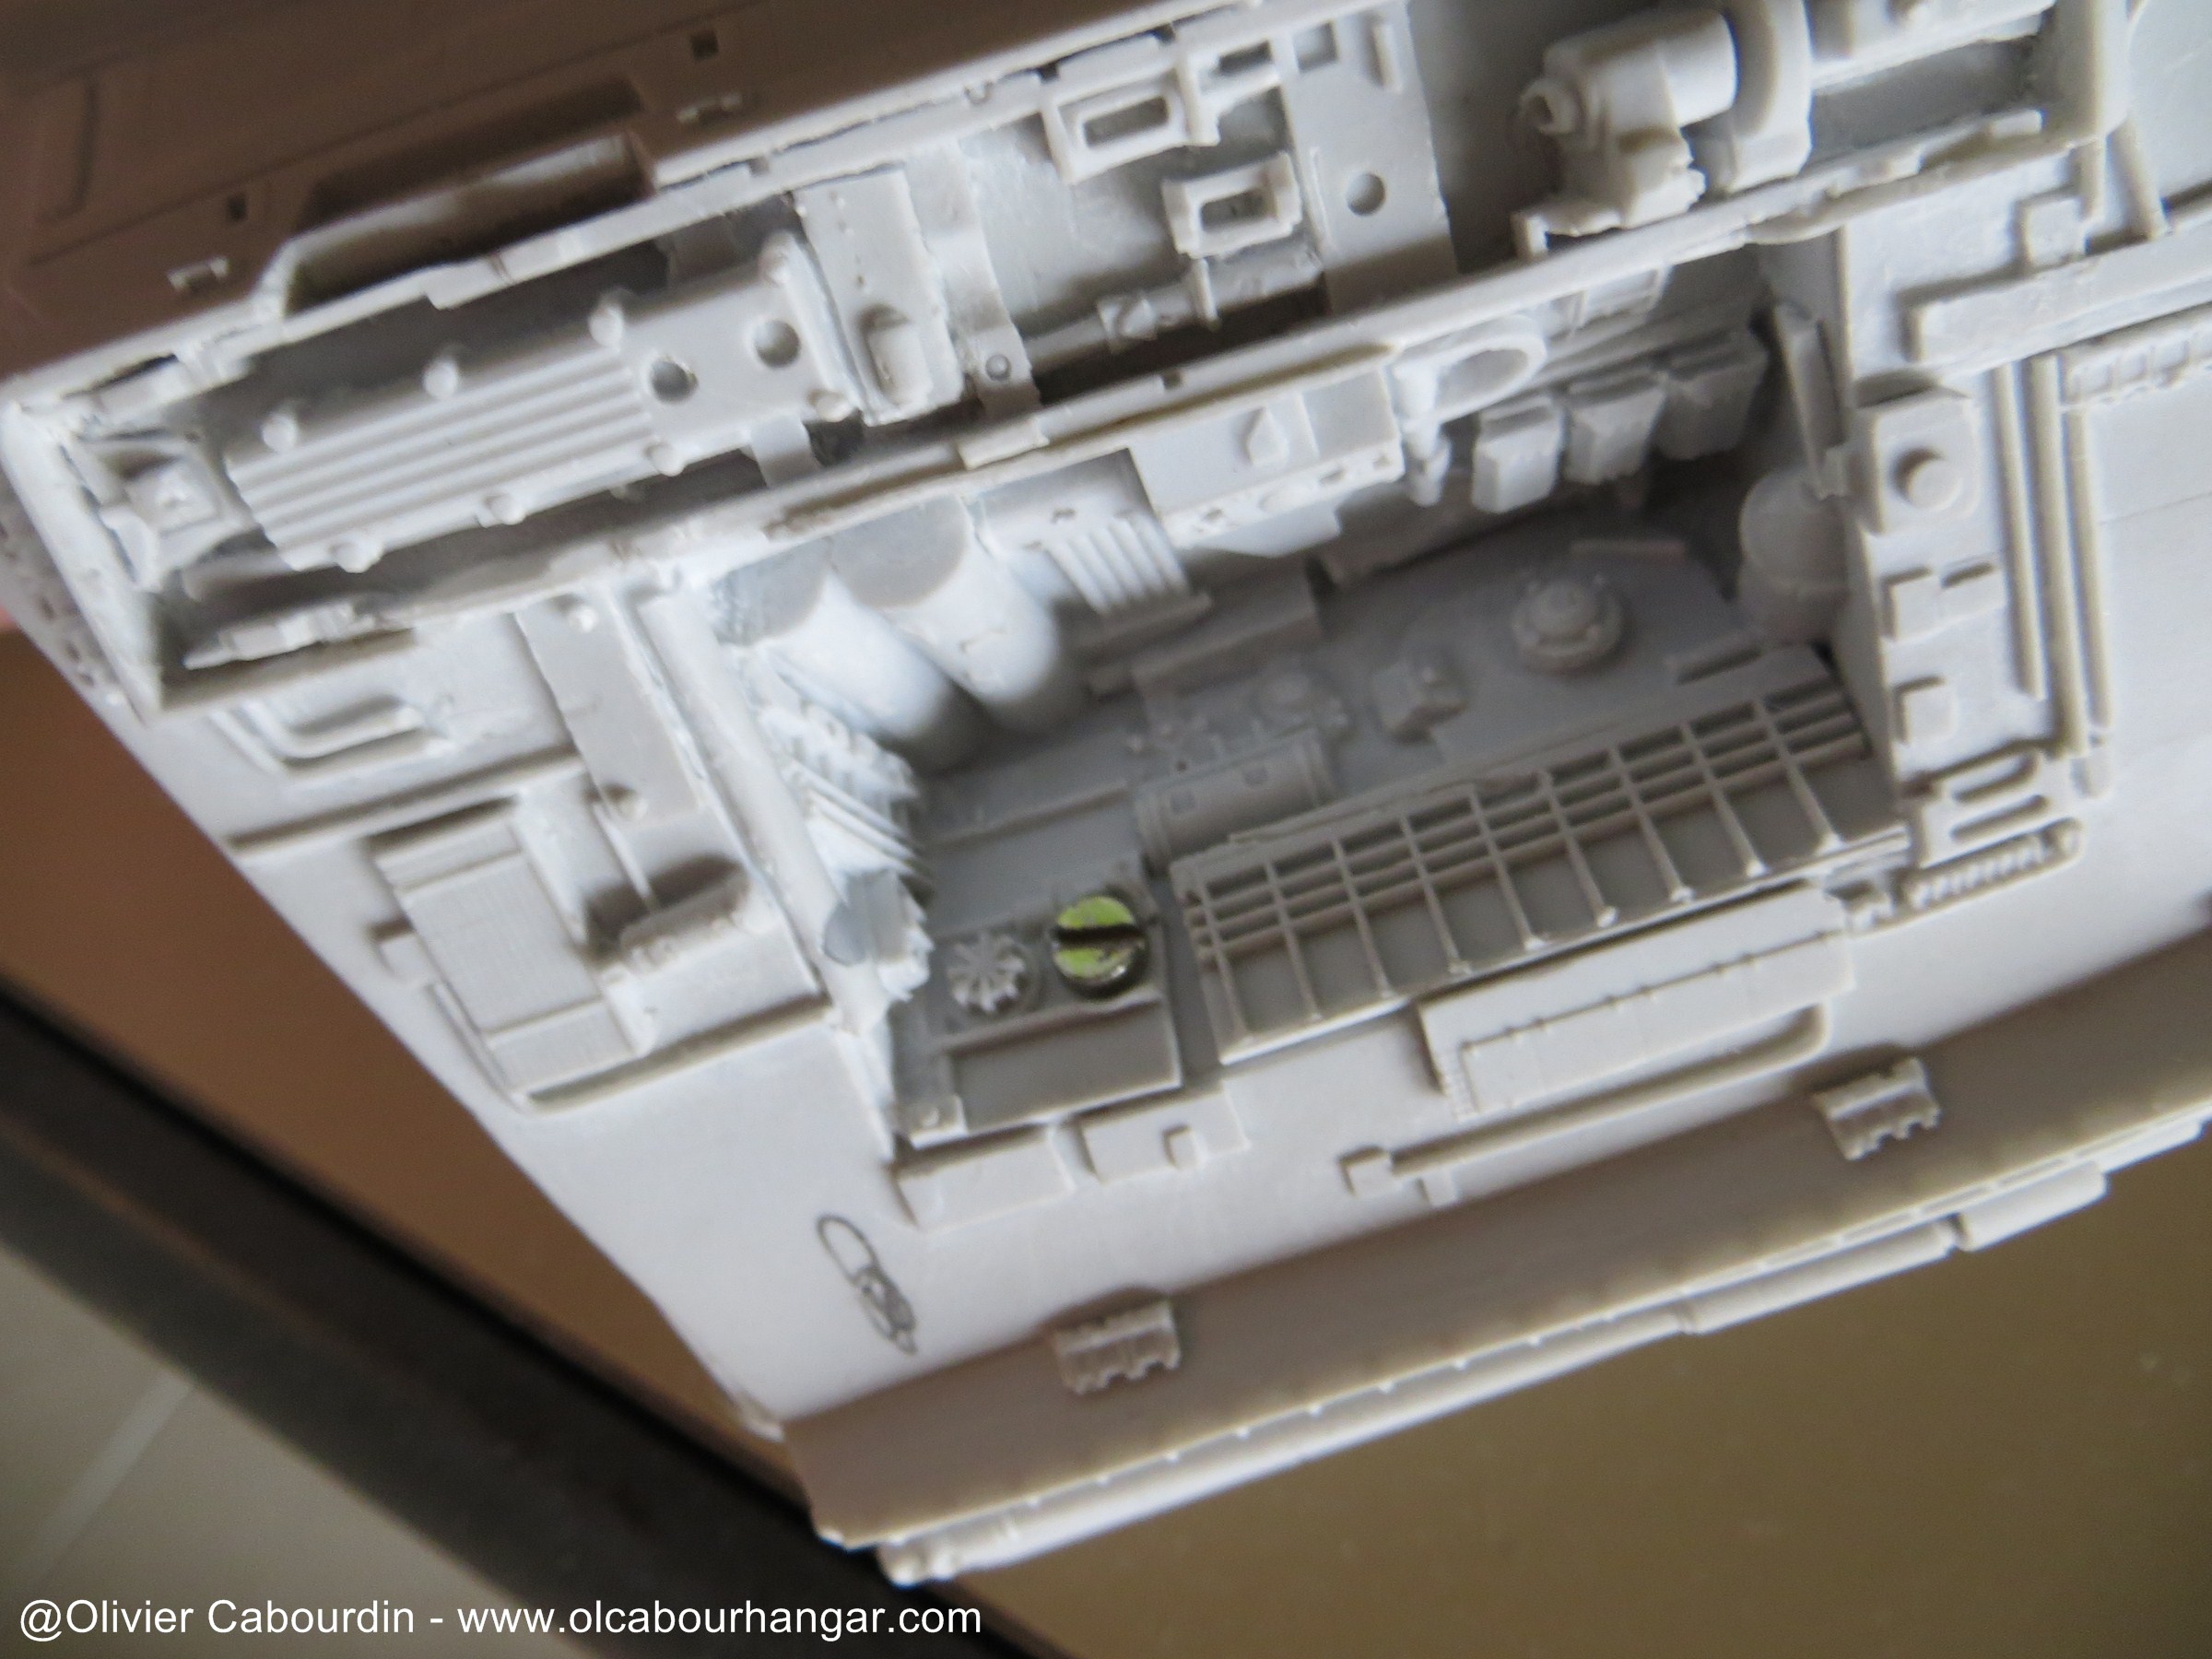
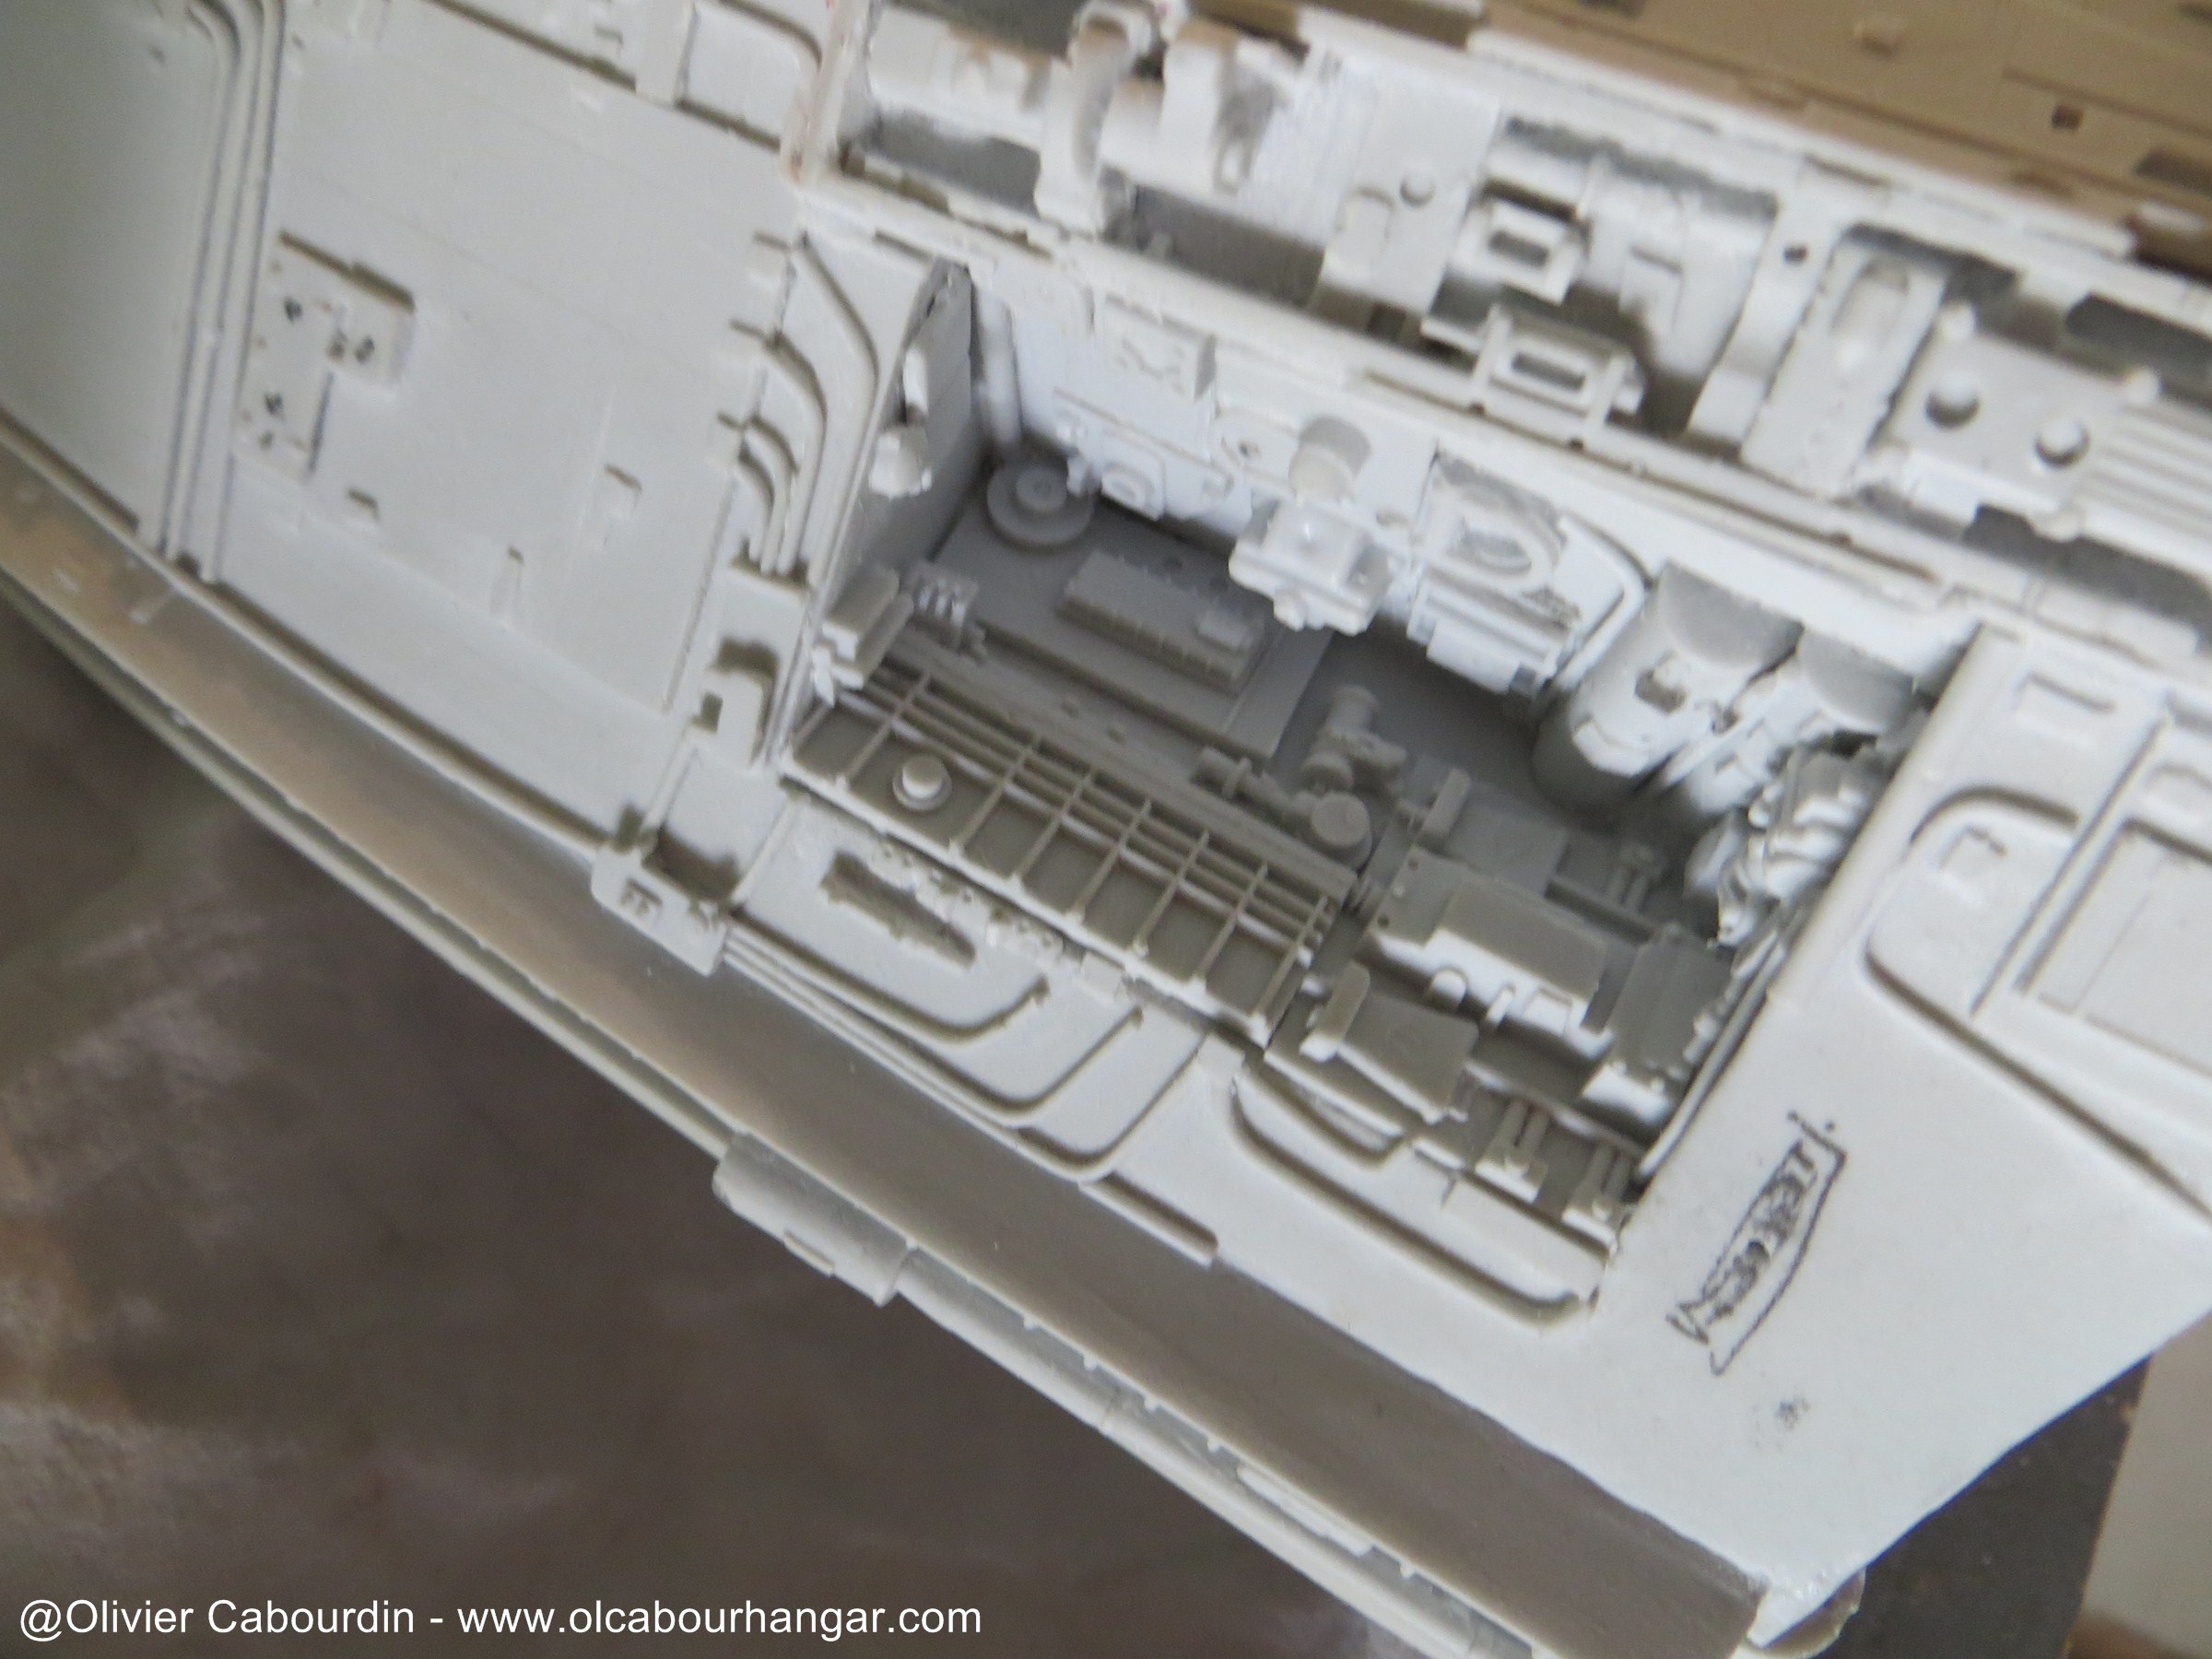
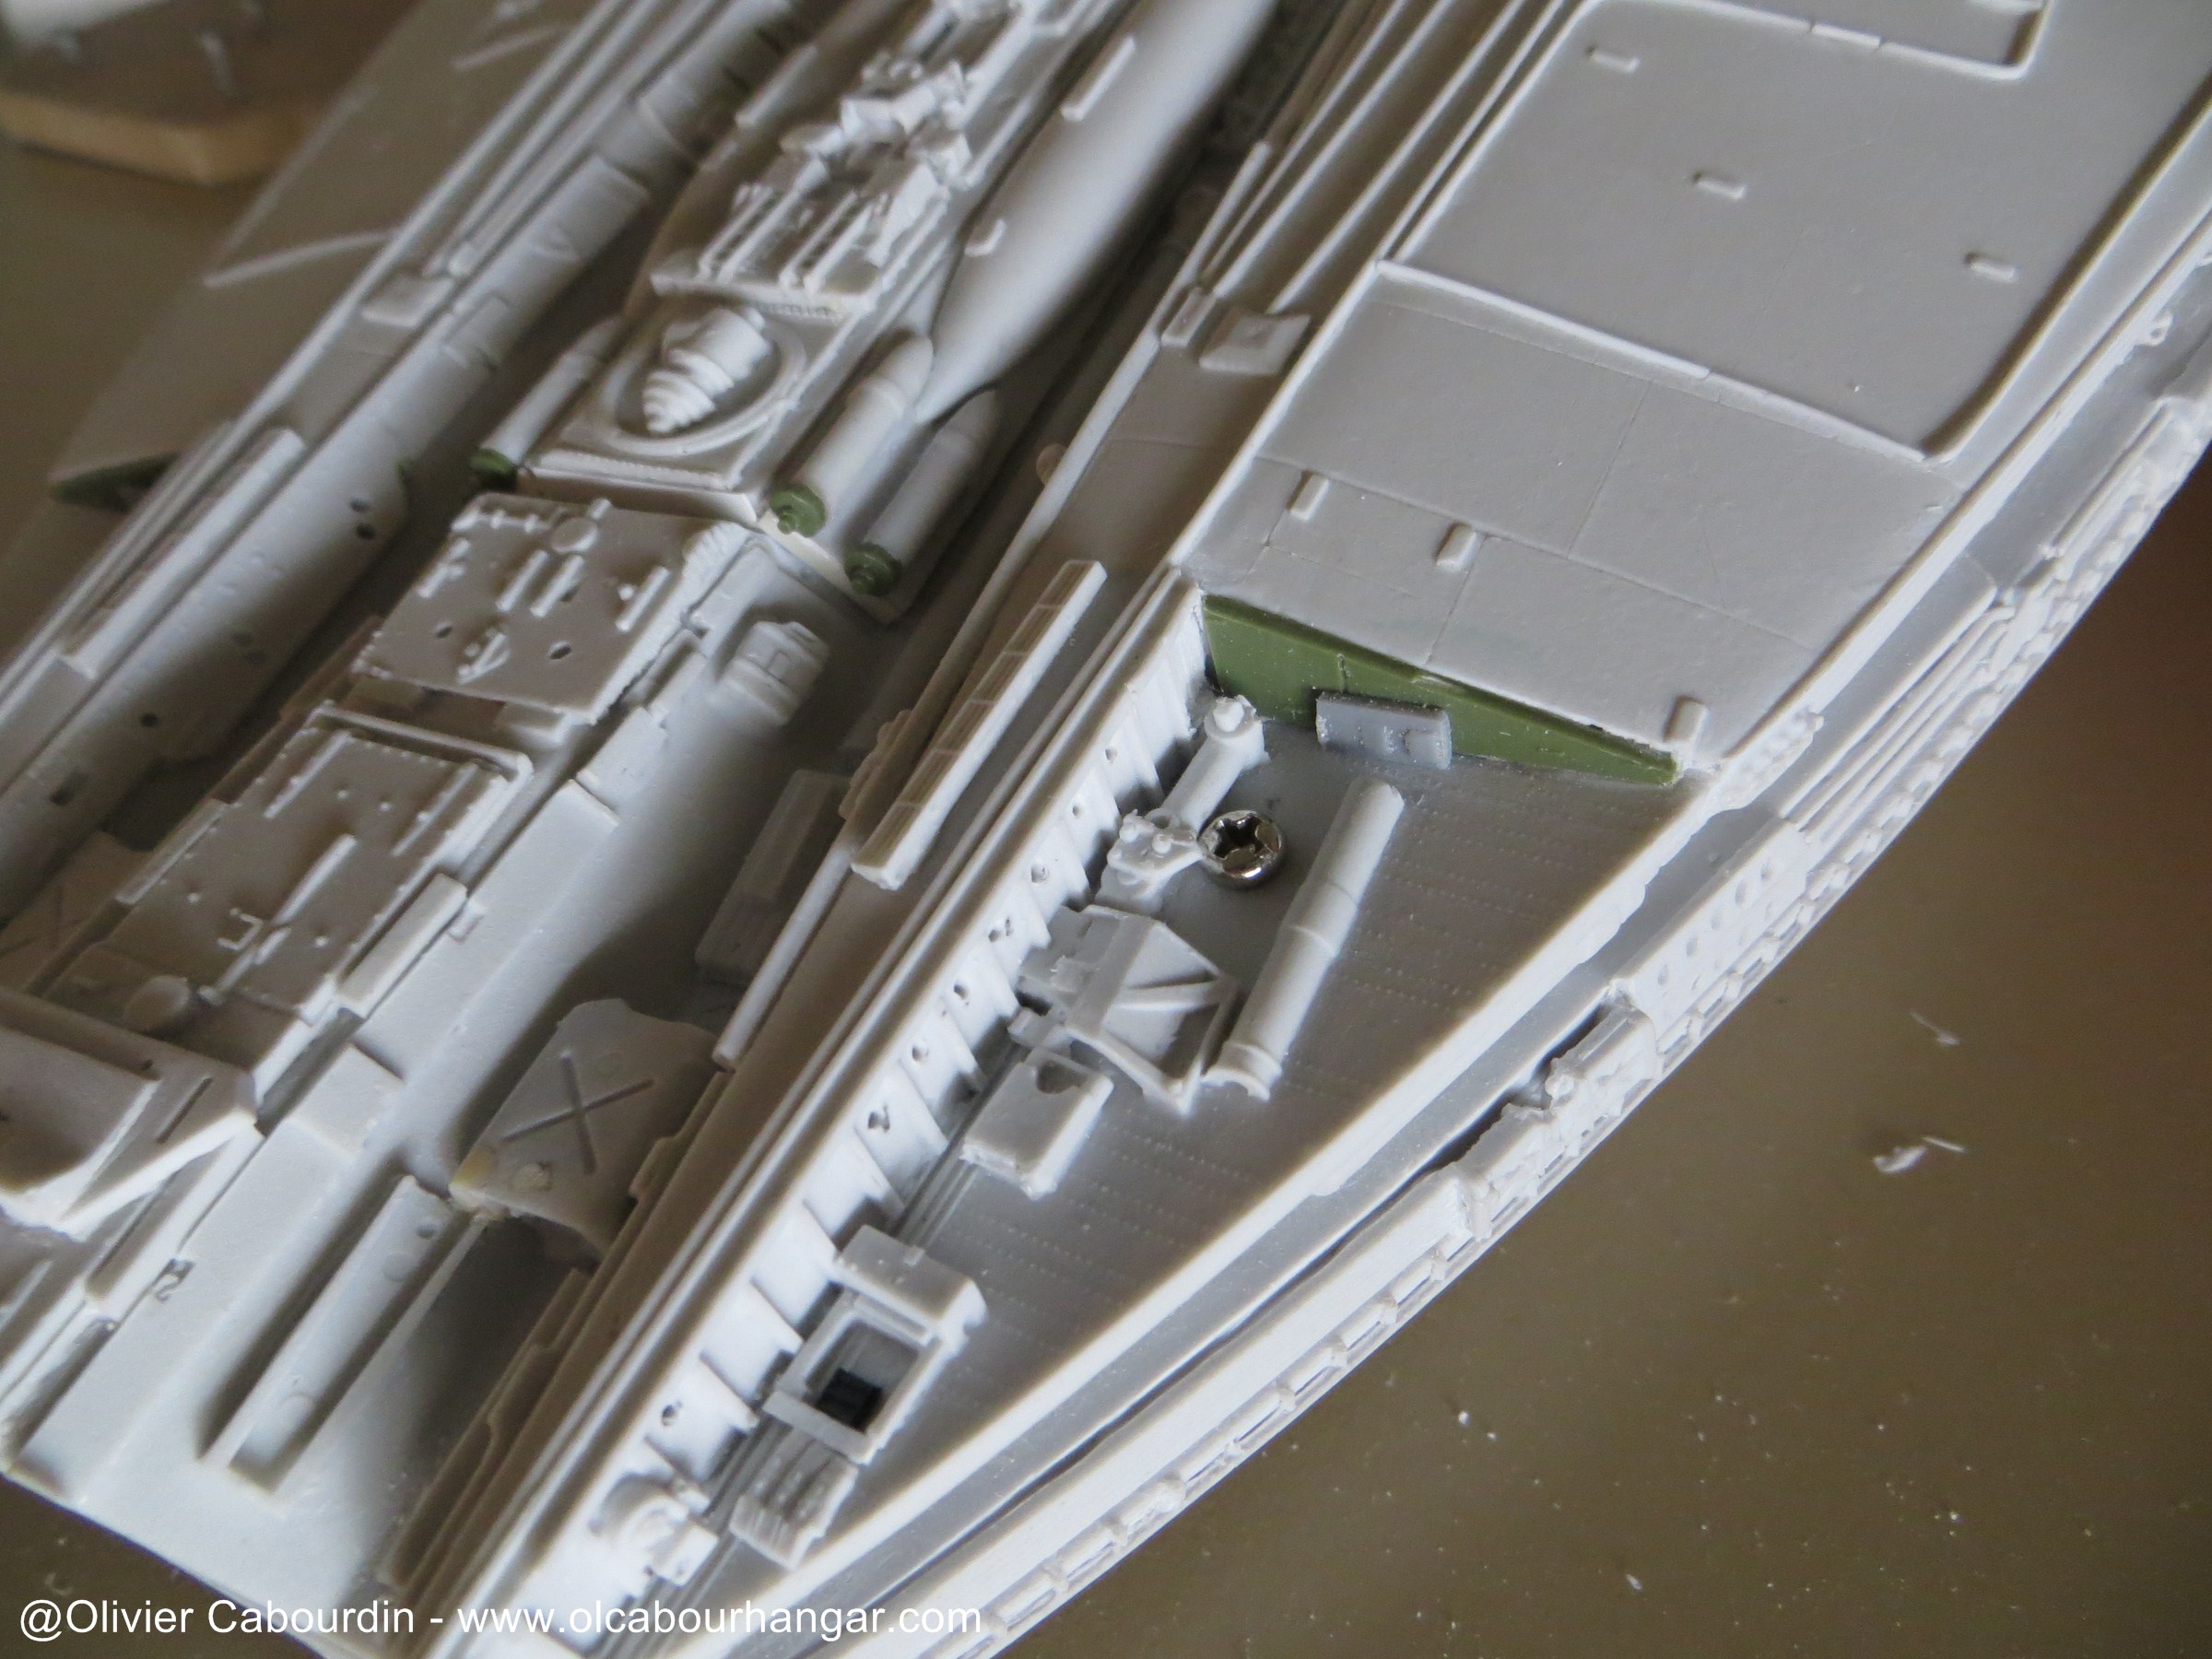
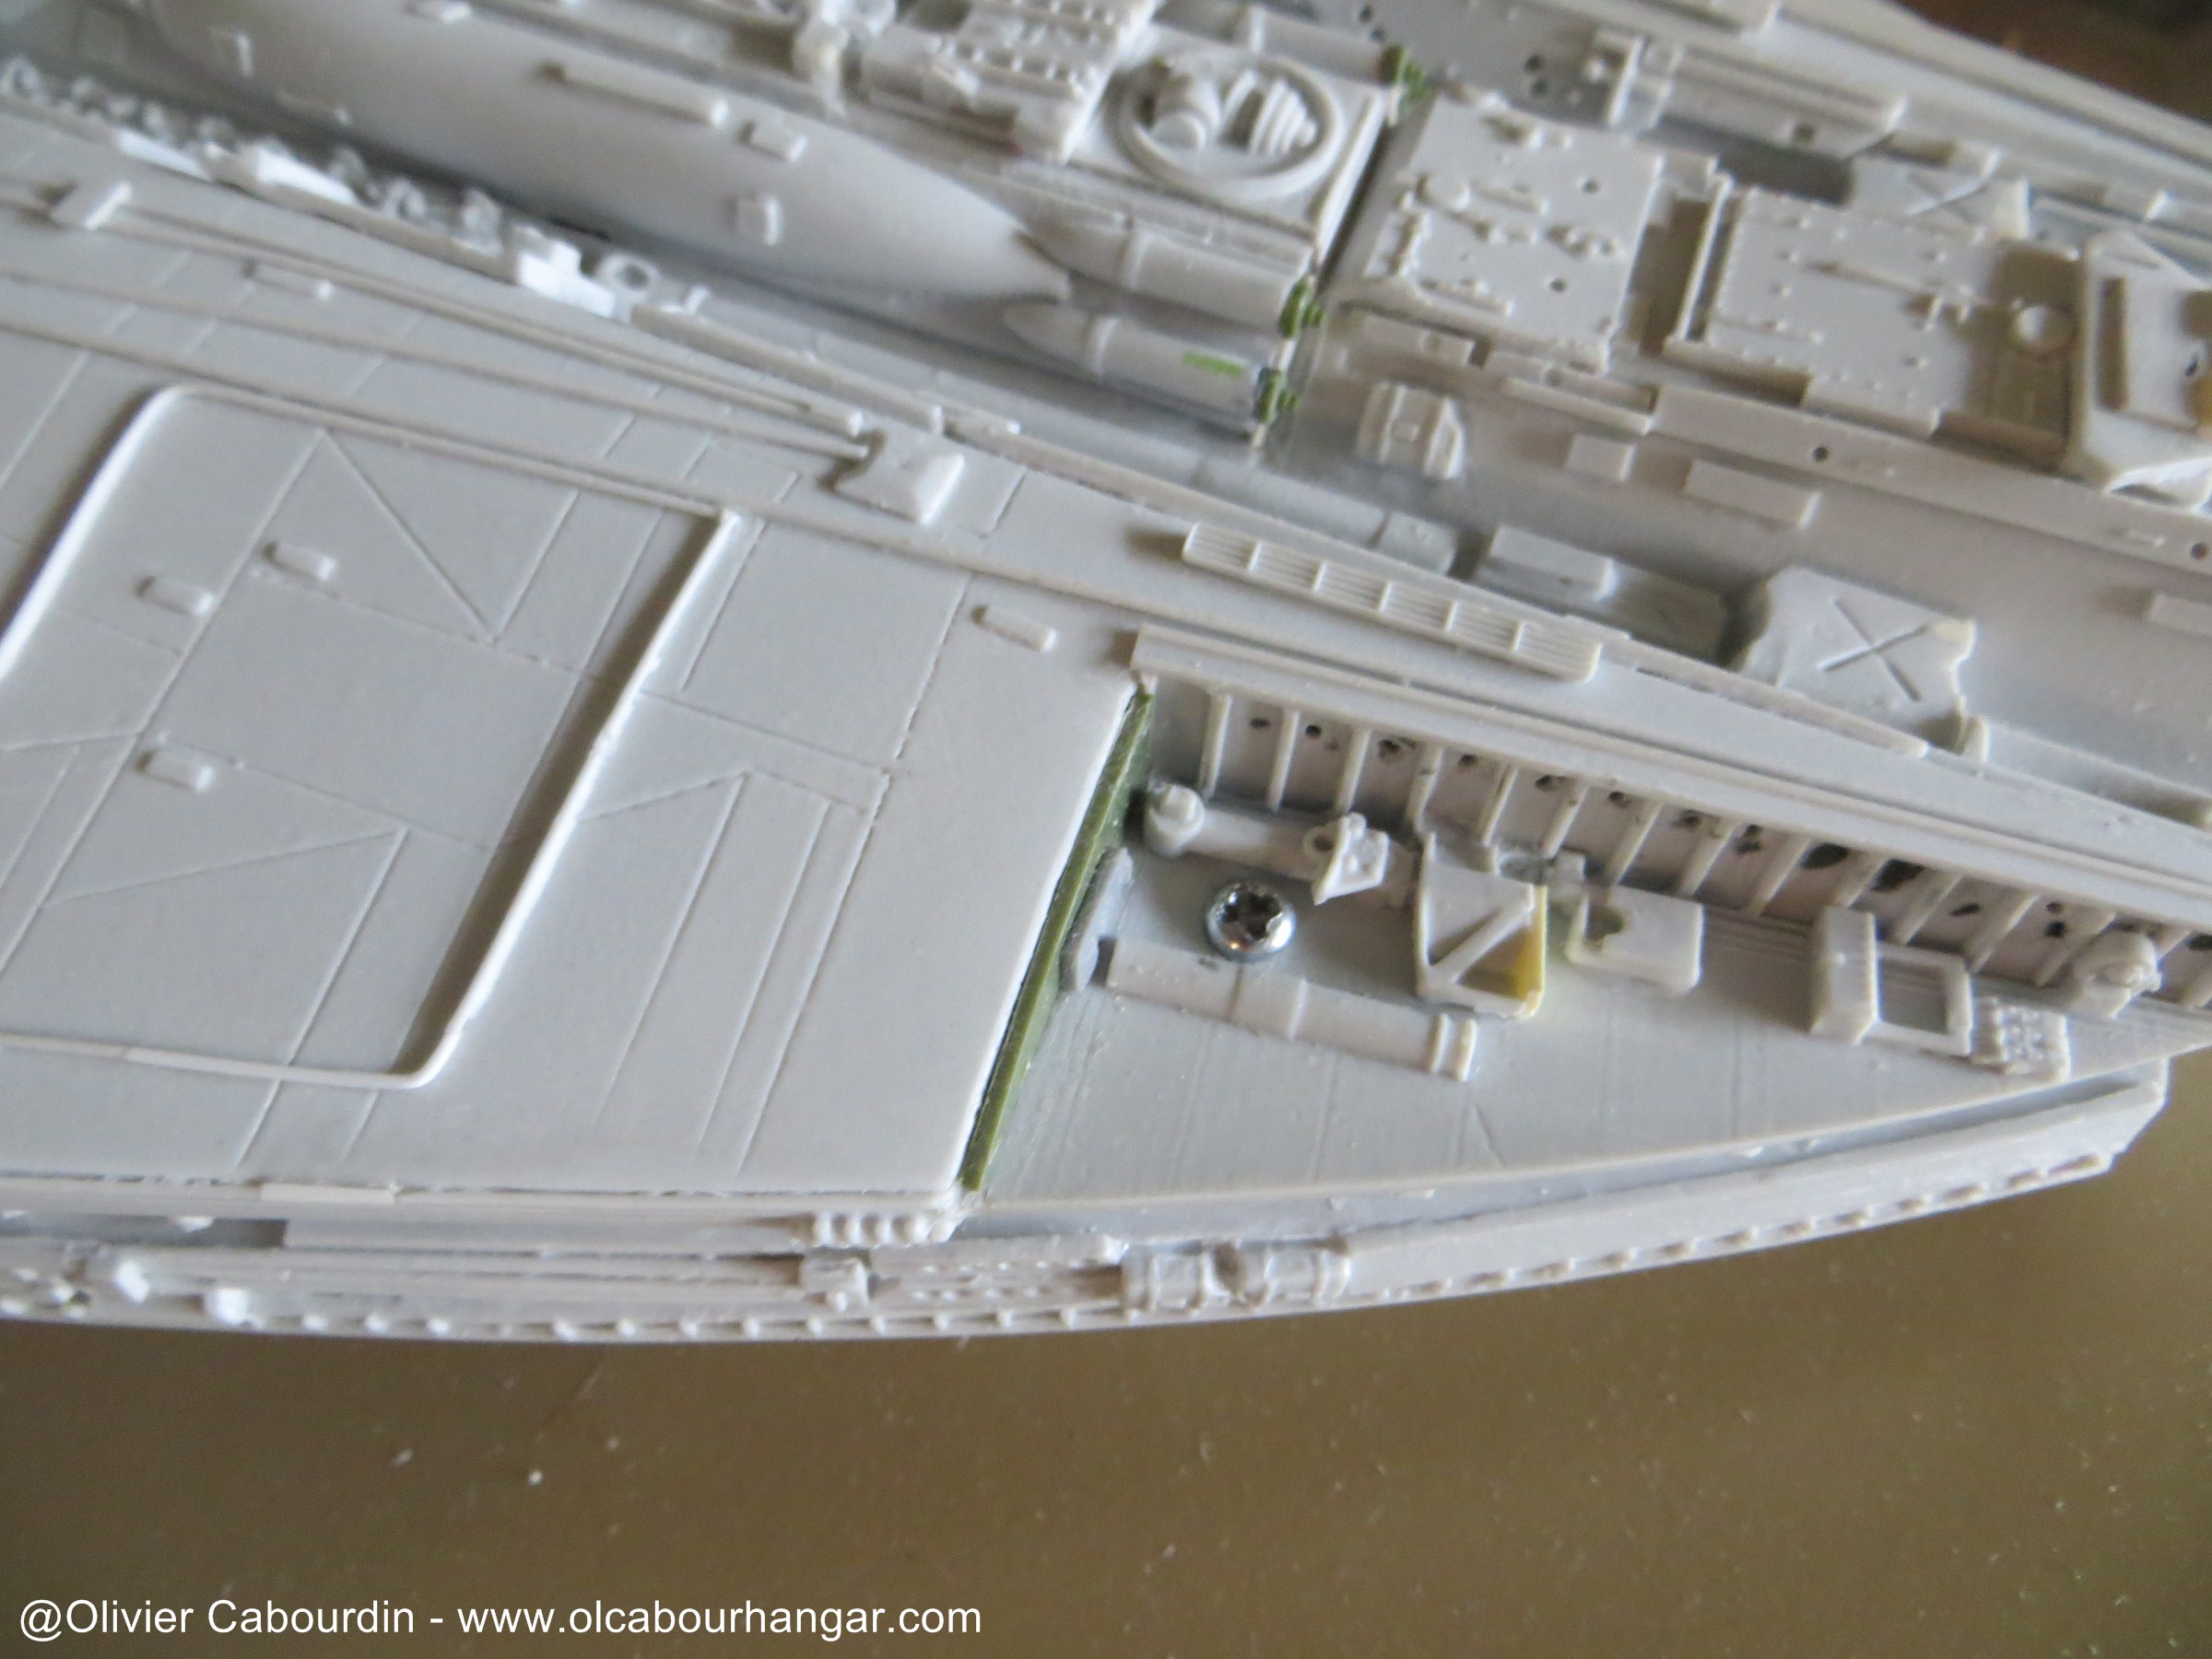
- Launch tubes and replacement hangars details
Viper Launch tubes are installed. A small strip of plastic card brings it the right level
The resin plates replaced the ones on the kit. There are 3 on the right hangar, two on the left one, not symmetrically placed as on the studio model.