Falcon lighting
Par olcabour le lundi, 14 janvier 2013, 20:11 - Fine Molds Millennium Falcon 1-144 - Lien permanent
The lighting is actually quite new to me, so I experiment a lot on this subject (and burn few LED on the way!).
- Power
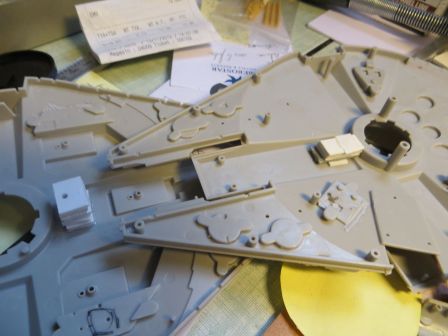
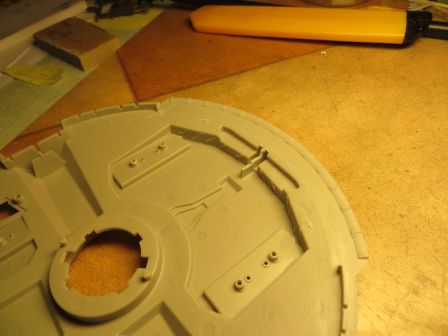
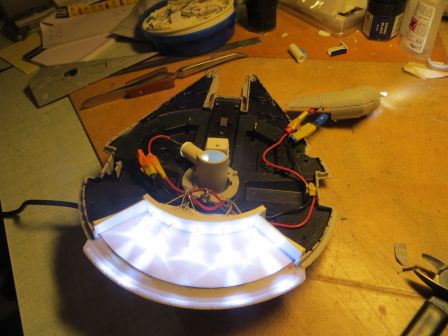
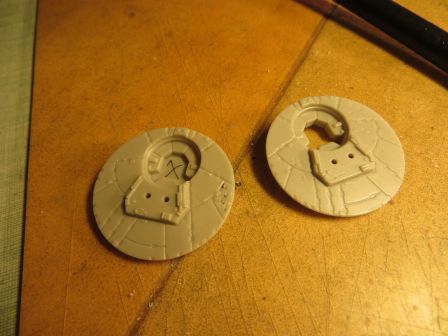
The electrical circuit will be powered by a small plug, at the end of a rod. The location is then hollowed into the cabin
As this plug will not be sufficient to hold the Falcon into position, as I had originally planned (the socket is unfortunately not strong enough), I was obliged to add an additional support rod, and thus provide a location and thickness to get her firmly plugged.
- Thrusters
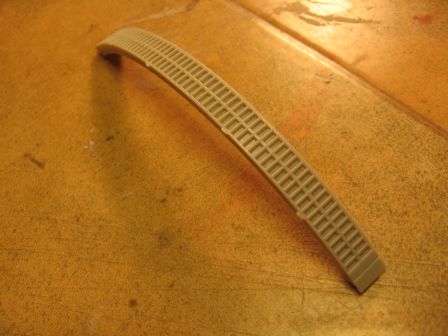
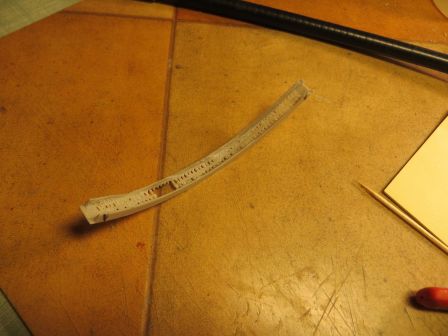
My first intention was to scoop out the part from the inside to get an hollow mesh. It turned into a disaster, so I had to order the upgrade kit on Starship Modeler with this part molded in transparent resin and a complementary photoetched mesh.
The resin part was all bent when I received it. This time, I tested to heat the part in a microwave oven. It worked, but surprisingly it took a really long time, so I went back to the proper method with hot water. (Sorry, no photos)
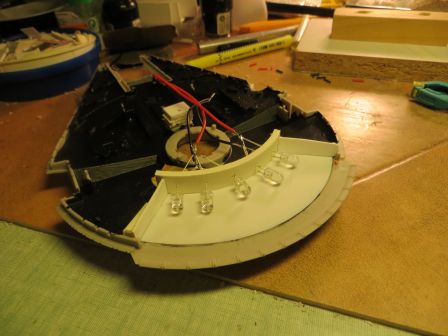
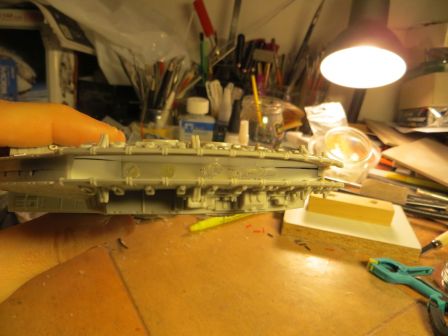
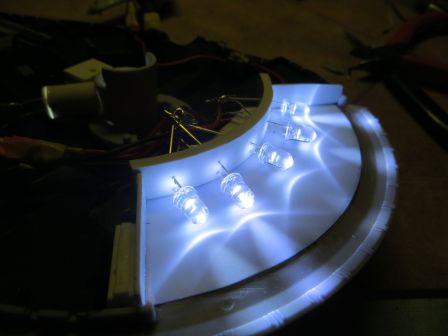
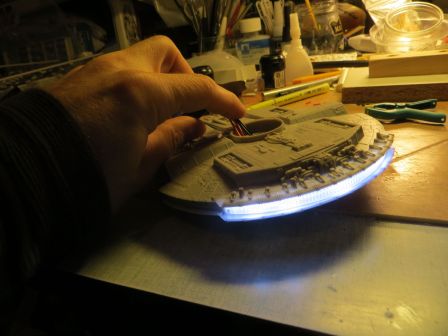
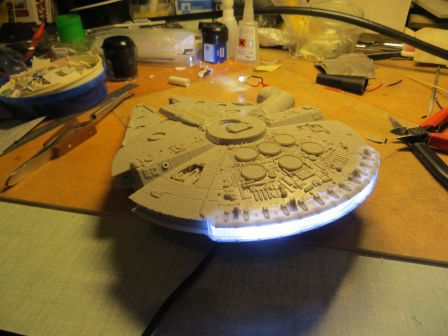
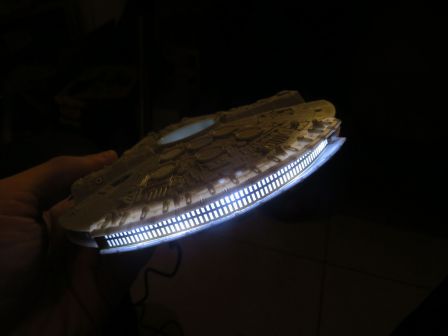
The engine location is hollowed inside the two half-shells, and a box is built, ended by an array of LED. I used cold white LEDs, that tend to a blue tint, which is perfect for the Falcon engines.
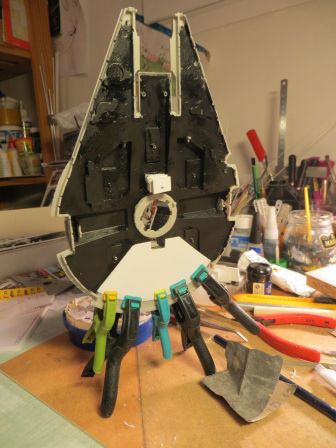
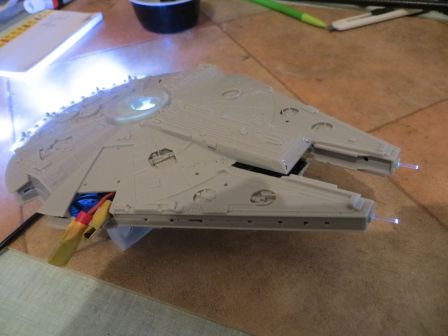
To keep access to the inside, the half-shells will not be glued but just remain stacked (and they hold very well as is, once the side panels are in place).
- Cockpit
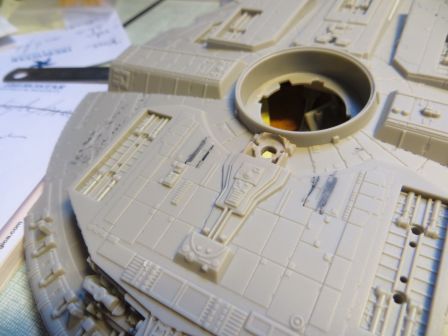
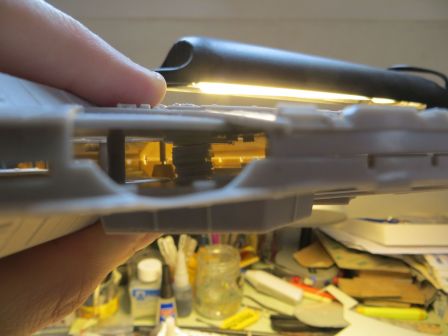
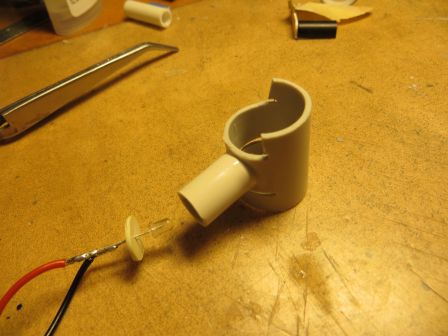
The access arm to the cockpit itself also stay in place without glue (like a snap-kit), so I will leave the module cockpit and arm module removable in case of internal operation. For cons, the electric circuit needed to be adapted, which is done with brass terminals. There is a hole in the cockpit floor, I'll certainly keep it as is, and use it for the lighting. A small box for the LED is done with a piece of pen tube, each ends closed with plastic card bits It is not yet finalized, so it is possible that may change, as I want to paint the cockpit to see what happens before closing this box. If it does not please me, so I will look at other options: switch to a warm white LED (rather than cold white), open the door and make the inside corridor, replace the cockpit wall by a backlit transparent on...
- Turrets
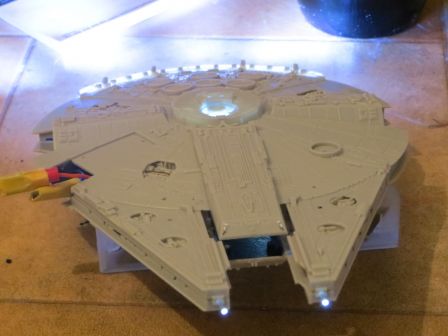
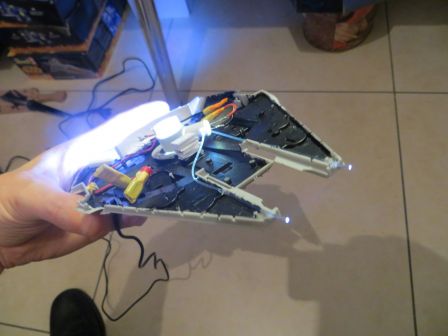
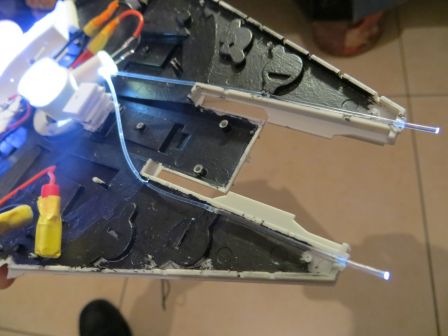
In the kit, they are movable and clogged. I will fasten them, pointing forward. The bottom is sanded, and connect to a PVC tube. This will give a sense of depth (without trying to be "accurate" here). A pen tube is taken up again in order to insert the LED, to have an indirect lighting.
- Headlights:
They are made with 2 1mm fiber that fetch the light from the turrets LED
Everything inside is blackened to prevent light leaks.
With the PE part, the thruster look pretty good
