Improving parts of the Revell Vipers
Par olcabour le mardi, 16 août 2011, 23:42 - Viper TOS - Revell - Lien permanent
Before moving to an assembly by module, I am staying on improving the parts.
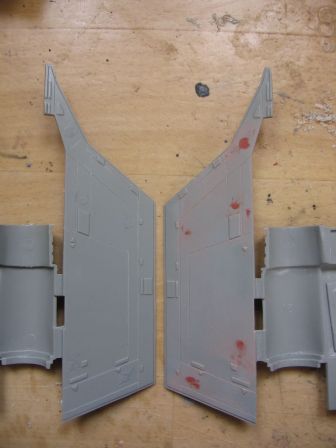
- wings and engines cover plates
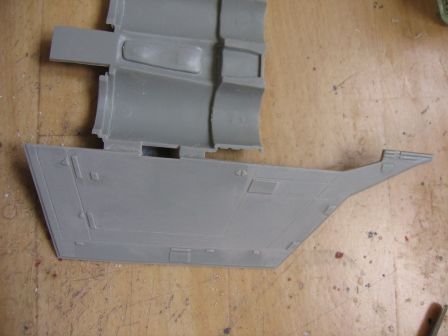
On the wings, the punches and incorrects details are removed and the recessed ones filled (this varies from half-wings).
On this example, no recessed punches :
On the studio model, the tabs between the thrusters were detailed with parts from Panther model kit (circular rear vents).
On the kit Revellogram, the circular grid is poorly faithful. While comparing it with a part from a 1/72 Panther from my spare-box, it was matching perfectly in size. So, I remolded the part and I removed the original details of the kit.
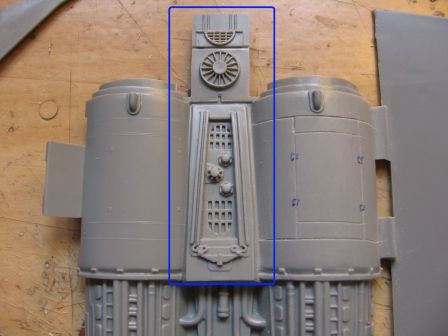
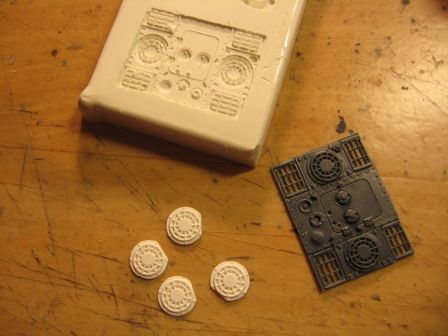
Having recently get some Staturoc I tested on these tiny panthers grids. The result is somewhat fragile, however, I use them anyway to go faster and because there is little chance of shock at this place of the model.
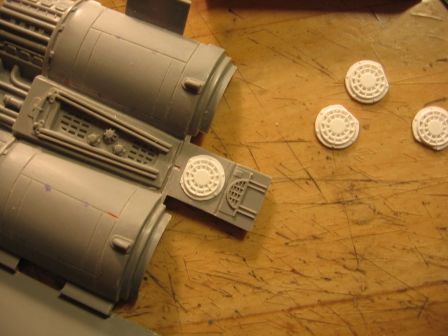
The engines cover plates receive their locks (2 or 4 by cover as appropriate). And in areas where the pipes are exposed, each small rectangular details, by rows of three, receives two small holes with a mini-drill.
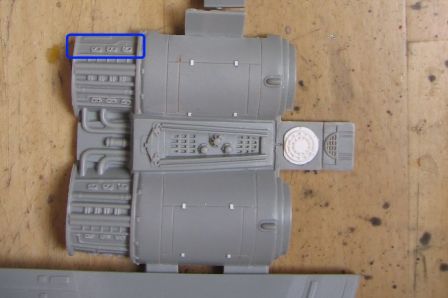
- Rear
The milling of the nozzles is far better on the reissue. Curiously, this is not the case if the Y-shape rear area that connects the nozzles. The details, although modified, are as poorly done as before. And the main flaw of this part is
not treated : the Y is too recessed, and still does not allow the details to come touch the edge of the nozzle. As I do not want to get into a major surgery, I will leave this depth as is.
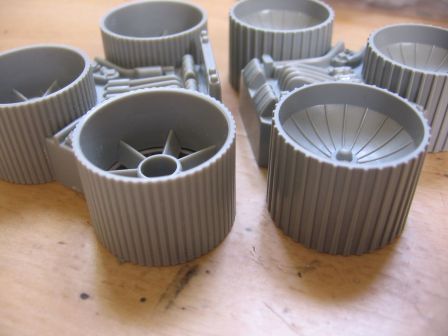
Since I will not put lights, I hollowed the center of the 3 clear disks to plug them from the back of the reactors in order to fill gaps and to benefit from the two layers of details of the reissues.
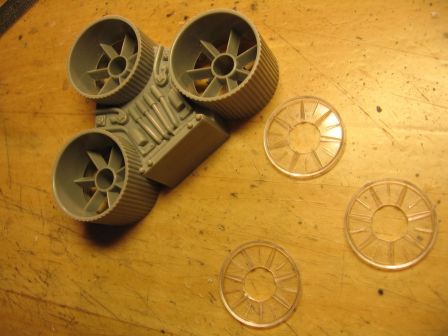
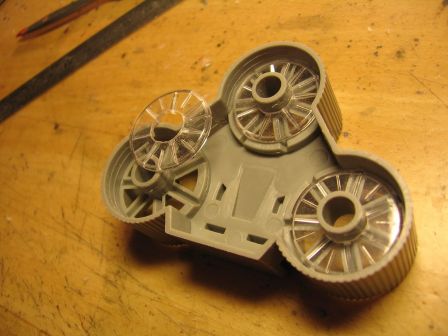
It is still lacking few small details on the sides of the nozzle, that I will add later.
- Fuselage
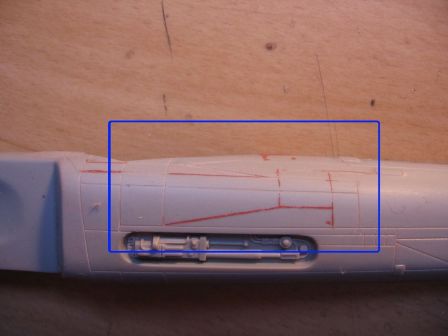
After hunting for reference on the web (paper sources are rare, and presents always the same photos), I could identify two types of pattern on the fuselage panels with different levels of details. The most advanced version that I understand as a "heroes" Viper, for close shots, is seen more often. The standard version (cannon fodder  ) roughly matches the pattern of the Revell kit.
If memory serves, the special effects team had received sets of Monogram Galactica kits, that were used as models in distant shots. There were also several Monogram Cylon raiders in a scene from hangar basestar Cylon.
Top: standard | Bottom: heroes
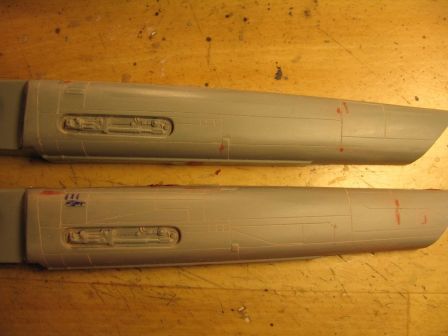
Having the head in the graving task, I did not notice that, on the heroes version, the pattern differed between the left side (the best known) and the right side. So I was good to fix this (grrrrr!!). It's stupid, because I did have noticed that the little details to add on the left side effectively differed from the right...
The said small details are found in the spare-box, with no desire to be 100% accurate, but close. Only the left side is detailed at the moment:
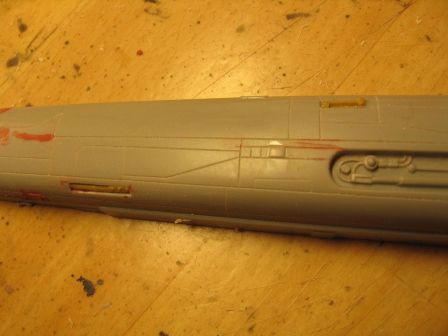
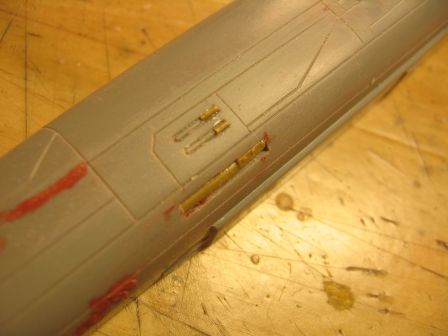
After gluing the half fuselage, there will be above and below strips, and details, to add later. And for that, I must first take care of the cockpits and pilots.
- Ventral
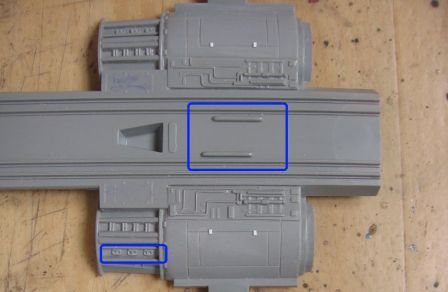
The plate cover also received their locks (here in white), and the rows of 3 small rectangular details received their two small holes.
The 2 raised and long details, and curiously asymmetrical, are aligned.
After
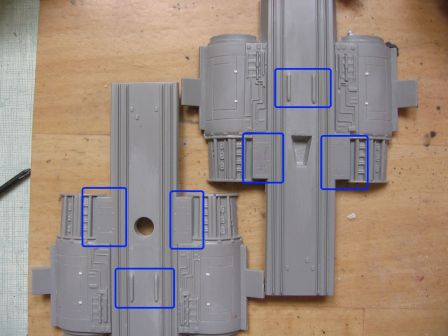
I still have to add small details with spare parts and brass. I wonder about how I will present these two vipers (alone or in a diorama), so I do not fill the holes for the display stands.
As for the fuselage, there will still be things to add after bonding.
- Cockpit and pilots
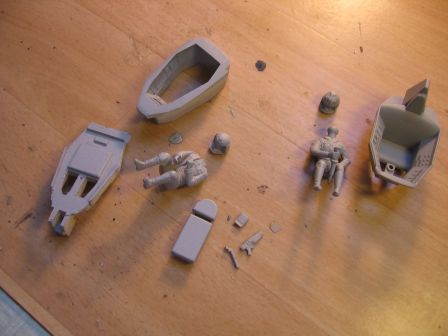
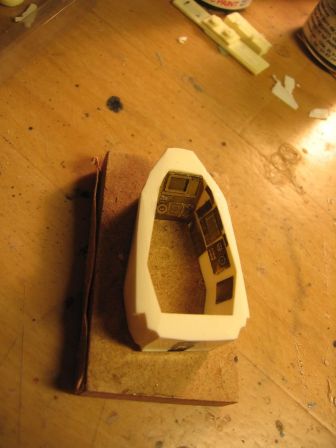
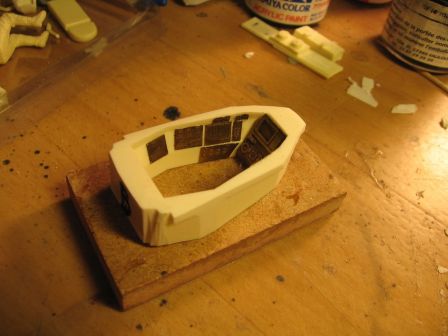
The instruction set of the cockpit MMI recommends to cut the fuselage to insert the cockpit, but I feared it was difficult to align properly and get a good finish. So, I decided to remove the top of the resin part (in just 30 seconds with a belt sander tool machine !), to stick it from underneath. The placement pins must also be removed the half-fuselages.
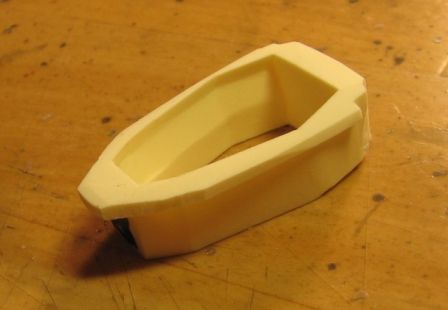
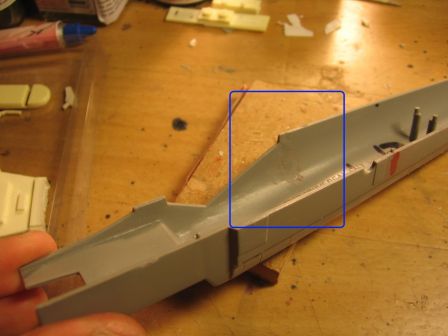
This done, photoetched instrument panels are superglued on the cockpit walls.
The arms are glued to the pilot. The set allow a right-handed or left-handed. Here it will be right-handed.
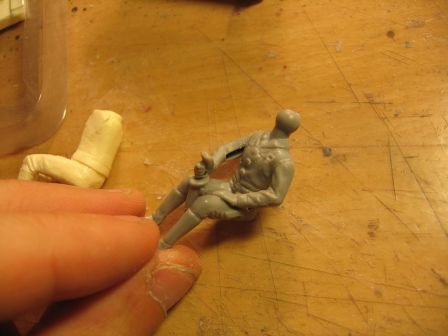
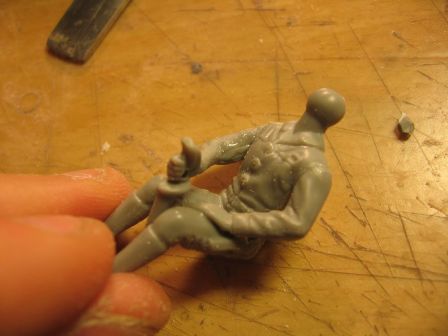
The pilot of Revell last edition is a level below compared to the MMI resin one. It also has some rather visible lack of material in the hand, the right arm and the upper back. All these are is quickly filled.
