Fitting improvement and flight deck detailling
Par olcabour le mercredi, 6 avril 2011, 21:59 - Battlestar Galactica - Assembling and detailing the Moebius kit - Lien permanent
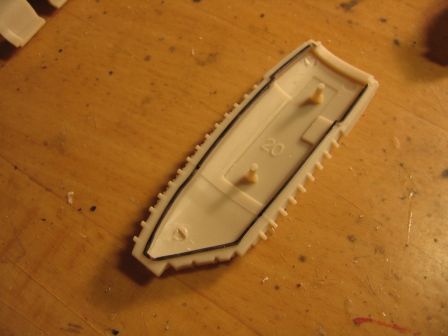
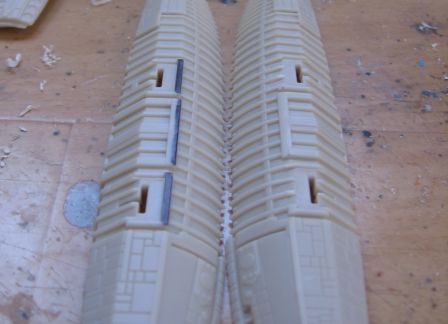
- The sides parts does not fit well with the main body, and leave a noticeable gap, anbd need to be sand in the thickness. The triangular corners do not fit correctly and need to be reduced and sharpened.
- The same applies to the lower reactor modules, where the border guide had to be removed
- And now, a little visit to the flight decks to detail them. I reduce (not remove) the T-pins on the arms, as they exceed a little too much once in place nd will interfere with the details I want to add.
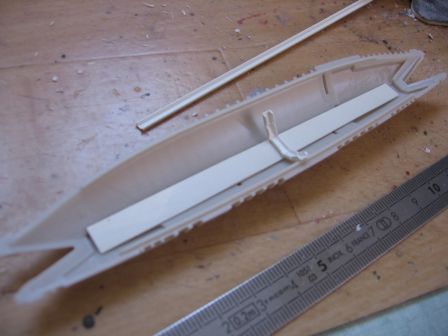
- Inside, I placed a plastic strip for the ceiling, and, after several different tests, I tried using an amount of U-shaped profile of 3mm, and notched in order to bend it. This is the first test.
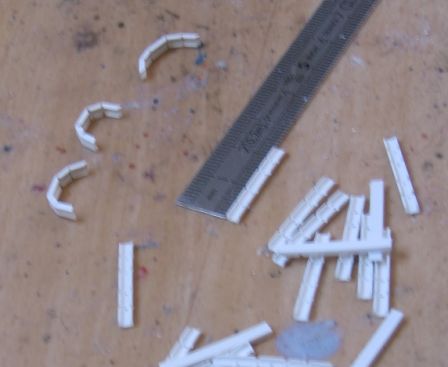
- As it seems rather good for me, I go for creating a lot of twenty pieces.
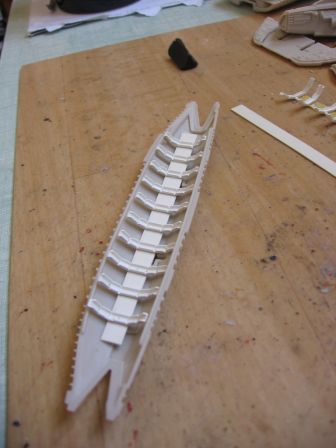
- A little later, after gluing of the crane rails :
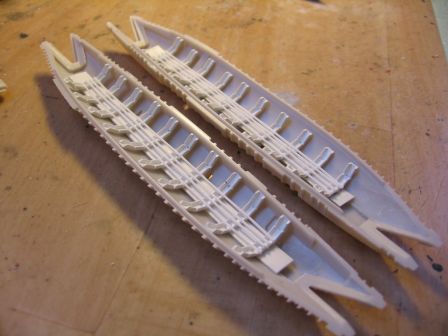
- I intended to finish the detailing of the flight decks by adding the crane itself, and the access corridors (using profiles squares), but finally, as the interior is not as visible as I thought initially when the two shells are in place, I dropped this step. I would have continued if I had intended to insert some lighting, but this is not the case.
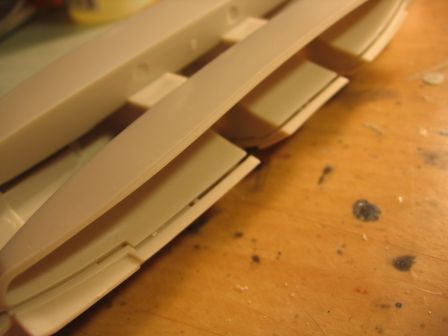
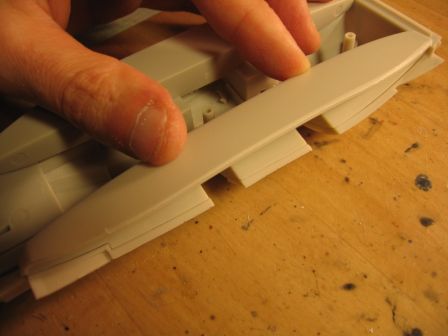
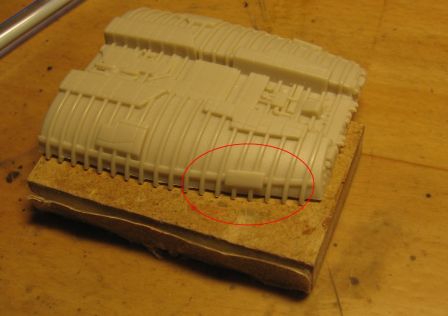
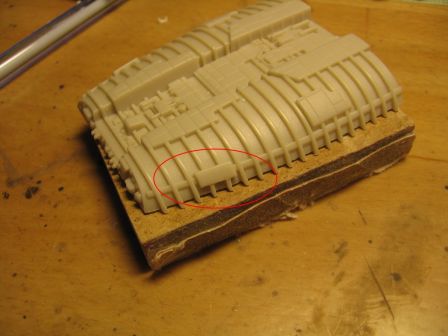
- Still on these sheds, they are some raised strips, placed in front of the arms, that are too prominent (certainly serve to help positionning the arms' parts themselves, but the T-pins prove good enough to do this job), and it is therefore preferable to remove them completely, while taking care to extend the coasts of our "animal"
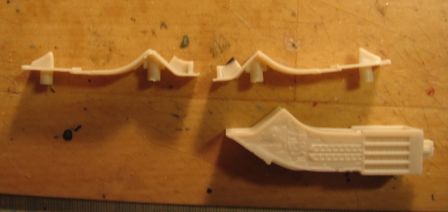
- Quick step on the bottom of the head, where I cut a little into the material to improve the appearance of the small plate armors.
Before
And after
