OlCabour's Hangar

Aller au contenu | Aller au menu | Aller à la recherche

Battlestar Galactica › Moebius Viper mk2

Fil des billets

jeudi, 16 janvier 2014

Moebius Viper mk2 - Engines lighting

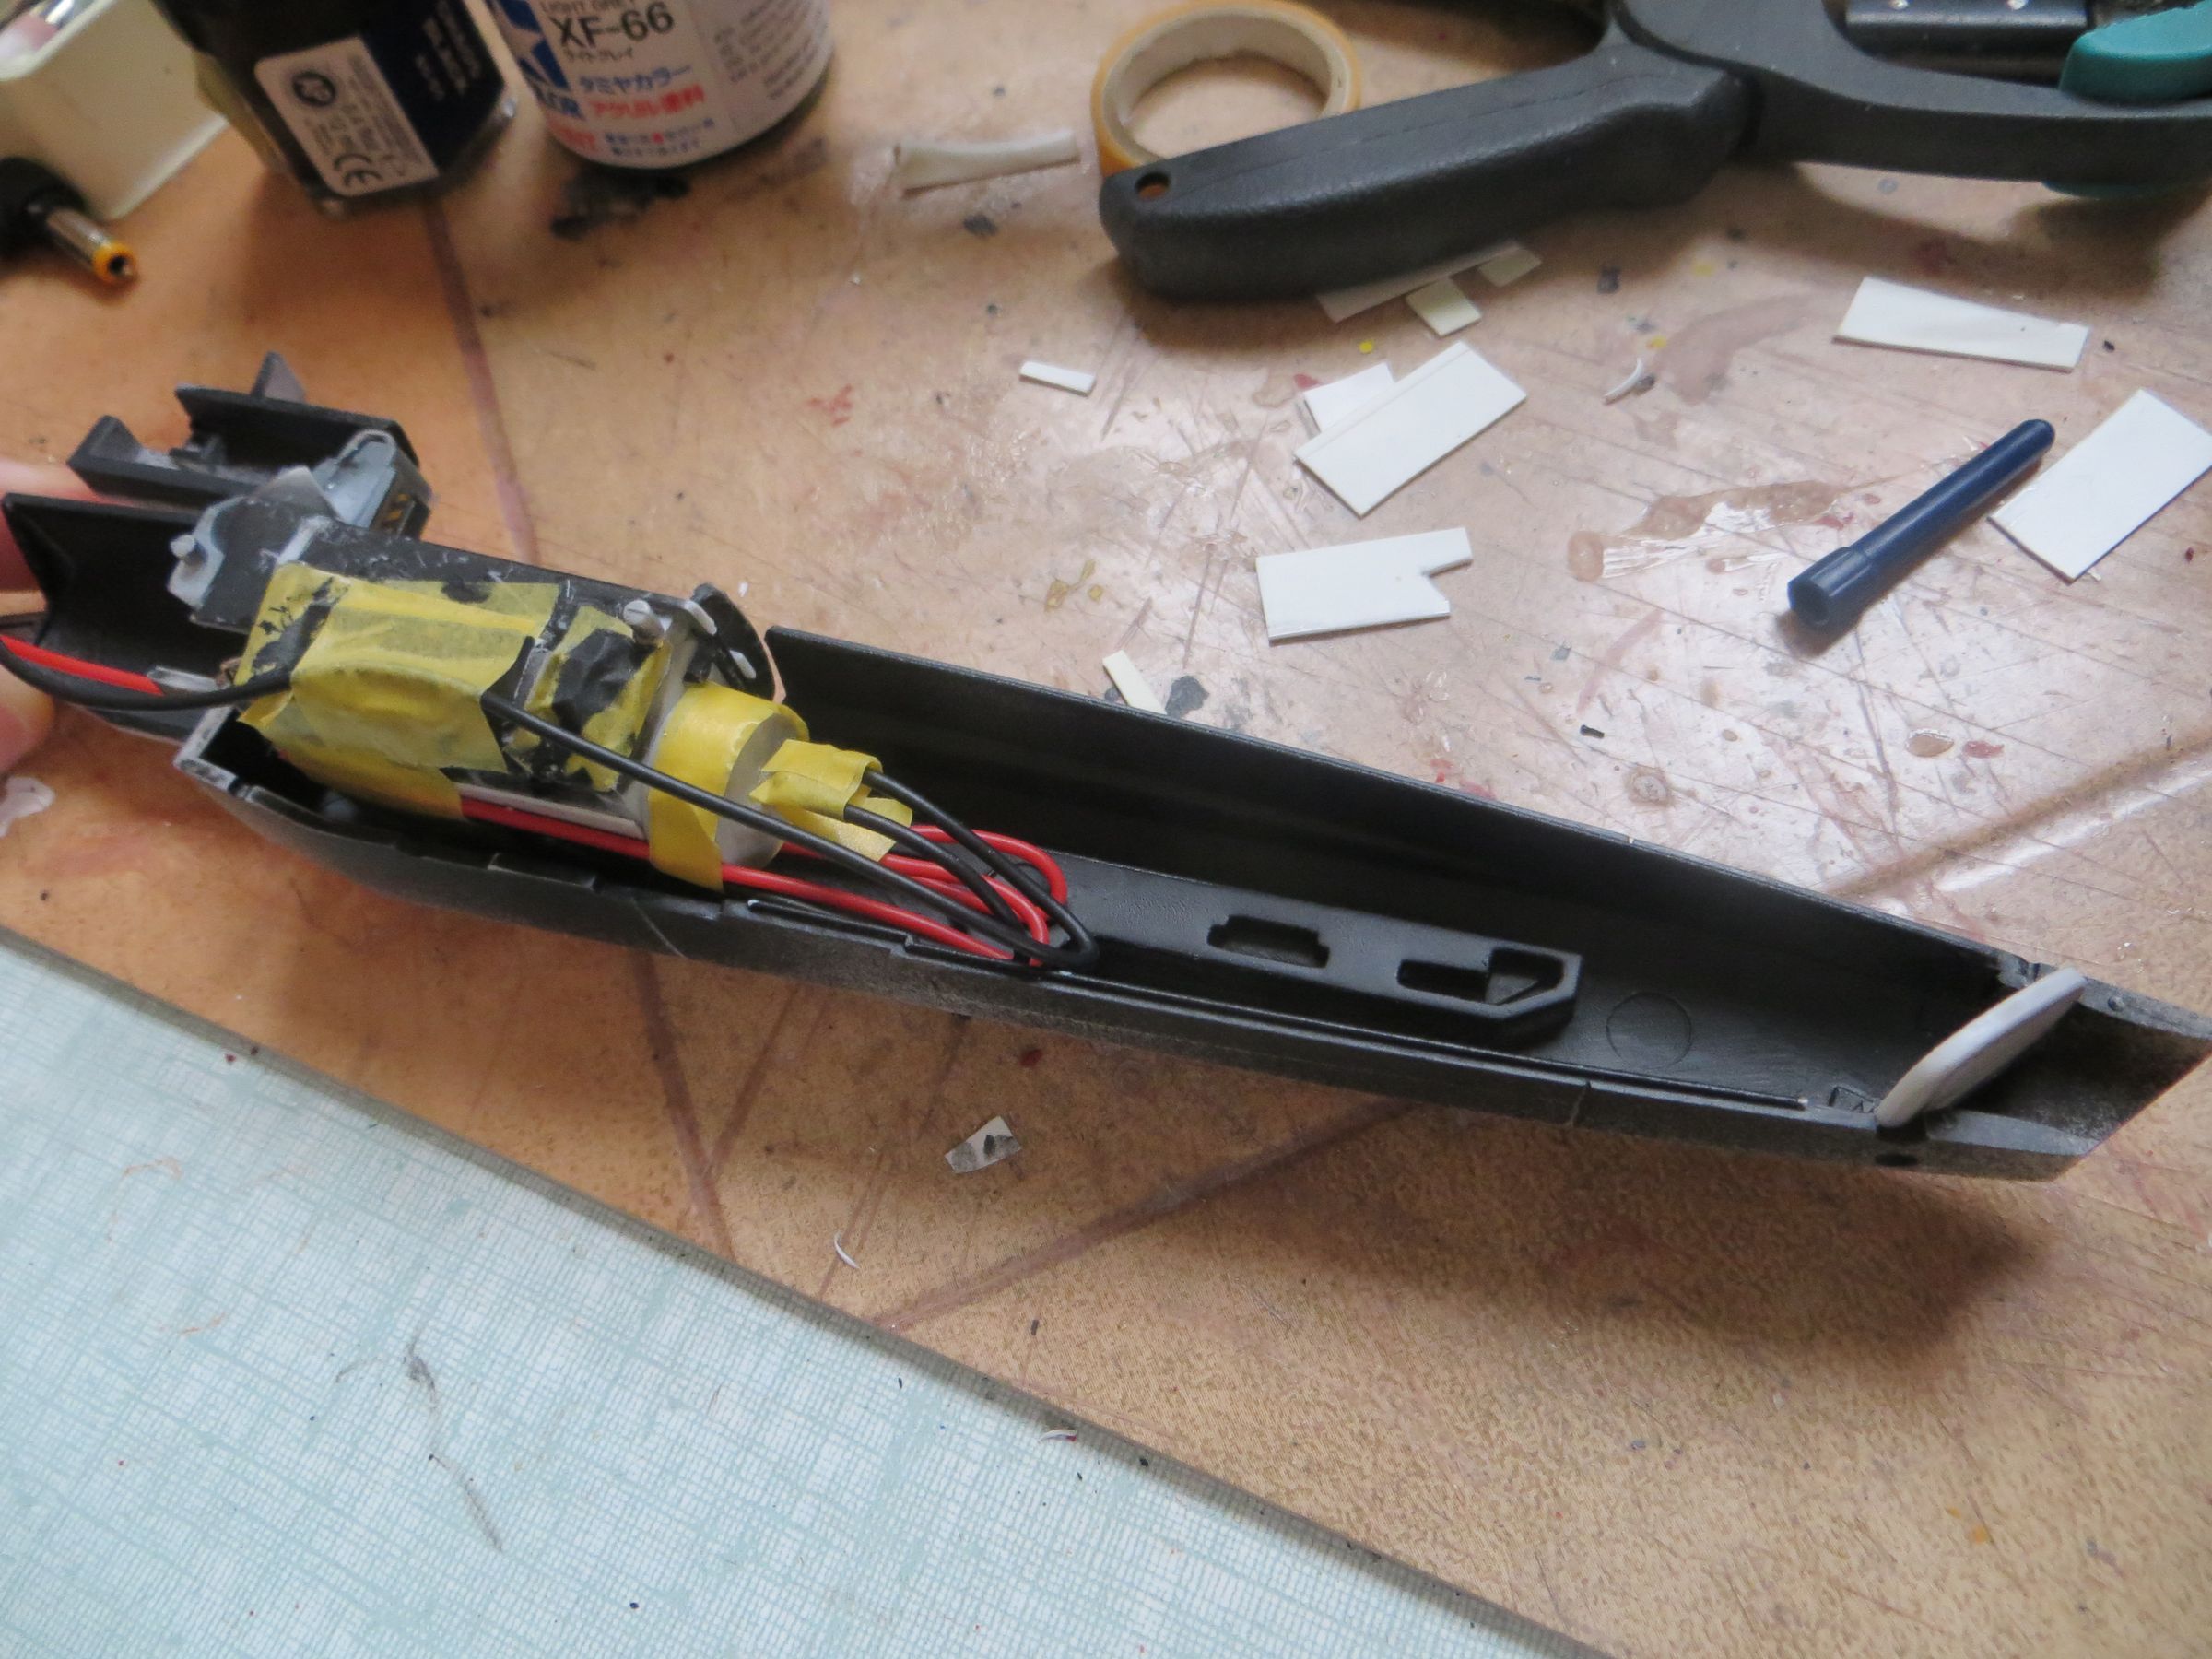
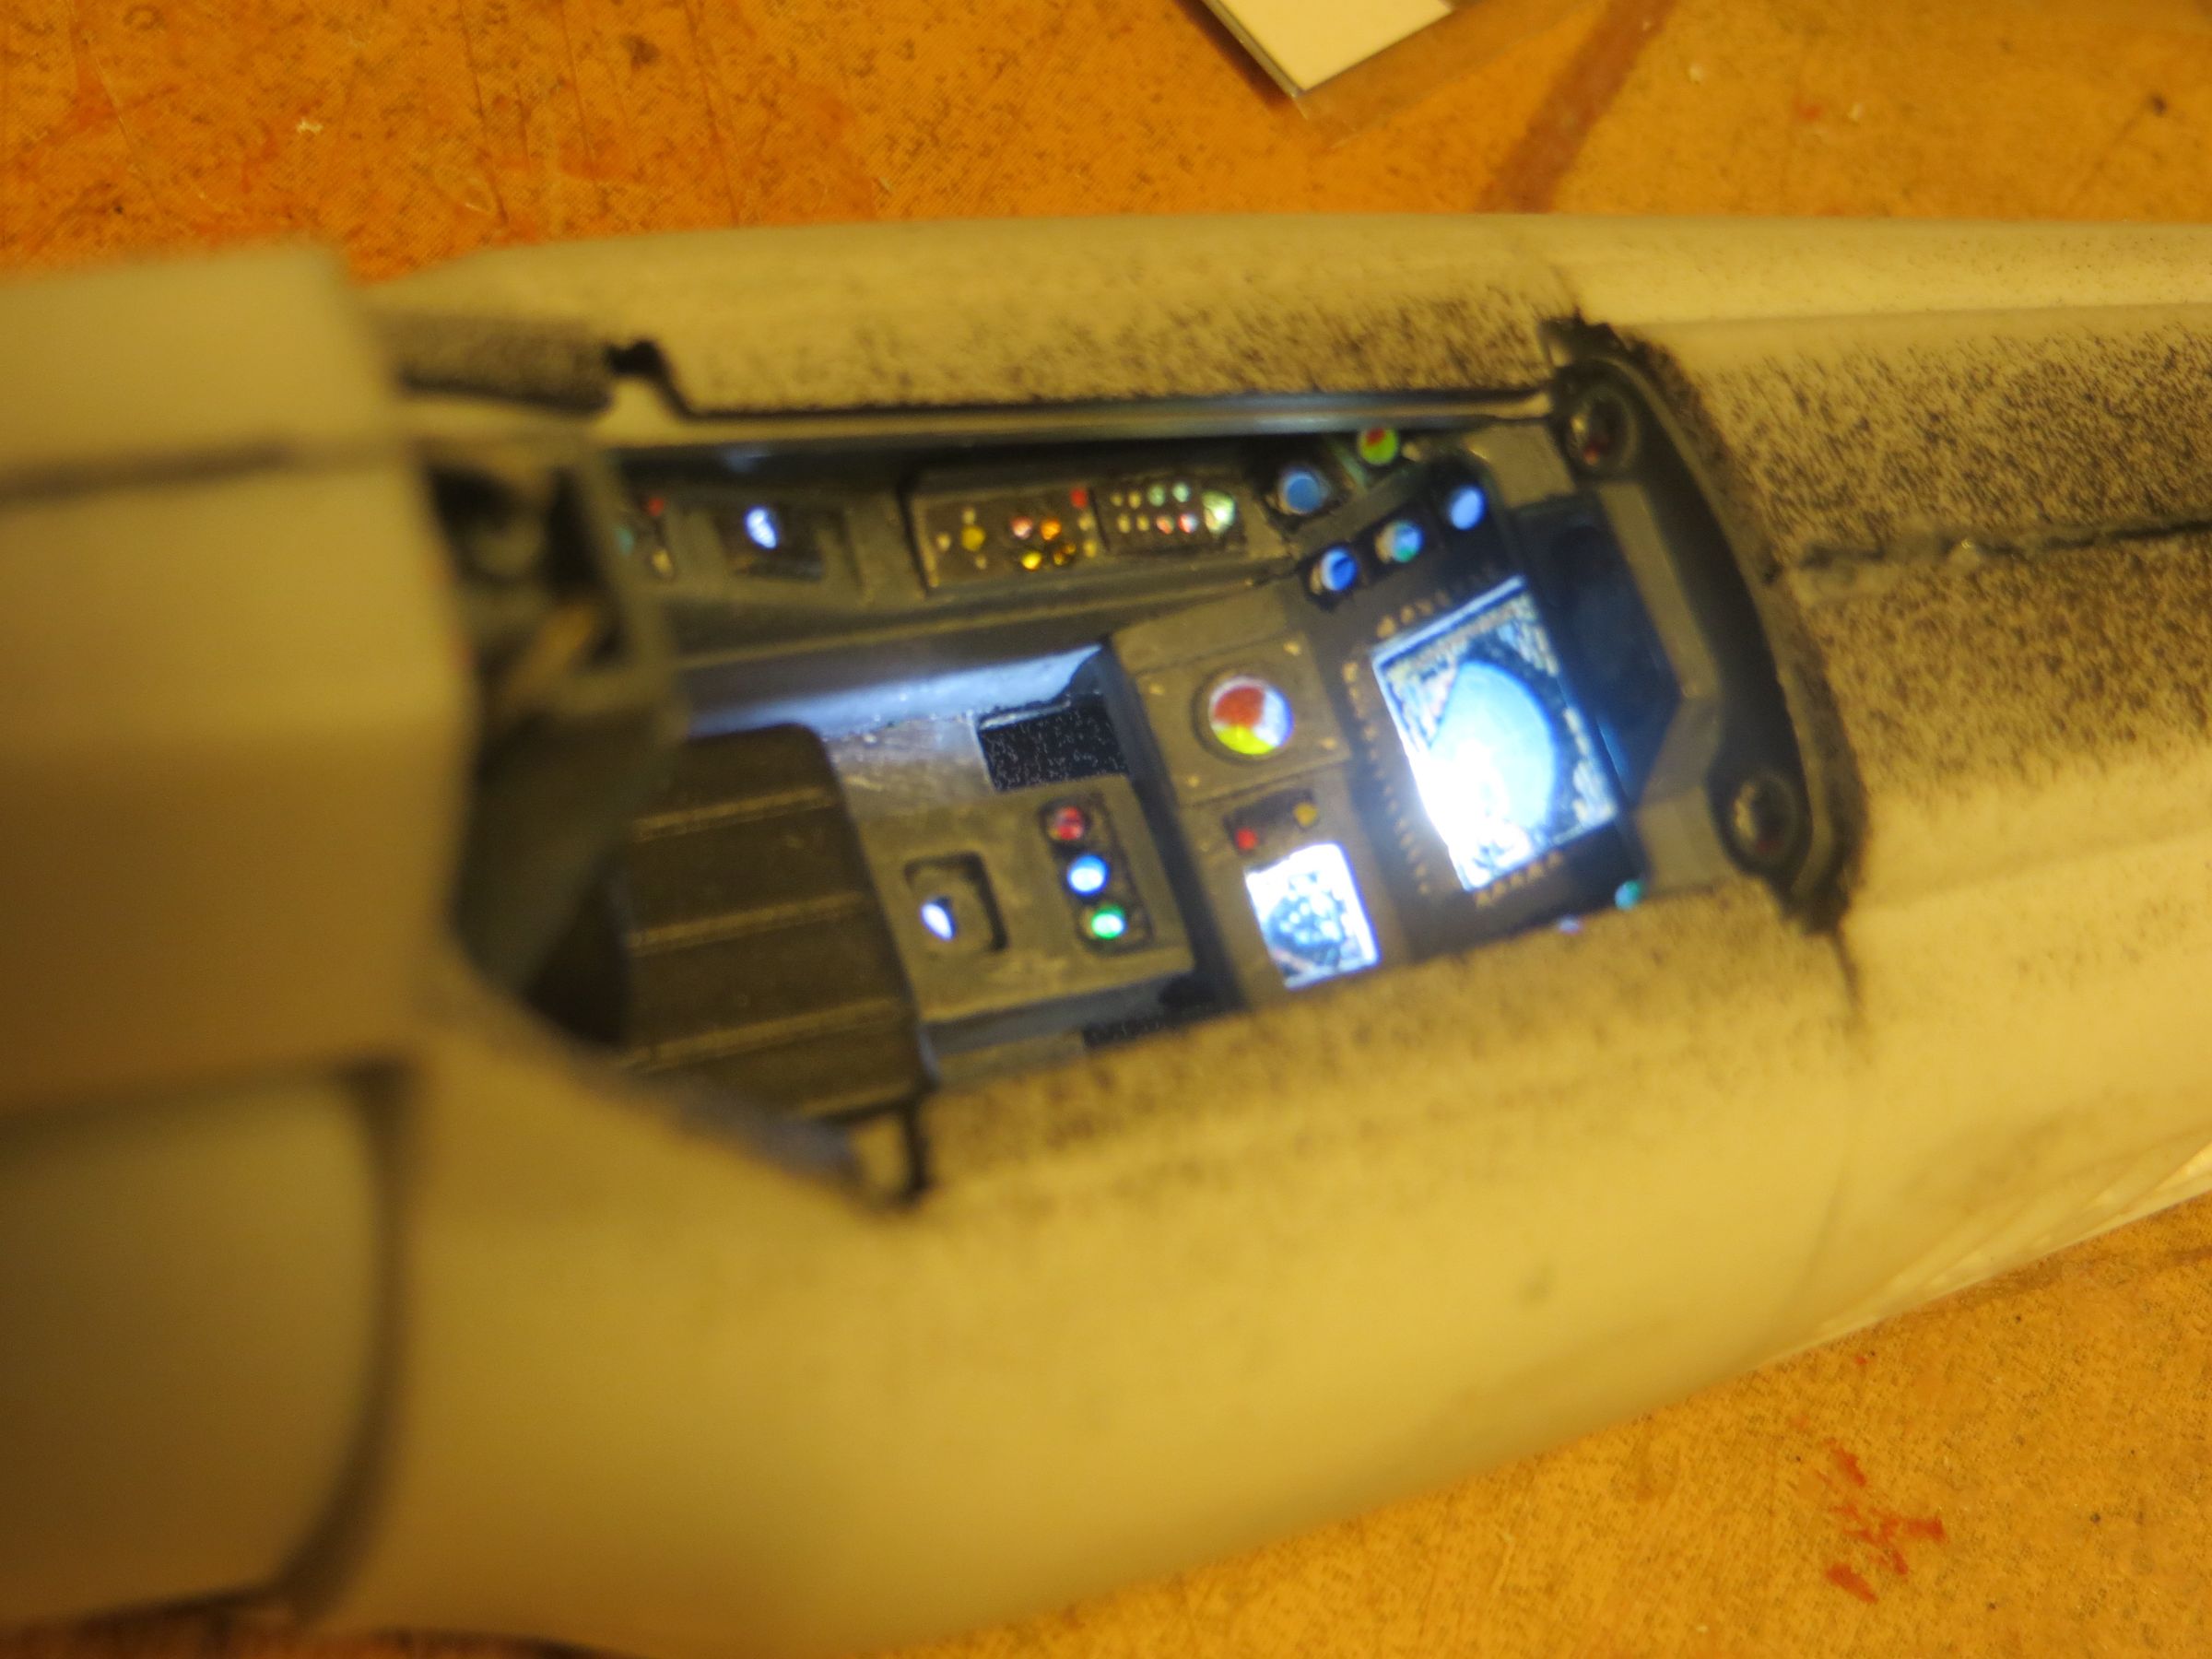
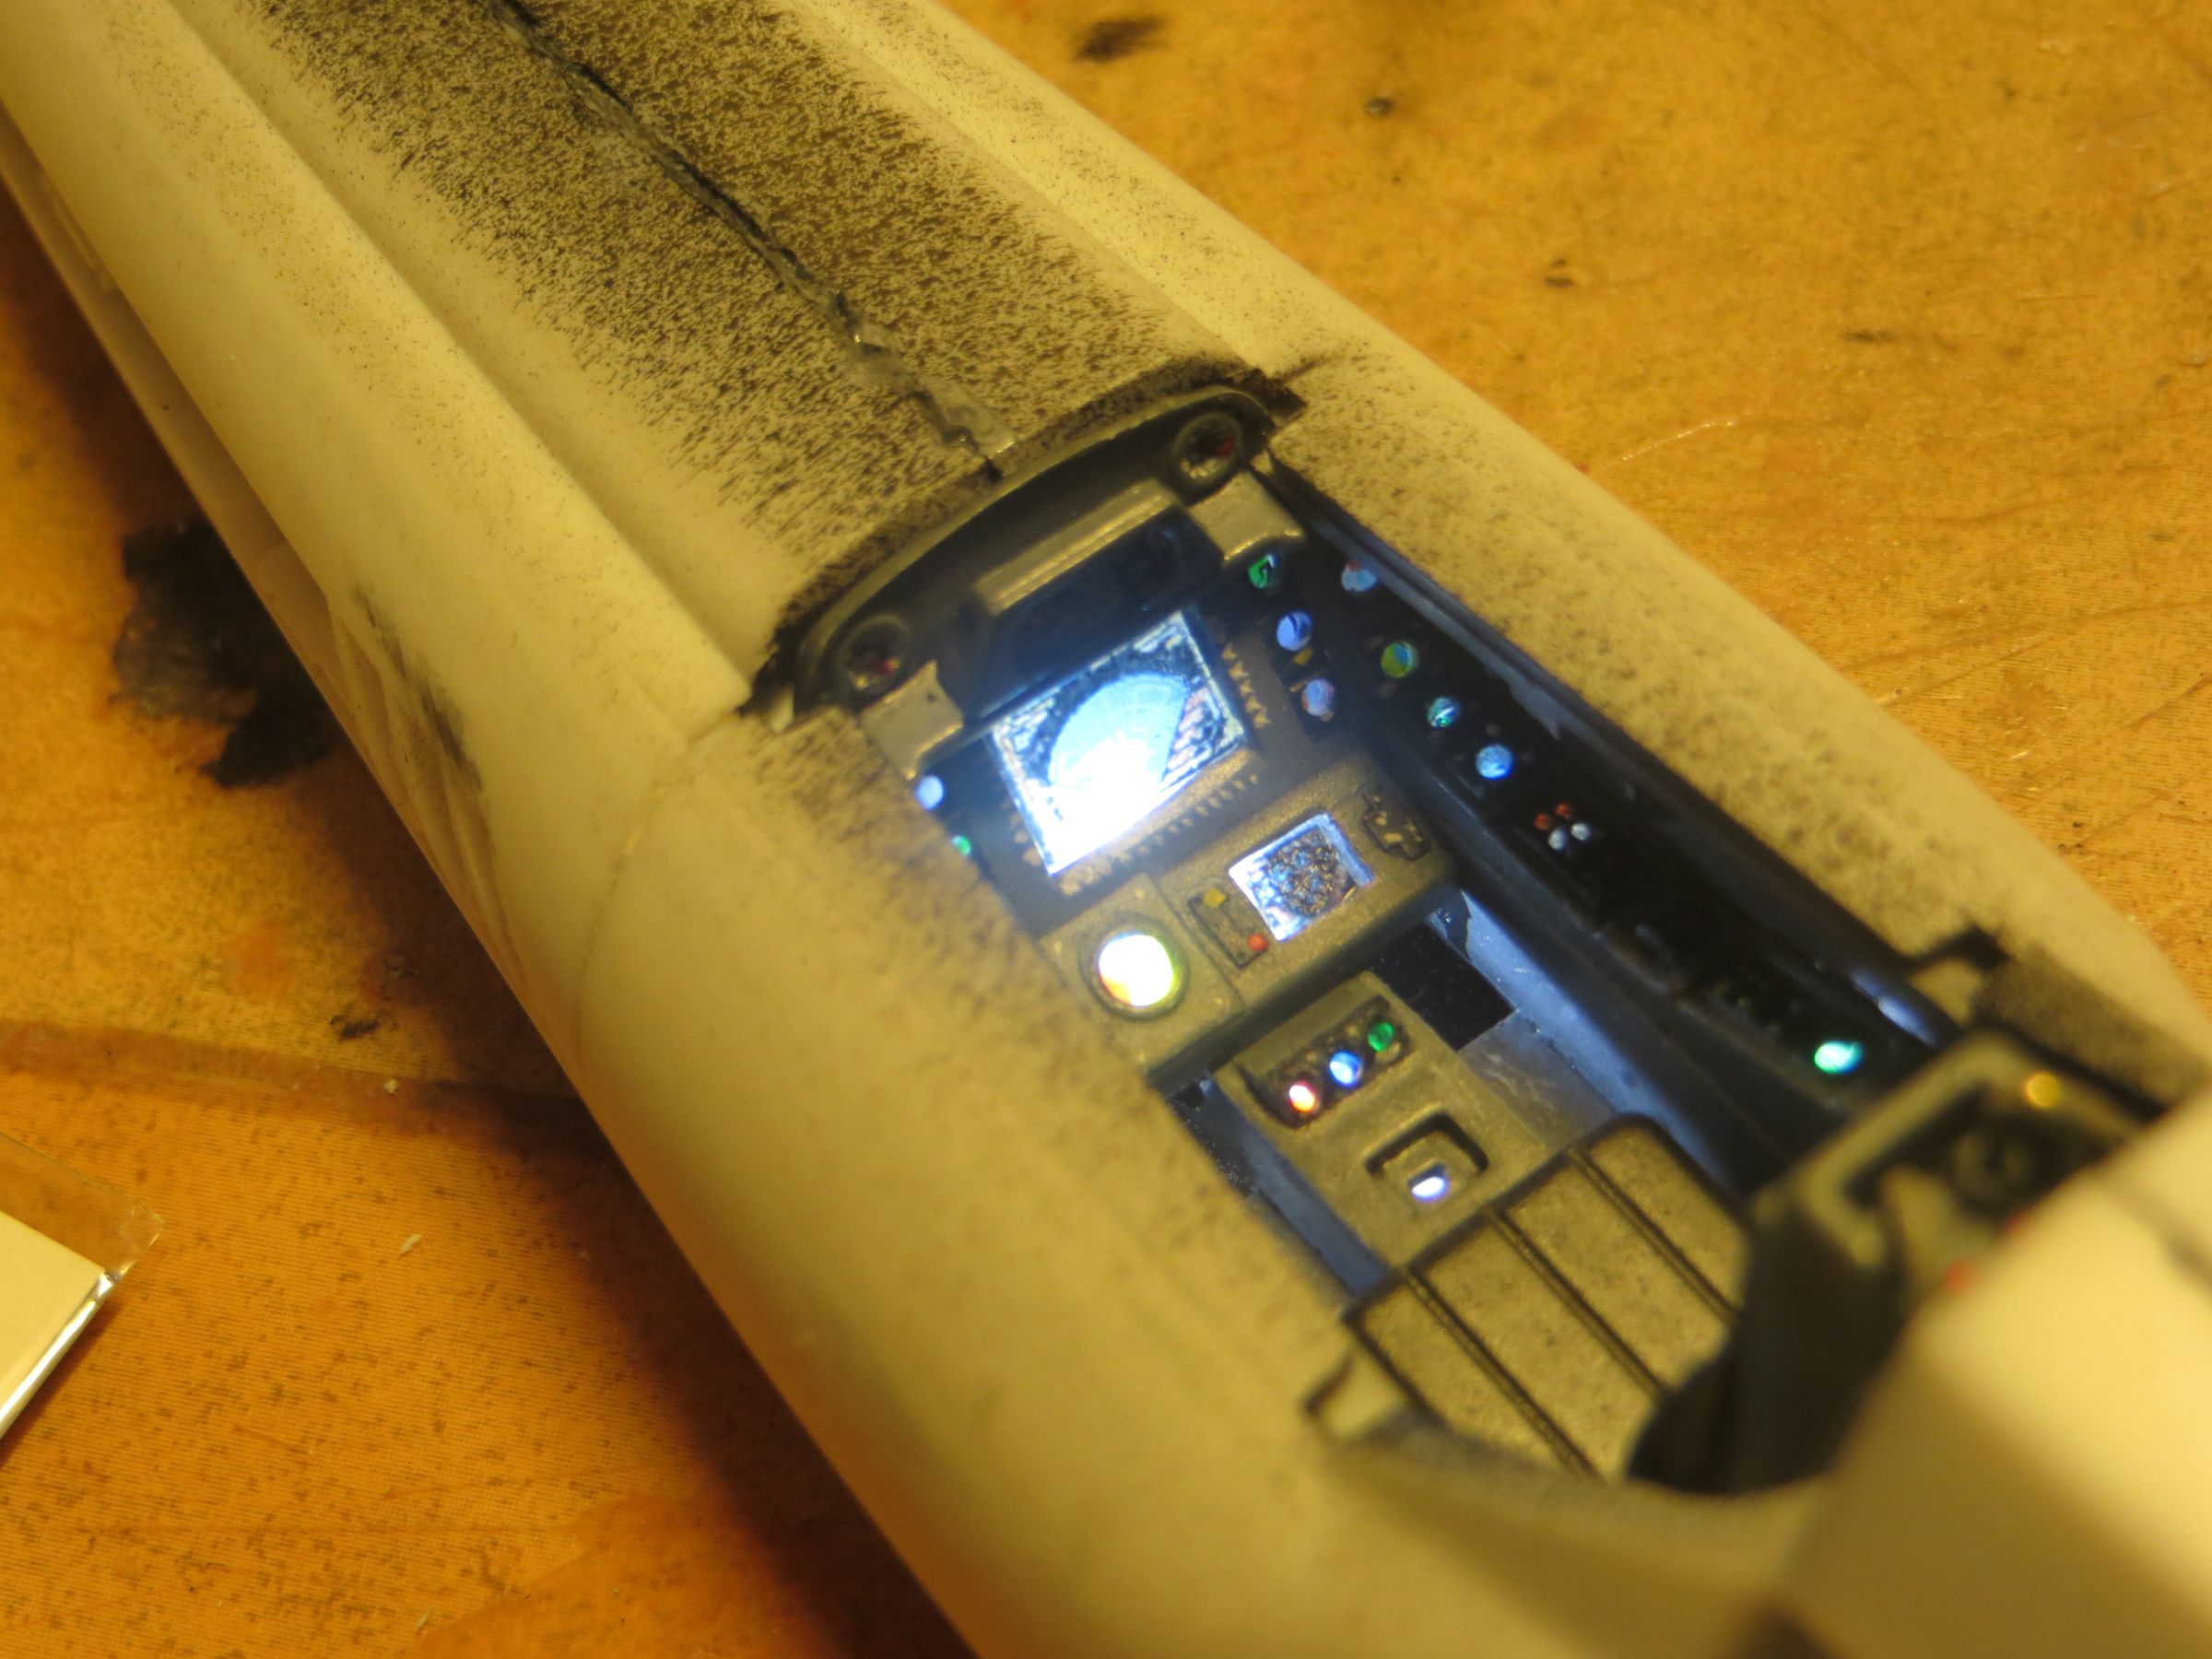
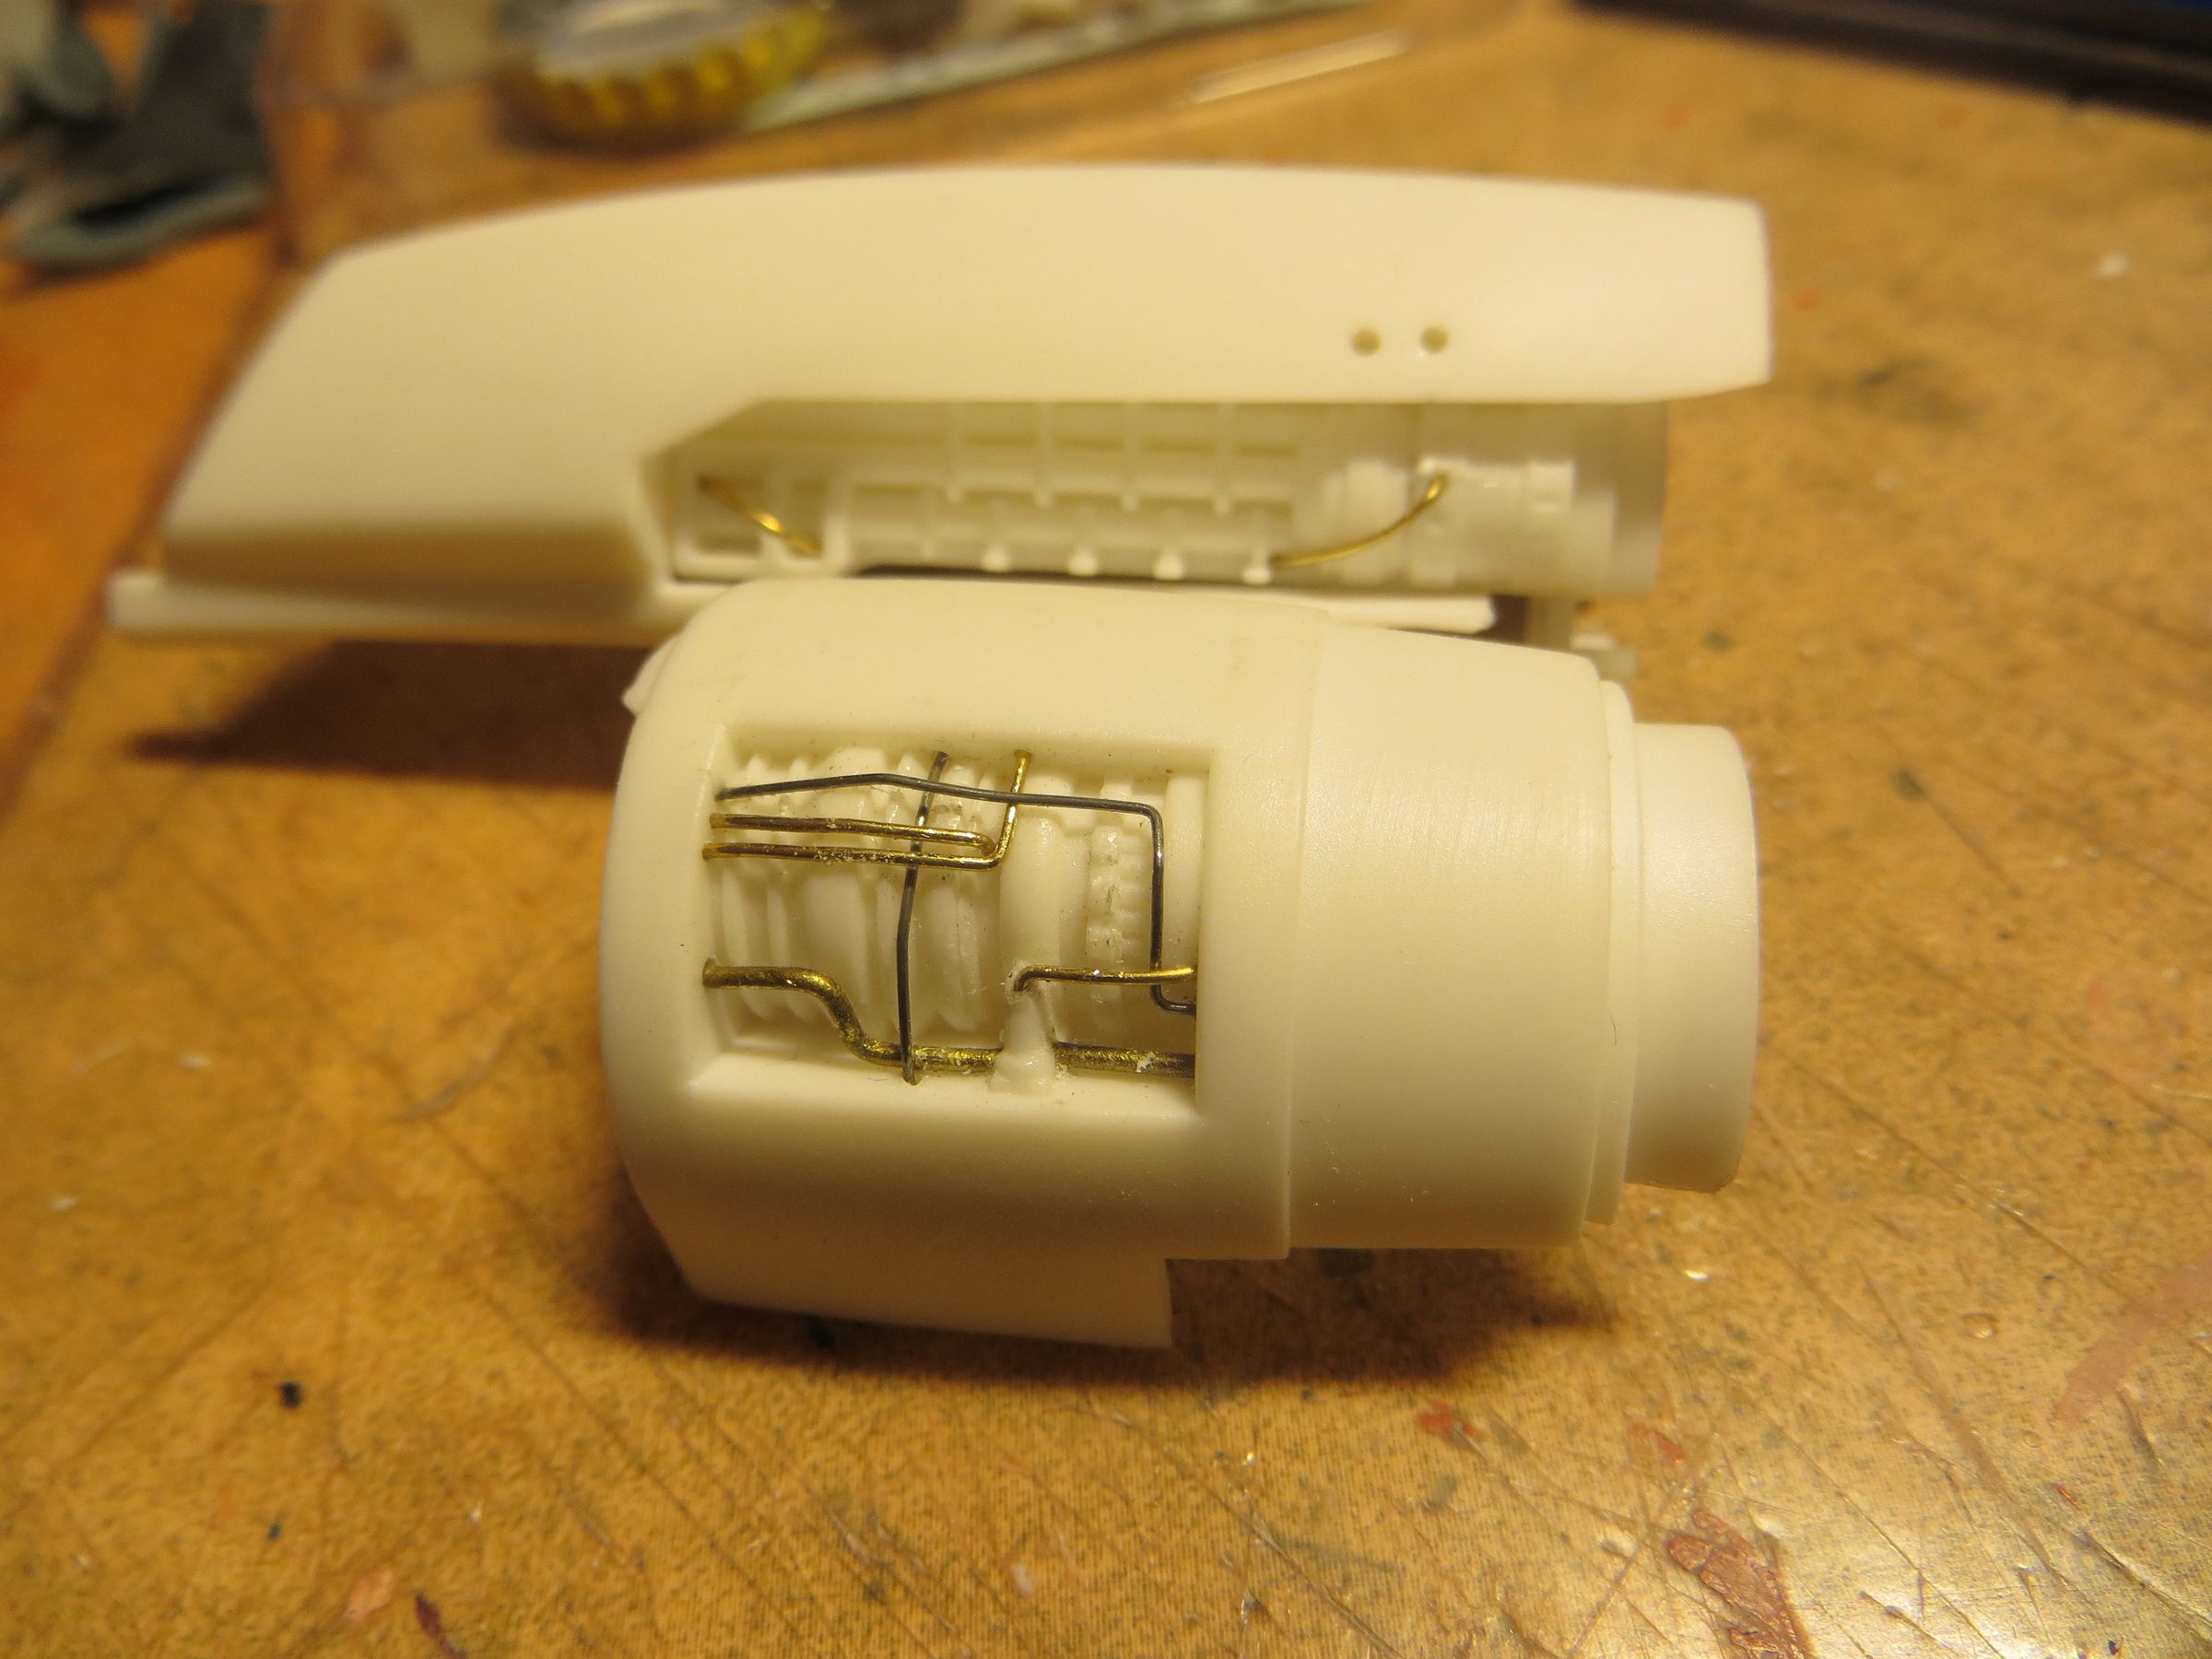
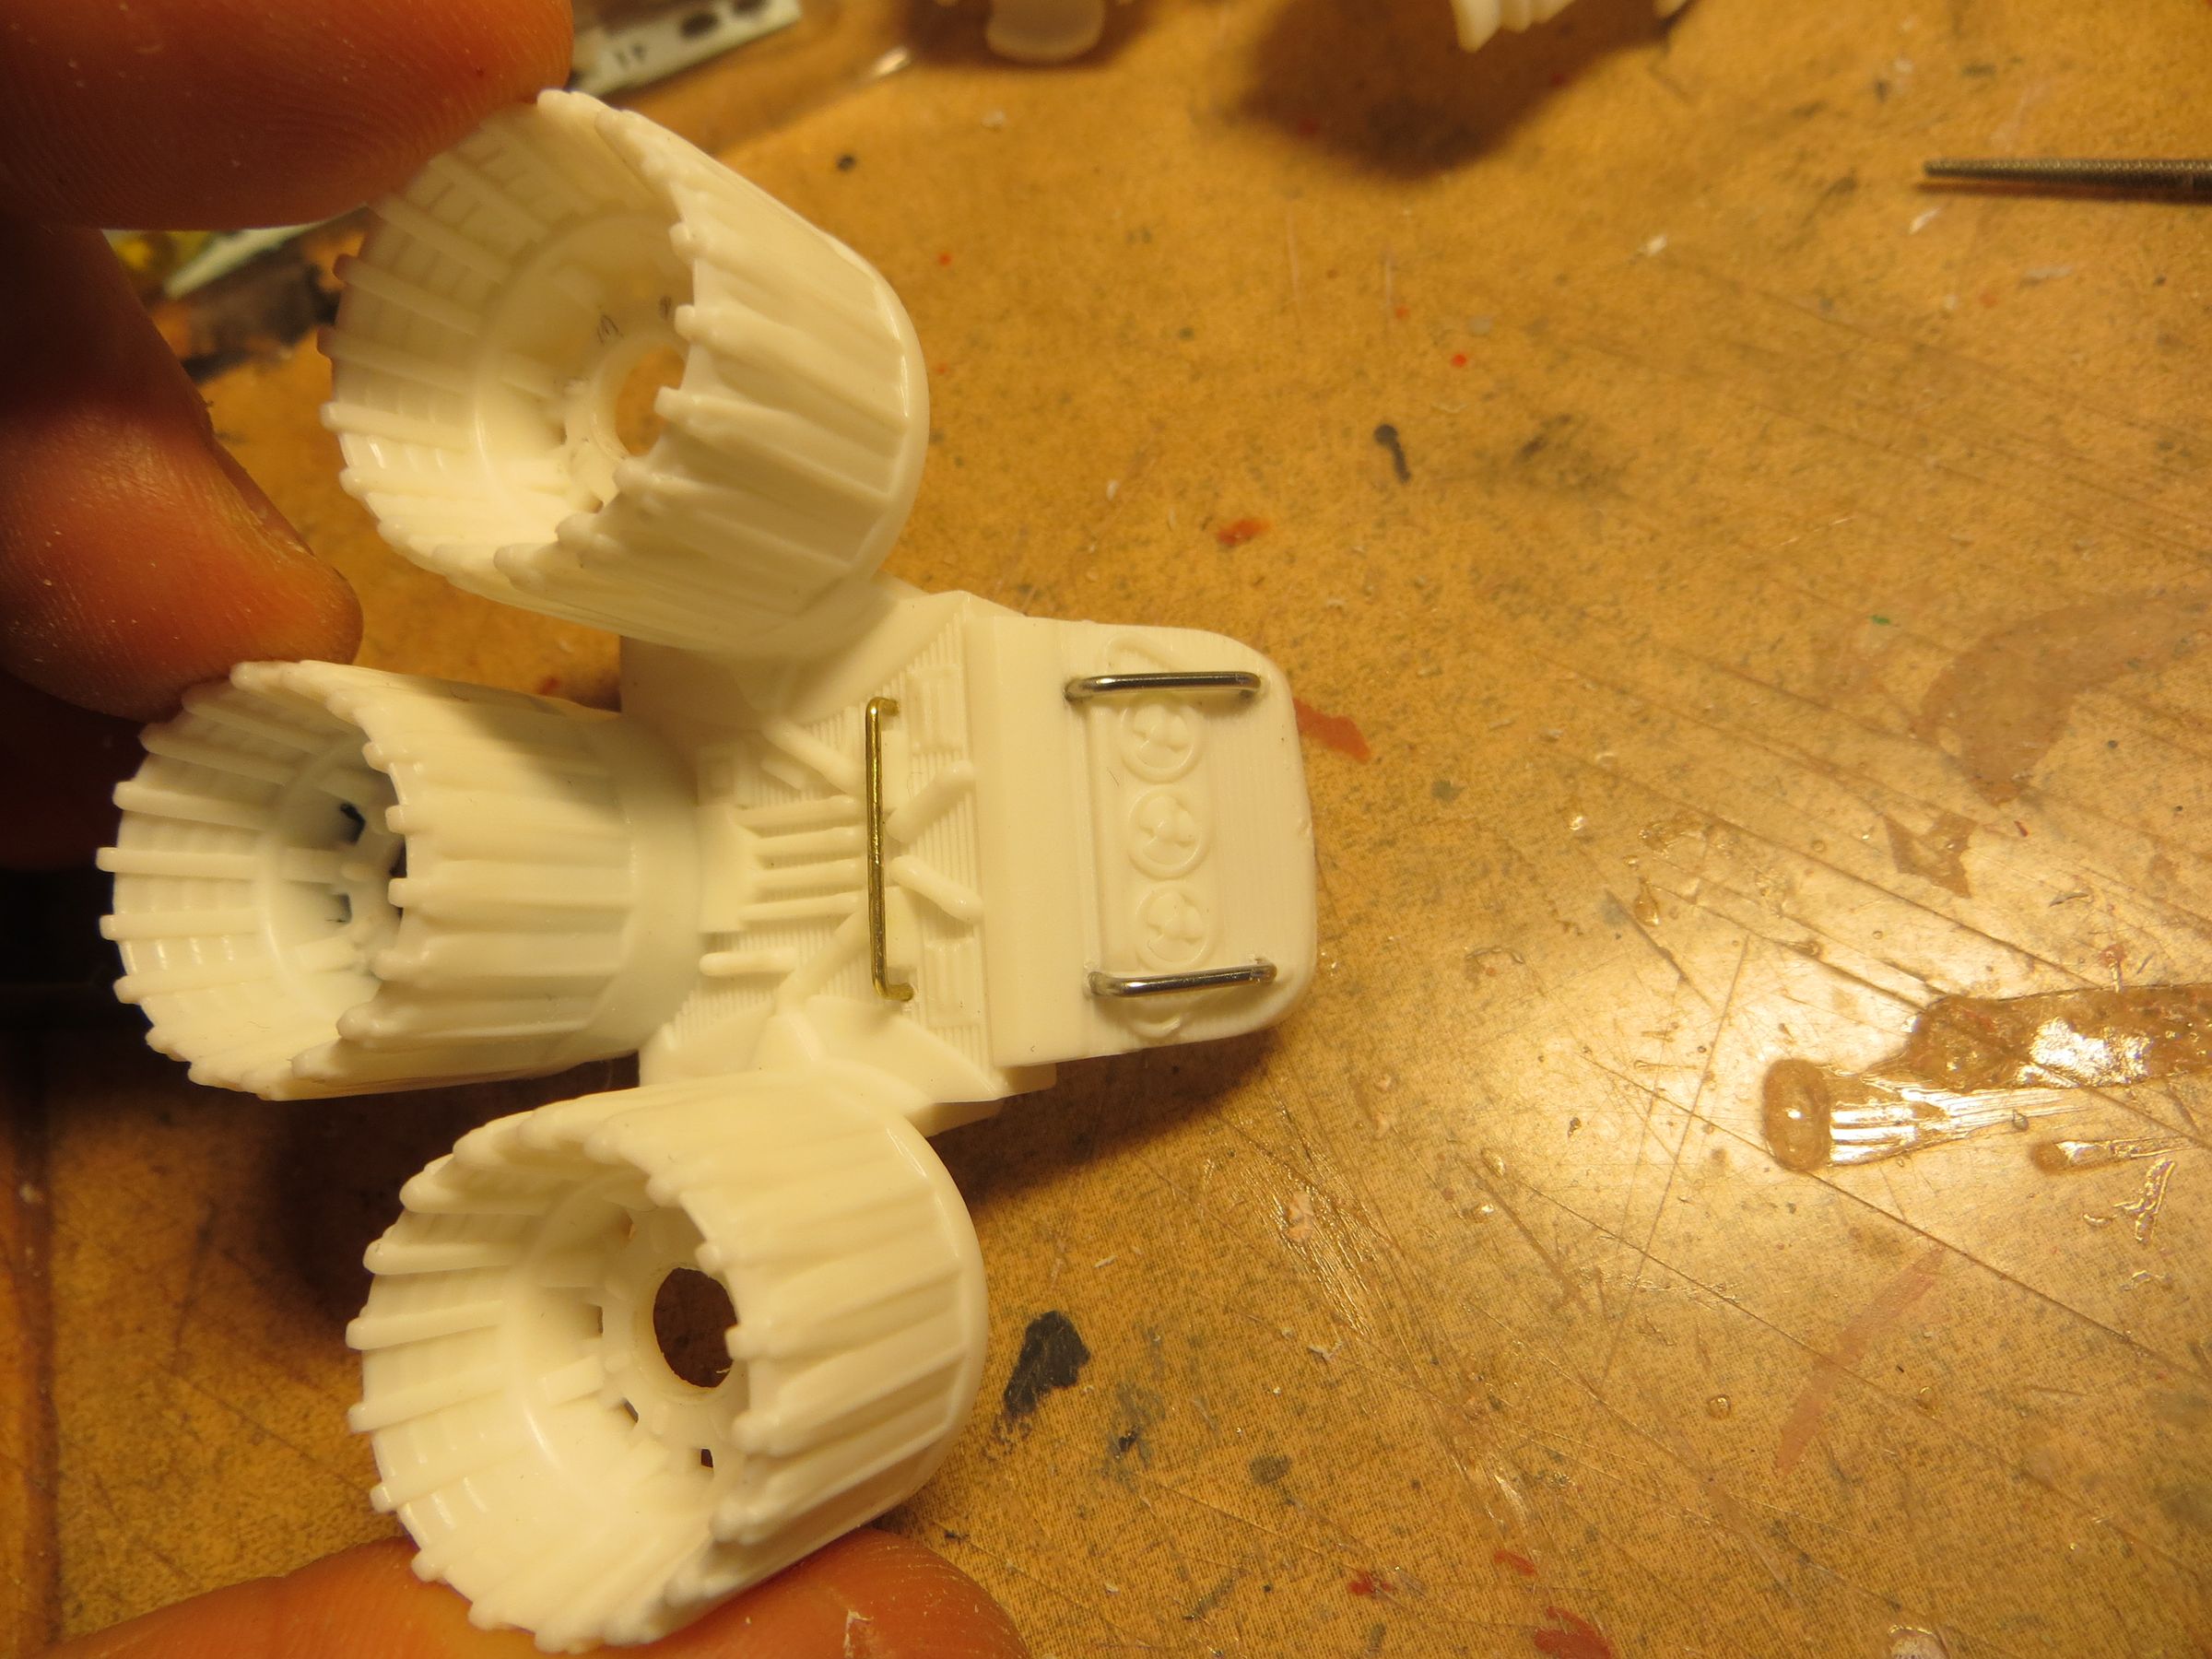
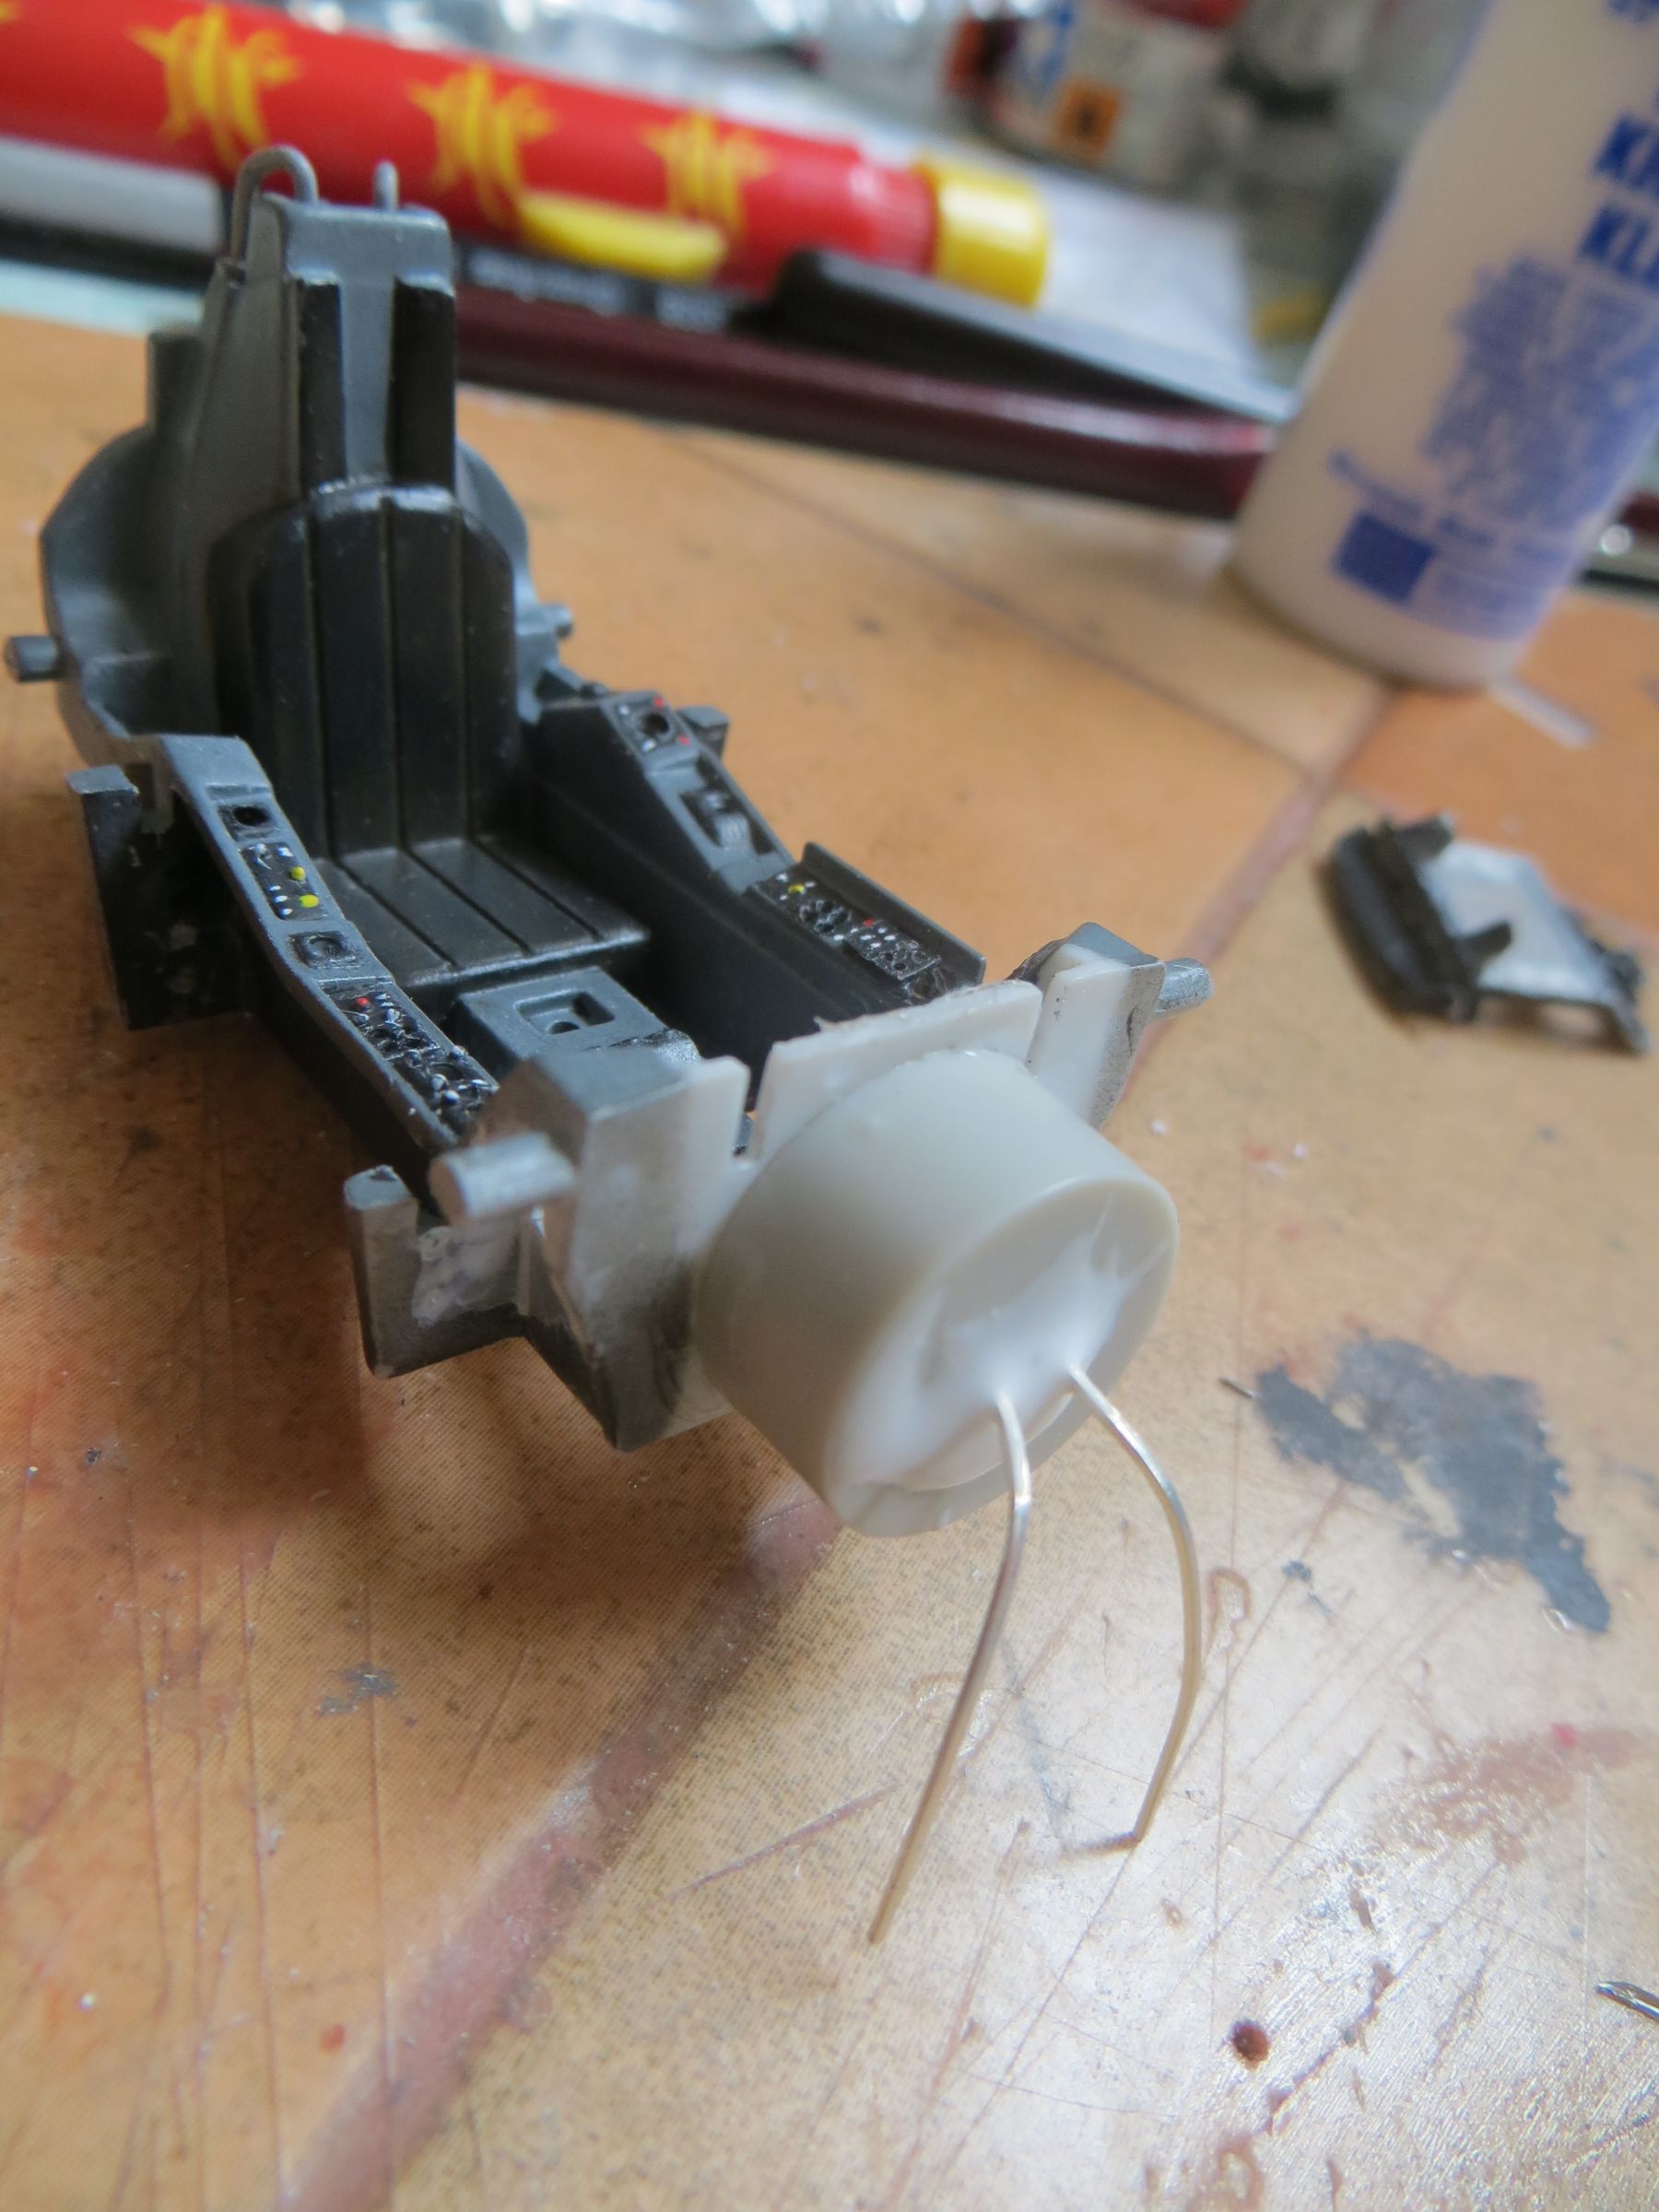
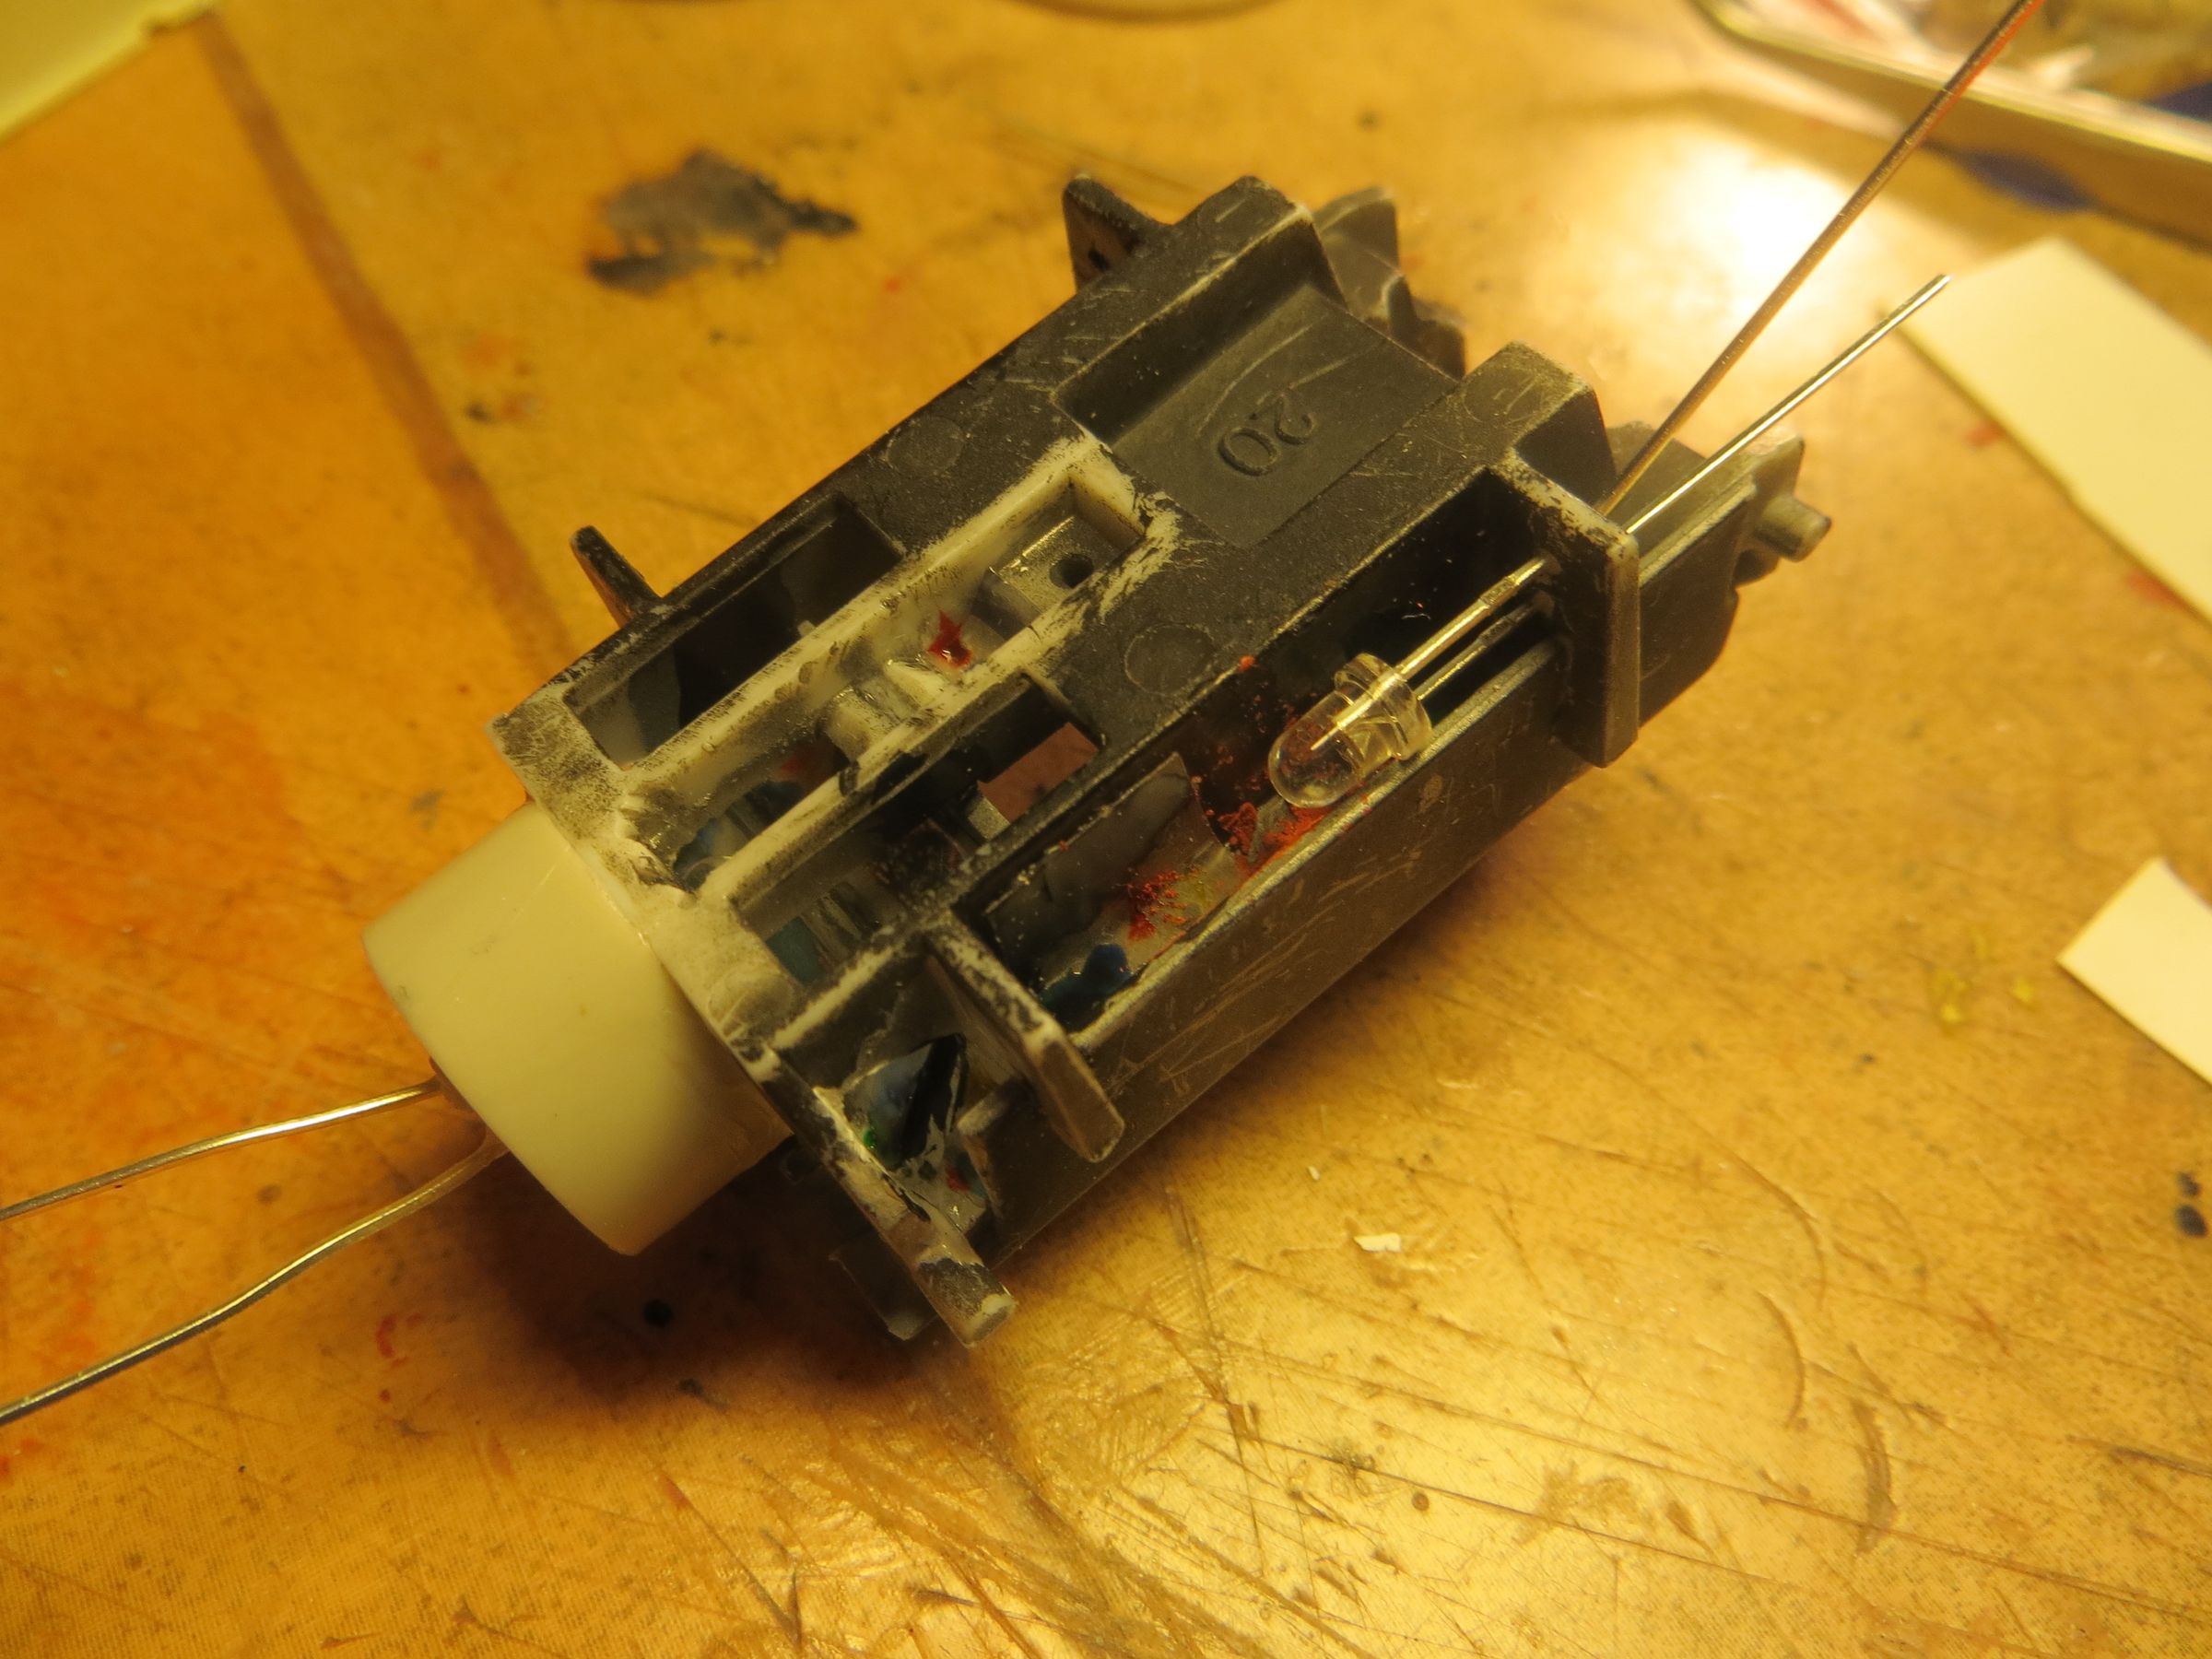
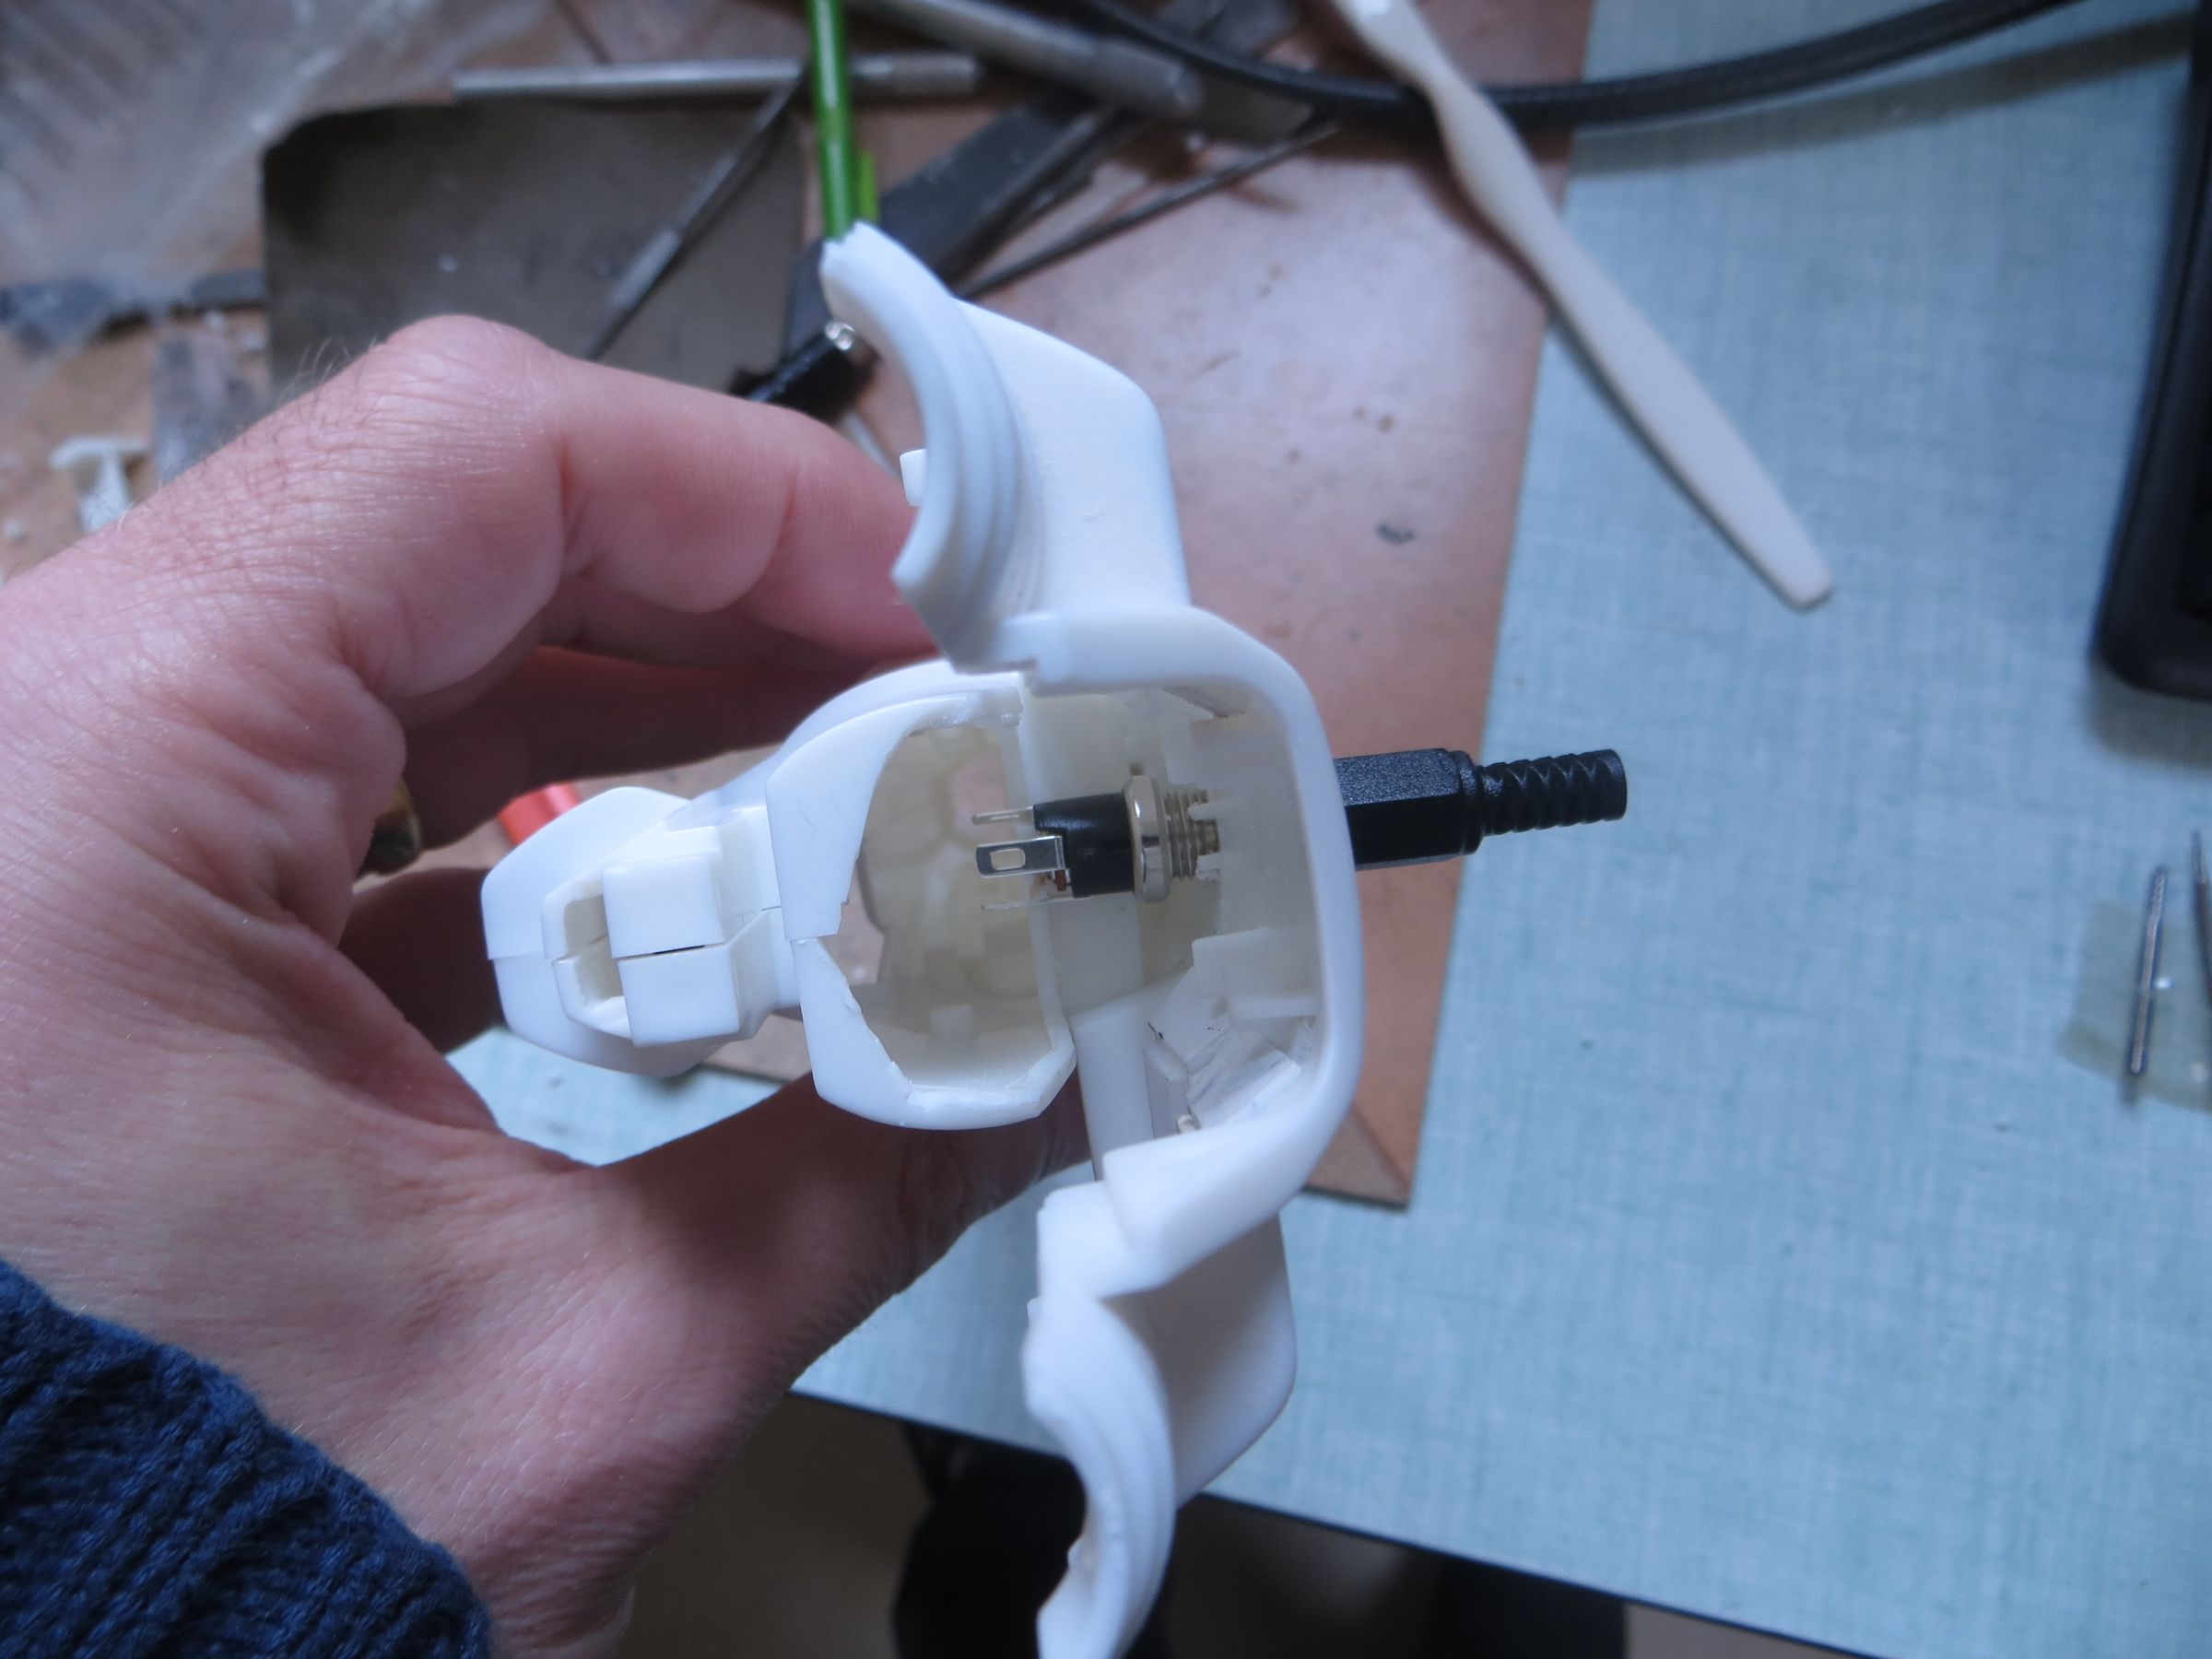
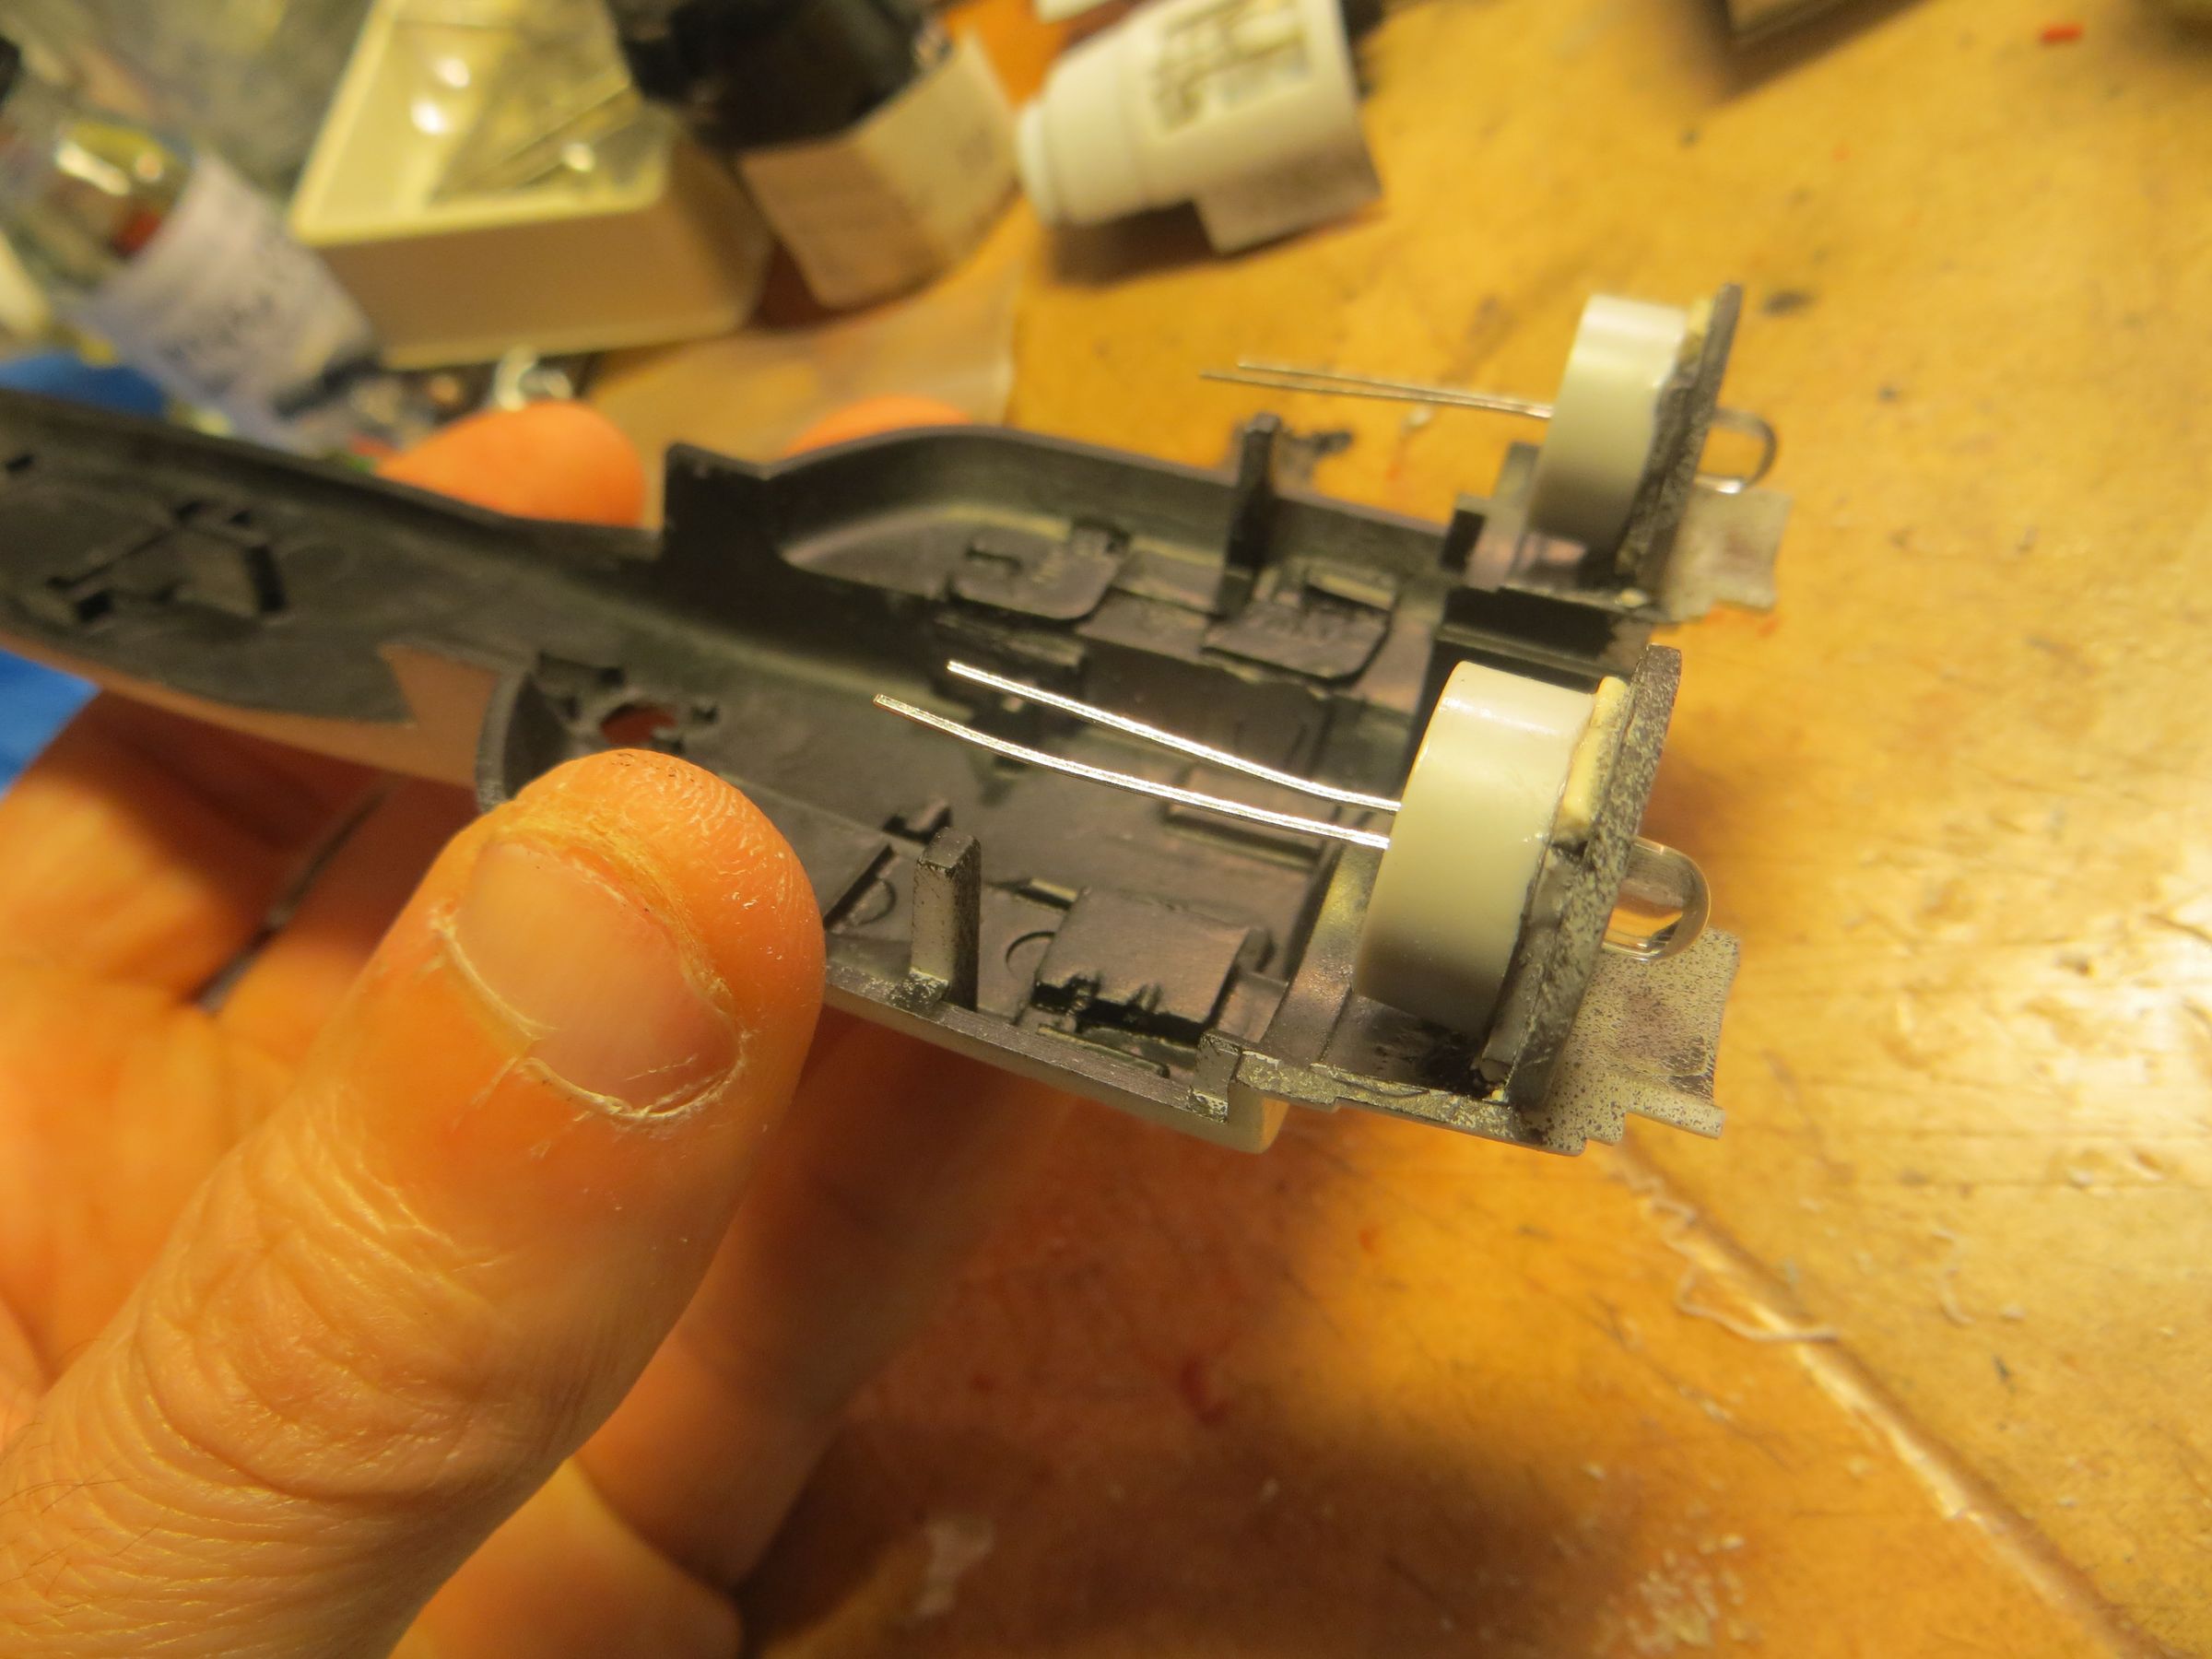
The blue LED of the engines are permanently installed.

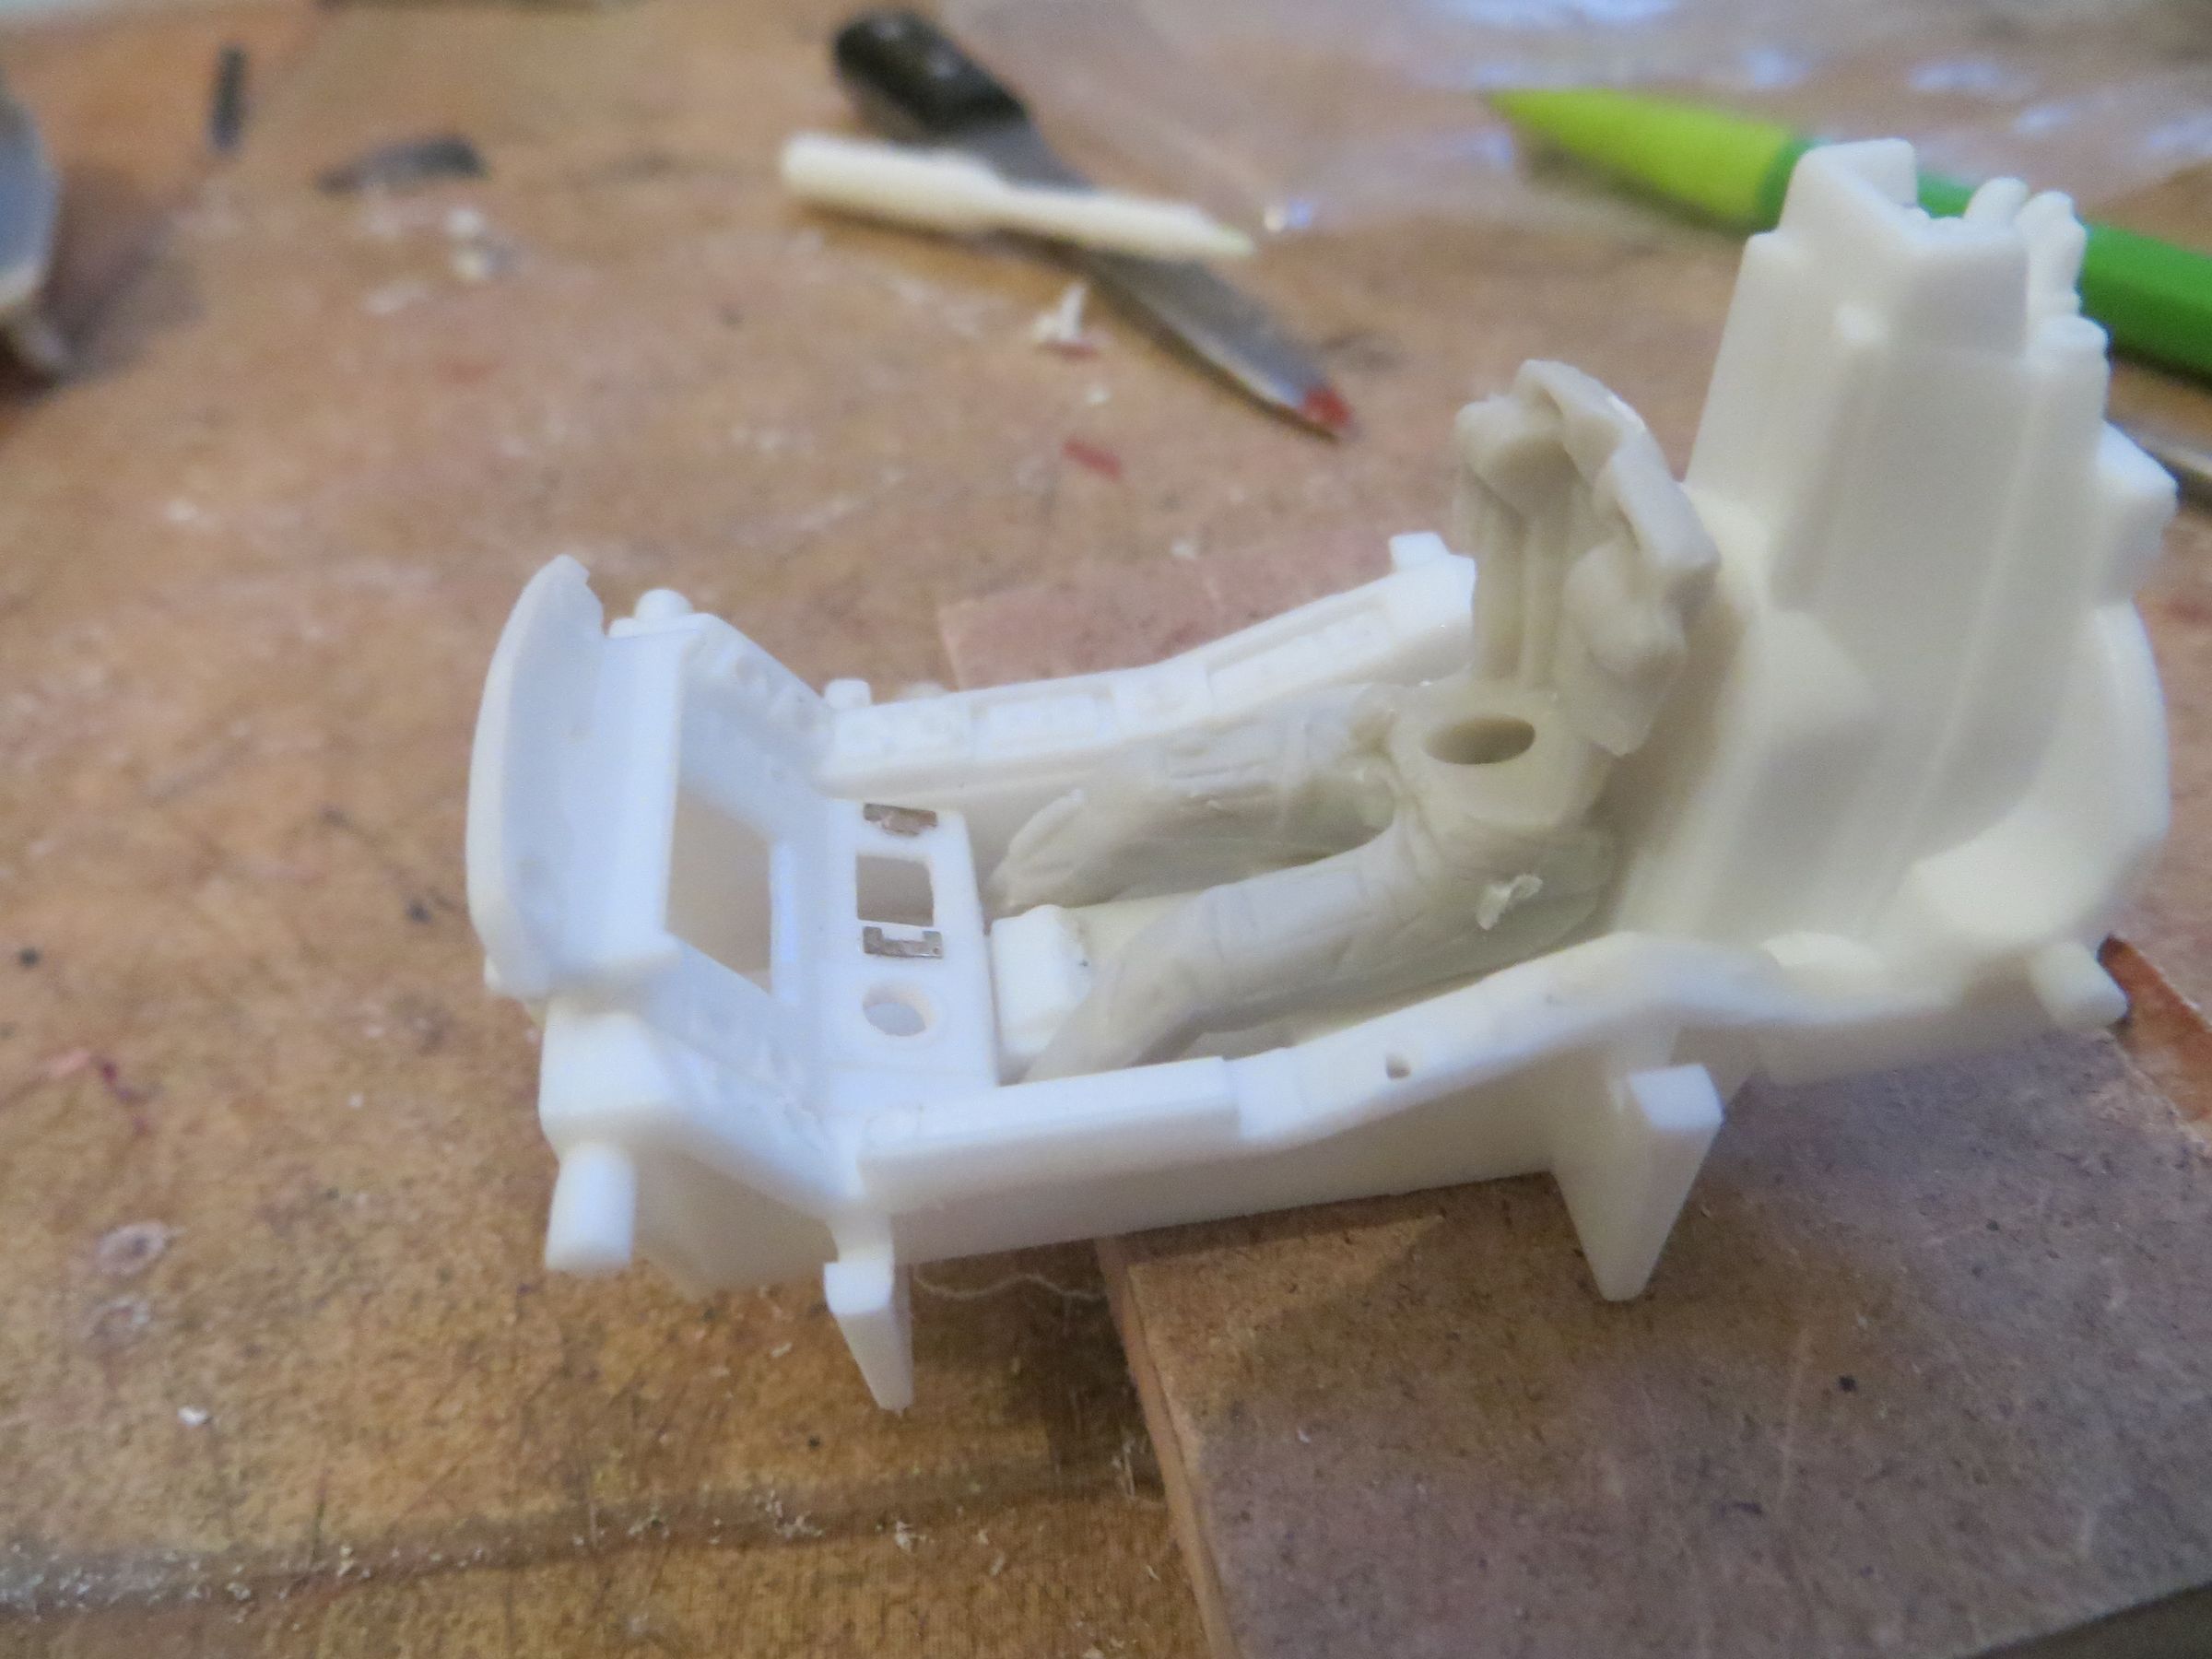
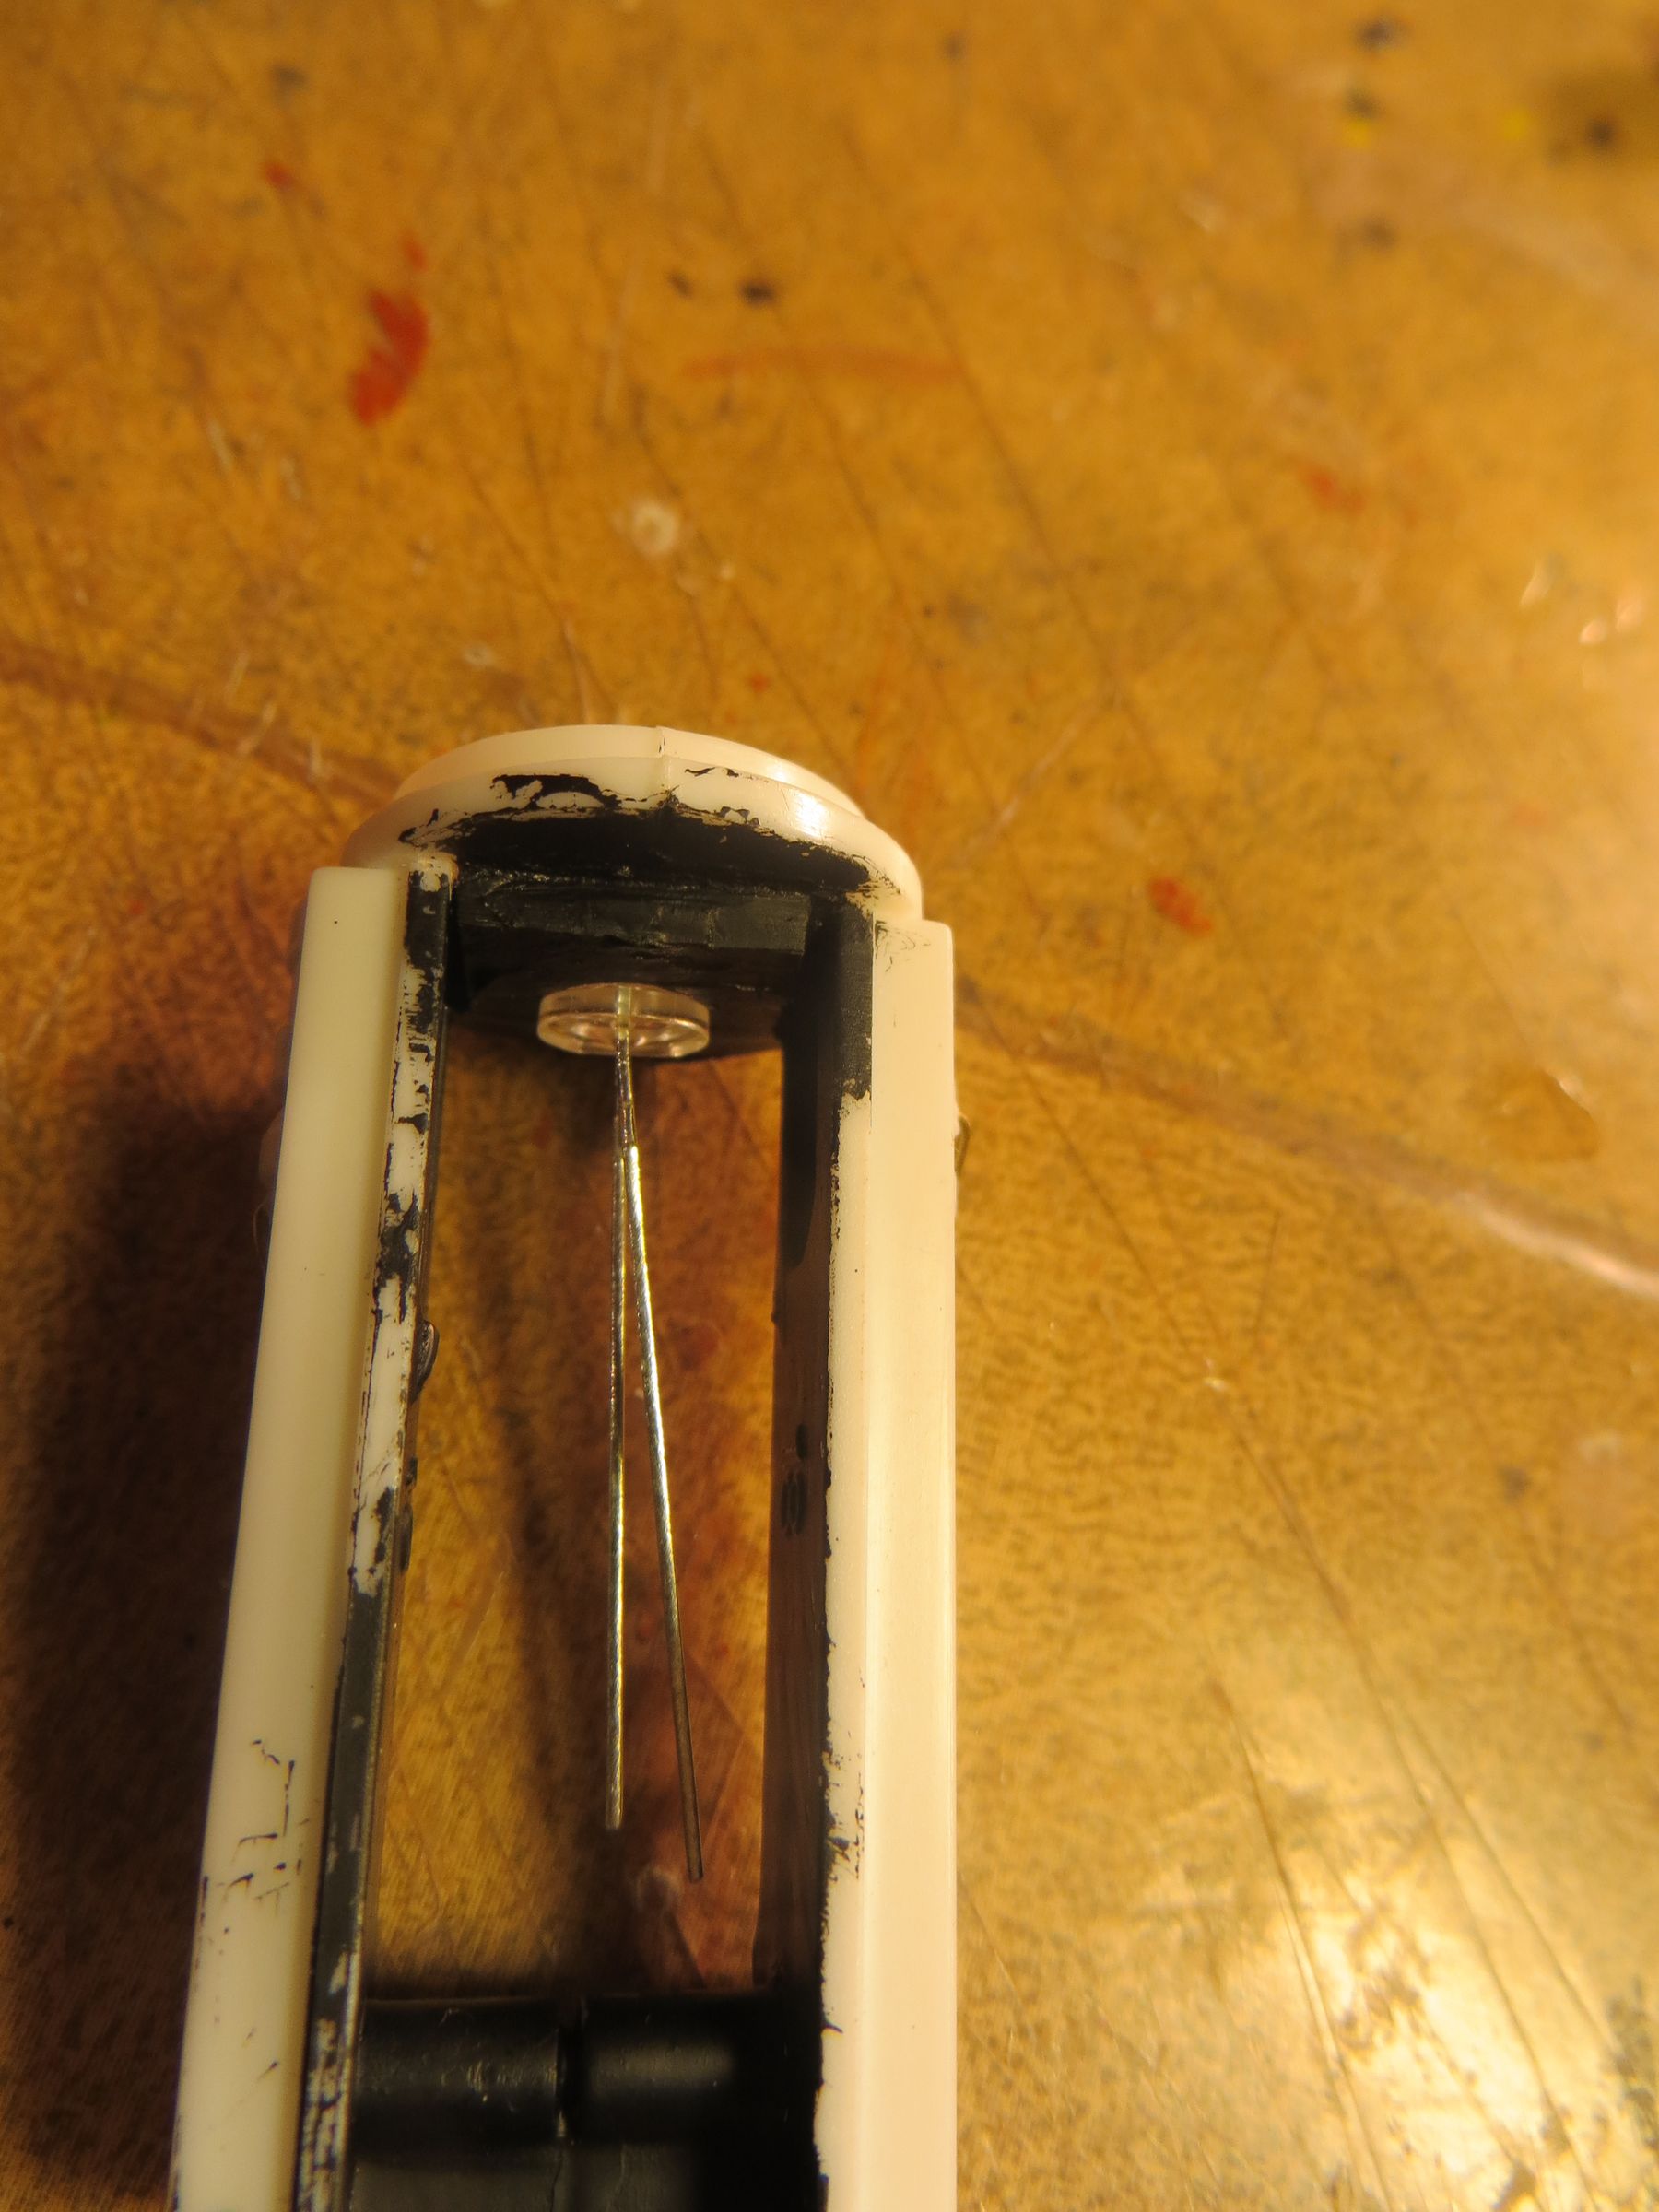
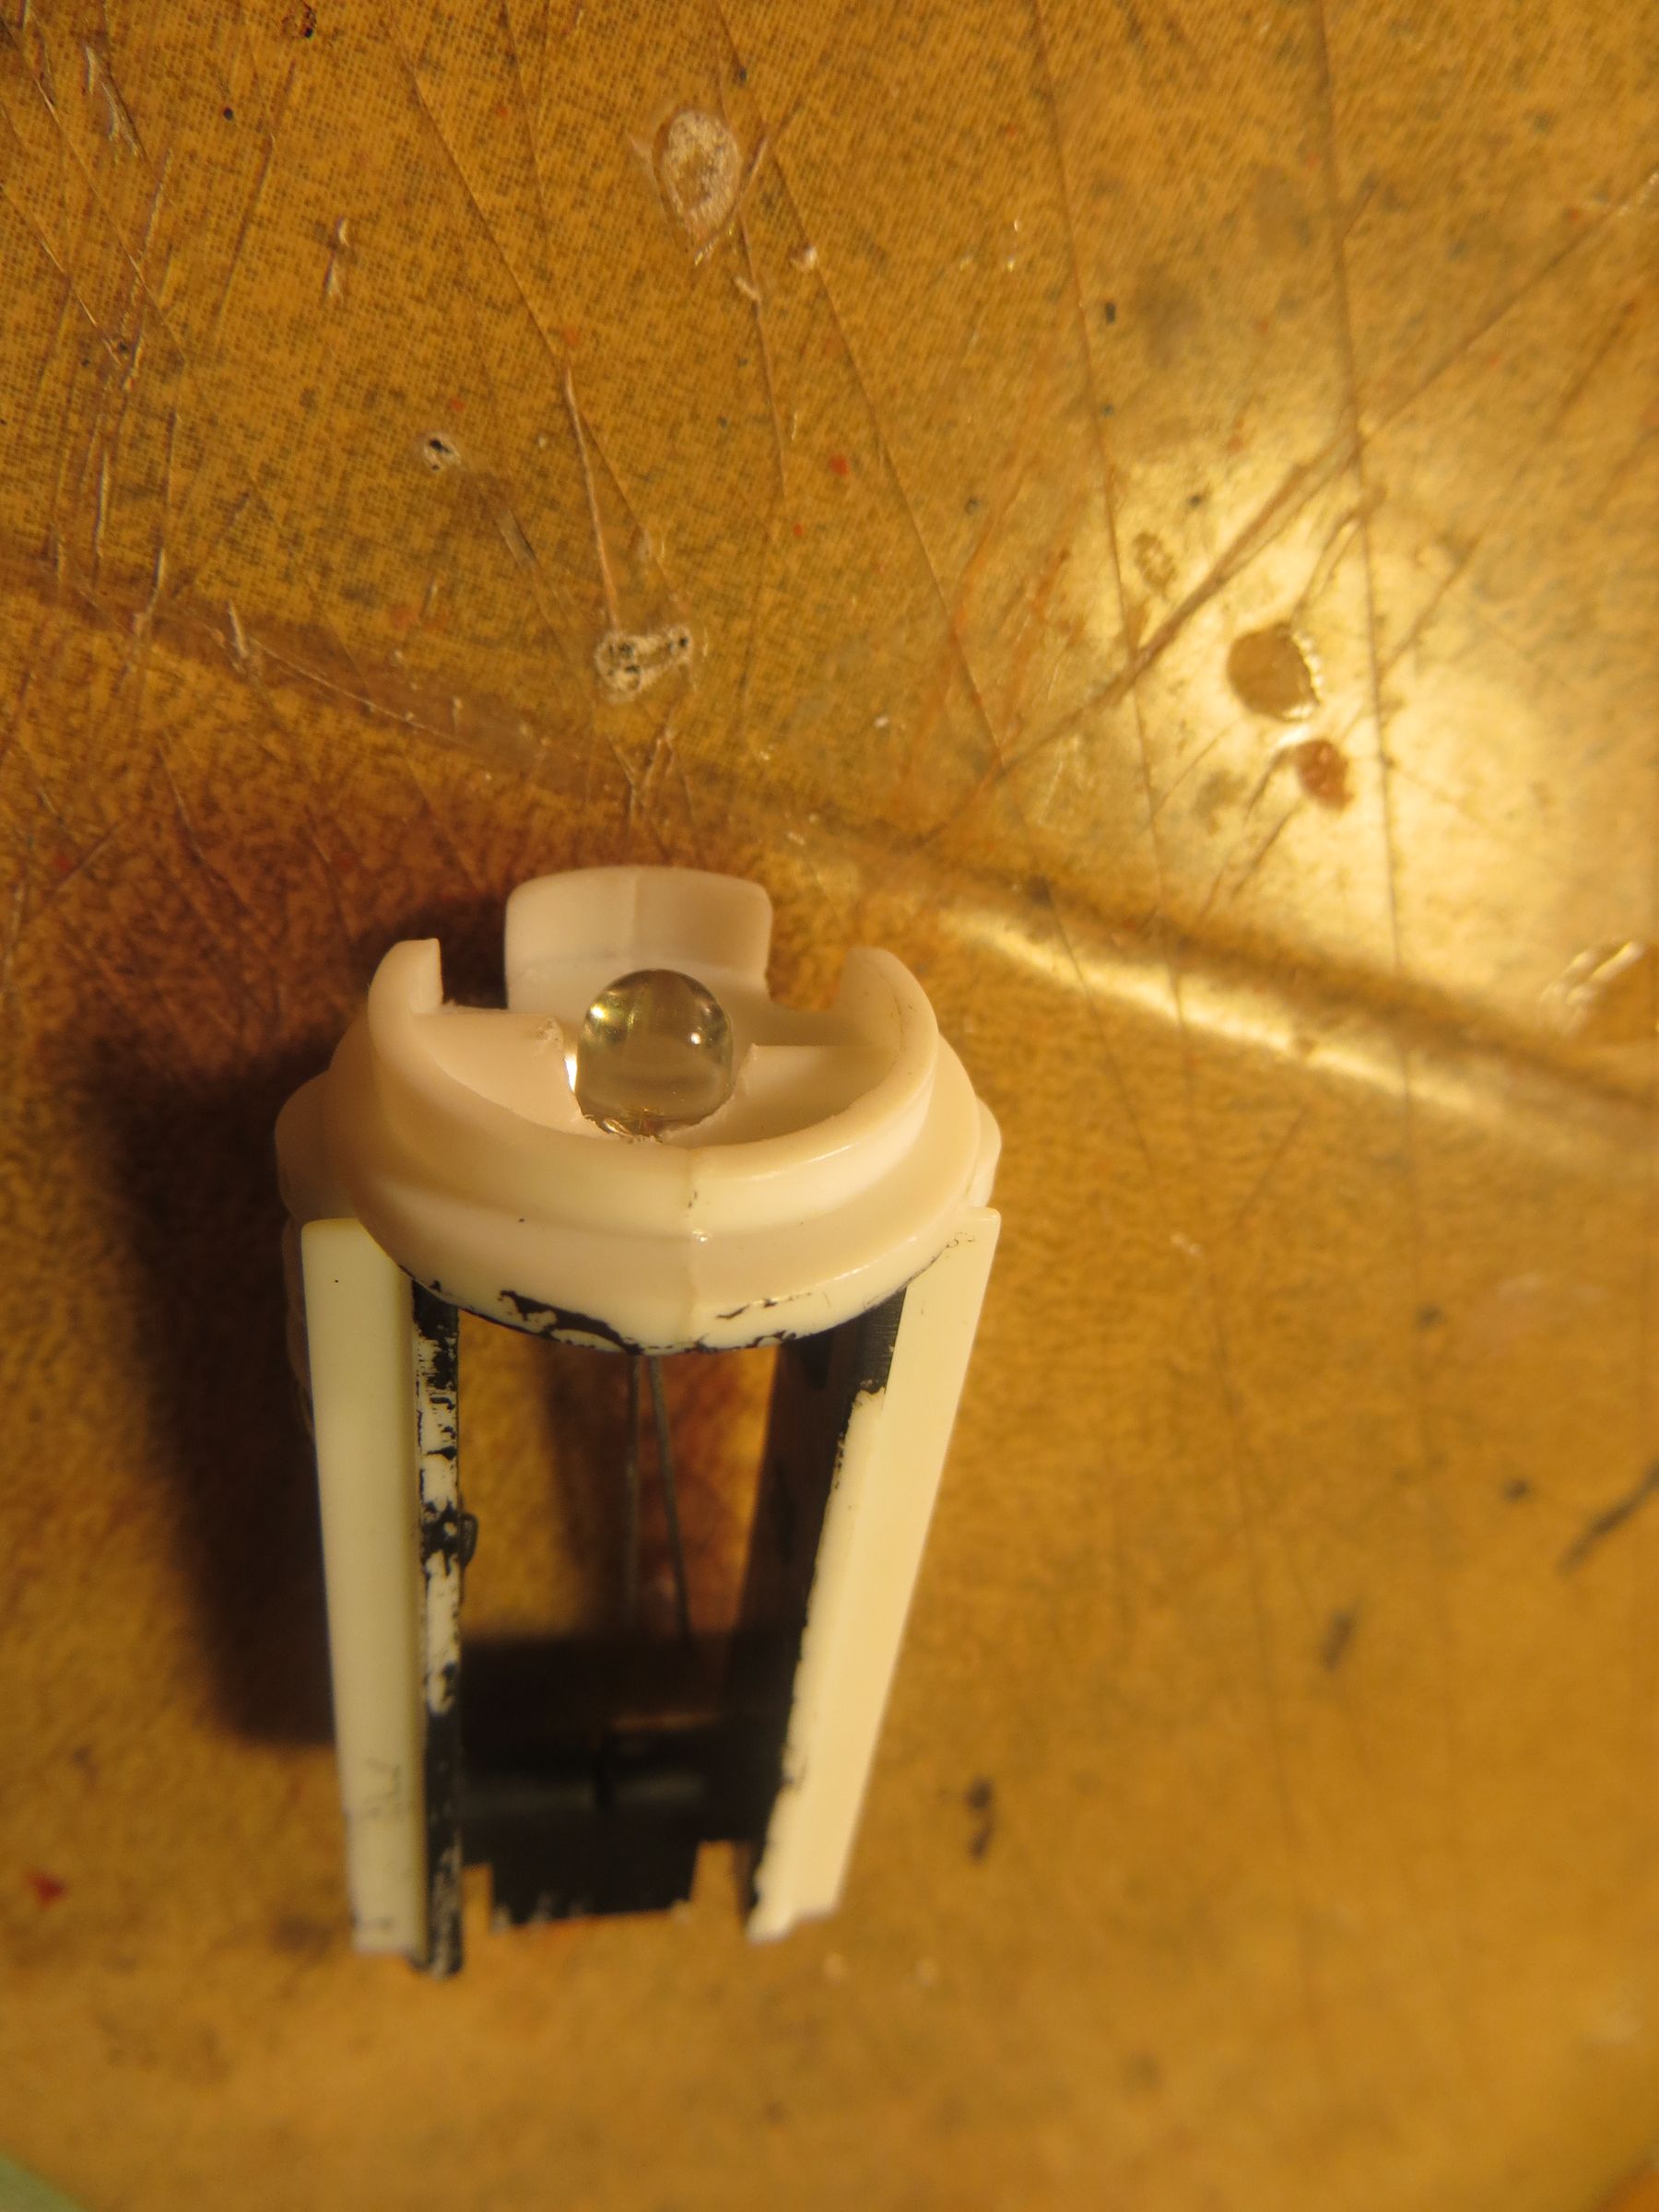
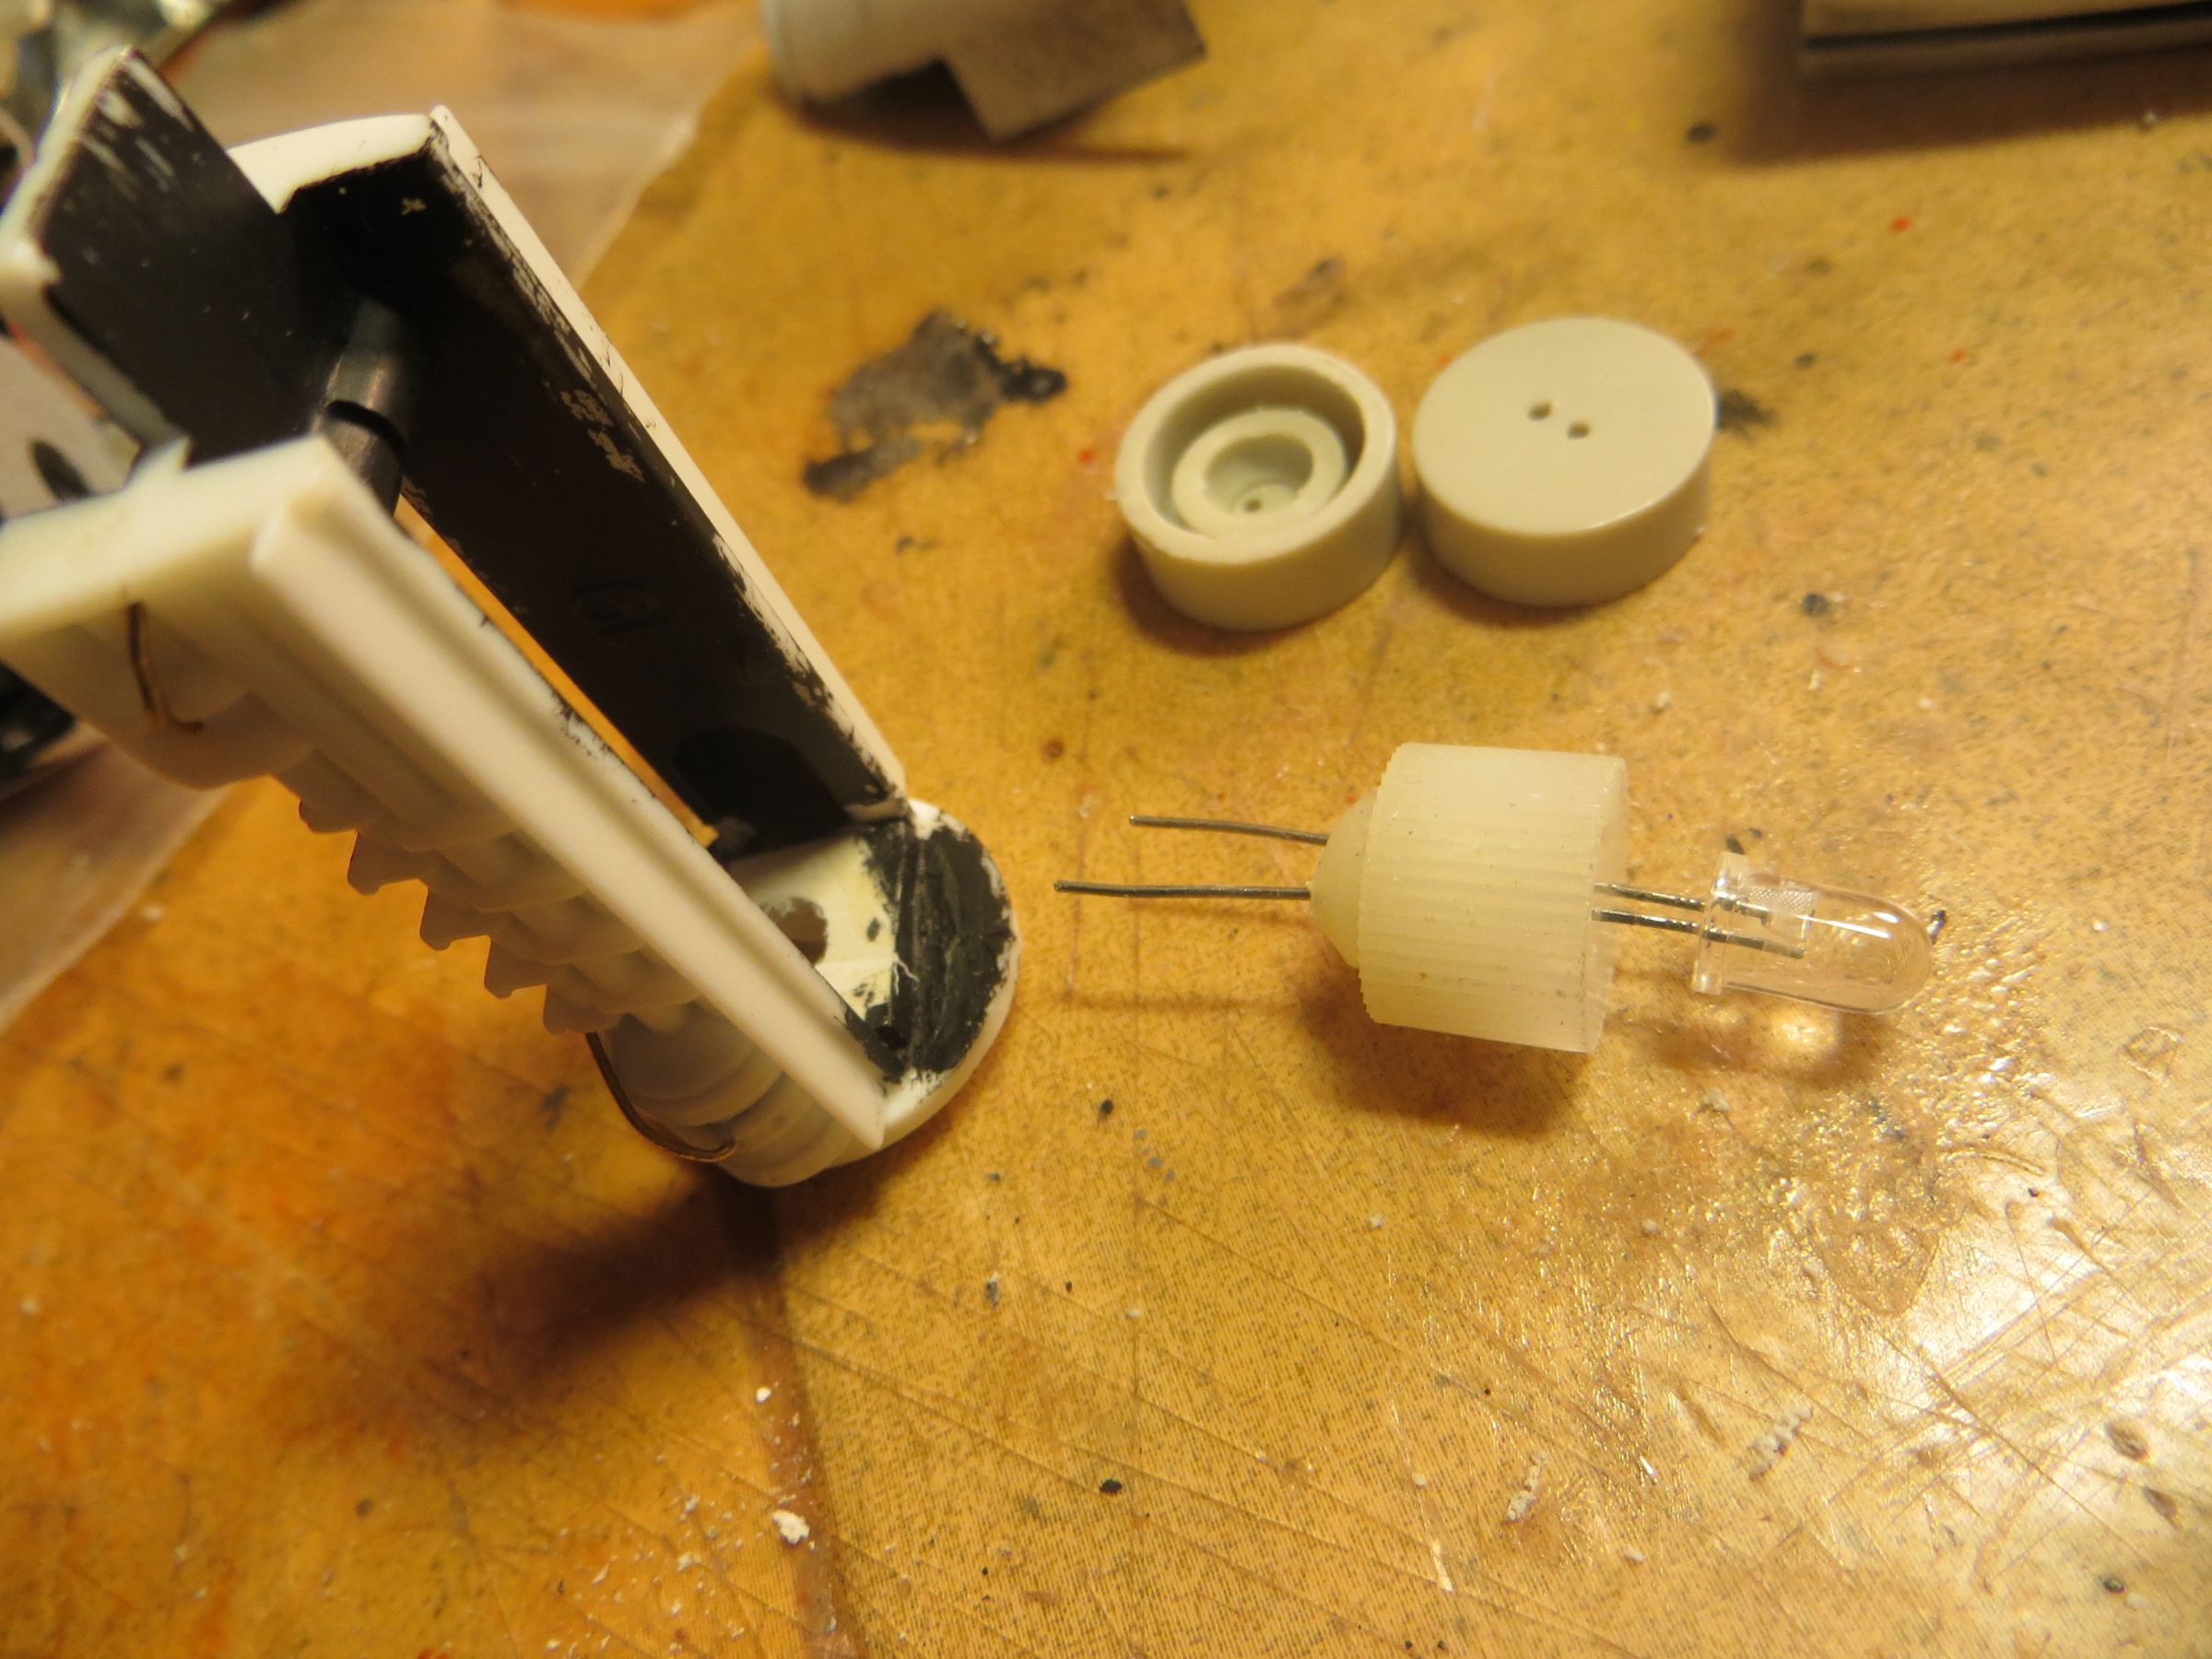
To prevent light leakage by the lip of the LED, a cap (again from the old ERTL lightning kit) is used.

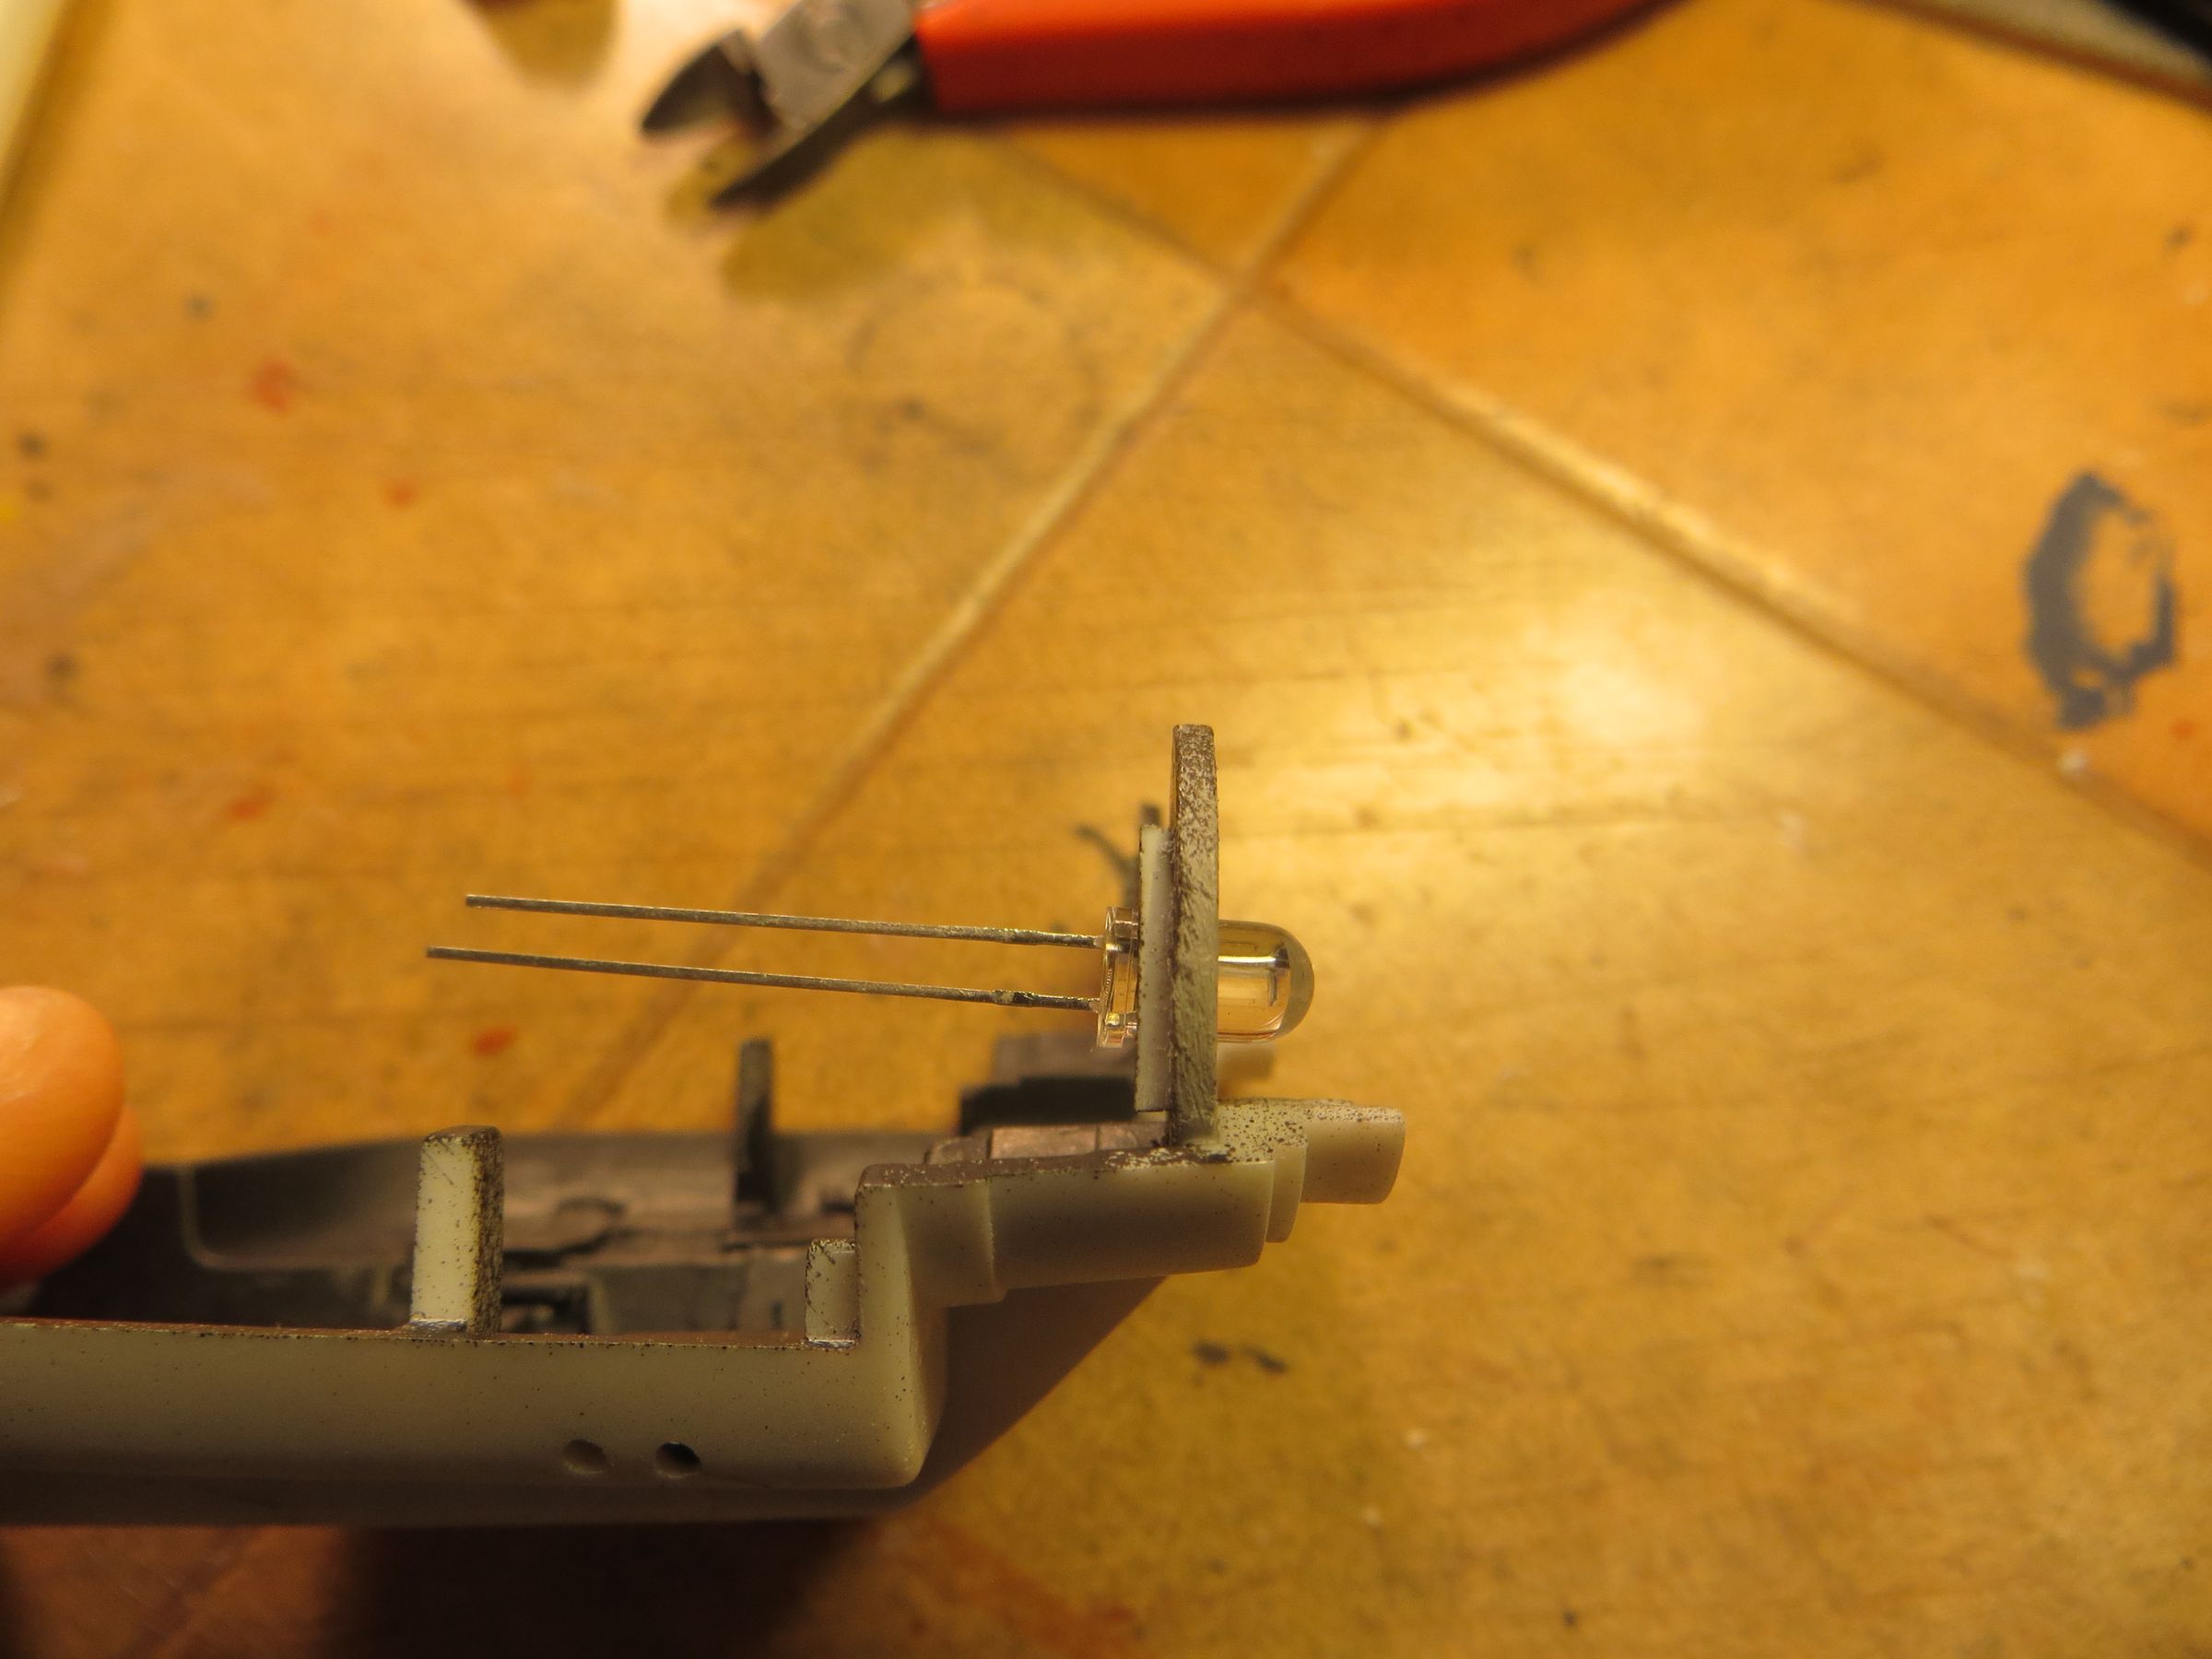
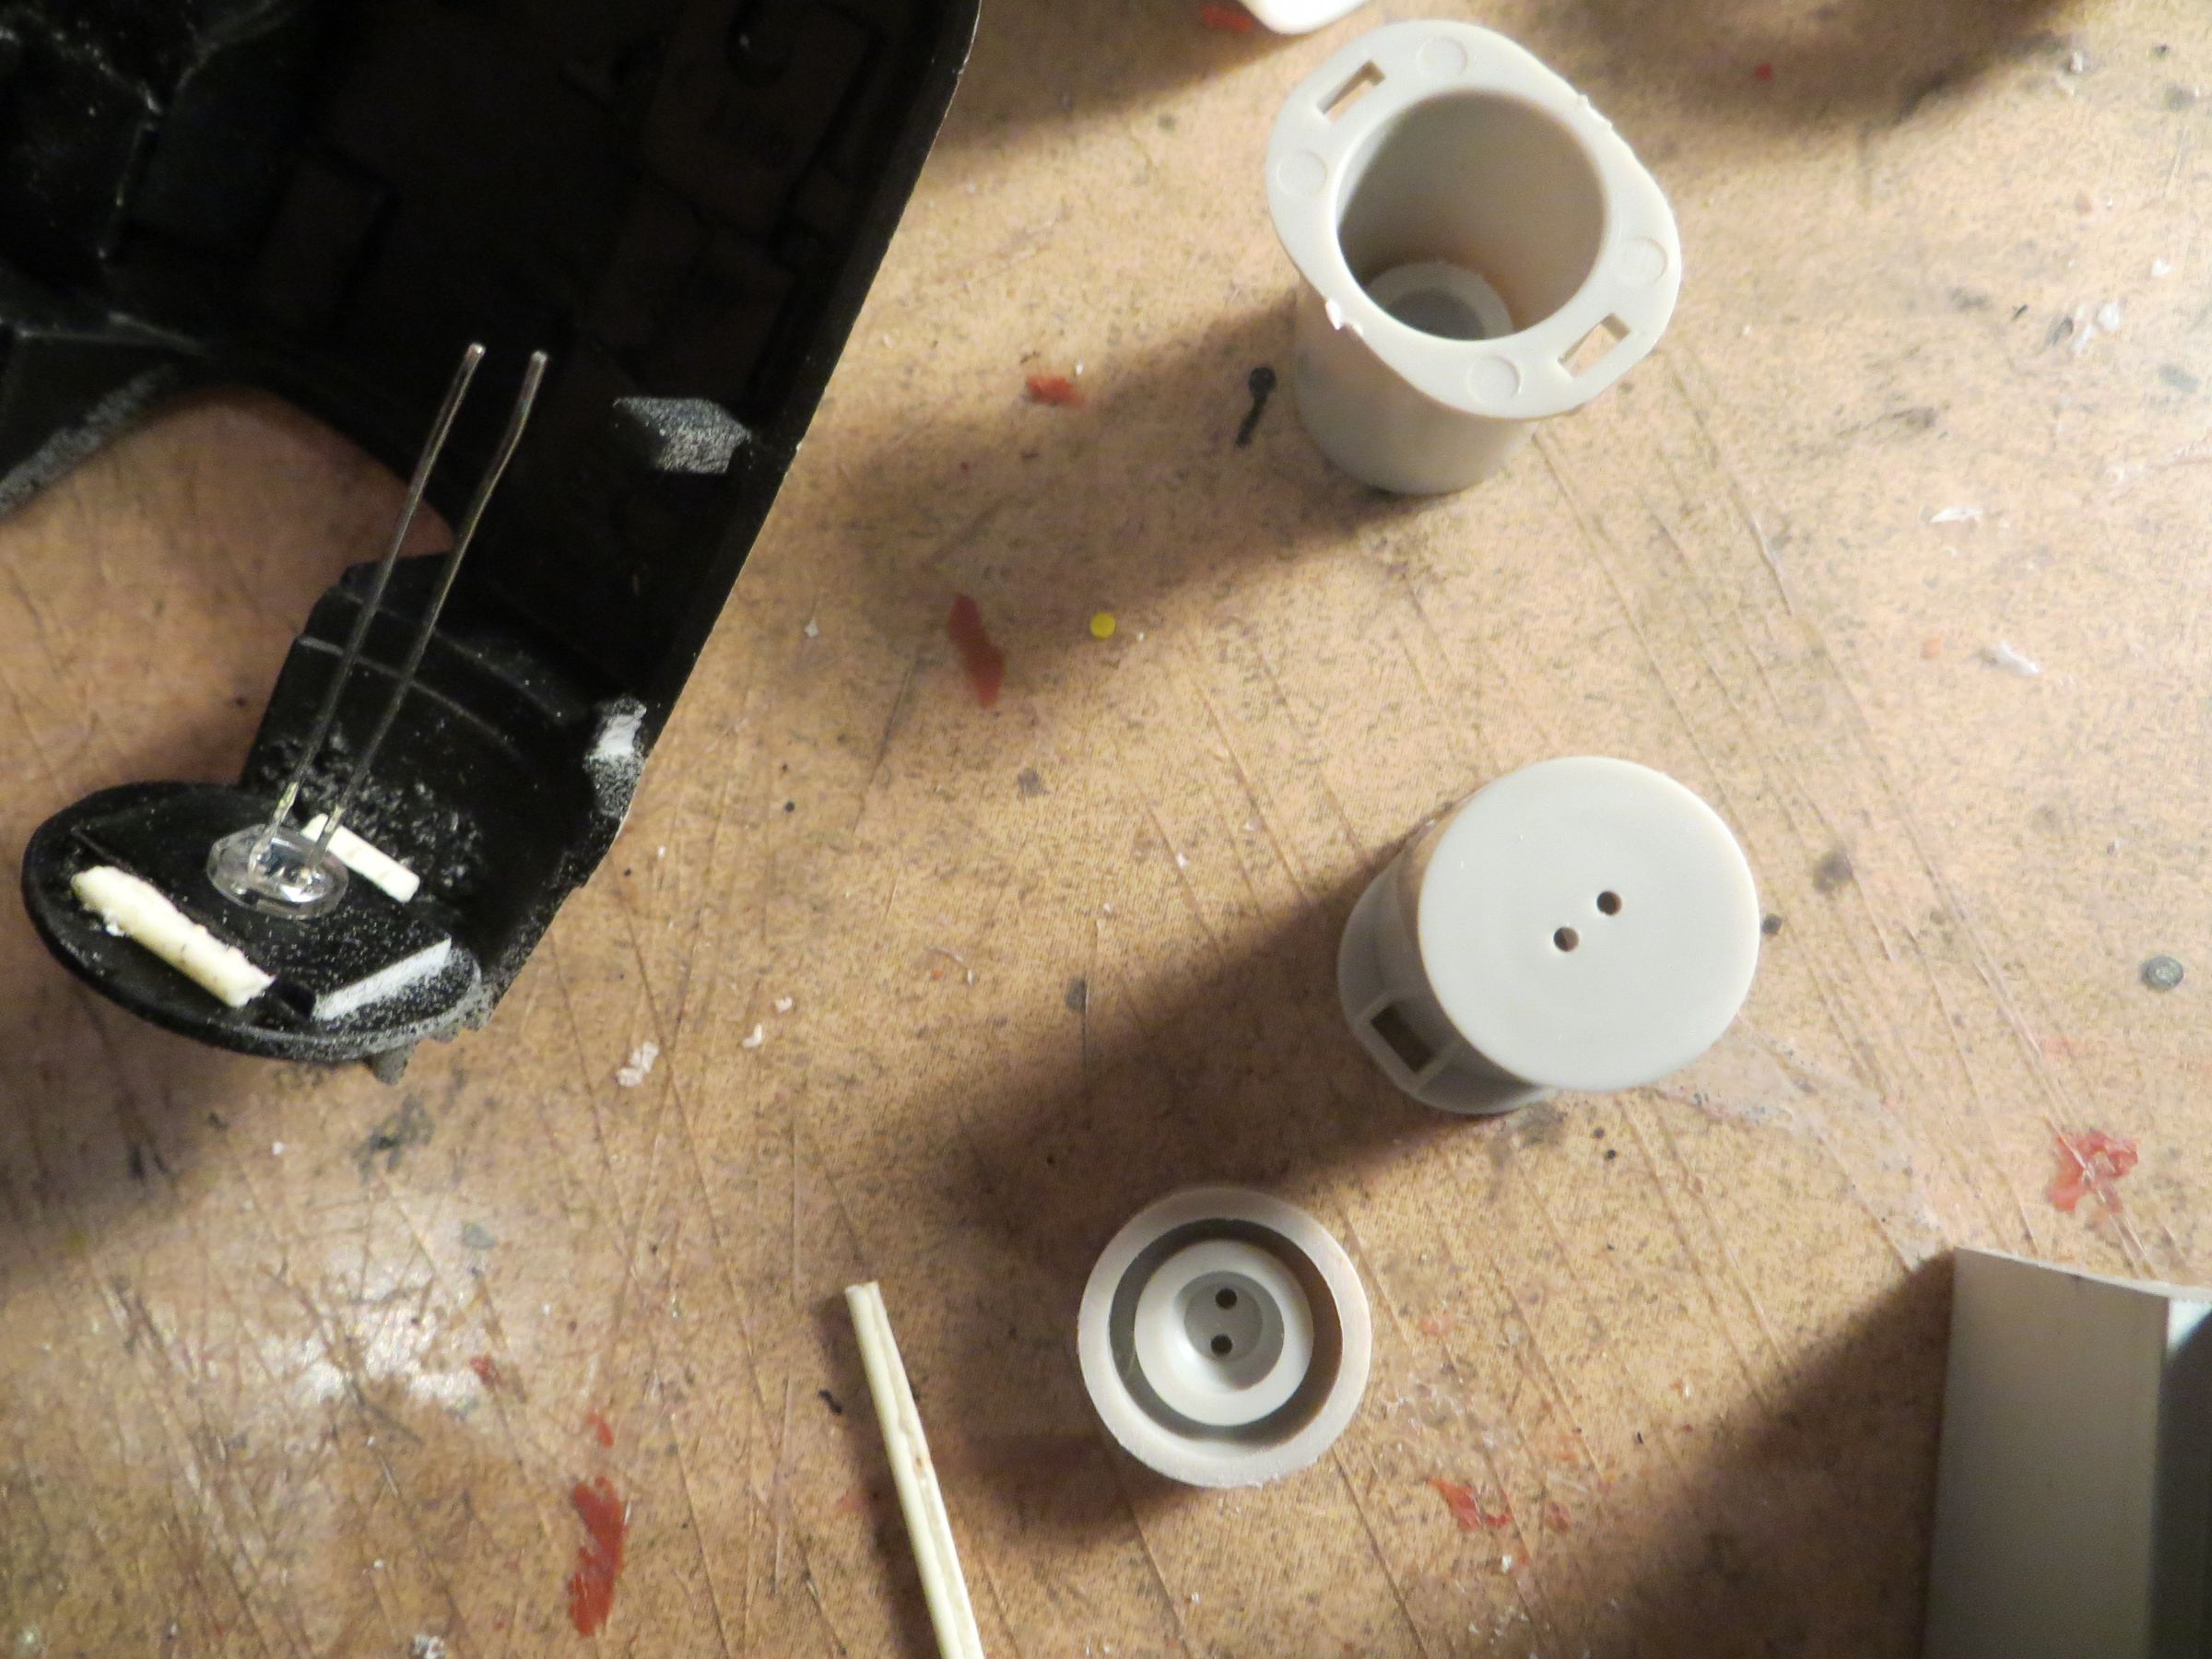
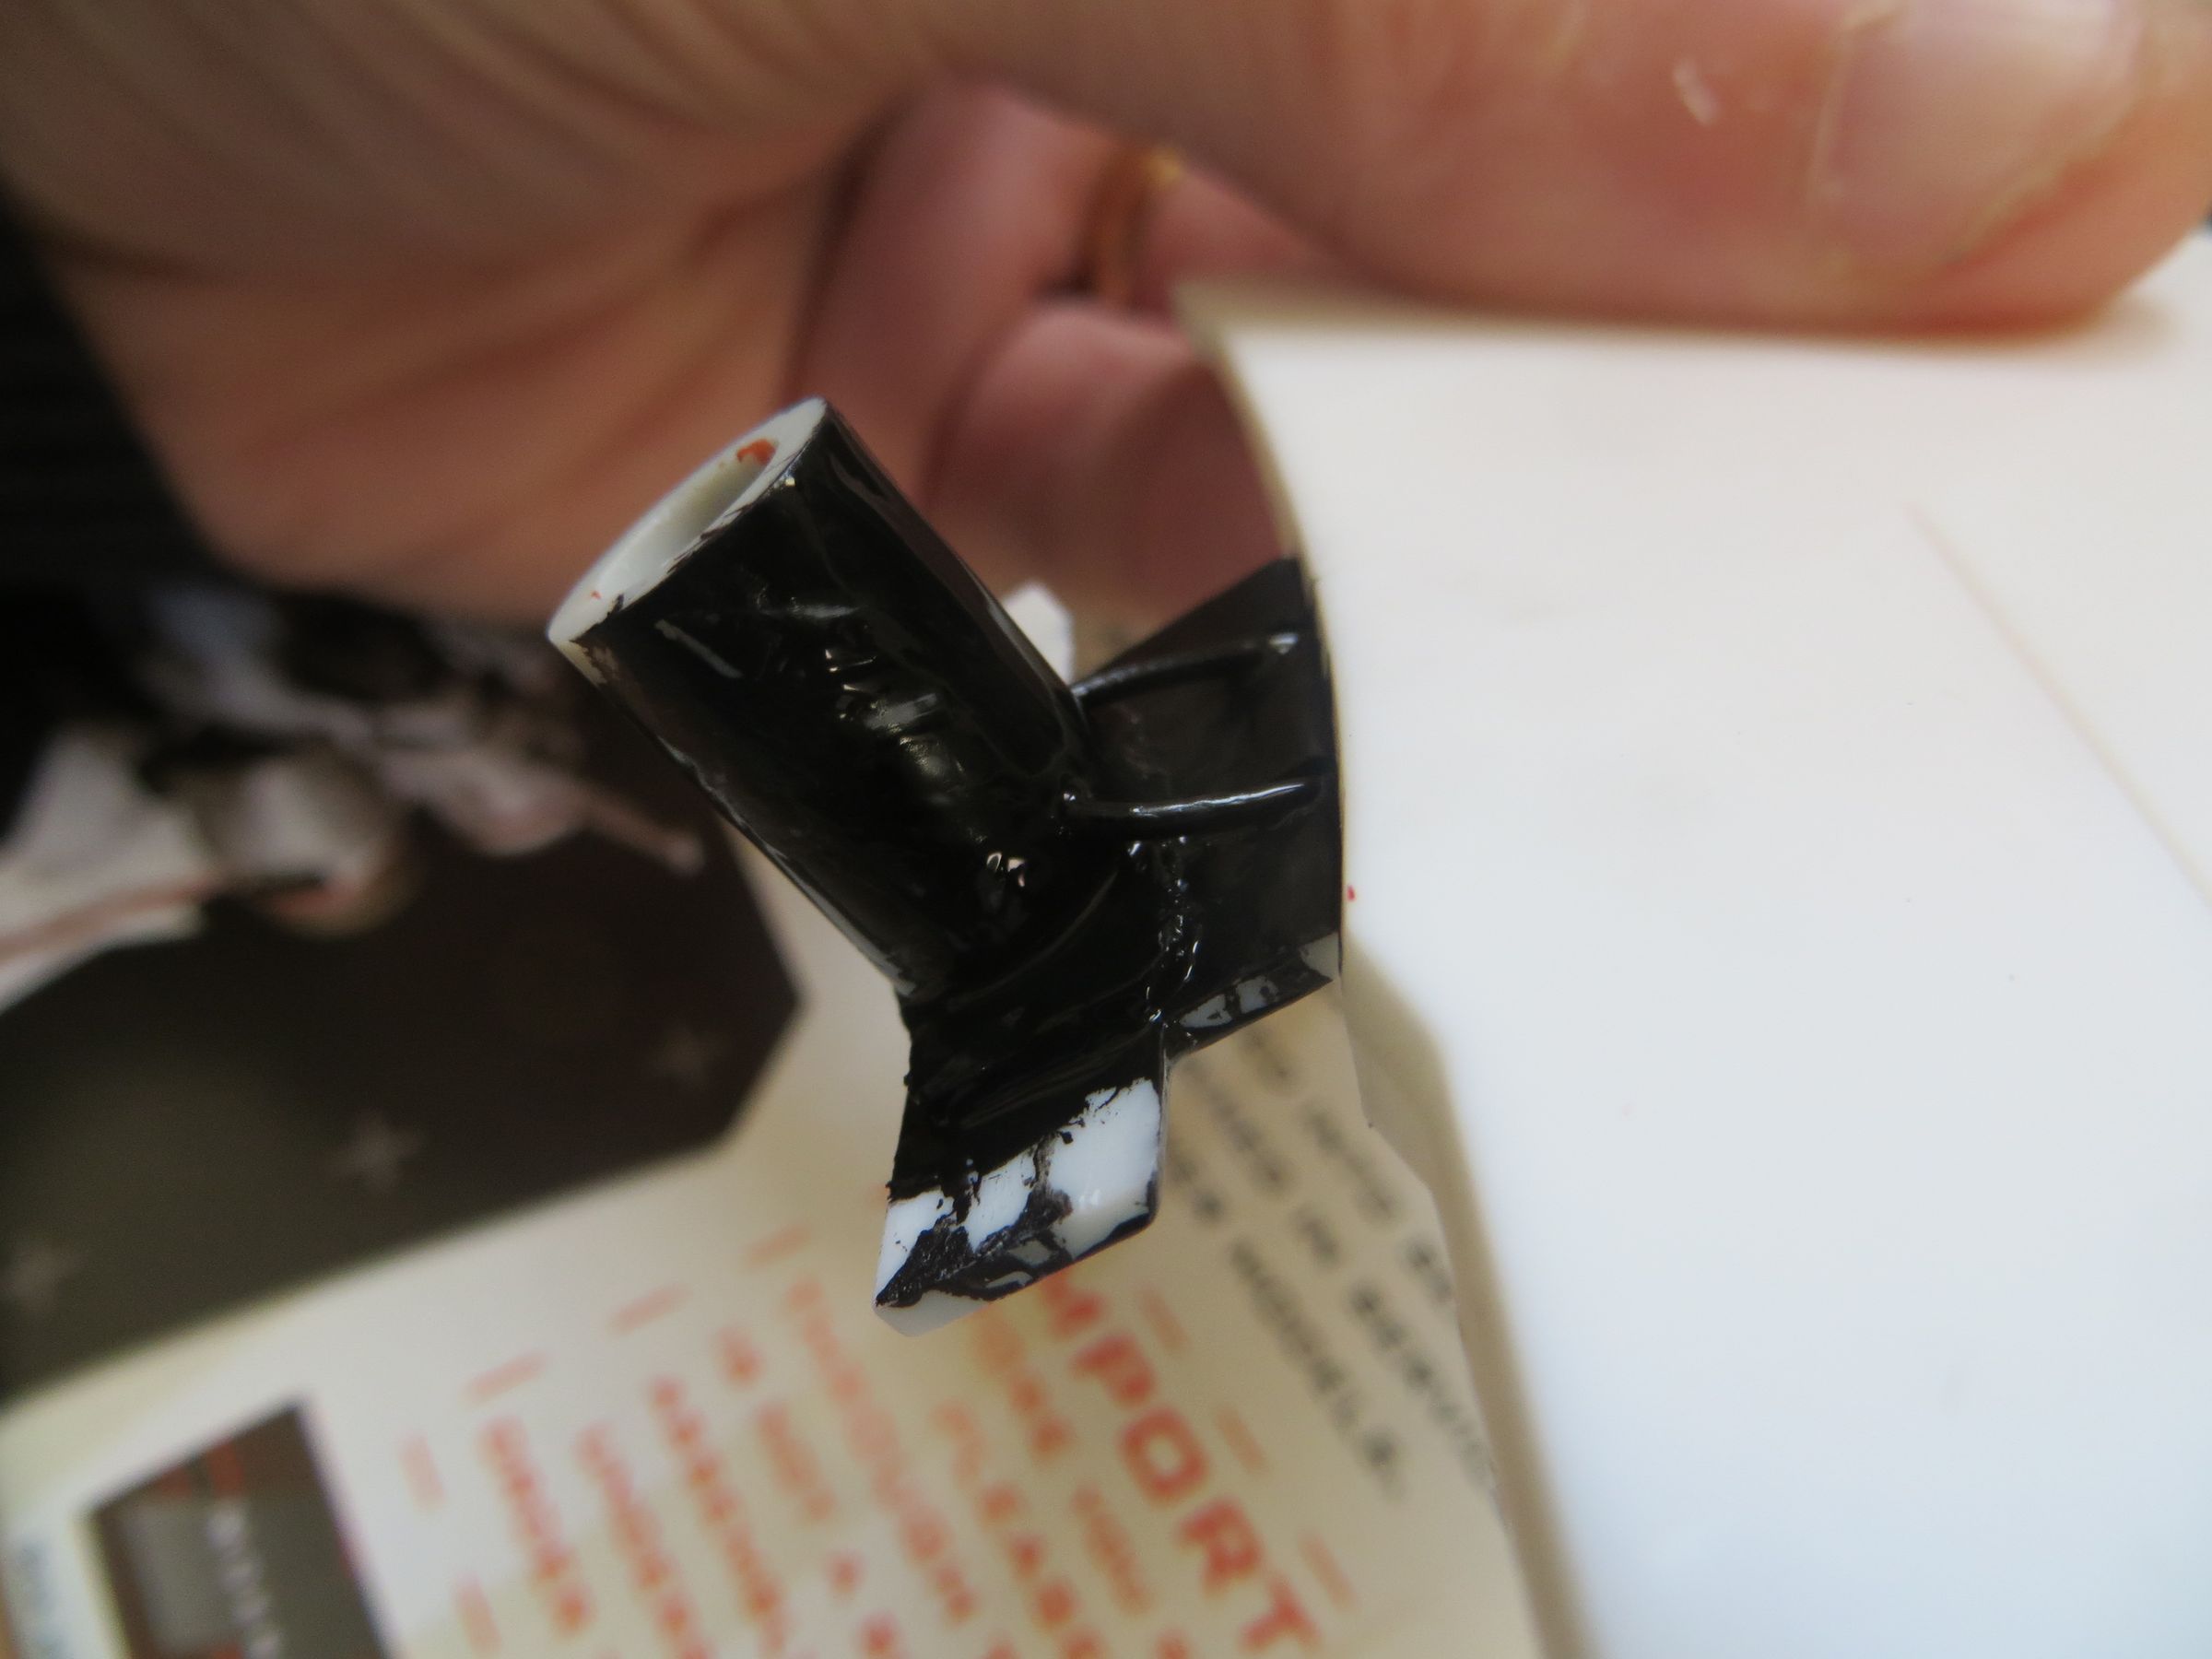
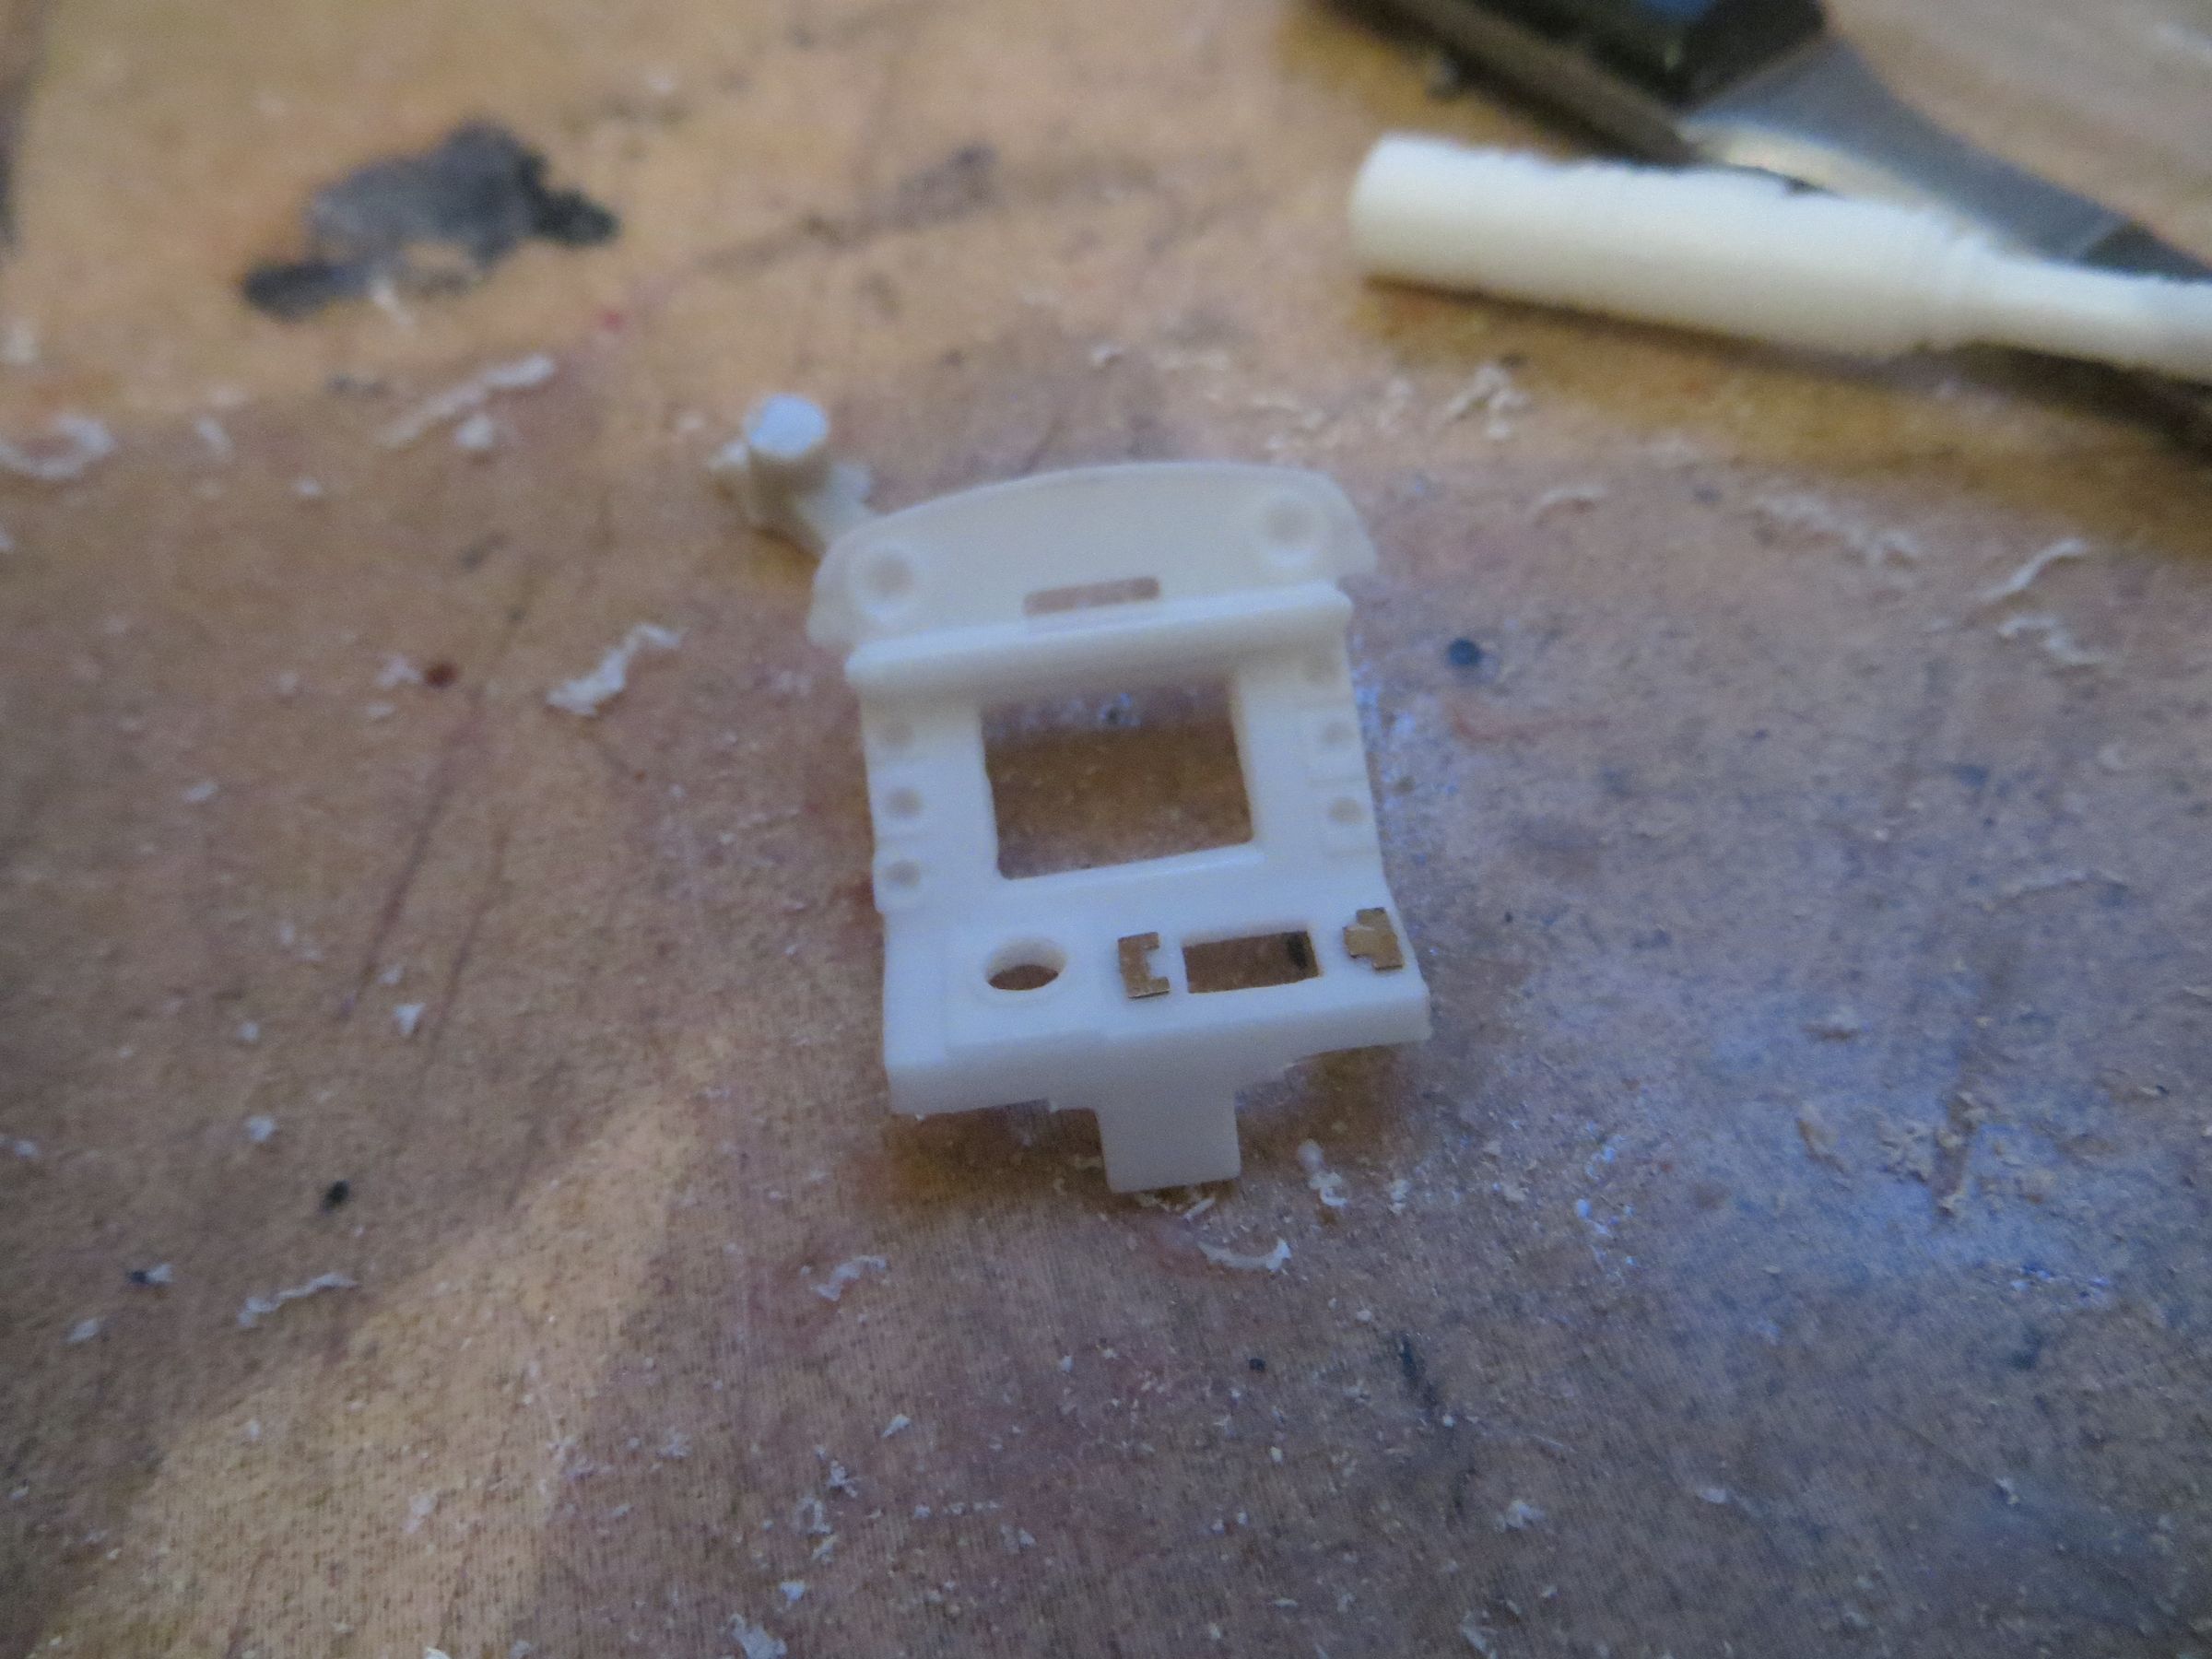
It was a smaller cap for the upper reactor. I used a superglue tip, painted in black.

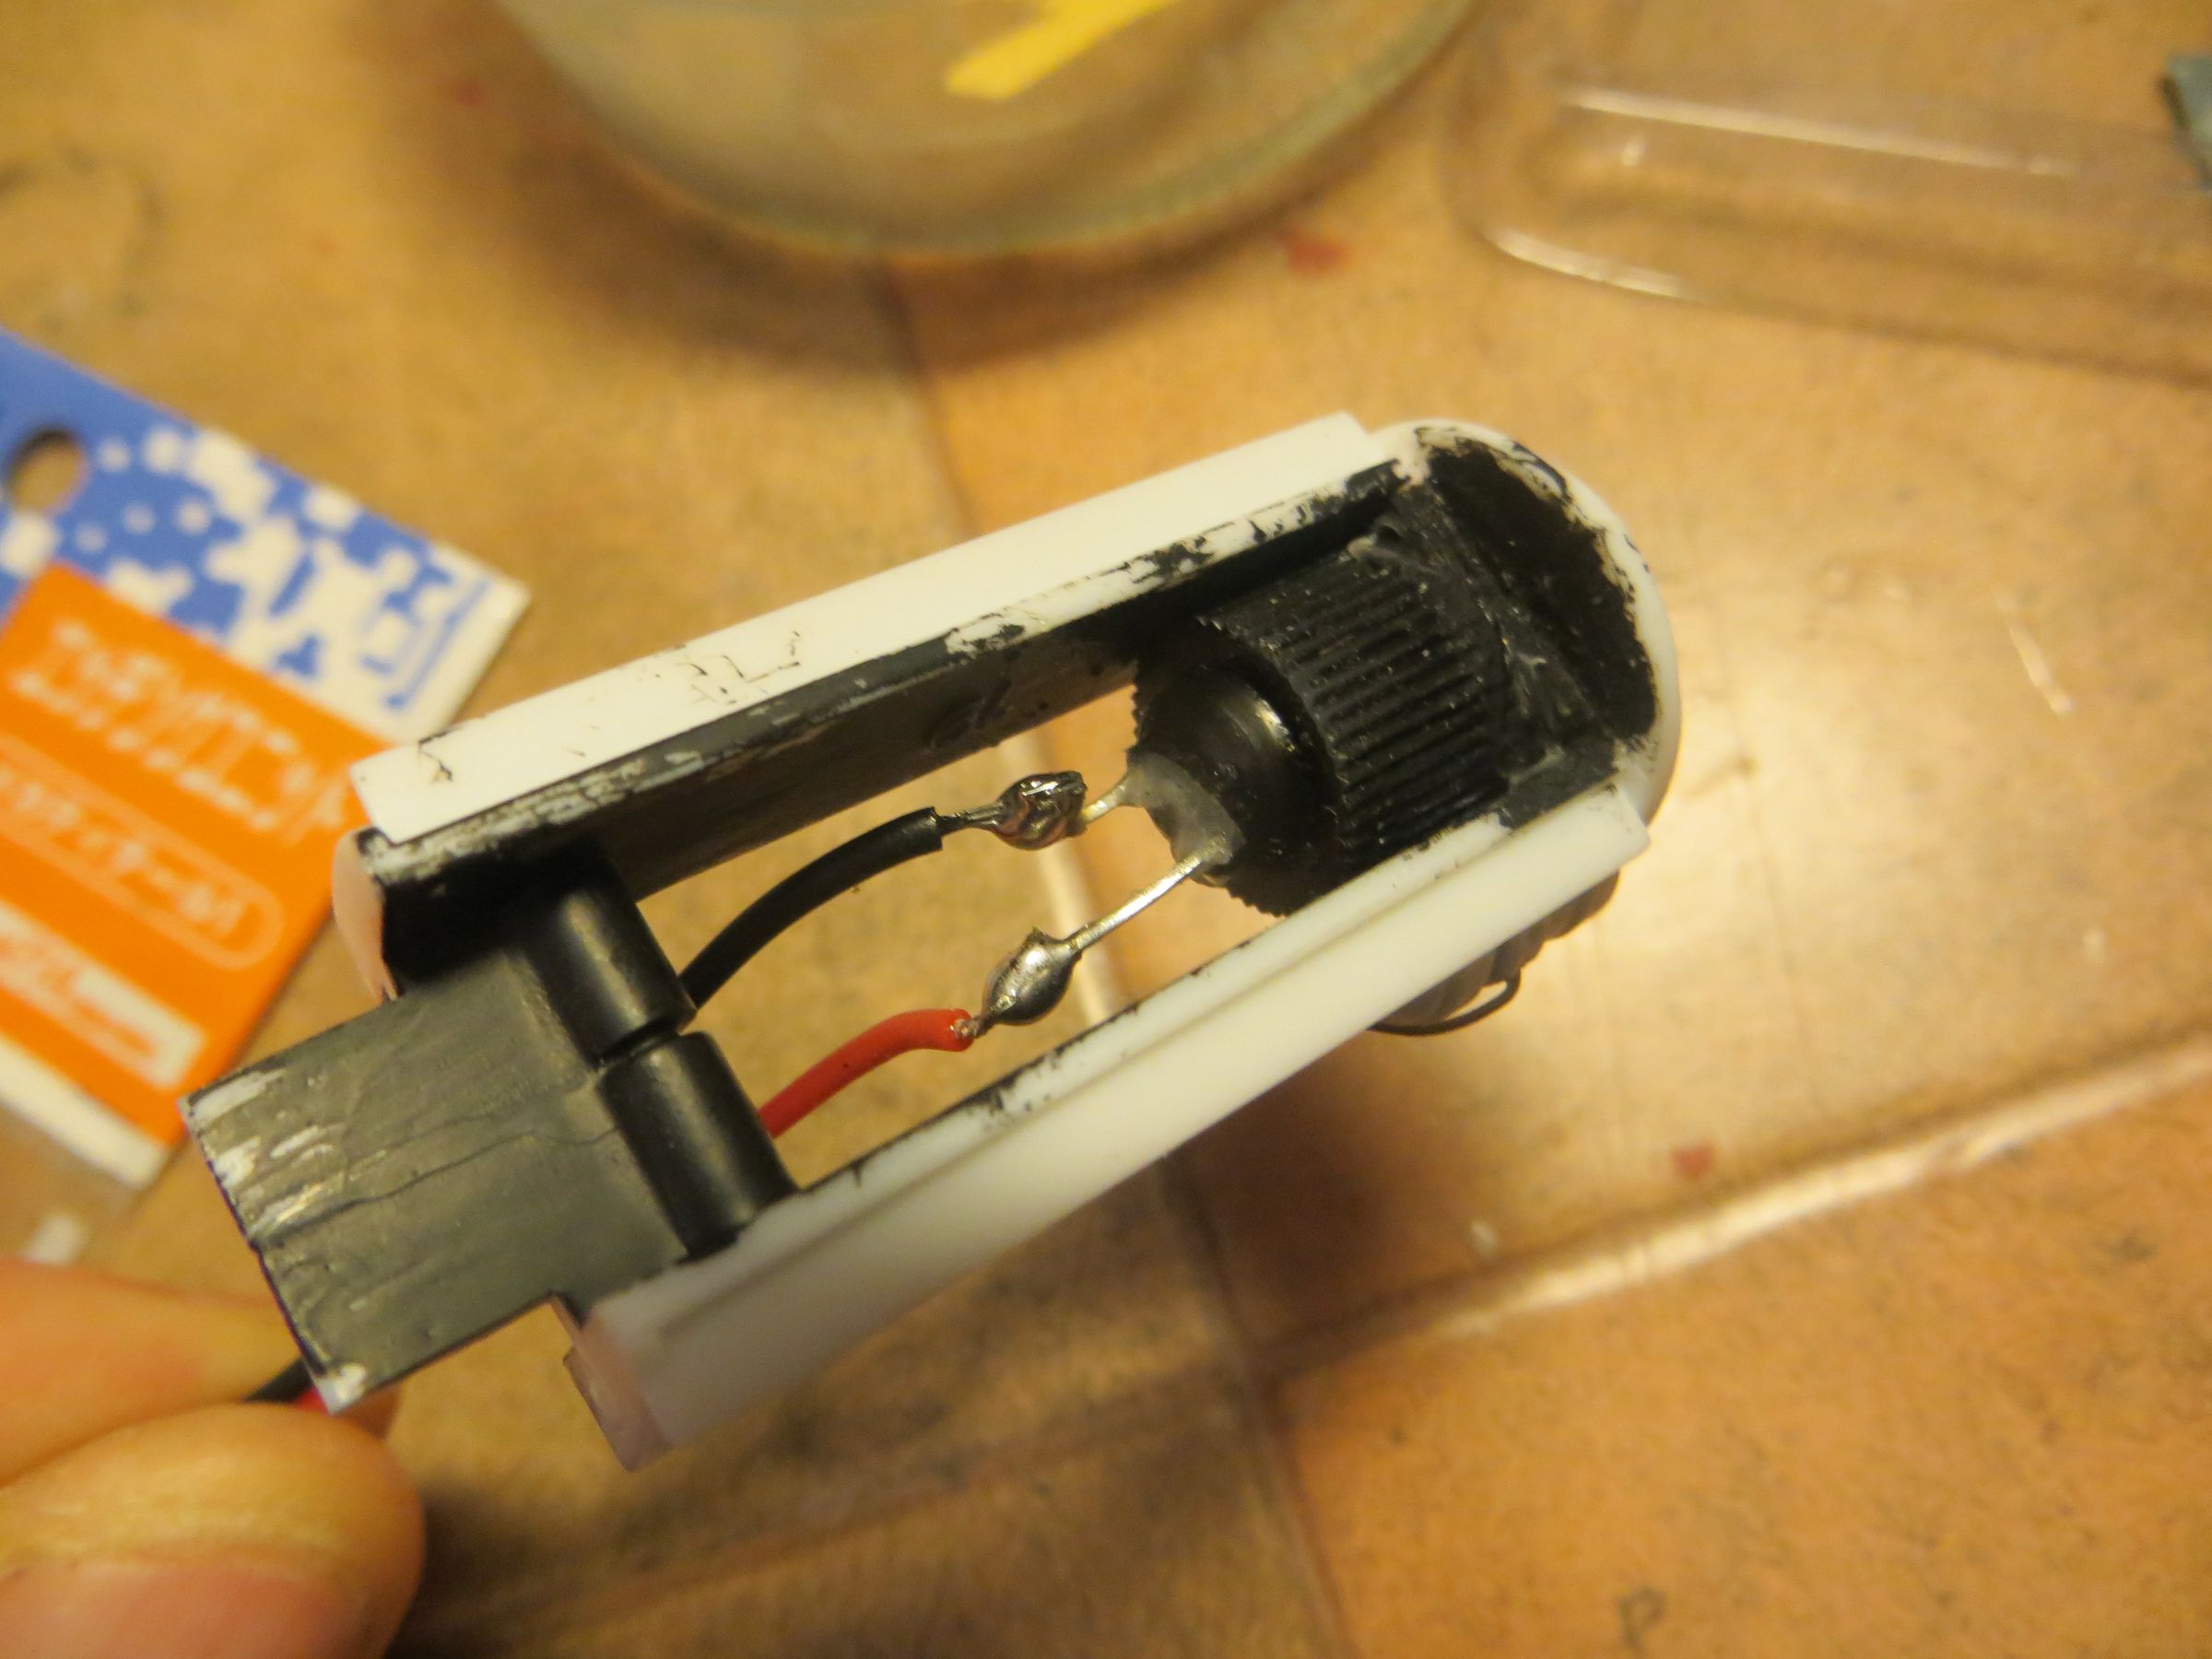
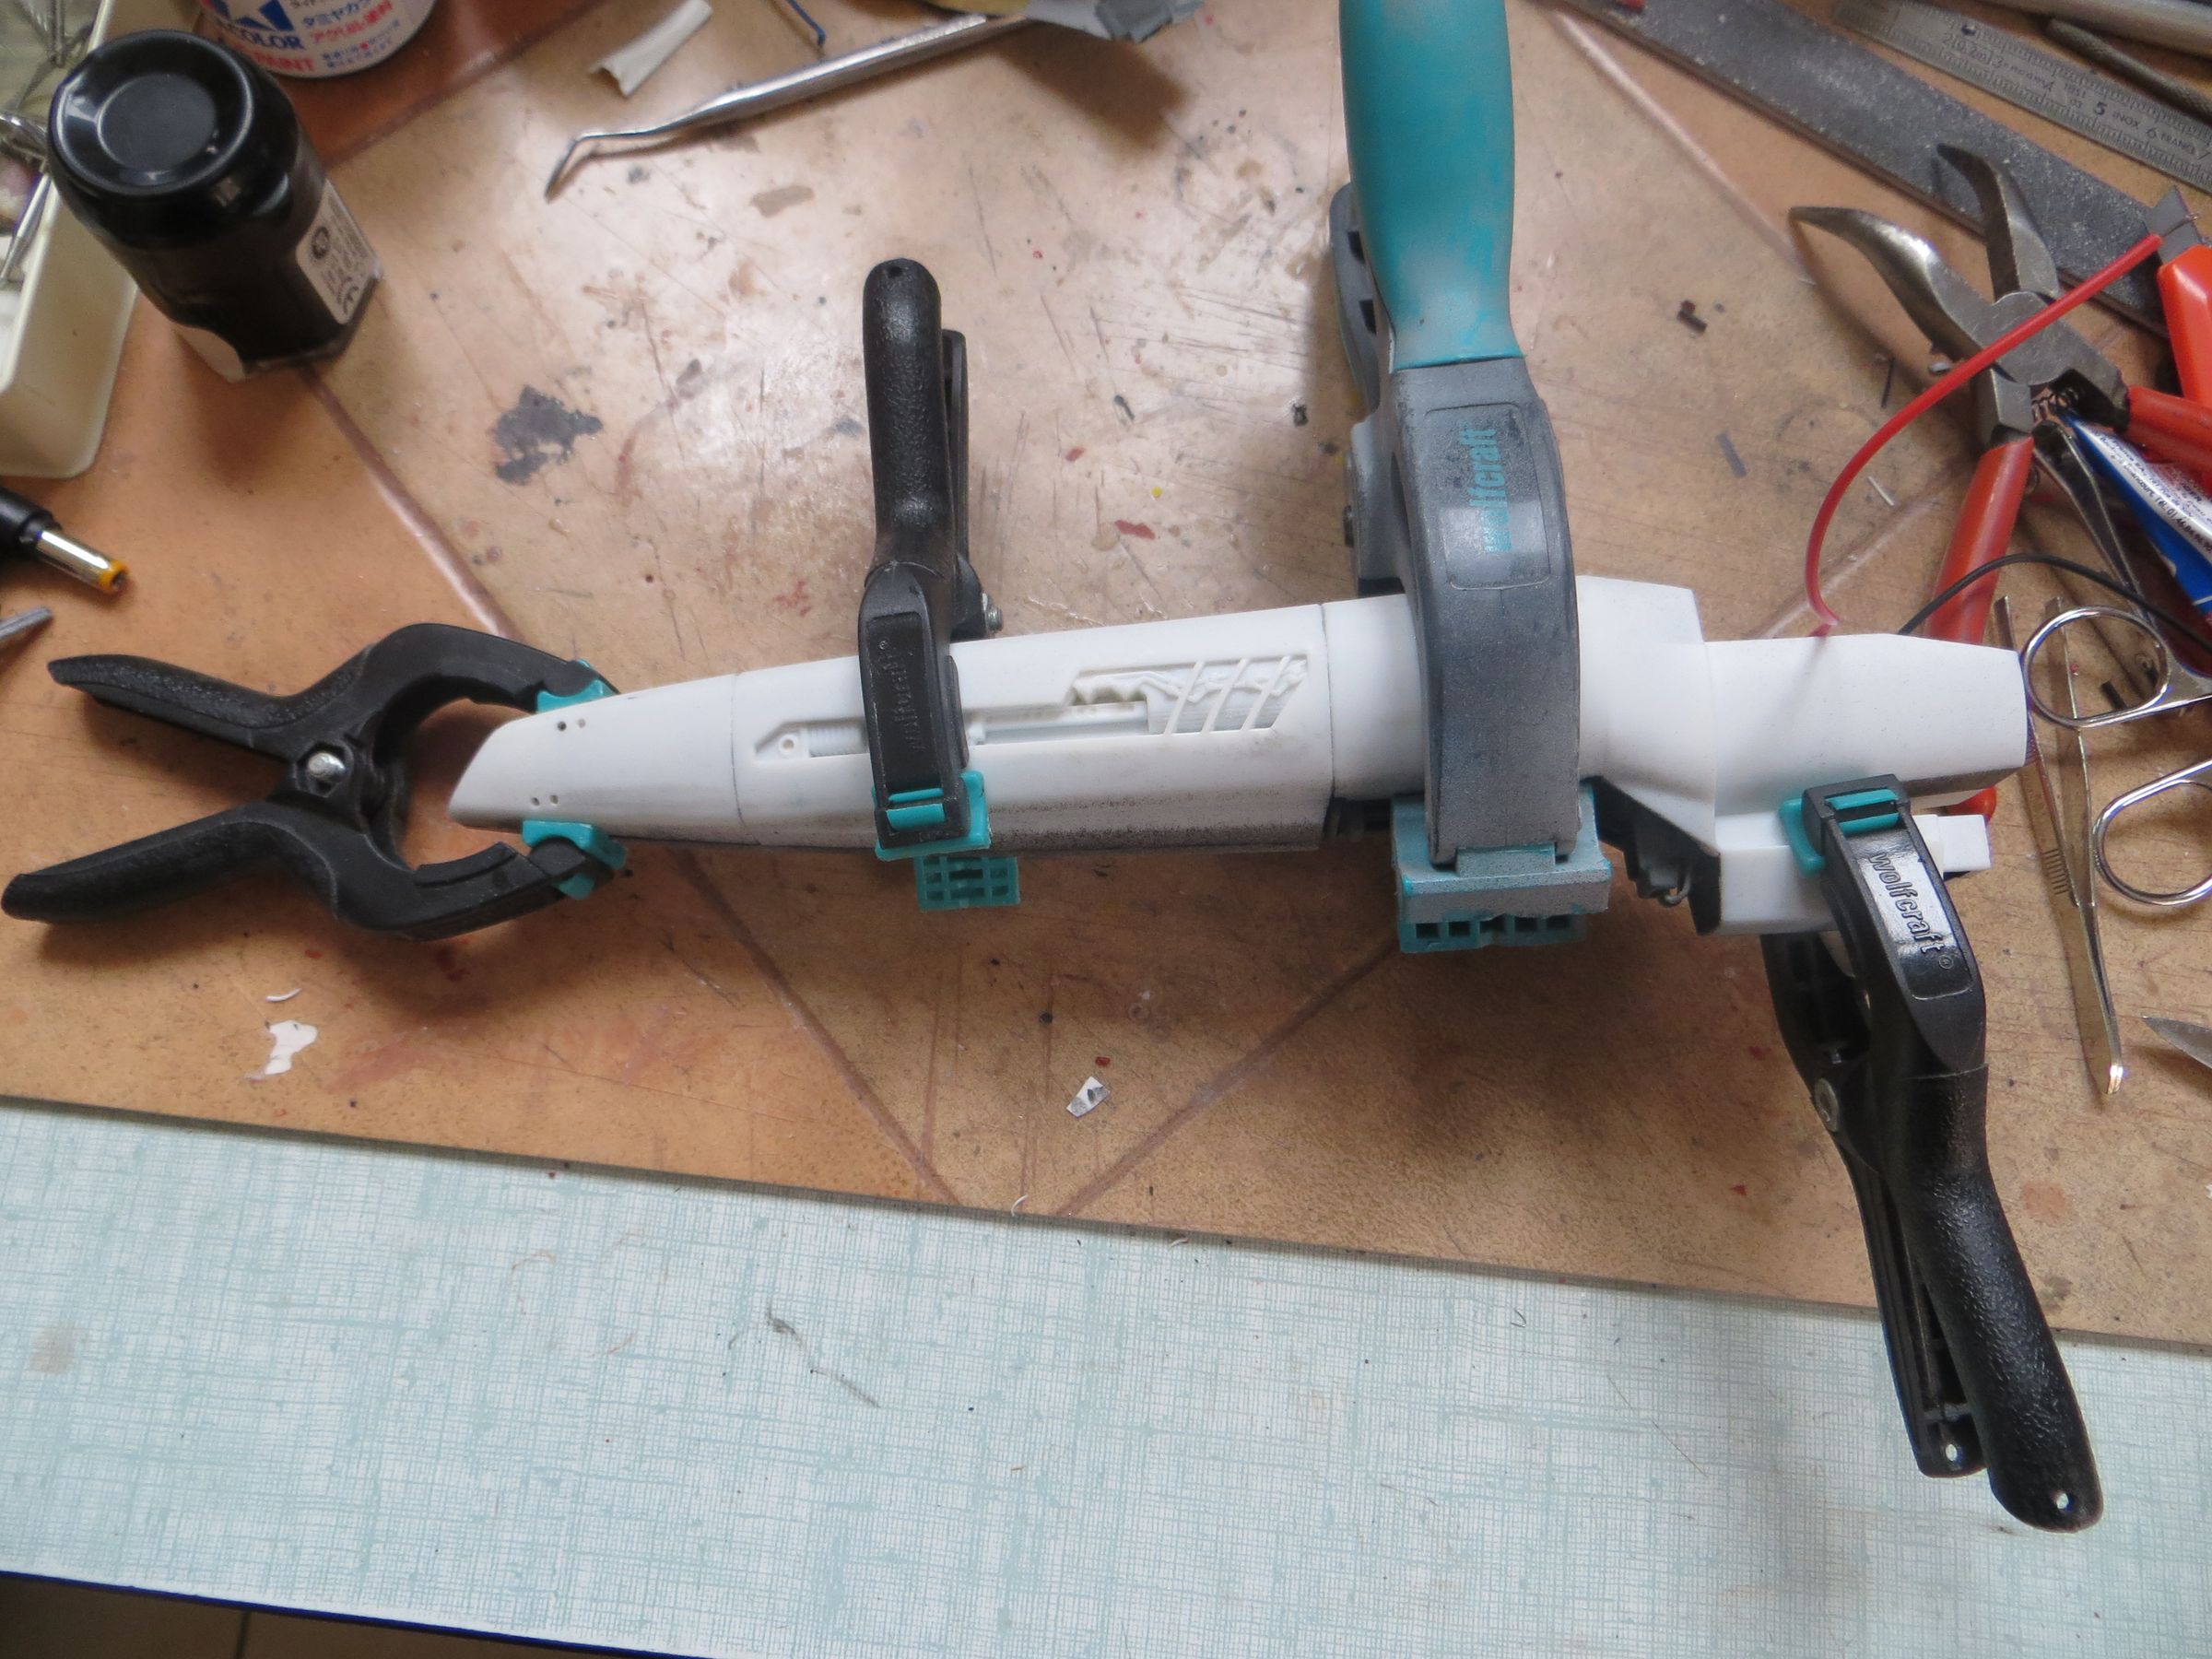
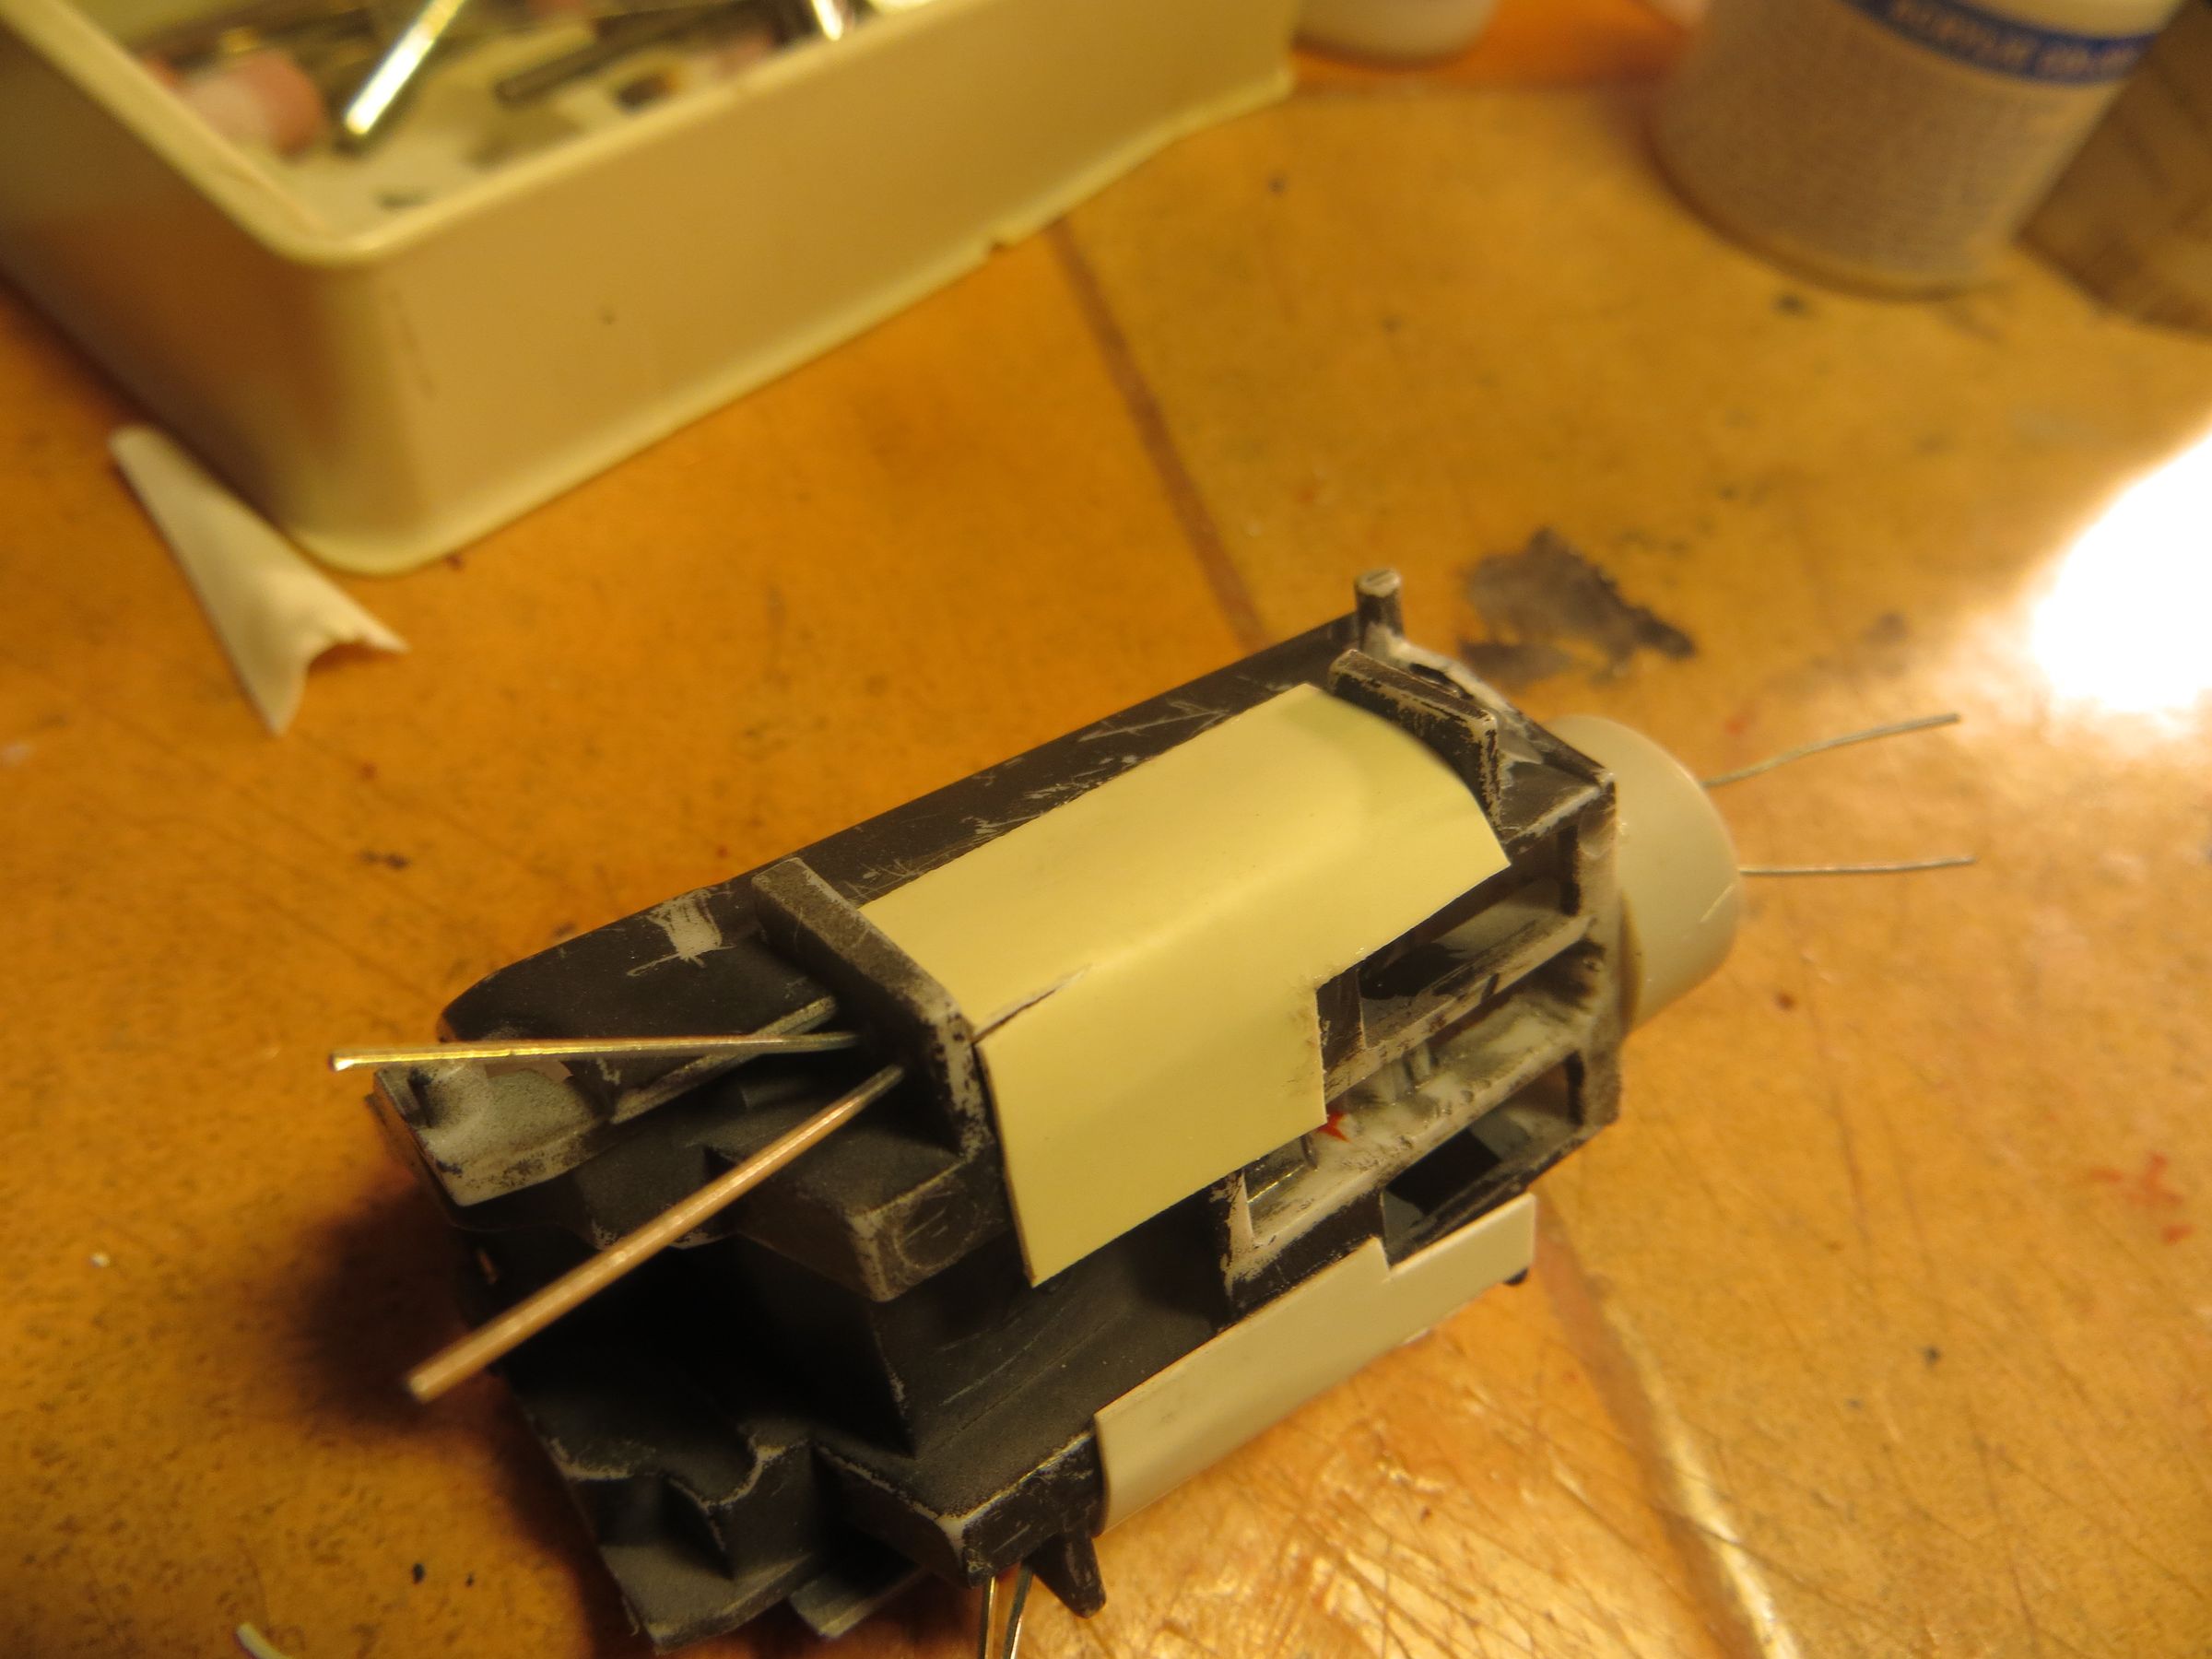
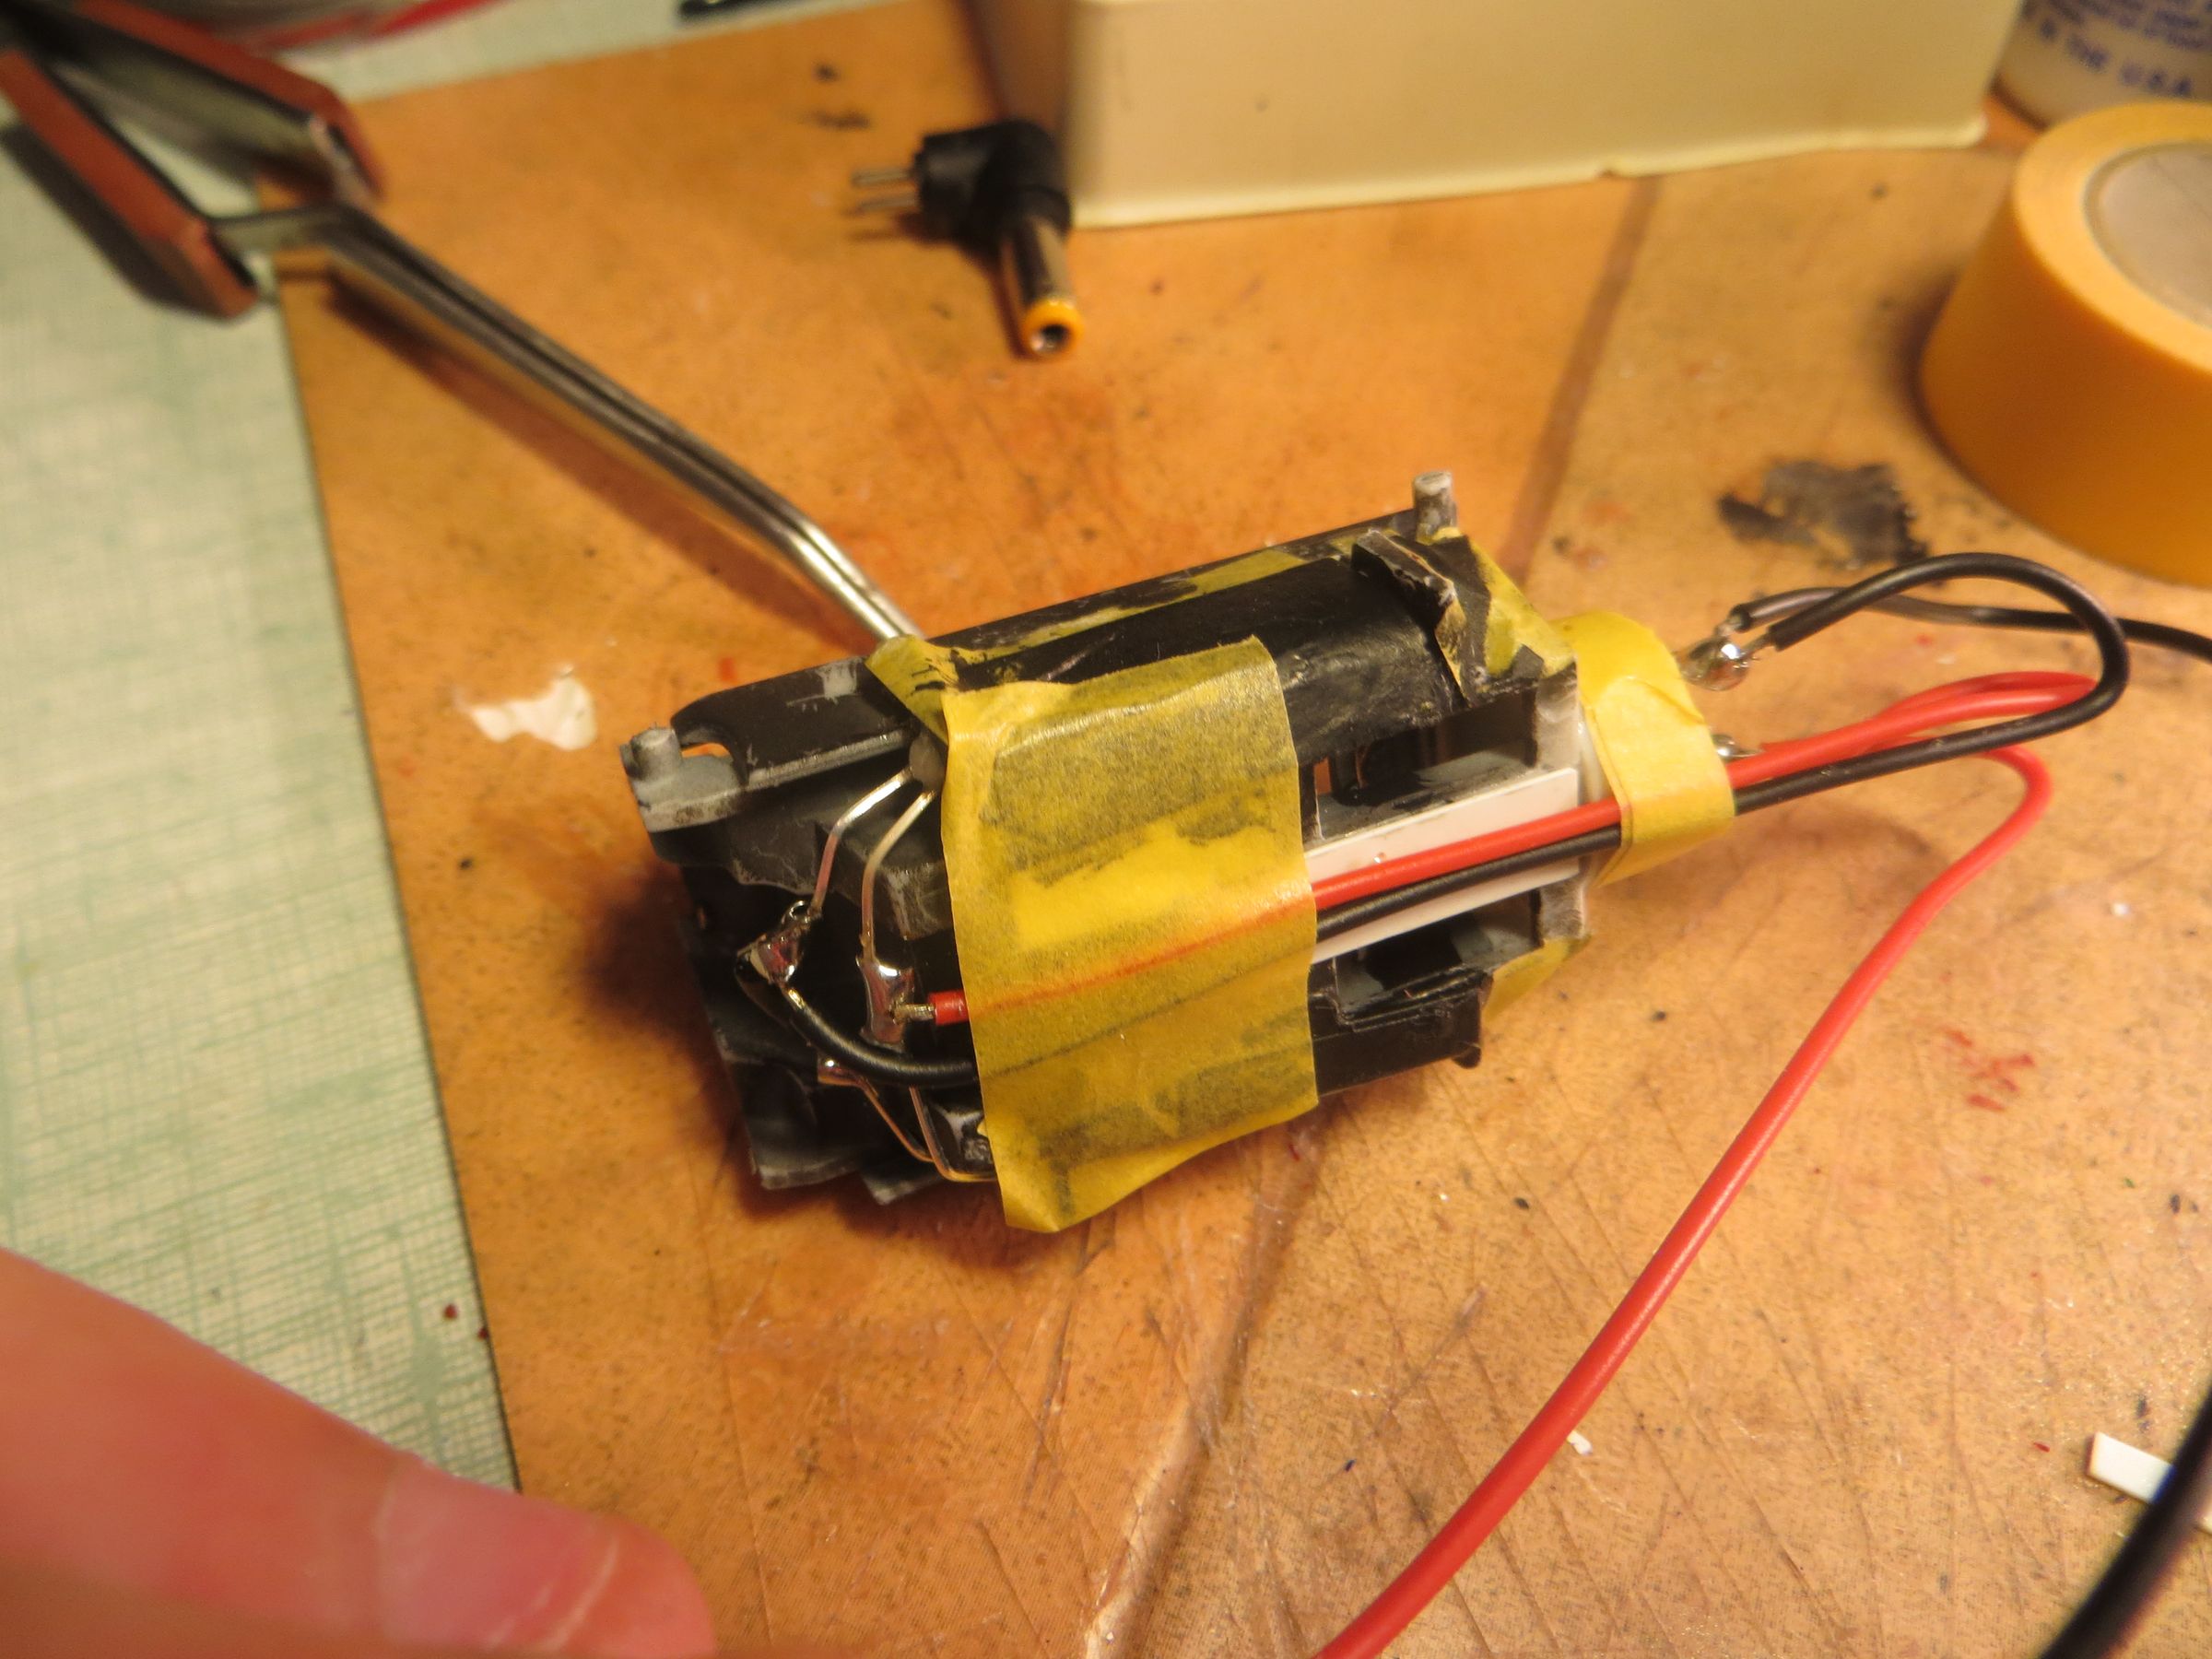
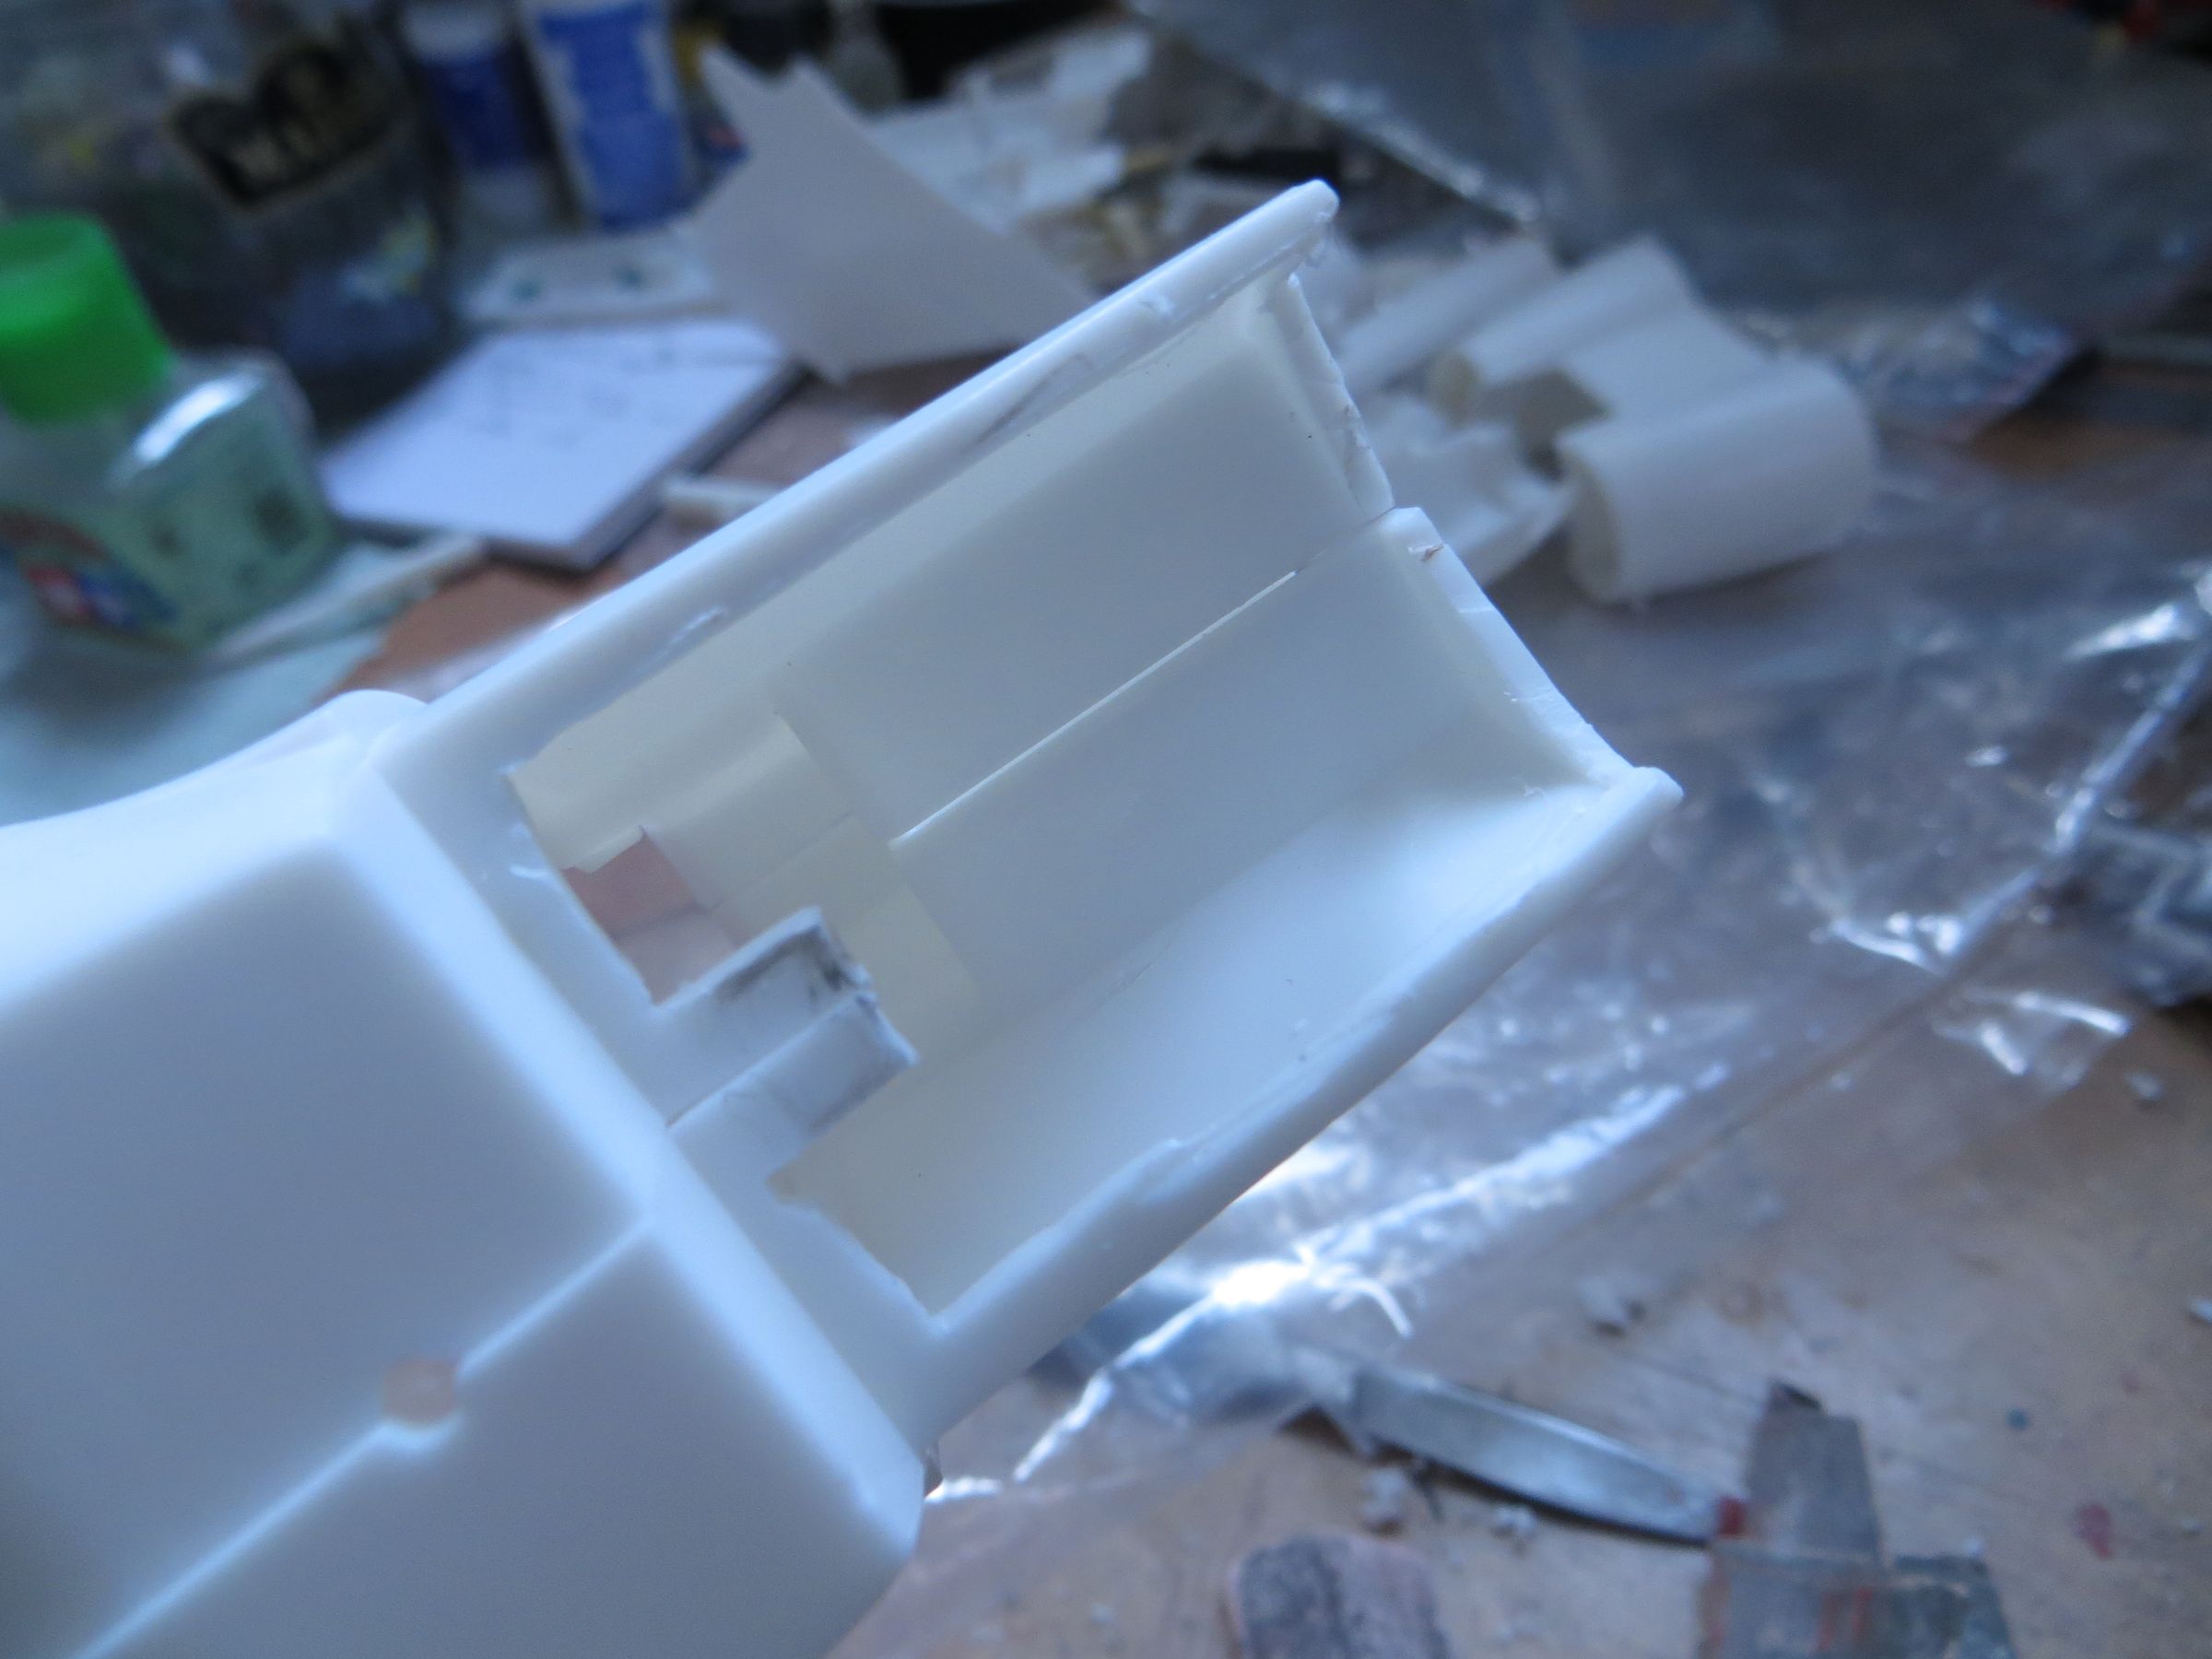
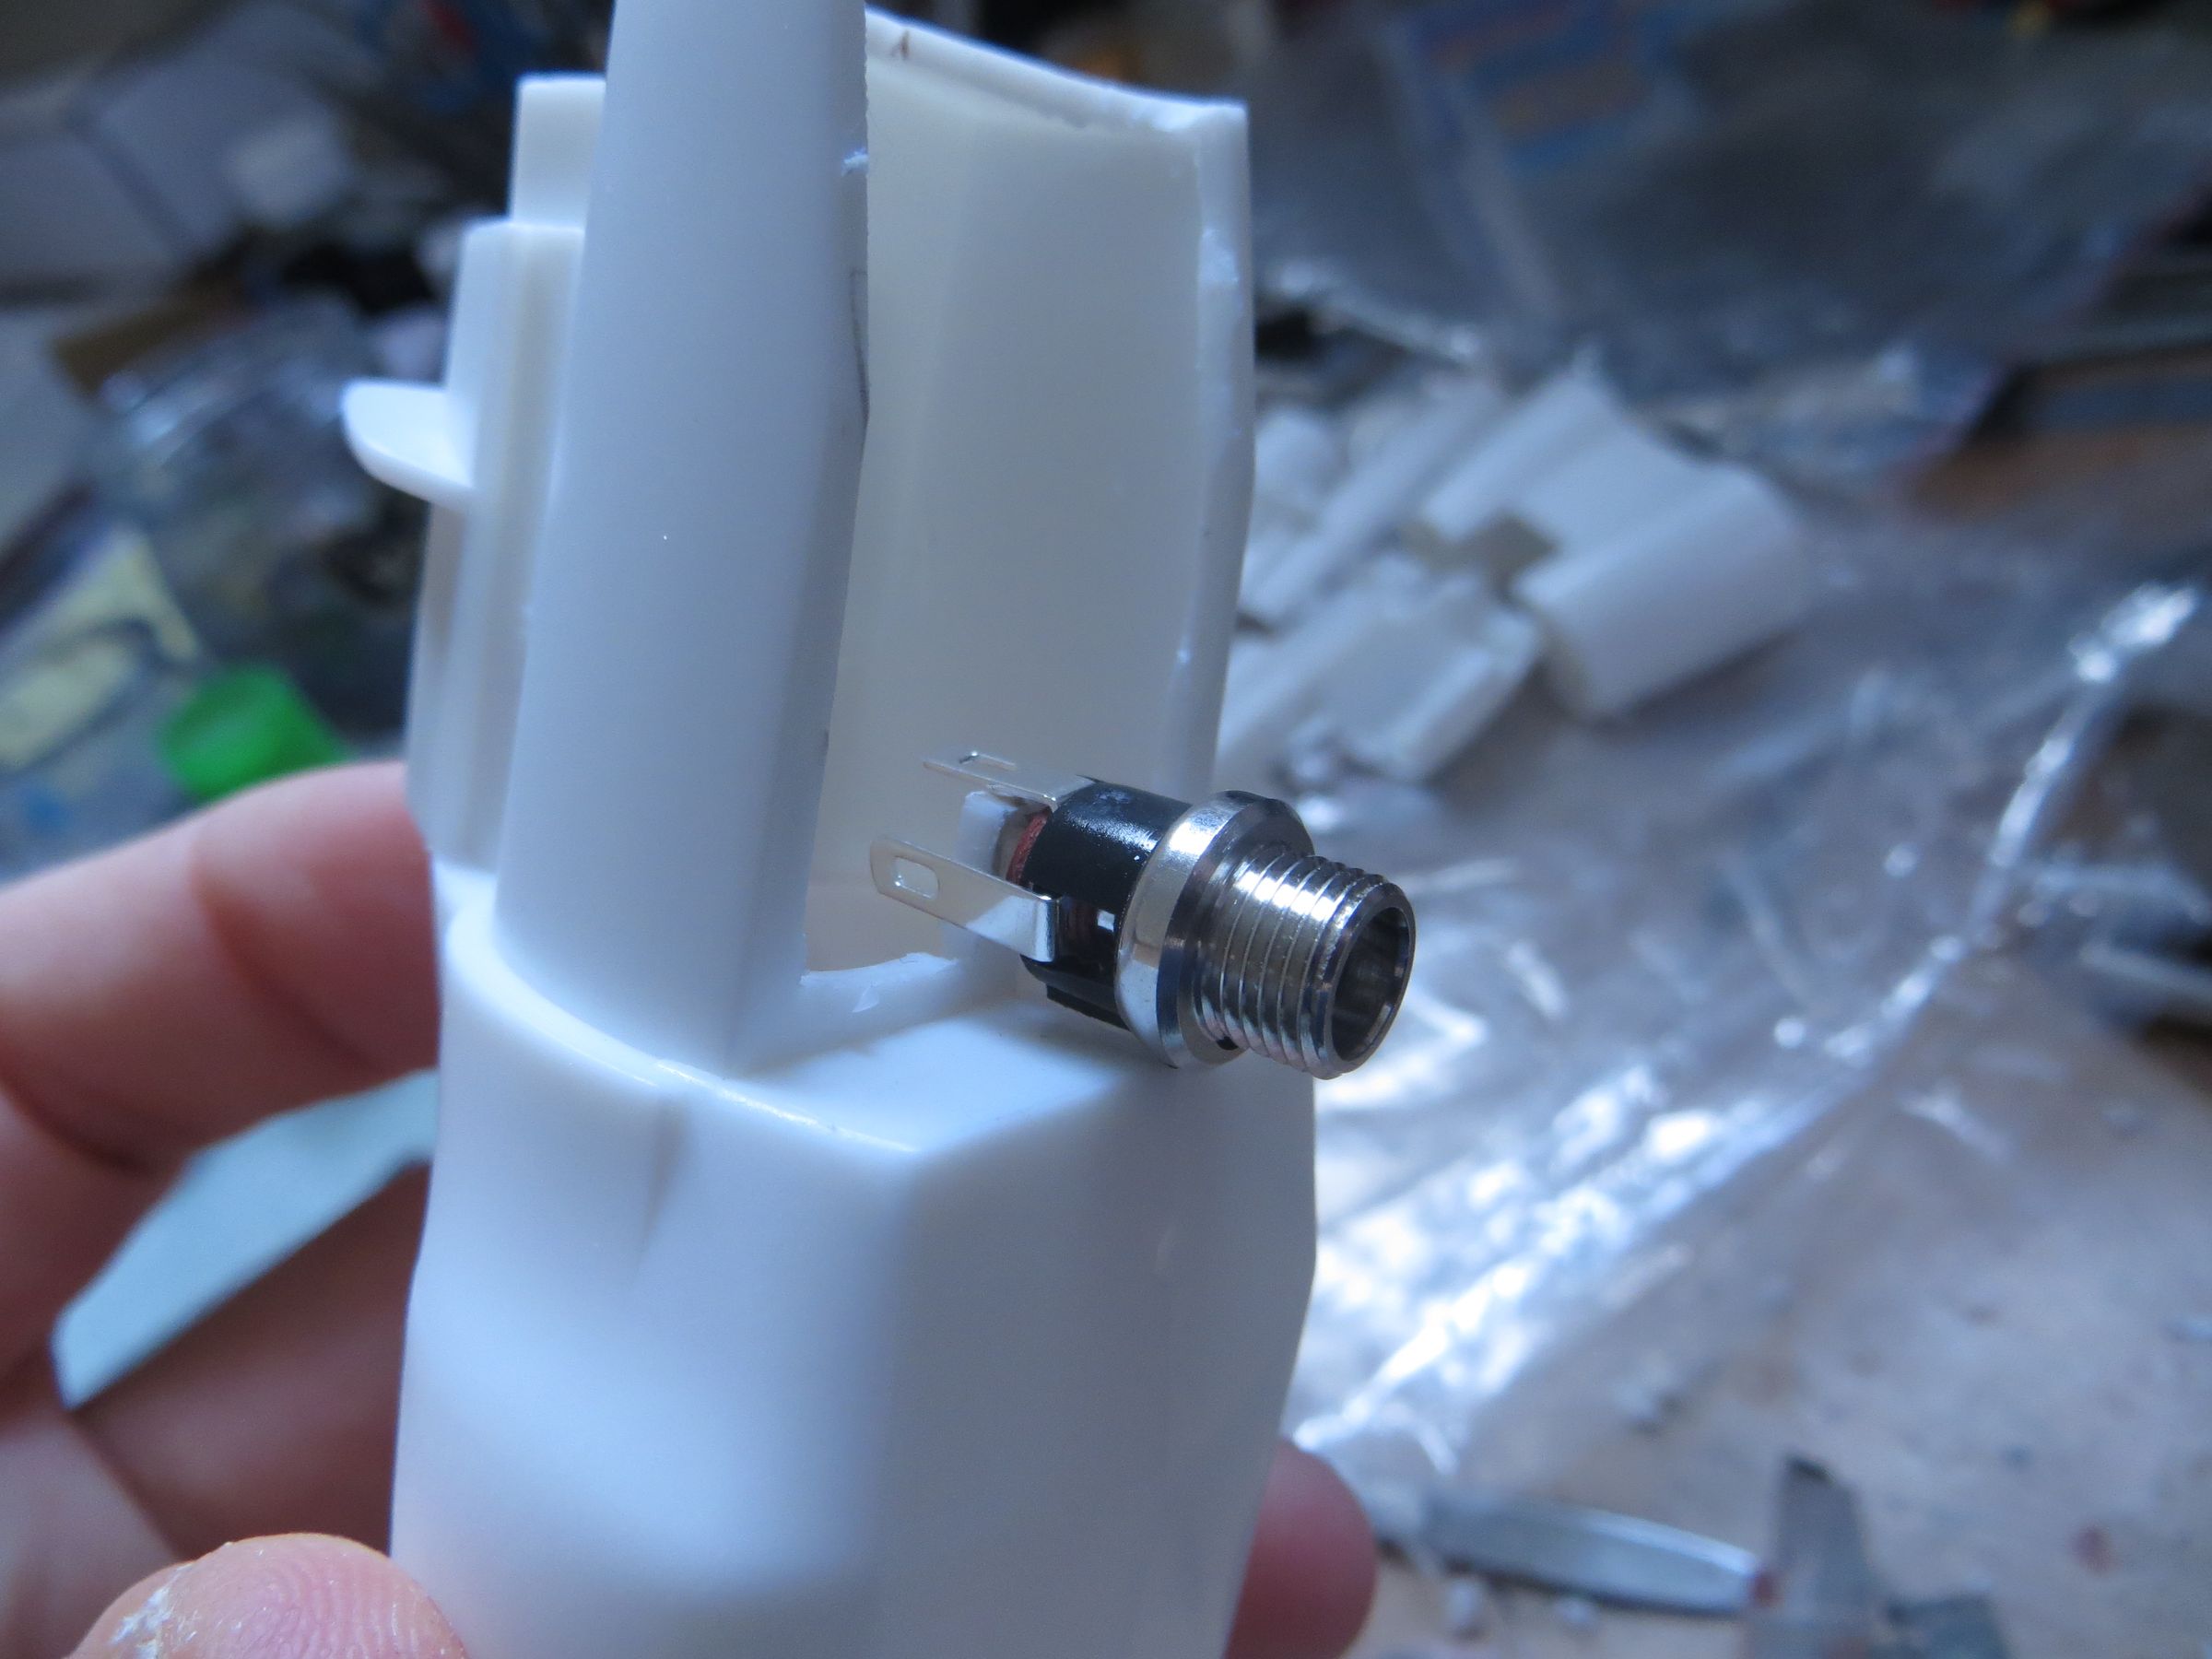
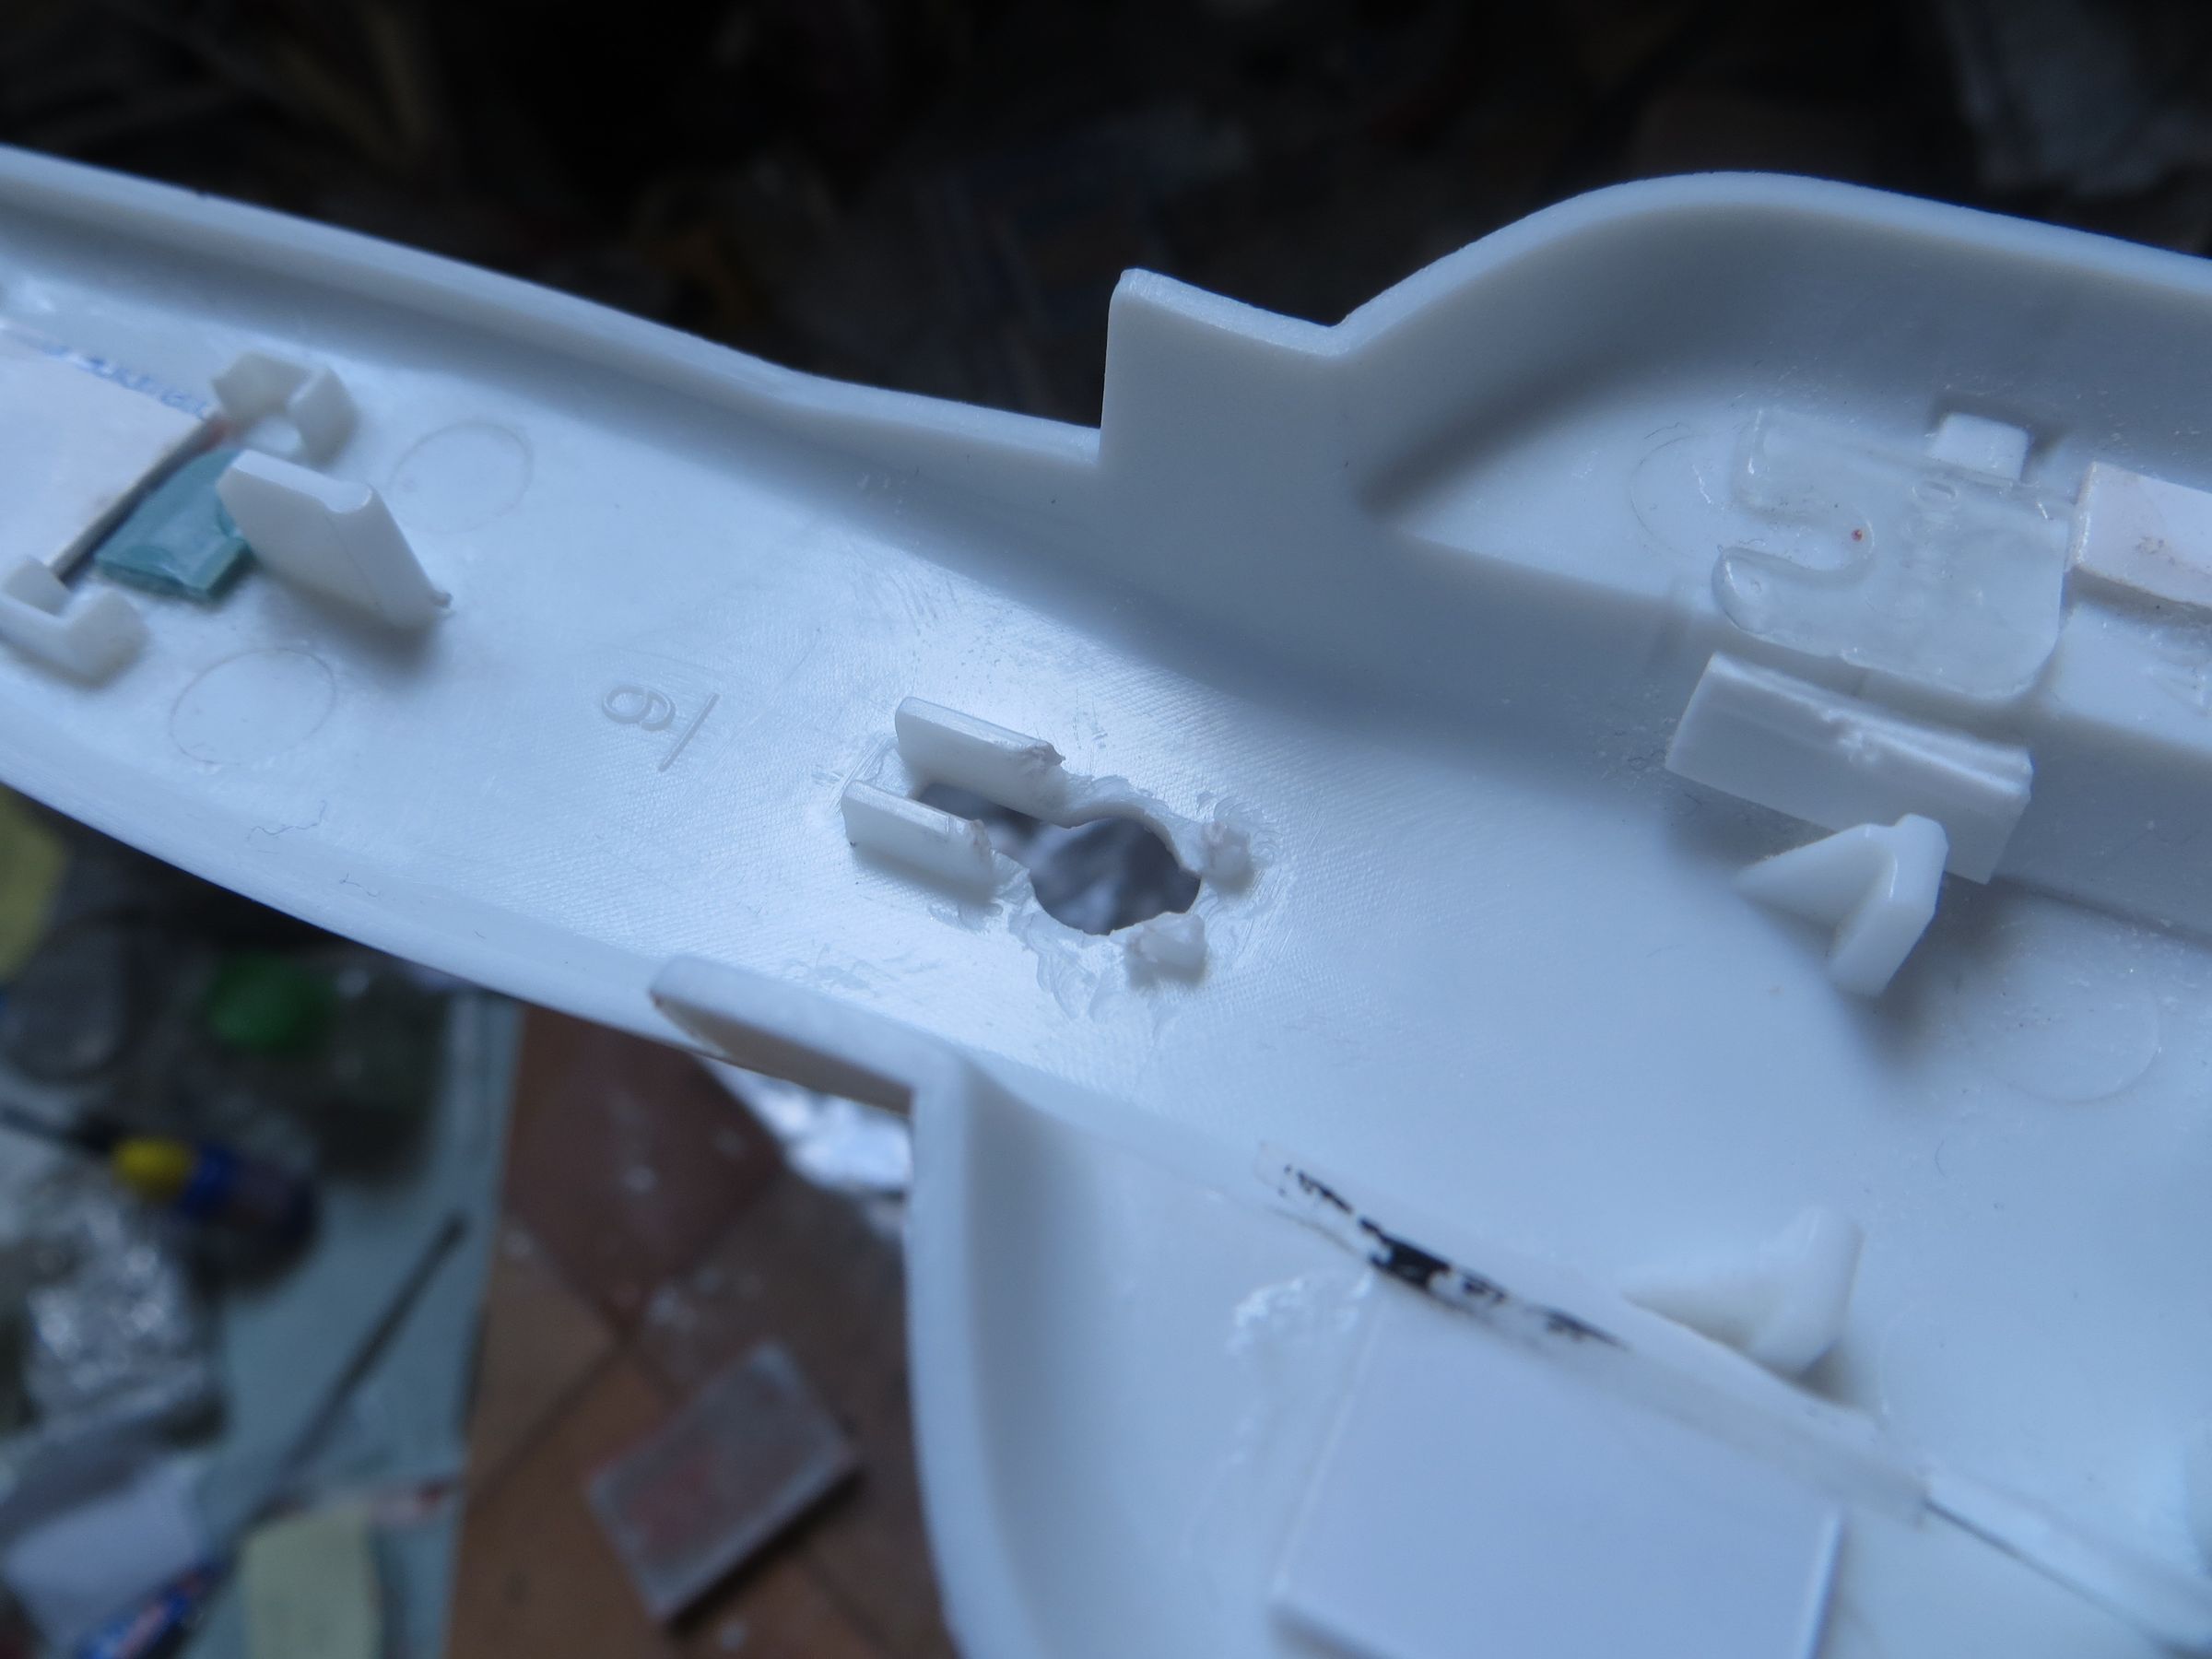
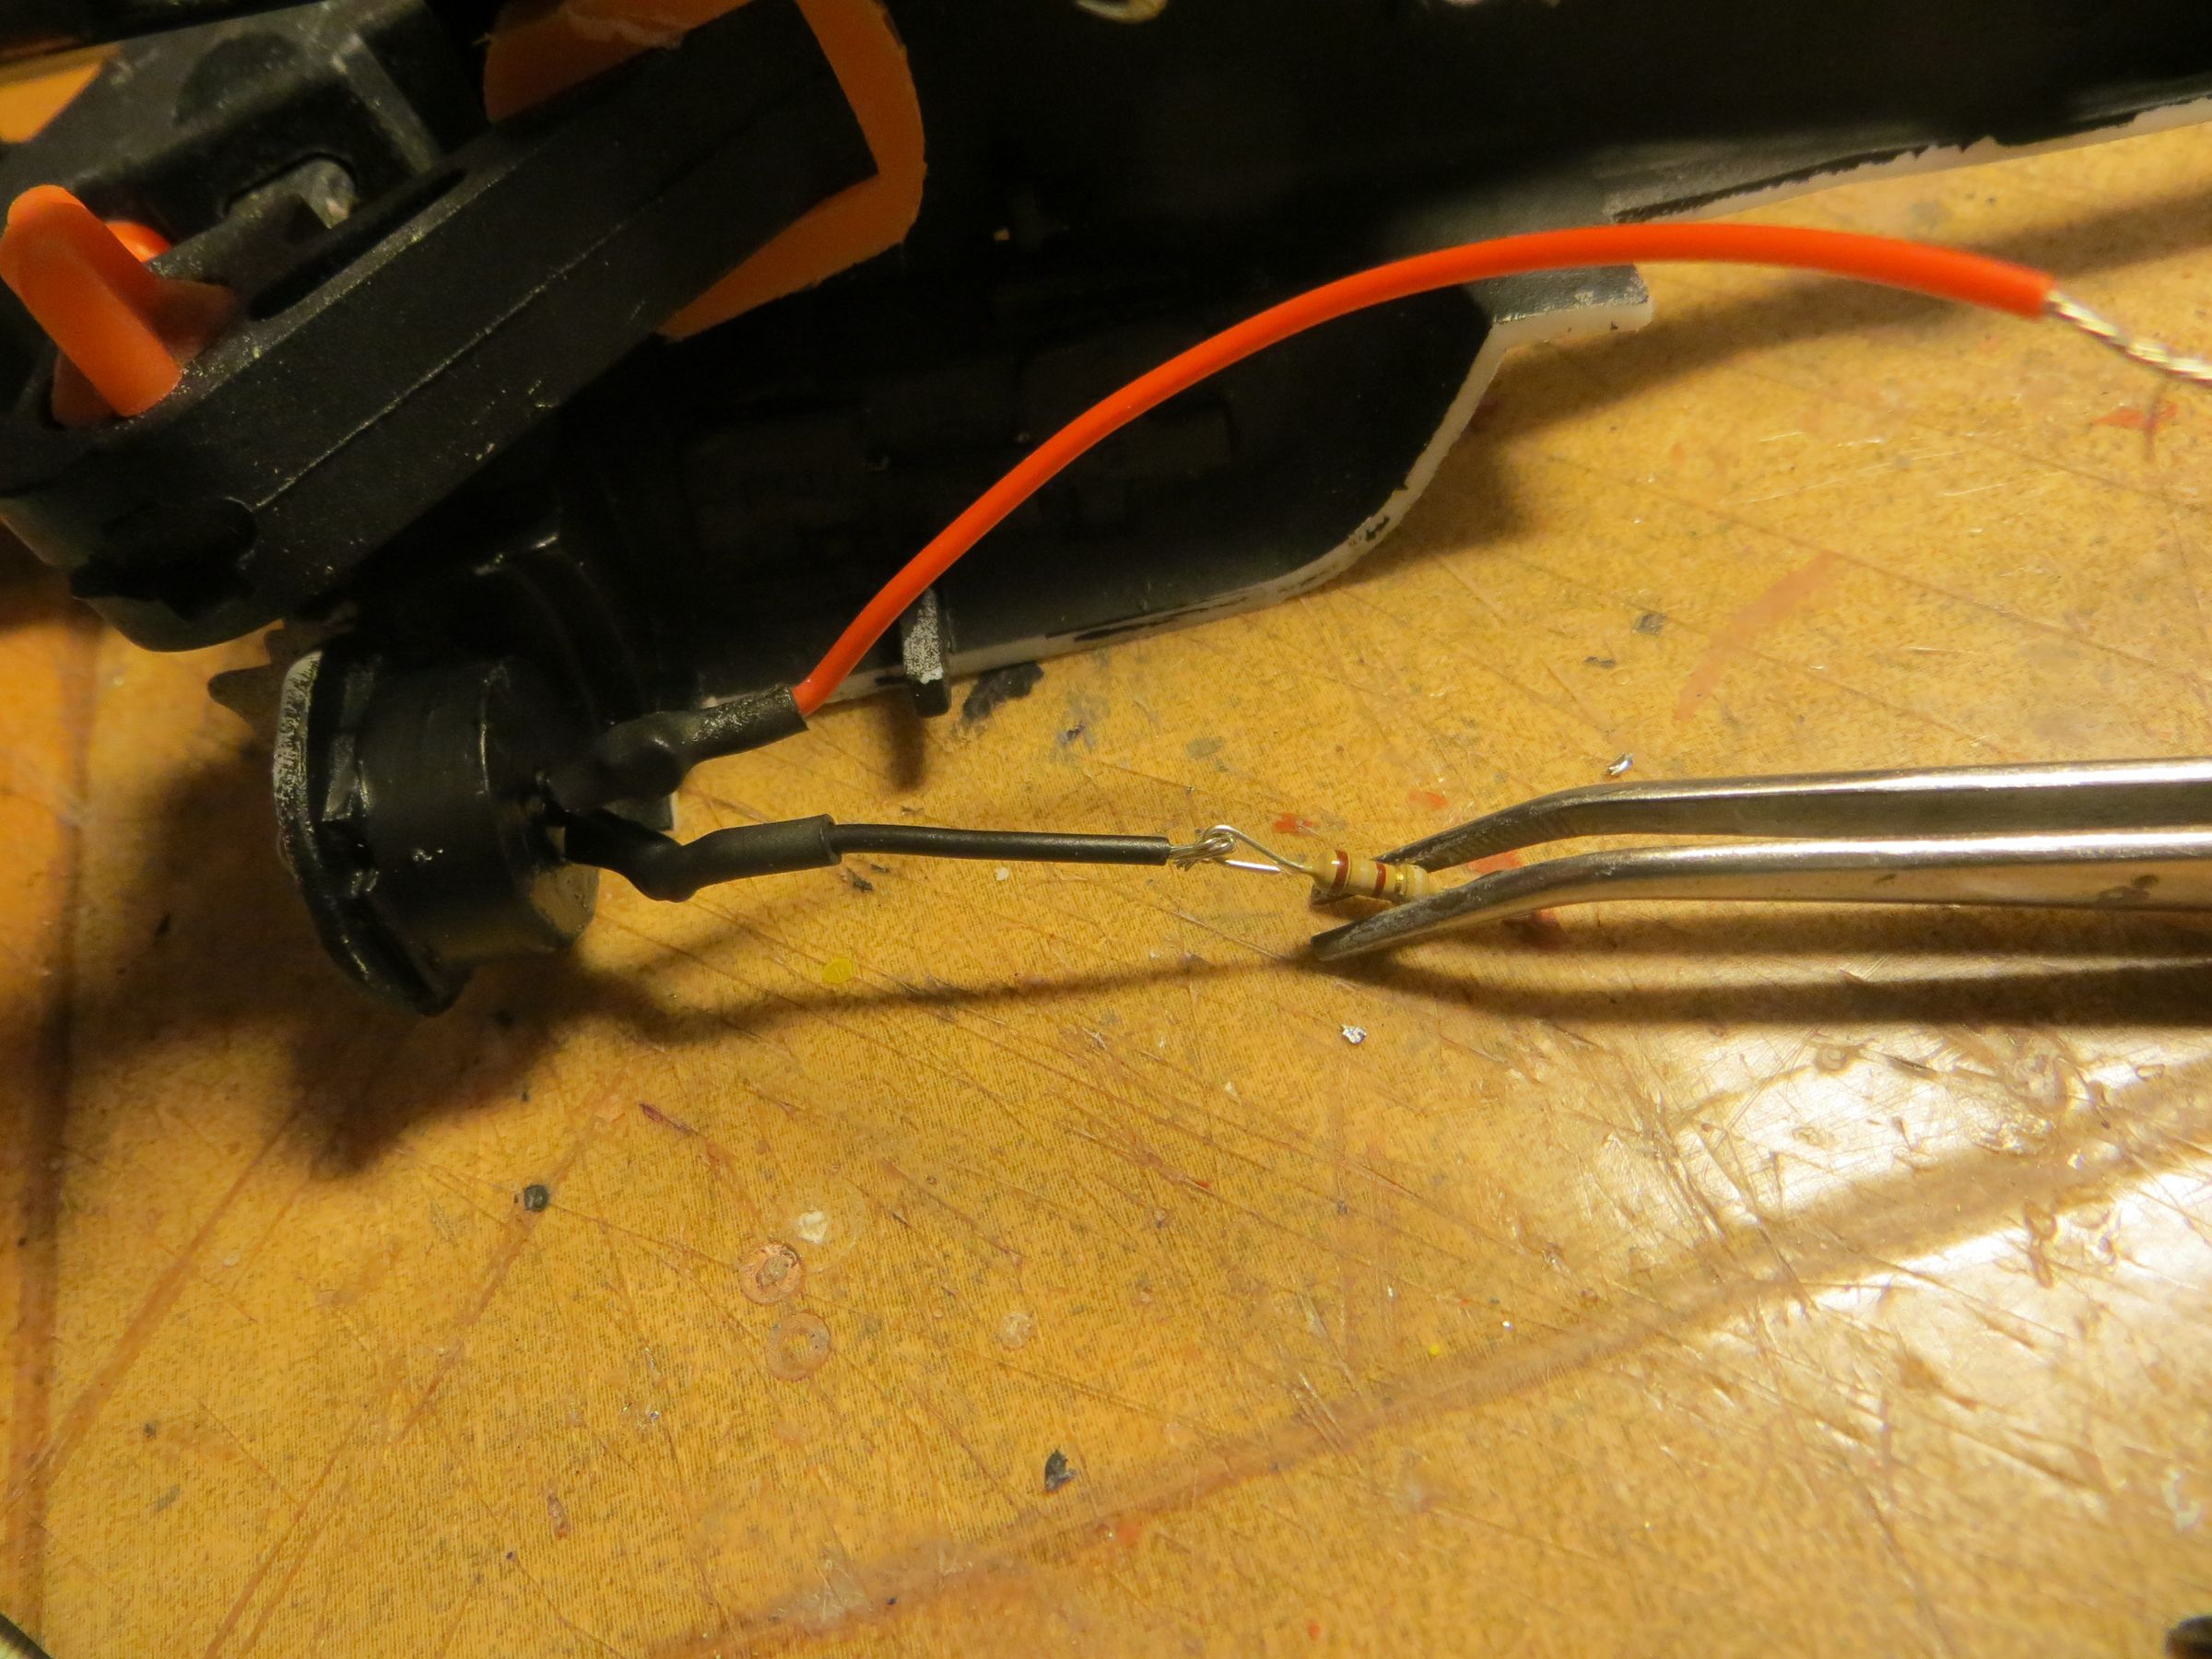
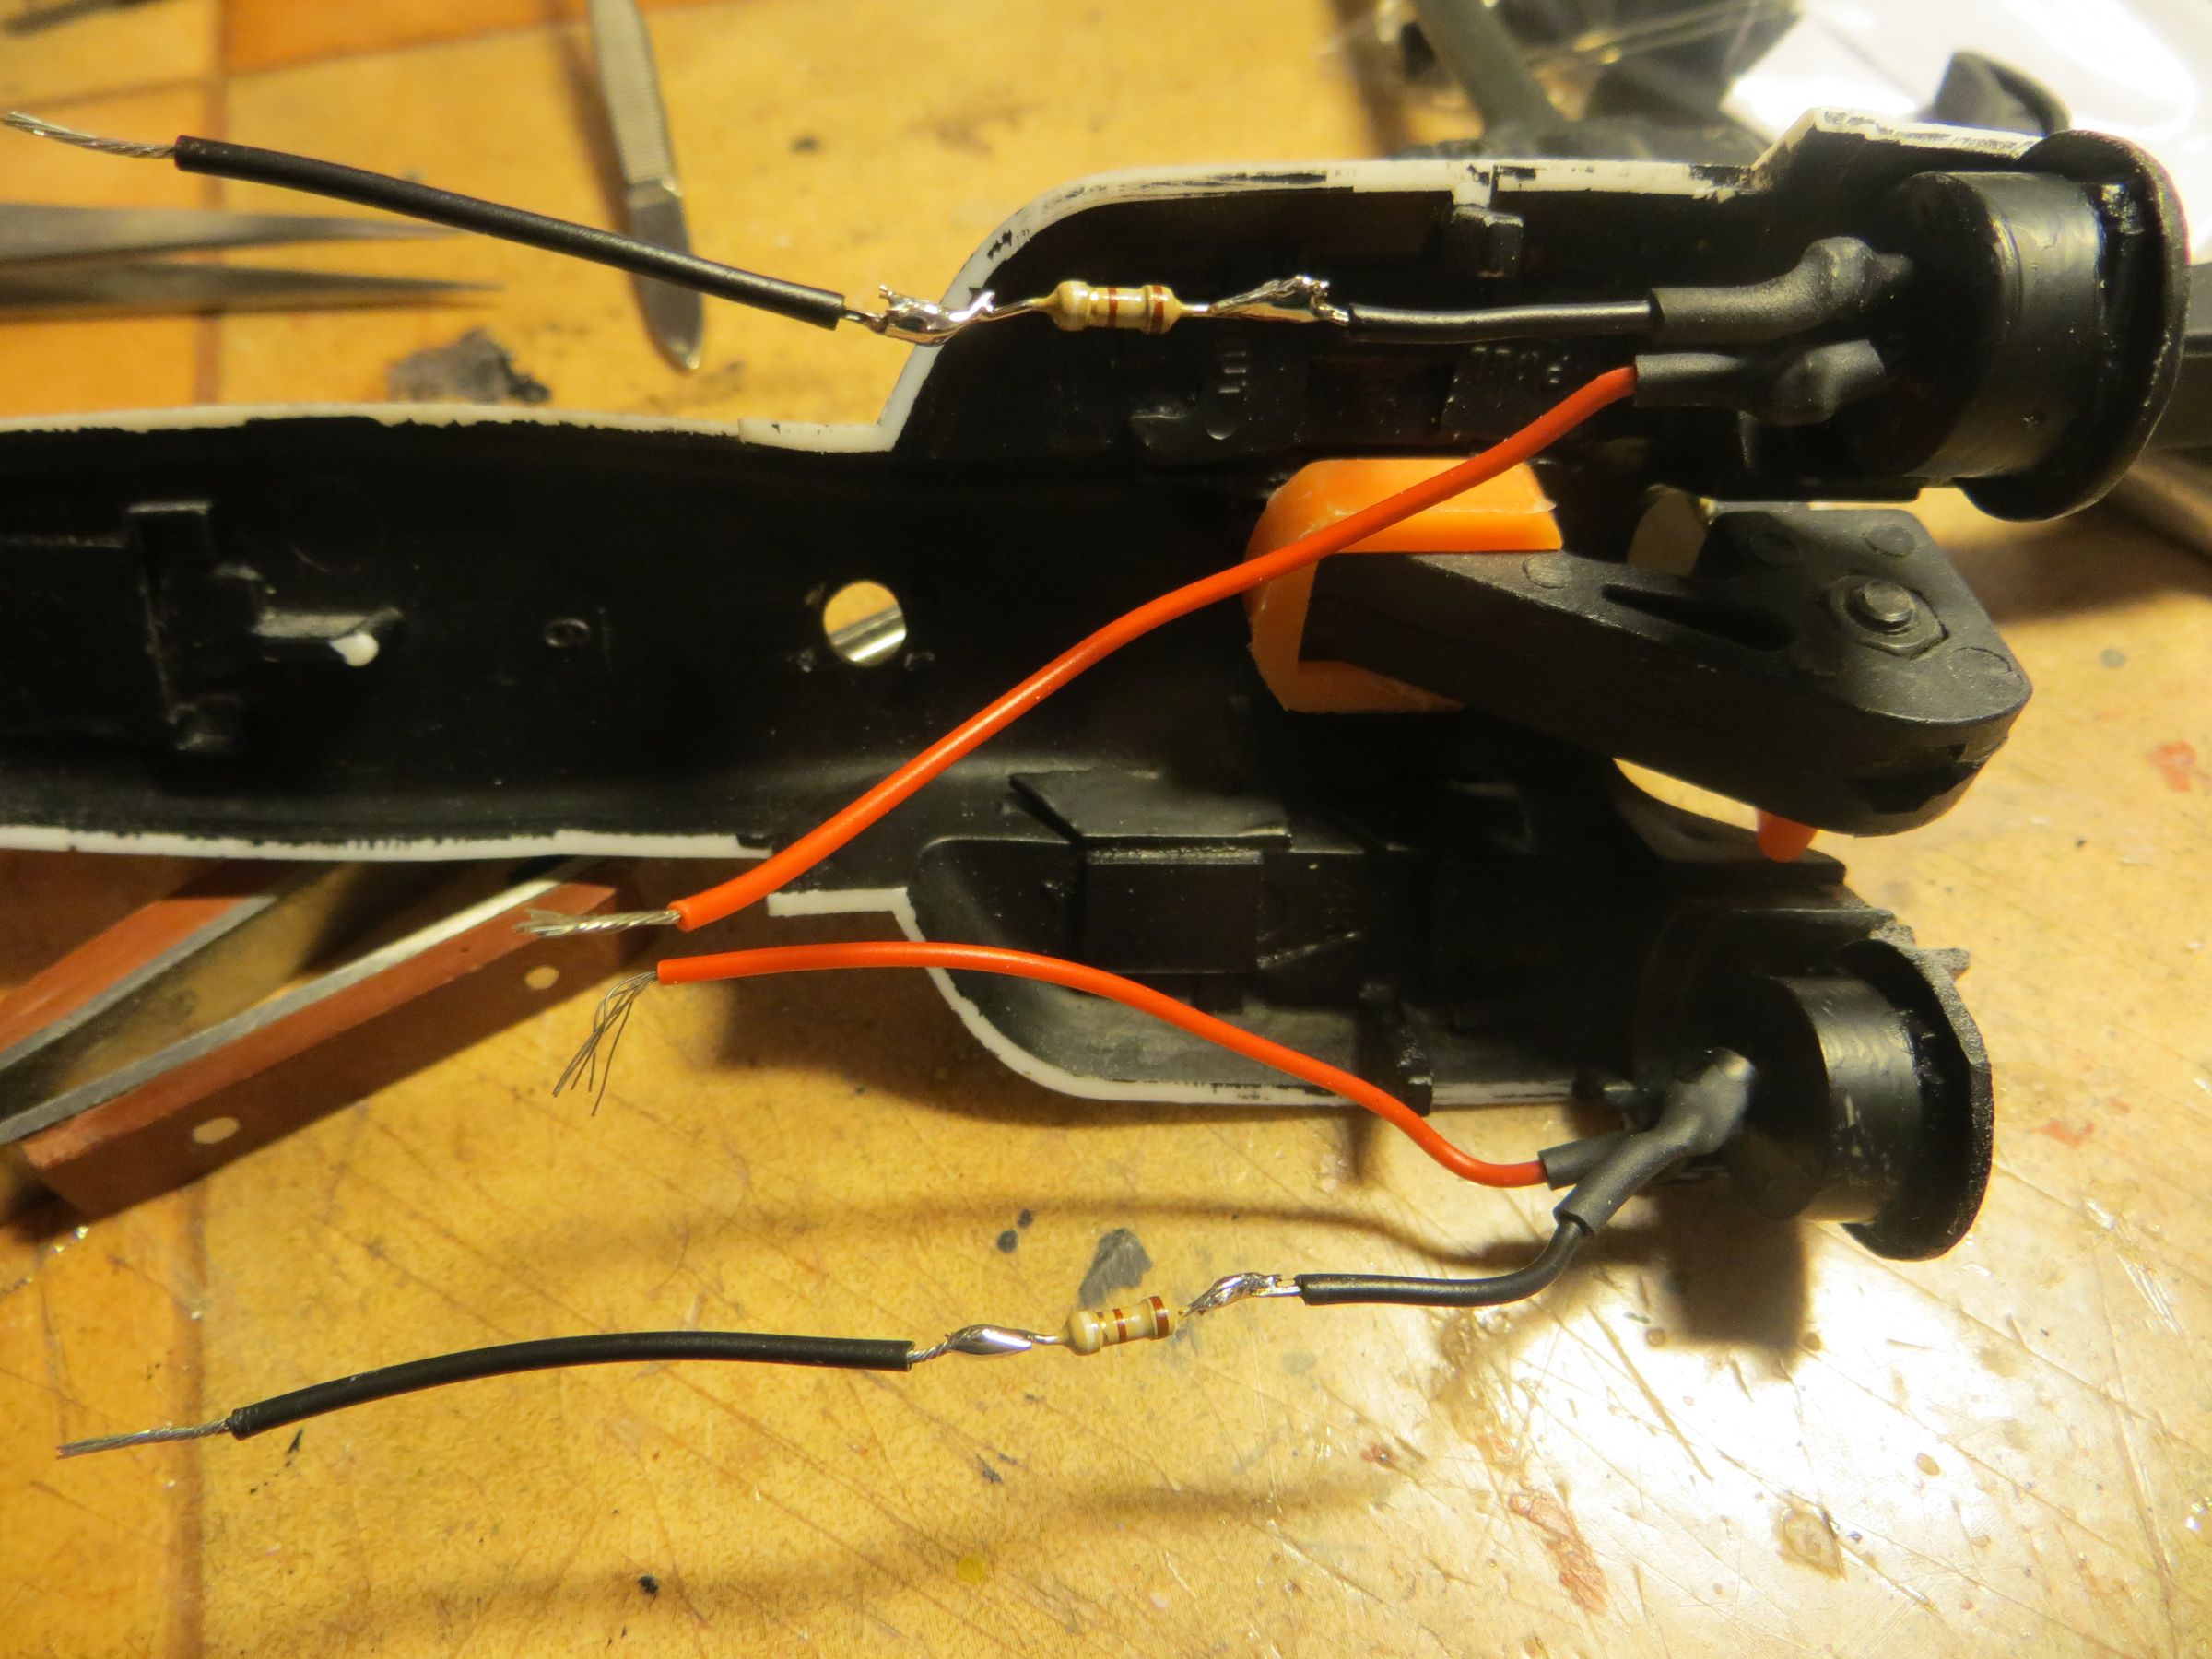
Everything is painted black, and connections are protected to avoid short circuits when everything is closed.

180ohms resistors are added to each blue LED to seriously reduce the intensity (I found them too dazzling as is, and I do not want the Viper to become a flashlight like I see sometimes !)

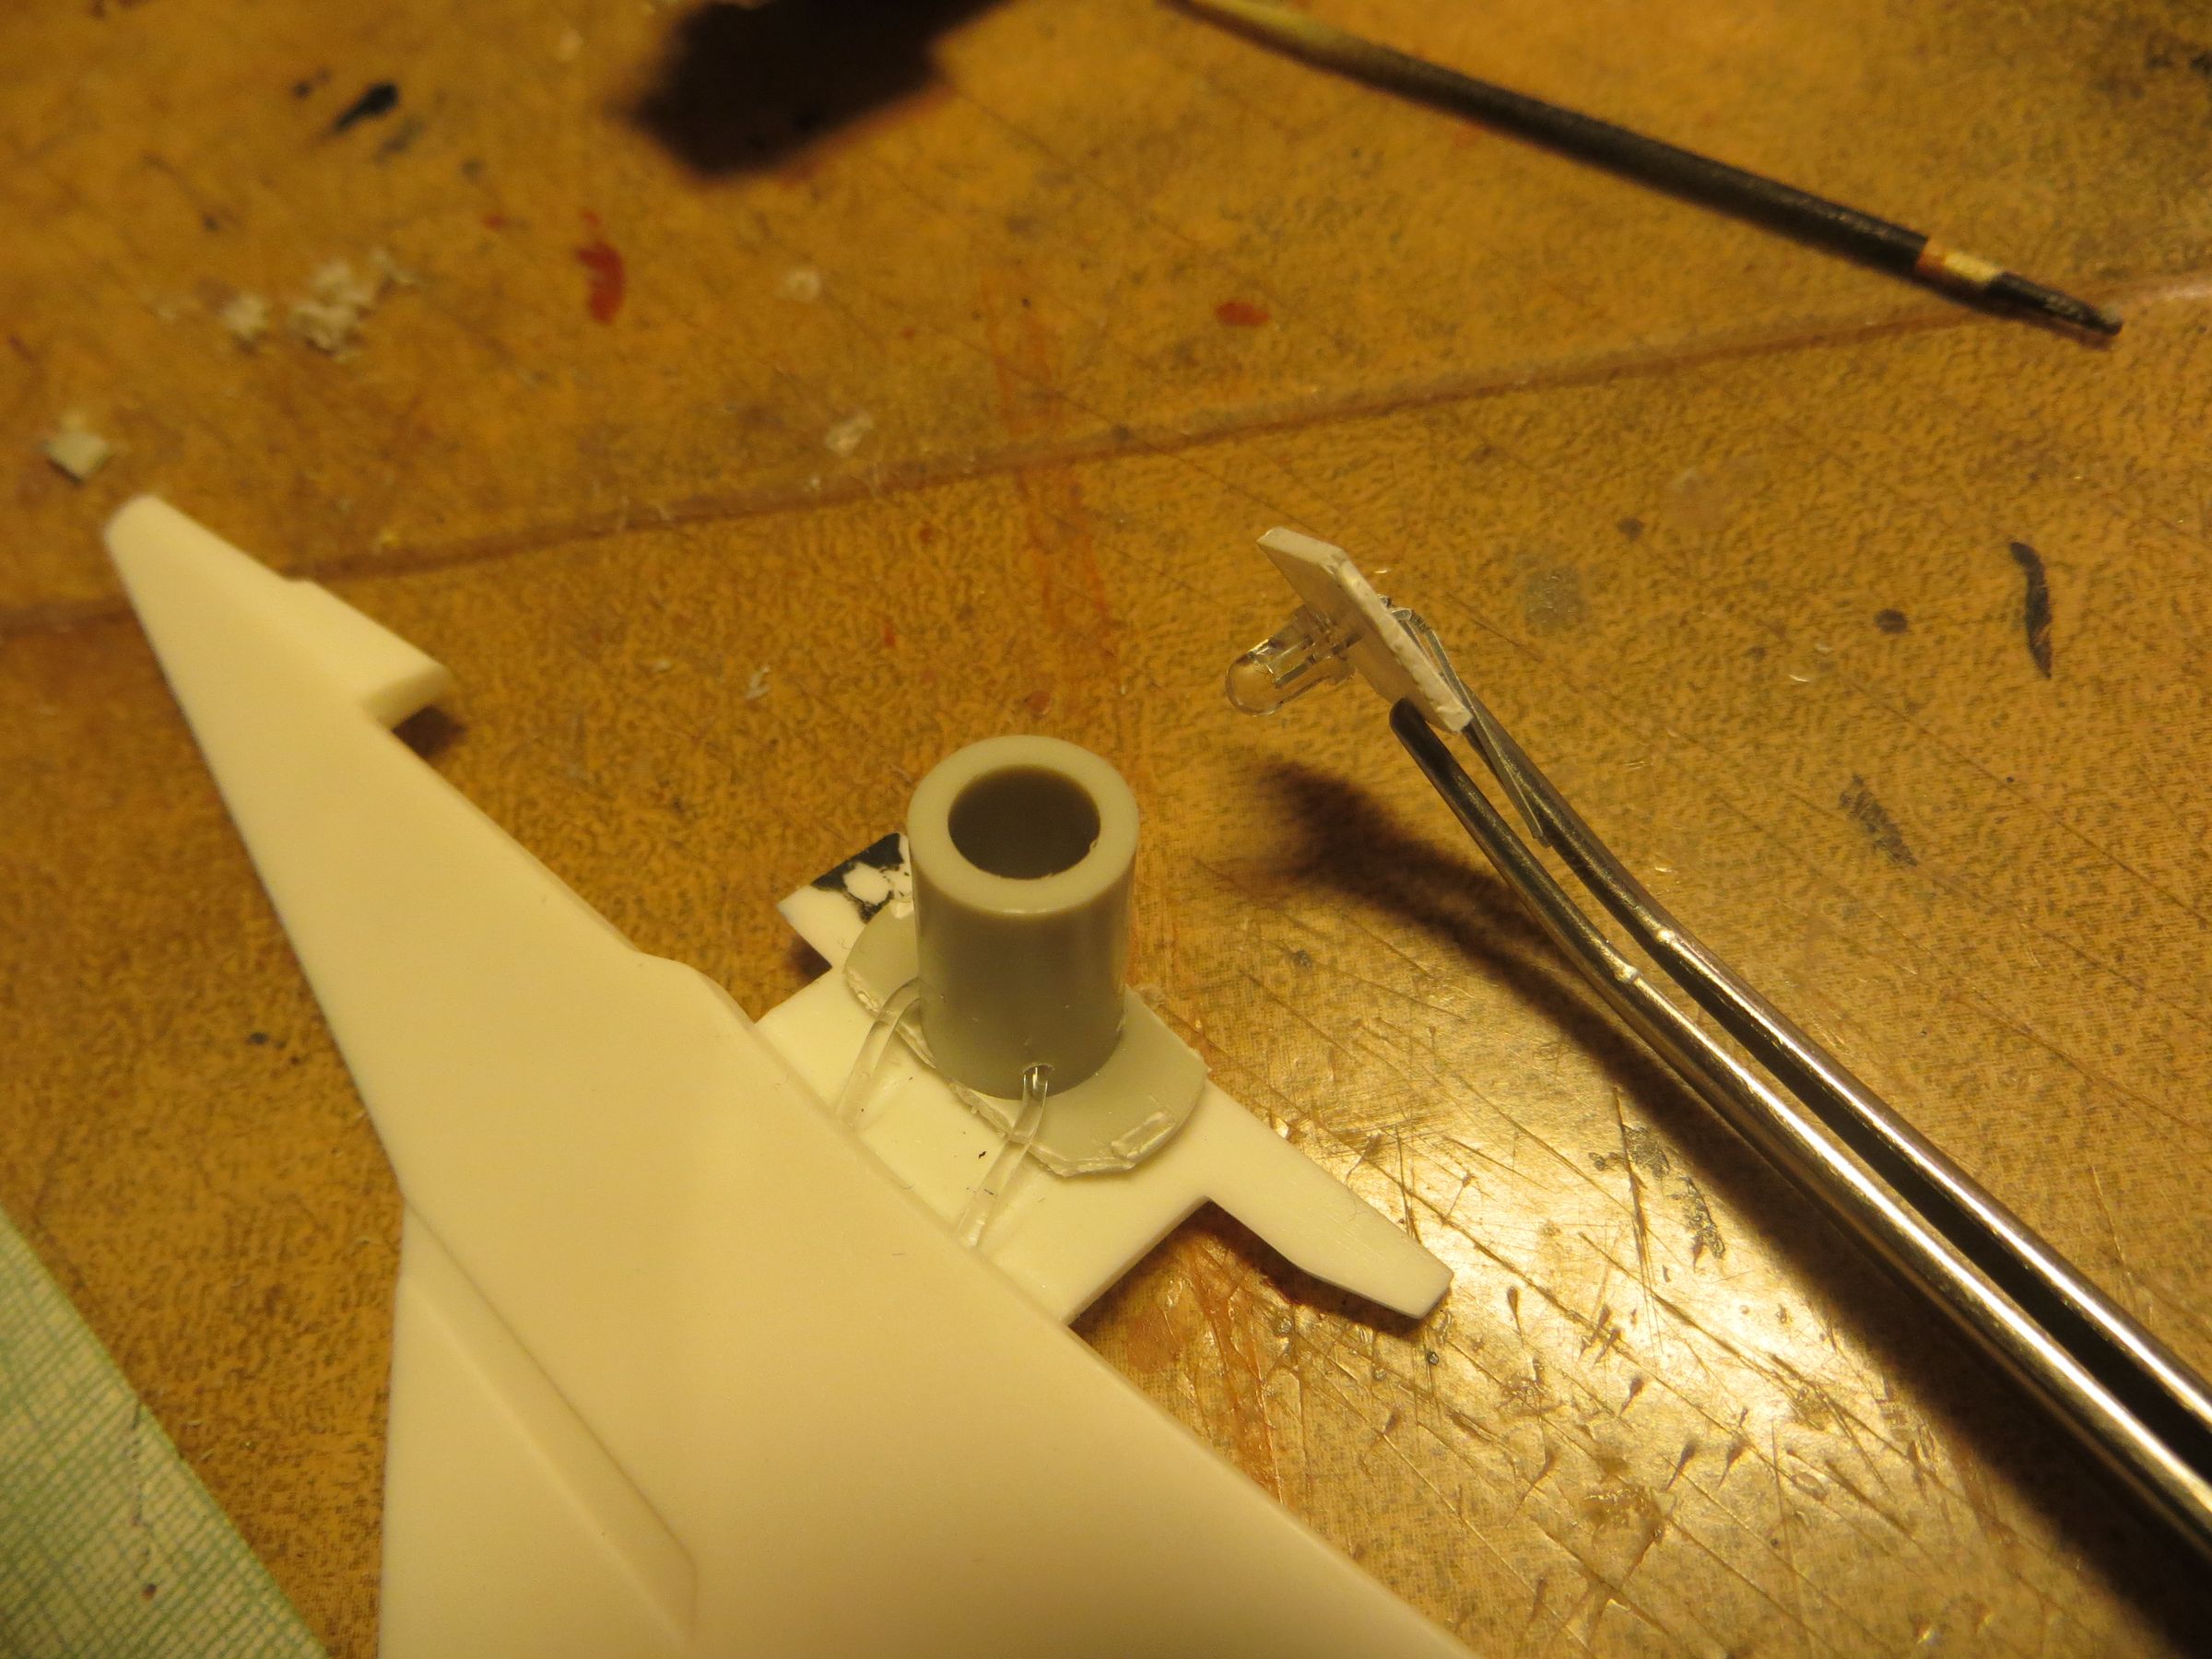
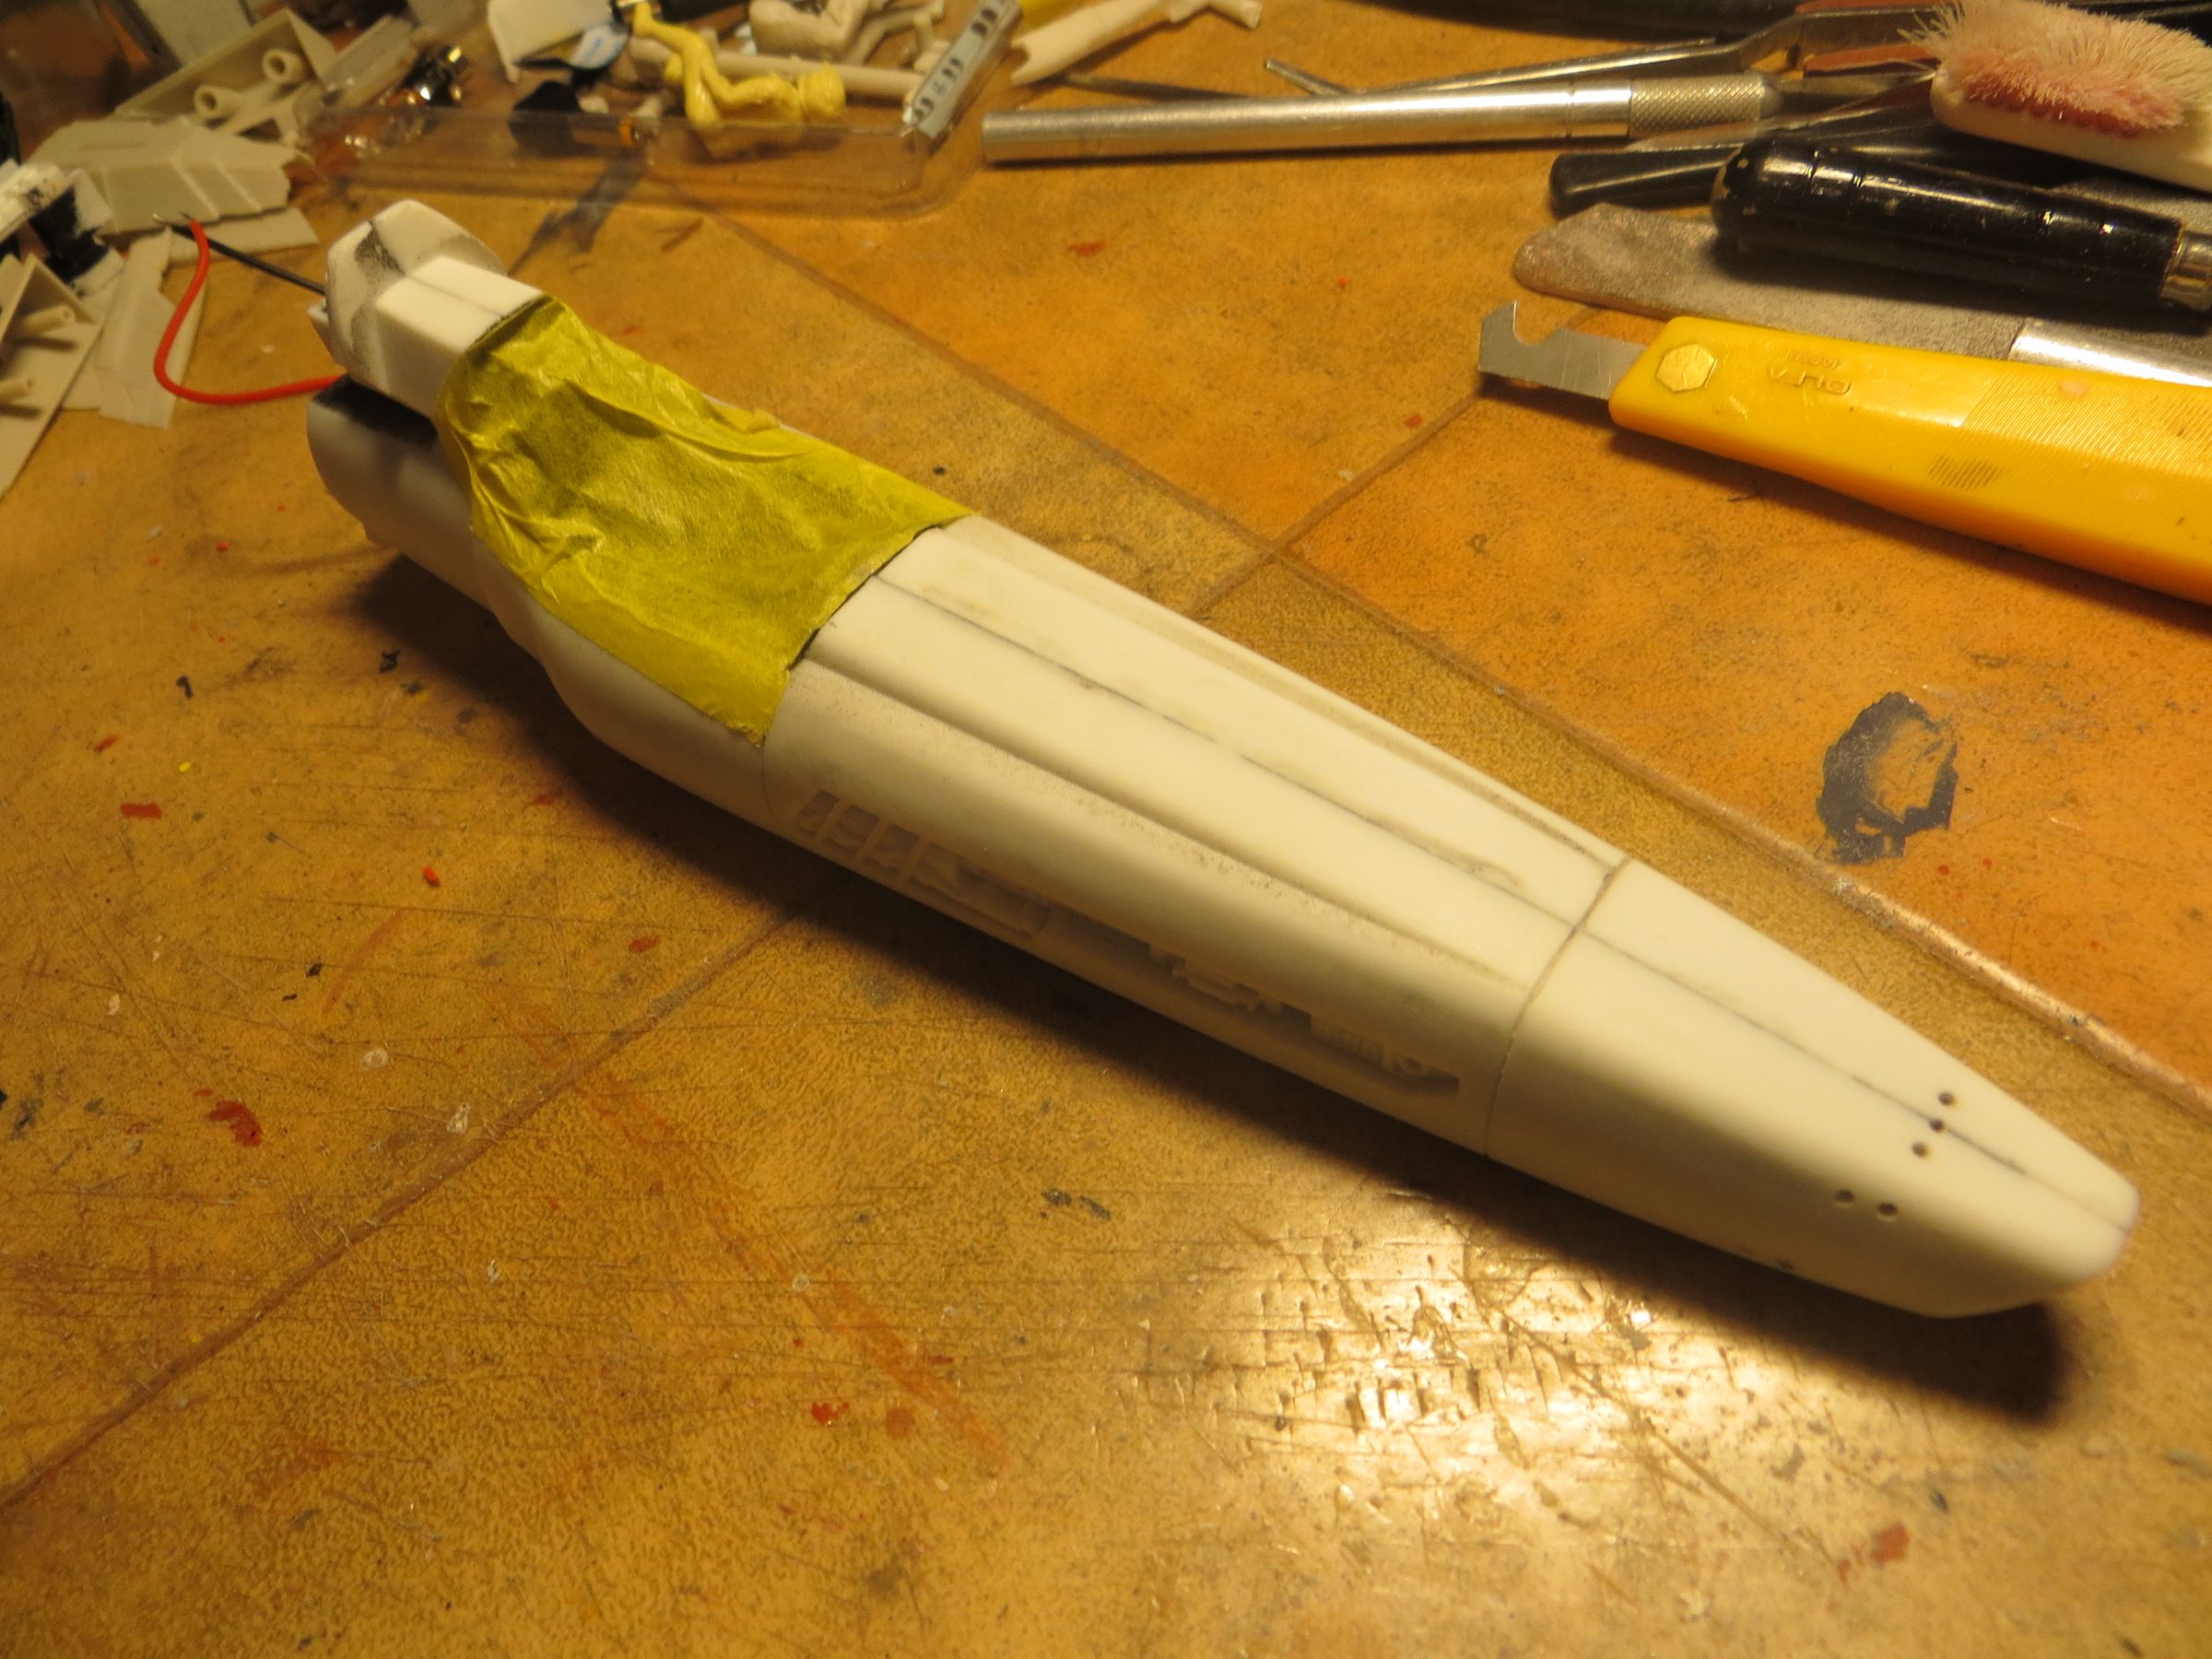
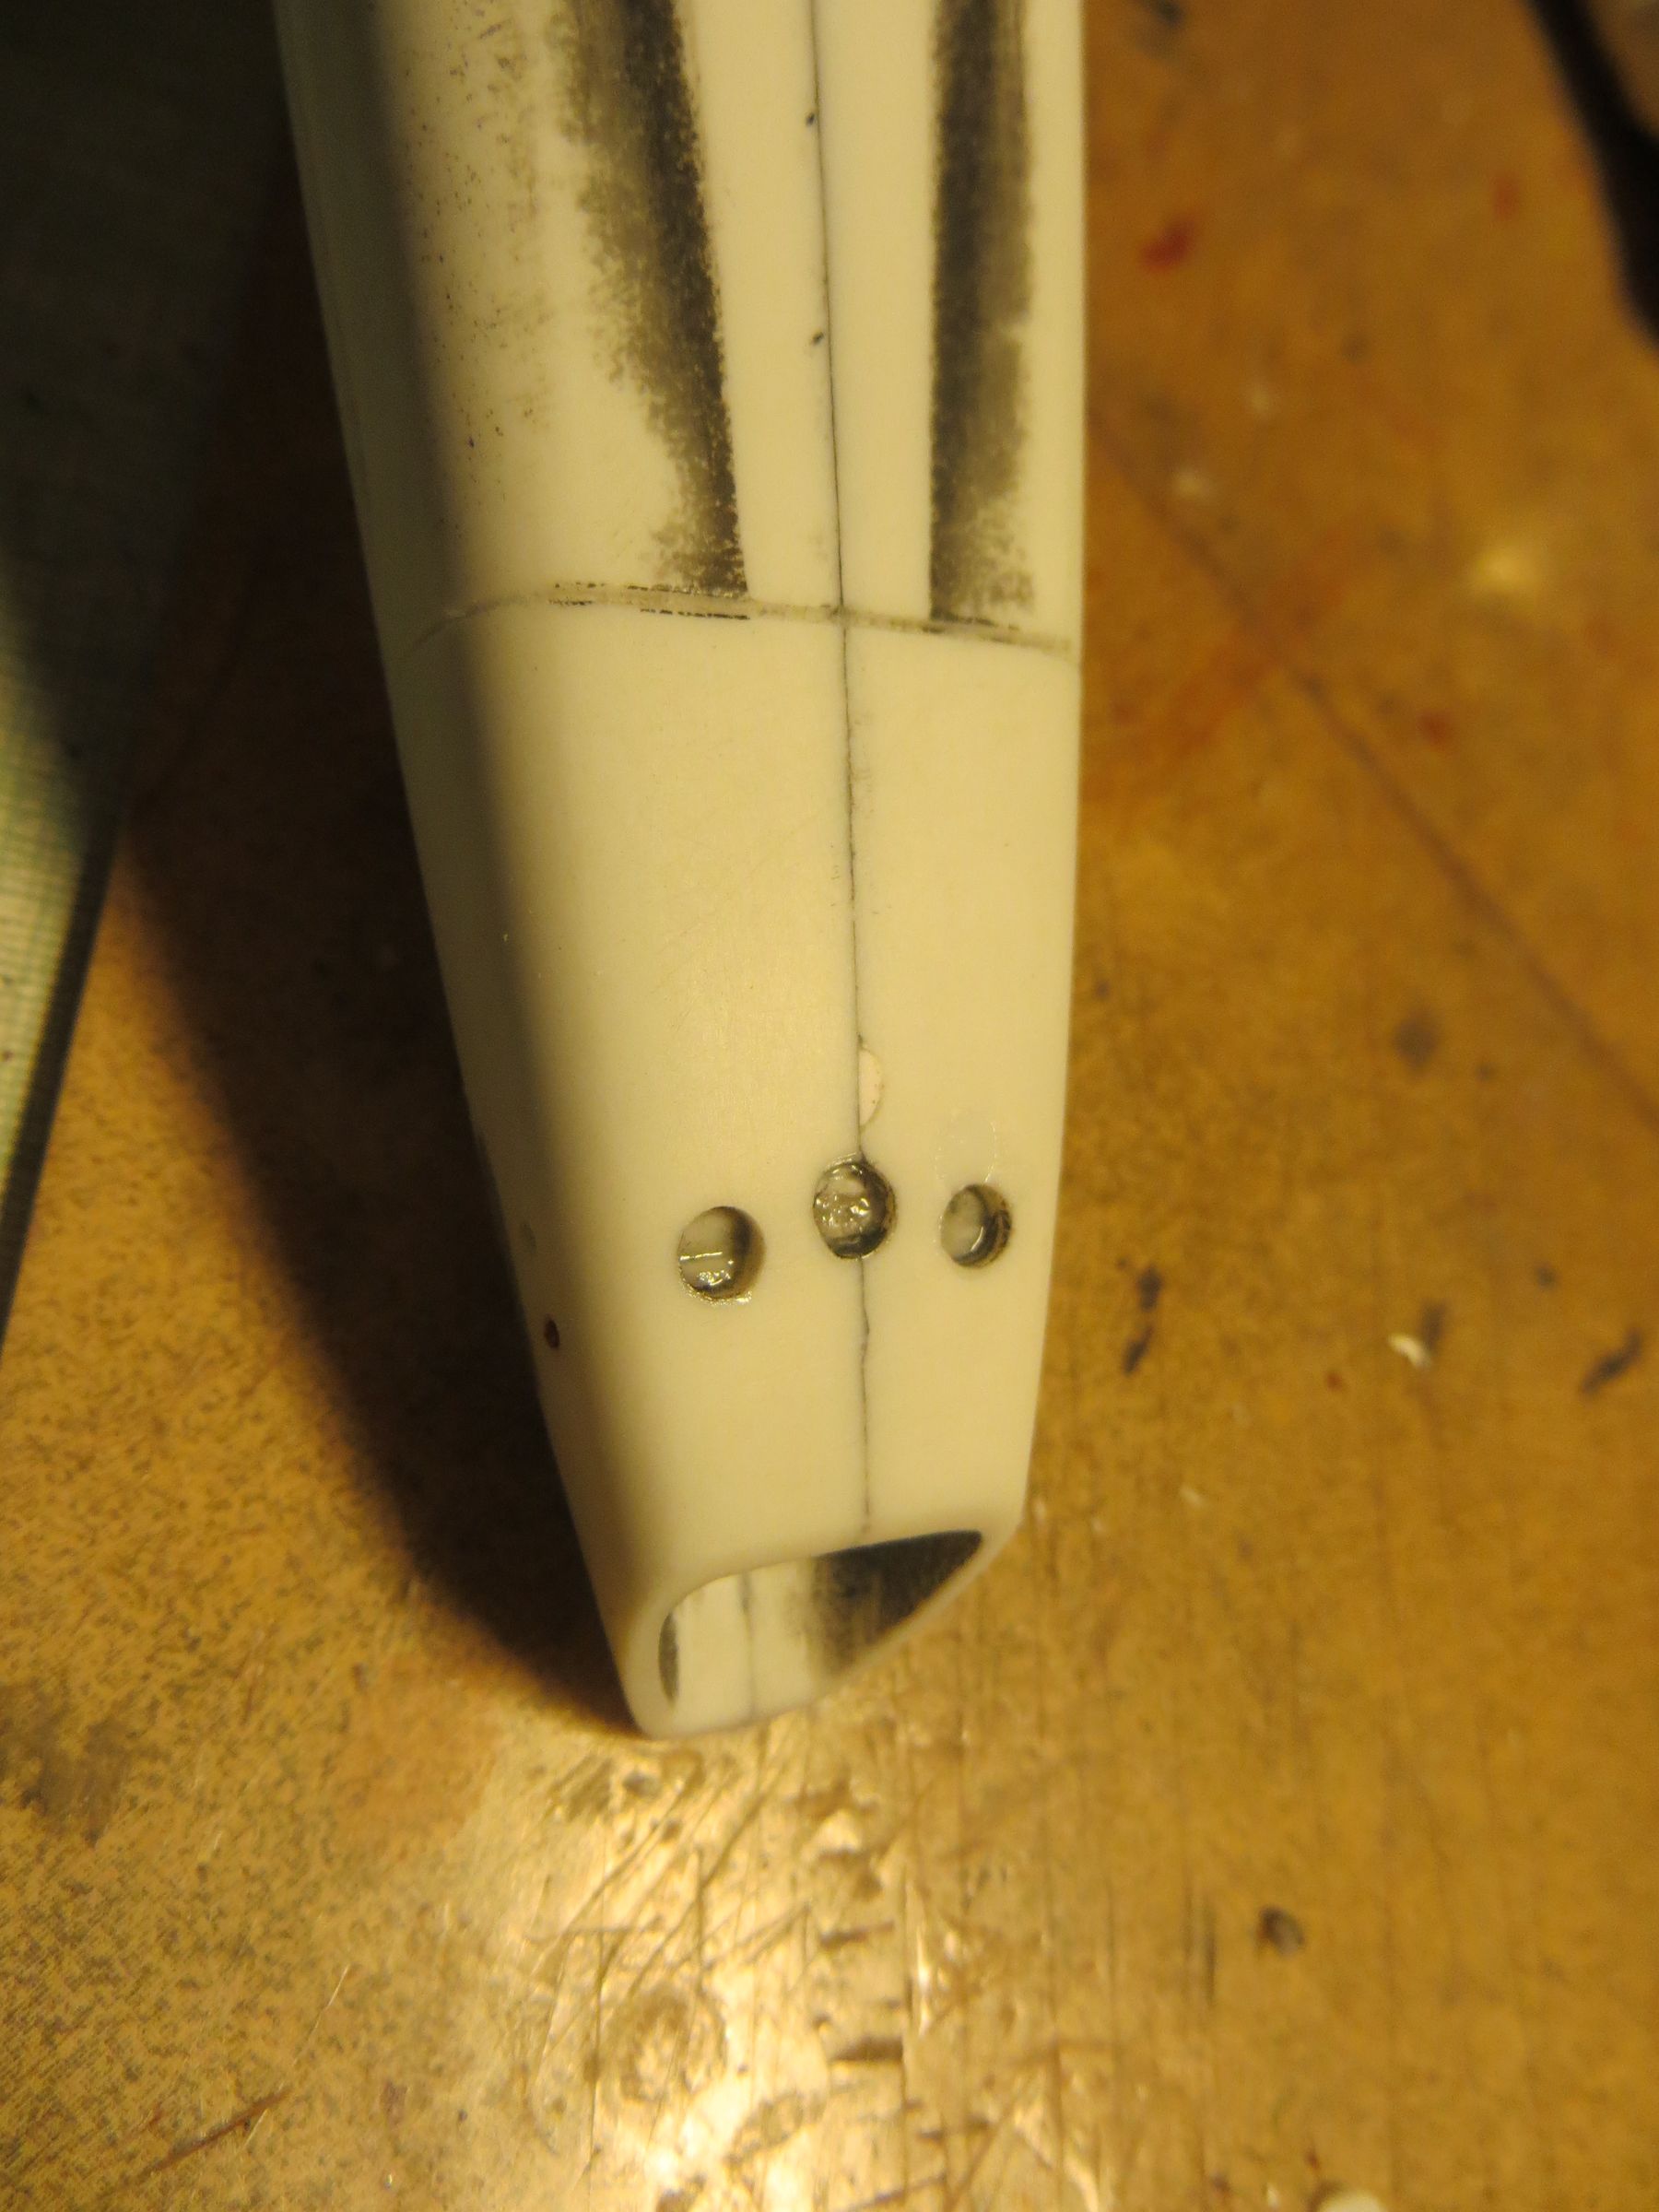
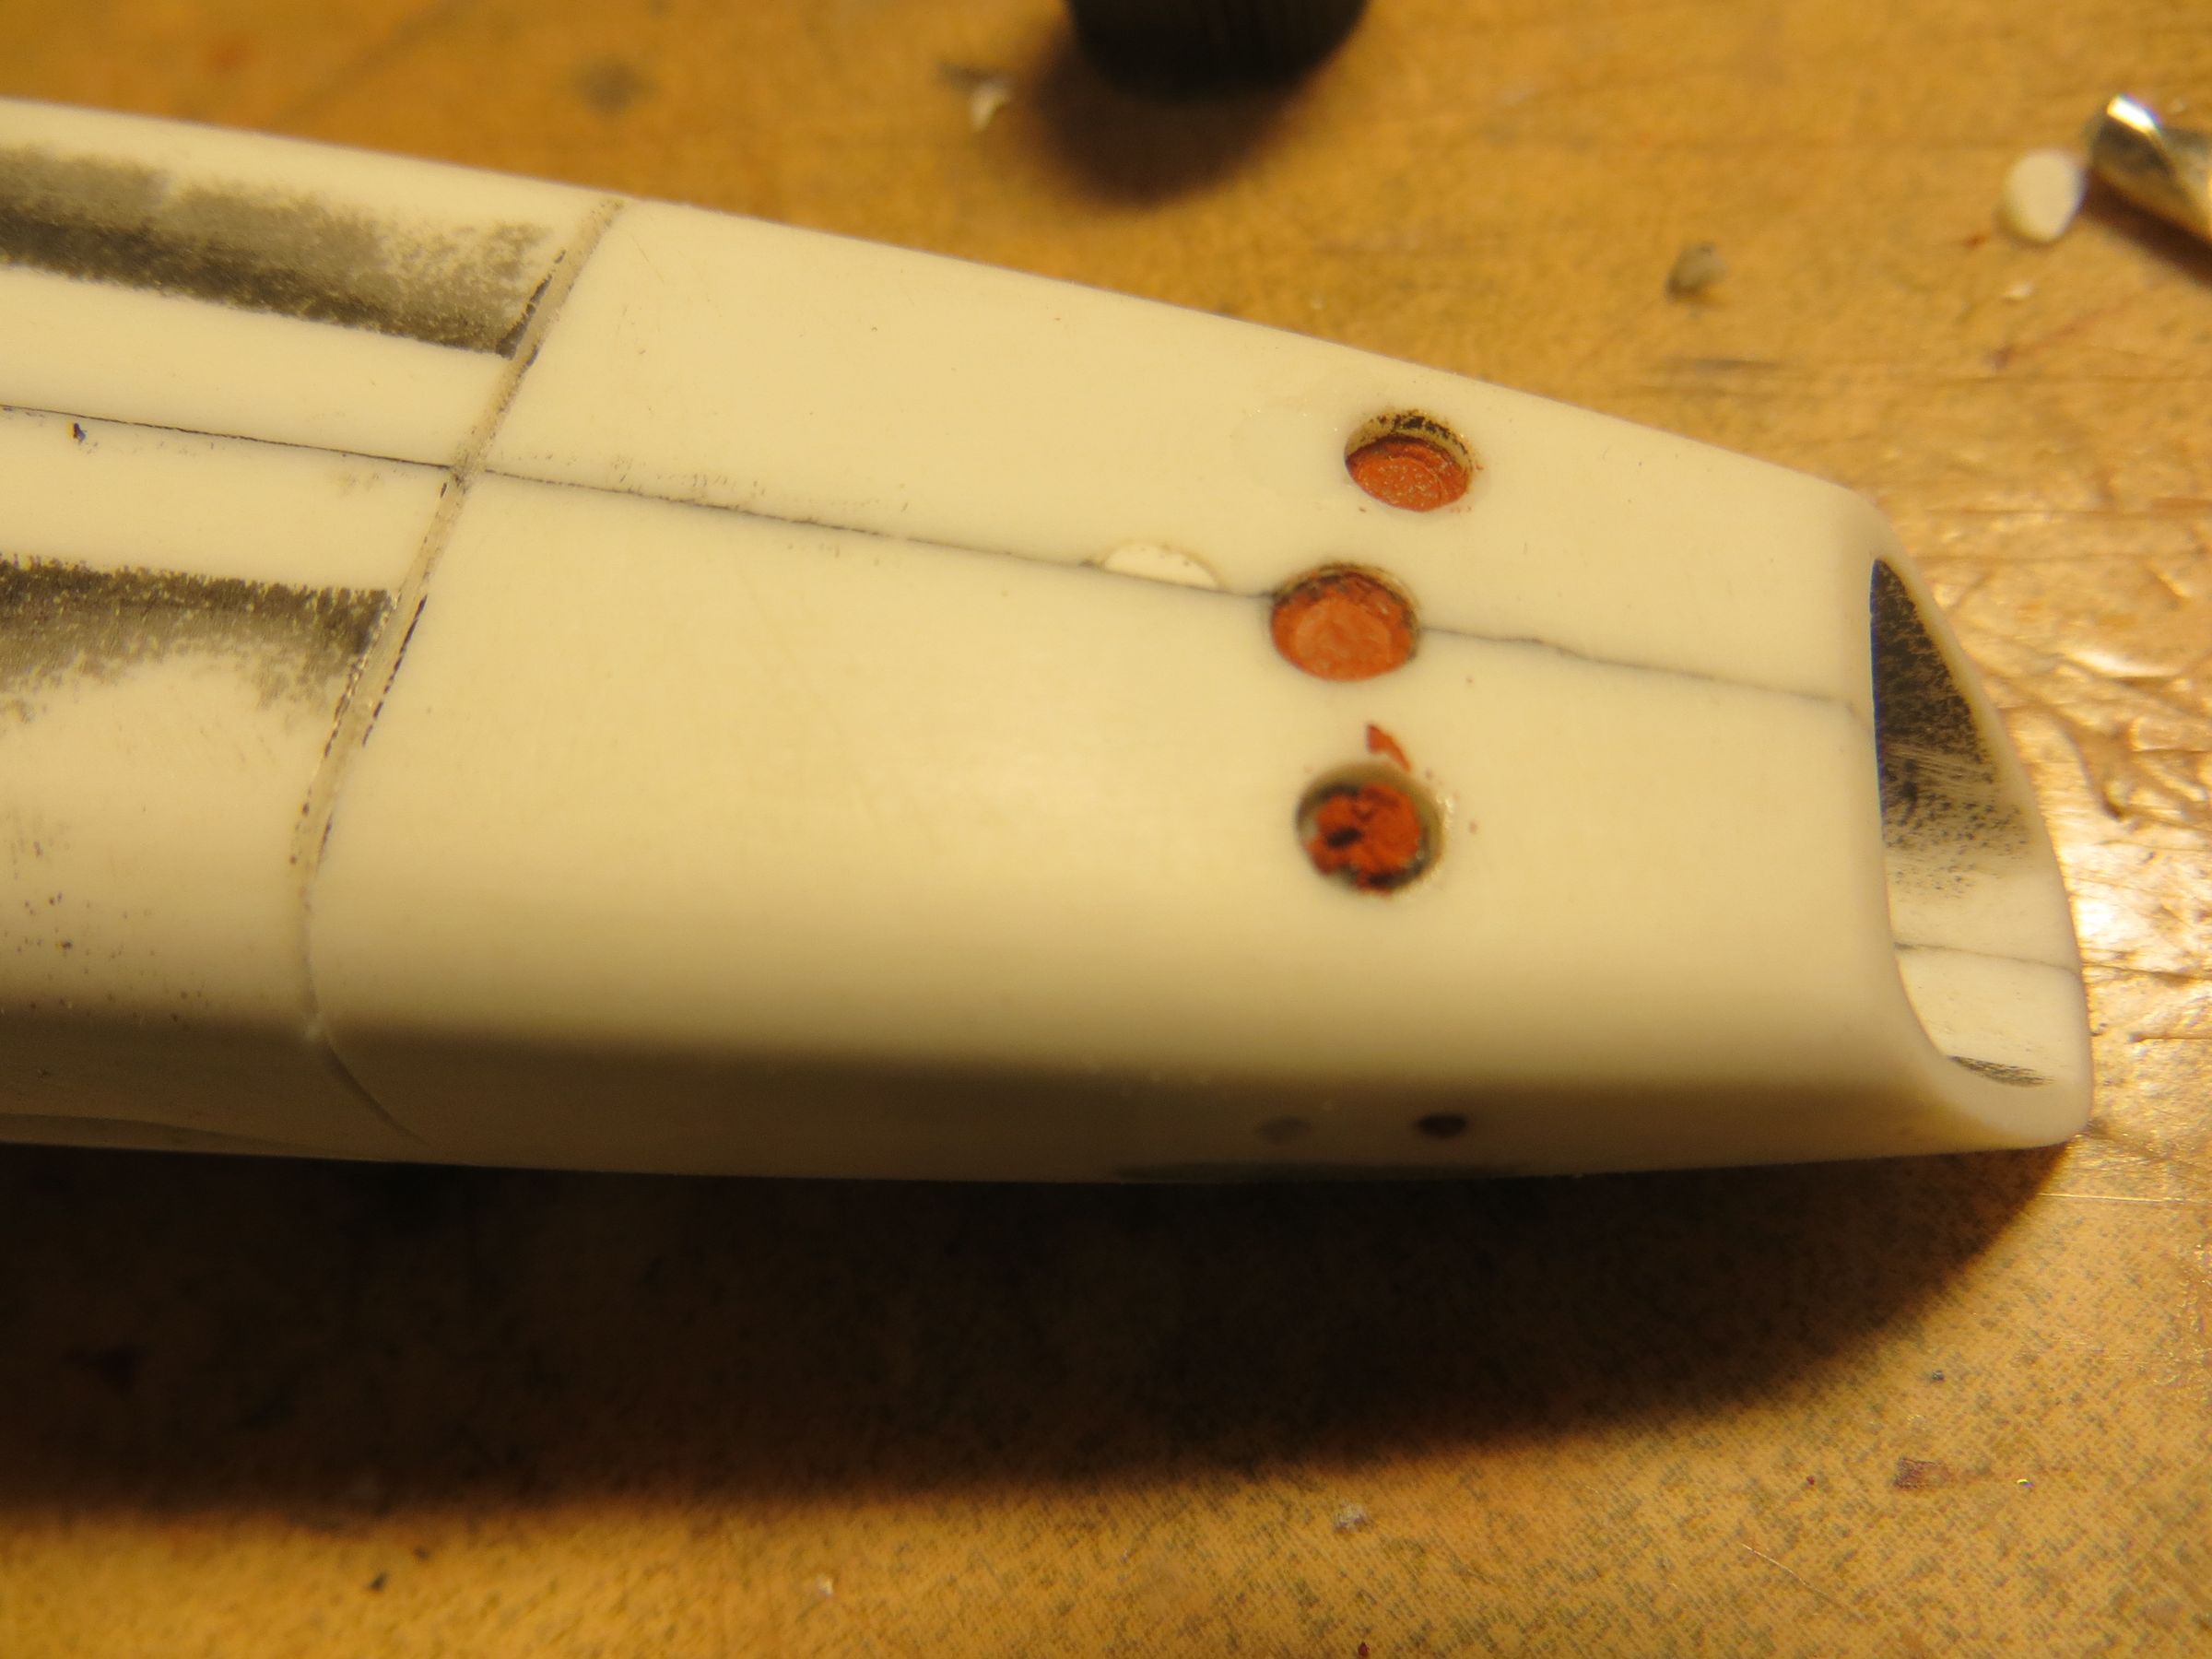
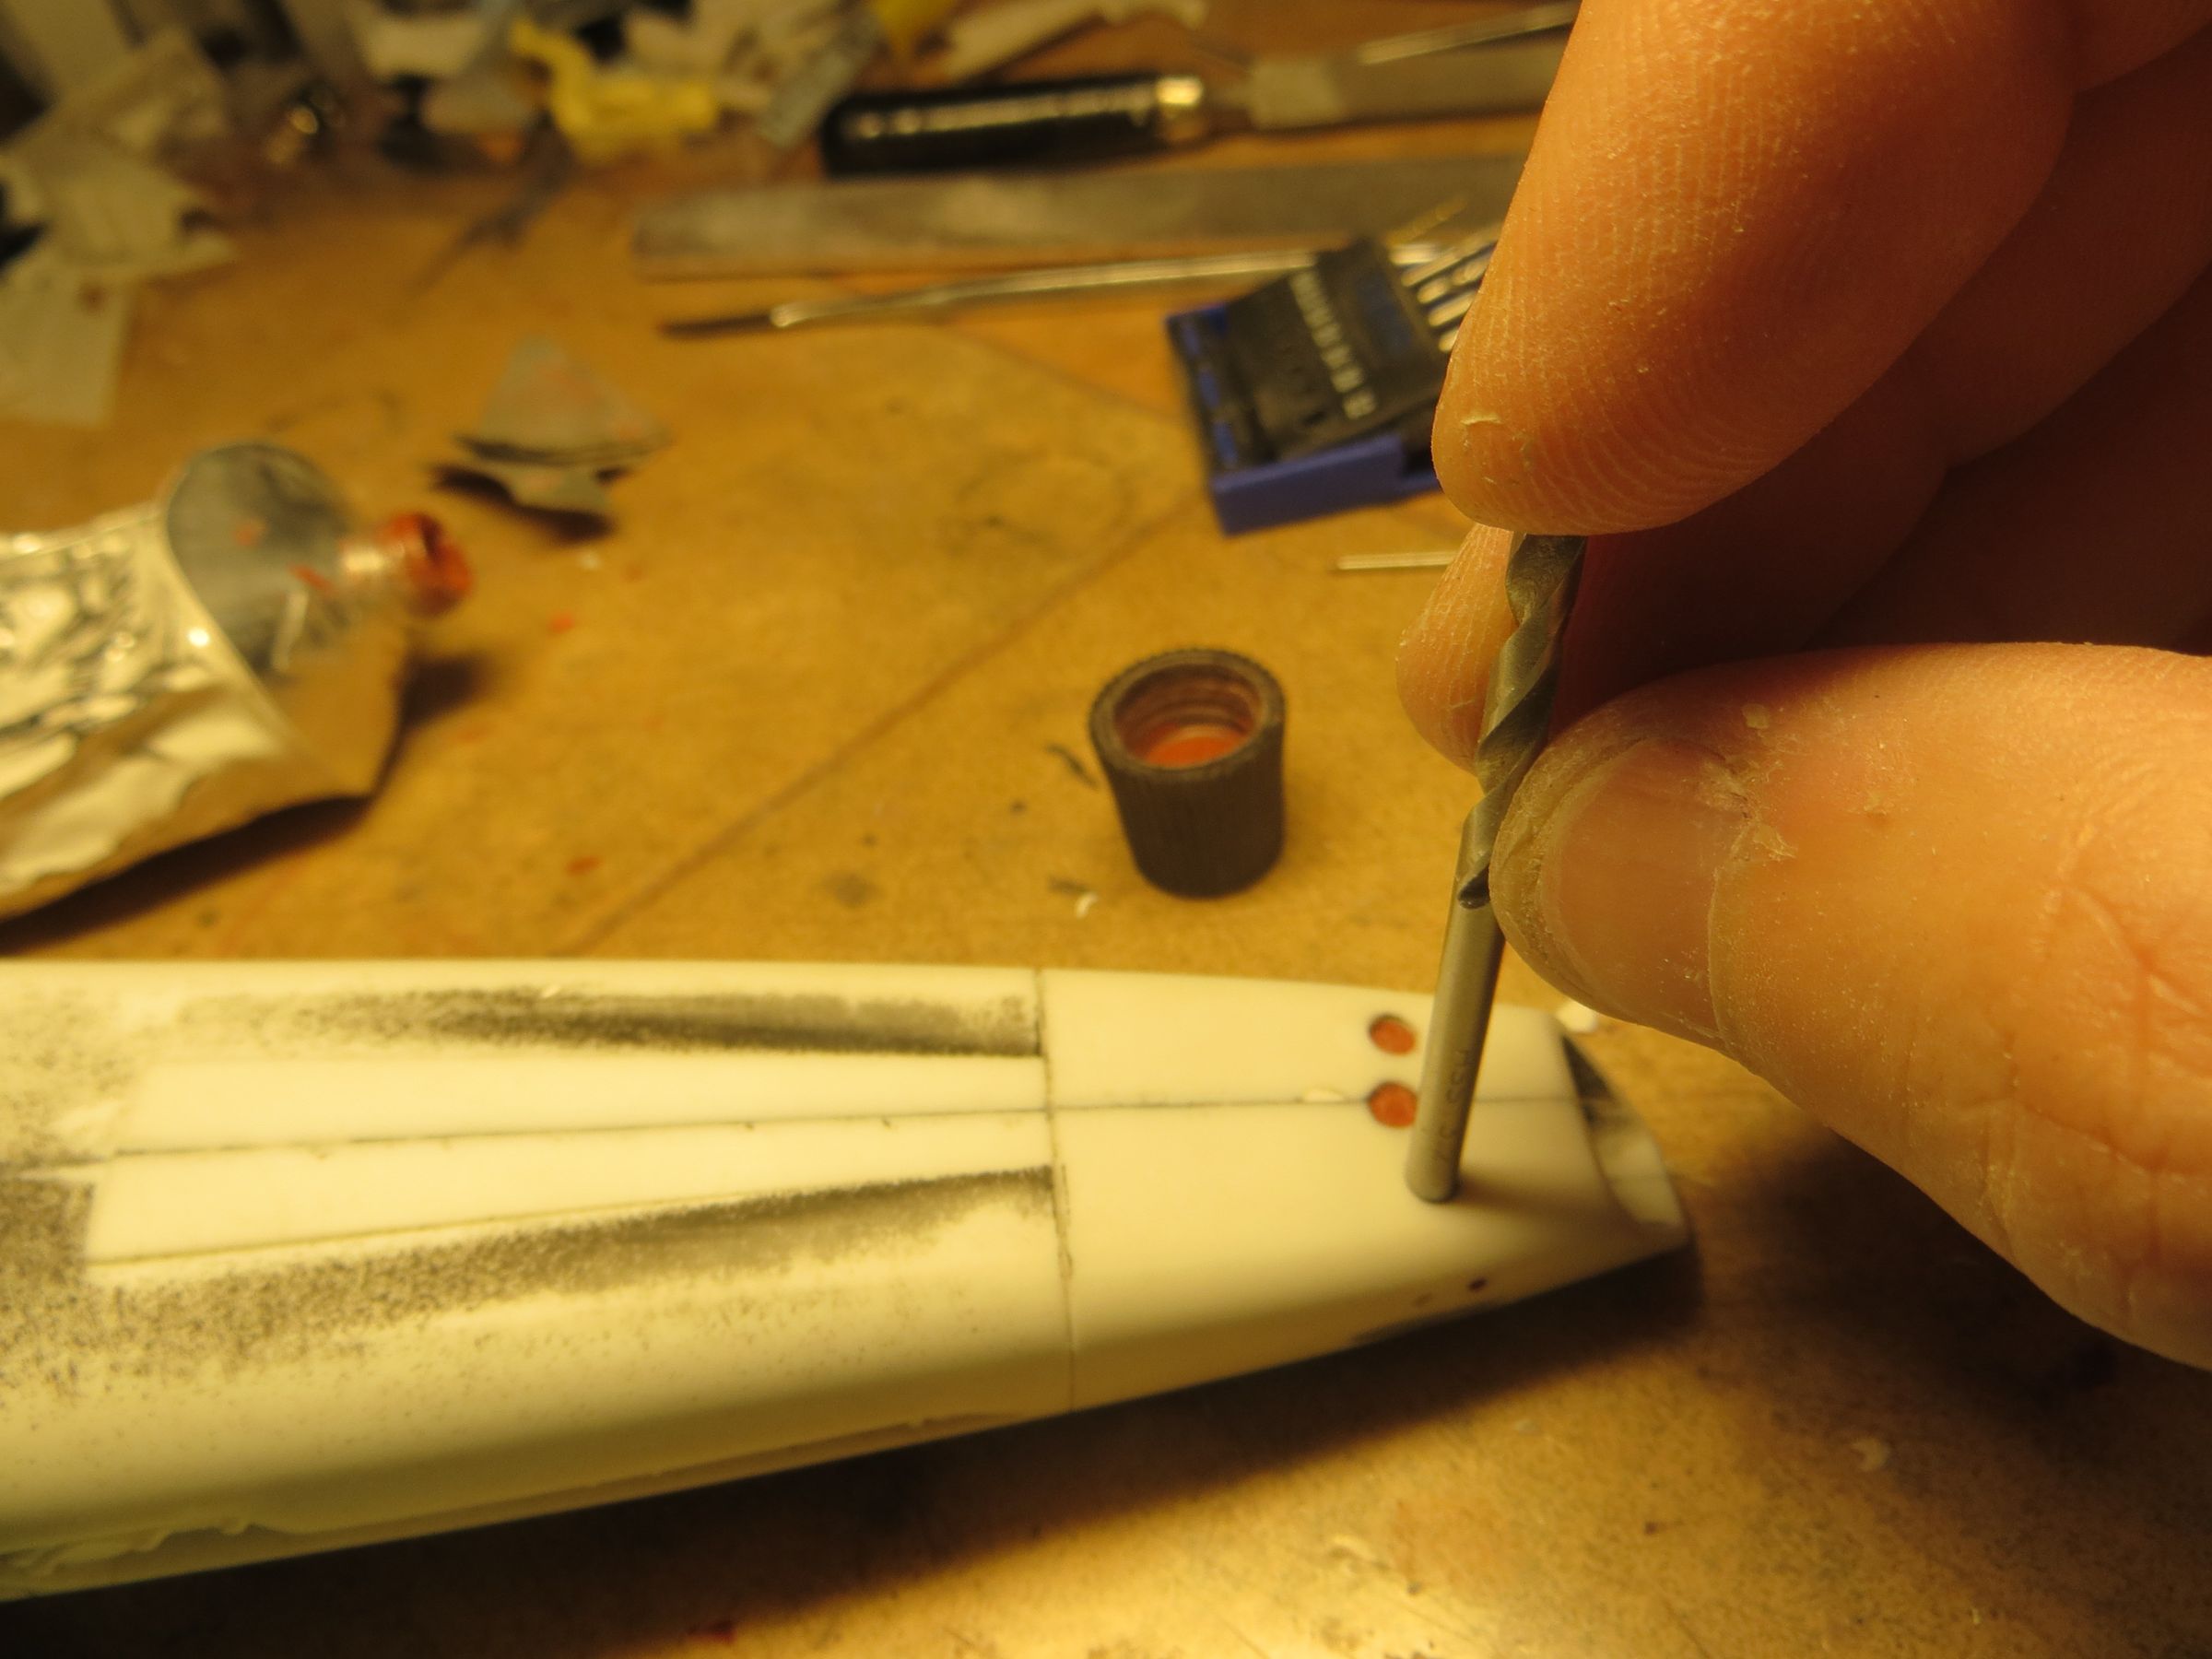
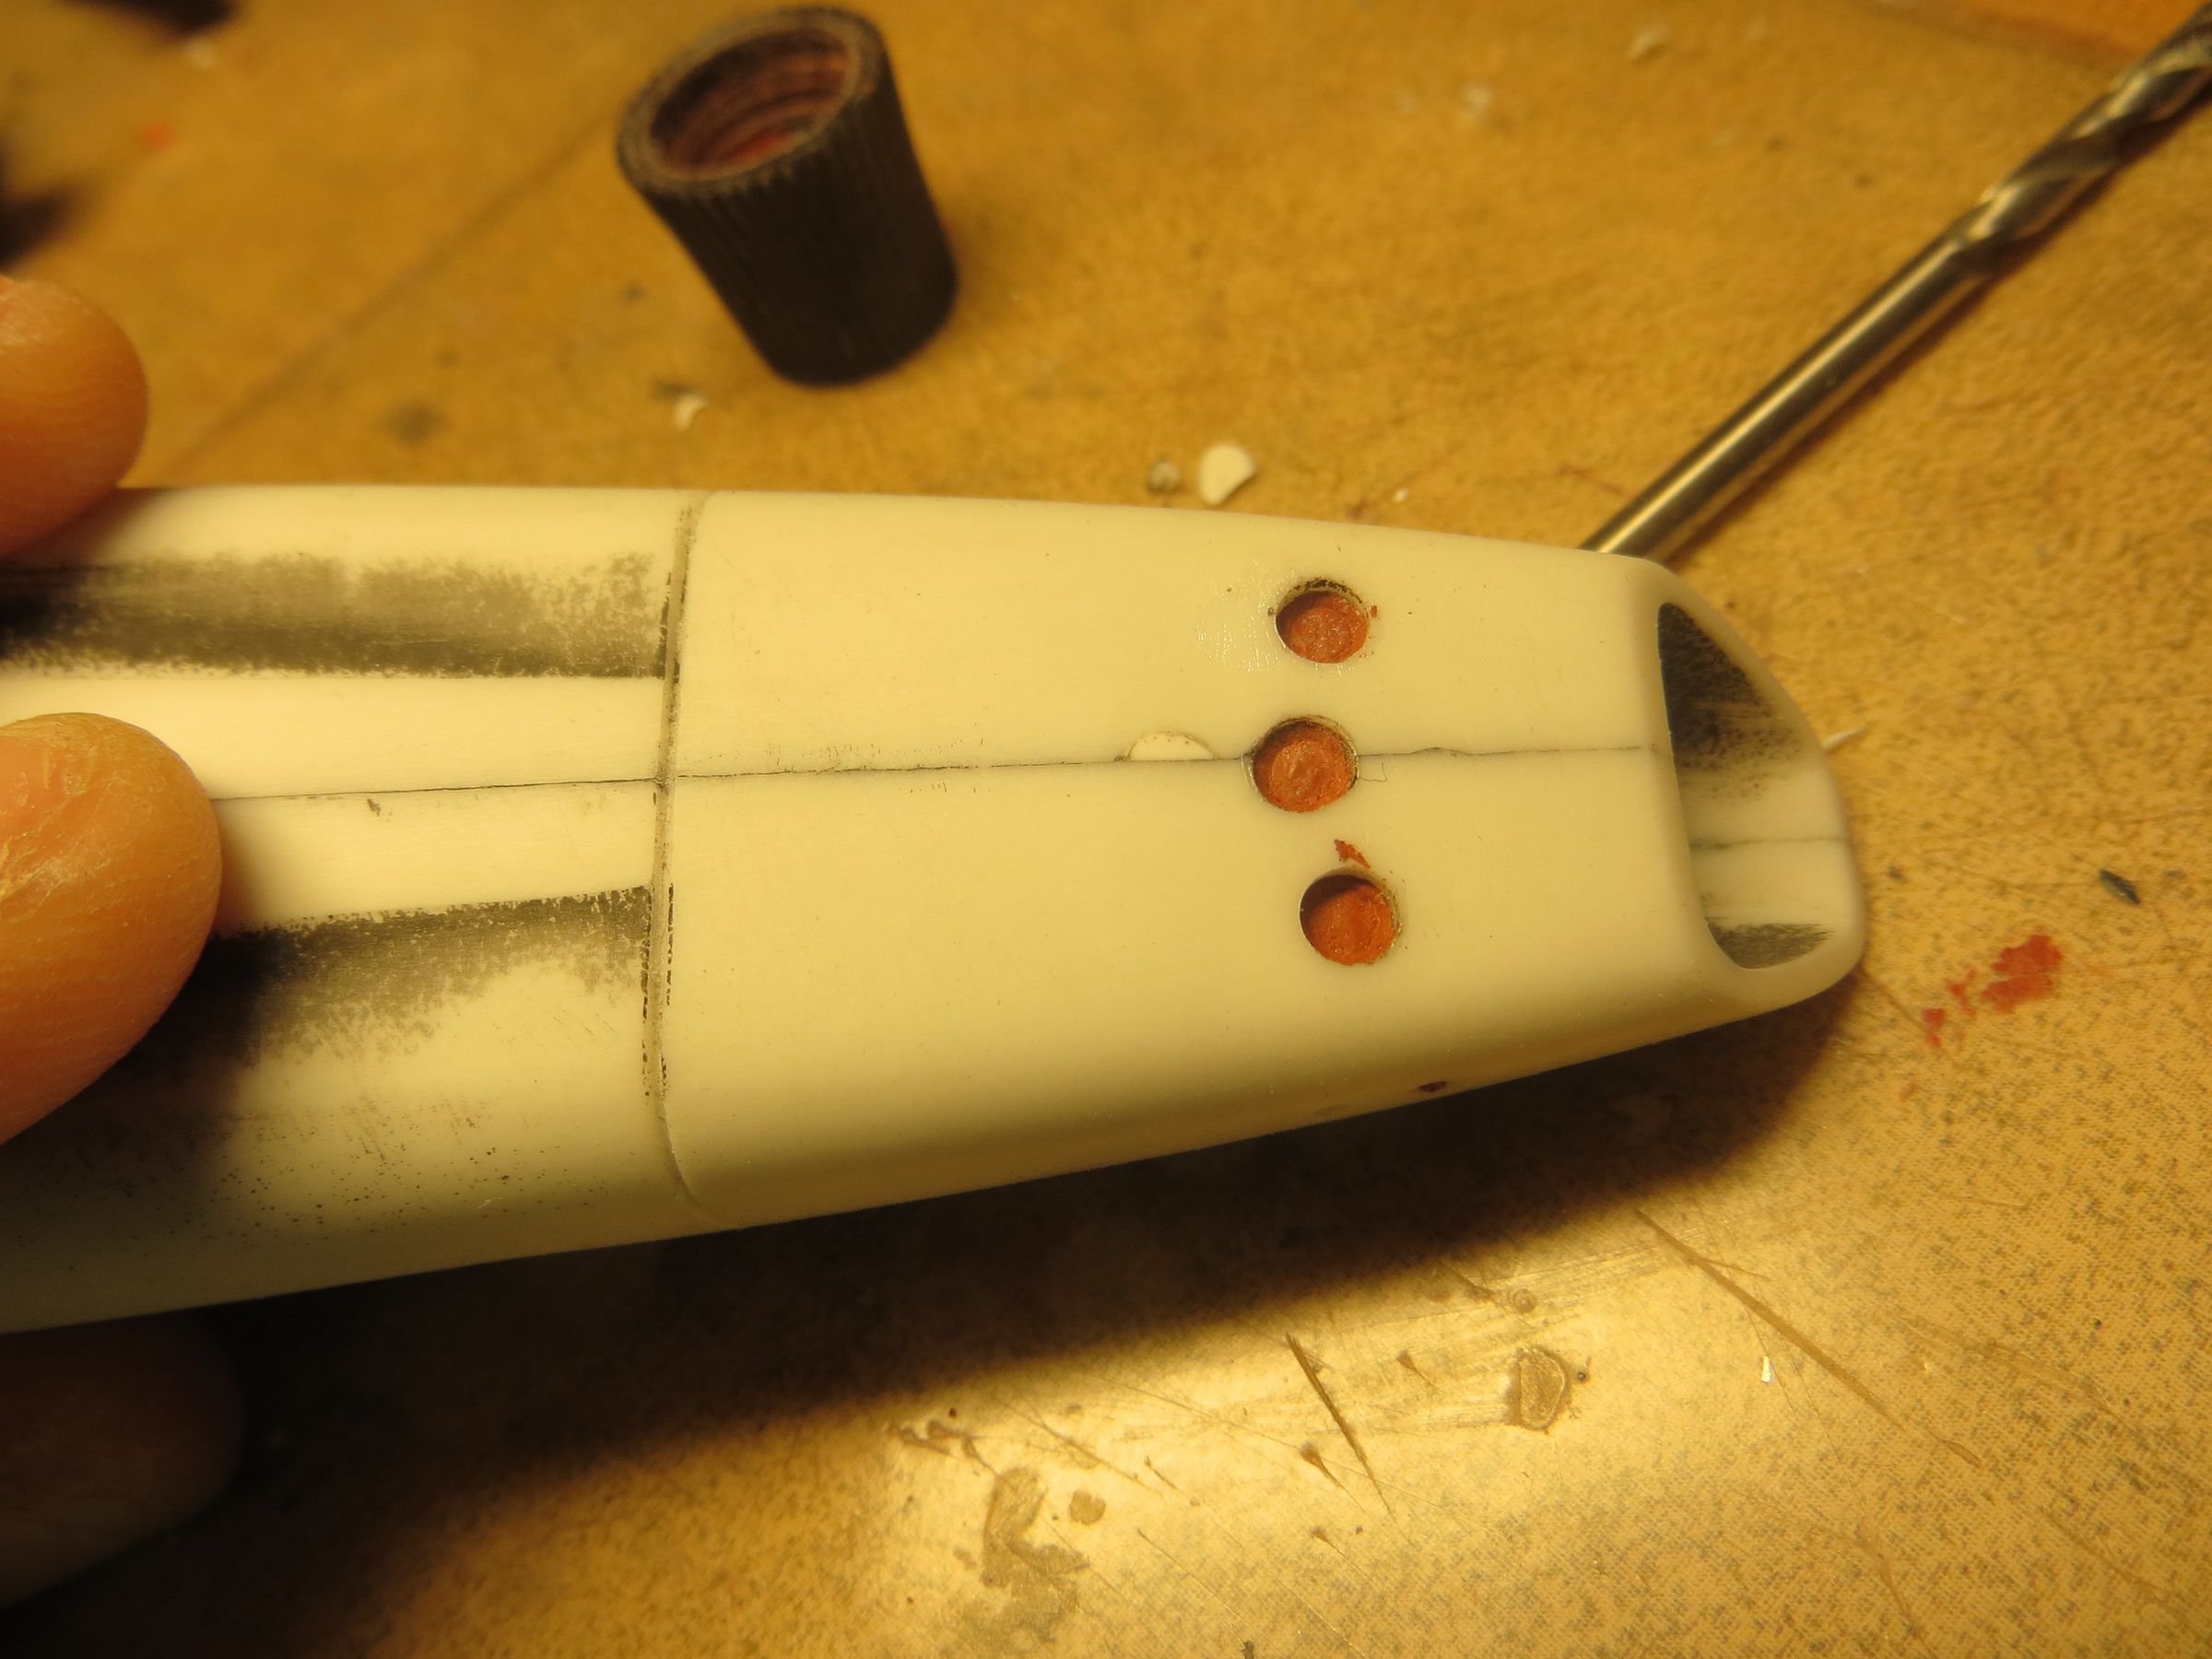
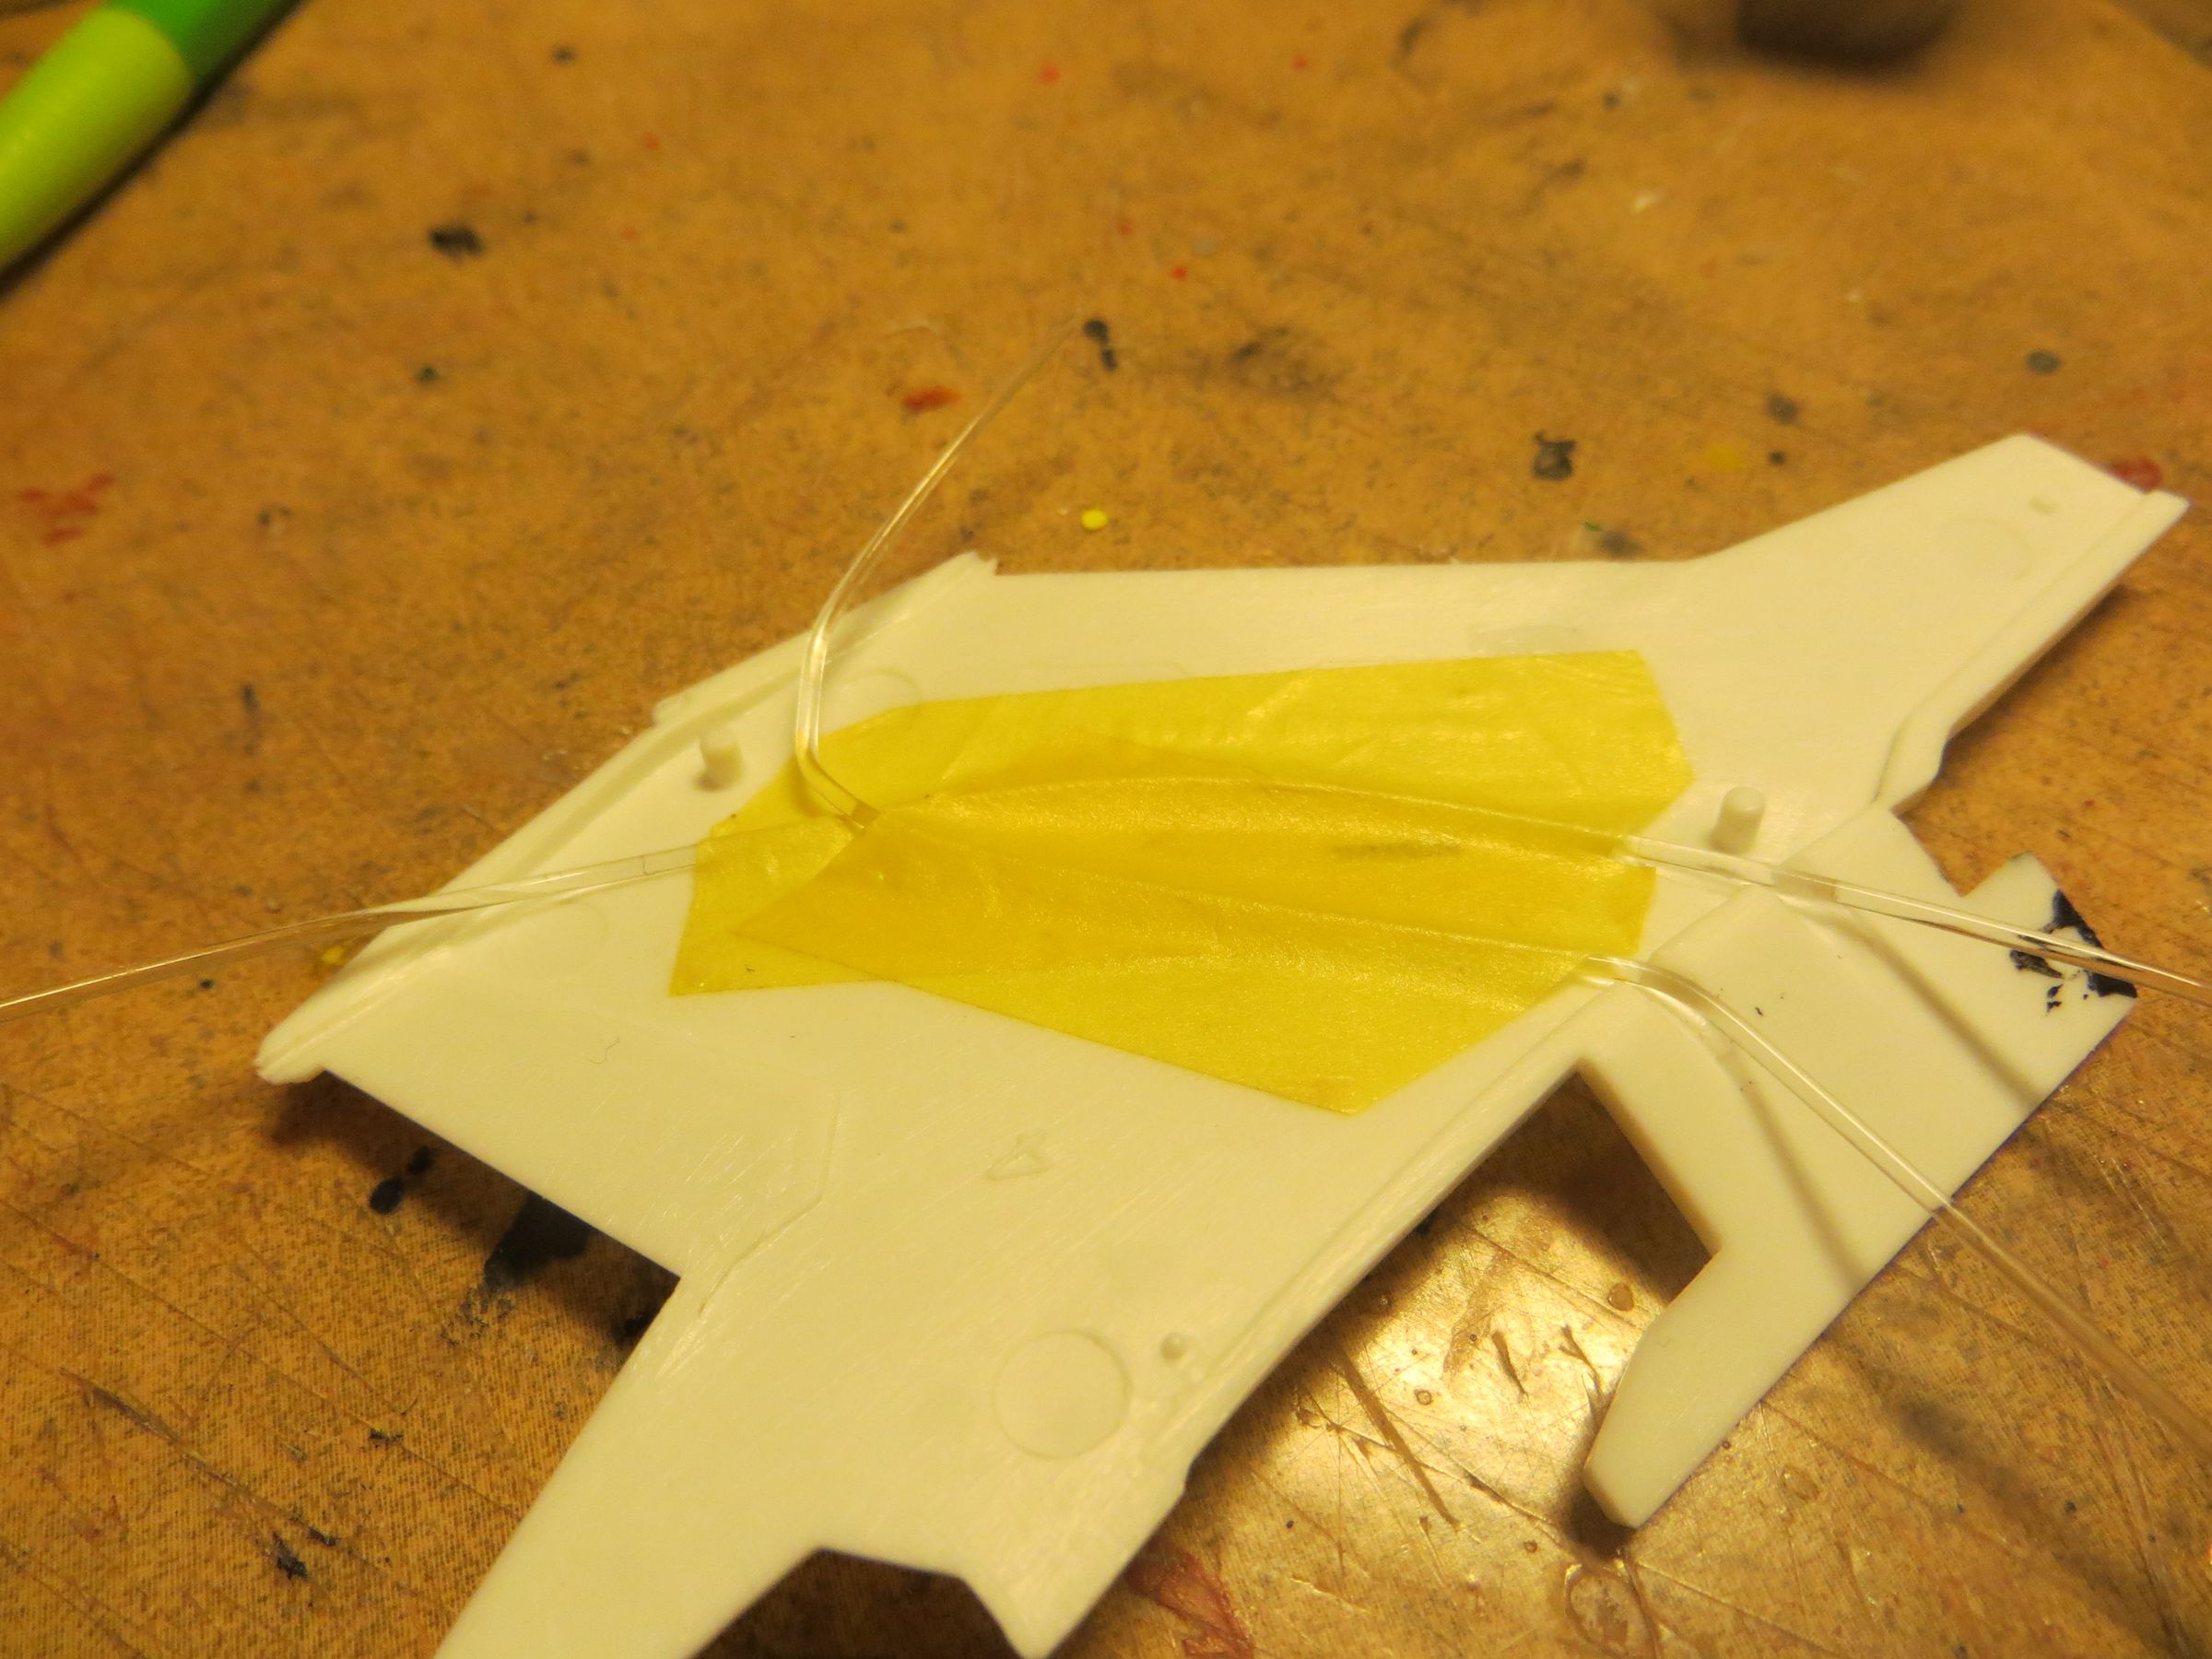
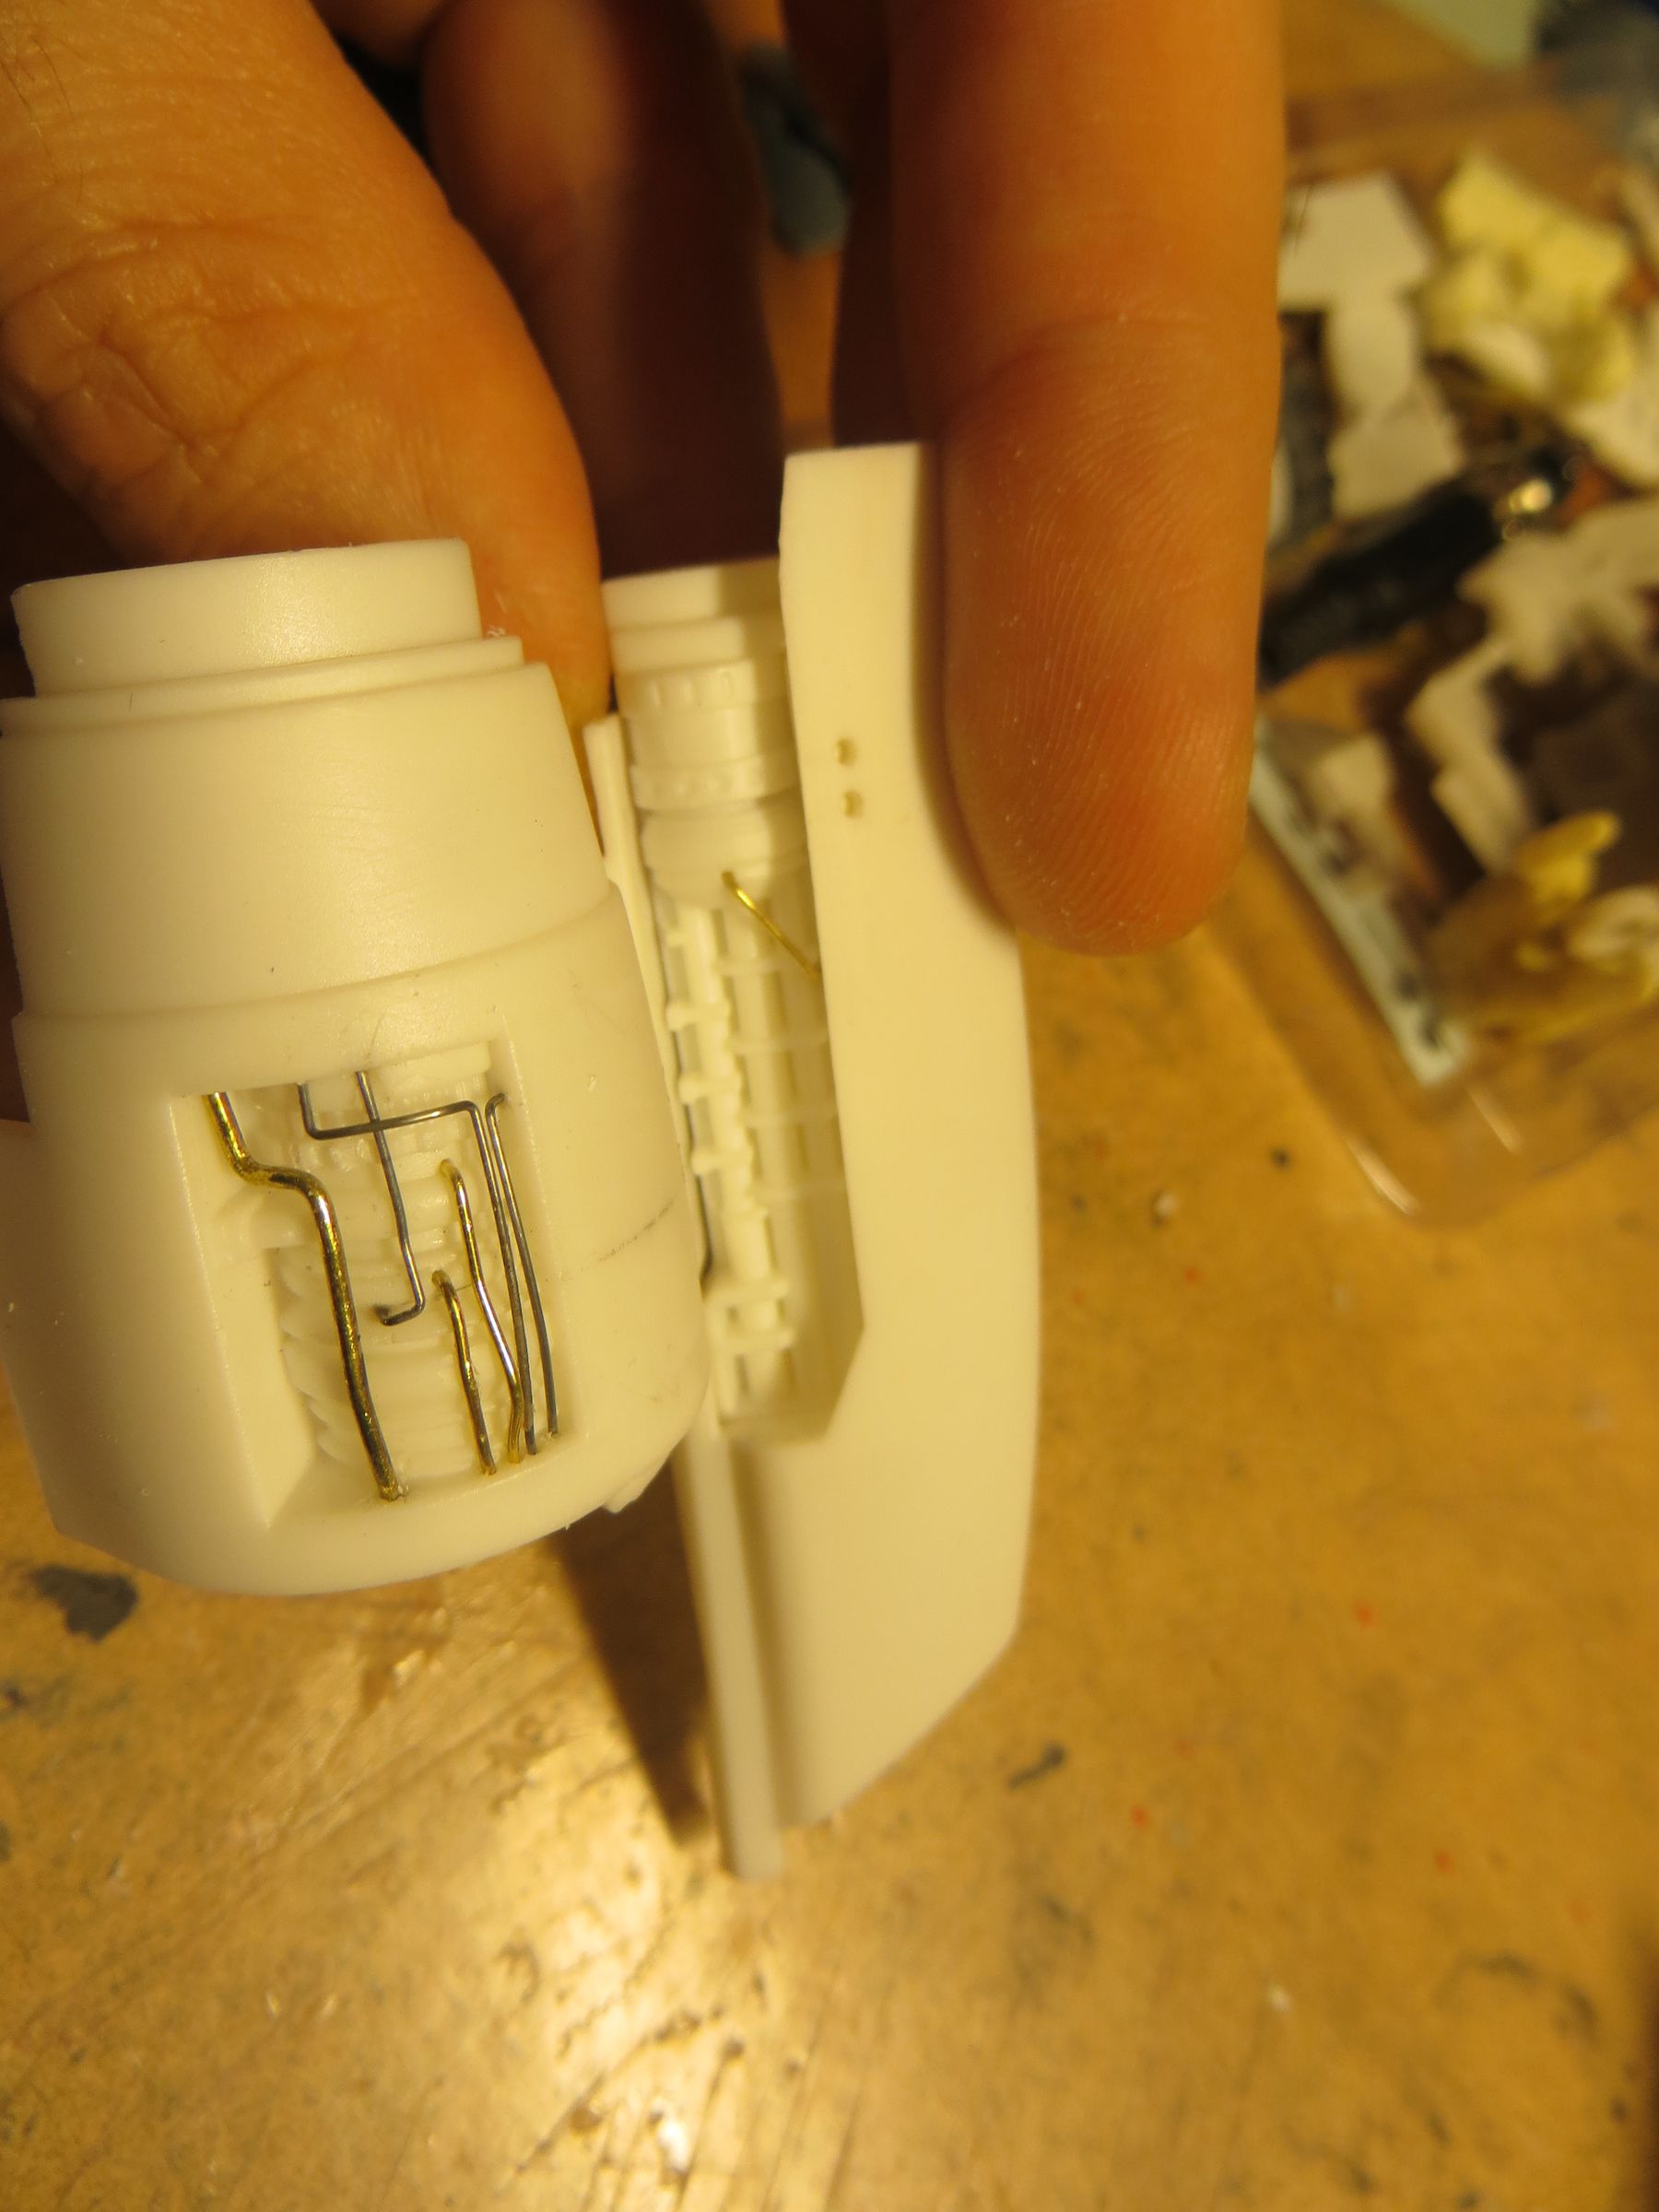
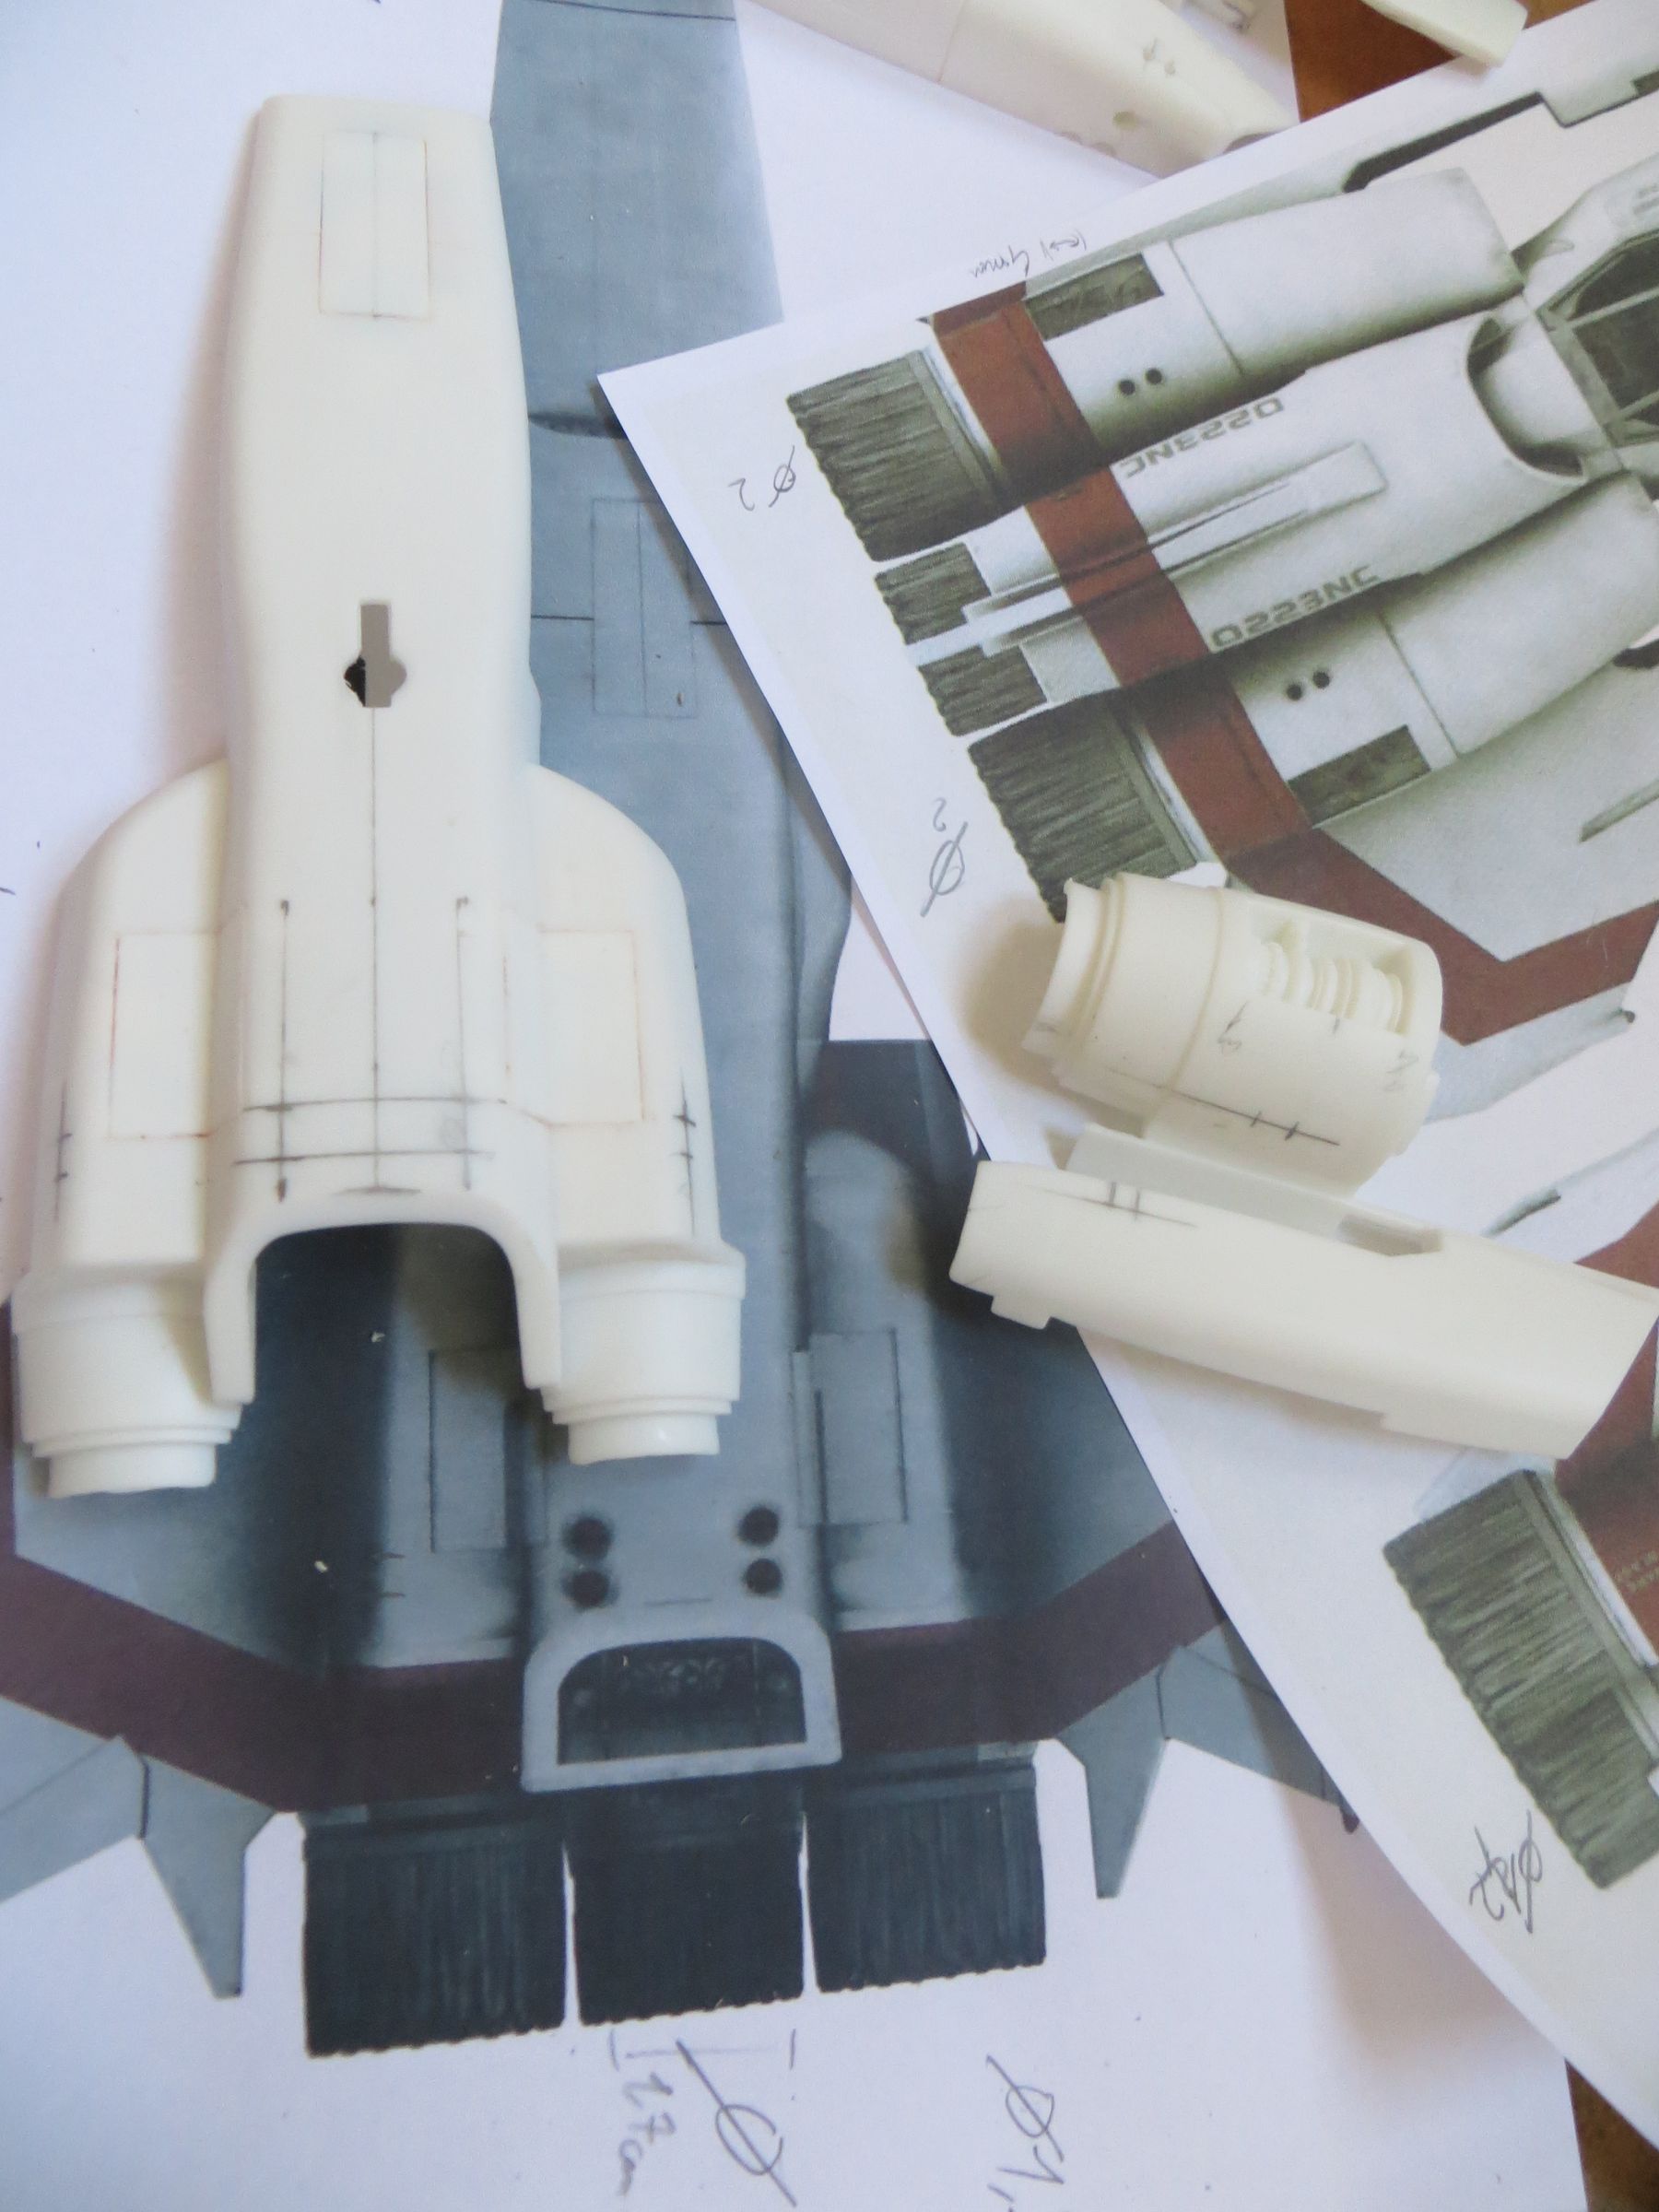
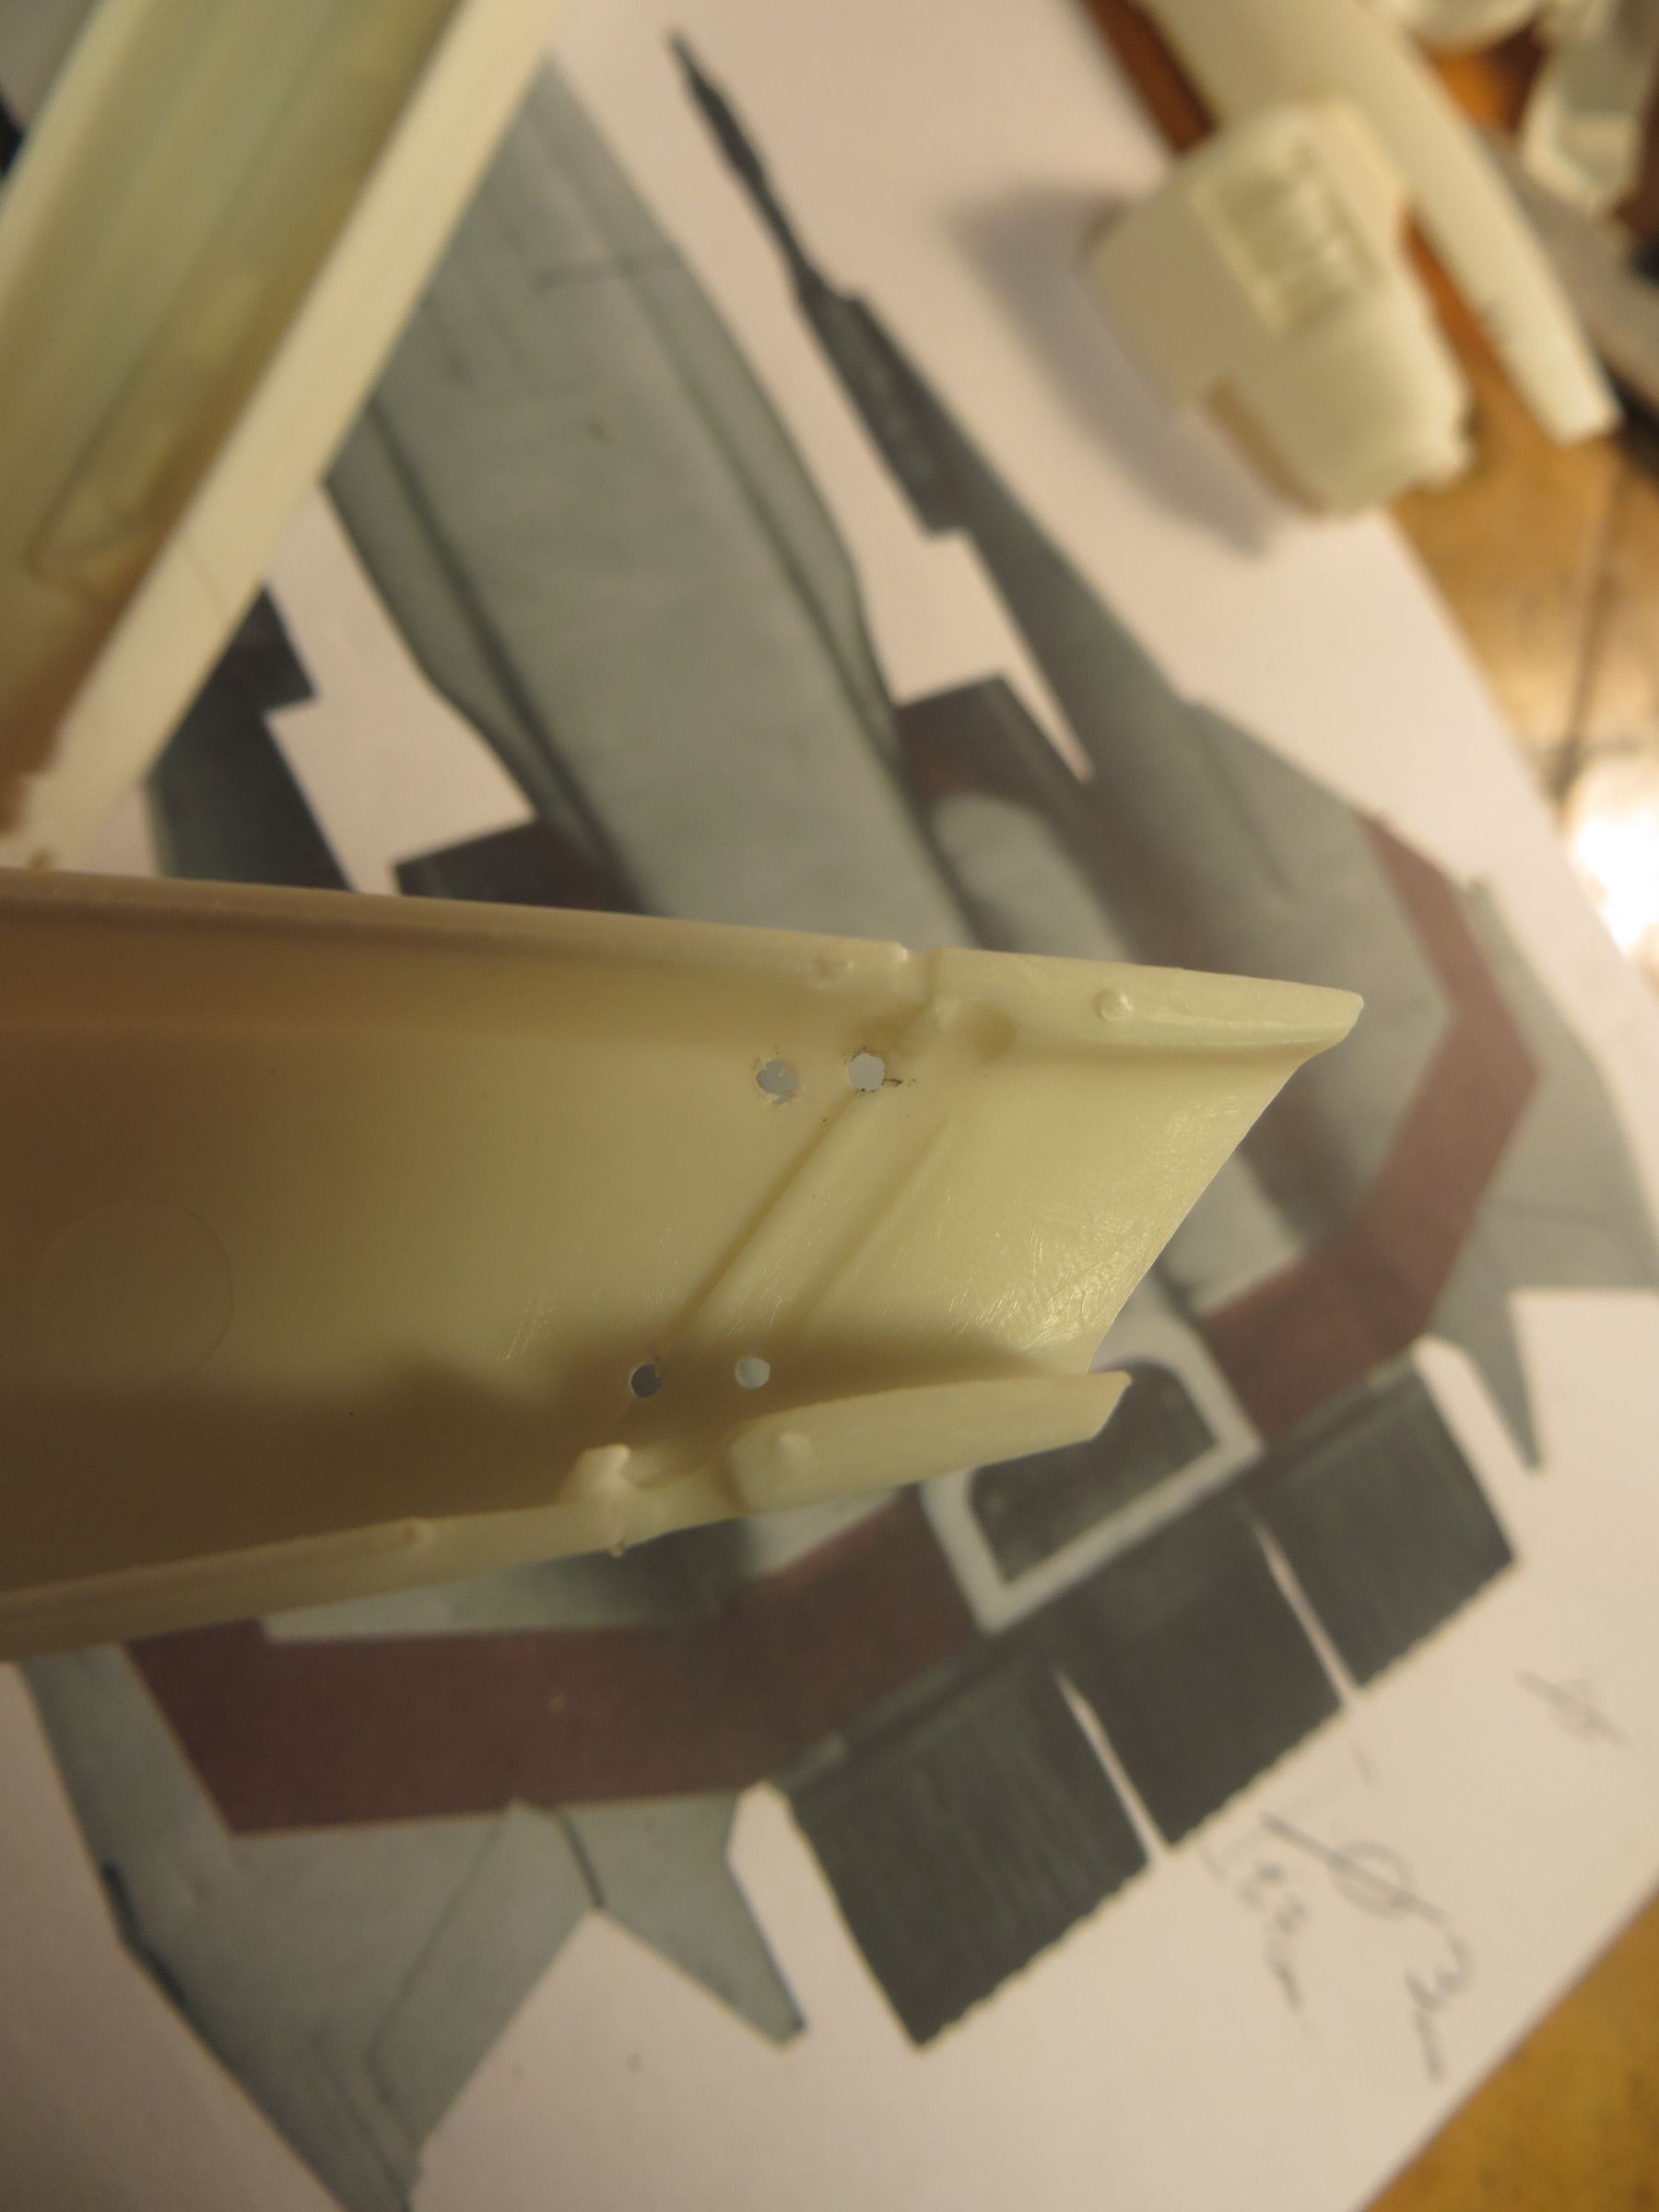
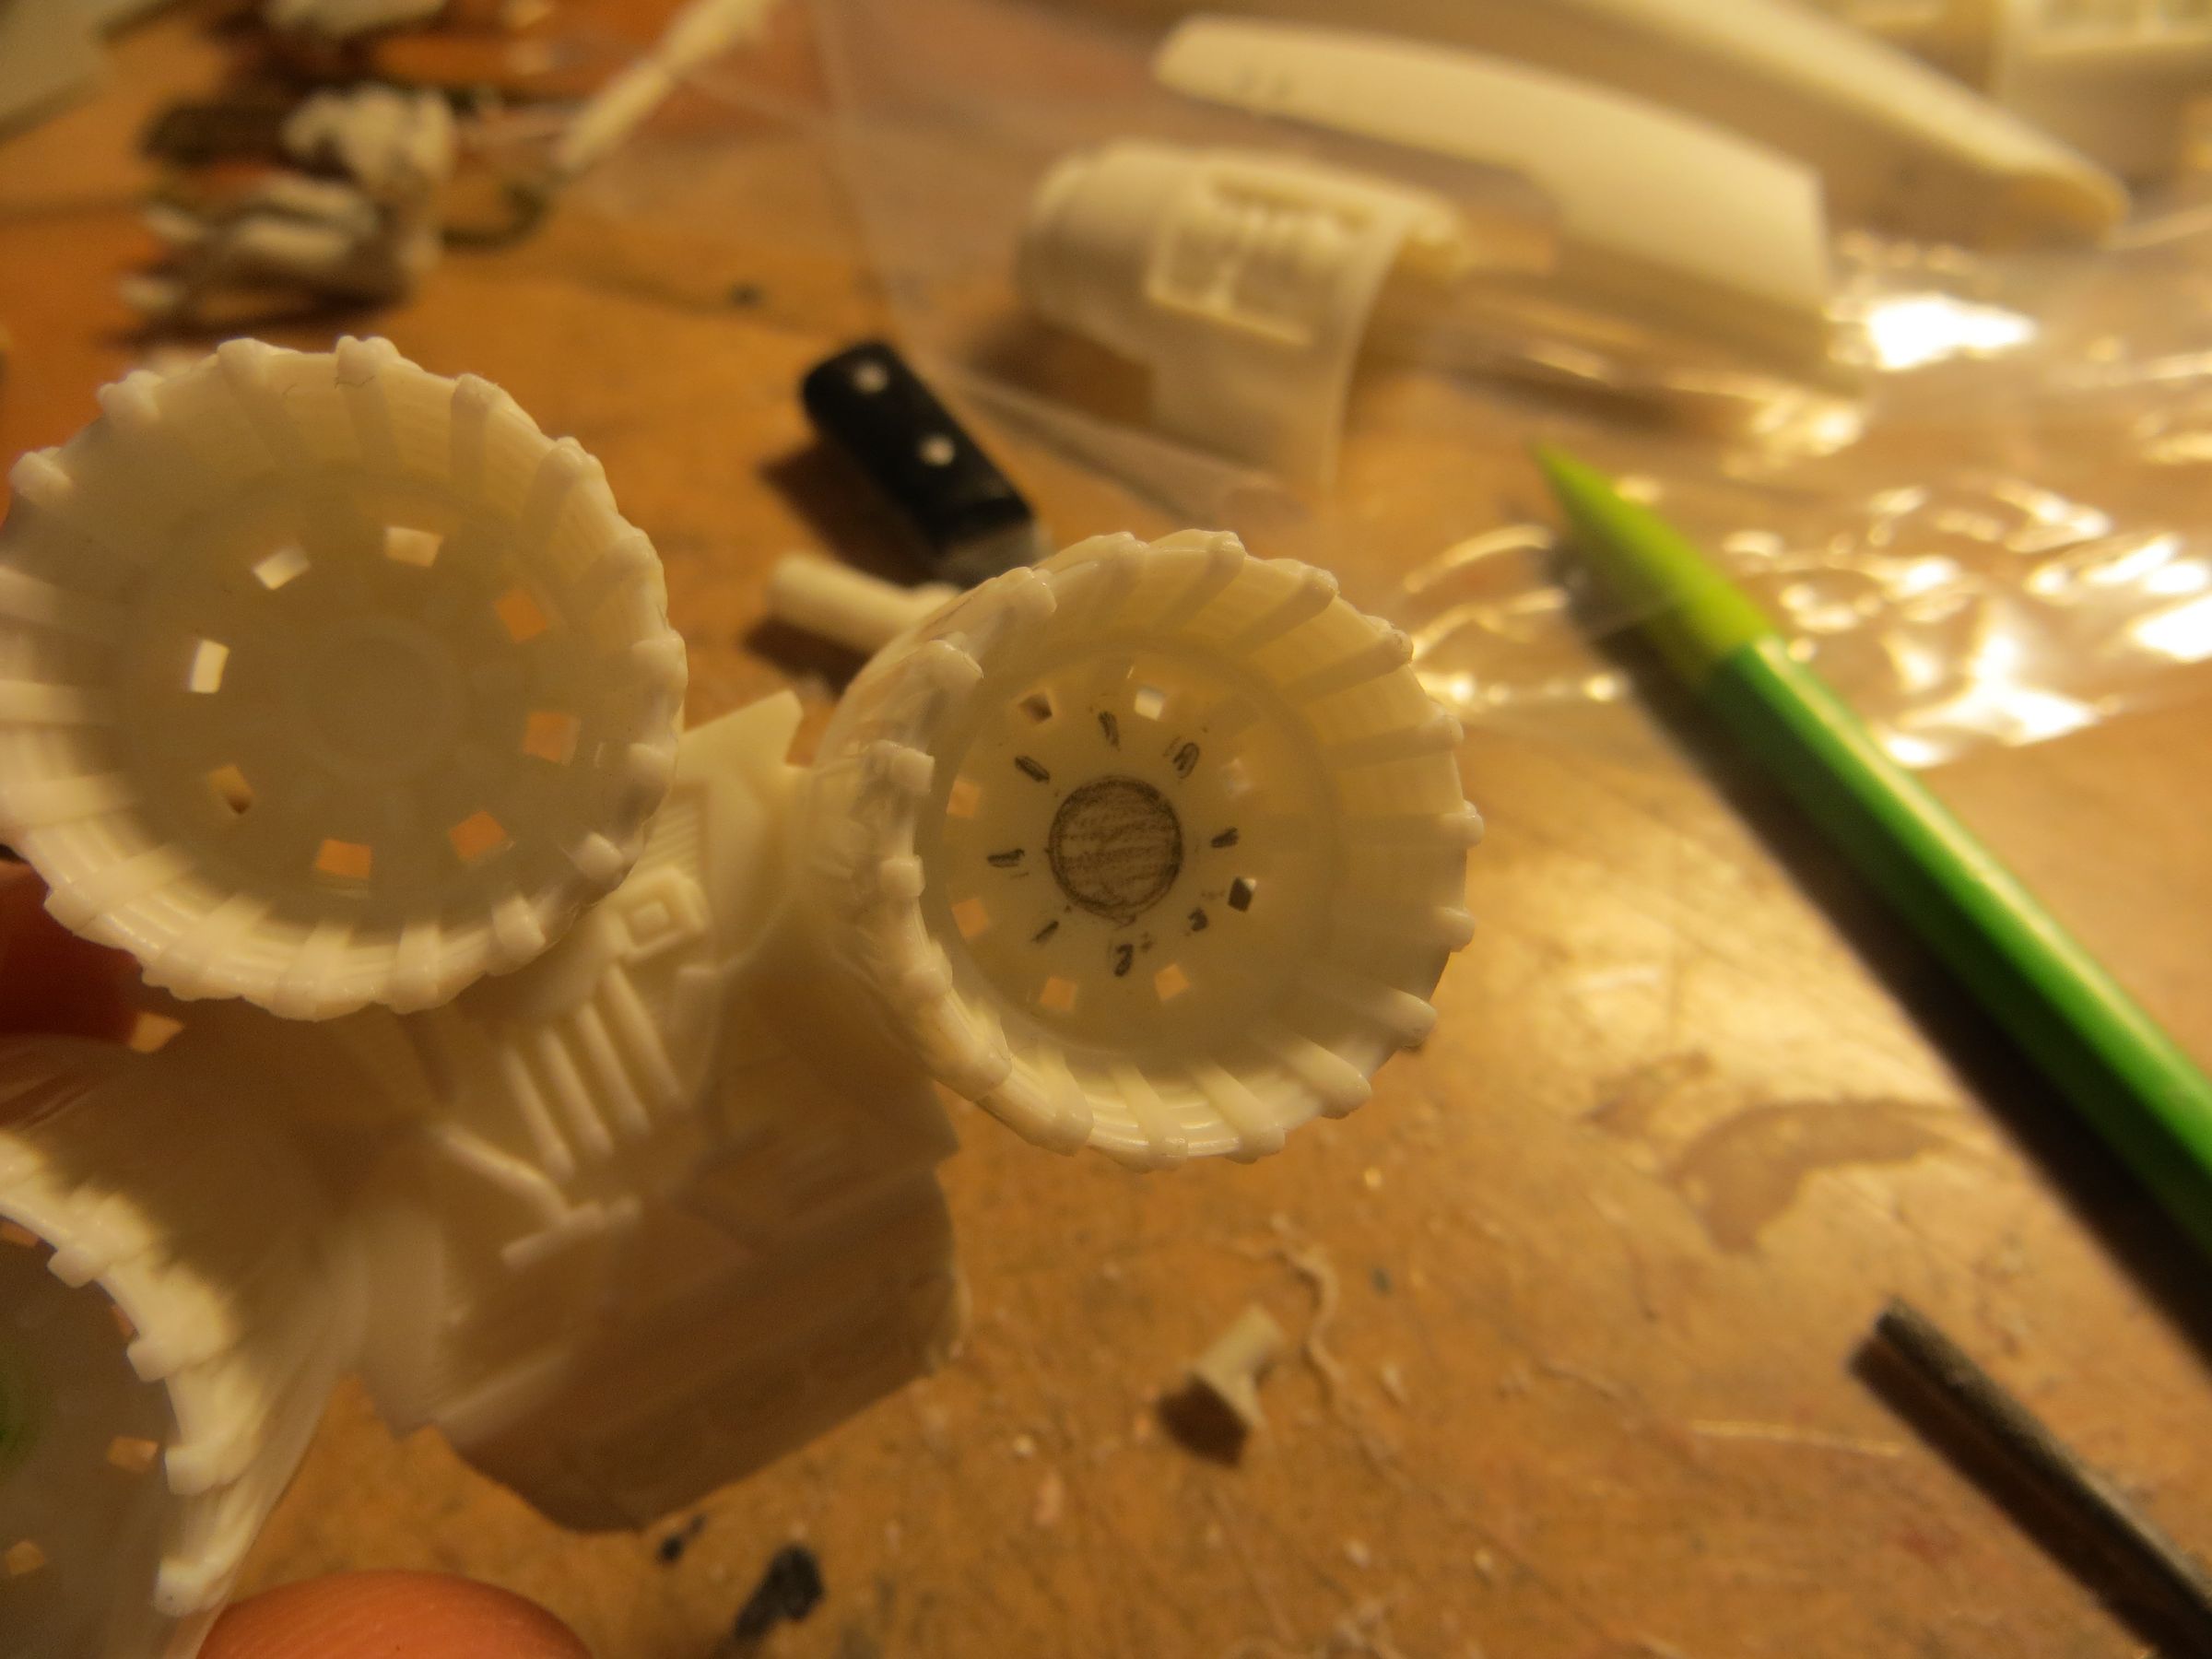
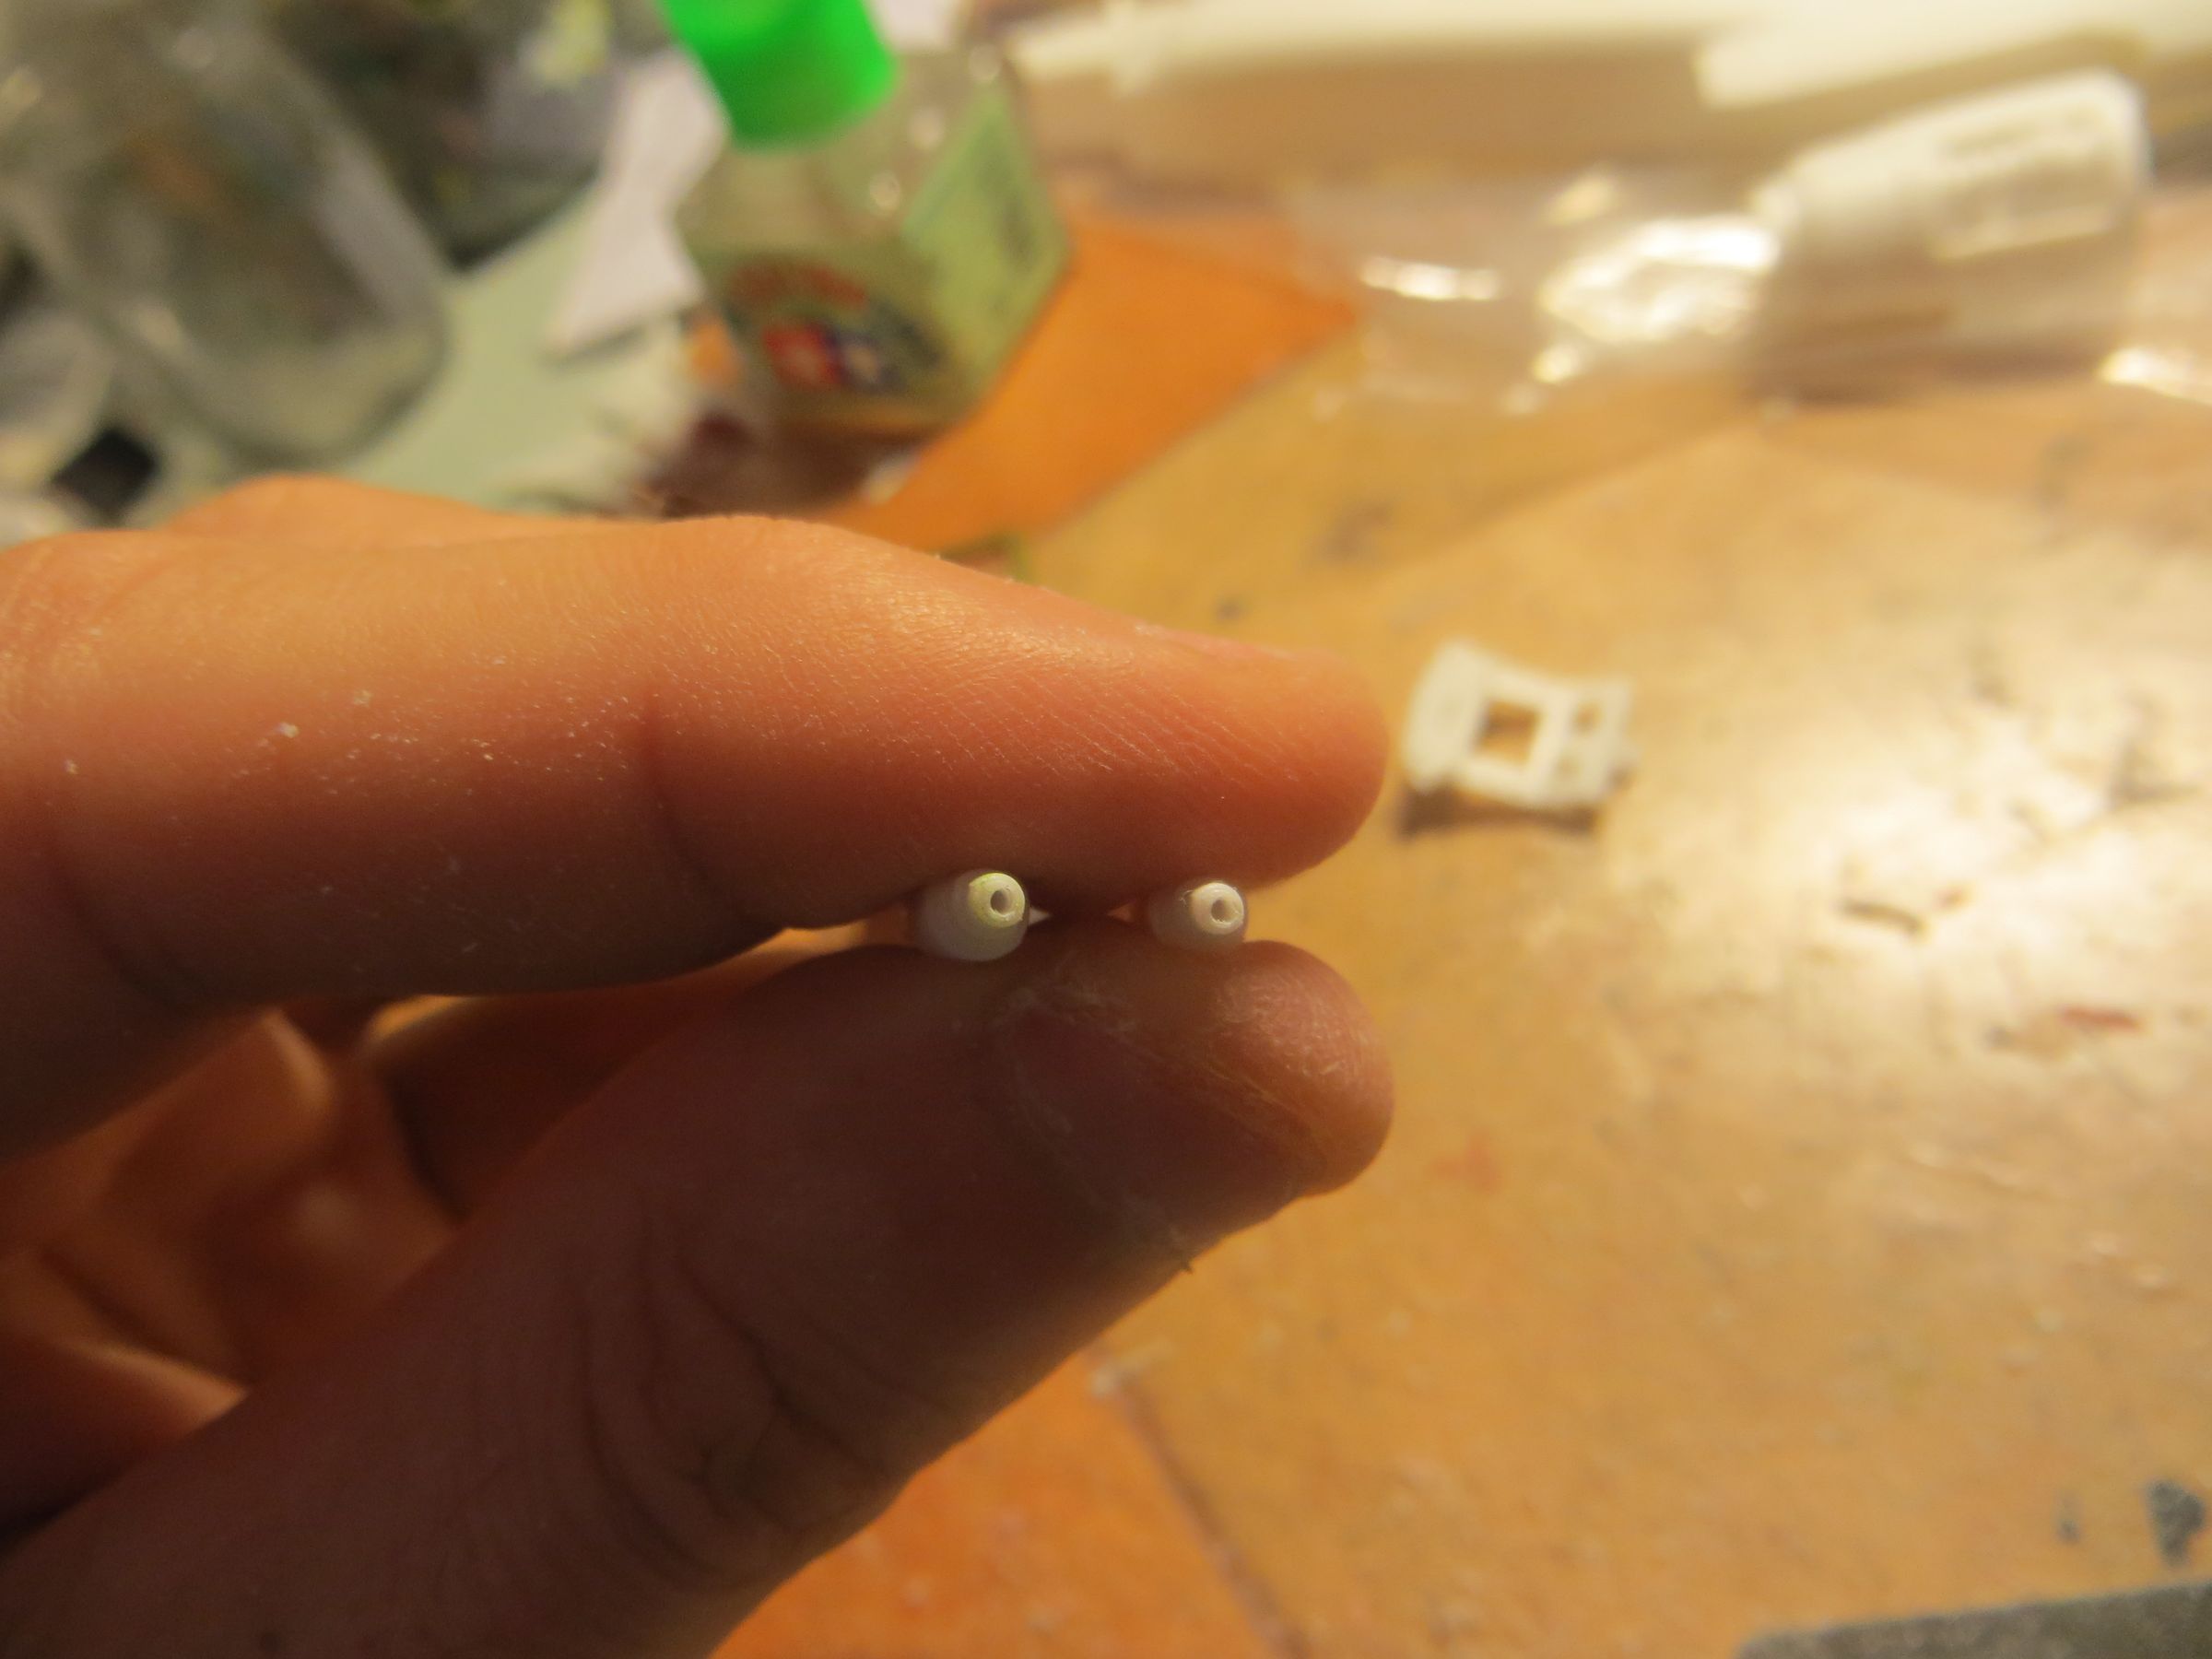
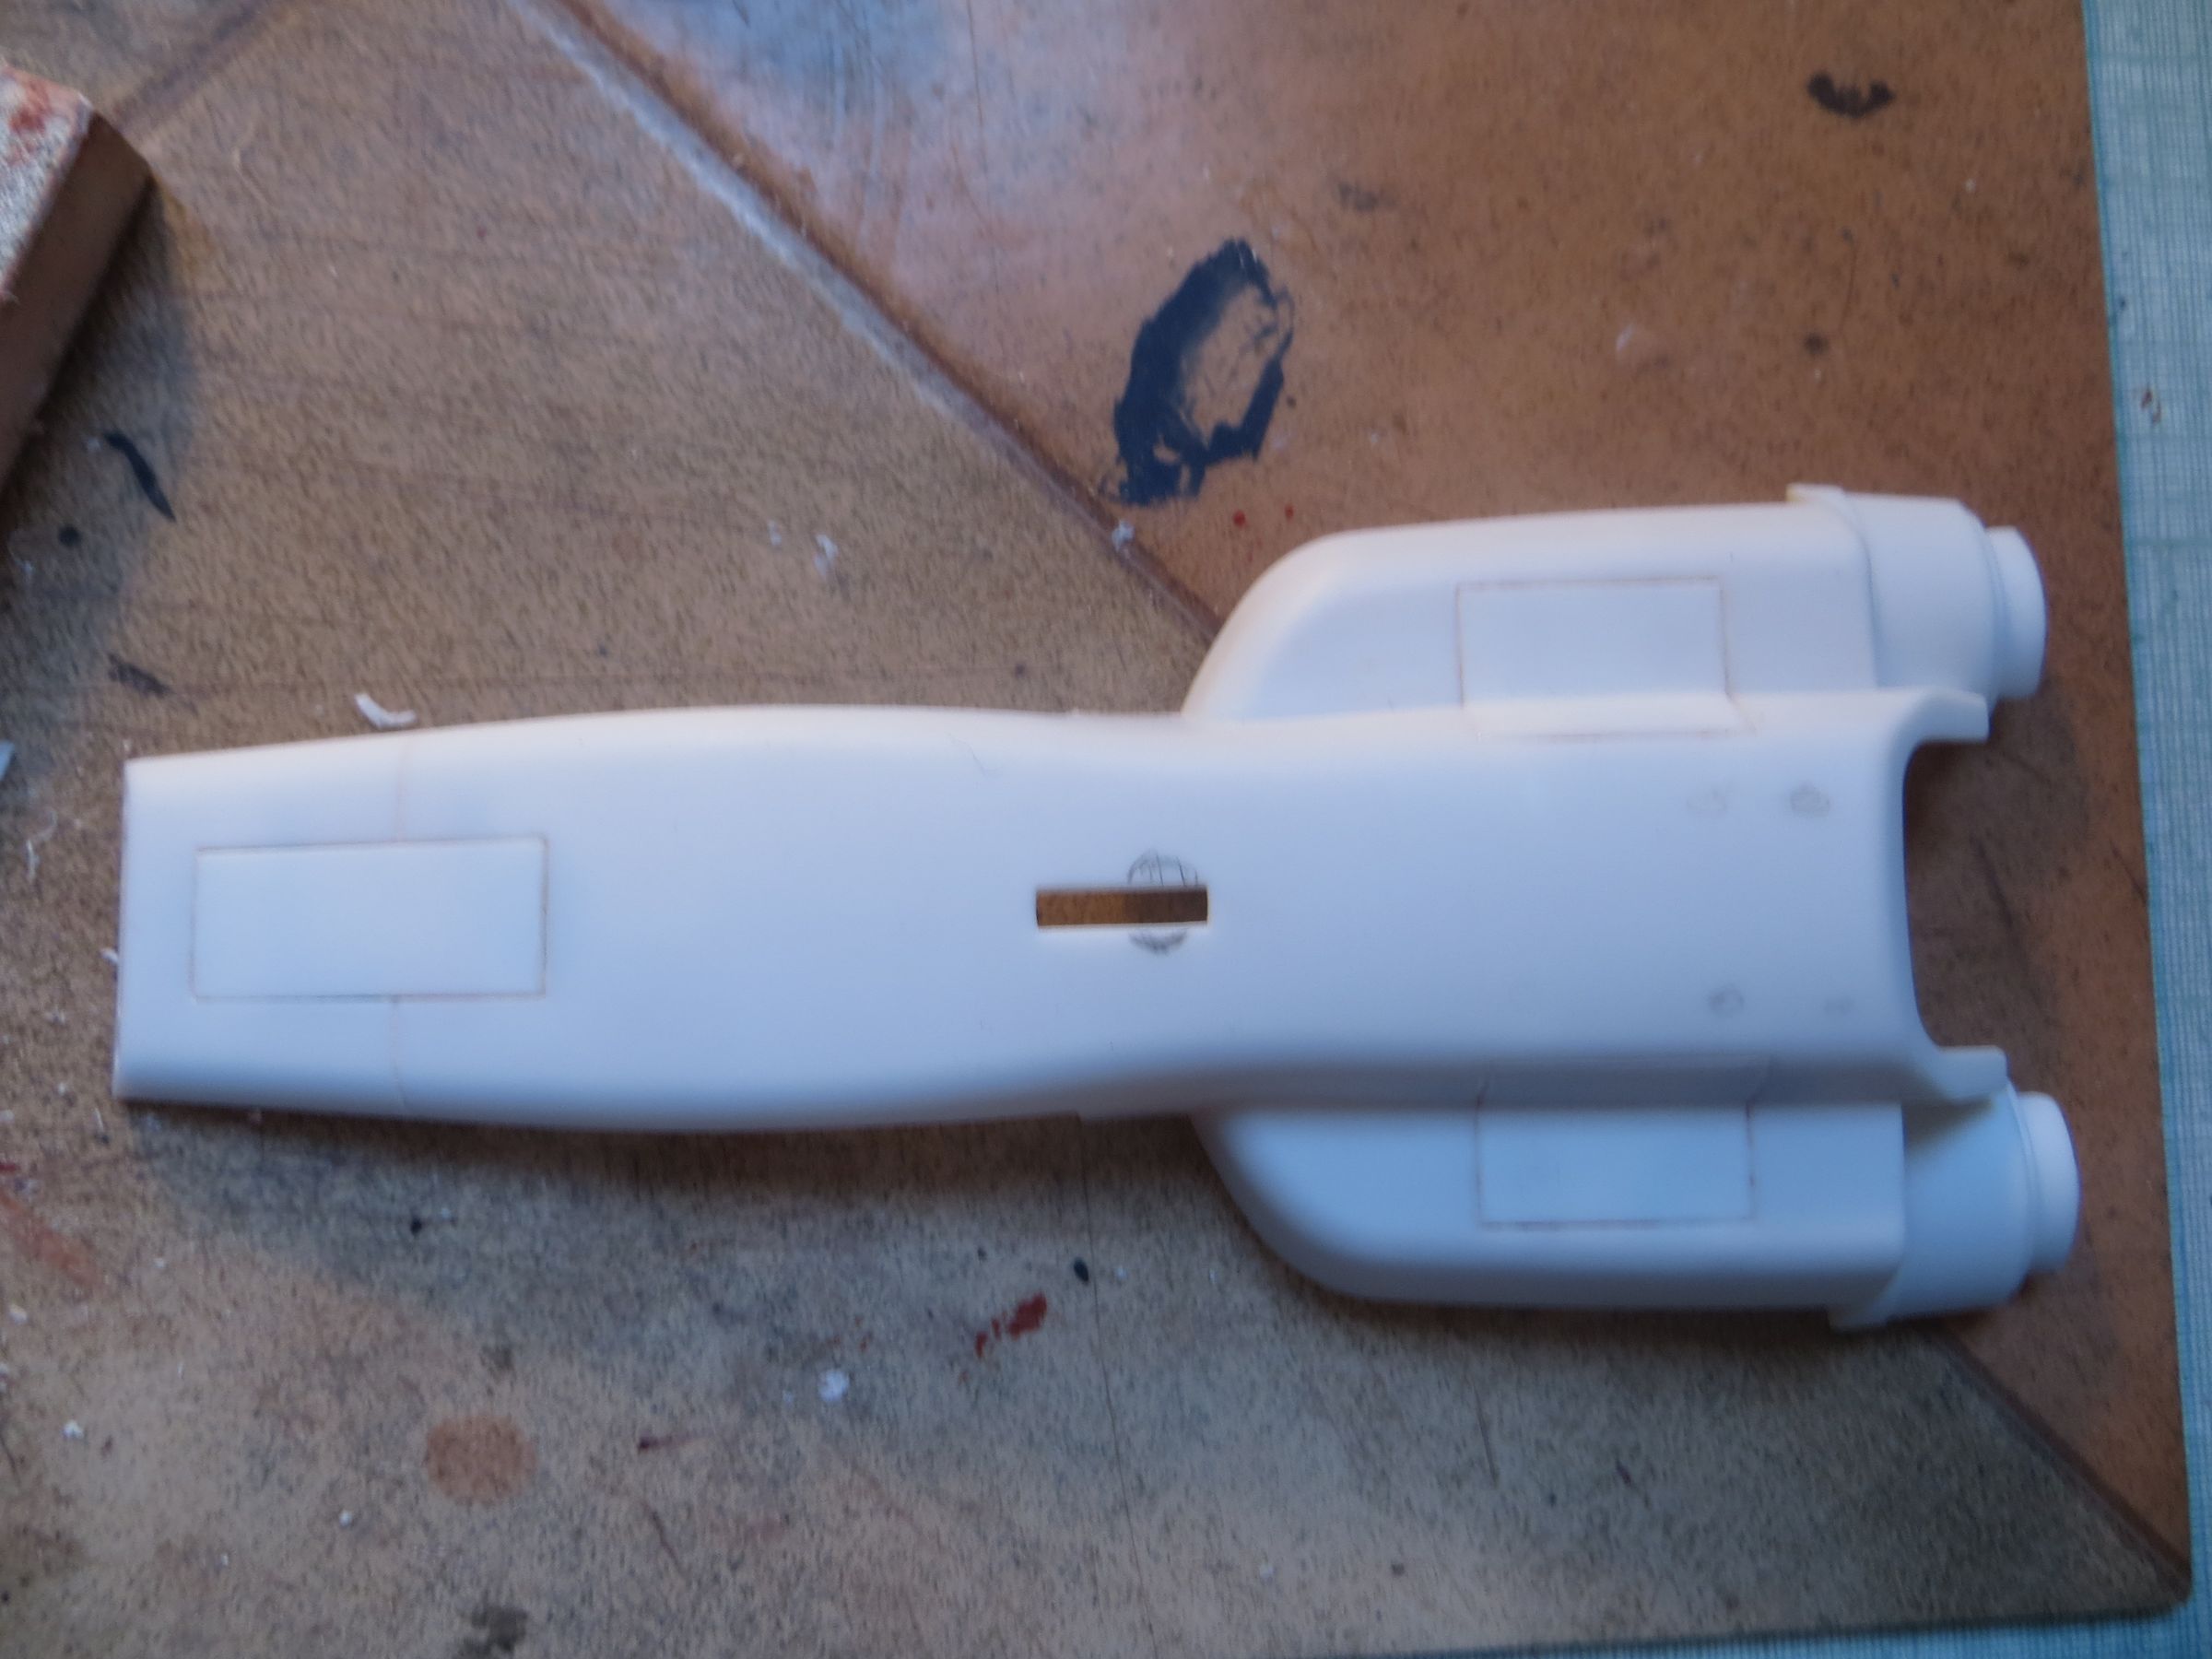
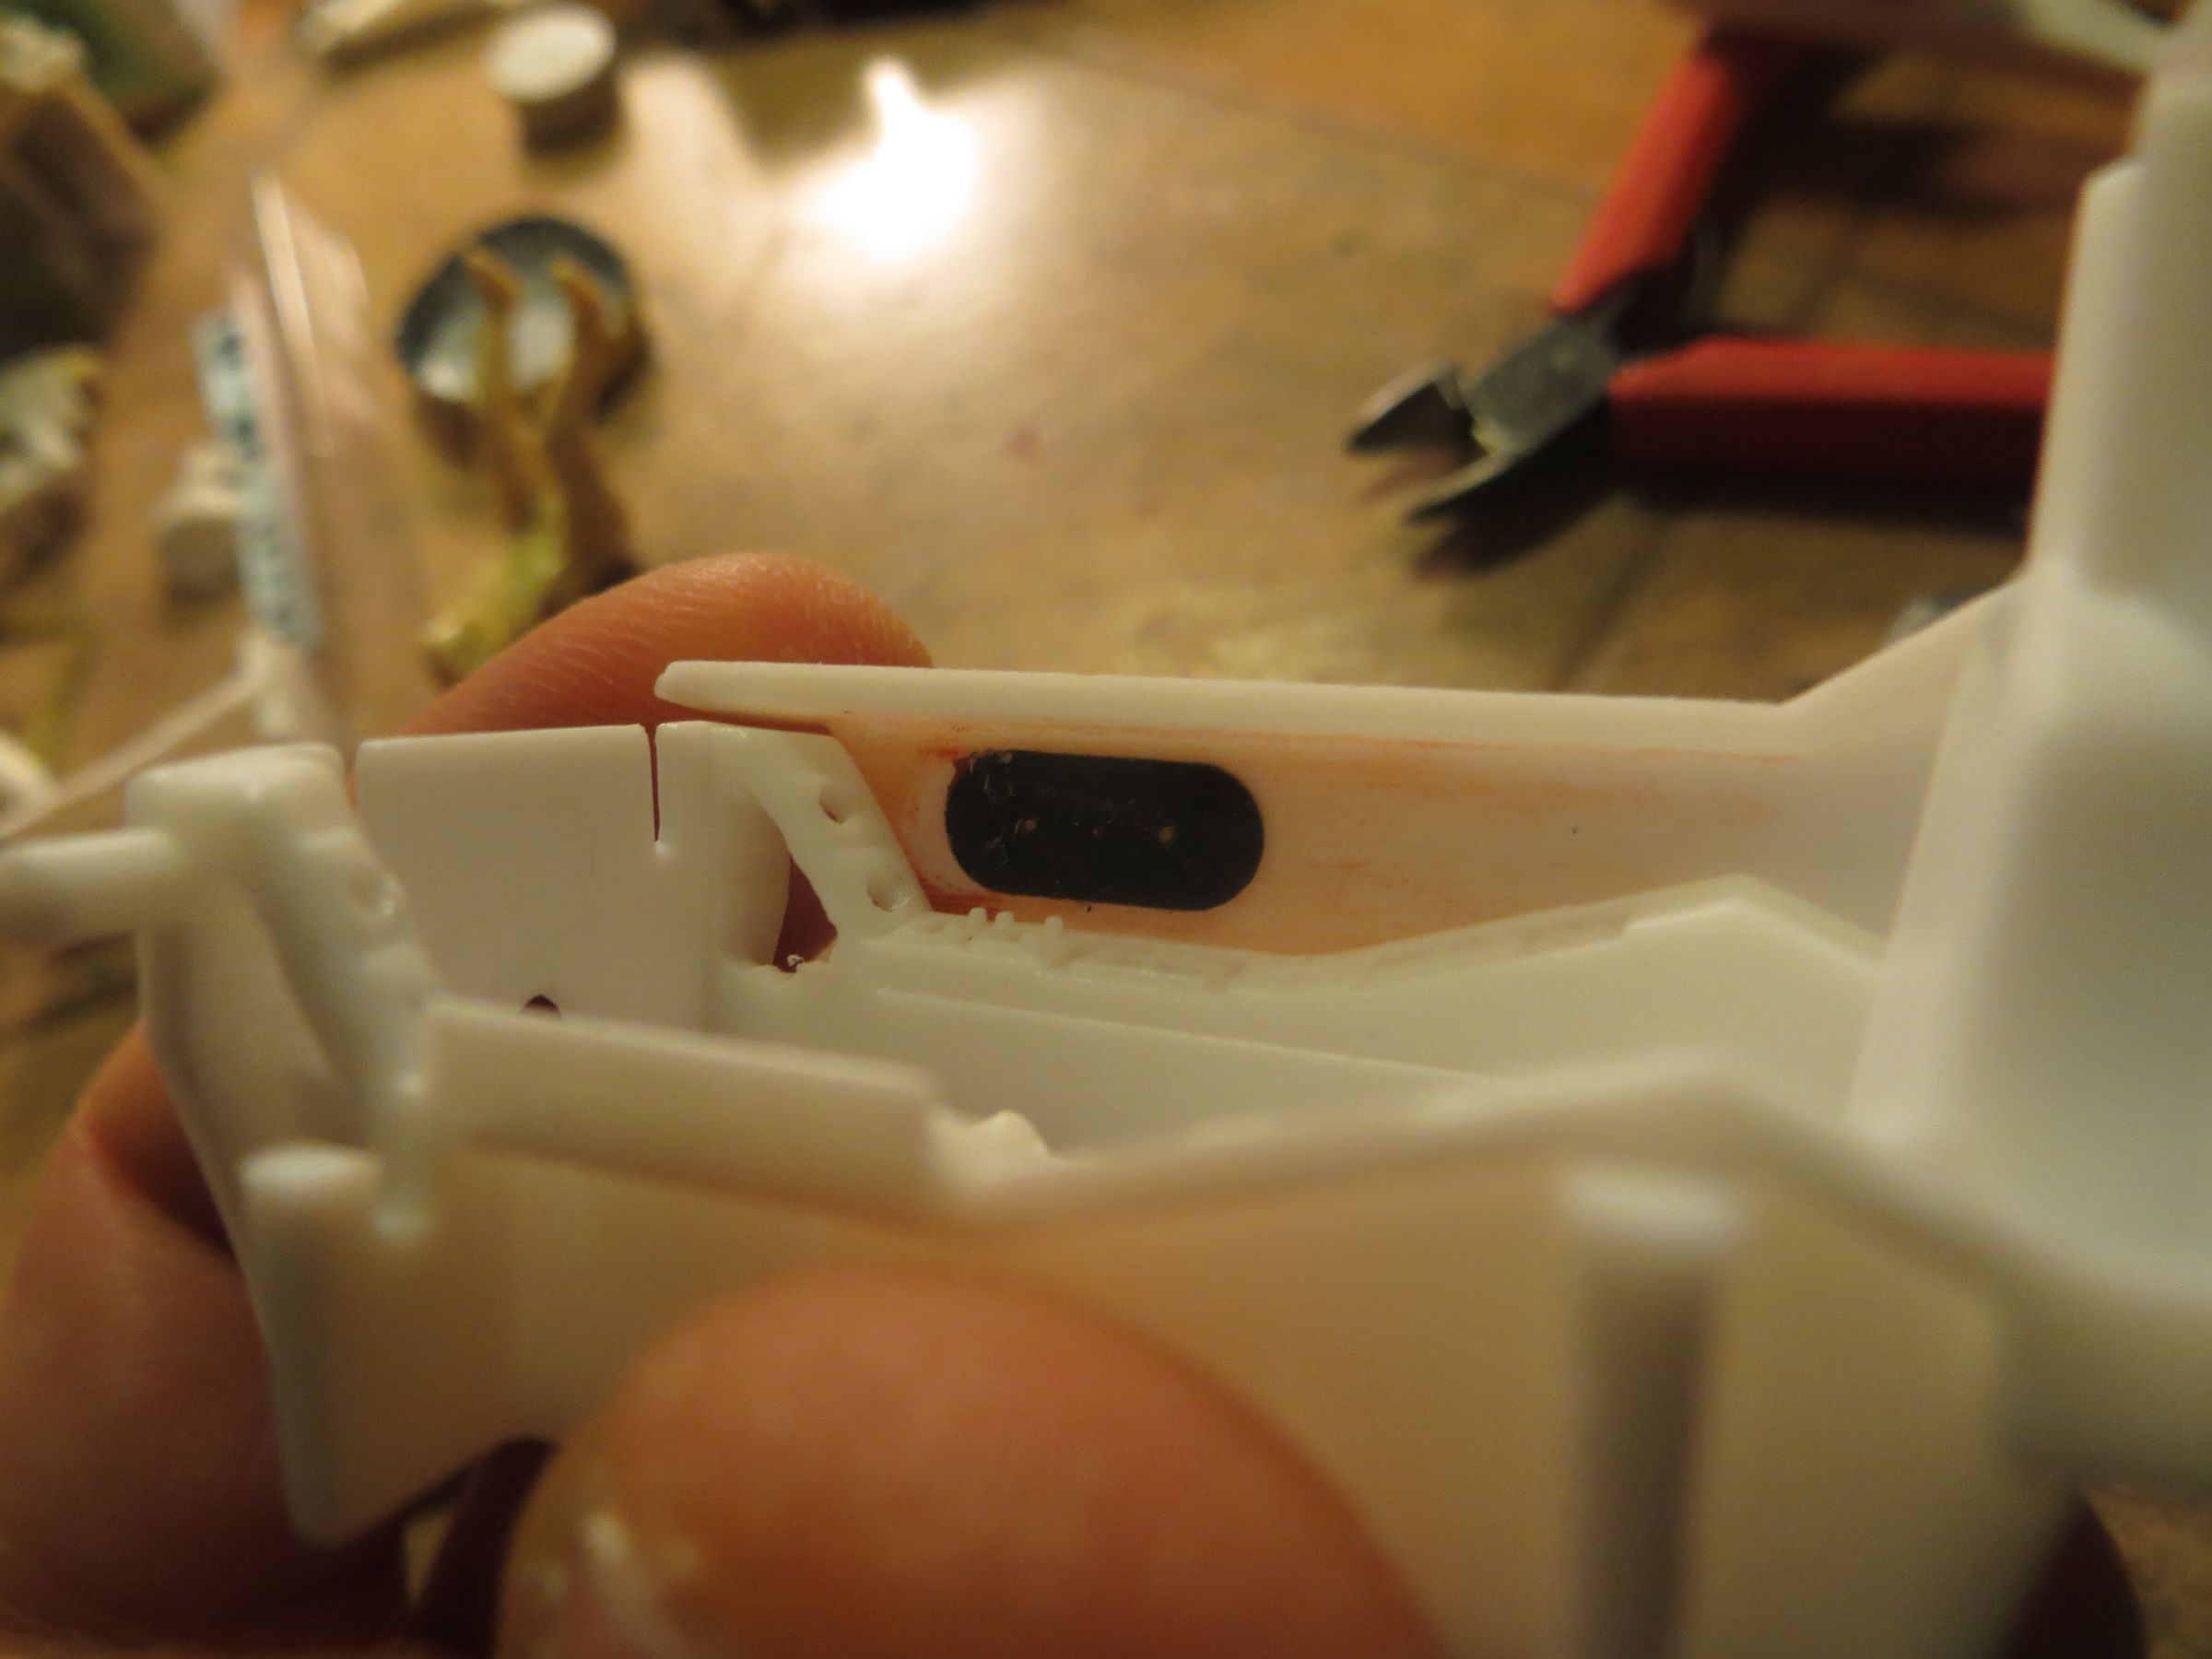
For the light source of the optical fibers going to the wing ends, I installed a LED (warm white covered with Tamiya clear red, as I did not have a red LED on hand) into the caps (lightning kit again) glued over flaps of the wings. The optical fibers are inserted into the tube. So, there is one led by wing in the corresponding air instake. I hesitated to install only one LED in the center of the vessel, but it became a little too sporty, and the empty spaces in the air intakes were welcoming.

Moebius Viper mk2 - Nozzles, cabin seam, verniers.

The nozzles are primed with black and the interior Alclad Jet Exhaust. Transparent plastic disk, frosted with sandpaper, are glued to their backwards to hide the LEDs and diffuse the light.

The assembly seam of the cabin is sanded after several days of drying. With the dose of glue I applied, I did preferred to leave time to the solvent to evaporate.

The bottom of the remaining problematic verniers were filled with a putty nuts, packed and shaped with a metal rod (here a drill bit for example).

The bottom of the air intake behind the cockpit is grooved to quickly simulate the thrusters petals.

Moebius Viper mk2 - Wings navigation lights and assembly of the cabin

Navigation lights on the wing ends are modified with some optical fiber. The lights are drilled, two cuts are made in the support tabs to bring the fibers in the cabin, which allows me to avoid to drill new holes there.

The fiber is held in place with tape Tamyia, and the wings are closed.


Both sides of the cabin are glued. I put a good amount of glue, and let it dry for a few days, to allow it to harden. We can already note that the cockpit seams will need work.

Test of the cockpit lighting (it looks better and more colorful in person)

Moebius Viper mk2 - Pilot permutation

The pilot will be replaced by the one from the mk7 kit, to allow me to switch to Starbuck/Kara in the mk2.

by cons, the original right arm is kept as the joysticks are not located in the same place (between the legs on mk2, and right on mk7) and thus the inclination of the arm varies.

At this scale, I was sad that the pilot's face cannot be see, so I hollowed out the helmet visor and inserted a face from a set of replacement heads from the old MMI upgrade set for Viper mk1 (TOS Monogram/Revell).

The pilot of the Viper mk7 is modified at the same time.

mercredi, 15 janvier 2014

Moebius Viper mk2 - Cables and hoses

Cables and hoses are added to the technical parts. I followed the full-size model, exhibited at the Expo SF in Paris - La Villette, so they are not symmetrical.

mardi, 14 janvier 2014

Moebius Viper mk2 - Verniers and nozzles

To hollow the verniers, I printed to scale ZOIC blueprints found on the web.

They are then closed from behind with plastic card.

Except some on the nose, where they fall on the air inlet grid (that's the magic of computer graphics : a hole can be filled to its opposite). I will deal them after assembly of the cabin.

Gas caps are hollowed like the verniers.

In the nozzles, the center circle is drilled, which will be good enough for an interesting lighting with the small existing squared openings around.

Plastic discs are trimed to hold the blue LED. For the top nozzle, the hole is directly formed in the part. To ensure proper holding of the LED, I added an additional layer on each disc.

jeudi, 9 janvier 2014

Lighting cockpit, electric plug preparation

A first LED is located behind the dashboard. It is held in place with a part tip from the old ERTL lighting kit (closed at one end with two pre-drilled holes). The LED is held with white glue.

Under the armrests. It's a bit more complicated. If the LED is easily maintained by 2 holes in the plastic tub. I installed a plastic wall to prevent the light to be apparent in transparency of the cabin, and again act as a reflector for the buttons and dials. It is then covered with masking tape (so it will not unstick inadvertently), itself painted in black (just in case of).


Initially I thought replacing the gun's mouth with a syringe. Finally, it was enough to drill them.


As the fighter will be exhibit in flight, the gears flaps are closed. The bonding is reinforced from behind with spares plastic tips.


The supply of the electrical powder is done with a conventional plug power adapter, which will also be the support plug. It is therefore necessary to modify the cabin to receive the socket.

I open a good area of the cabin in order to work in, while leaving a small tab hold the socket in place. The small lips that held the original supplied support are leveled to insert the socket. The rectangular opening is modified to hollow the plug to go through. The lip stubs will avoid it shifts.

As the socket was a little too long, I sanded the metal tip (a few seconds on a sanding disc). This also allows me to cactch up the thickness of the plastic, and fortunately, the plug fits more tightly, which suits me.

dimanche, 22 décembre 2013

Moebius Viper mk2 - Improving the cockpit

Overall, I found the cockpit is reasonably well detailed. And with some improvements, and a good paintjob, upgrade photoetched will be superfluous.

In fact, it essentially lacks a good set of round dials. I marked the locations and drilled the plastic with different diameters bits and drills on the Dremel .

At that moment, I was not decided to light the model, and I did not perforate completely. My intention was, before paint them, to put a drop of white at the bottom of each dial to highlighted them.

With the lighting, I did break through all dials with the dremel. With a thin bit, I also drilled the tiny buttons, but I drift a little and they are not very straight...

I hollowed the sides to allow the light scattered from the led that will be installed behind the dashboard.

Before installing the LED, I applied the base color of the cockpit : primer and base of light gray Tamiya xf66.

2 wires are added behind the headrest. I thought it was the ejection handles, but it looks like hoses.

I get back on the non-aligned buttons, widened the hole and covered it with a small tab where the buttons were redone. At the same time, I filled an edge damaged during drilling dials.

Then I finish to paint the cockpit. All dials and screens are covered from the back with a thin sheet of clear plastic (frosted with sandpaper to limit the direct light). I first tried to fill a dial with humbrol klear, and this is to avoid as solvents attack the paint. Then tried Microscale krystal klear, but that seemed a little opaque even after curing. So I swithed to frosted clear plastic tab.

I also use a small strip of white plastic card (not painted) will reflector in the center column between the legs of the driver, in order to clarify the three dials.

The dials are then painted with different colors clear paints (Tamiya or Gunze).

The two screens images (Dradis) were captures found on the web, printed on transparent decal paper and protected by a layer of microscale liquid decal film.

Moebius Viper mk2

As there are already a bunch of reviews this kit on the net, I will not take much time on this point, so quickly :

  • Overall good rendering of the shapes and proportions of this bird
  • the 30 small steering nozzles (or vernier ) missing if we represent the numerical model ( the full scale did not )
  • For once with Moebius, parts decomposition seems correctly designed, and should not lead to large fillings / sanding
  • The surface of most of the parts is slightly grainy and requires almost complete sanding.

  • landing gears lack details. As it will be depict flying, so theses area will be hidden.
  • The pilot is superb ... and in resin, which is not common in this type of model kit.
  • I find that the cockpit is quite well detailed and through a few mods, the PE set is not necessary here.
  • The bottom end of the air intake behind the cockpit will be improved, as well as the technical parts of the engine flank covers.

The pilot will be replaced by the mk7's one, whose torso give the coice for a man or a woman, which will allow me to depict Starbuck/Kara in his fighter.

I hesitated a lot if I was going to install the lighting in it, and it will be the case, although it significantly increases the assembly time.

page 2 de 2 -