OlCabour's Hangar

Aller au contenu | Aller au menu | Aller à la recherche

vendredi, 9 août 2013

Cylon Tanker - Correcting the front module

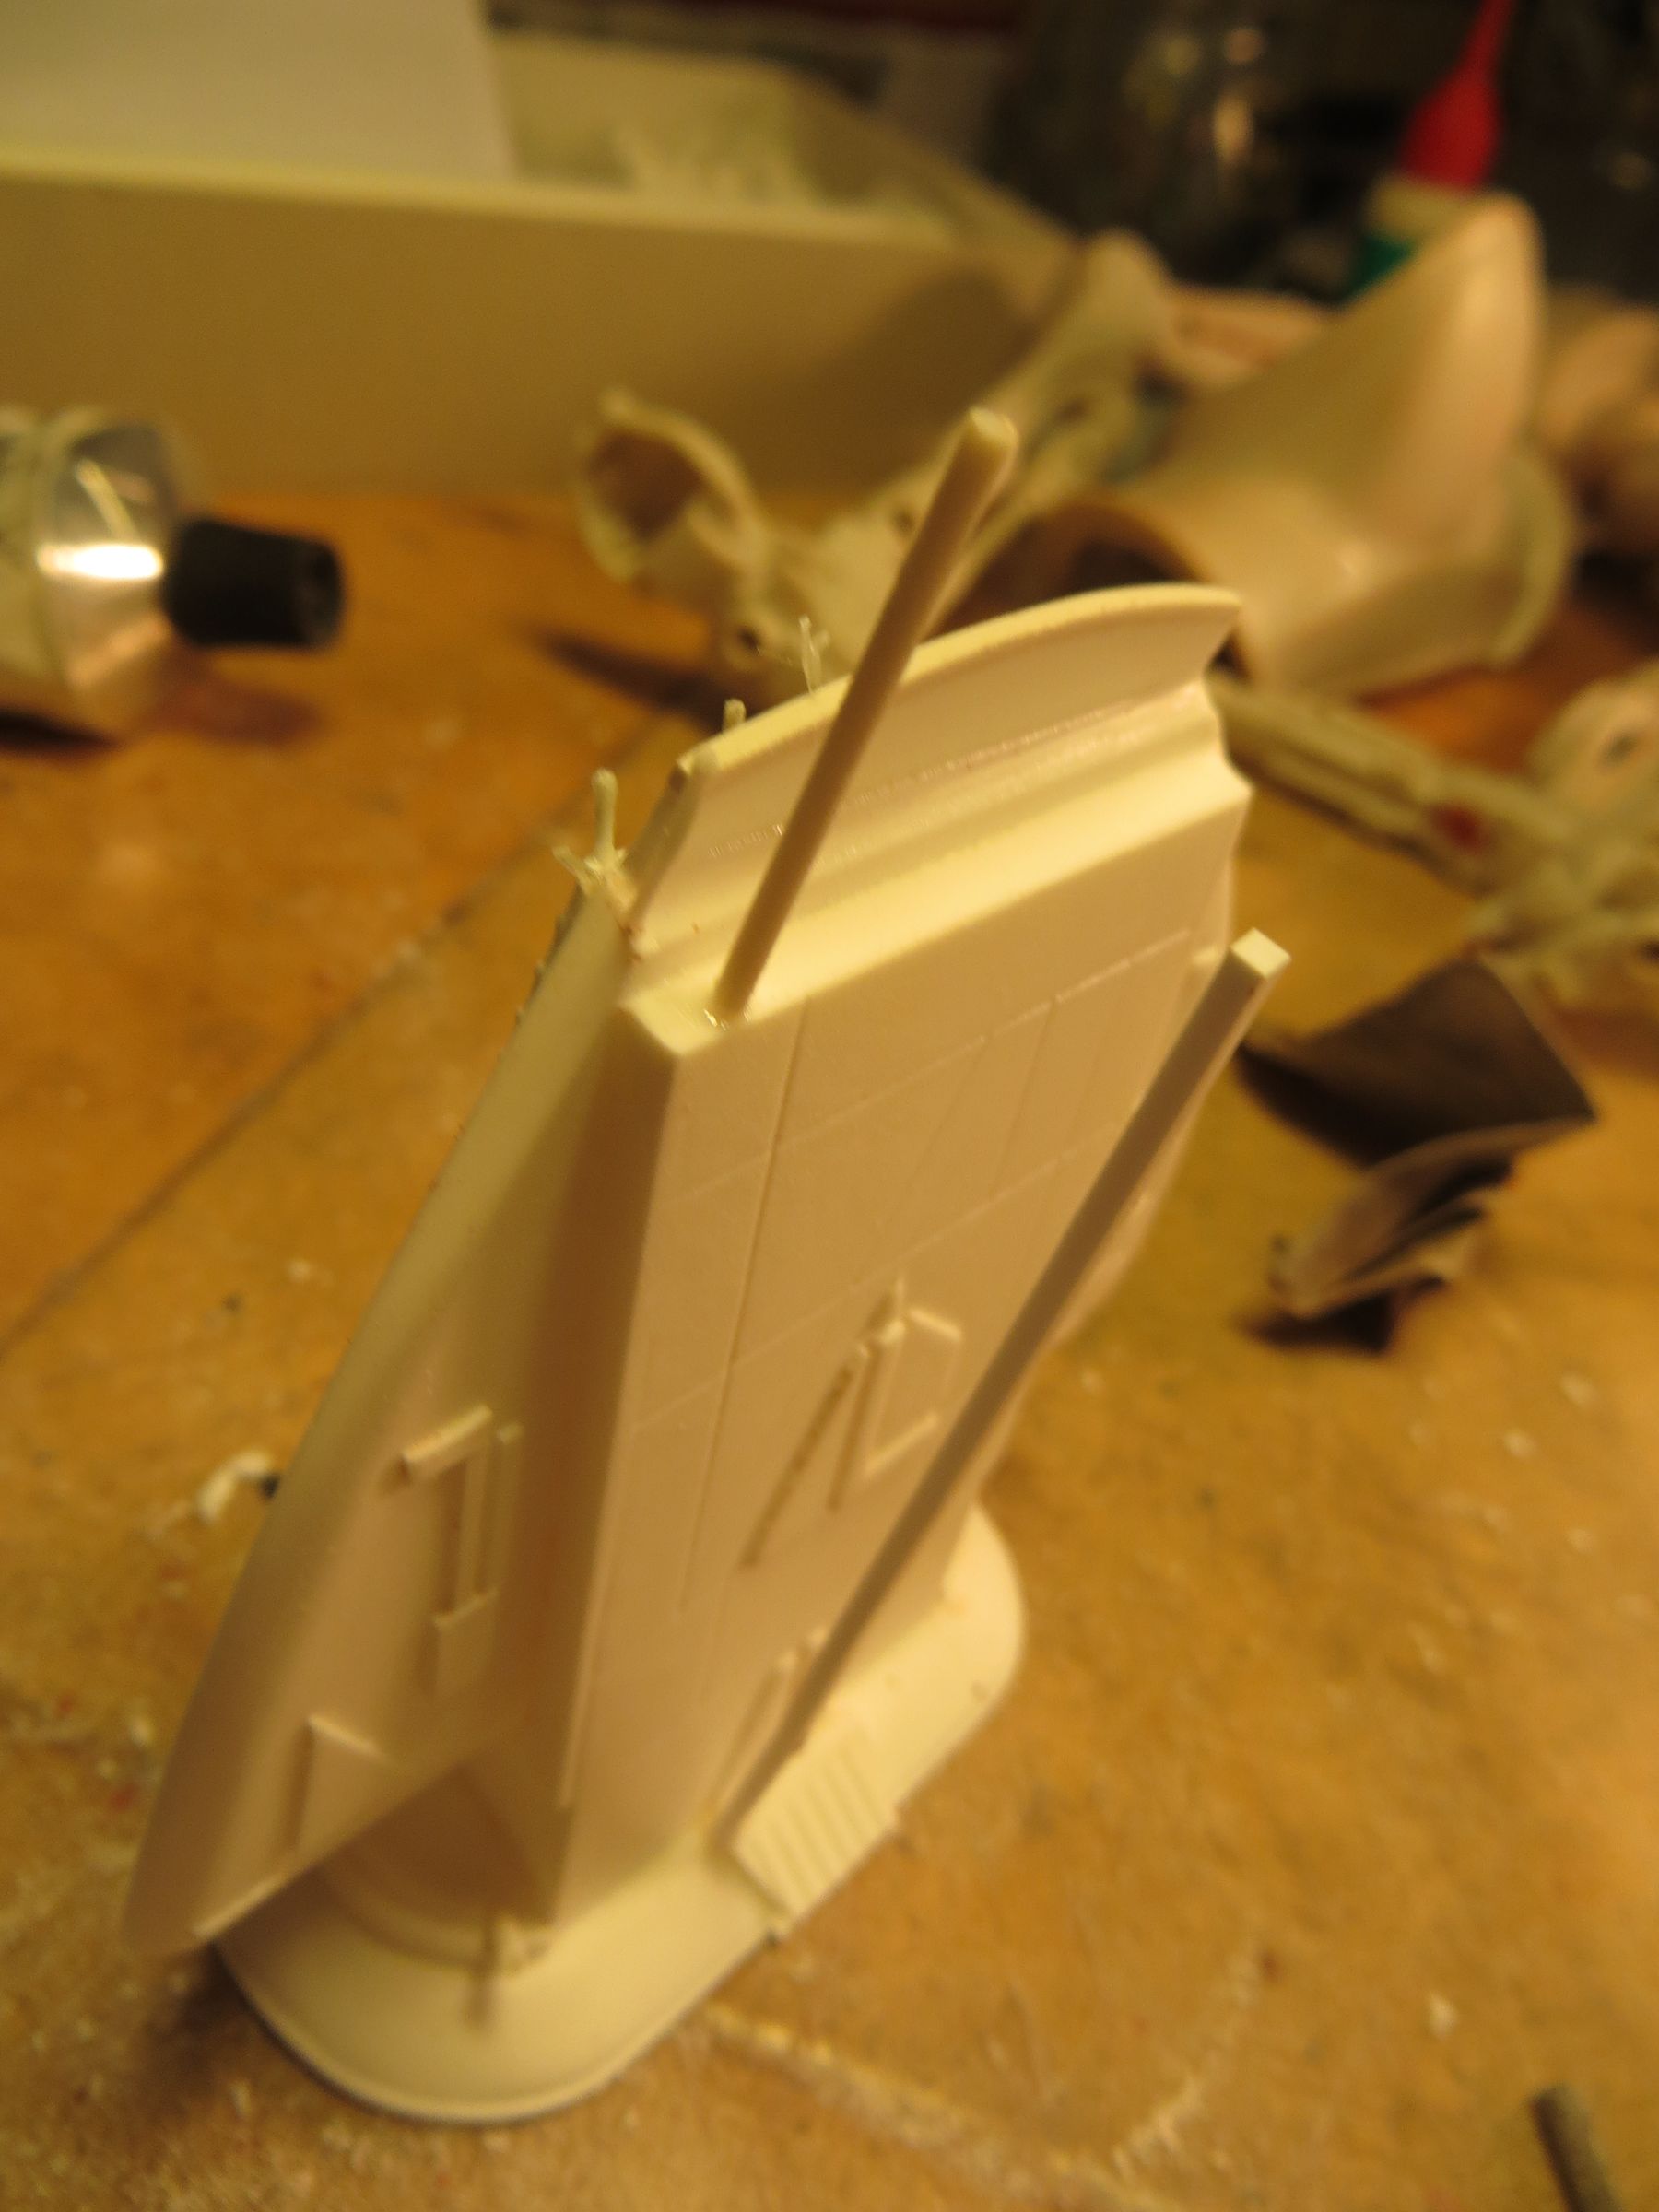
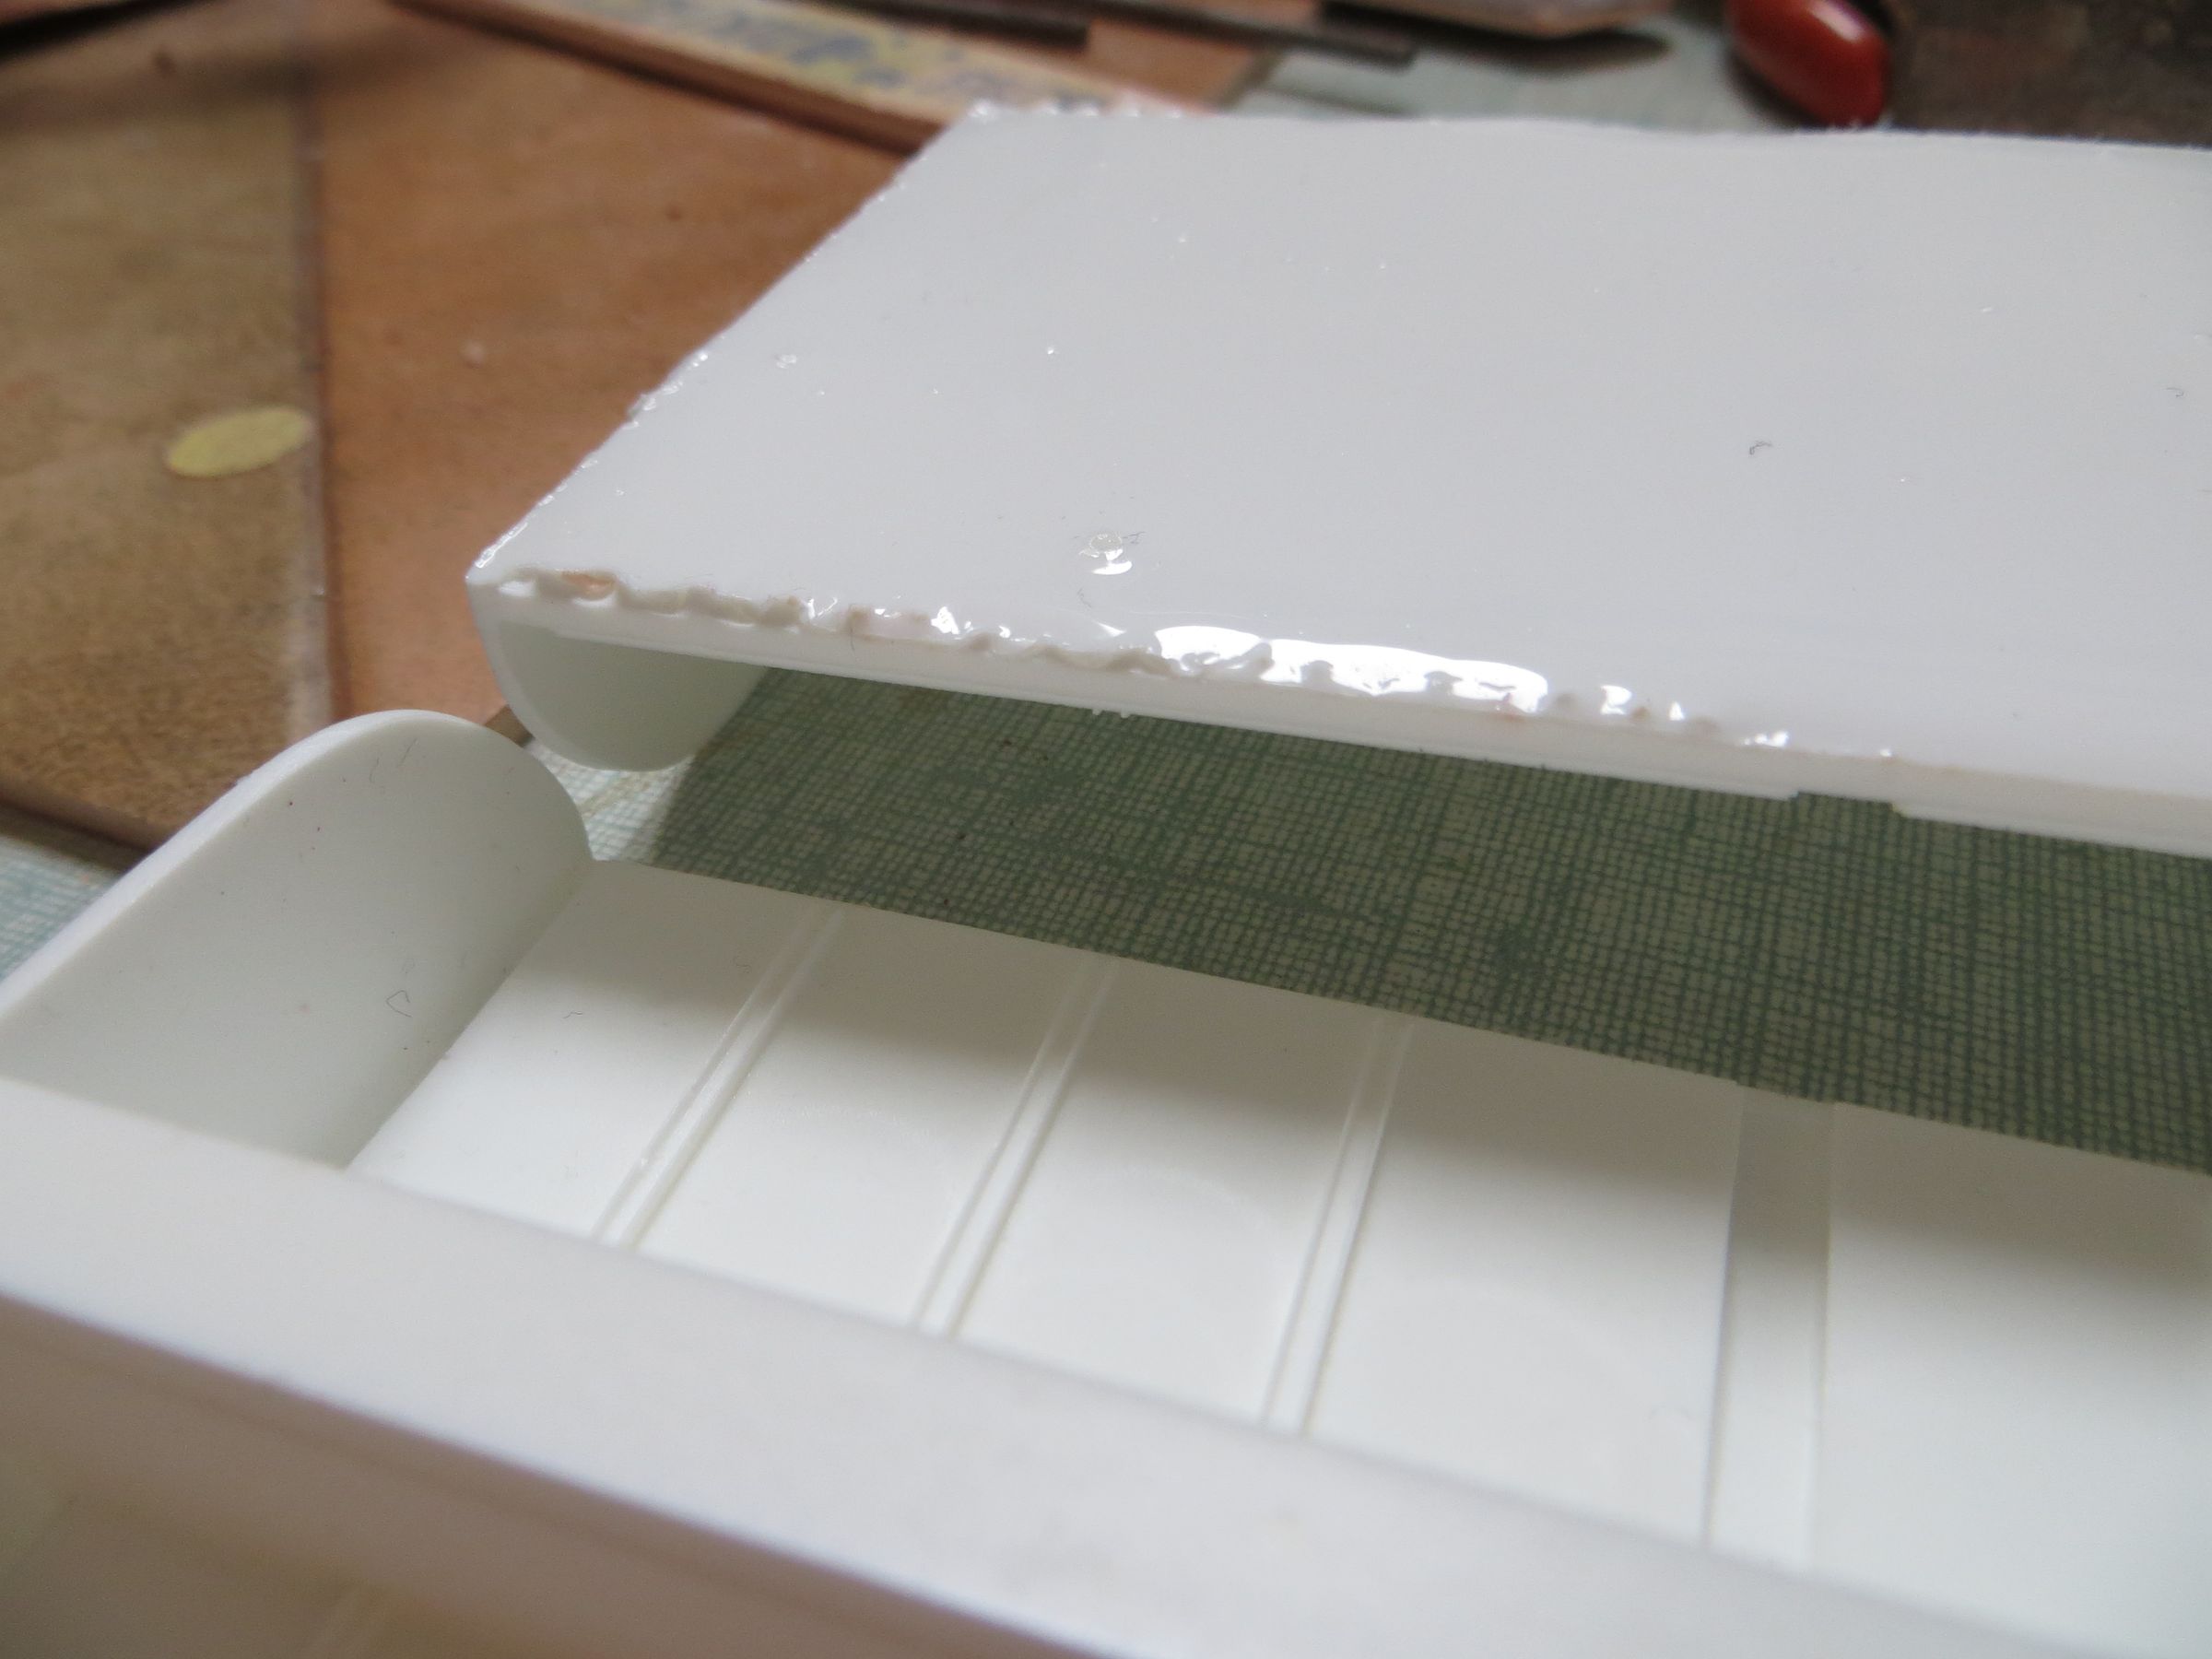
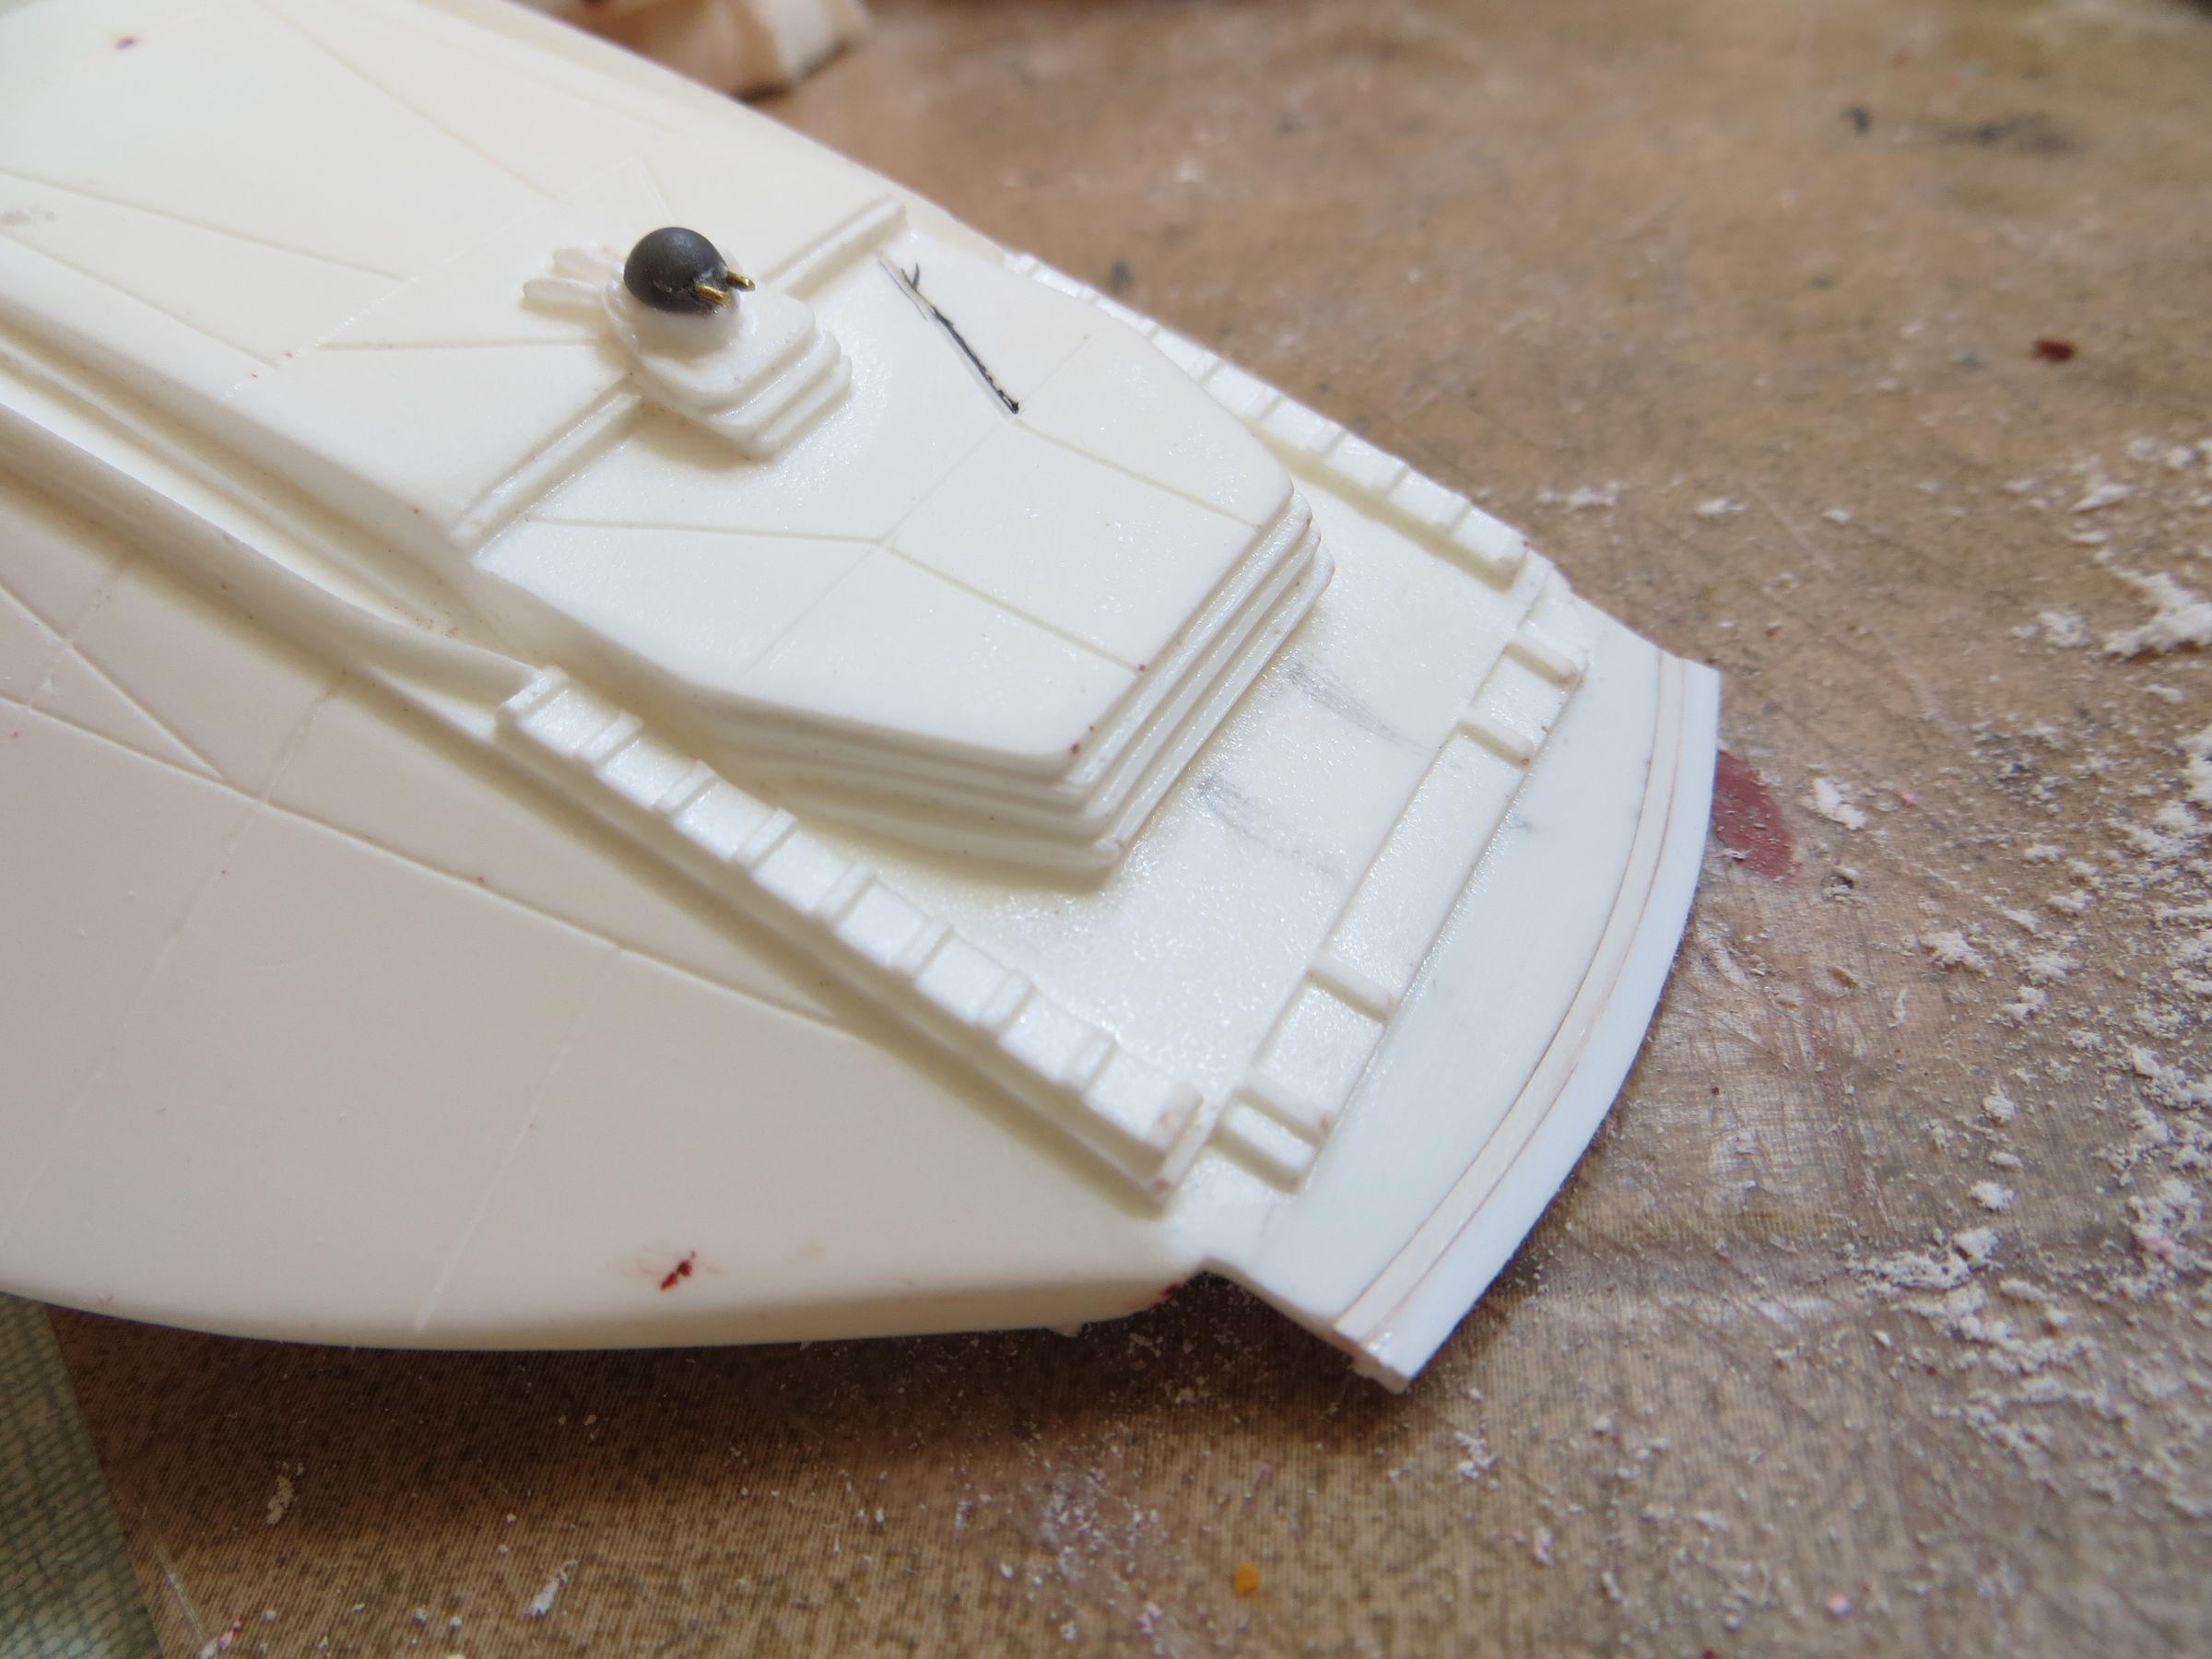
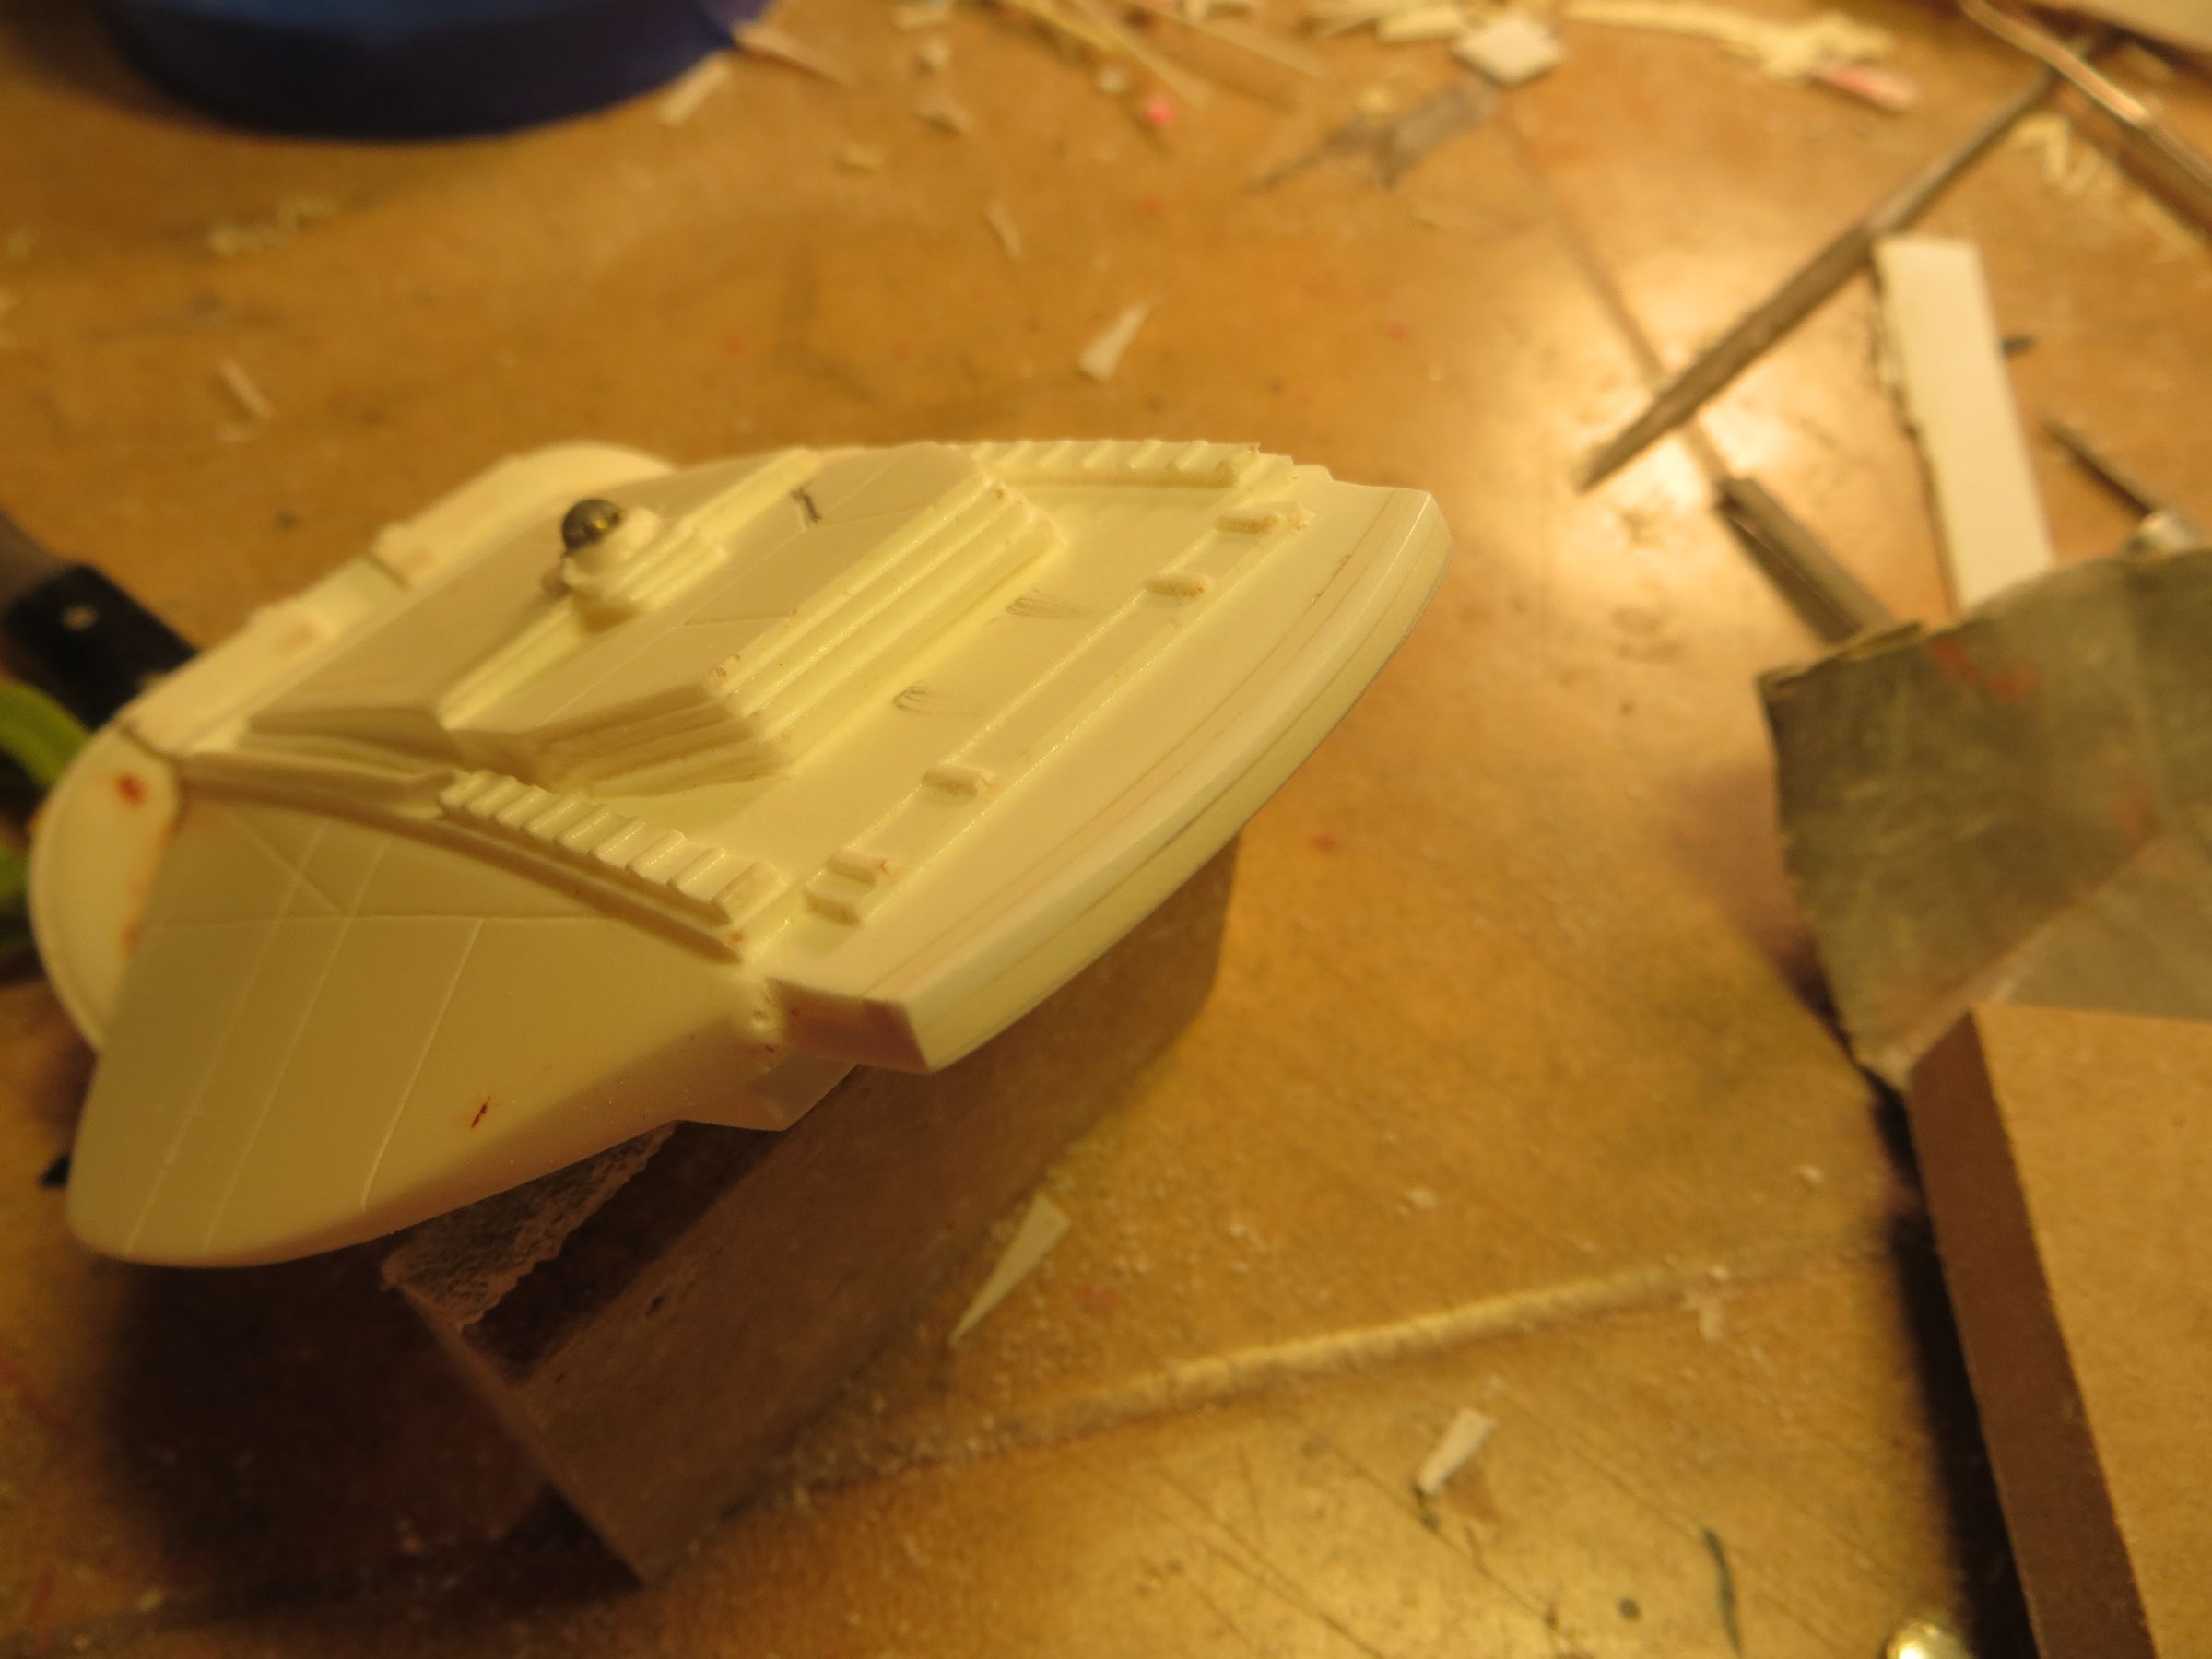
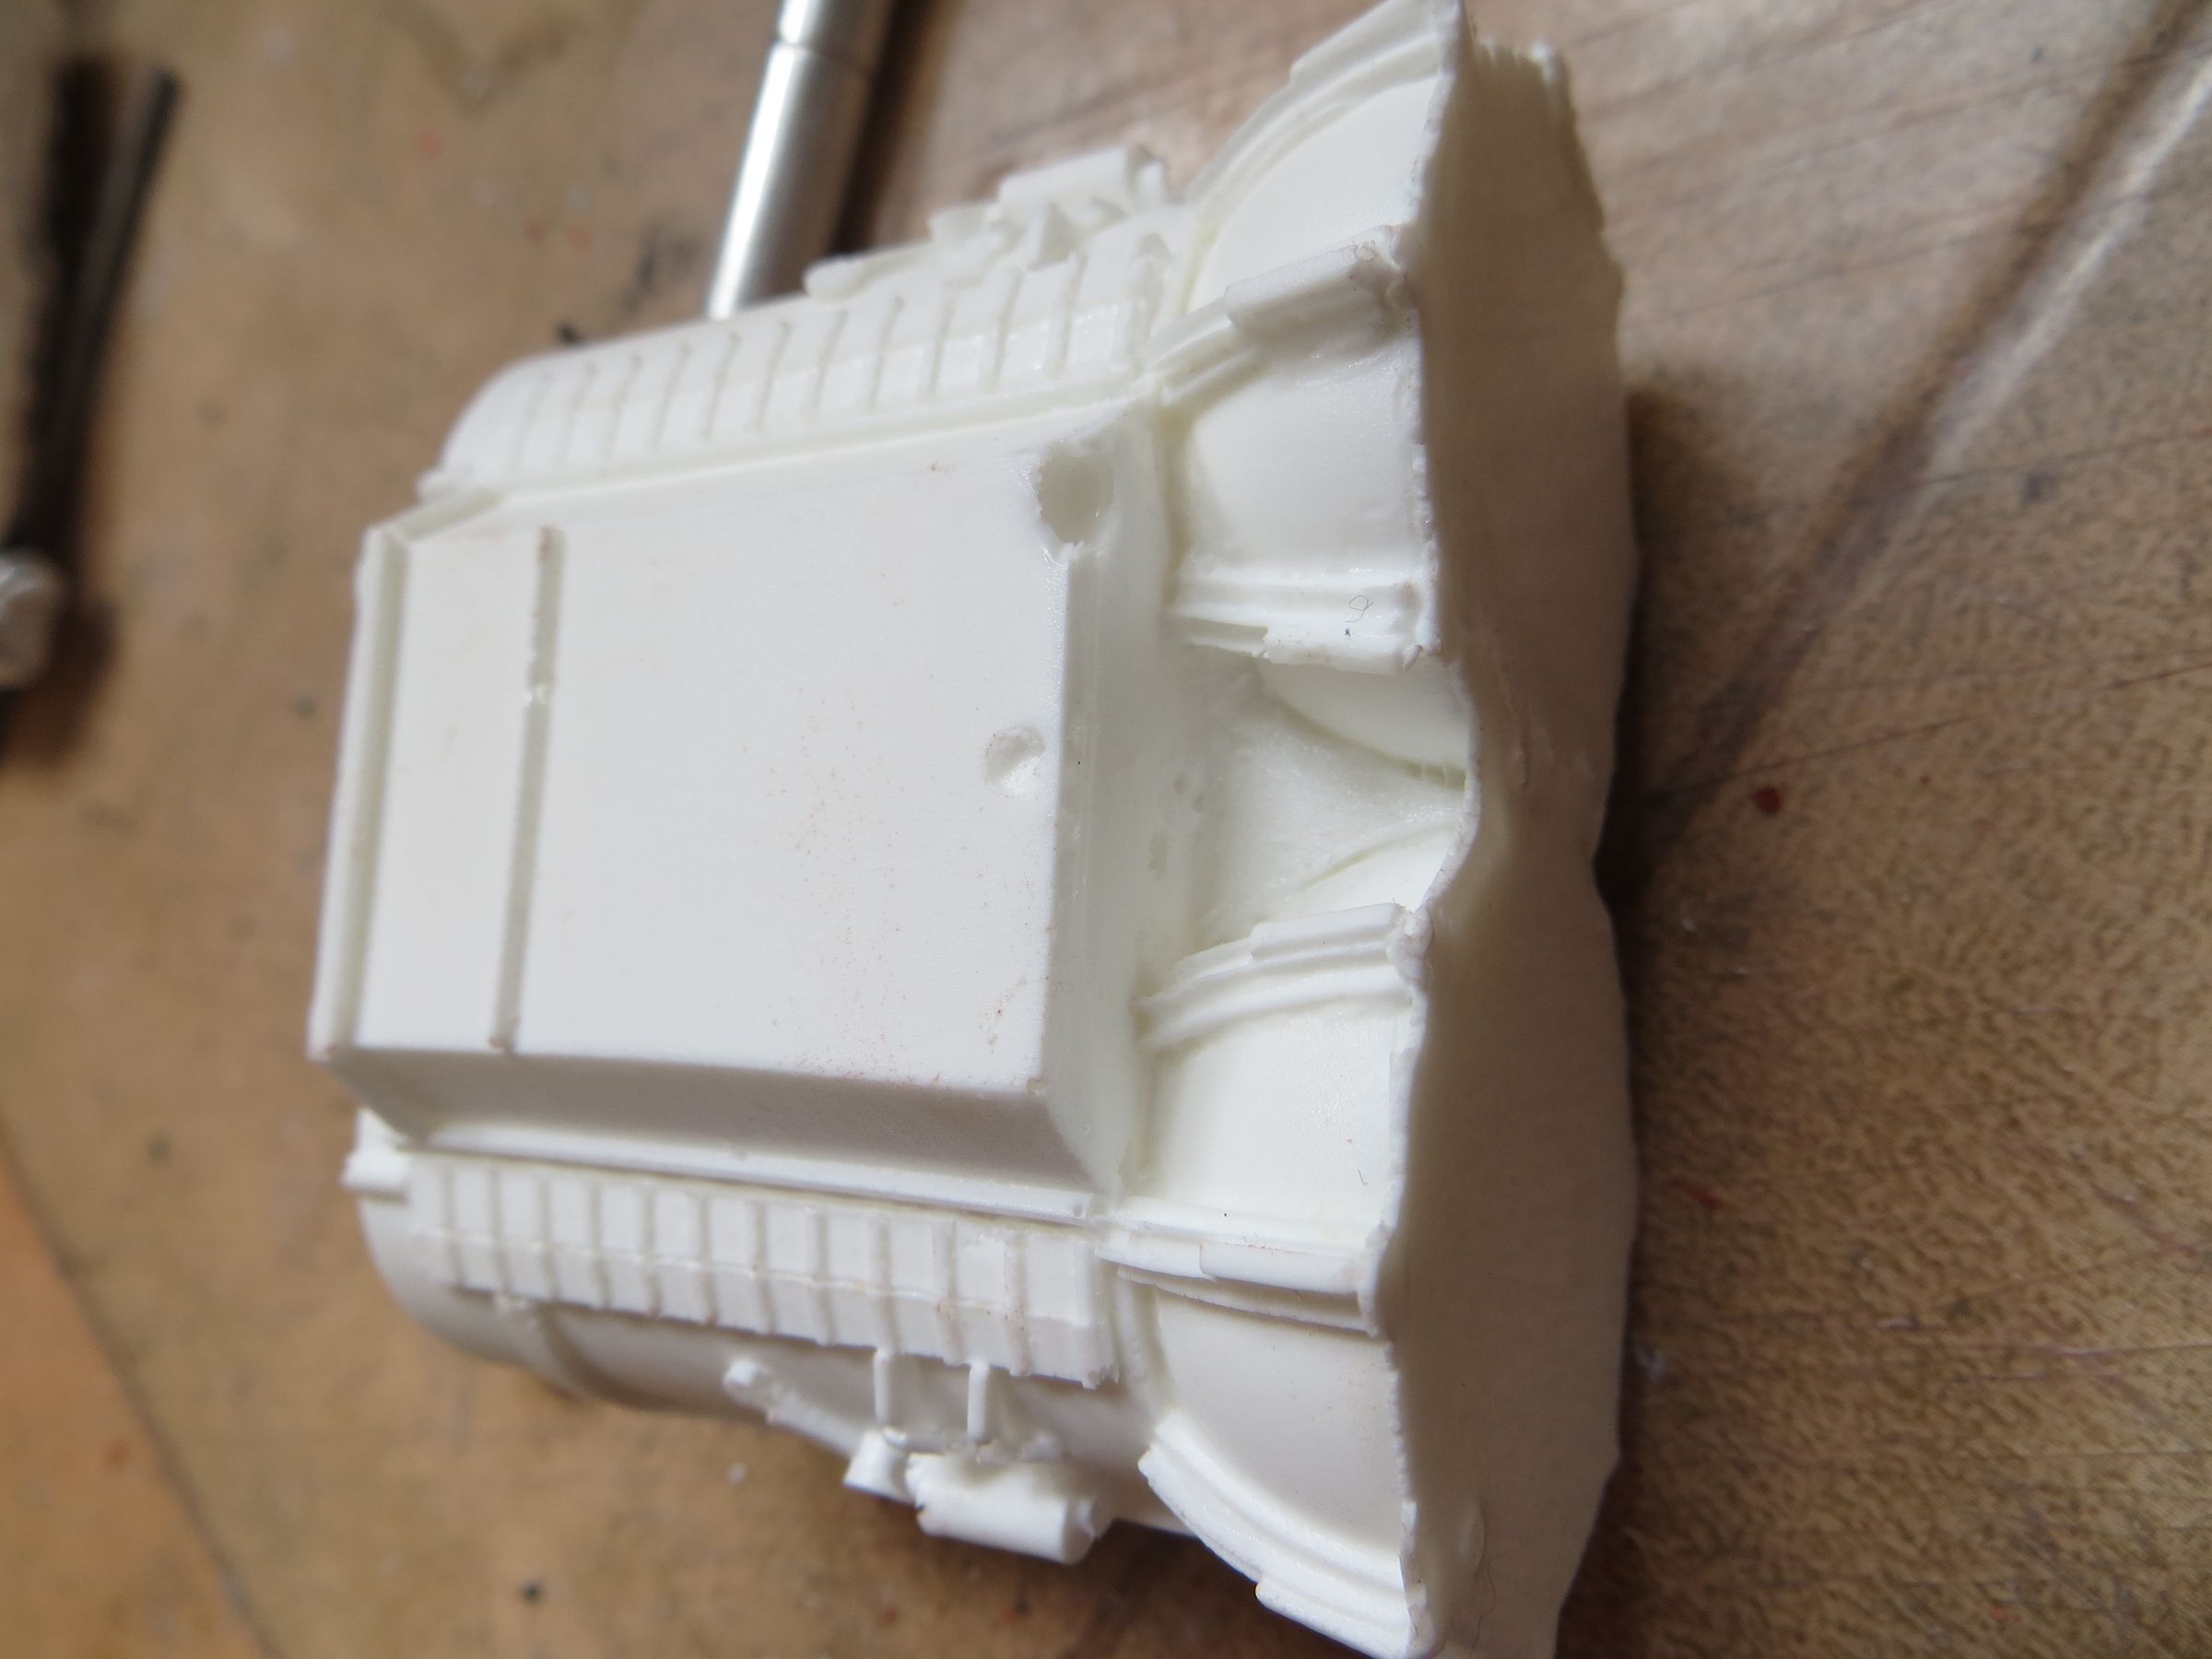
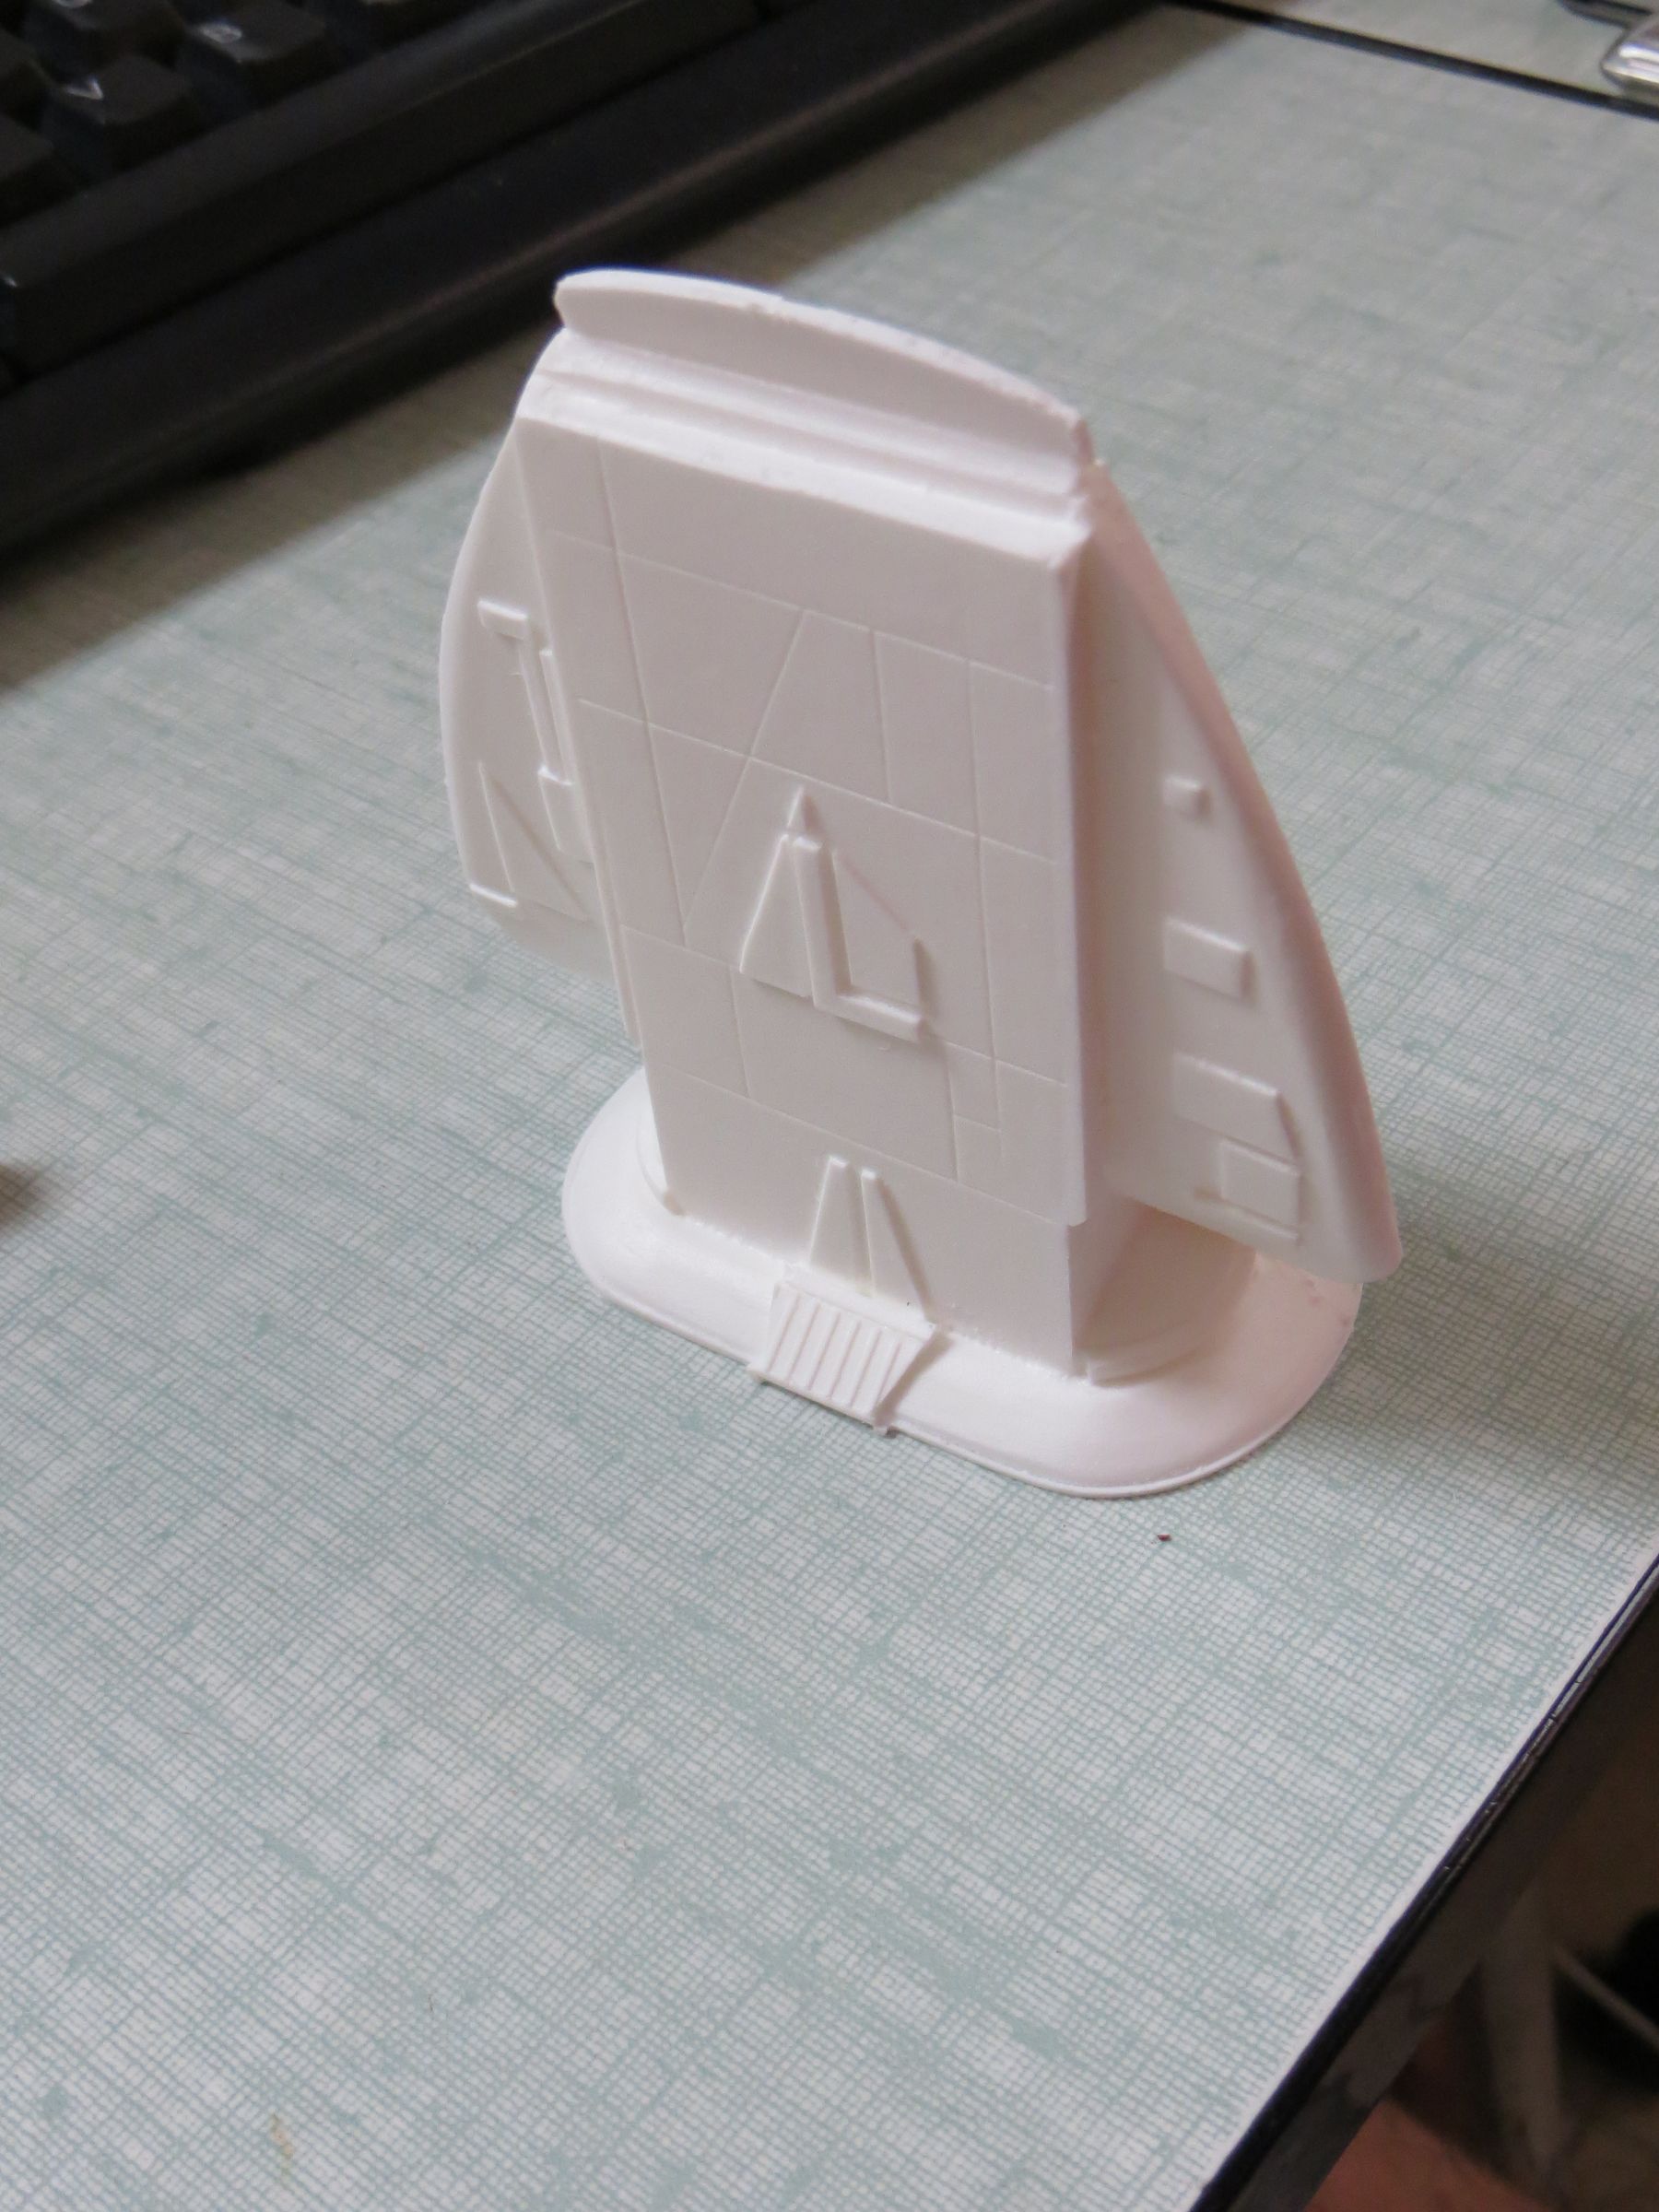
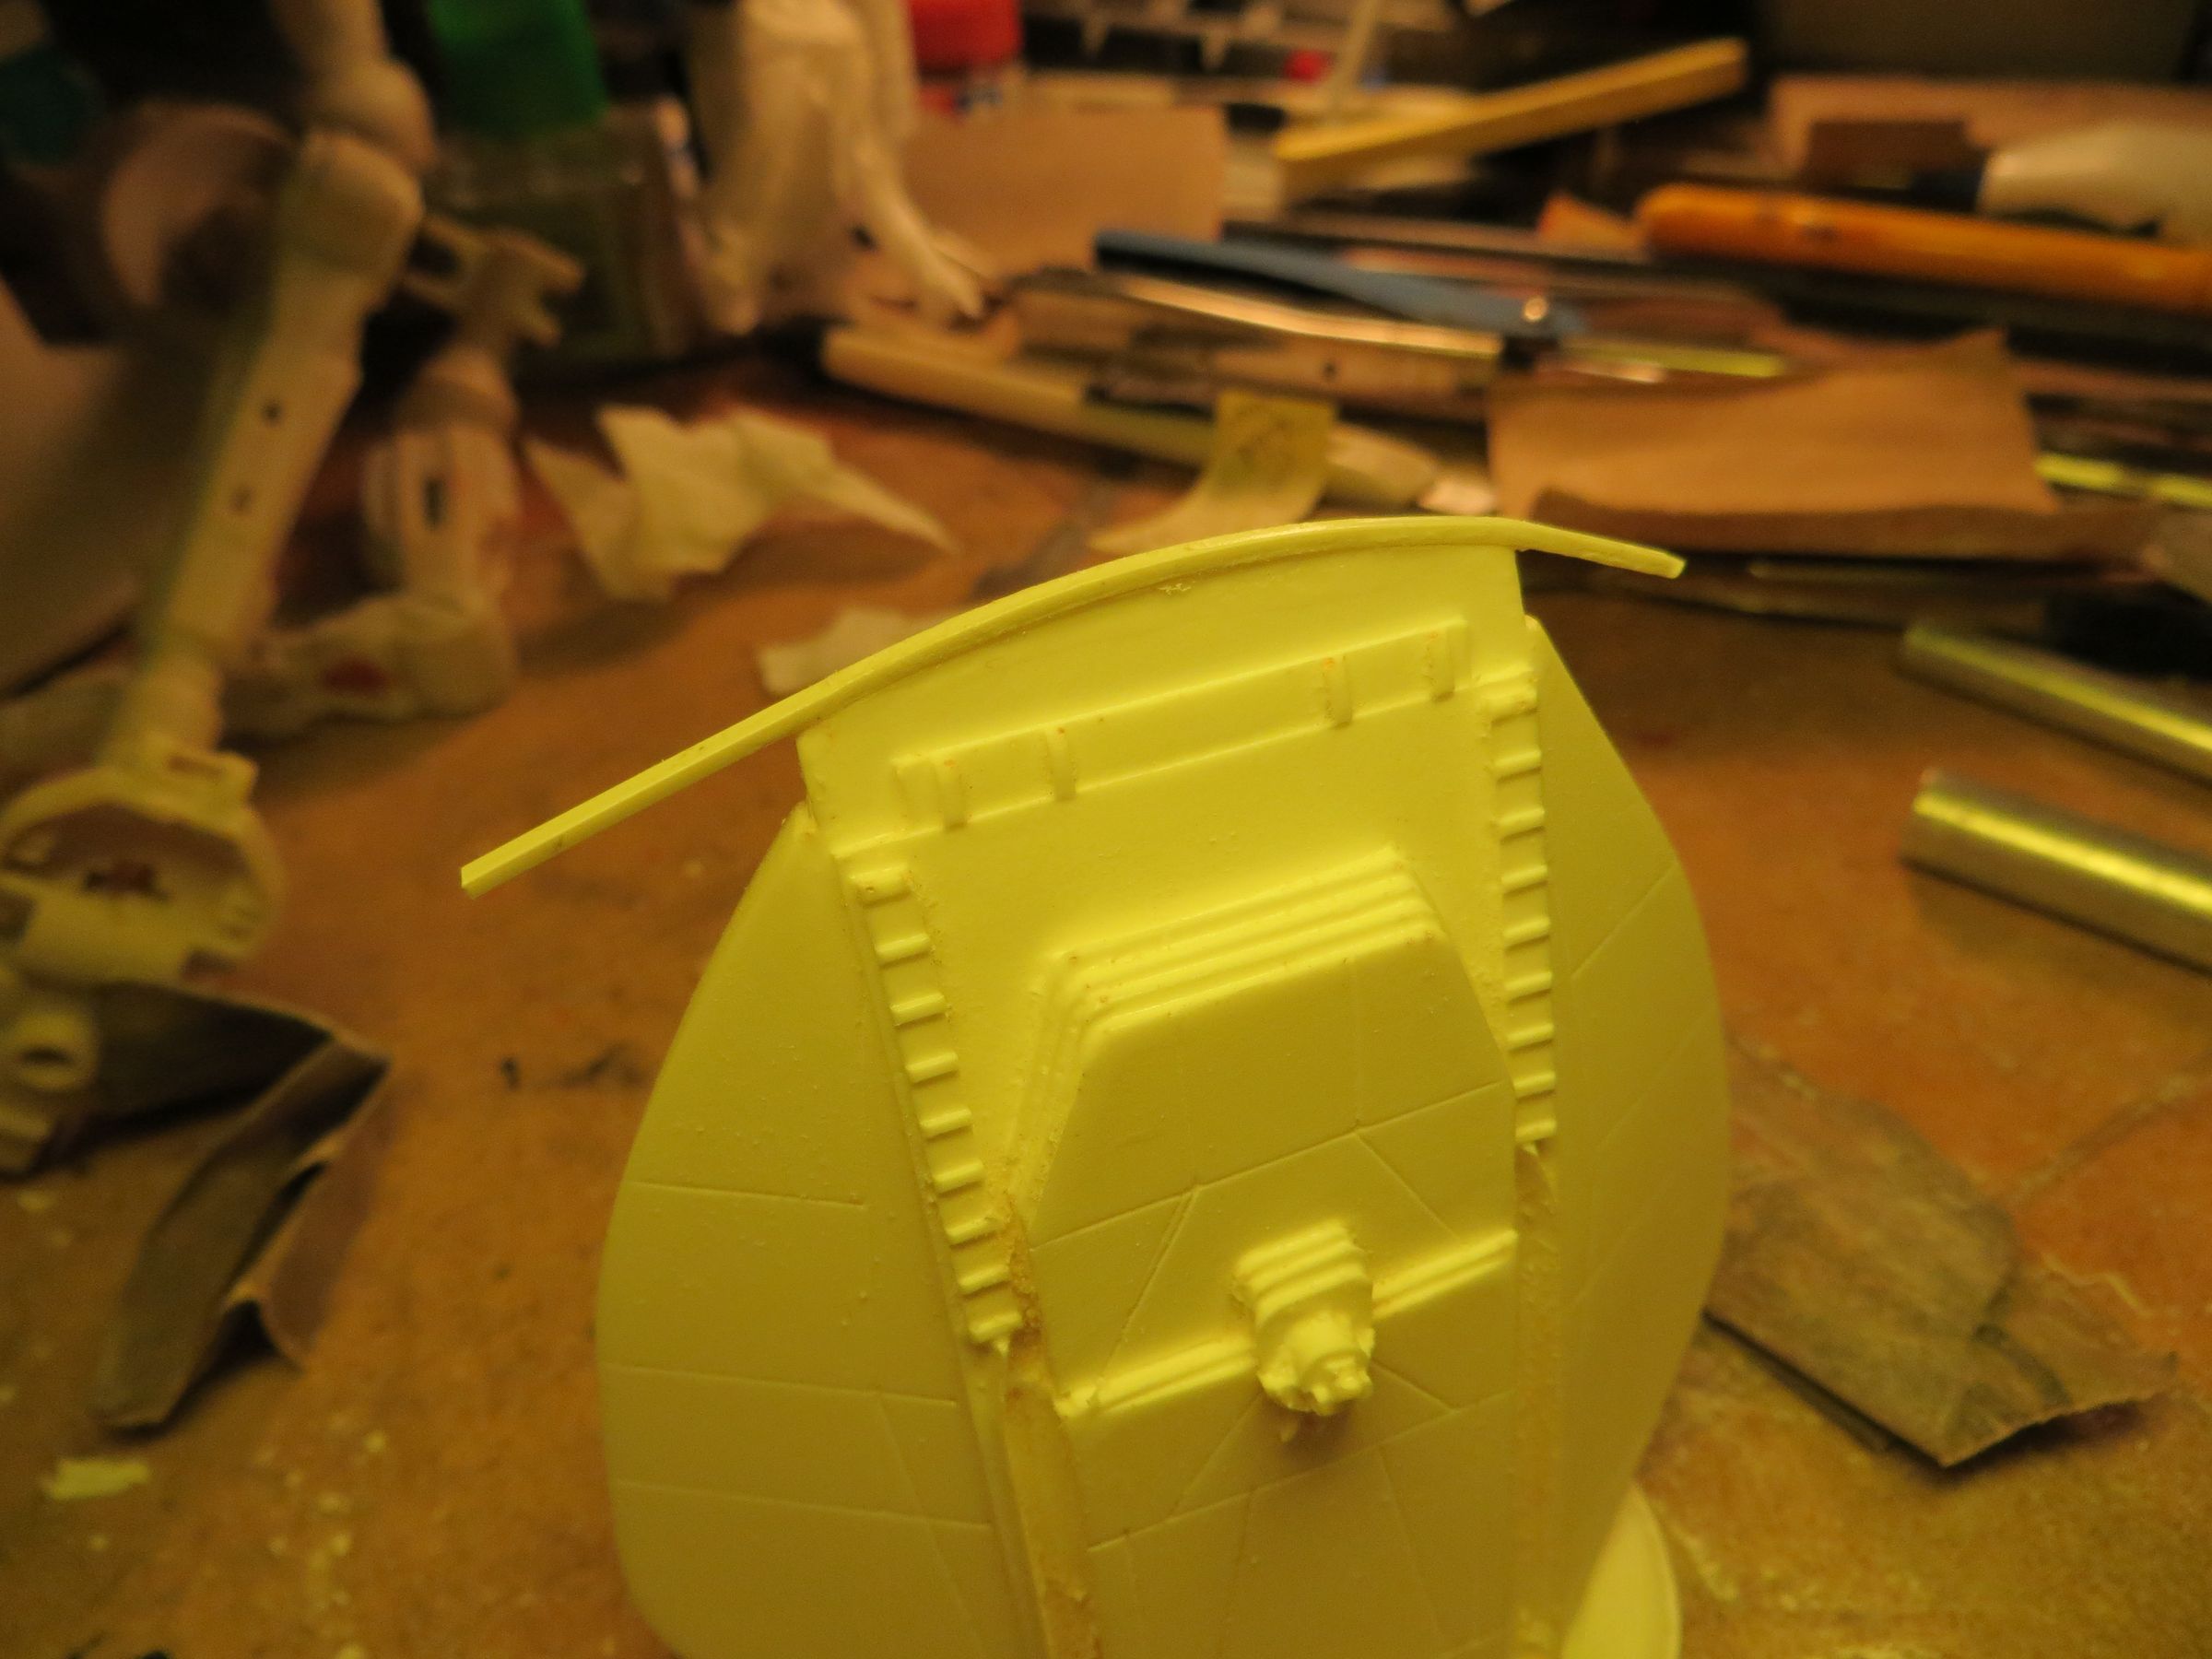
After getting back my hands on some sources (that I completly forget at the beginning of this wip), I started new modifications, mainly on the head. The thickness and length of the nose should be reviewed and the paneling is in fact incorrect.

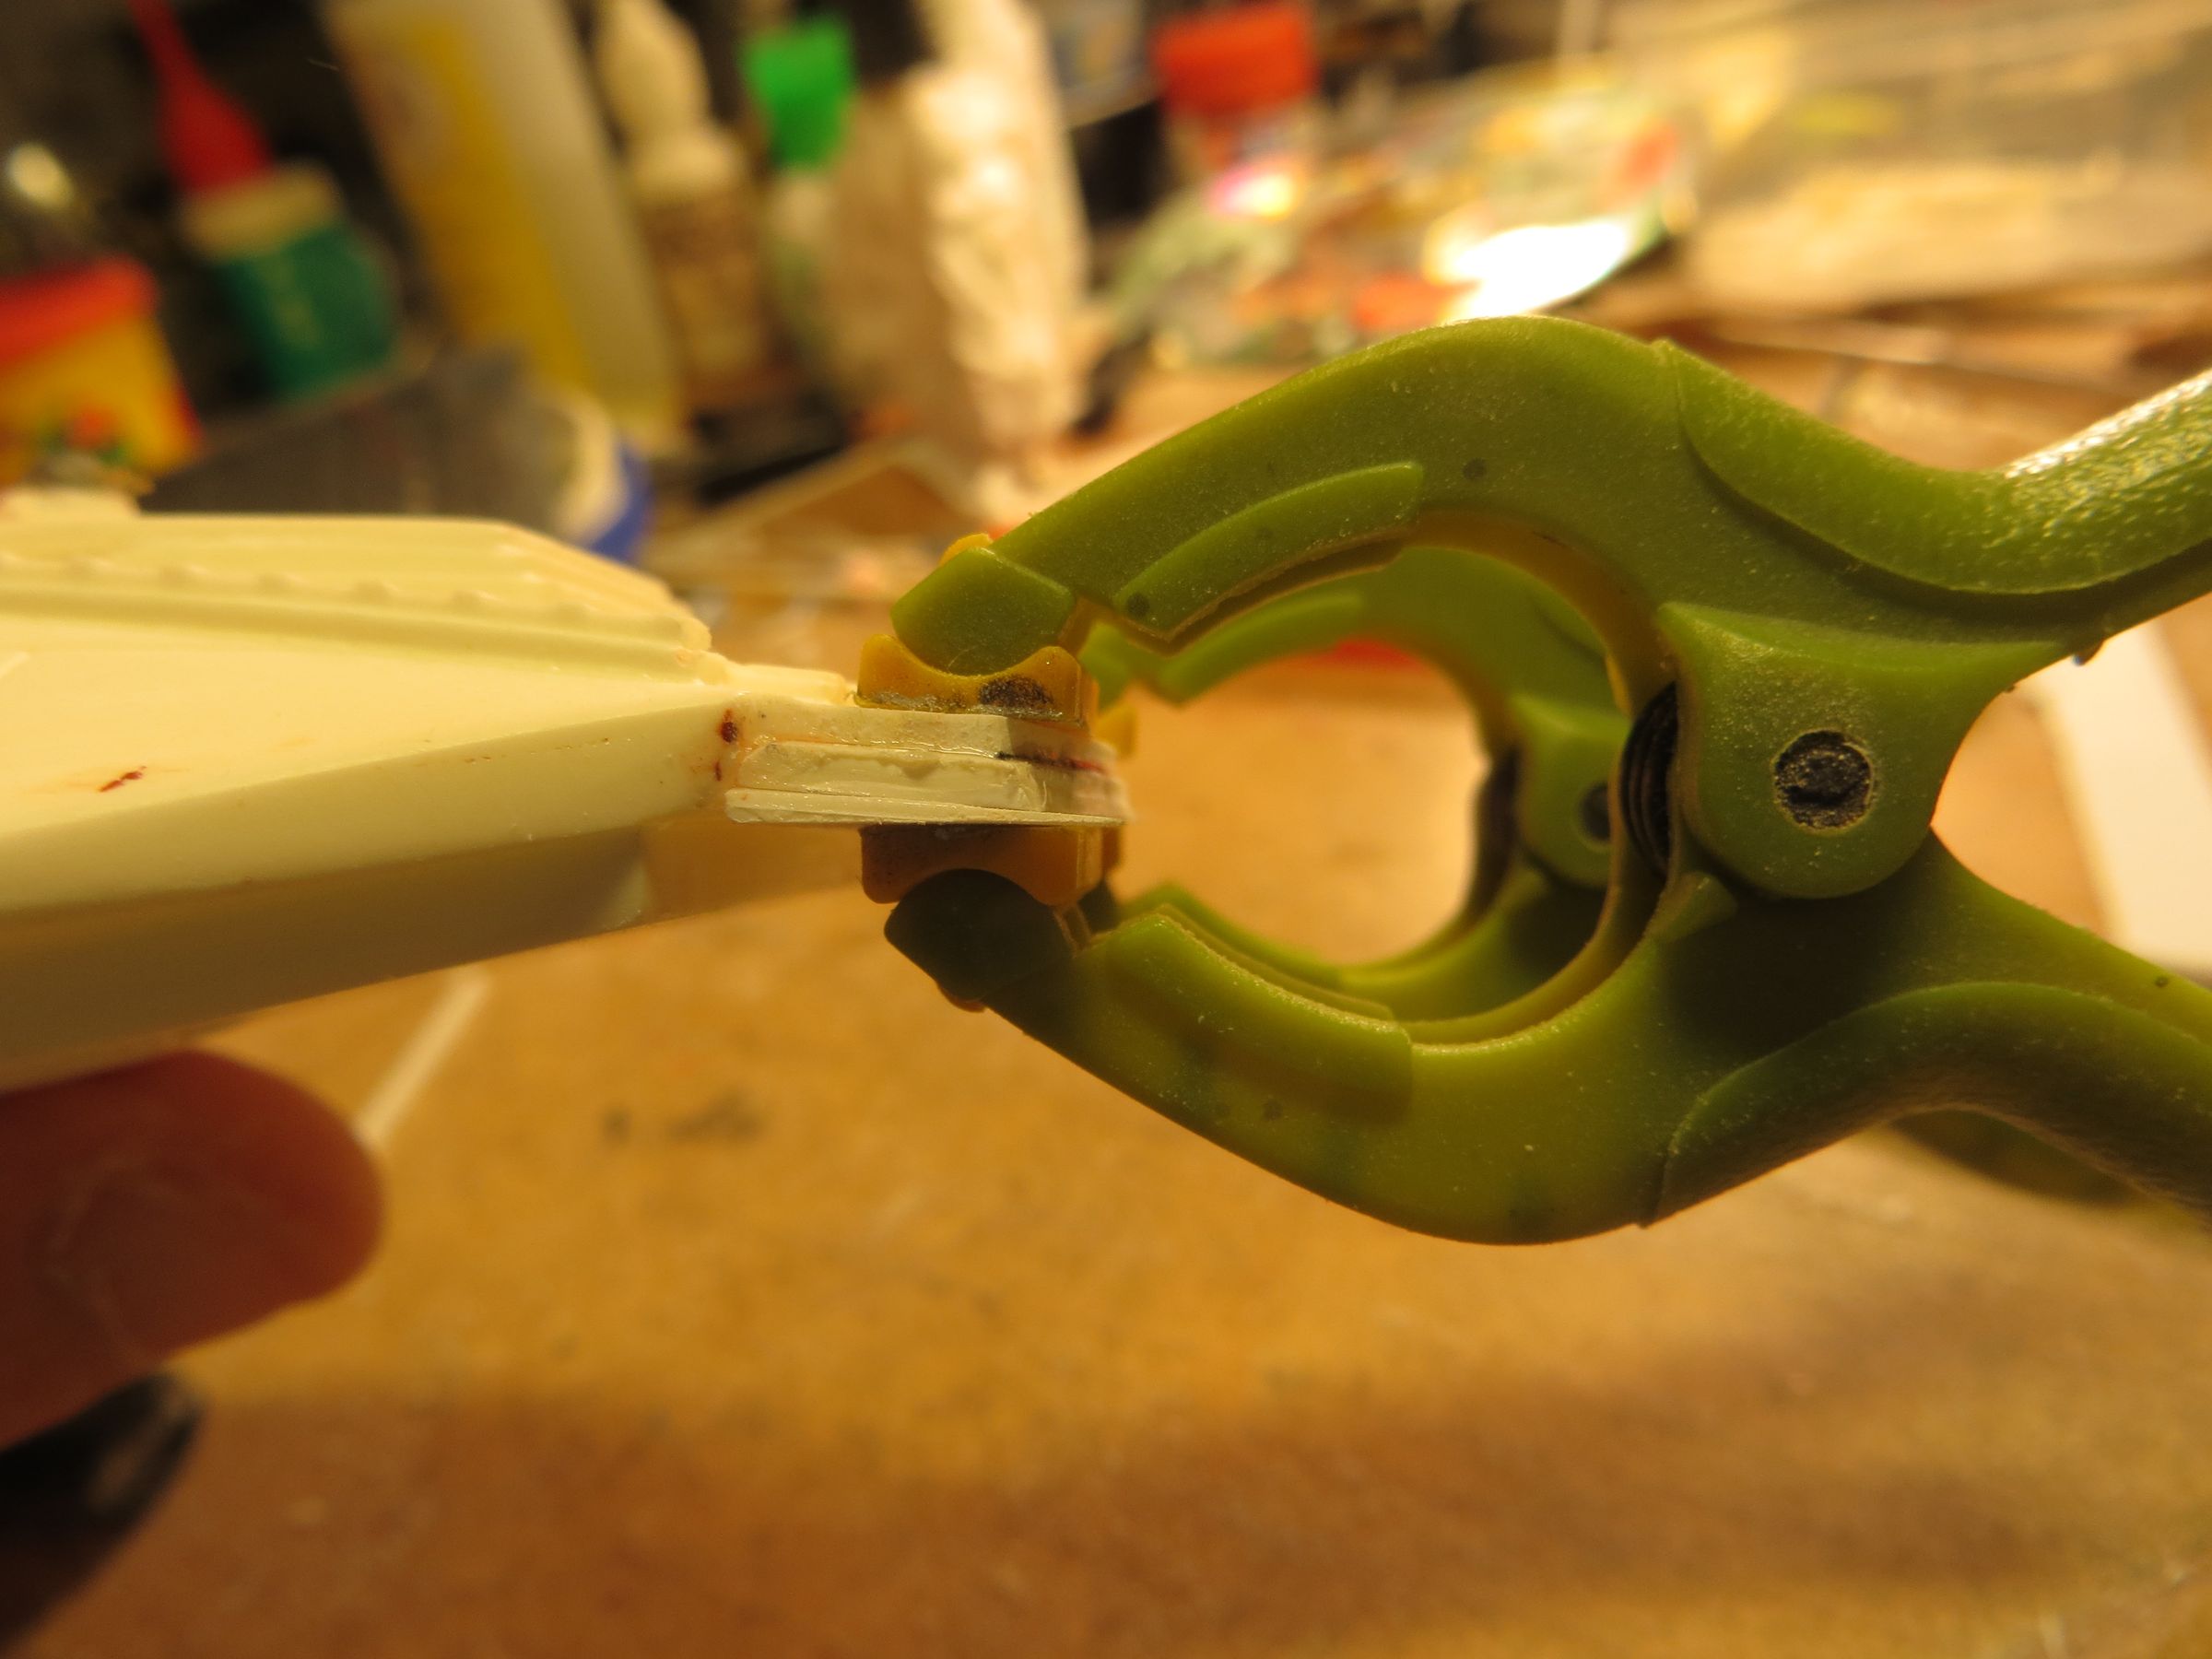
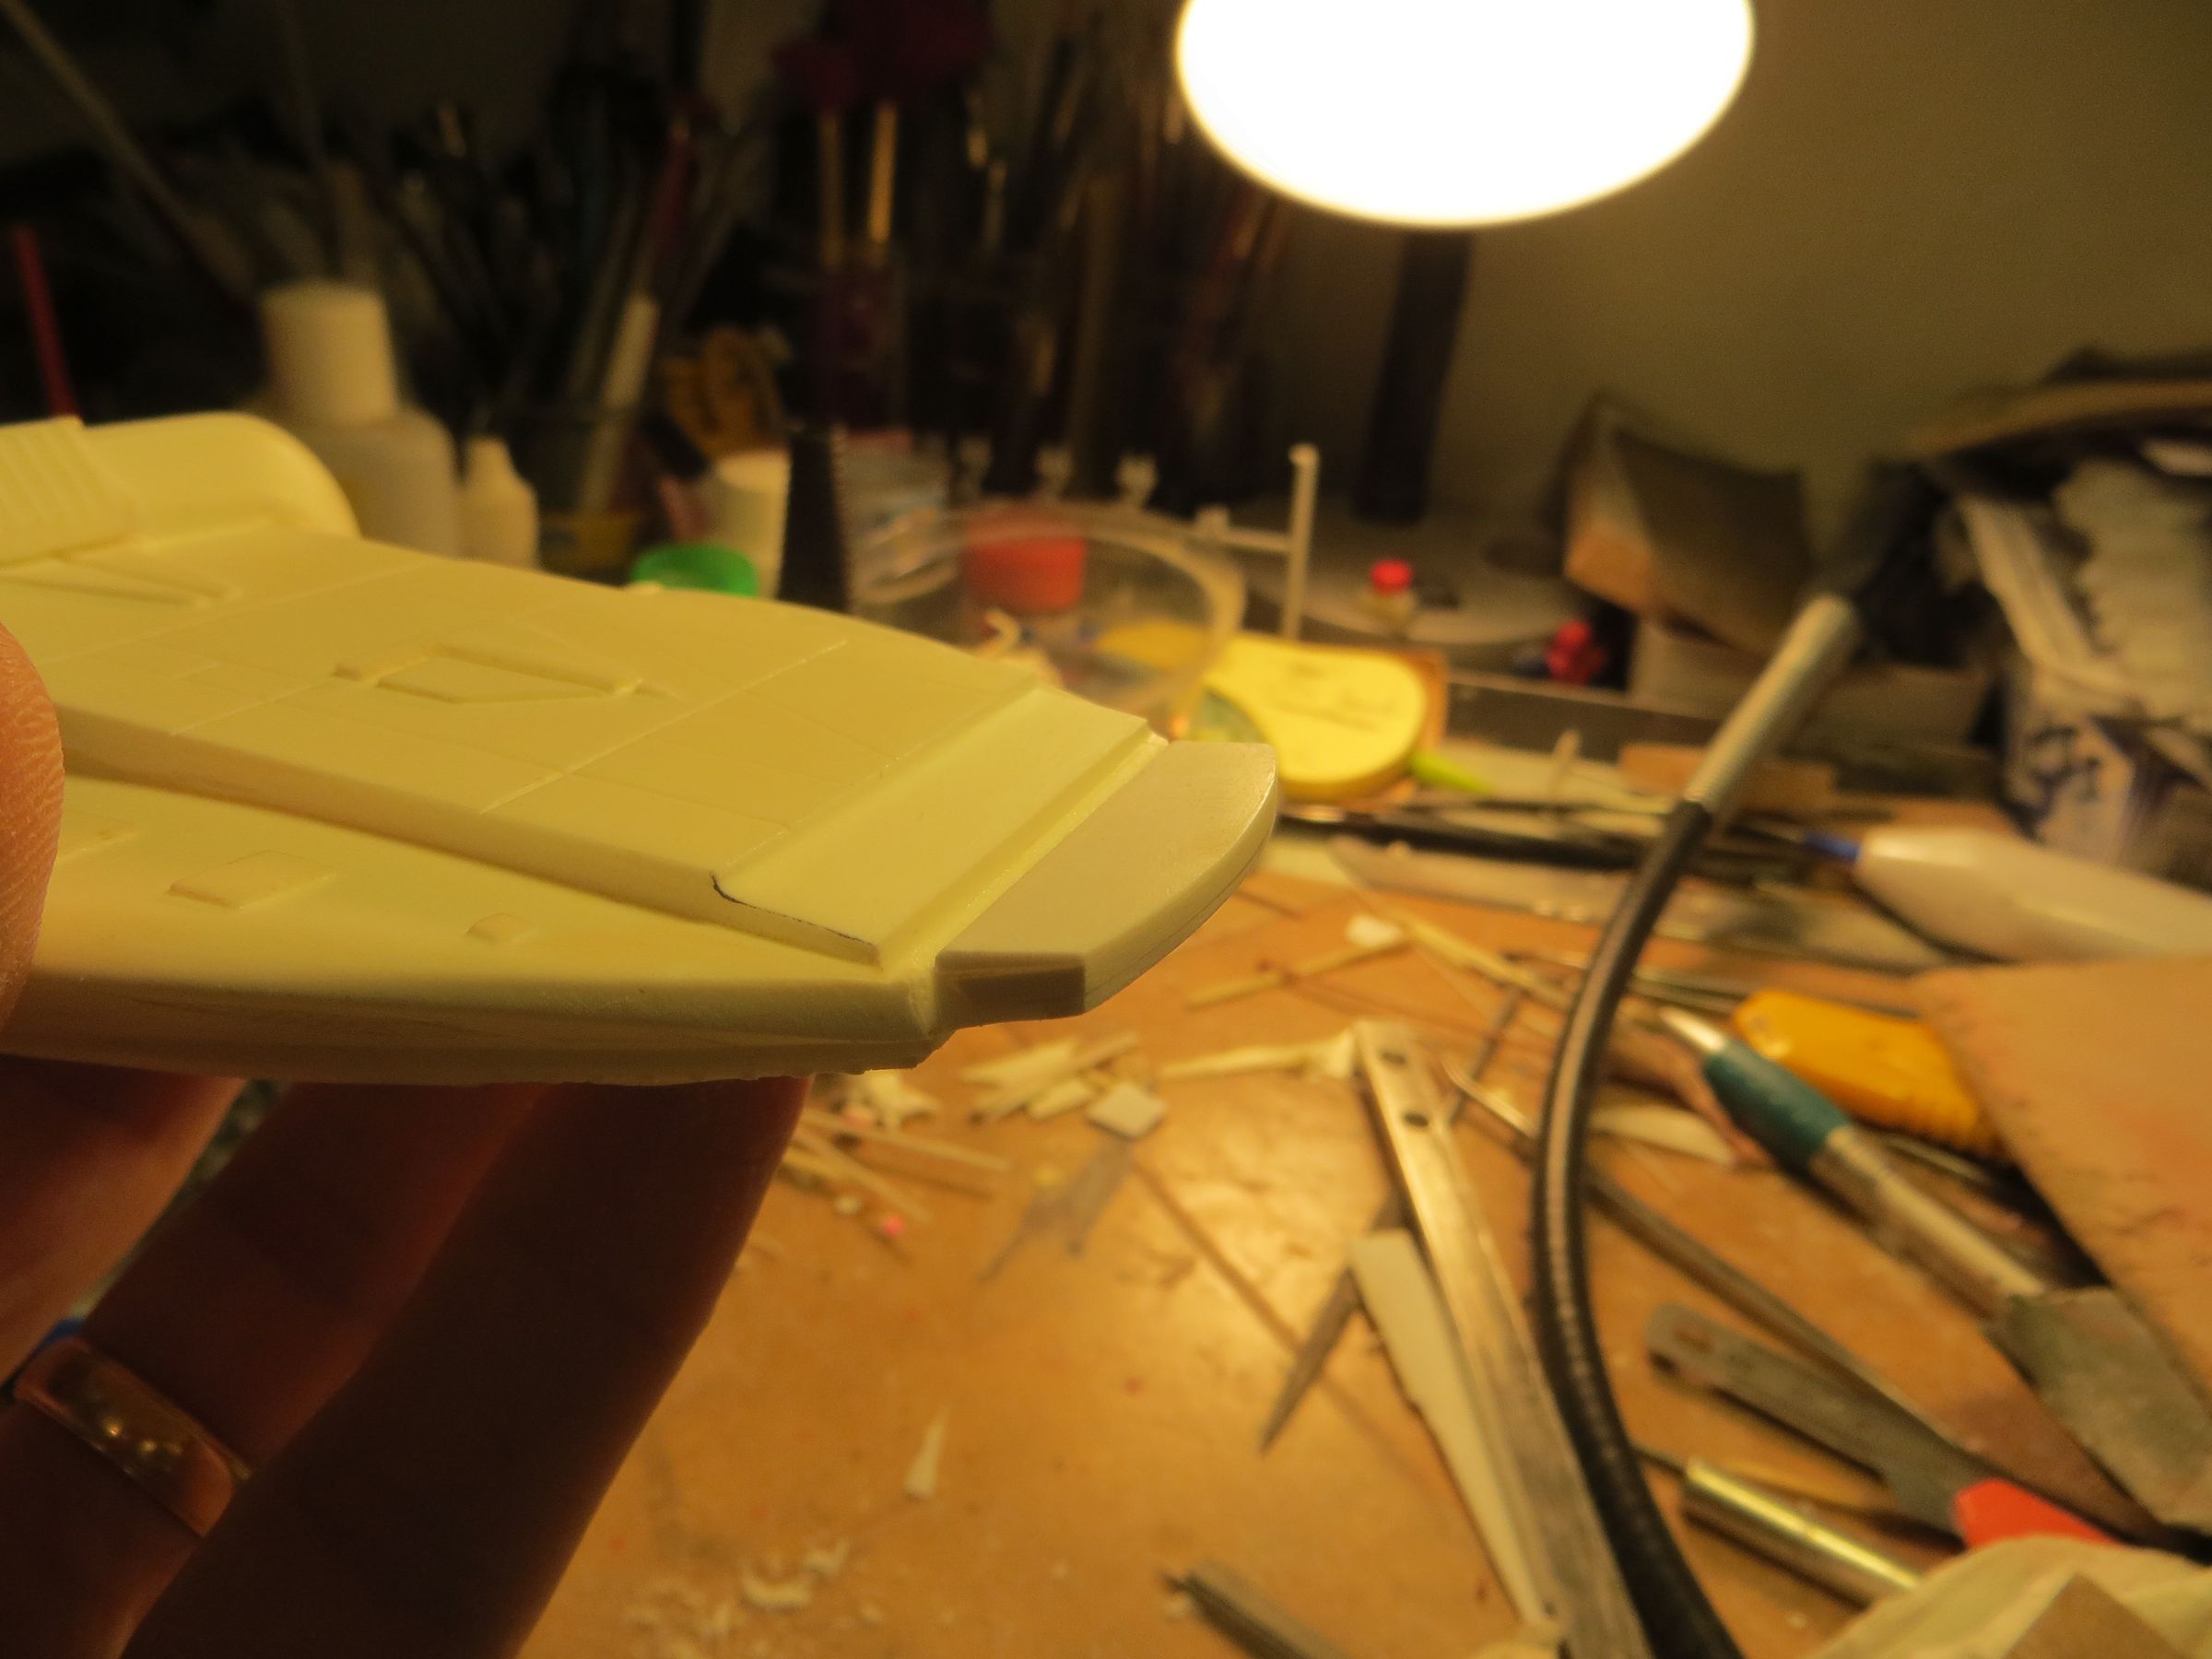
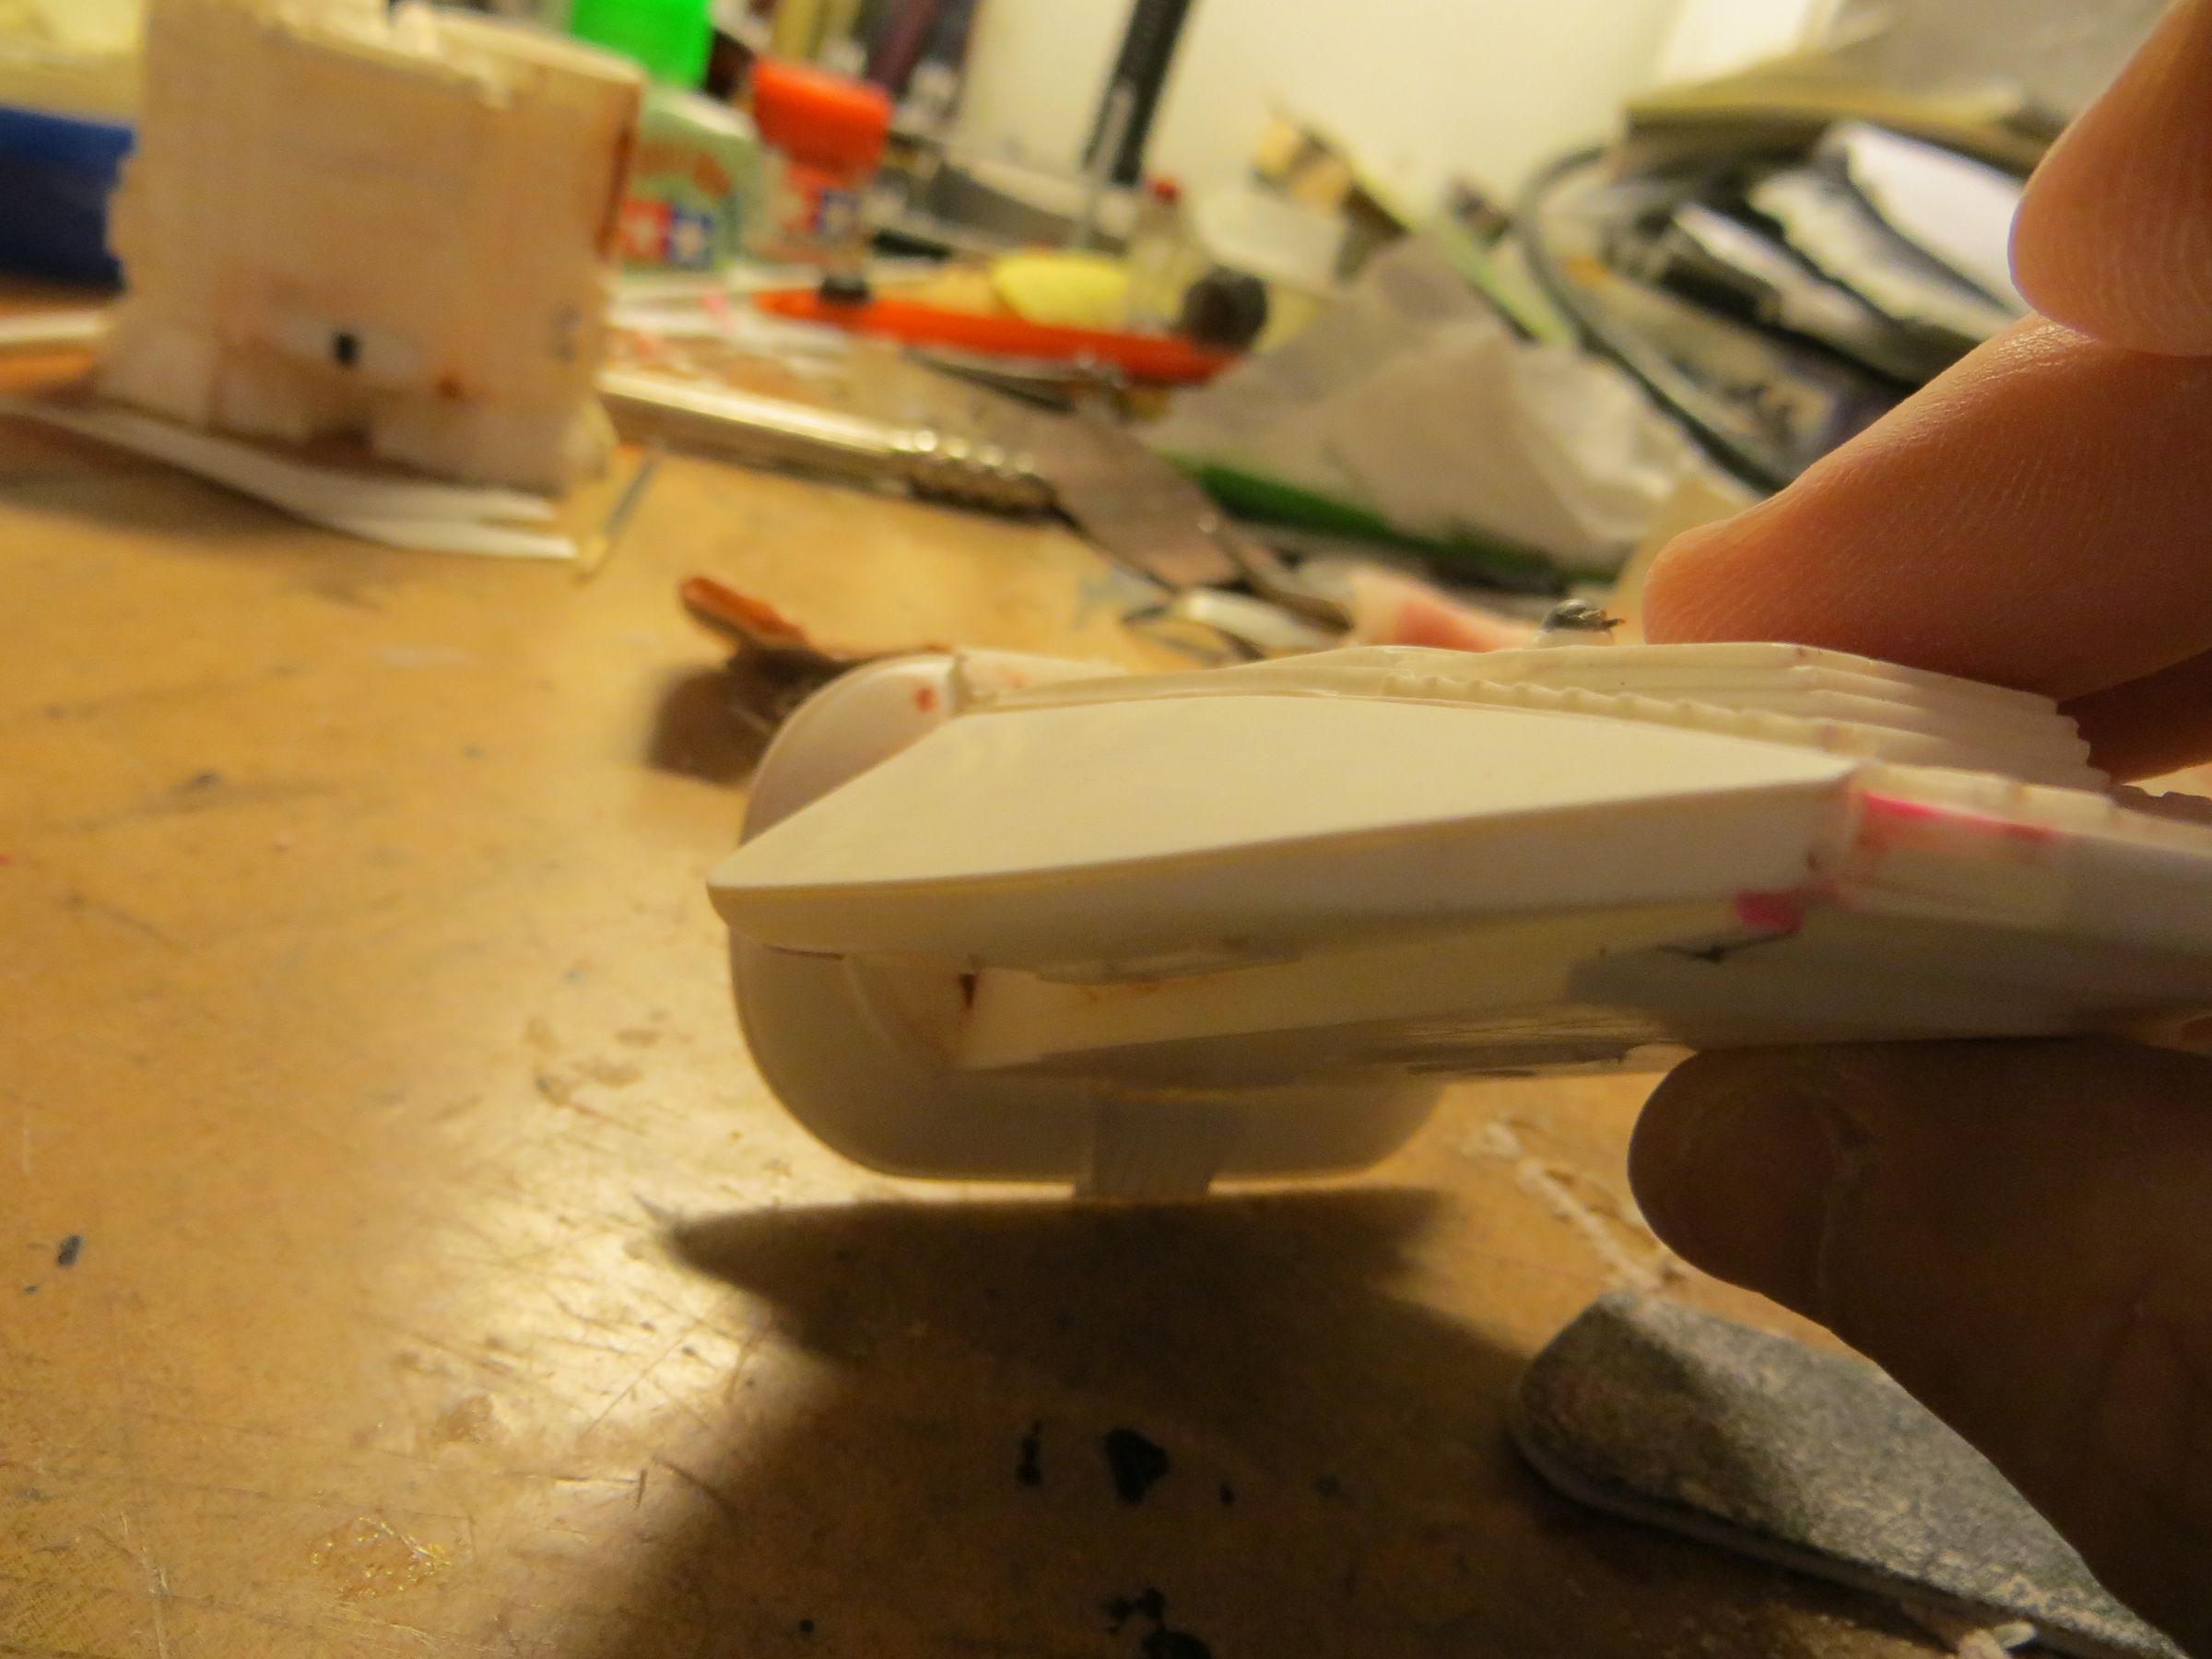
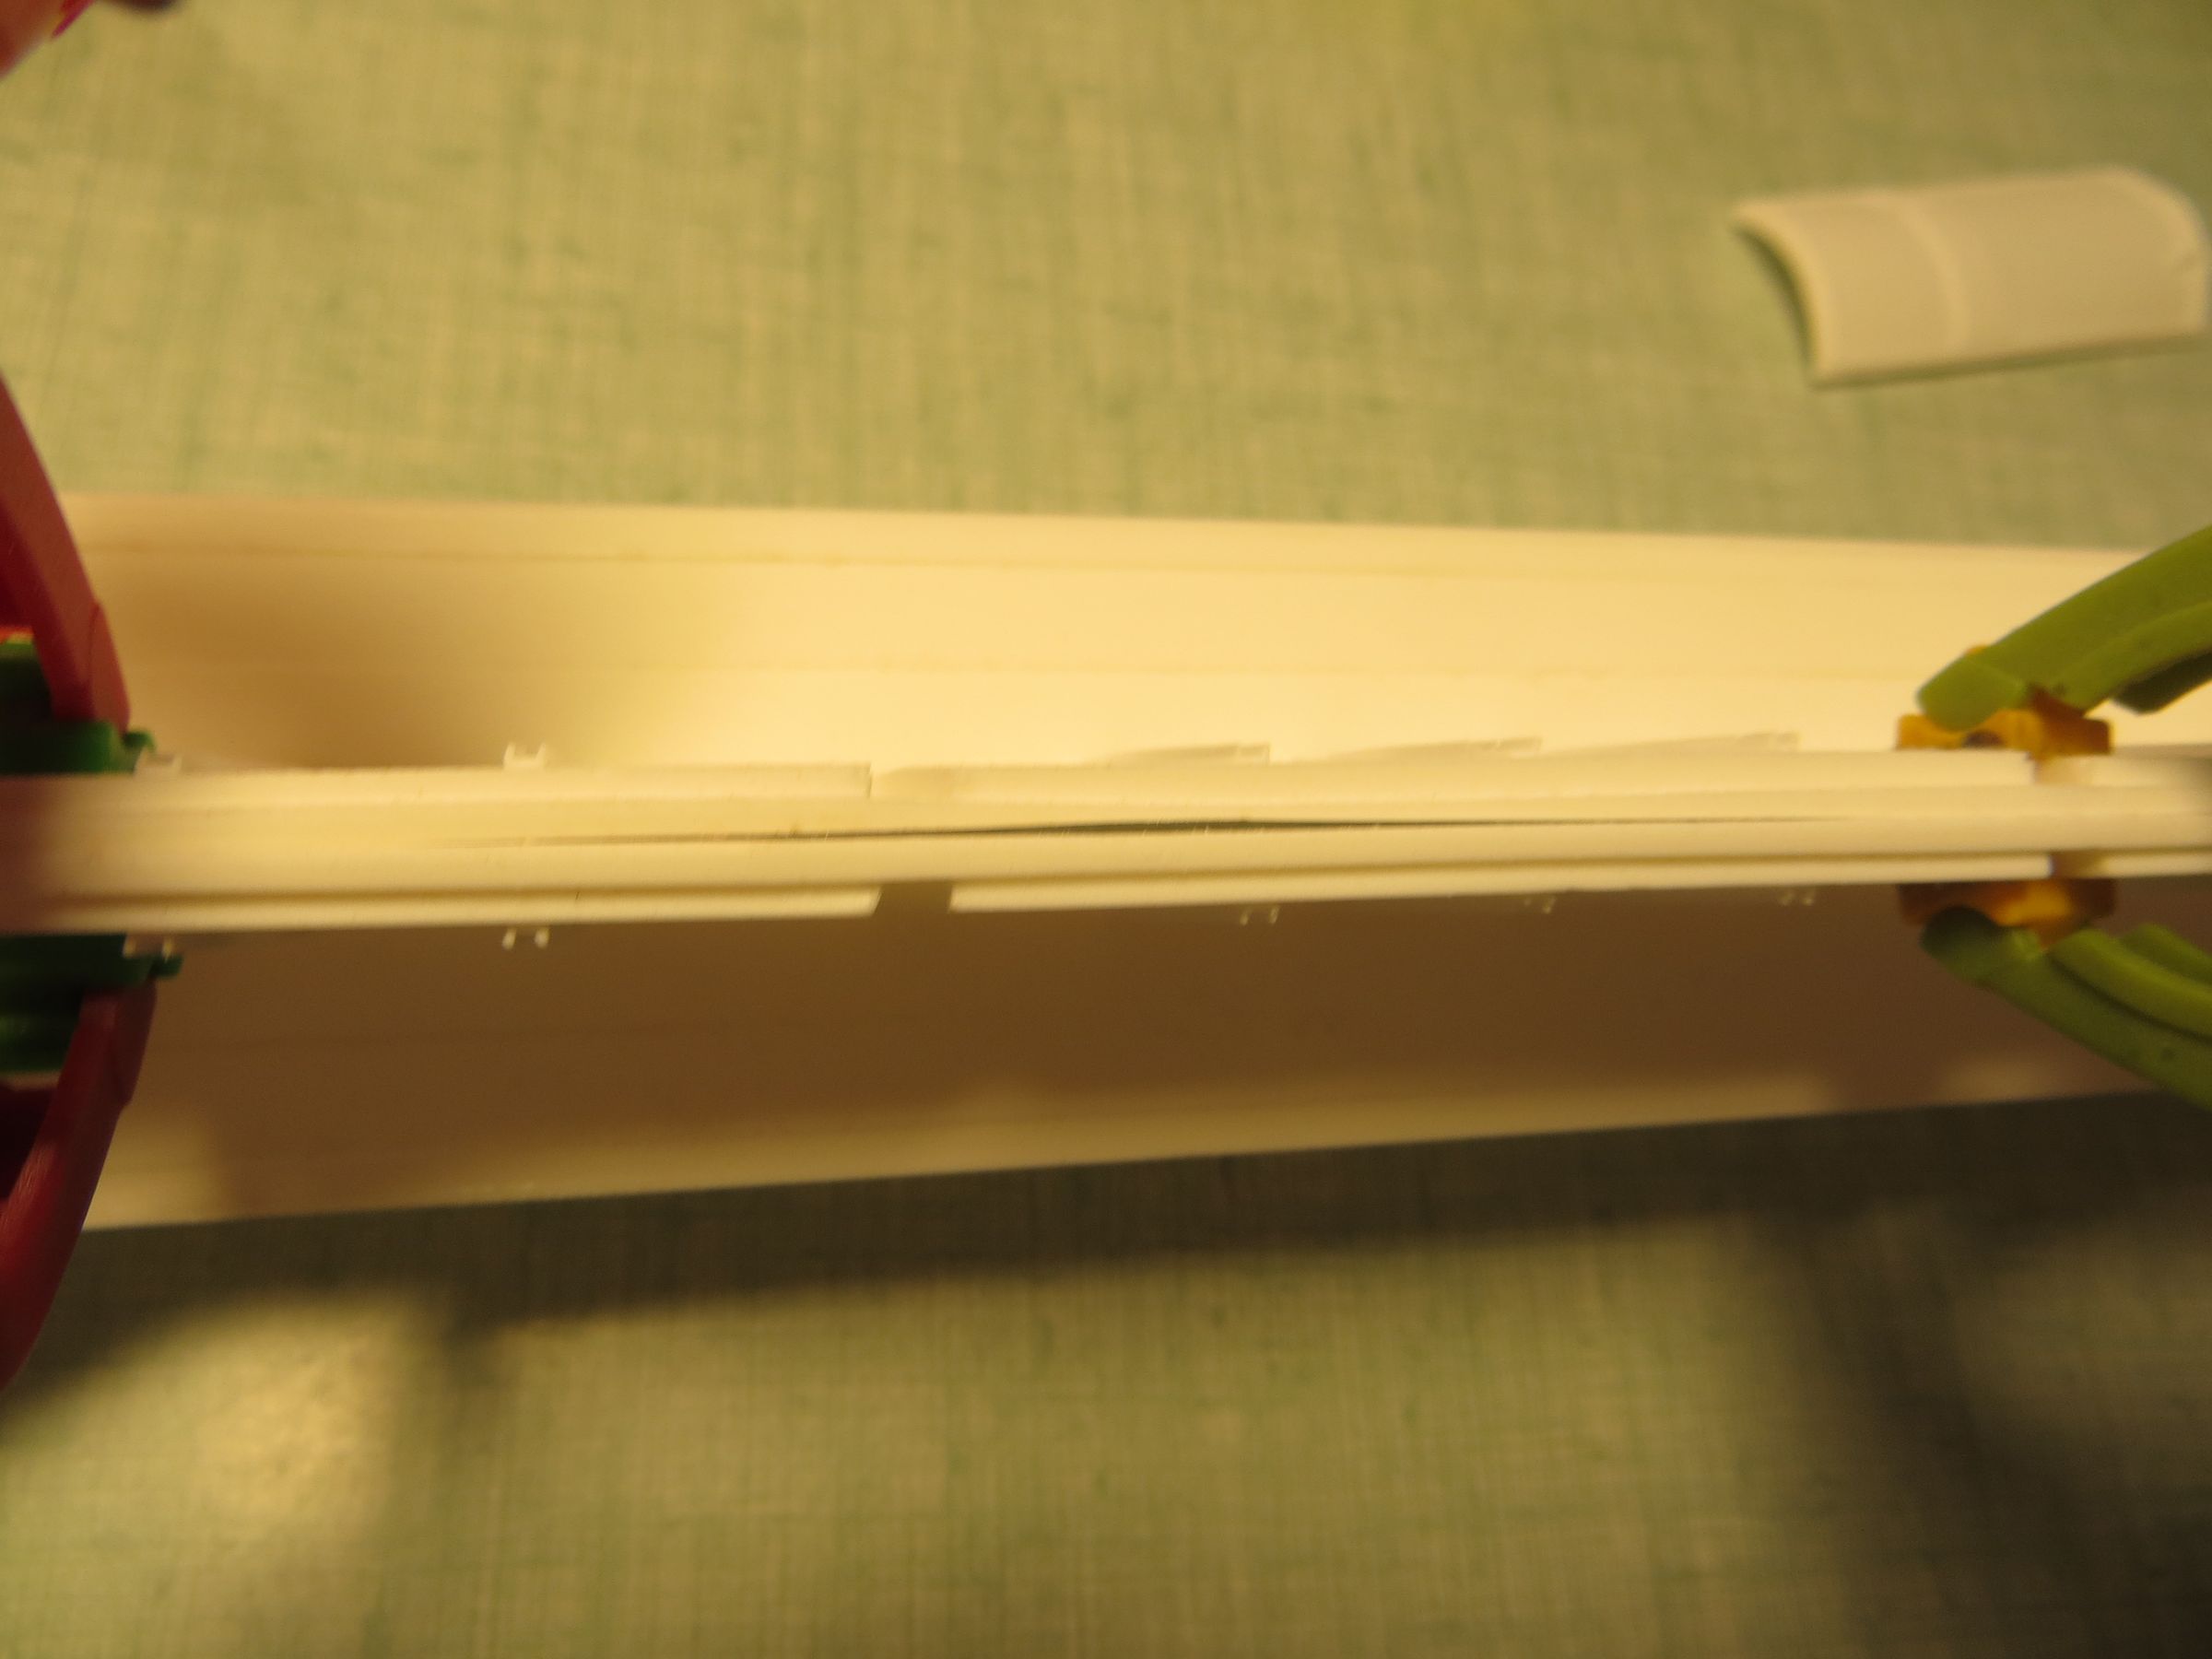
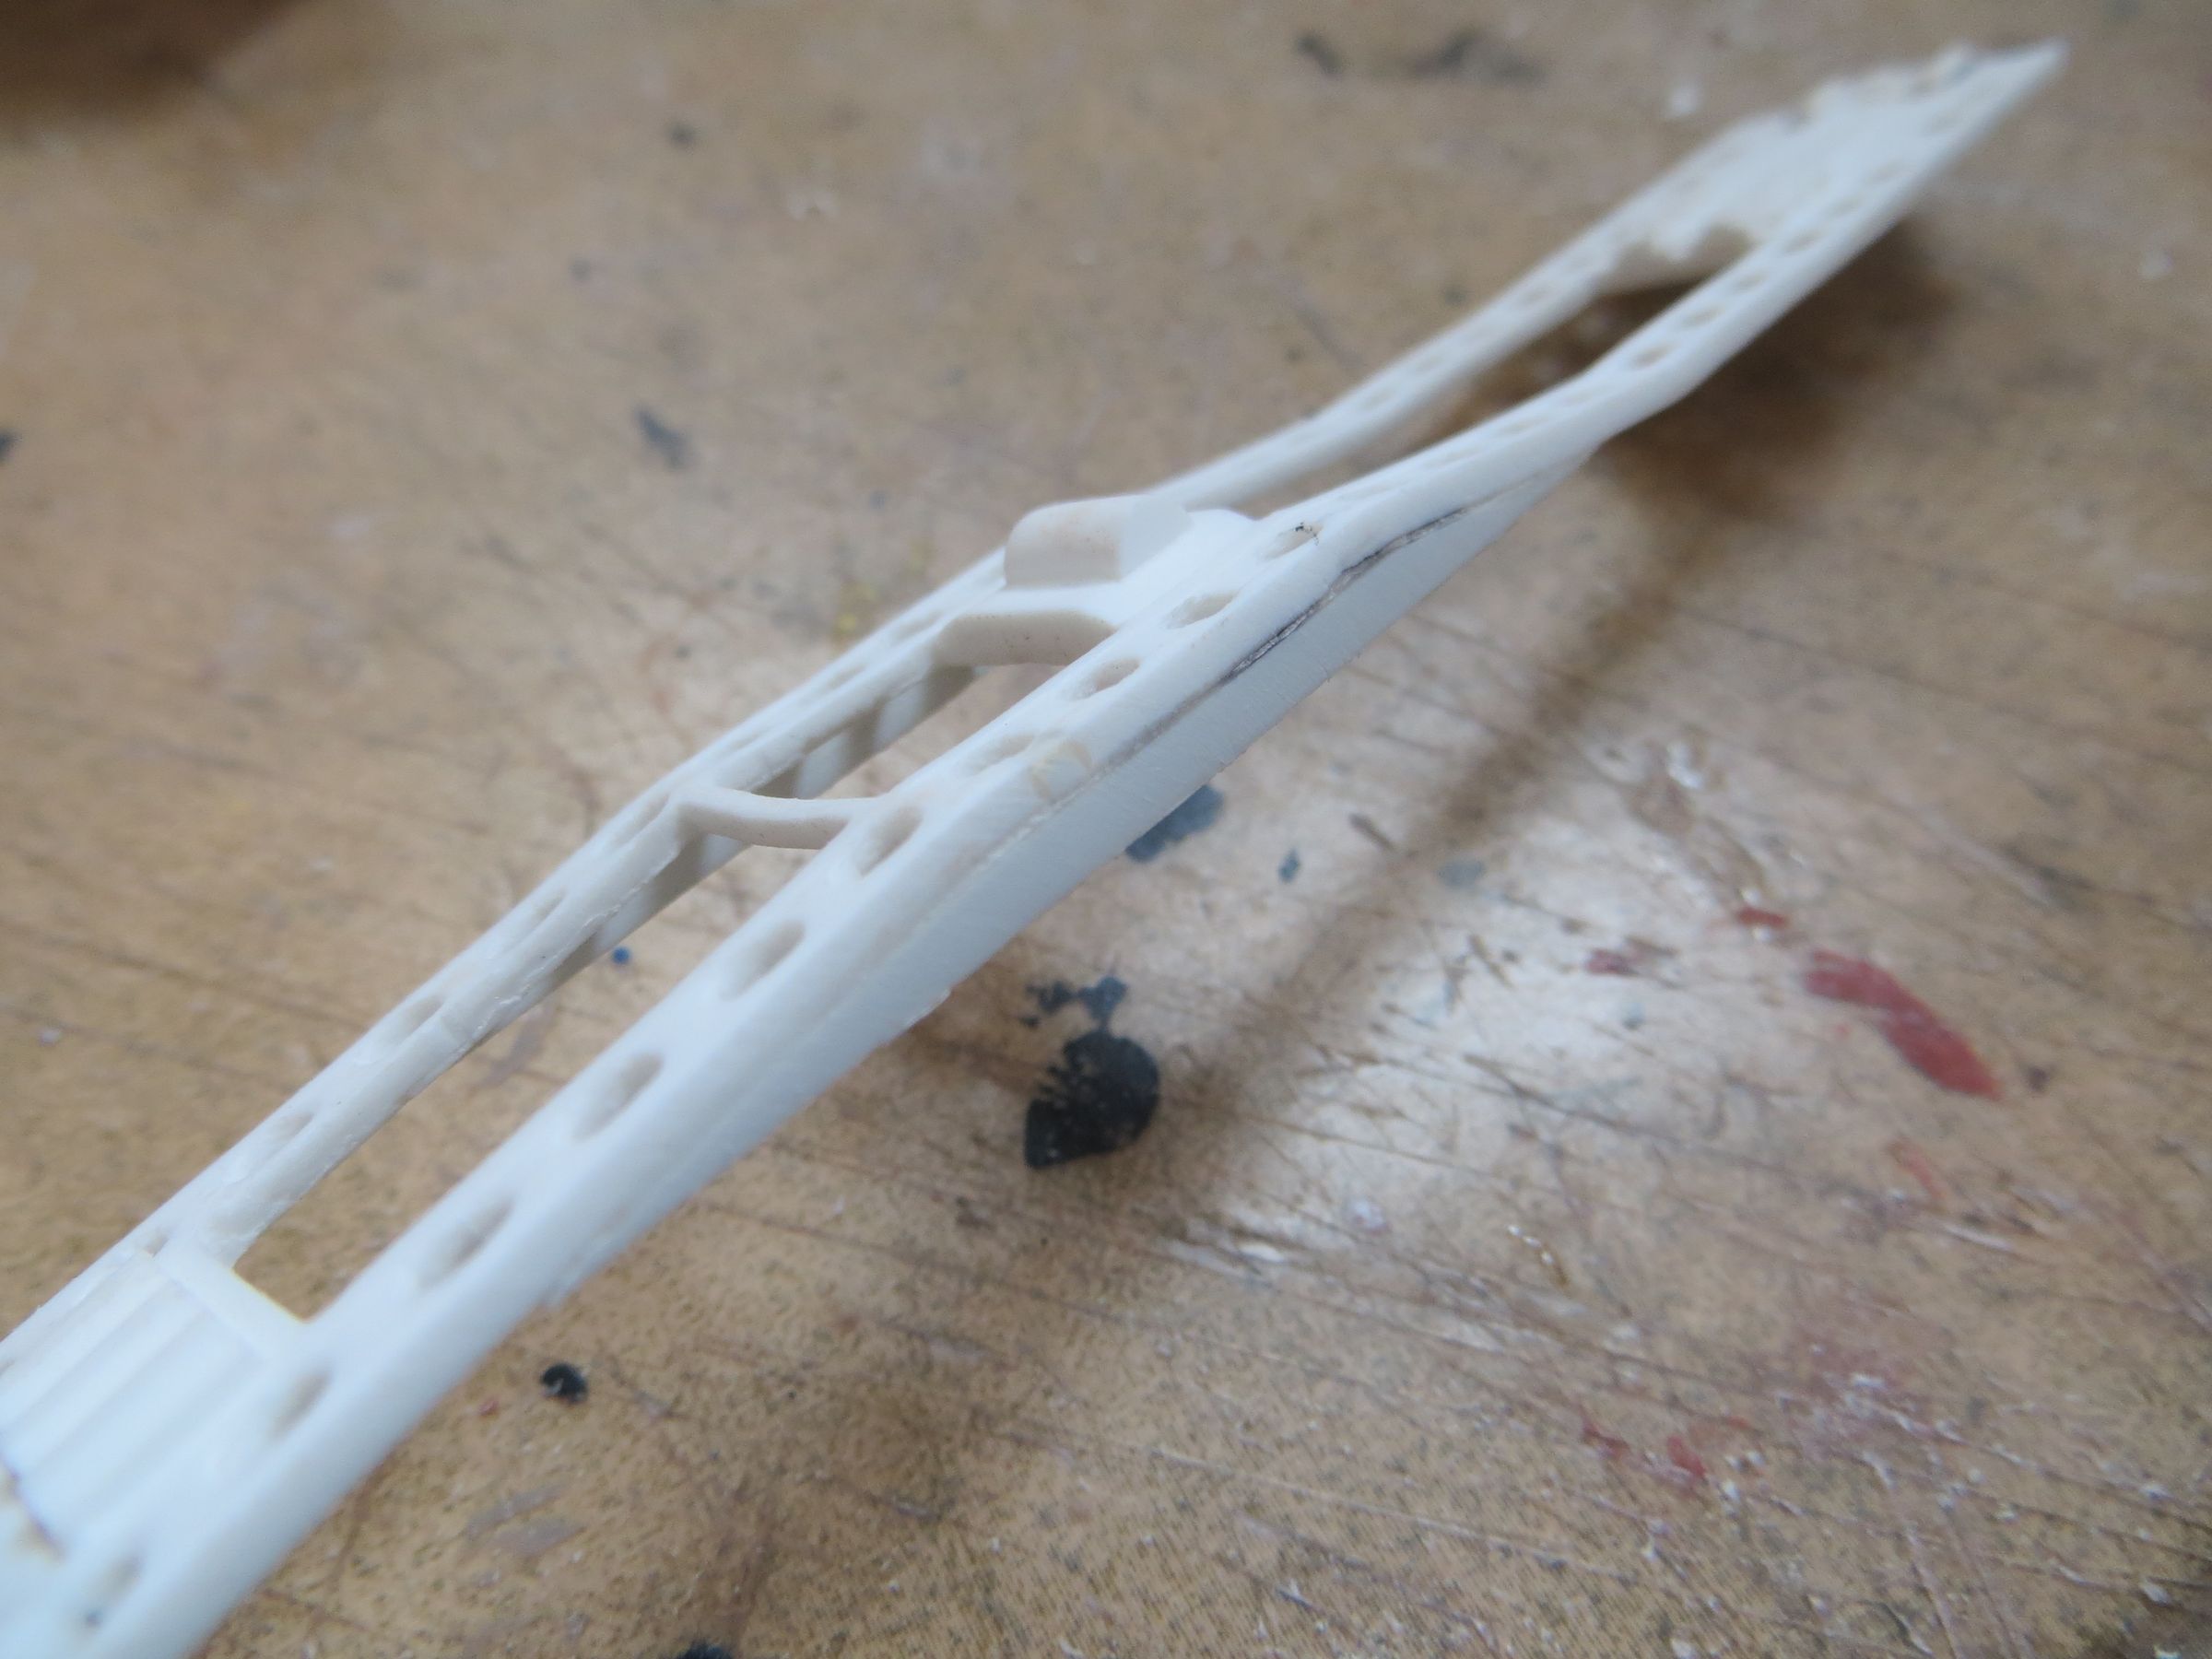
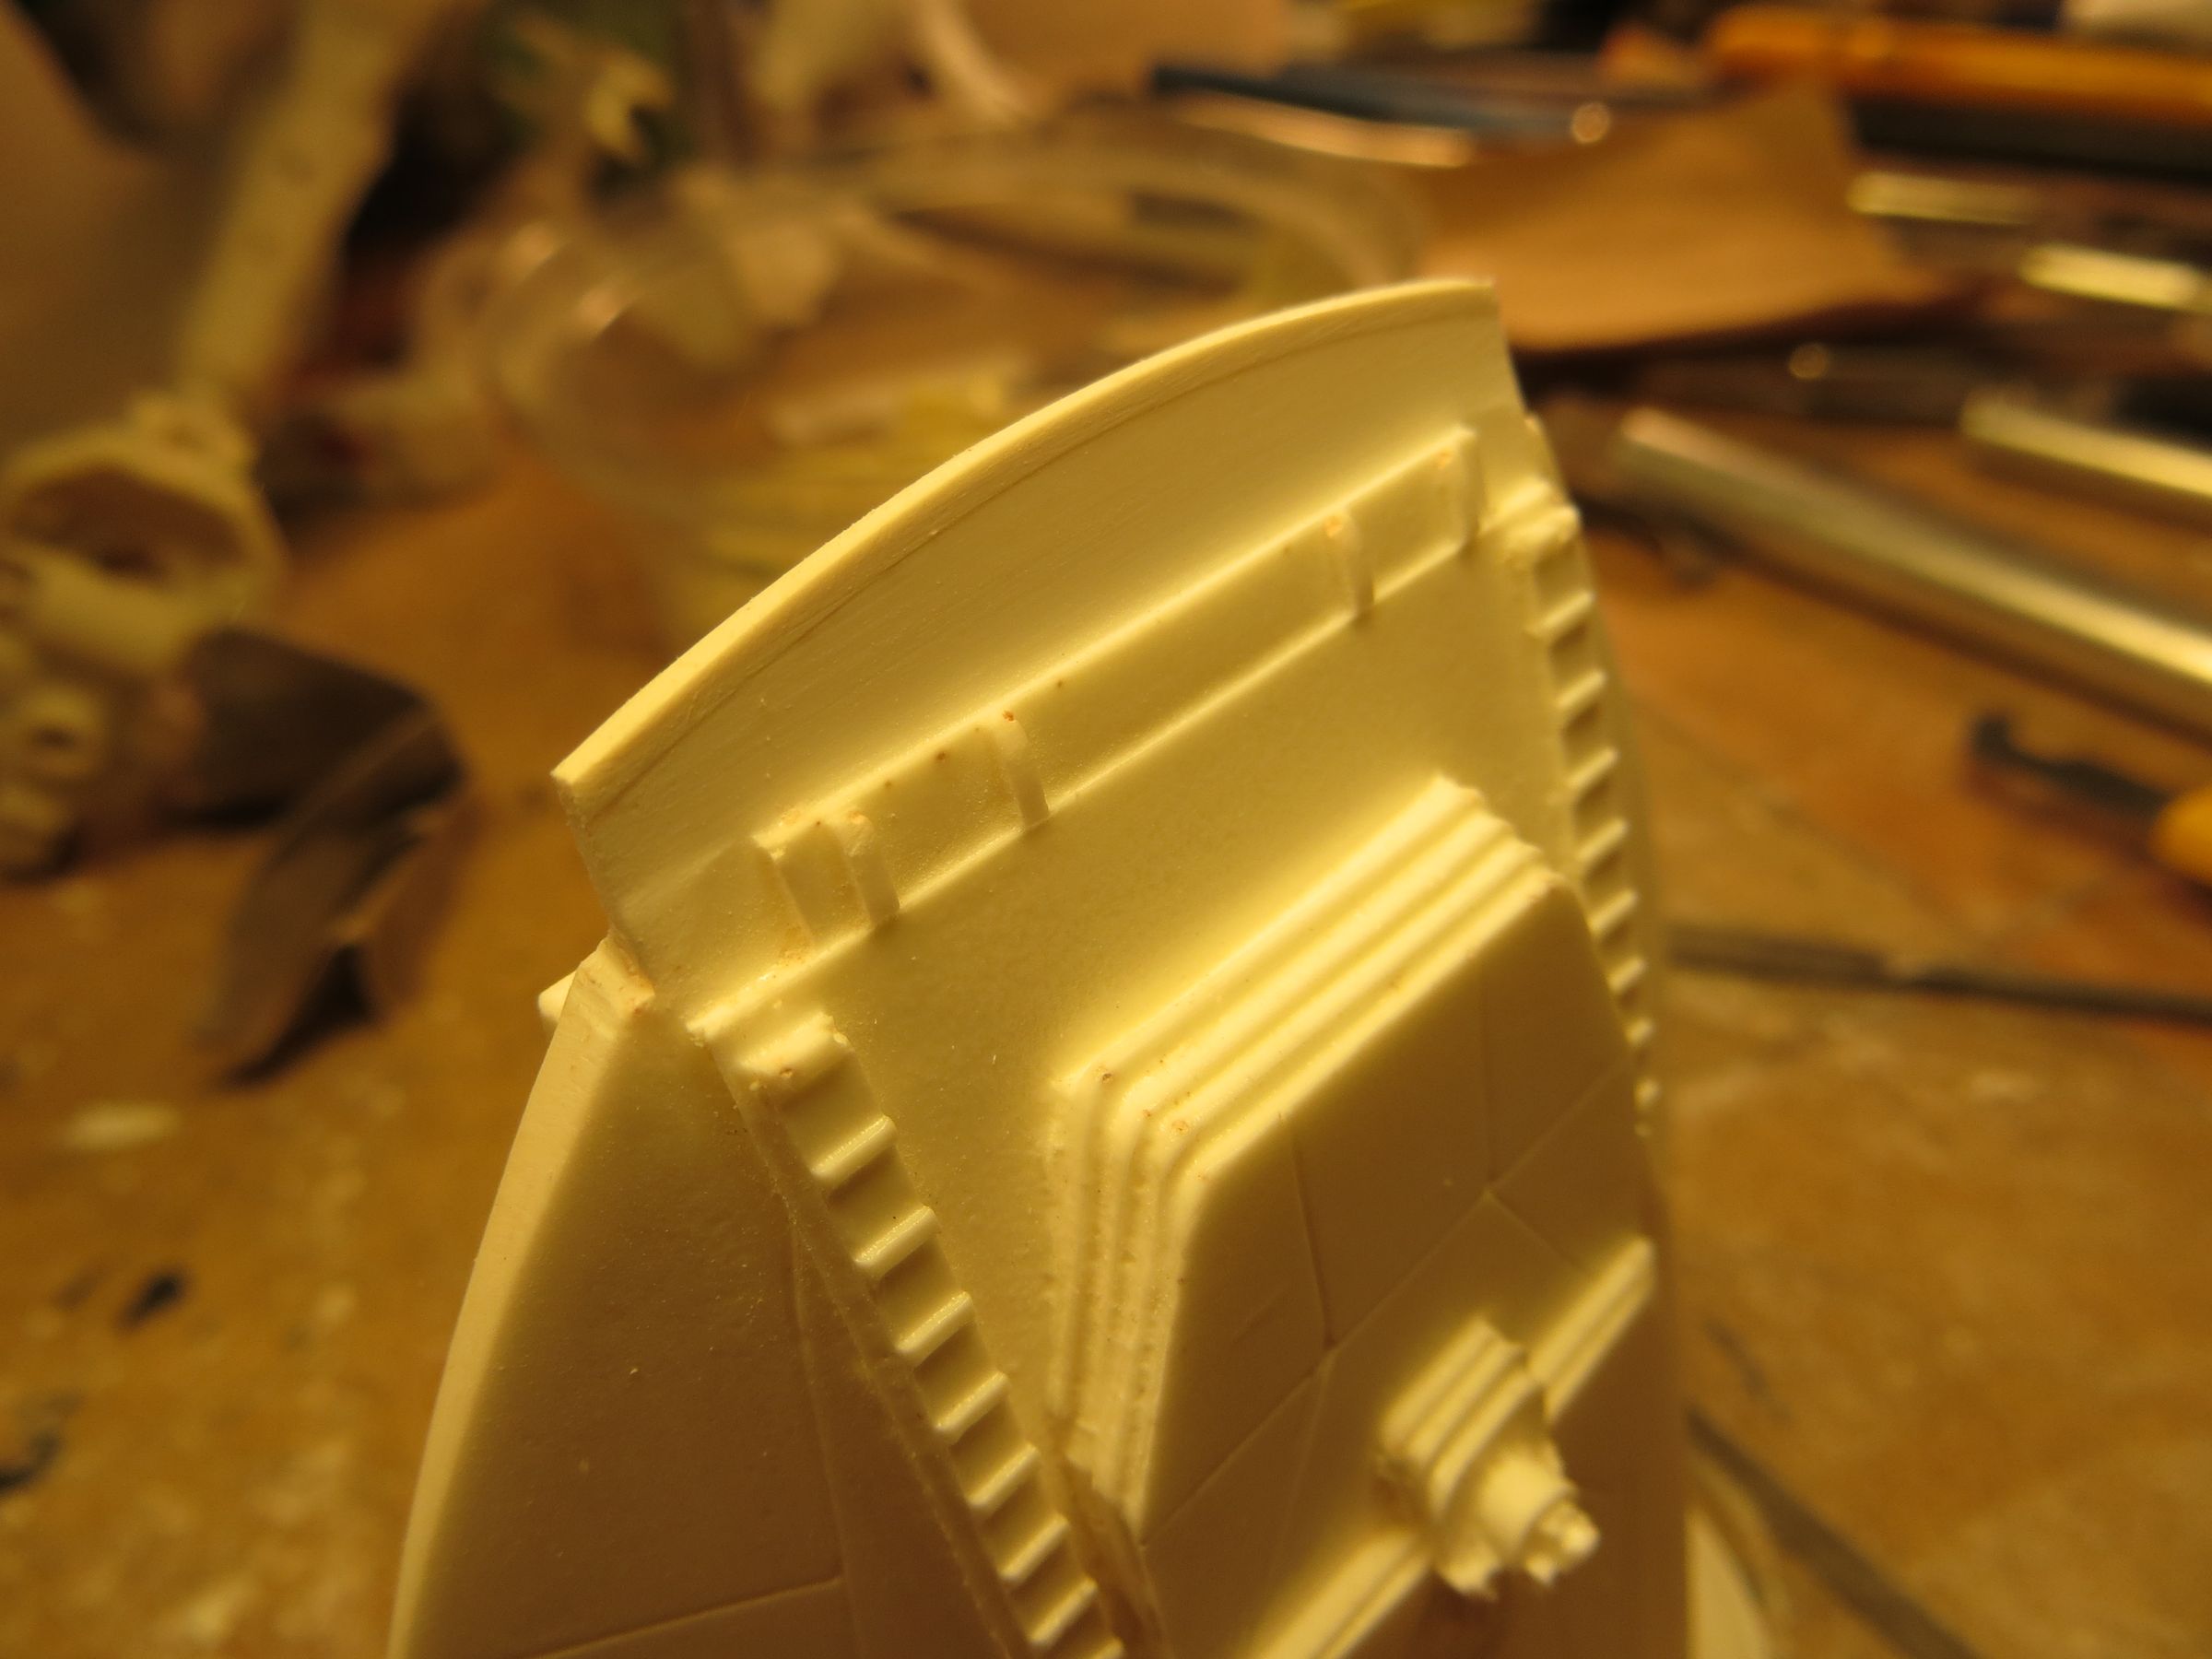
I first corrected the length of the nose with another small plastic strip and then plastic cards for the thickness. The second plate is ground bevelled as the edge is thinner than the root of the nose.


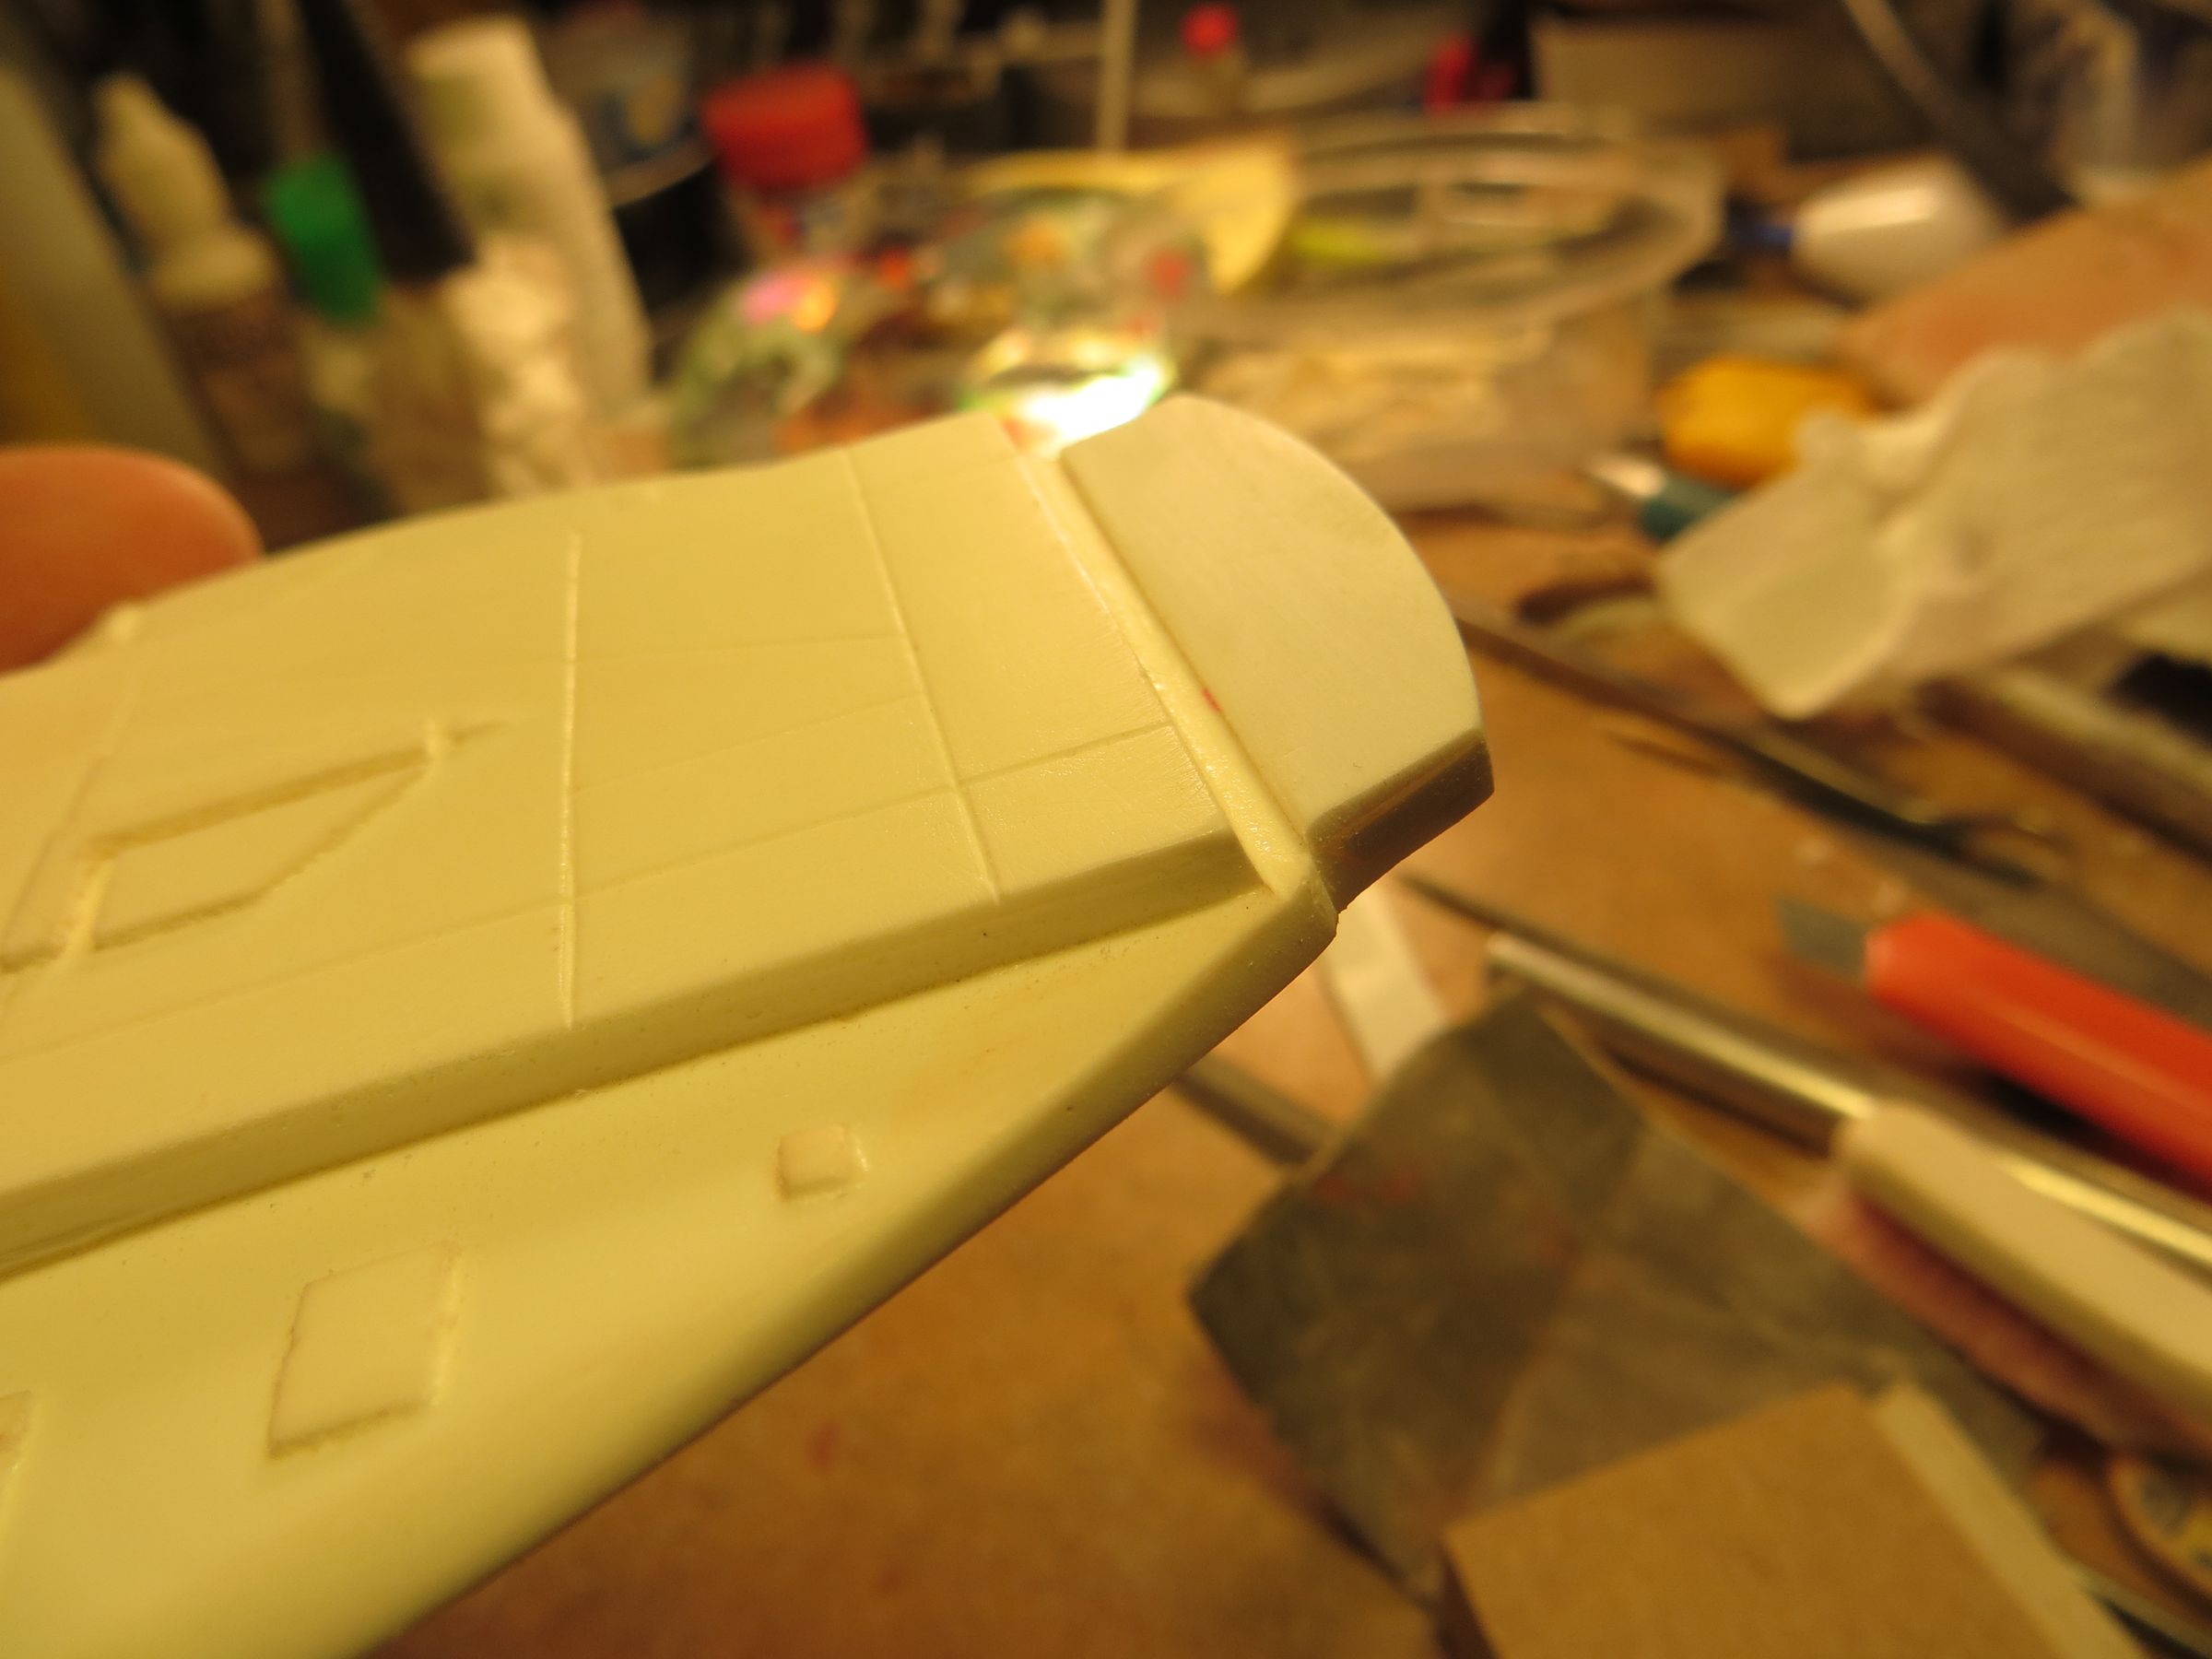
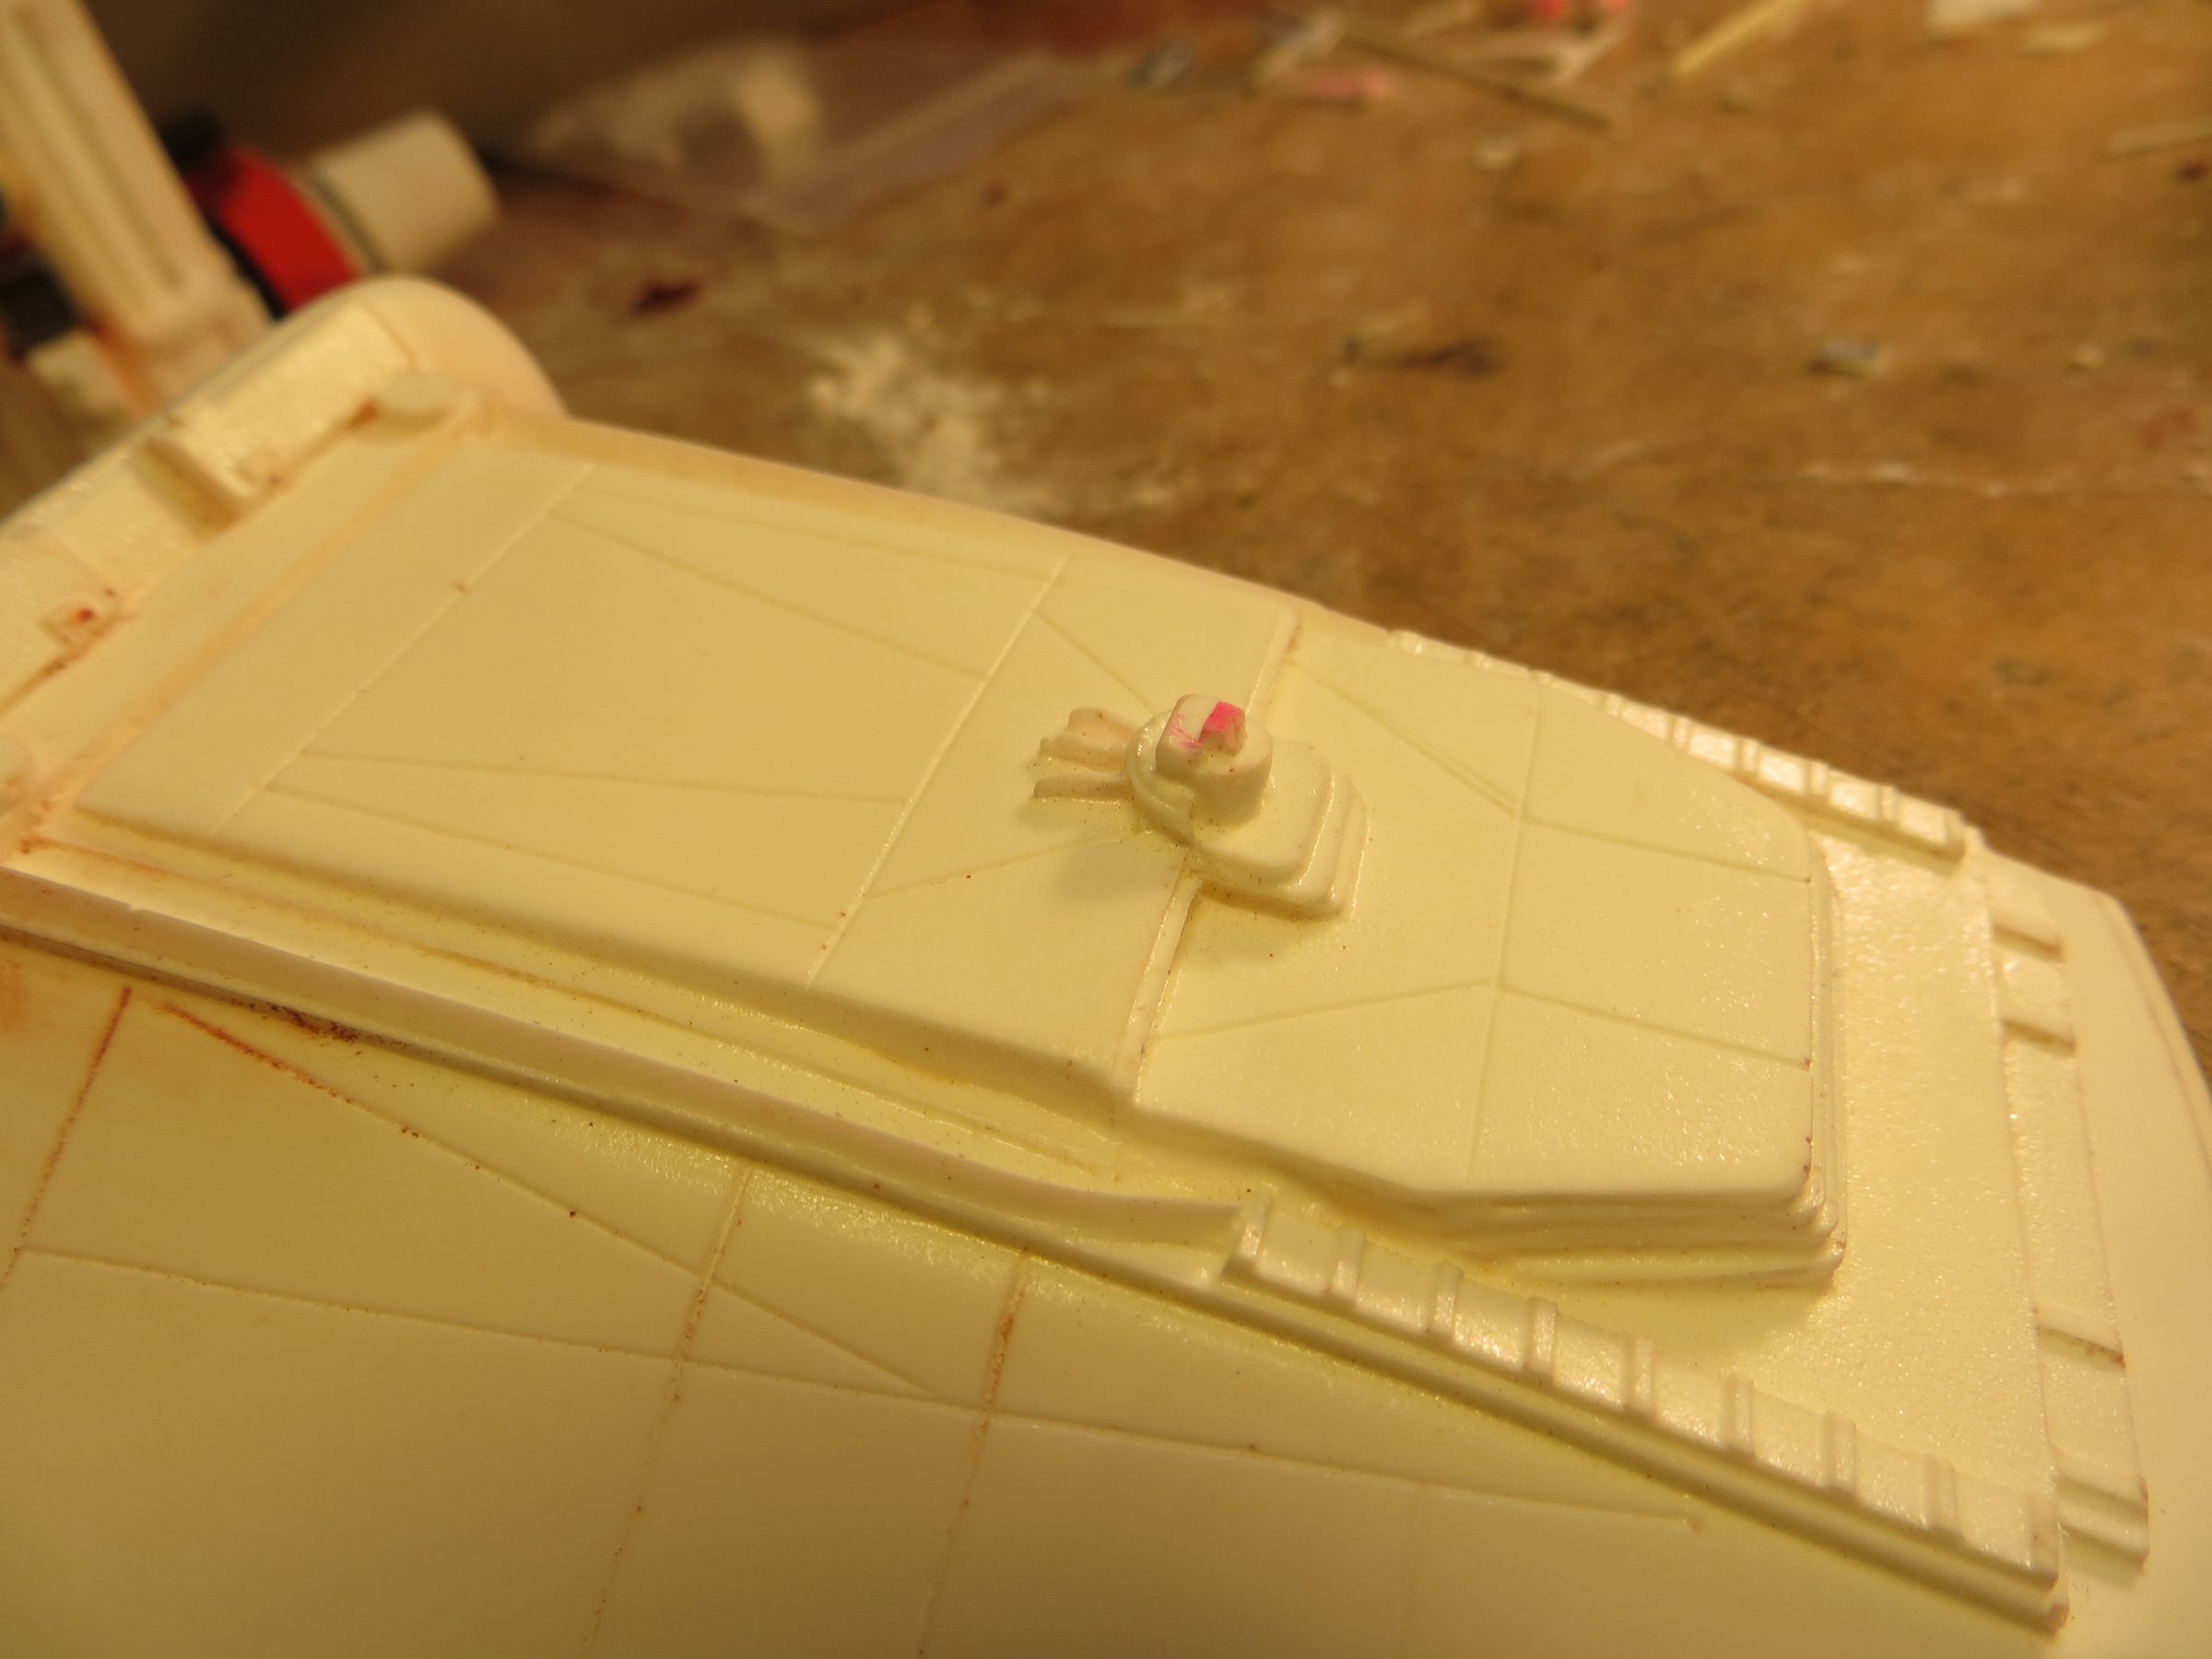
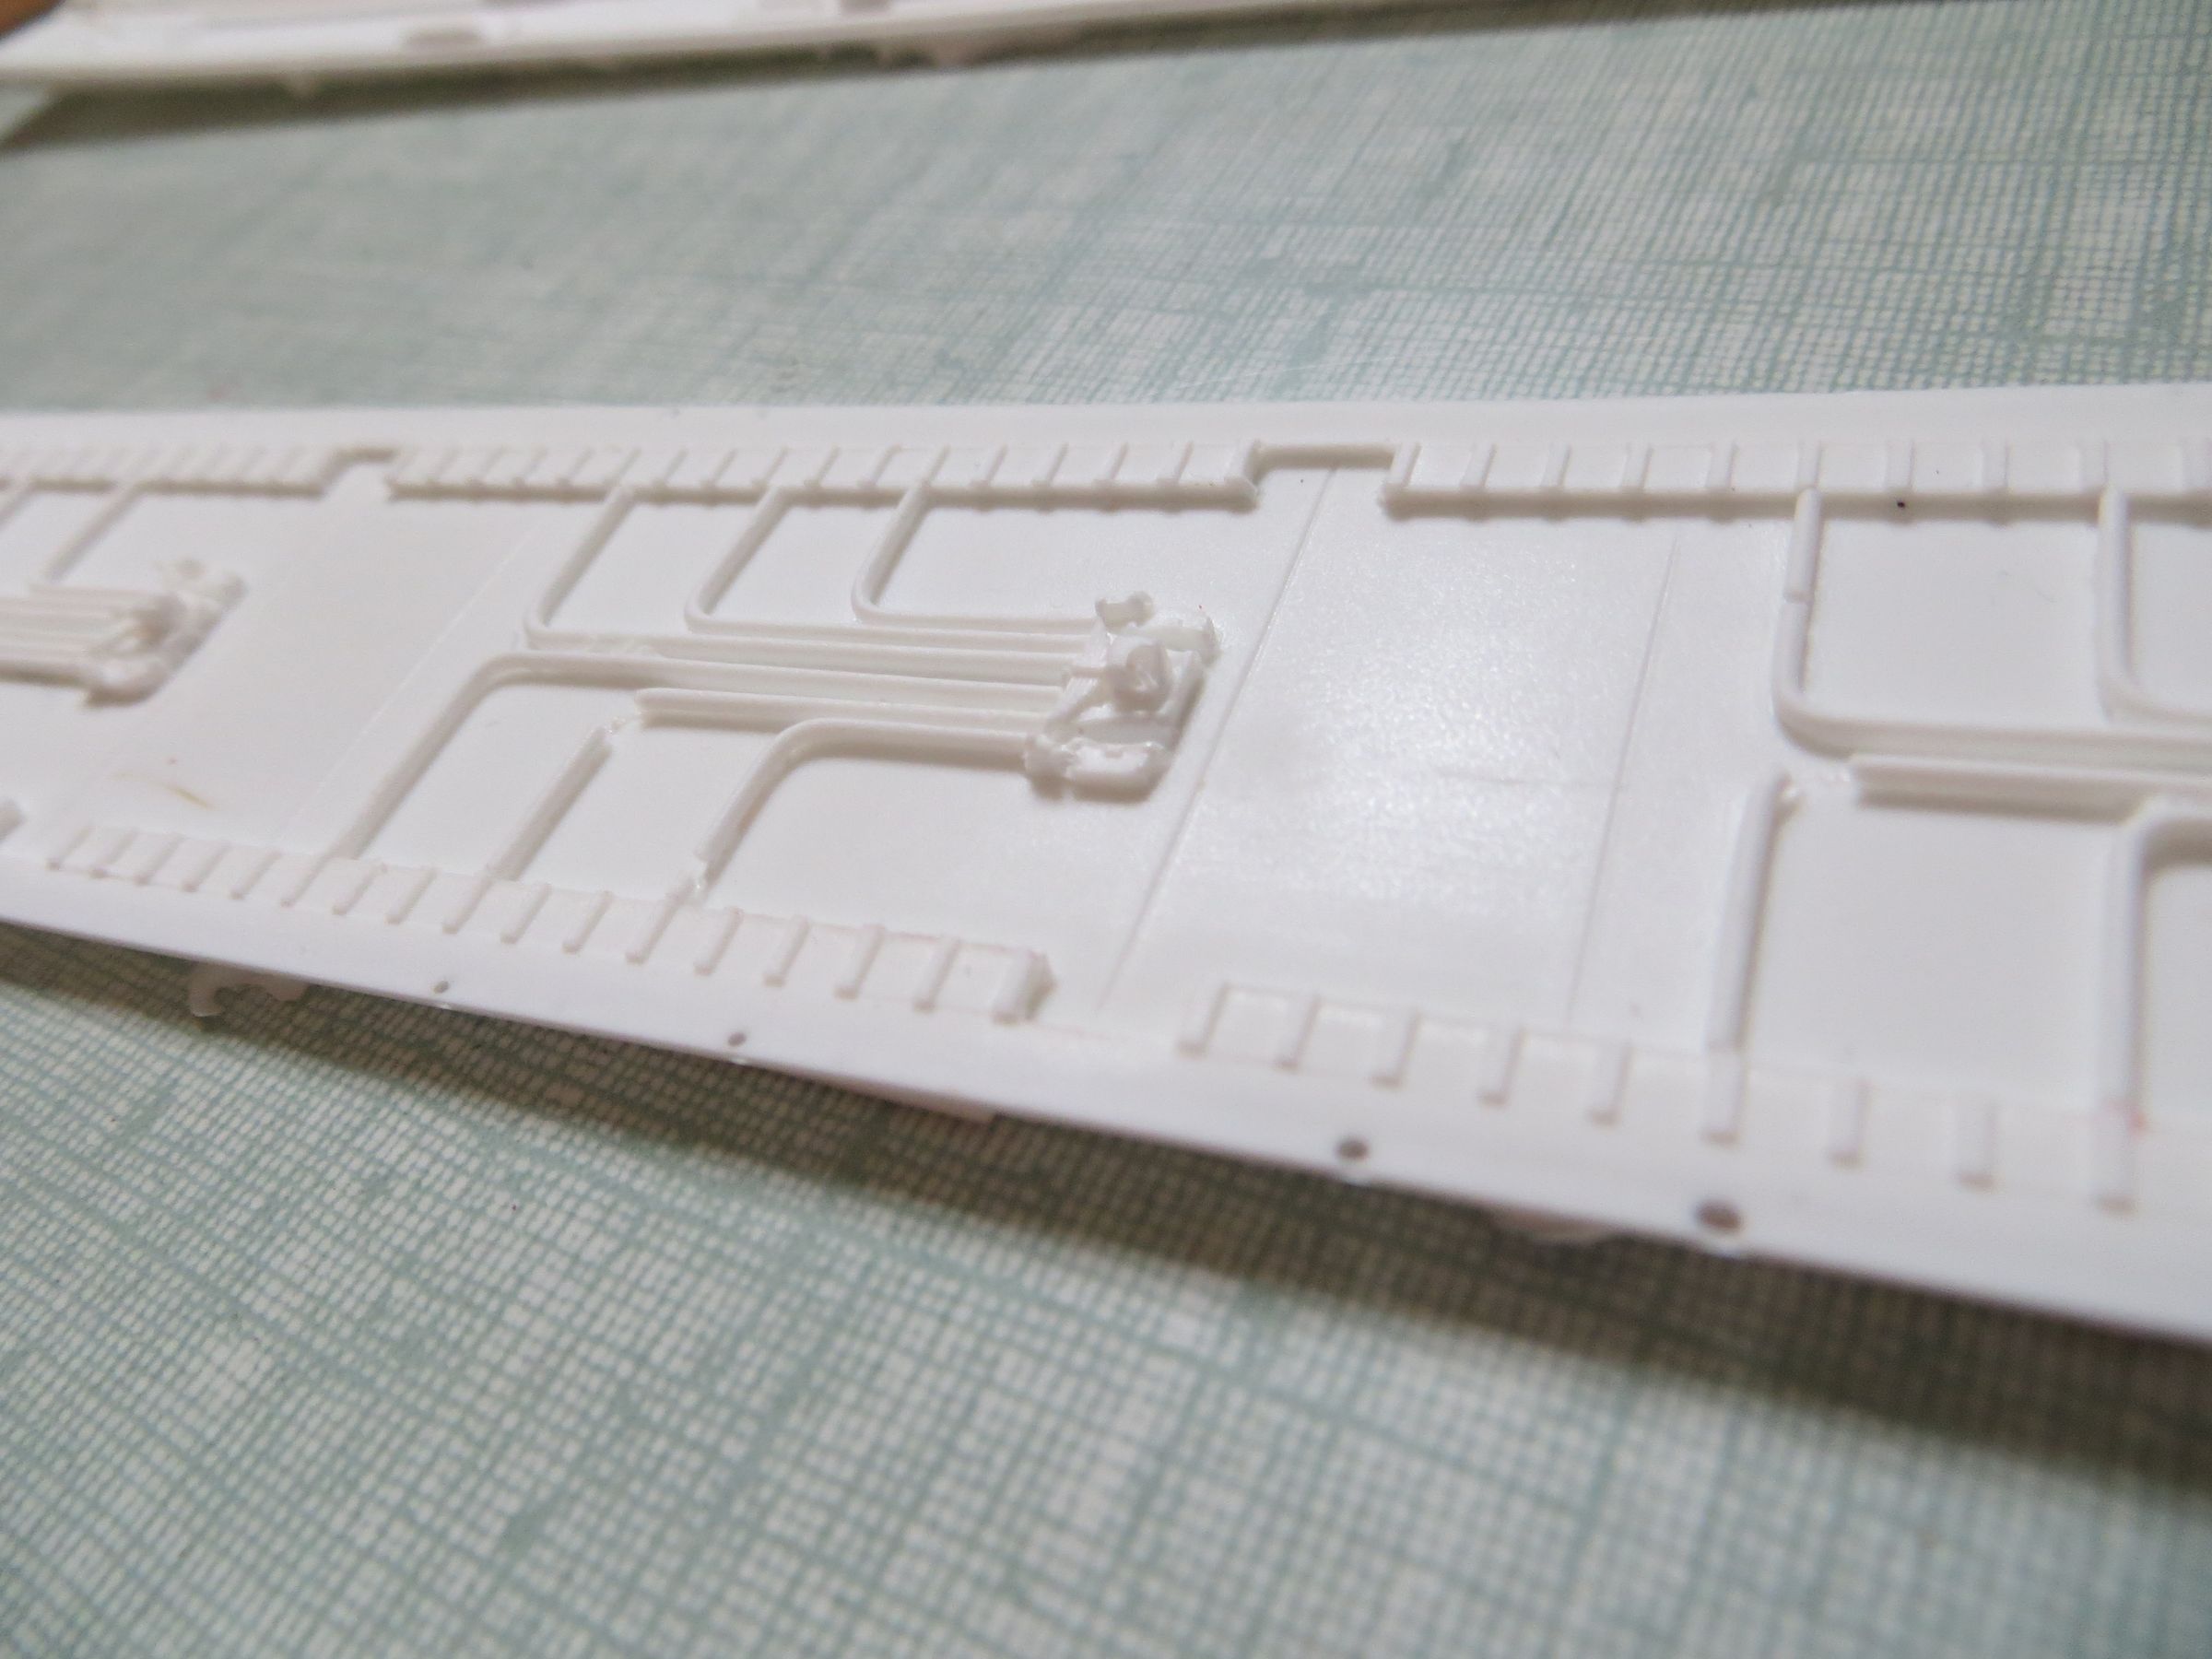
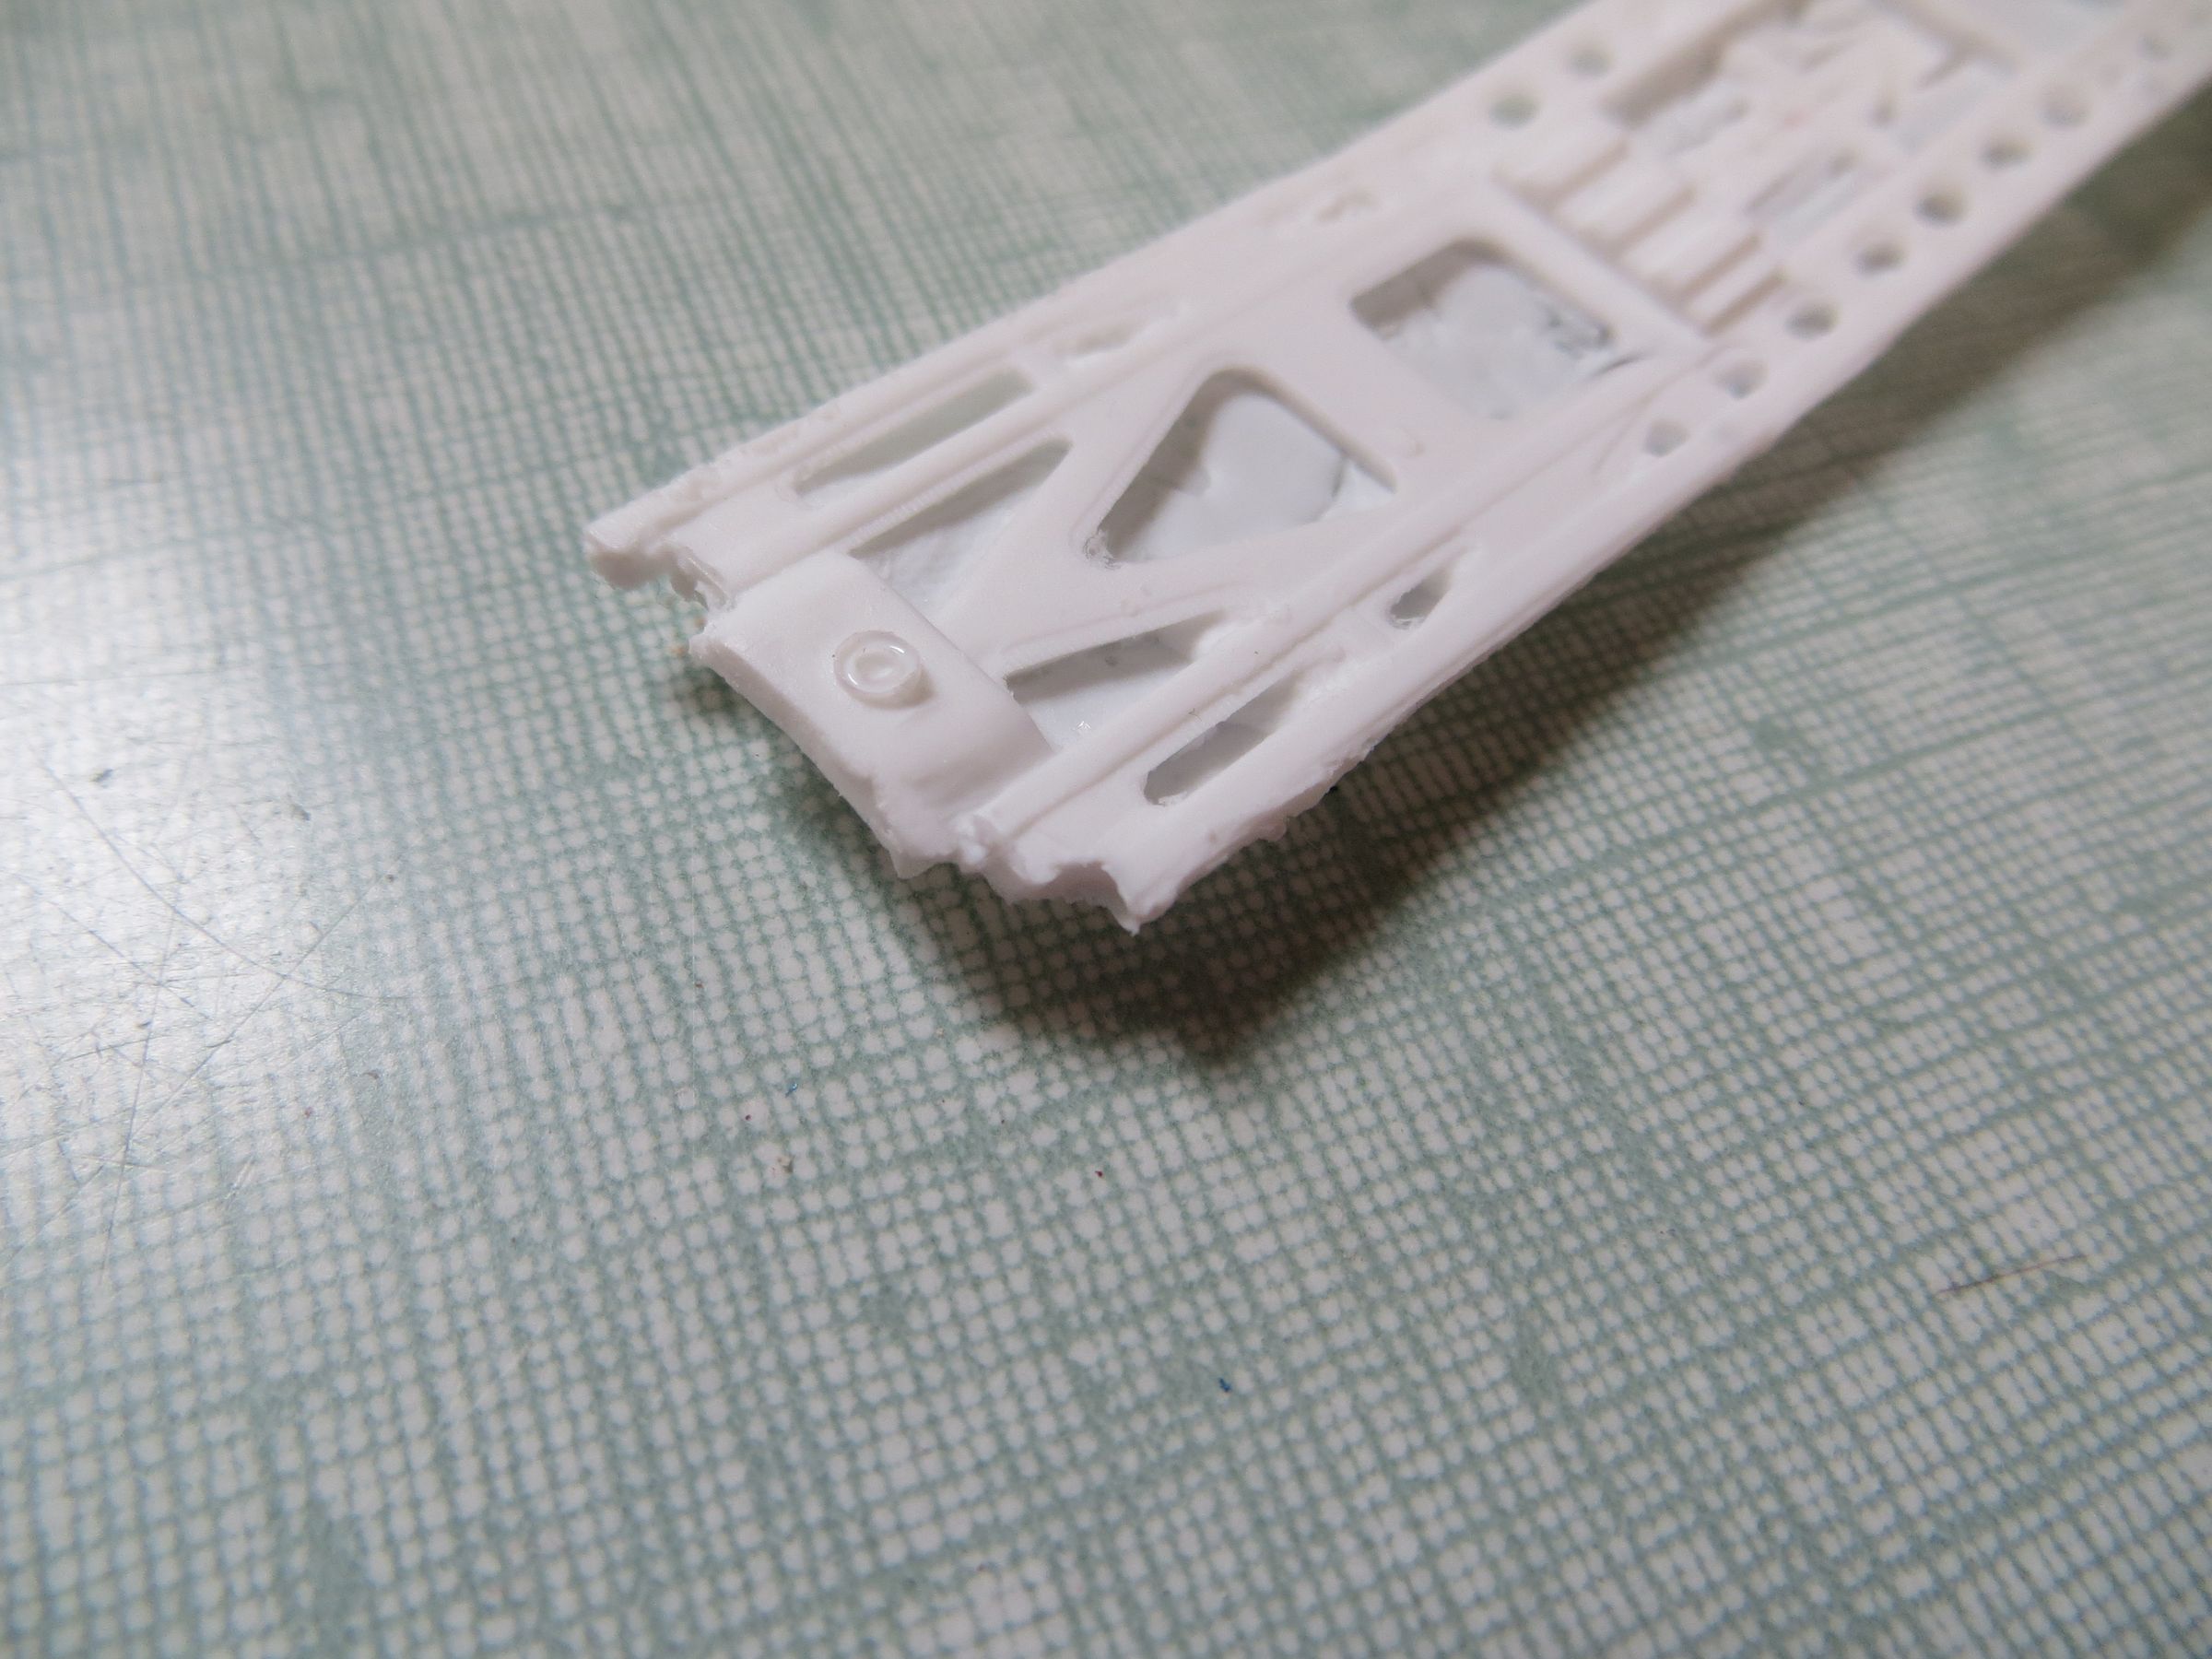
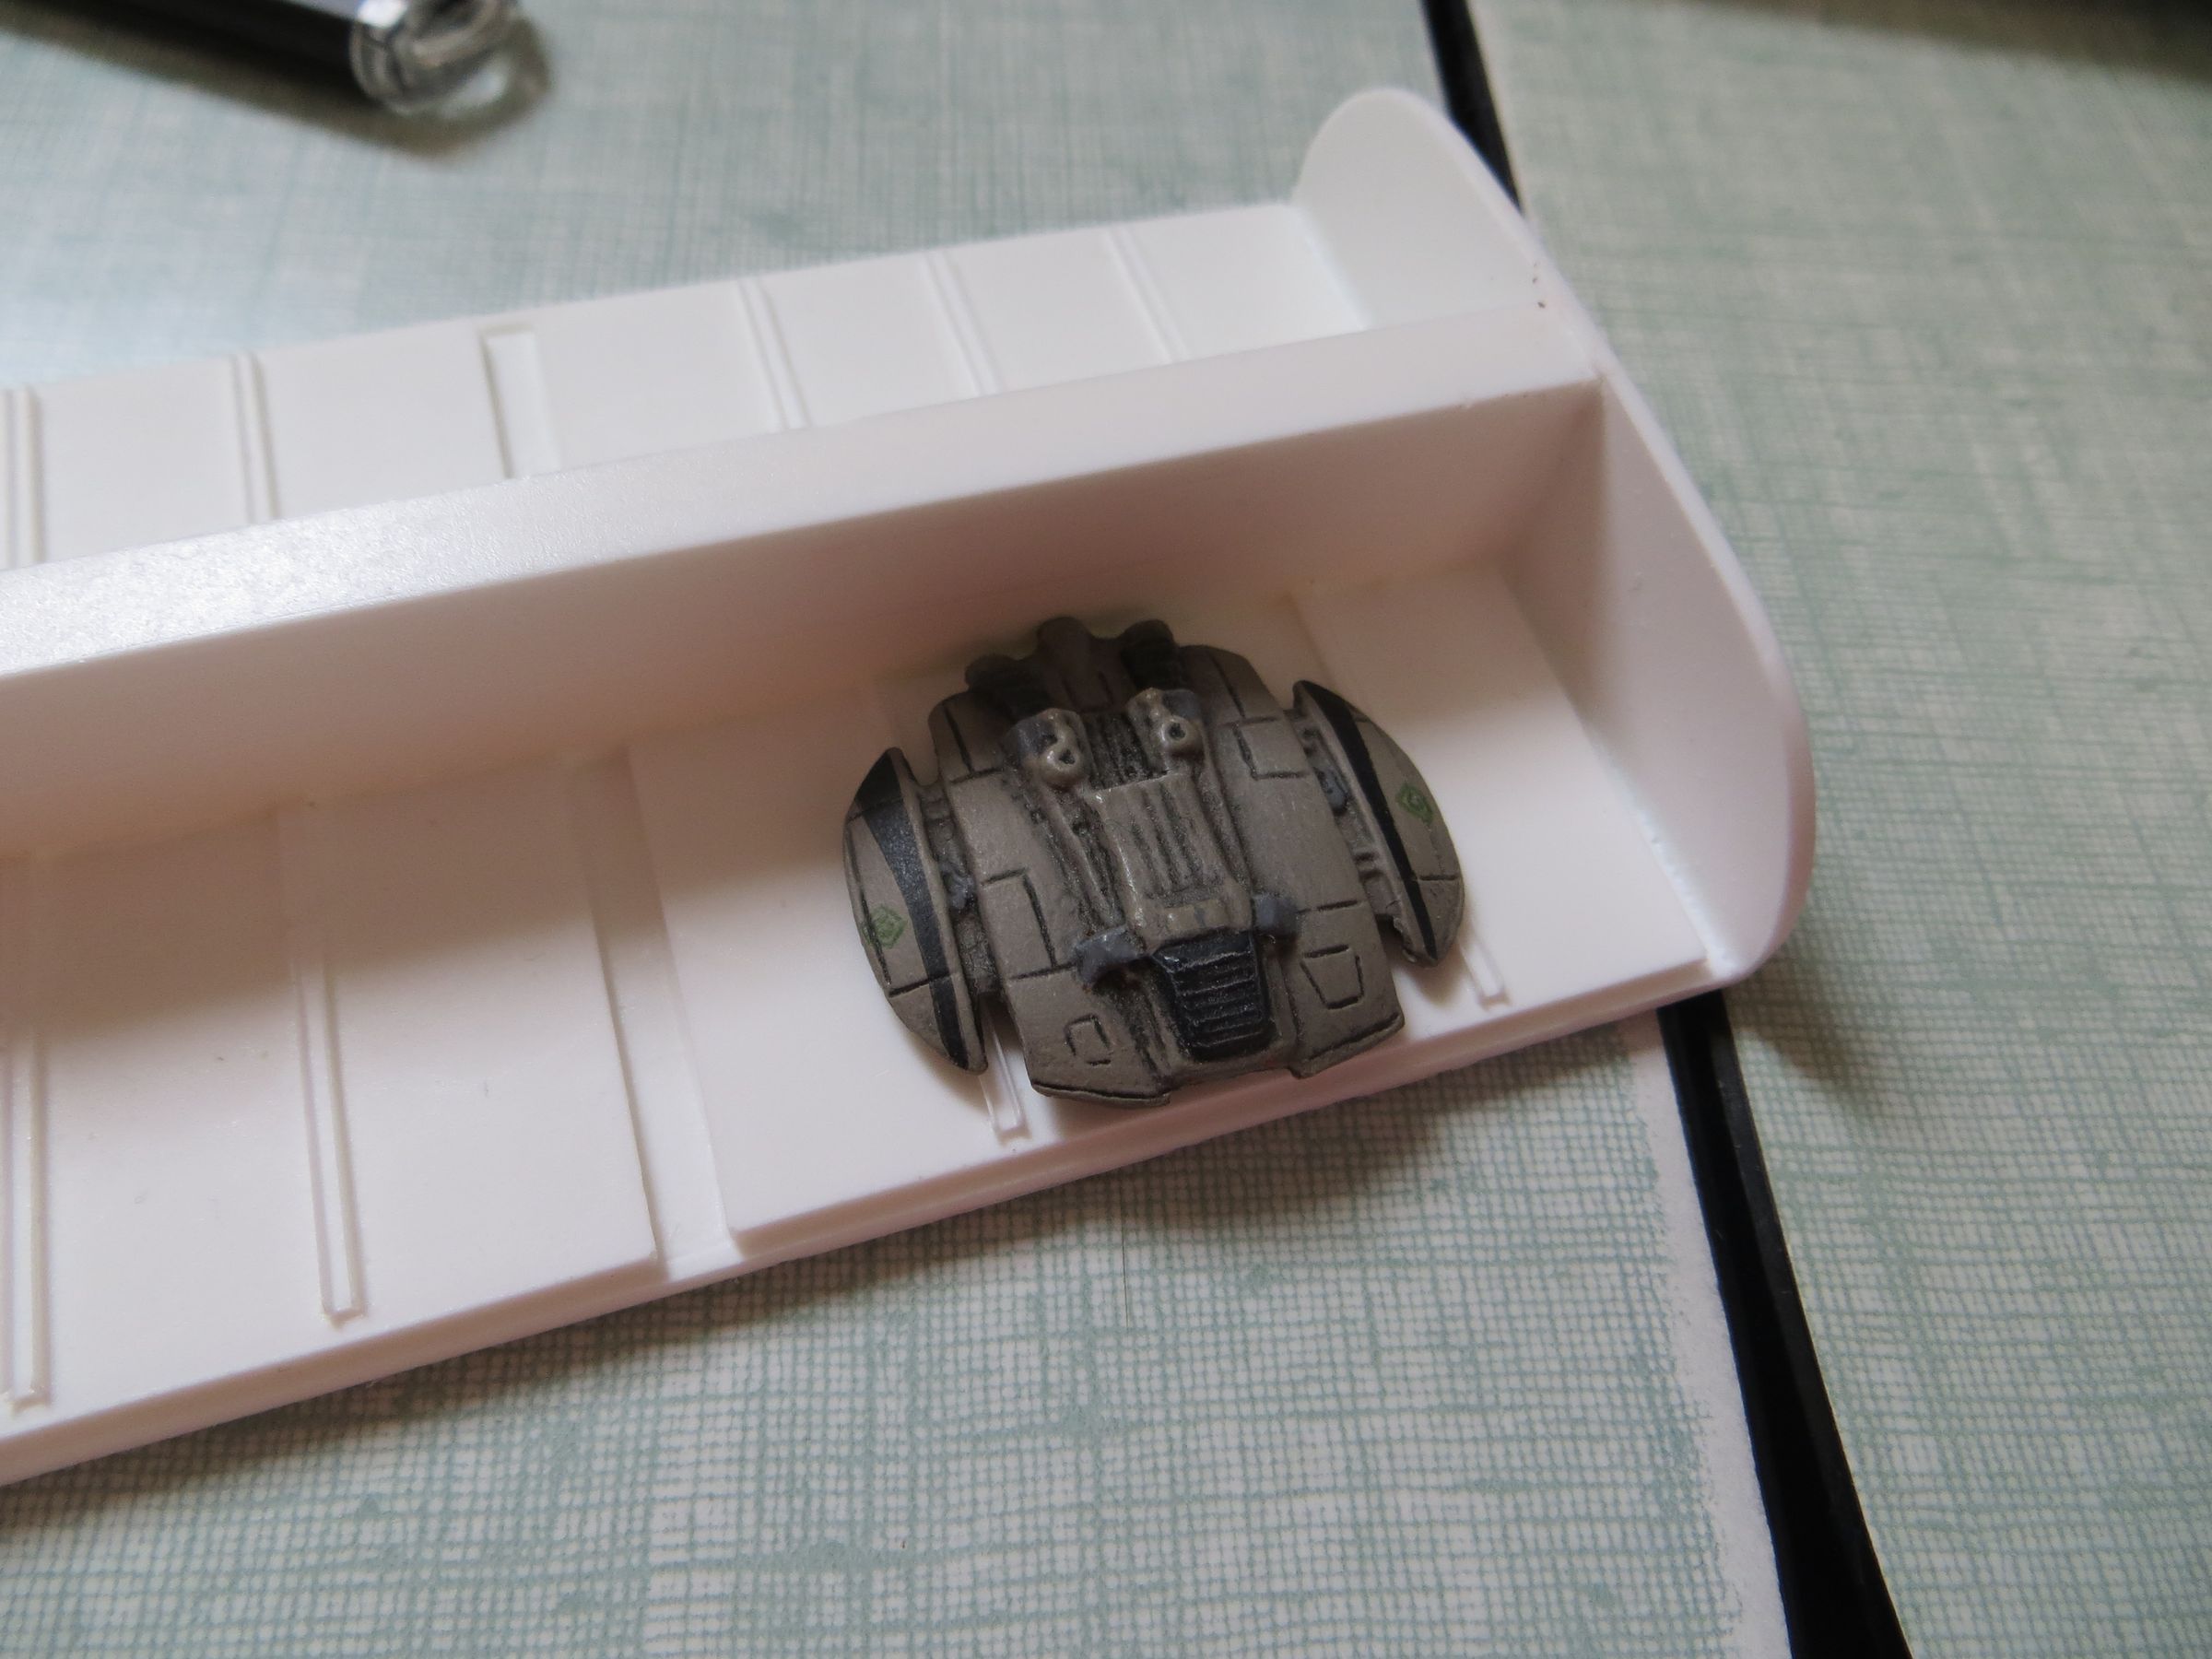
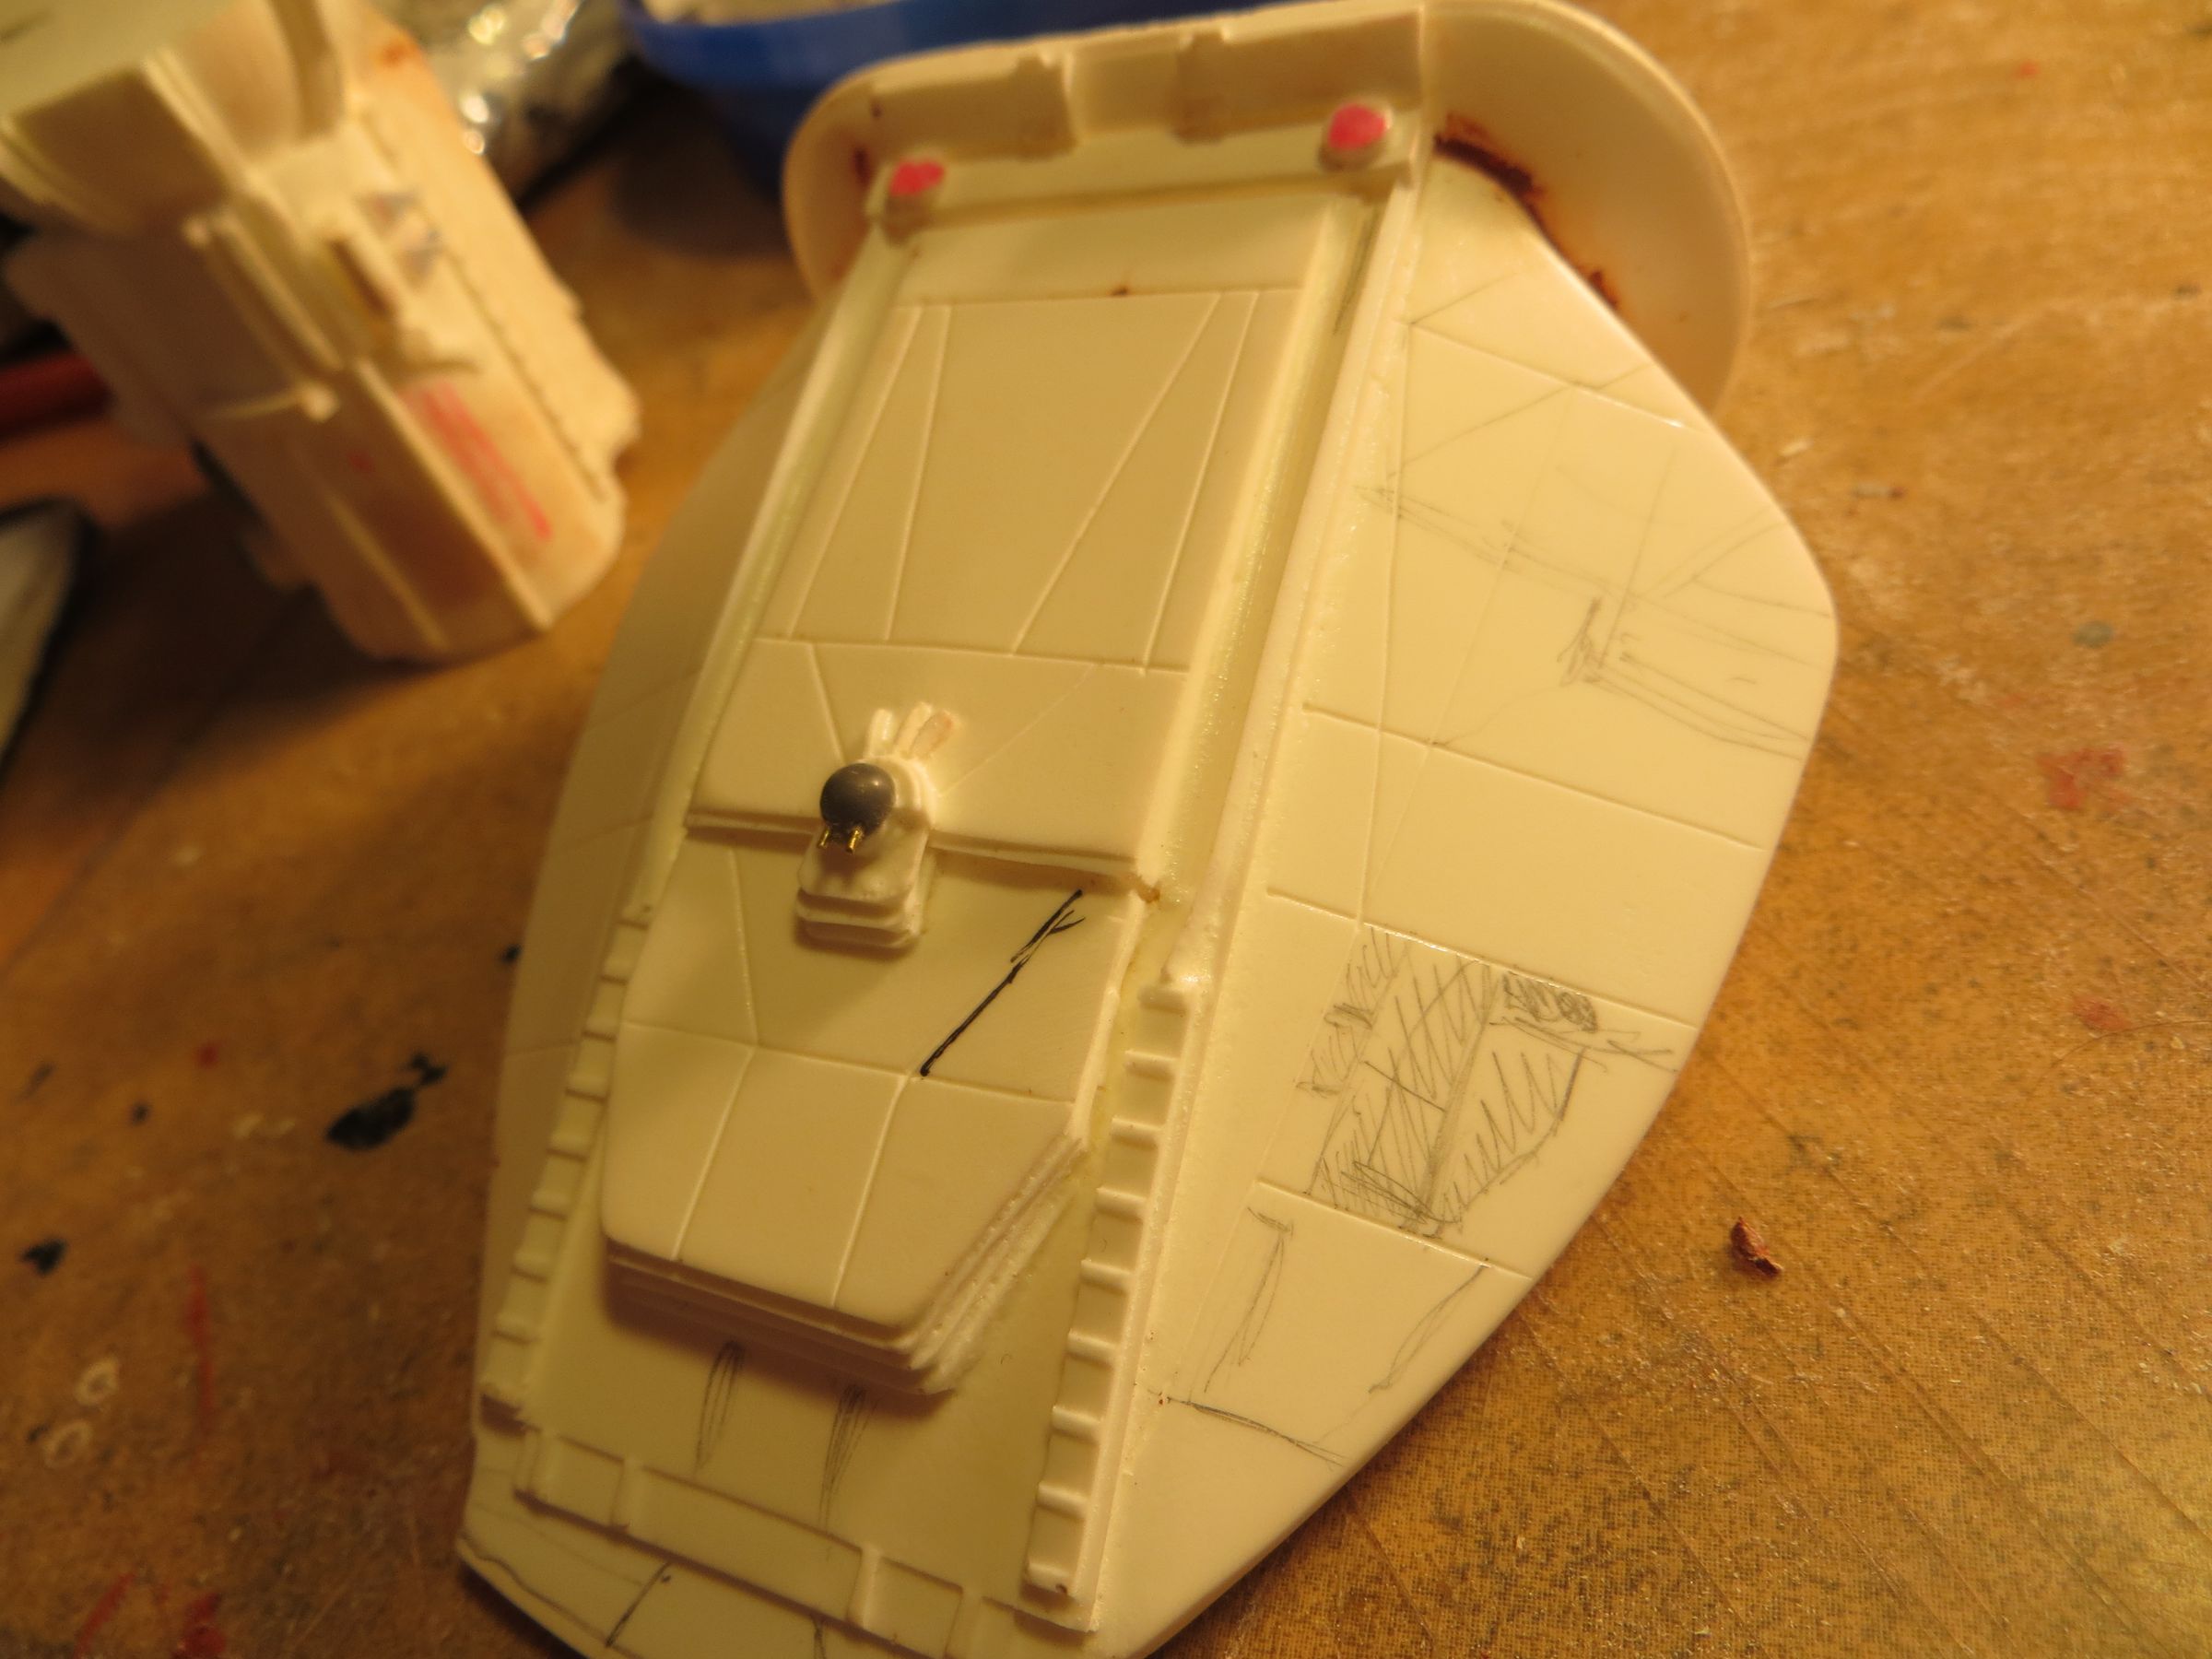
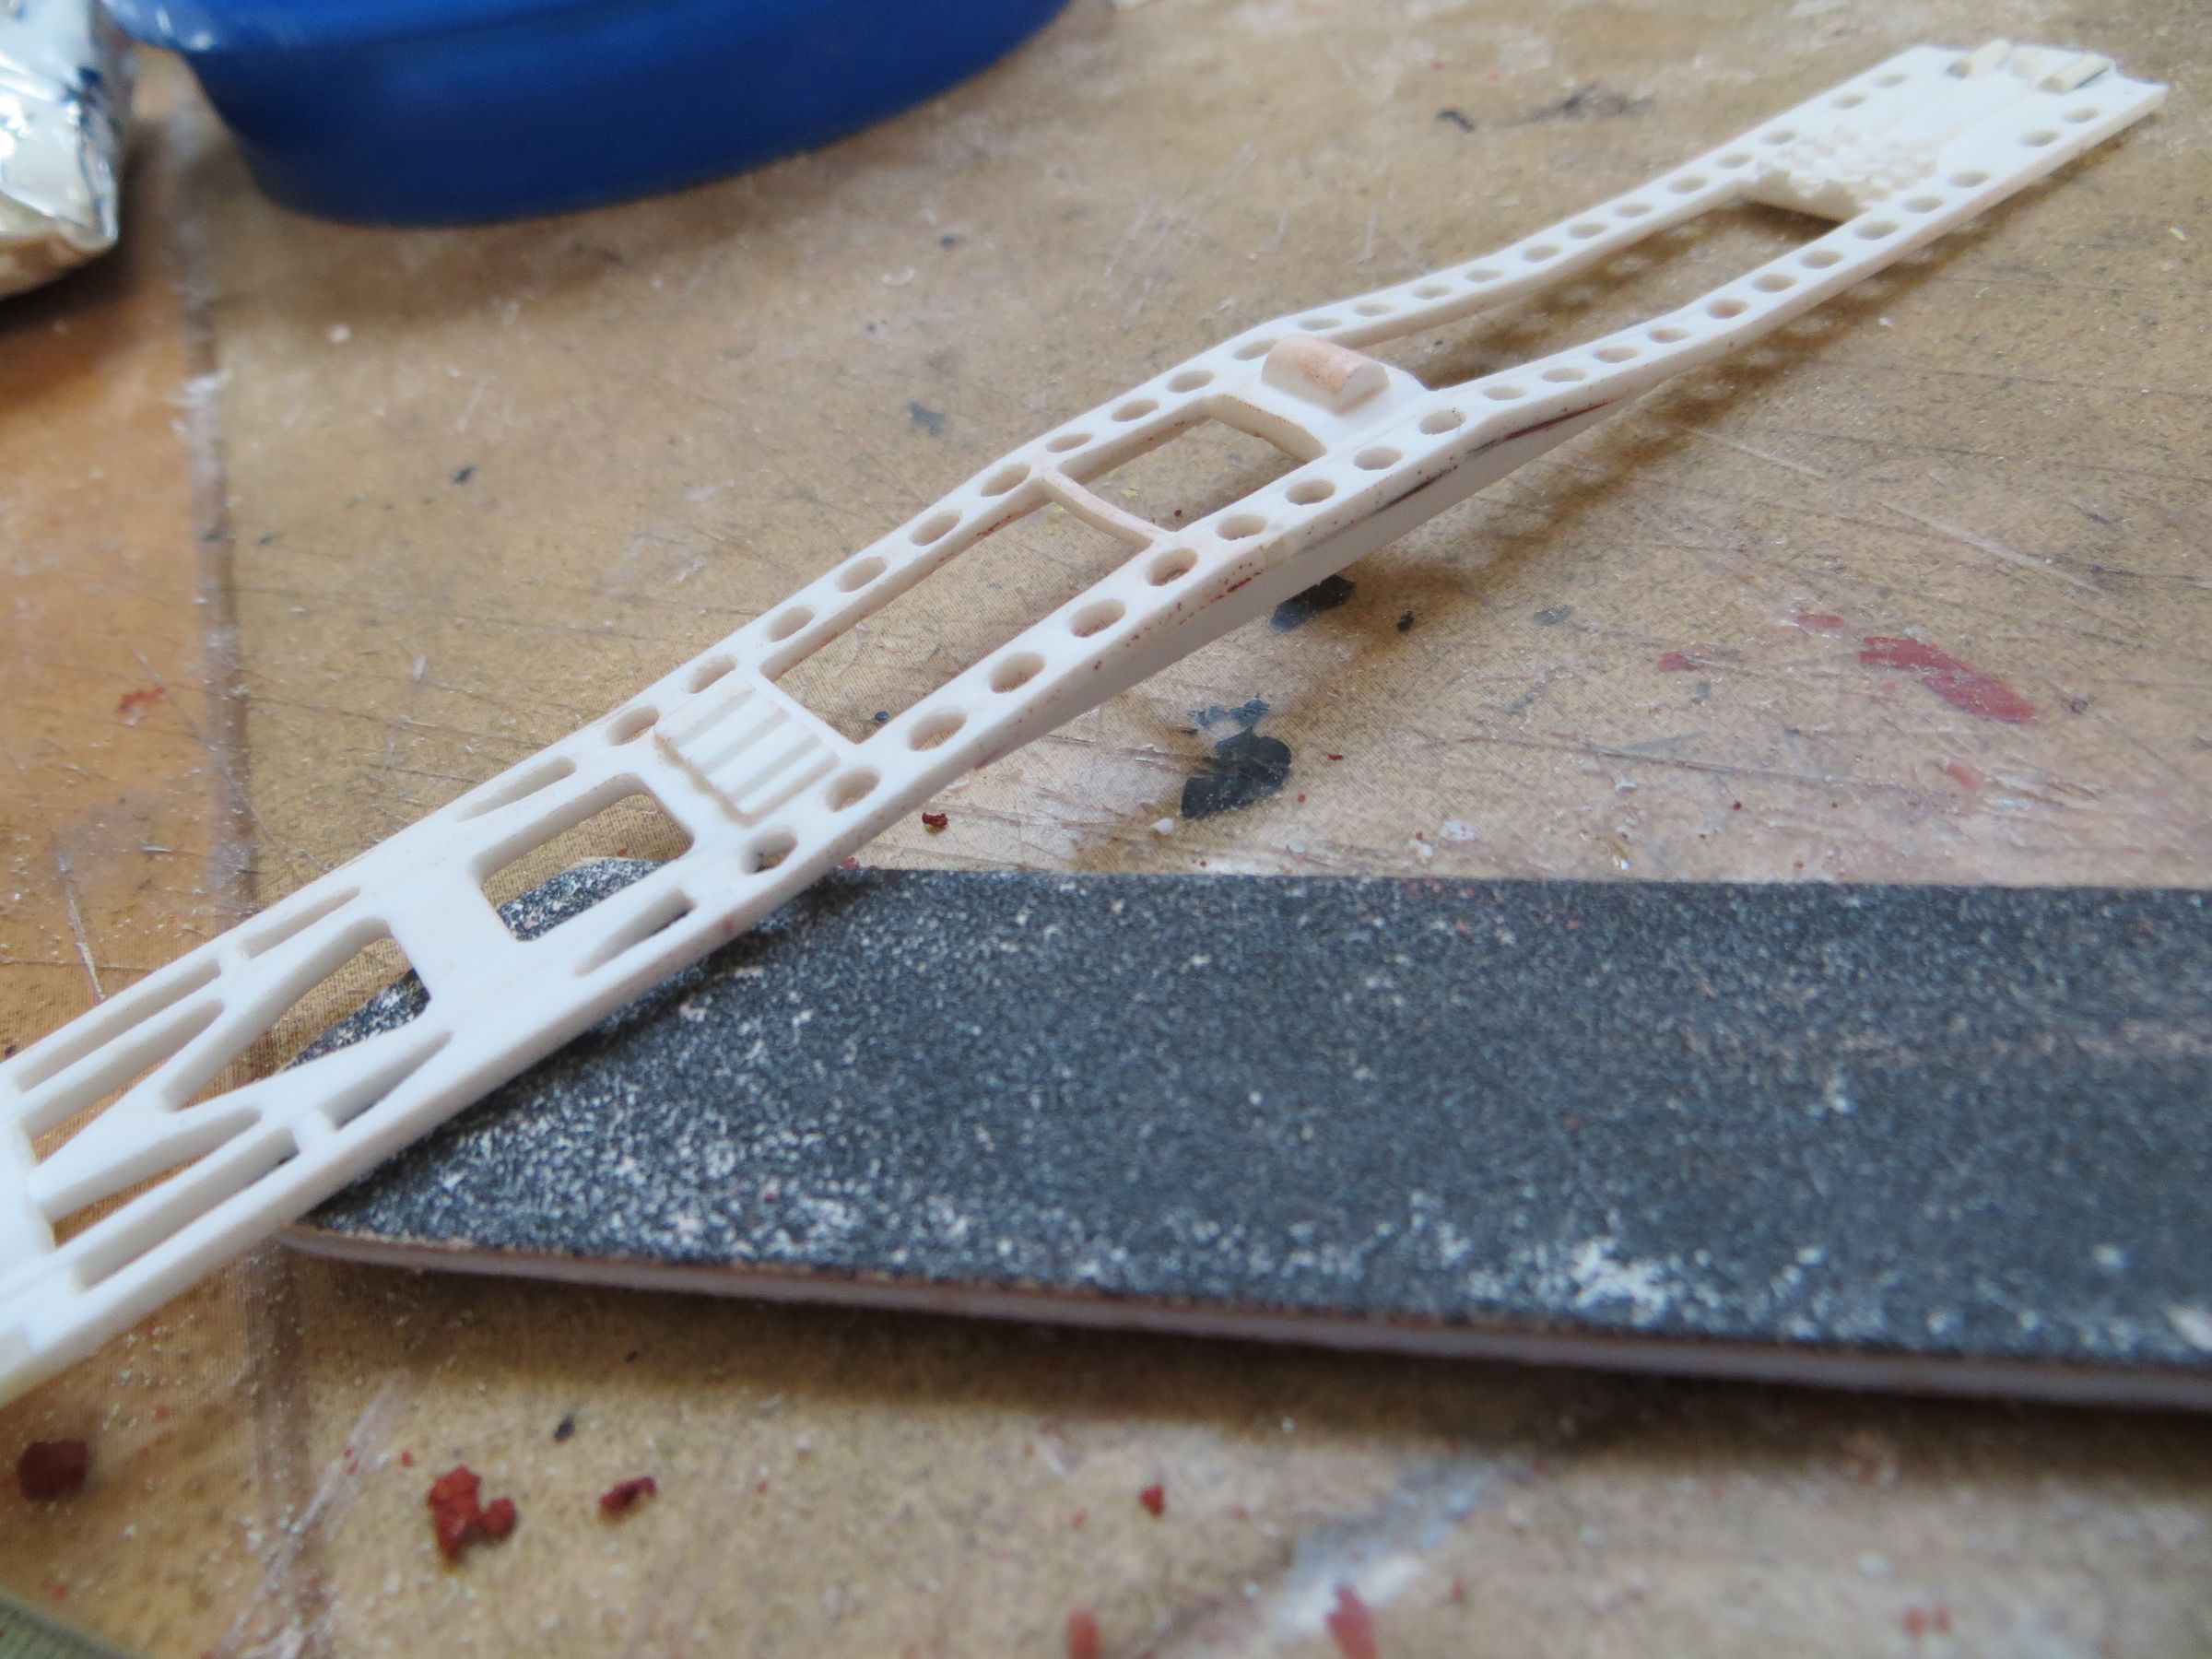
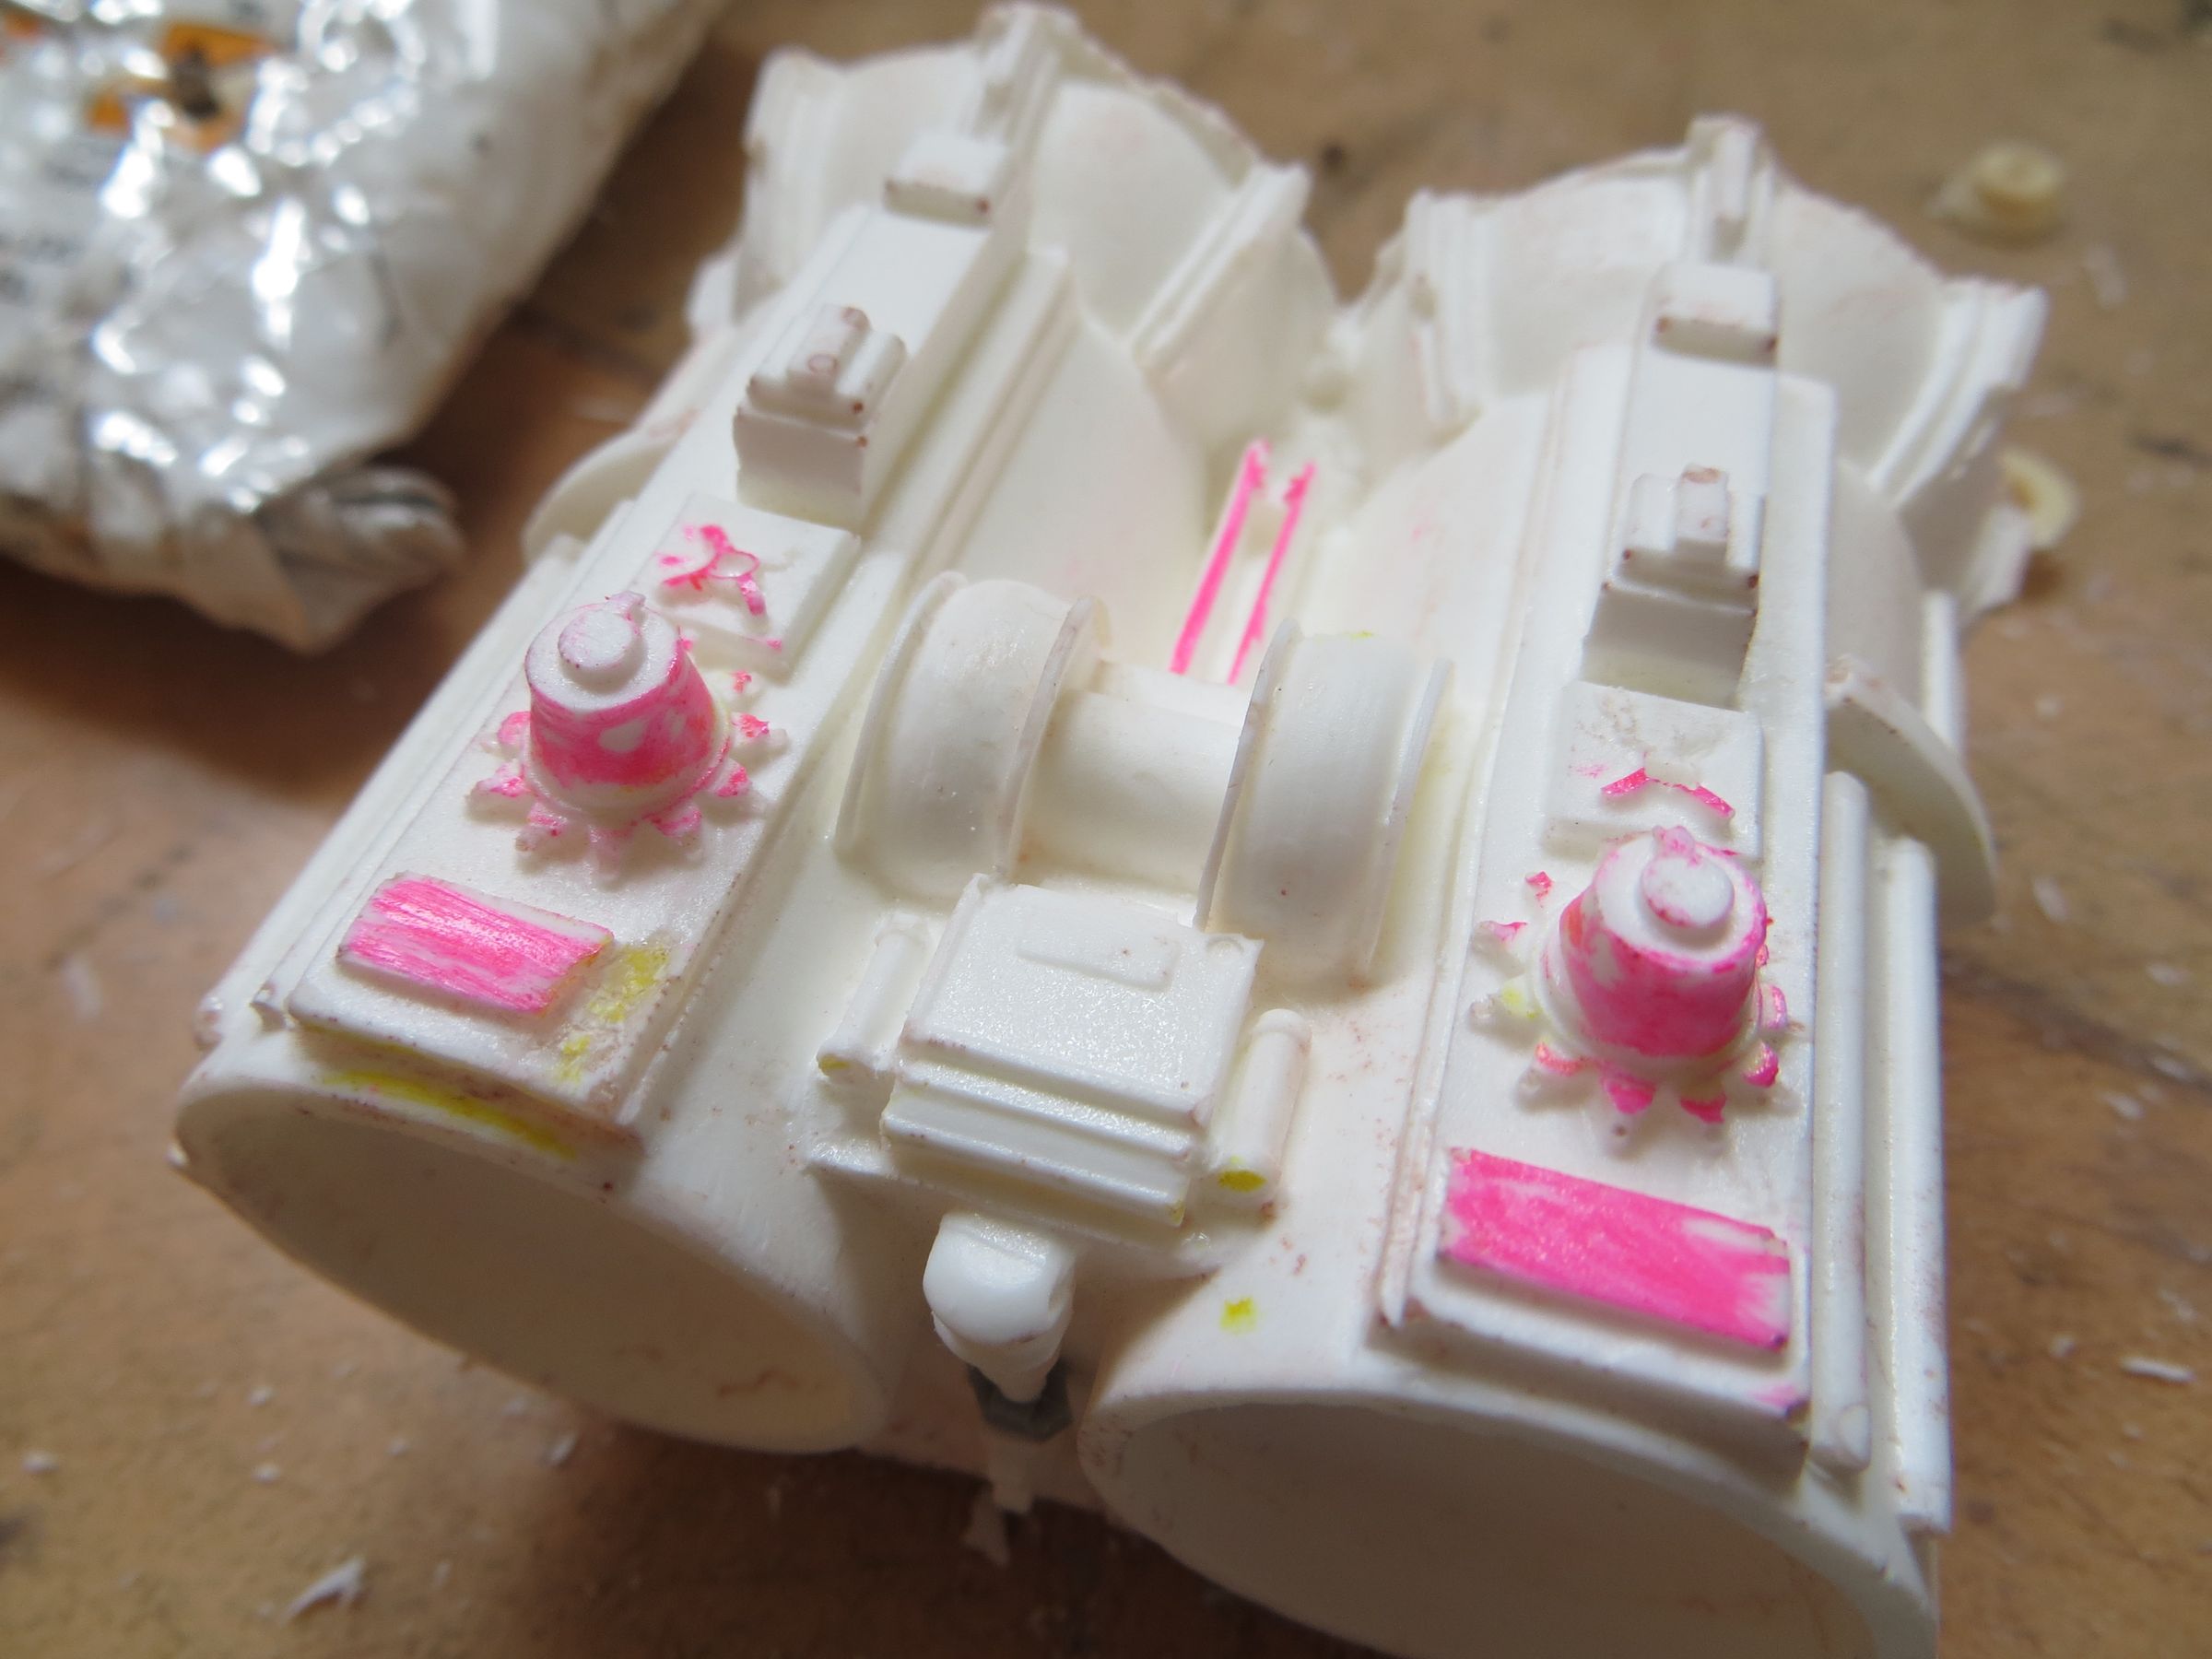
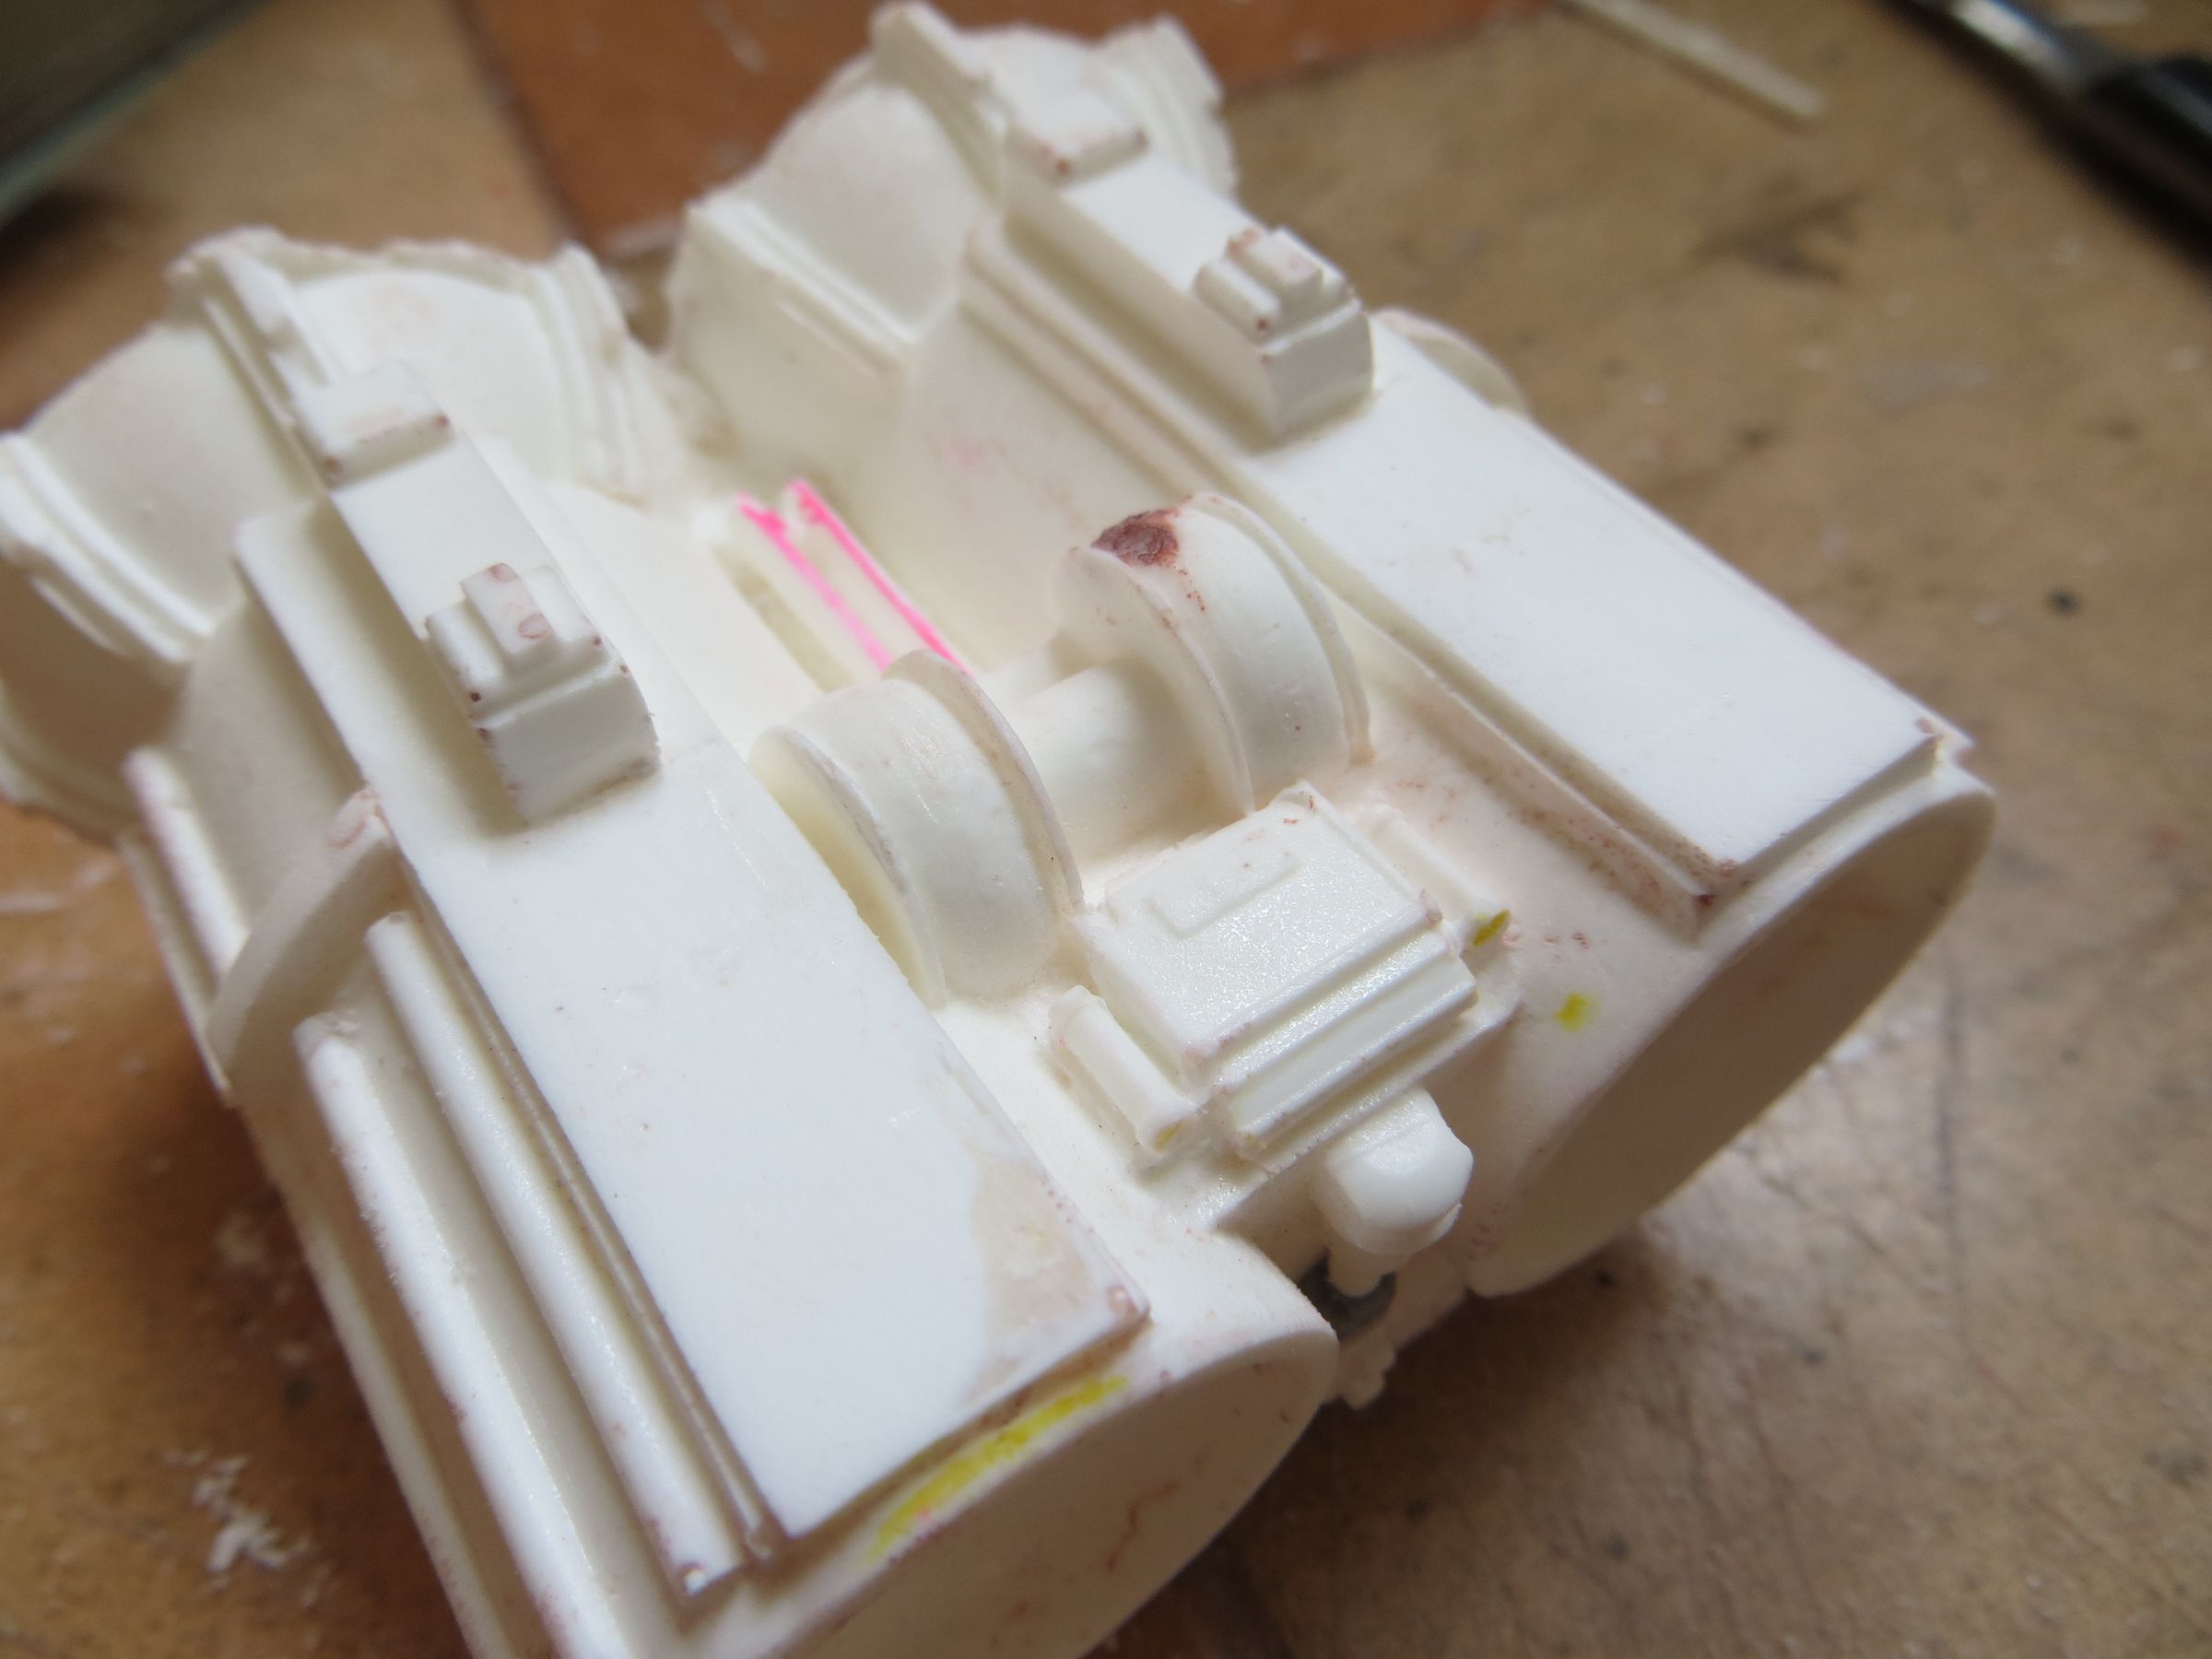
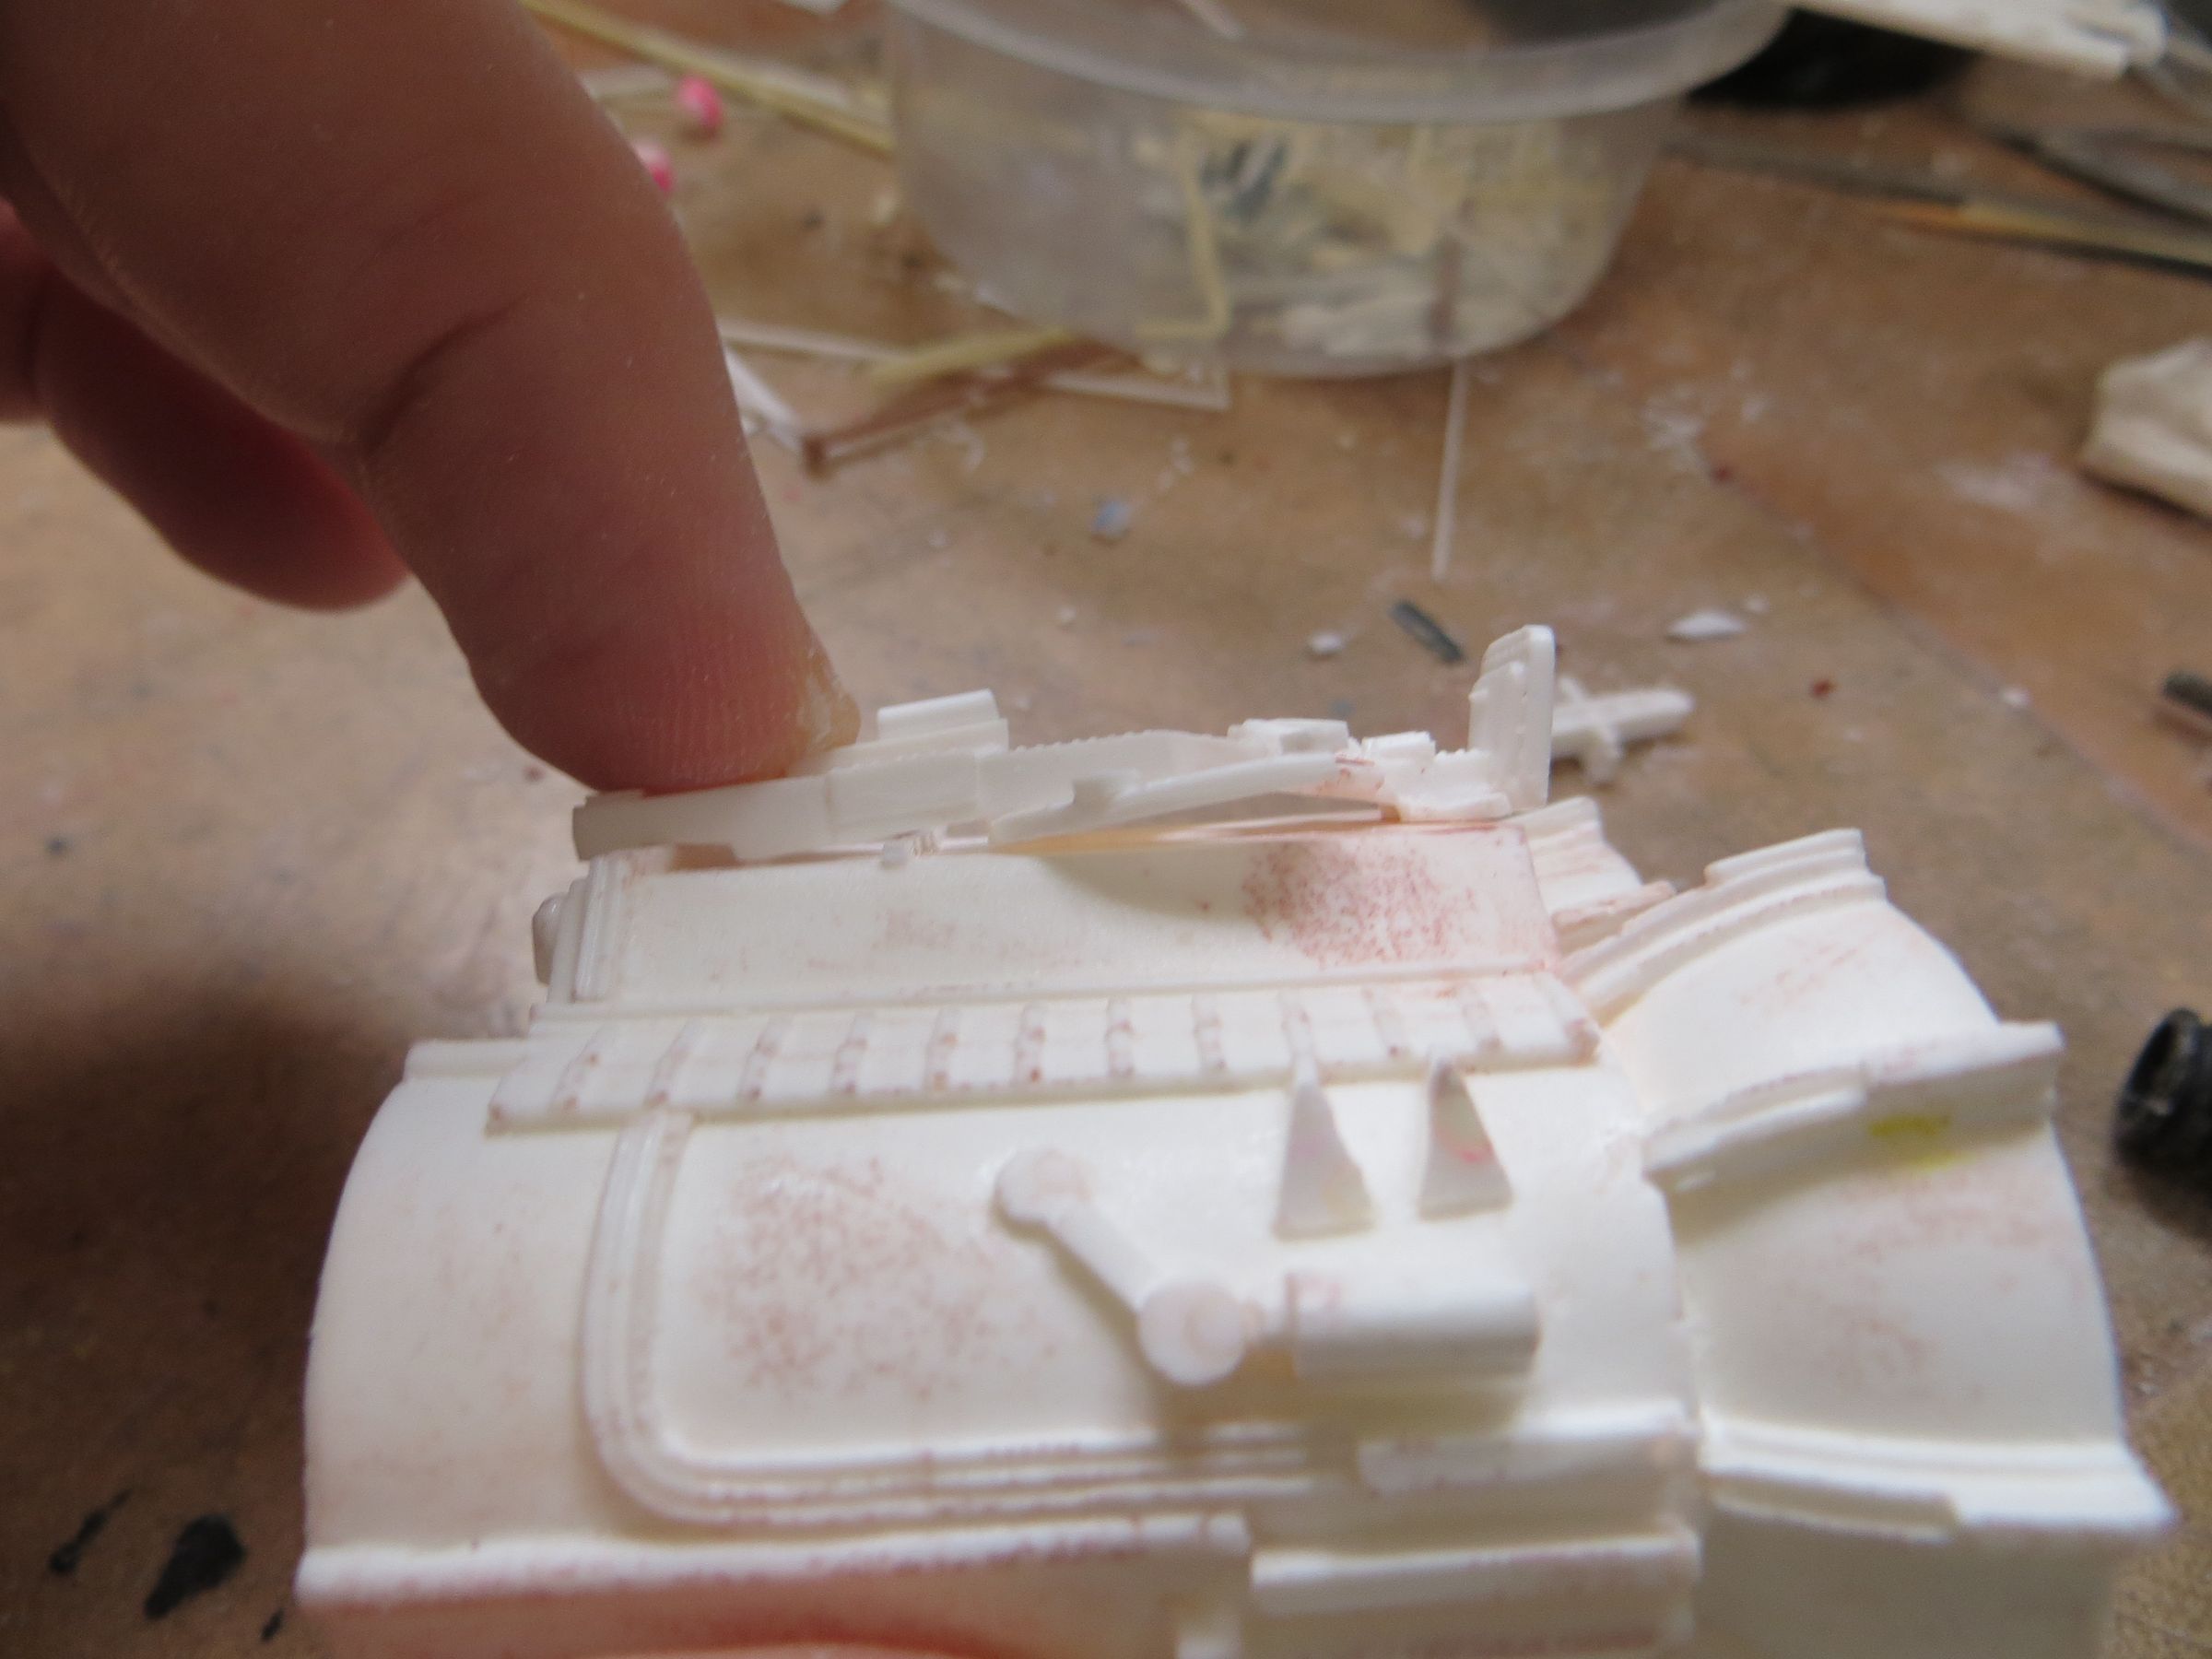
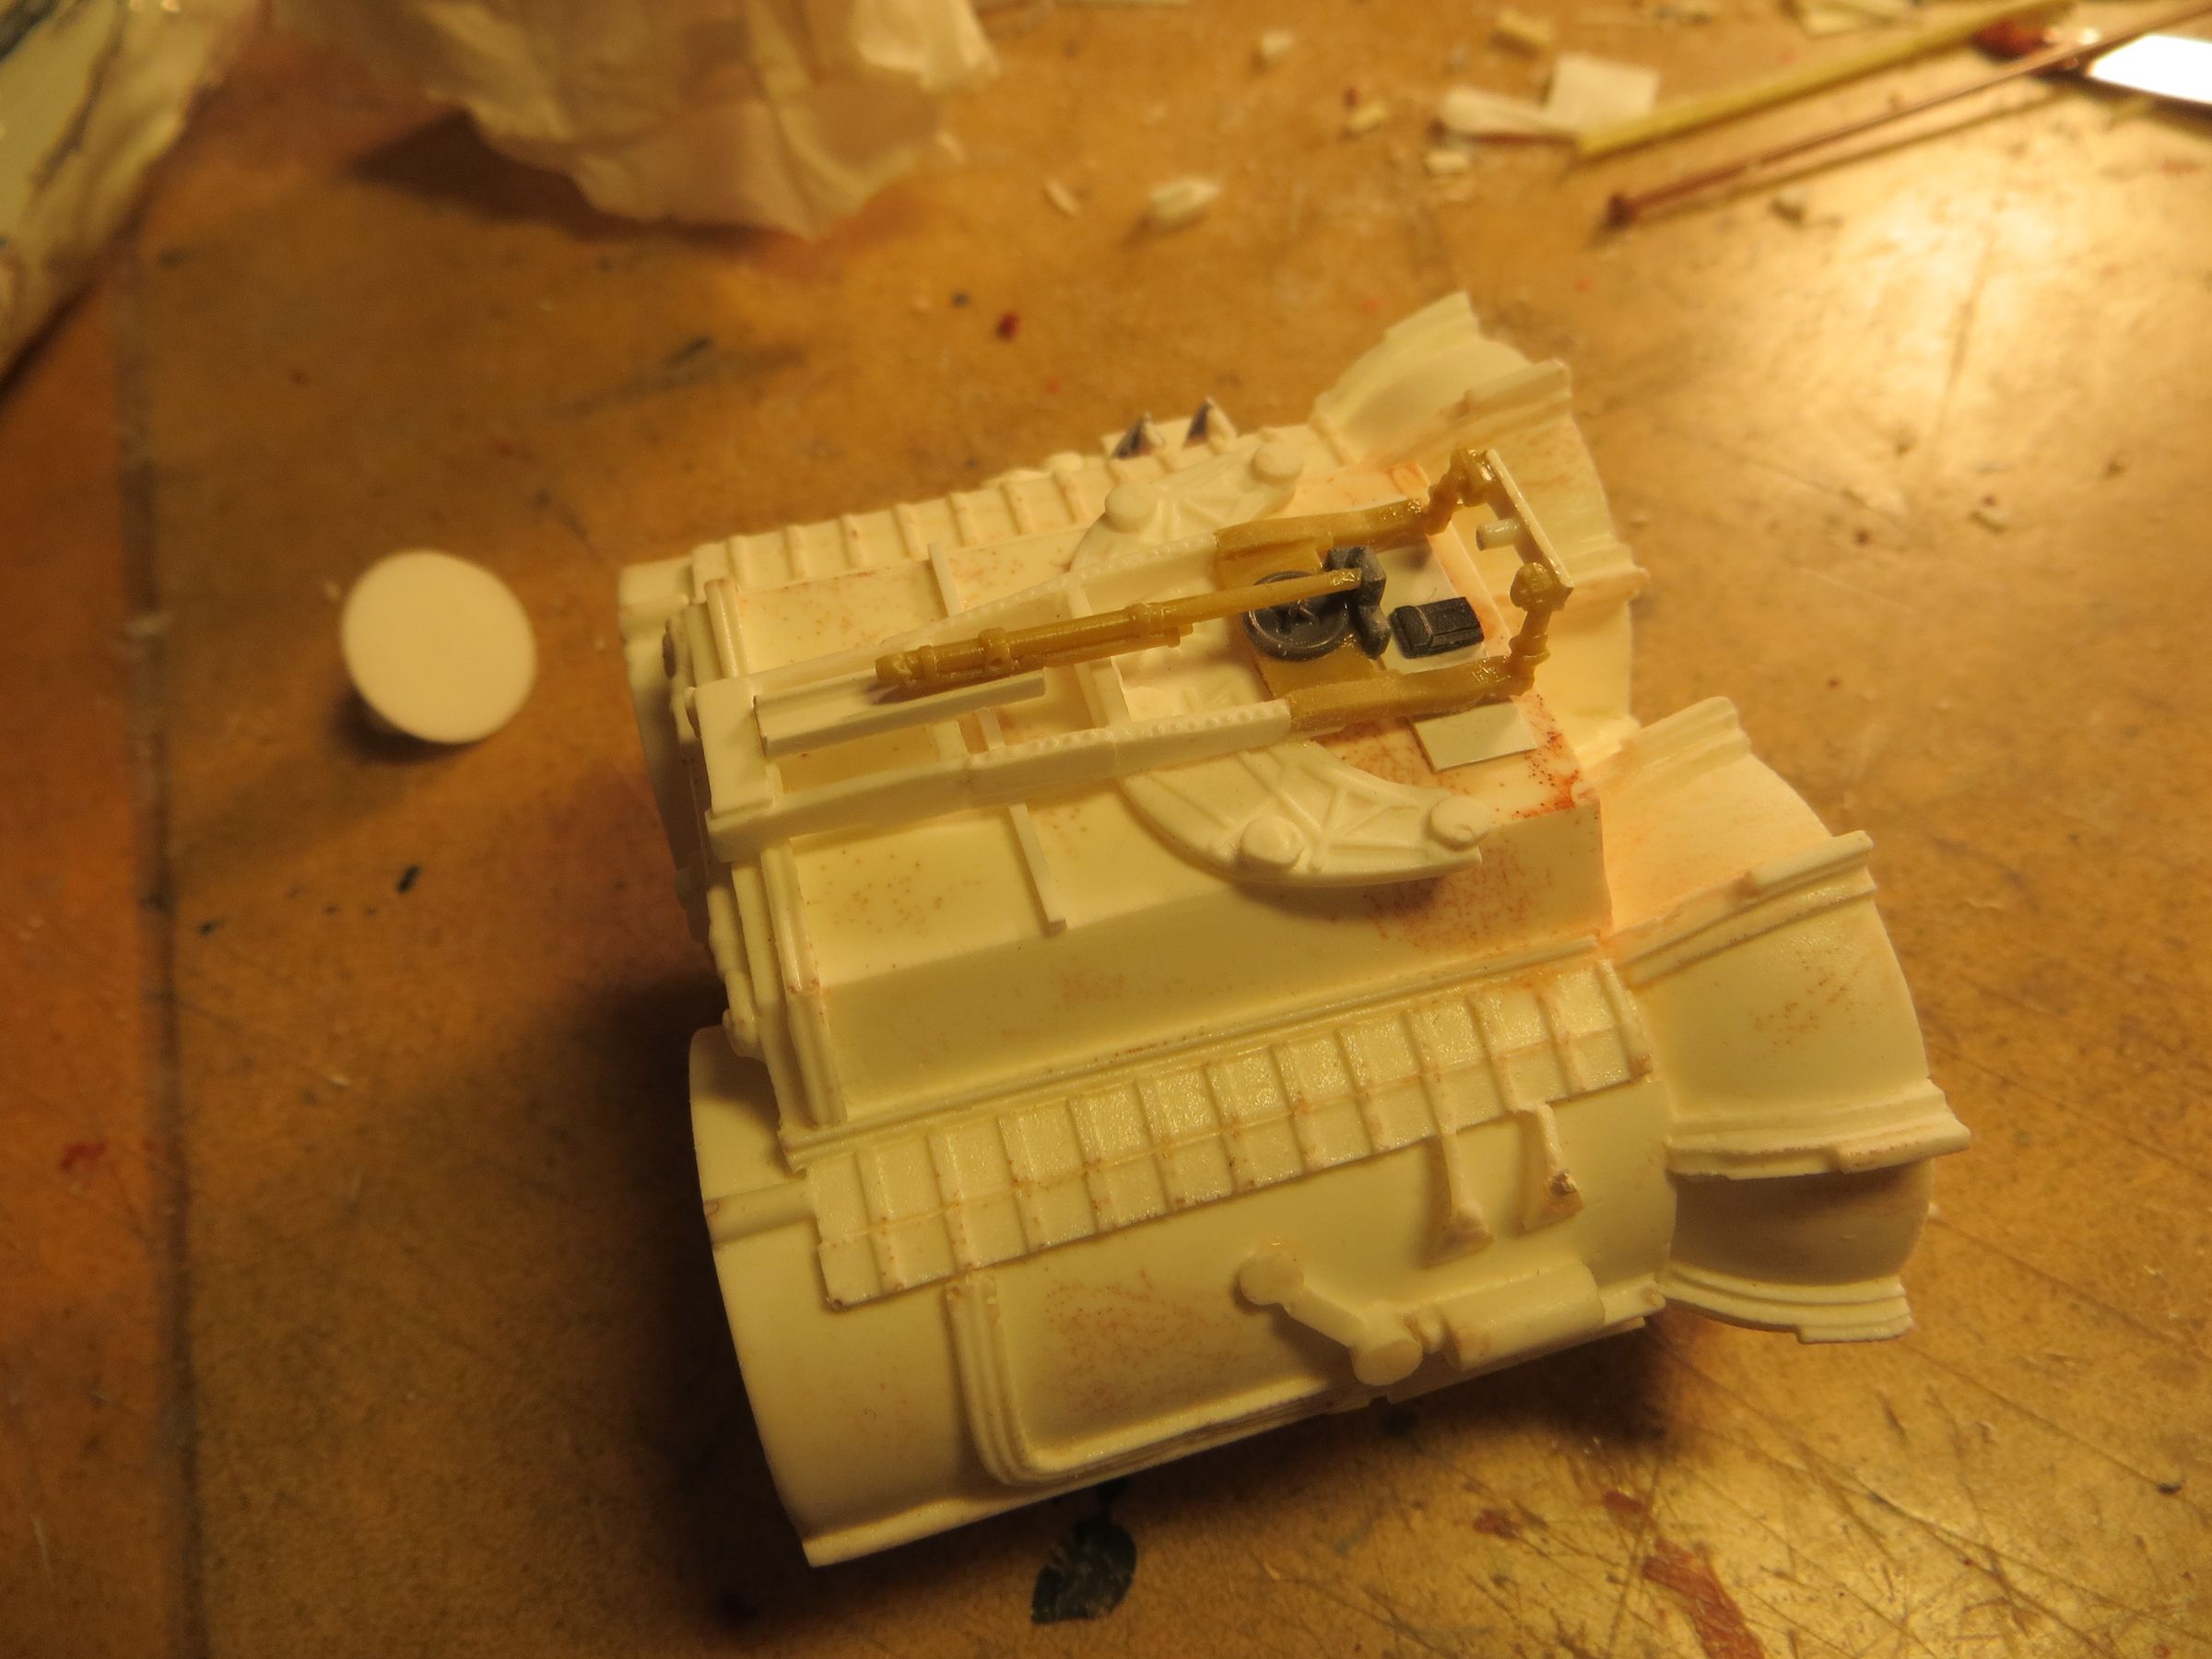
This area (highlighted in pink) is too raised, so I sanded of an half in the thickness.


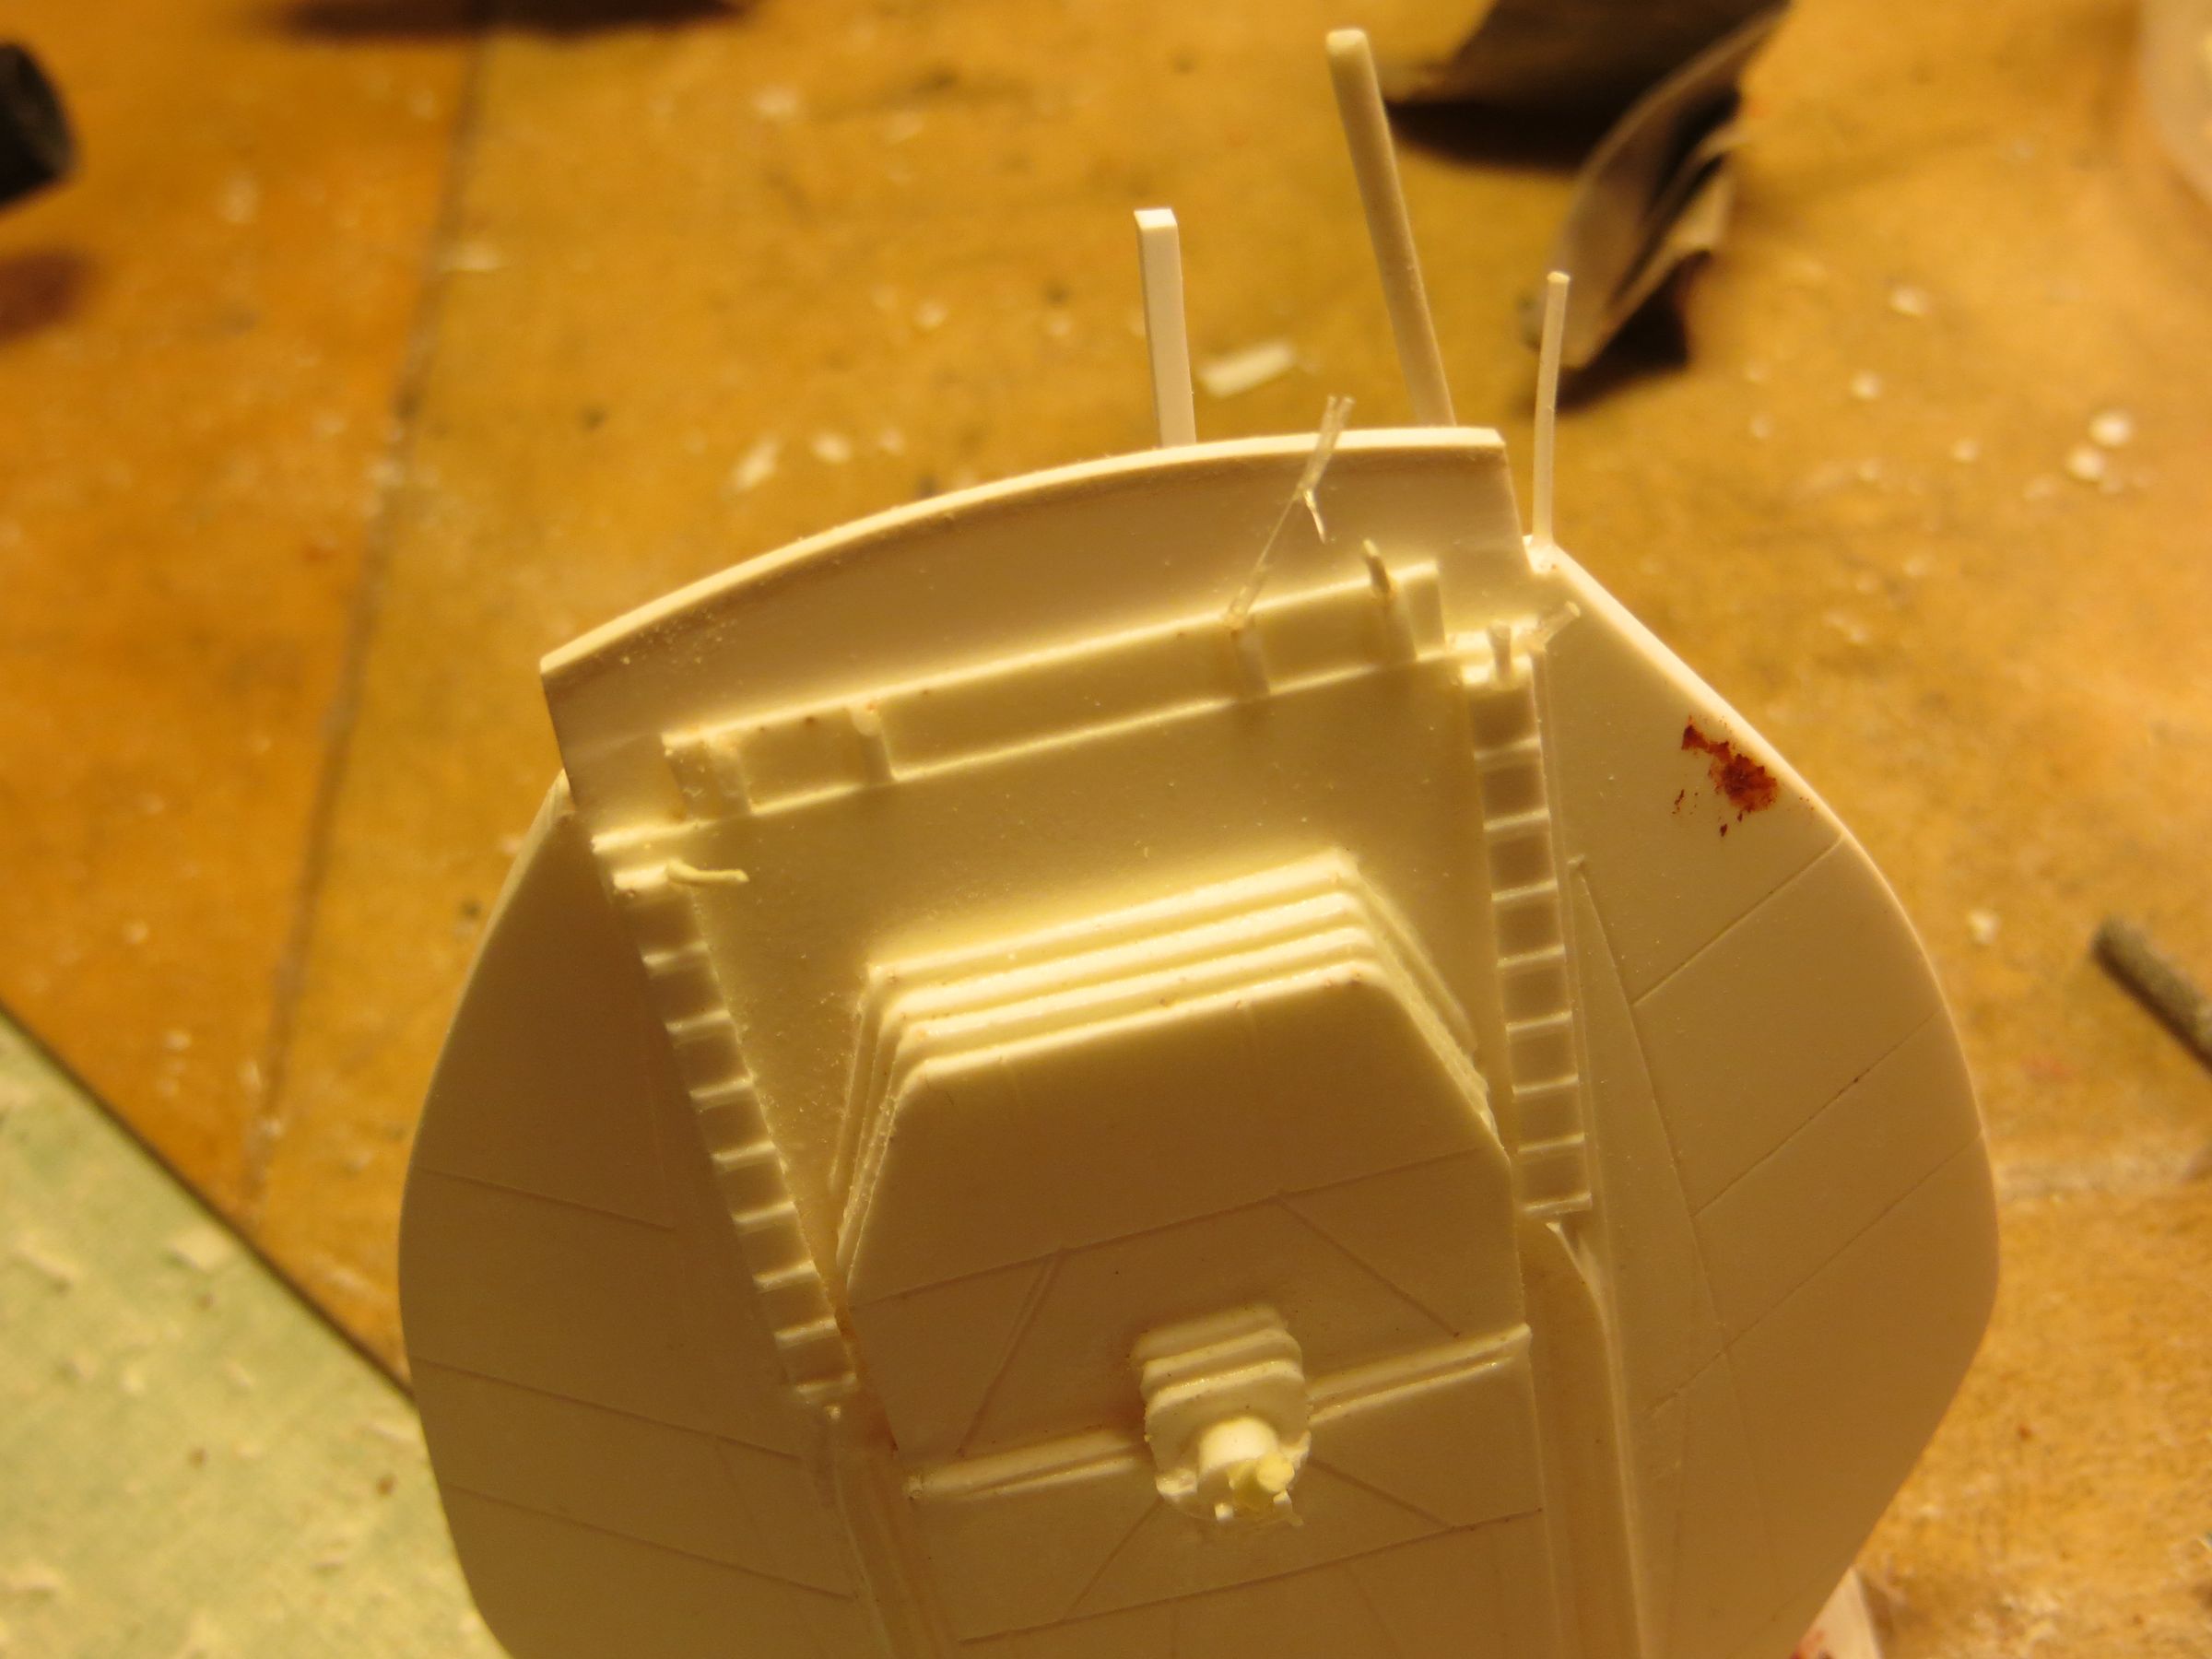
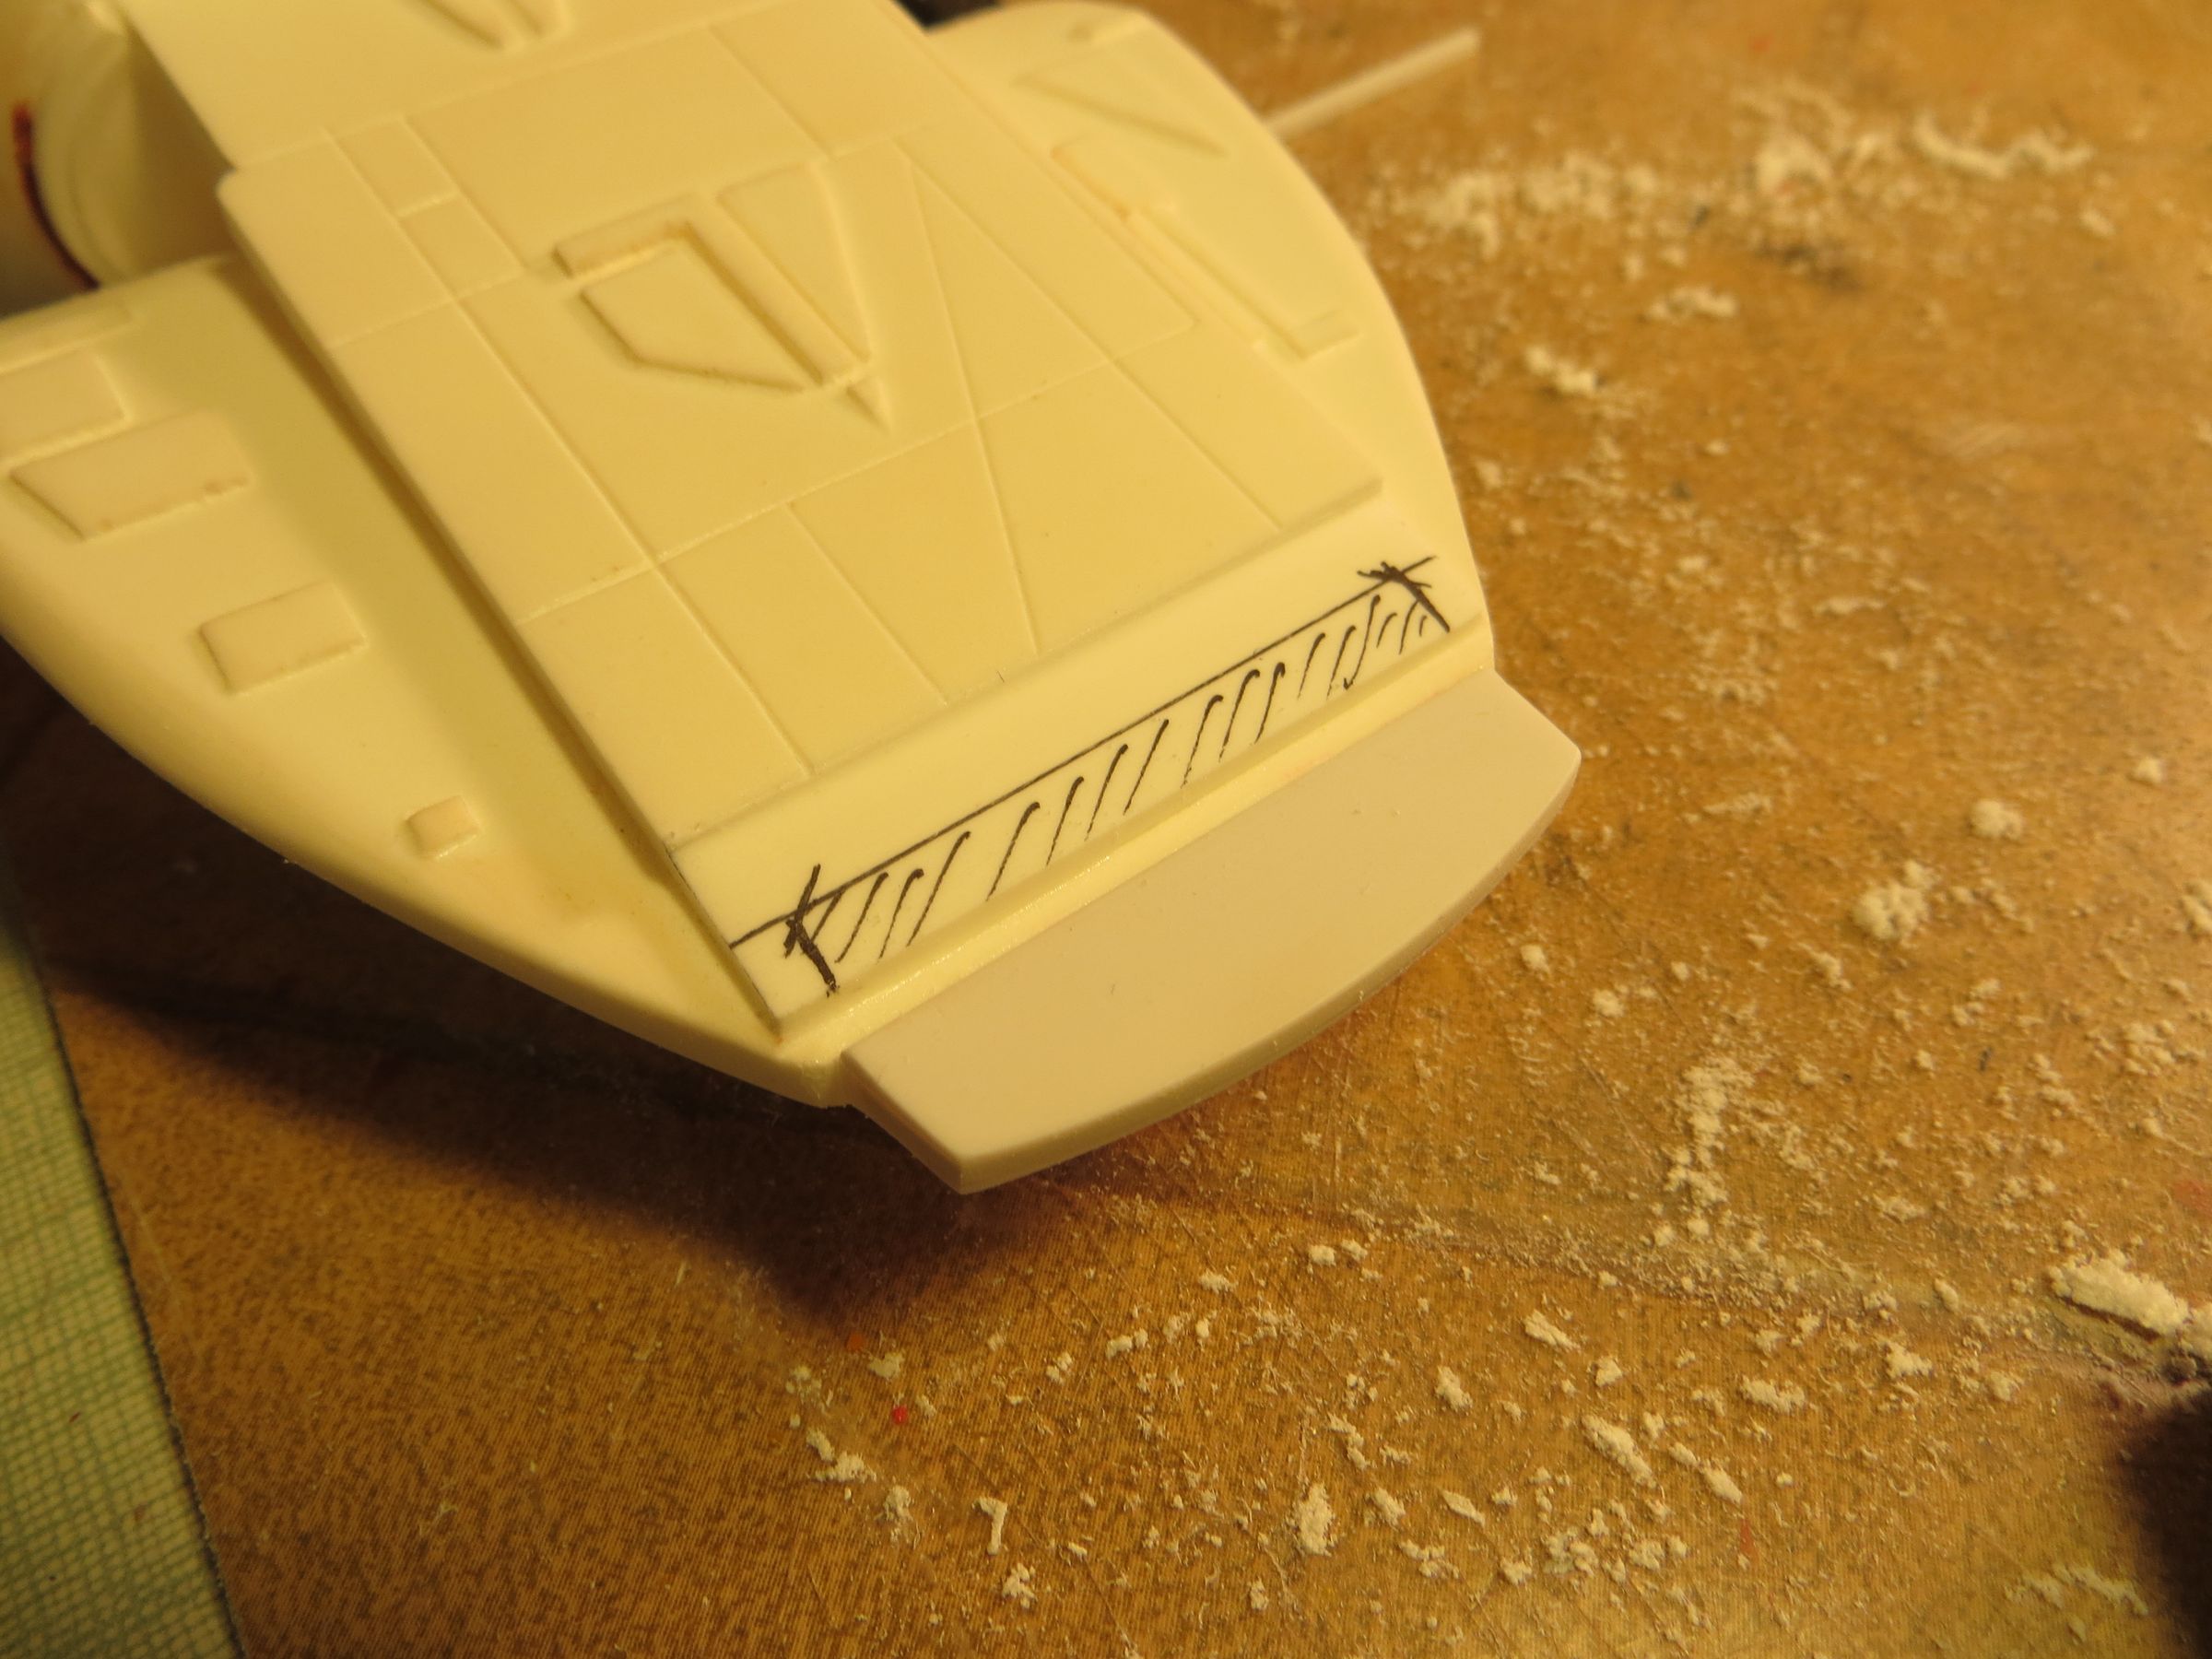
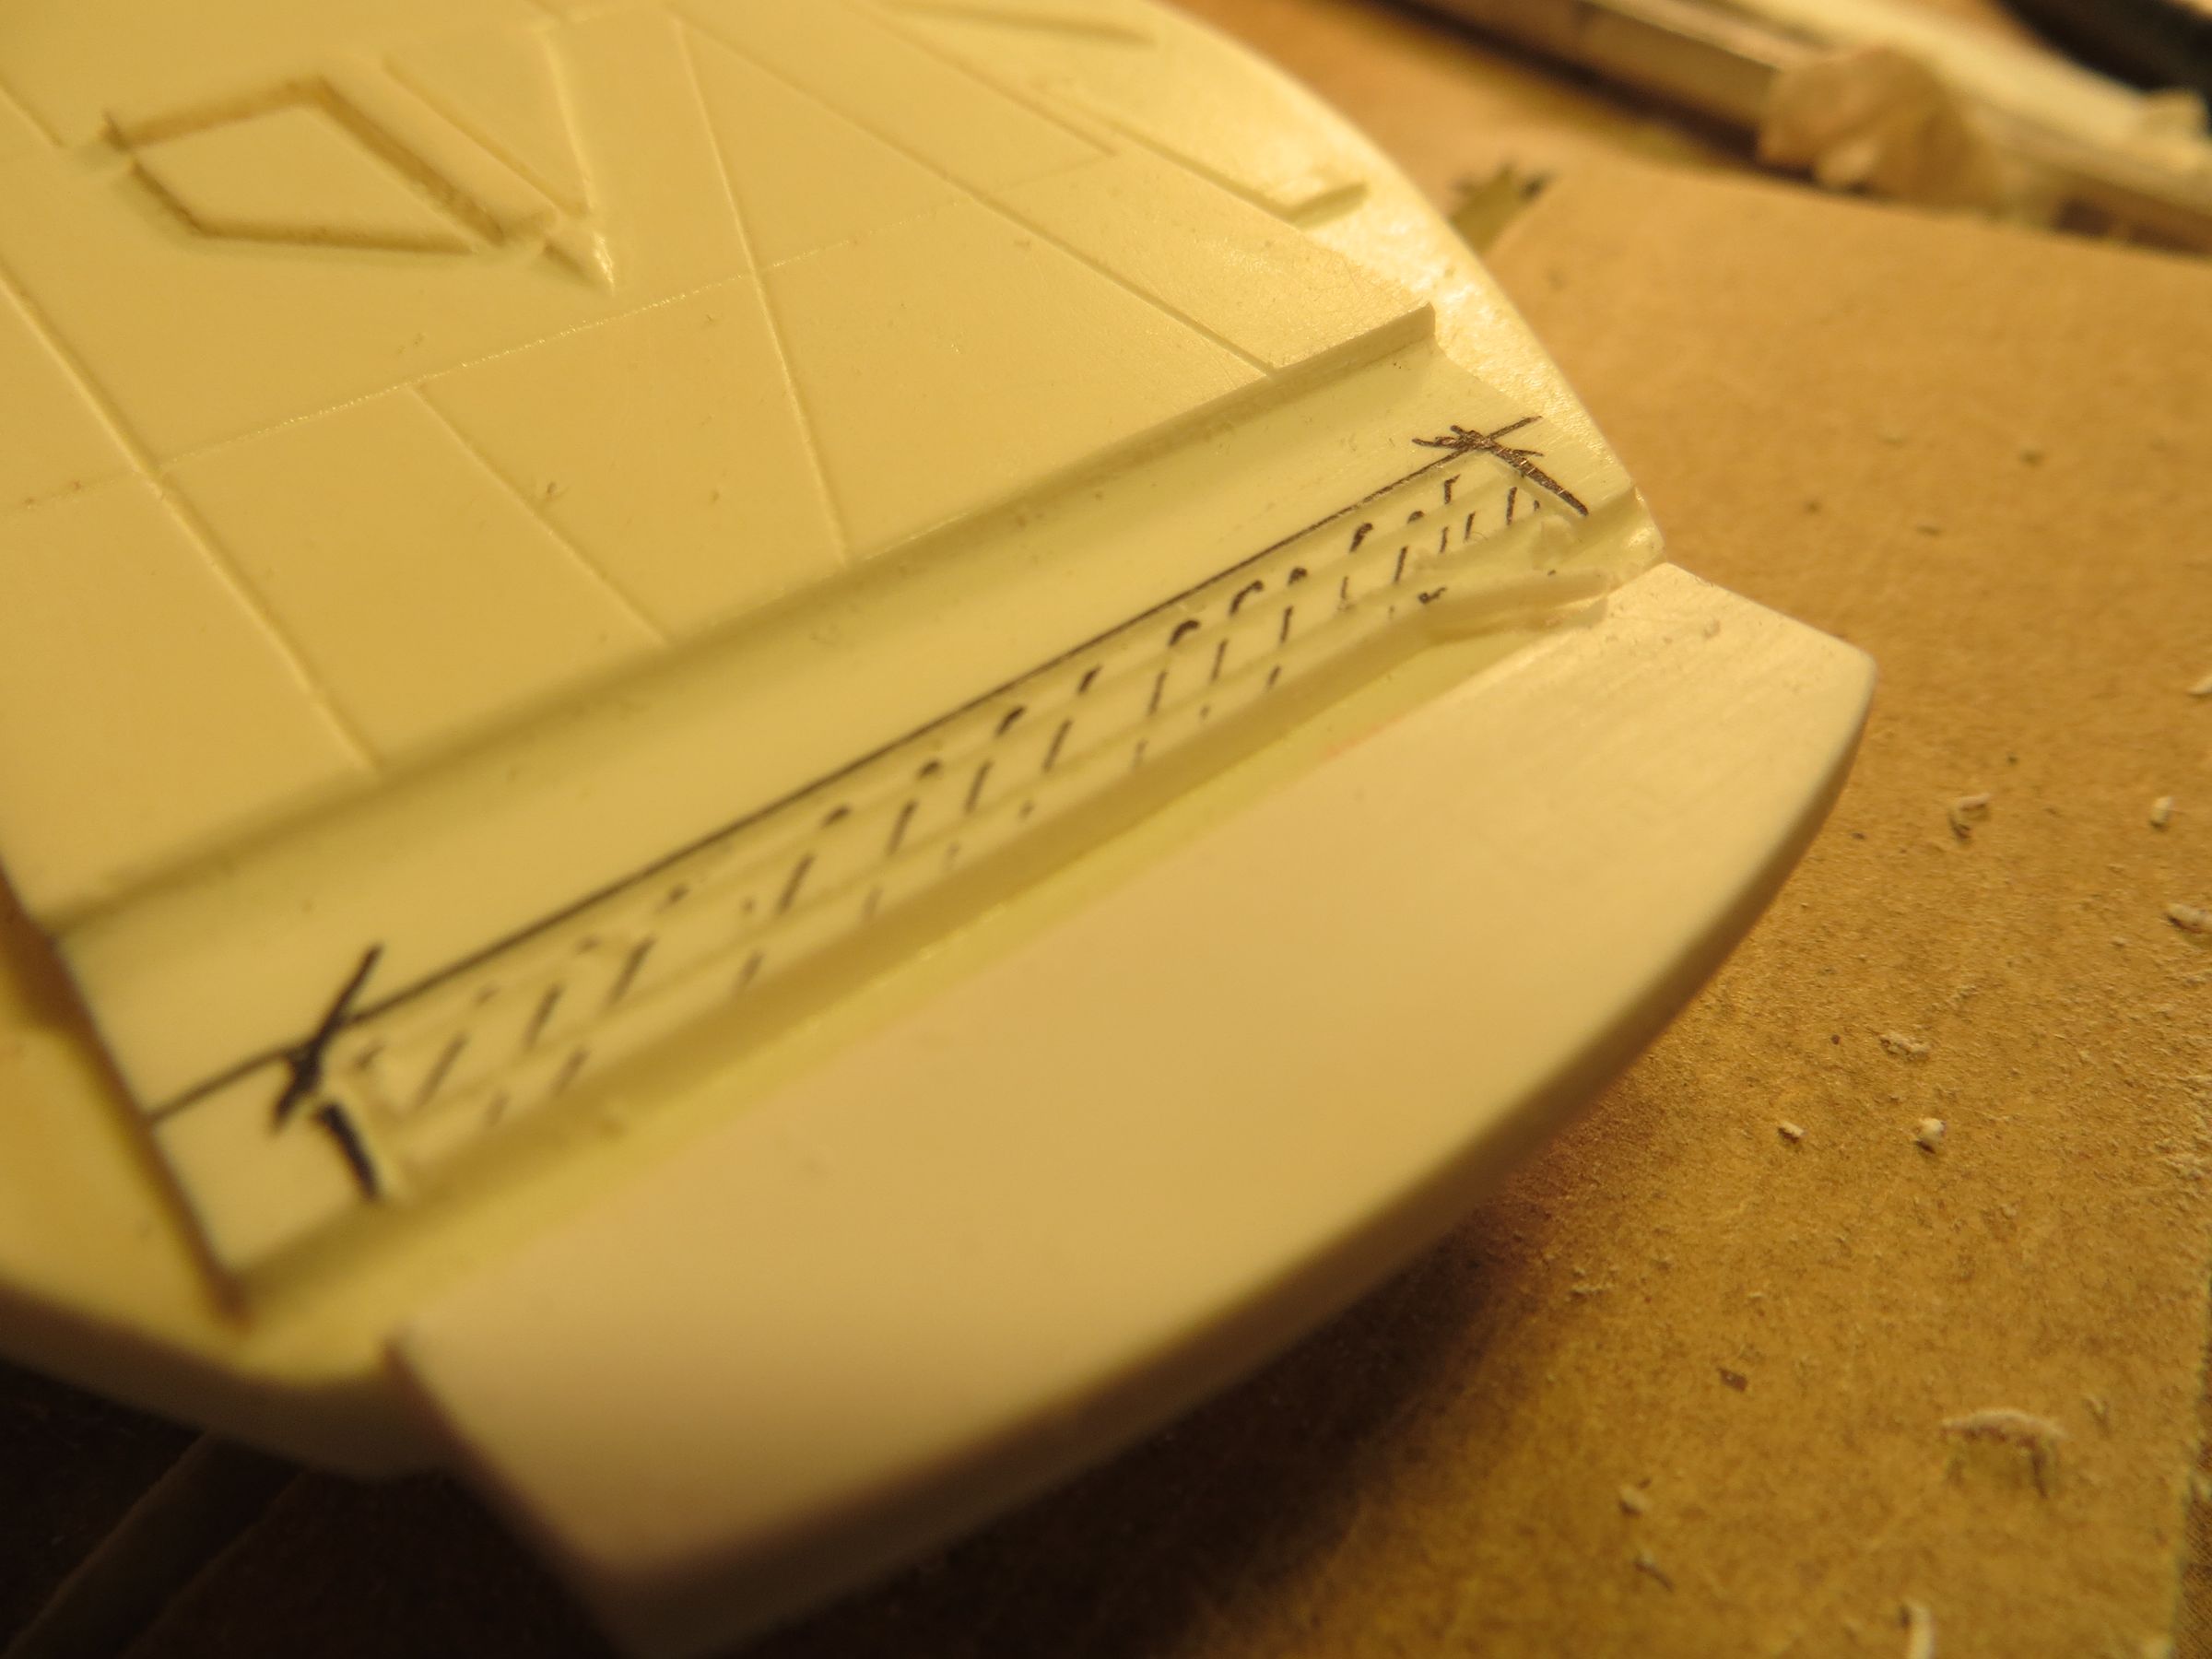
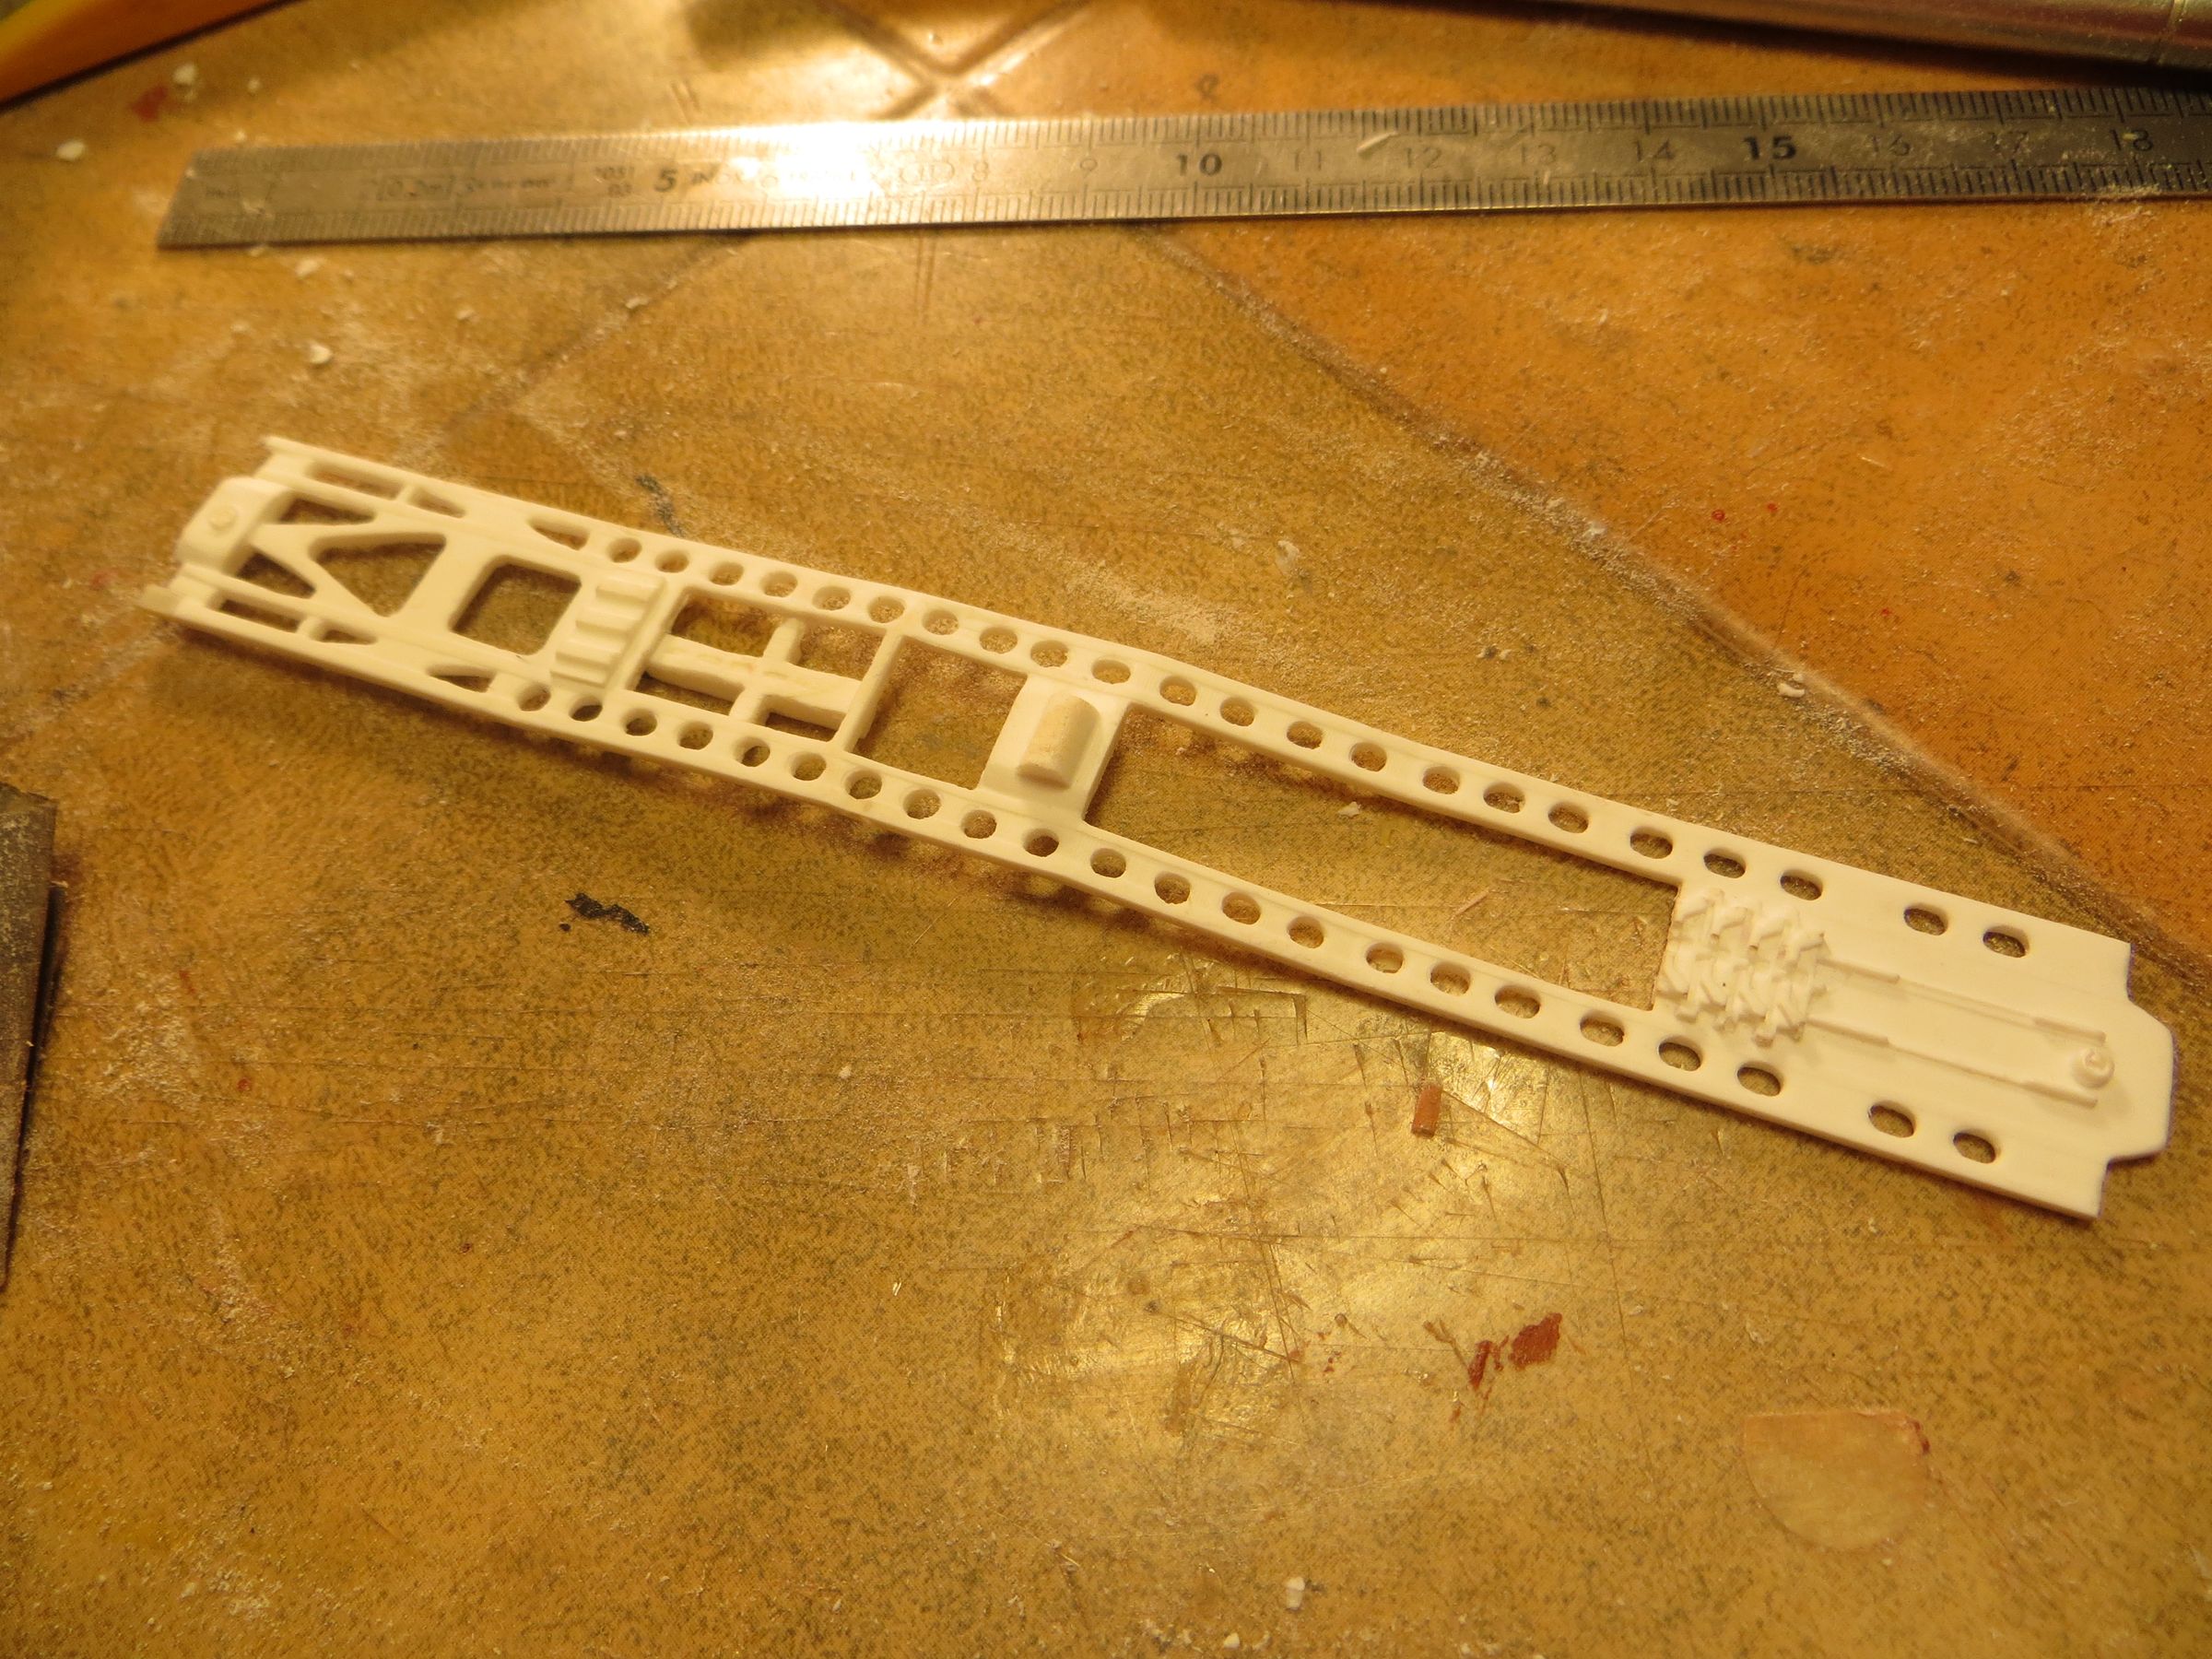
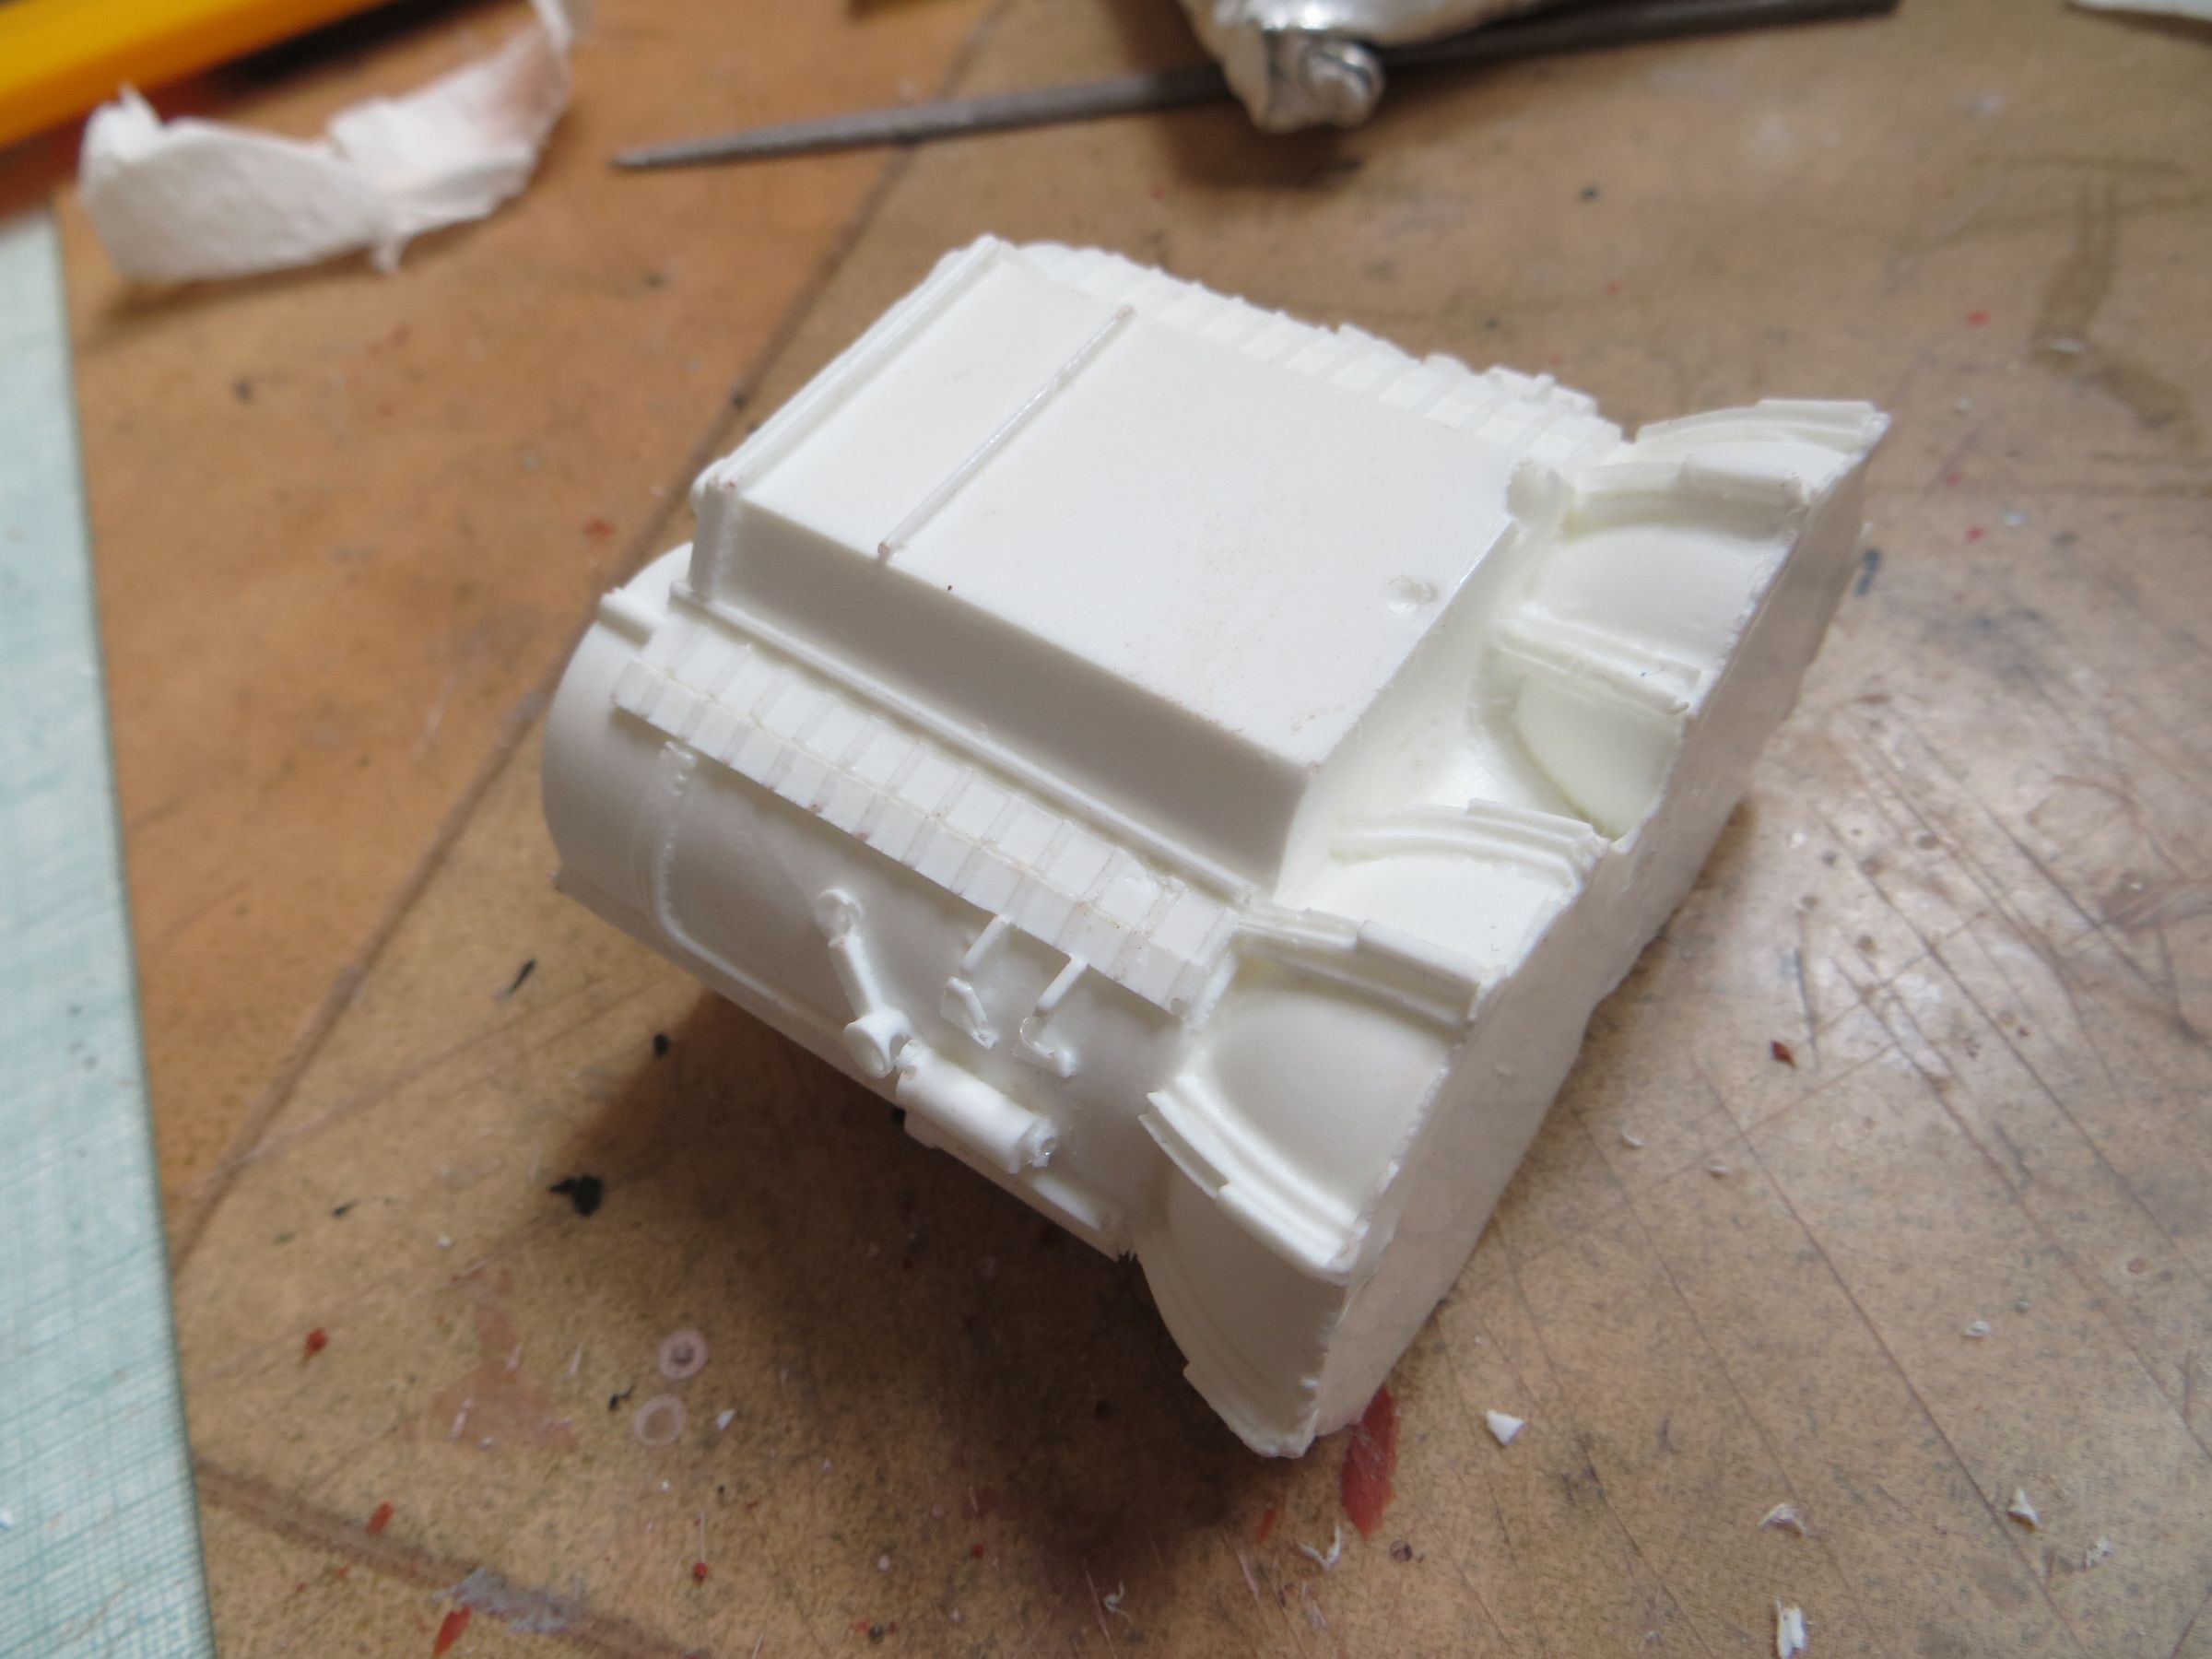
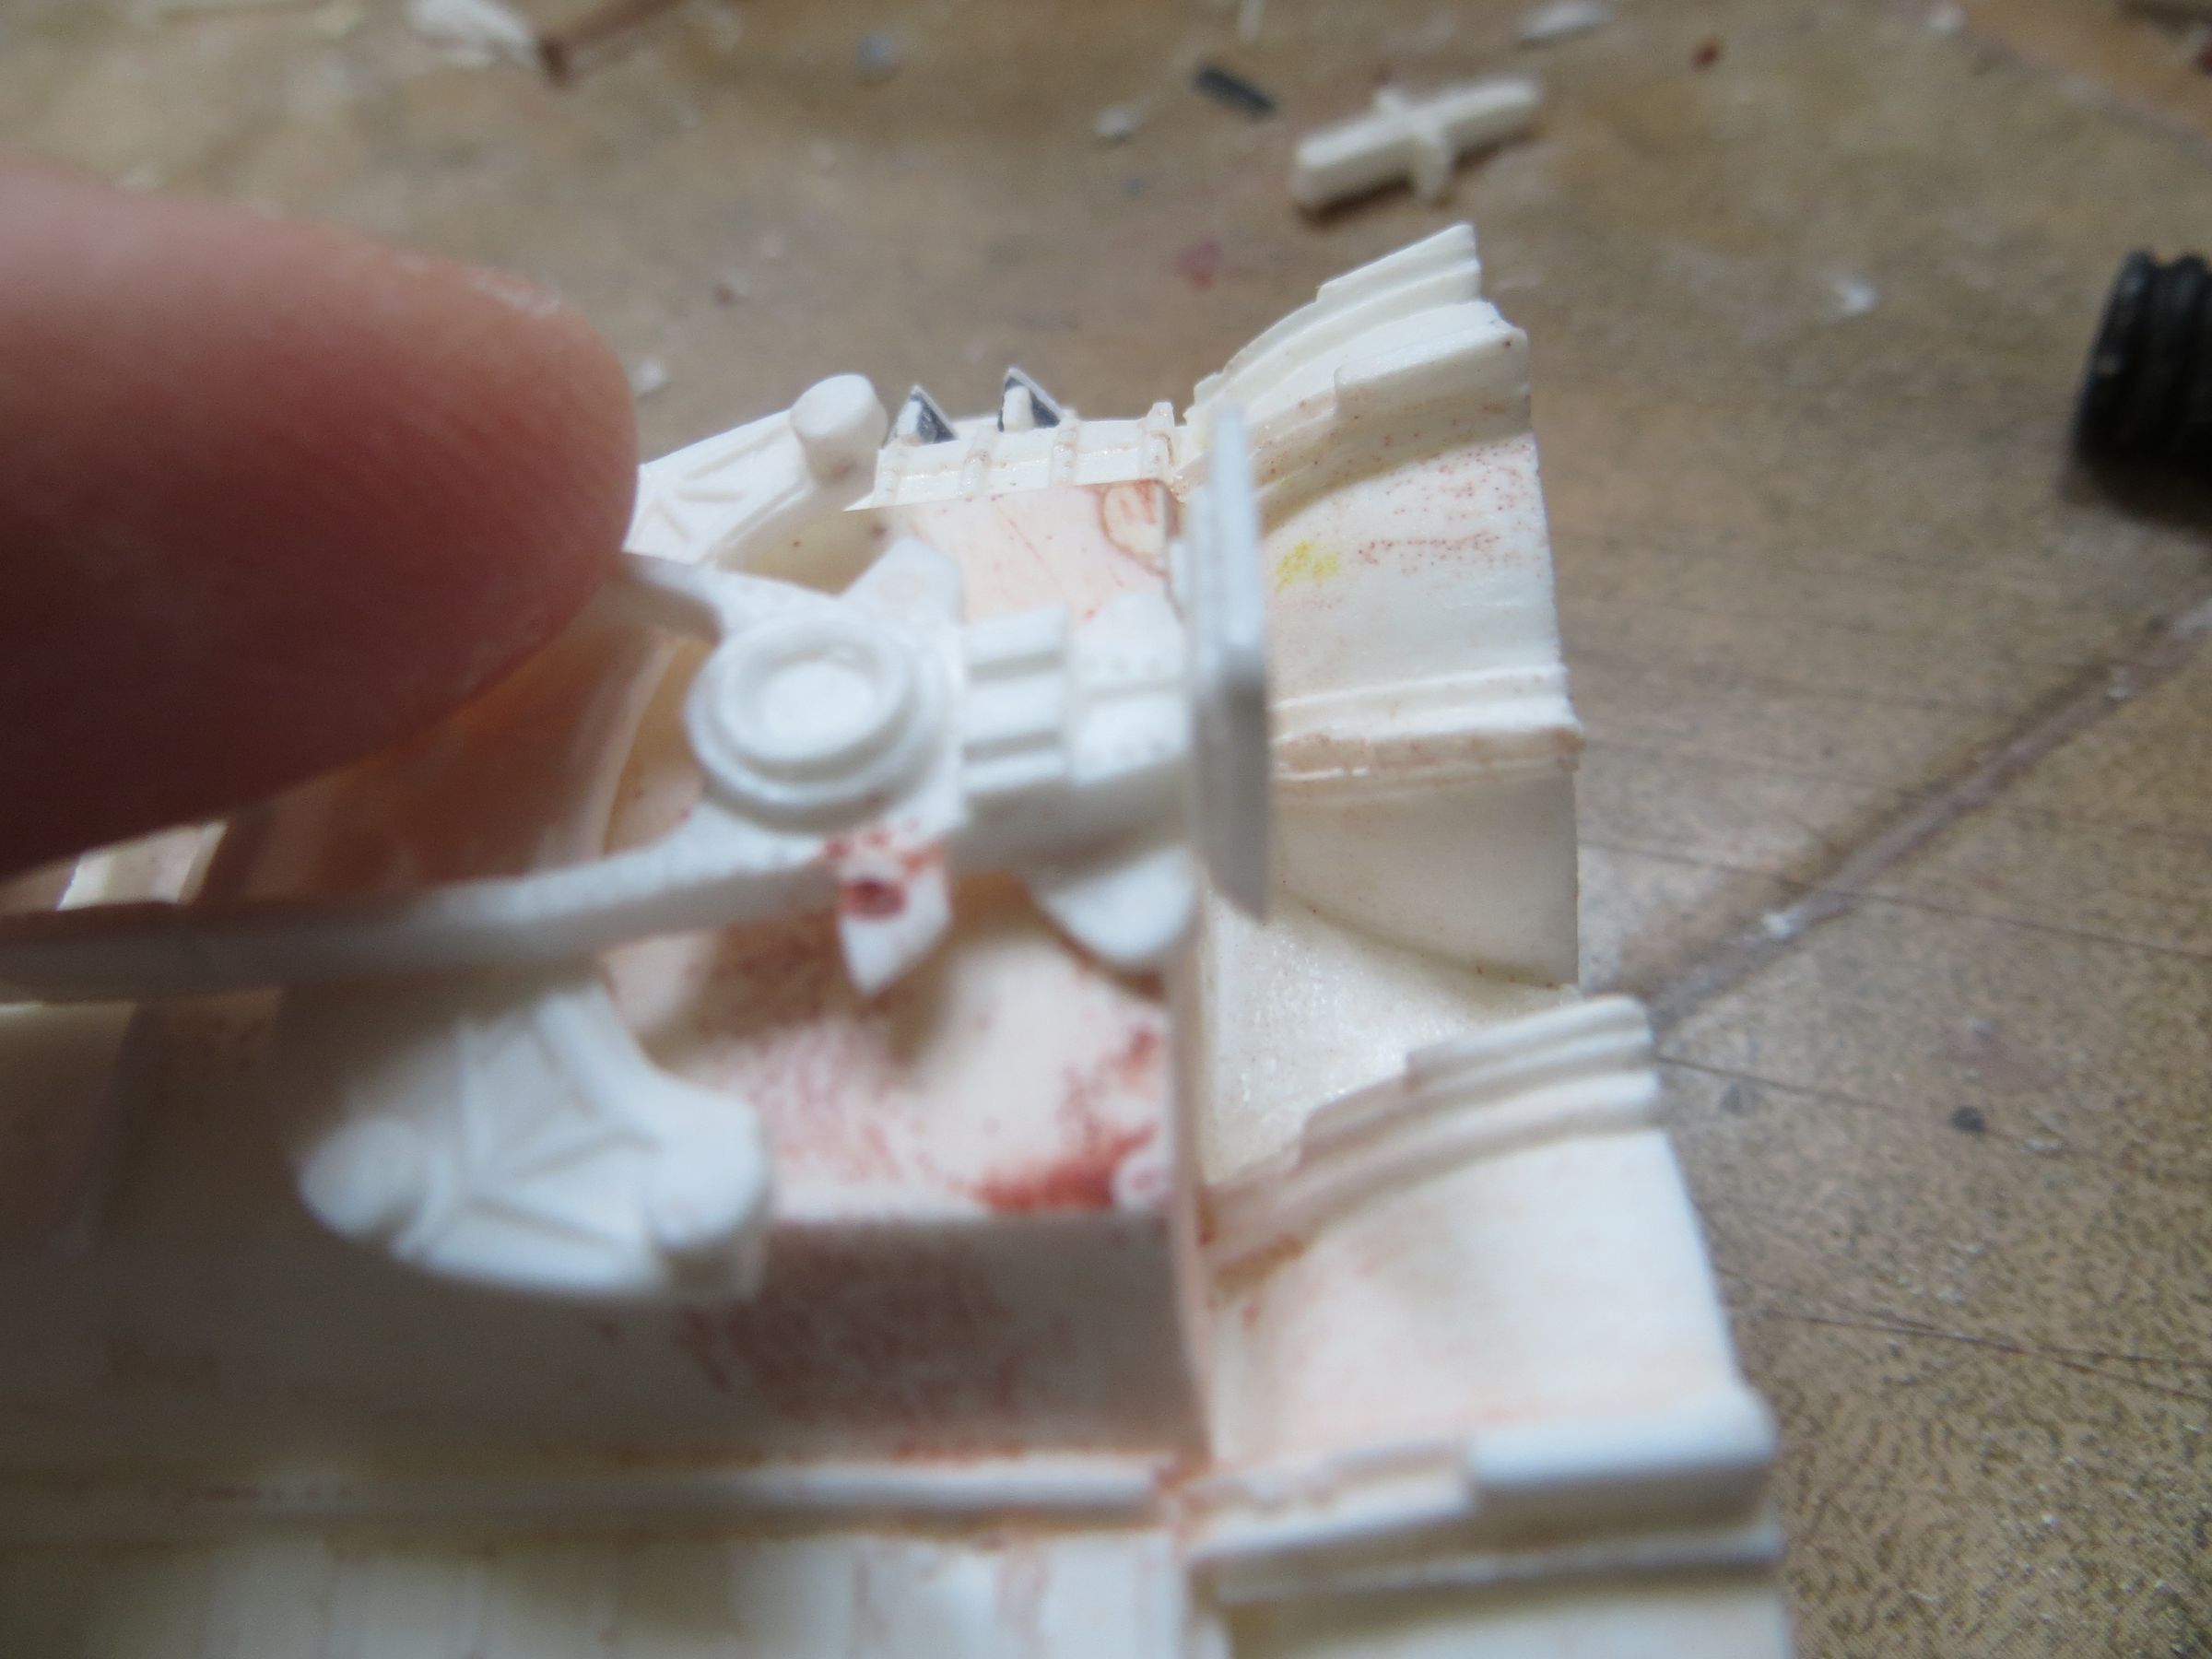
The shape is also incorrect, and I had to dig the area delimited in black. I dig grooves in the resin using a plastic cutter, then I'll blow the remaining tabs with an x-acto blade. With the x-acto I finished digging the material, I then scraped with a dentist tool to give it a good flat surface.
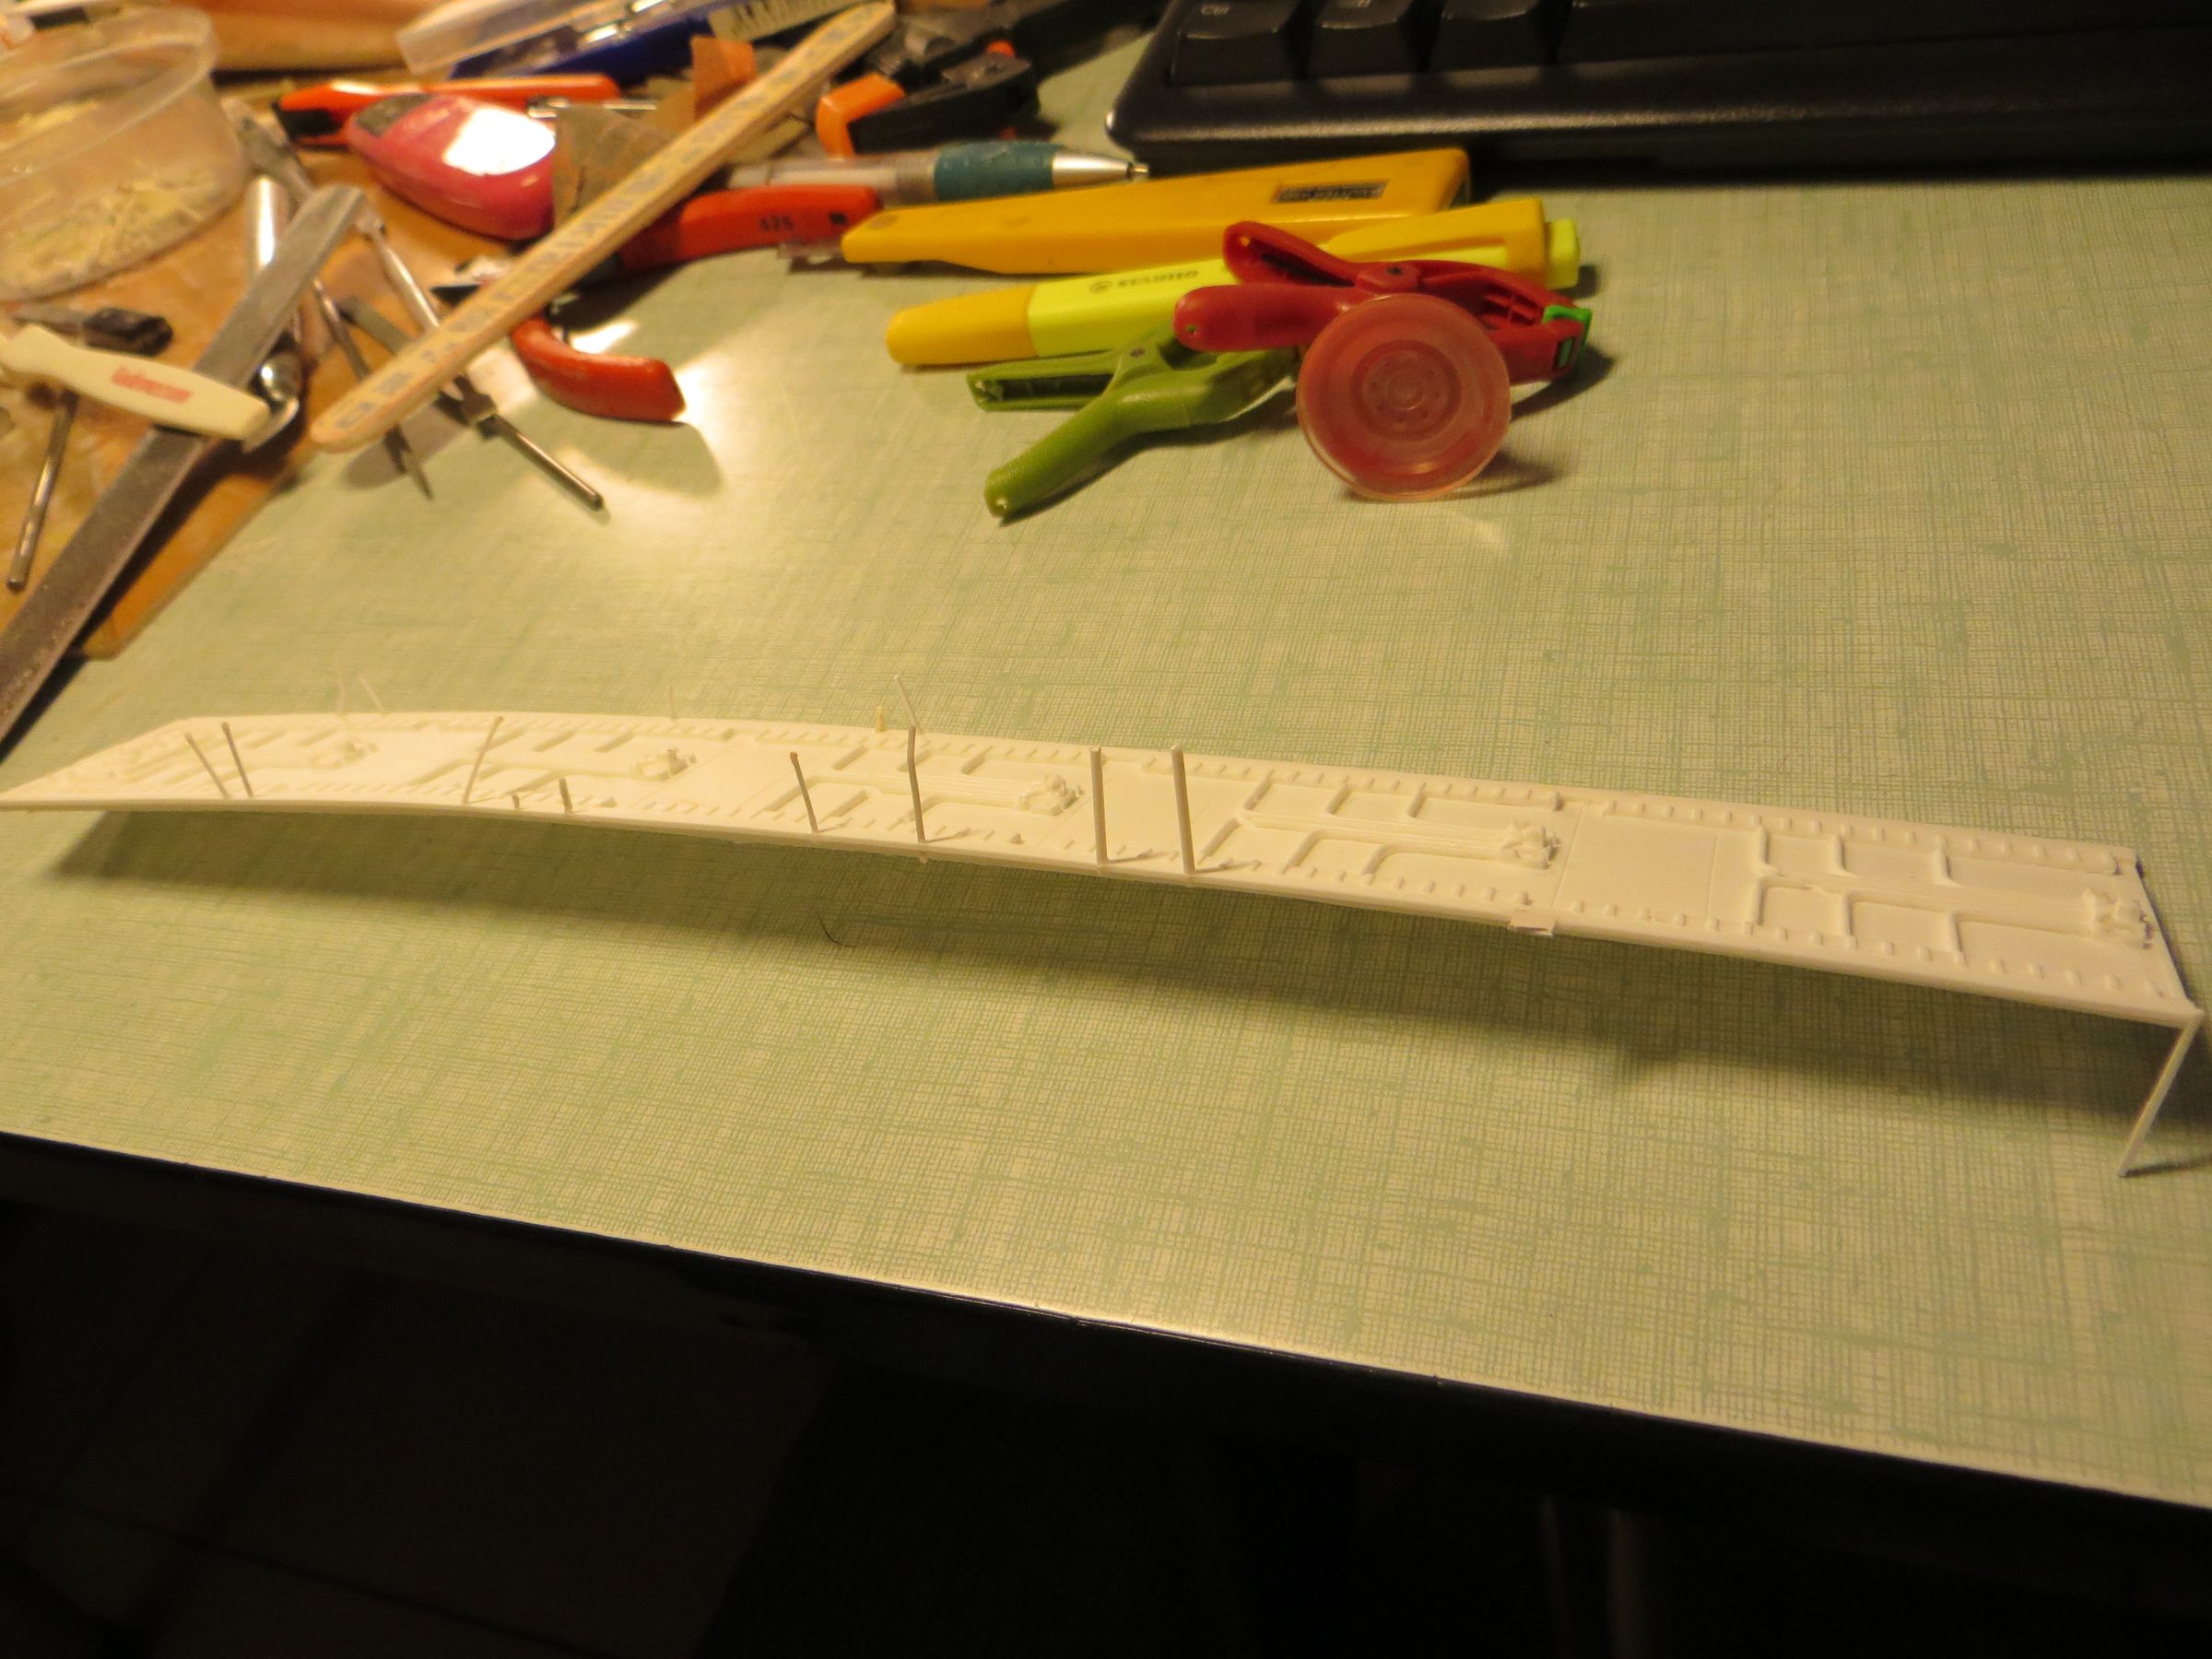
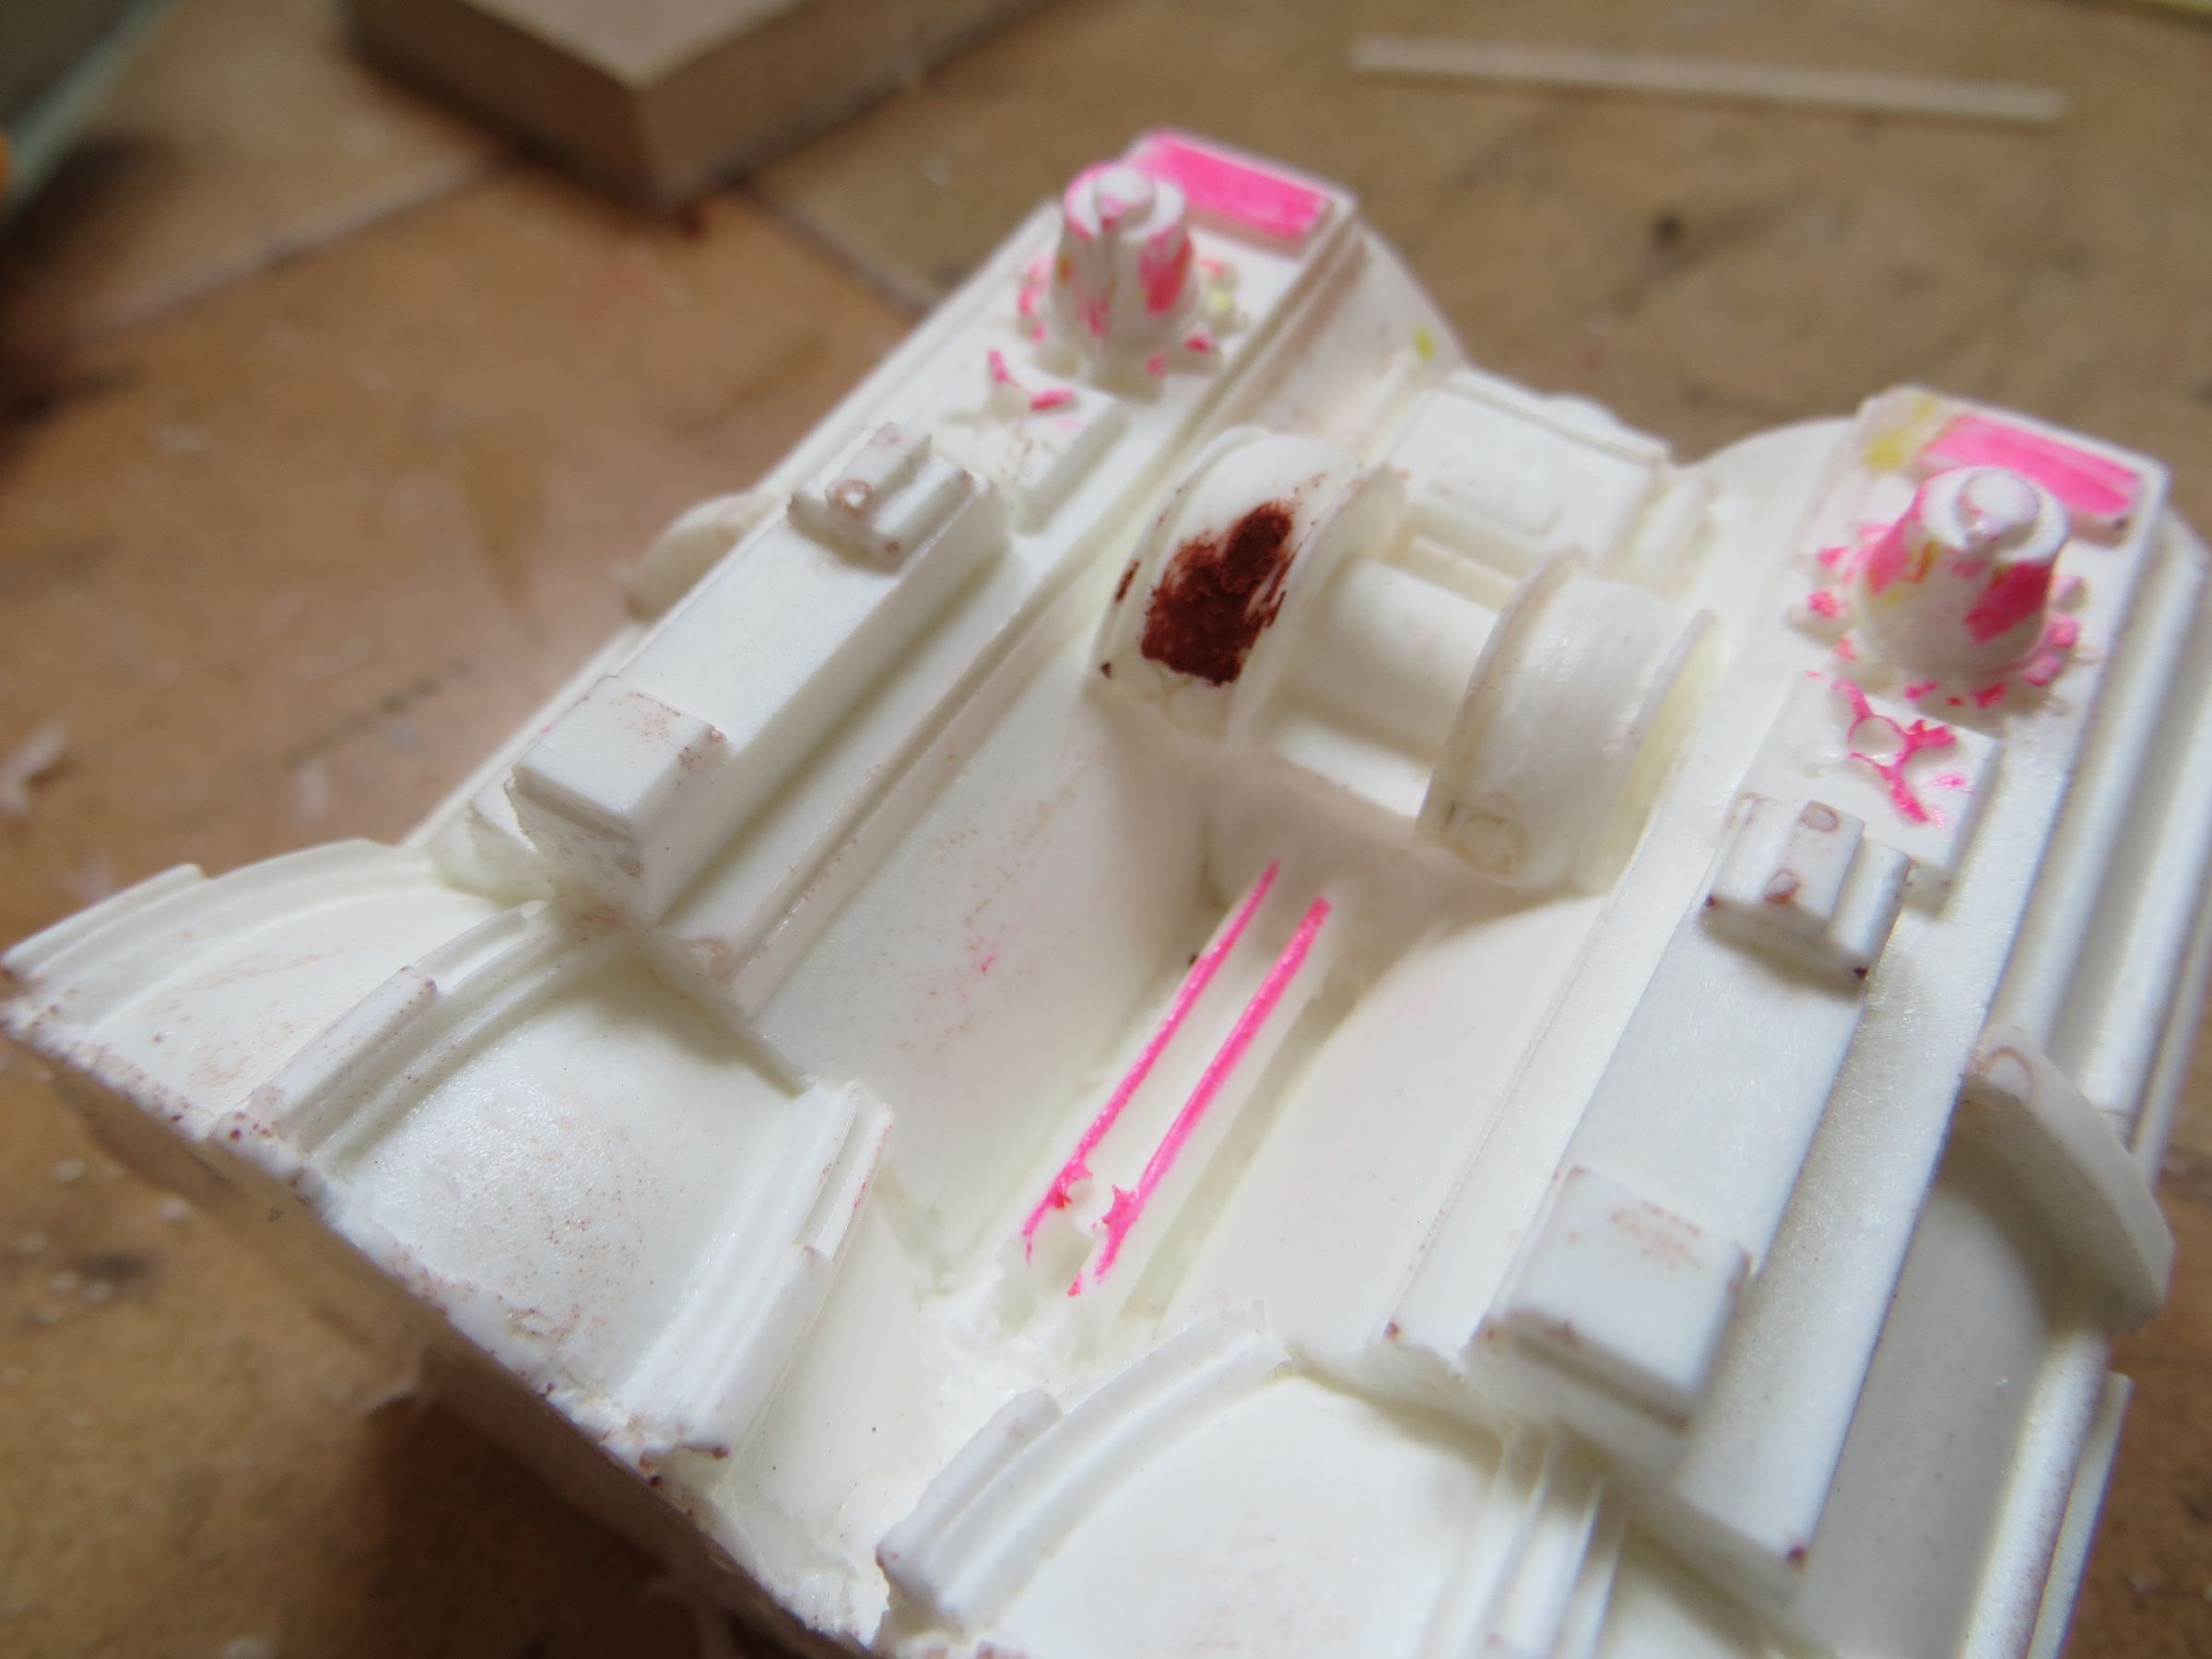
The shape is drawn

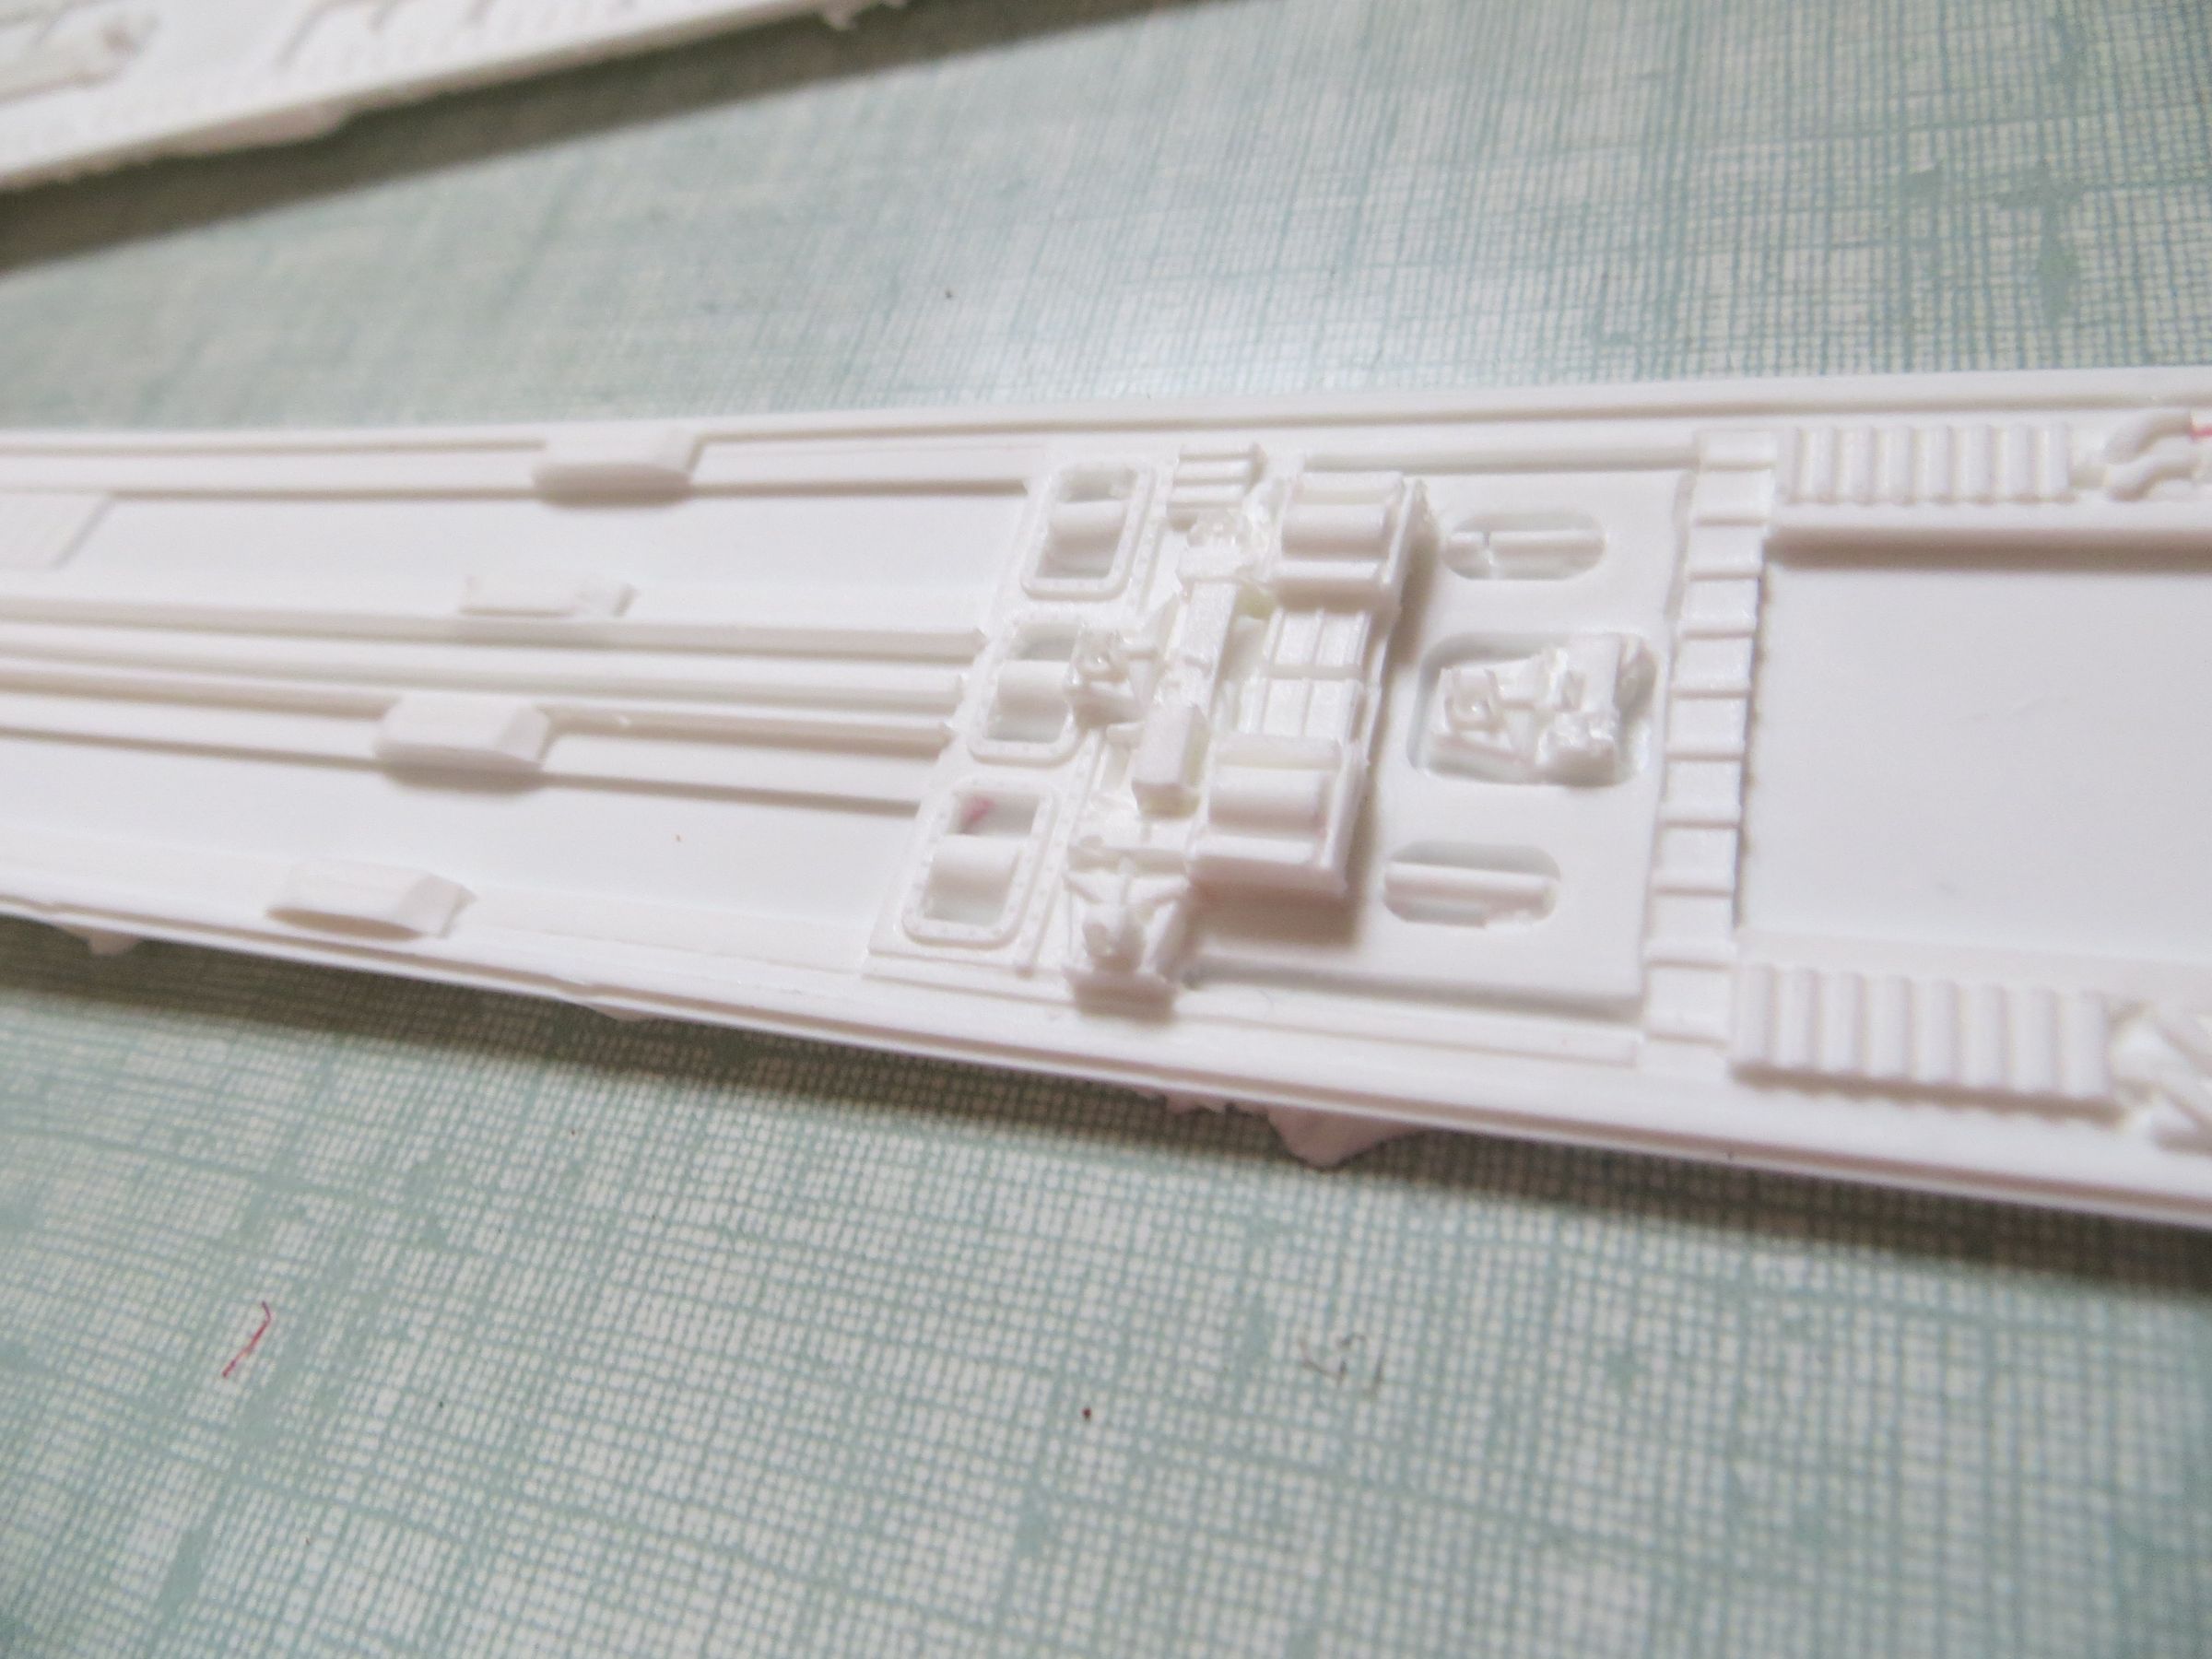
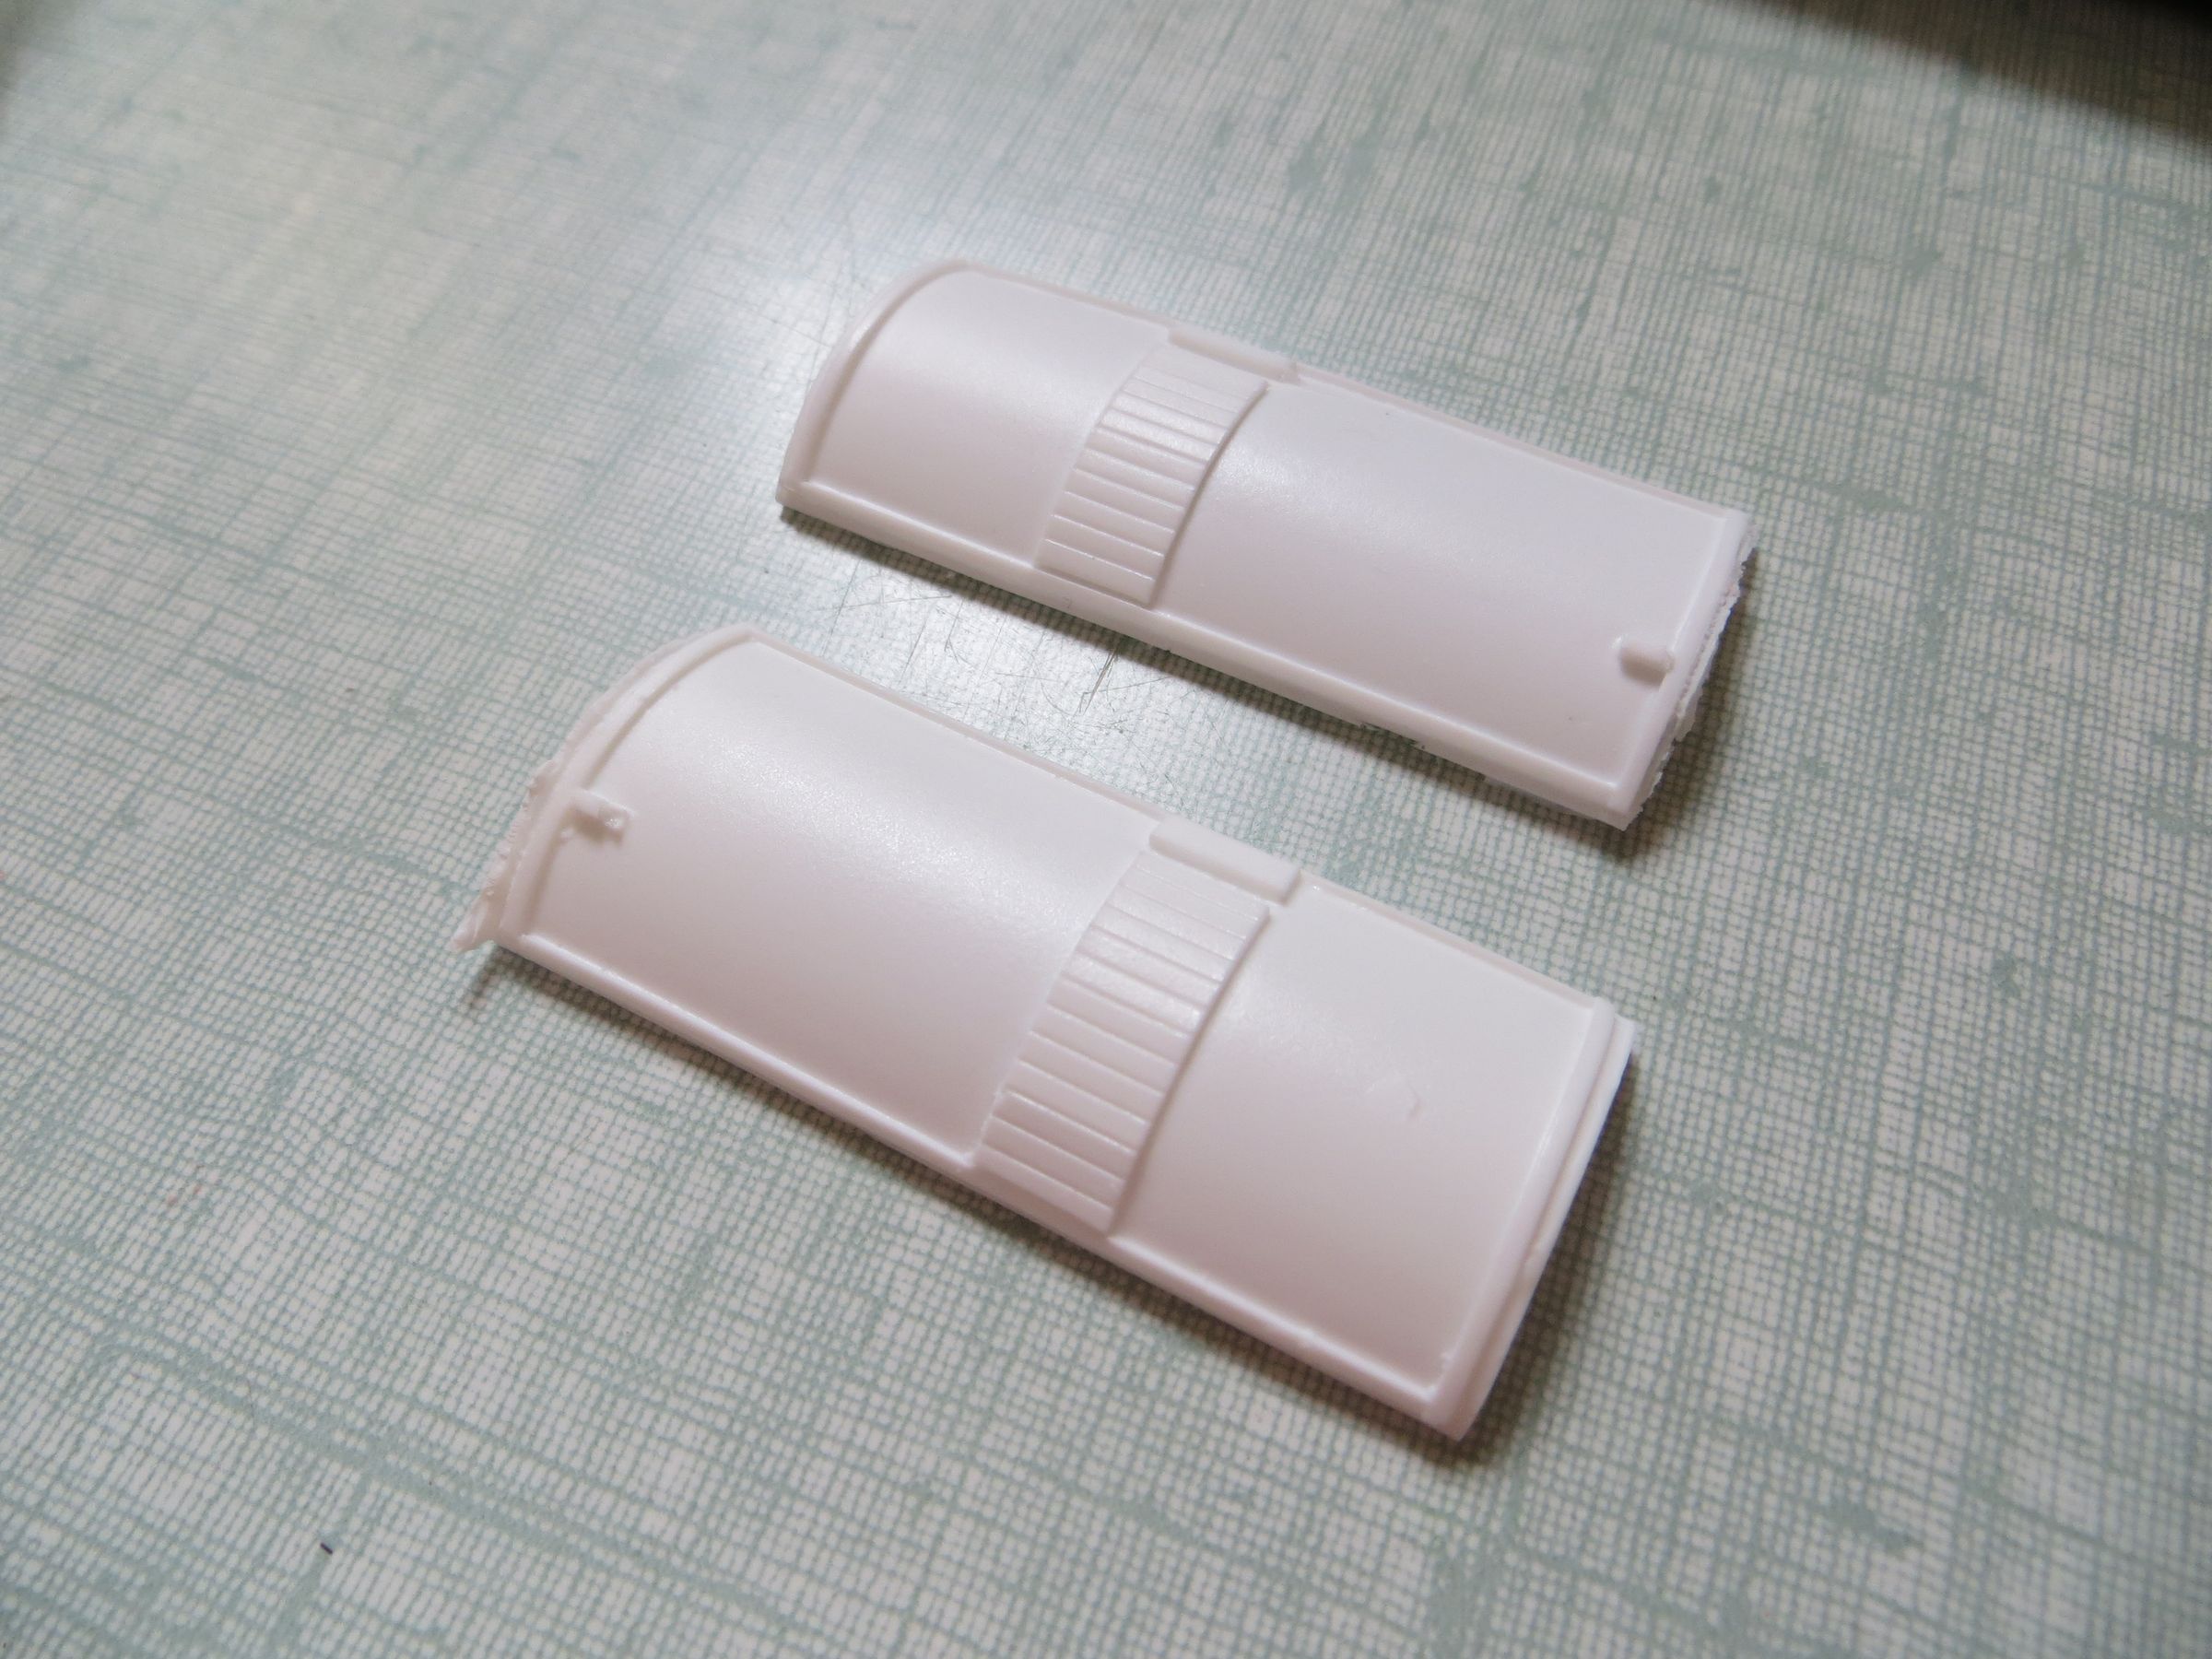
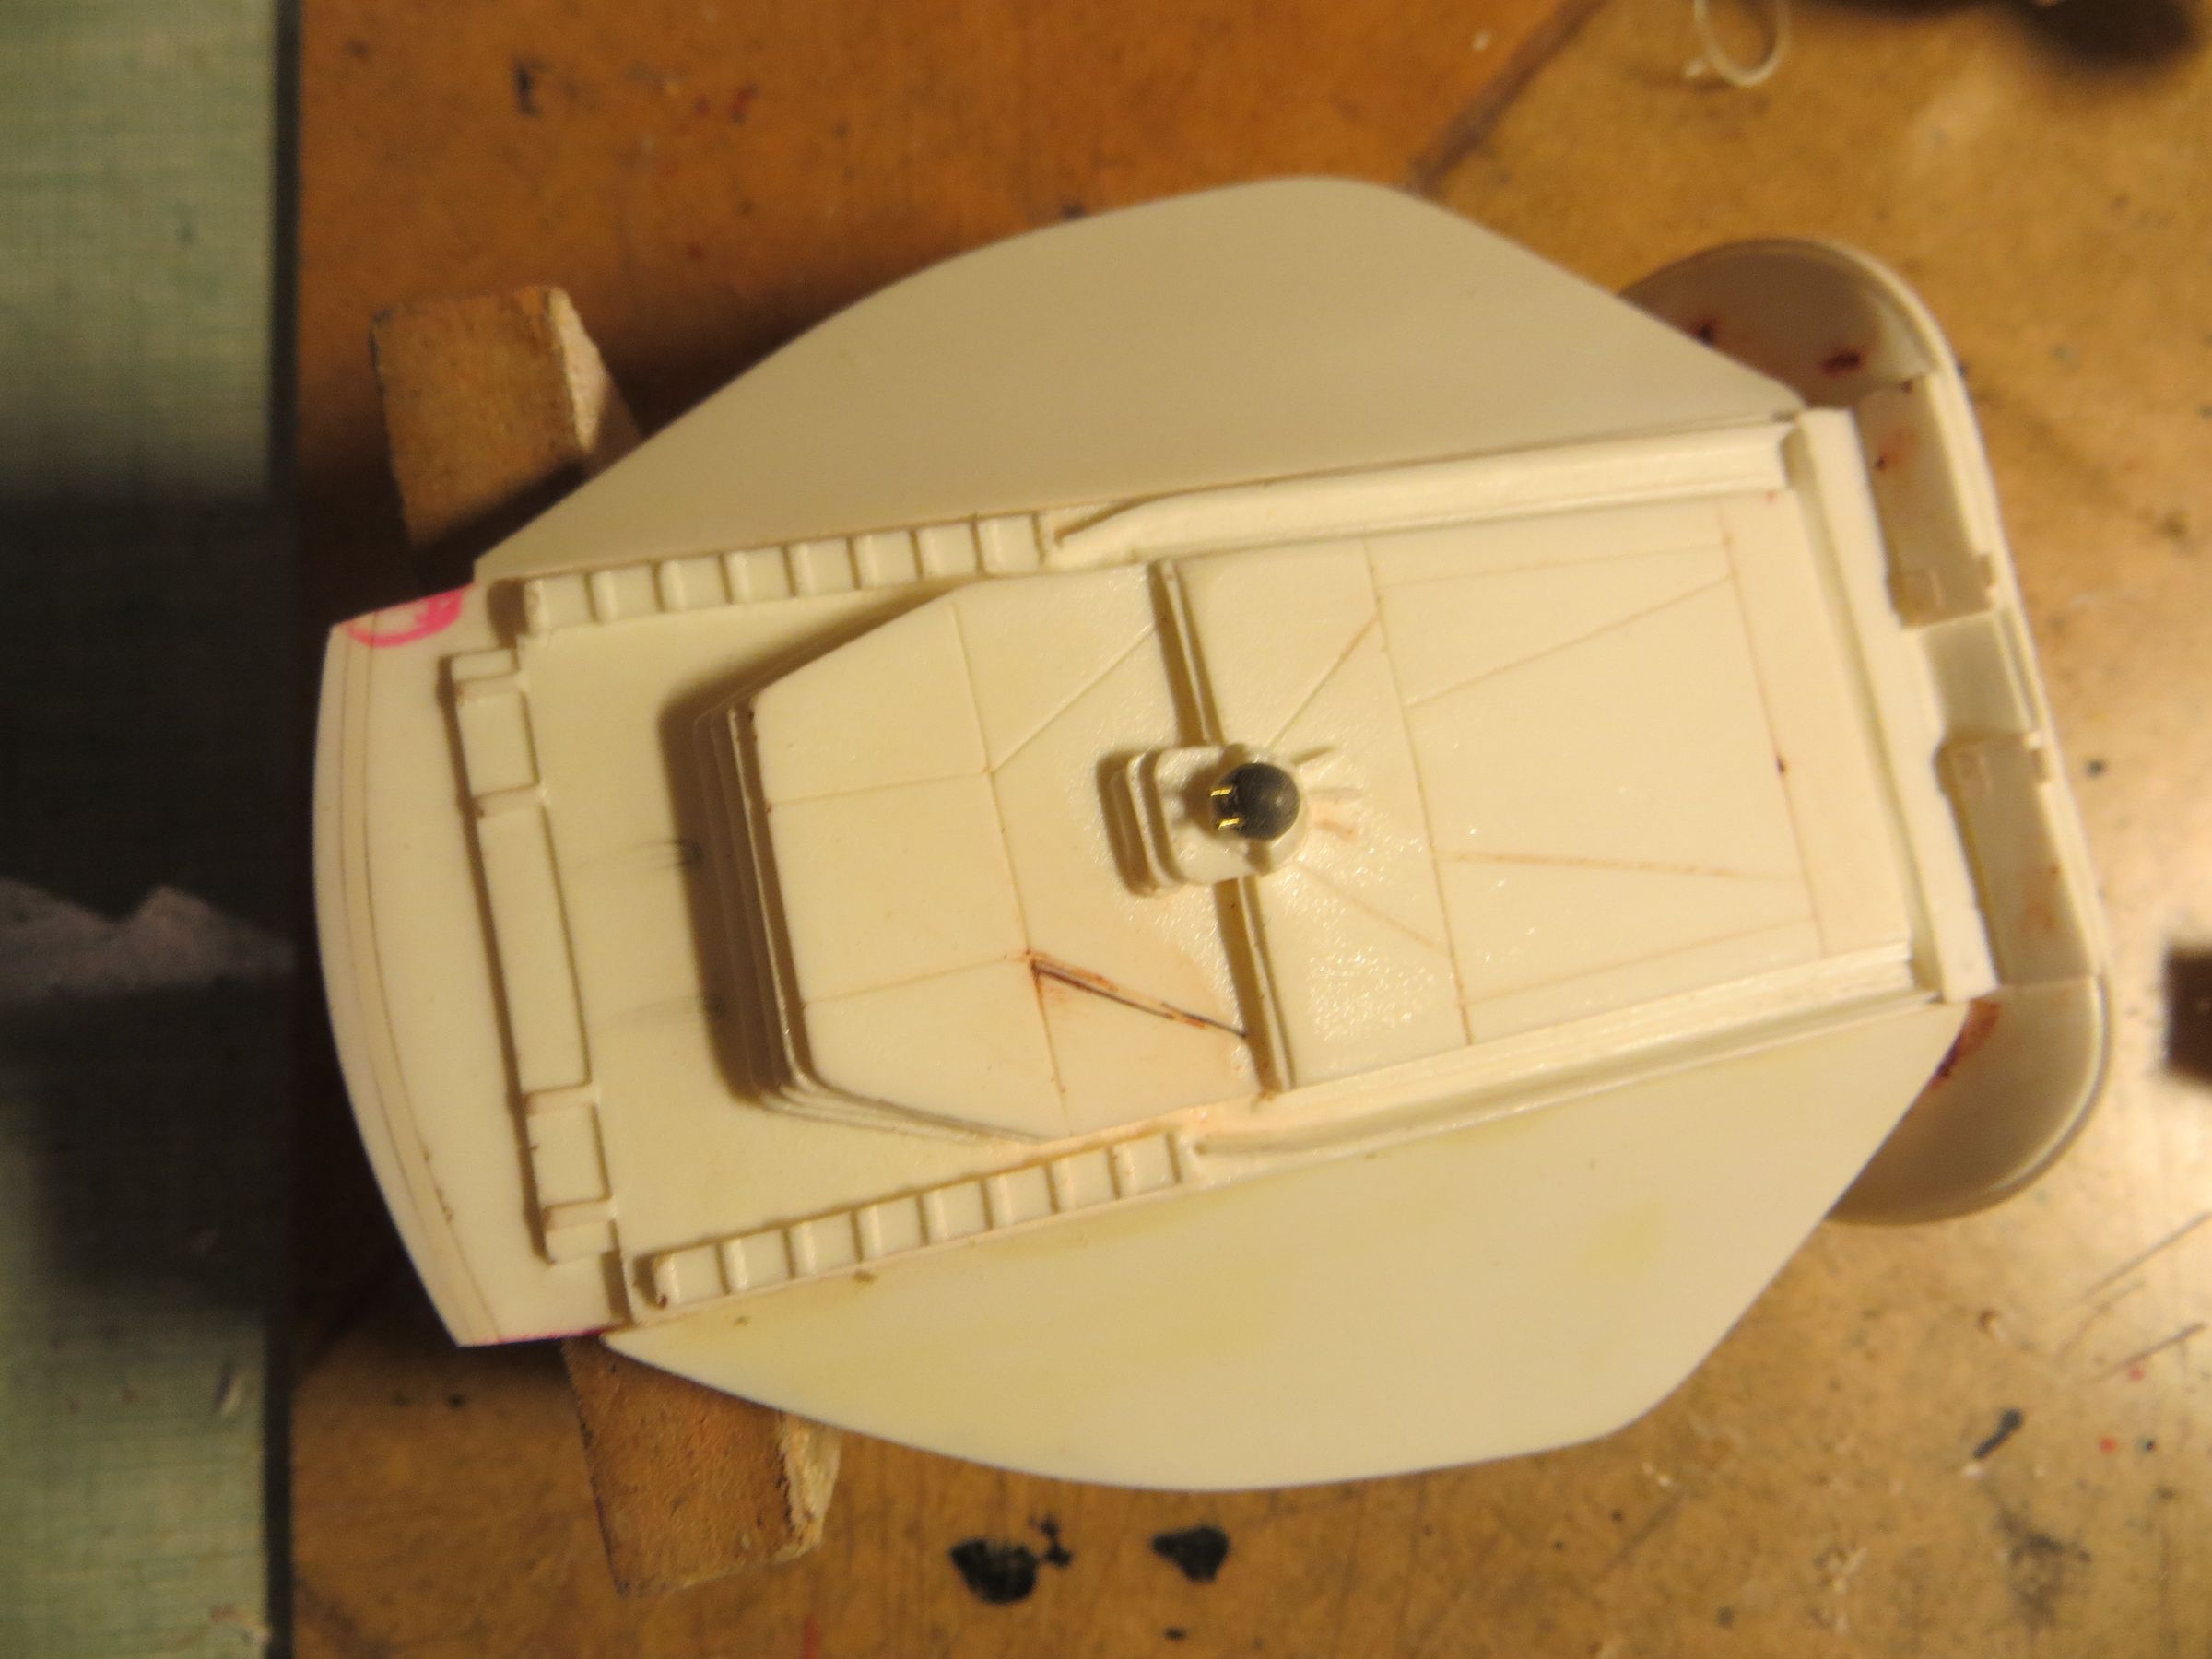
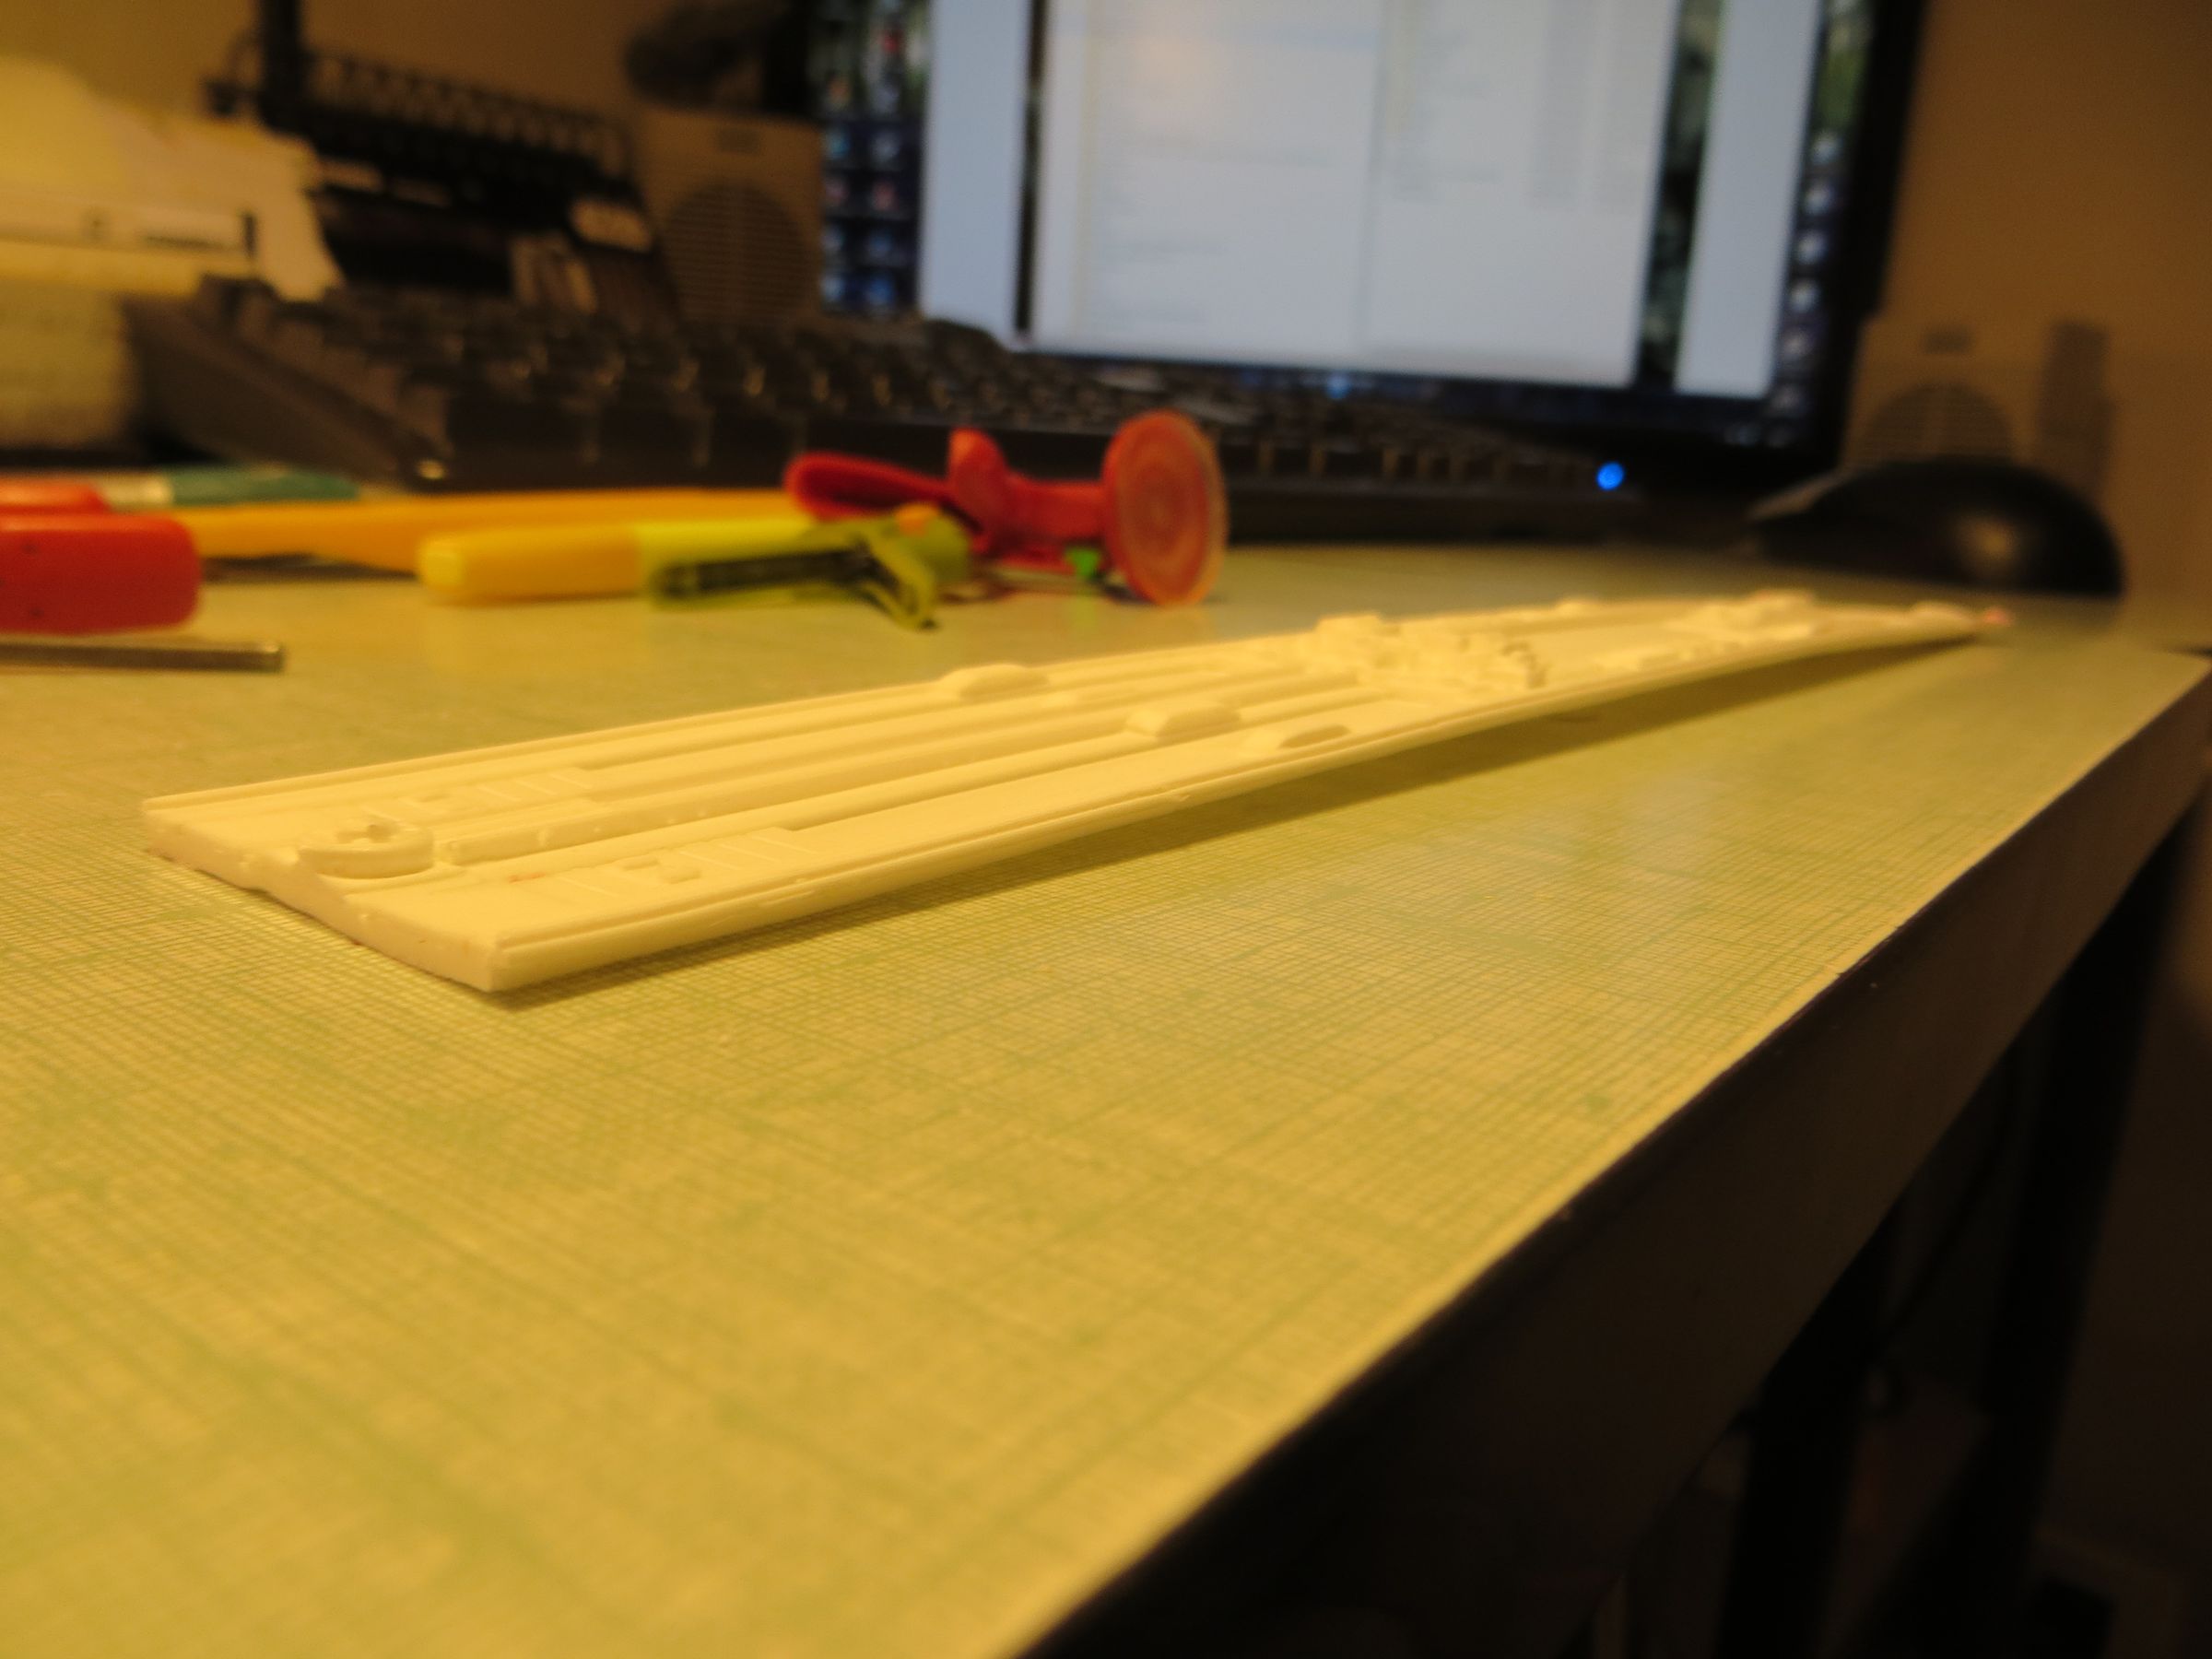
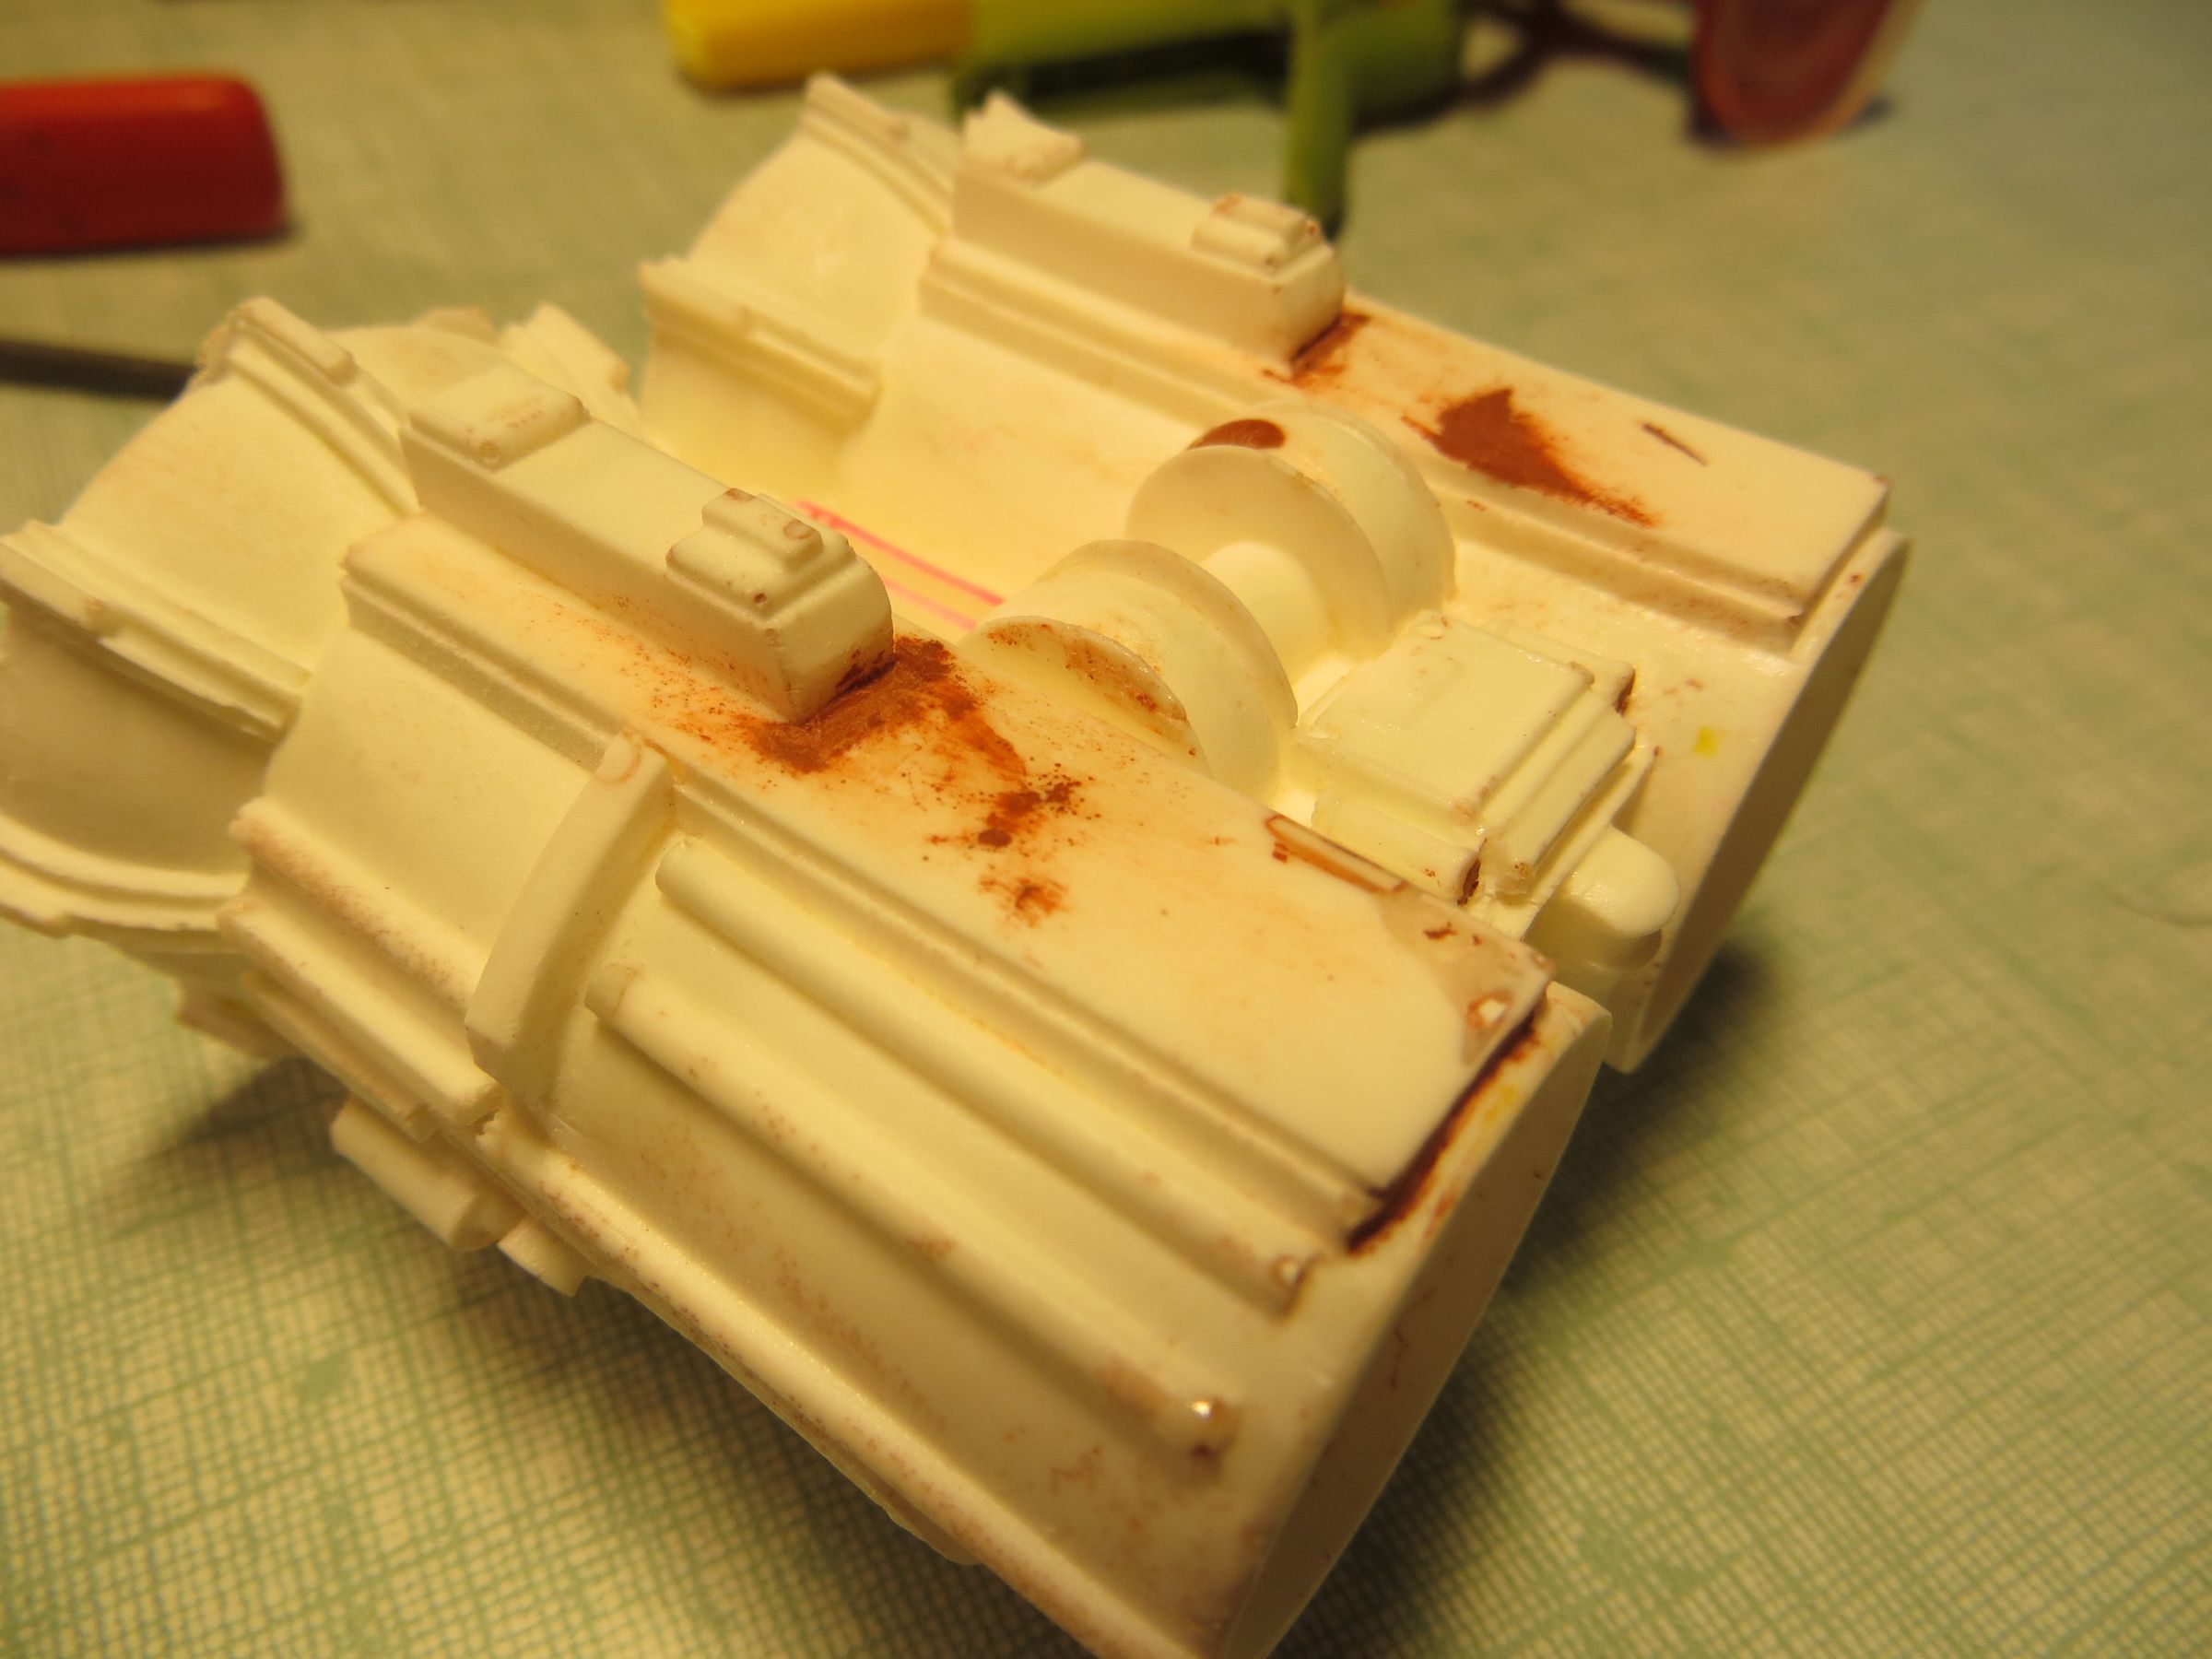
The grooves are done

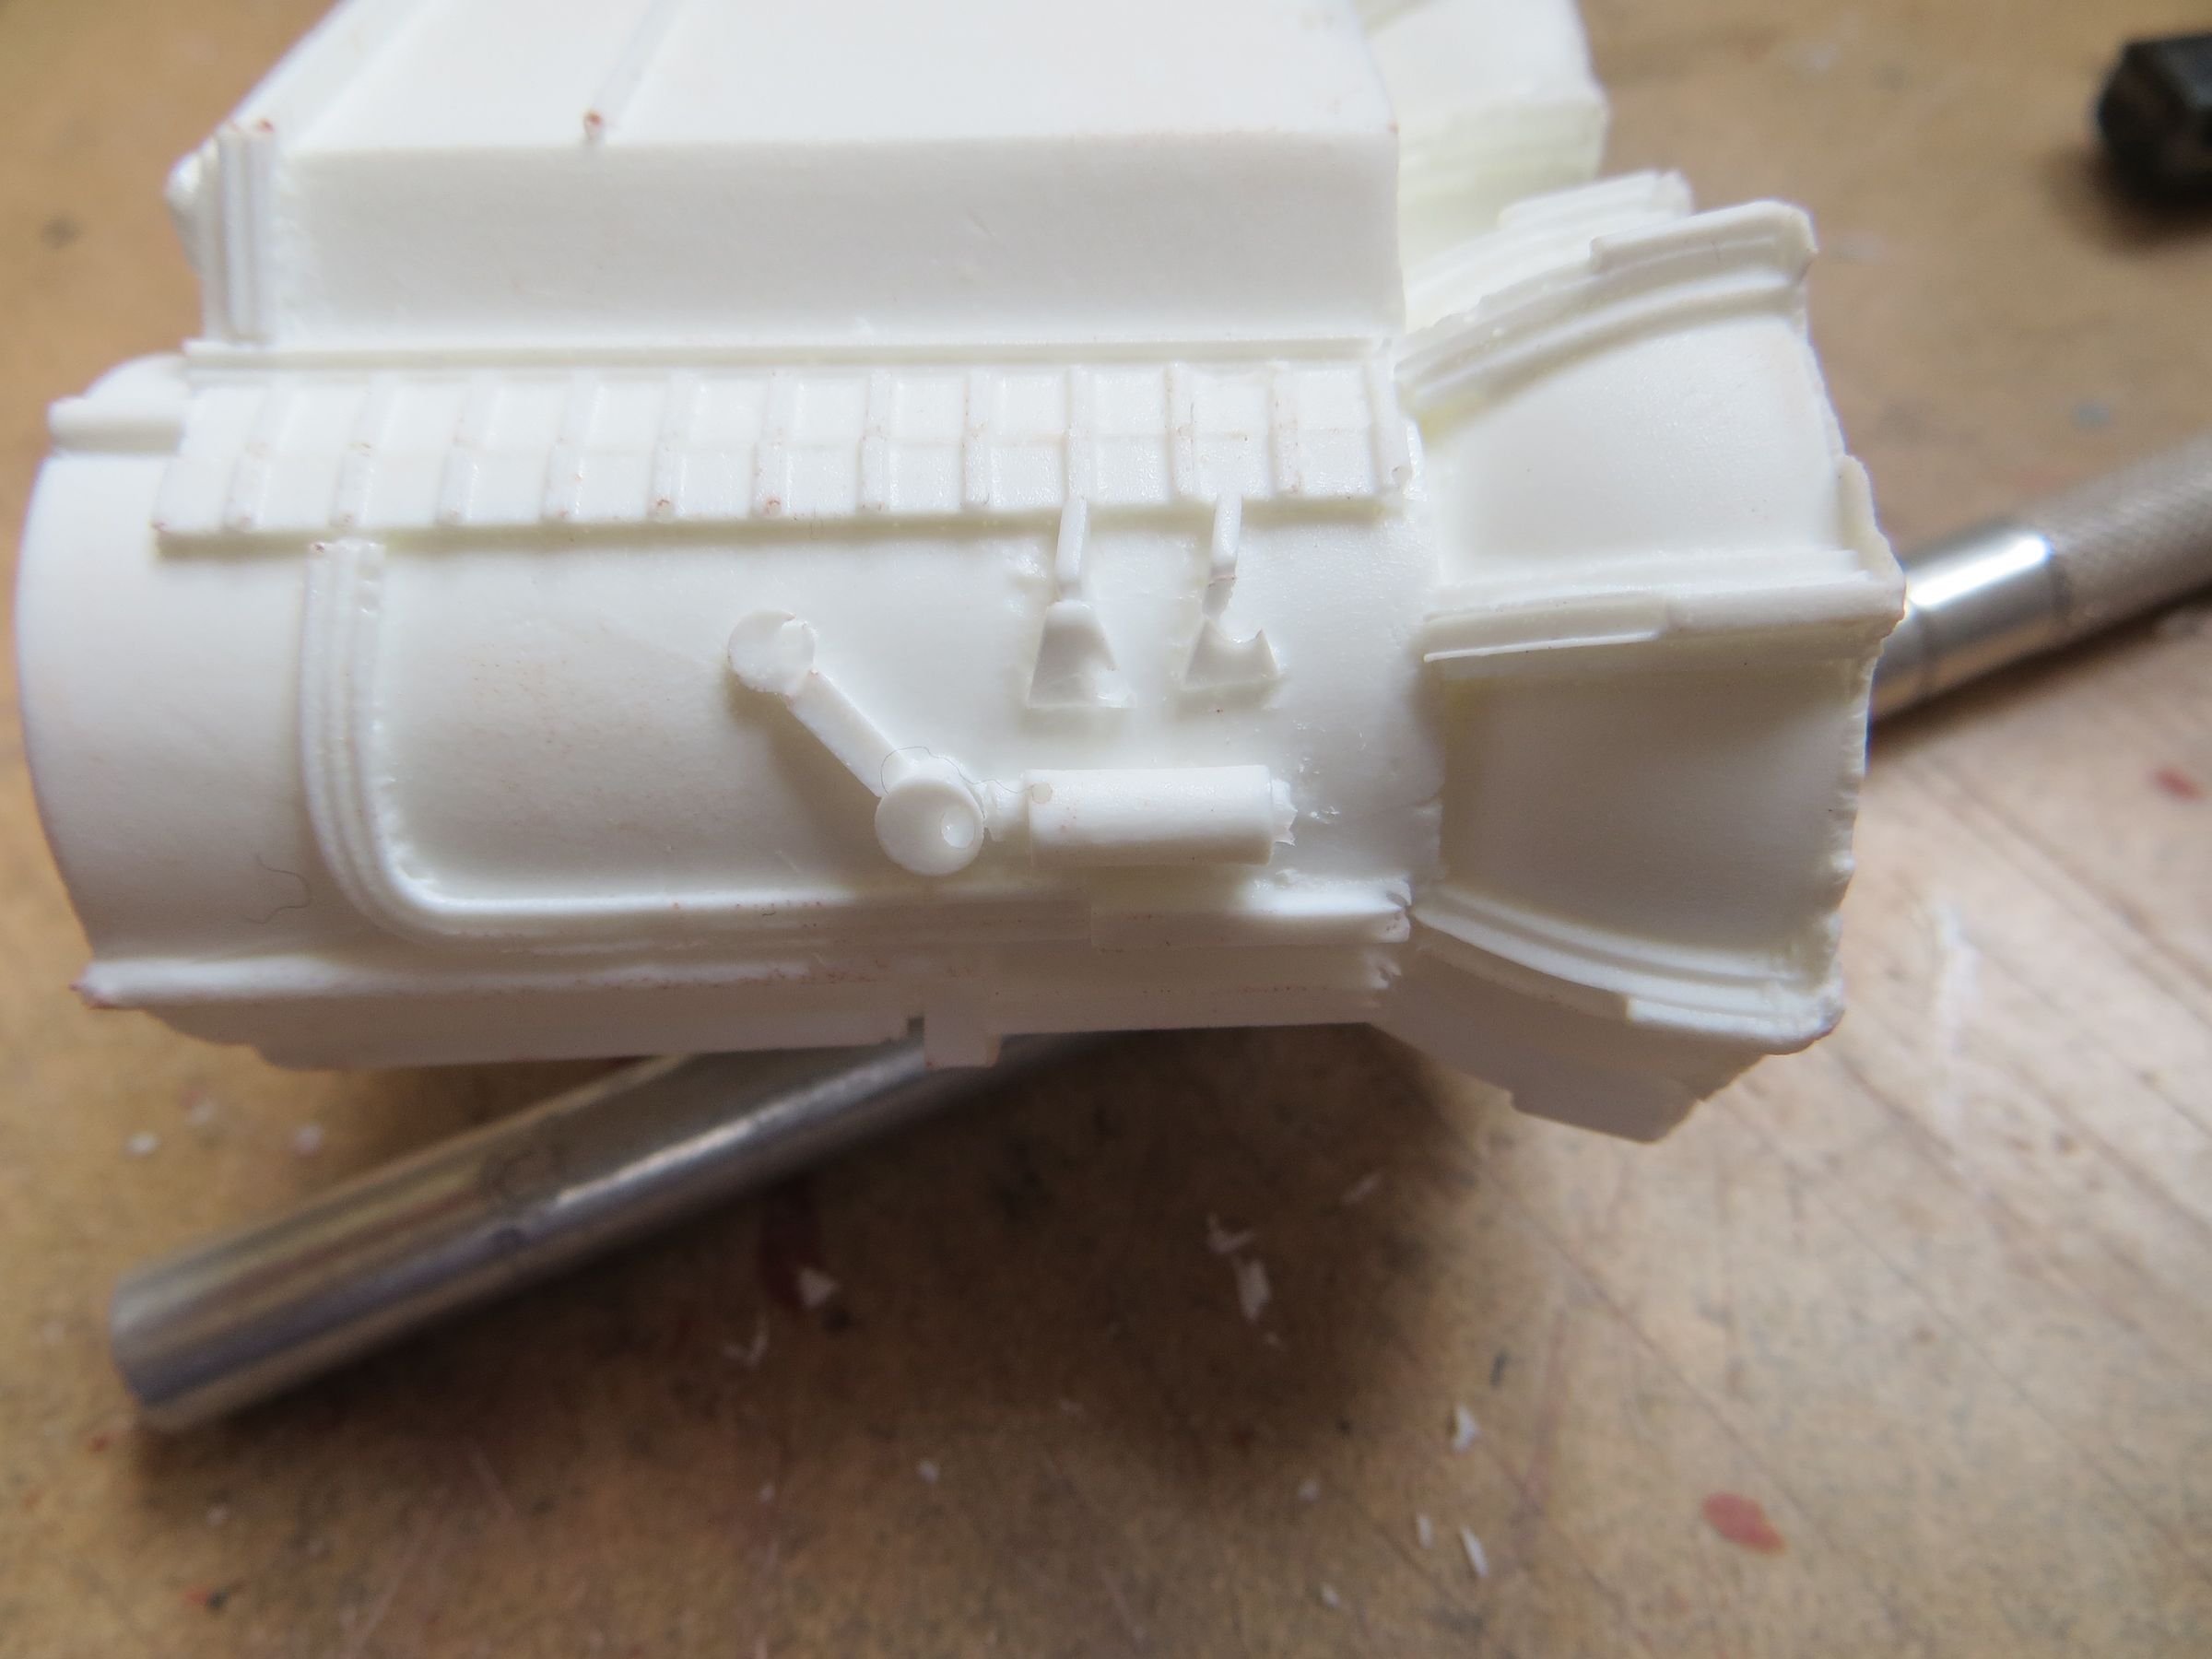
Small tabs are removed

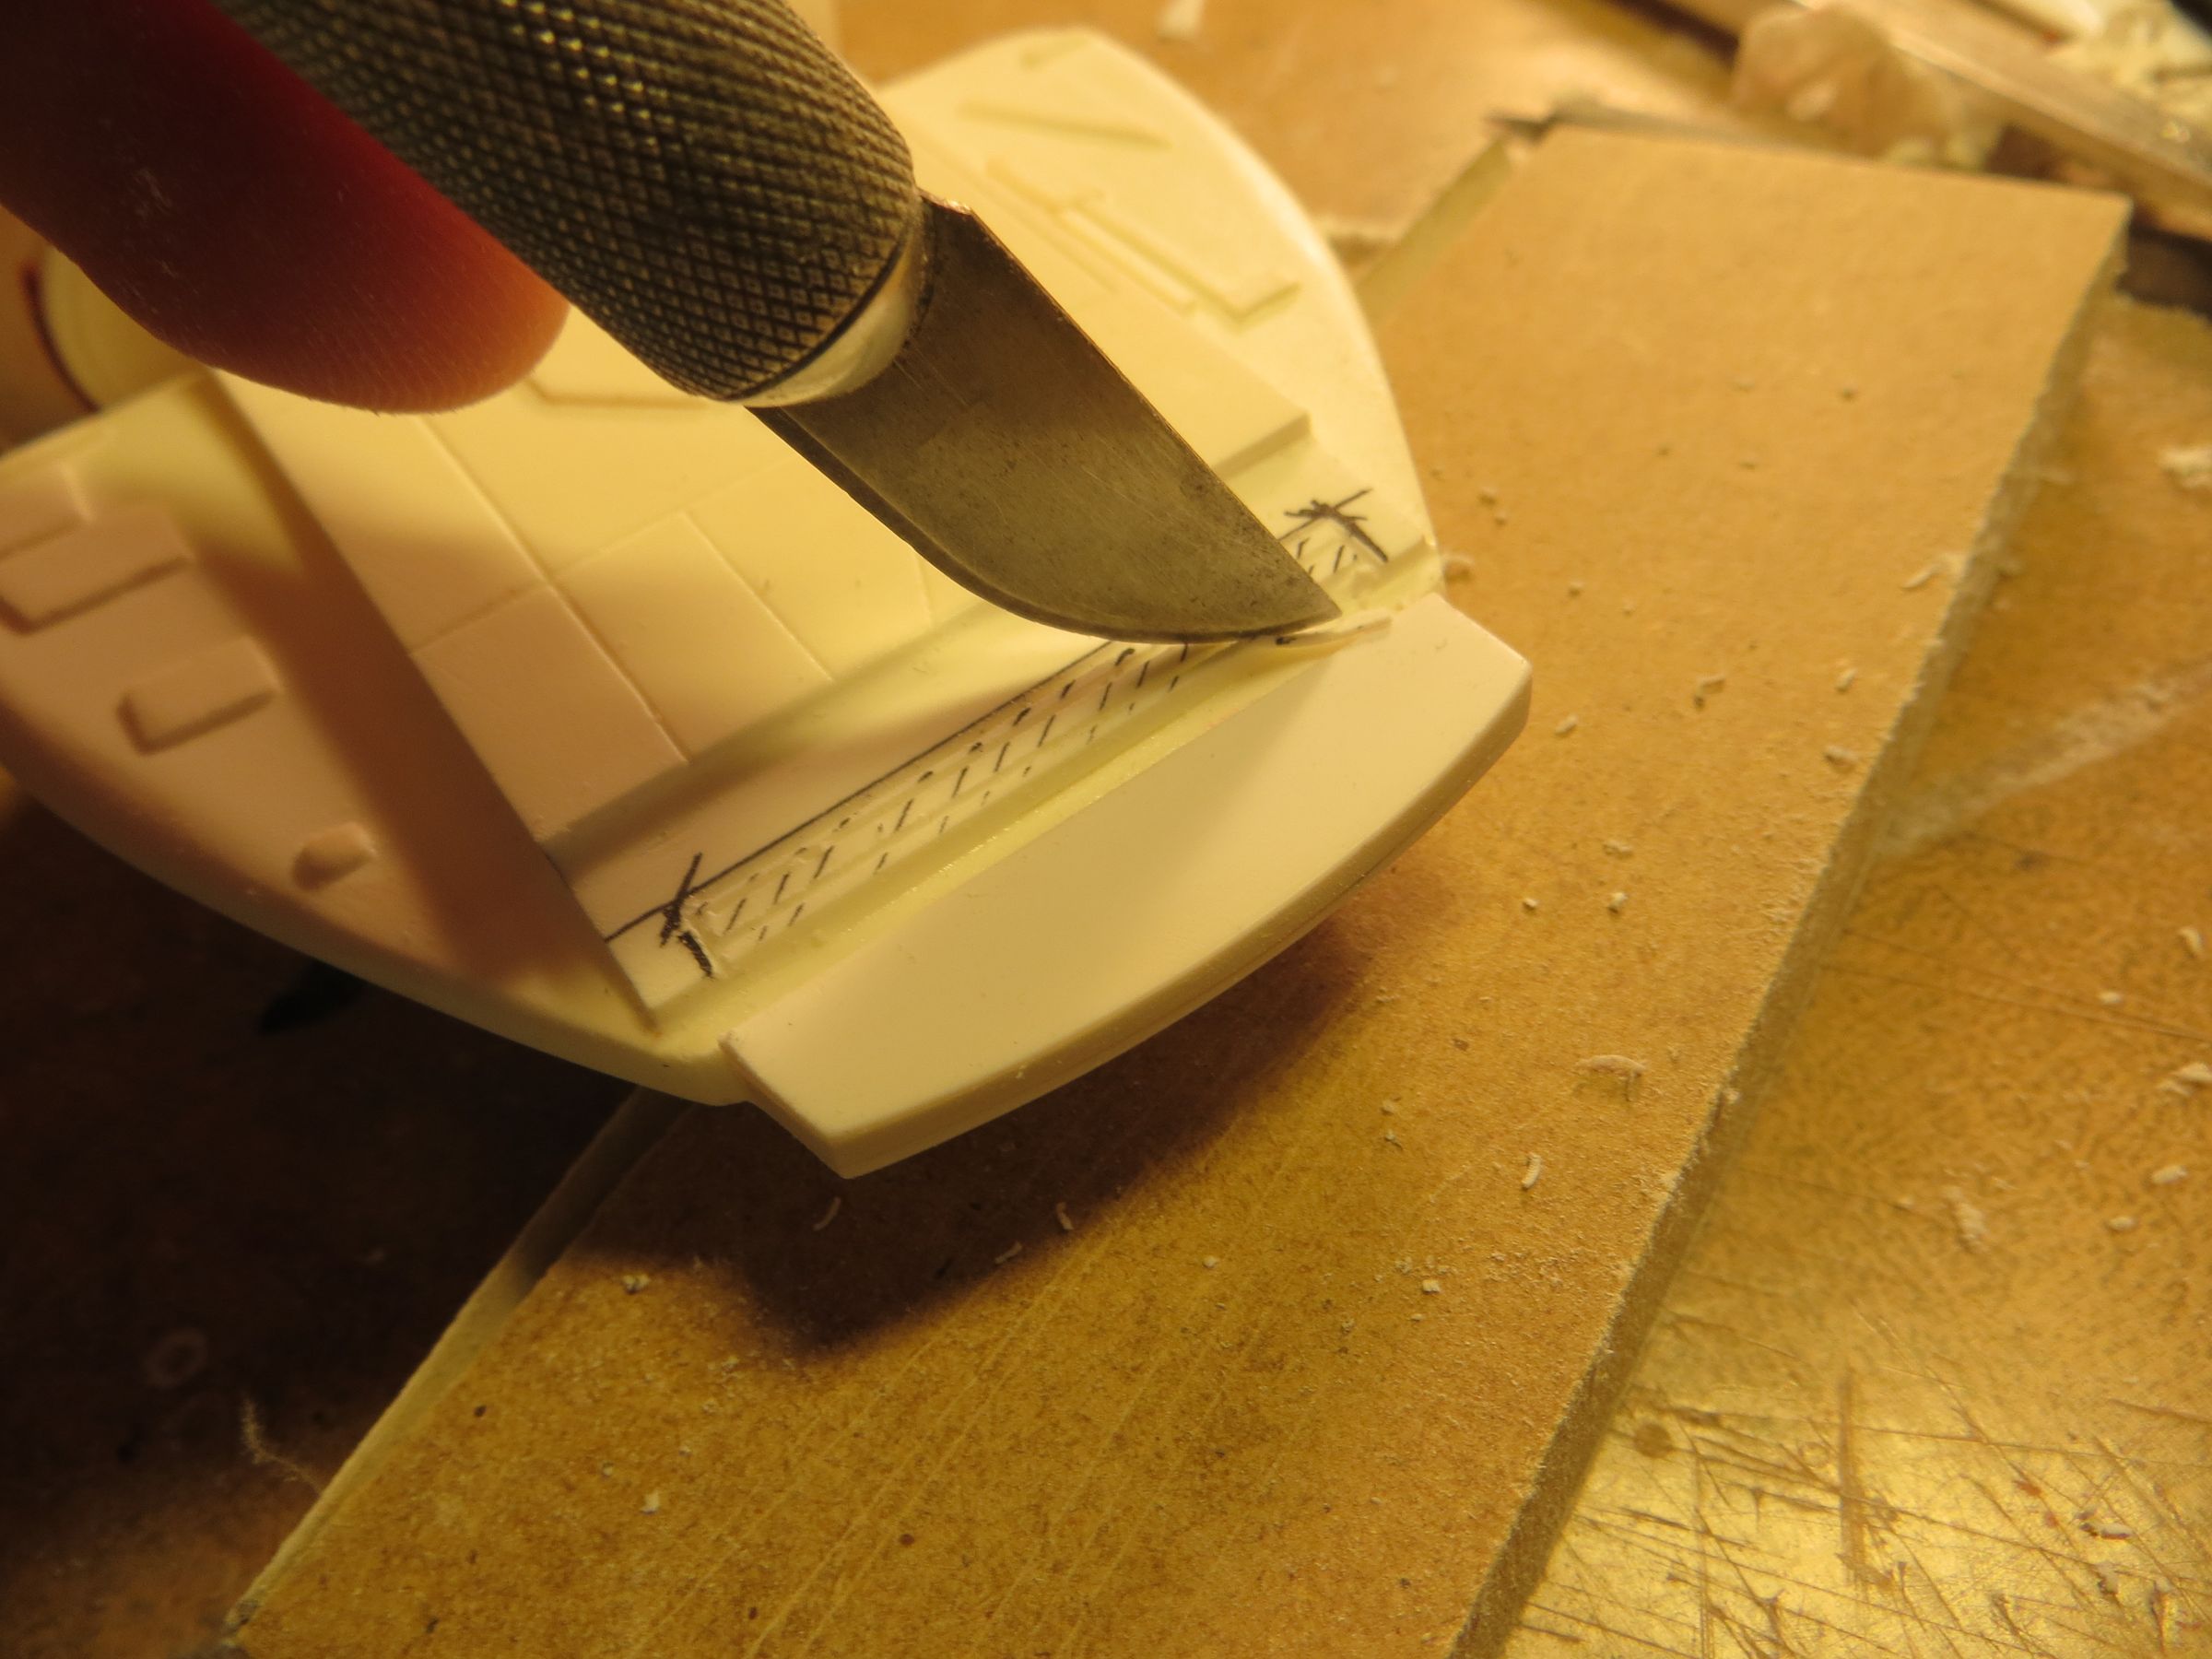
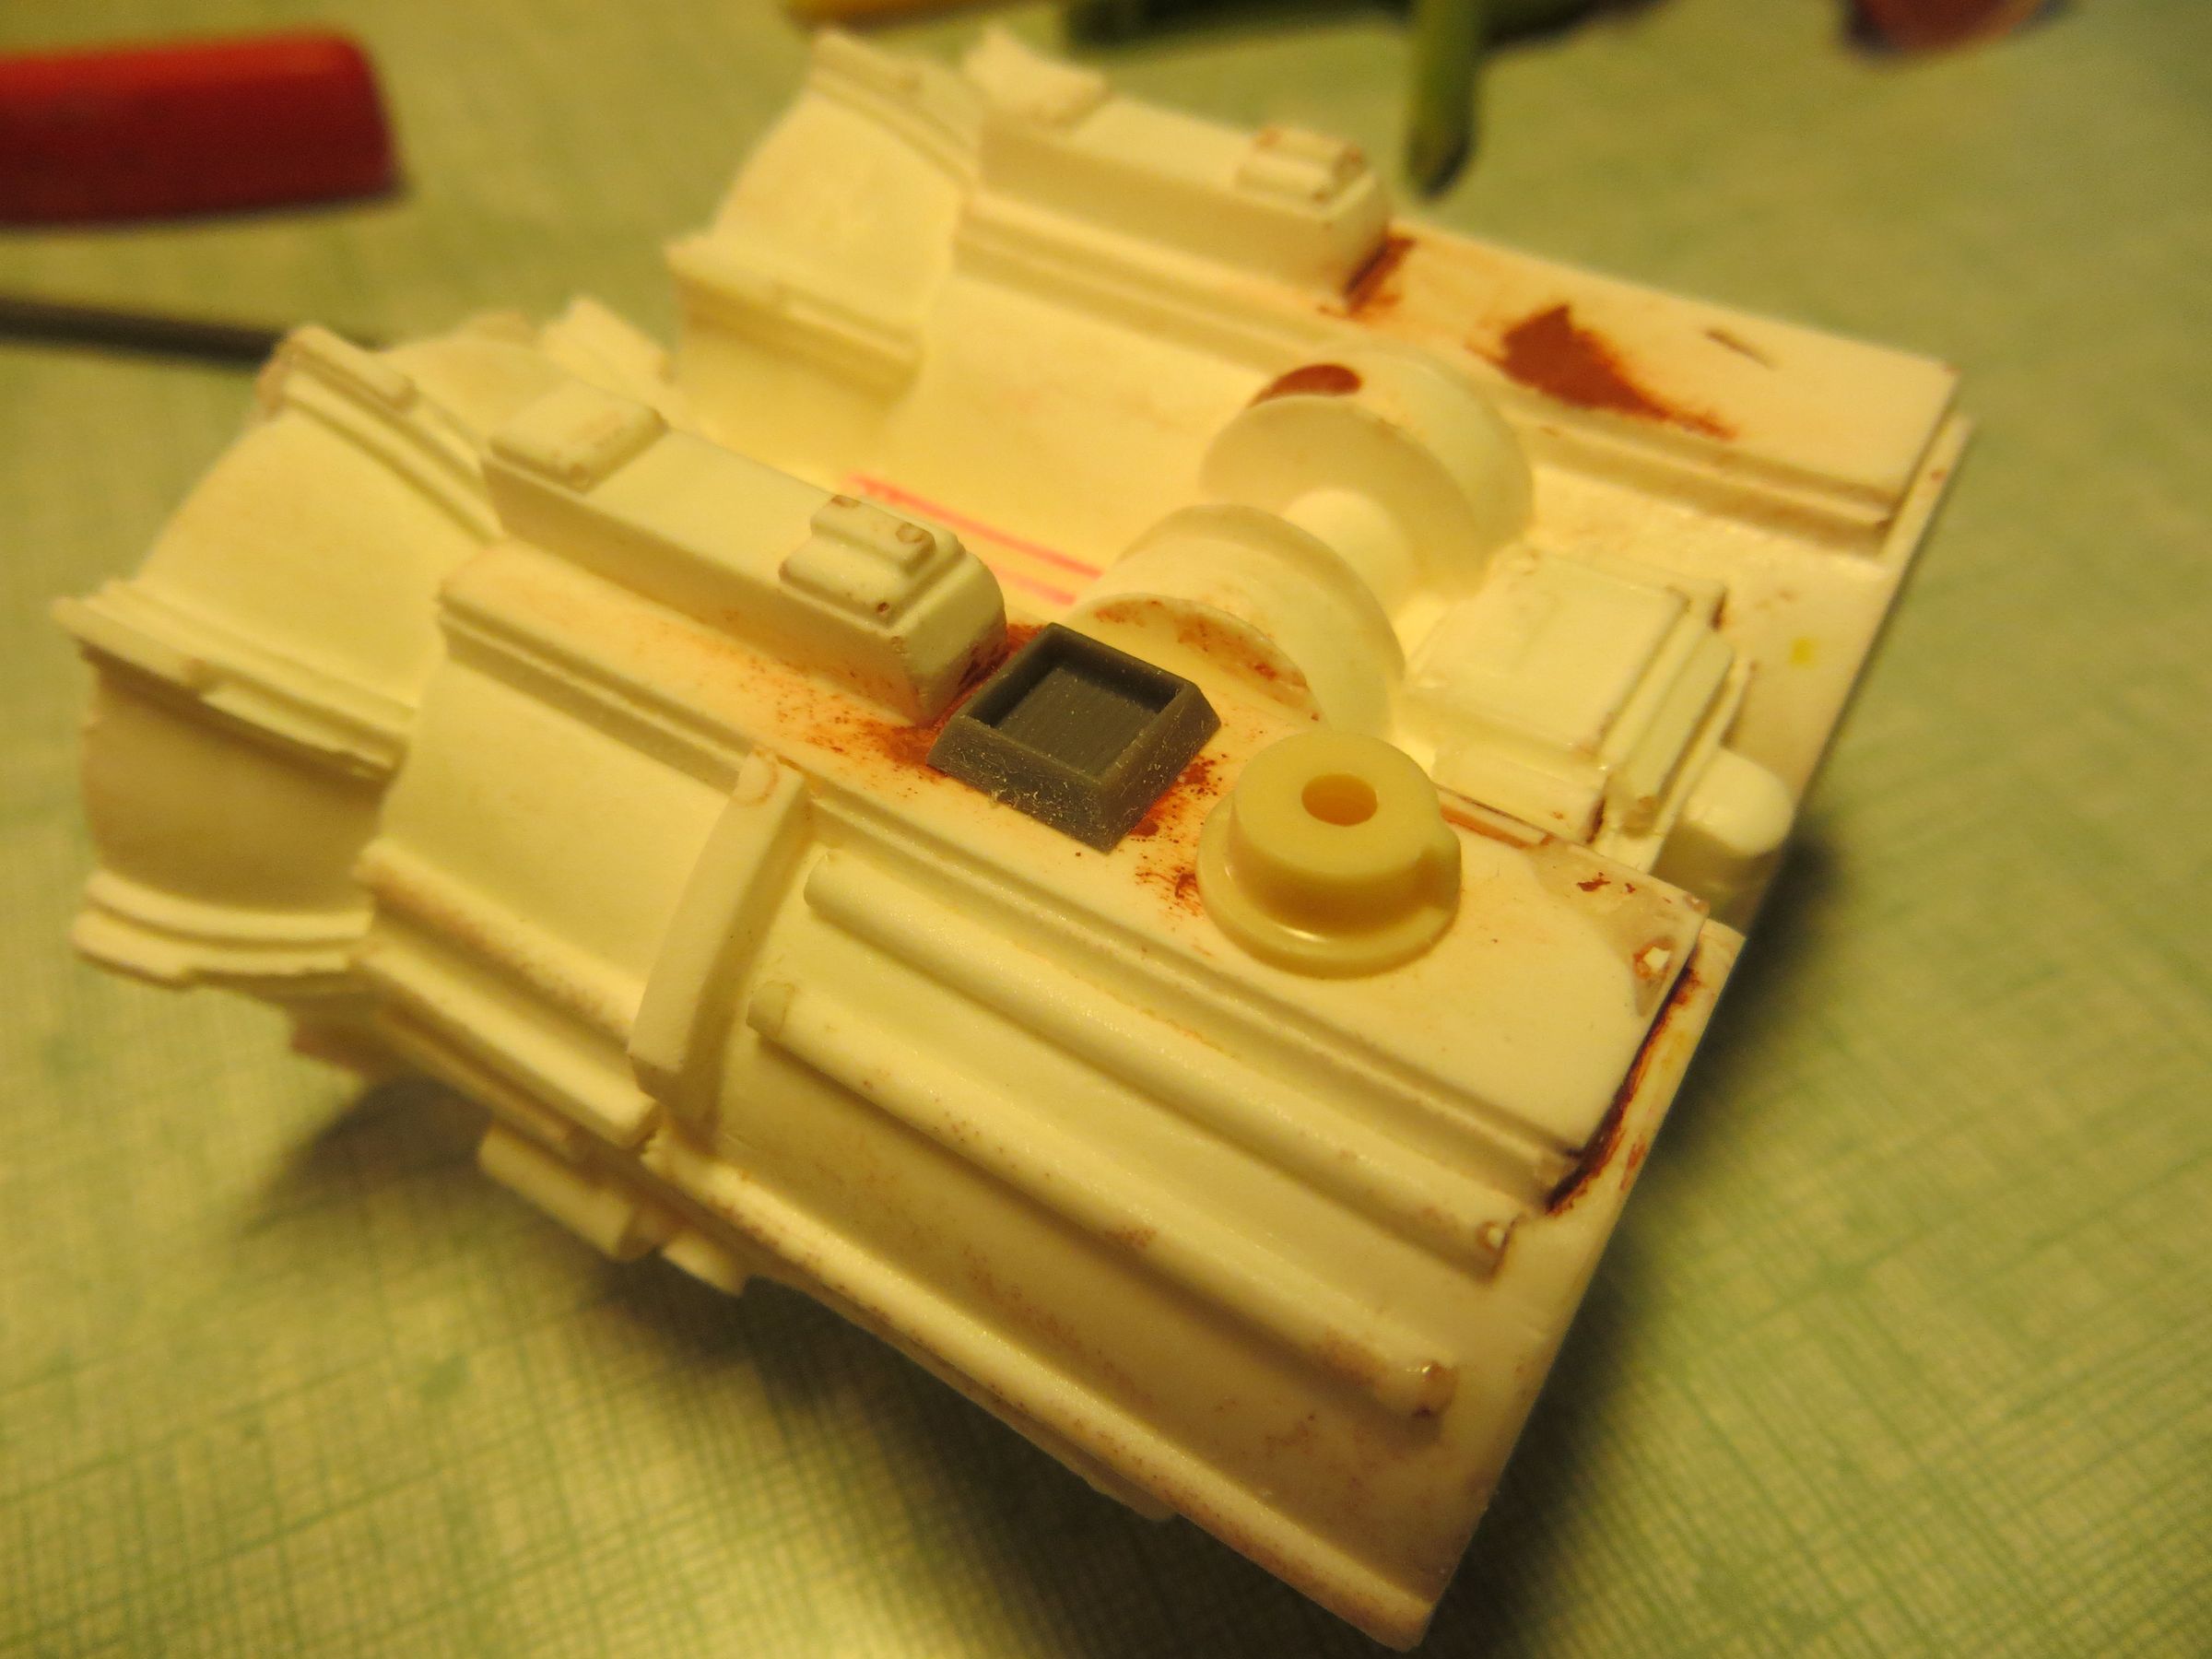
I dig with the X-acto

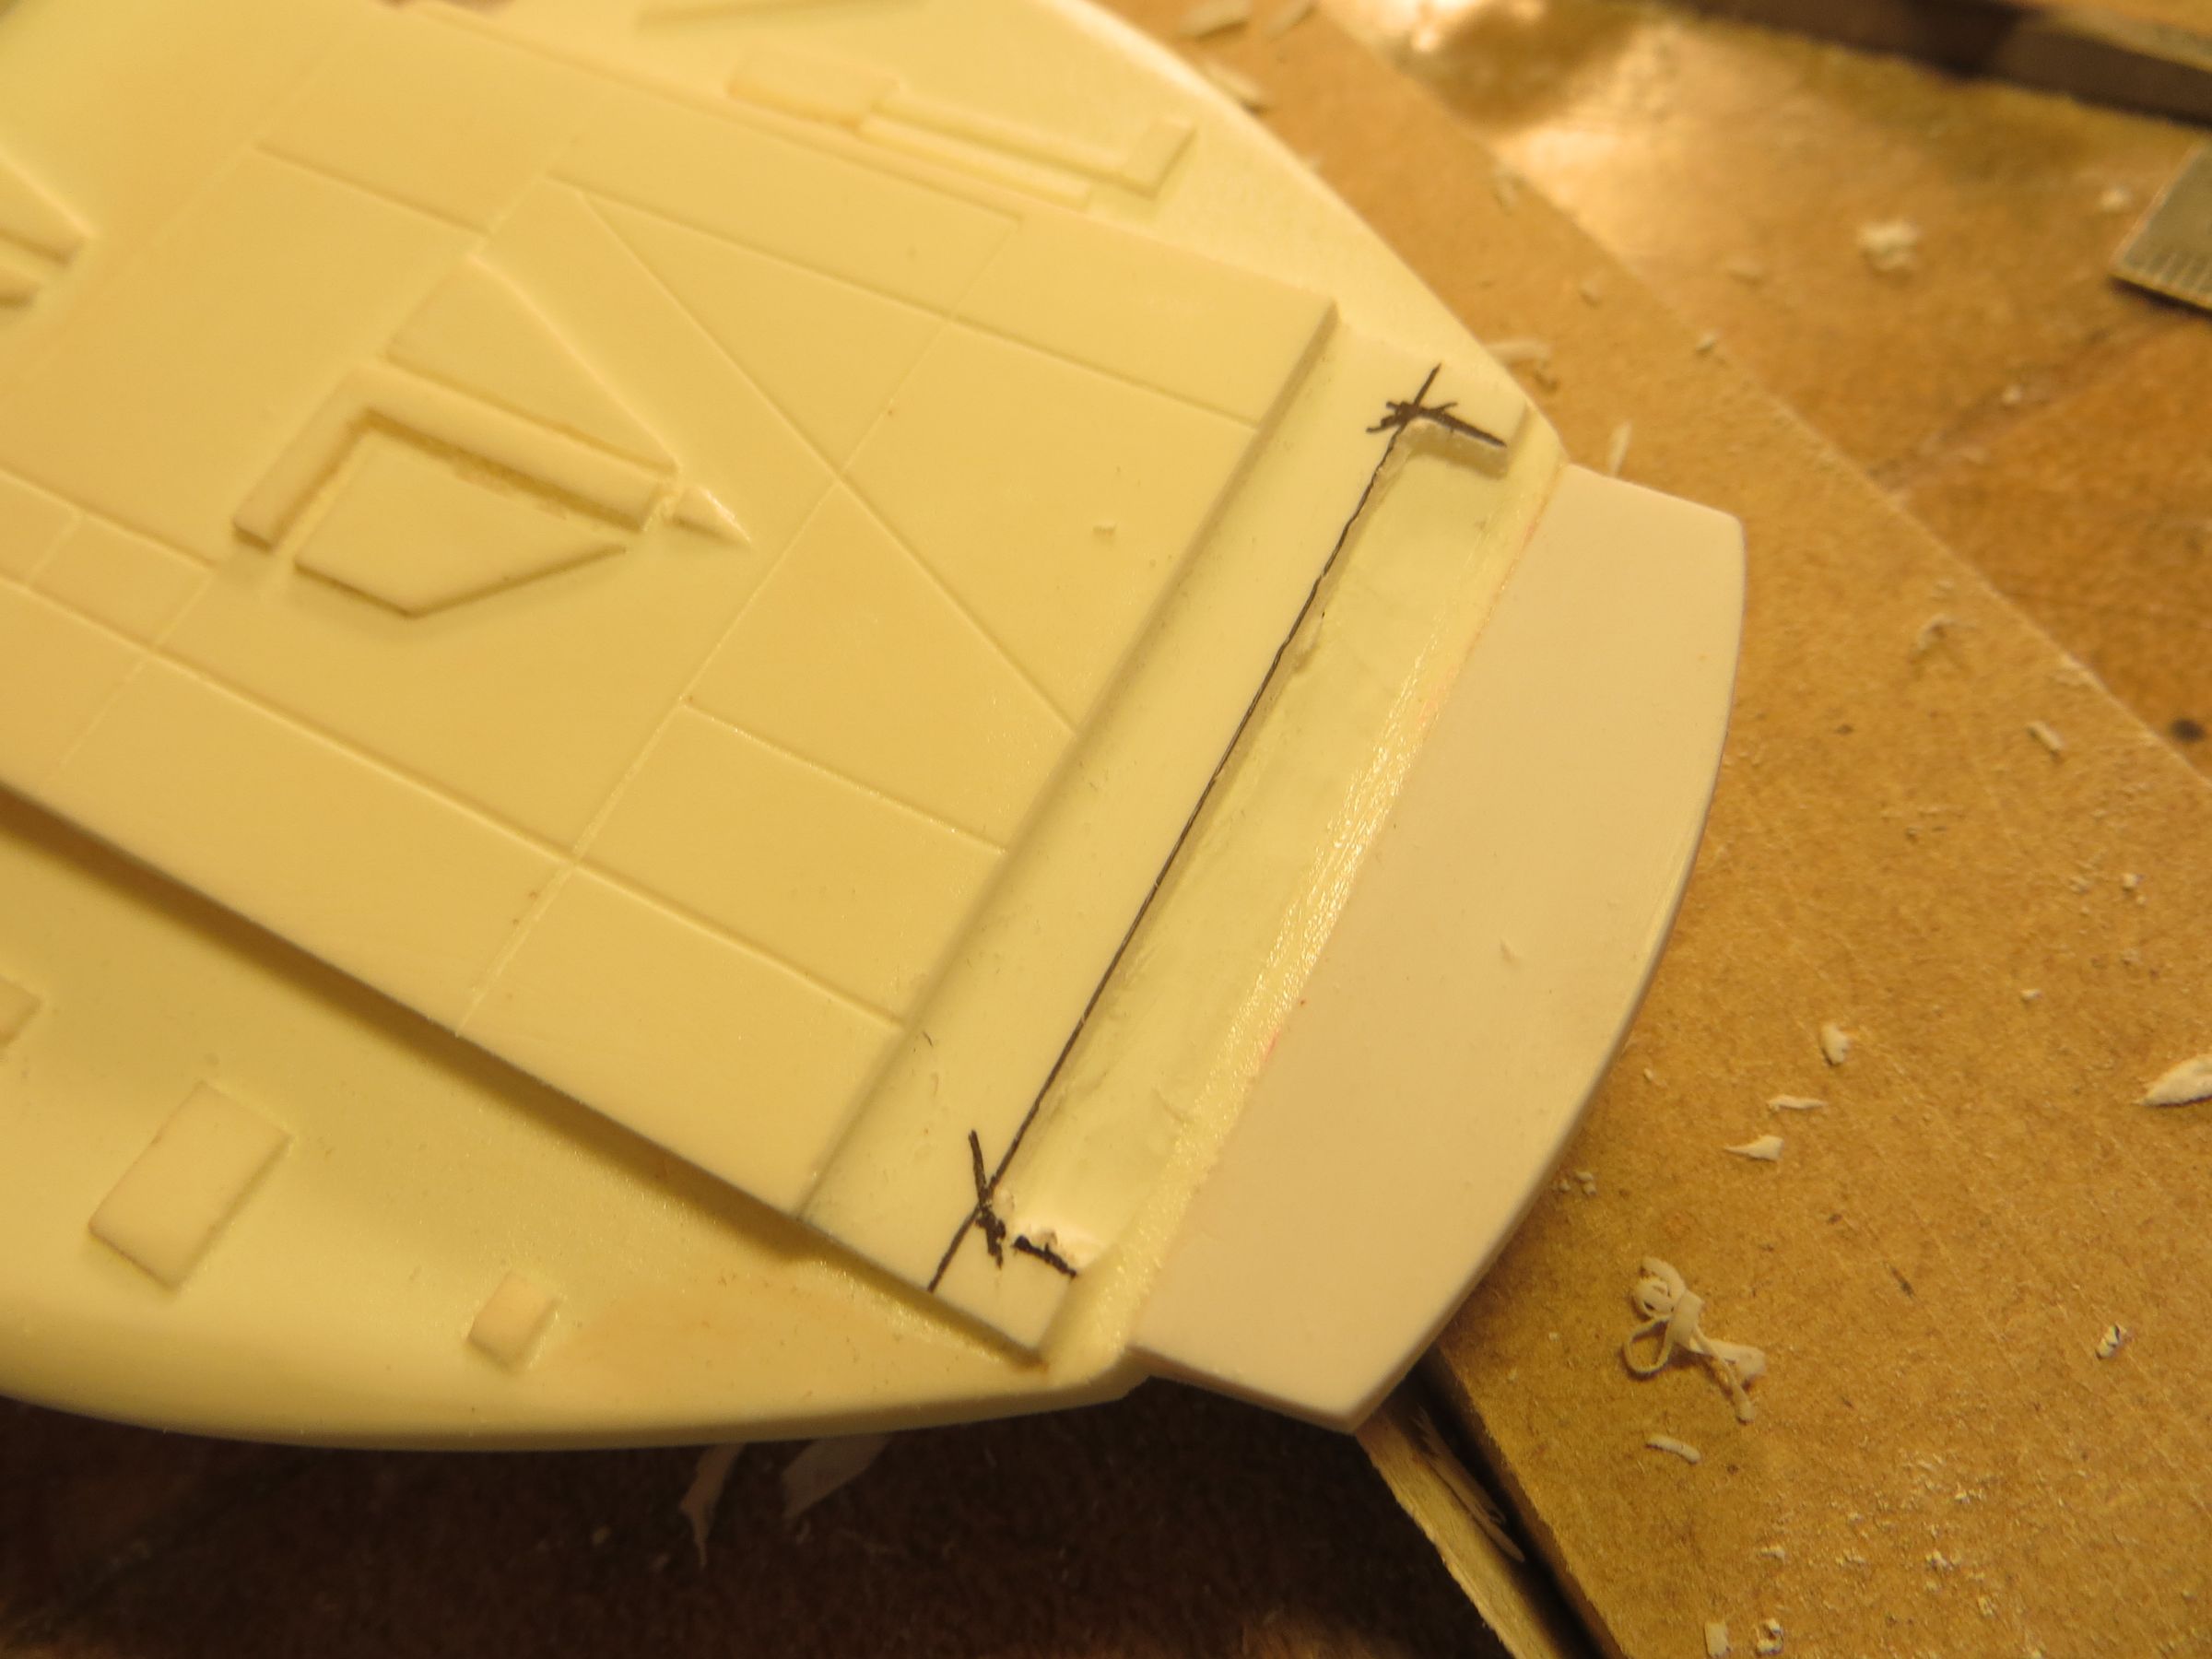
I finish with a dentist scraper

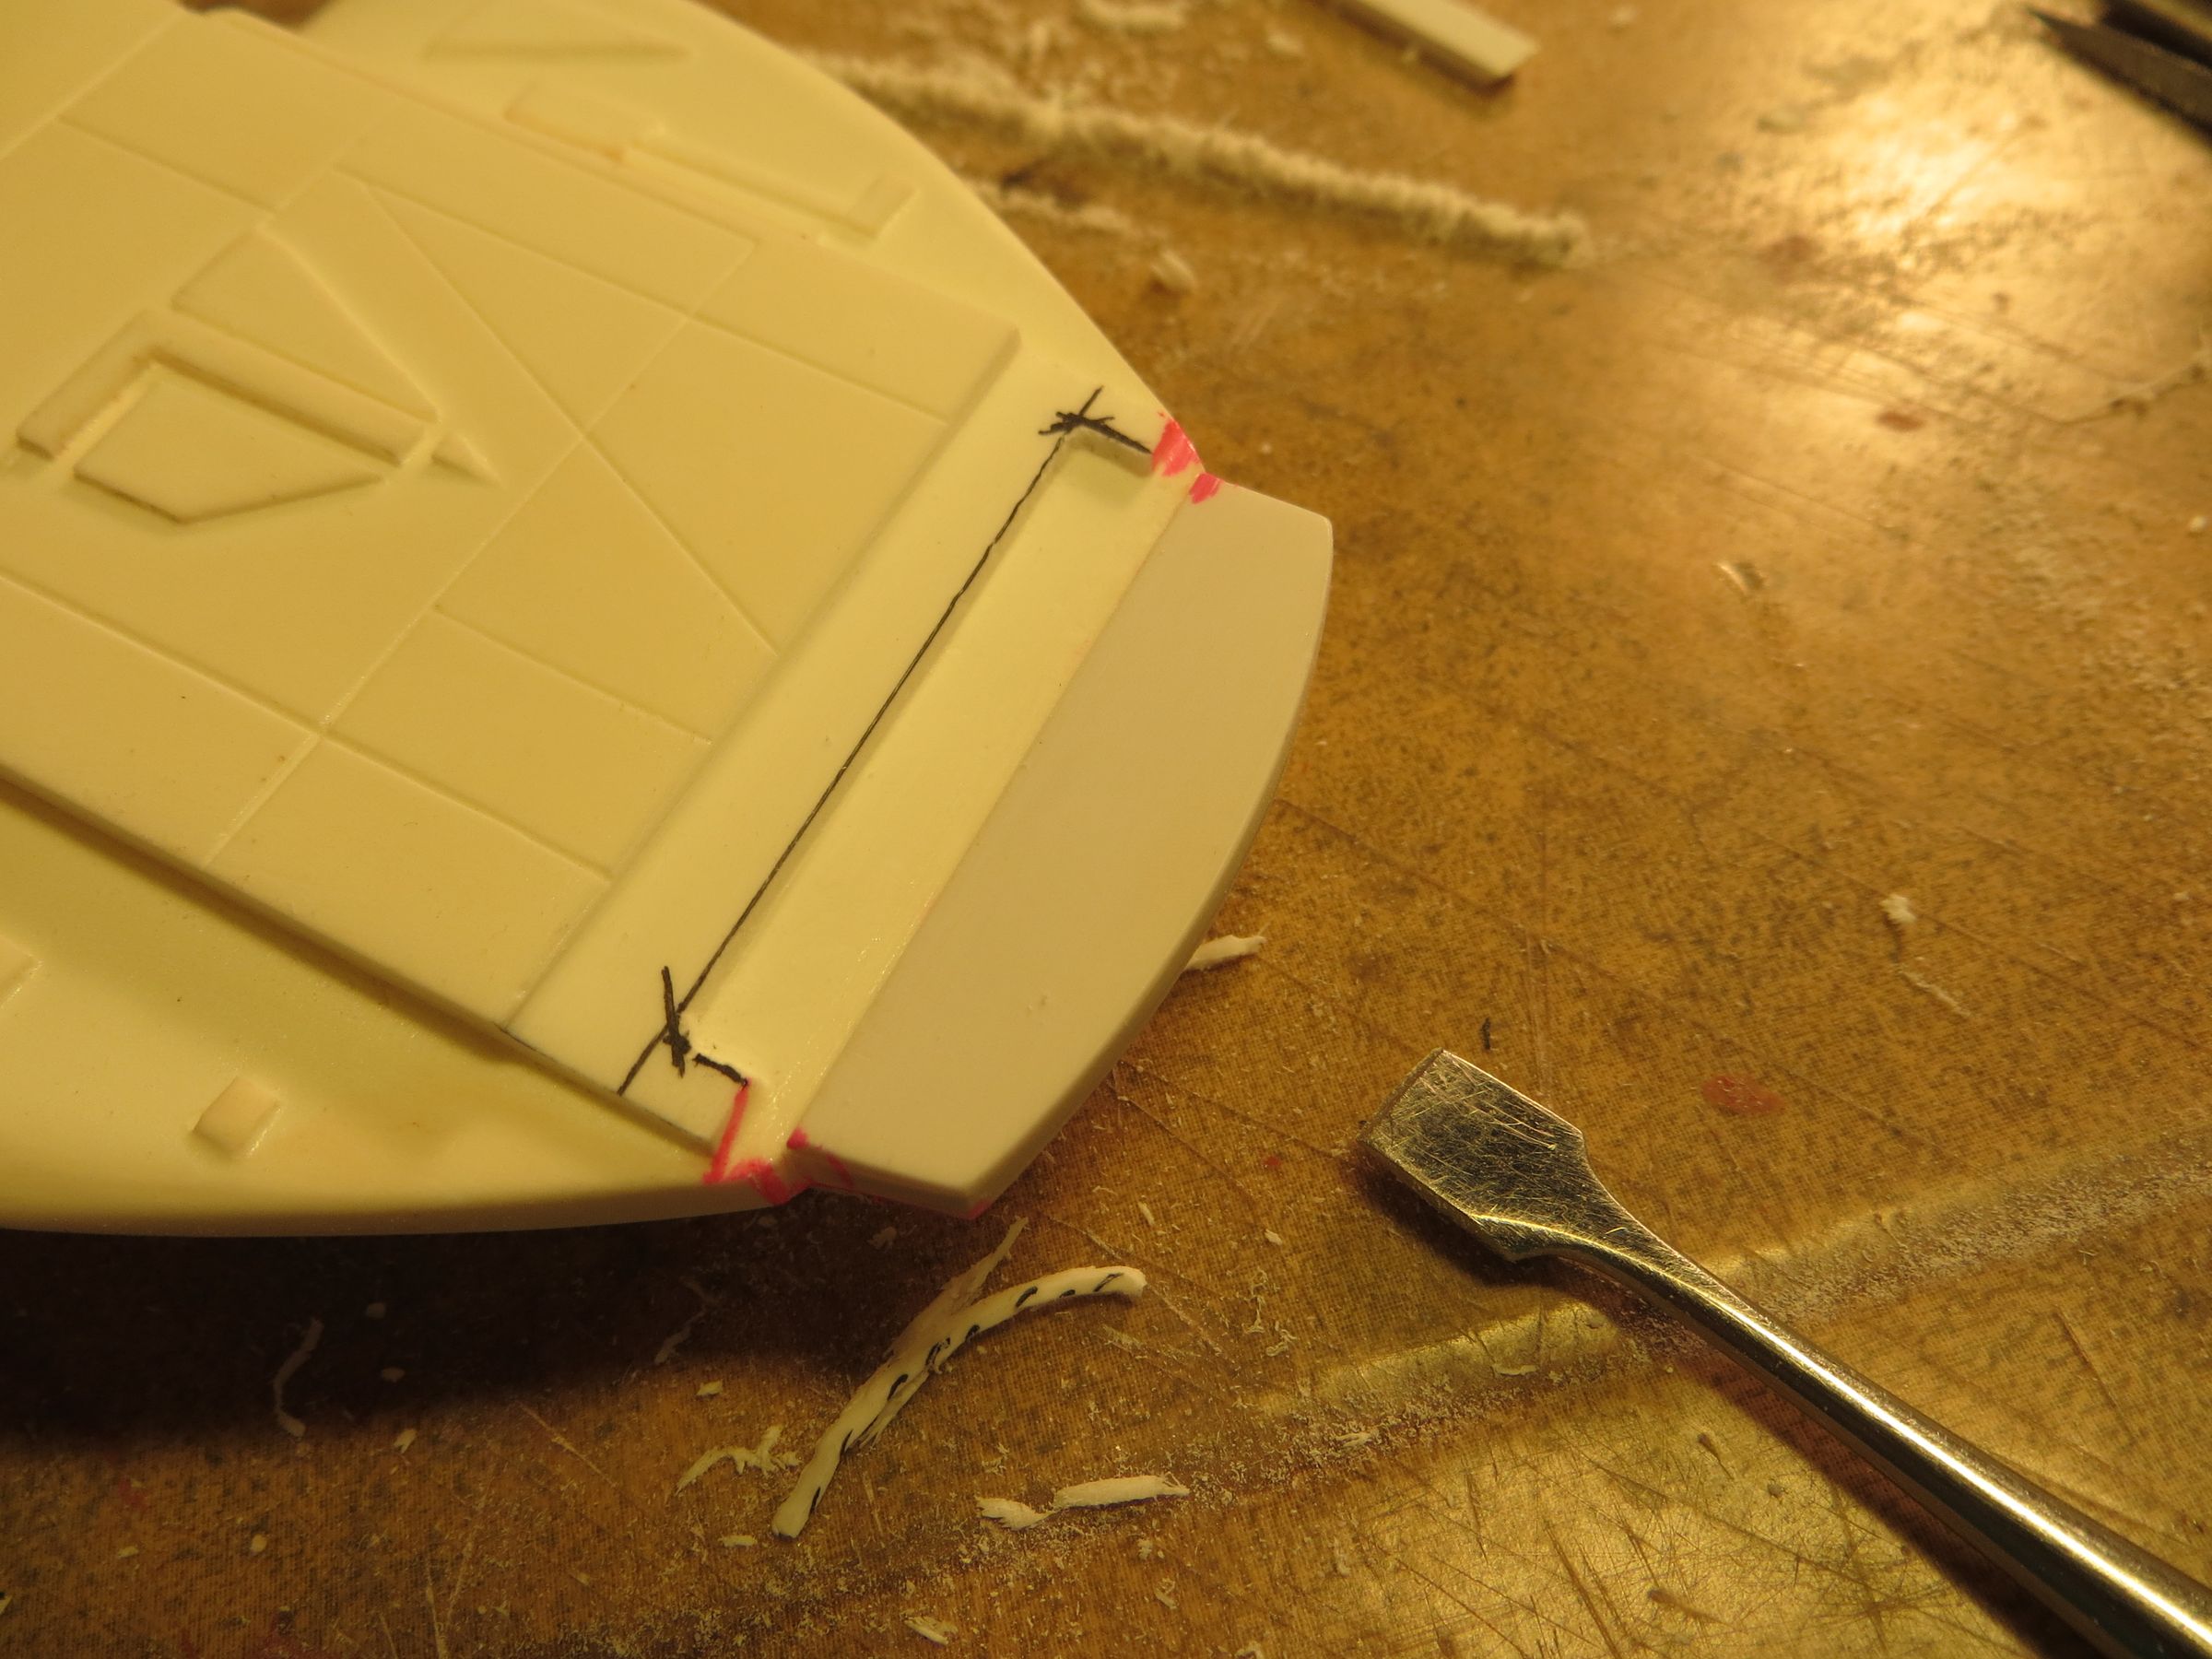
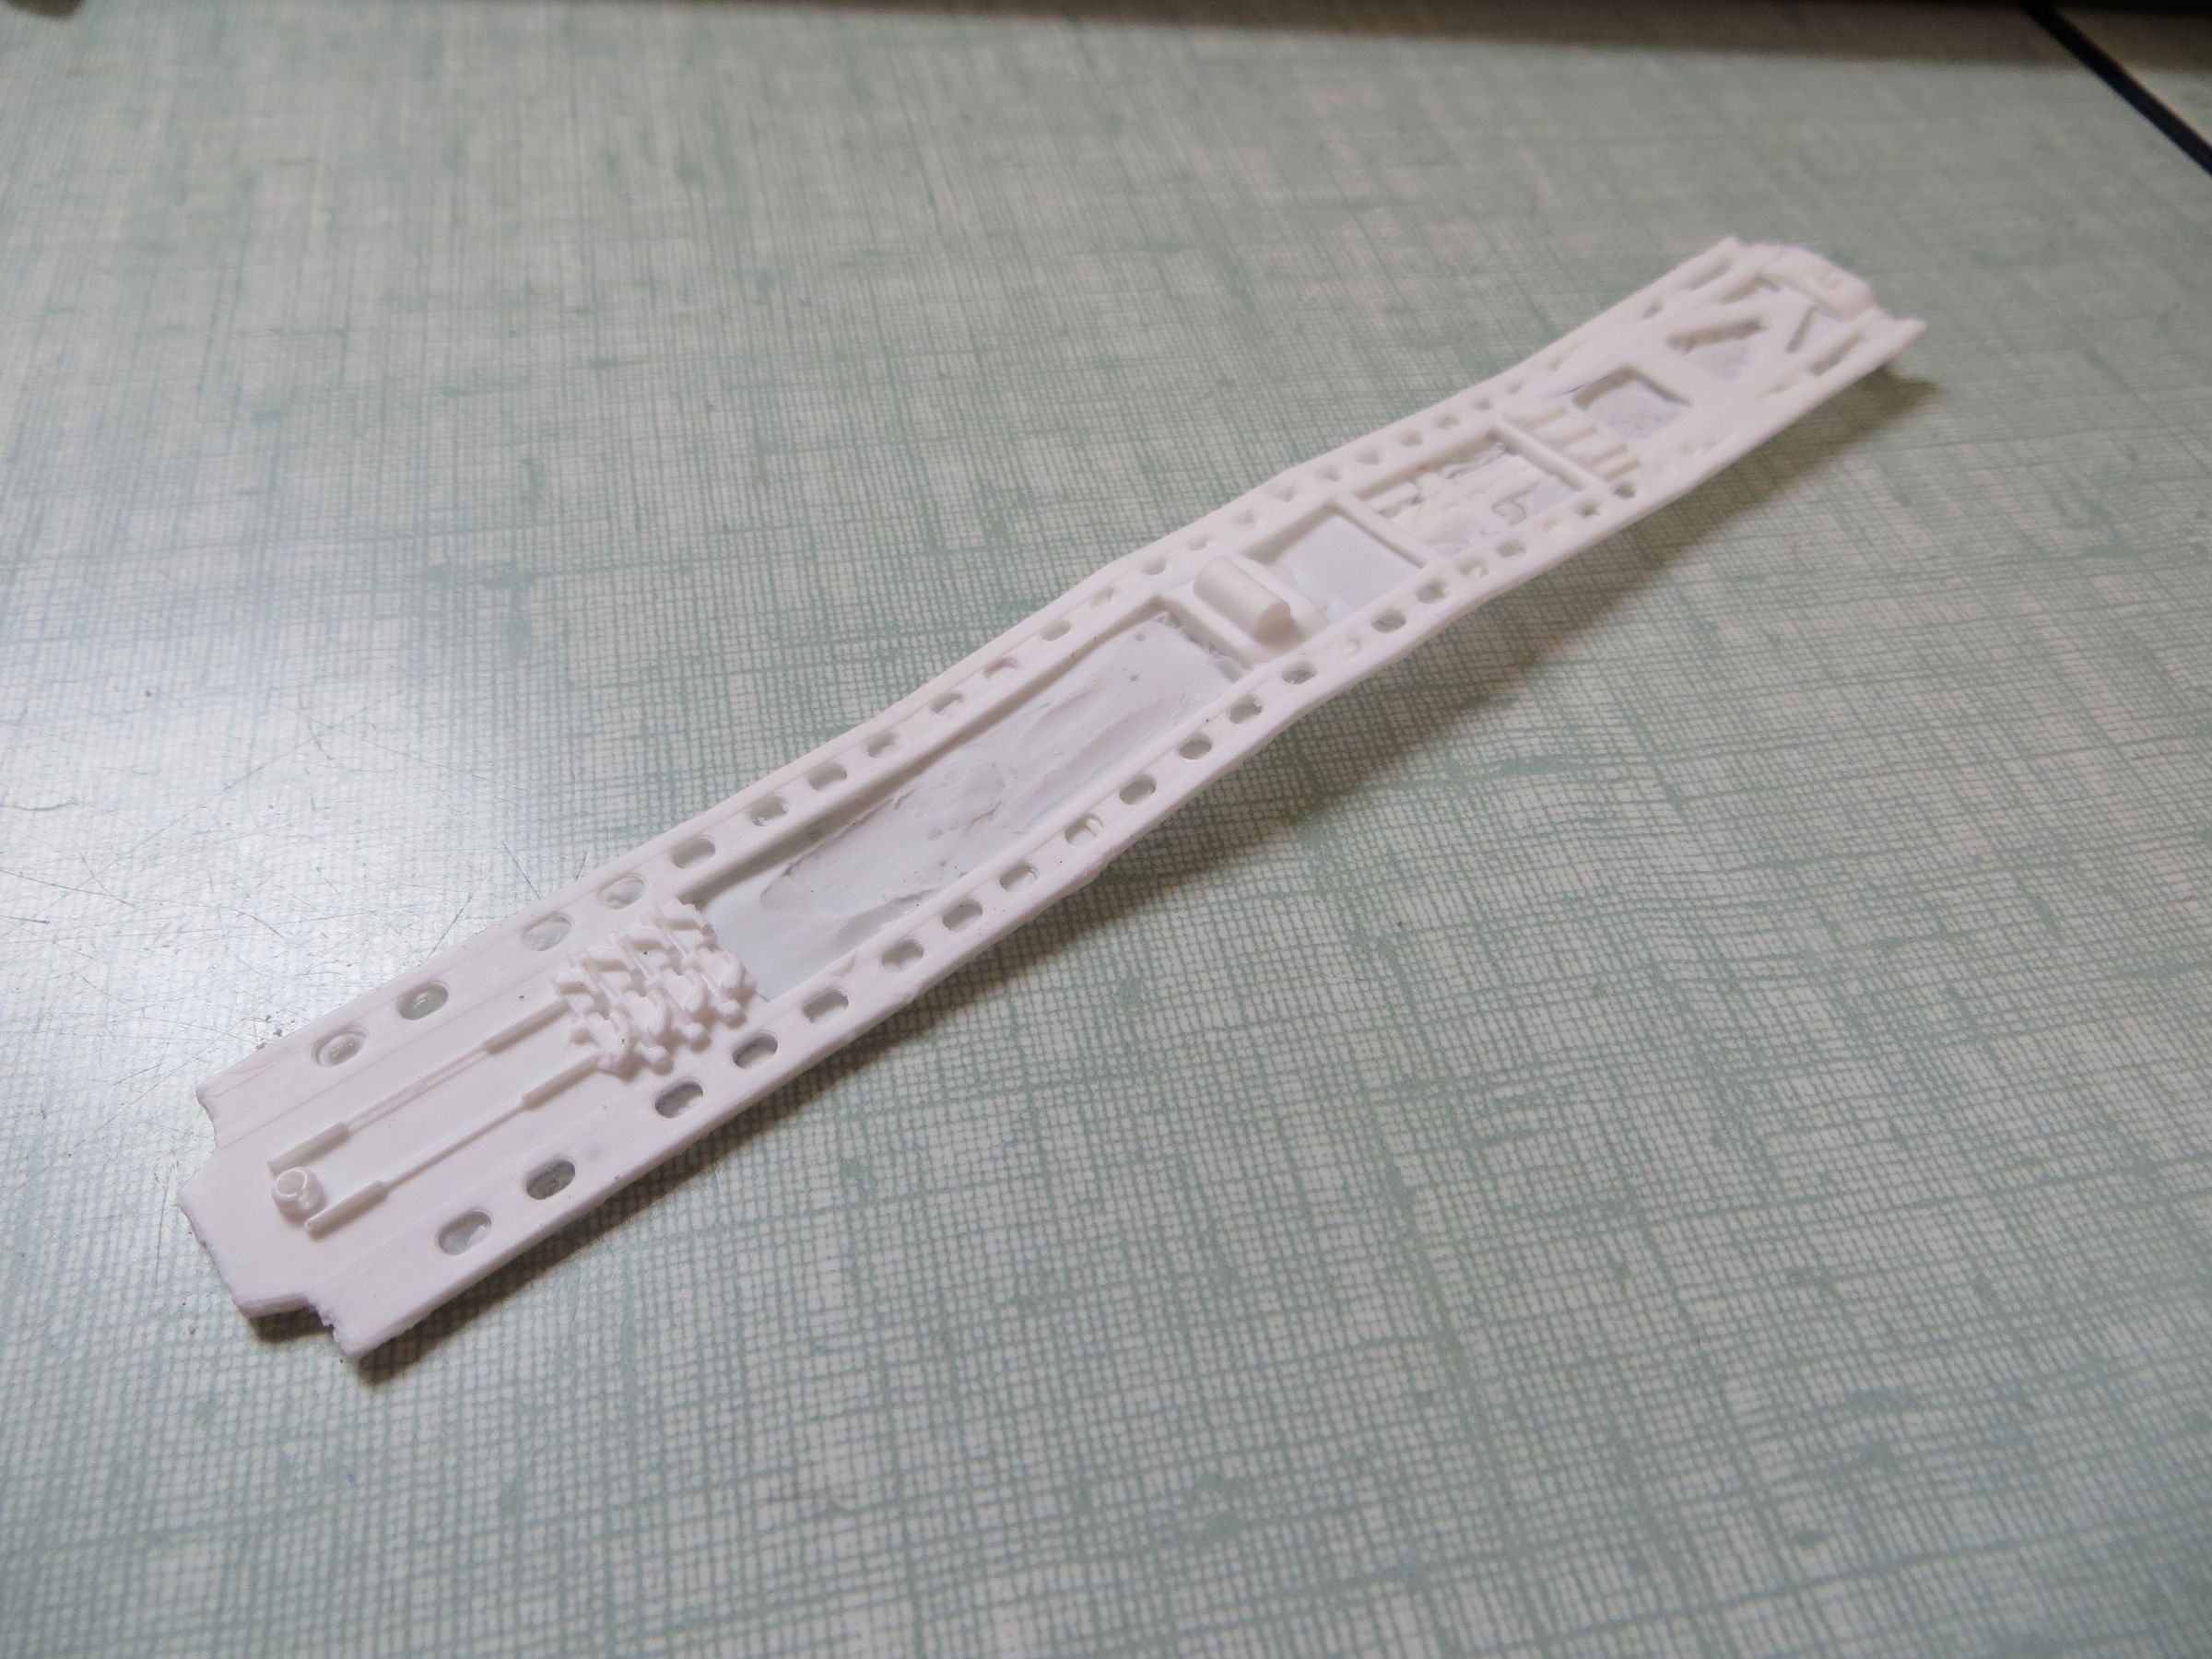
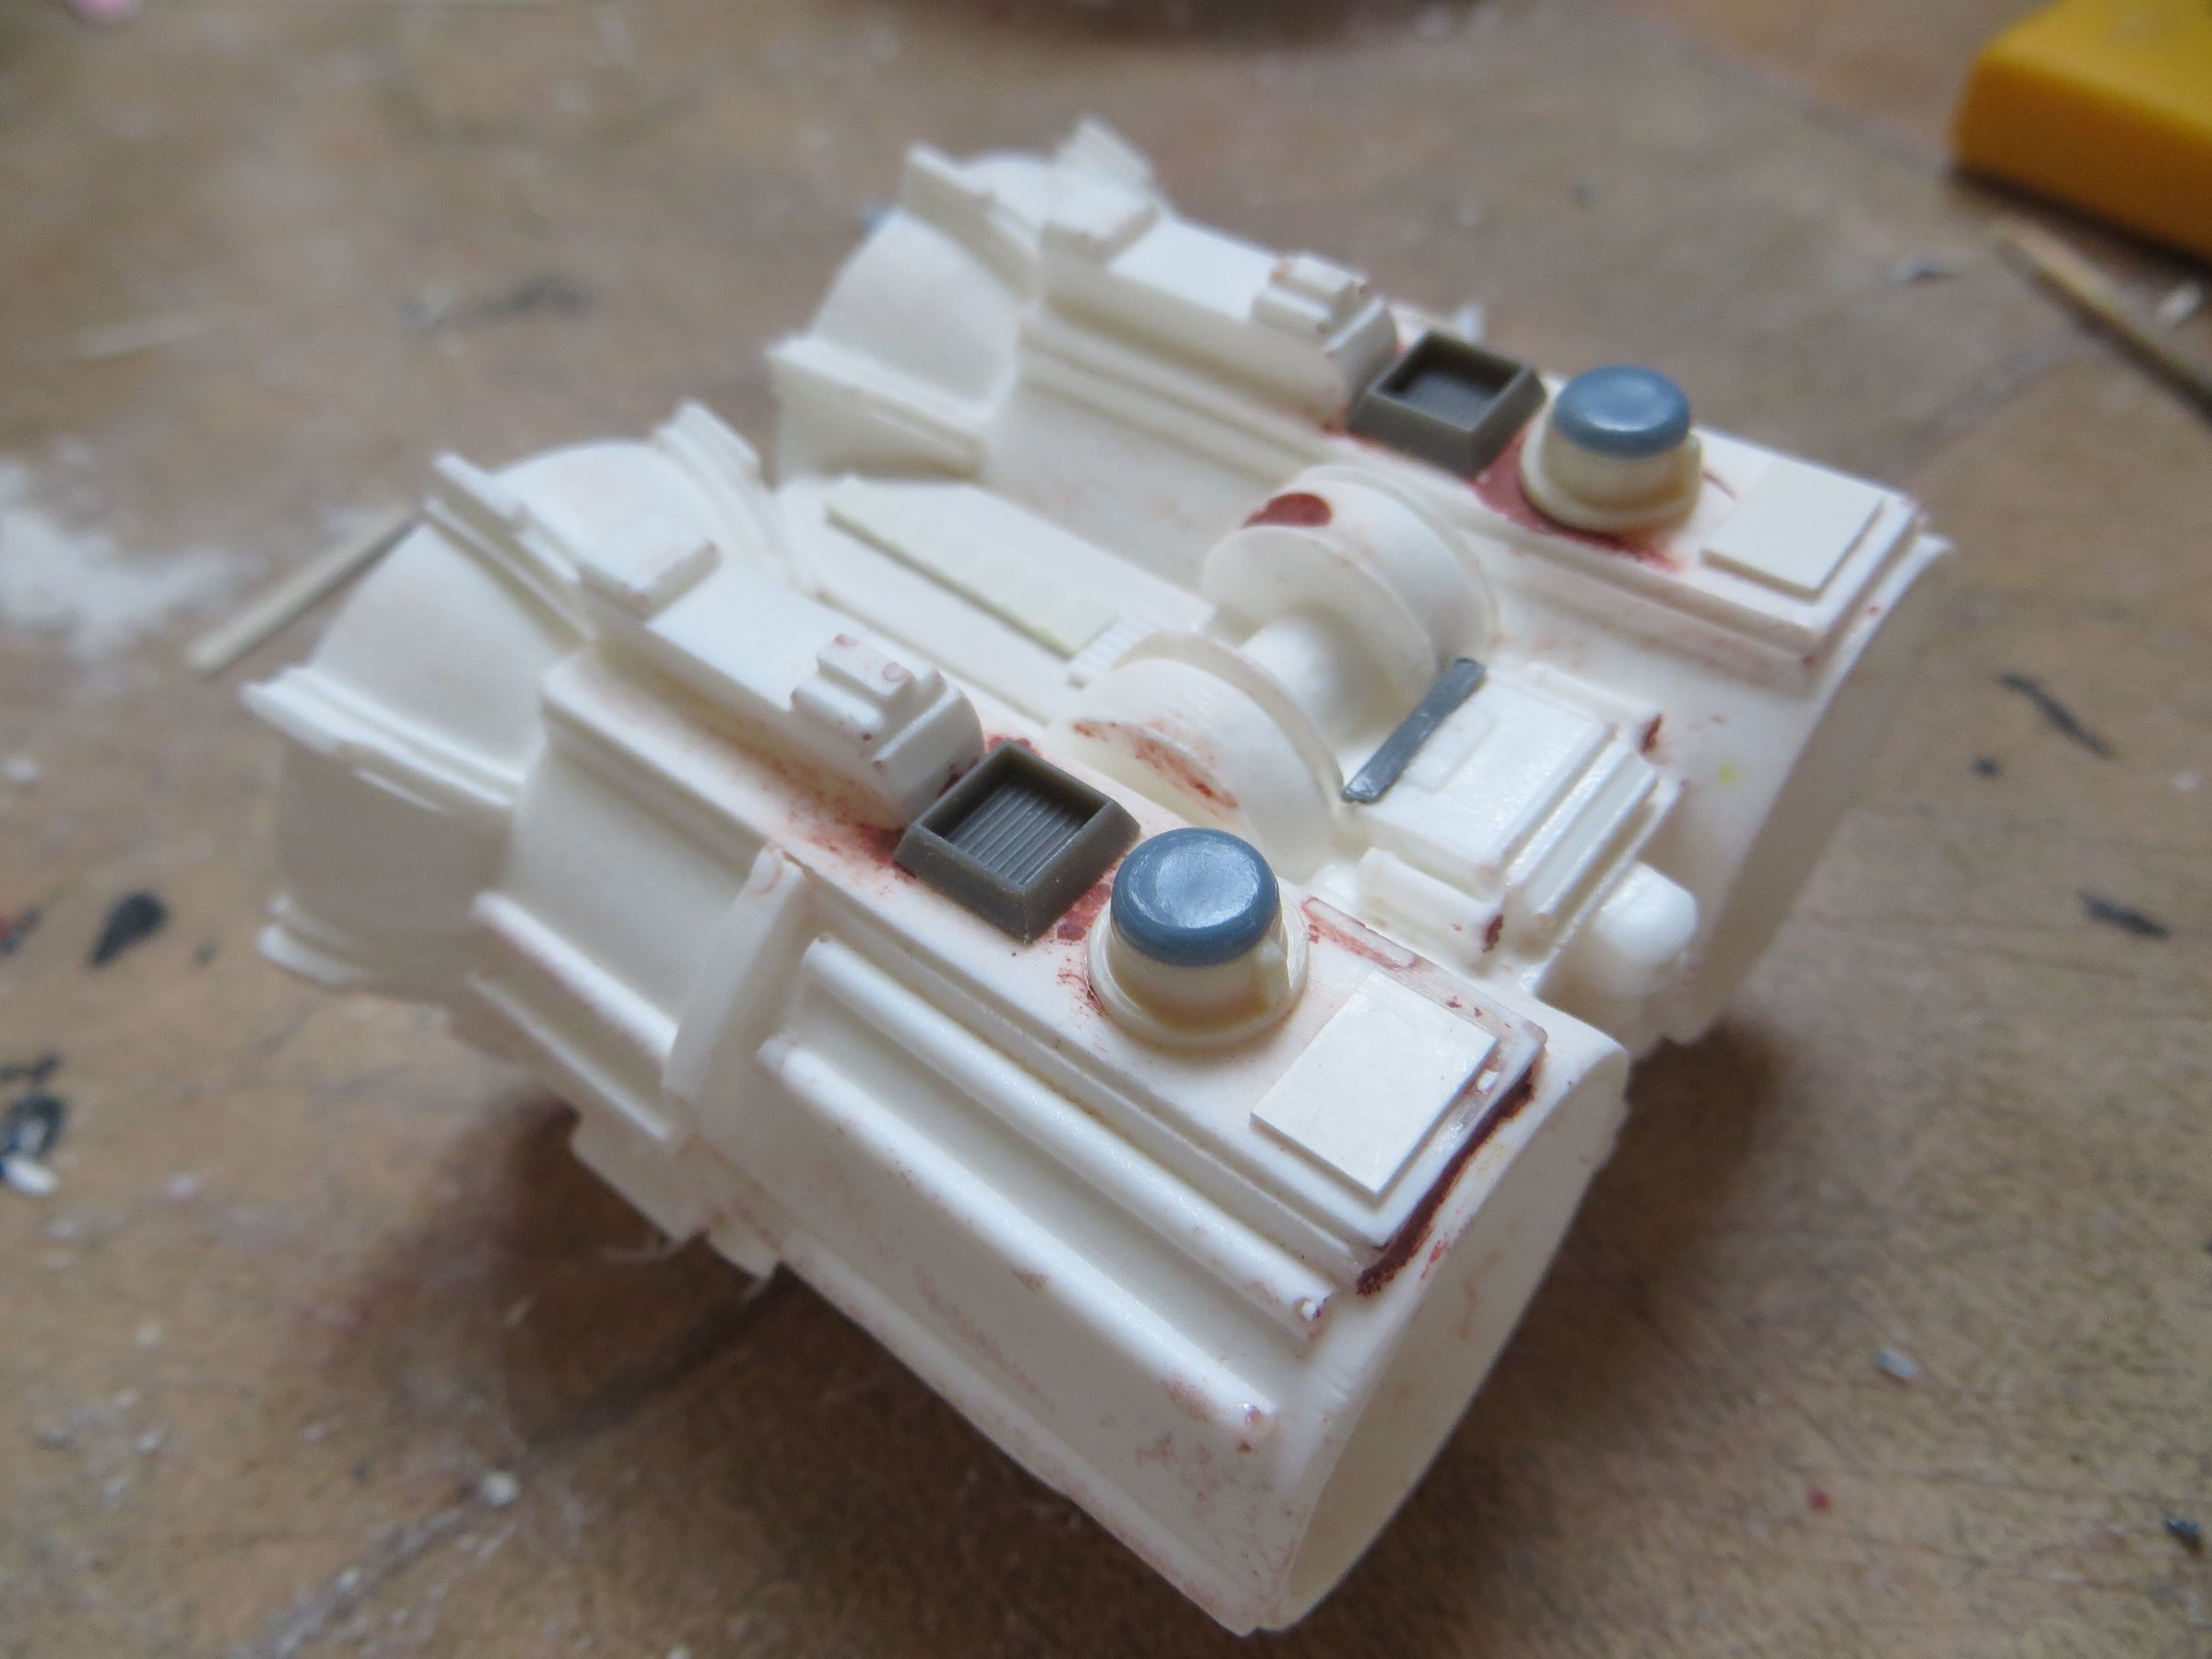
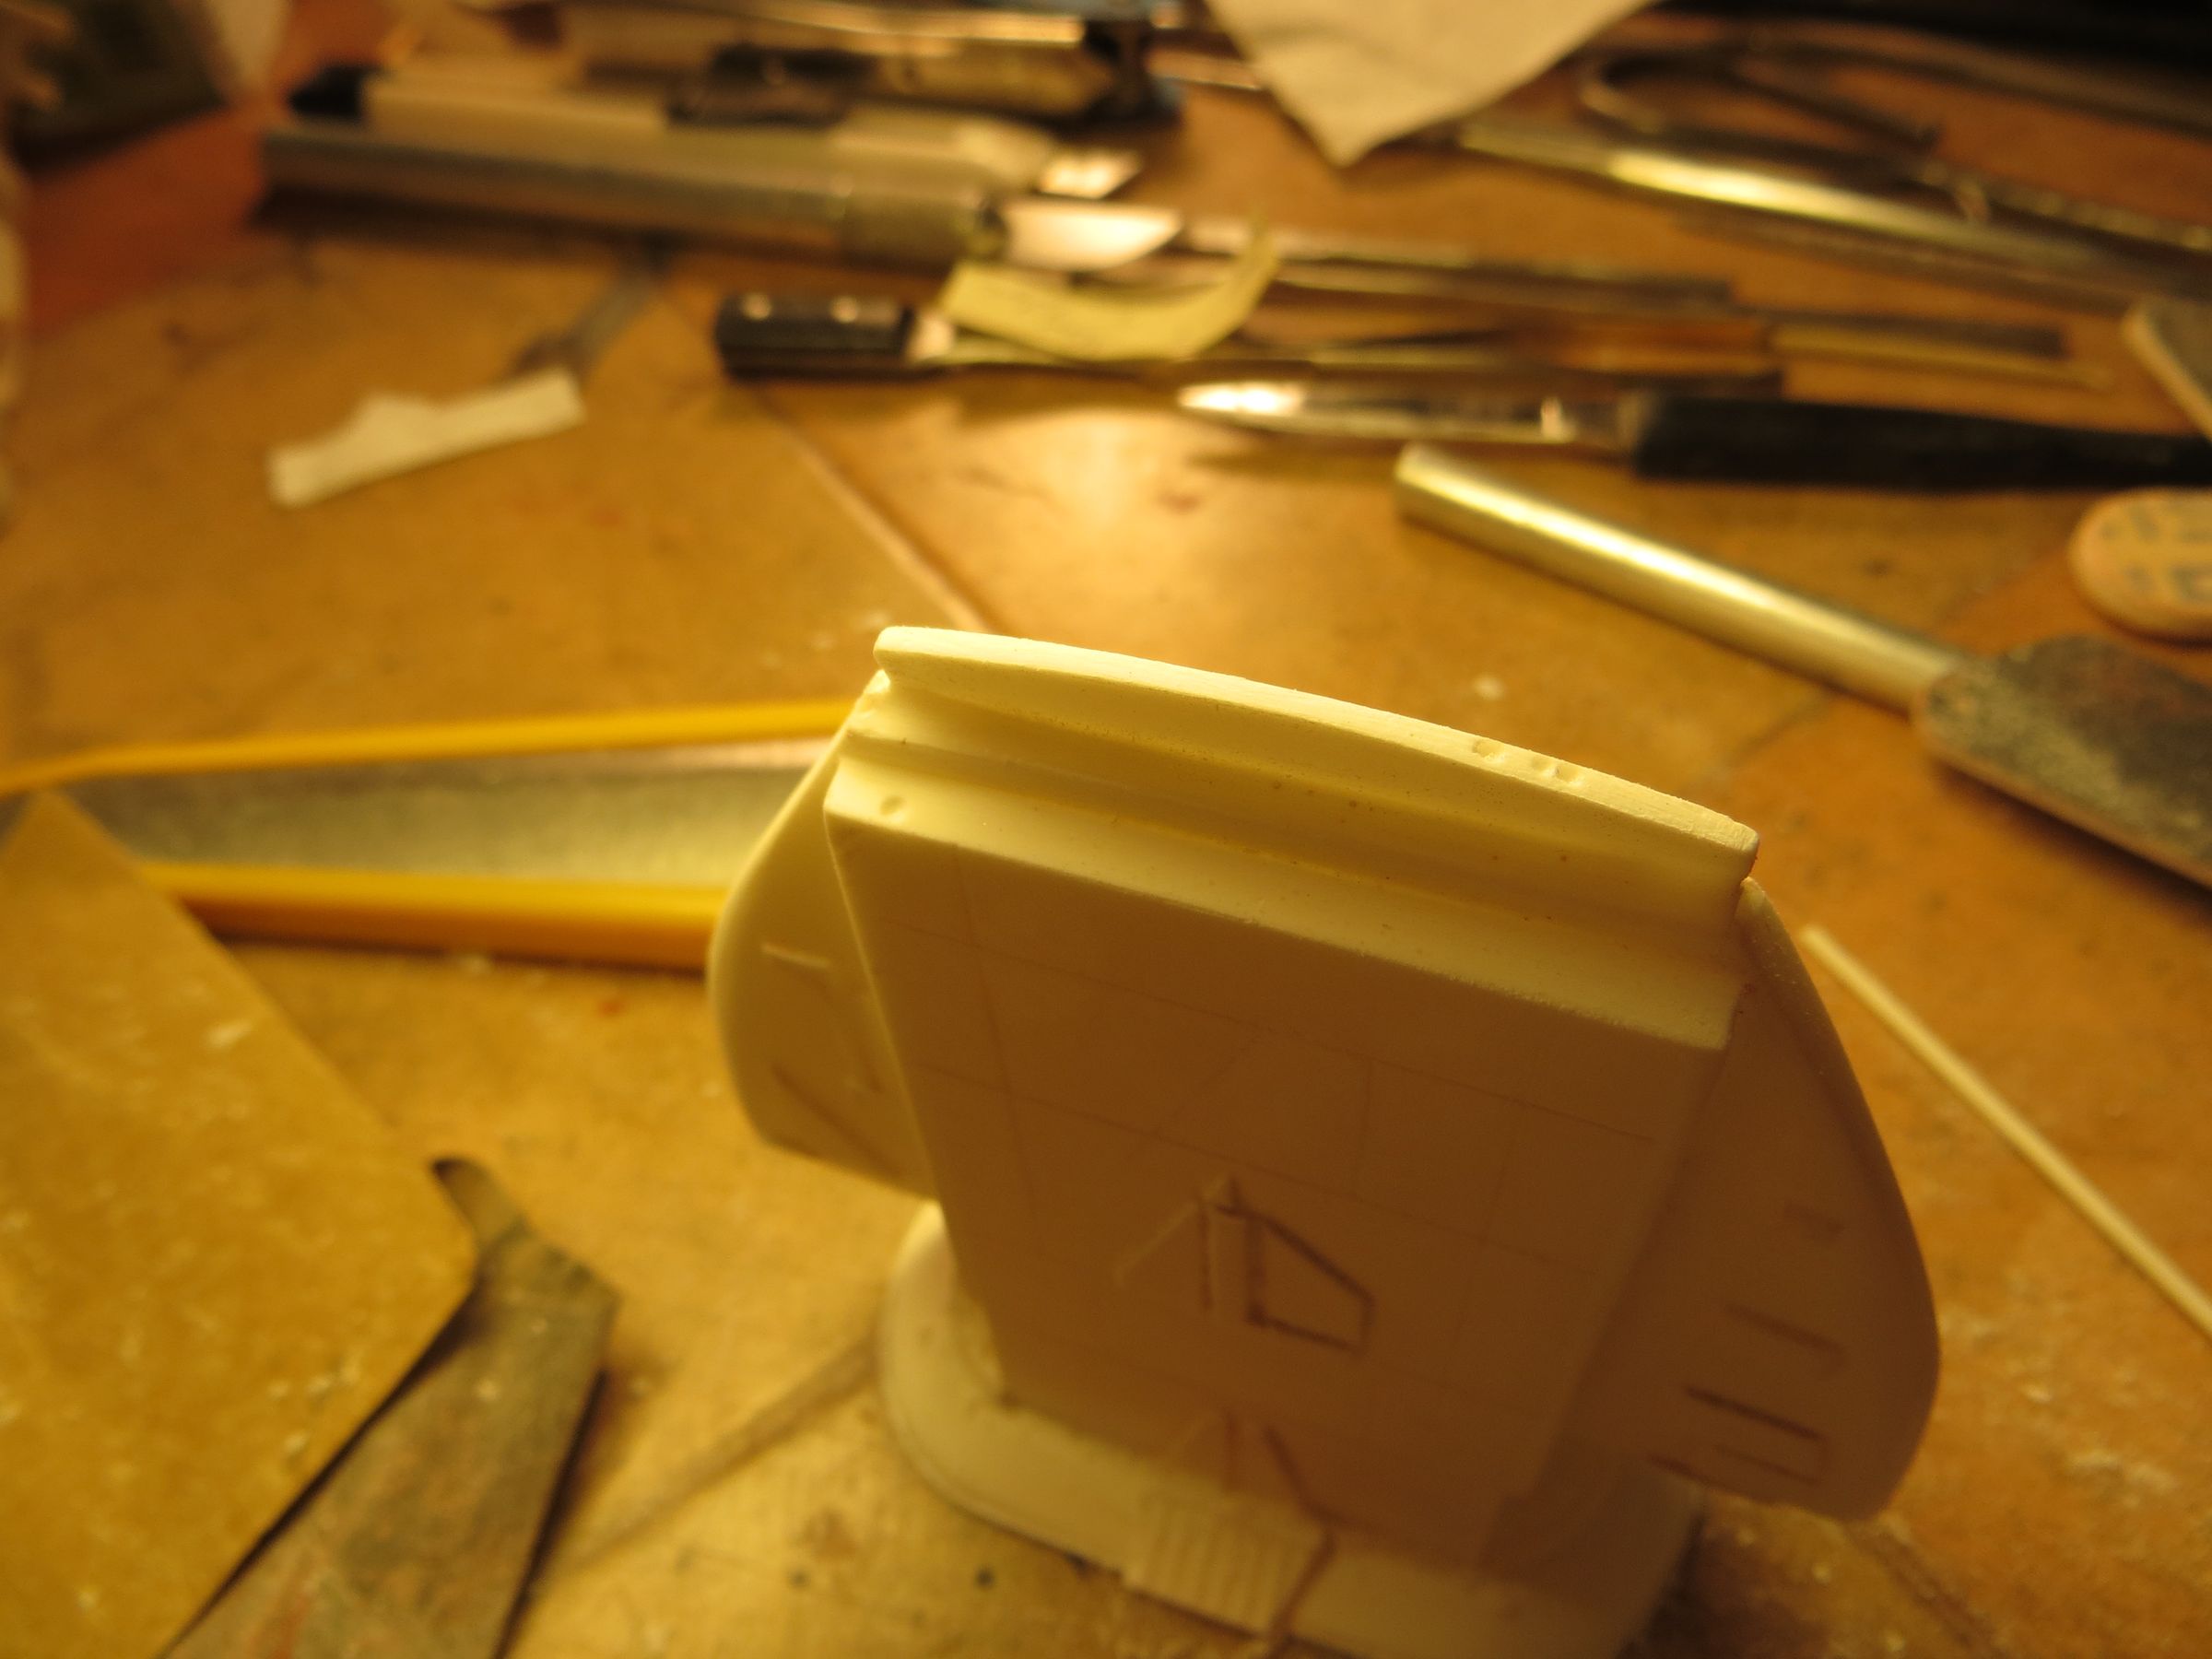
It remained me to complete the two small steps on the sides (in pink) that have to join the chin.


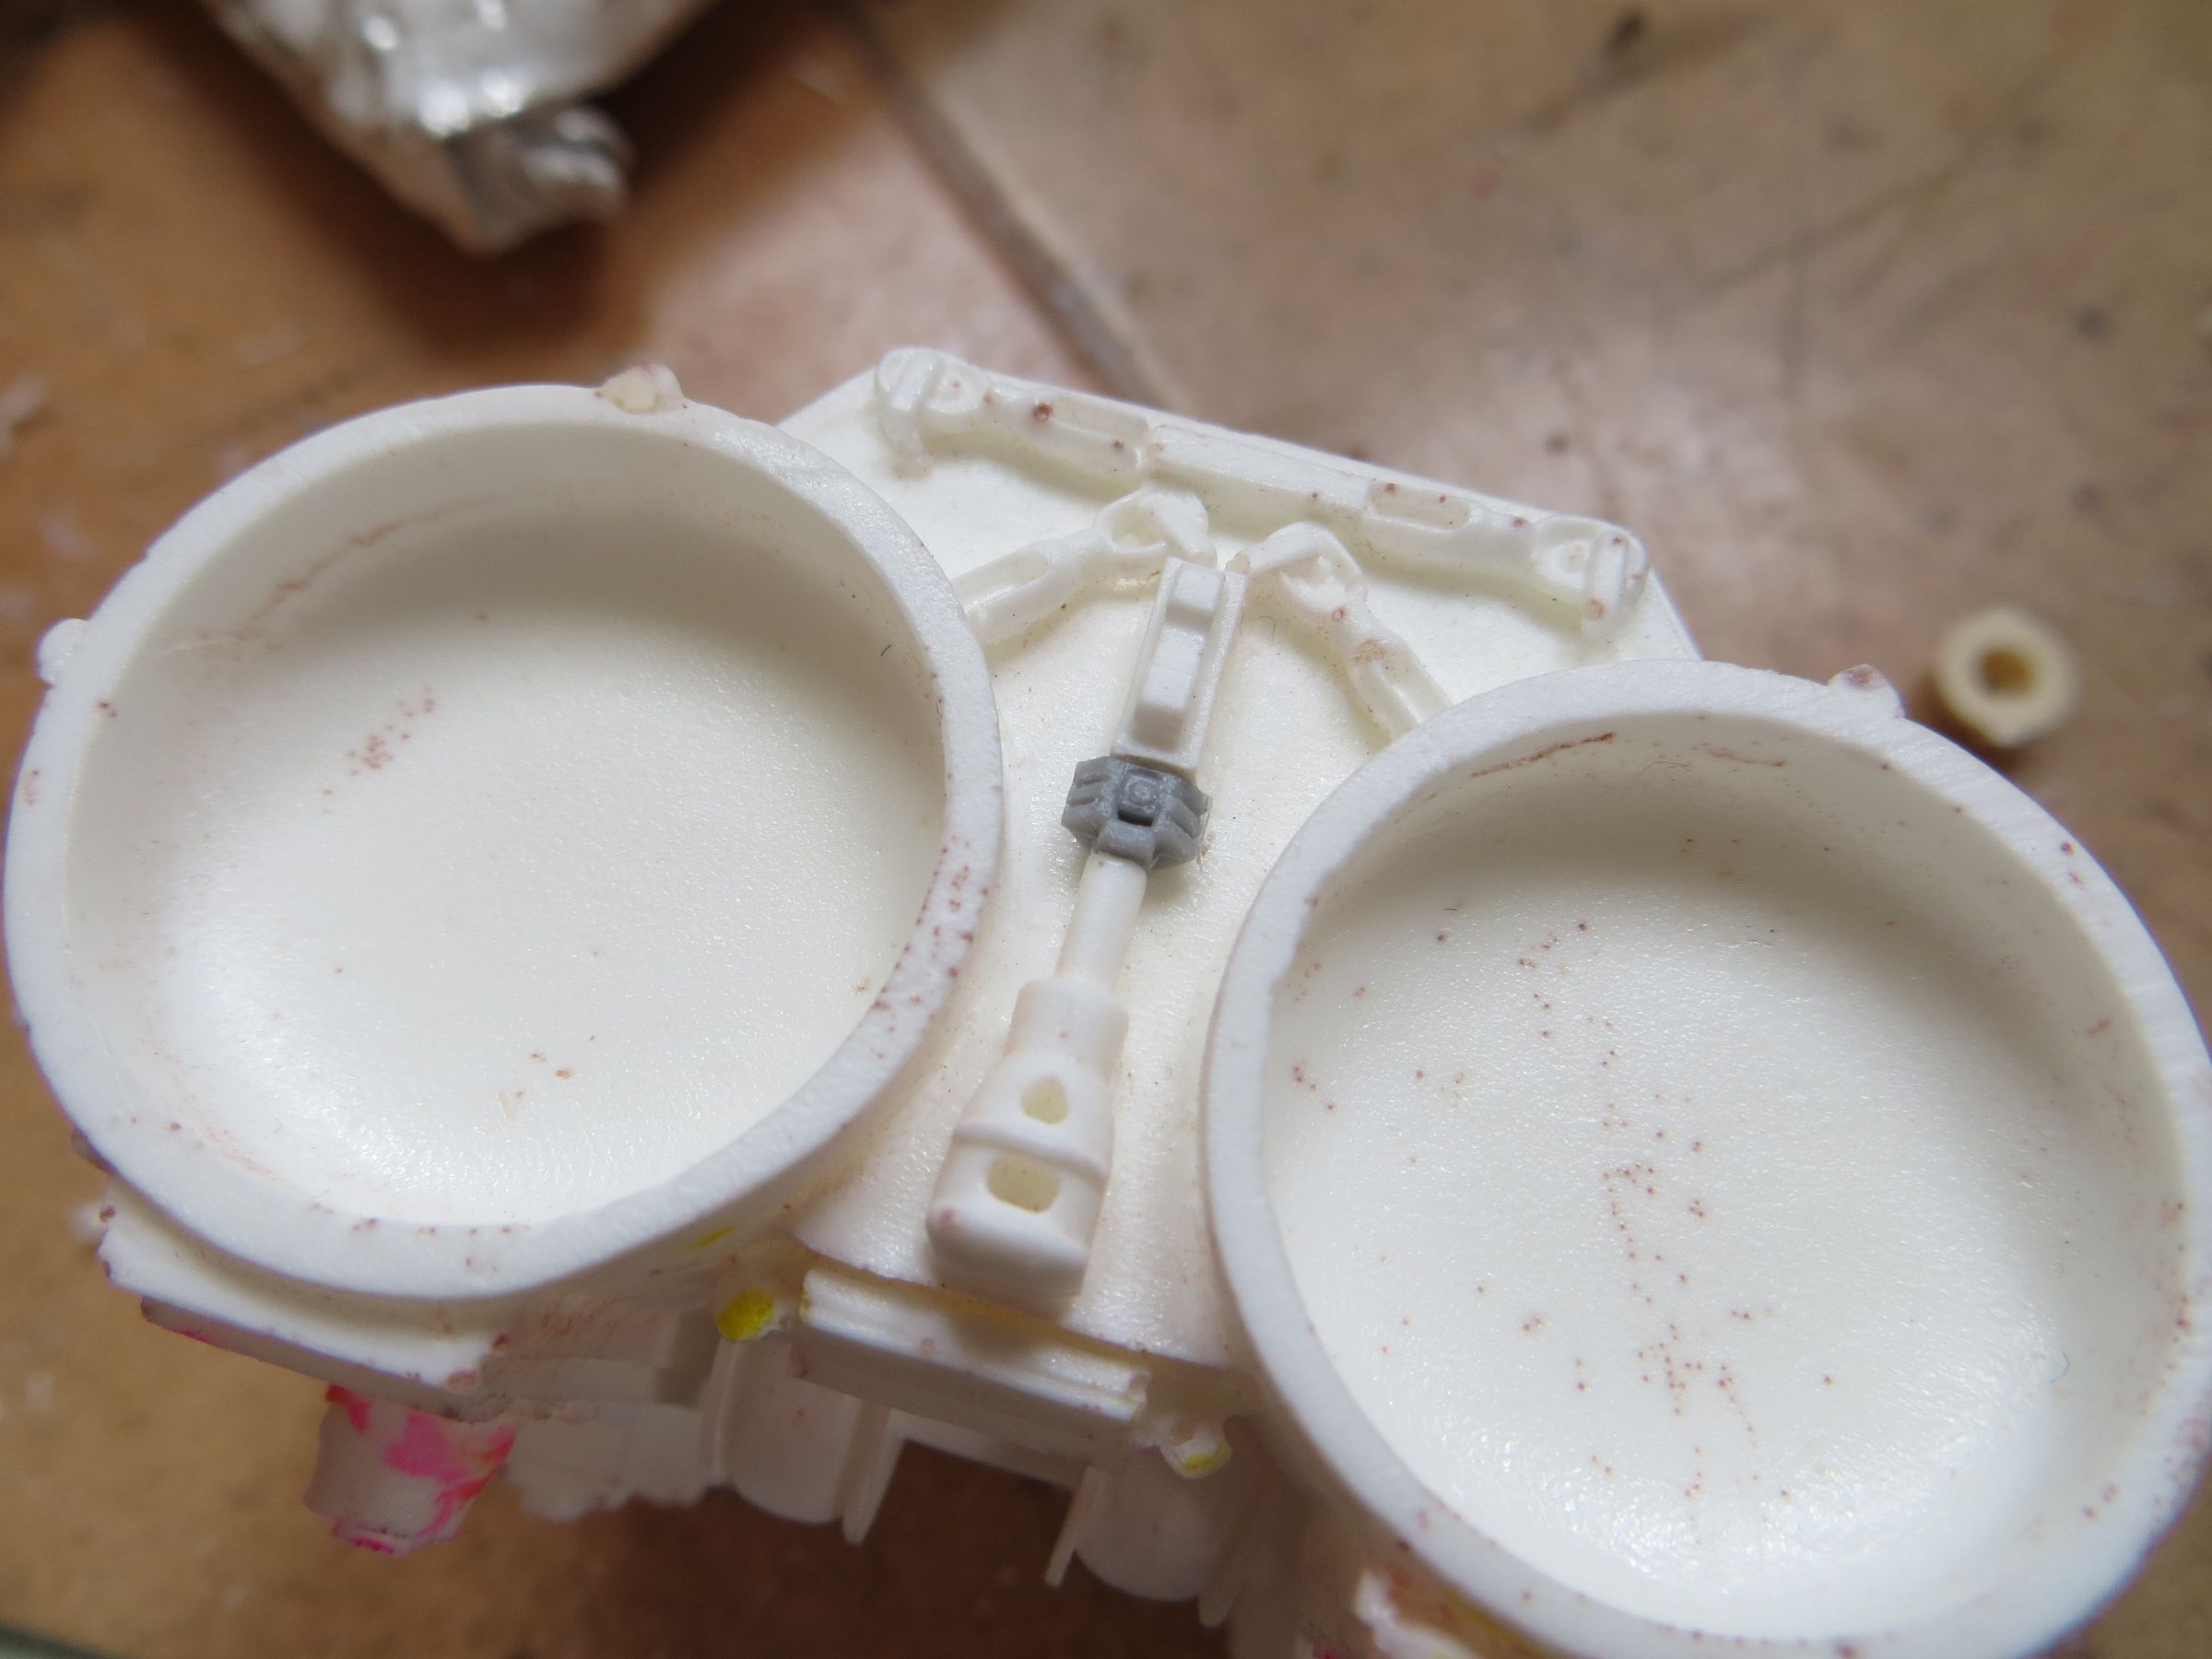
It was when I was trying to complete the paneling on the cheeks that I realized they were incorrect.

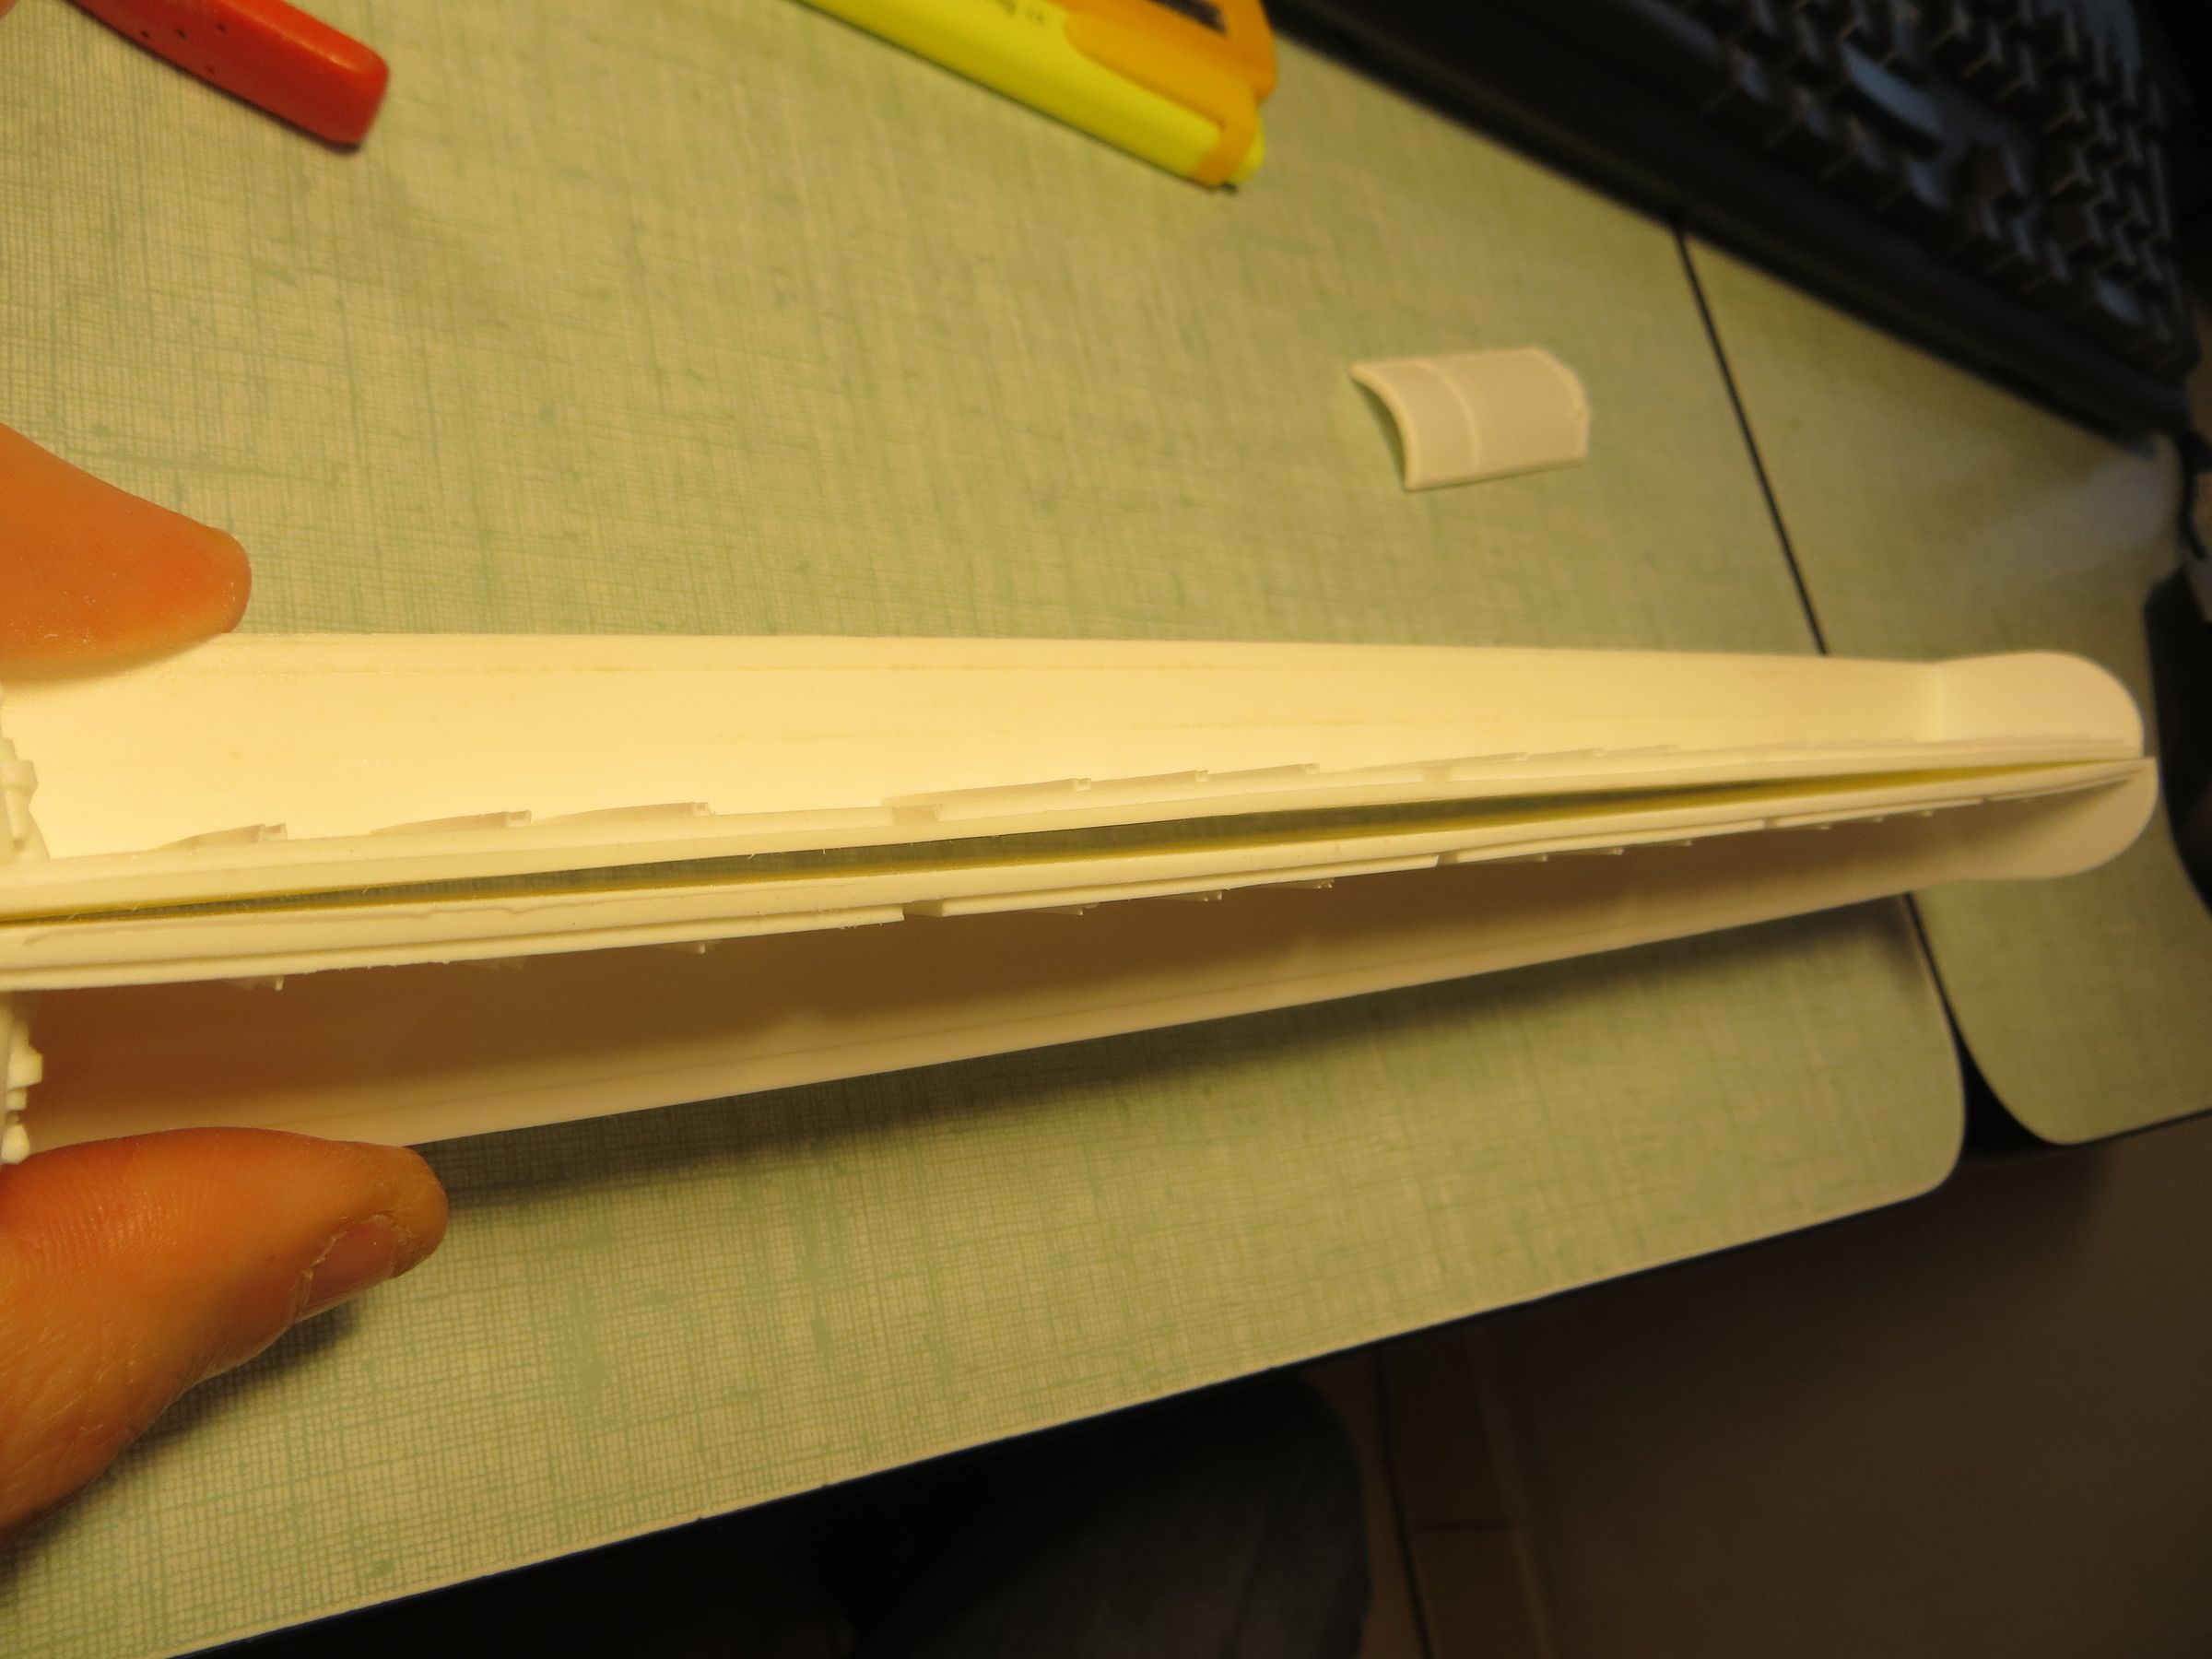
Rather than trying to fill them, I covers everything with a 0.5 mm plastic sheet.

samedi, 3 août 2013

Cylon Tanker - Bays

The long parts of the bays were sanded on the belt sander. As the sand belt arrives at its life end, I had to press a little strong and some areas will need some catch up. And when I did not press it, the part had to stay longer and was warming and warping. As these parts are still a little thick, I will sand them again after having change the belt.

Beforehand, they will redo a ride in hot water to straighten

There are a lot of small bubbles on the back and belly plates. They are rather difficult to see because of the color of the resin.

Although the angle of view on some sources may actually give this feeling, the two small protruding ears have nothing to do there and should be removed.

Before: area to remove in pink

After, still need some cleaning

The molding of the Leopold part is not very nice. I could have change it, but it is on the underside, not so viewable finally, so I'll keep it. The kit Leopold 1/144 is also no longer available, and I have other uses in mind (because it can be found on other StarWars and Galactica ships,

less anecdotal than this tanker). So I re-hollowed the rows of holes, added some missing details and closed the sides (this is more accurate, and will prevent the part from bending).

It's not top notch, but I will stay as is on this one.

dimanche, 21 juillet 2013

Cylon Tanker - Engine module works

The engine block requires more work. There was indeed much more bubbles.


This empty area between the two engines is incorrect, and need to be covered.


Some poorly molded details were completed, and others, incorrect, needed to be redone.


On two small surfaces below each engine, the details are wrong and poorly casted, so I remove them, filled any remaining holes, and redid details with parts from the spare box and upgrade kits (wave / kotobukyia).

In pink, the areas to be corrected:

small household !

holes and gaps are filled,


Adding new details (by the way, the space between the two engines began to be covered)

I


The part that goes on the rear deck above the engine block does not suit me (ugly, too long), so I redid the front half in scratch using axles and suspension from 1/72th trucks and gun barrel, plastic strips...

Before

After

samedi, 20 juillet 2013

Cylon Tanker - First works on the head

After the bath, the cleaning stage begisn, starting with the head where there are underlying bubbles under the nose. I sand in the material and covered it with a plastic strip. It is much more faster than to proceed like this when there are no details thantrying to fill the holes.

Bubbles:

the edge is sanded:

it is covered with evergreen strip:

and sanding to return to the original shape

Then filling of the other bubbles that remained with plastic rods (hedgehog method :) )

It lacked a little turret, it is redone. The guns are thin brass rods.

Cylon Tanker - Kit review

This is a bit exotic subject of a ship which, if I'm not mistaken, only appears very briefly in the pilot and in the Living Legend episodes of the classic serie Battlestar Galactica.

These tankers carry squadrons of cylon raiders who annihilate thecolonial fleet, allowing Cylon Basestars to destroy the colonies during this time.

This resin kit comes from Larson Design (http://www.modelermagic.com/?p=26062). It consists of 93 parts, where 76 are for deessing the containers (doors and internal walls). This allows to represent all bays opened, all closed or a mix of both. I will go with an opened / closed mix following the studio model.

The internal walls were missing, and I started the assemblying while waiting for them.

At first view, this kit gives a good feeling at the opening of the bags. However, there are bubbles, some fat details, but nothing dramatic at first. Some parts look greasy, so cleaning in warm soapy water and brush would be the step.

Overall, it seems that the proportions are correct. On the detail side, this is not accurate, but this seems enough near for this little known ship. I think I still will do some improvements on the engine module.

The long parts of the bays will require a good run to the belt sander to remove several millimeters of excess material in the thickness. And a bath in very hot water to straighten them.

The kit is in a half studio scale.
Why?
Because we can recognize this part, it is the floor of the WW2 Leopold german rail gun.

Here the LarsonDesign kit part next to Dragon kit one in 1/144.

On the studio model, this is the 1/72 Hasegawa part that was used (it can be found on many other ships of the classic serie, and also on some SW ships (many of the same modelers worked on the 2 shows).

I saw this Cylon Tanker kit specified as being in 1/700 of a German forum (the only thing I understood except photos), but I have no element to confirm this.

A little test with an old small mini metal model, from Comet Miniatures, to see if it can go in the bays, but it is too big. I'll have to find another solution. I think to try a 3D print on this one.

page 2 de 2 -