RC Stardestroyer - Electric circuit
Par olcabour le vendredi, 13 novembre 2015, 21:34 - RC Stardestroyer - Lien permanent
Next is the setting up step of the electrical and lighting circuit.
Ventral Electric supply
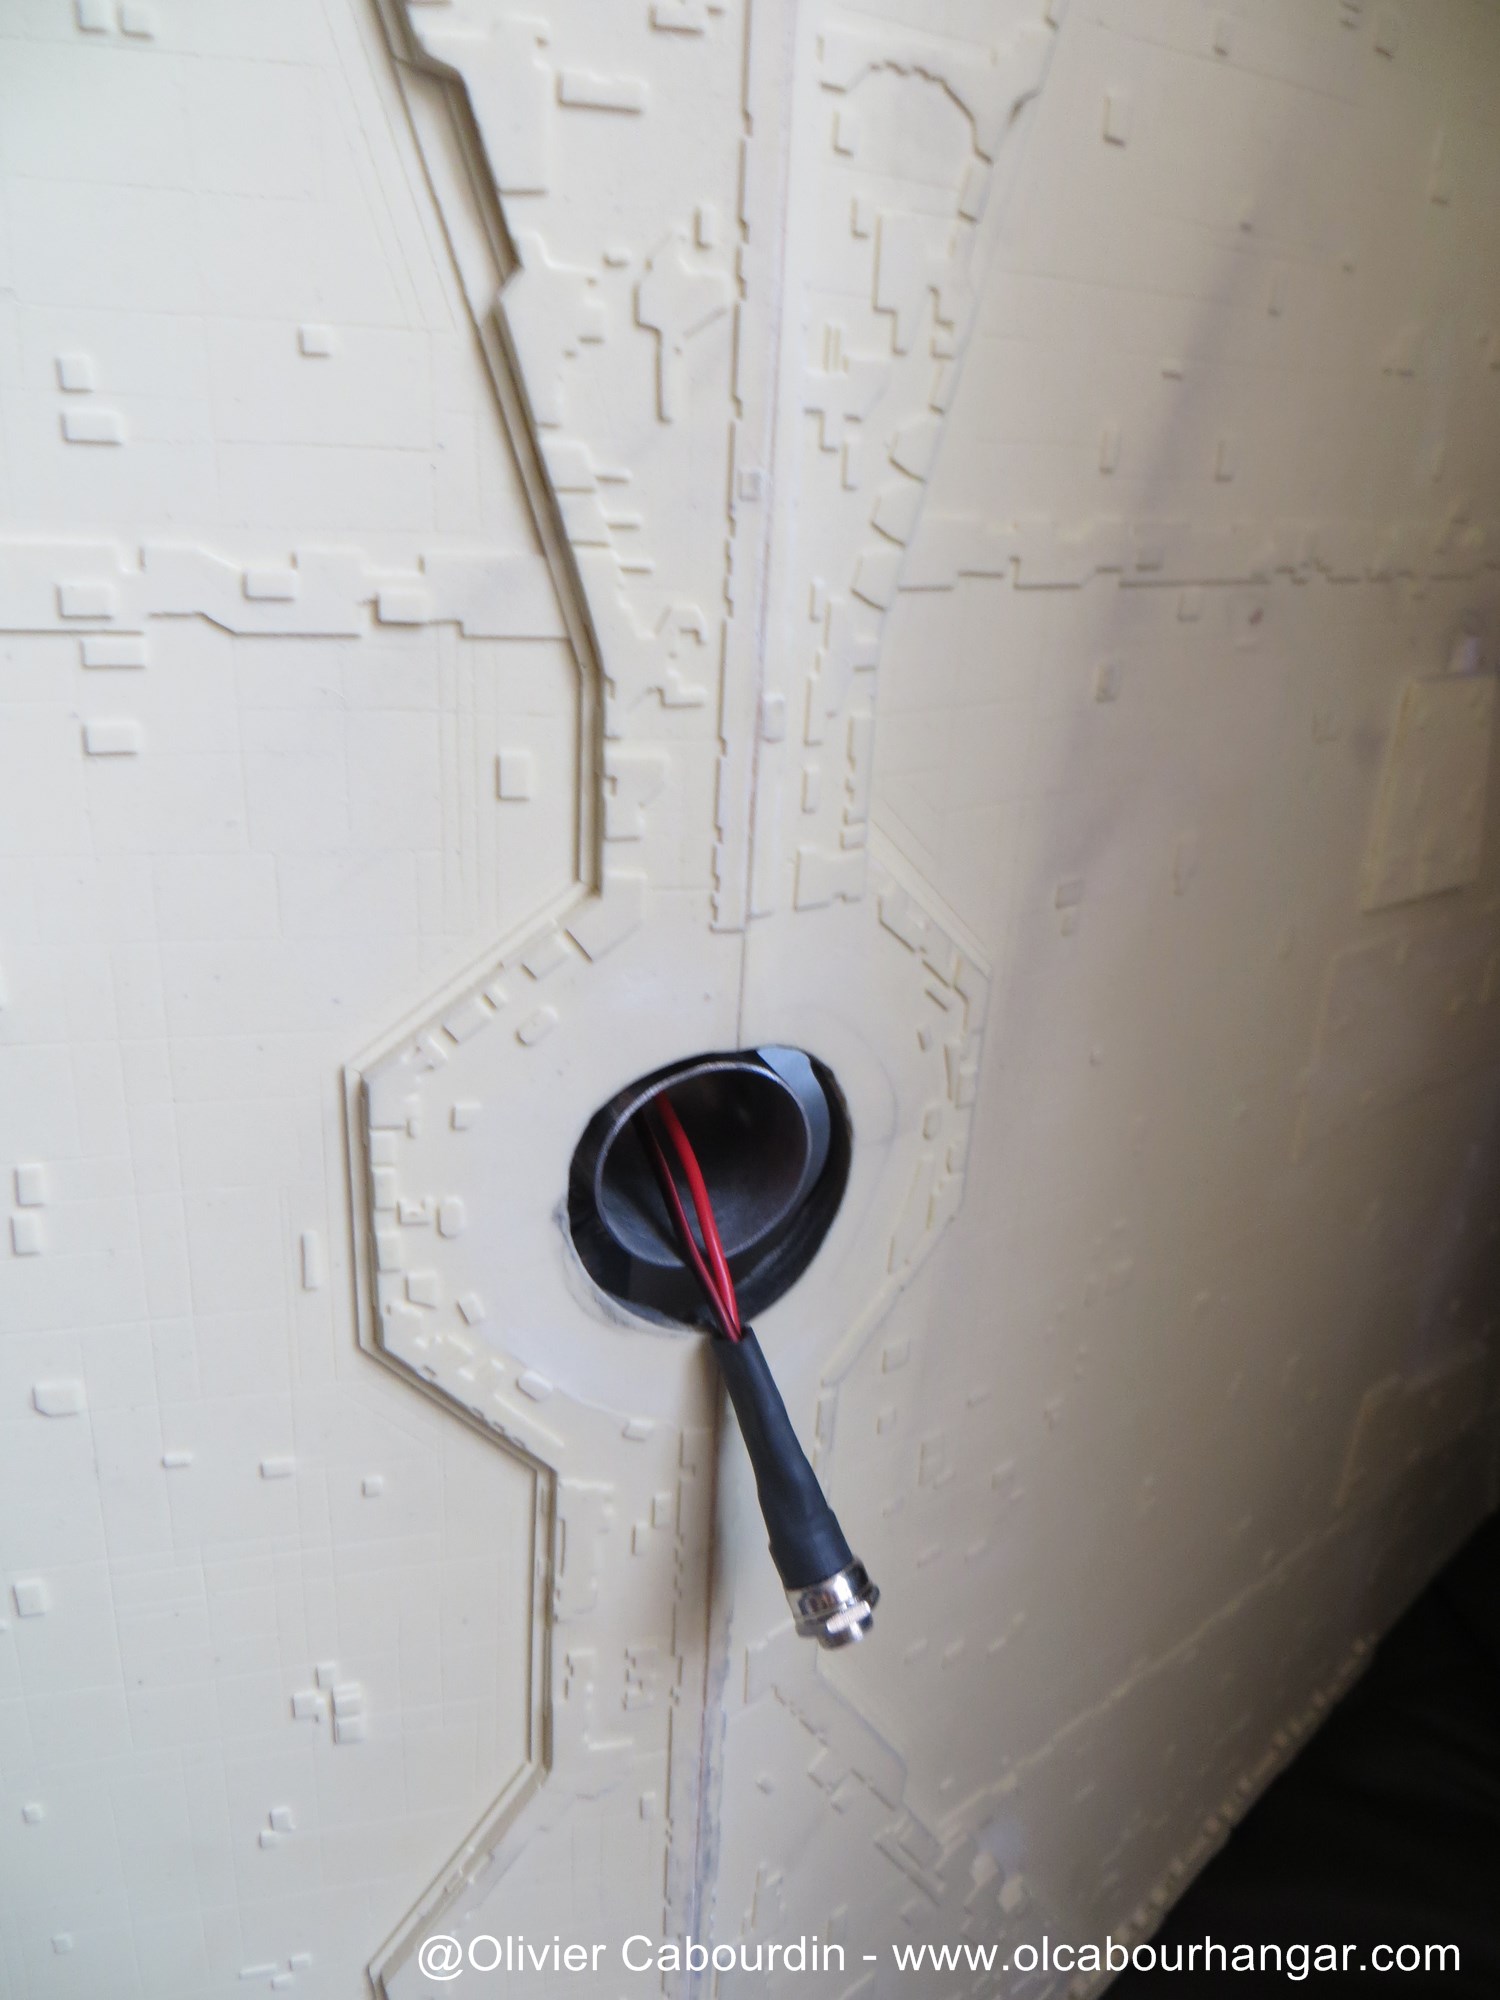
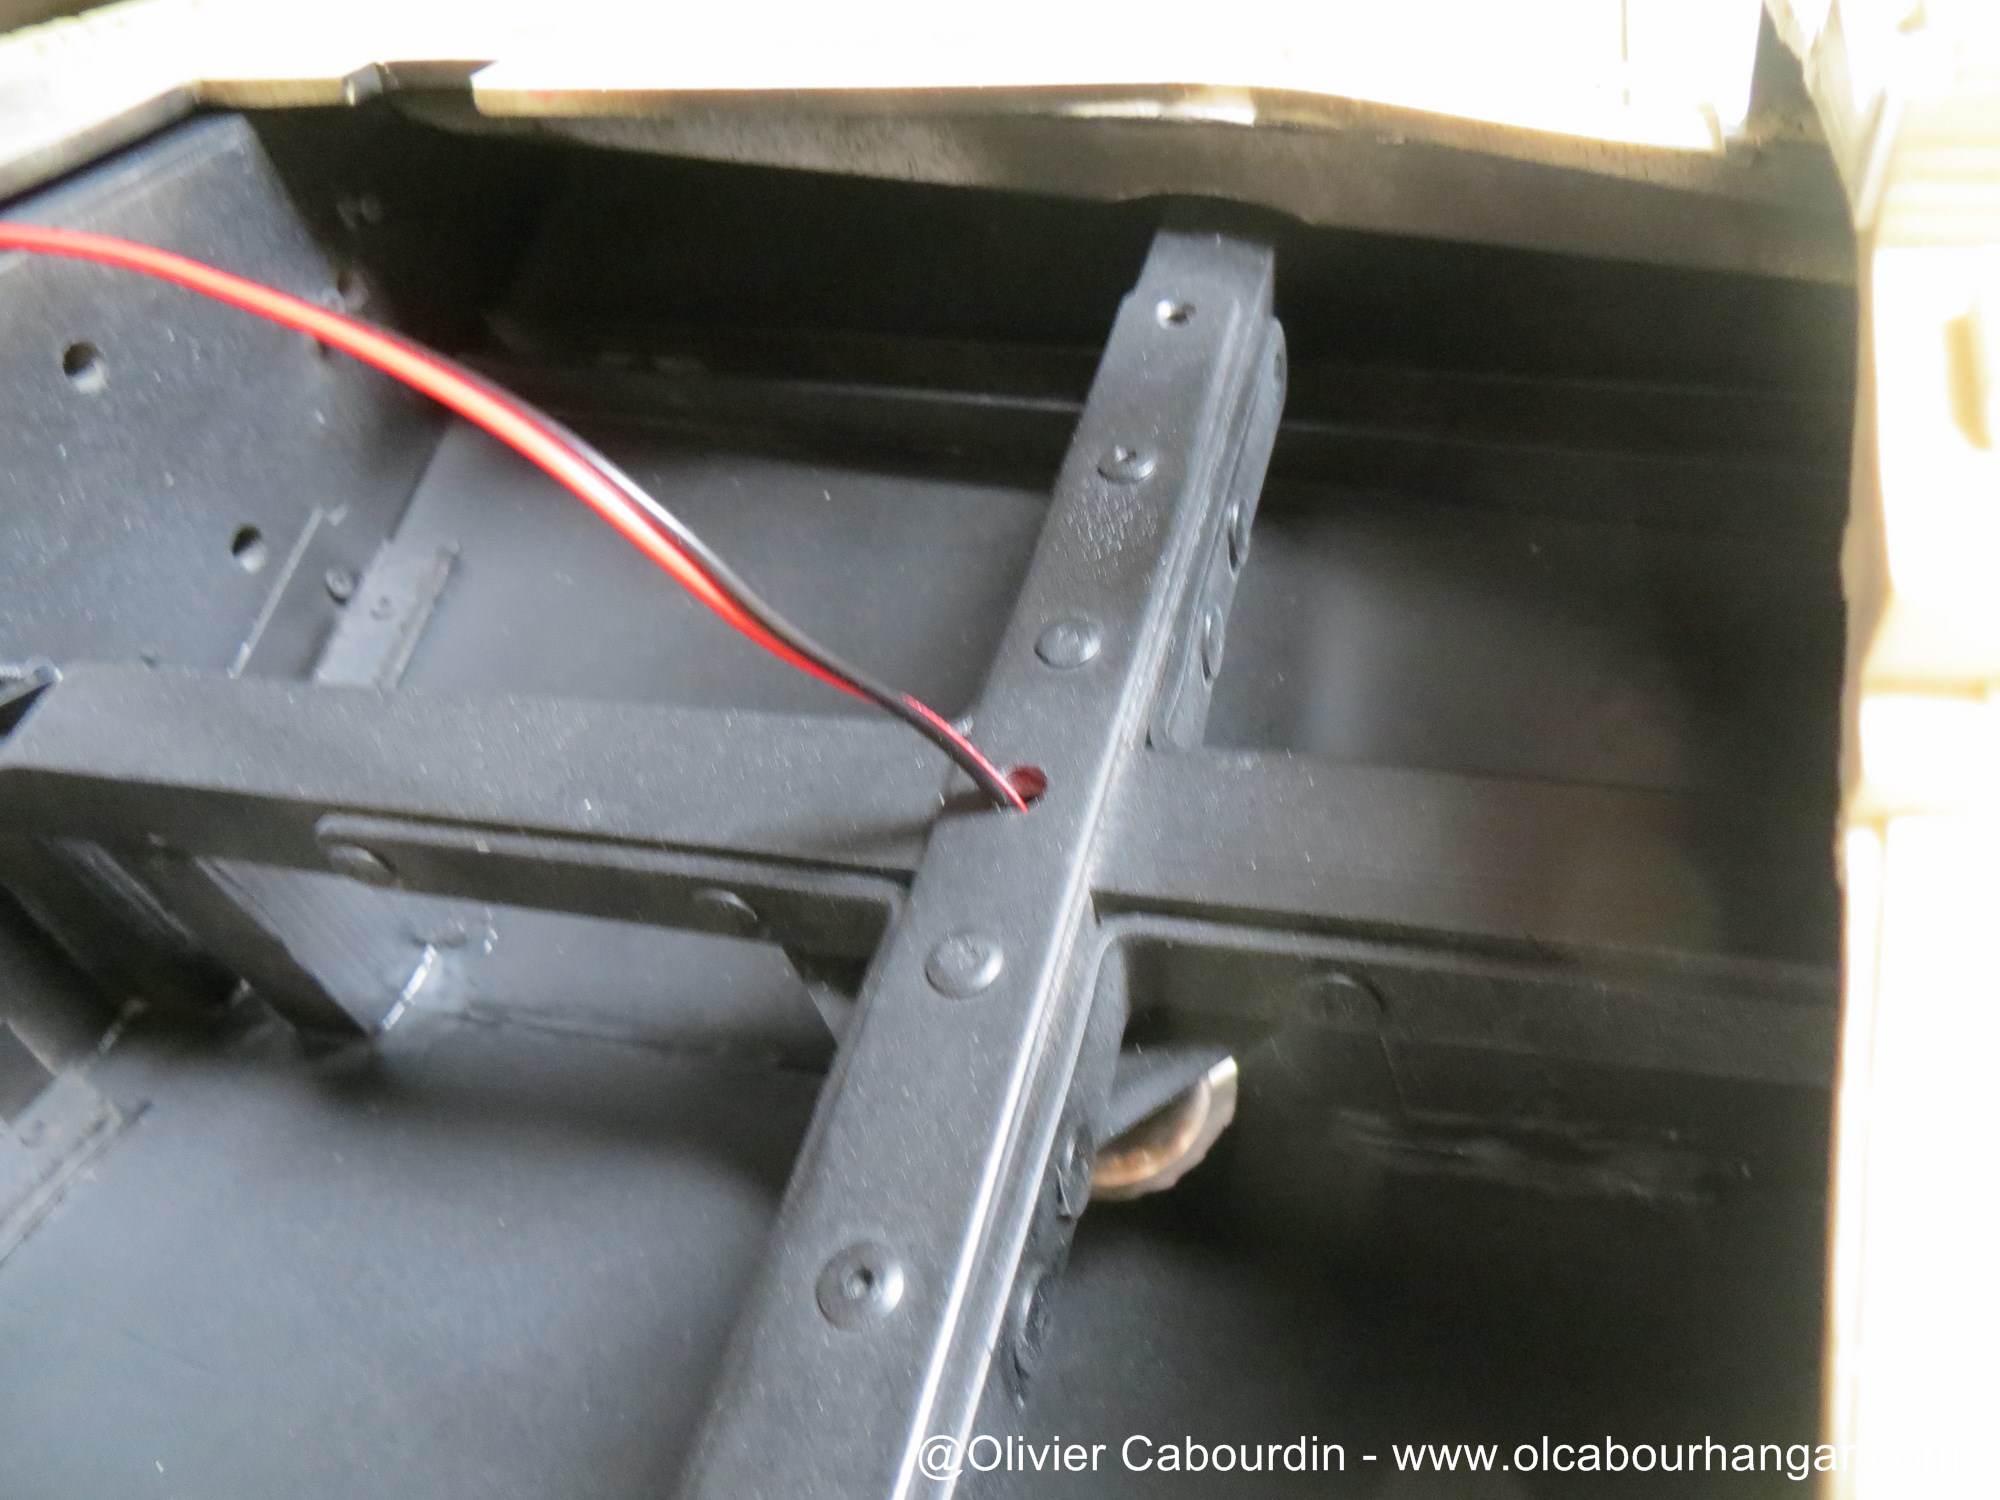
Side electric supply

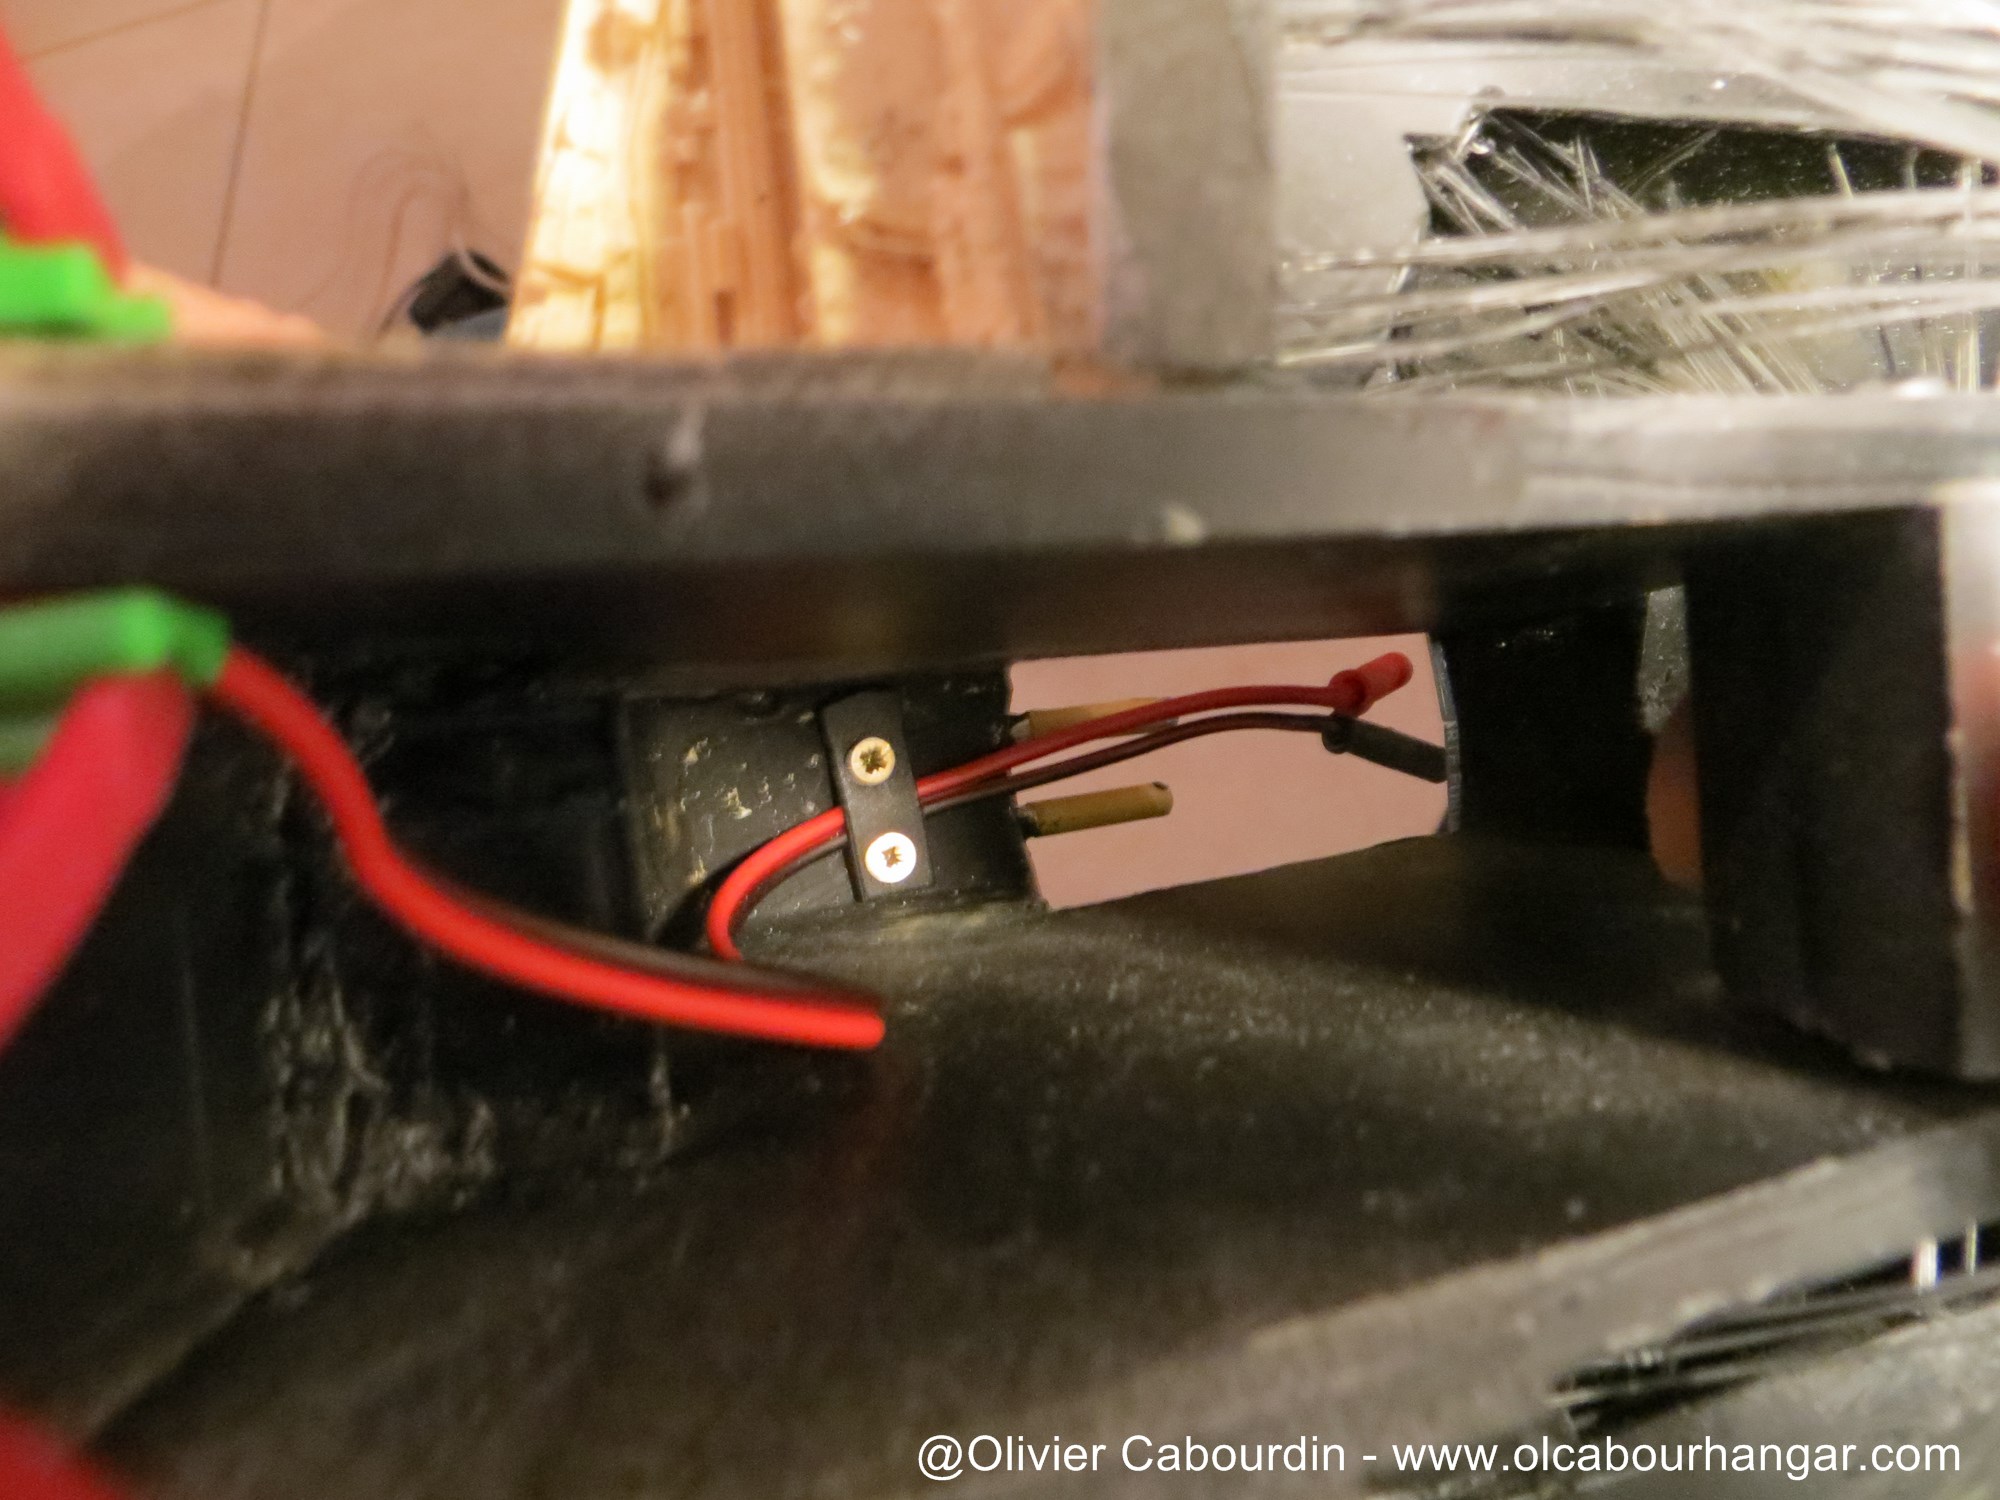
As the bridge is removable, connectors are done with plugs.
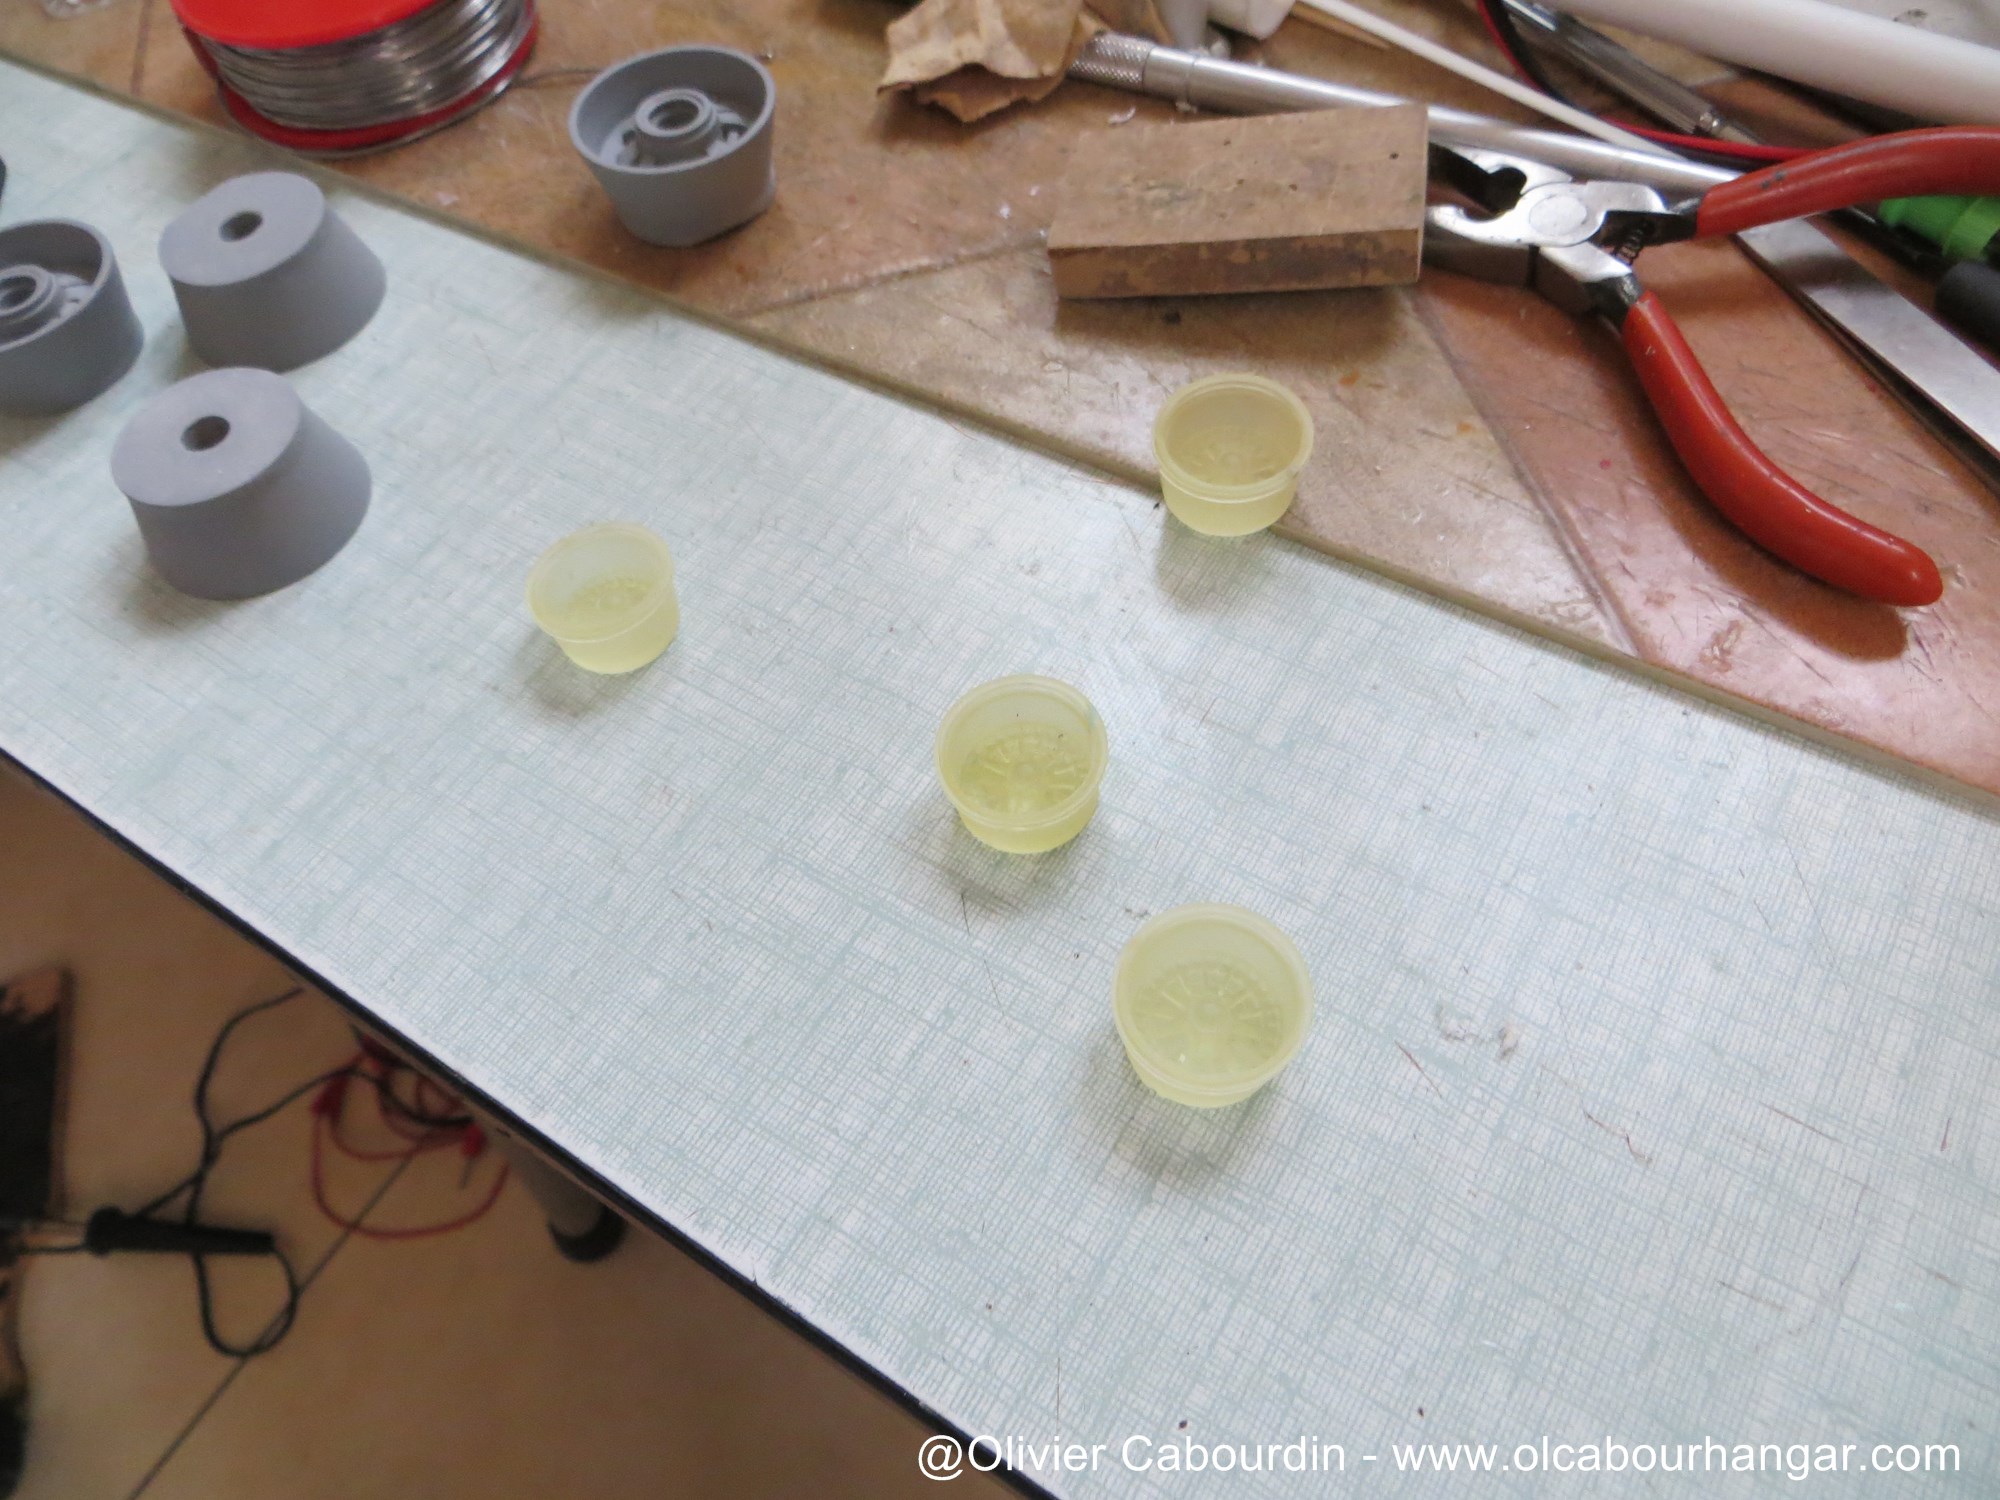
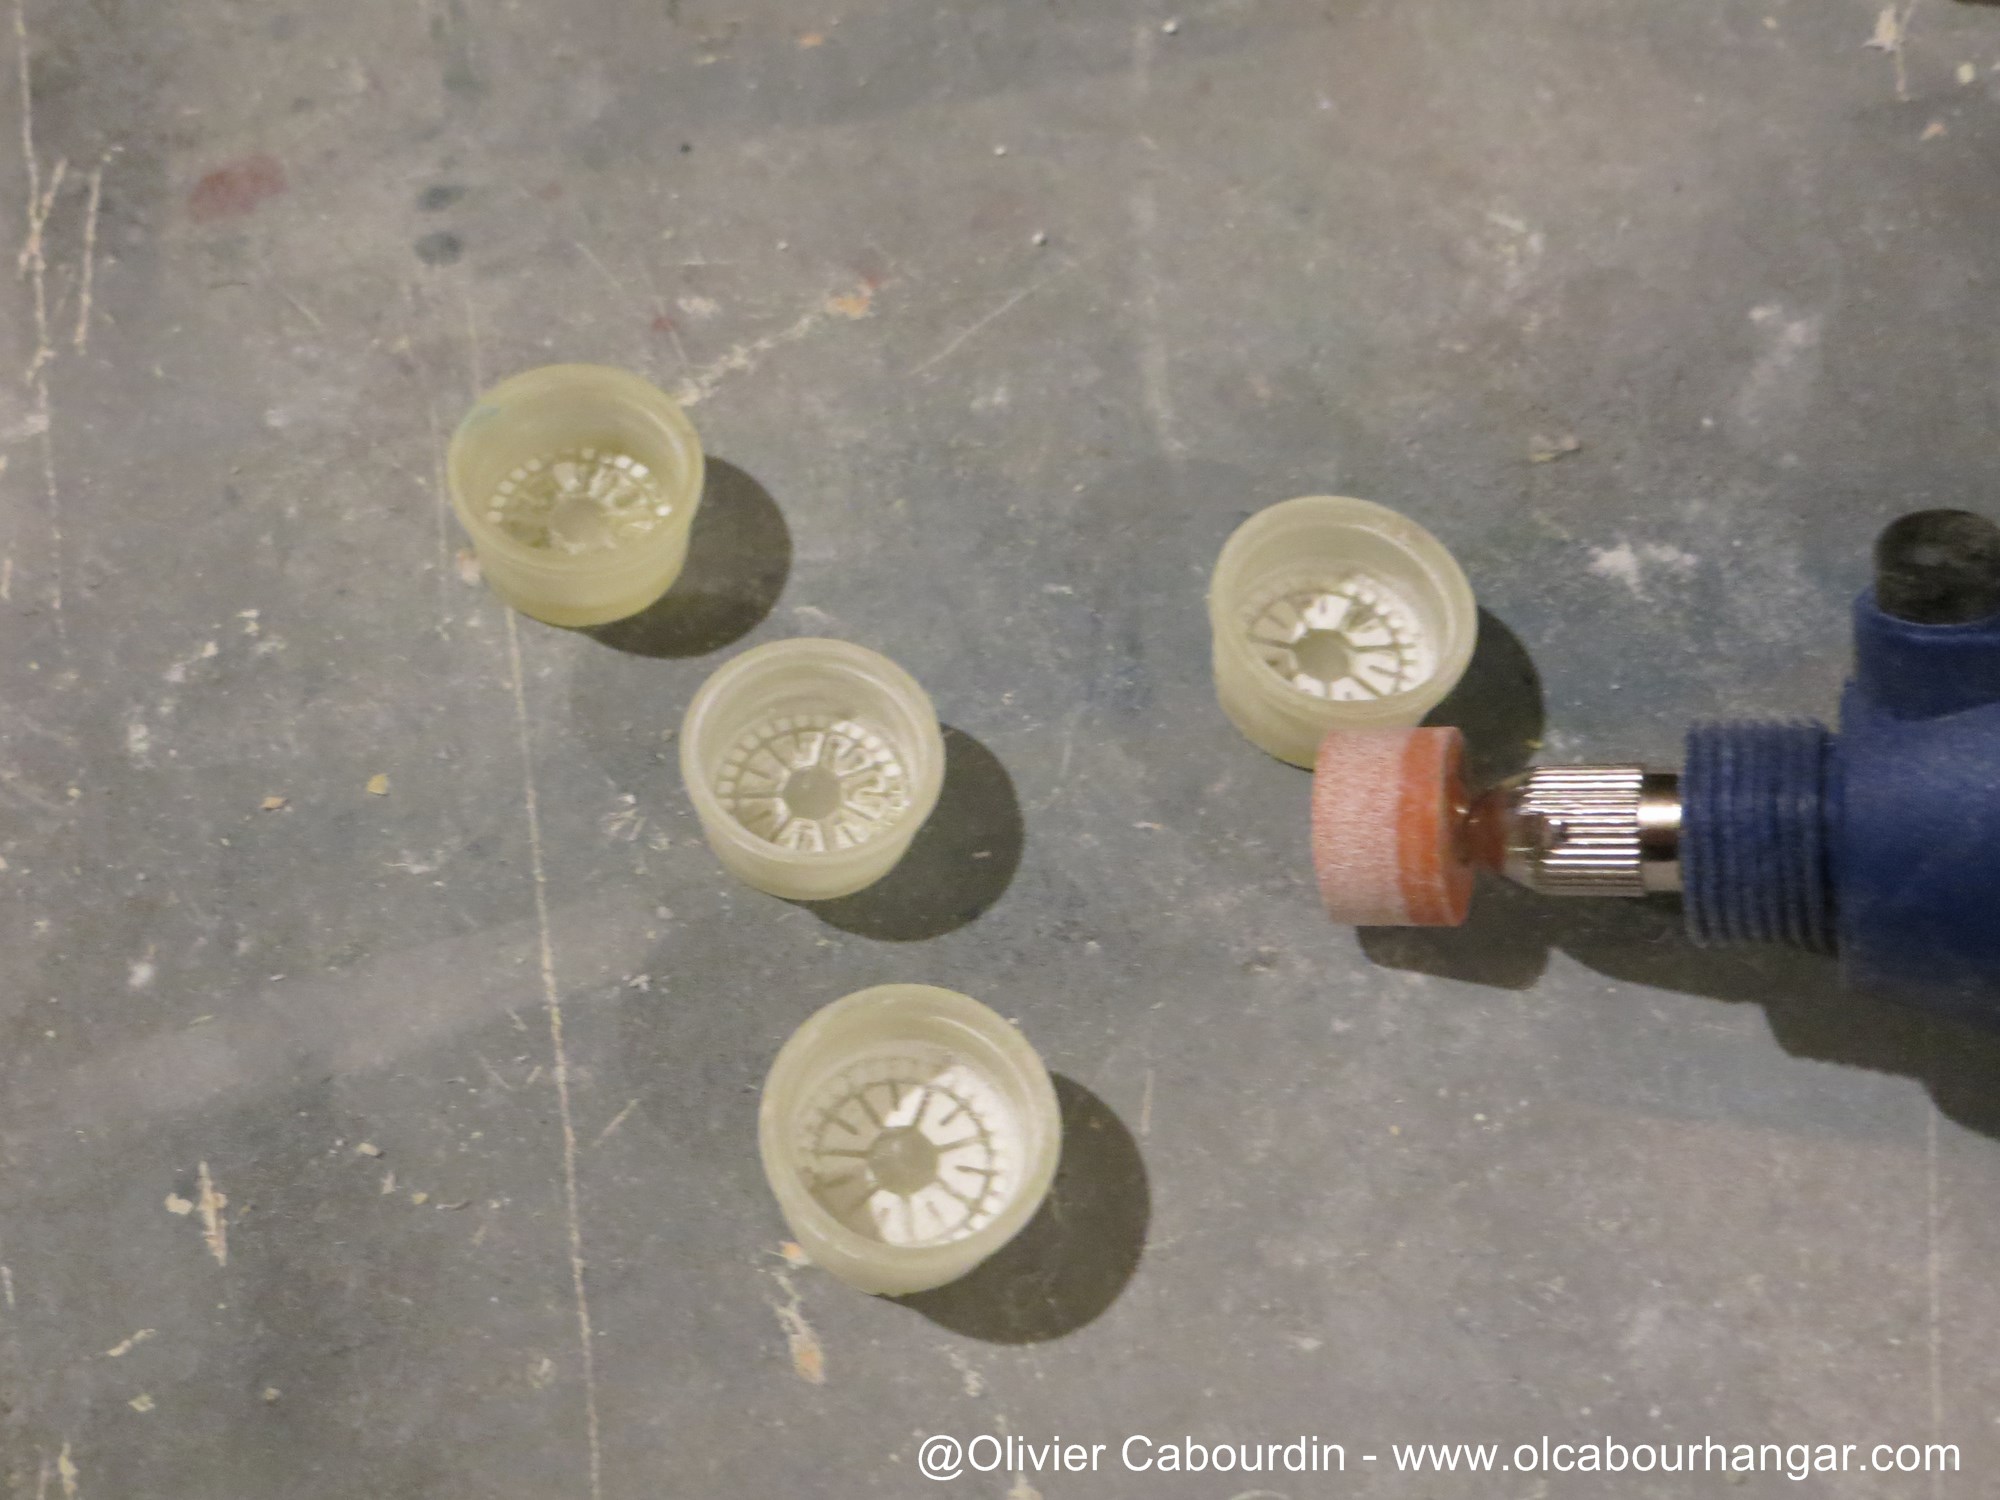
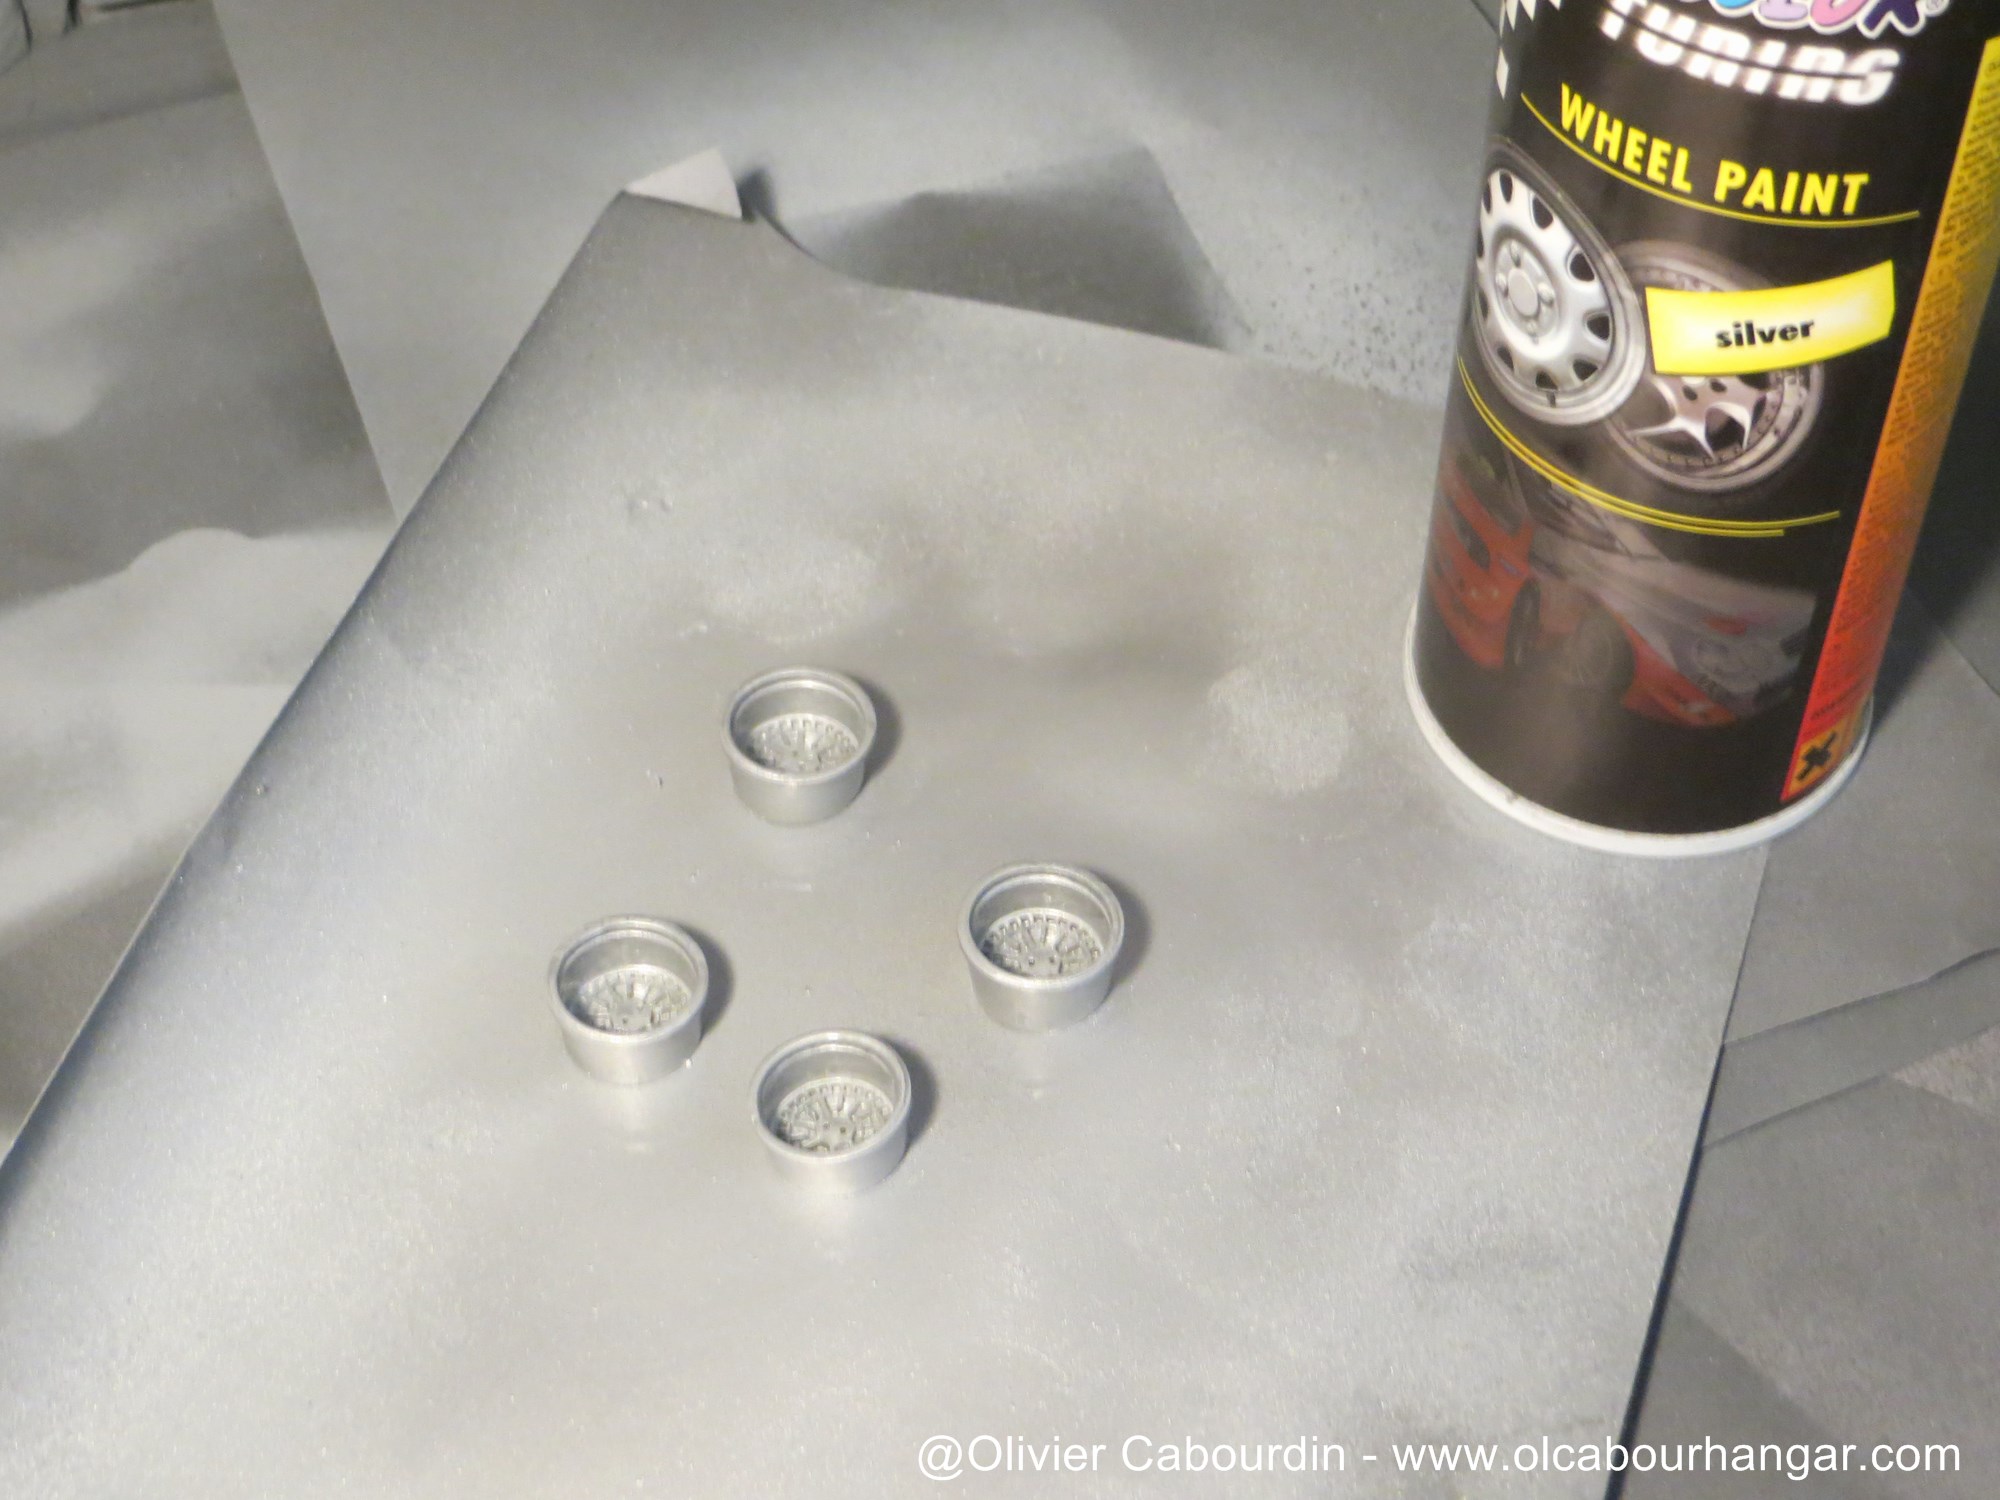
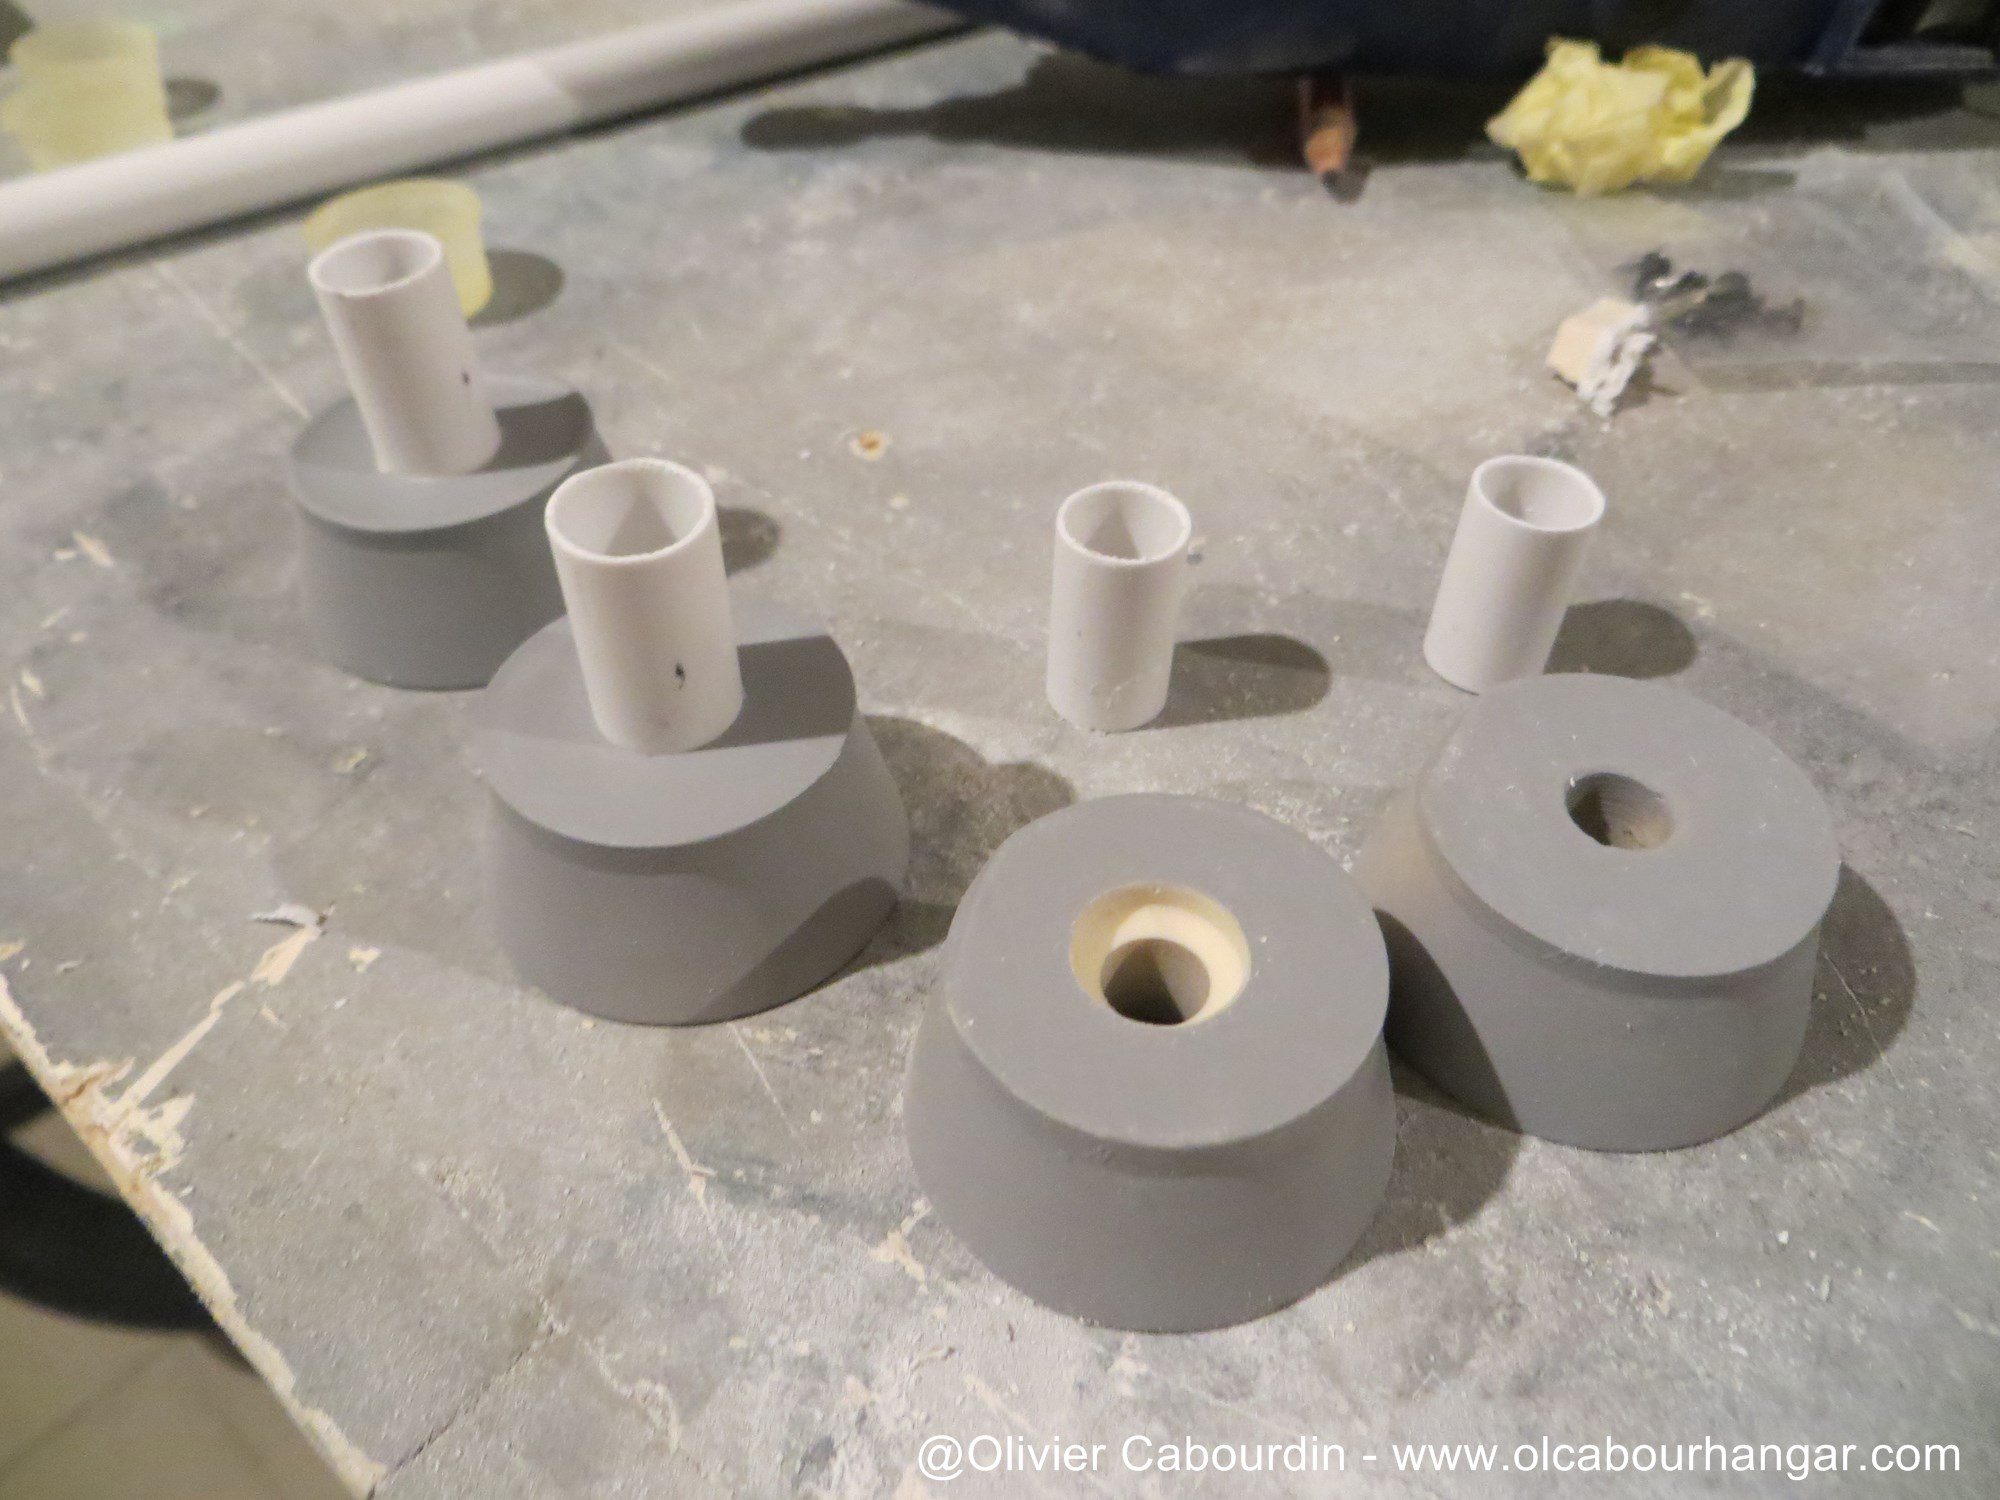
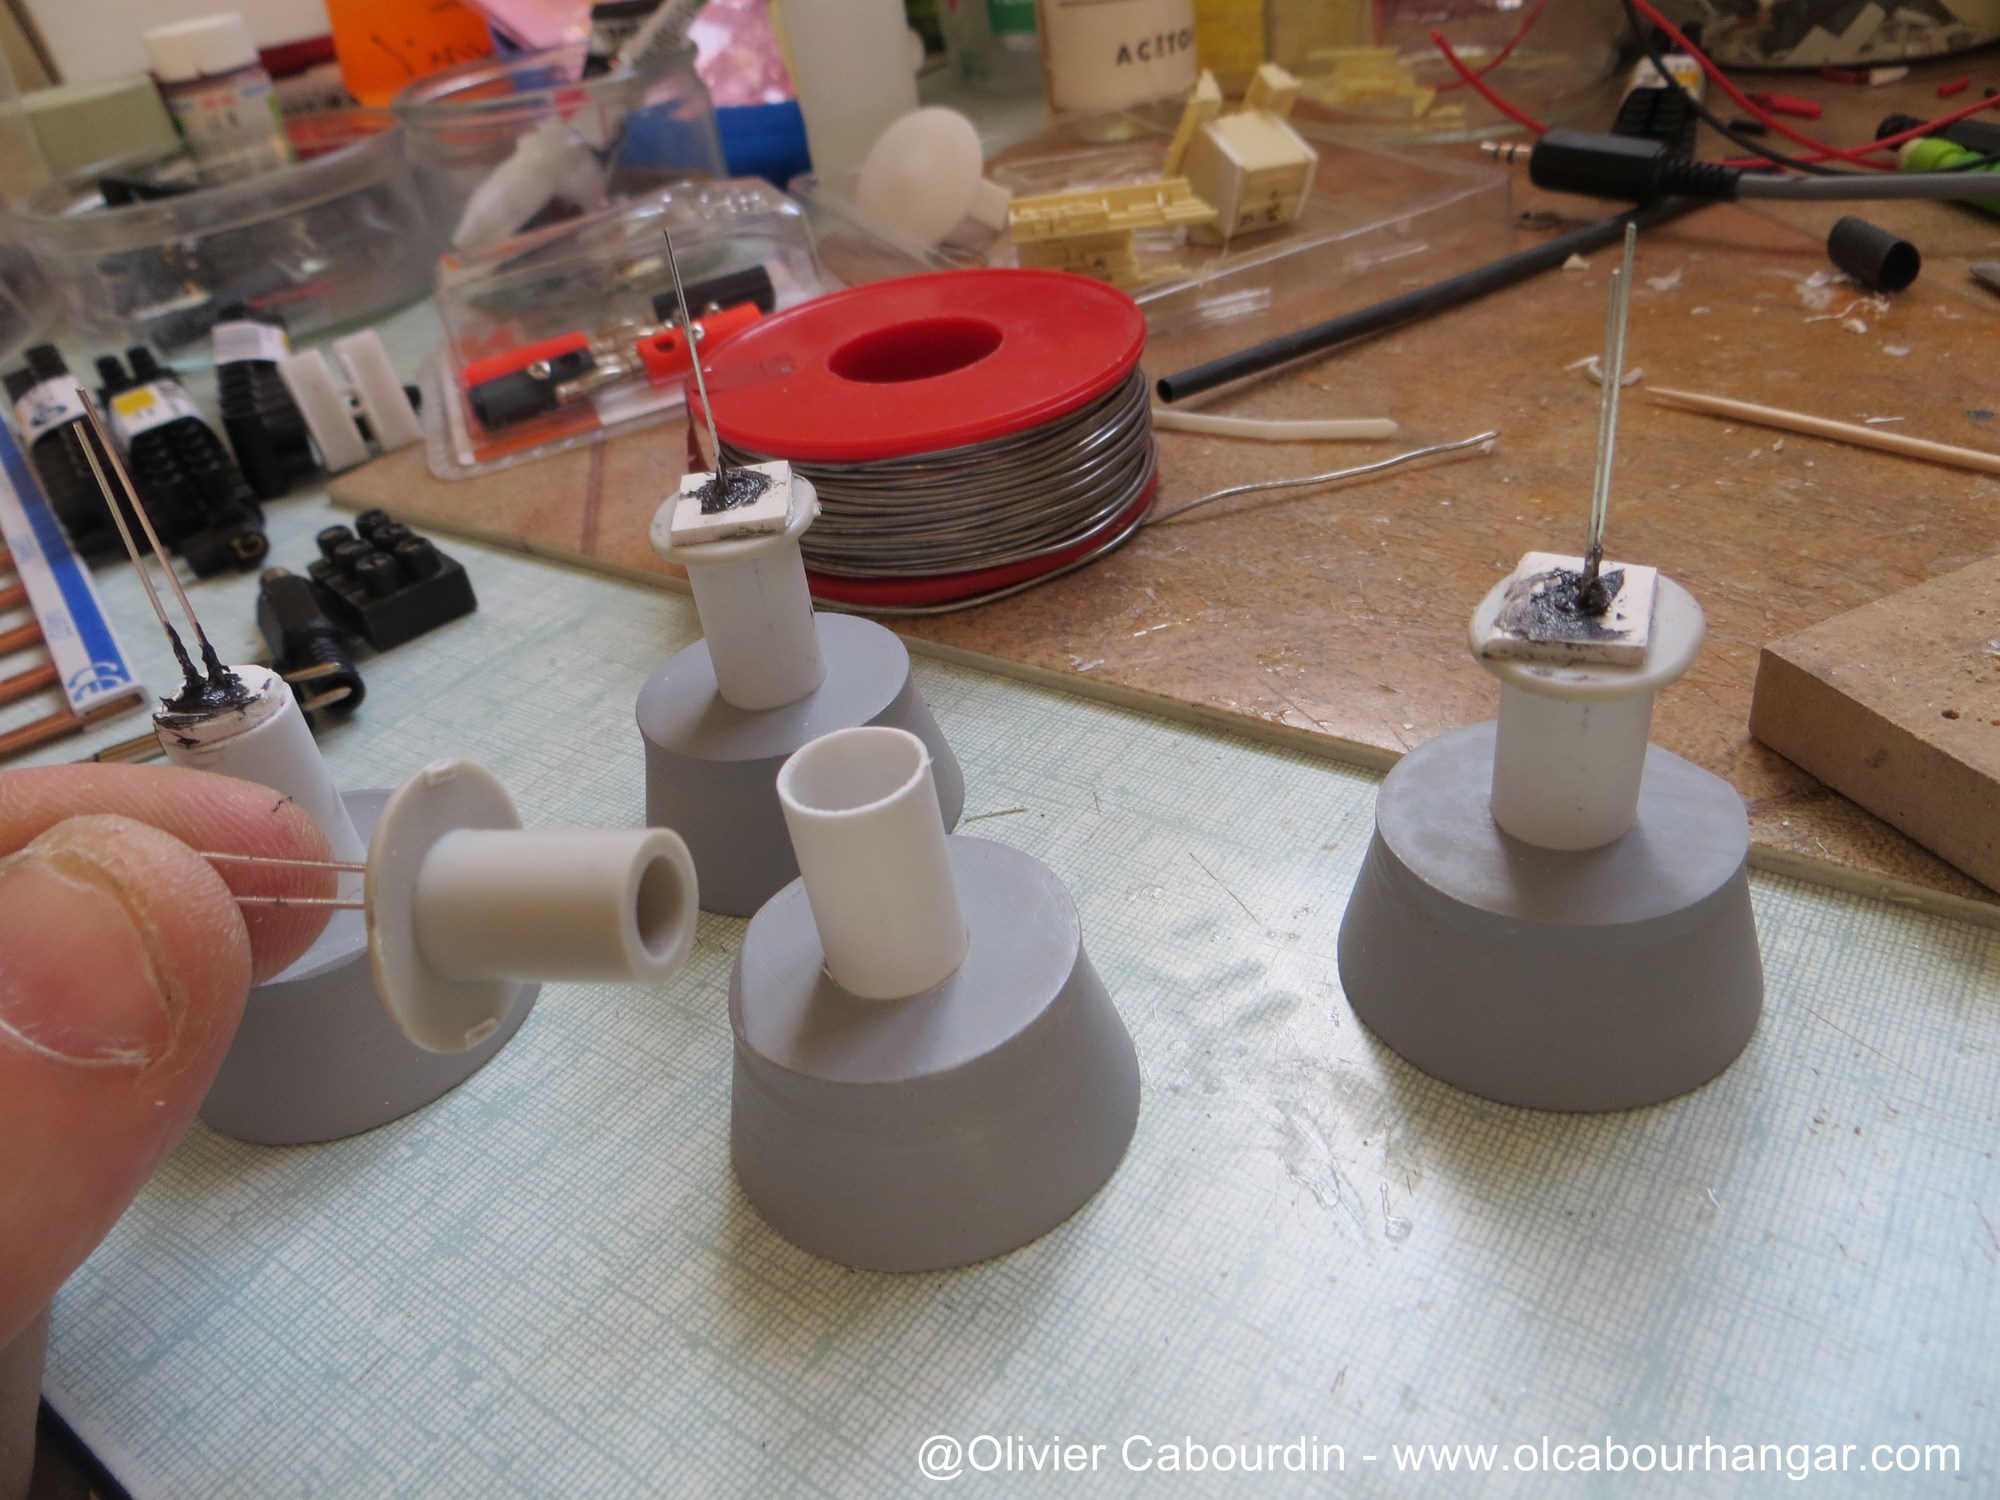
The 3 main thrusters are warm white LED, they are entrenched in truck covers (clear resin parts provided in the kit), painted black then aluminium.

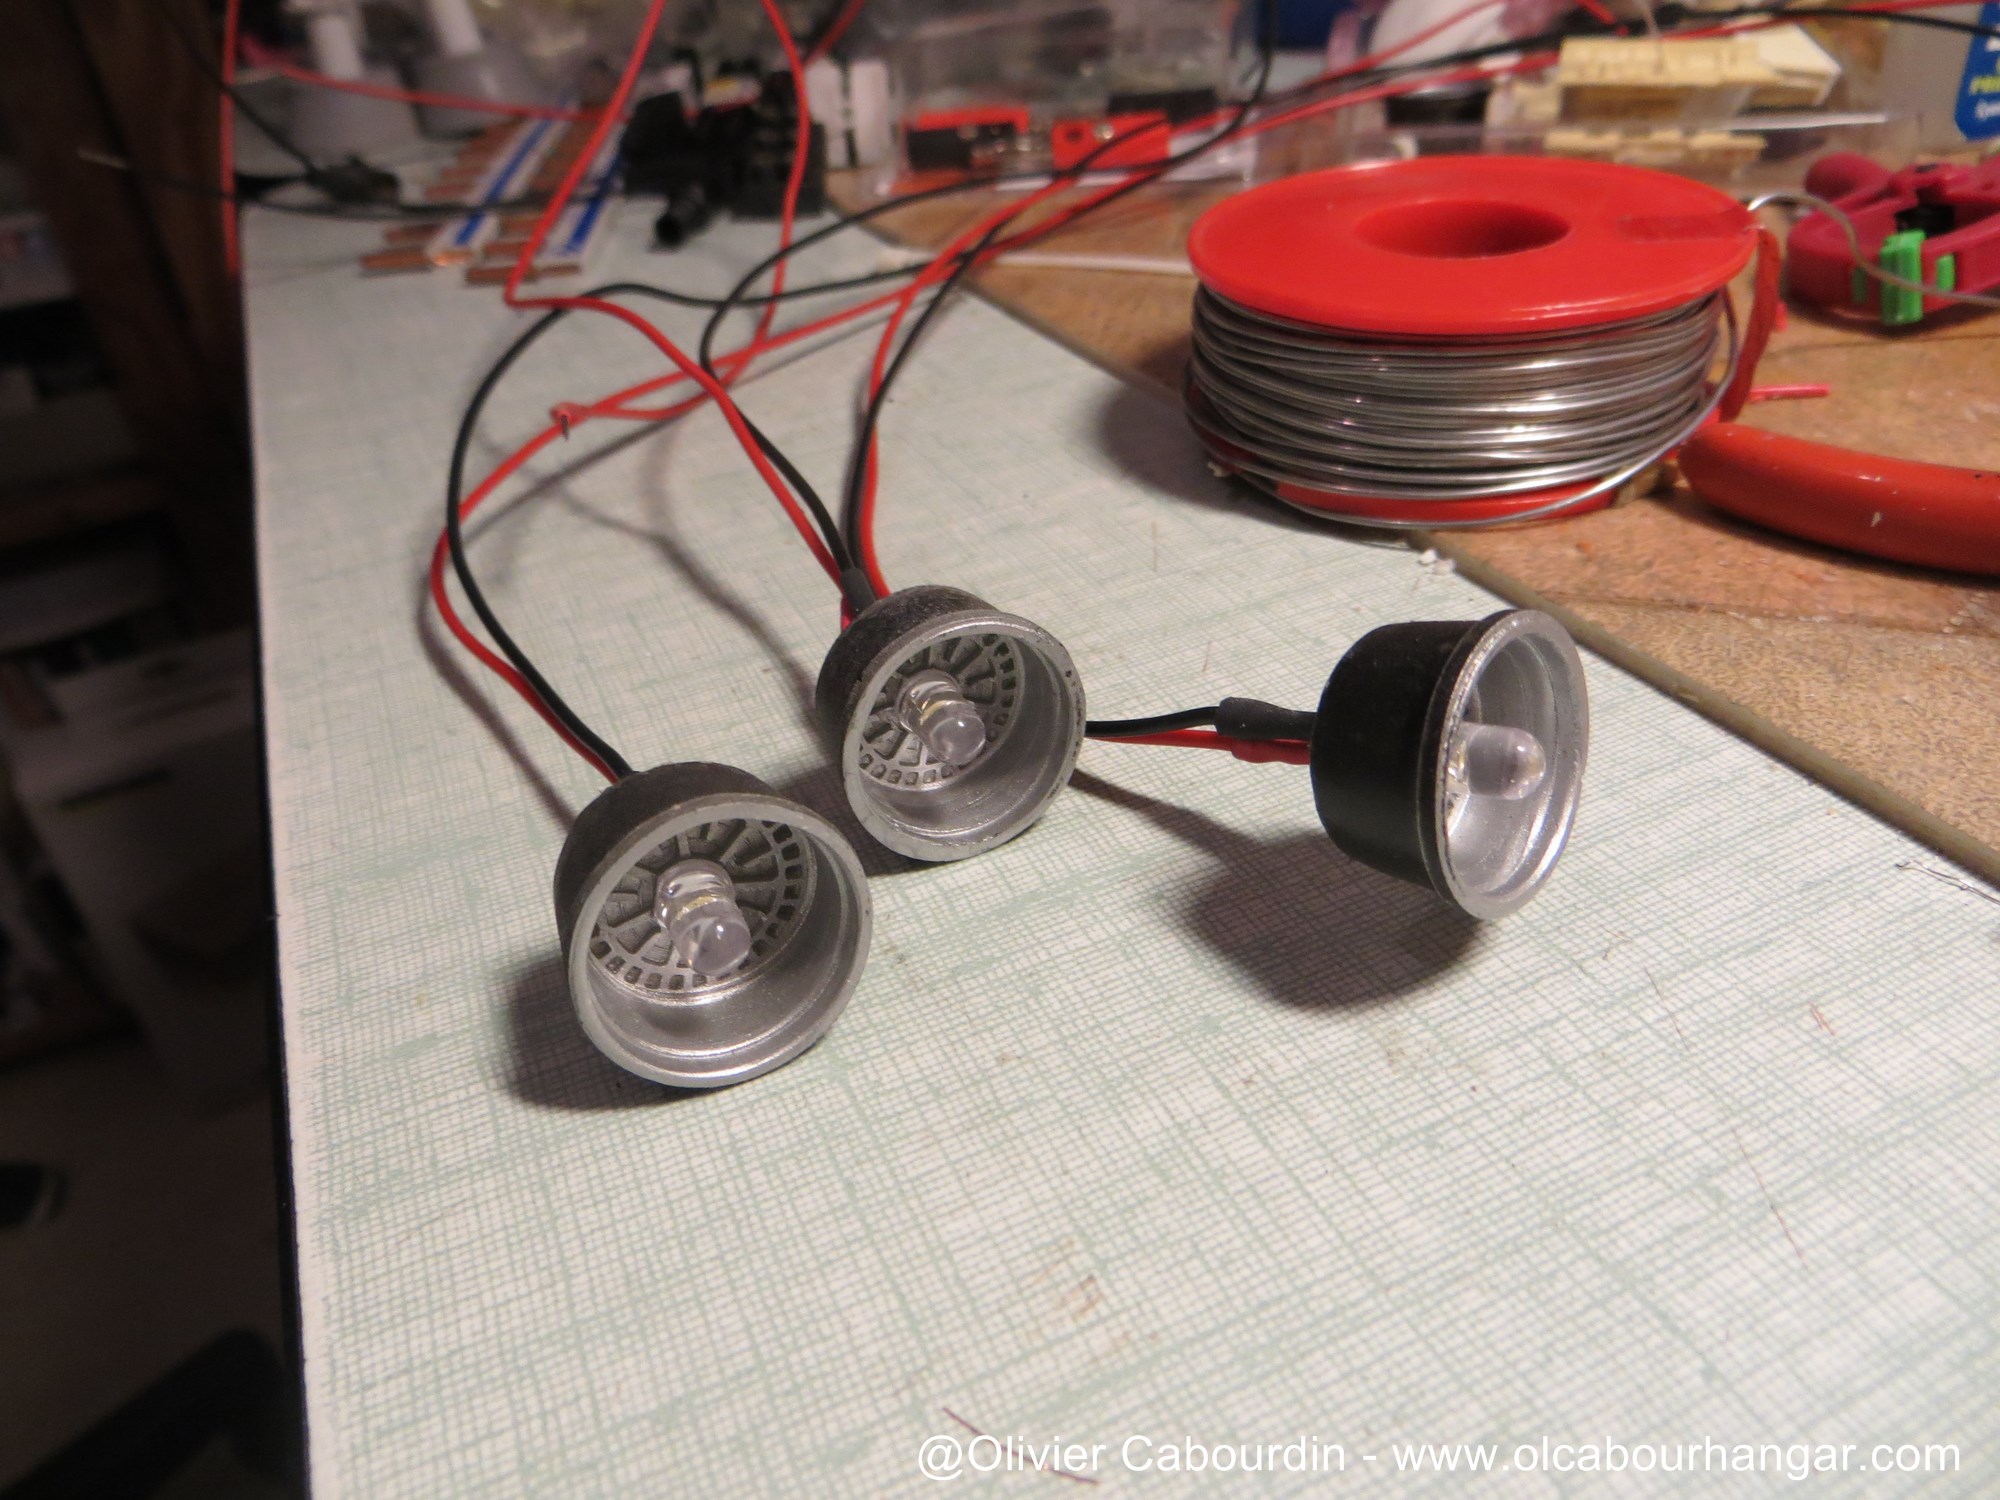
The 4 secondary thrusters are cool white LED (they indeed have a bluish tint on the studio model). They are glued to bottom of tubes, themselves fit into the tubes glued on the engine bells, which will be fixed later.
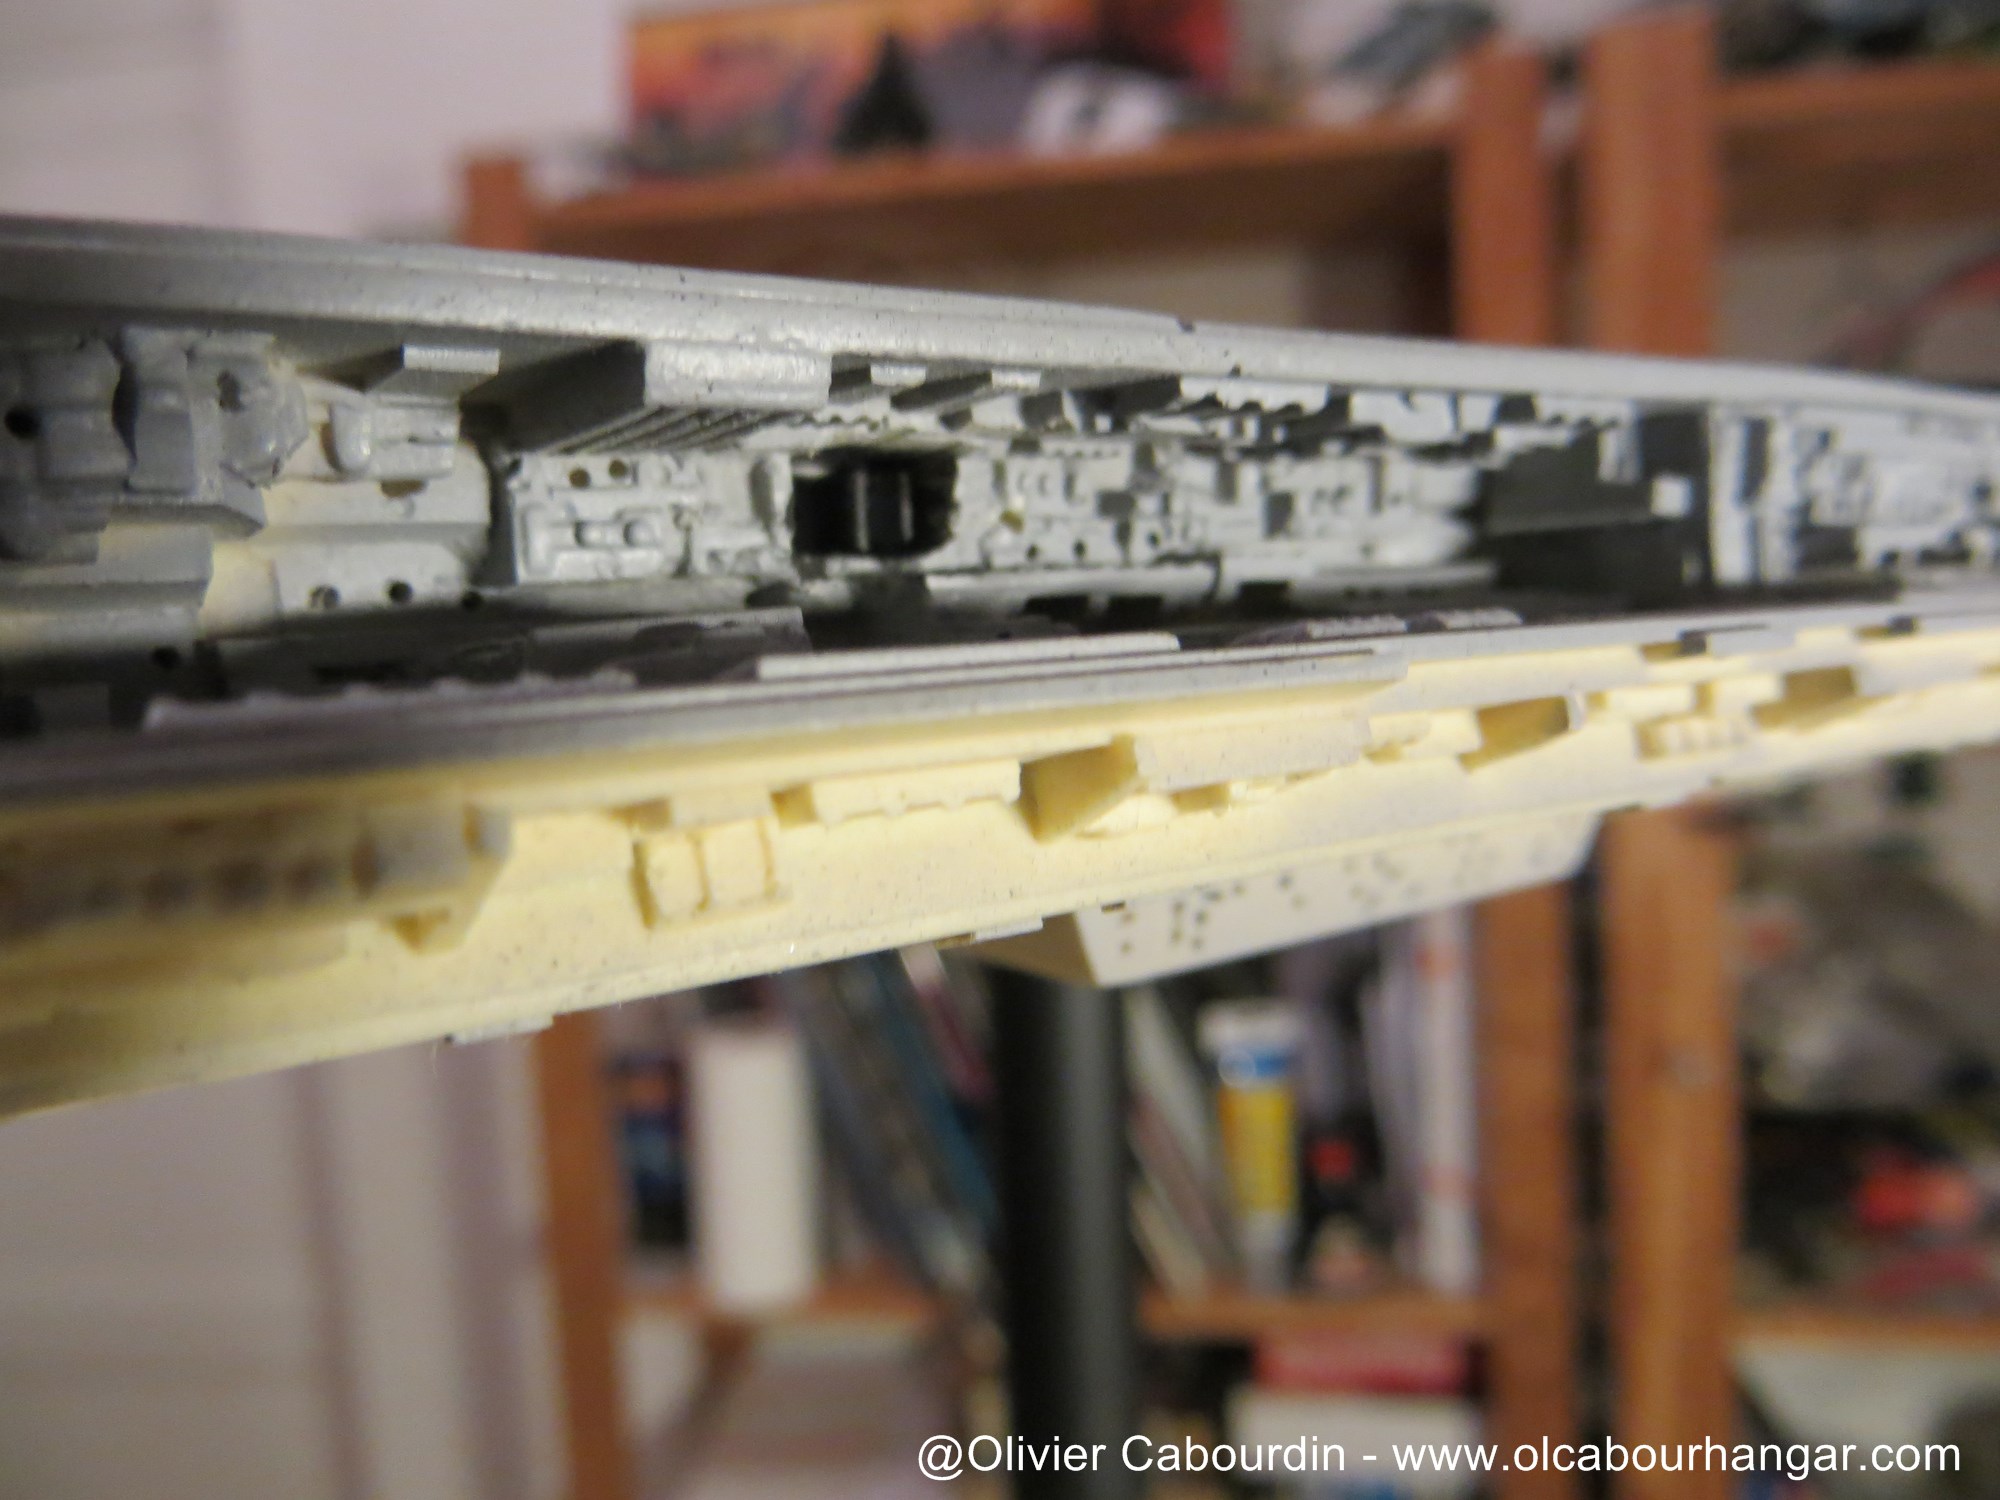
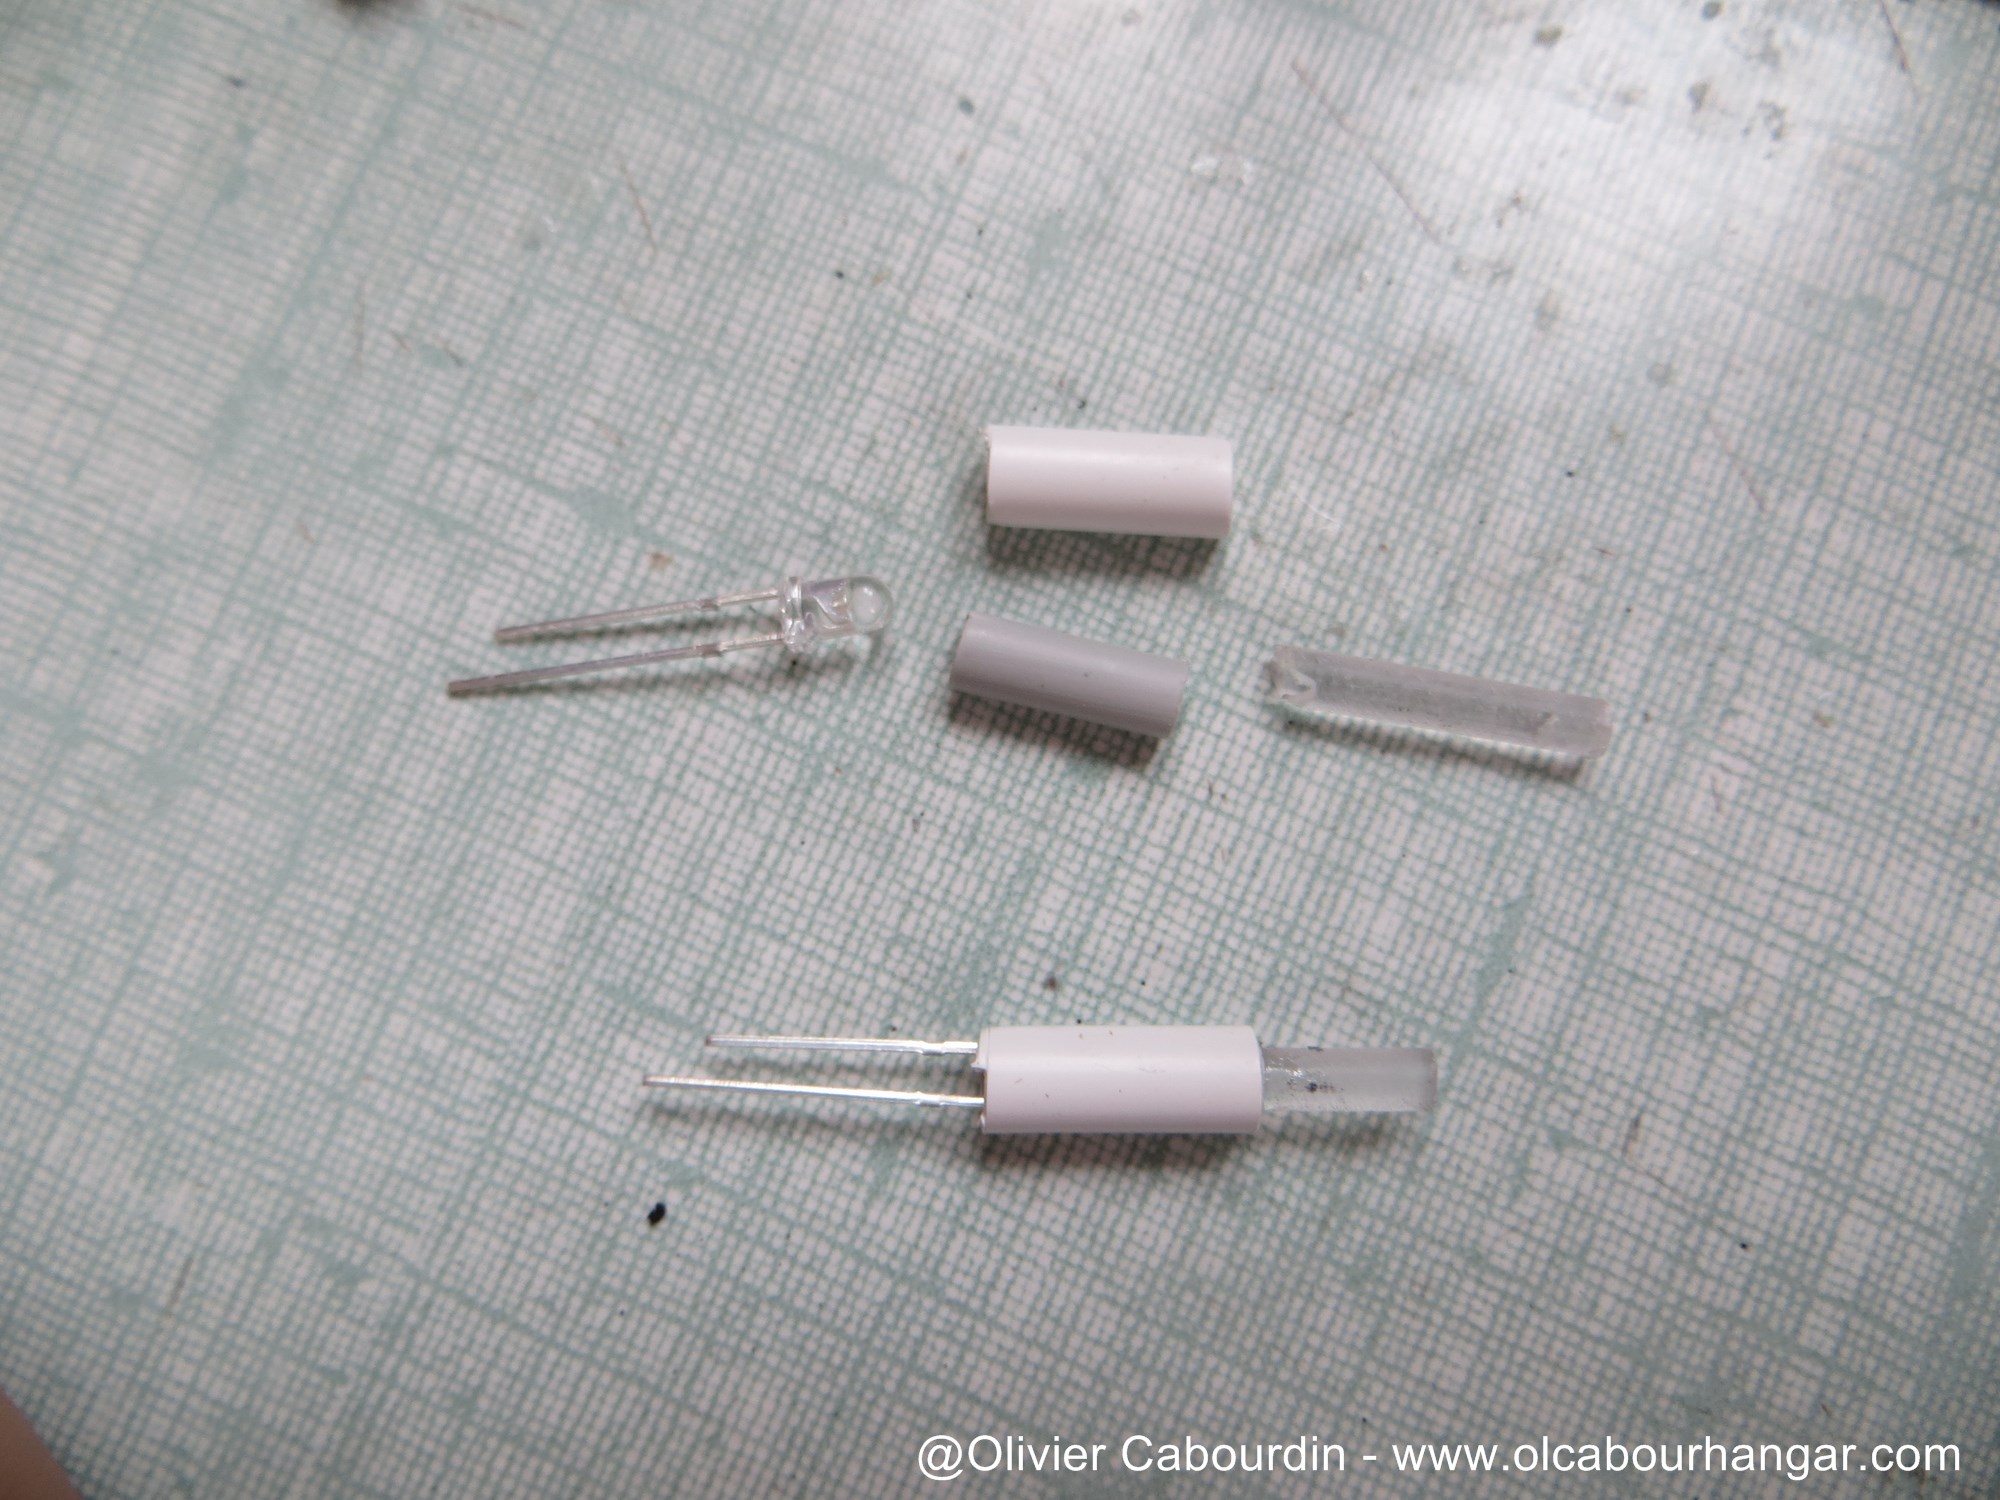
On the set of model, some bulbs were exposed in the trenches, and lit comprehensive areas in the trenches. To avoid over-lighting the trenches, I use light rods (the bulb being so remote and hidden inside the model).
These light rods are made from frosted clear rods, tubes and warm white LED.
These 11 rods are then glued to the back of the trenches.
(unfortunately, no photo of the installation step)
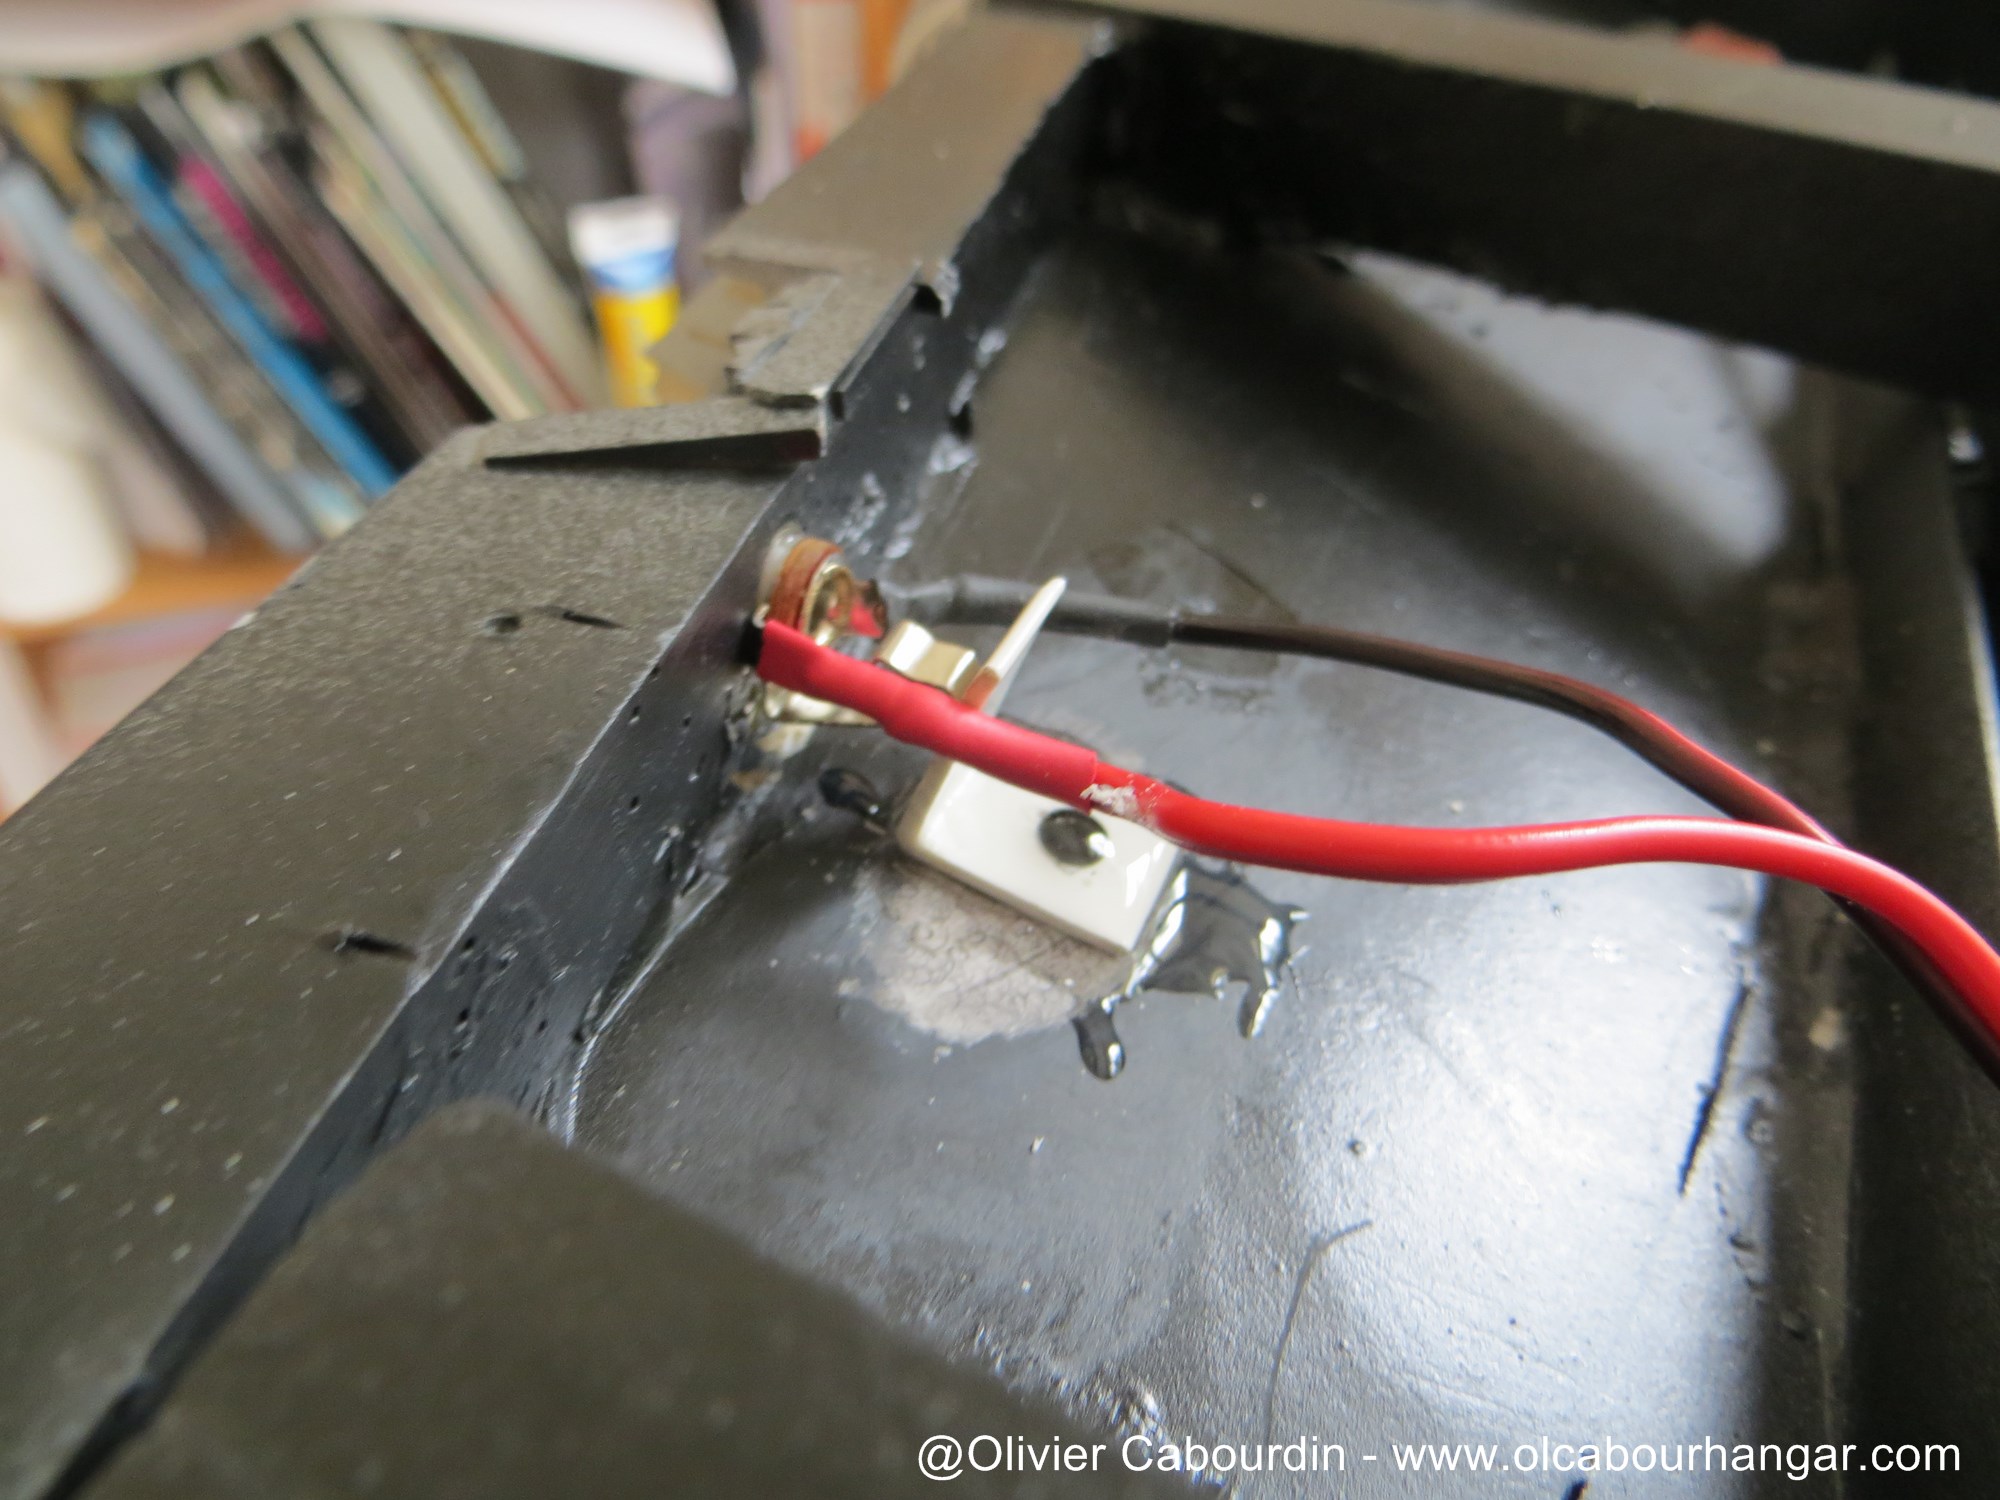
As I am not sure of me with these light rods, so I placed a switch on the sub-circuit, hidden in the details of a side trench.
A second switch is placed on the sub-circuit of the engines, in case they would interfere during photo shots.