Eastern Alliance Destroyer - Preparing and modifying the parts
Par olcabour le vendredi, 9 mai 2014, 11:33 - Eastern Alliance Destroyer - Lien permanent
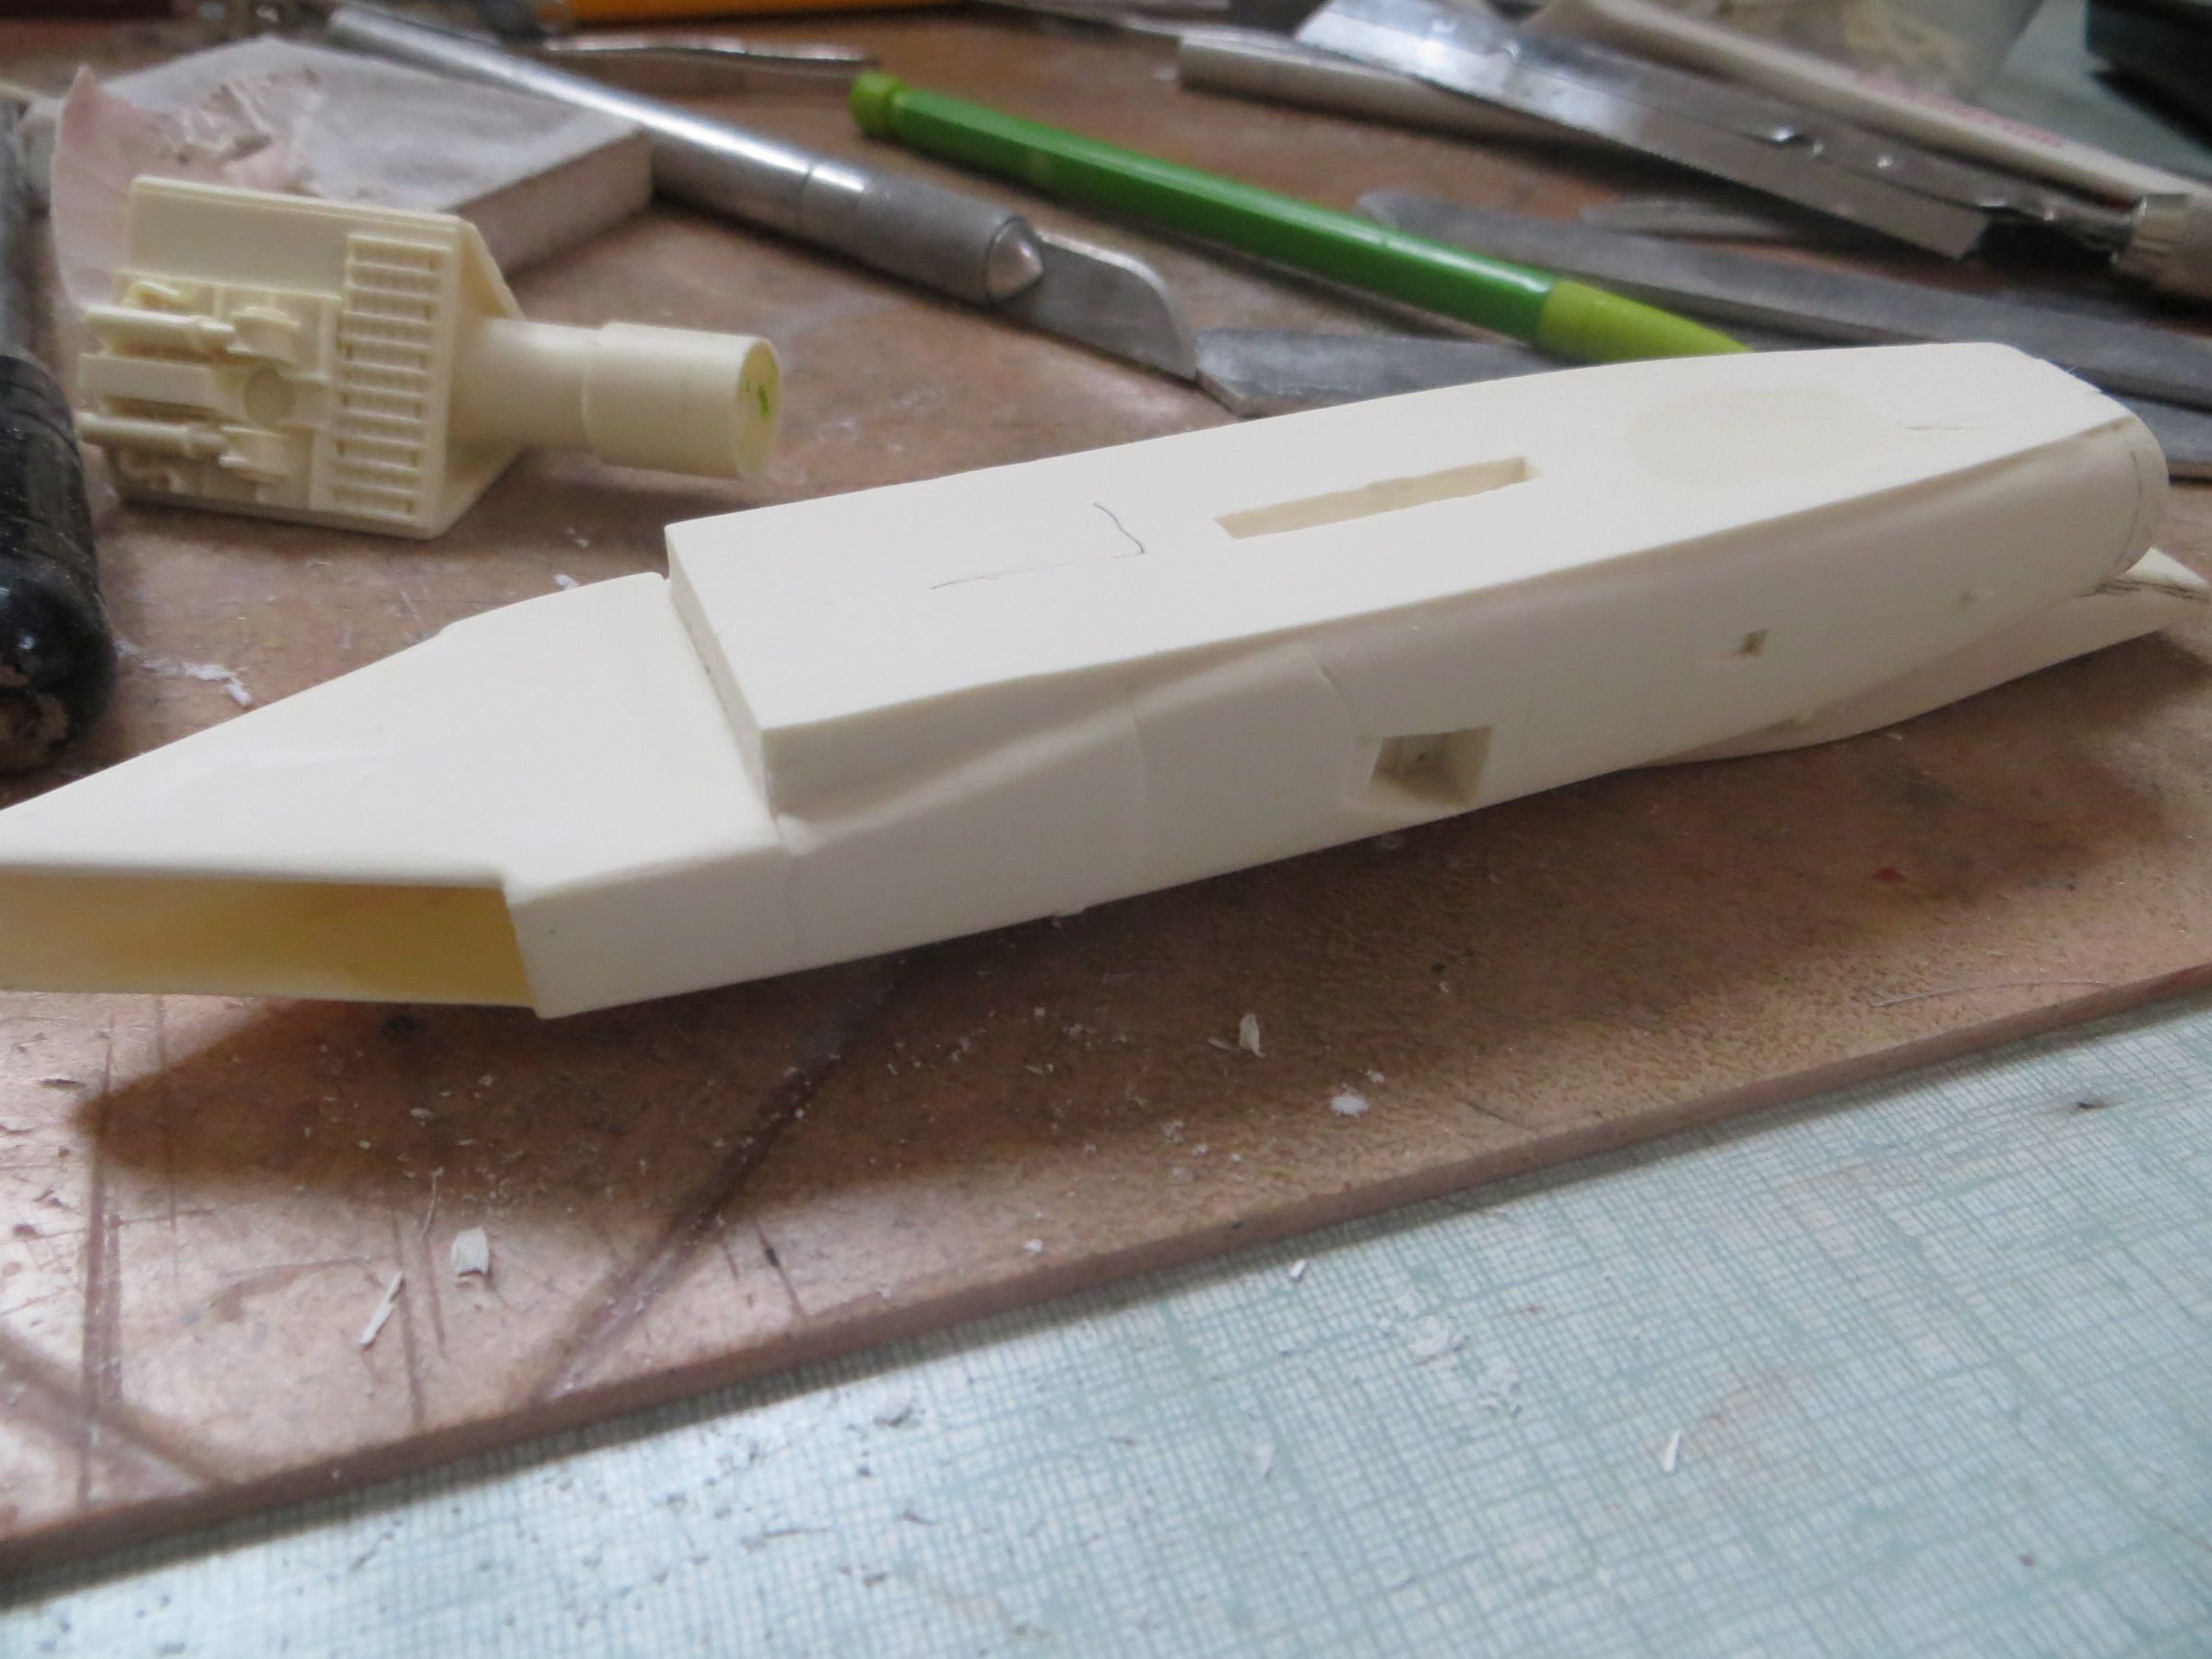
After brushing the kit parts in warm soapy water to remove mold releasing agent, the first job is to prepare all the parts :
- Details and angles are refined
- A light overall sanding to remove minor surface defects
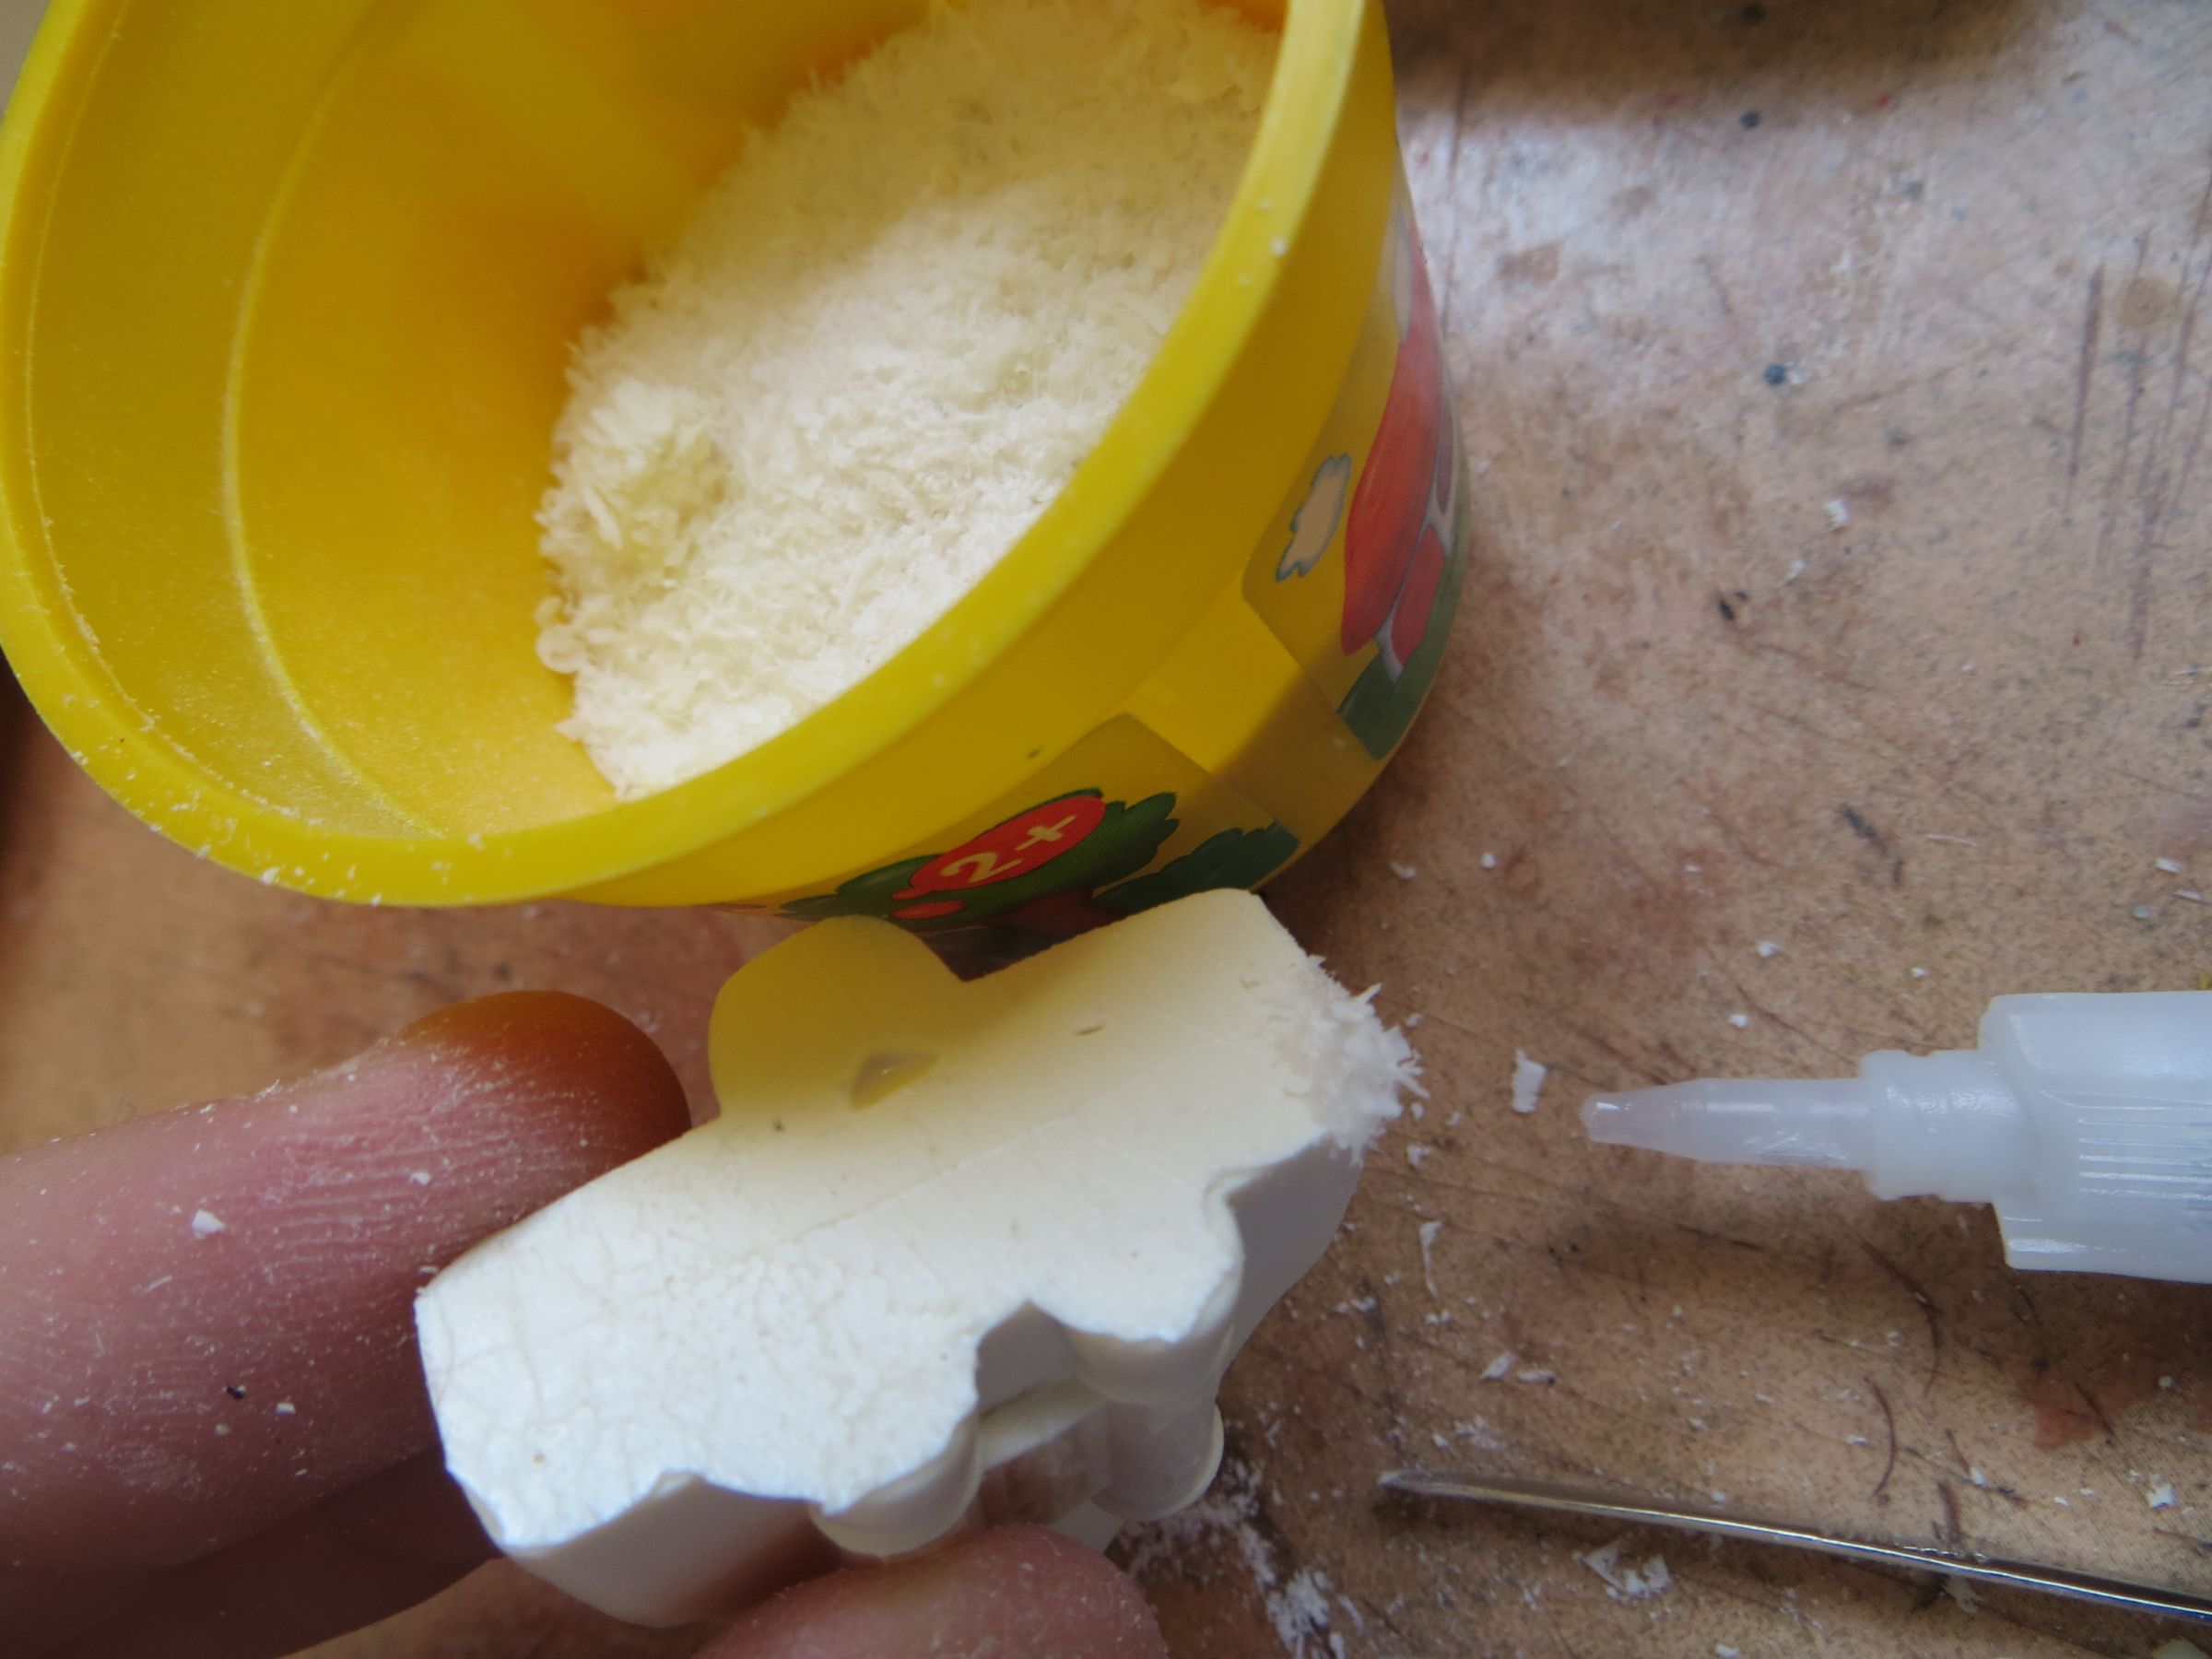
- Filling bubbles and lacks (with A mixture of resin dust and cyano)
- Removing of the excess material due to aging molds.
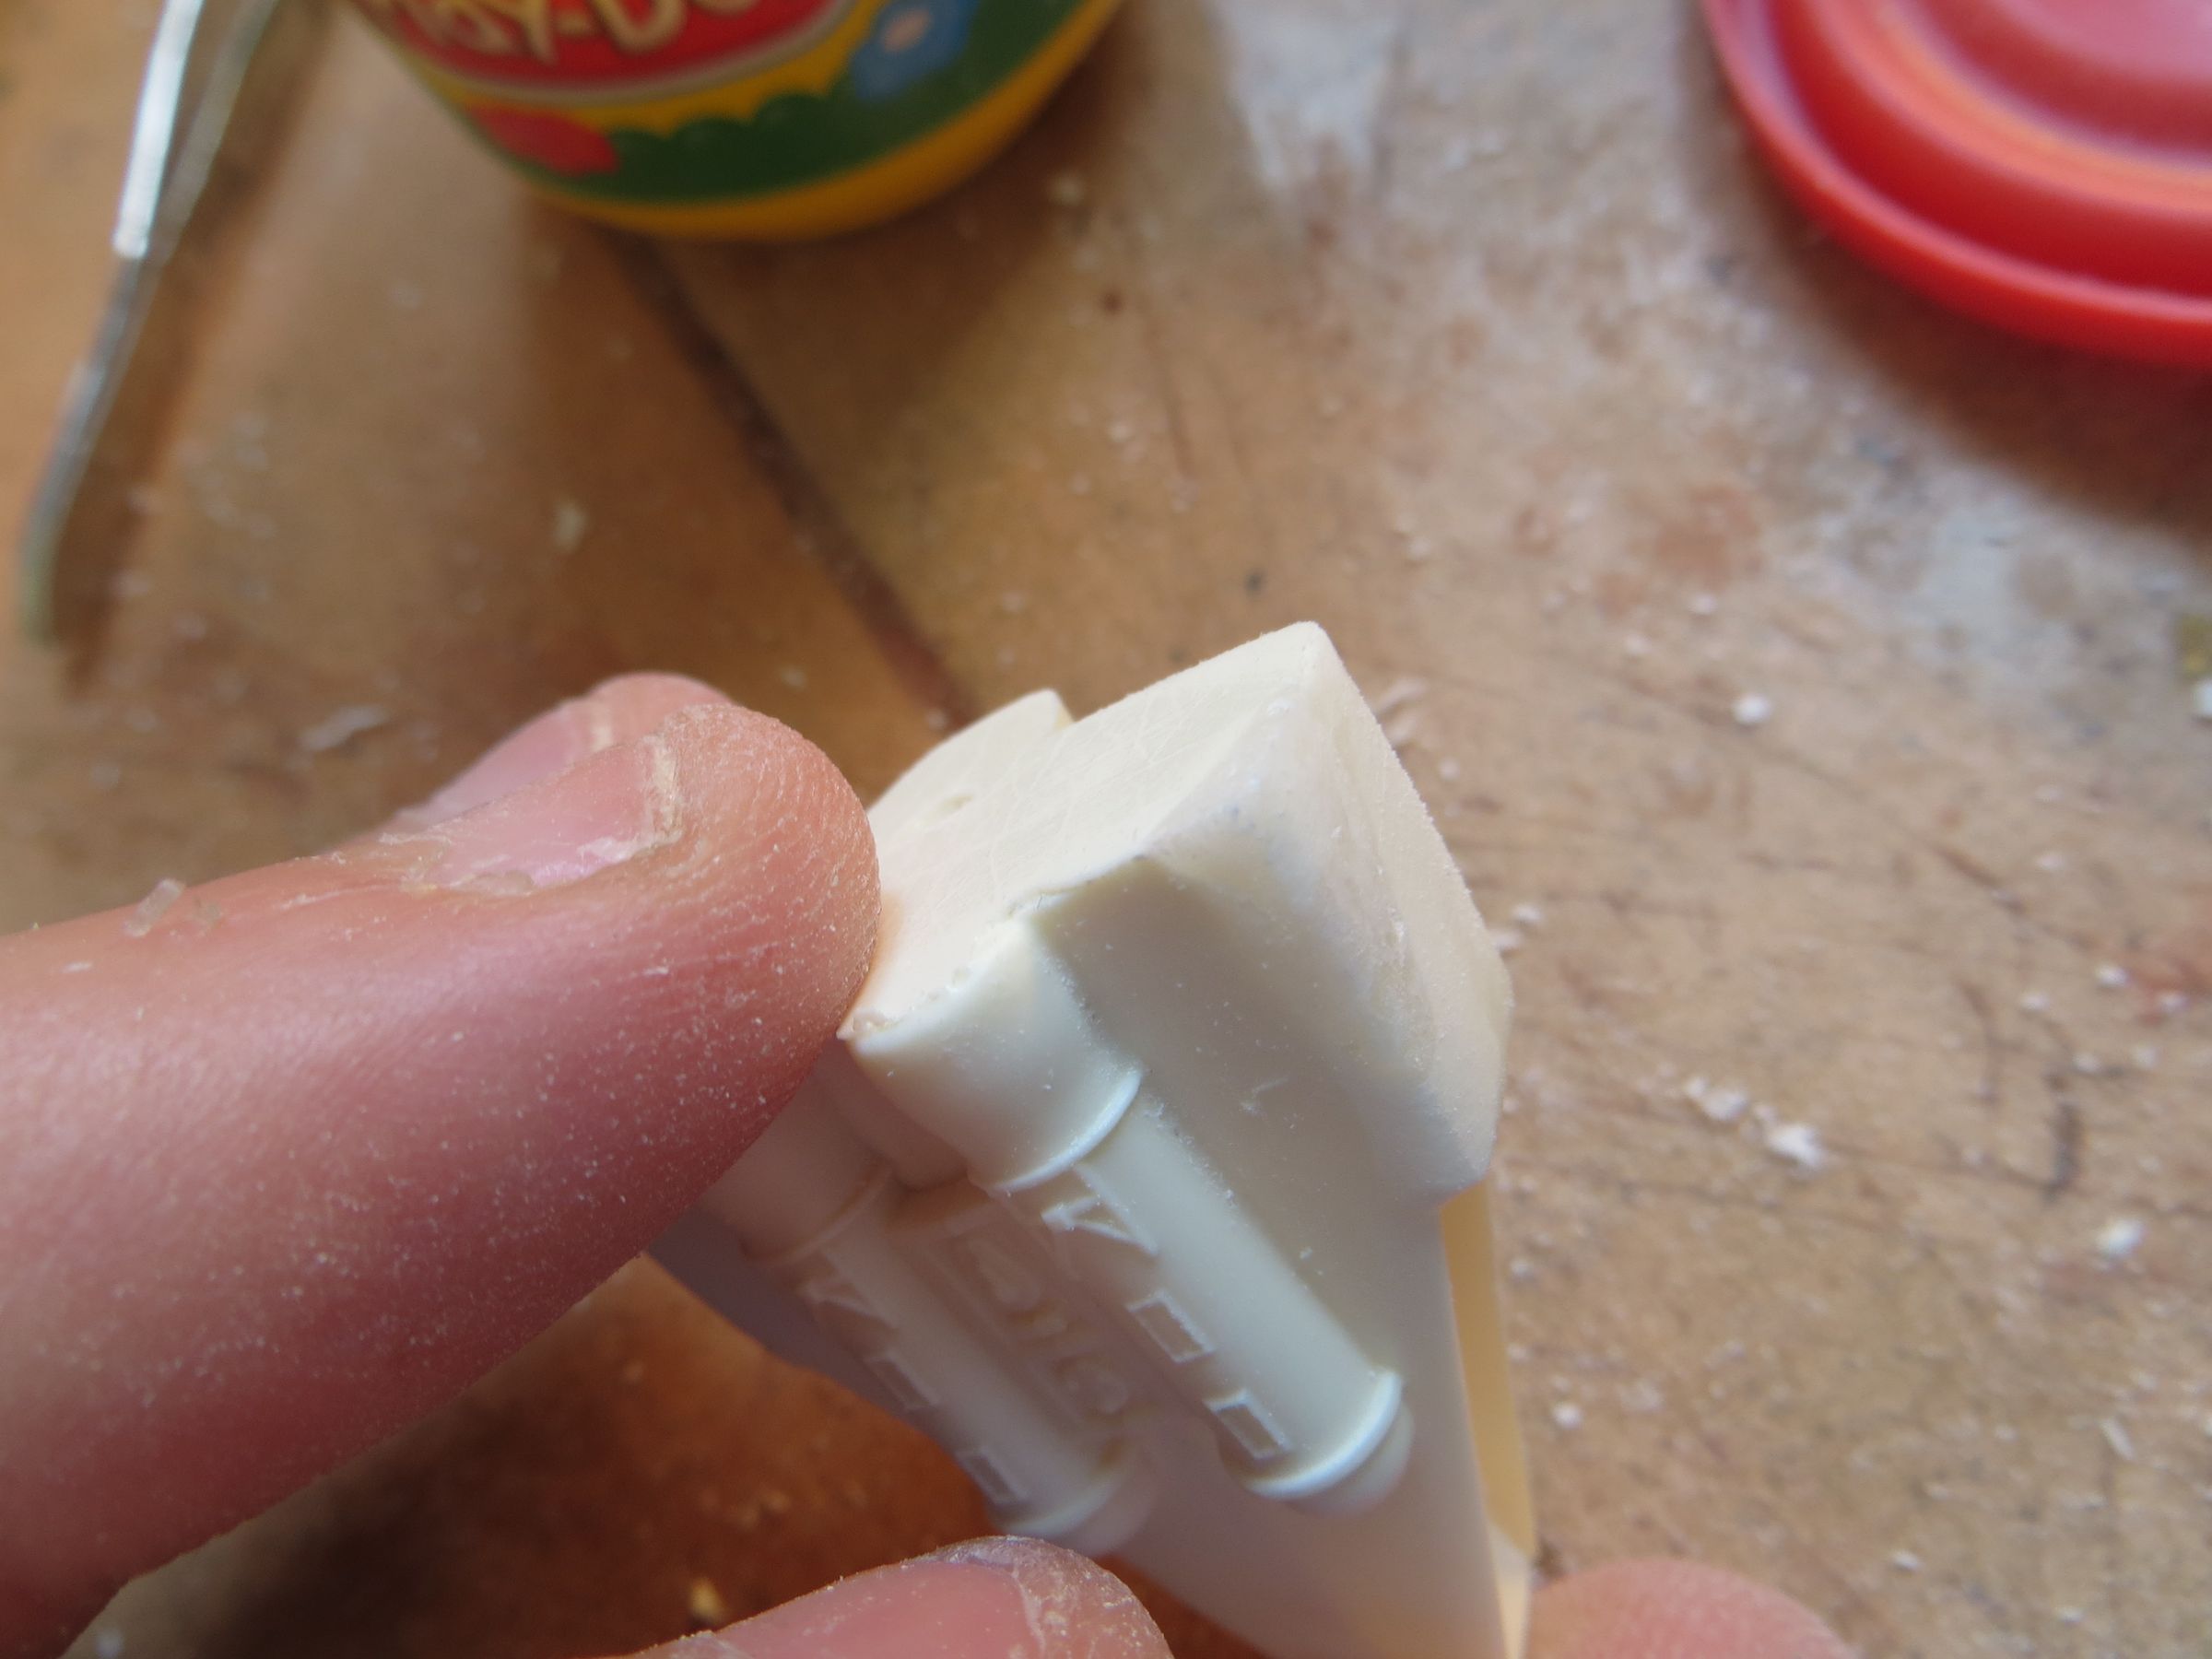
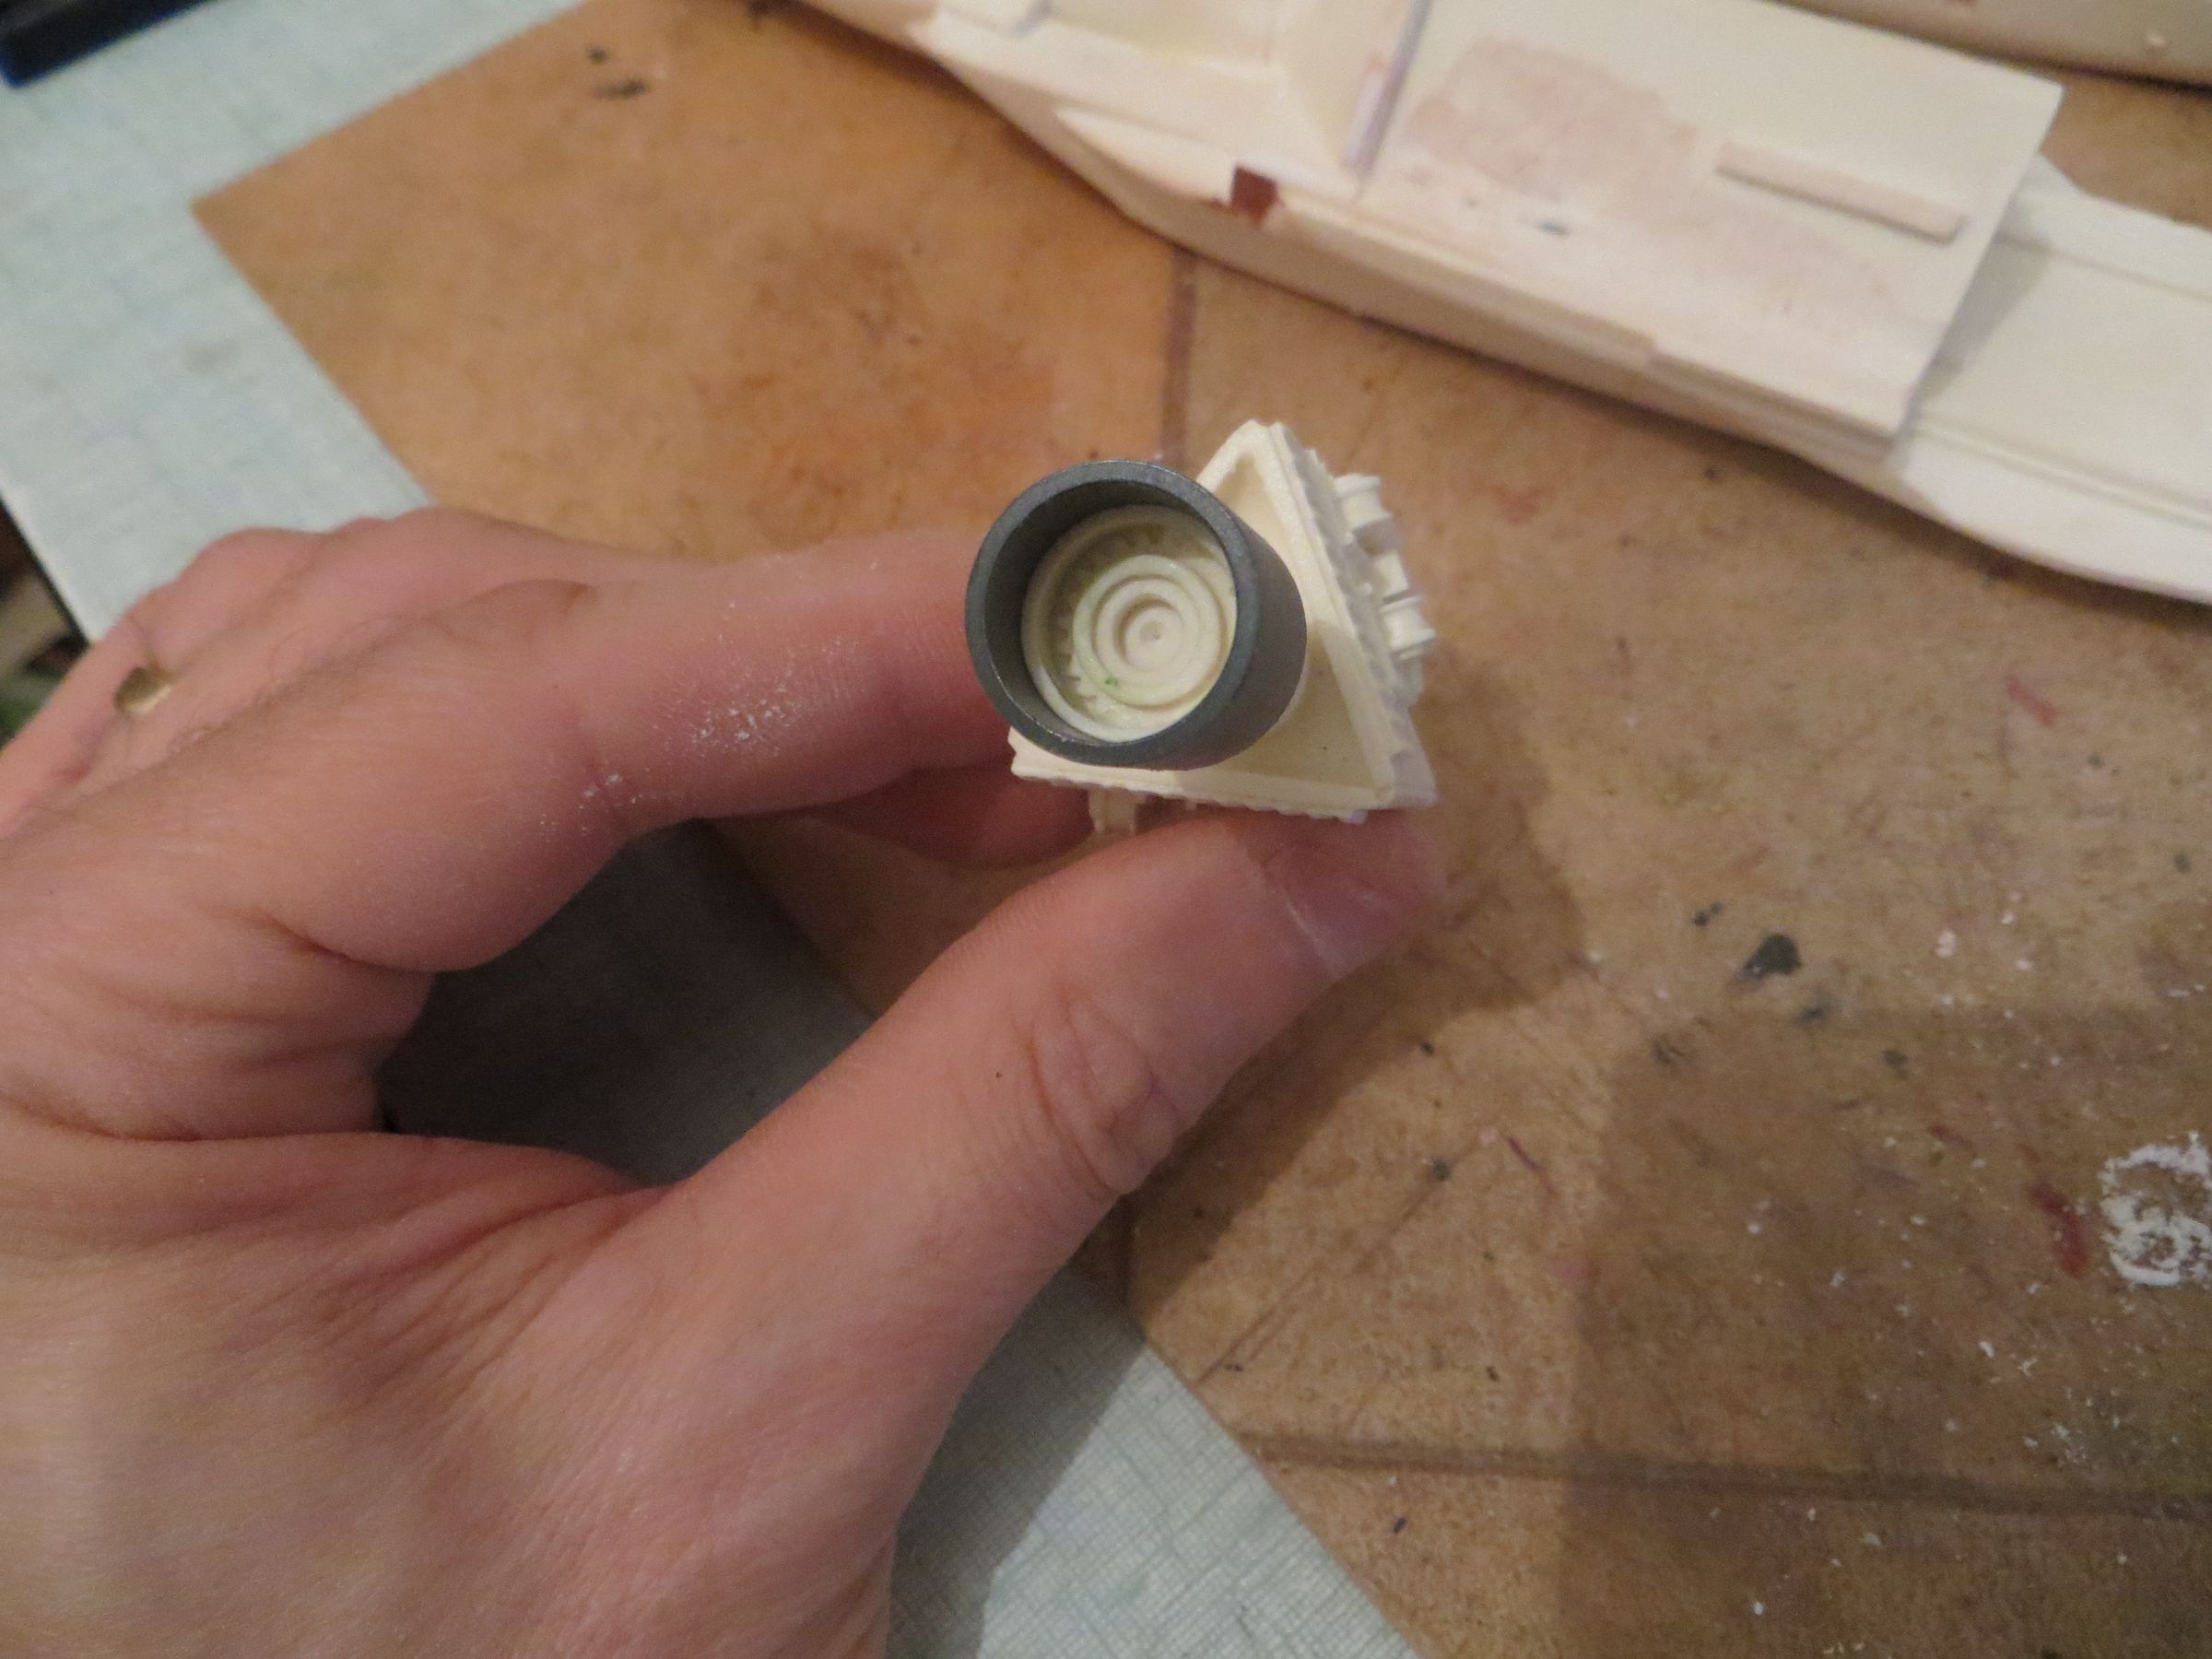
- making some improvments, as here on the Saturn5 cone
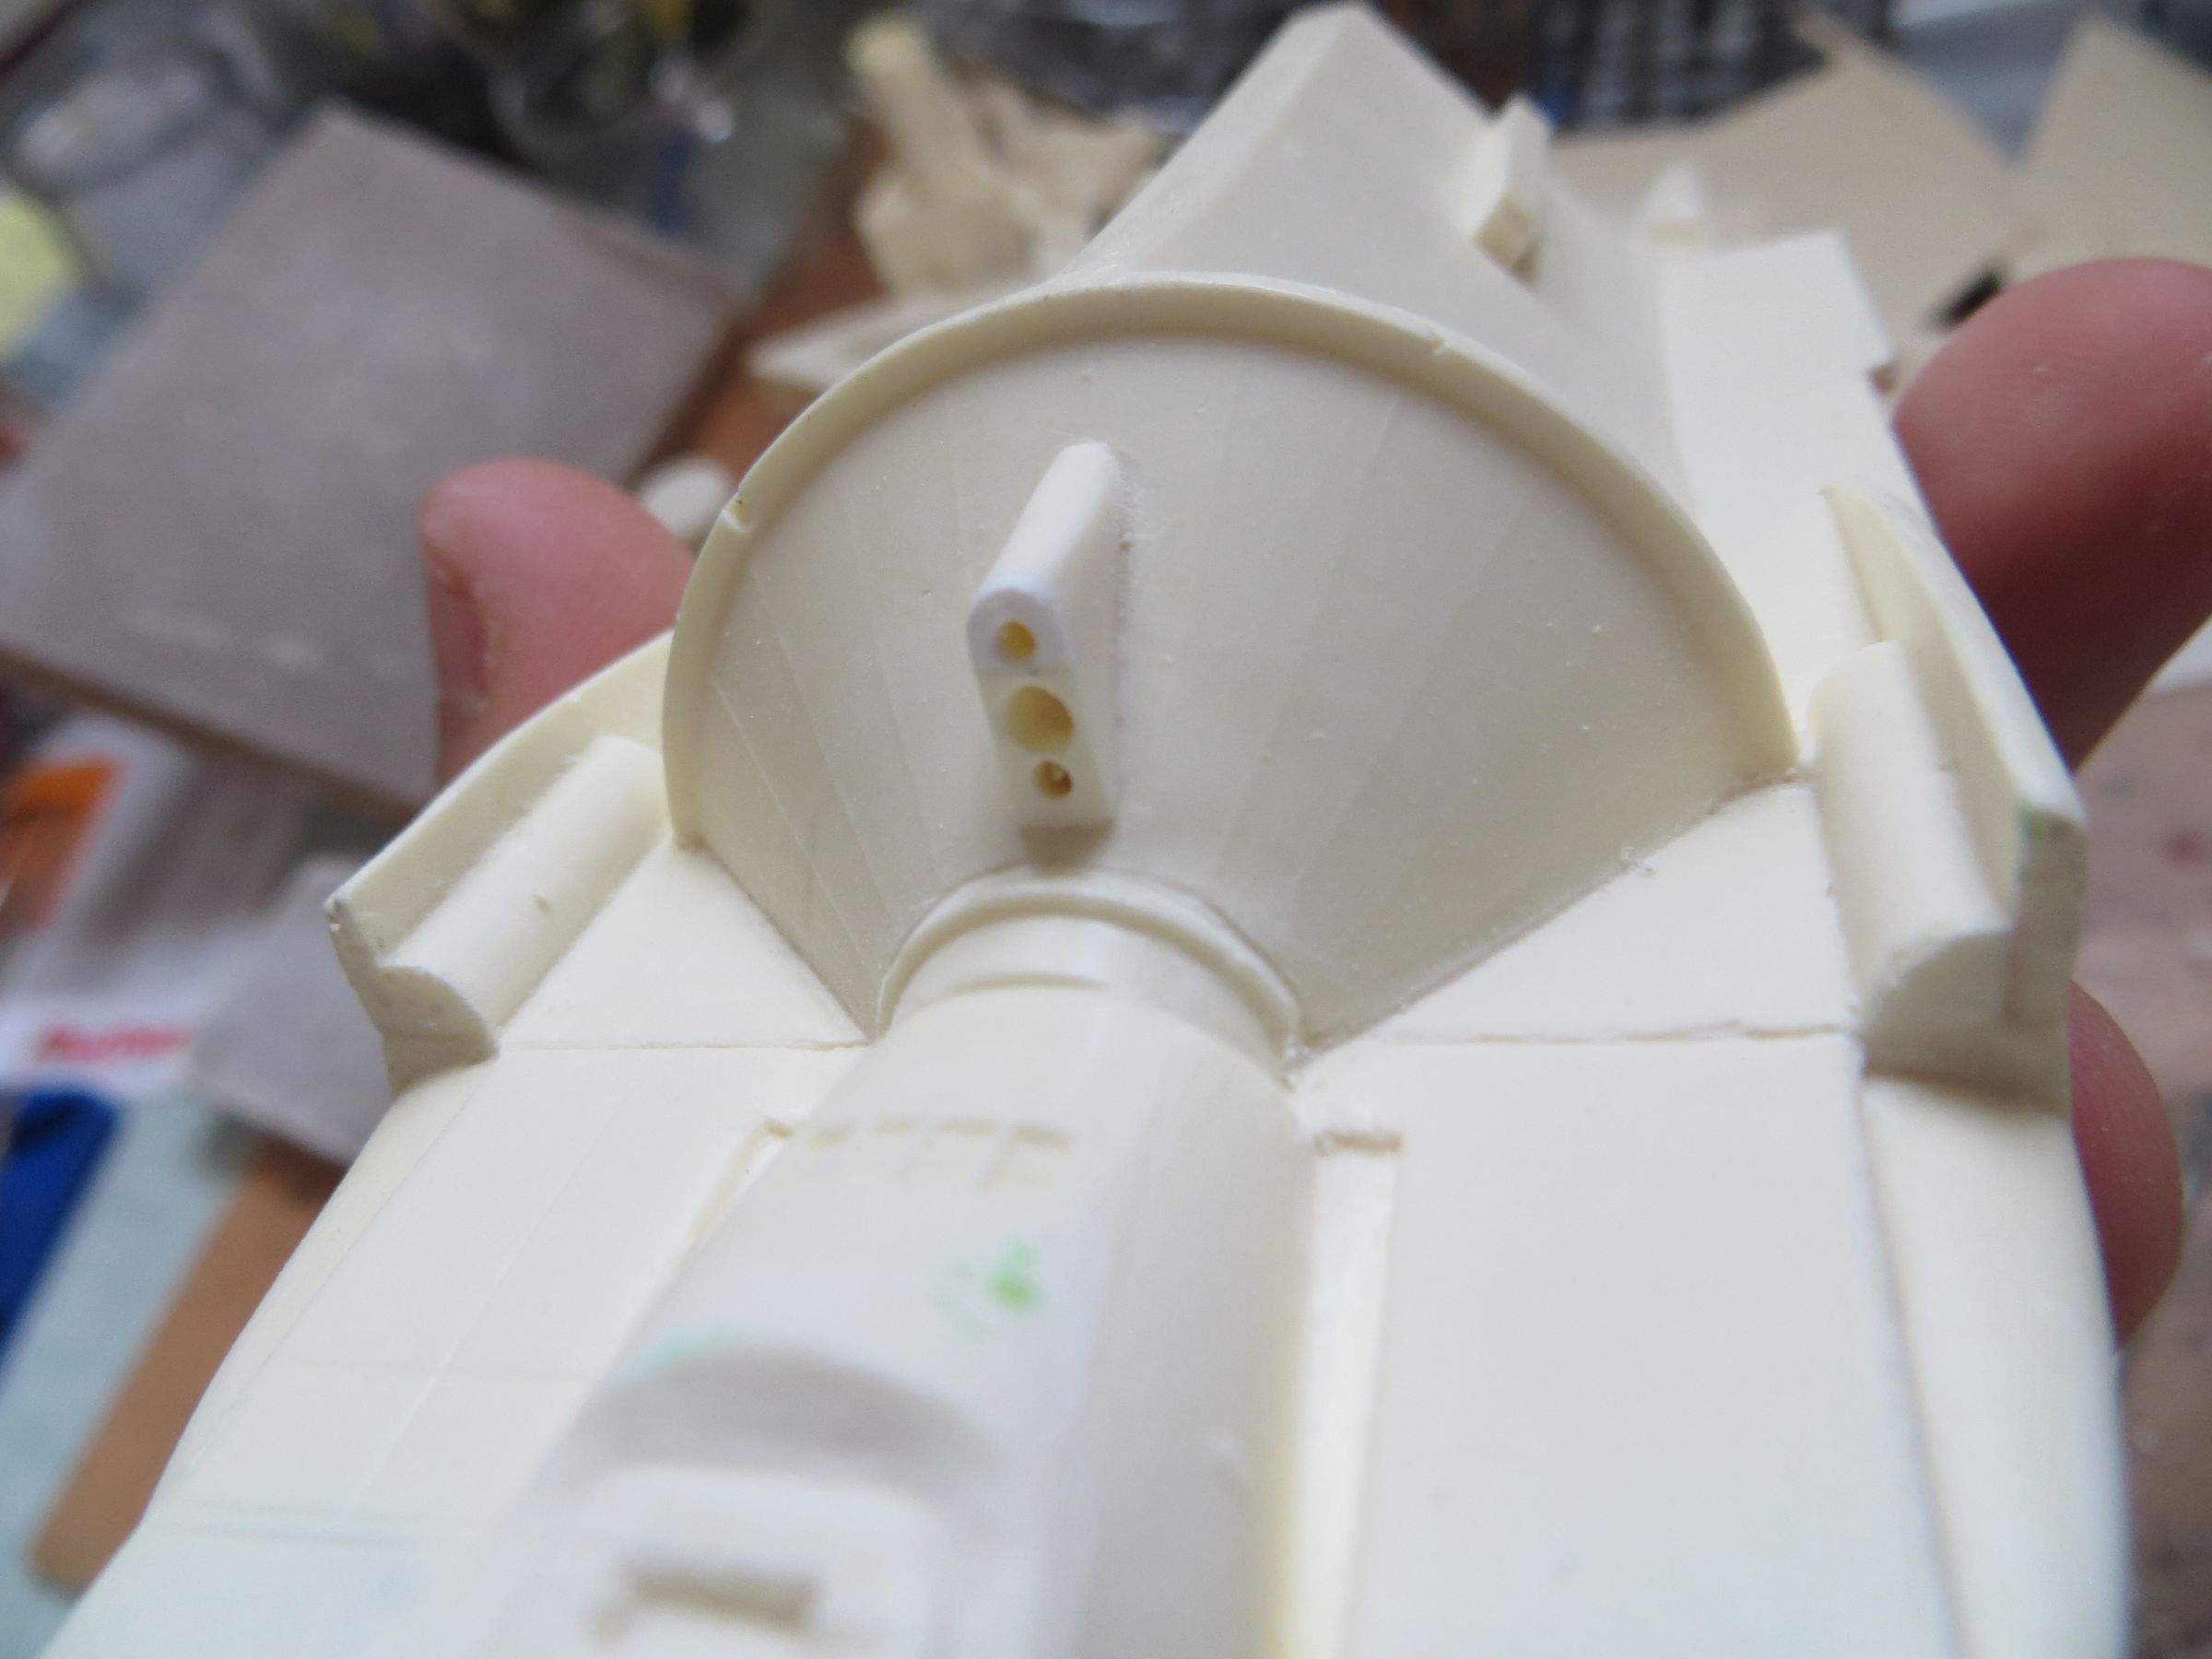
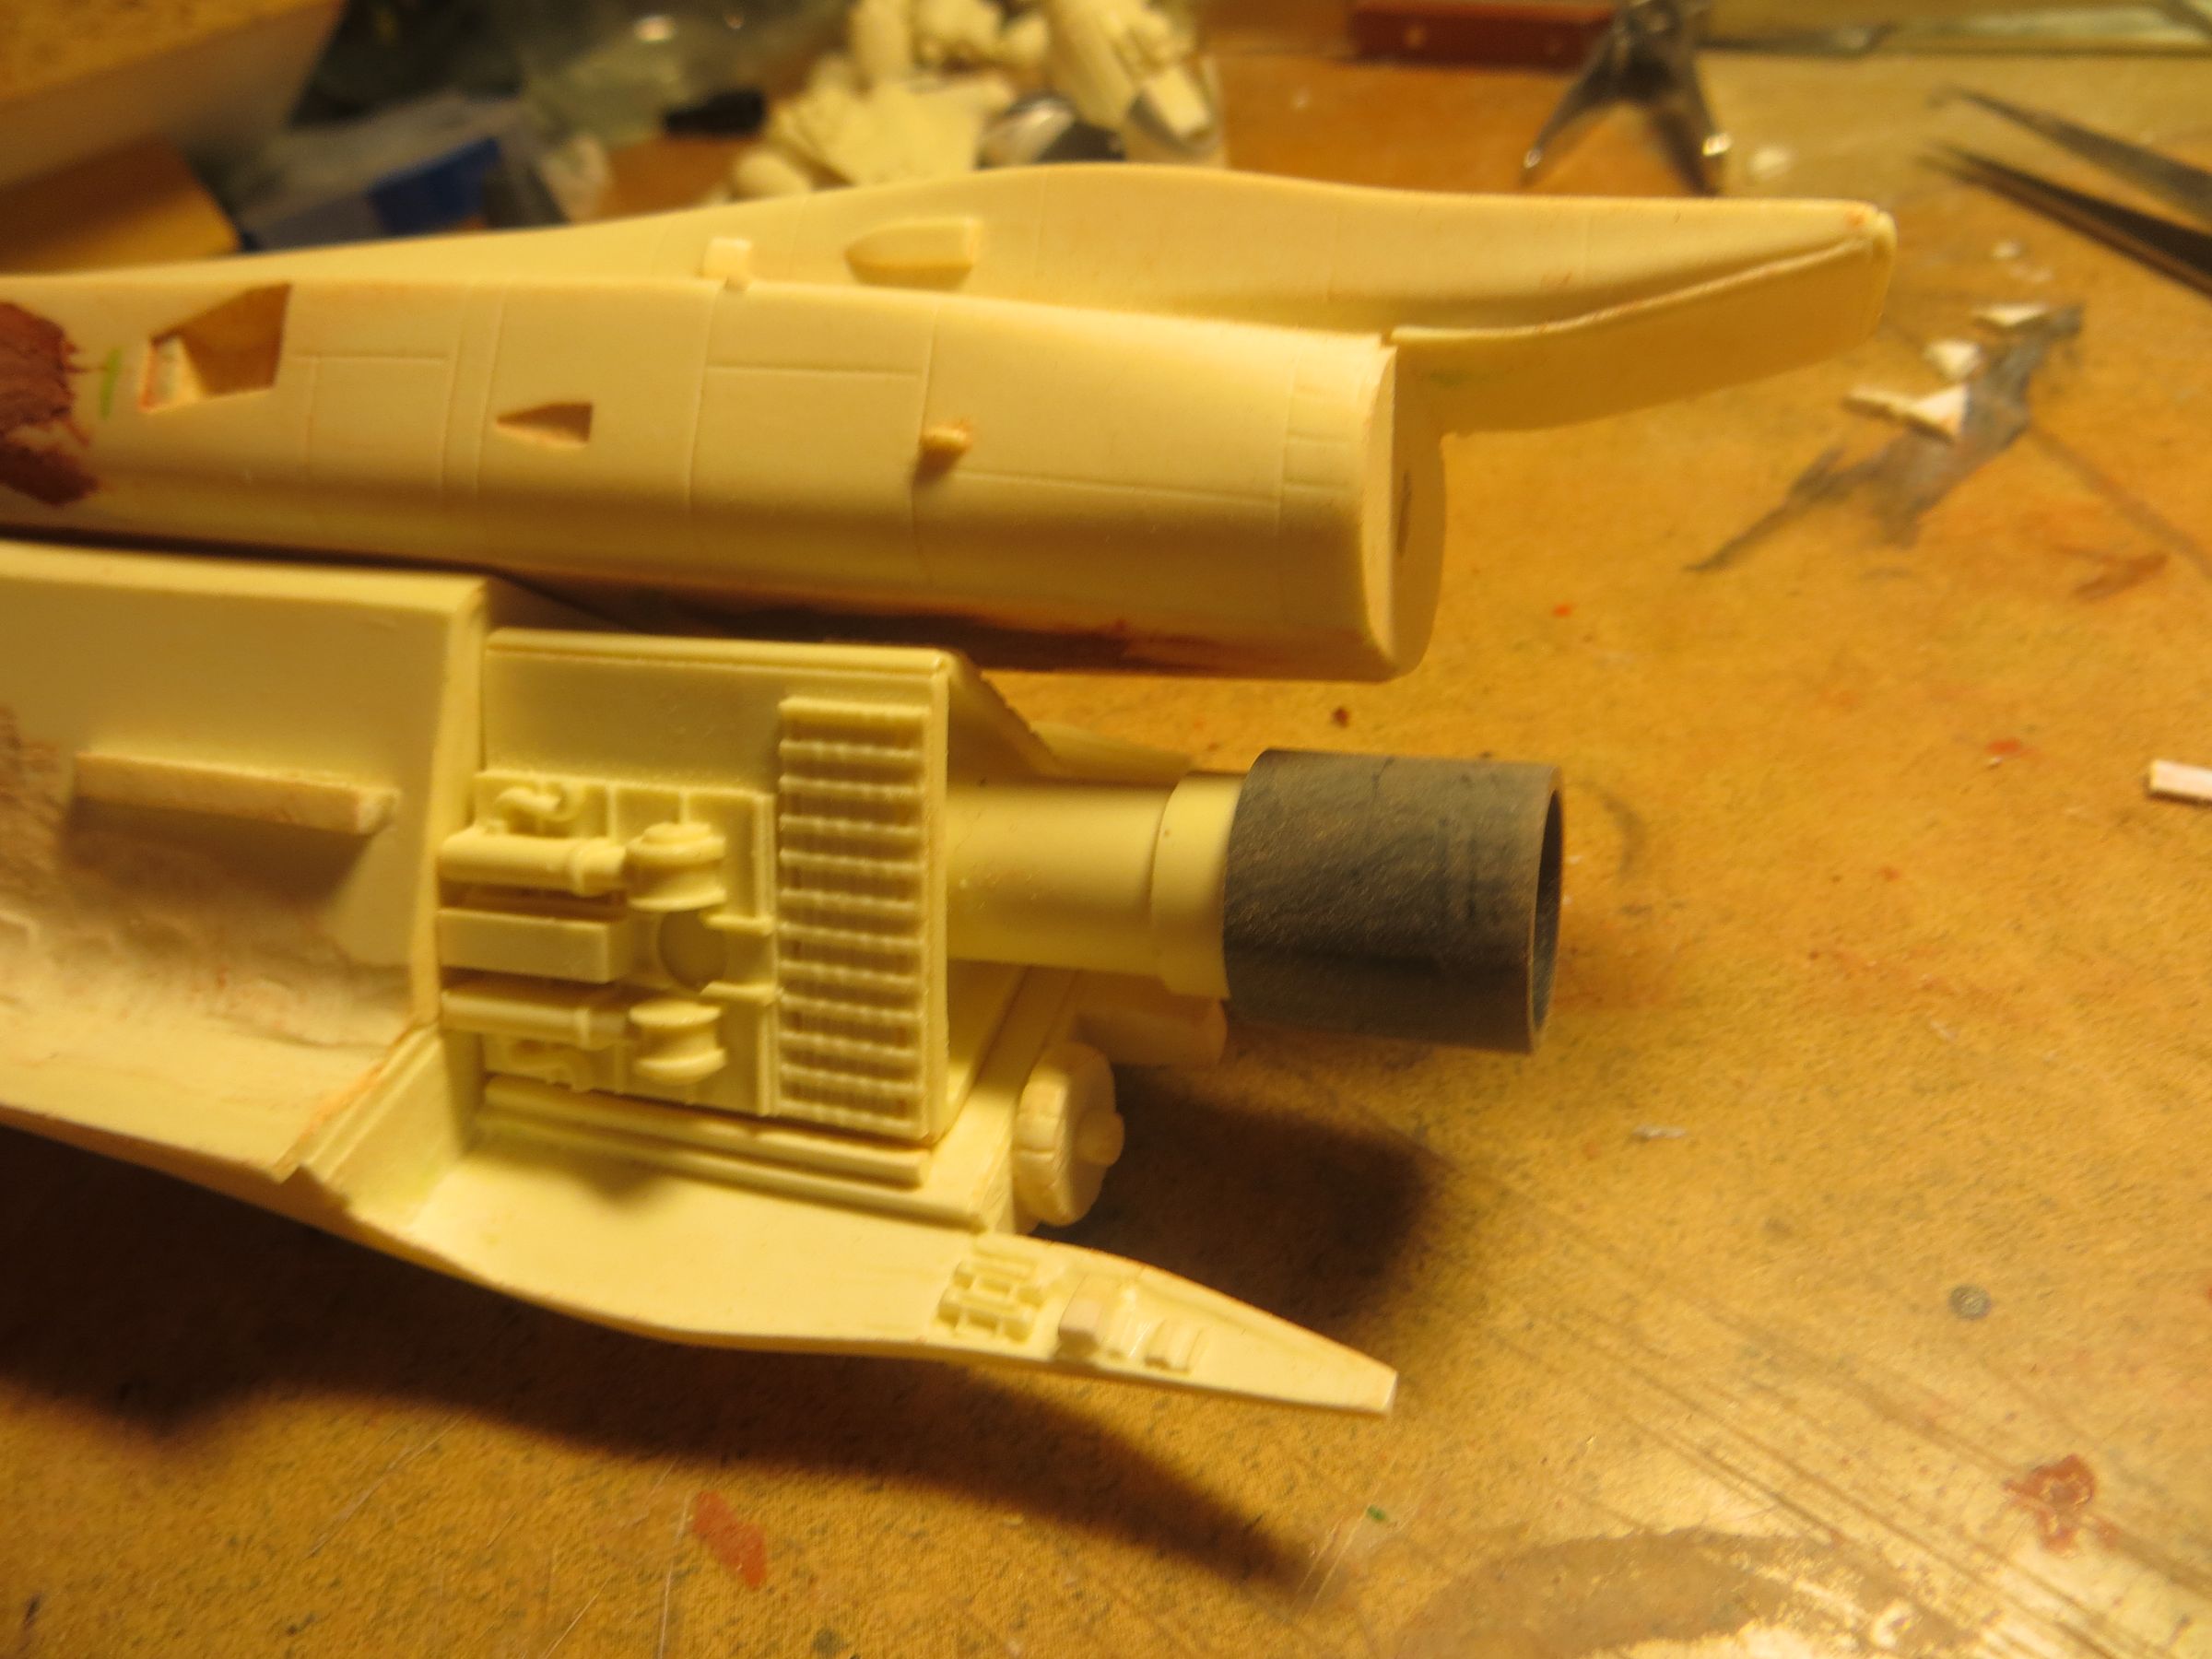
- scooping the main nozzles with the dremel.
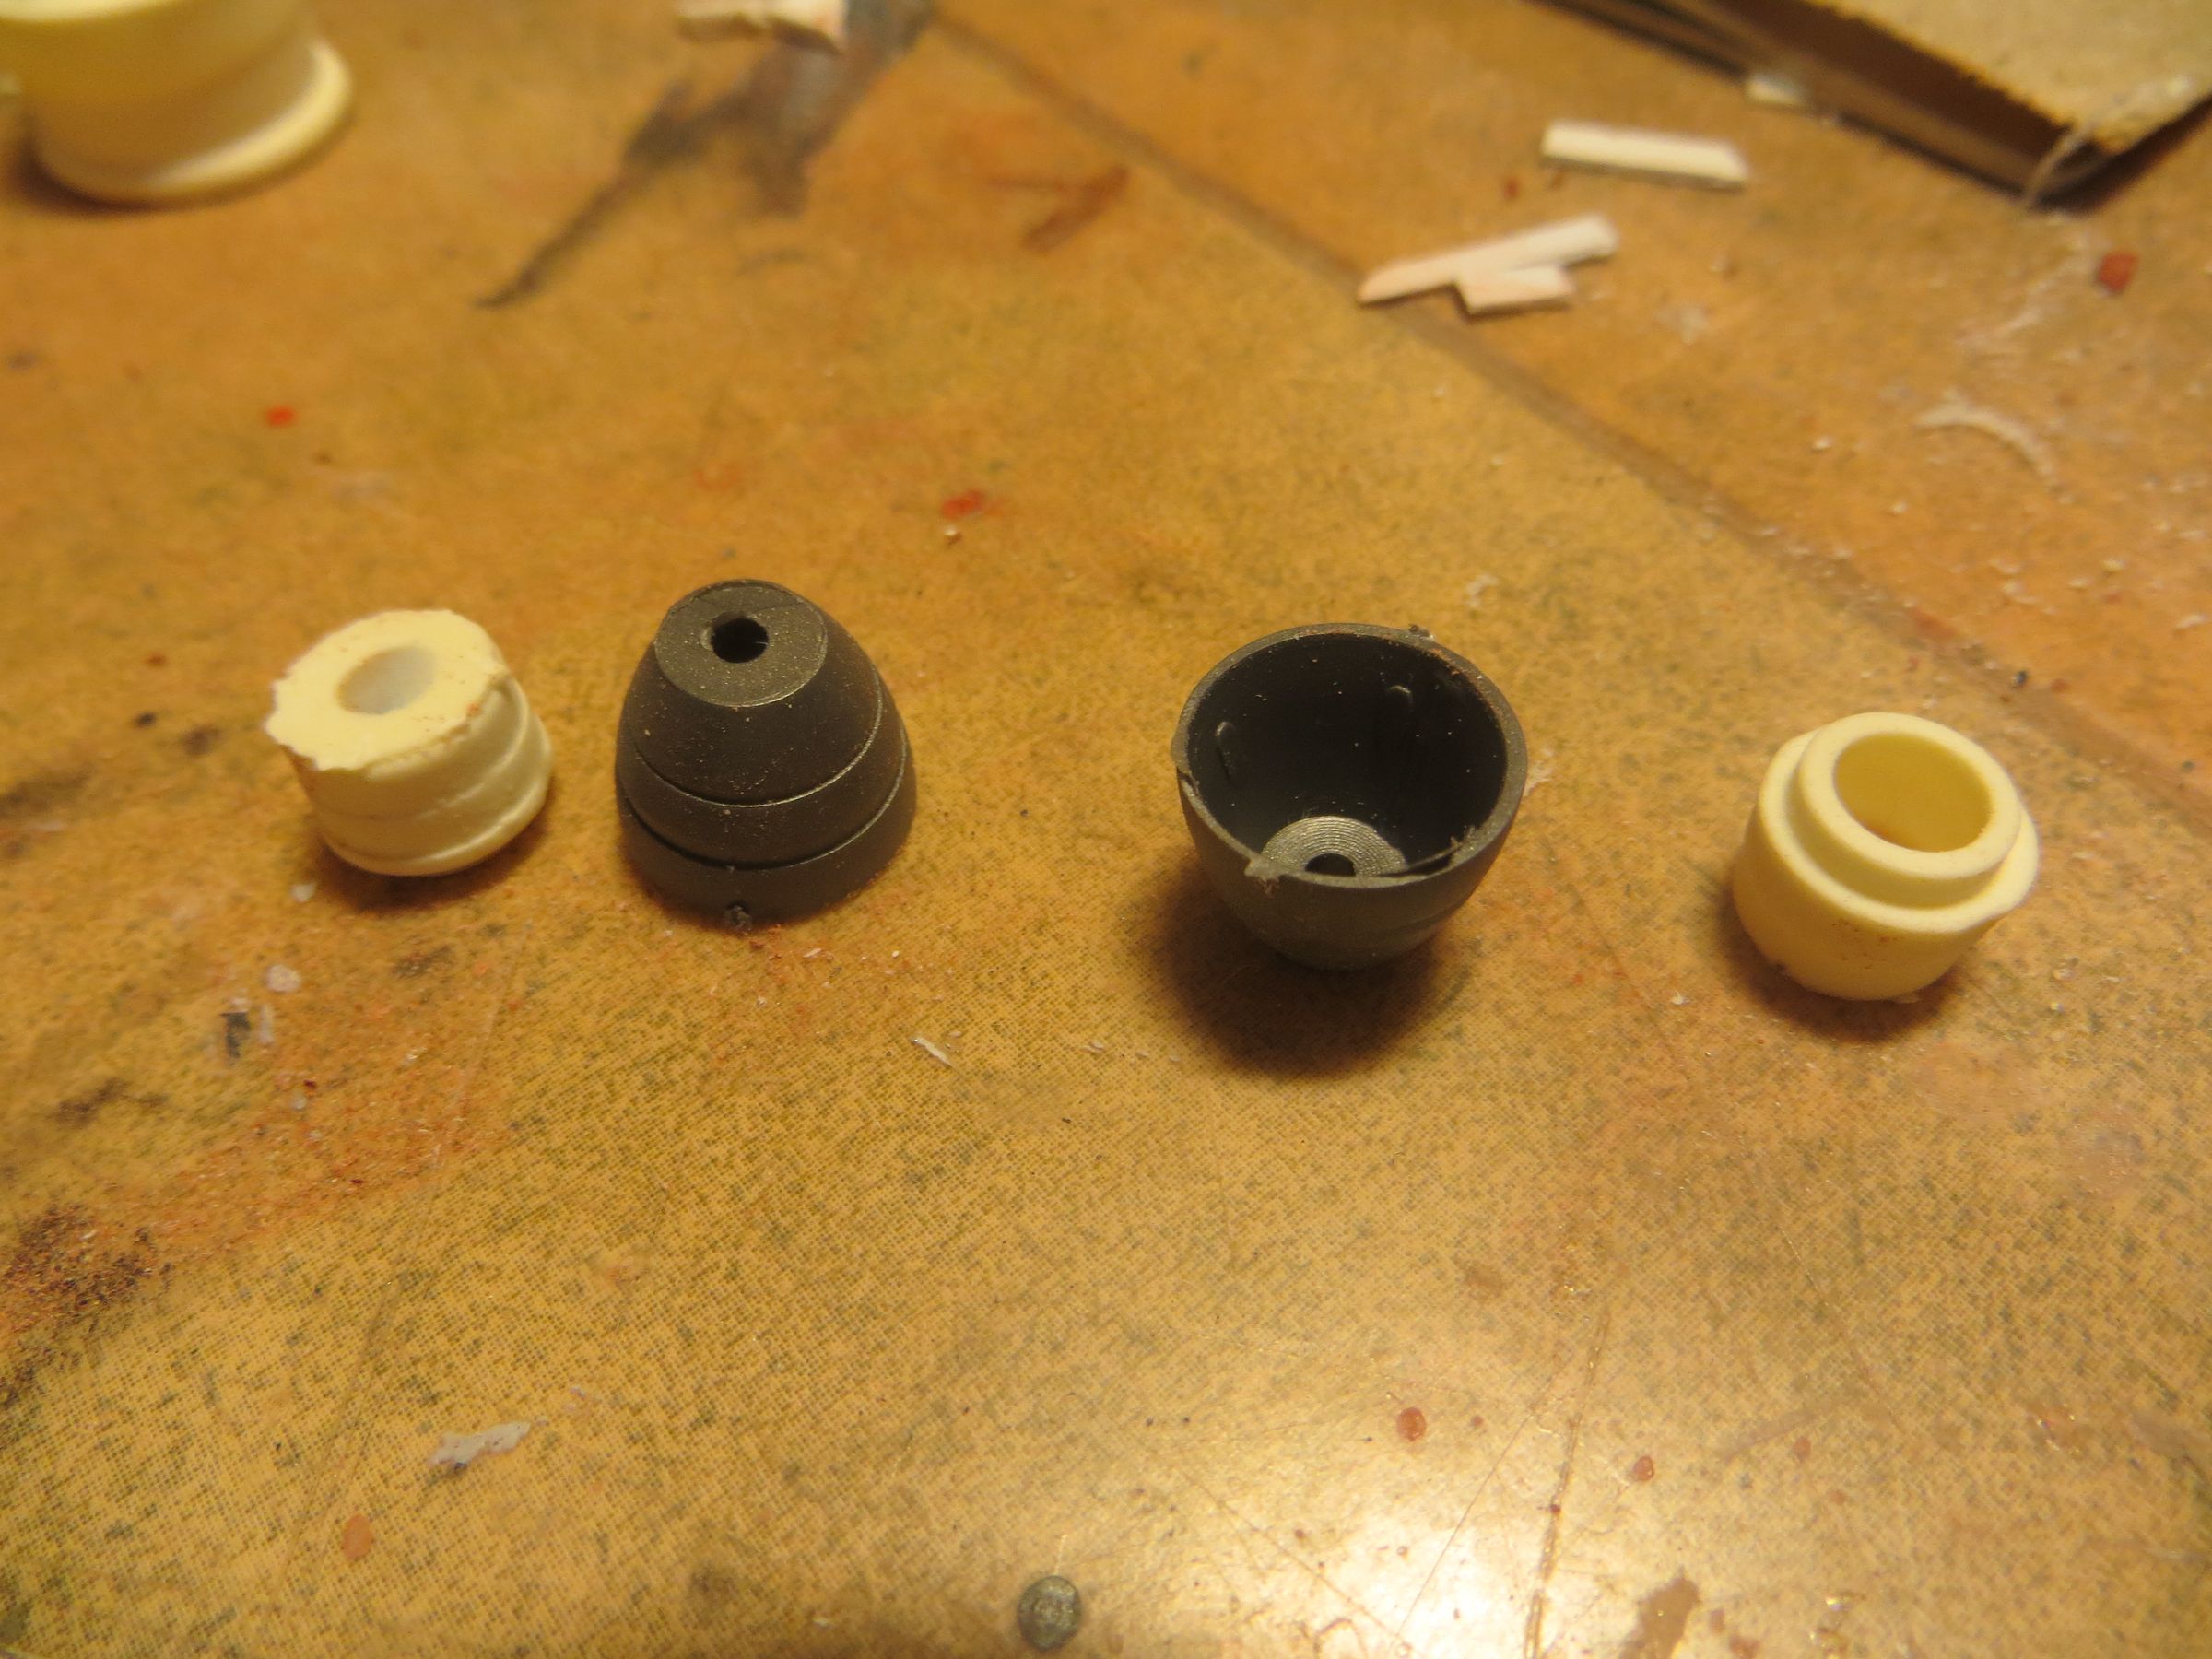
The base of the bells, with shifted casting, are removed using a small photoetched saw. As they are too long, I cut to the end ,so I 'll have to re-dig again the bells.
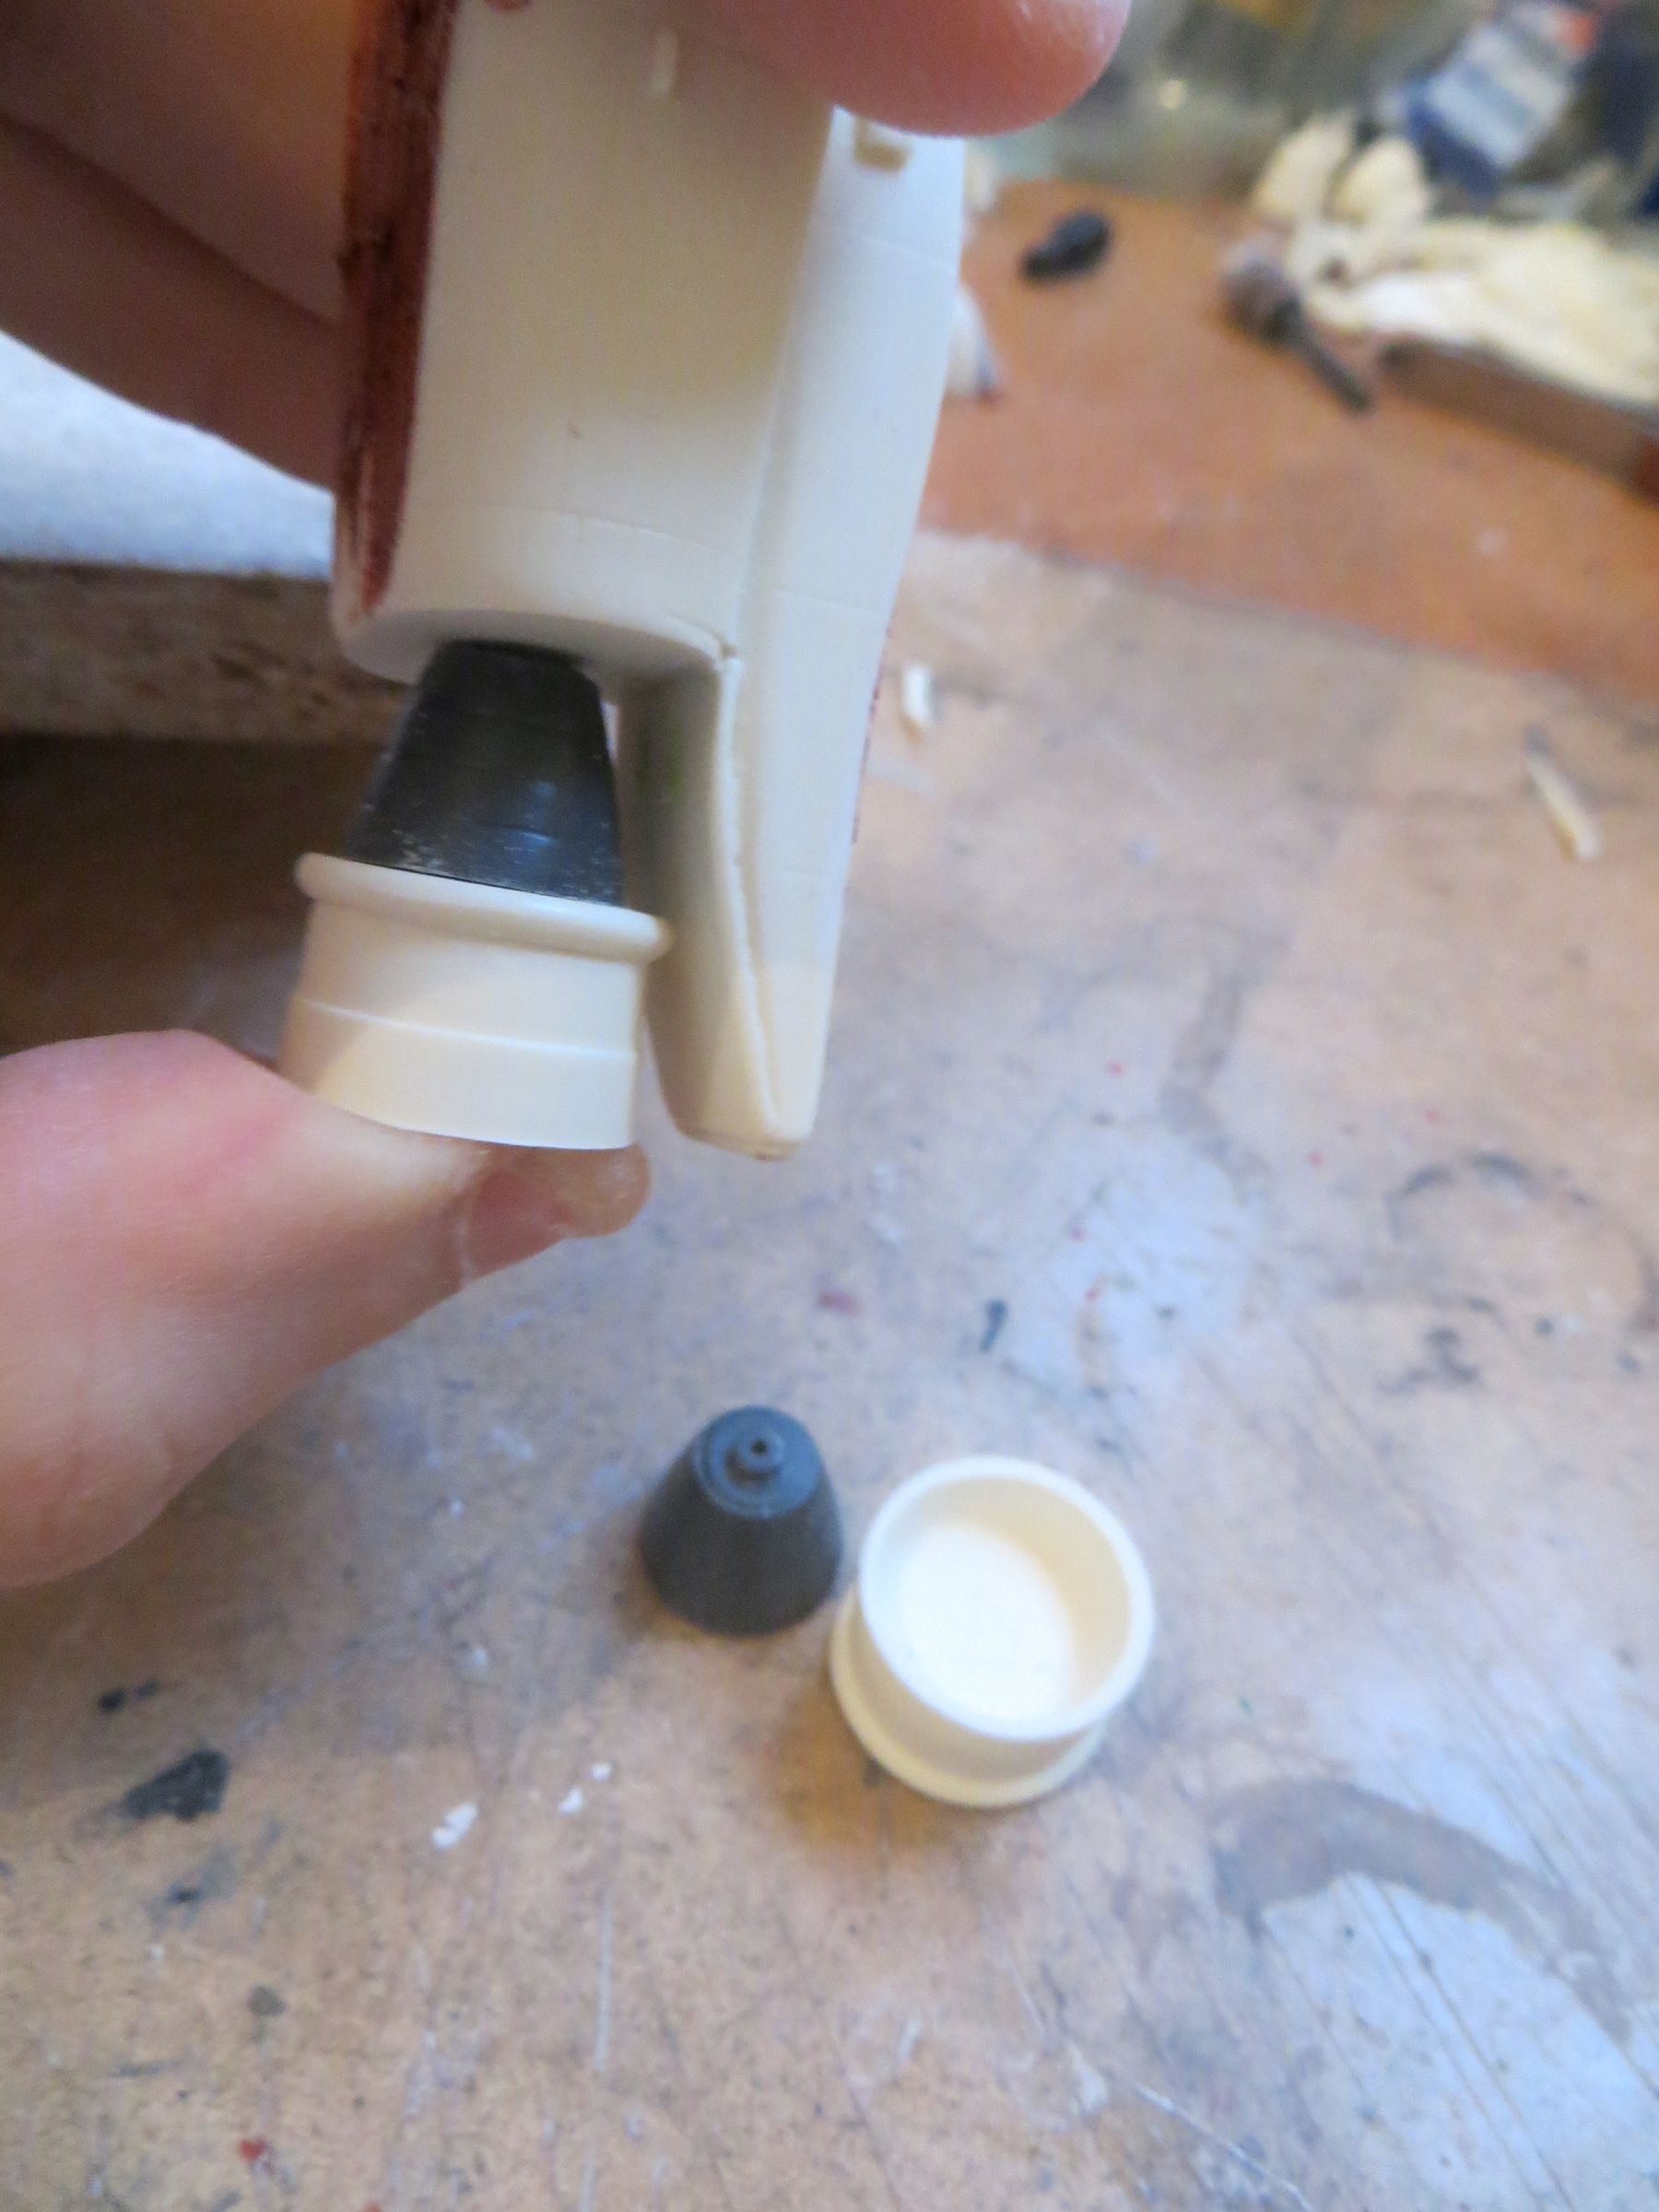
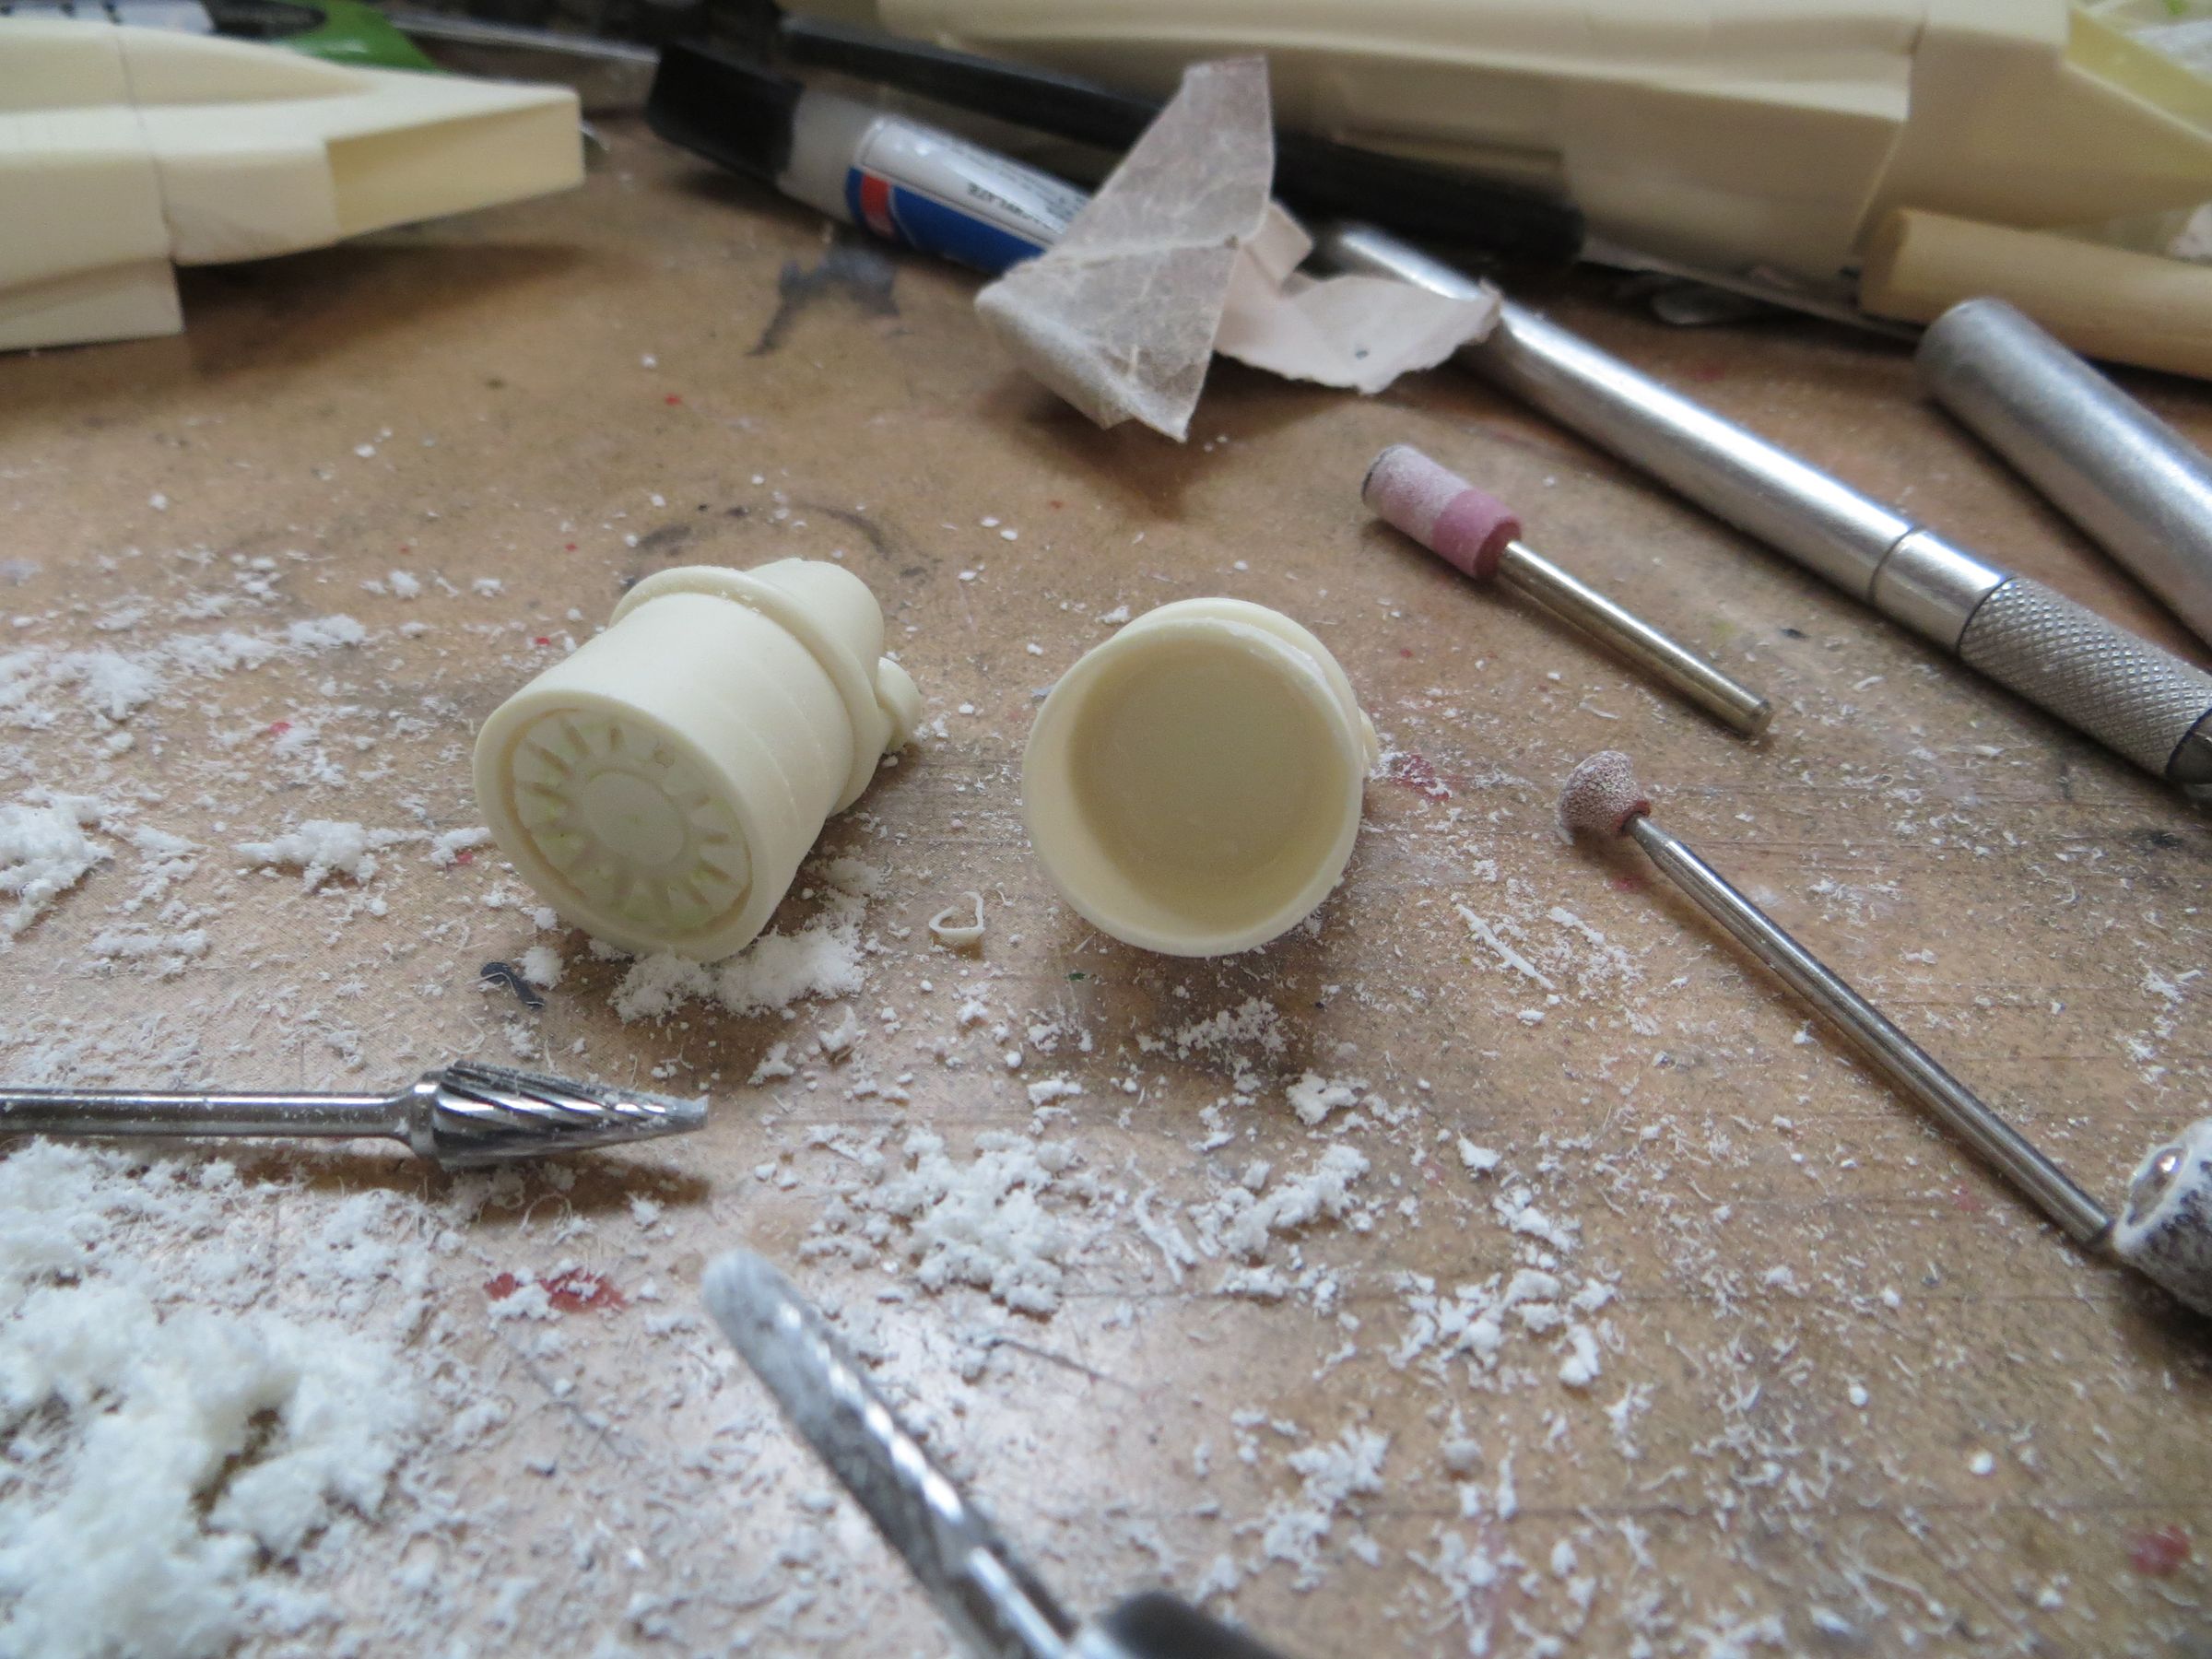
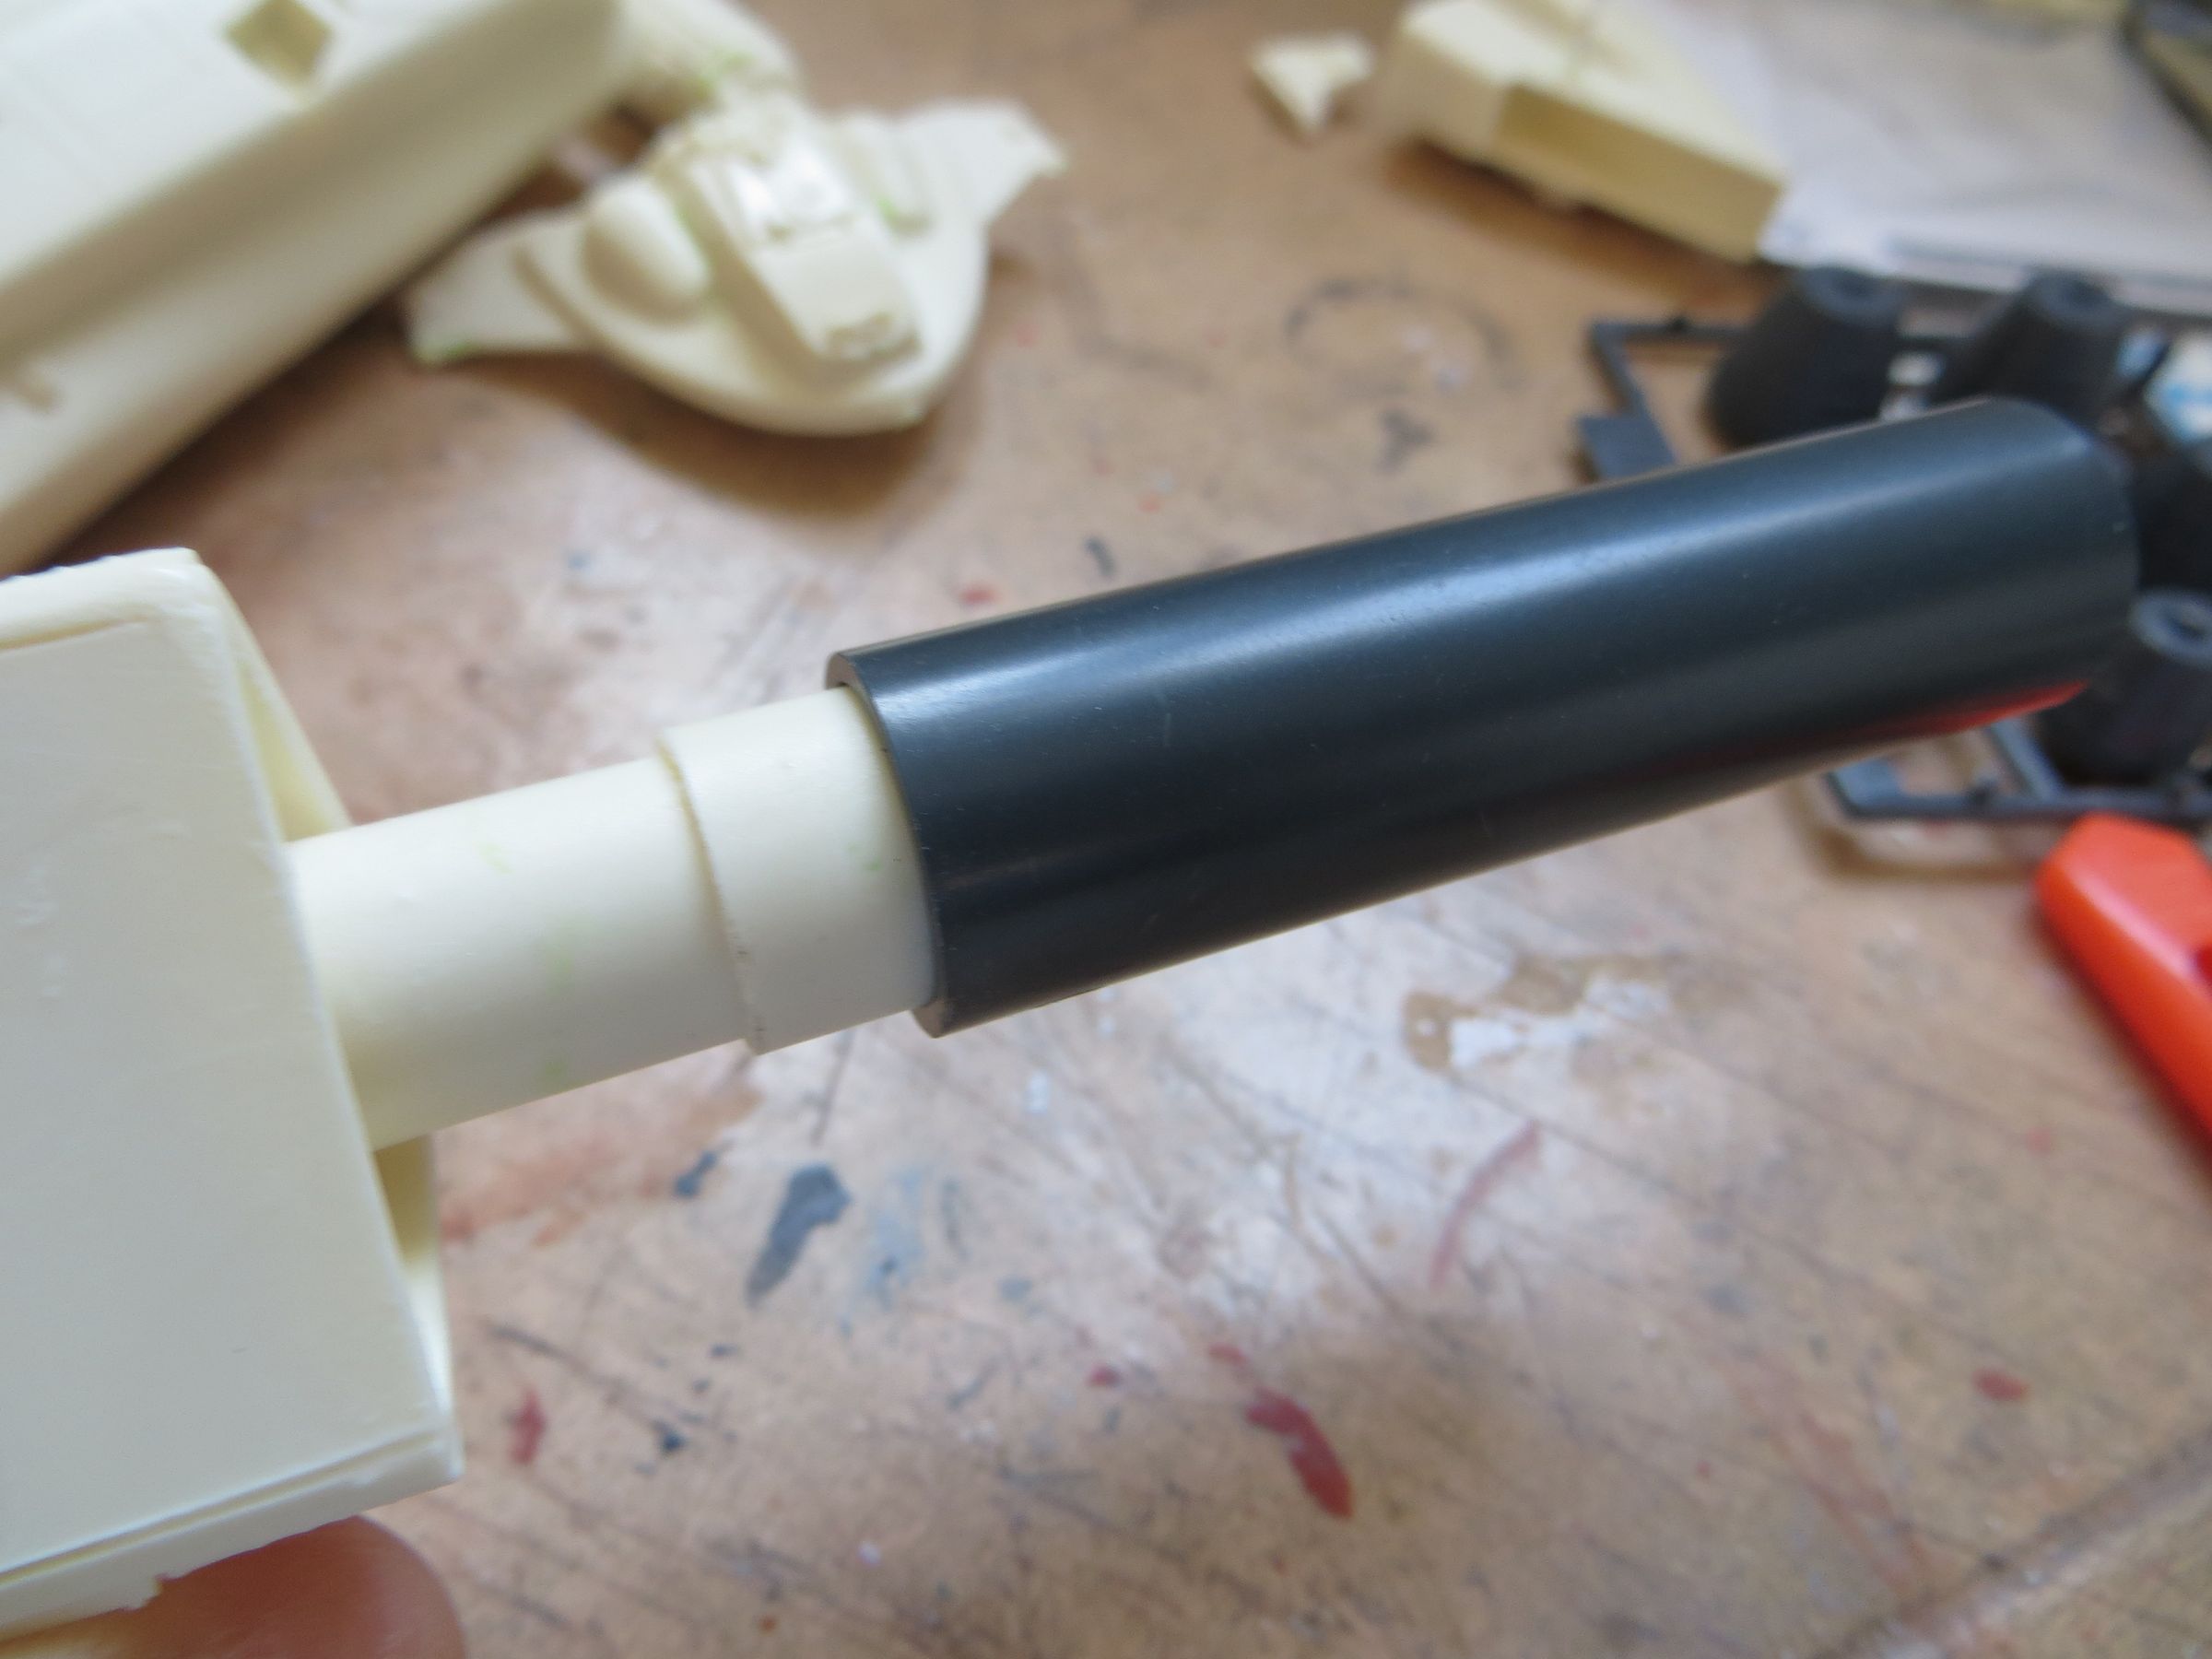
I was able to find in my spare box a plastic tube of the right diameter, and in which I can embedded the main cylindrical nozzle. I just needed to cut it to the correct length.
The small nozzles are replaced by a new set of bells from an upgrade kit (Kotobukiya).
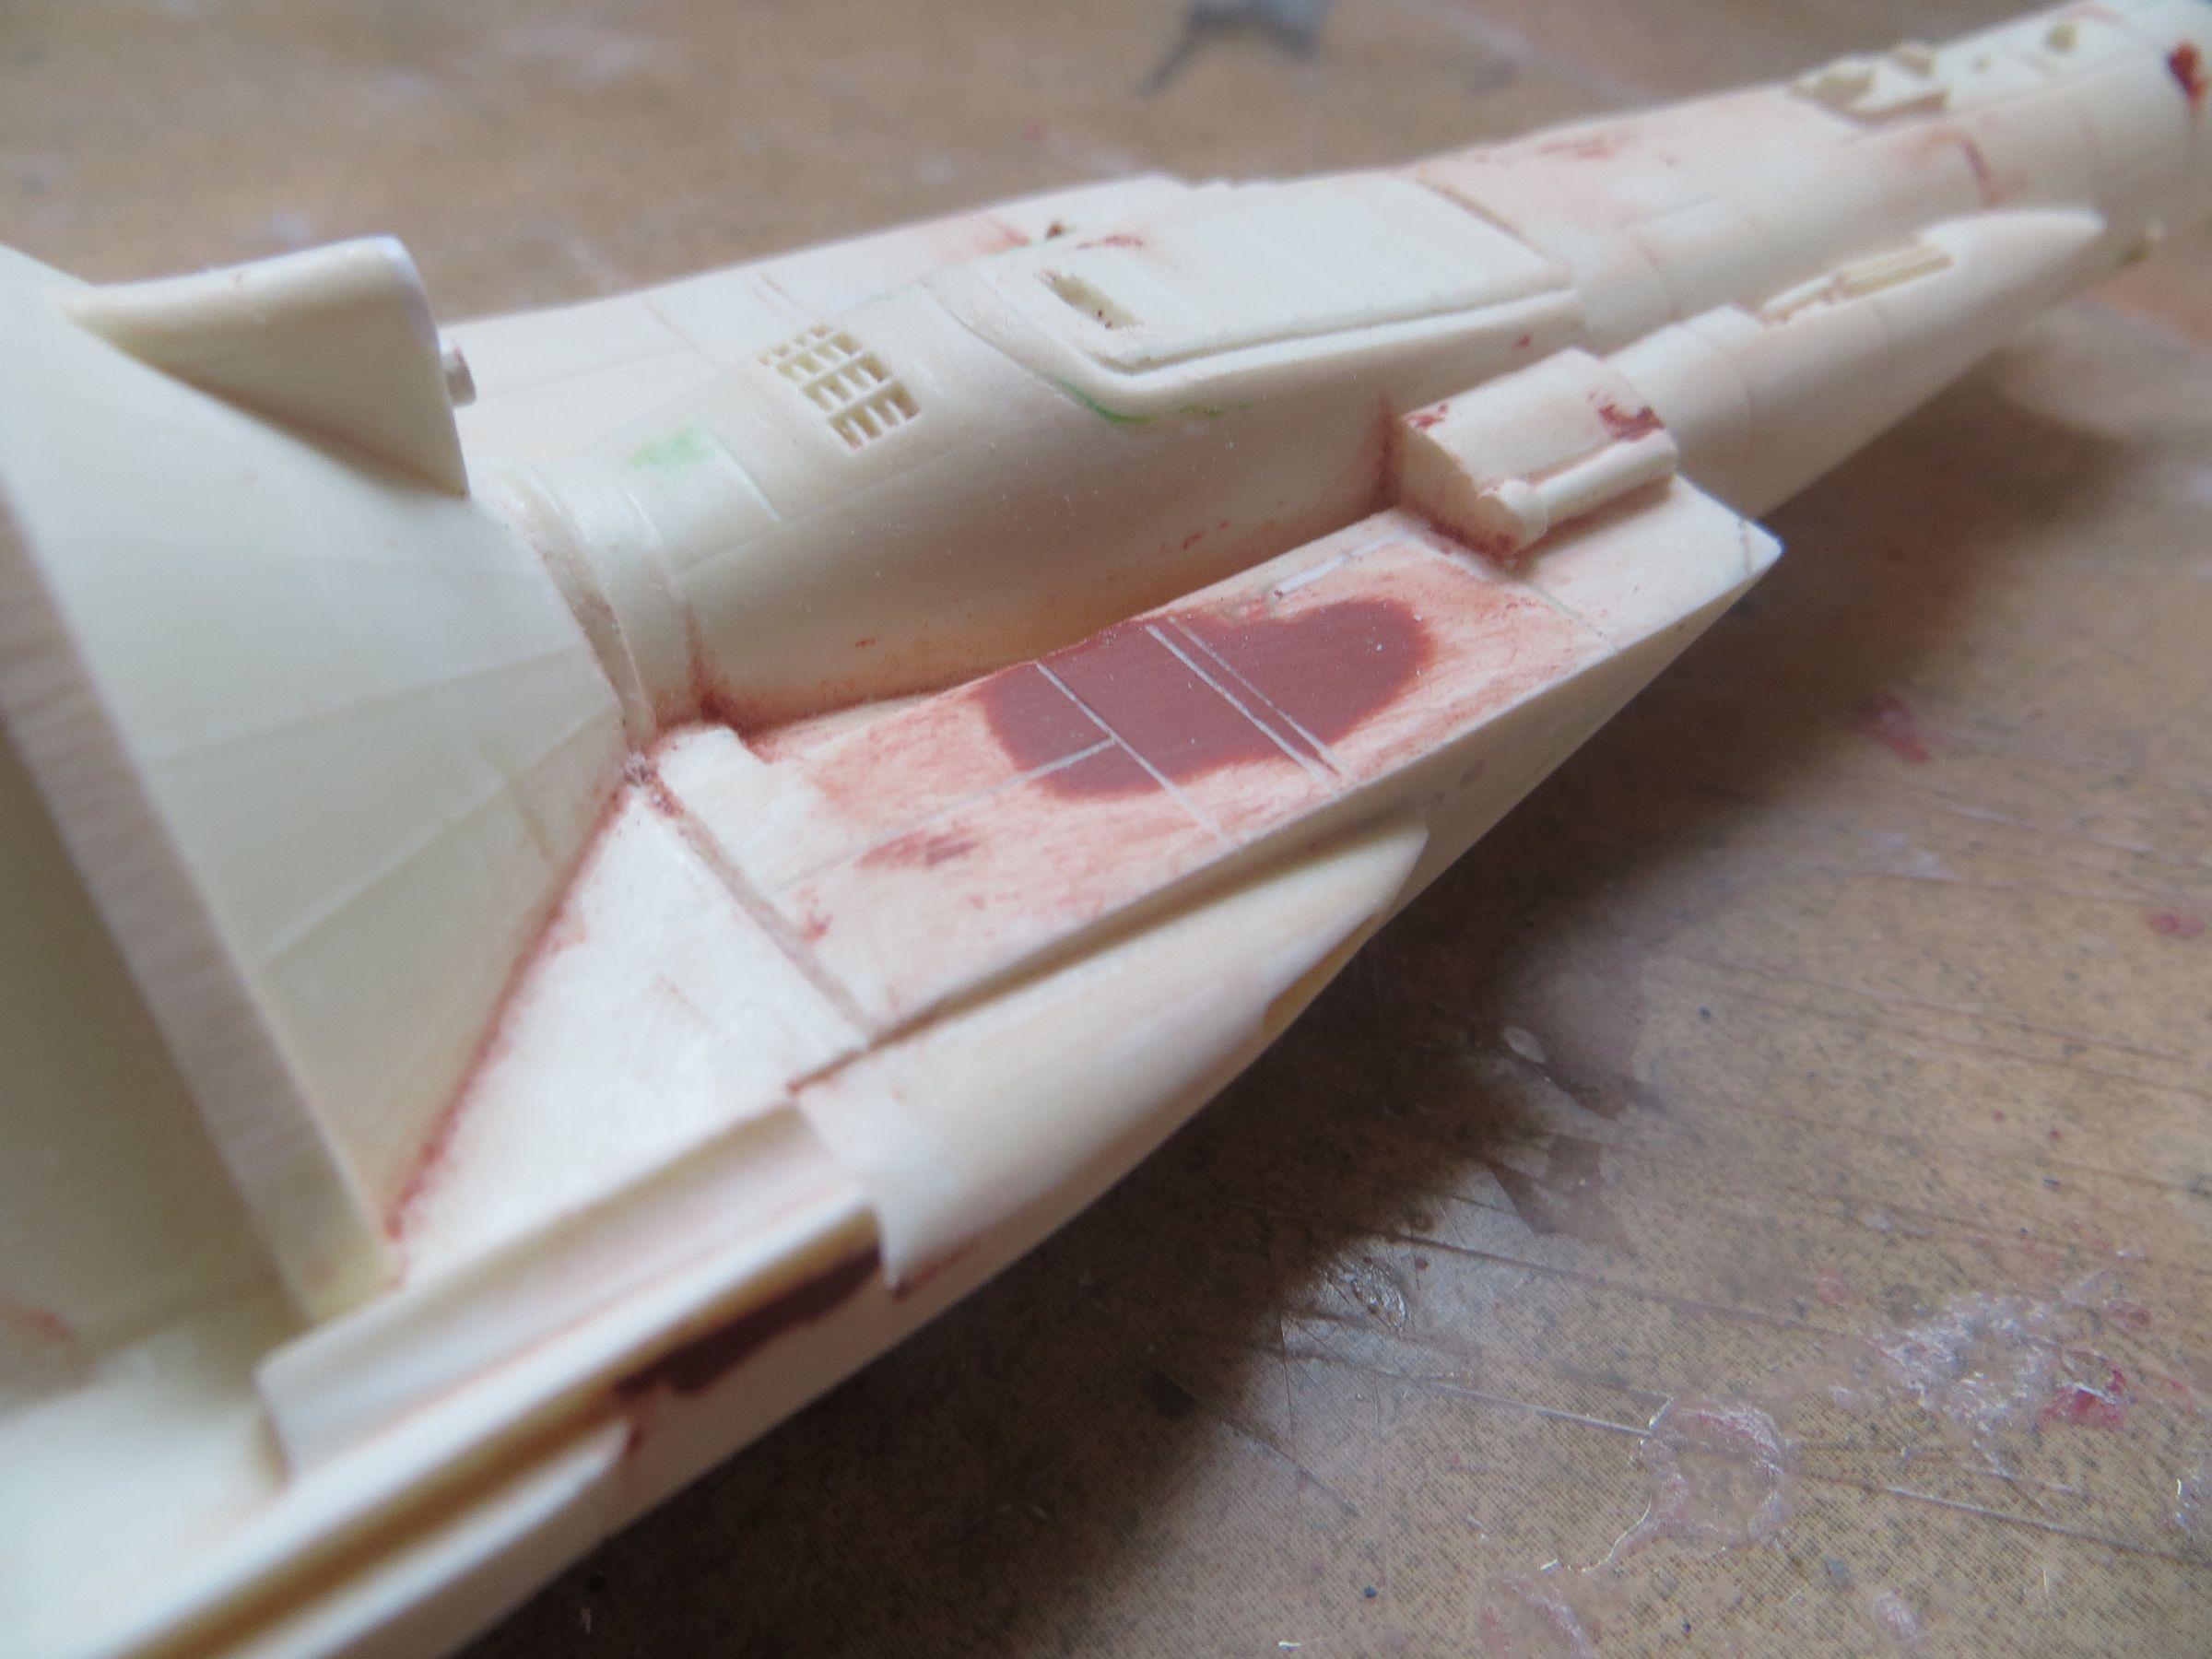
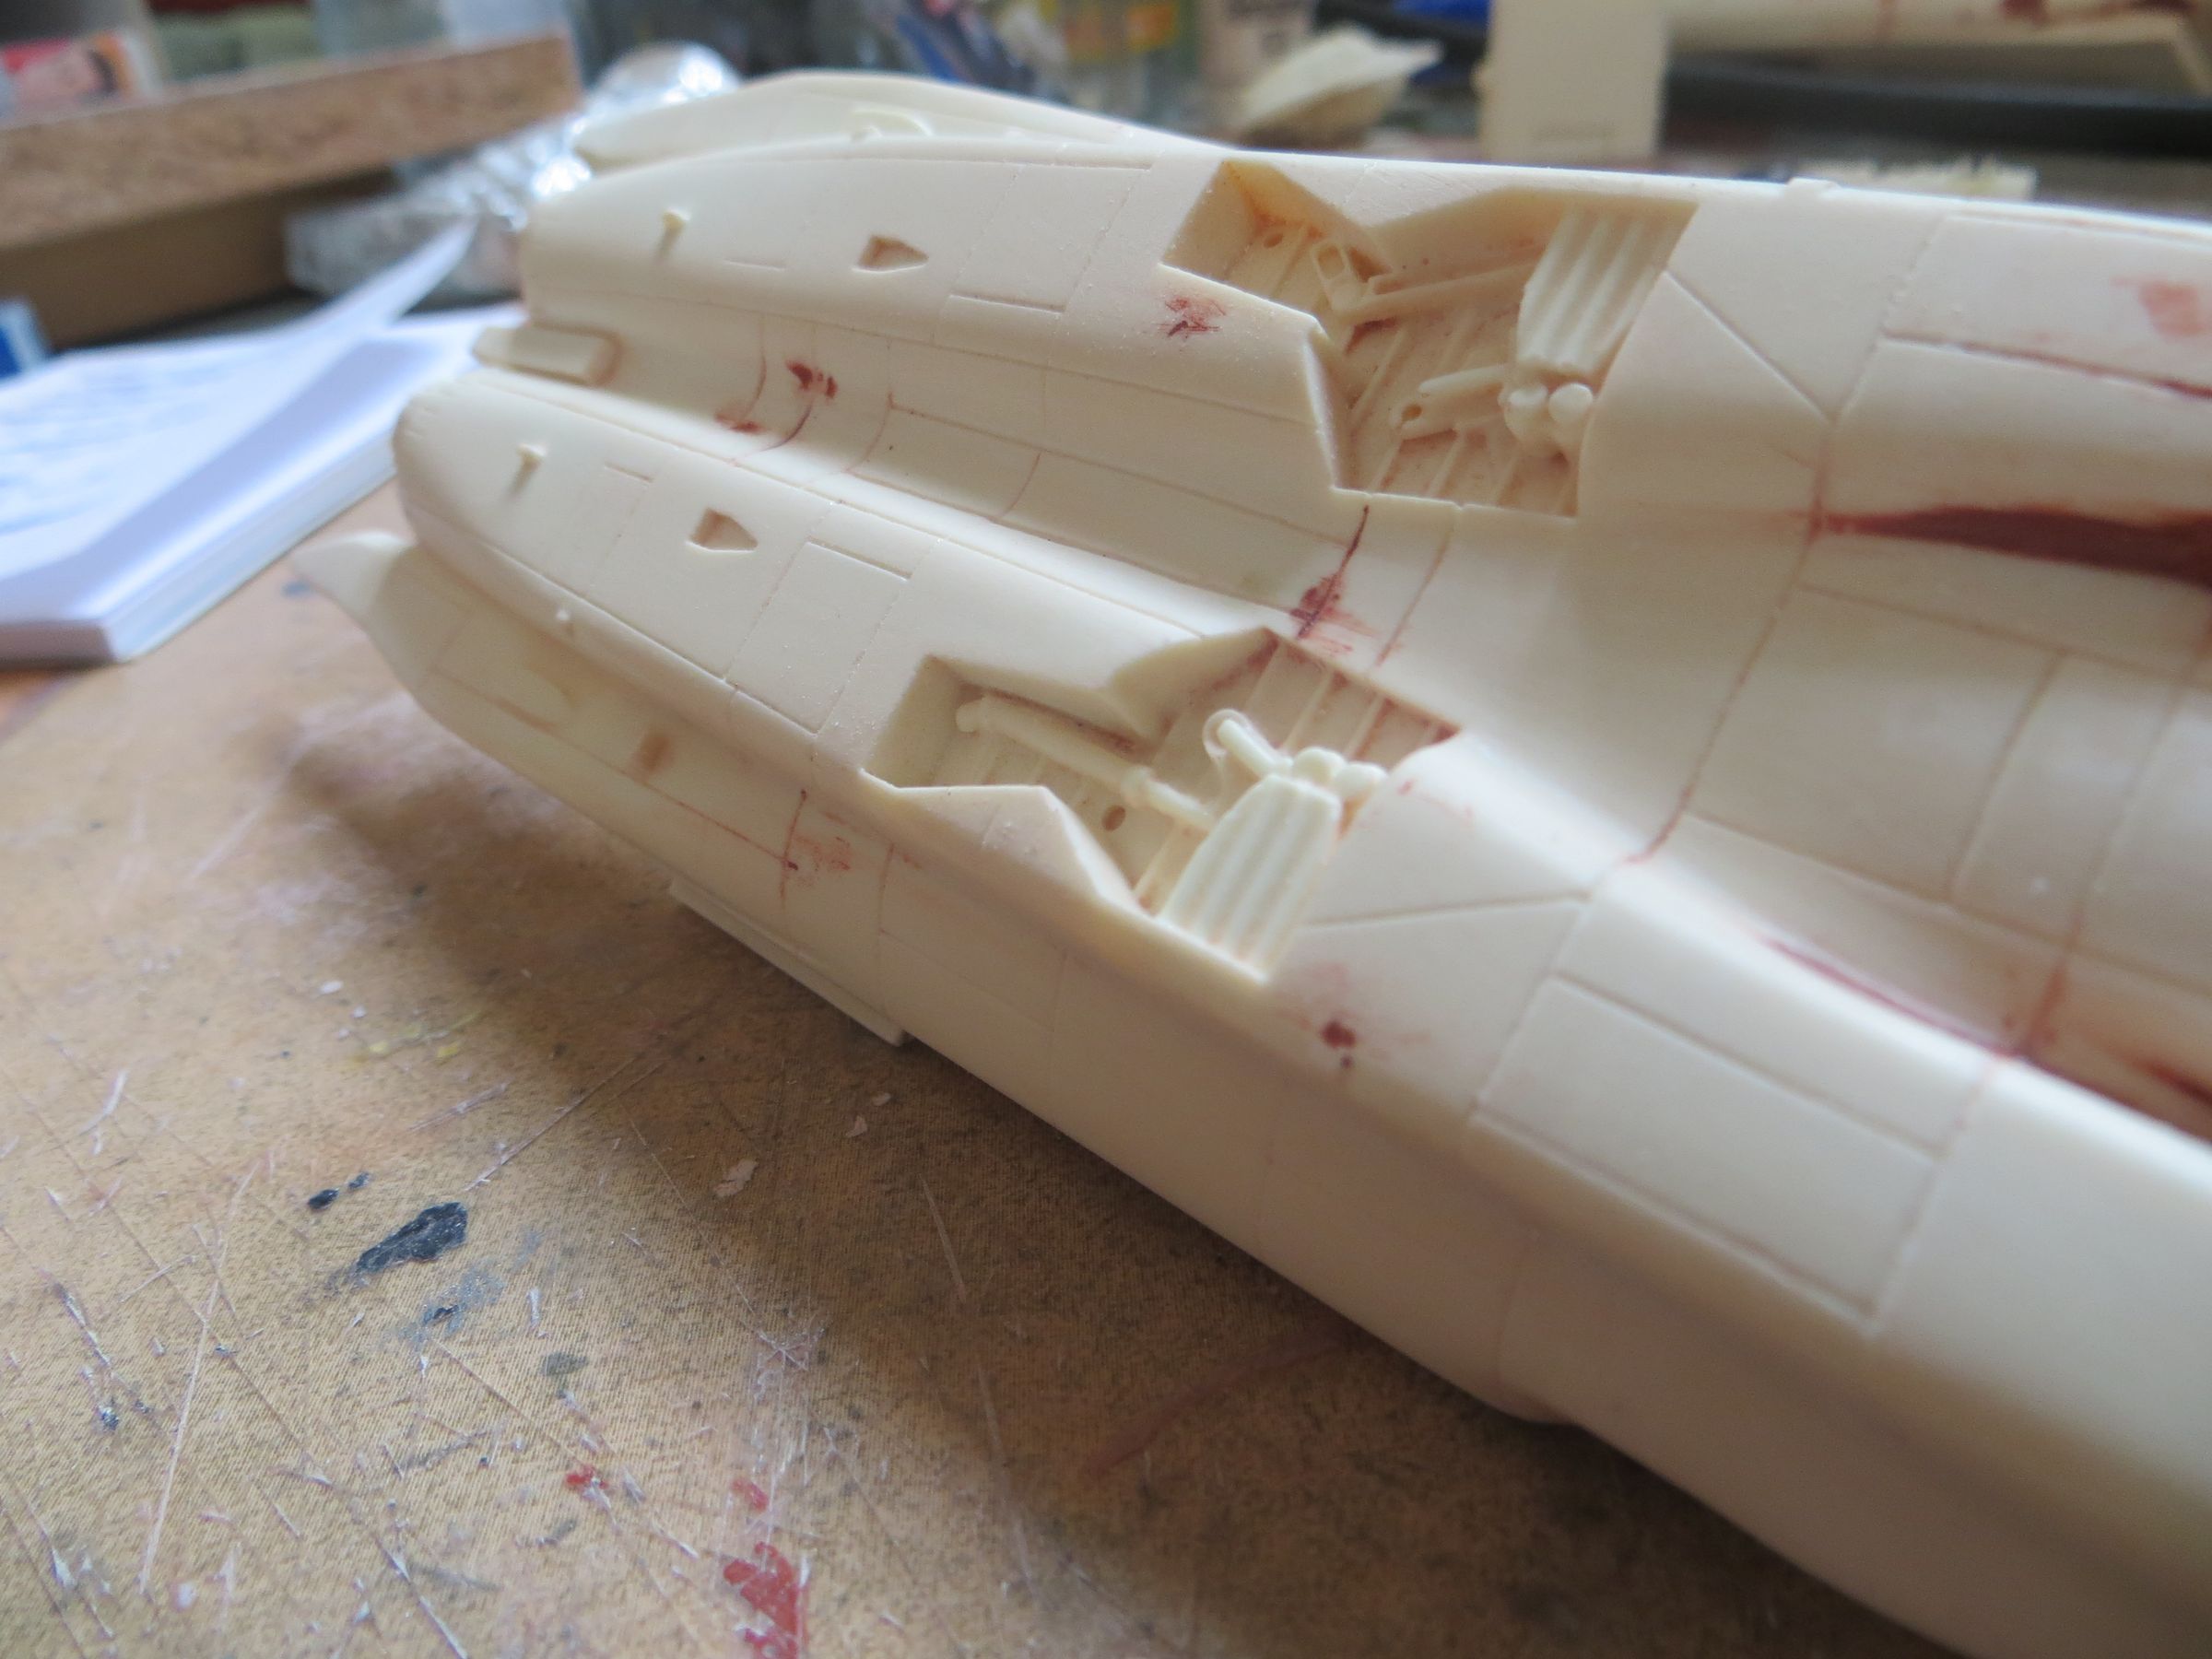
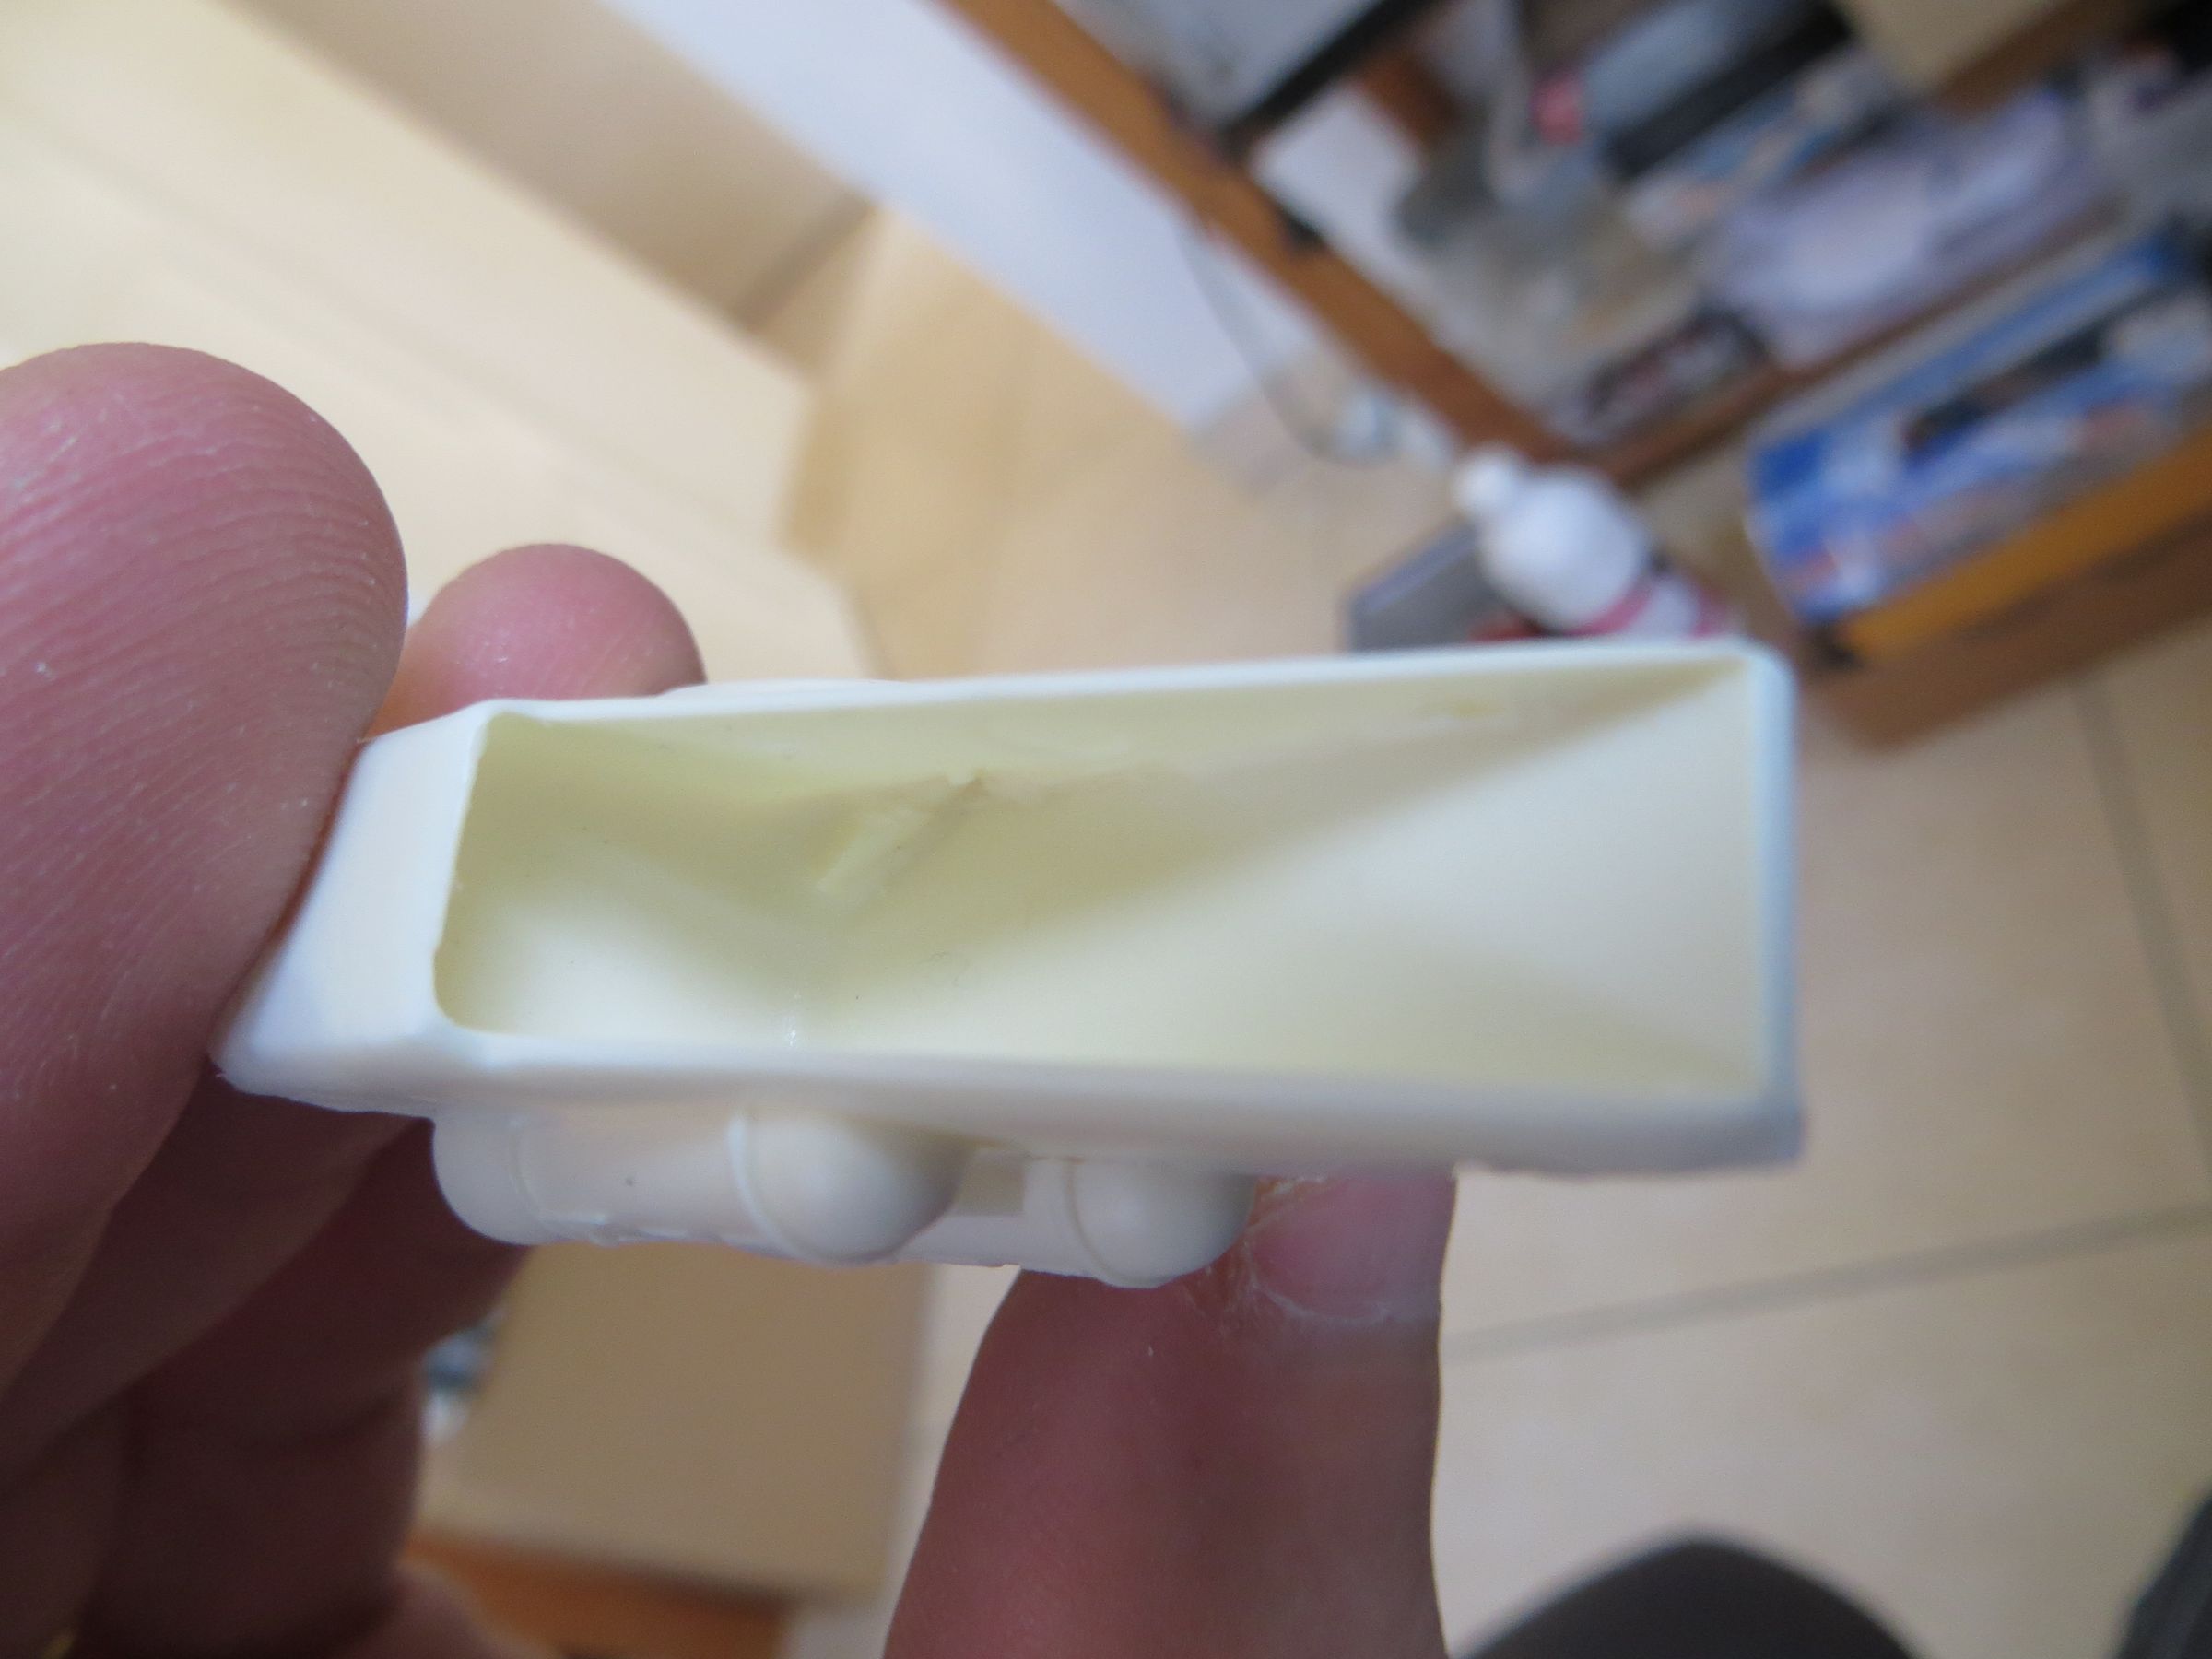
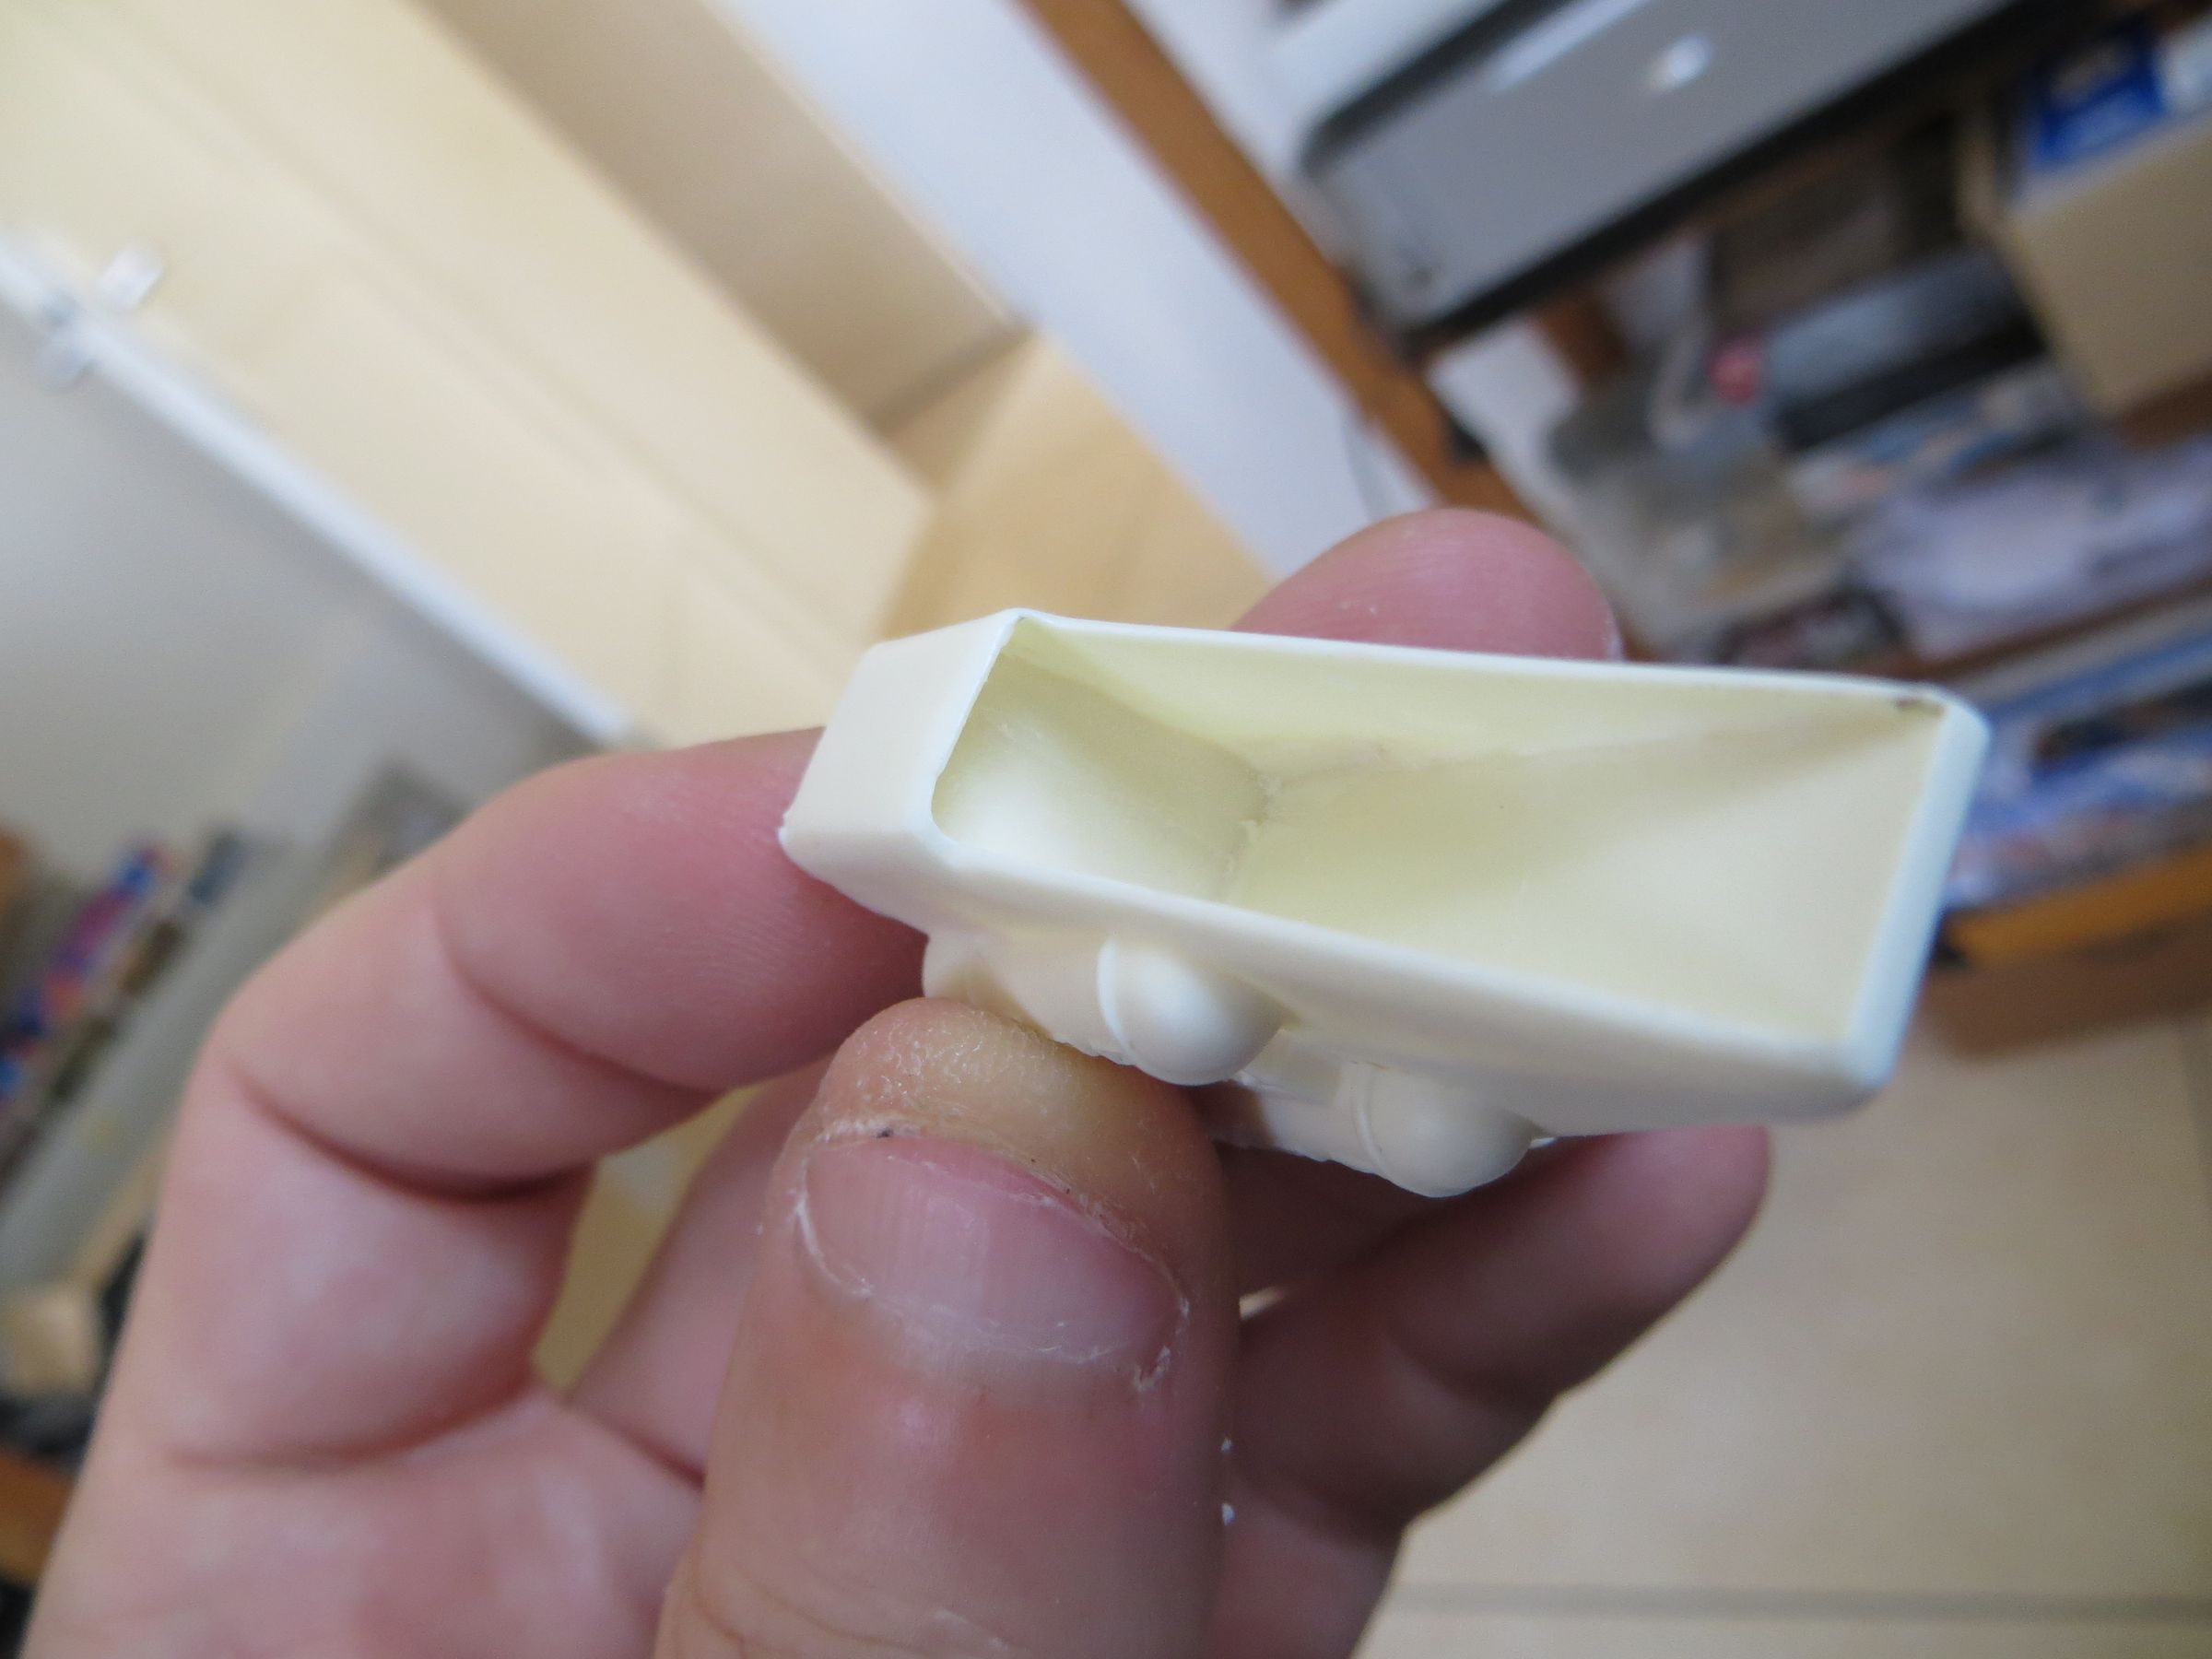
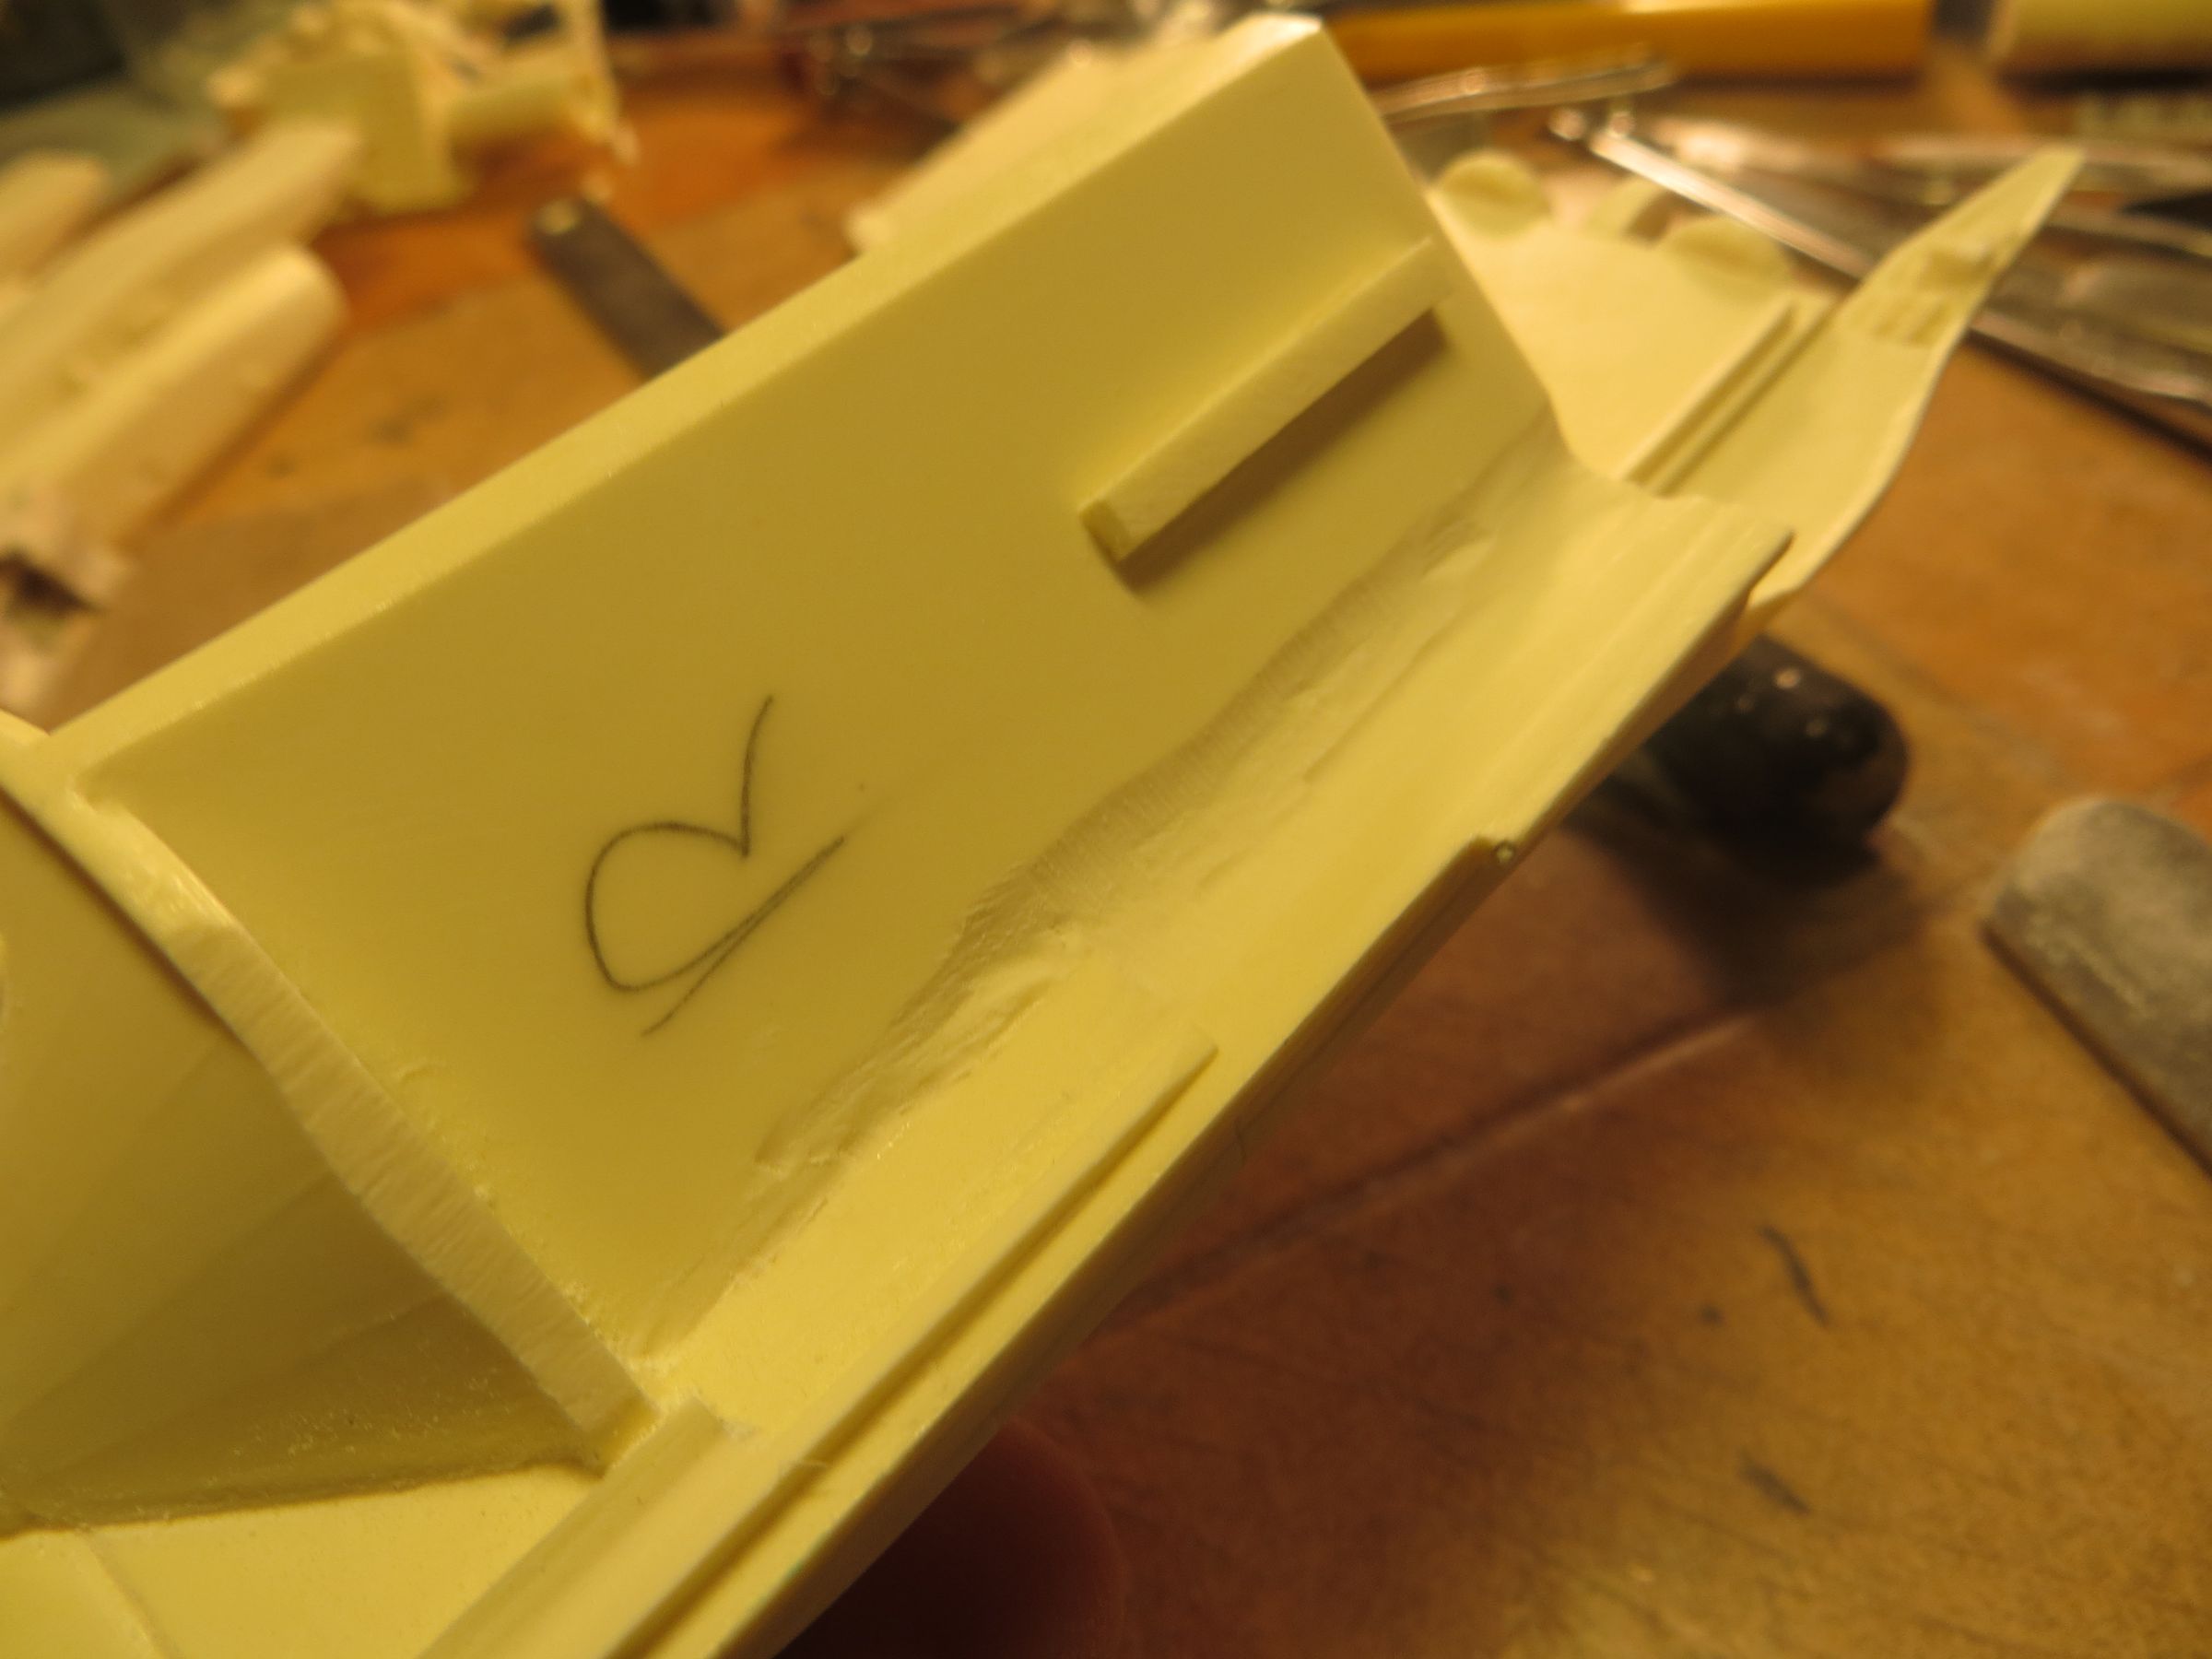
Intakes bottoms (main cabin and side modules) were note depth enough to my taste and poorly finished (rounded edges). They are dug and improved with scrapers and dremel.
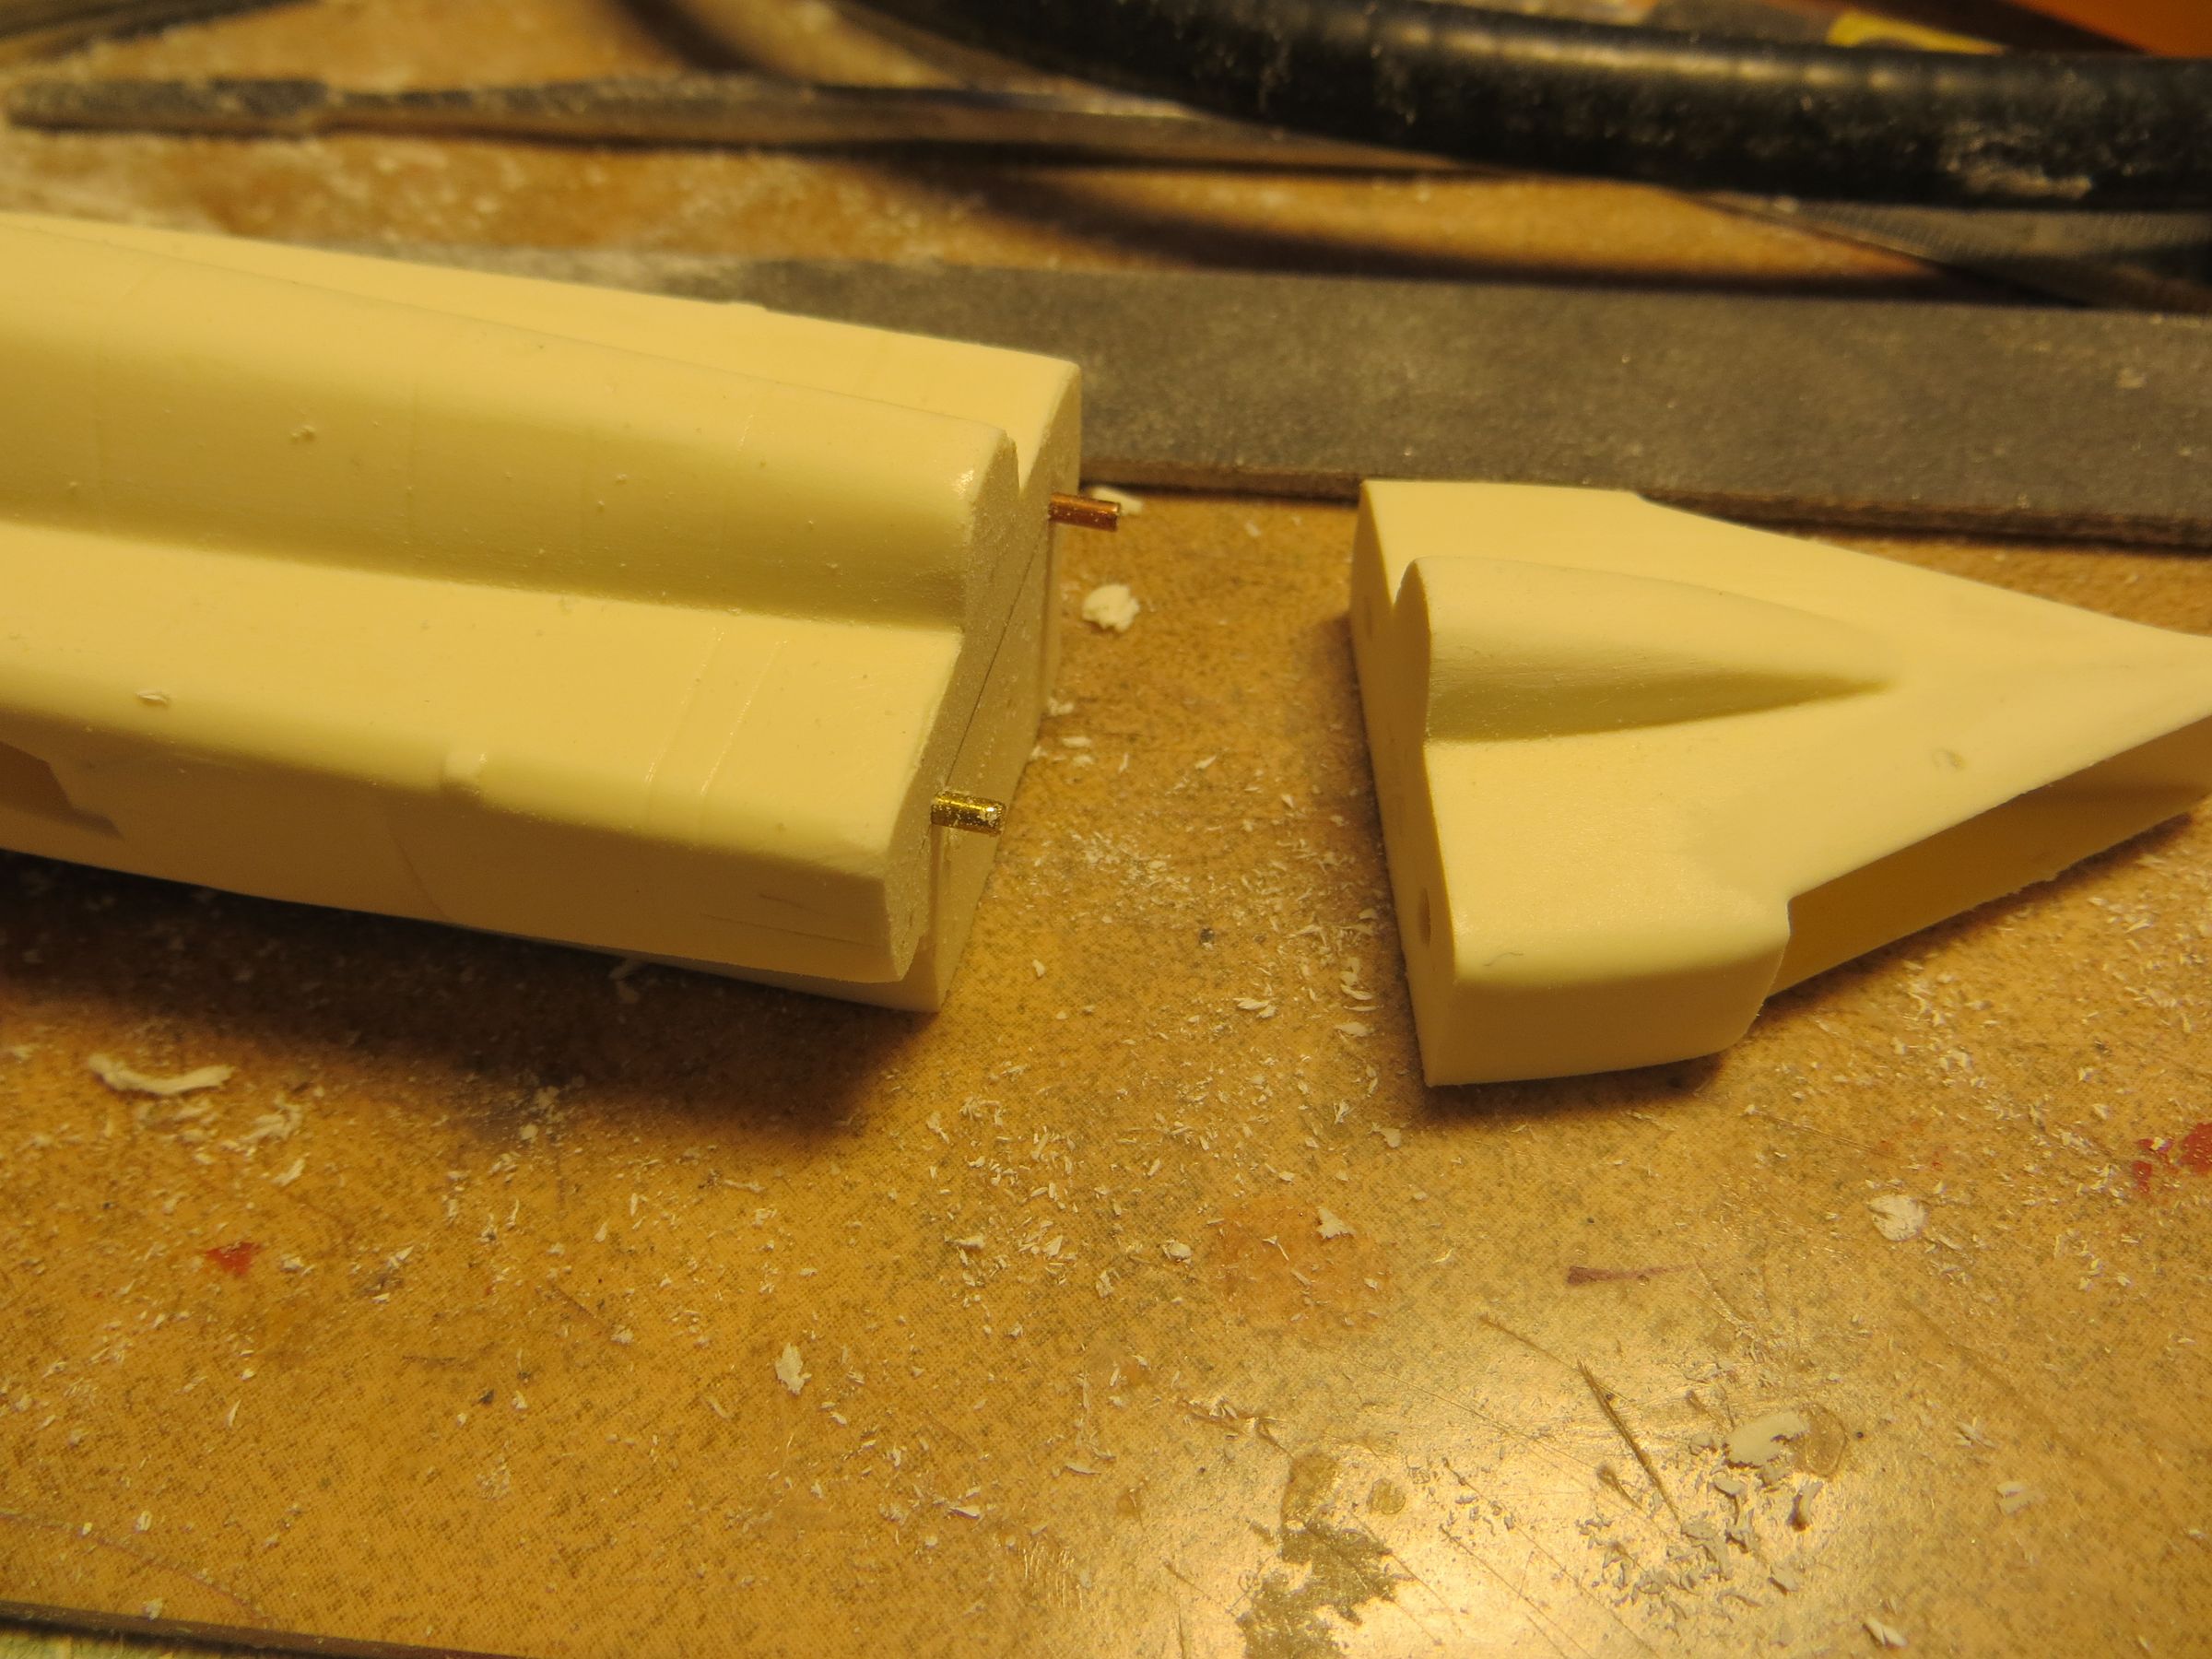
The air intakes are then pasted on the side modules, strengthening them with metal rods. The seams are then sanded.
Then comes a serious run on the sanding belt machine to remove the excess material of the foot.
In this picture, even if the sanding is done, I positioned the two modules to show the height difference before/after sanding.
The Saturn 5 cone needs also some triming.
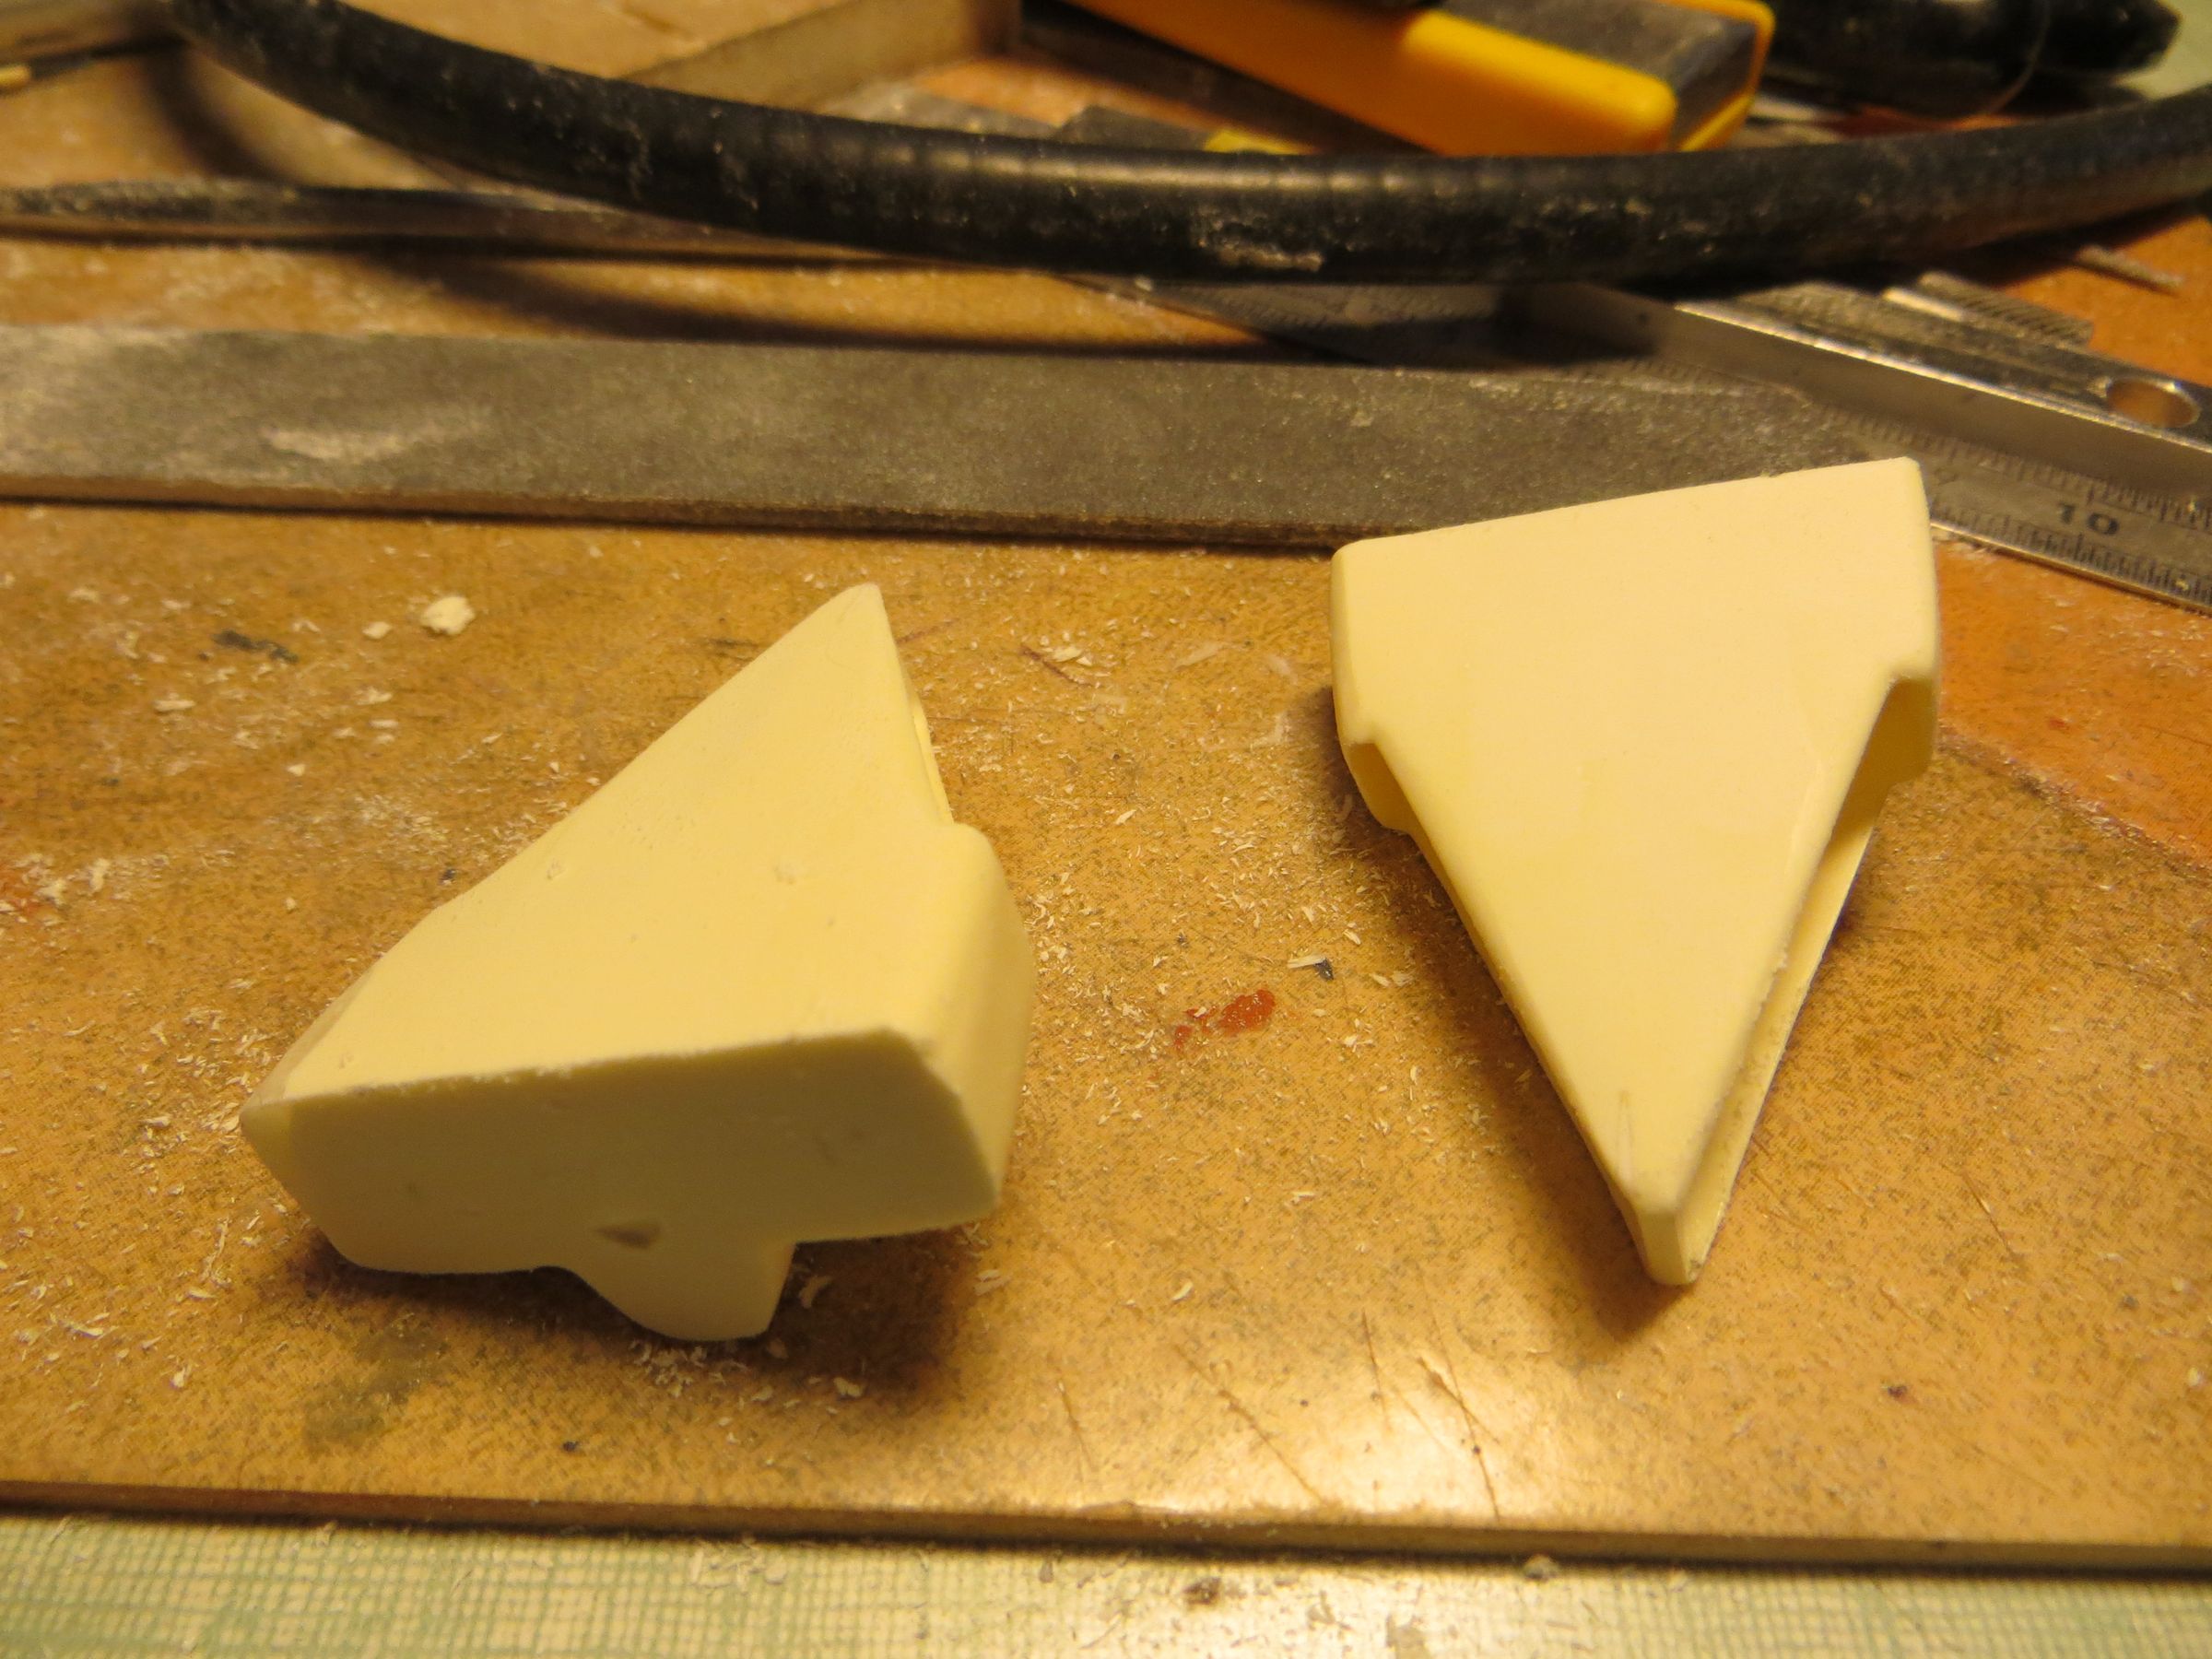


Similarly, to fit well with the main cabin, it is necessary to trim here and there, adjusting this with many dry tests.
Air intake on the main cabin were thickened and strengthened with plastic card.
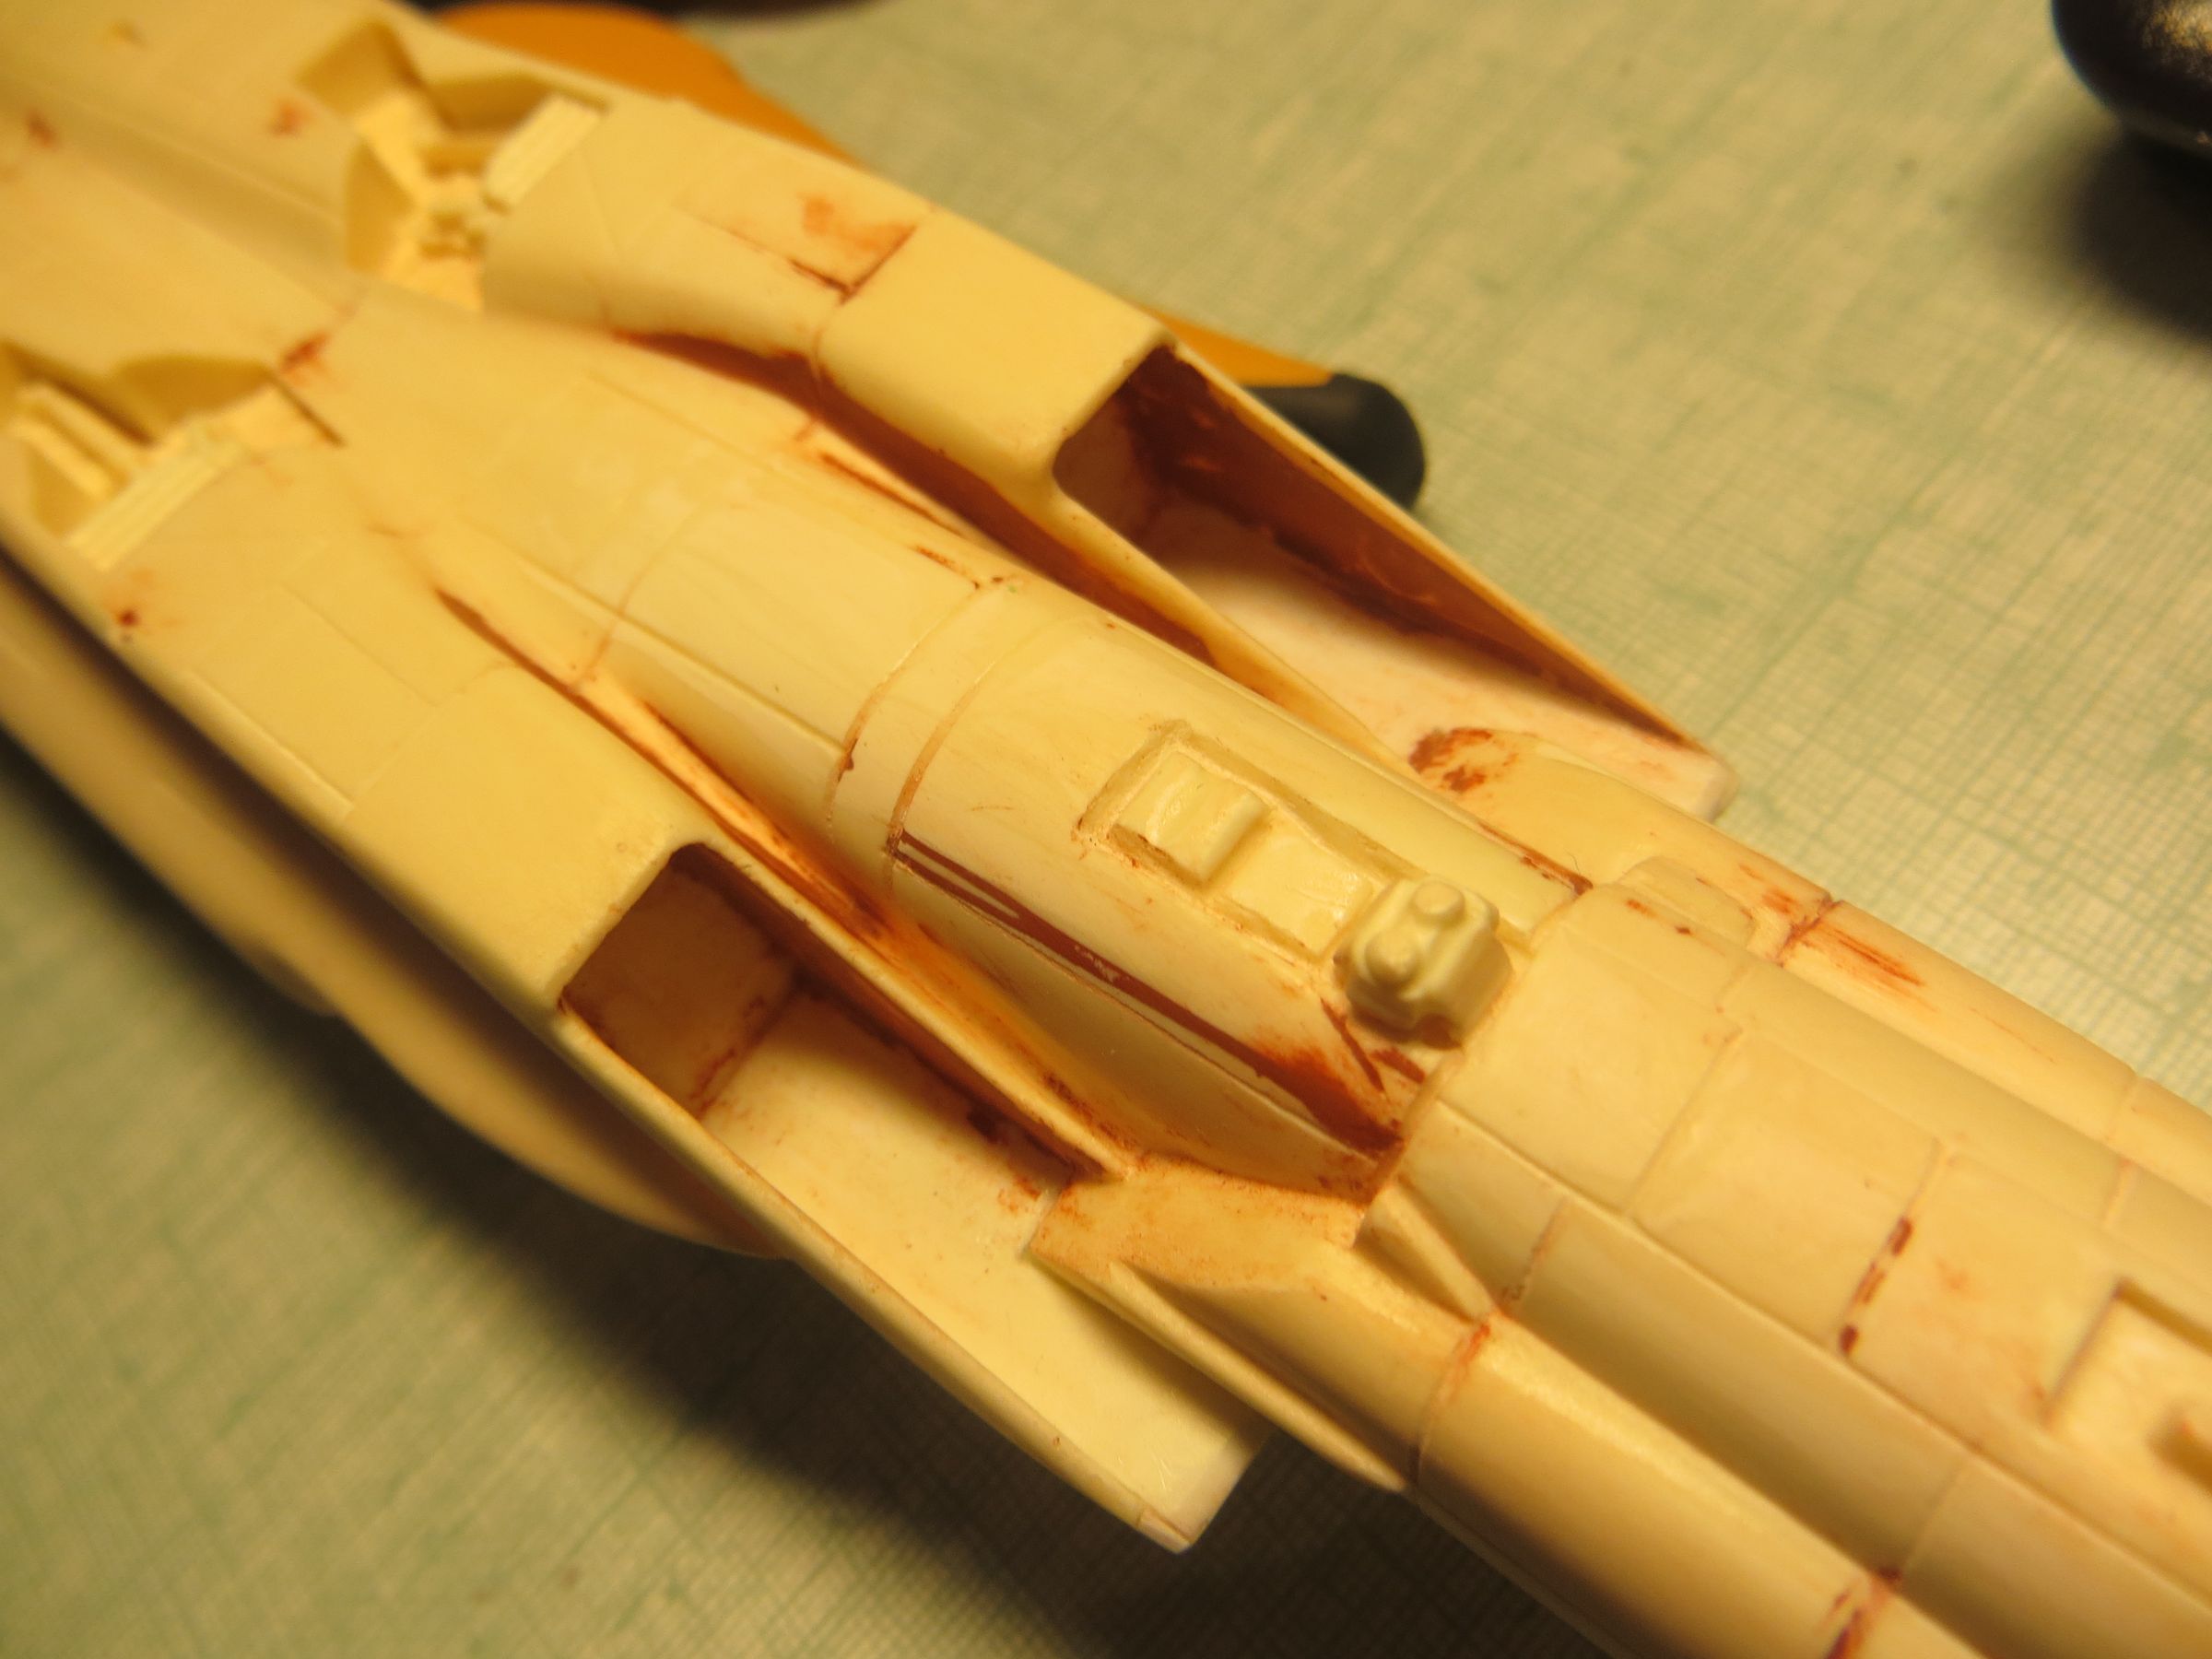
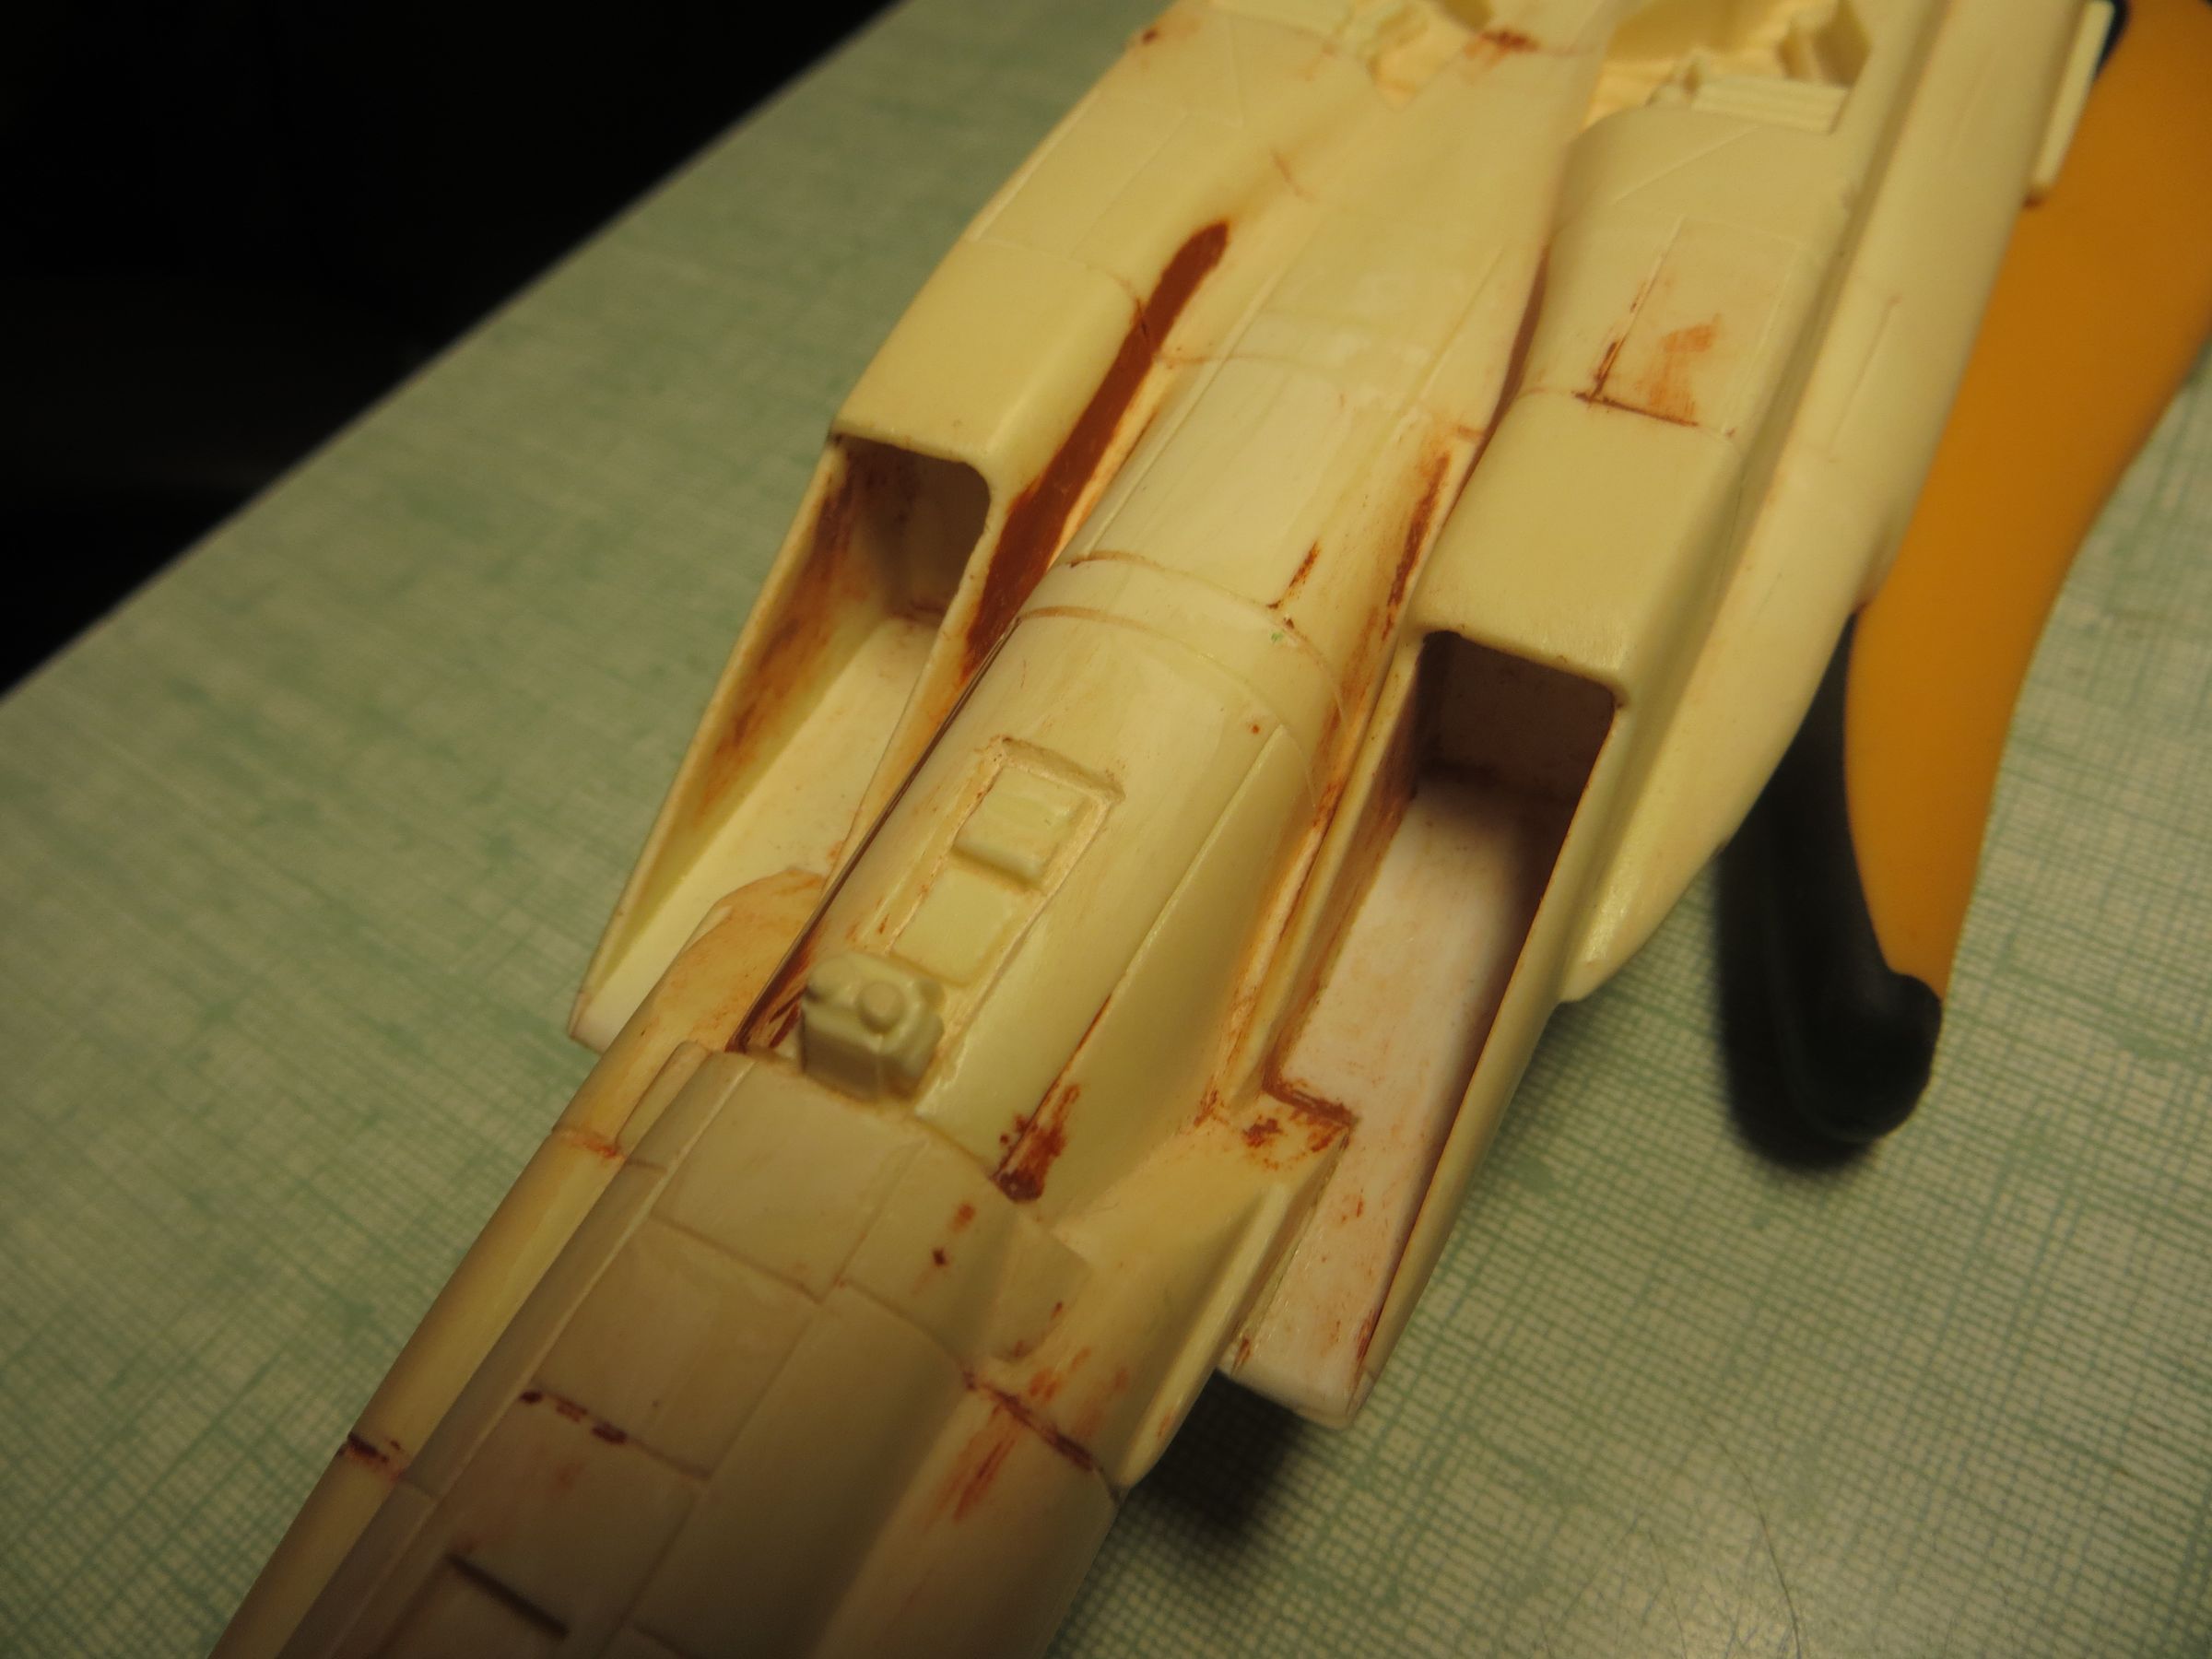
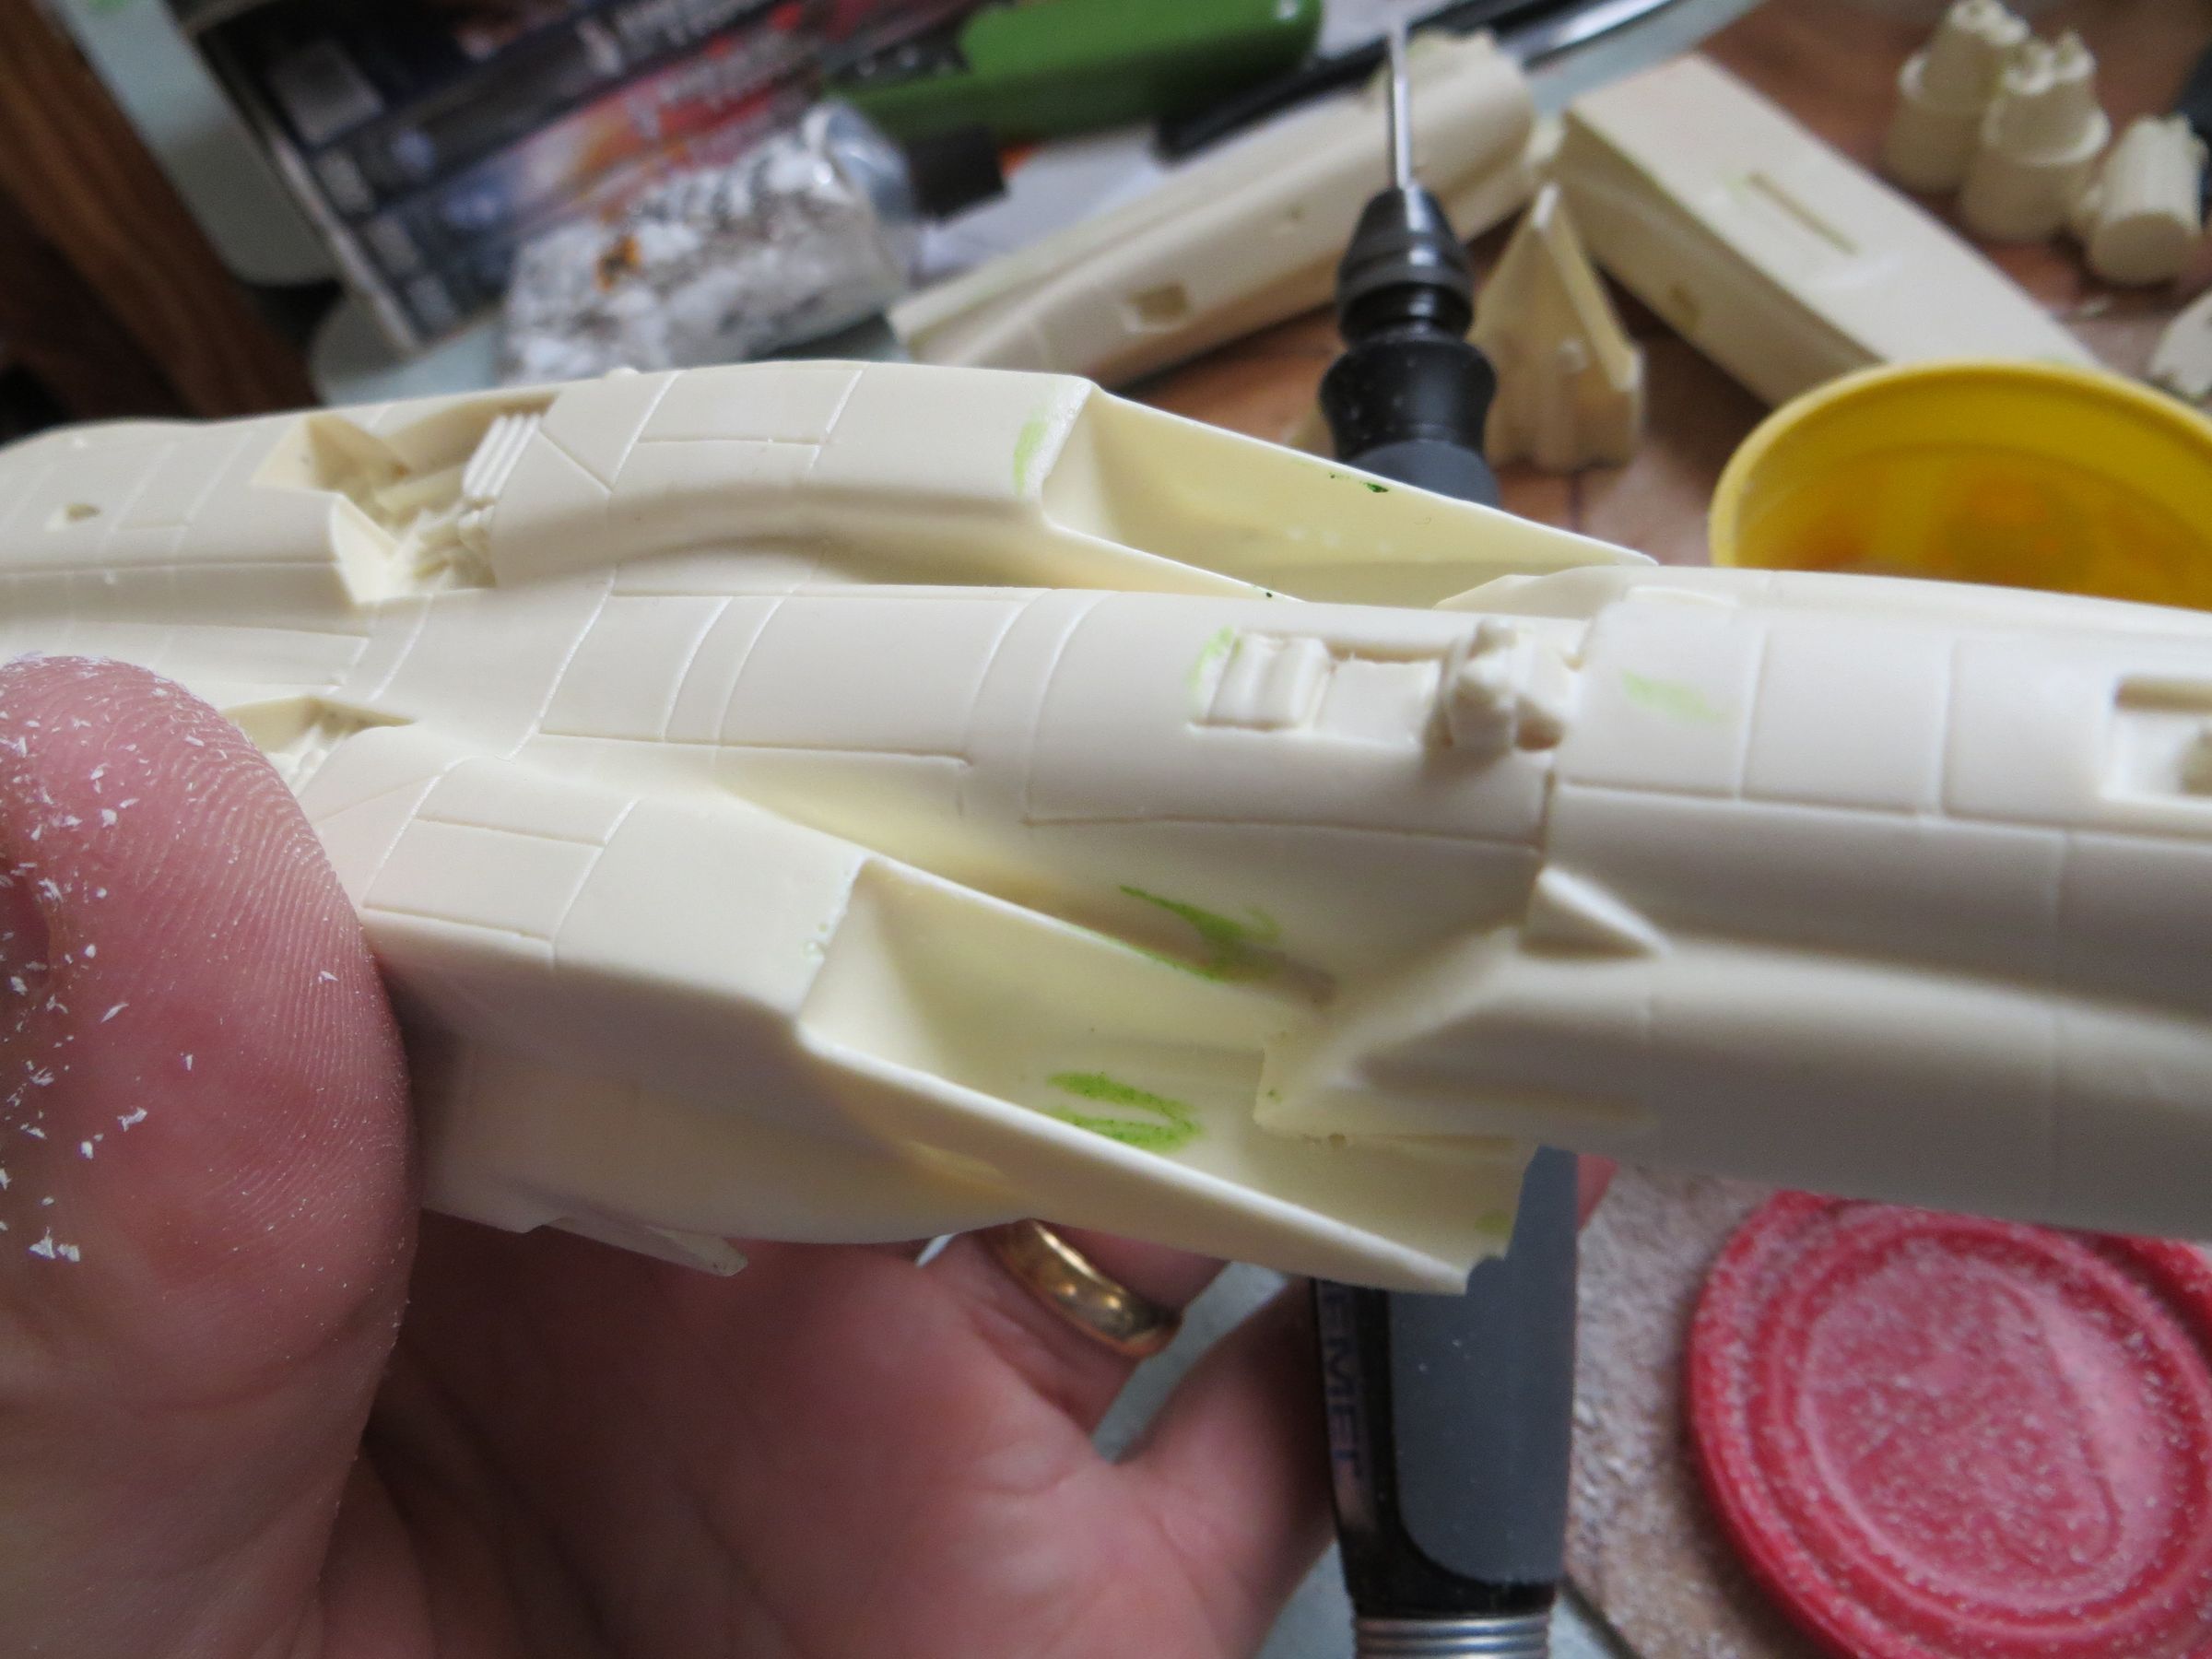
Gaps are filled with mastic to correct some defects and alignments, followed by a regraving the paneling.