Cylon Tanker - working on the bays
Par olcabour le vendredi, 7 mars 2014, 01:19 - Cylon Tanker - Lien permanent
The missing parts did arrived few weeks after the previous works on this model. And there was again a lot of cleaning and preparing to do as they were almost all bent (probably removed too early from the molds), covered of bubbles (as if it was raining) or excess material.
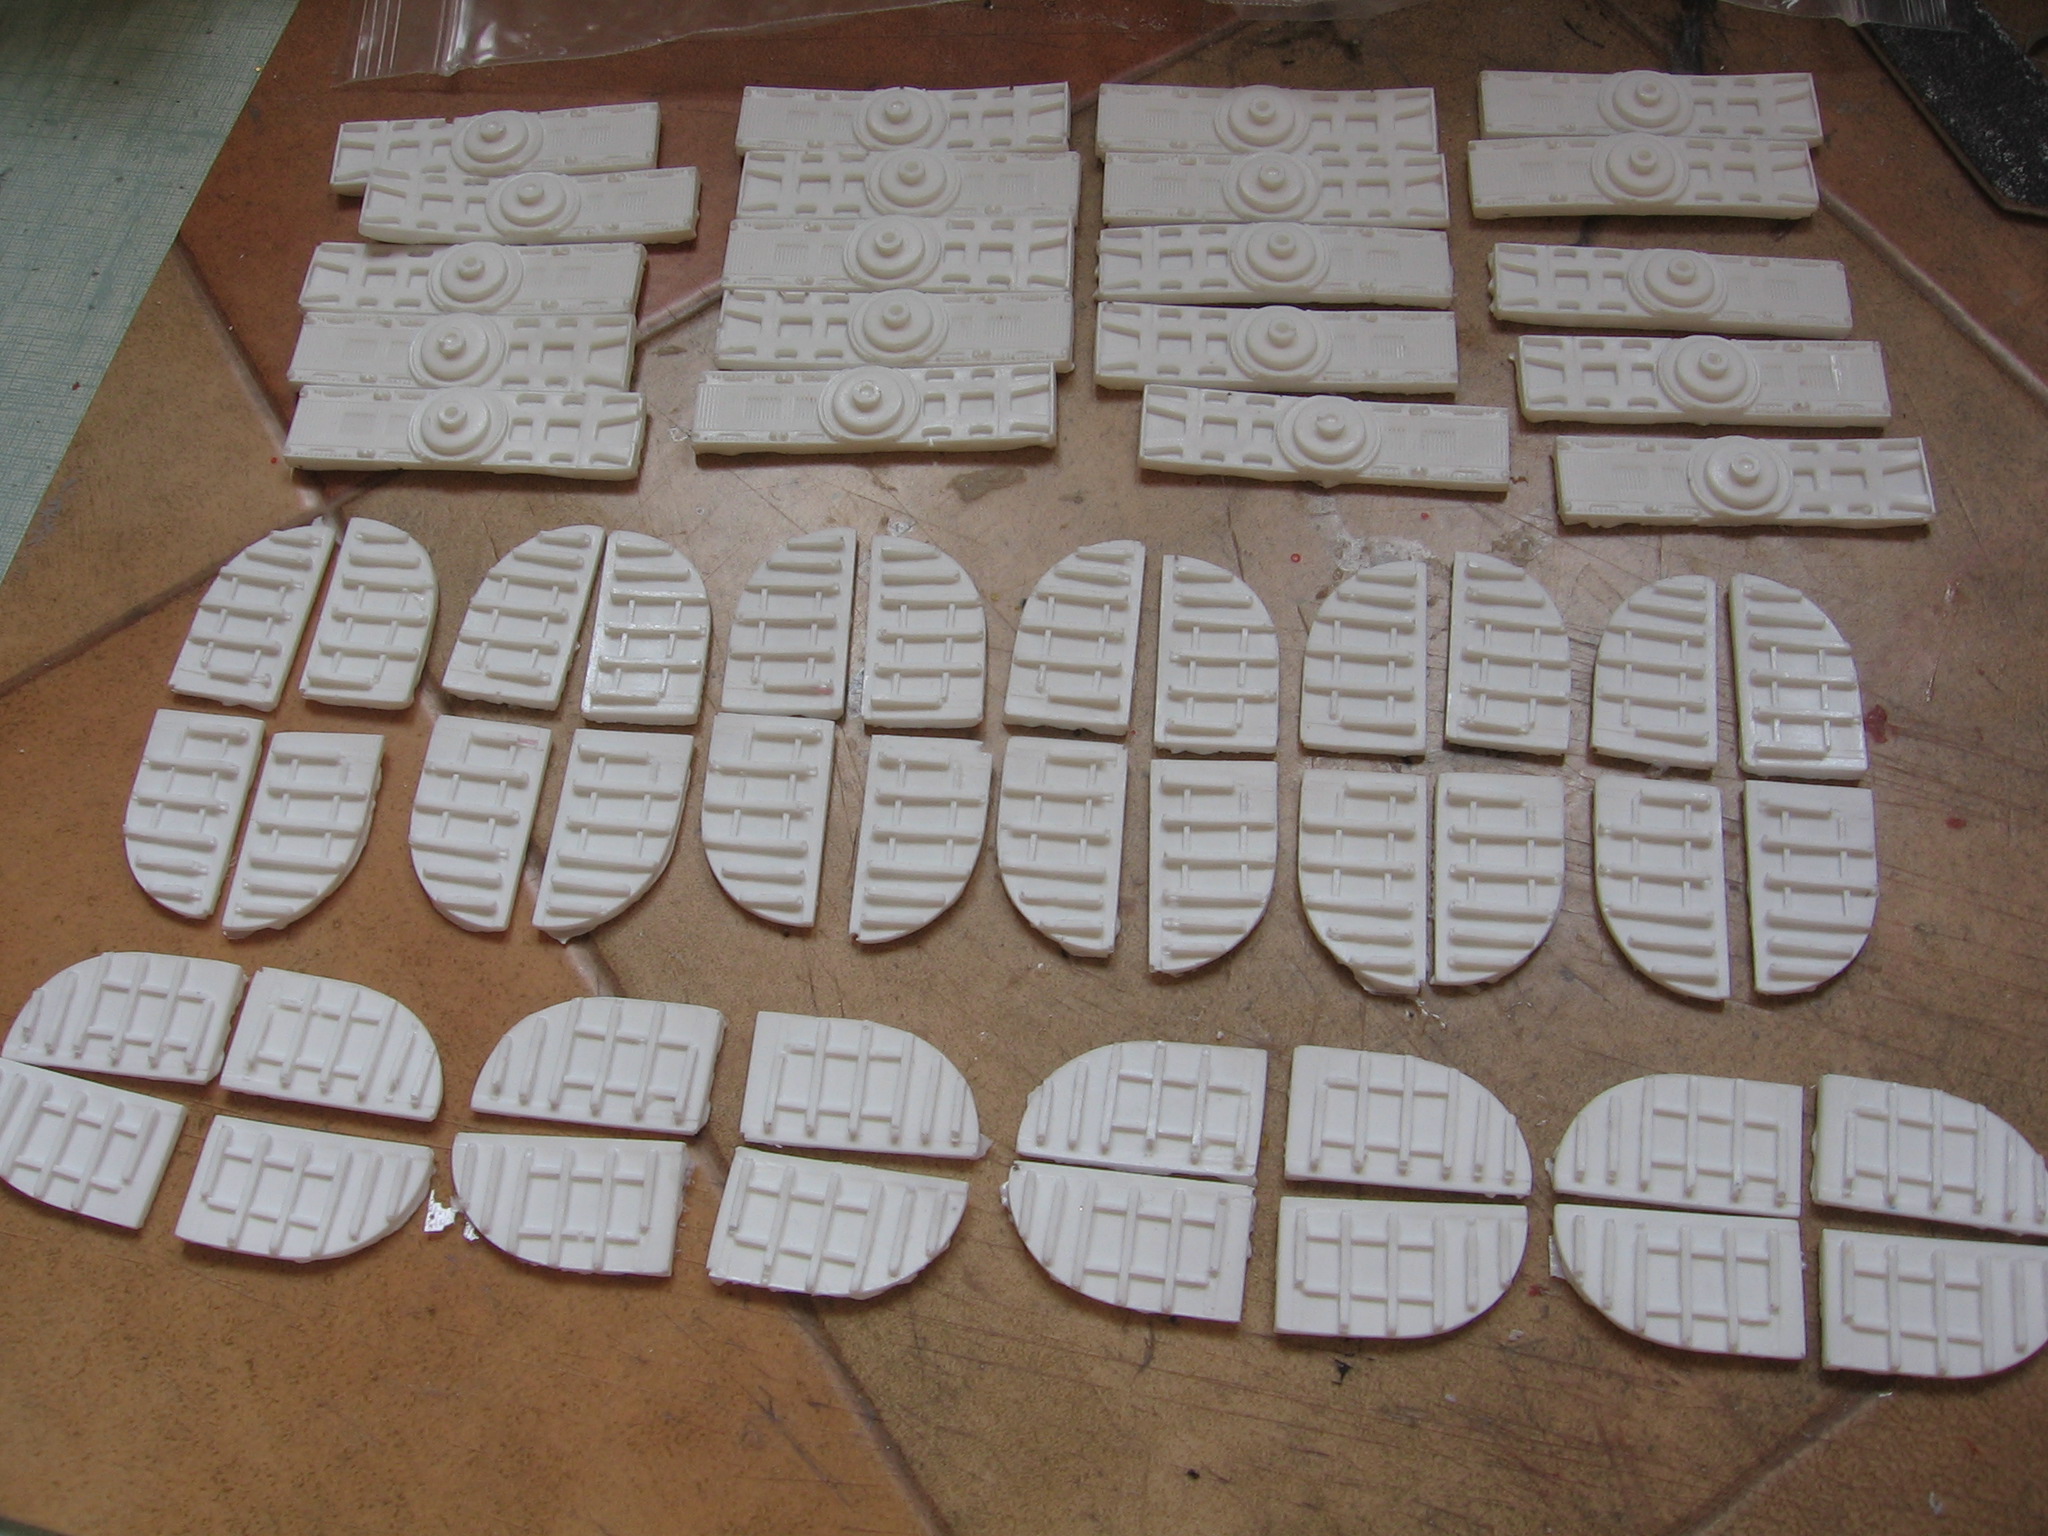

Since I will not all of them (a good third of the bays will be closed, I can choose the best parts in the lot).
So after a soapy bath to remove mold release product, they are unbent in hot water, then it take several evenings to fill the bubbles. The excess material is removed with a belt sander machine.
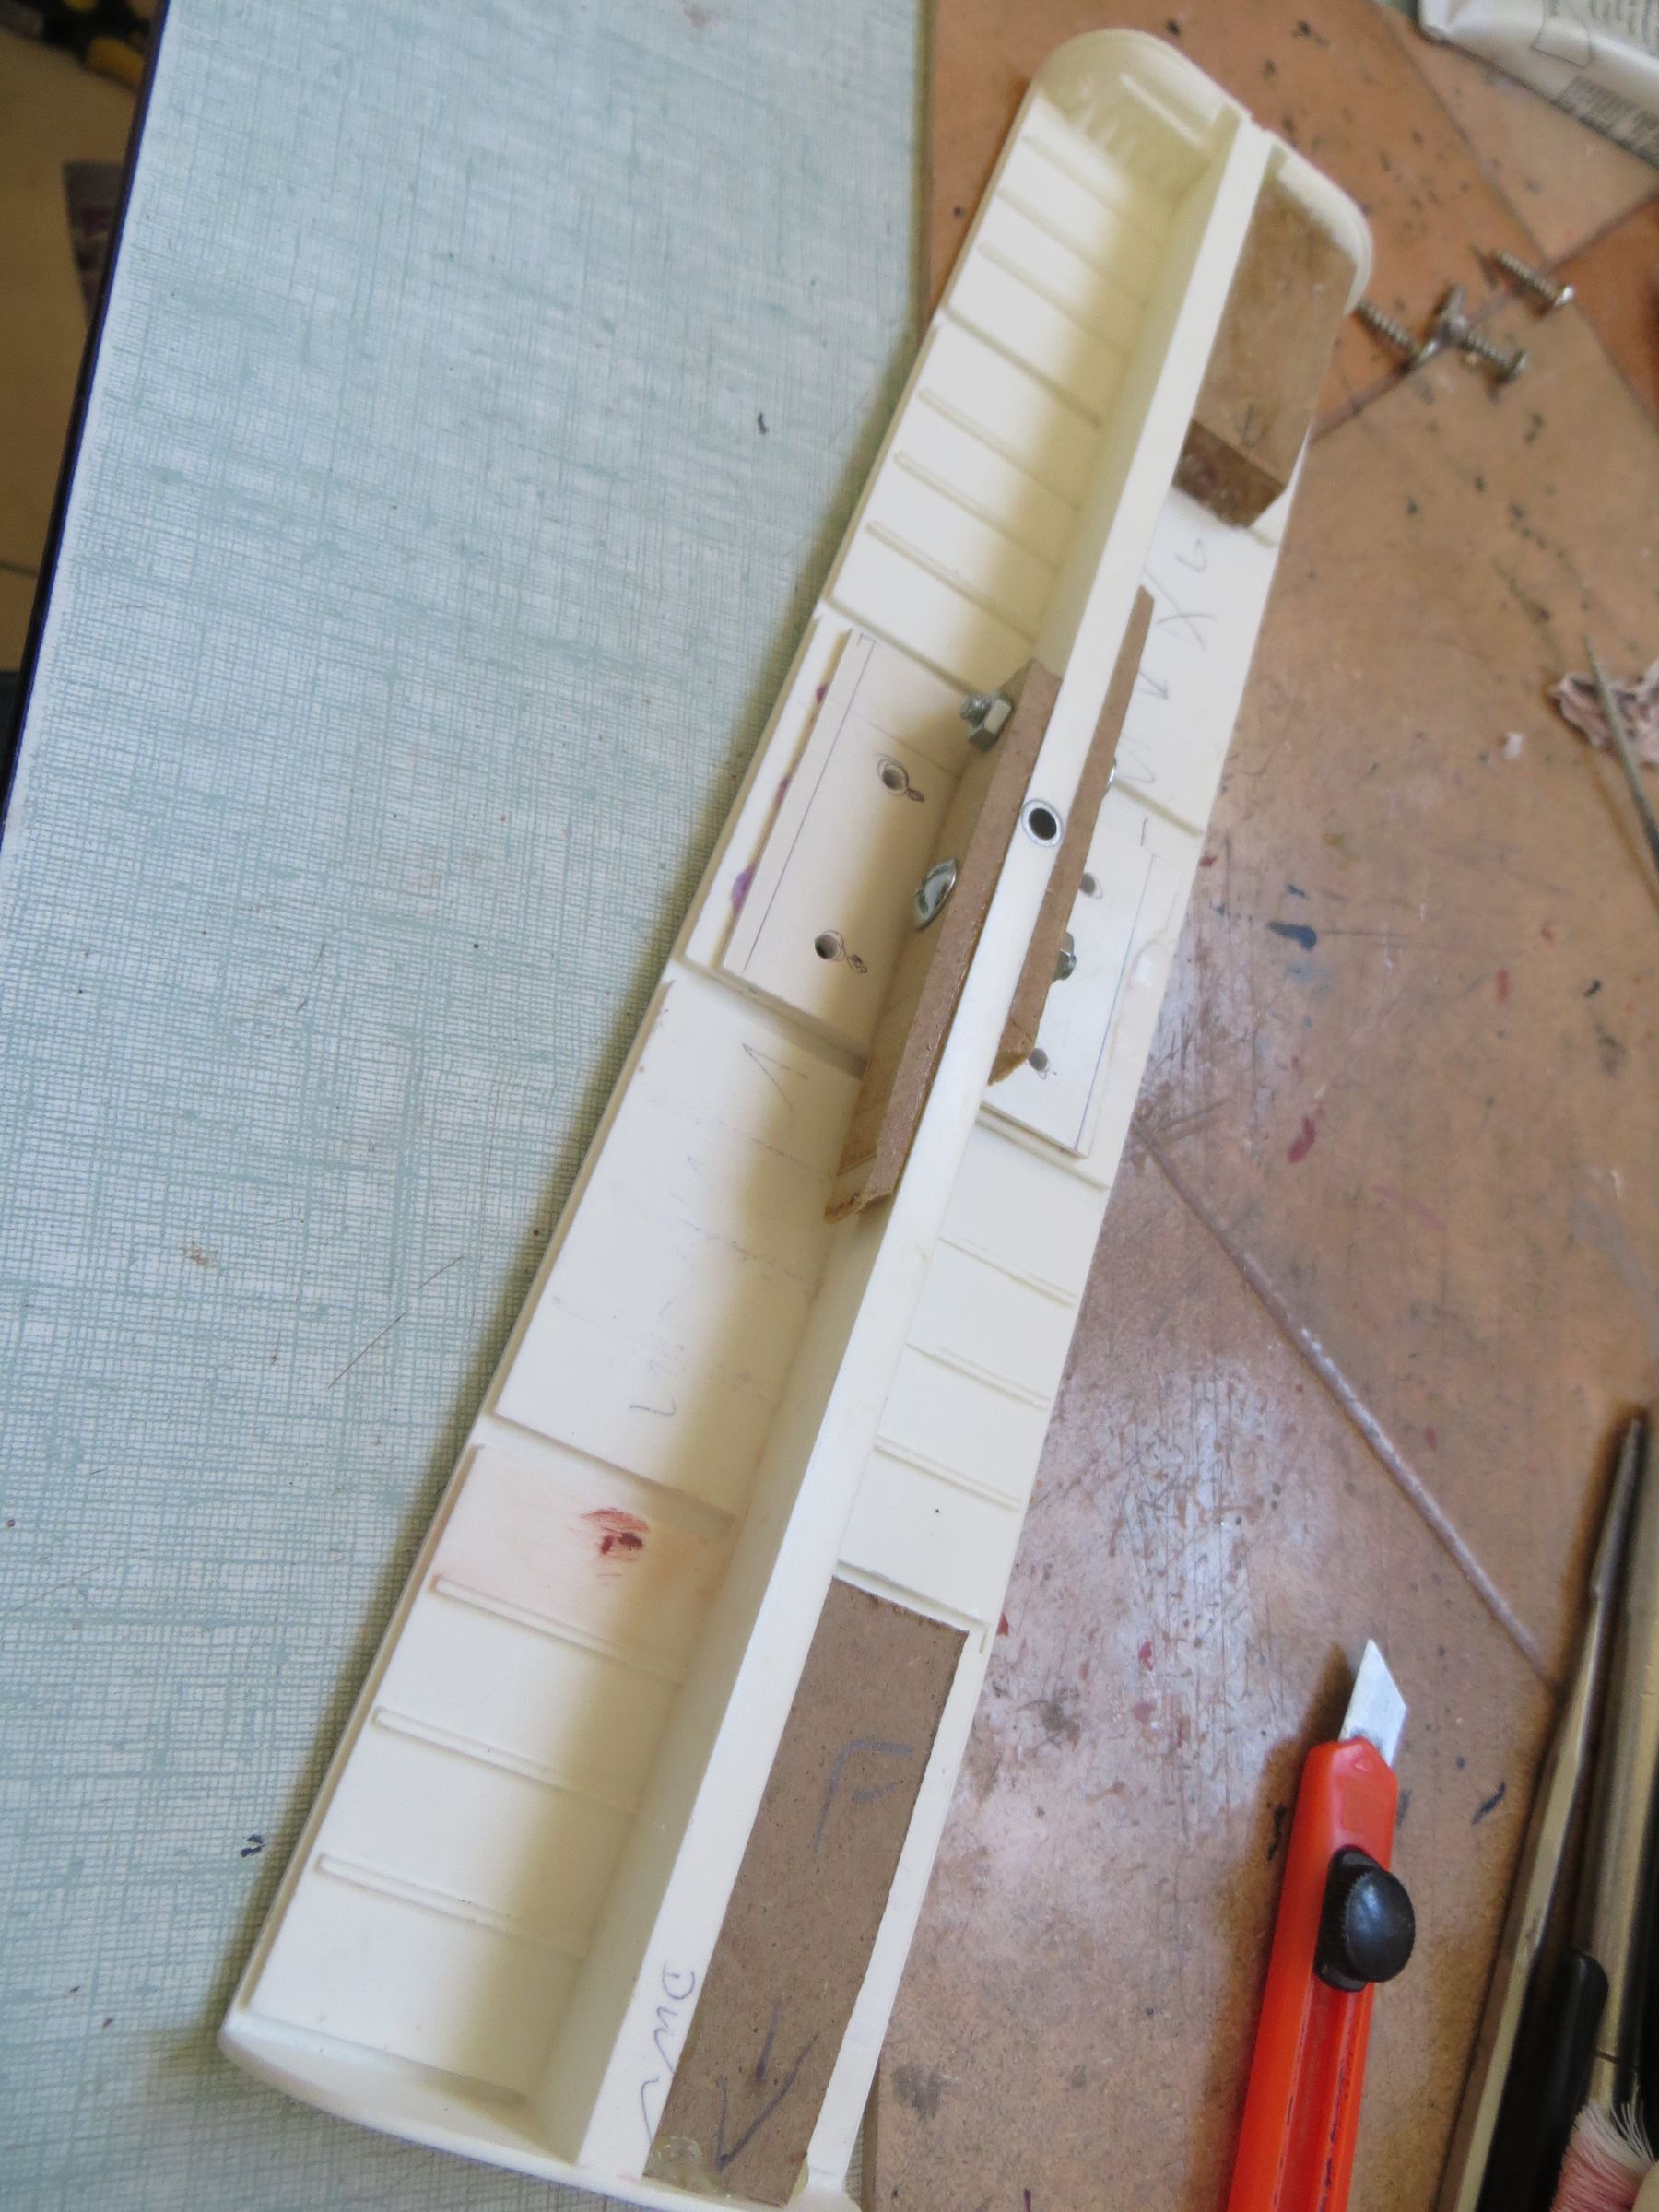
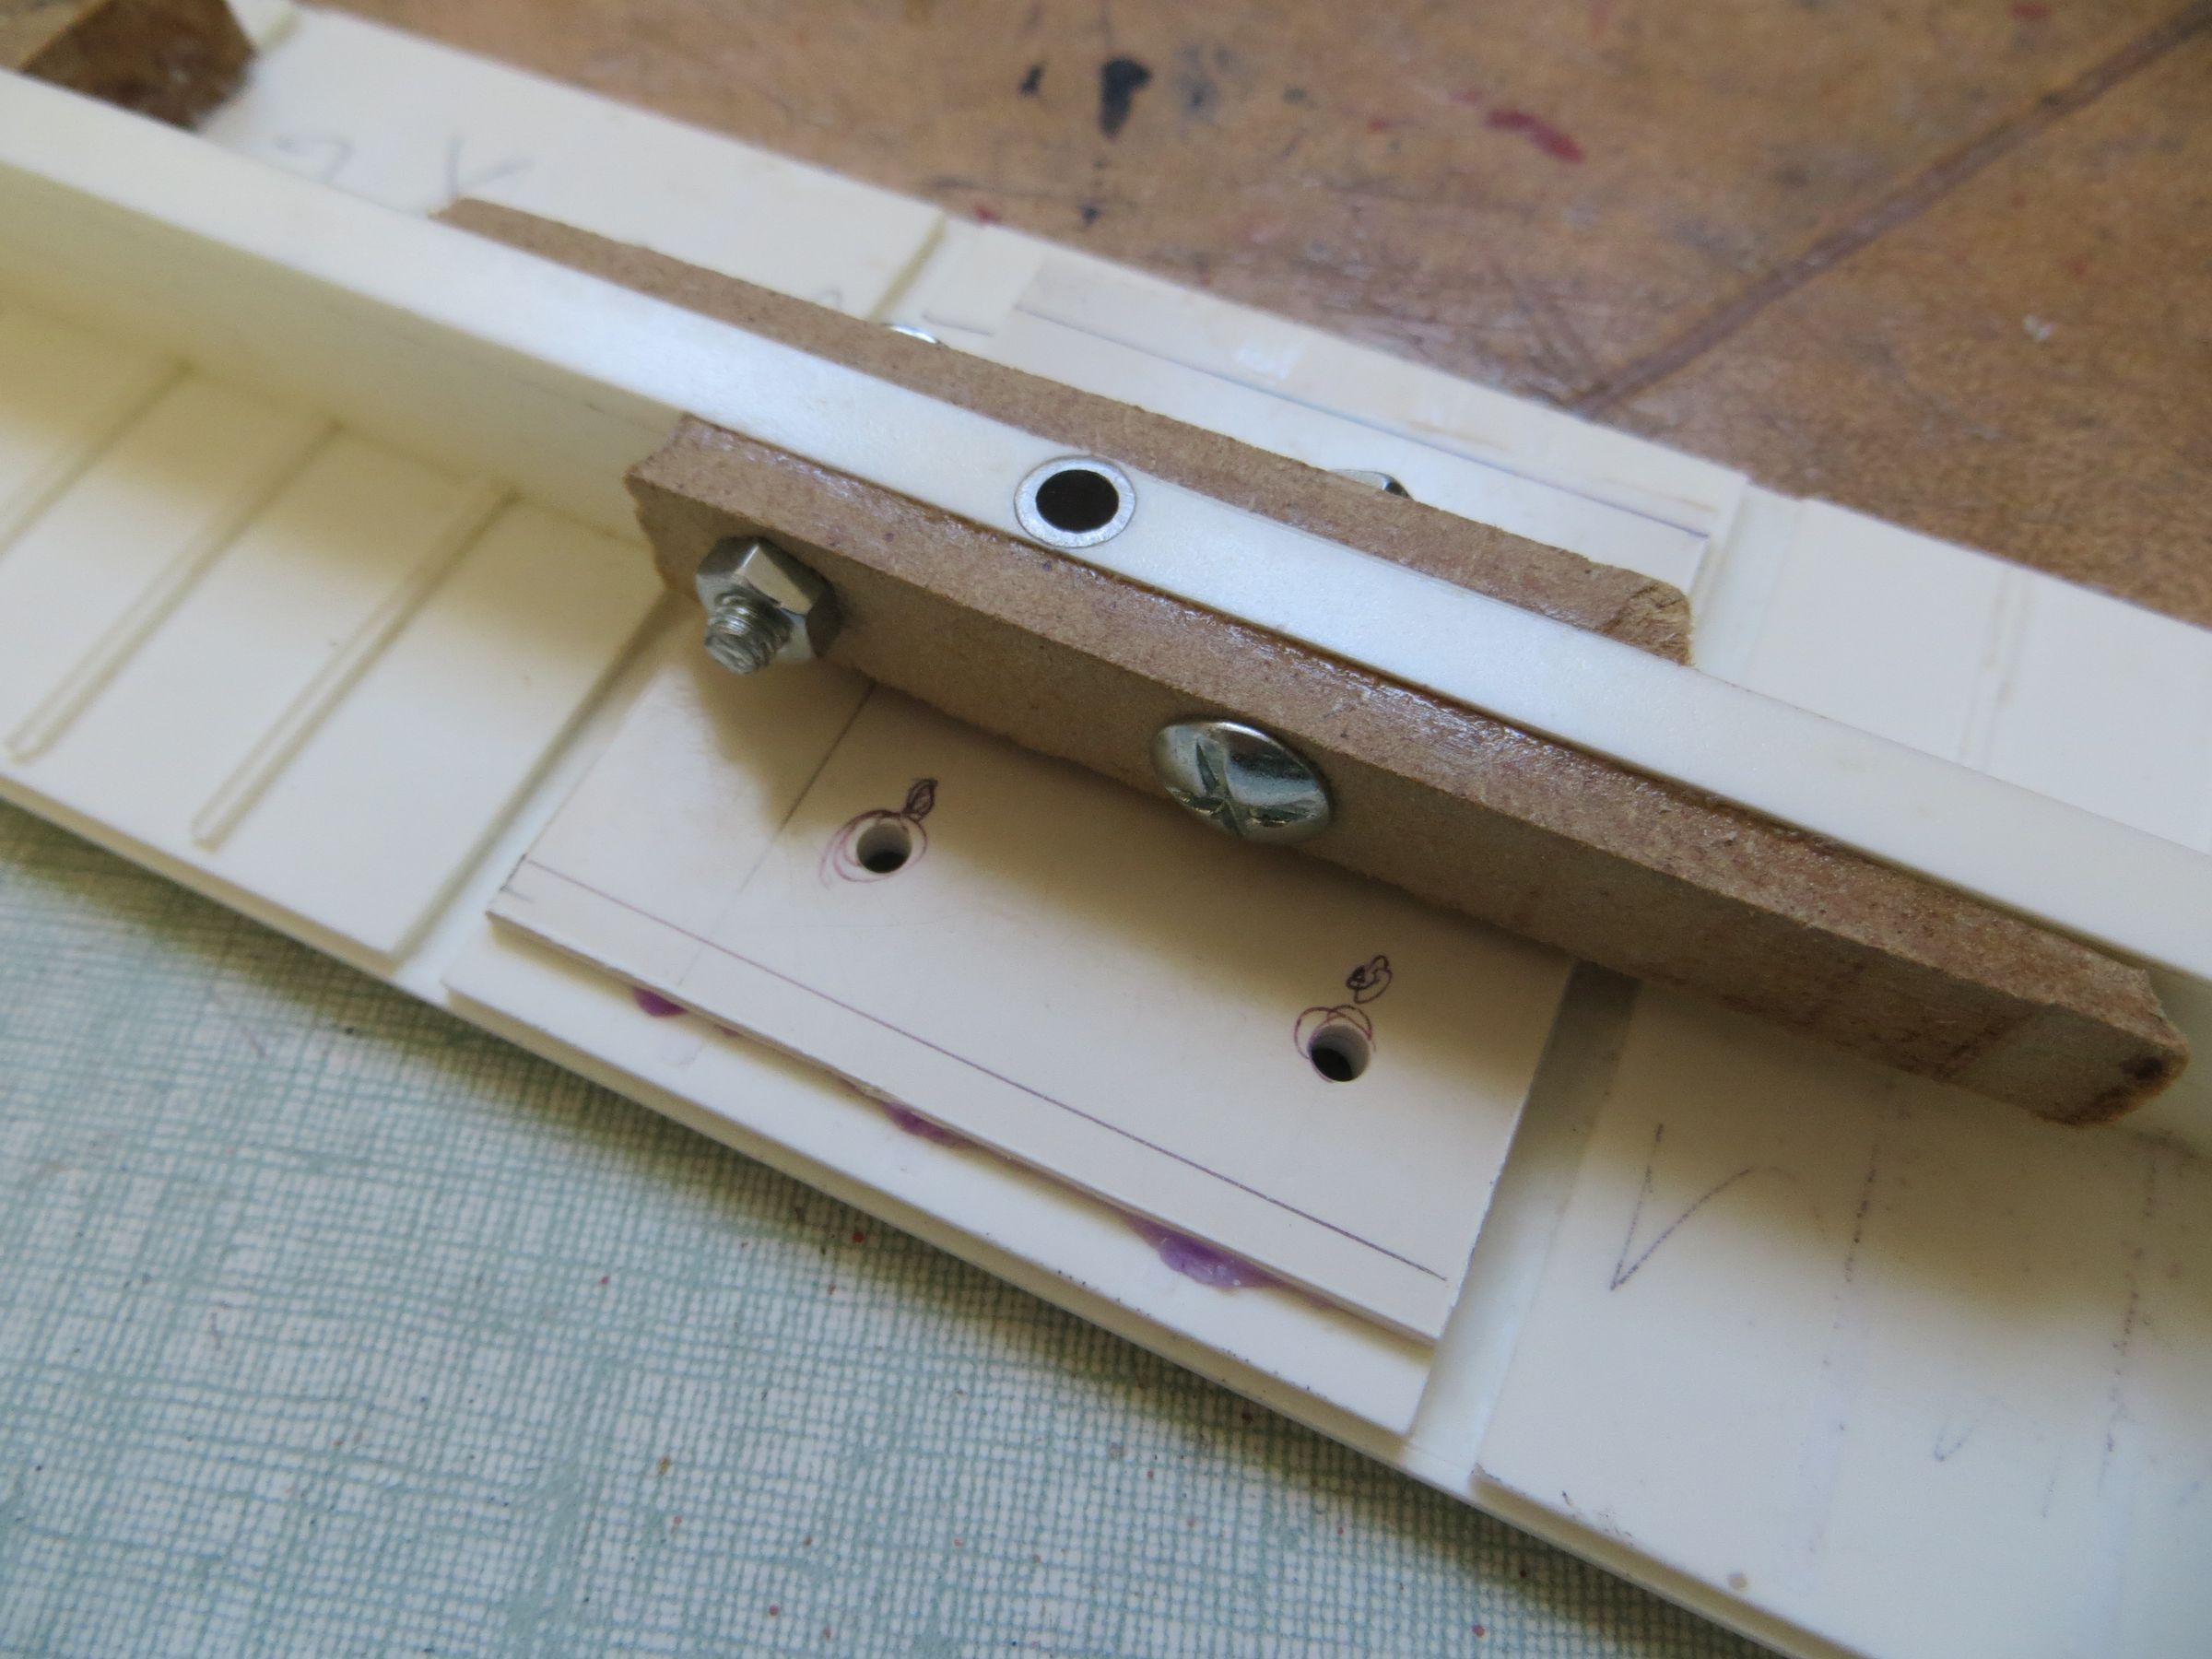
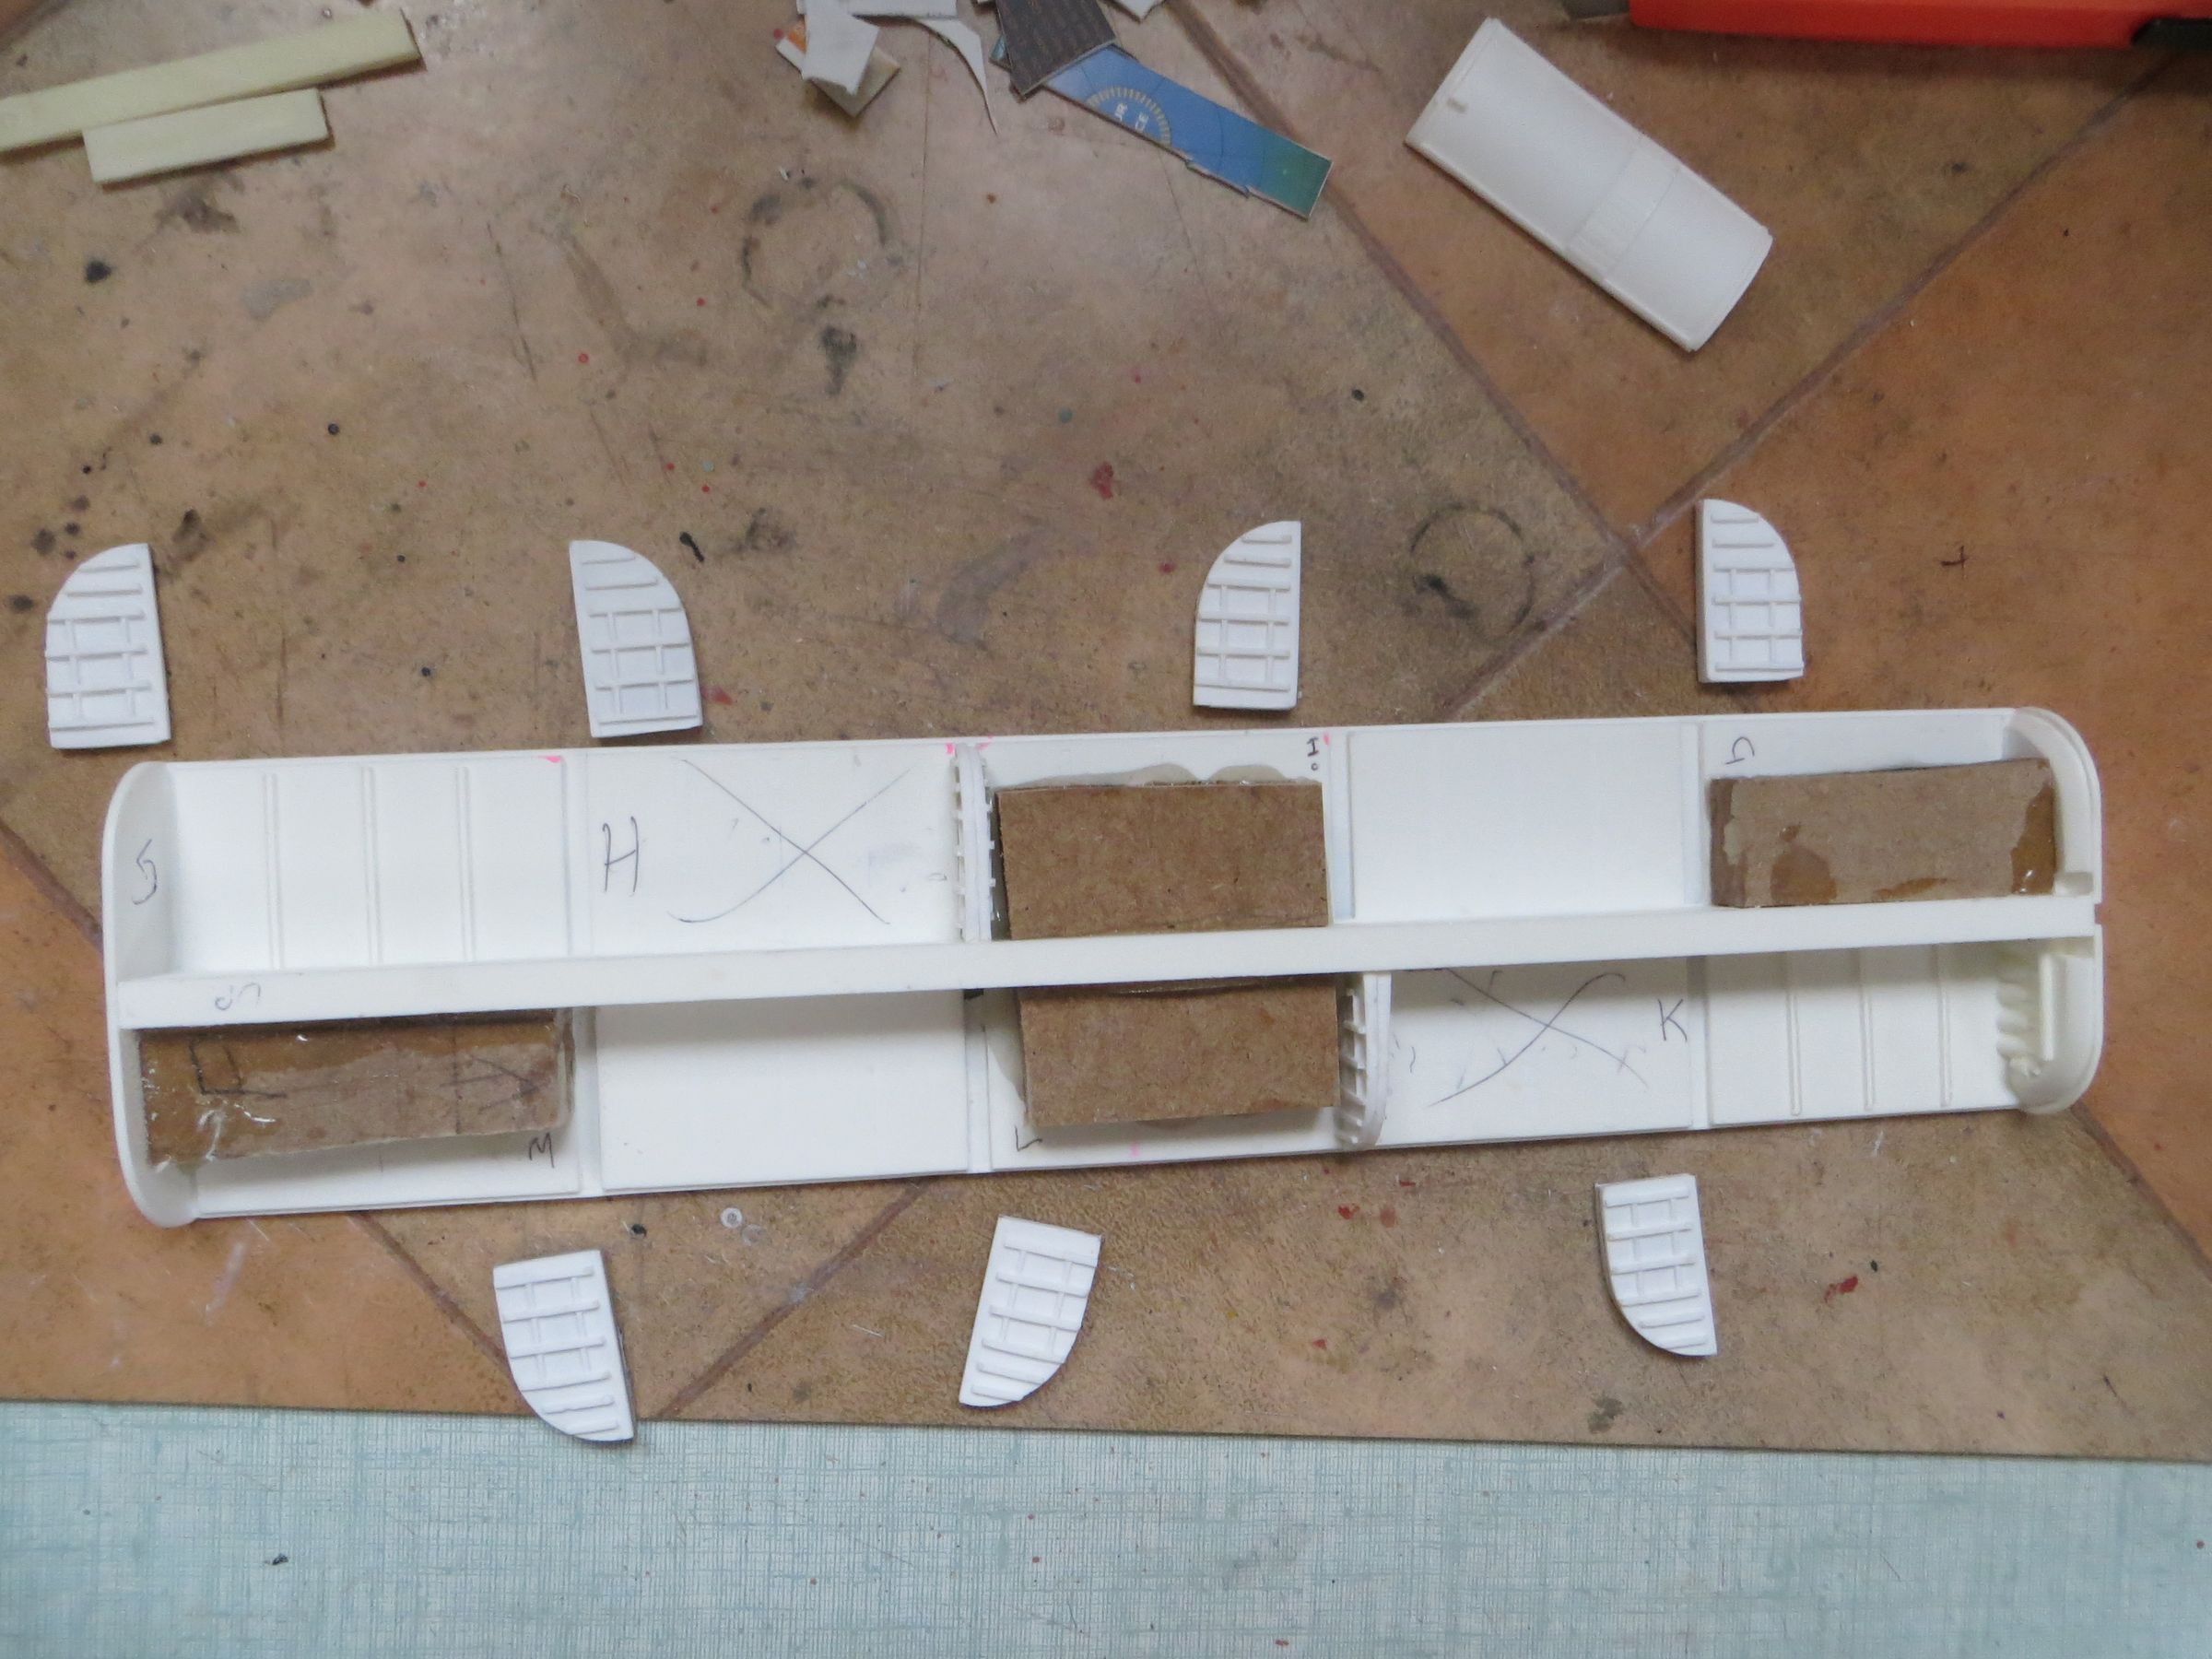
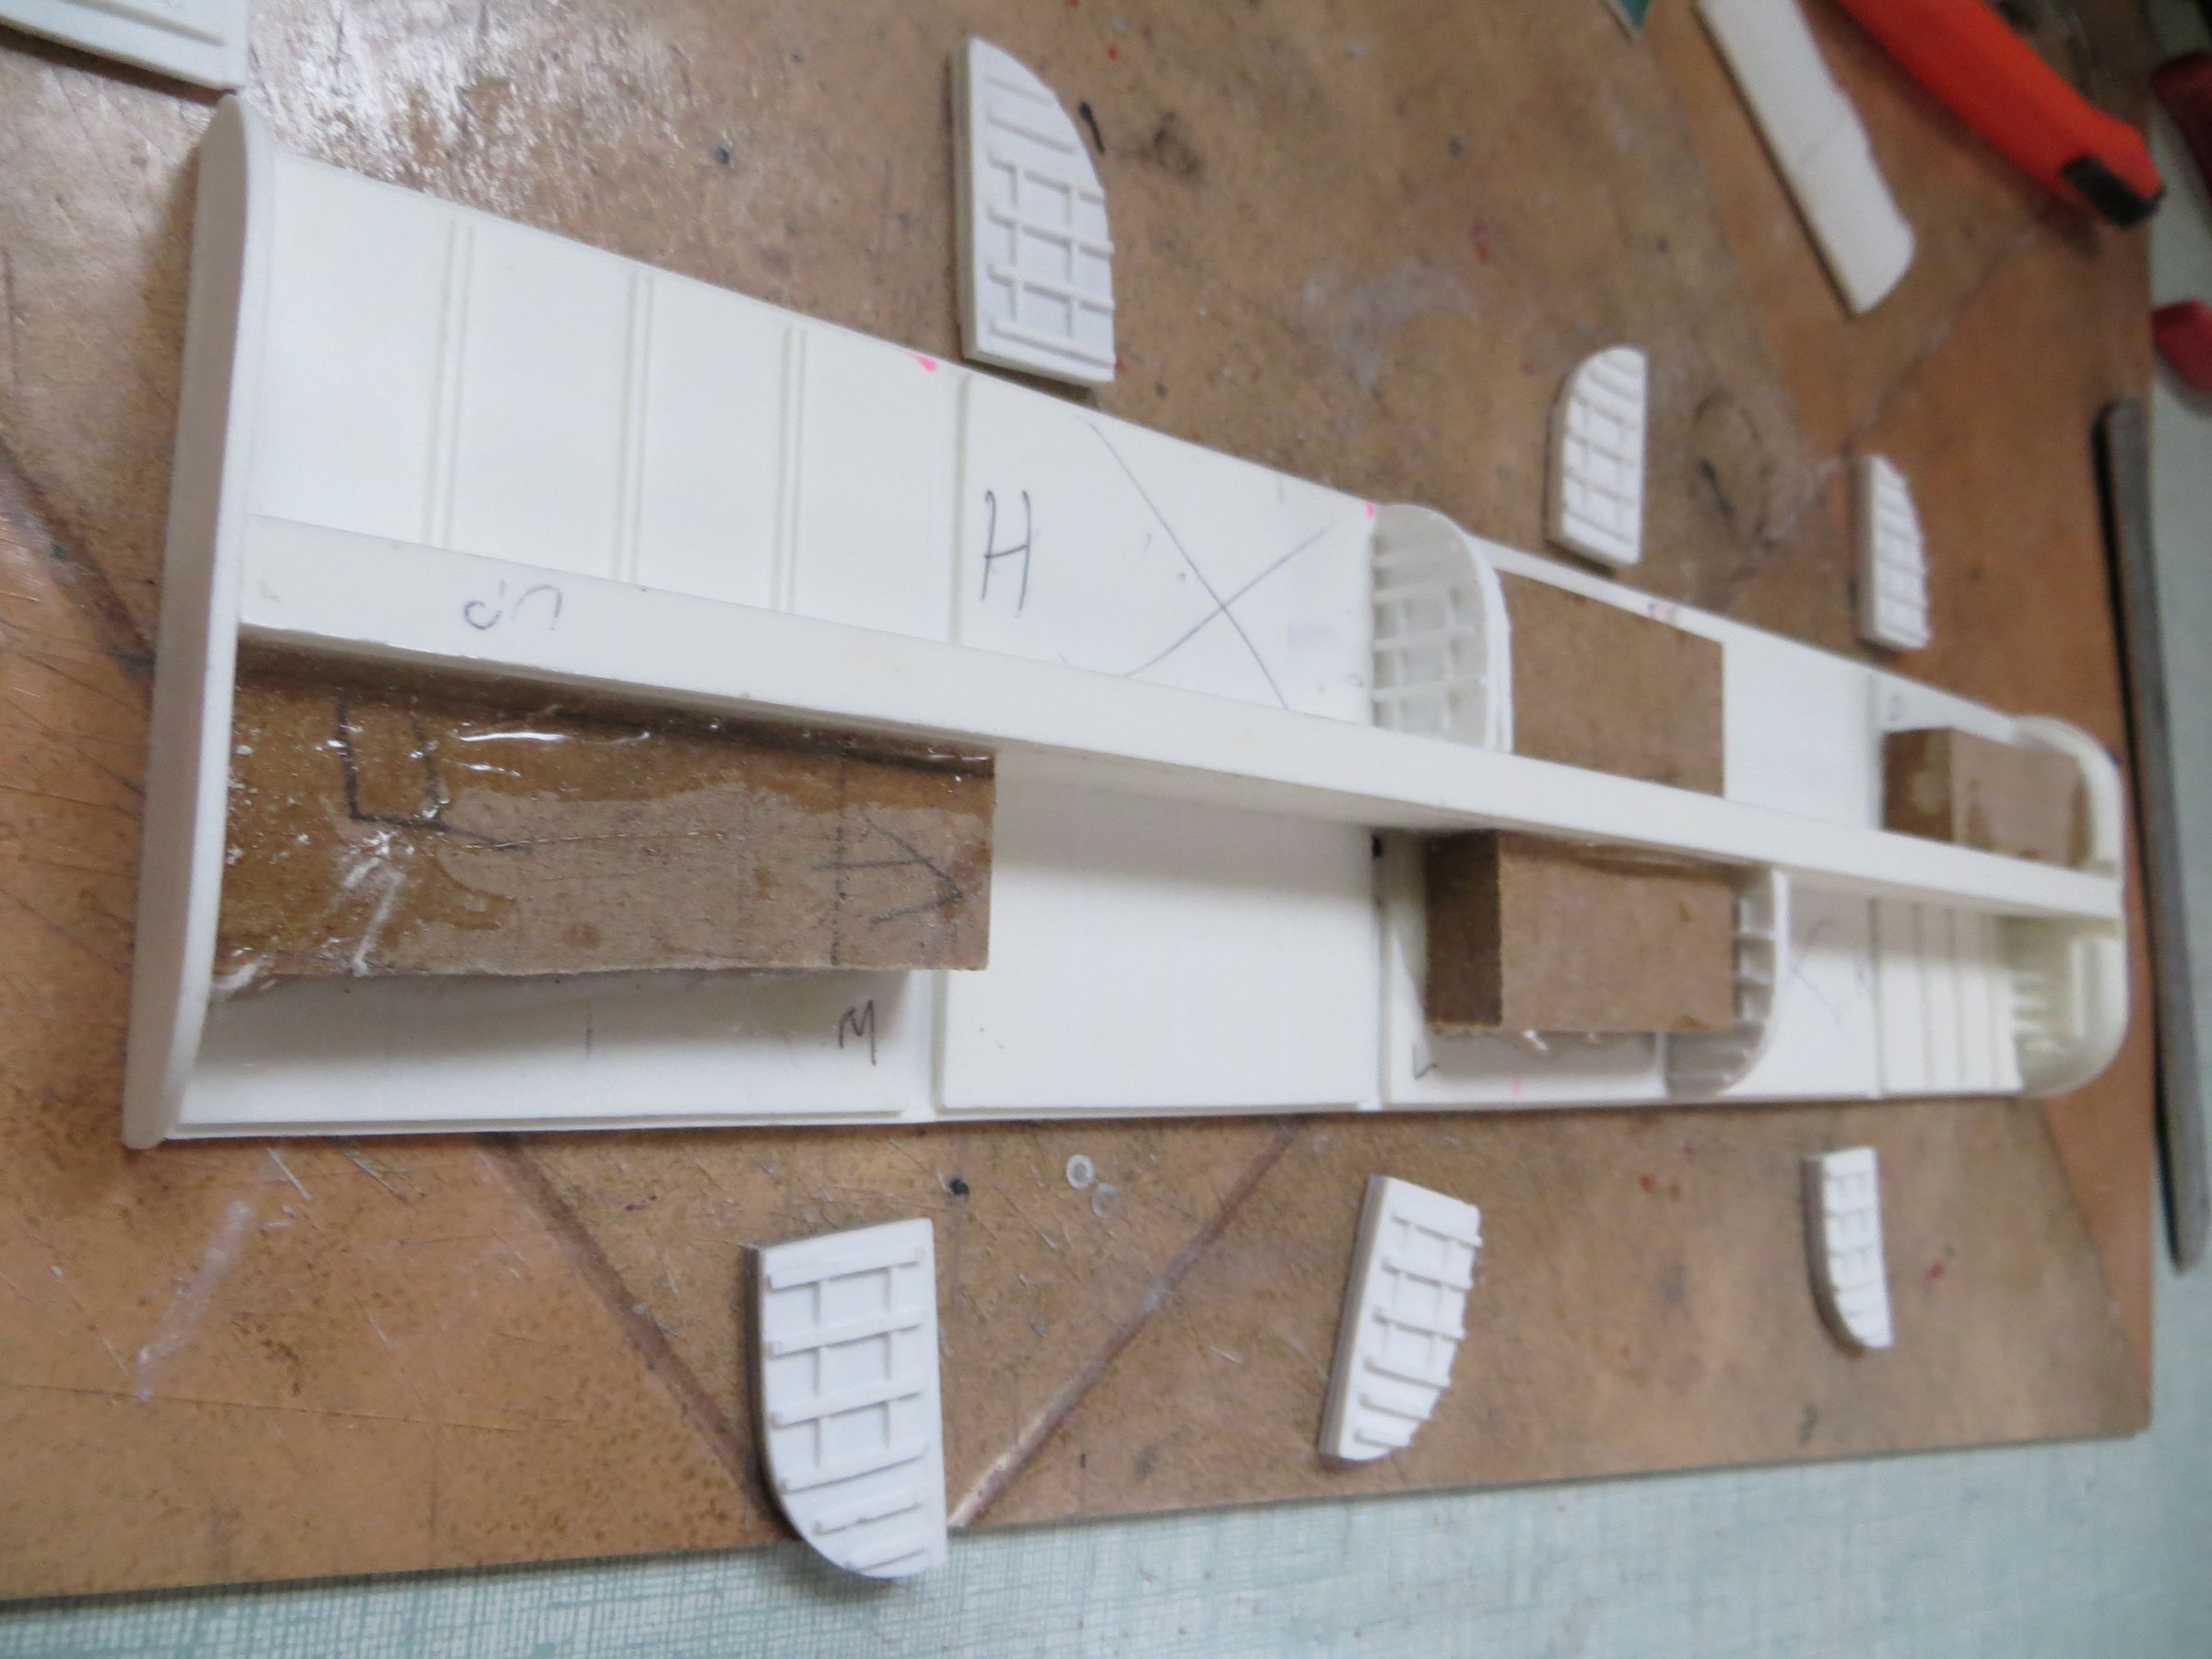
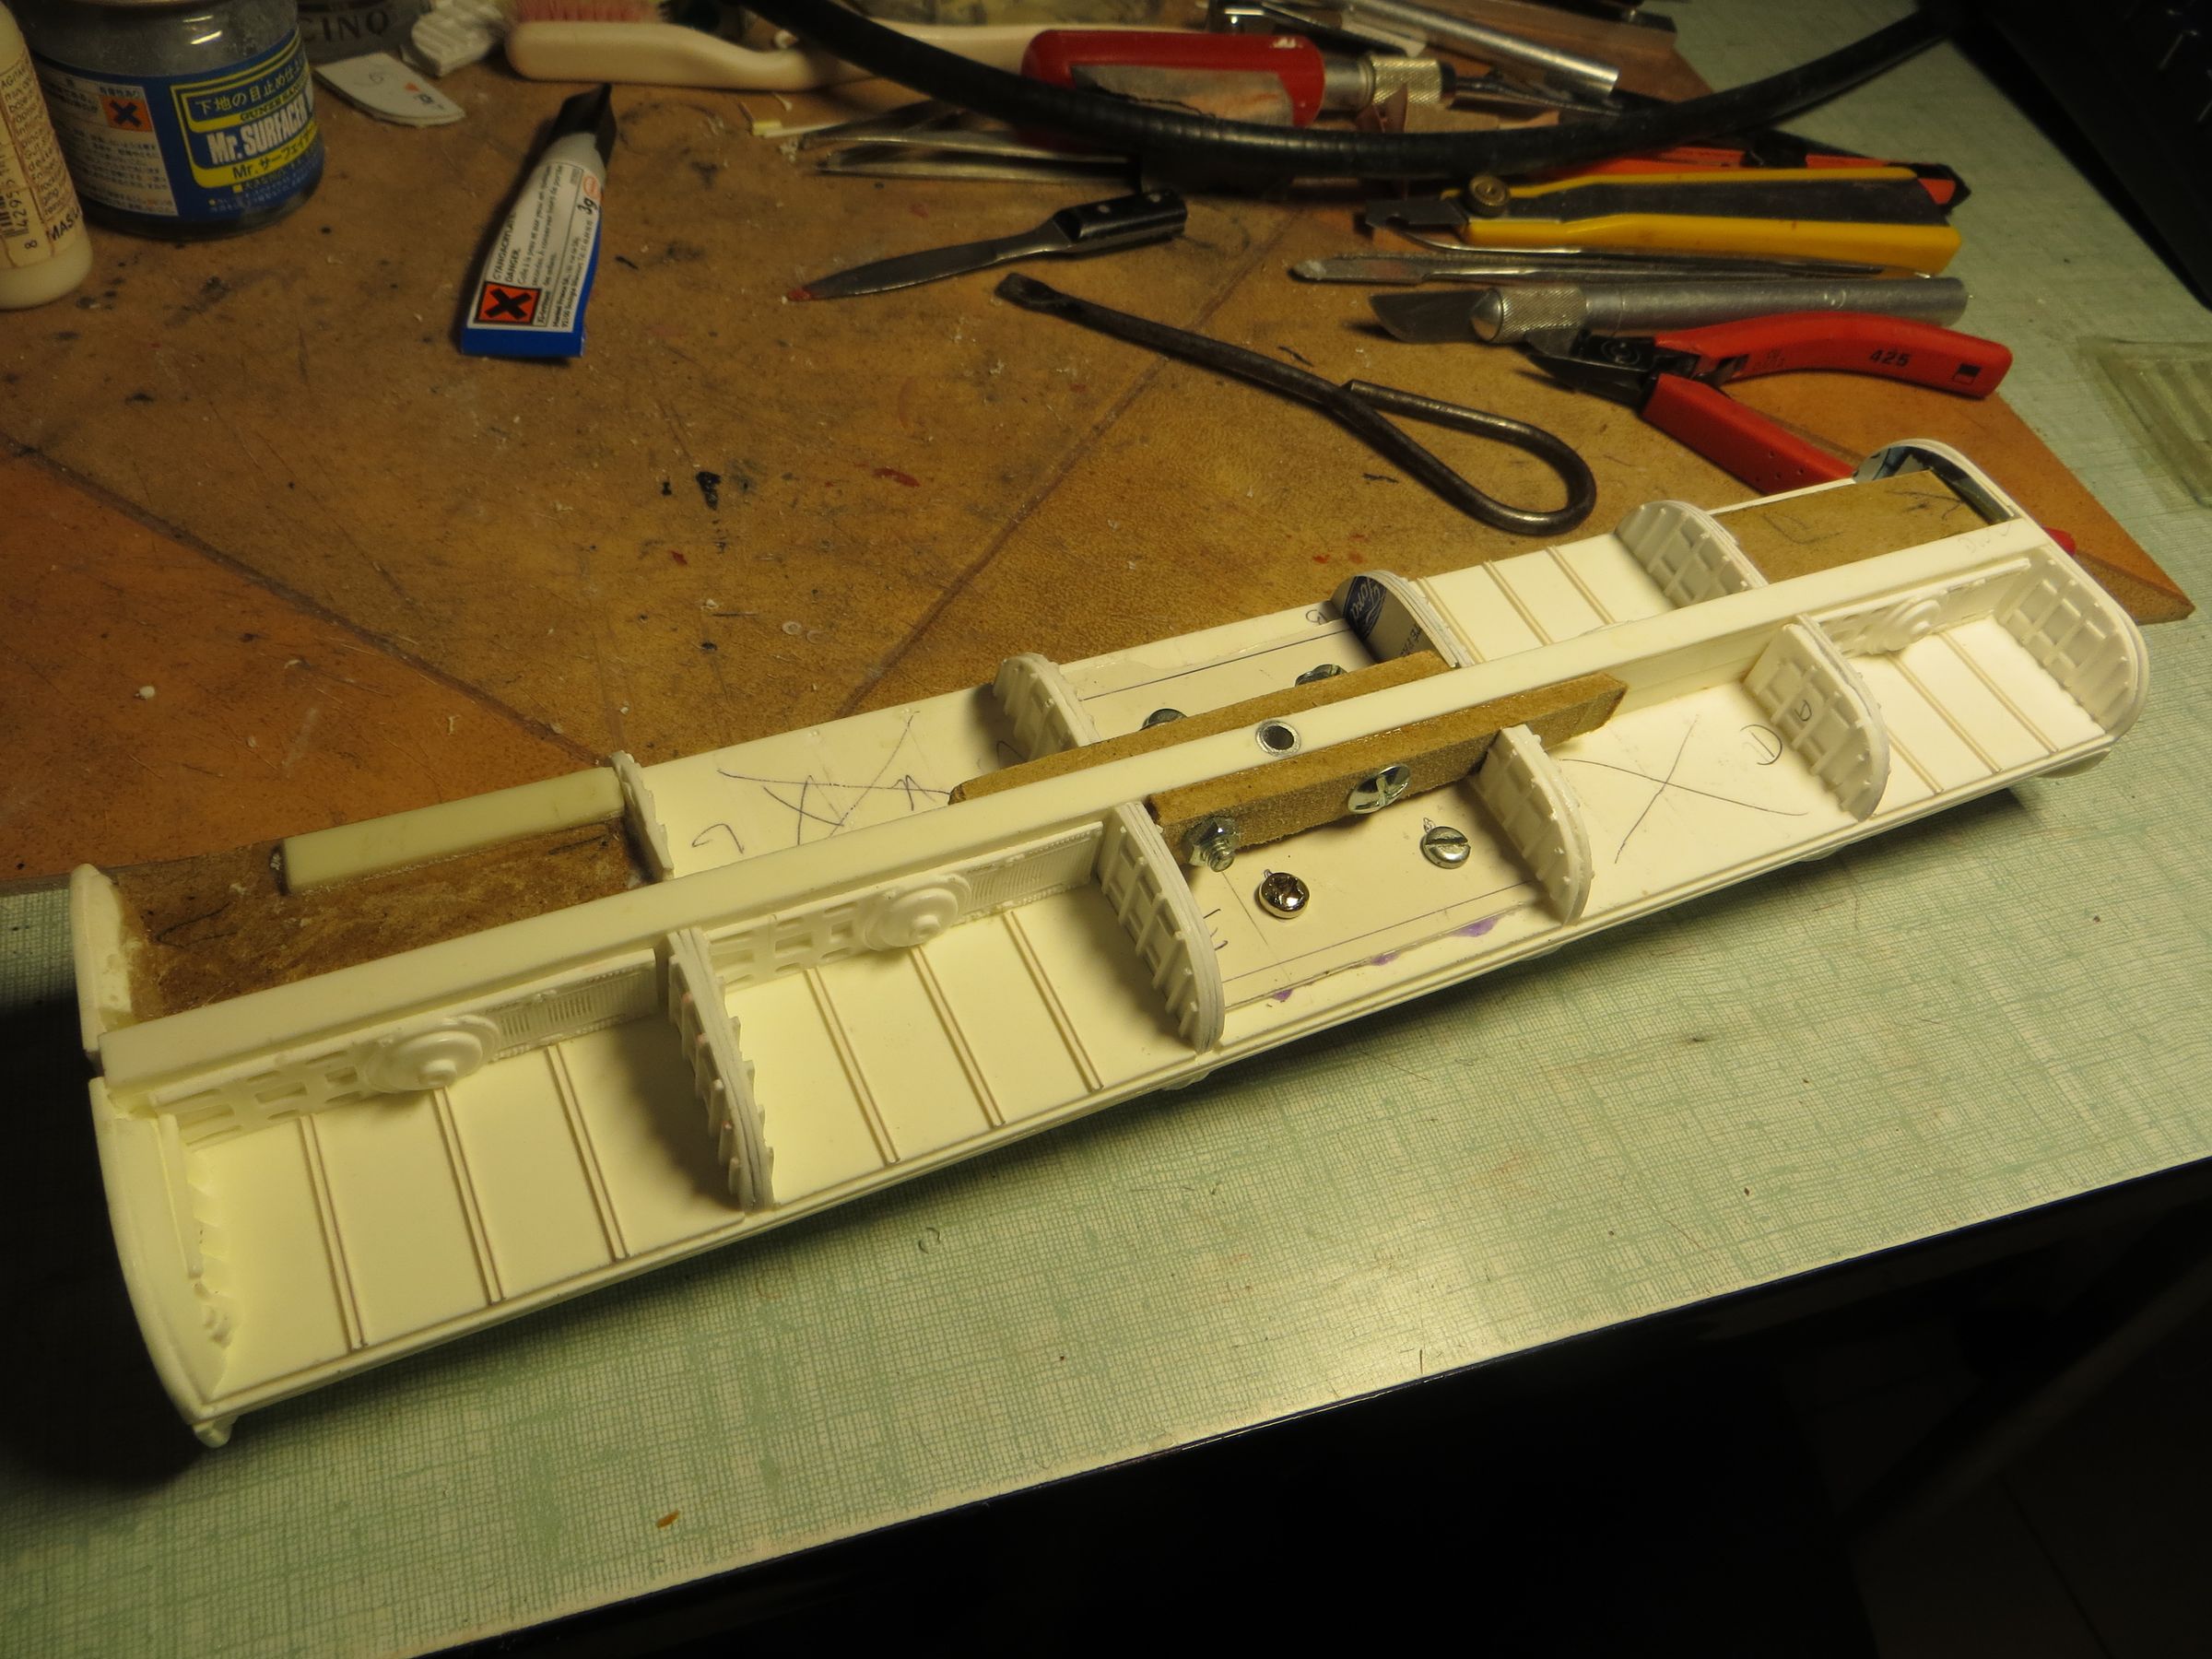
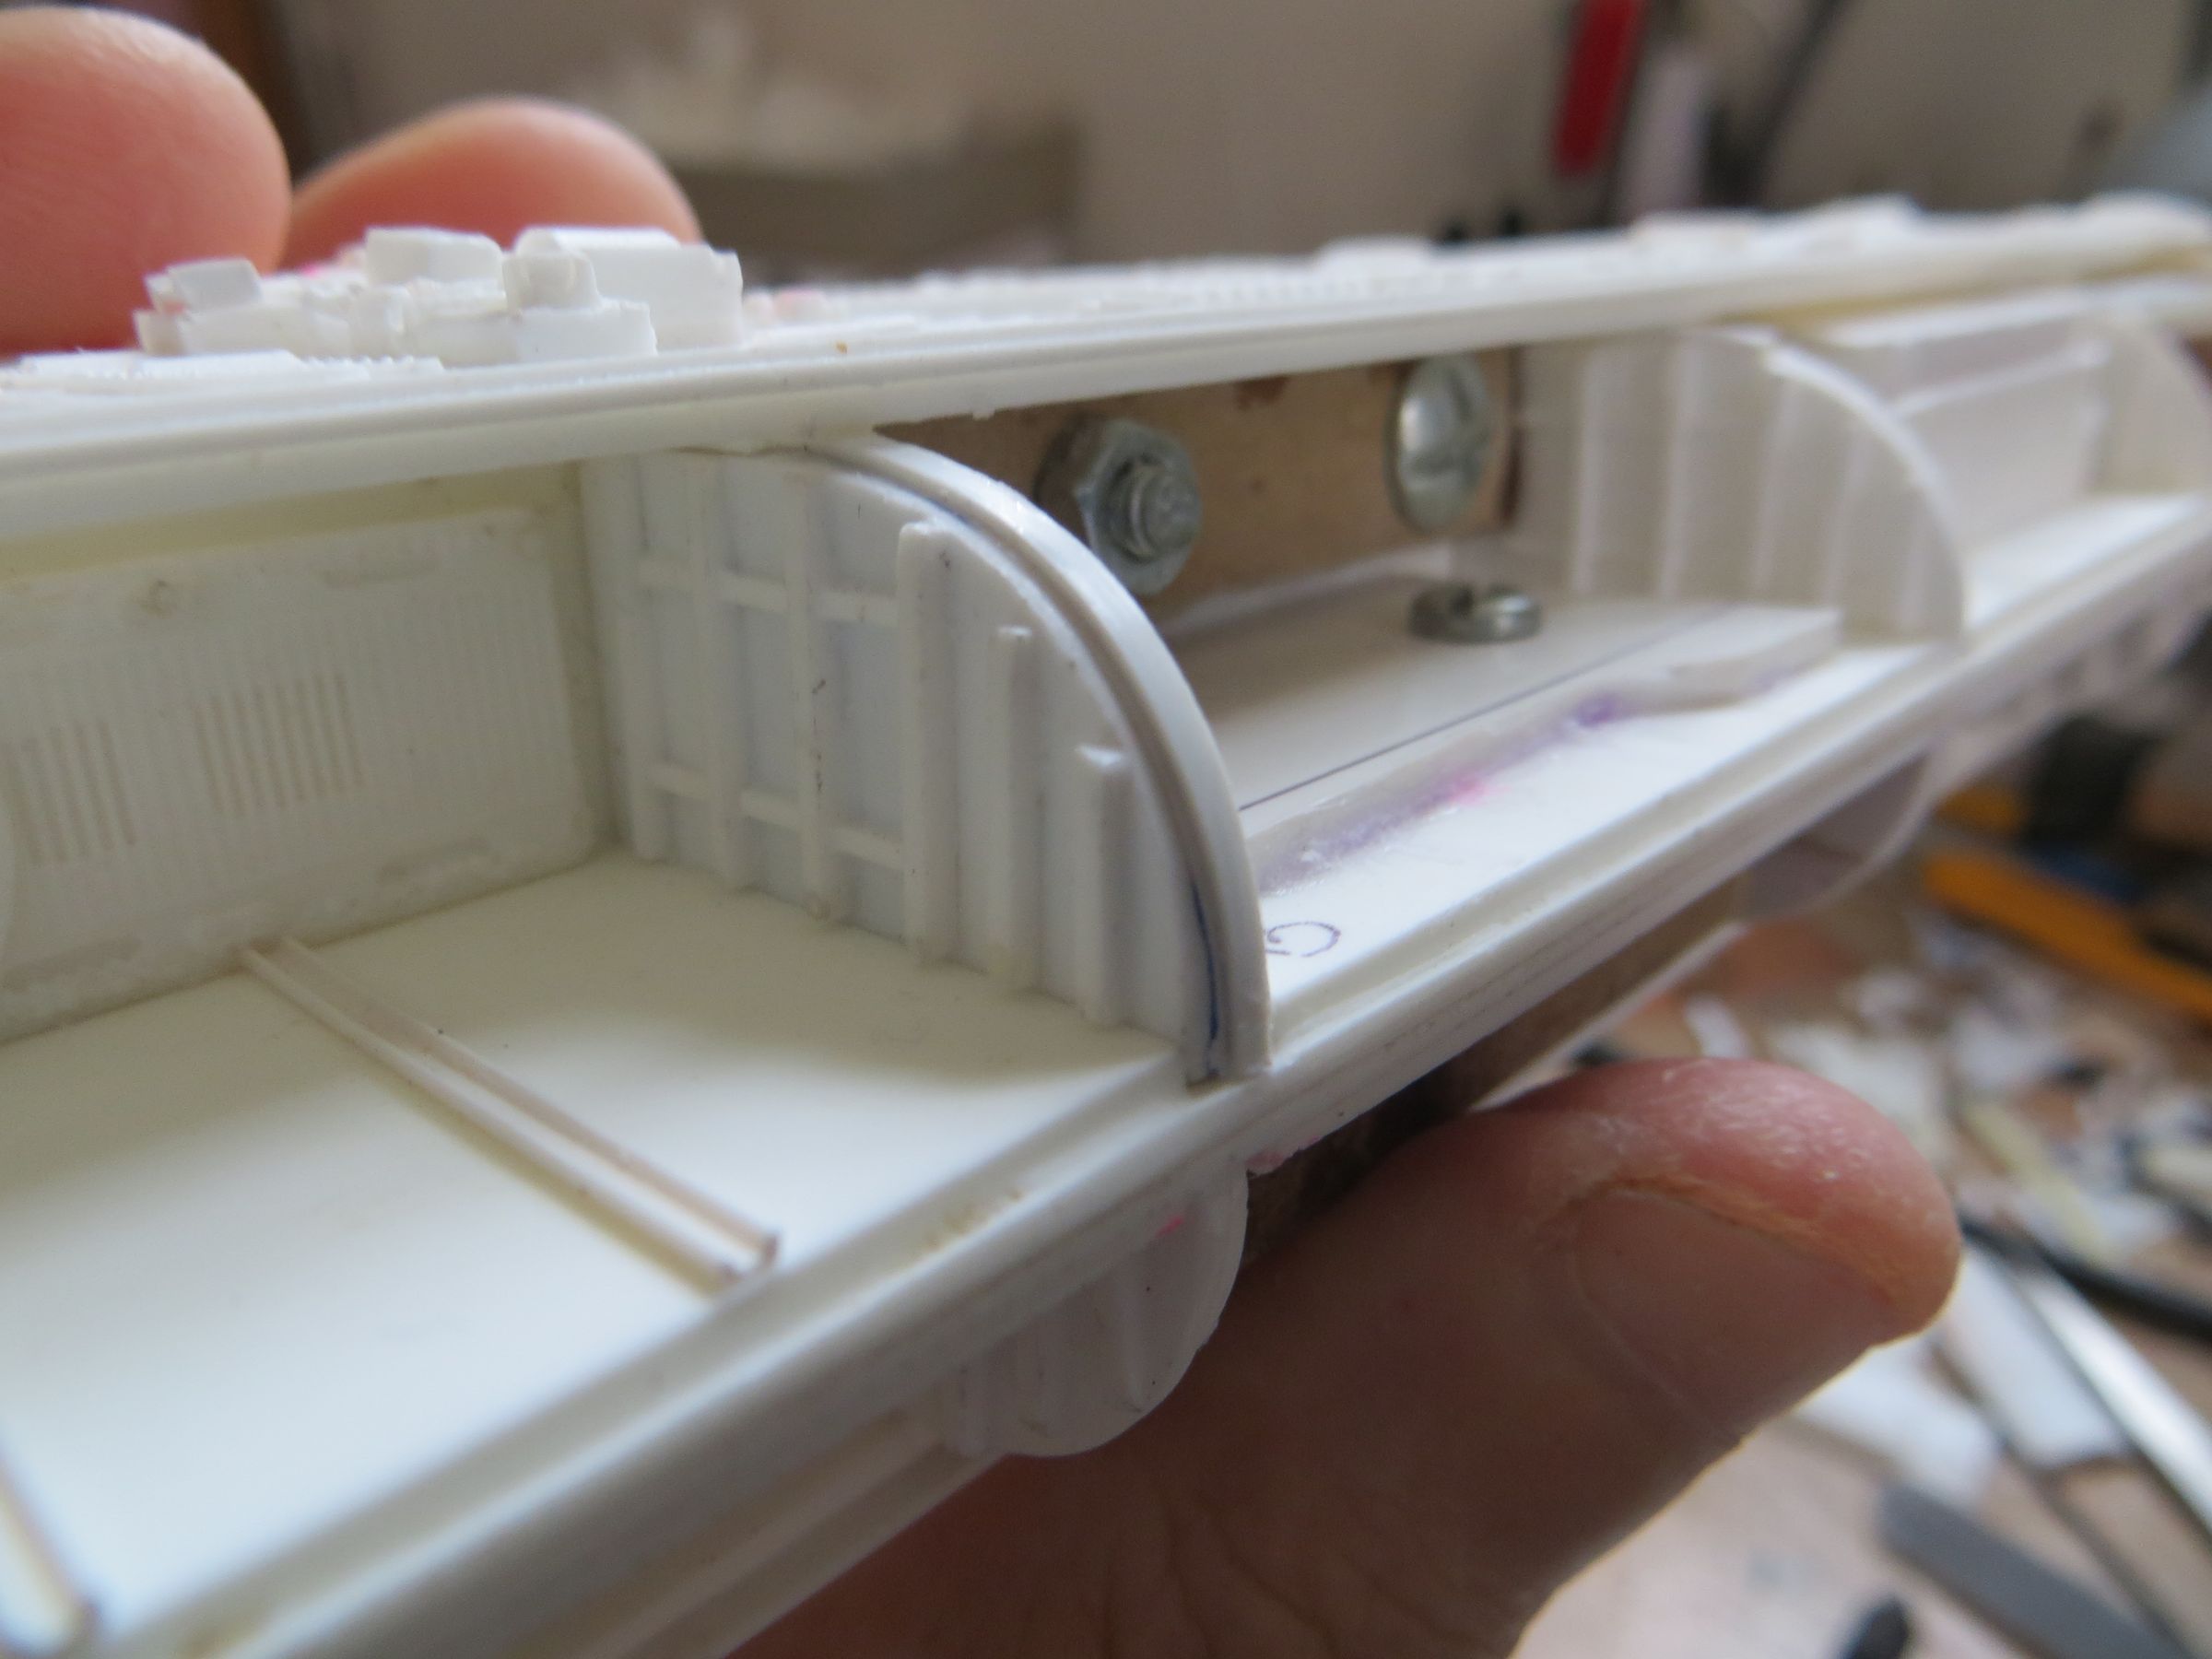
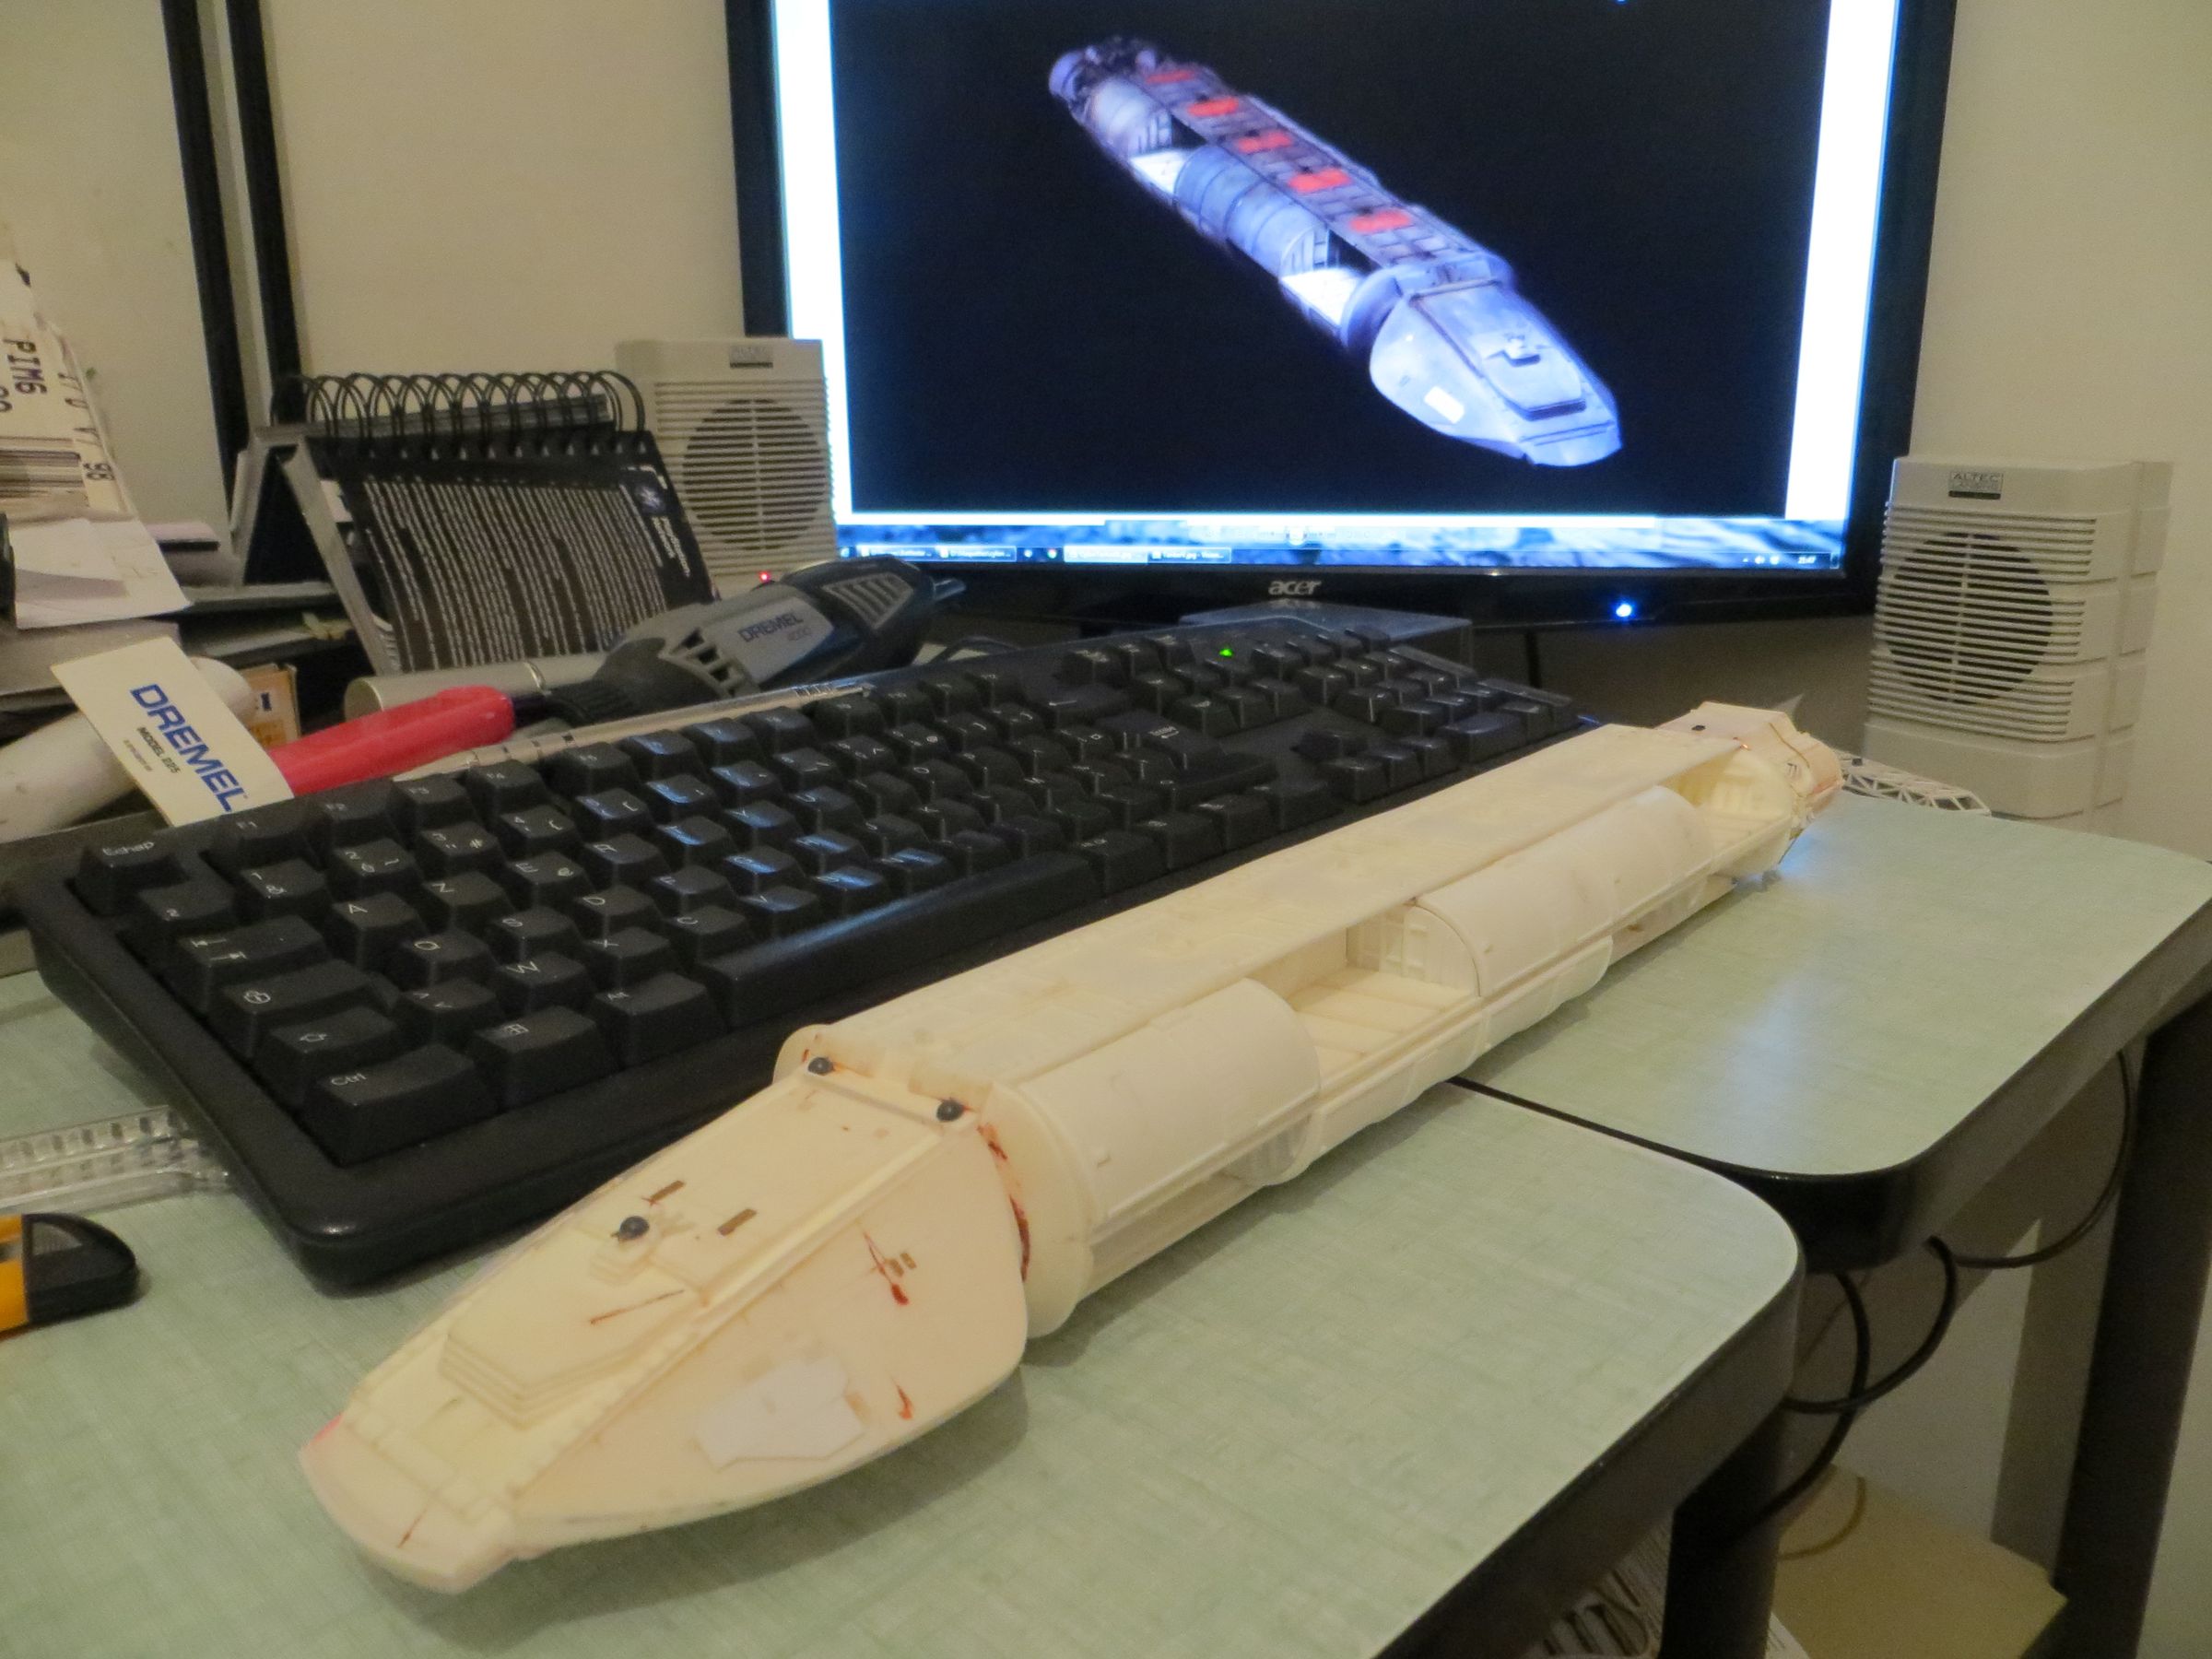
Before continue with these parts, I had to finish the assembly of the large central box. I hesitated if I was going to use 1 or 2 support rods.
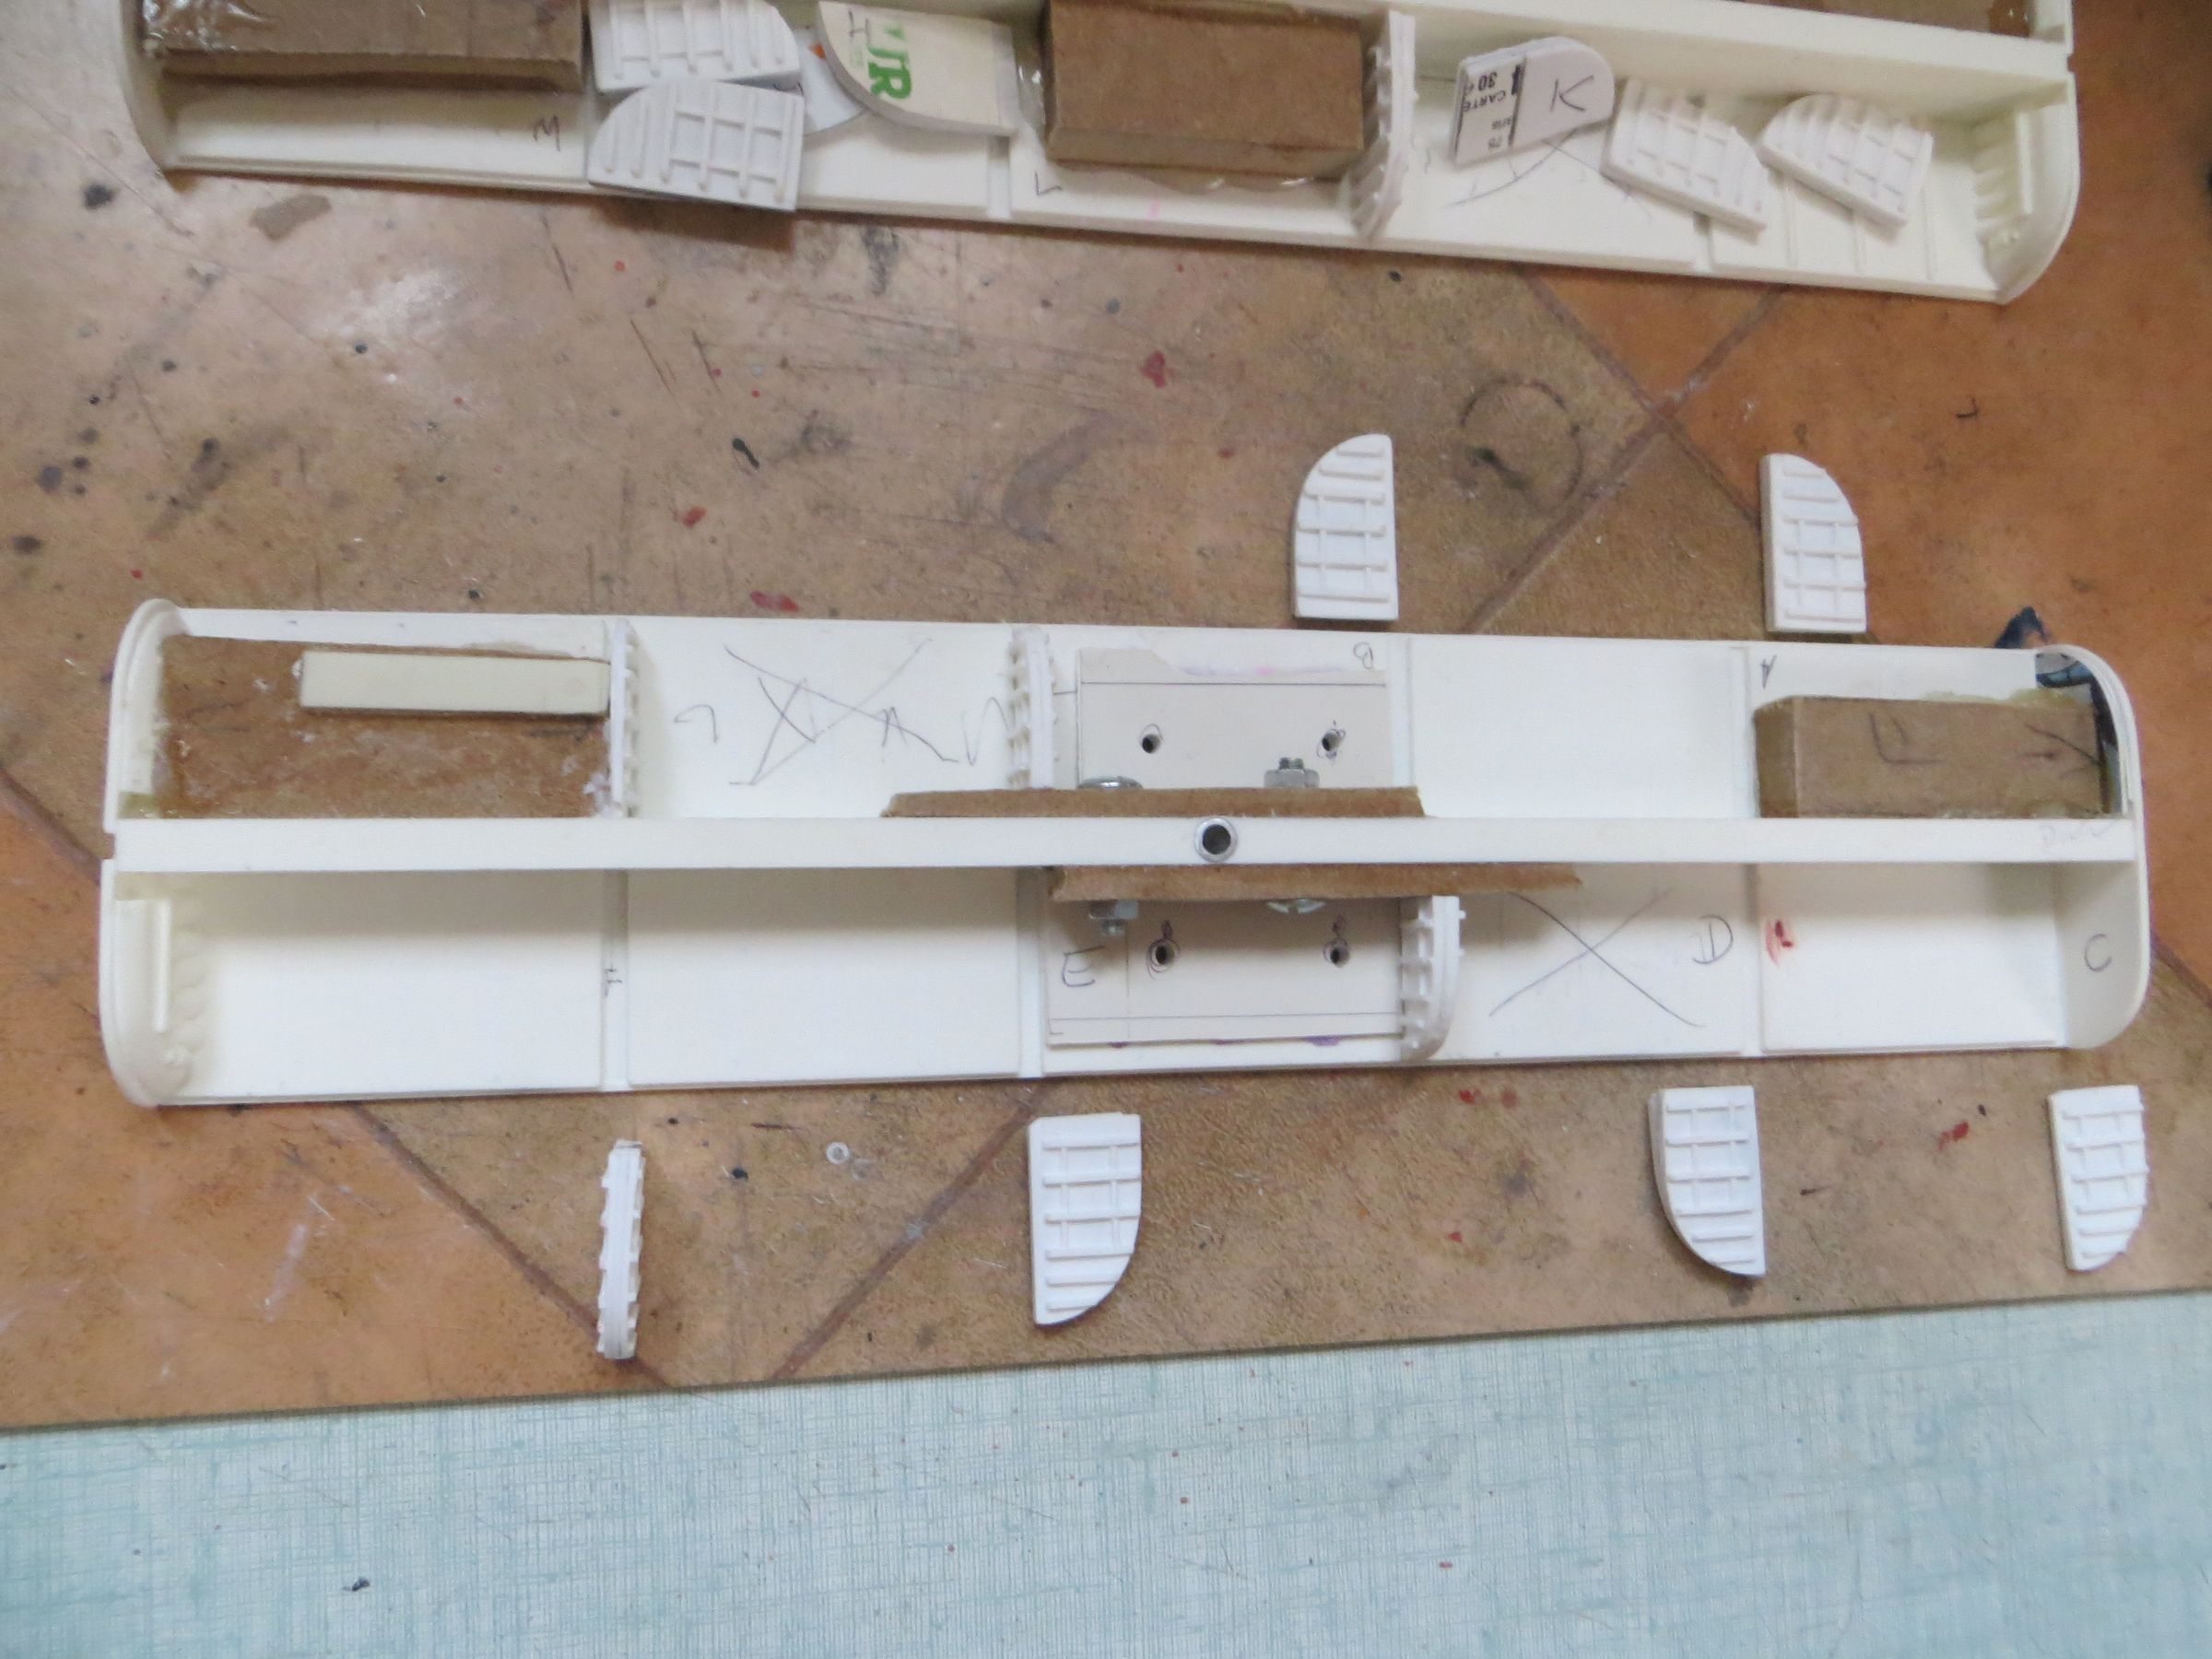
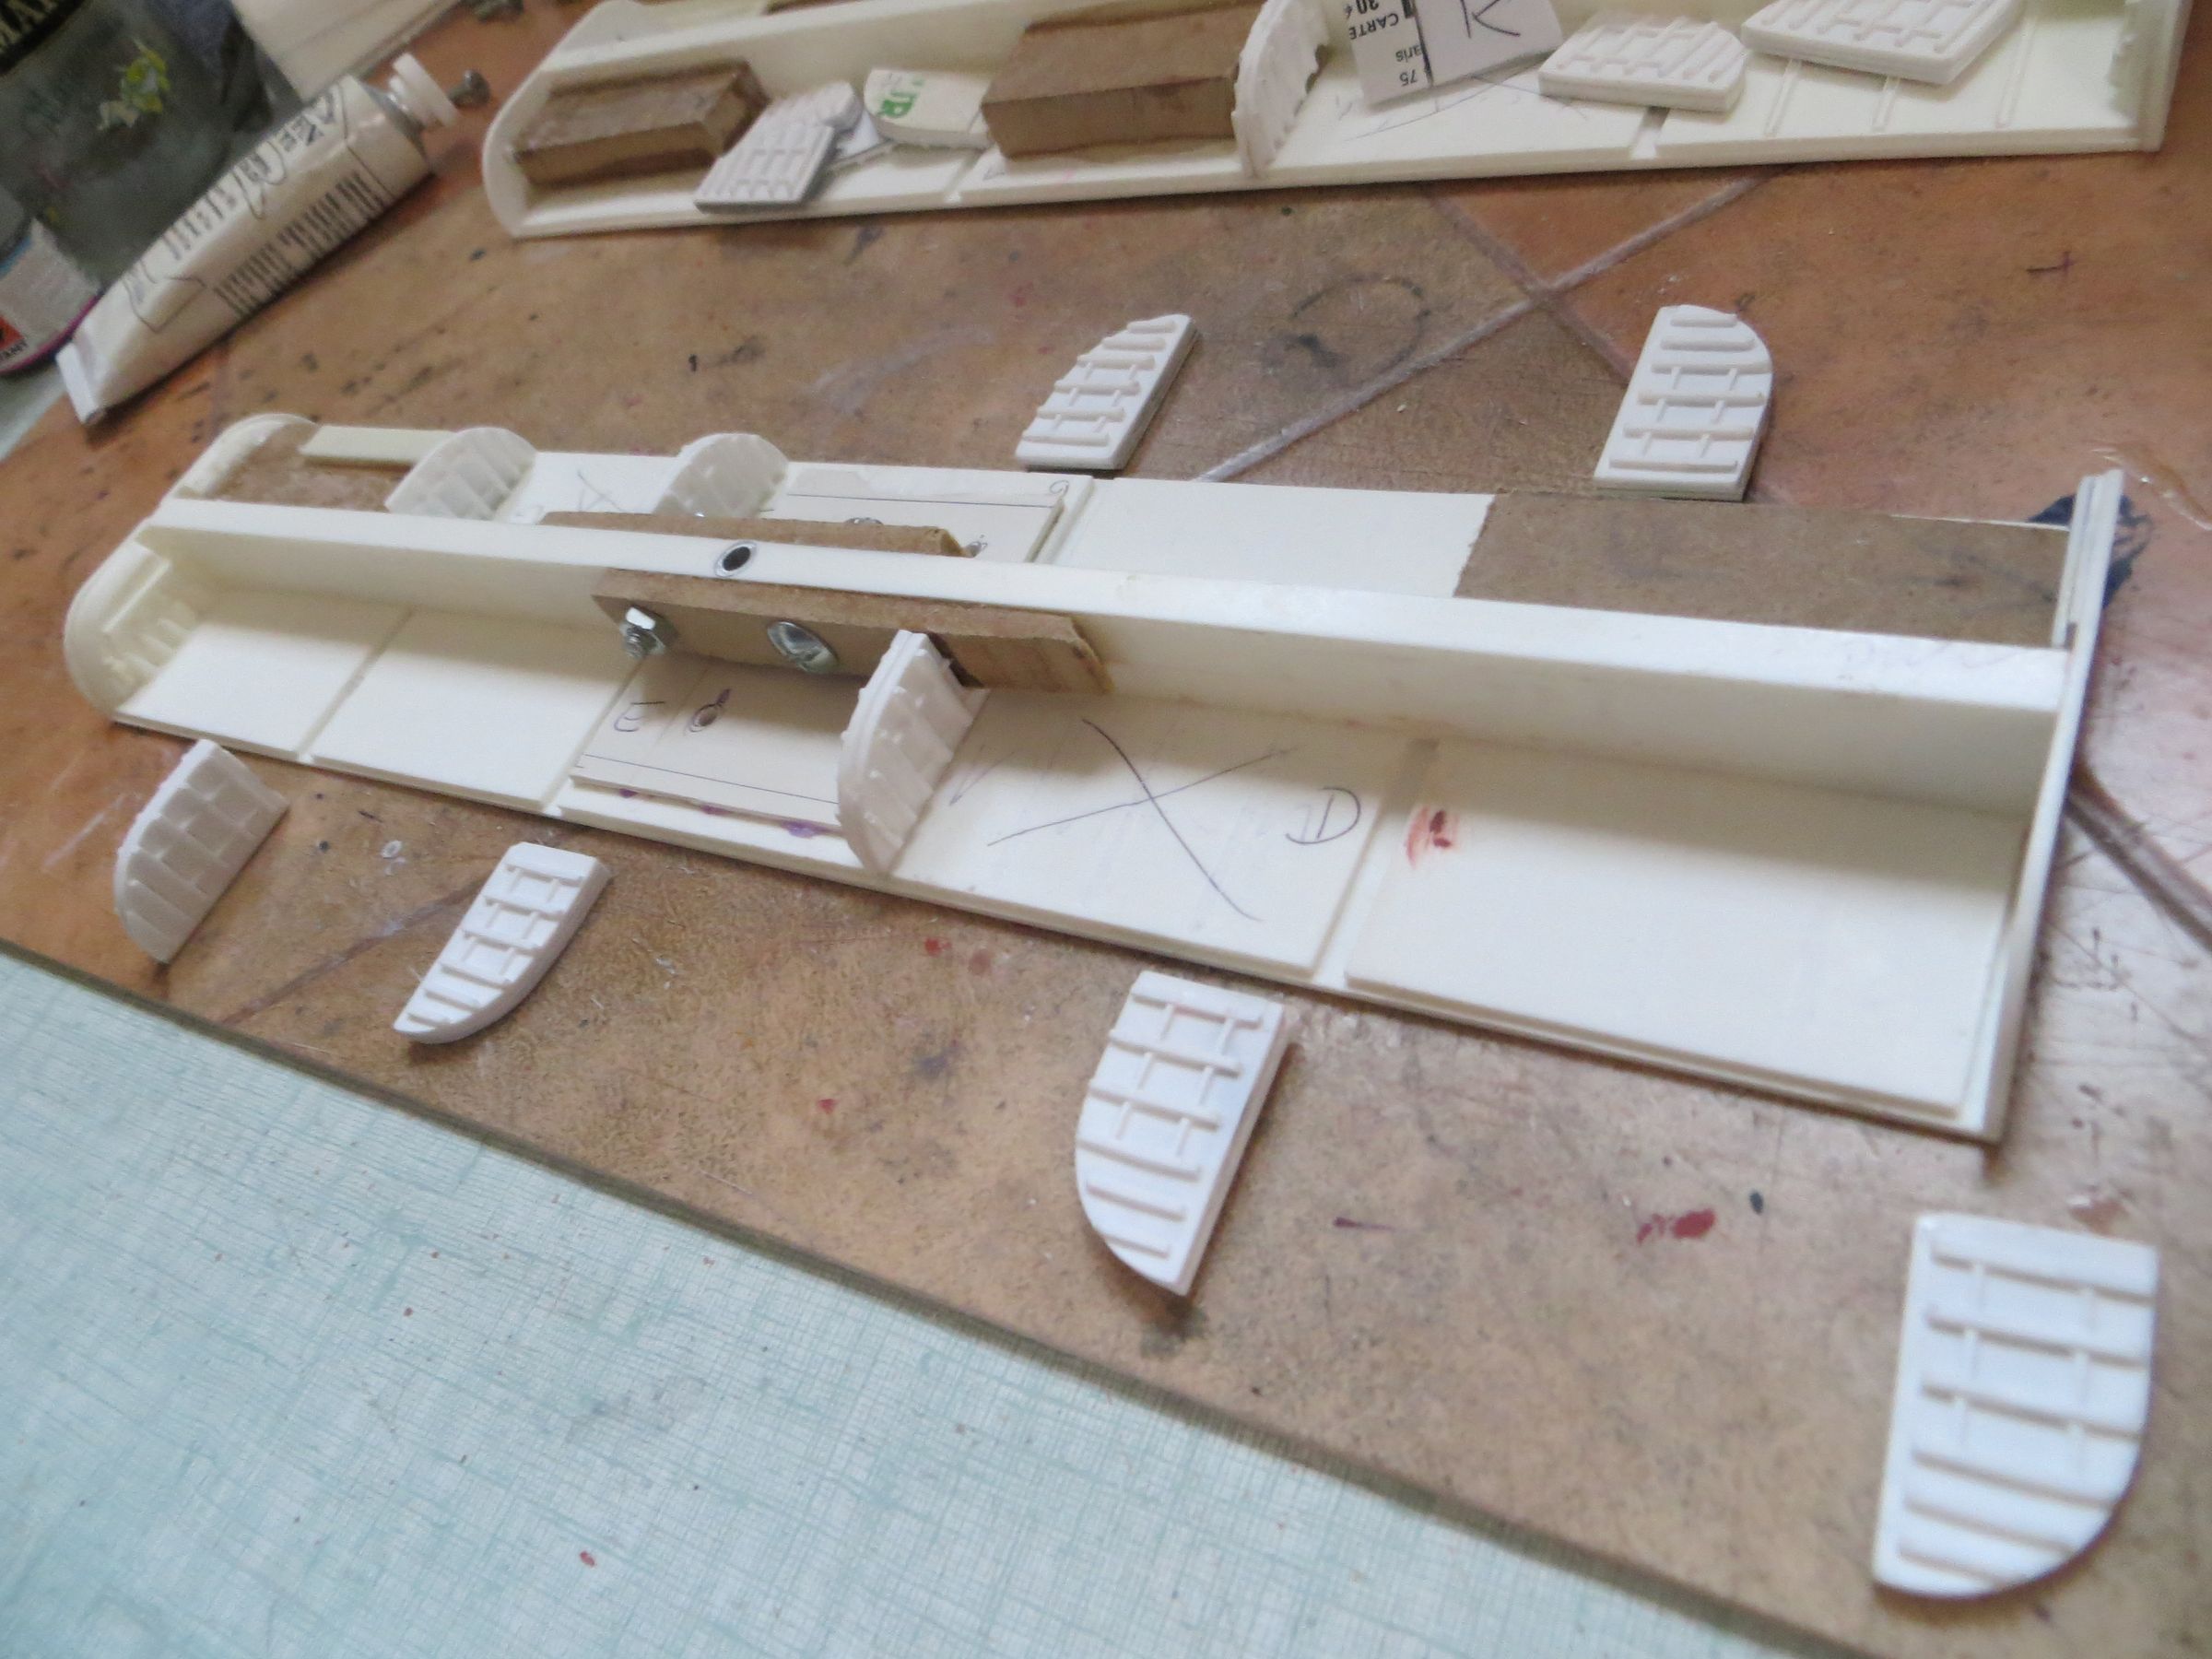
I chose one because it looks best, but more complicated due to the length of the model. To be sure that the ship will stay straight, I used a fixed drill, embedded an aluminum tube, itself secured by wooden sticks and some nuts and bolts.
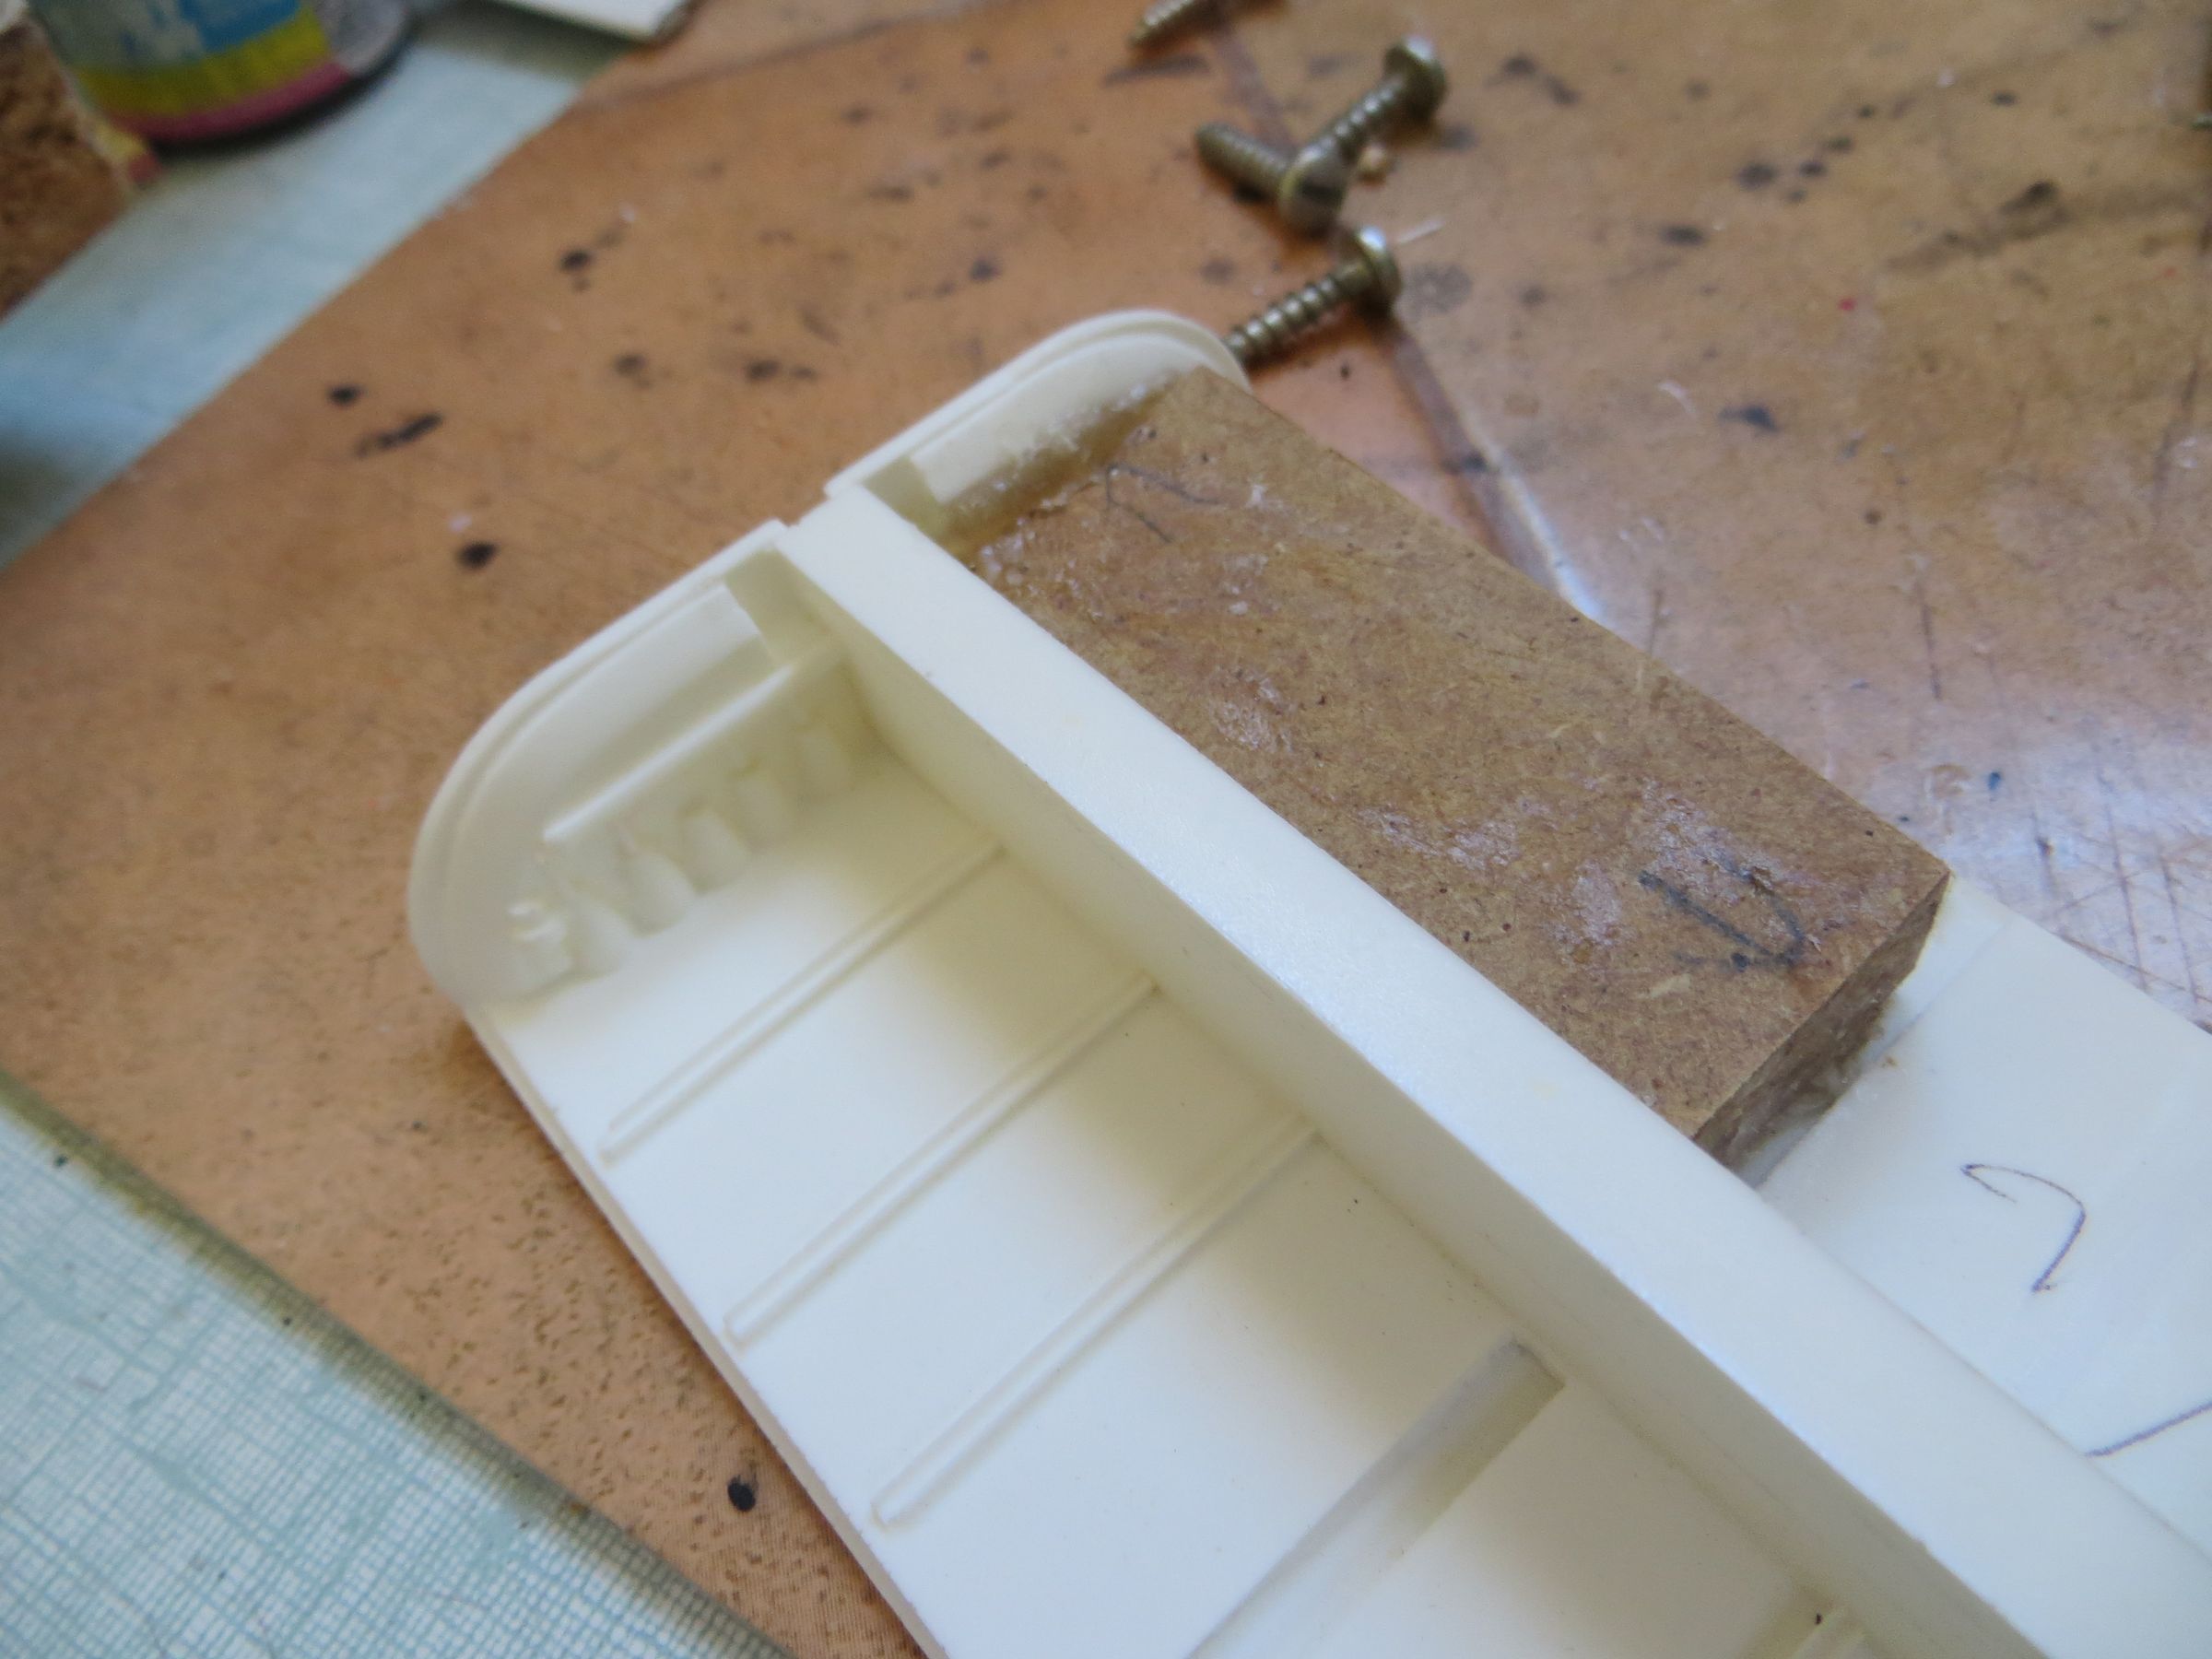
Wooden blocks are added in the bayes (that will be closed in the end), to strengthen the assembly and screw together the long parts.
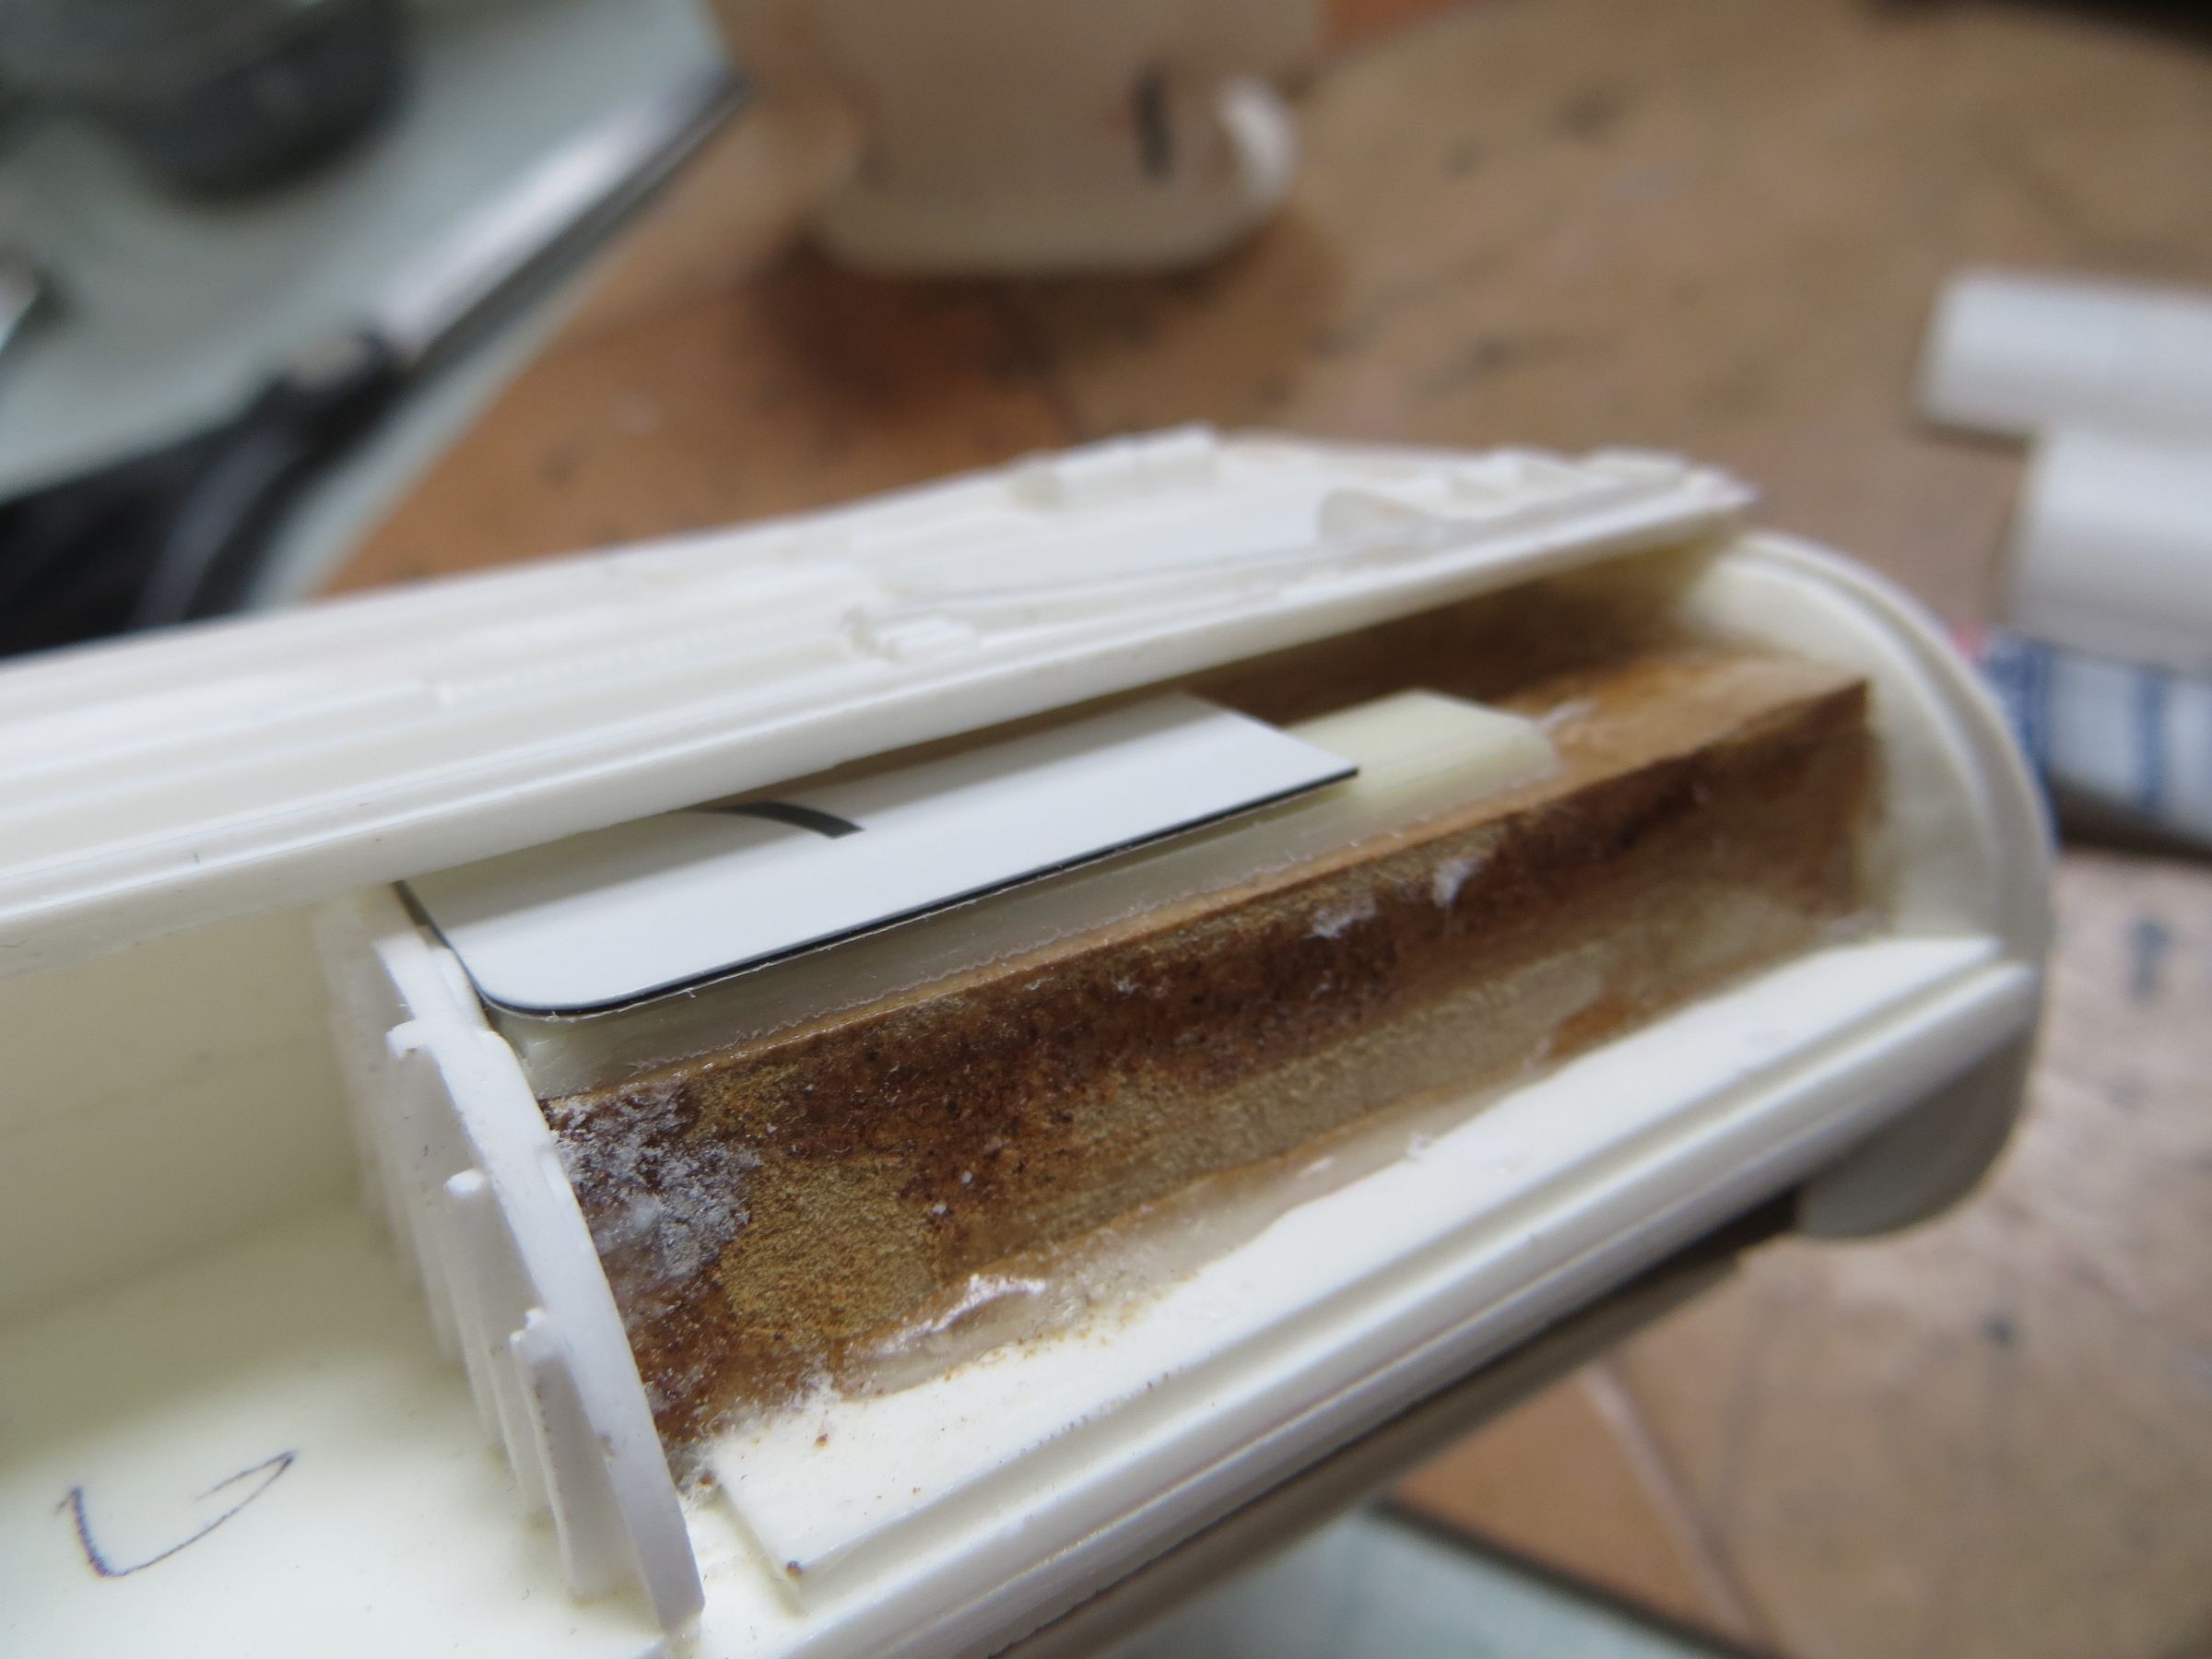
Same thing at the ends to add material to plug rods and support the weight of the head and engine modules (as being full filled, they are quite heavy).
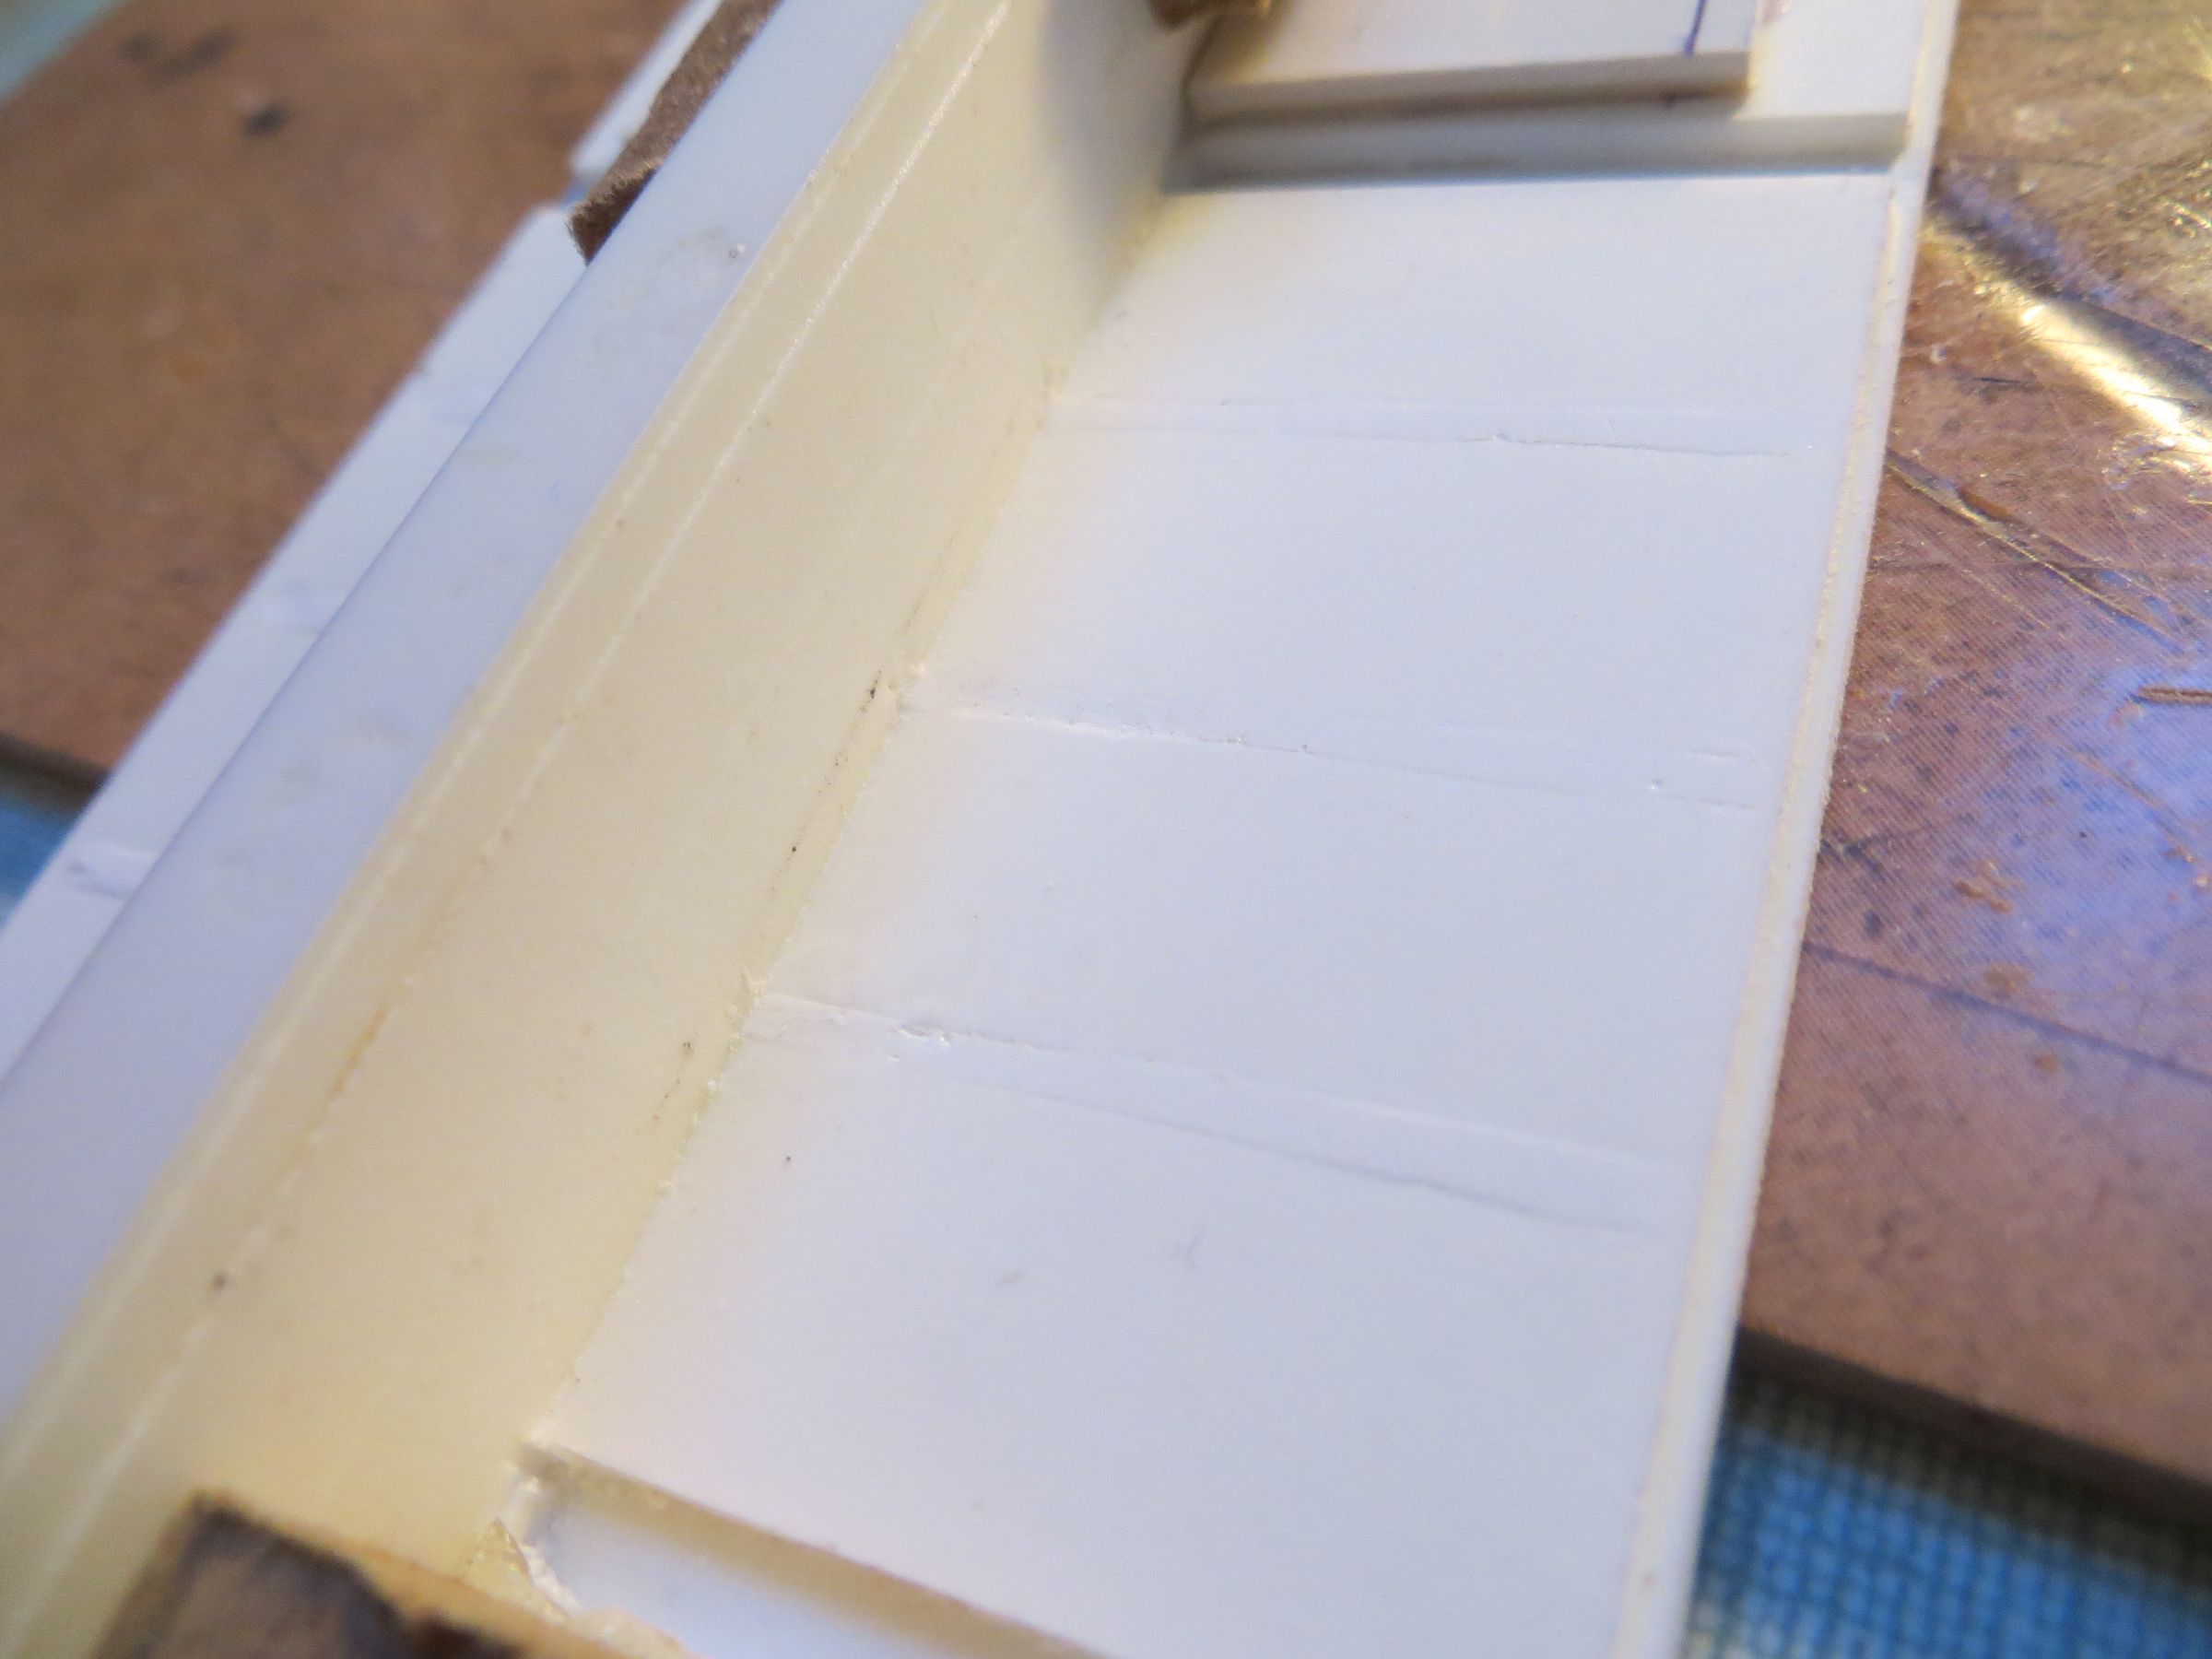
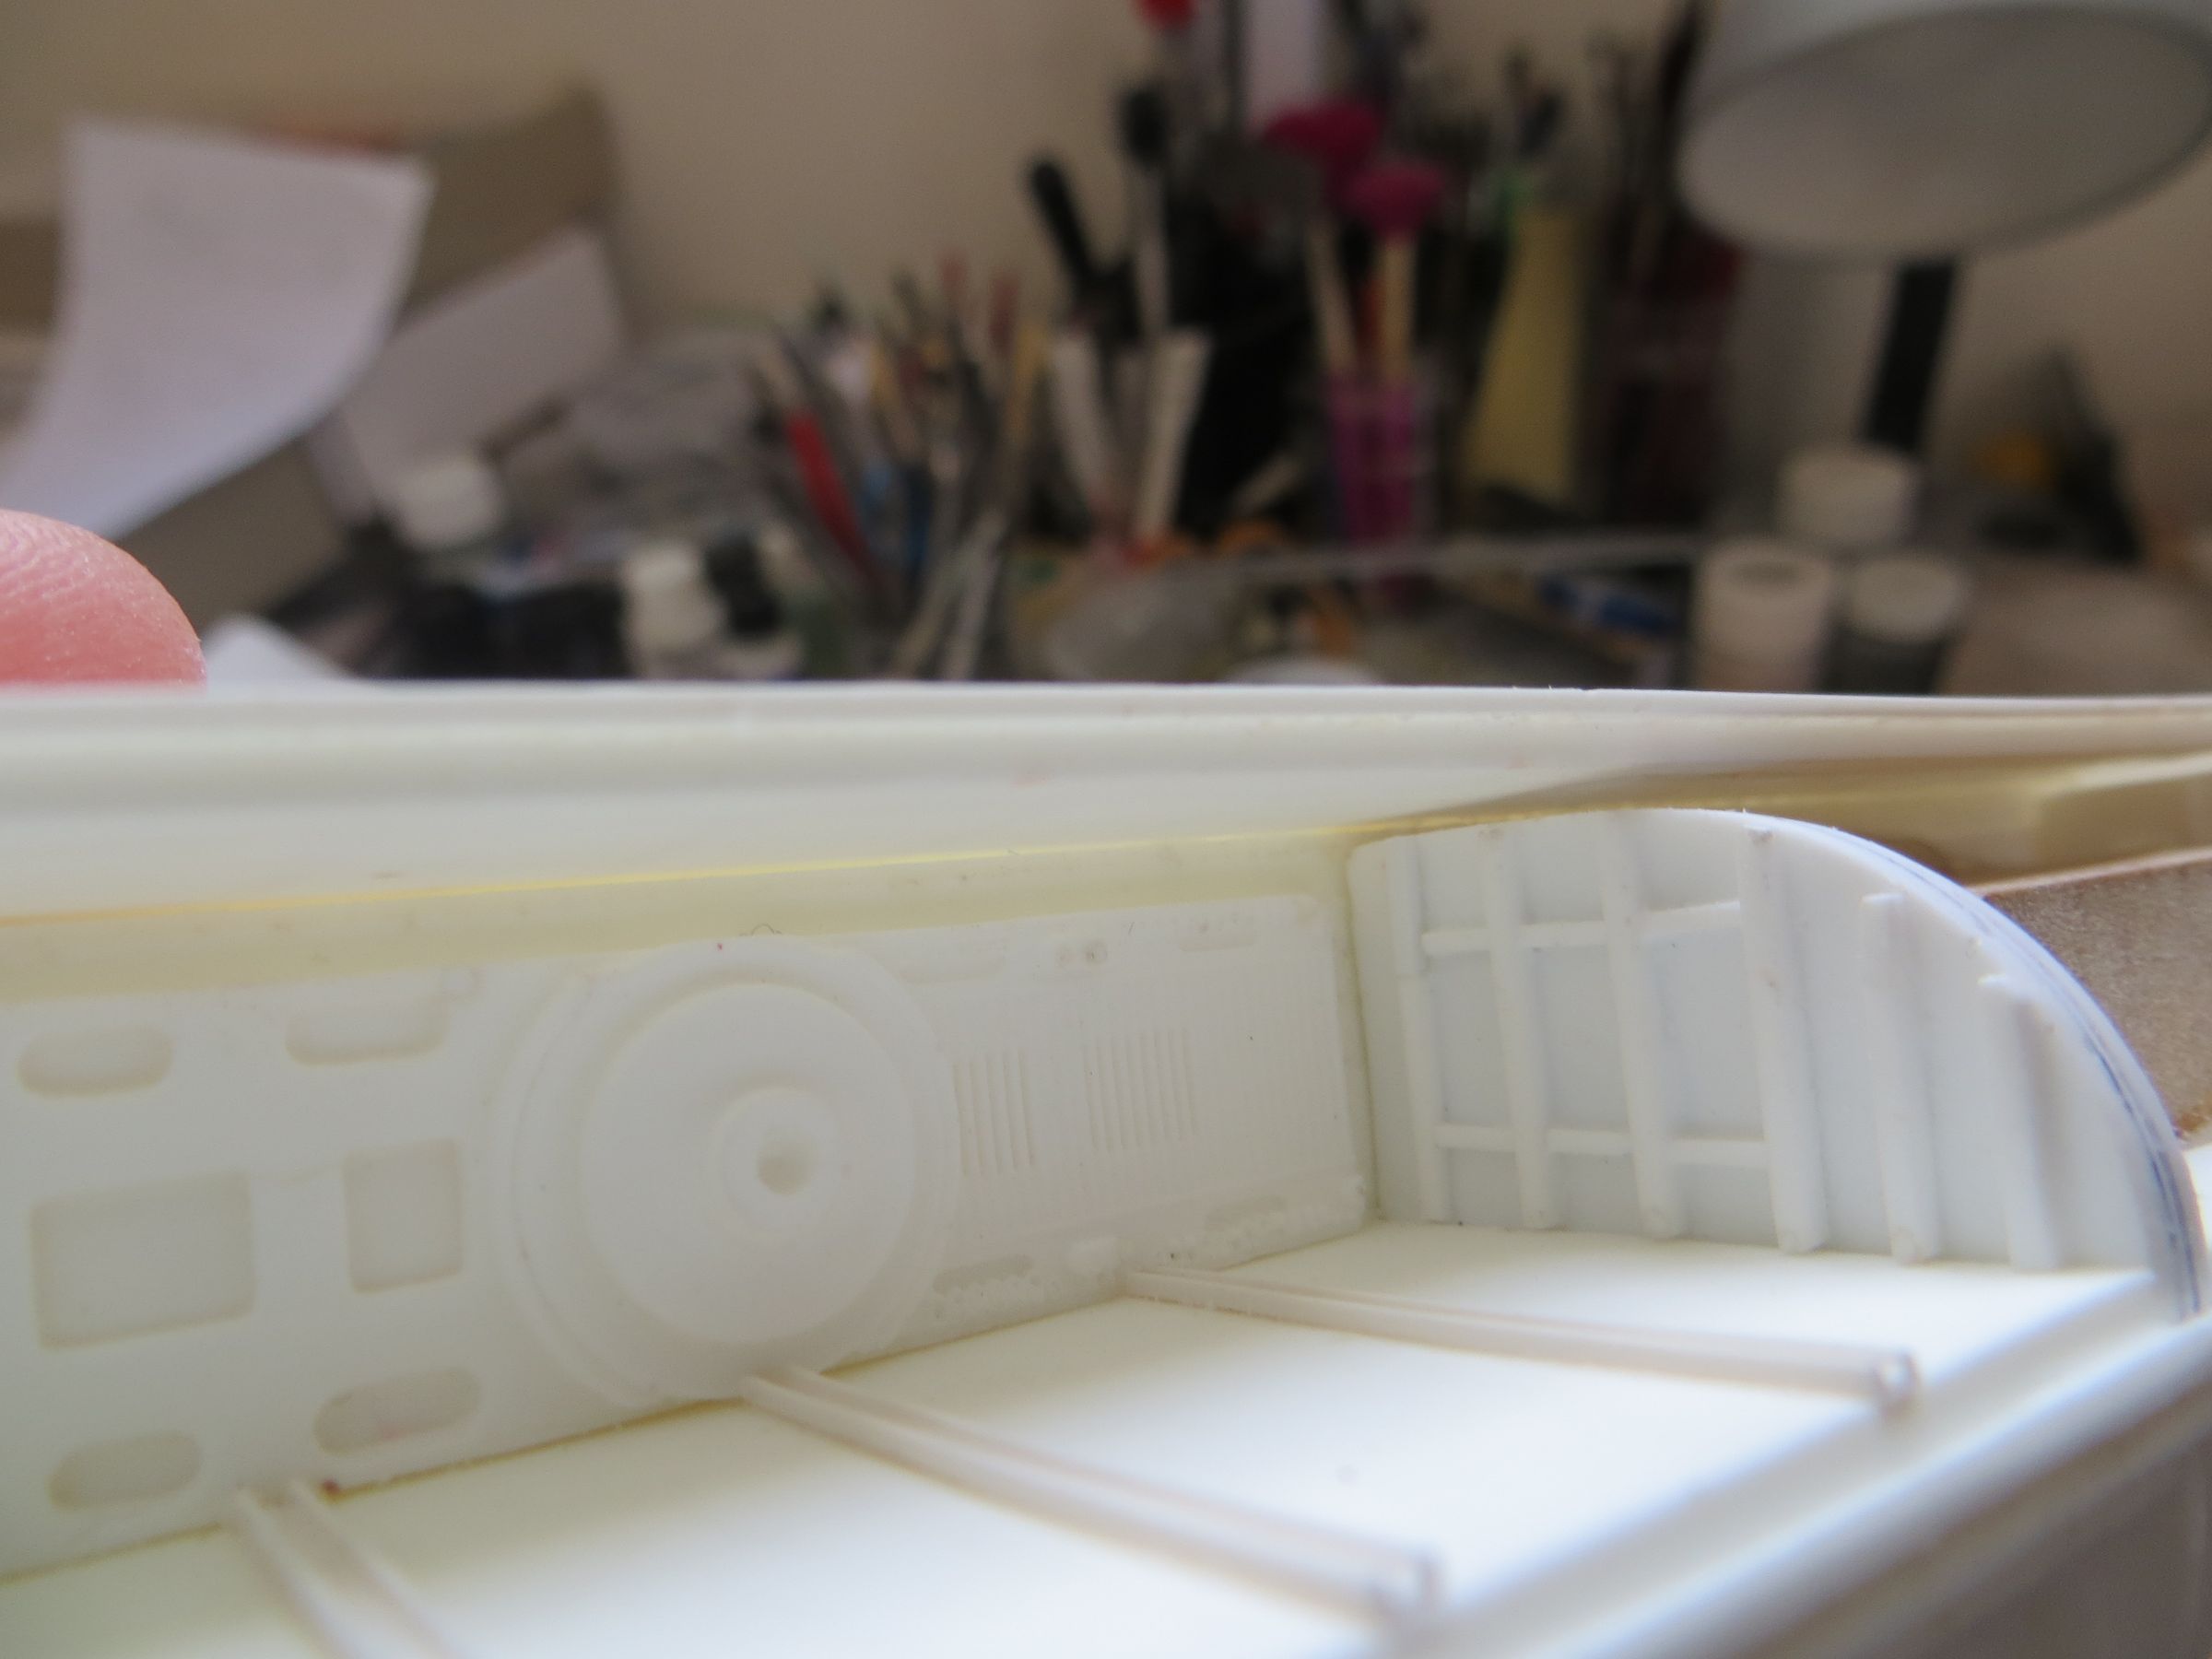
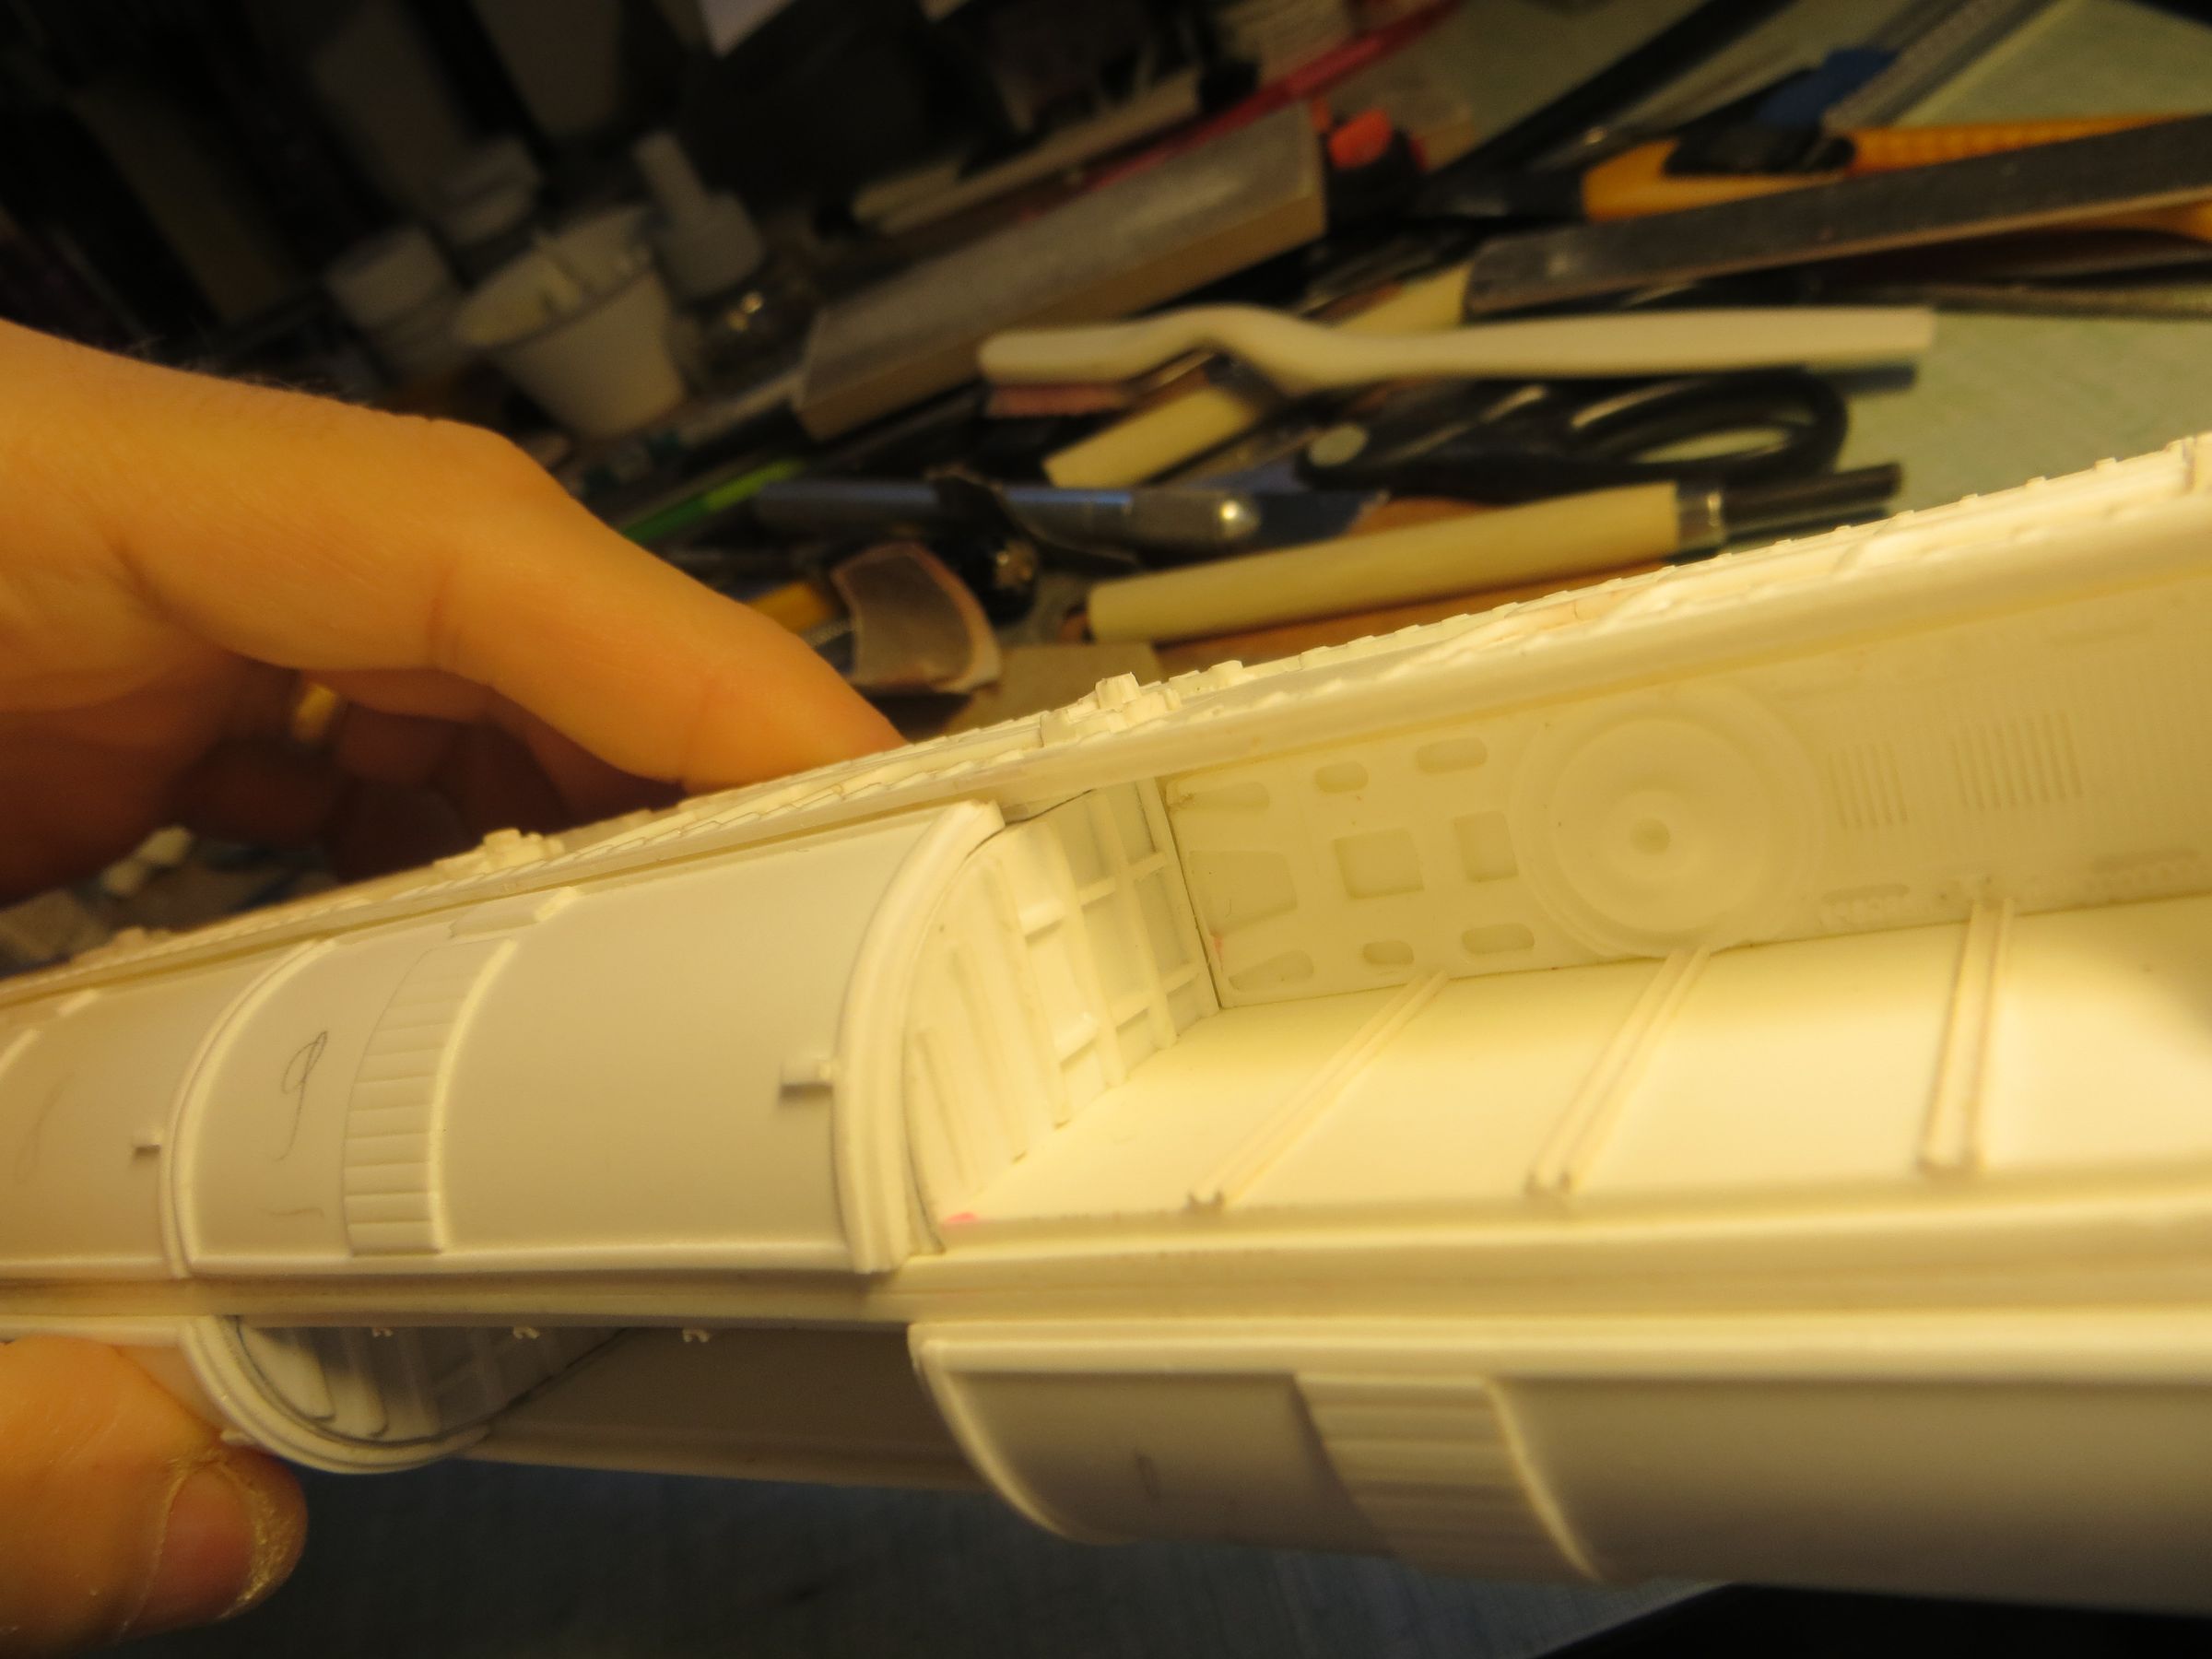
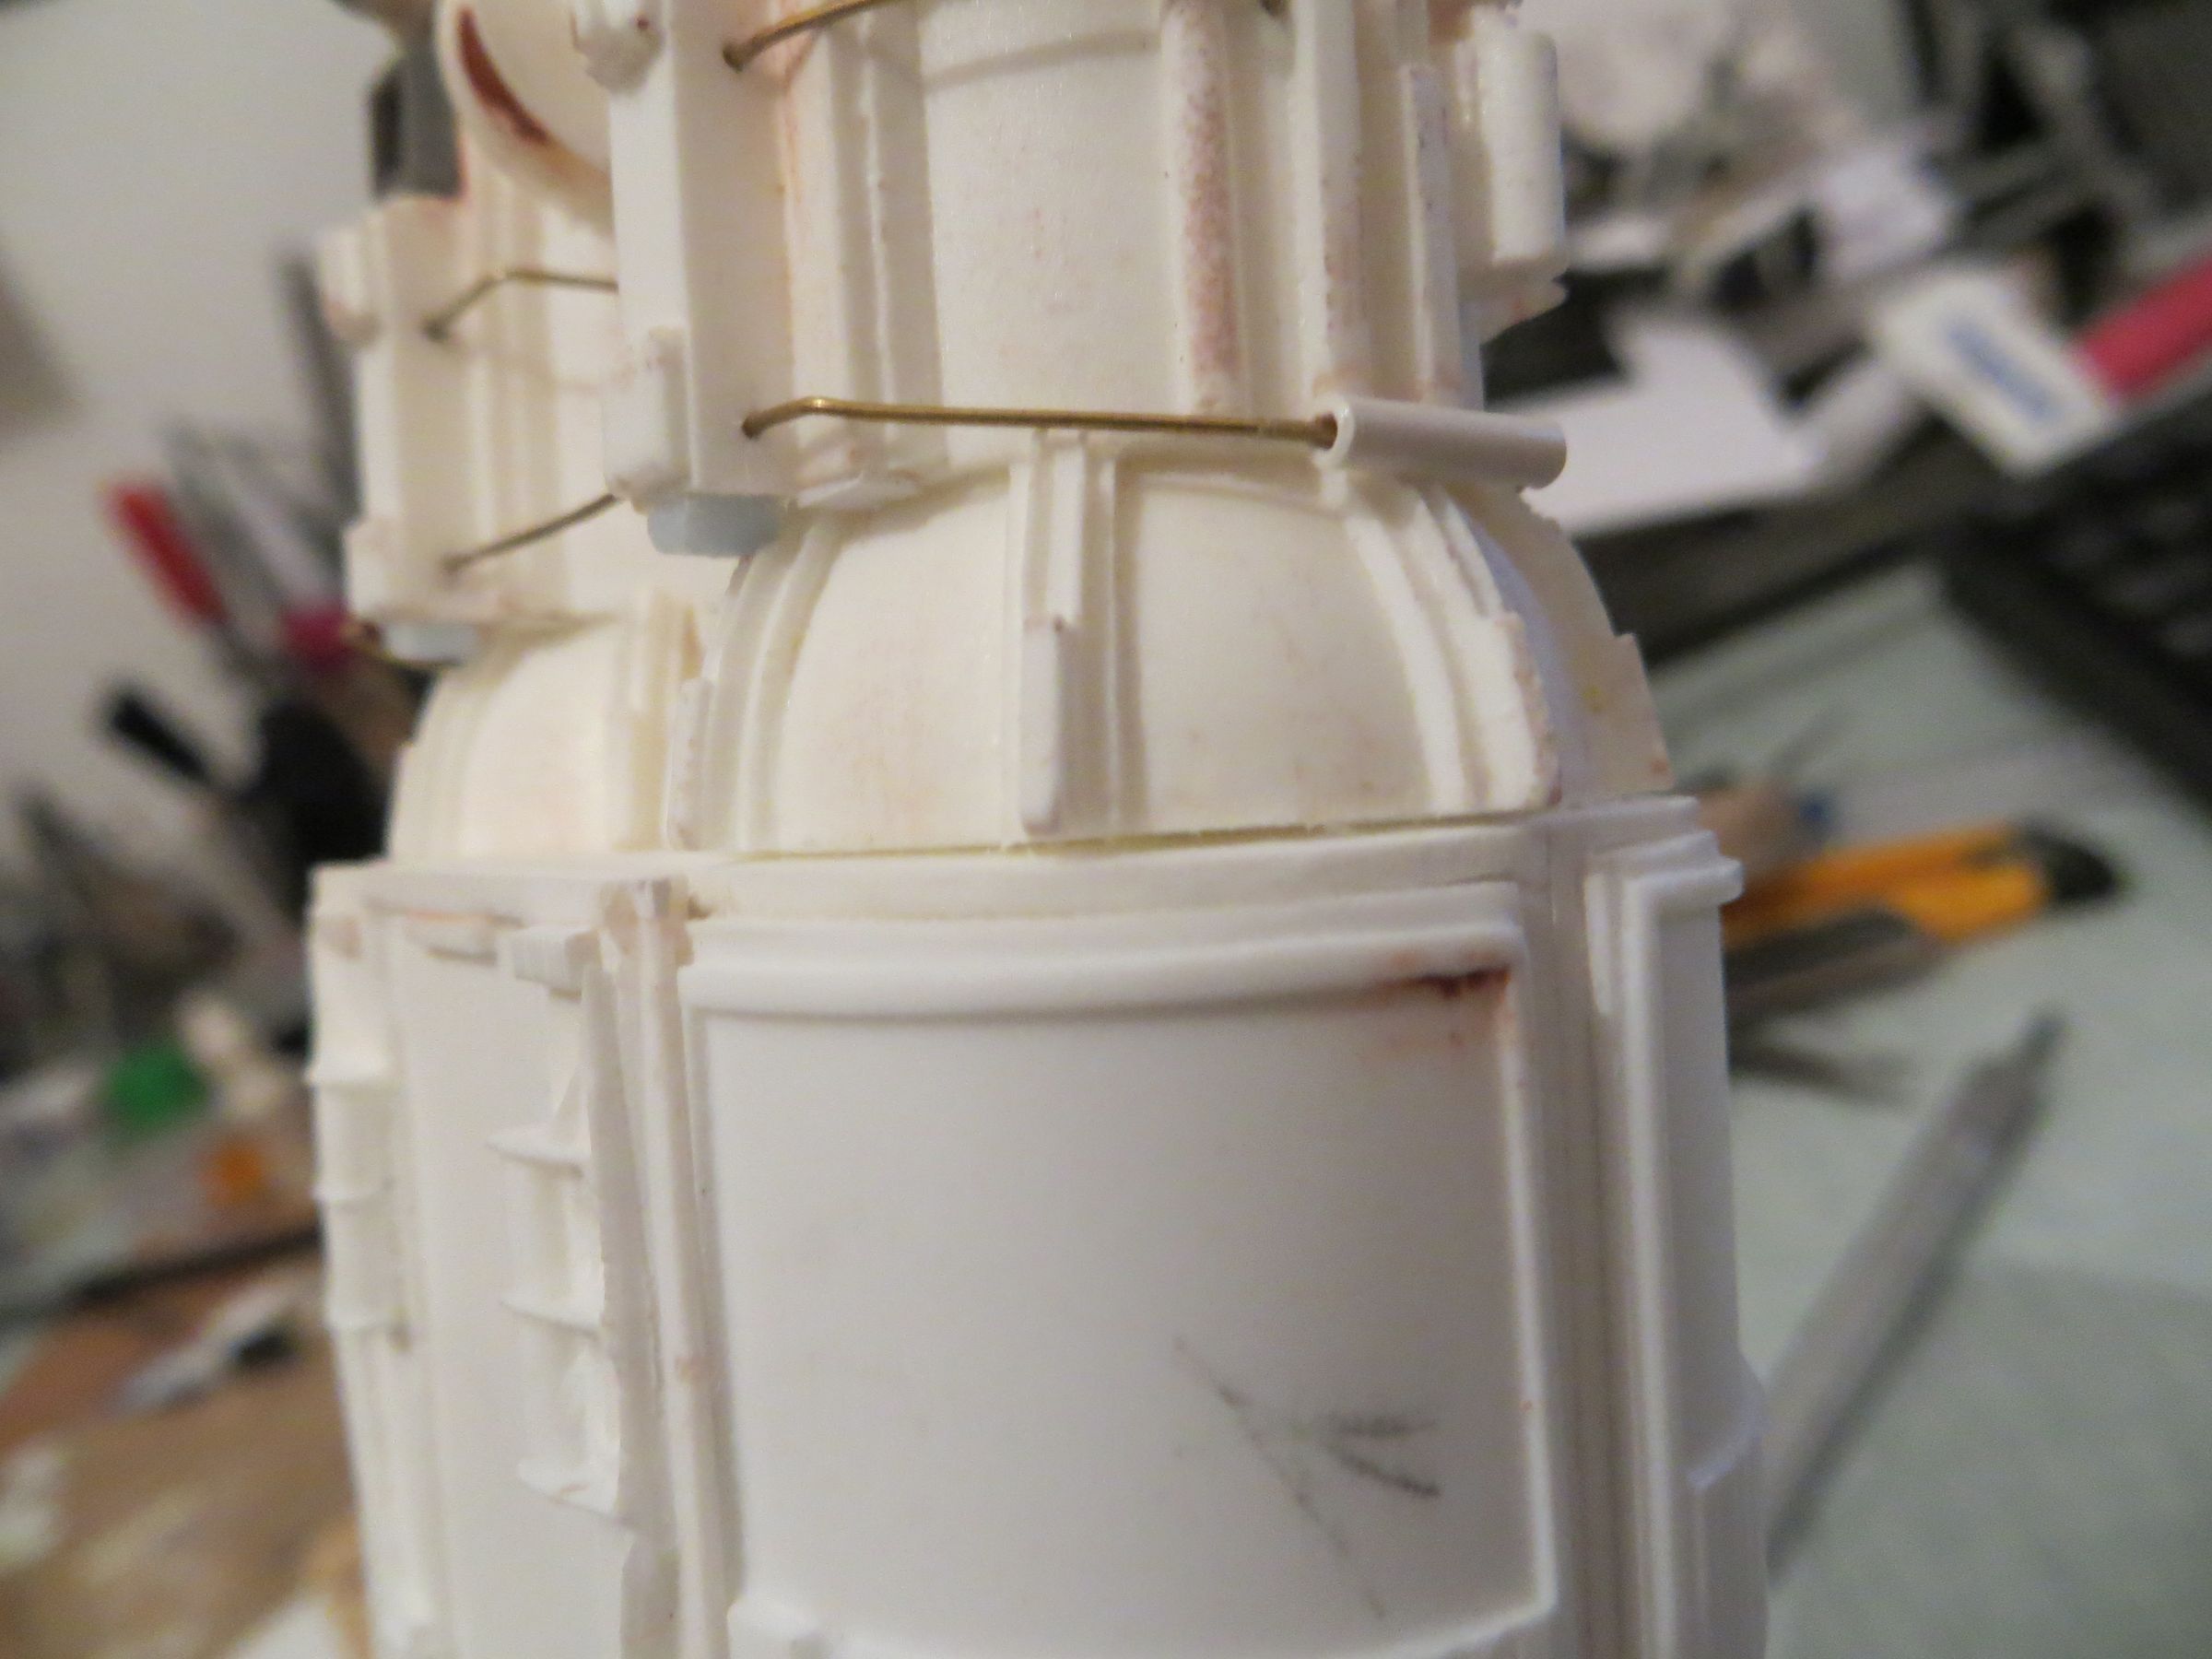
For the installation of the inner walls, I realized that I had finally removed too much material ! It was therefore necessary to add thickness with plastic cards. I used the new superglue 3 "universal", which has a slight delay in the curing, which allows the easy adjustment.
Many of those who were not visible were also glued to be able to support the cylindrical bay doors.
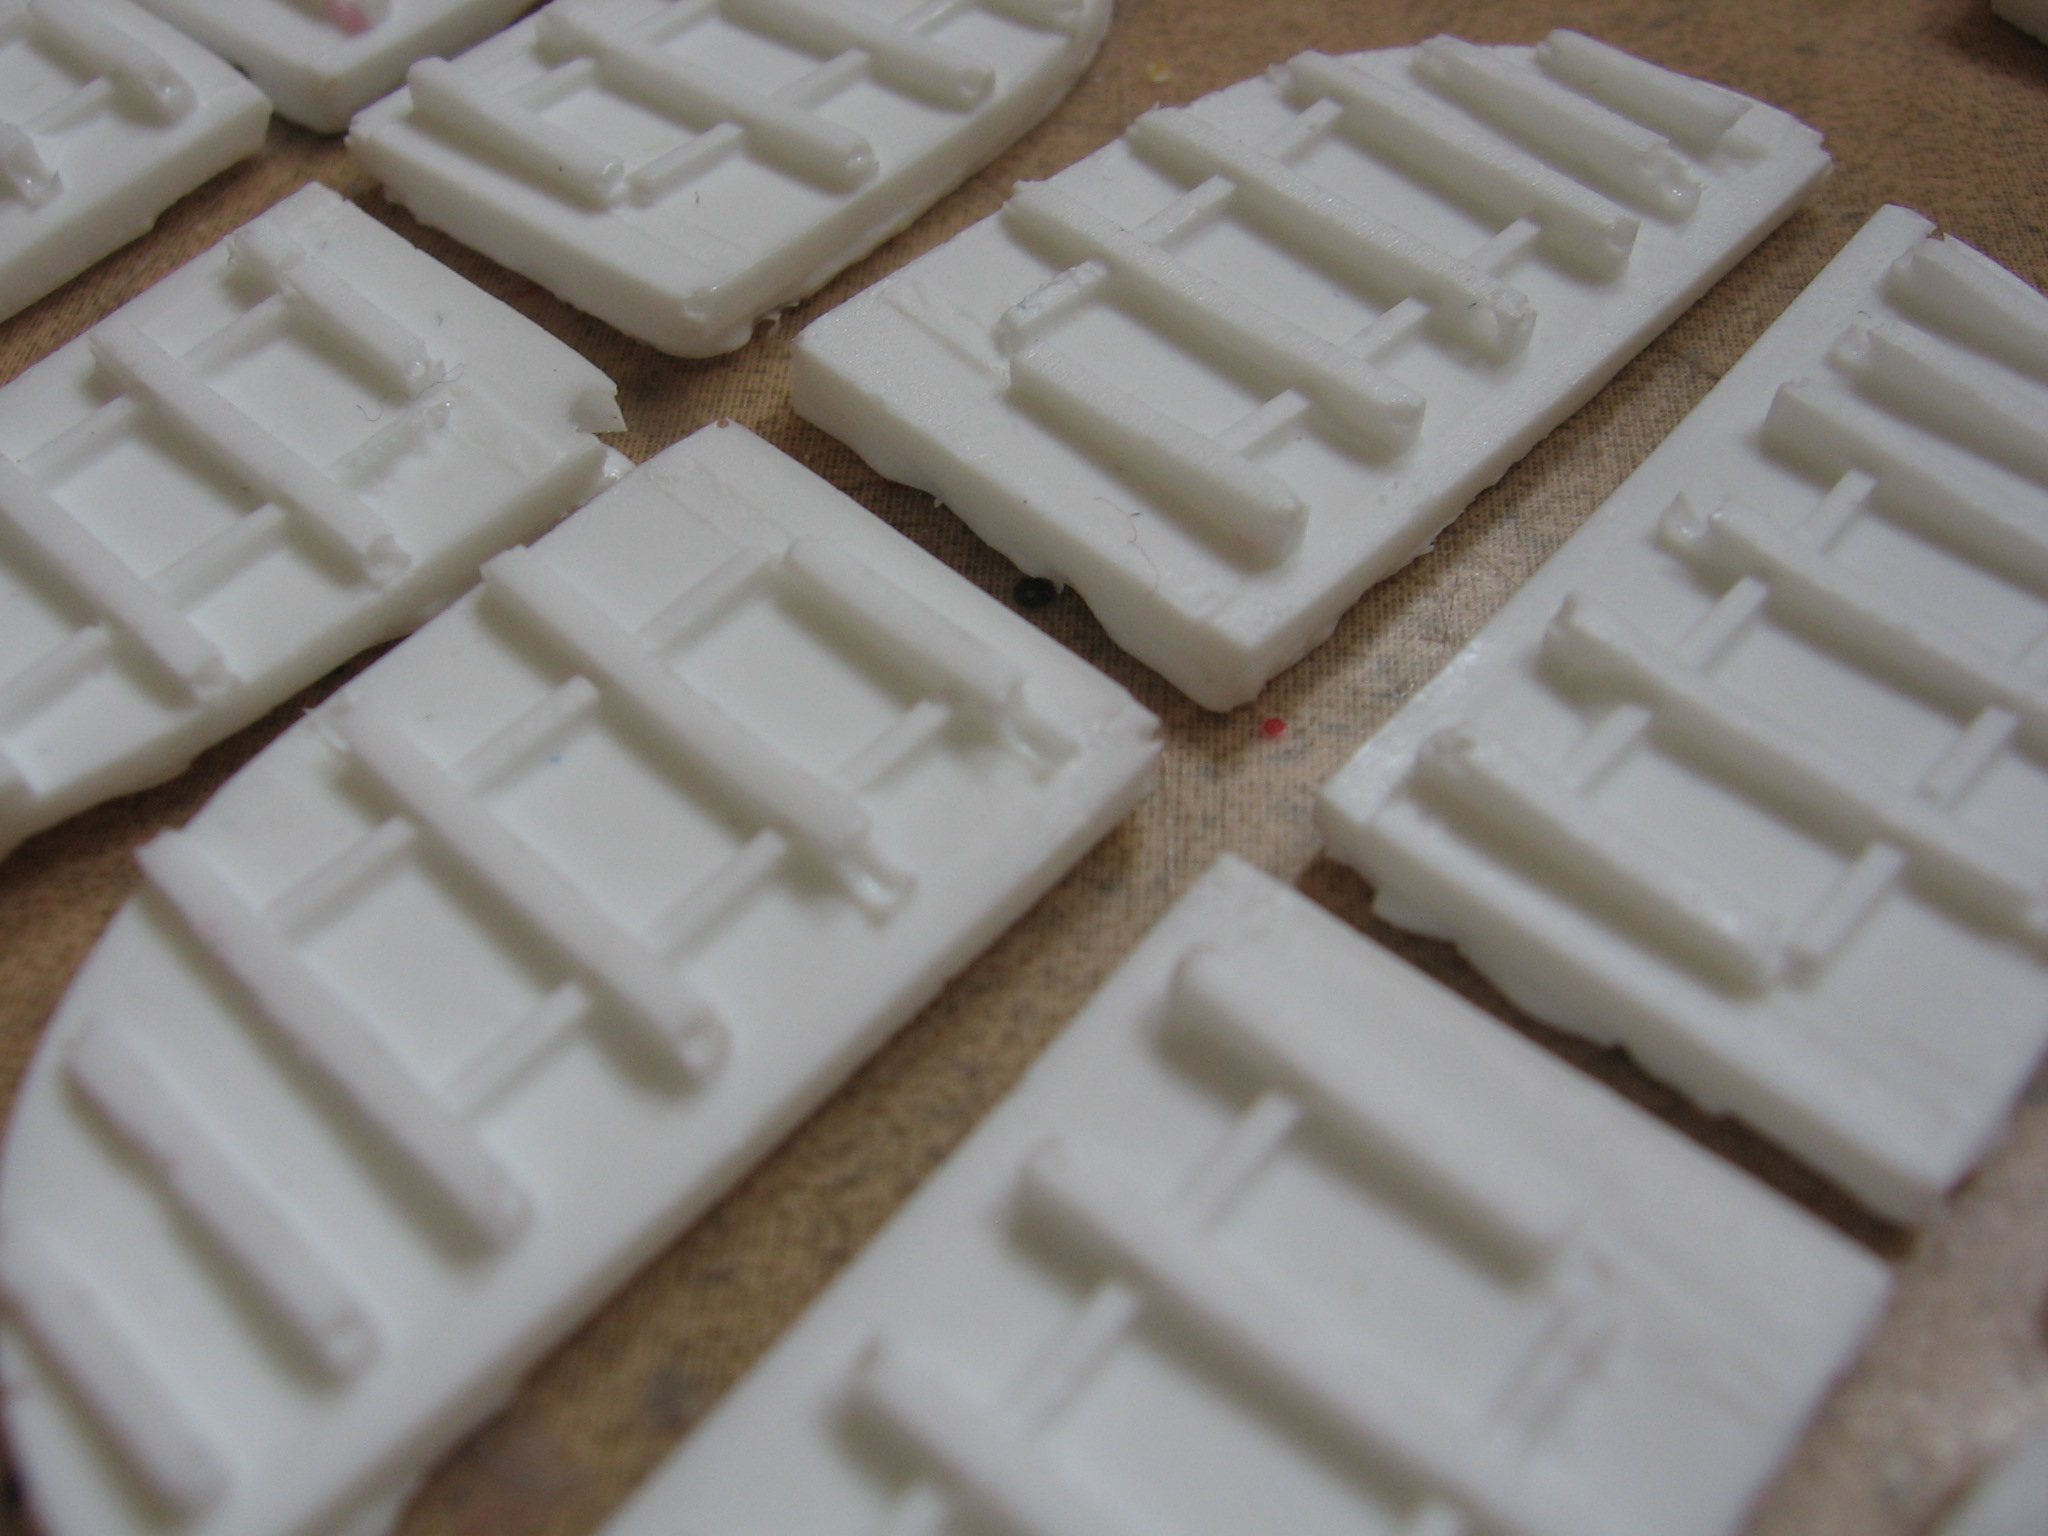
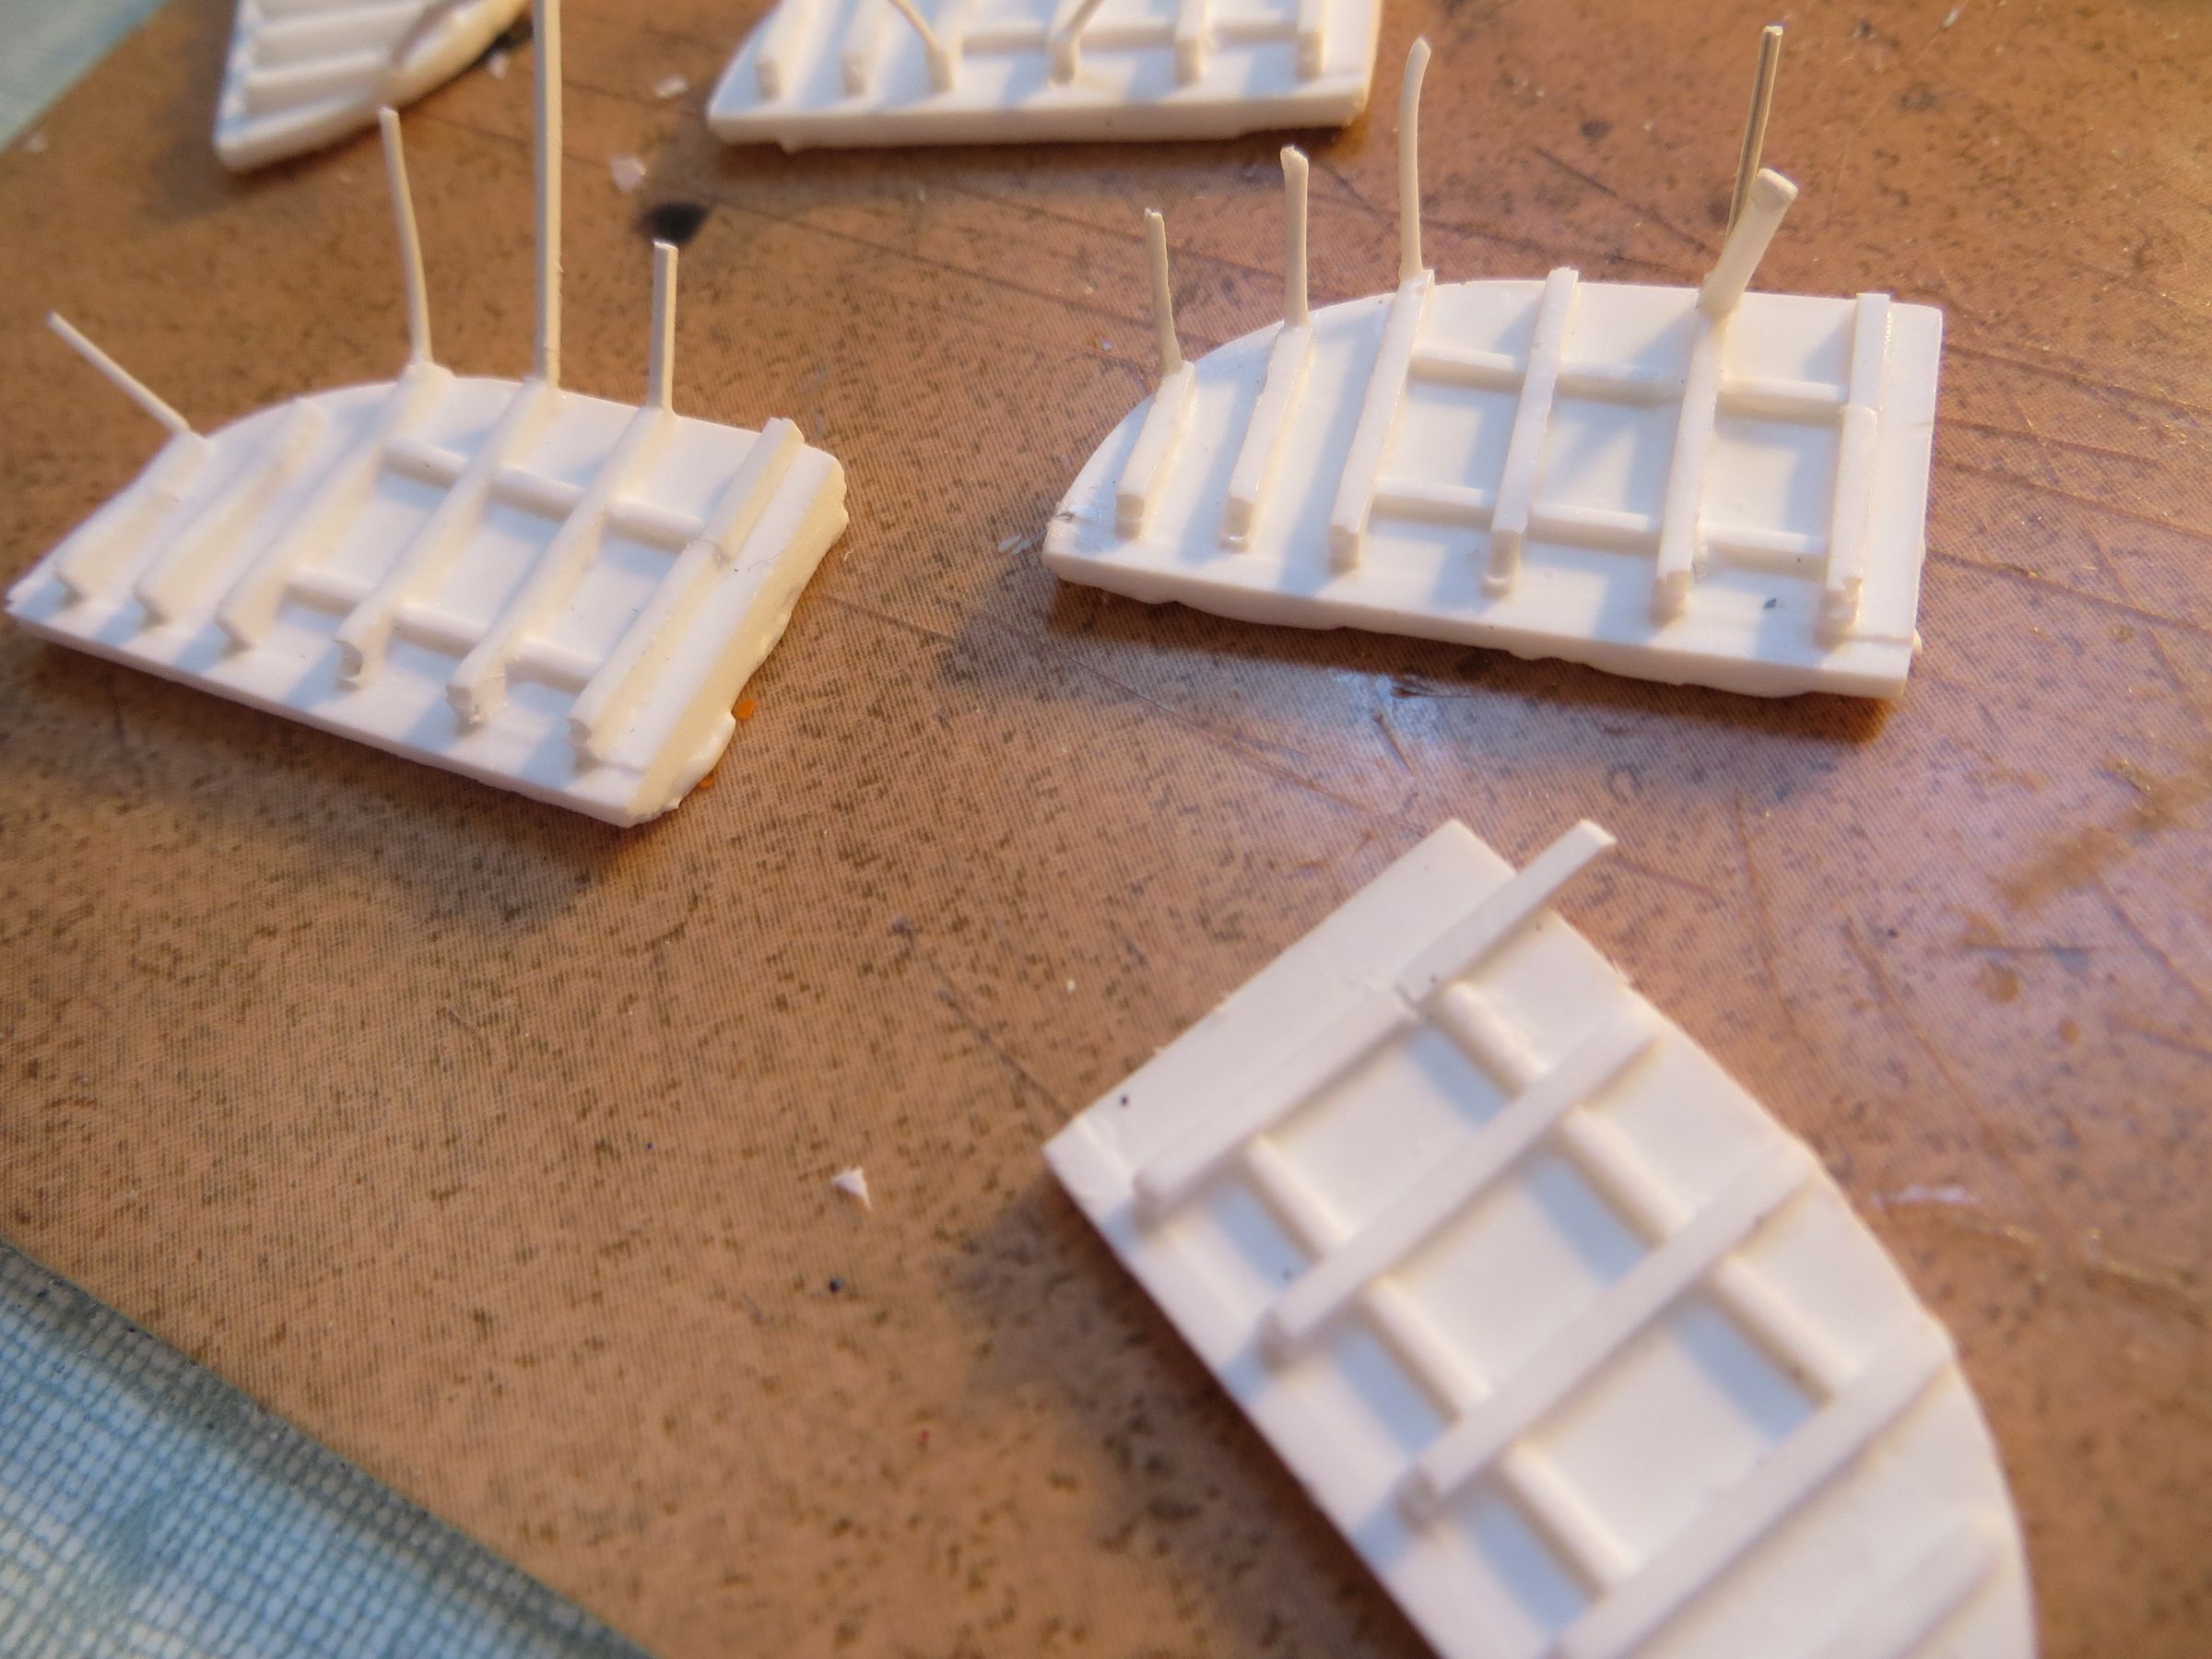
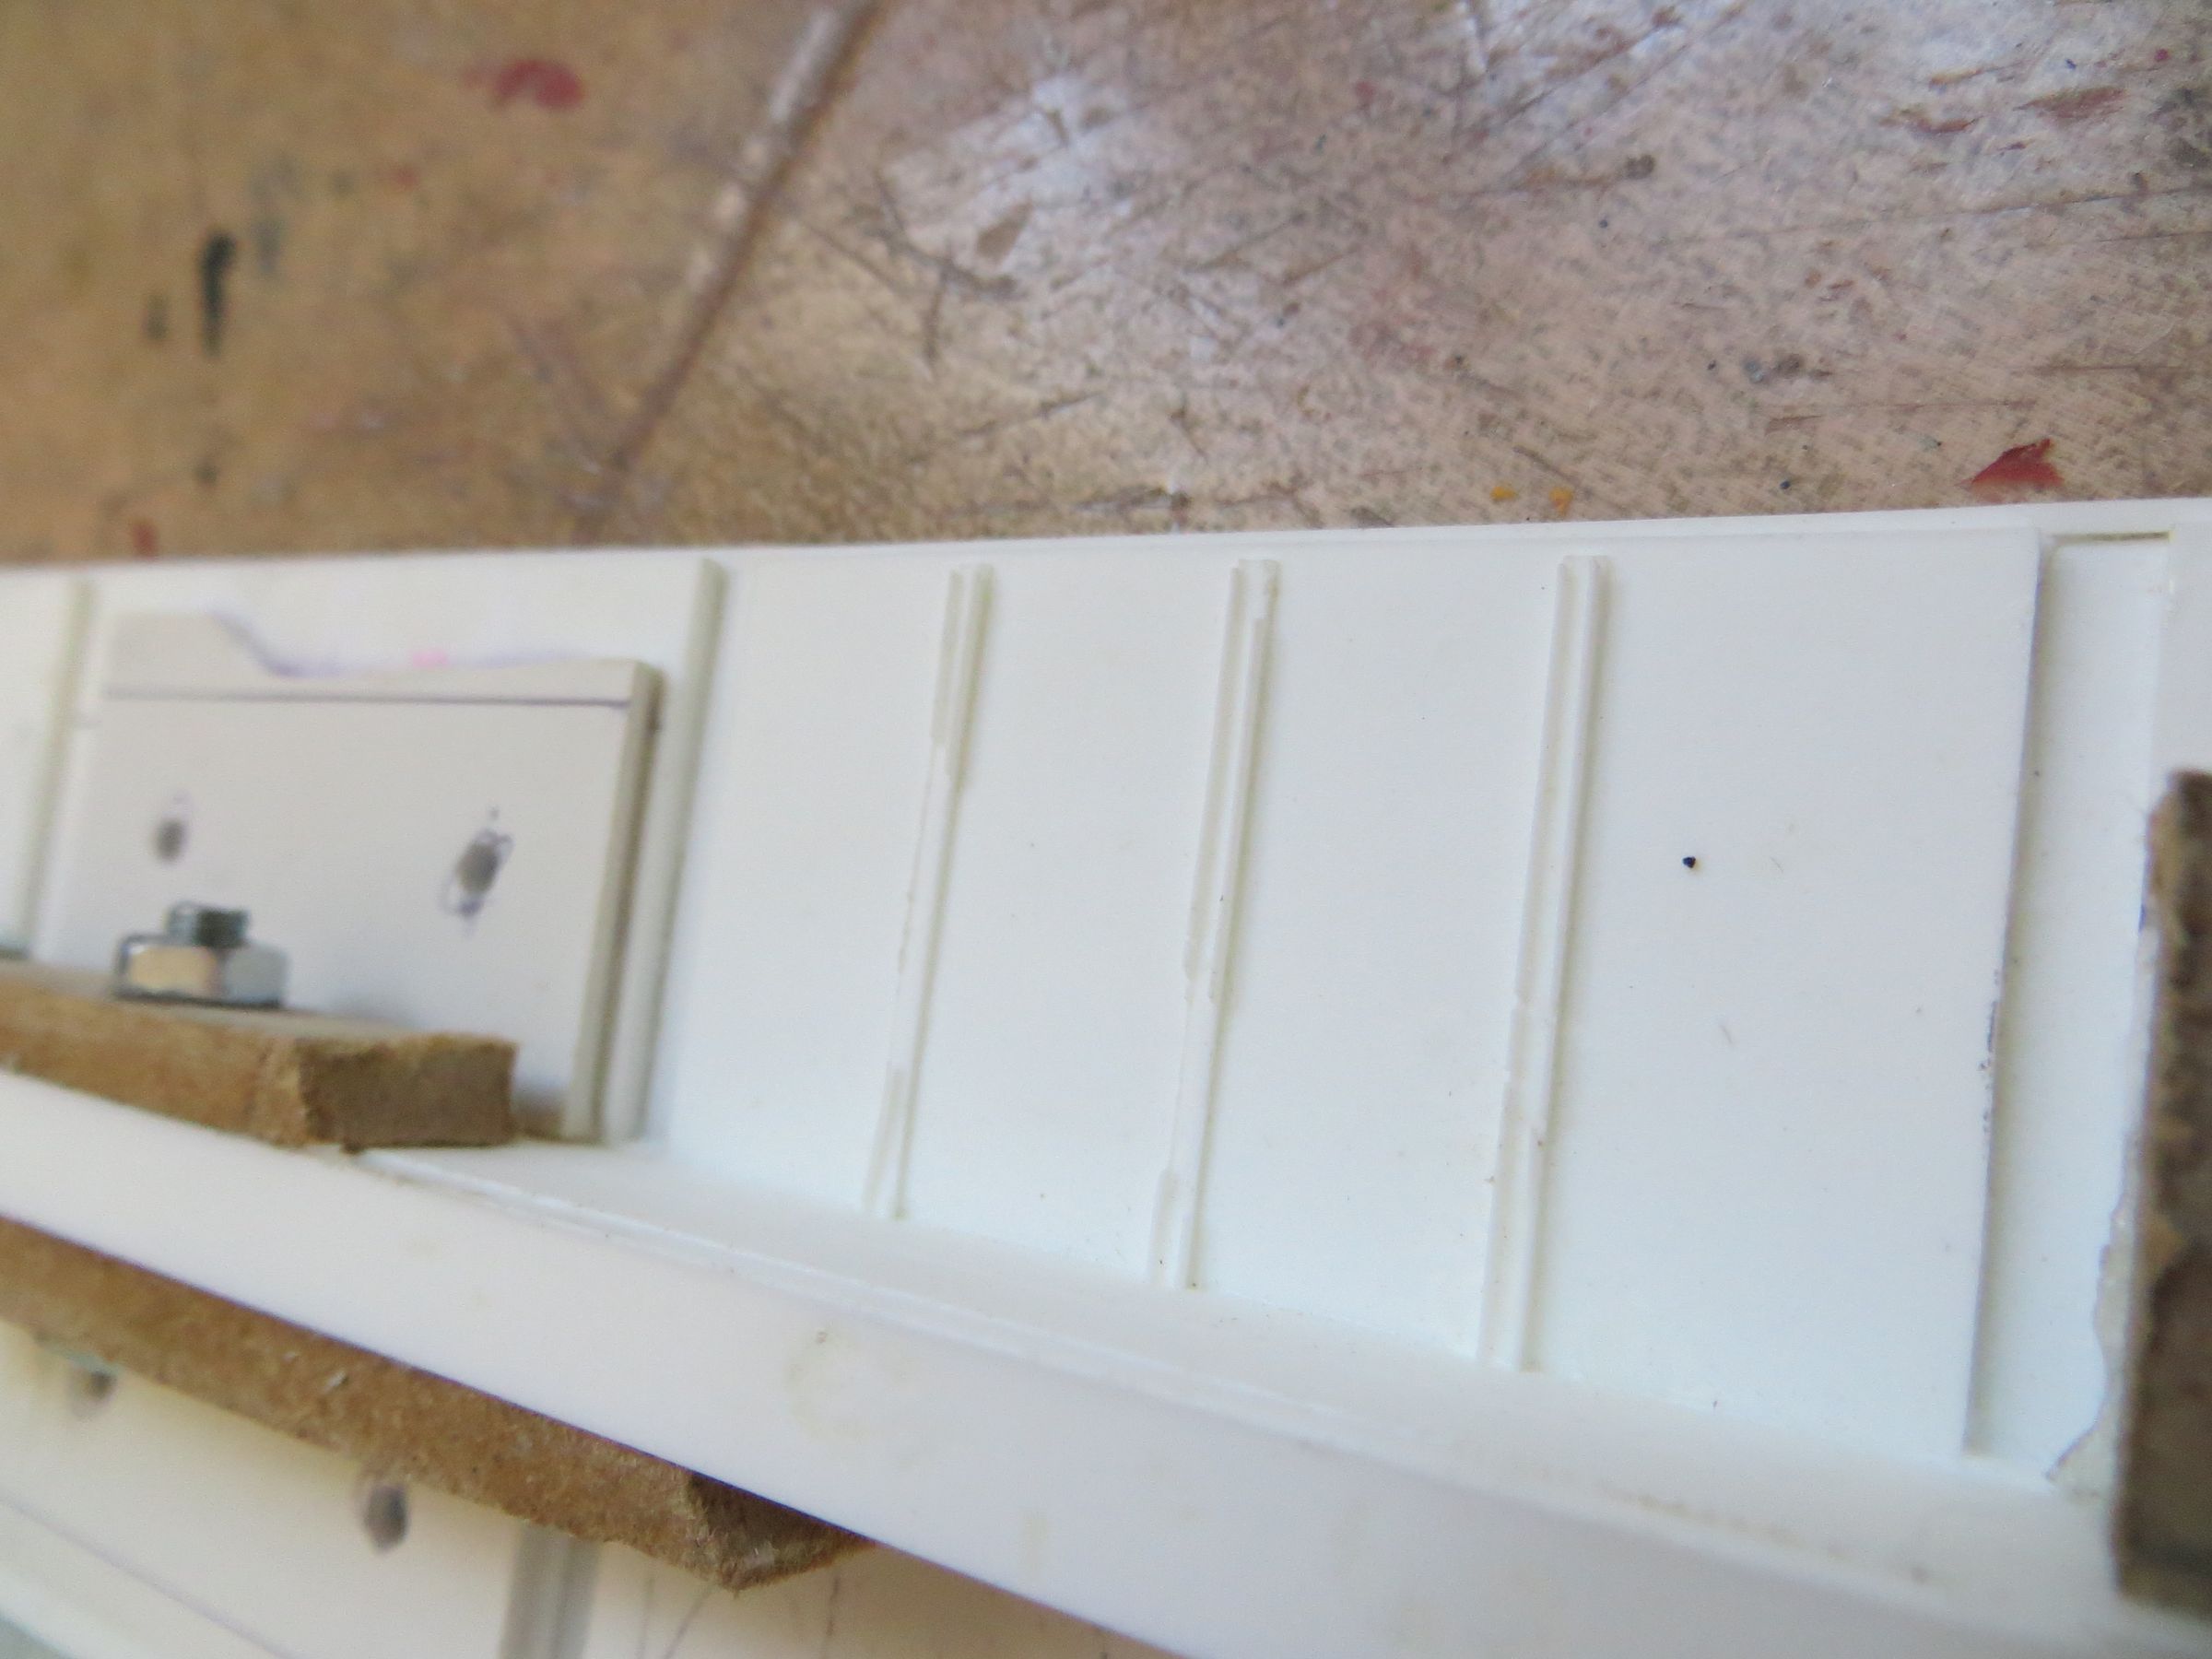
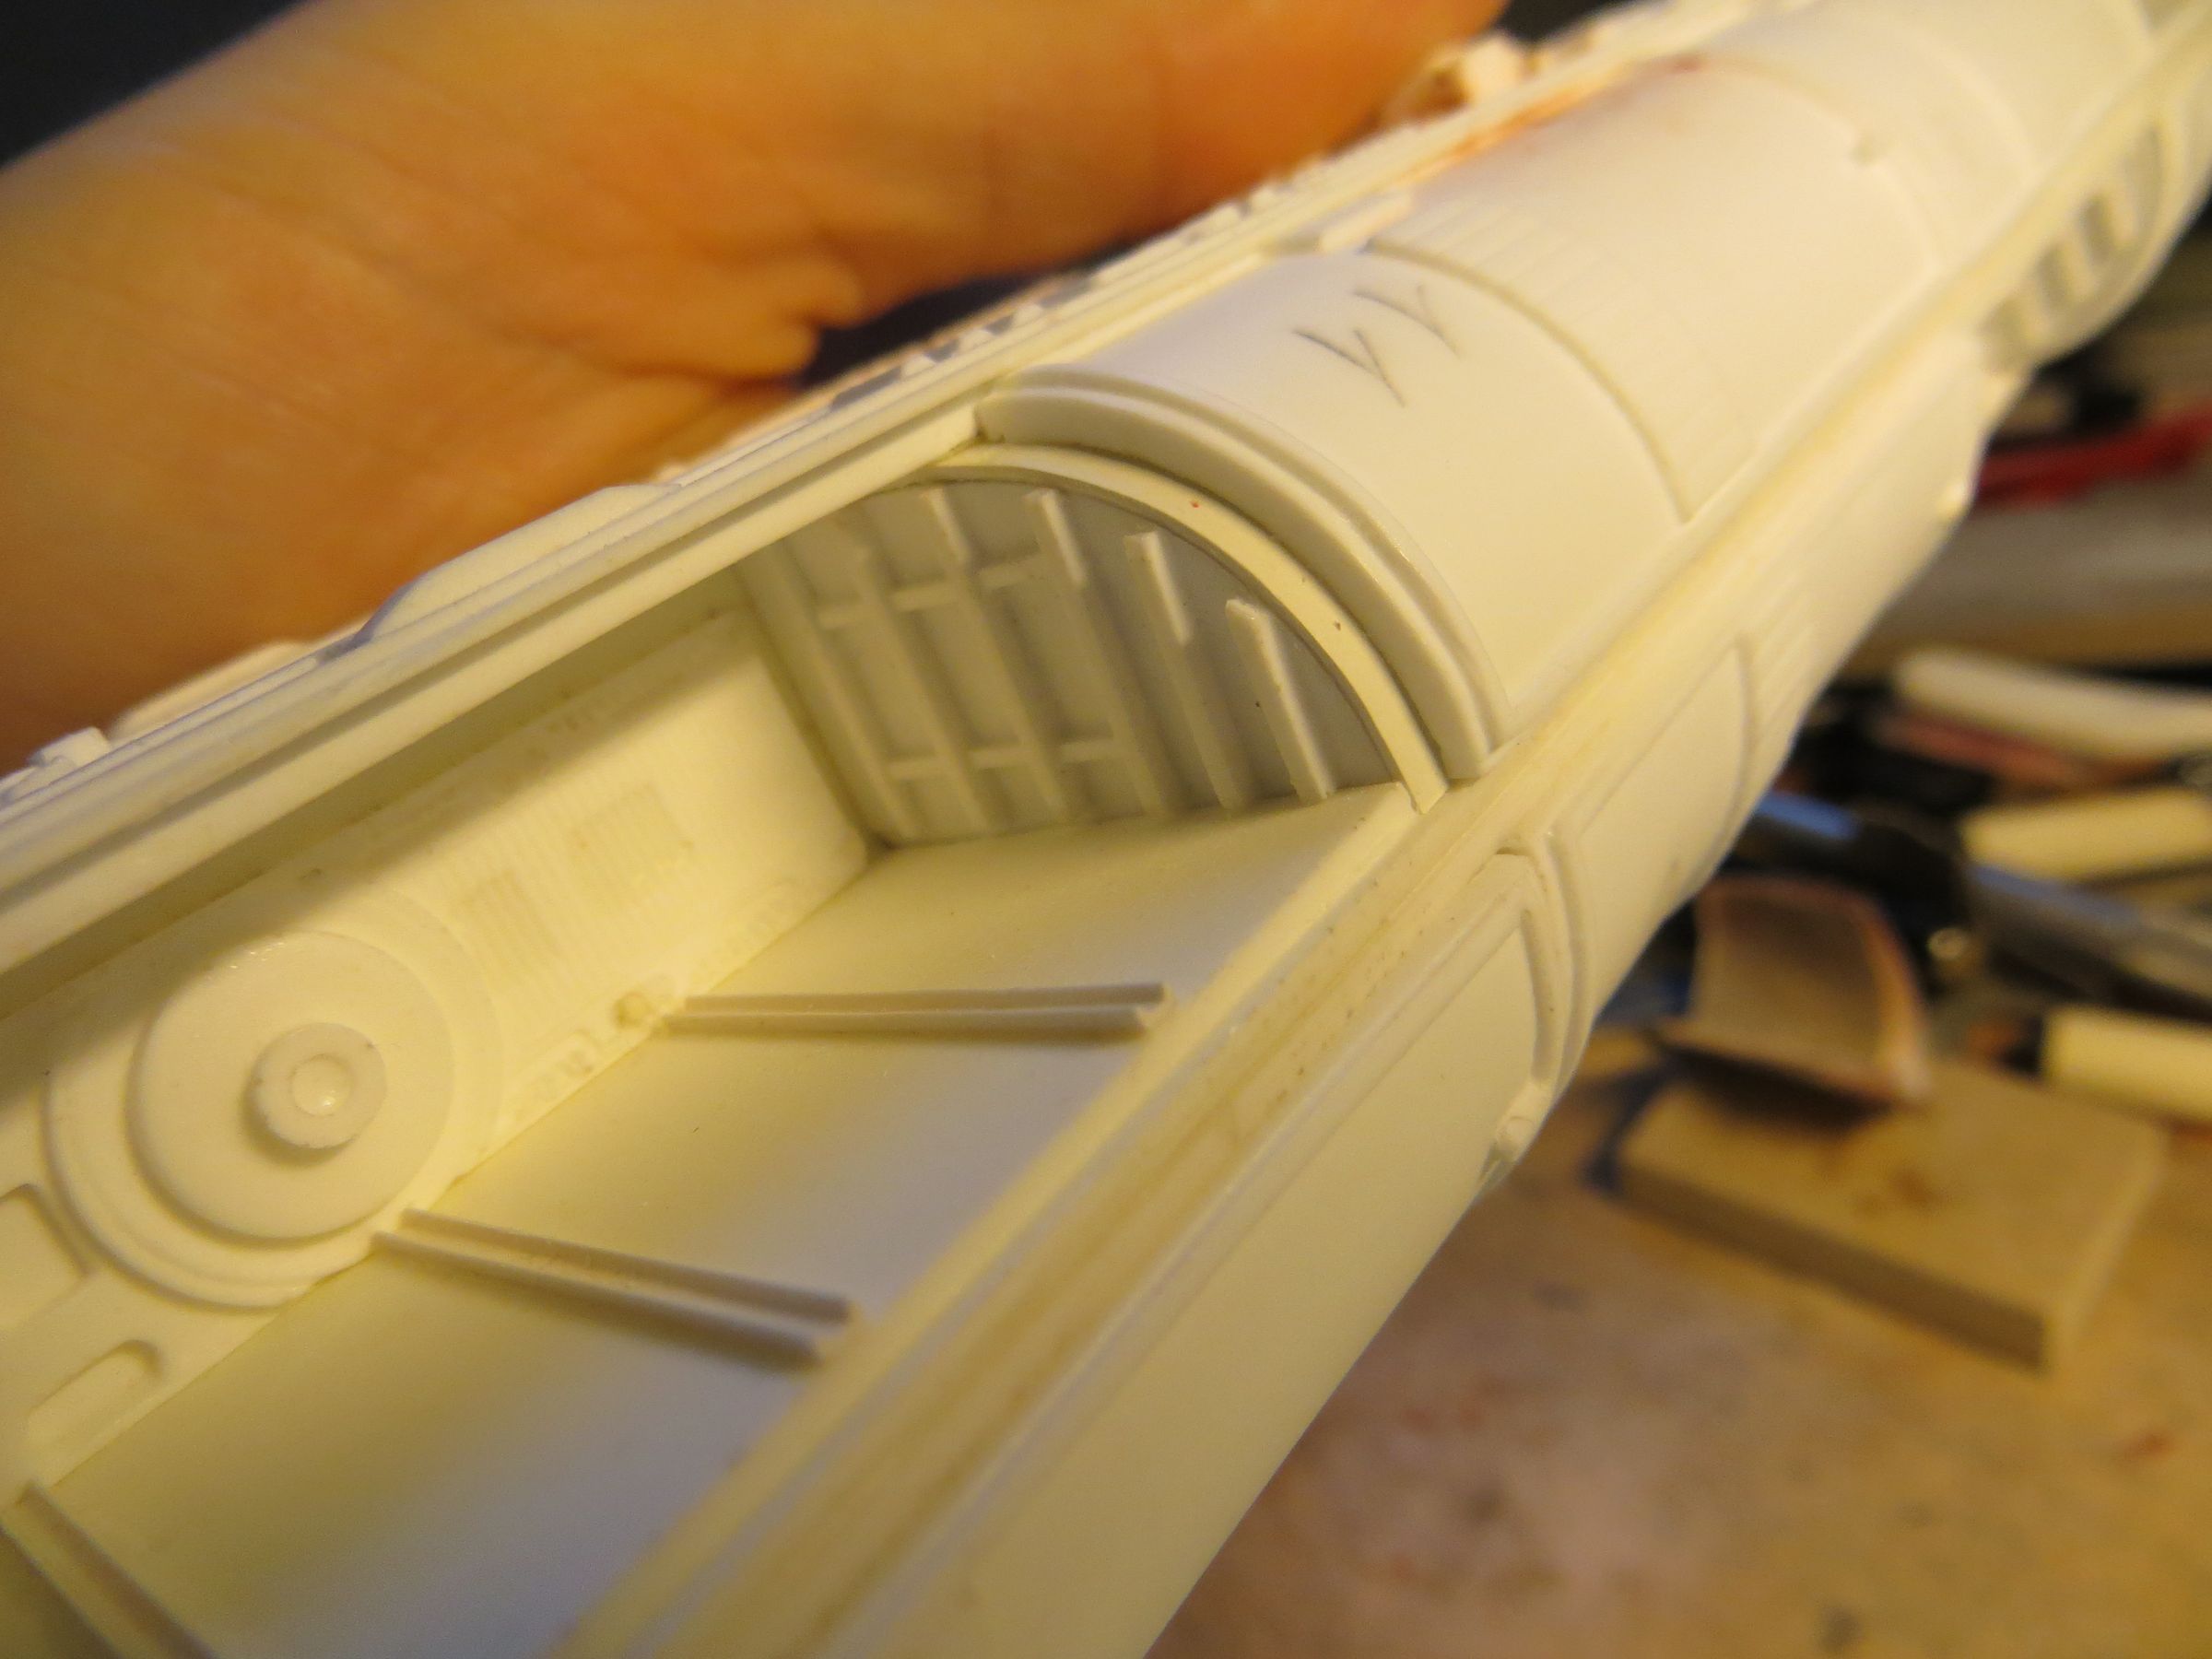
The rails in the bay are very thin, and several were damaged after all these manipulations. I have therefore removed (scraping, sanding) and replaced them with evergreen U-profiles.

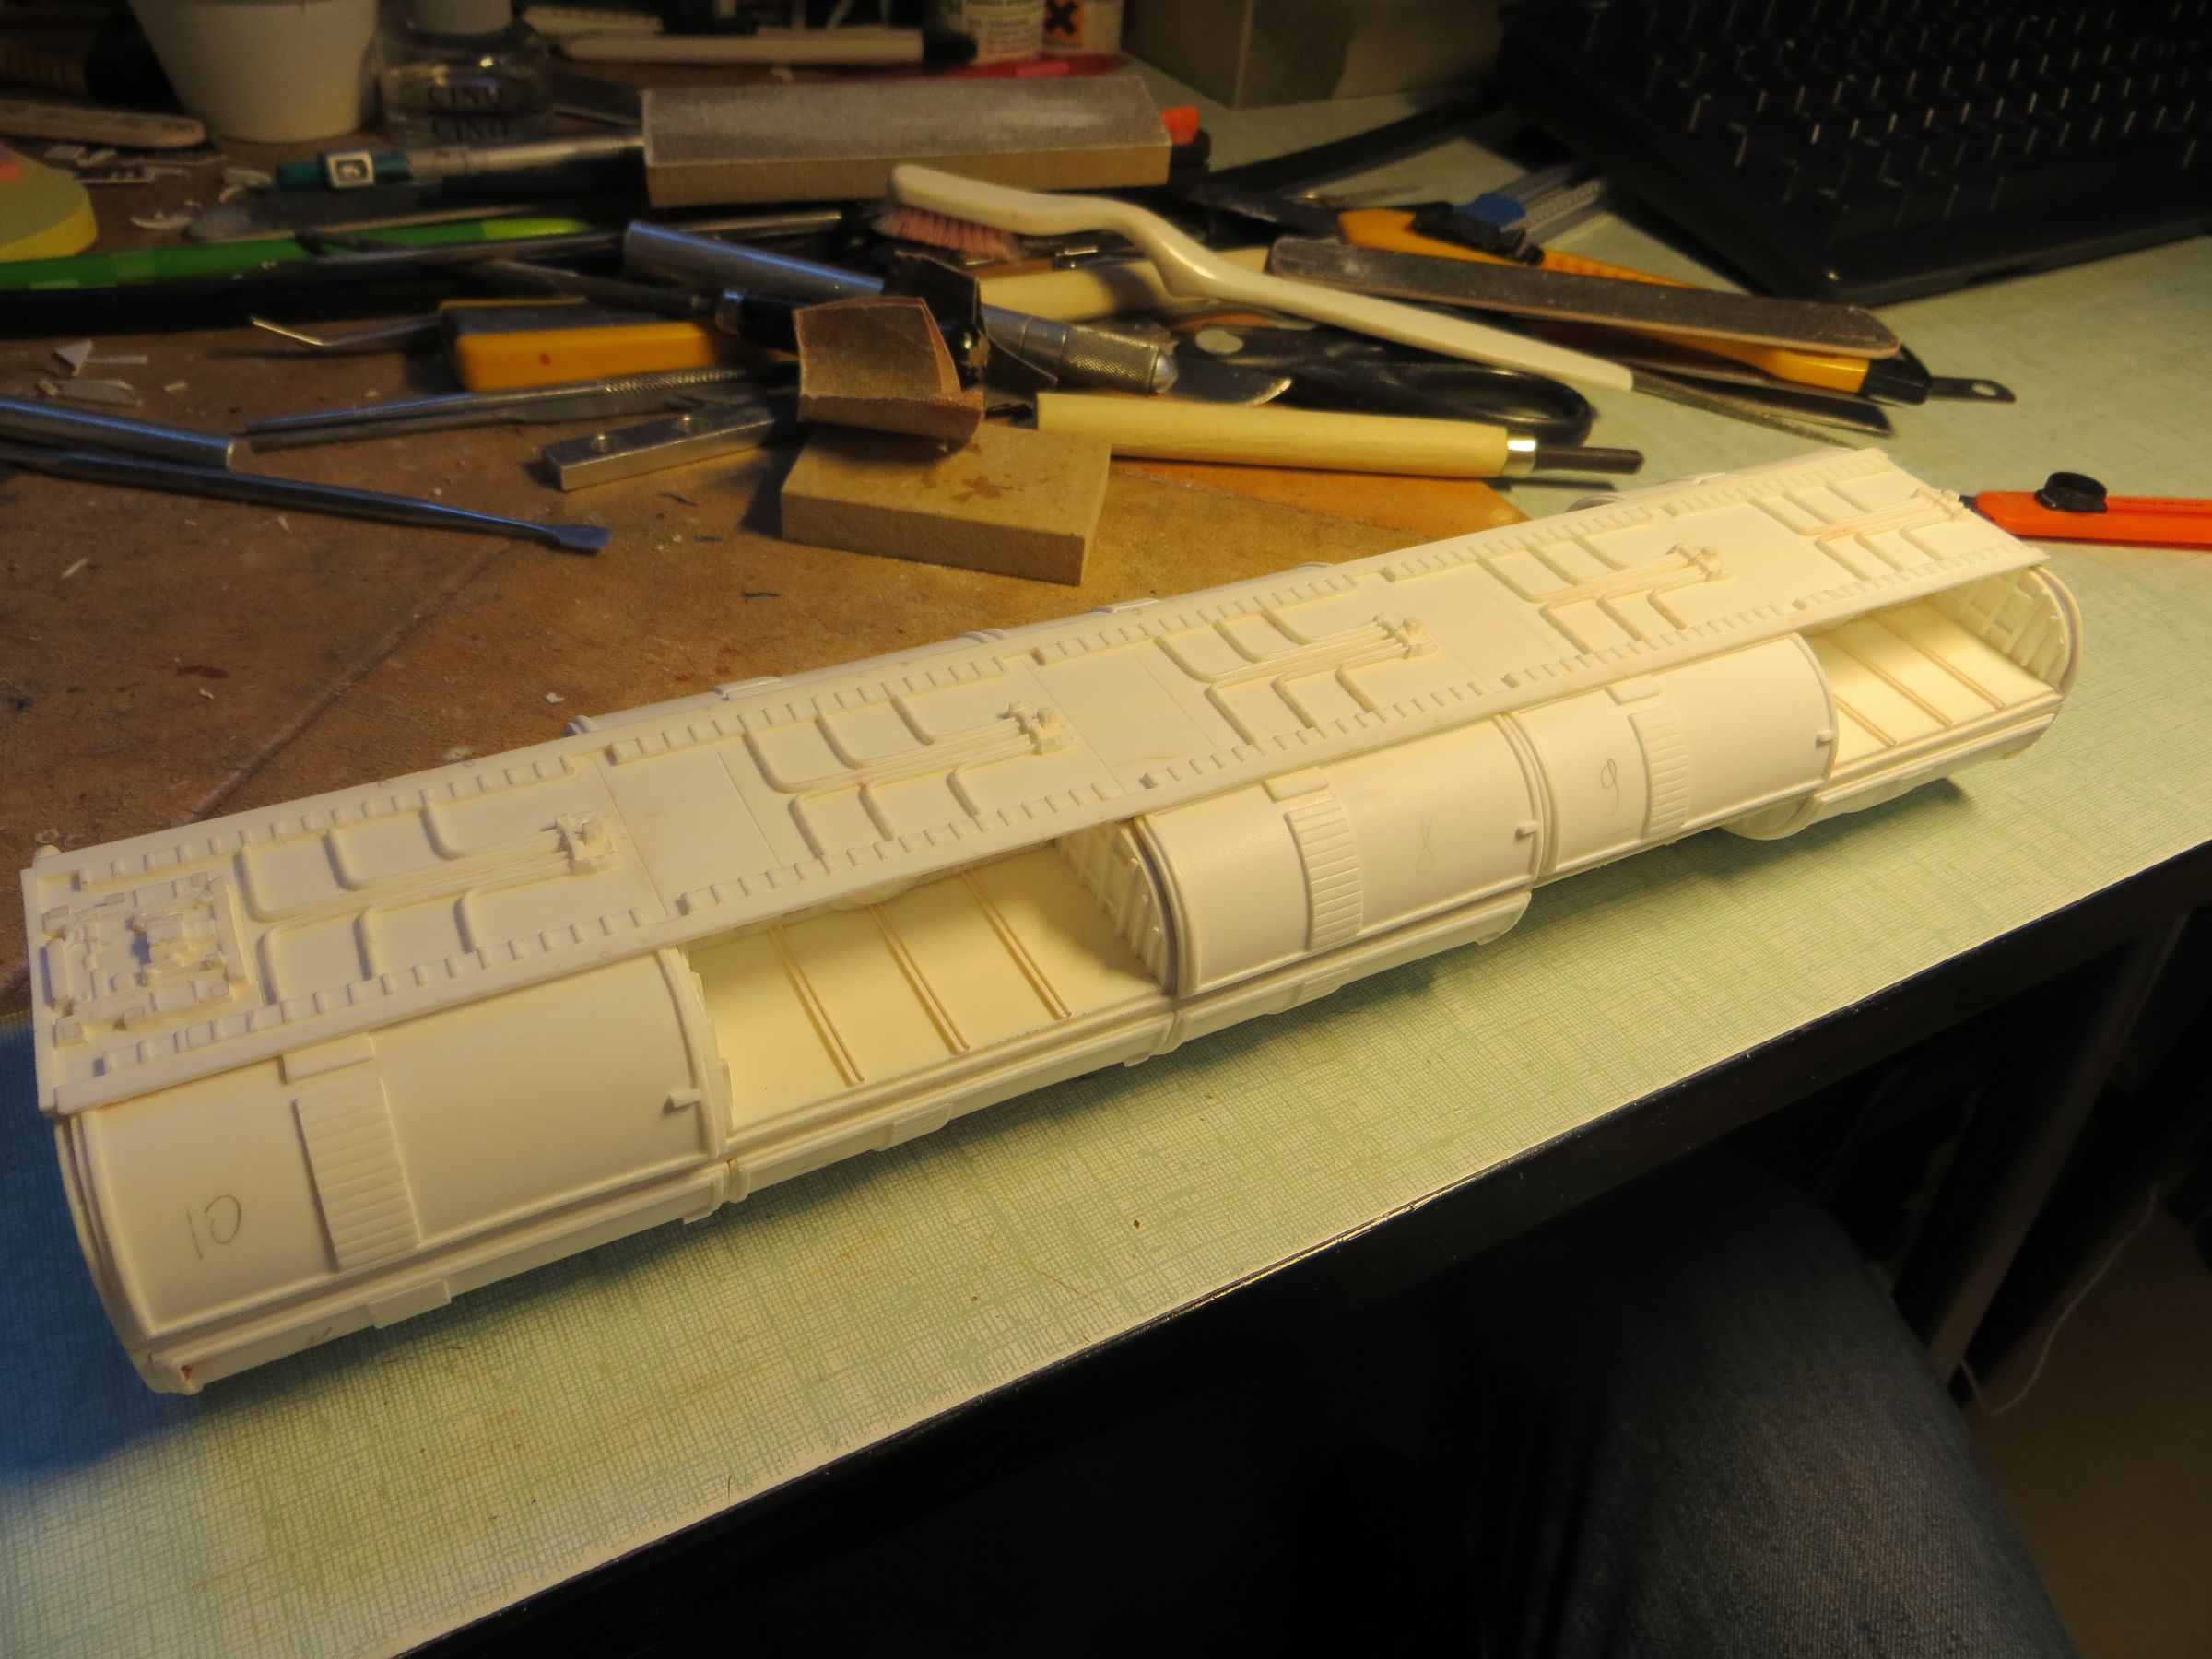
The two large bays parts are finally glued togethern, using cyano and screws.

As they were not completely symmetrical, it was necessary to add one or two layers of plastic card at the end of the assembly.

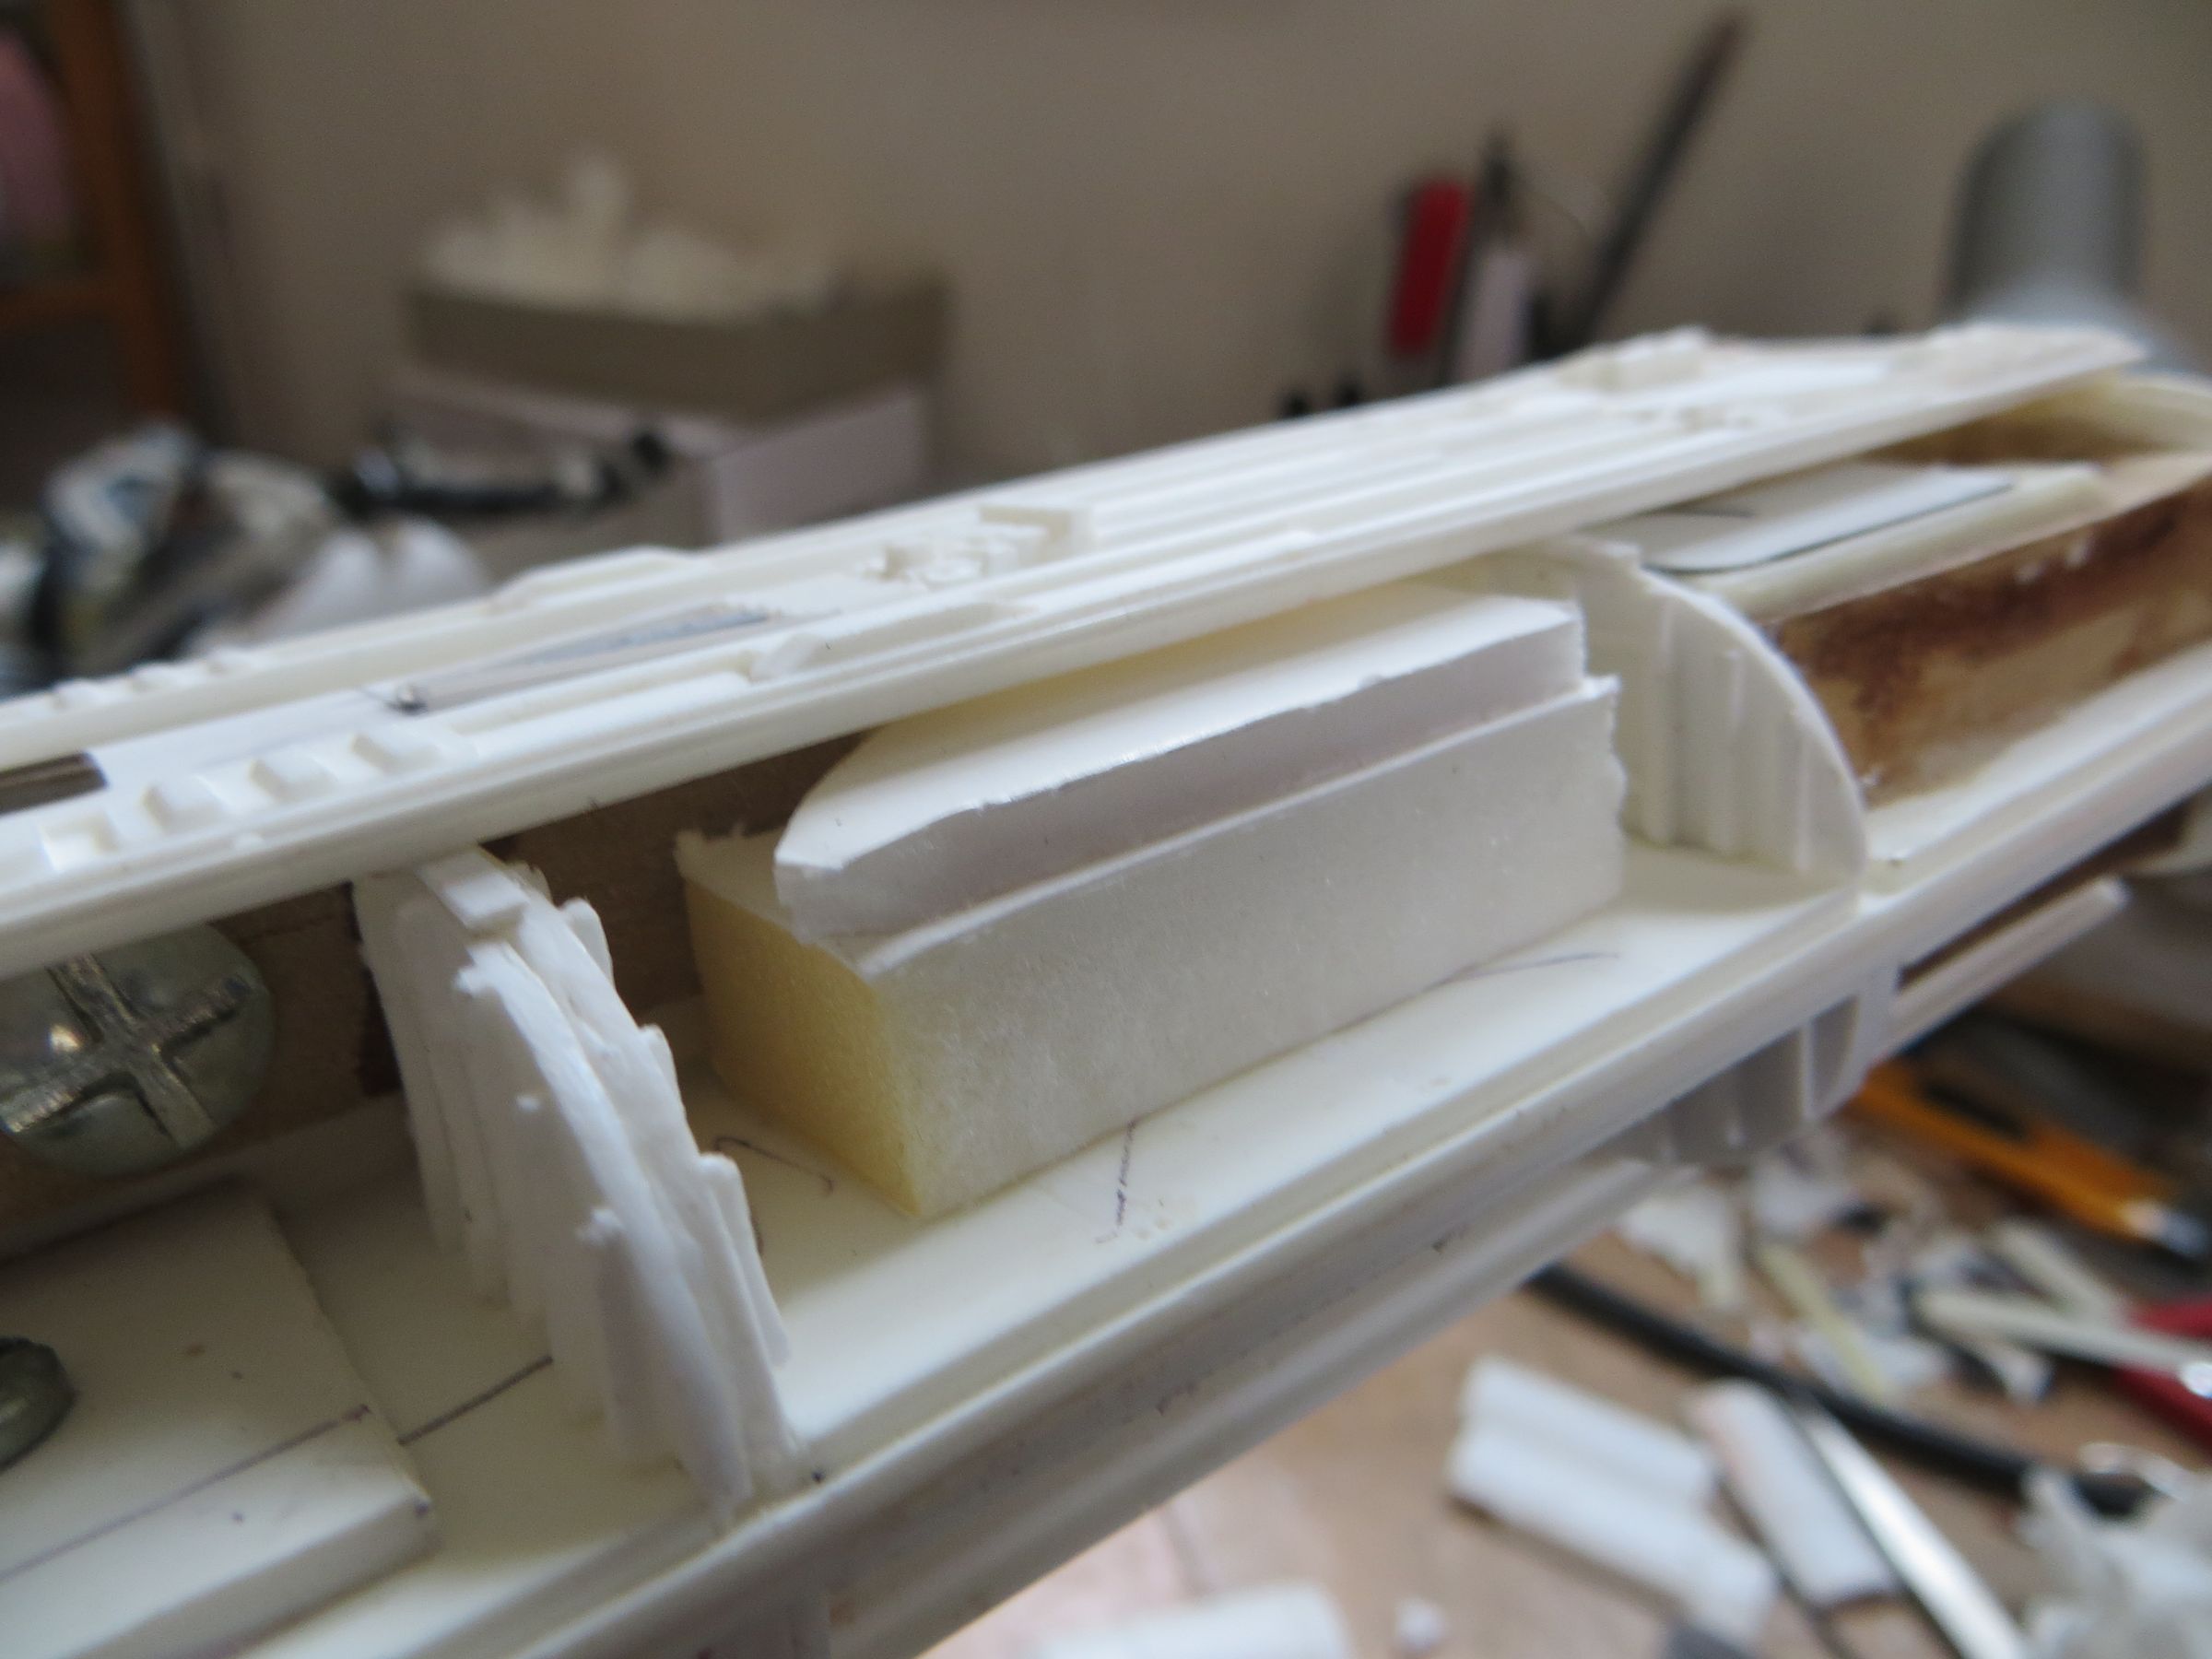
The two upper and lower parts (roofs) are installed.
To make sure they stay straight, I added few layers of foam board (to avoid adding weight).
Incidentally, it will also allow me to give more matter to lay the cylindrical doors on it.
To align them, I also had to fill inner walls (as they have proved to lack some height to meet the ceiling) with plastic strips. It was necessary to go gradually and identified each parts and locations, as each one is adjusted spécifically.

Once glued, we can not see all the things added inside to arrive to a fair result.
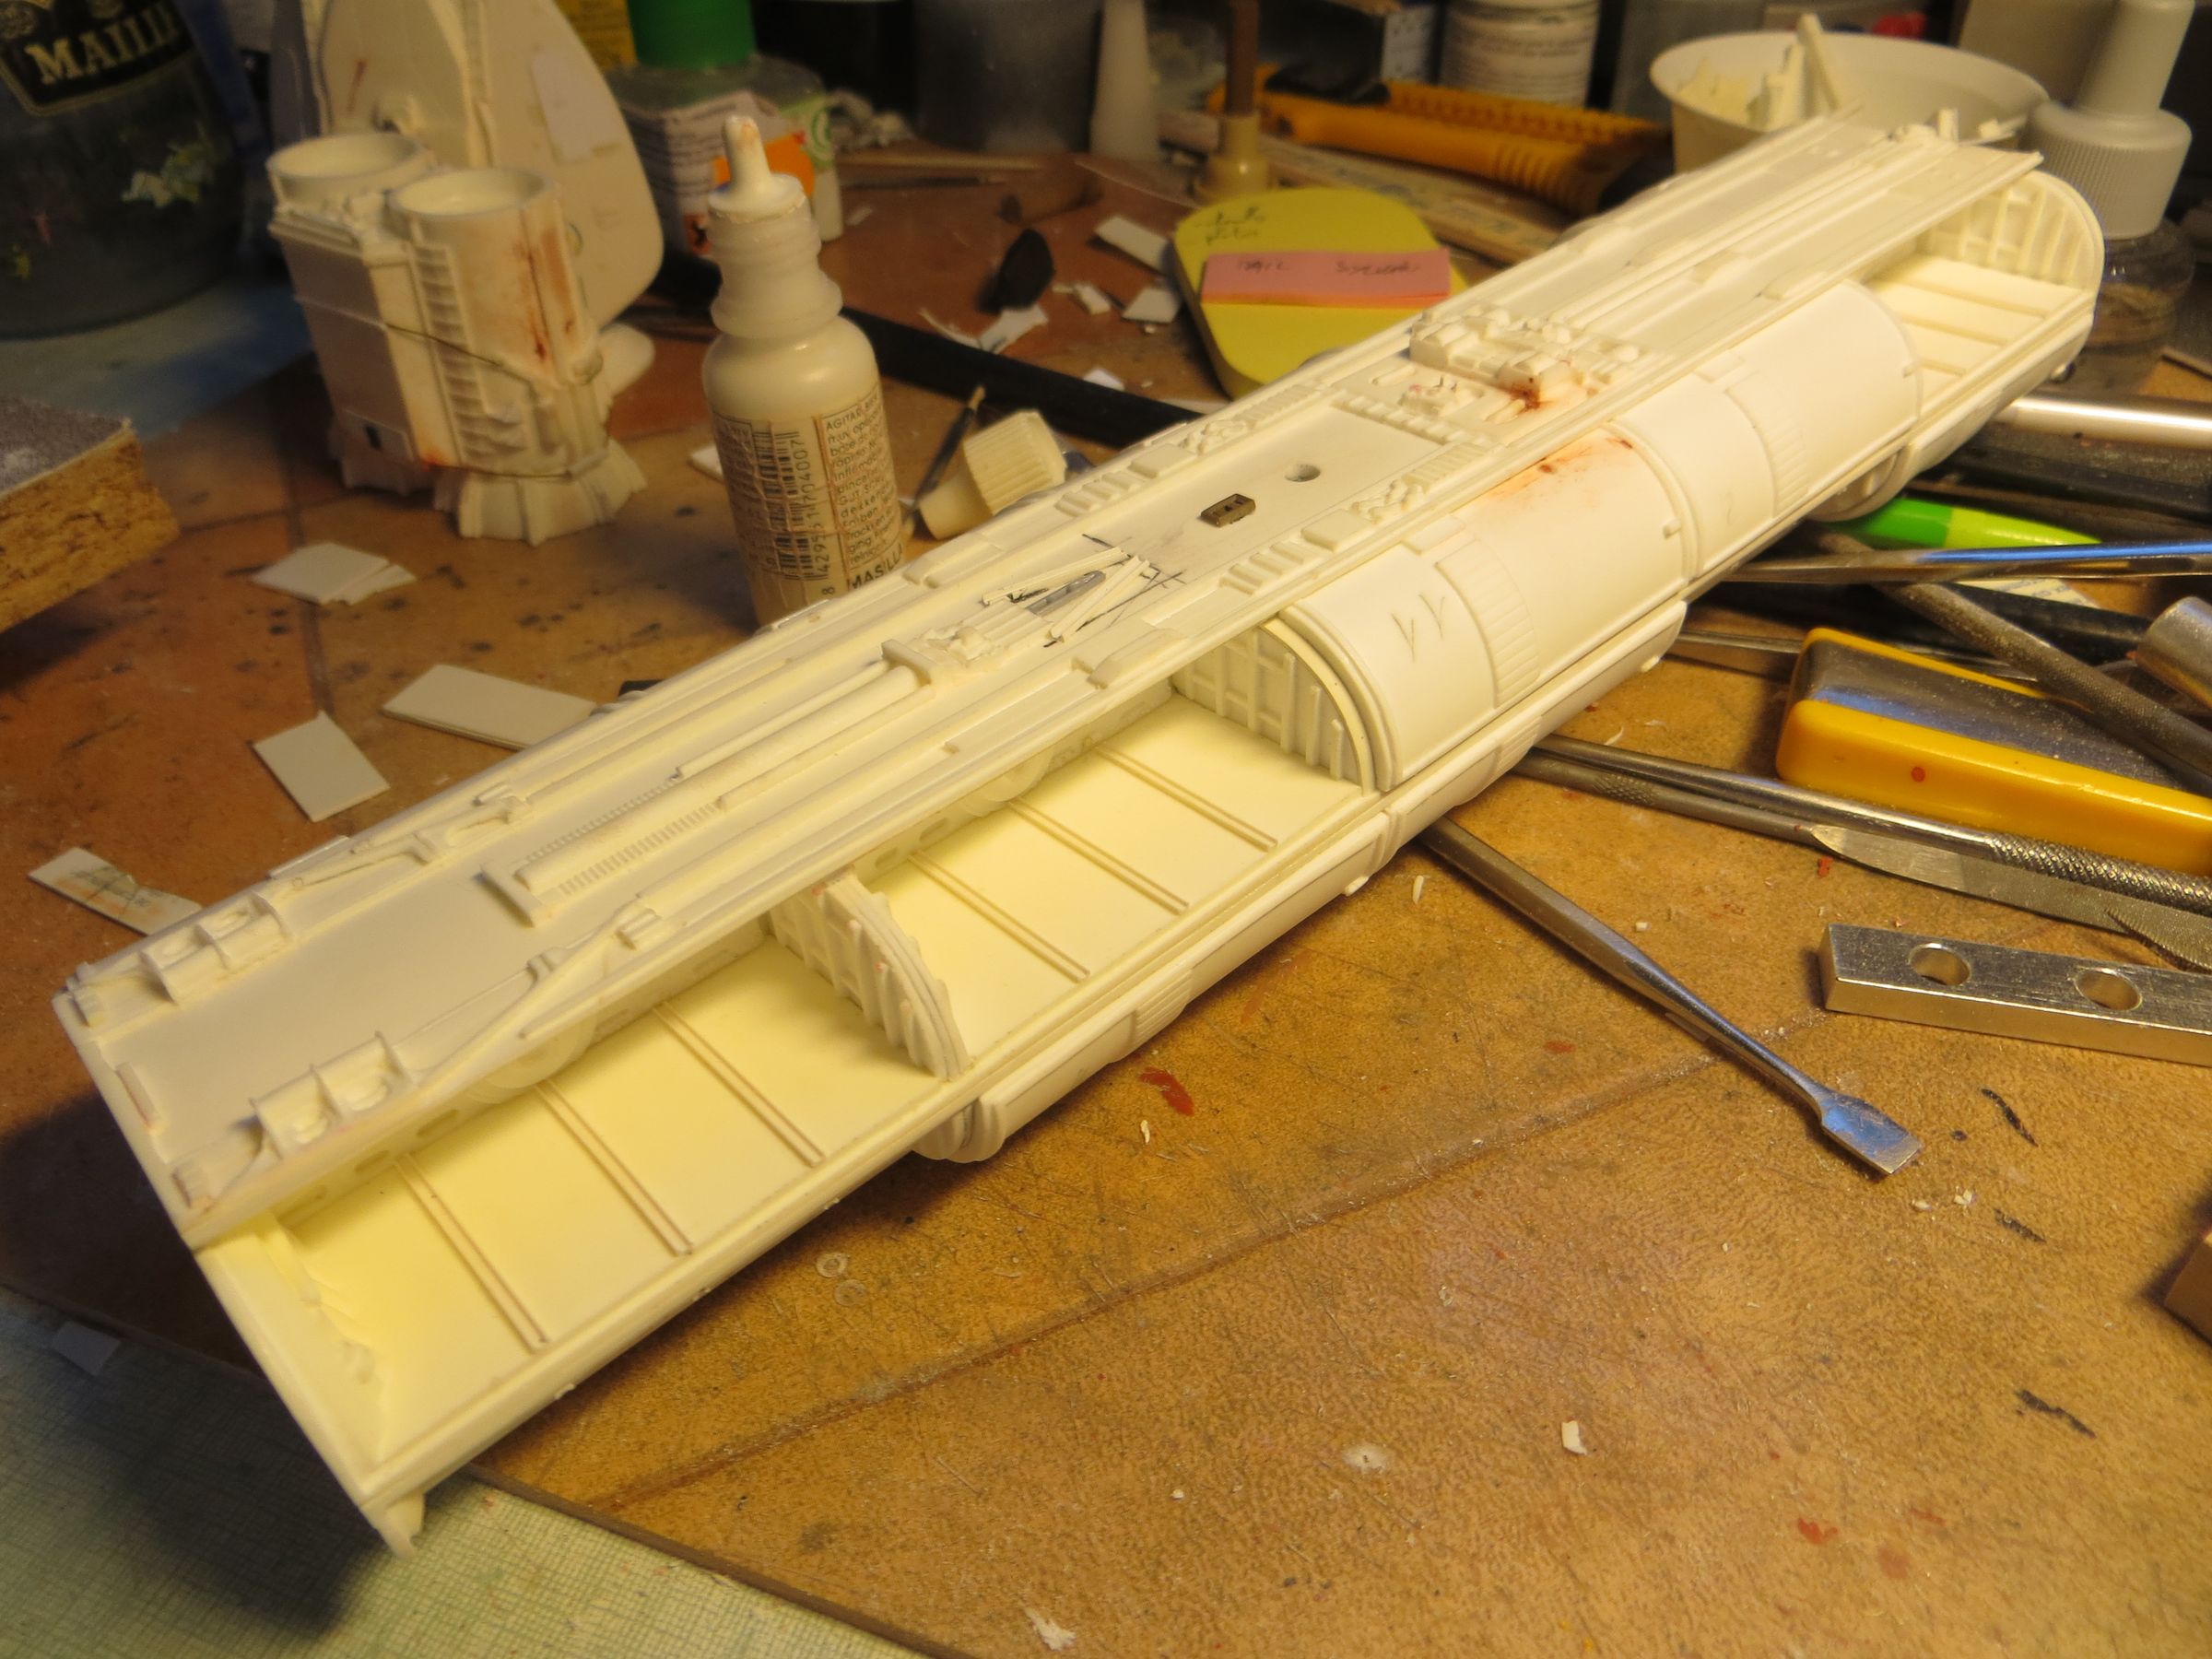
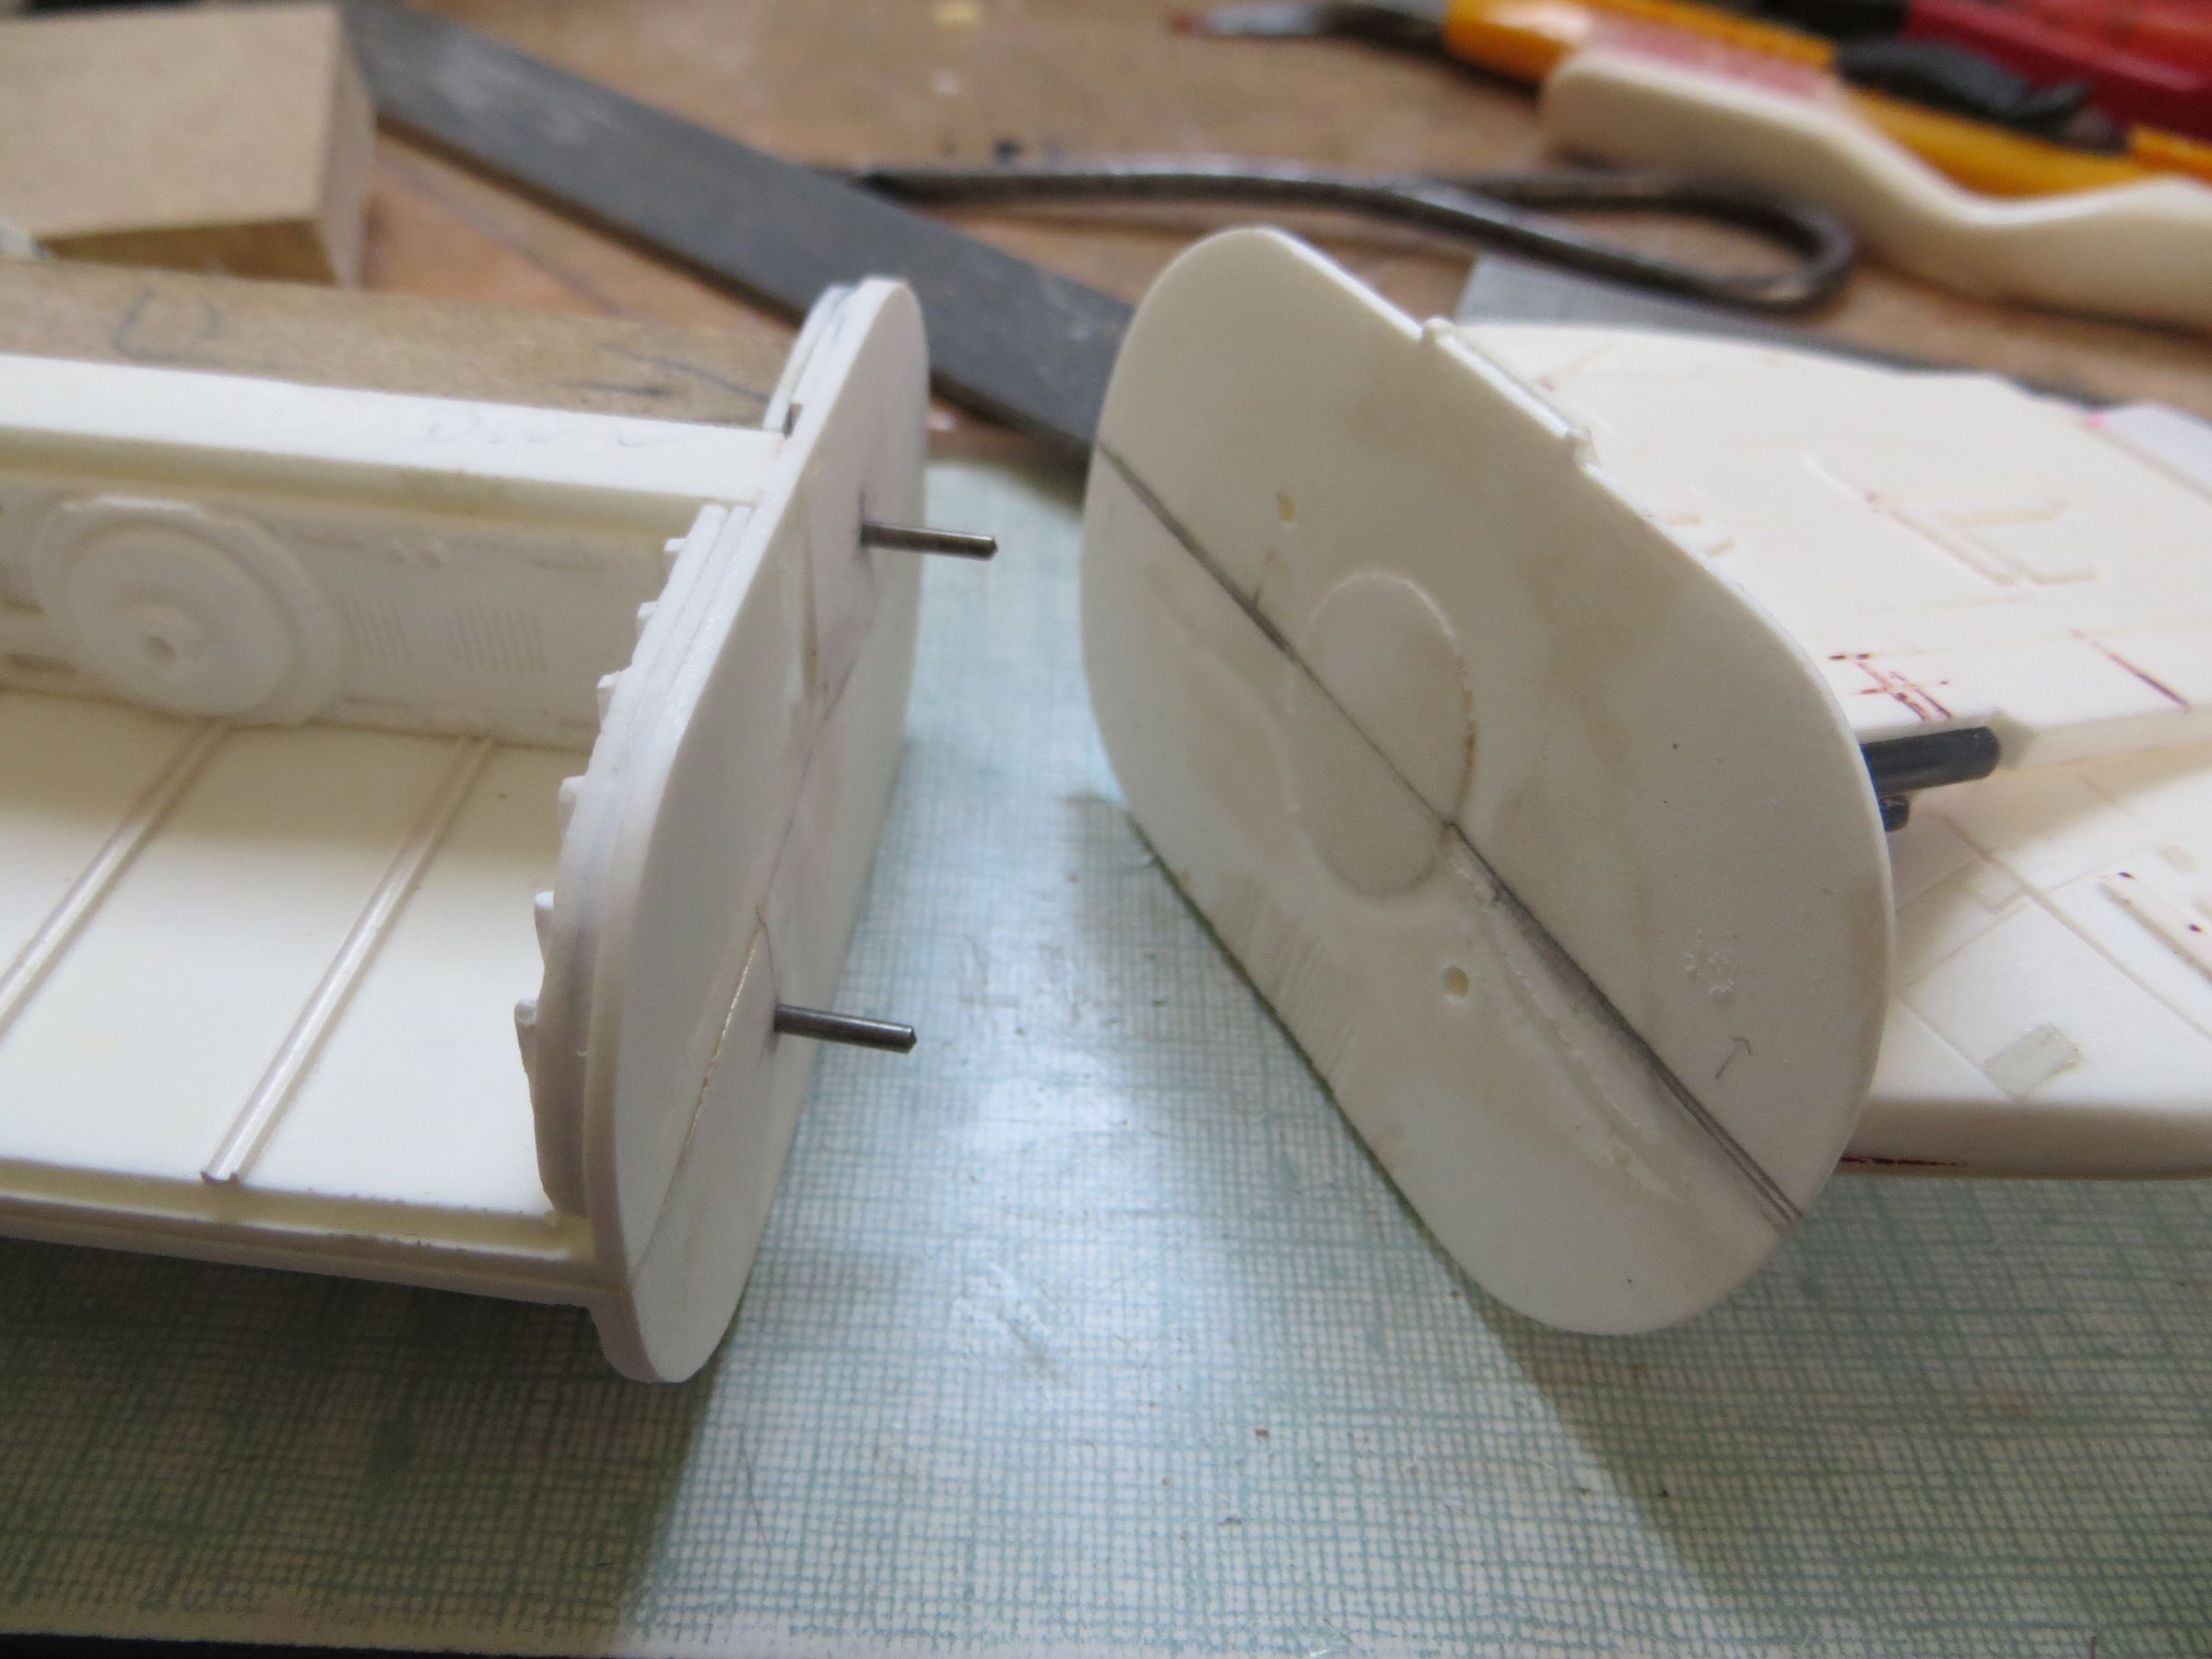
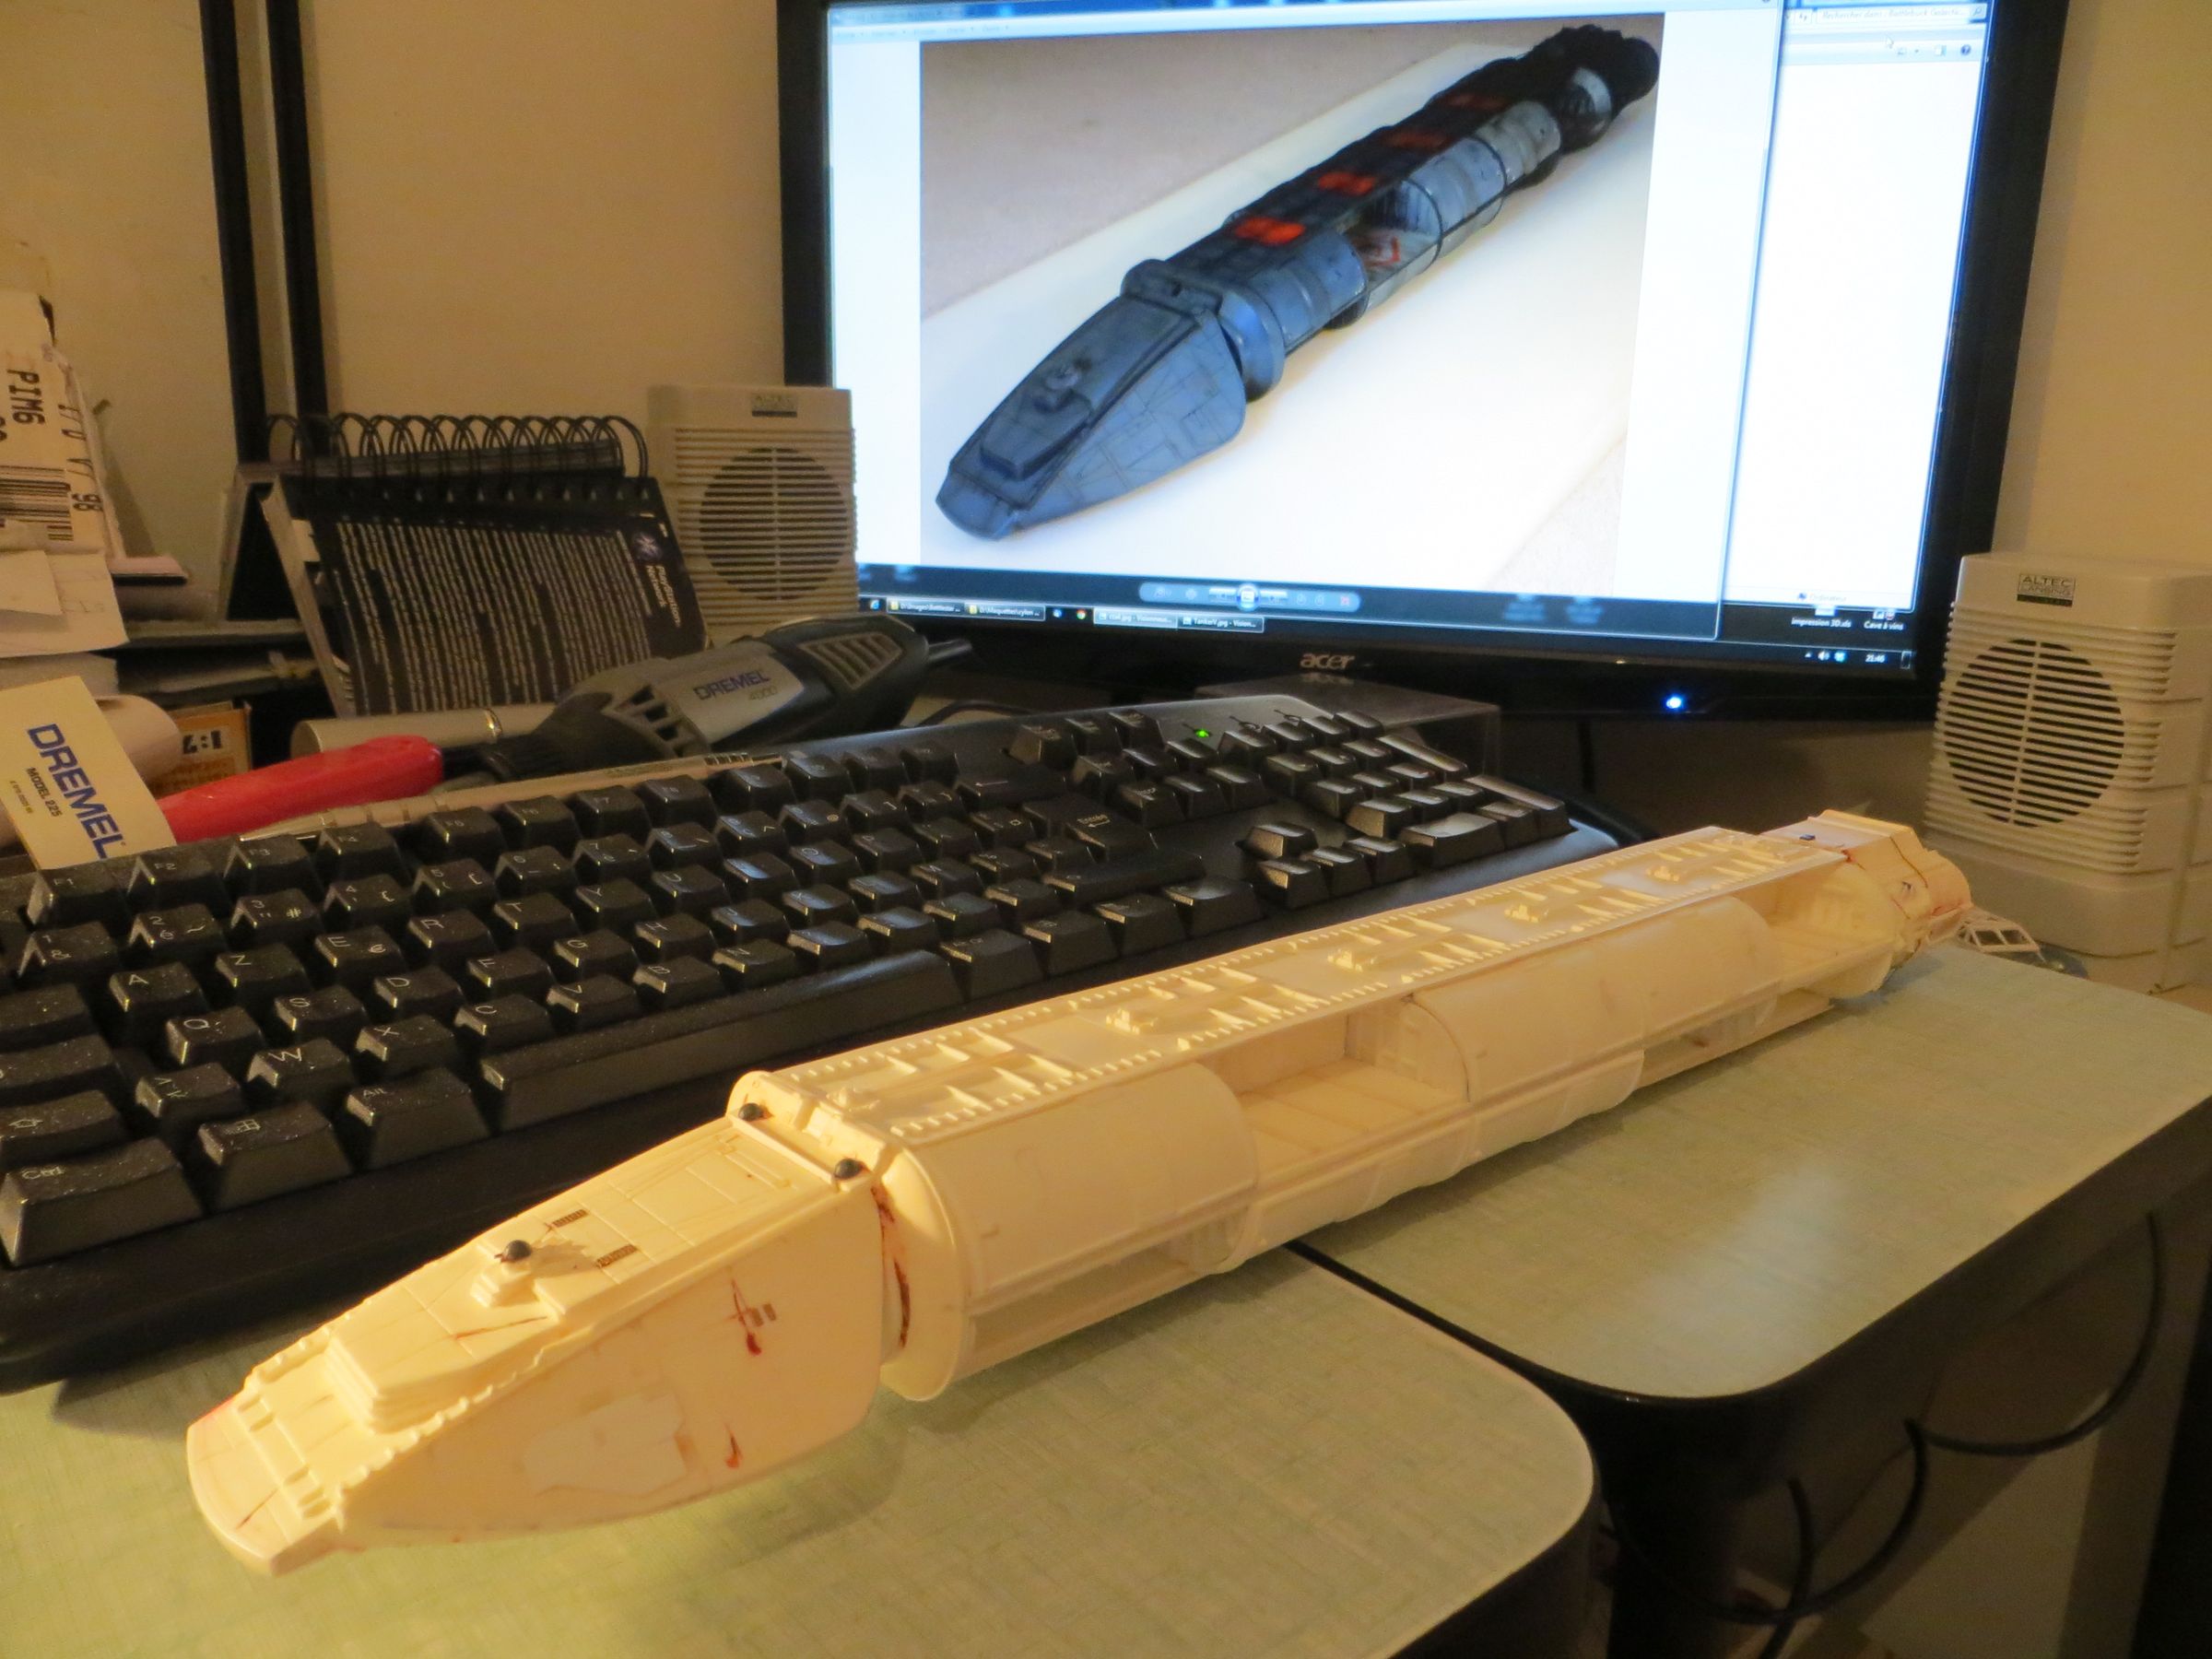
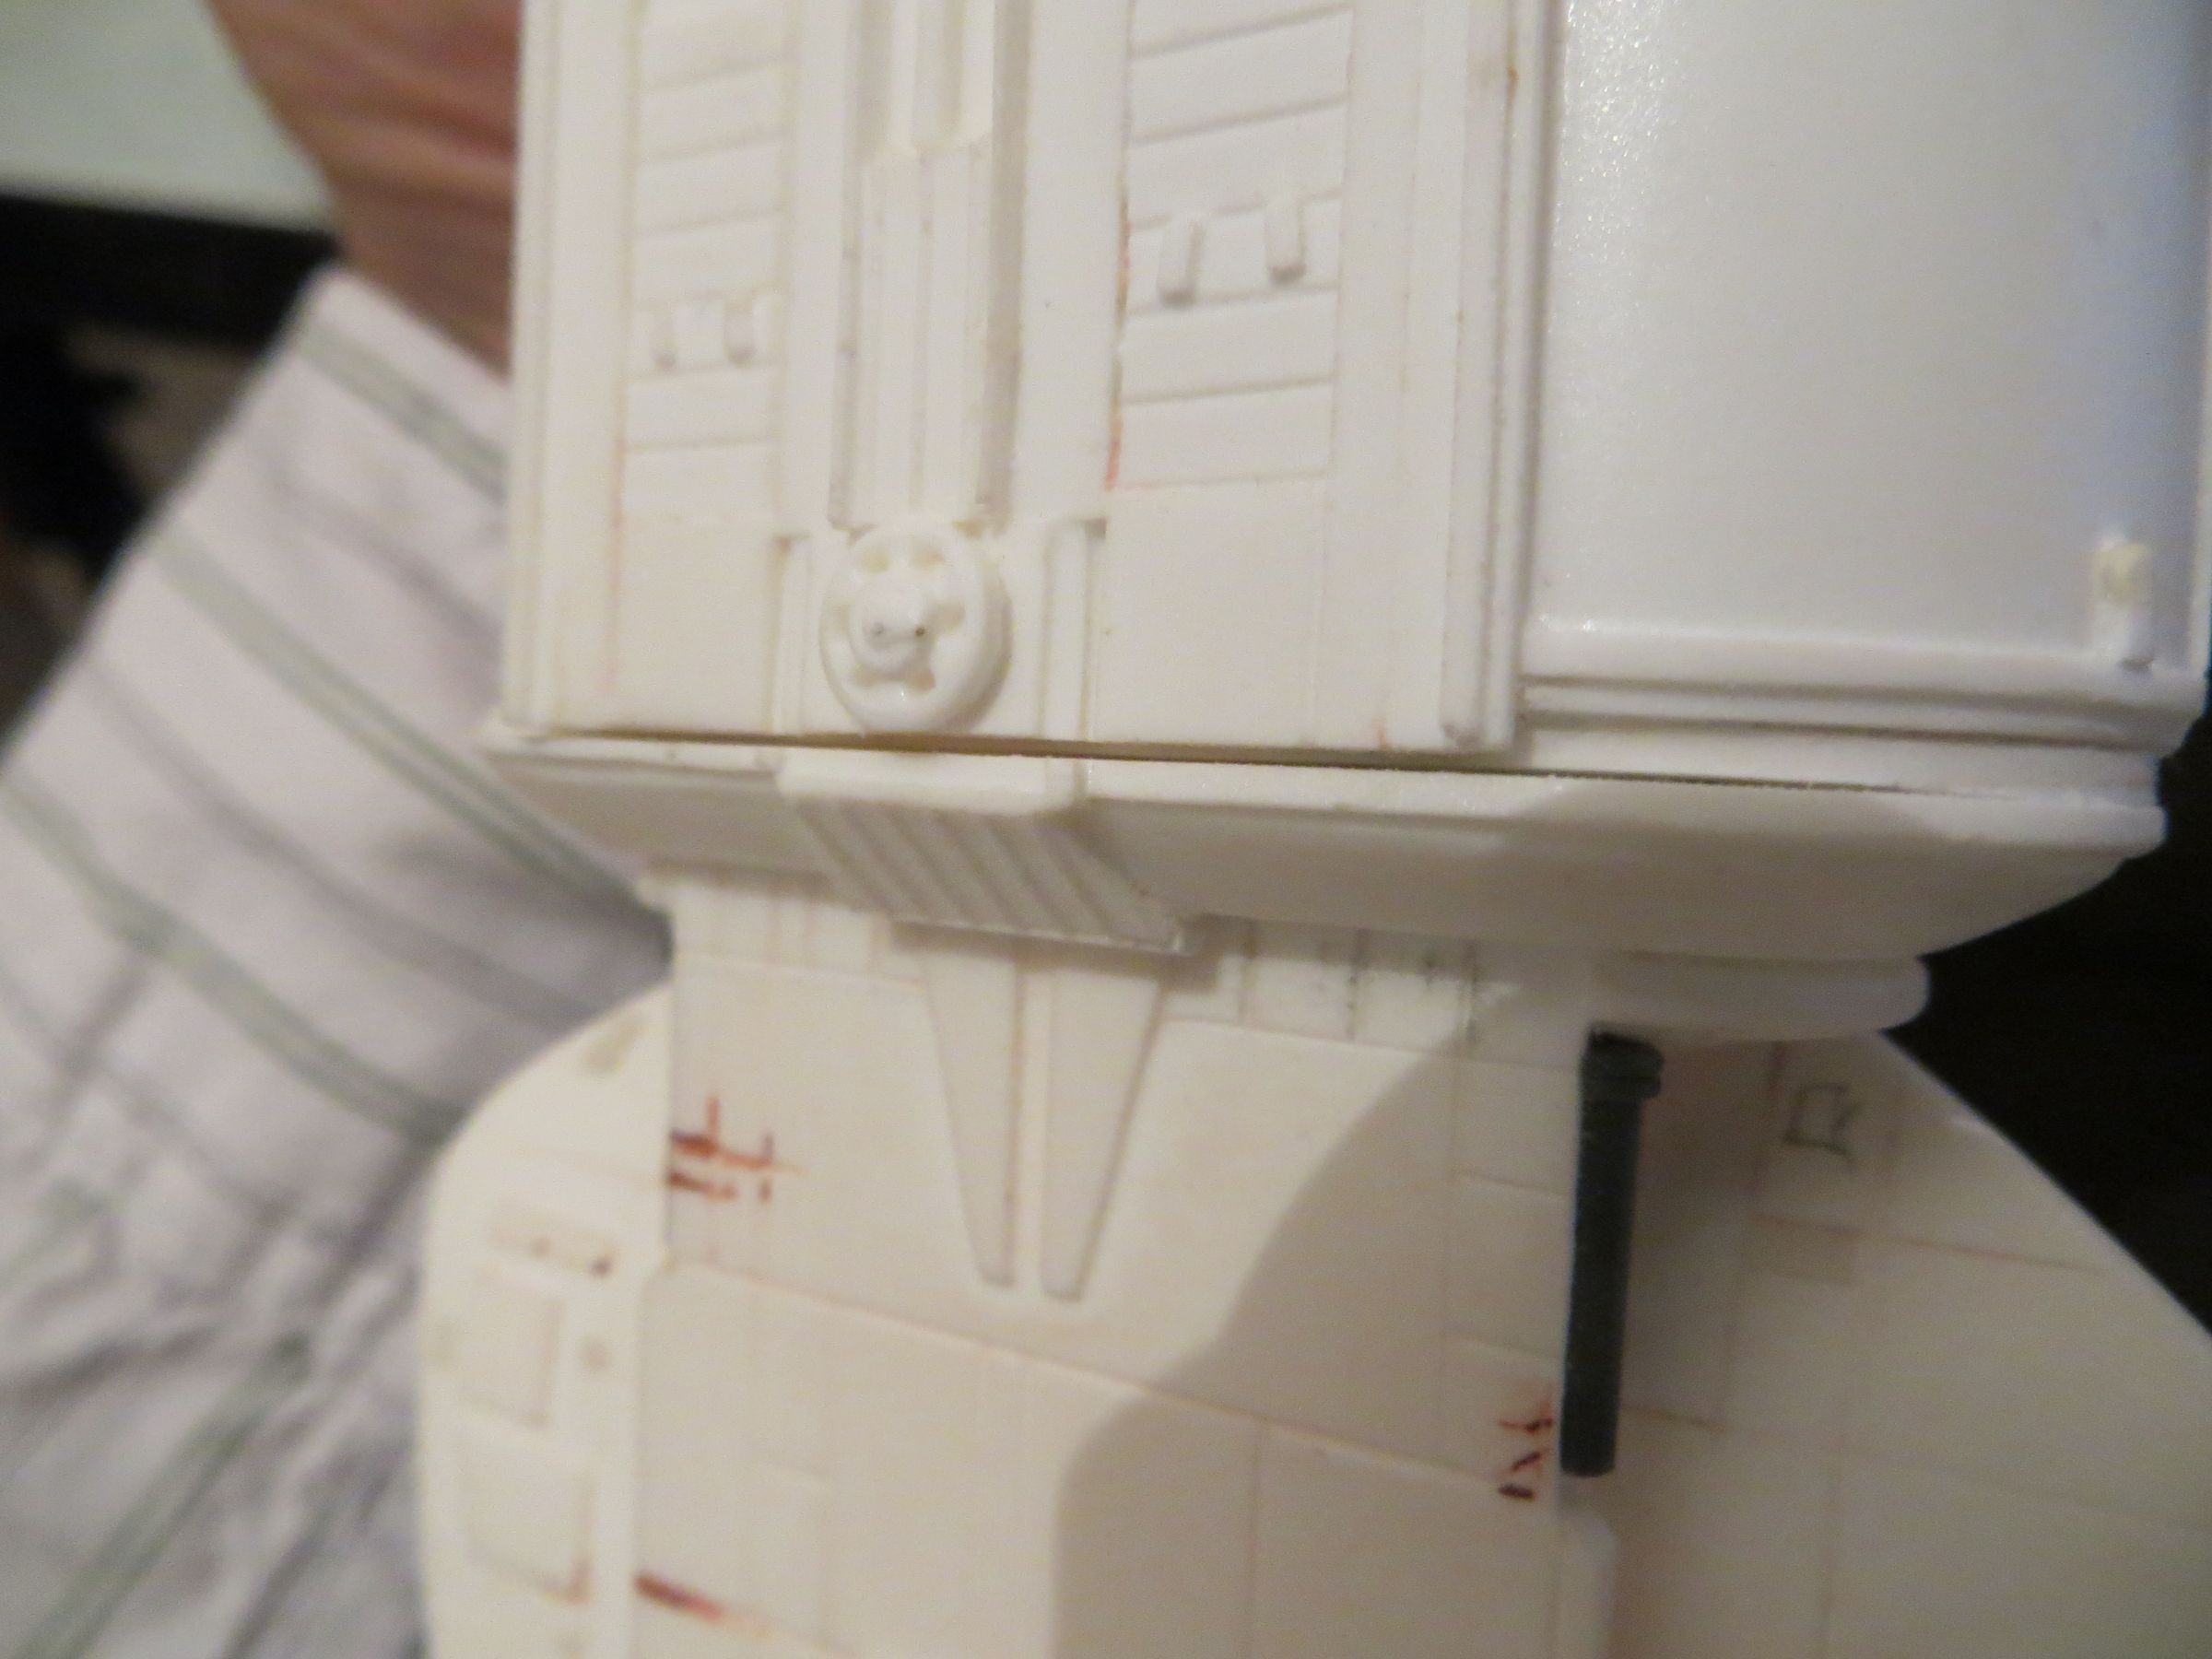
The head and engine modules are finally bonded to the central body.

There are few small seams to fill here or there (putty, plastic card).
some tank track links are added on the edge of open bays to simulate locks (like on the original model).

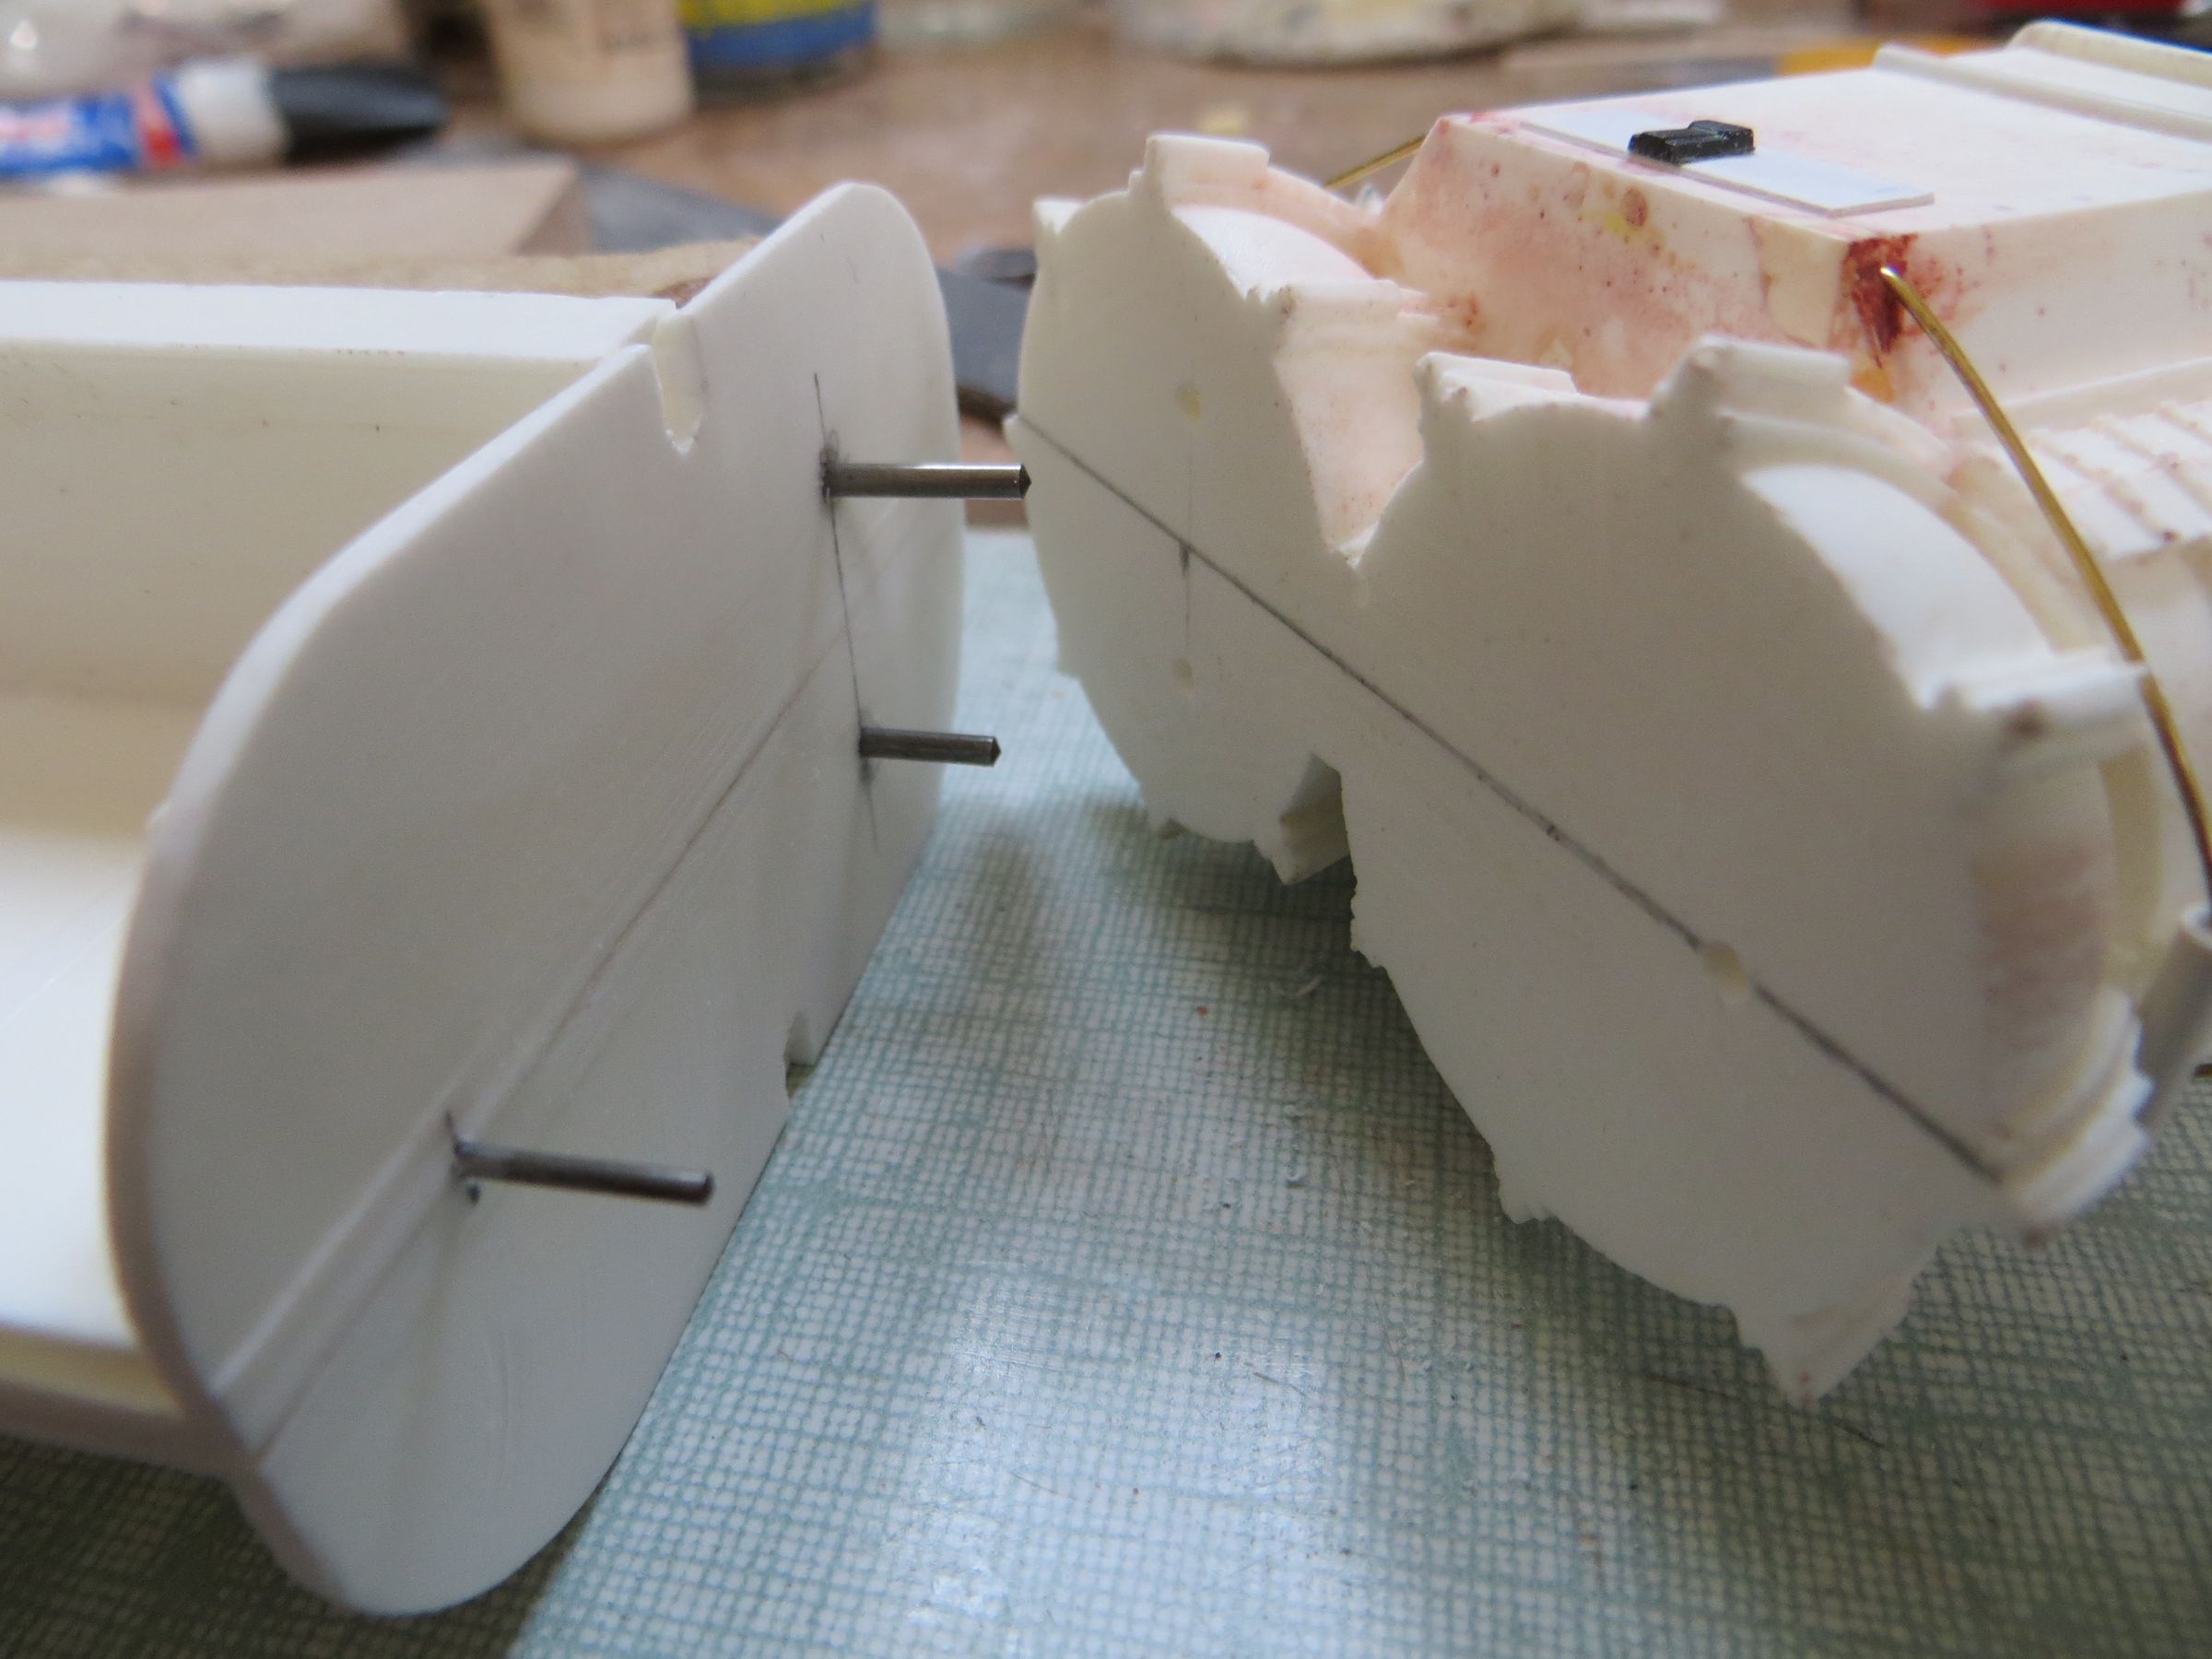
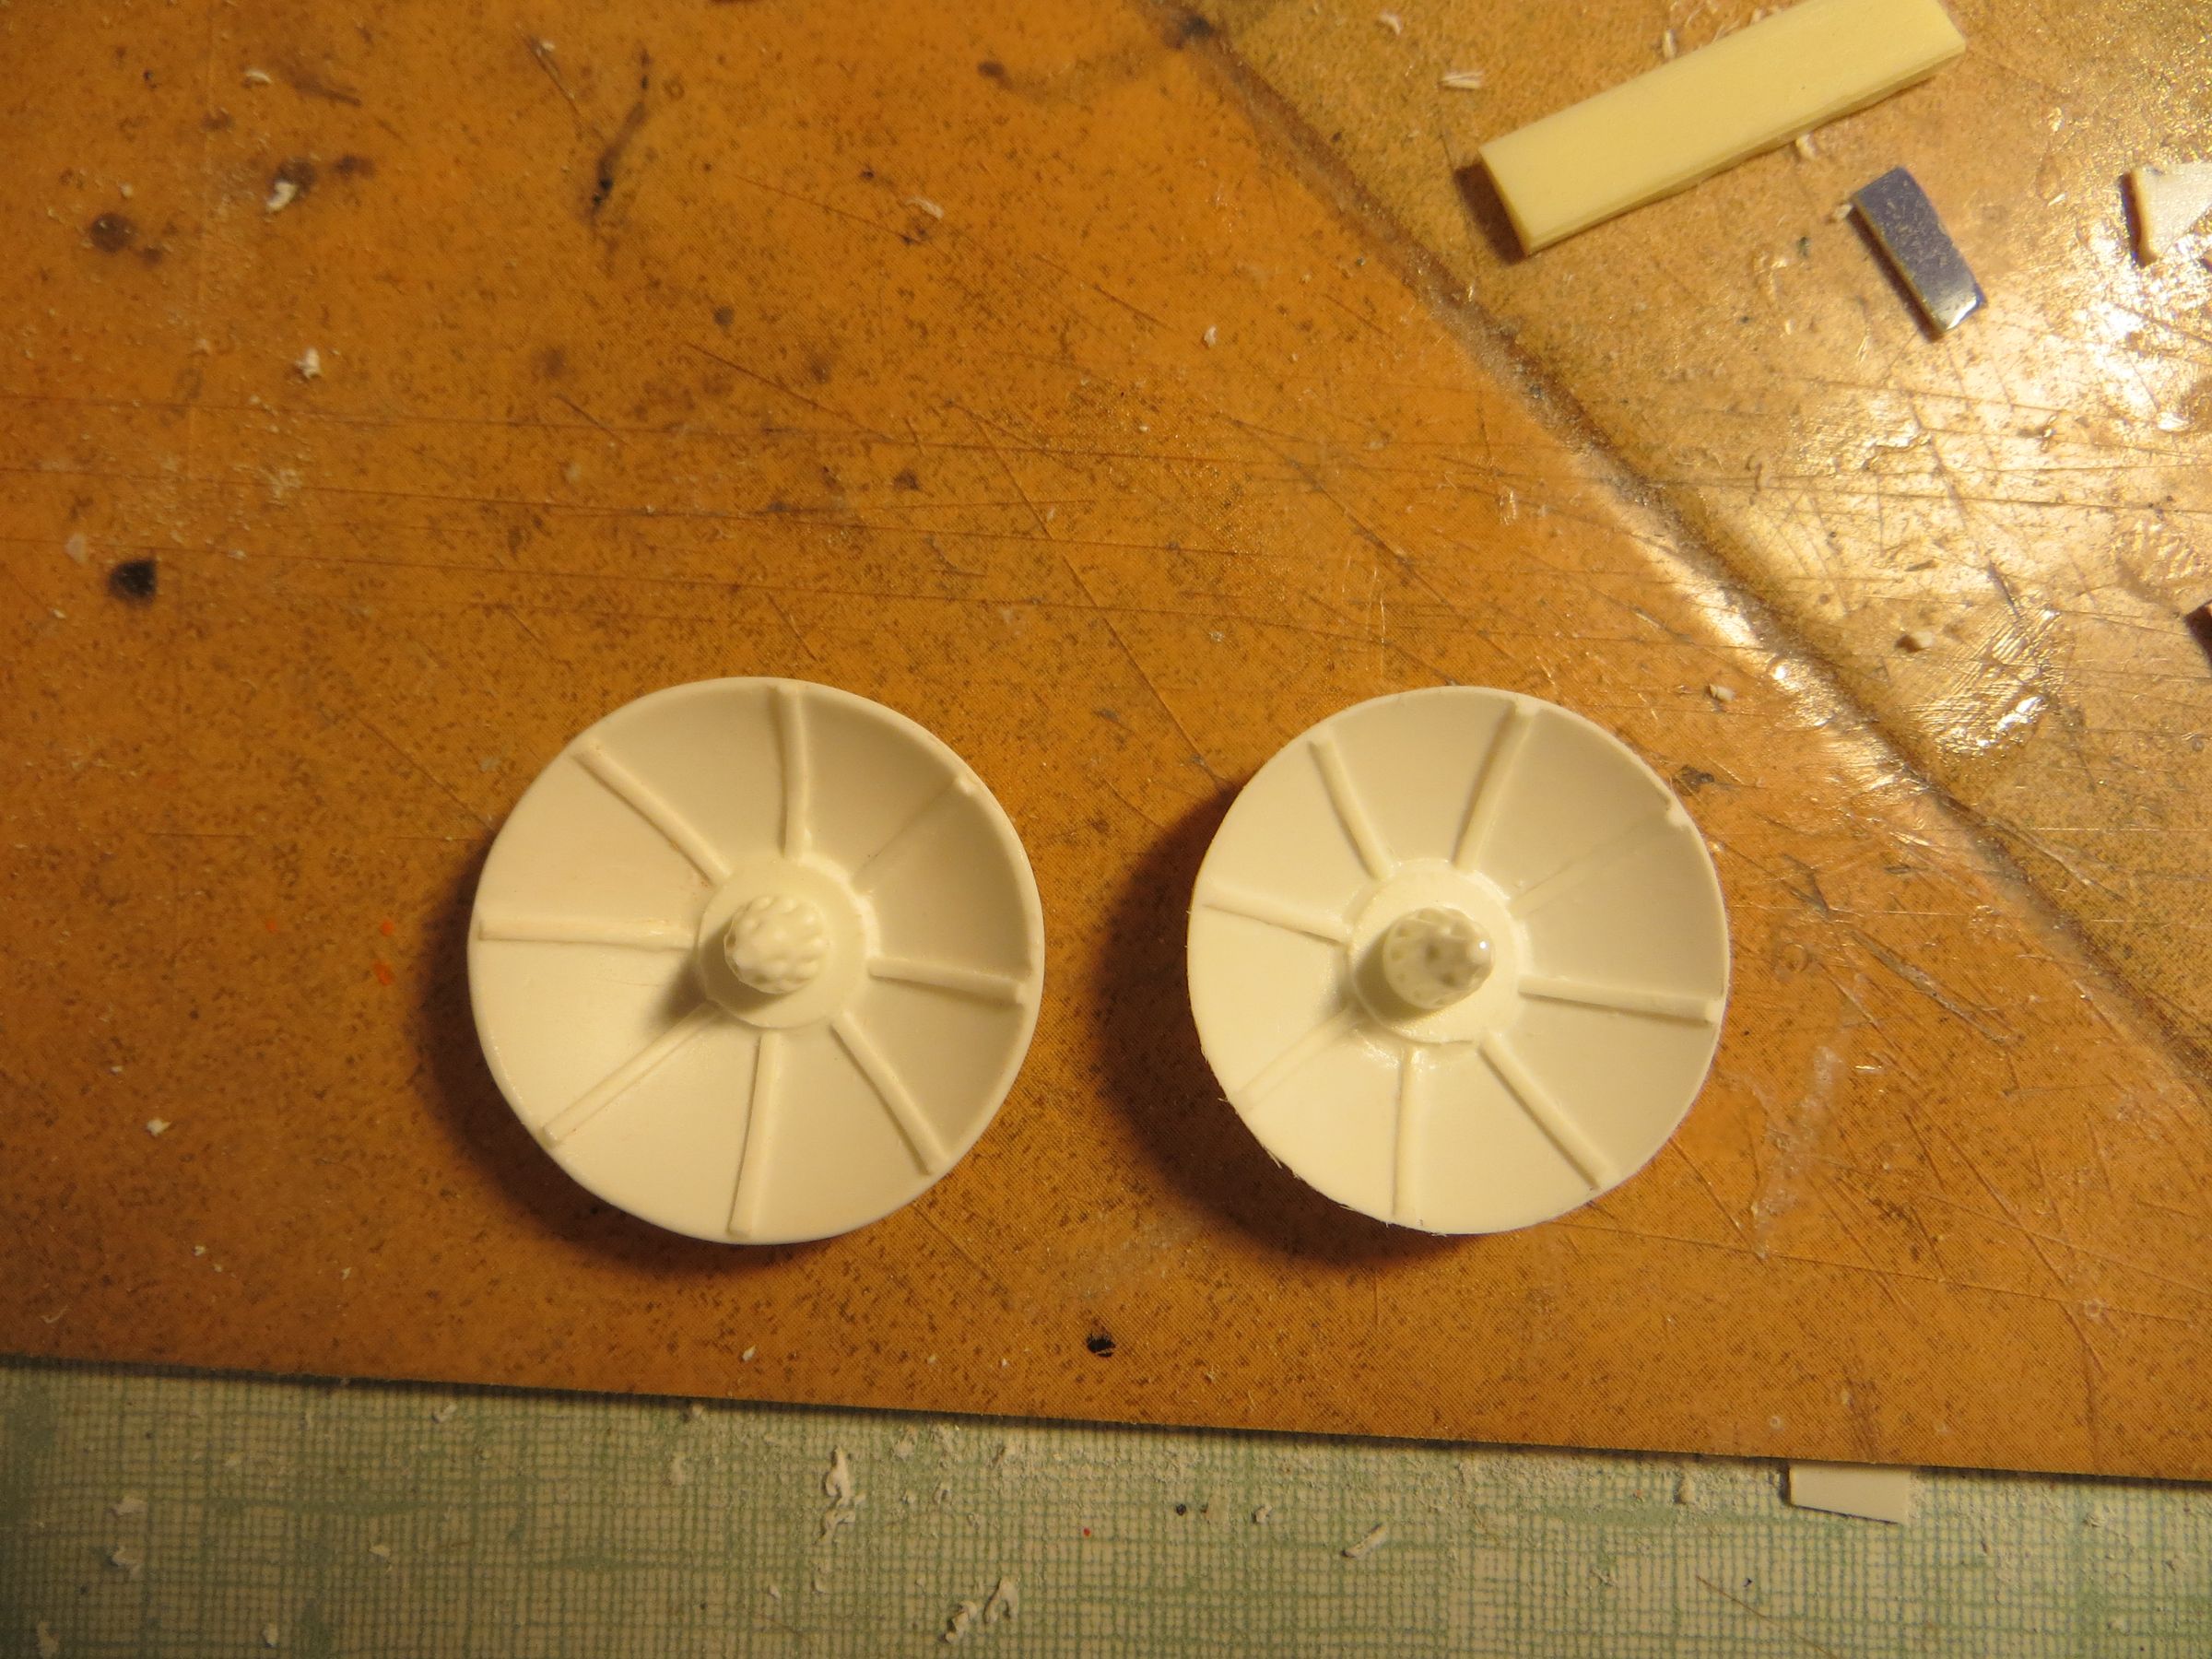
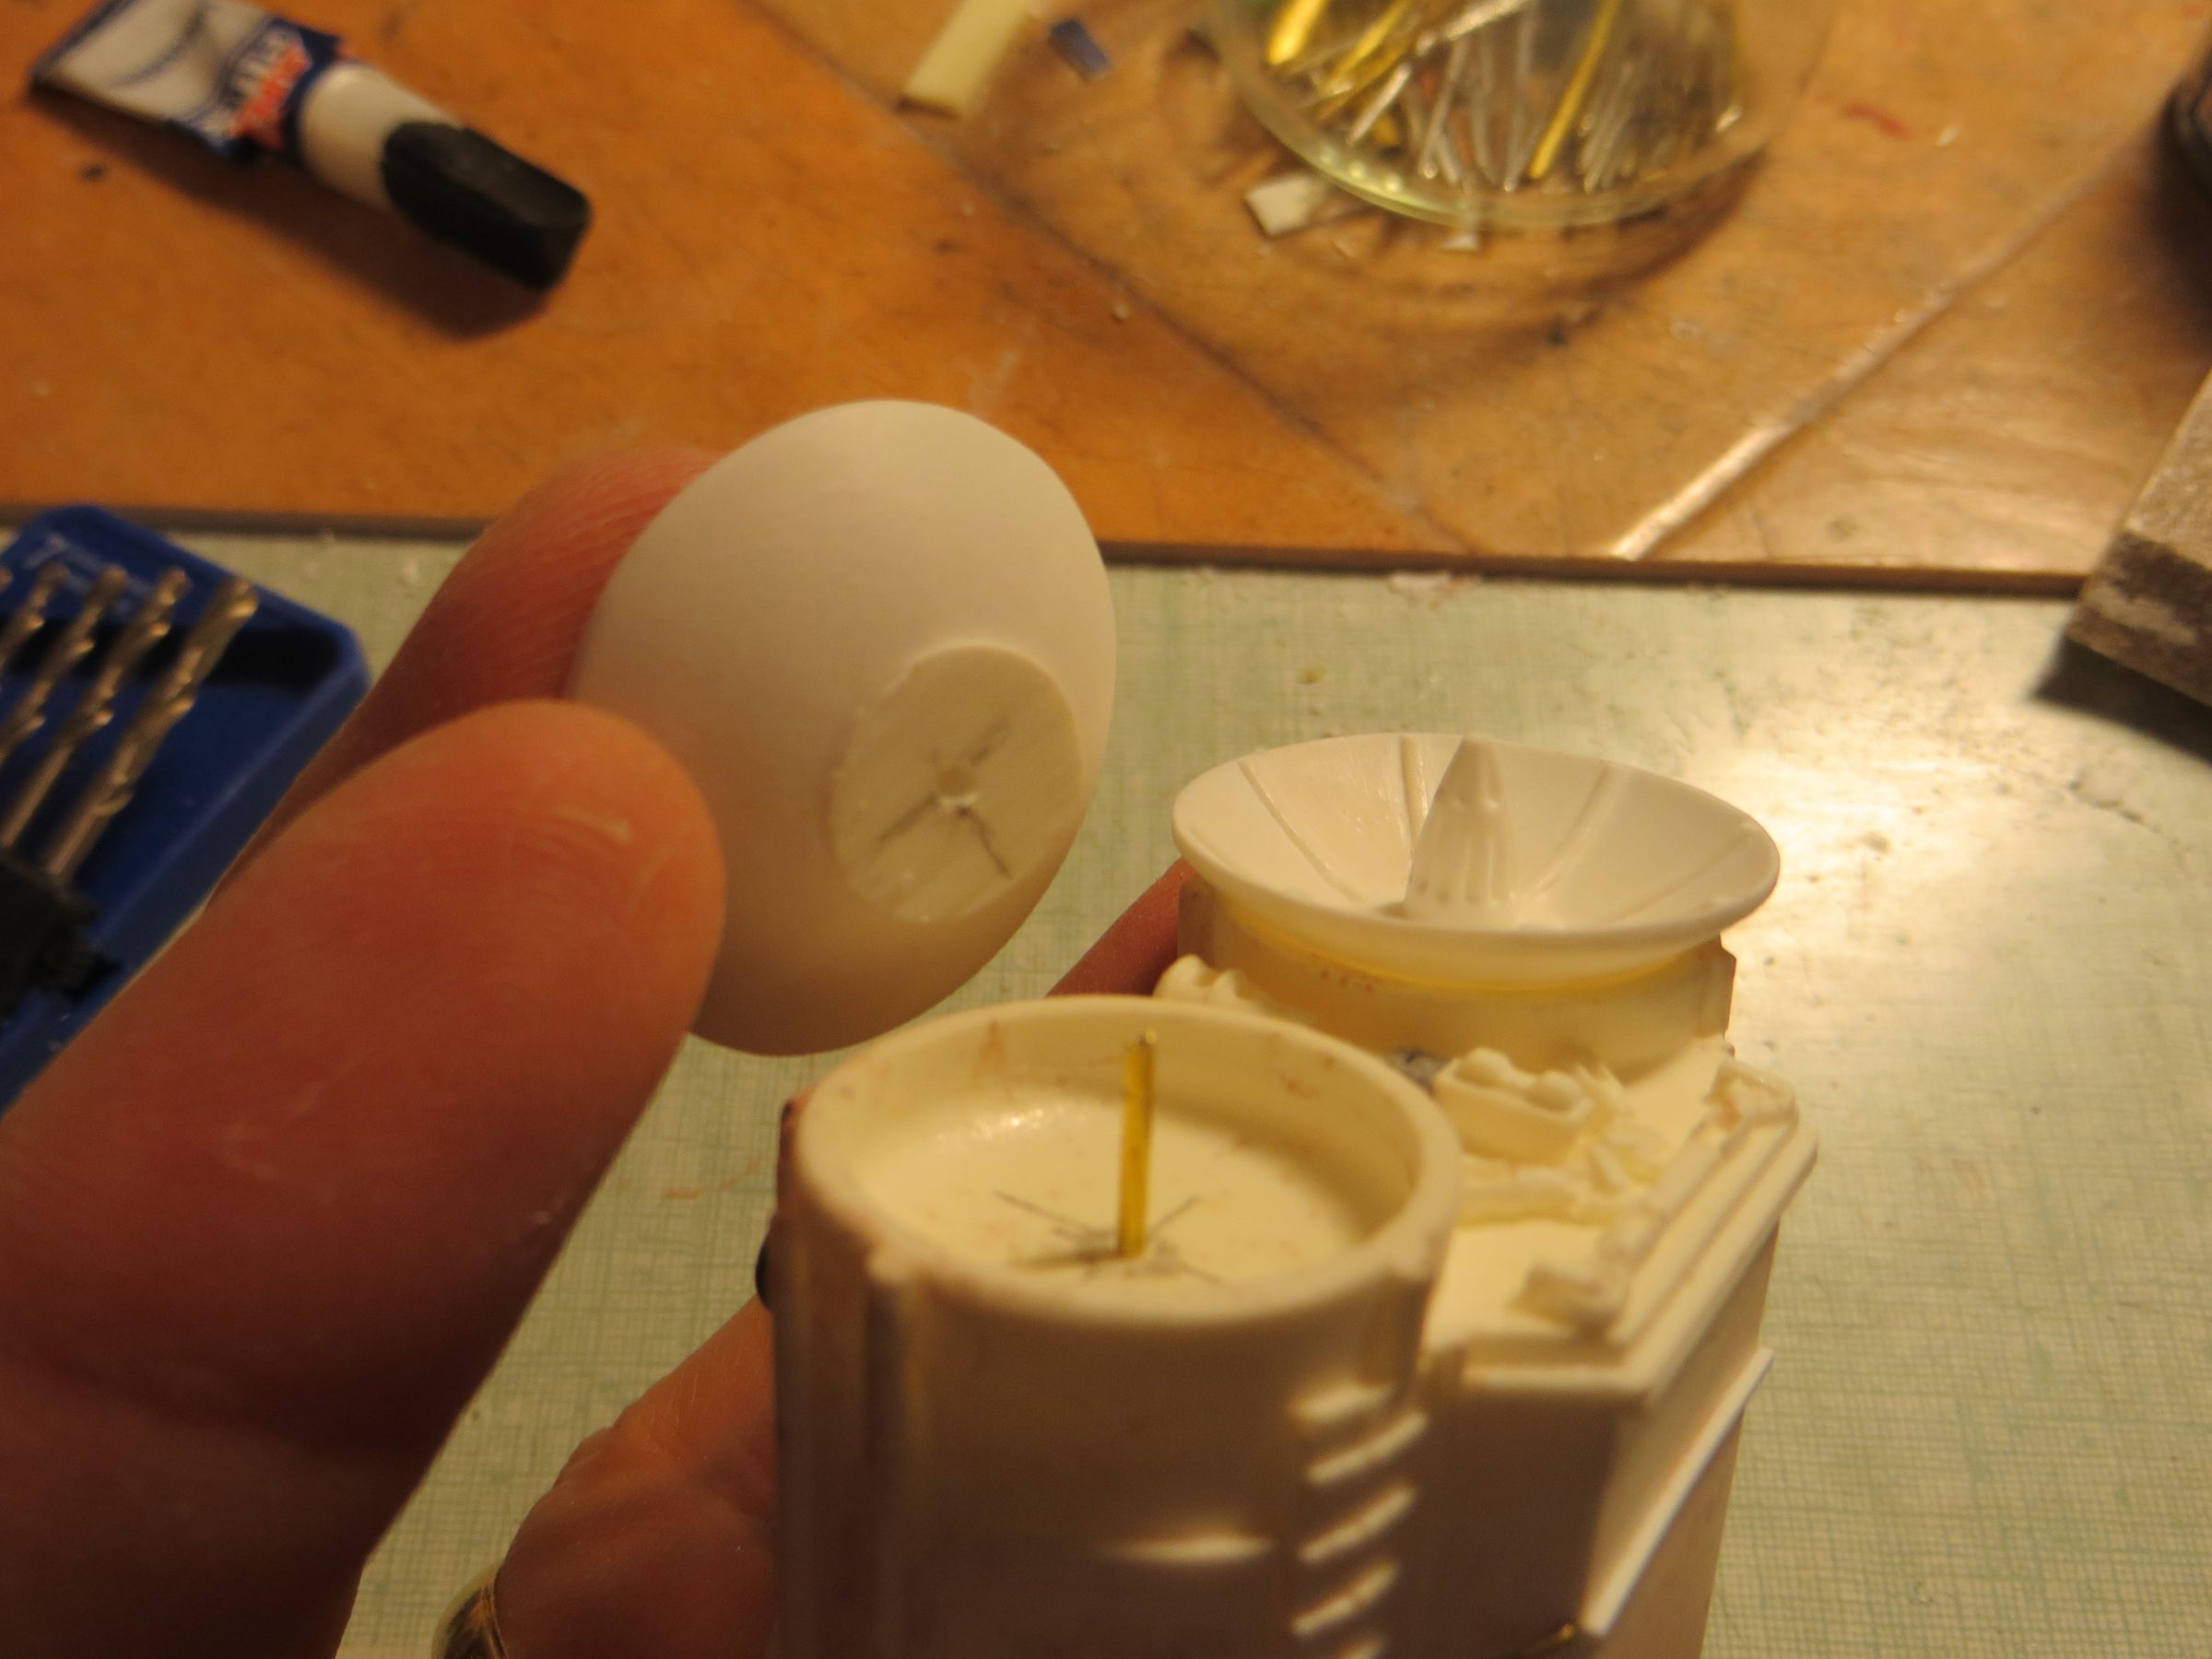
Here dry tested, we see that the bells nozzles are almost touching each others, while there should be a gap of about 5mm.
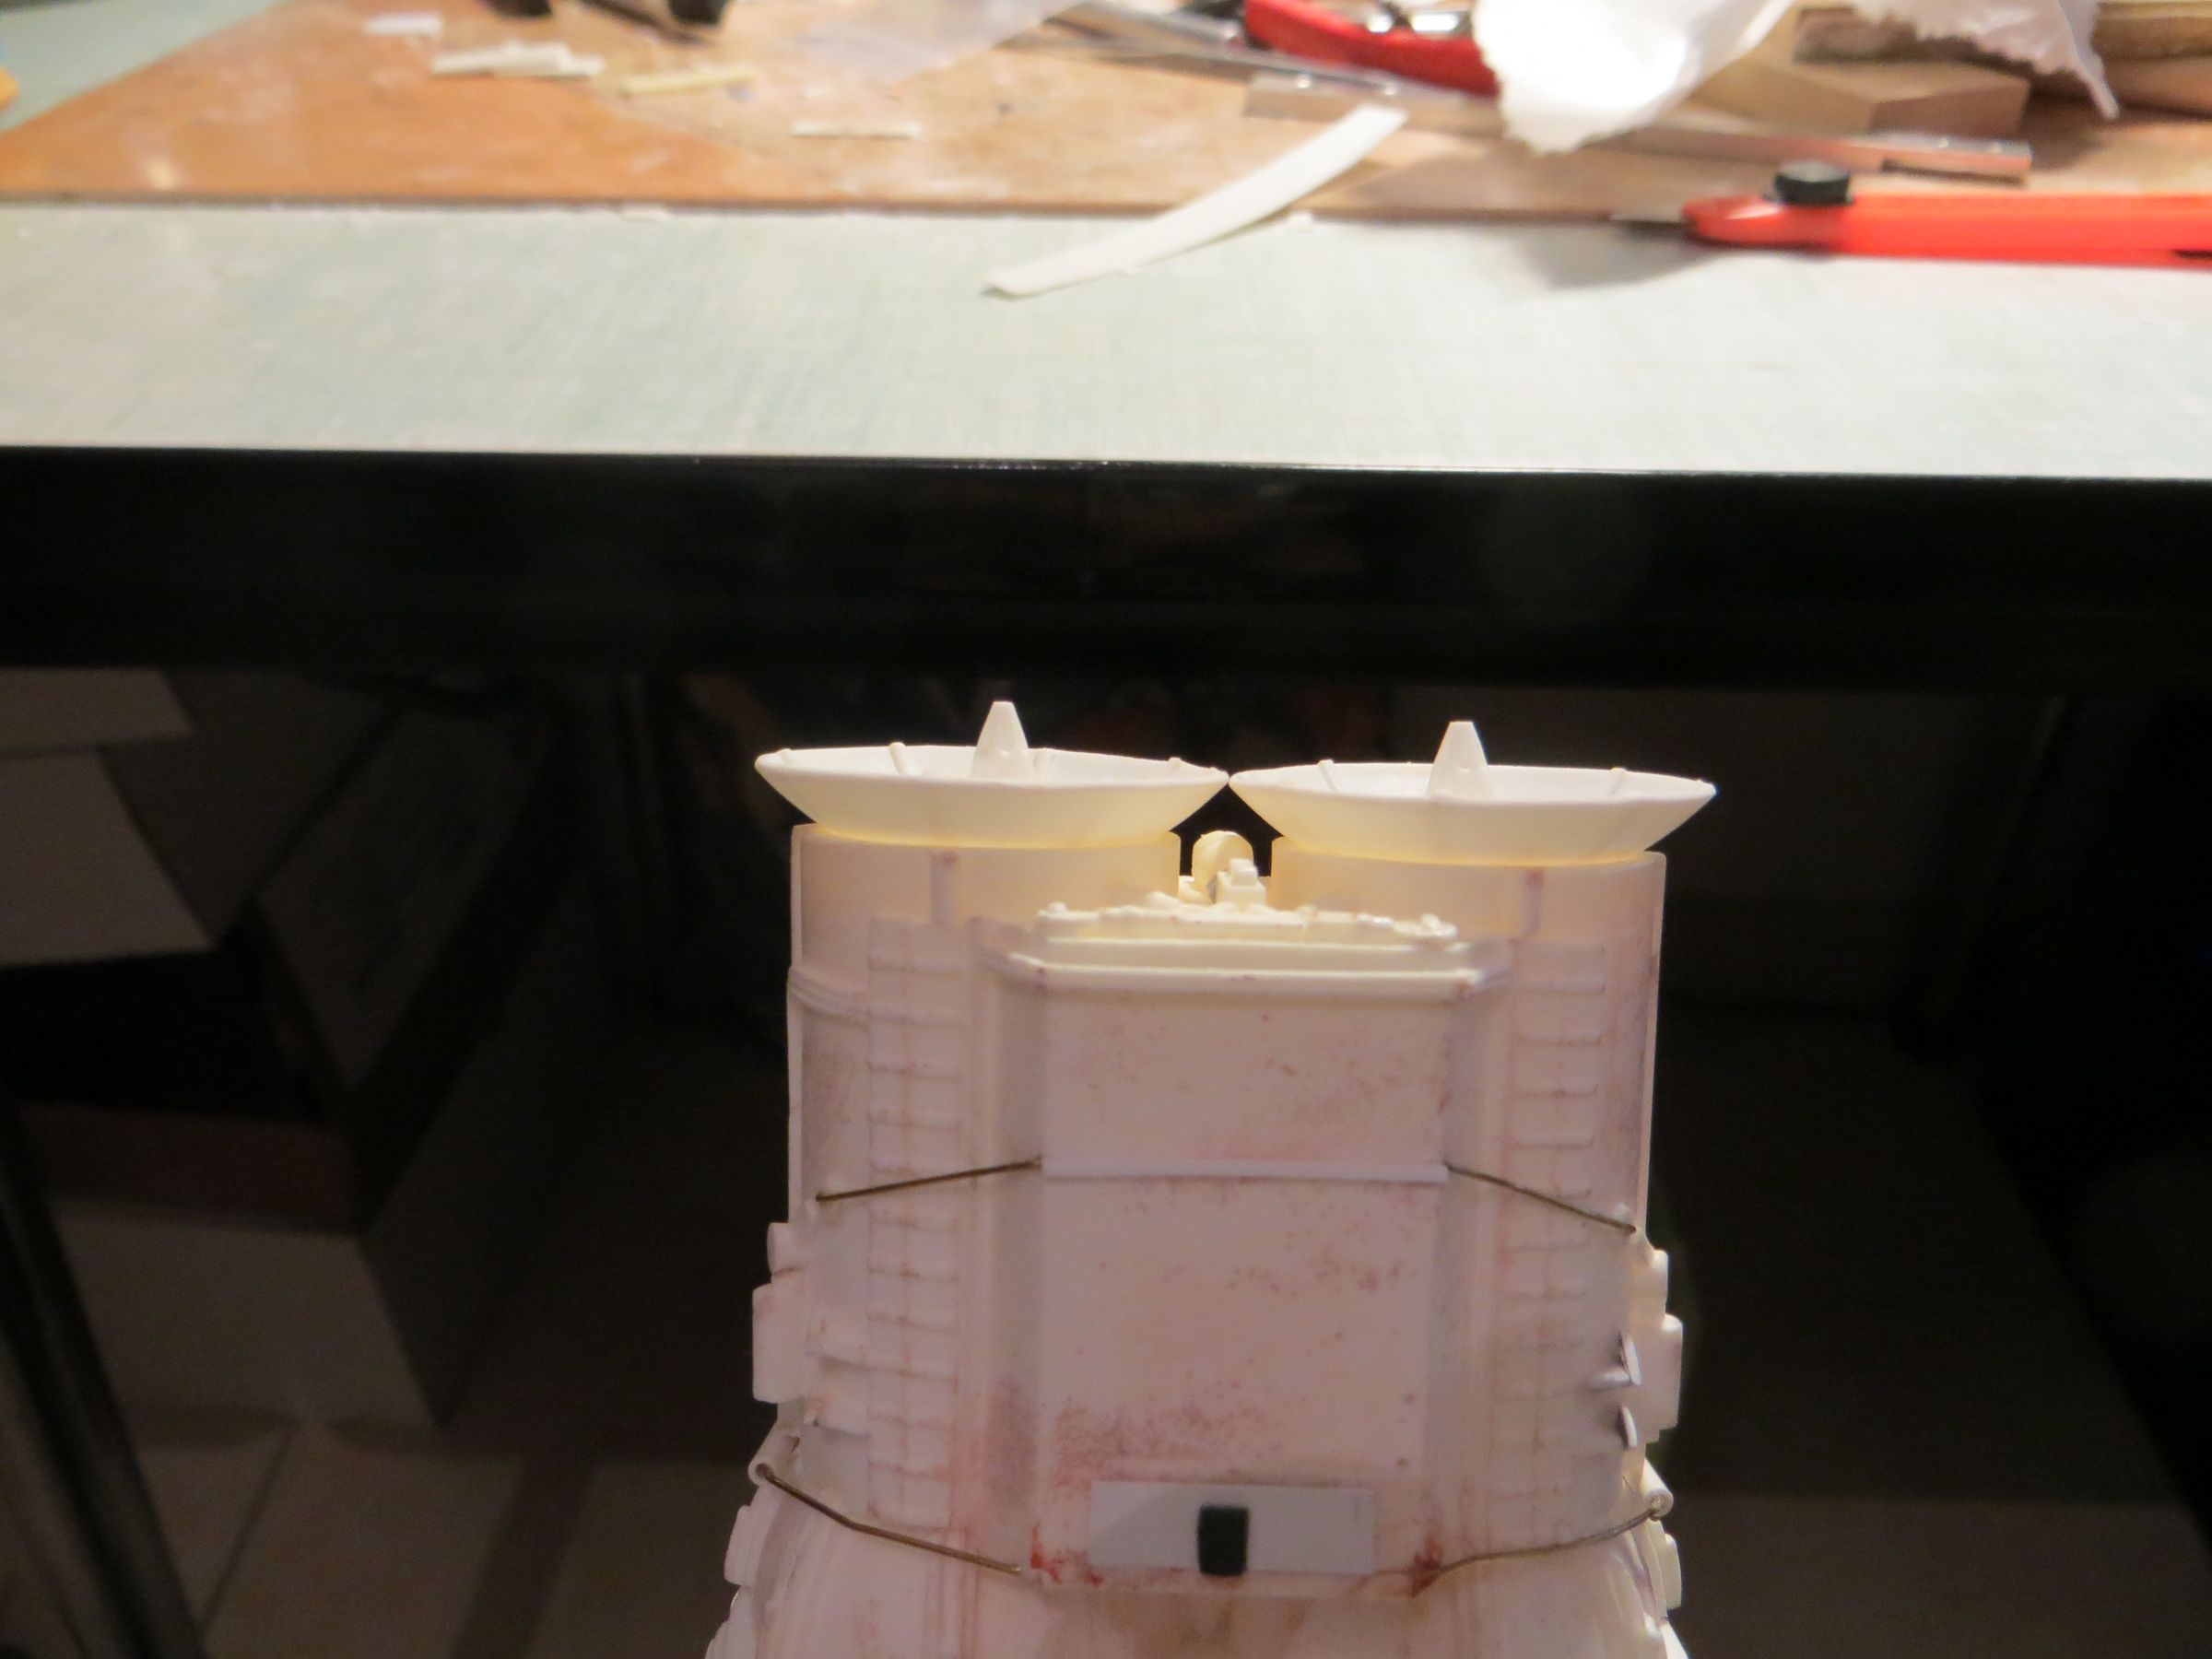
I also noted that they were not centered correctly. All this is corrected (tagging correctly the length on each radius), and then sanding quietly (to not remove too much material !)

Not without difficulty, it's ready for the painting.