Cylon Centurion NG - First painting step
Par olcabour le mercredi, 18 décembre 2013, 22:48 - Cylon Centurion NG - Lien permanent
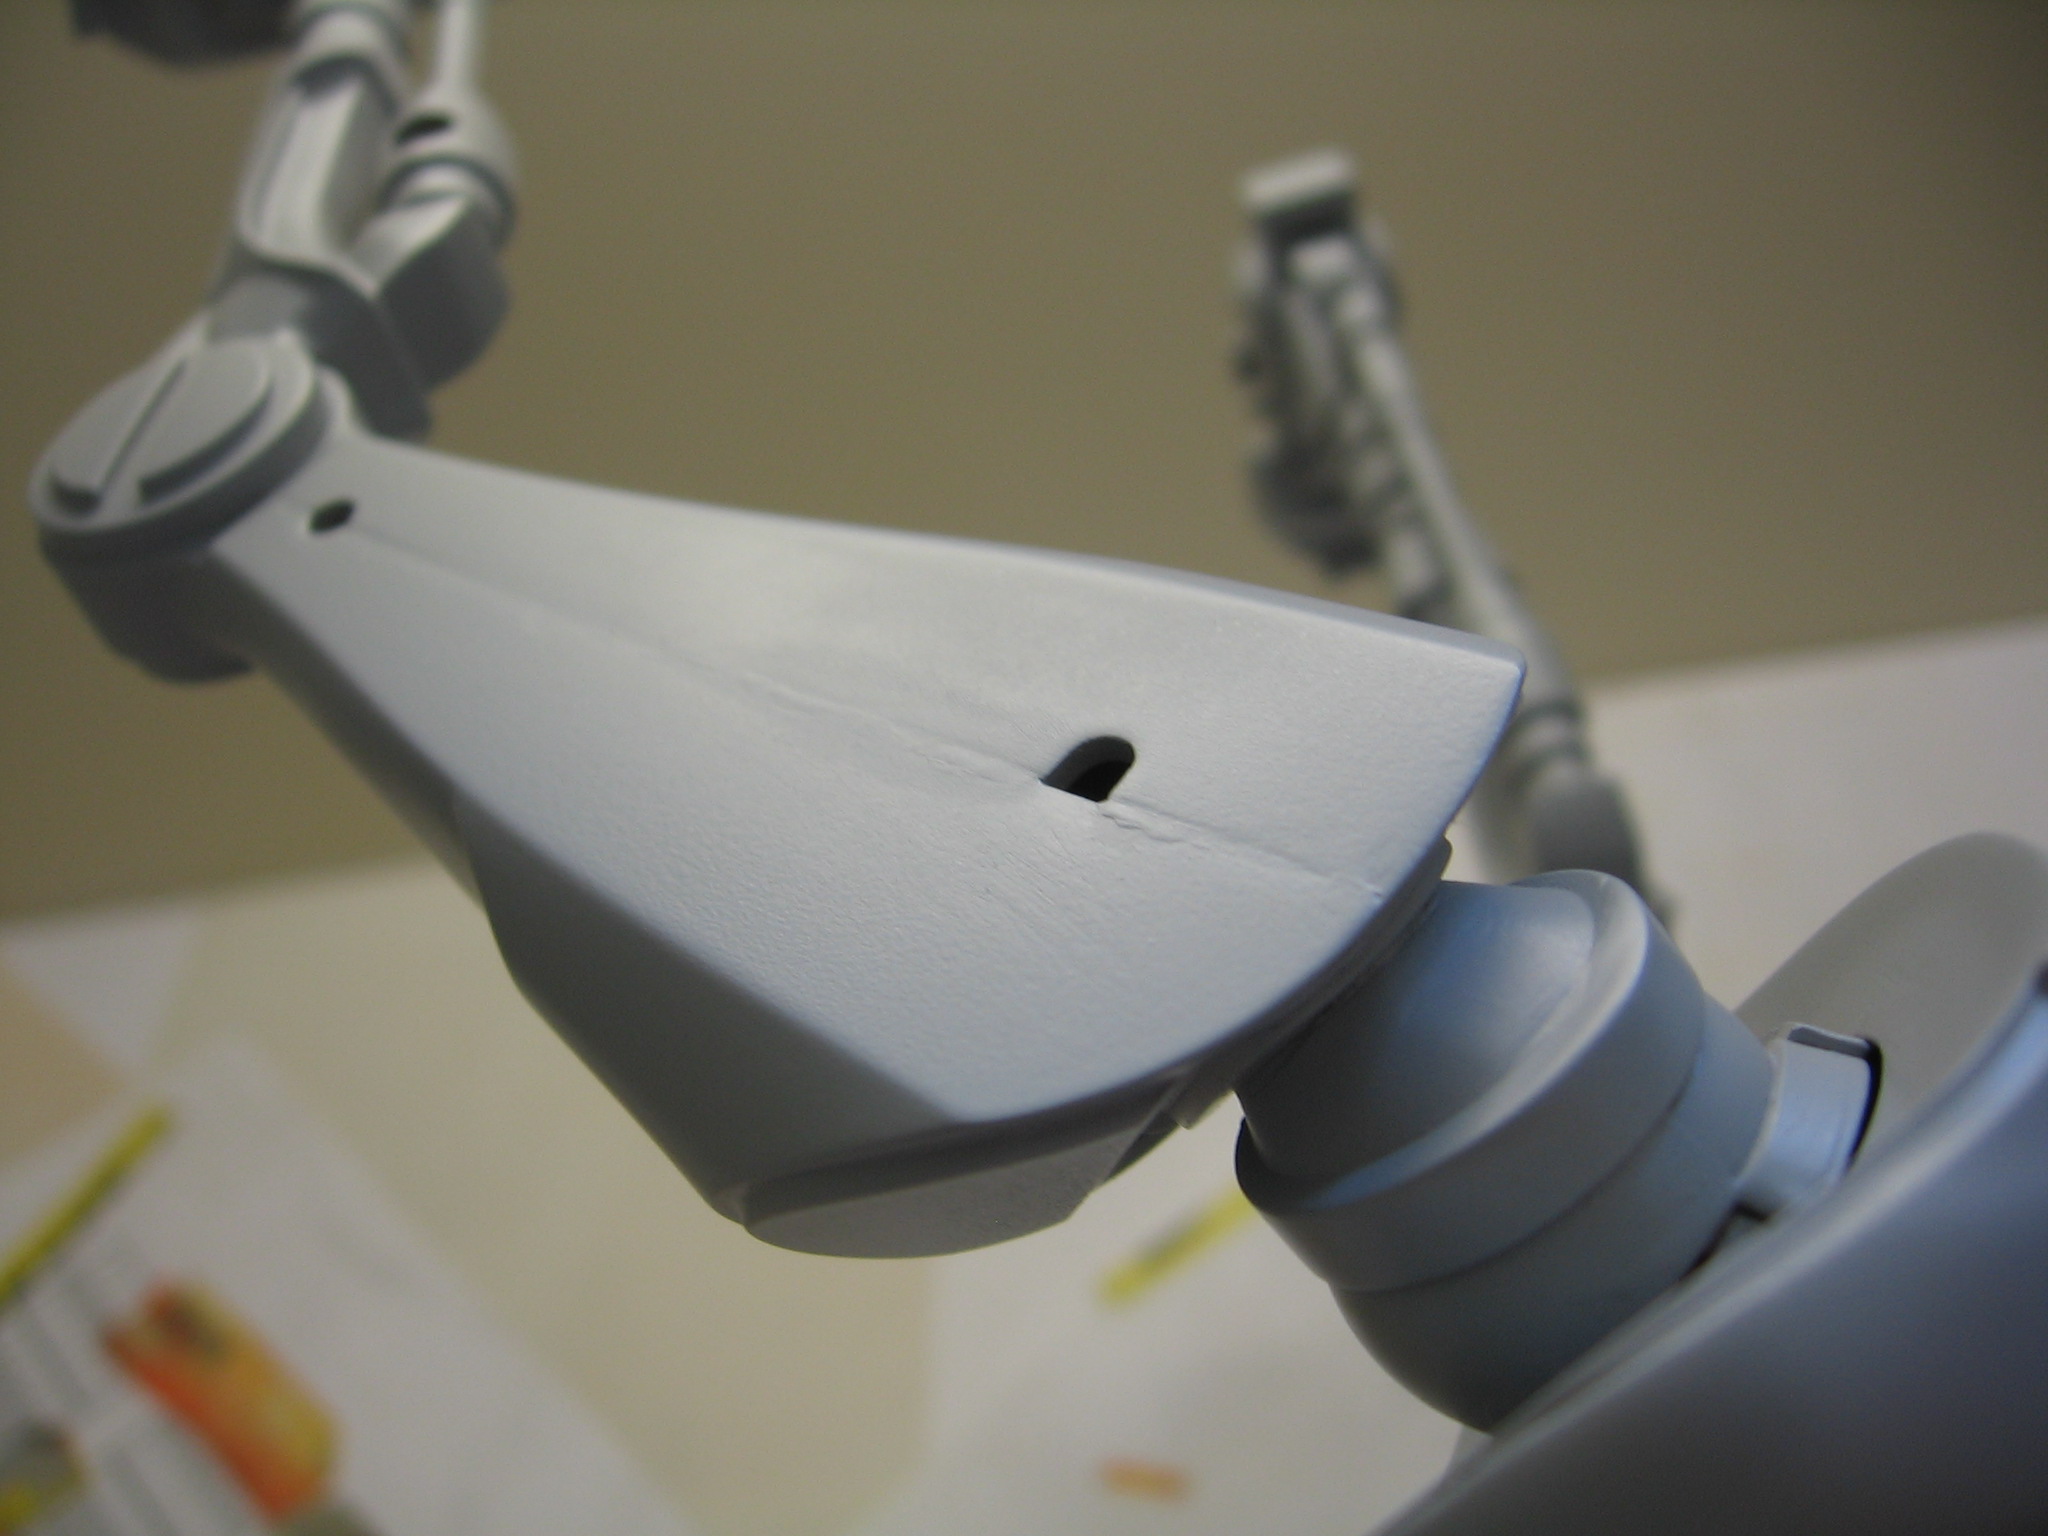
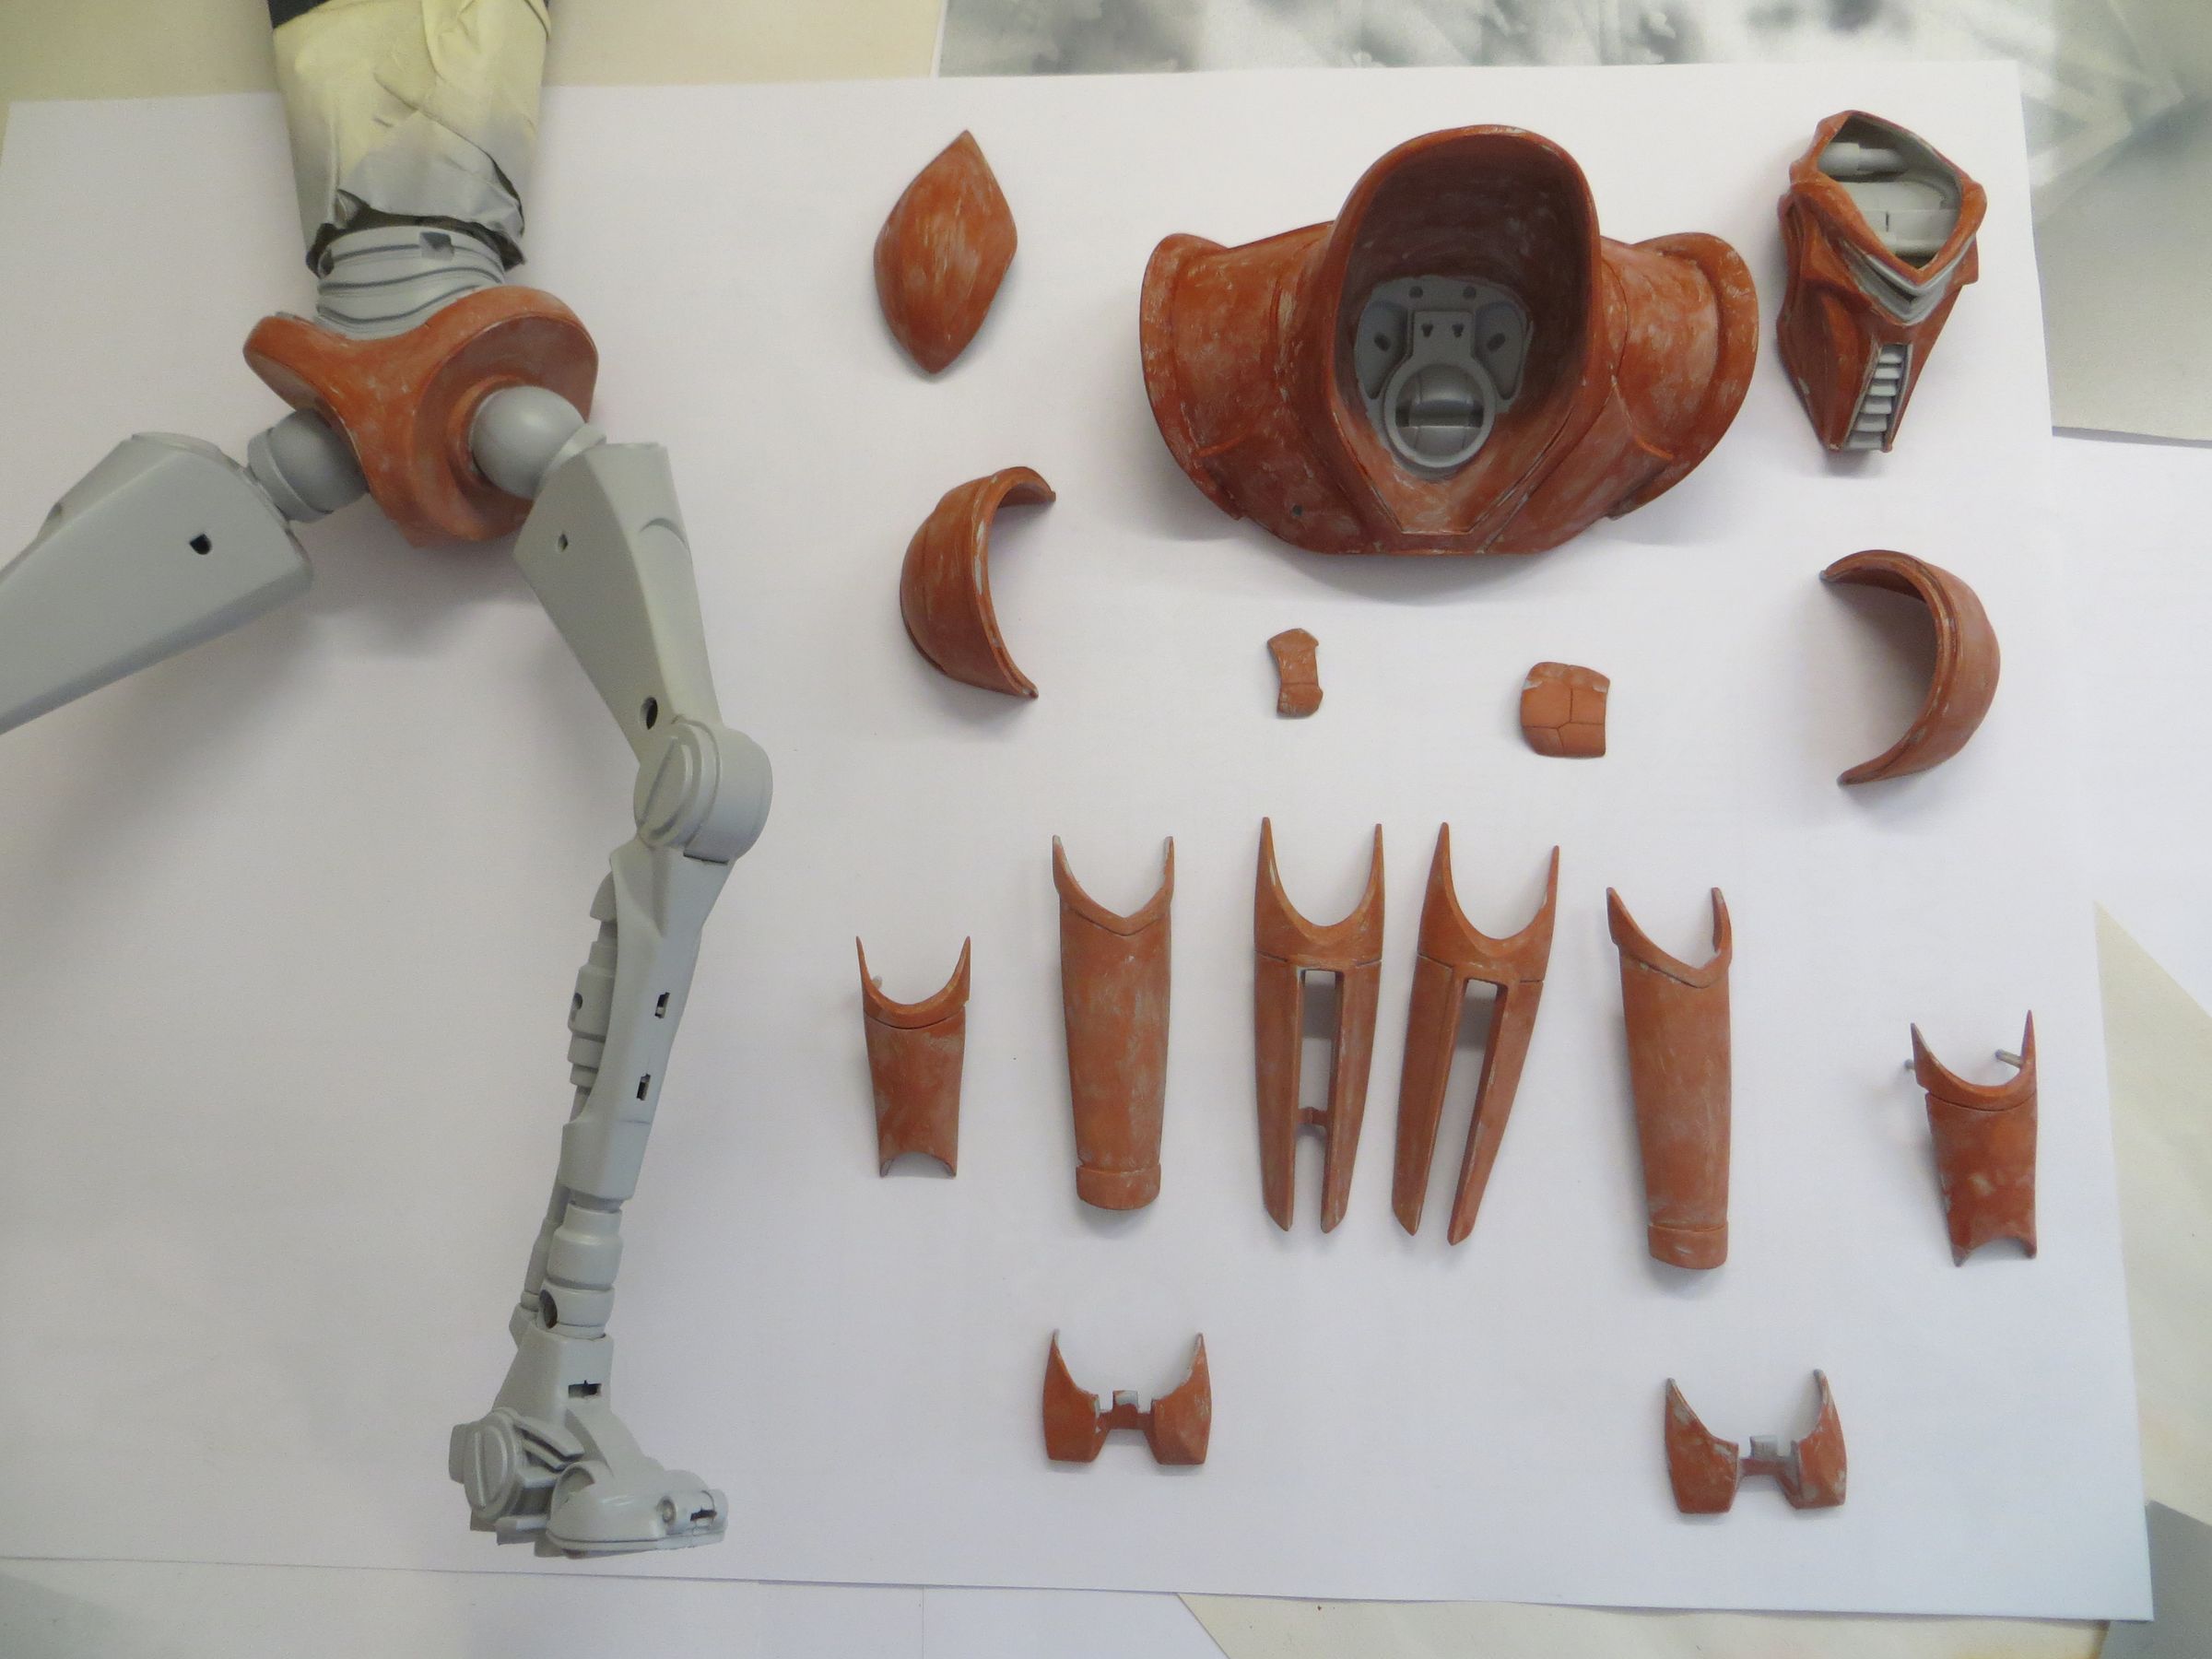
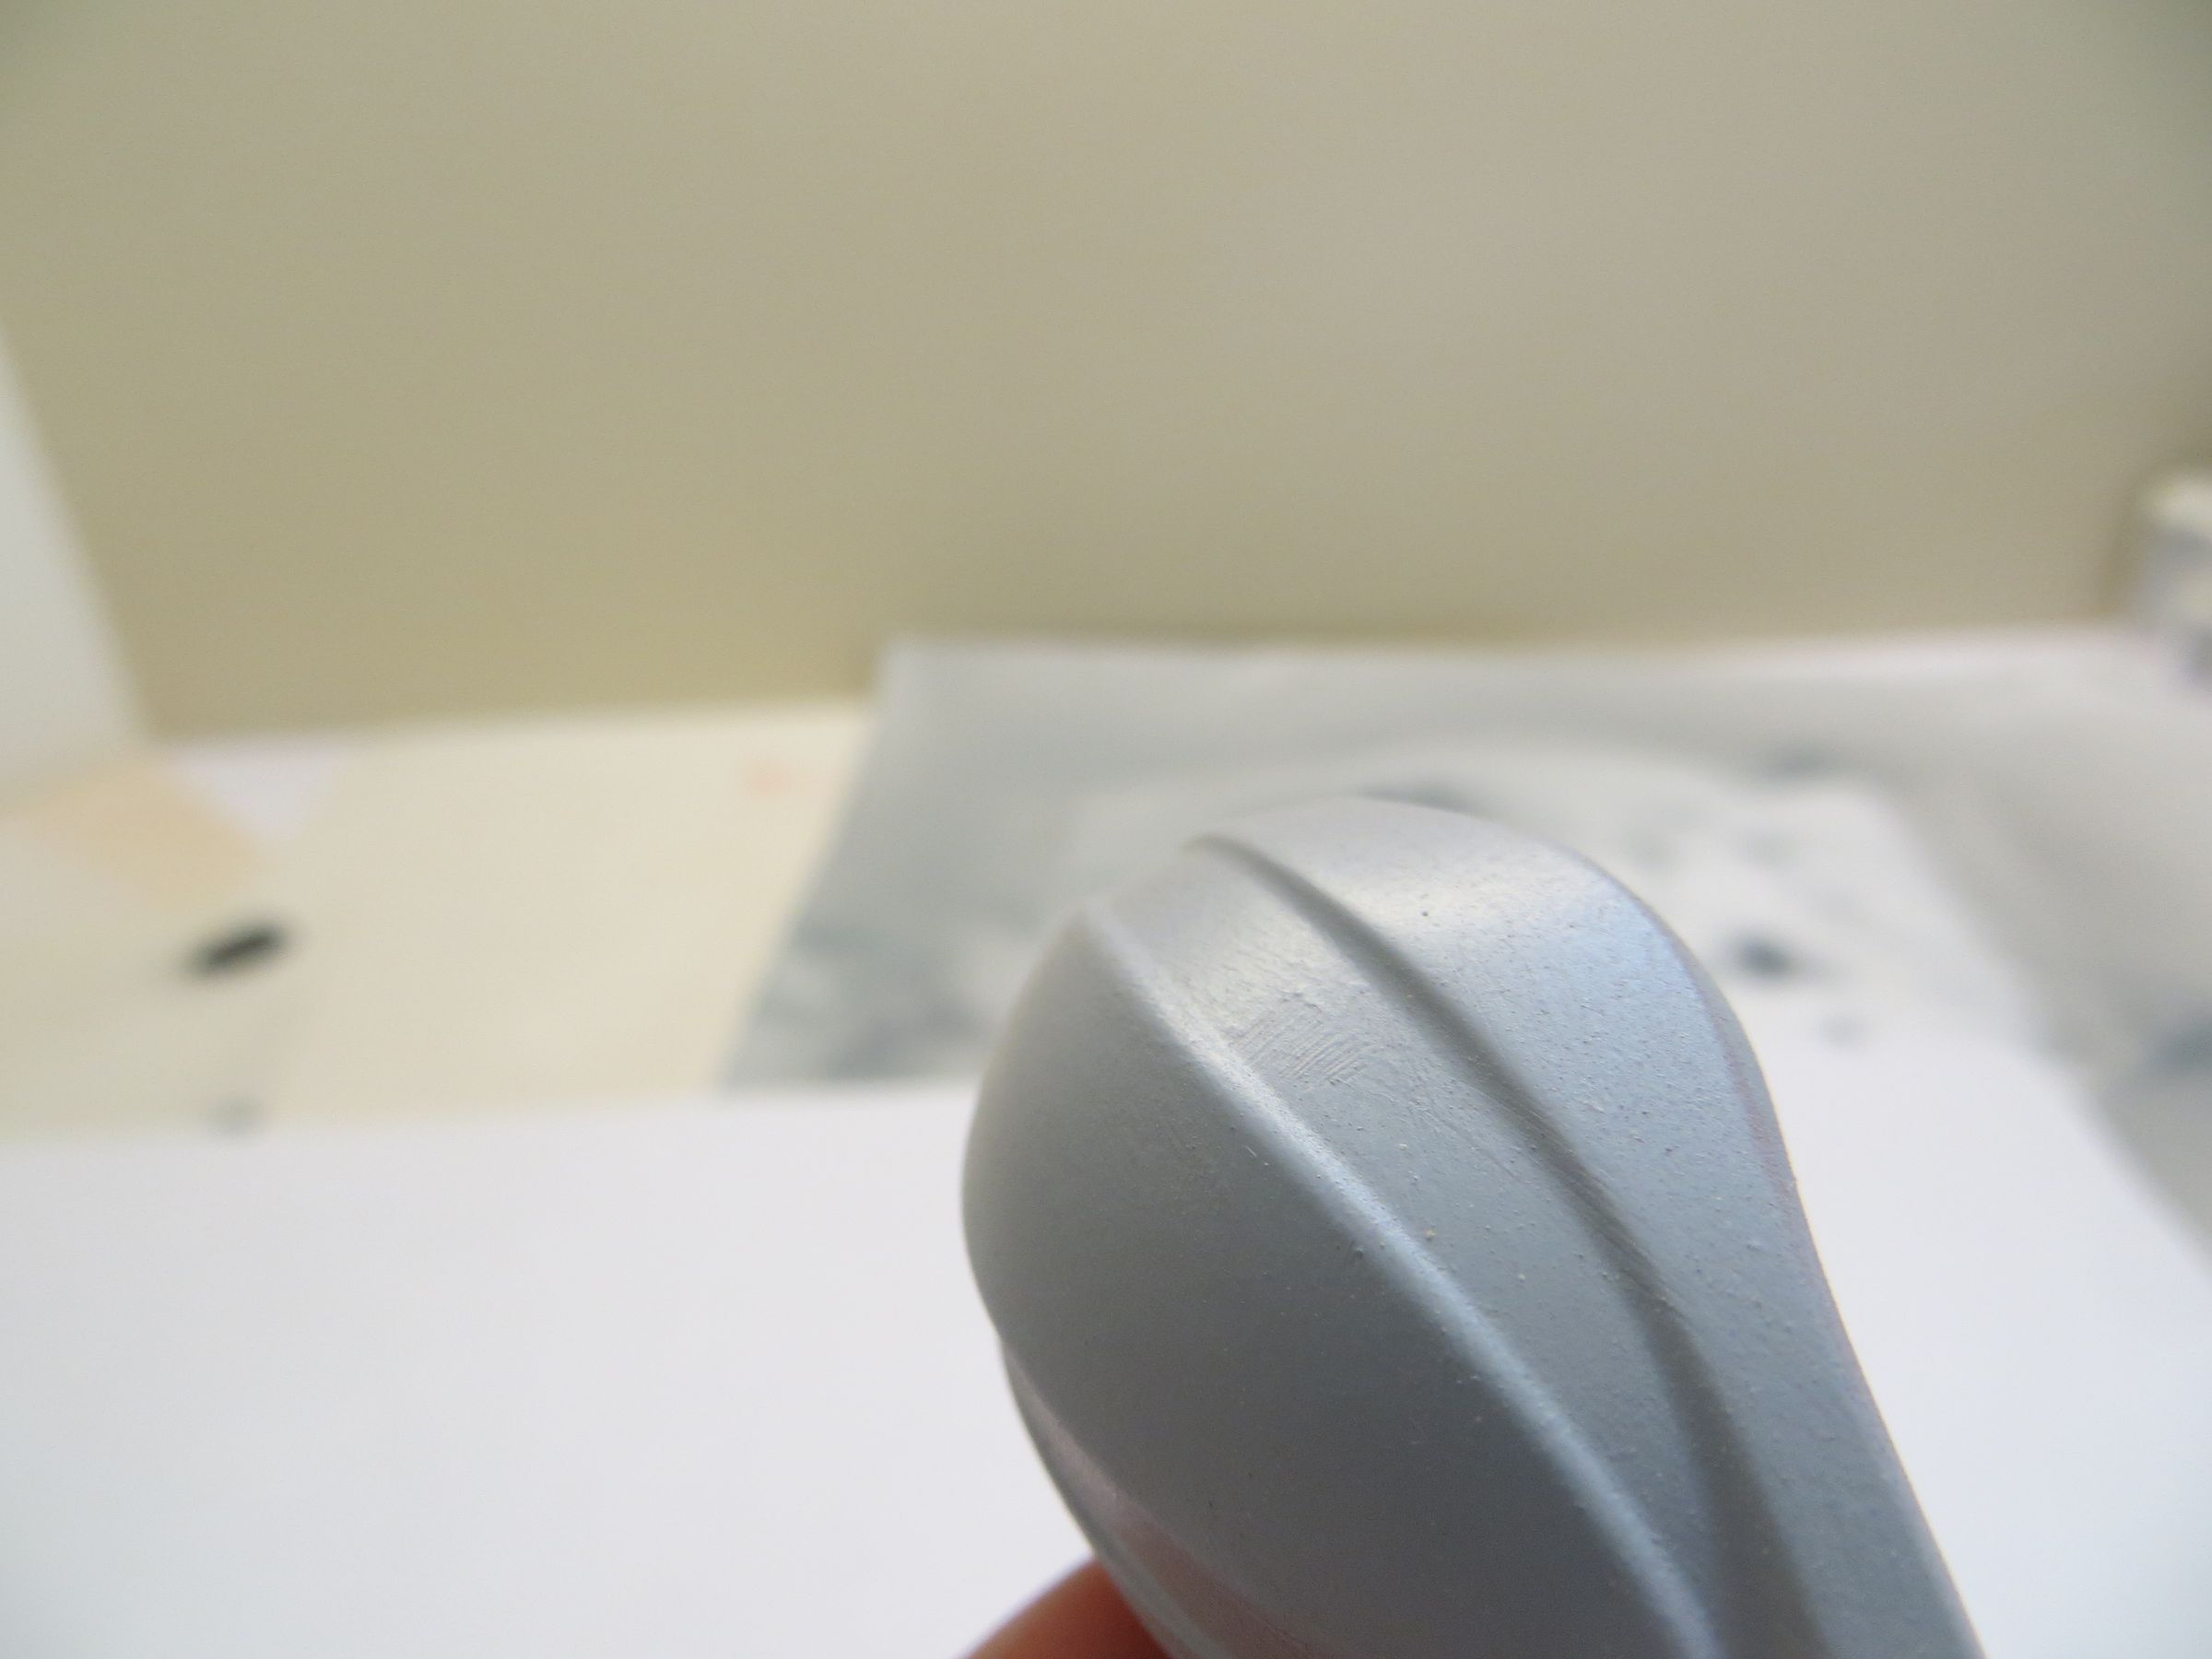
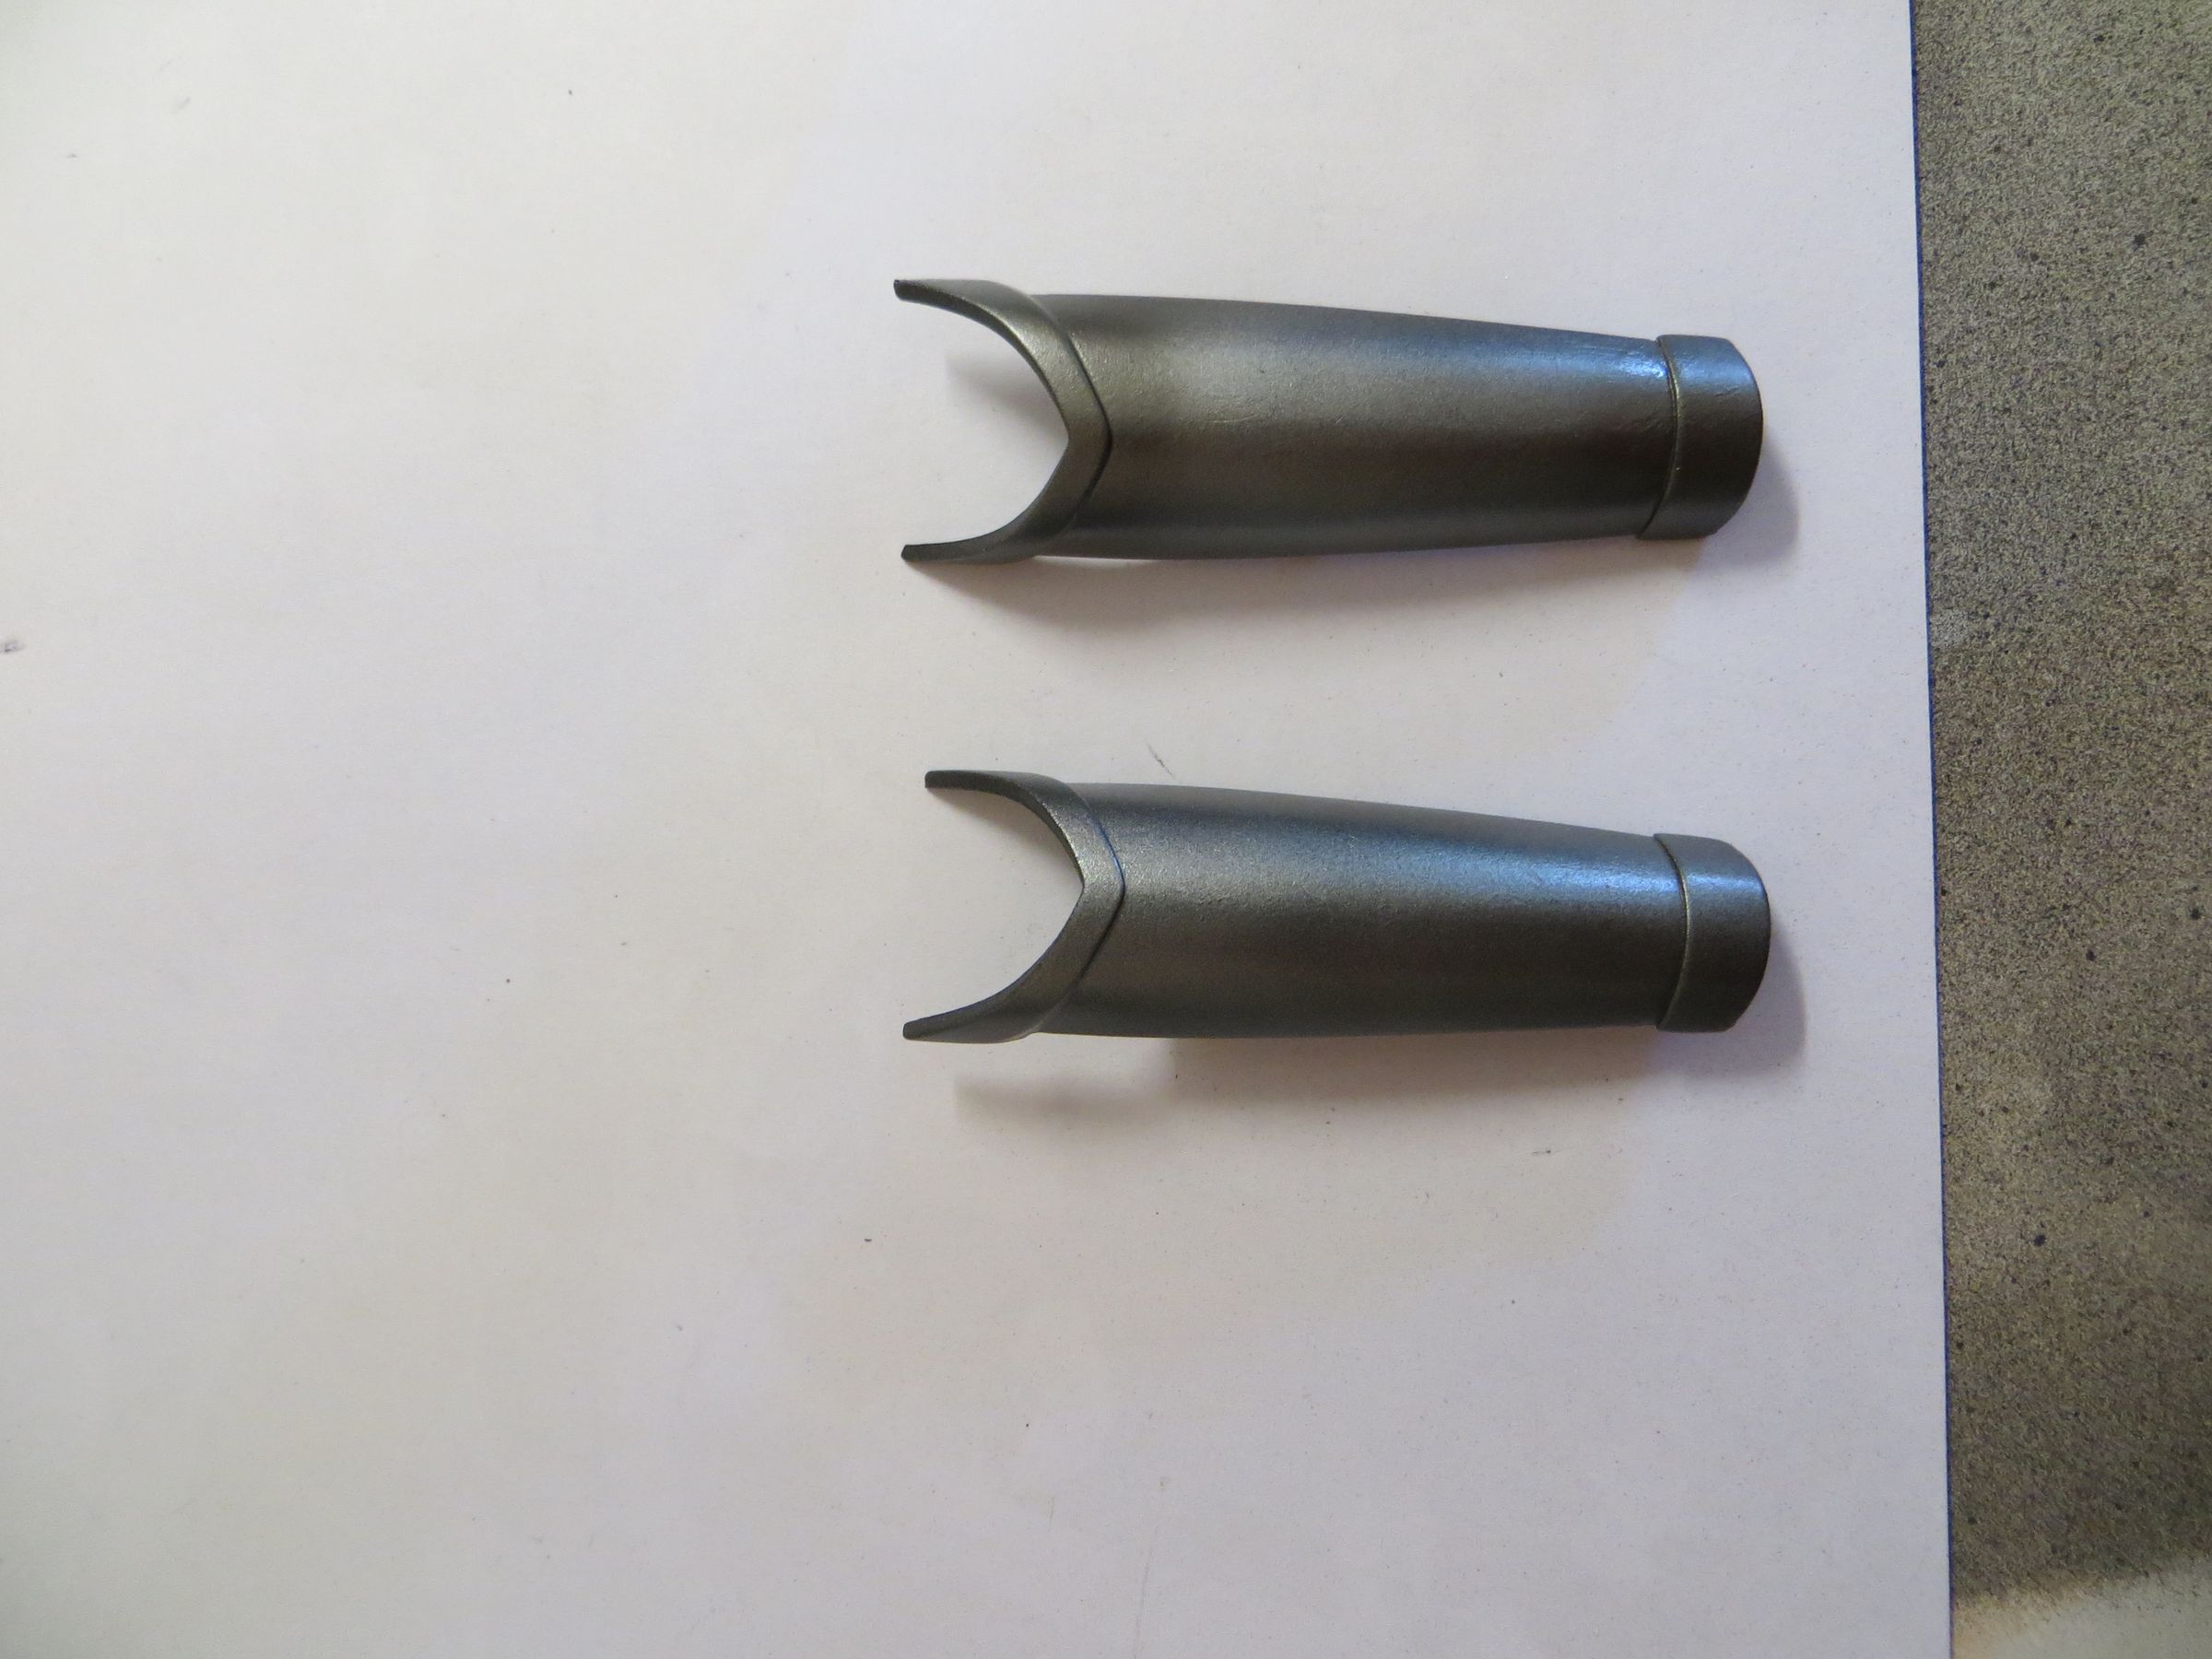
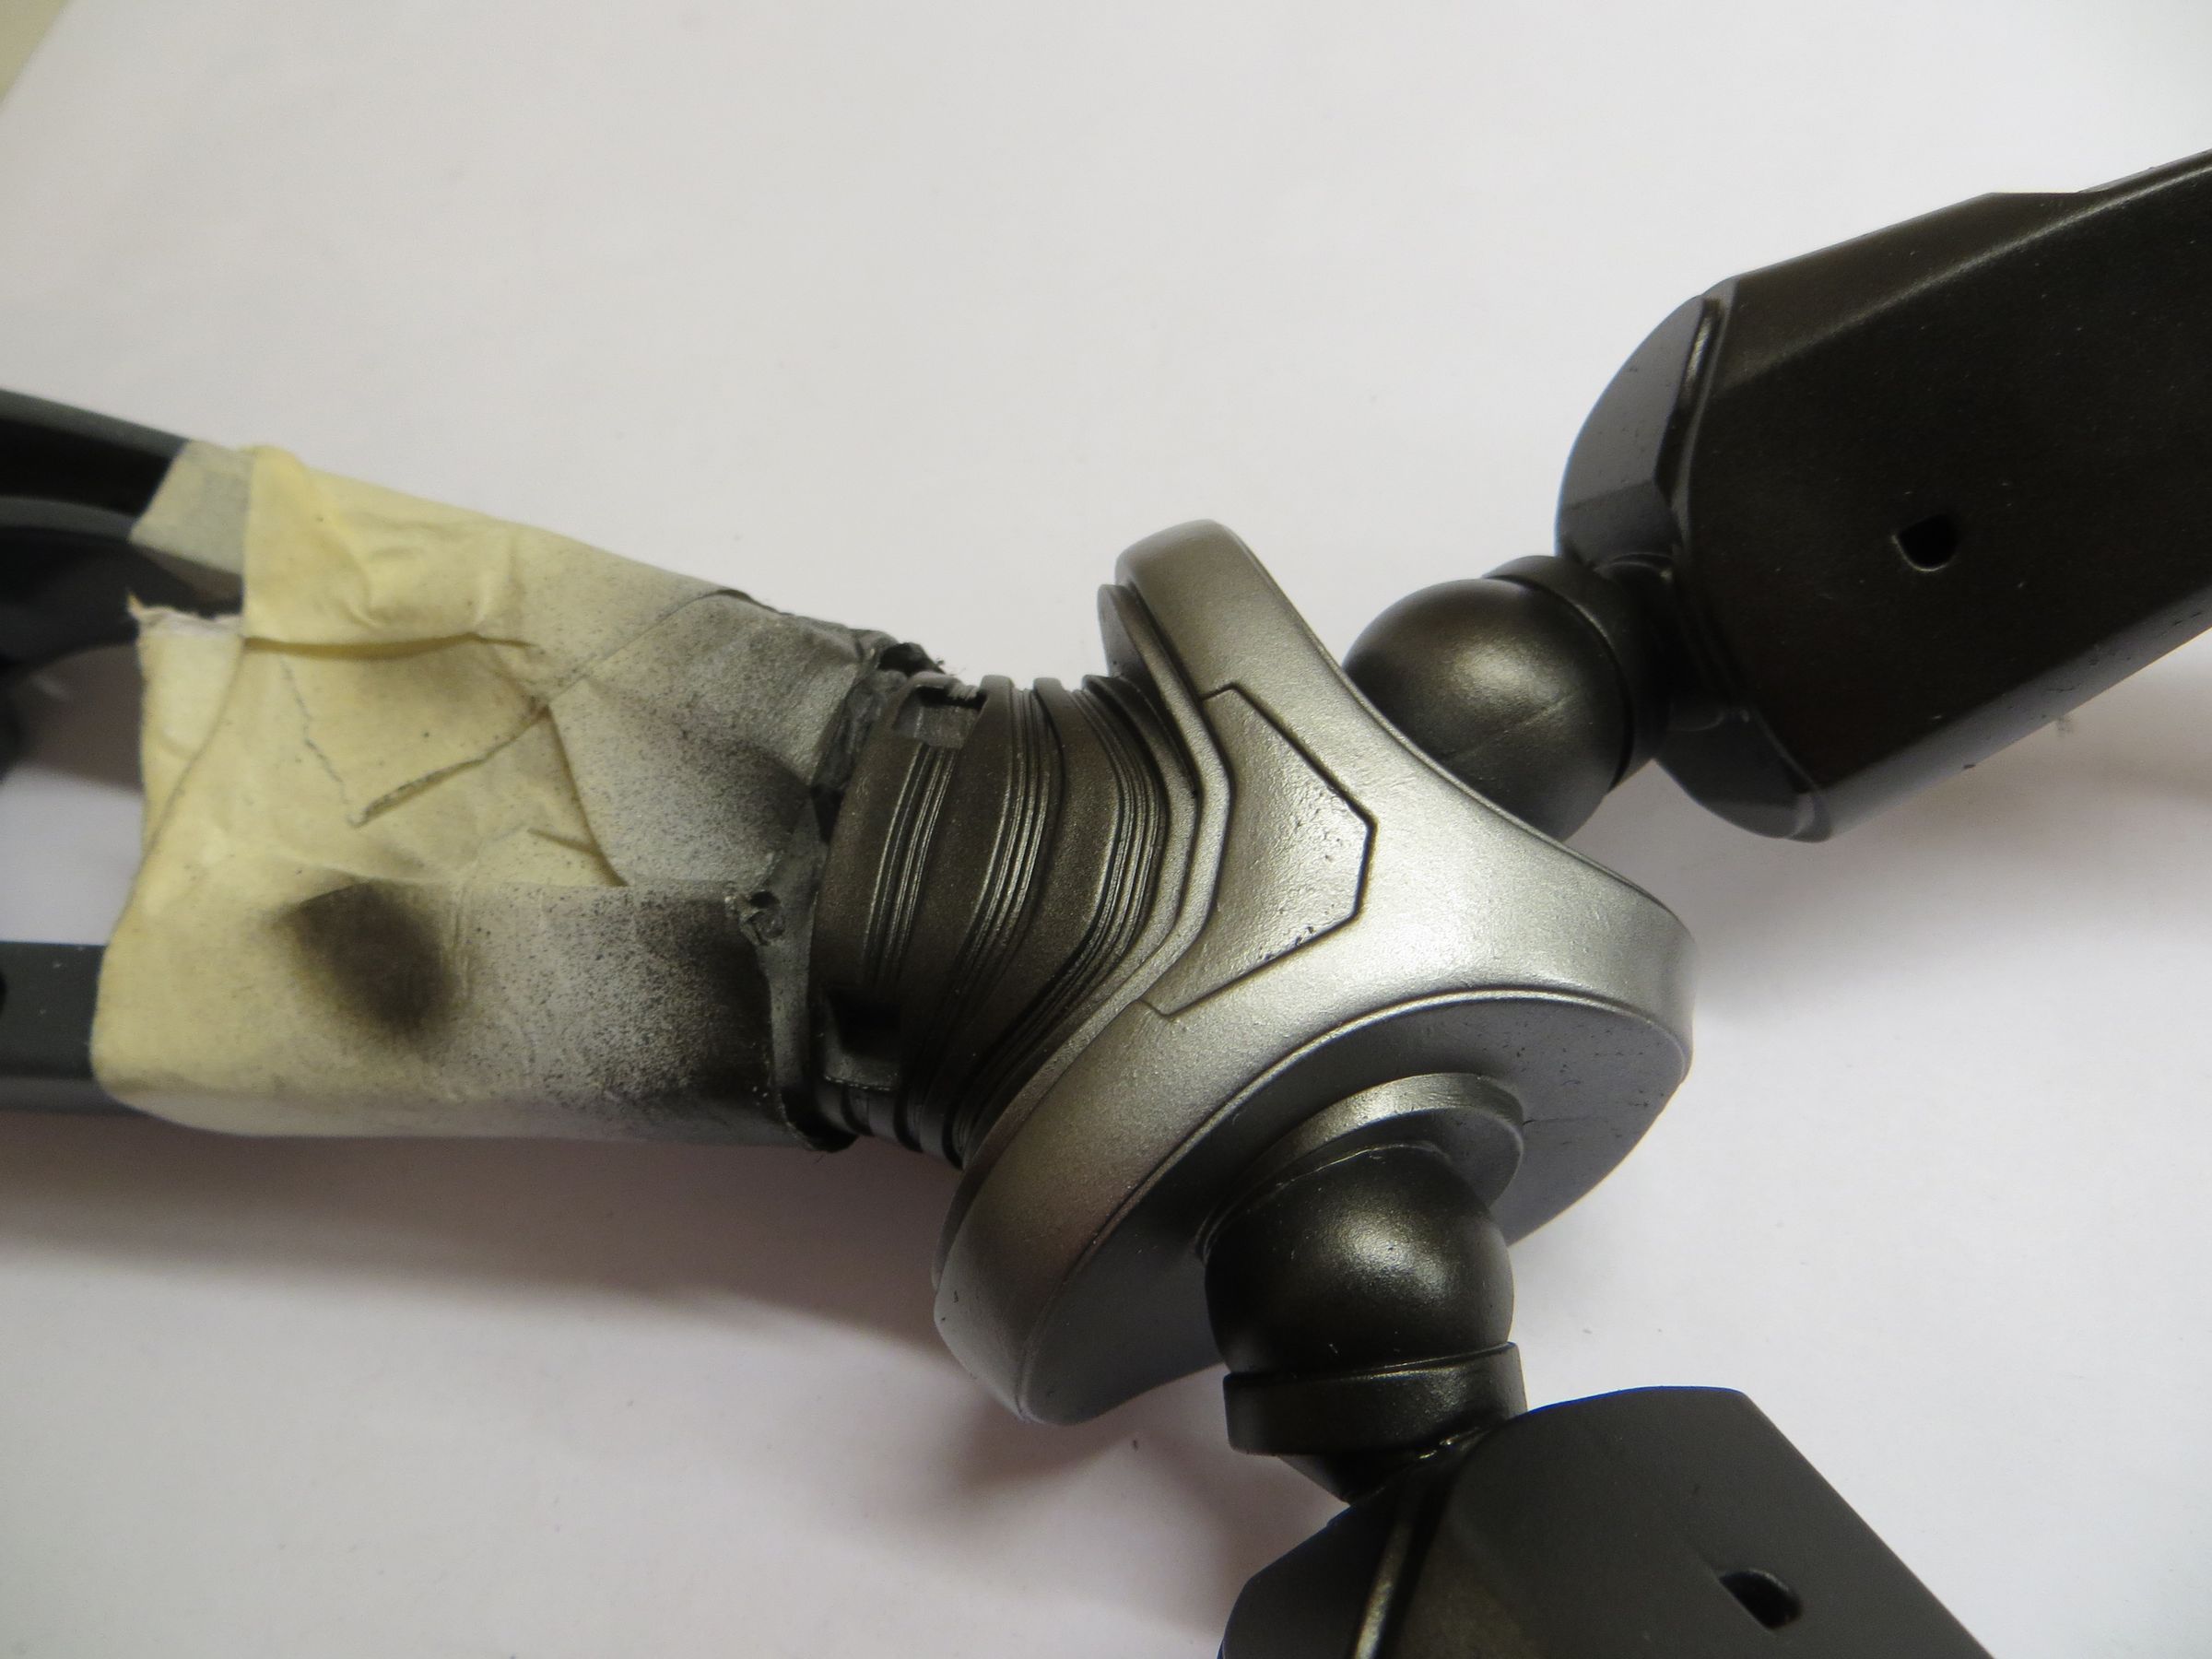
After a first layer of primer, a seam appears on all 4 sides of the legs. As the surface was perfectly smooth few weeks earlier, the filler has certainly continued to cure in the meanwhile (with the amount I have had to apply there).
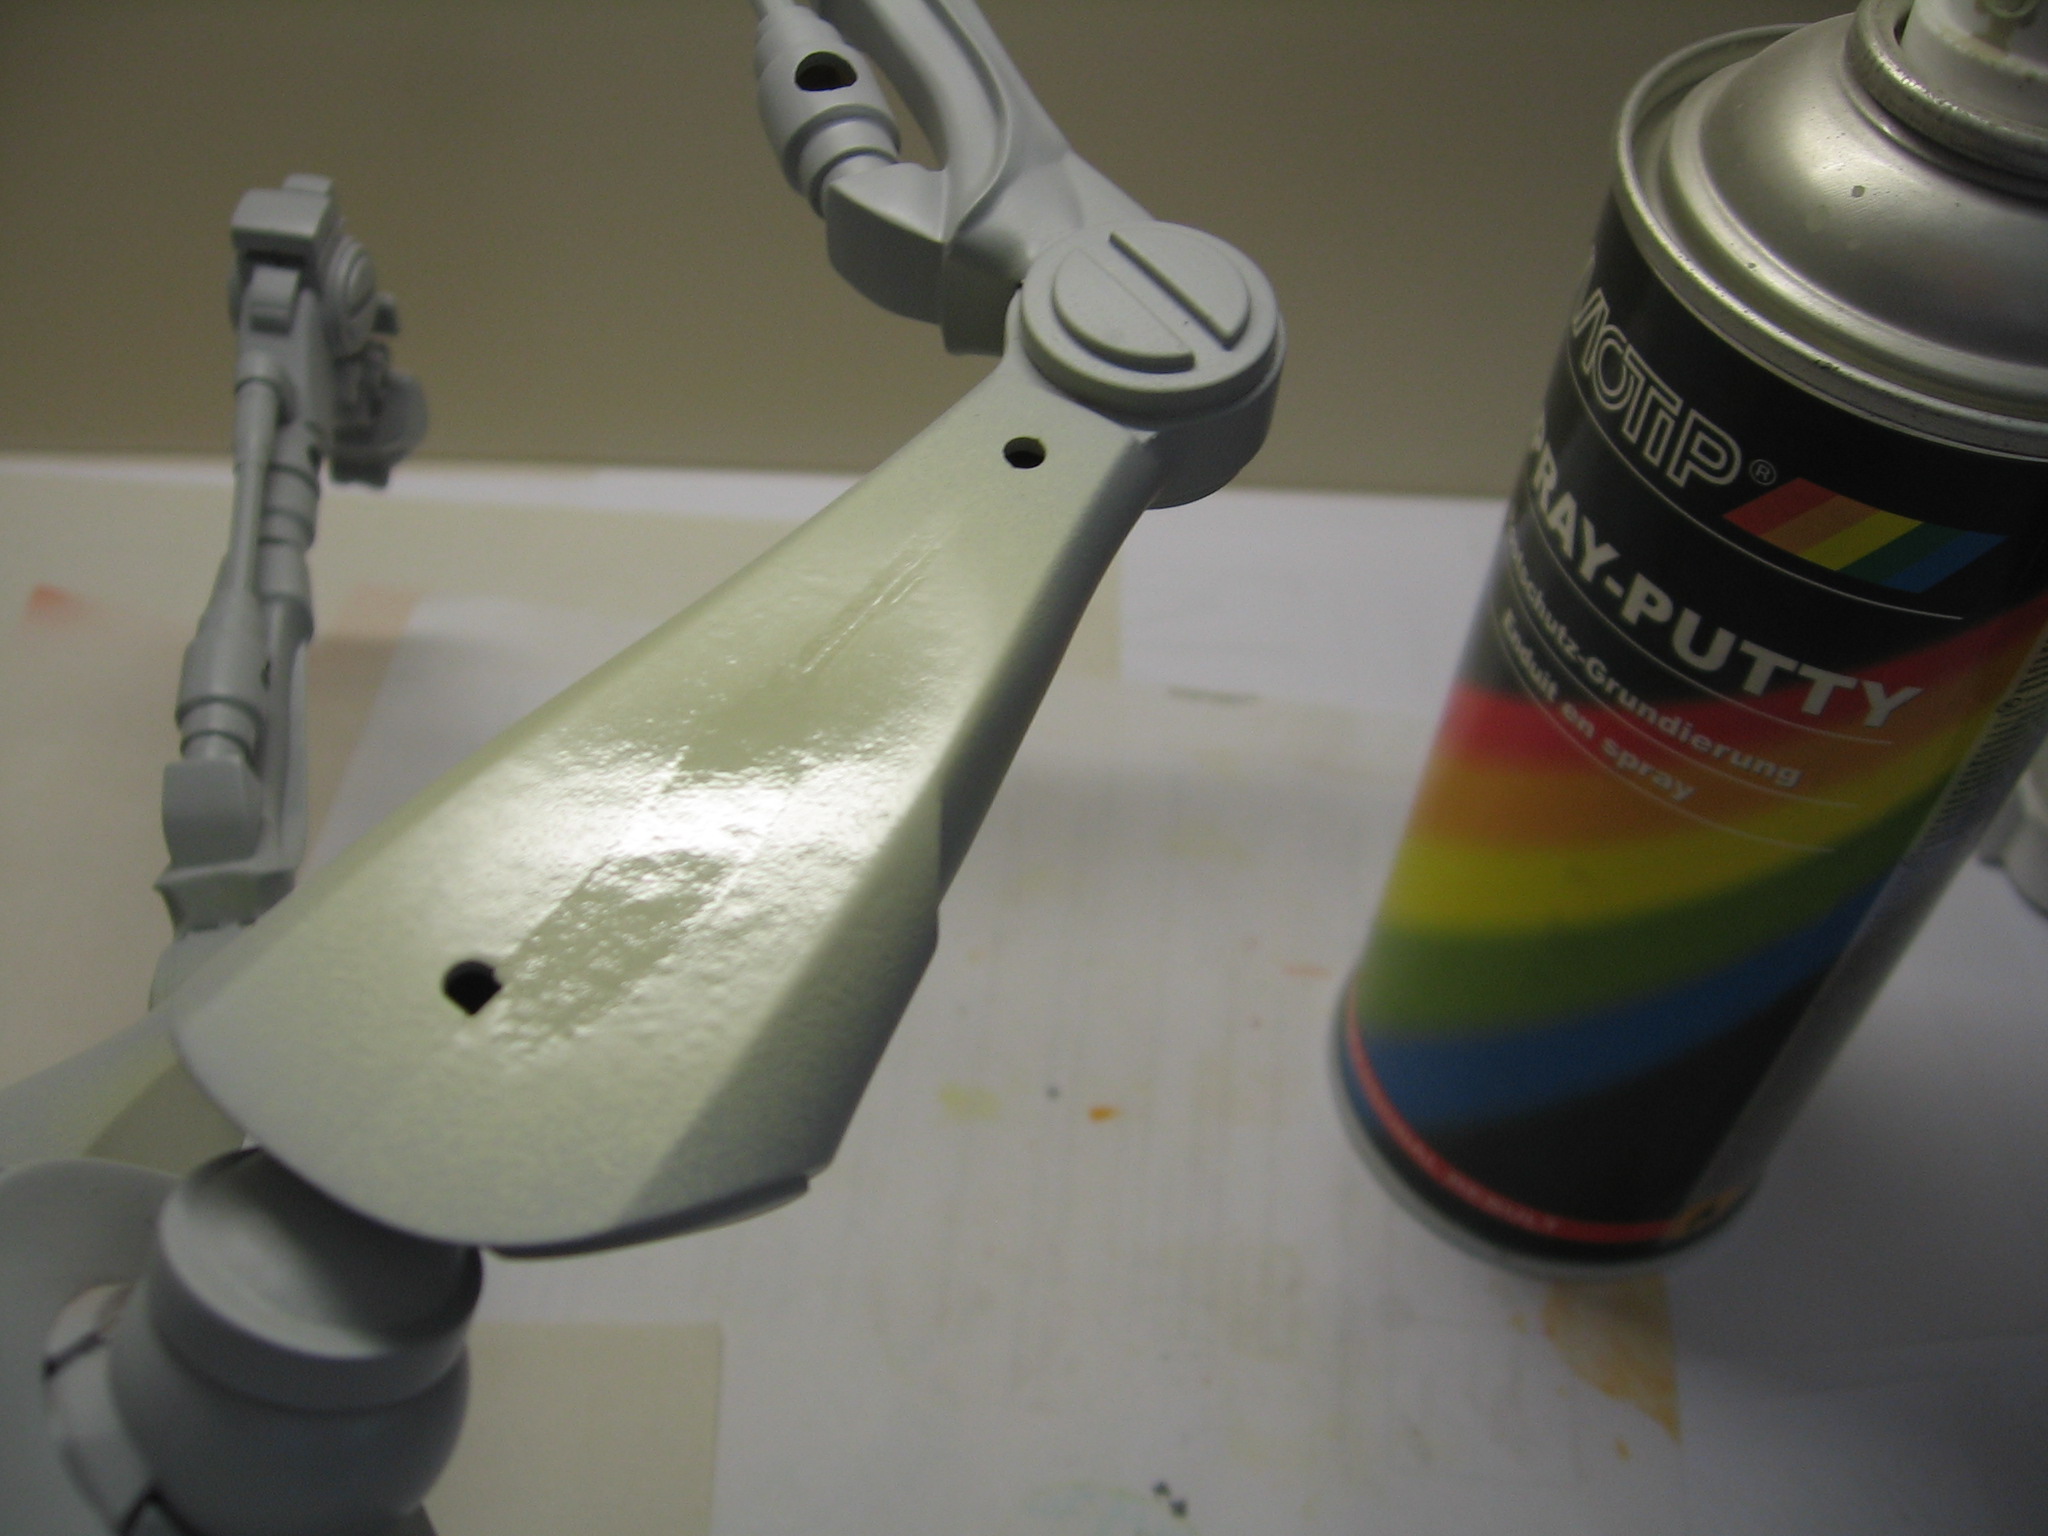
I sprayed several coats of spray putty over 2 or 3 days, and then I left it dry for ten days.
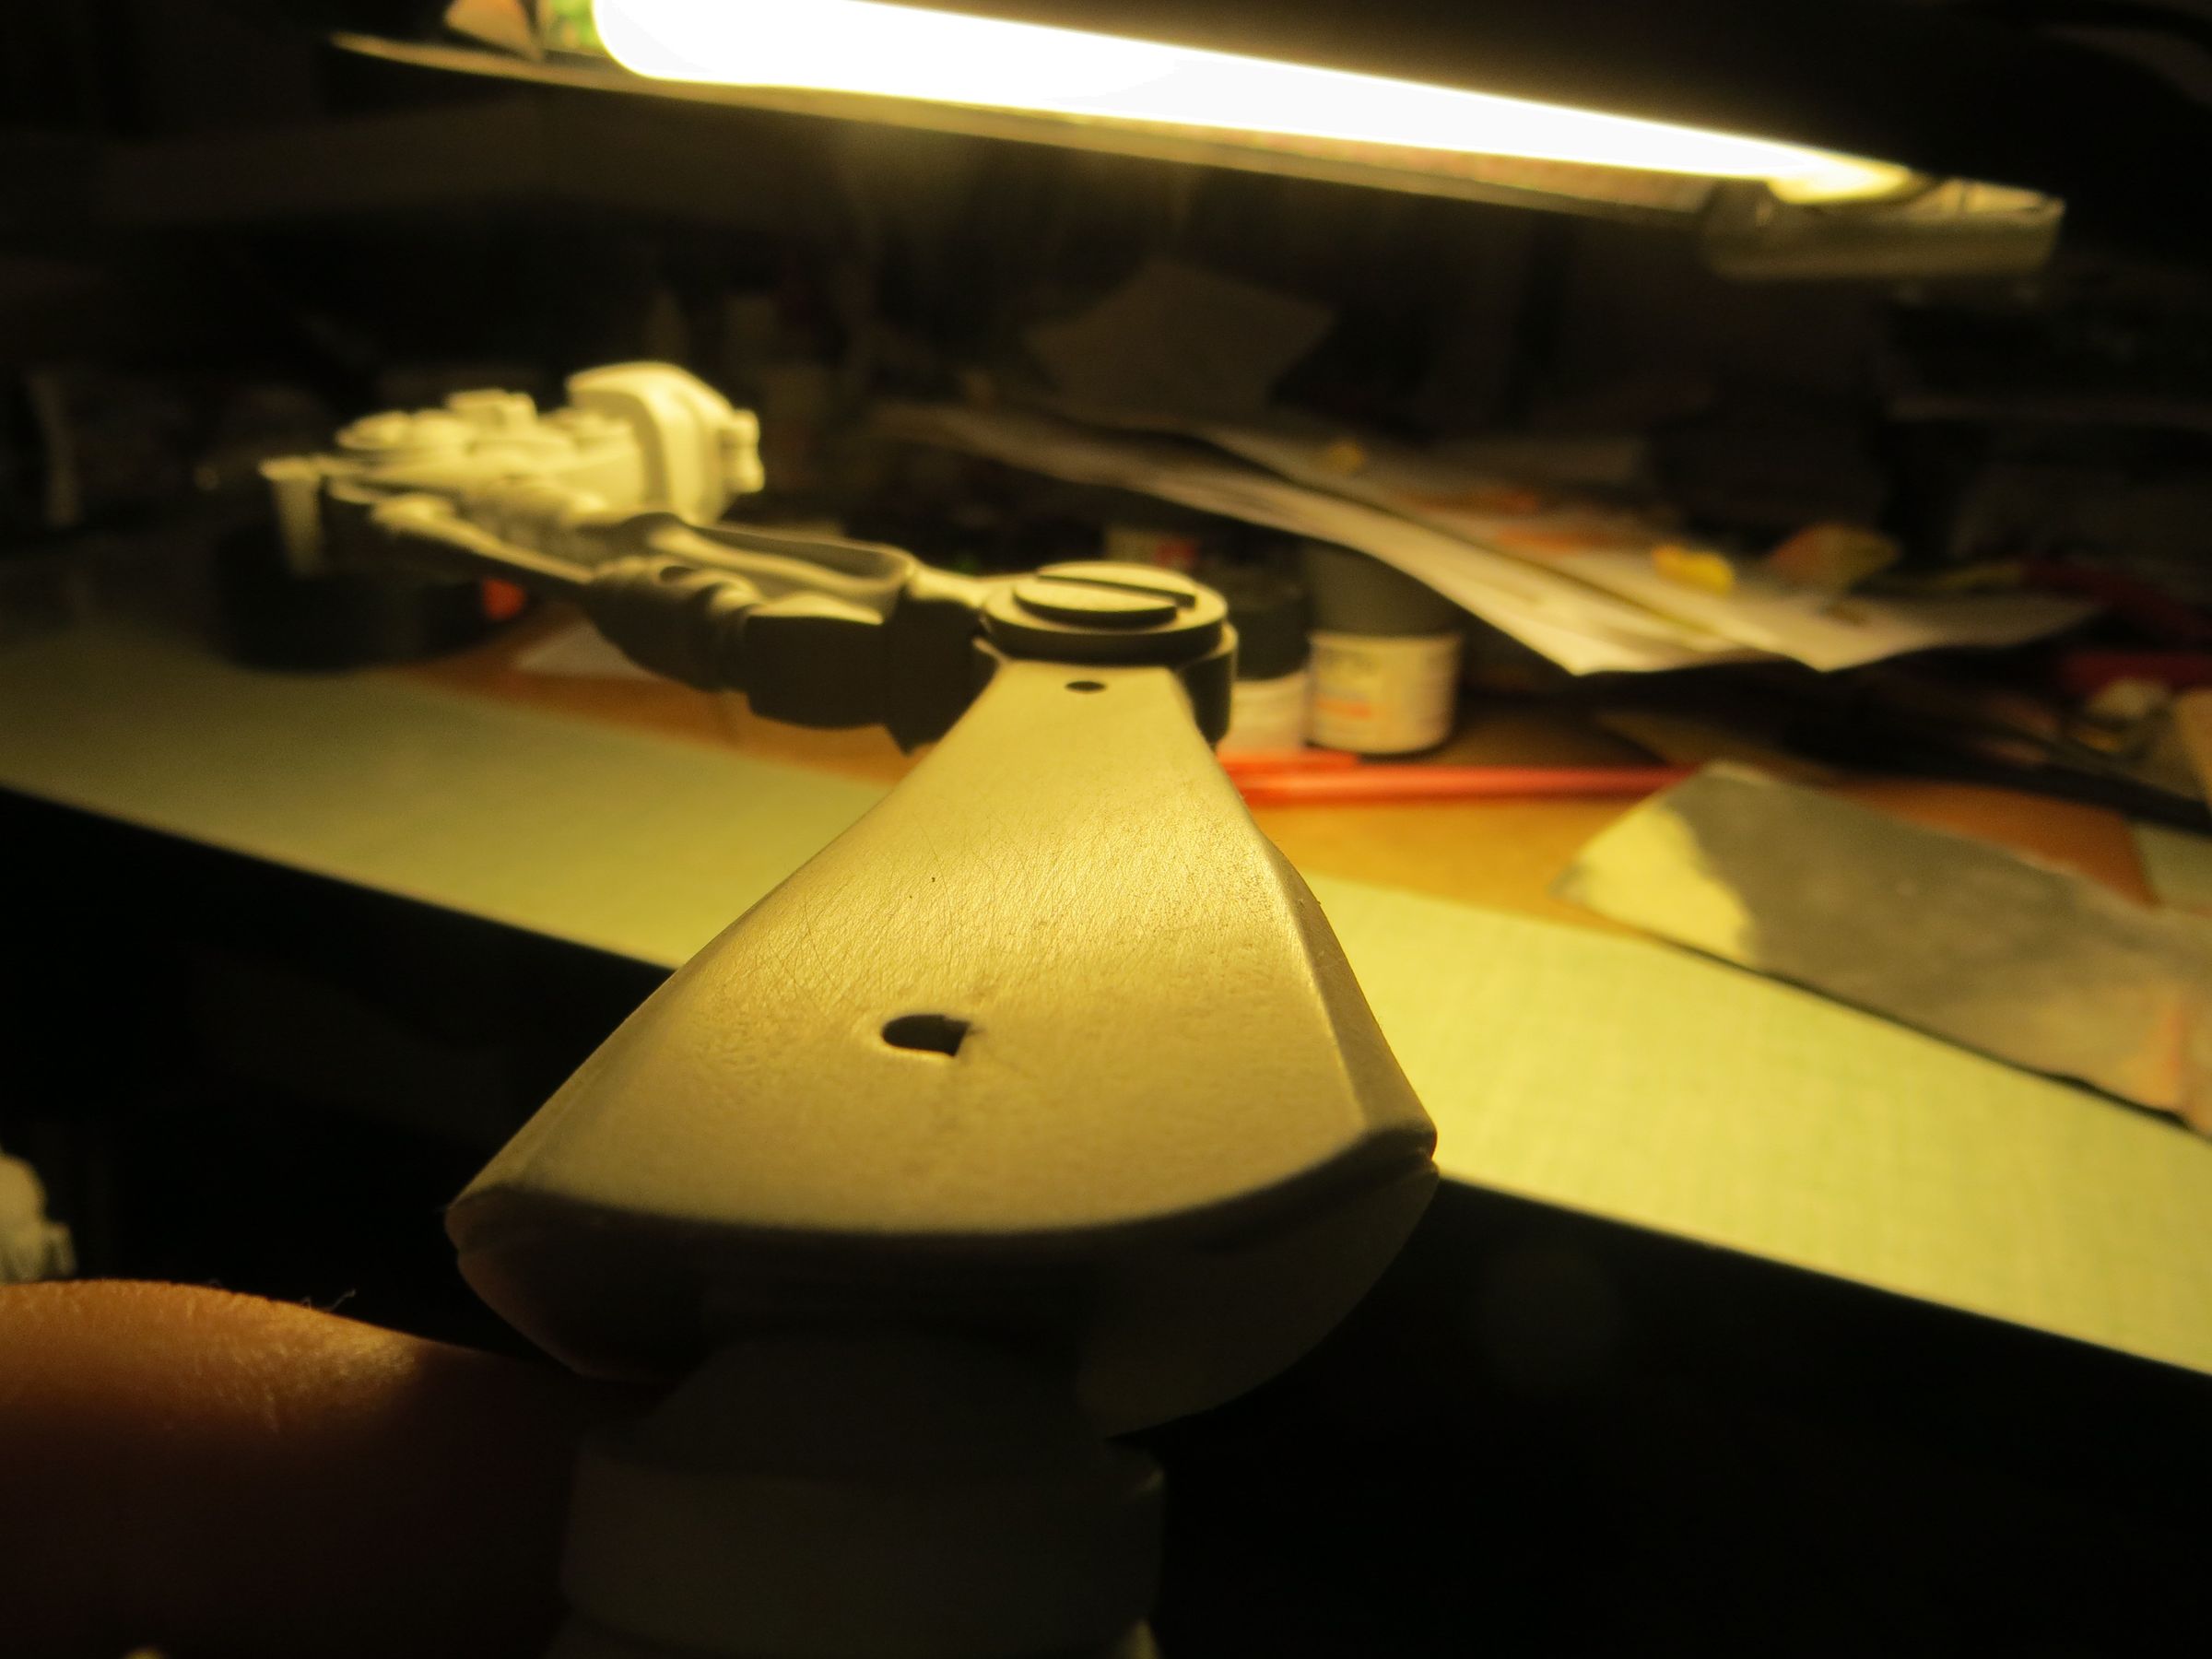
A good sanding and they were back smooth.
Like on the raider, I use a mixture of acetone and filler to achieve the fondry raw effect. It is applied on the armor plates, the skeleton and articulations remain smooth.

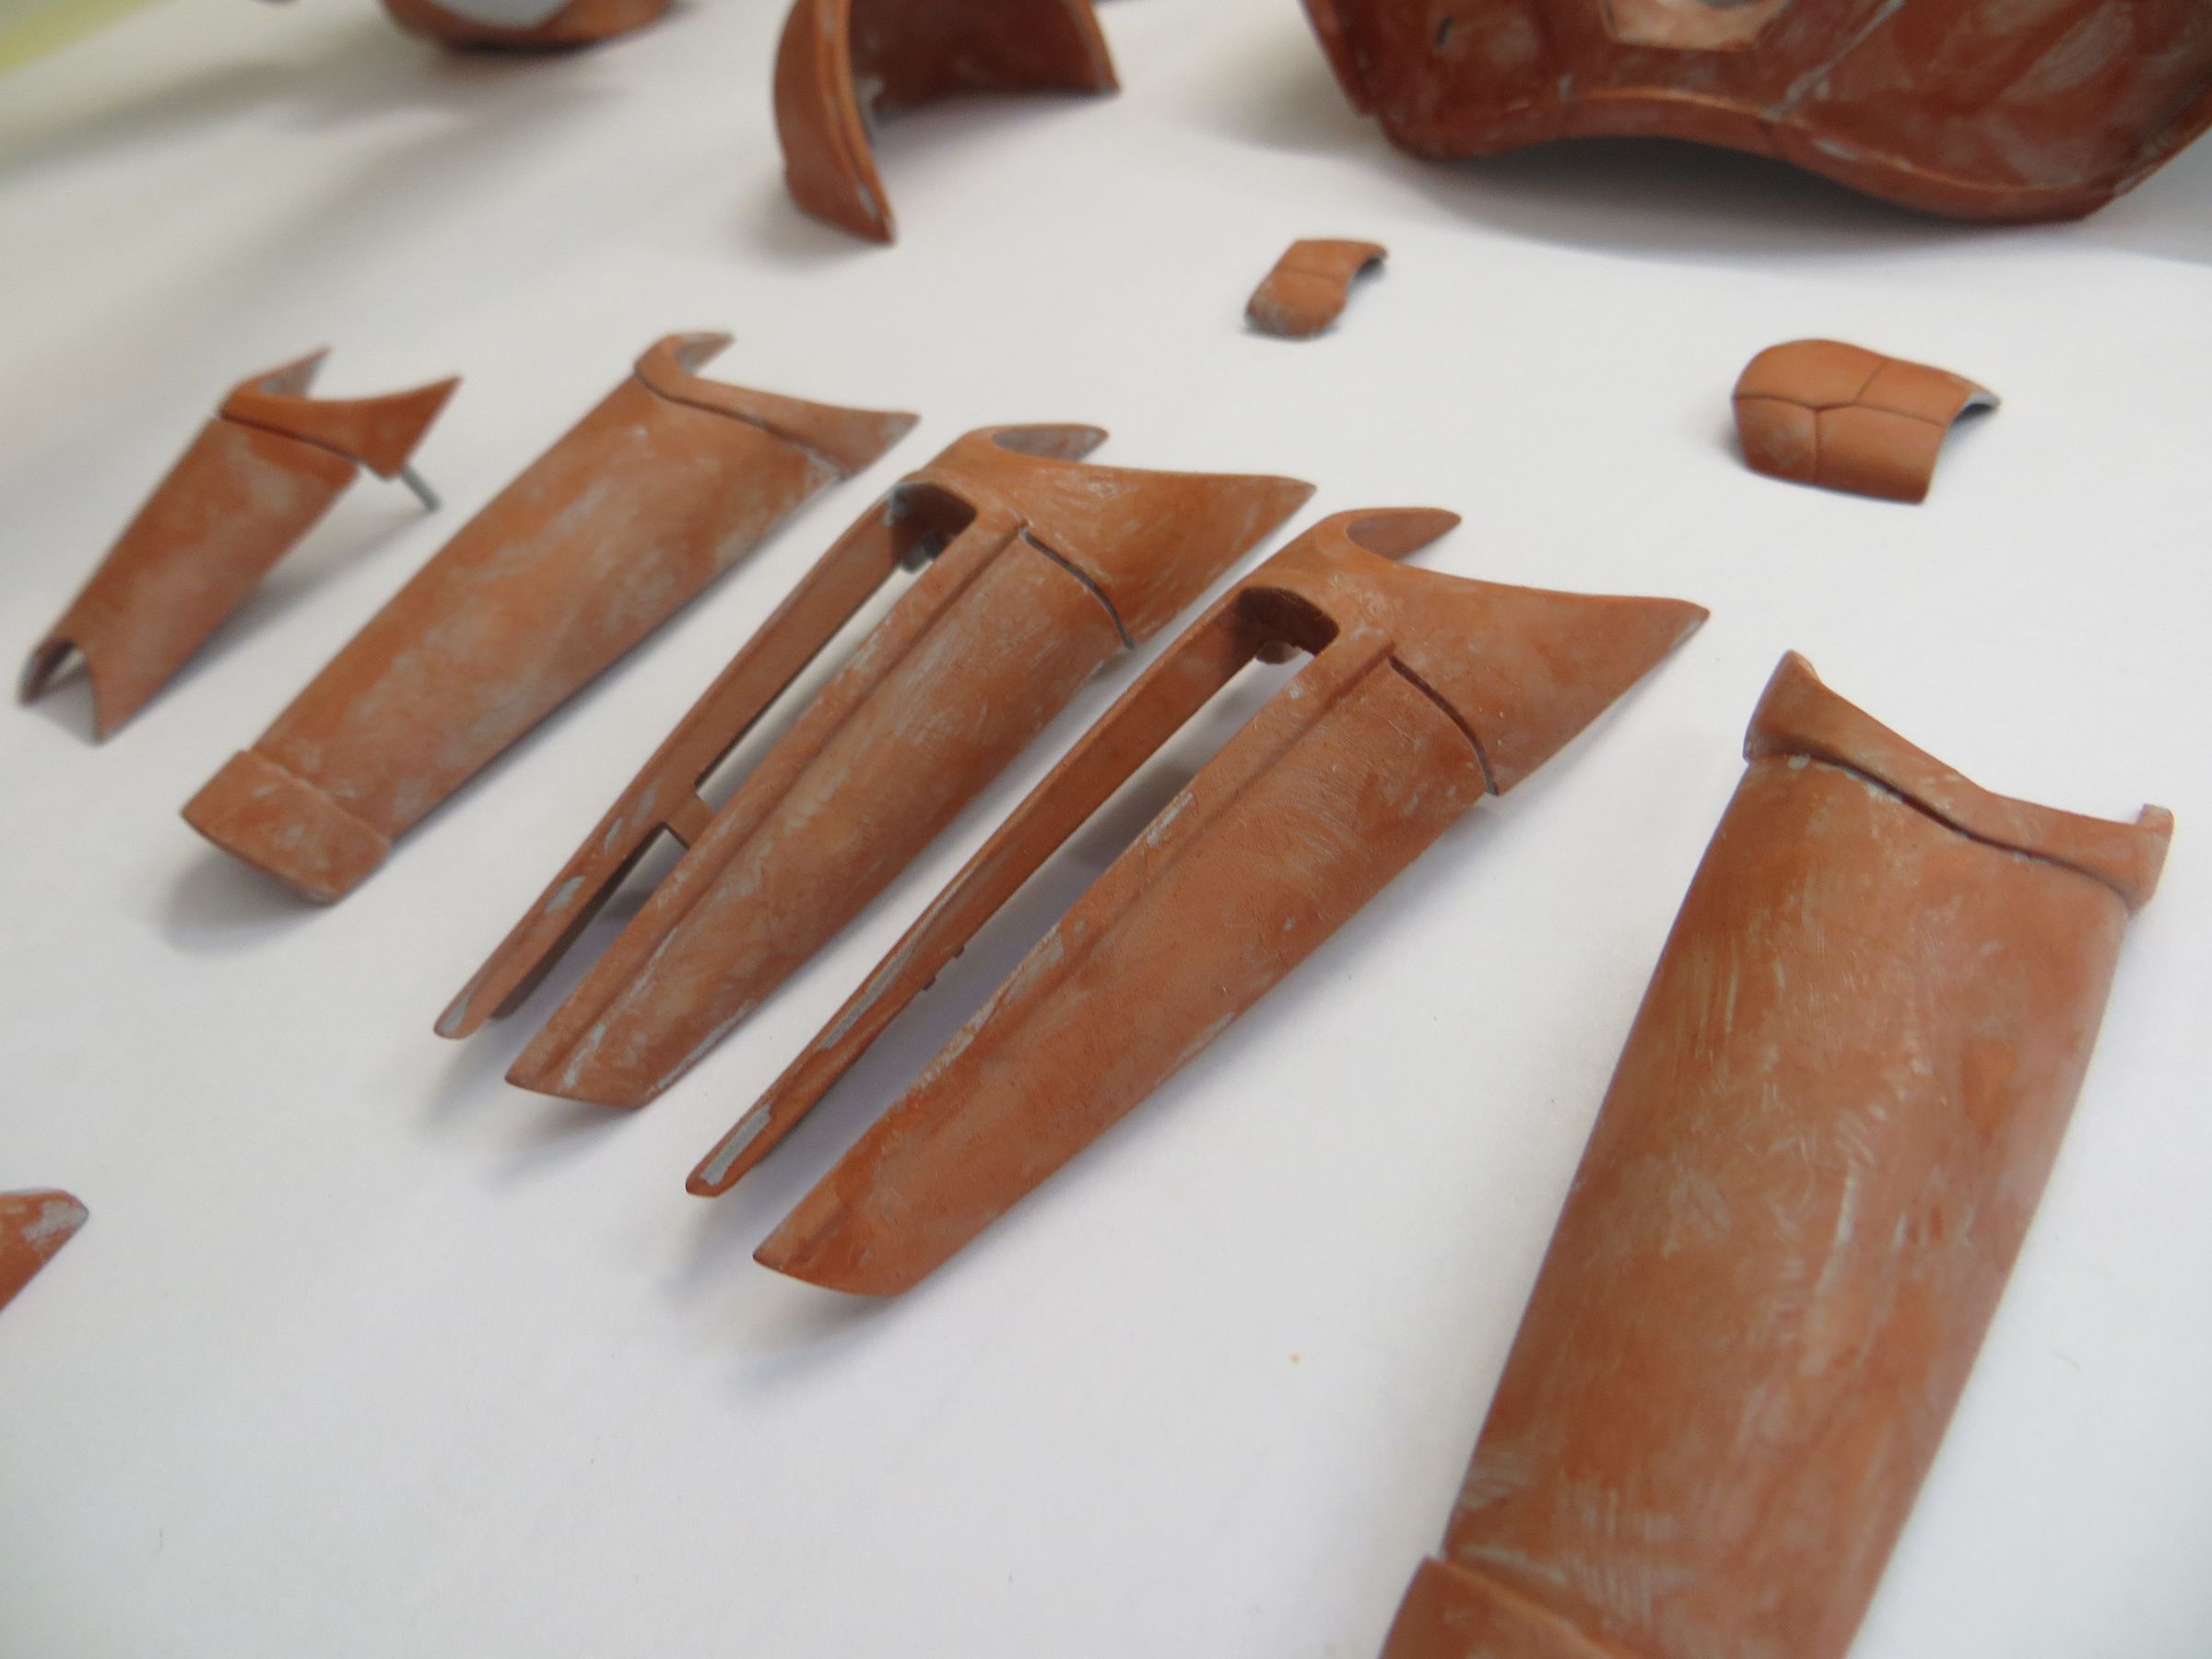
A layer of primer. The raw effect can clearly be seen.
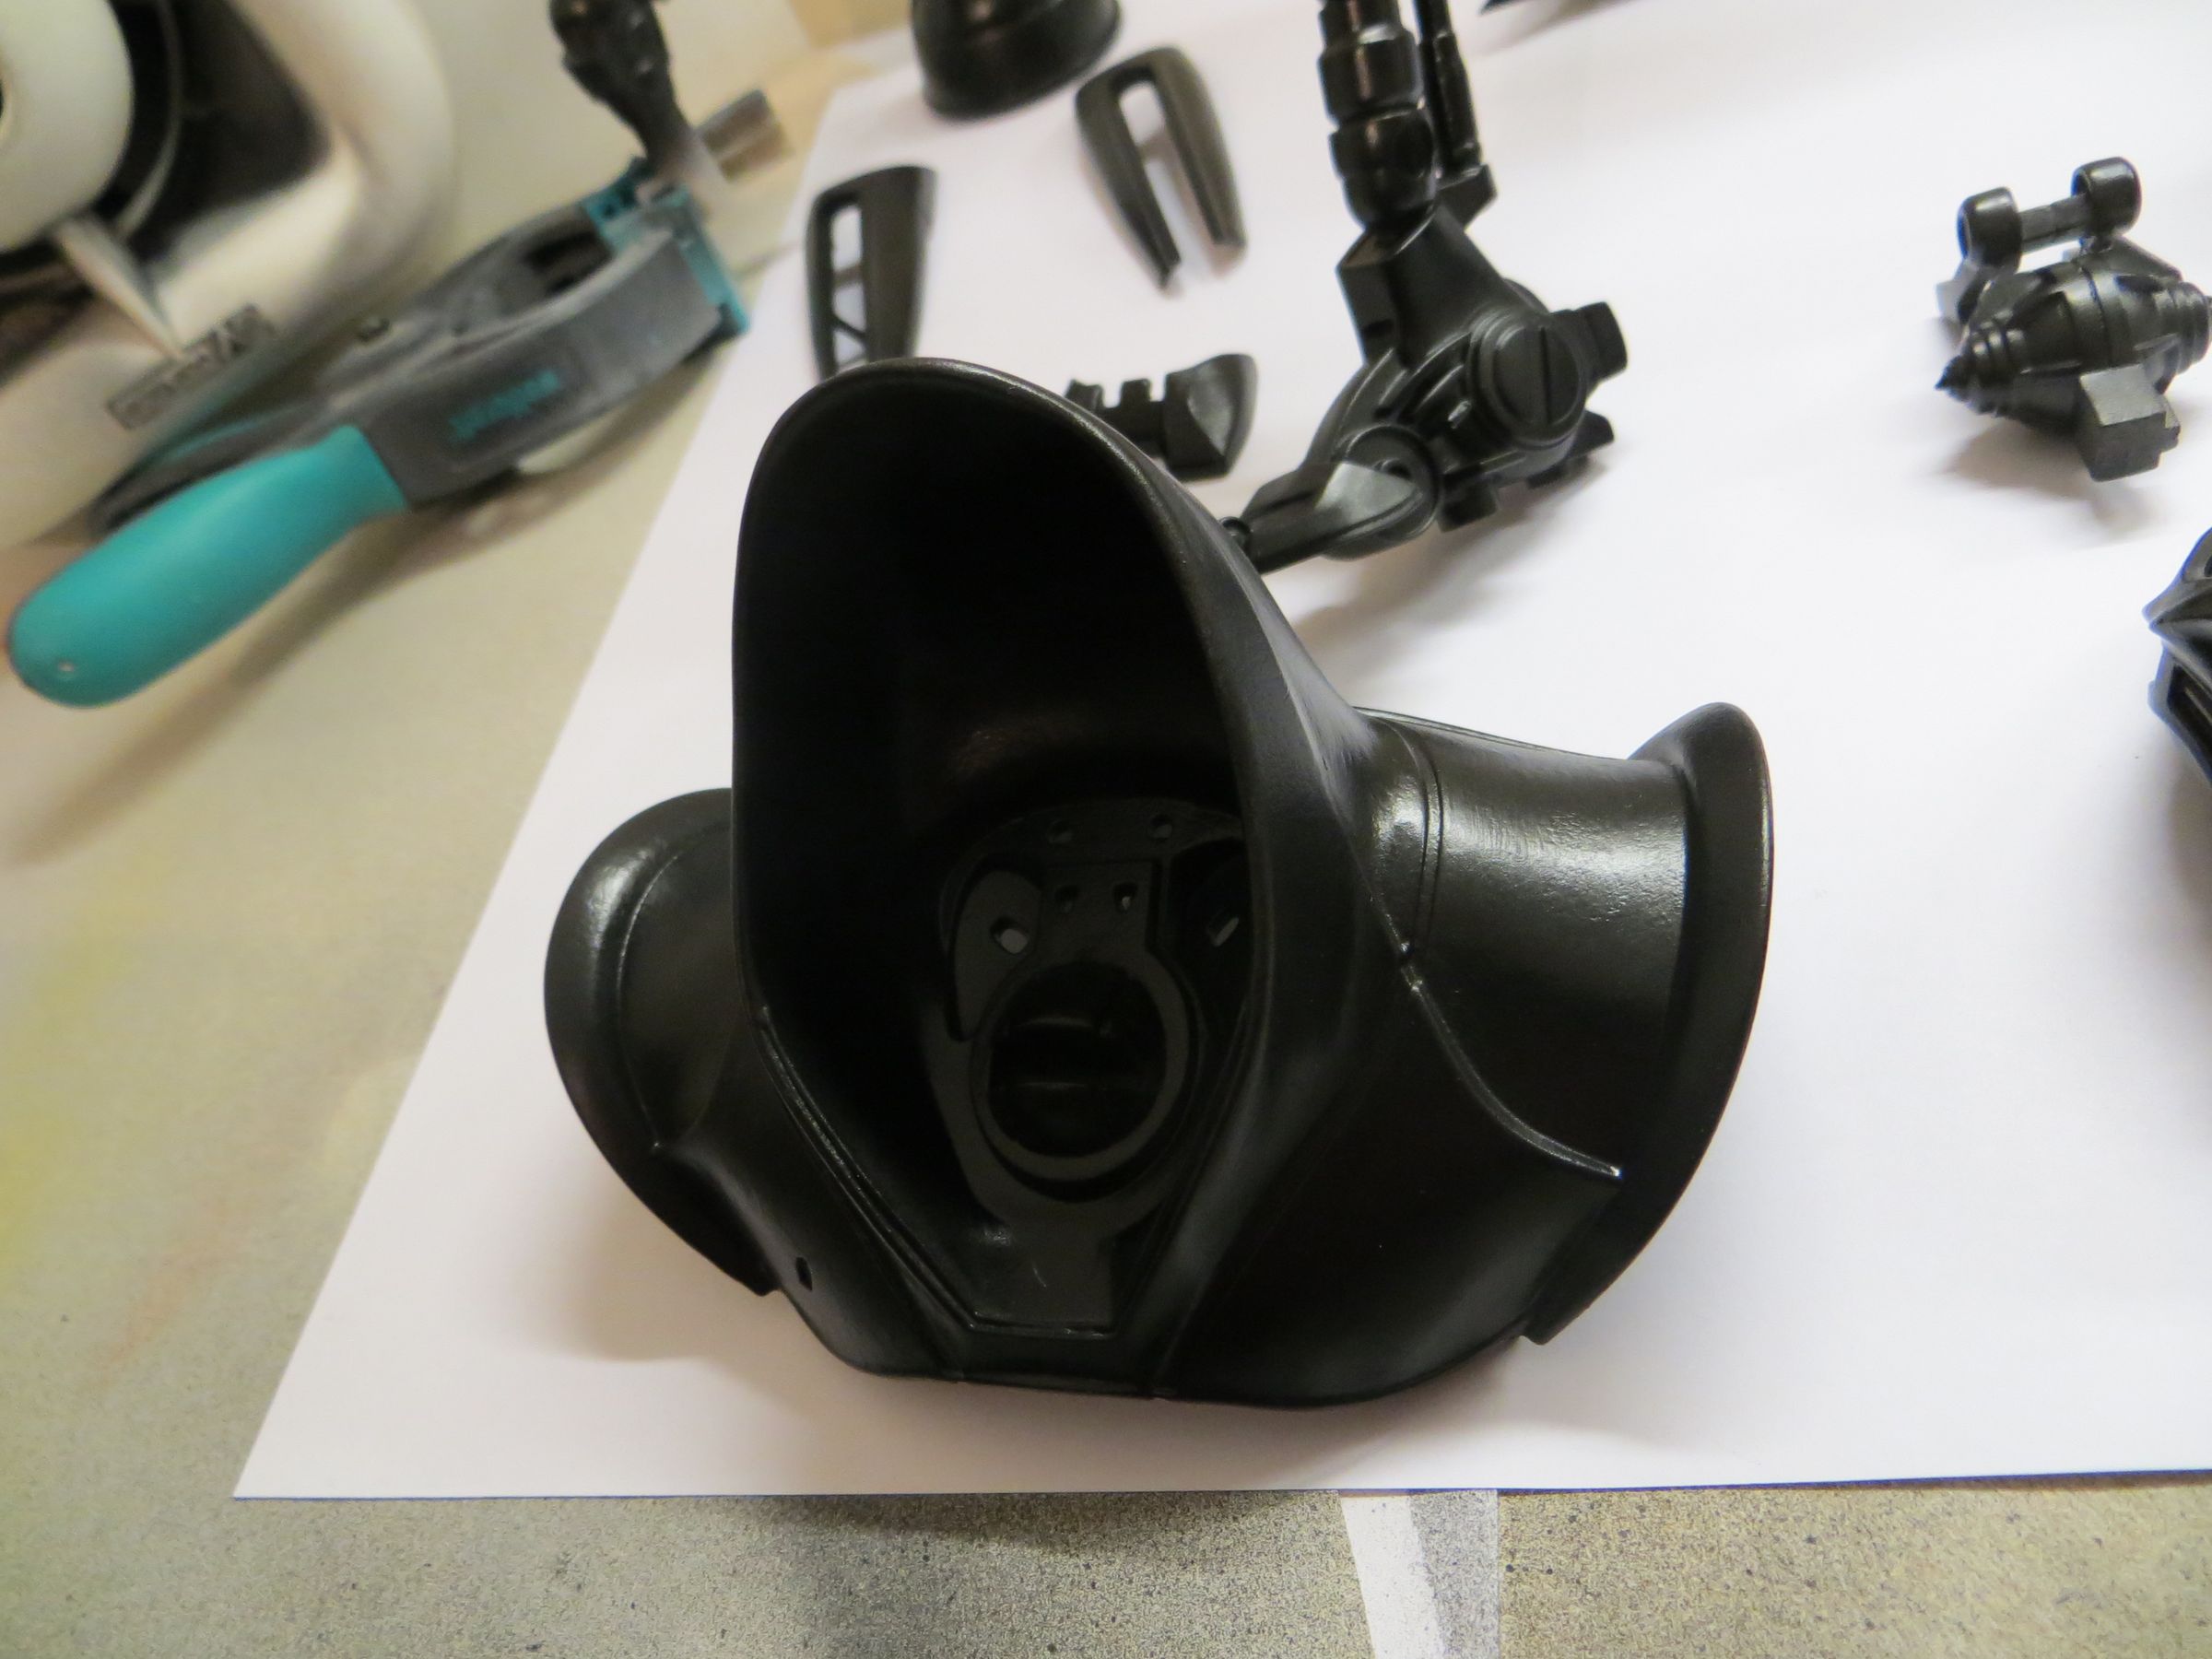
Everything is covered in gloss black, a necessary basis for Alclad paints.

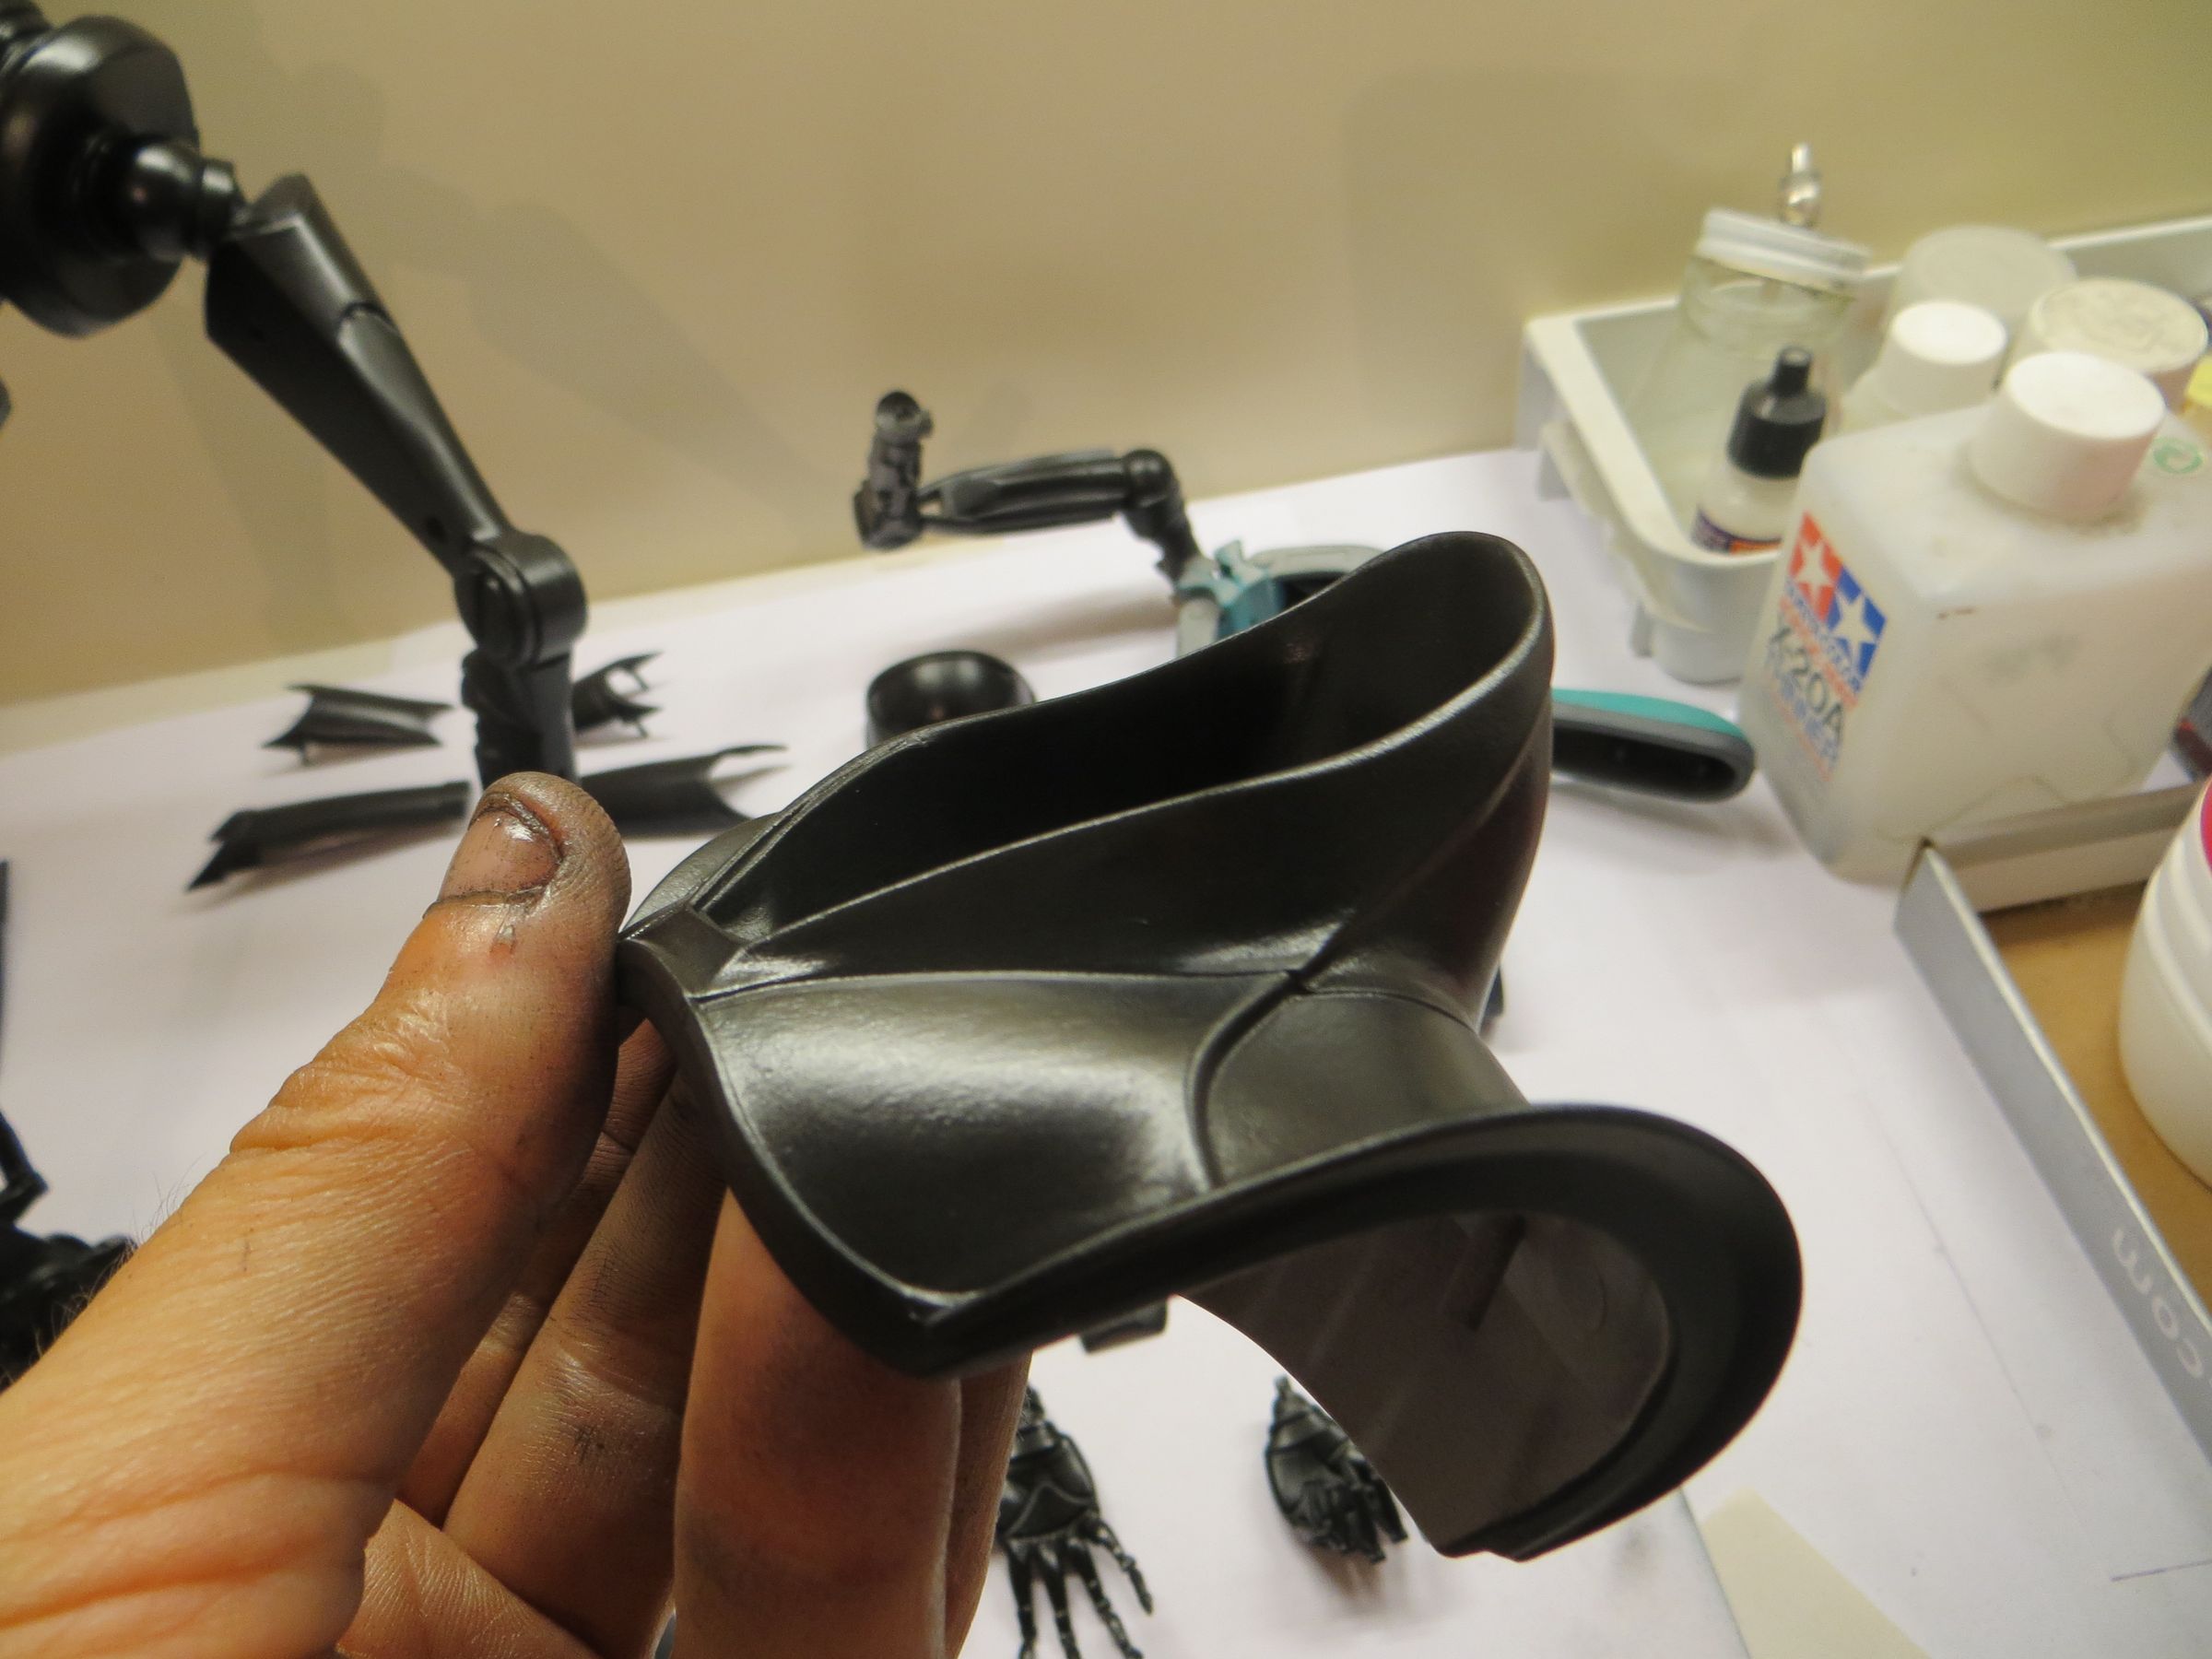
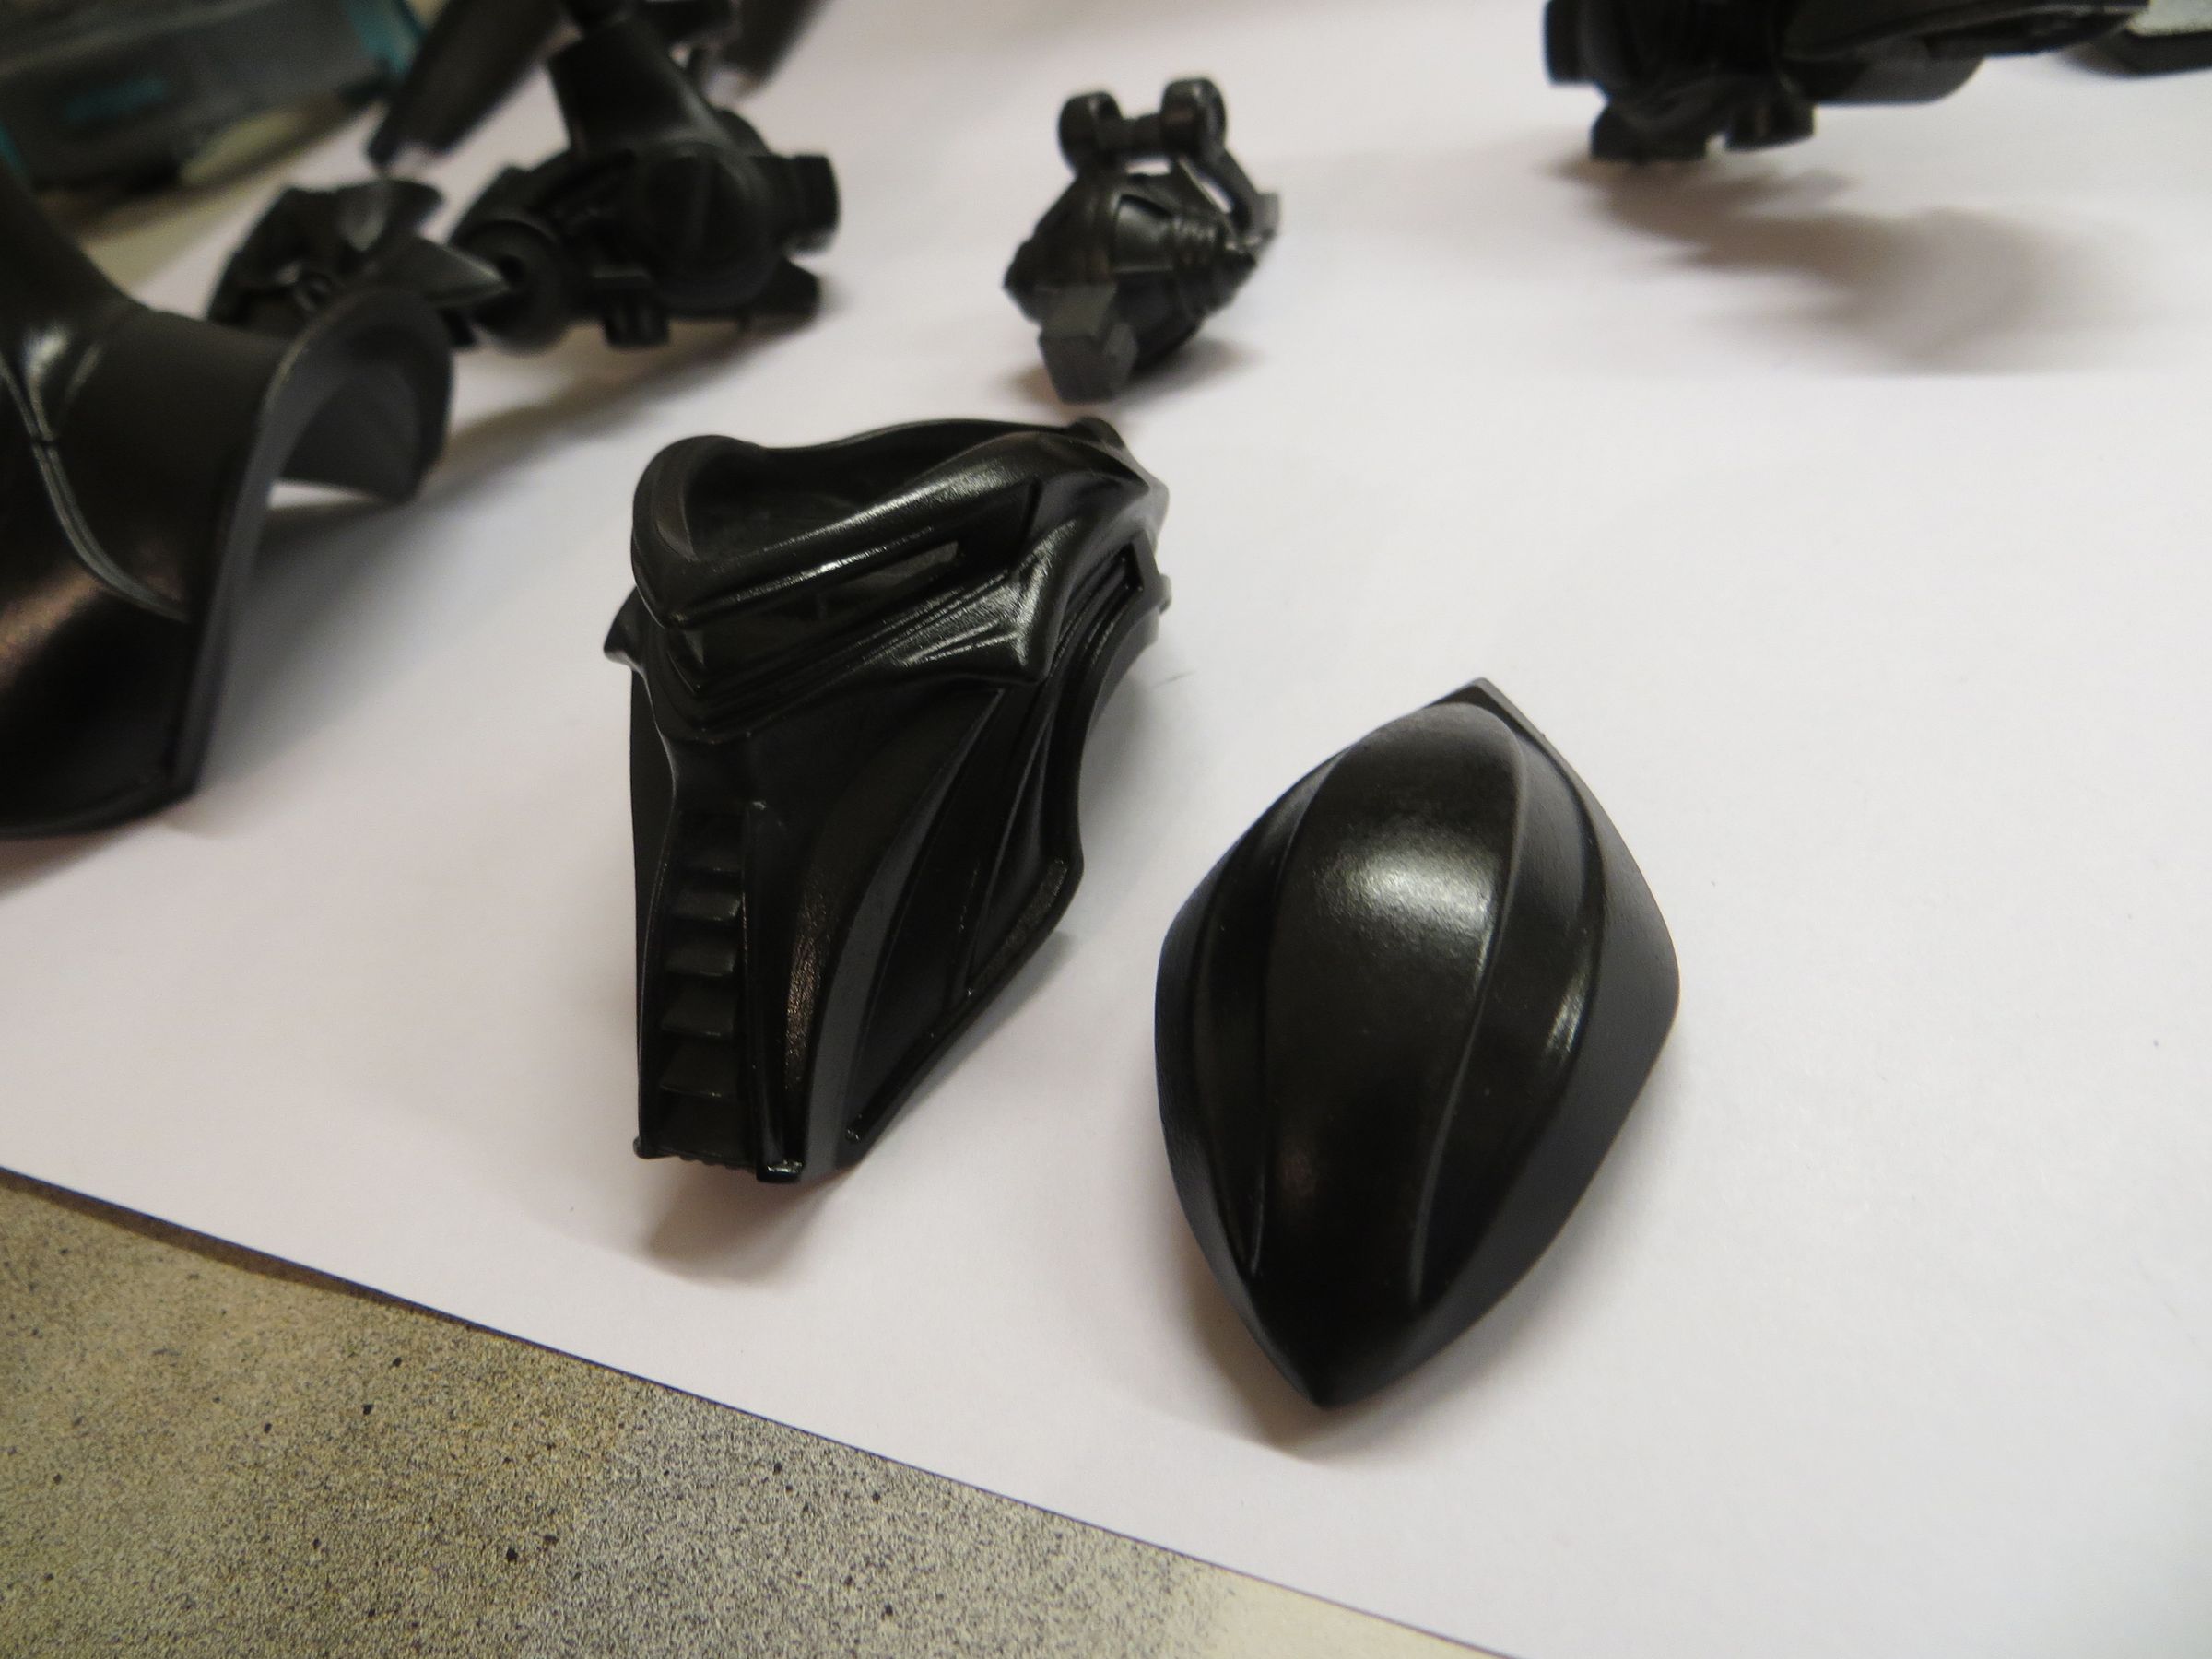
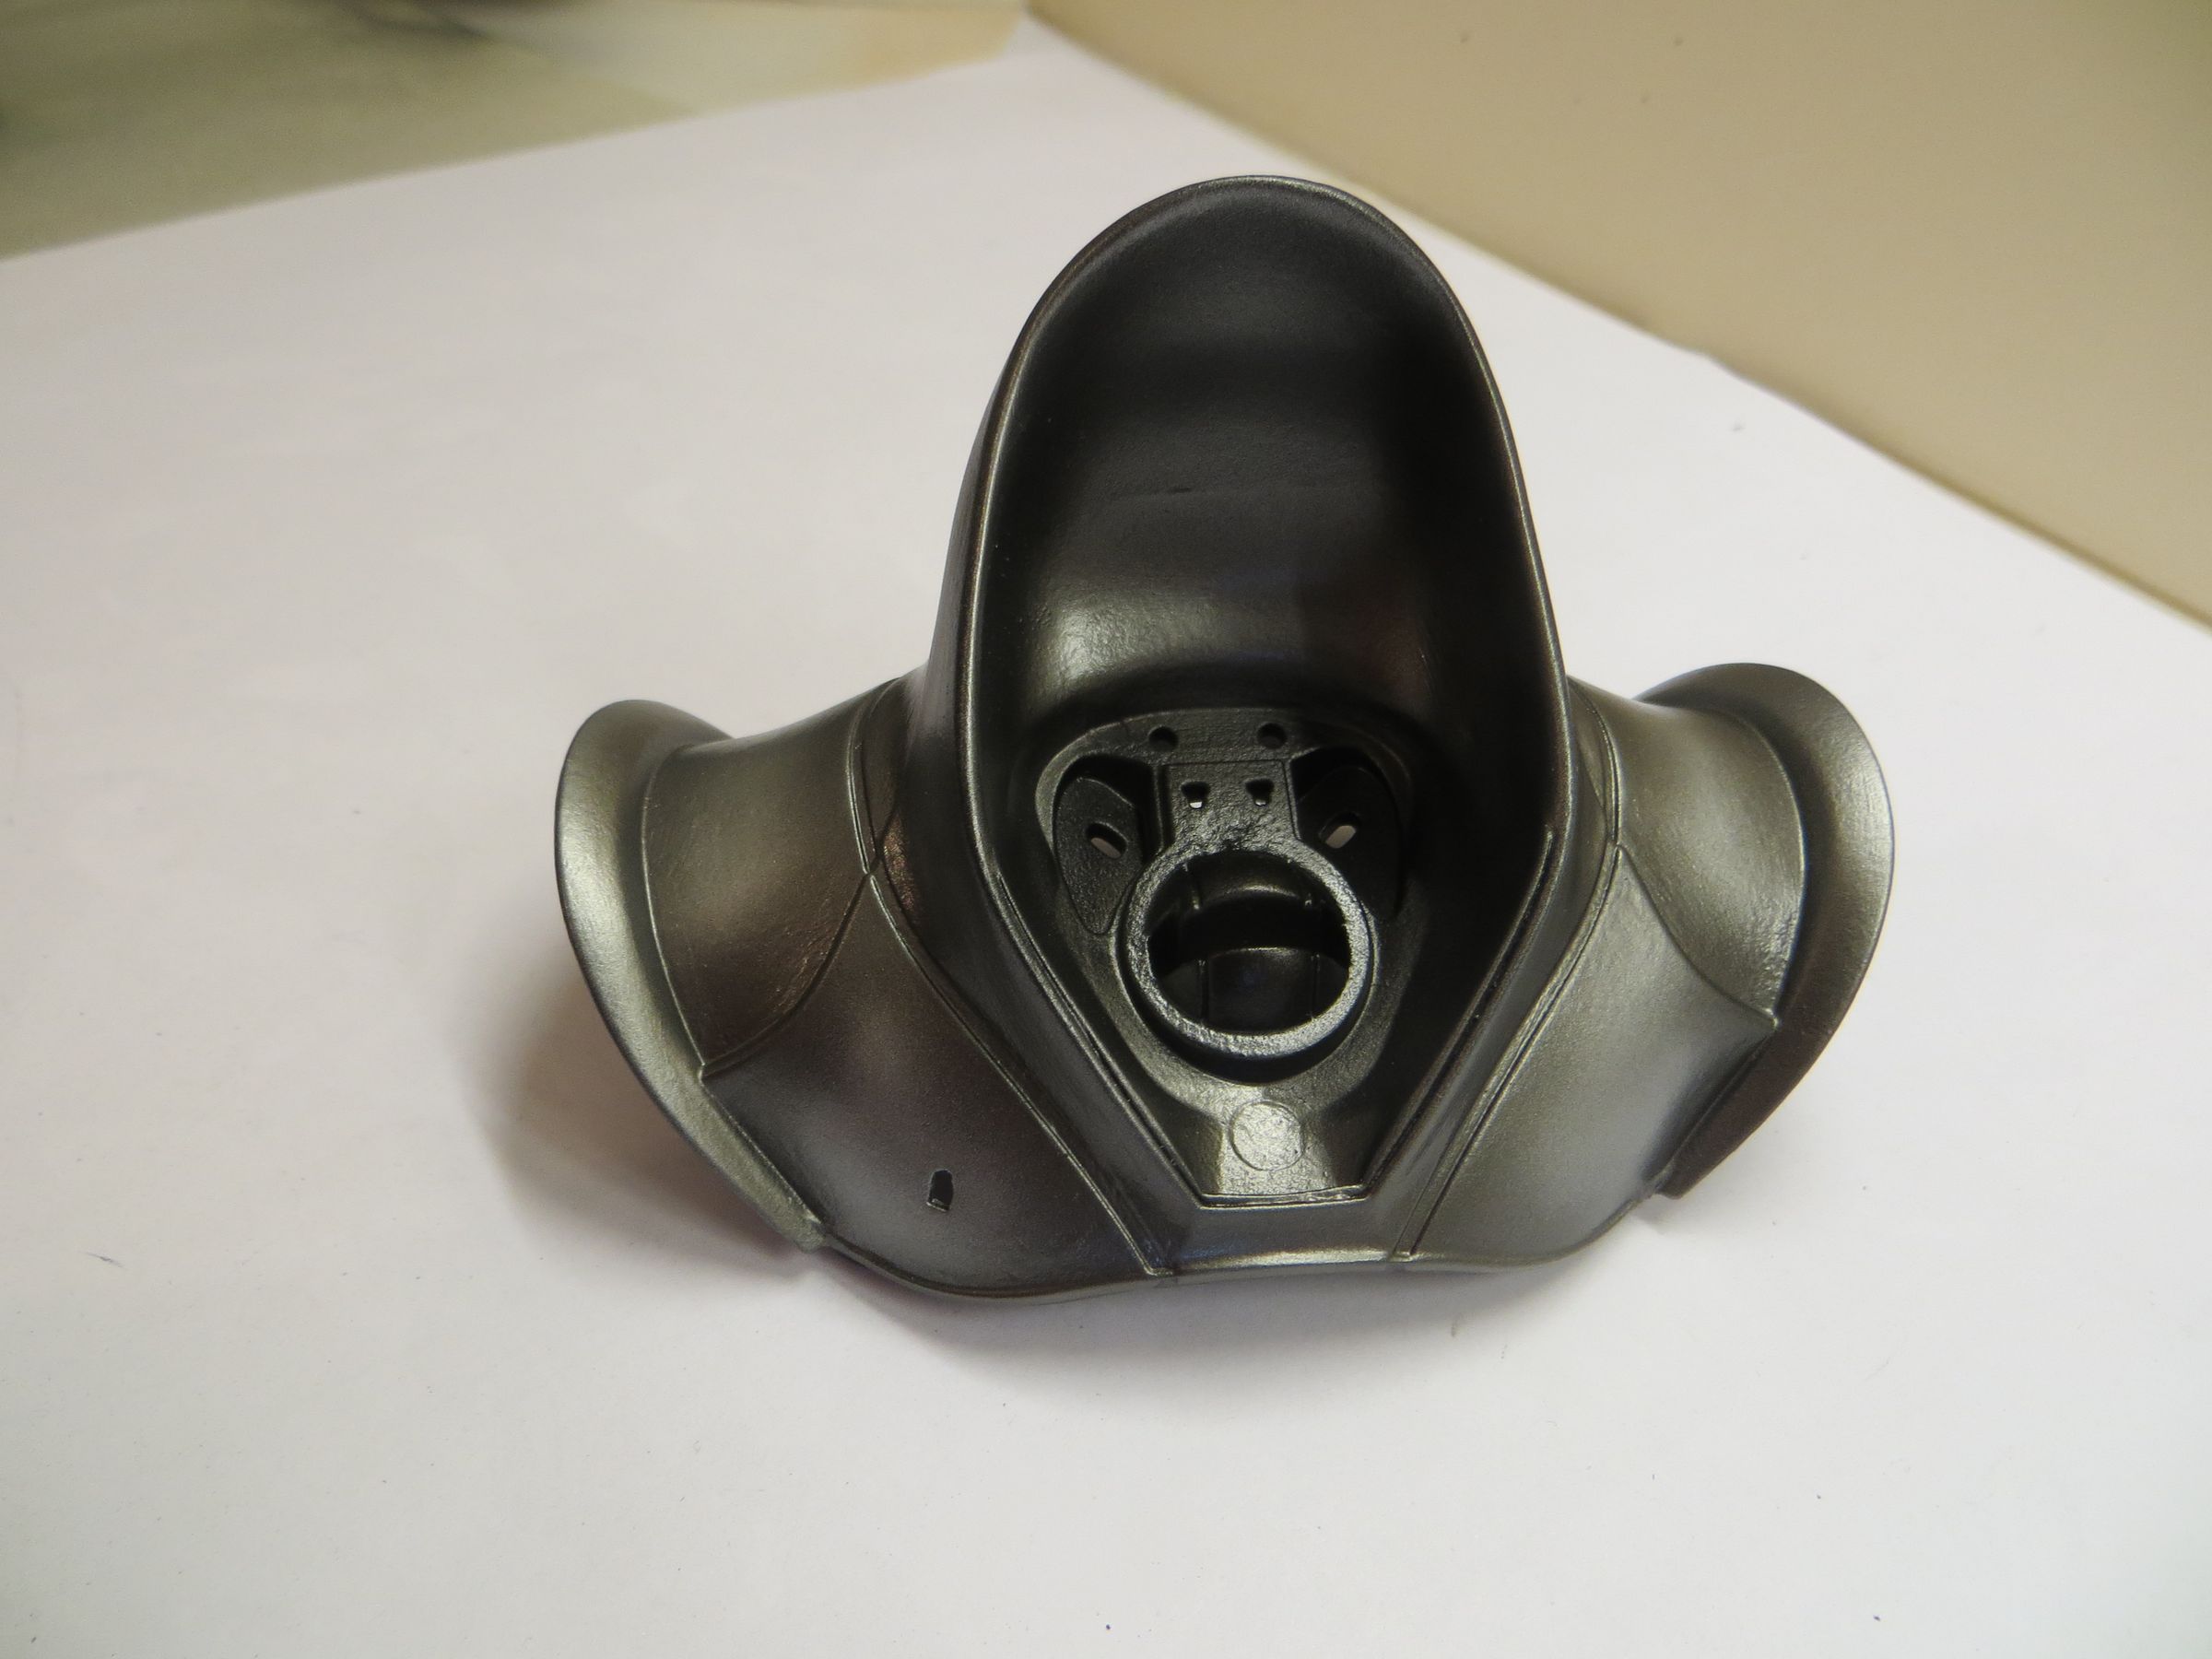
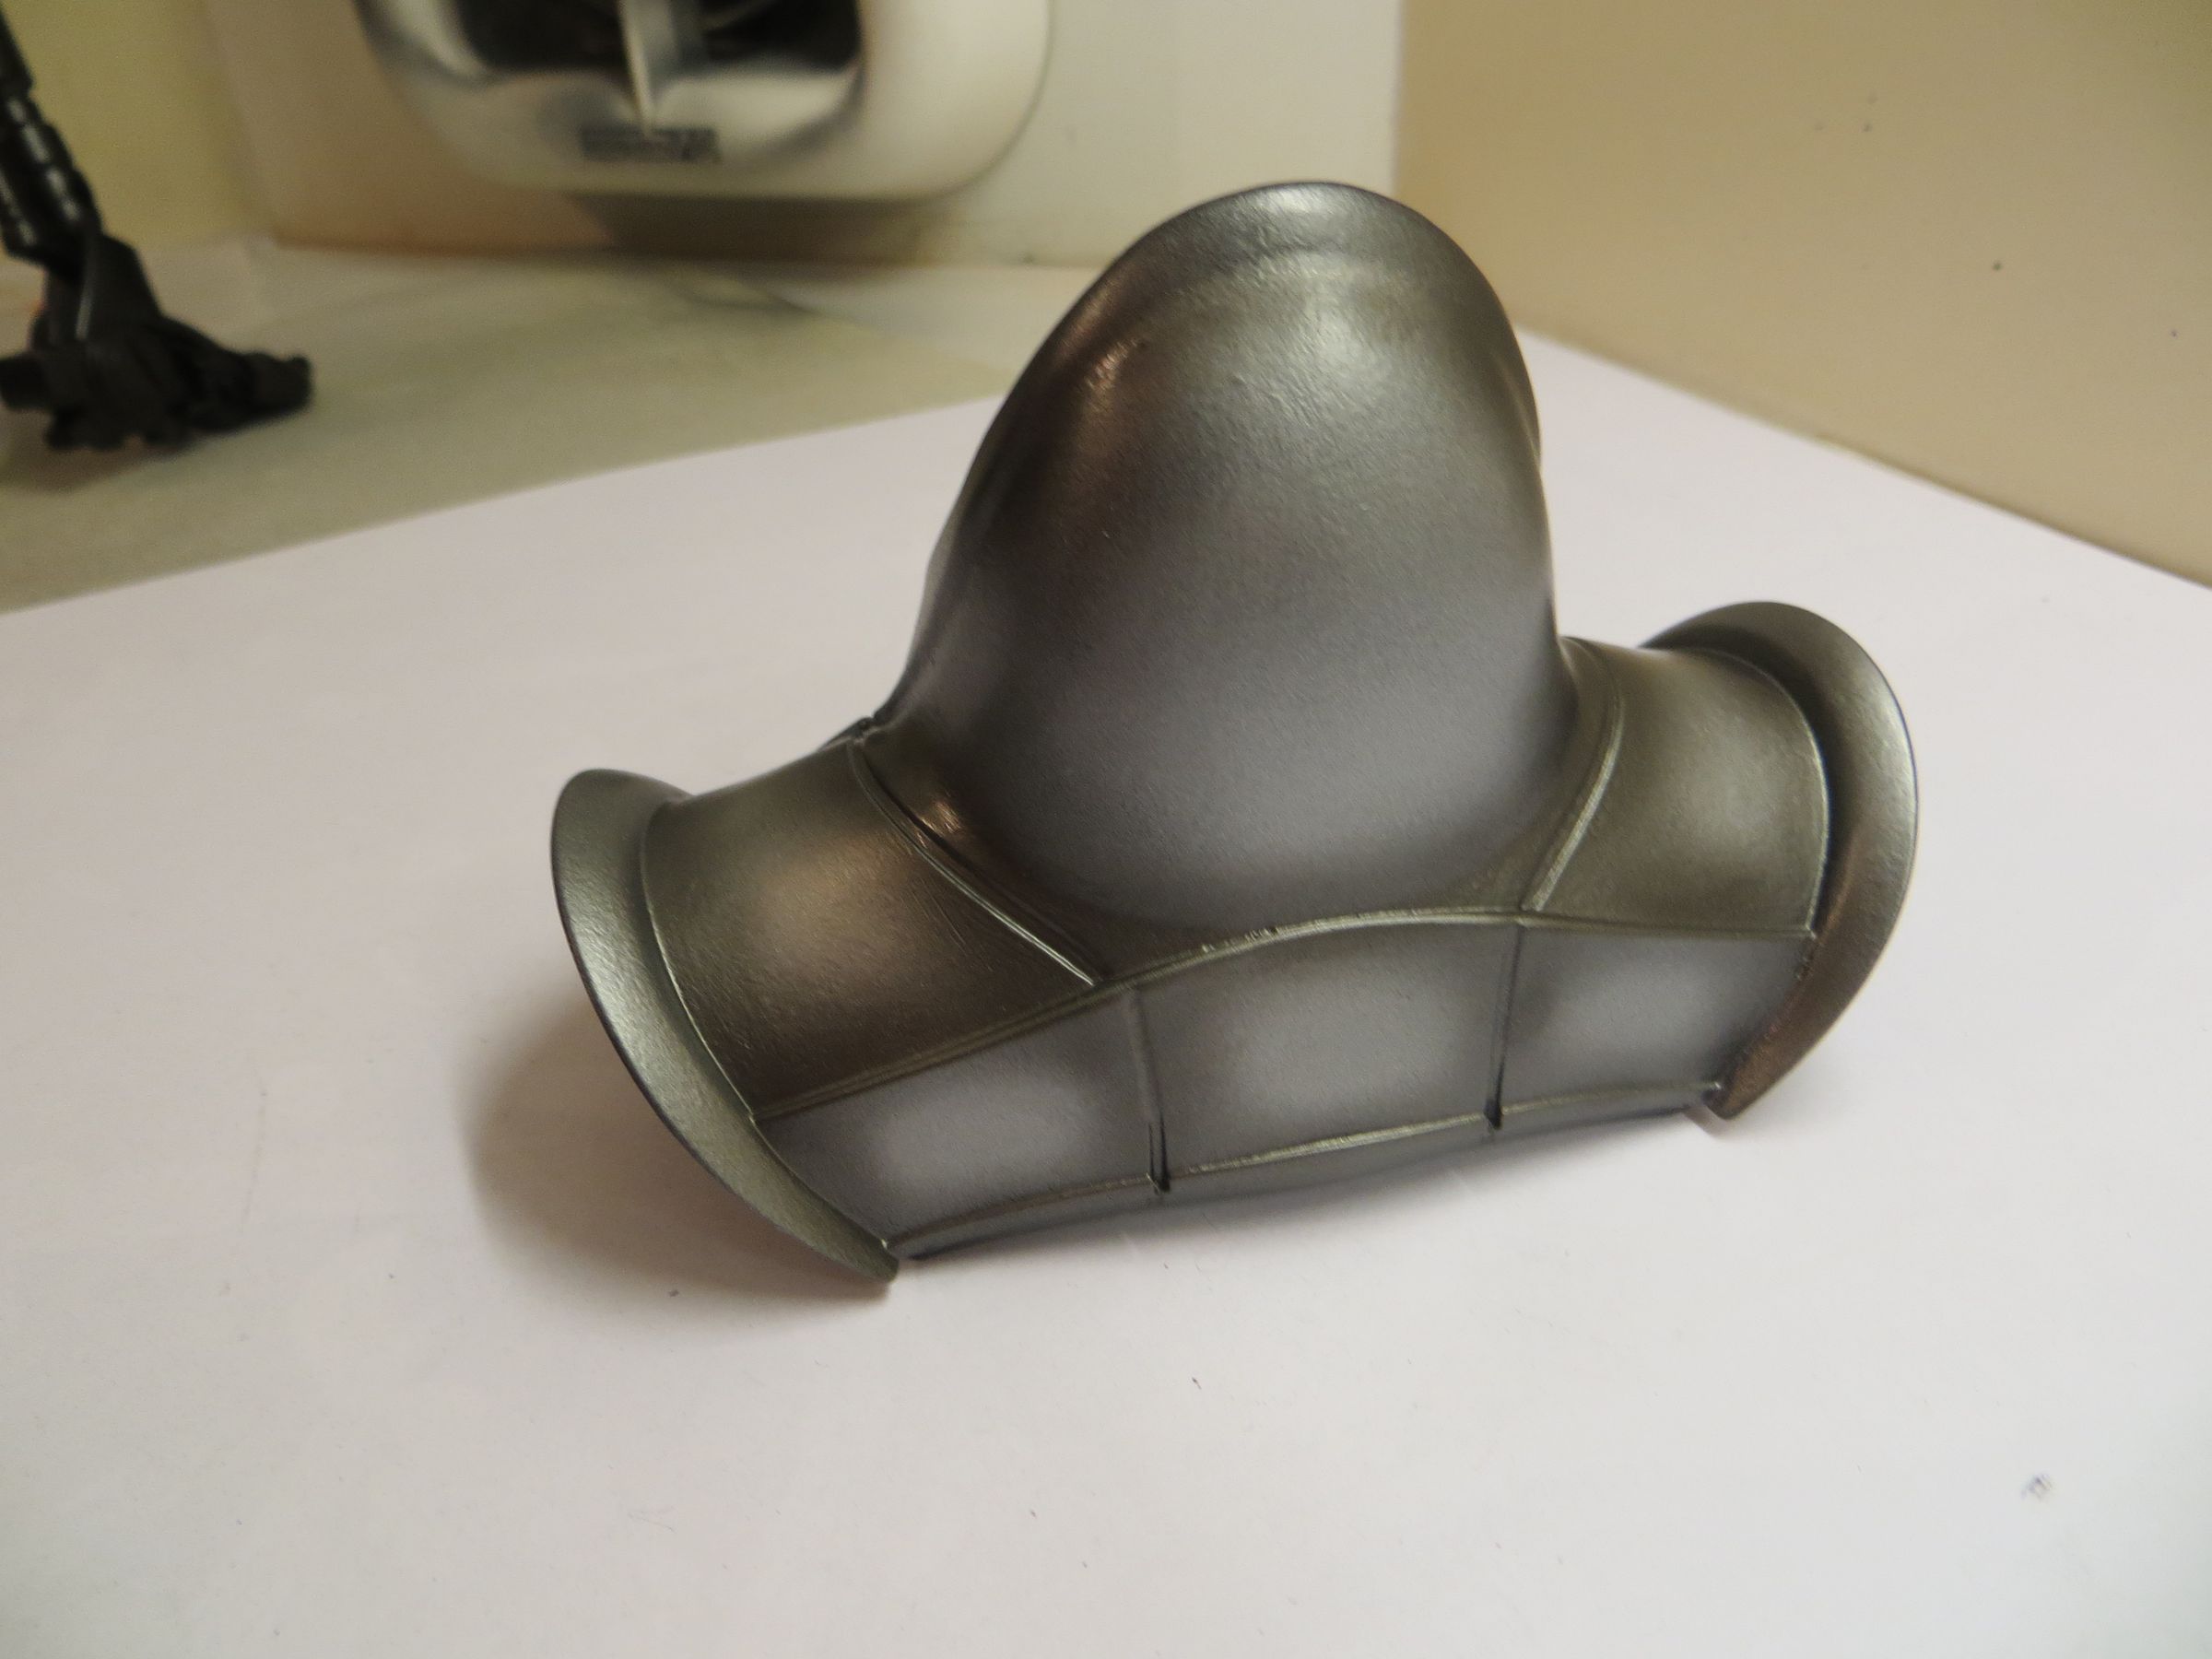
The Centurion has two basic colors: dark base for the skeleton and articulations, clear base for the armor plates, head and hands.
The clear base is made with Alclad Duralumiun, followed by dark edges post-shading (alclad Steel) and light panel center (Aluminium or Chrome ... I do not remember !)
The dark base is Alclad Jet Exhaust, and some area covered with Steel
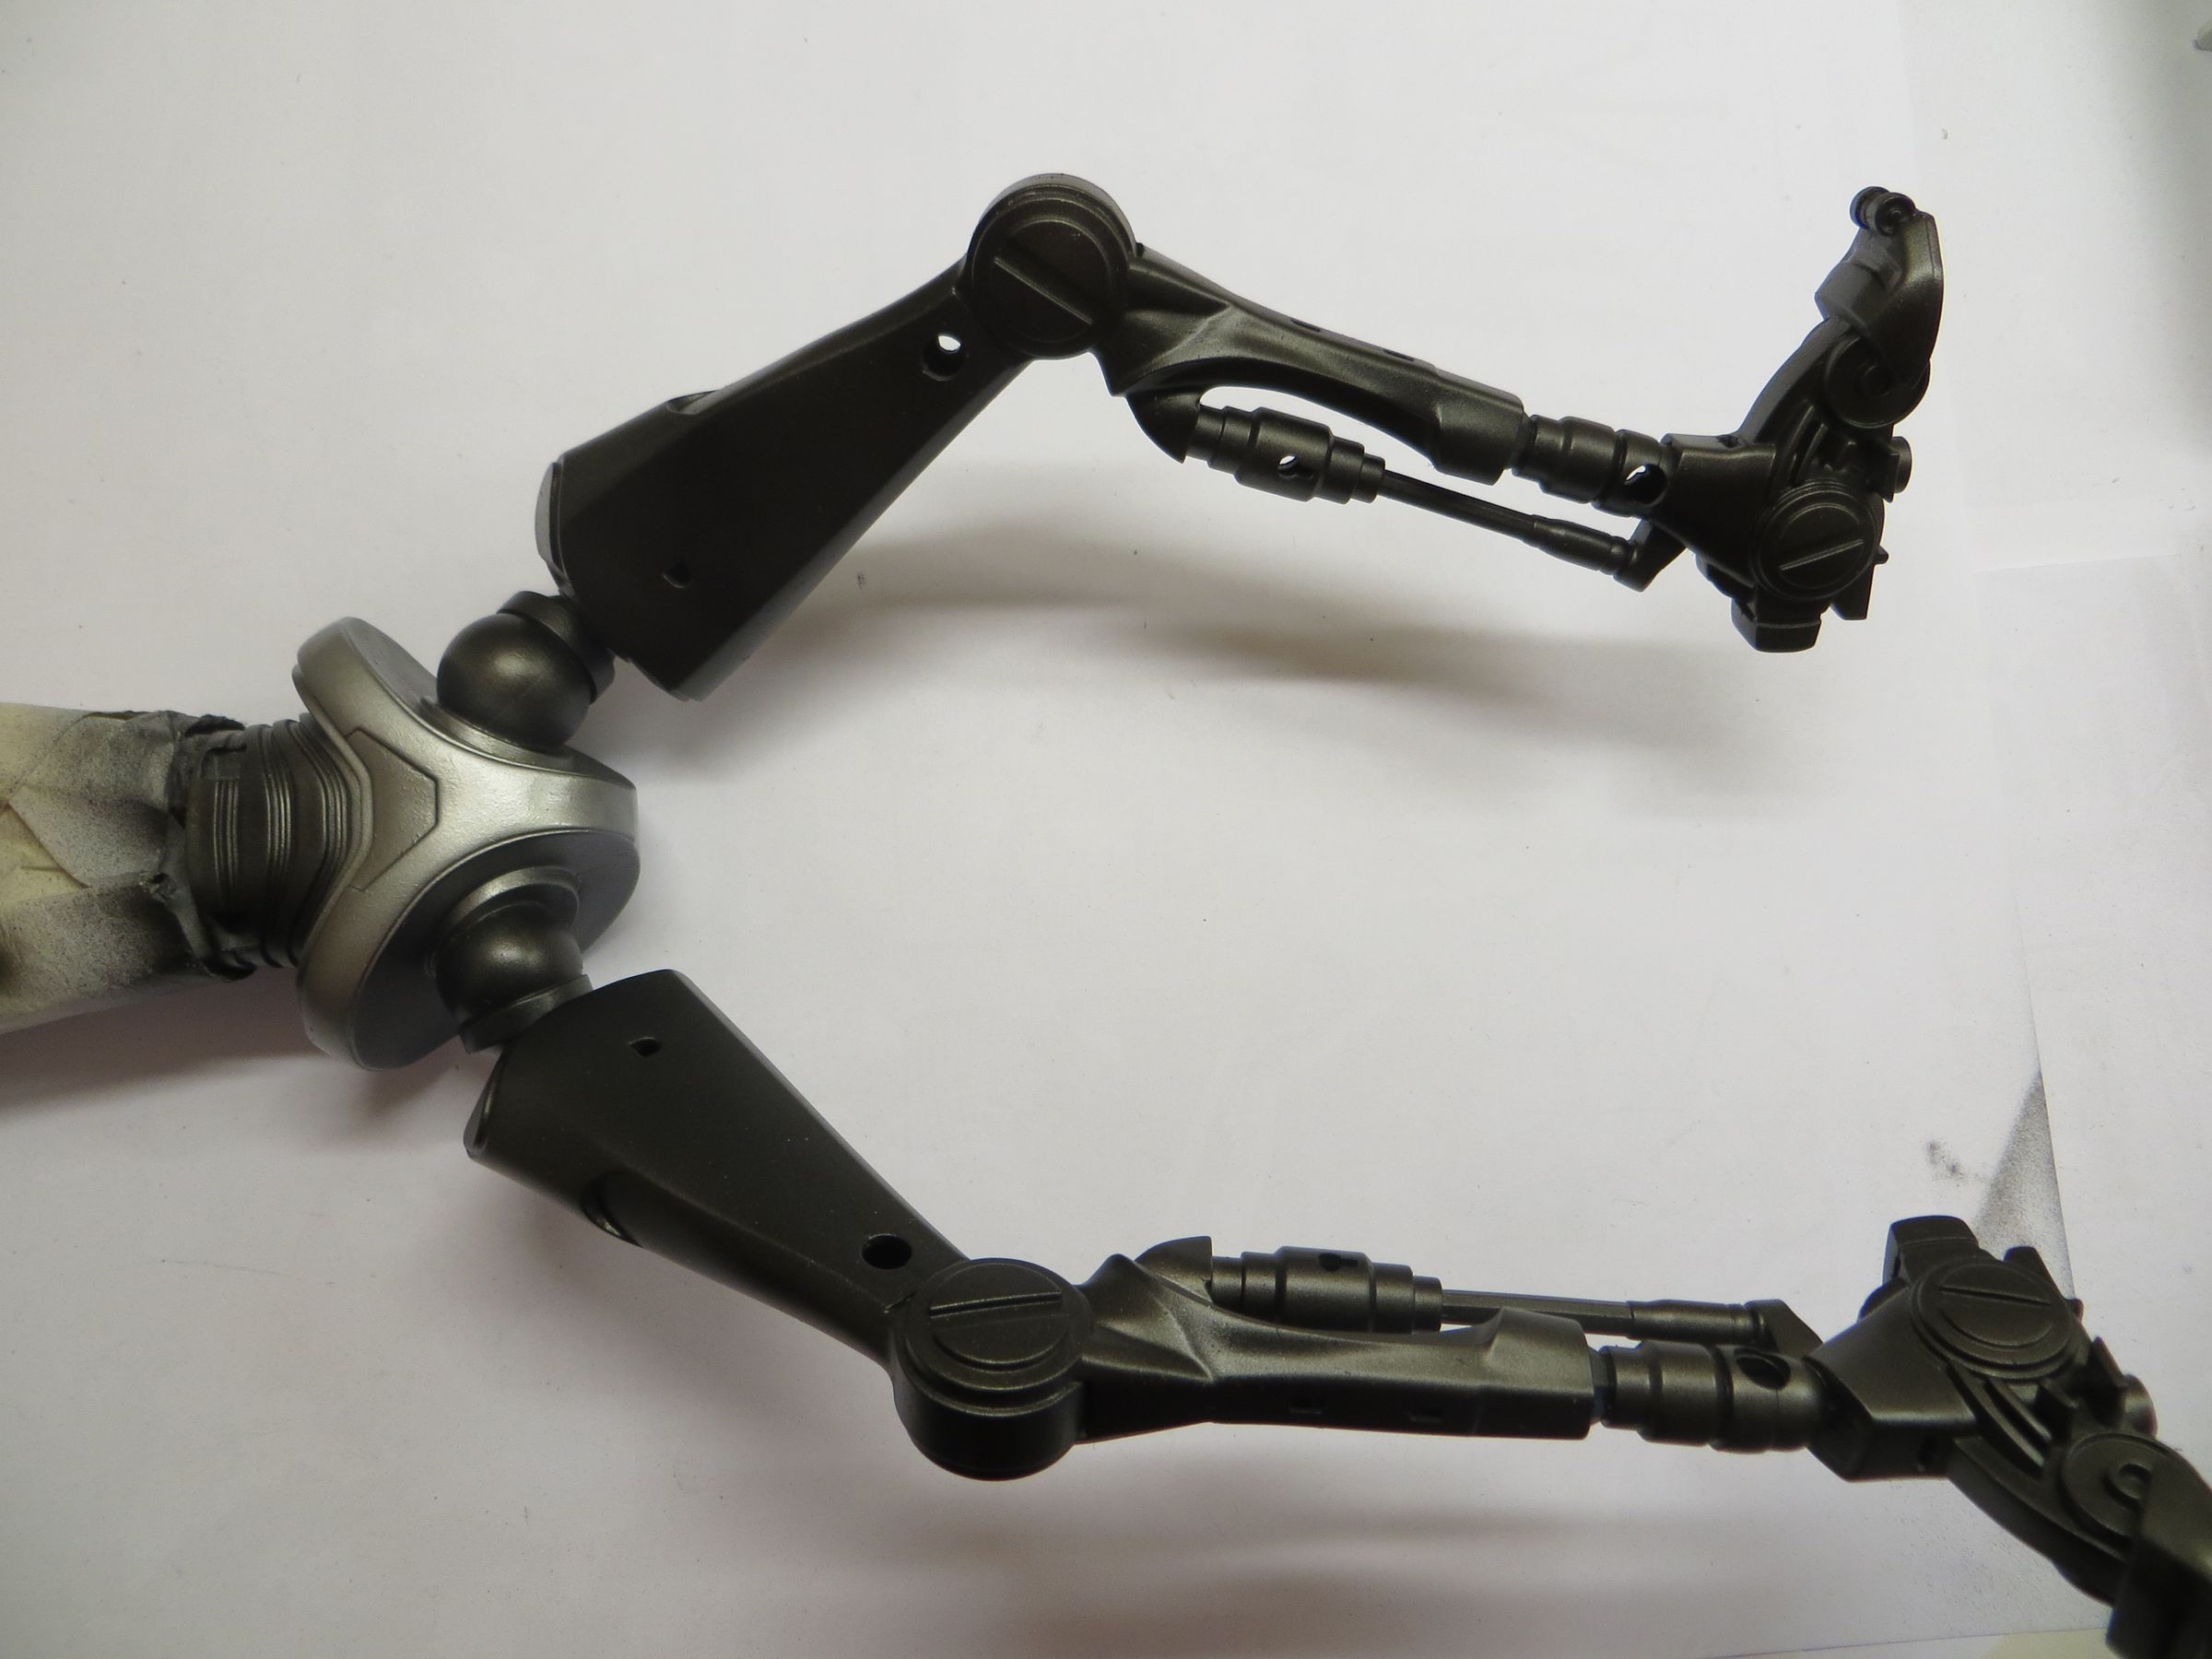
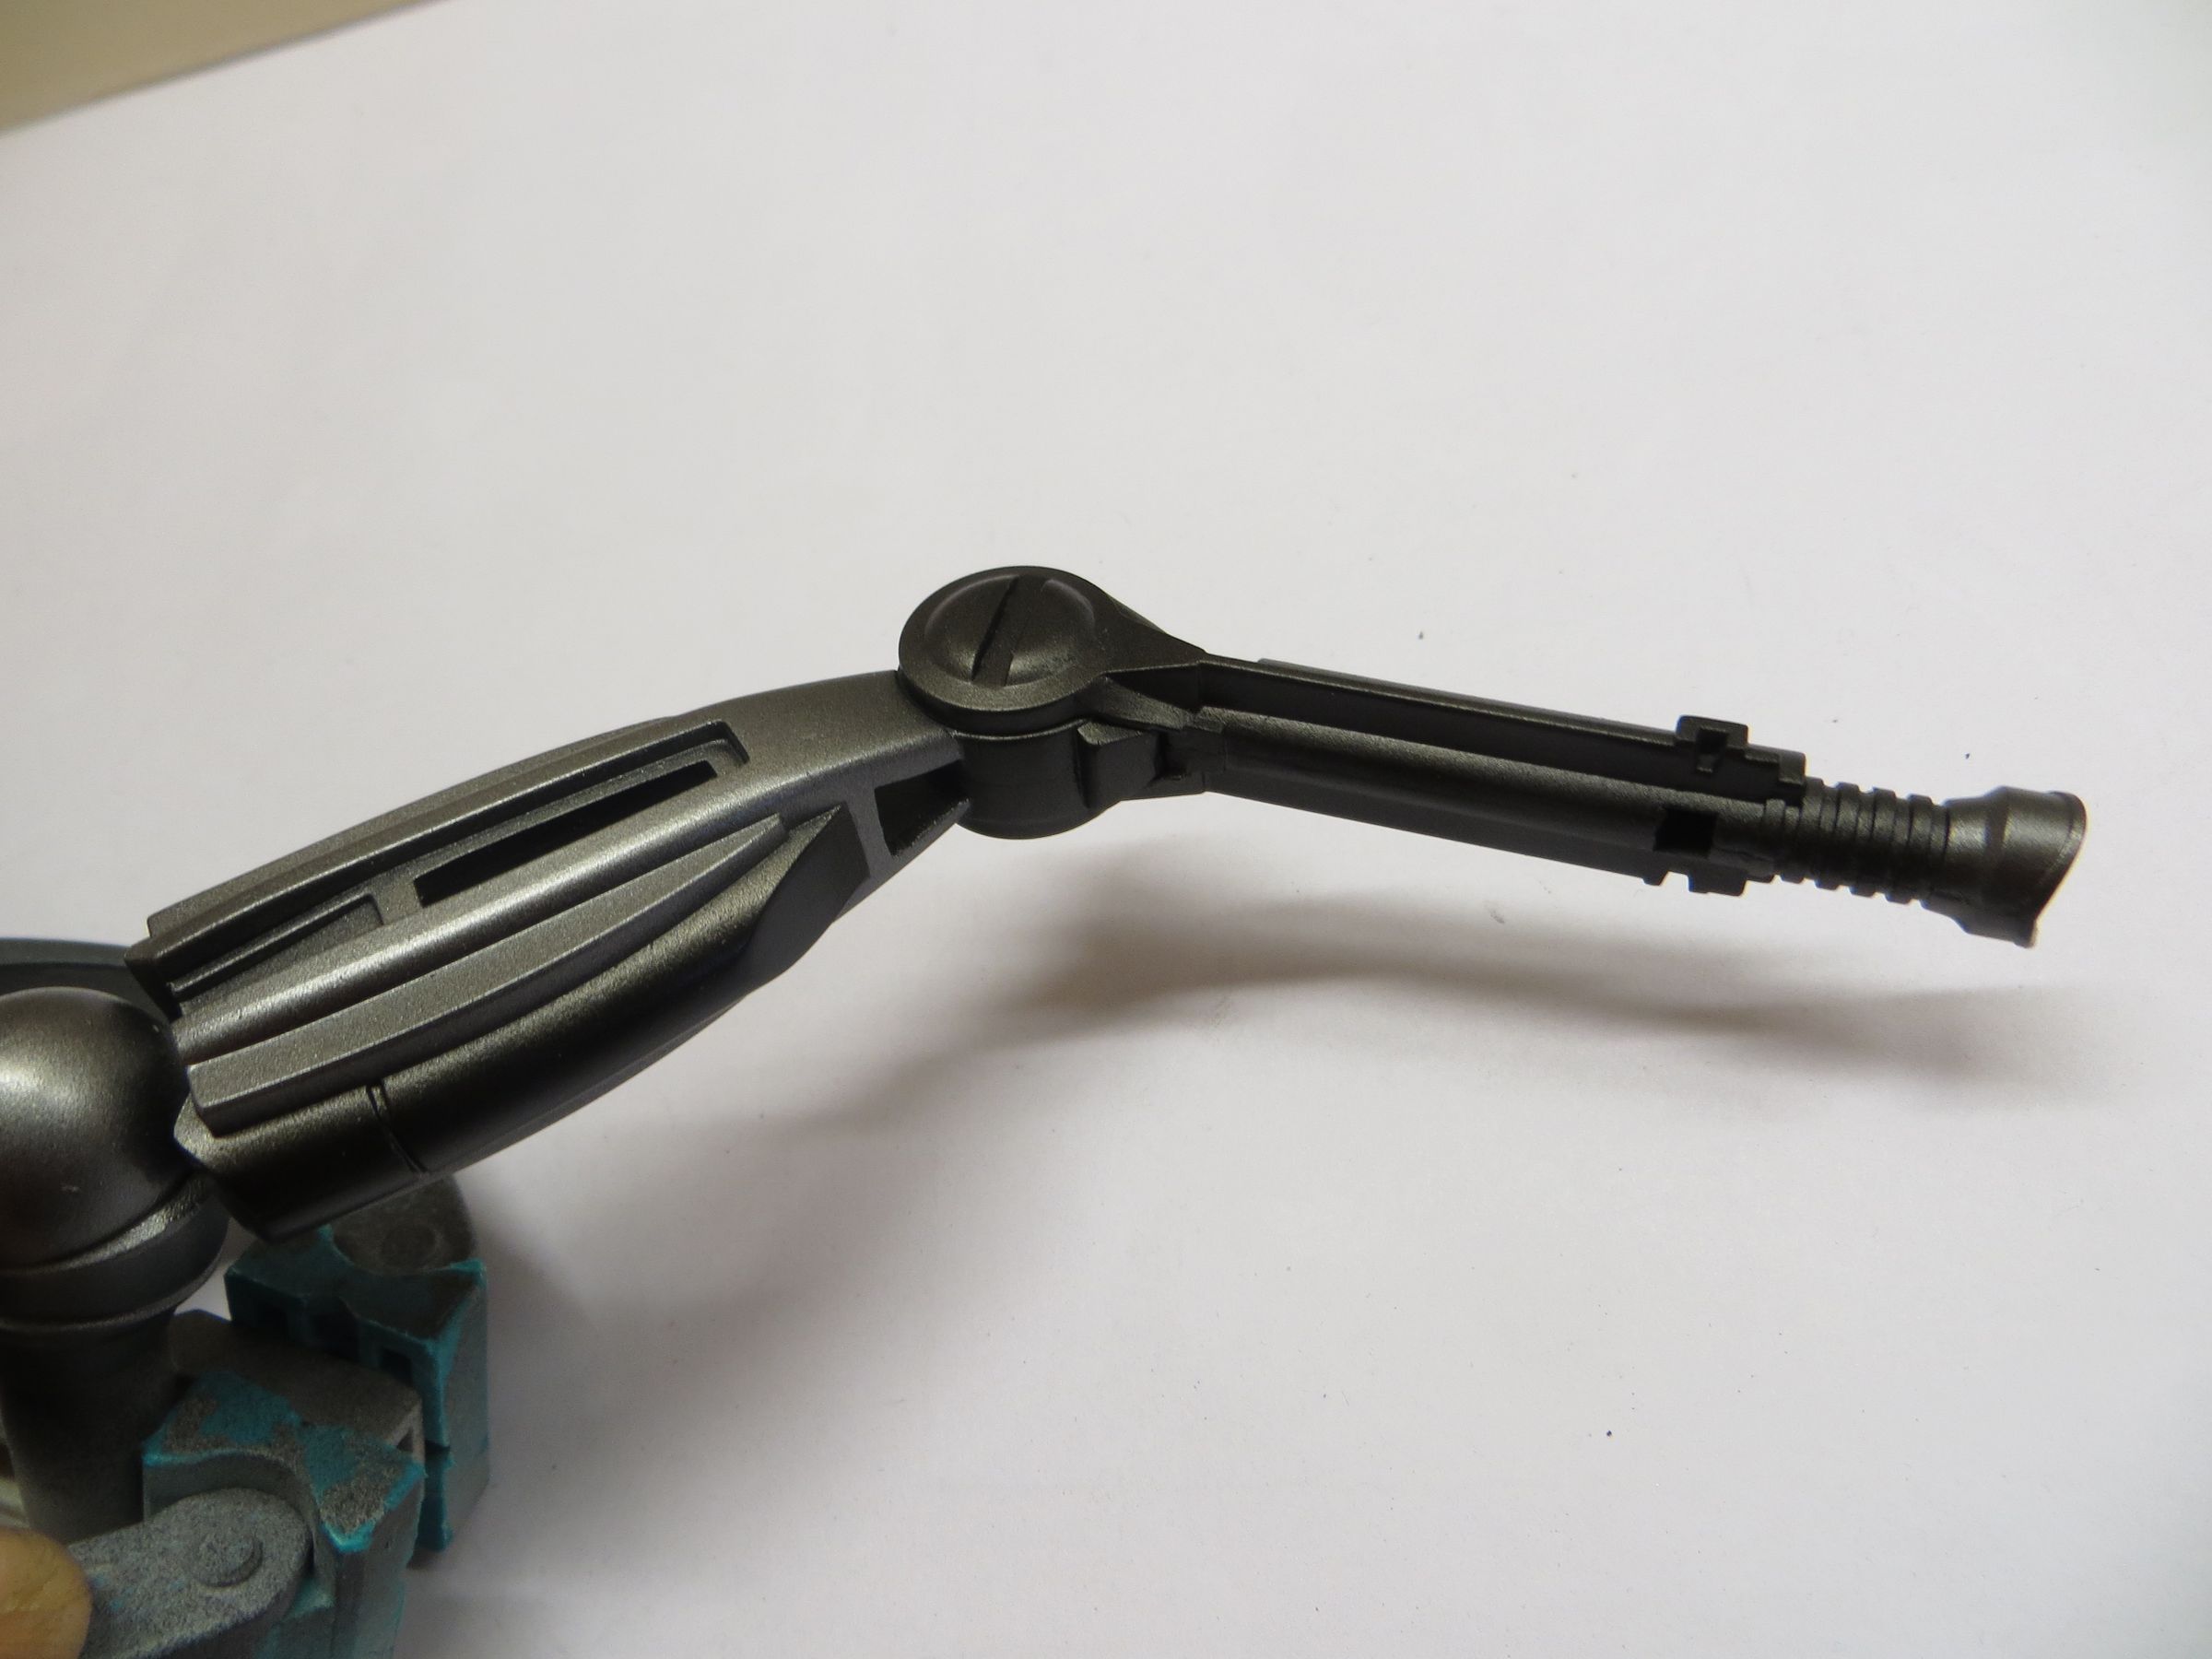
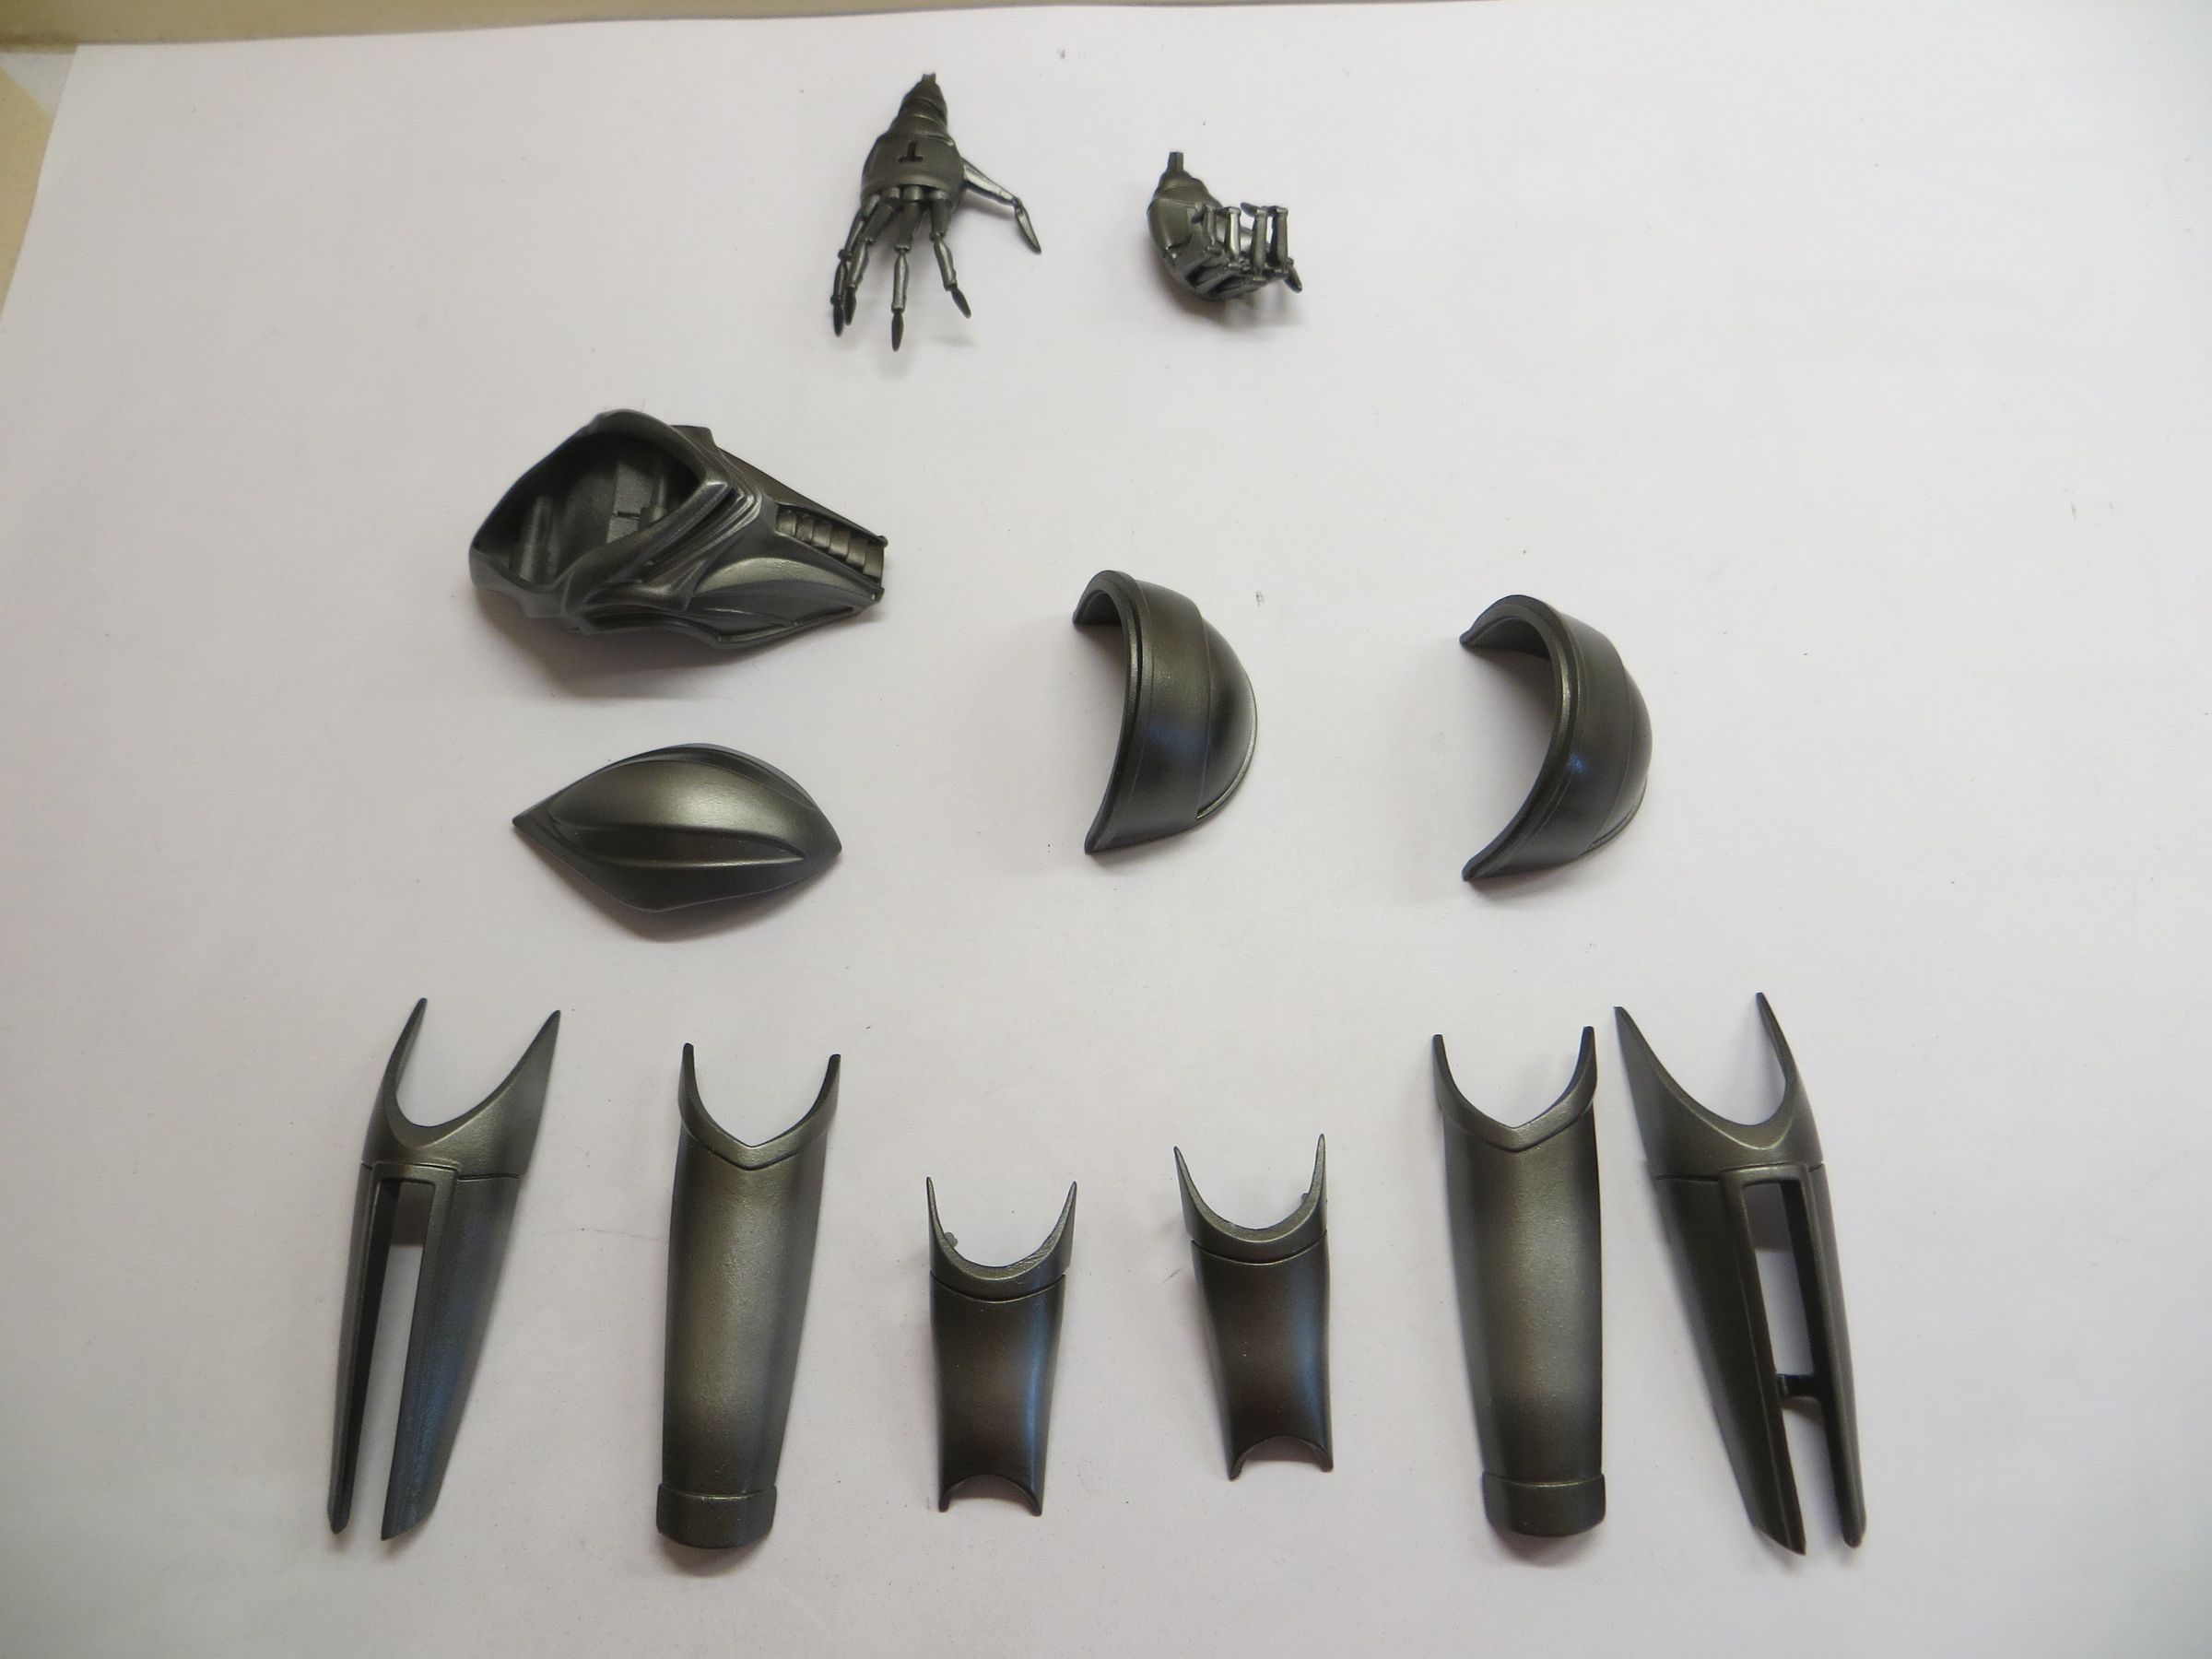
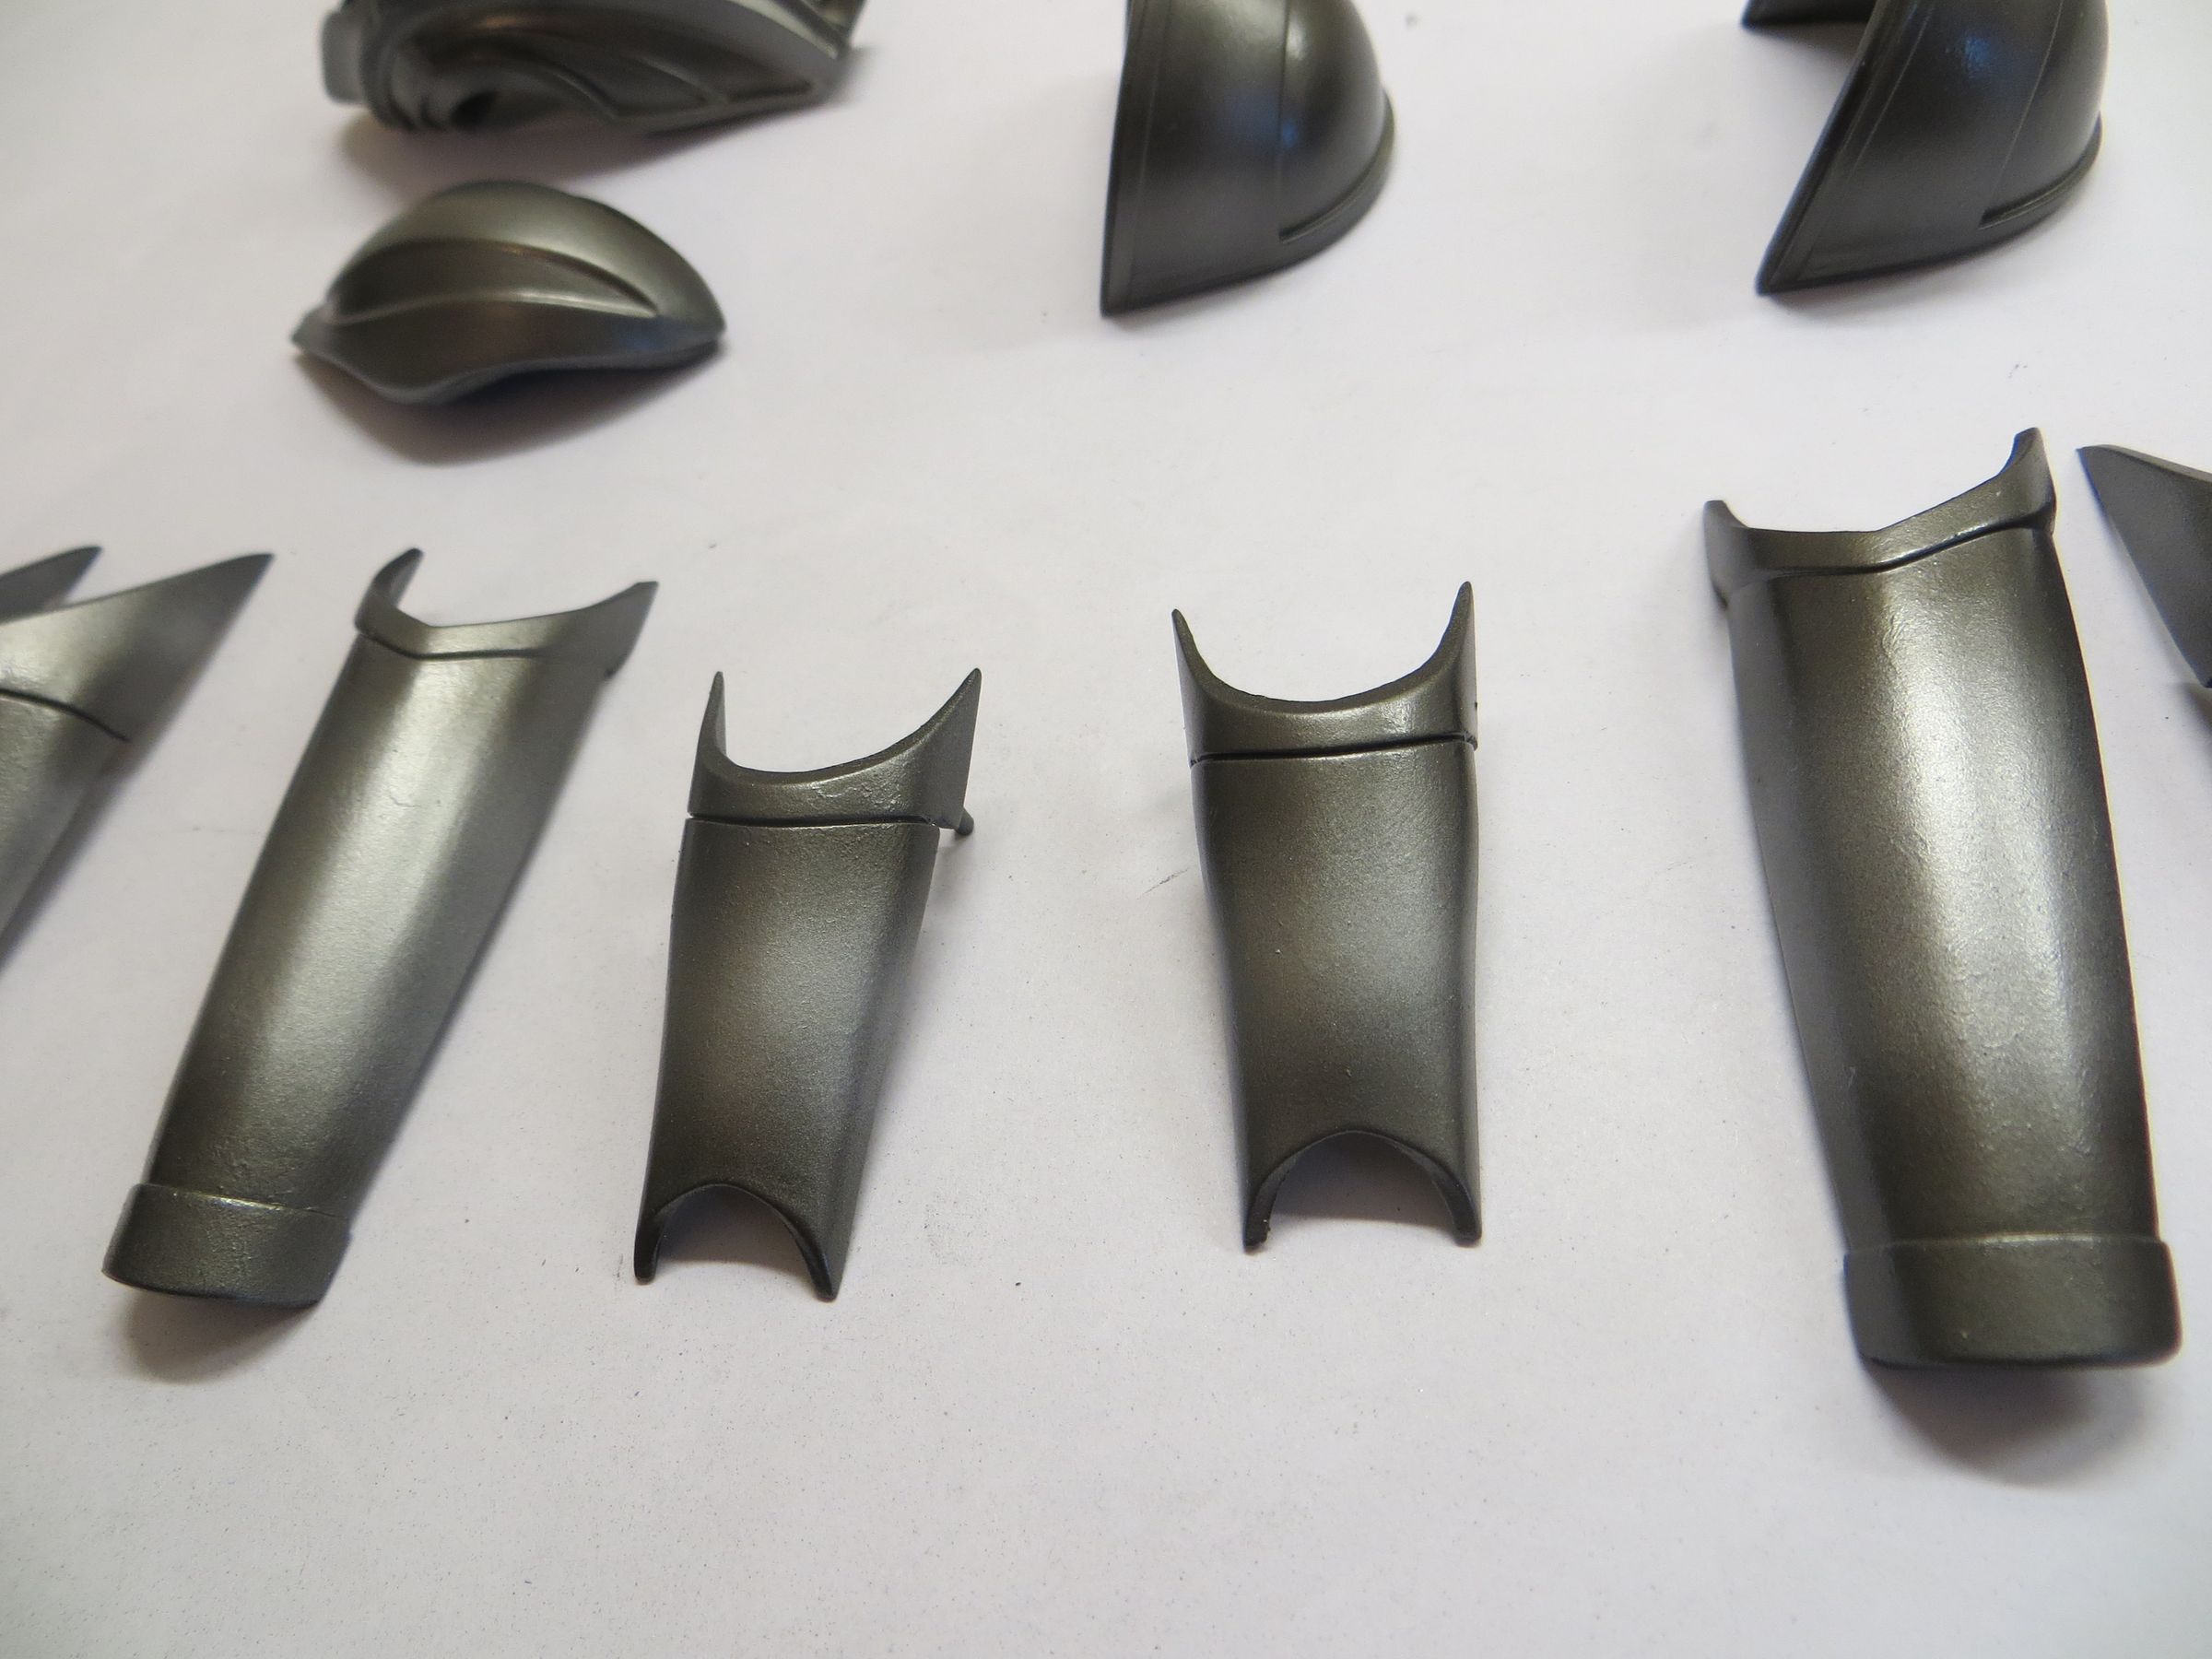
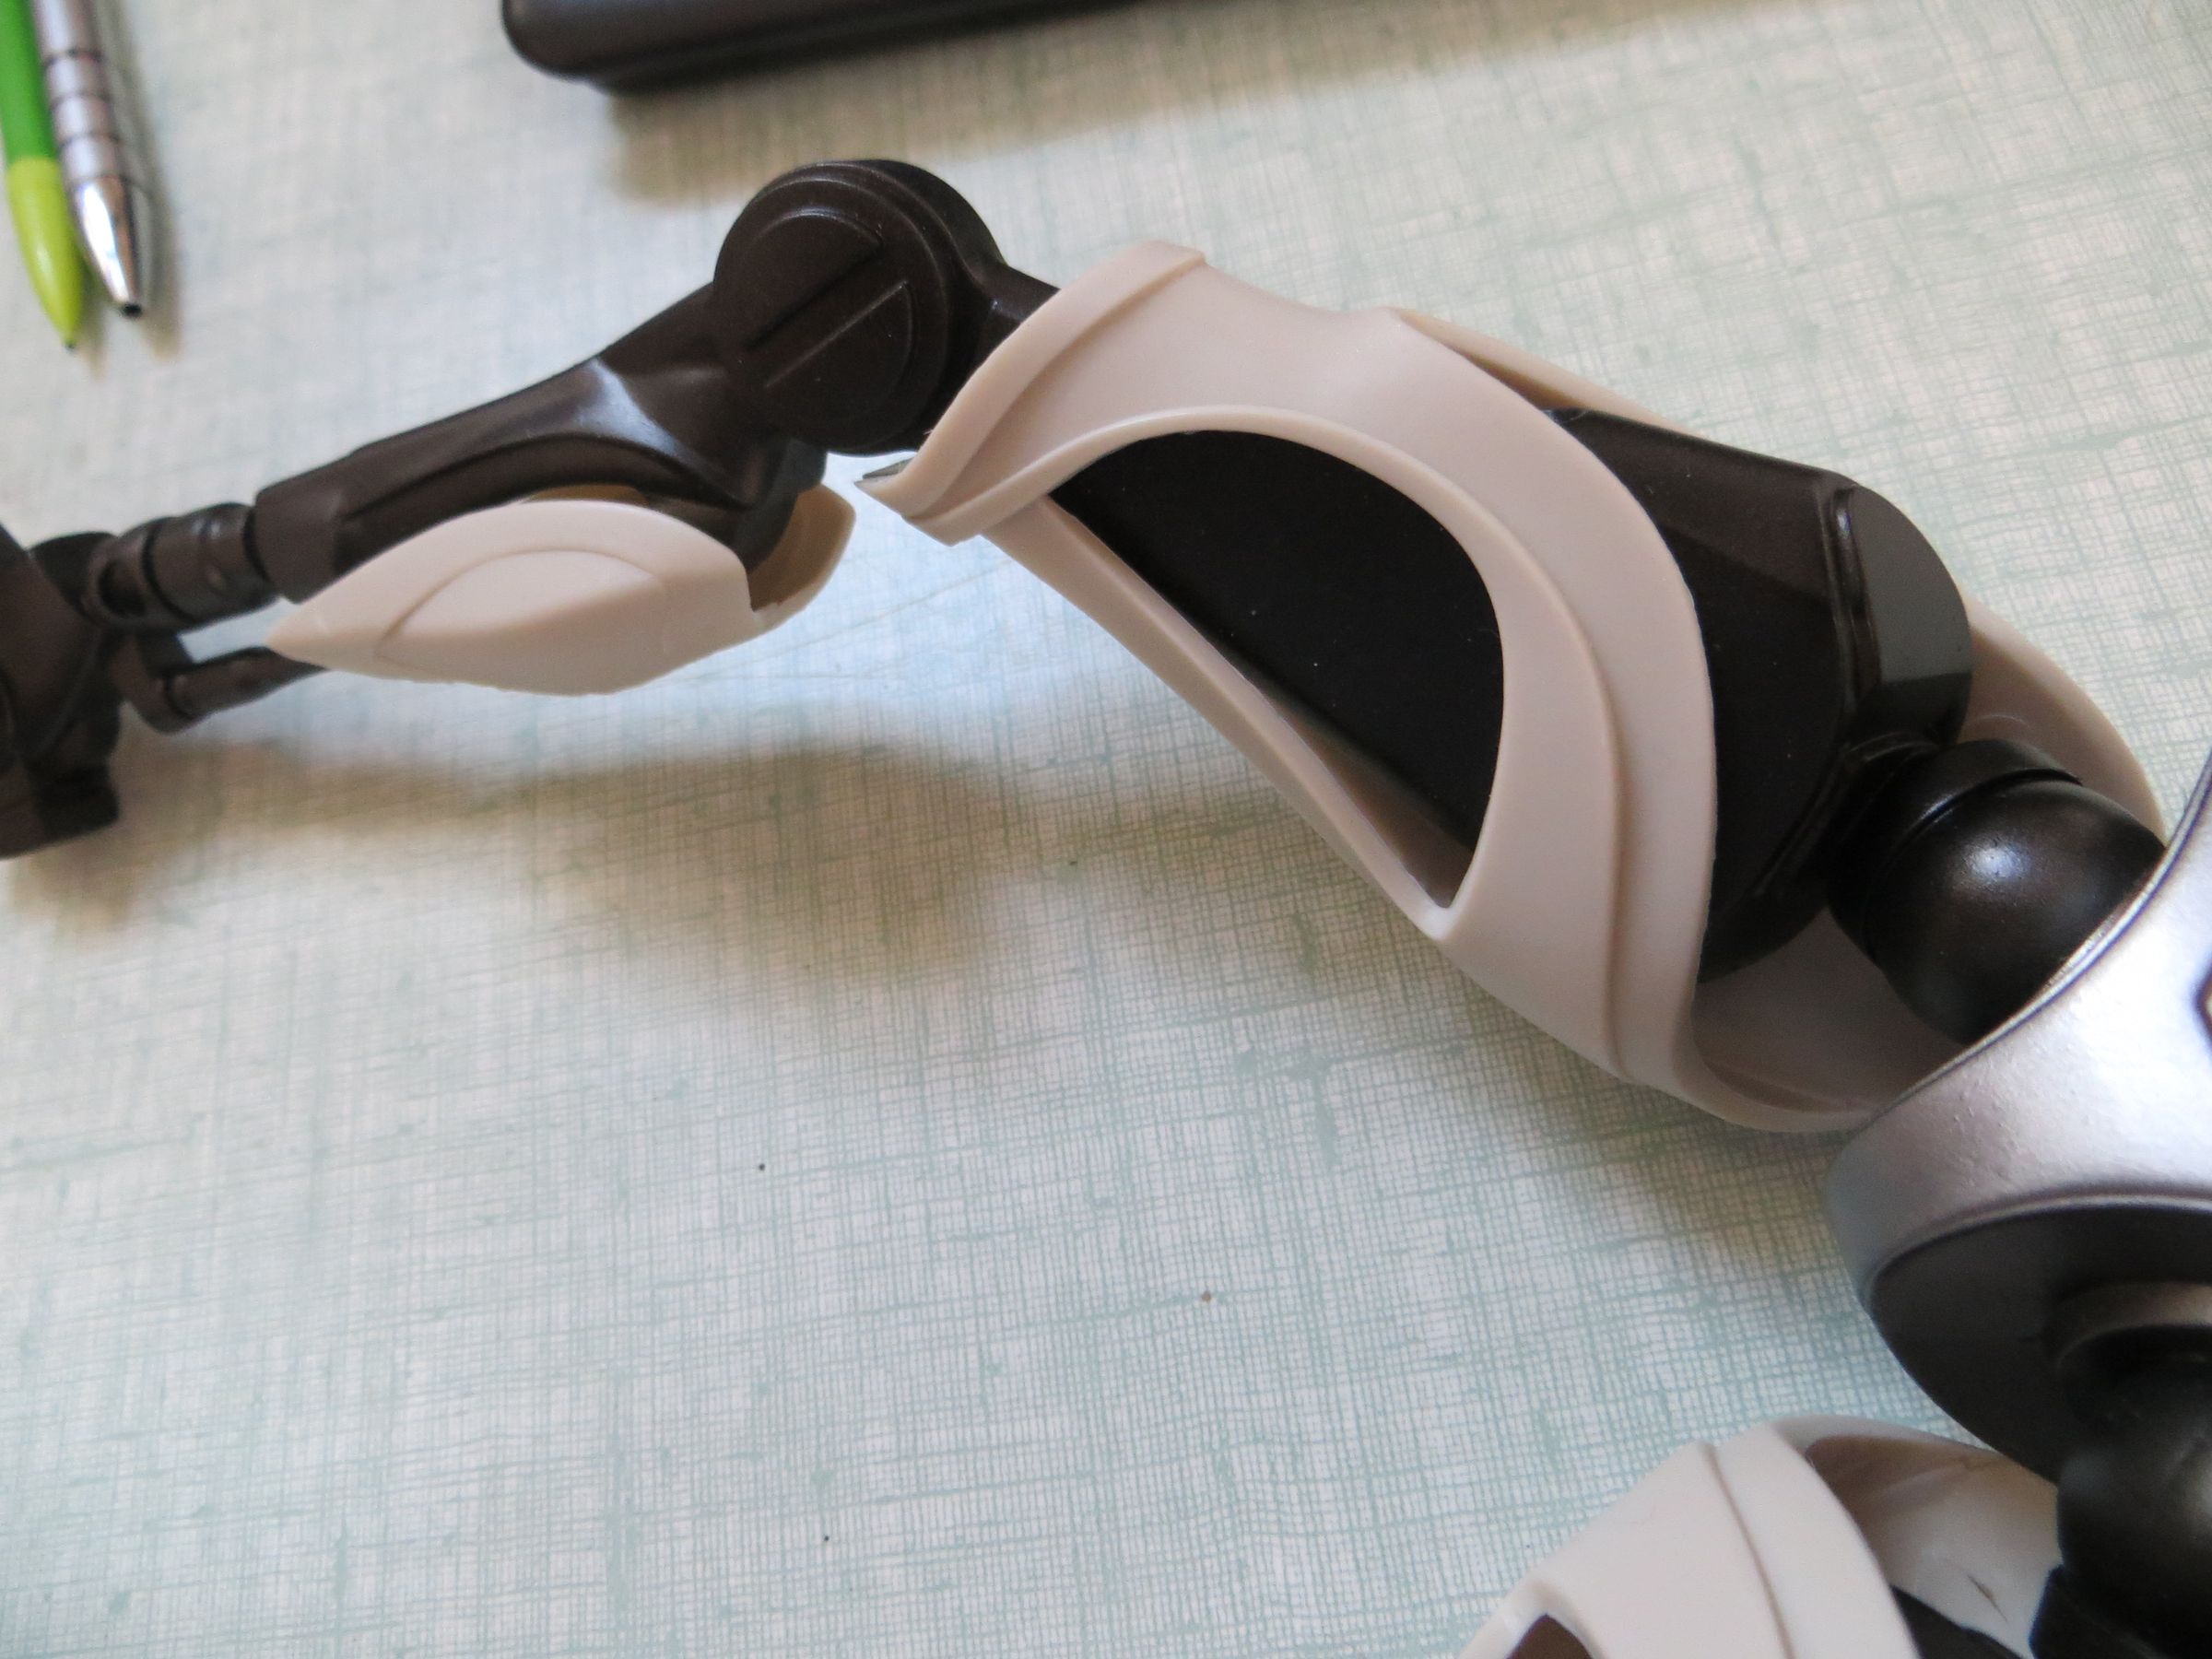
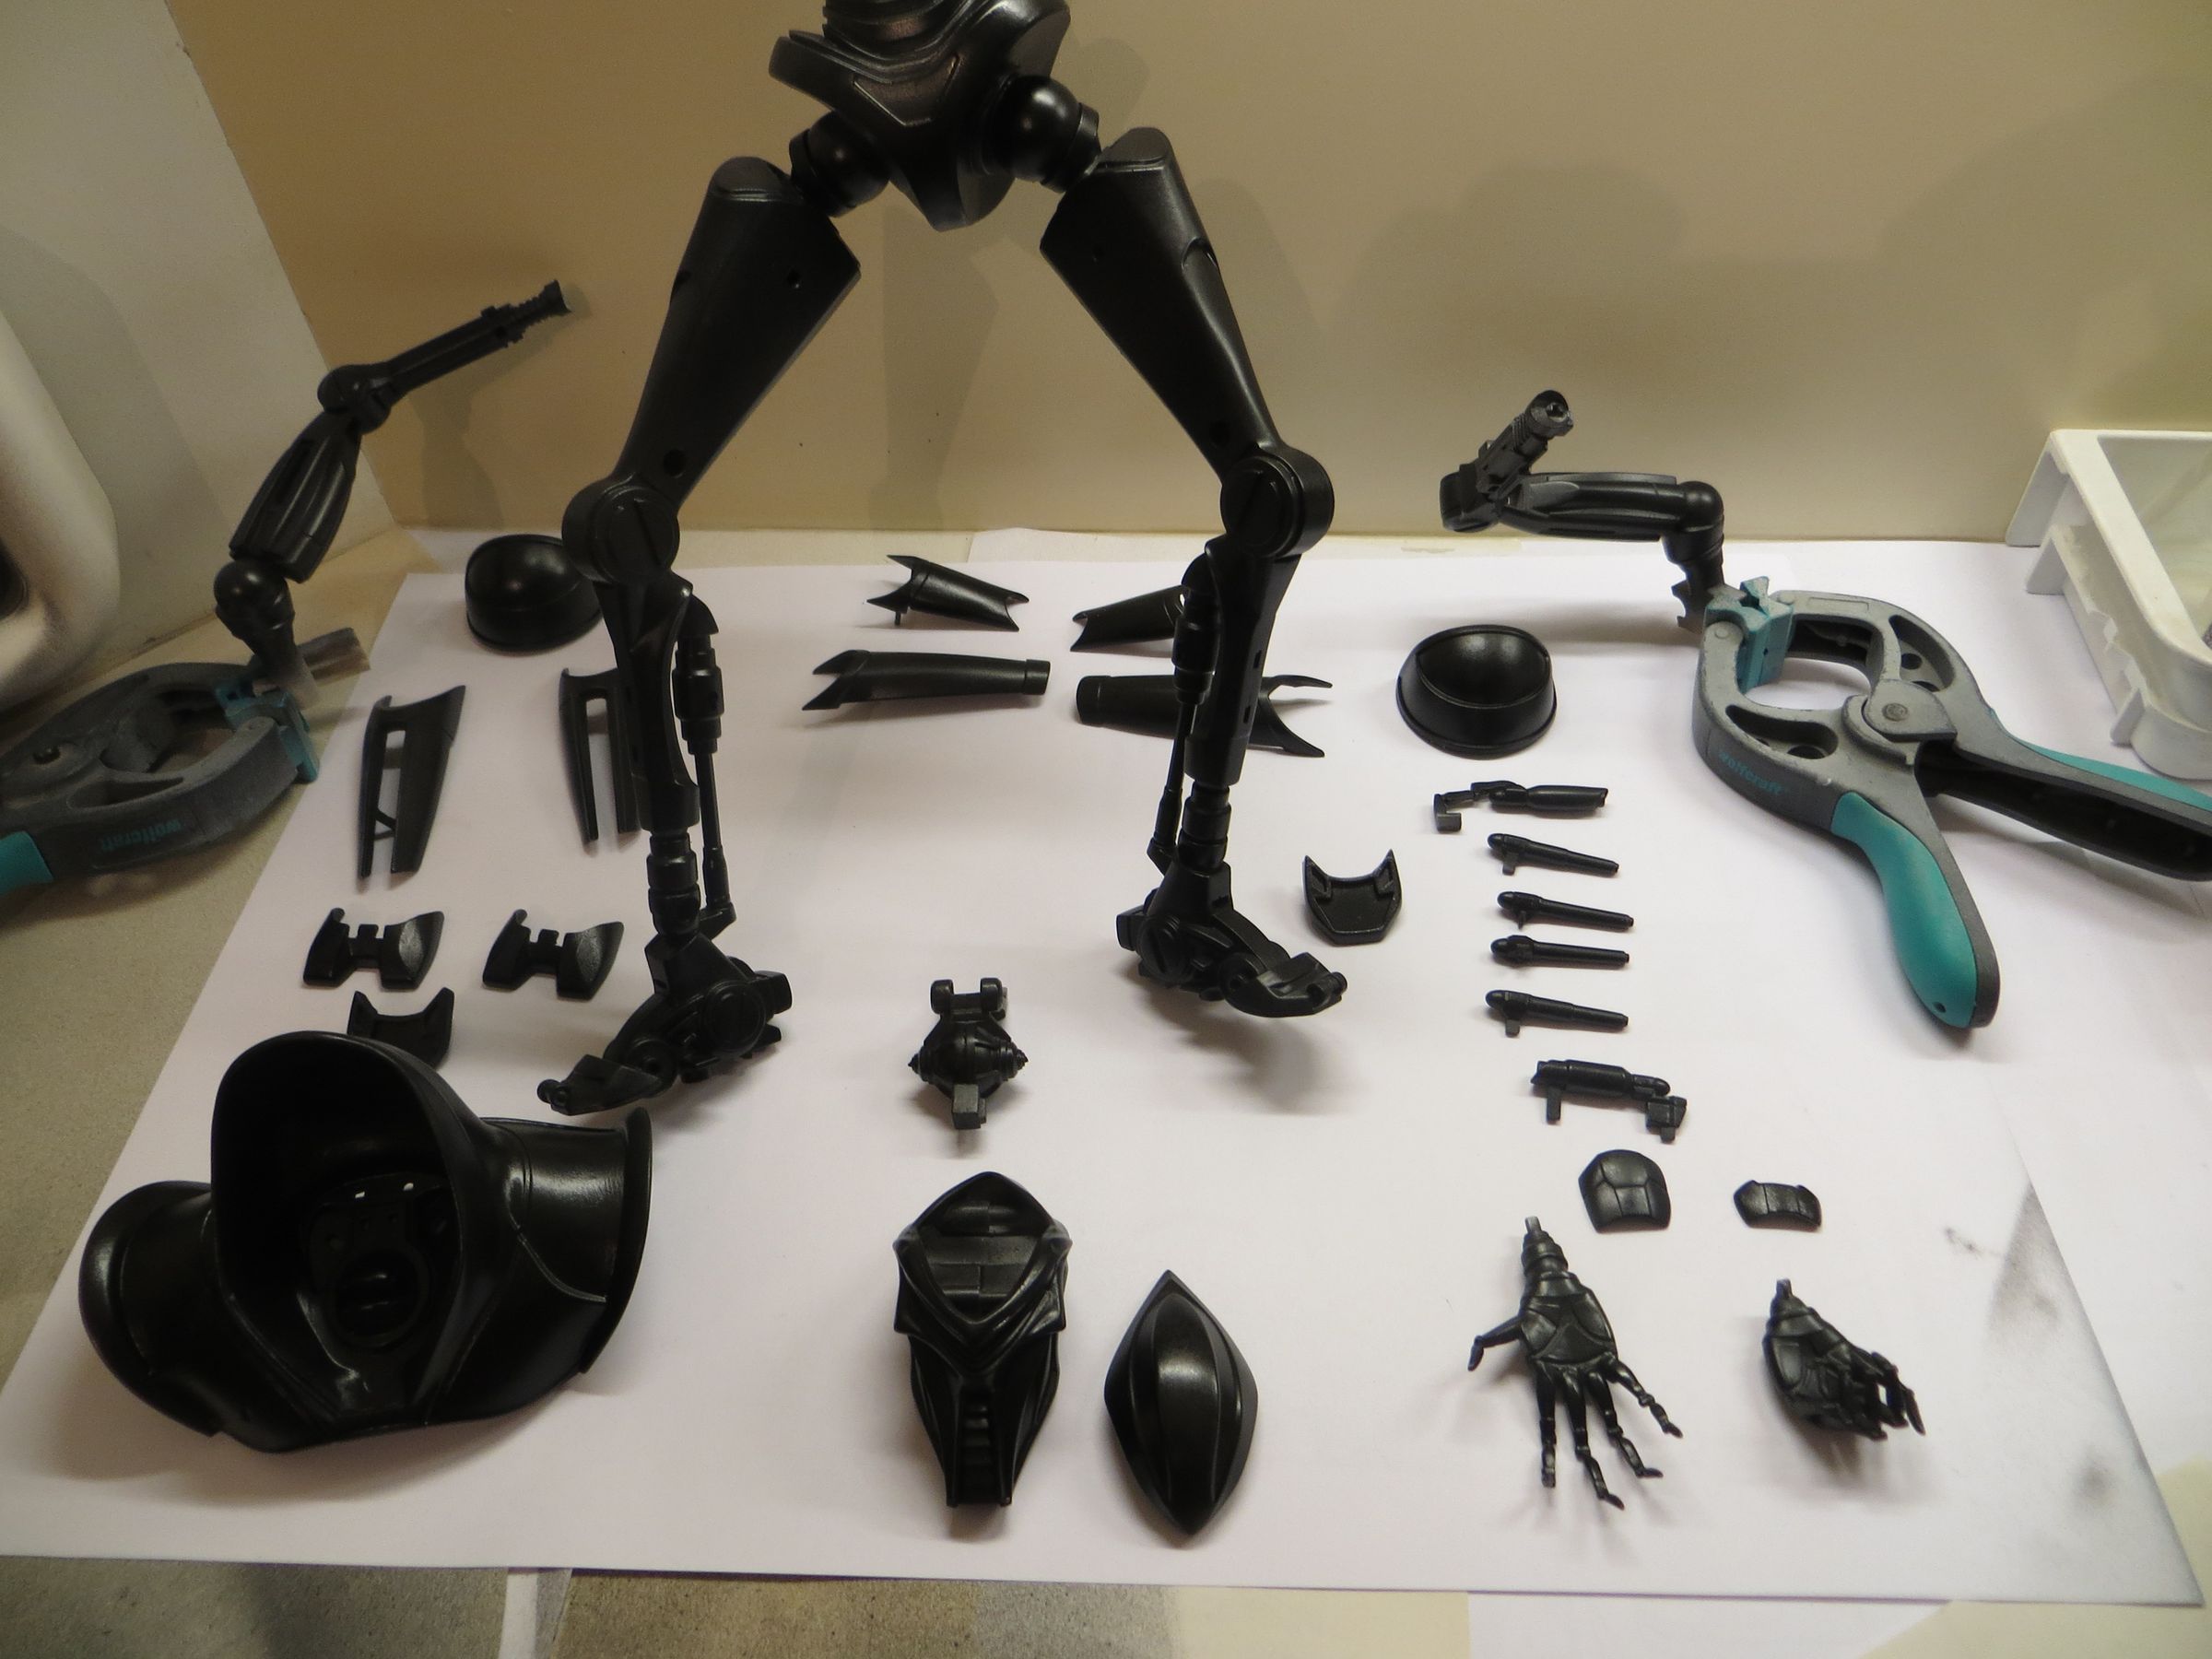
The first step of the assembly is completed. All internal parts are made, as well as some external ones that did not need the second step (shoulder, head, hands...).
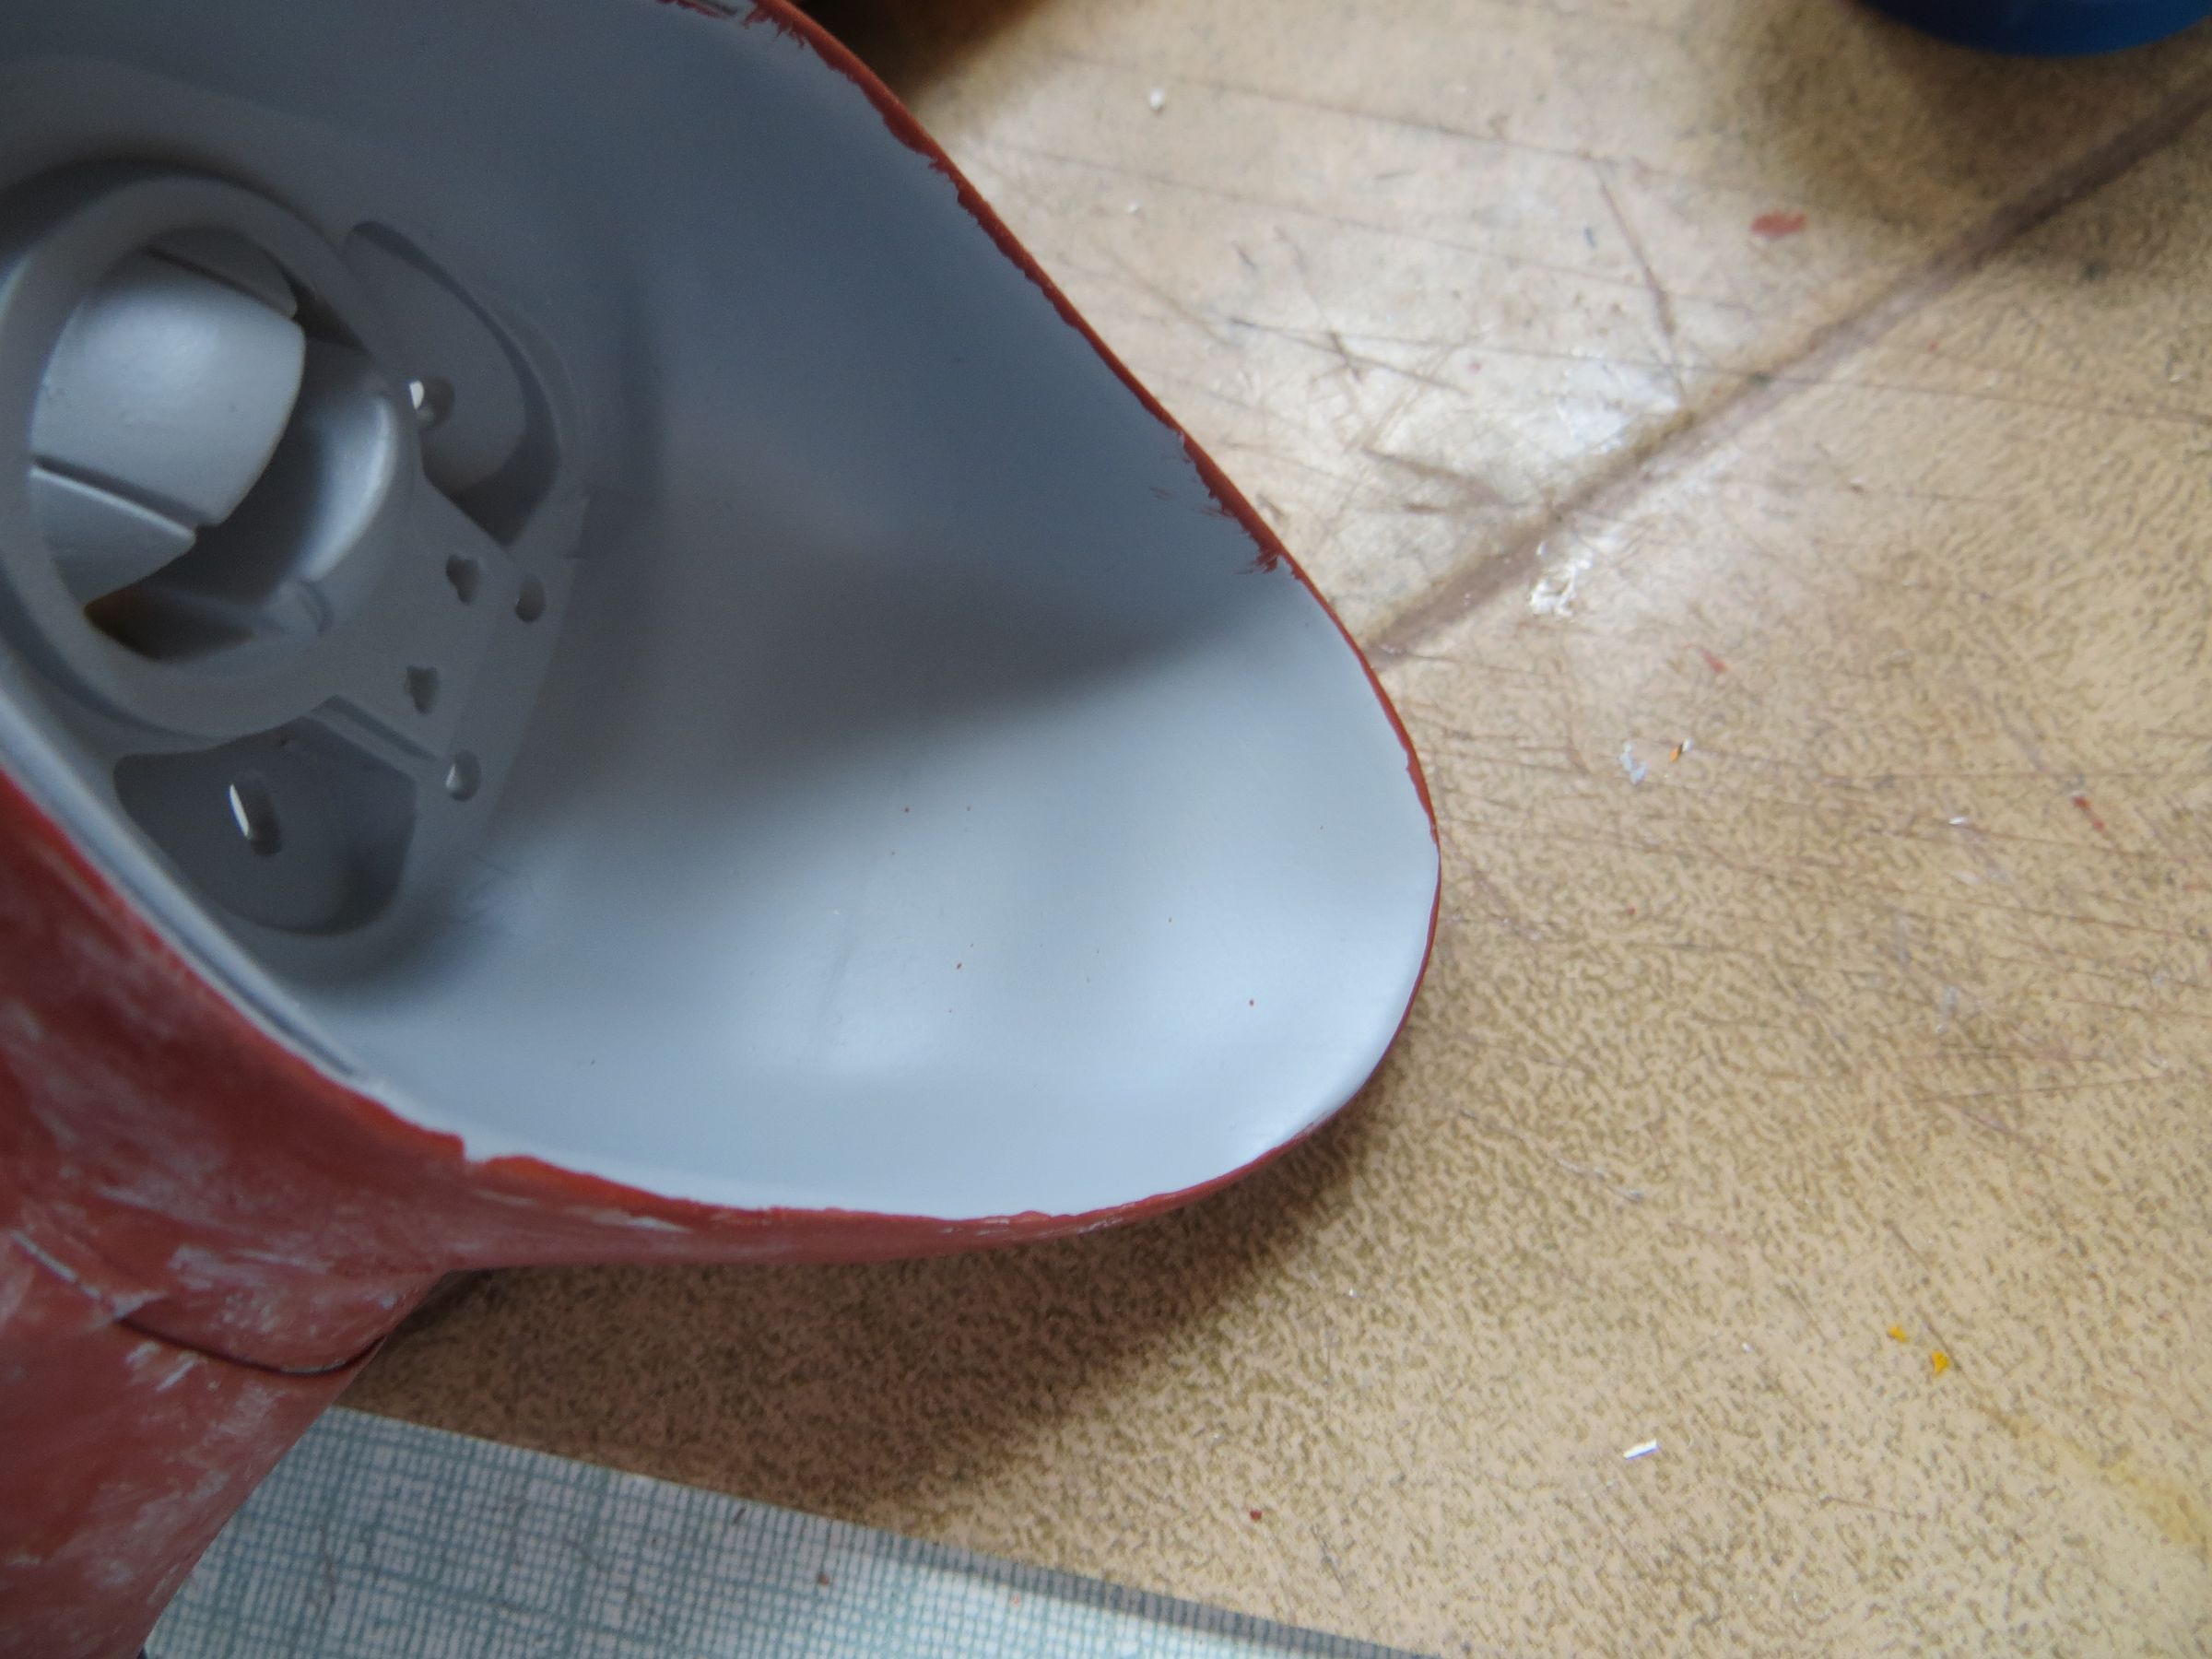
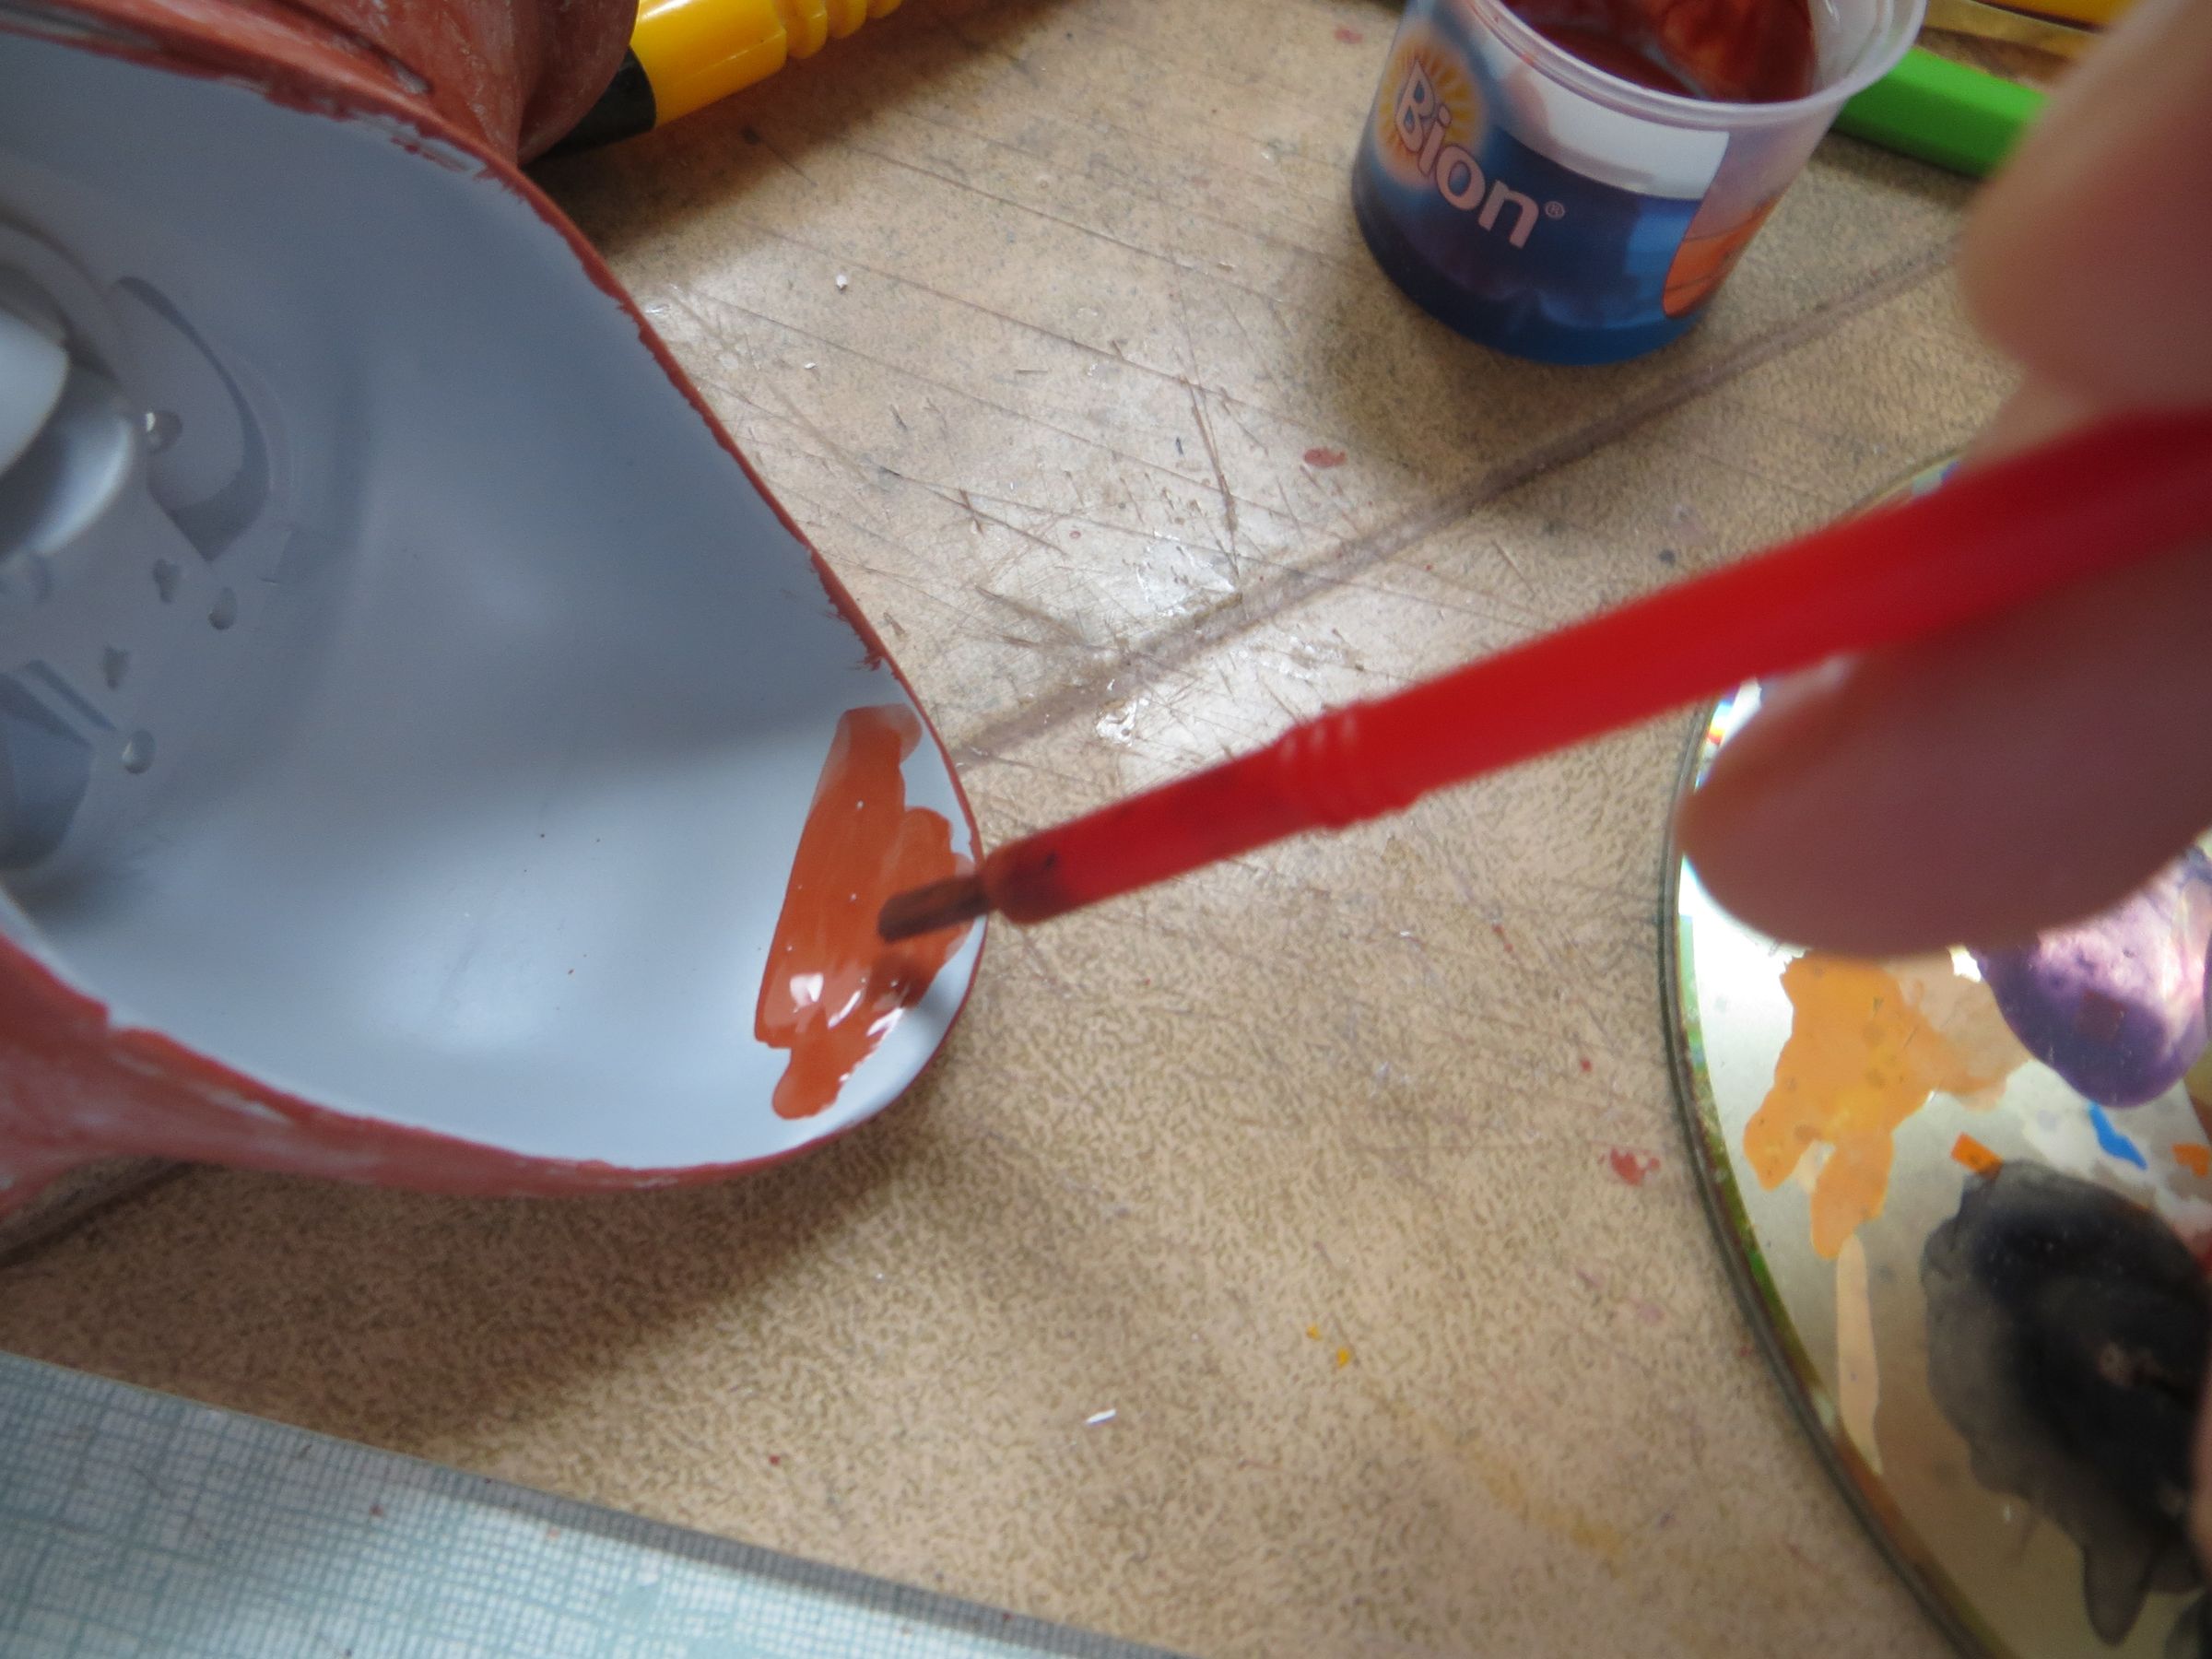
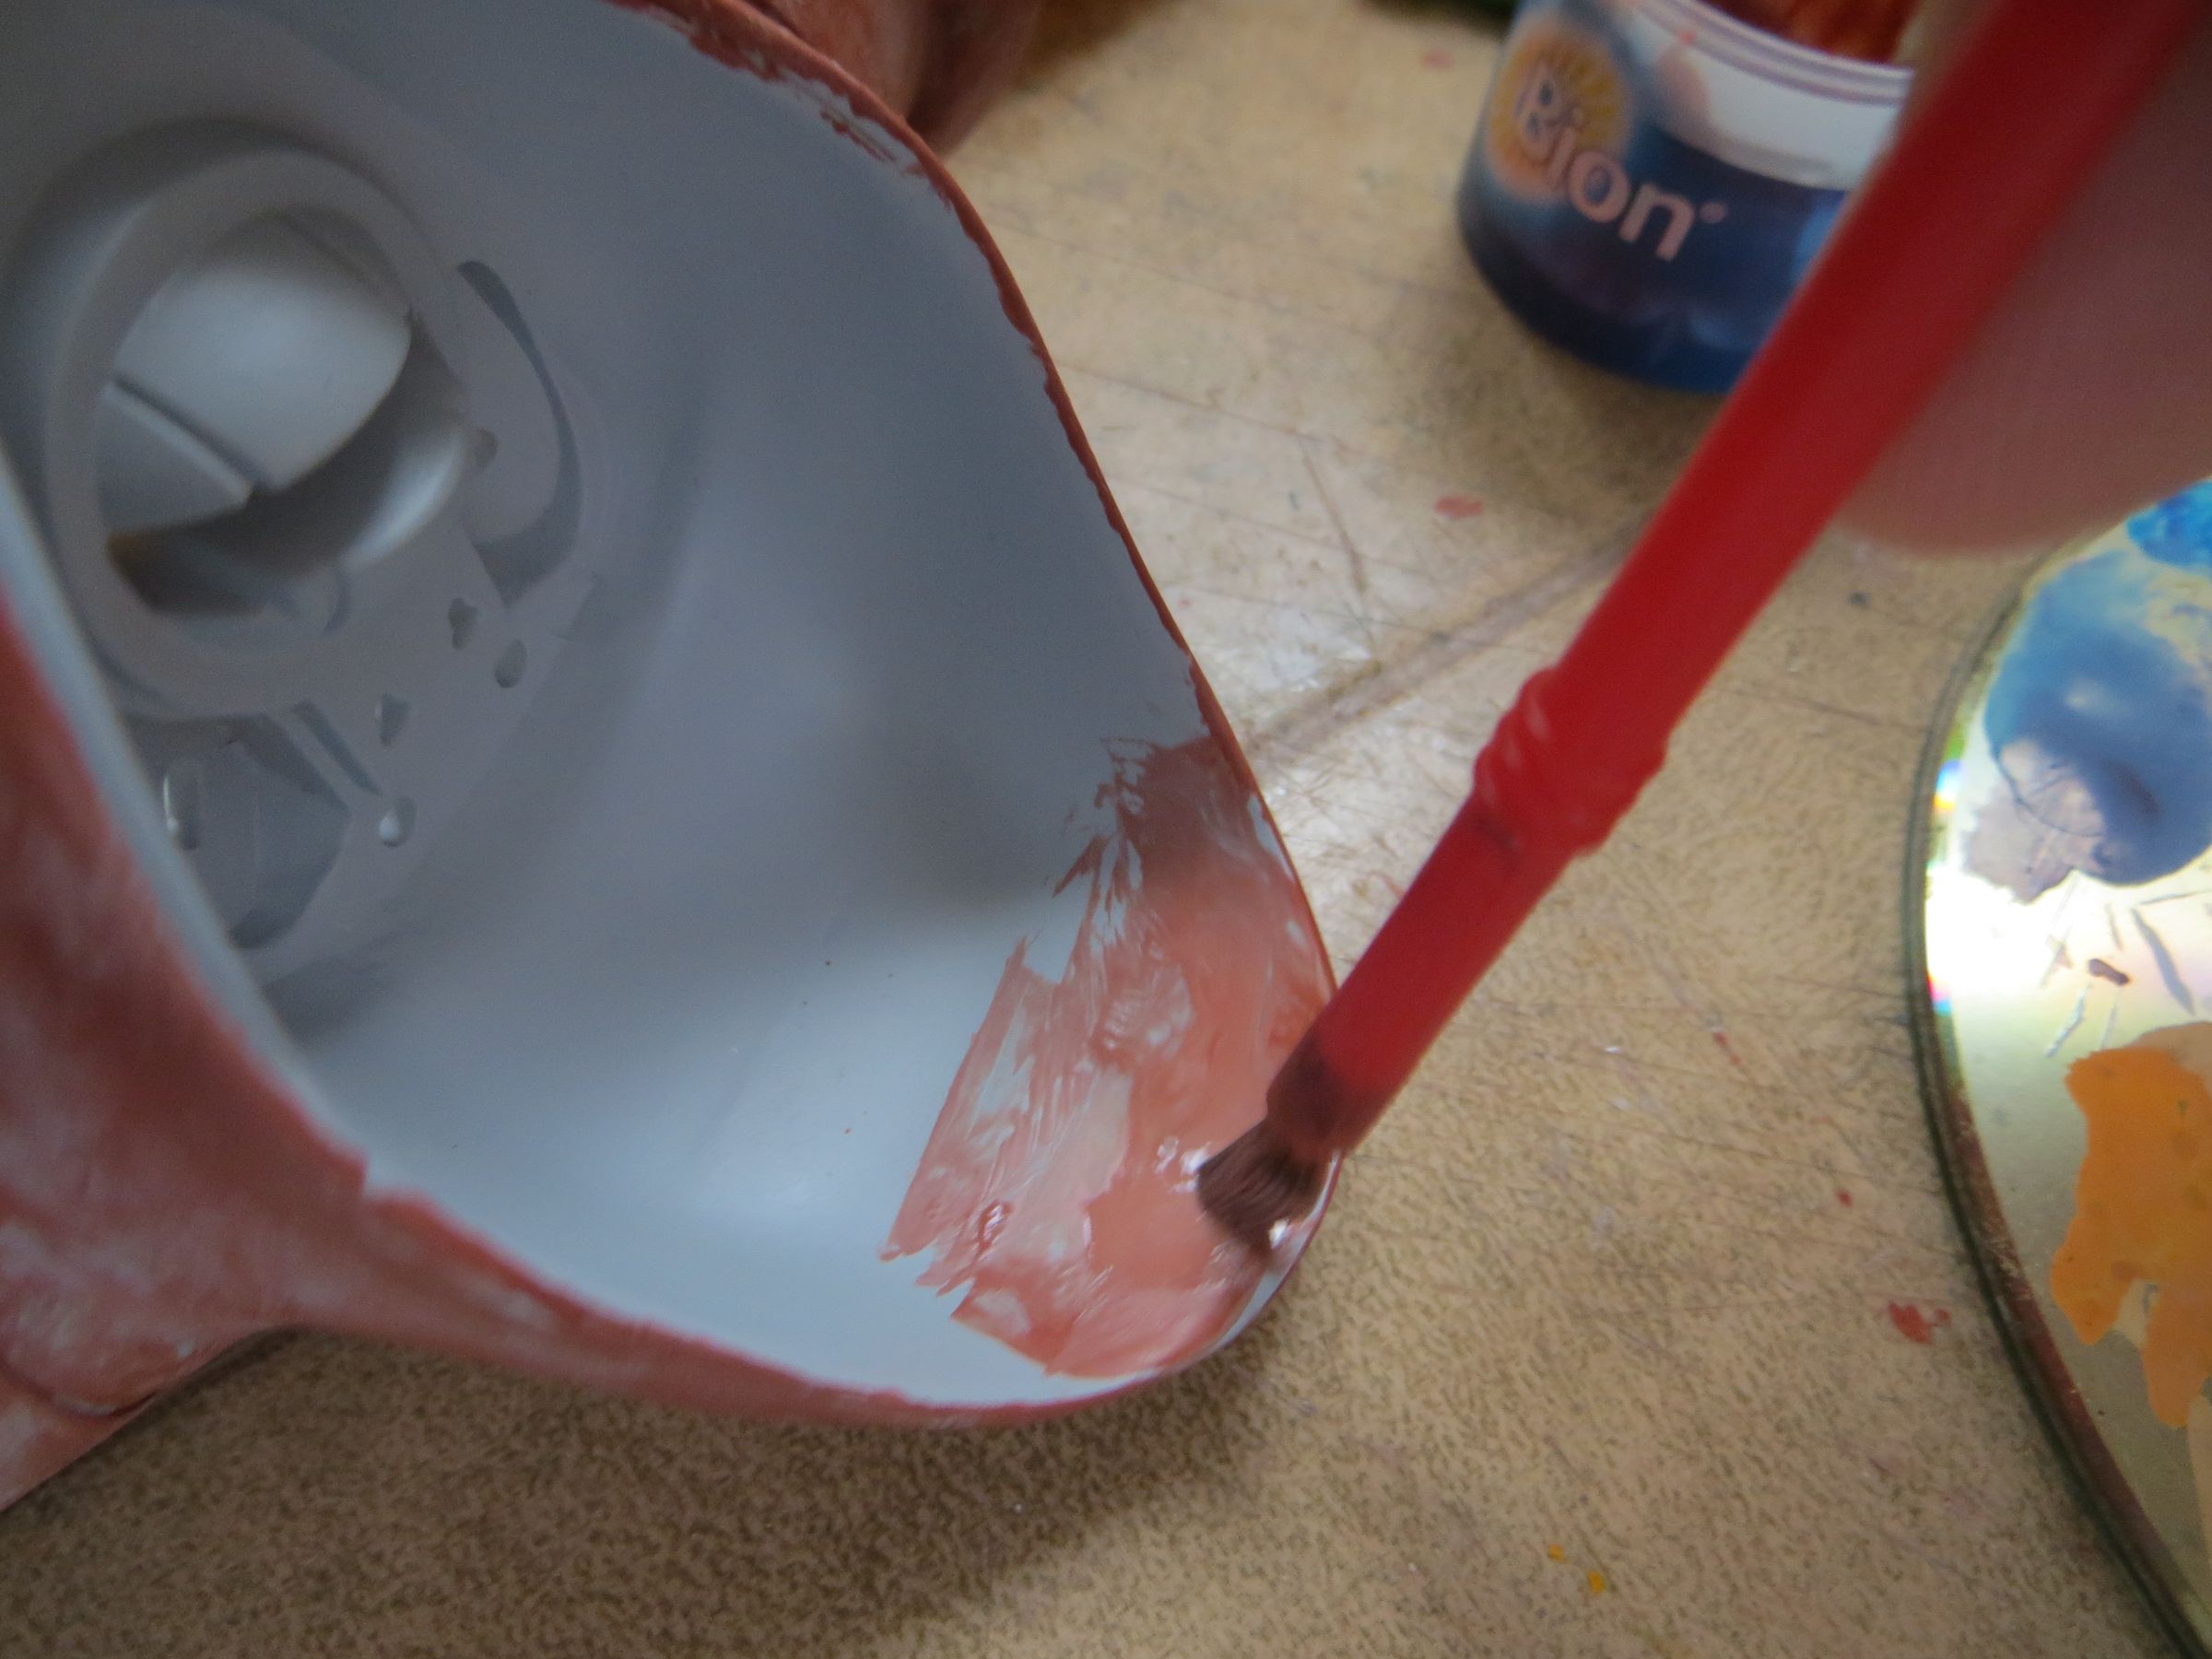
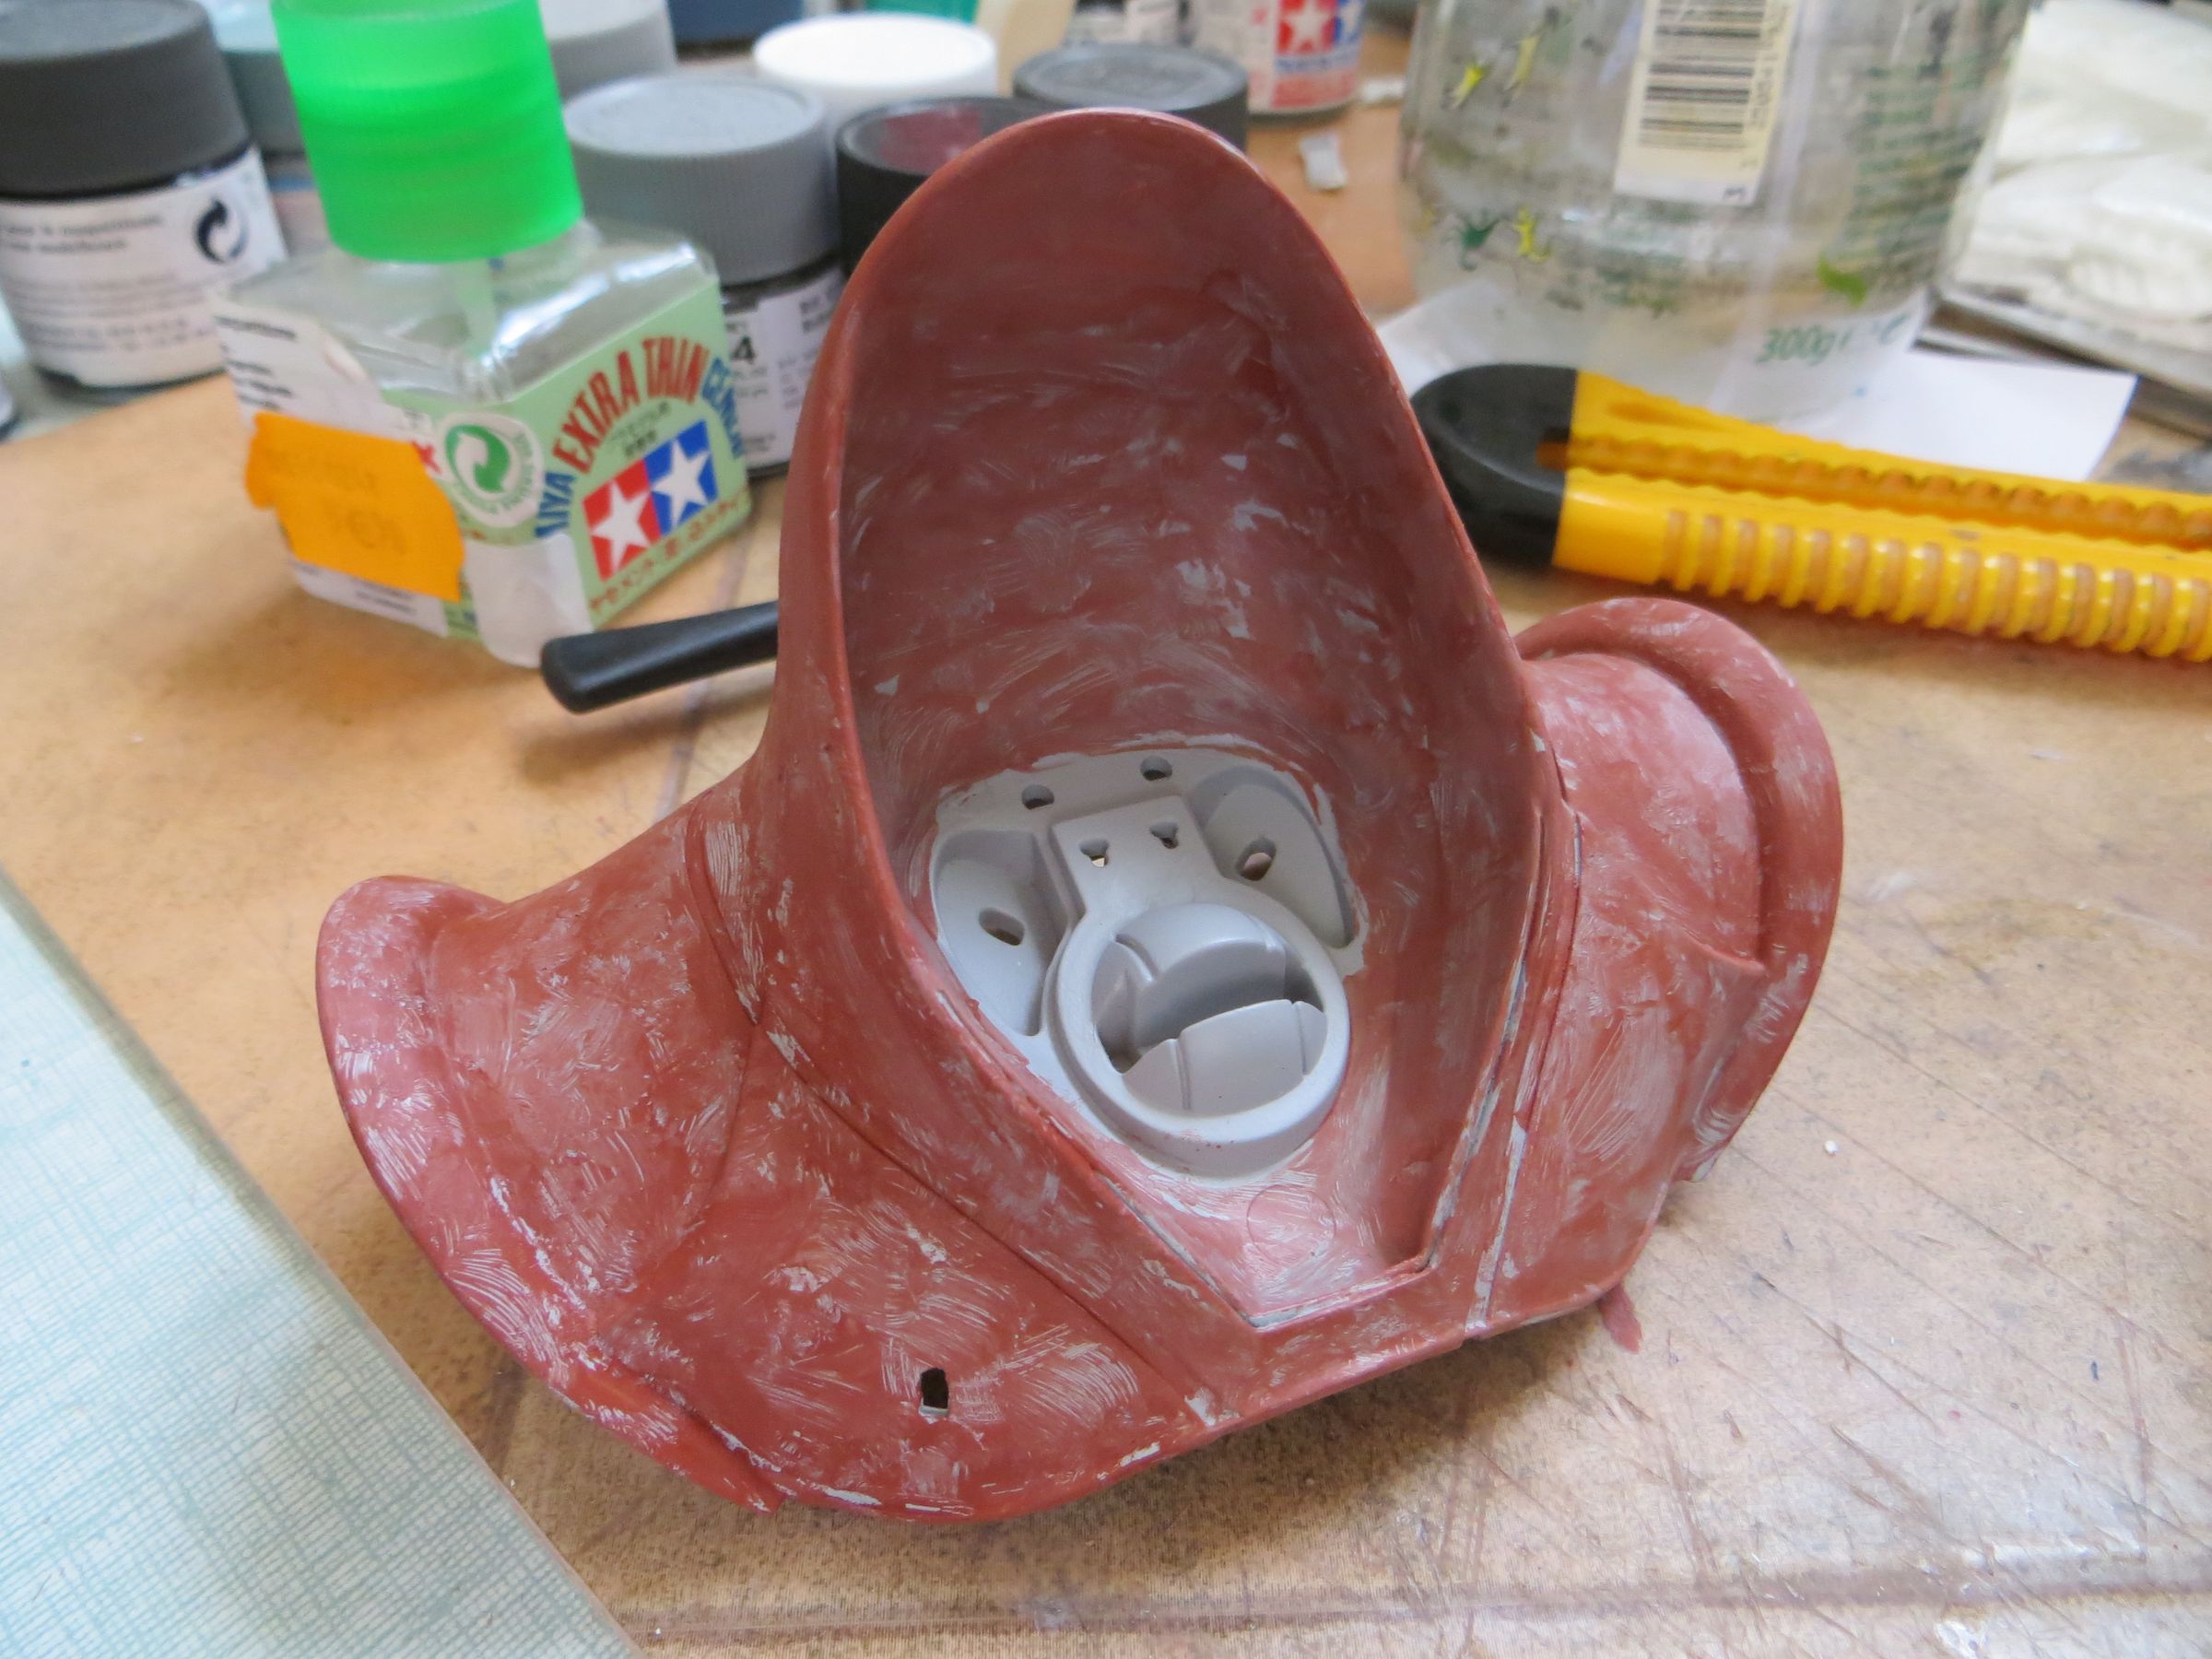
The second step is to glue the remaining parts over the first module and work the horrible seams that will appear. Oh, and before gluing, they will quickly painted on the reverse, as it is clearly visible, as shown in this dry assembly :