Tie tie tie - take 6
Par olcabour le dimanche, 17 novembre 2013, 11:51 - Tie tie tie - Lien permanent
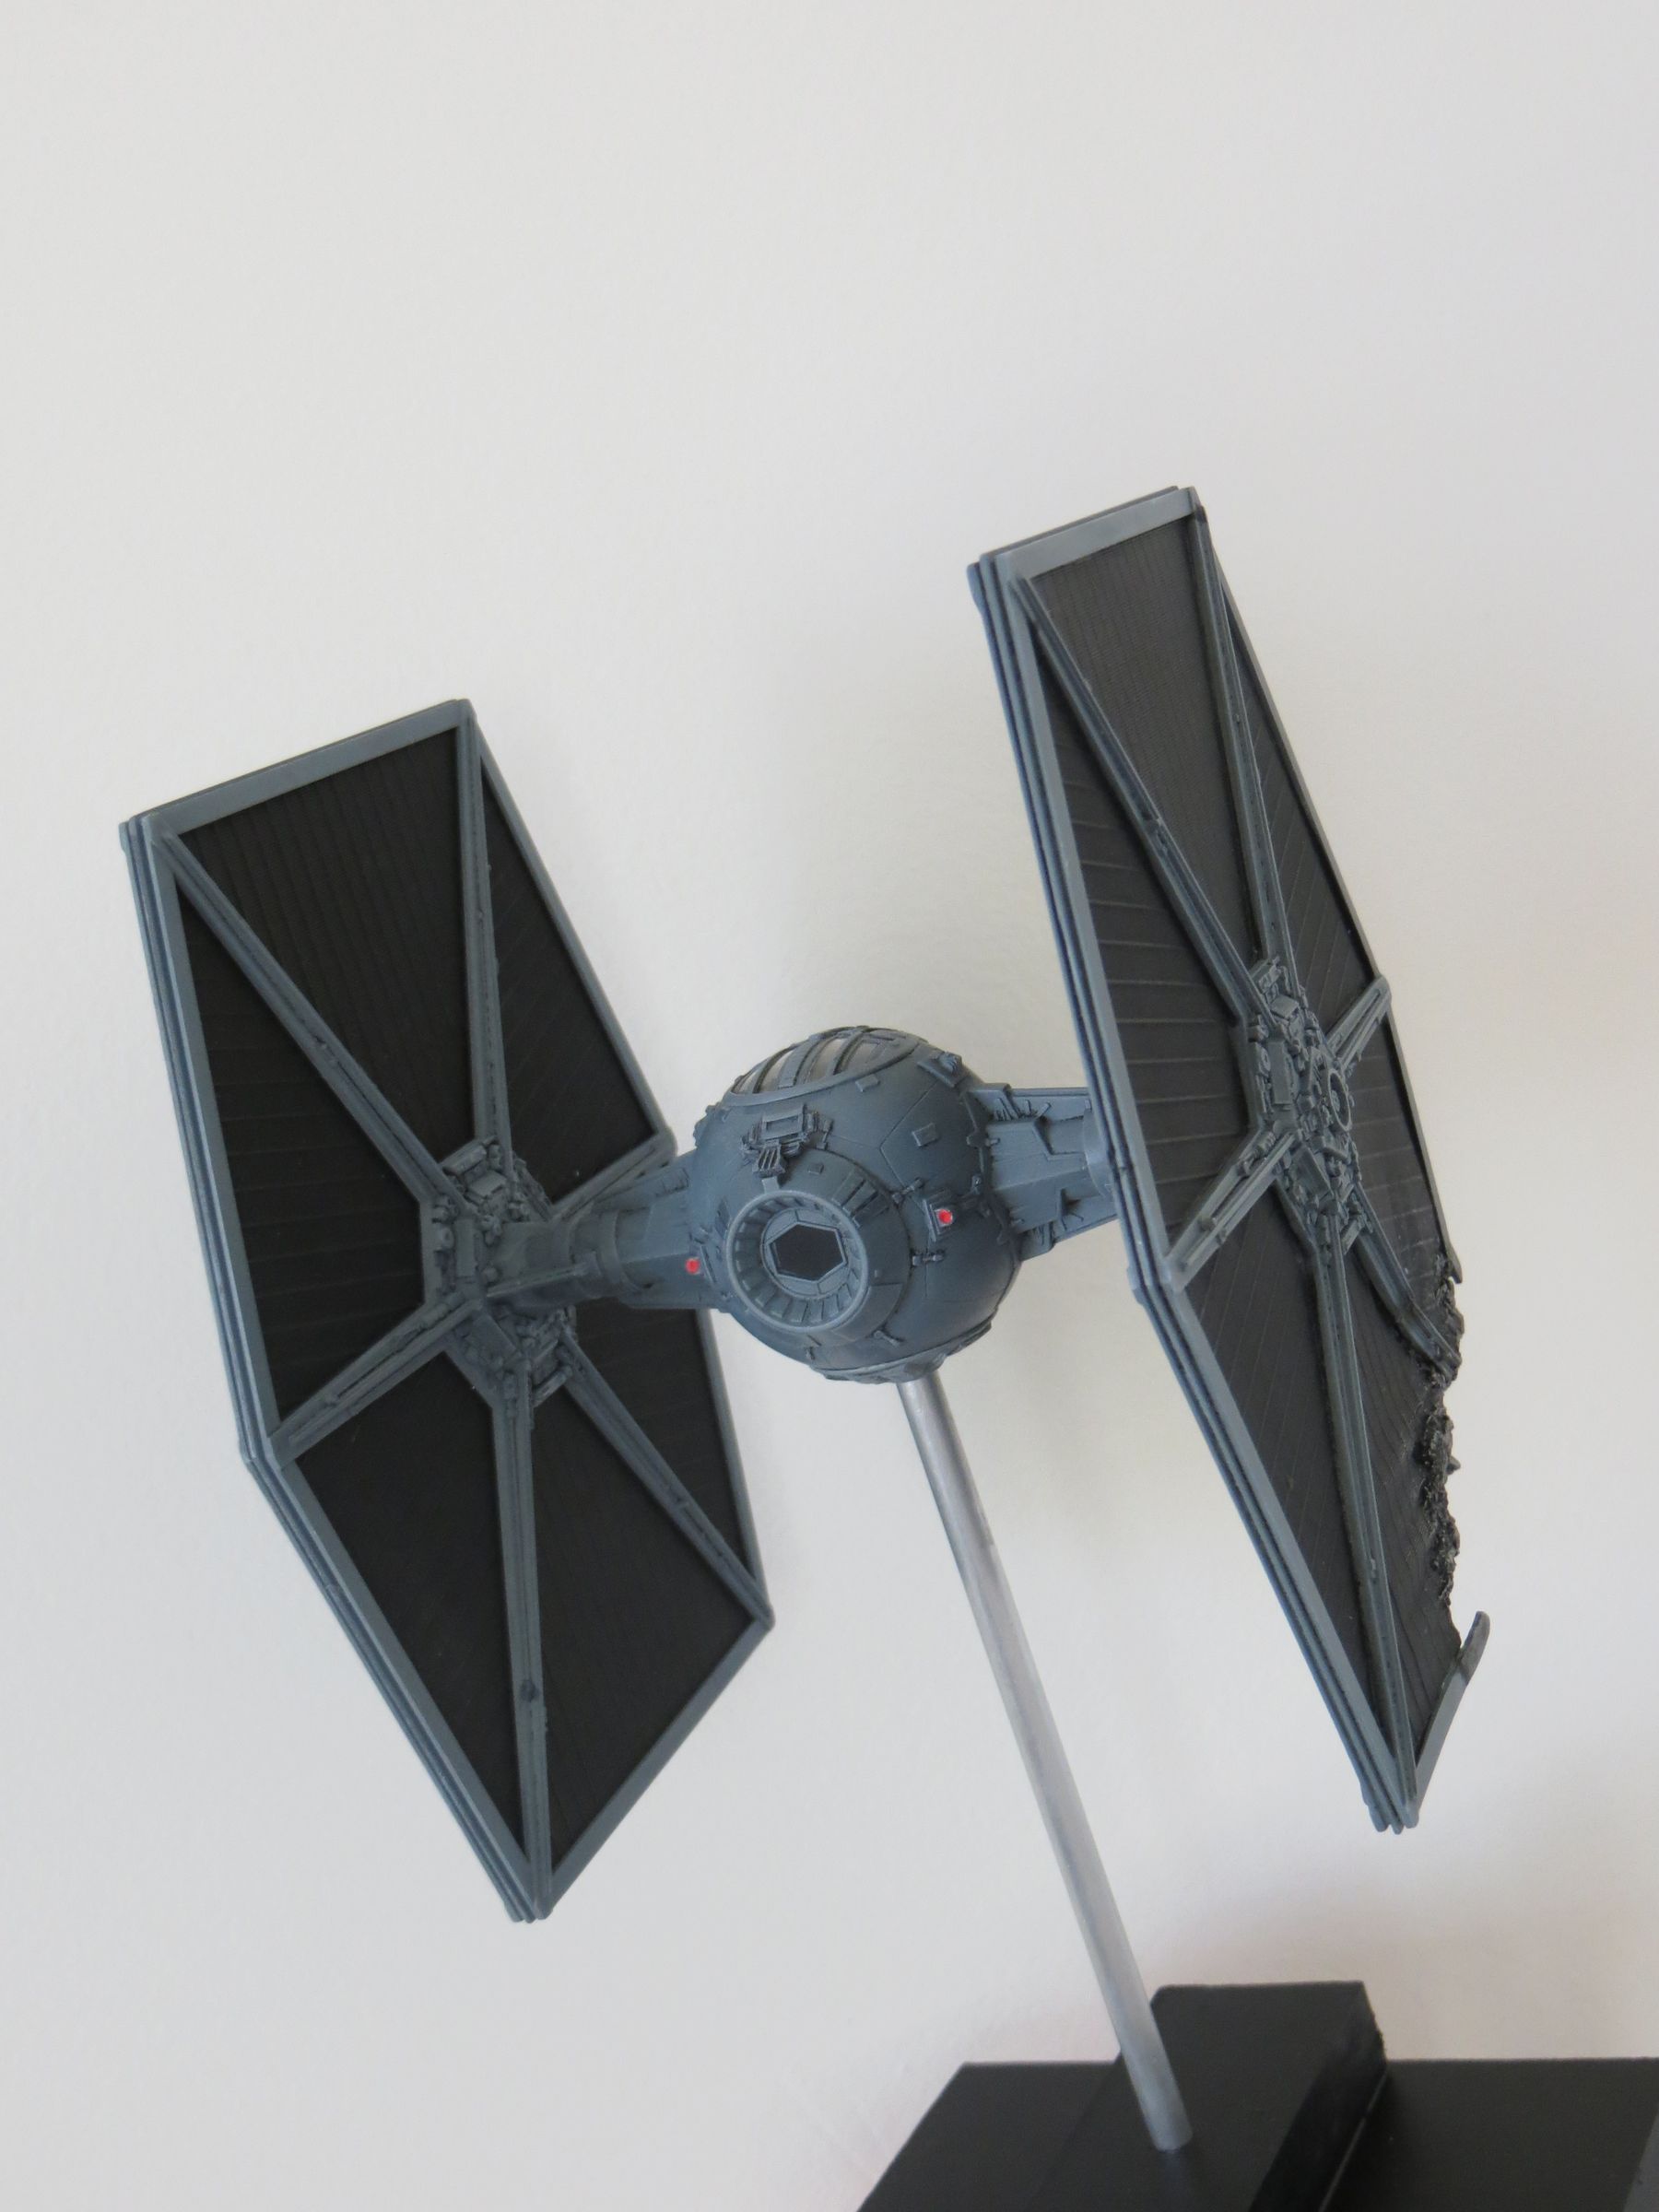
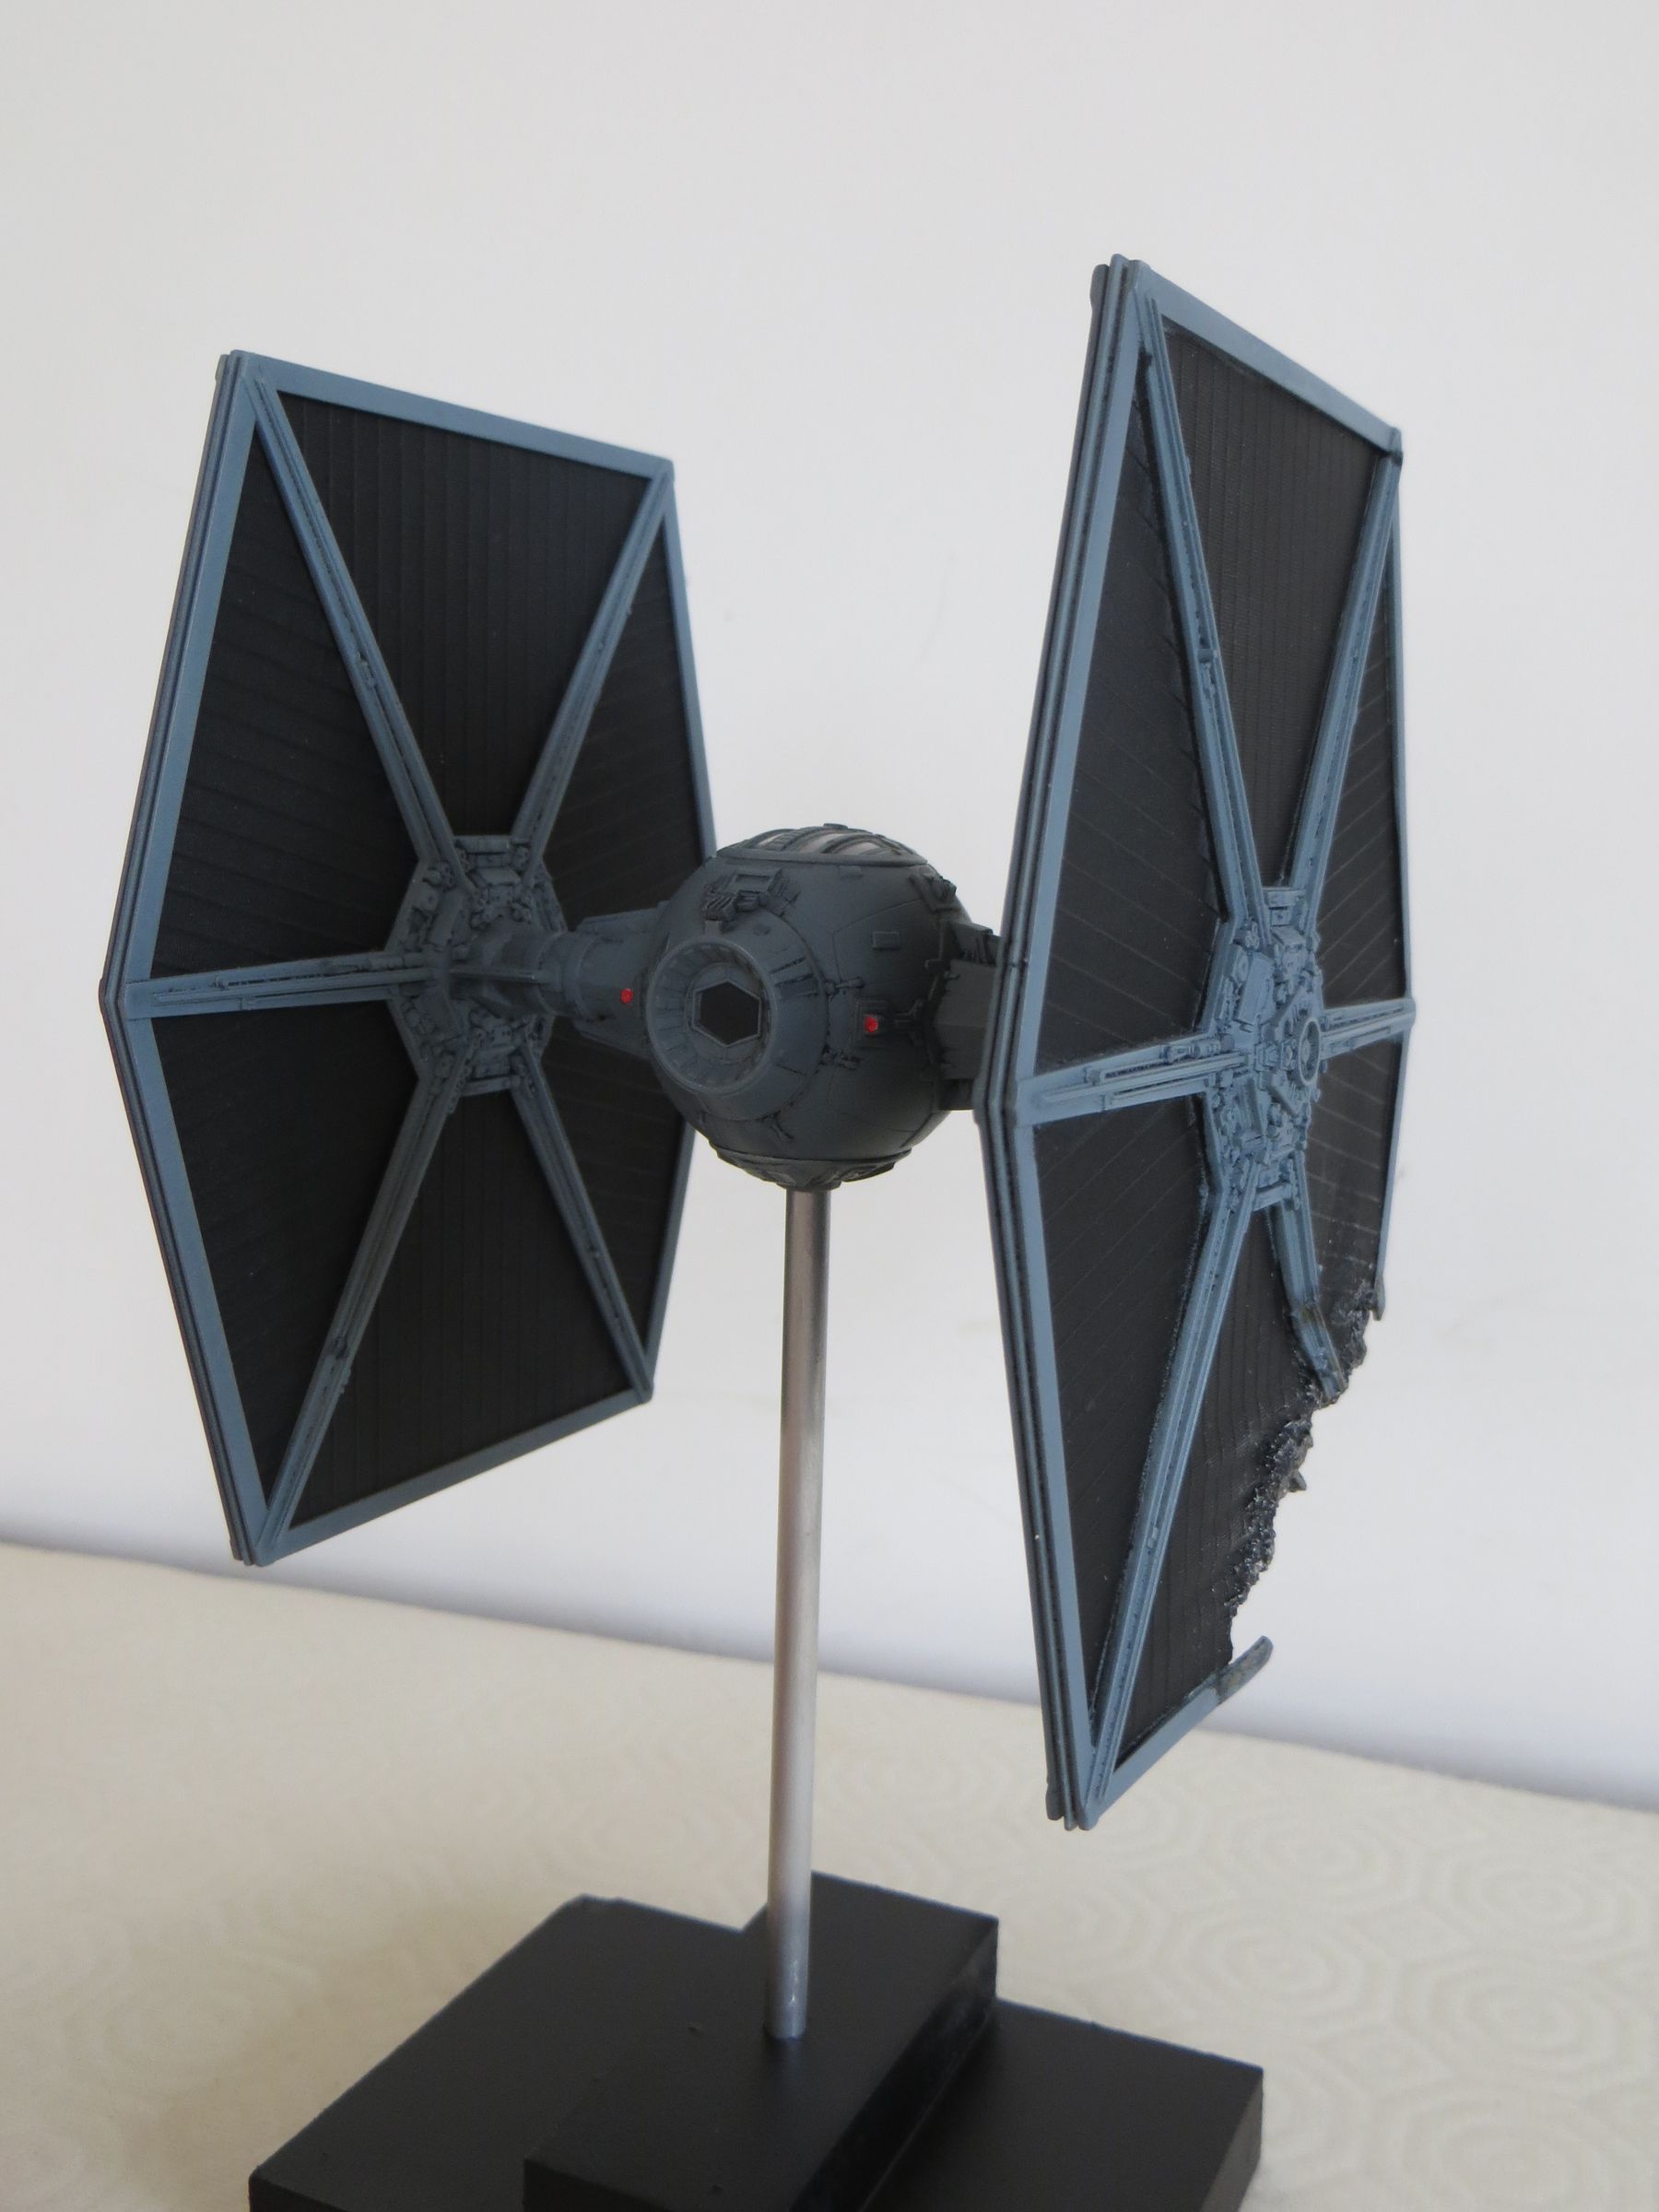
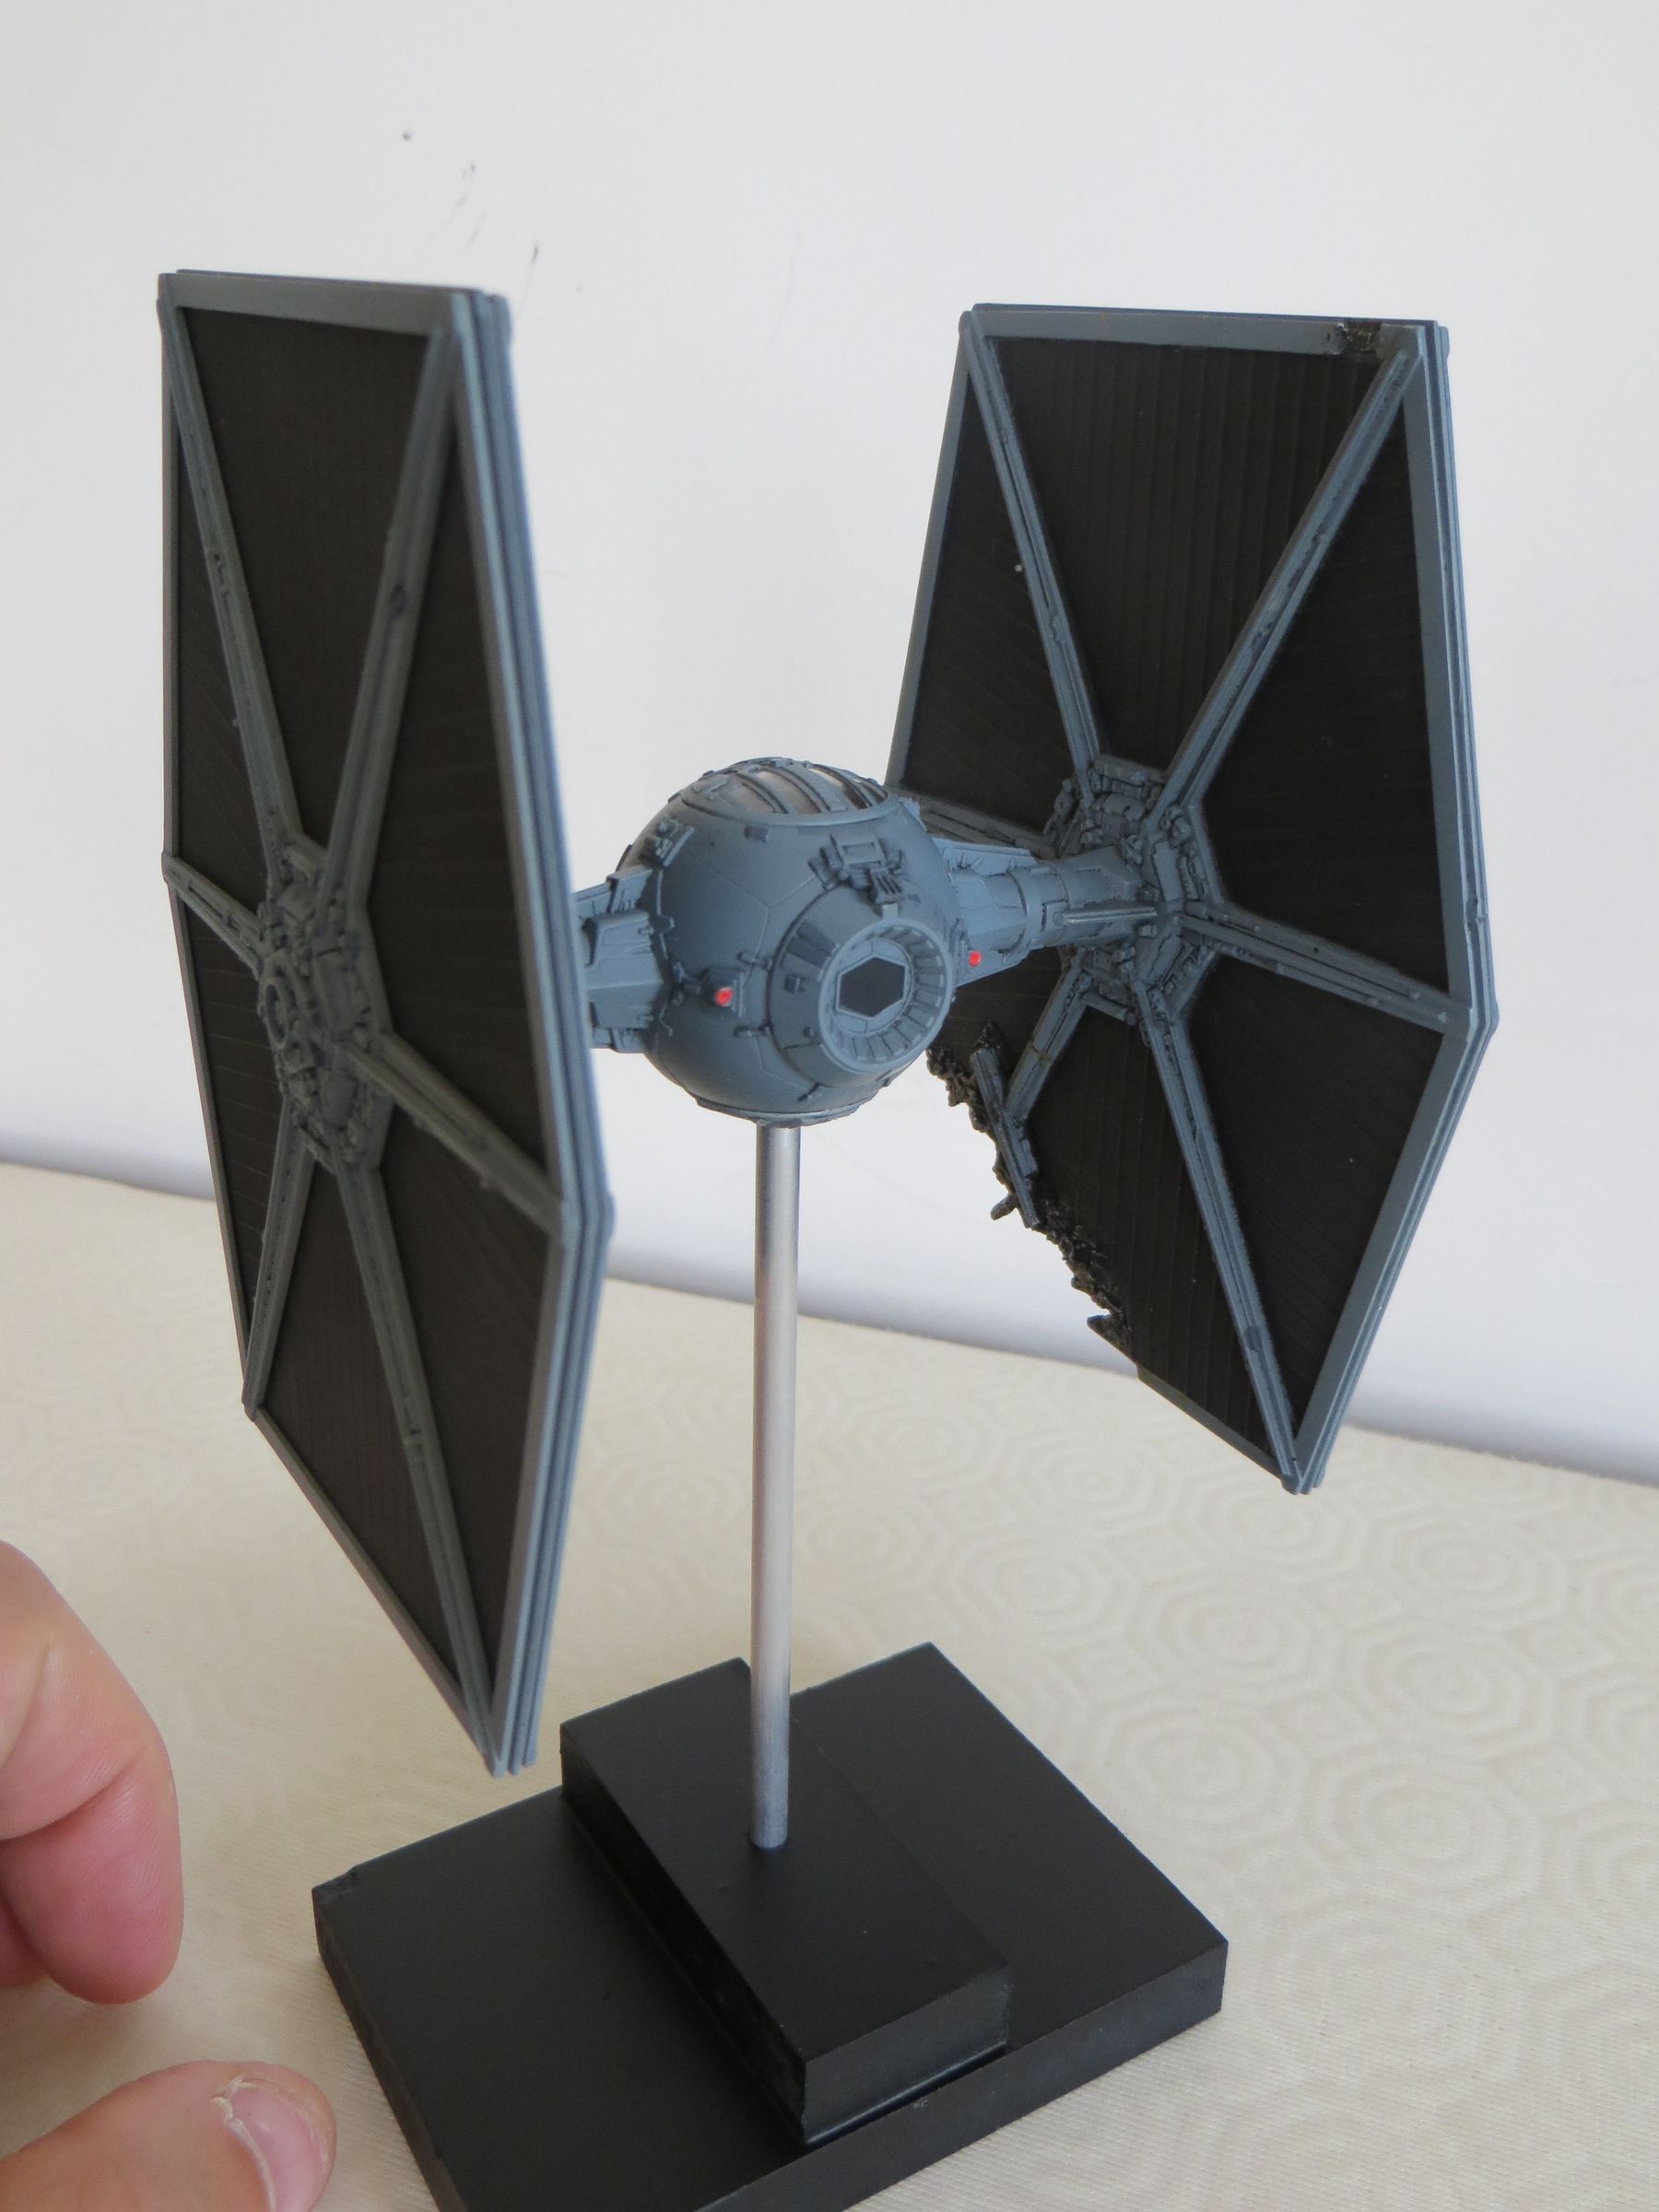
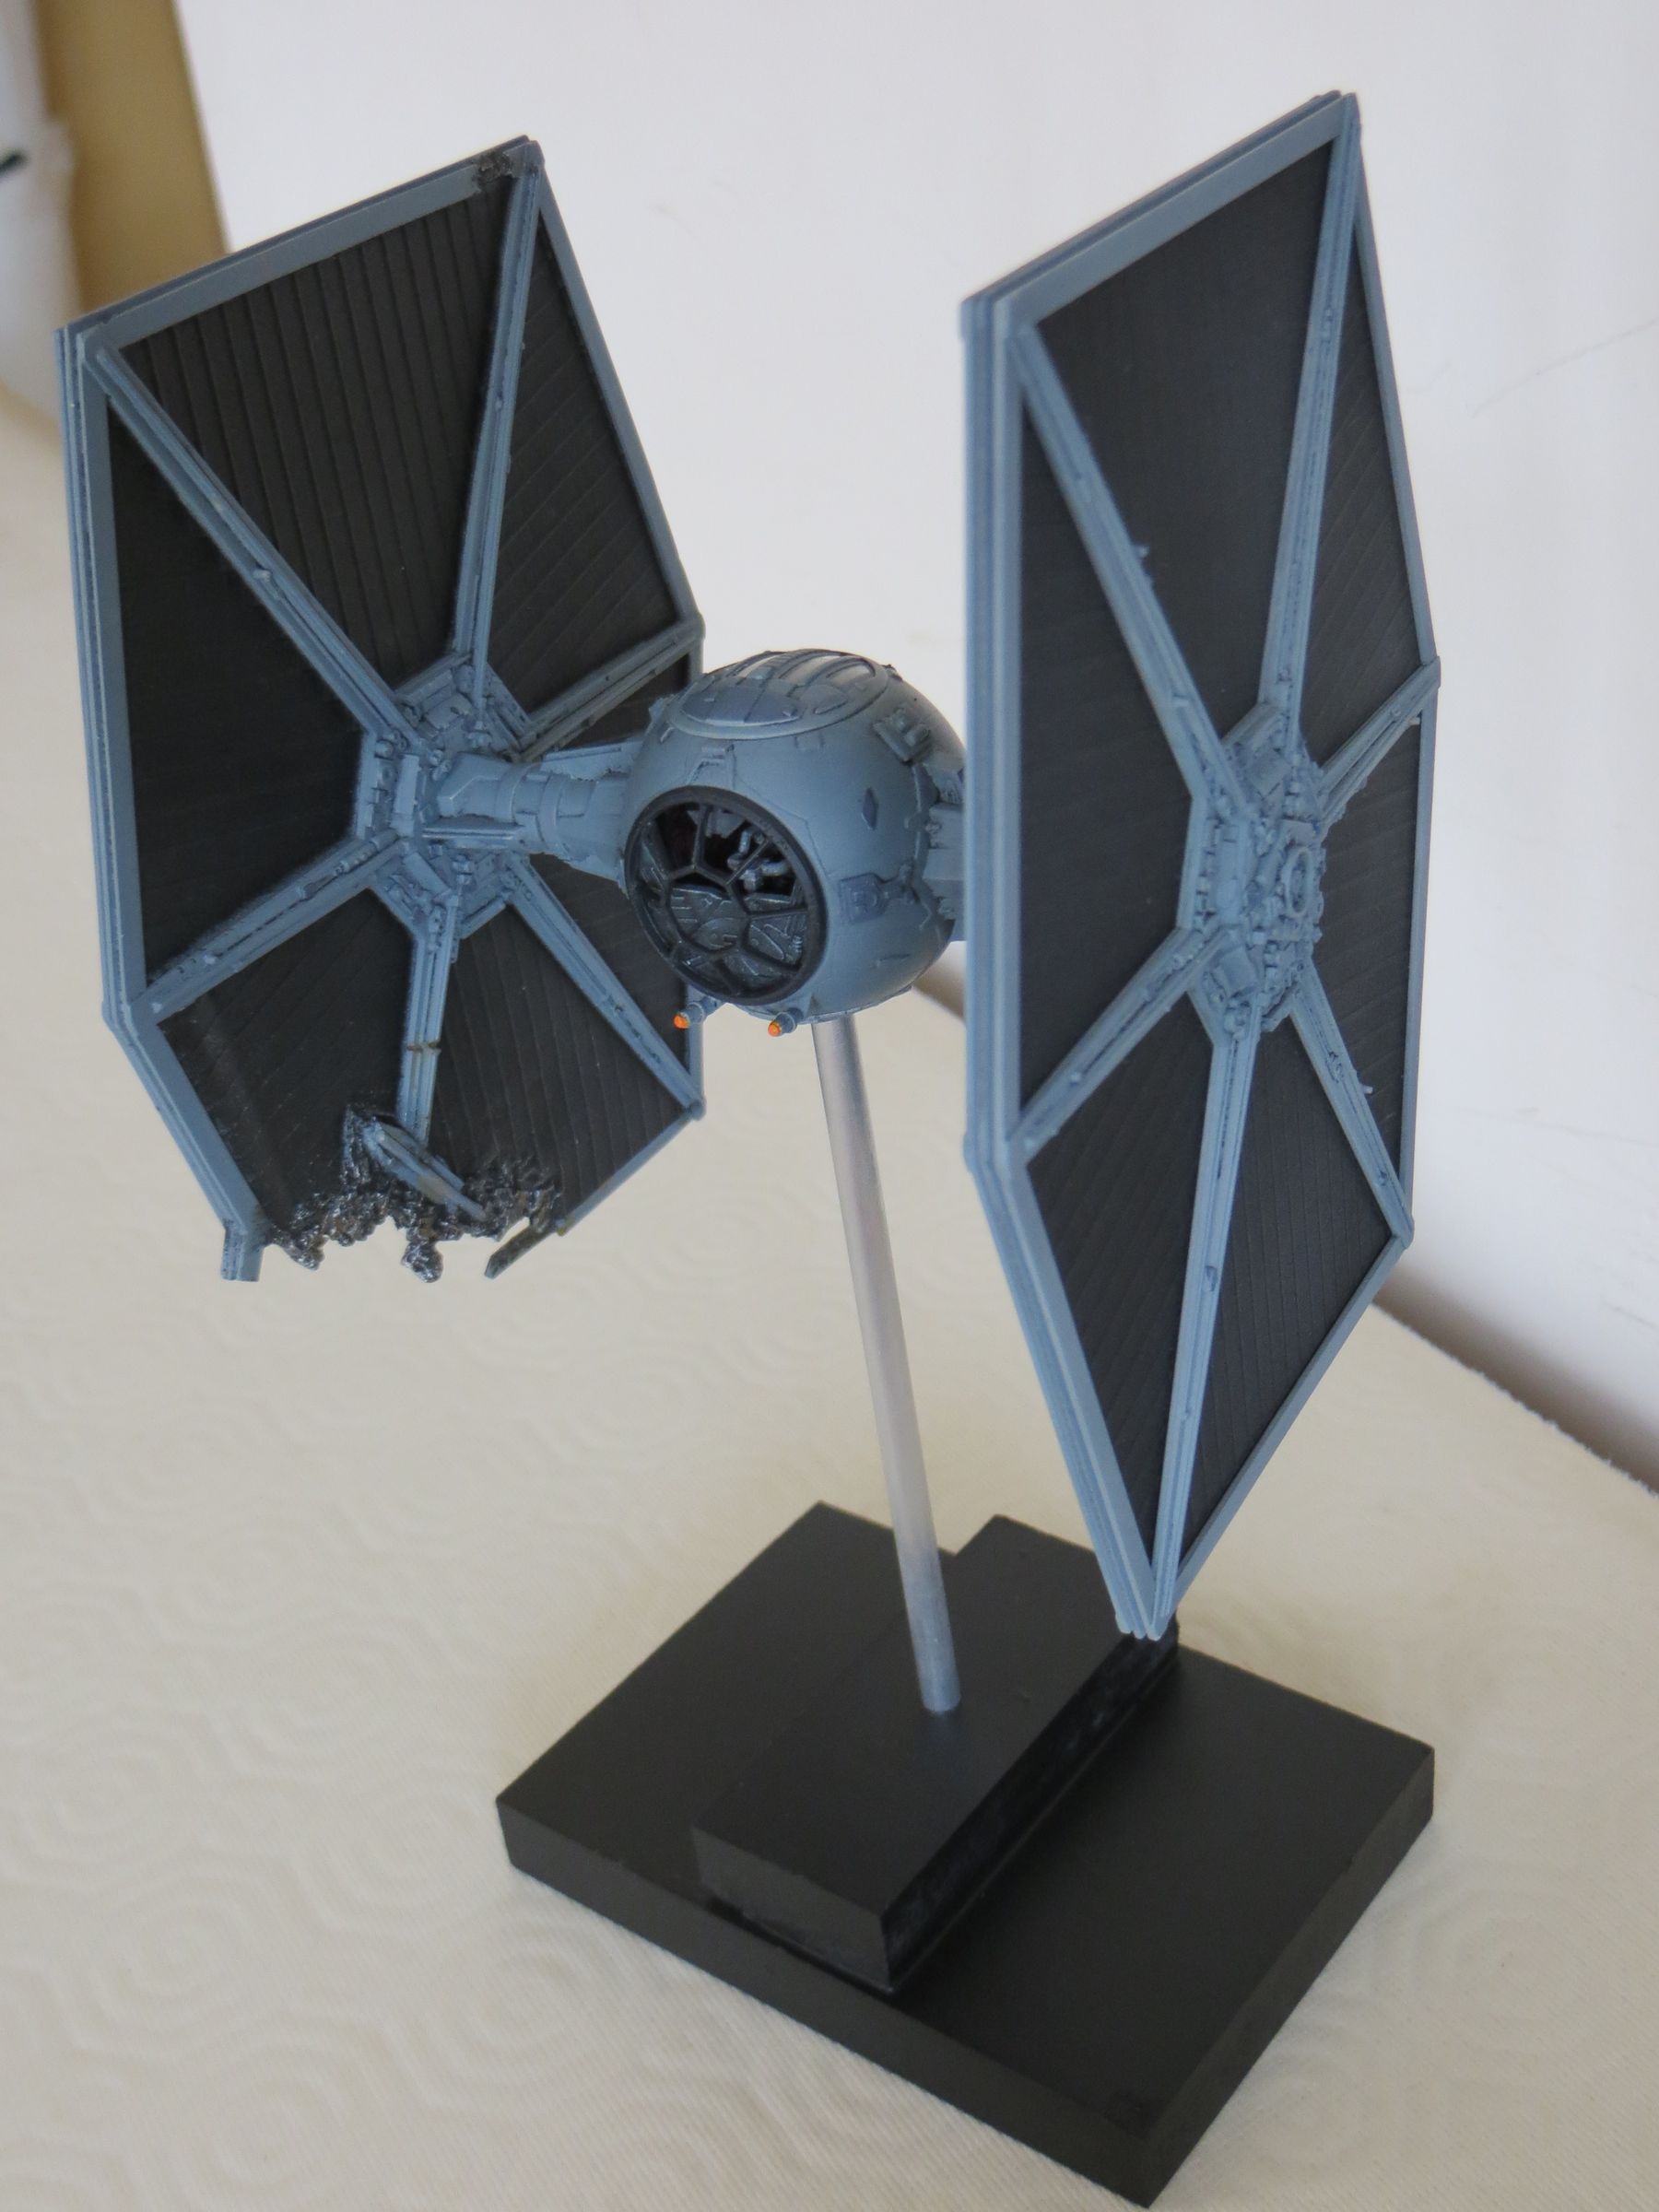
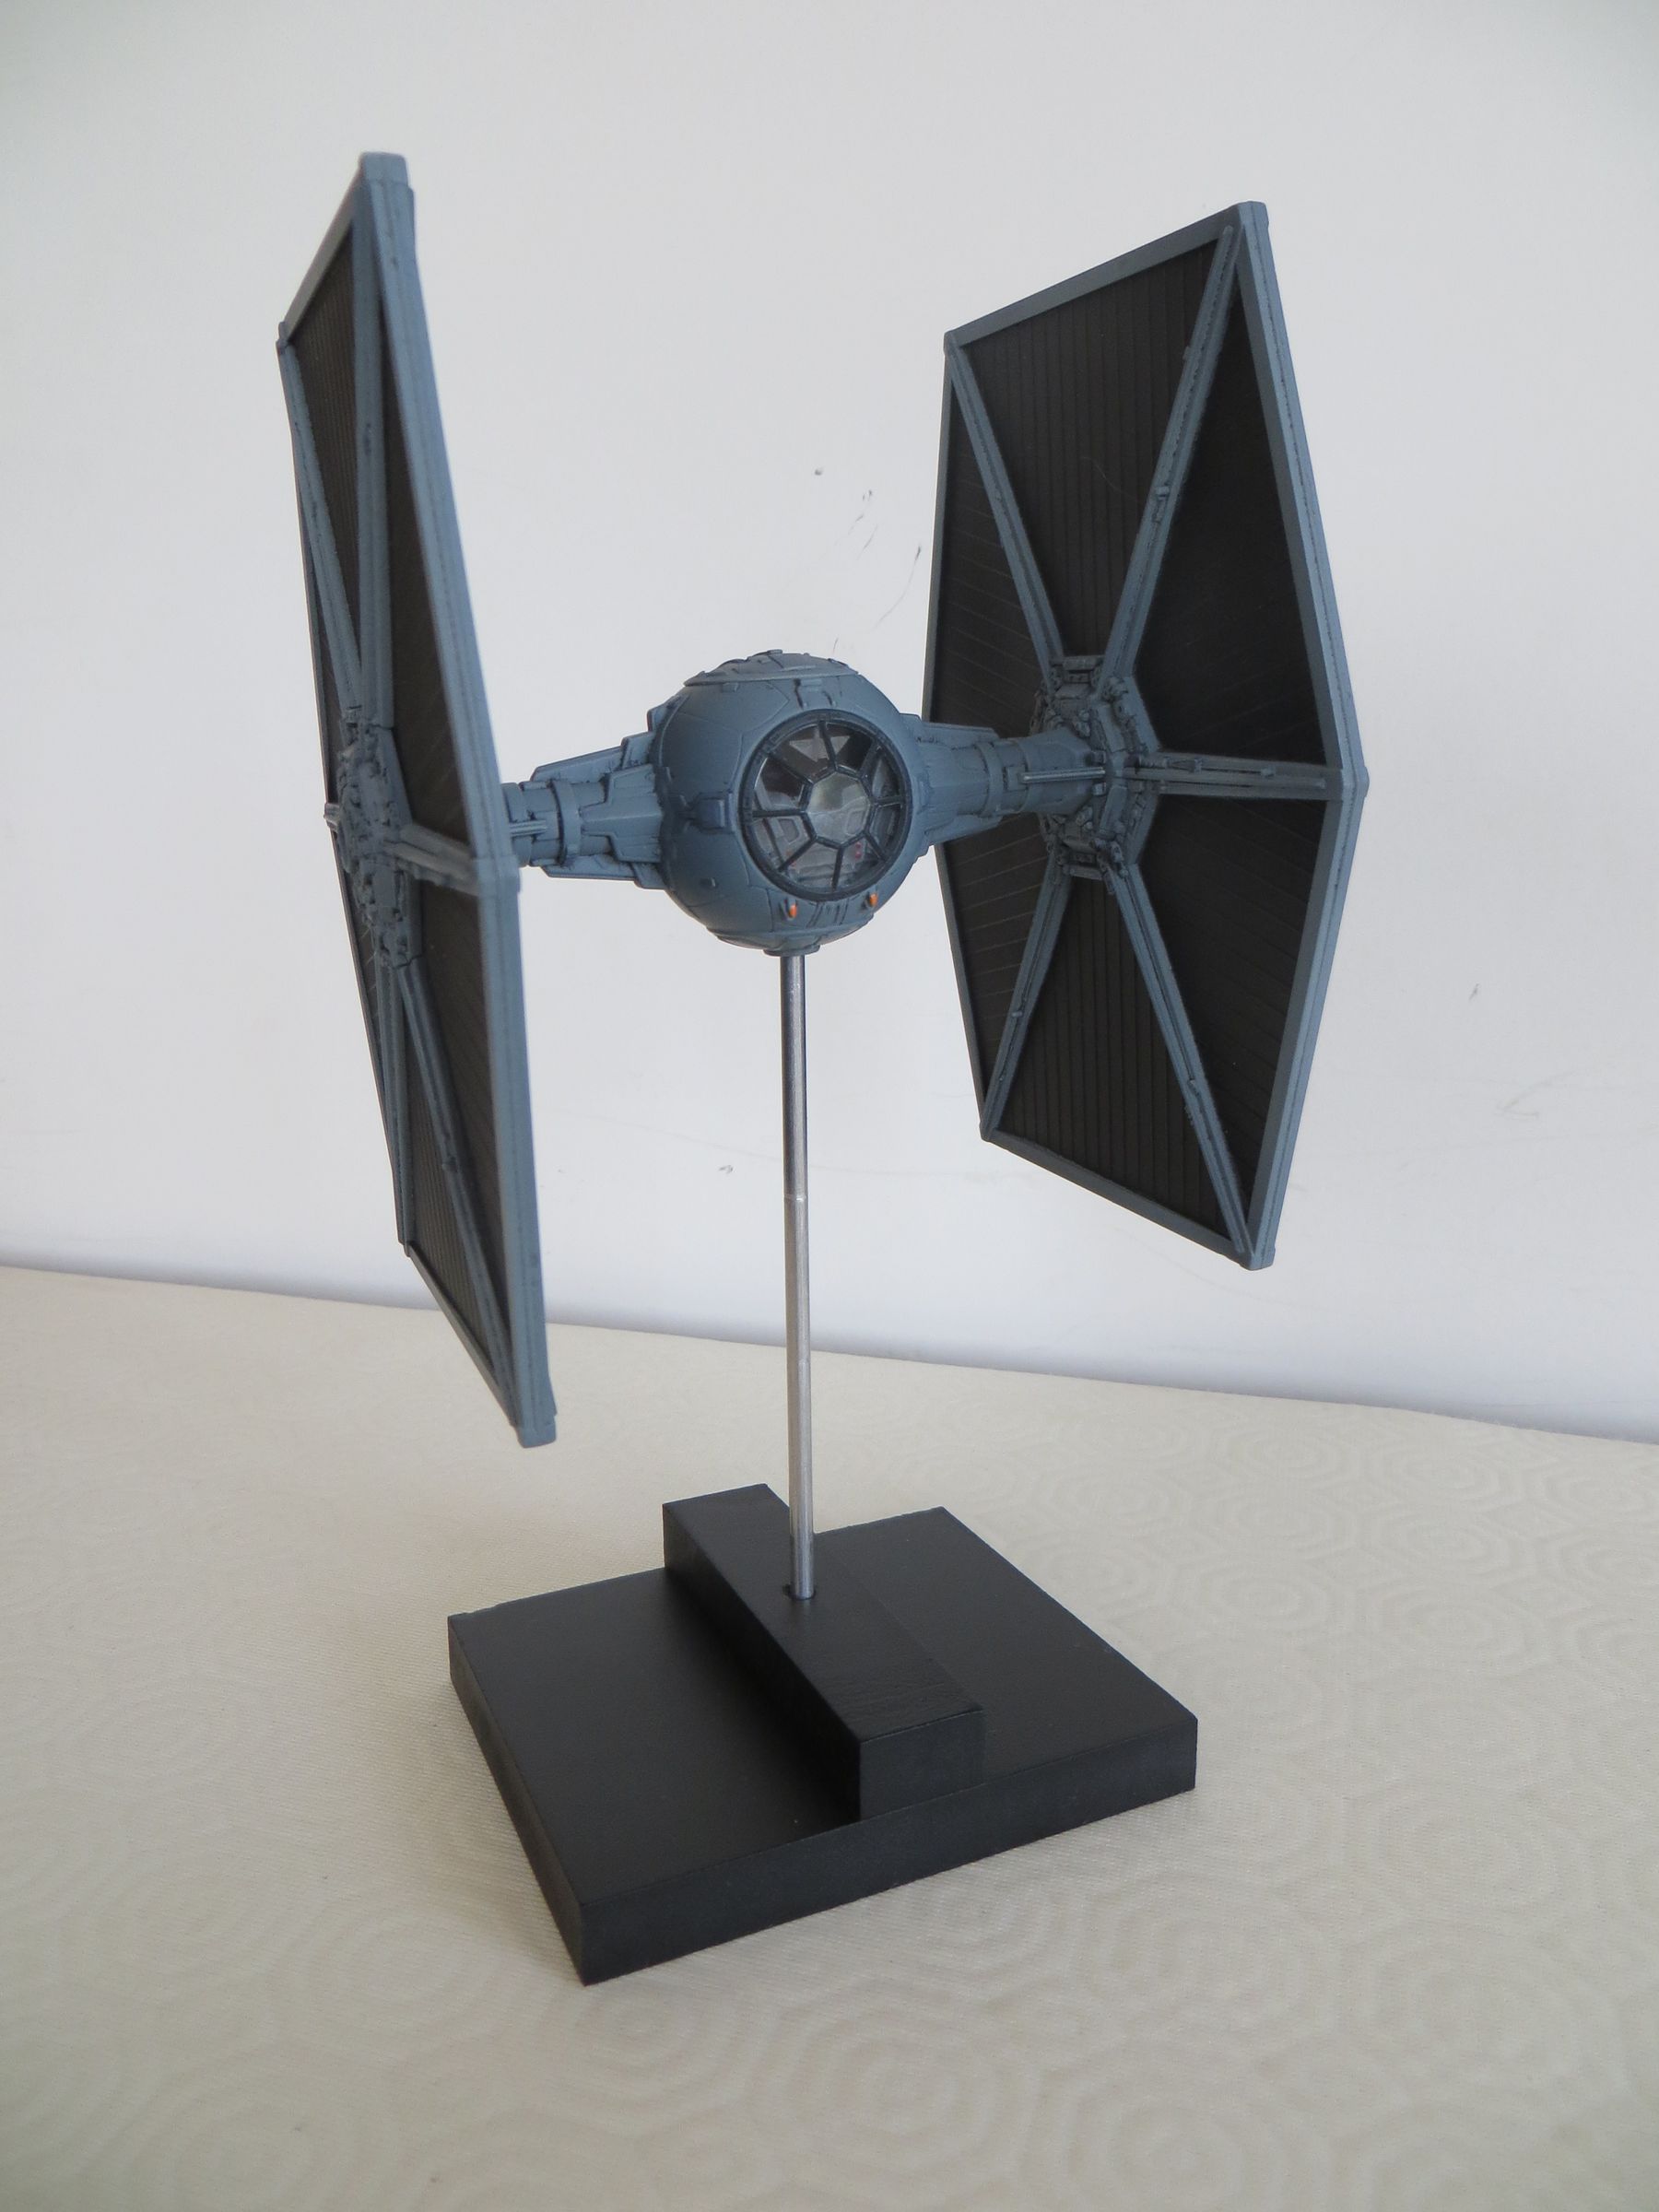
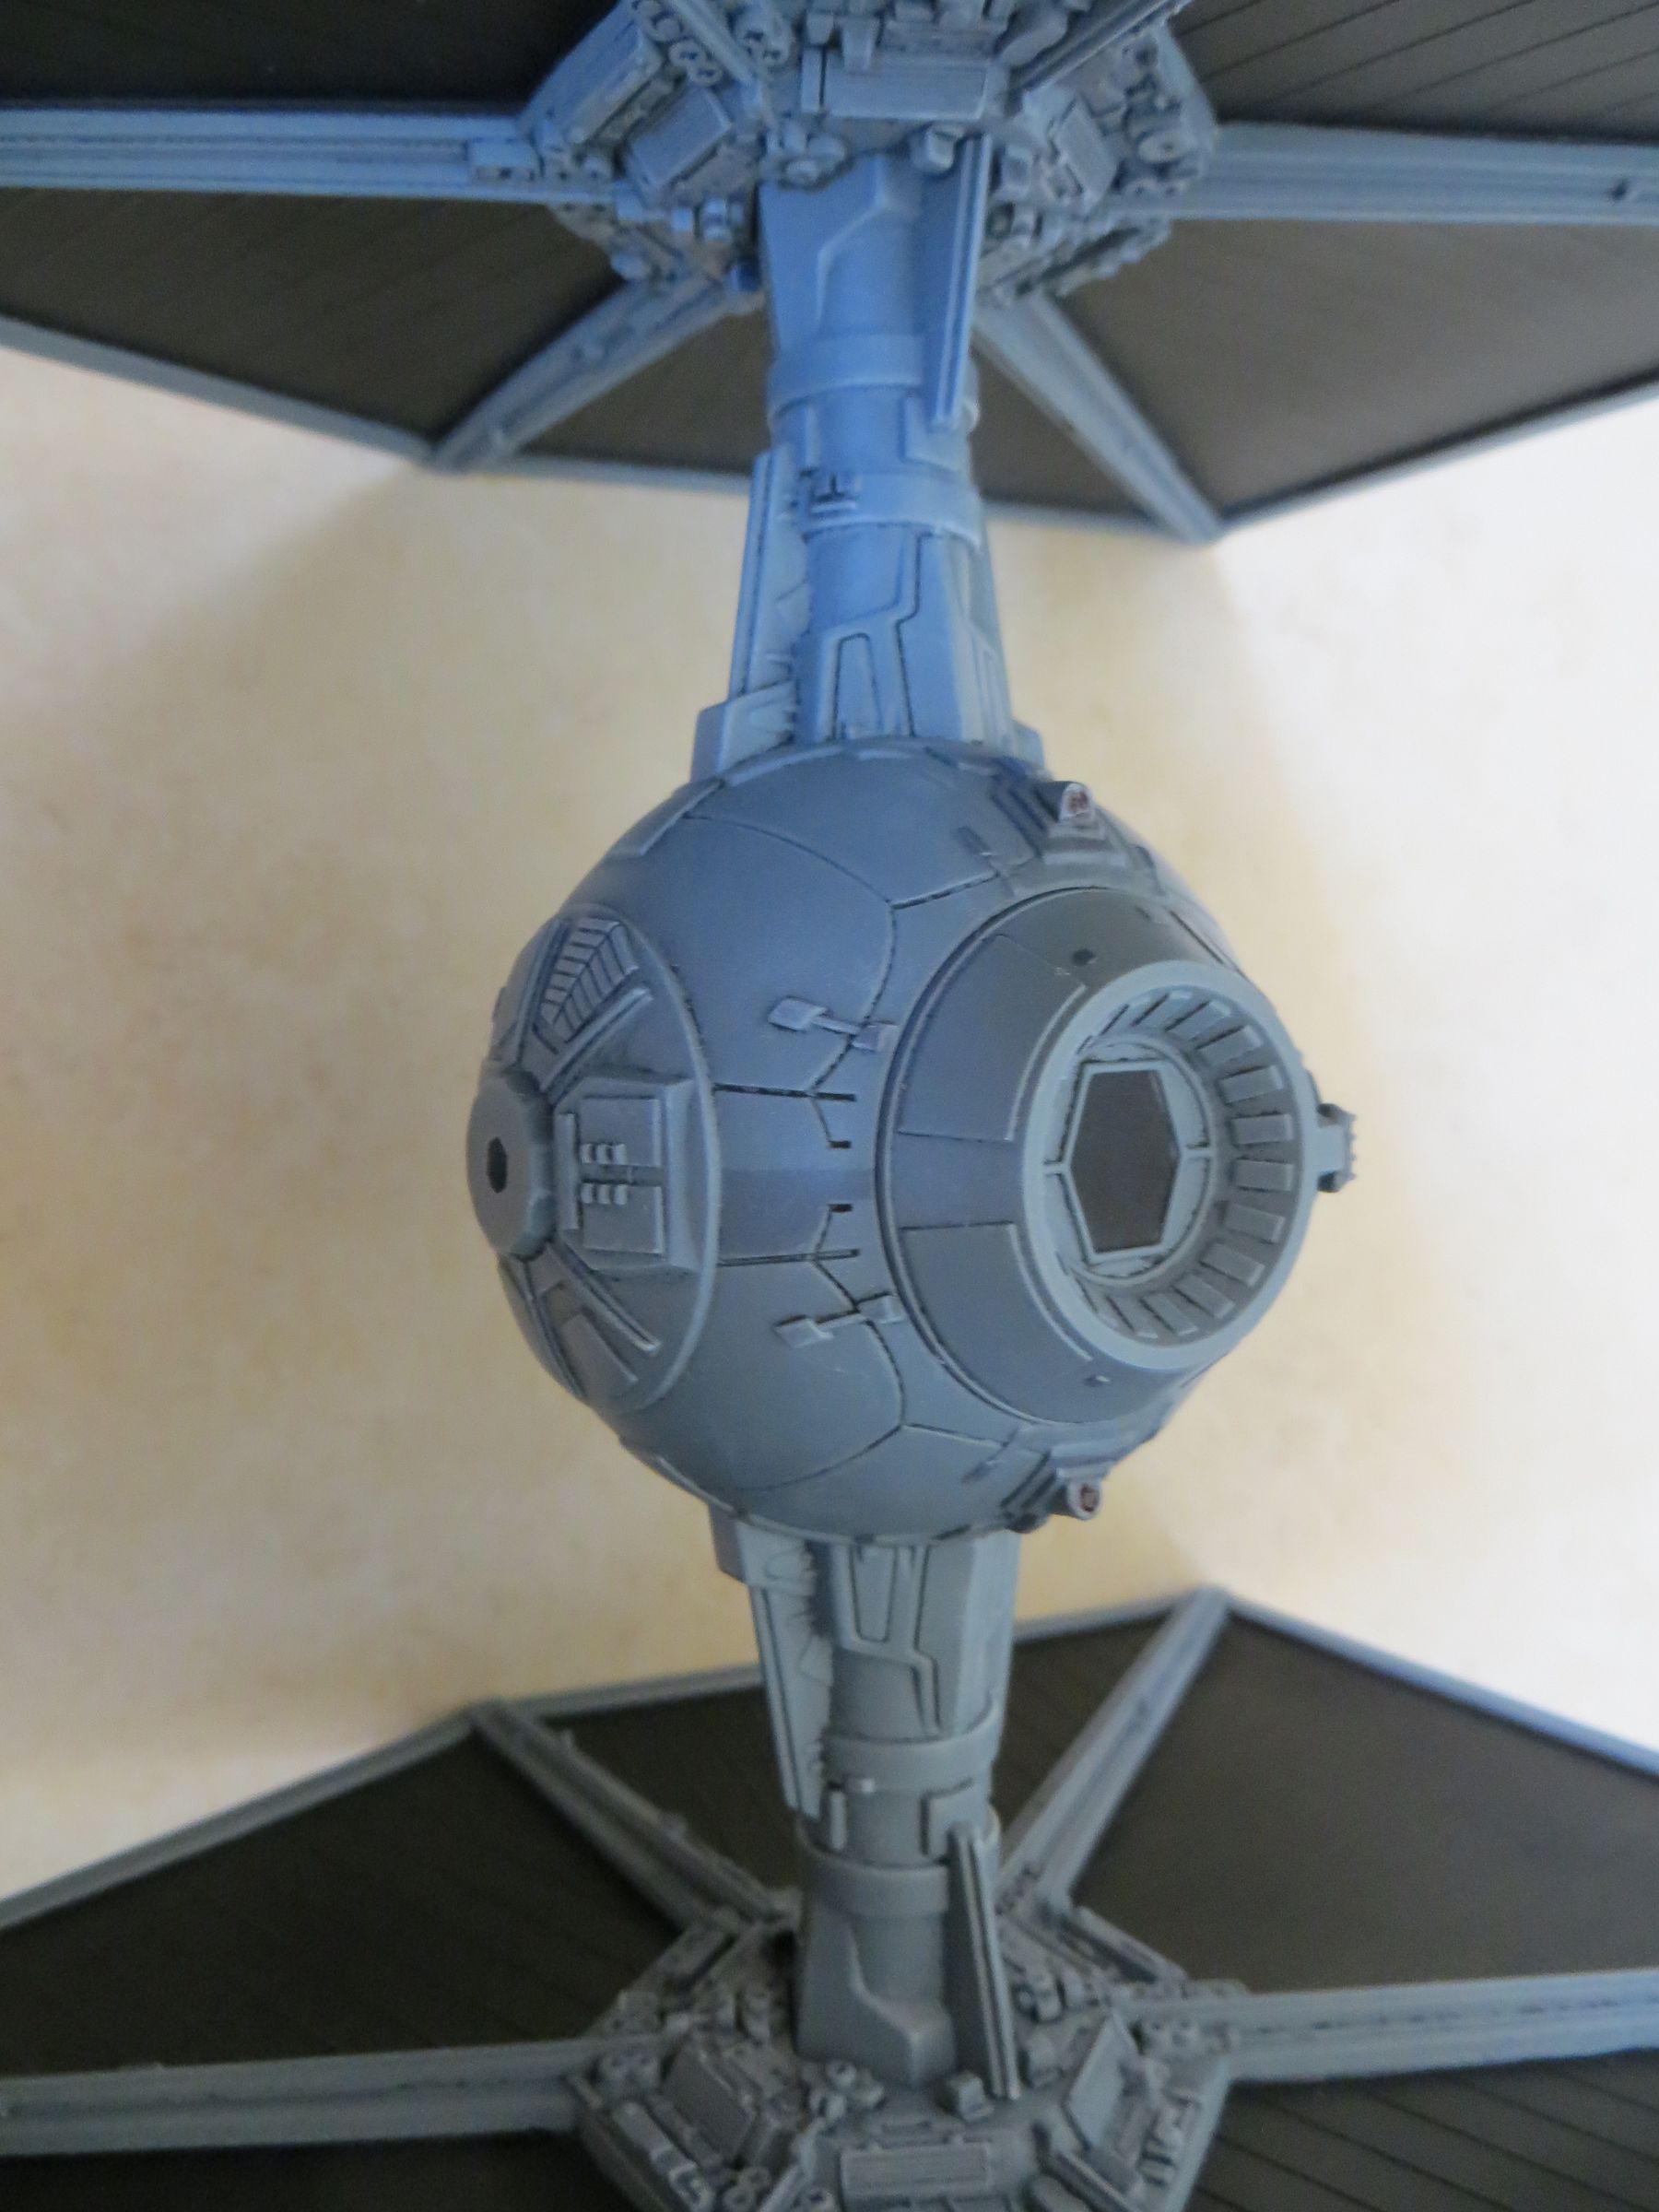
The wing frames are masked and a satin black paint is applied to the solar panels and the small panel at the rear of the cockpit ball.
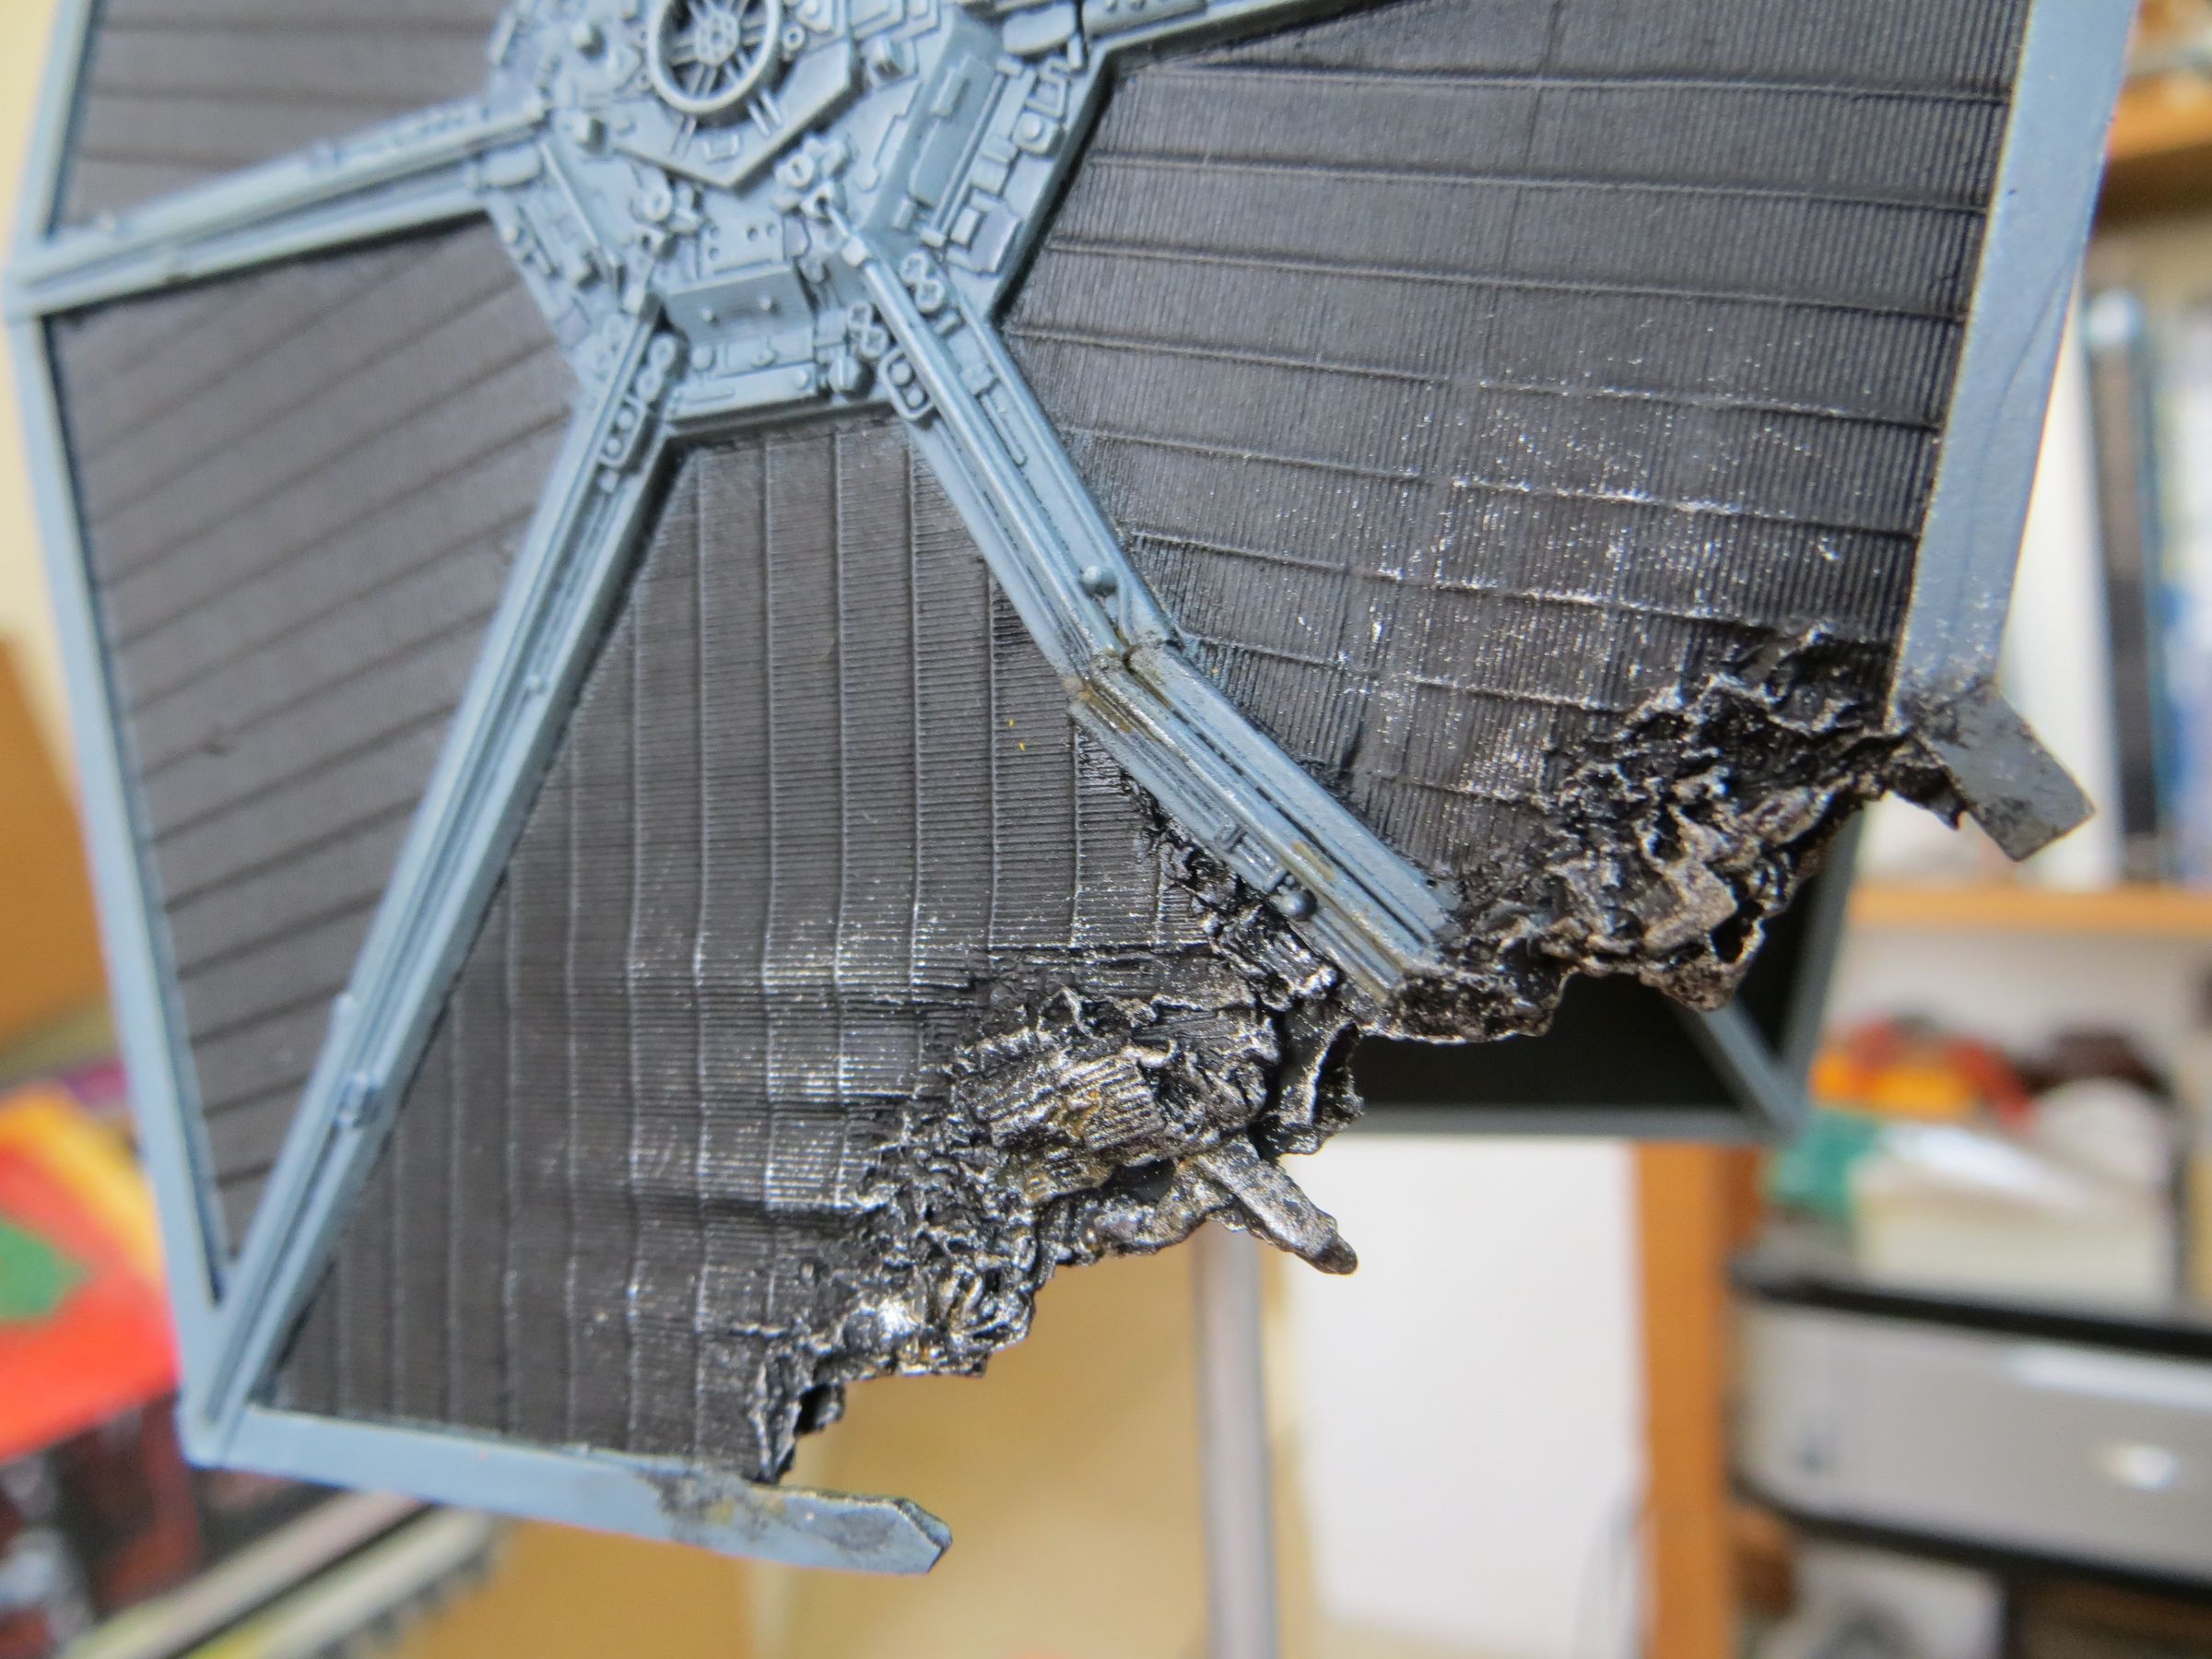
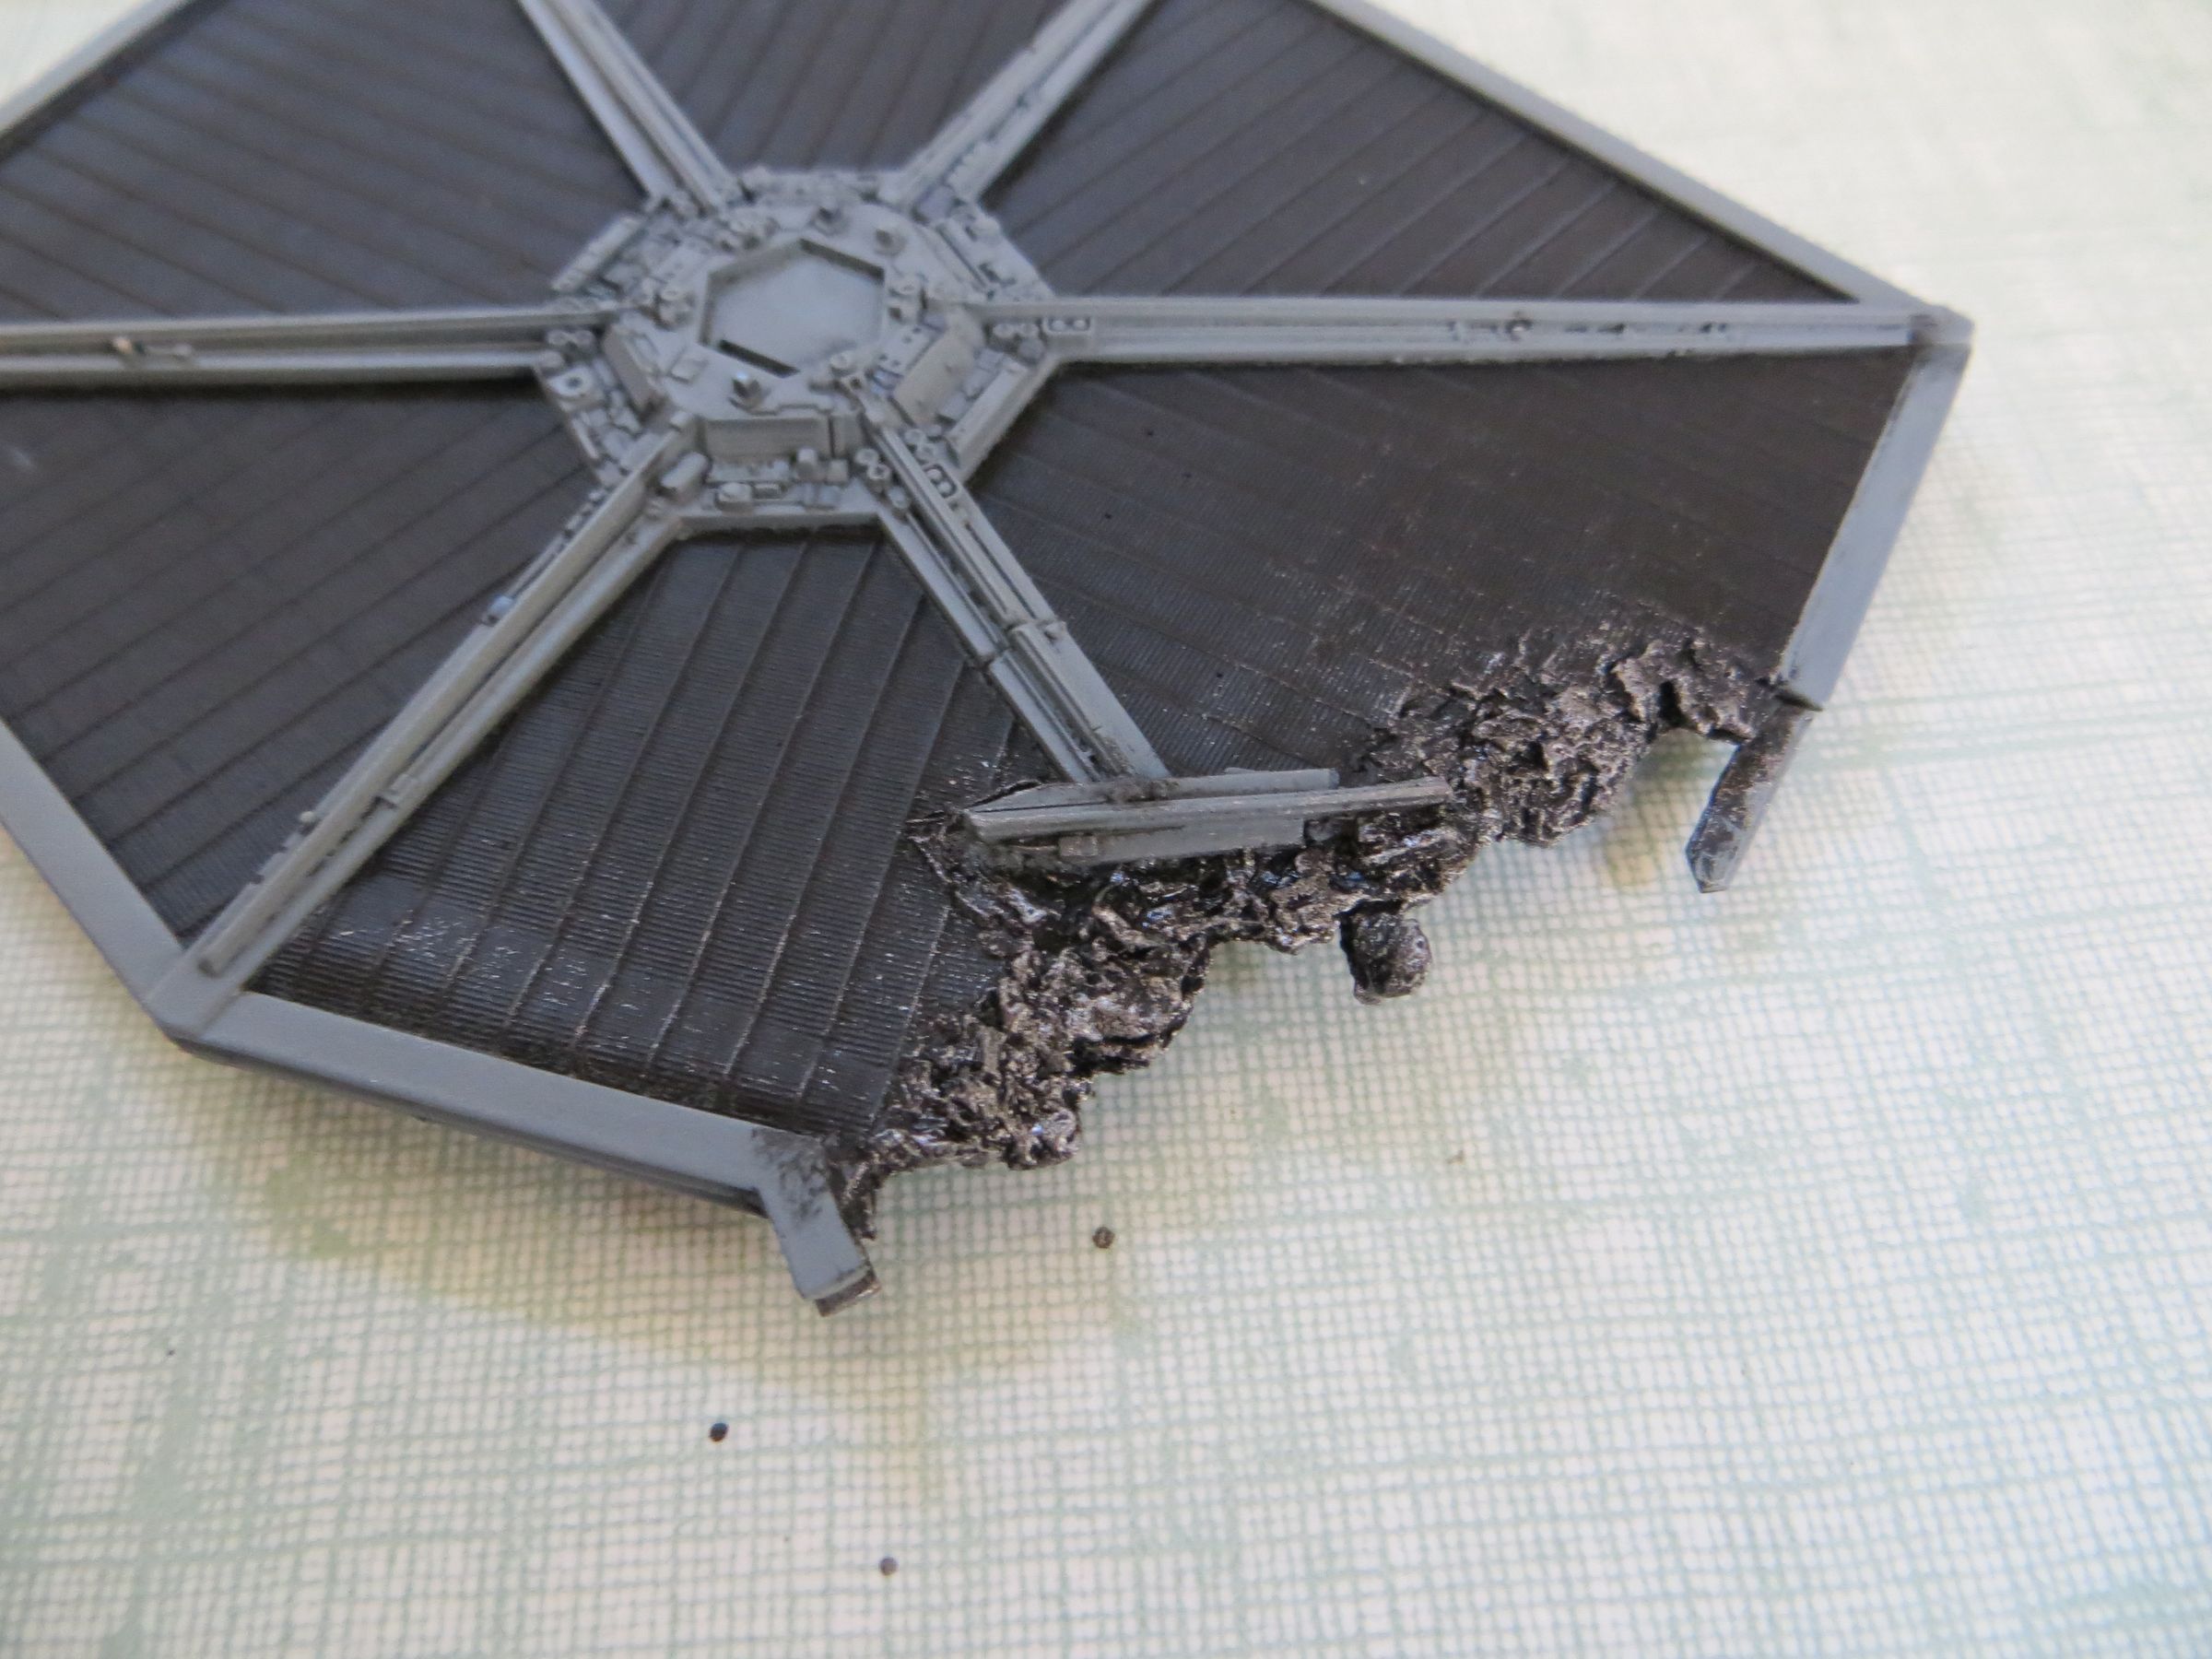
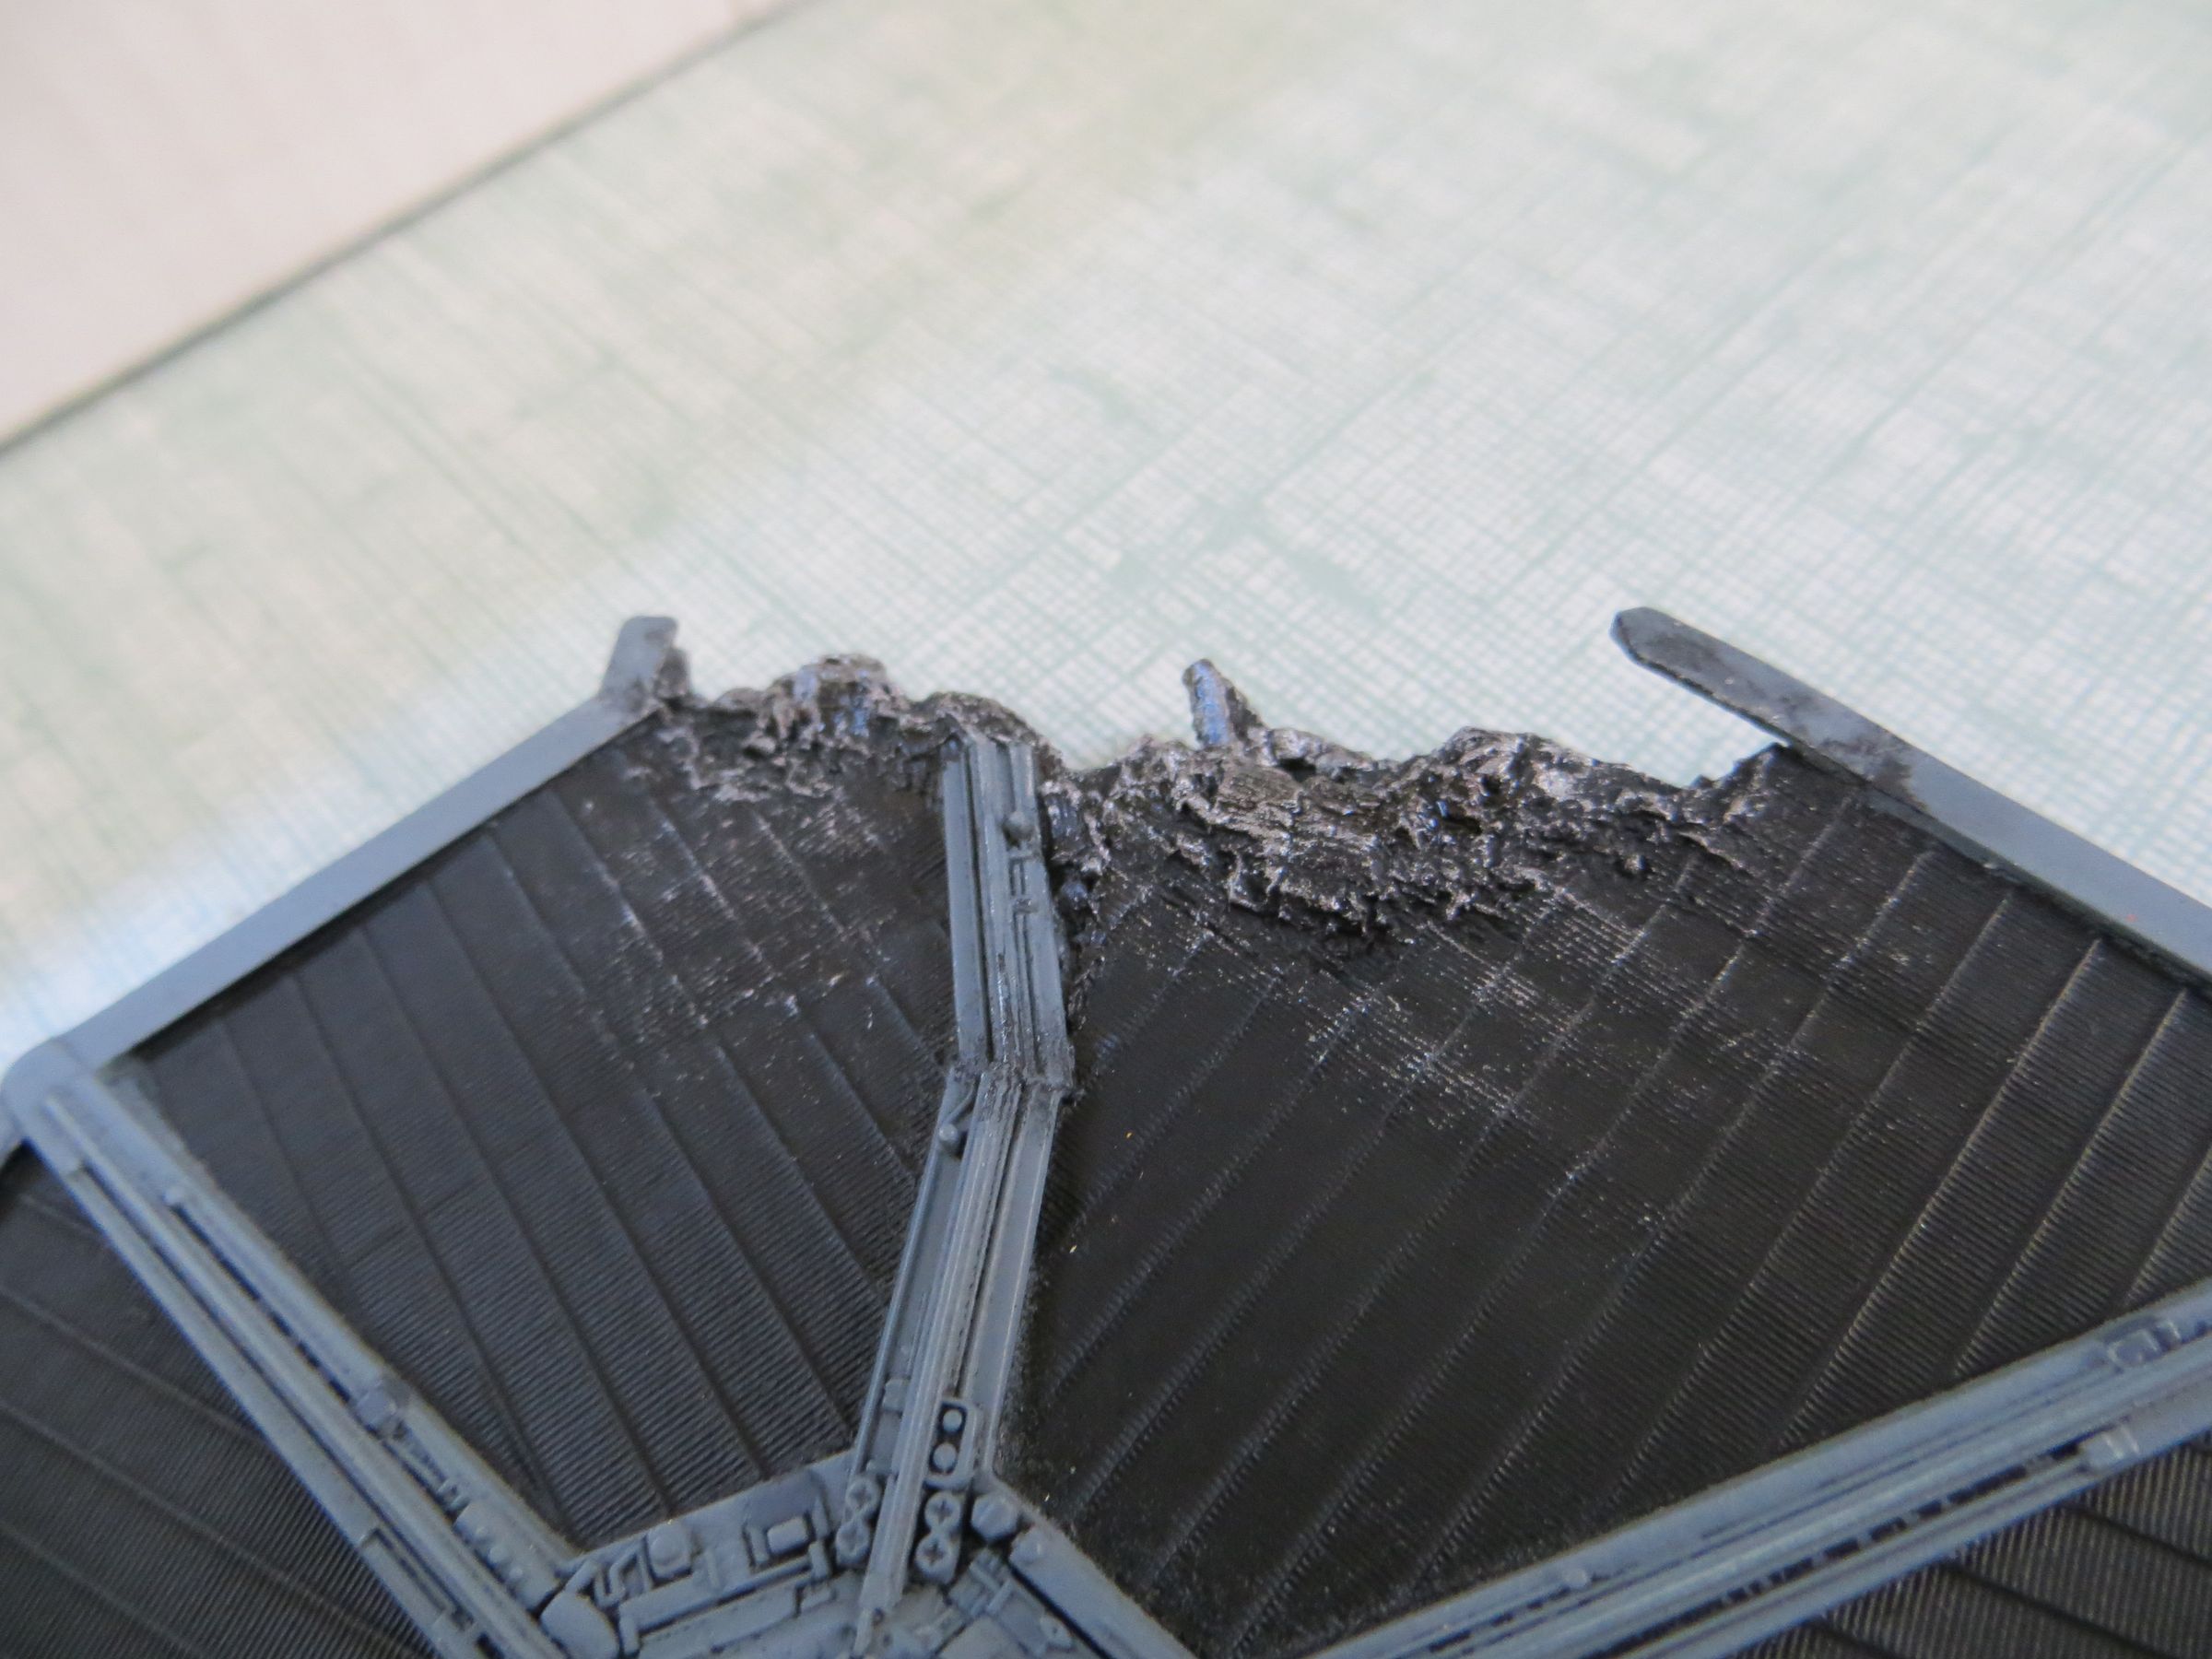
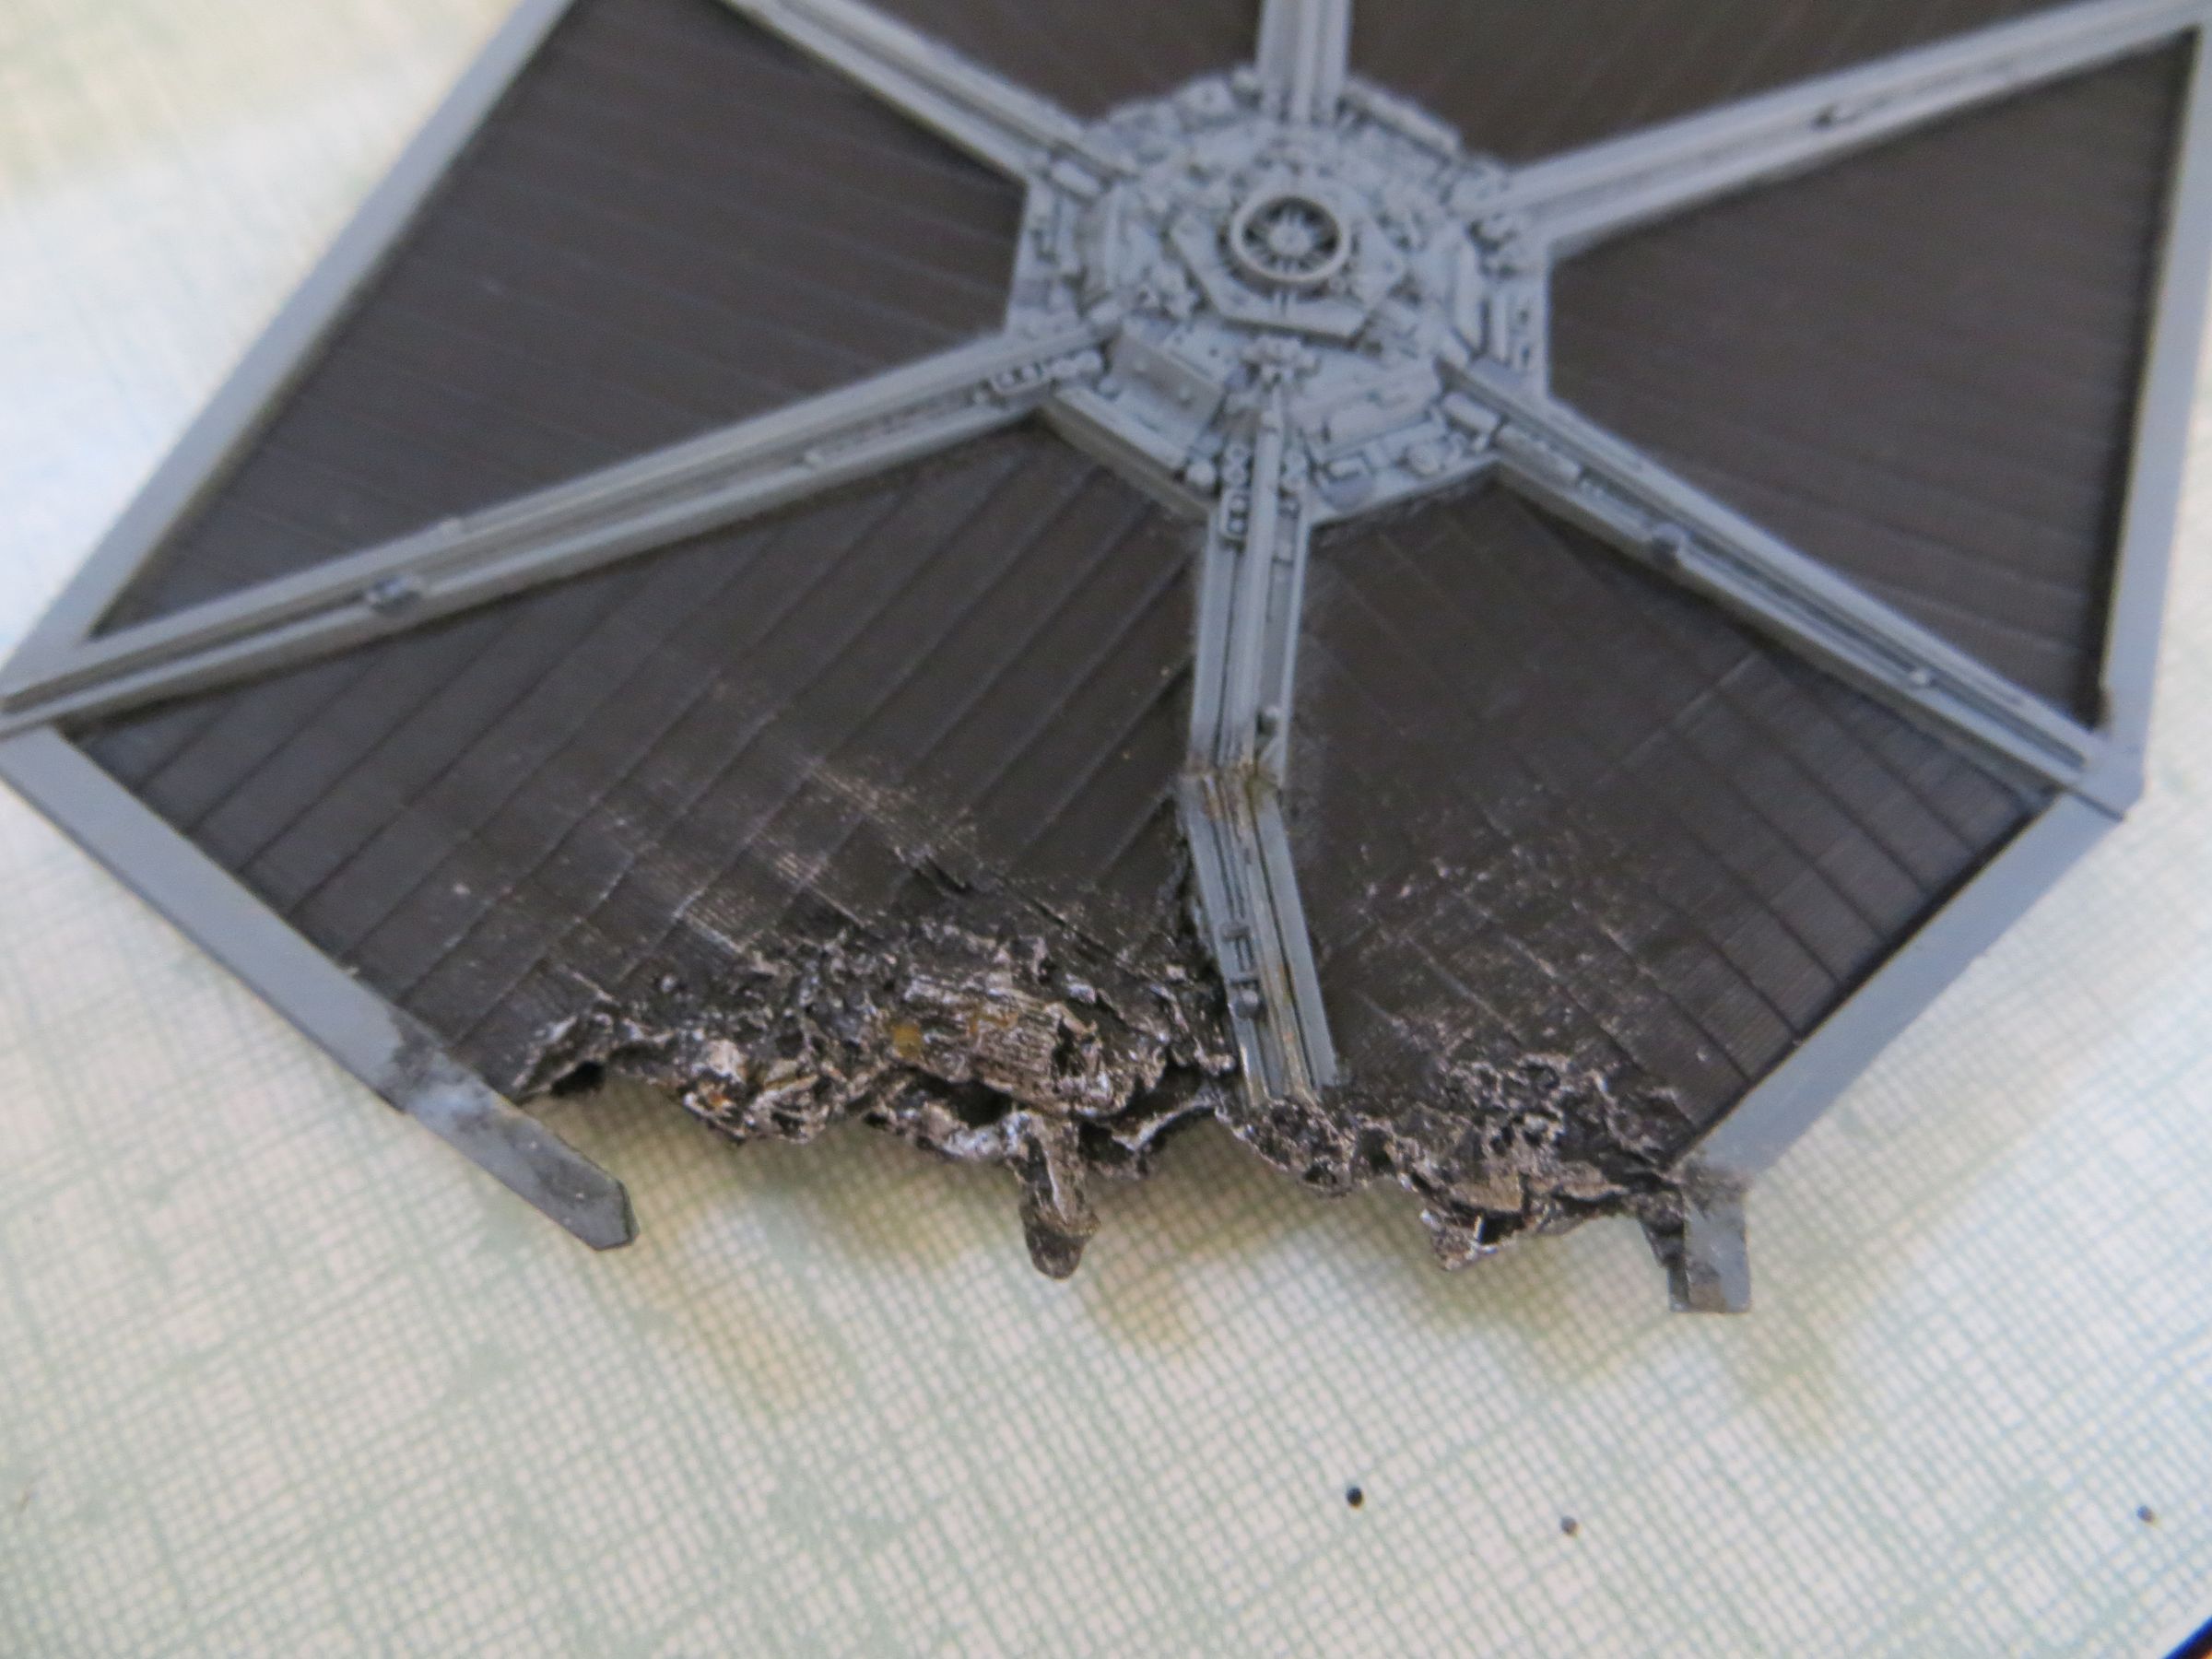
For the damaged wing, as the base is black , I simply drybrushed metallic paint (aluminum or silver) to highlight the bent plates. Touches of brown rust color are applied here and there. I think to add some photoetched panels to accentuate the crumbling.


Windows
On the Revell kits, the glass hatch parts are finally put aside as they have holes that would remain apparent. I did have not pay attention to this ... as hatch will remain without windows, which is not absolutely shocking  .
.

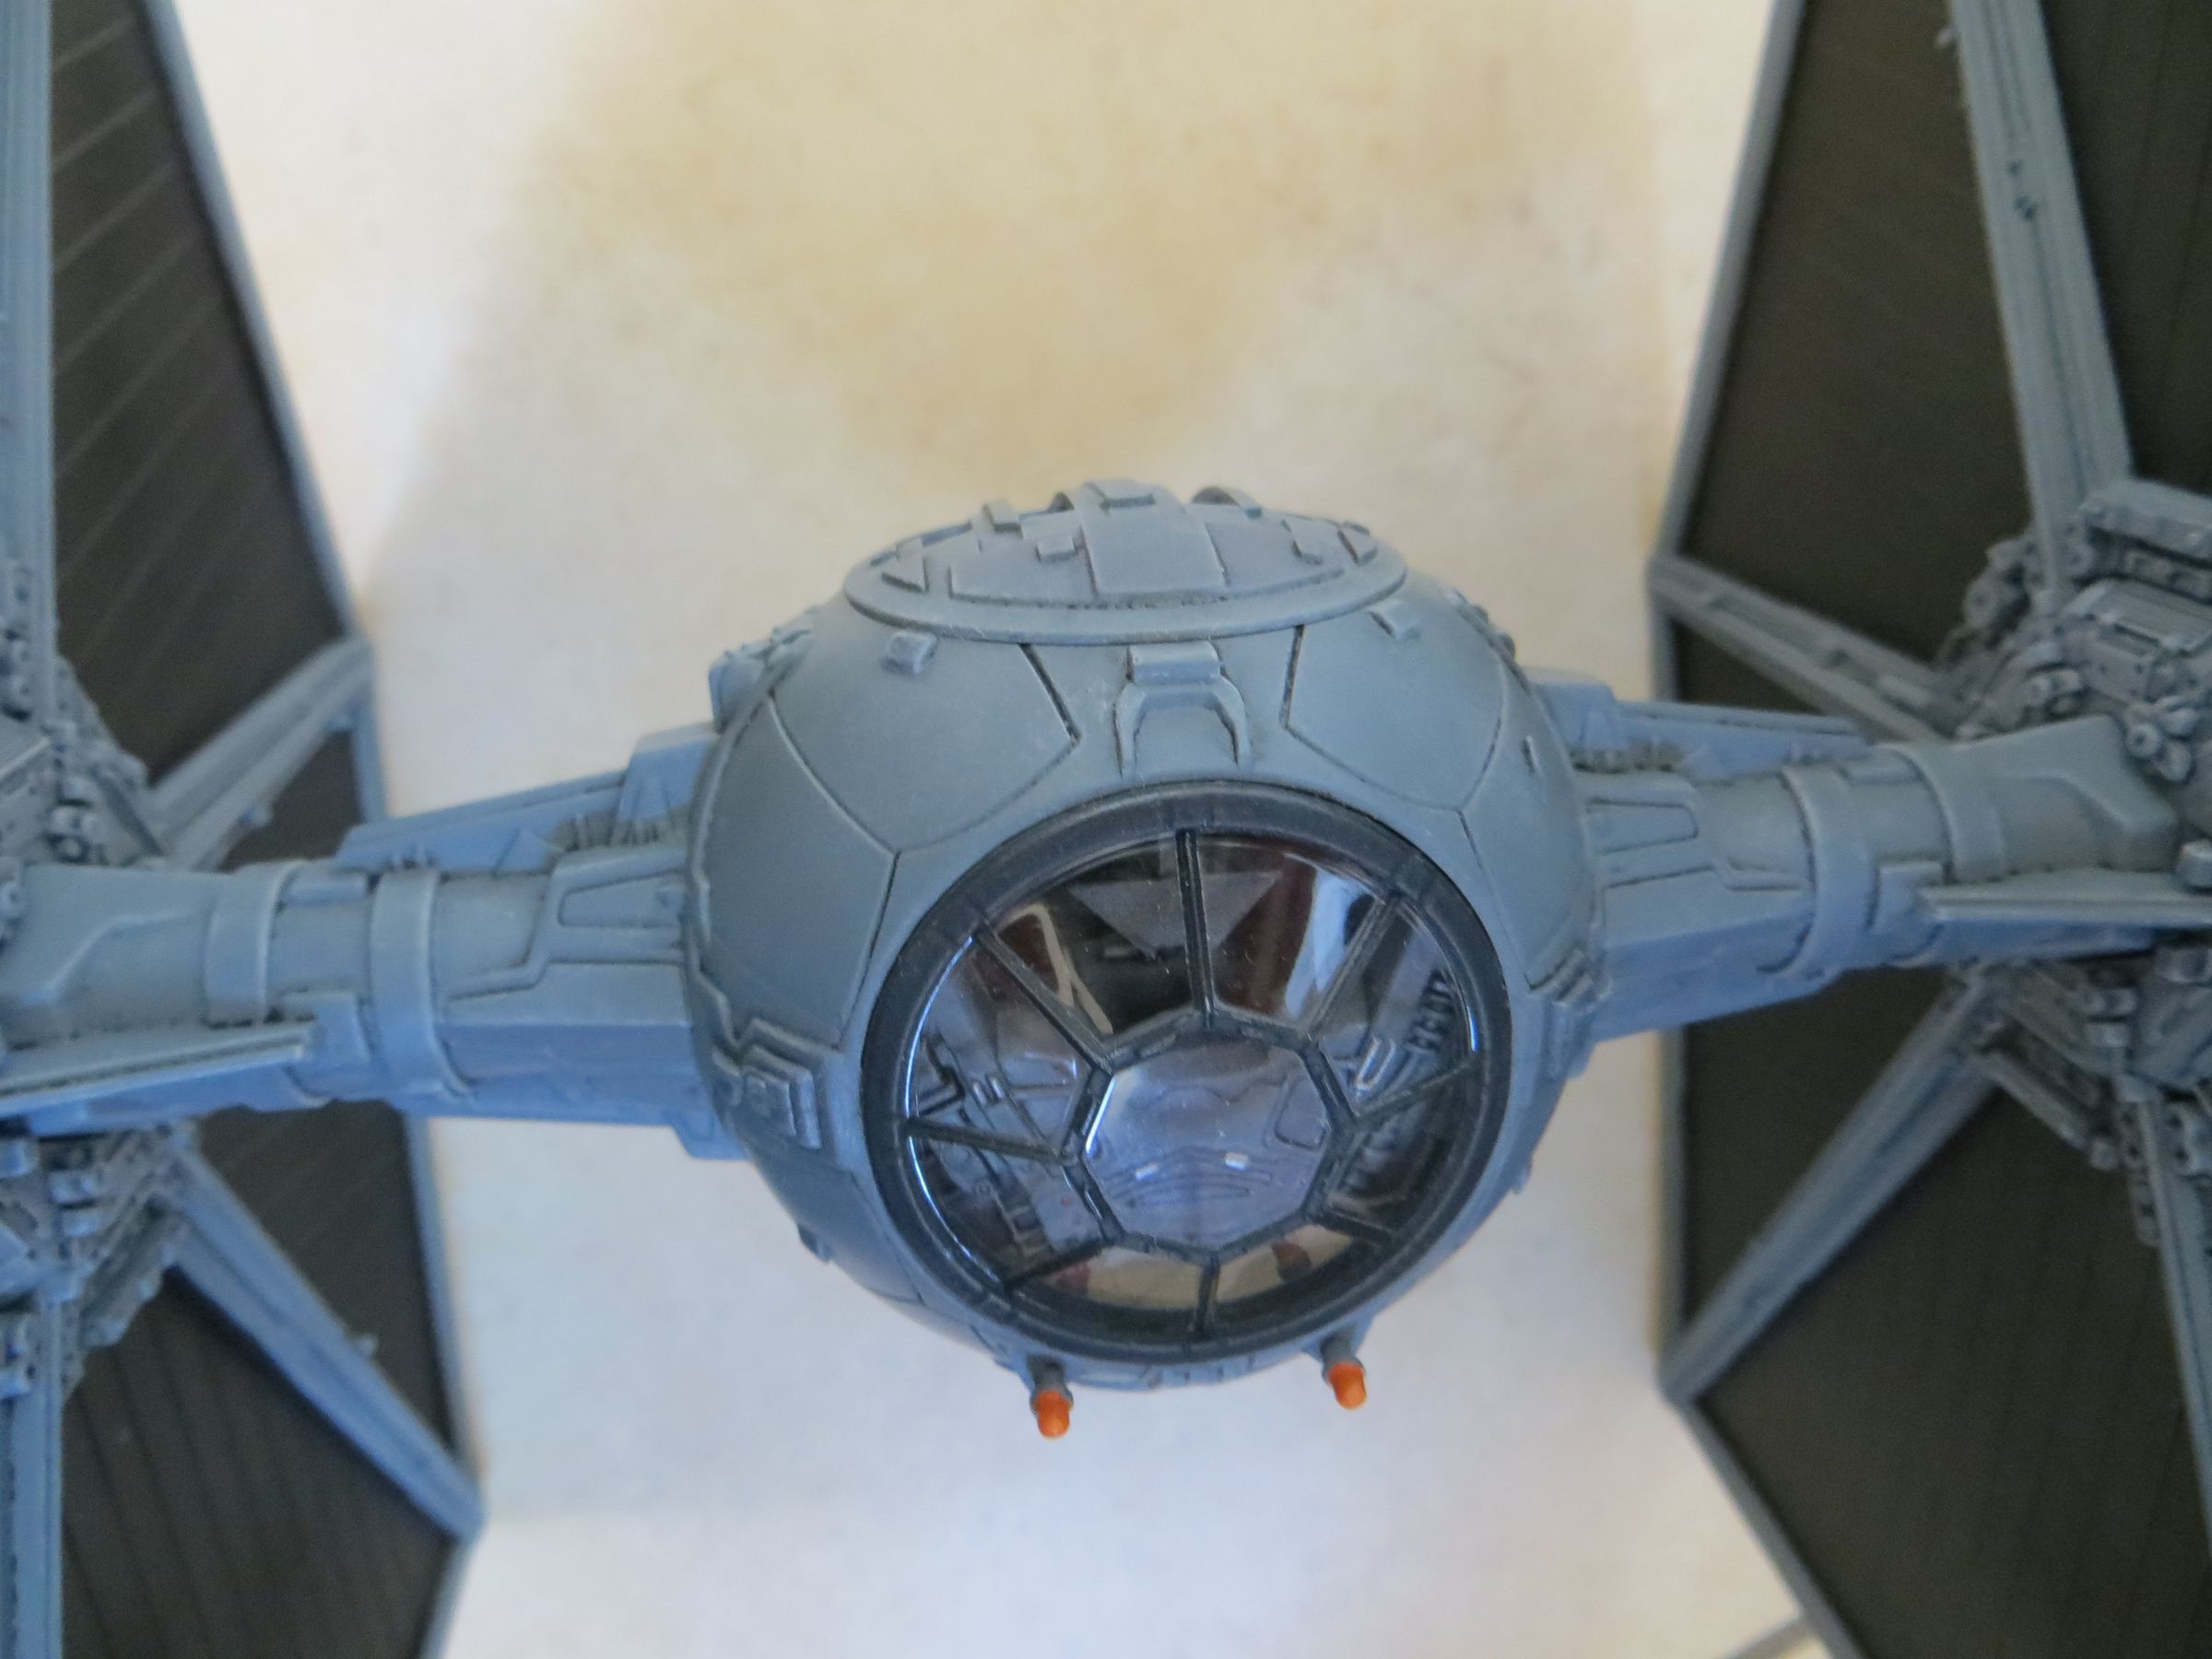
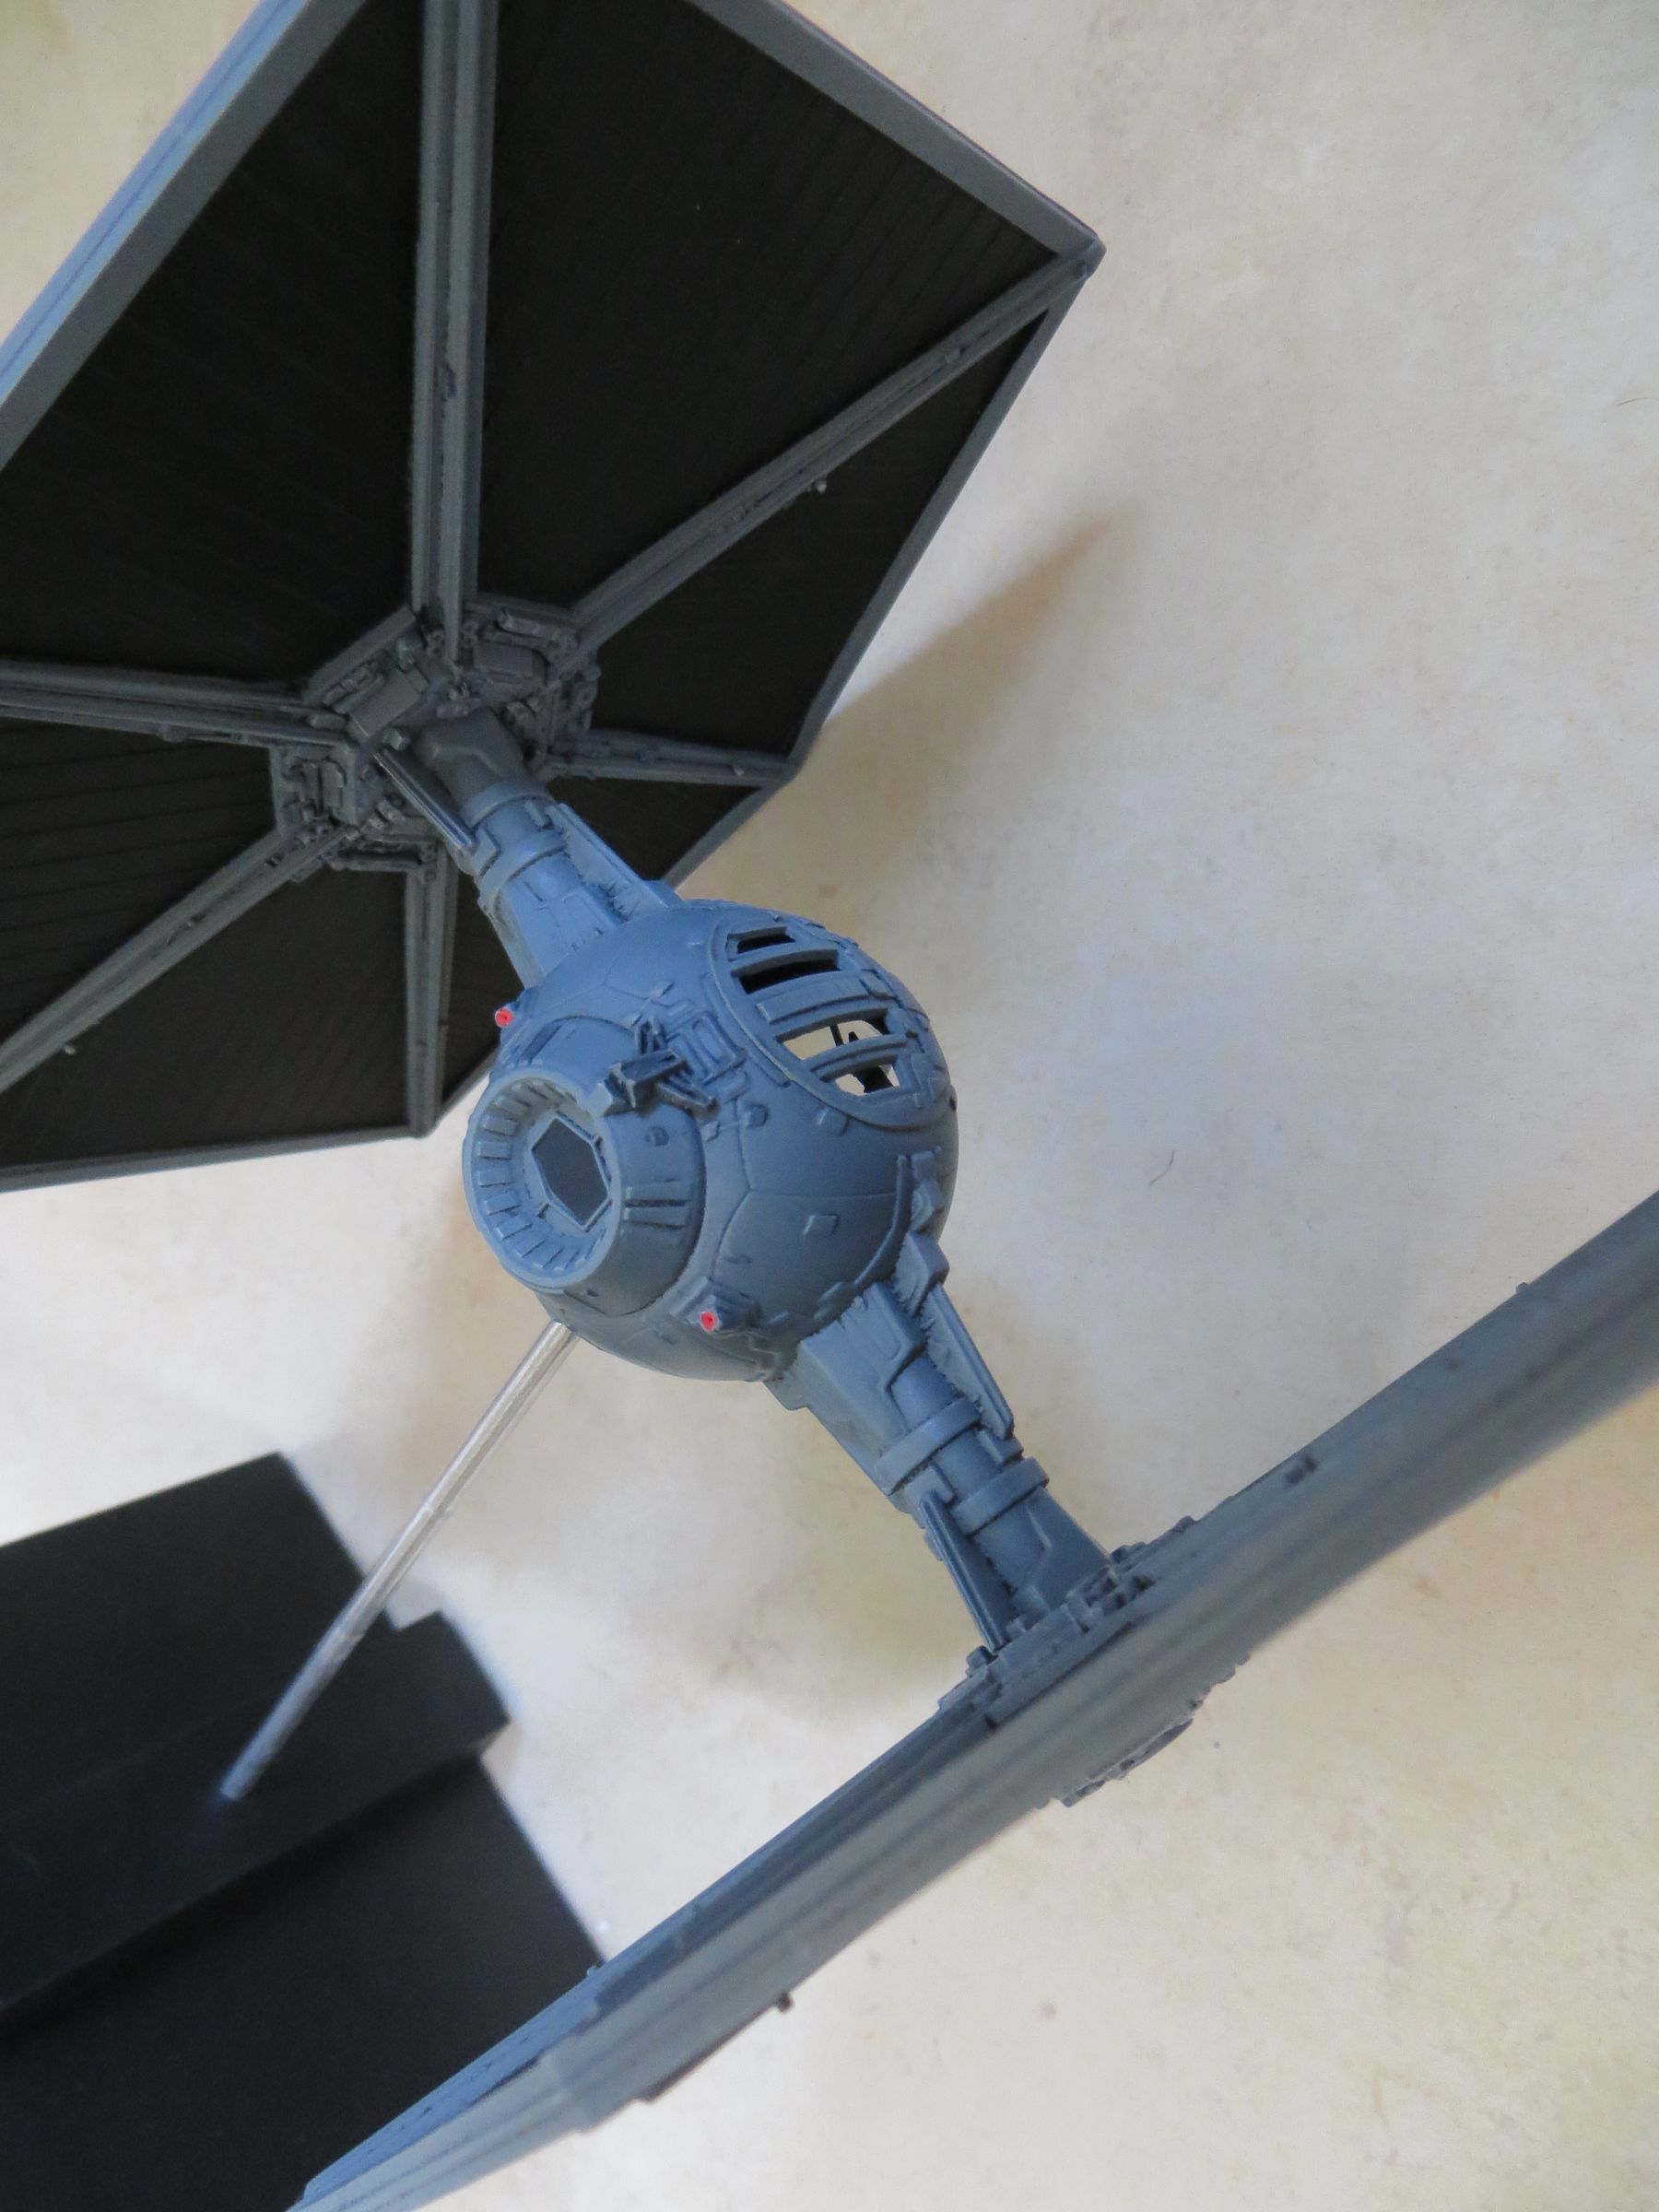
On the Fine Molds, I had a nasty surprise when removing the windshield masks, the paint ran below the tape and the outline is horrible. After several attempts to correct this (scraping with a wood toothpick, Klir) who gave nothing, I finally replaced the windshield by an resin counterpart from the set RetroSF upgrade kit. On this one, it's the windshield that will not have glass !


Small triangle brackets are set up in the cockpit. On the studio model, this triangle is glued directly onto the frame. Here it is not possible because of the glass, so you have to use a small rod .
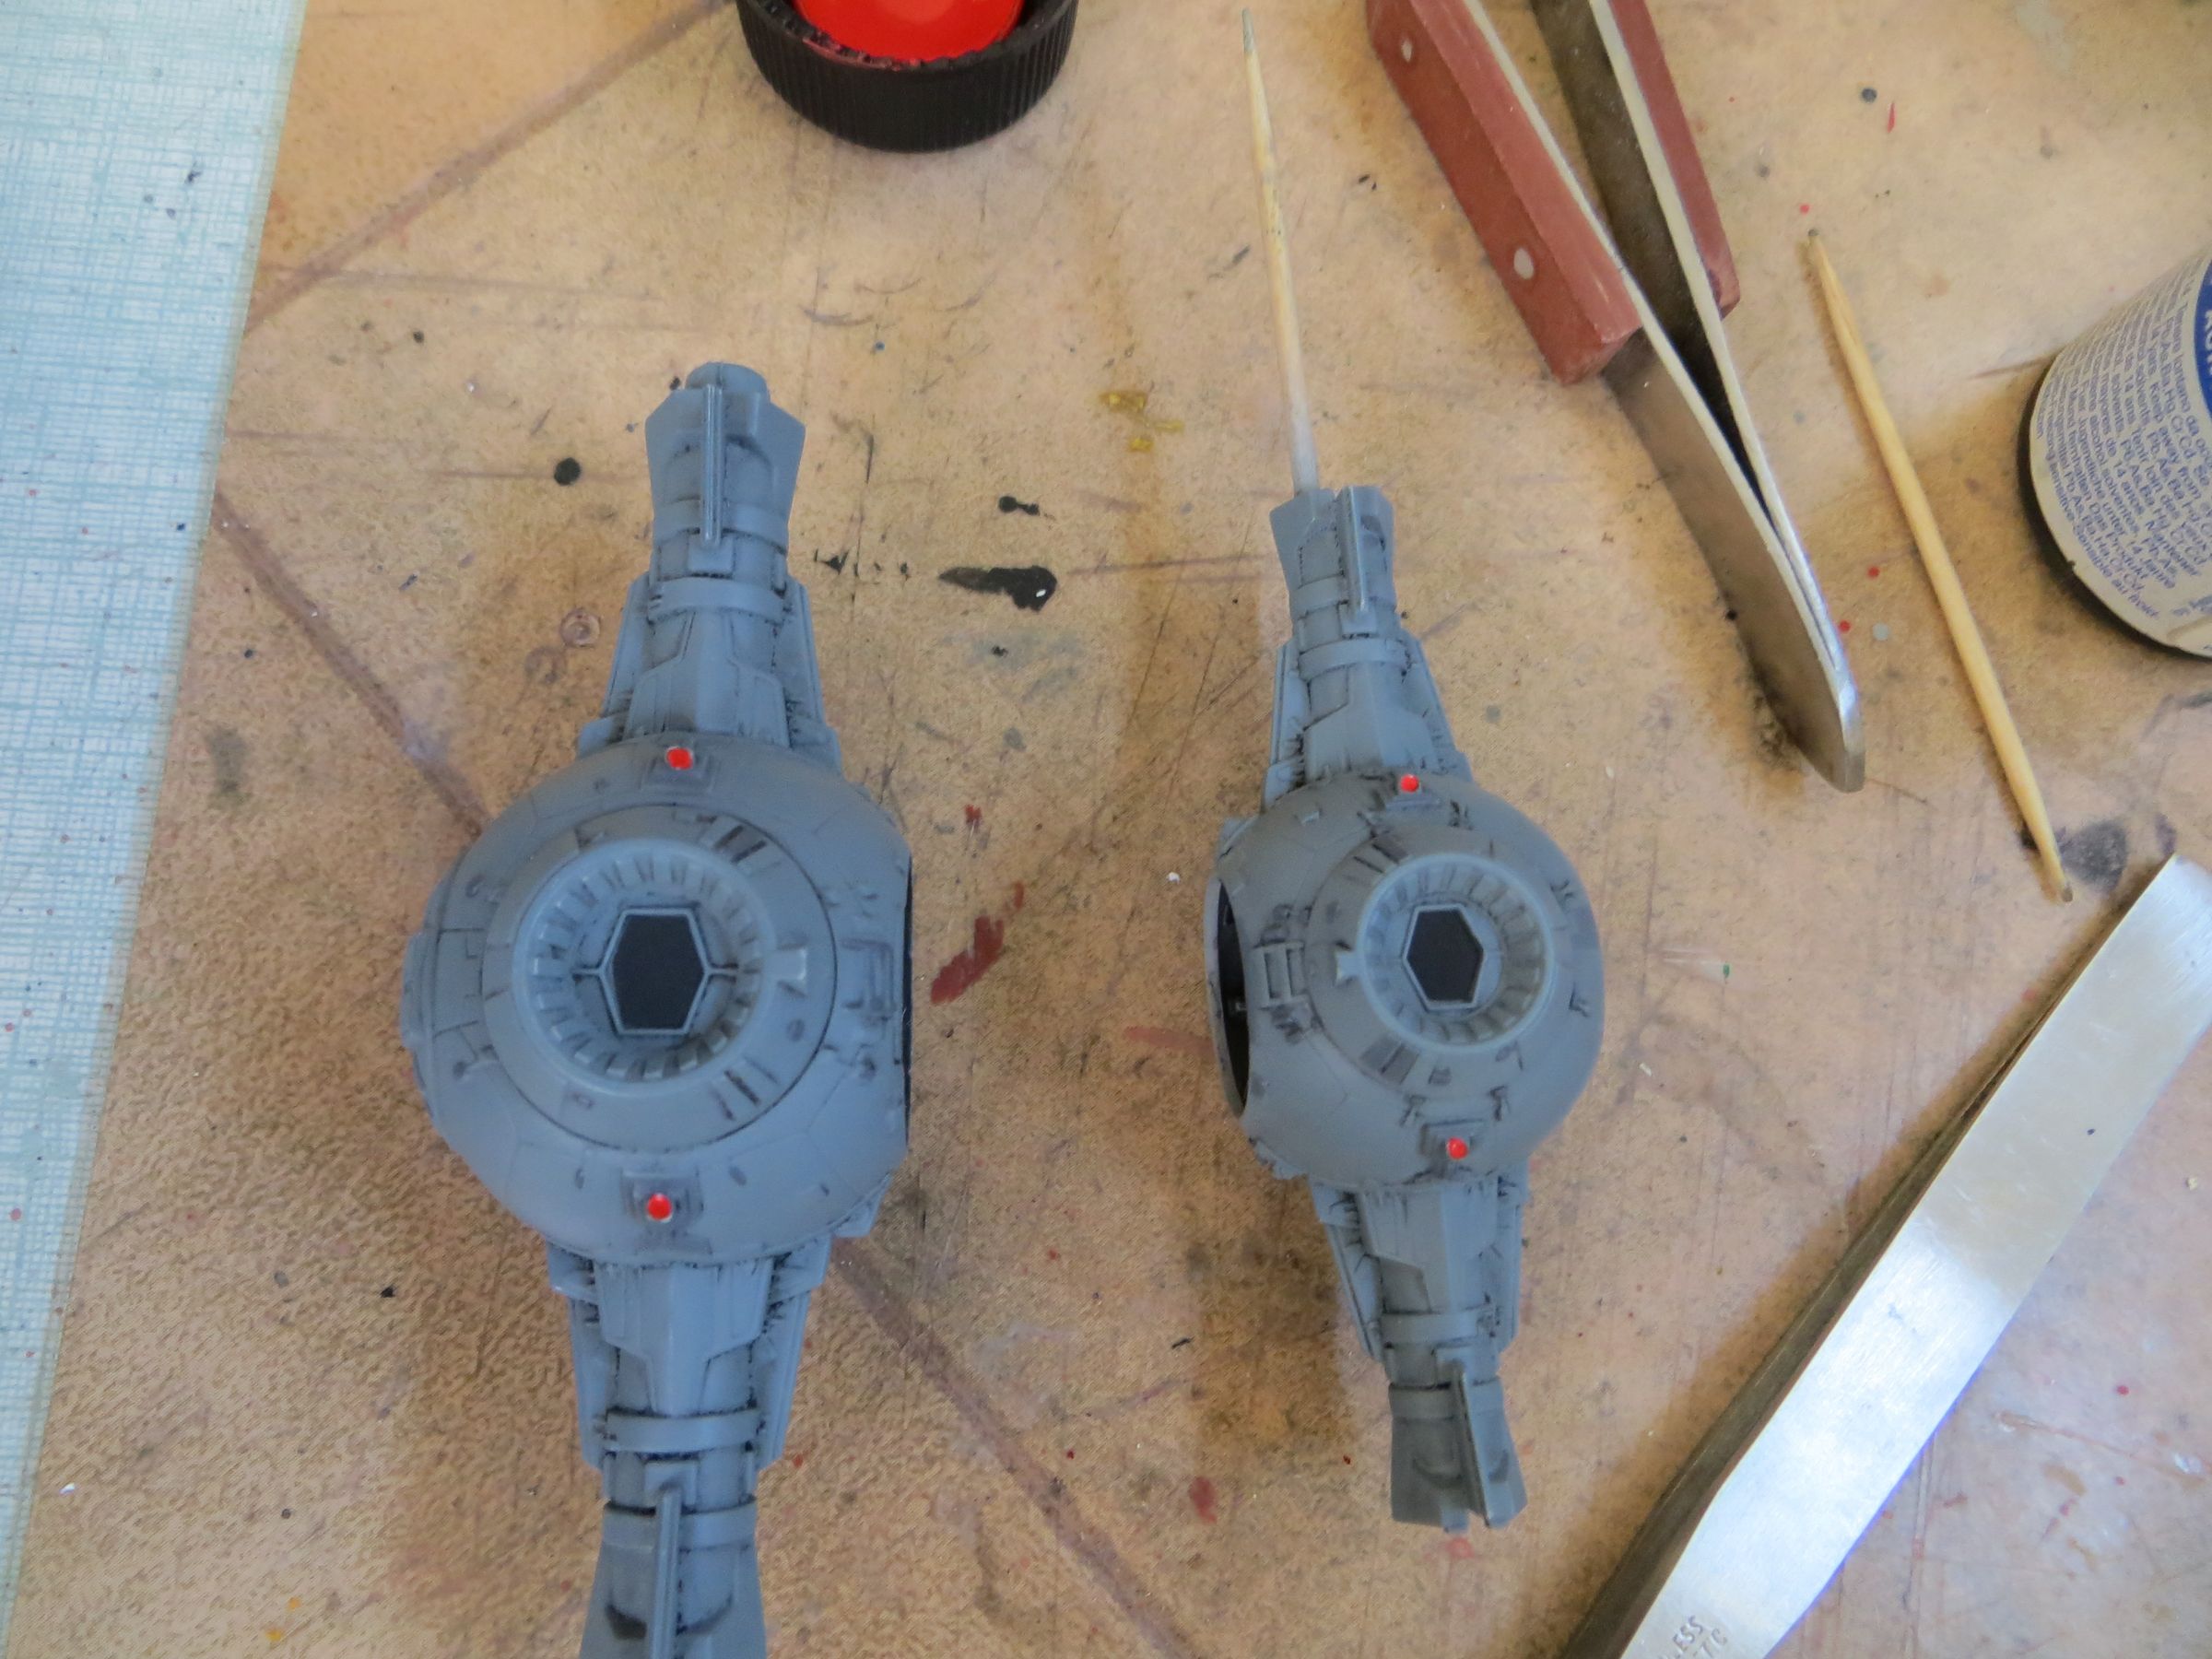
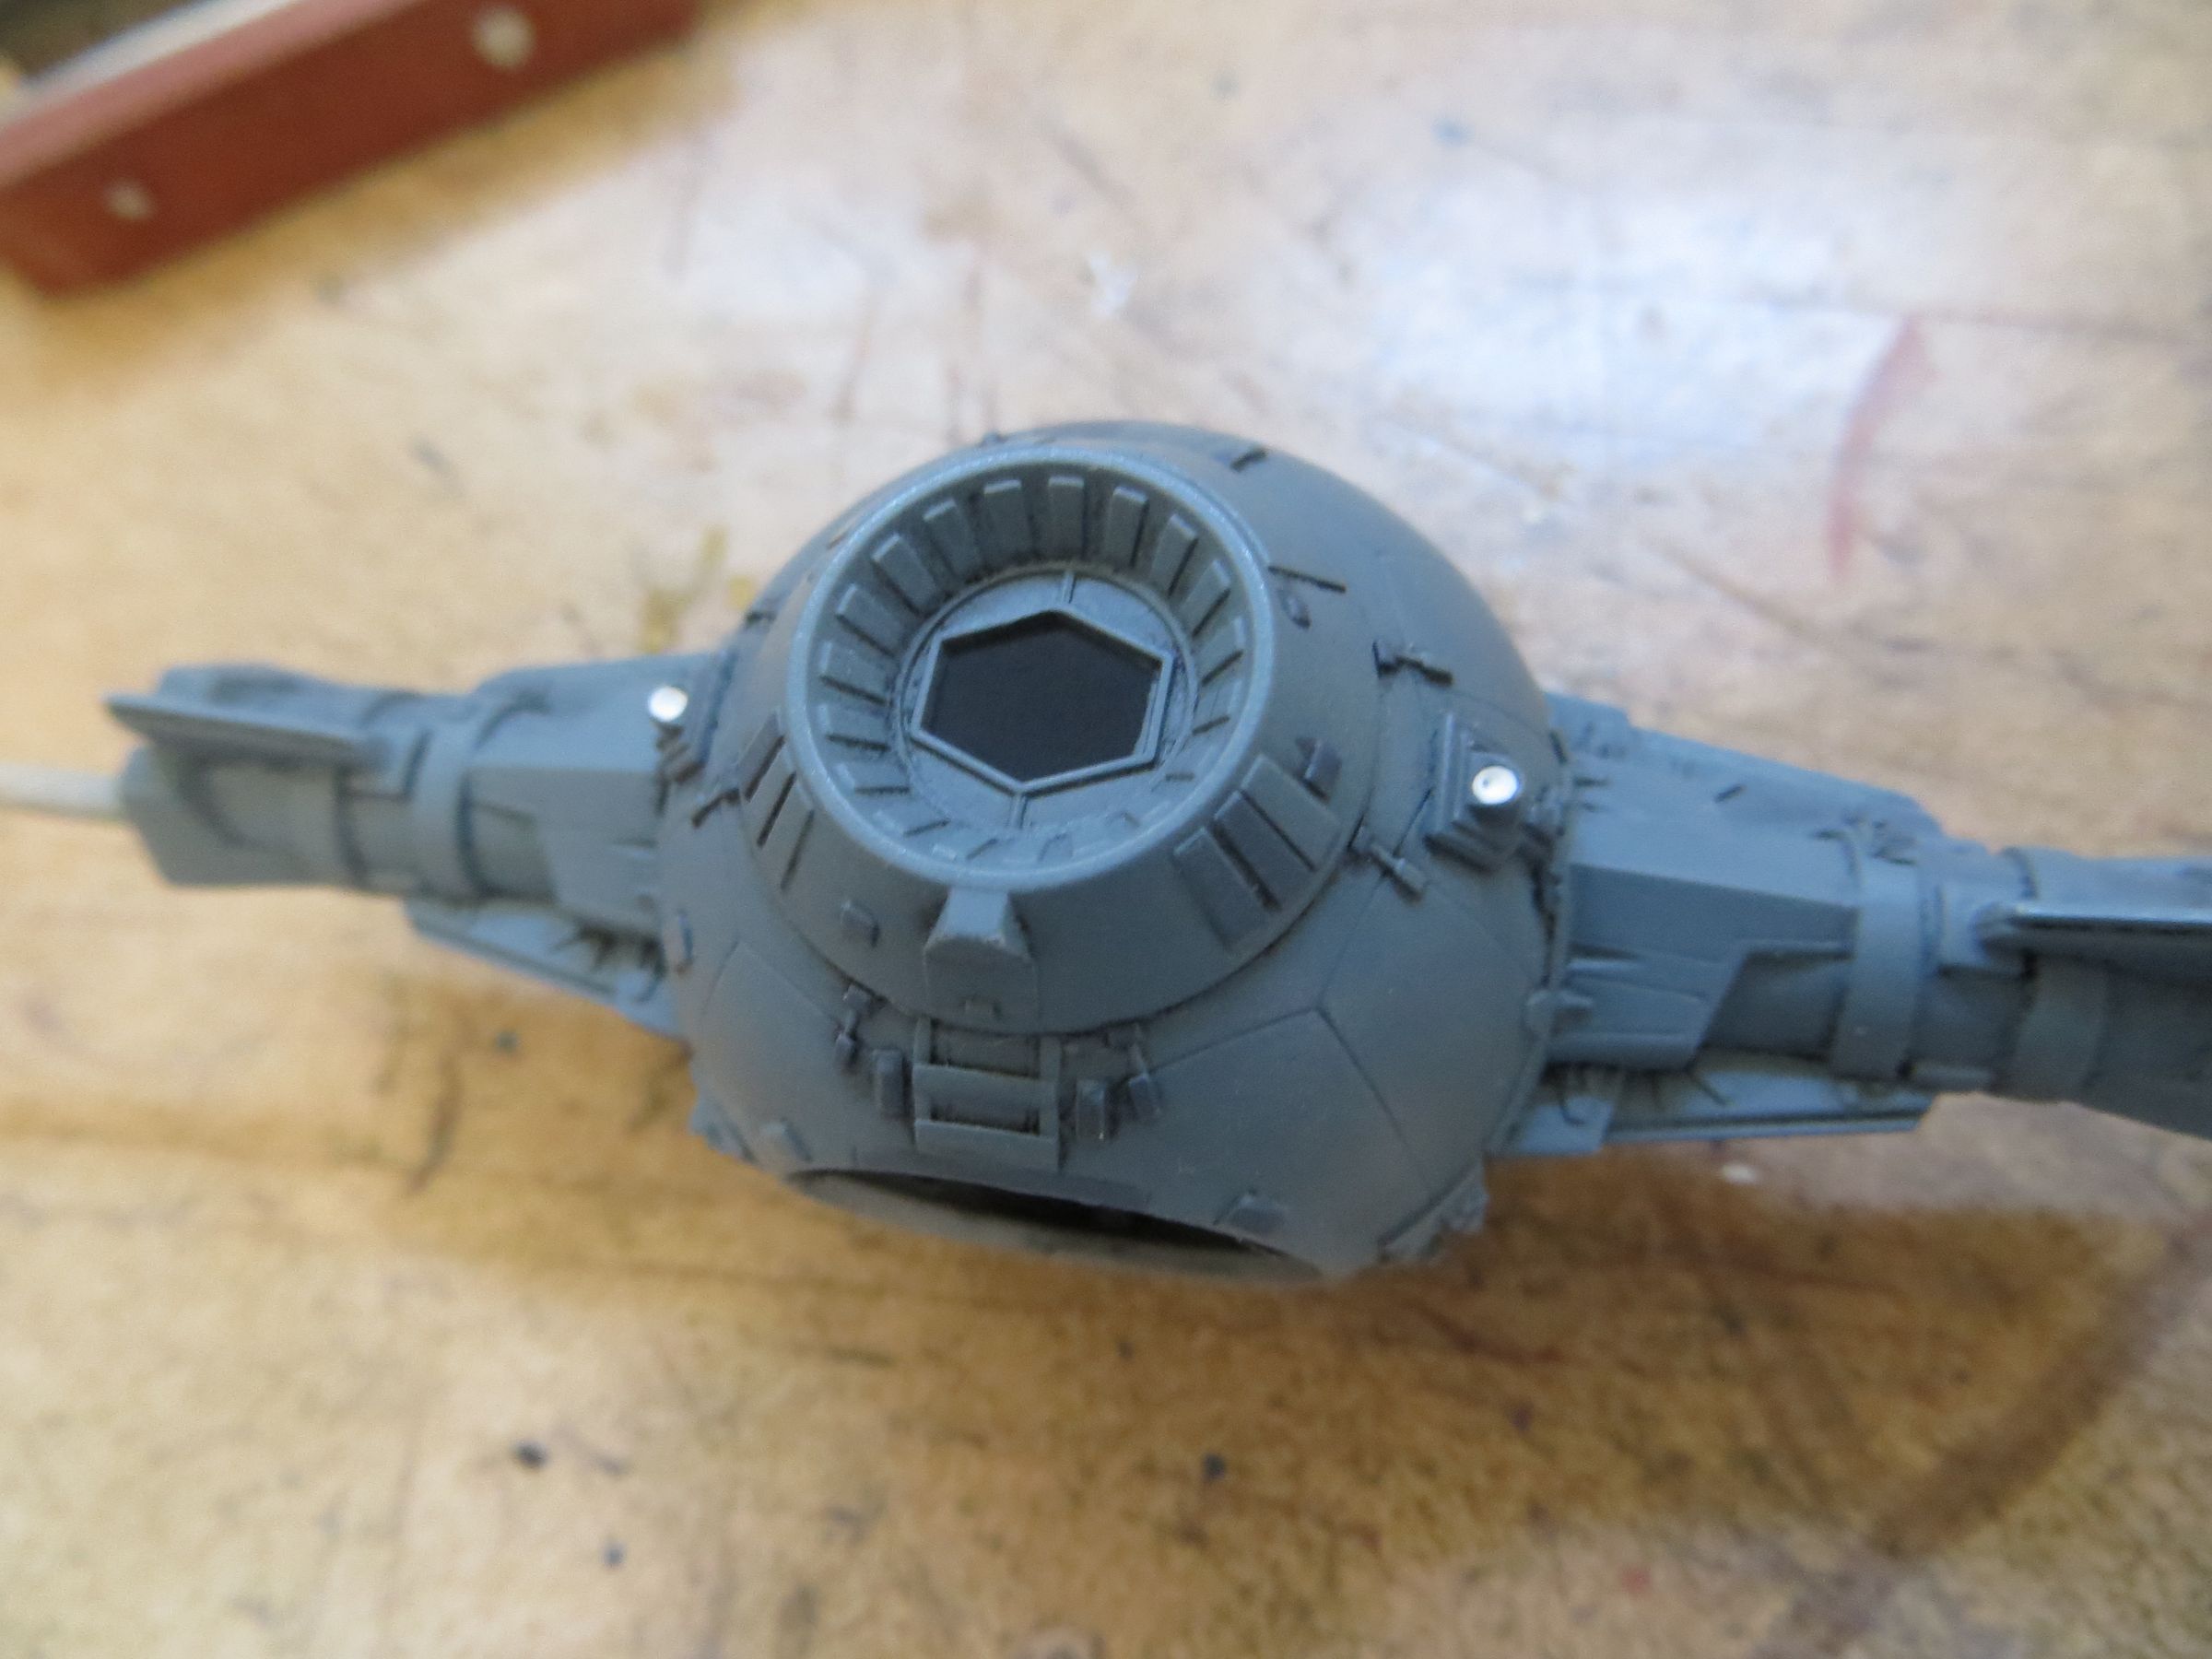
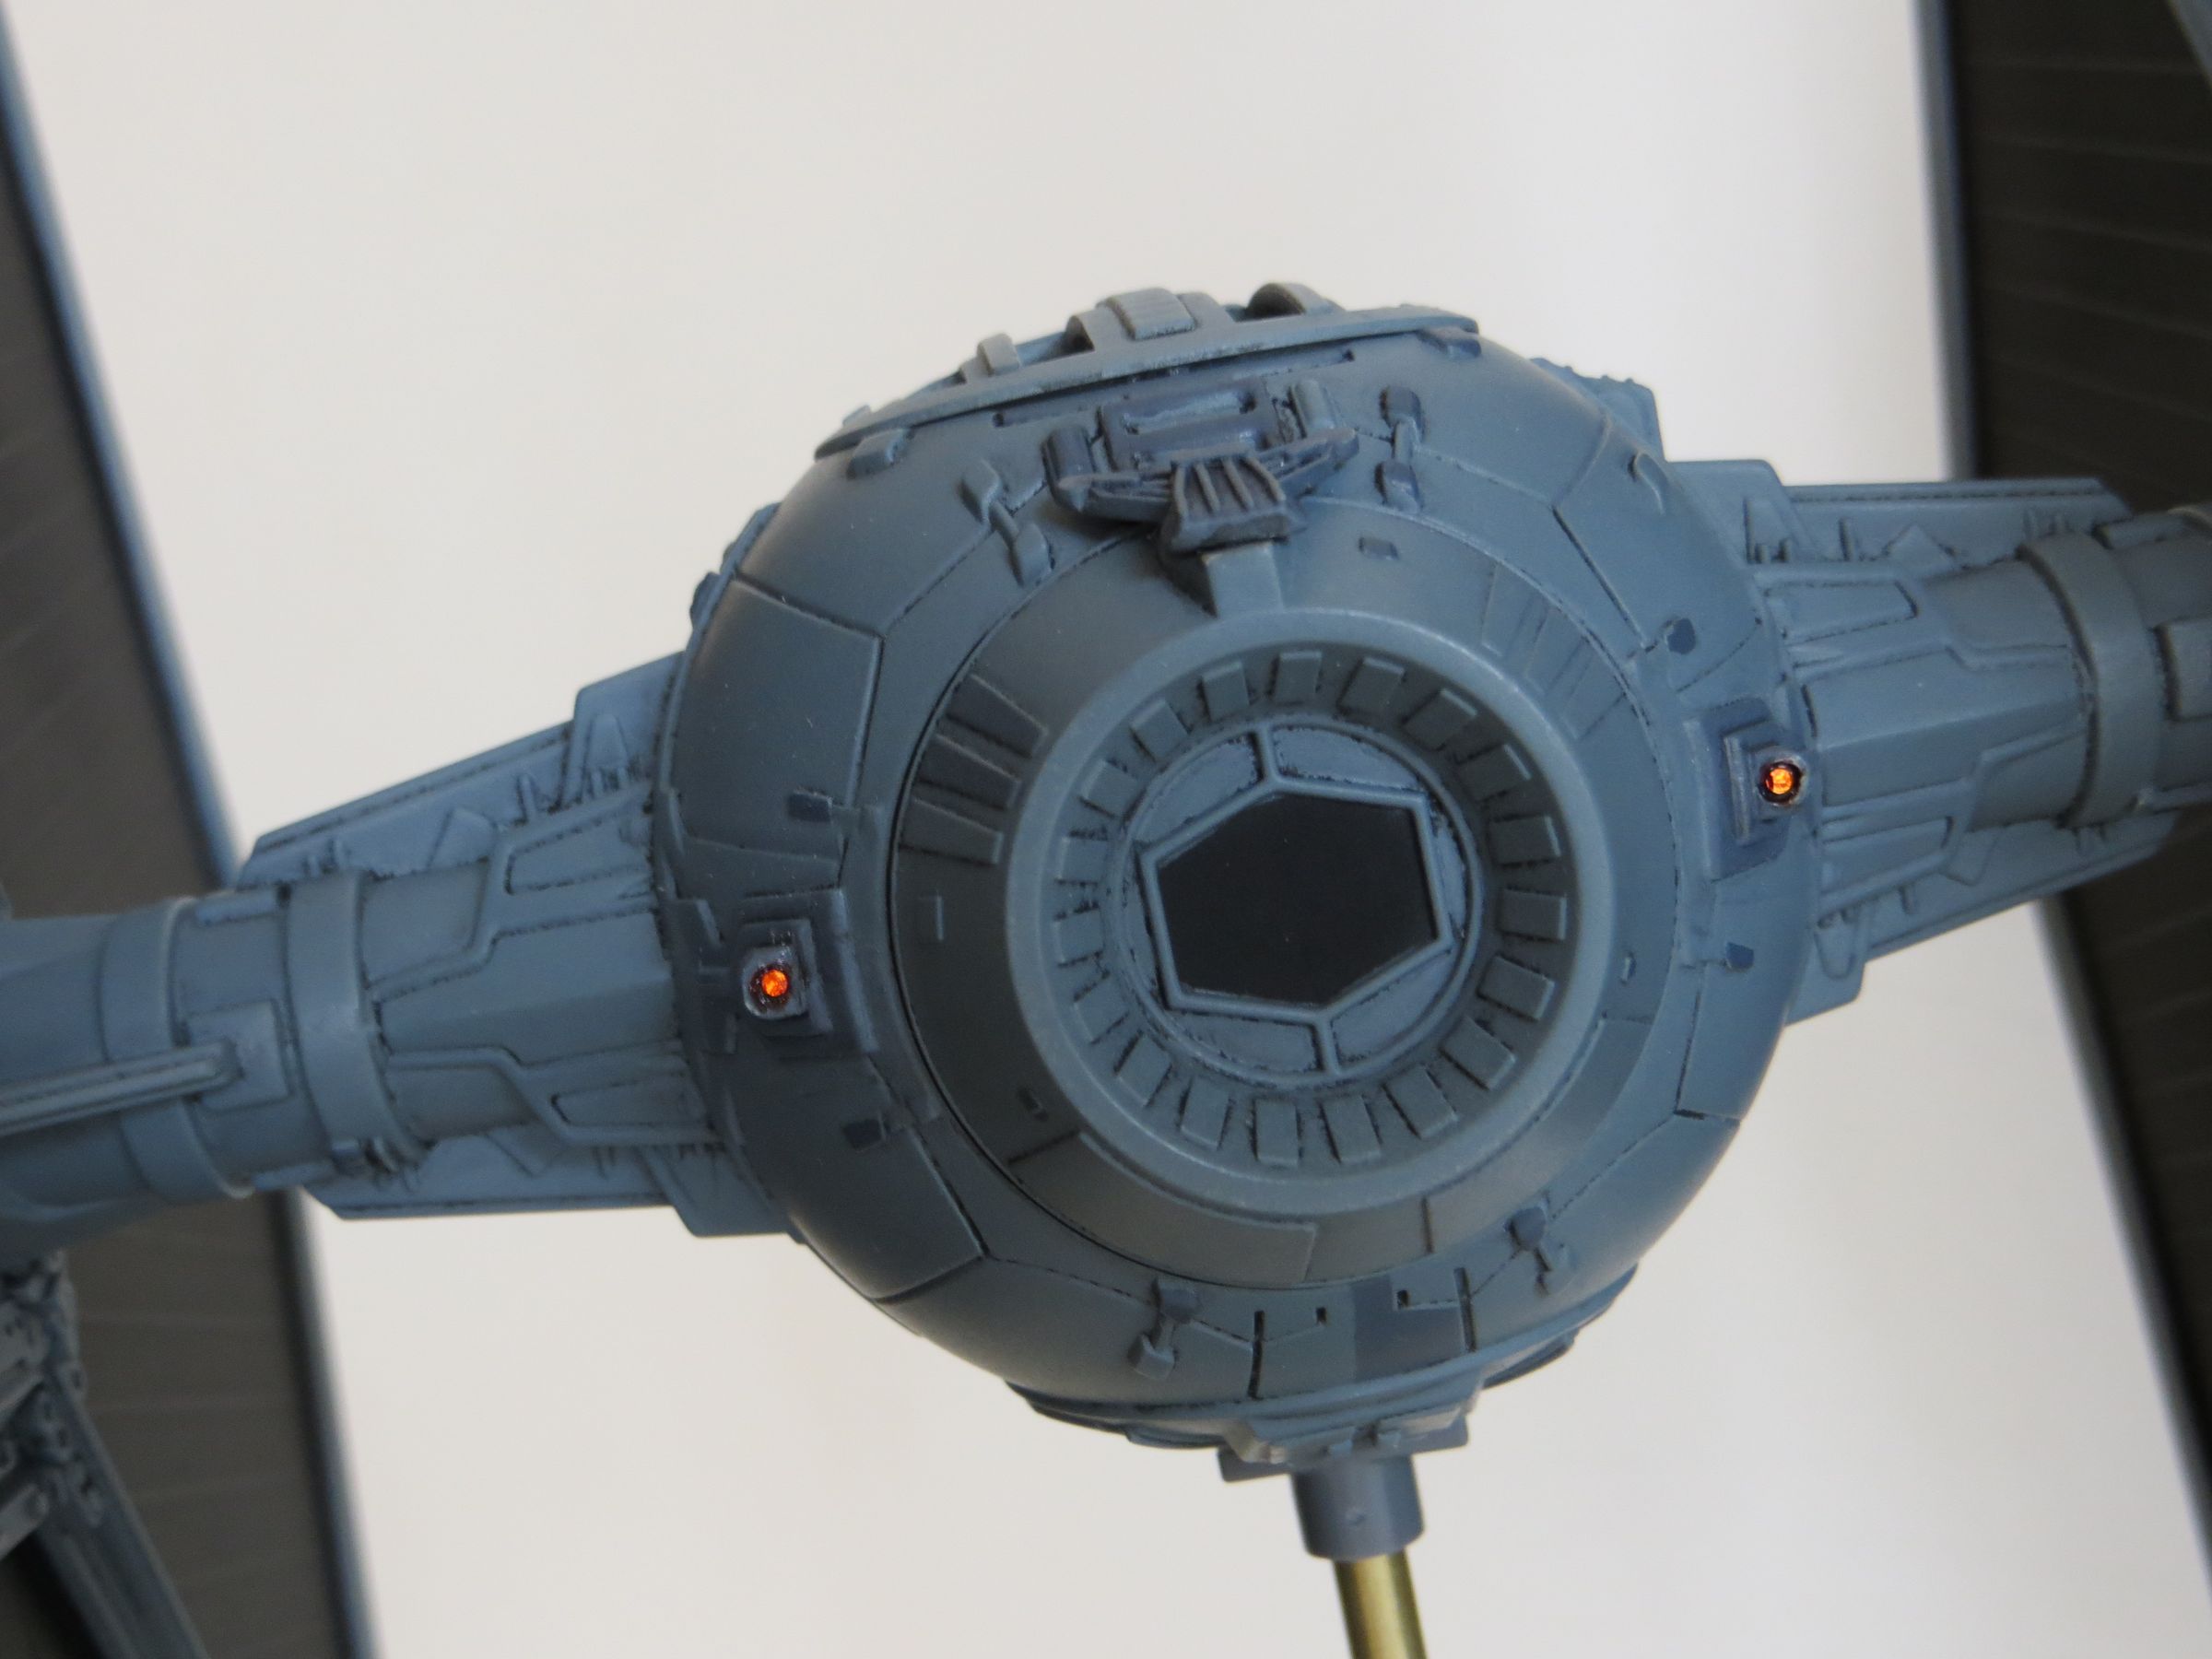
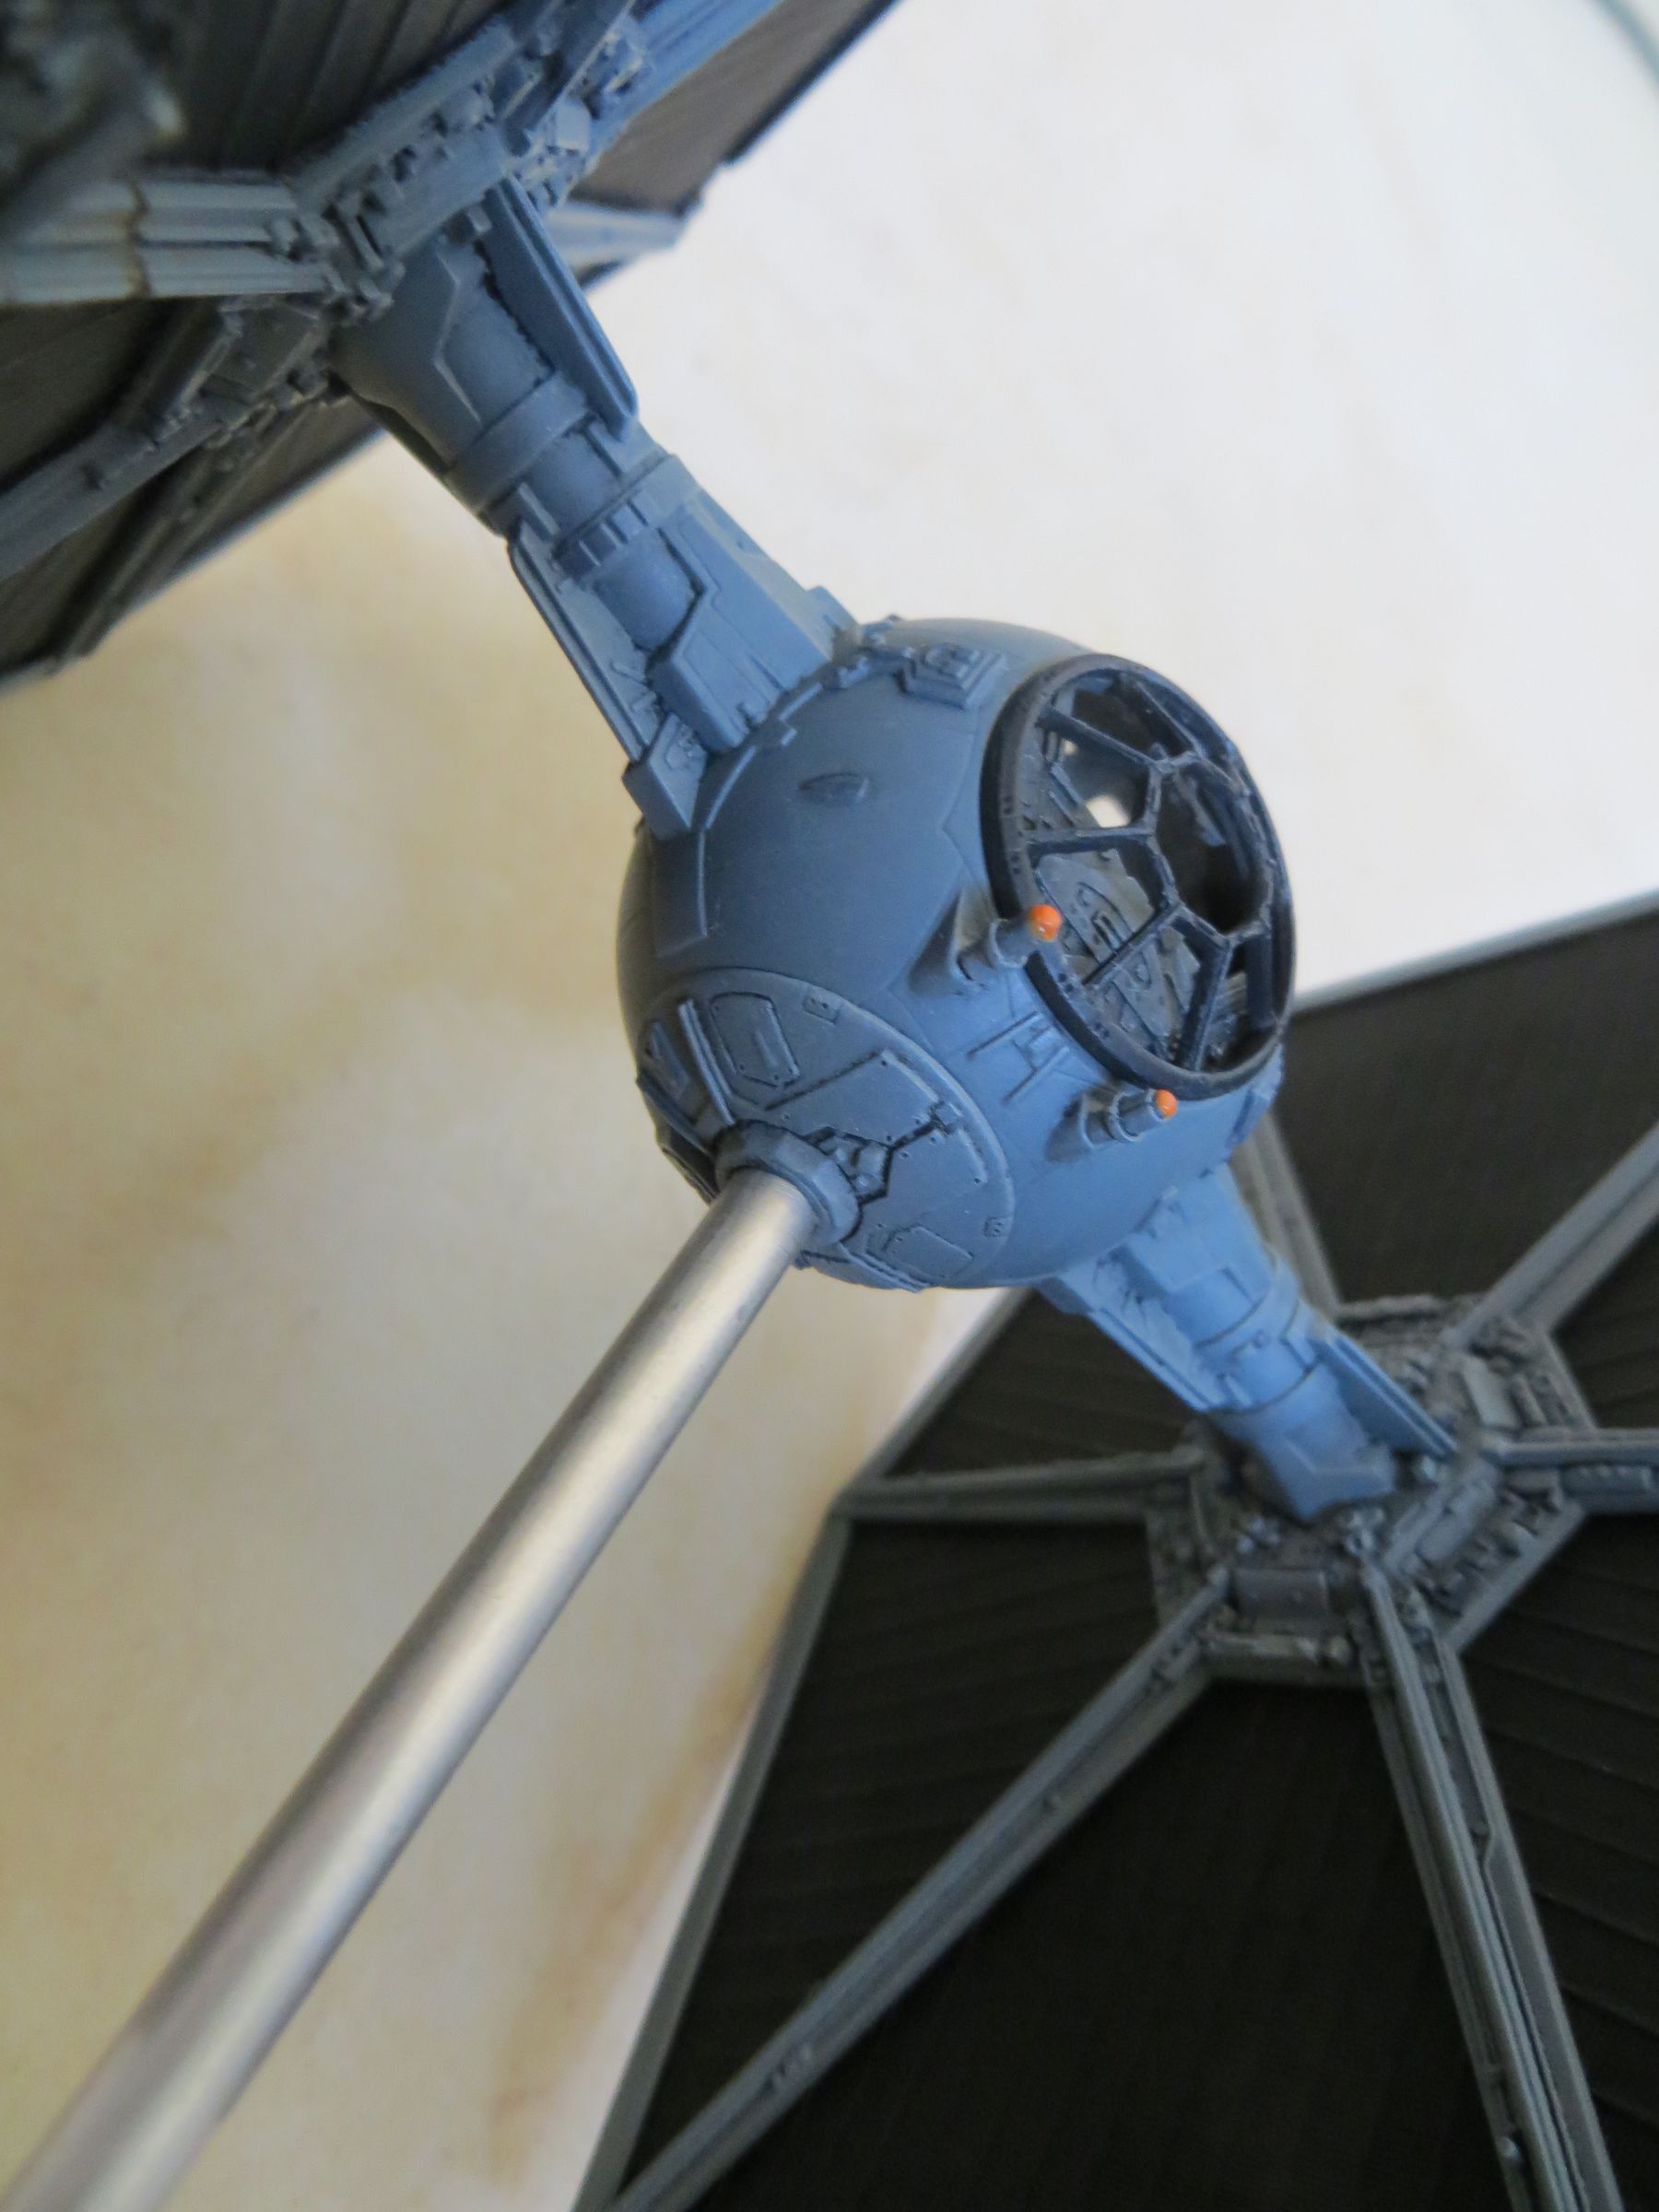
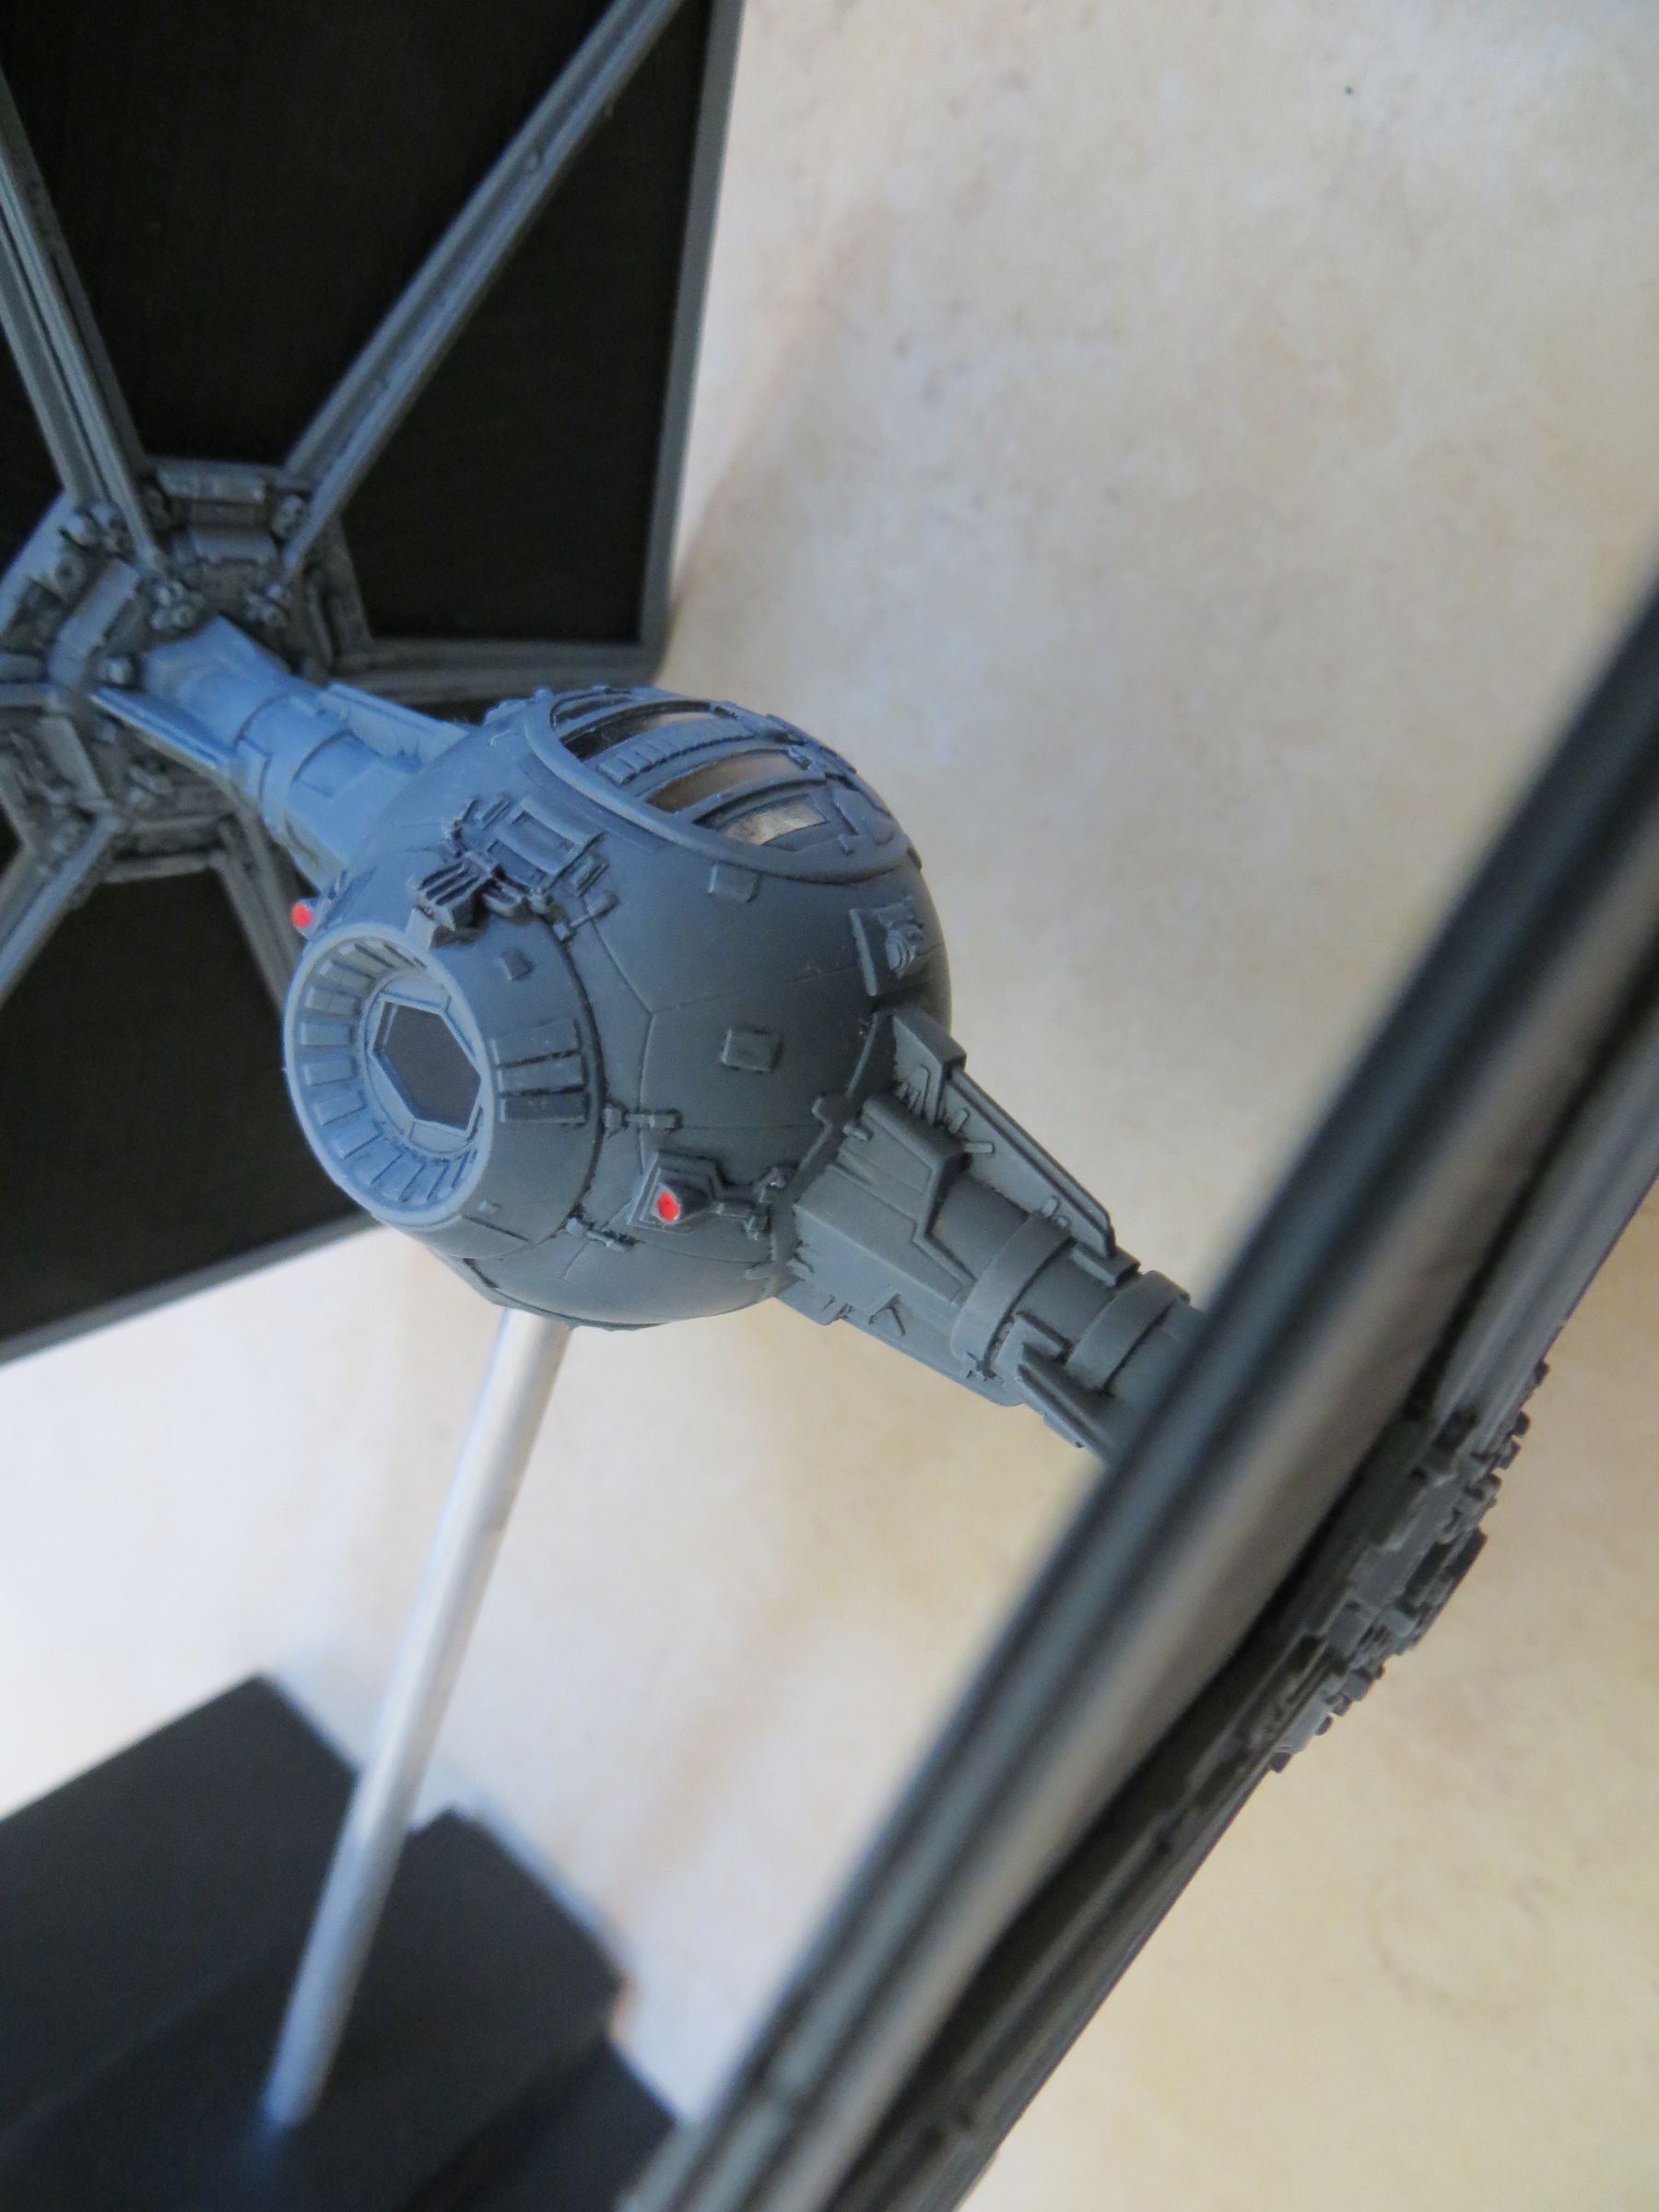
The engines On the FM and the small Revell, so without lighting, the engines are simply painted. To have a shiny red, I put a drop of white first, then covered, once dry, with a drop of red.
The bases FM and Small Revell : The bases are made from wood (medium) spare parts, trimmed and sanded, and aluminum rods .
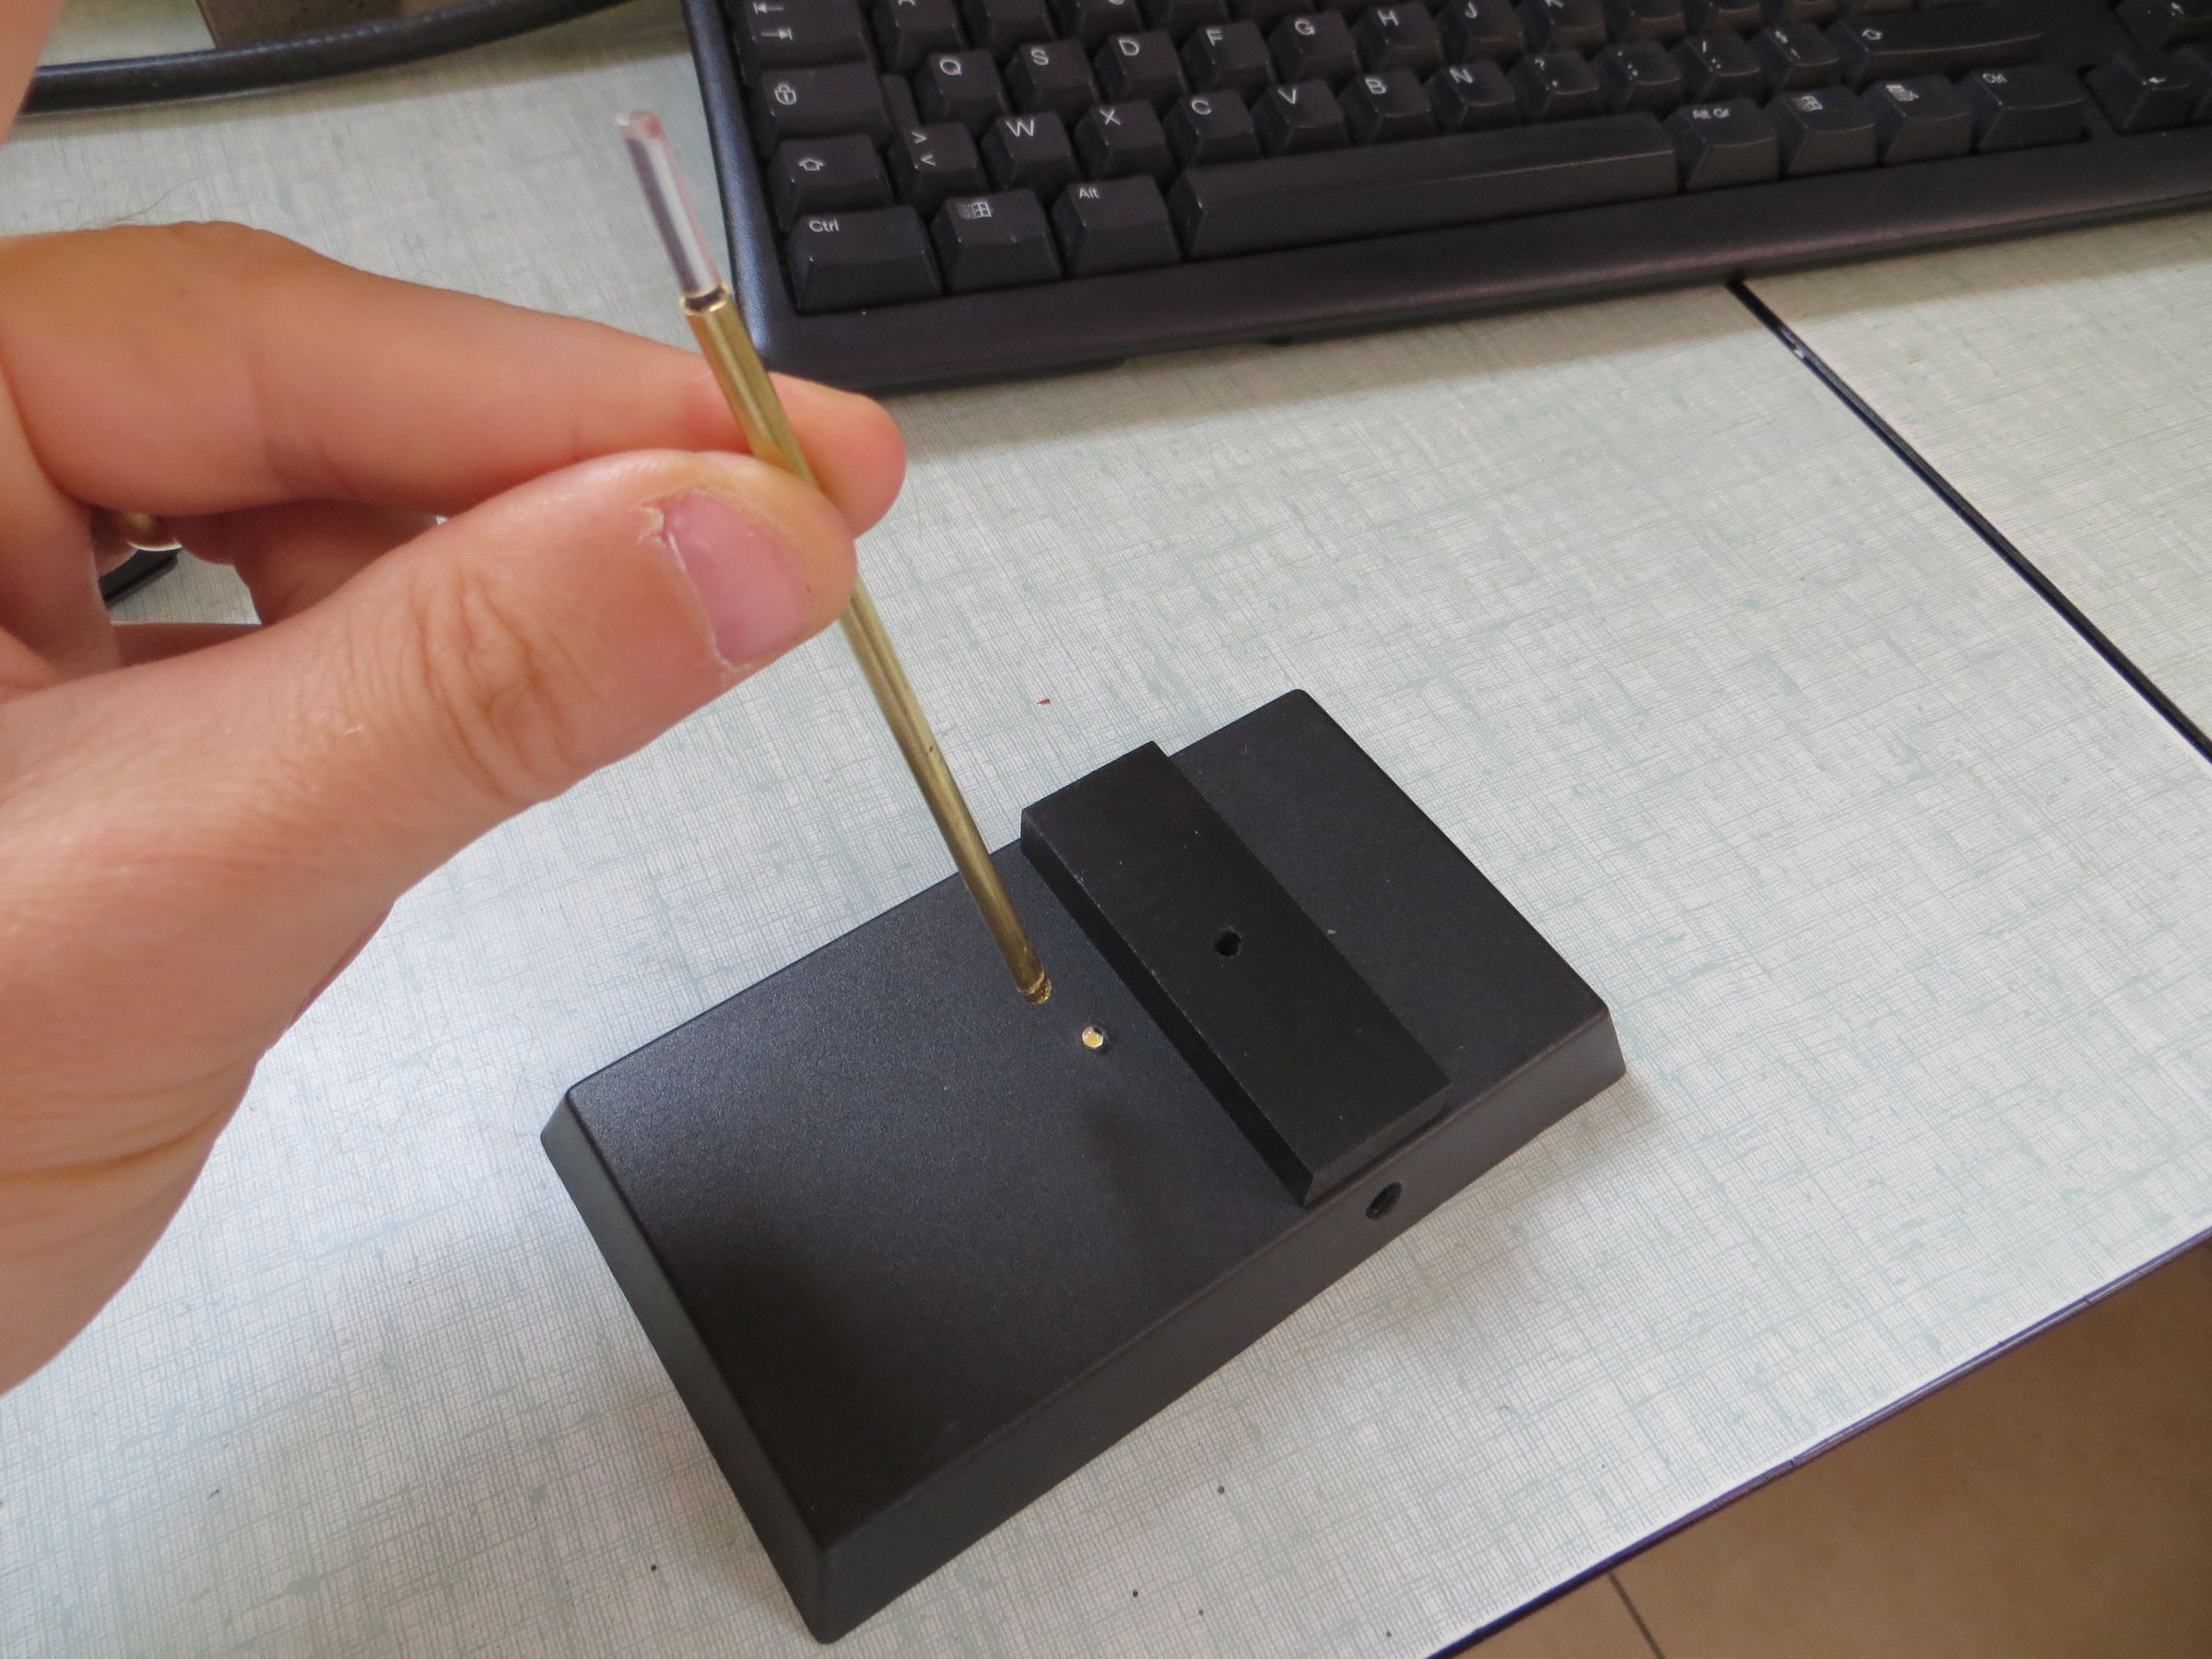
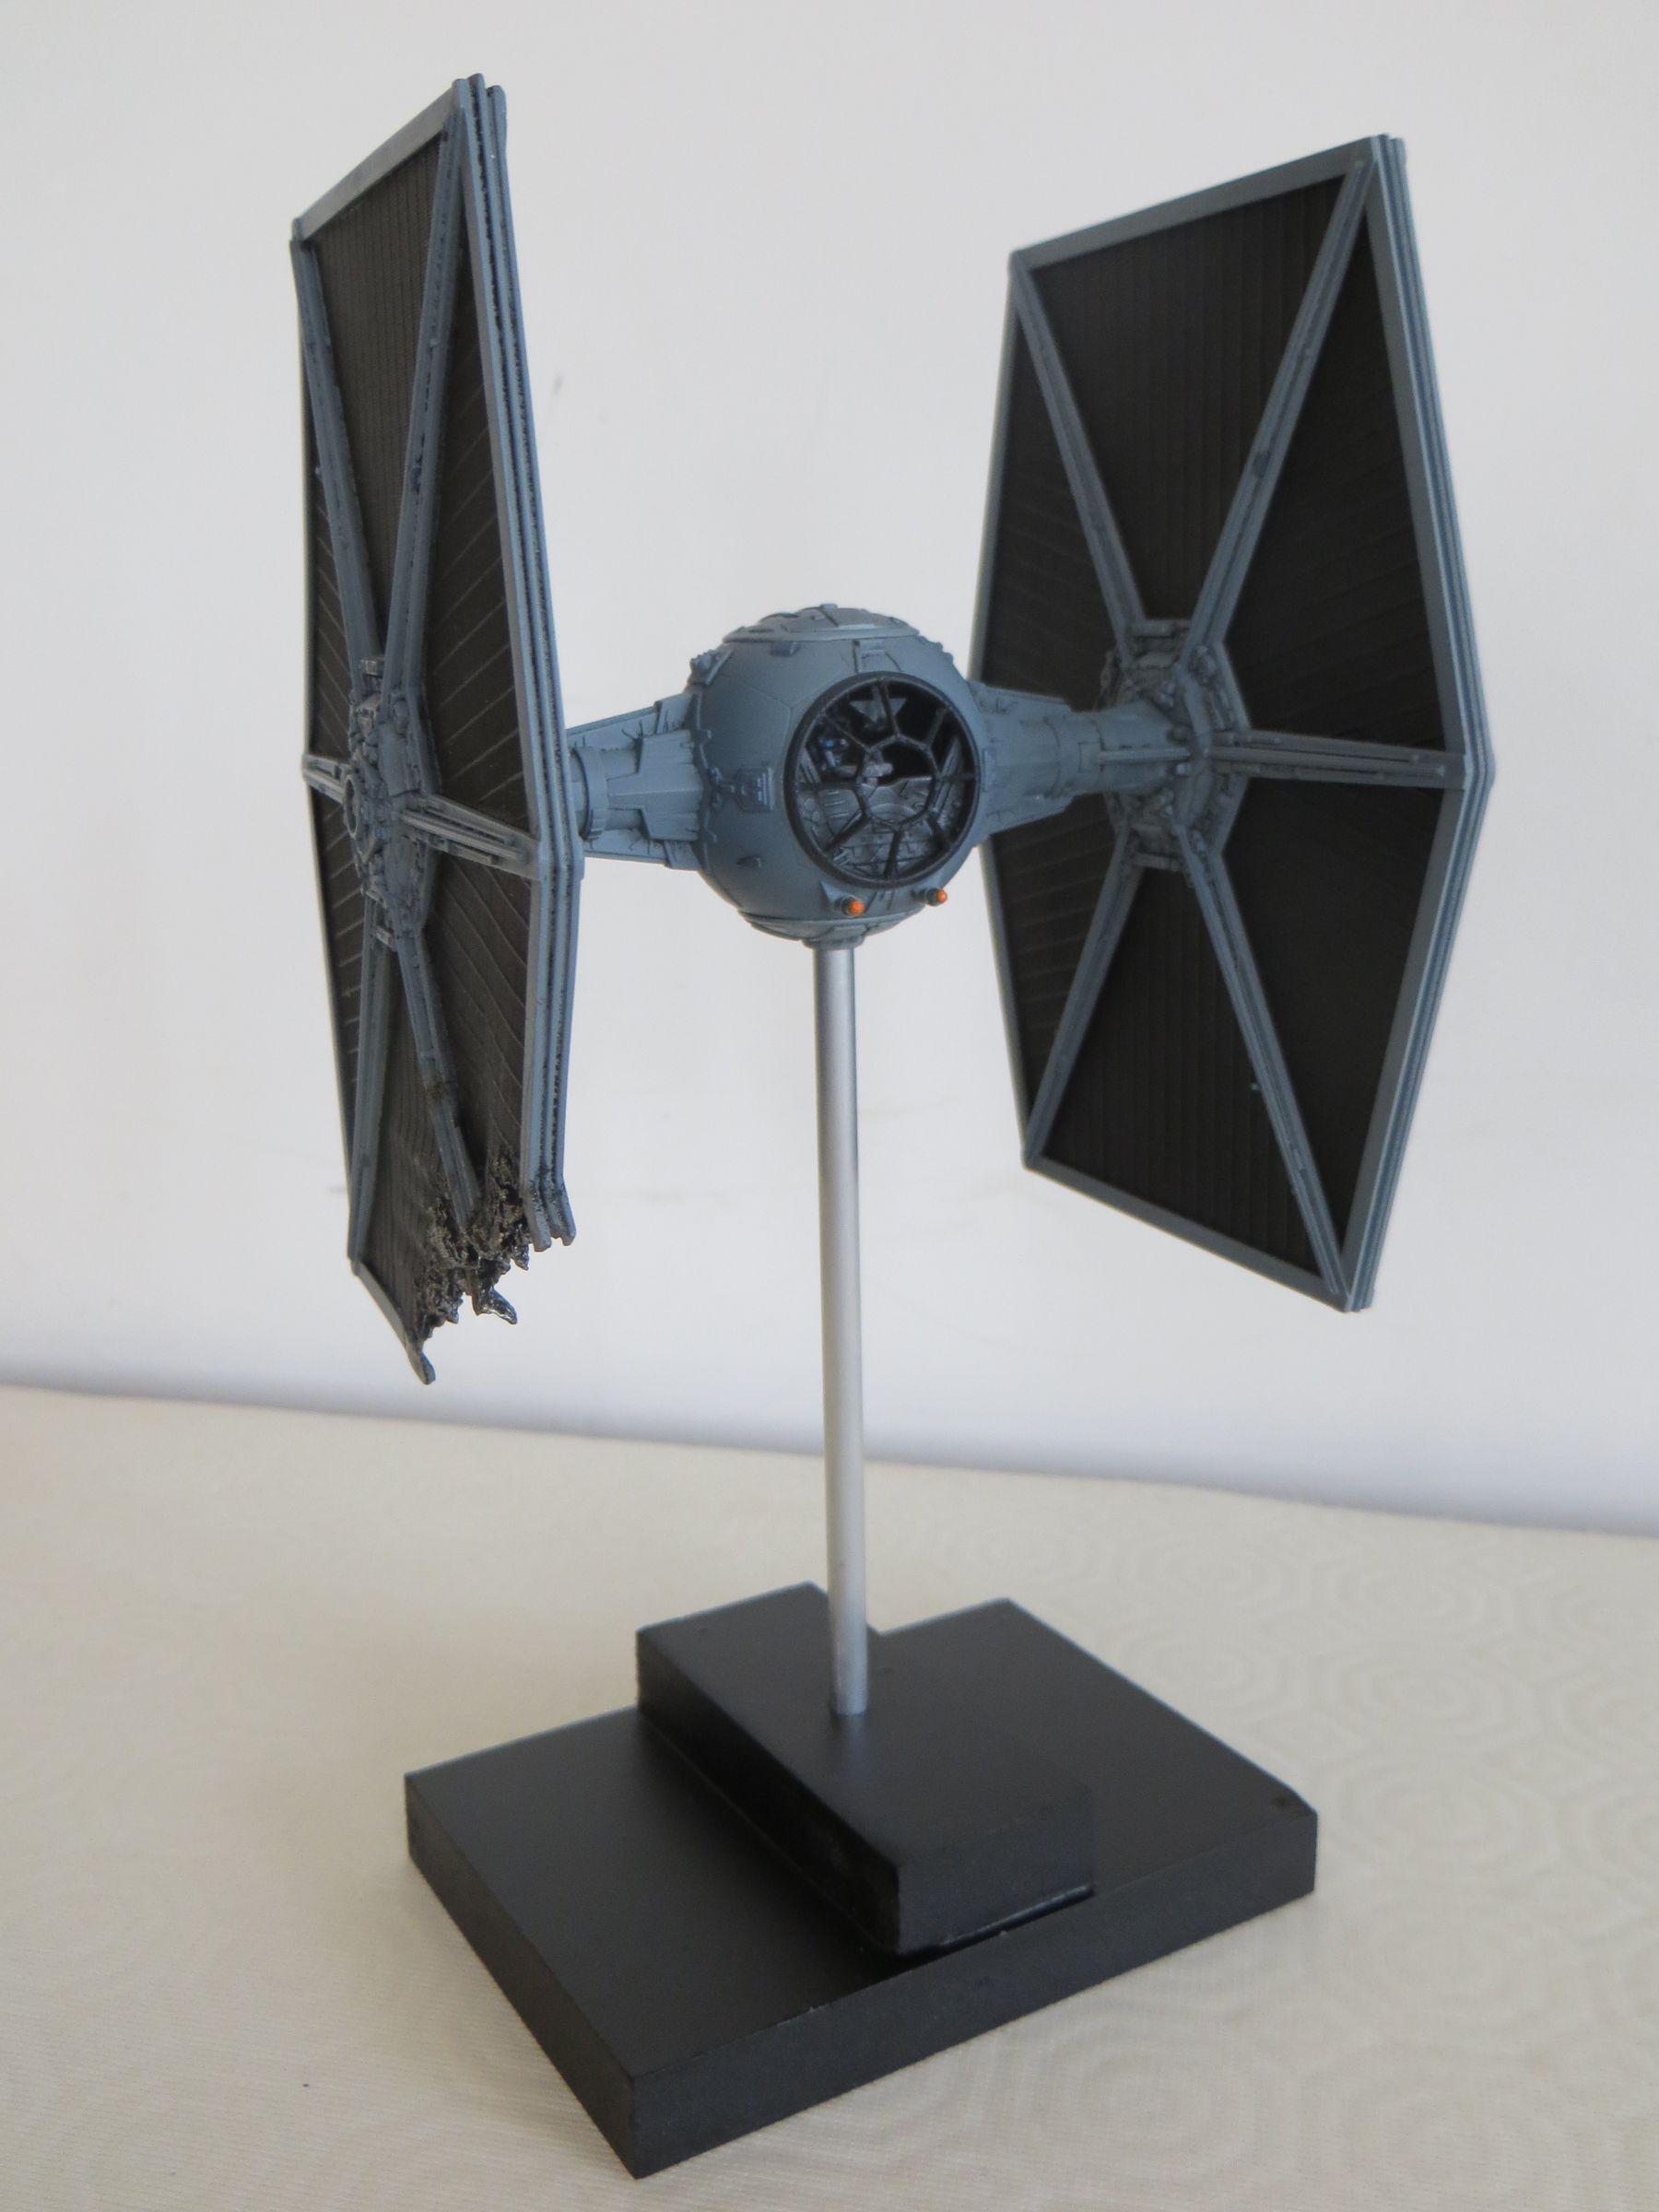
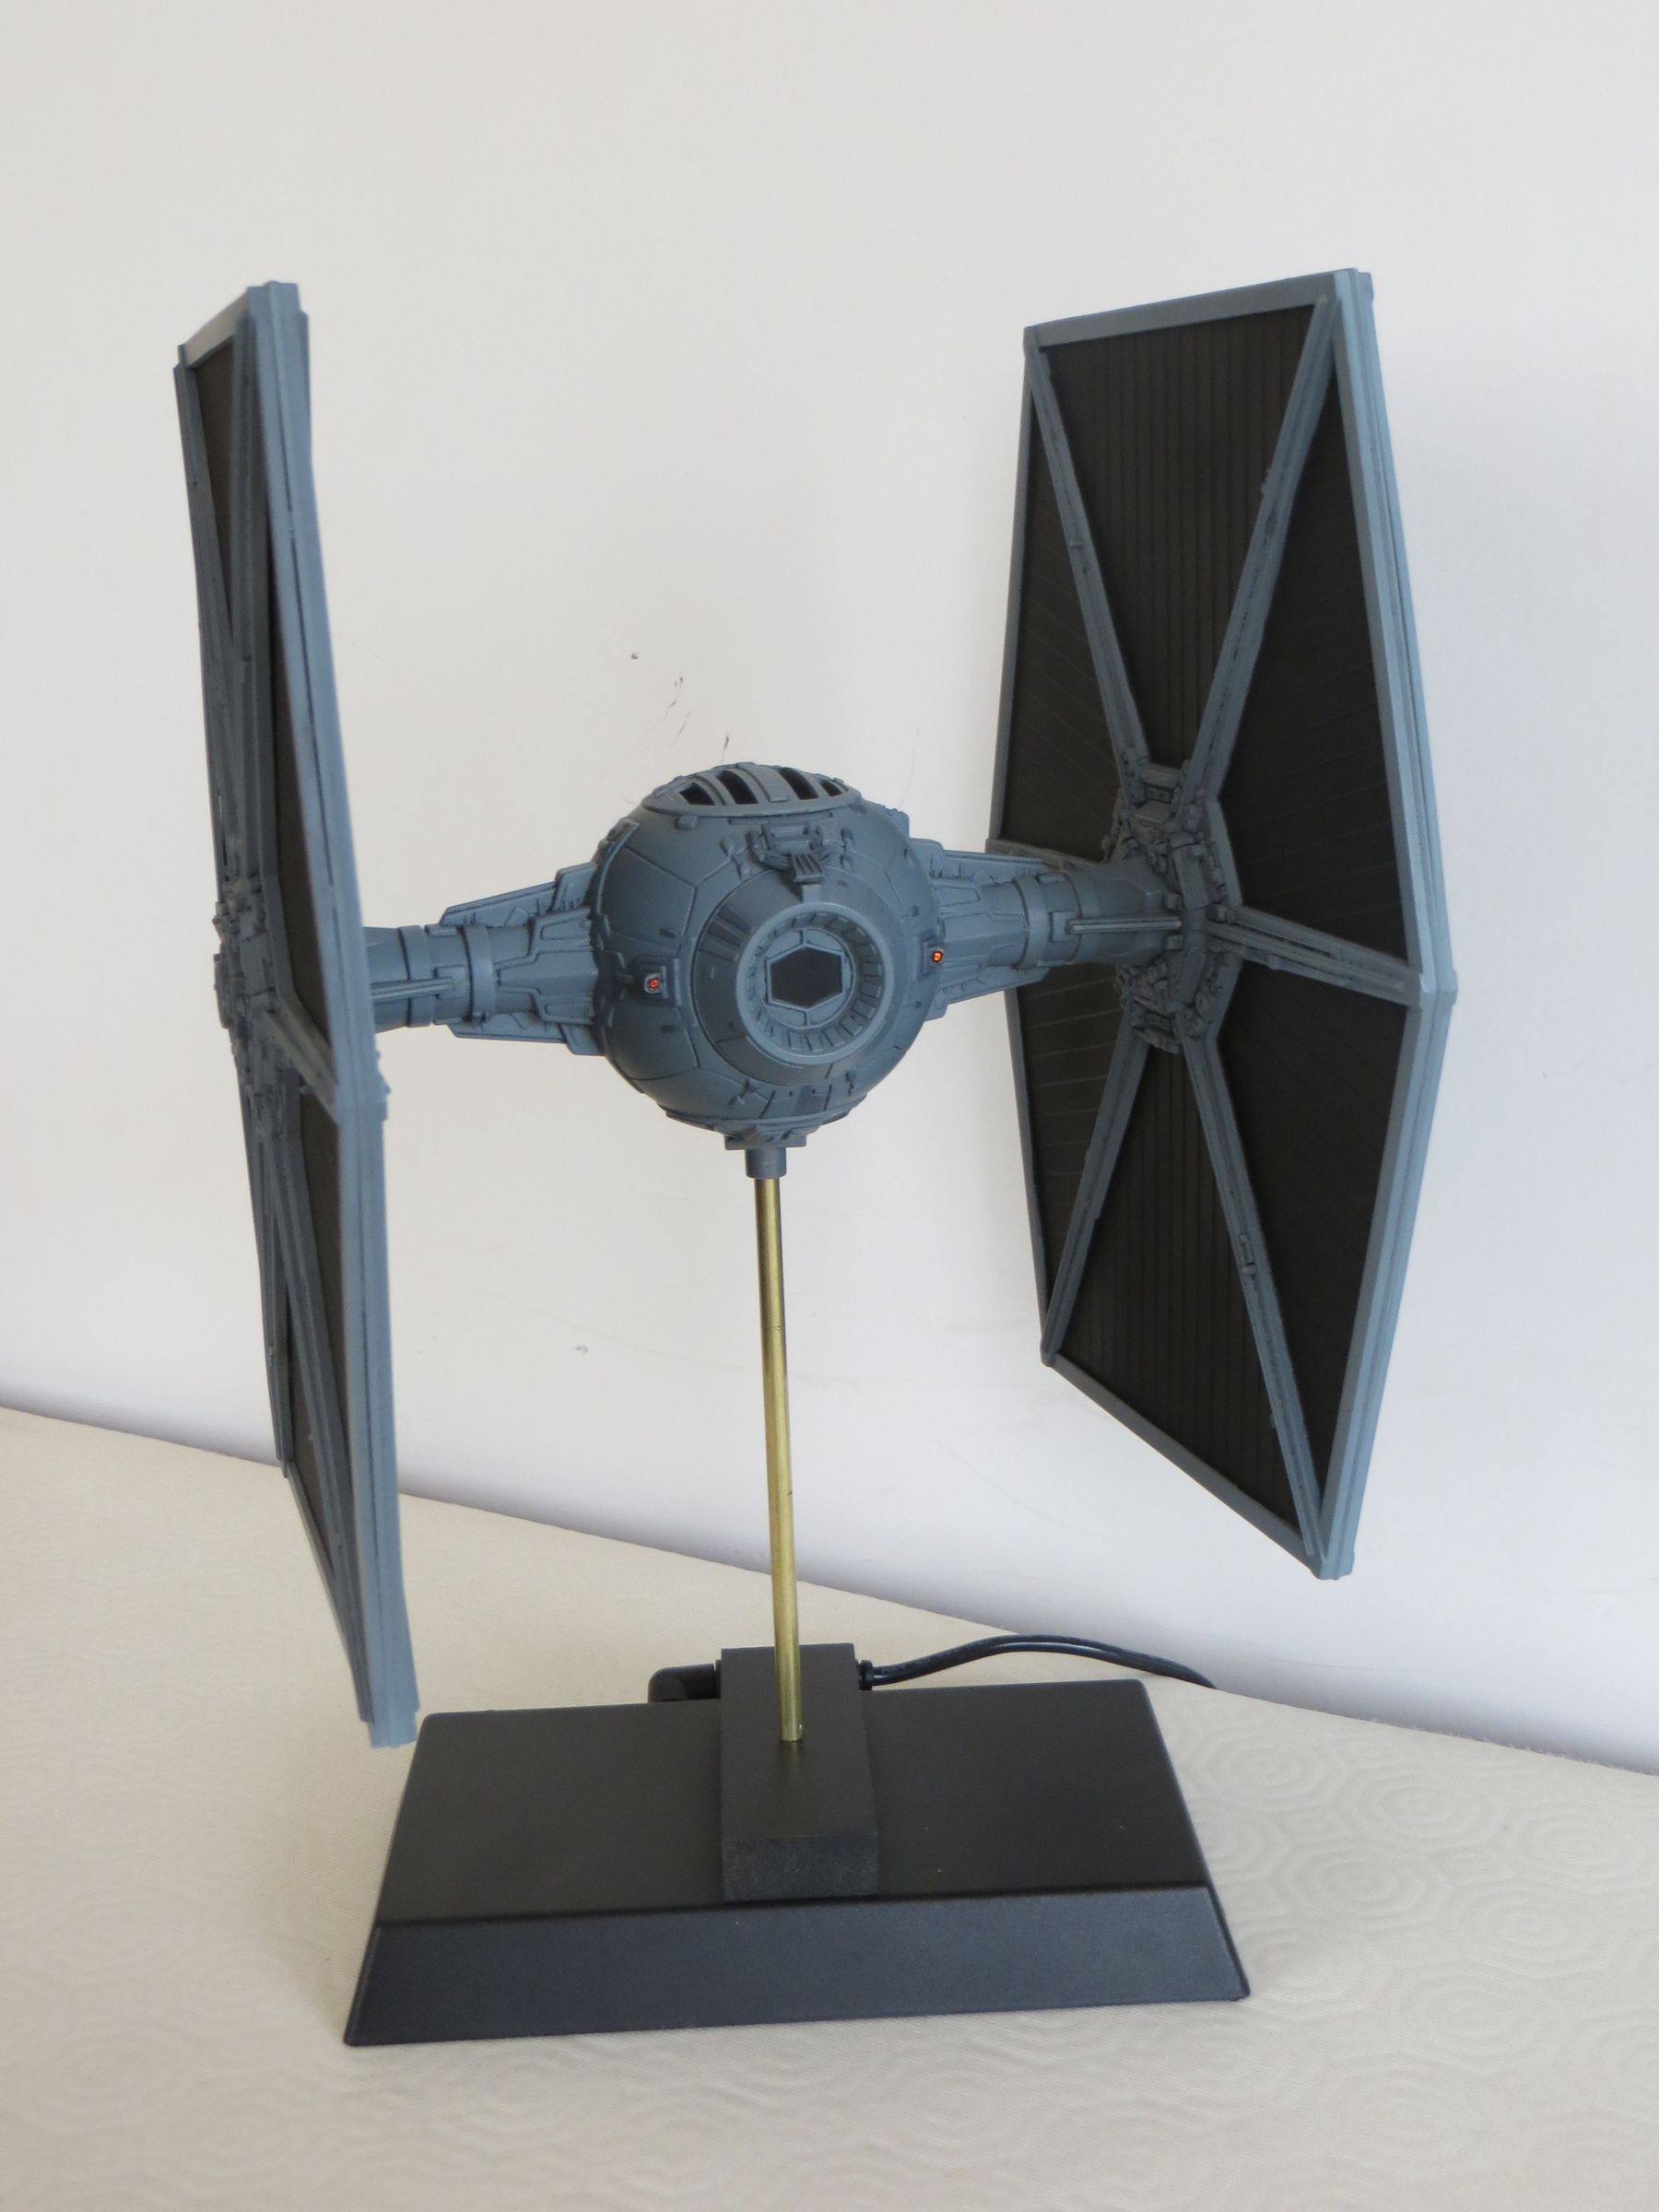
Big Revell : This base had to include the lighting system. I simply used the black base from the old ERTL lighting kit, in which I insert a simple circuit (one white warm LED) to a 4mm hole in the center of the support. A 4mm fiber optic is inserted in a brass tube, held by a medium (wood) strip glued on the black base, brings the litgh to the Tie and holds it in place. A kind of plastic T (I do not remember where it comes from ) give a little more stability to the Tie.


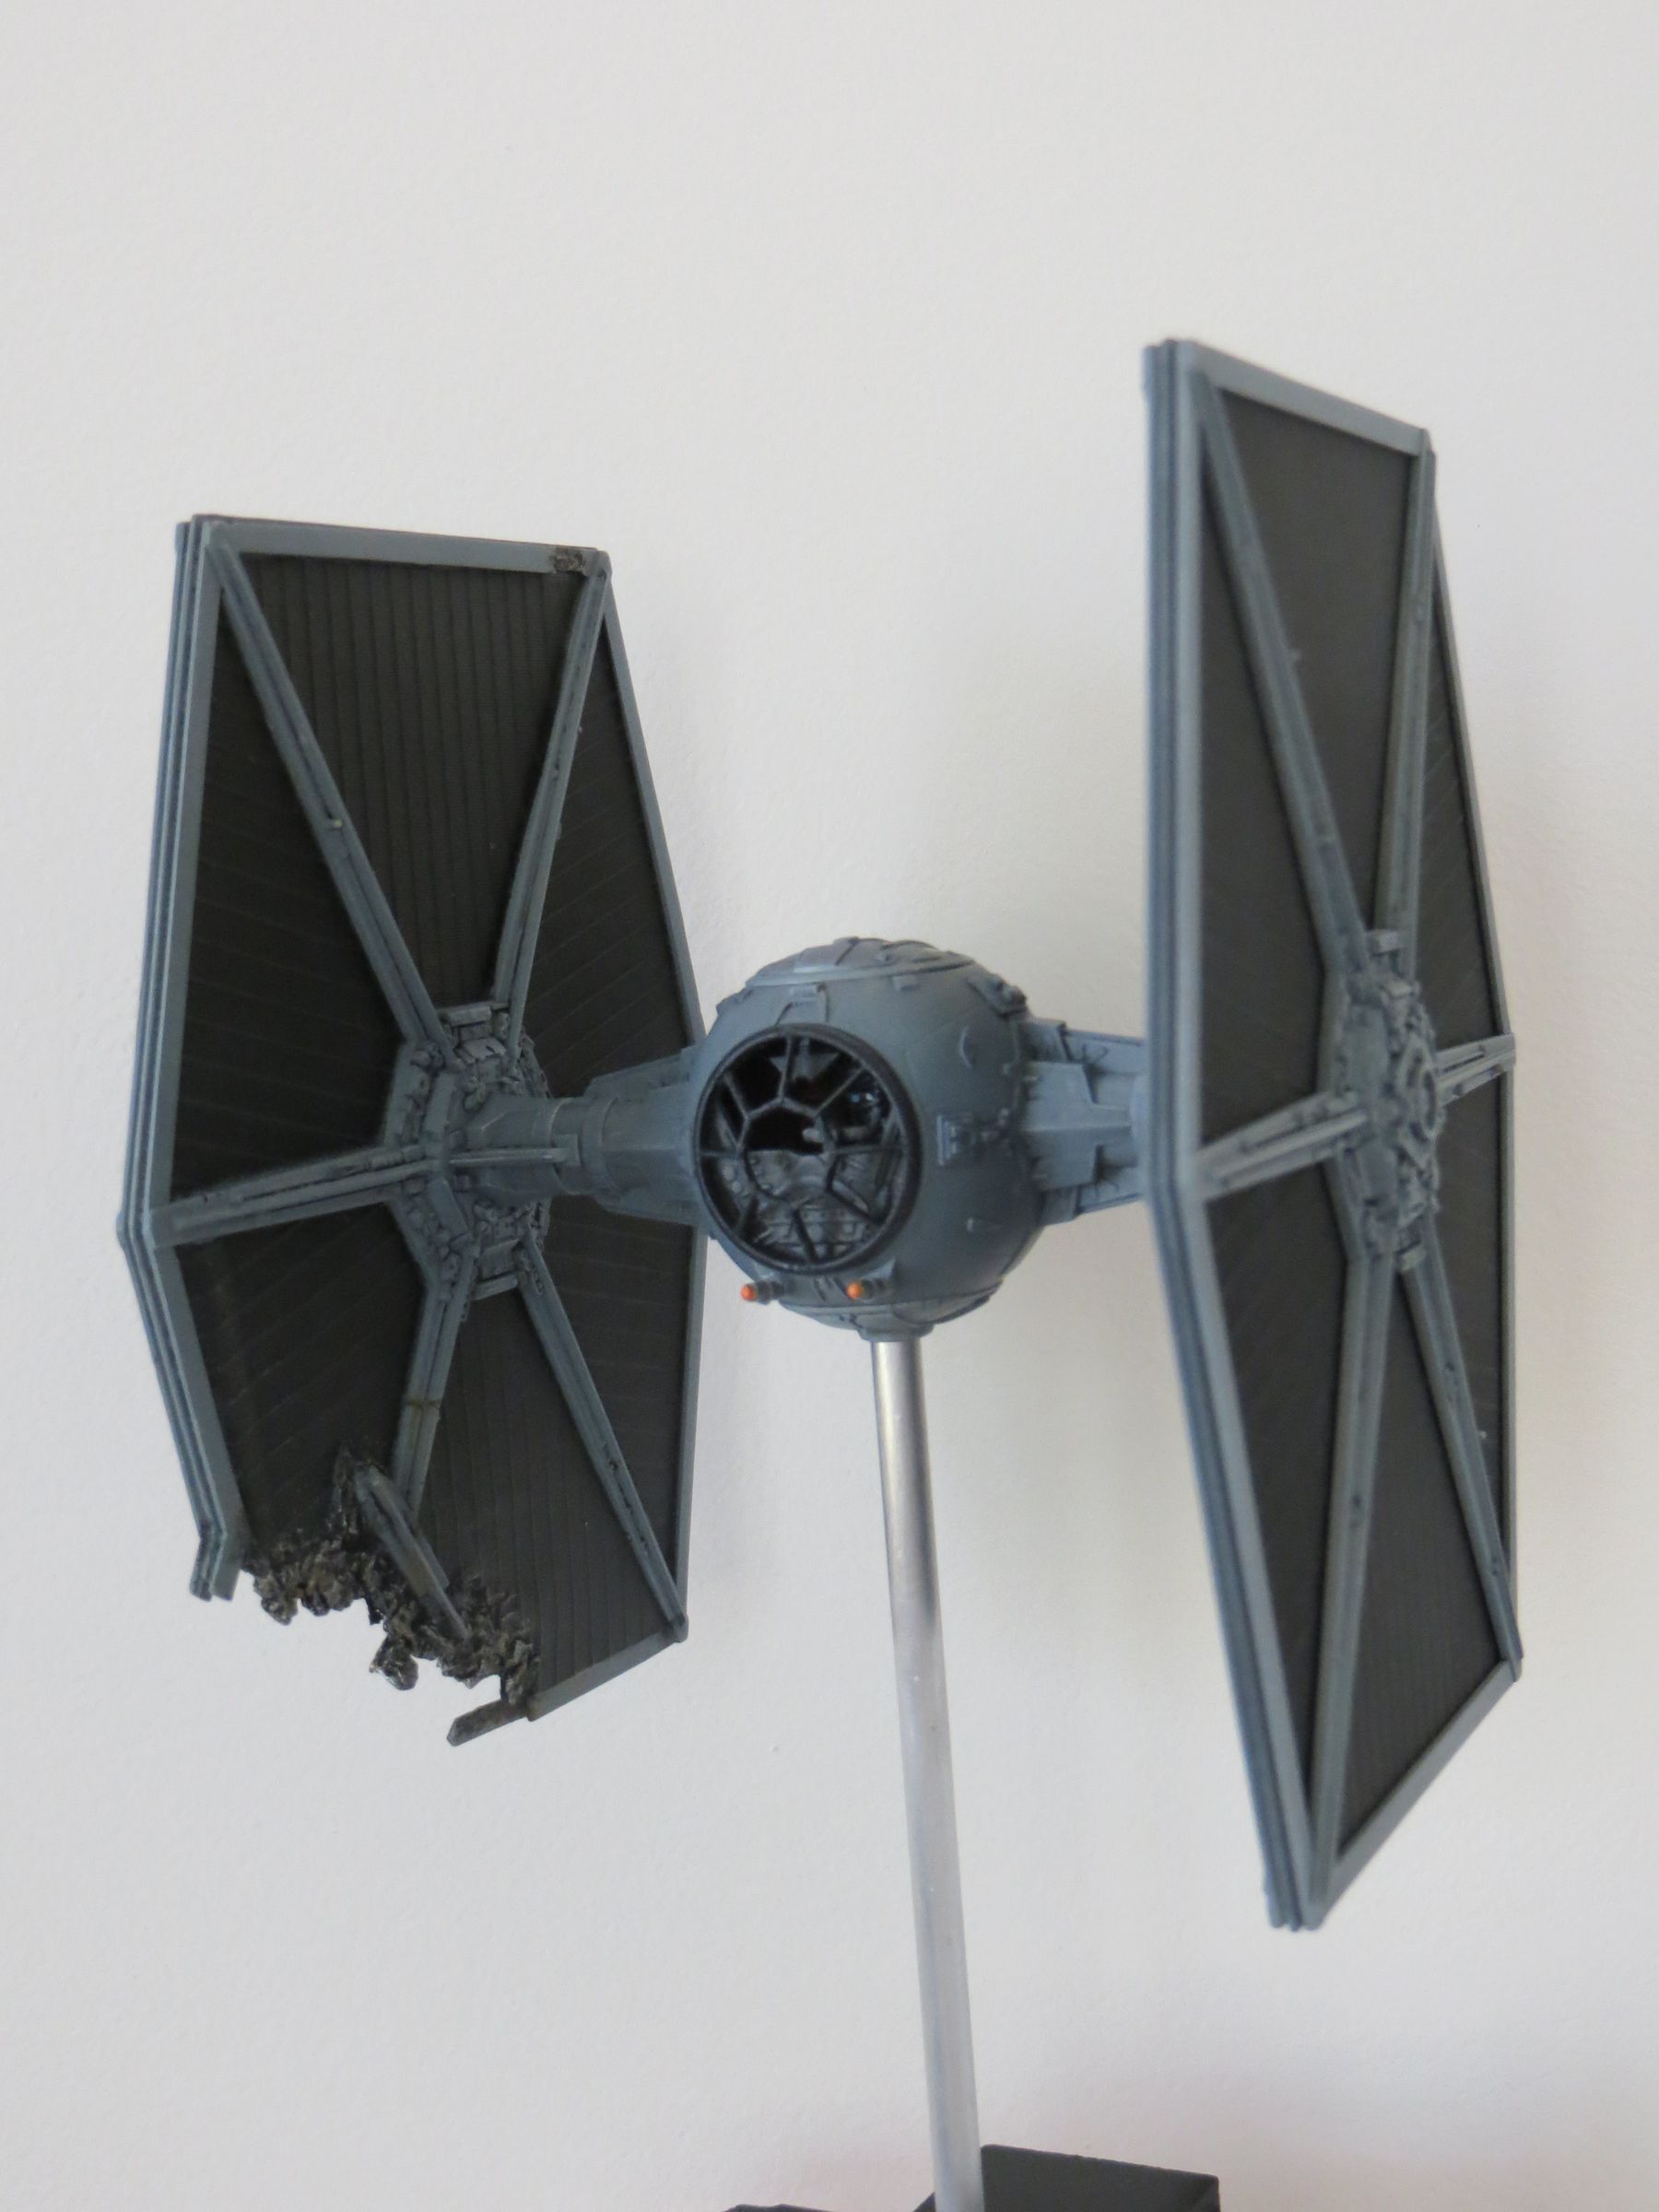
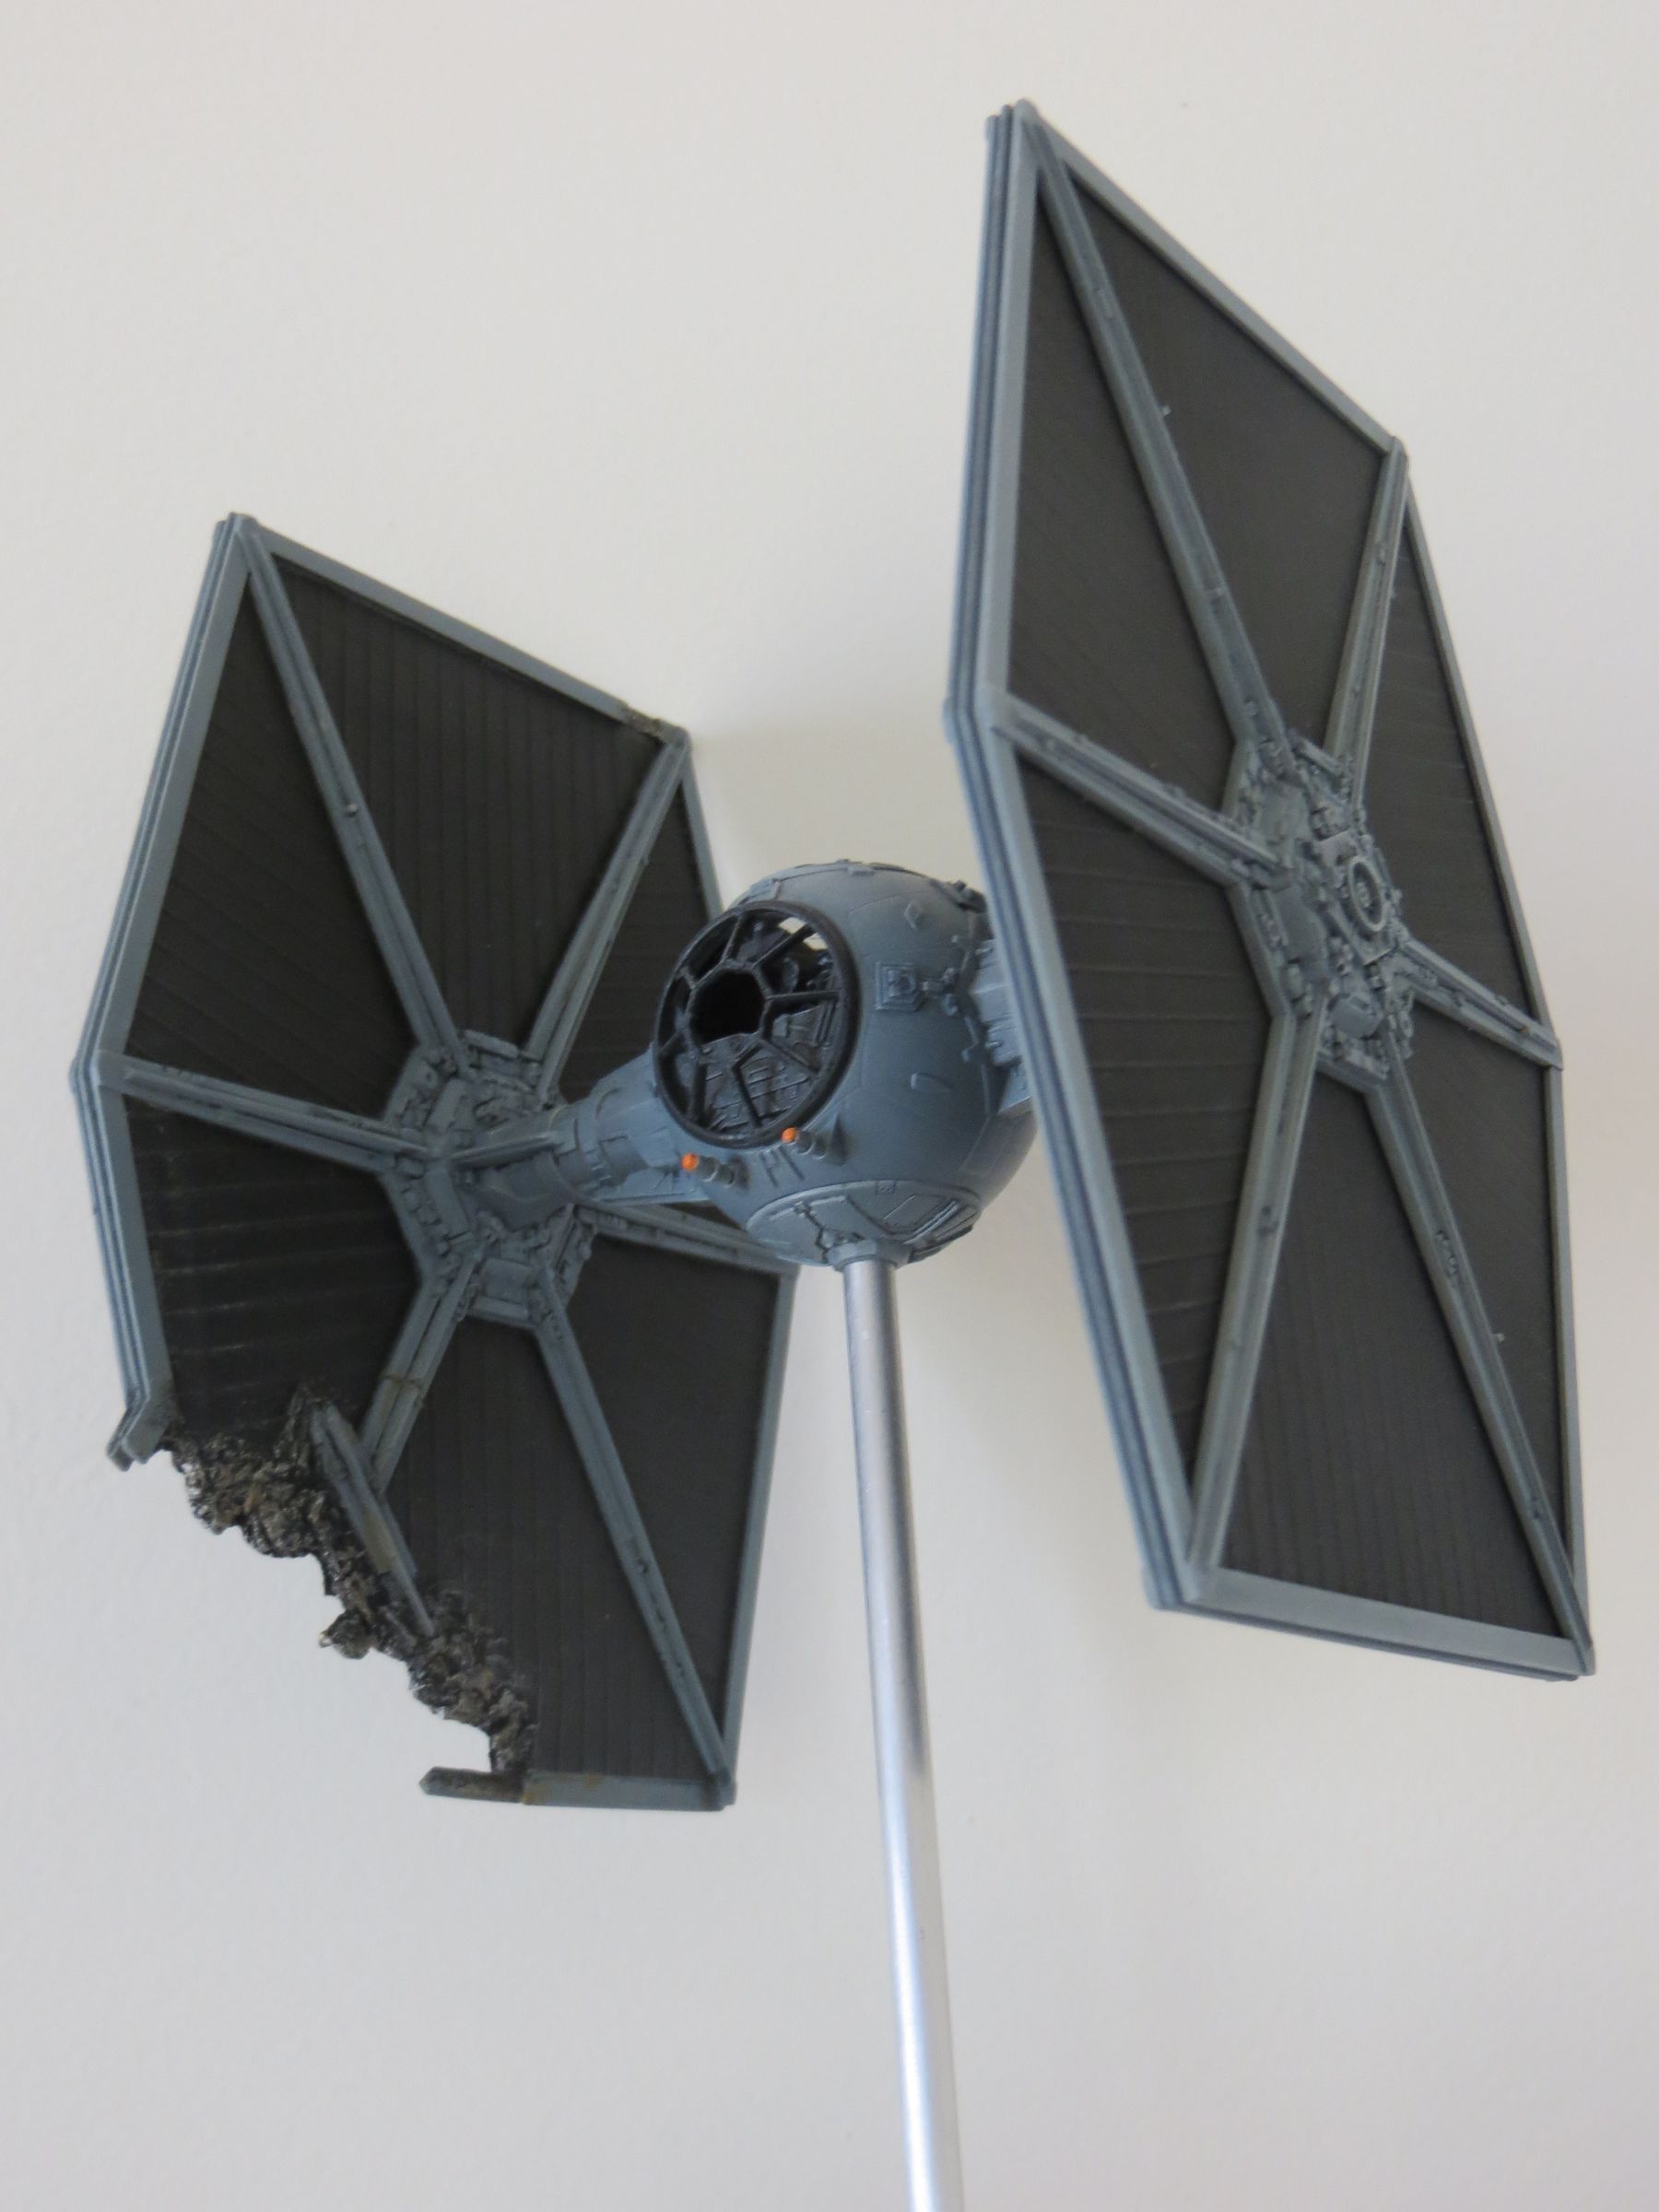
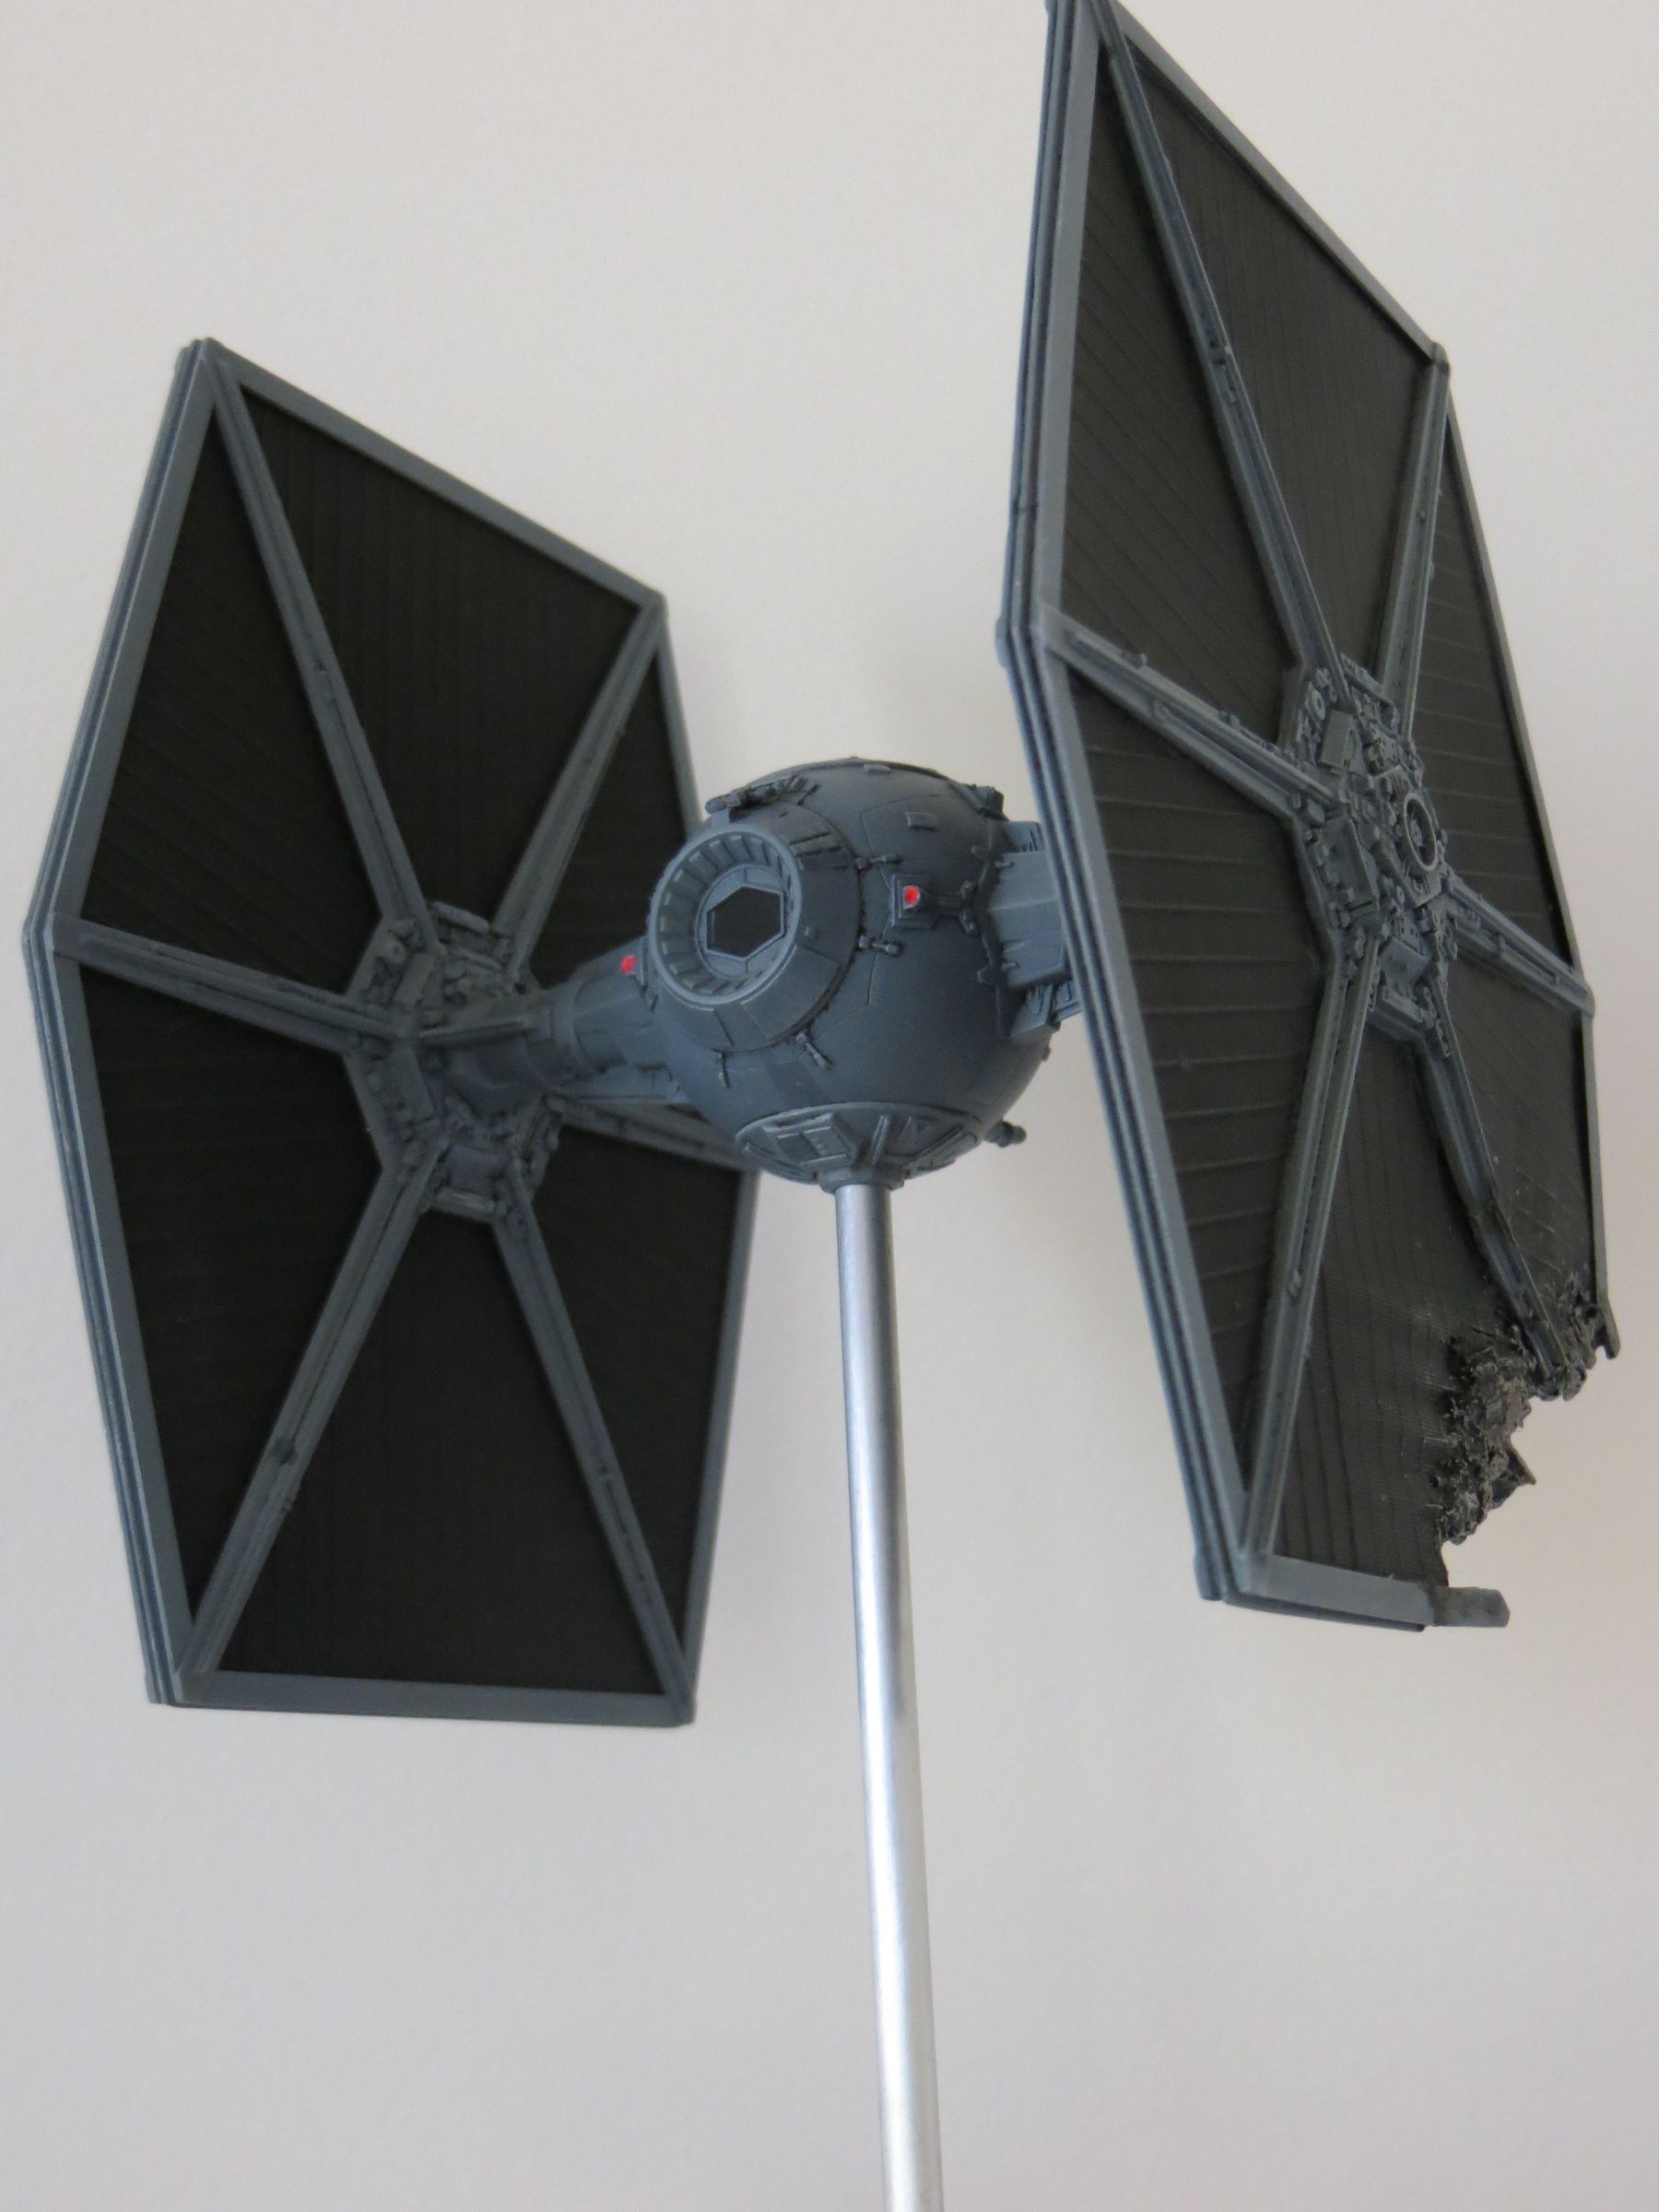
The modules are then assembled , and here is the result :
FM tie
Small Tie Revell
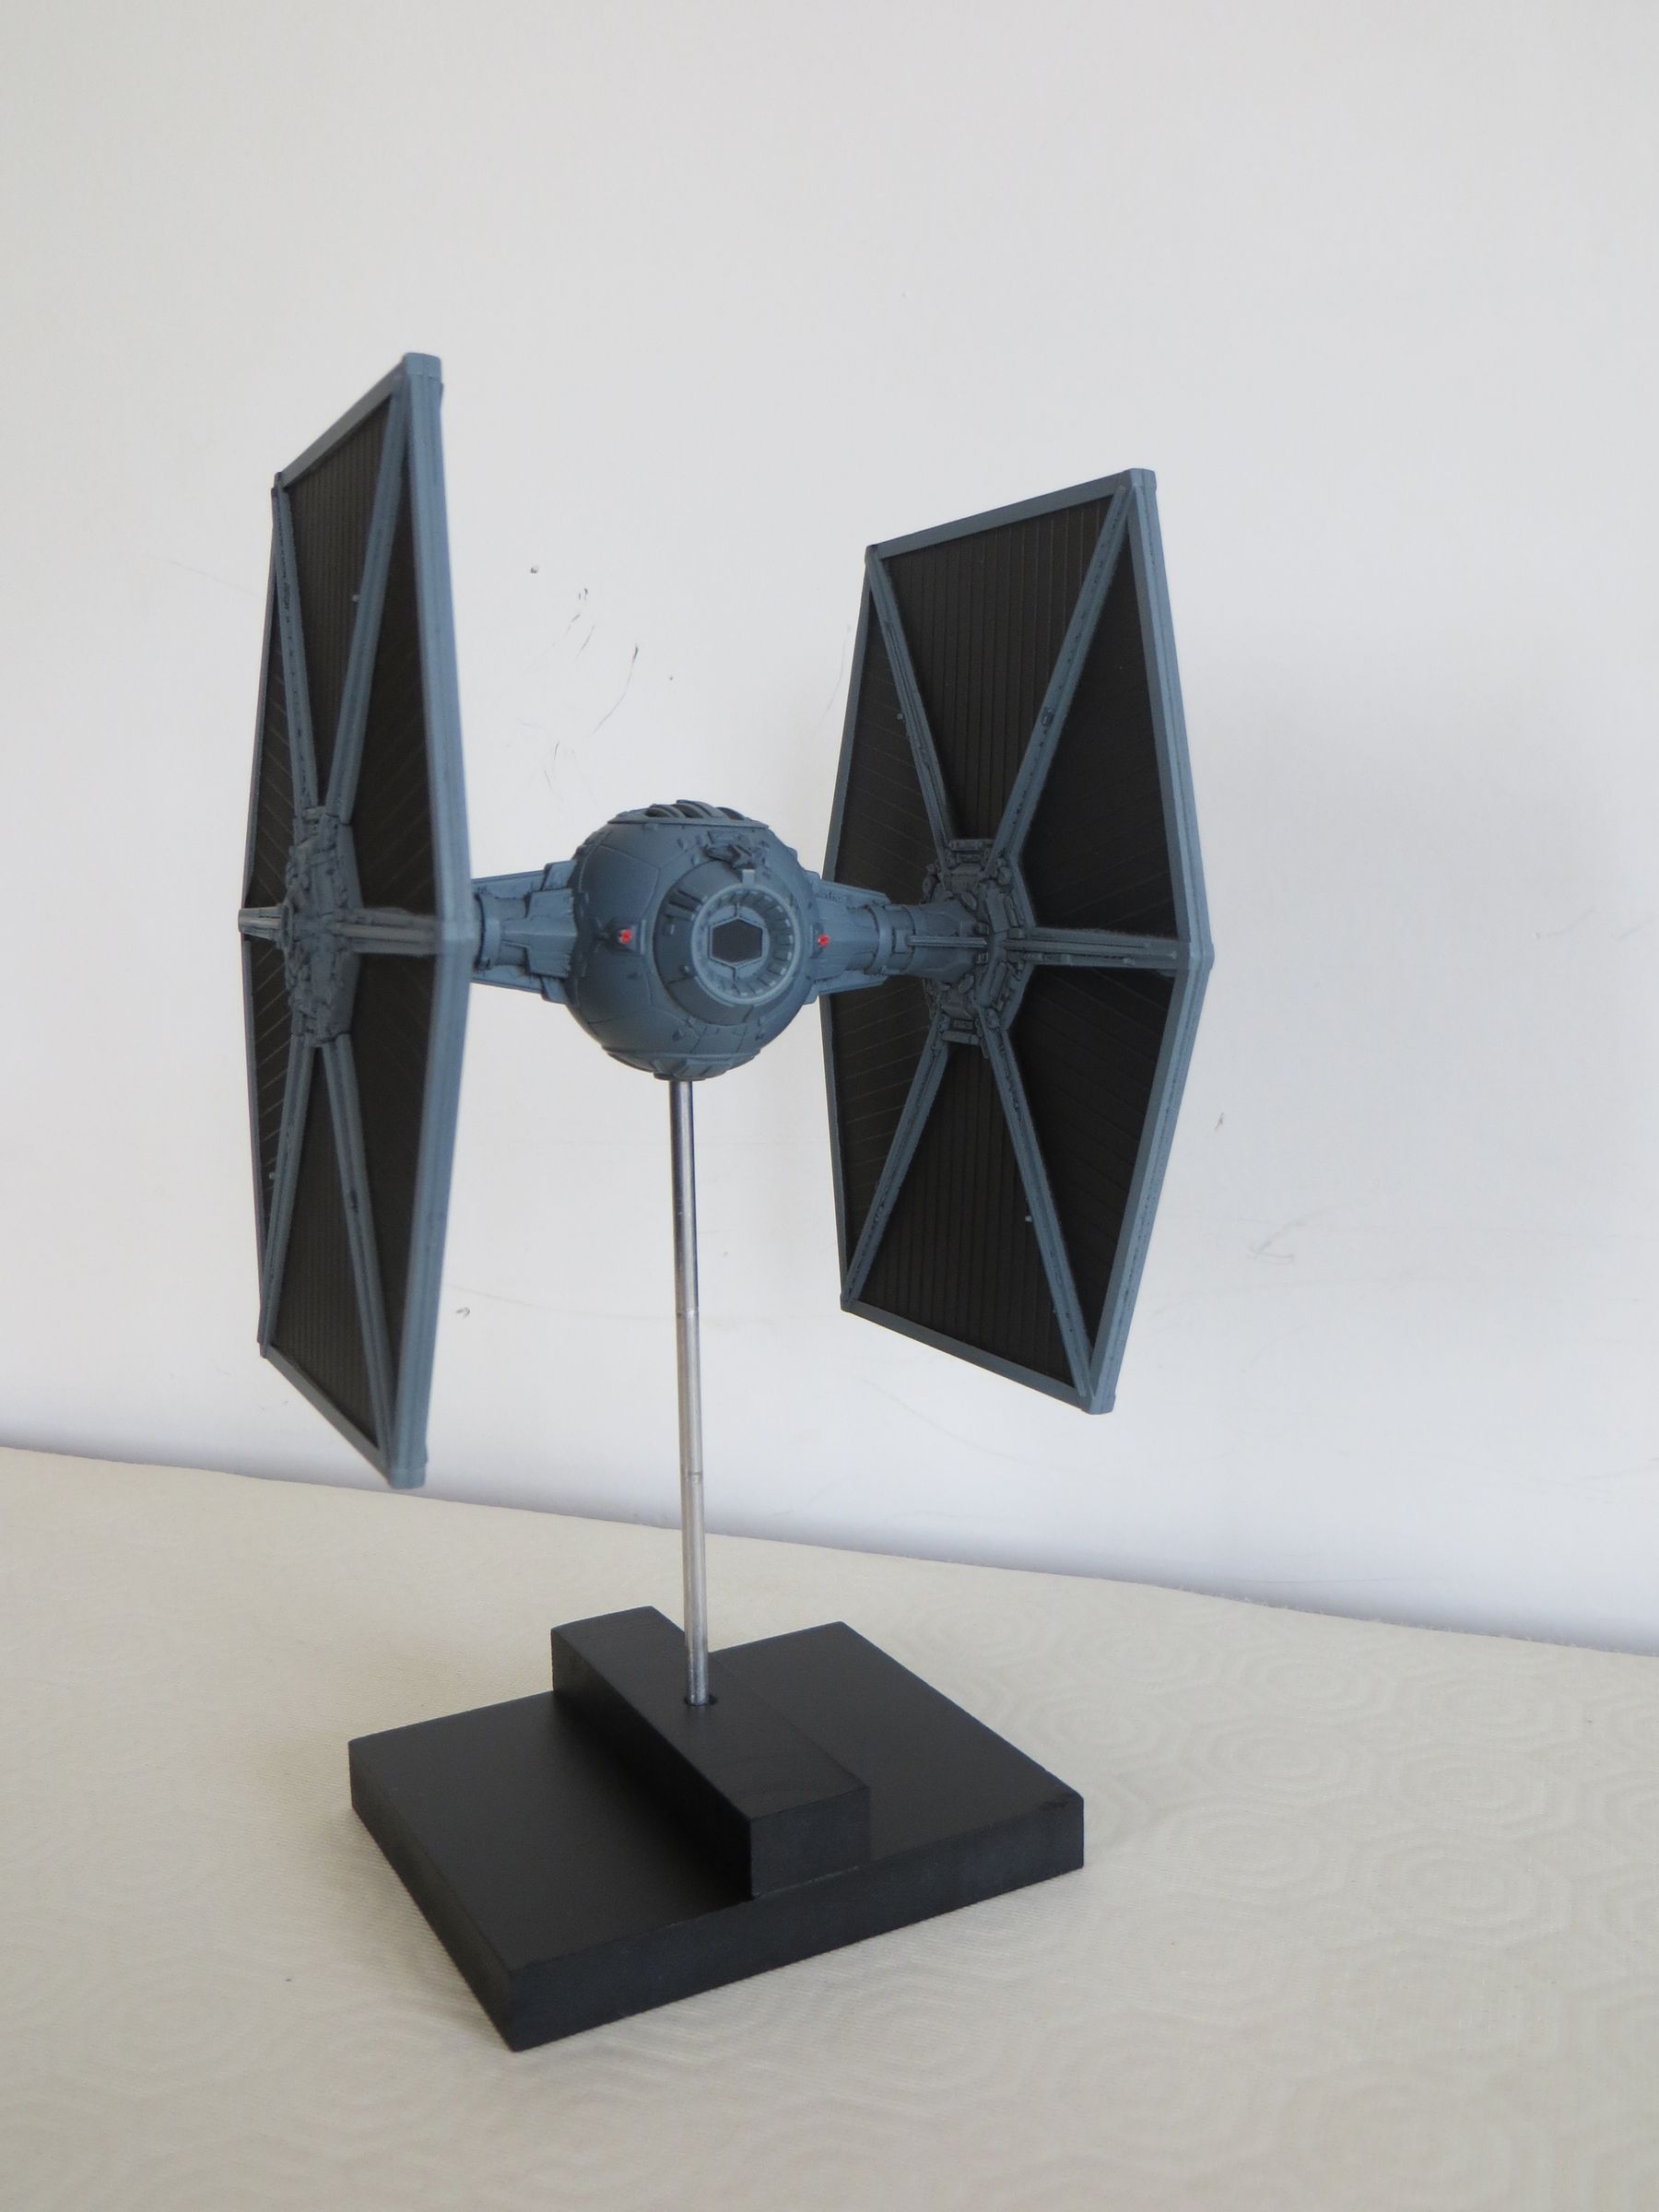
And the big

I almost forgot one last step on these 3 Tie: white drybrushing. Indeed, with all the other painting and weathering techniques, I almost no longer use white drybrushing which, I feel, often tends to break the scale. As the Tie are mostly monochrome, and only lightly dirty, this technique worked quite well there.
It is very easy to missed out a drybrush, as when applied too heavily, it becomes ugly. And the limit between " that's it" and " missed out " is short and quickly risen. So it is better to remain sparse and to not follow that inner voice who would like to " add a little bit here and there."

Revell Small Tie
Fine Molds