Revell Viper - Painting, weathering and final assembly
Par olcabour le vendredi, 25 mai 2012, 22:50 - Viper TOS - Revell - Lien permanent
I am back on the Galactica Vipers, after few monthes spent on my Space1999 project, to finish them.
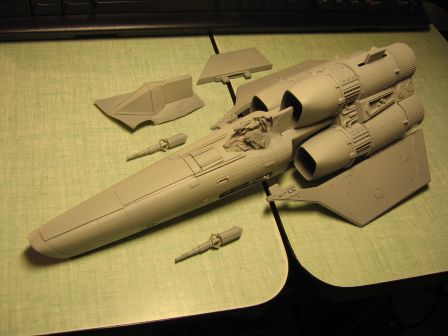
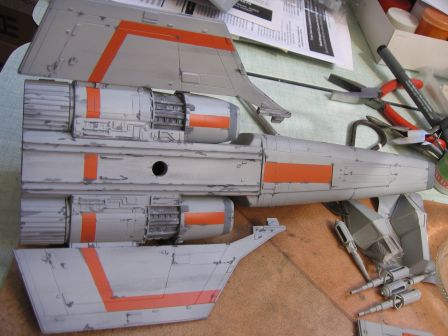
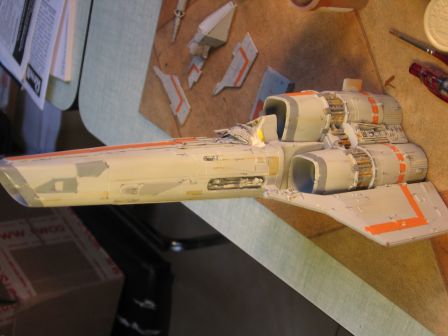
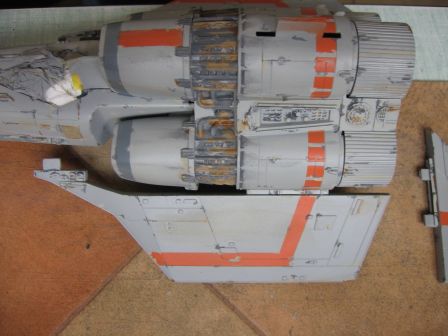
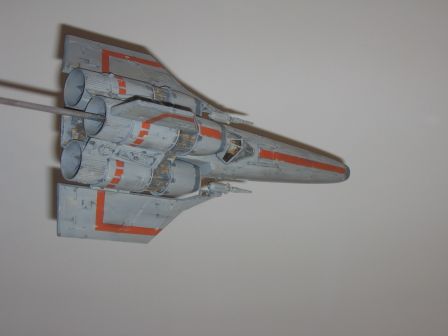
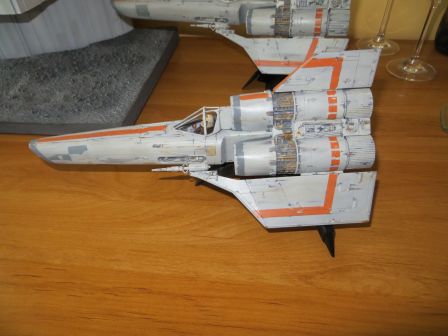
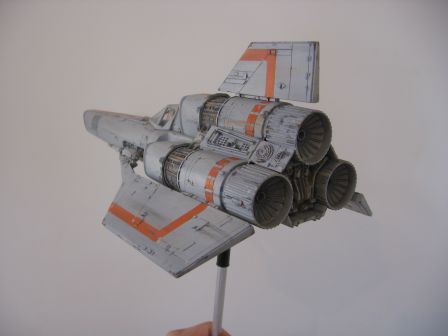
They received a coat of light gull grey, globally uniform. I did not try to be perfectly pristine because they will be made heavily dirty.
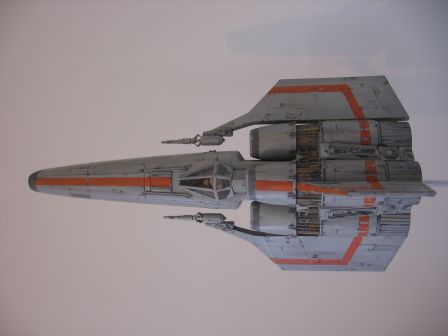
Some panels are then painted in various shades of grey: remaining mixtures of Moebius Galactica and Tamiya XF53 neutral gray for the nose and the 3 air inlets strips.
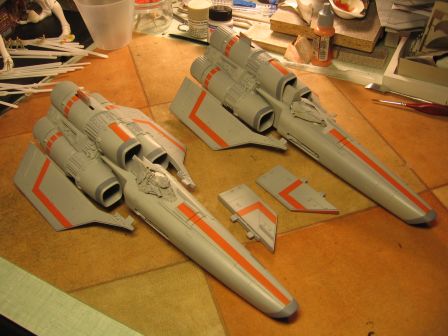
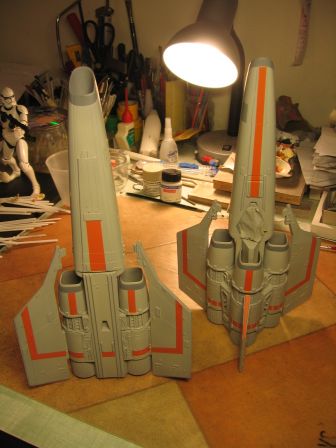
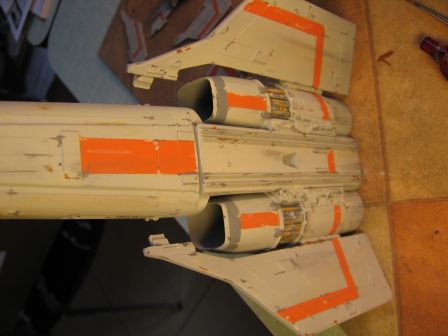
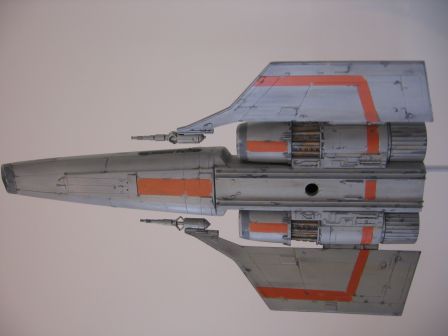
Then comes the orange strips. Orange is a poor covering color (like yellow), it is thus necessary to prepare it, two approaches are possibles : - apply first a coat of mat white, then the orange - Realize a mixture of orange with mat white or light gray. Both approaches can be used separately, or chained as I do on the launchpad, wich also allowed me to realize a pre-paneling (paneling reized like a preshading).
On these Viper, I came with the second approach (orange+light gull grey) because I don't want to have a flashy color.
The weathering is something that is finally very simple to perform, and which really gives life to the model. It just seem a little bit tedious at times, but the result is worth it.
The studio Vipers were very dirty, threadbare by decades of war, and are almost flying wrecks!
The weathering of the Viper was done in several stages, in no particular order, following available sources, but with a lot of "free style" anyway:
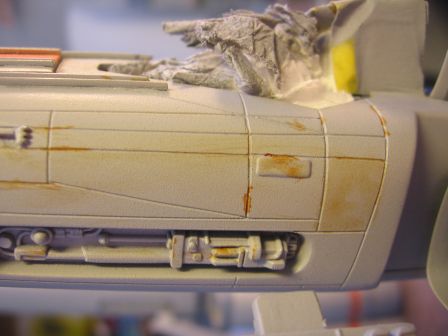
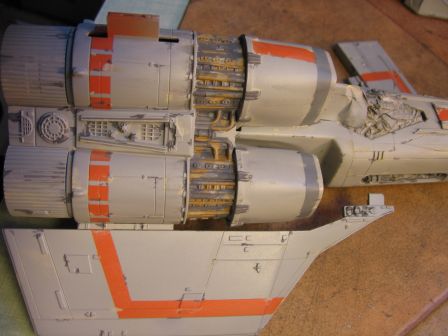
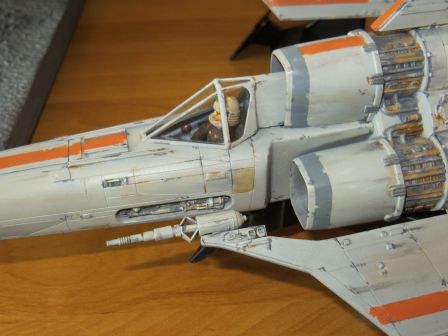
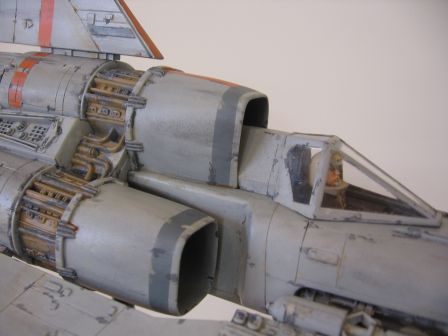
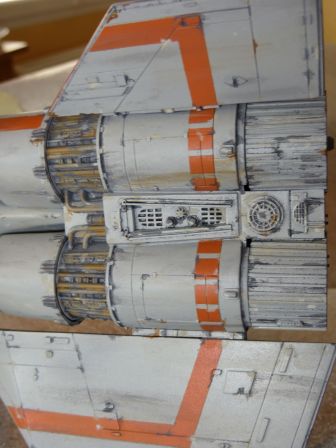
- Rust marks, with a personal mixture of orange and brown that I had on hand since almost 10 years now. They are applied as much as I can in sticking to the sources, or trying to be logical, namely under raised panels or along panel and cover plate lines. So where water can stagnate and do its destruction work.
- Light and dark gray chips, also mainly applied along the panel lines, sometimes one right next to each other, to give the impression that the maintenance and wear blow more or less layers of paint.
- Some filters are applied with rust, dark gray and light beige-gray, to break the uniformity of the base color of the Viper, and make it look dirty. (unfortunately, they are almost invisible in the photos)
- The dark gray is reused to create many streaks.
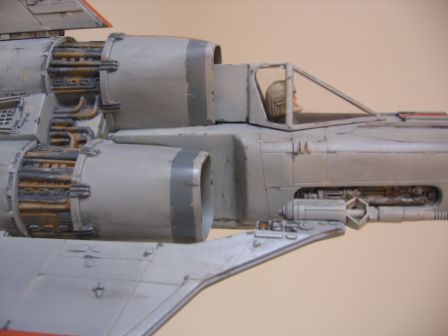
- In the engine technical parts (pipes, etc..), analysis of the references proved that the job is a little different. A dark gray is first applied unevenly, letting exposed some base gray areas. It is then covered with two new complementary shades of rust (dark and medium), in areas relatively generous (compared to the rest of the model), with touches of lighter shade already used above.
- These areas are really much more rusty than the rest of the model, so much so that many designers paint the piping in copper over a uniform dark gray.
- A good black wash finished the weathering job
It only remains to complete the assembly:
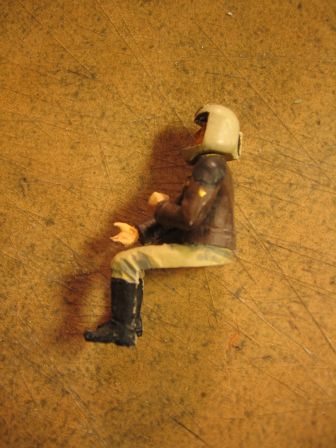
- The pilots are installed. MMI (resin) one required to sand few millimeters of its back, so that his head does not interfere with the canopy.
- Then the canopies, with repositionable adhesive Microscale Micro Liquitape
- The guns are simply inserted without bonding, as they hold as is since I extended the tongue on the wing parts
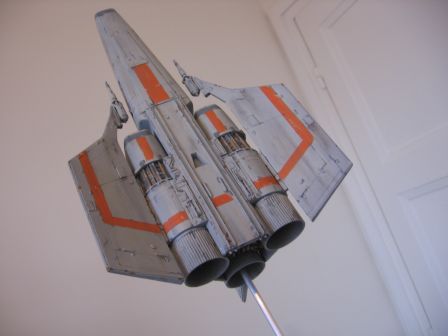
The "hero" Viper:
And the "cannon fodder" Viper:
