The red squadron : building of the X-Wing
Par olcabour le vendredi, 17 juin 2011, 00:36 - Fine Molds X-Wing Red squadron - Lien permanent
This section is intended to be a support for the achievement of 5 different X-Wing liveries of red squadron
Despite what we produced for SFFM, the project had always let me with an unfinished taste. In fact, we did not physically get the squadron flying above the Death Star but only through photomontages of unique models (with the exception of the thermorformed tiles) and at different scales. So very soon (early 2007), I re-enlisted on the project, with the aim of achieving the squadron with the 5 X-Wing FM I had on my side.
These X-Wing were virtually mounted "from the box" because the FM kit is very well made (even if someones find some issues). Moreover, given the level of detail of this beast, any improvement of the kit will completely be unnoticed, when integrated in a squadron and the diorama, where only the liveries will distinguish them from each other.
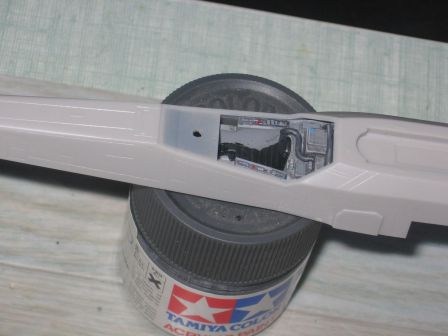
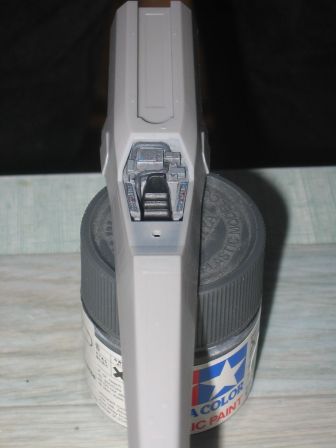
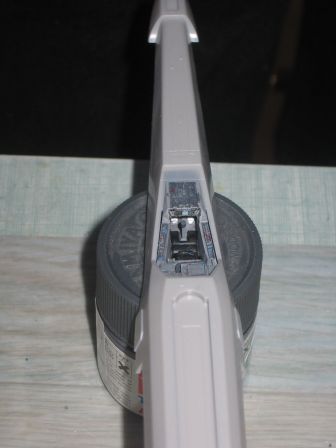
the cockpit
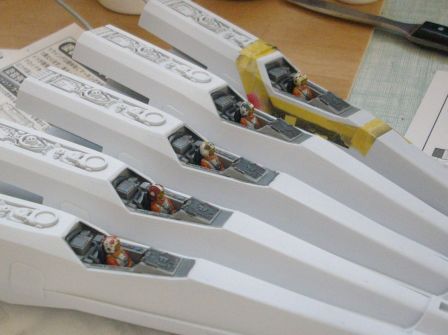
The assembly then began by the painting the cockpit, after adding some tubing made from wire :
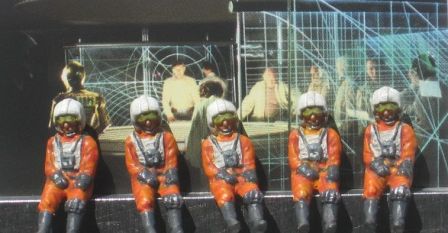
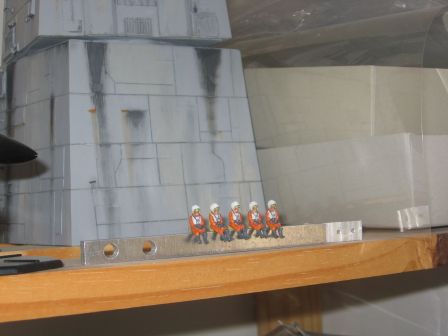
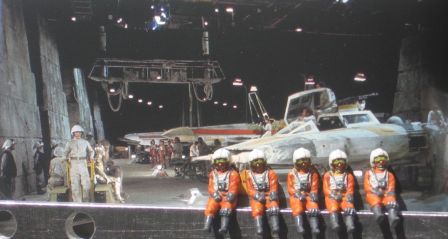
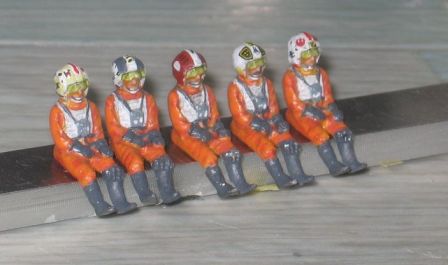
the 5 rebels pilots
- In the briefing room,
- Taking sun in front of the turret
- Or playing cards in the shed while the mechanics are preparing their x-wings

Pilots again, with their helmets done : painted and decals applied. Those little helmets needed some researchs and several viewing of the Death Star battle to properly identify their different livery.
the support
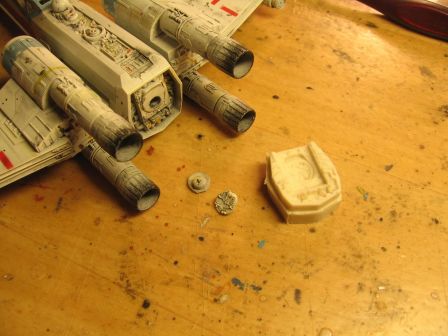
The only real modification made to the kits was absolutely necessary in order to present them in the diorama, and this regardless of the configuration of the latter (like a XW evolving along a wall for example). So the usual exit hole ventral (the FM kit does not include any). And as I wanted something more "dynamic", so I used the system imagined by Denis (see SFFM #5): a rod plugged in the rear side. To do this properly, the "cap" in back of the X-Wing must be erase, and shorten the stub of the wing to get more space for the support. A silicone mold of the back part of the Xwing was done before making these modofications, in order to do some copies of the cap. I wanted this to hide allow the hole in the case of an eventual use of the Xwing on ground.
In my case, the mold is Denis' one, who has kindly lent it to me, and copies were made with a two-component putty, because I did not have resin on hand. As is, it is very thin, fairly fragile and easily broken, and I think it would have been the same with resin. I confess I have on the right medium to use in a case like this. Finally, the cutted pins of the wings are glued to the back of caps as support (and for once, is necessarily the right size:)
Here, the finished result (refer to the two already listed magazines for photographs during procress) :
The rest of the assembly, by modules, was rather boring. Indeed, 5 X-Wing means 10 double wings, 20 laser guns, 20 engines ... 12 landing gear and flaps trains (open or closed position, because I wanted these X-Wing to also be integrated in a hangar diorama). At the end of the line work, the motivation was gone, and the squadron, waiting to go to the paint workbench, begun to seriously take the dust.
It is only a year and a half later that I finally get back on them.
First step, the search for reference materials, which took me a while to compile. To get an idea : a Xwing is 8 half-sides of wings, and usually the pictures found only rarely allows to have more than one half- side wing in same time. So it is almost 8 different pictures that must be found on each livery to identify the color panels, dirt ... and this, only for the wings! Another funny detail, I happened to find several documents that did not match berween them ... until seeing I realized that some photos were printed upside down (even in some books considered as references), and this also the case some shots from the movie itself (this an usual habits in movie production).
Next, determine the base color to be applied was not easy. Indeed, the camouflage gray, that is regularly reported, corresponds to the X-Wing post-episode 4, while XW from ANH are more white (or slightly grayish). To obtain this white "no longer white", use a pure white did not seem to be at first the best solution. I tested nearly a score of gray, but none suited me: too dark, too blue, too beige, too green ... And most importantly, every time, it was too uniform. Jean-Marc Deschamps suggested me the method he used on its own Xwing (an AMT one) : a mat white (I used tamiya with an airbrush), followed by a very very light black wash (oil paint and white spirit). It is very important here to not follow the white by a clear coat (as usual with wash) to allow the paint to drink the wash, and turn it into a very very light gray, non-uniform, so with a dirty look. Bingo! Attention, I repeat, this is not a conventional wash, it must be much lighter, and also it must be wipe off very quickly after the application, because the paint continues to drink it like a true blotter, and there is no reverse (so too much means repaint...)
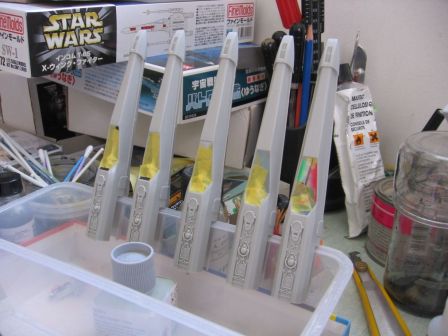
The X-Wing rack is ready for painting.
Then, after airbrushing the layer of Tamiya mat white
Things went then very quickly, the X-Wing through the painting one by one.
