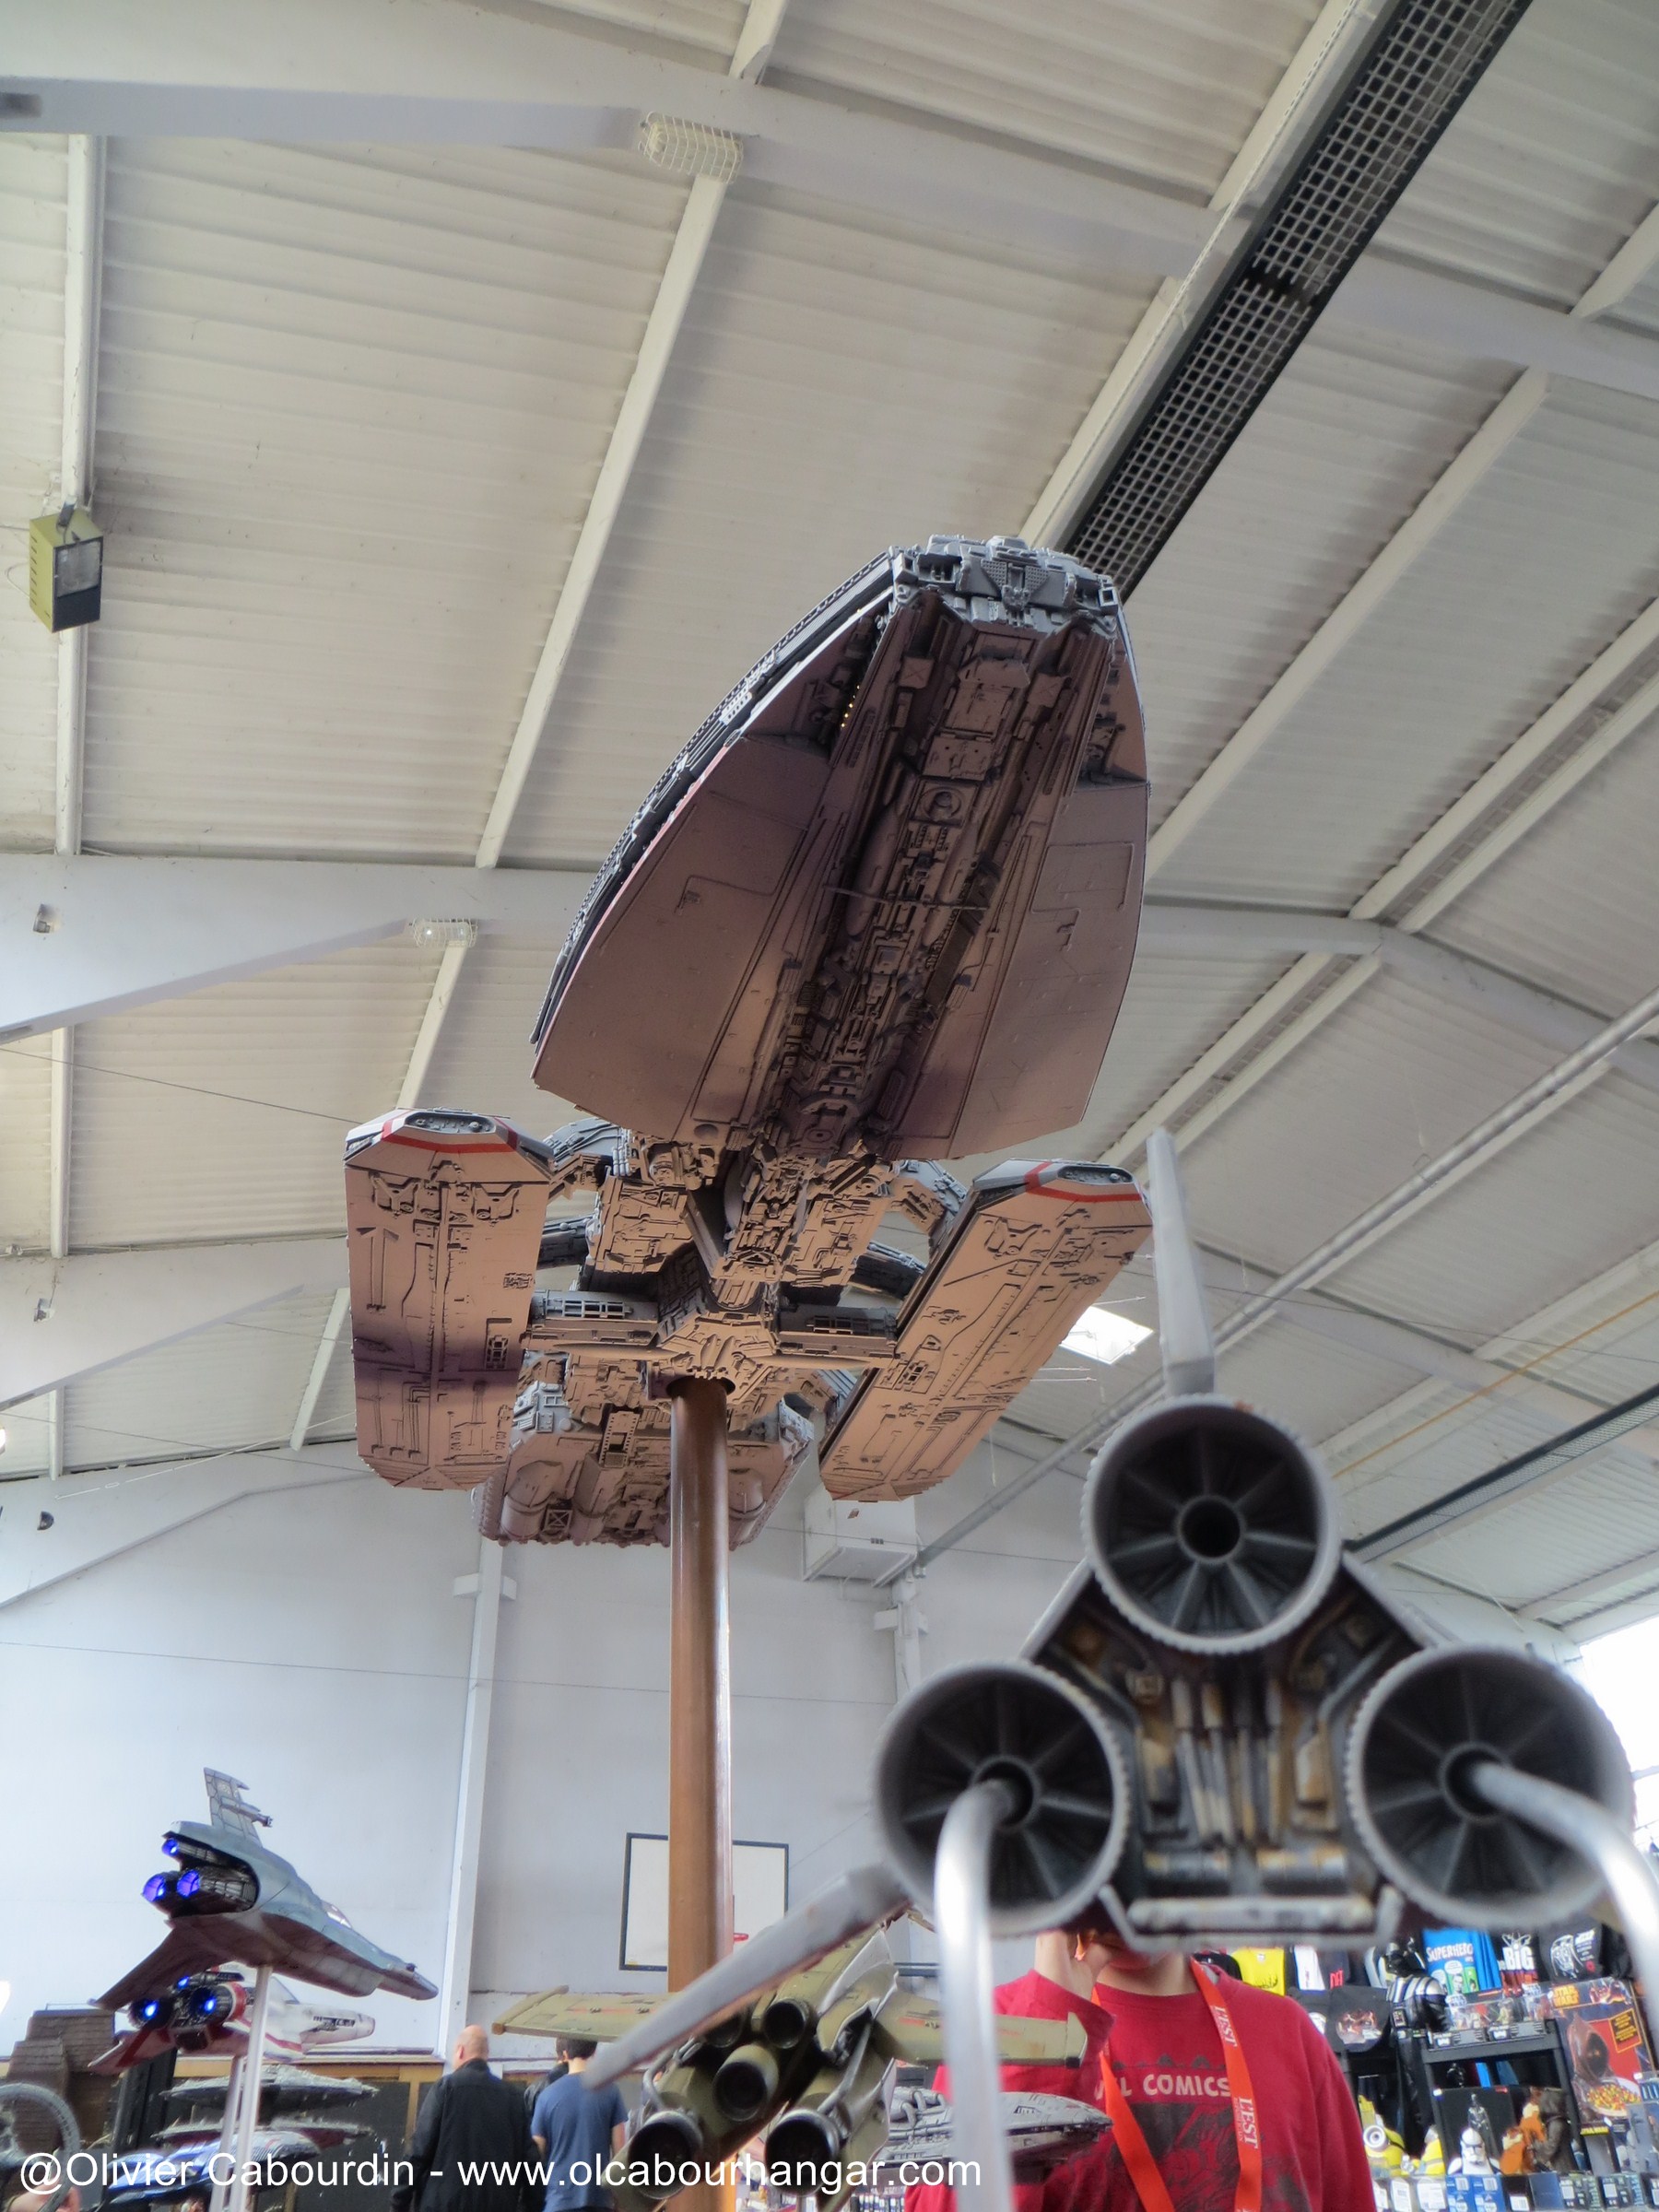
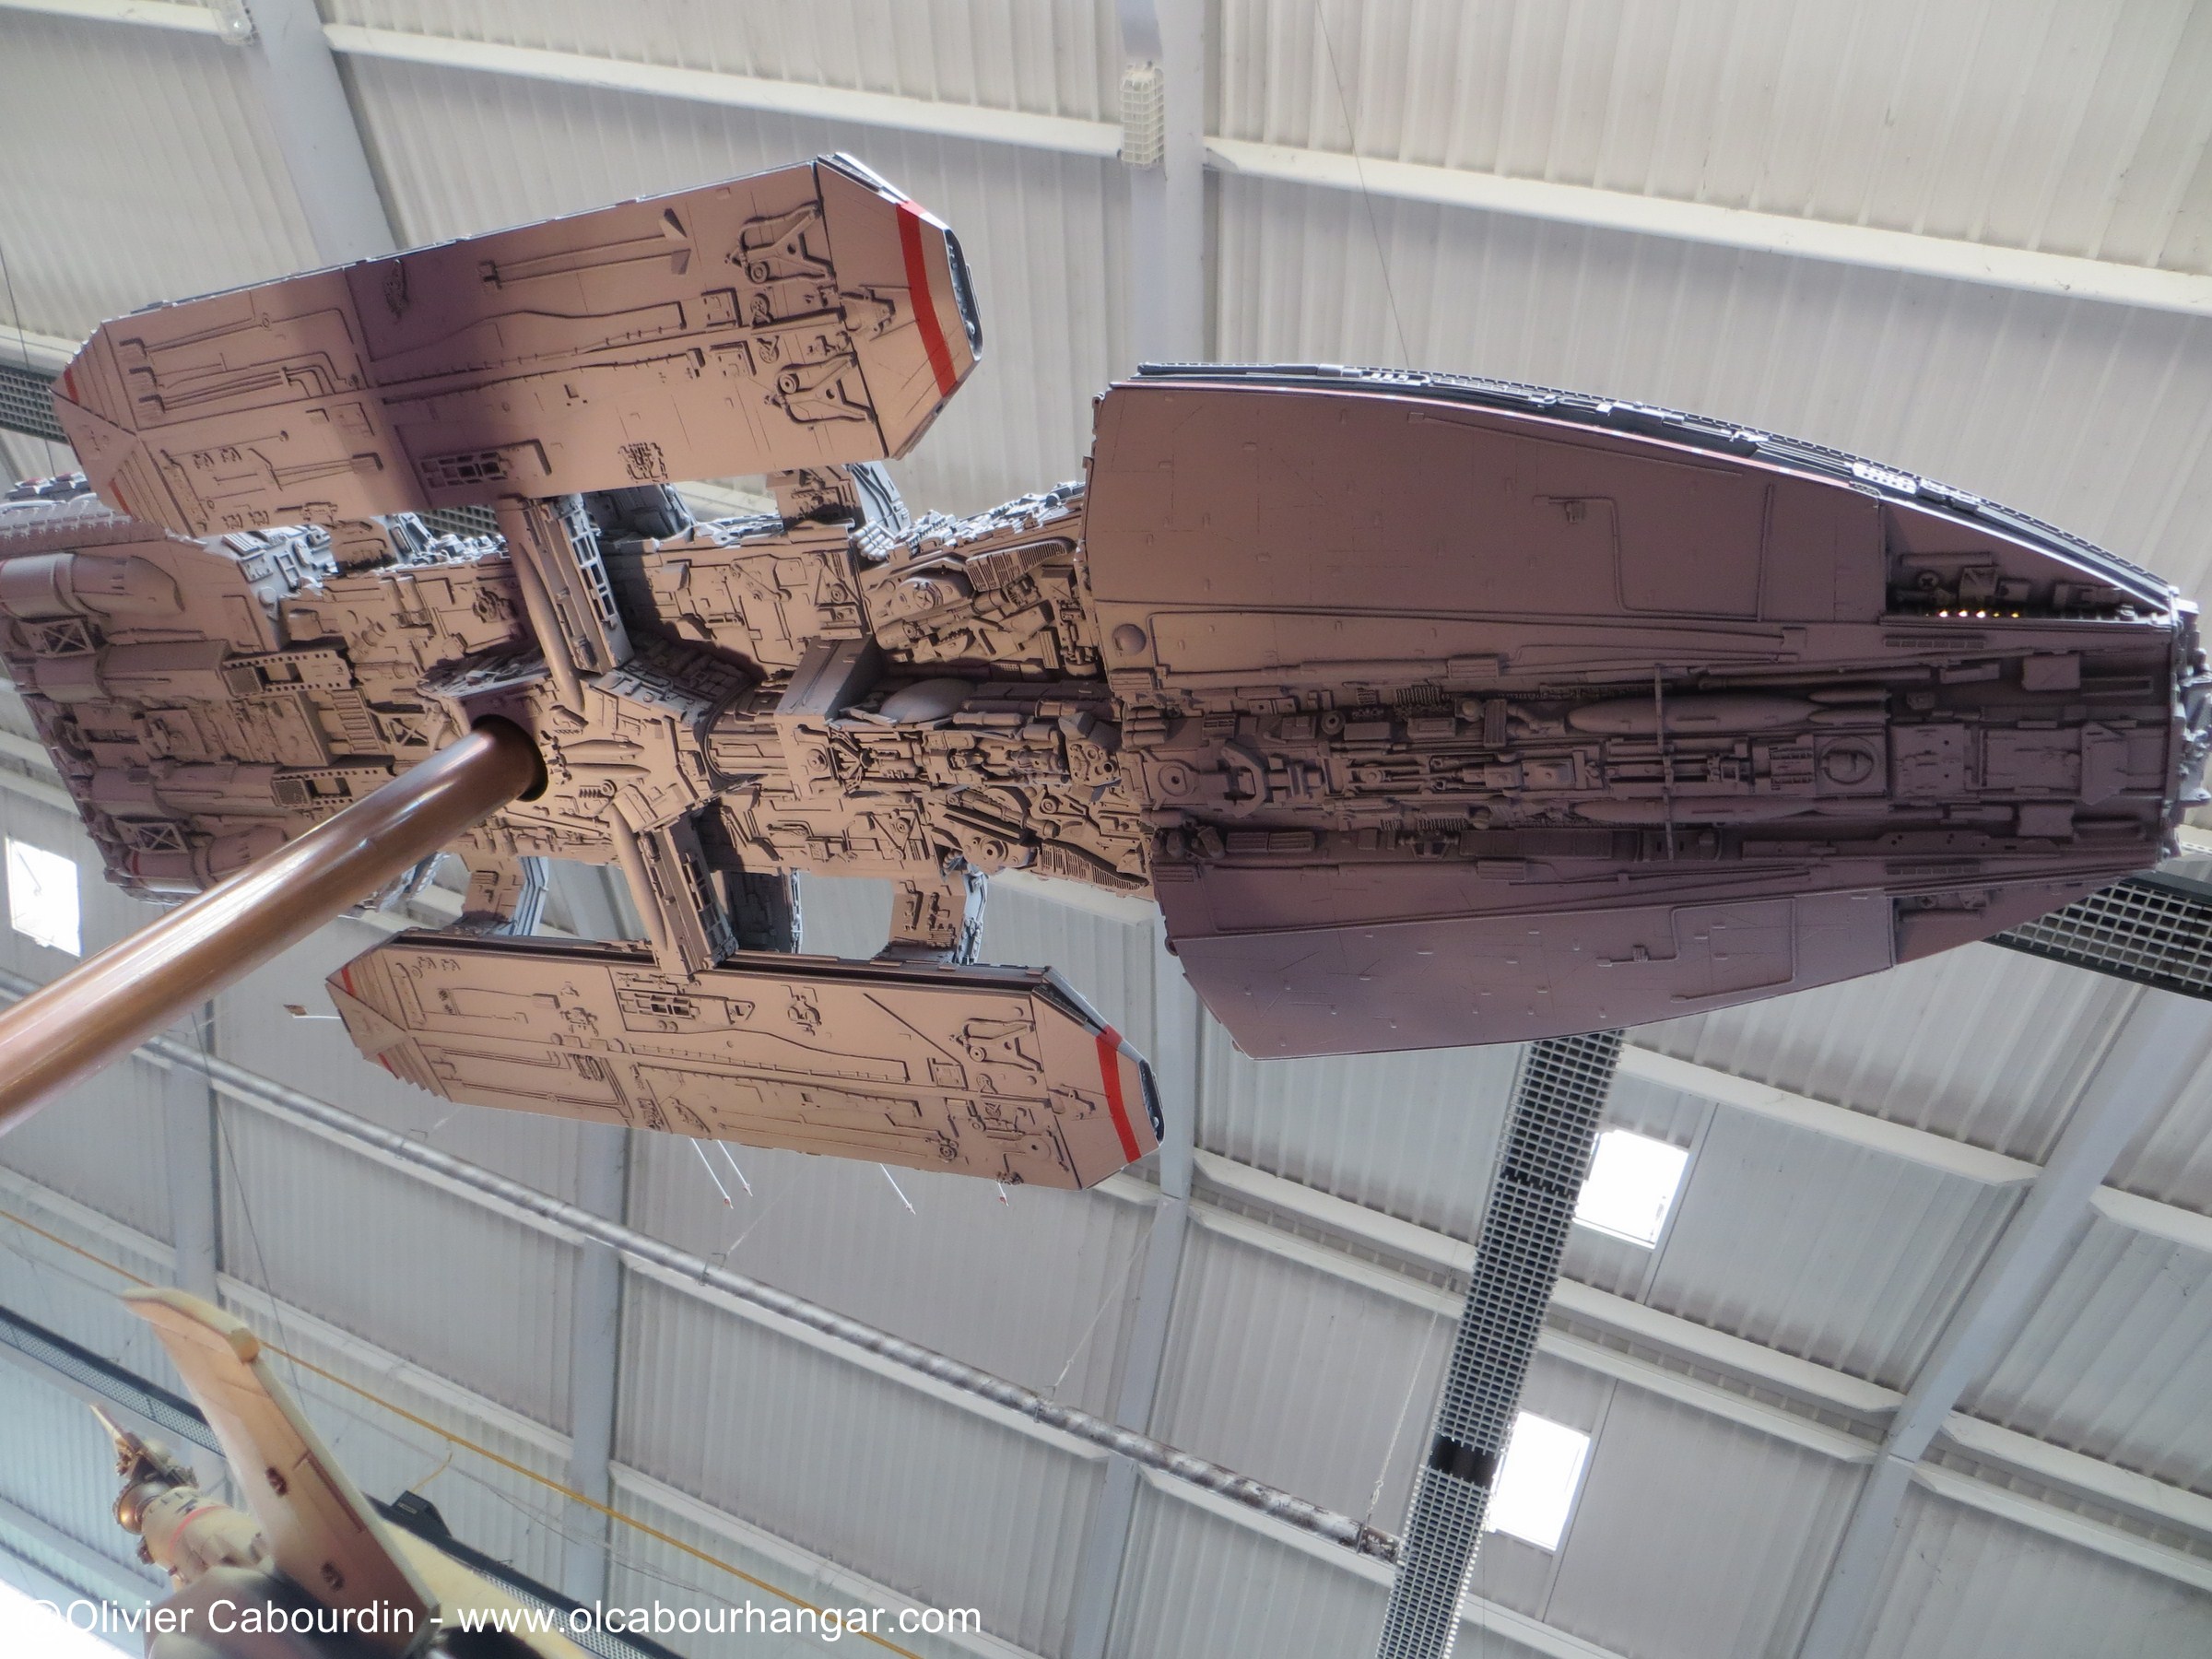
Randy Cooper Stardestroyer
I made at the beginning of each episode of the original trilogy
I myself symbolizes the power of the Empire
My shape is simple but graphically awfully effective on screen
I impose with my 1600m long
My opponents all have scared to come under my fire
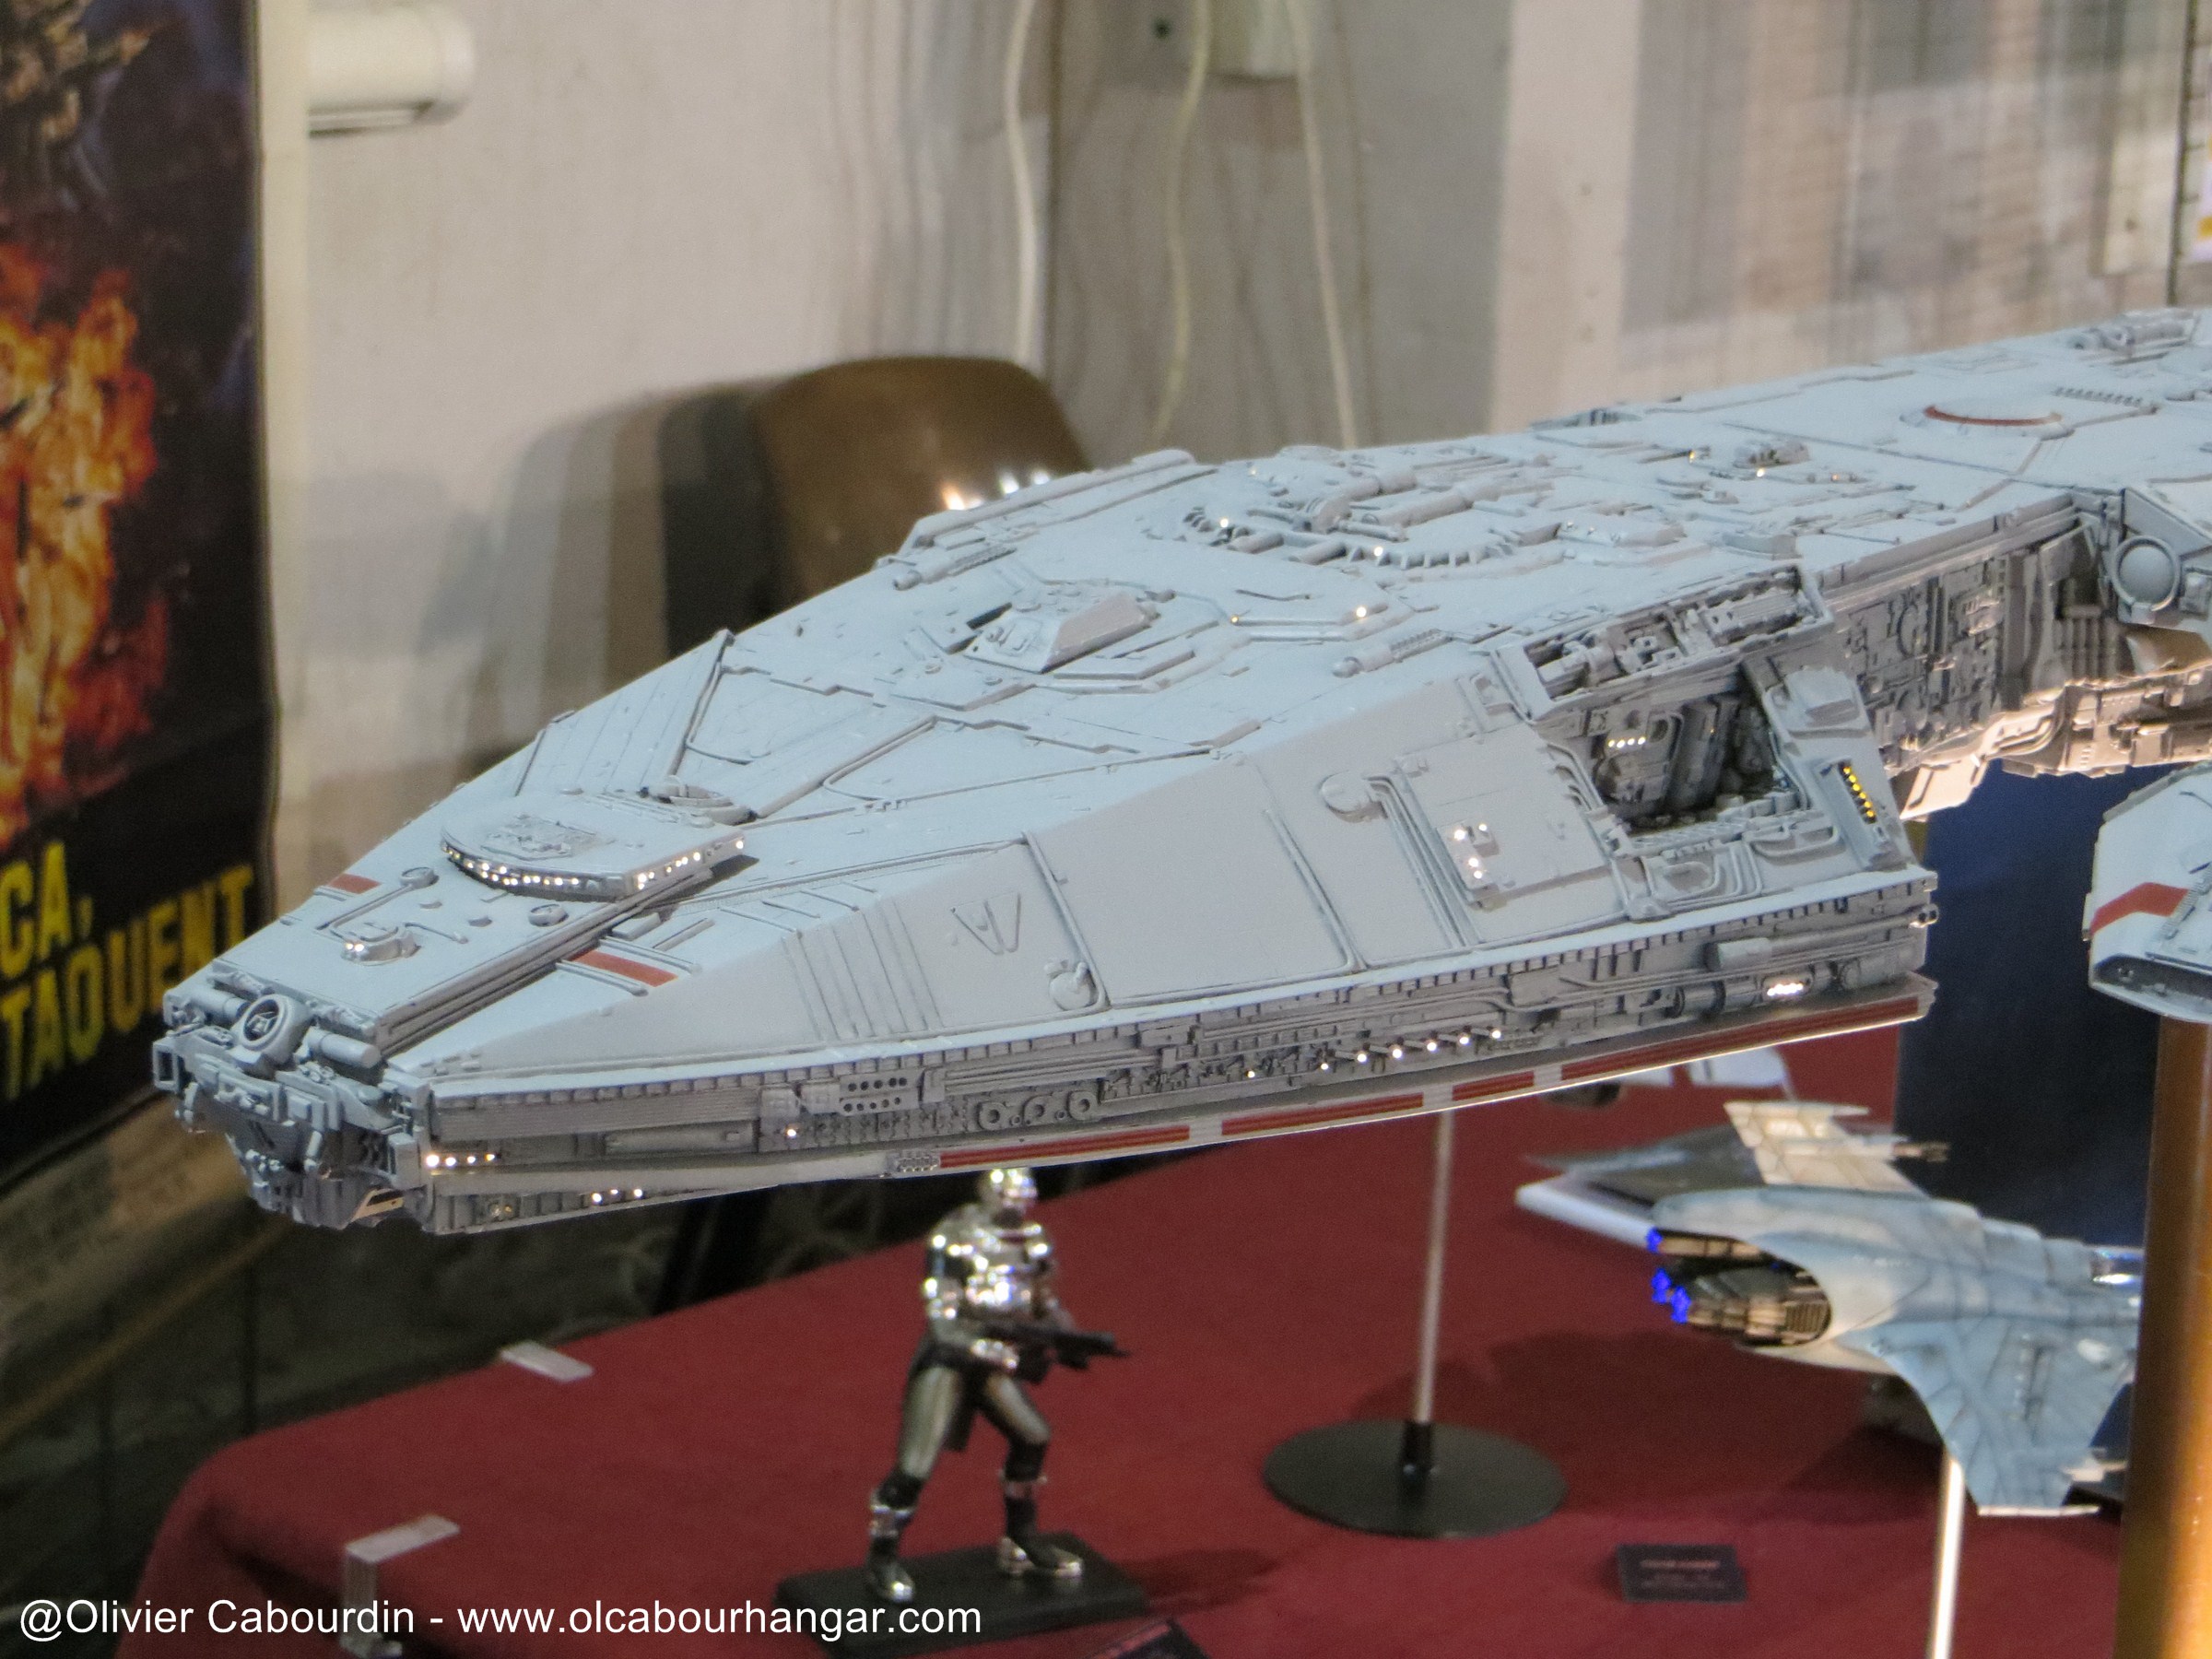
I am ... the StarDestroyer 
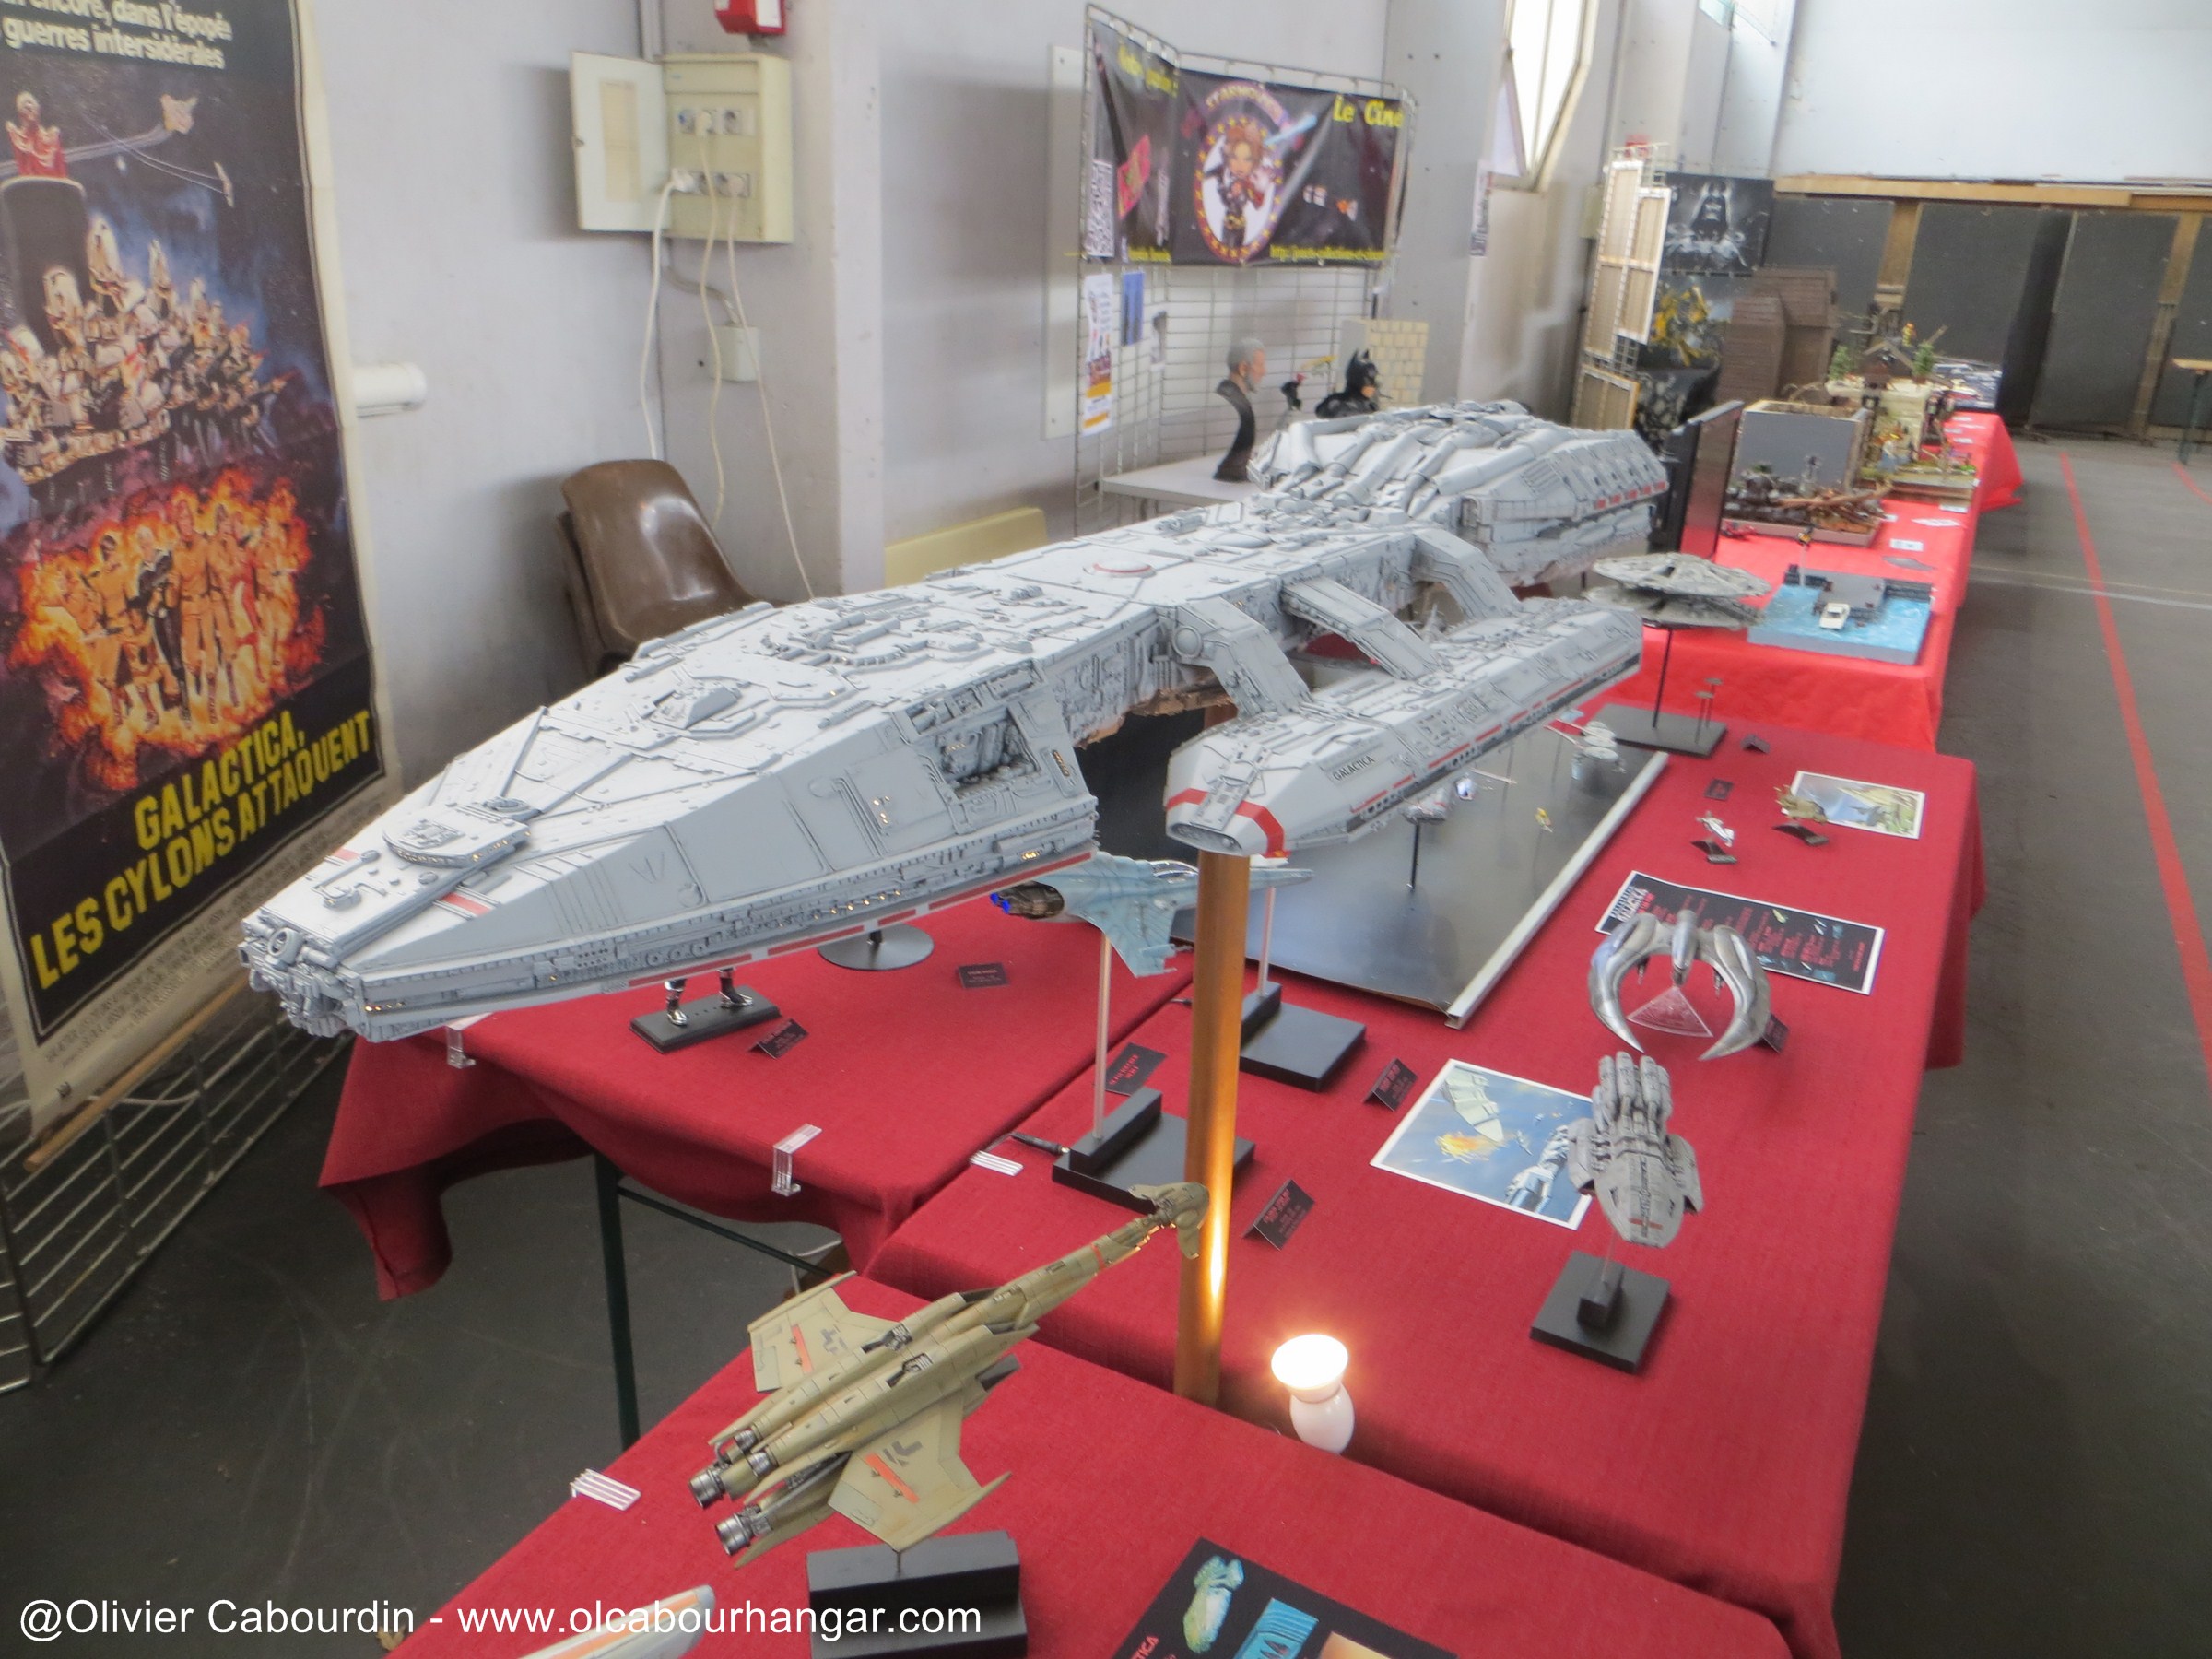
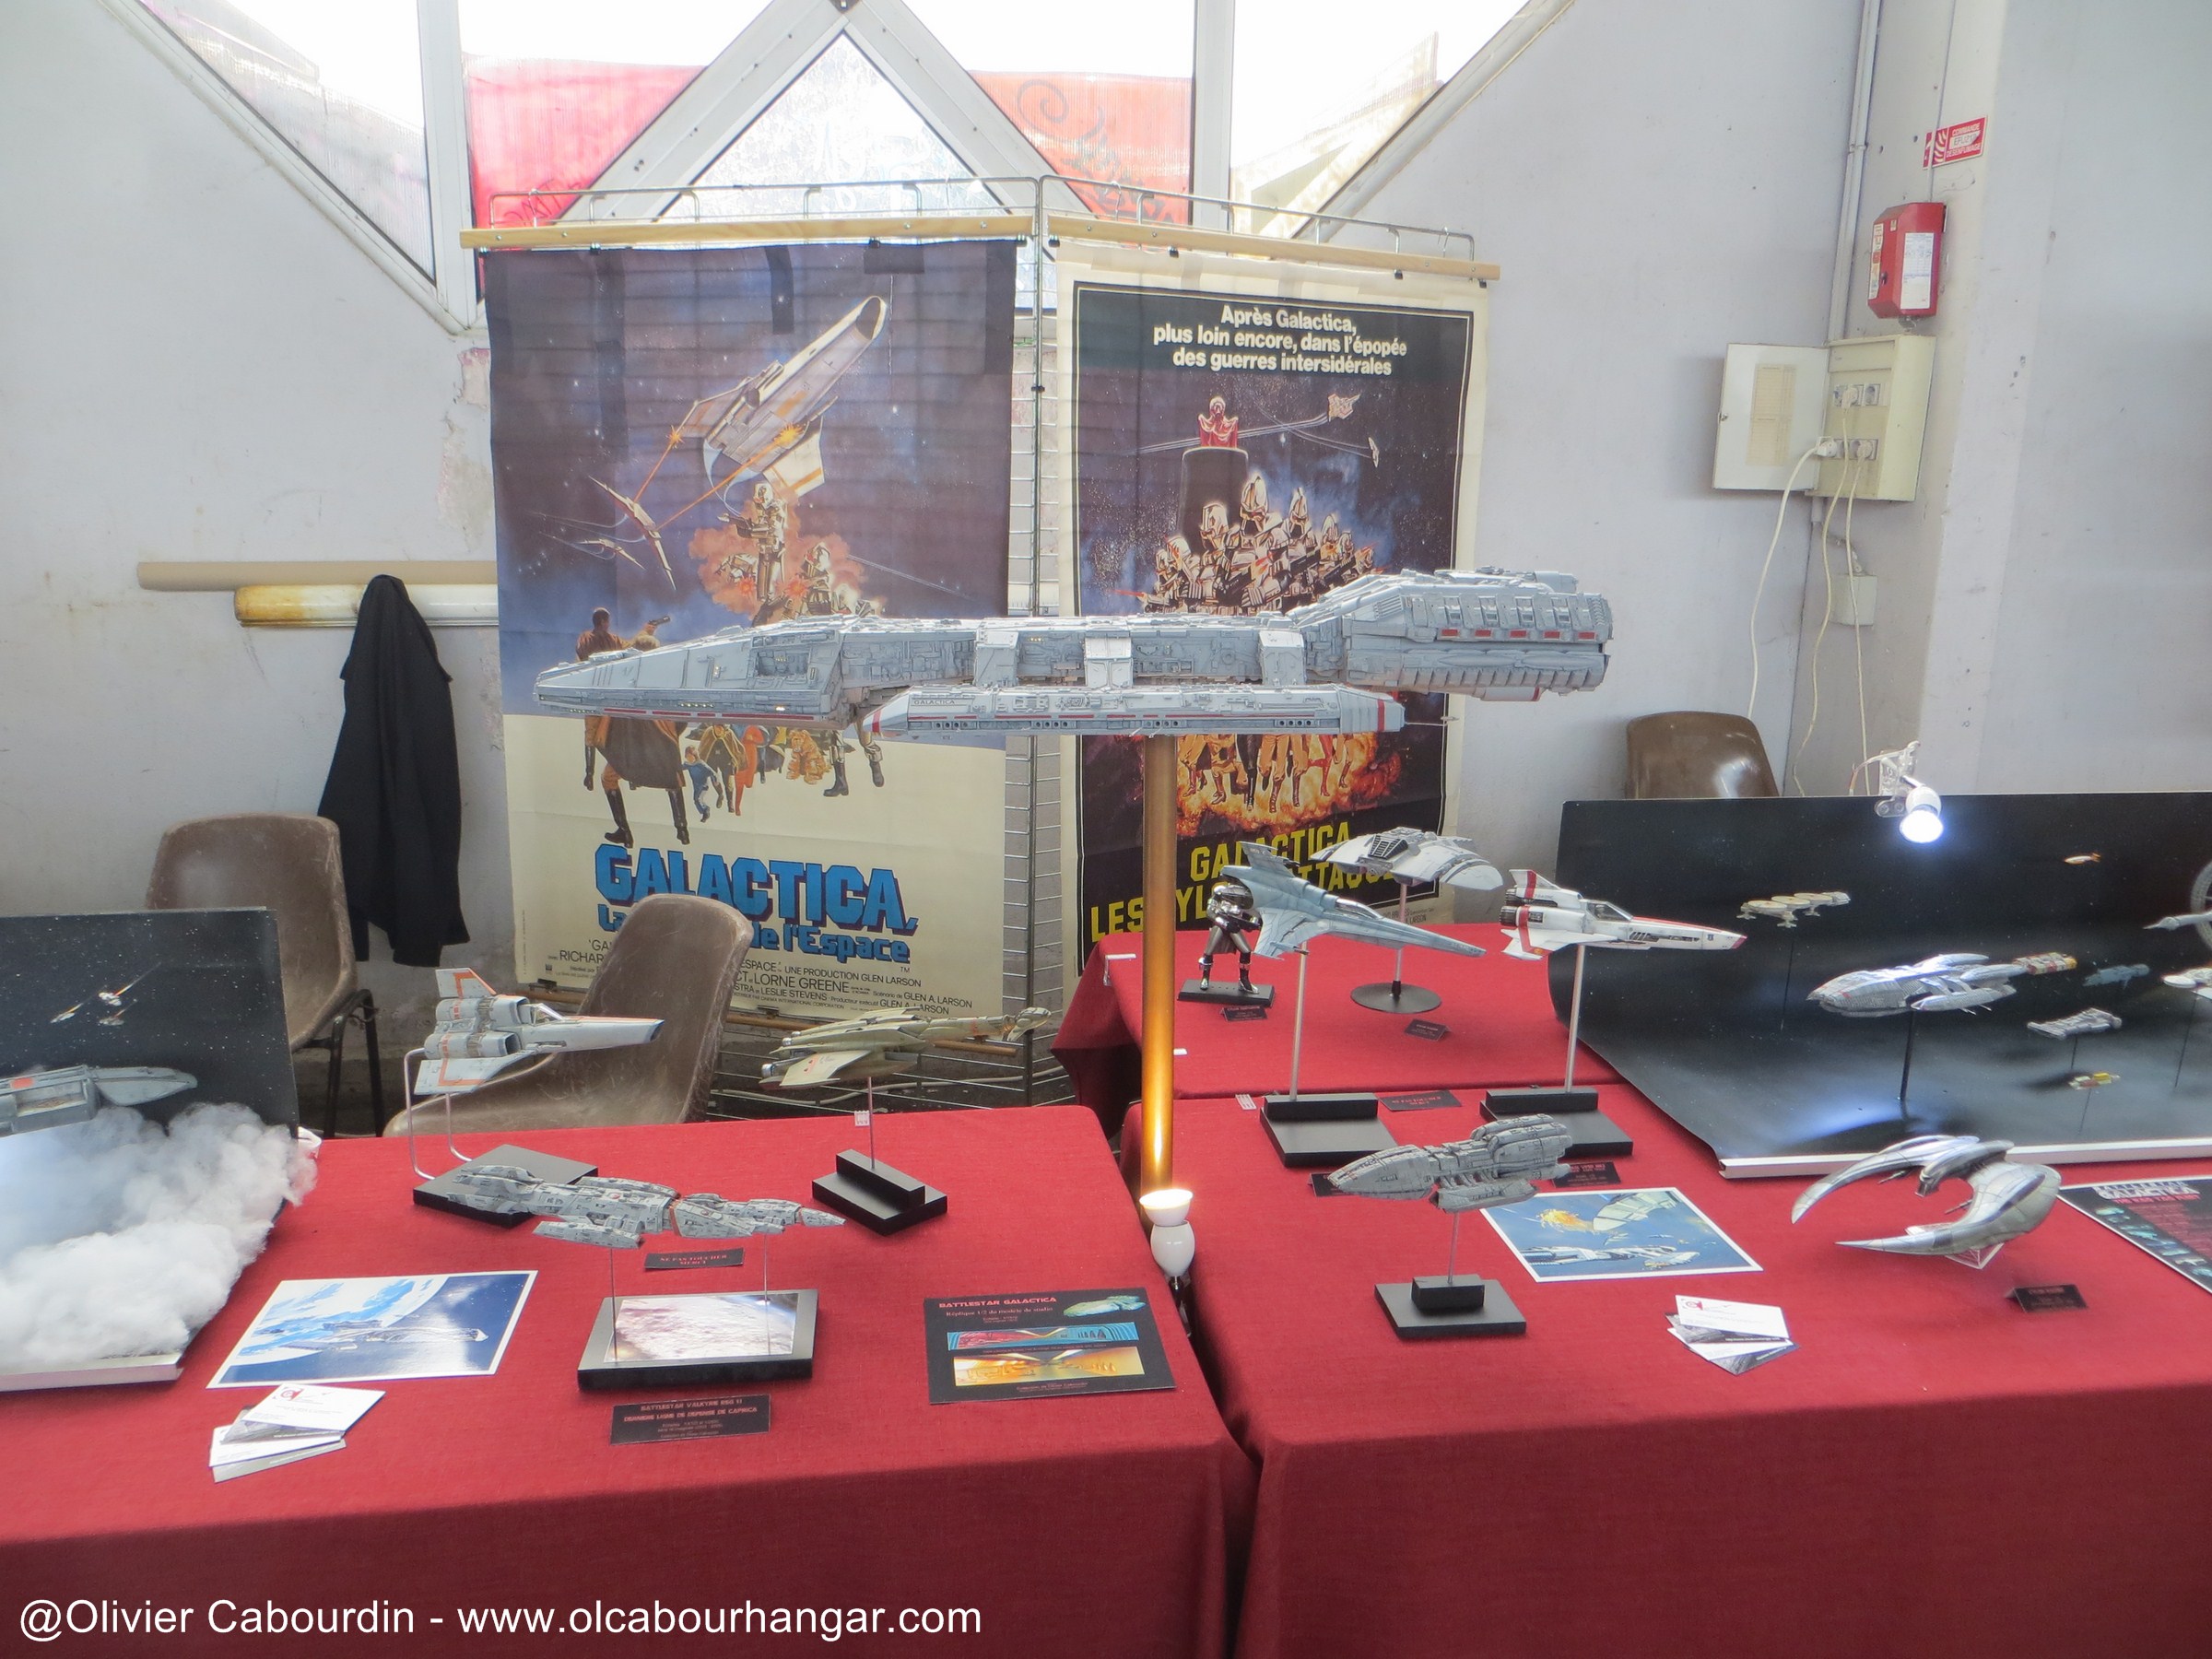
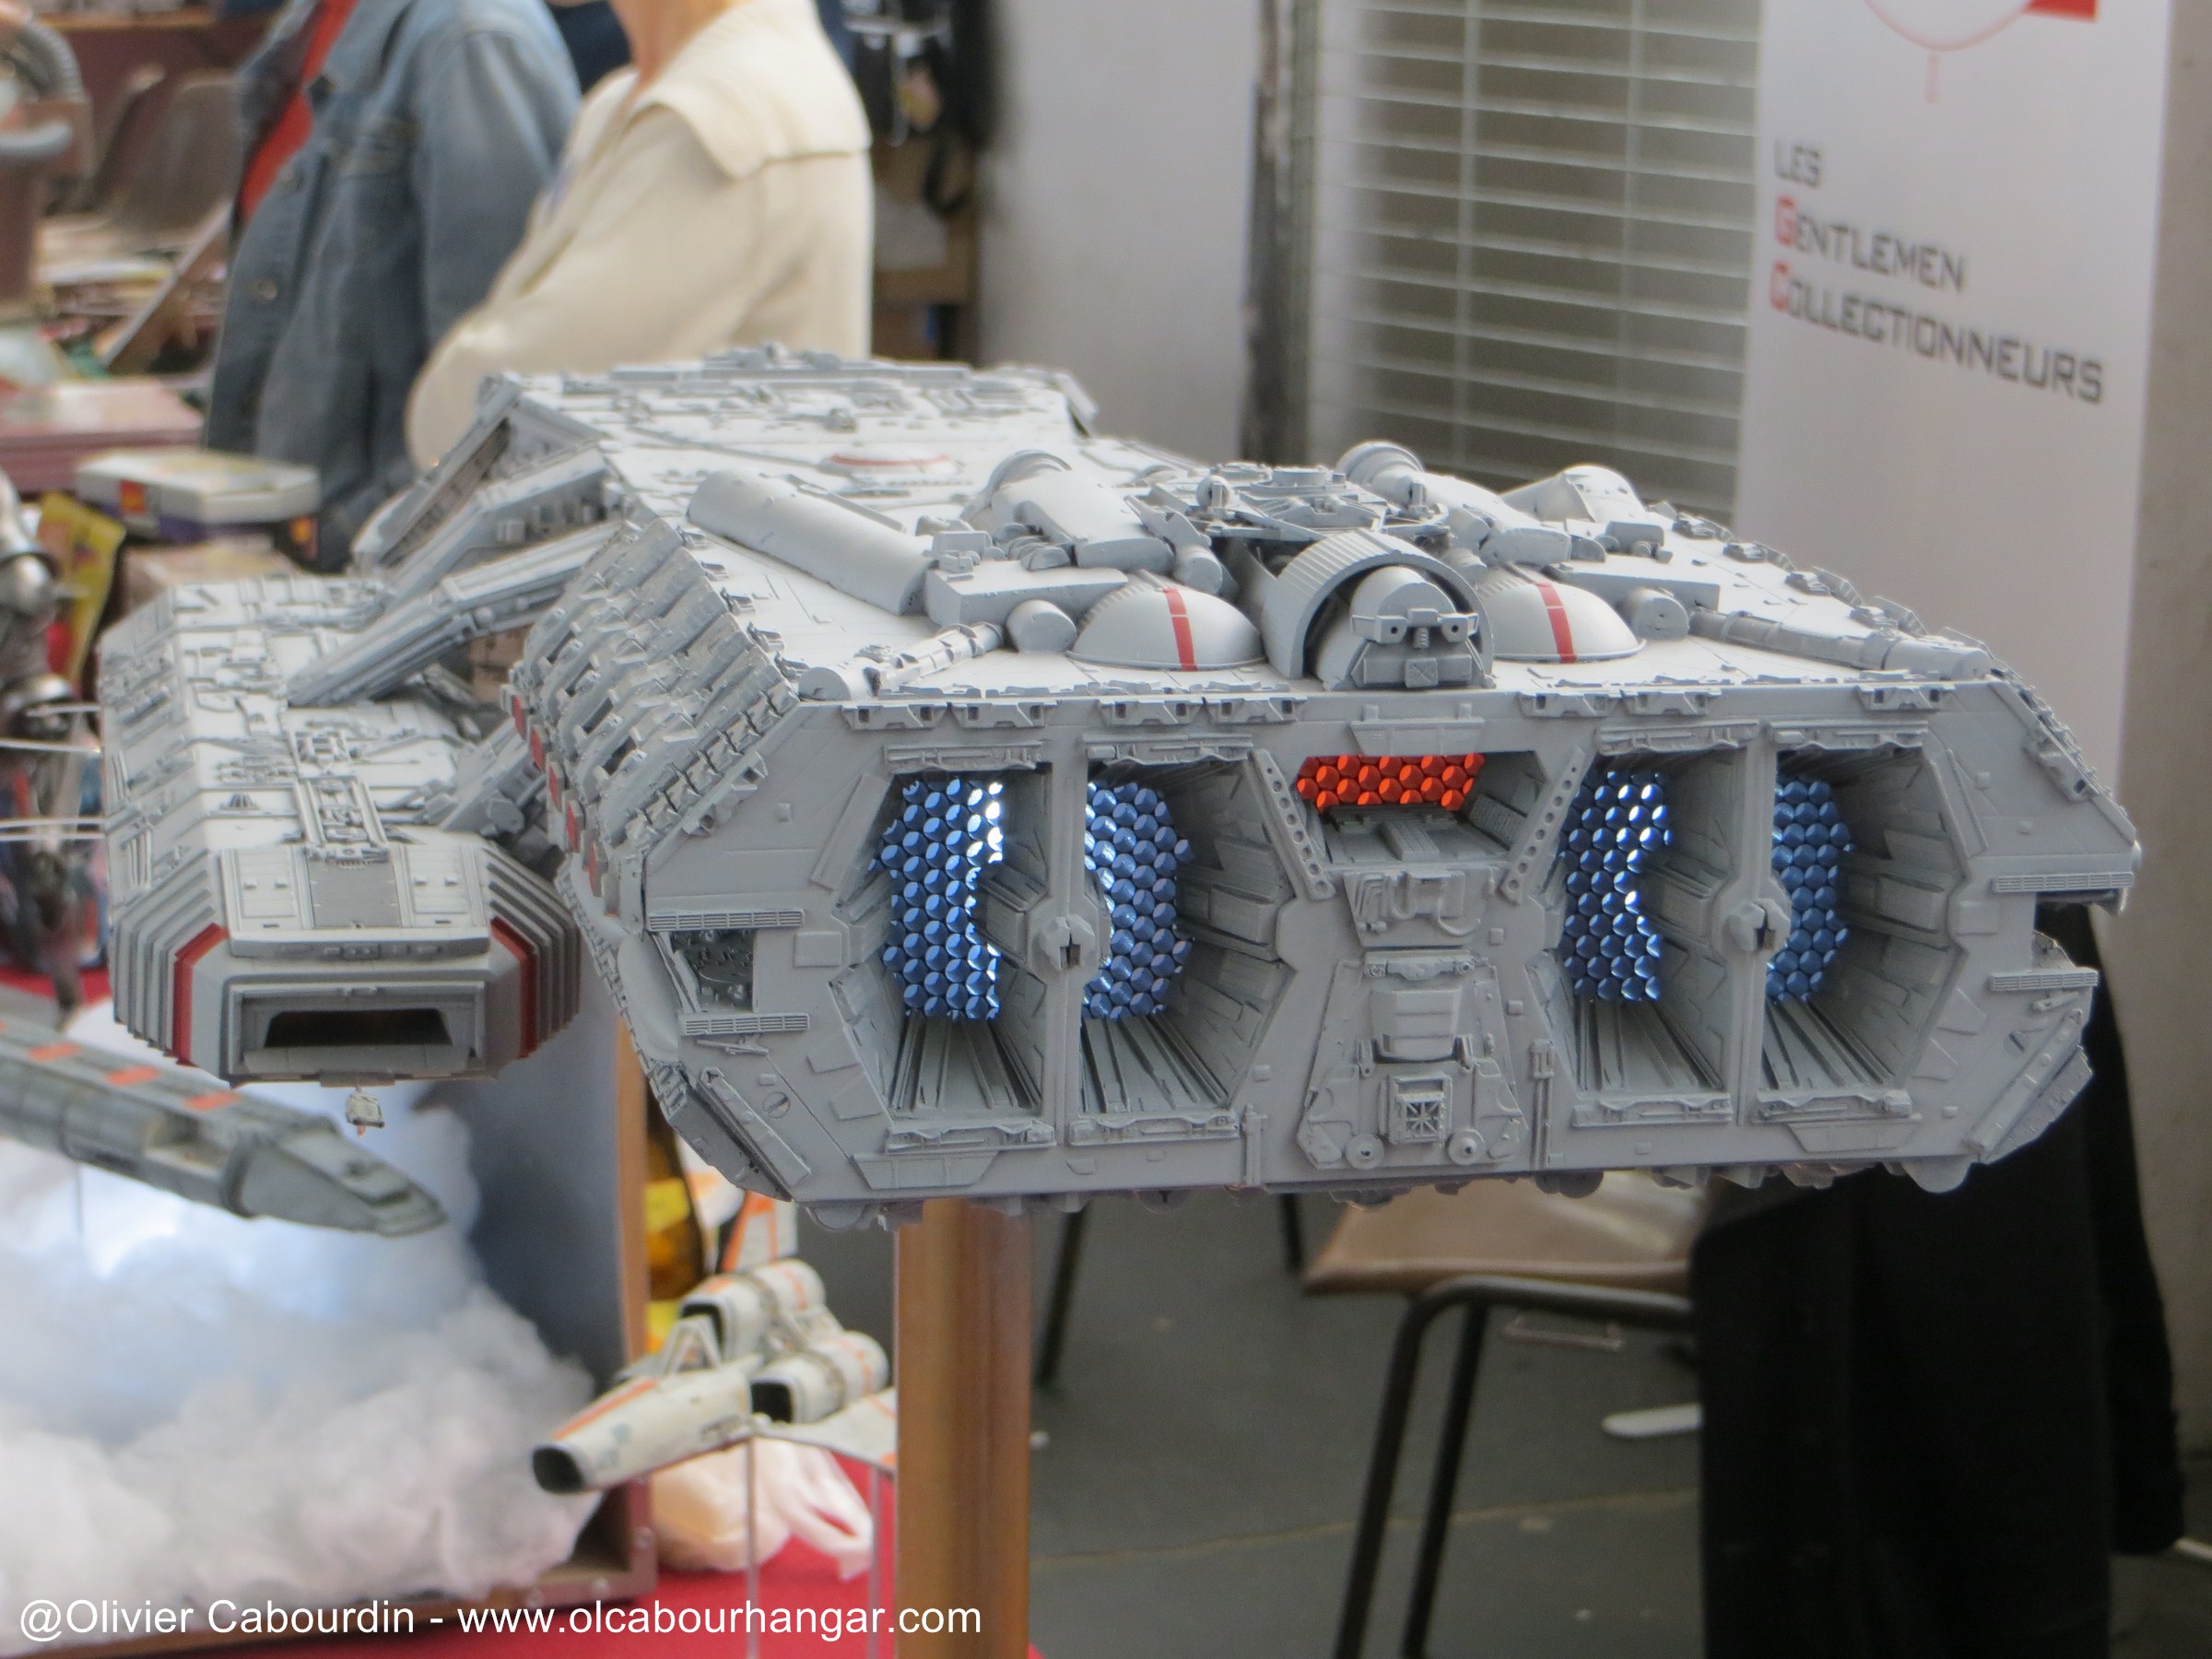
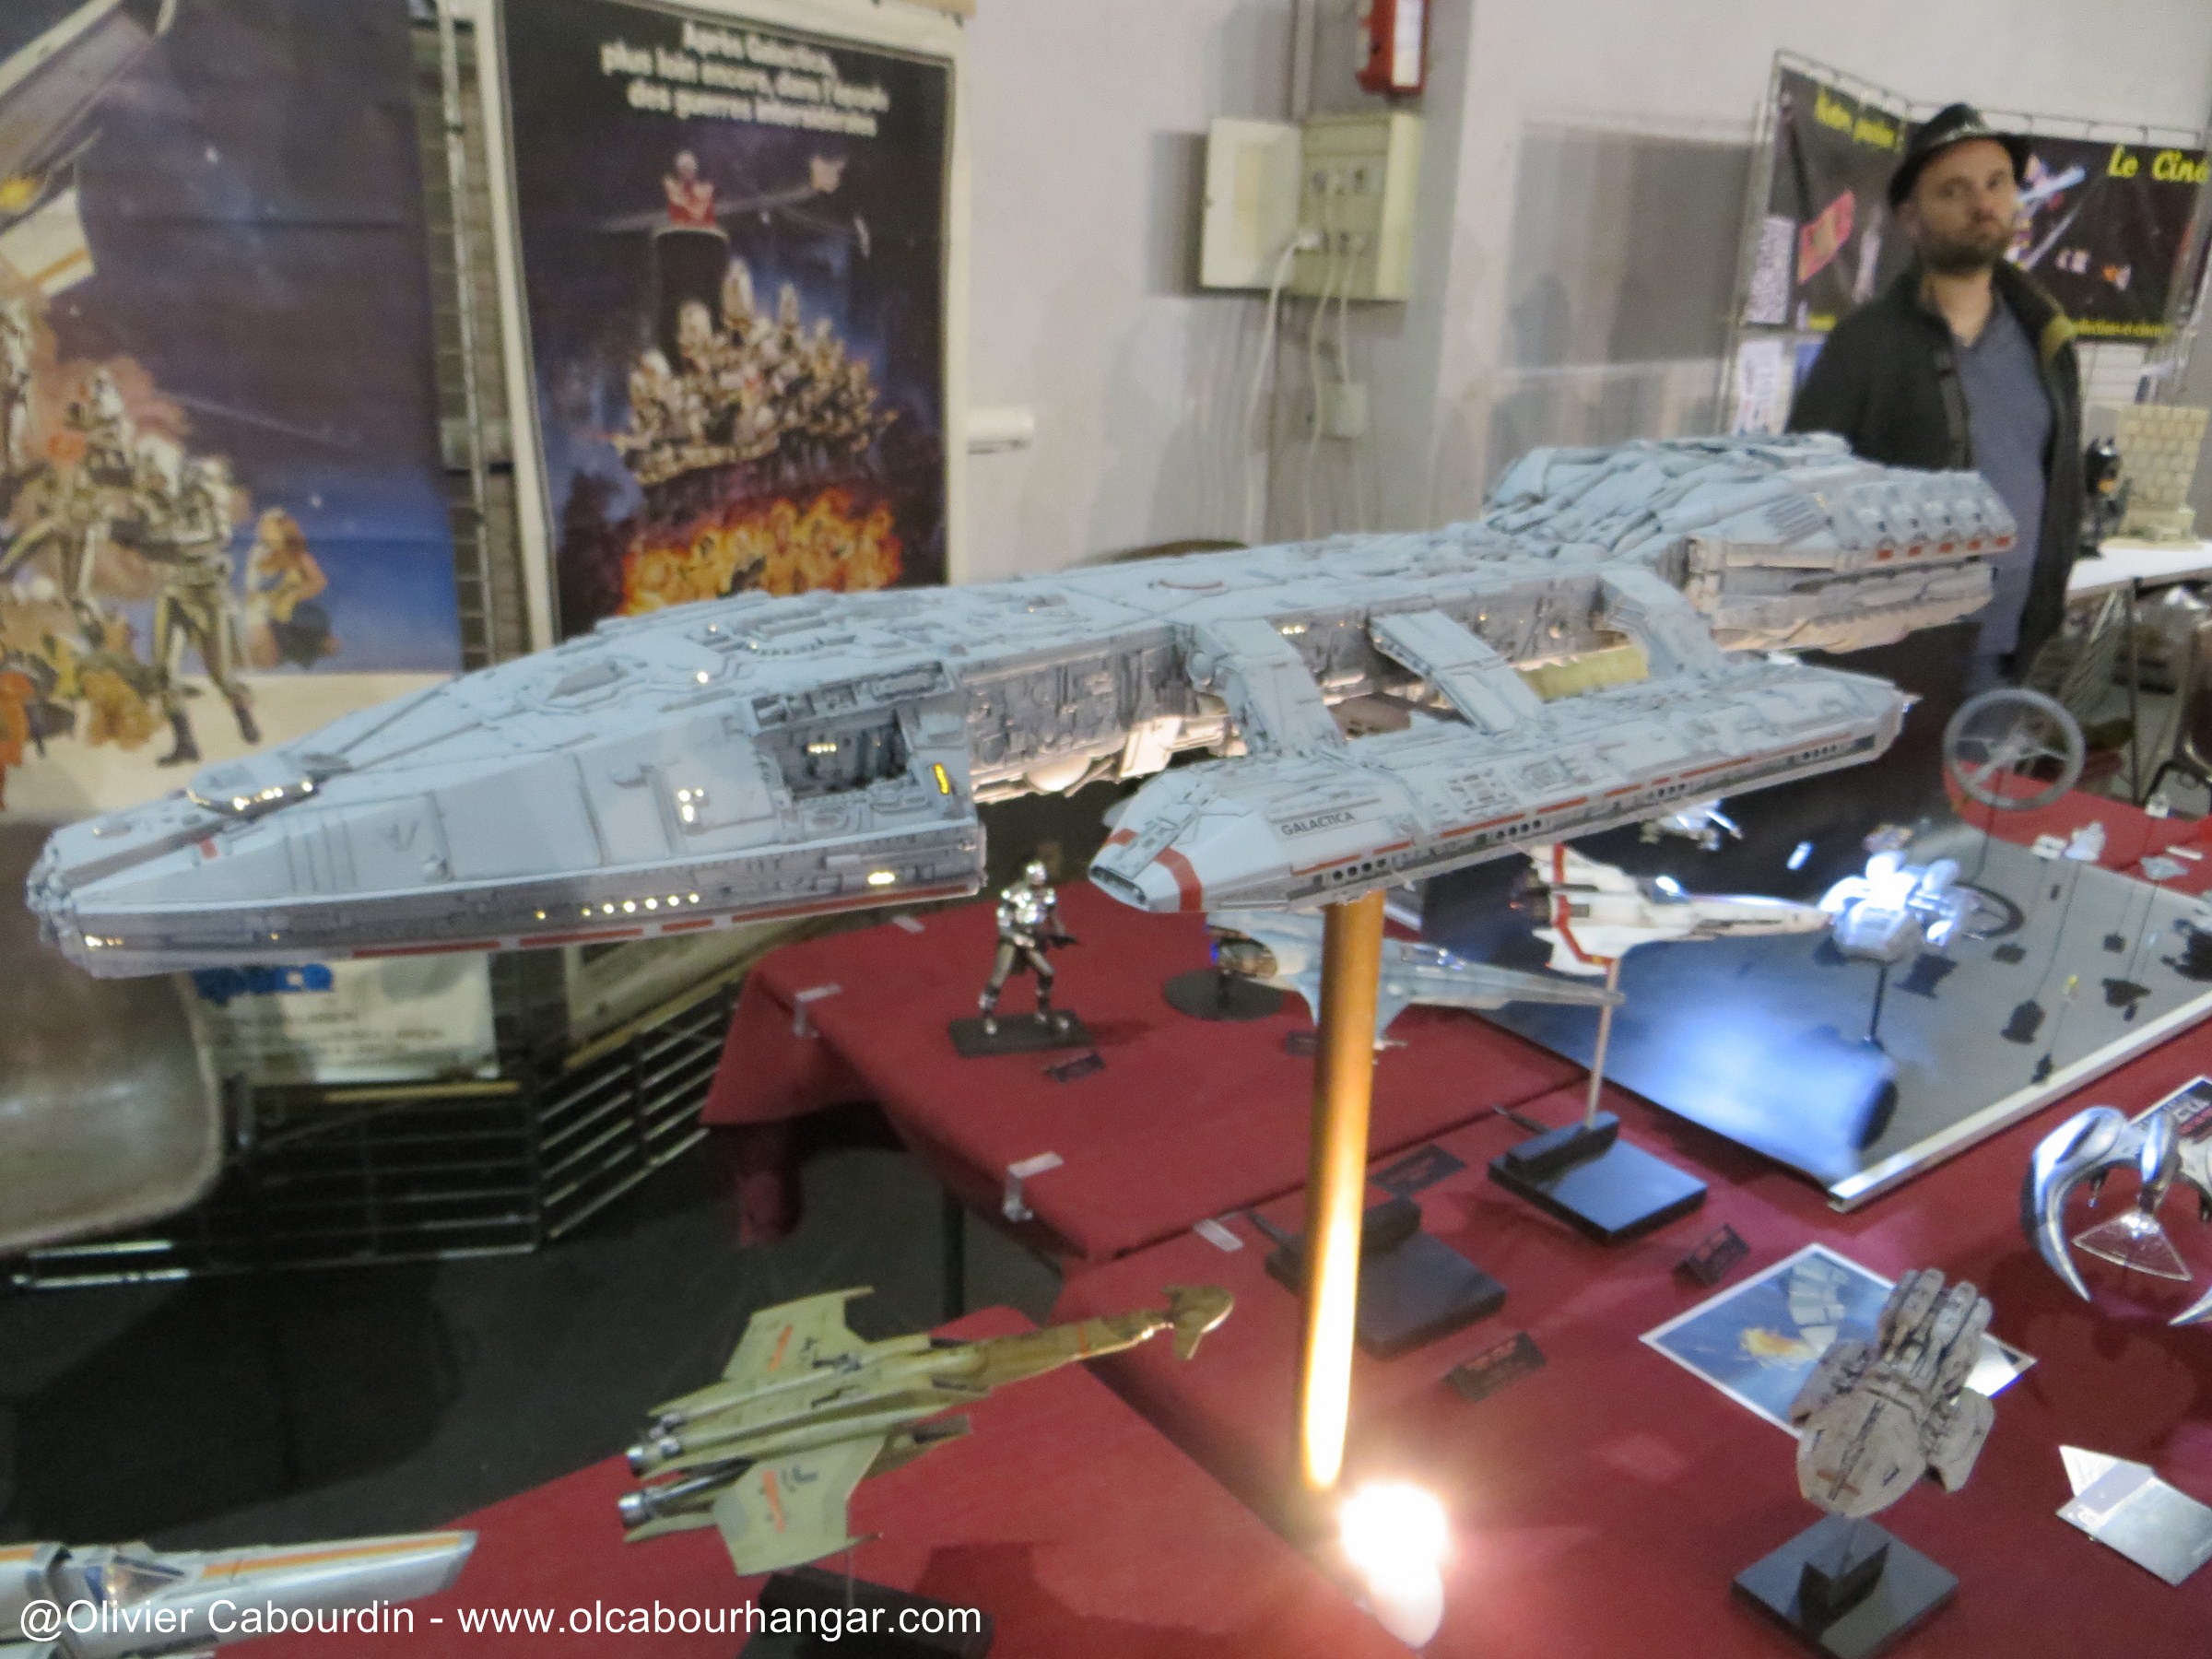
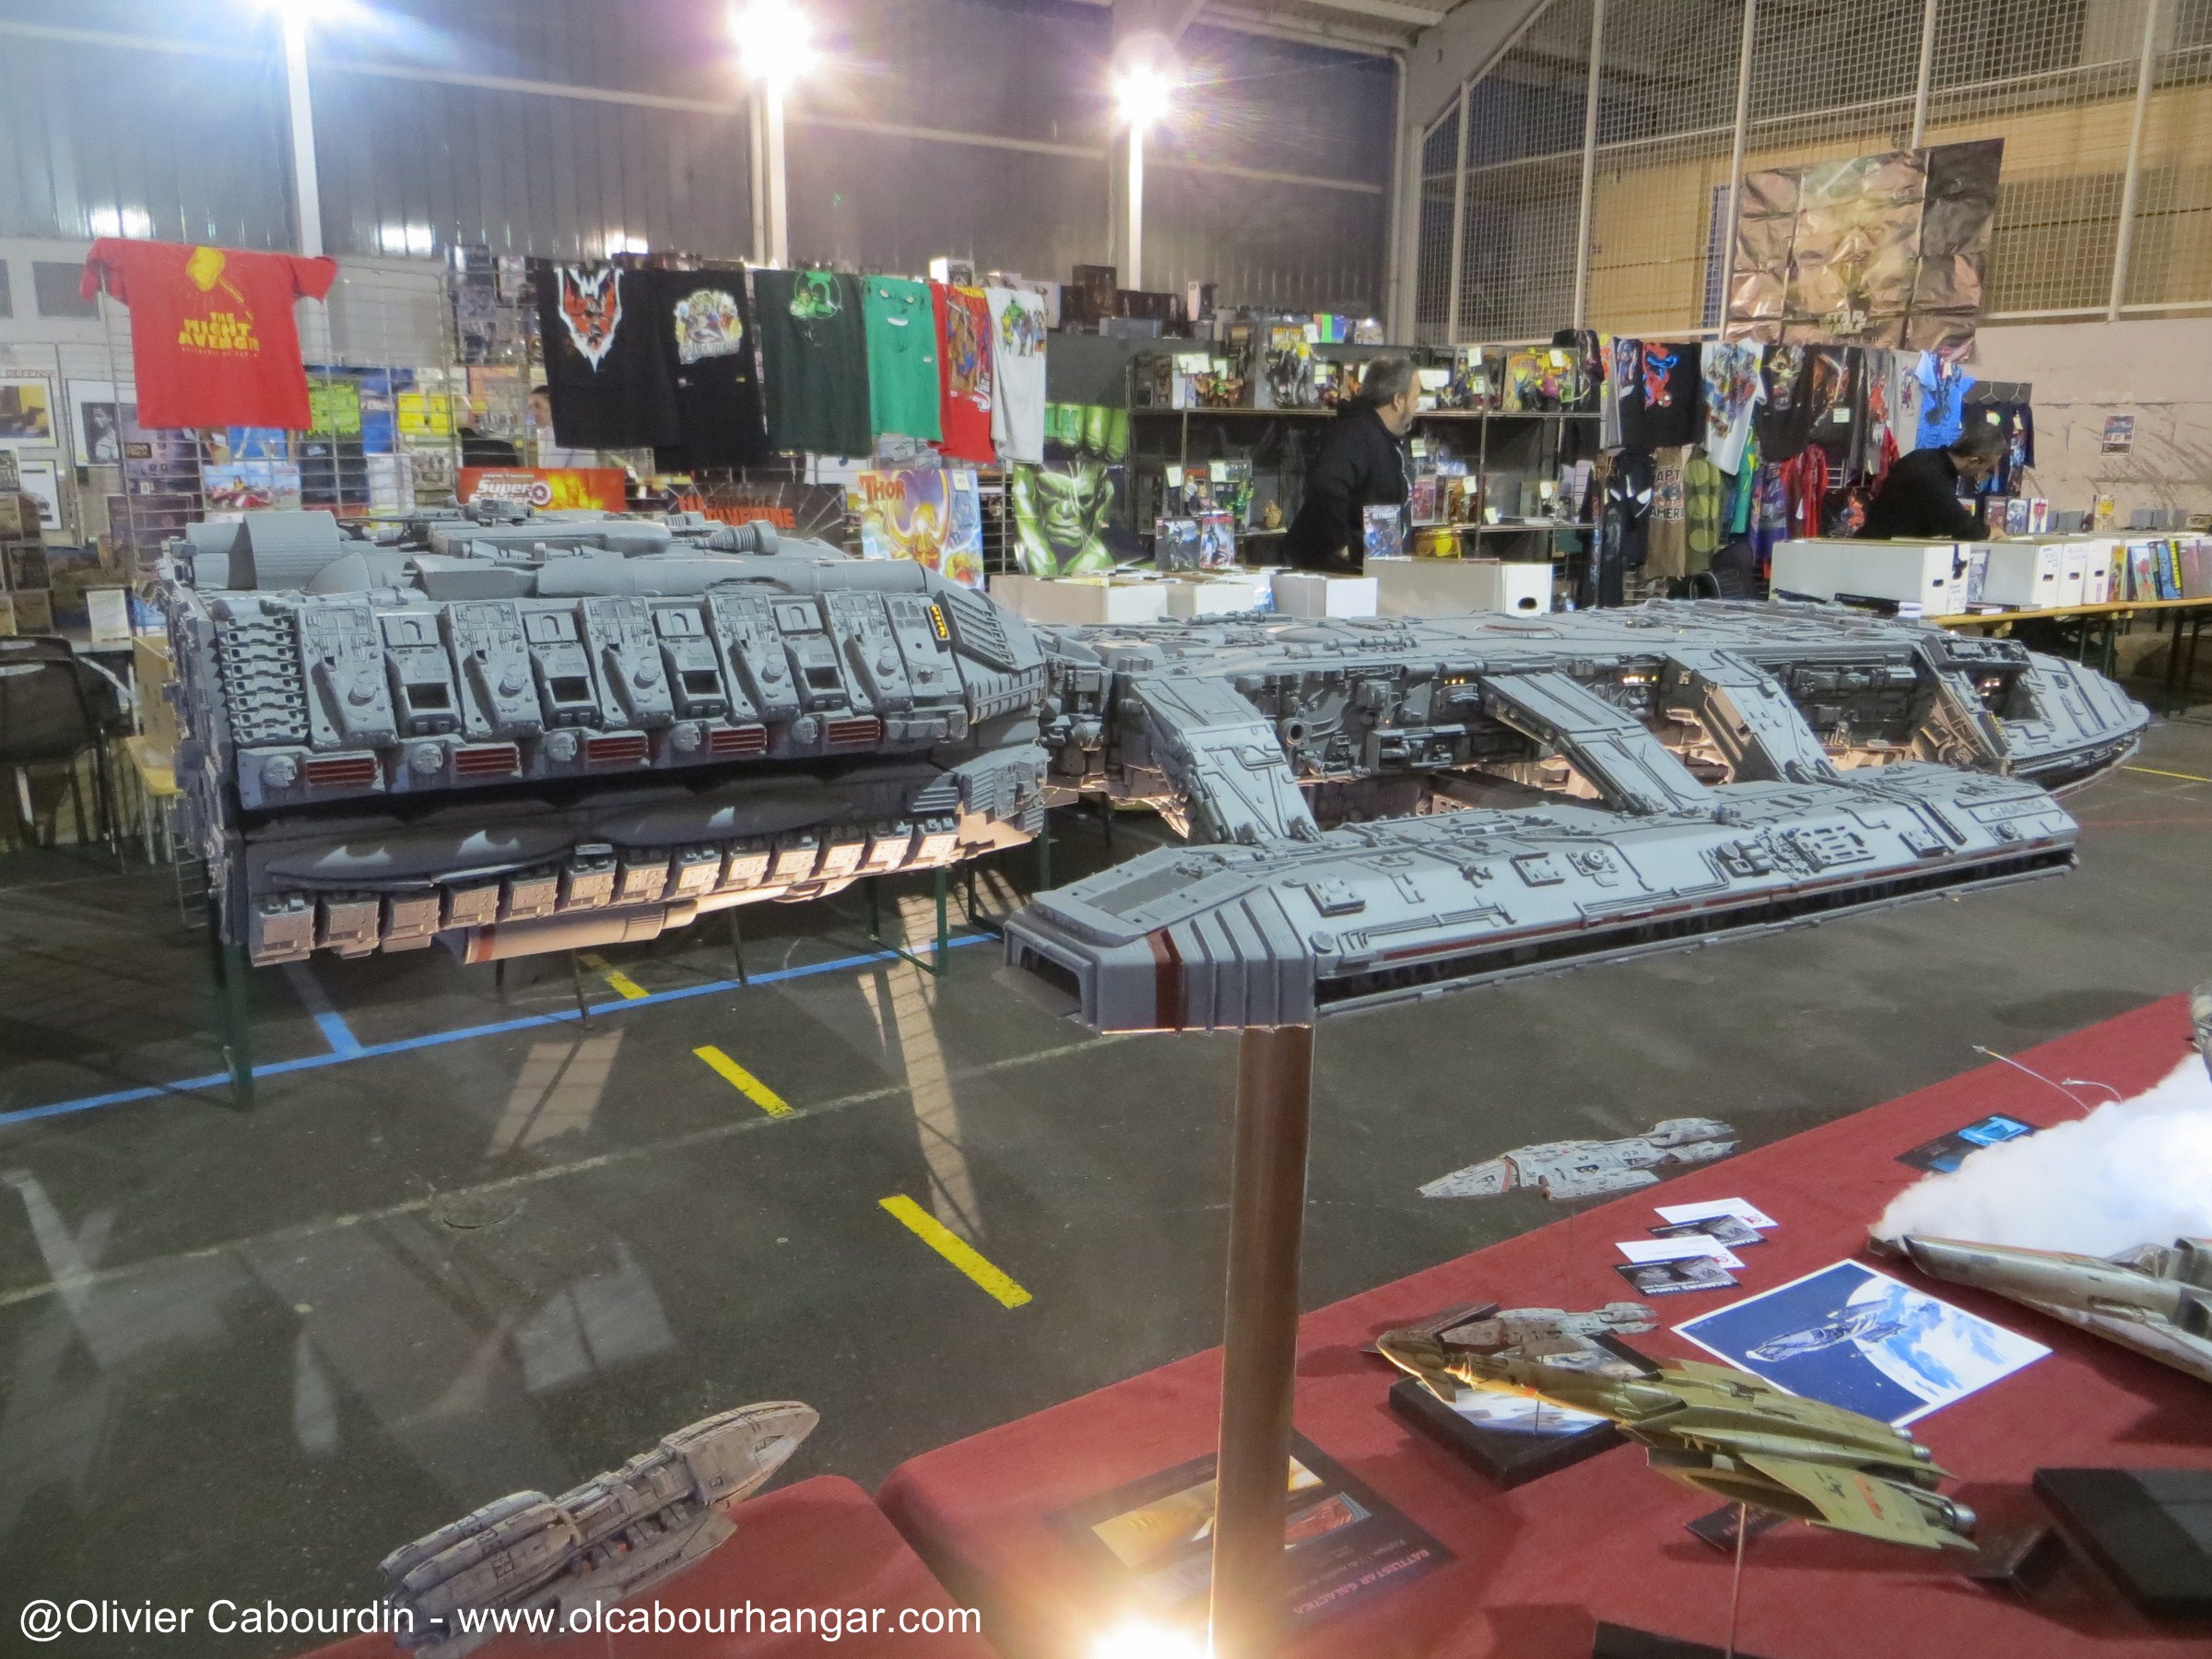
Although I had some 2 or 3 things left to correct on my Salzo Galactica, I did started the StarDestroyer from Randy Cooper.
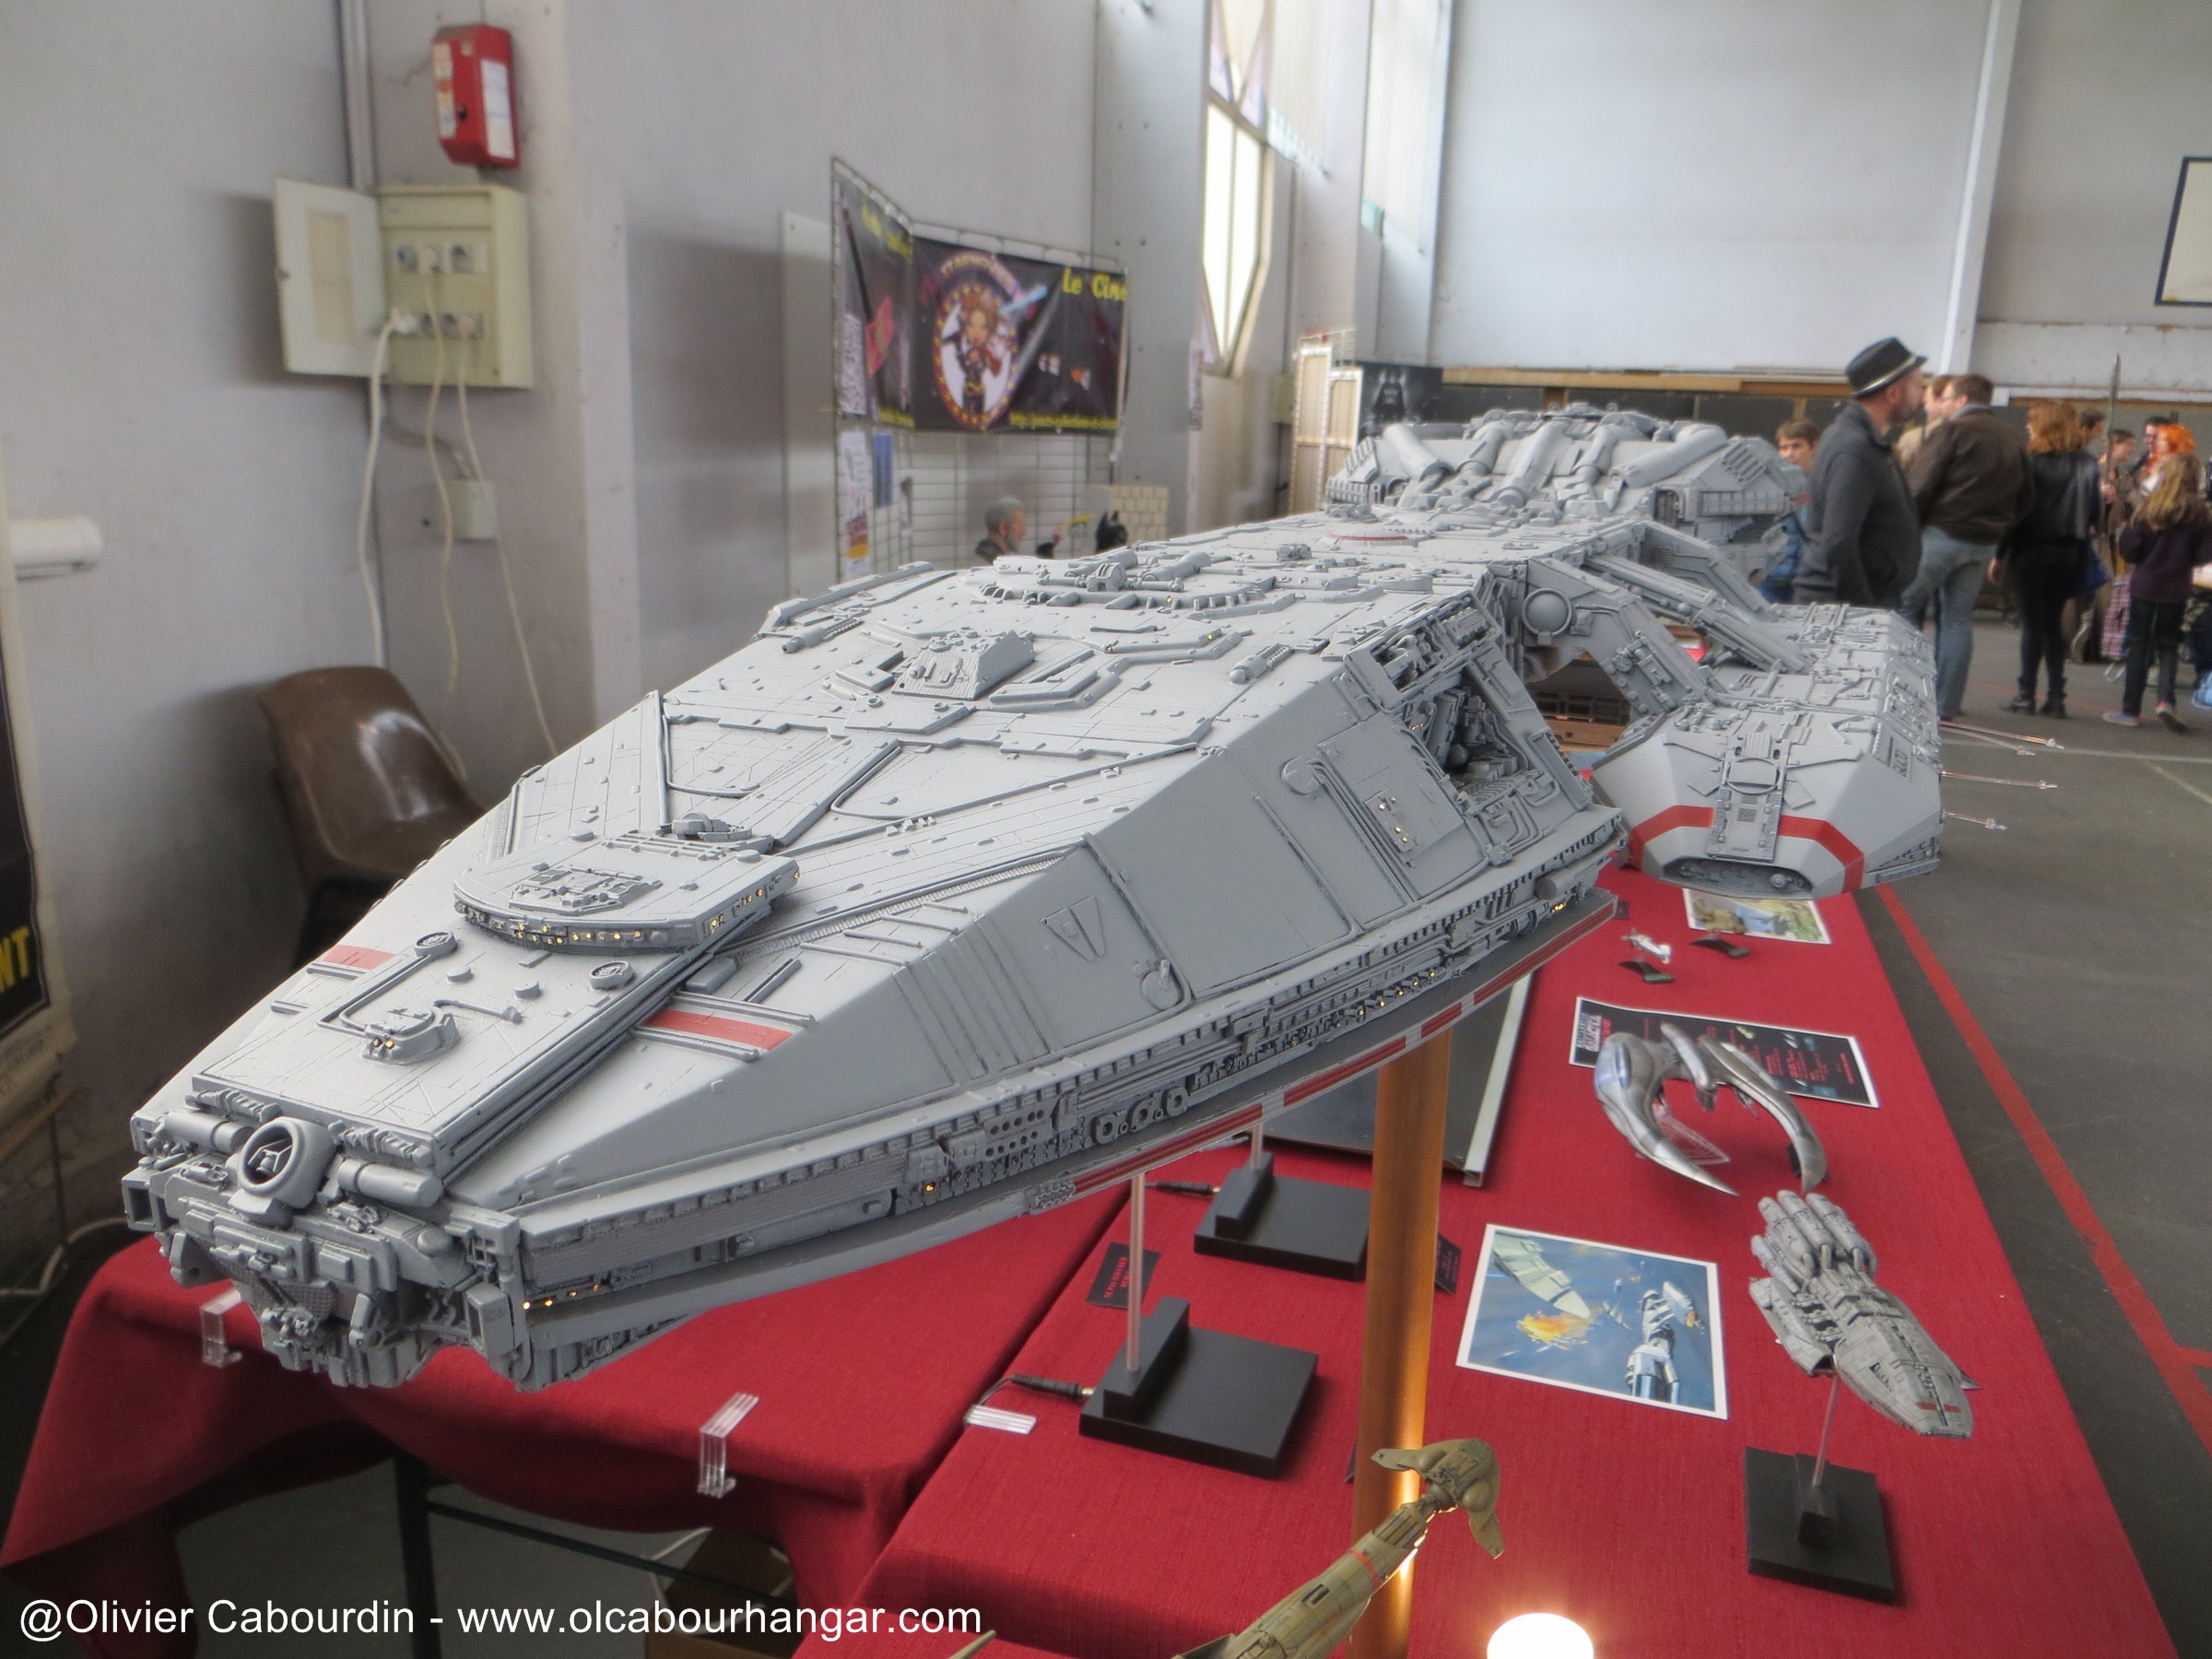
This is my favorite ship in the SW saga (the falcon coming in second).
So when Randy Cooper announced that long 90cm kit in early 2008, I quickly positioned and I was among the first buyers.
Ther were some parts missing that Randy sent me quickly.
And so he waited since back then.
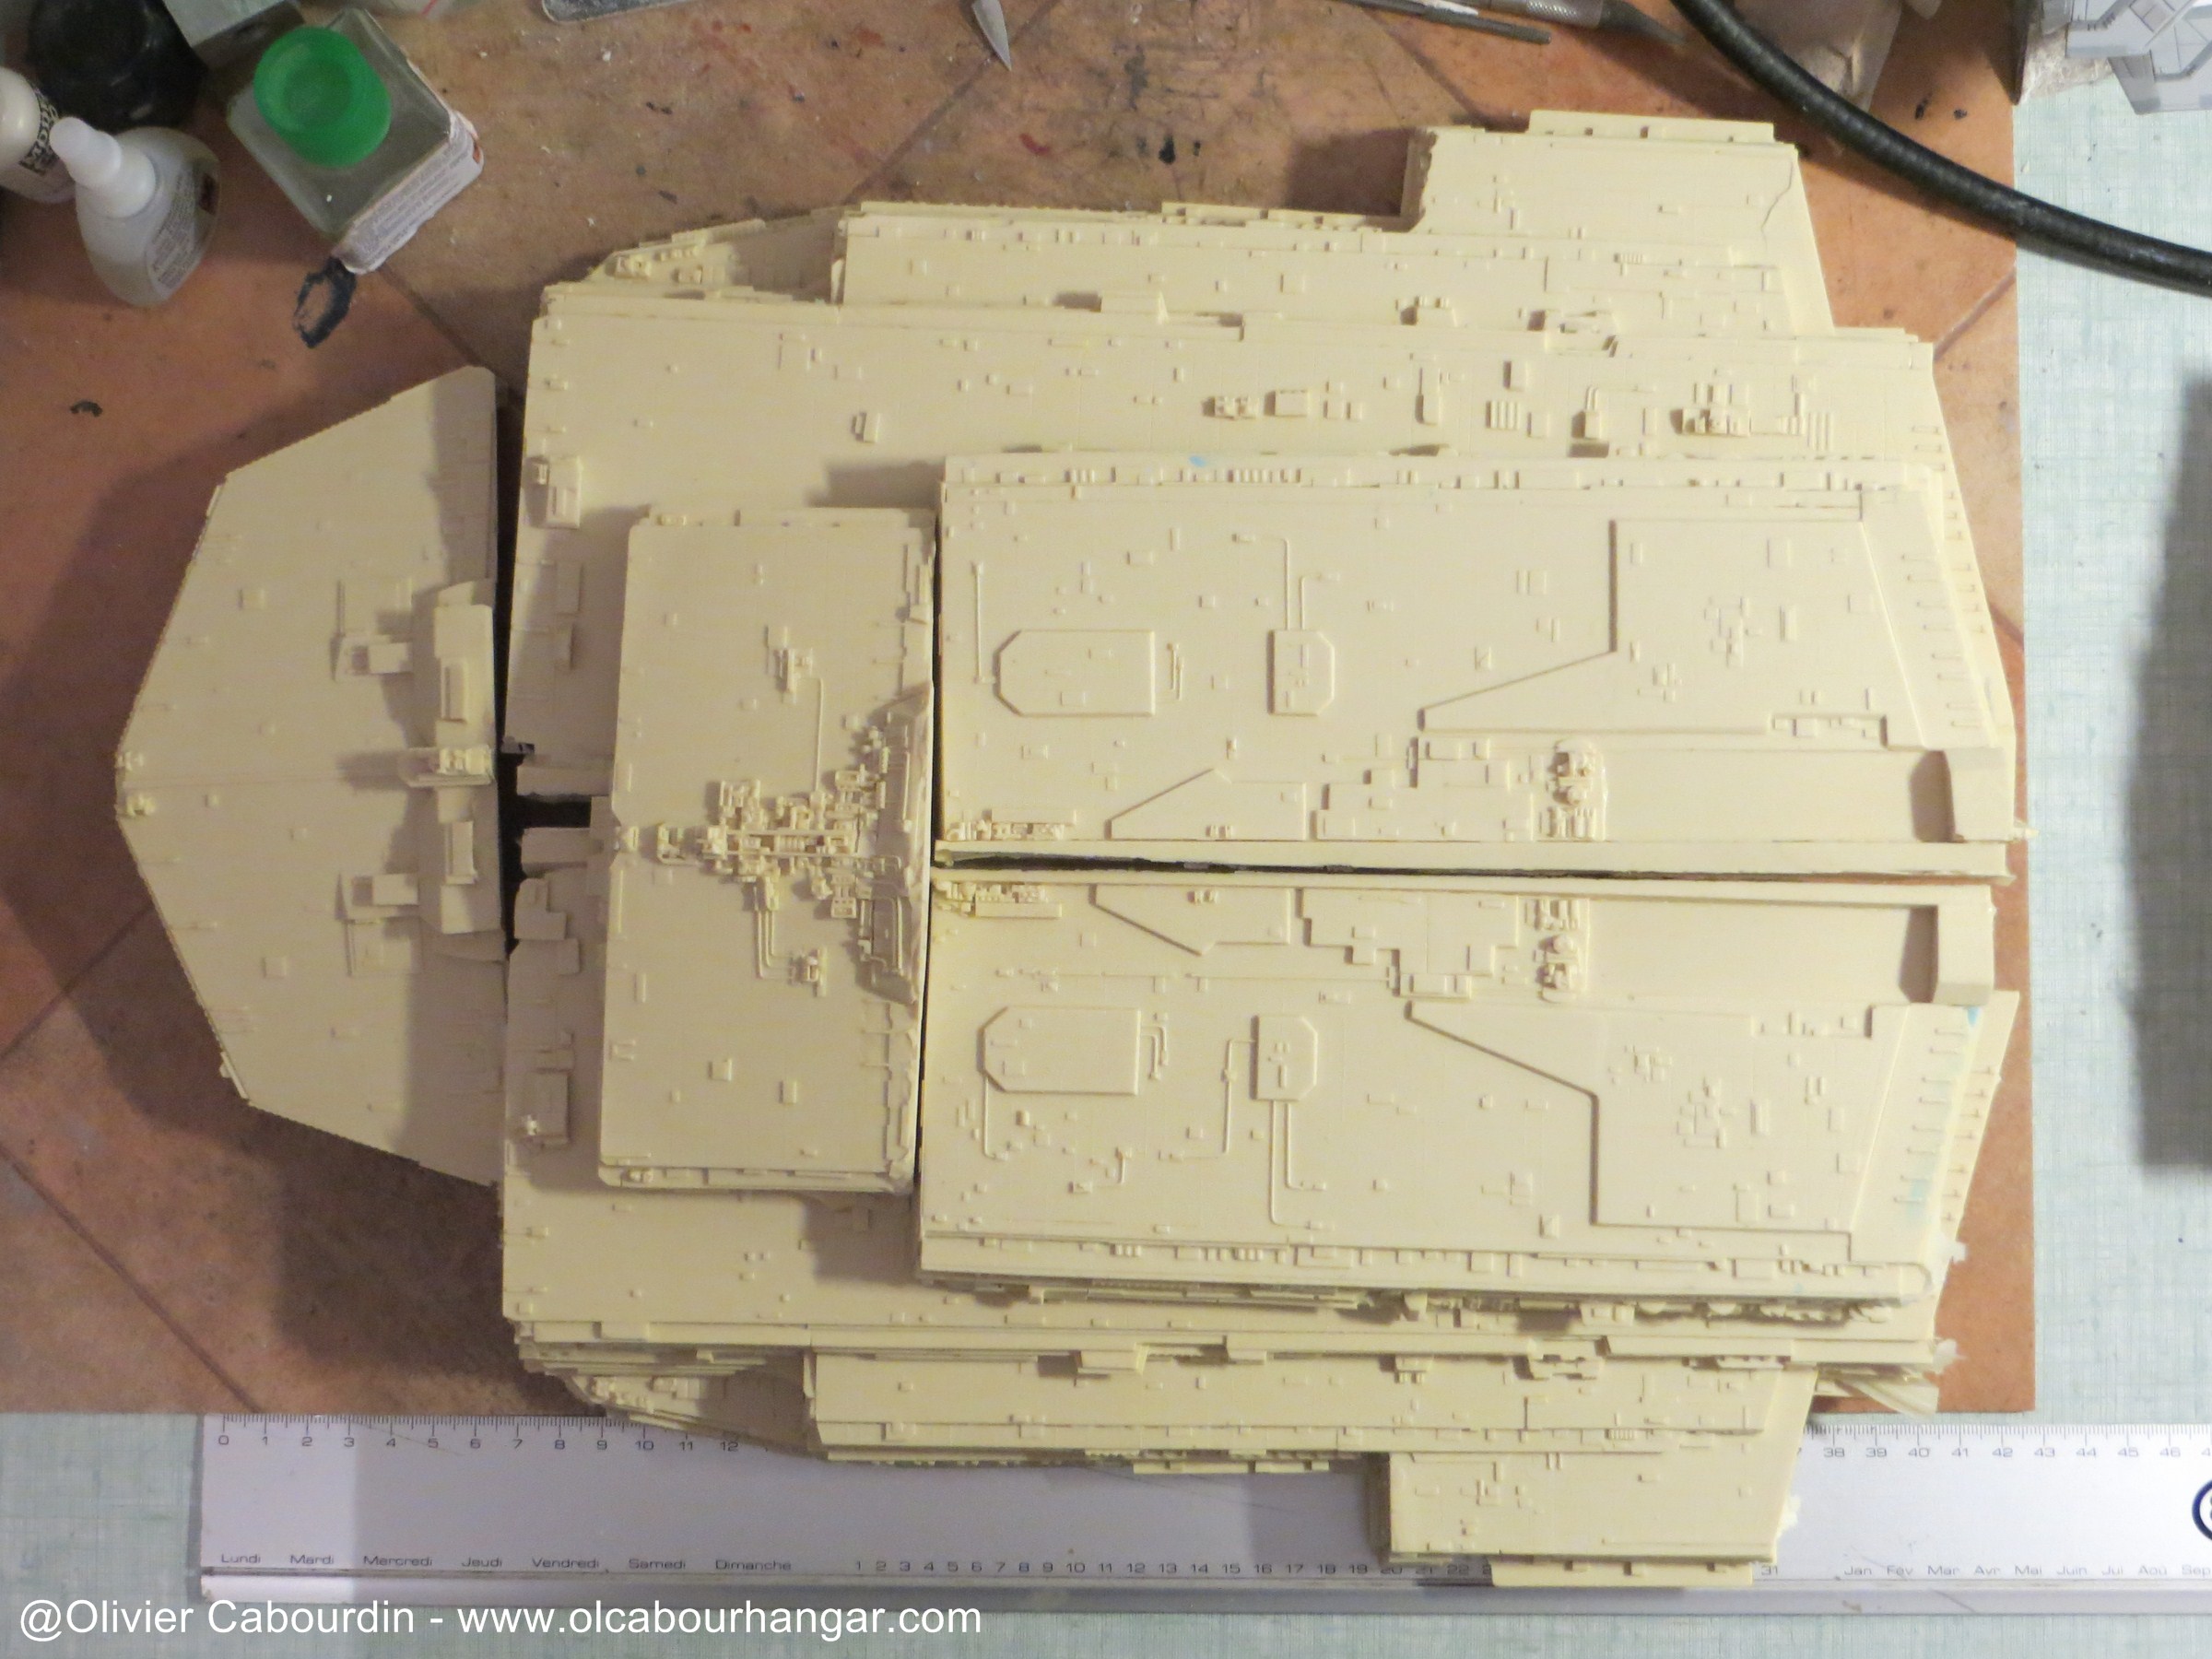
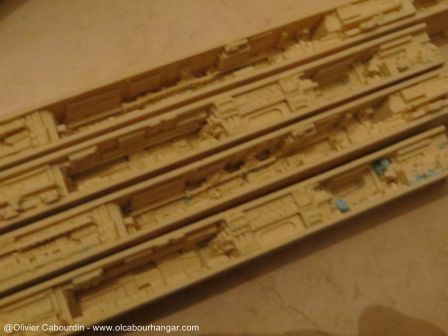
This is a rather well detailed kit. I will see if it is well designed during assembly, but I have no doubt it will book me a few surprises!
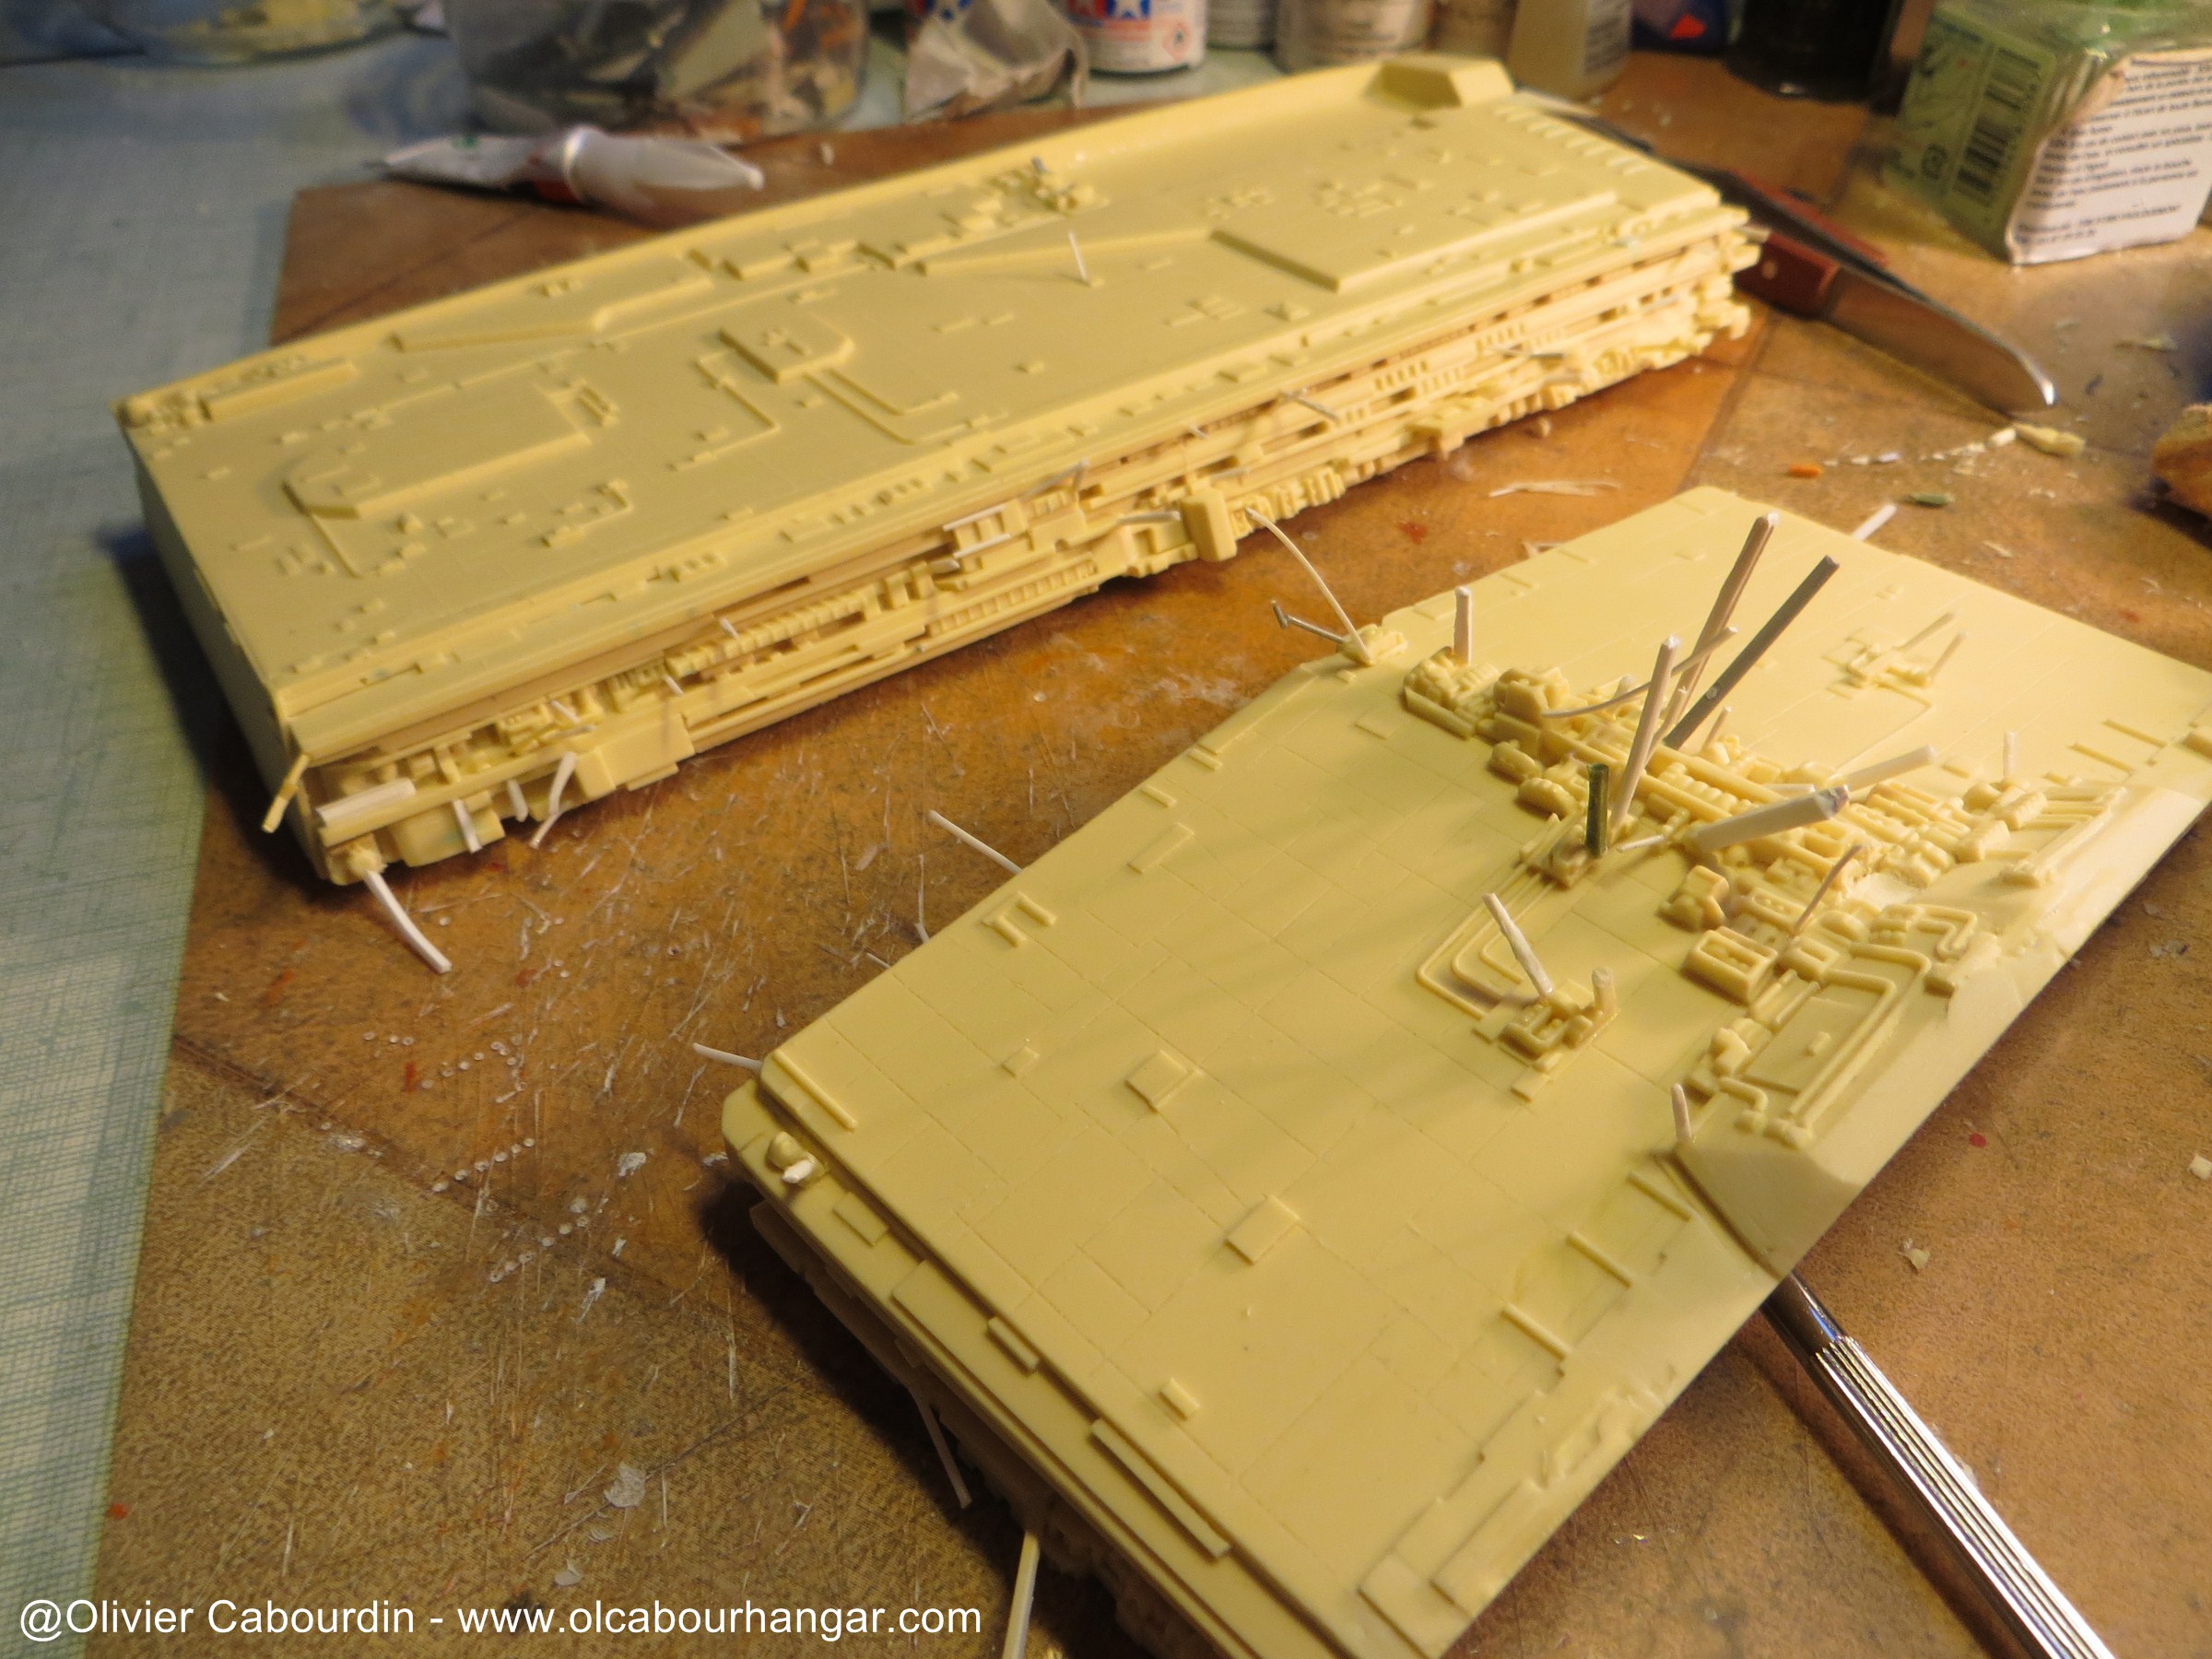
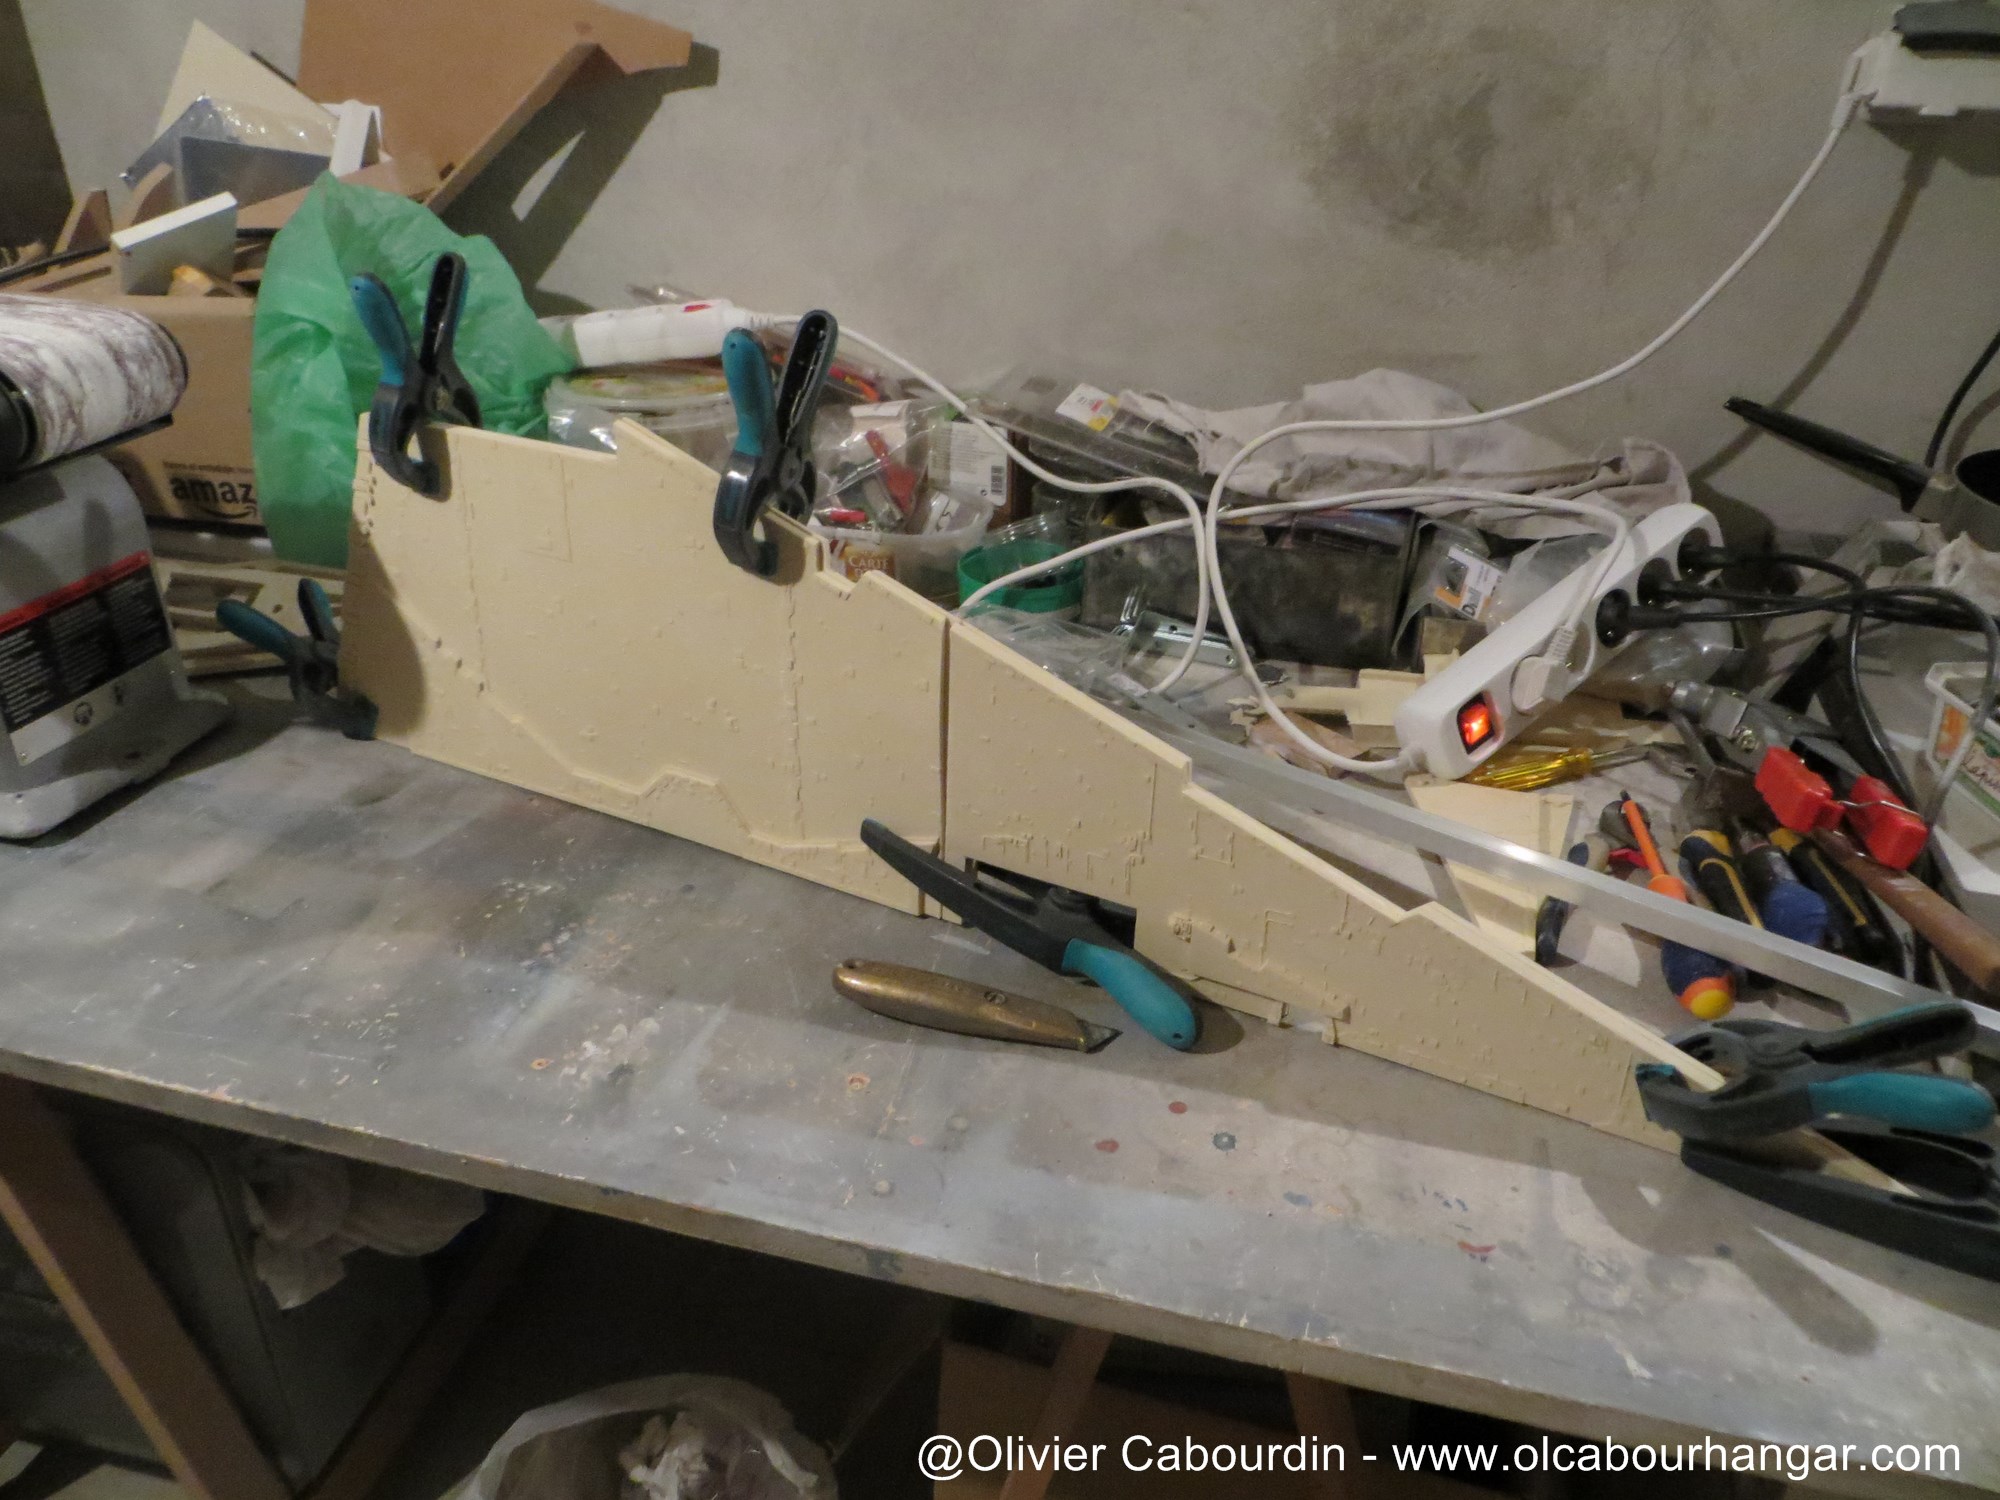
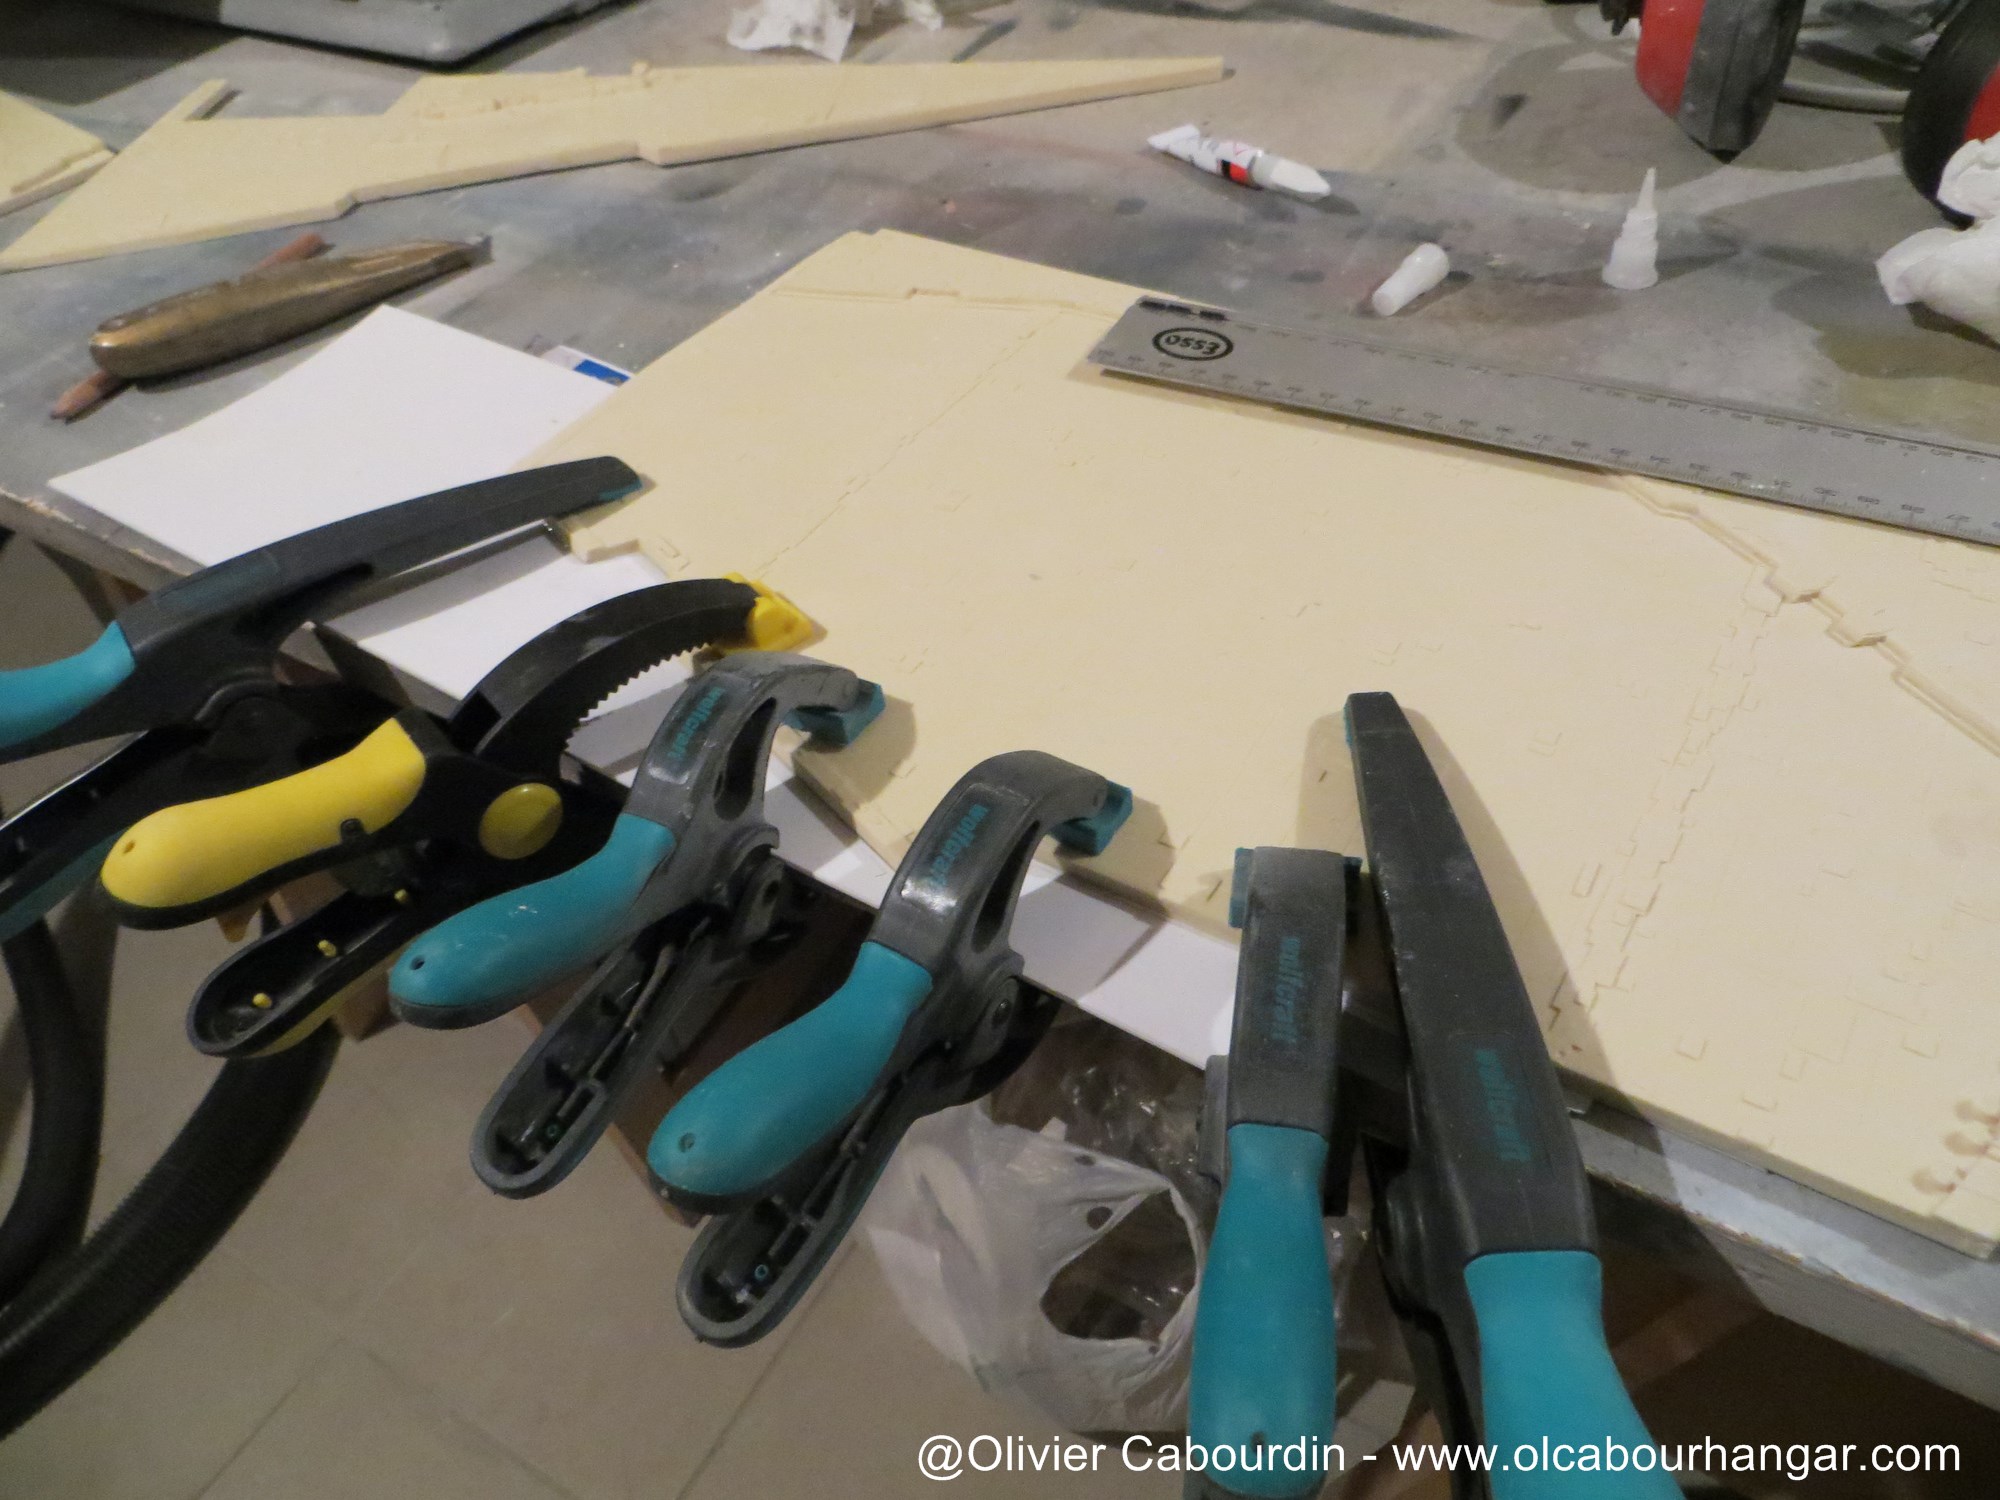
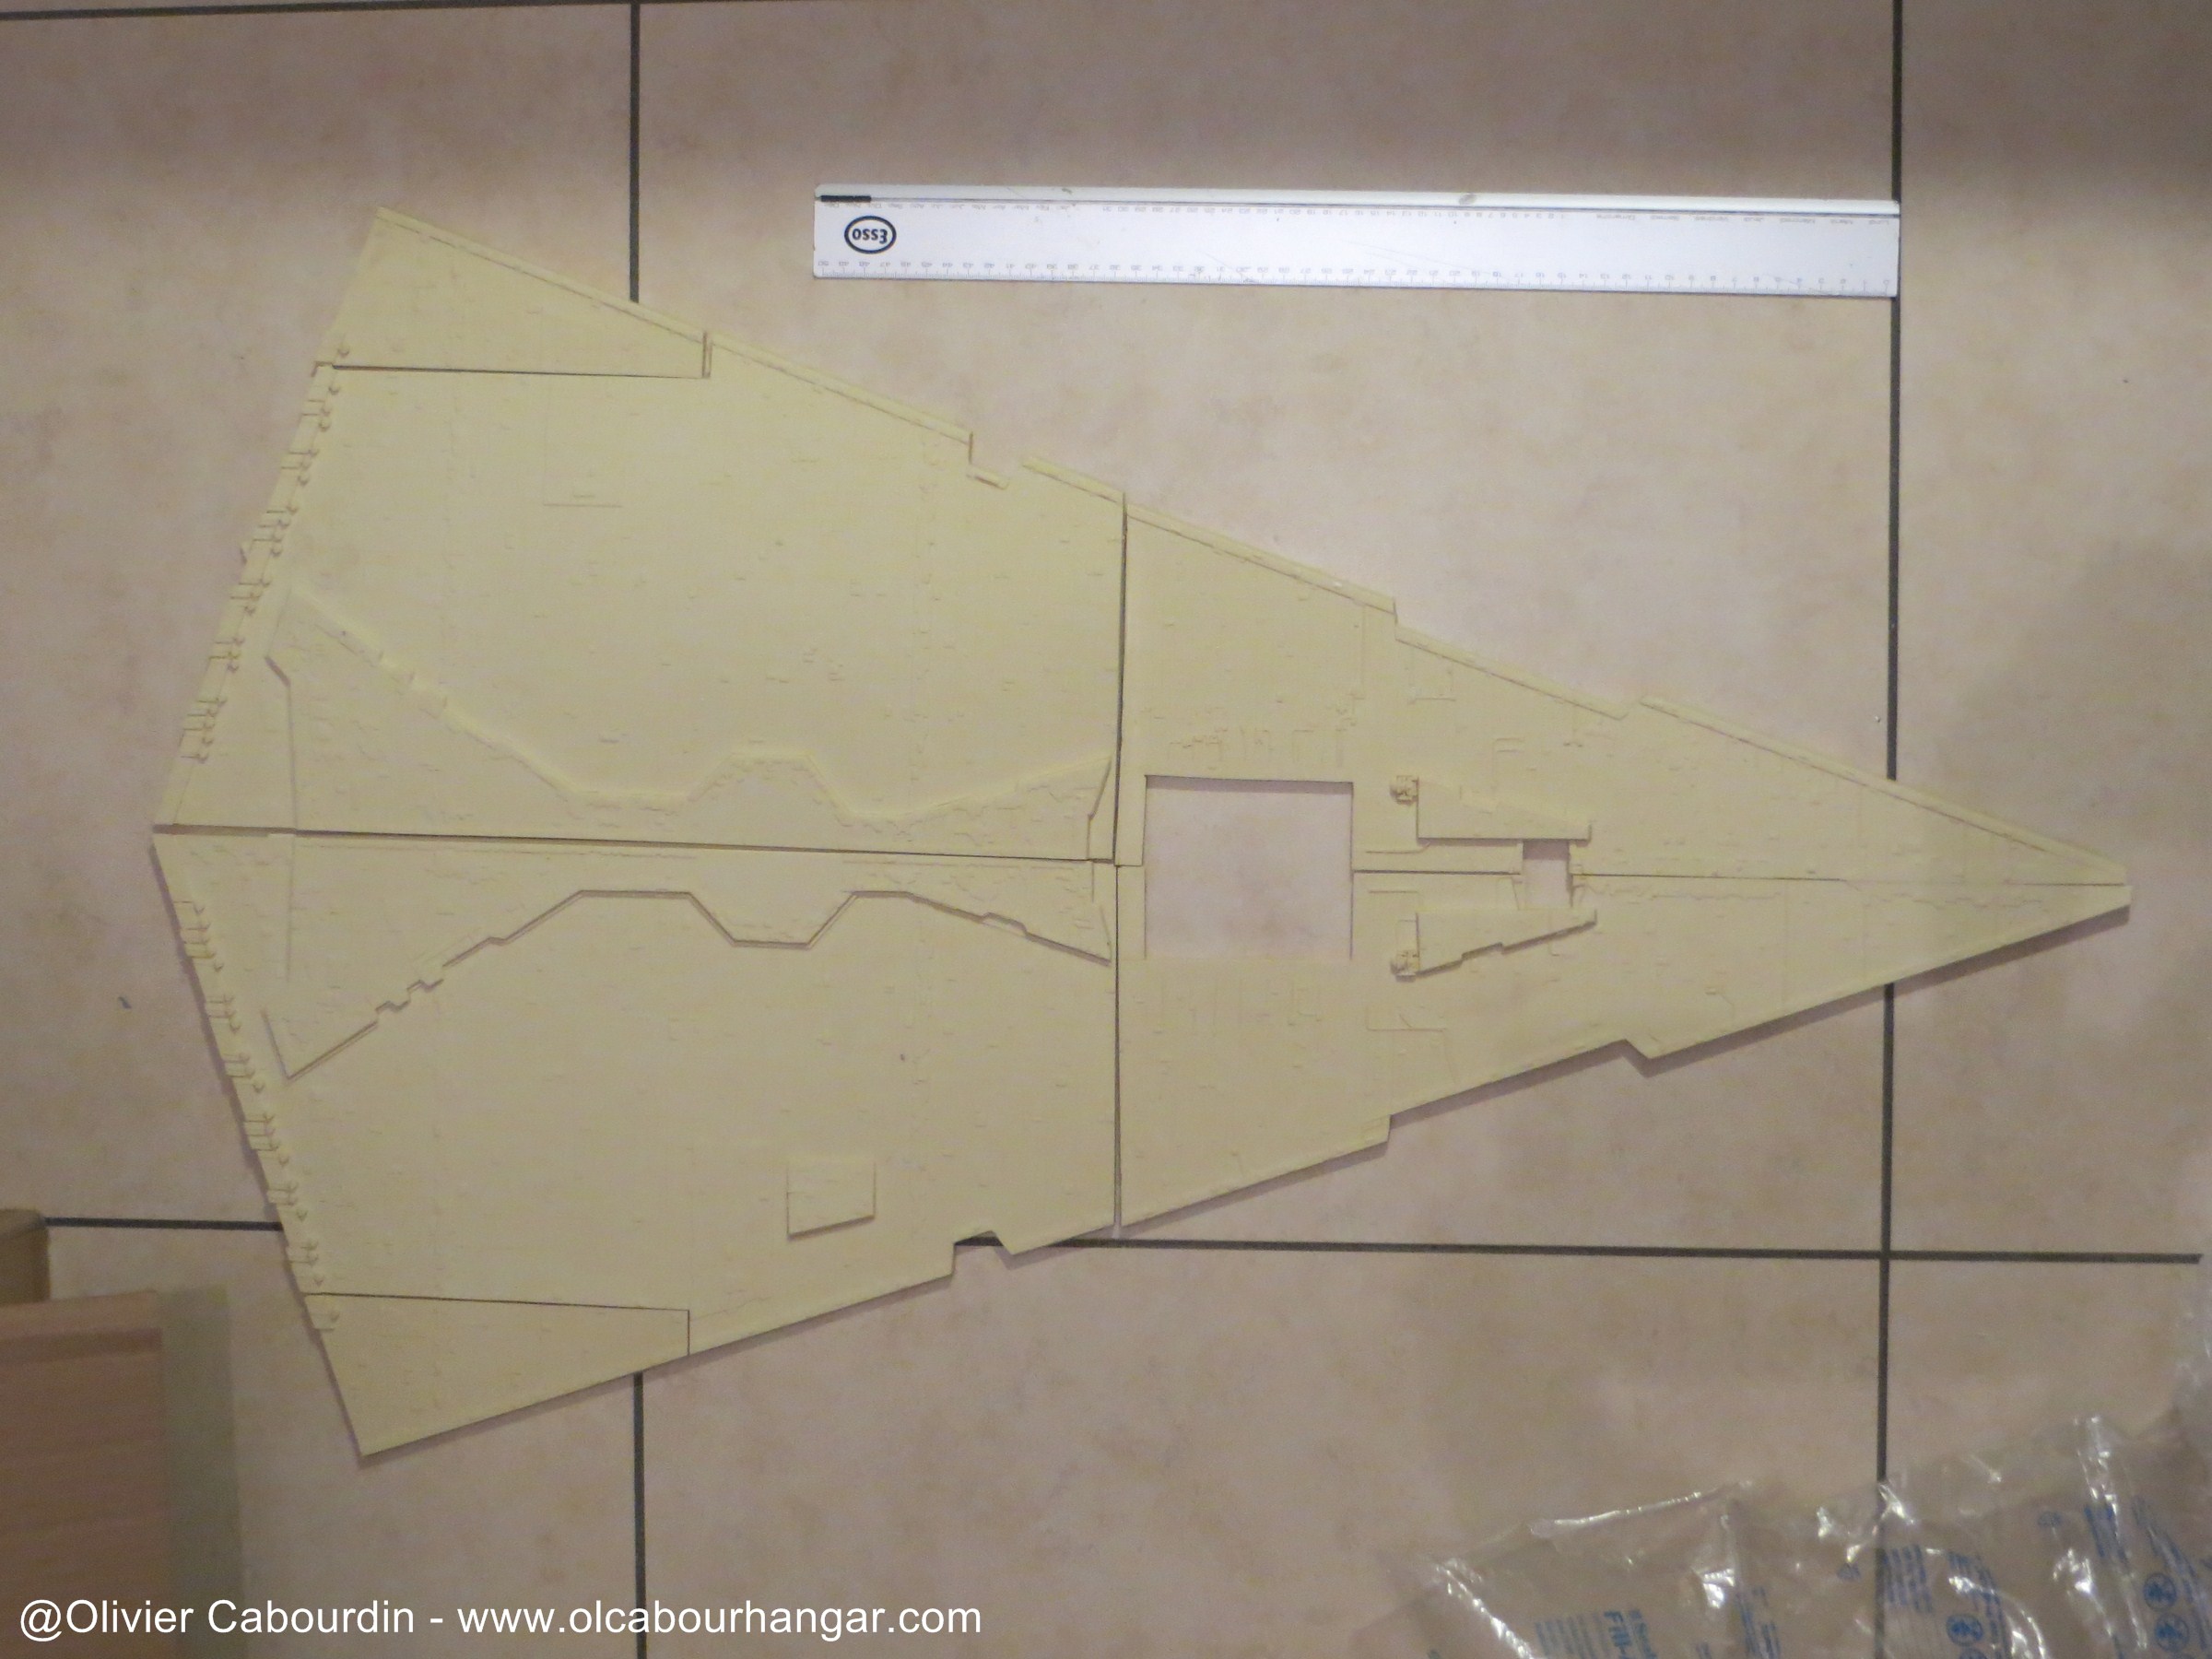
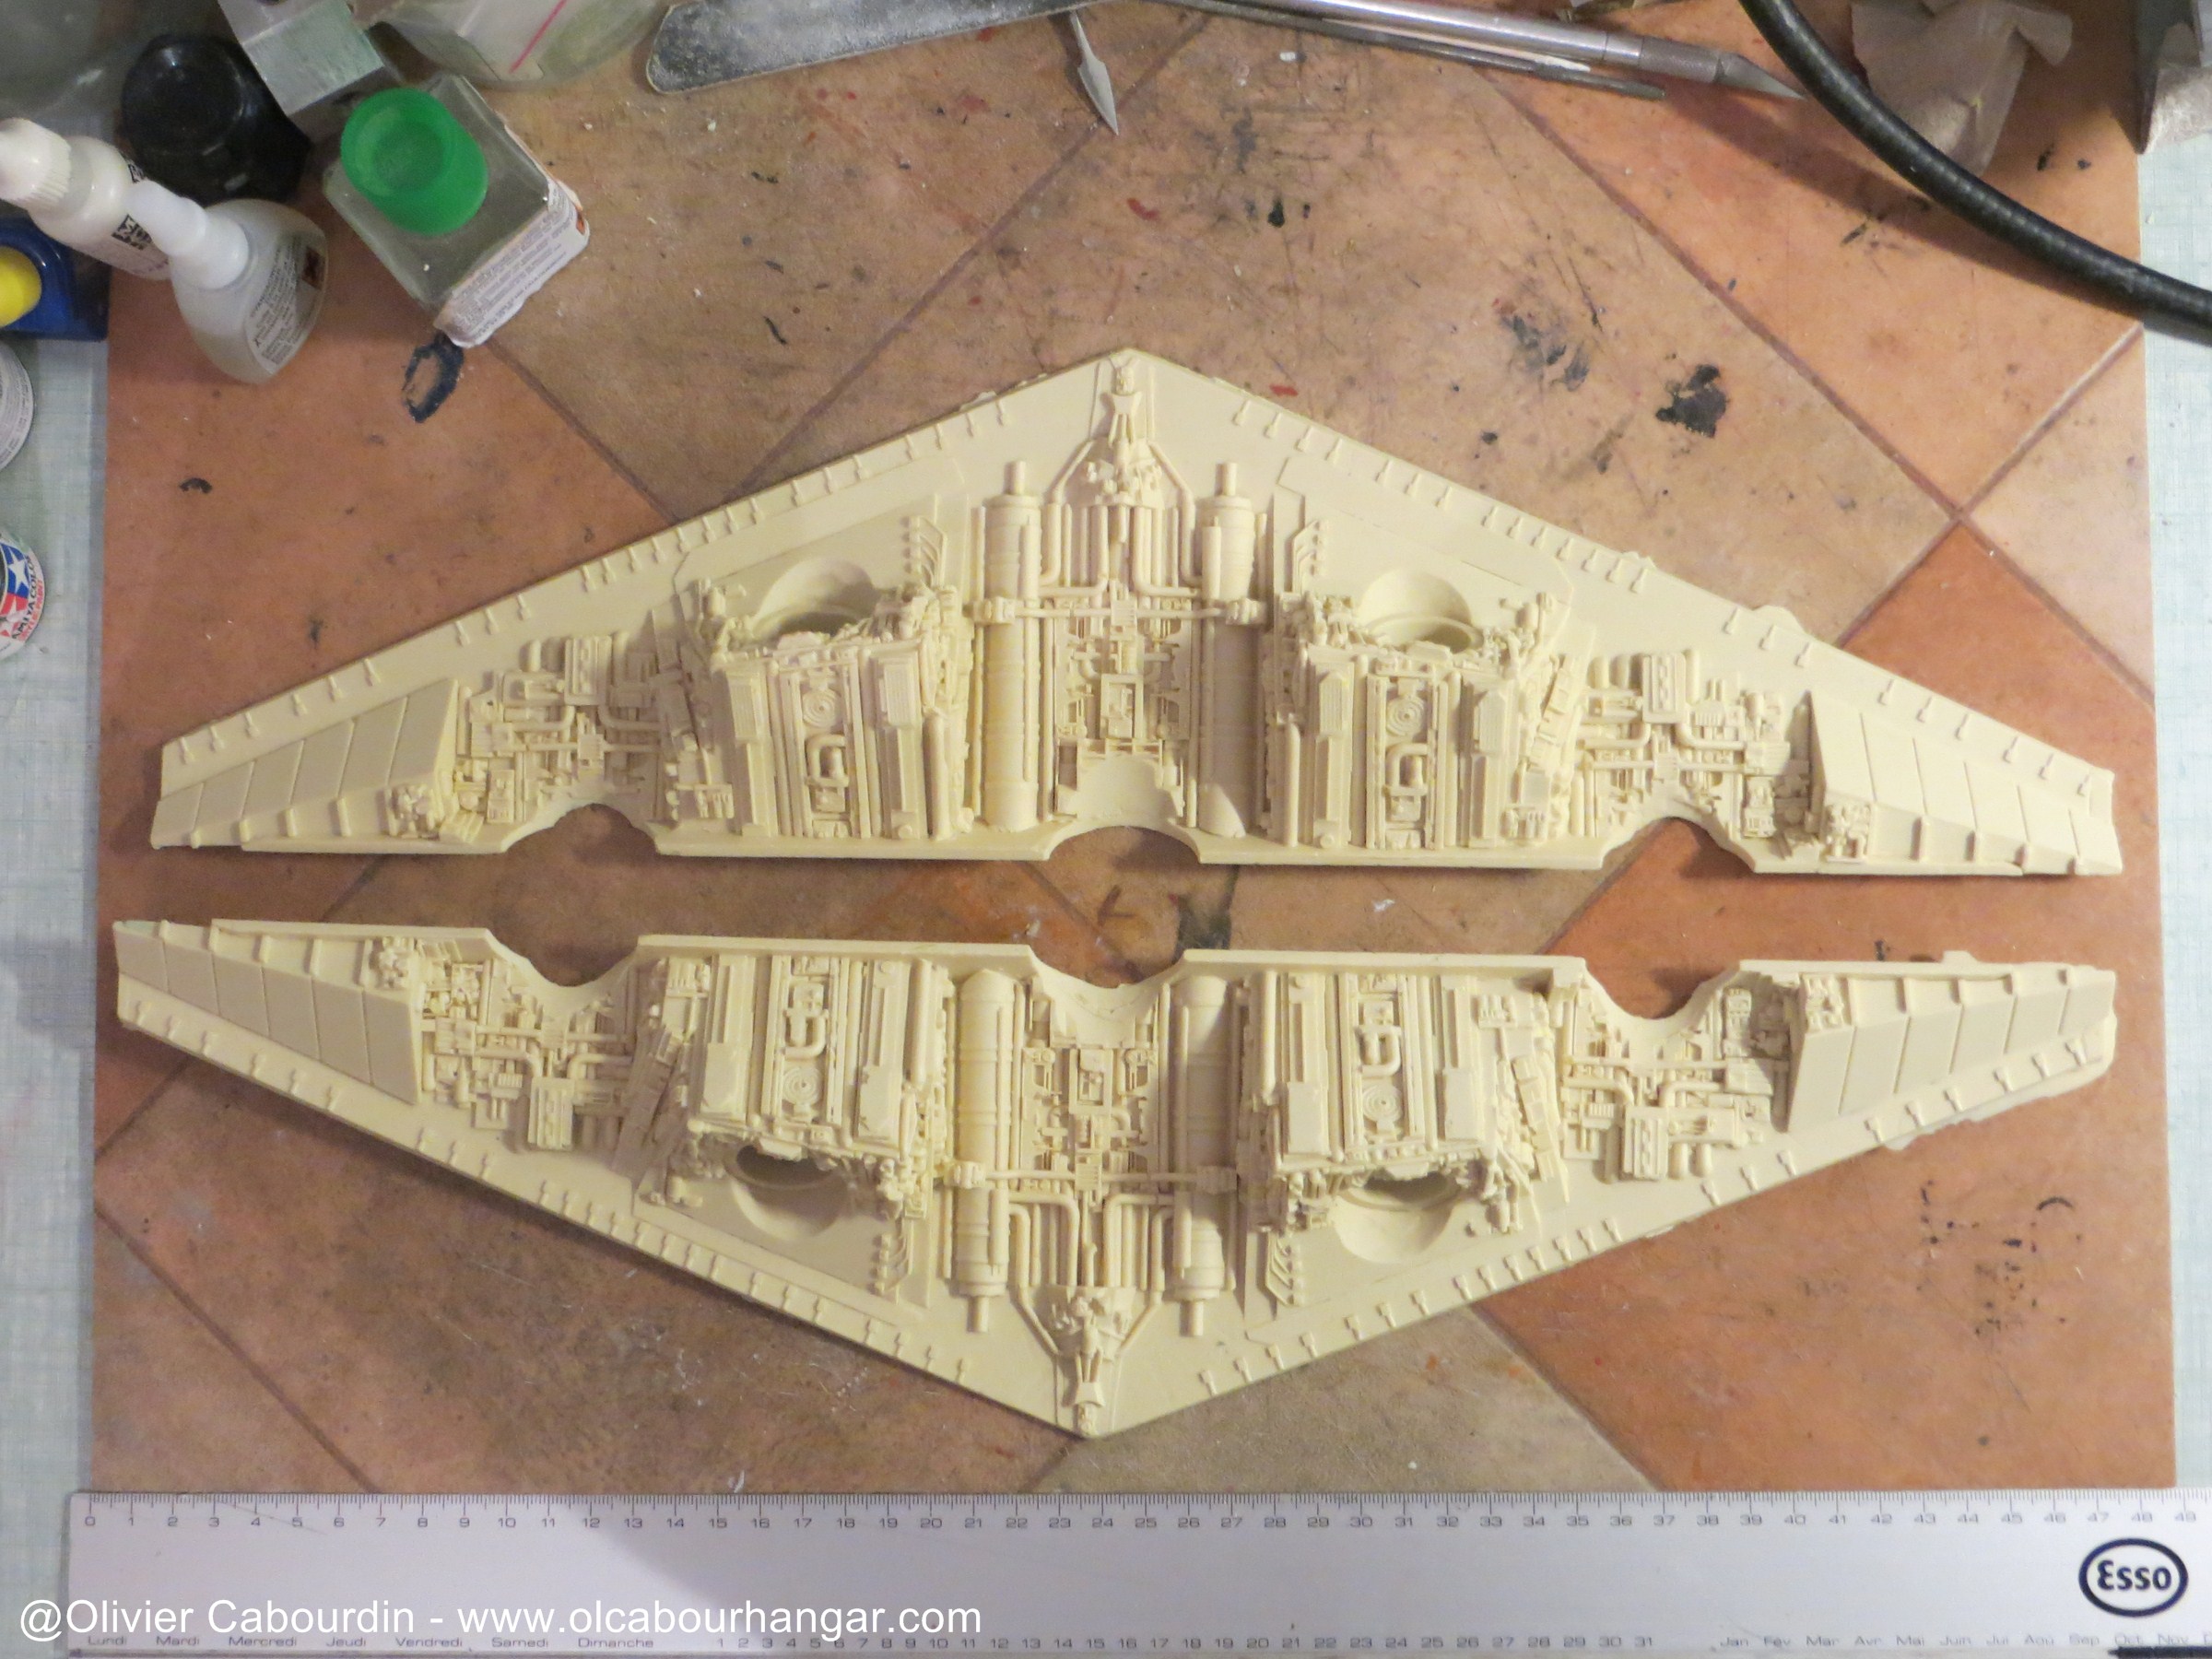
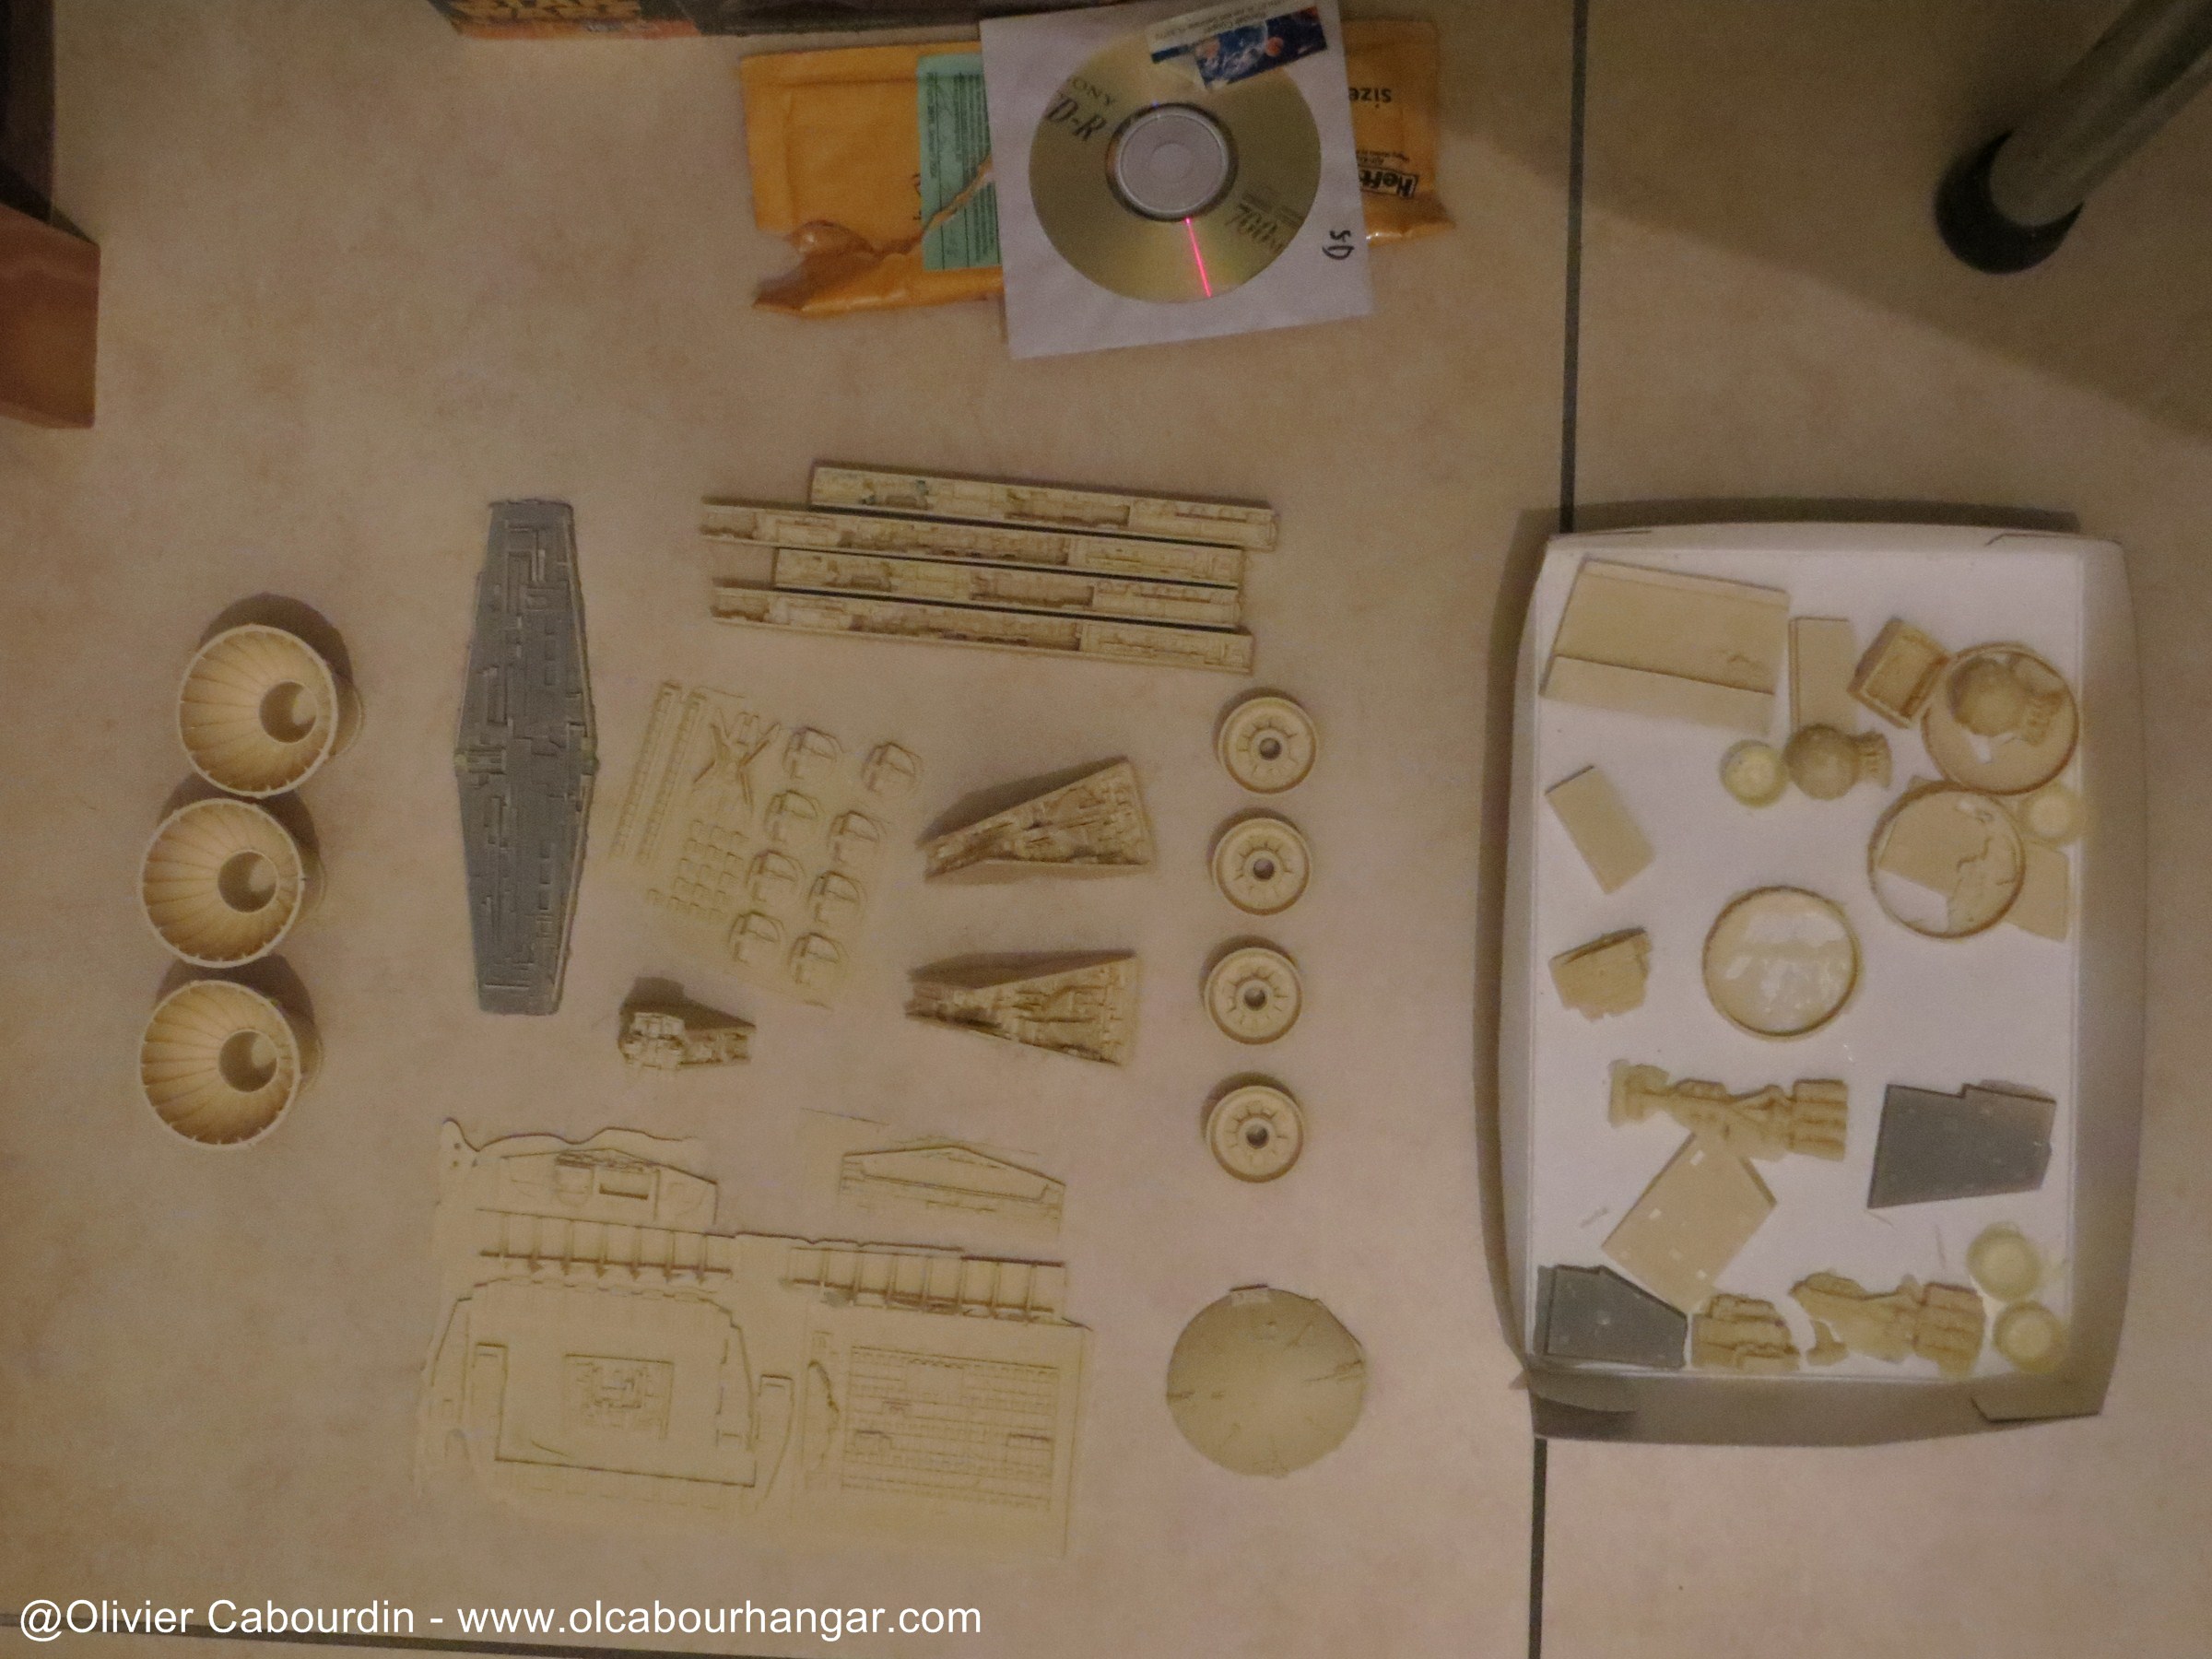
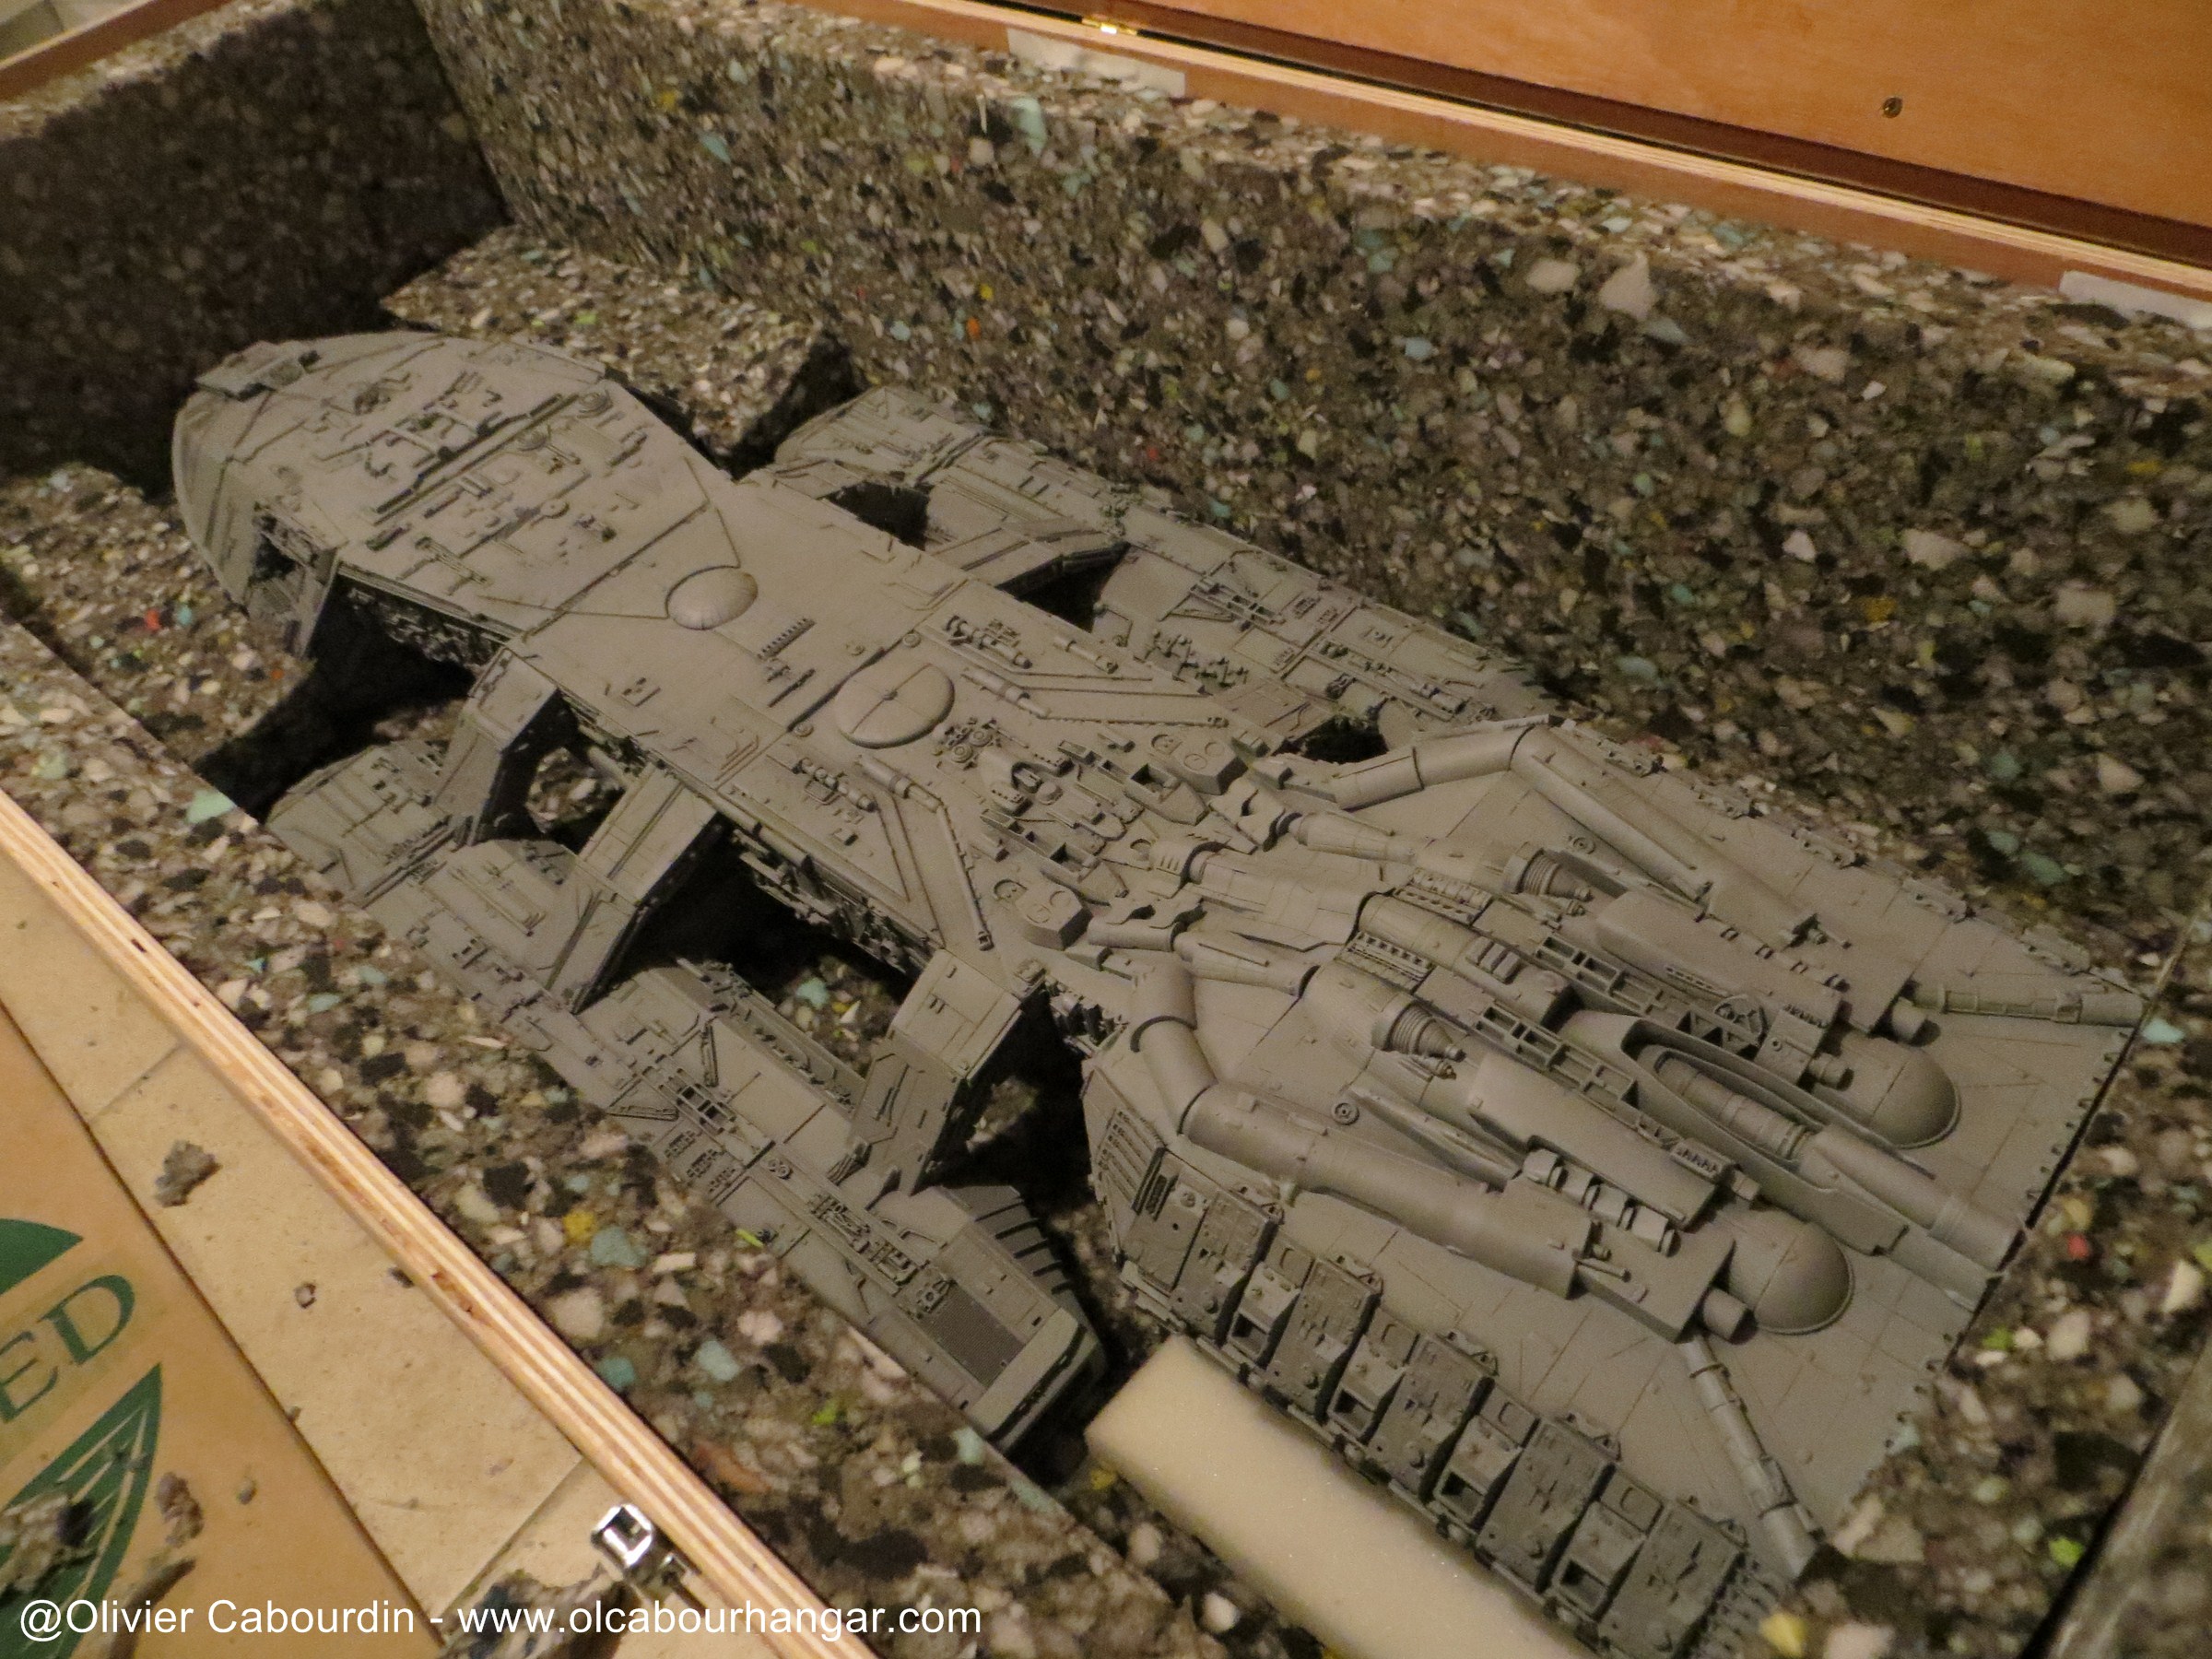
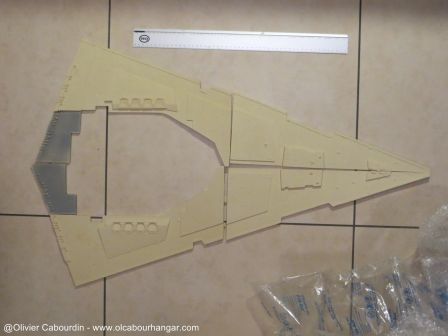
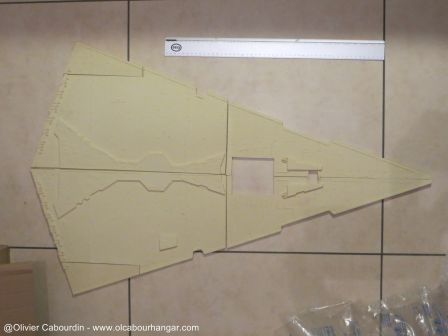
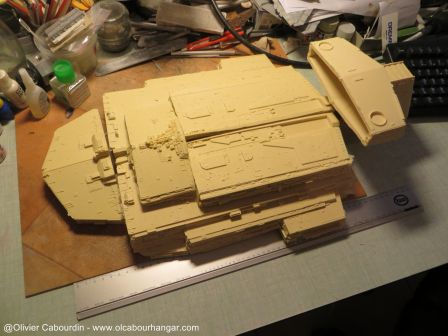
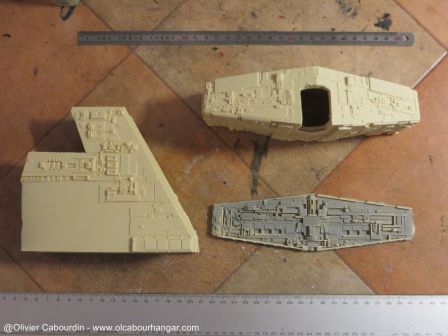
Parts overview (the metal ruler is 50cm long and the floor tiles are 60cm).
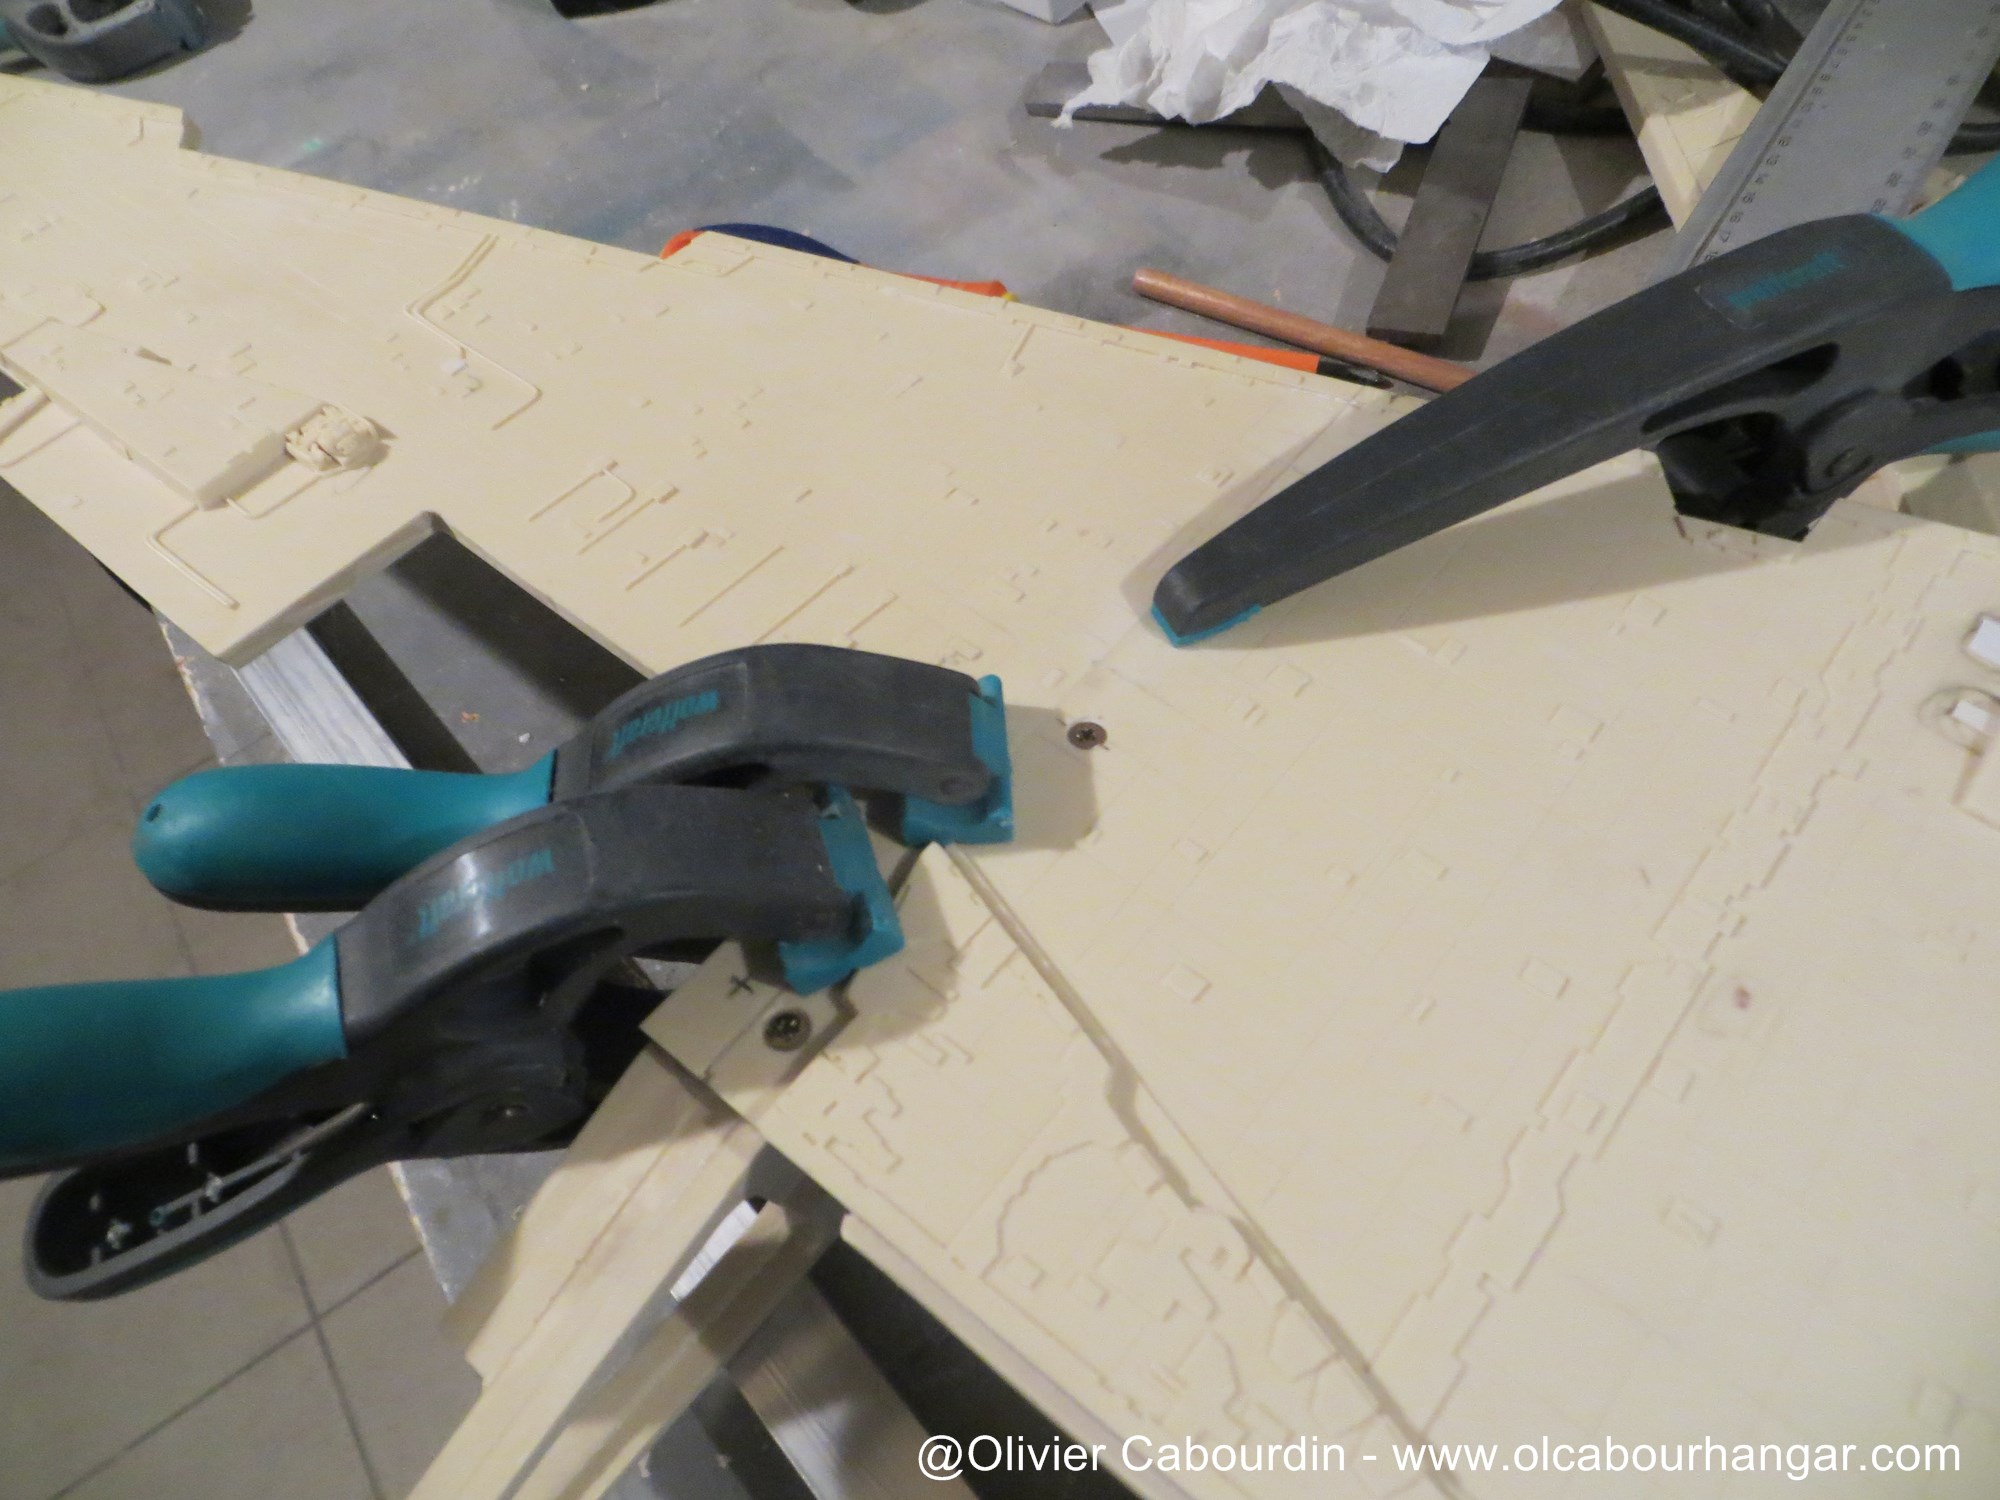
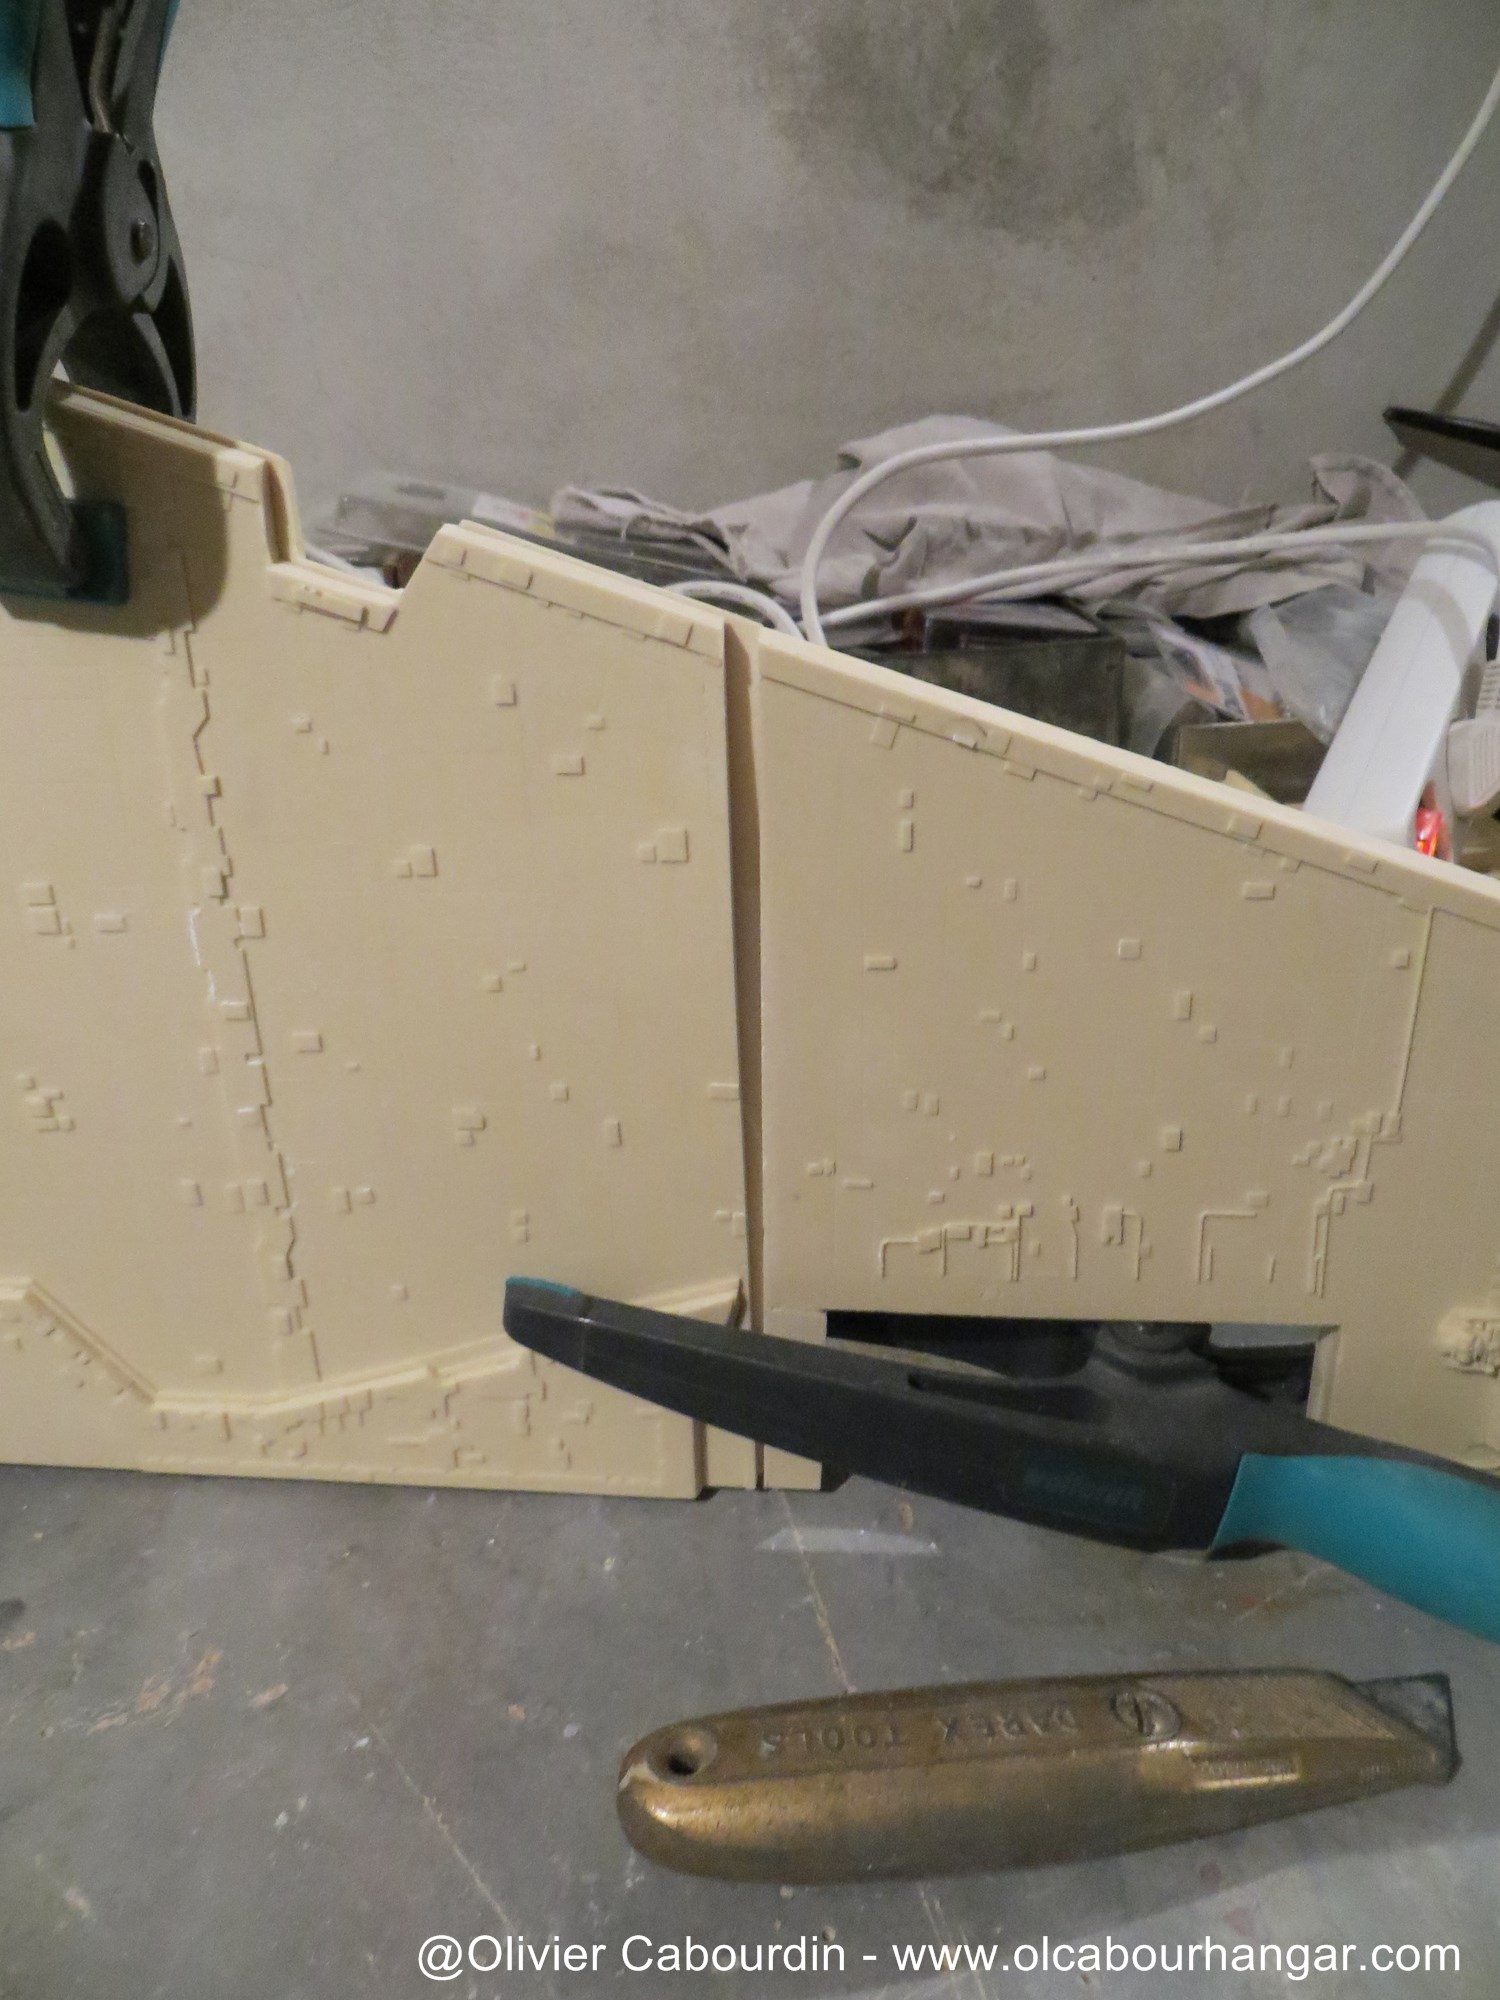
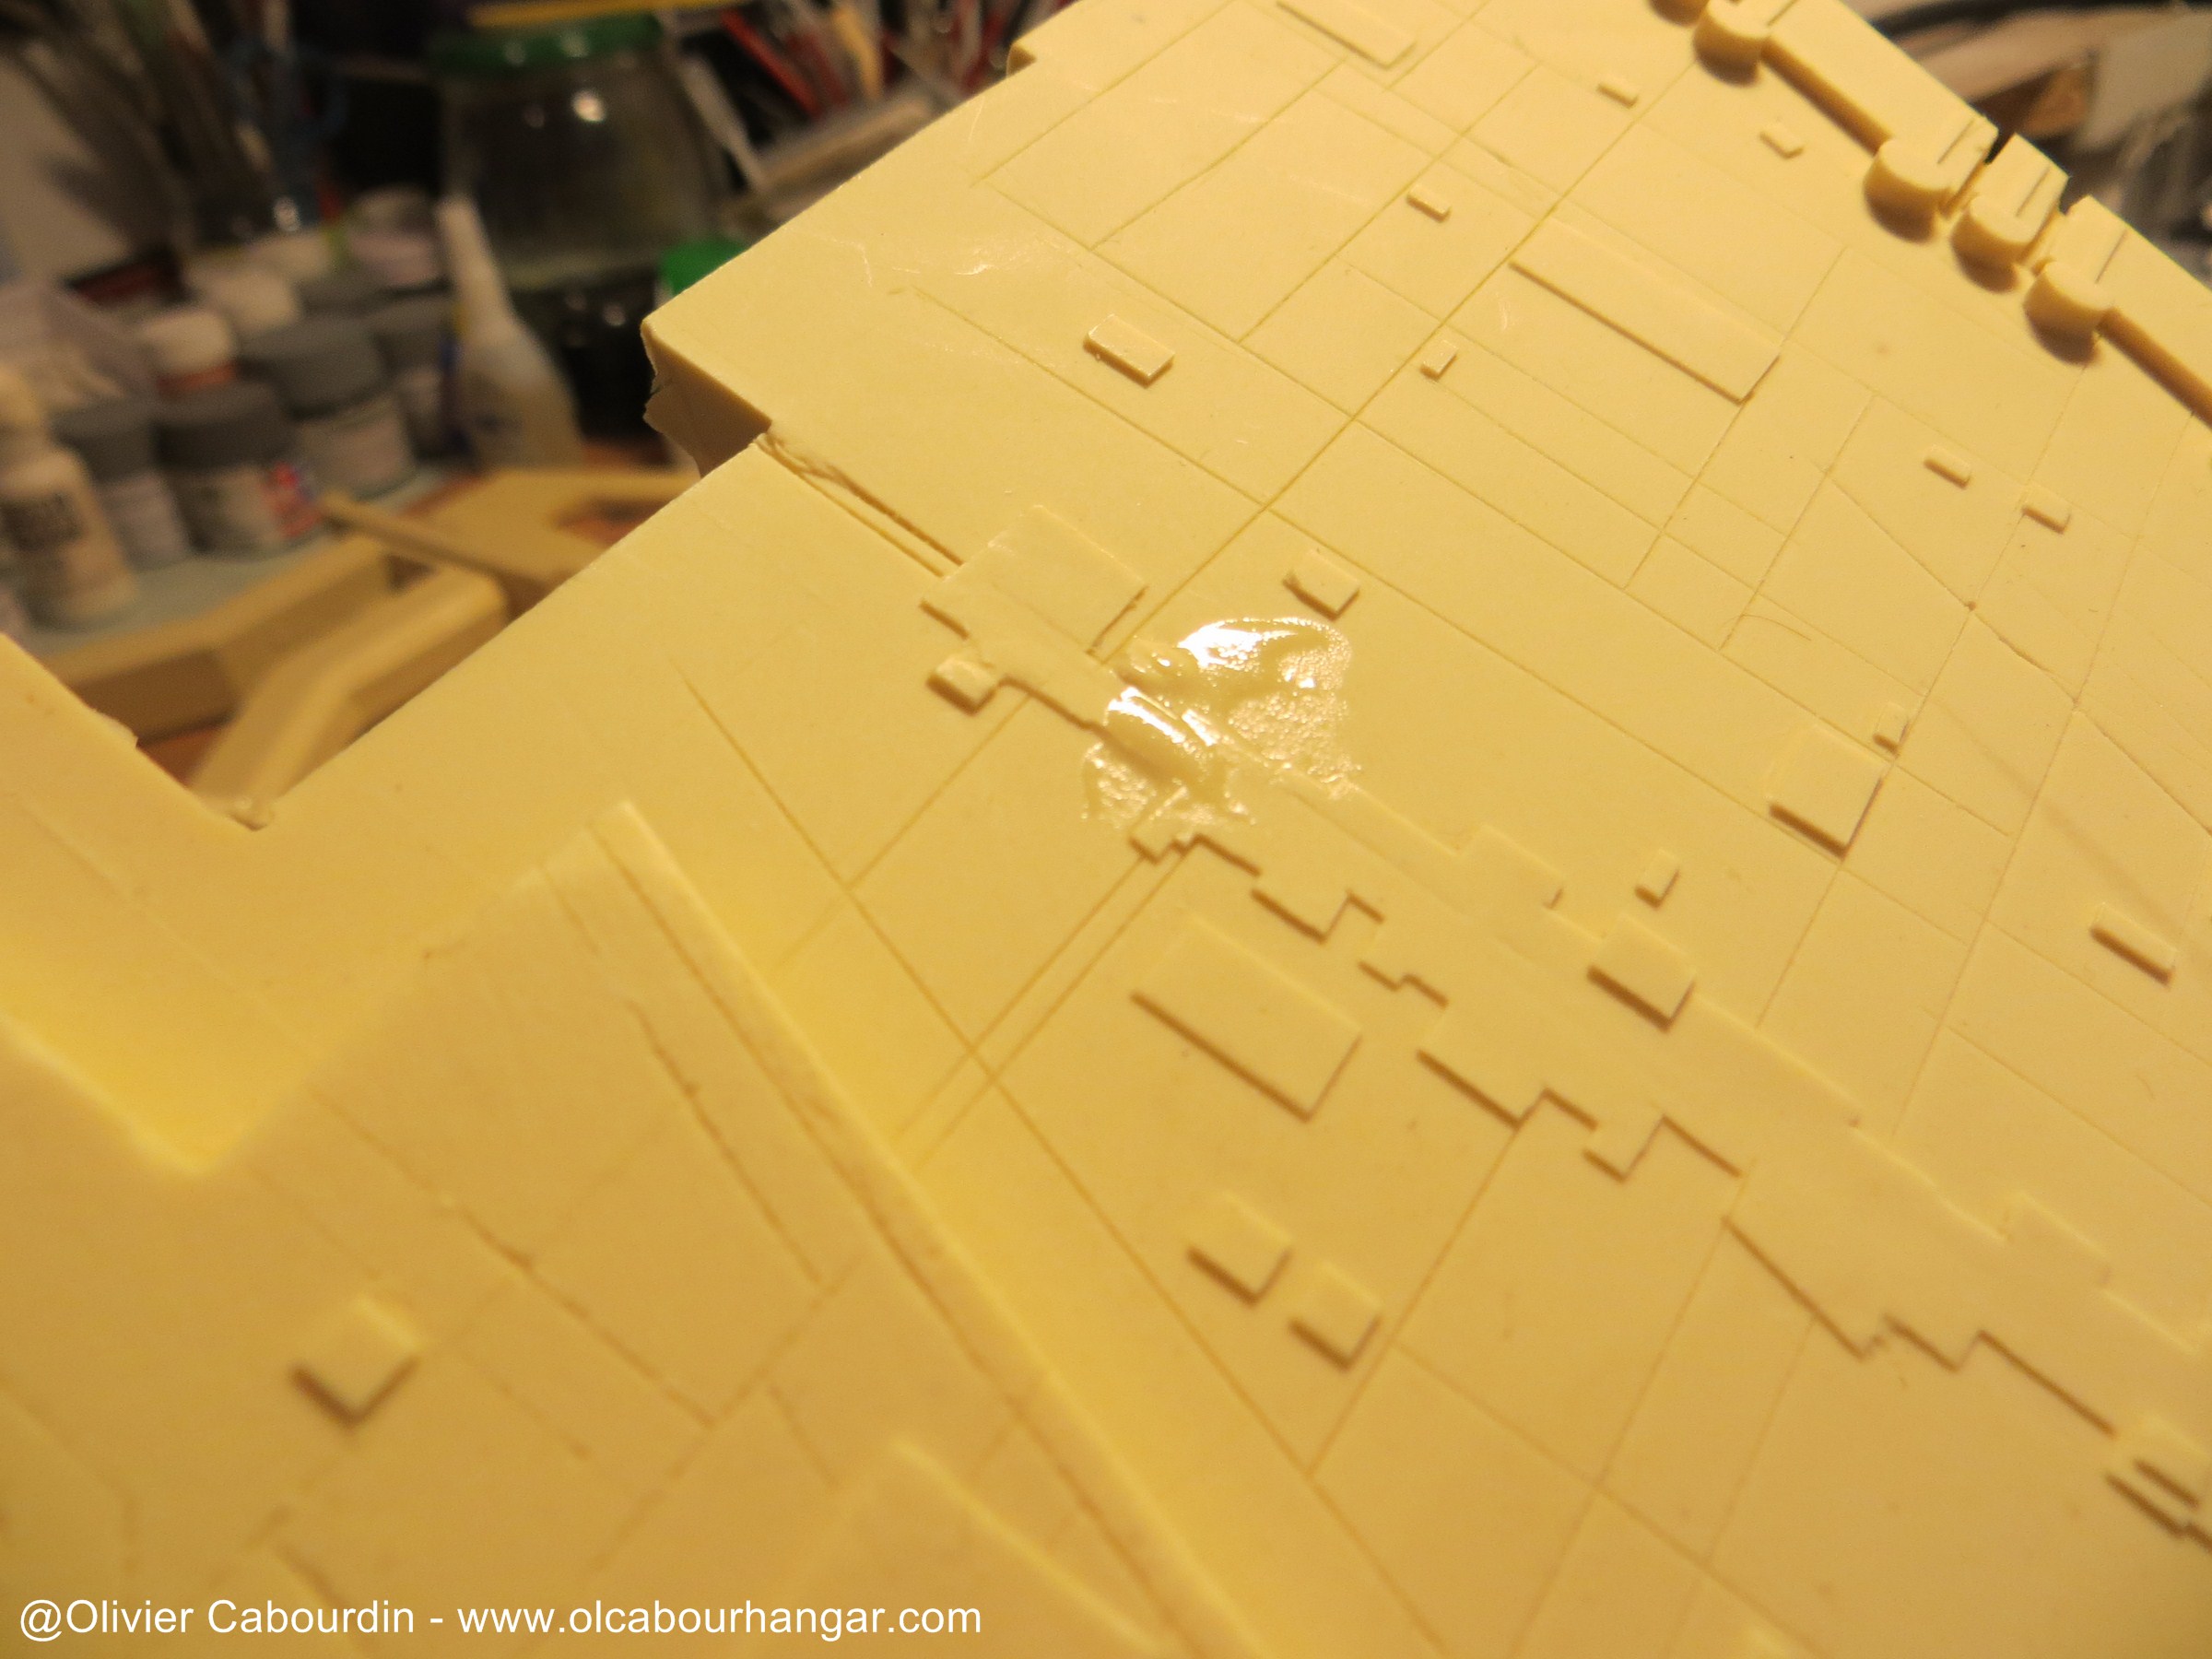
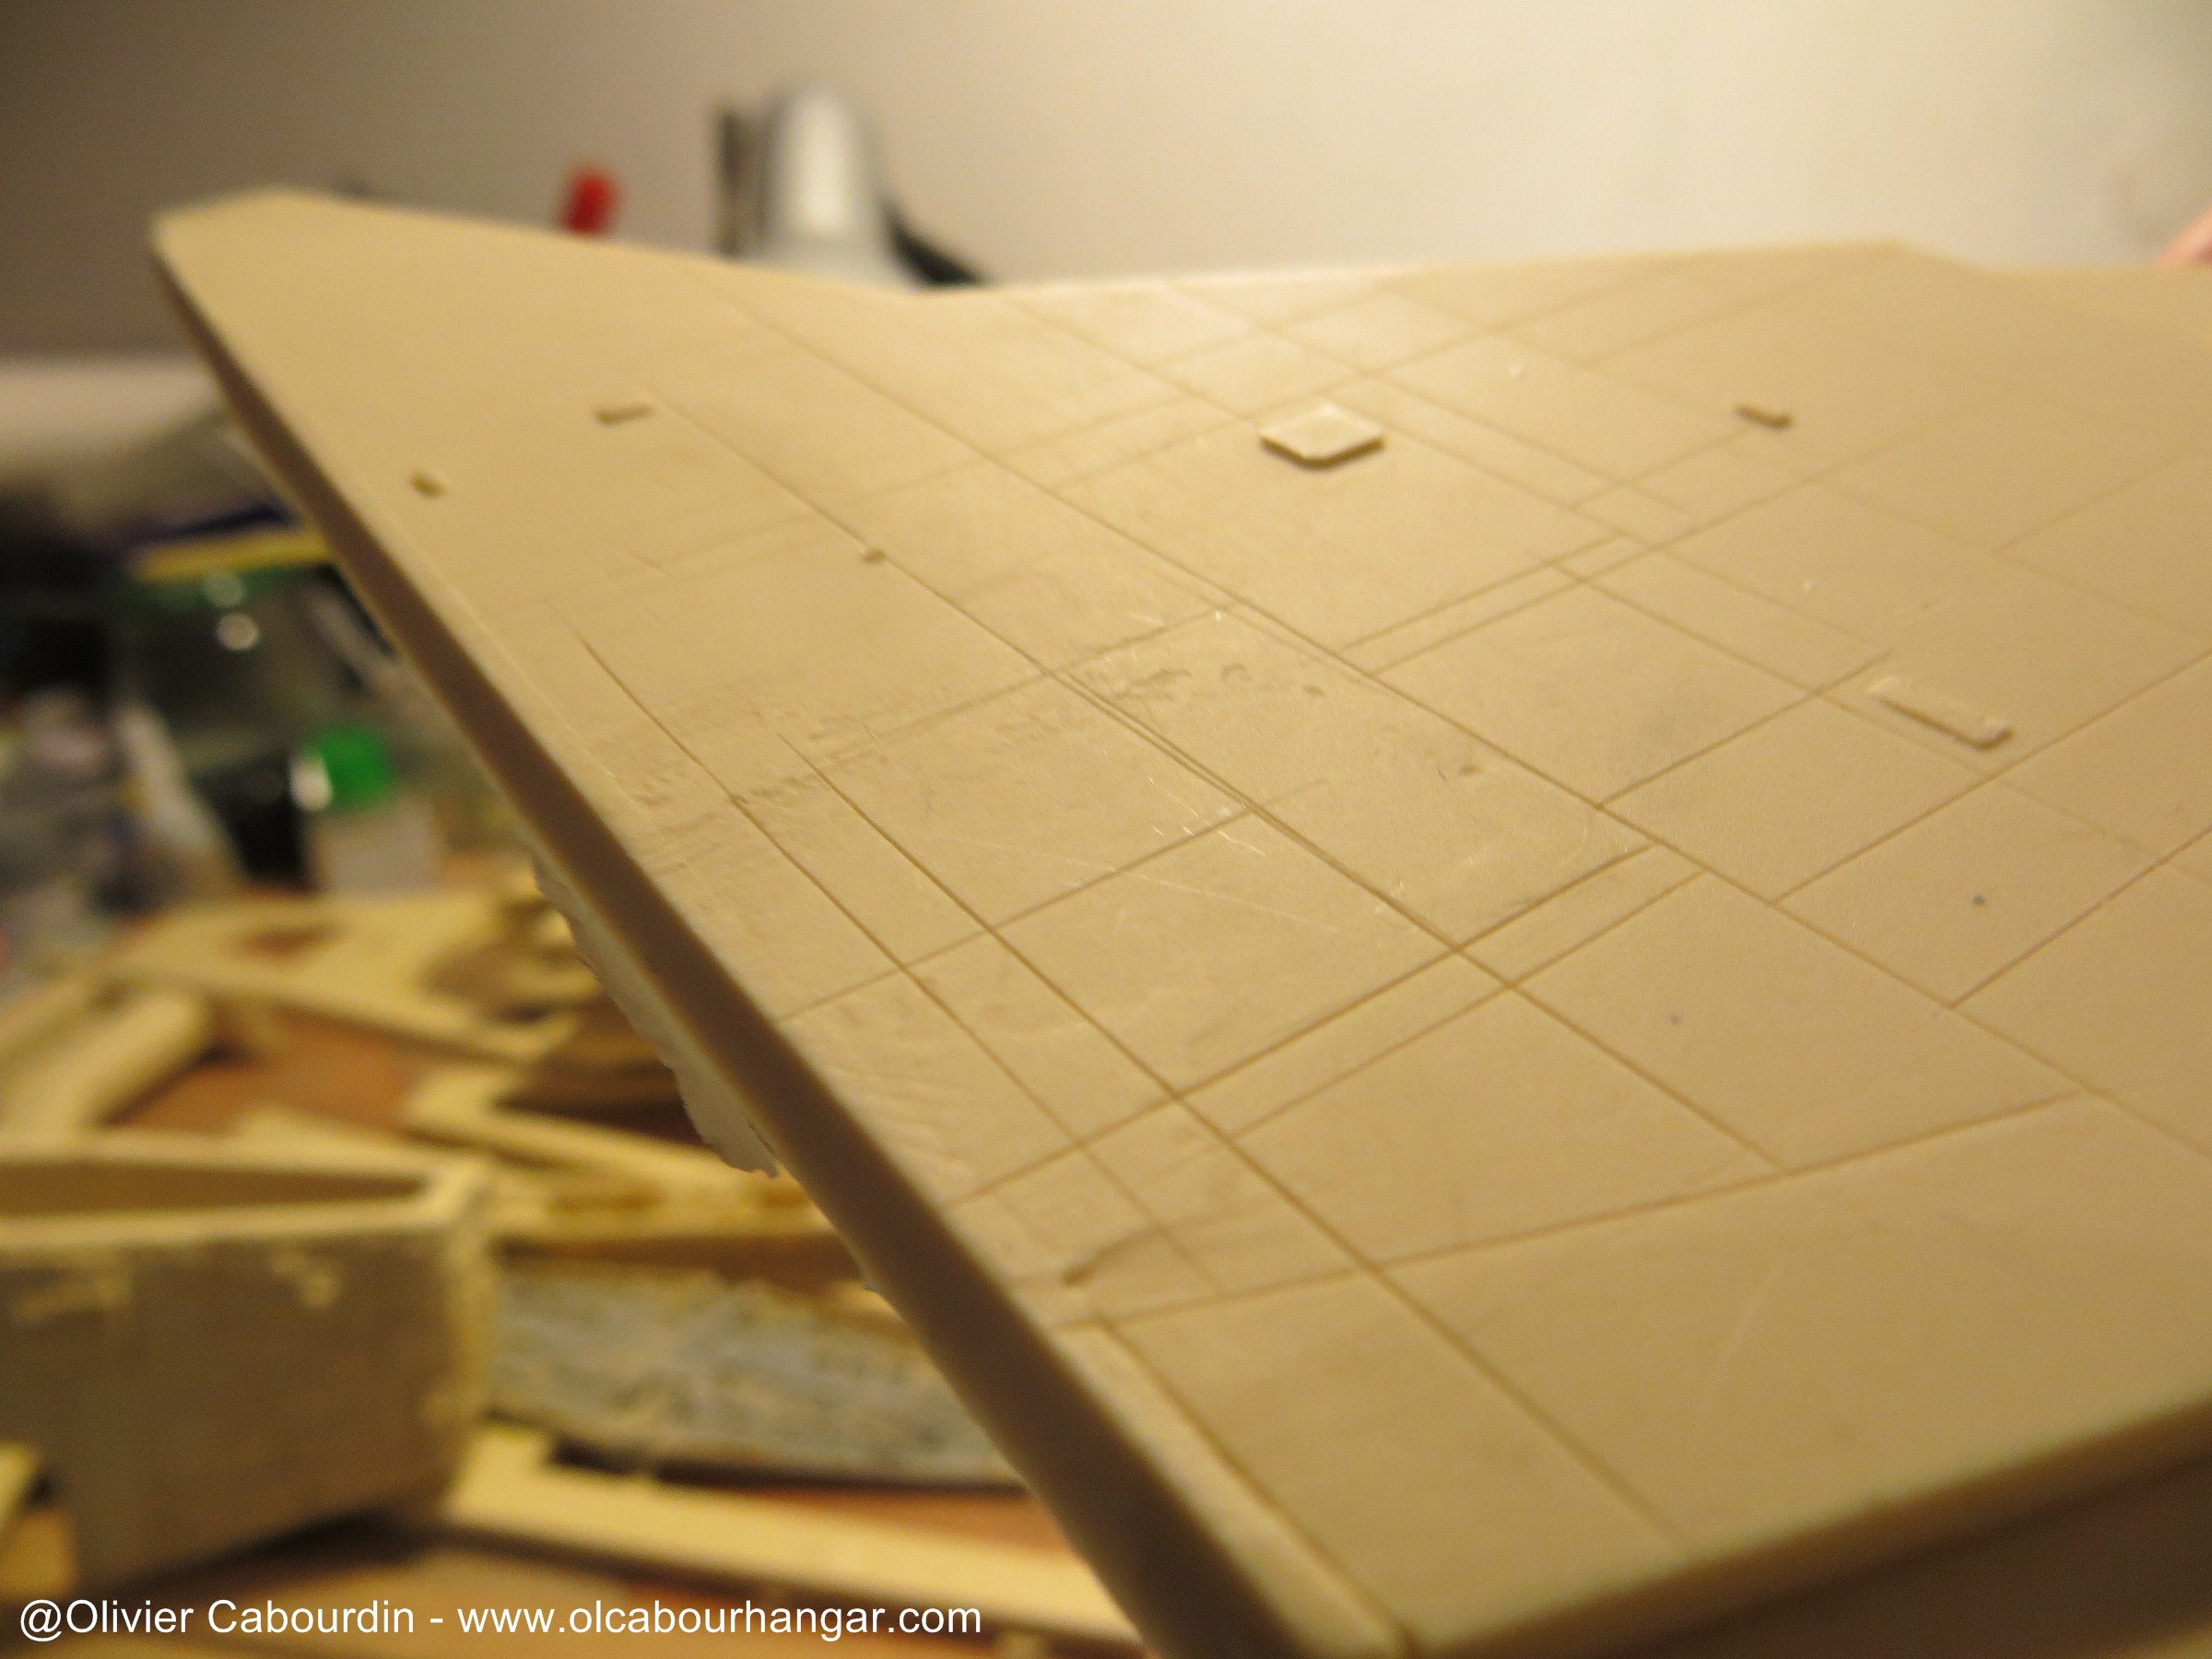
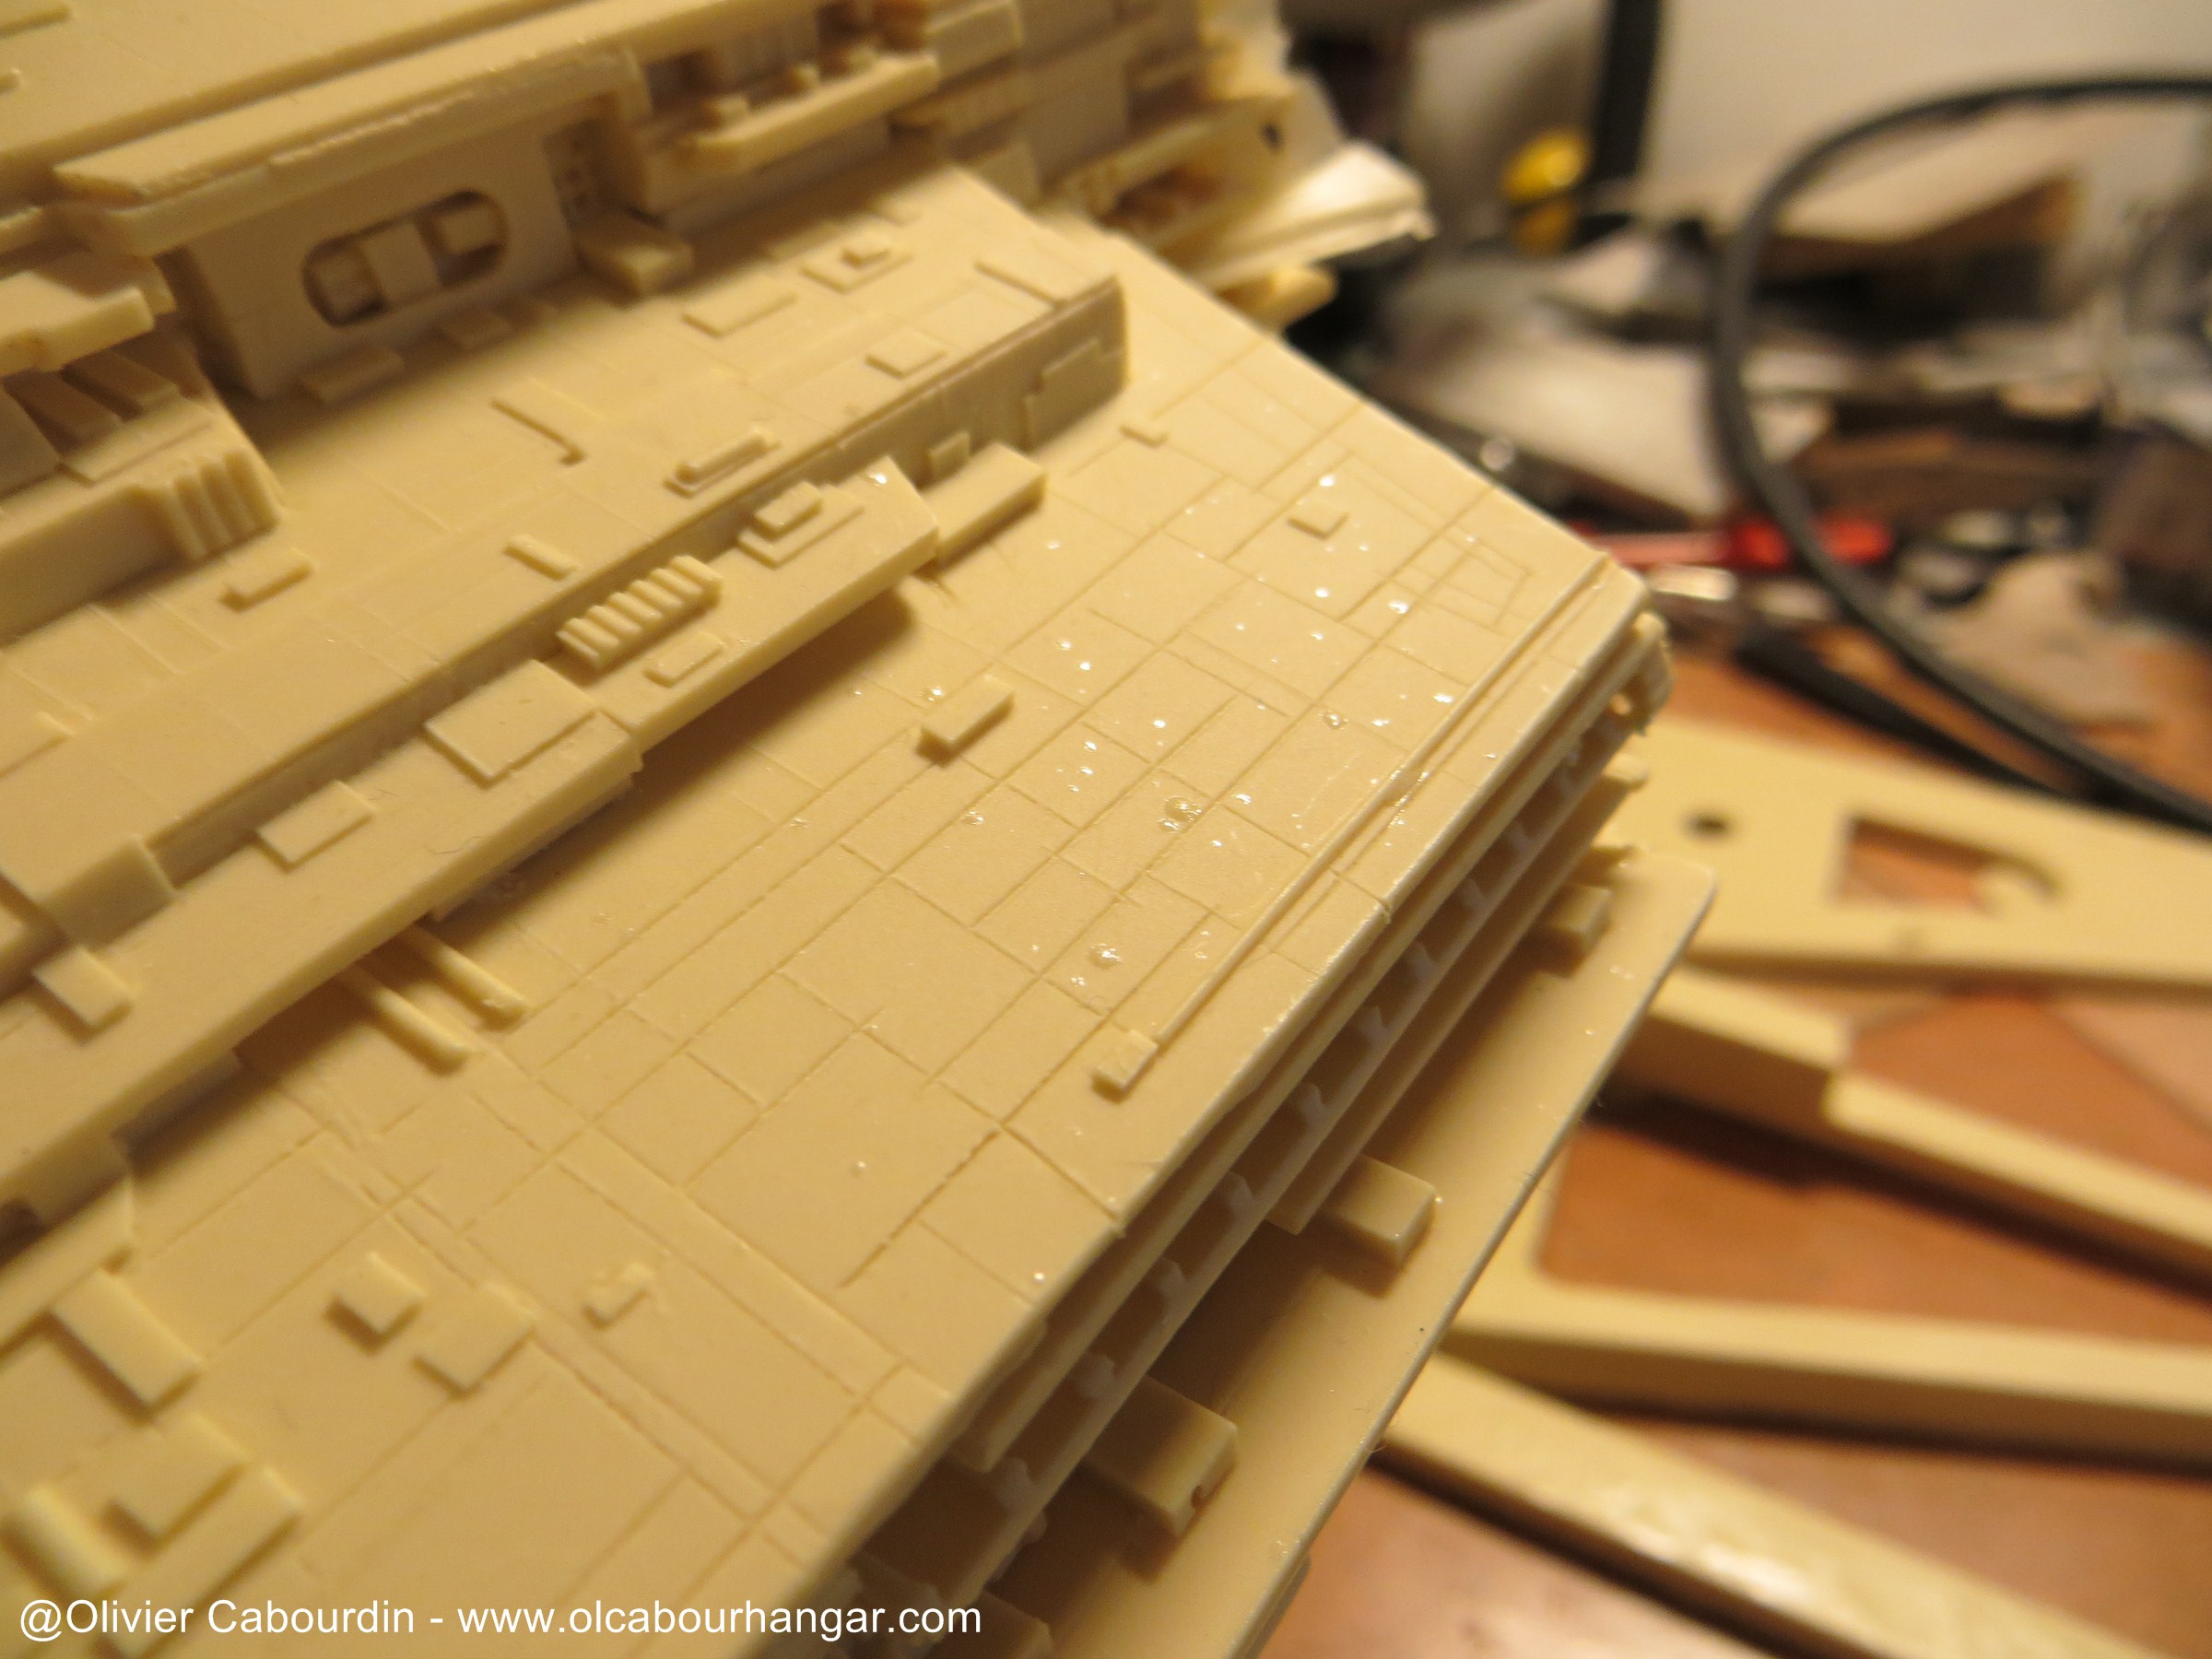
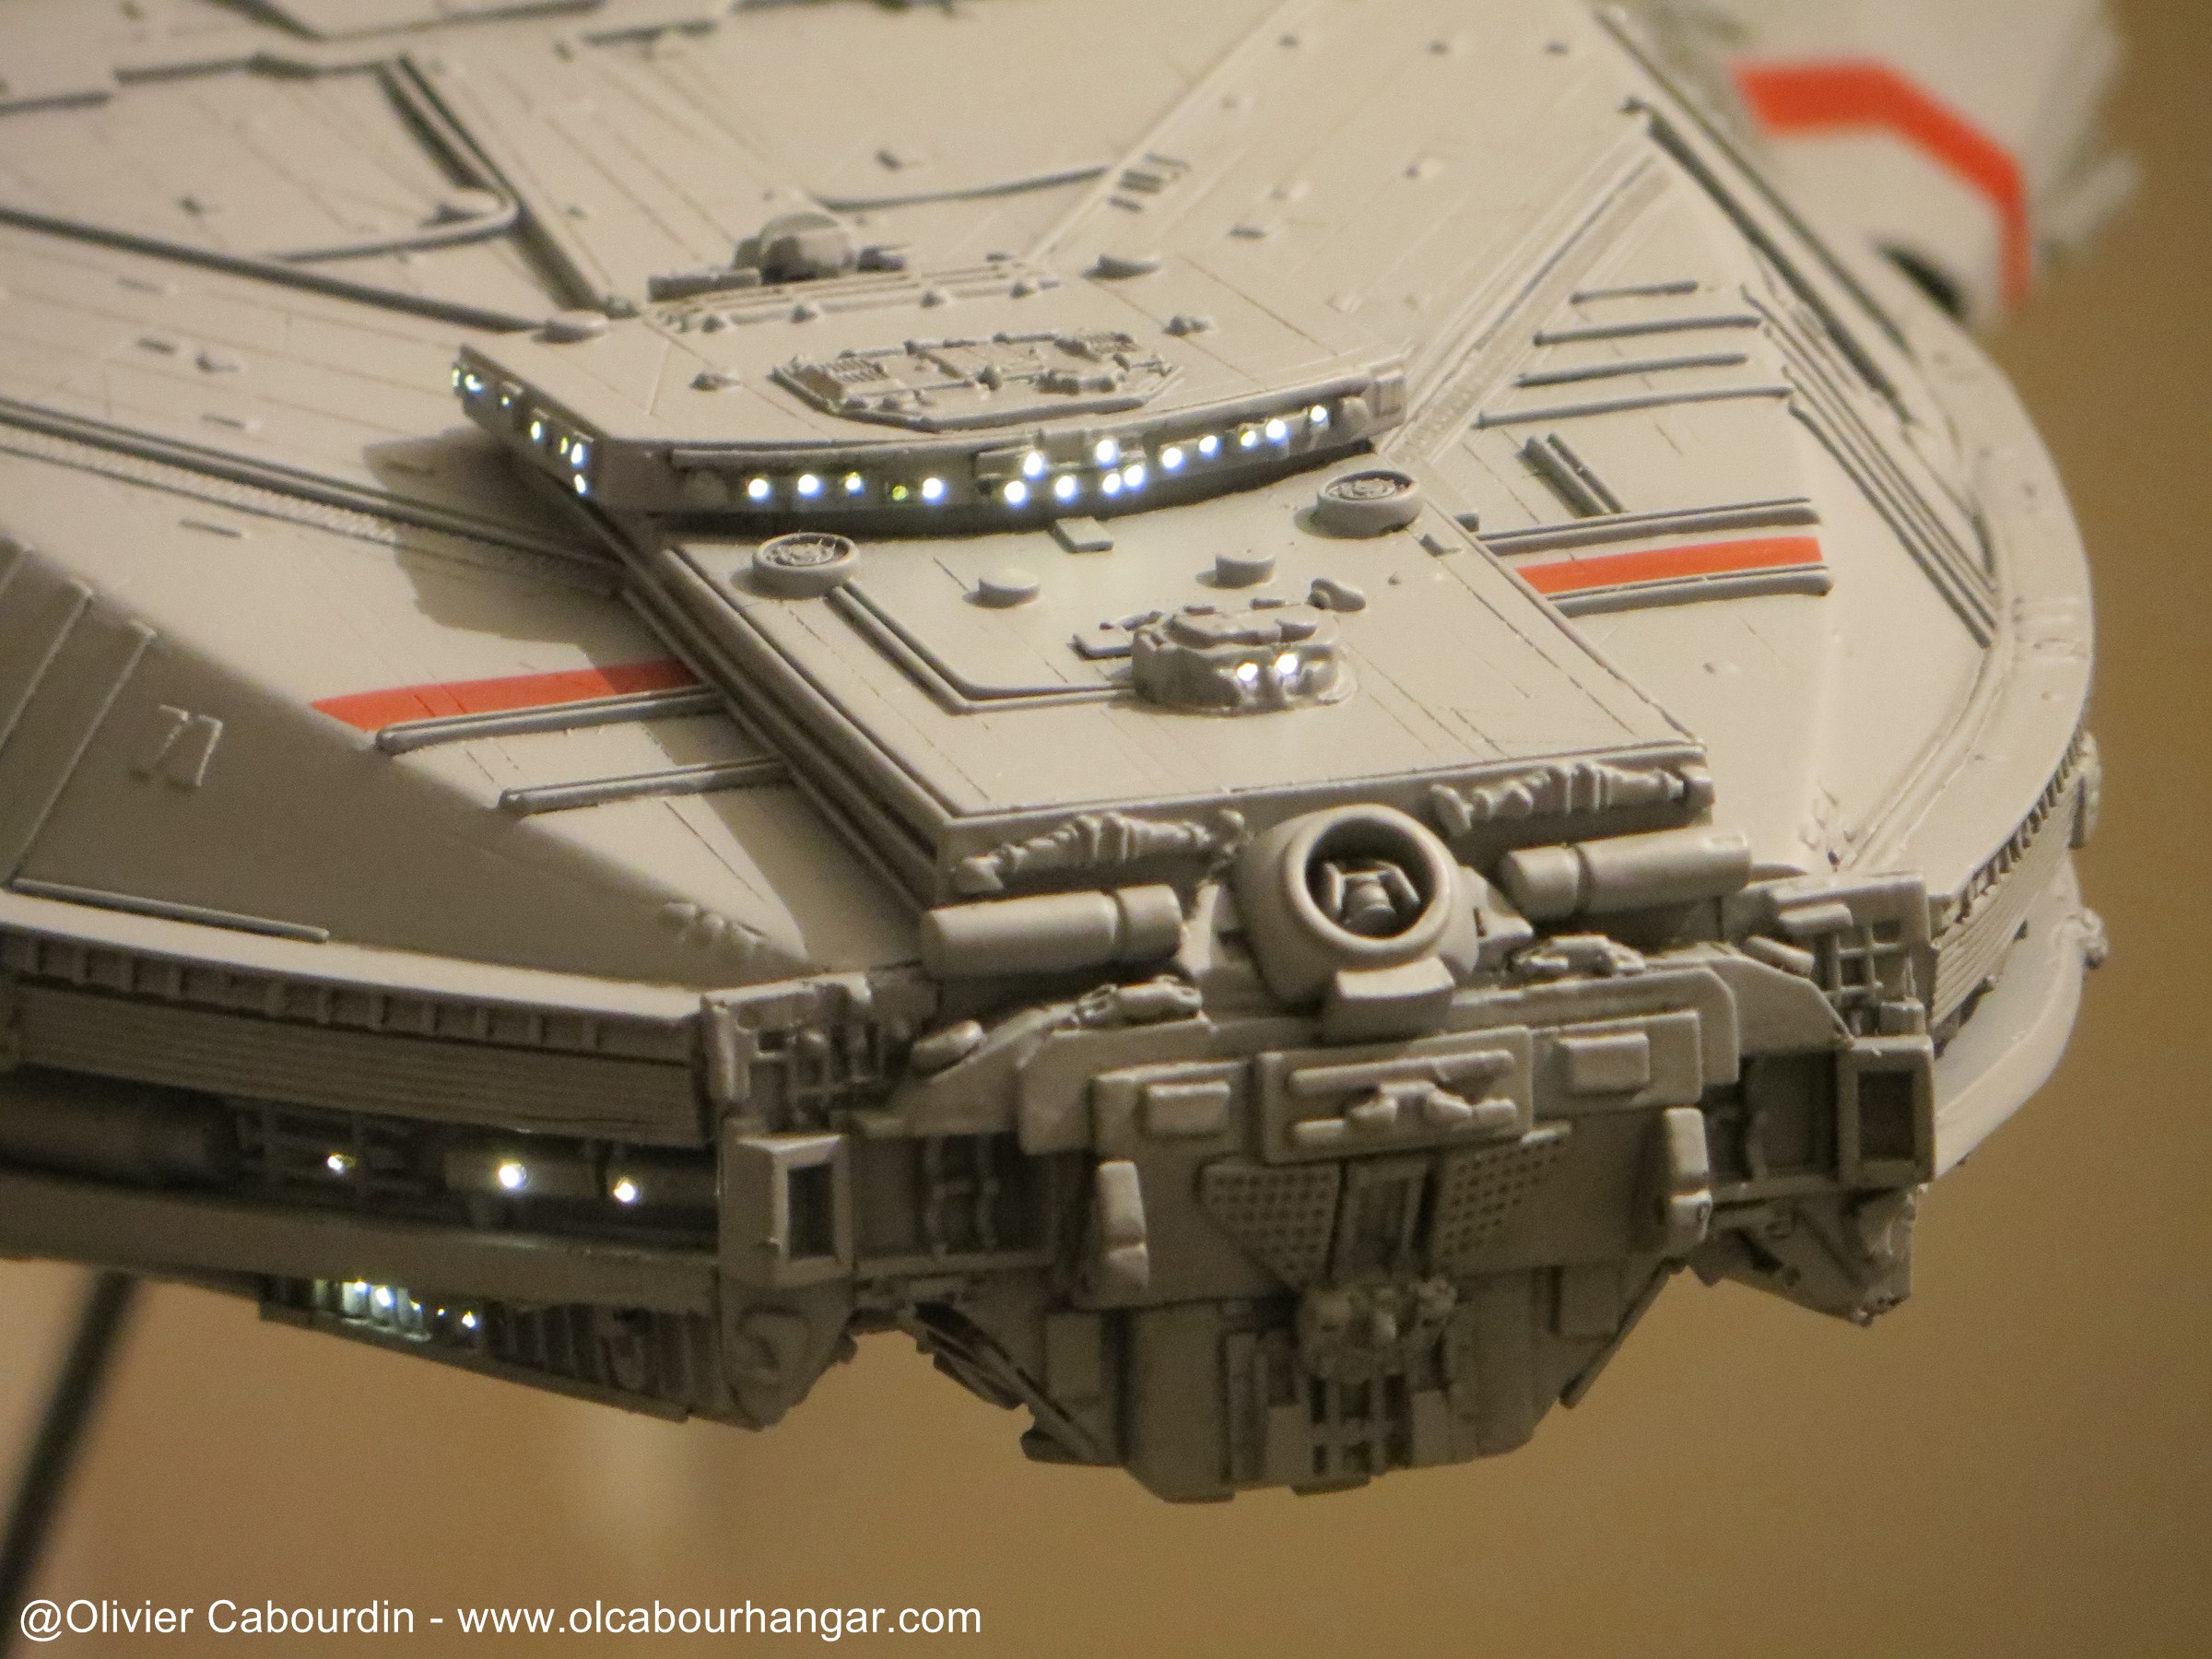
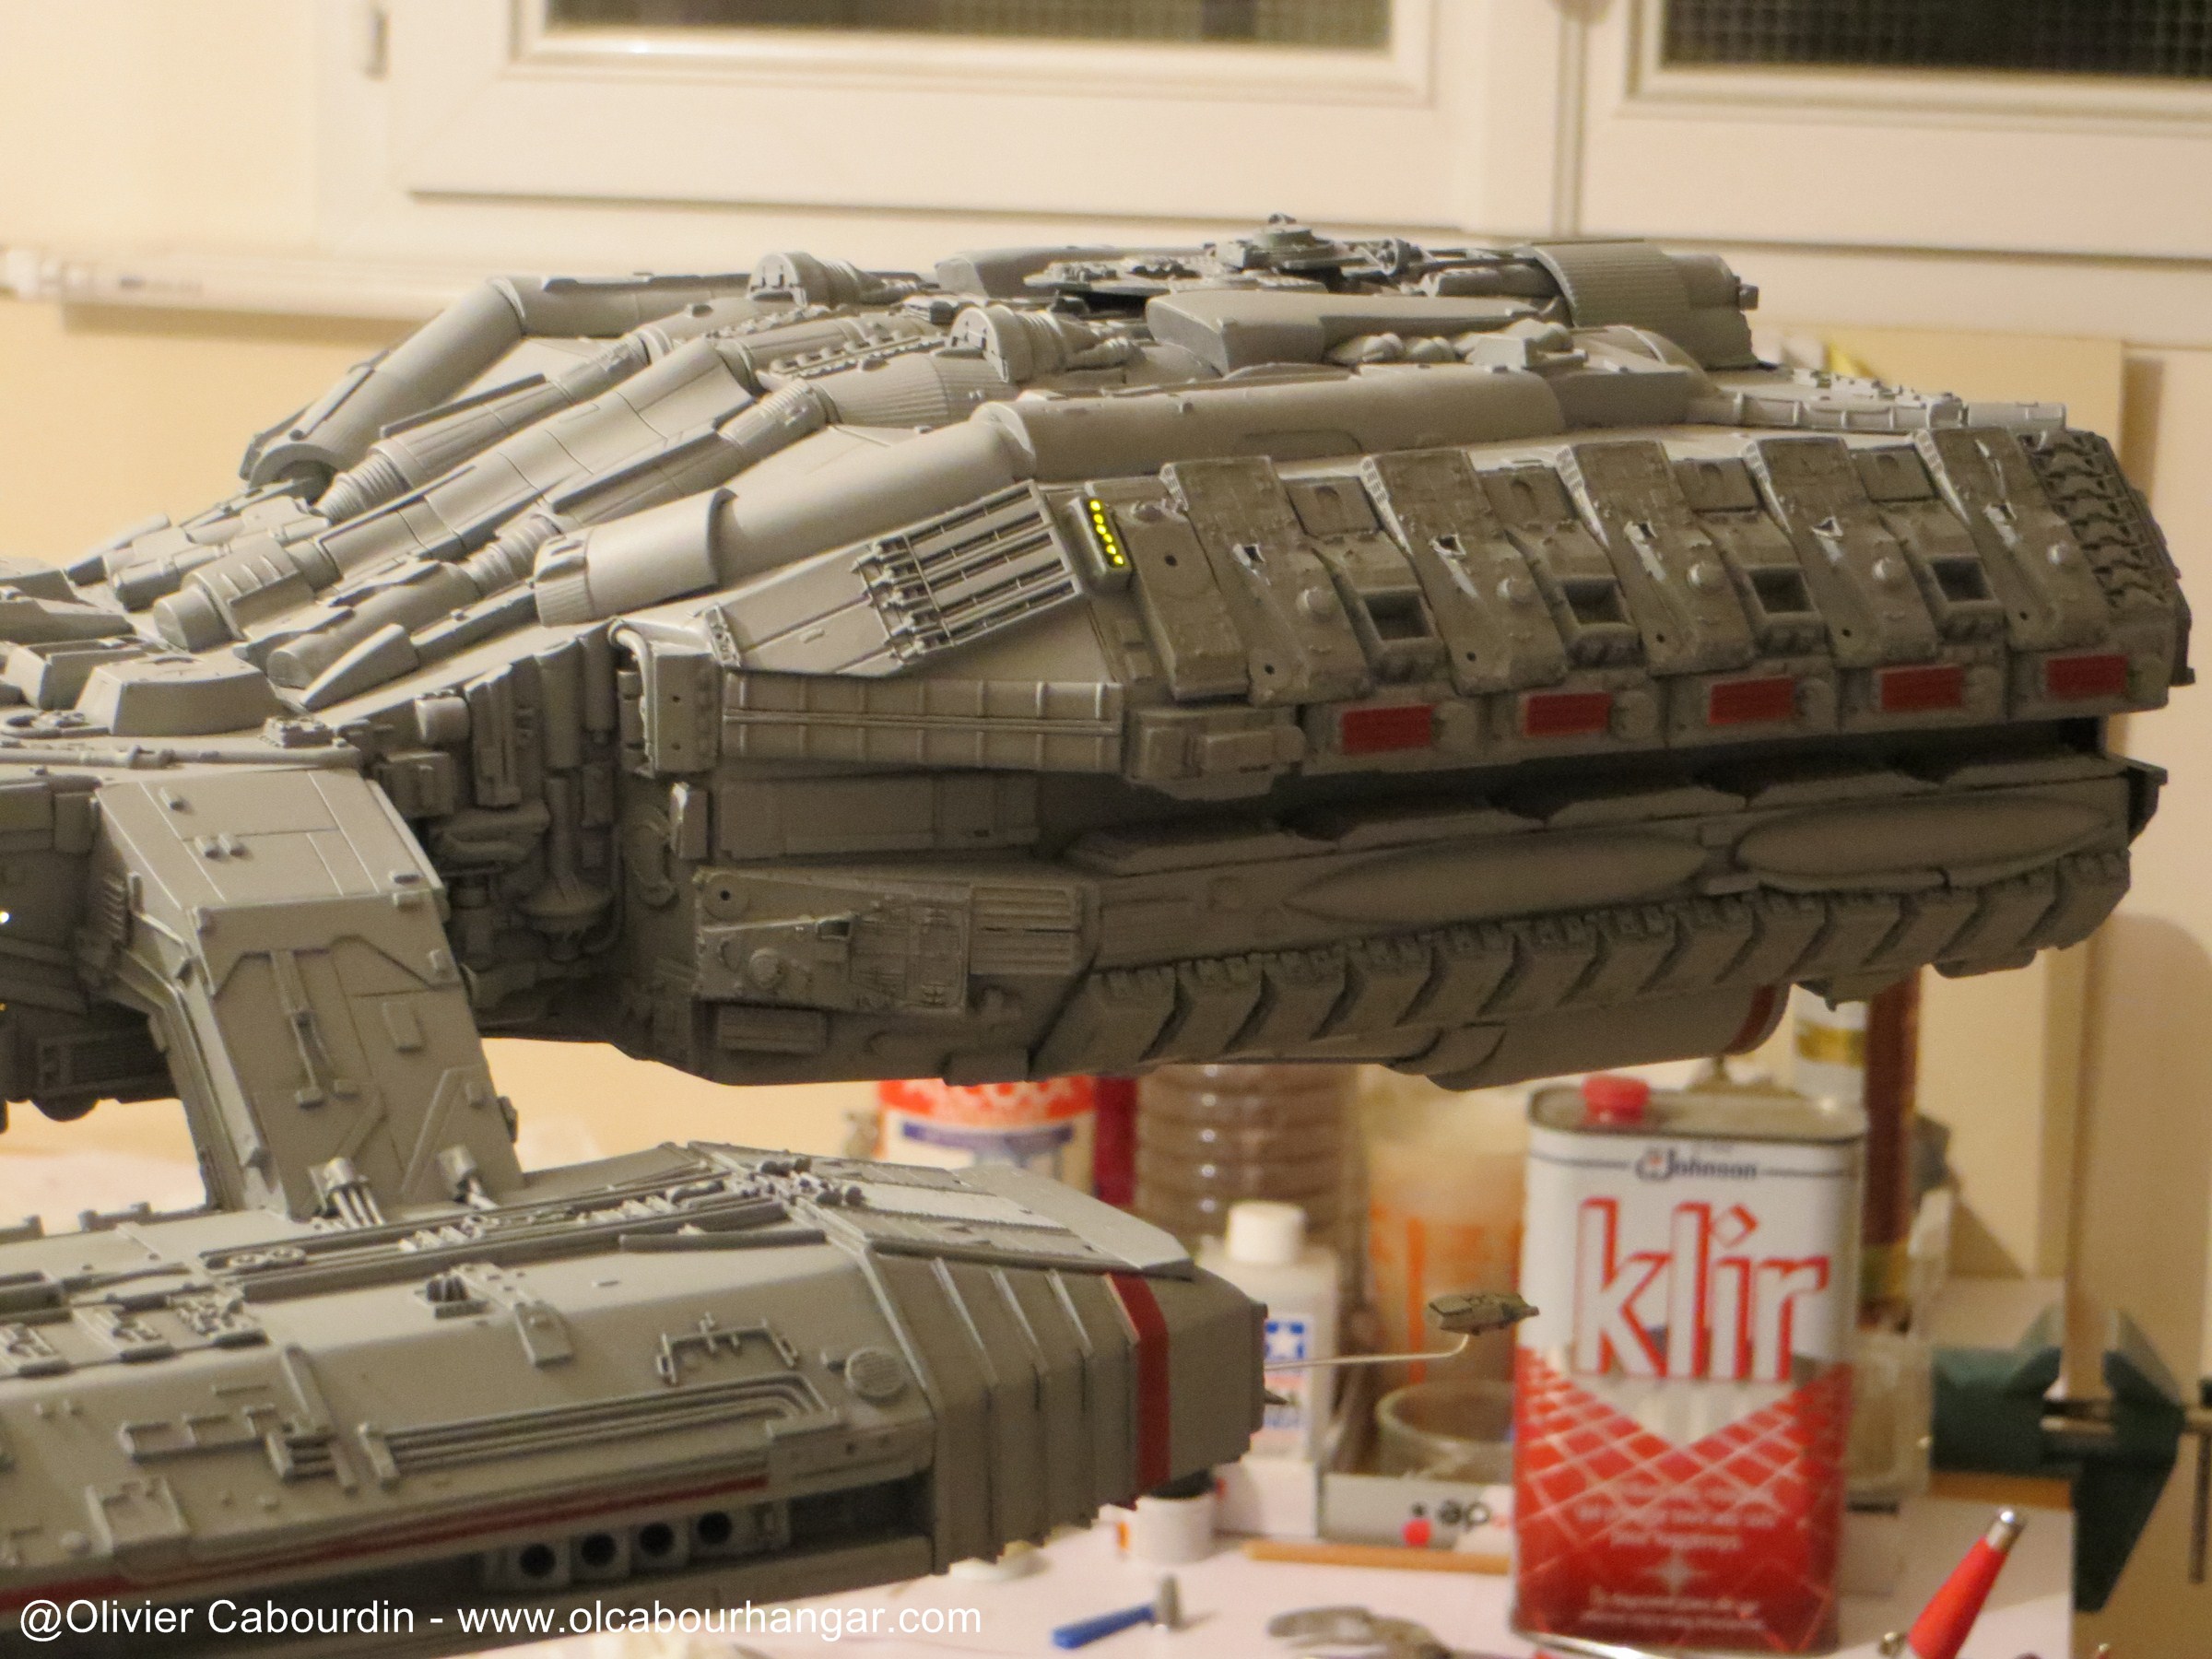
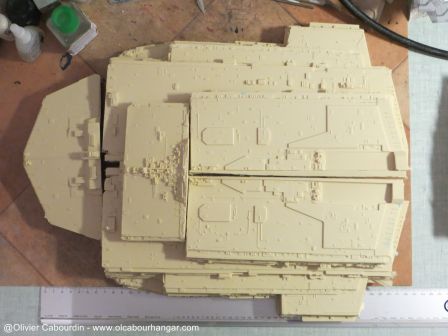
top side:
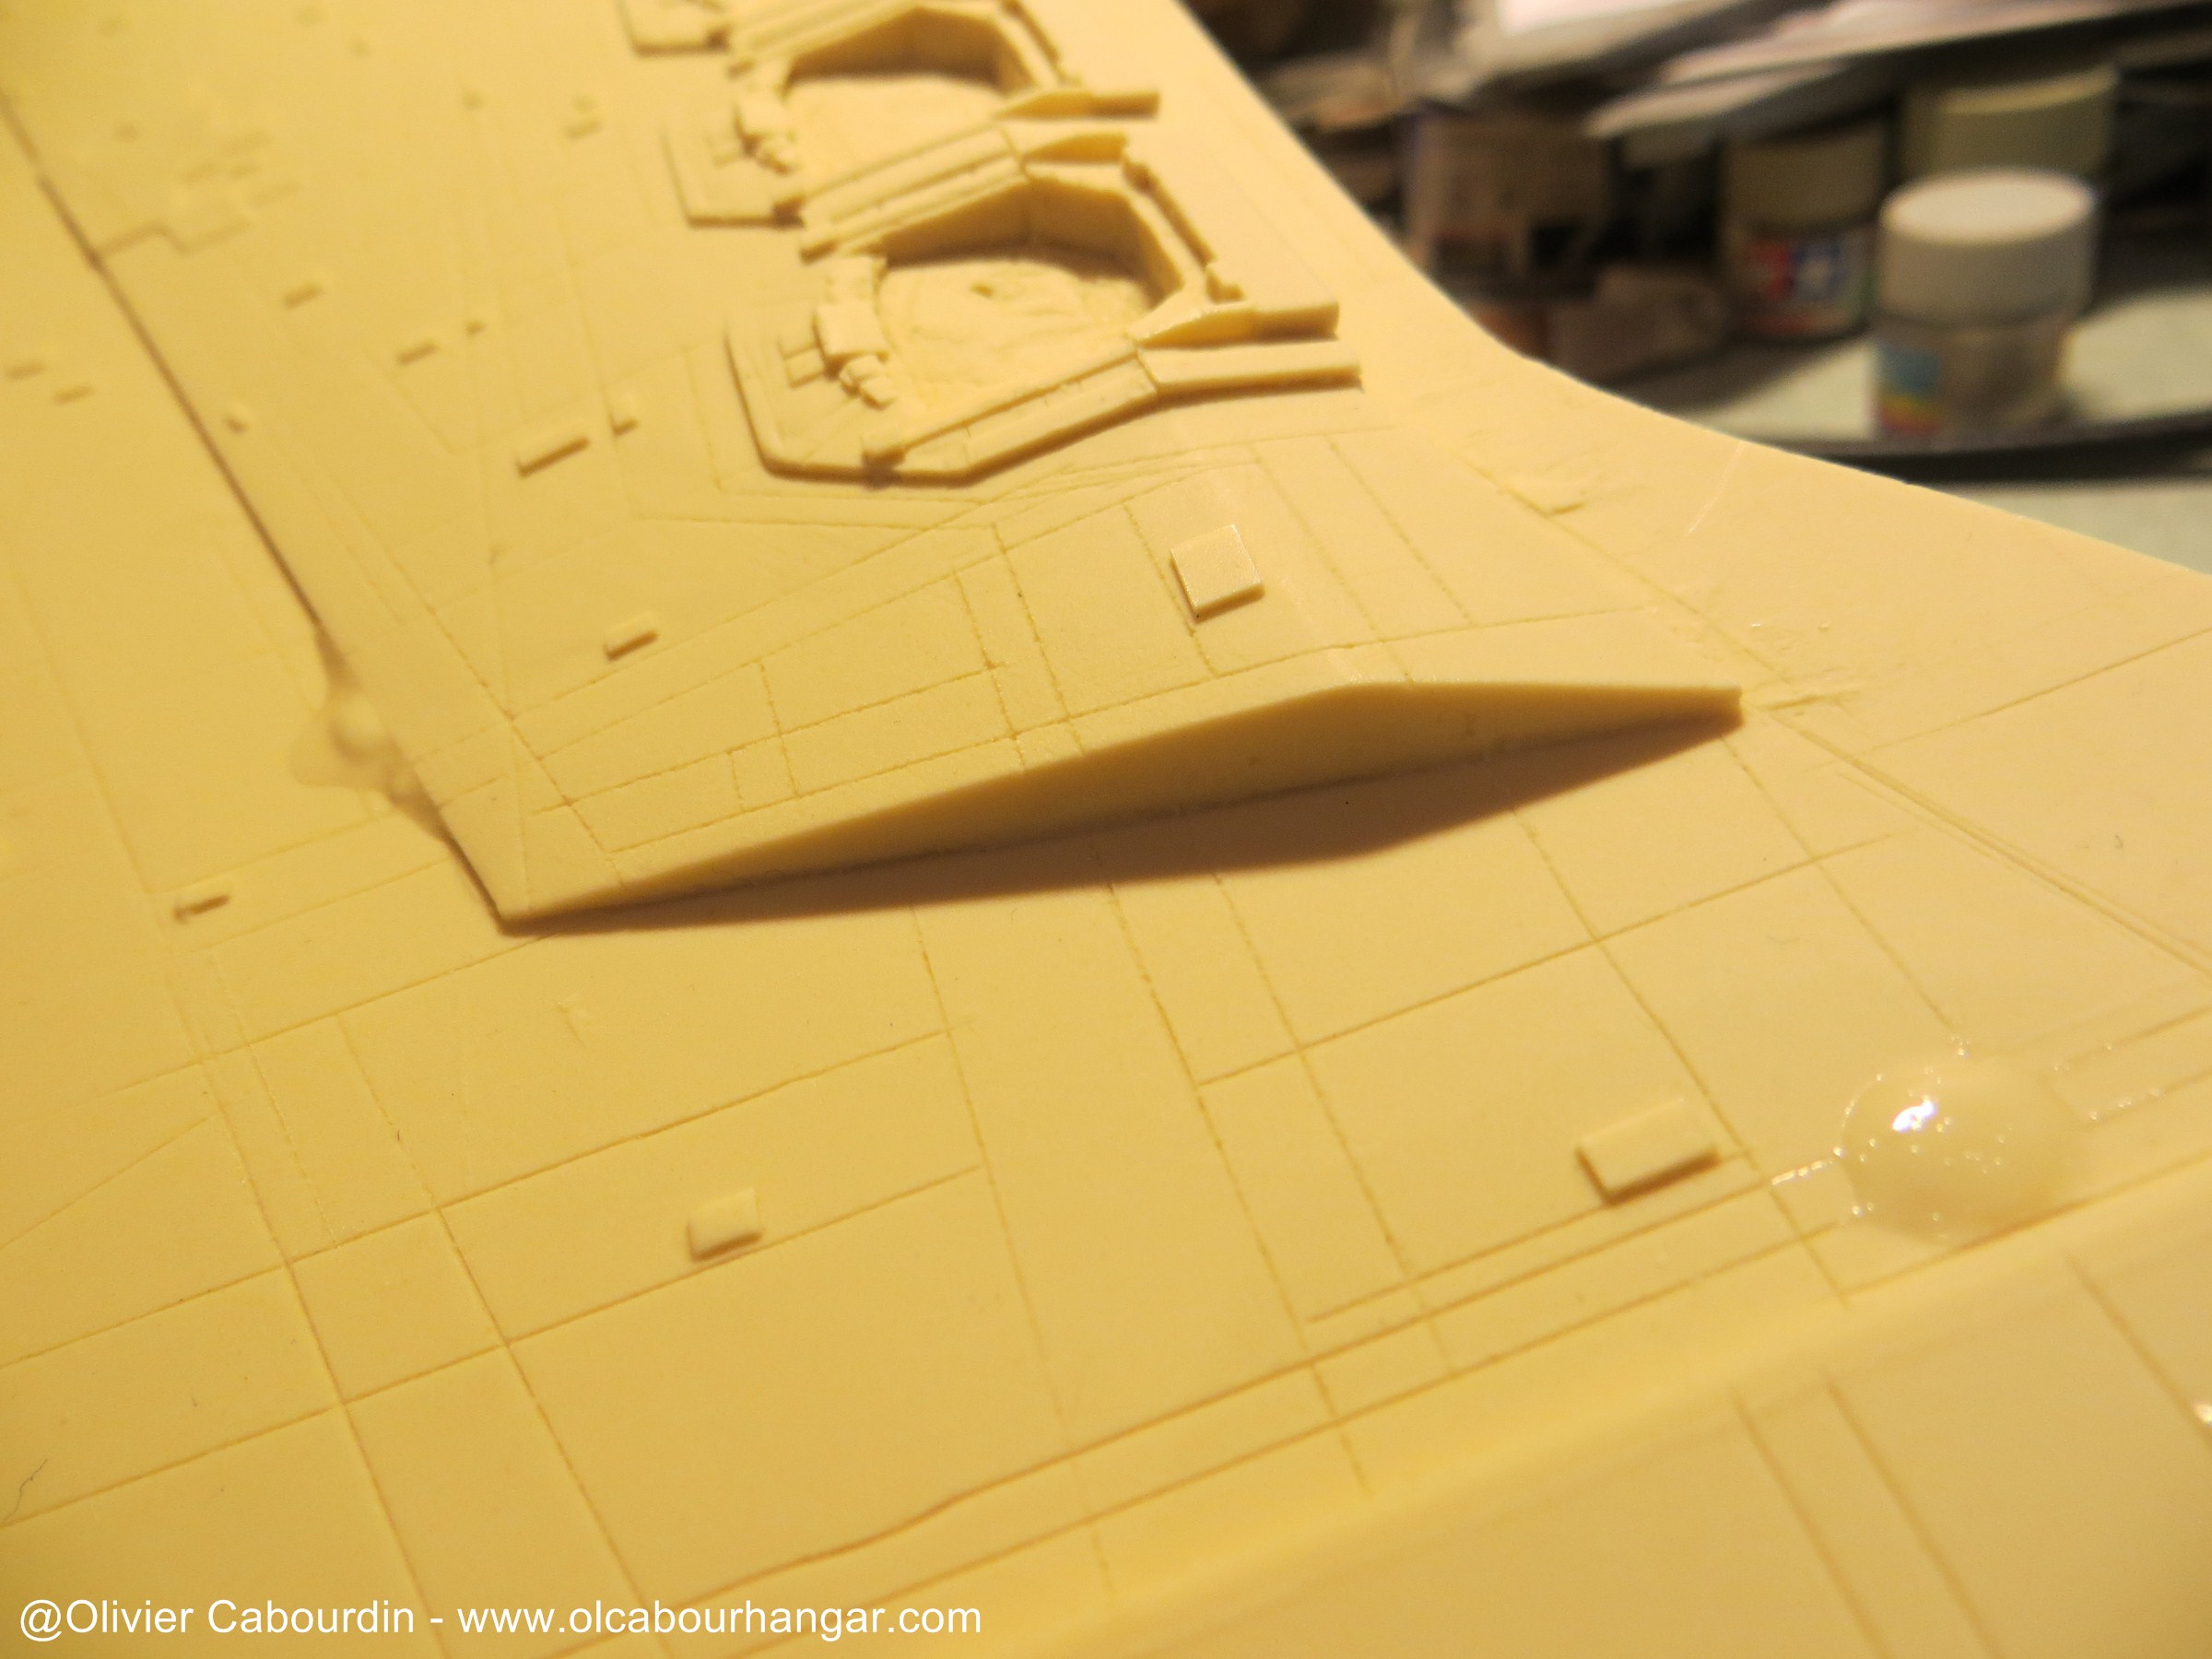
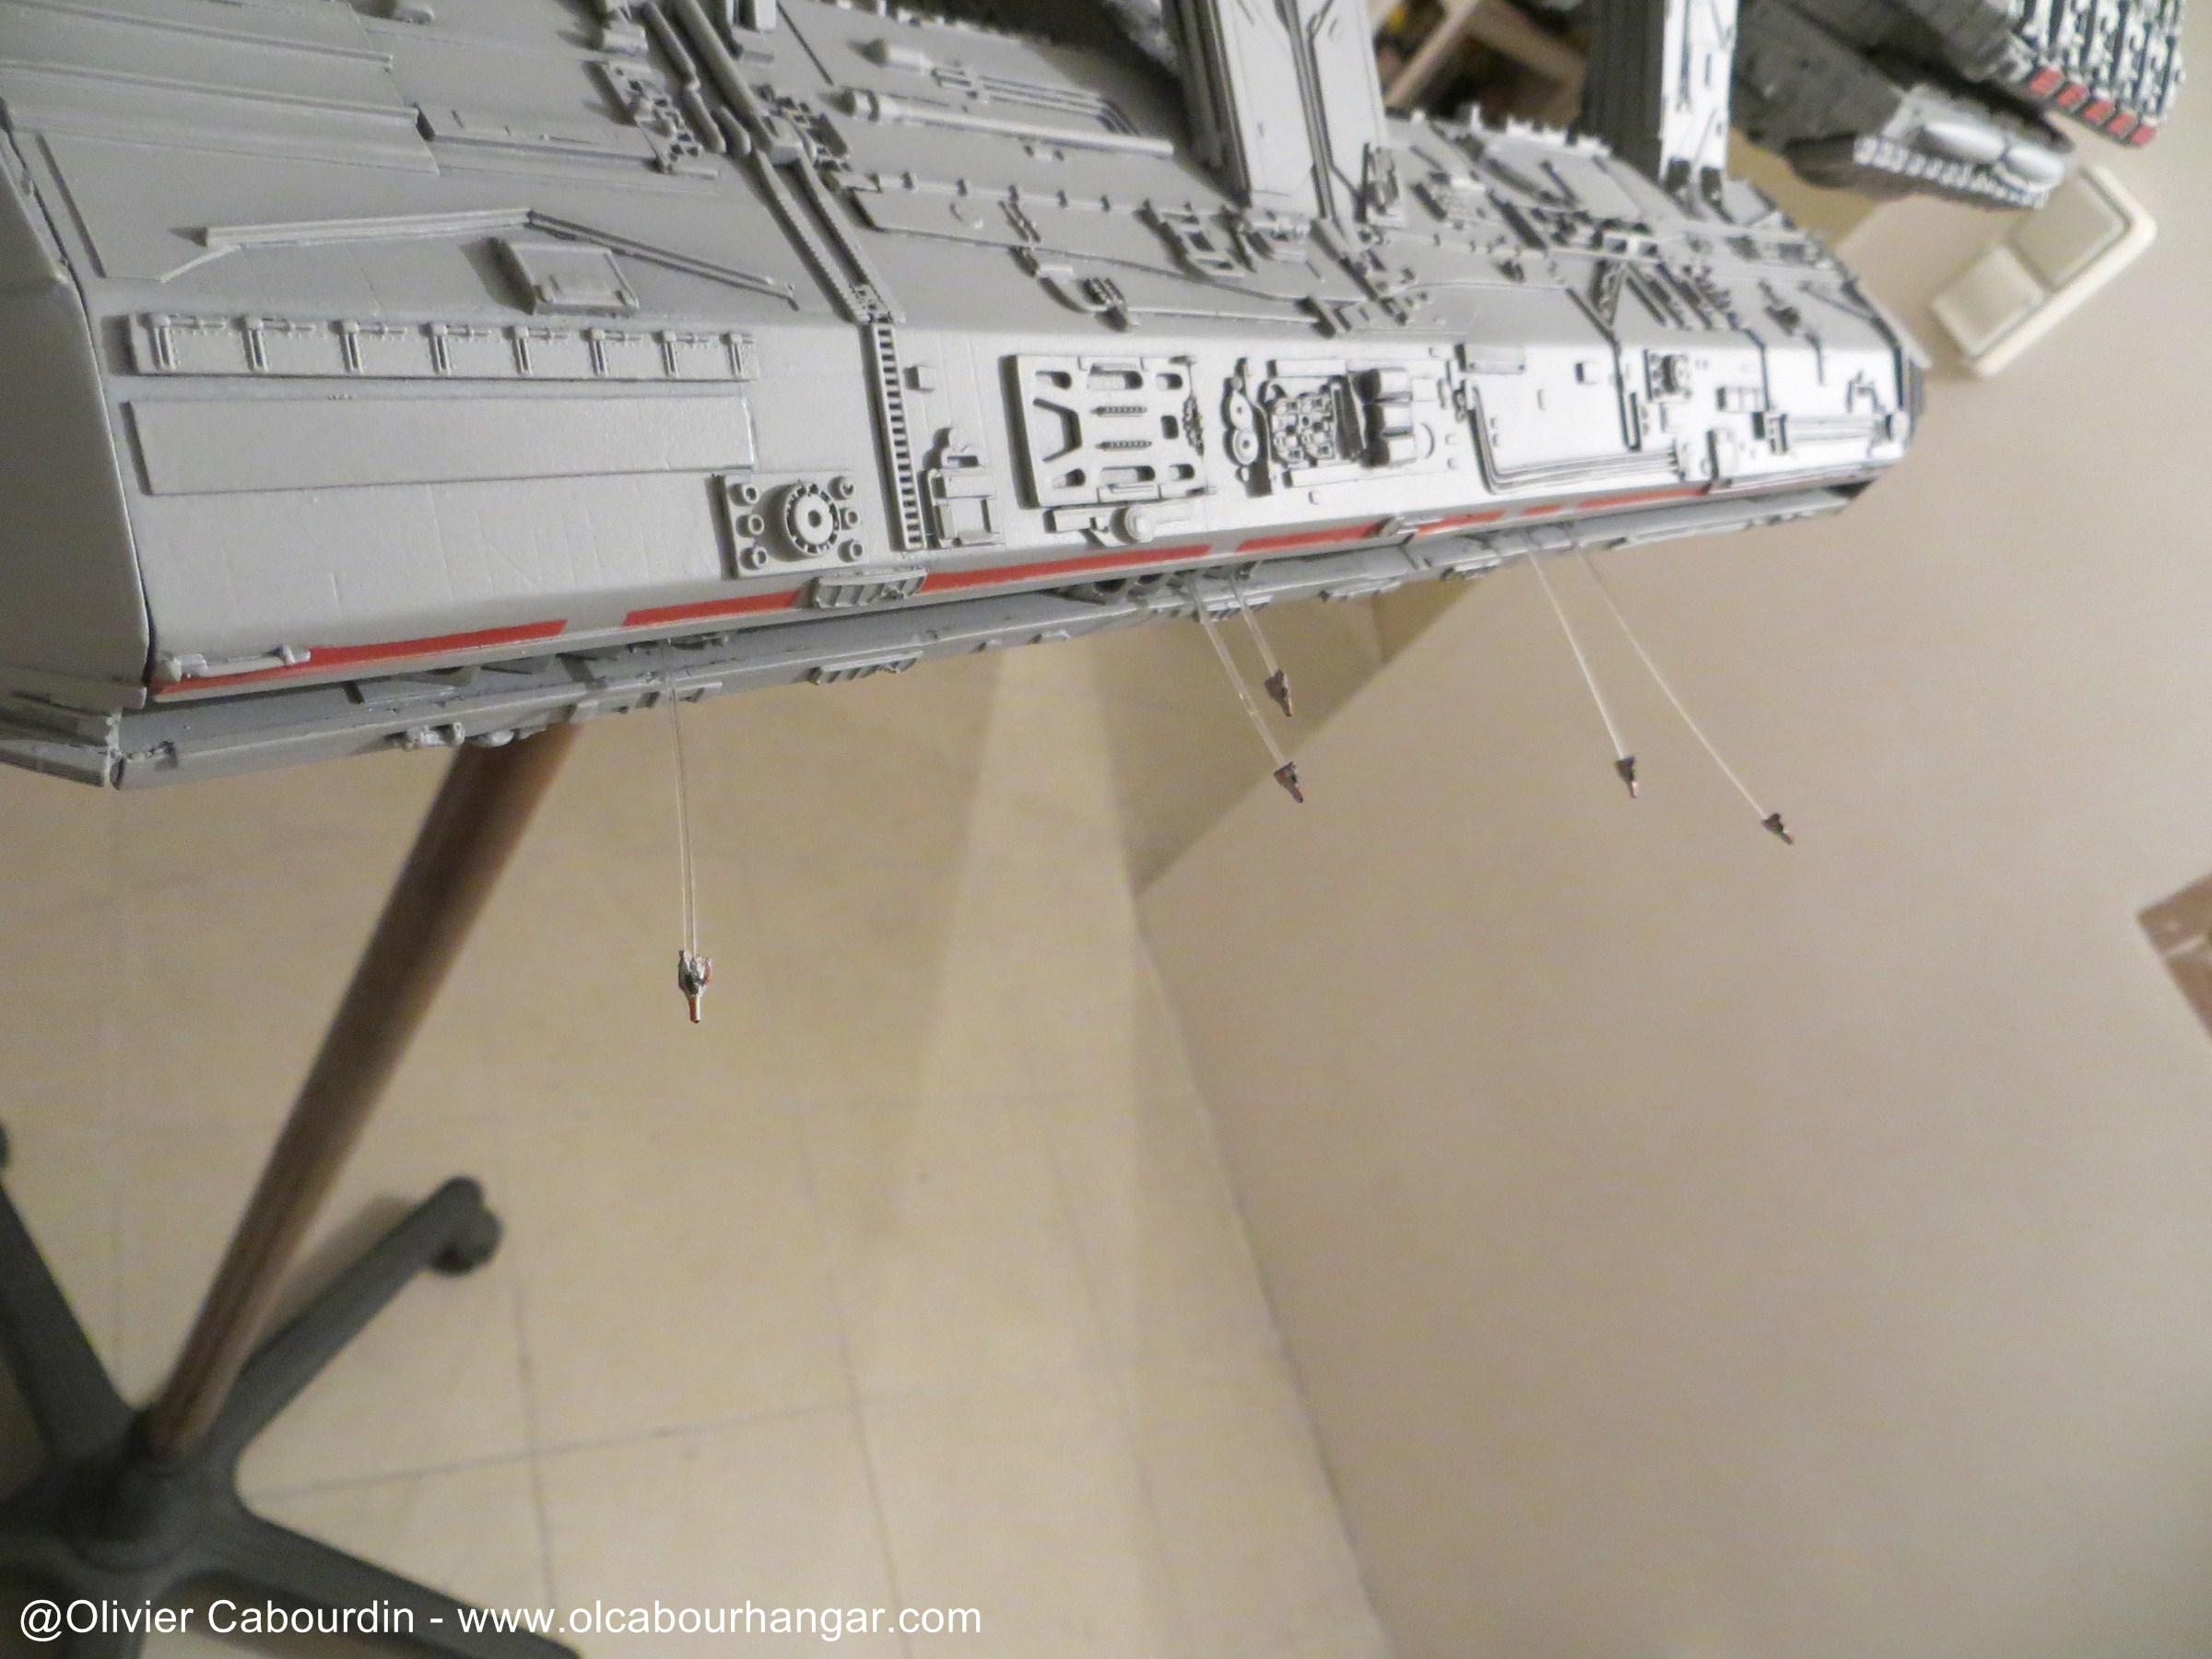
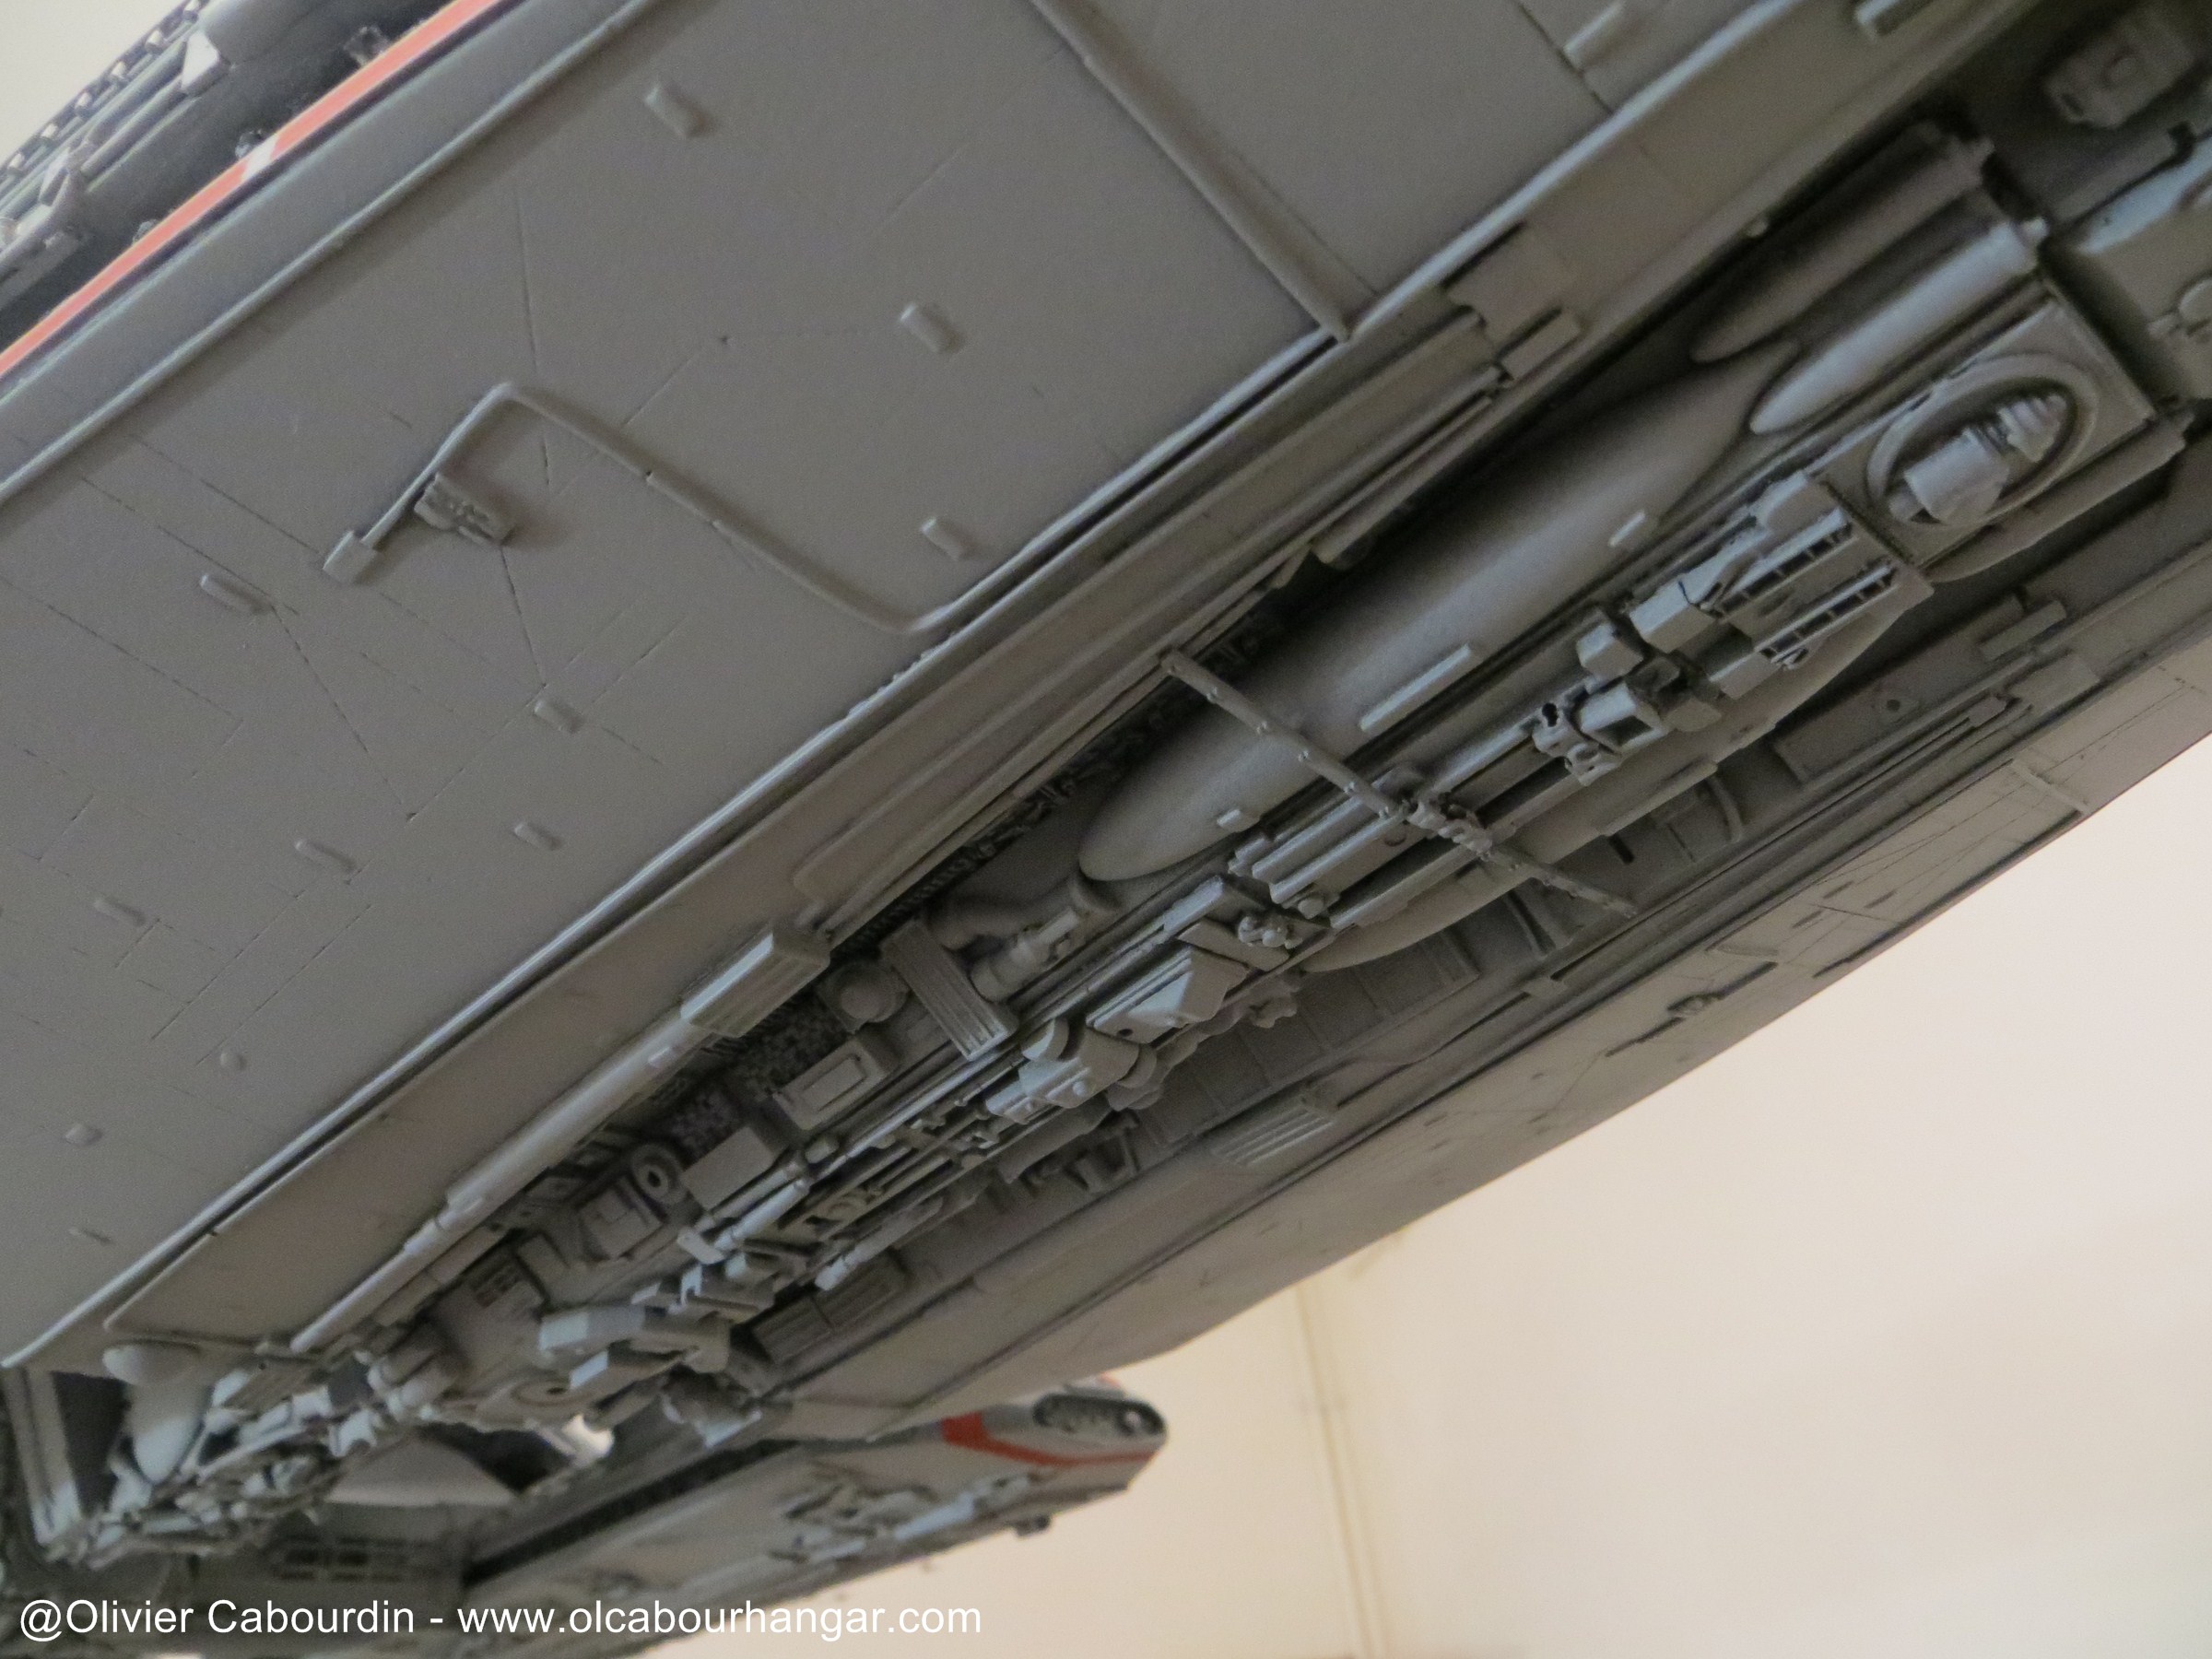
belly:
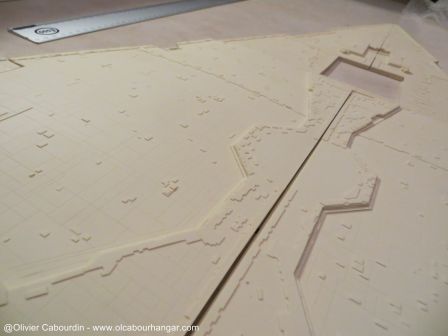
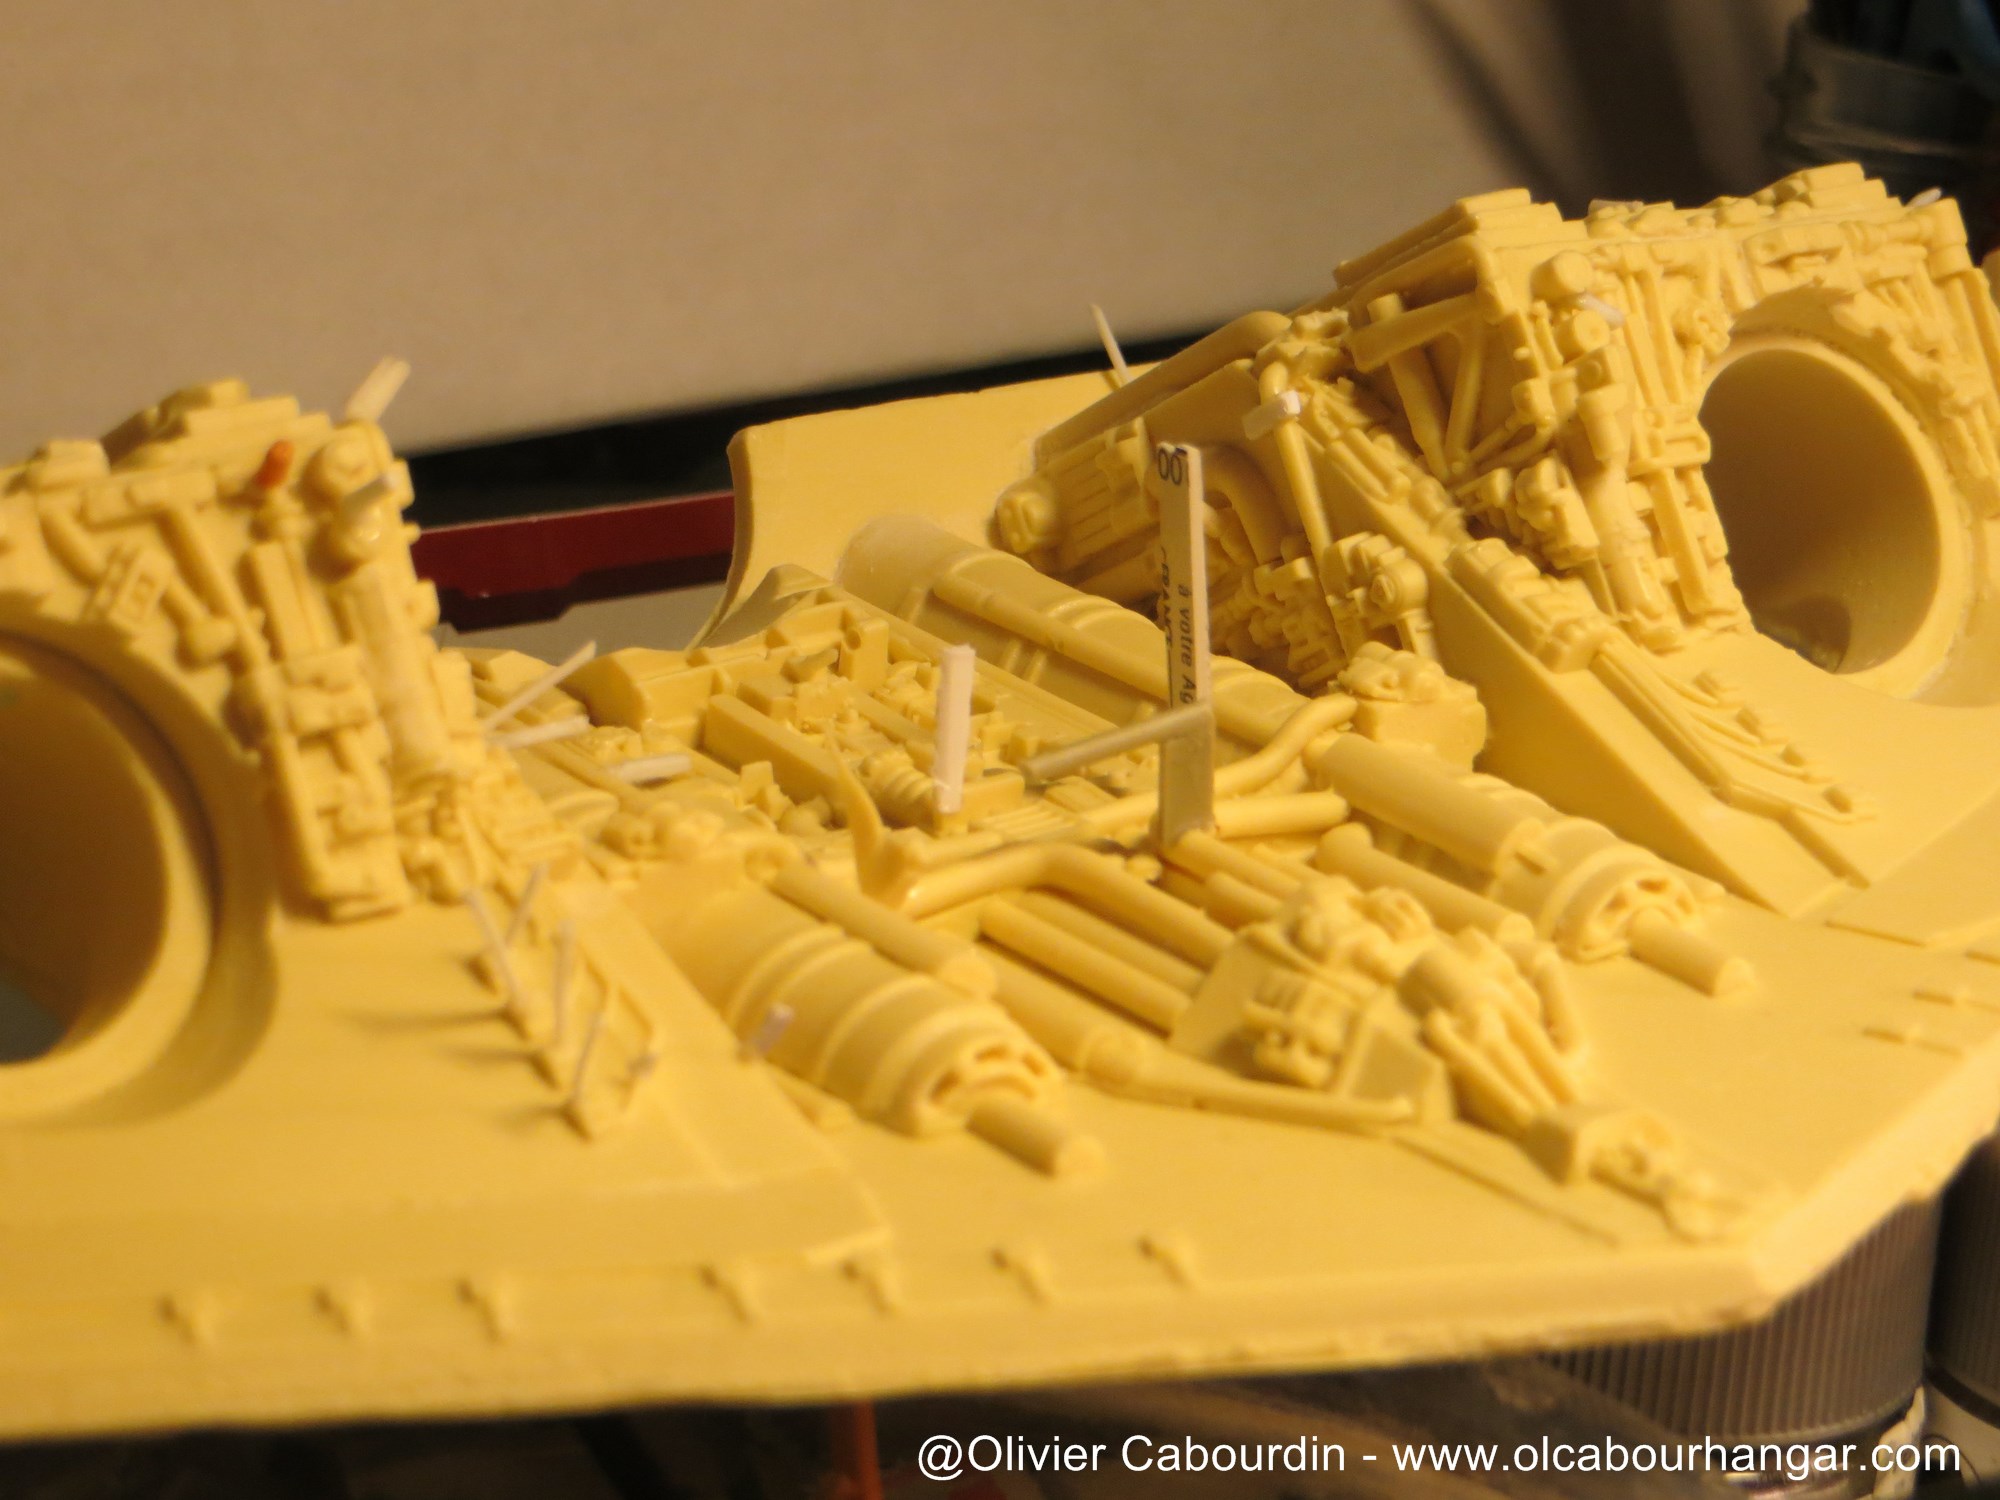
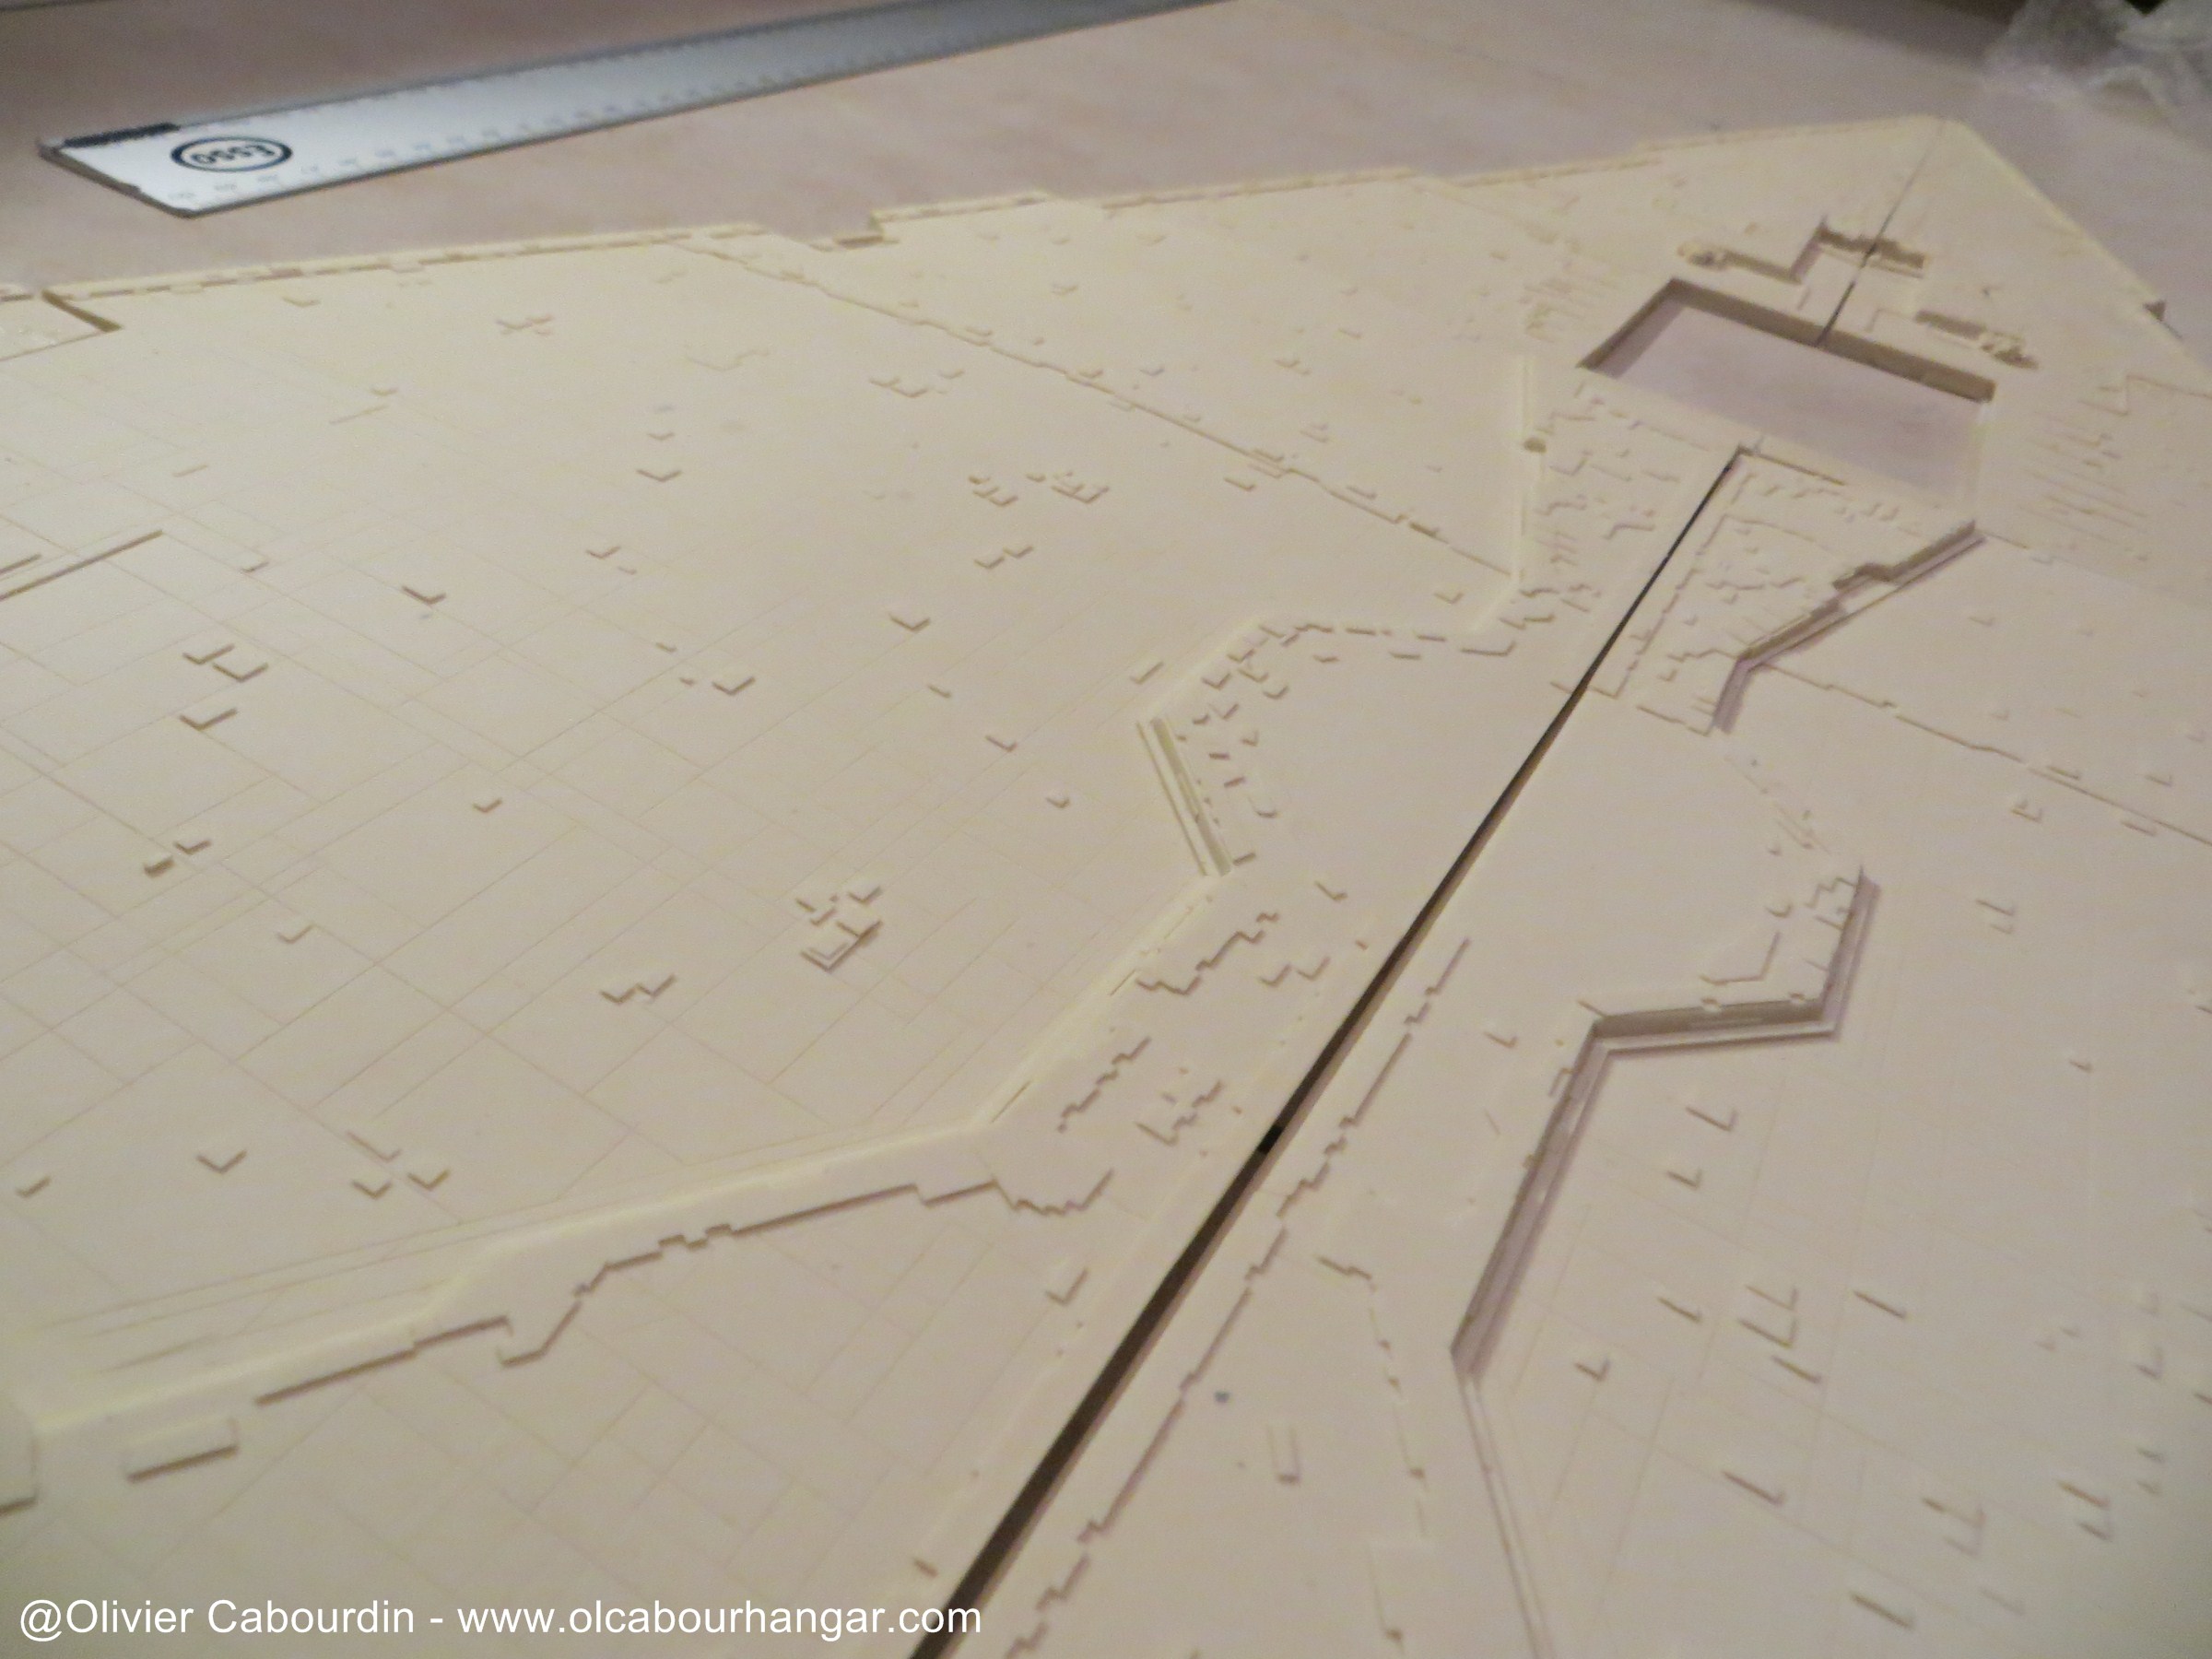
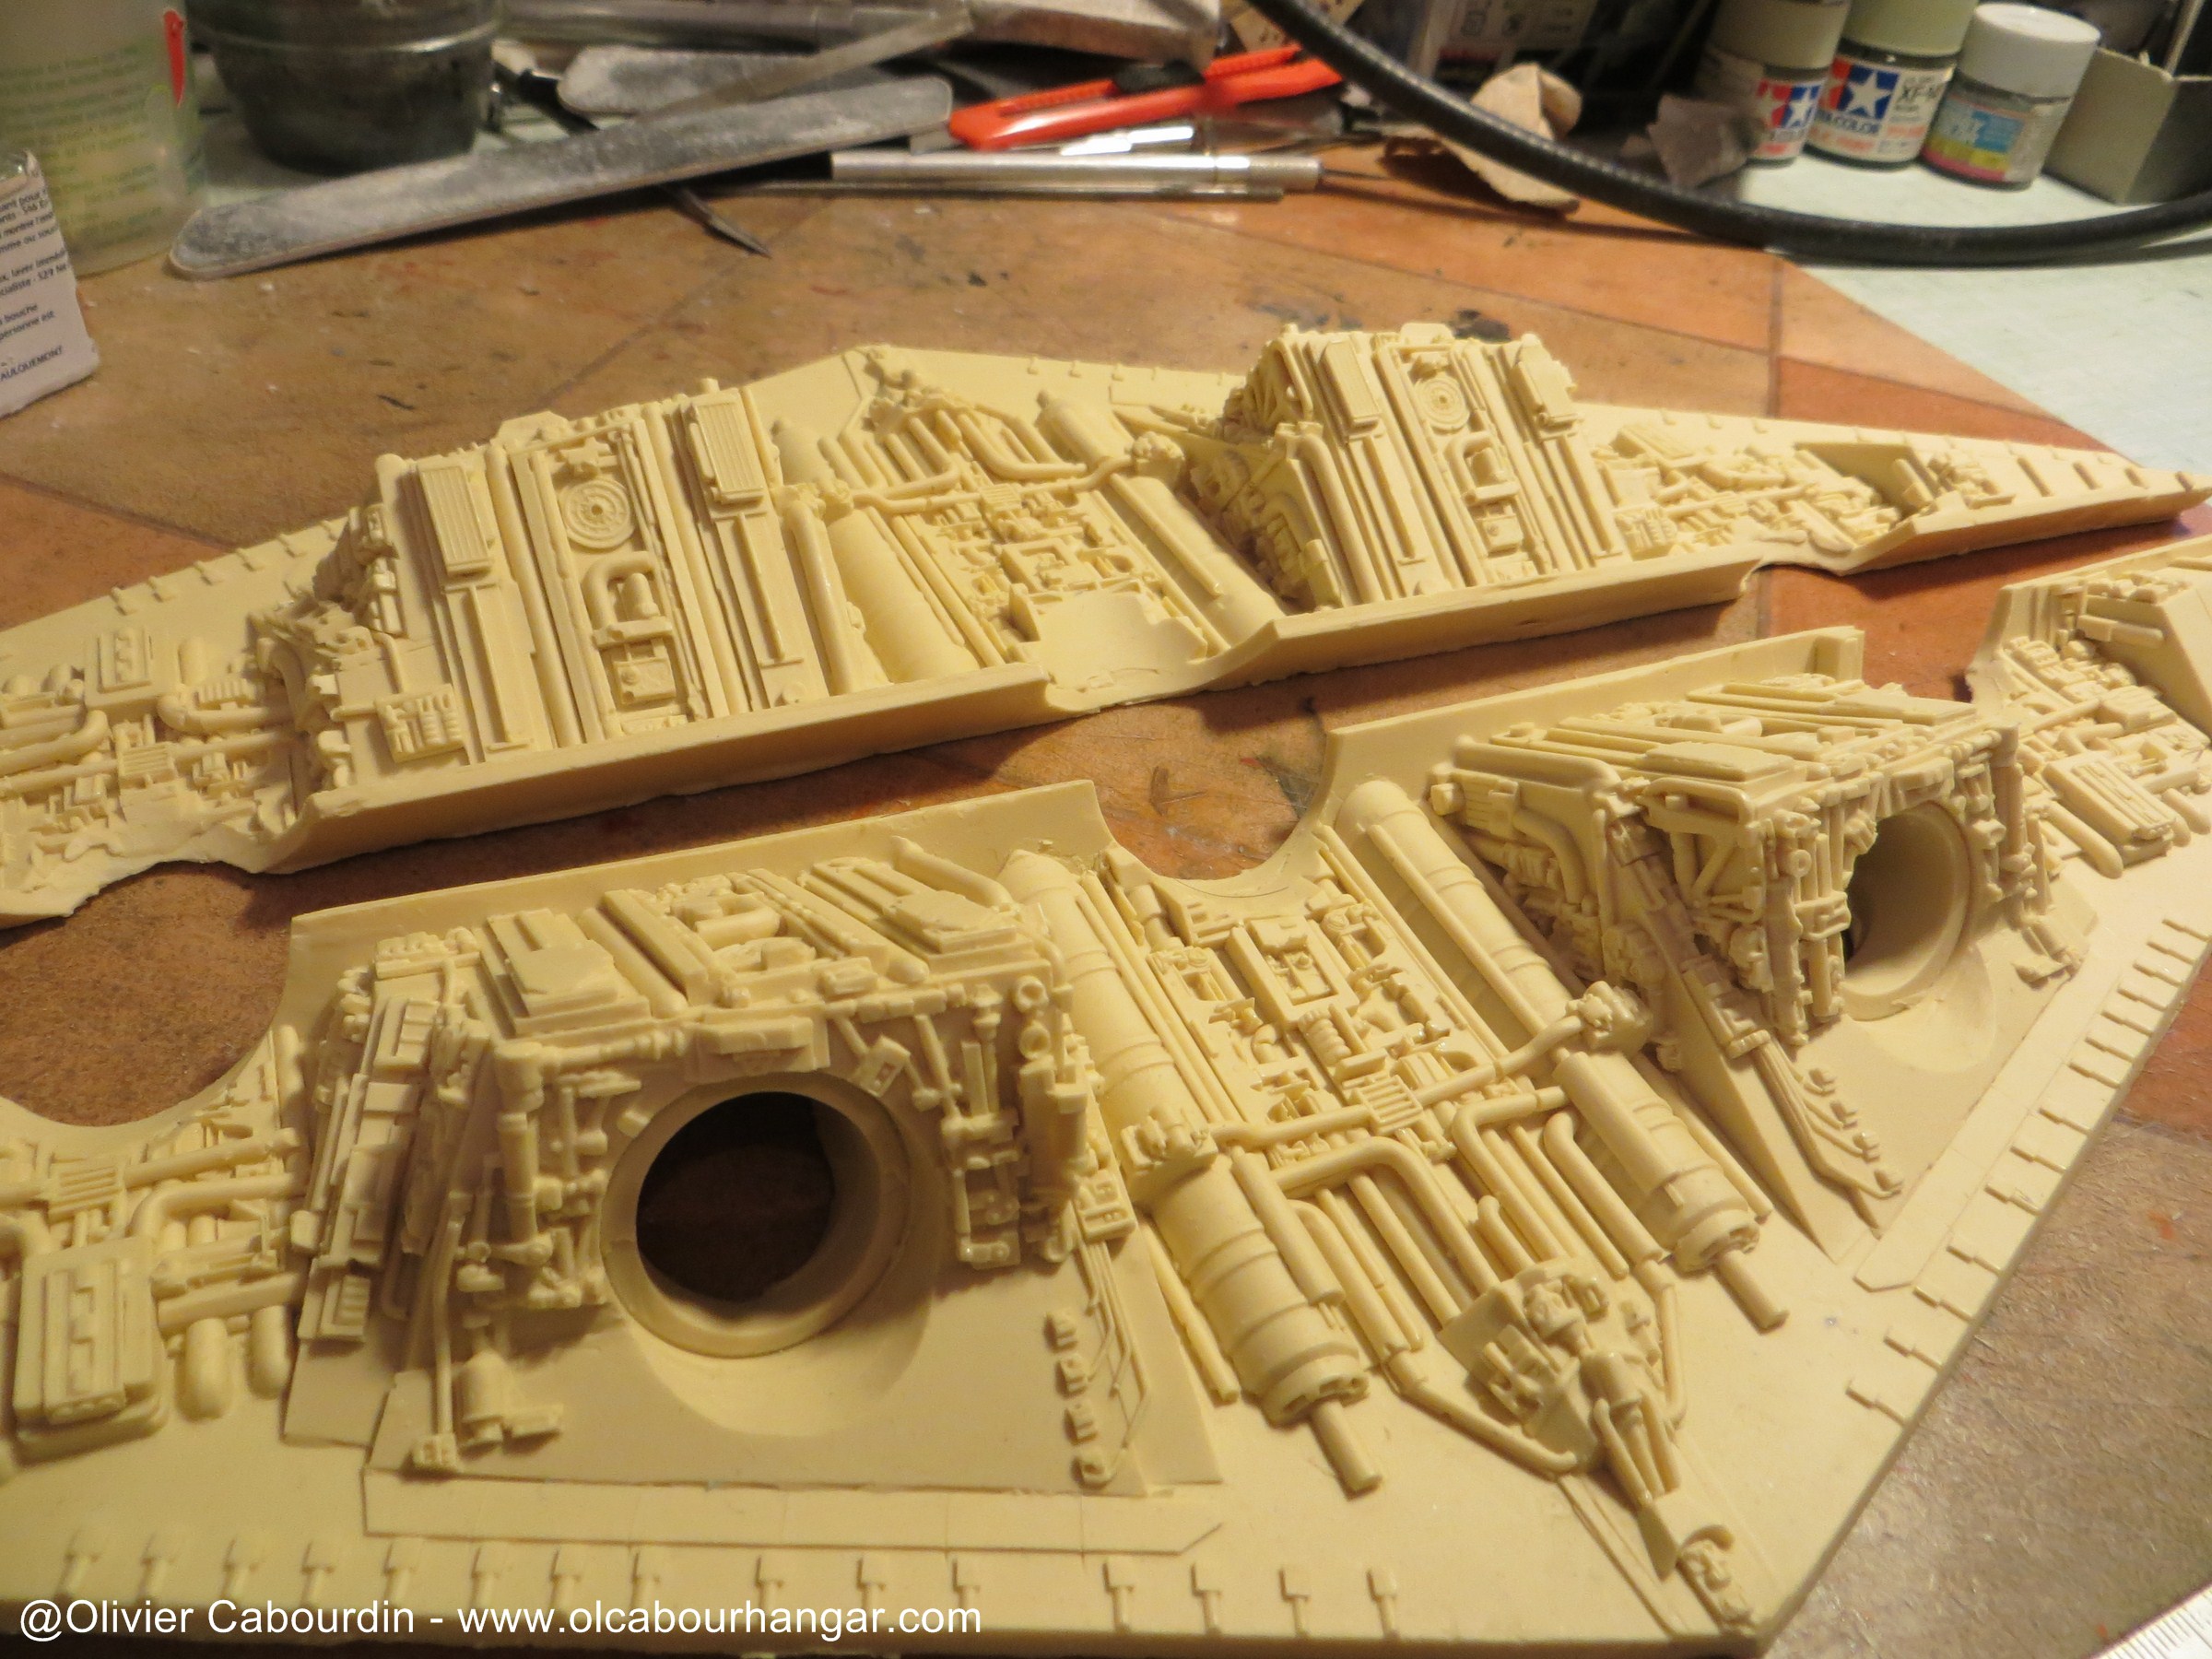
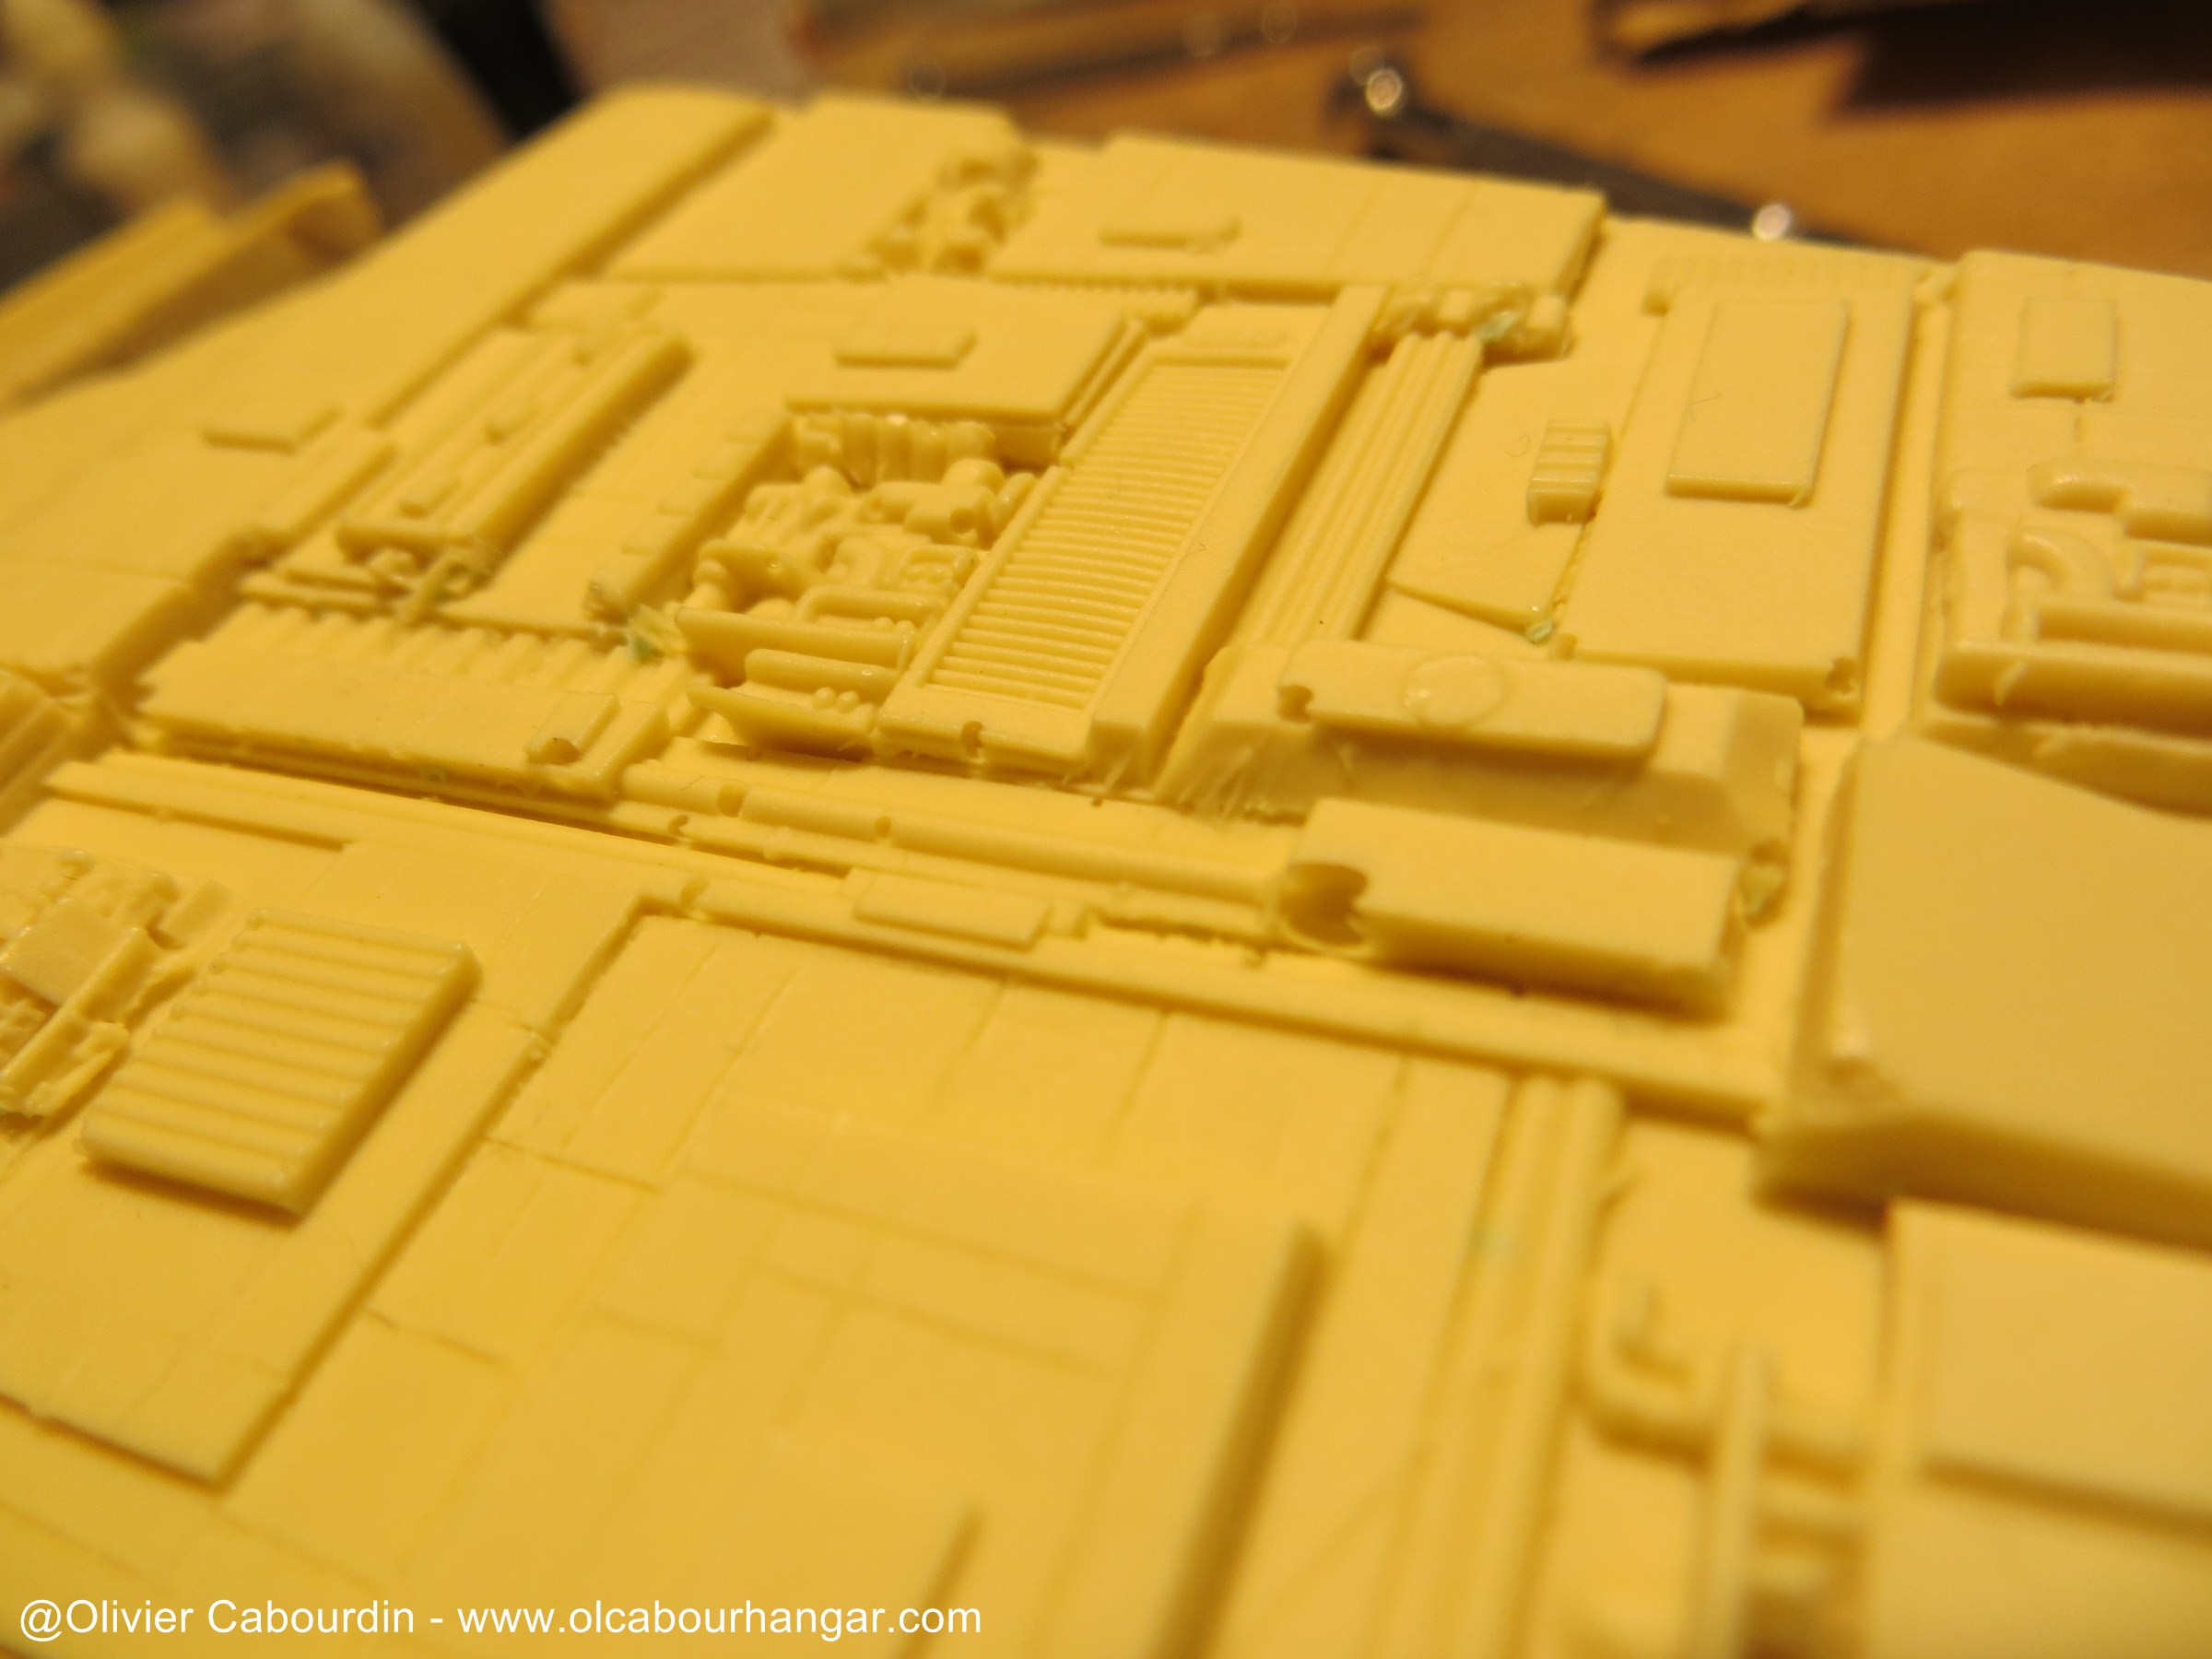
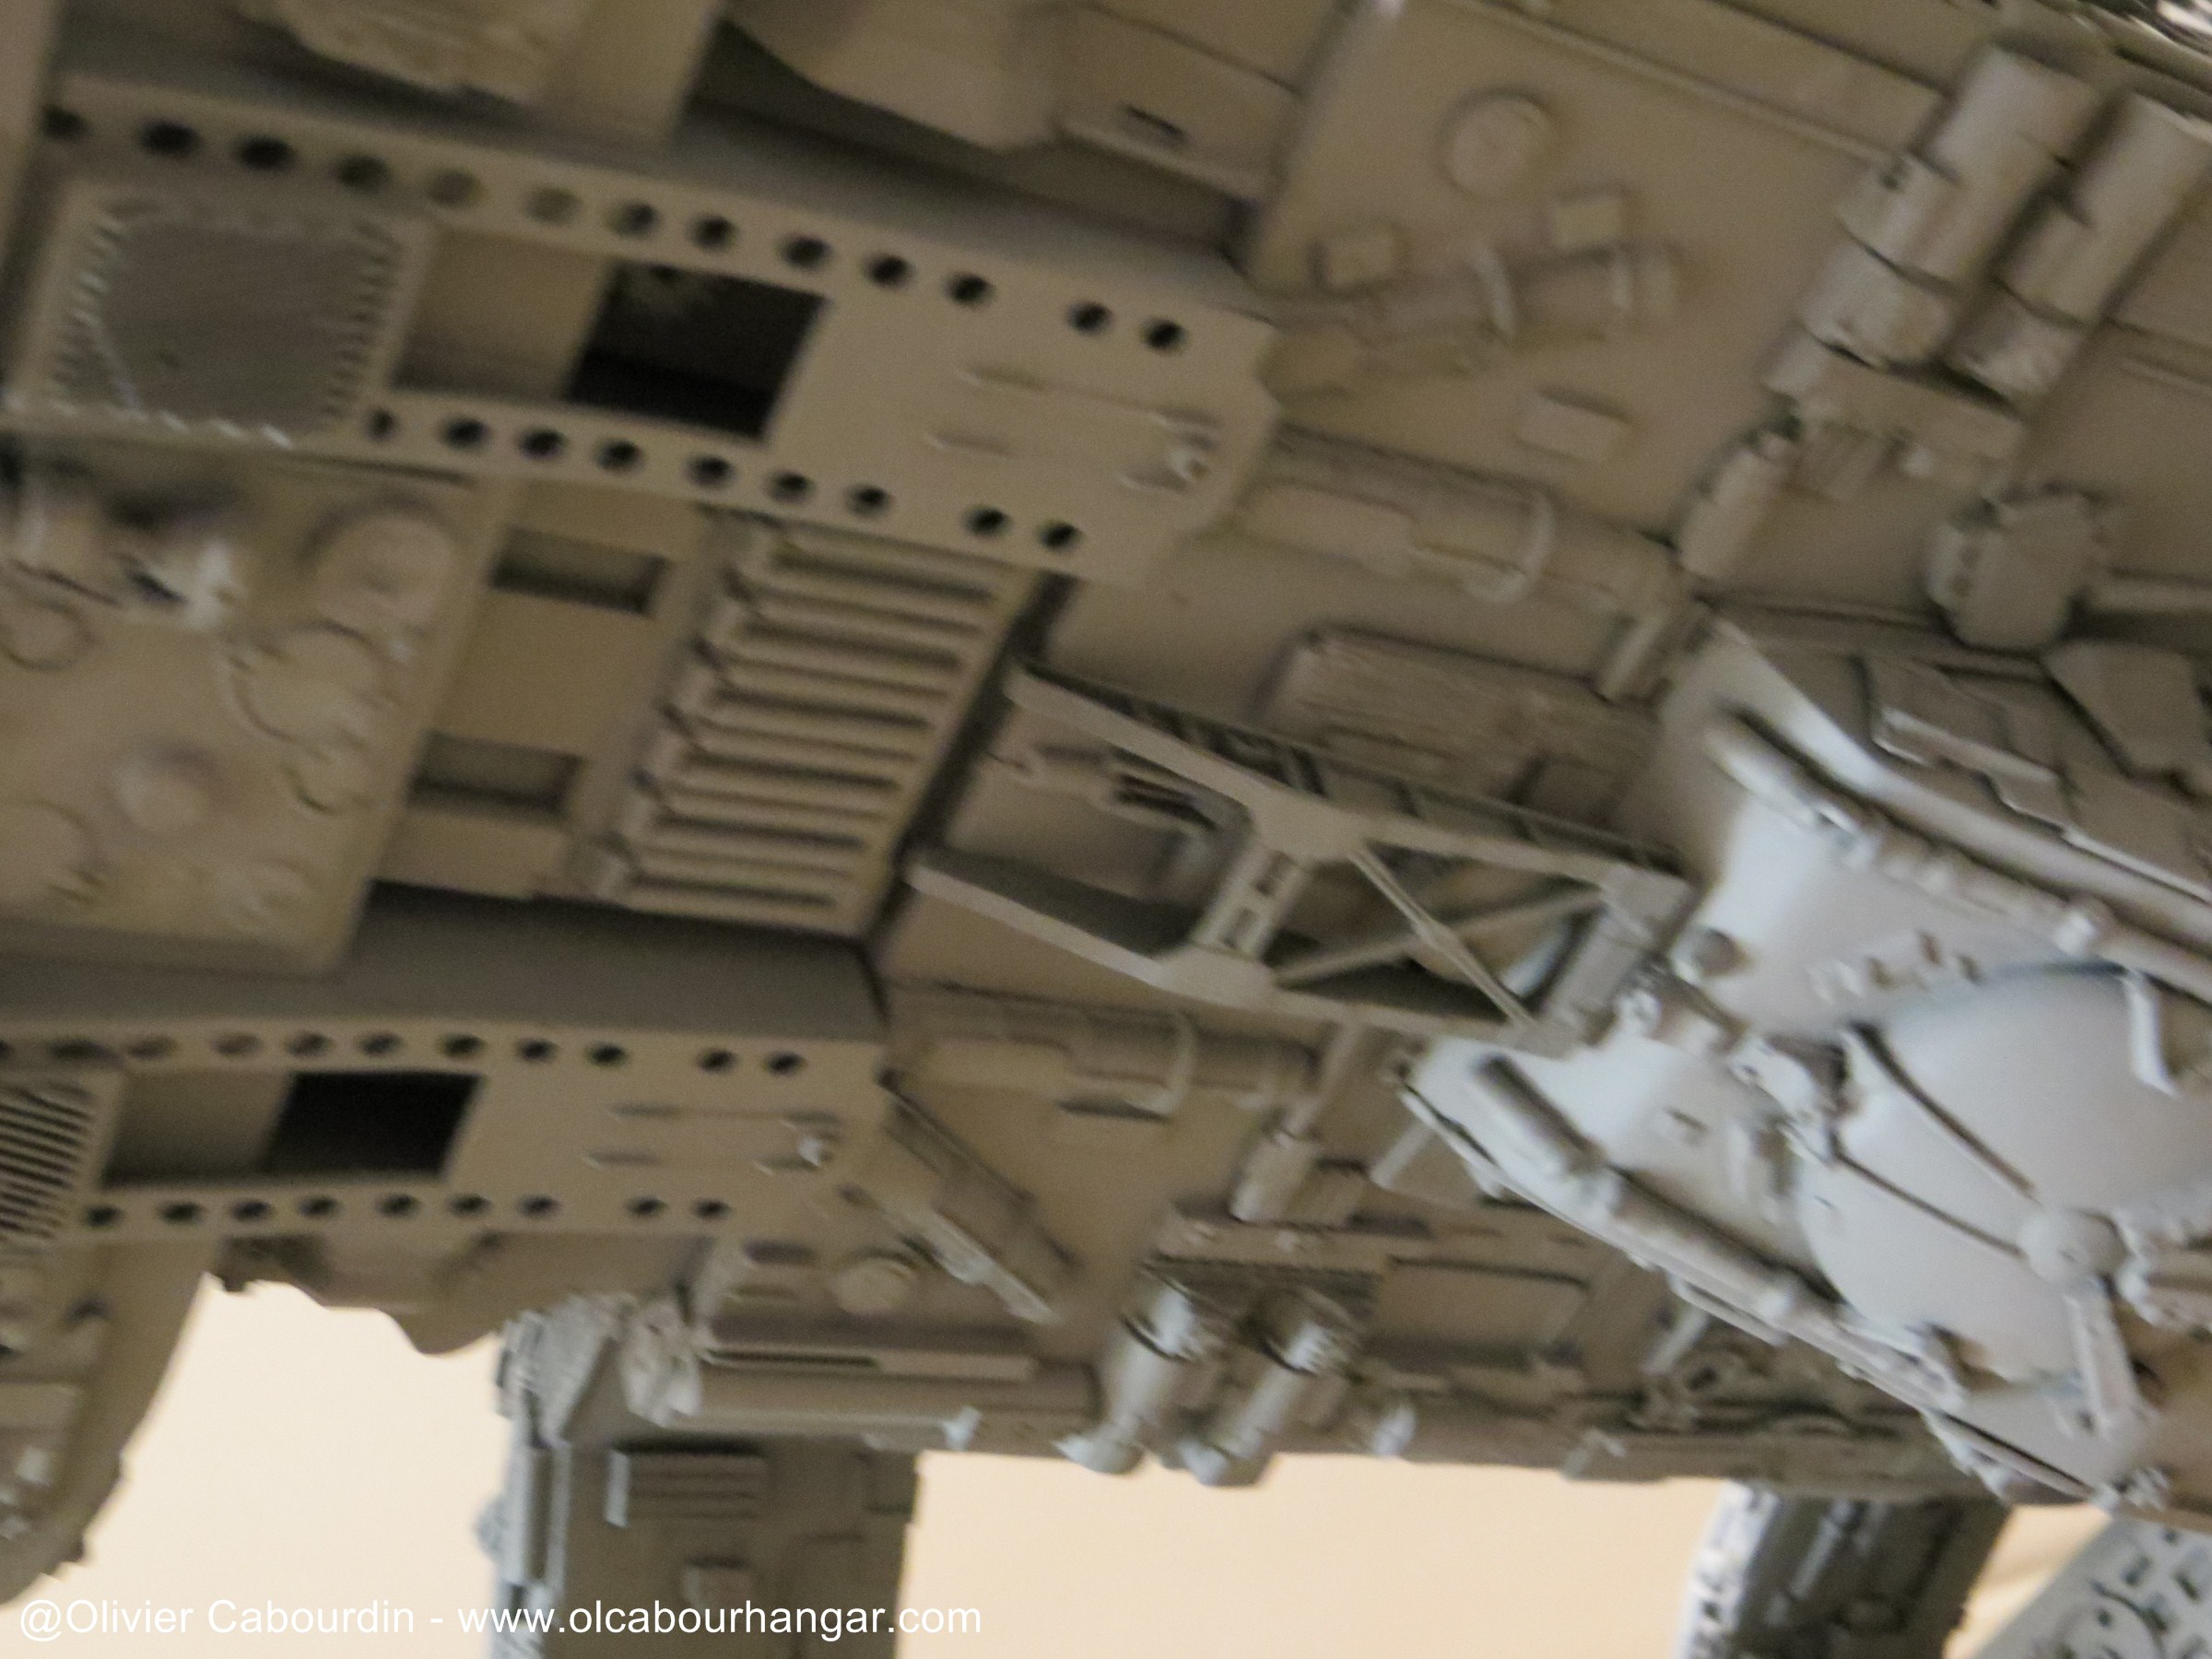
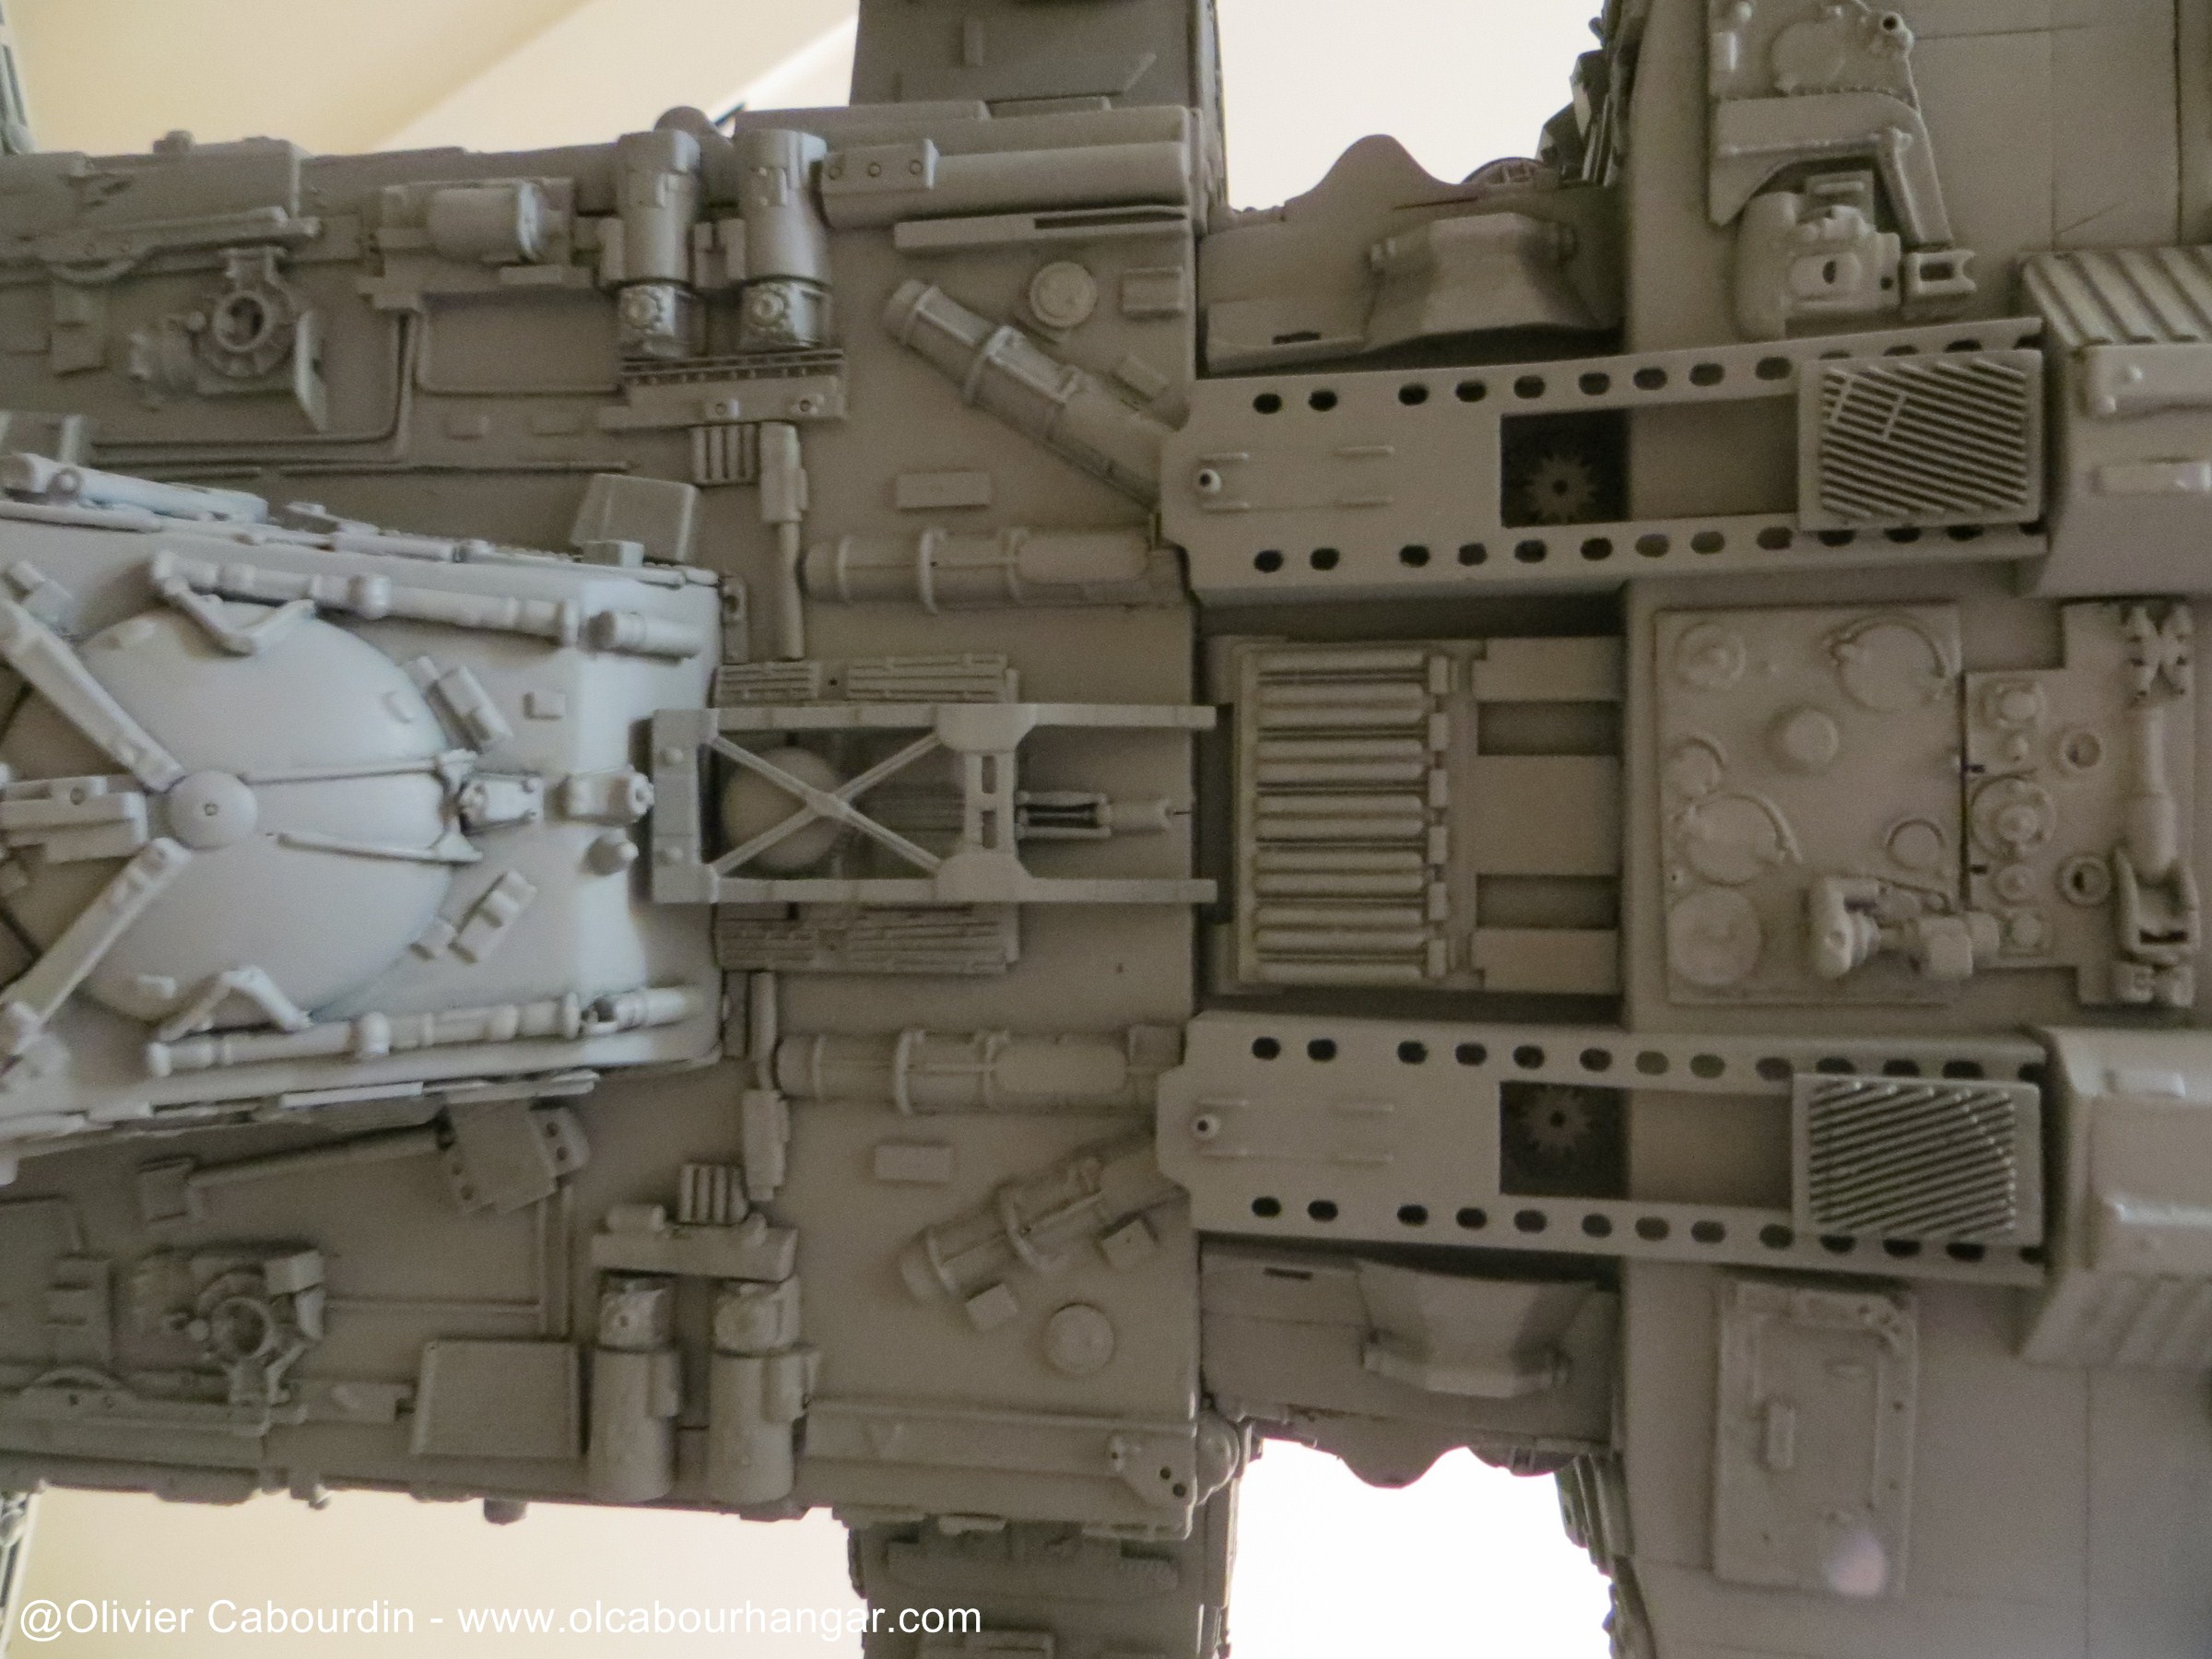
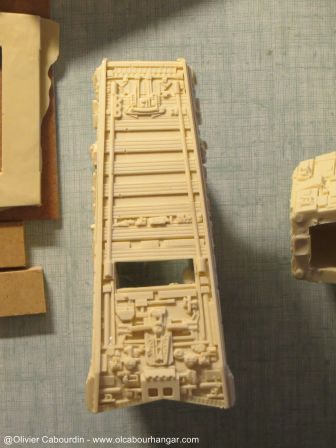
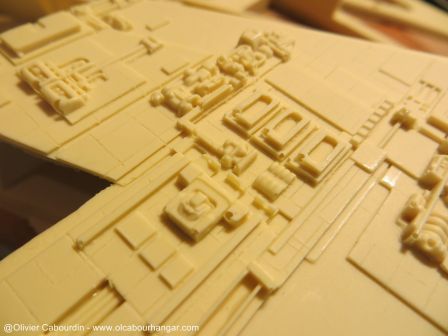
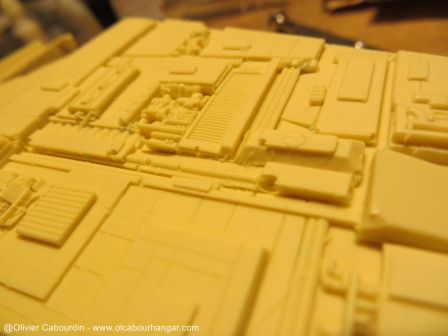
Upper buildings:

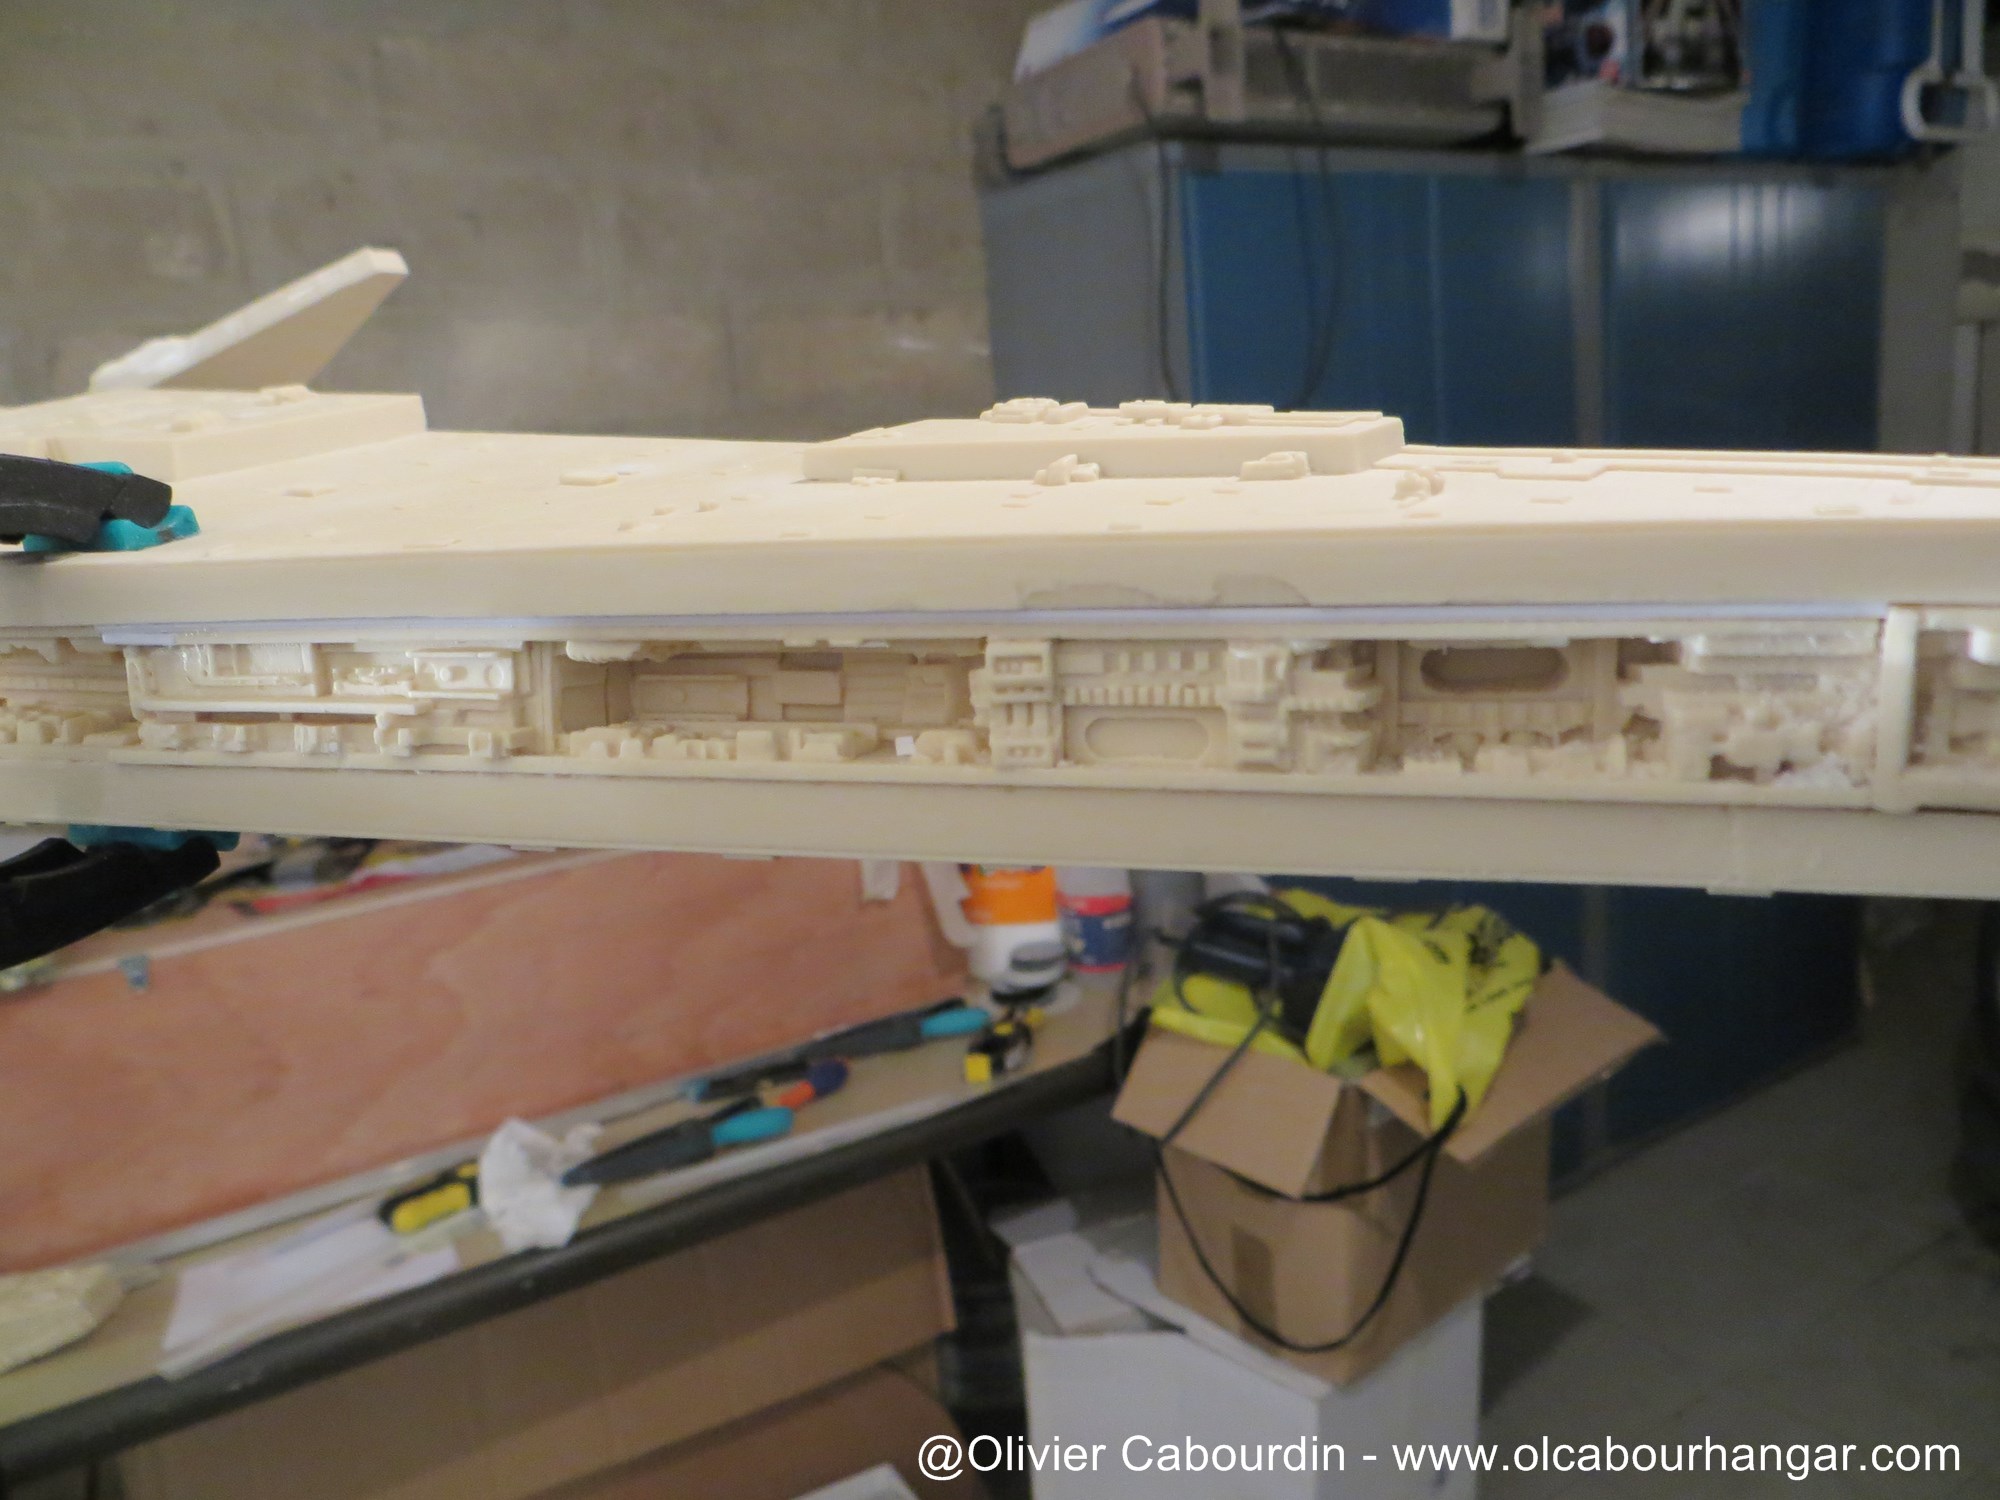
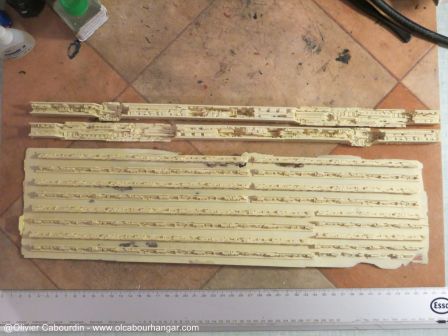
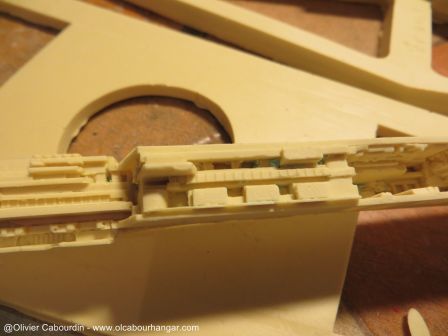
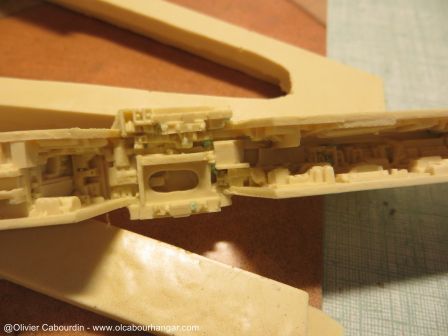
trenches:
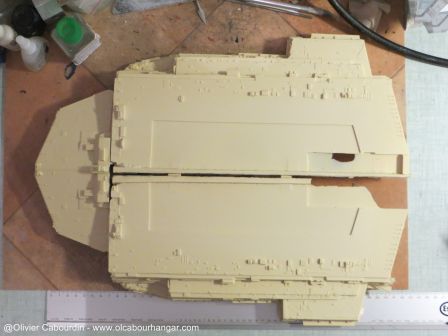
Rear:


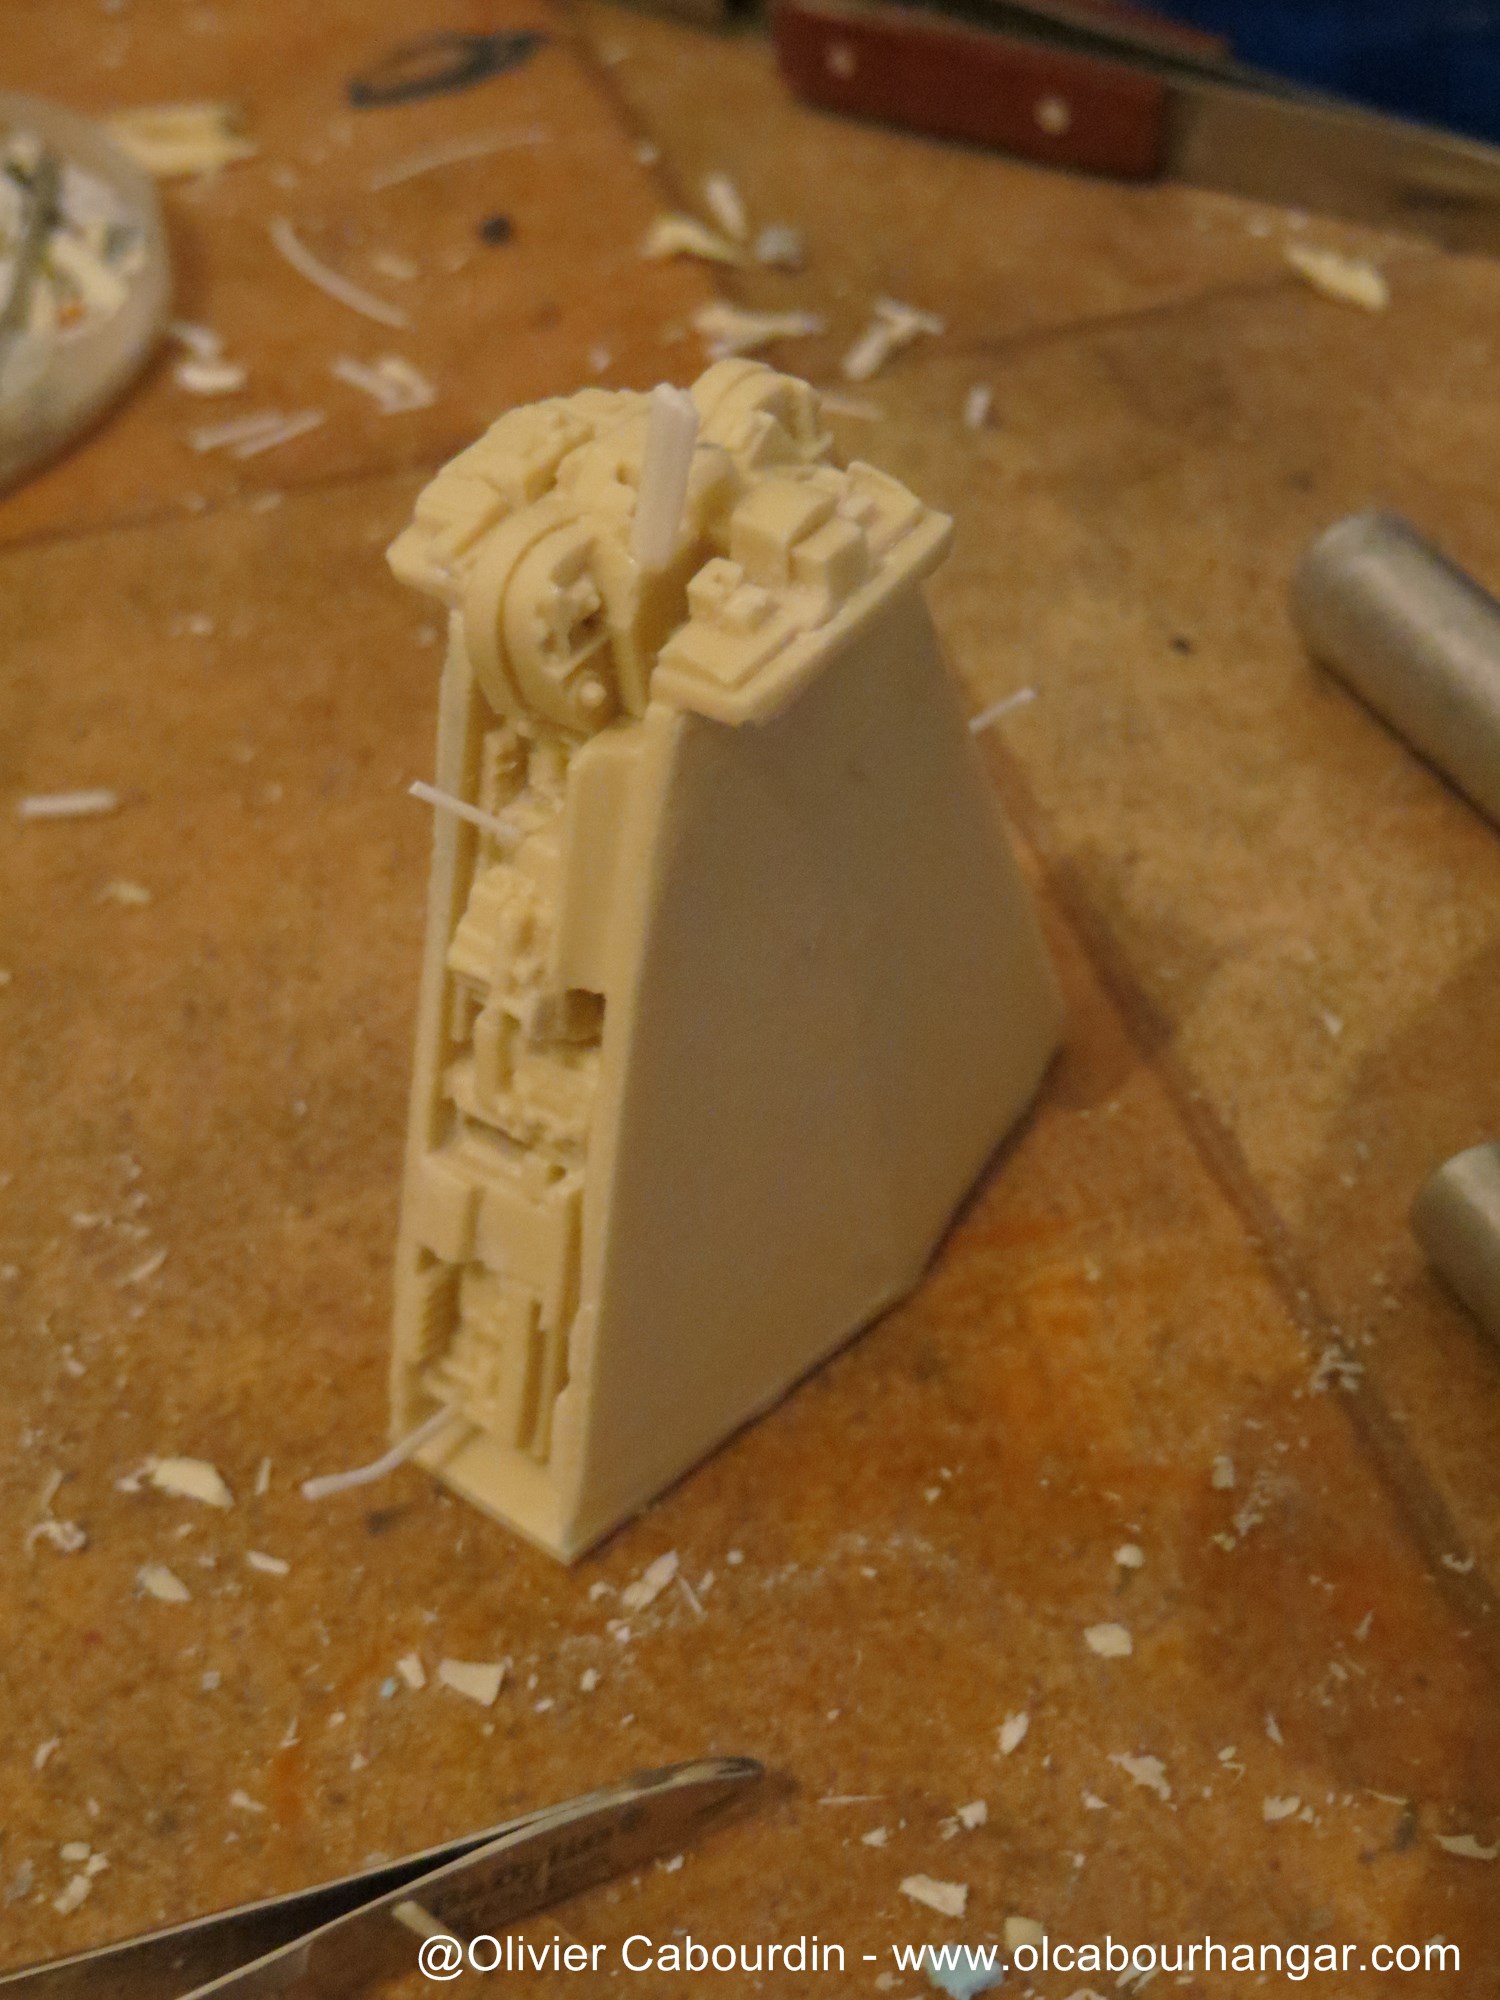
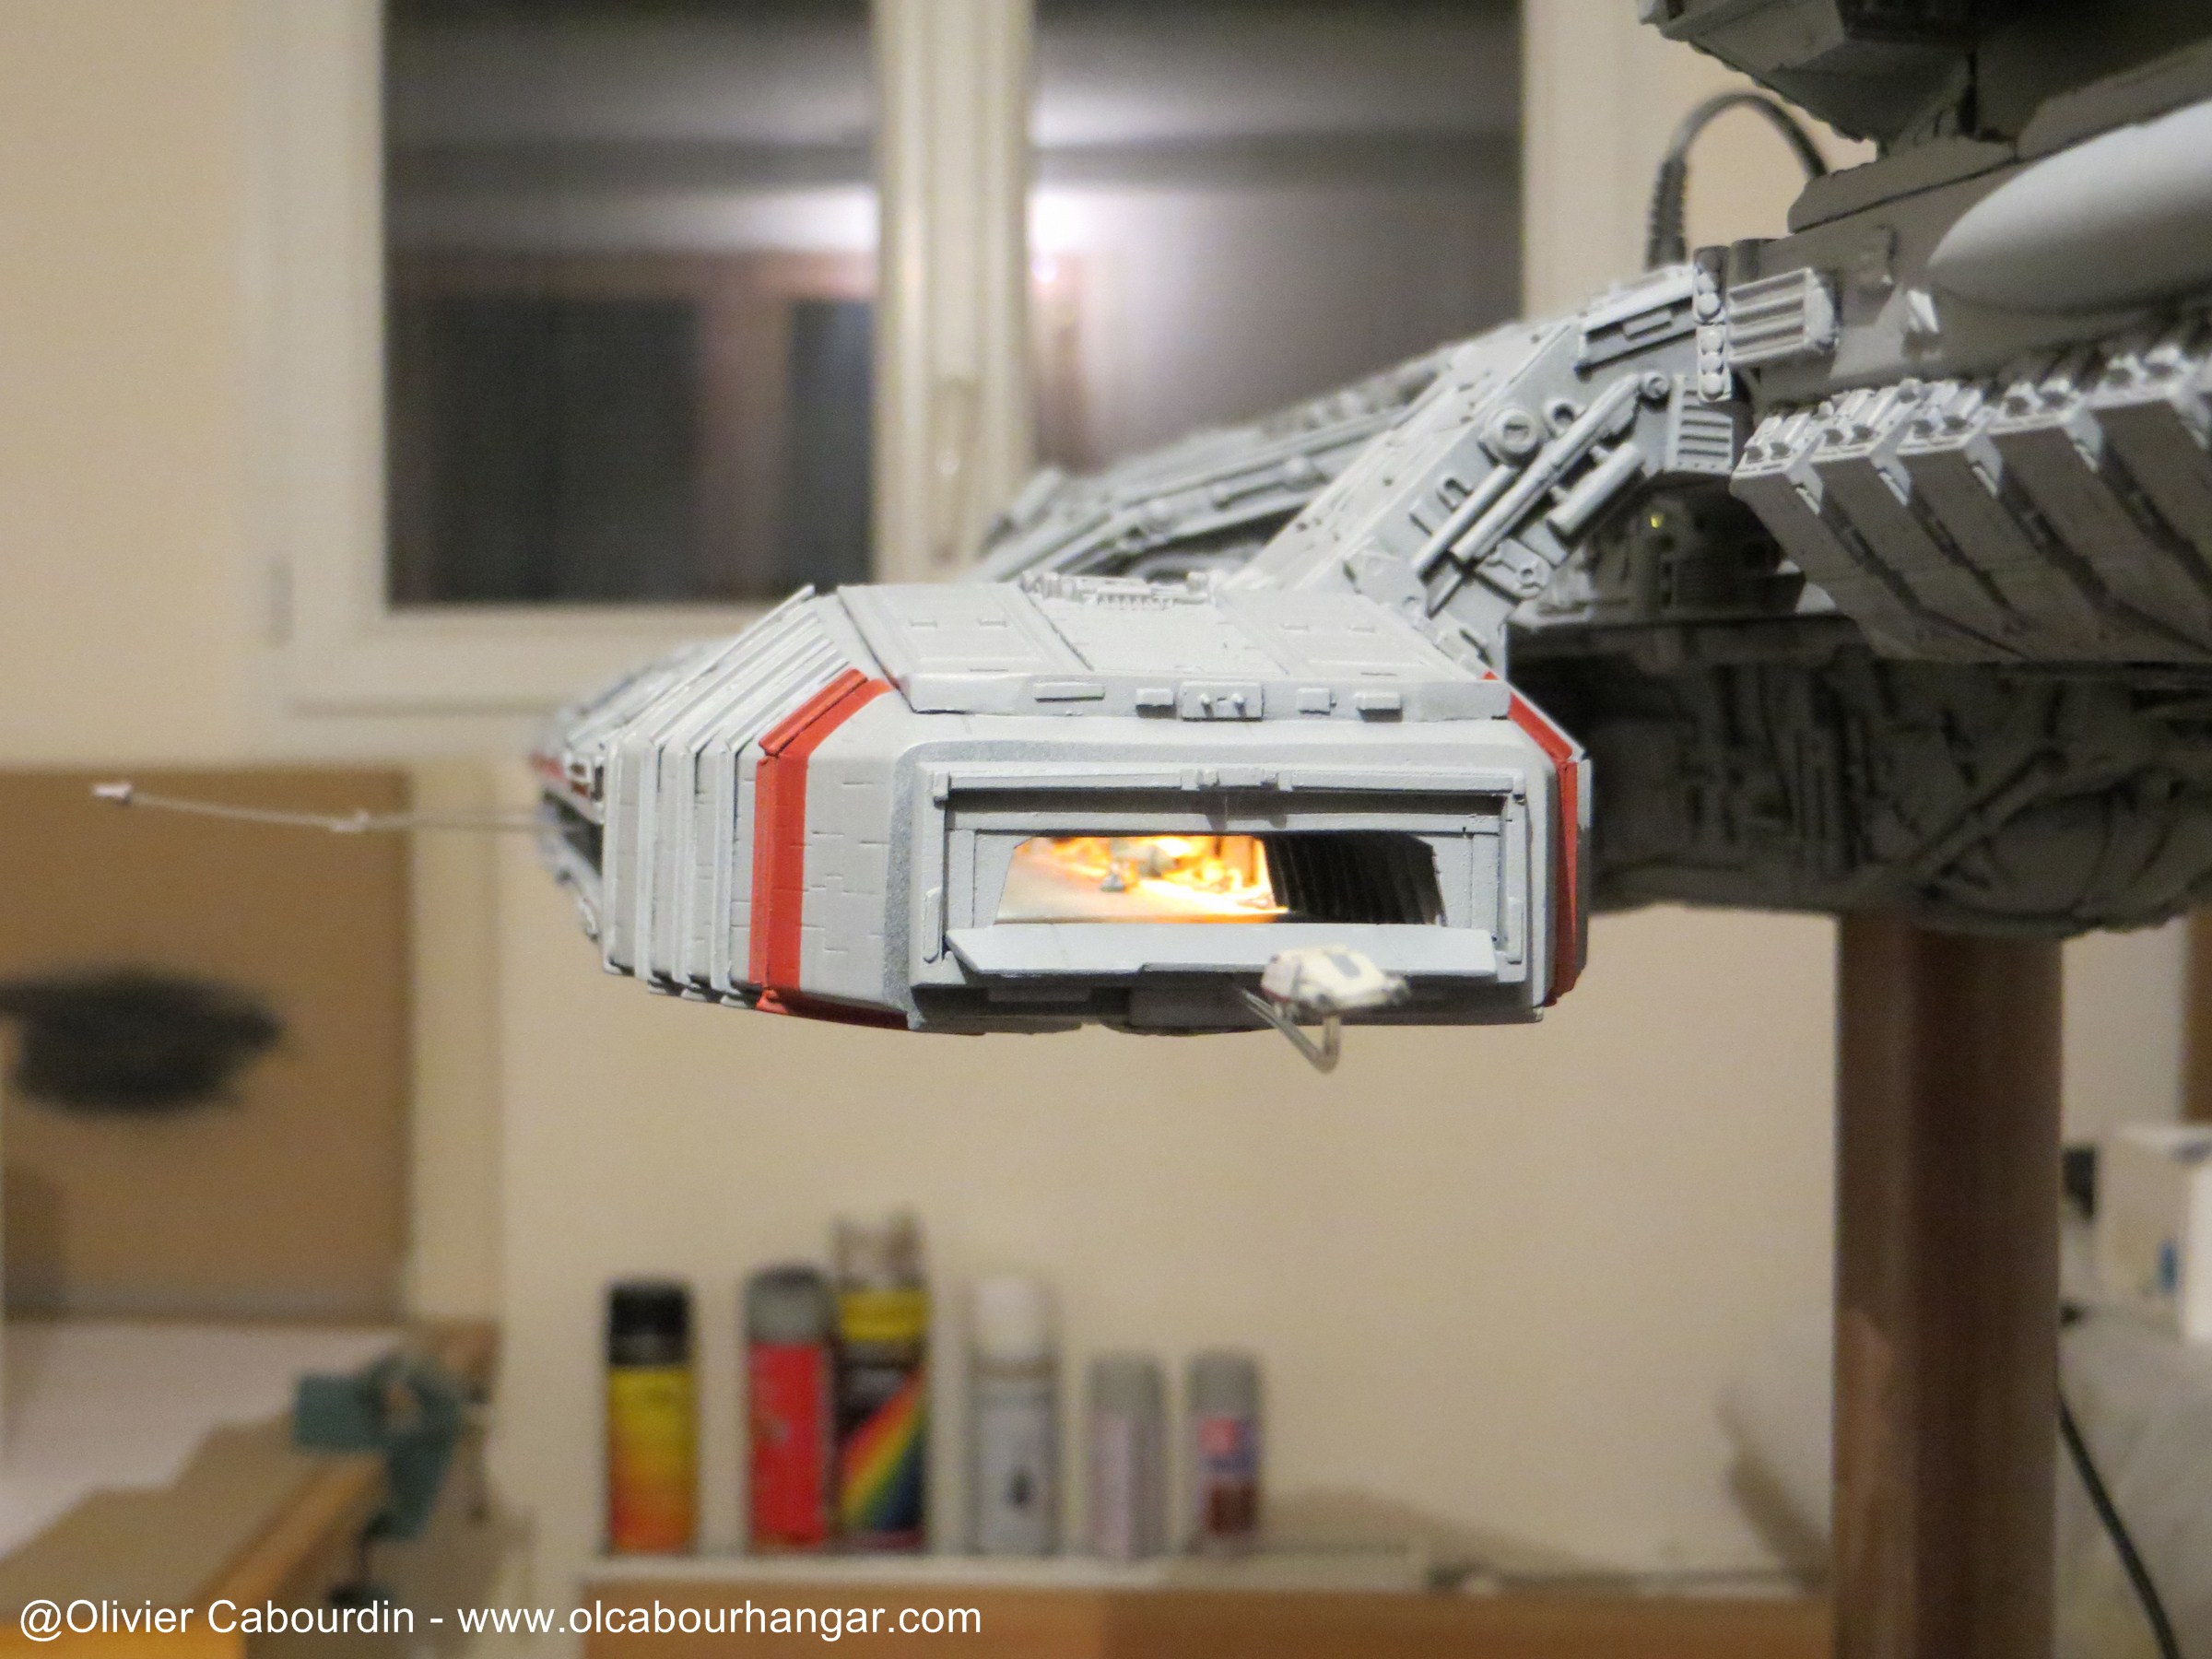
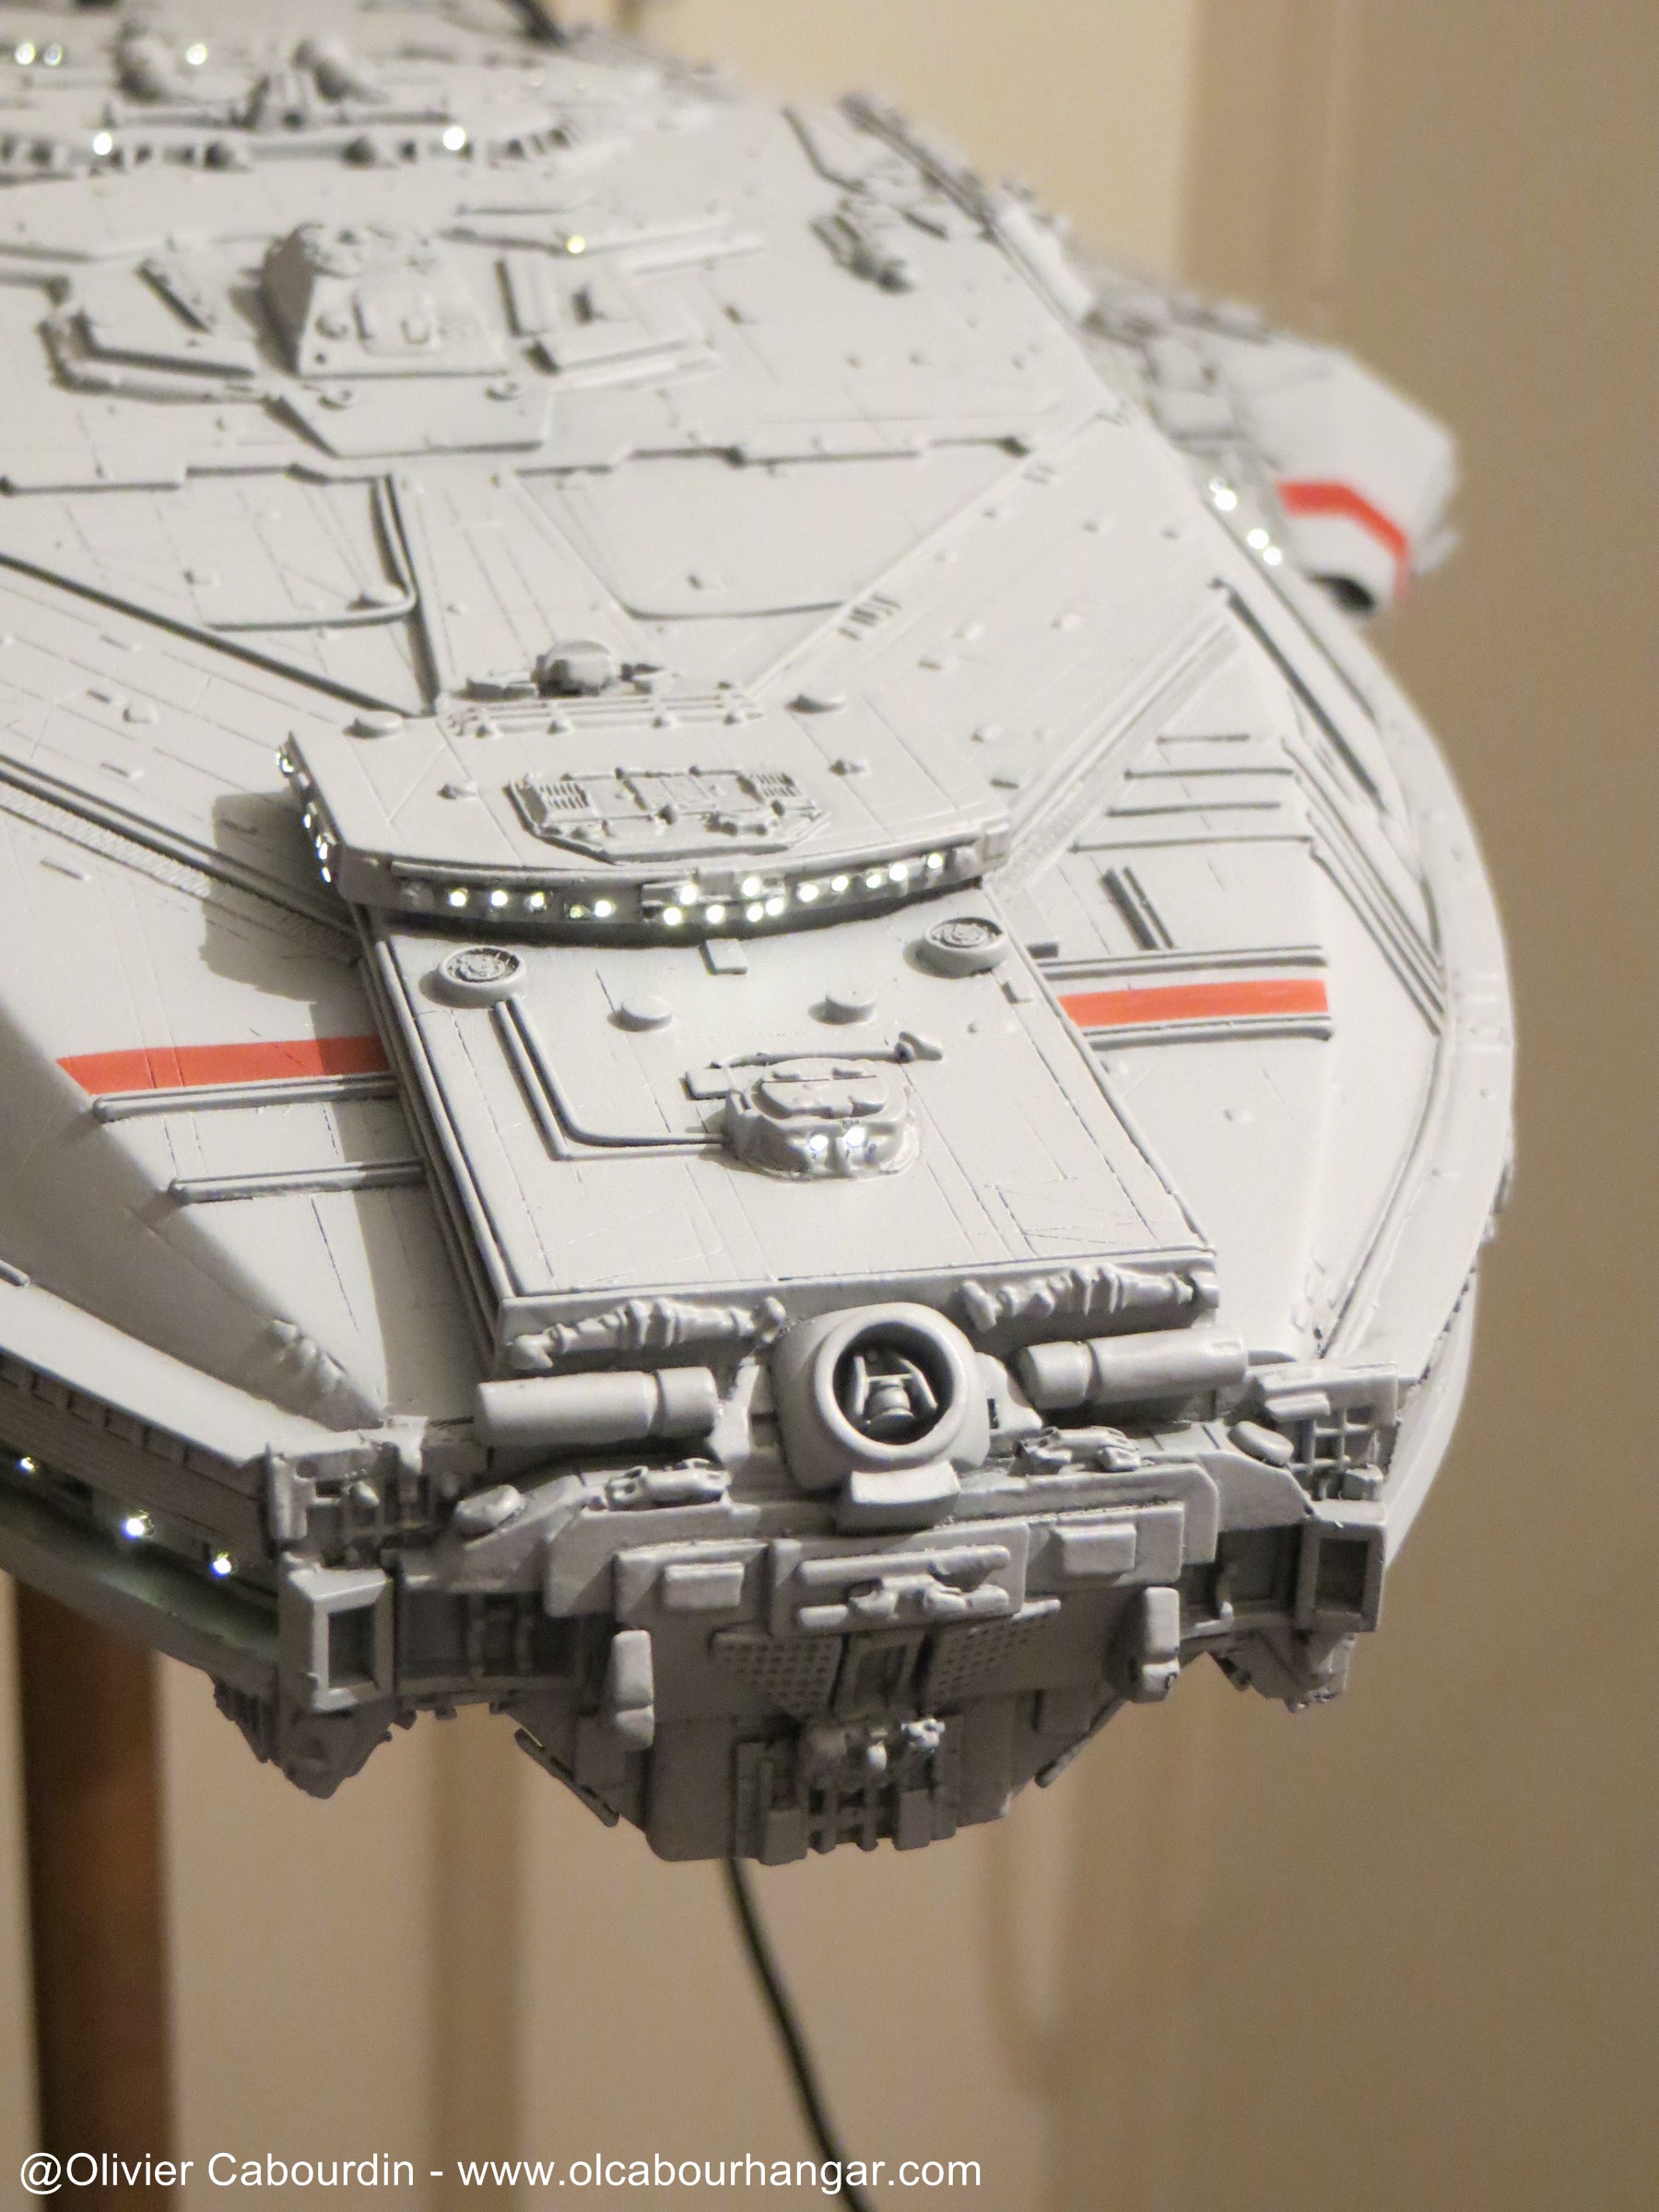
The bridge:

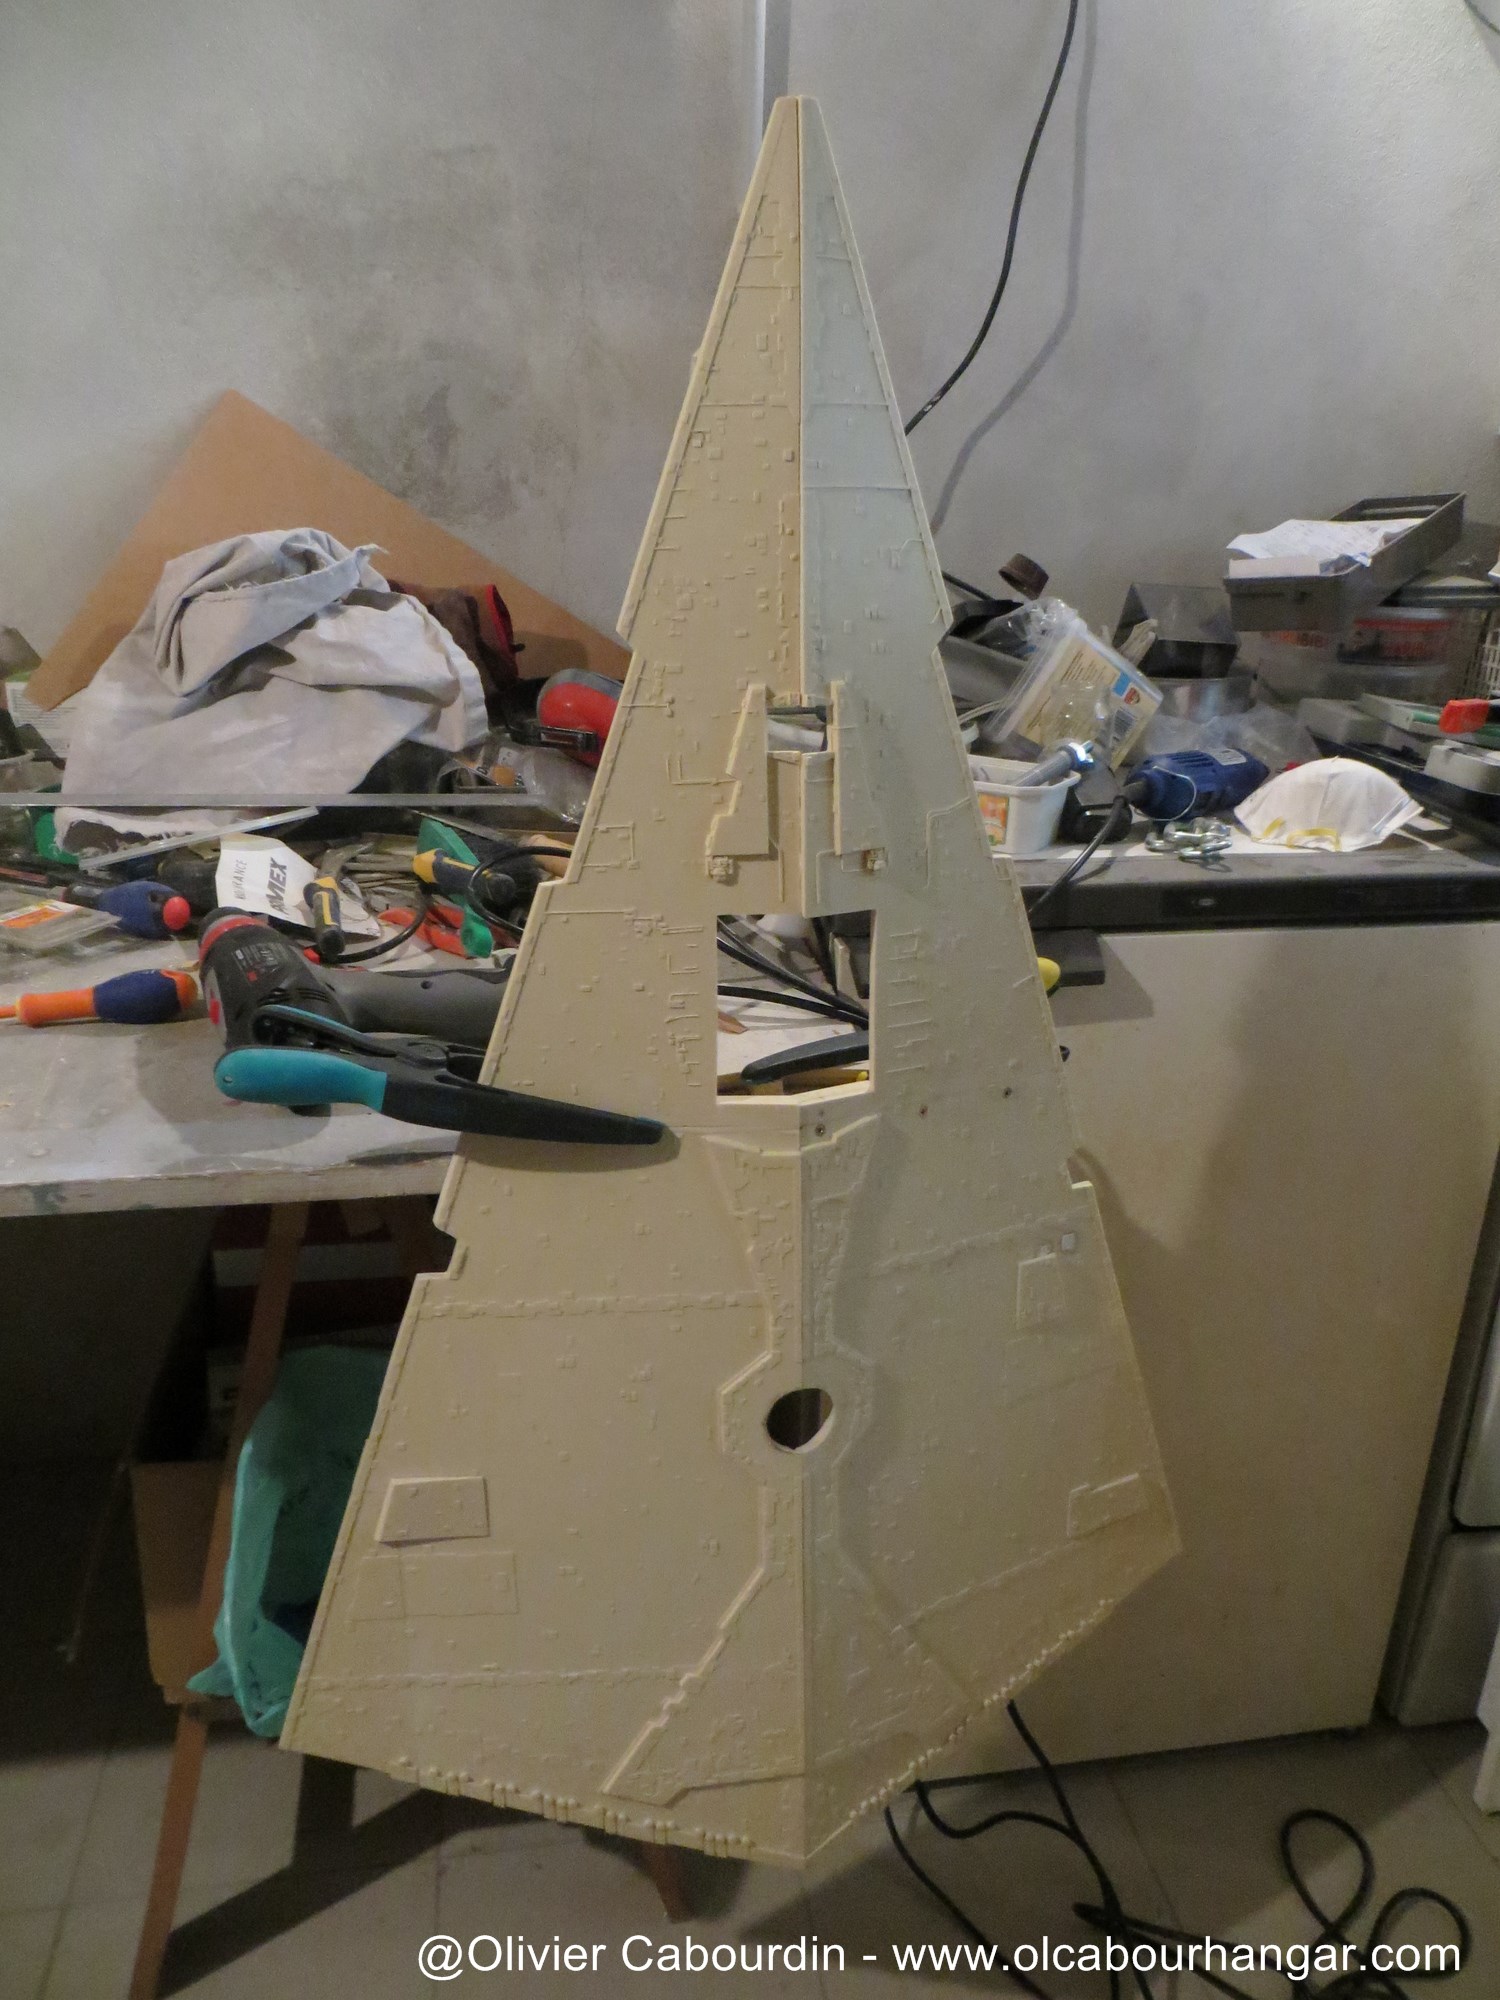
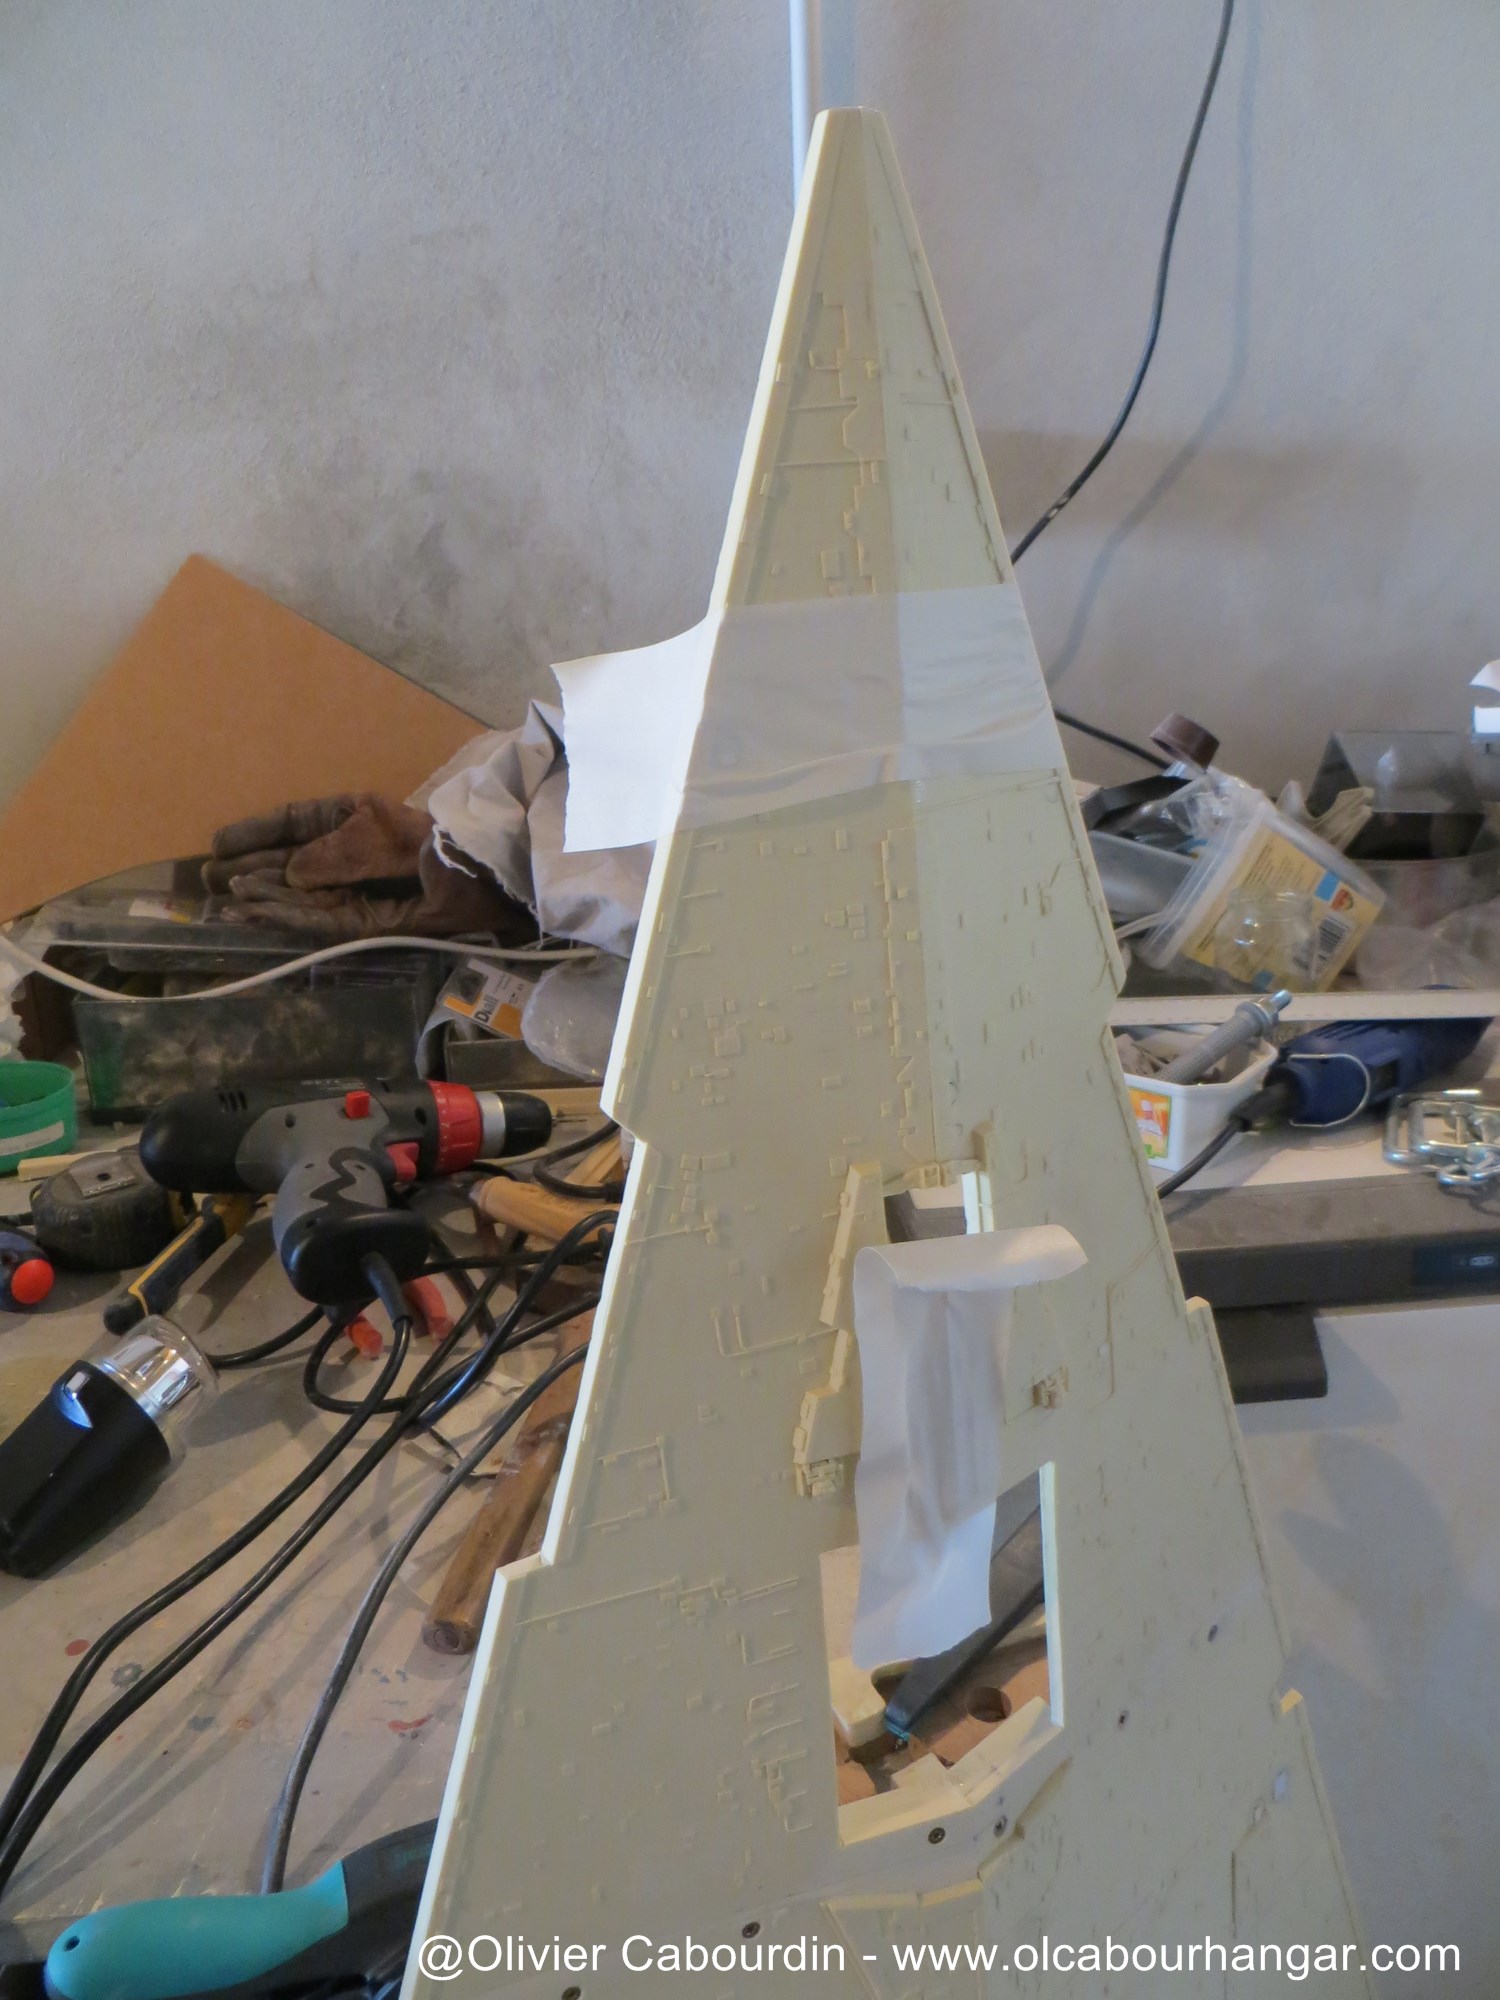
There is a slight offset on the neck (which I hope to correct in hot water)
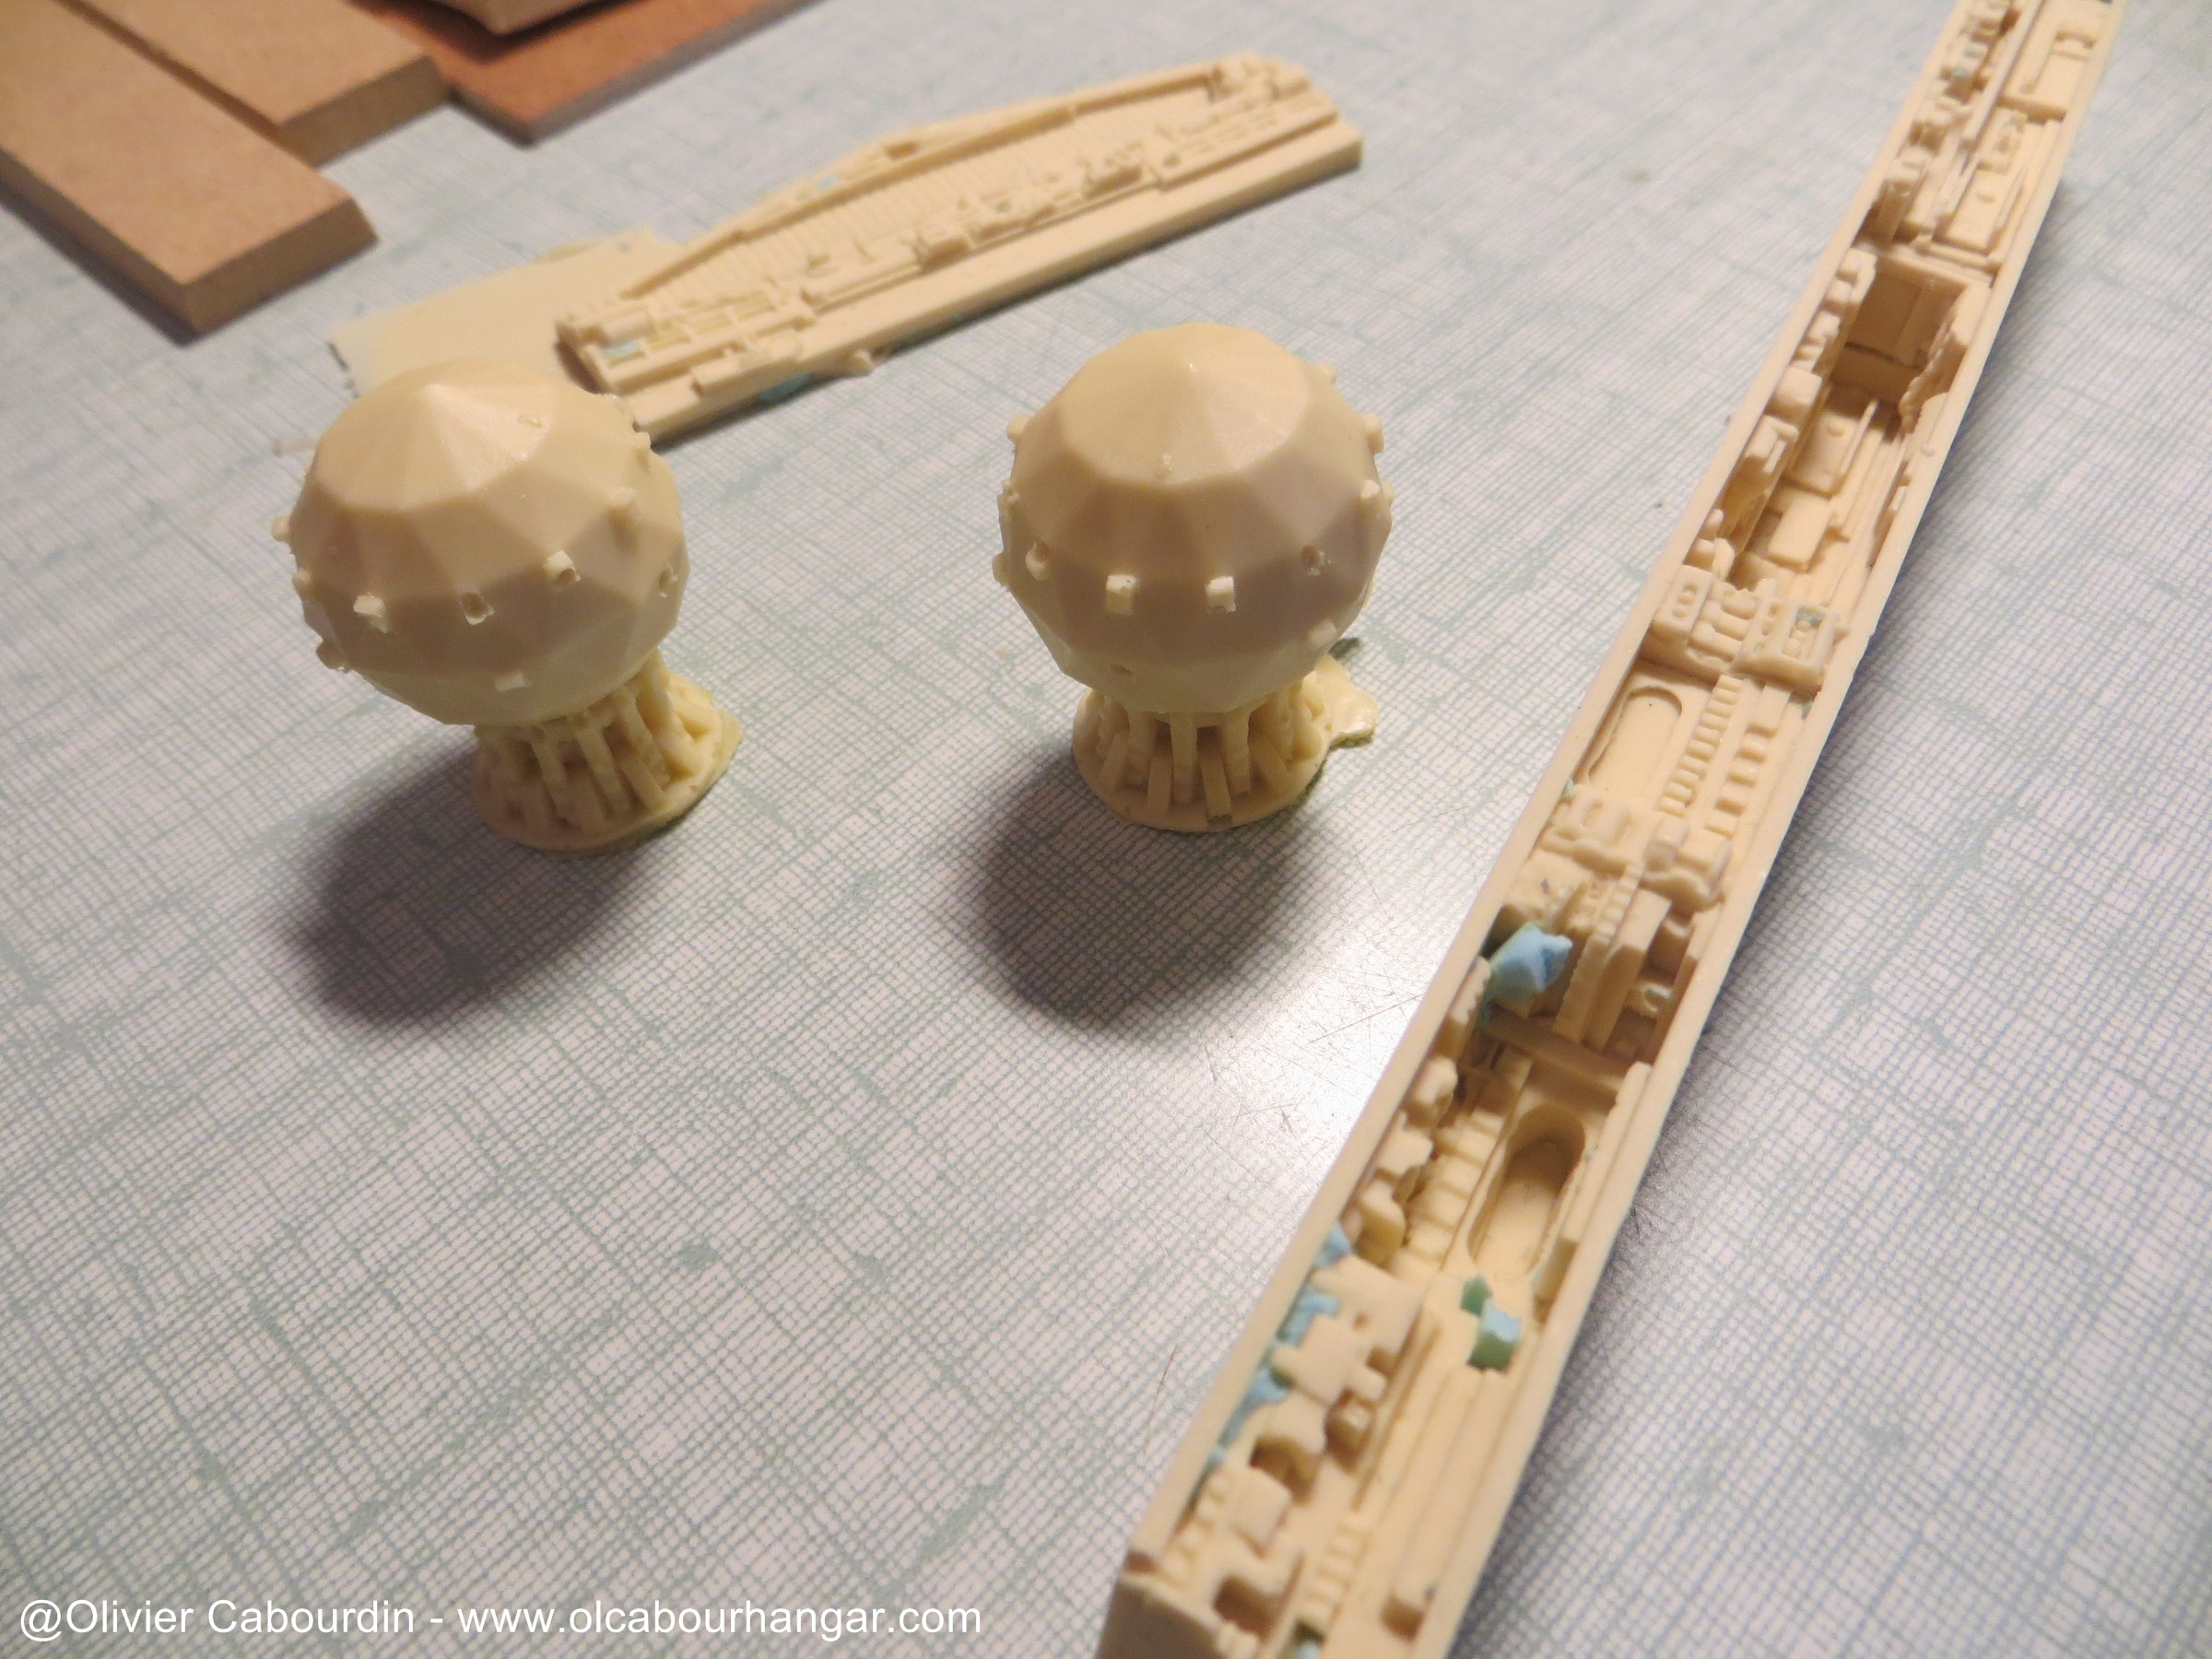
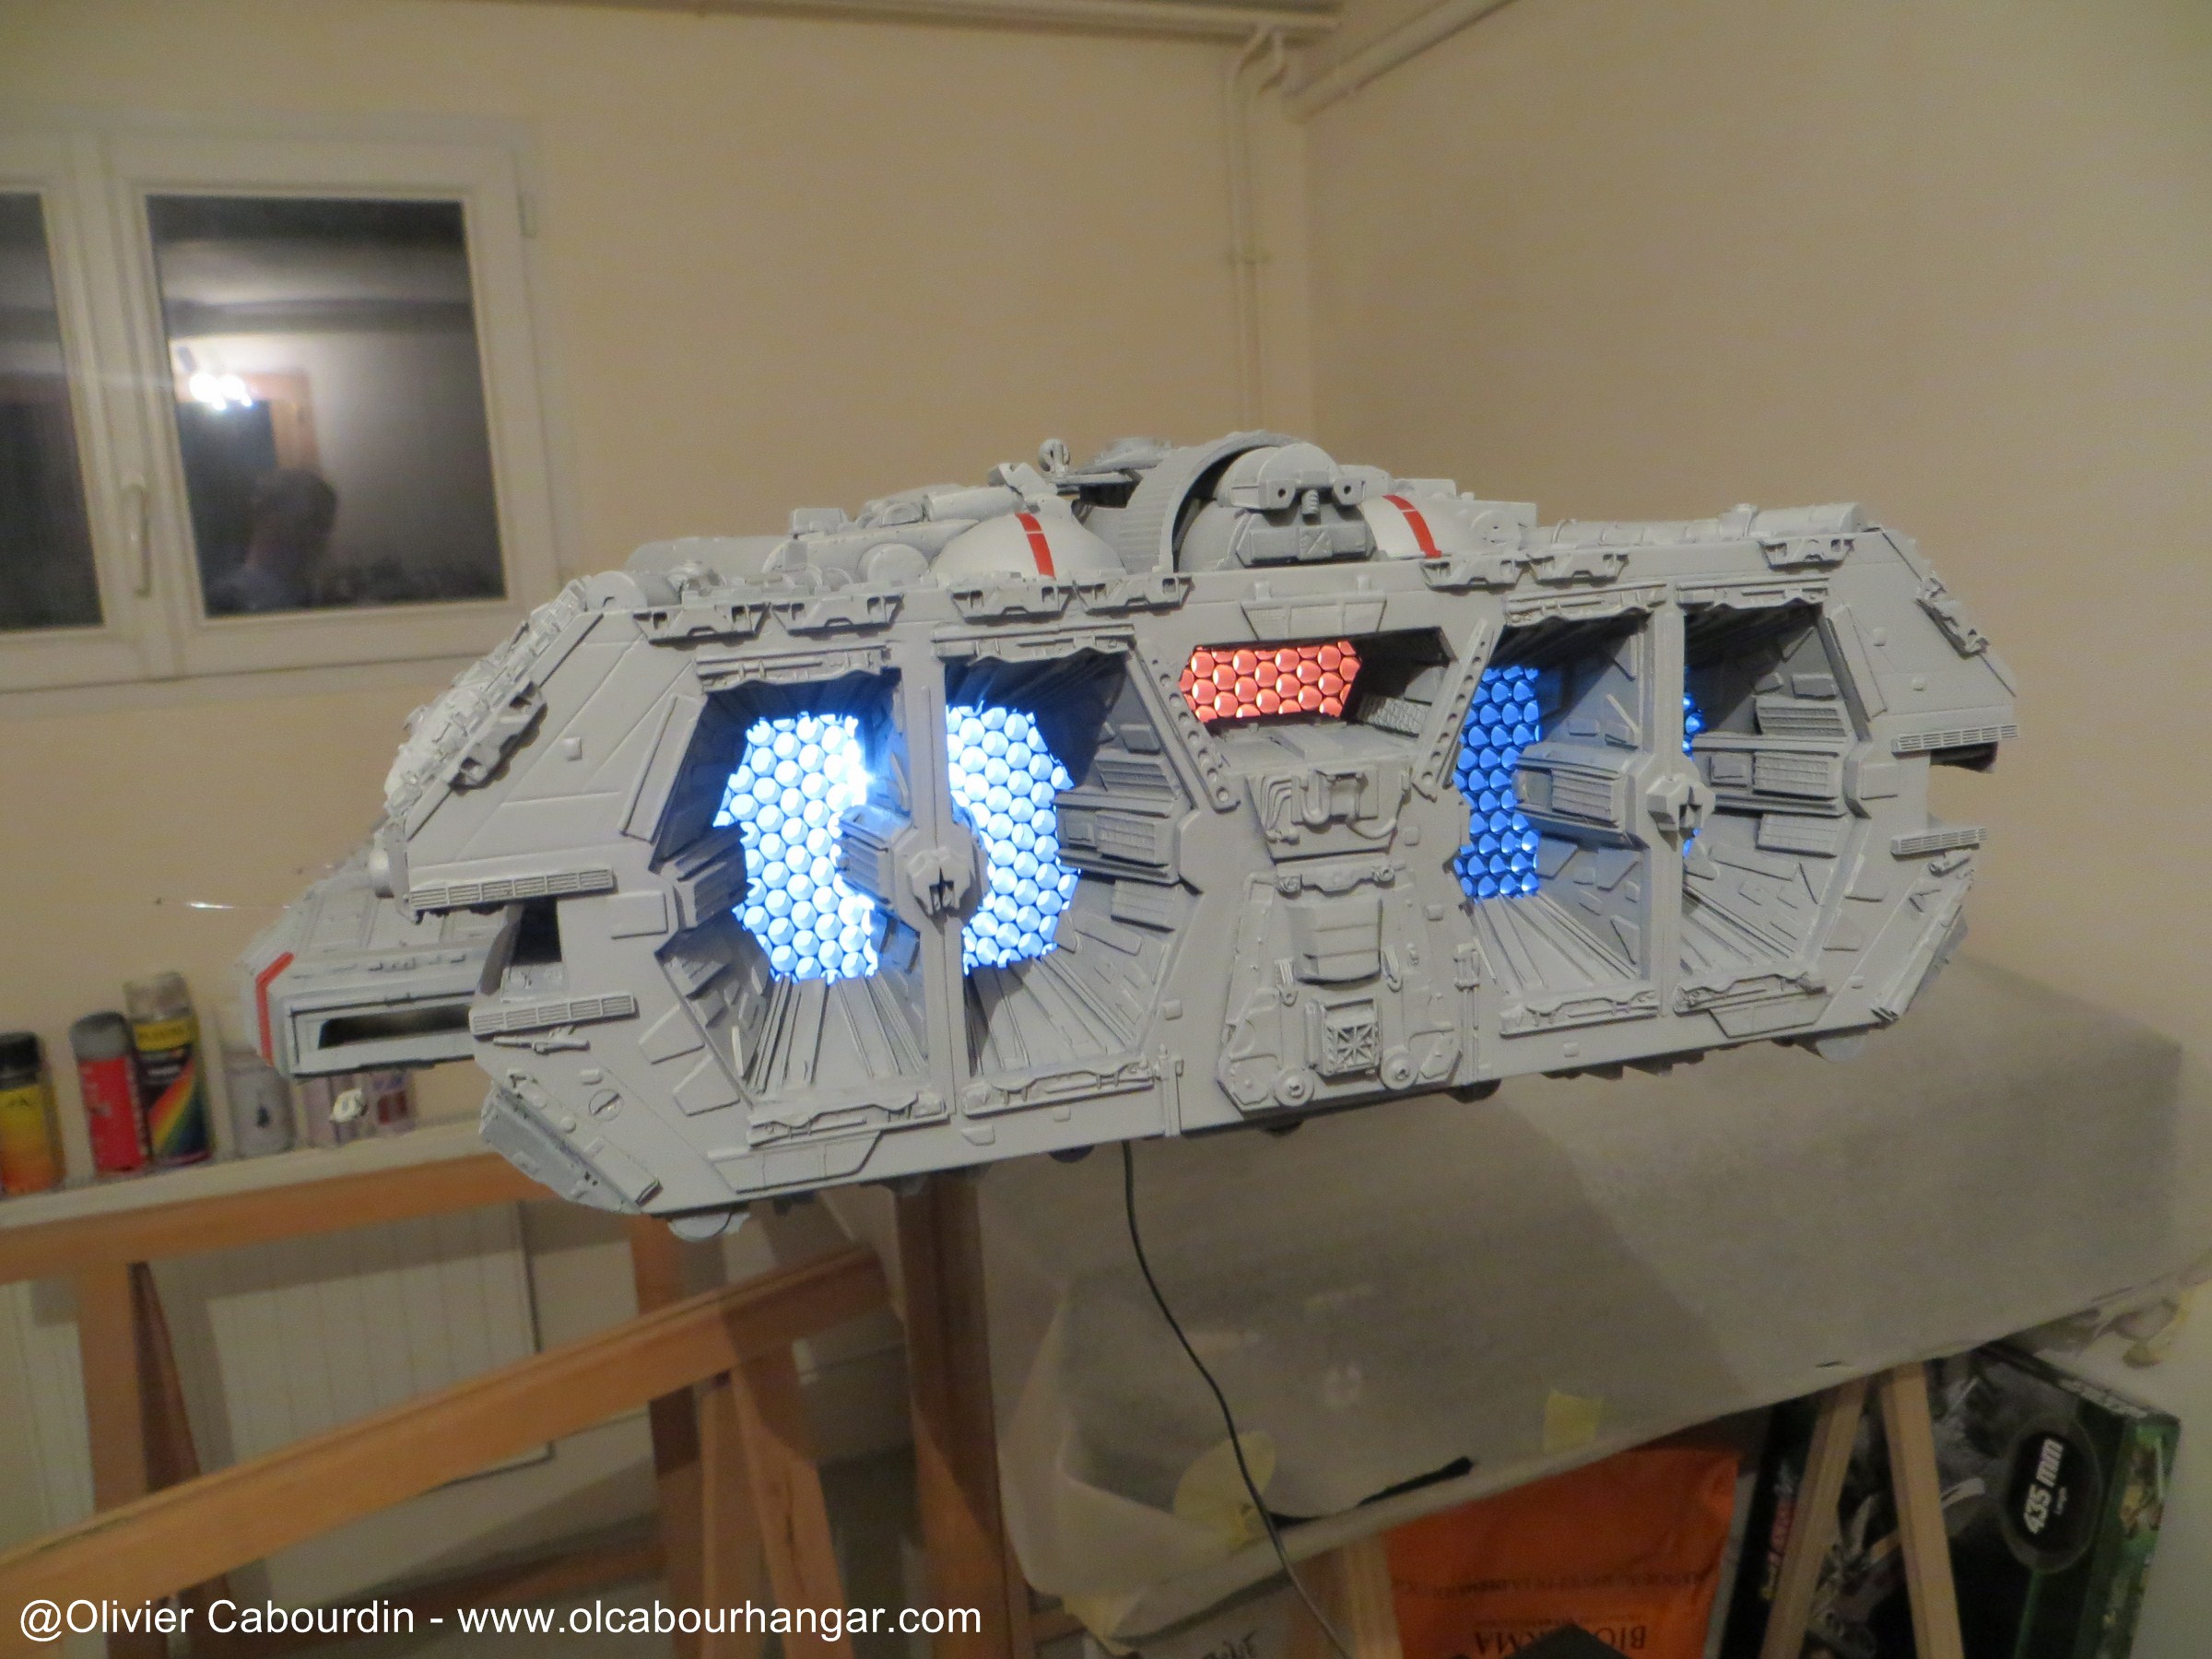
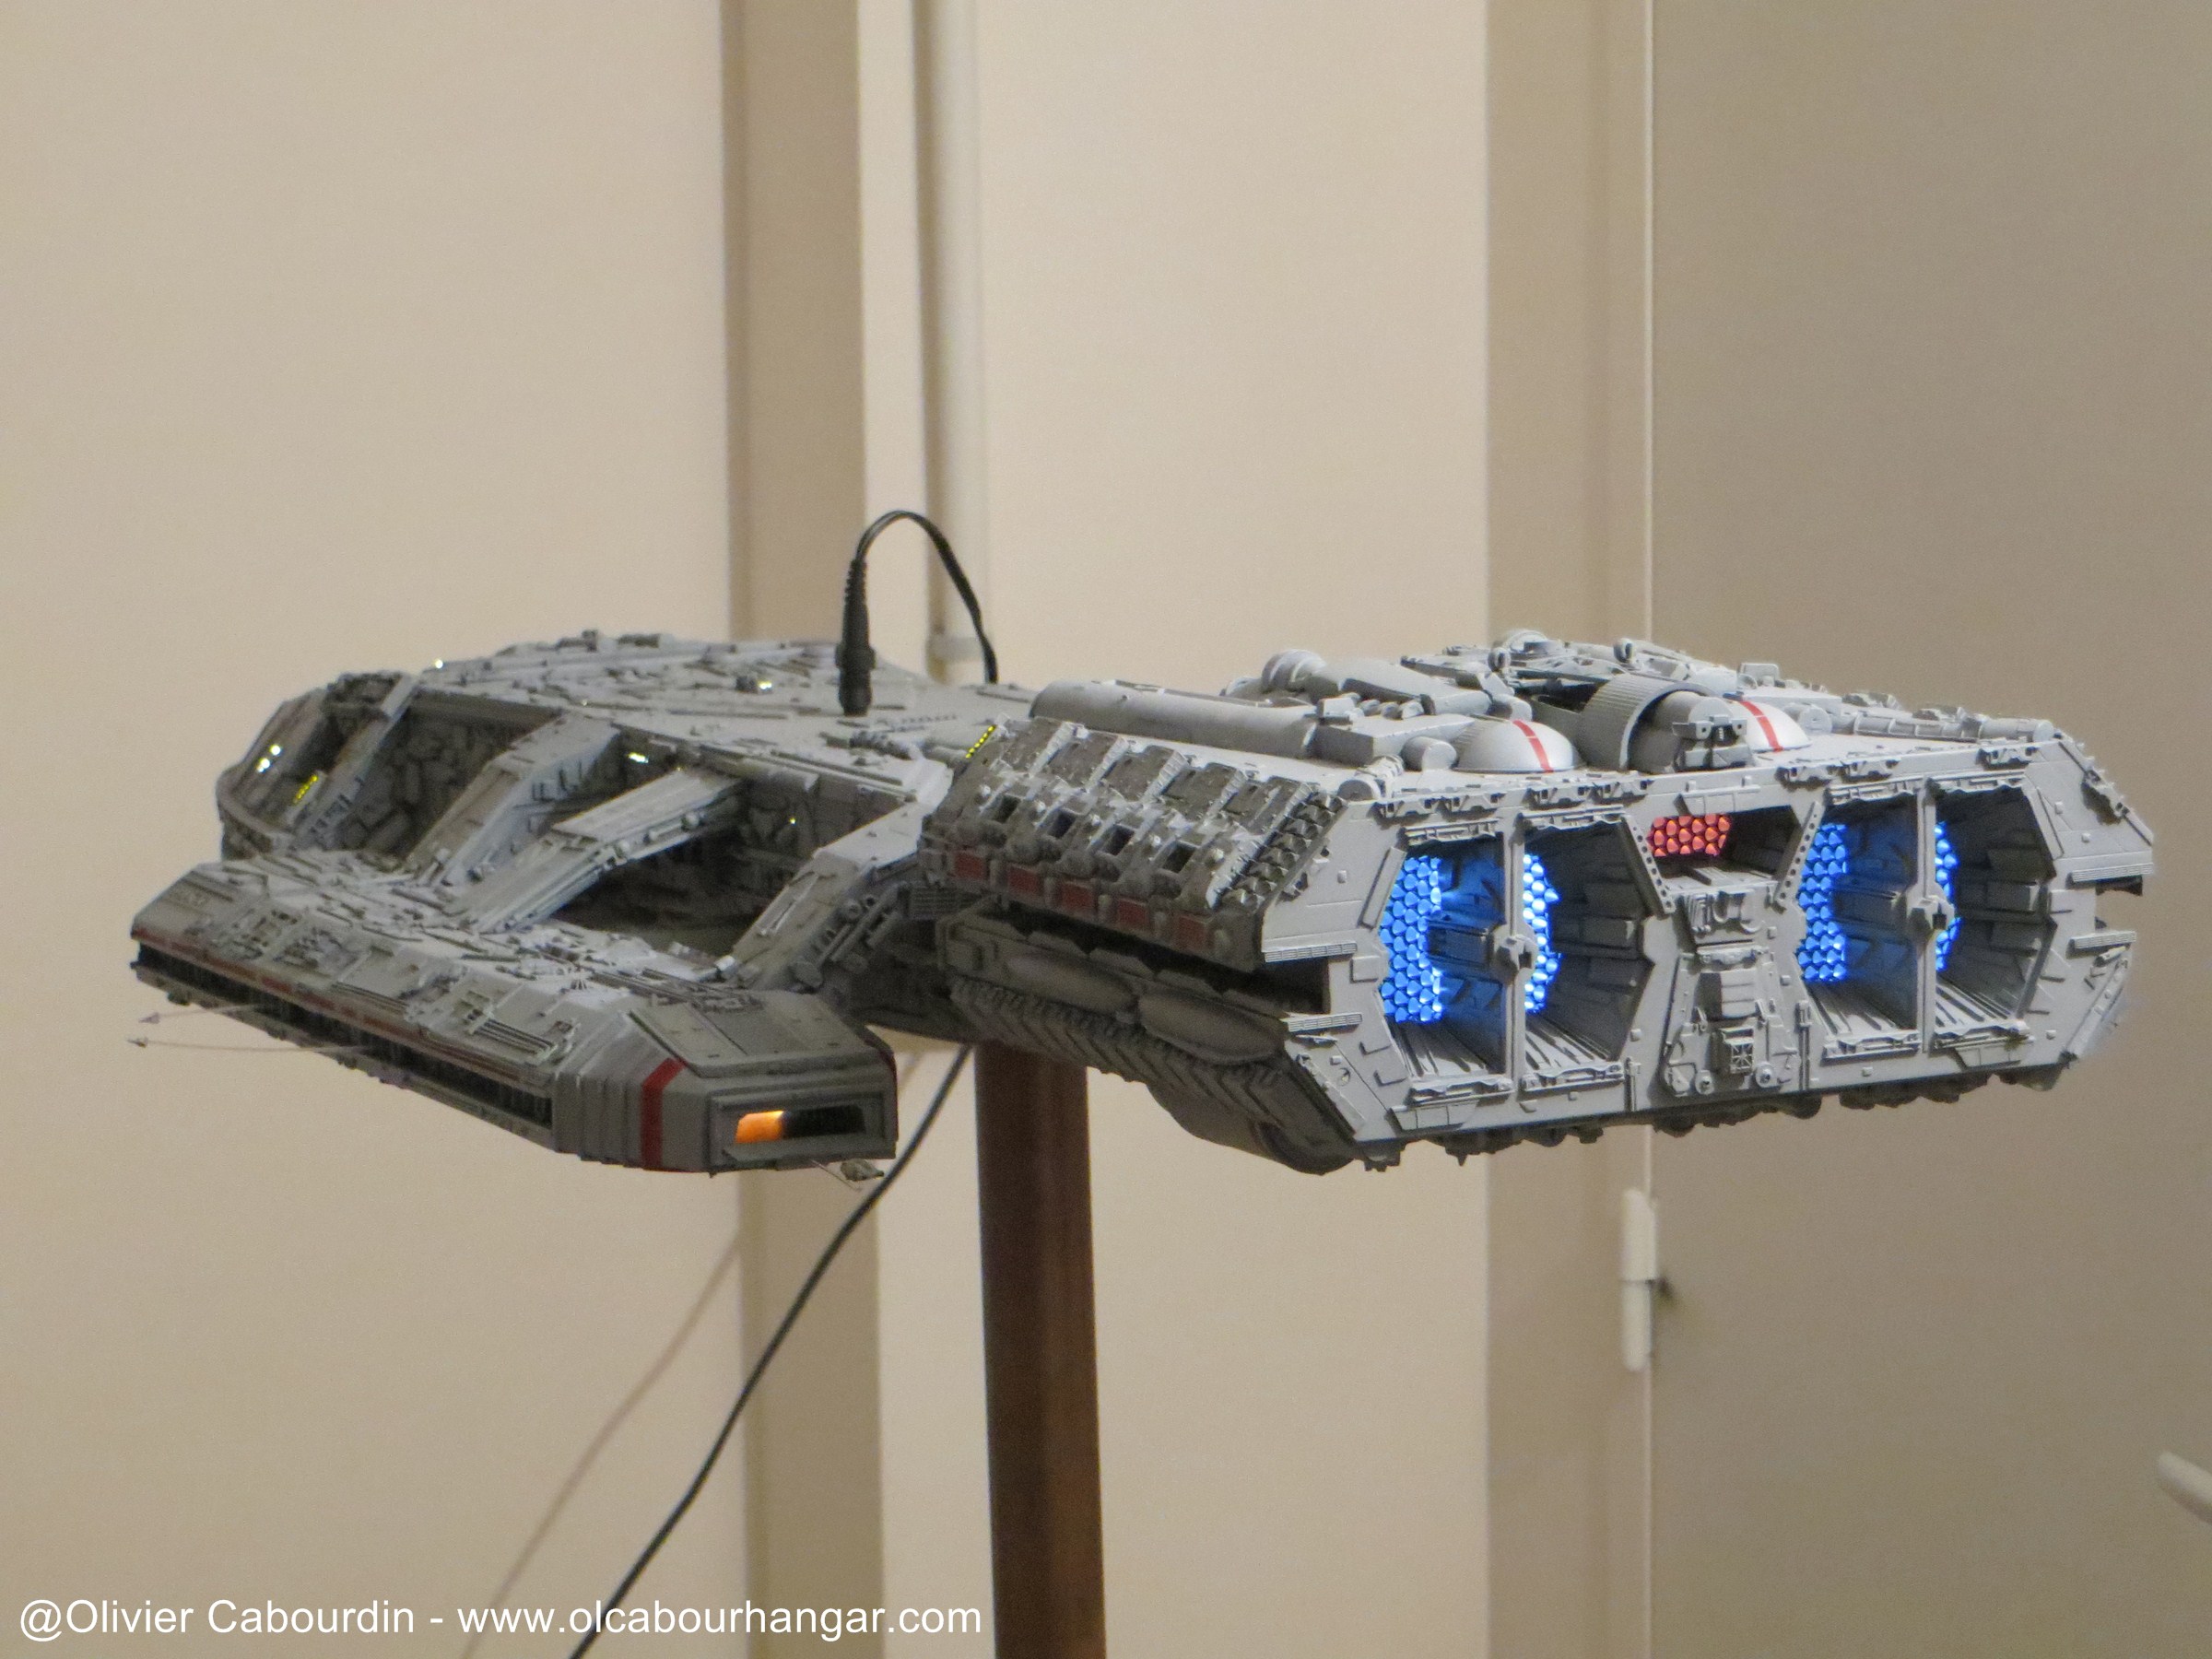
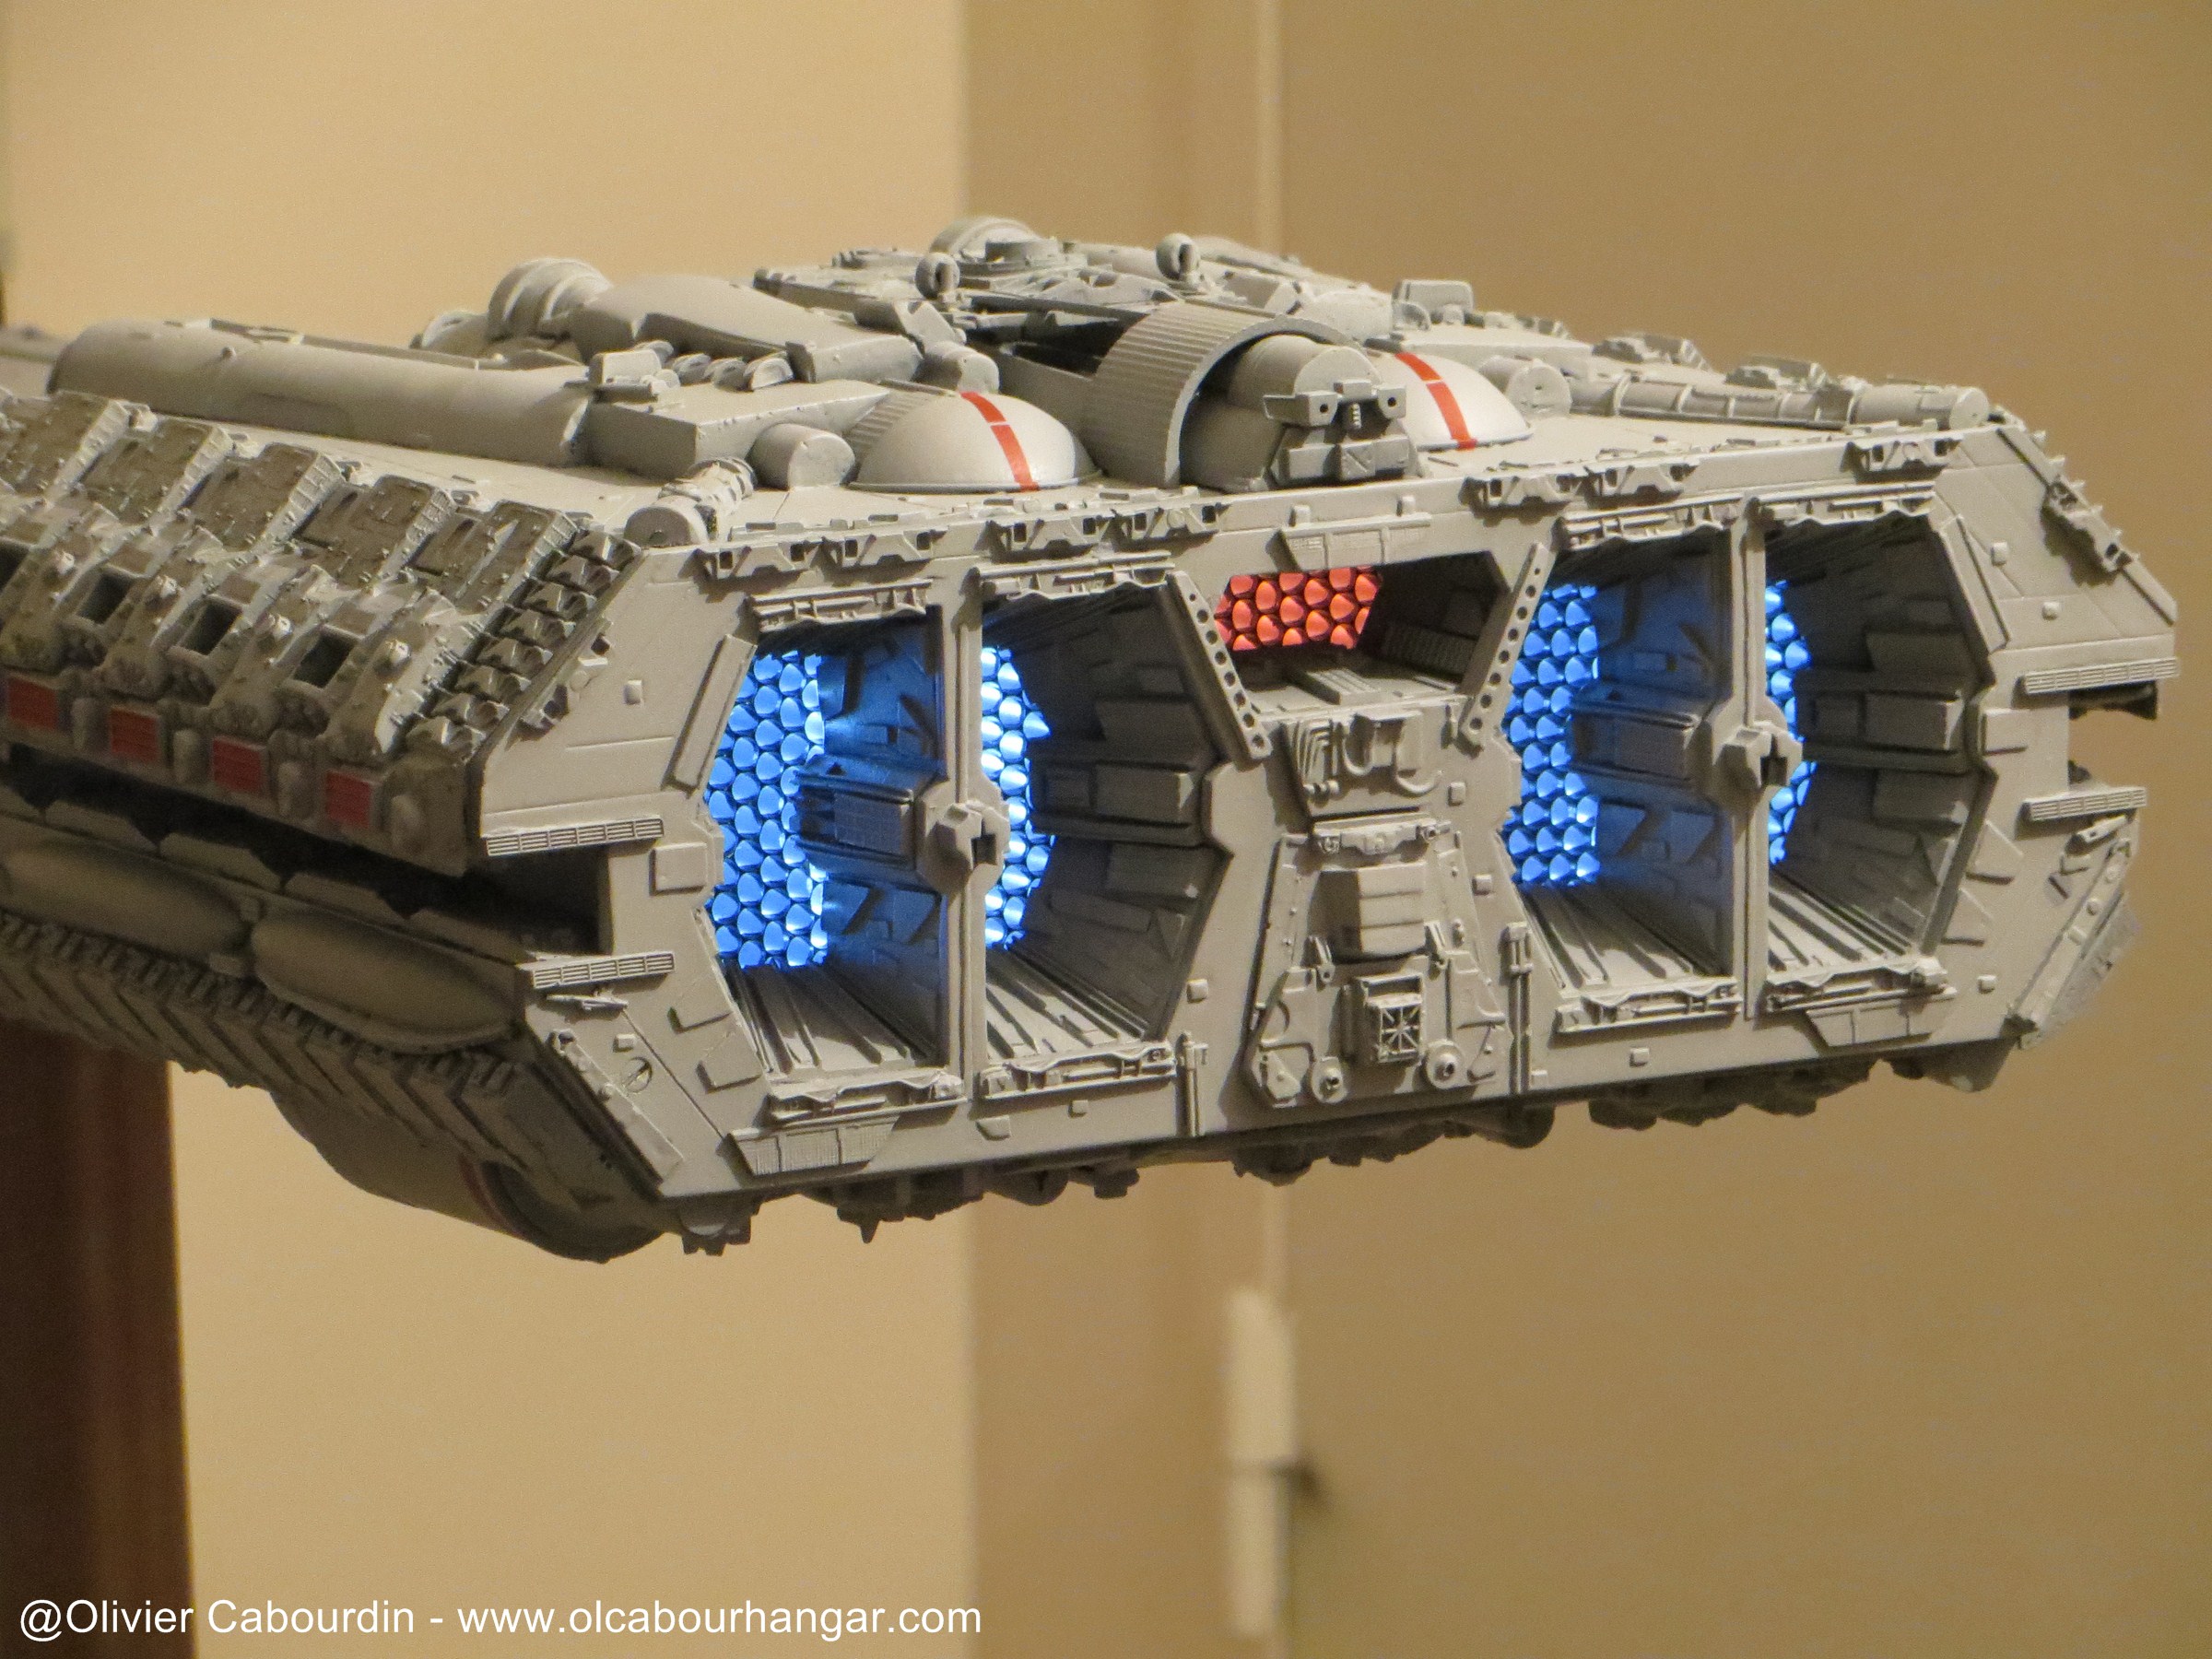
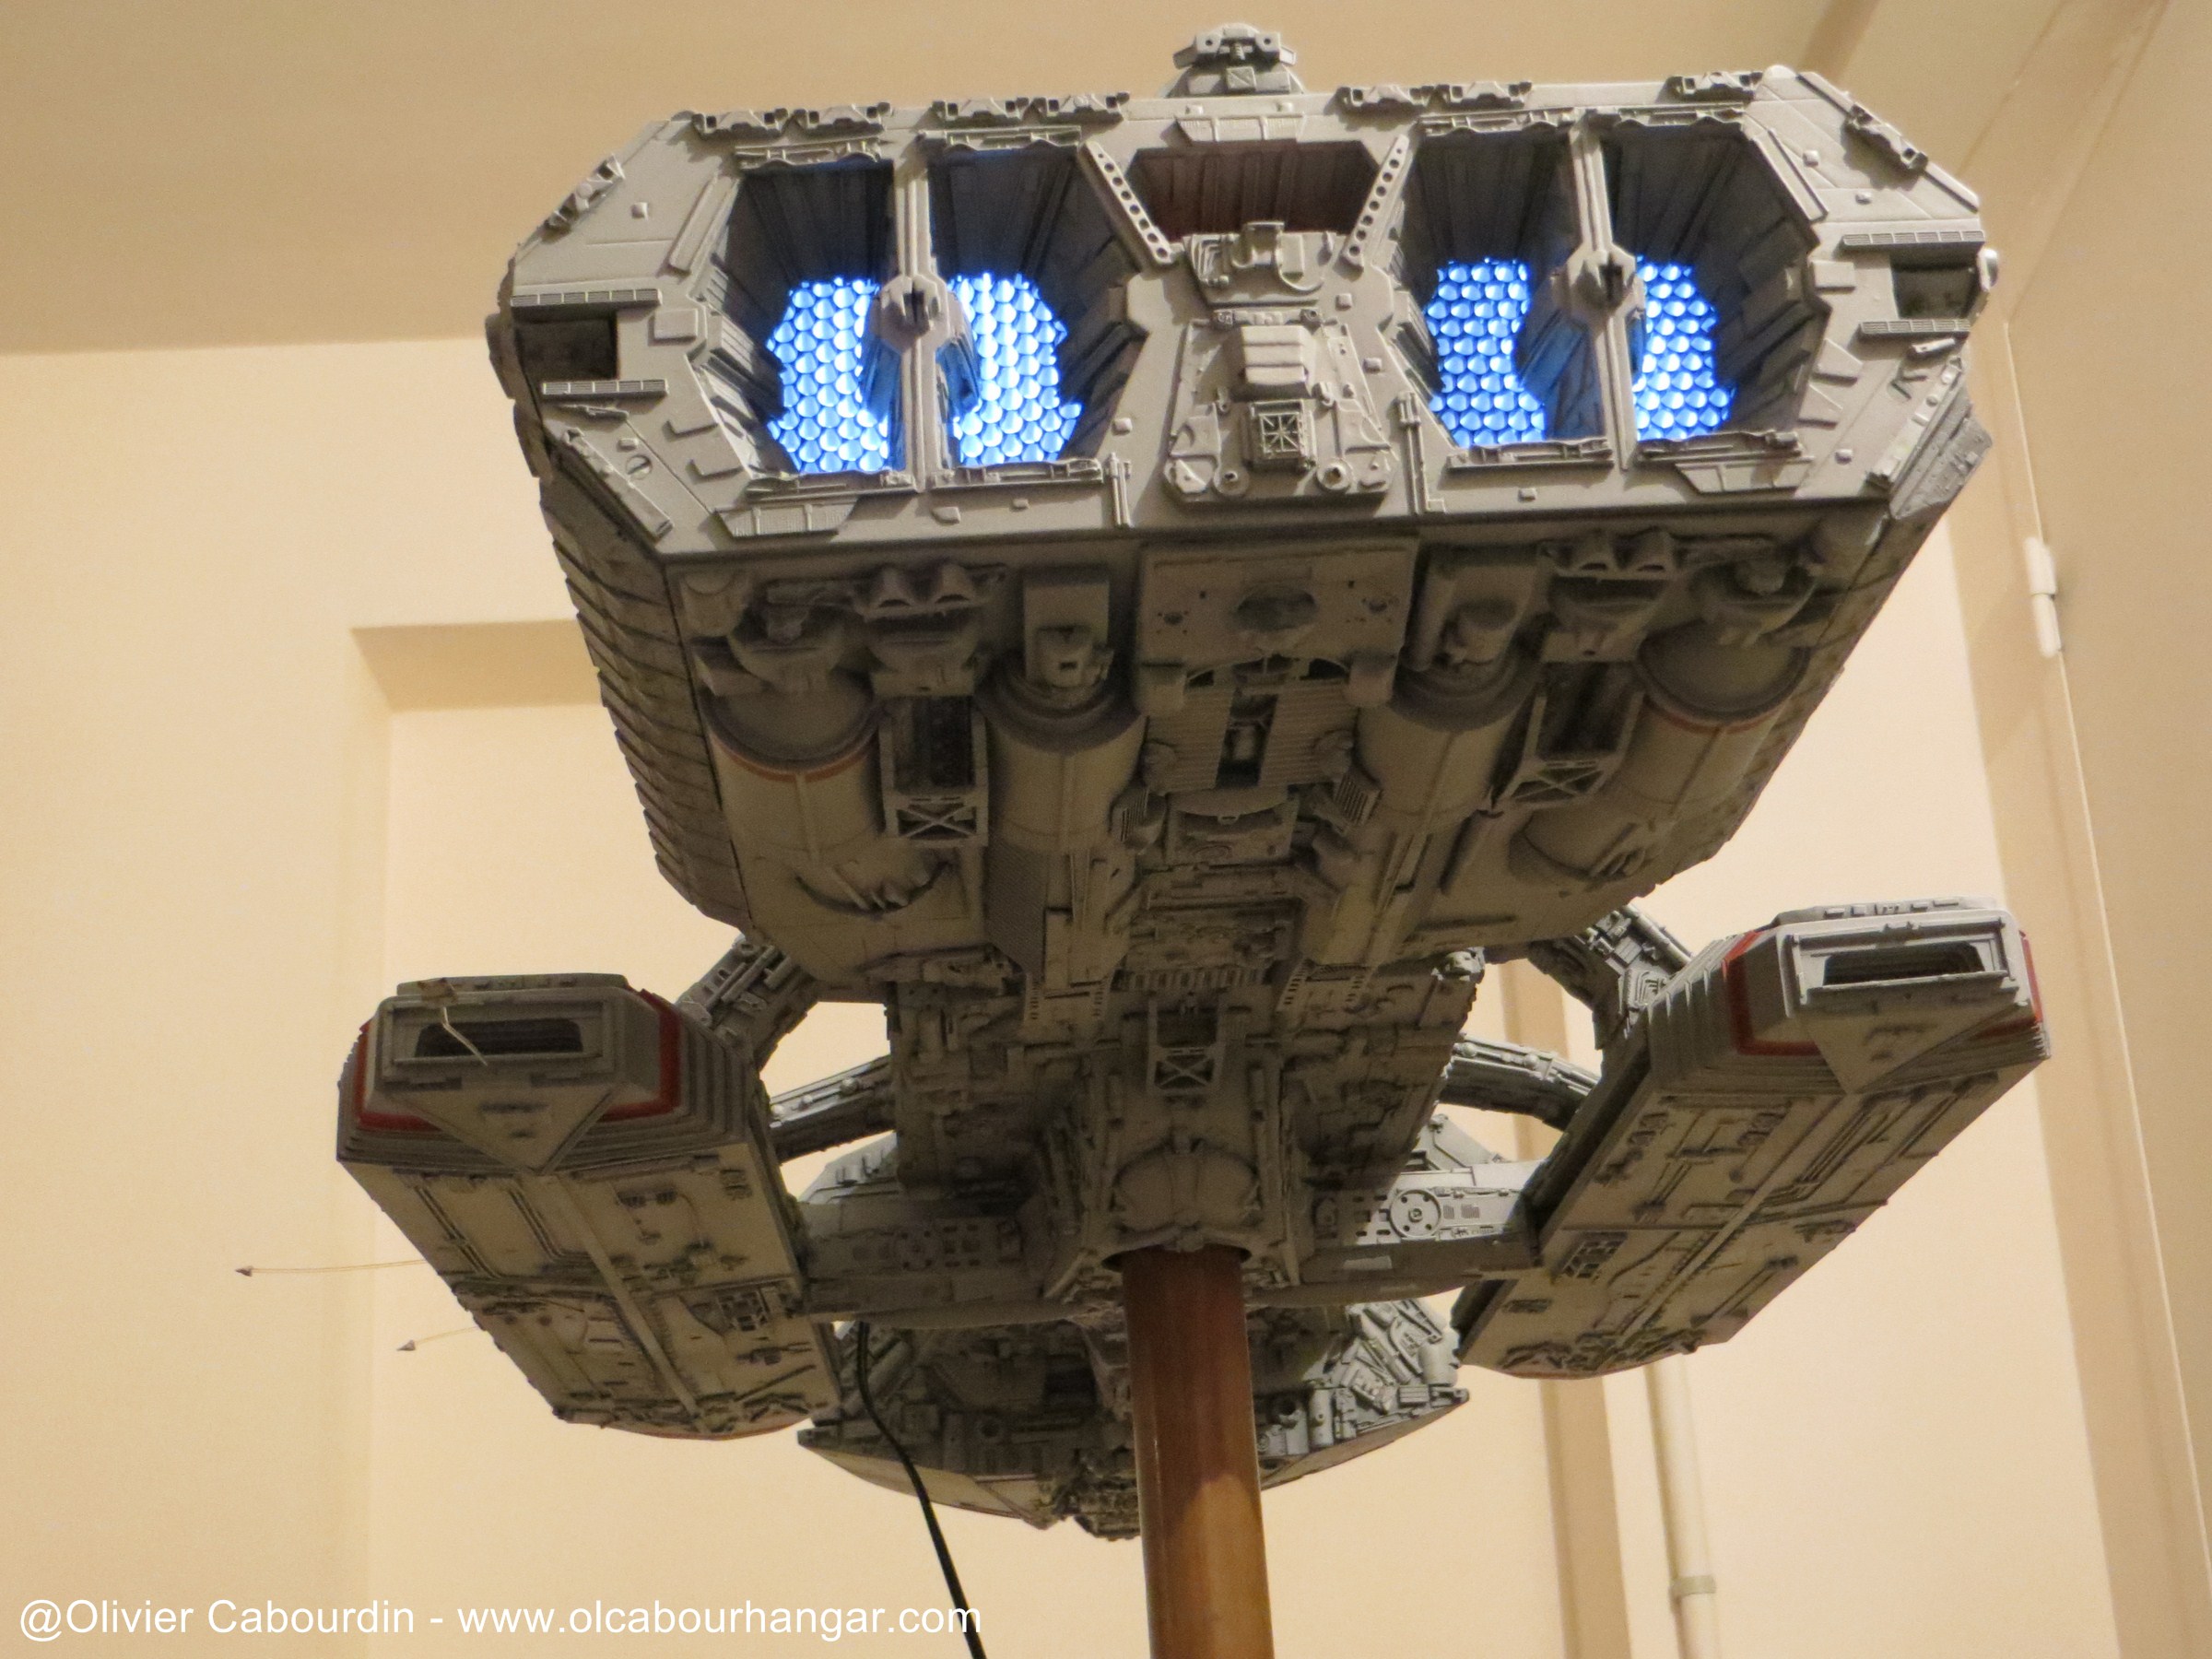
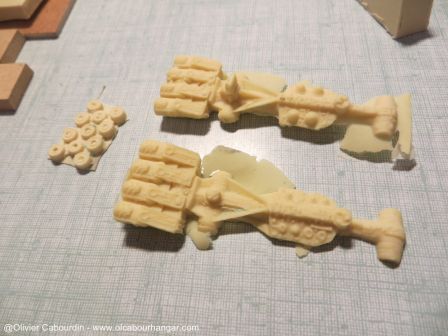
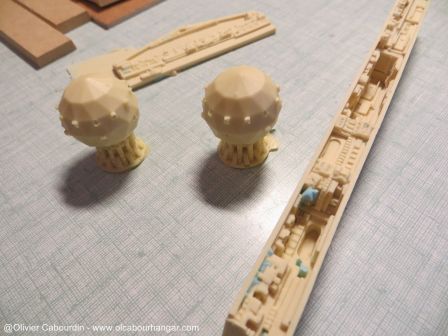
The rest of the parts (shield generators, hangar, nozzles ...)

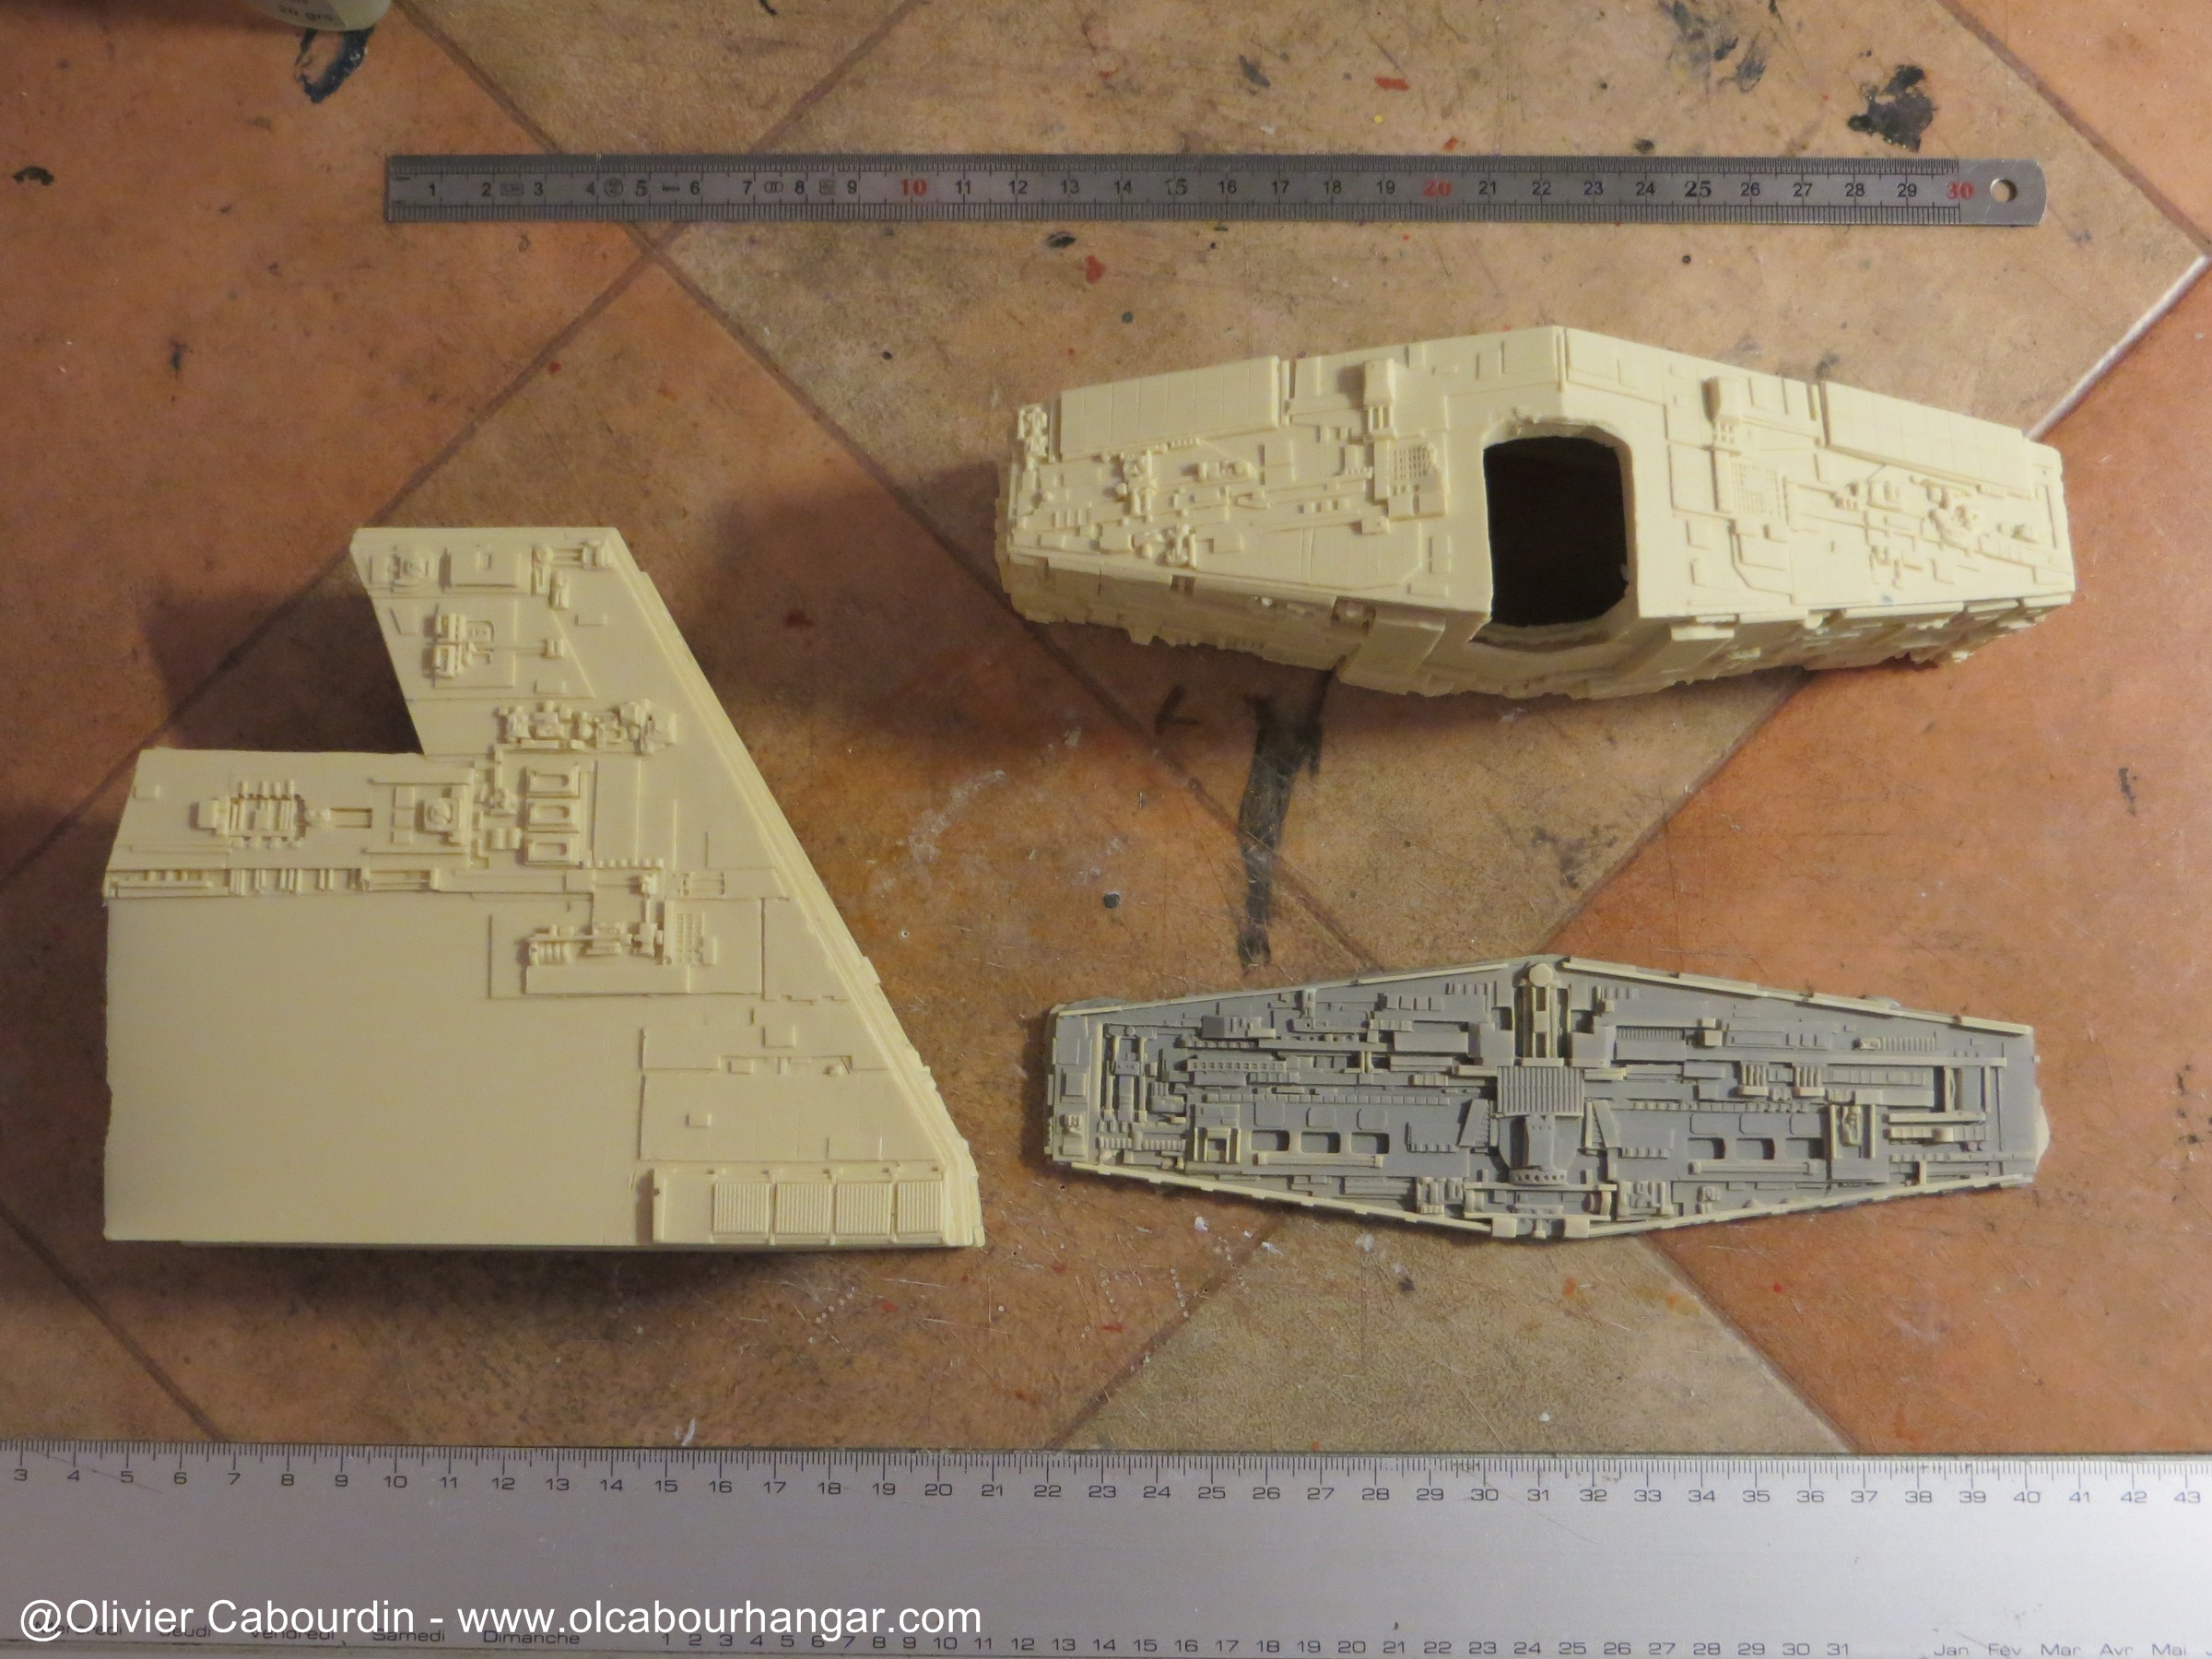
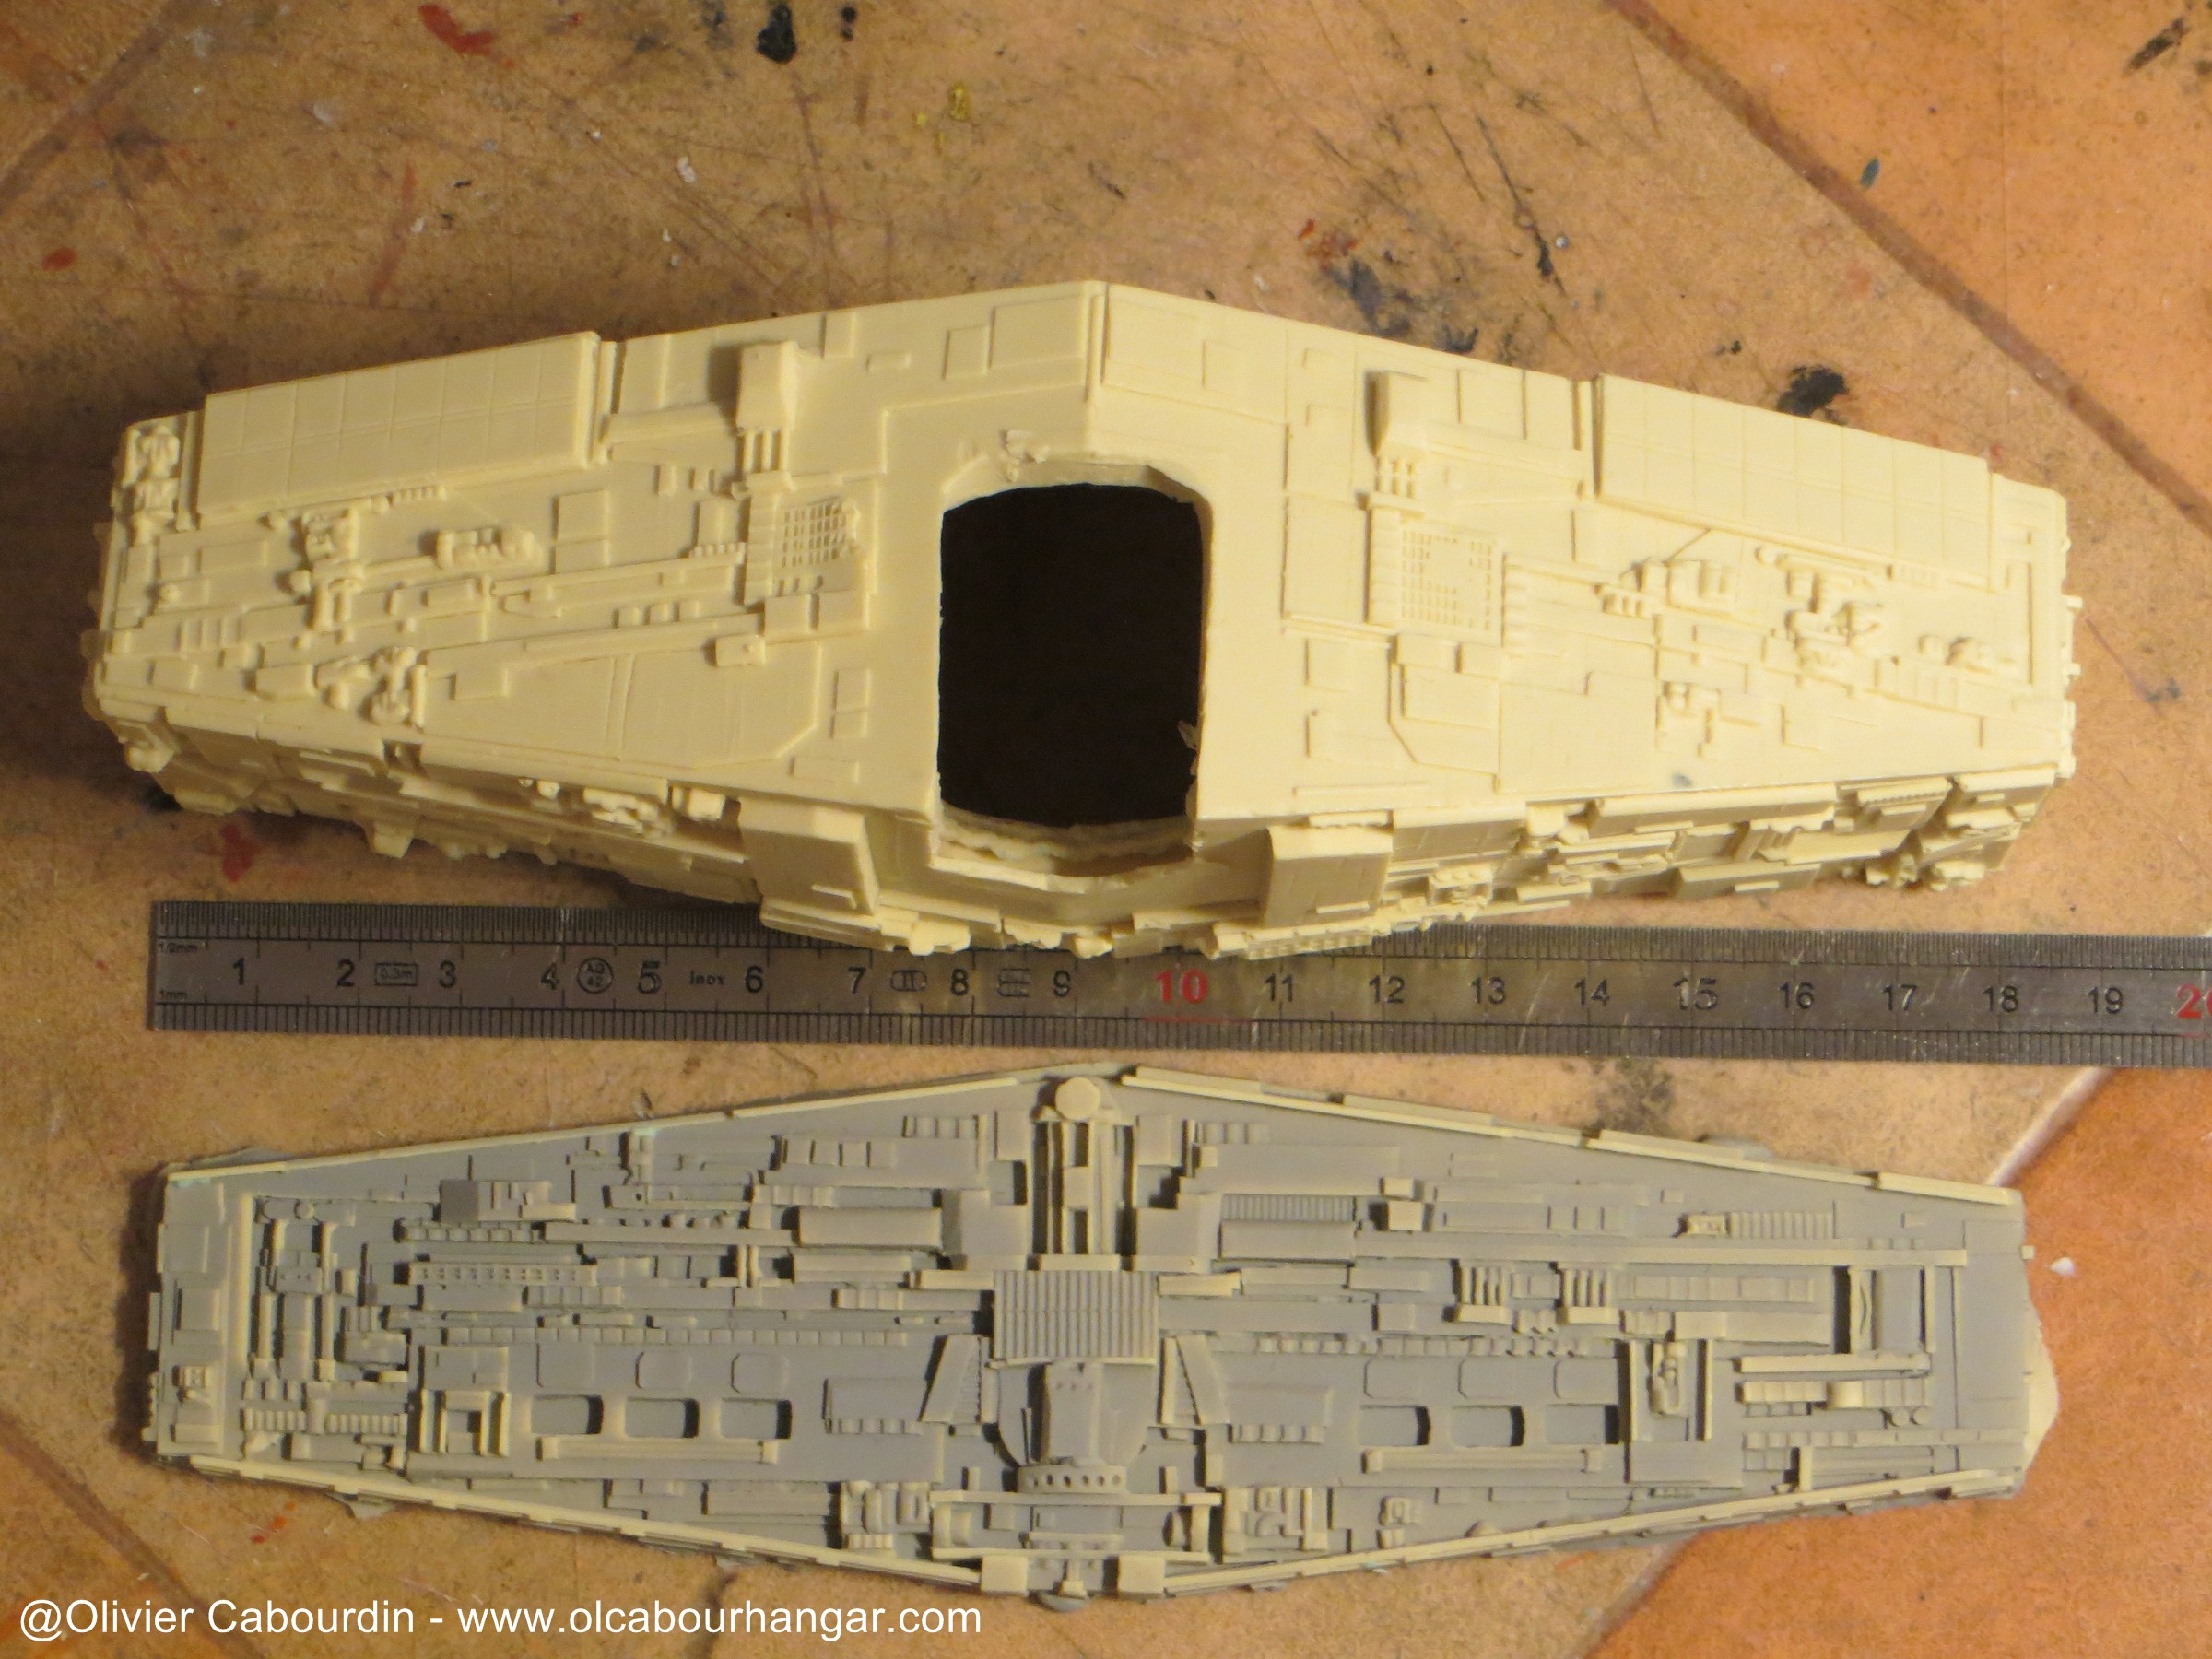
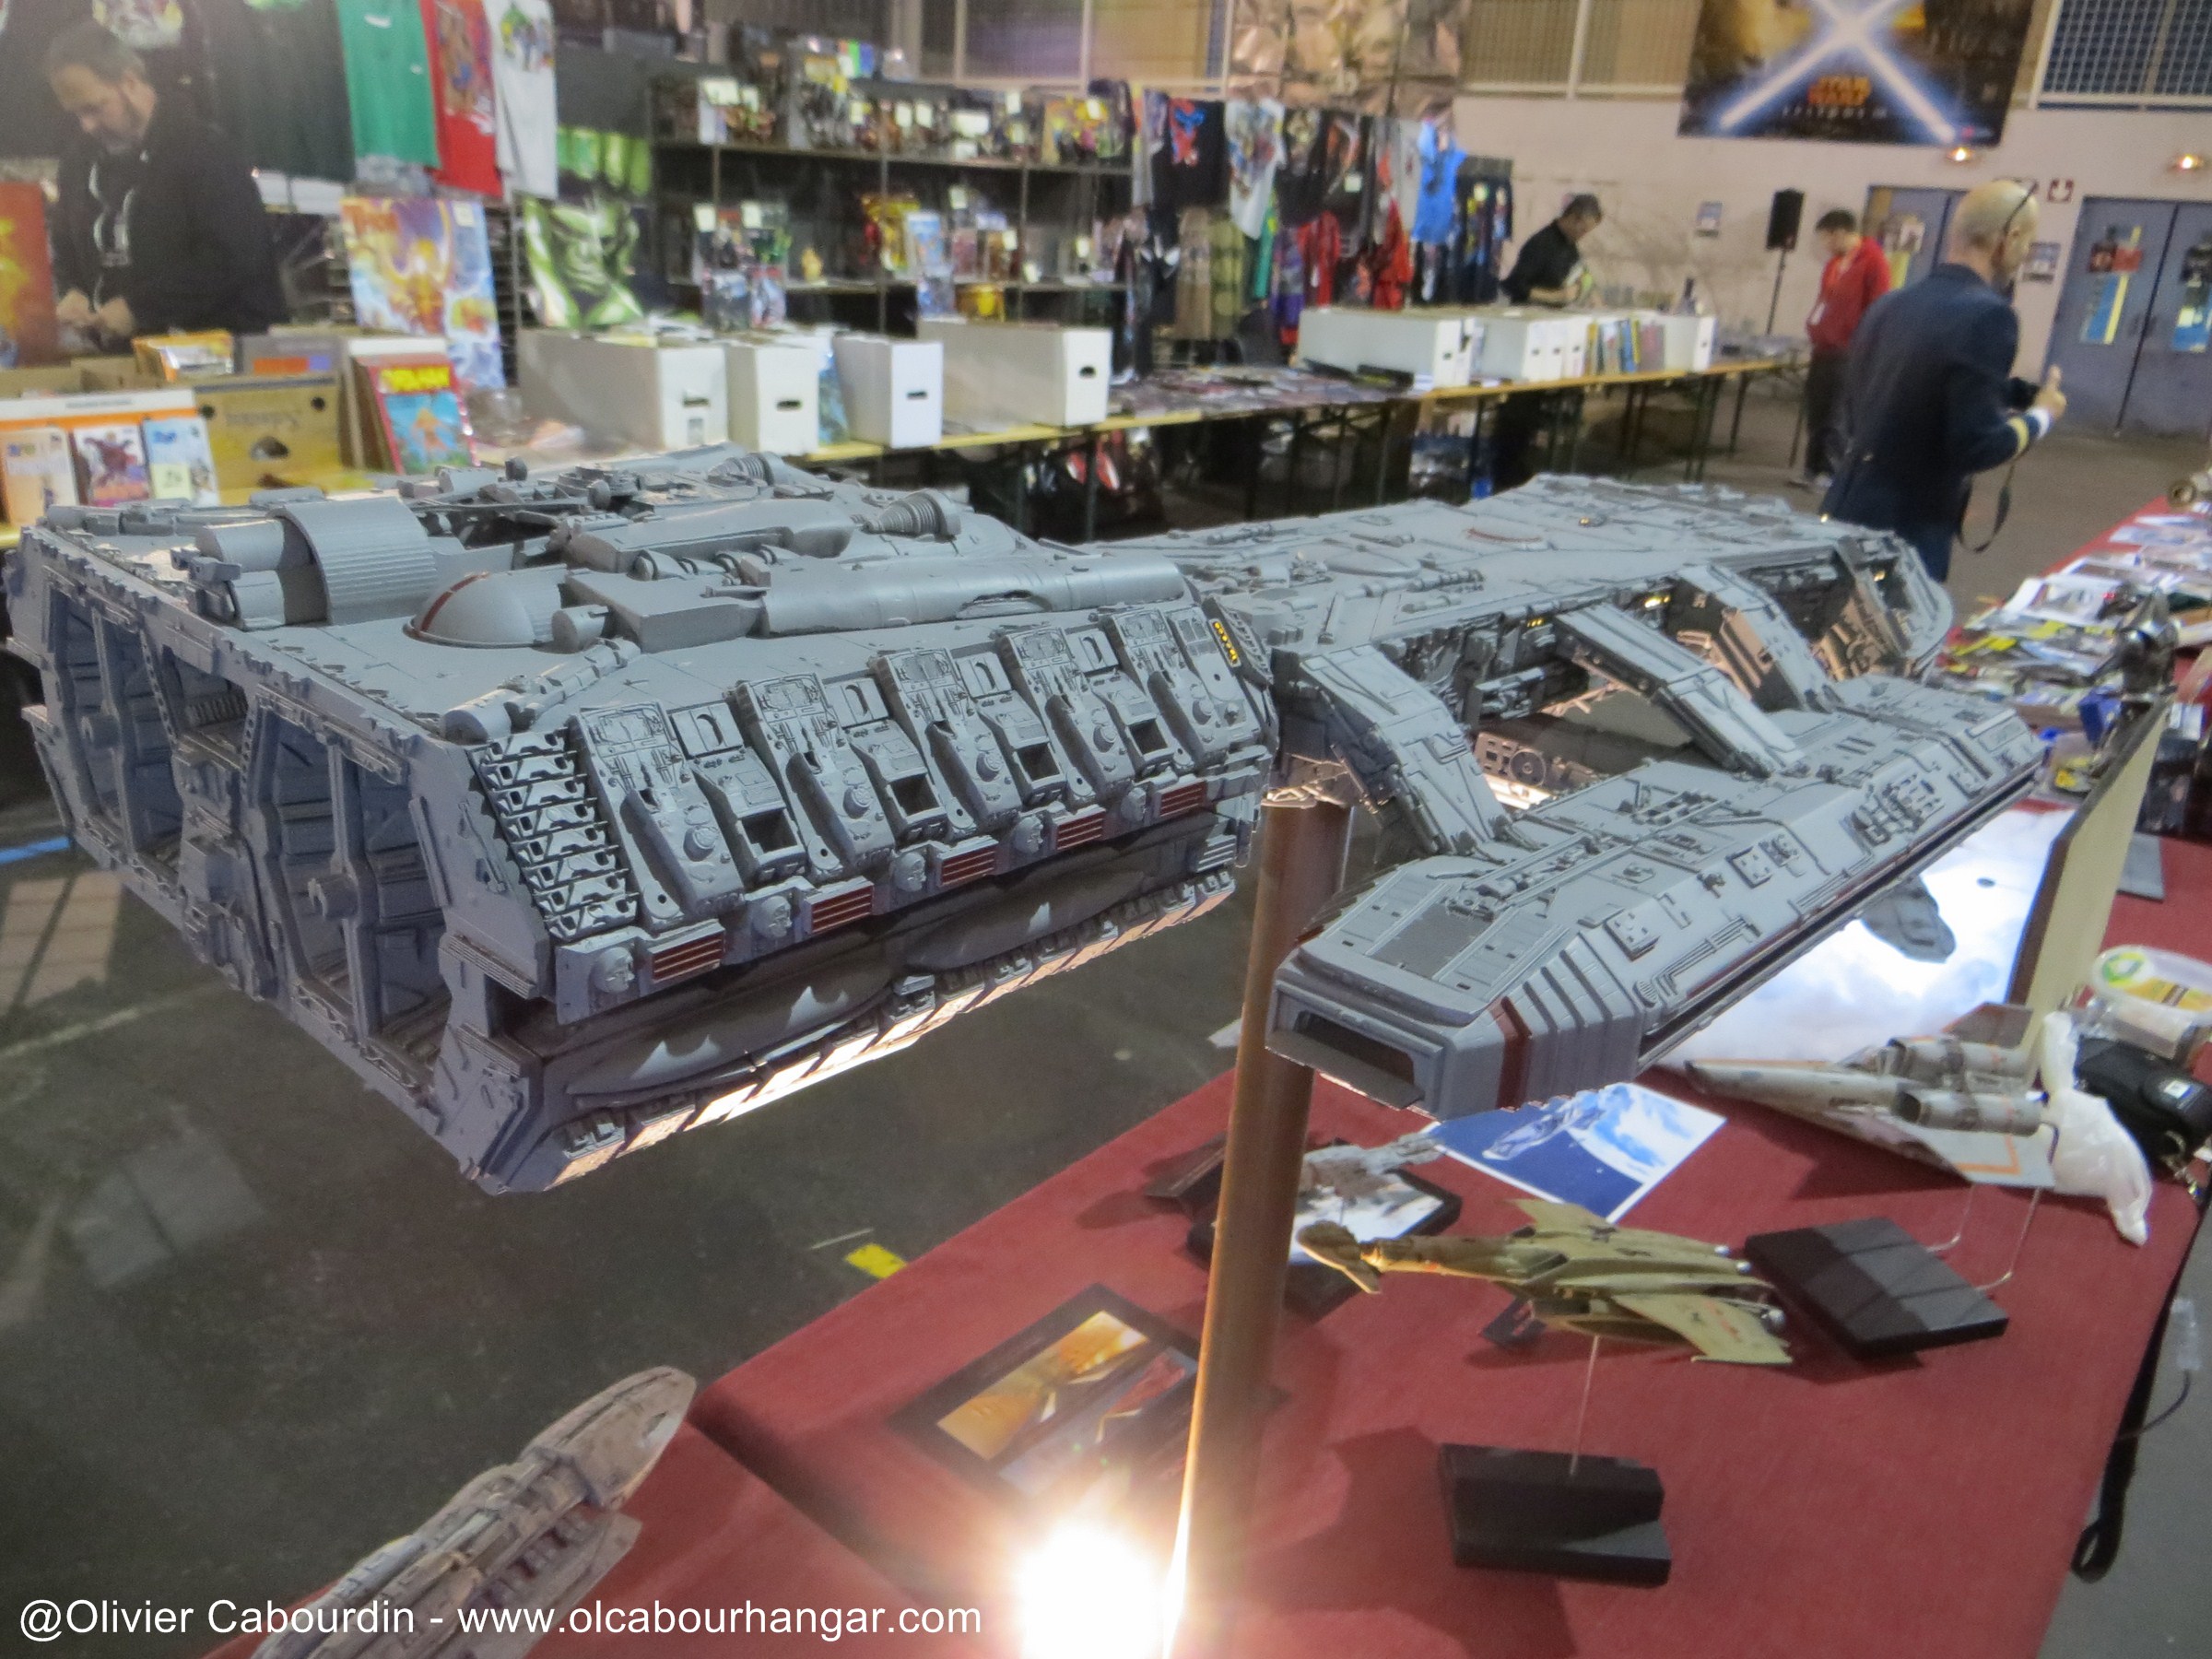
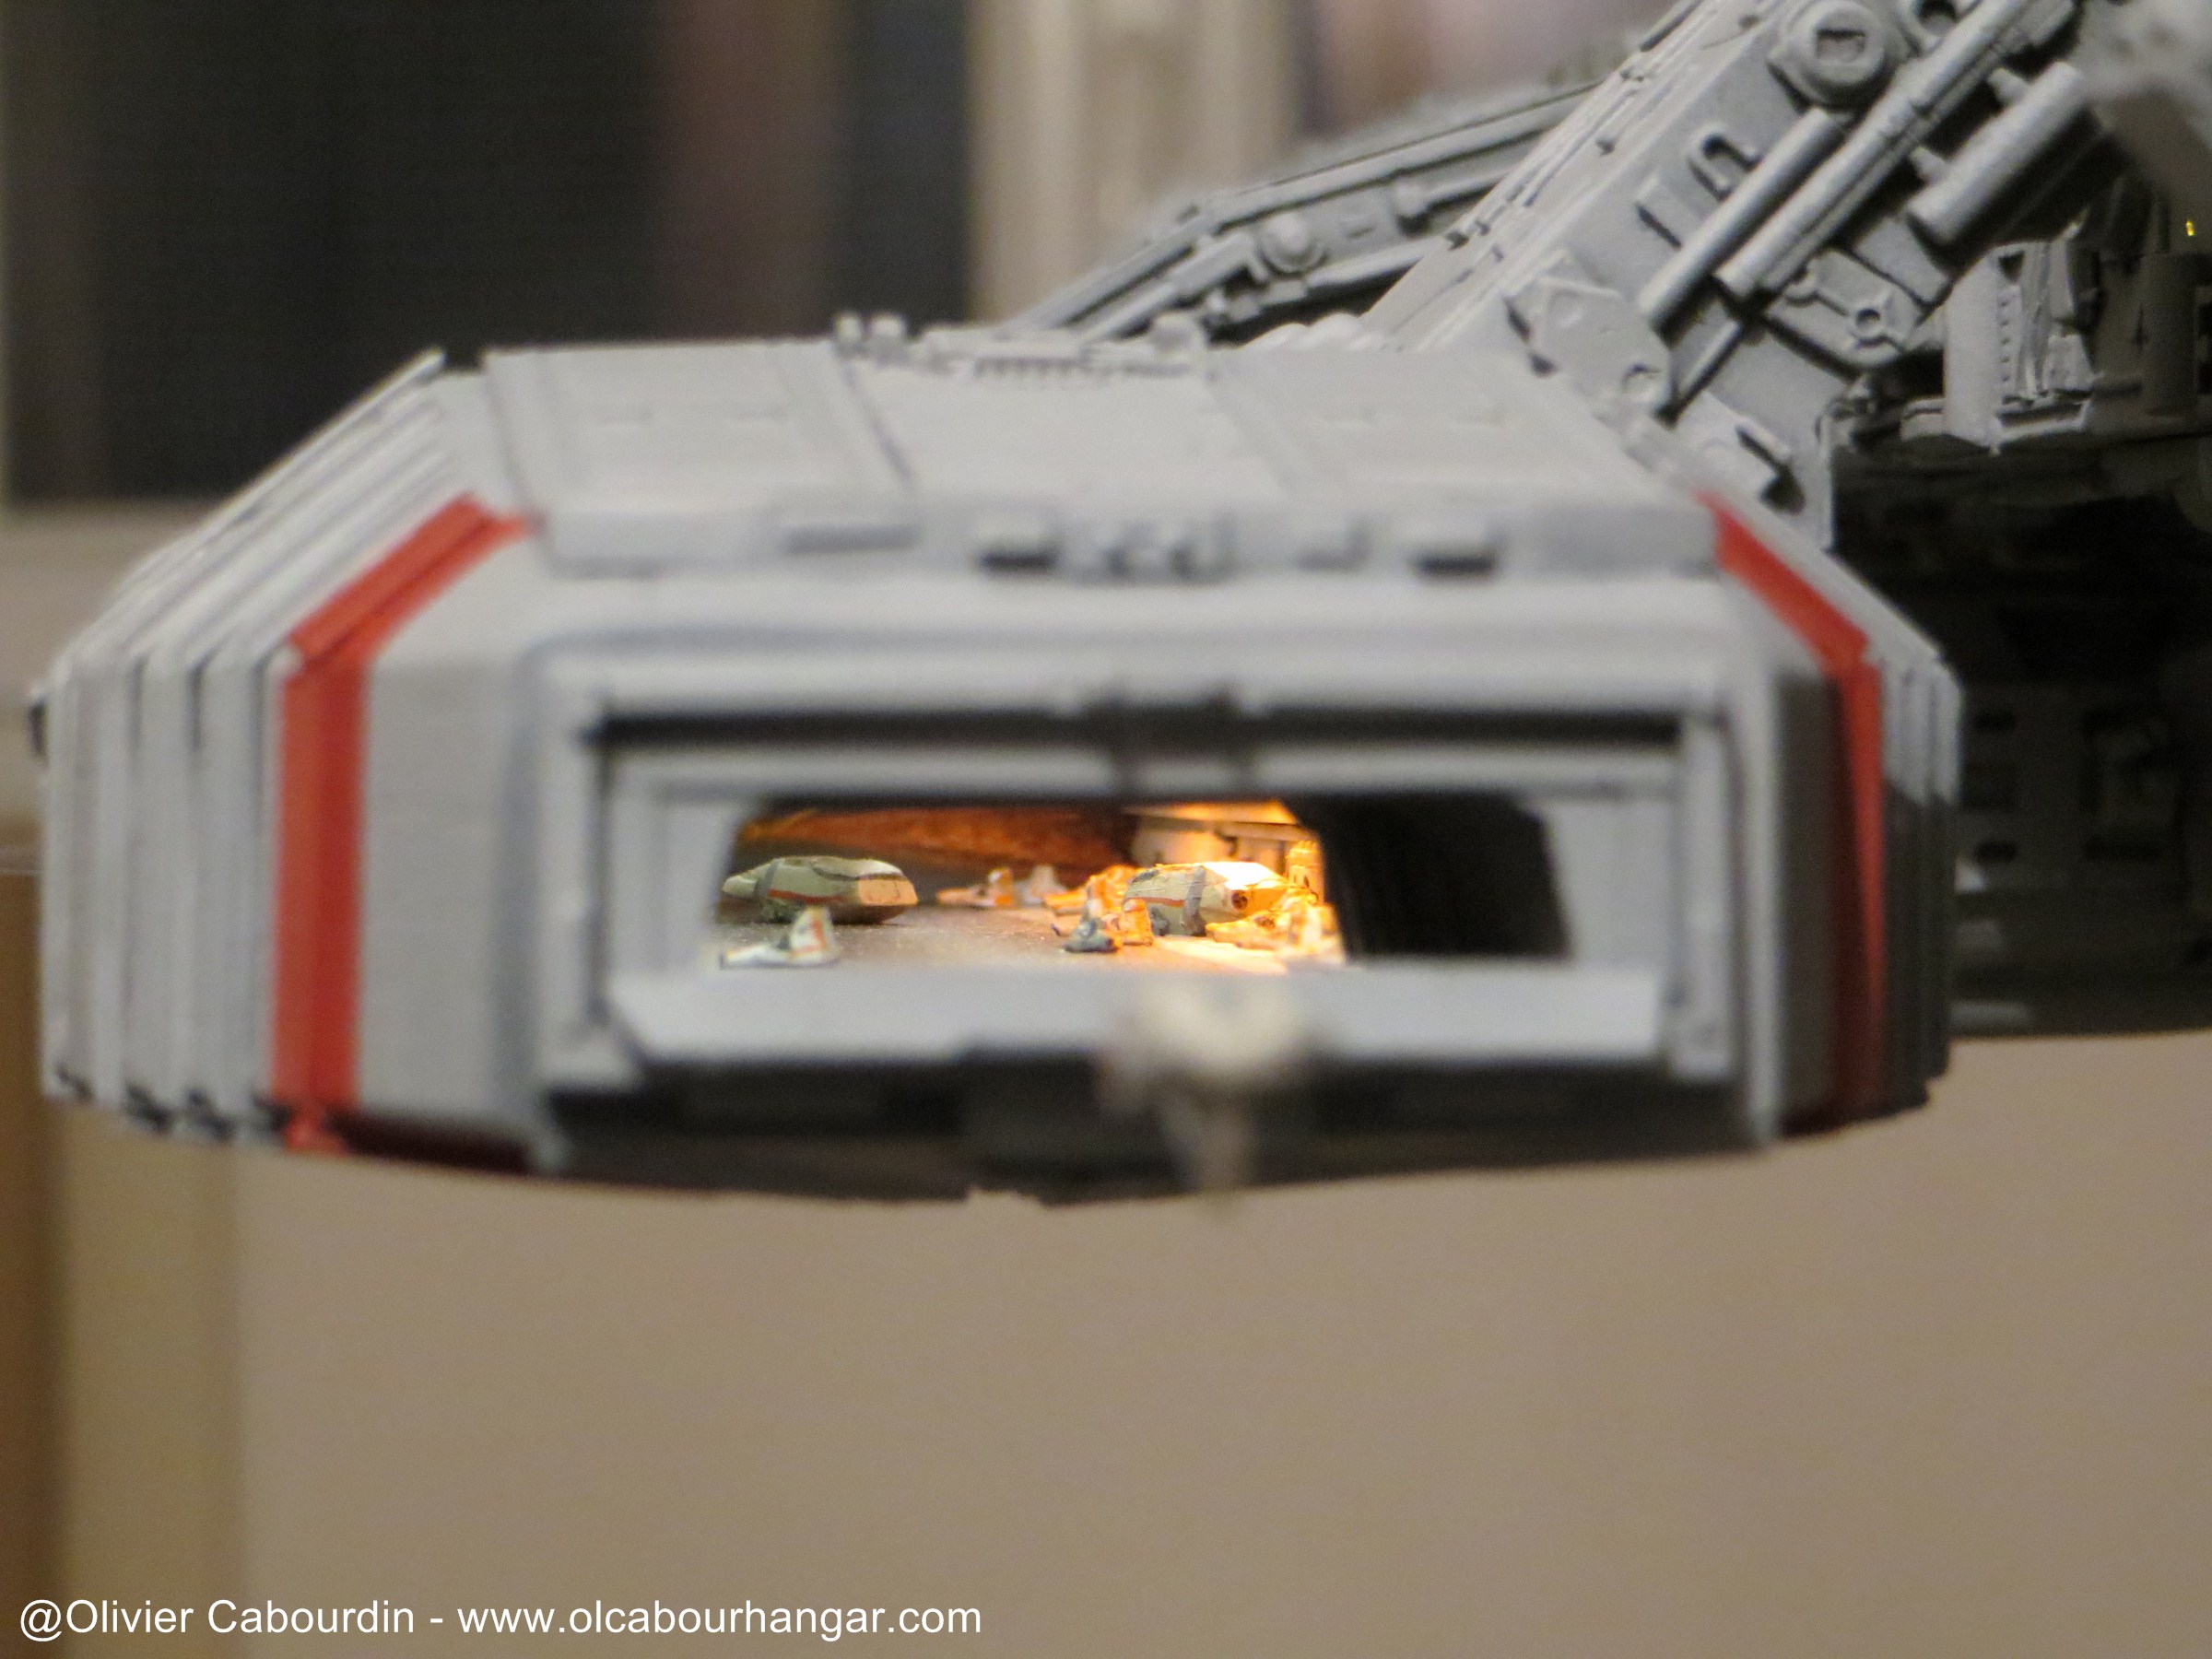
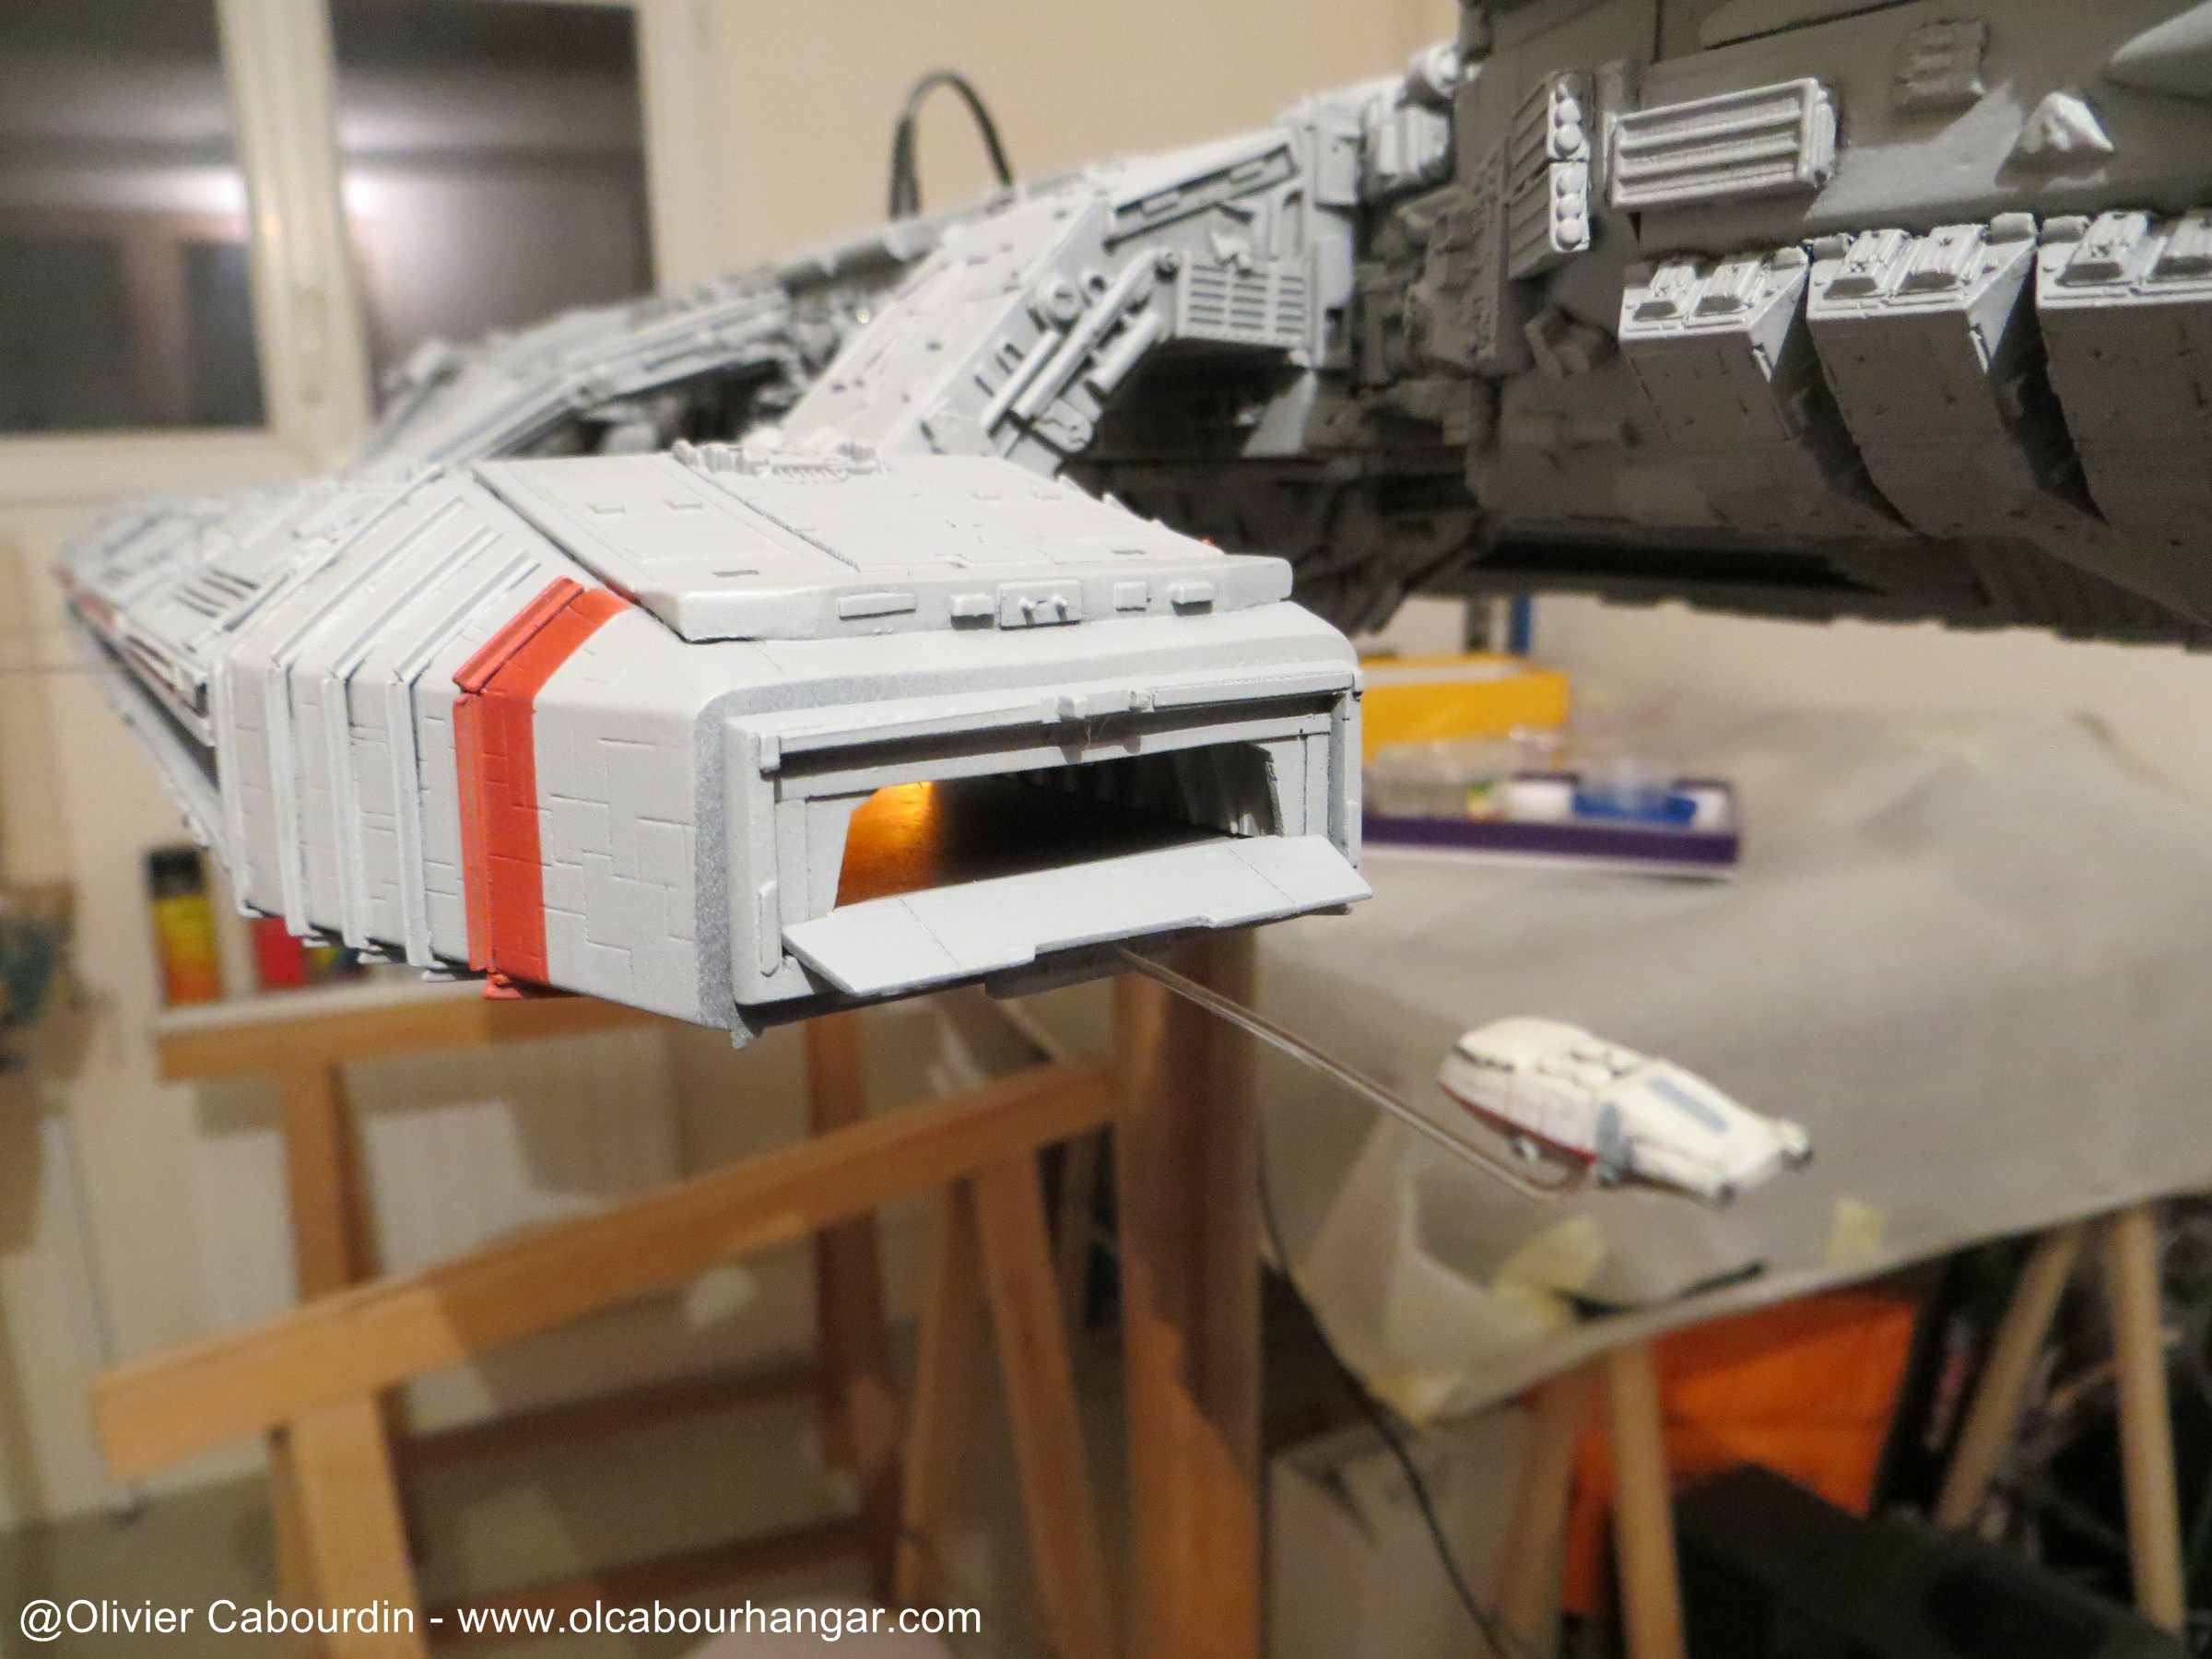
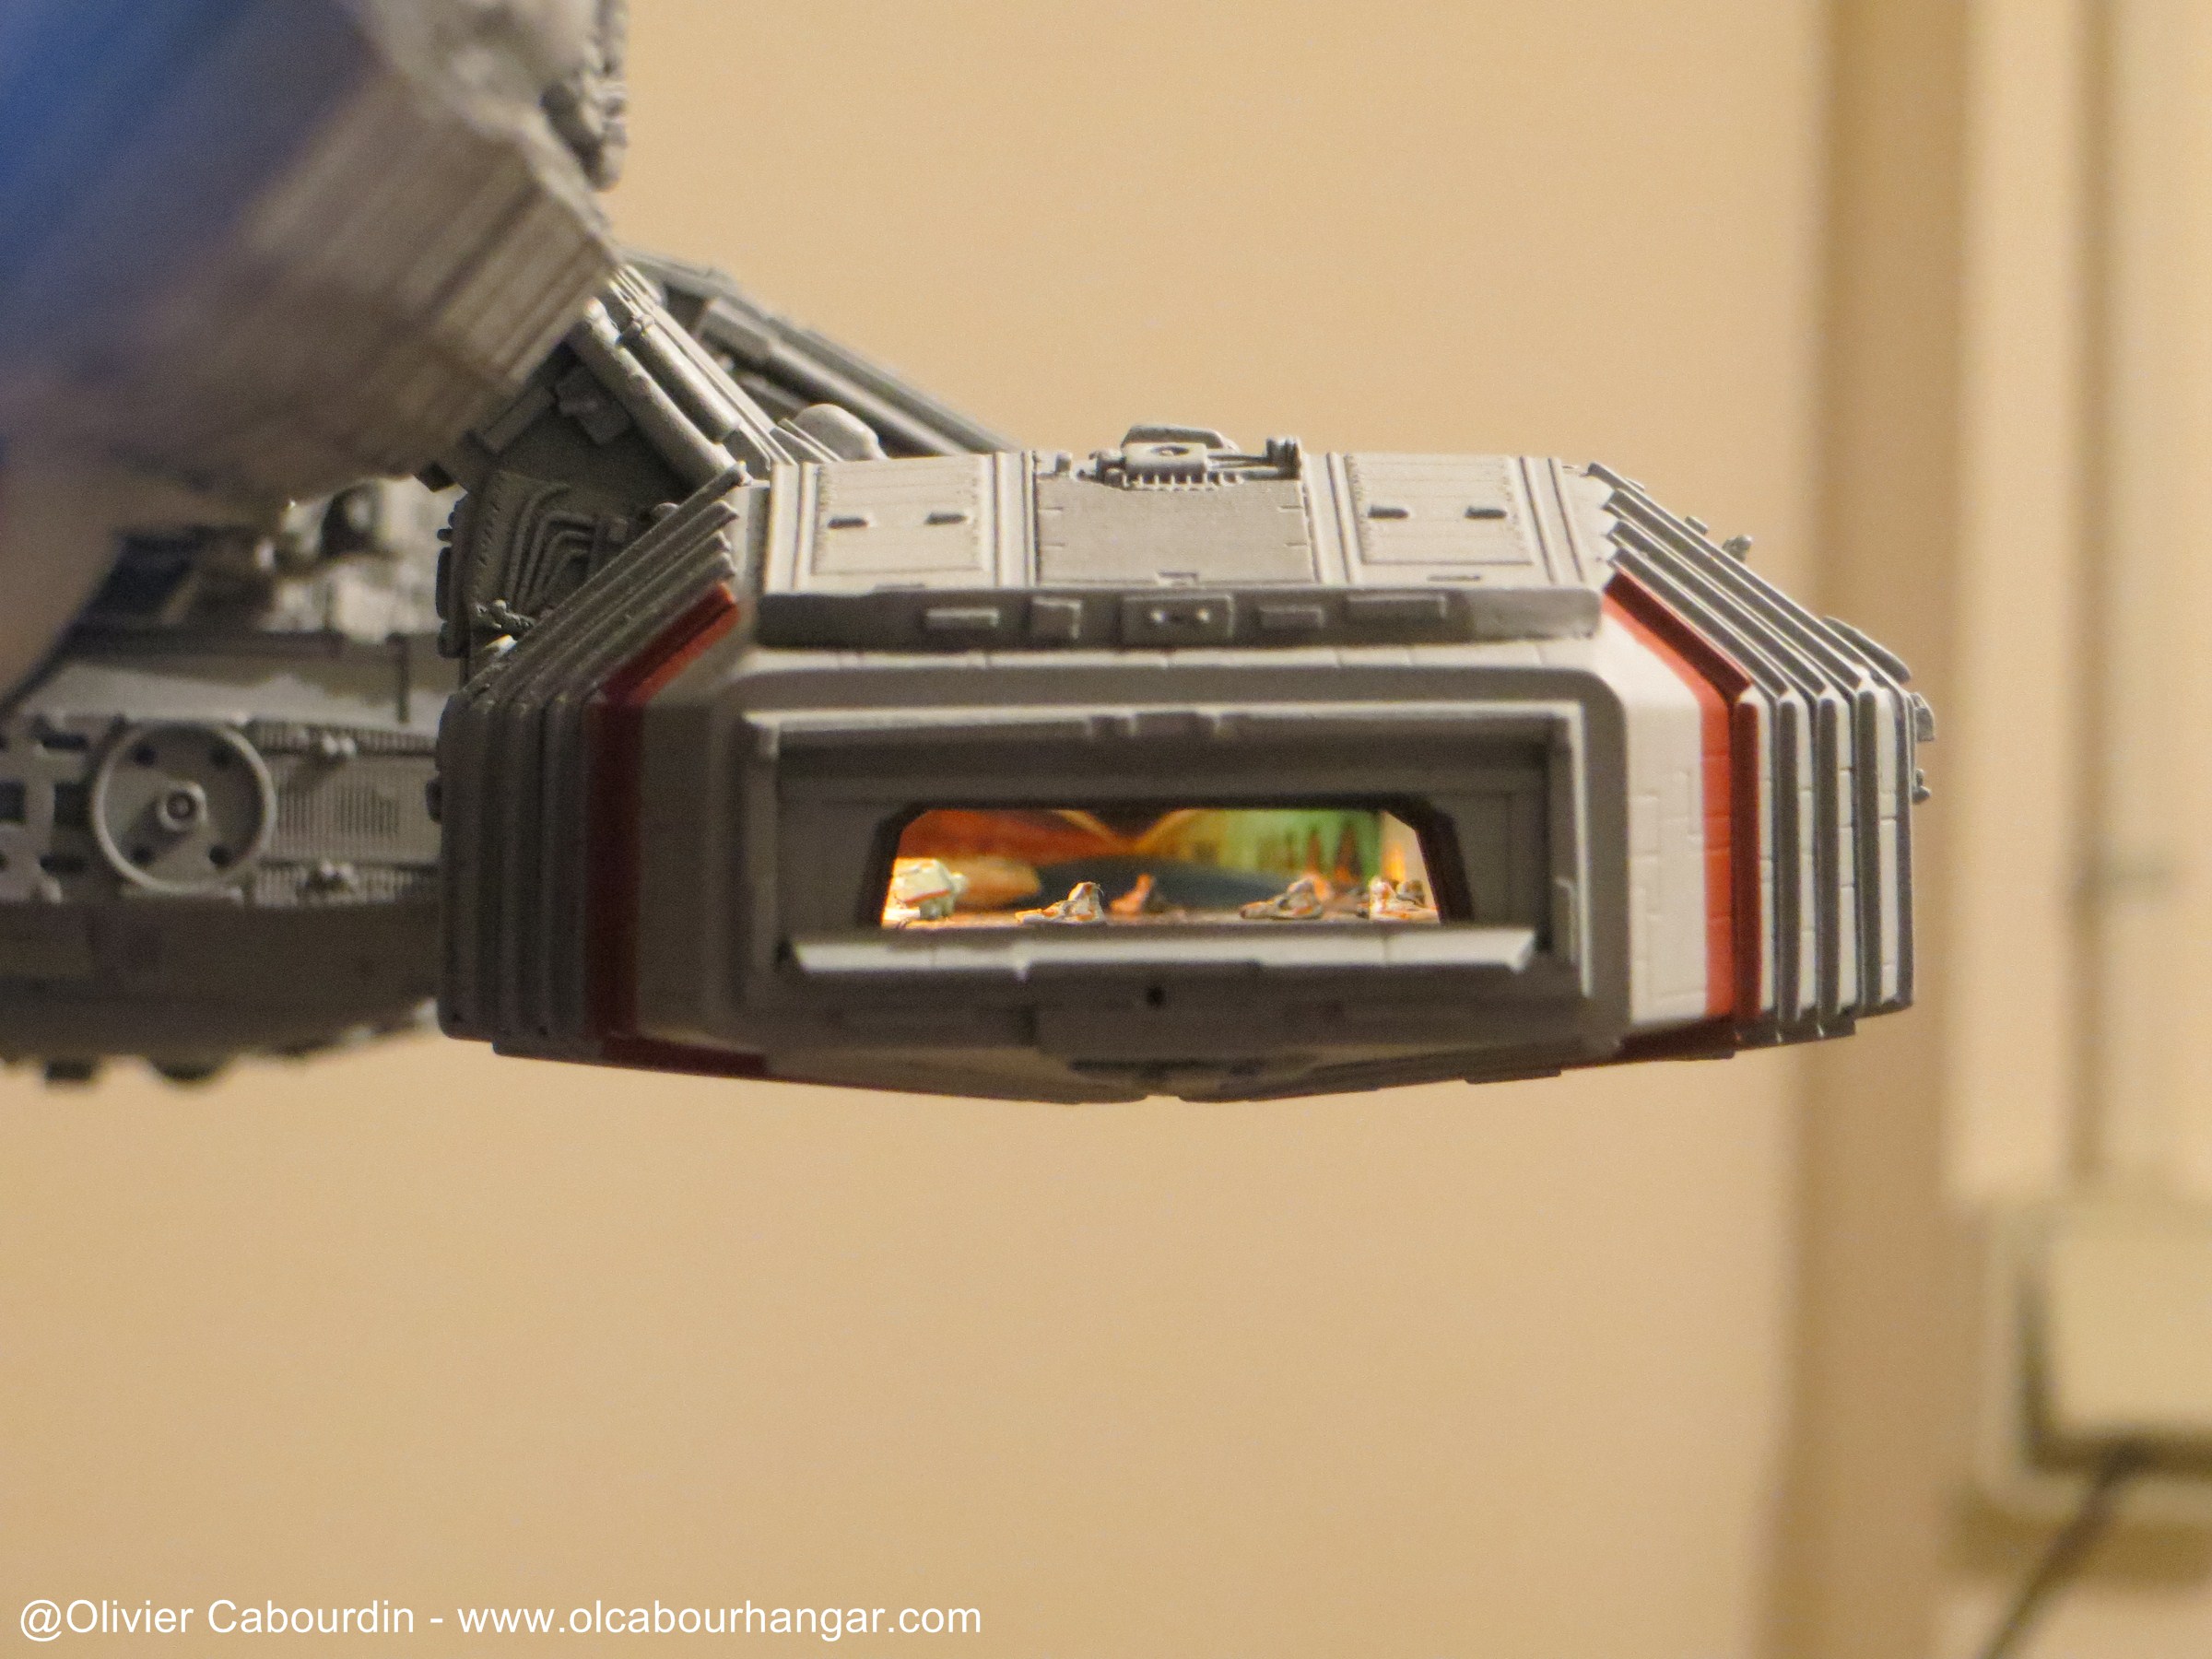
There is an in scale Blockade Runner.
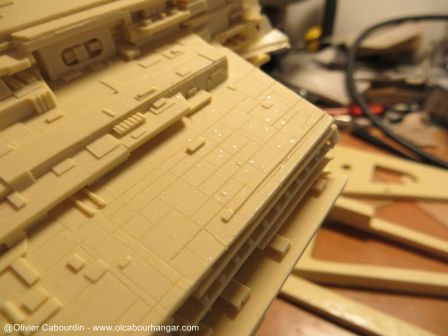
There are some molding defects : bubbles, gaps, flash, resin drops (!)
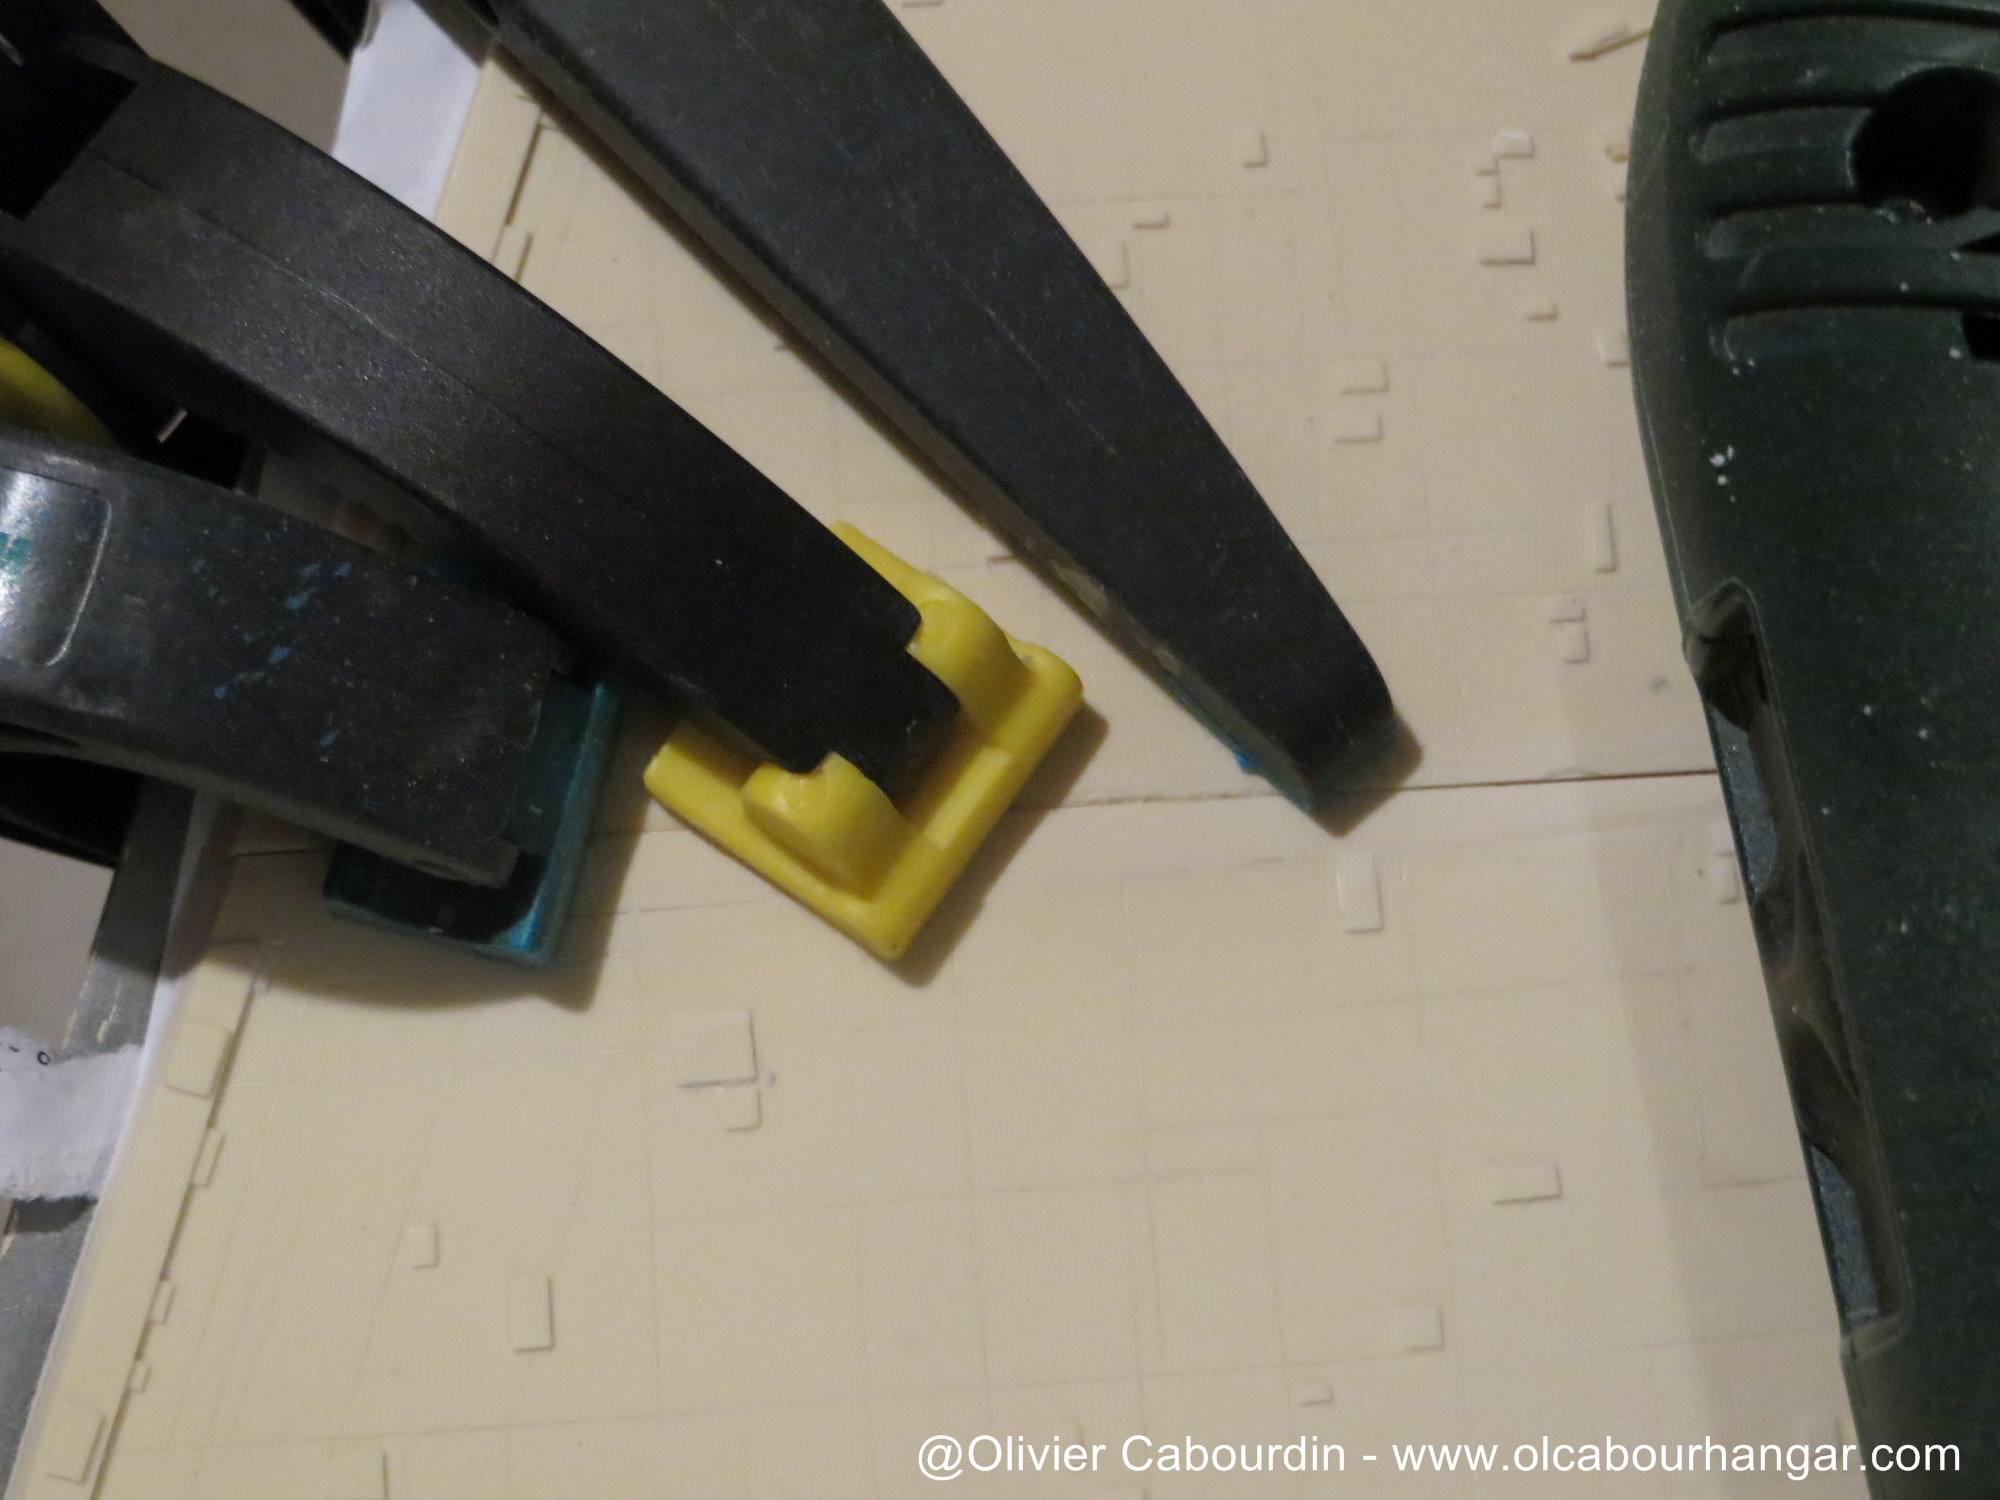
It seems thare are also some large area to sand, so a fixed belt sander or a lapidary is strongly advised here.


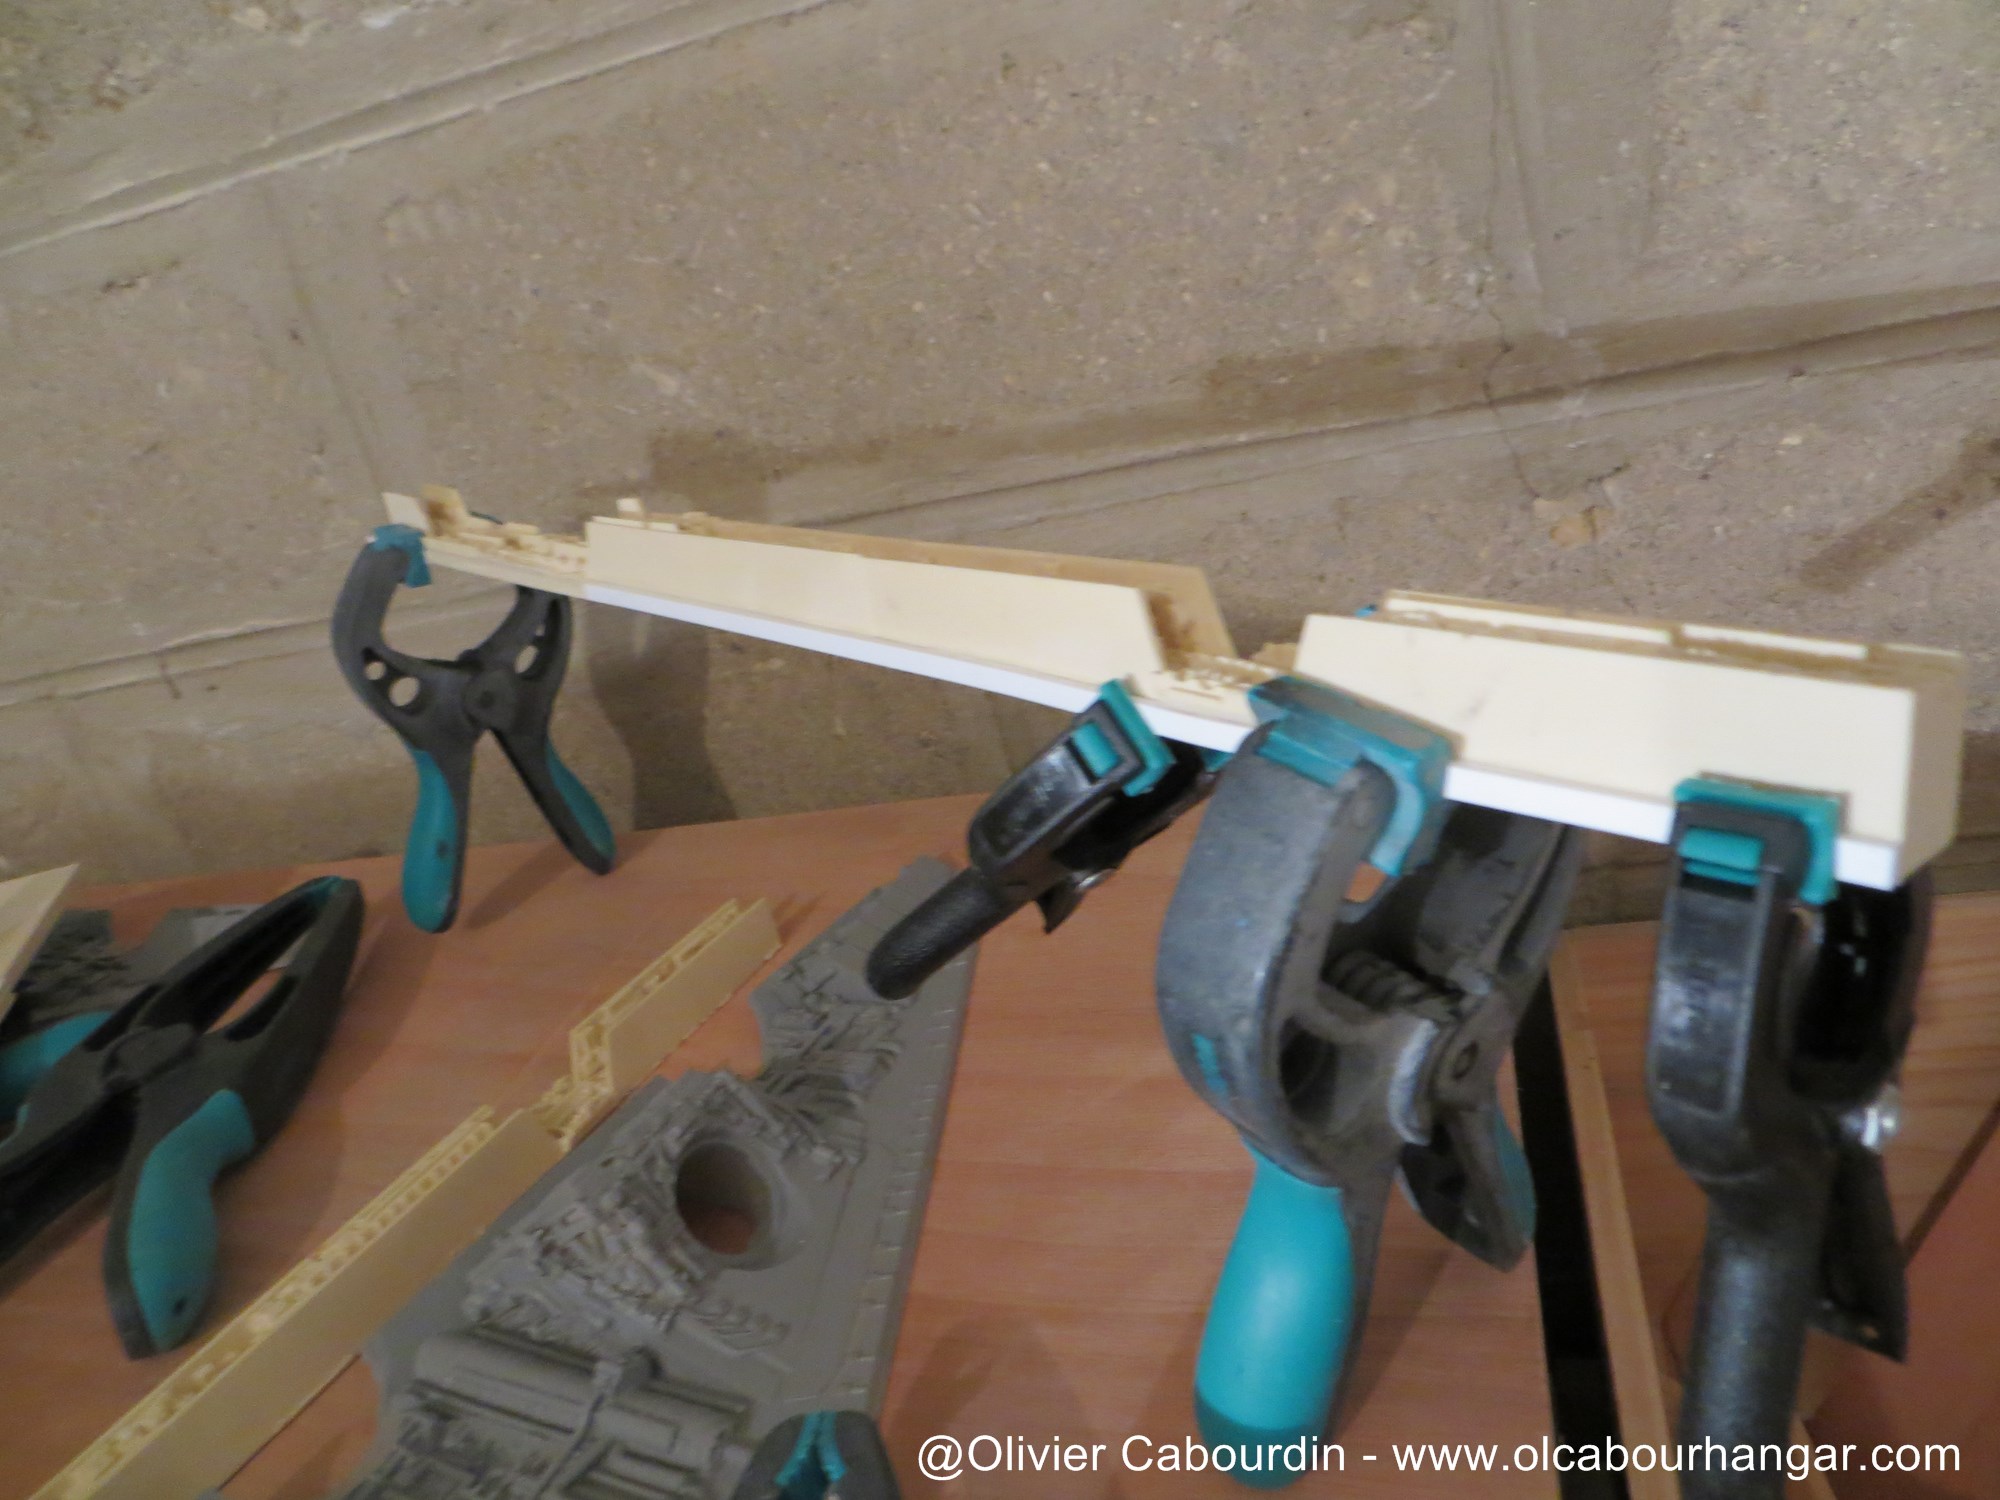
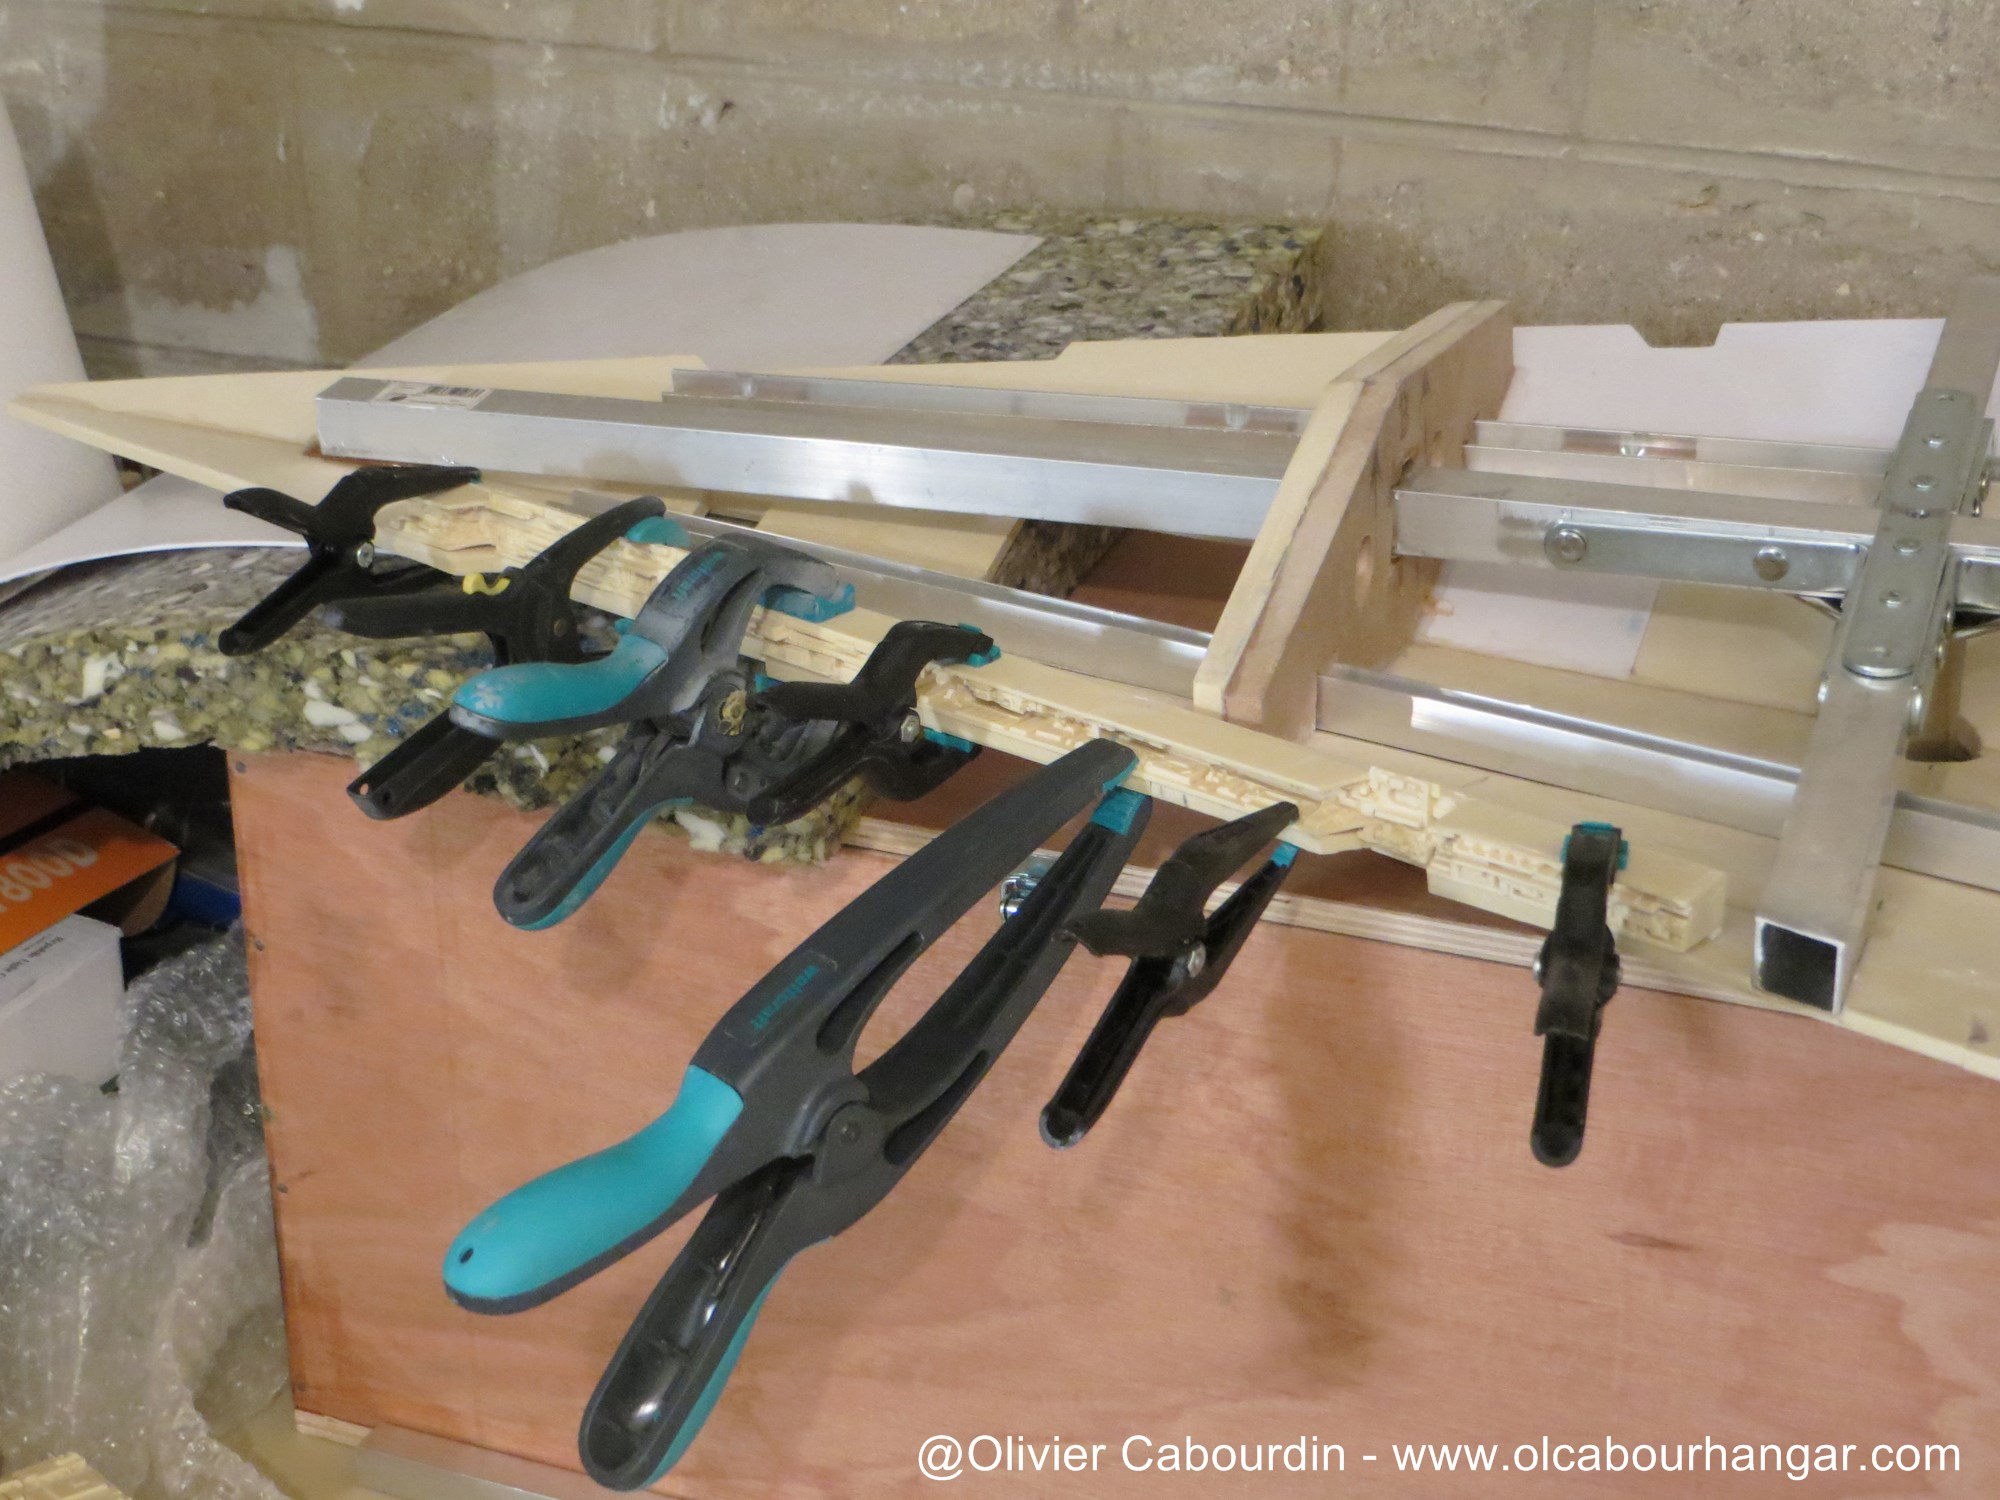
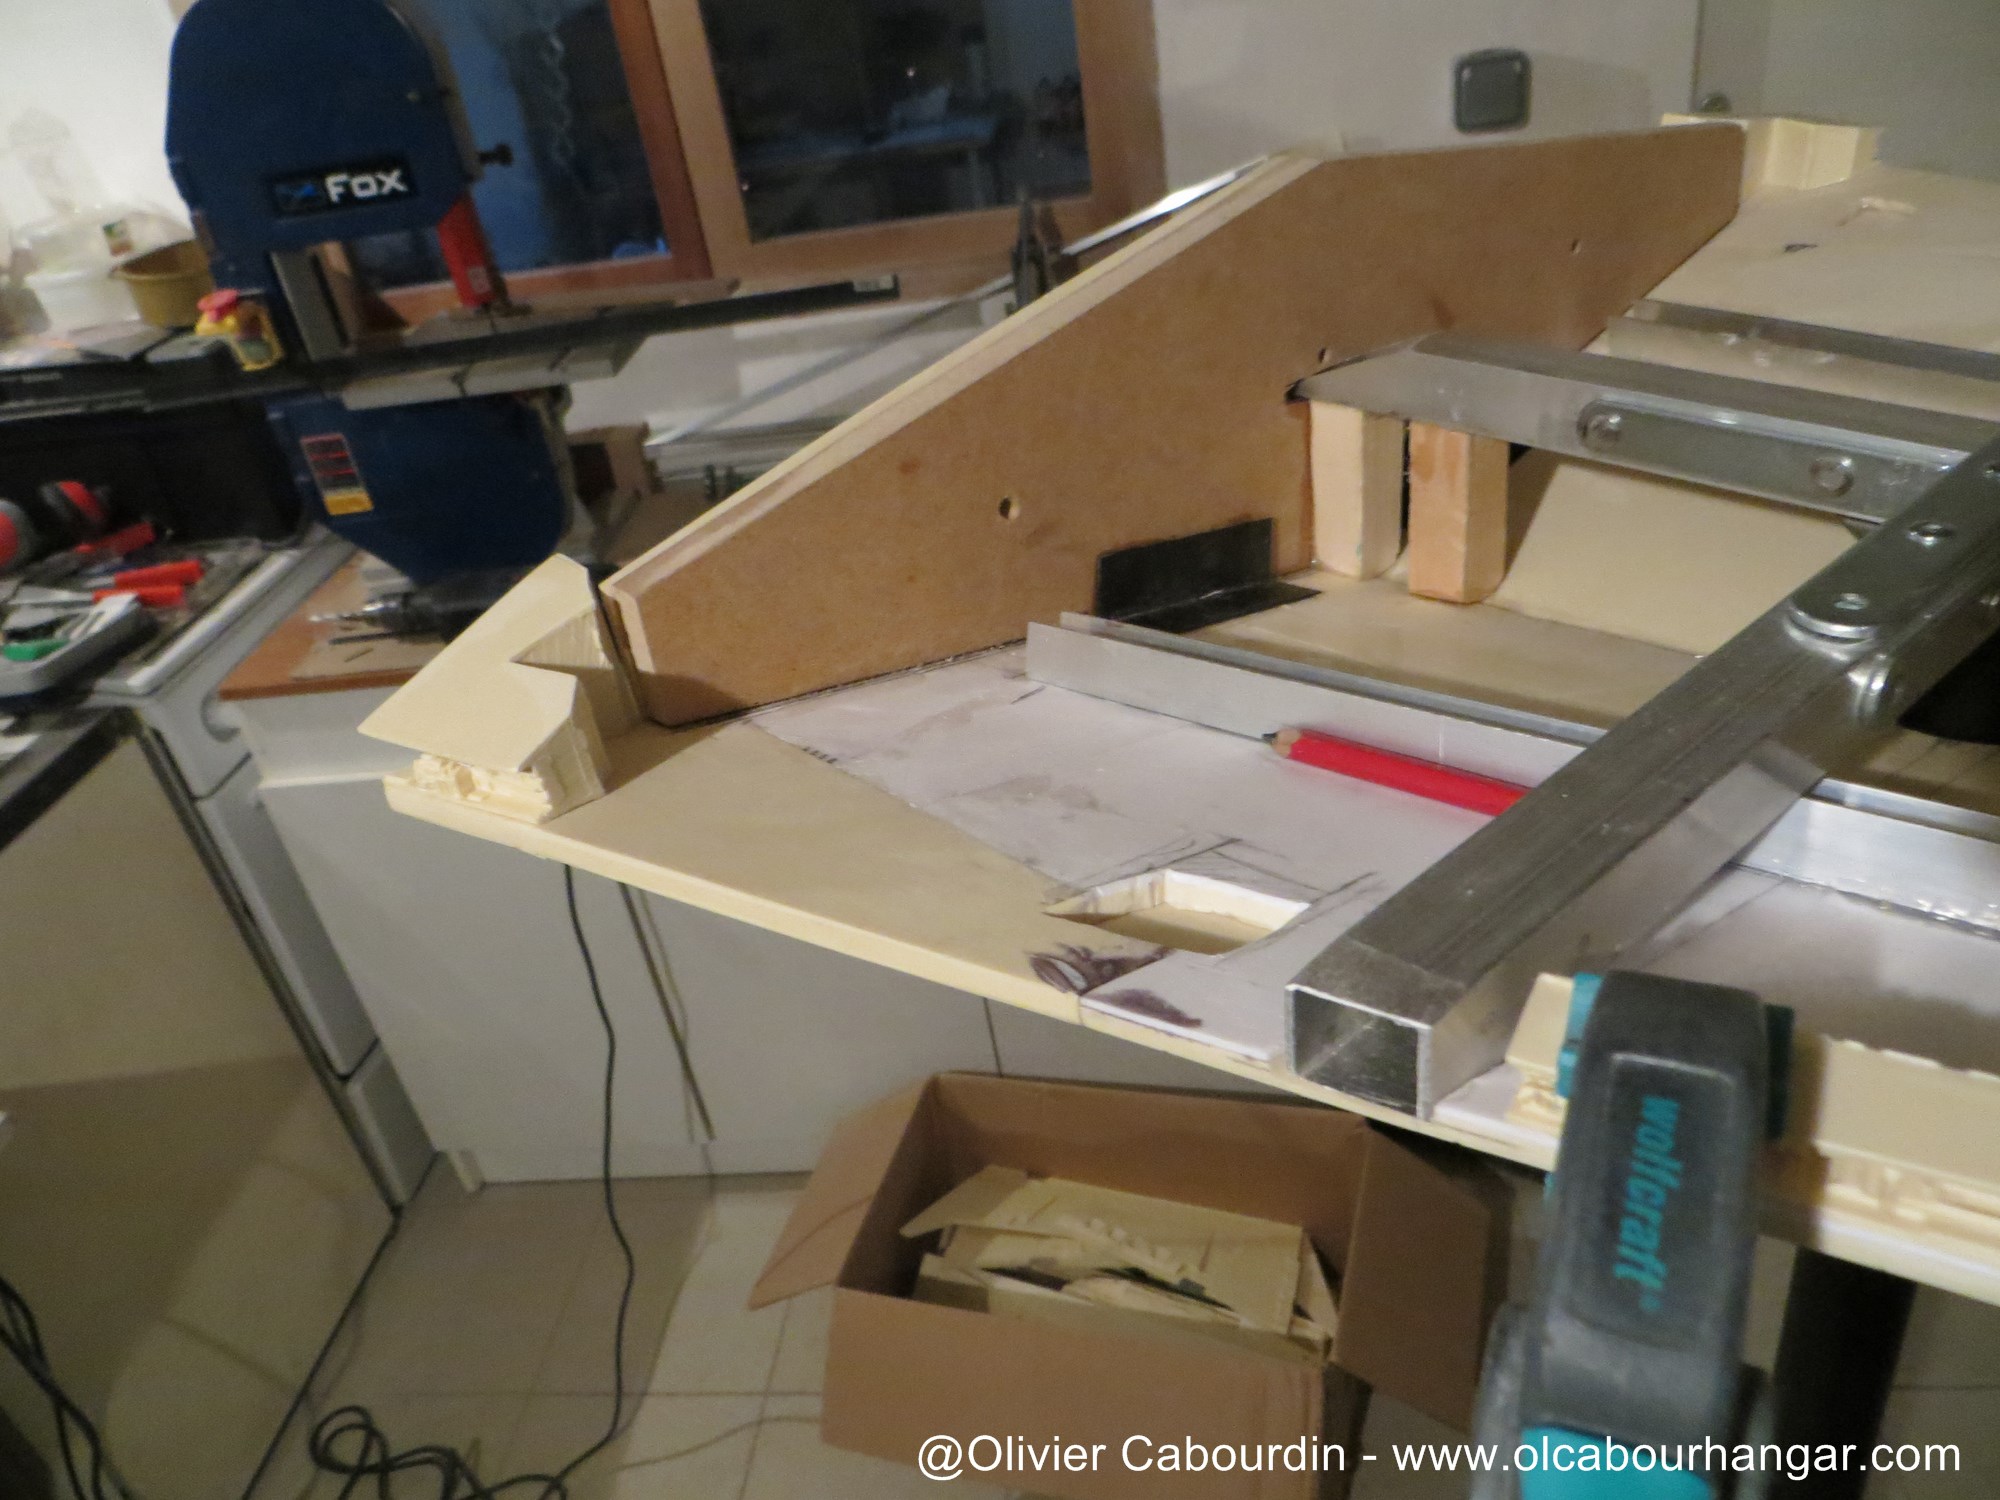
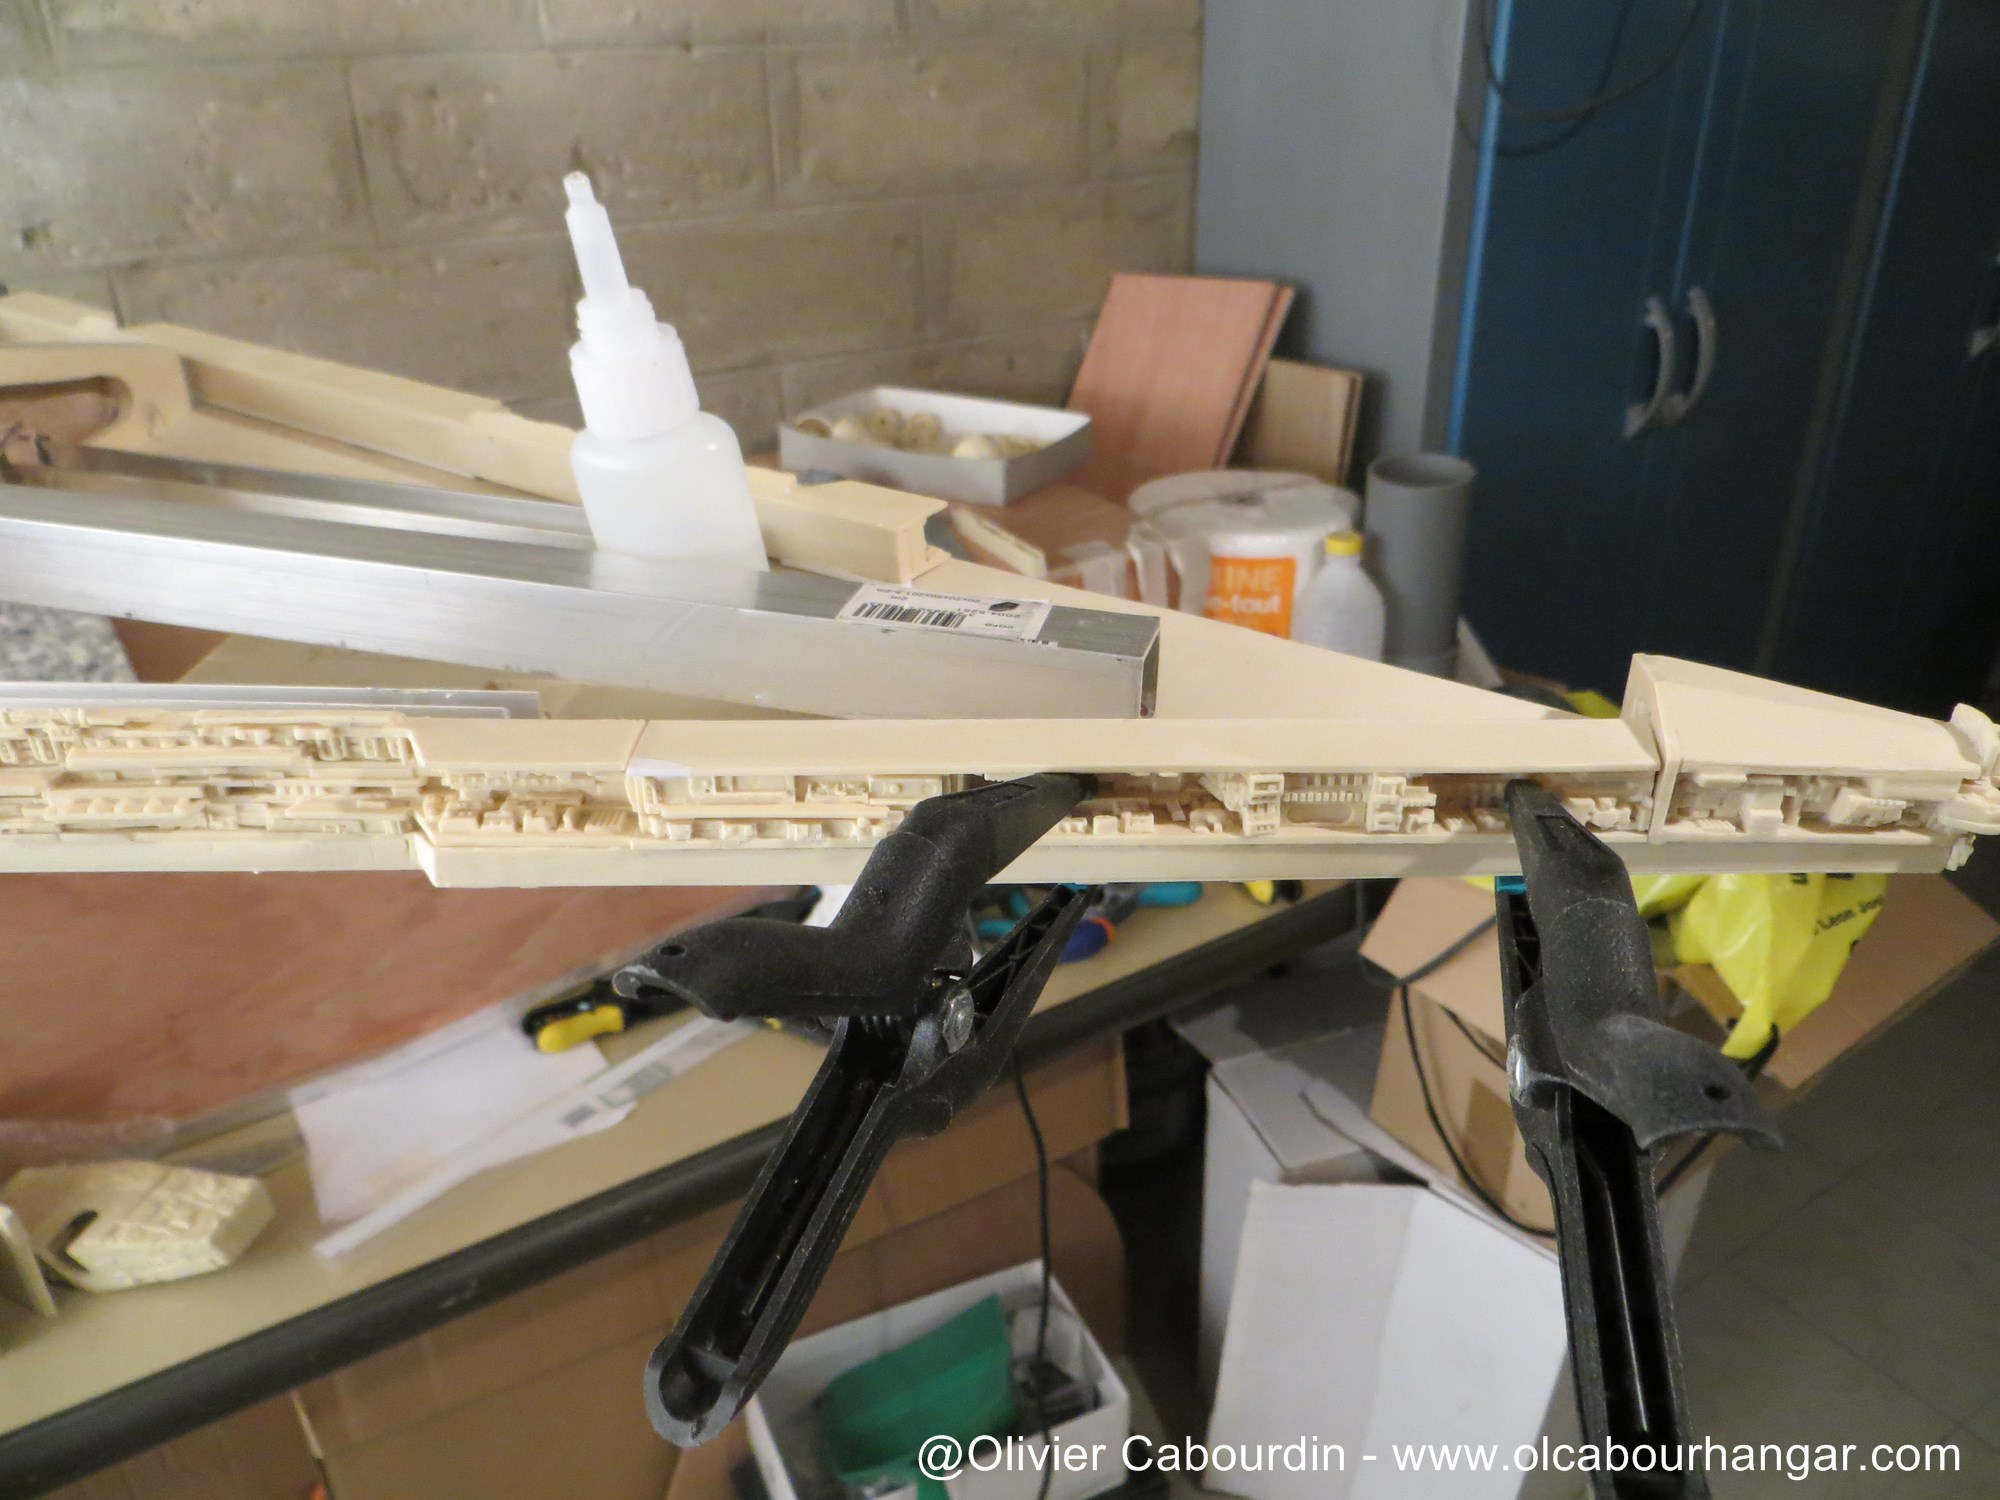
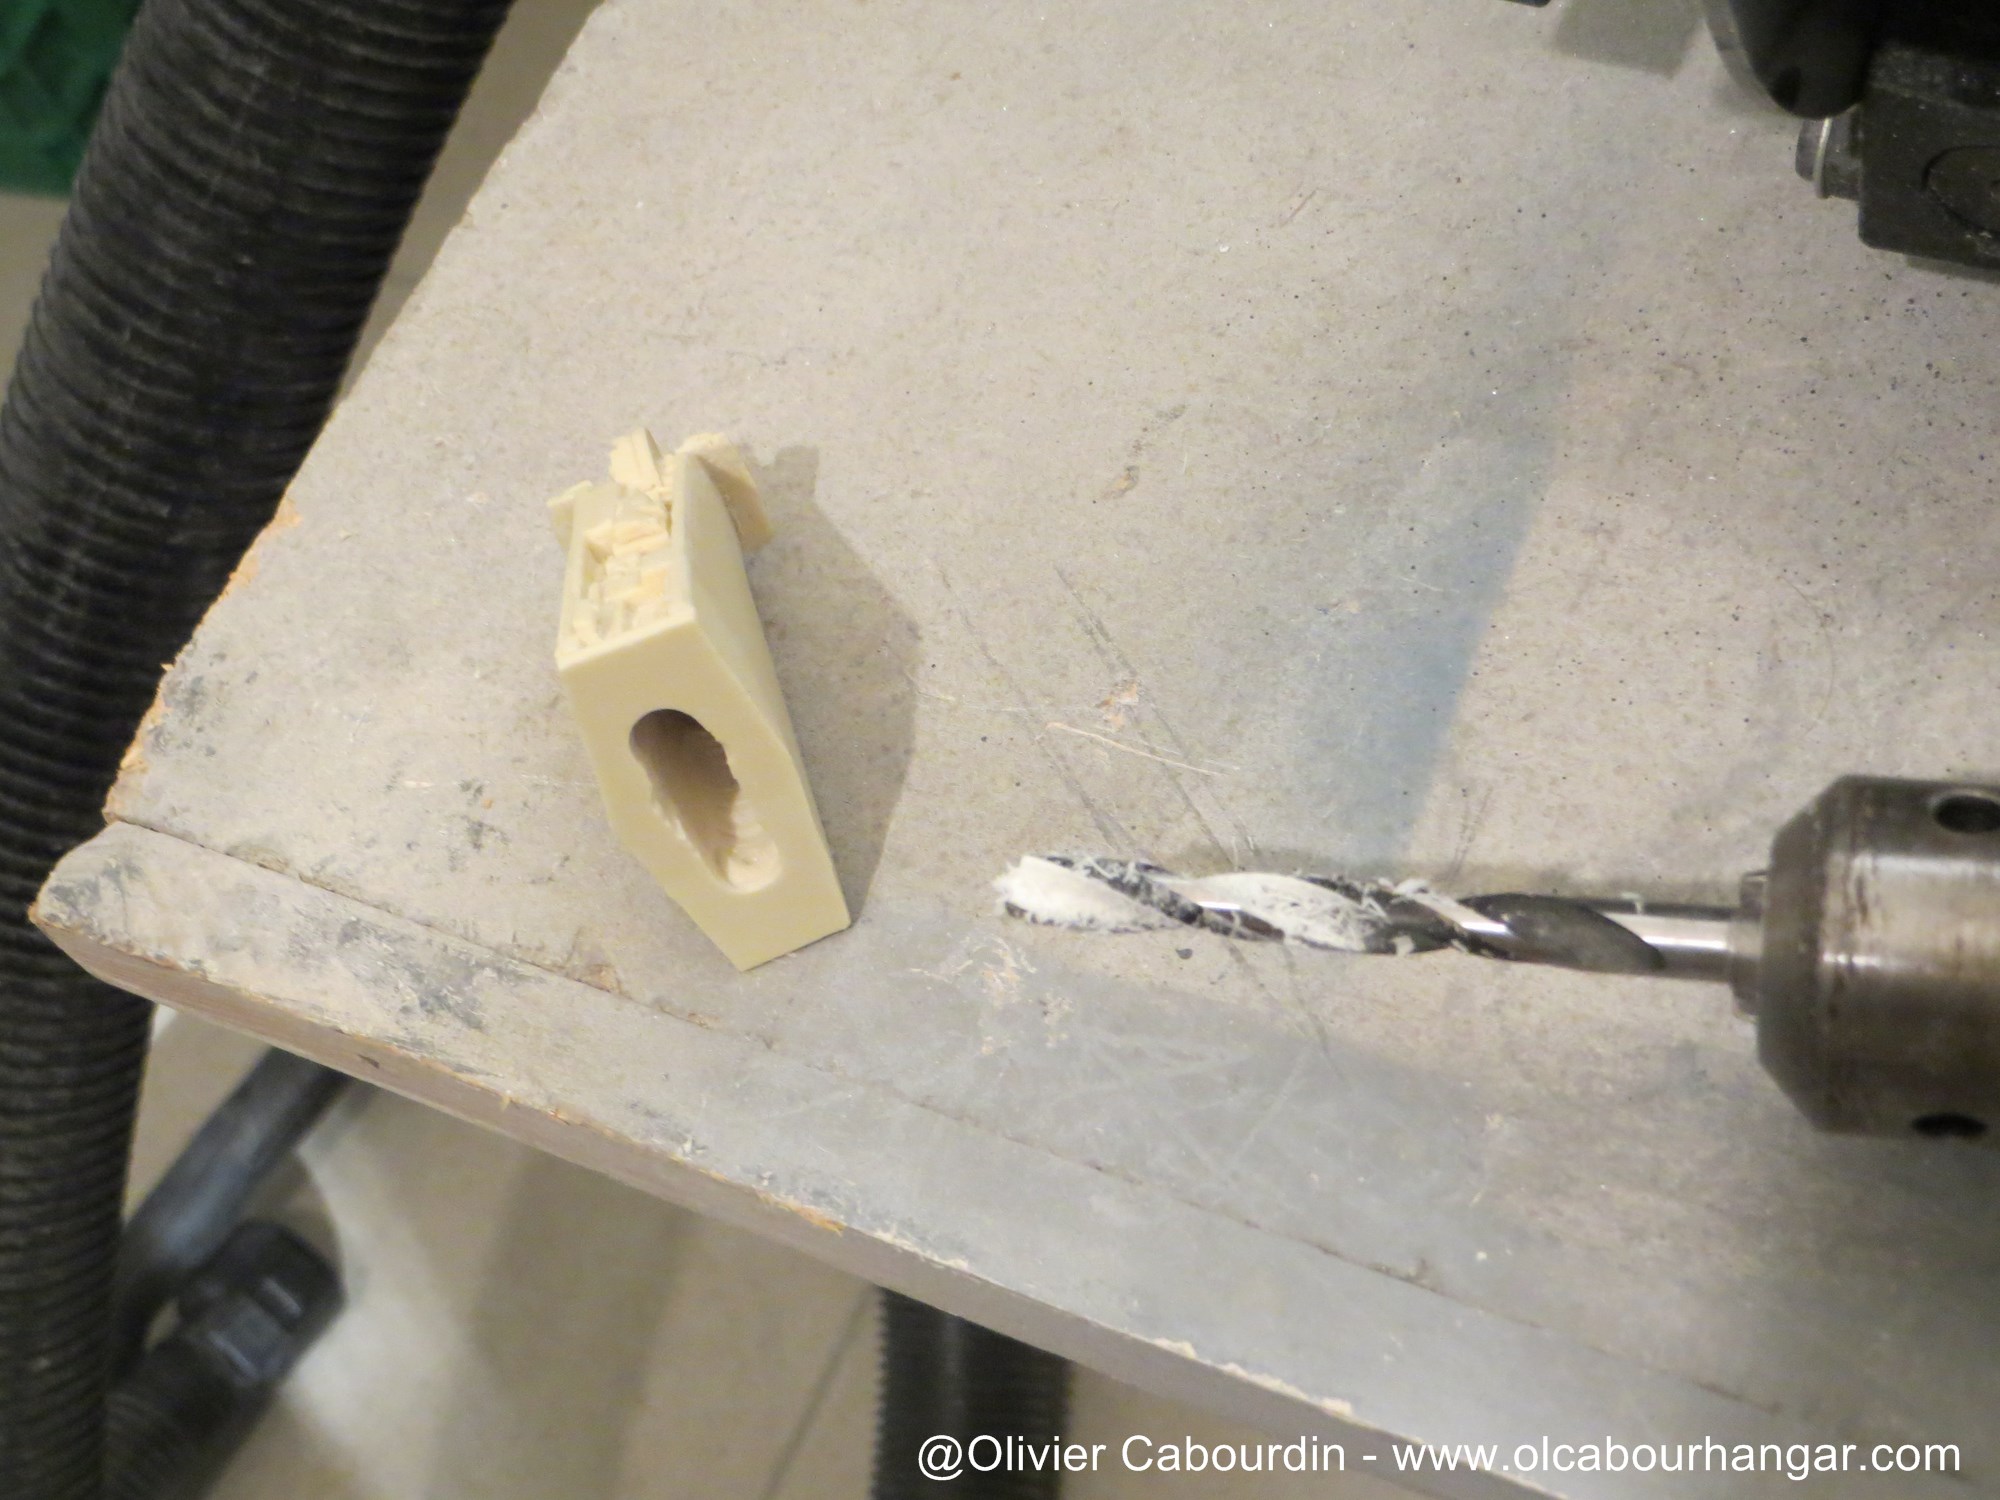
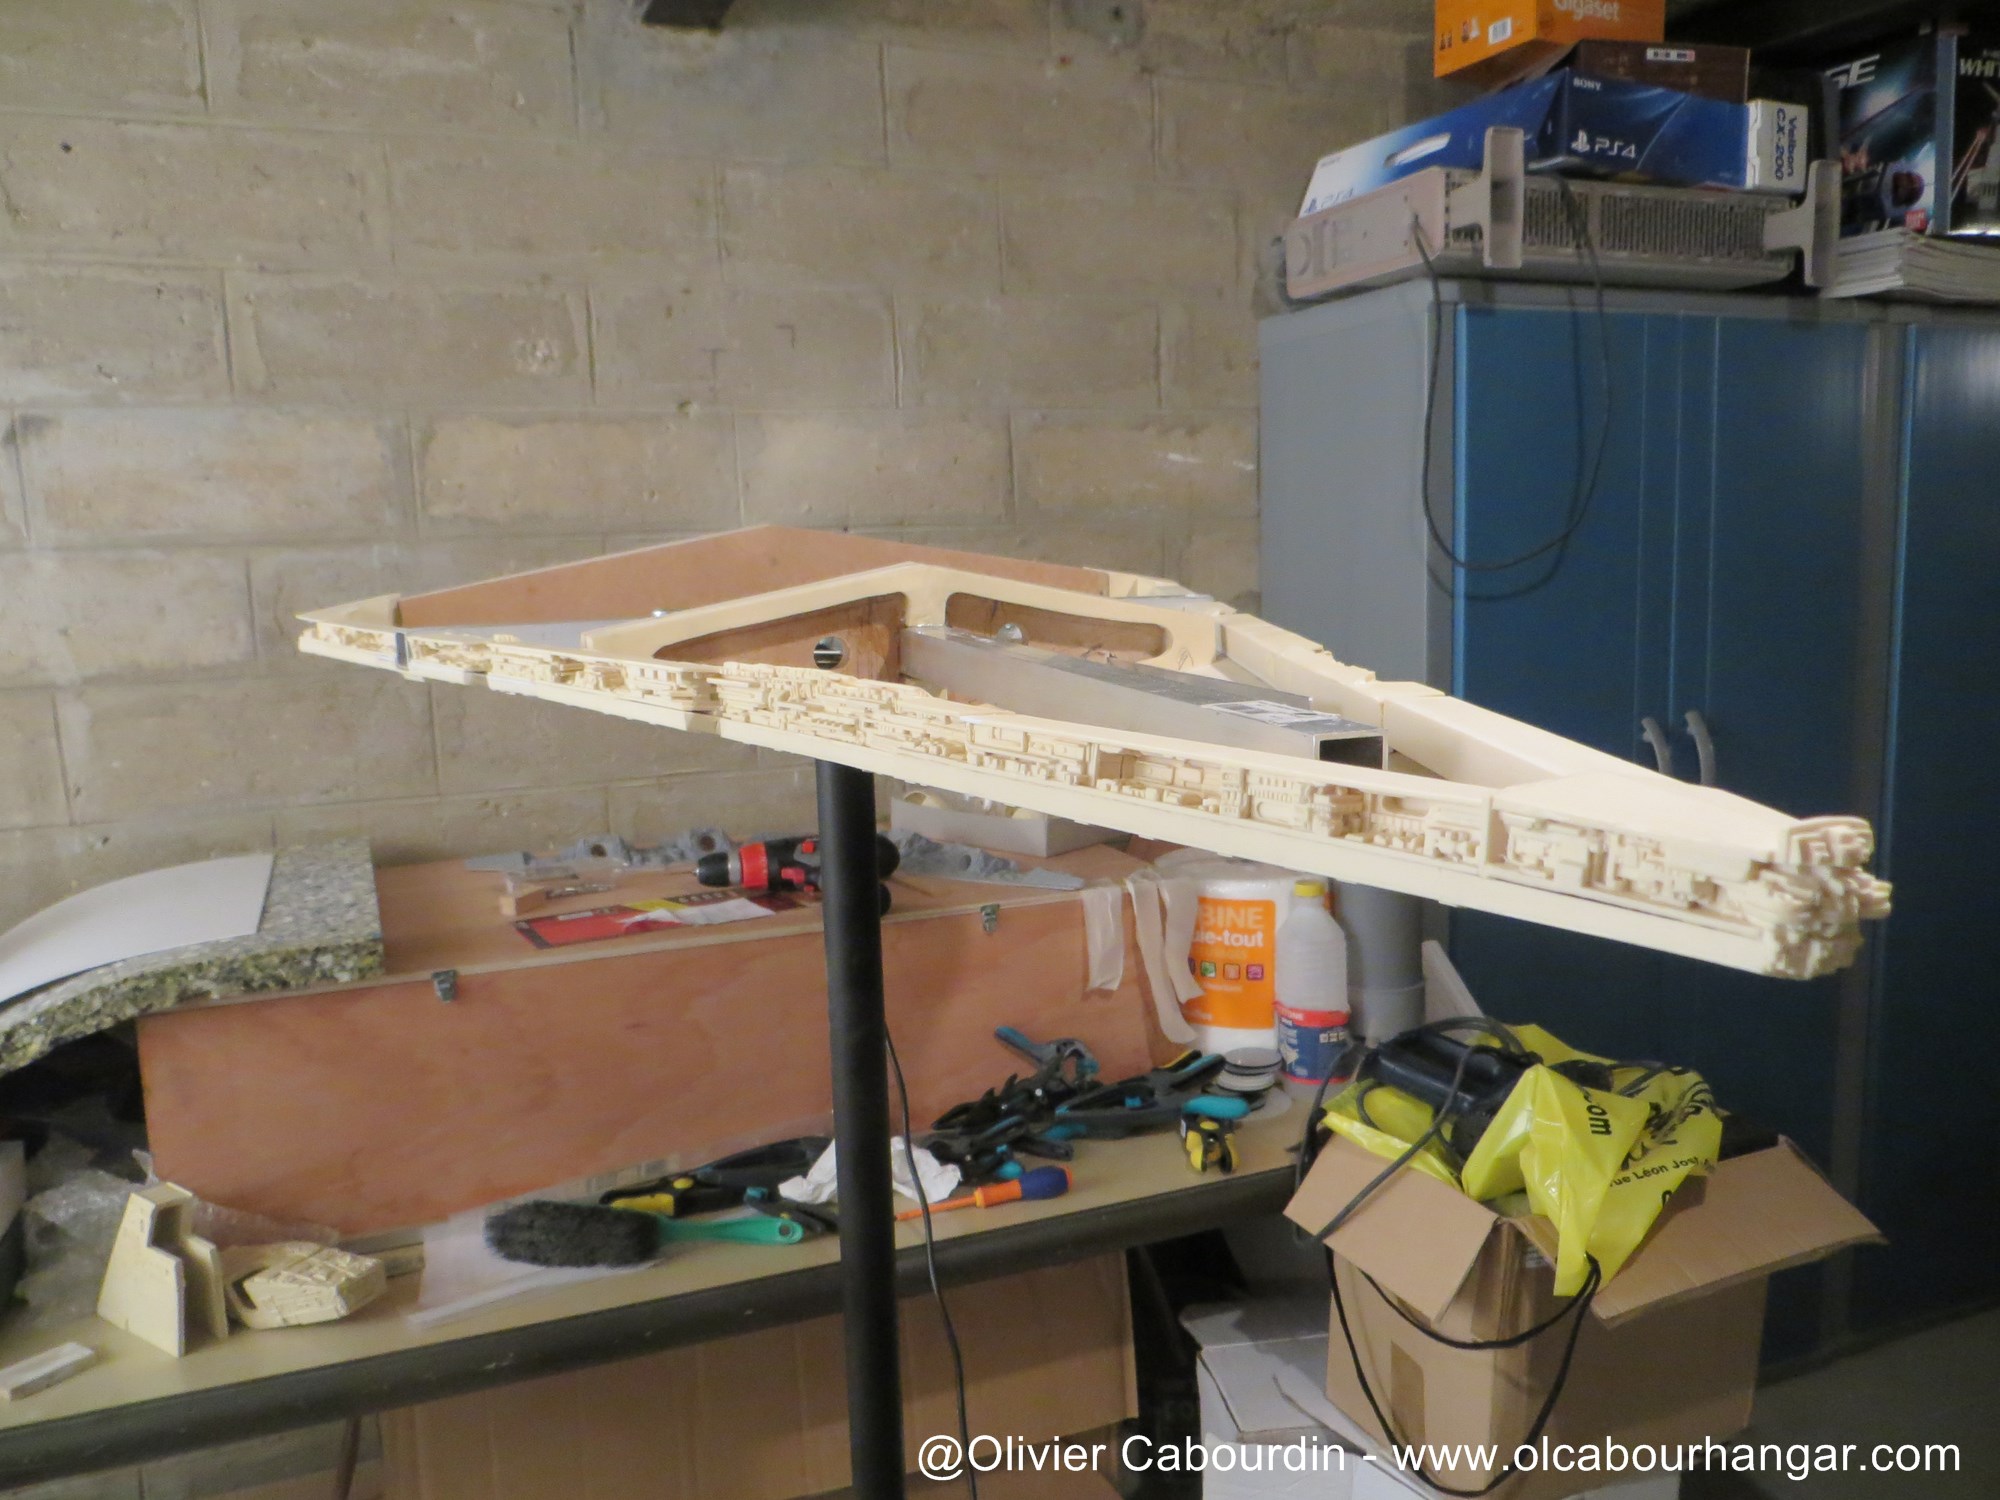
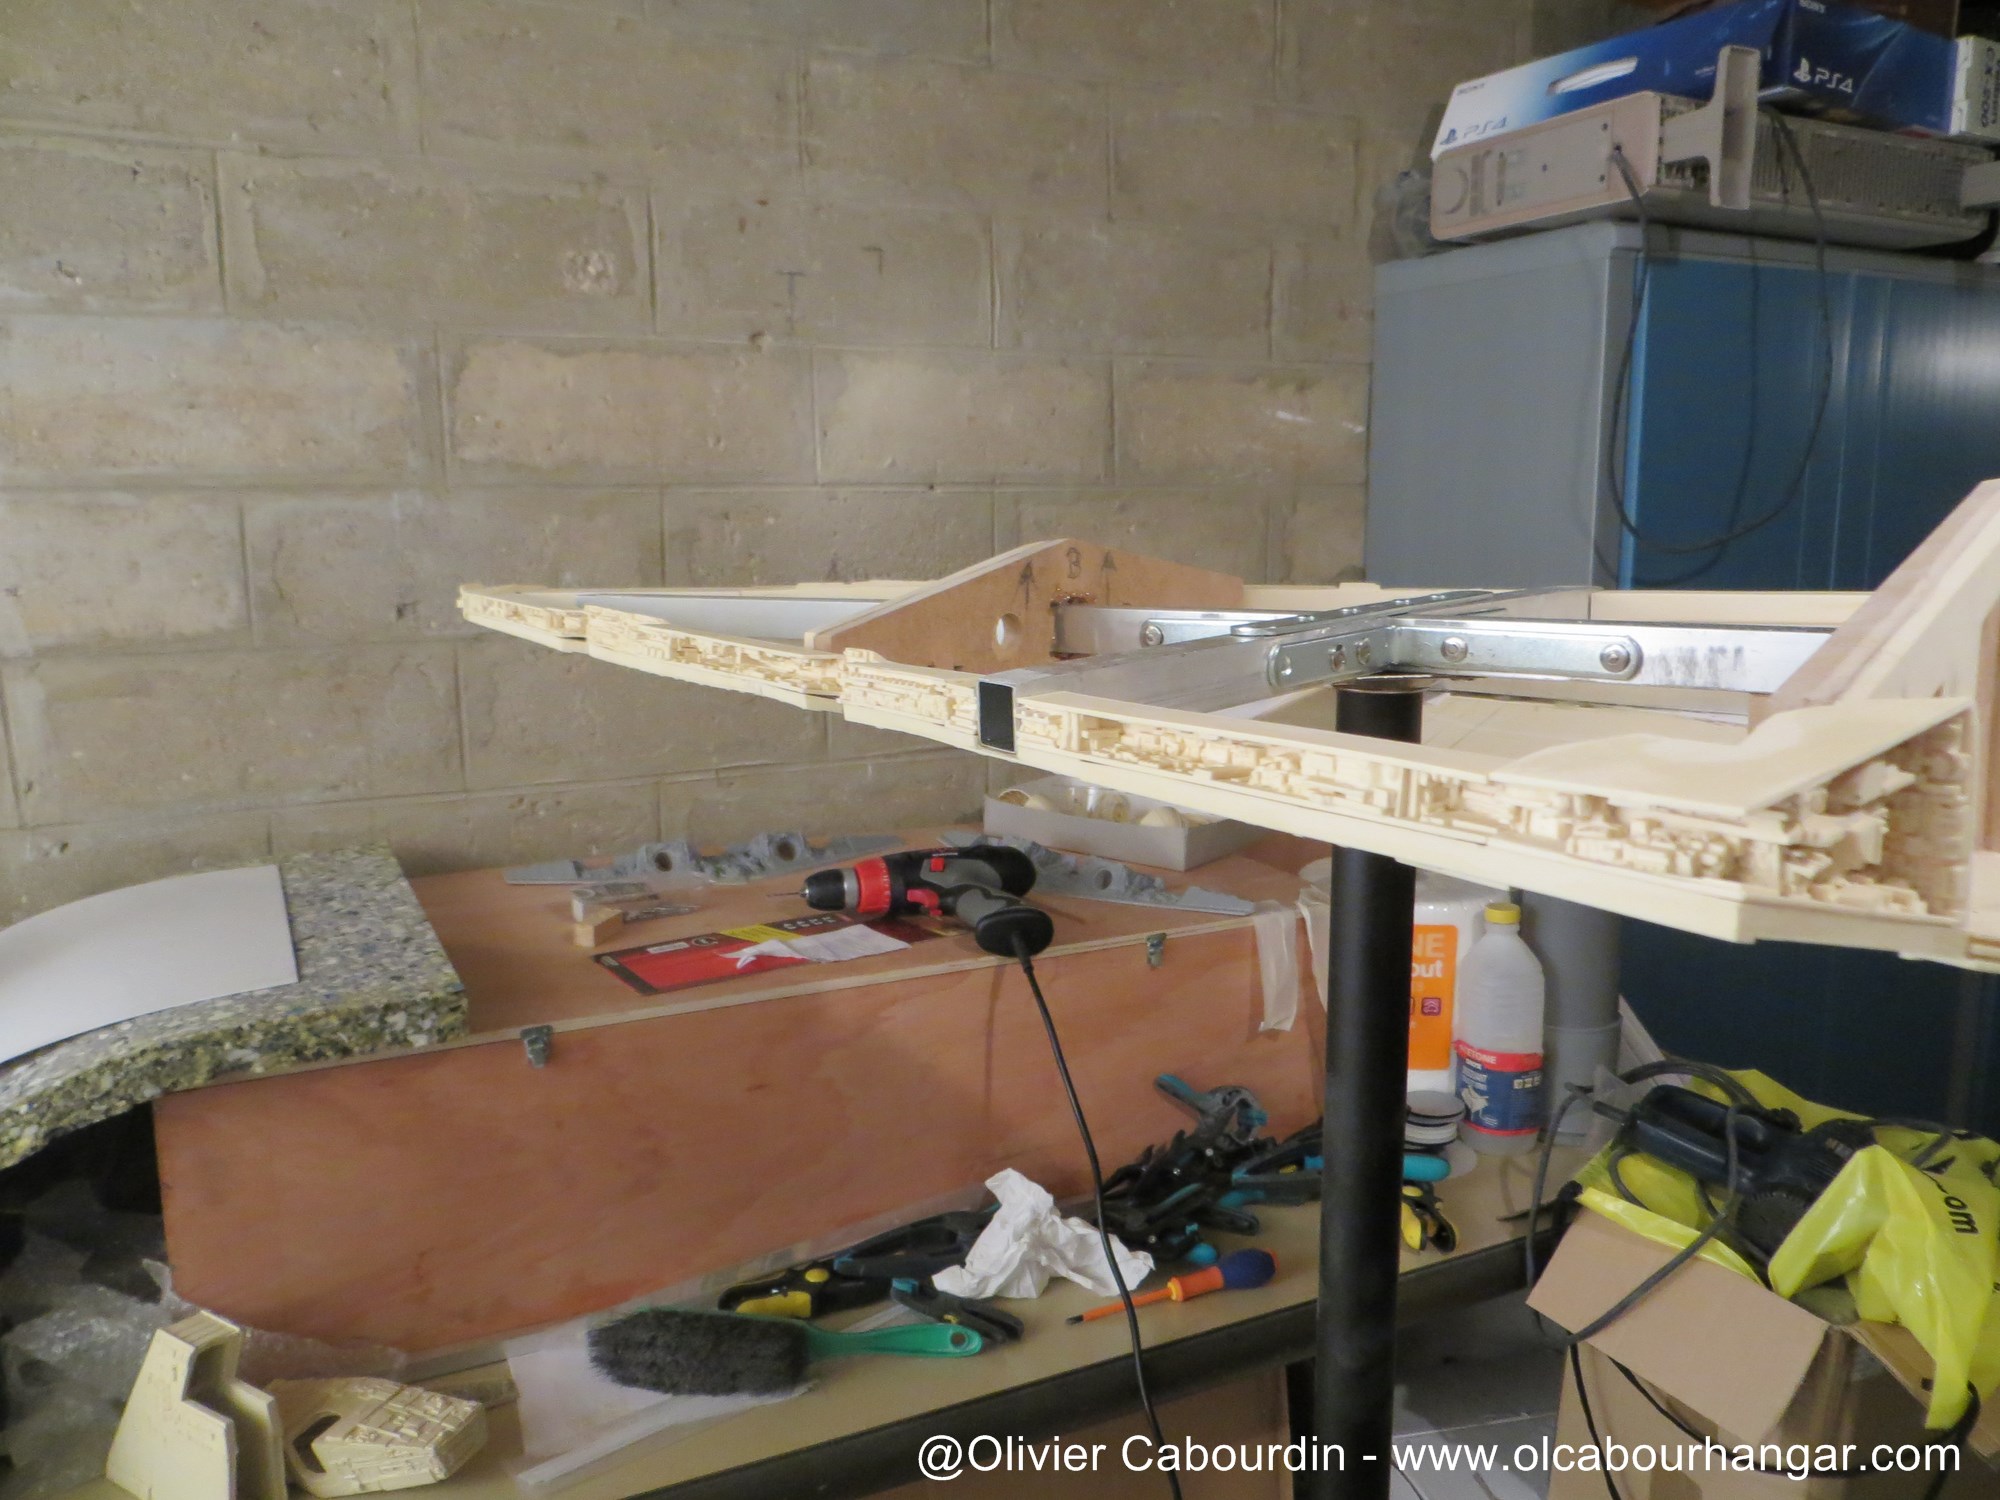
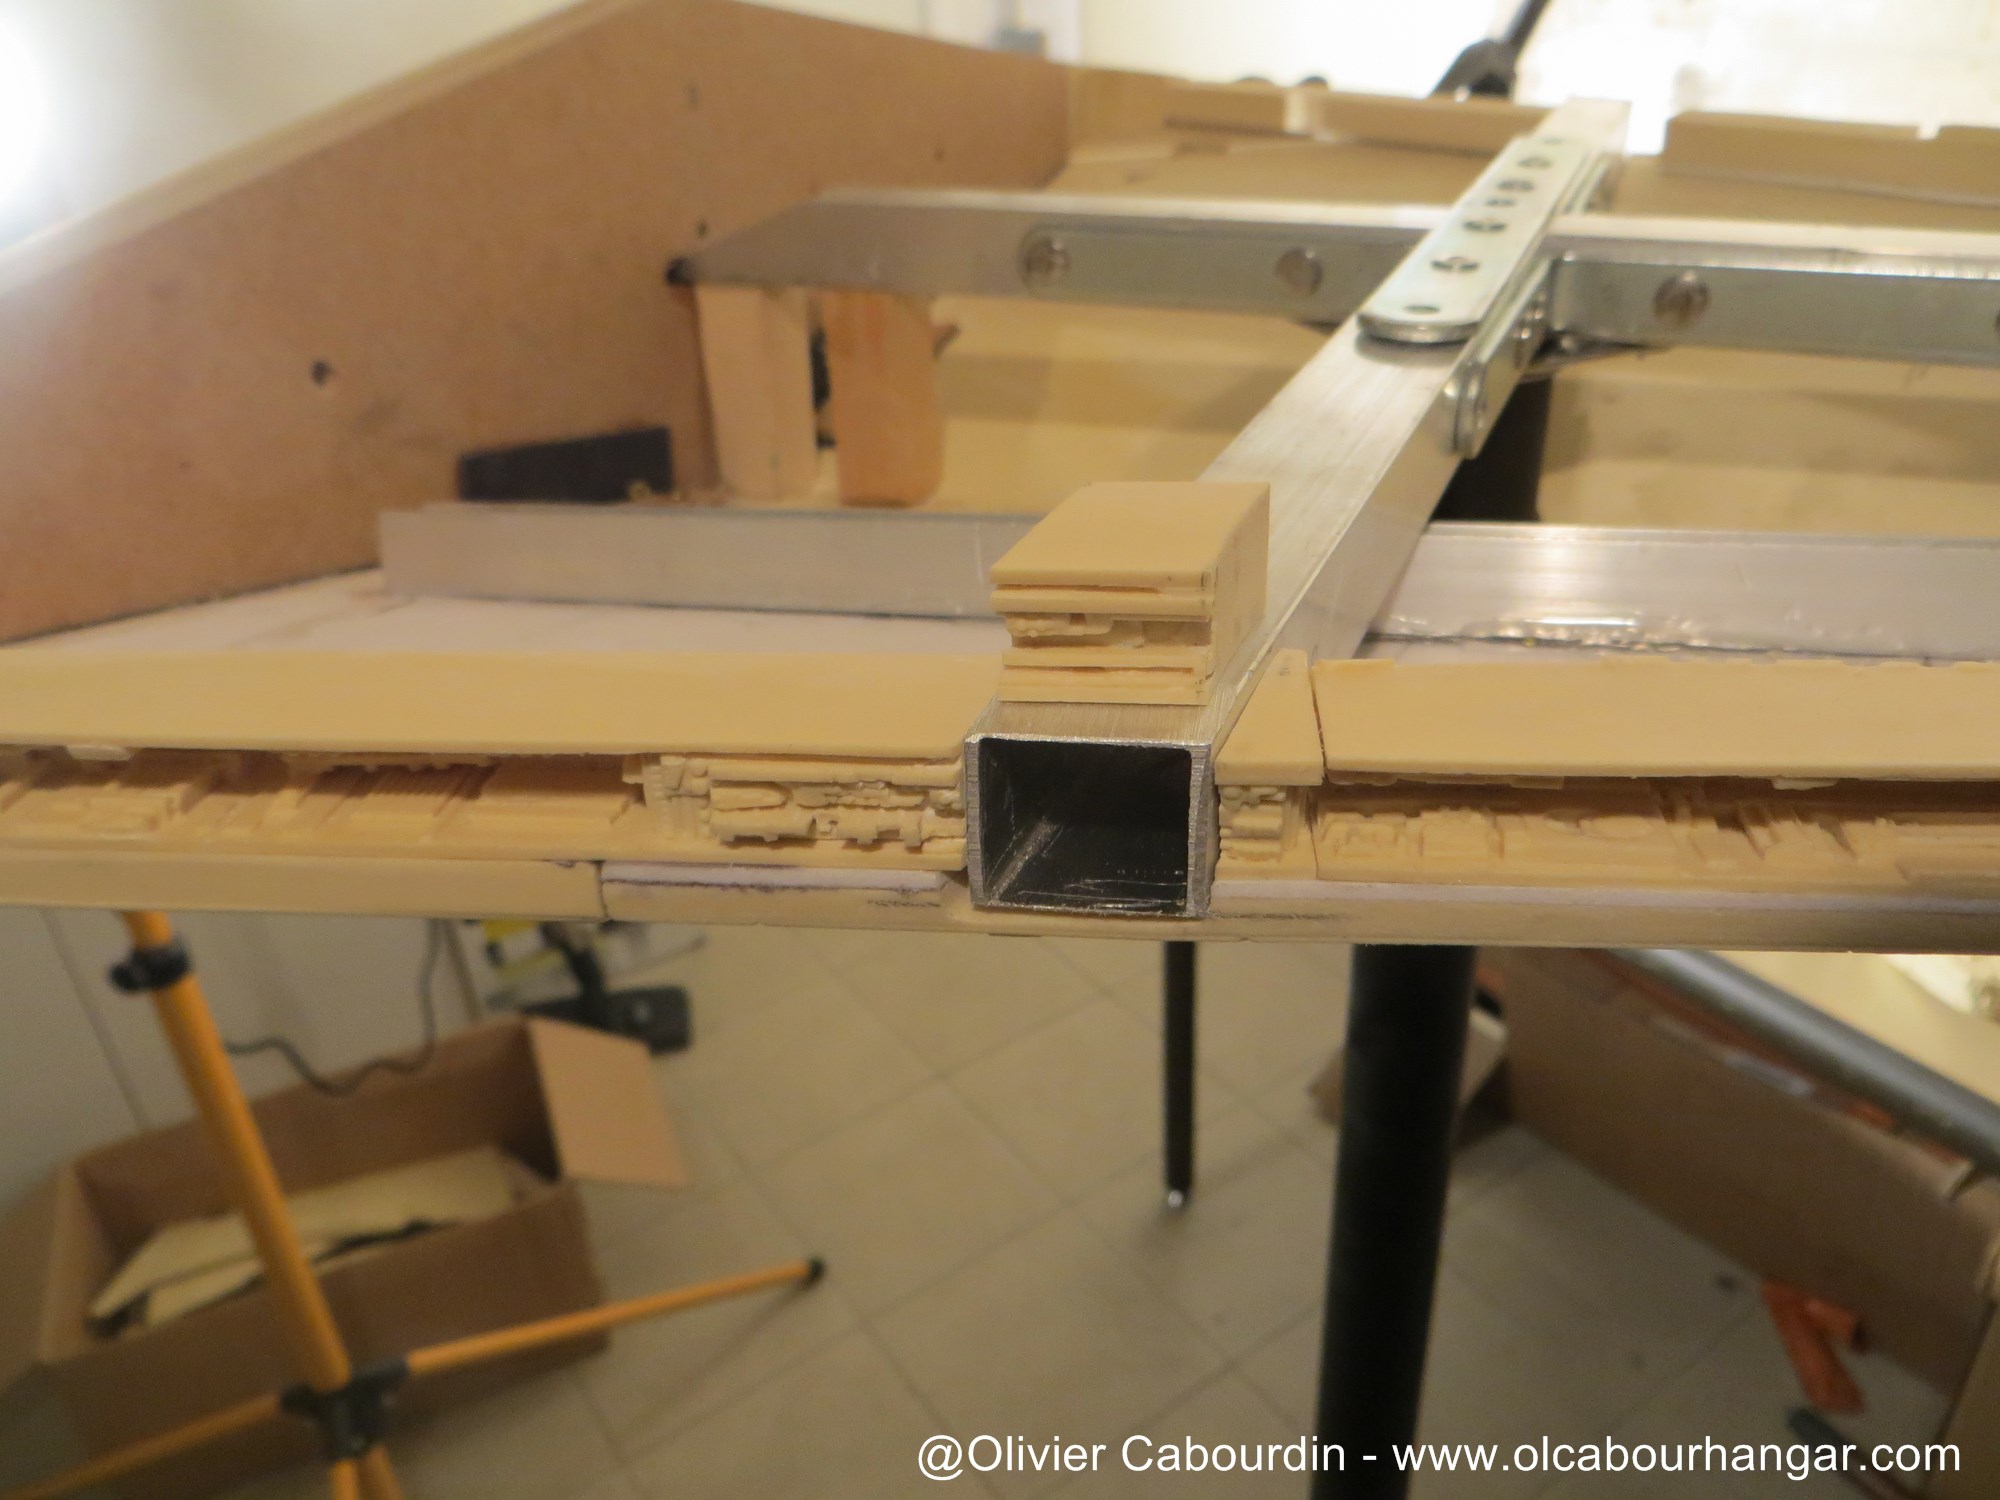
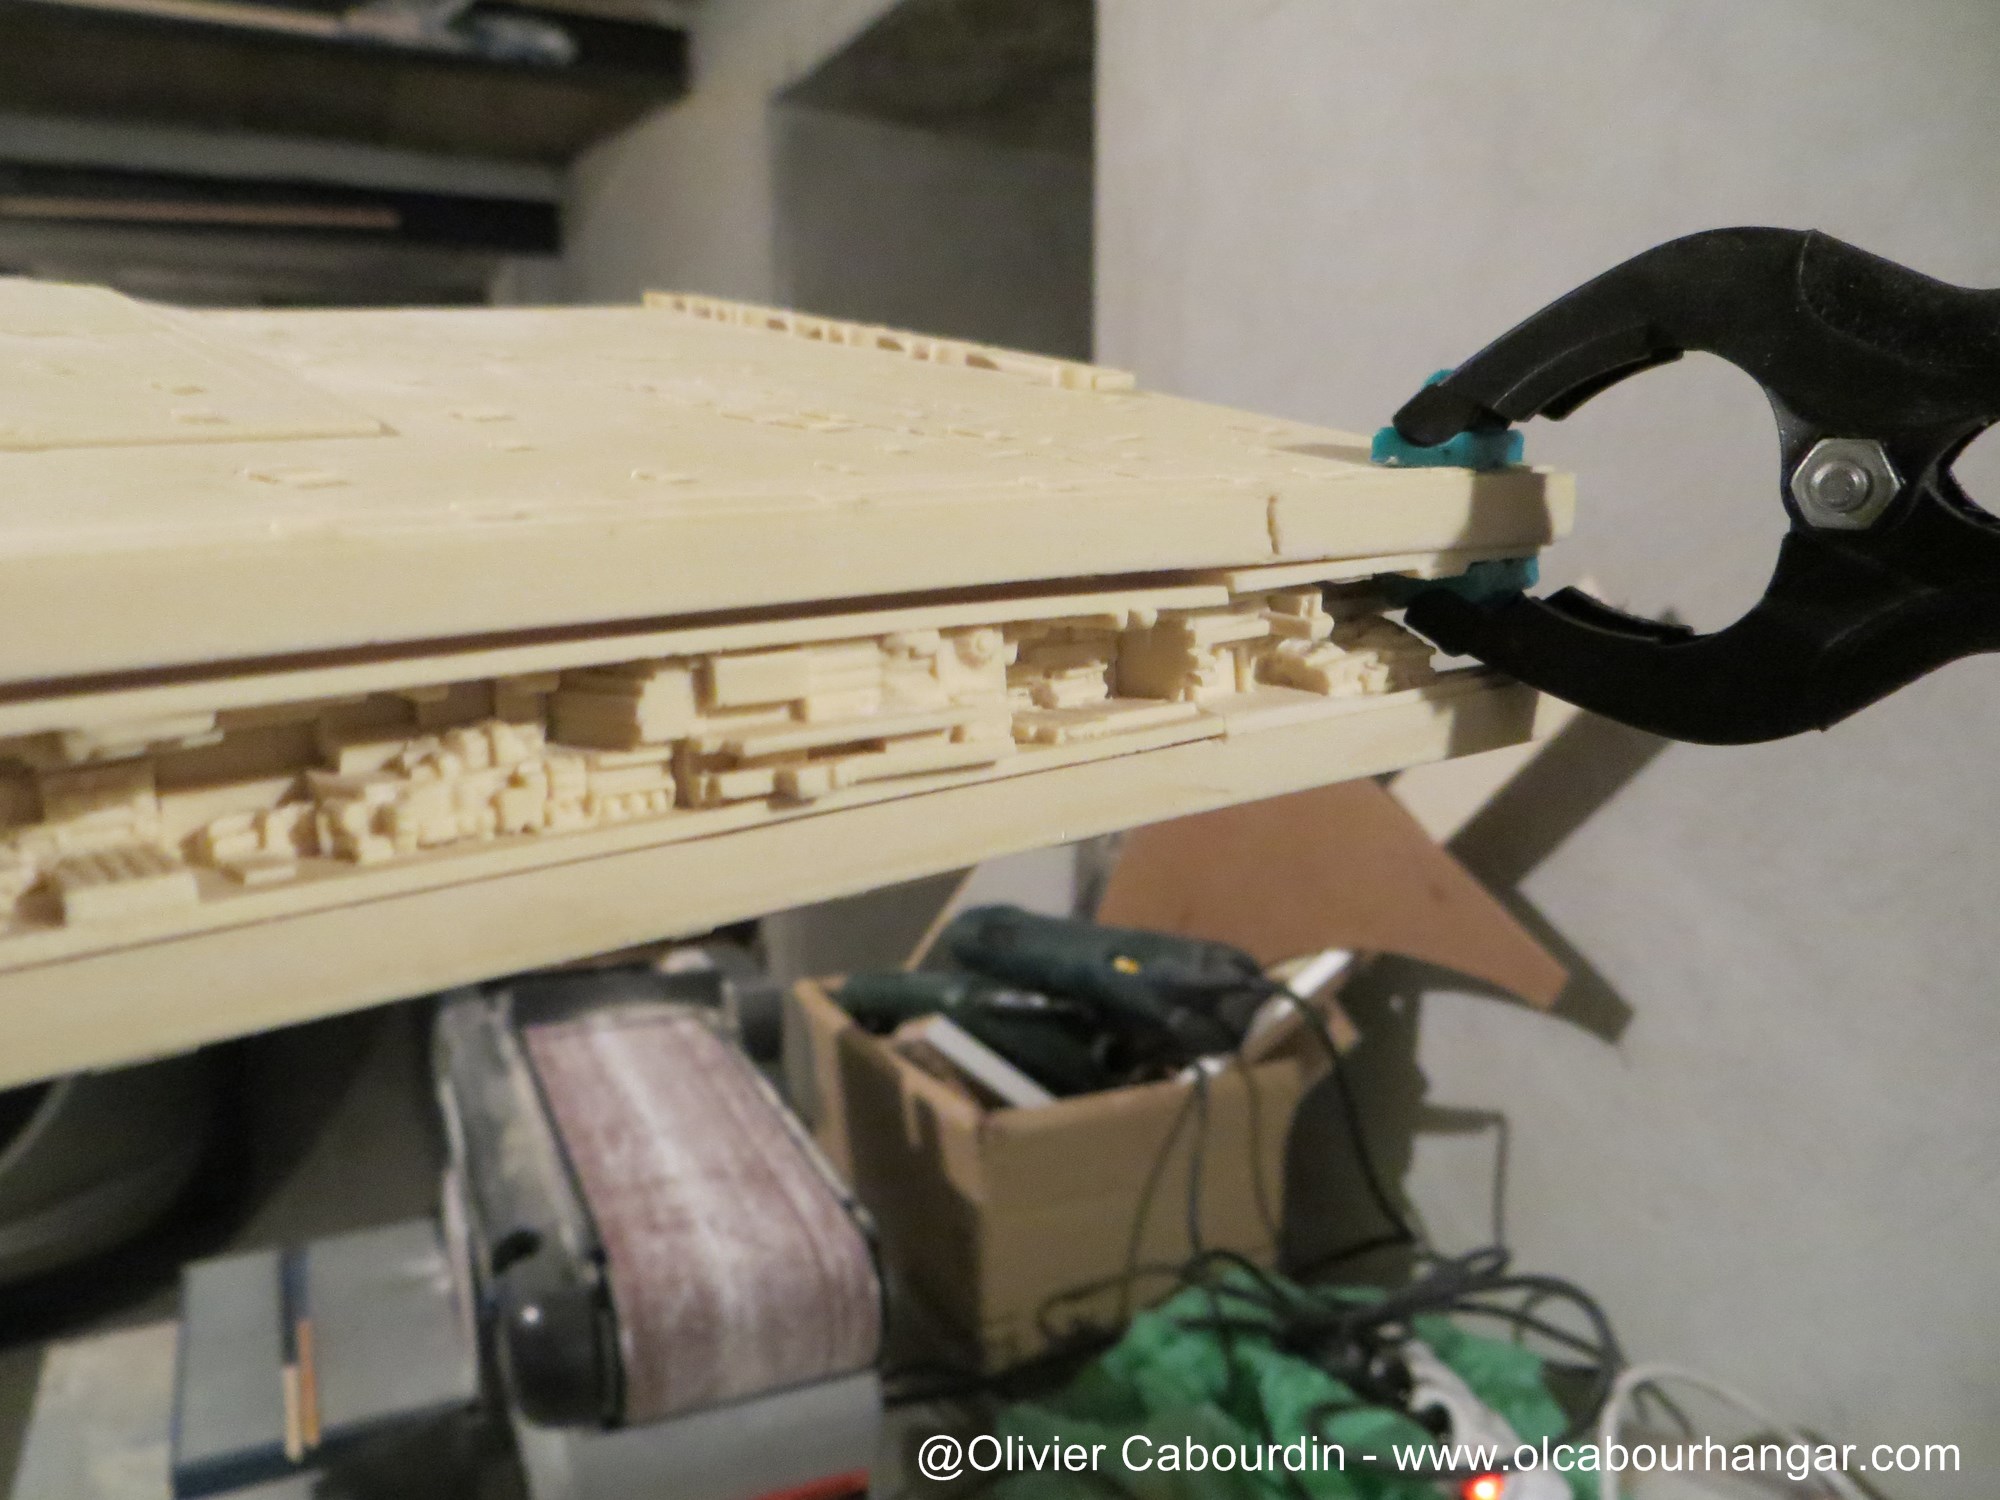
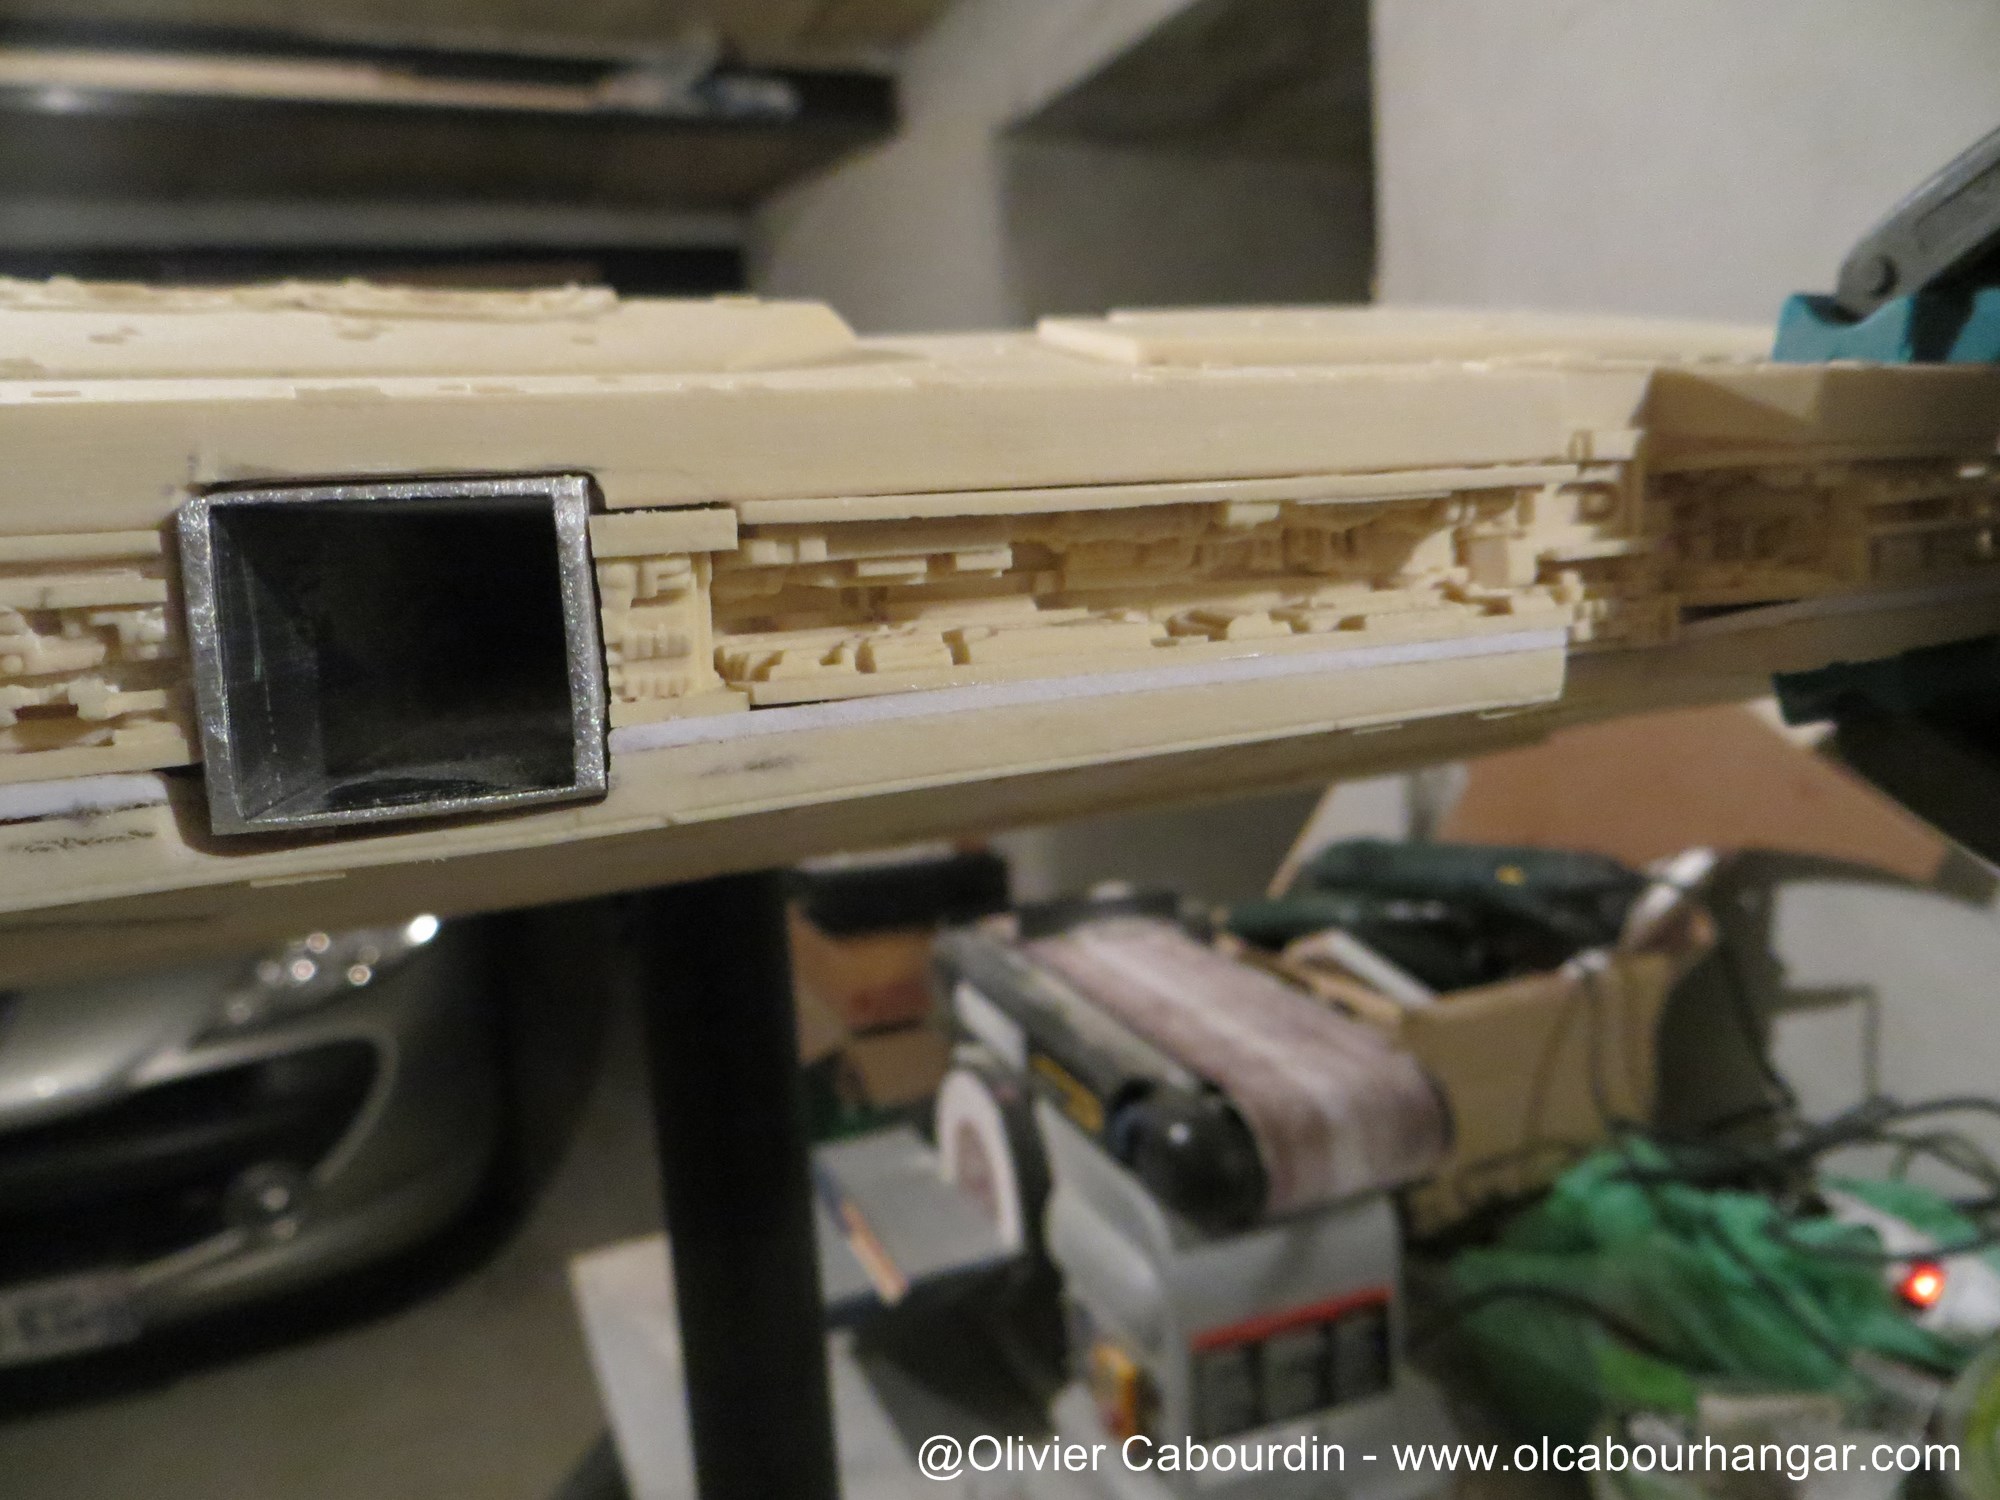
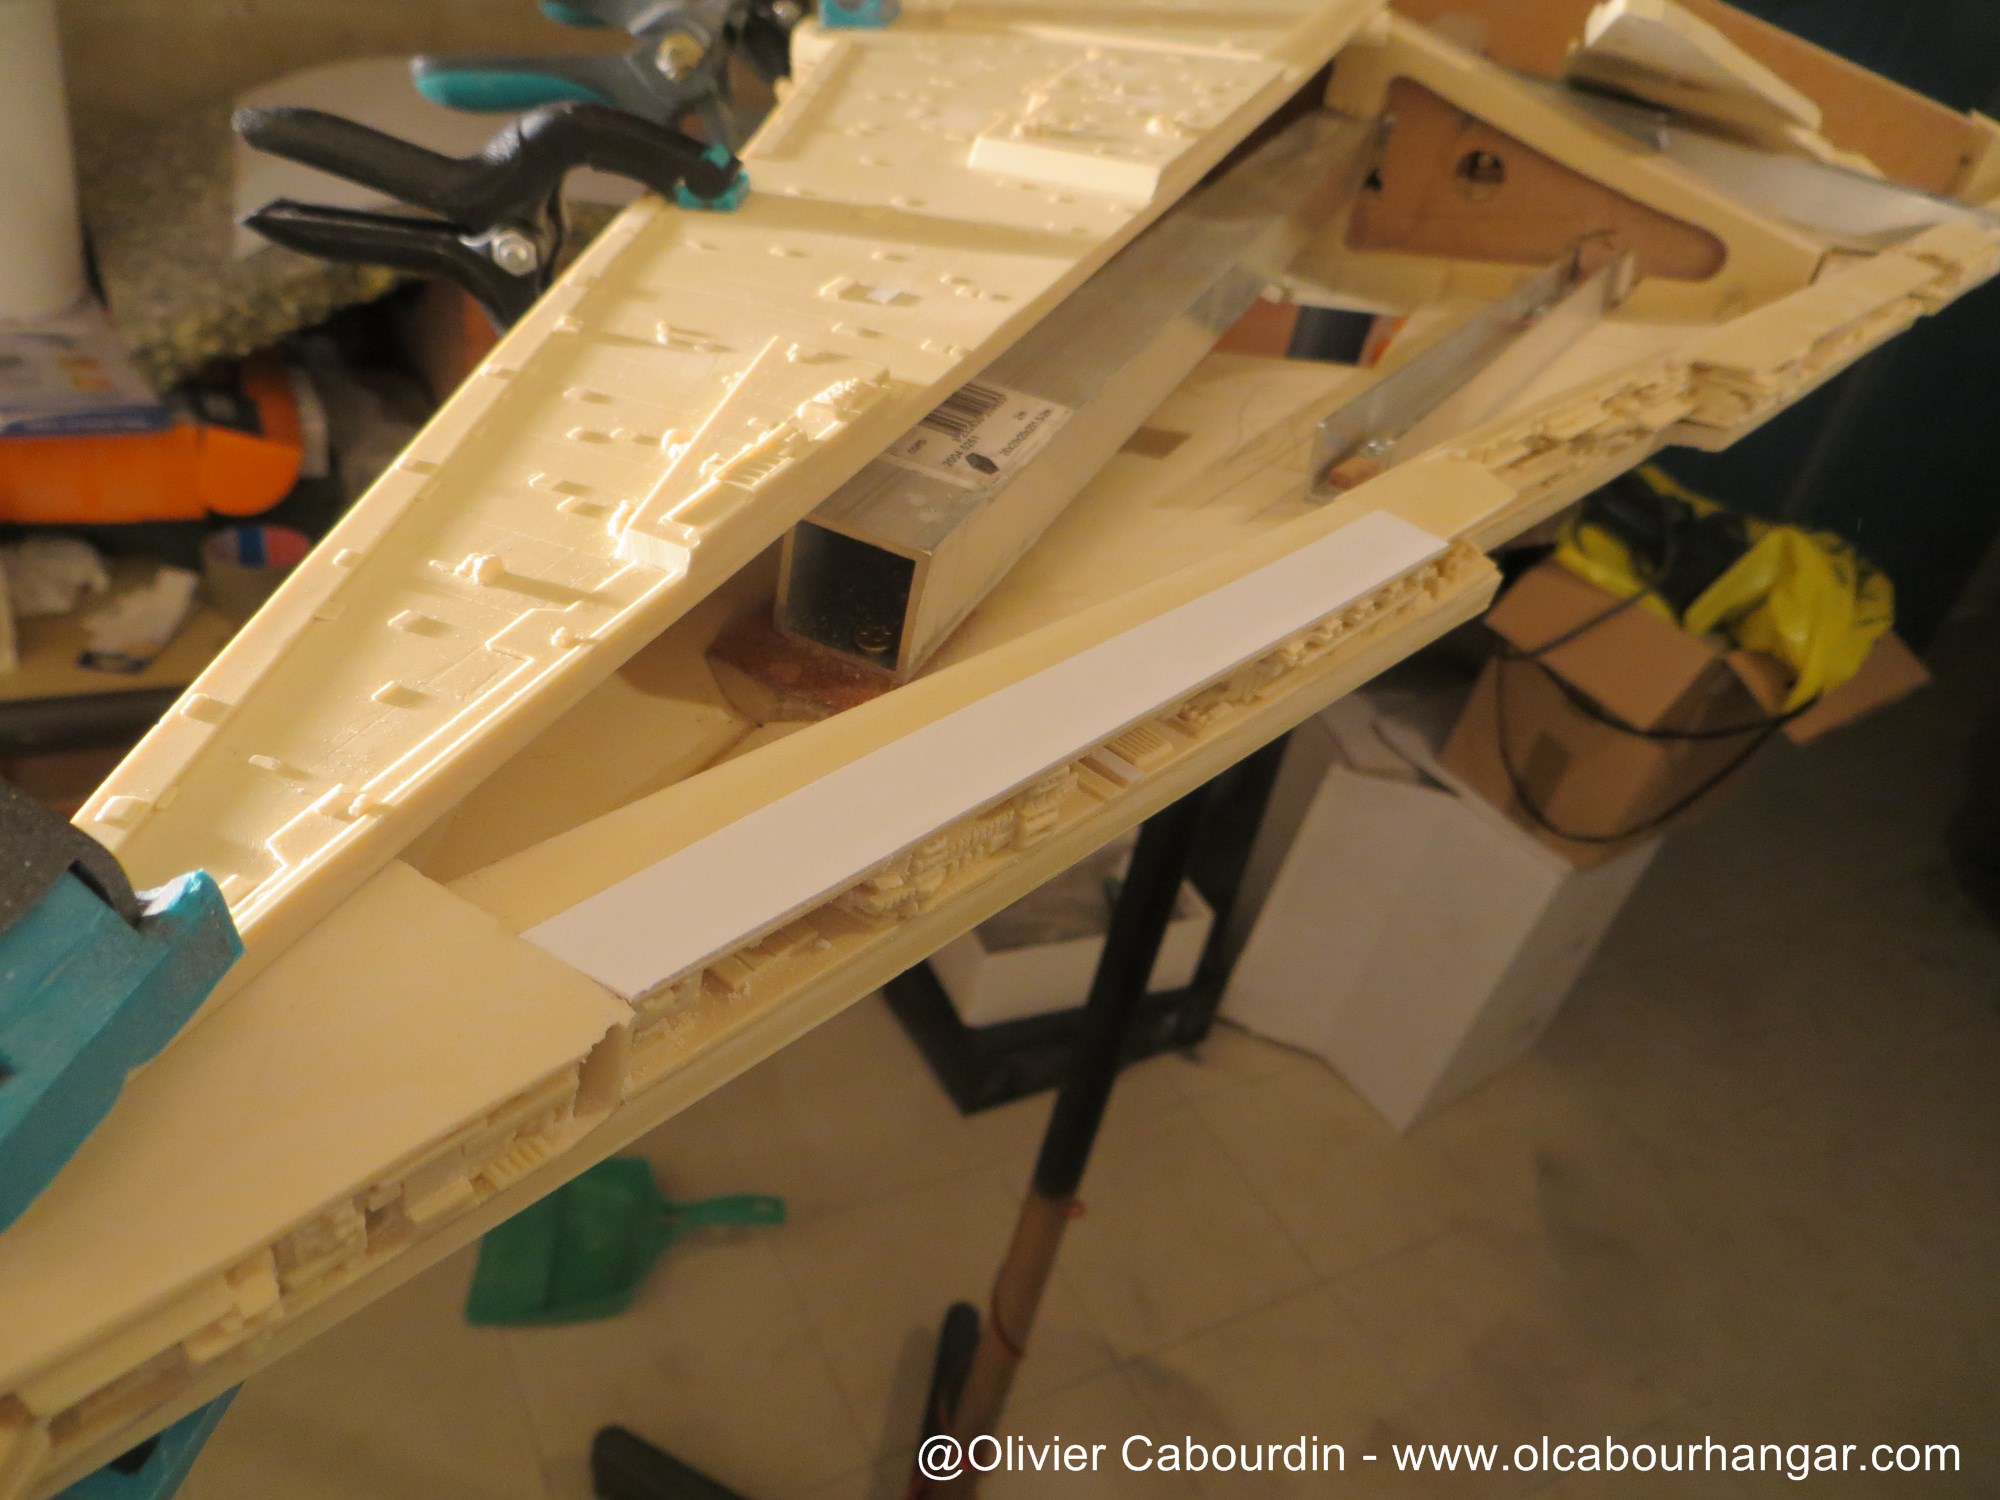
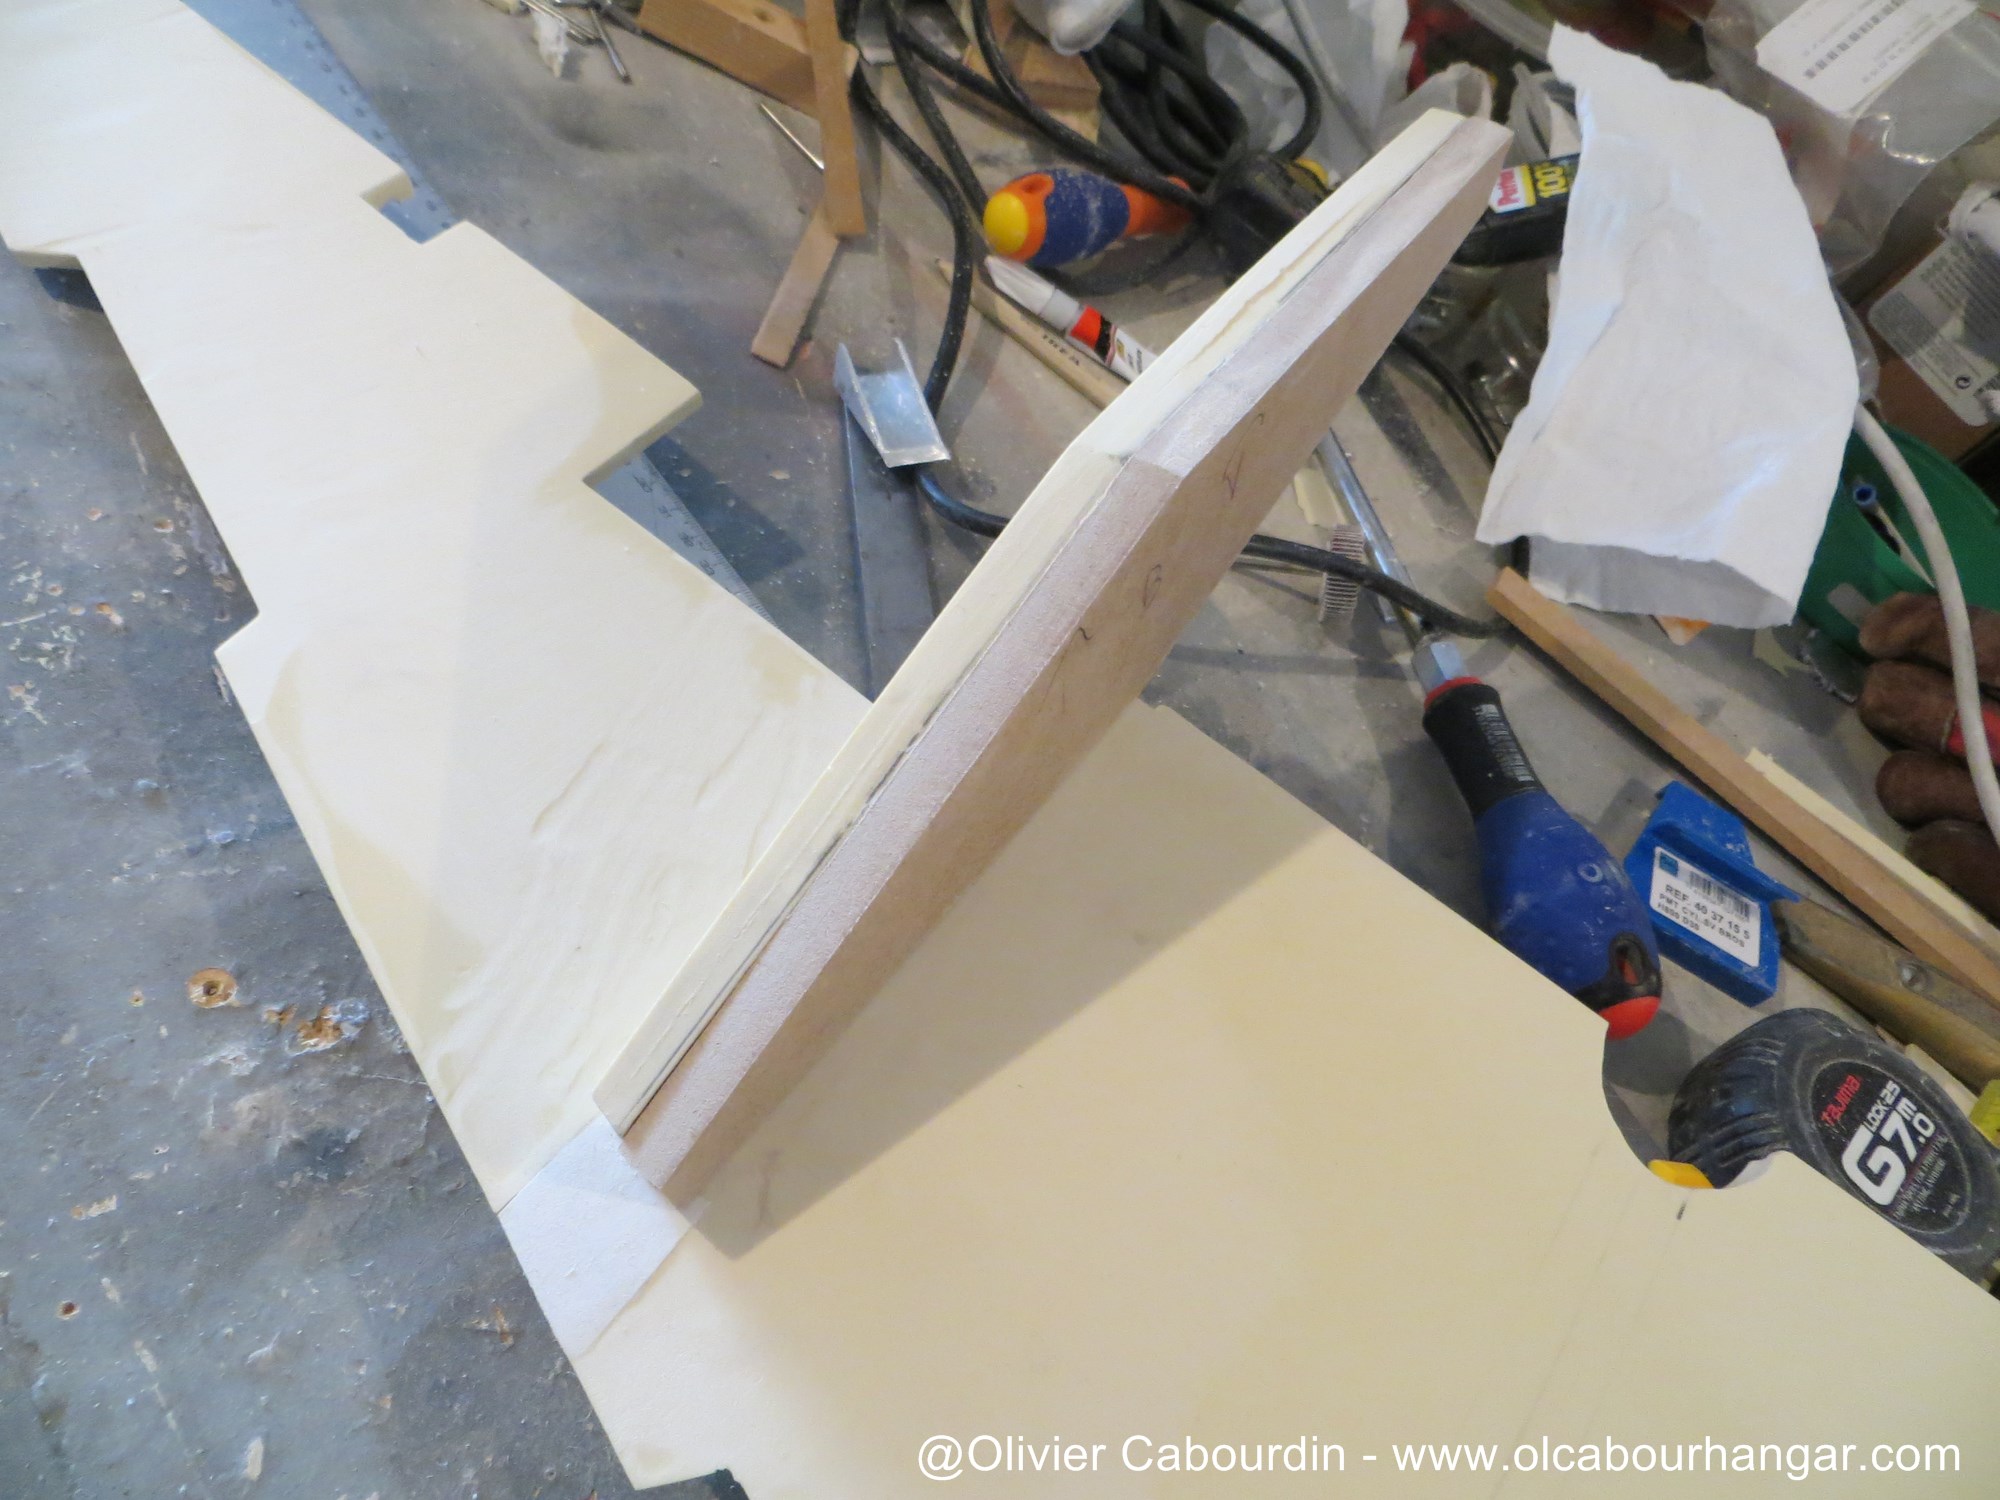
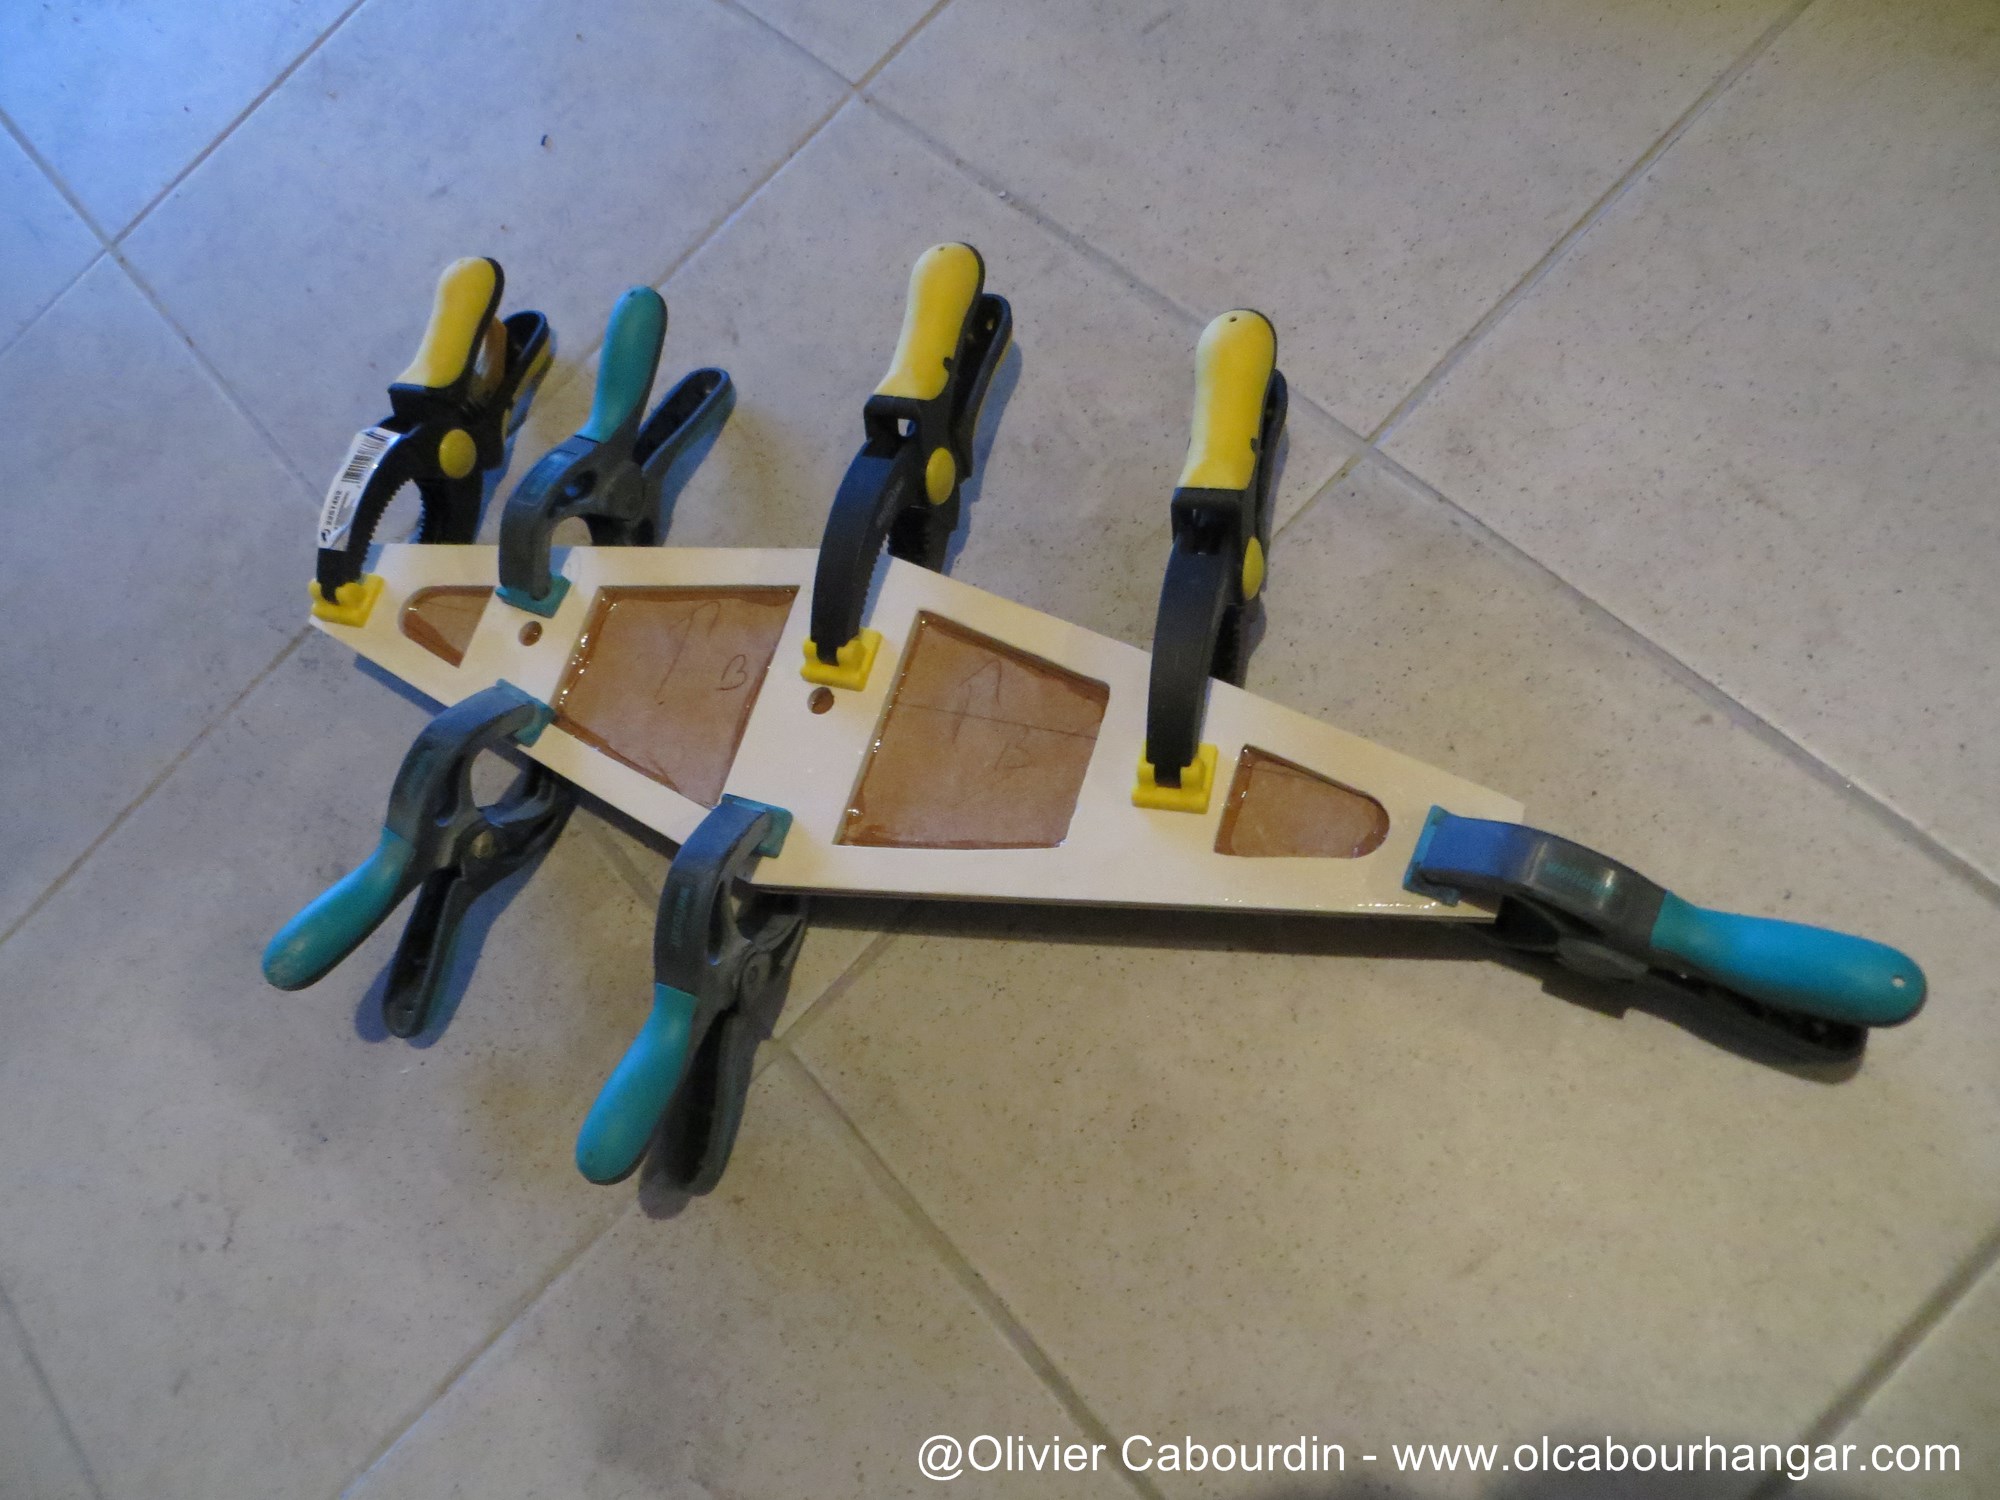
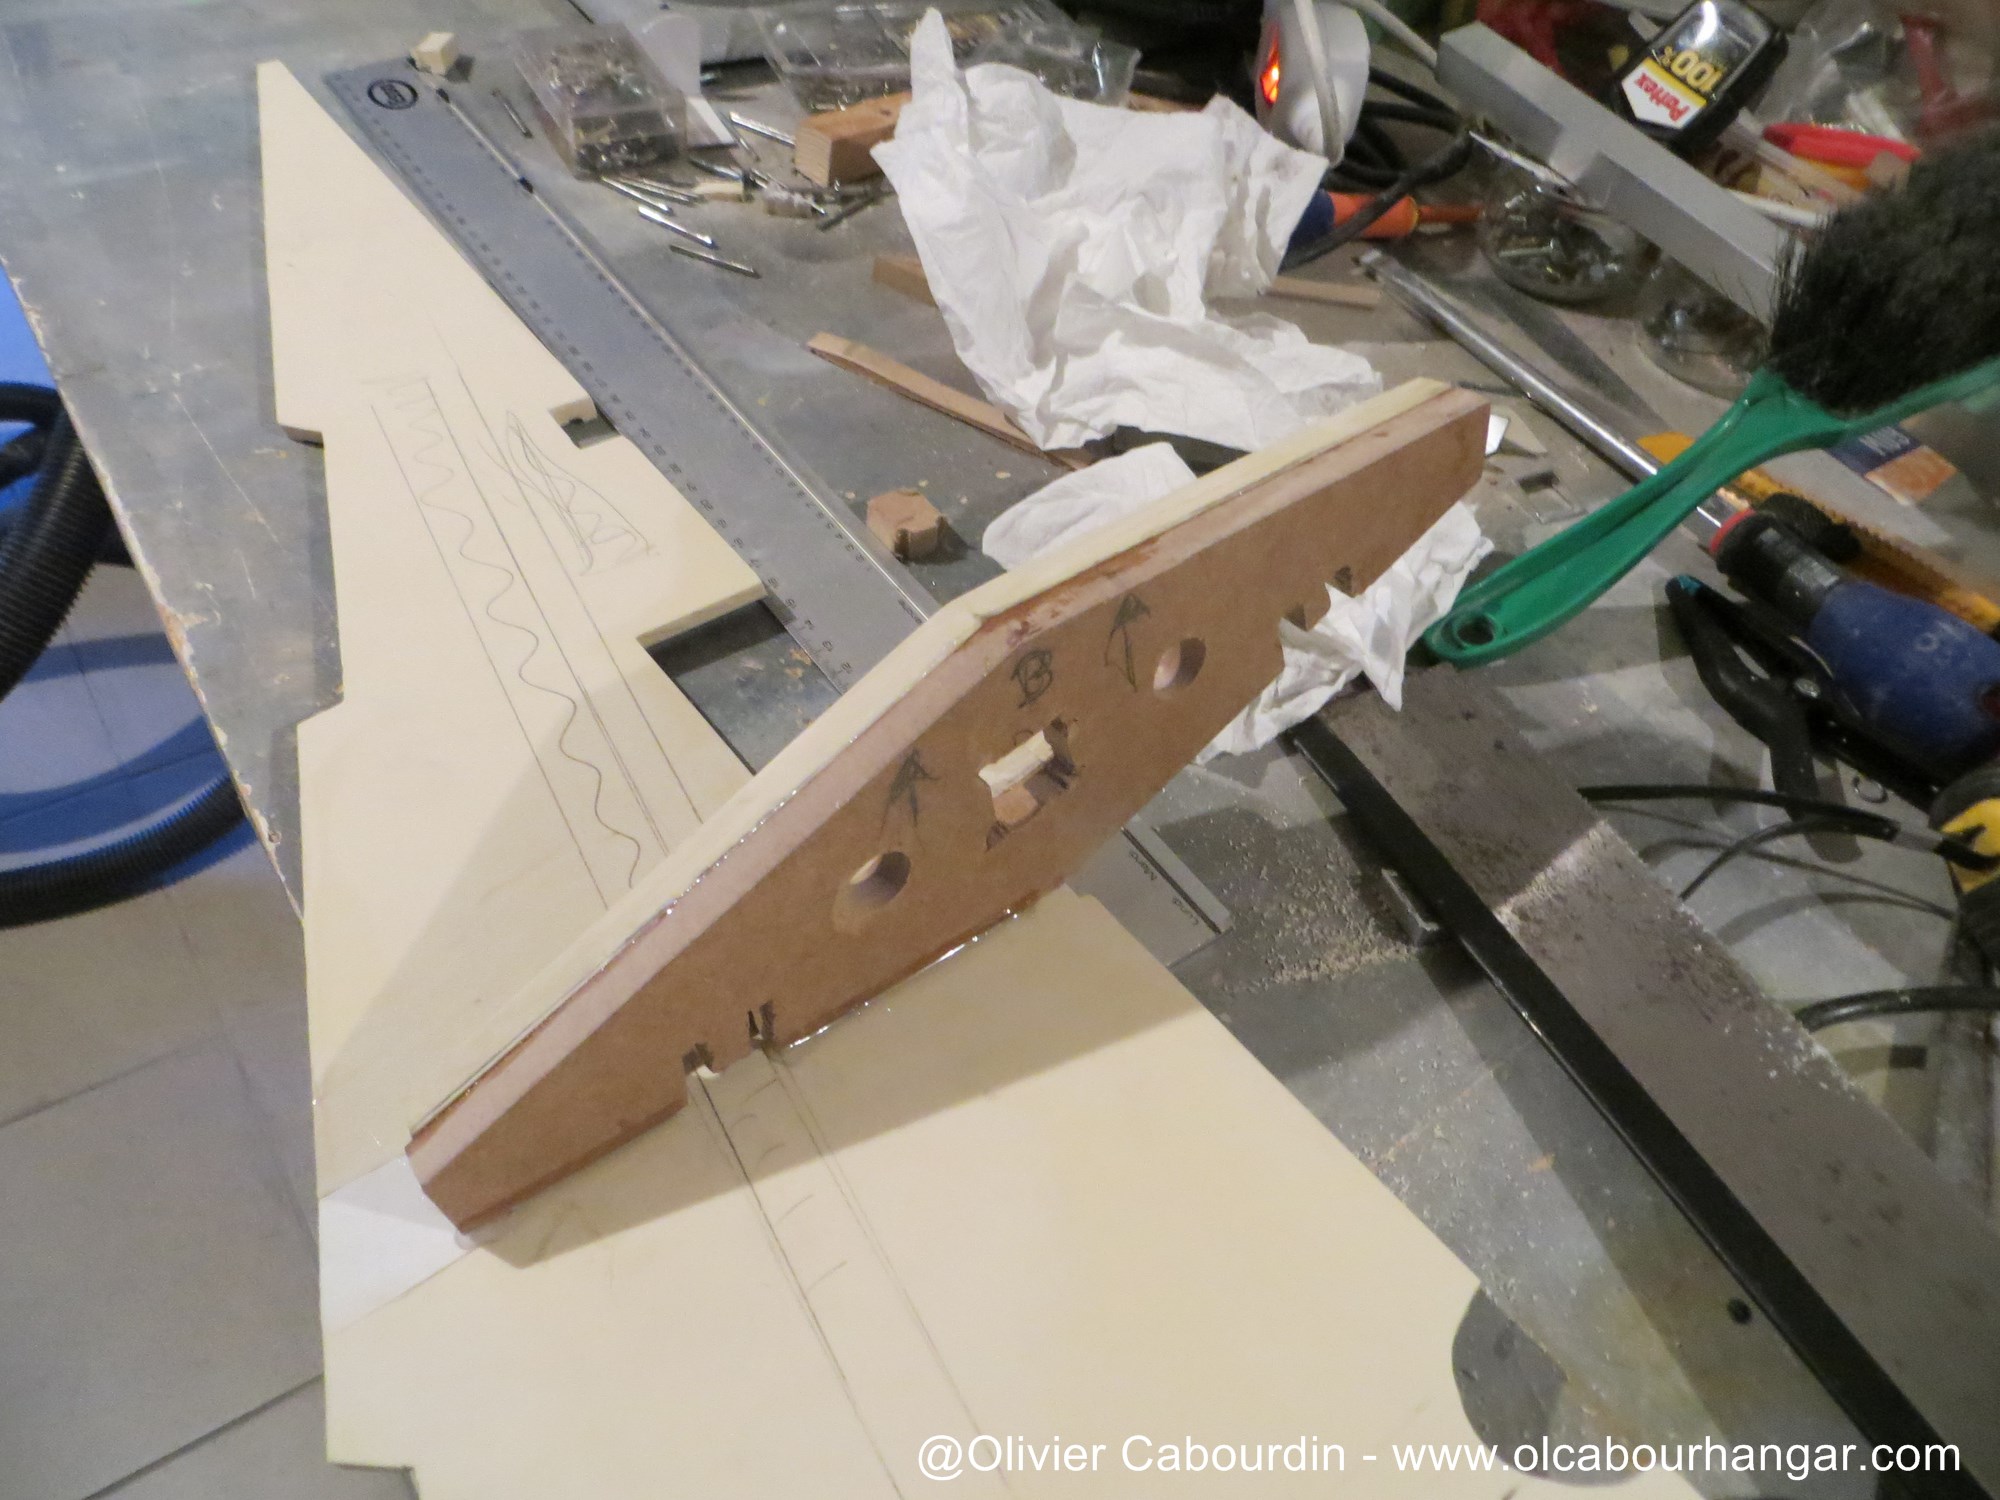
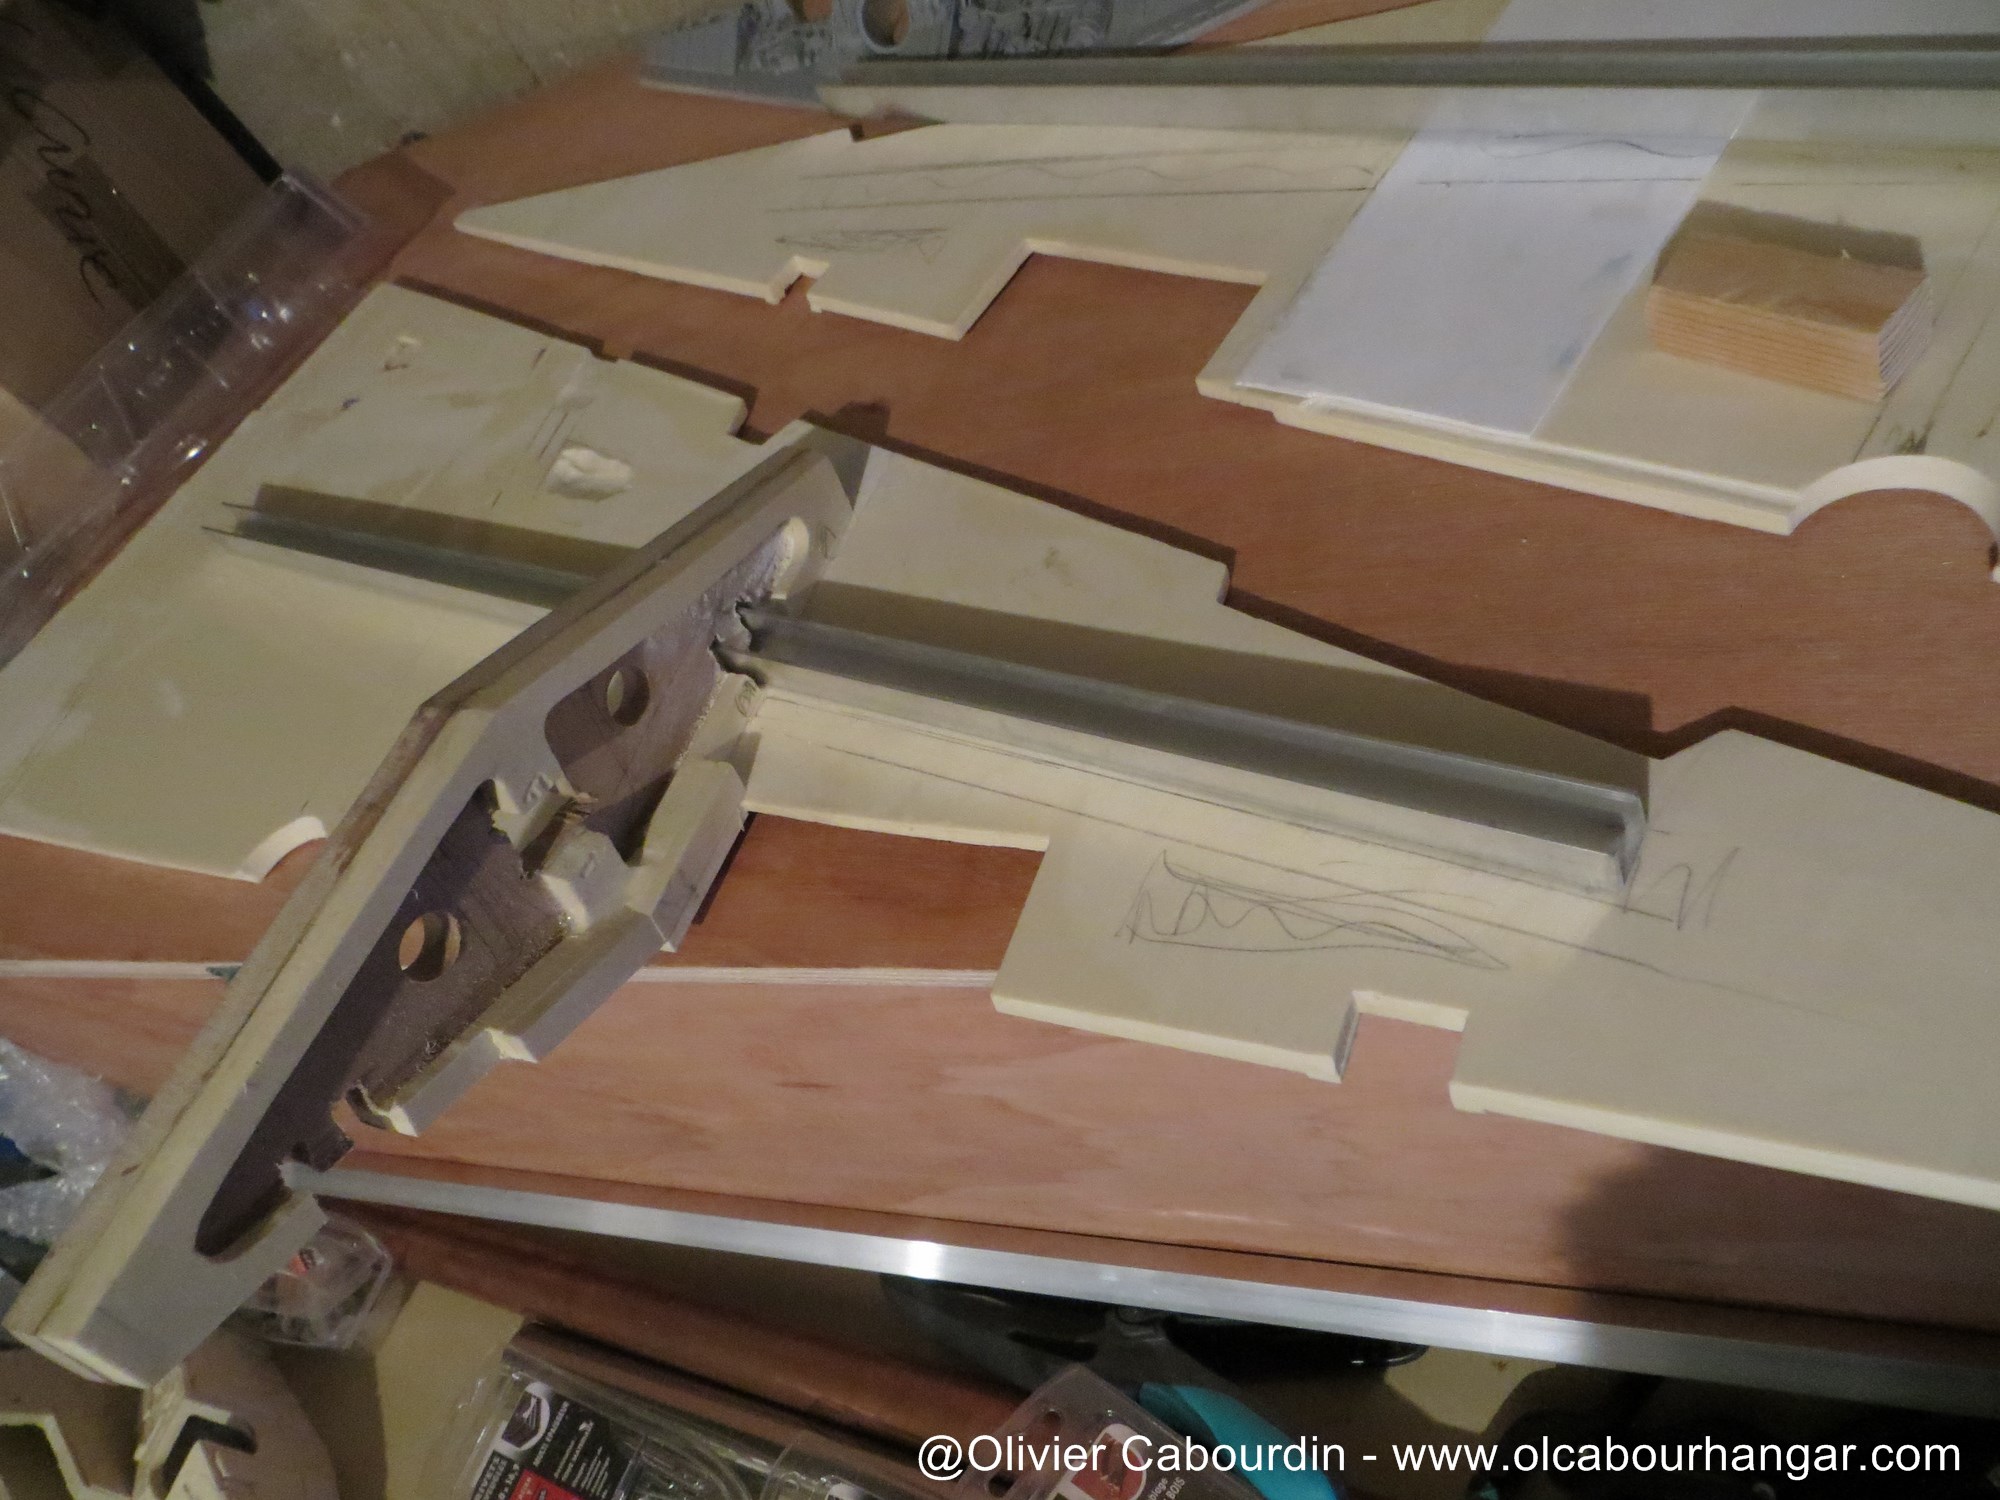
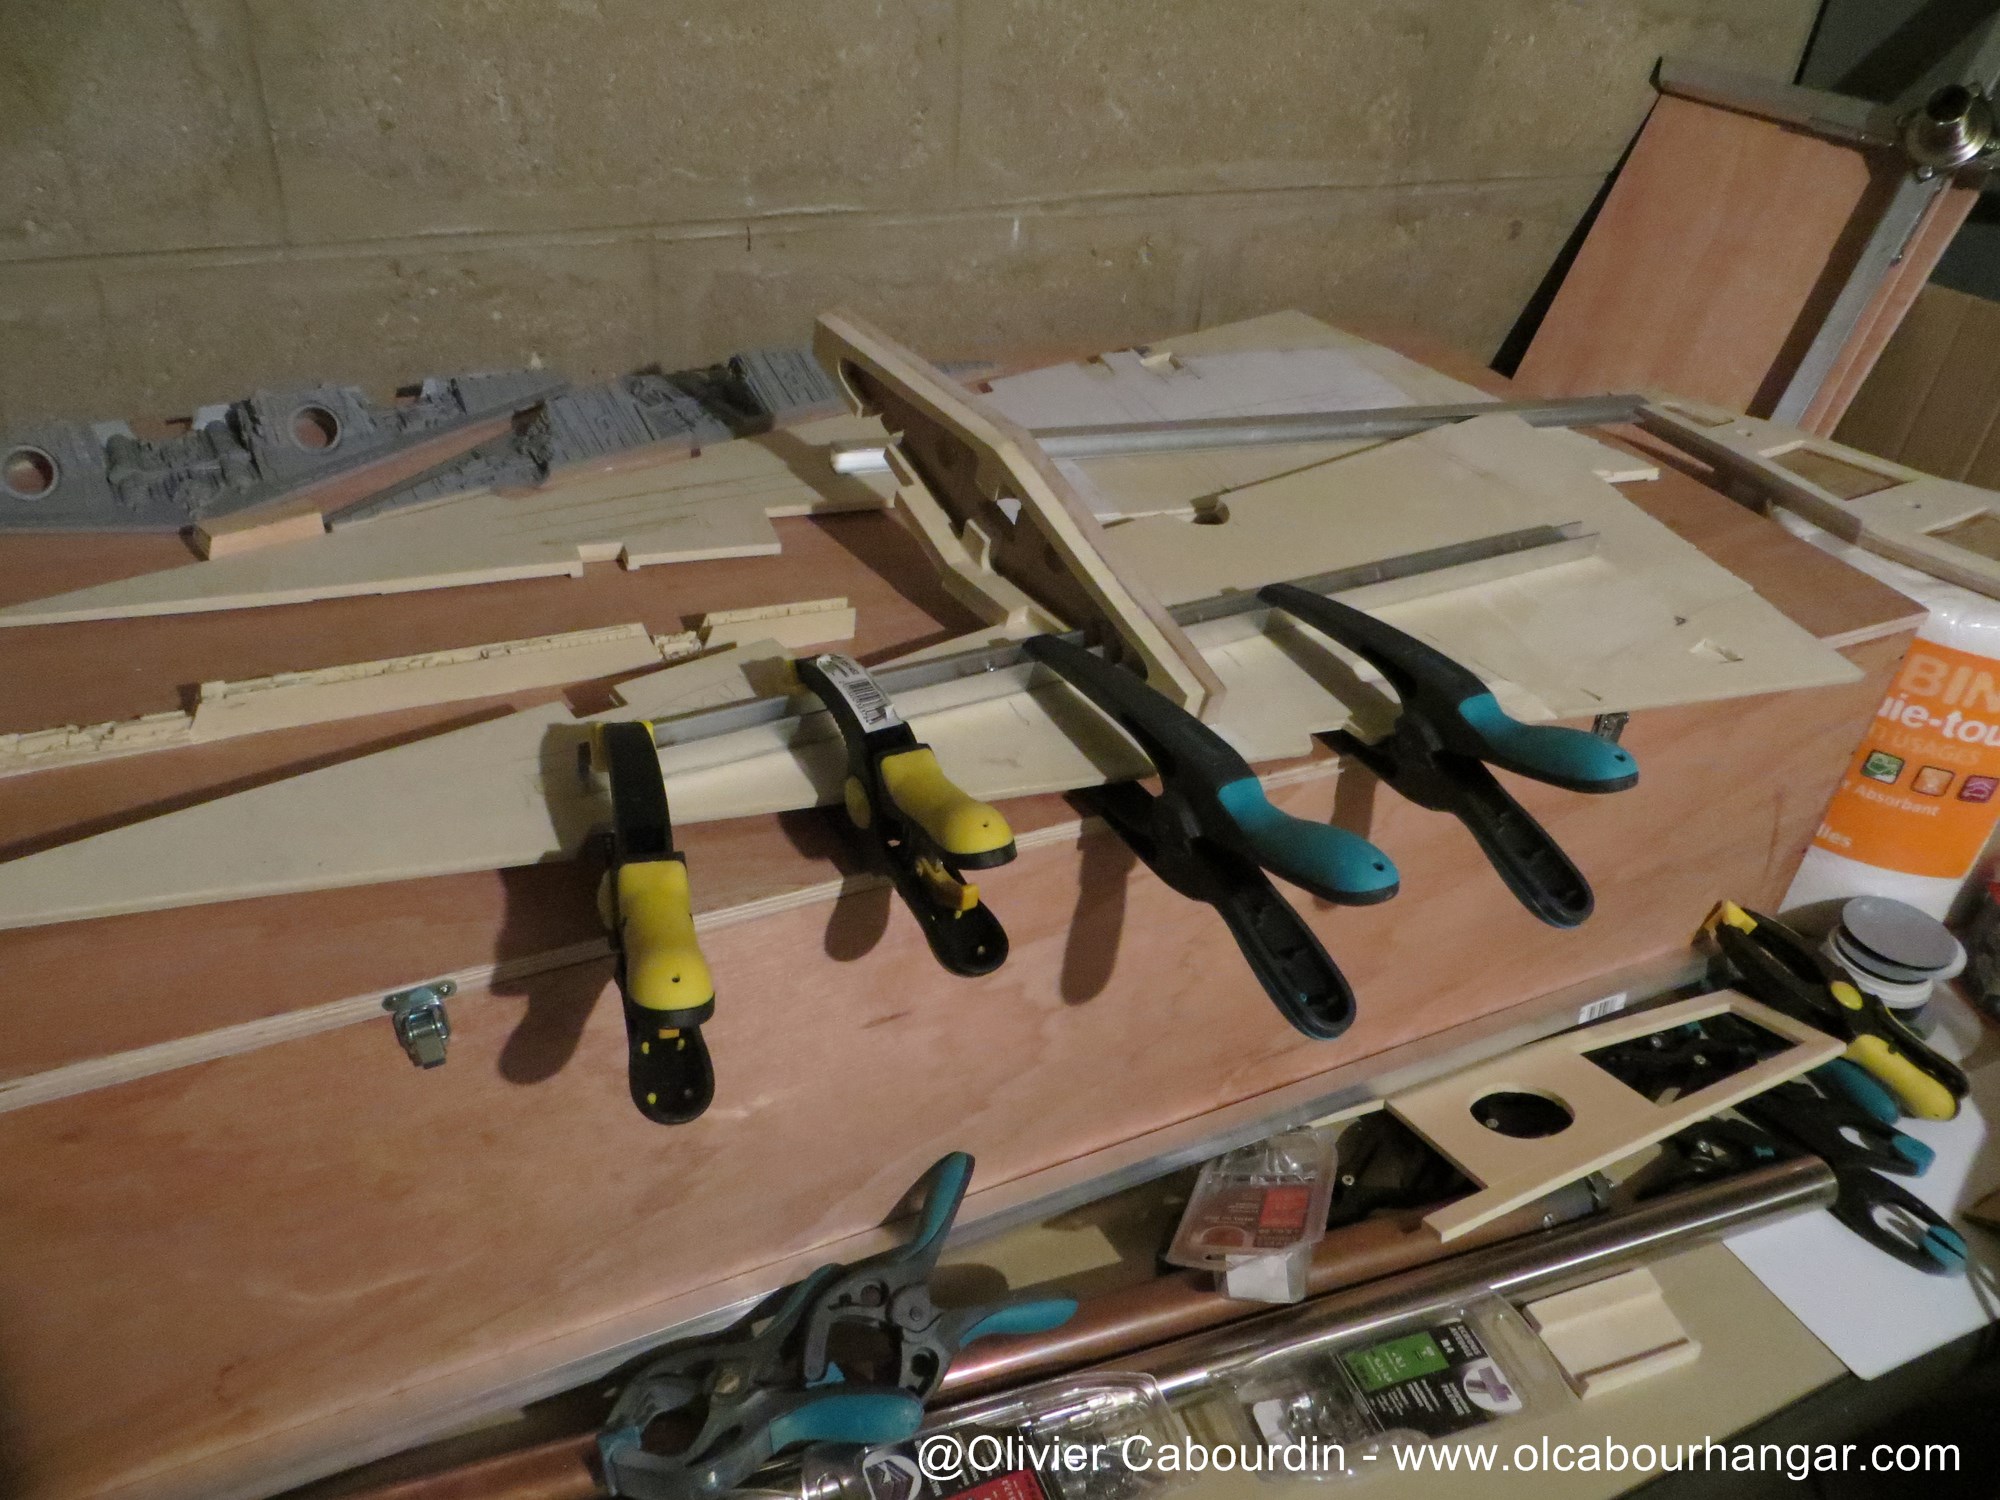
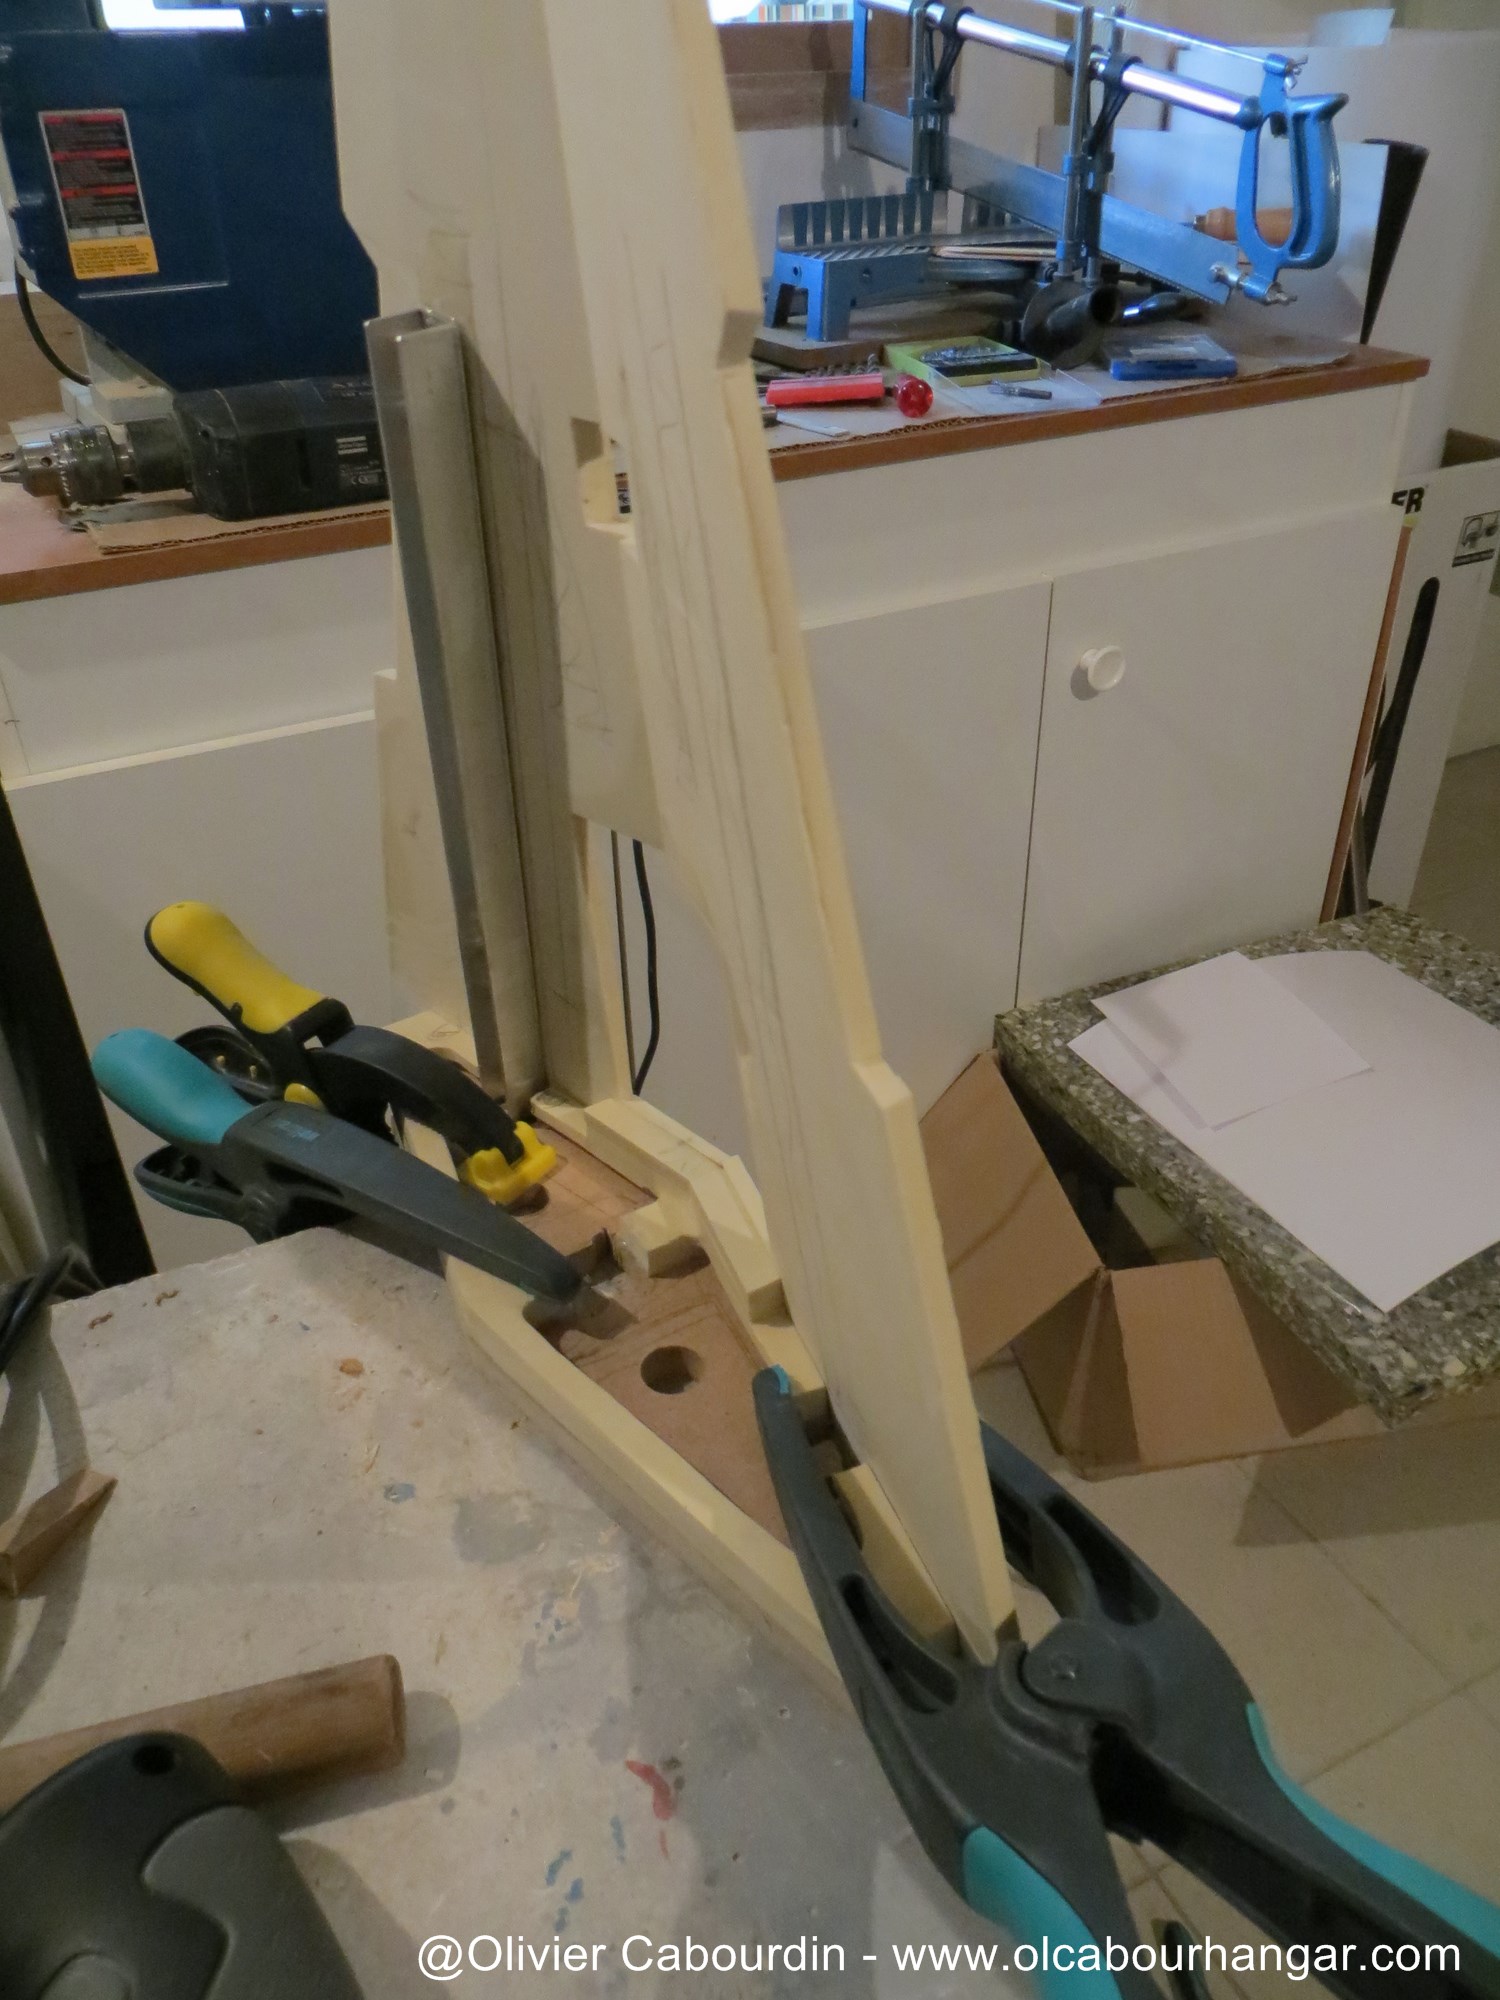
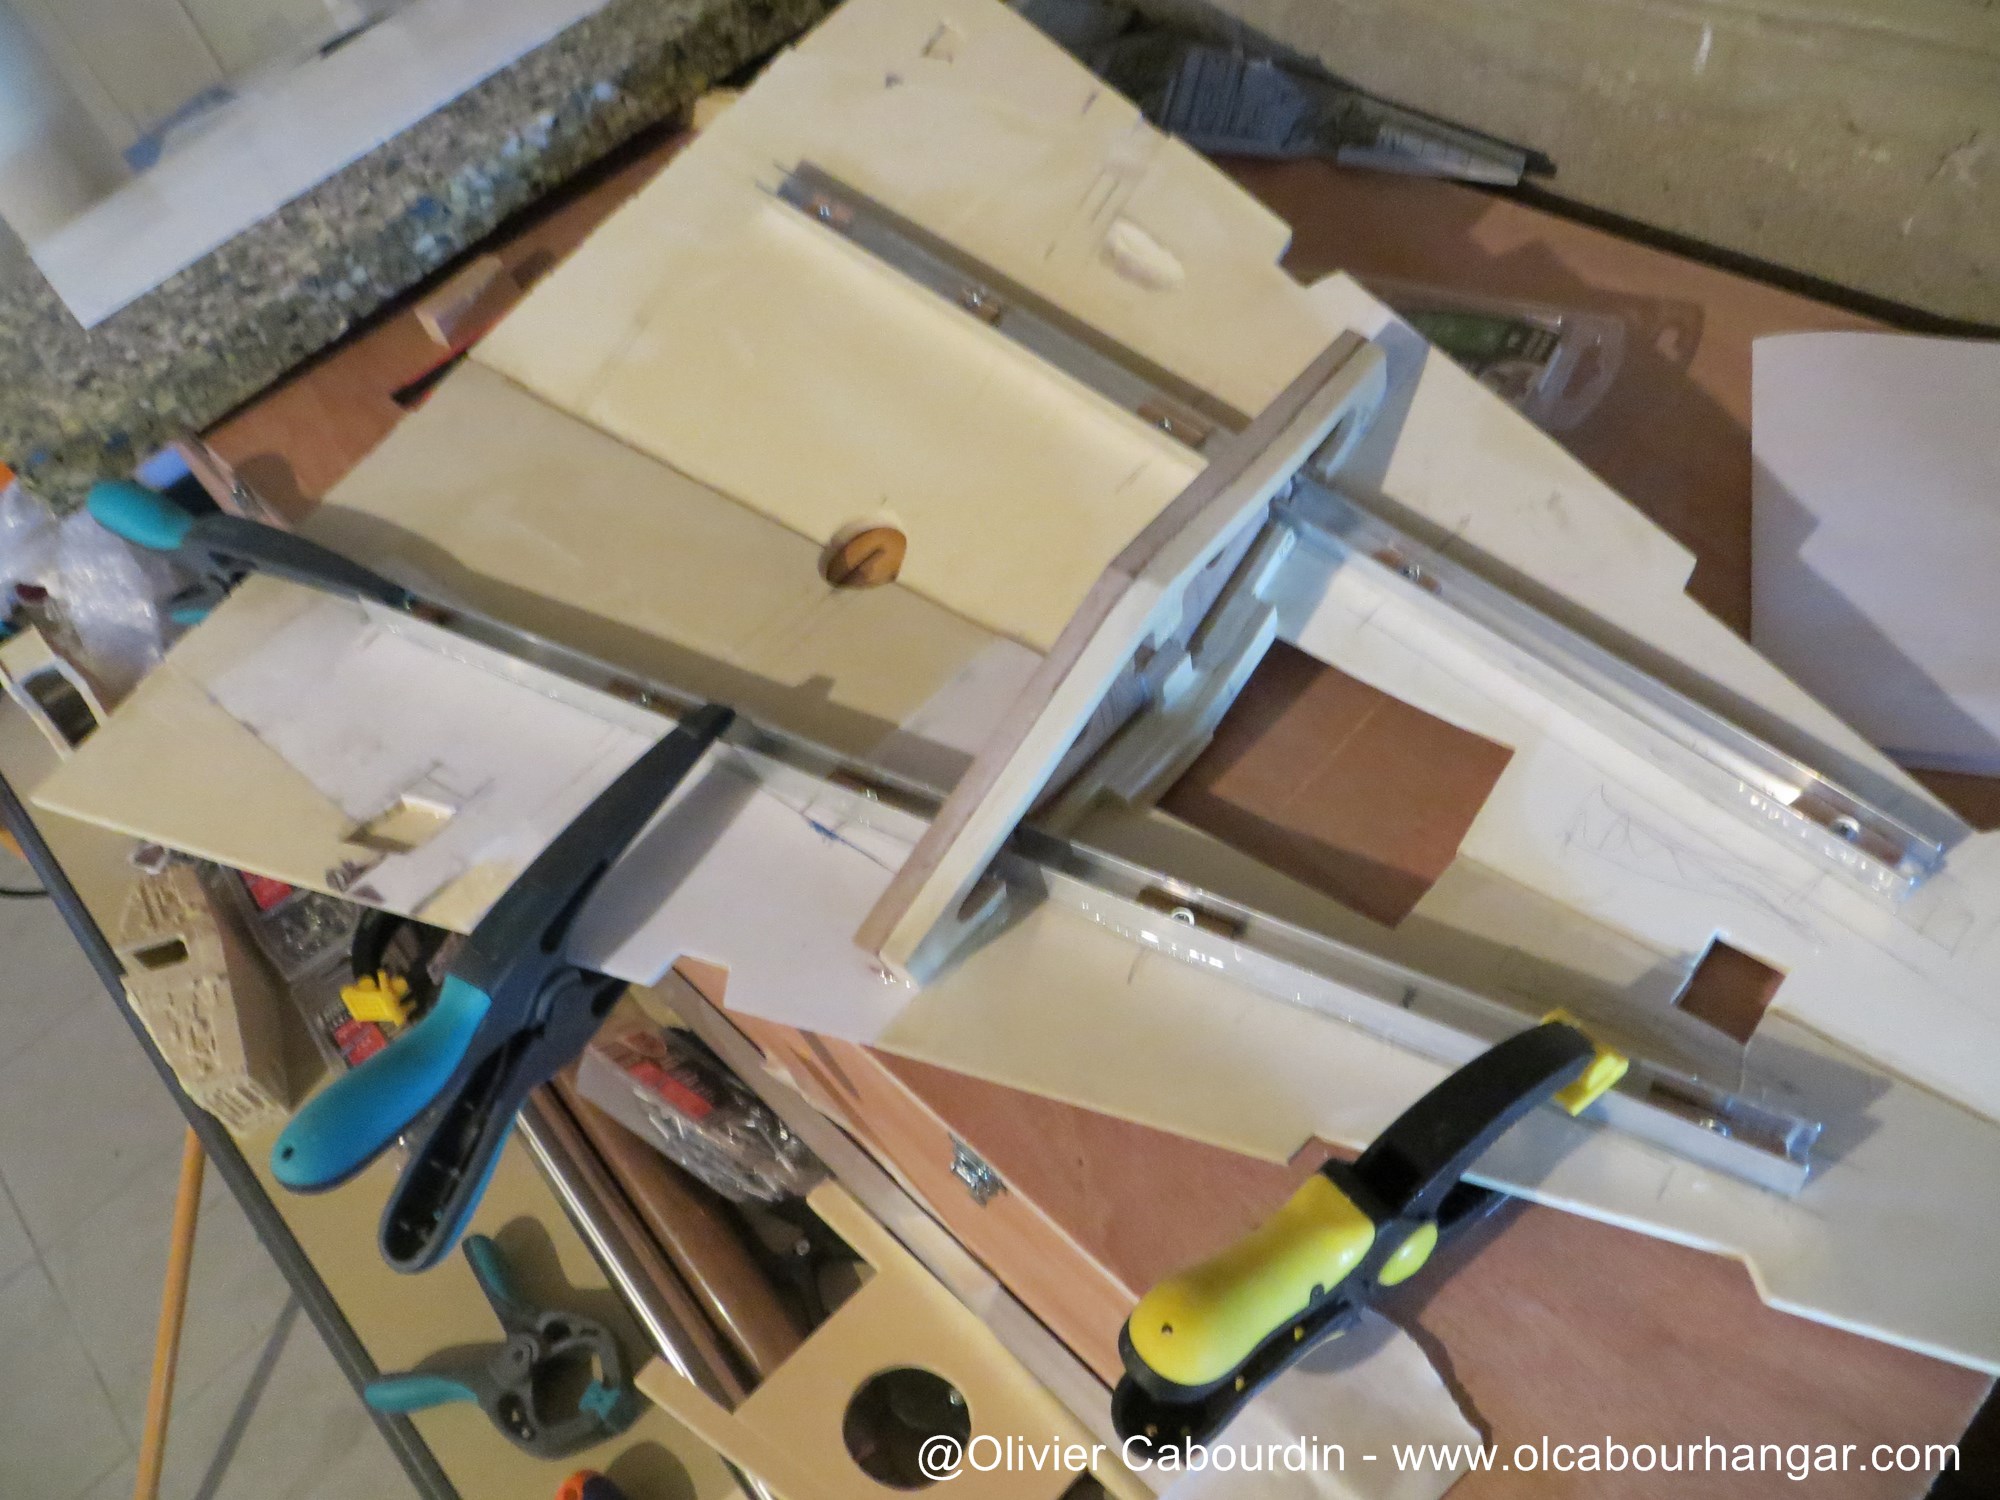
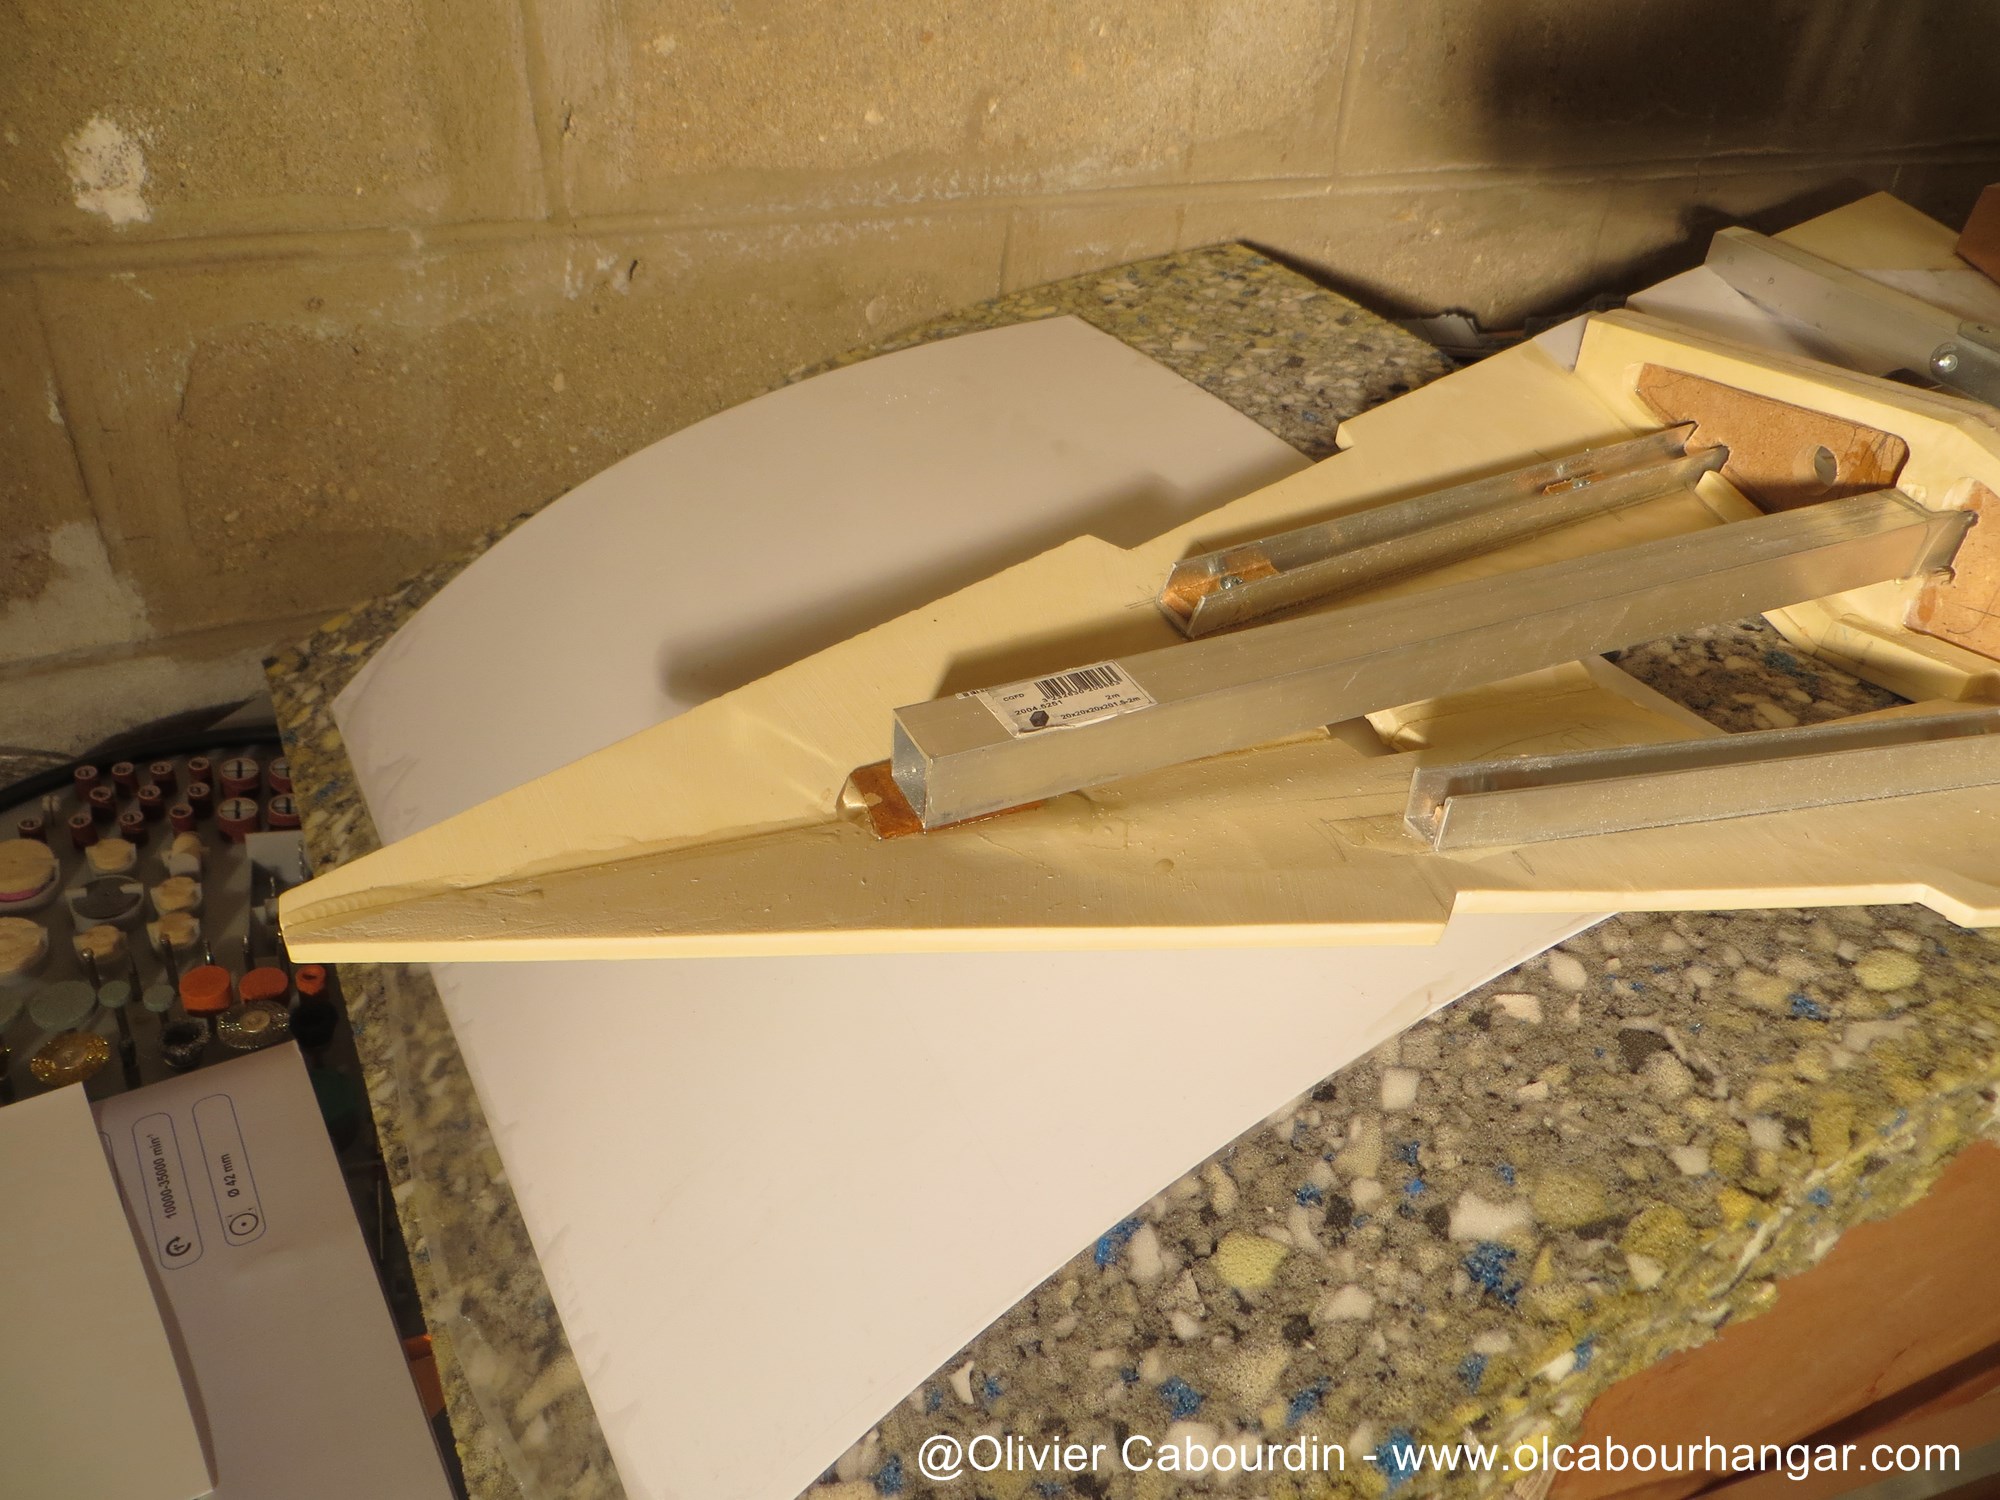
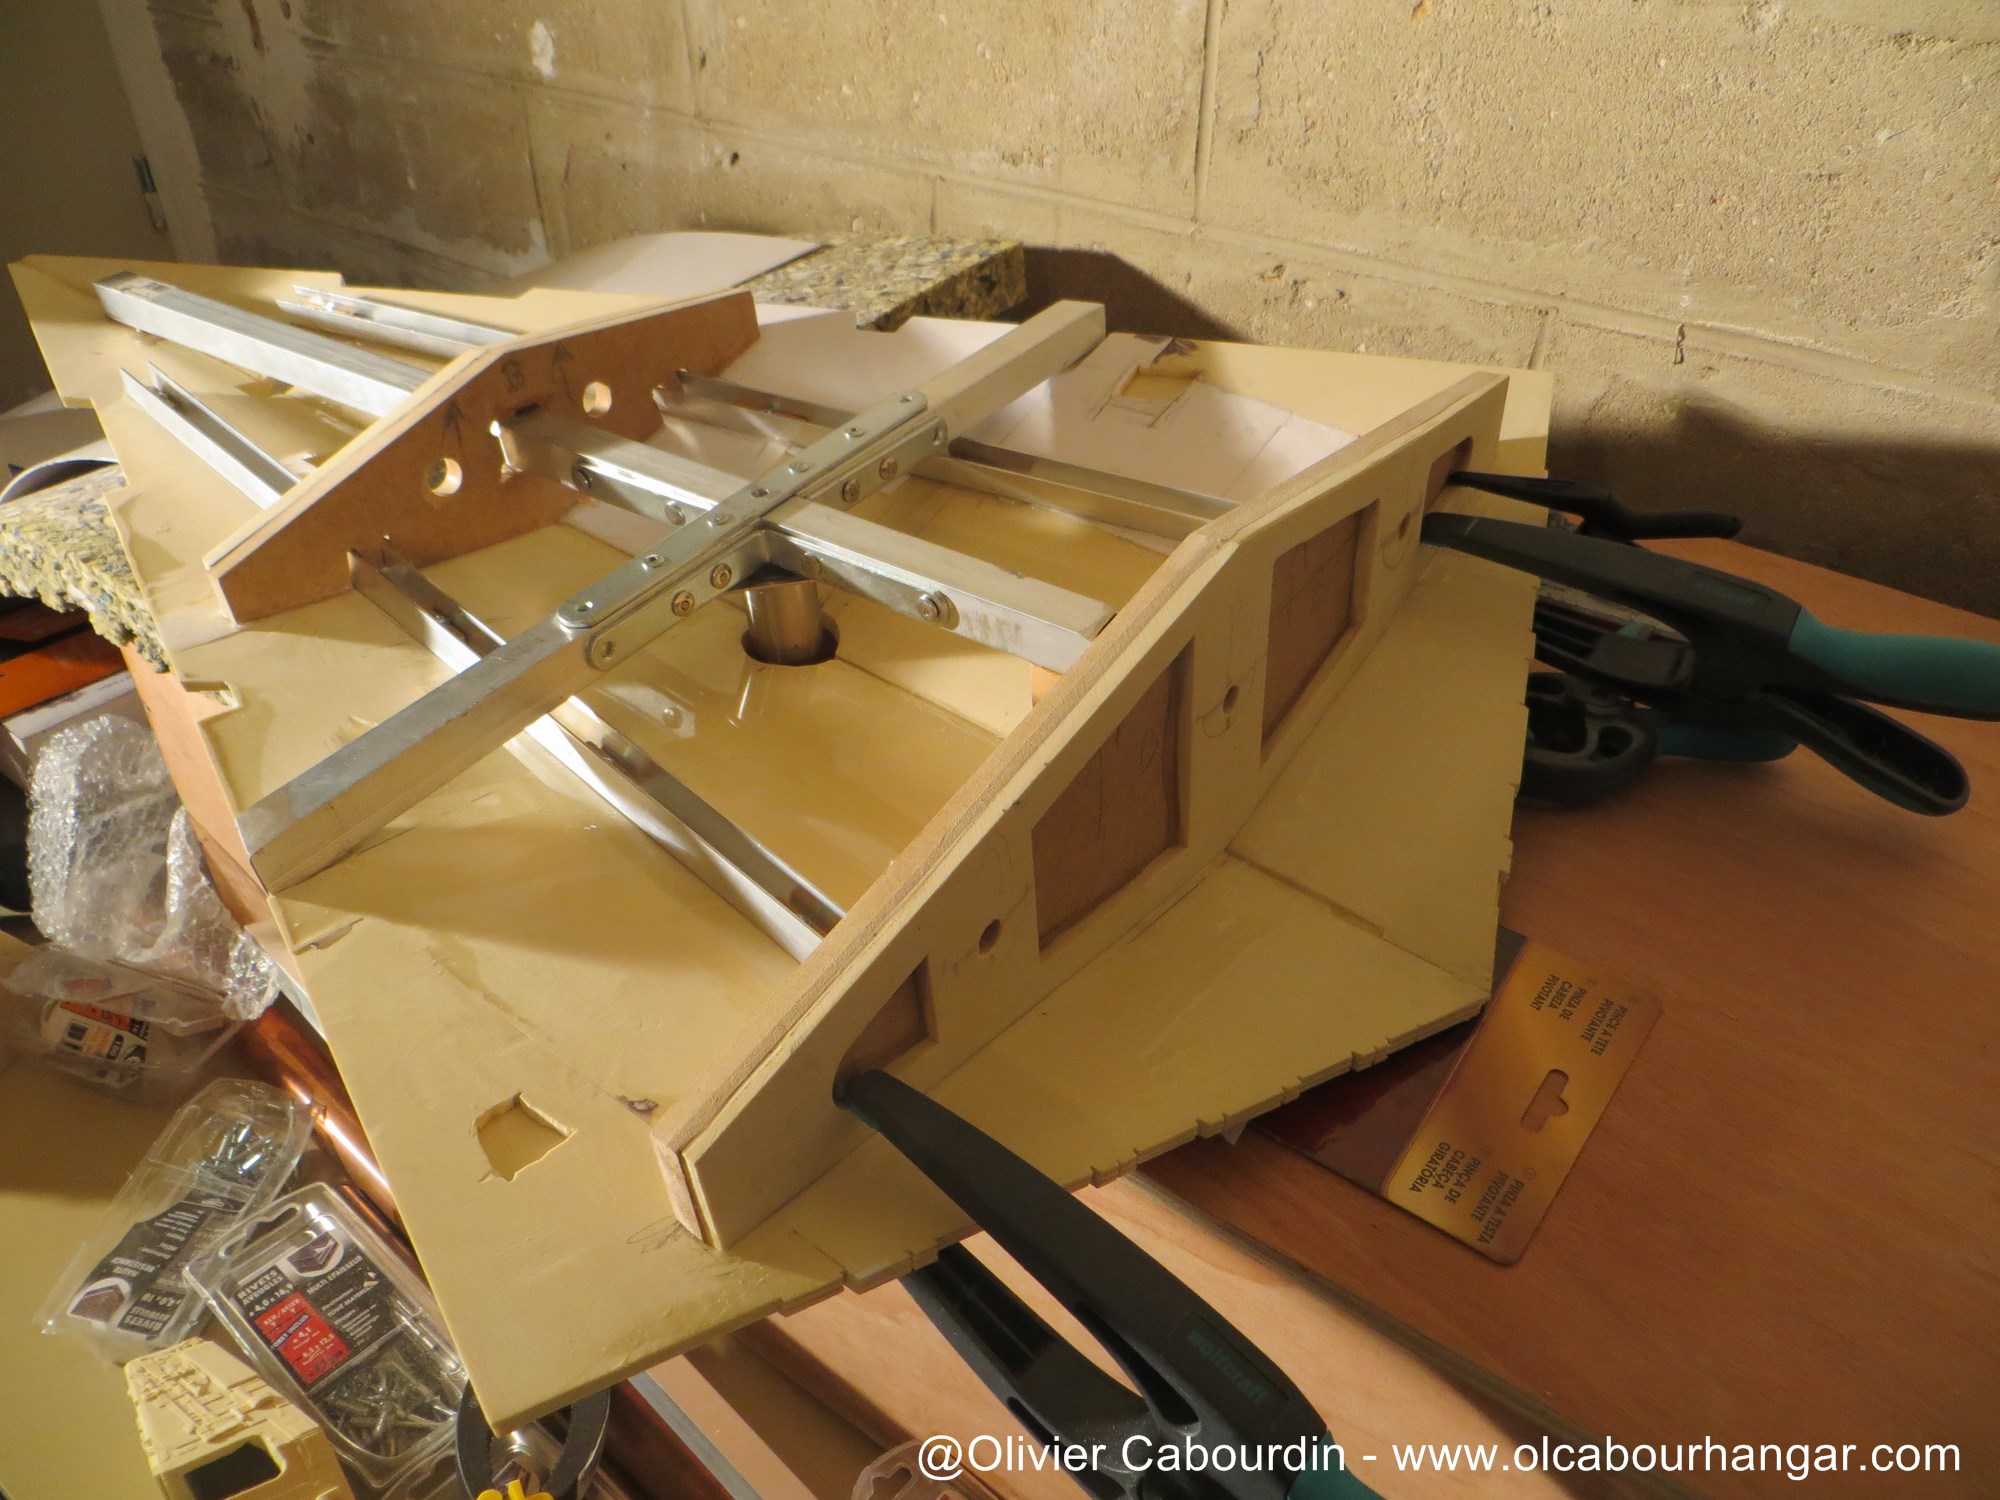
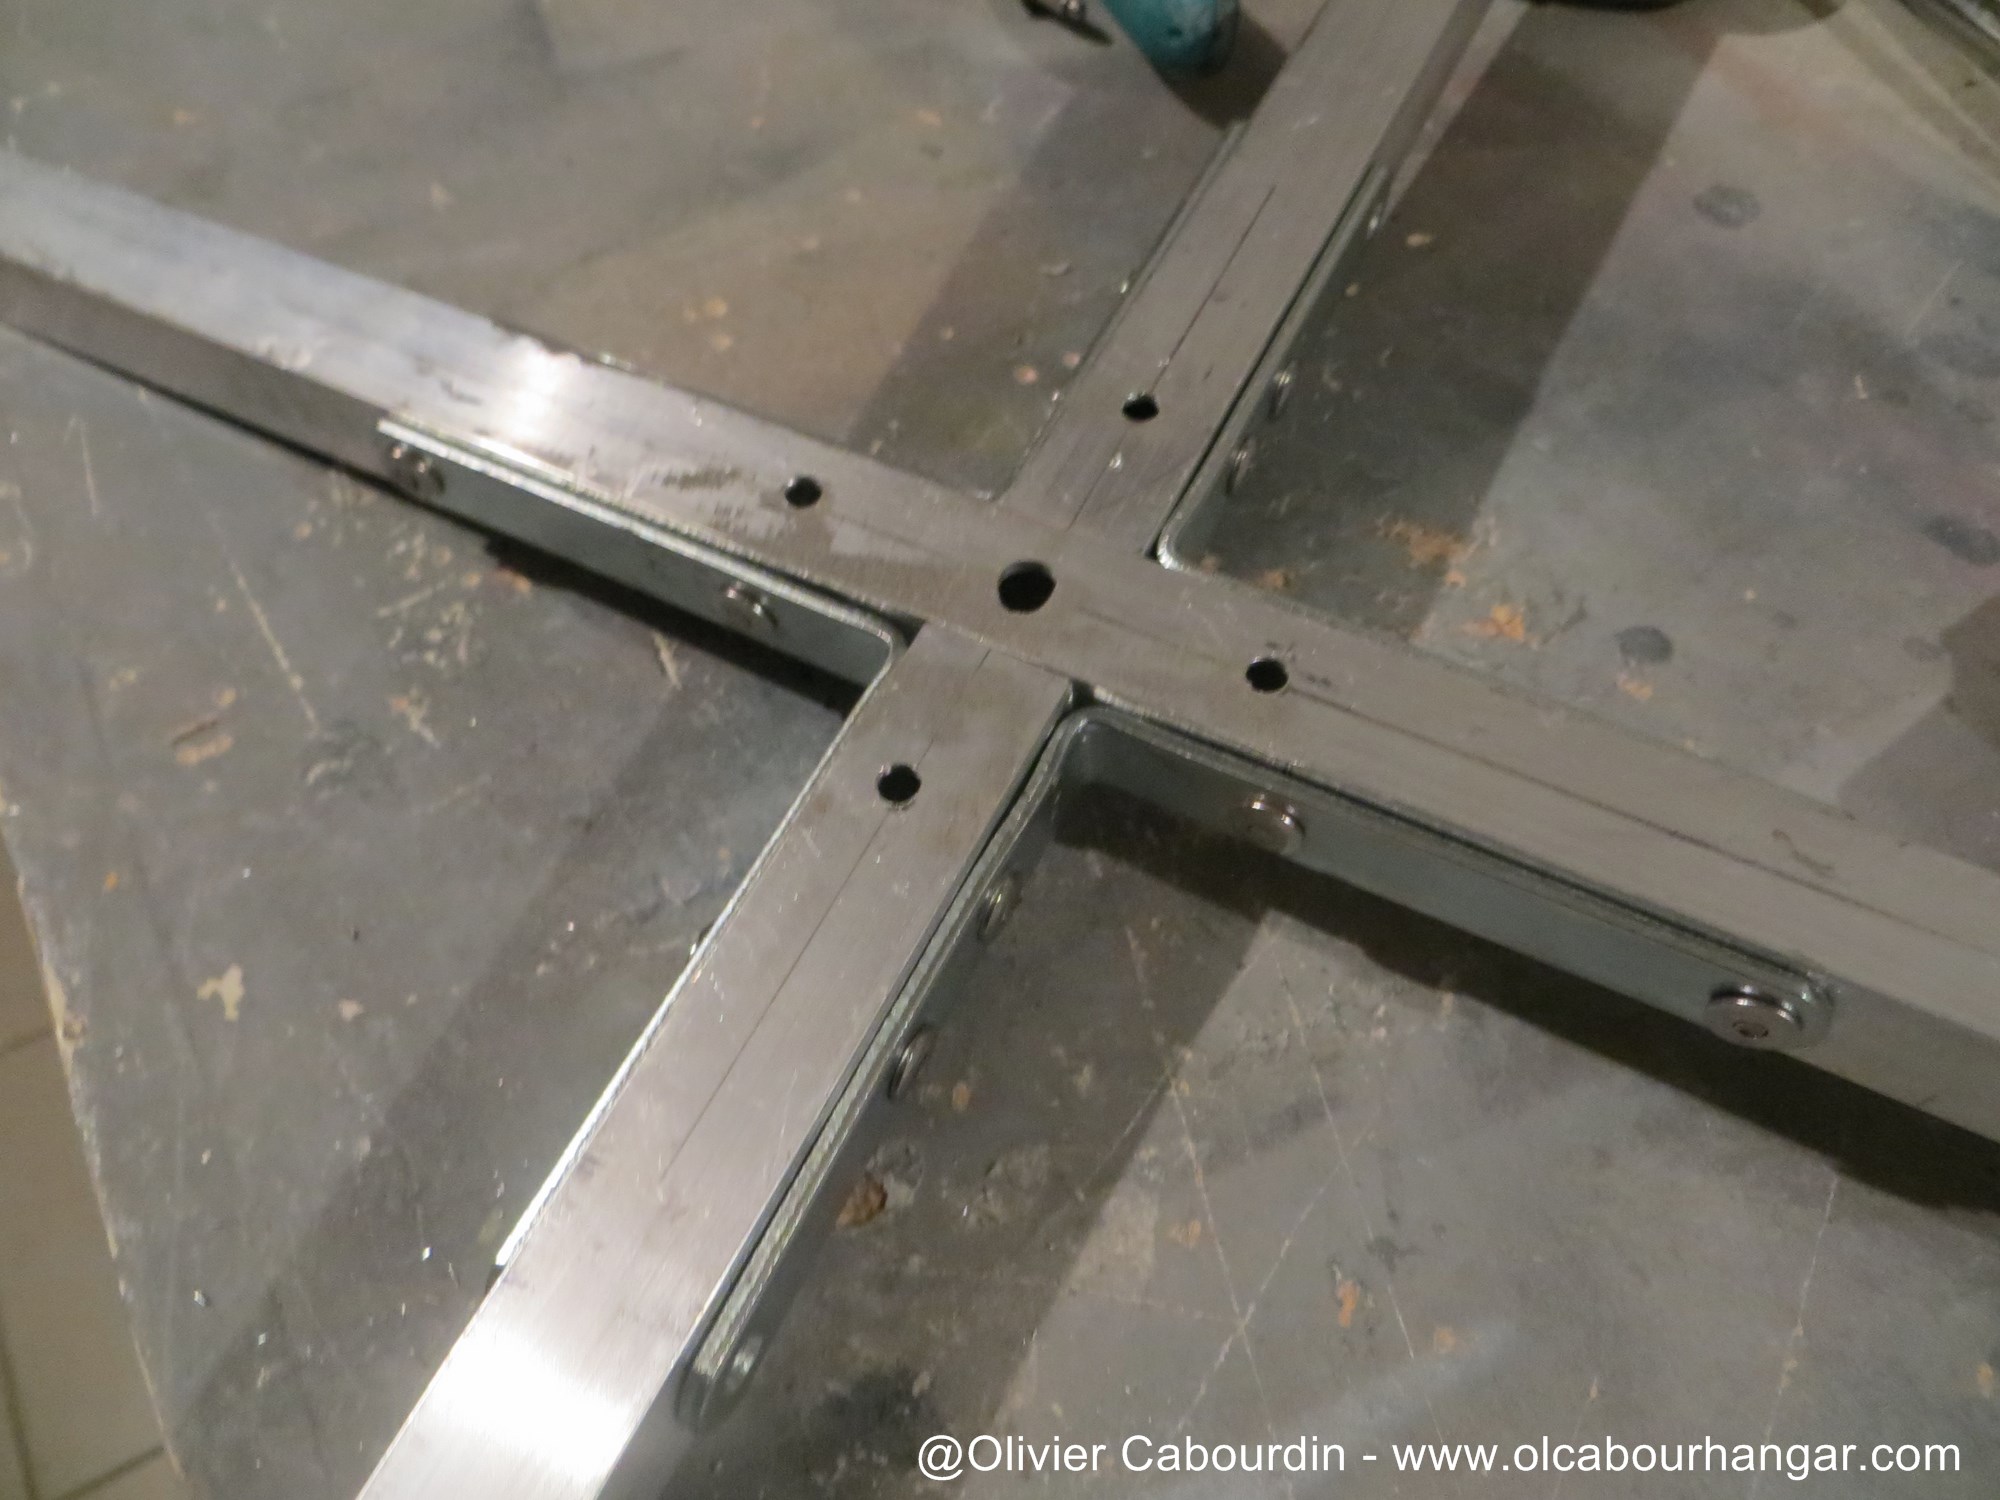
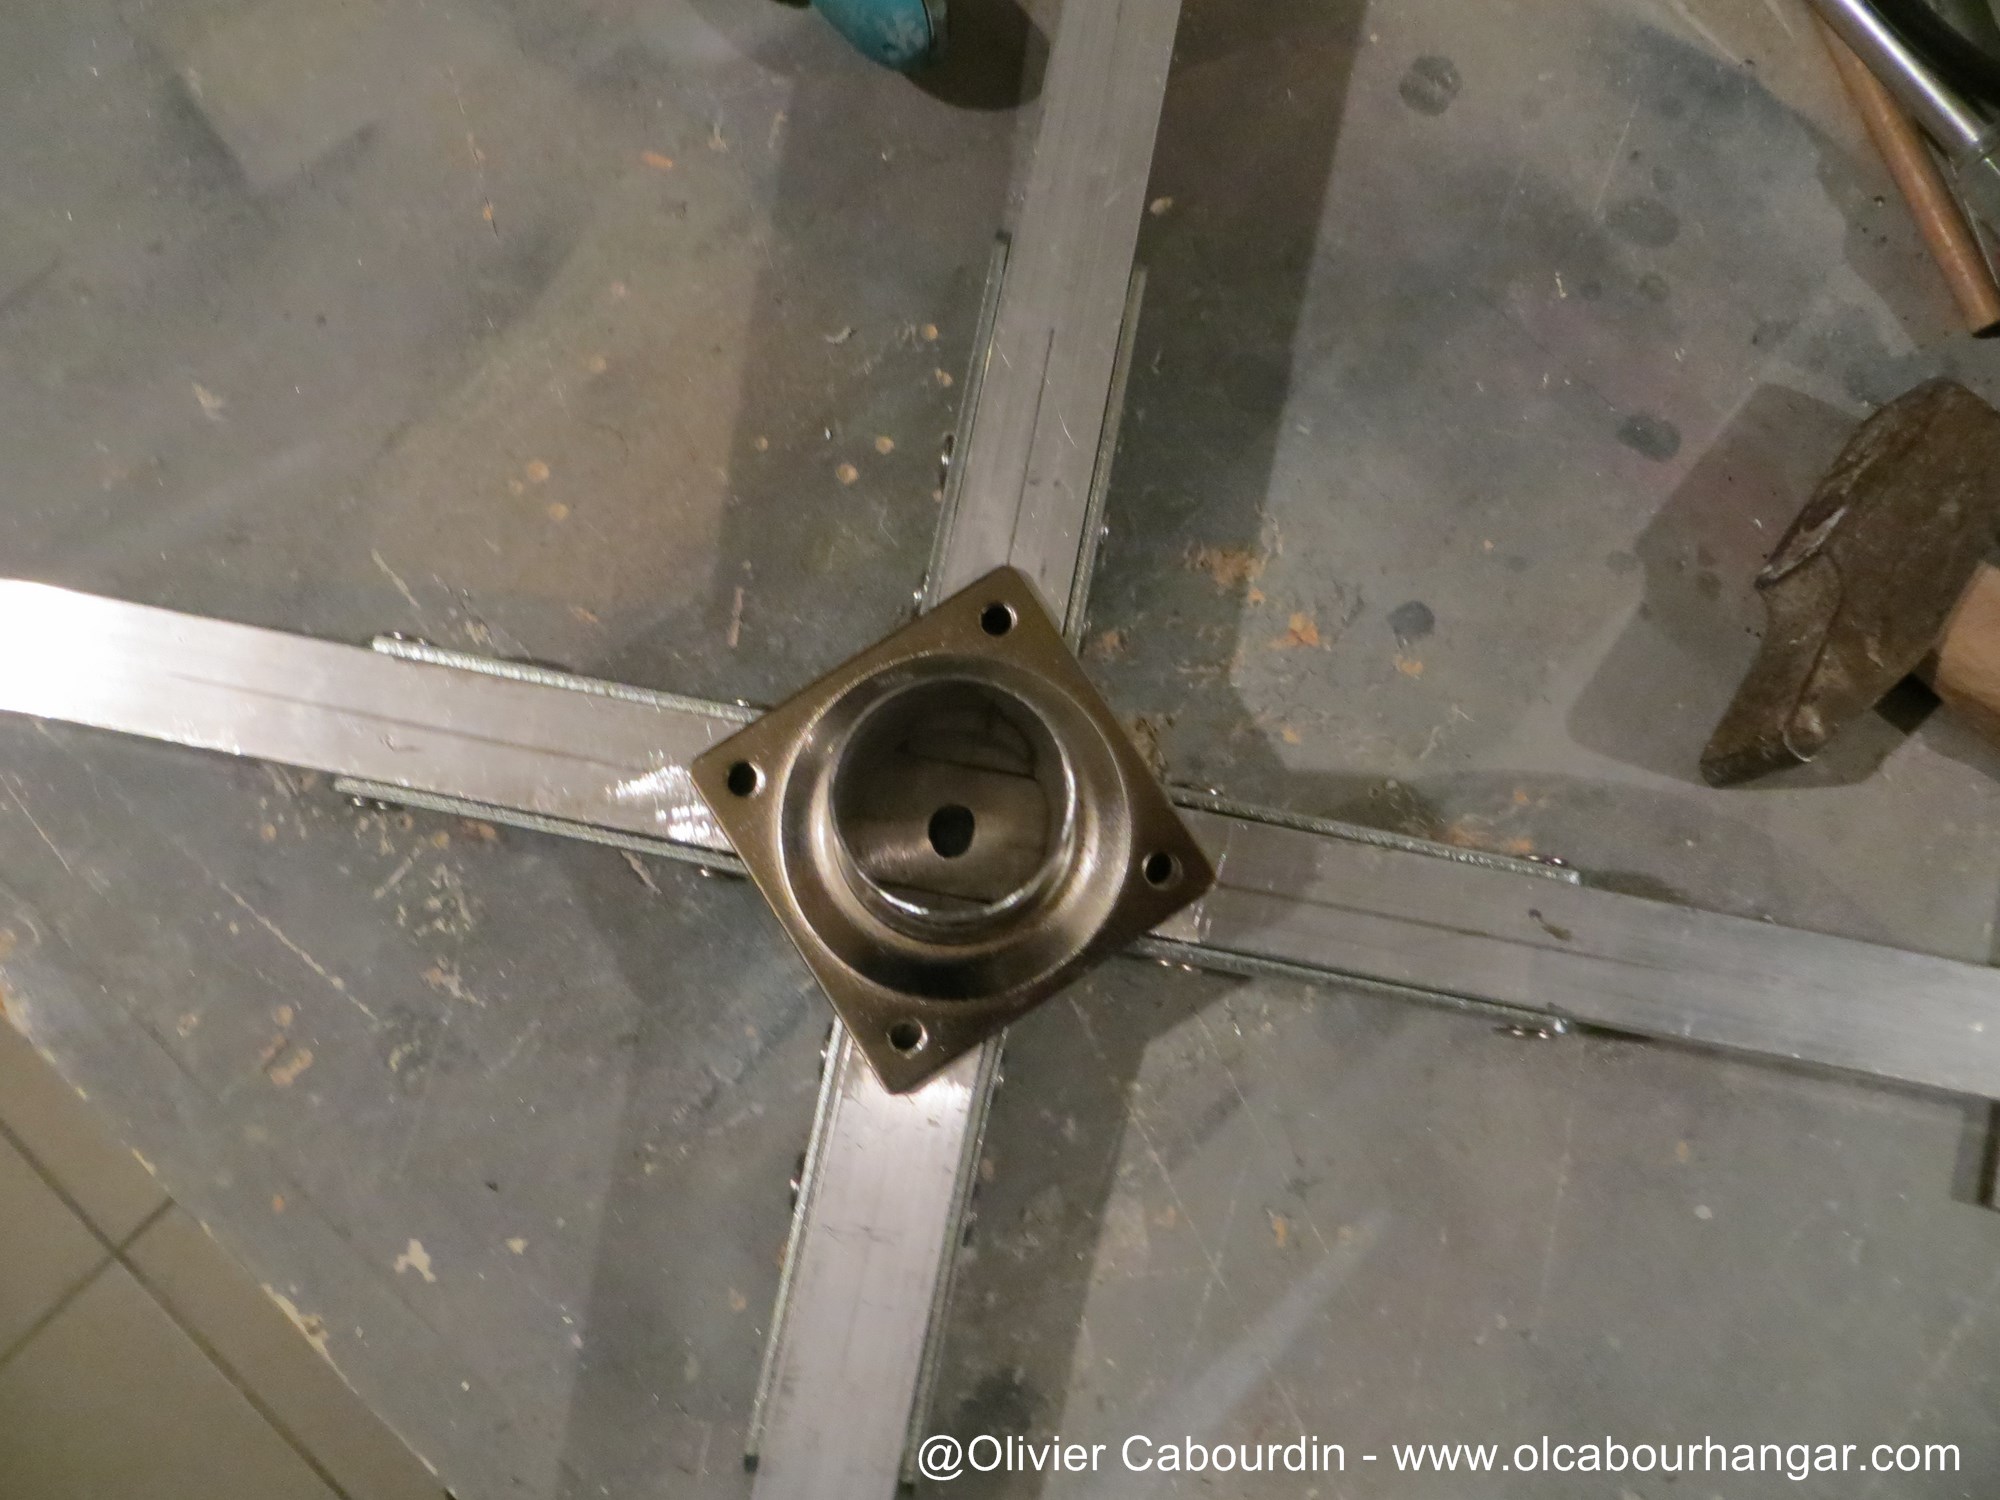
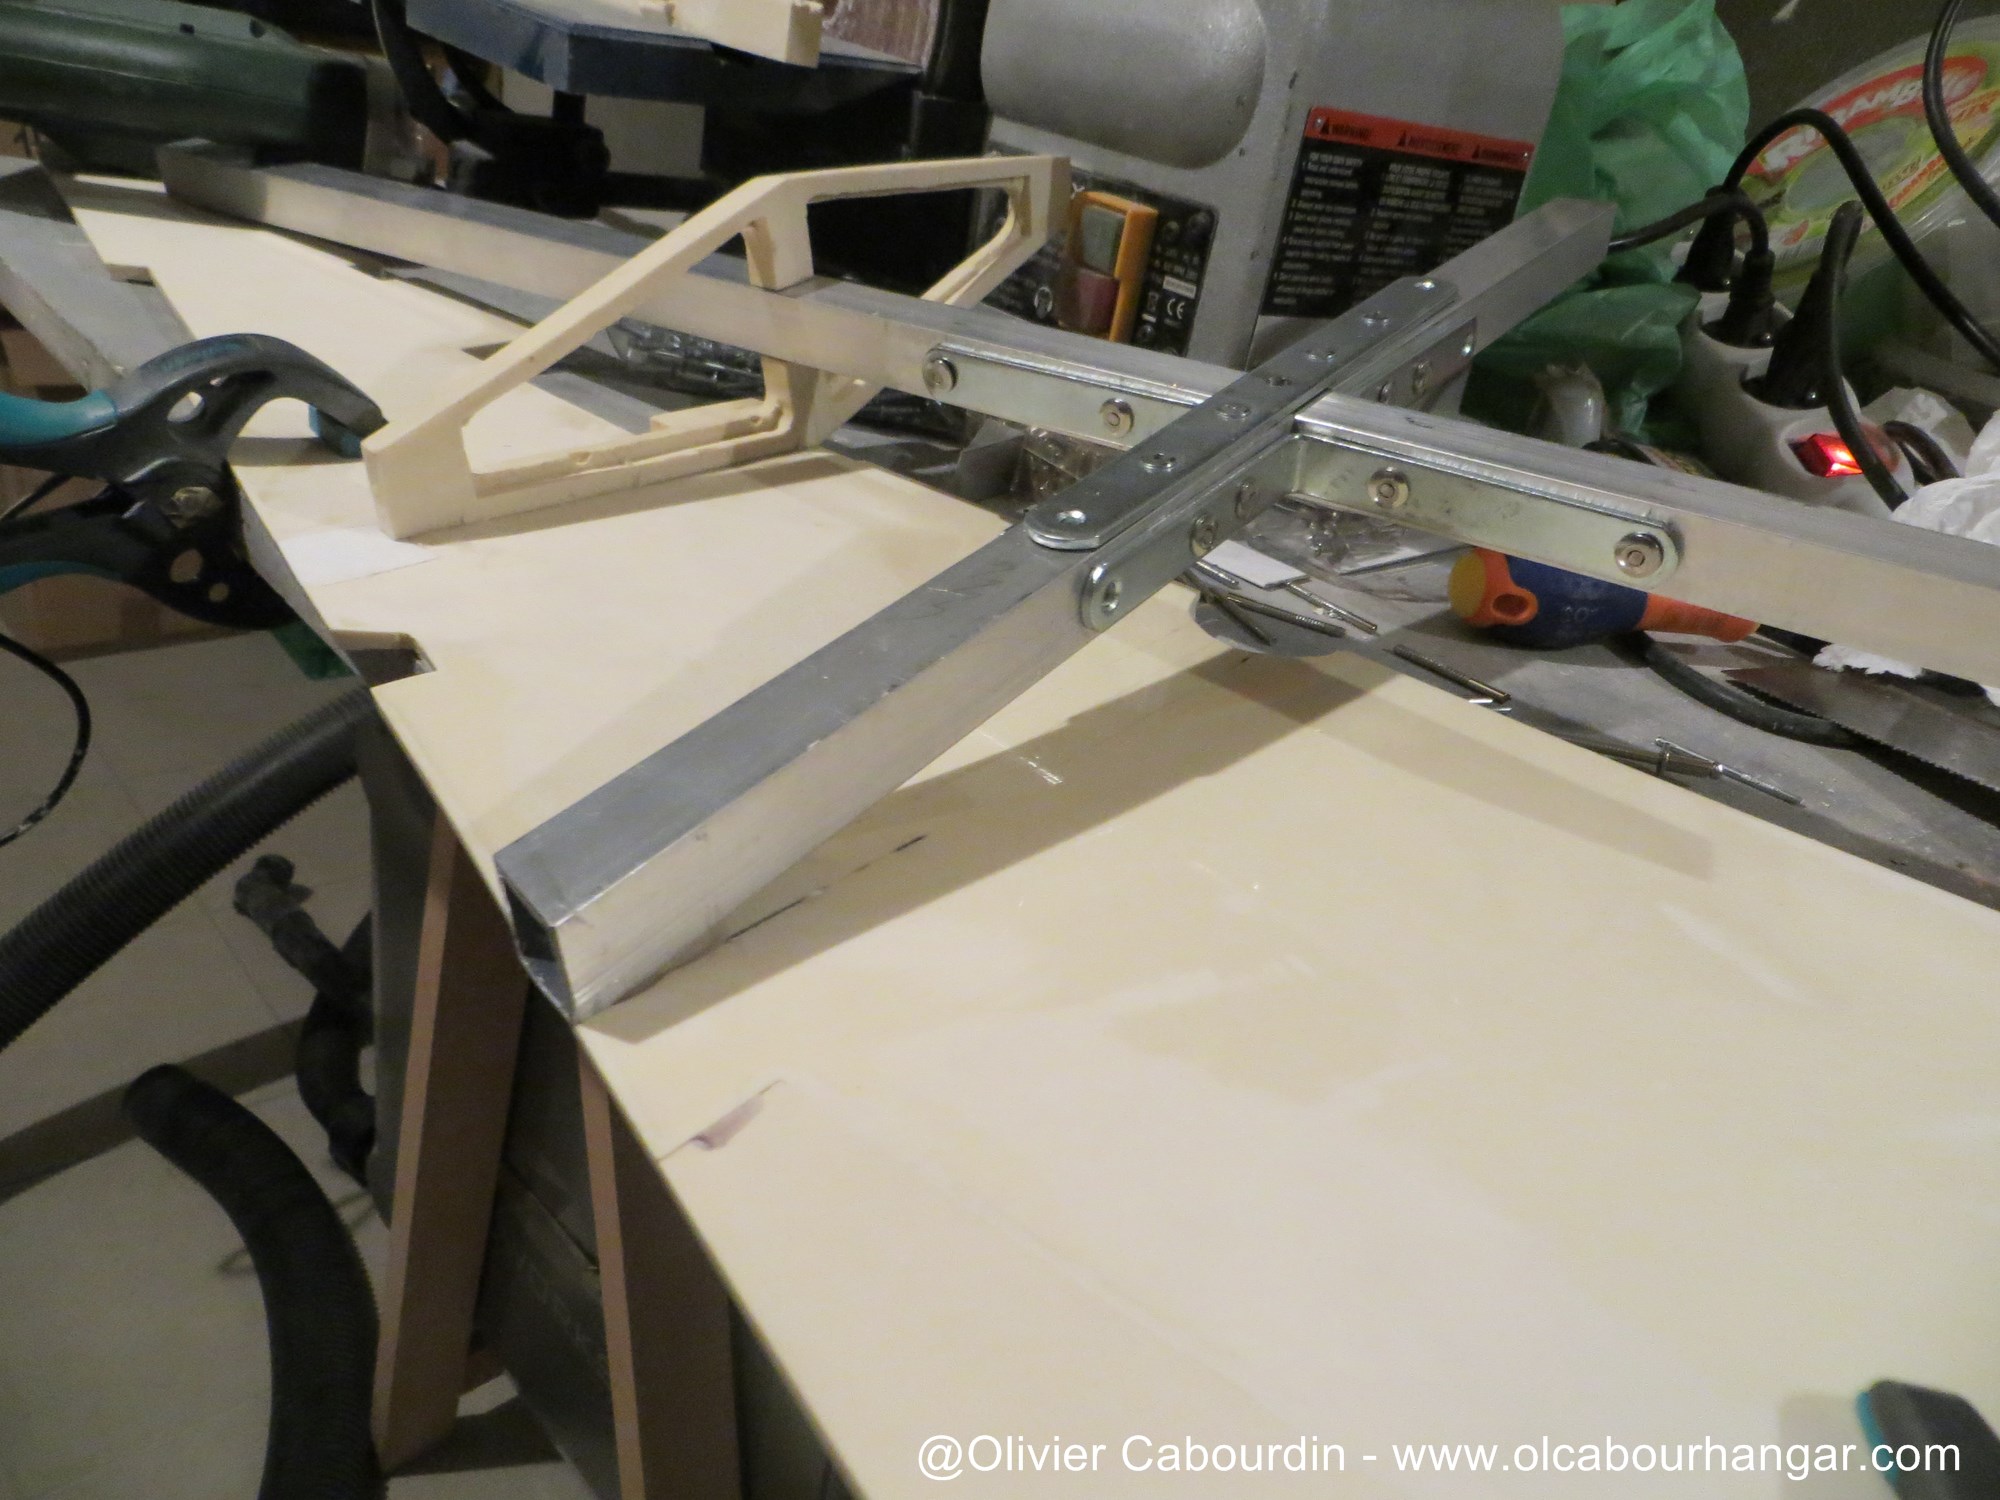
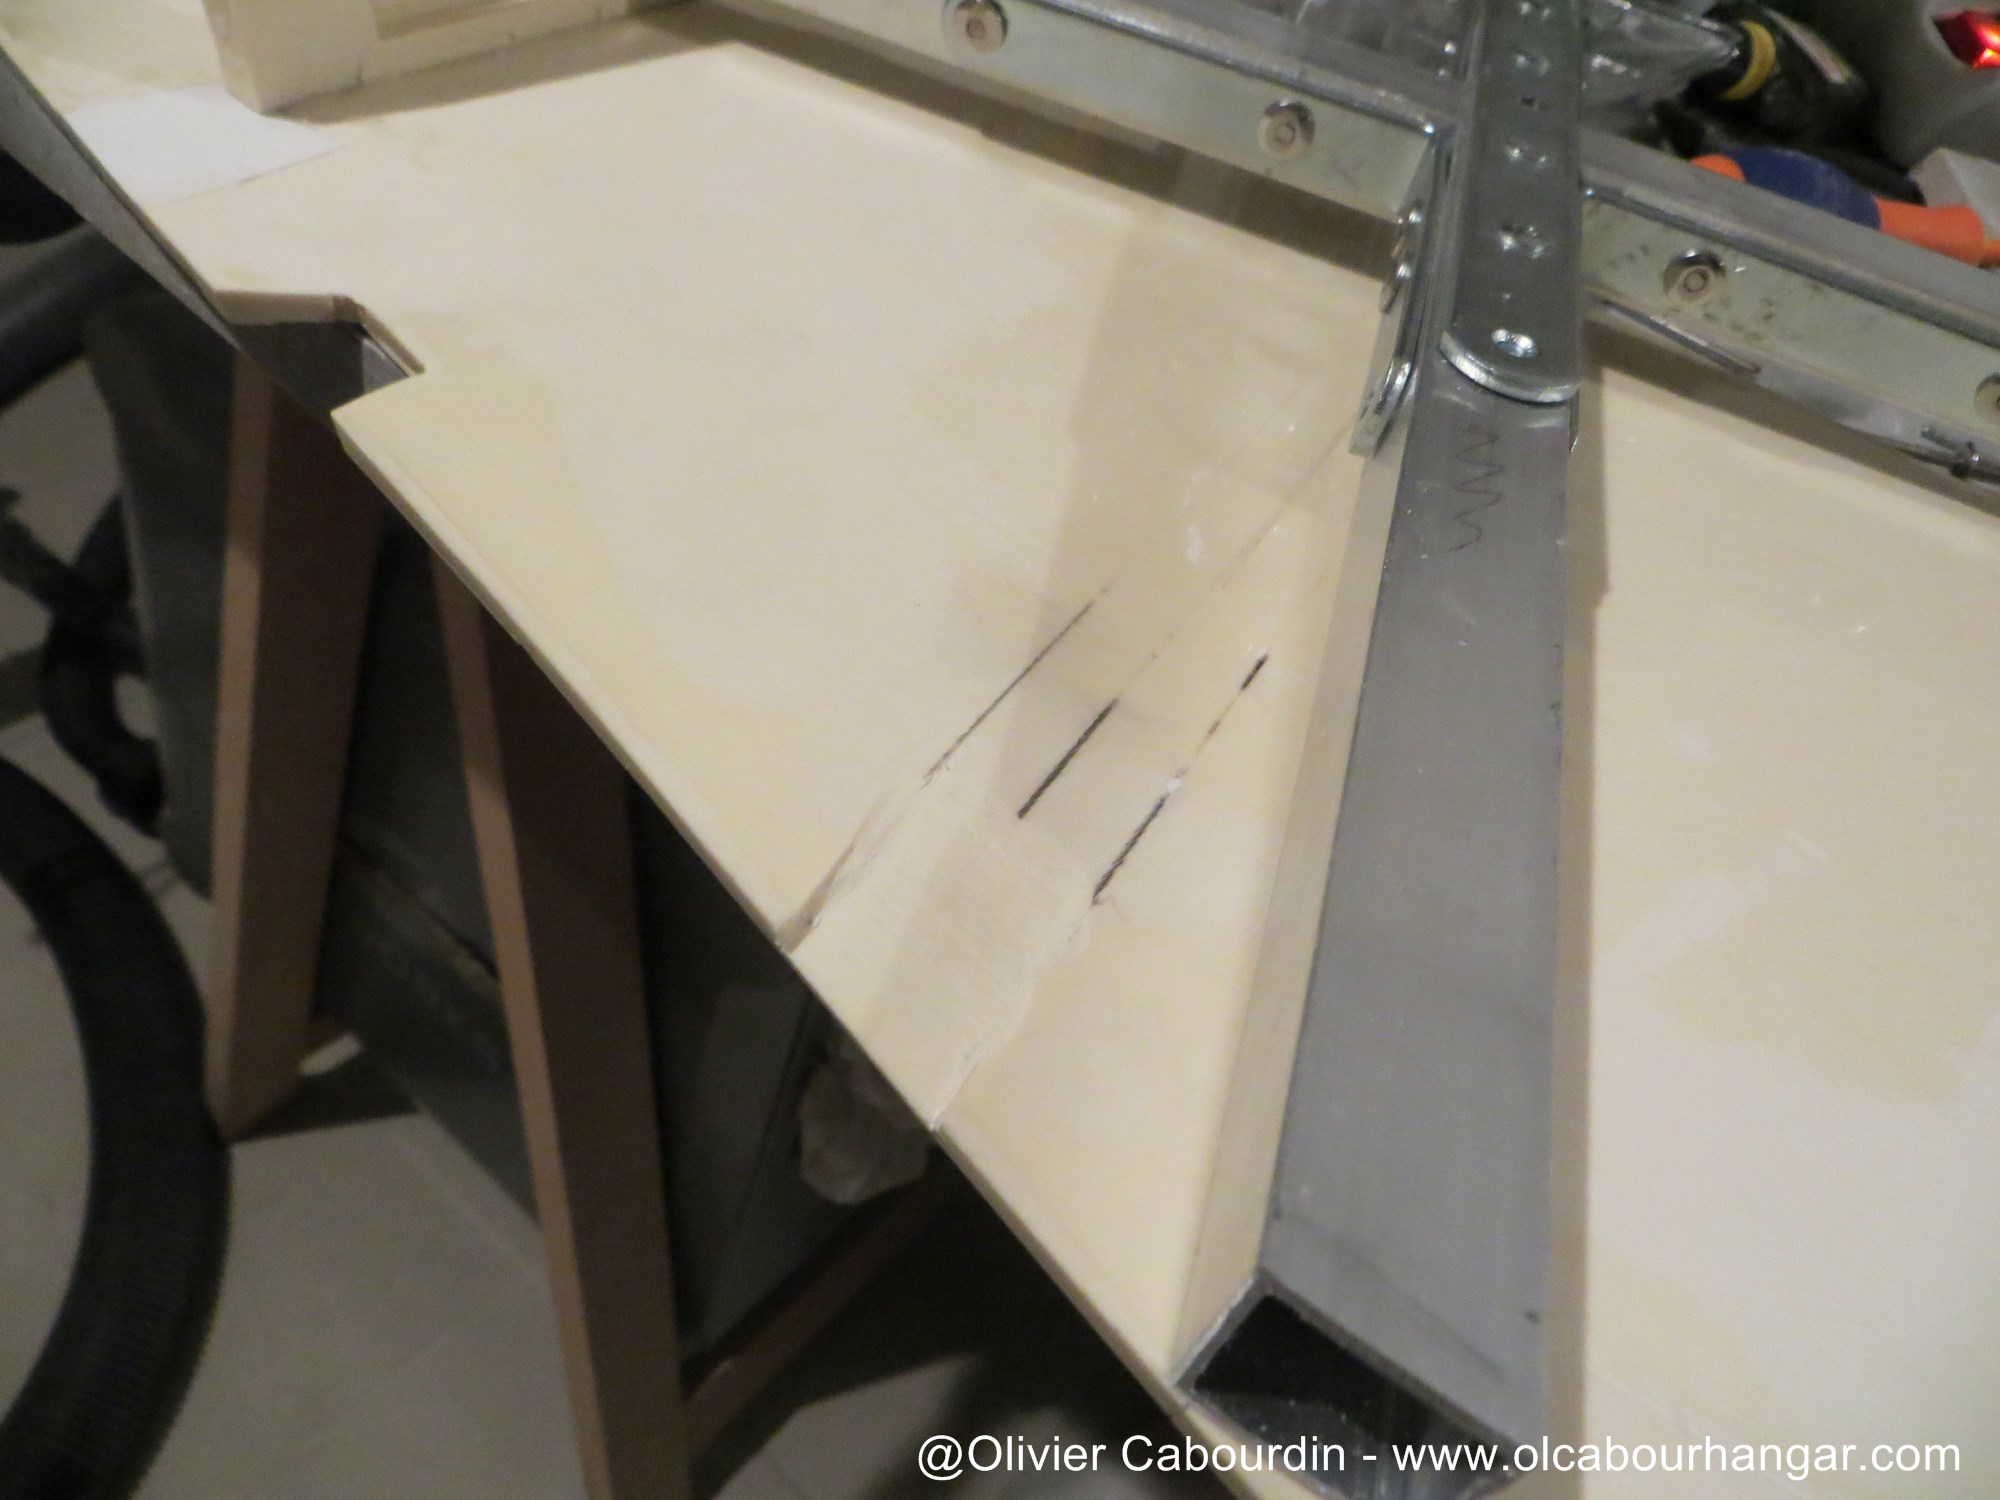
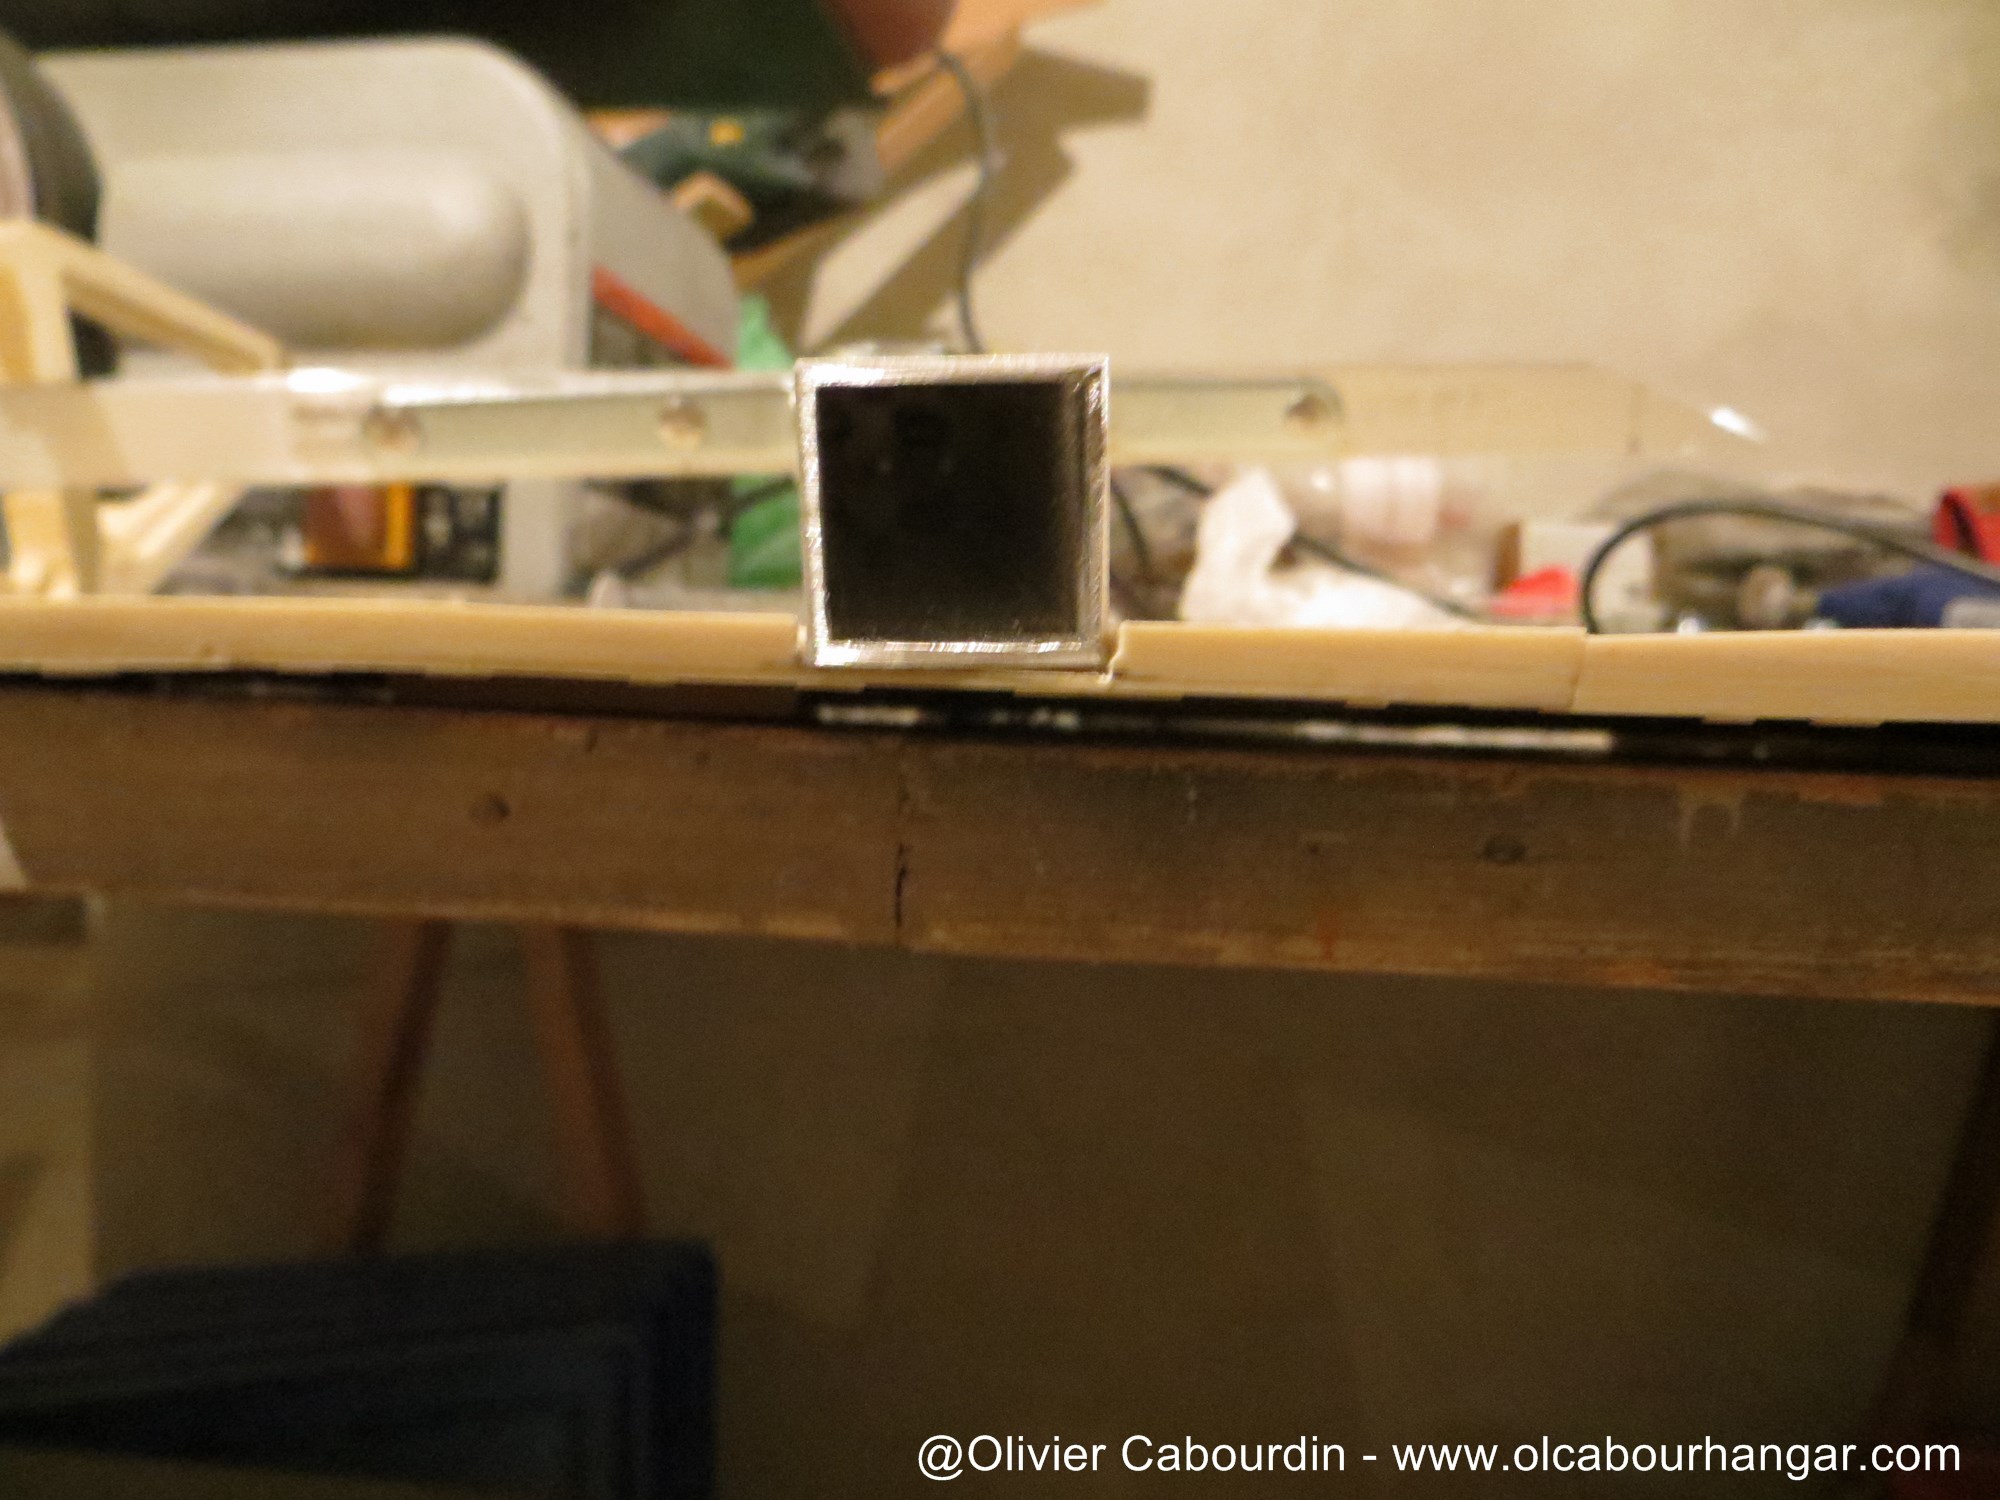
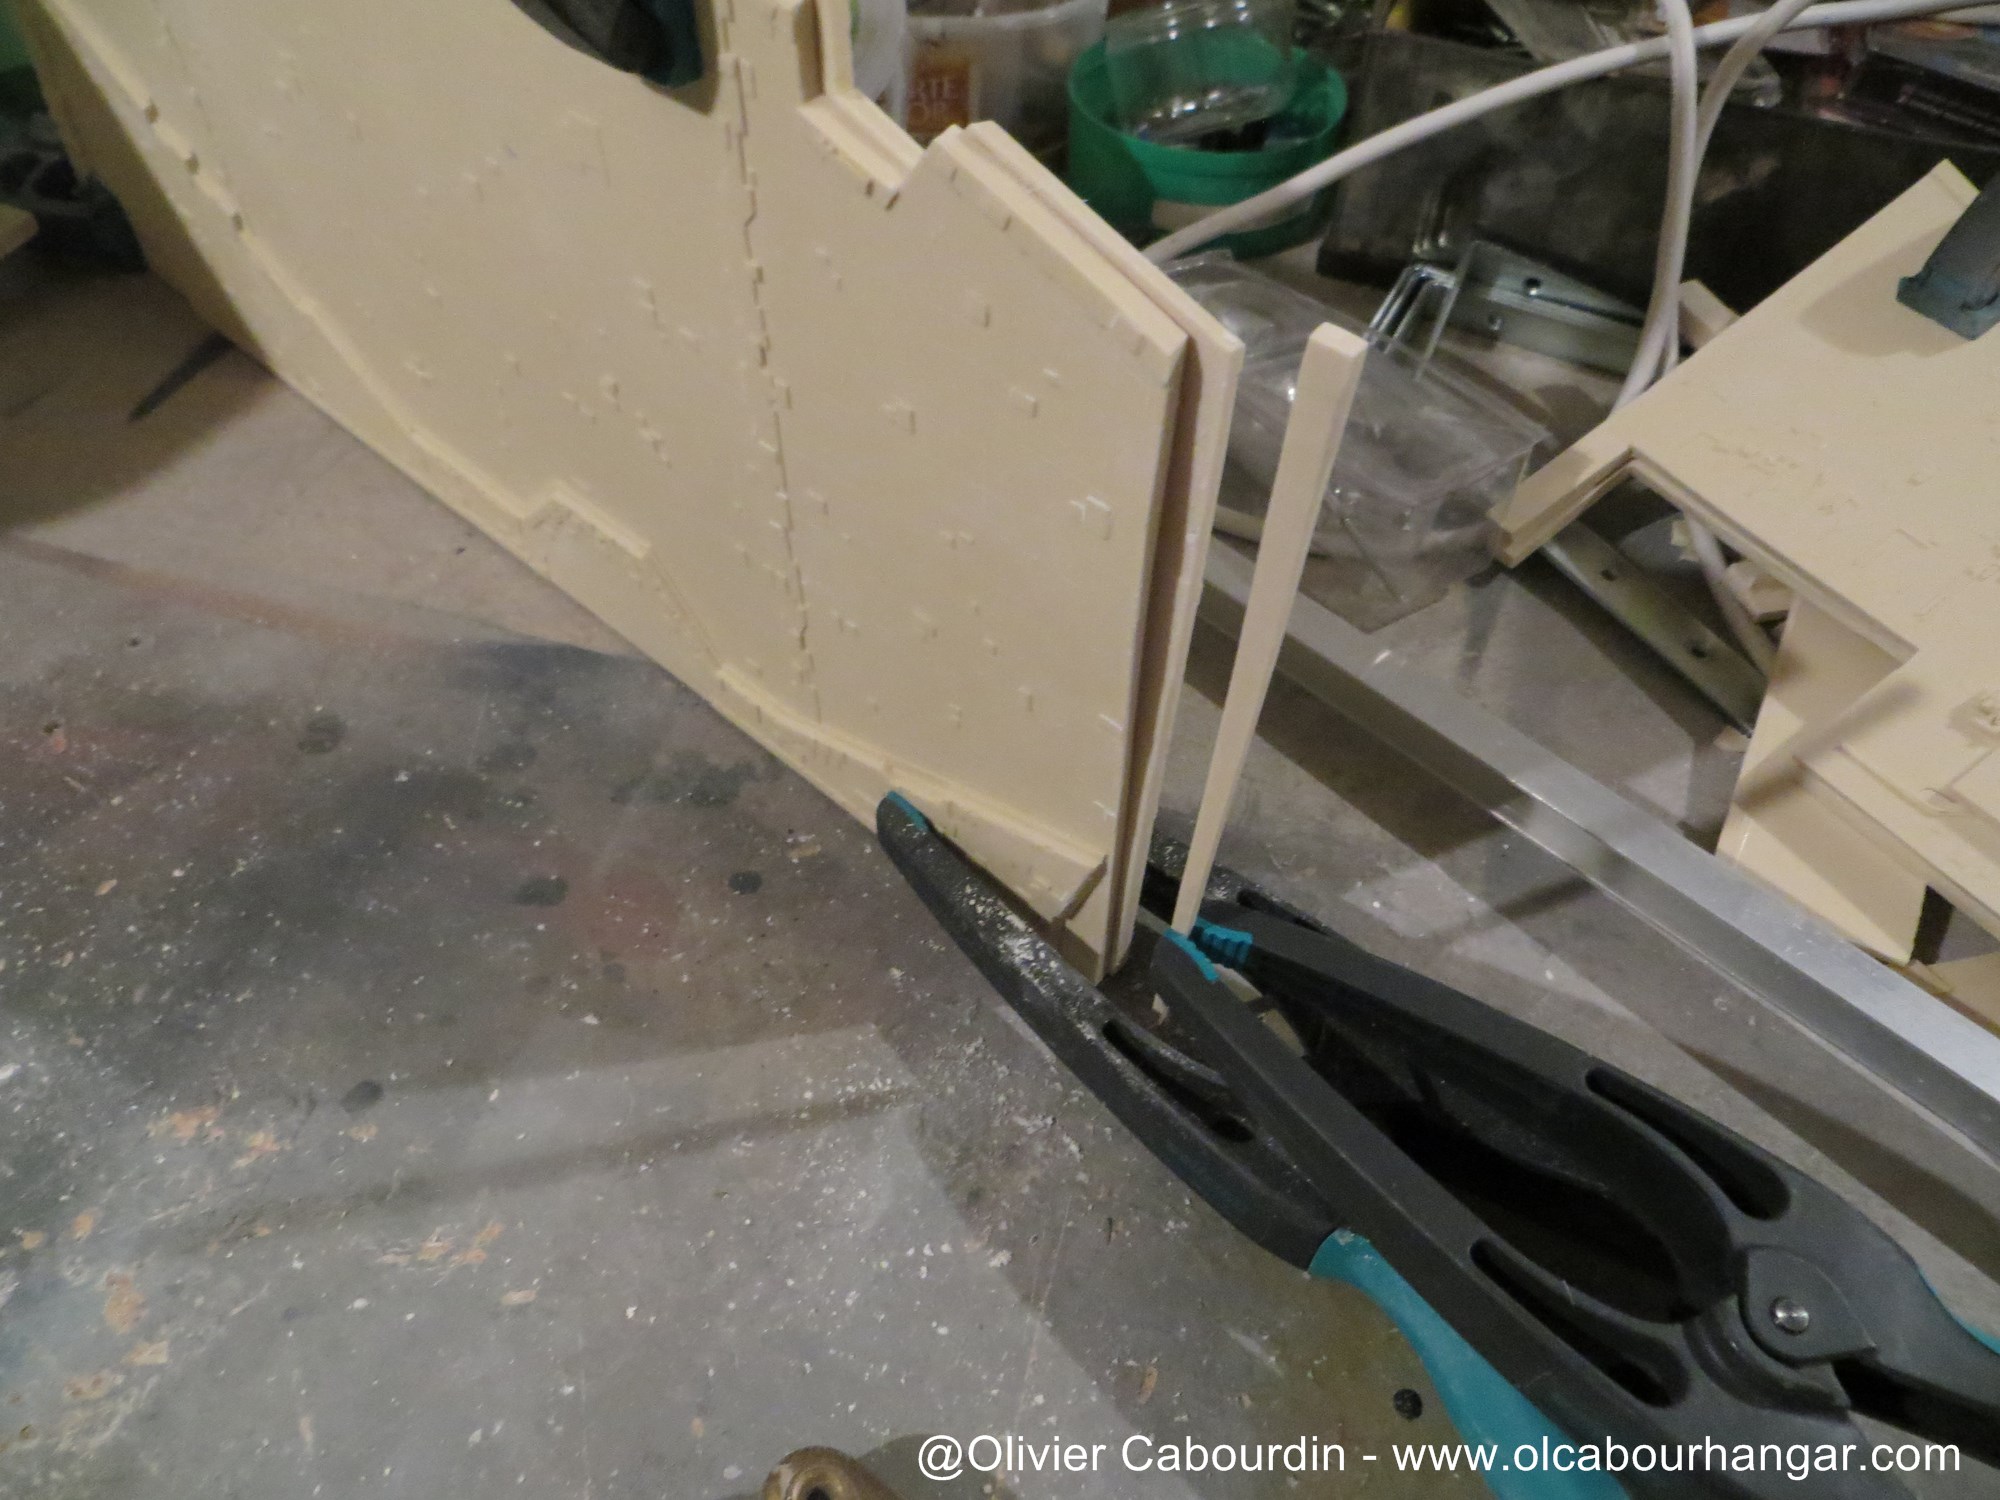
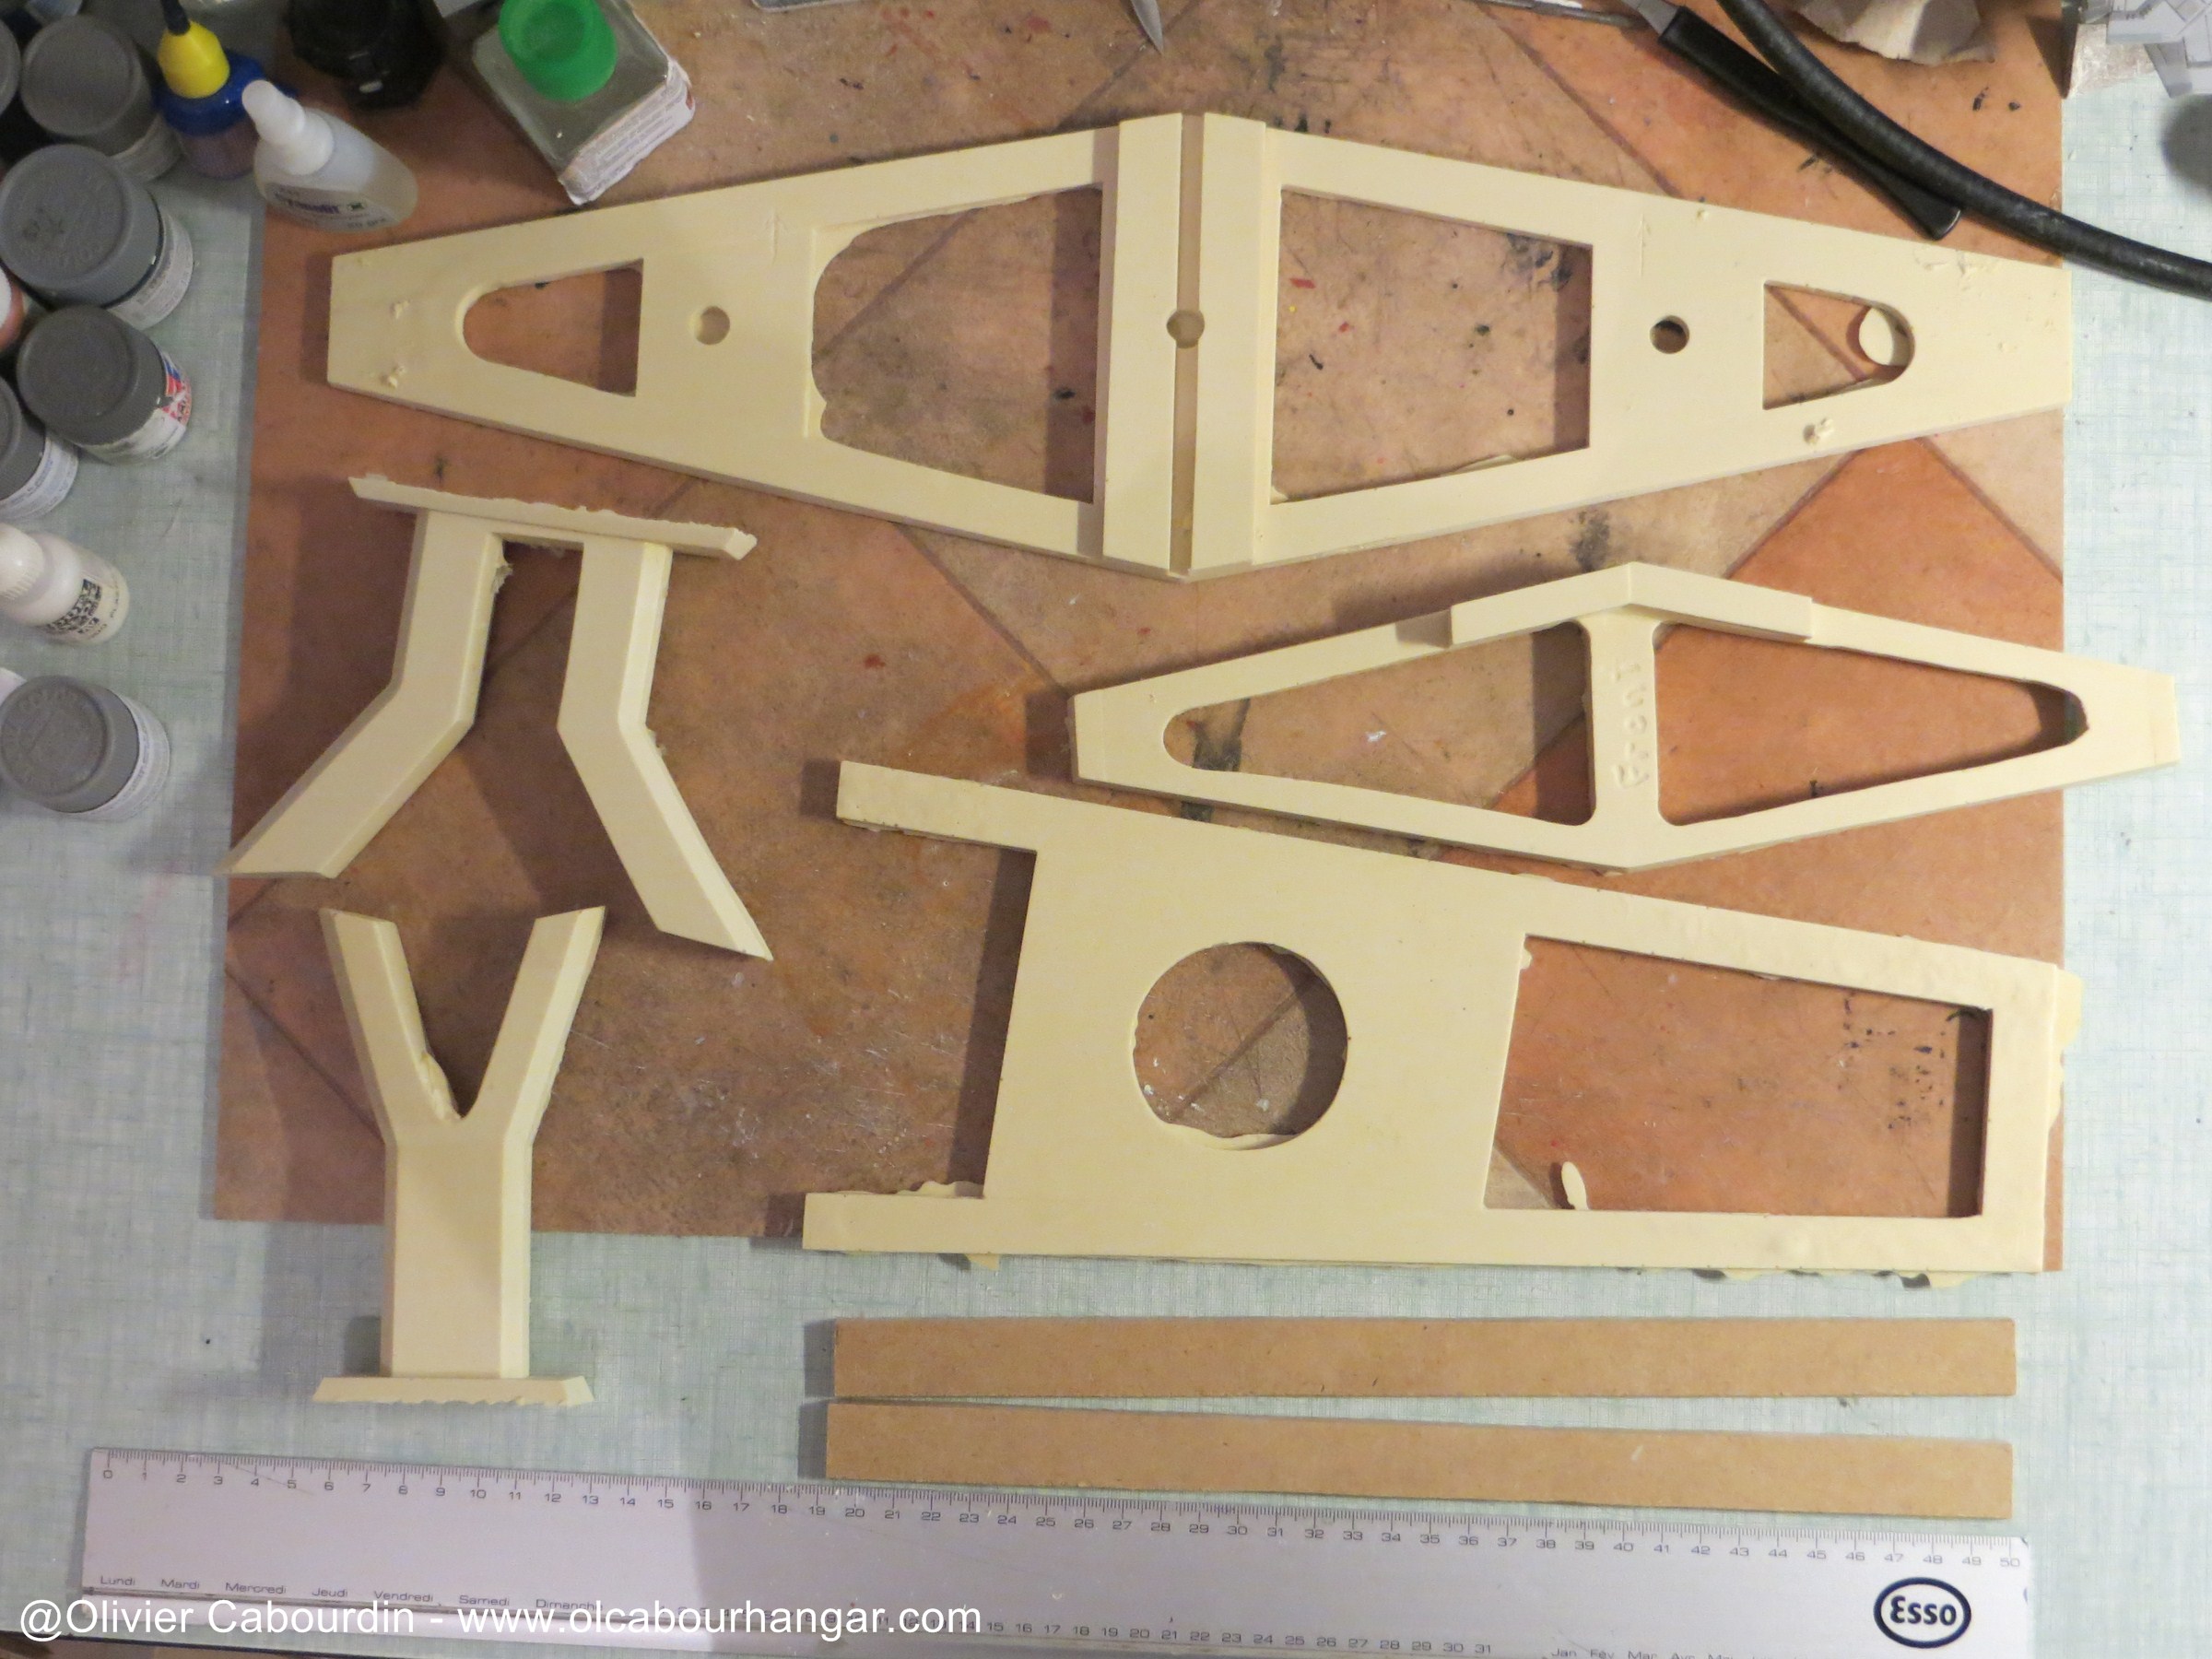
The internal frame is made of 3 resin parts that I don't feel there are not enough, so I am thinking to replace them with wood and aluminum channels.
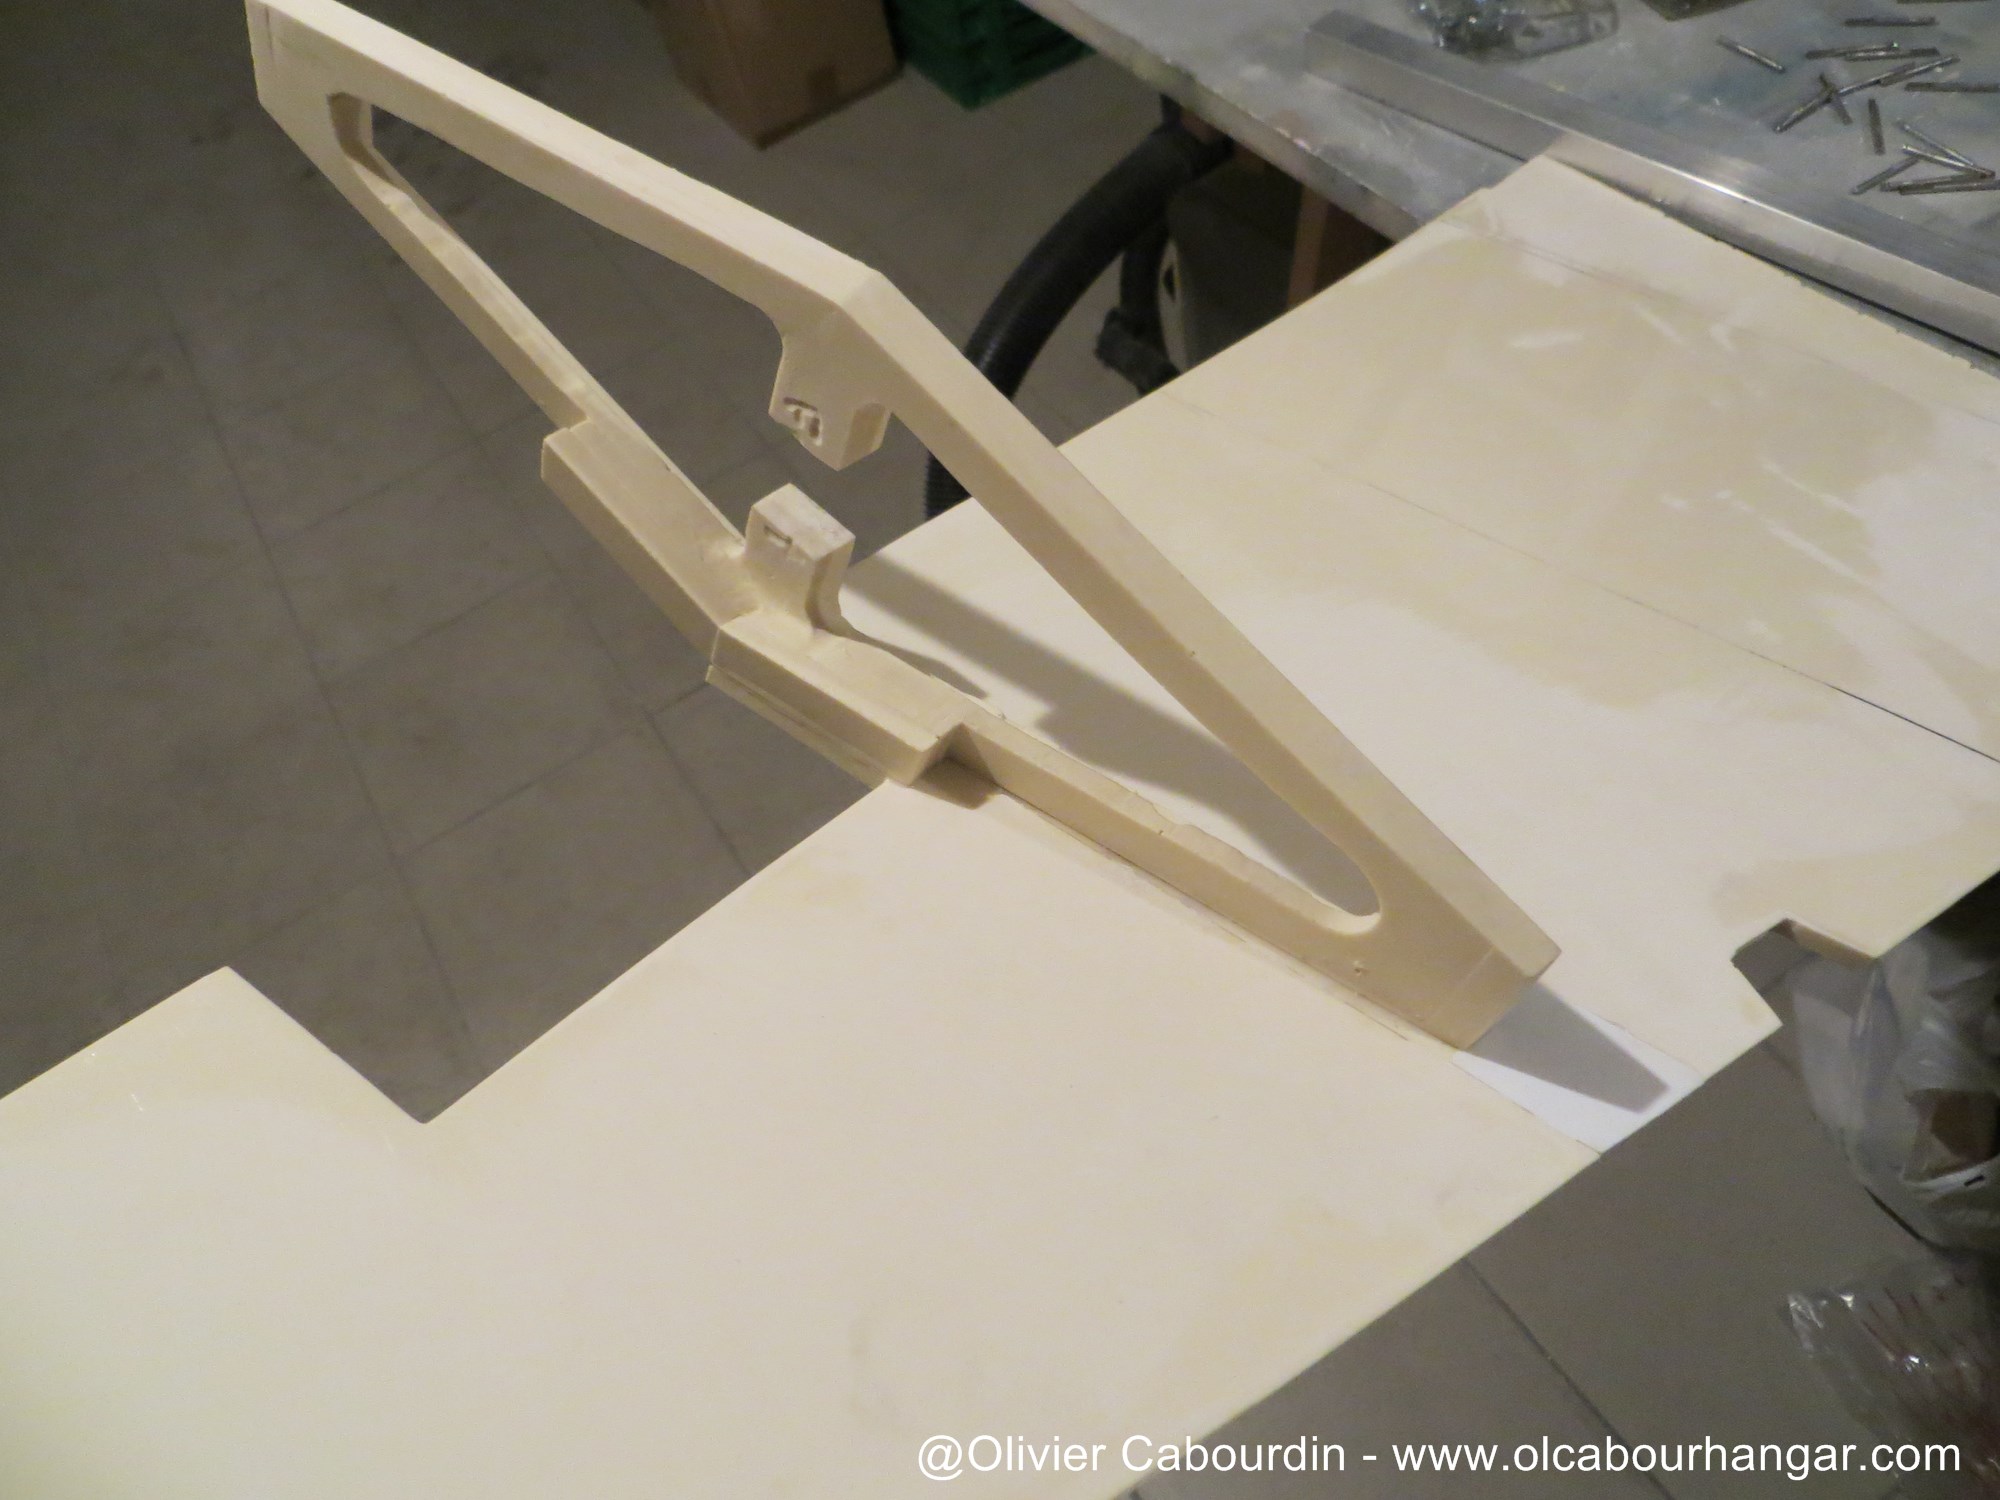
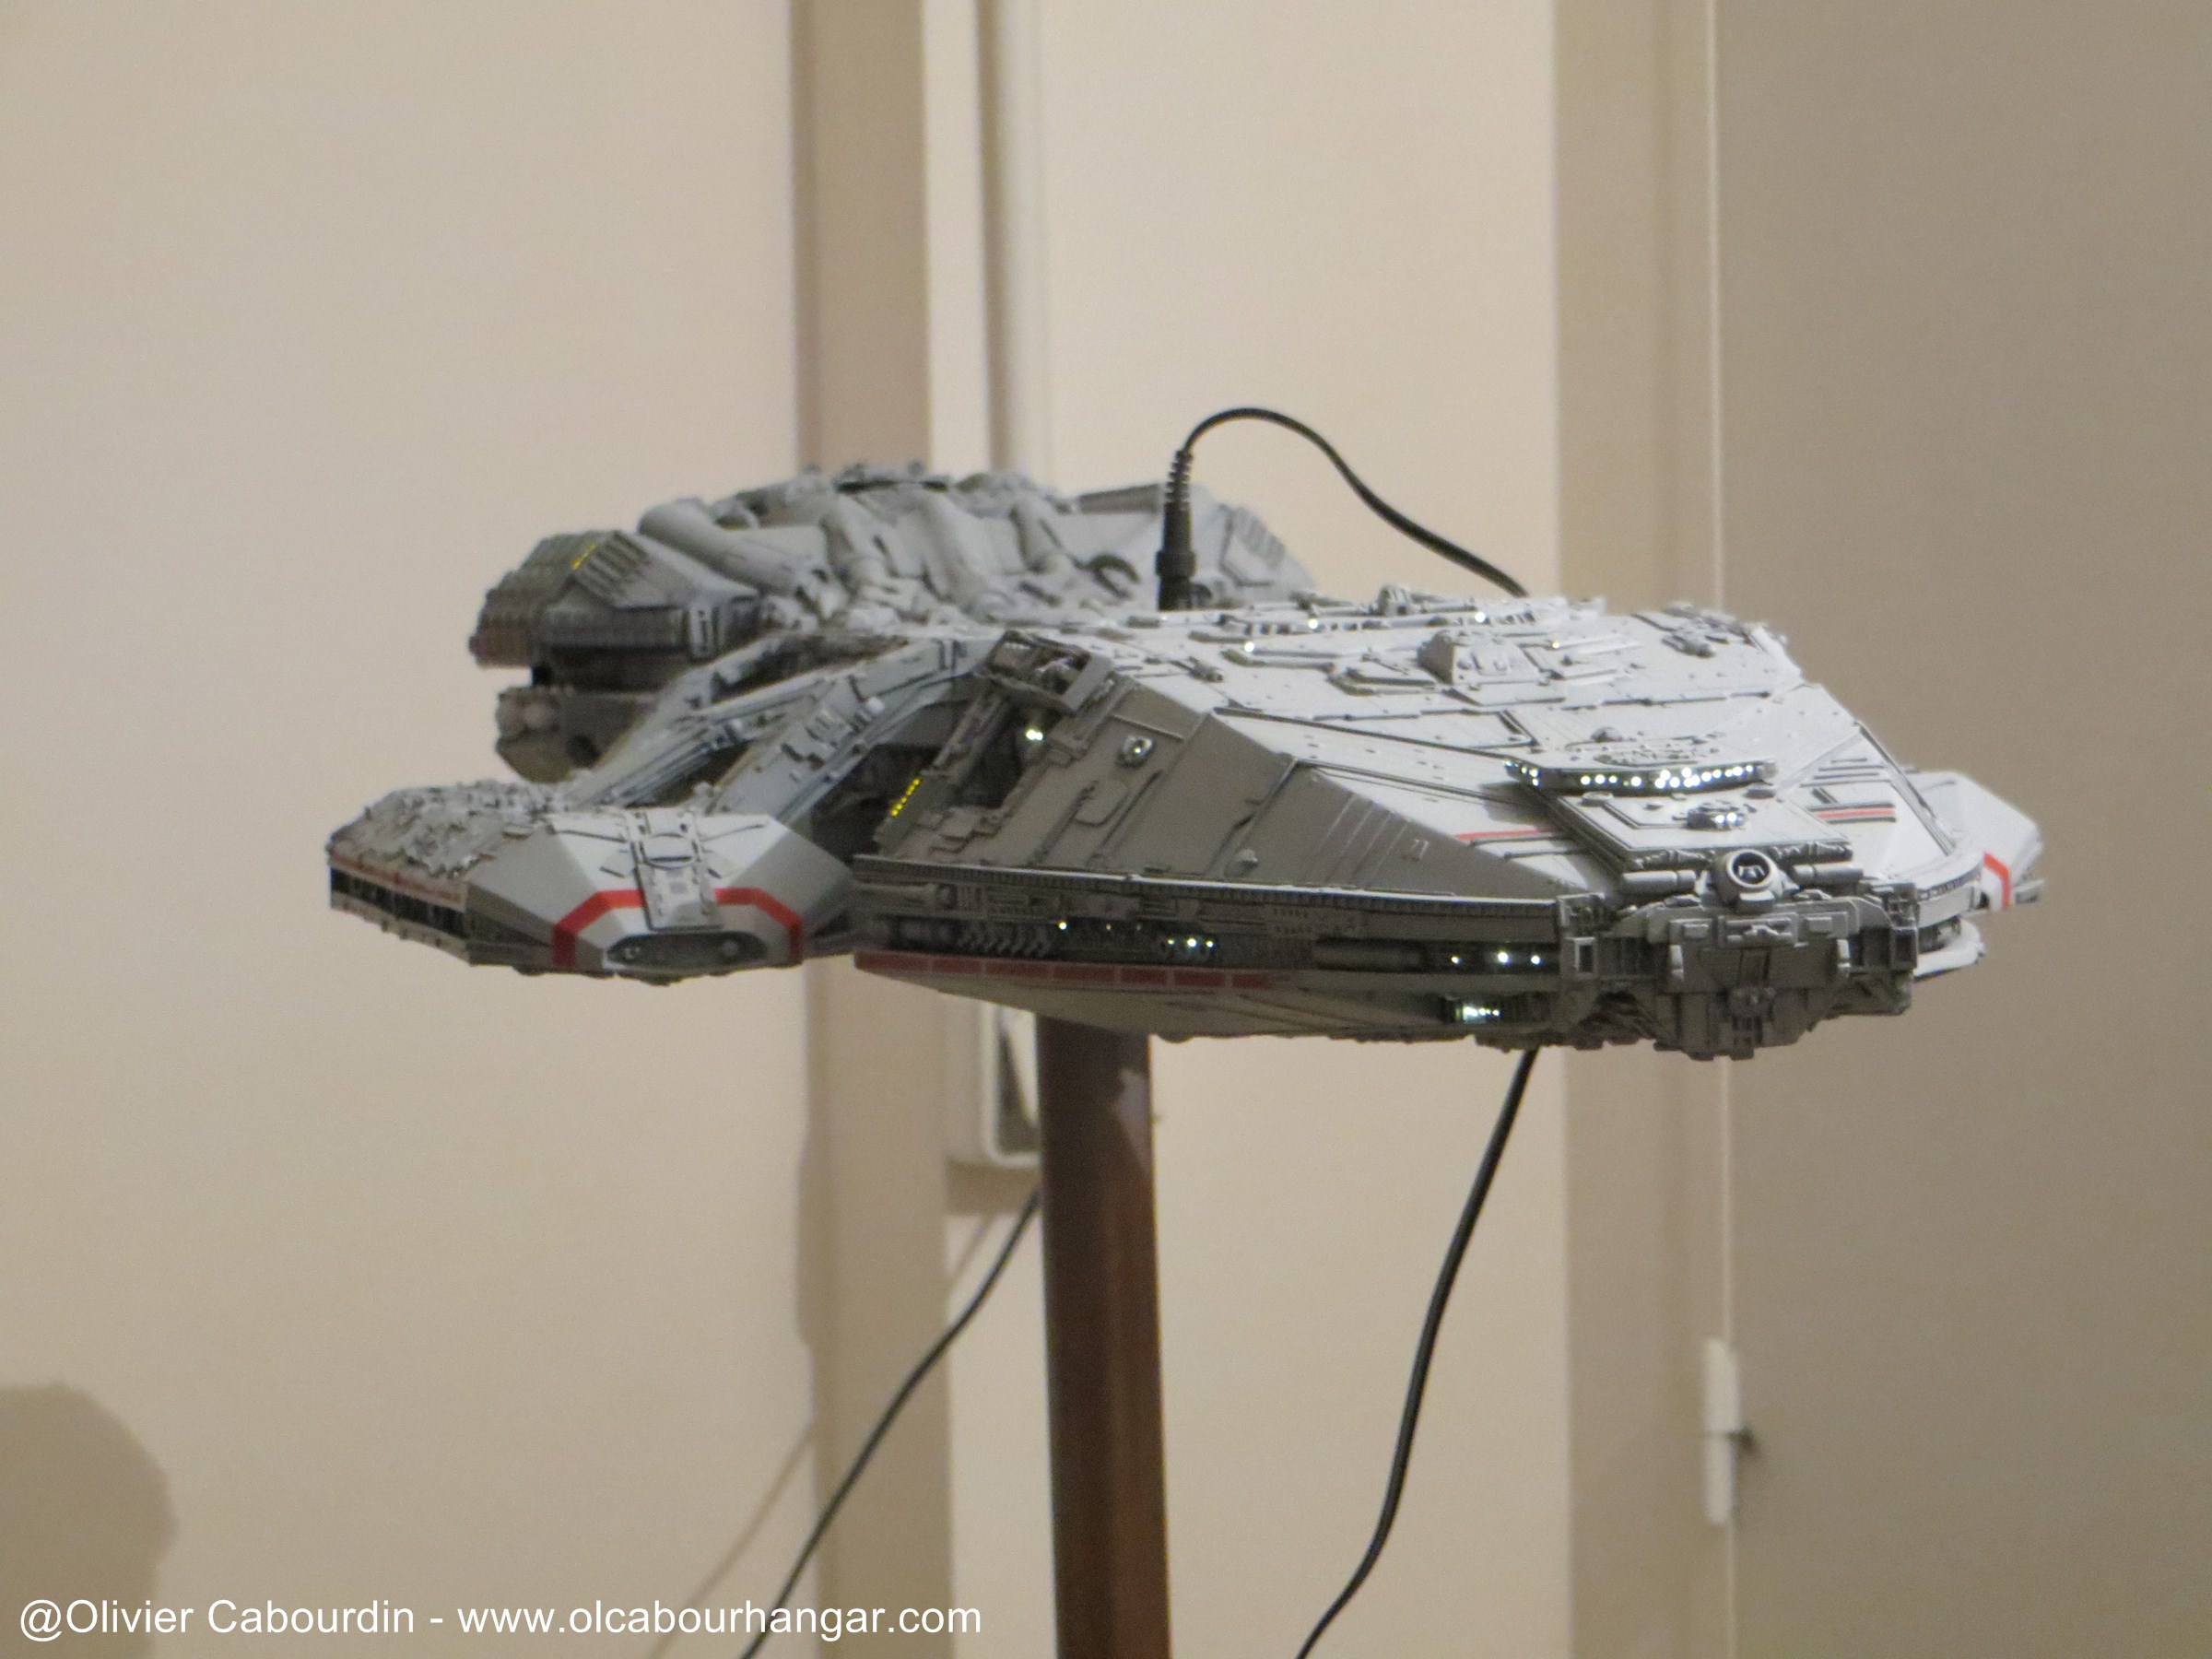
The display arms are in two parts which I will replace by a single one (a table leg like on my Salzo Galactica)

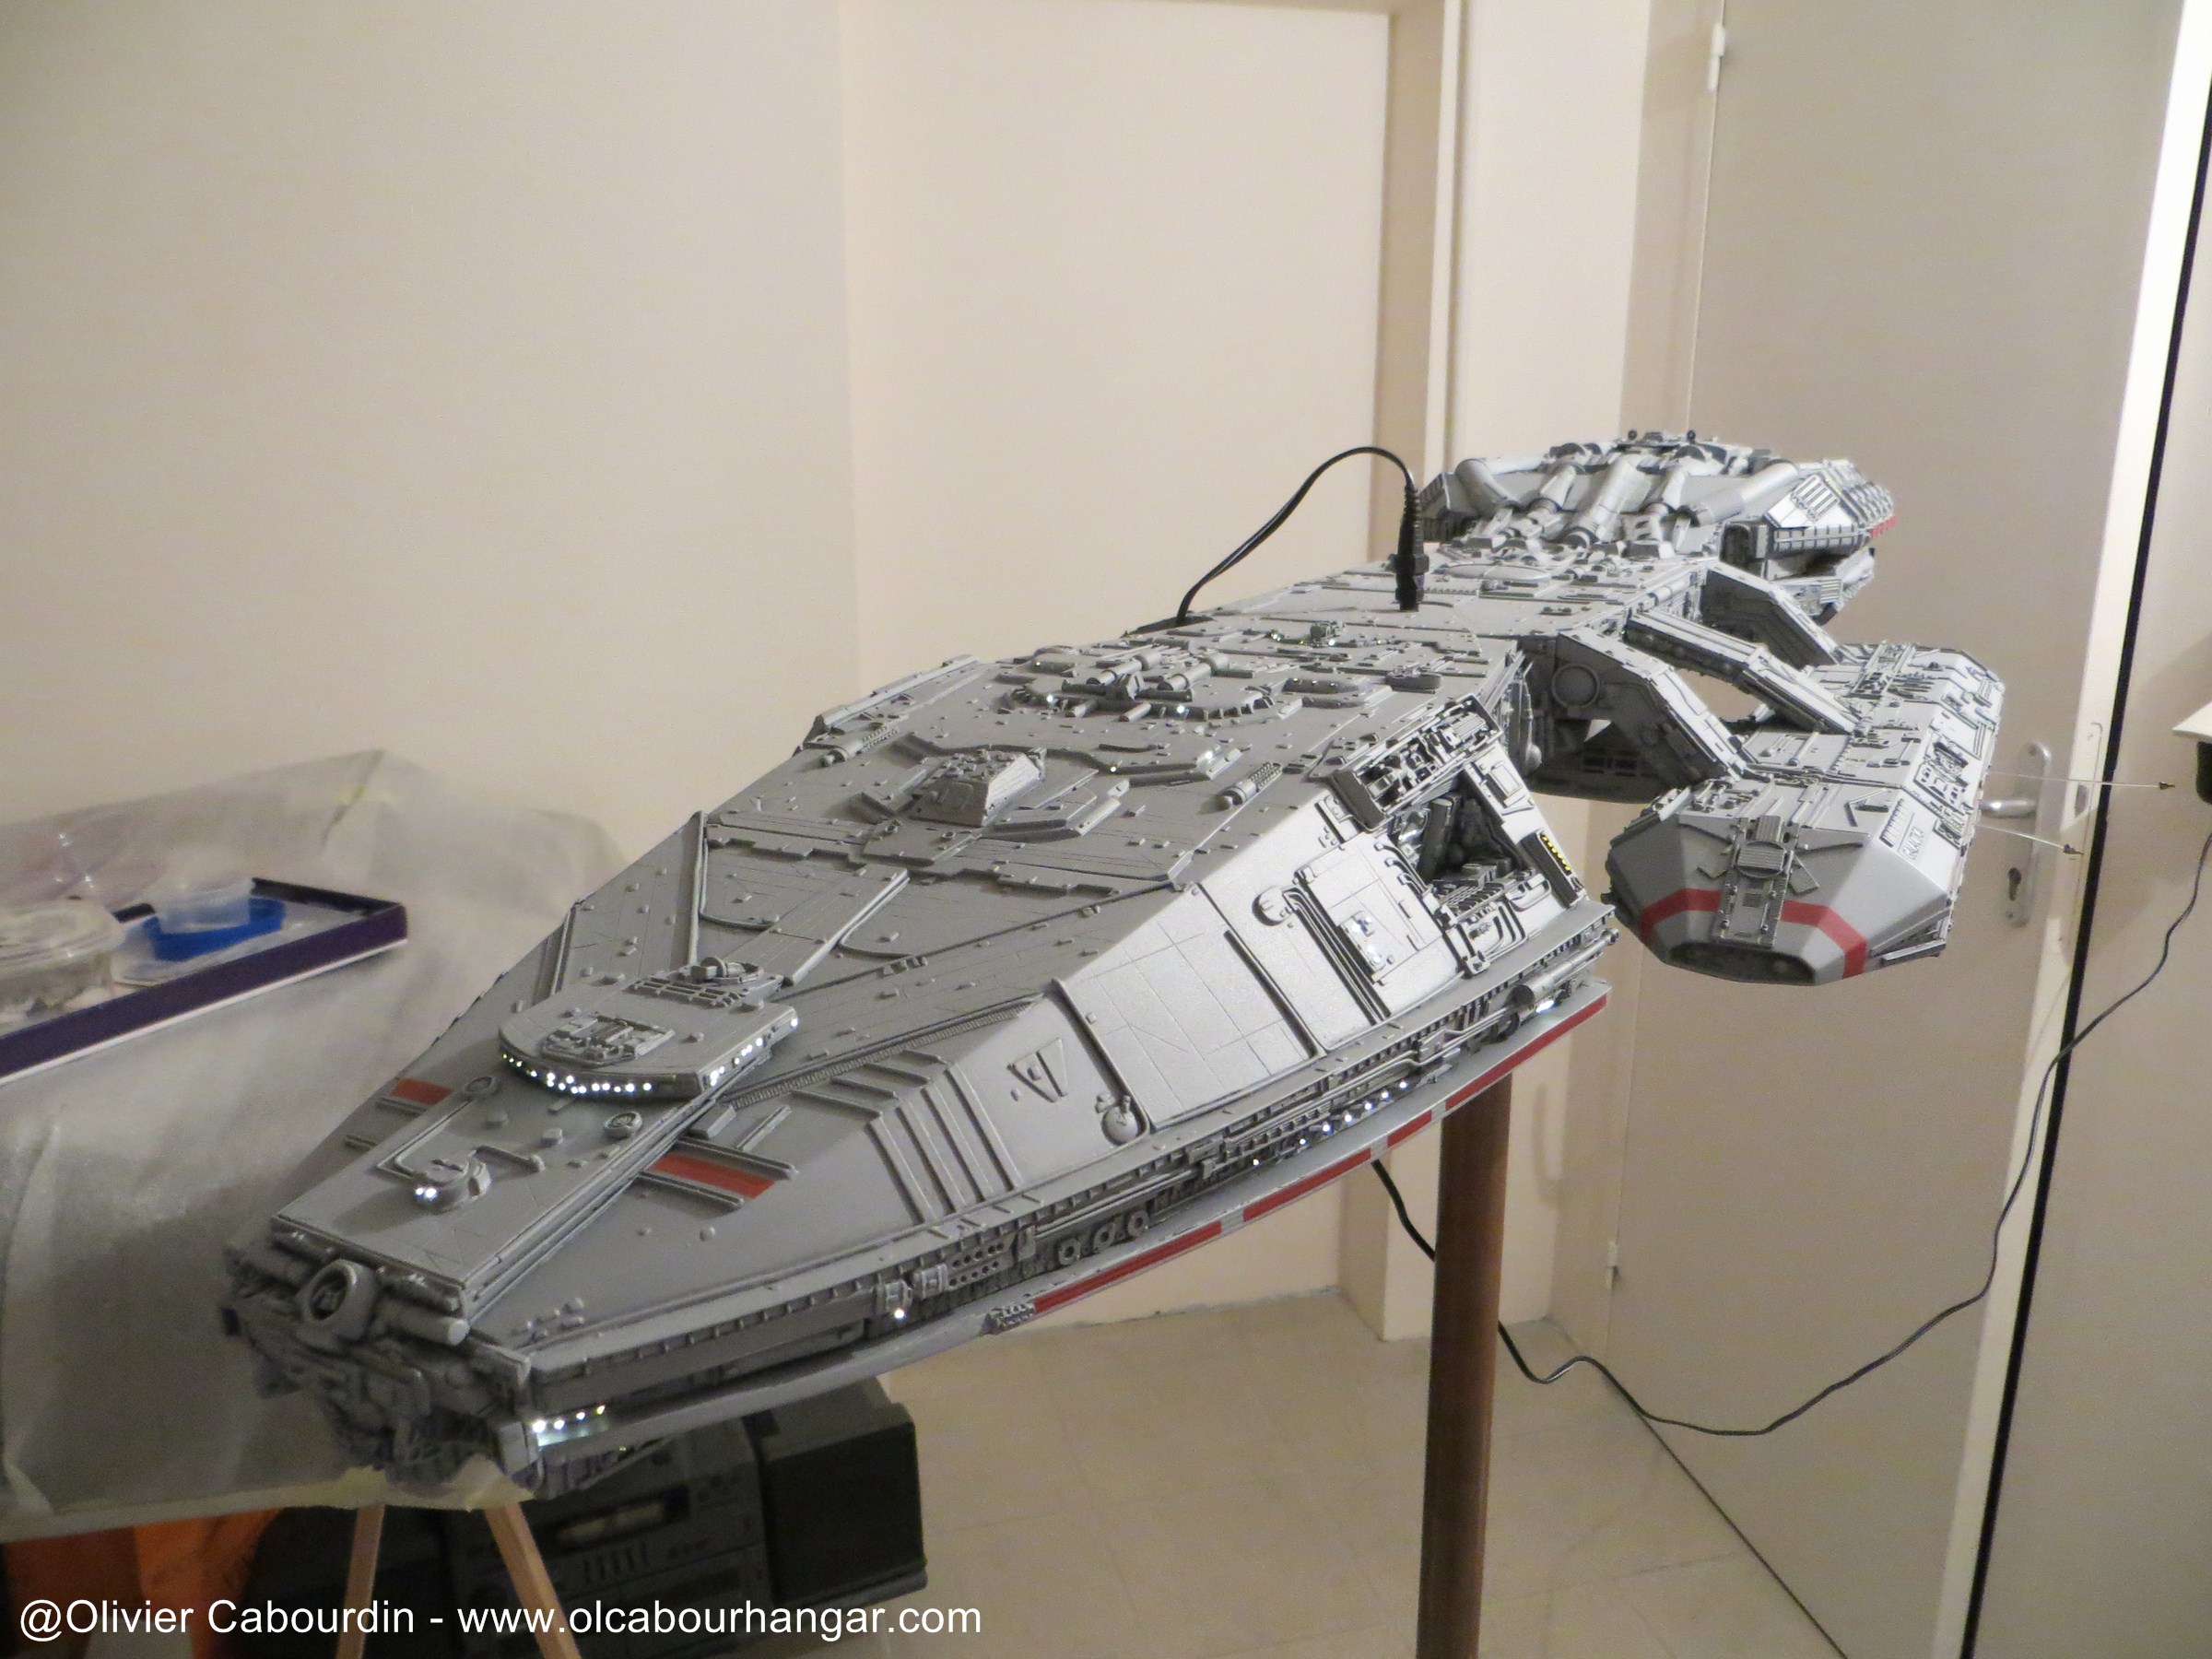
It is larger than the Anigrand kit of only 20cm (72cm vs 90cm for the RC), that makes it twice bigger in volume.
despite the size, the RC is, to my point of view, more faithfull in shape and detail to the original ESB model, where the Anigrand is a mix between the ANH and ESB stardestroyer studio models.
On the other side, the Anigrand kit is an easier kit to assemble, and of a better molding (some are close to injected !)